|
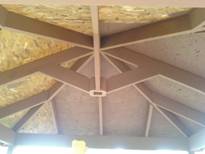
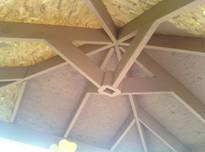
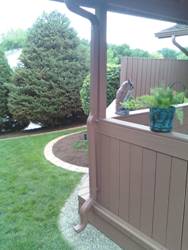
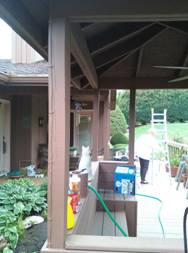
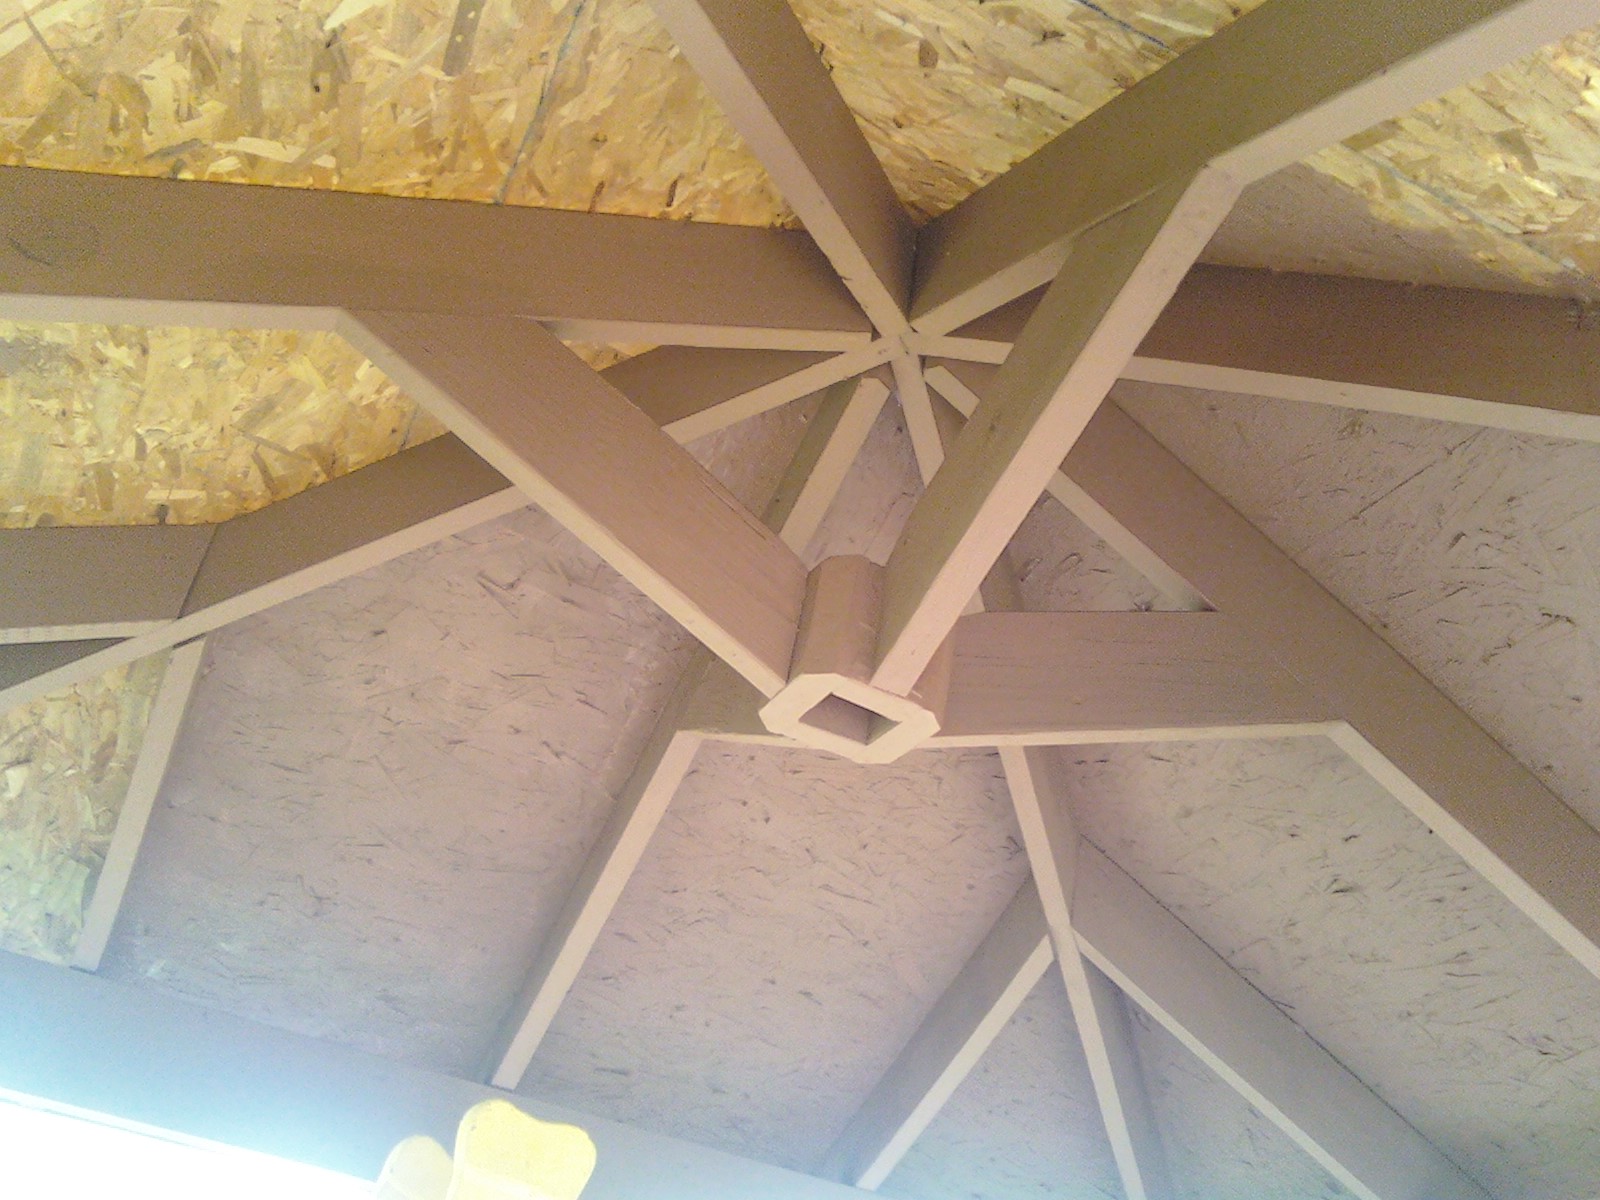
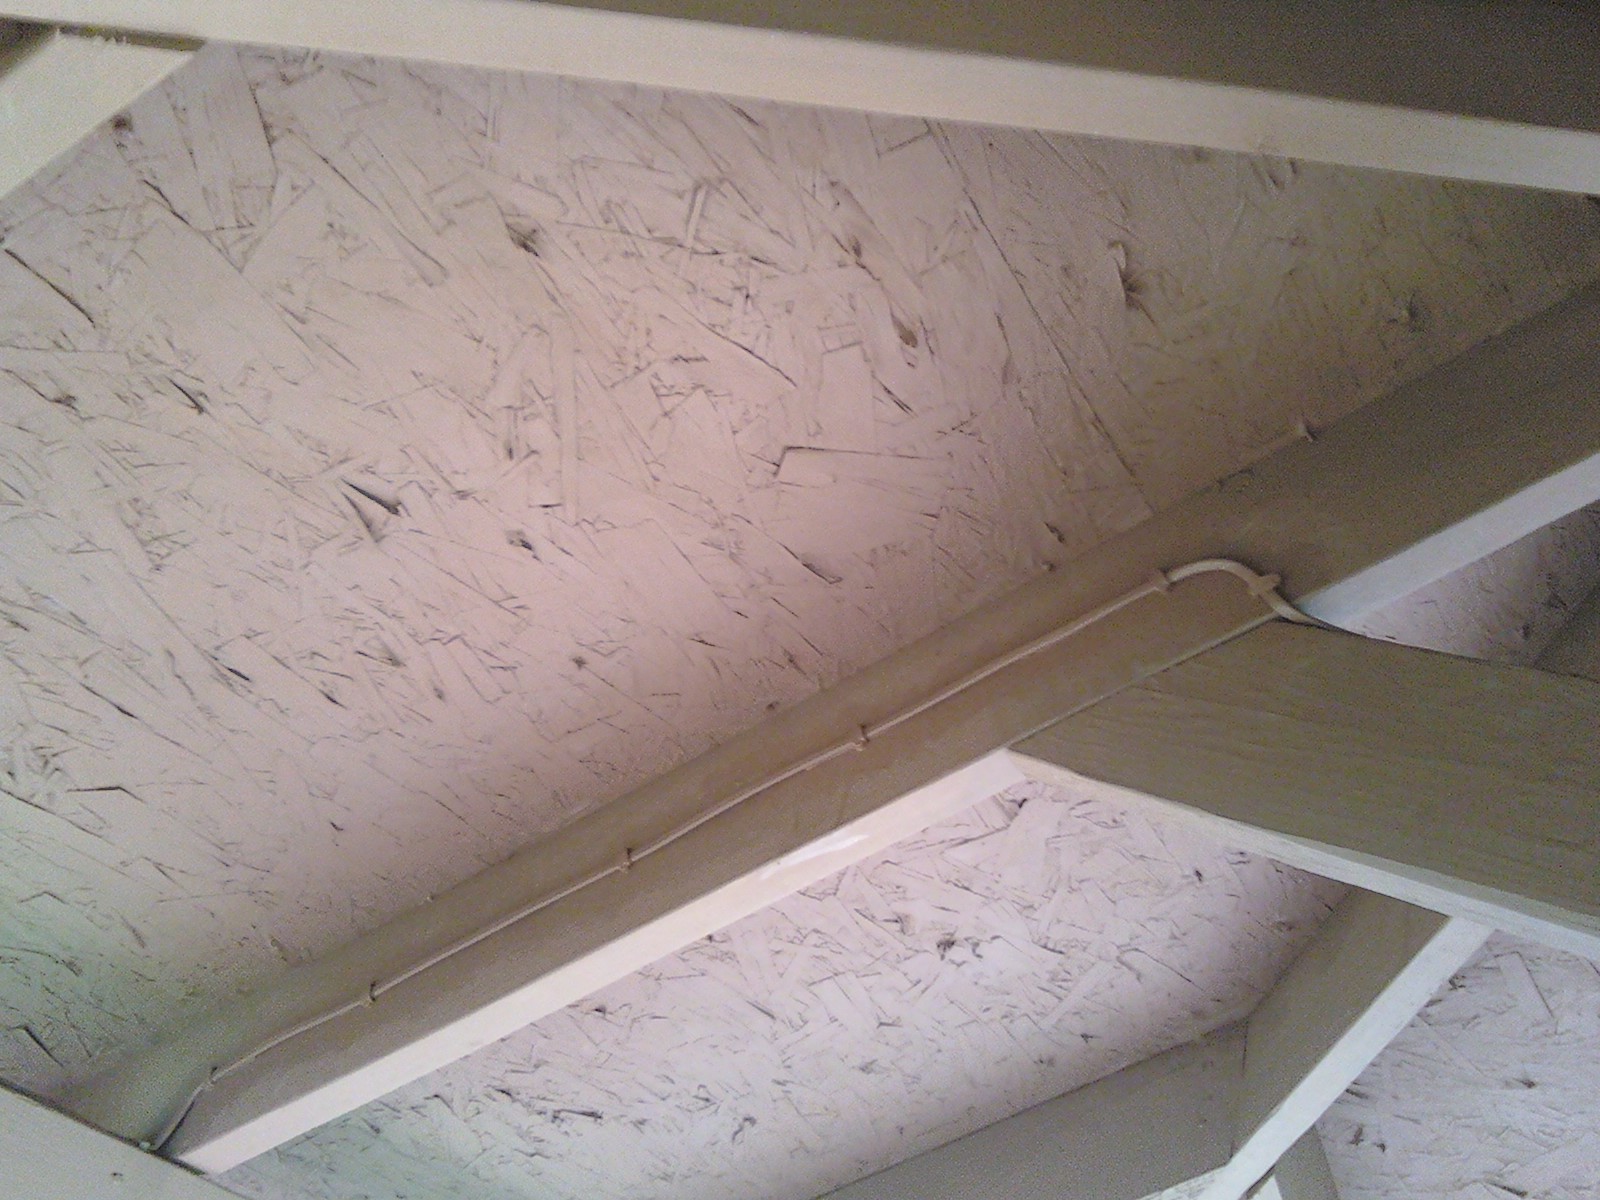
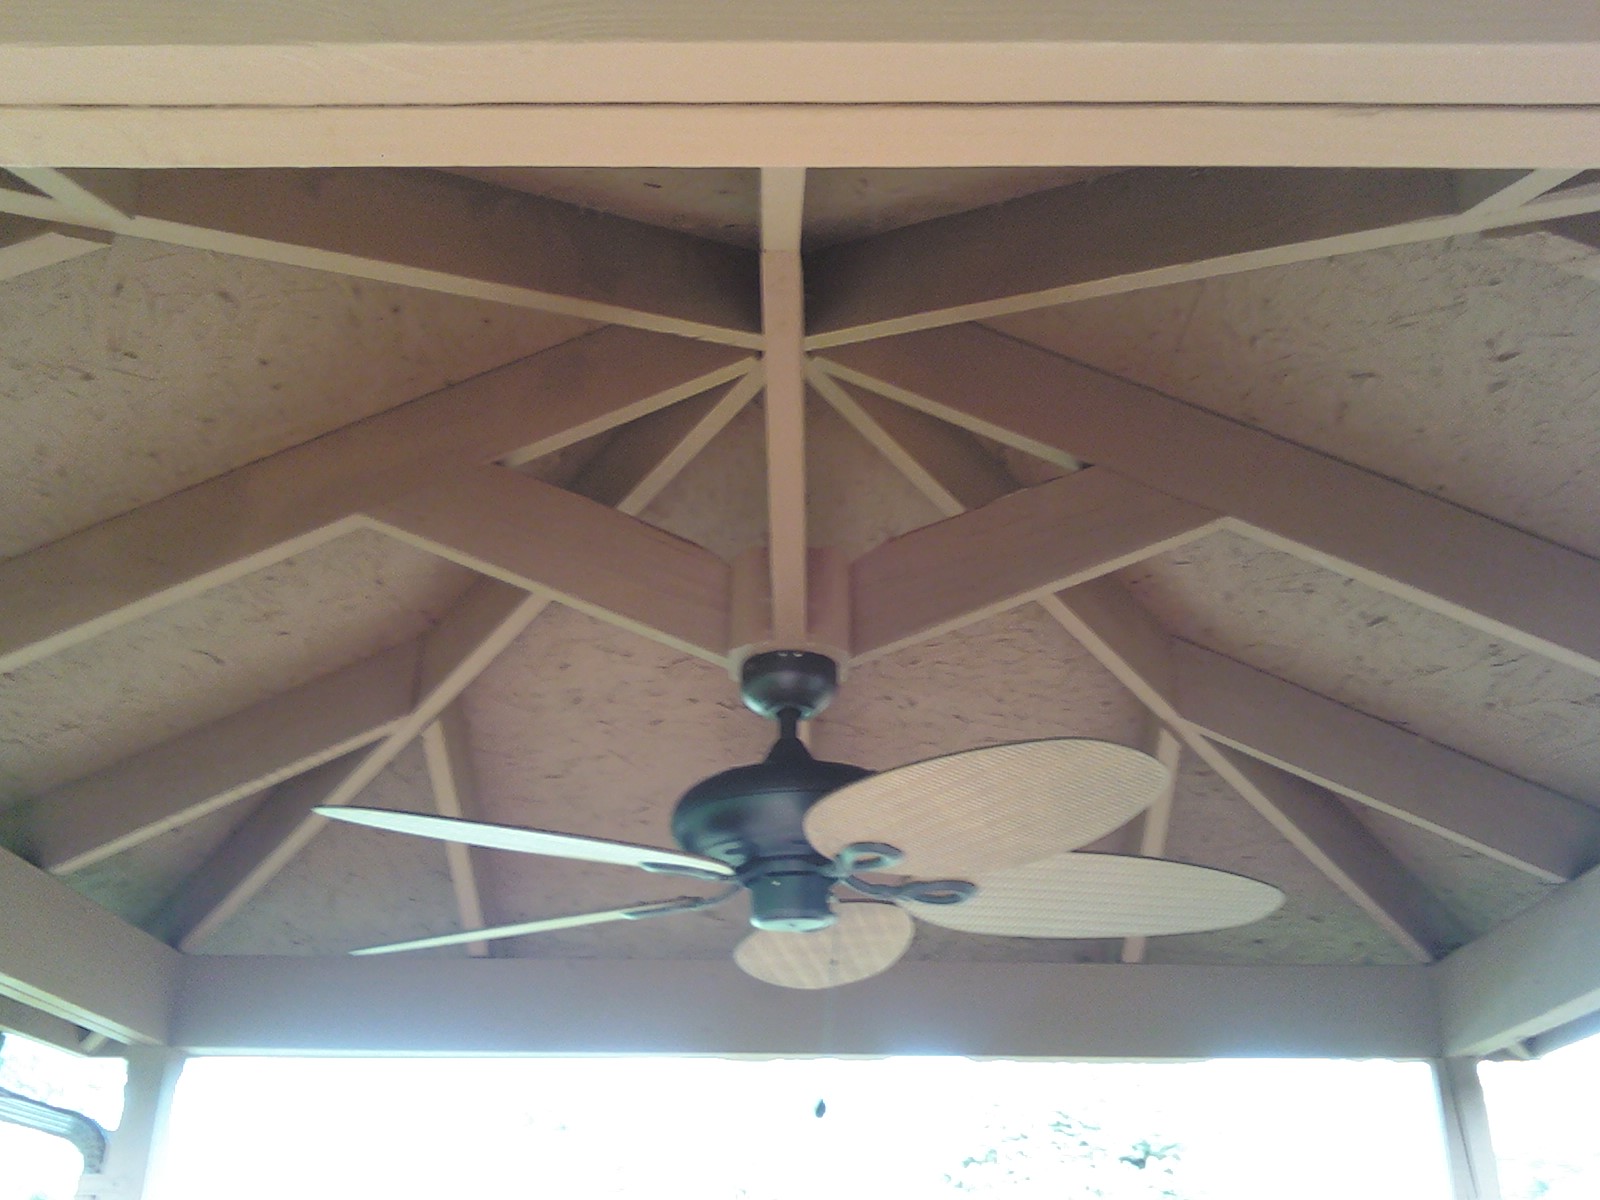
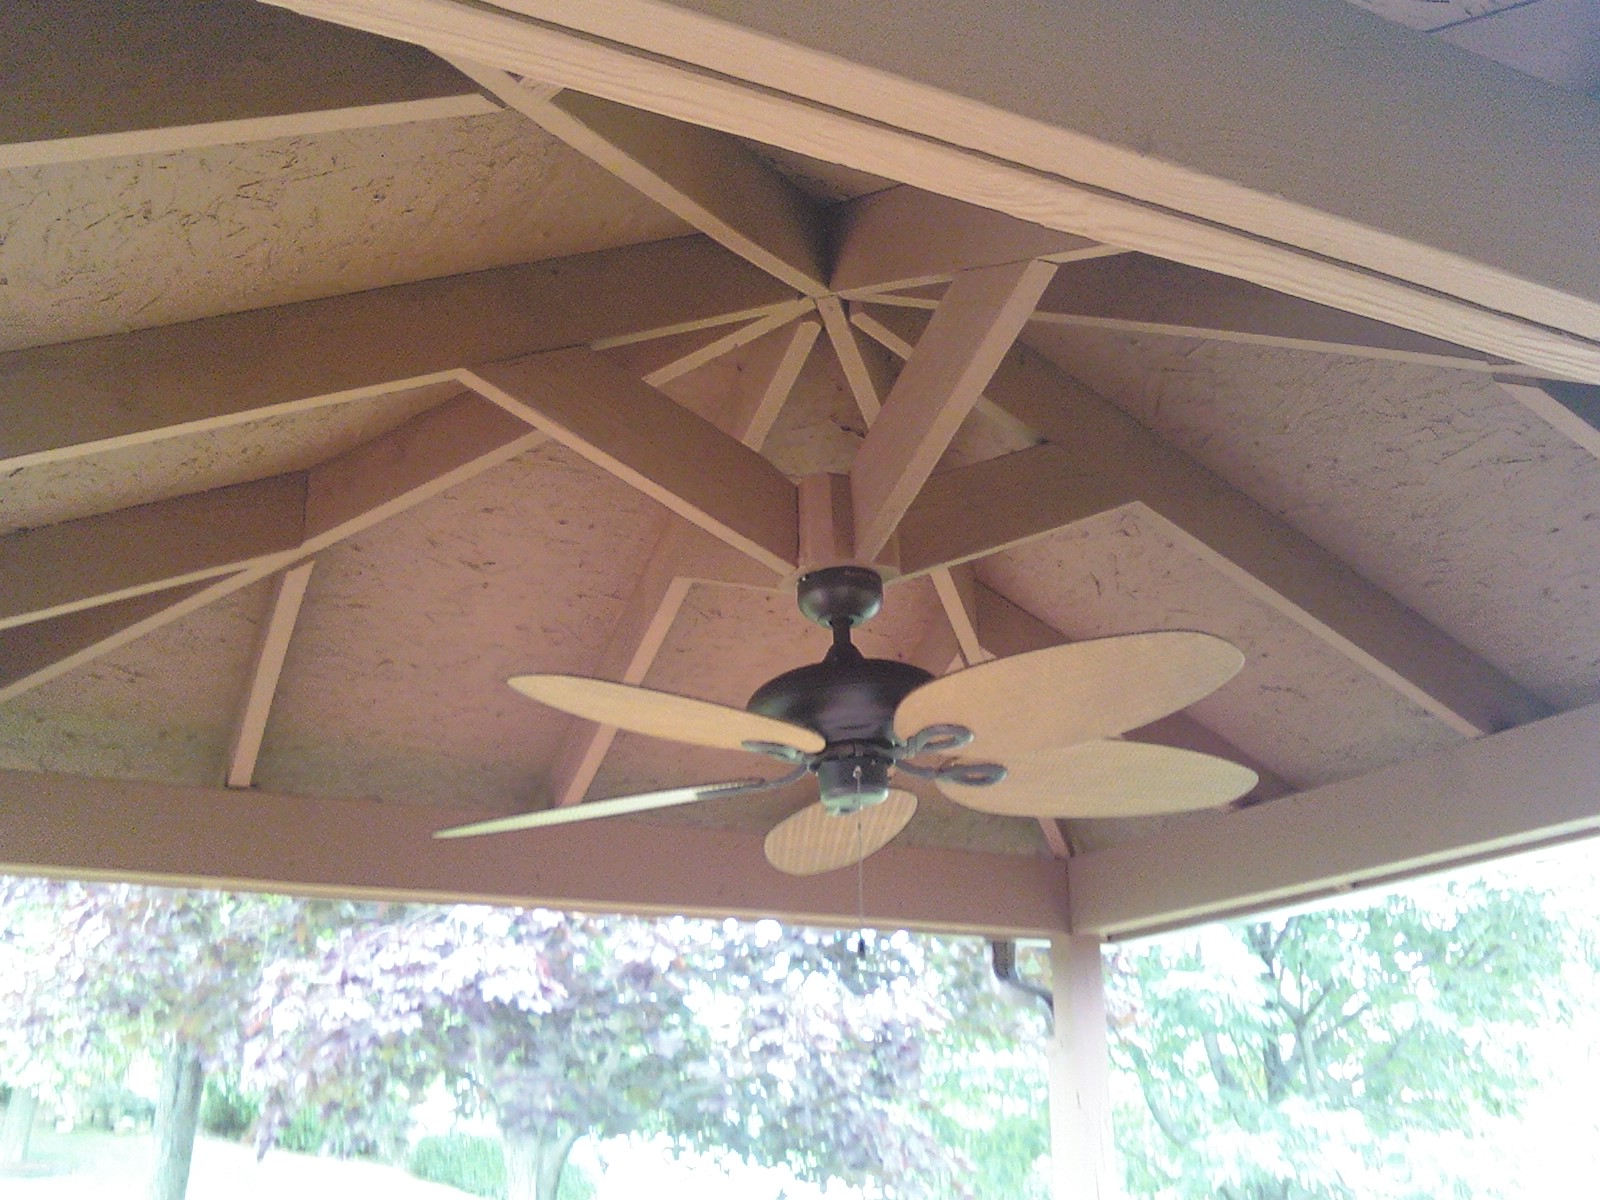
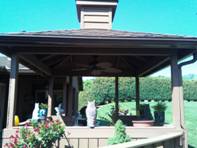
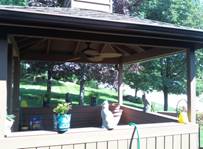
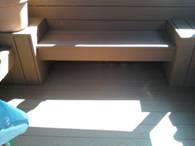
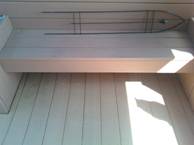
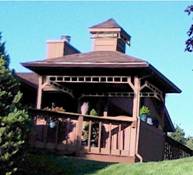
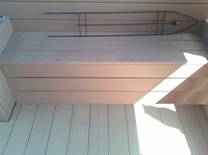
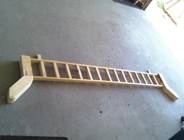
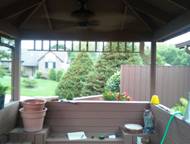
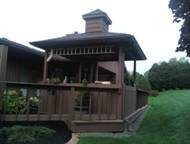
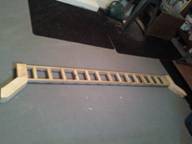
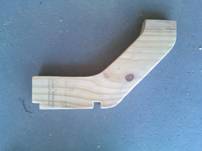
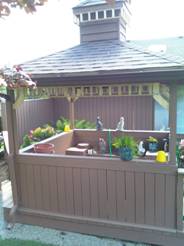
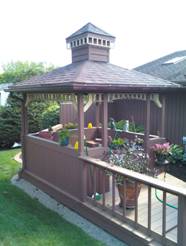
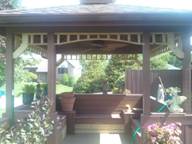
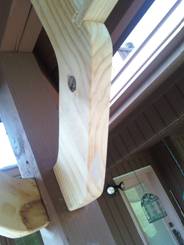
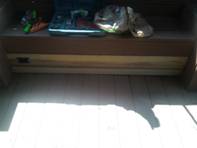
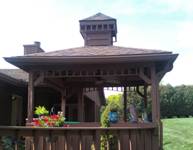
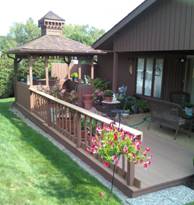
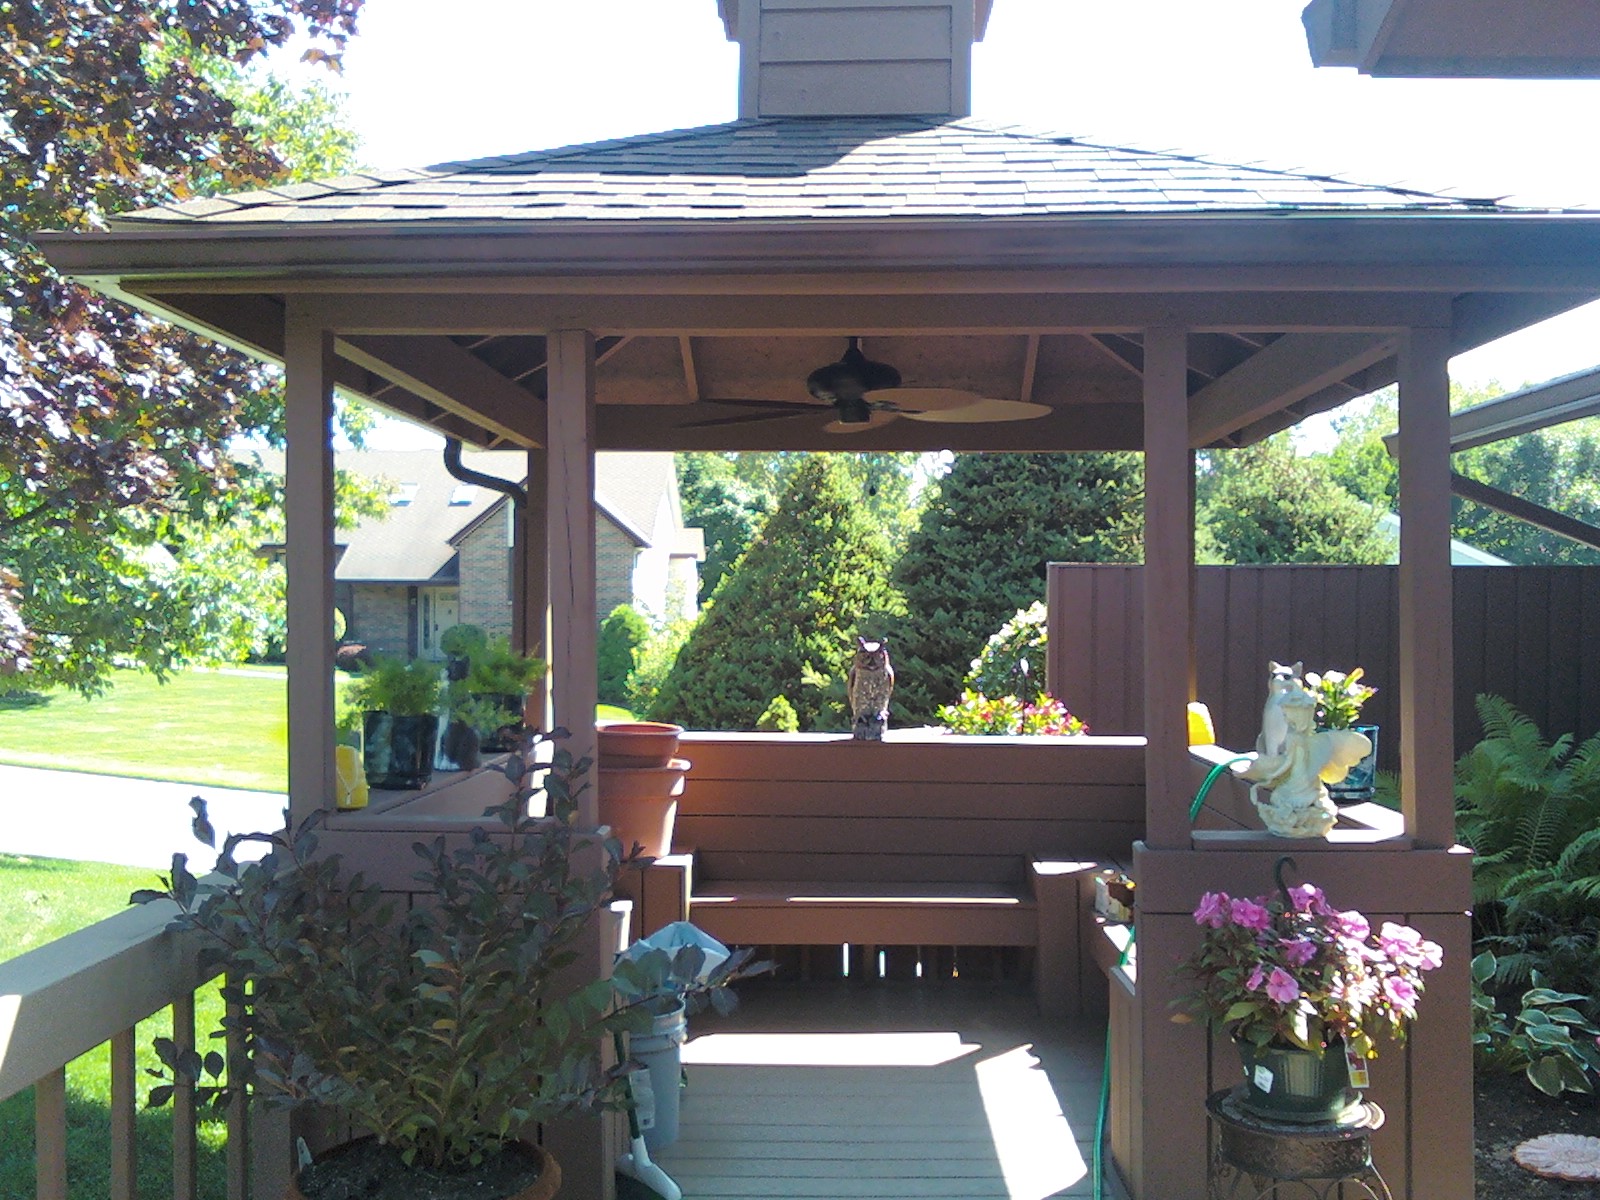
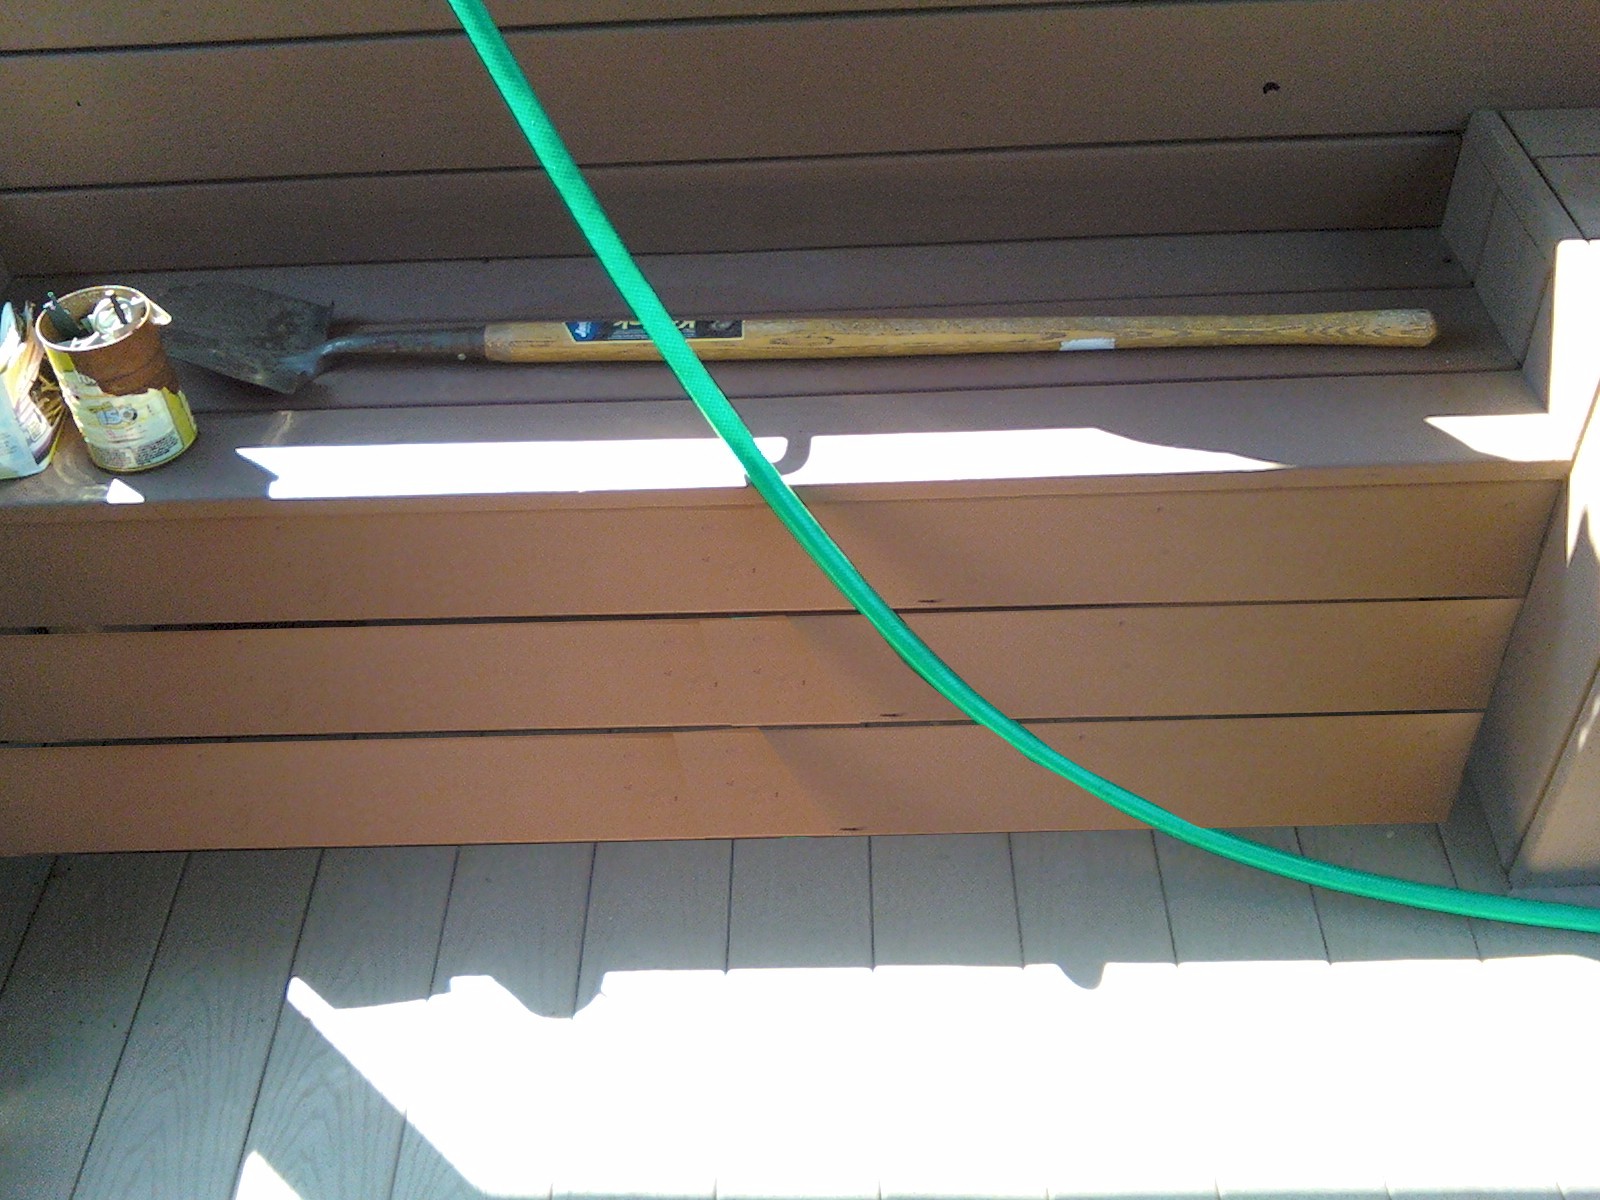
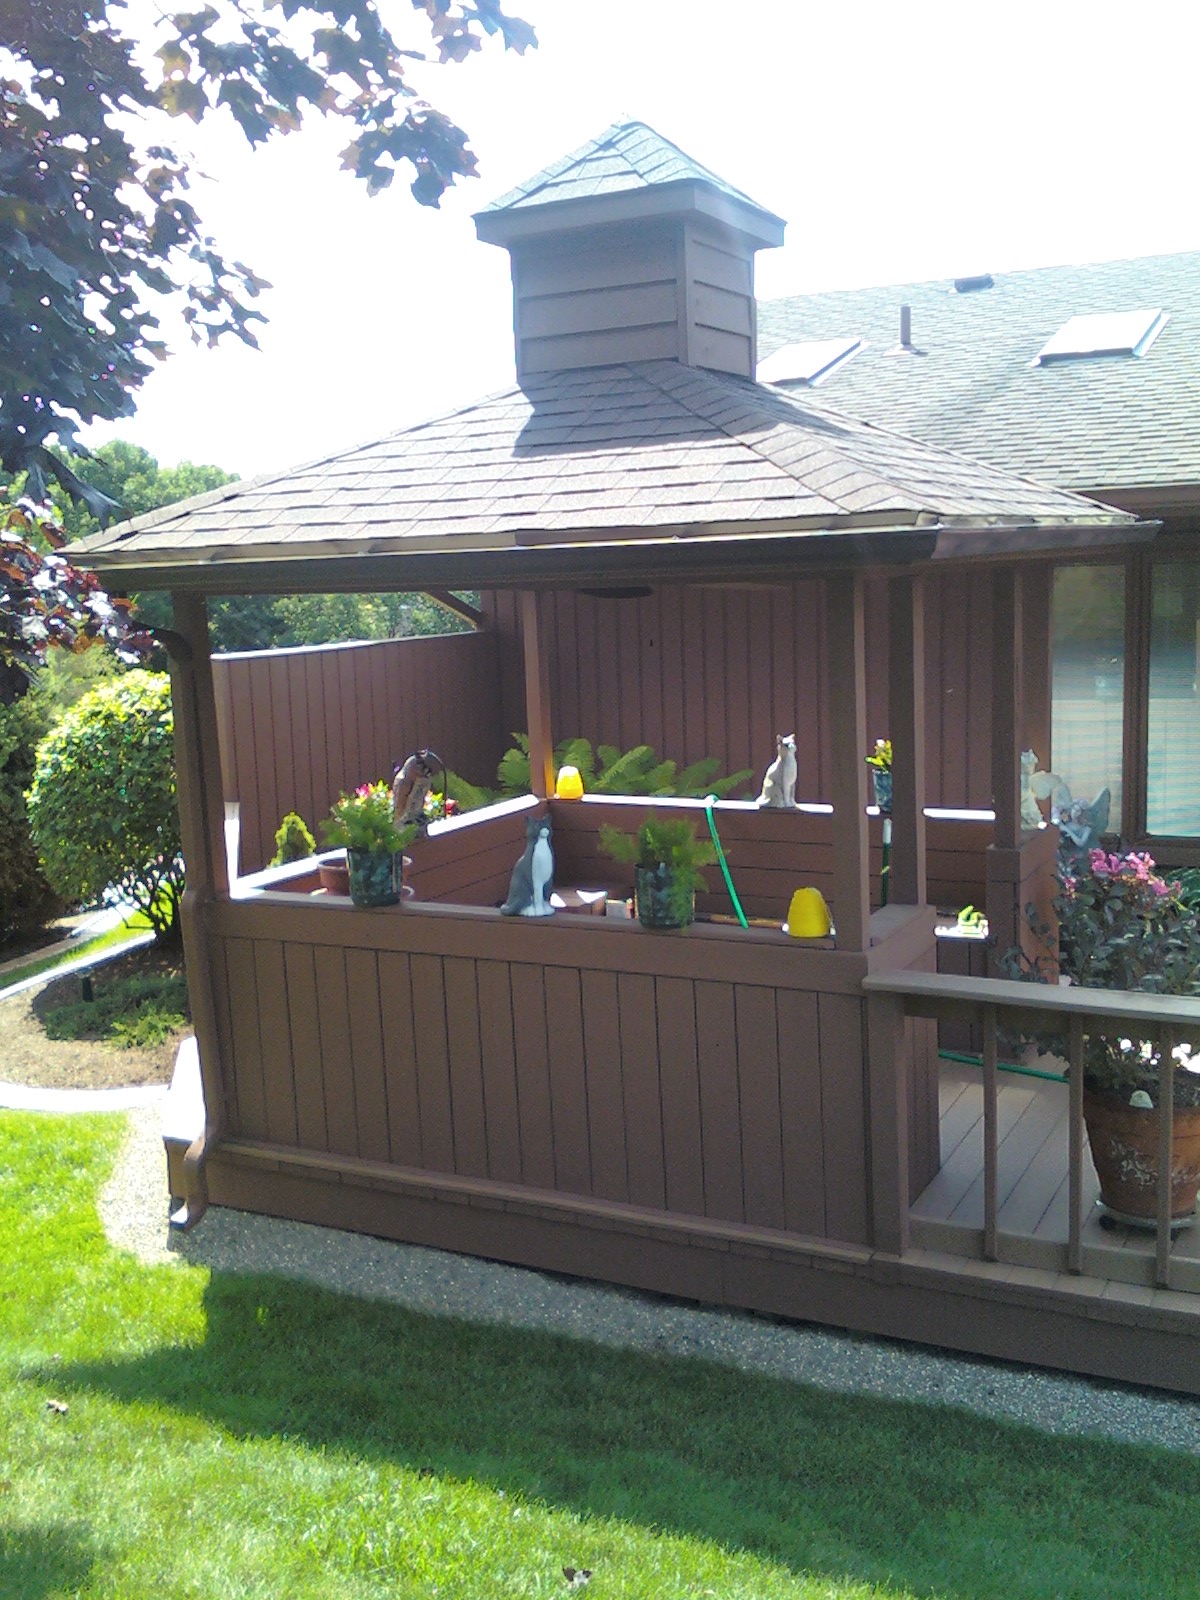
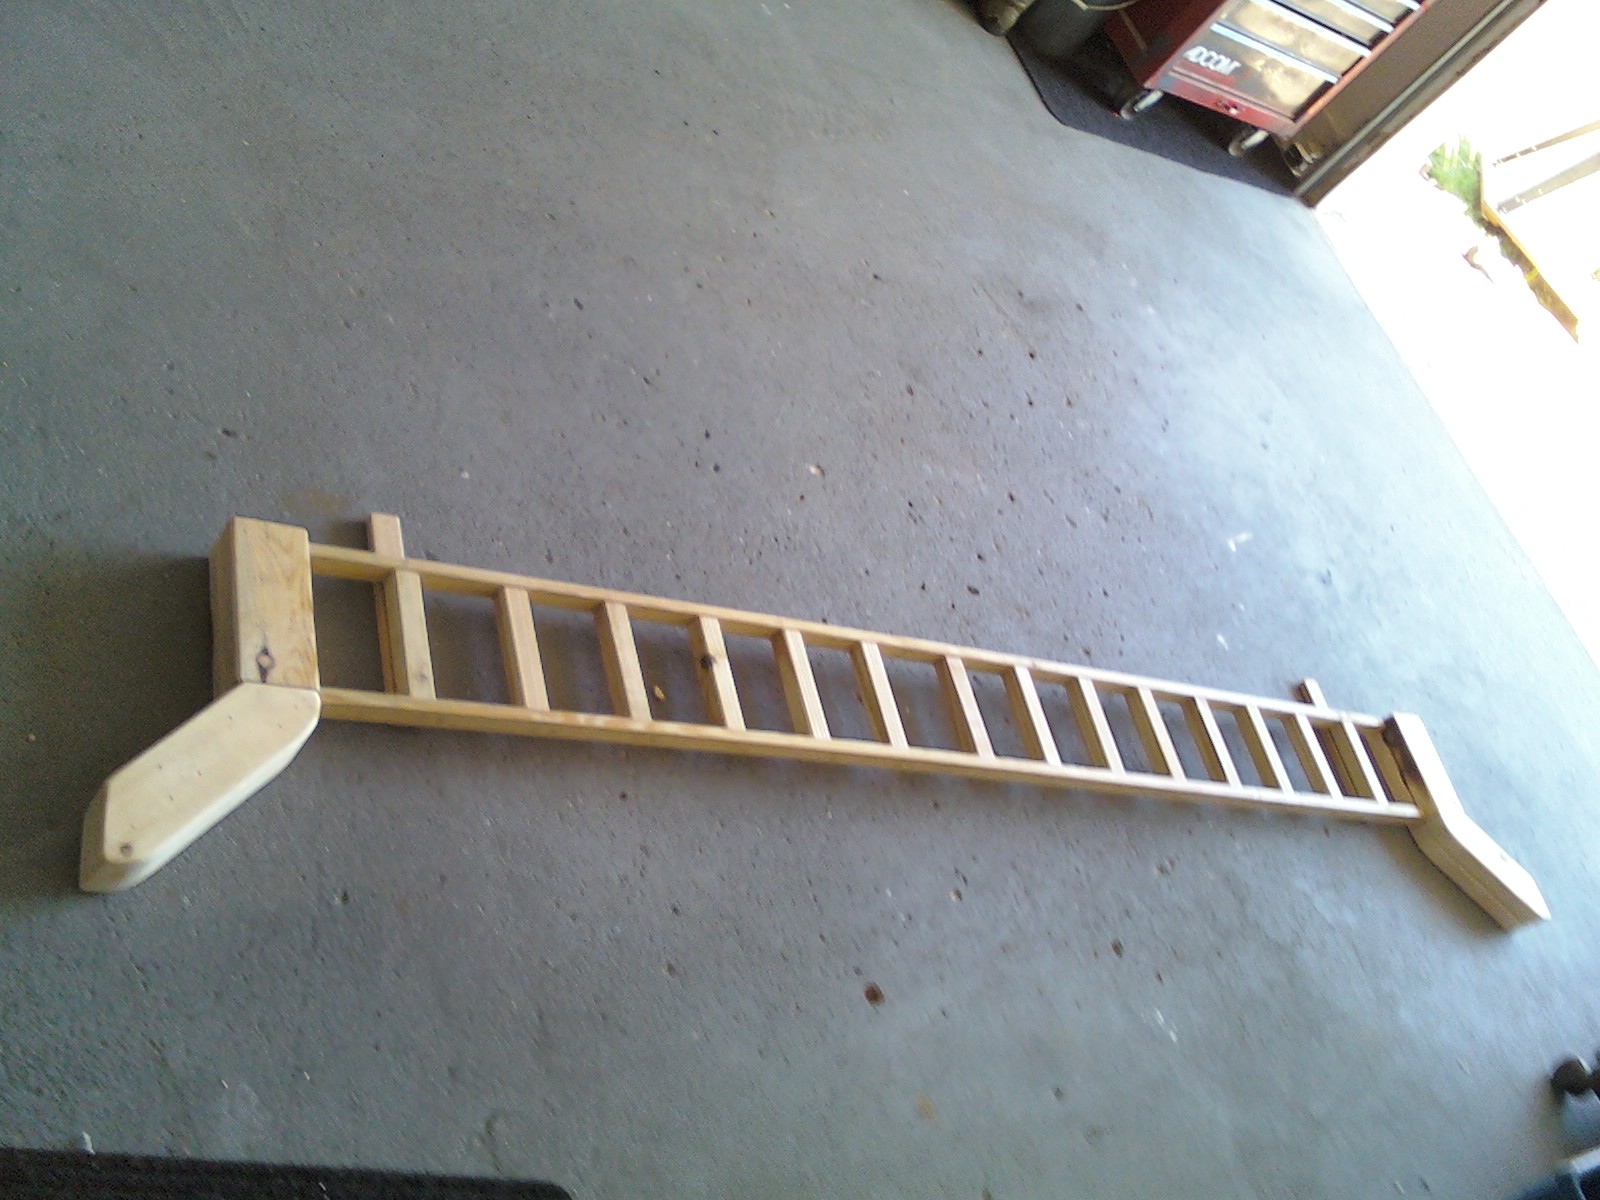
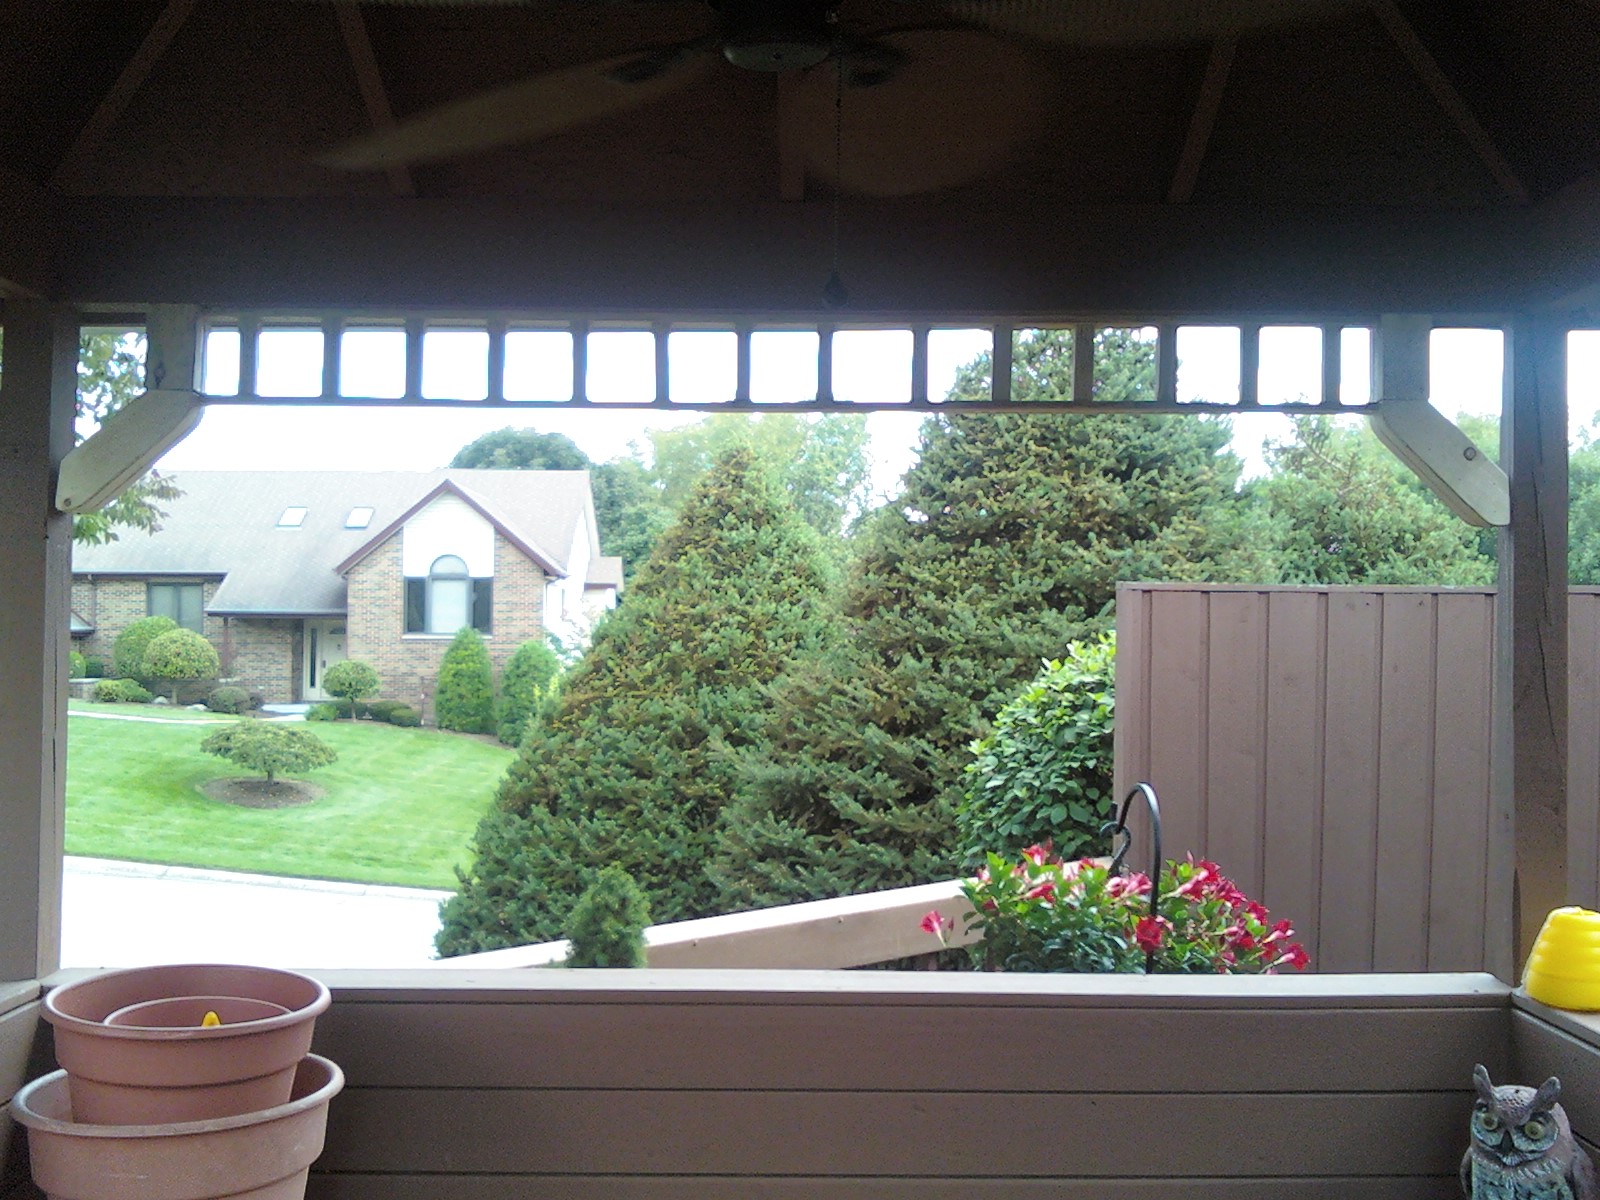
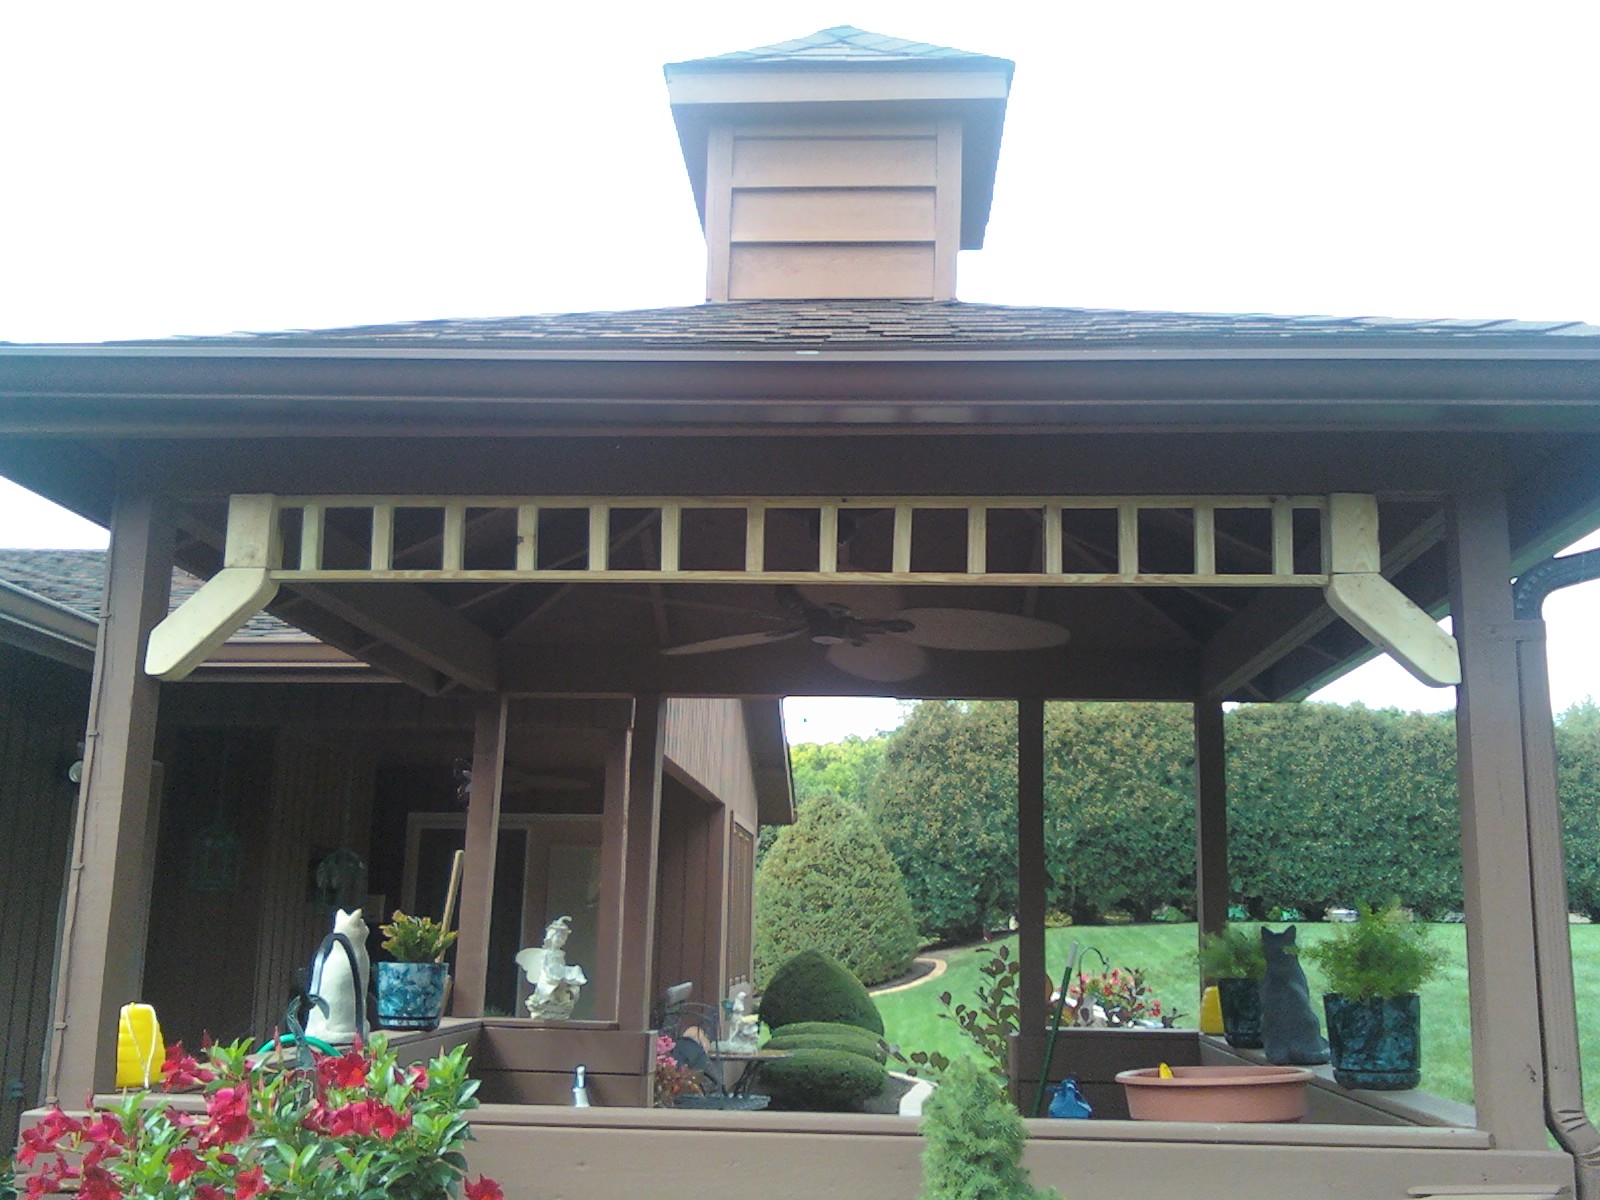
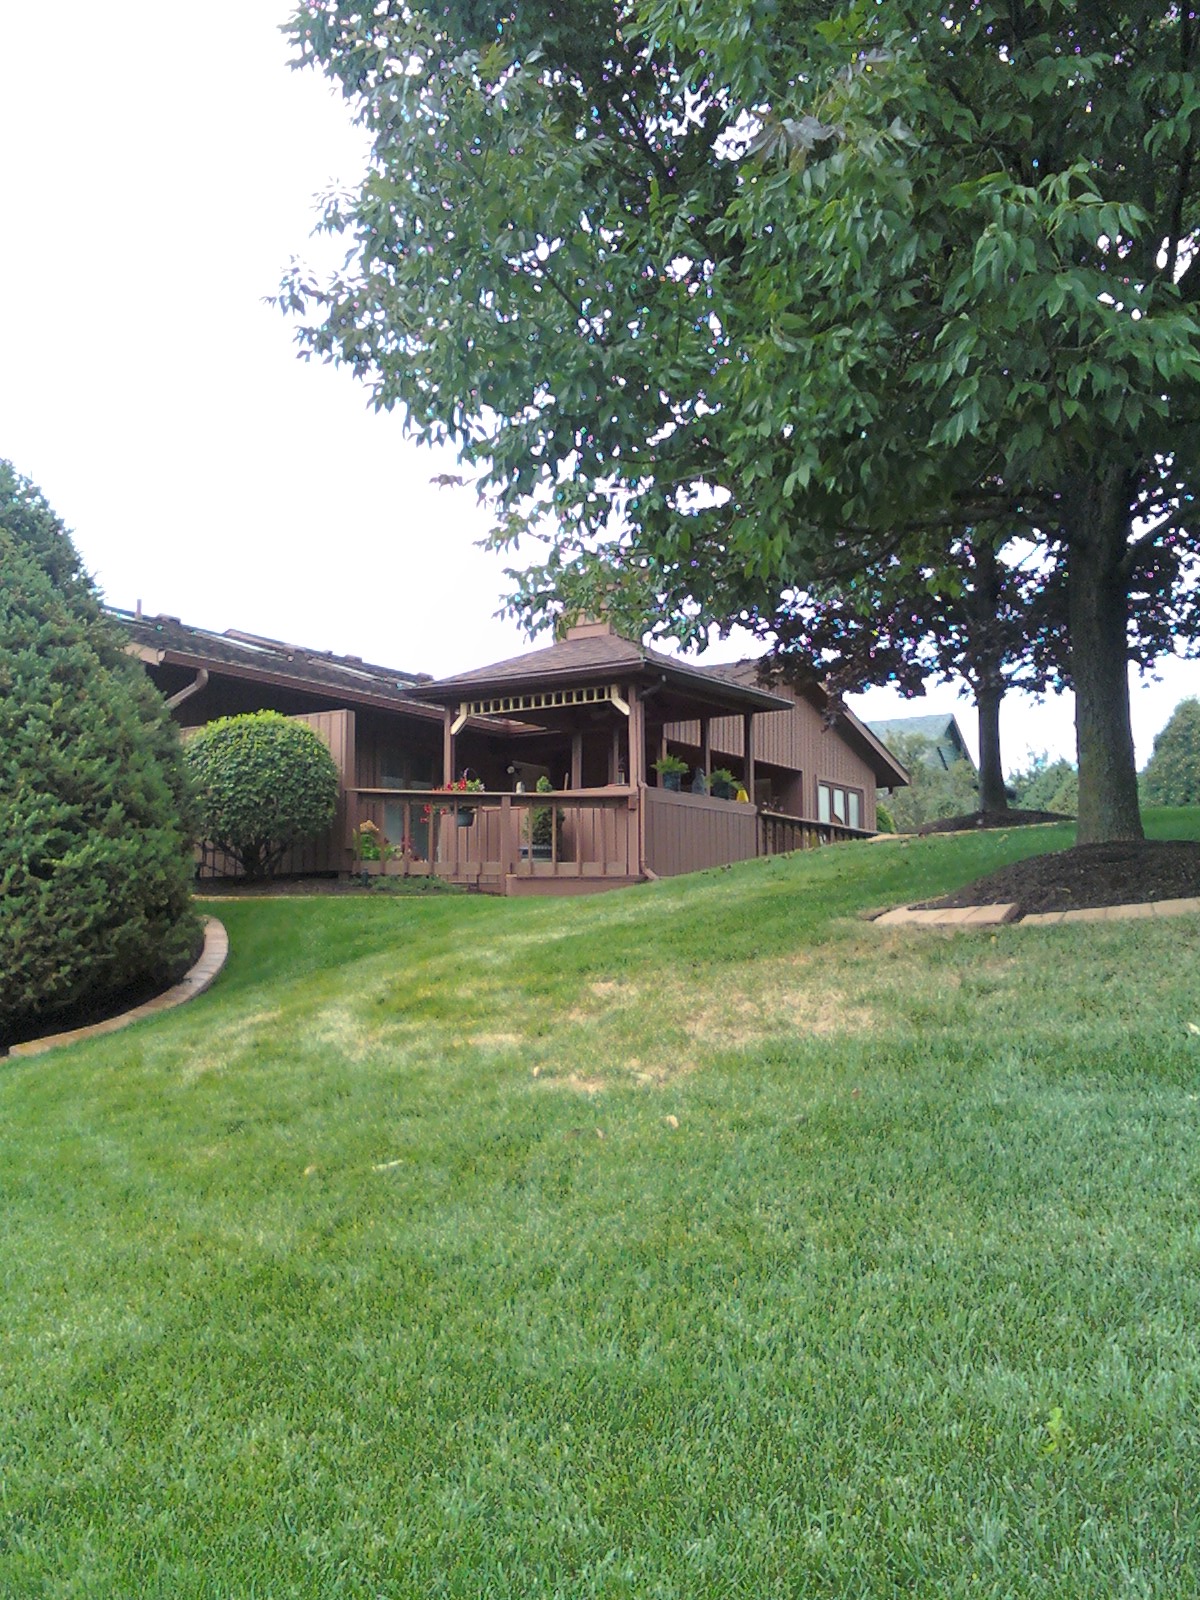
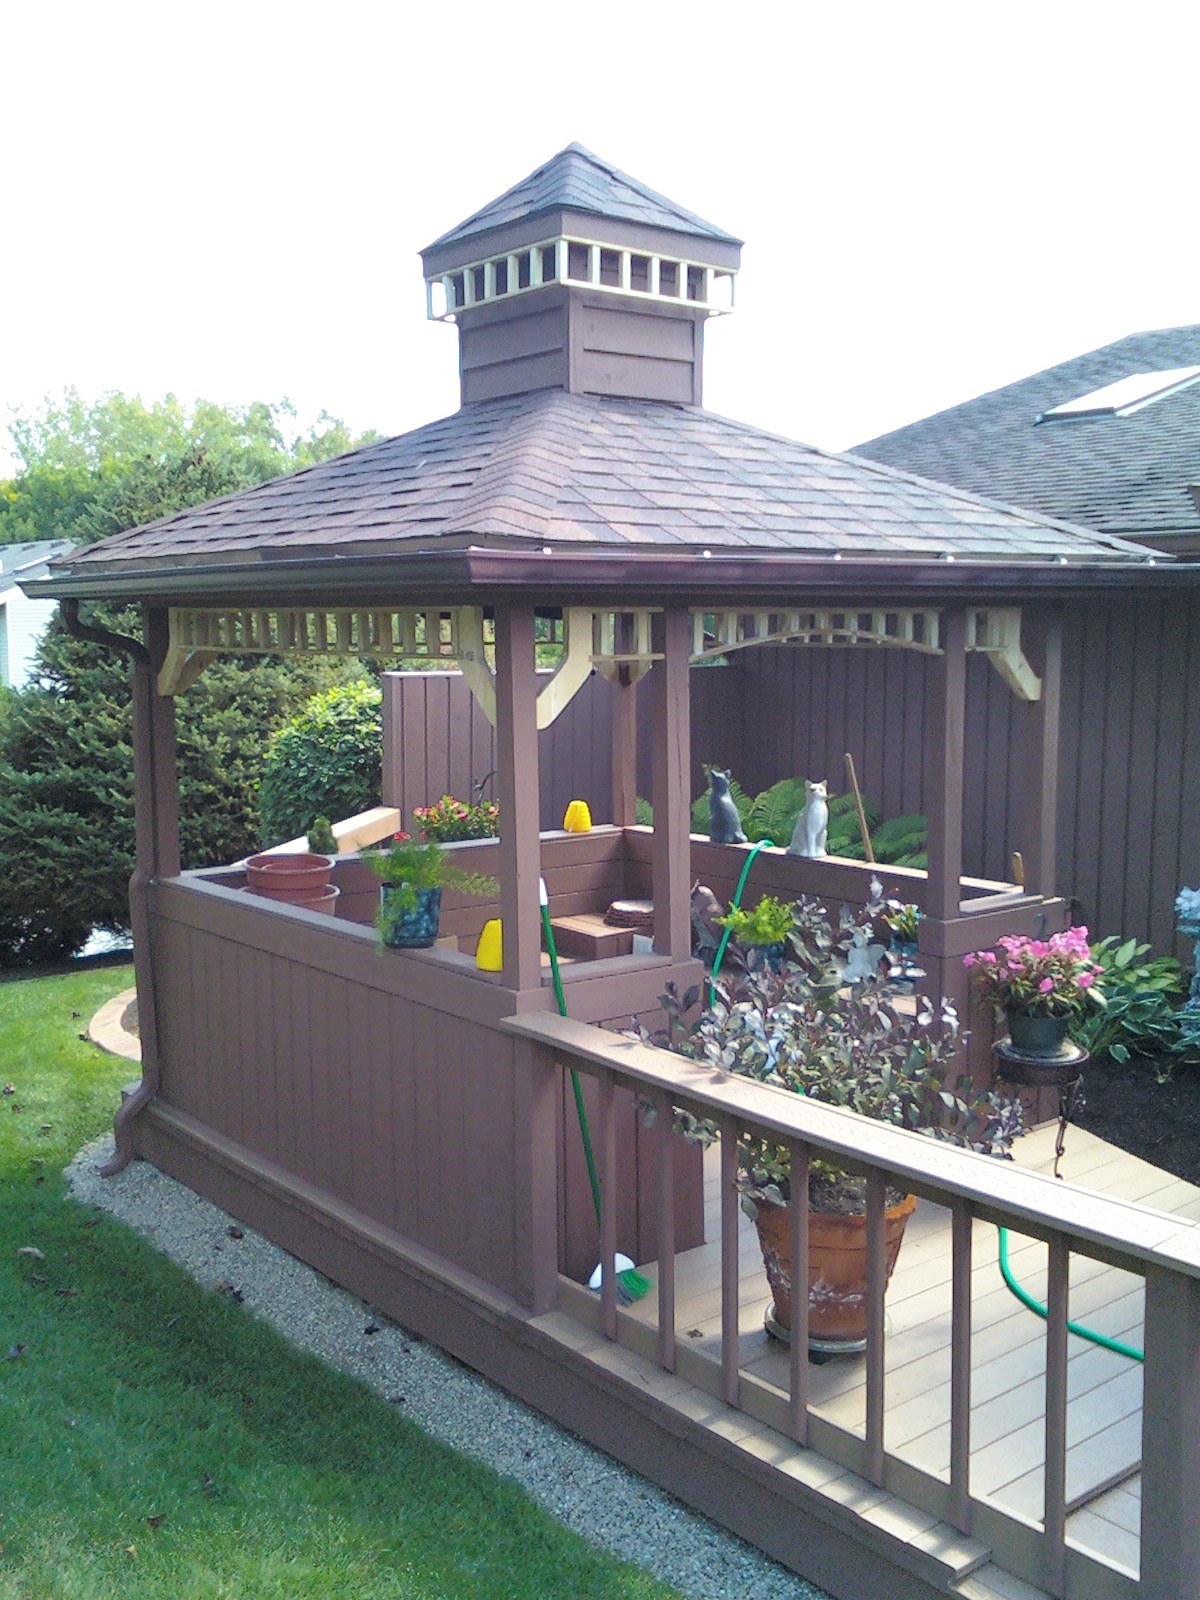
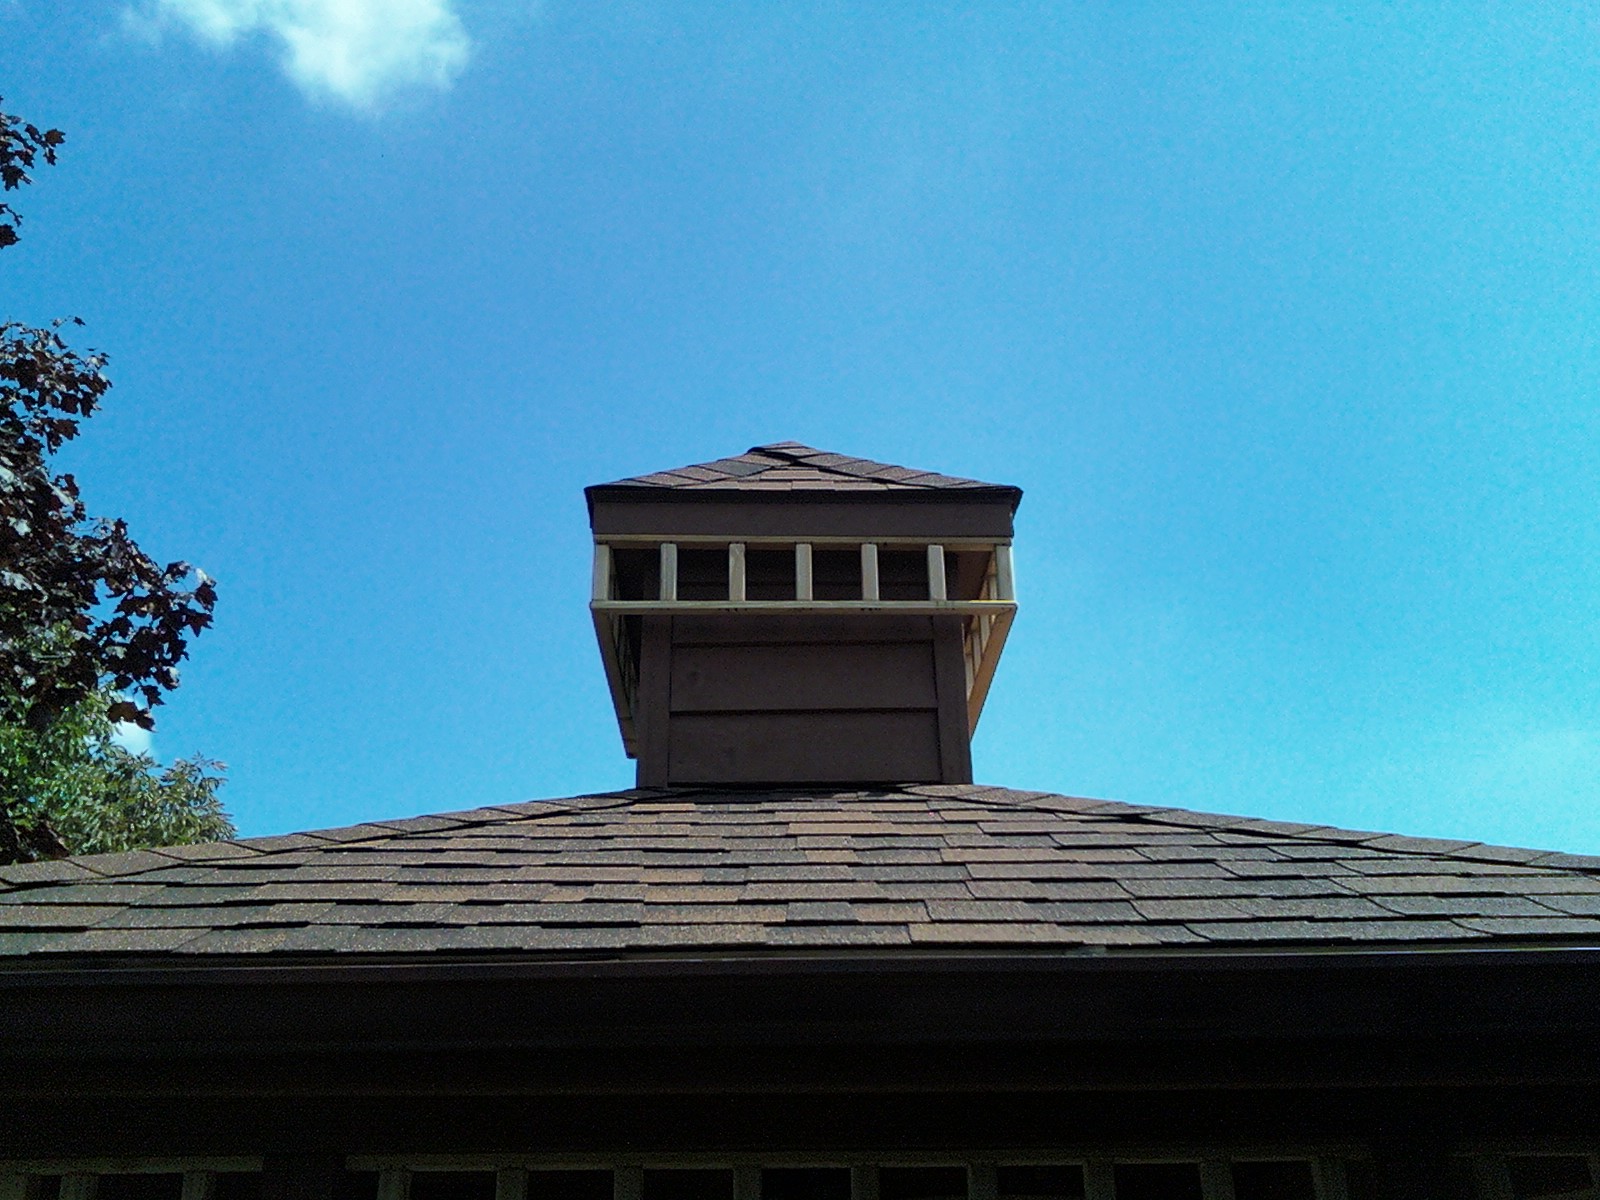
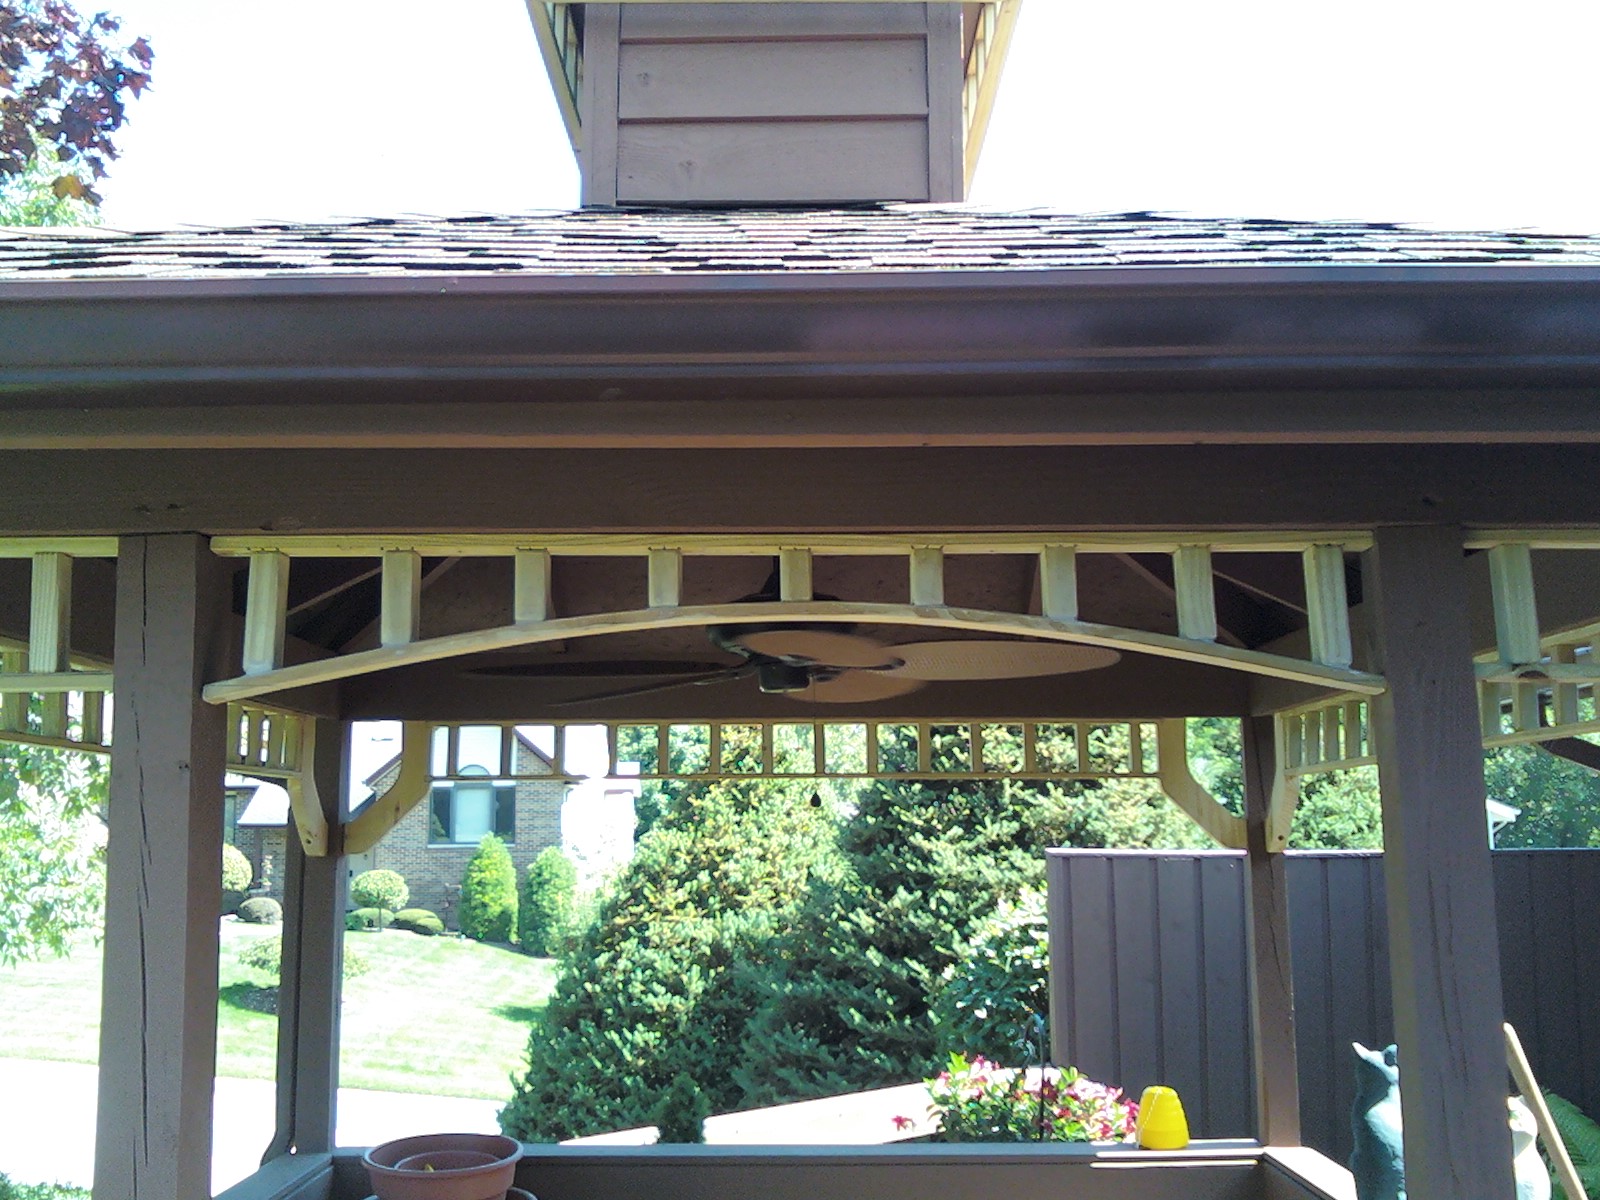
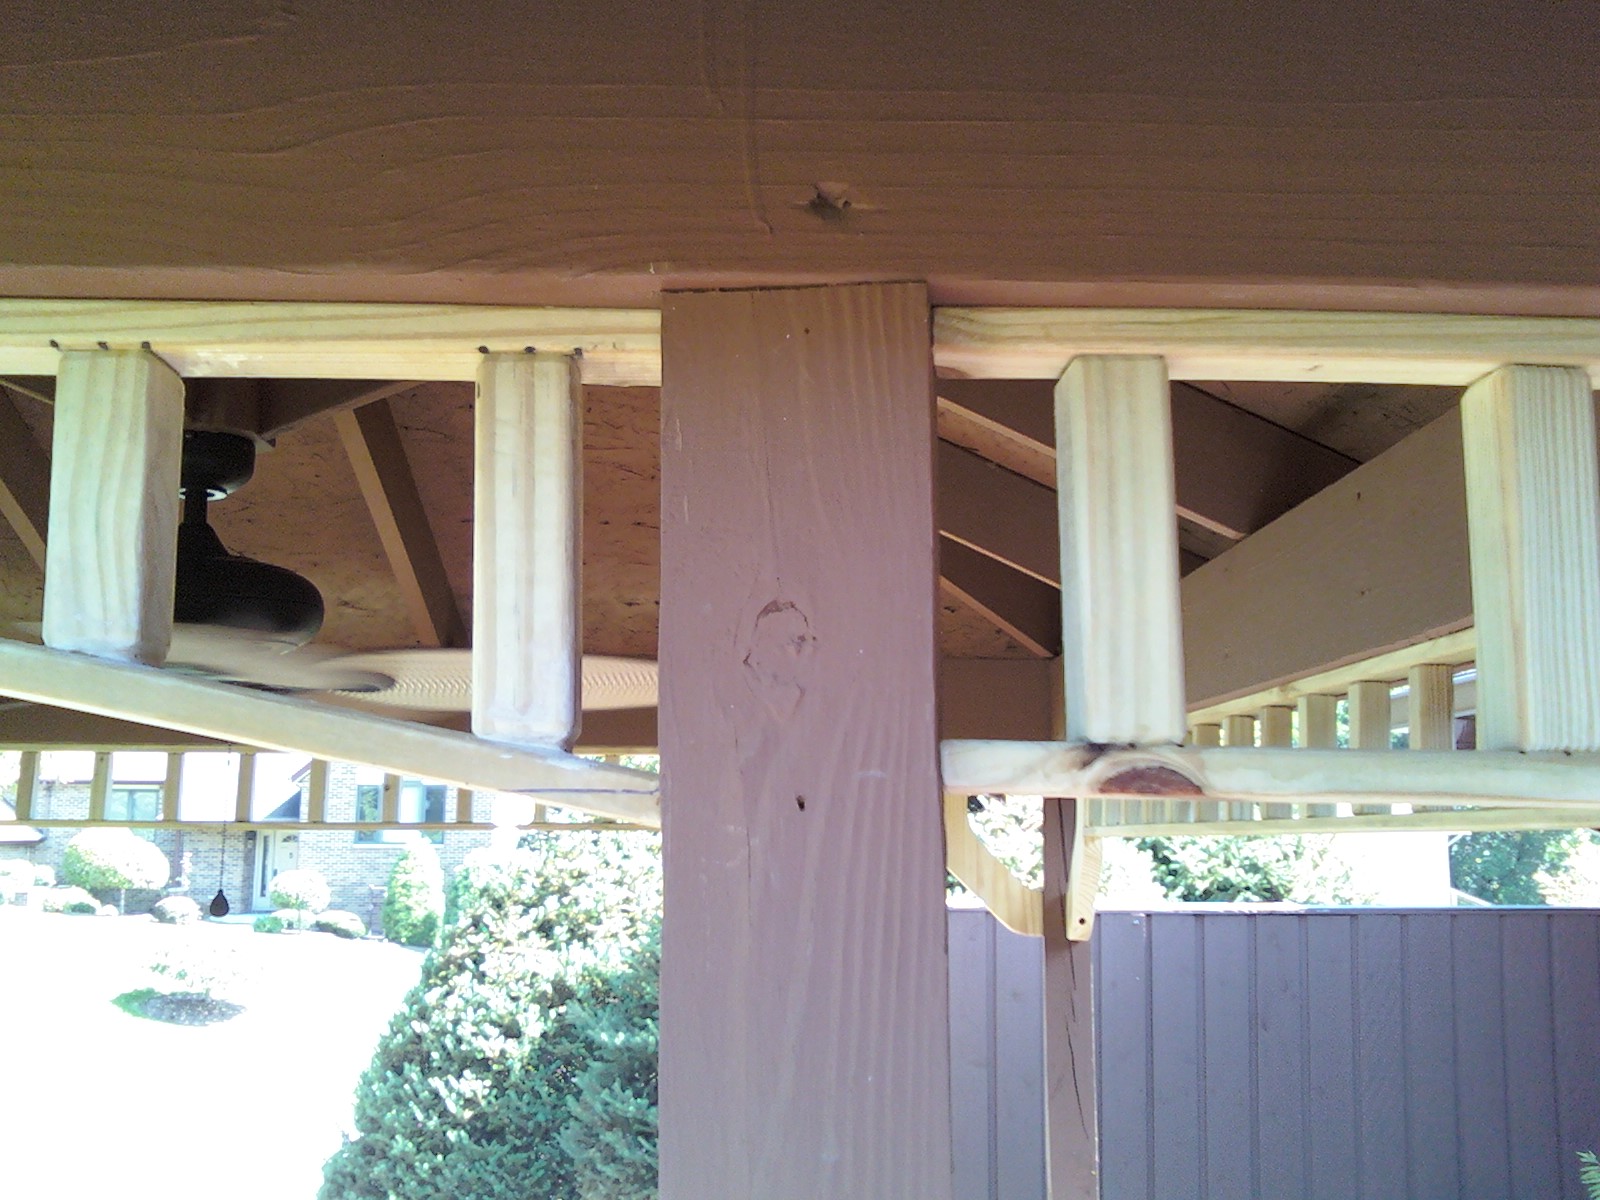
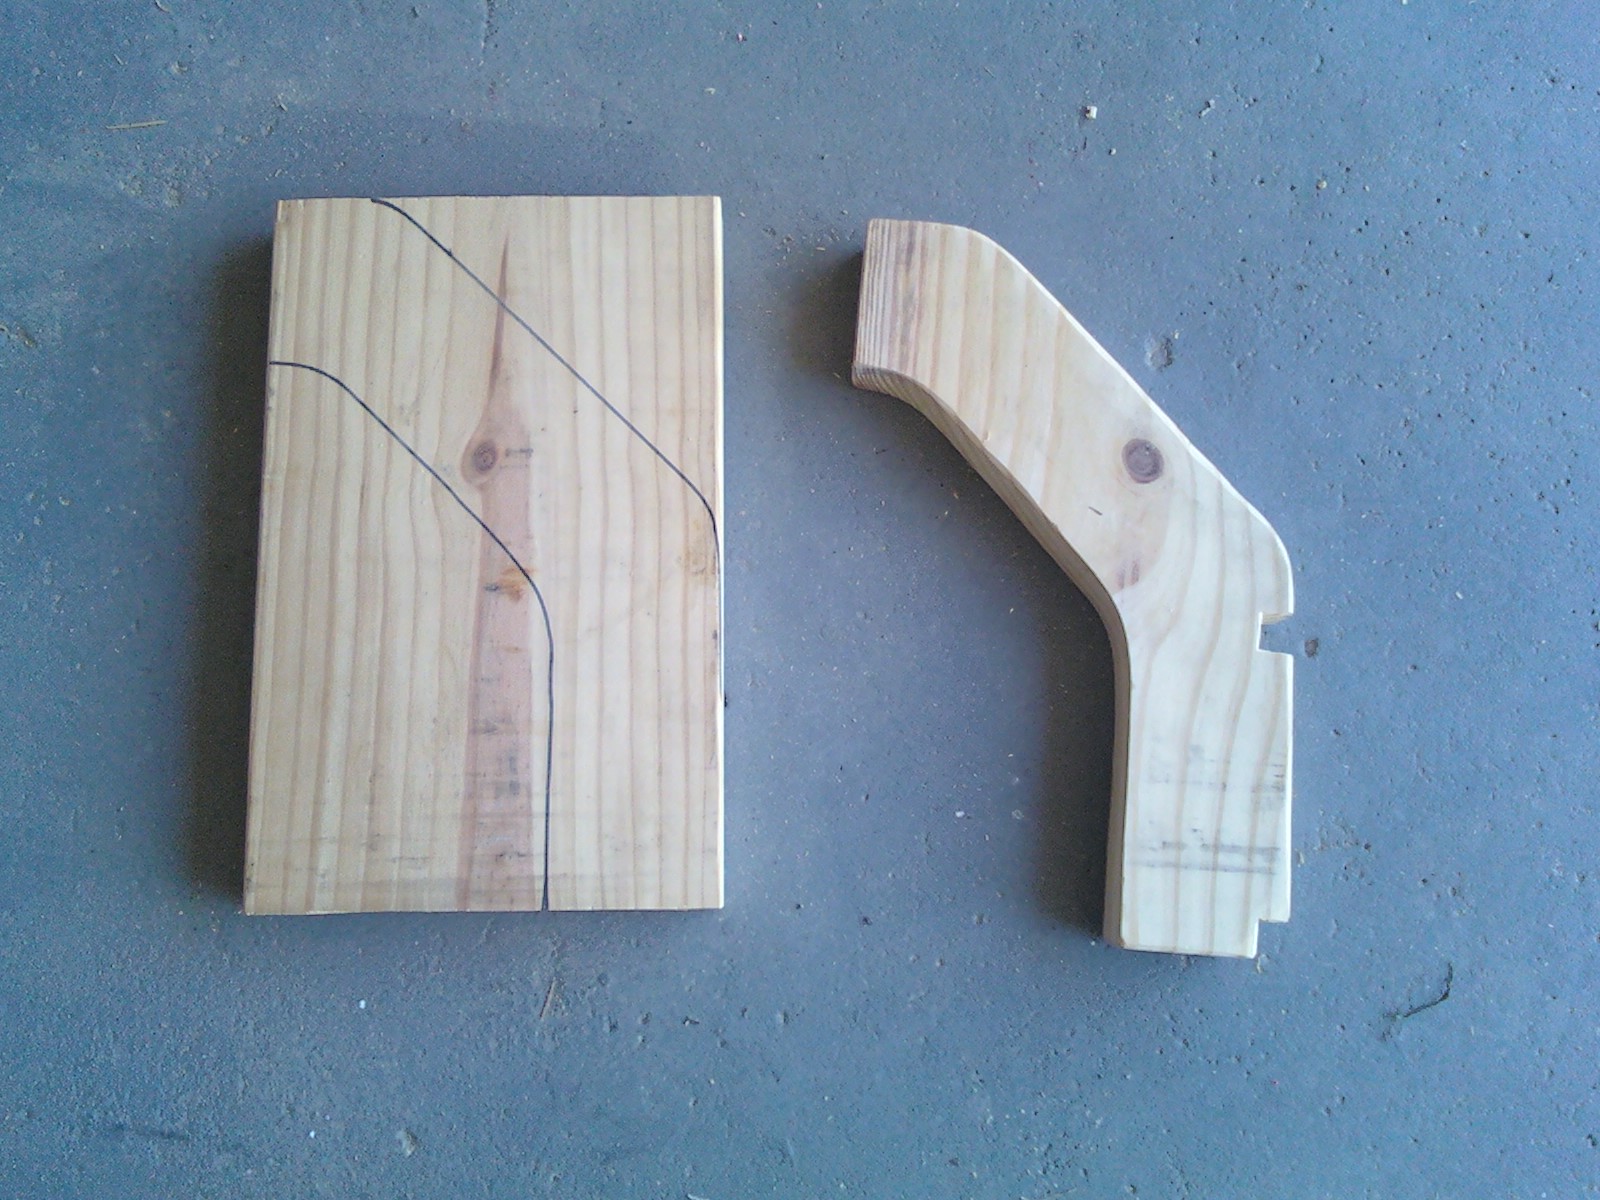
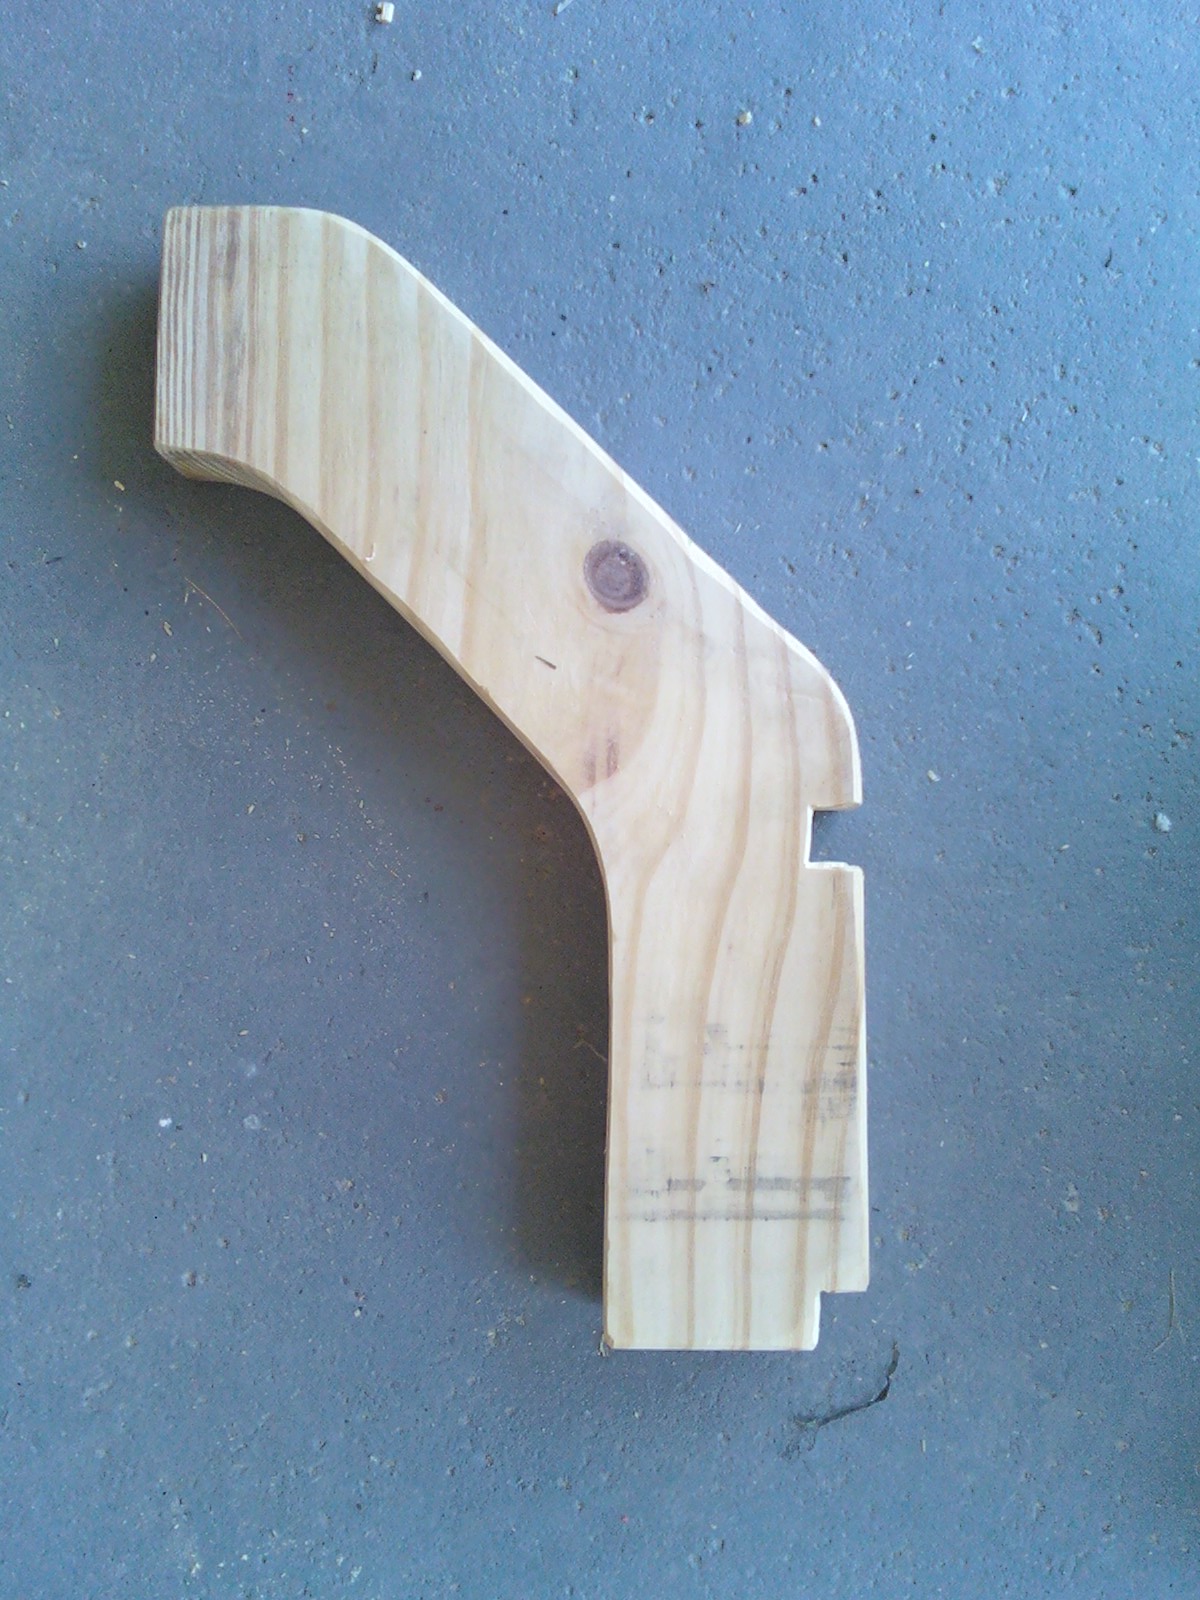
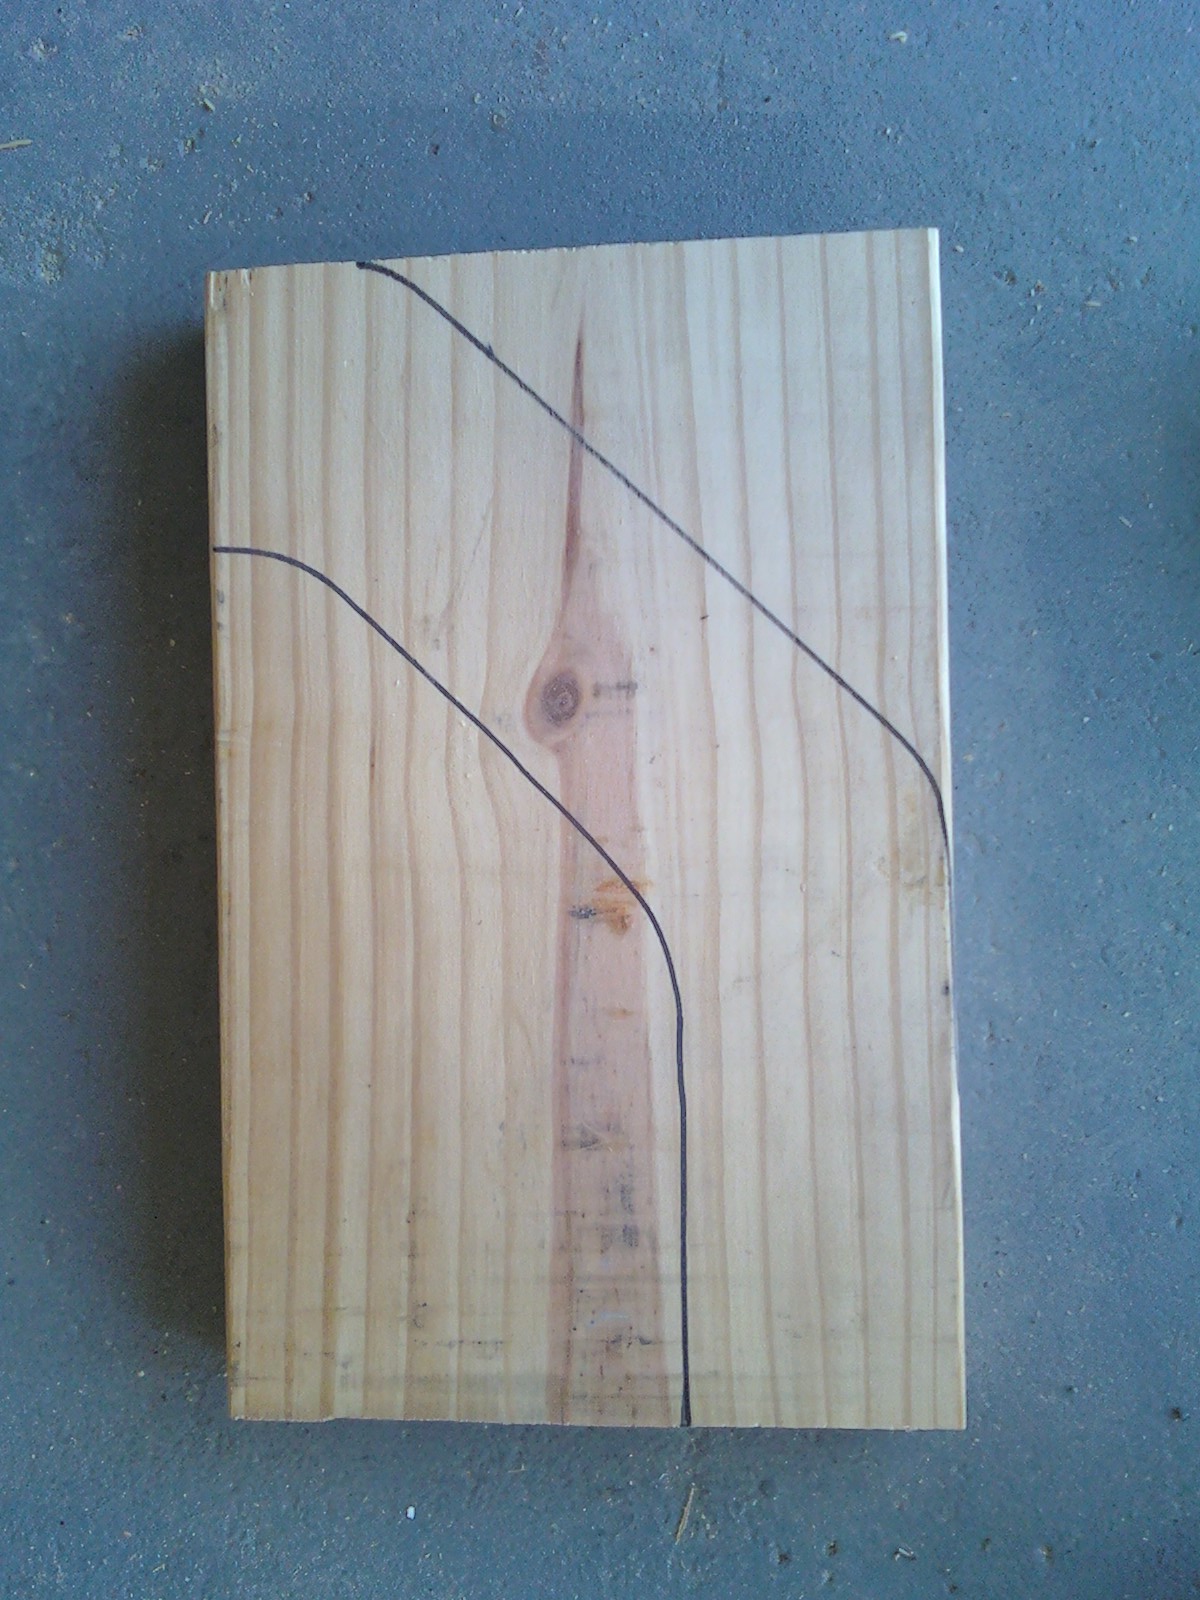
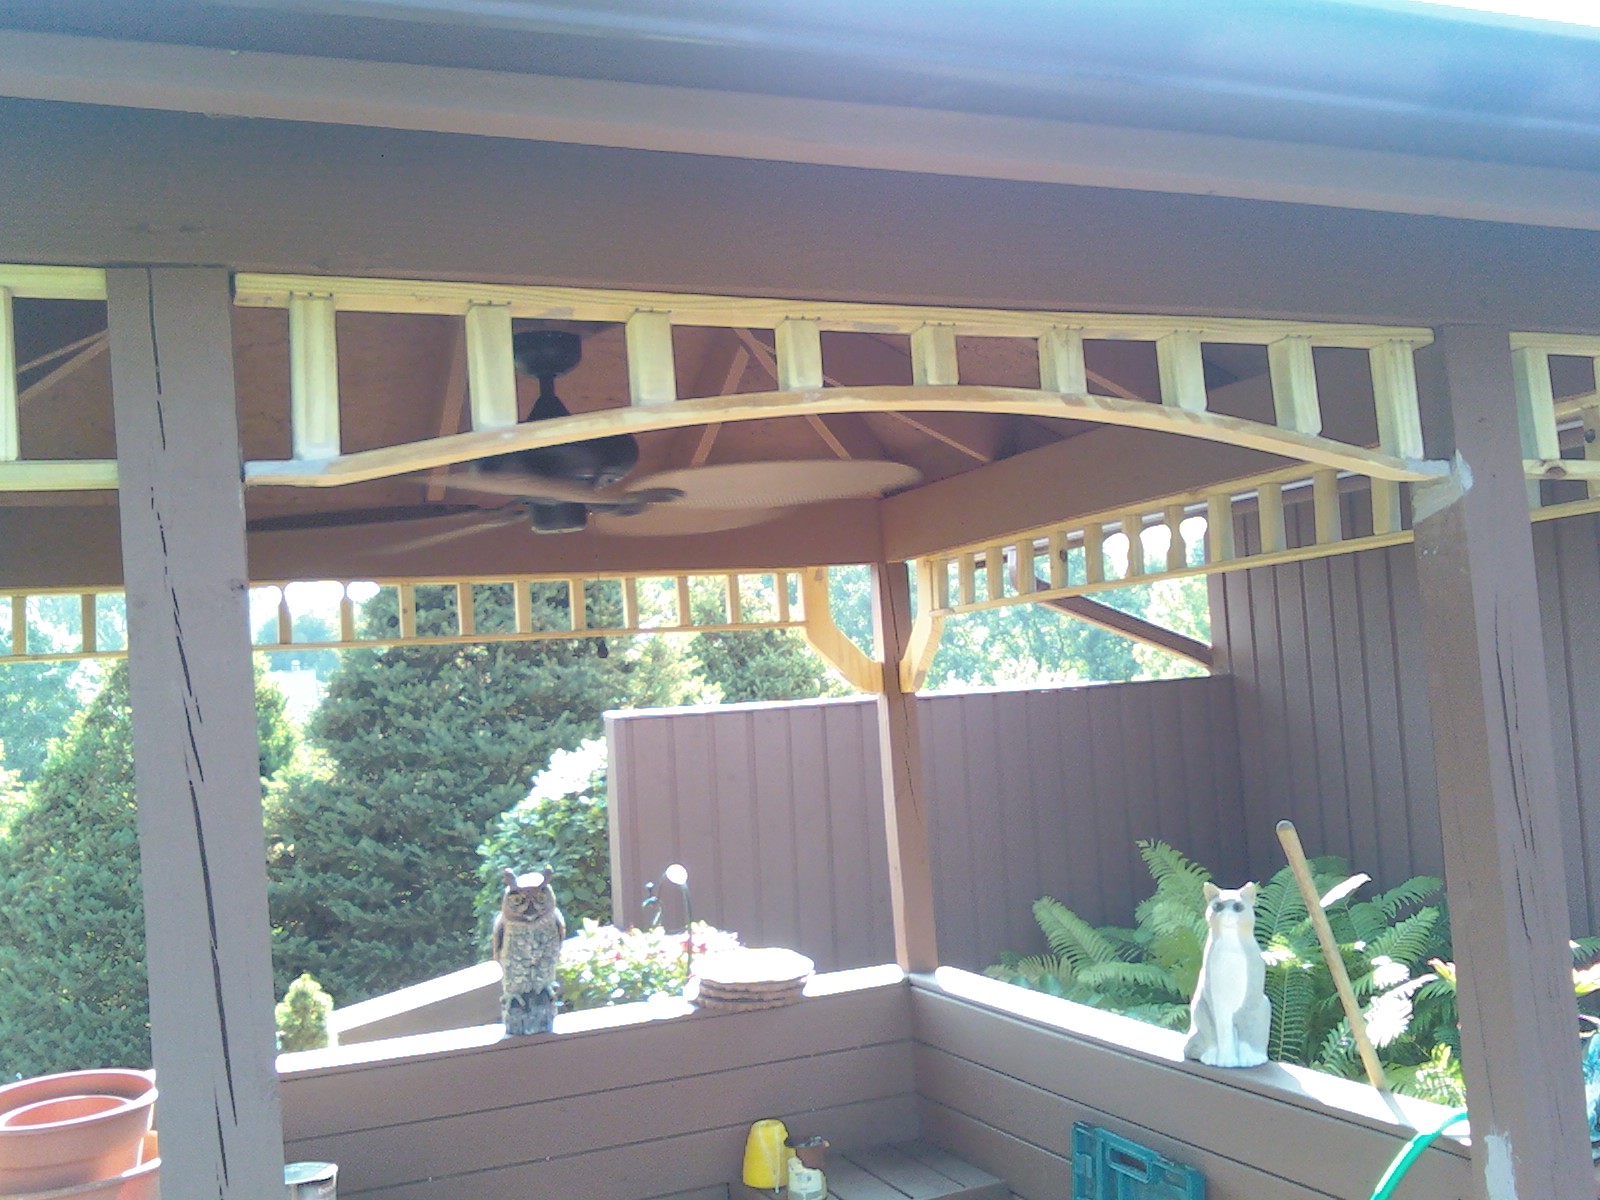
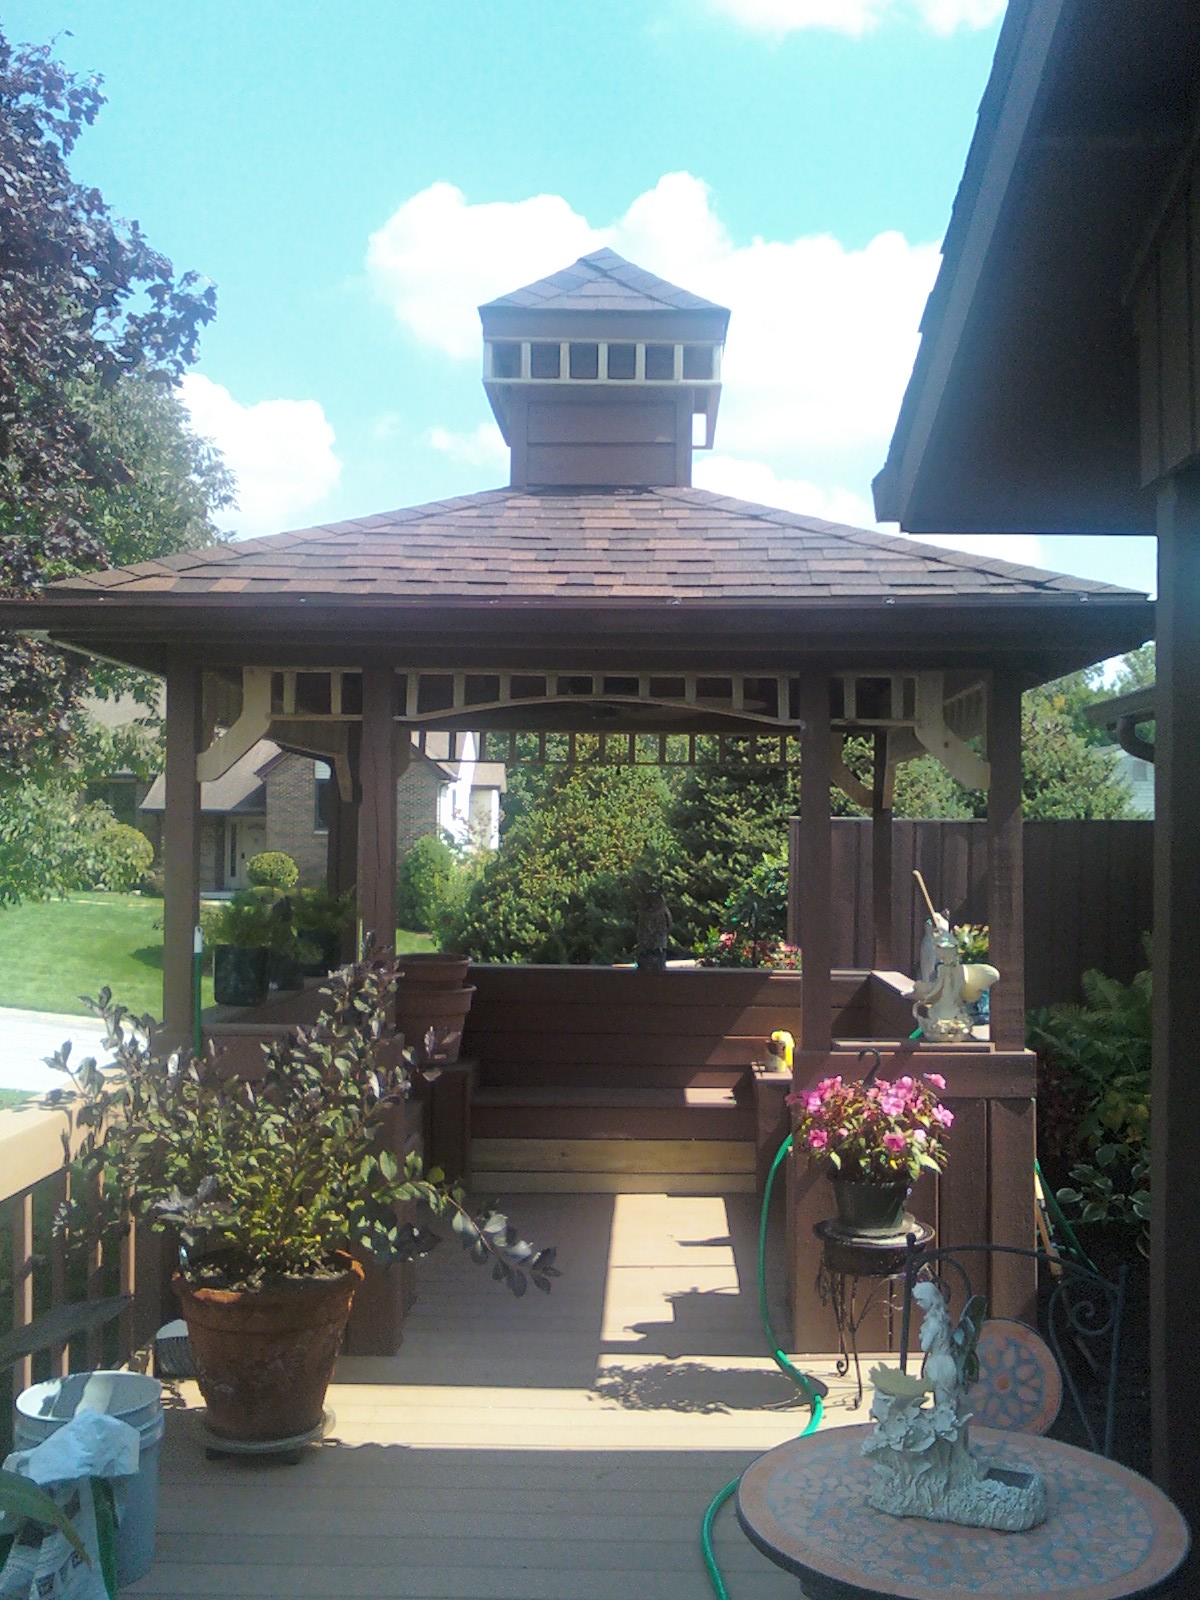
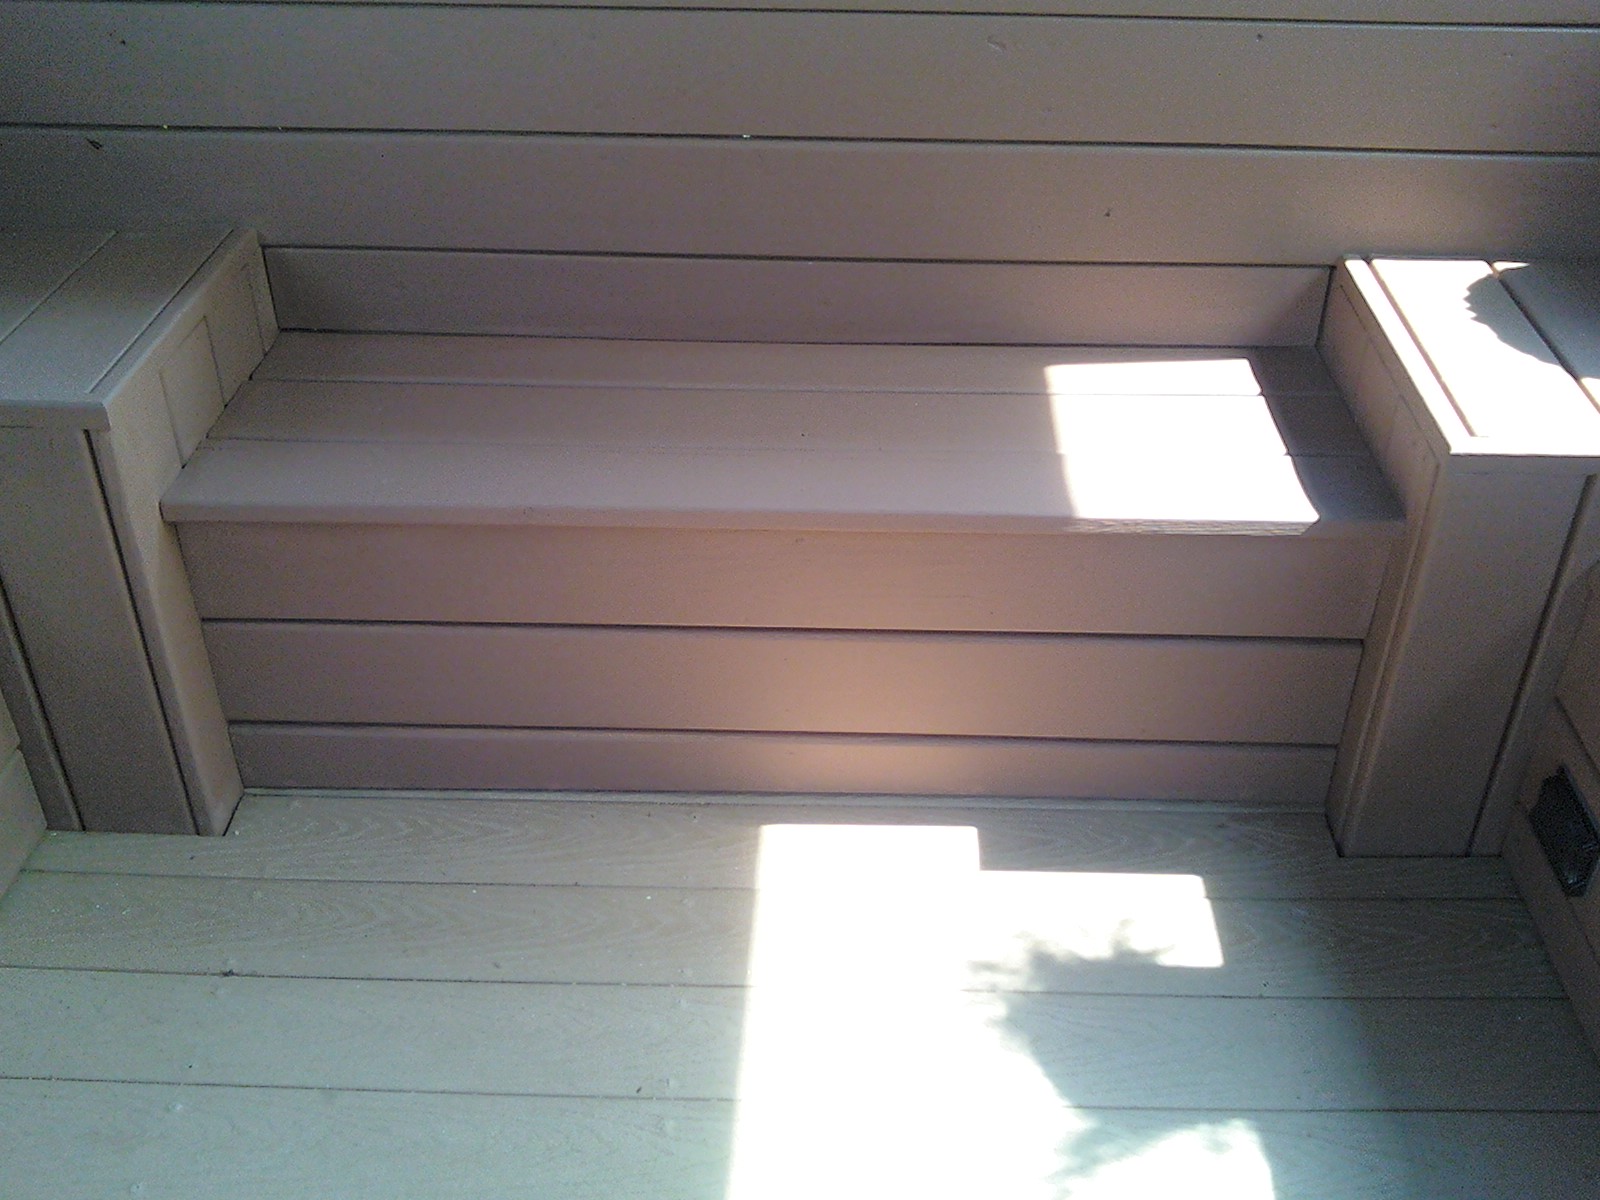
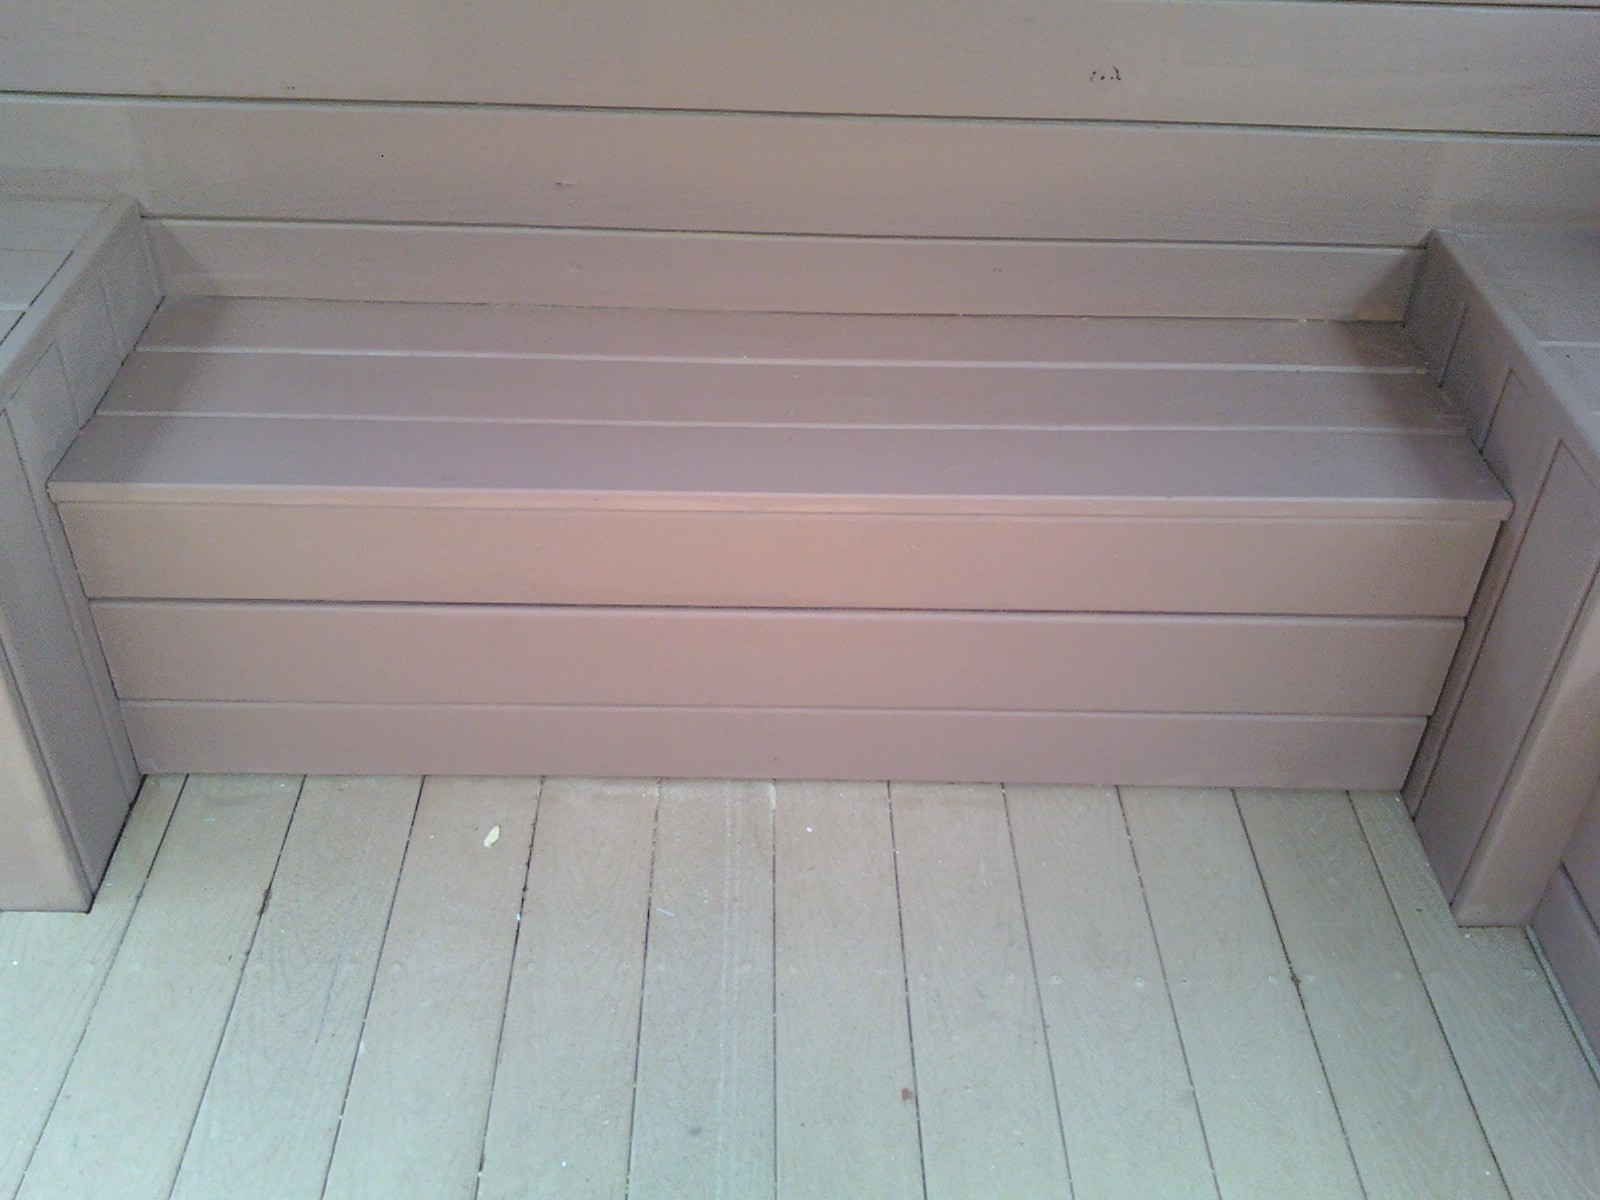
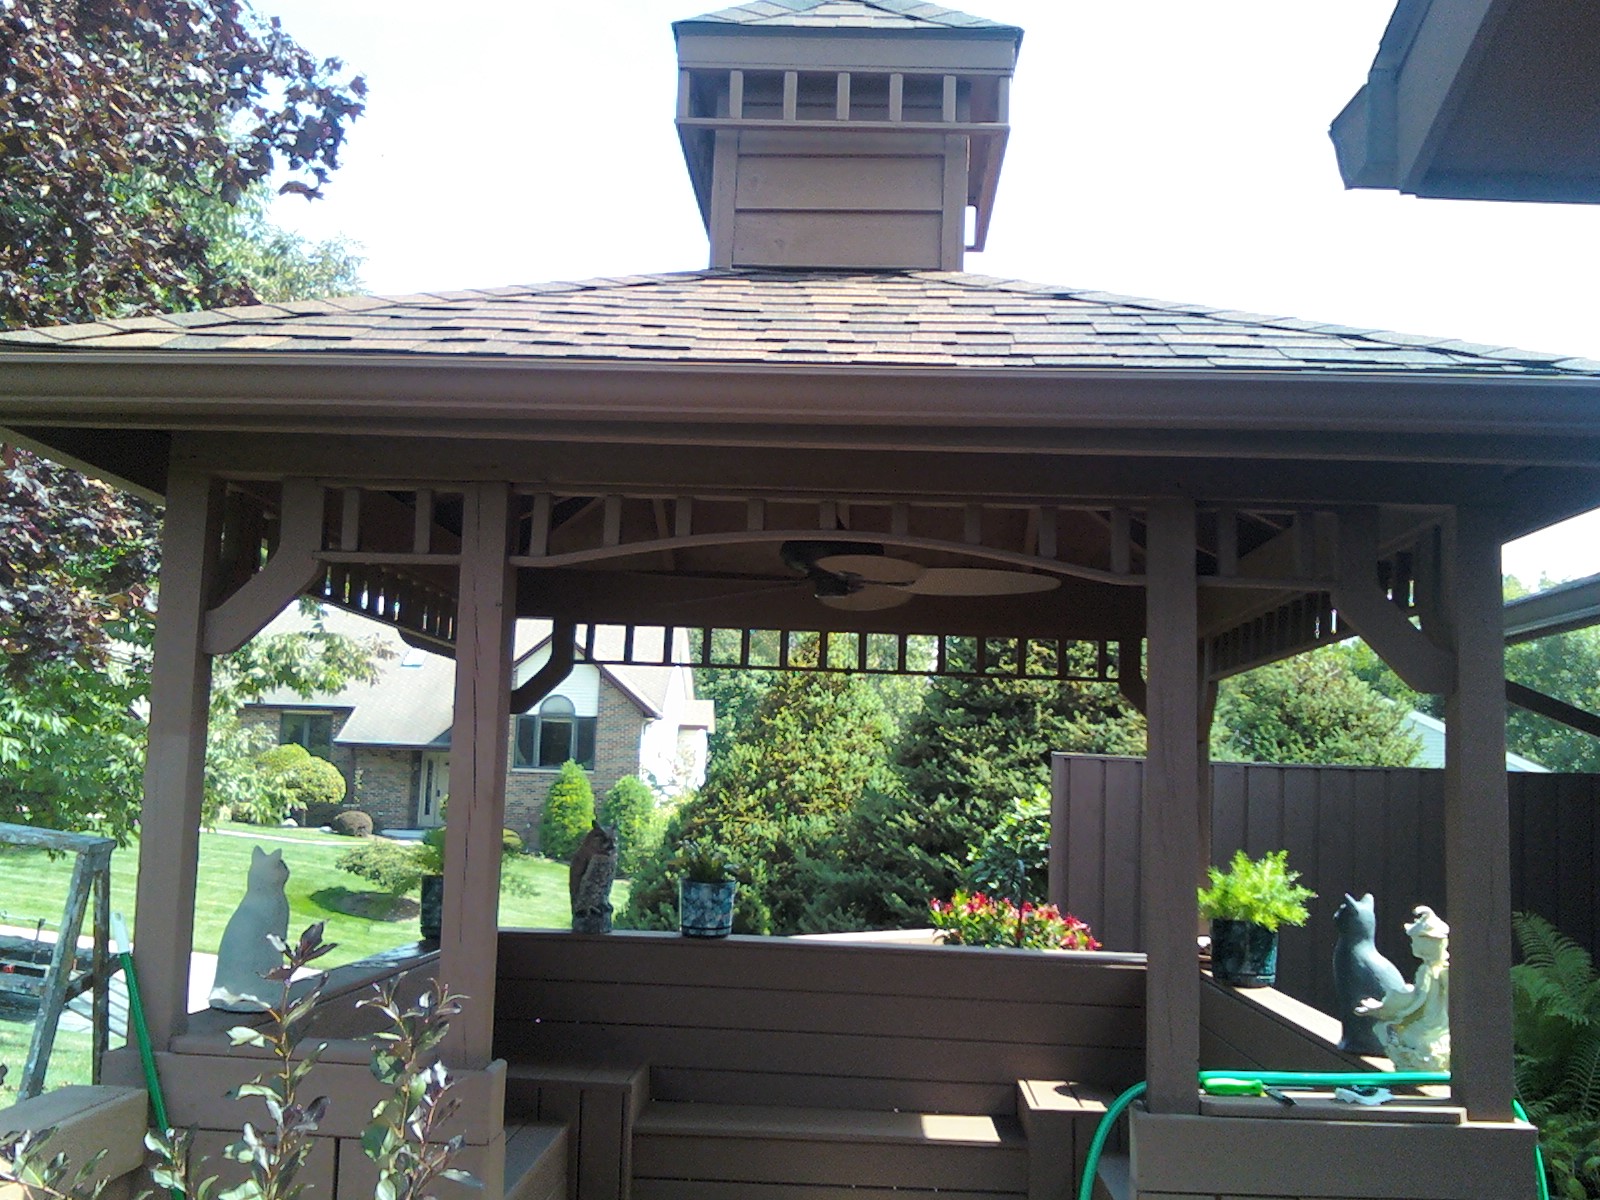
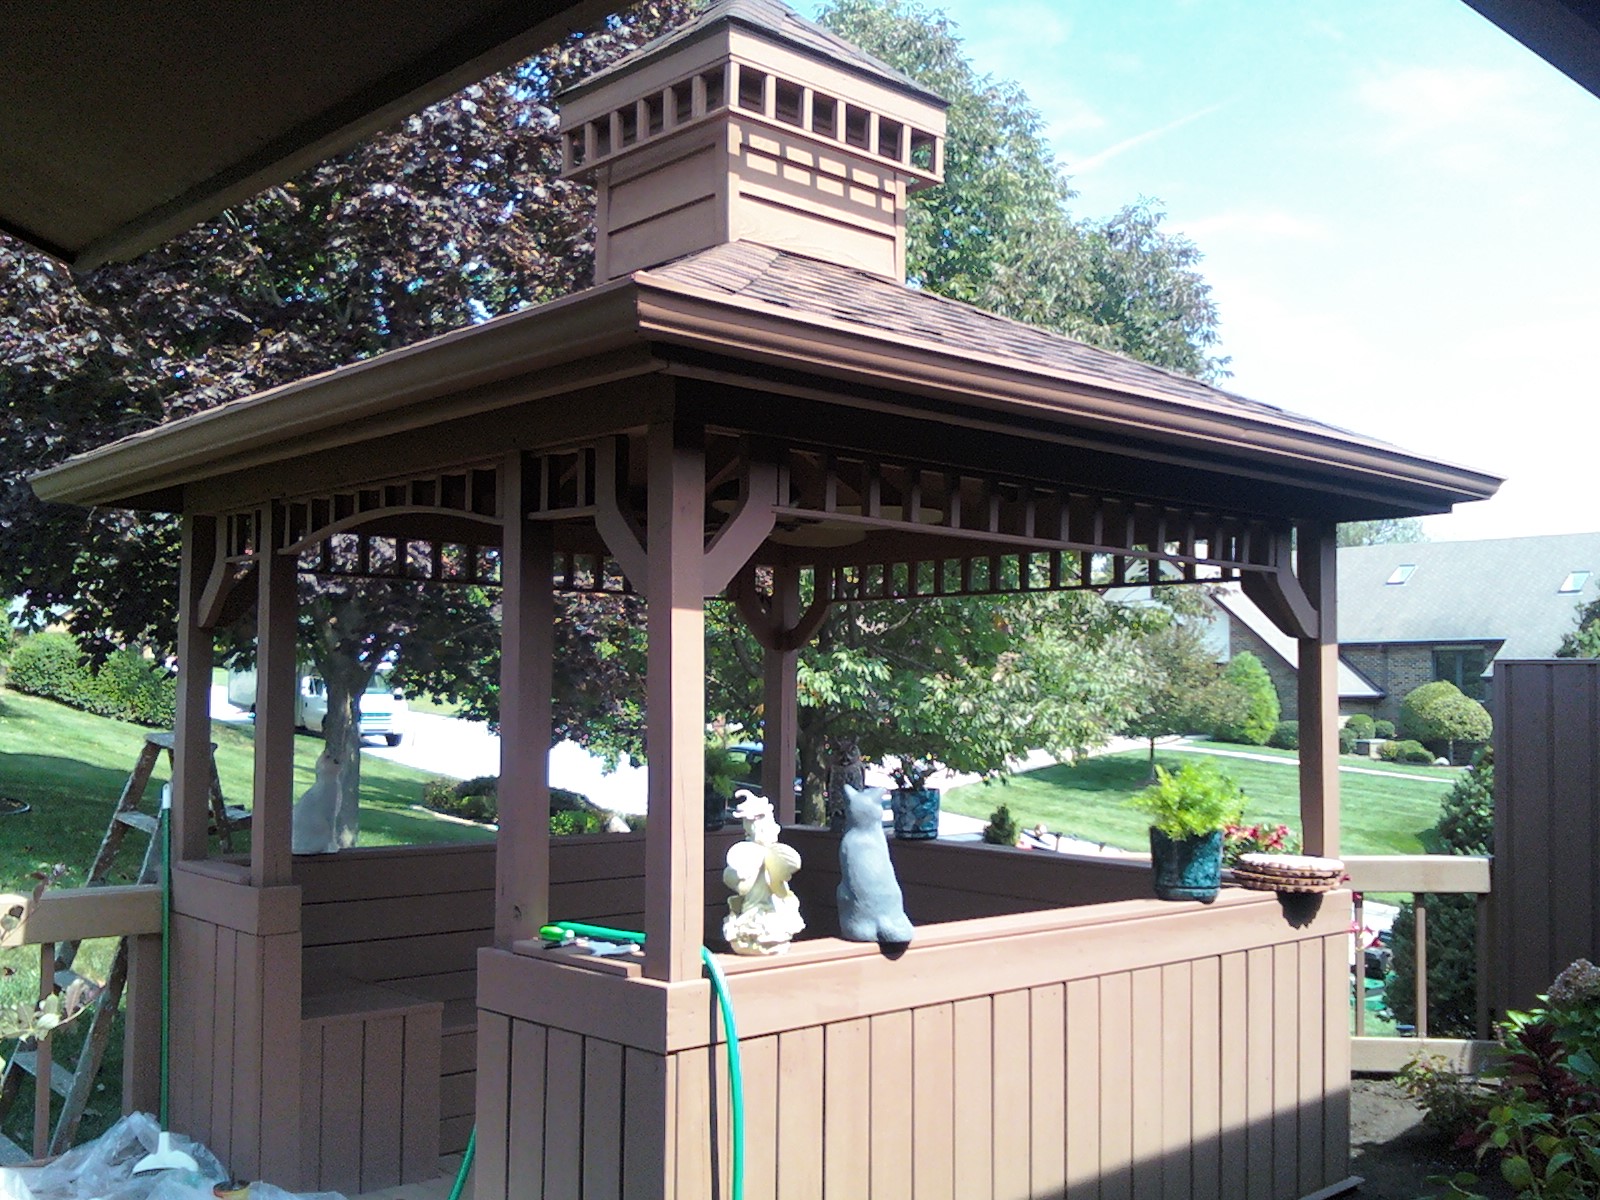
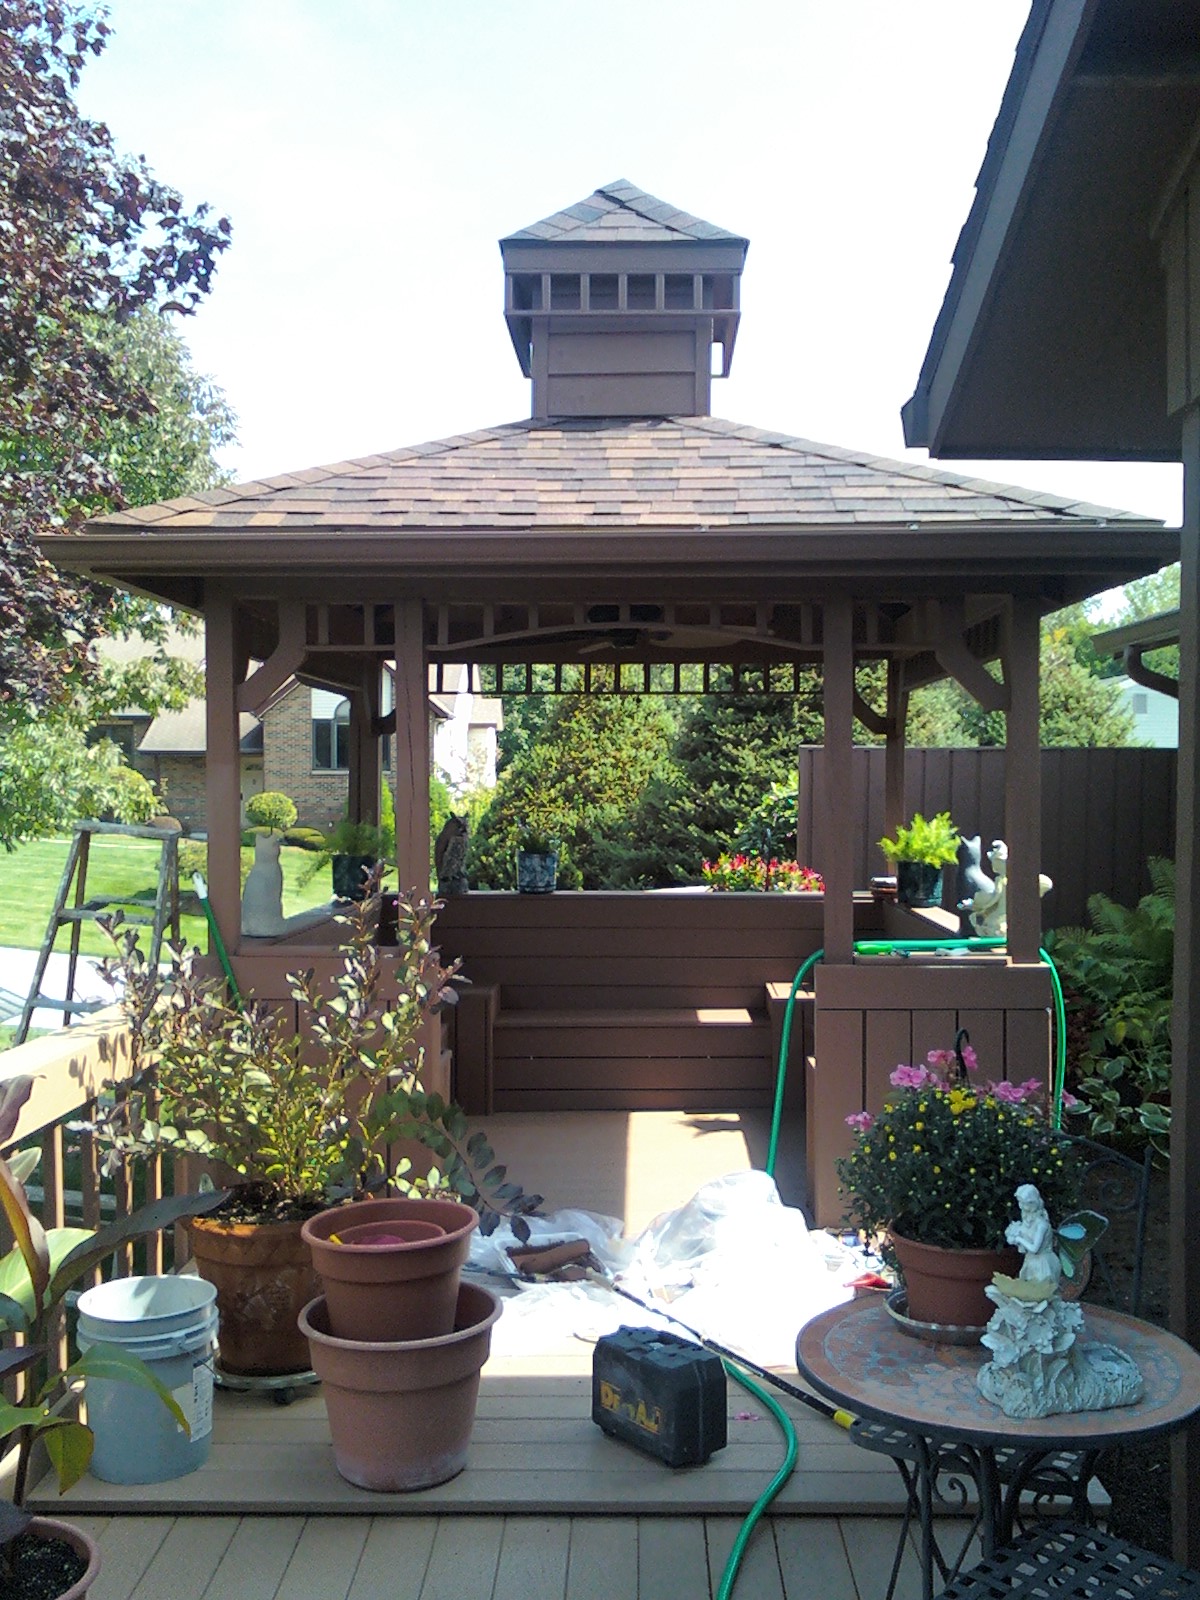
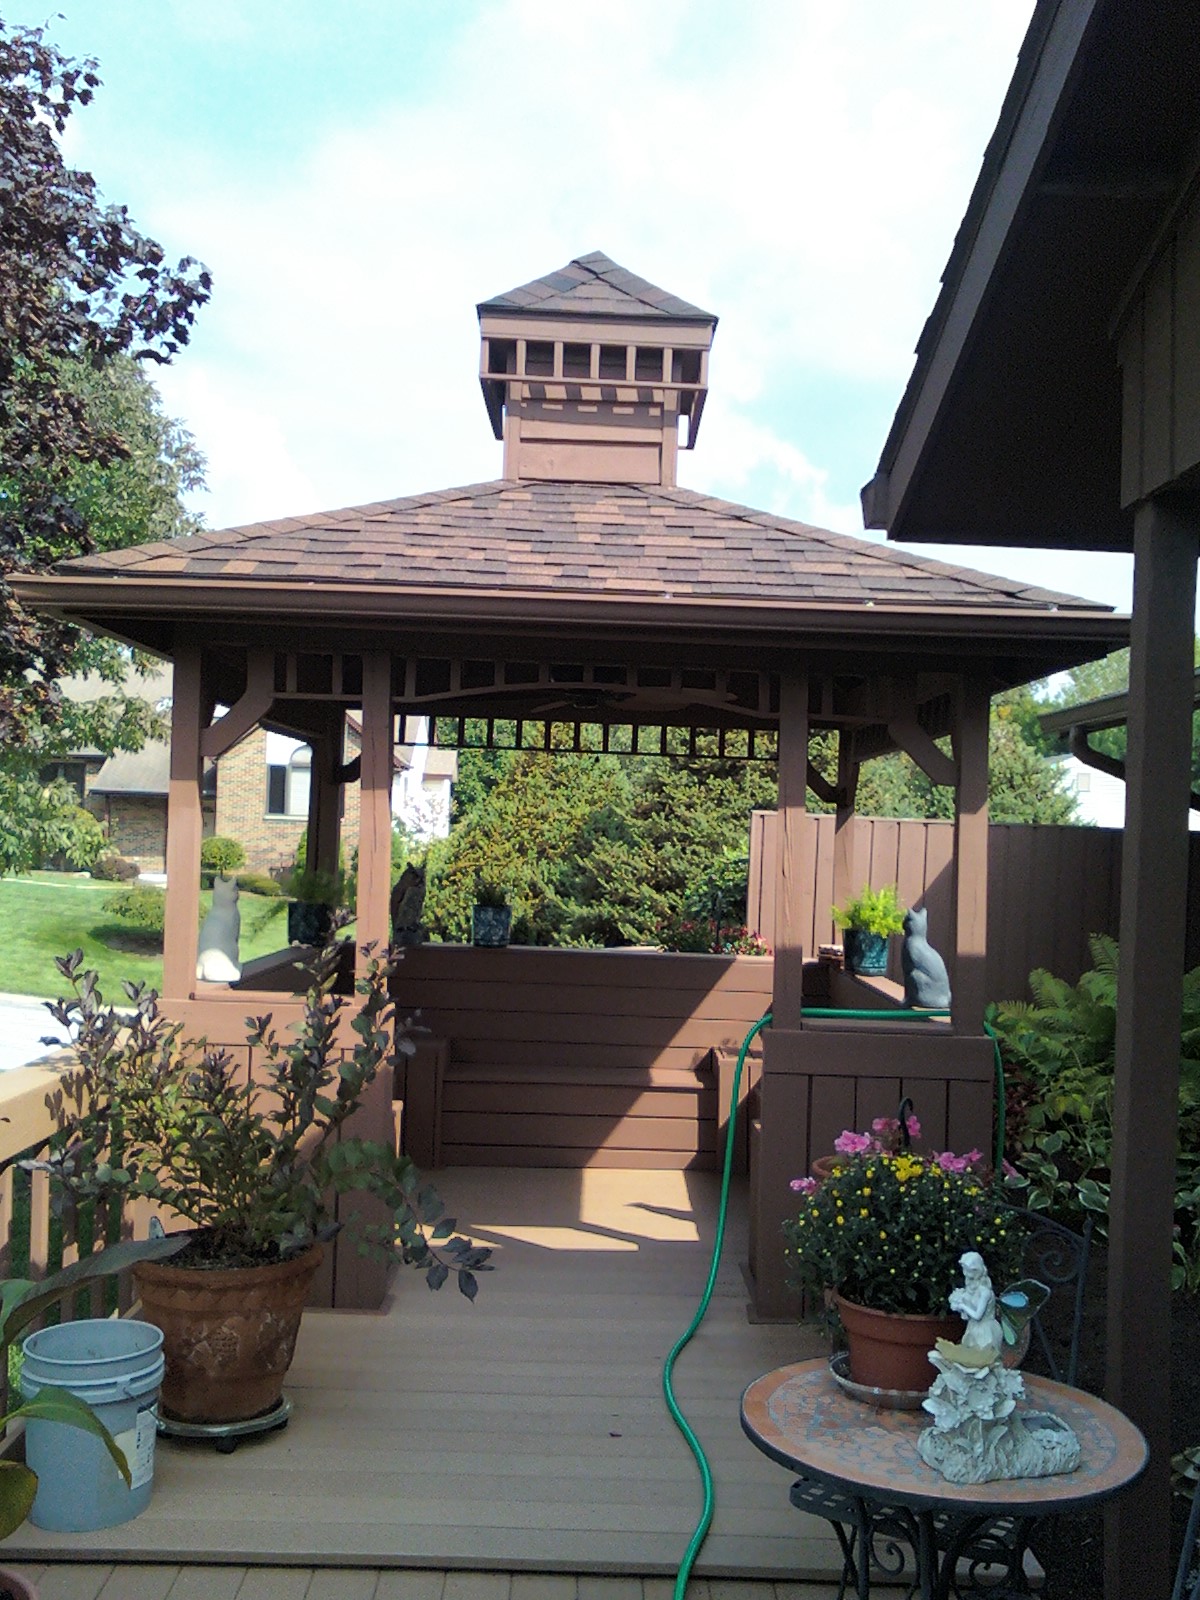
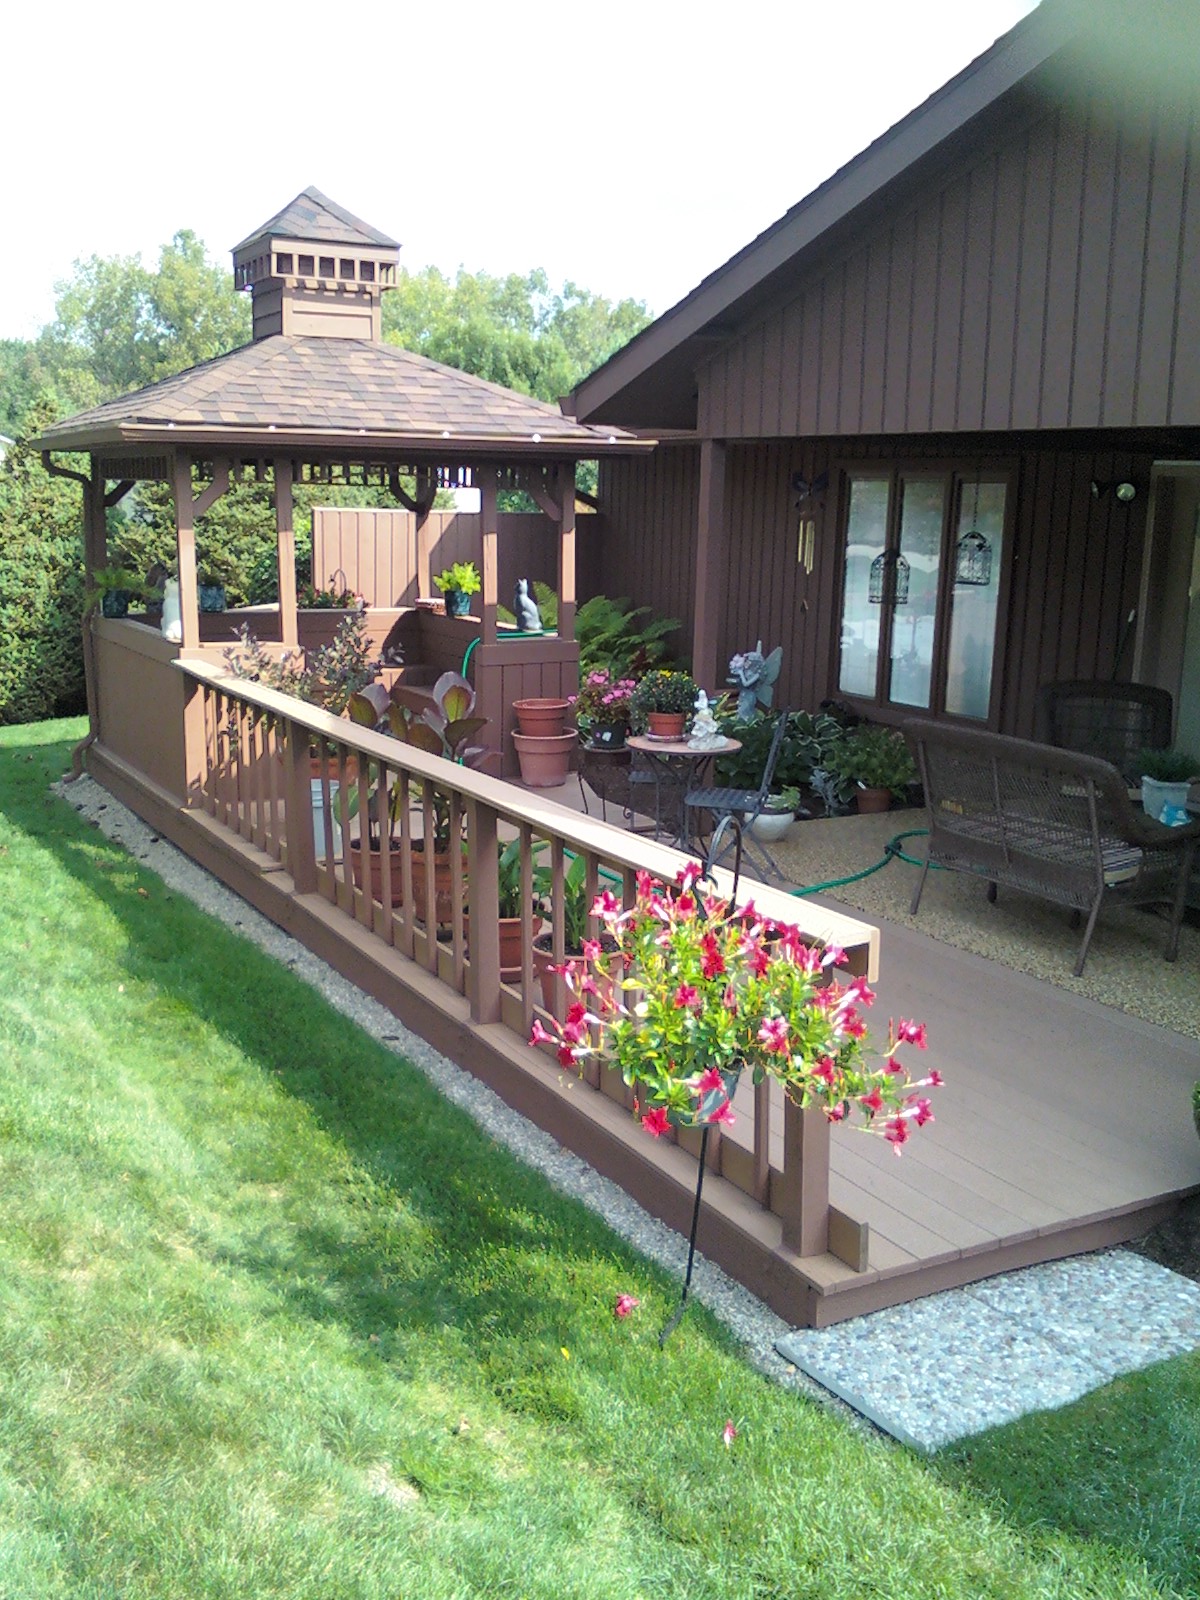
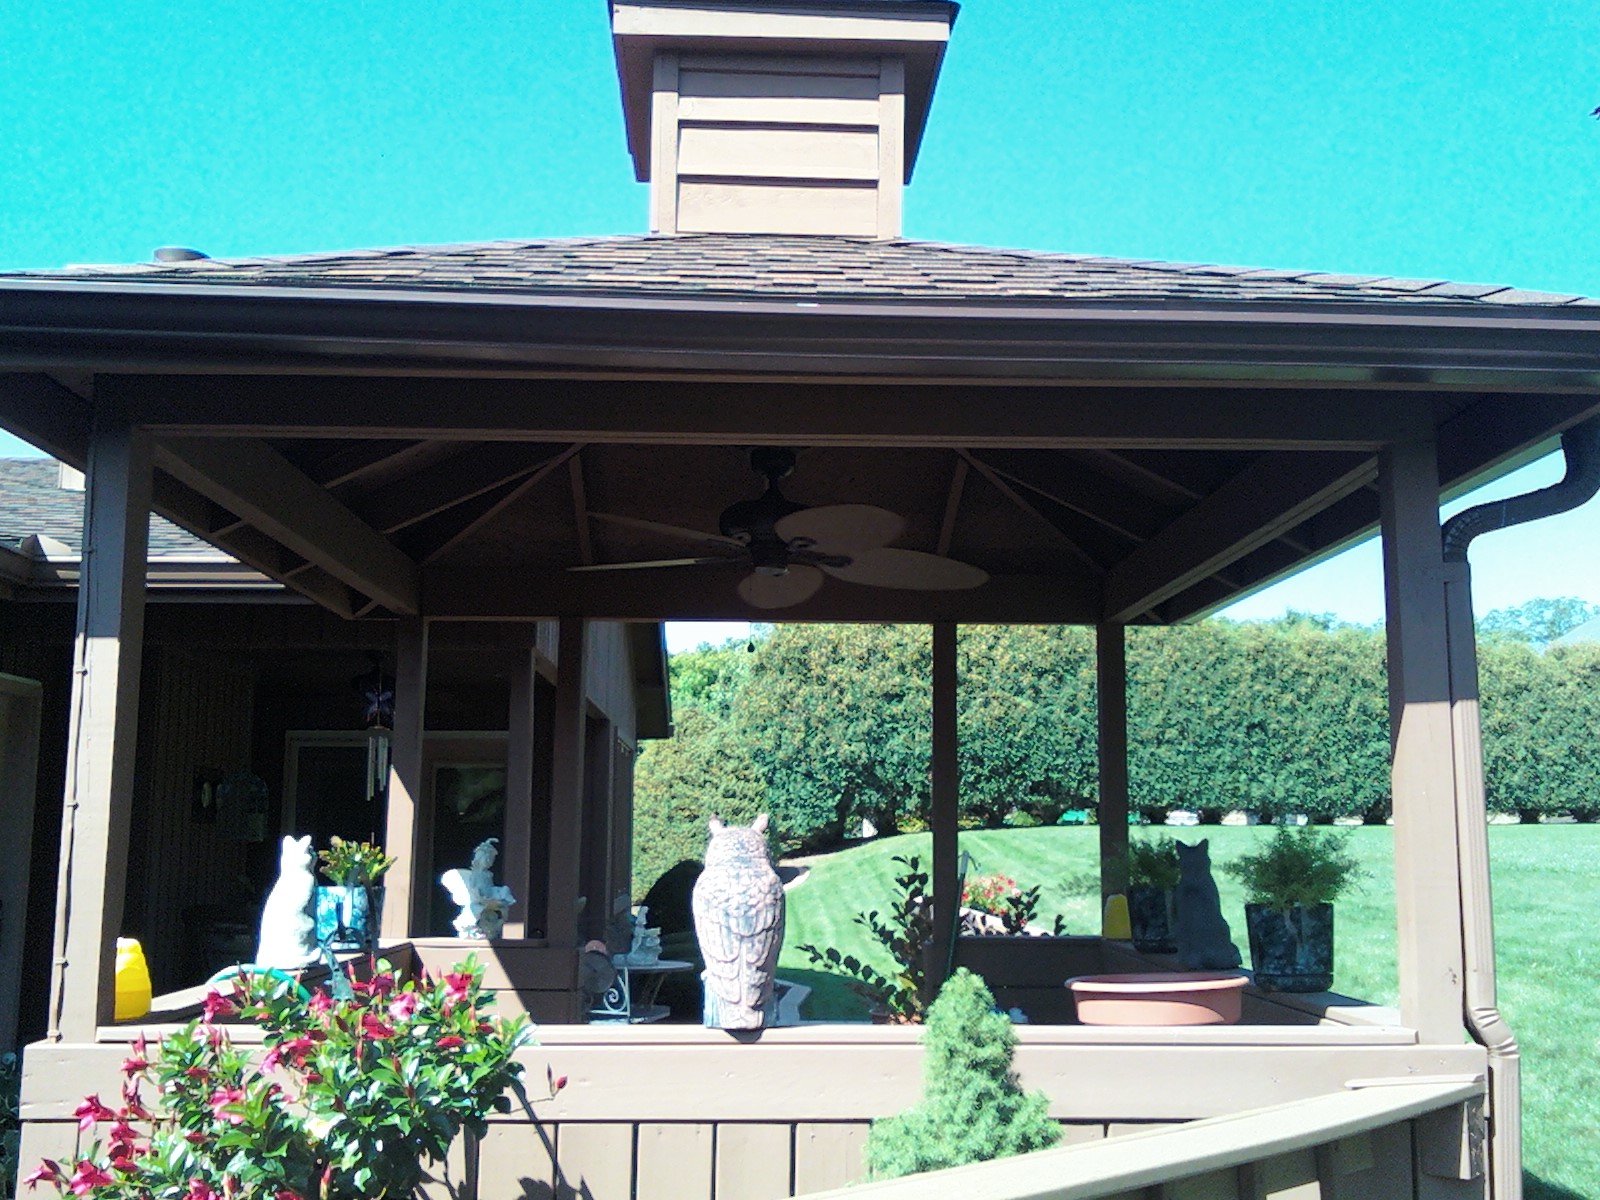
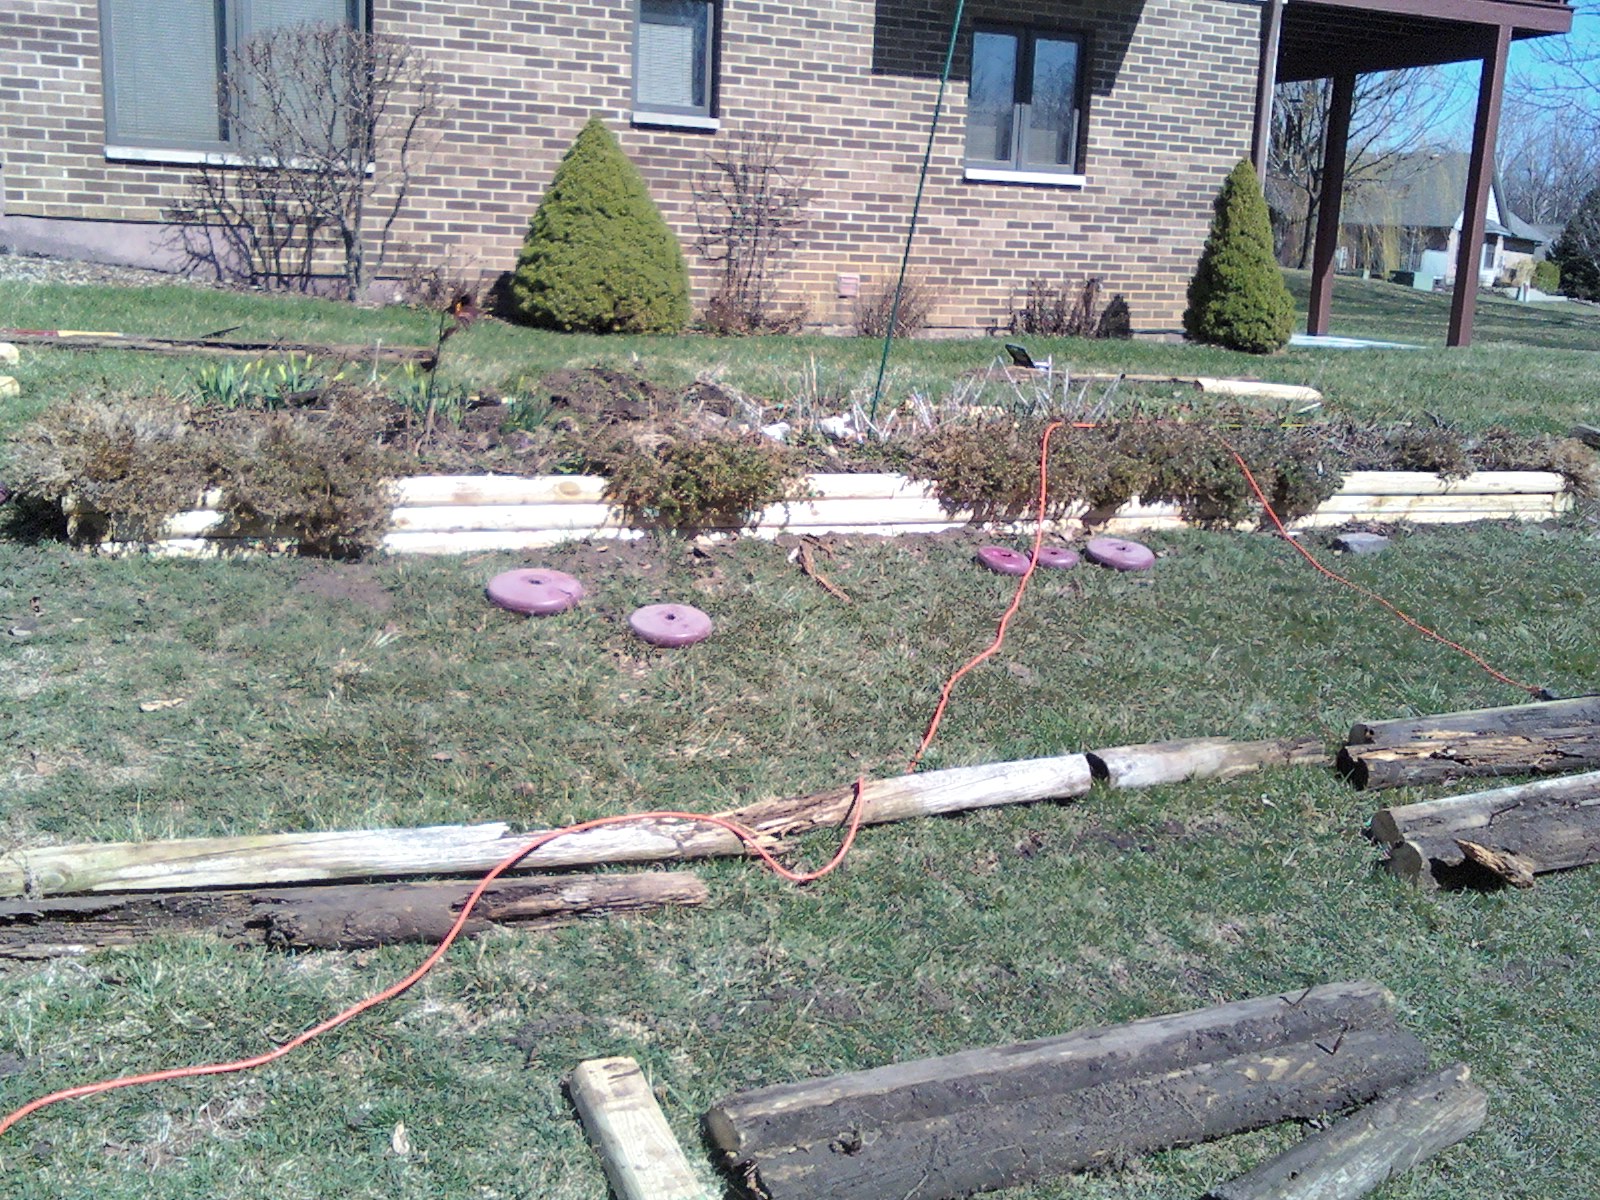
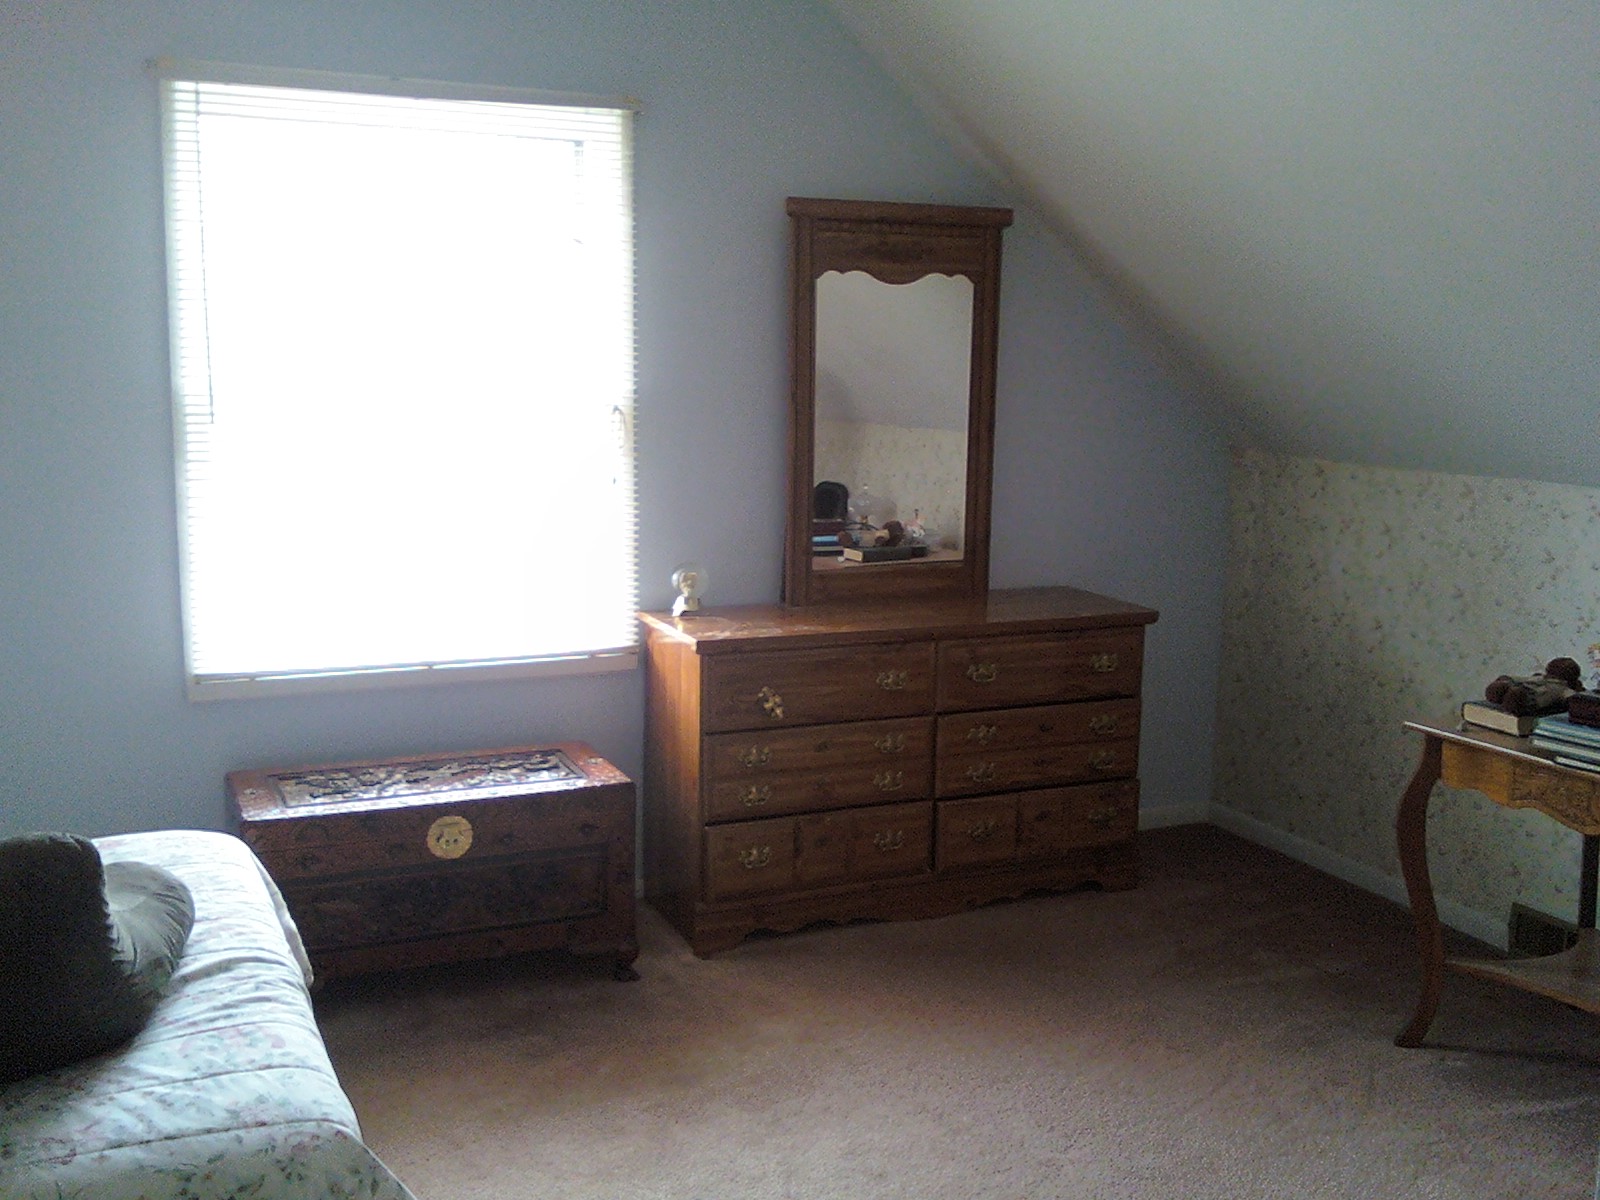
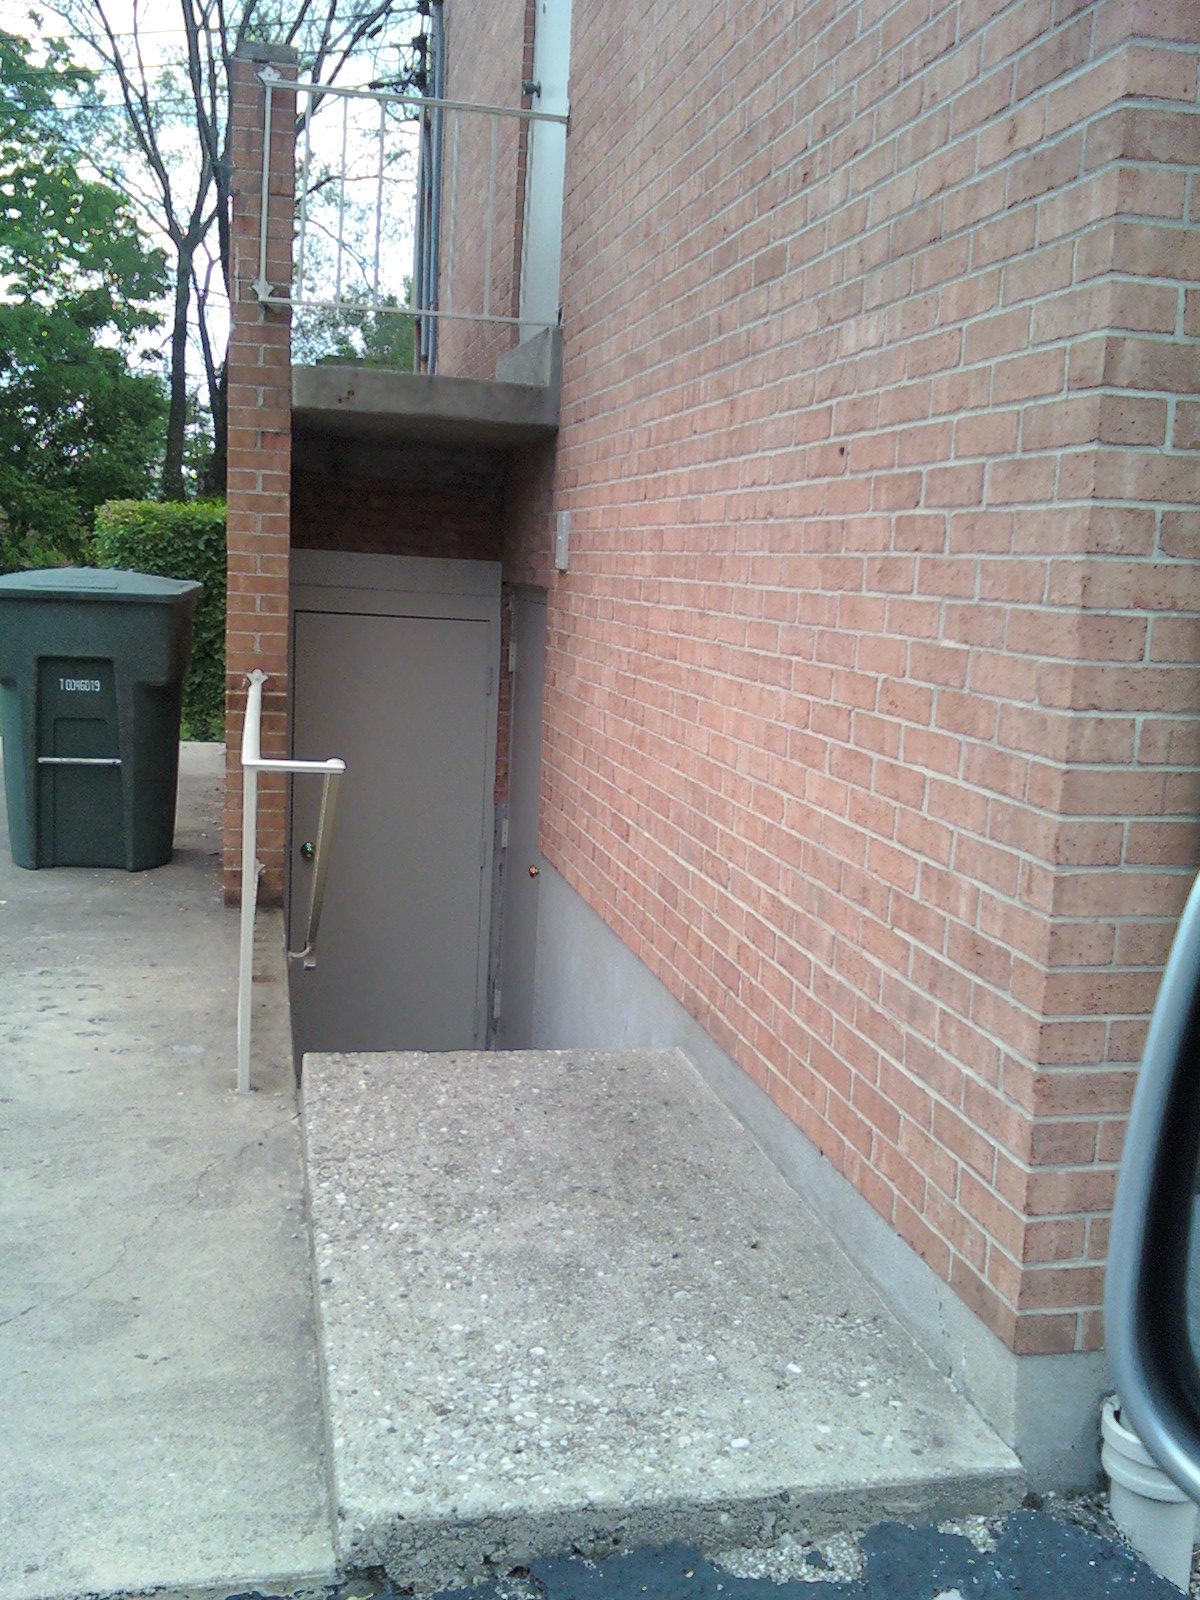
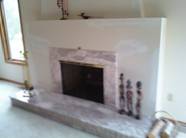
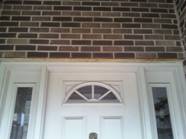
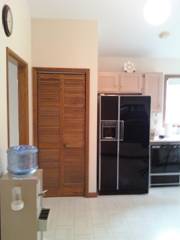
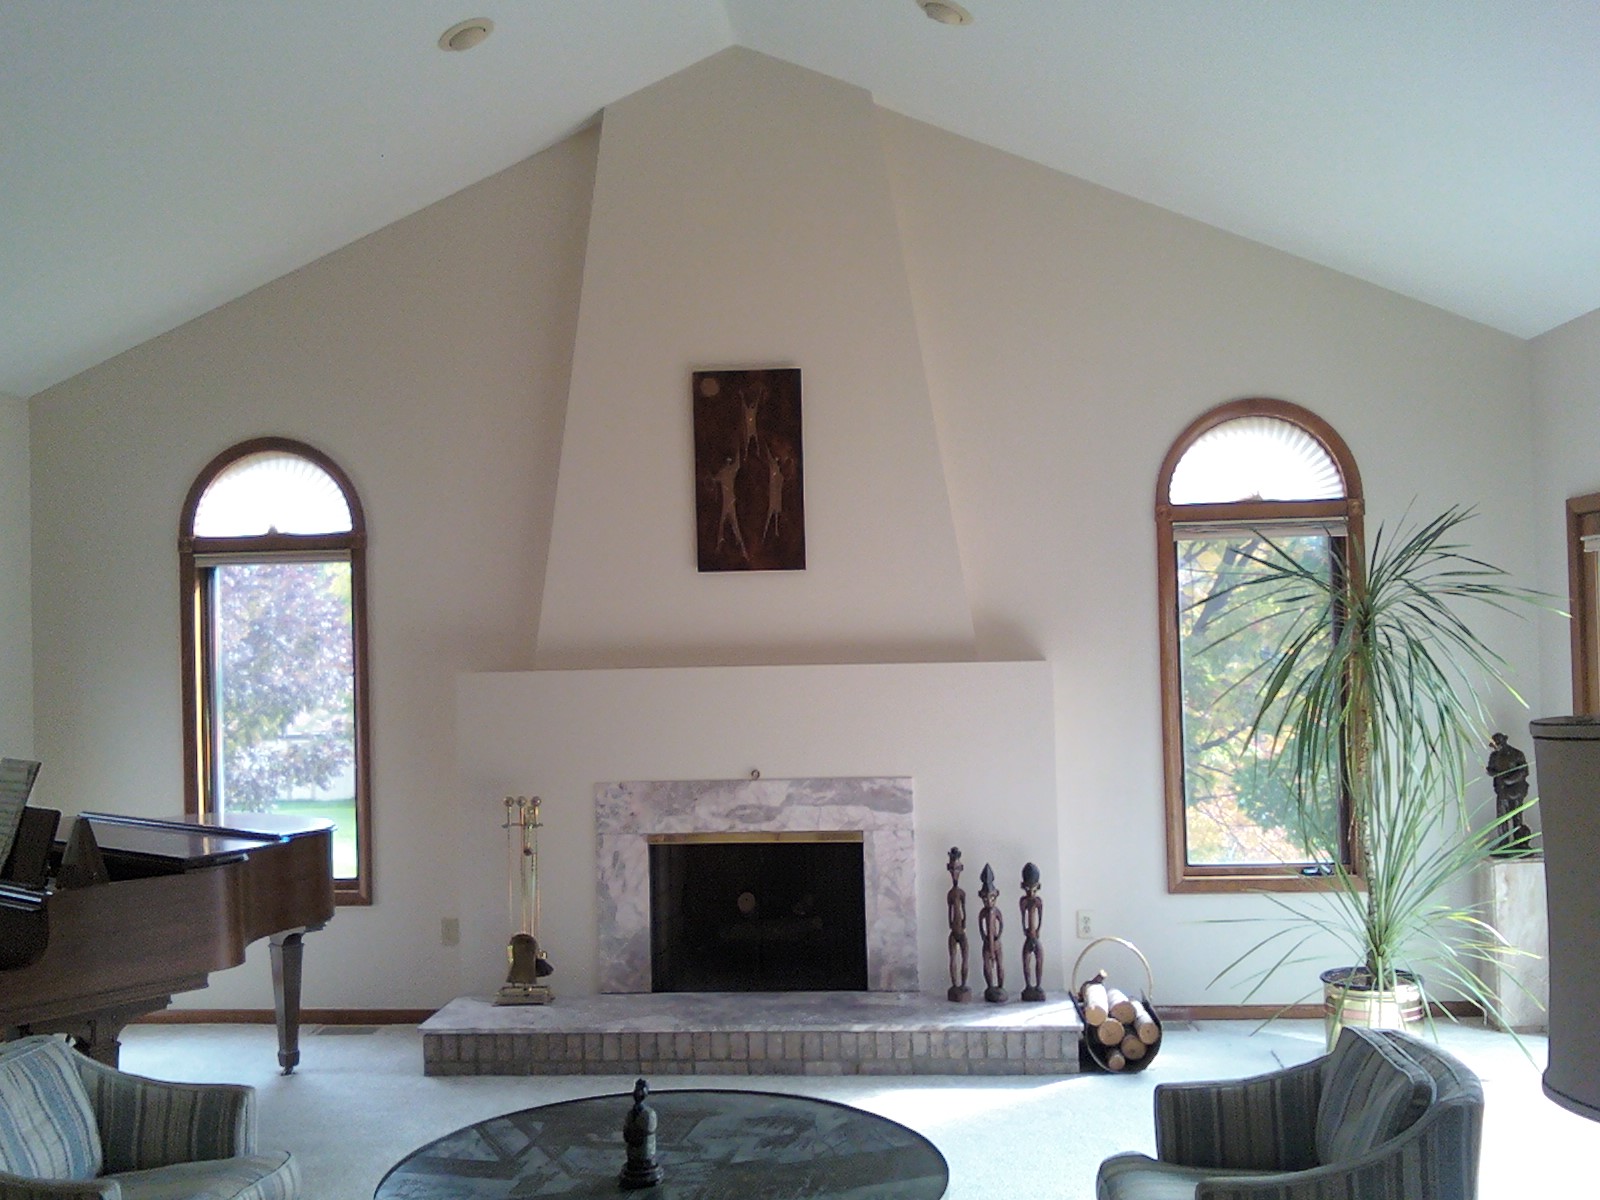
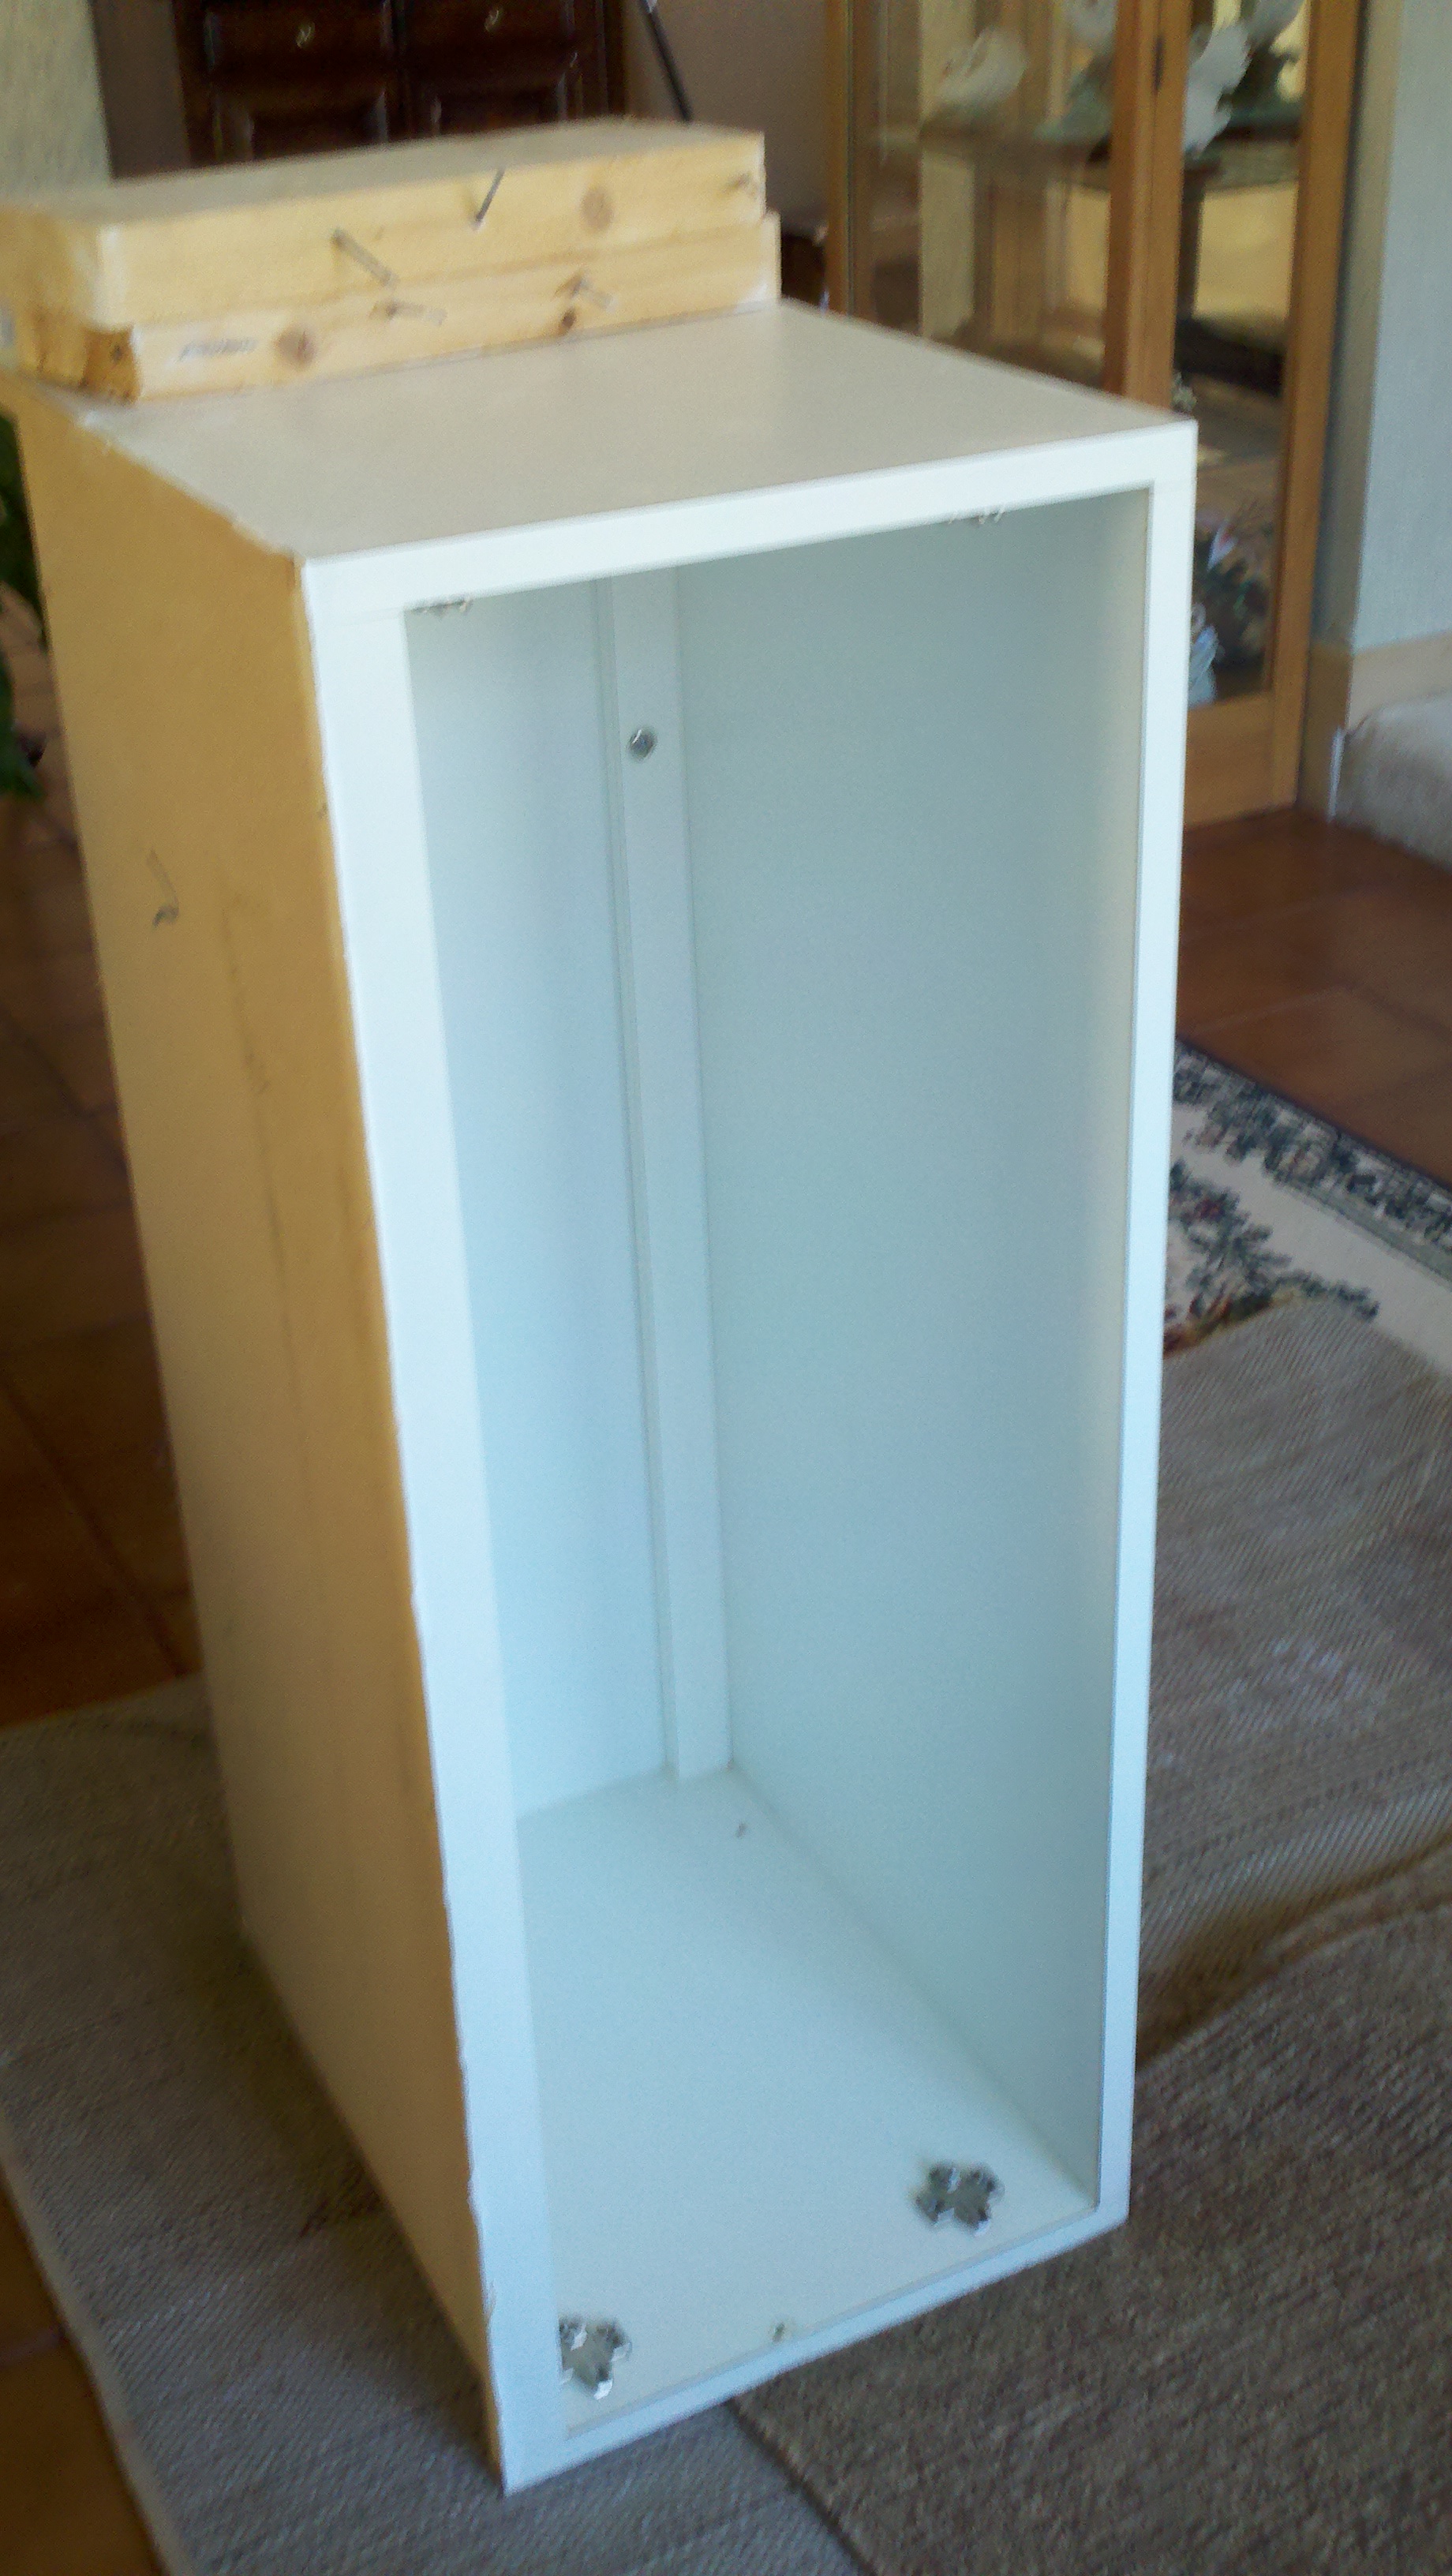
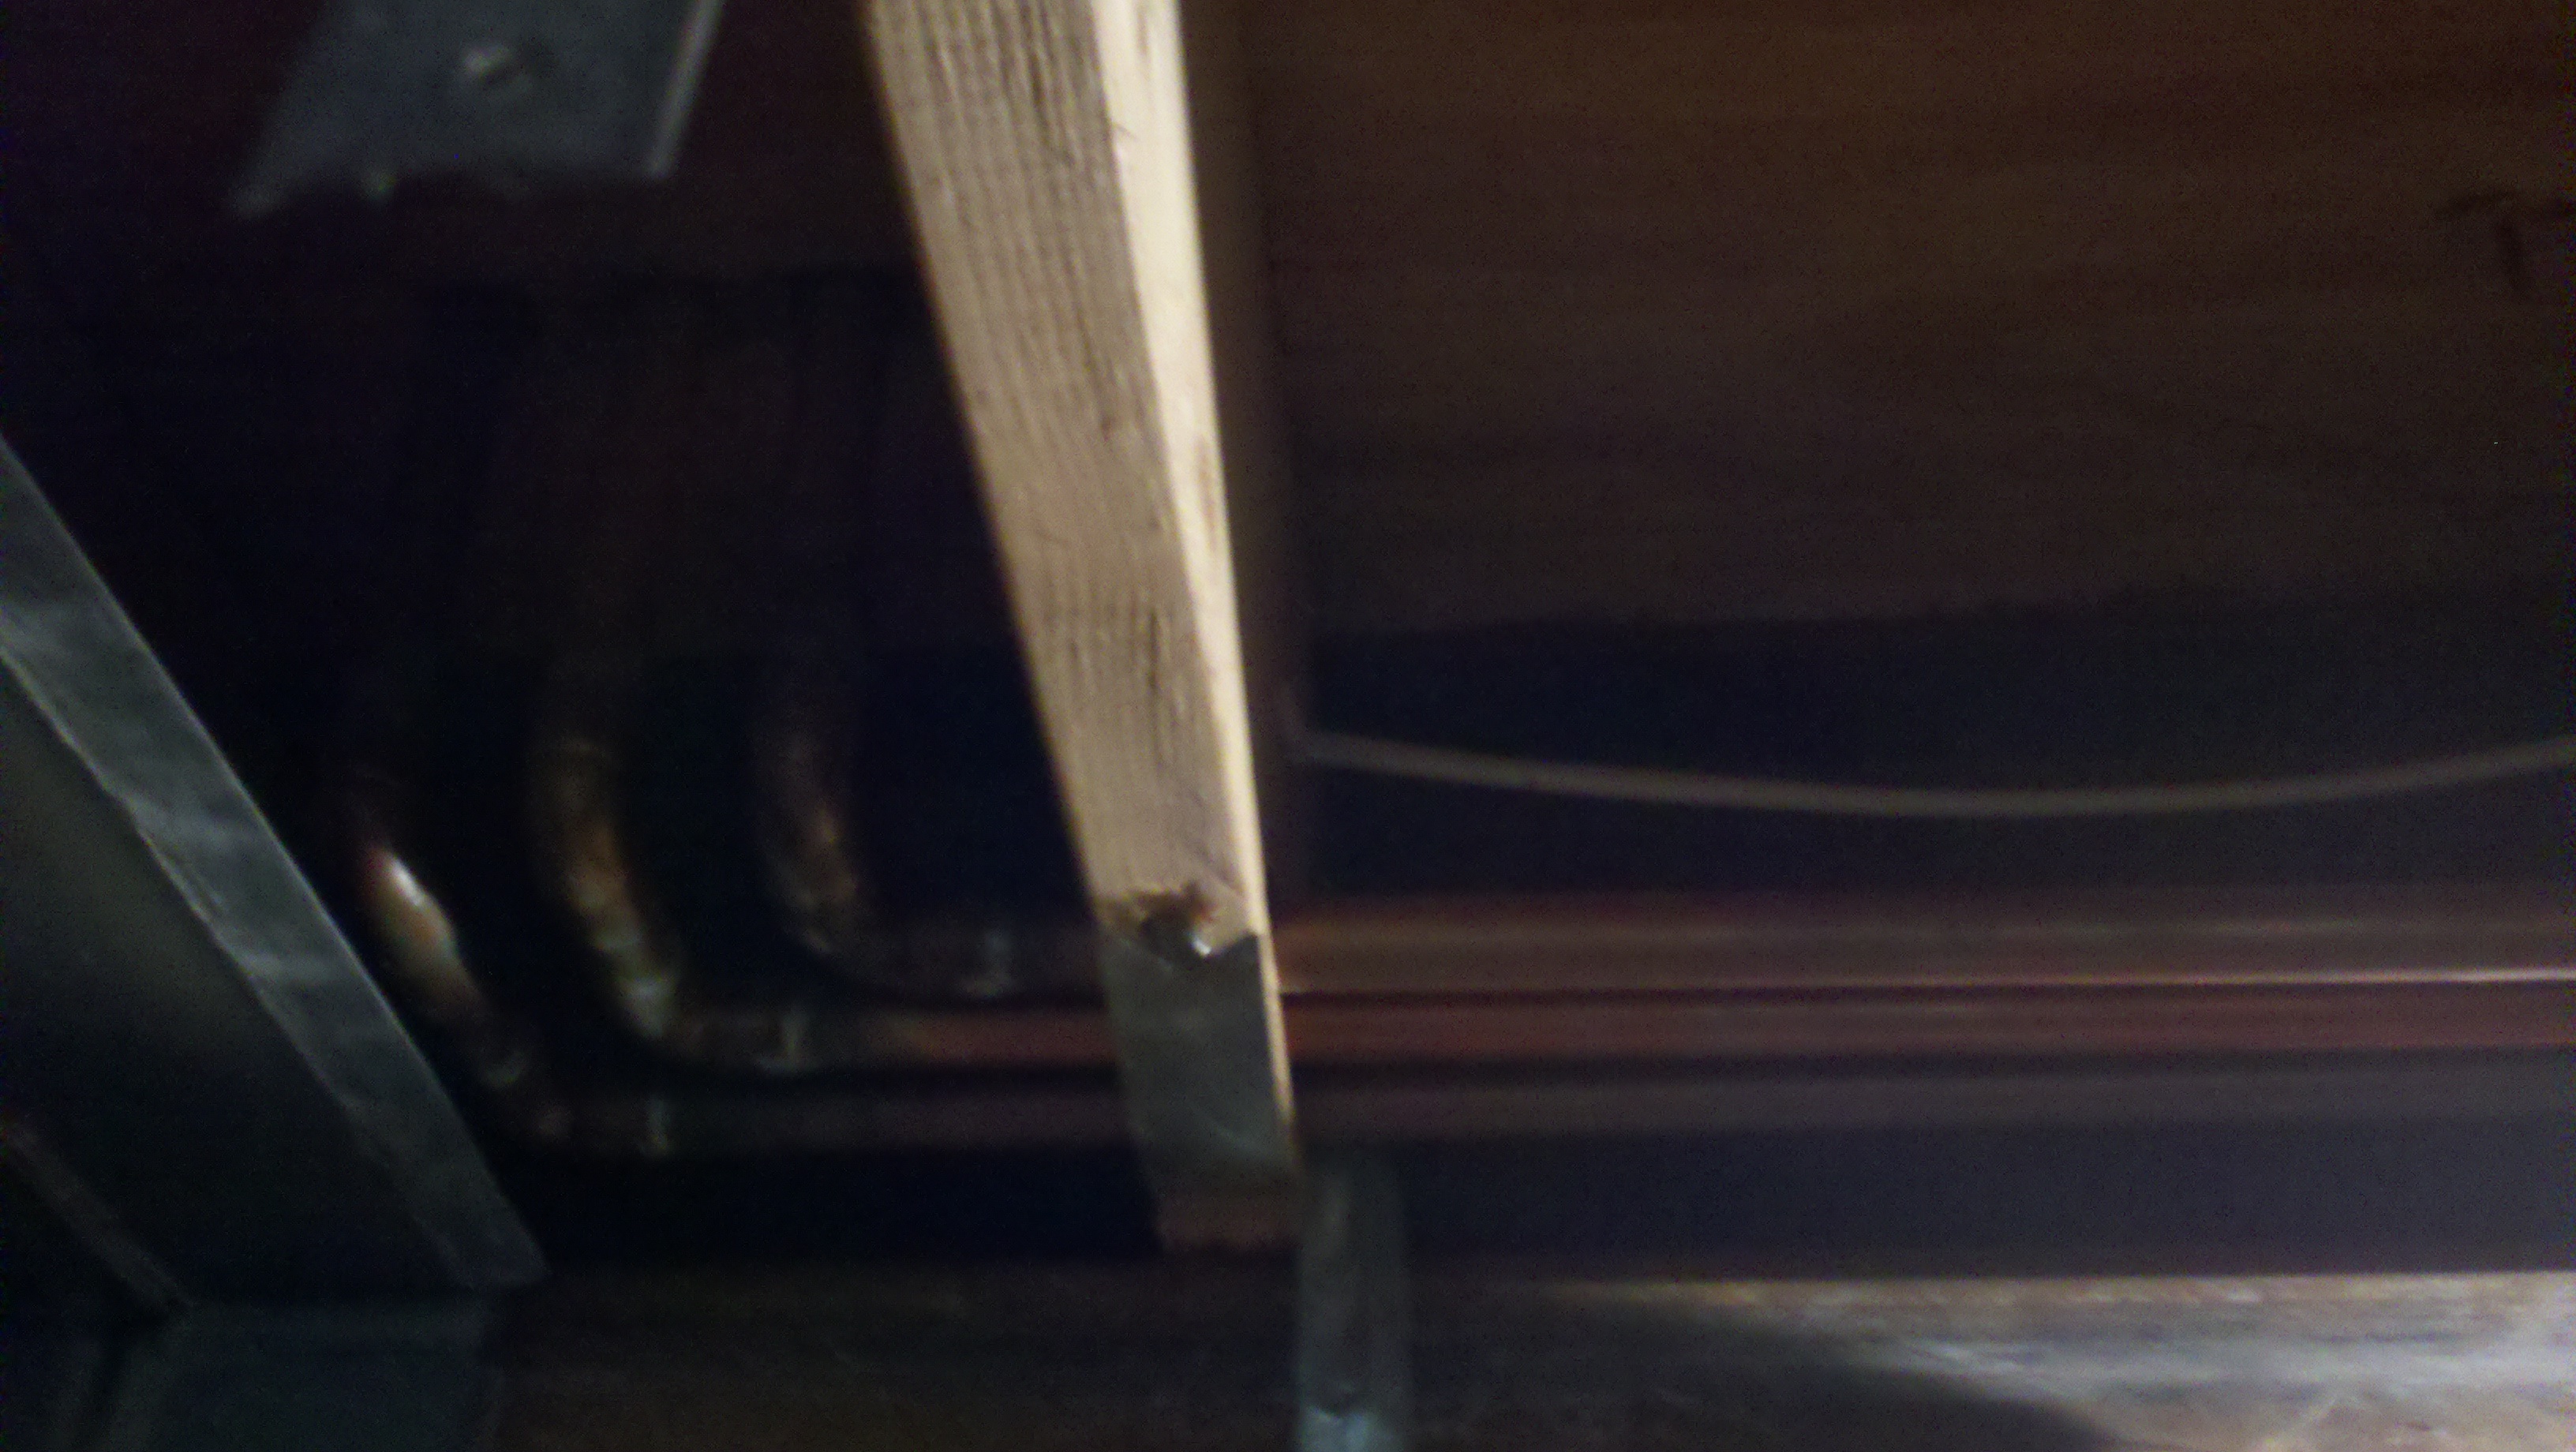
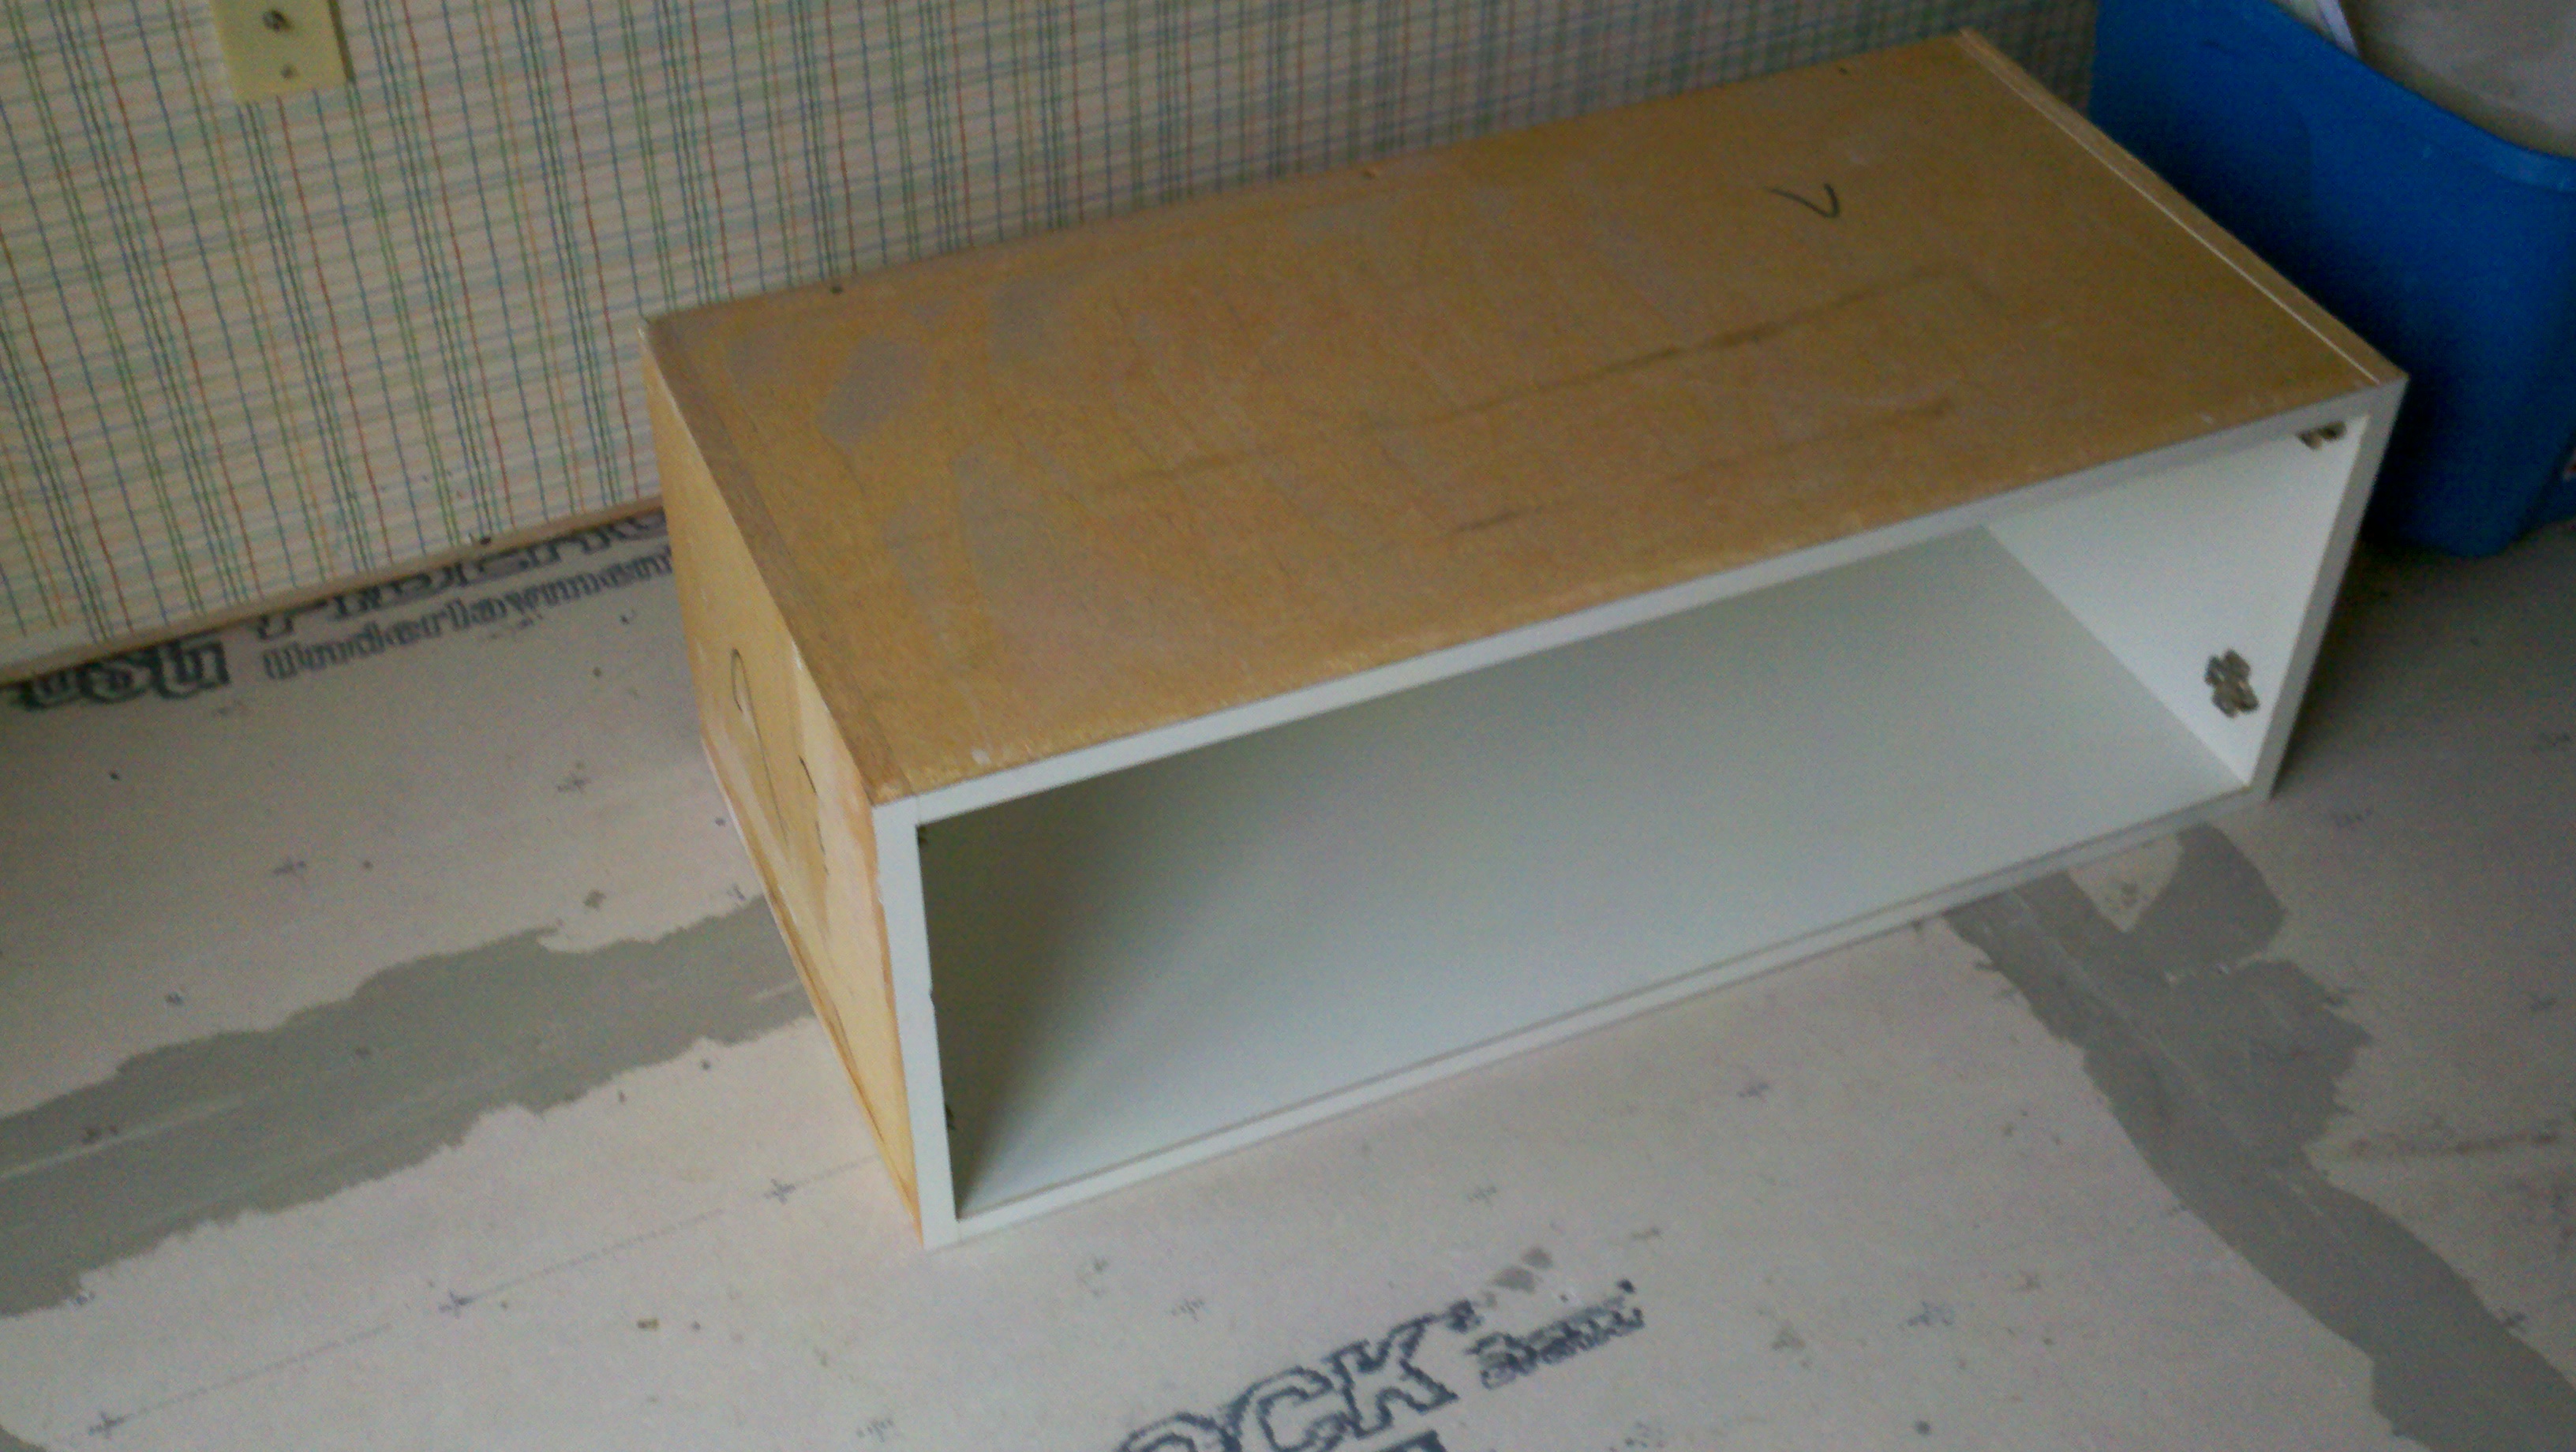
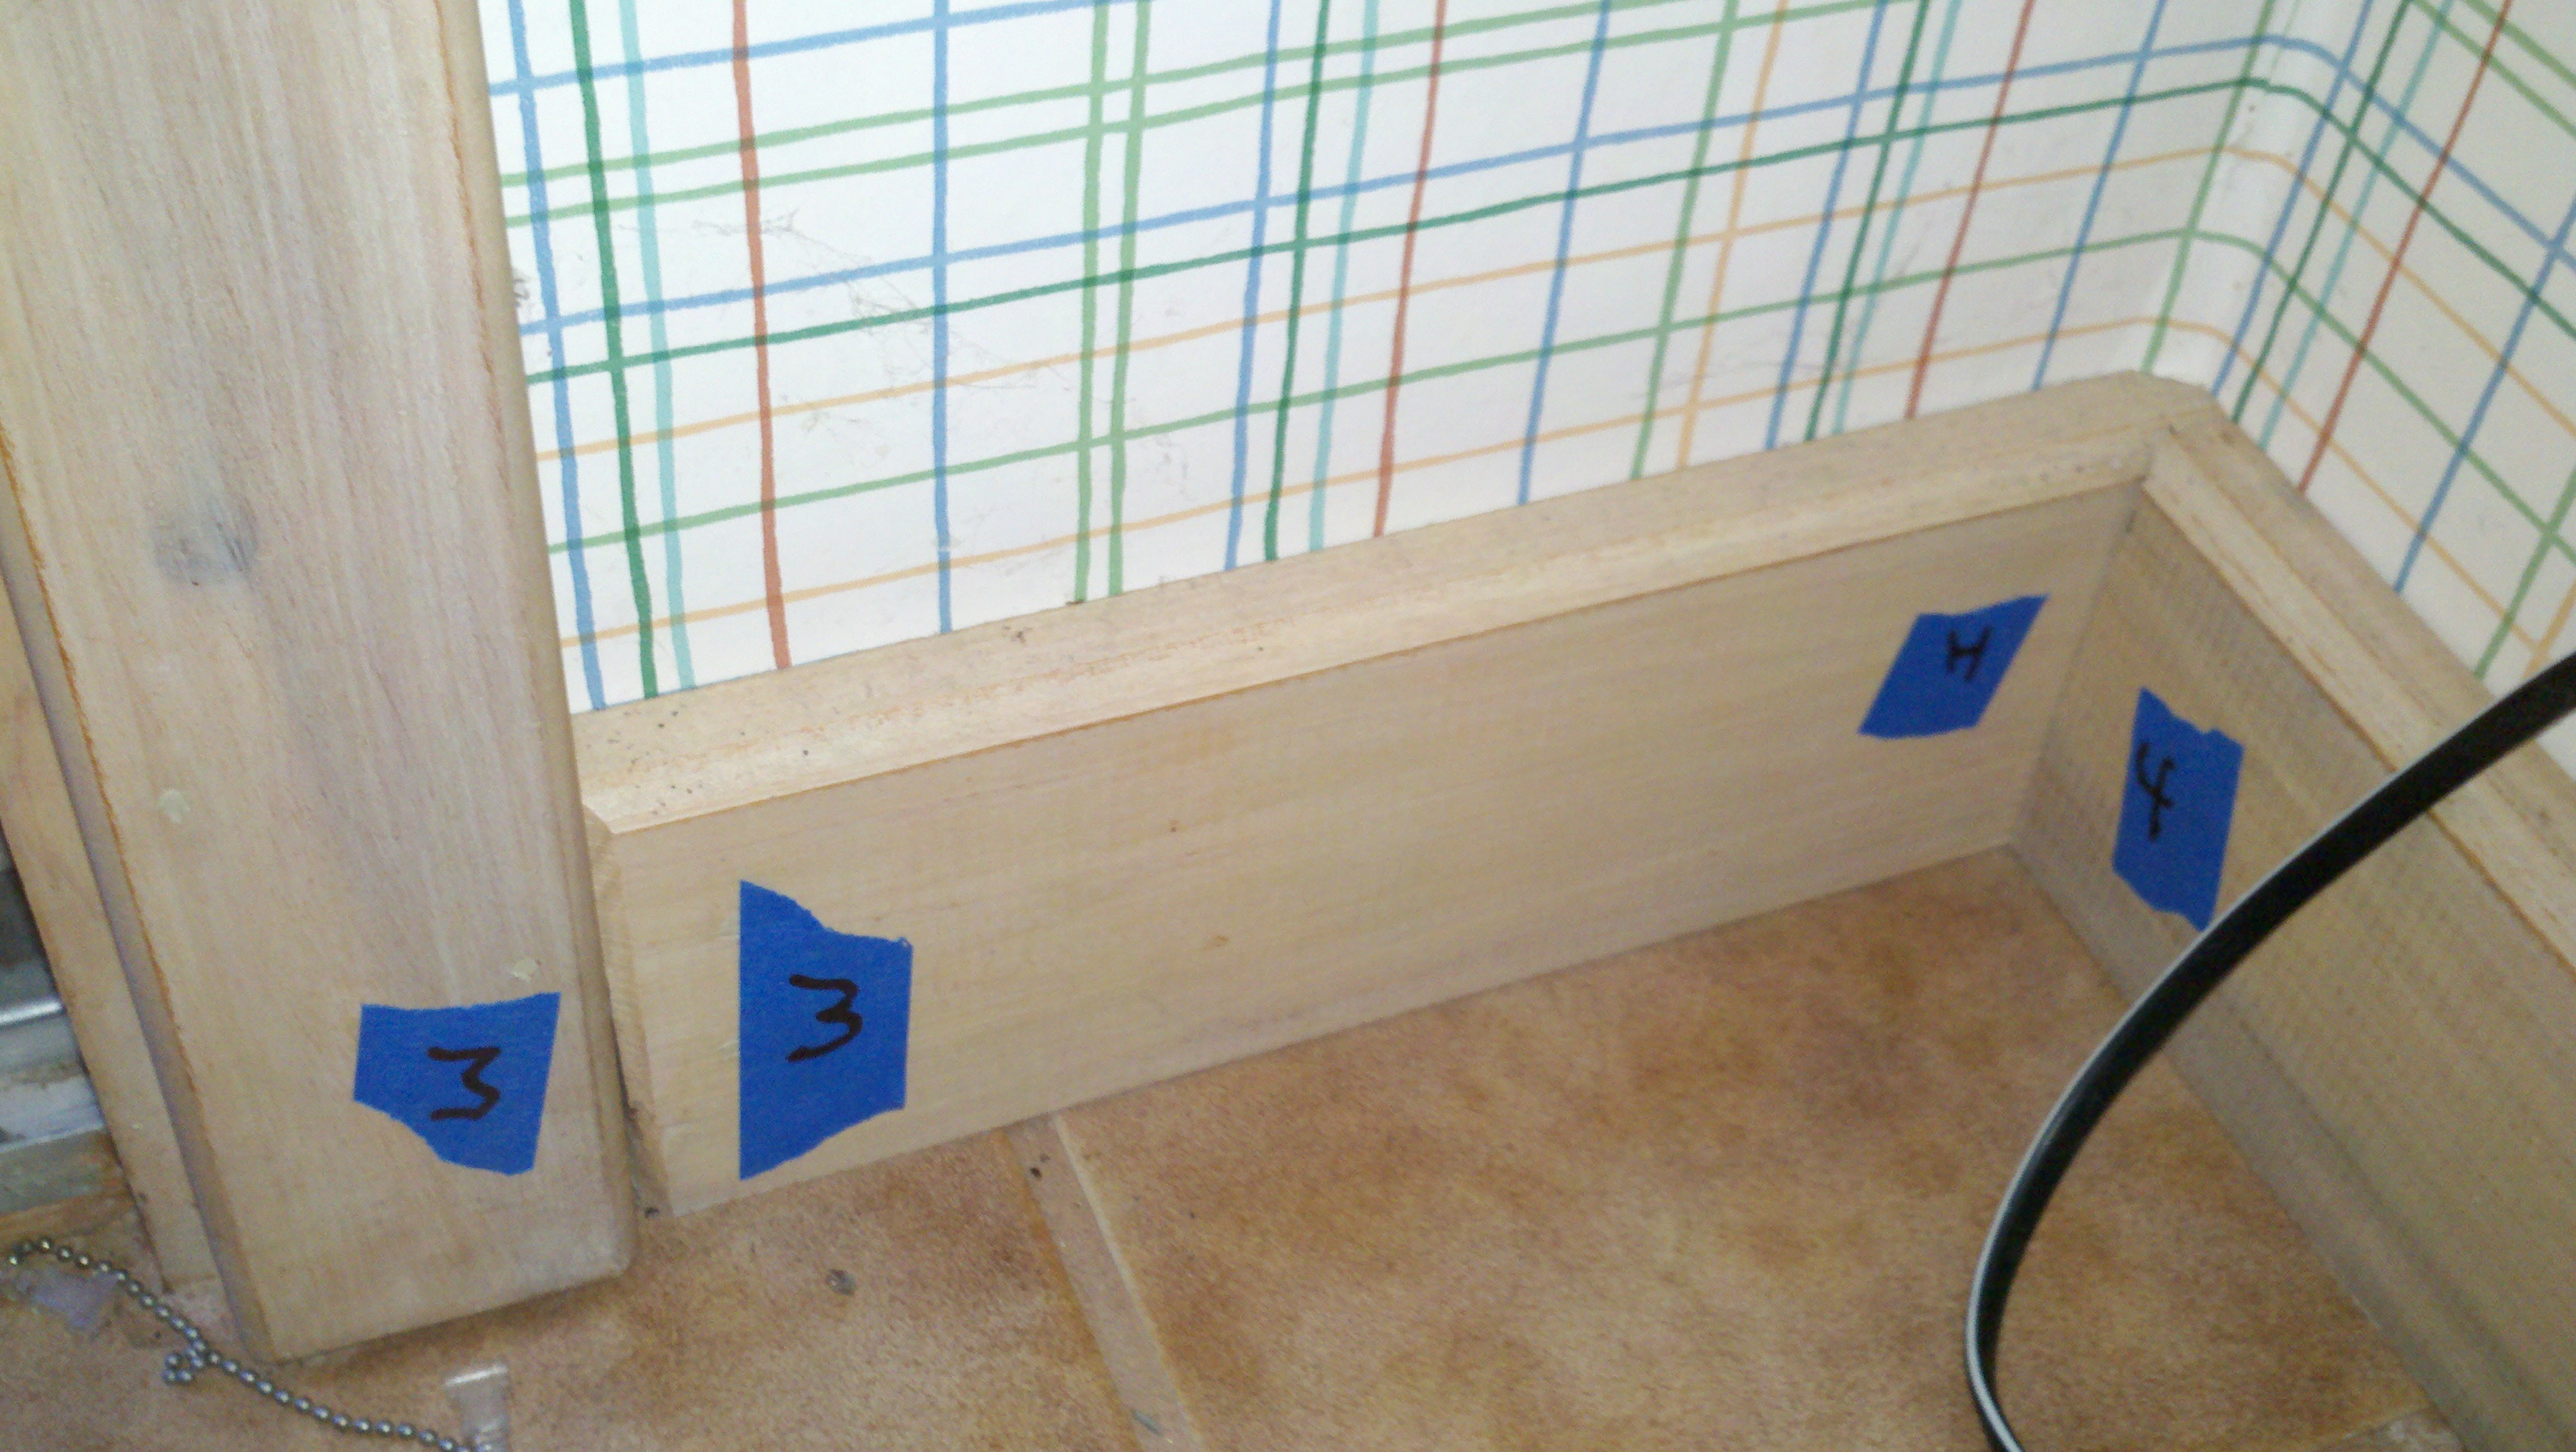
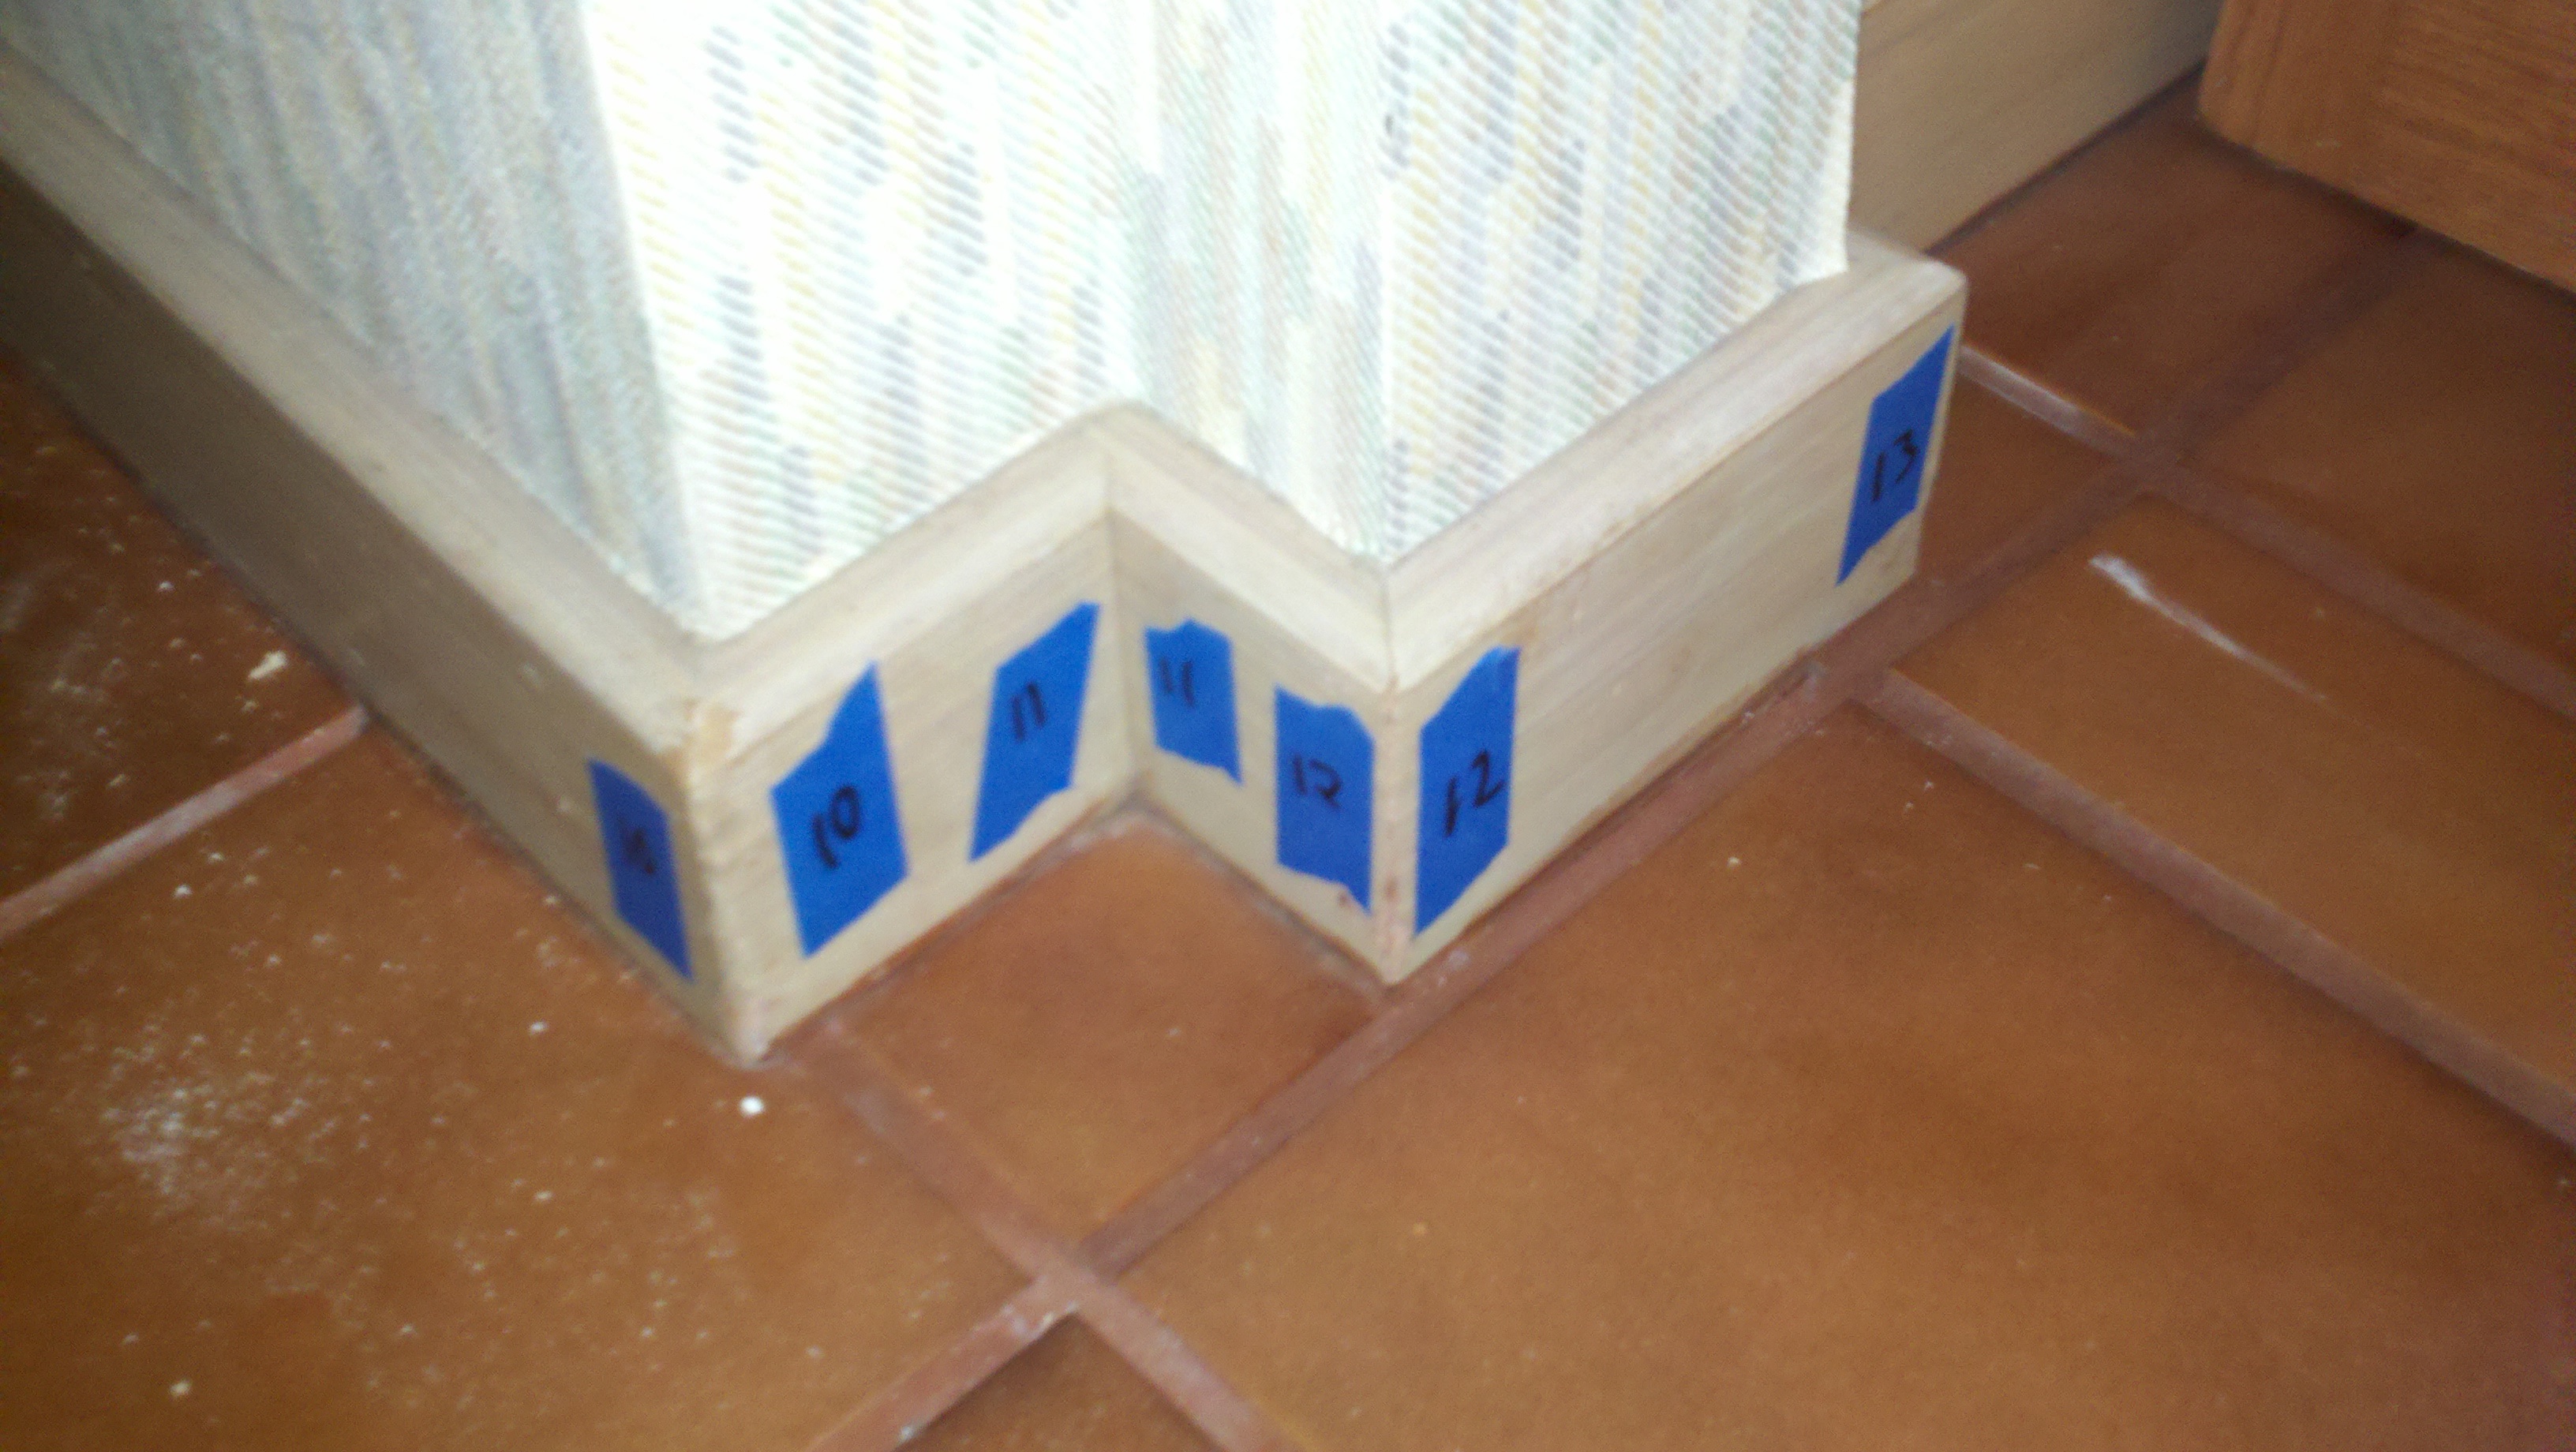
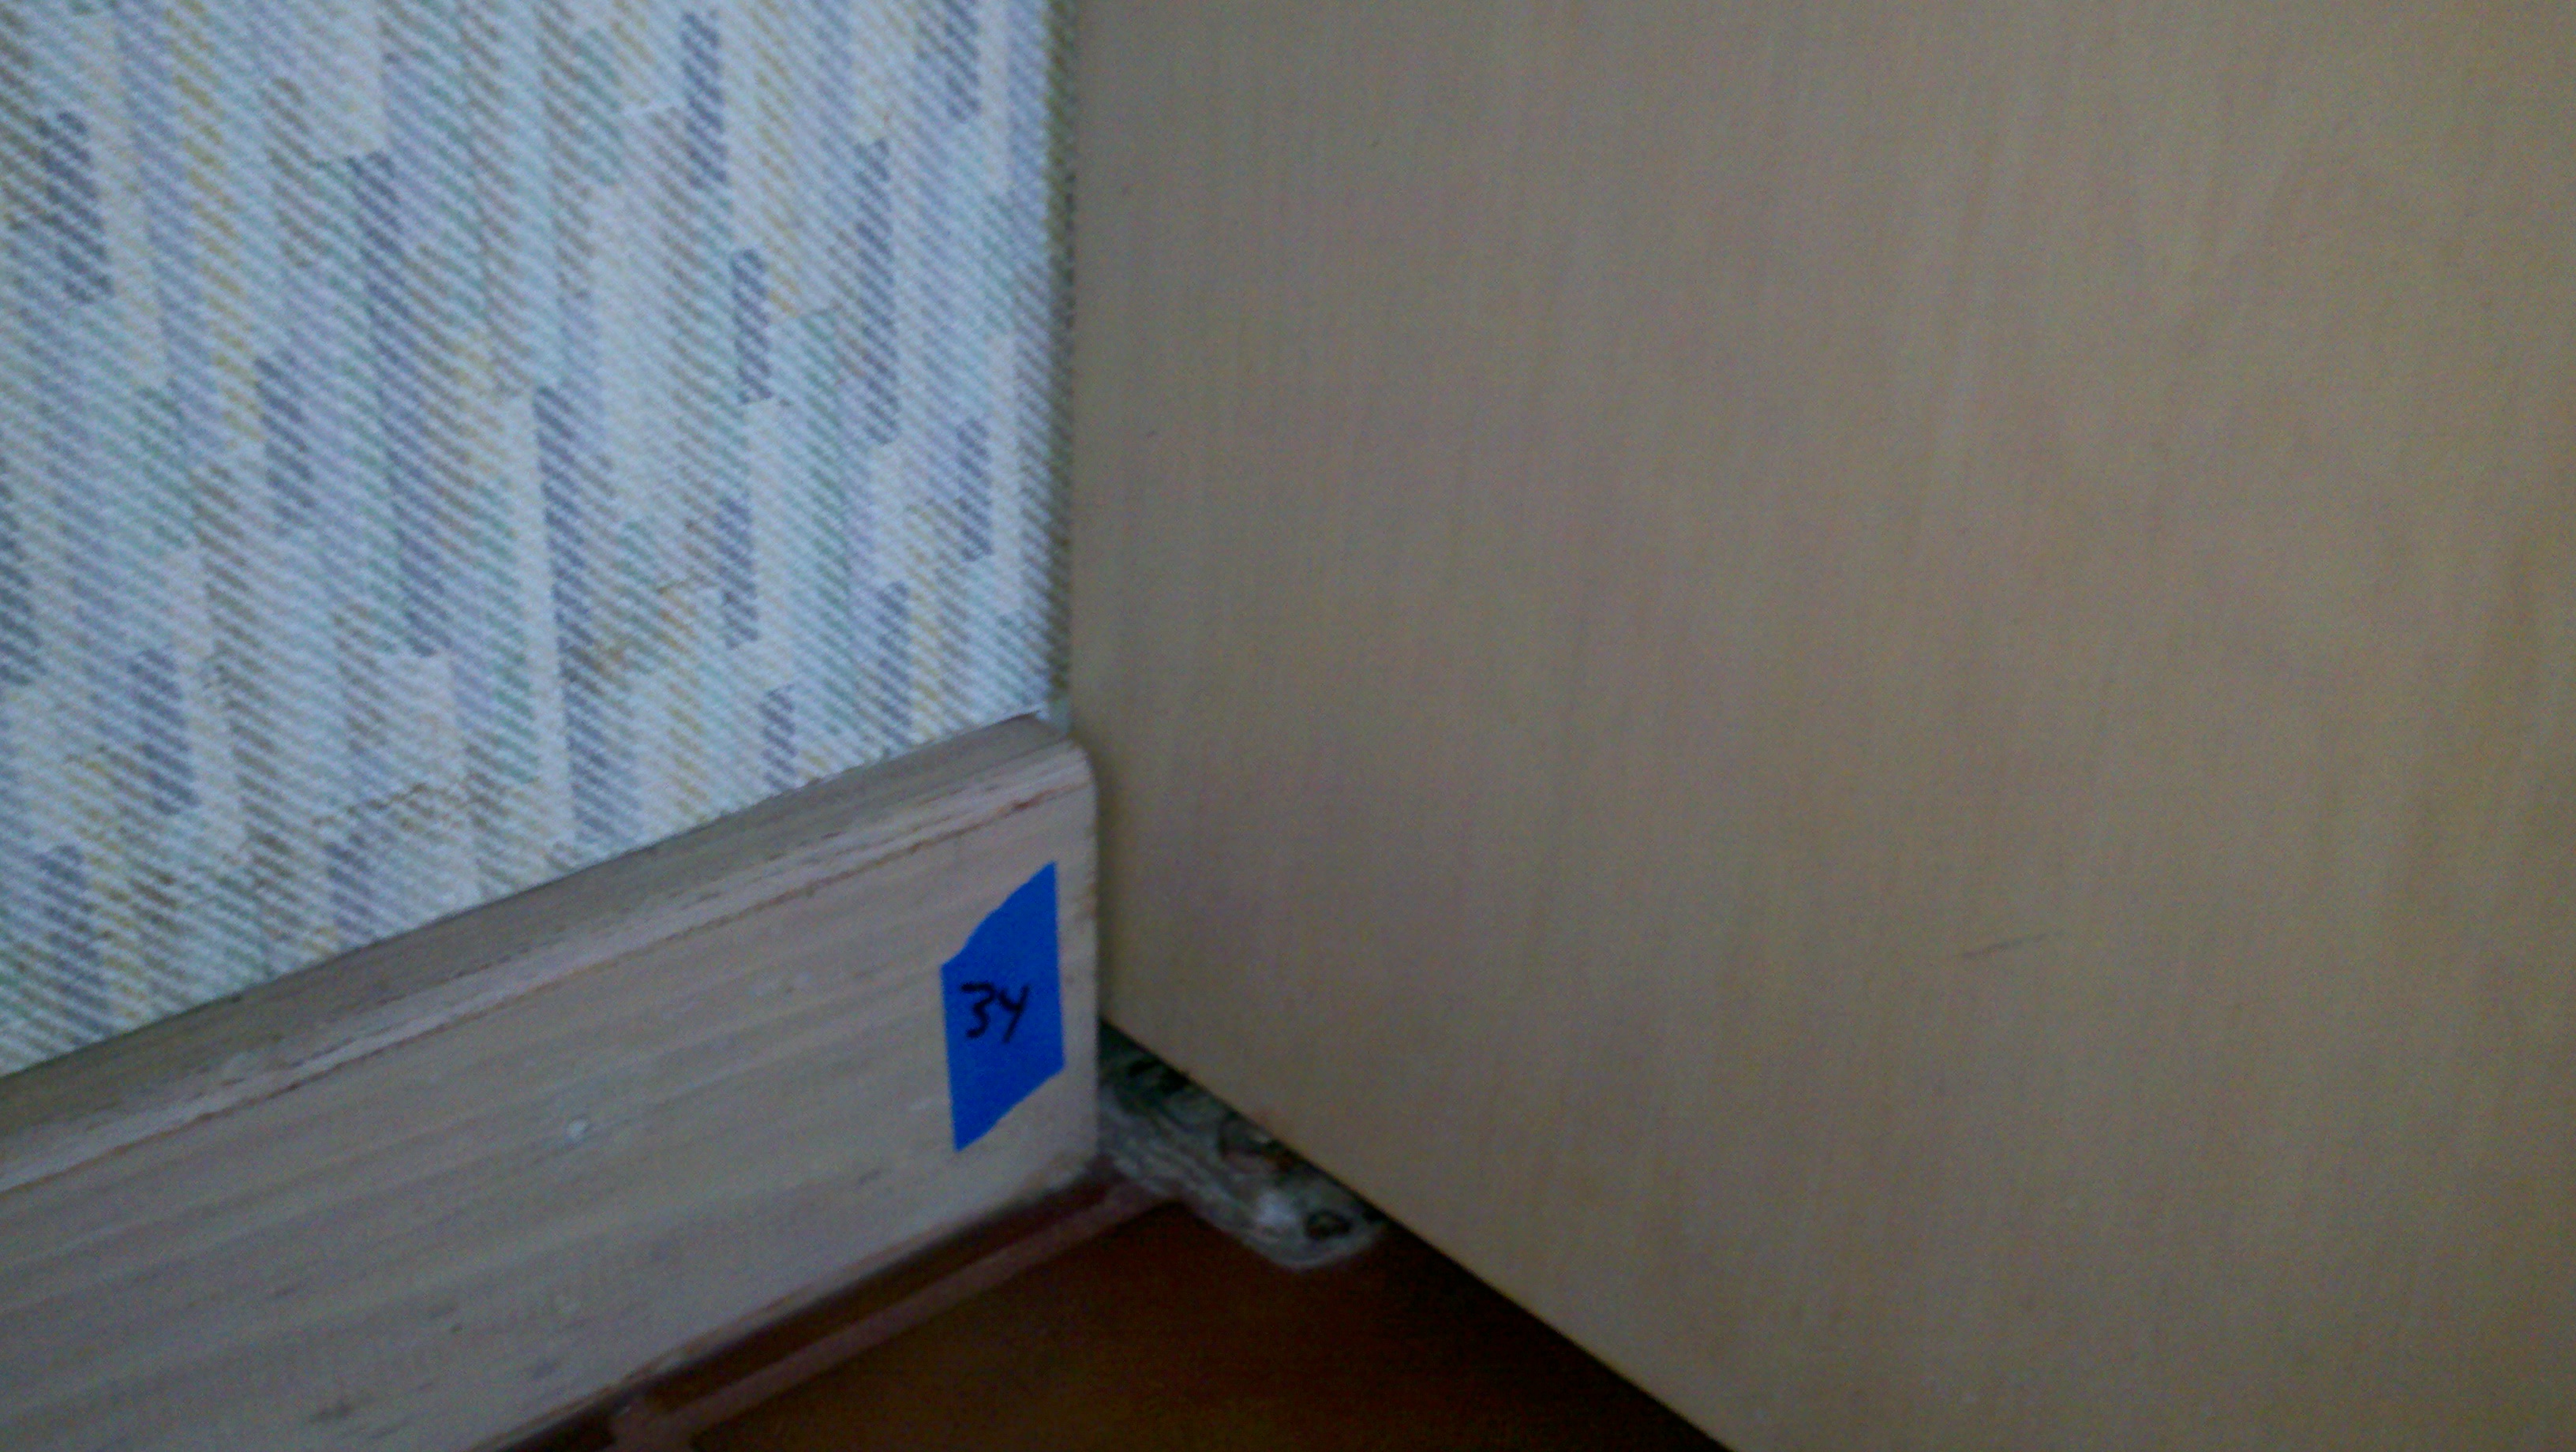
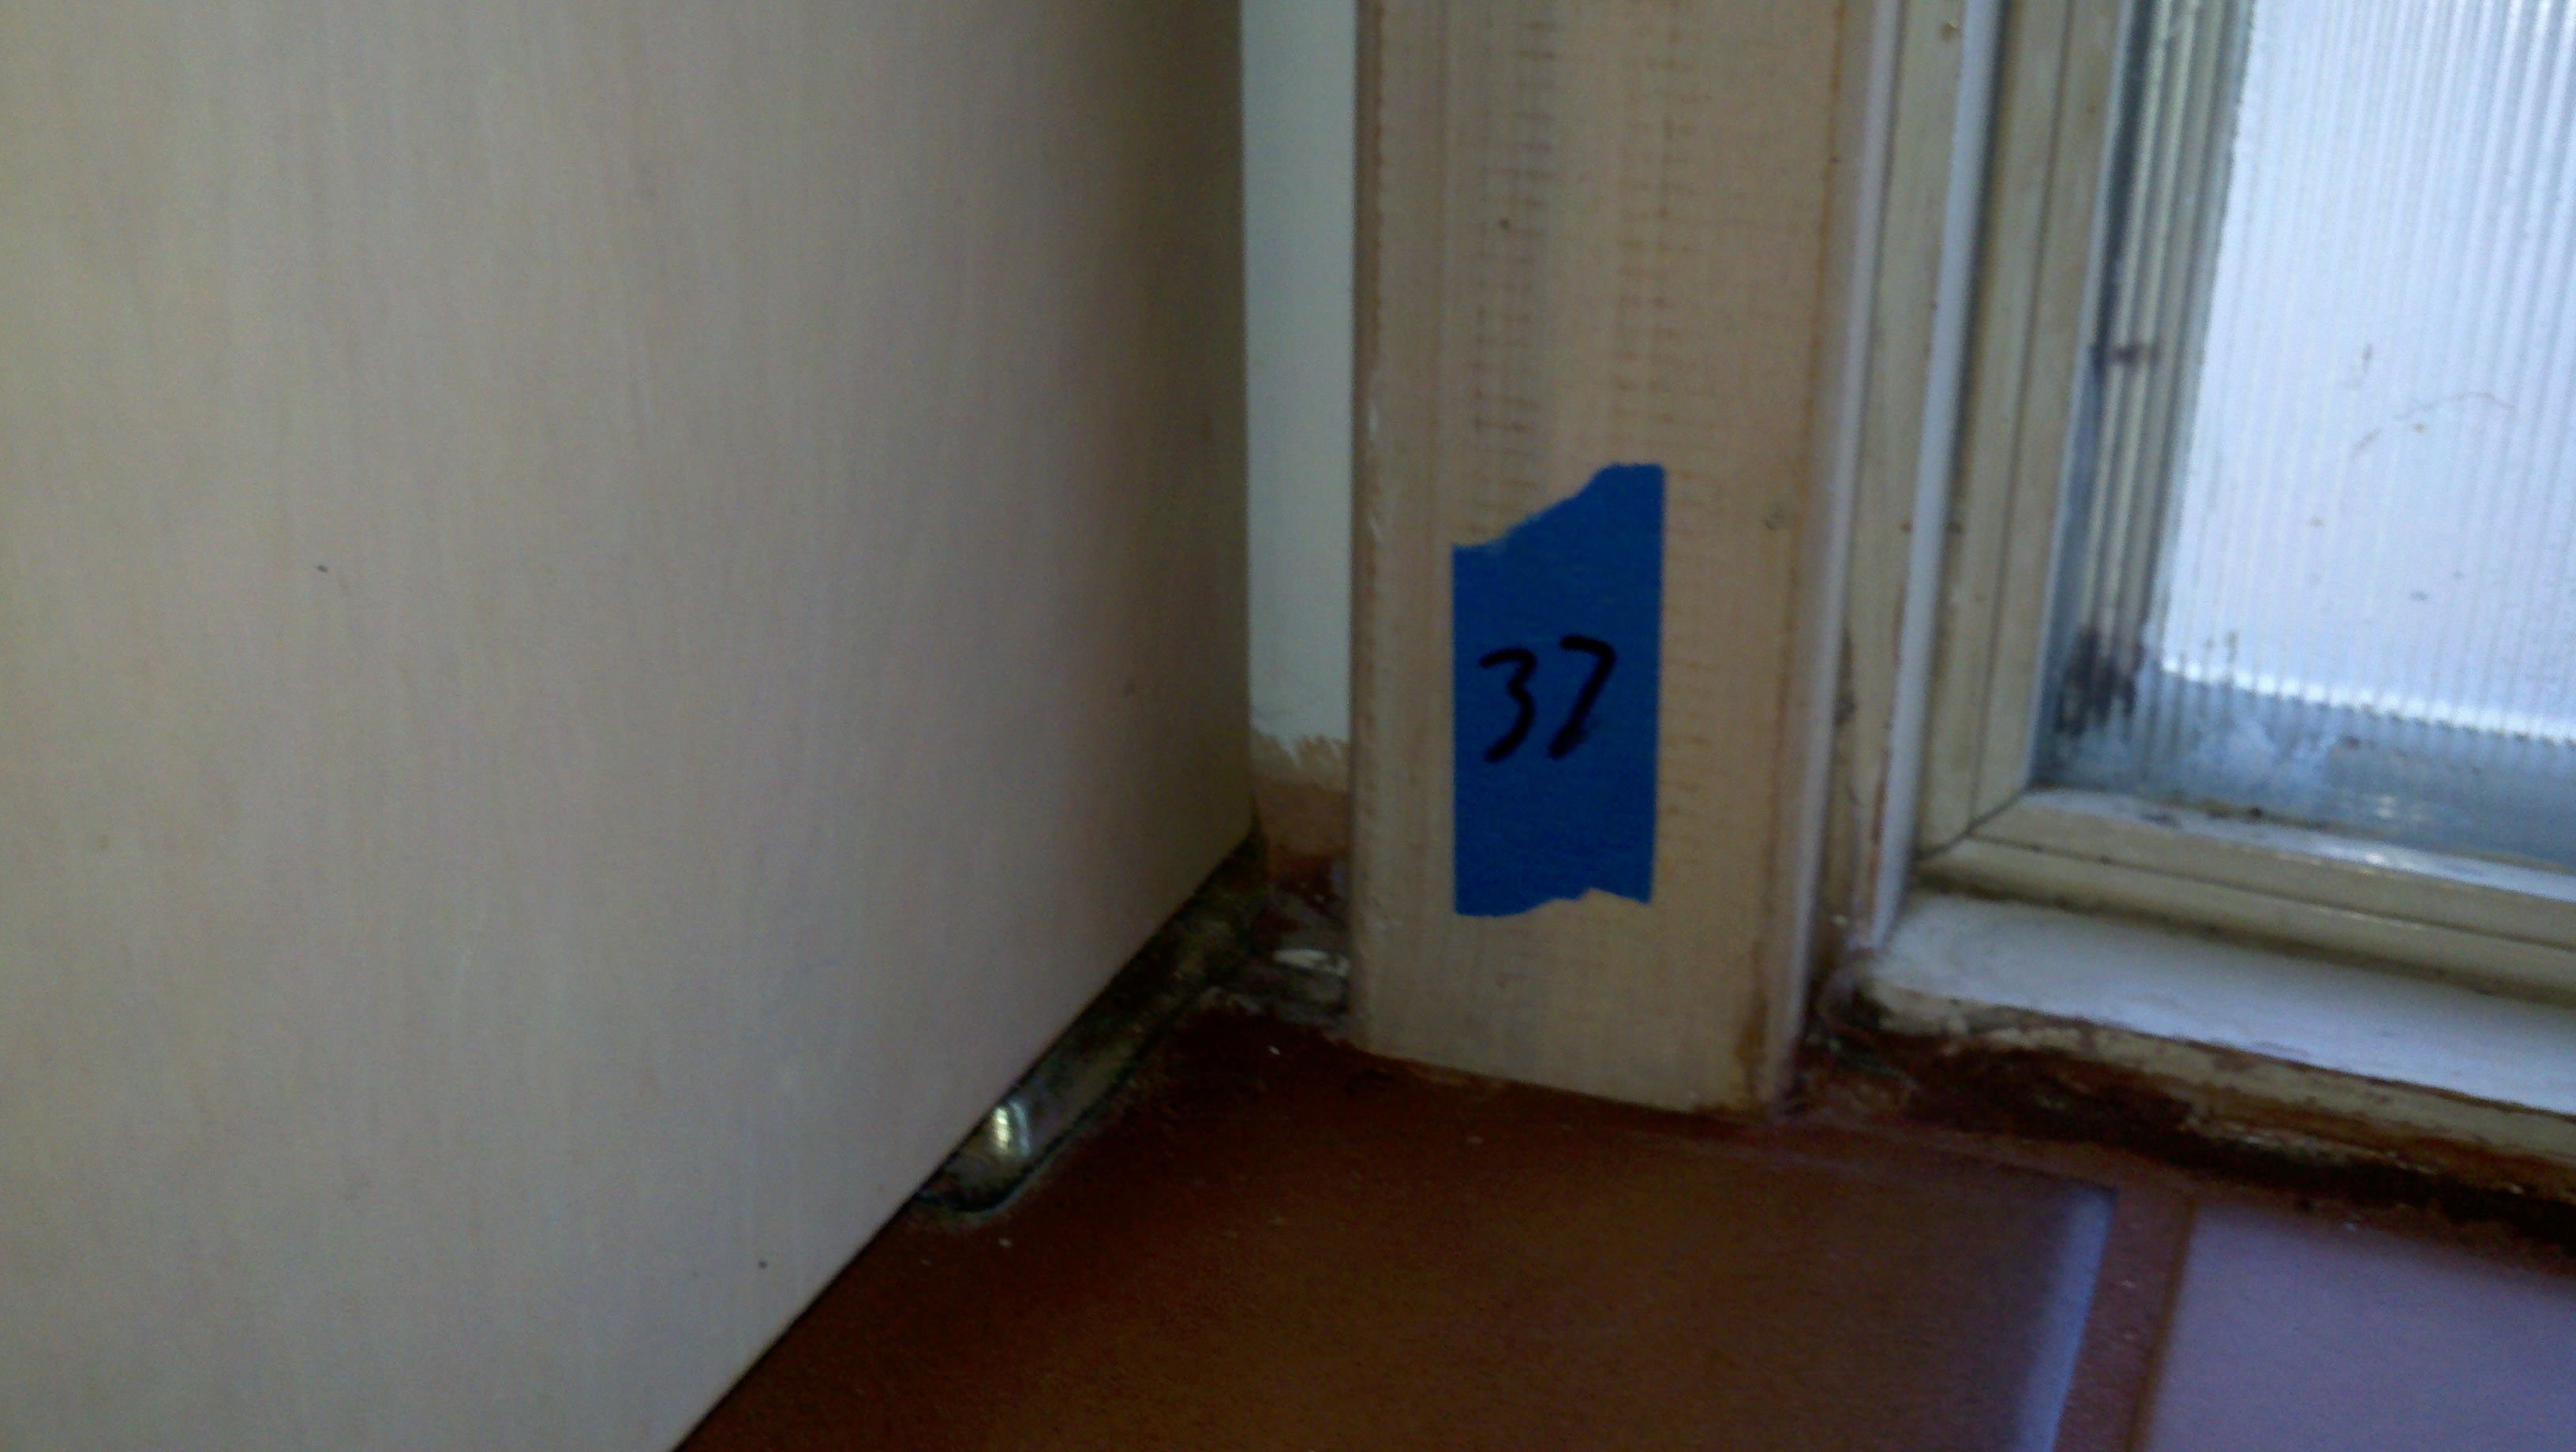
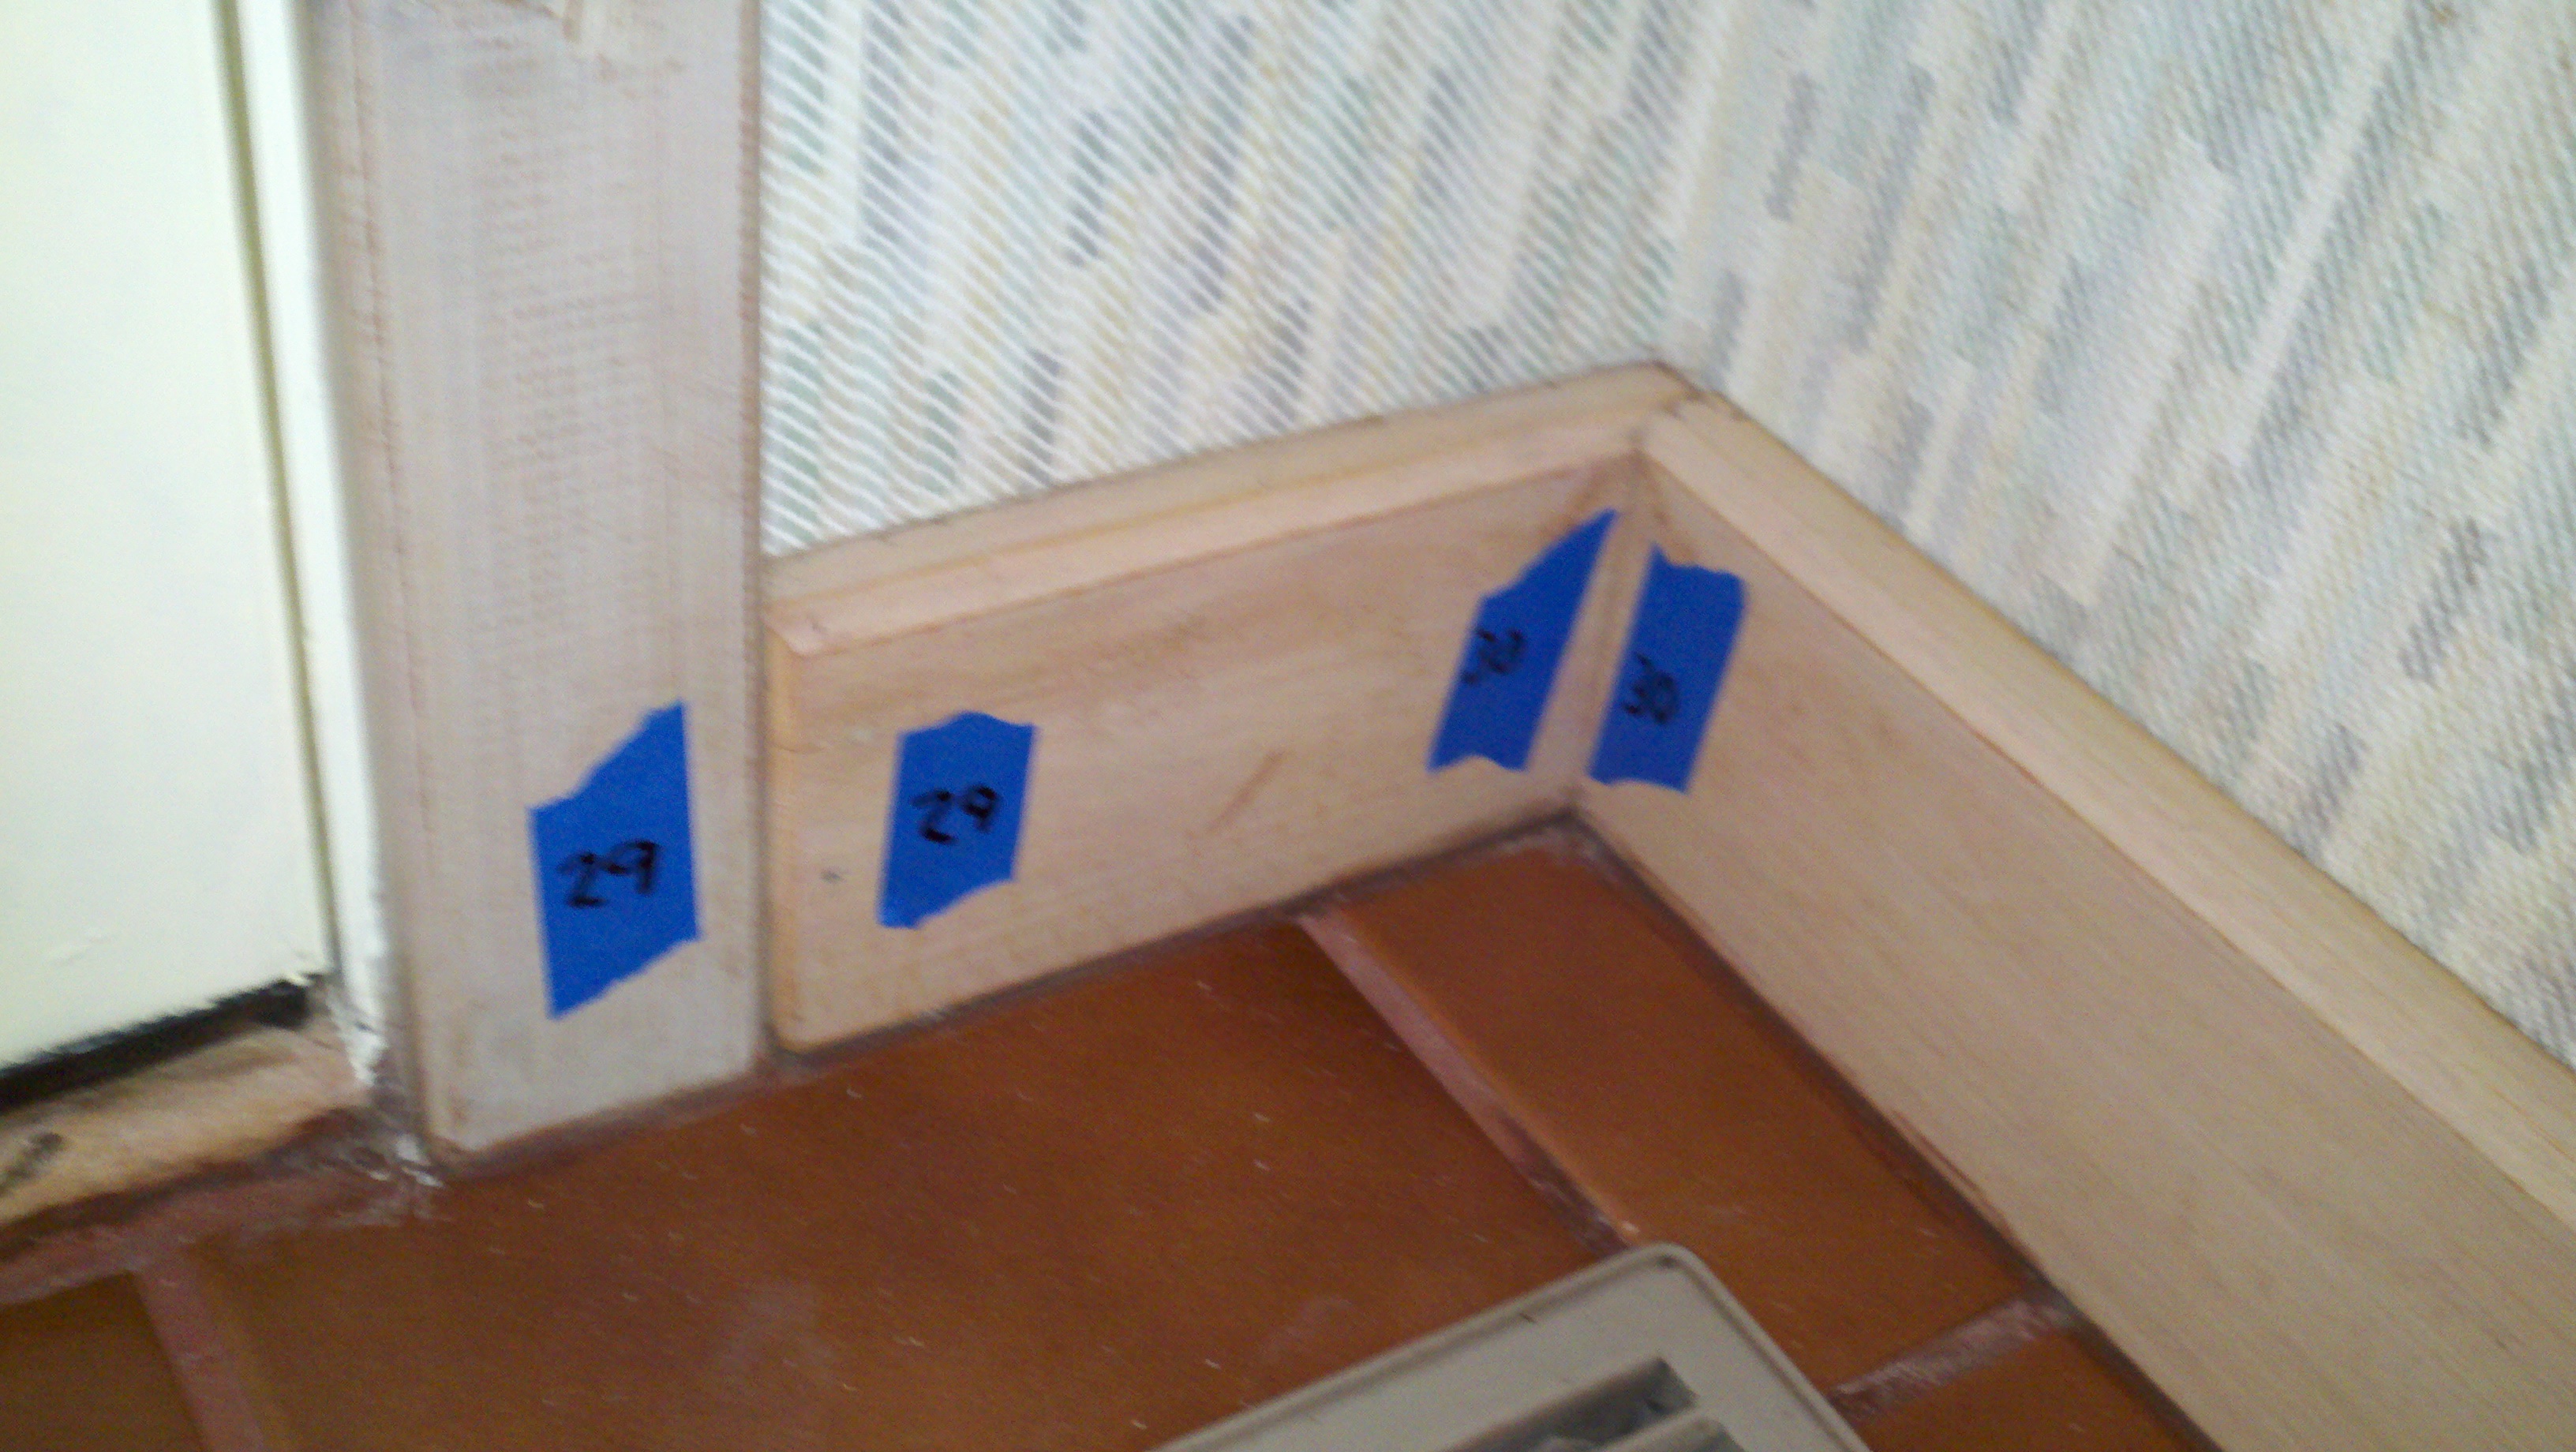
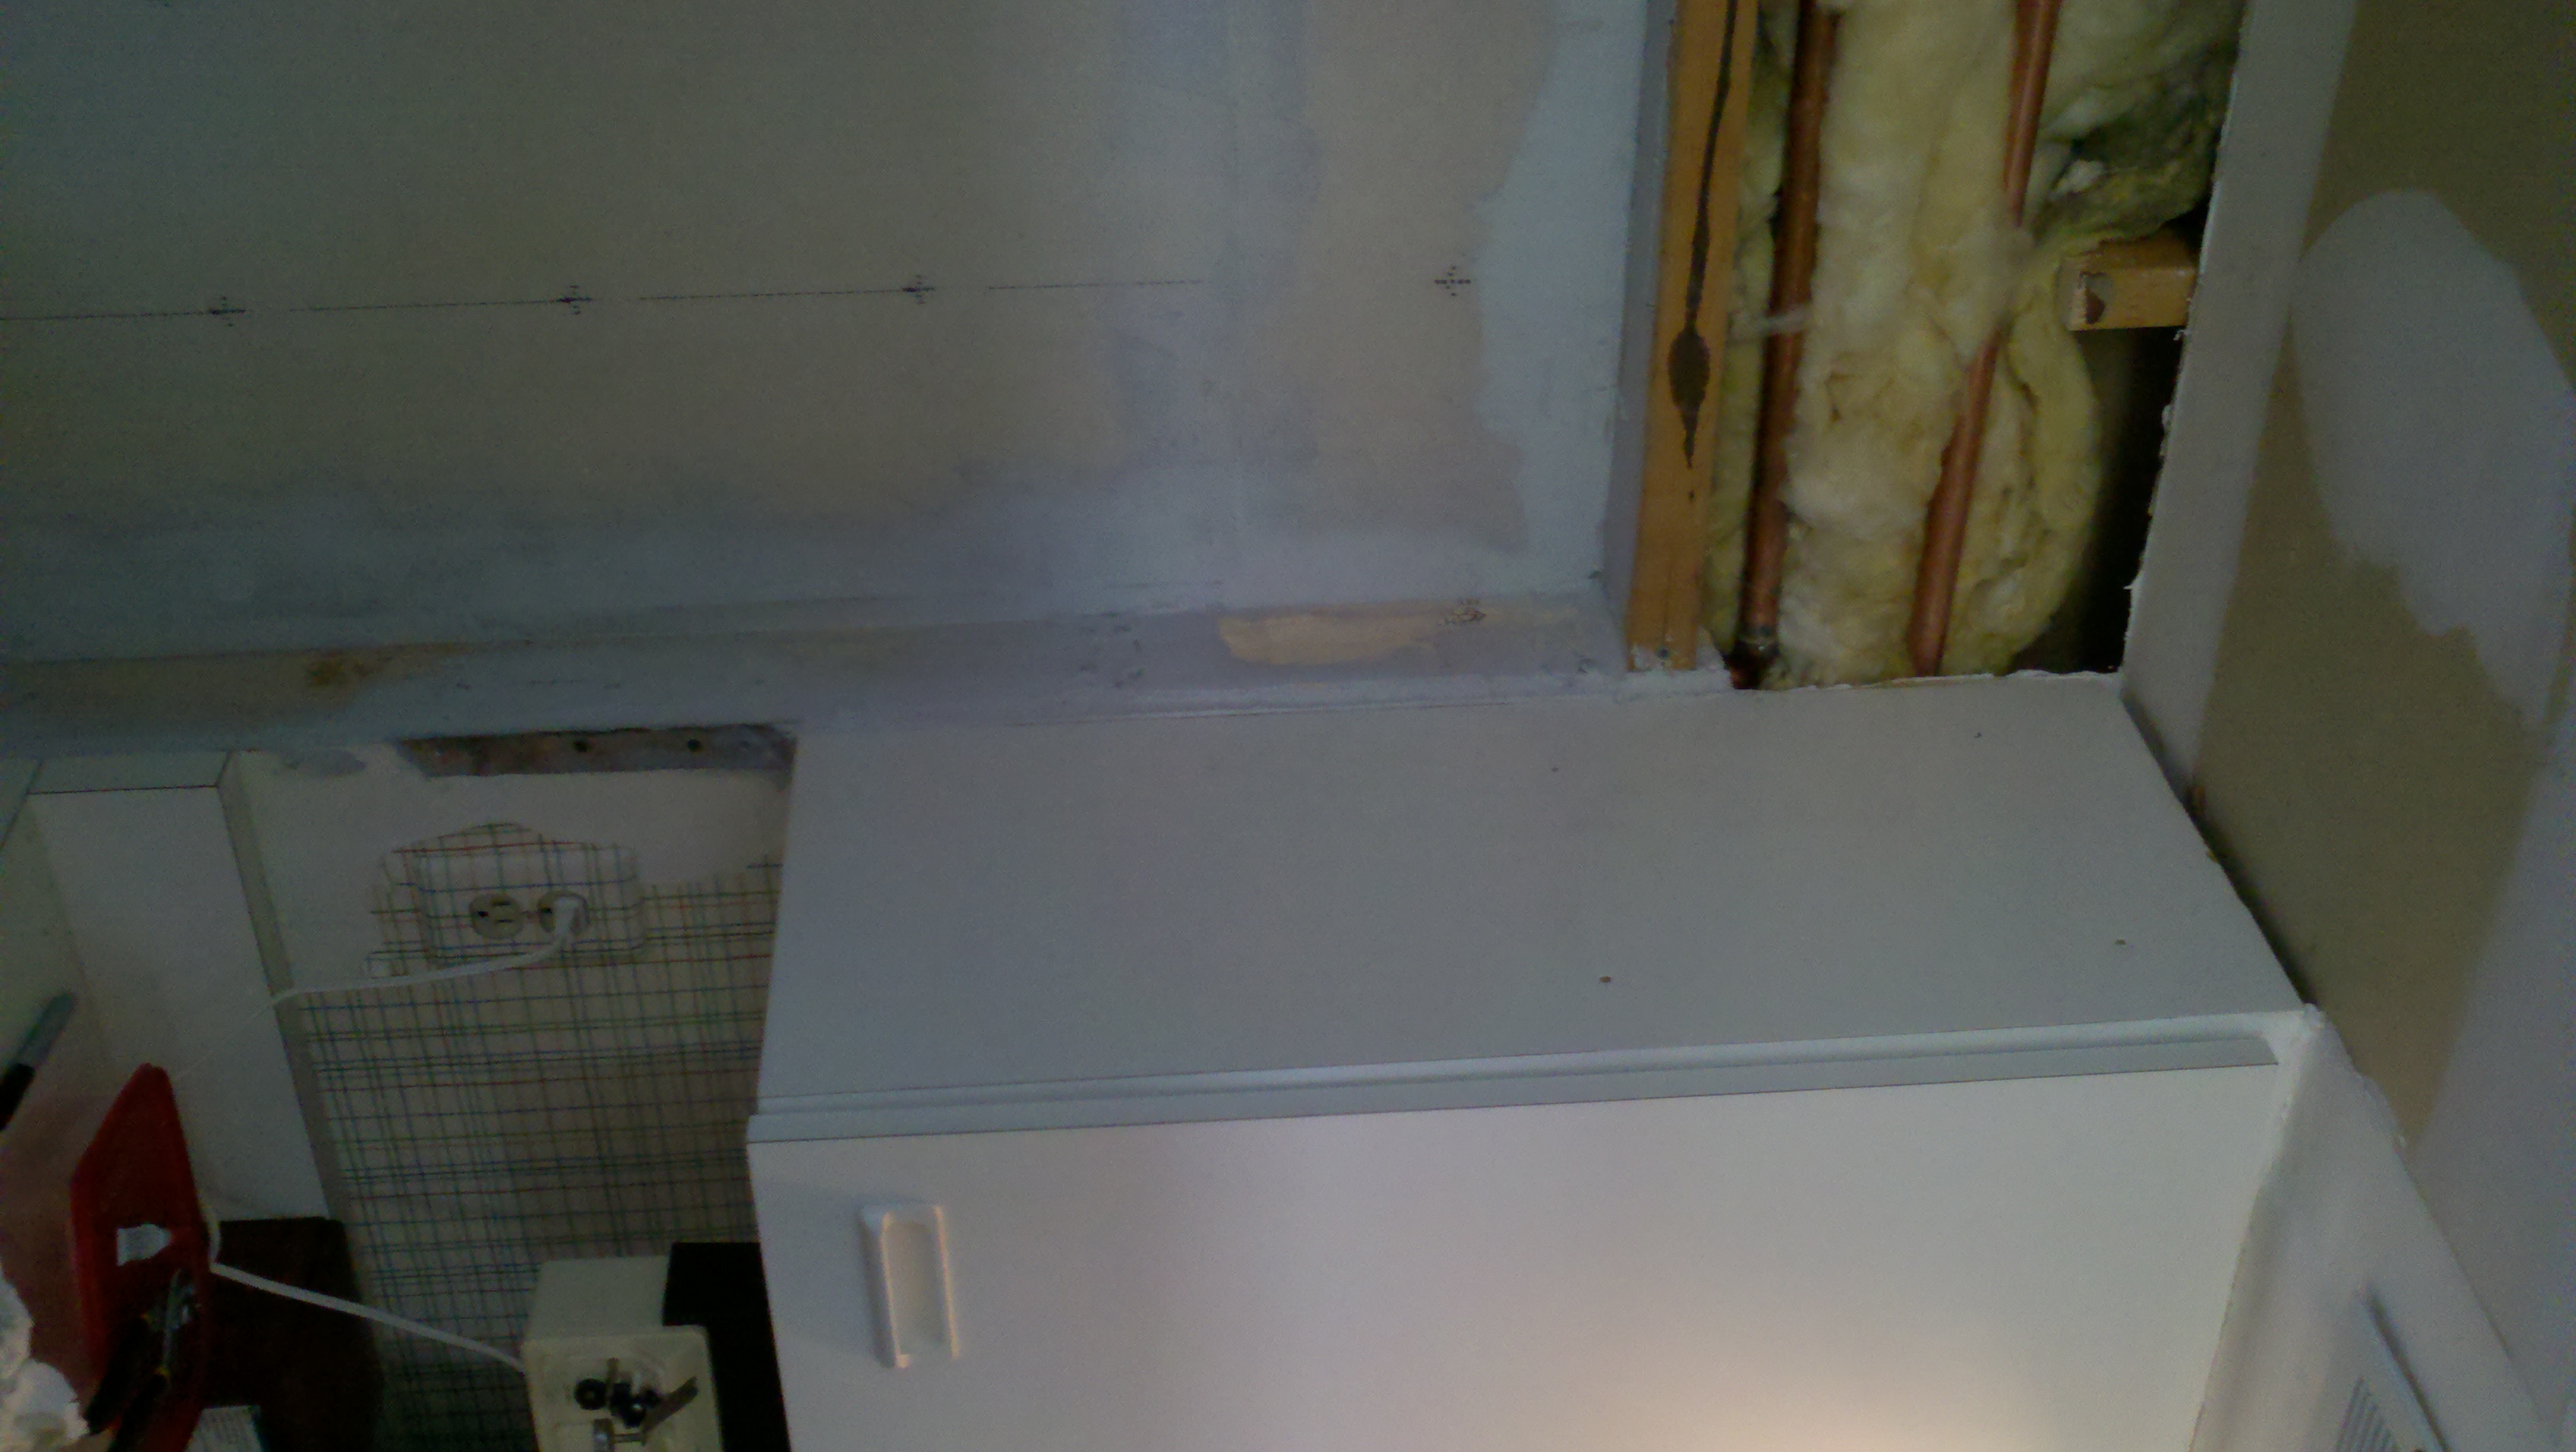
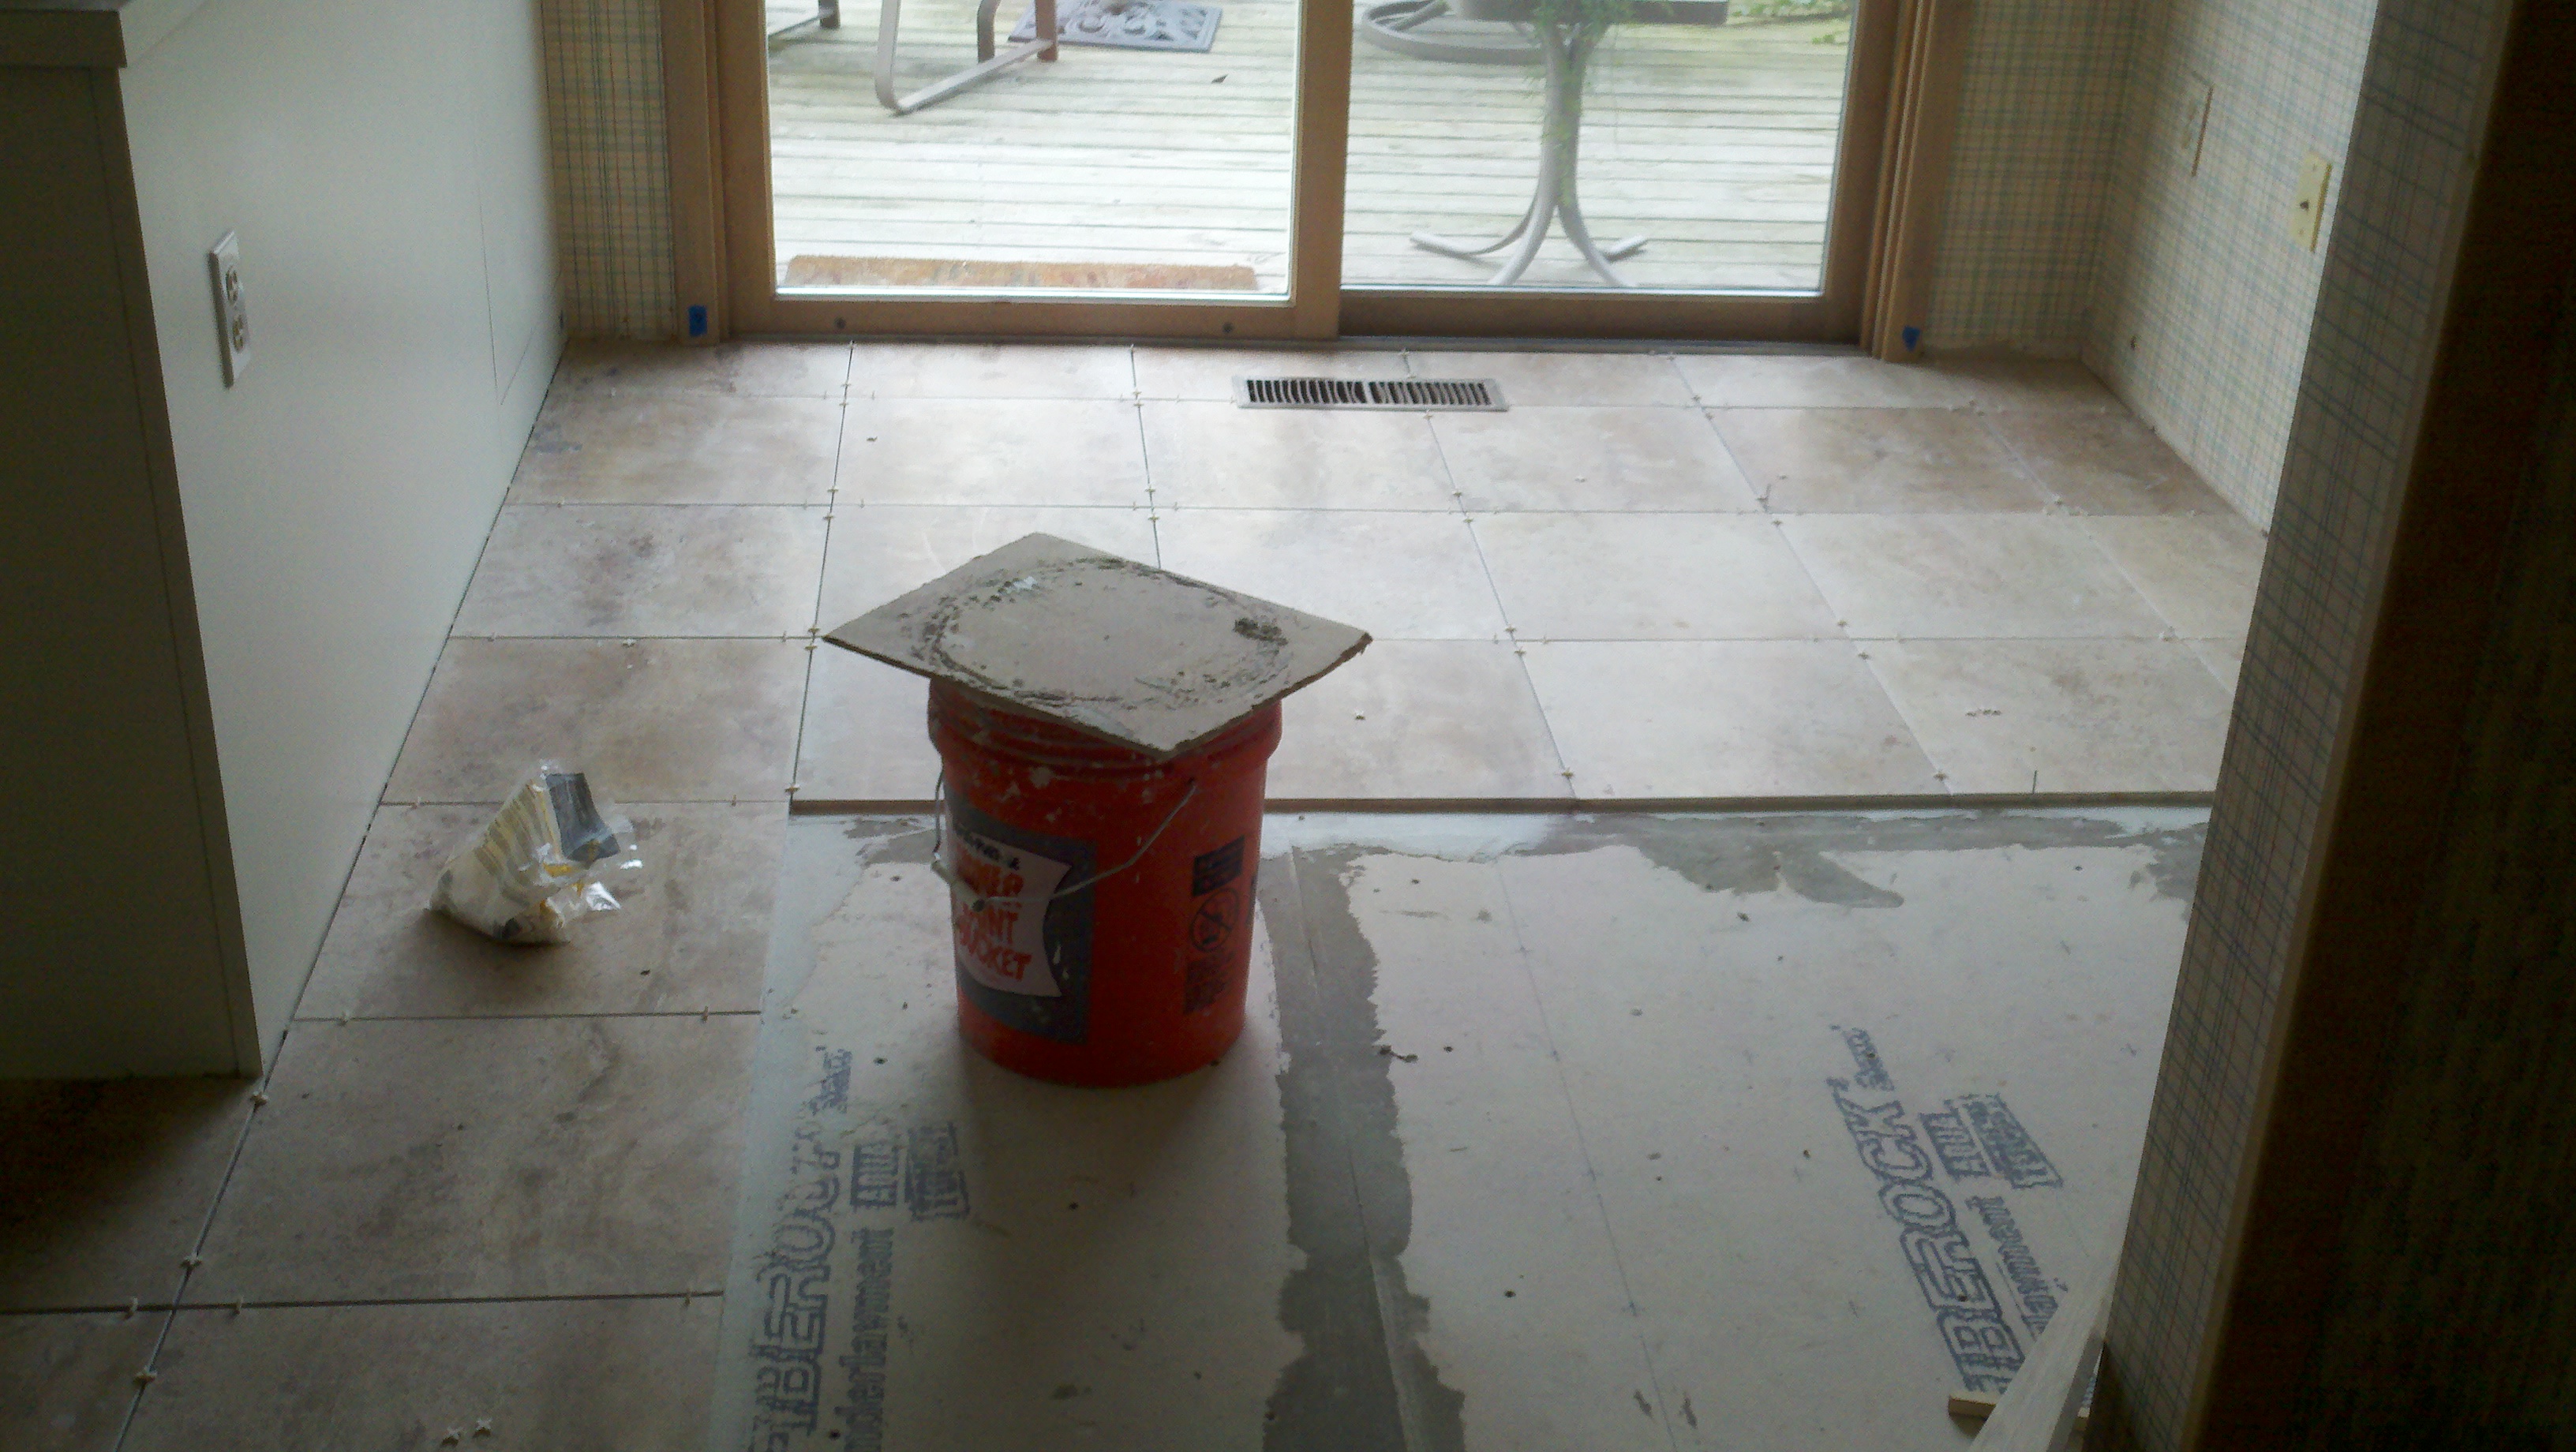
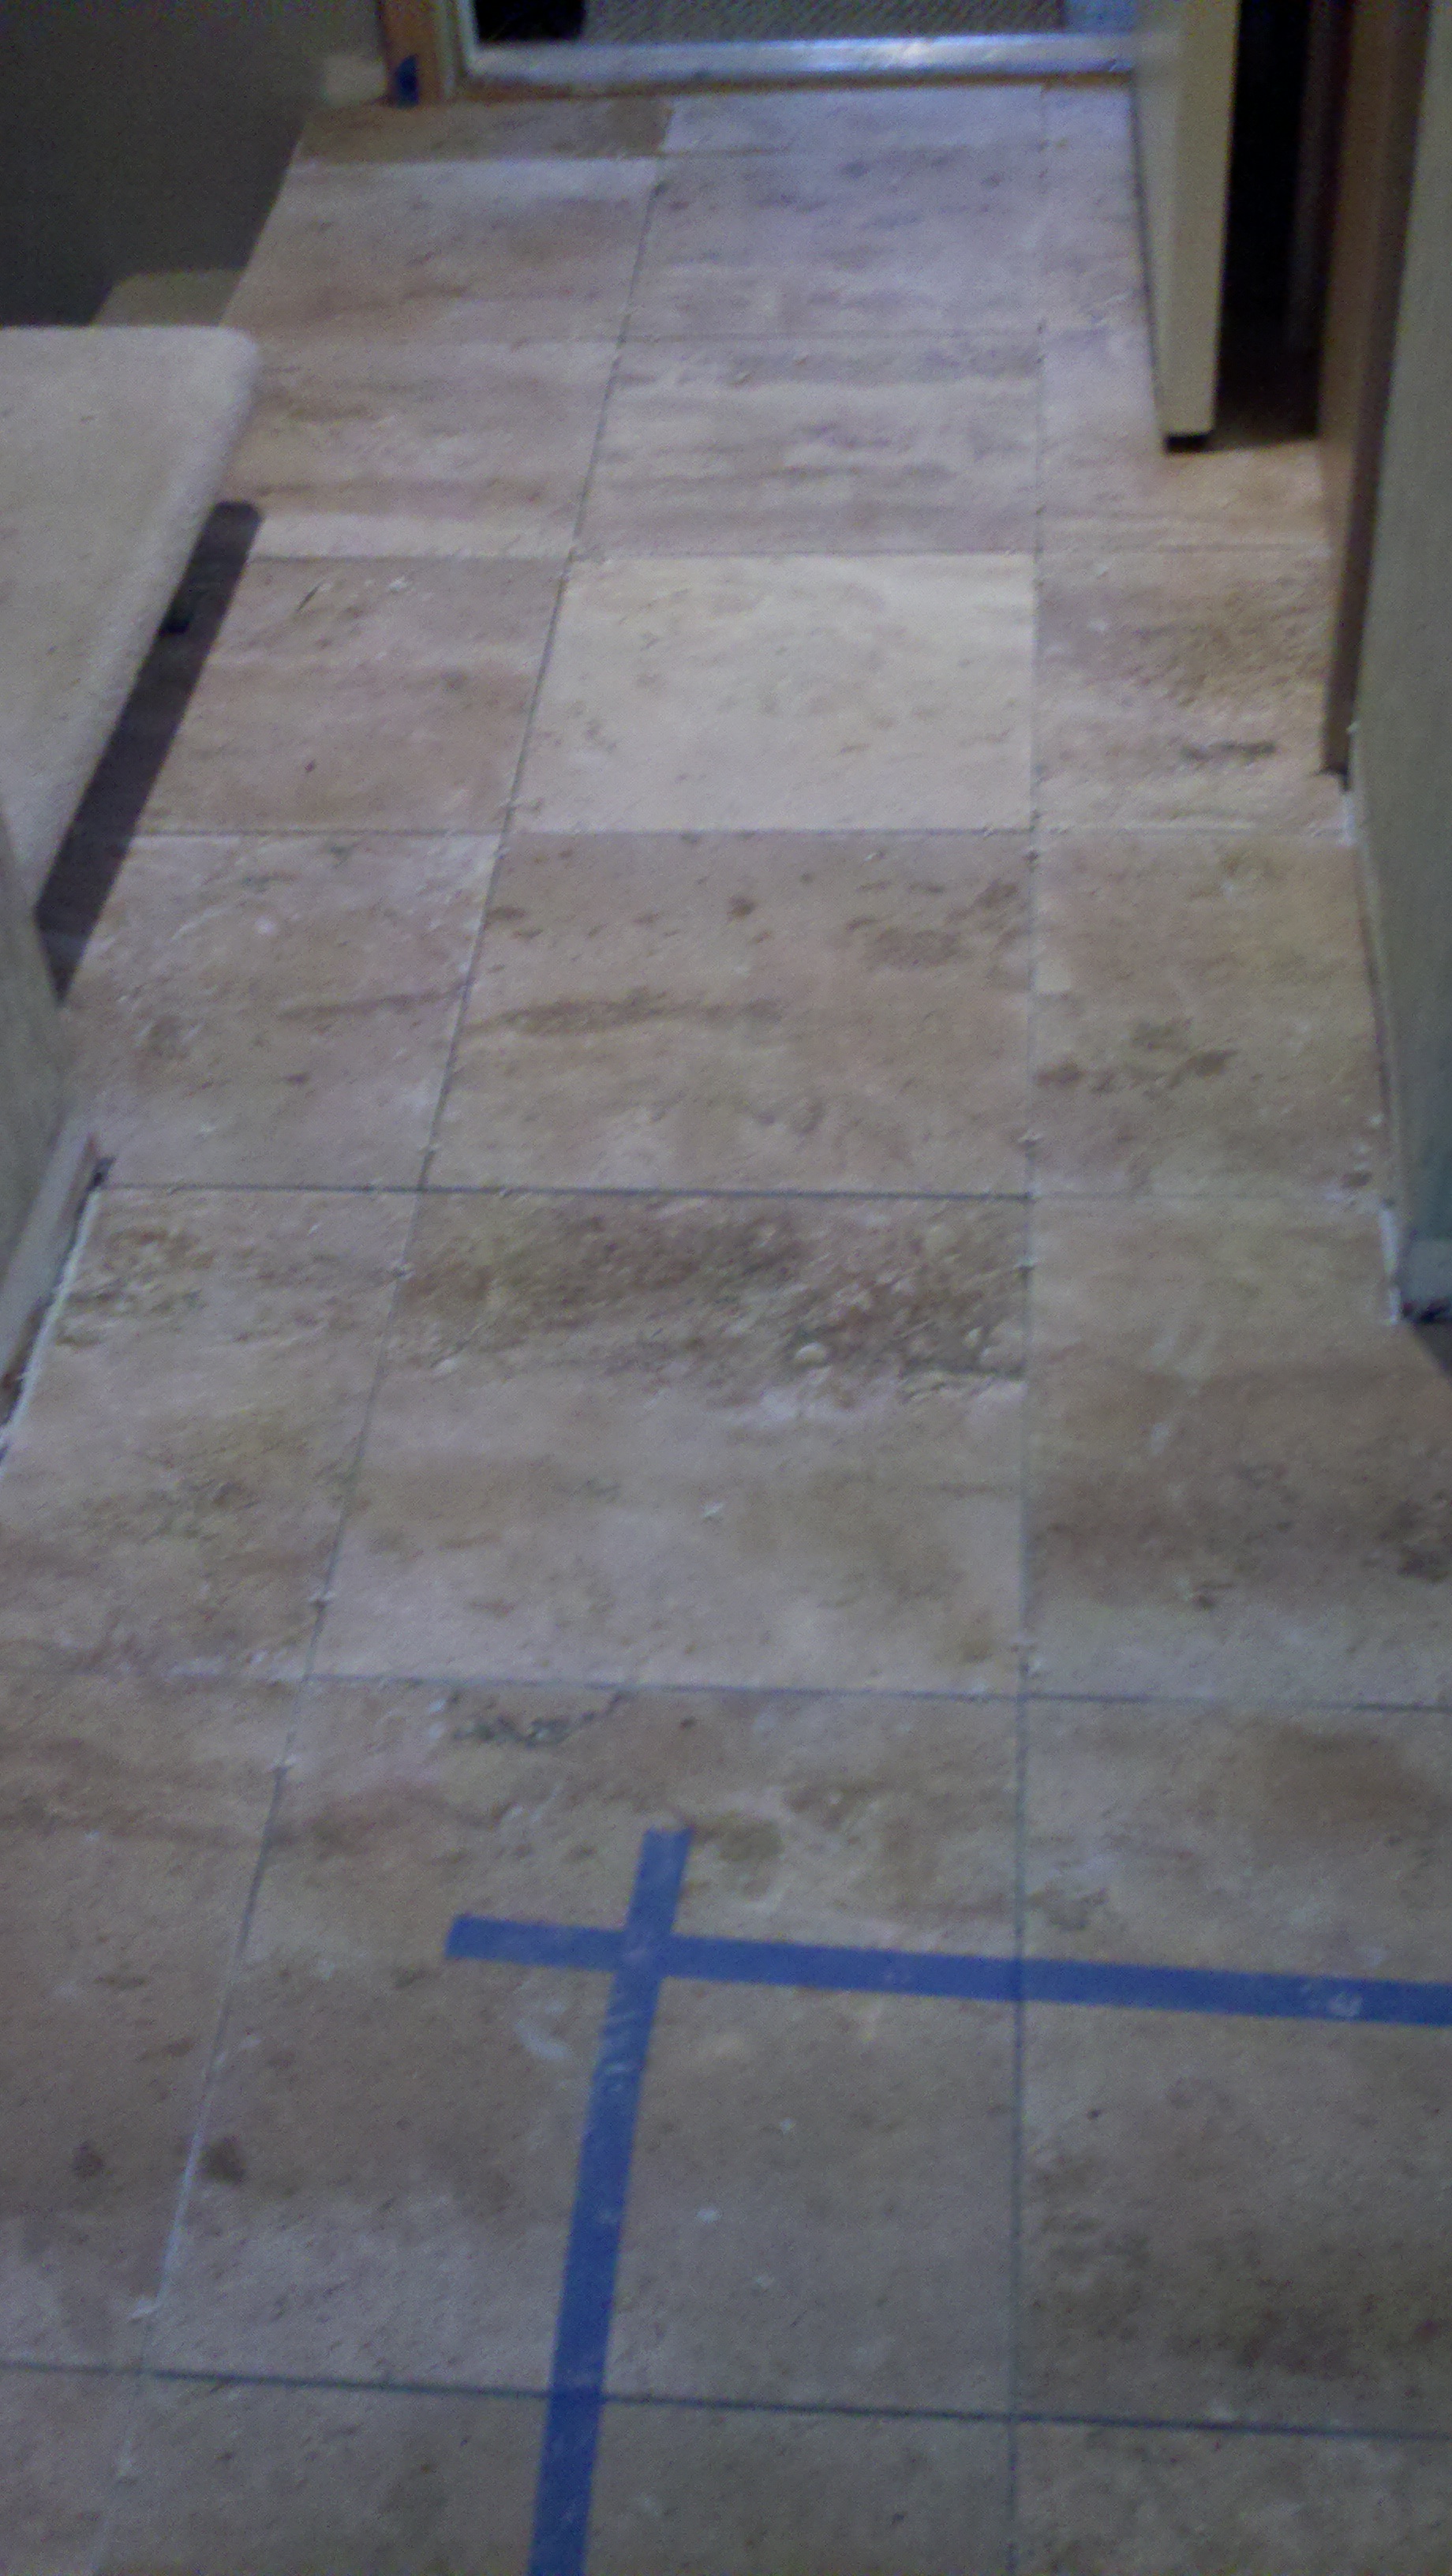
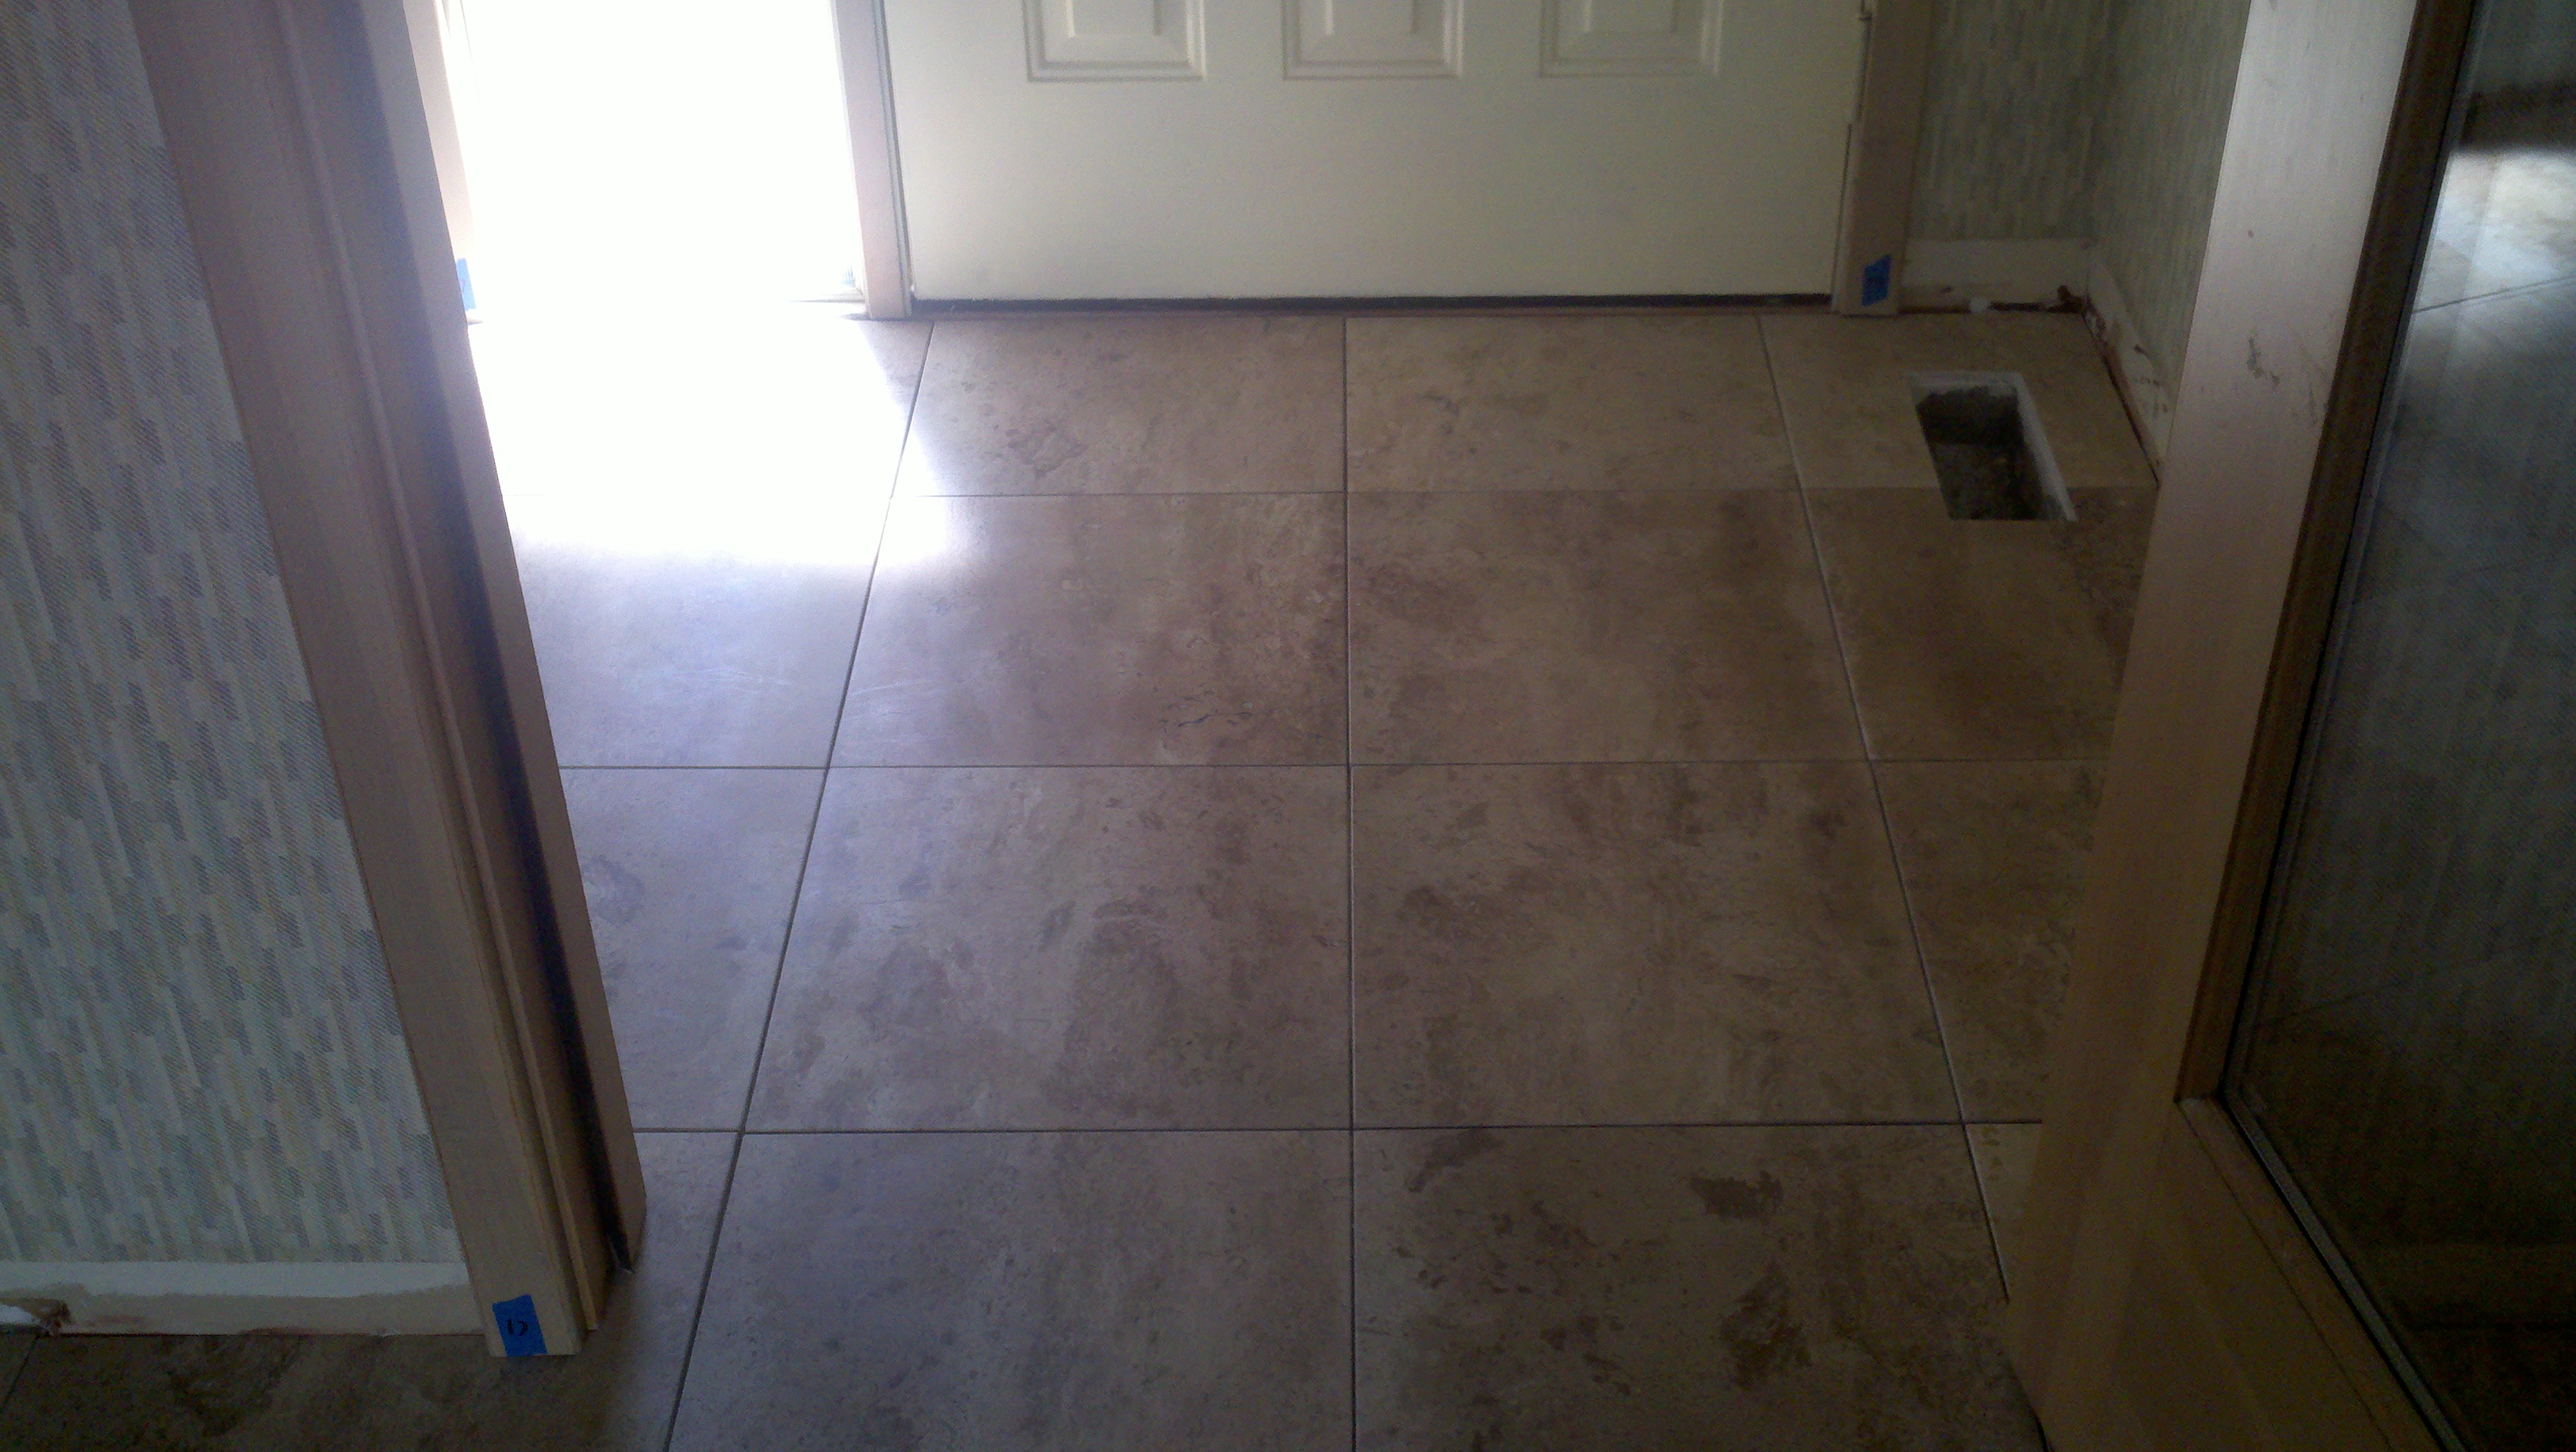
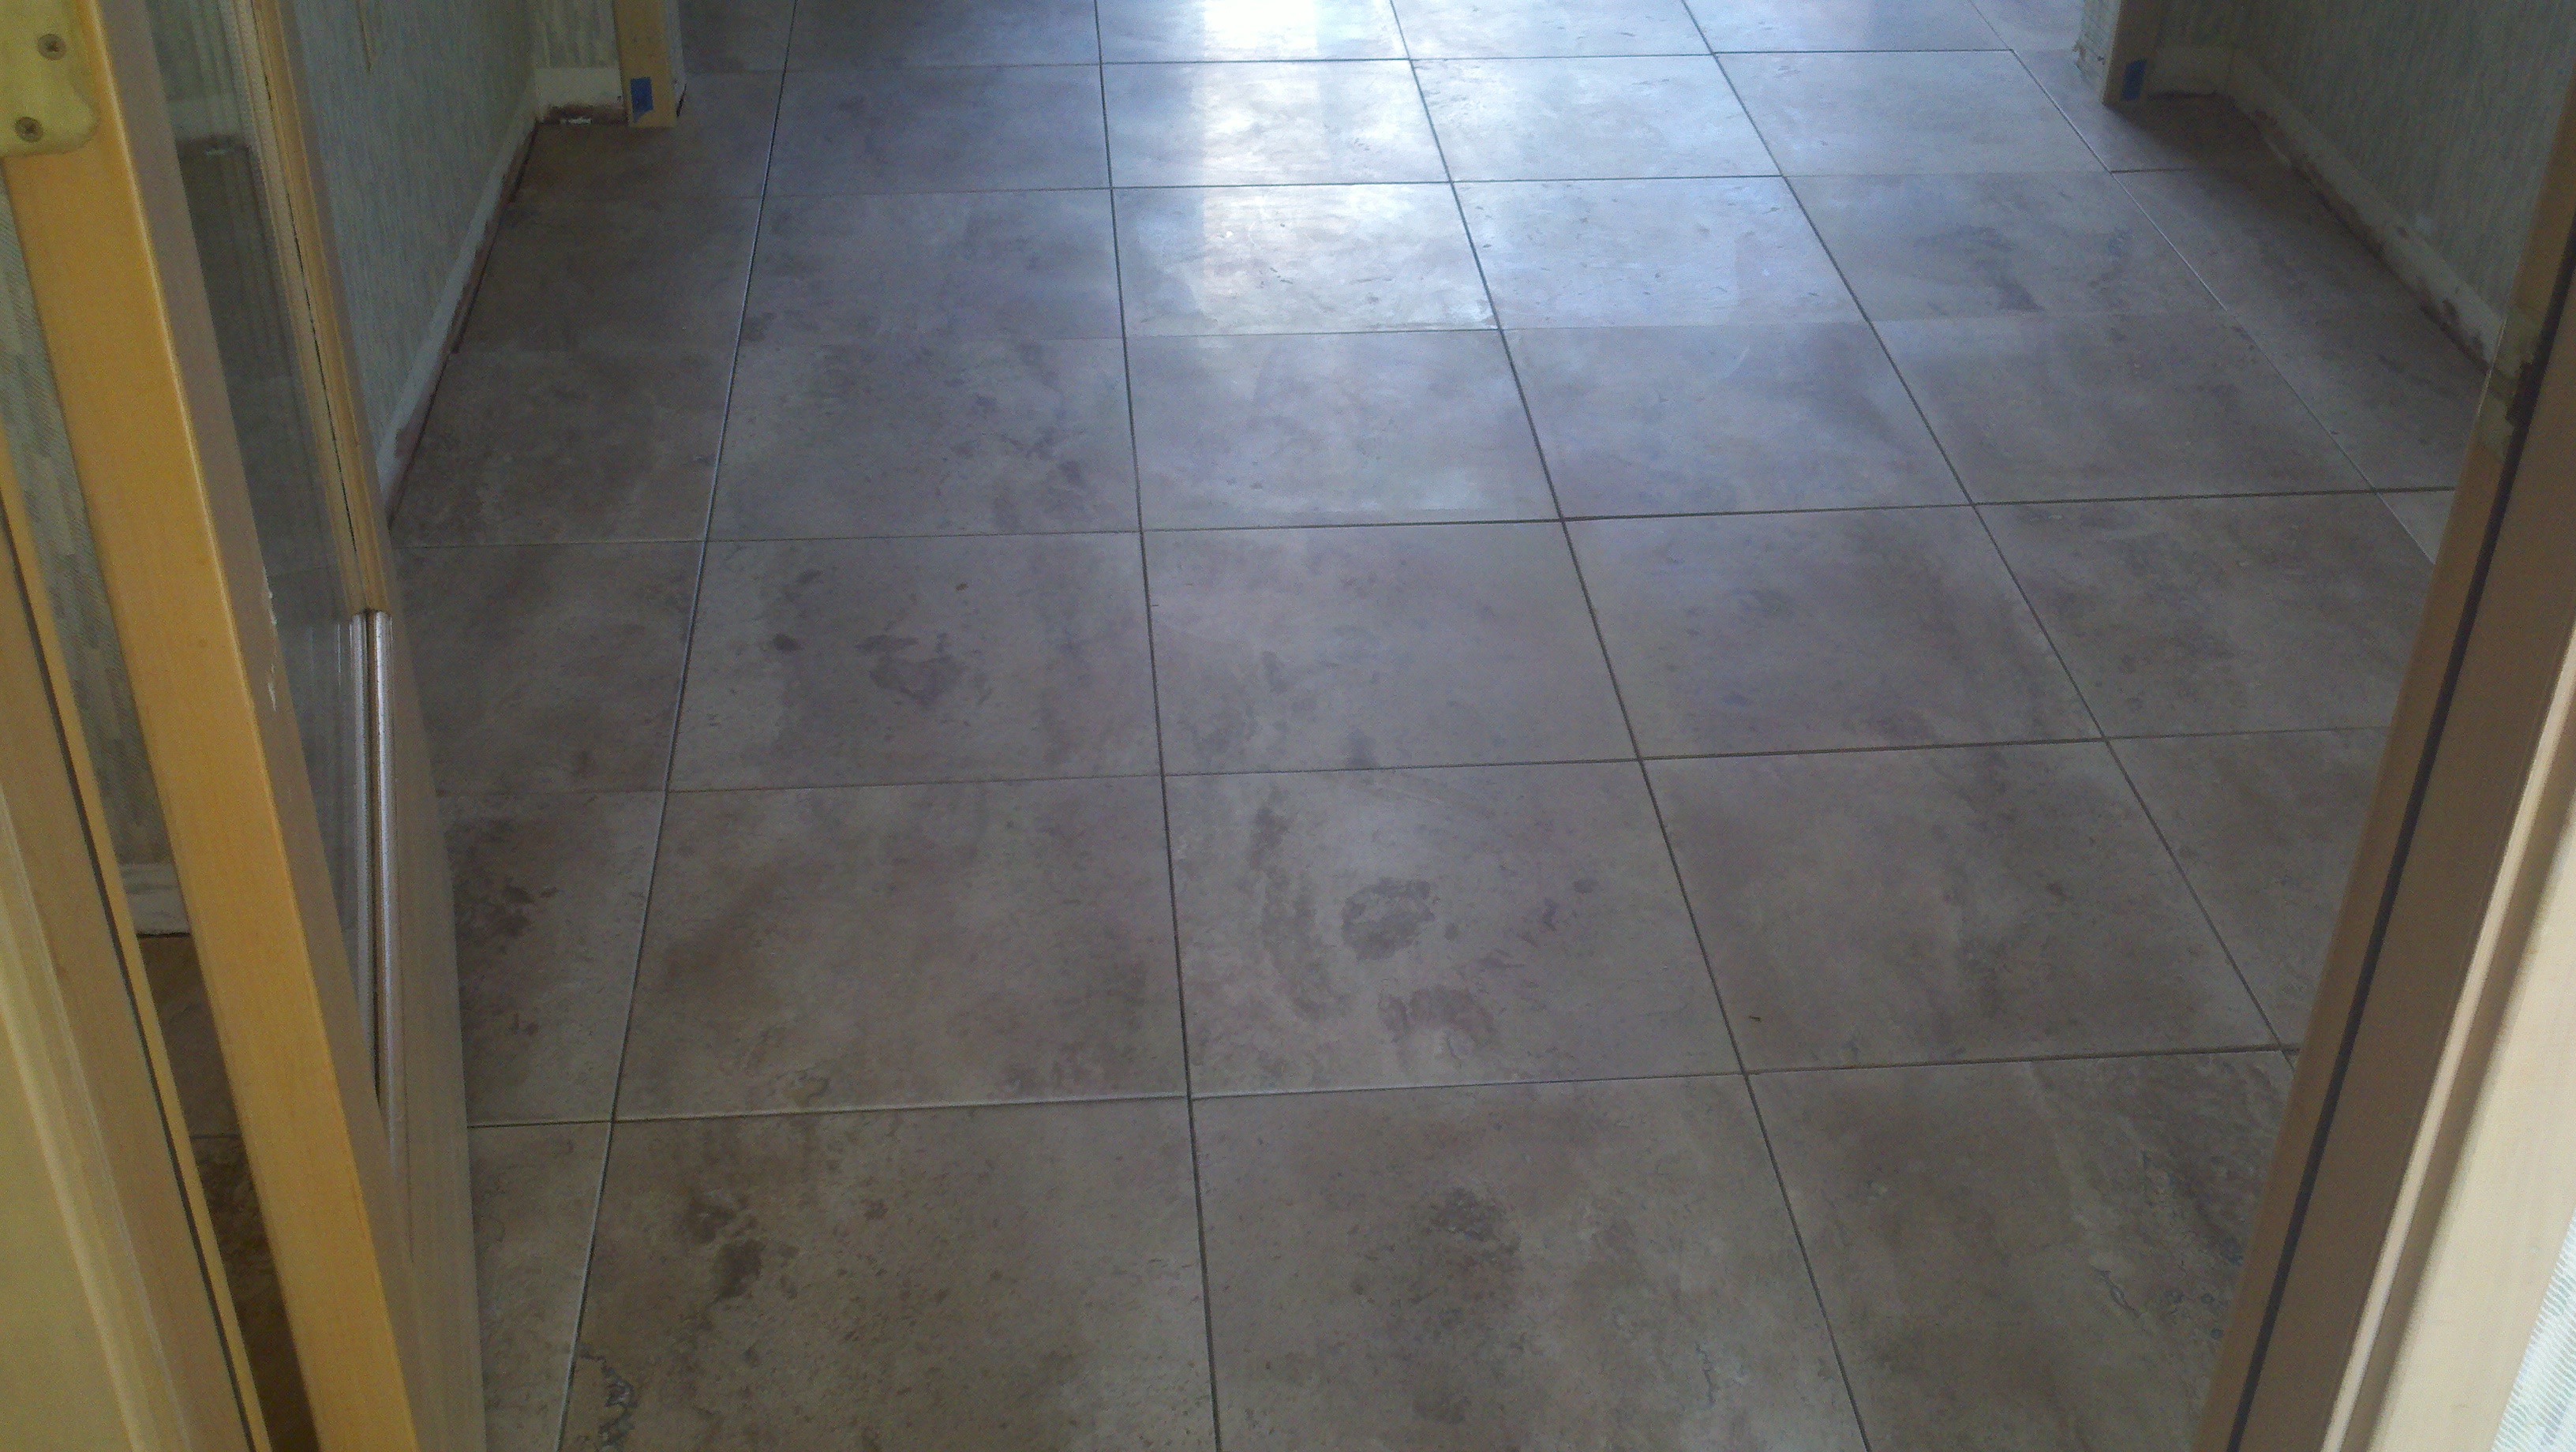
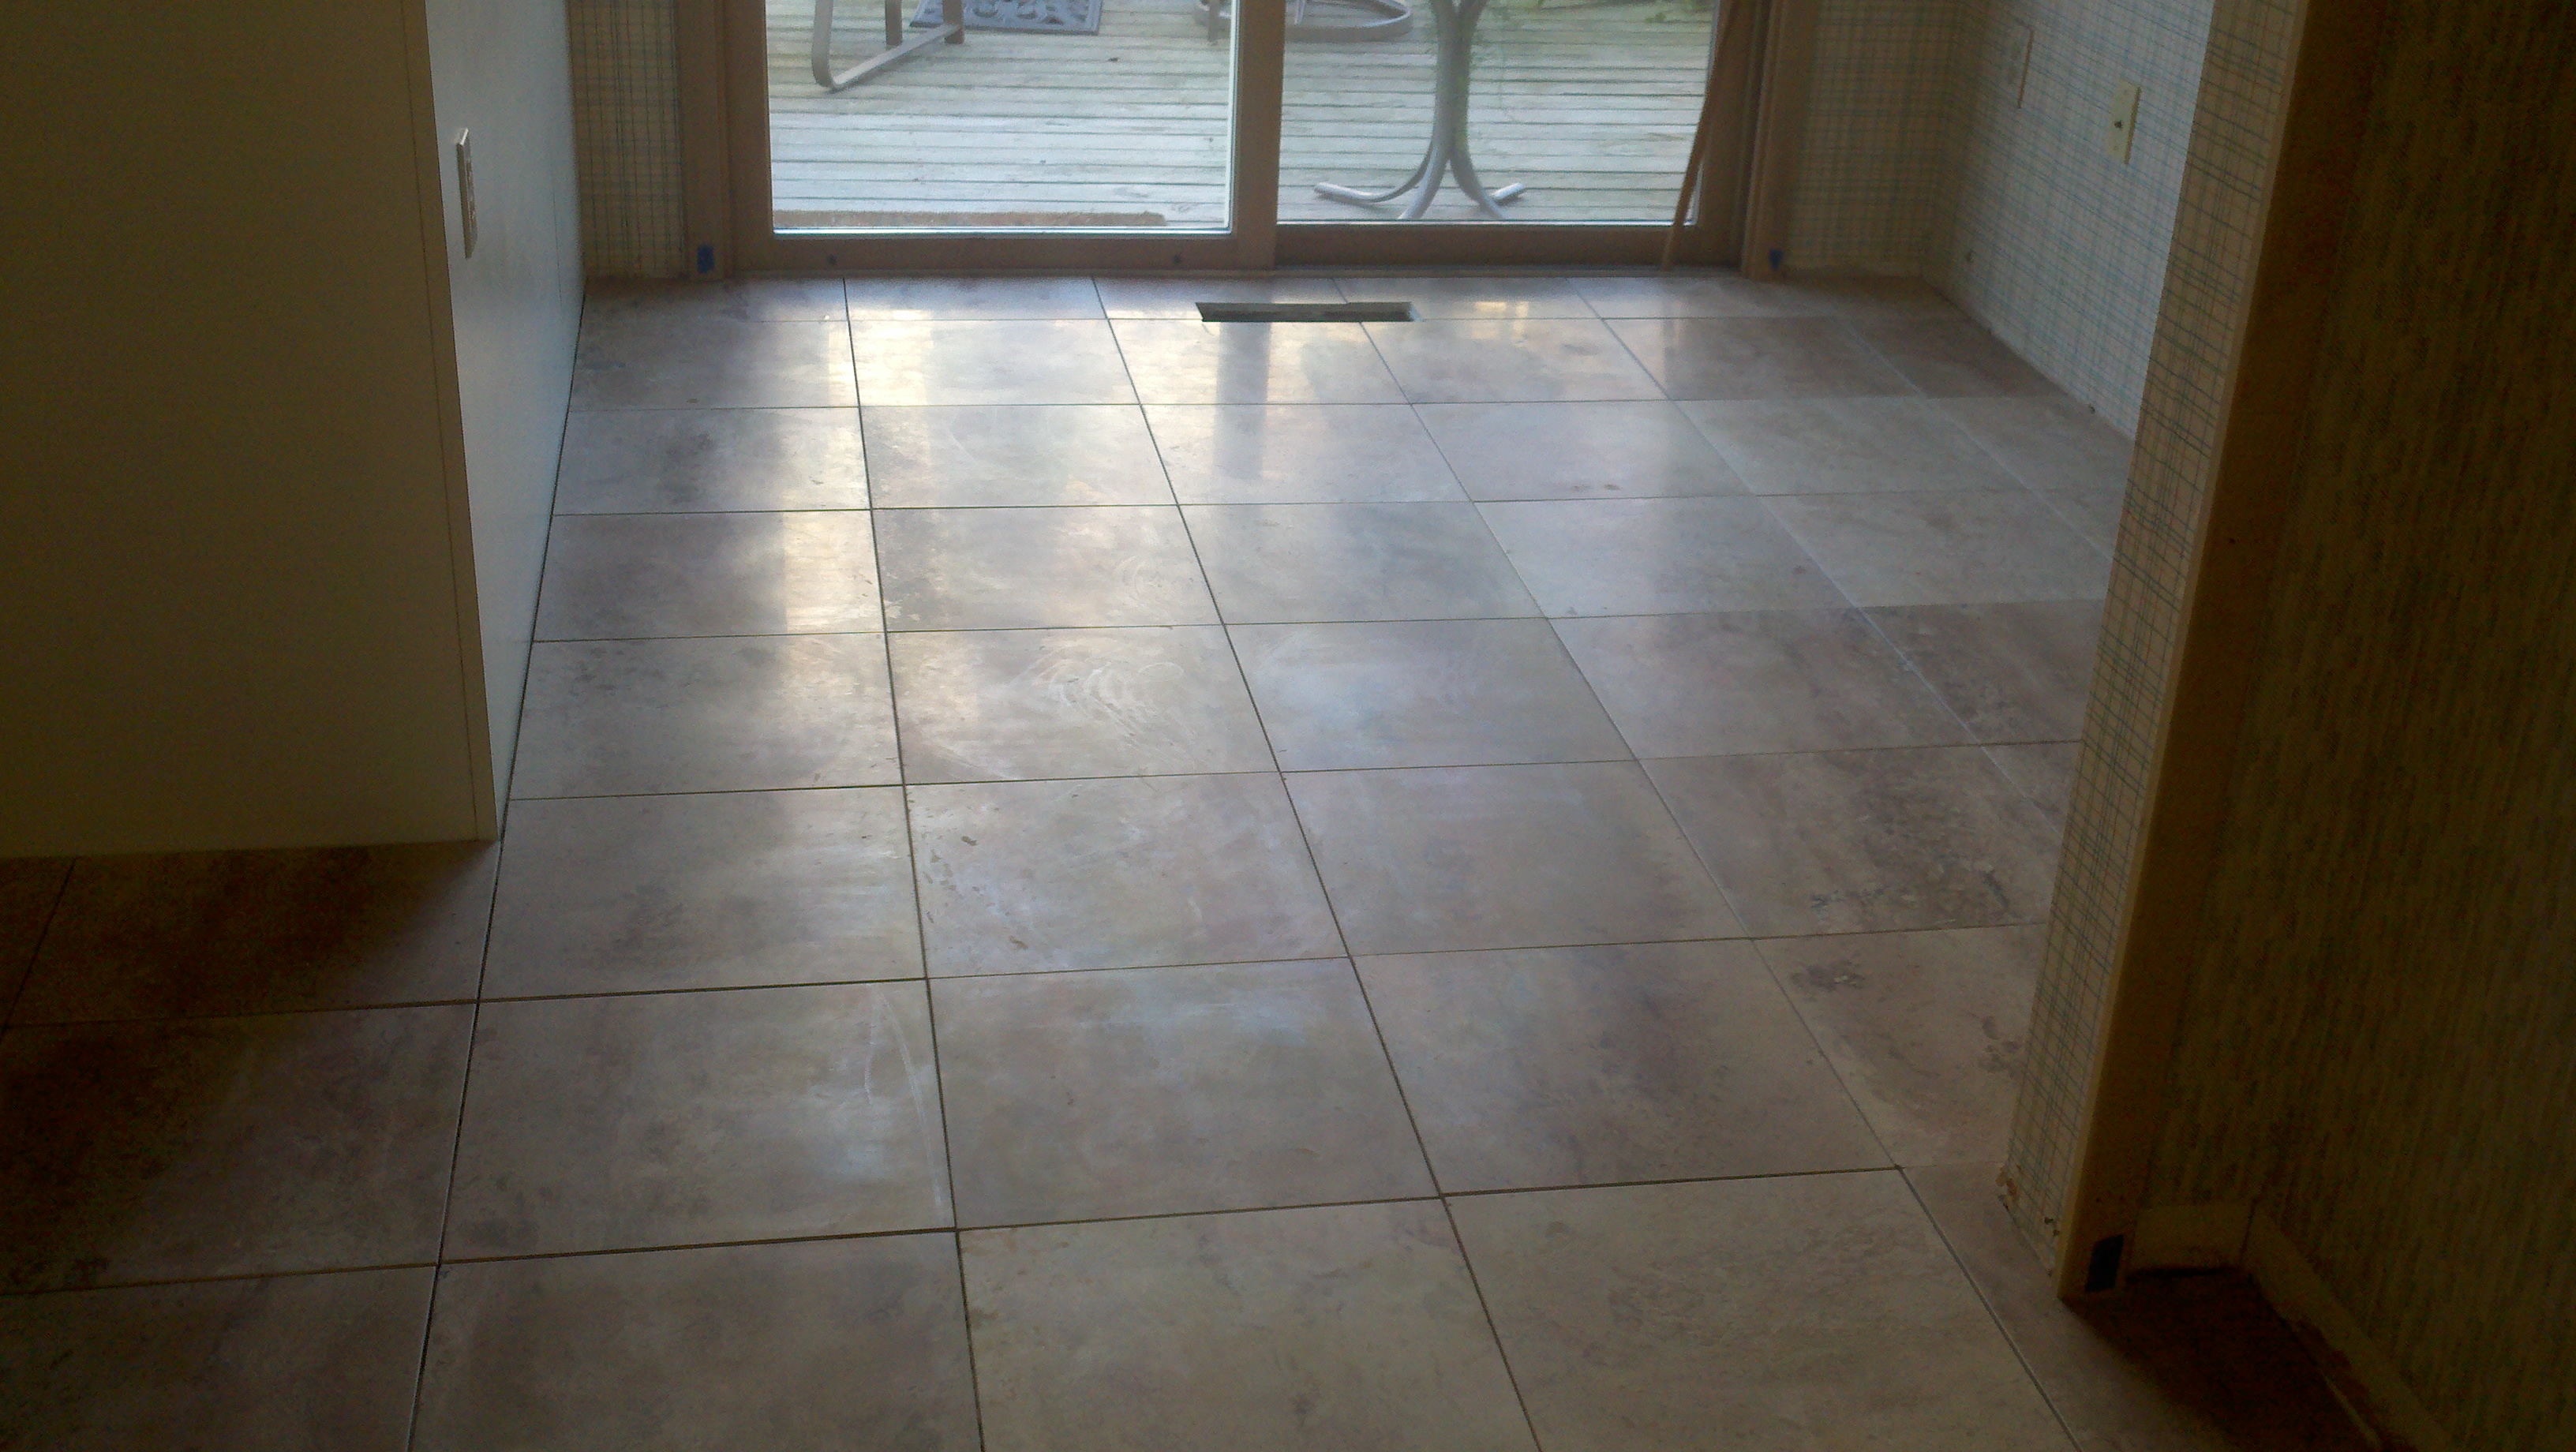
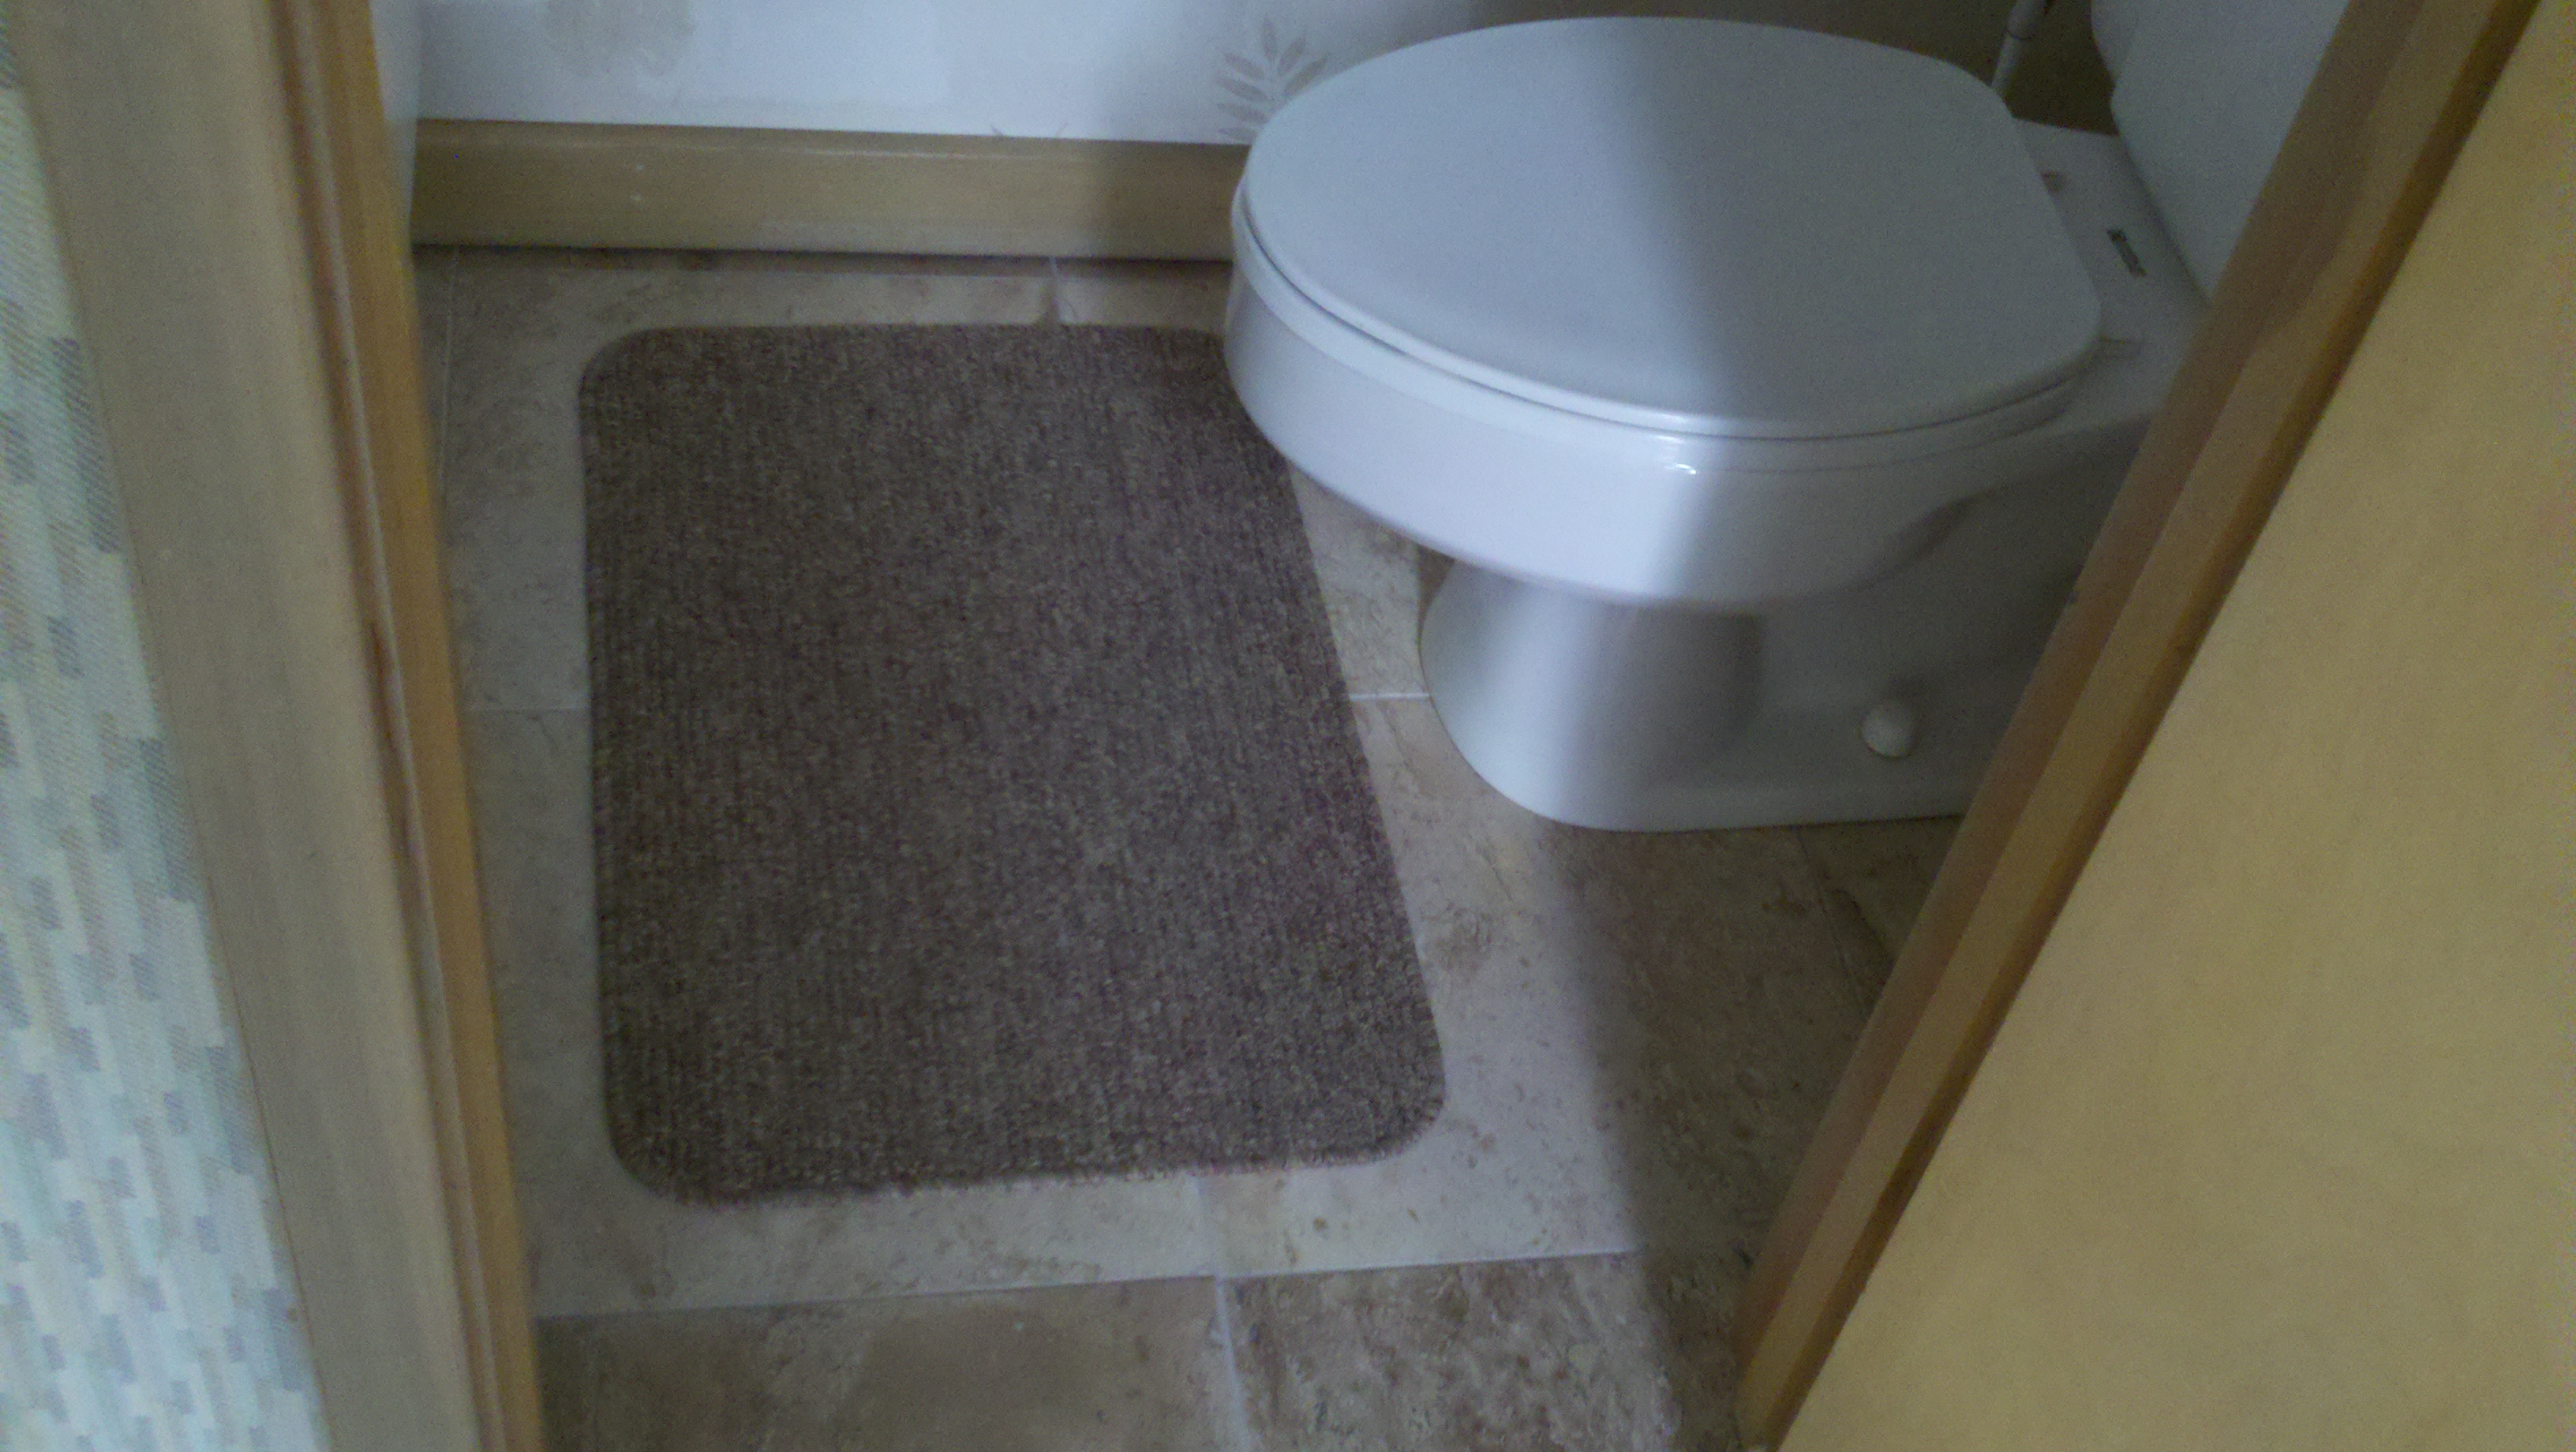
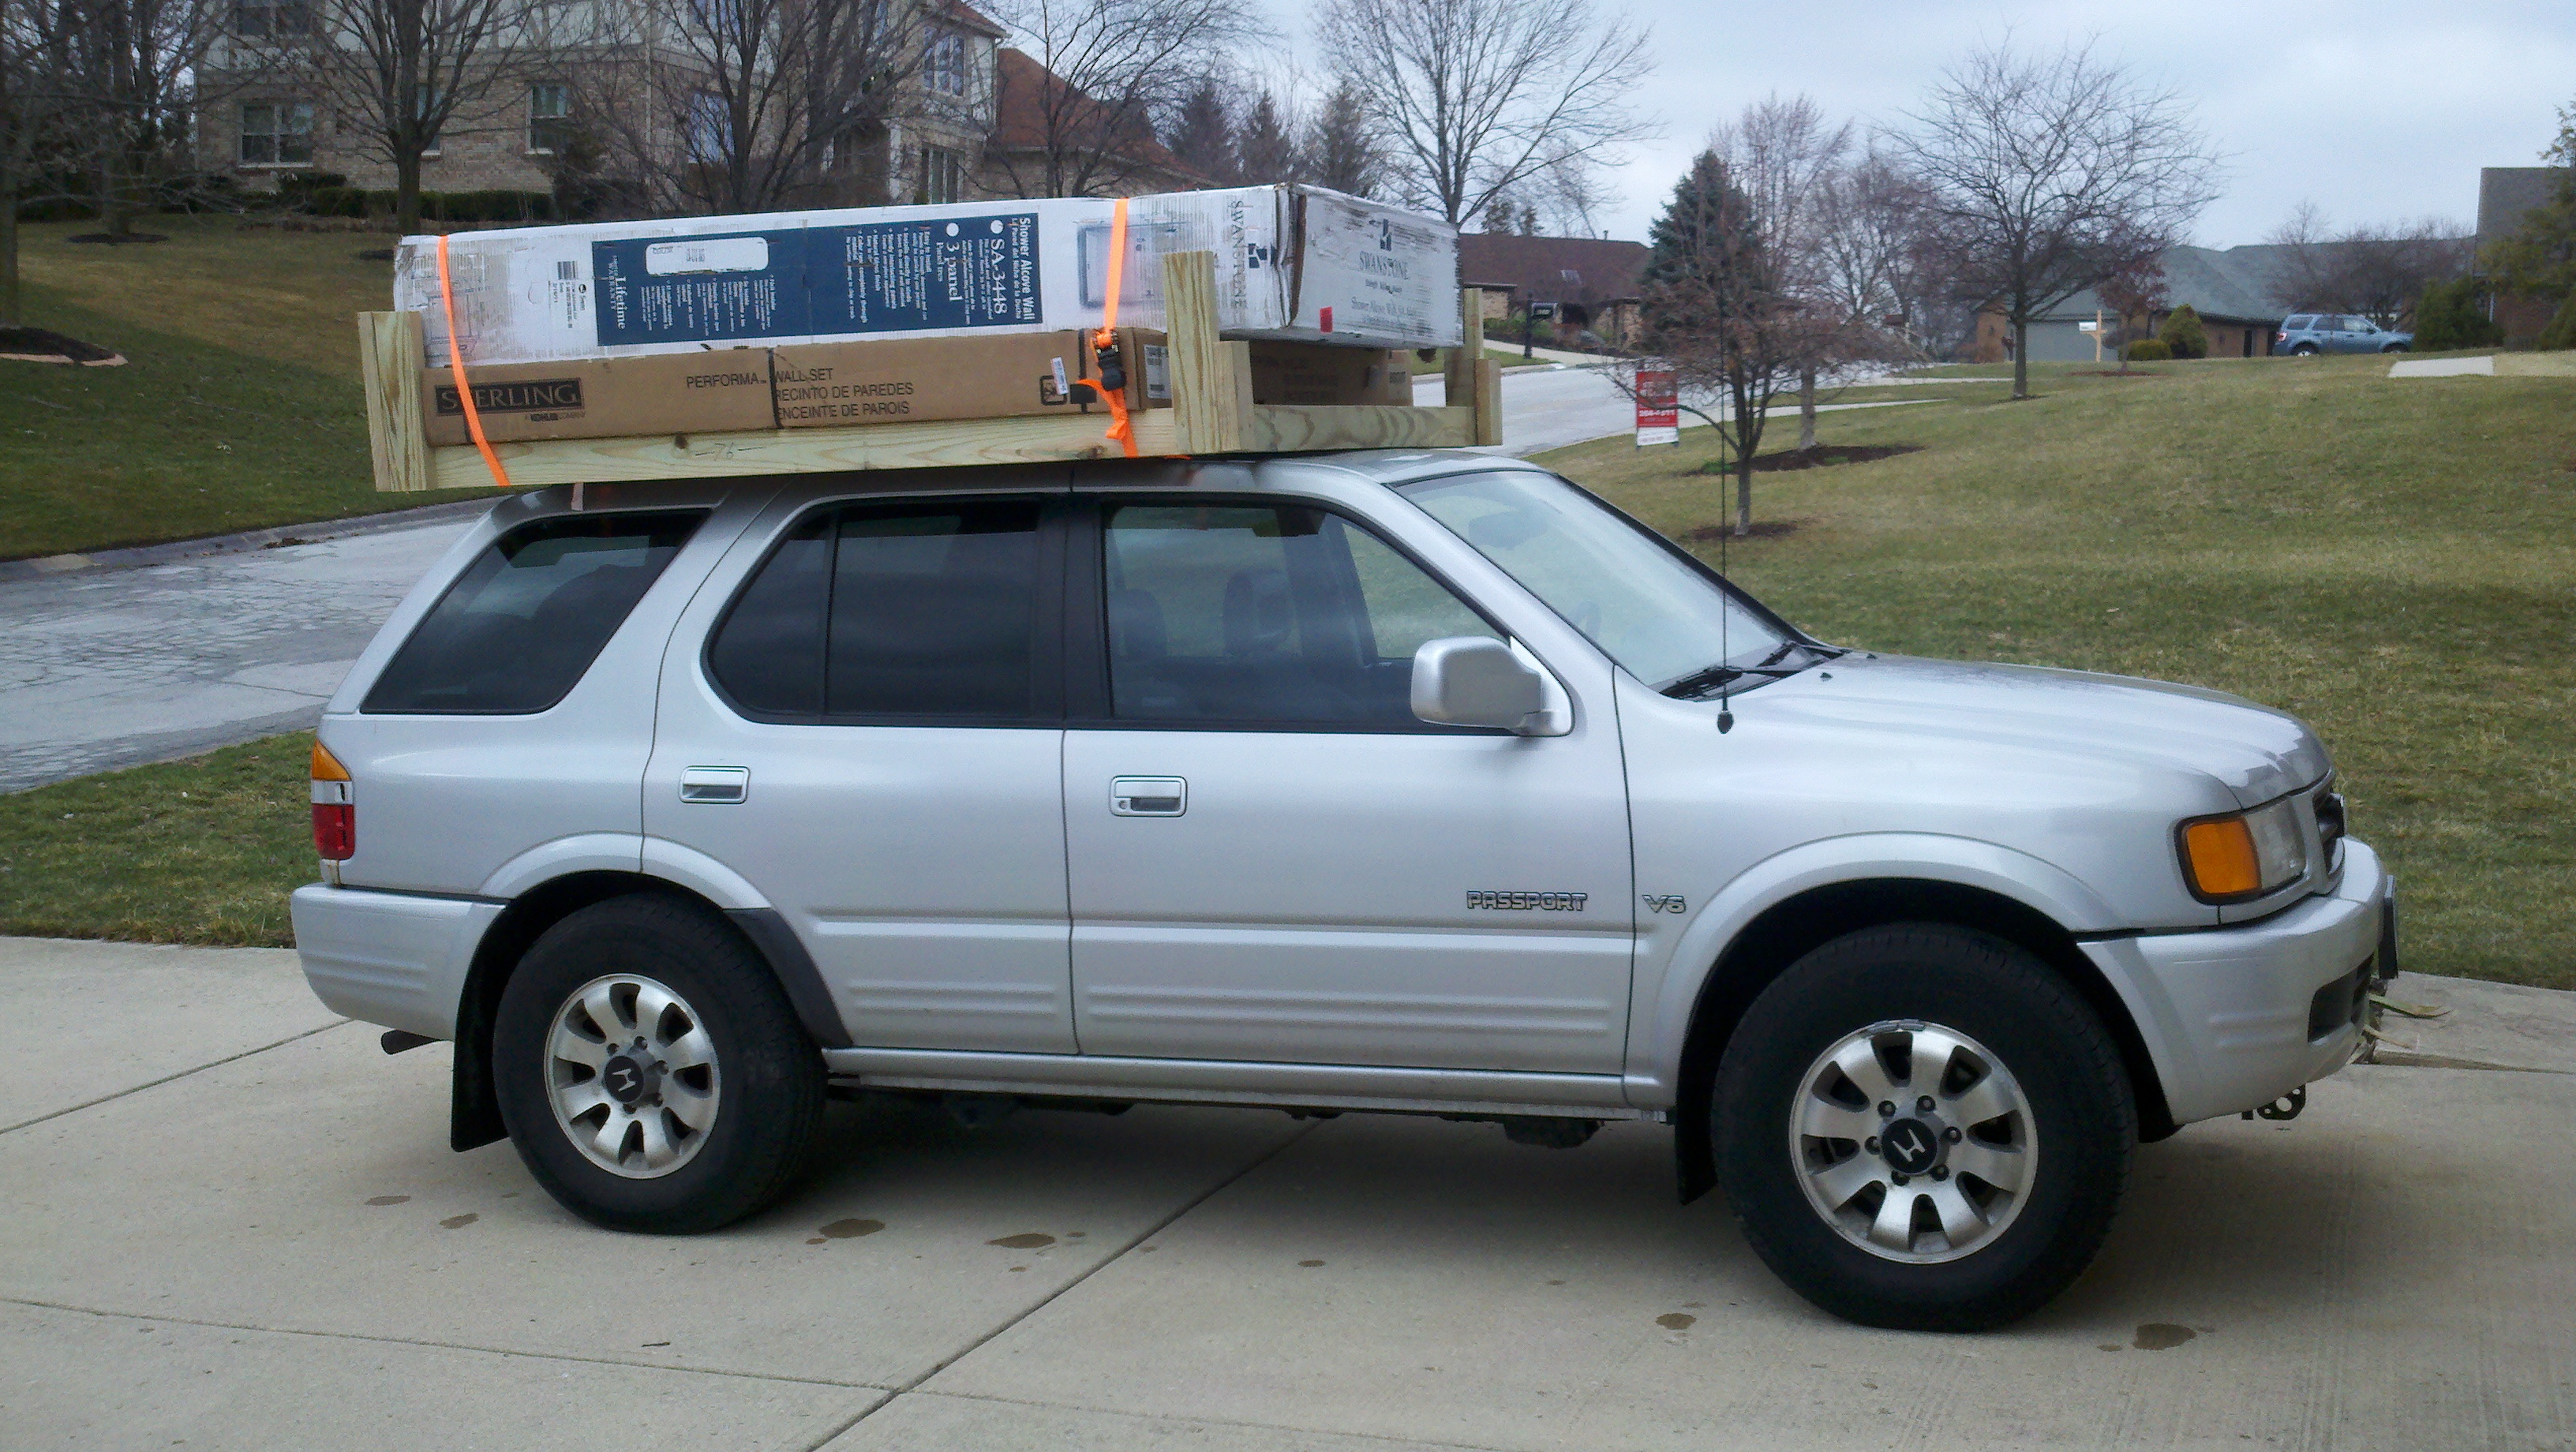
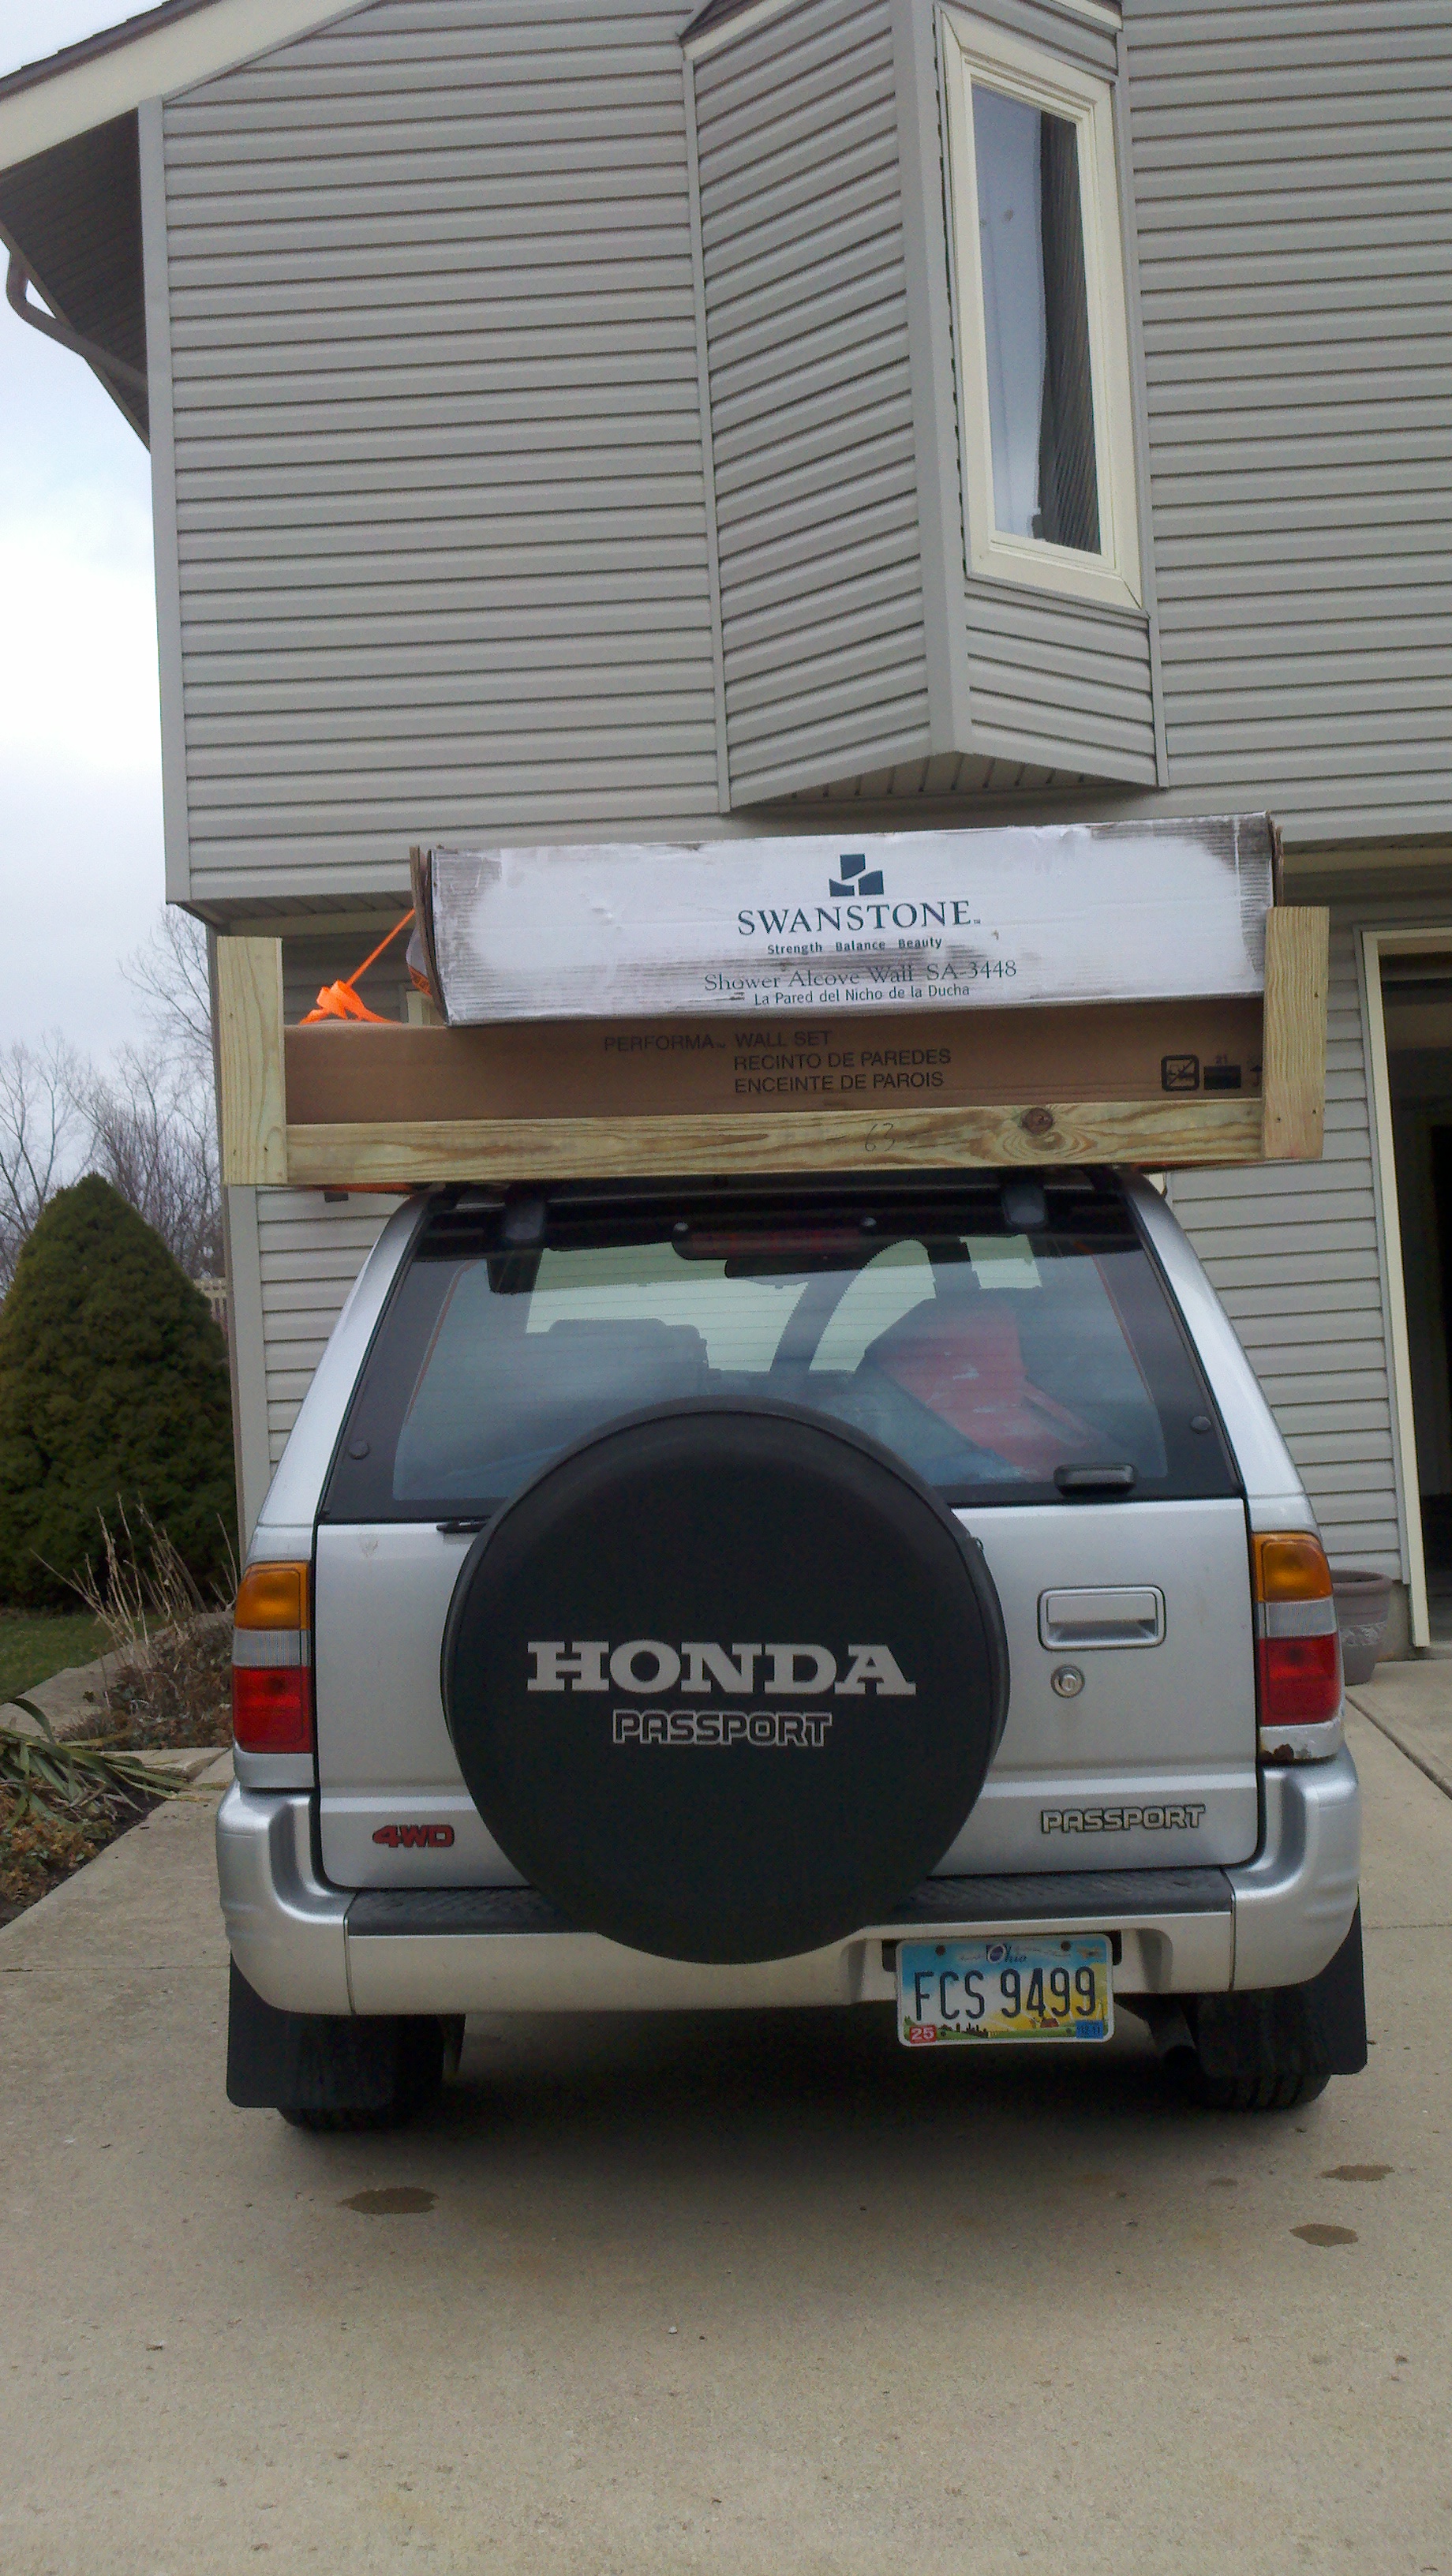
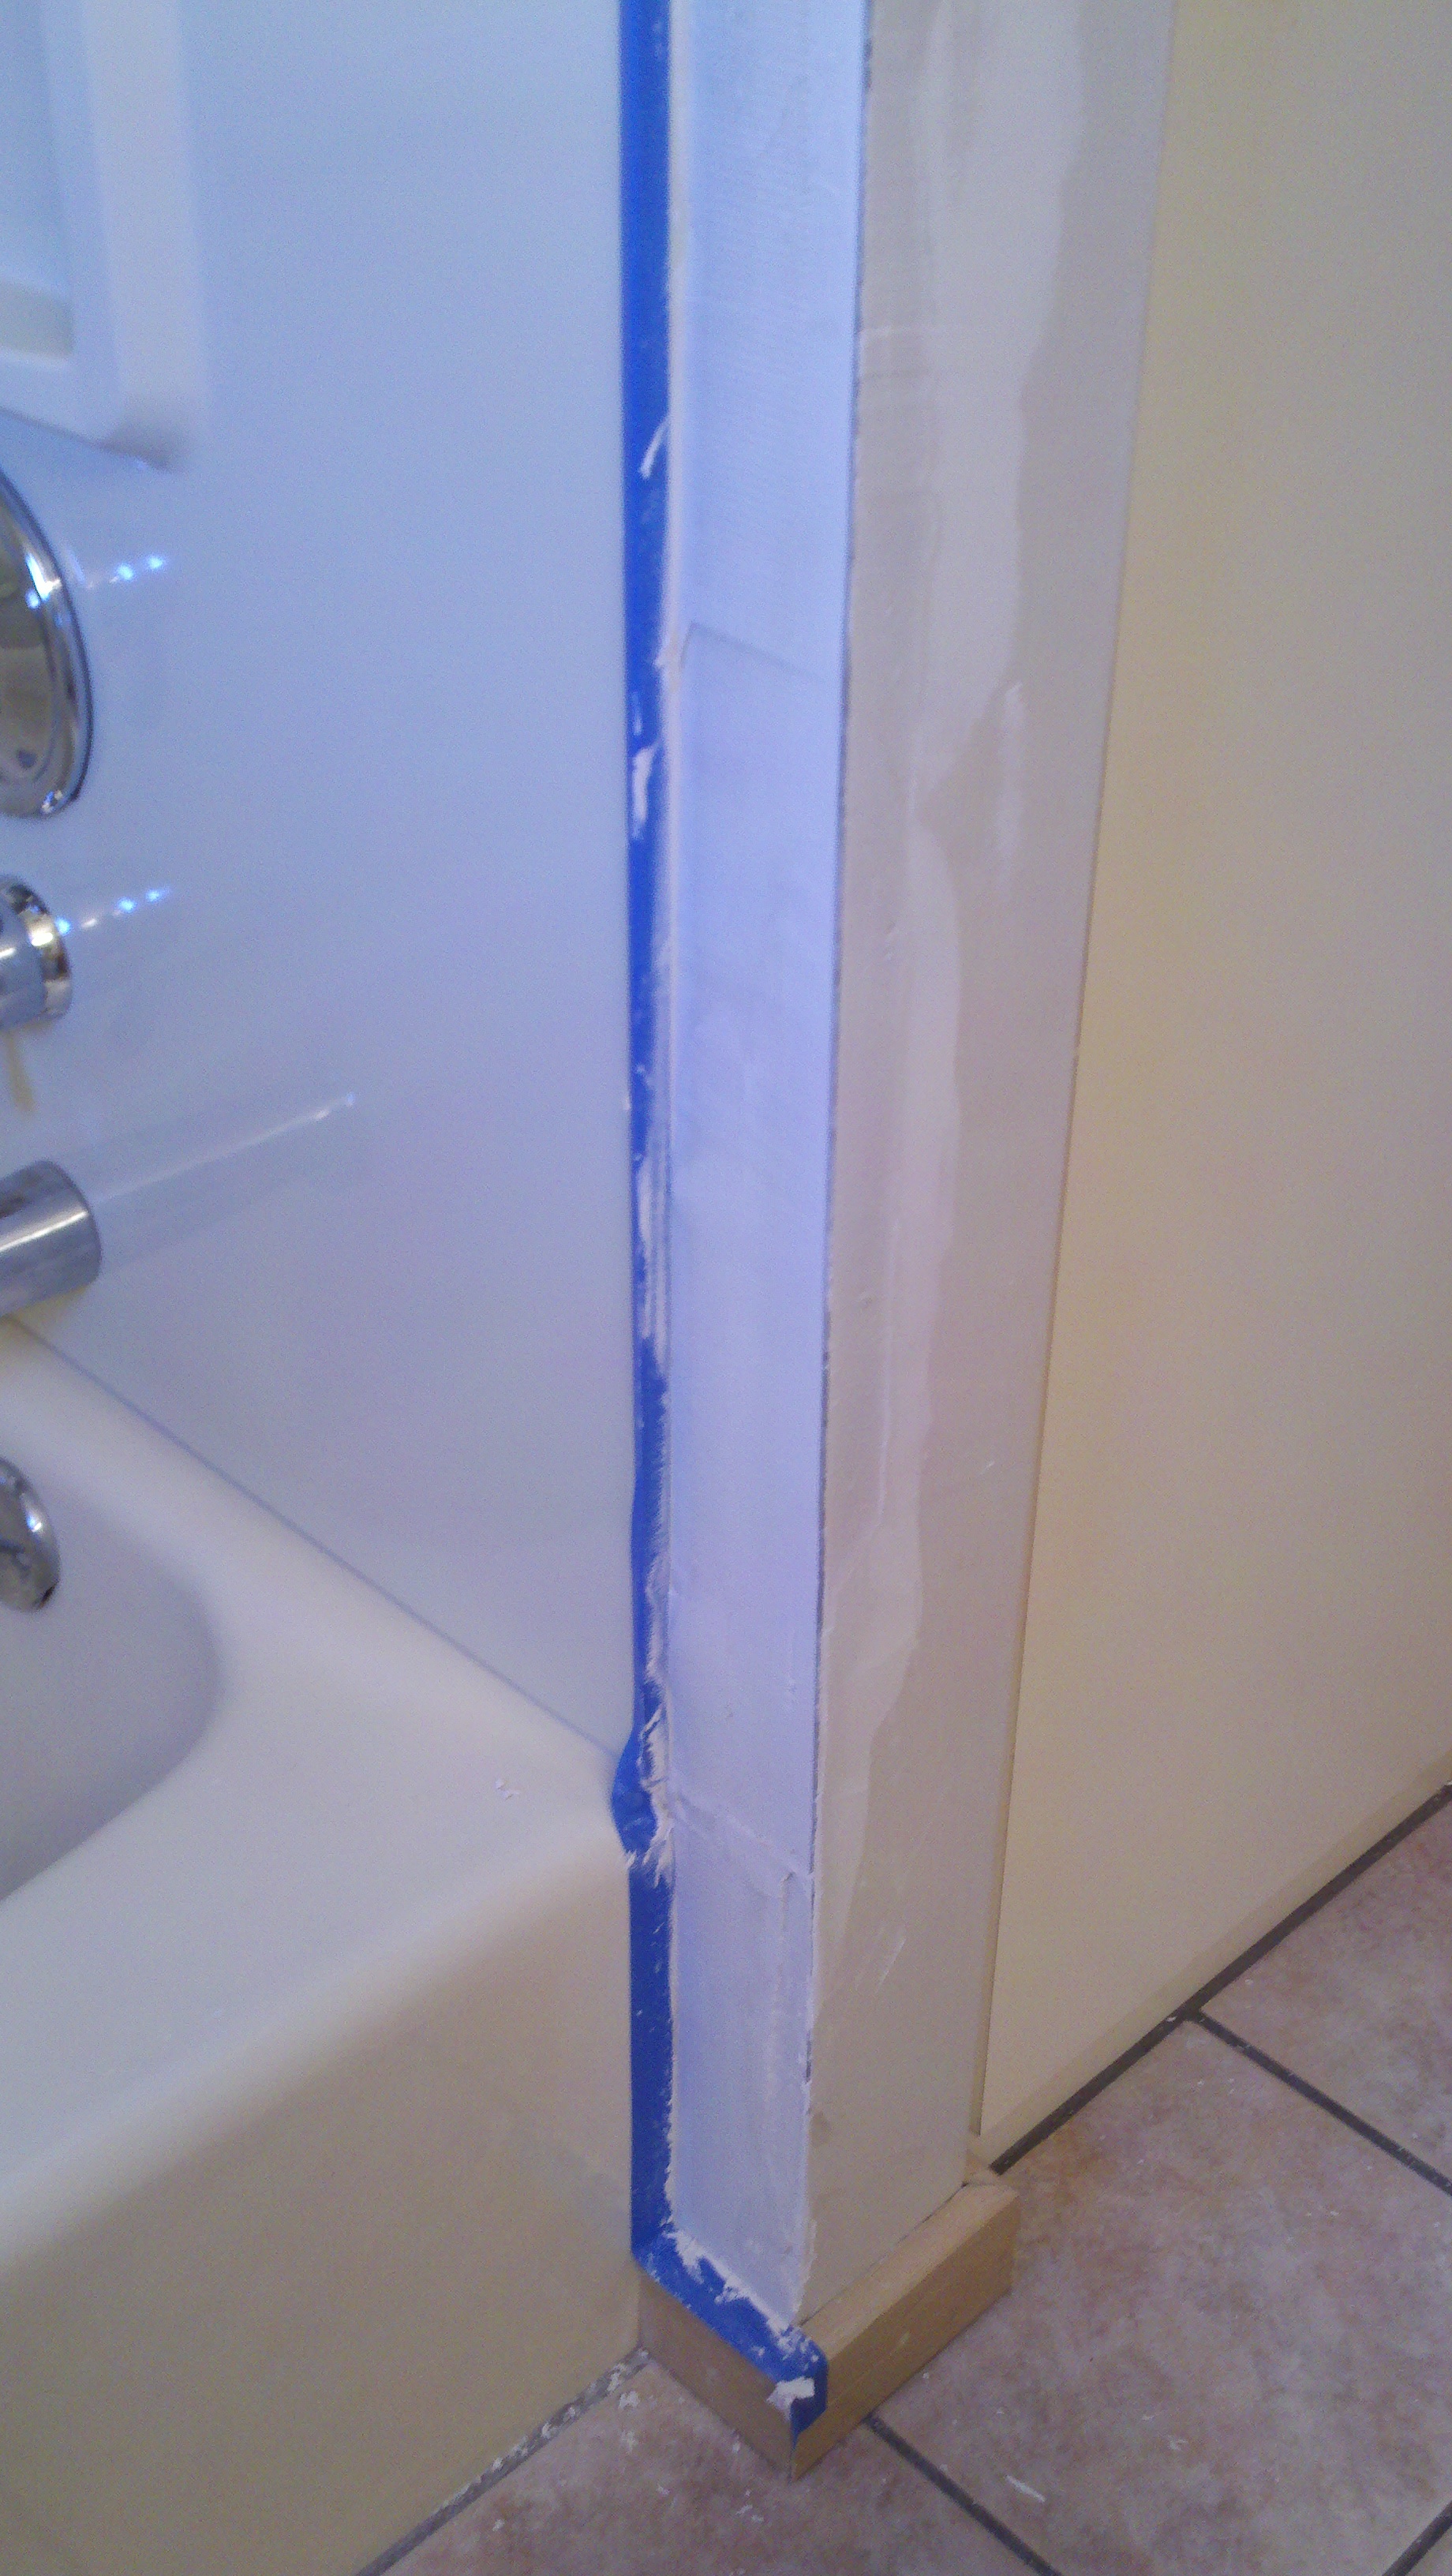
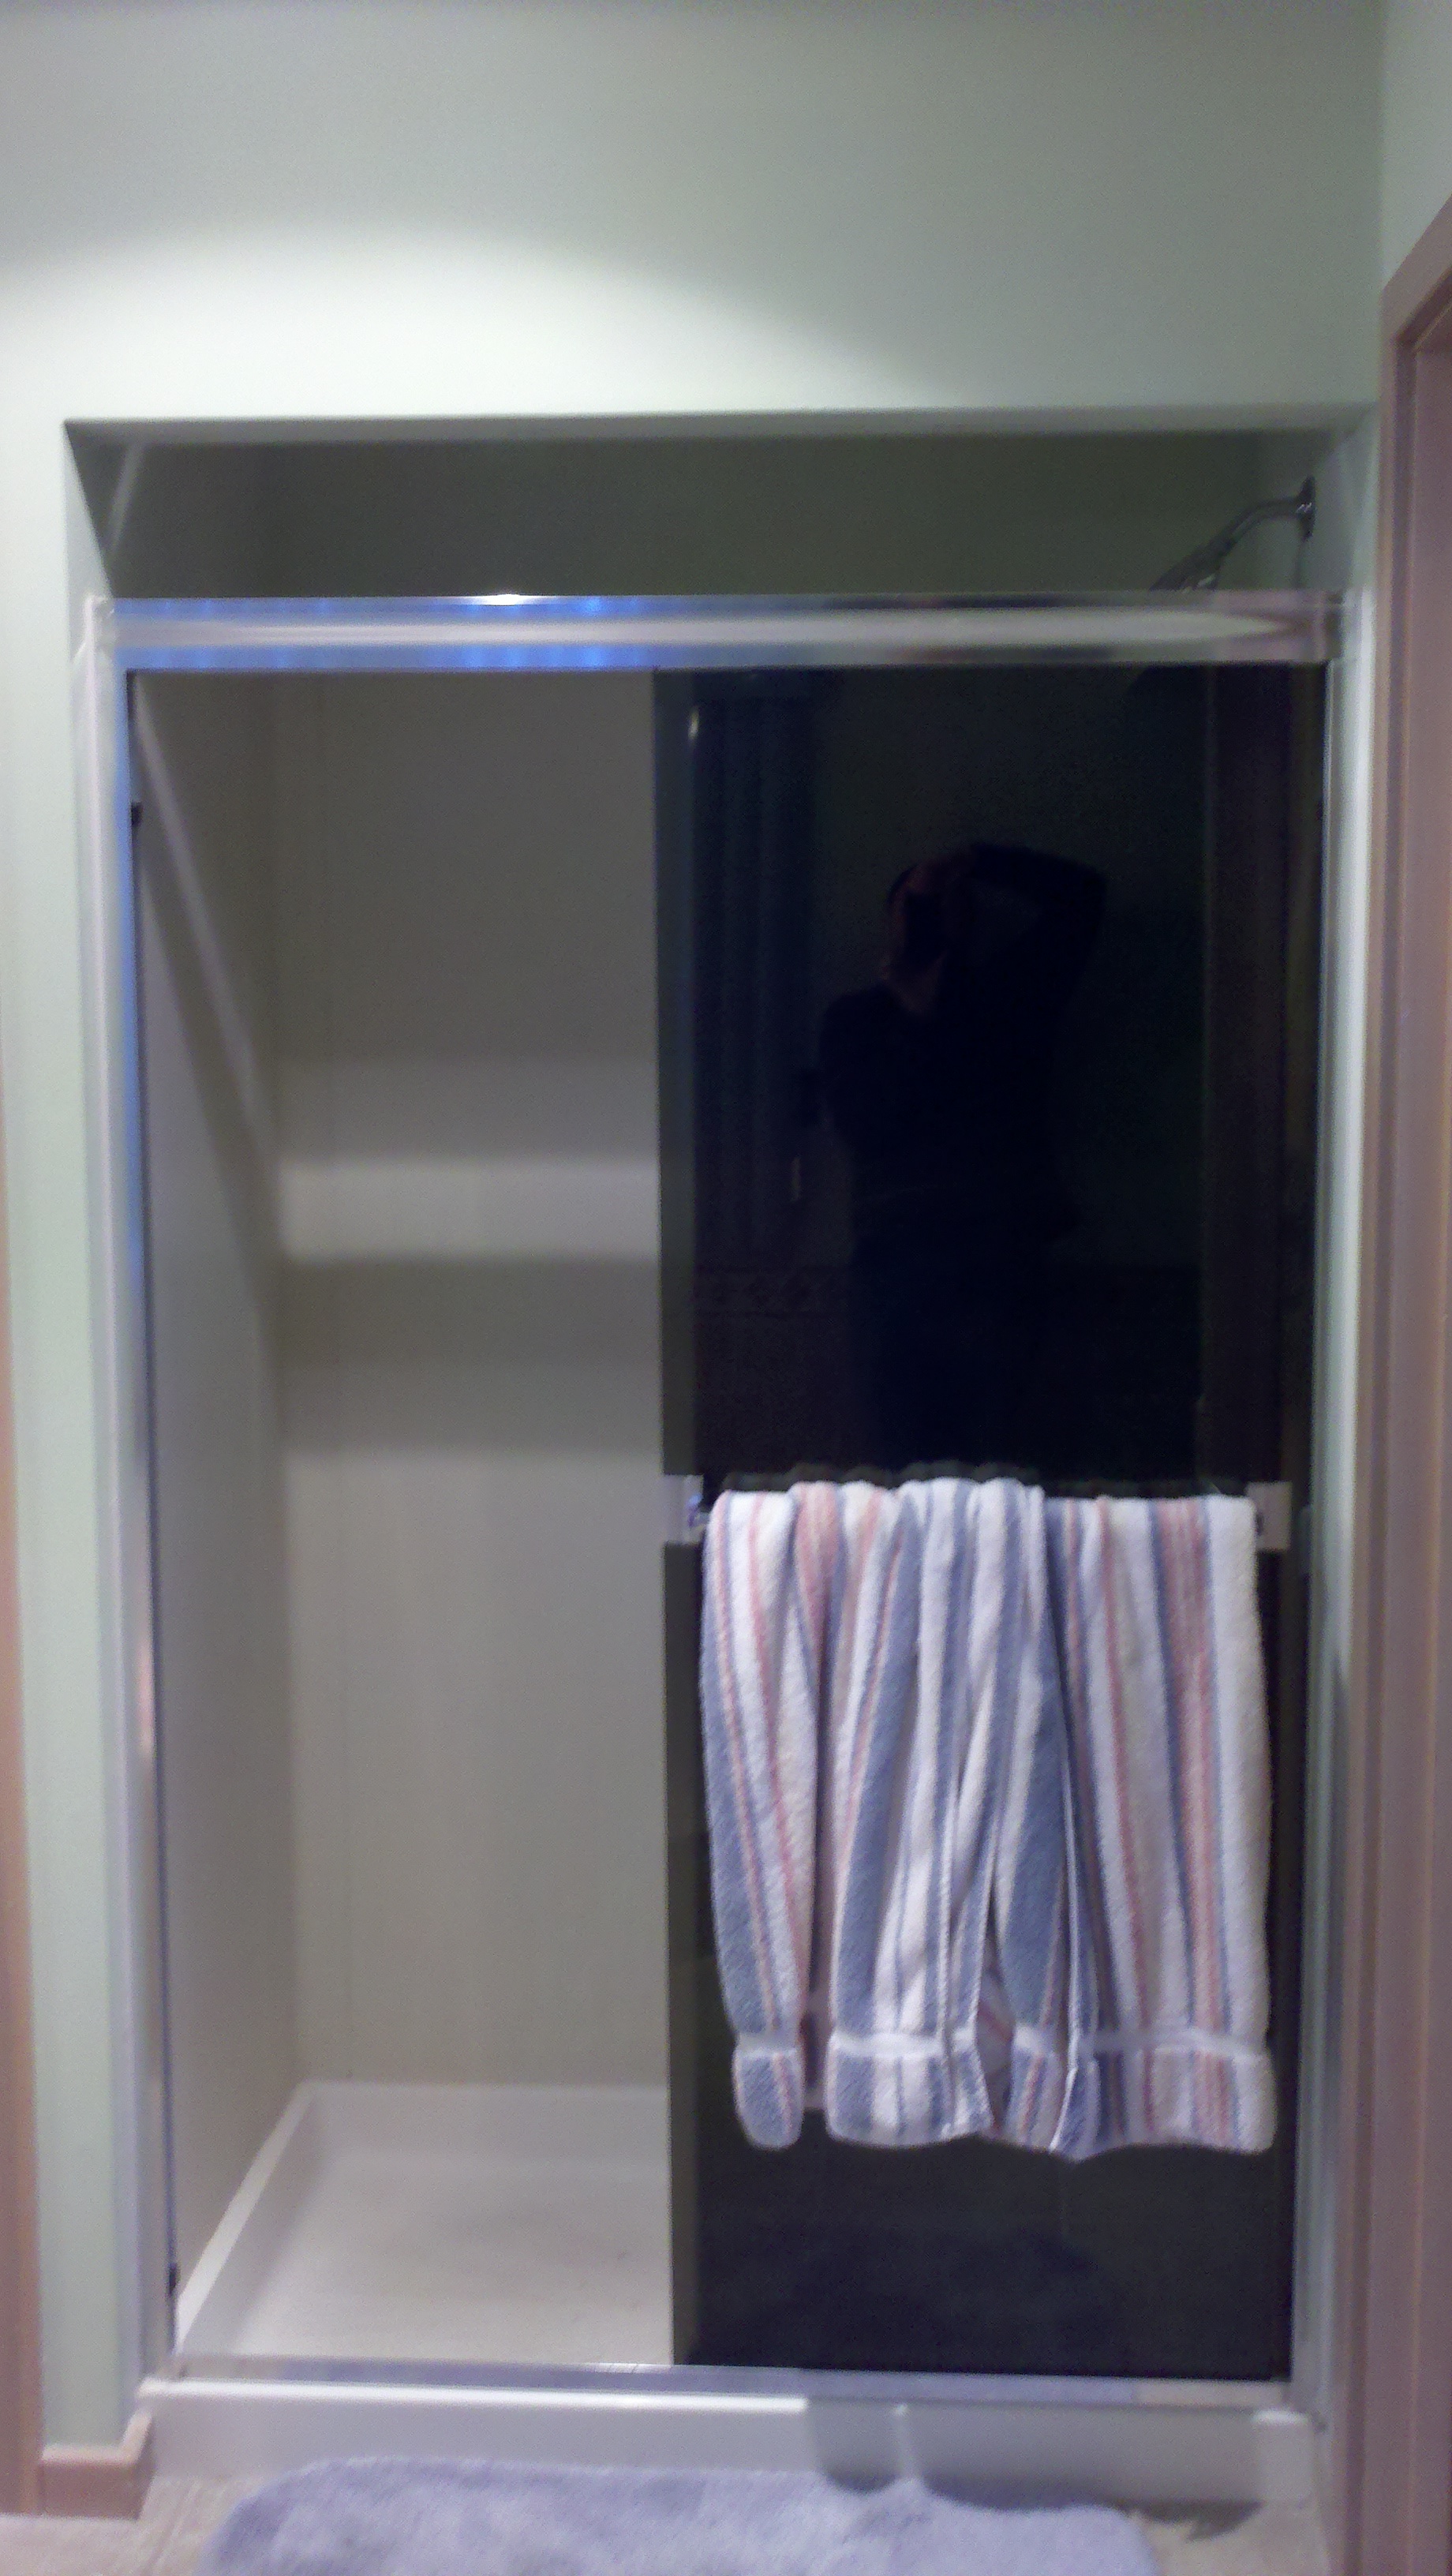
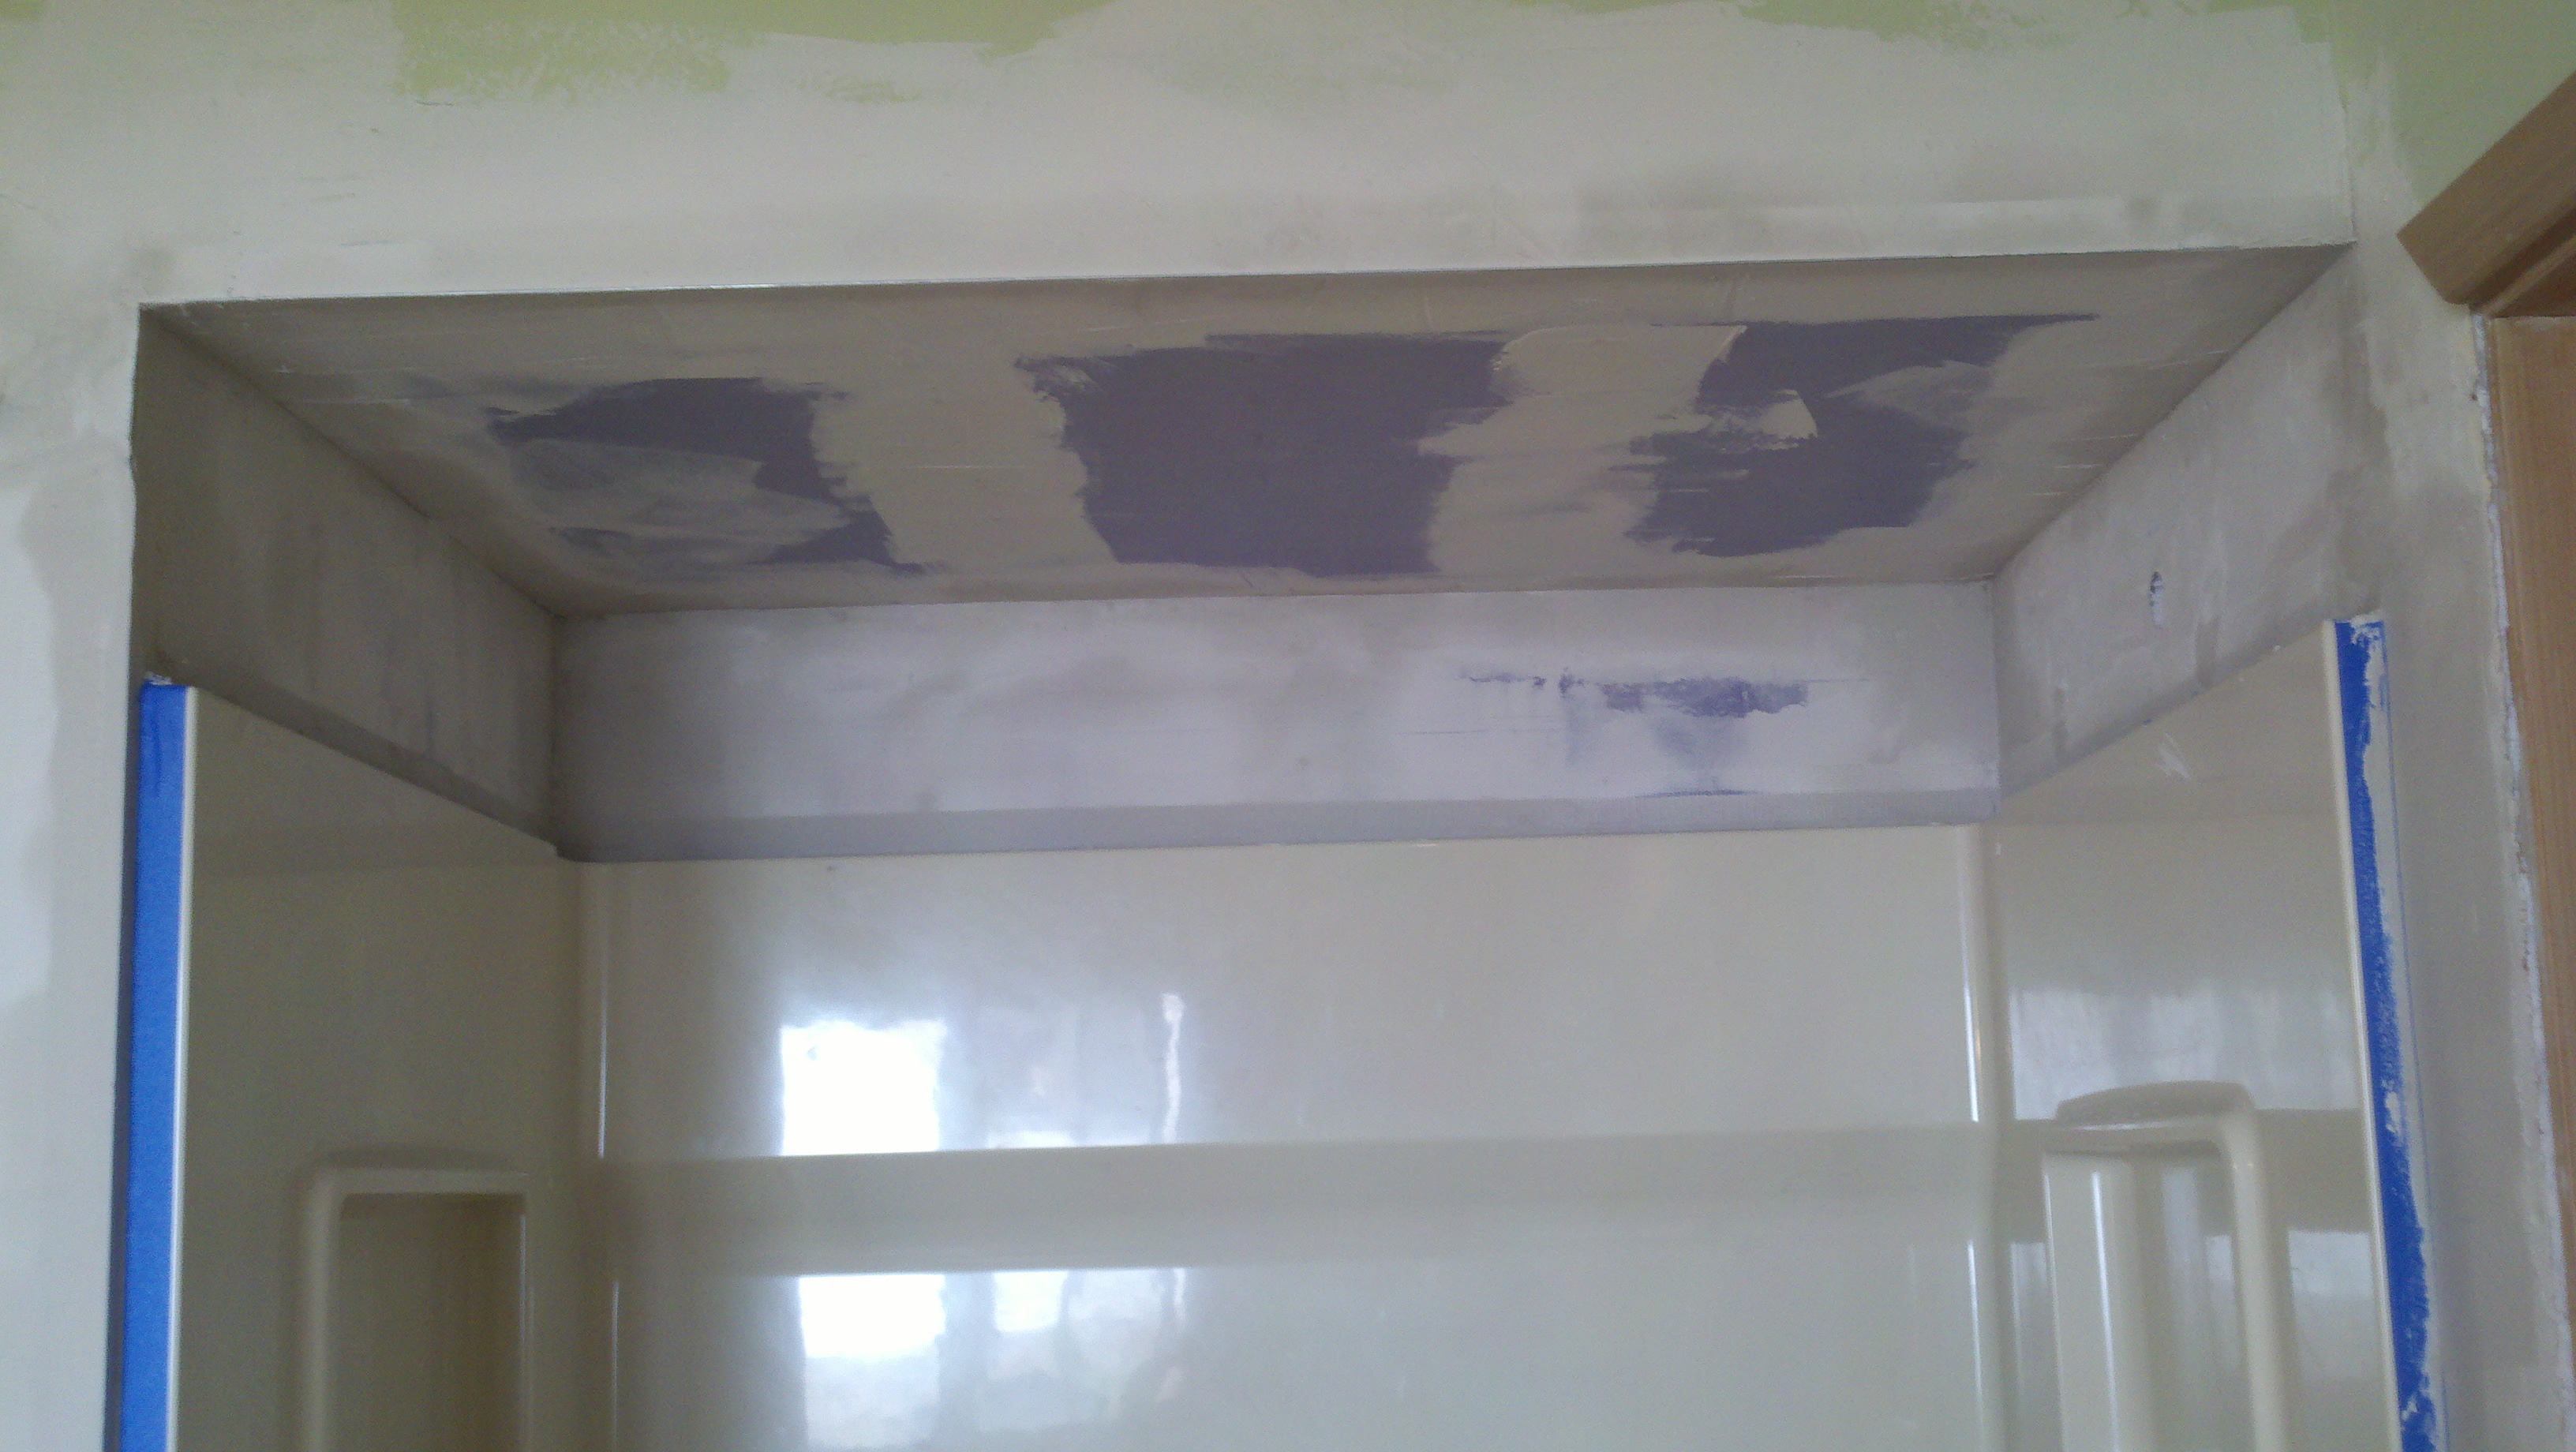
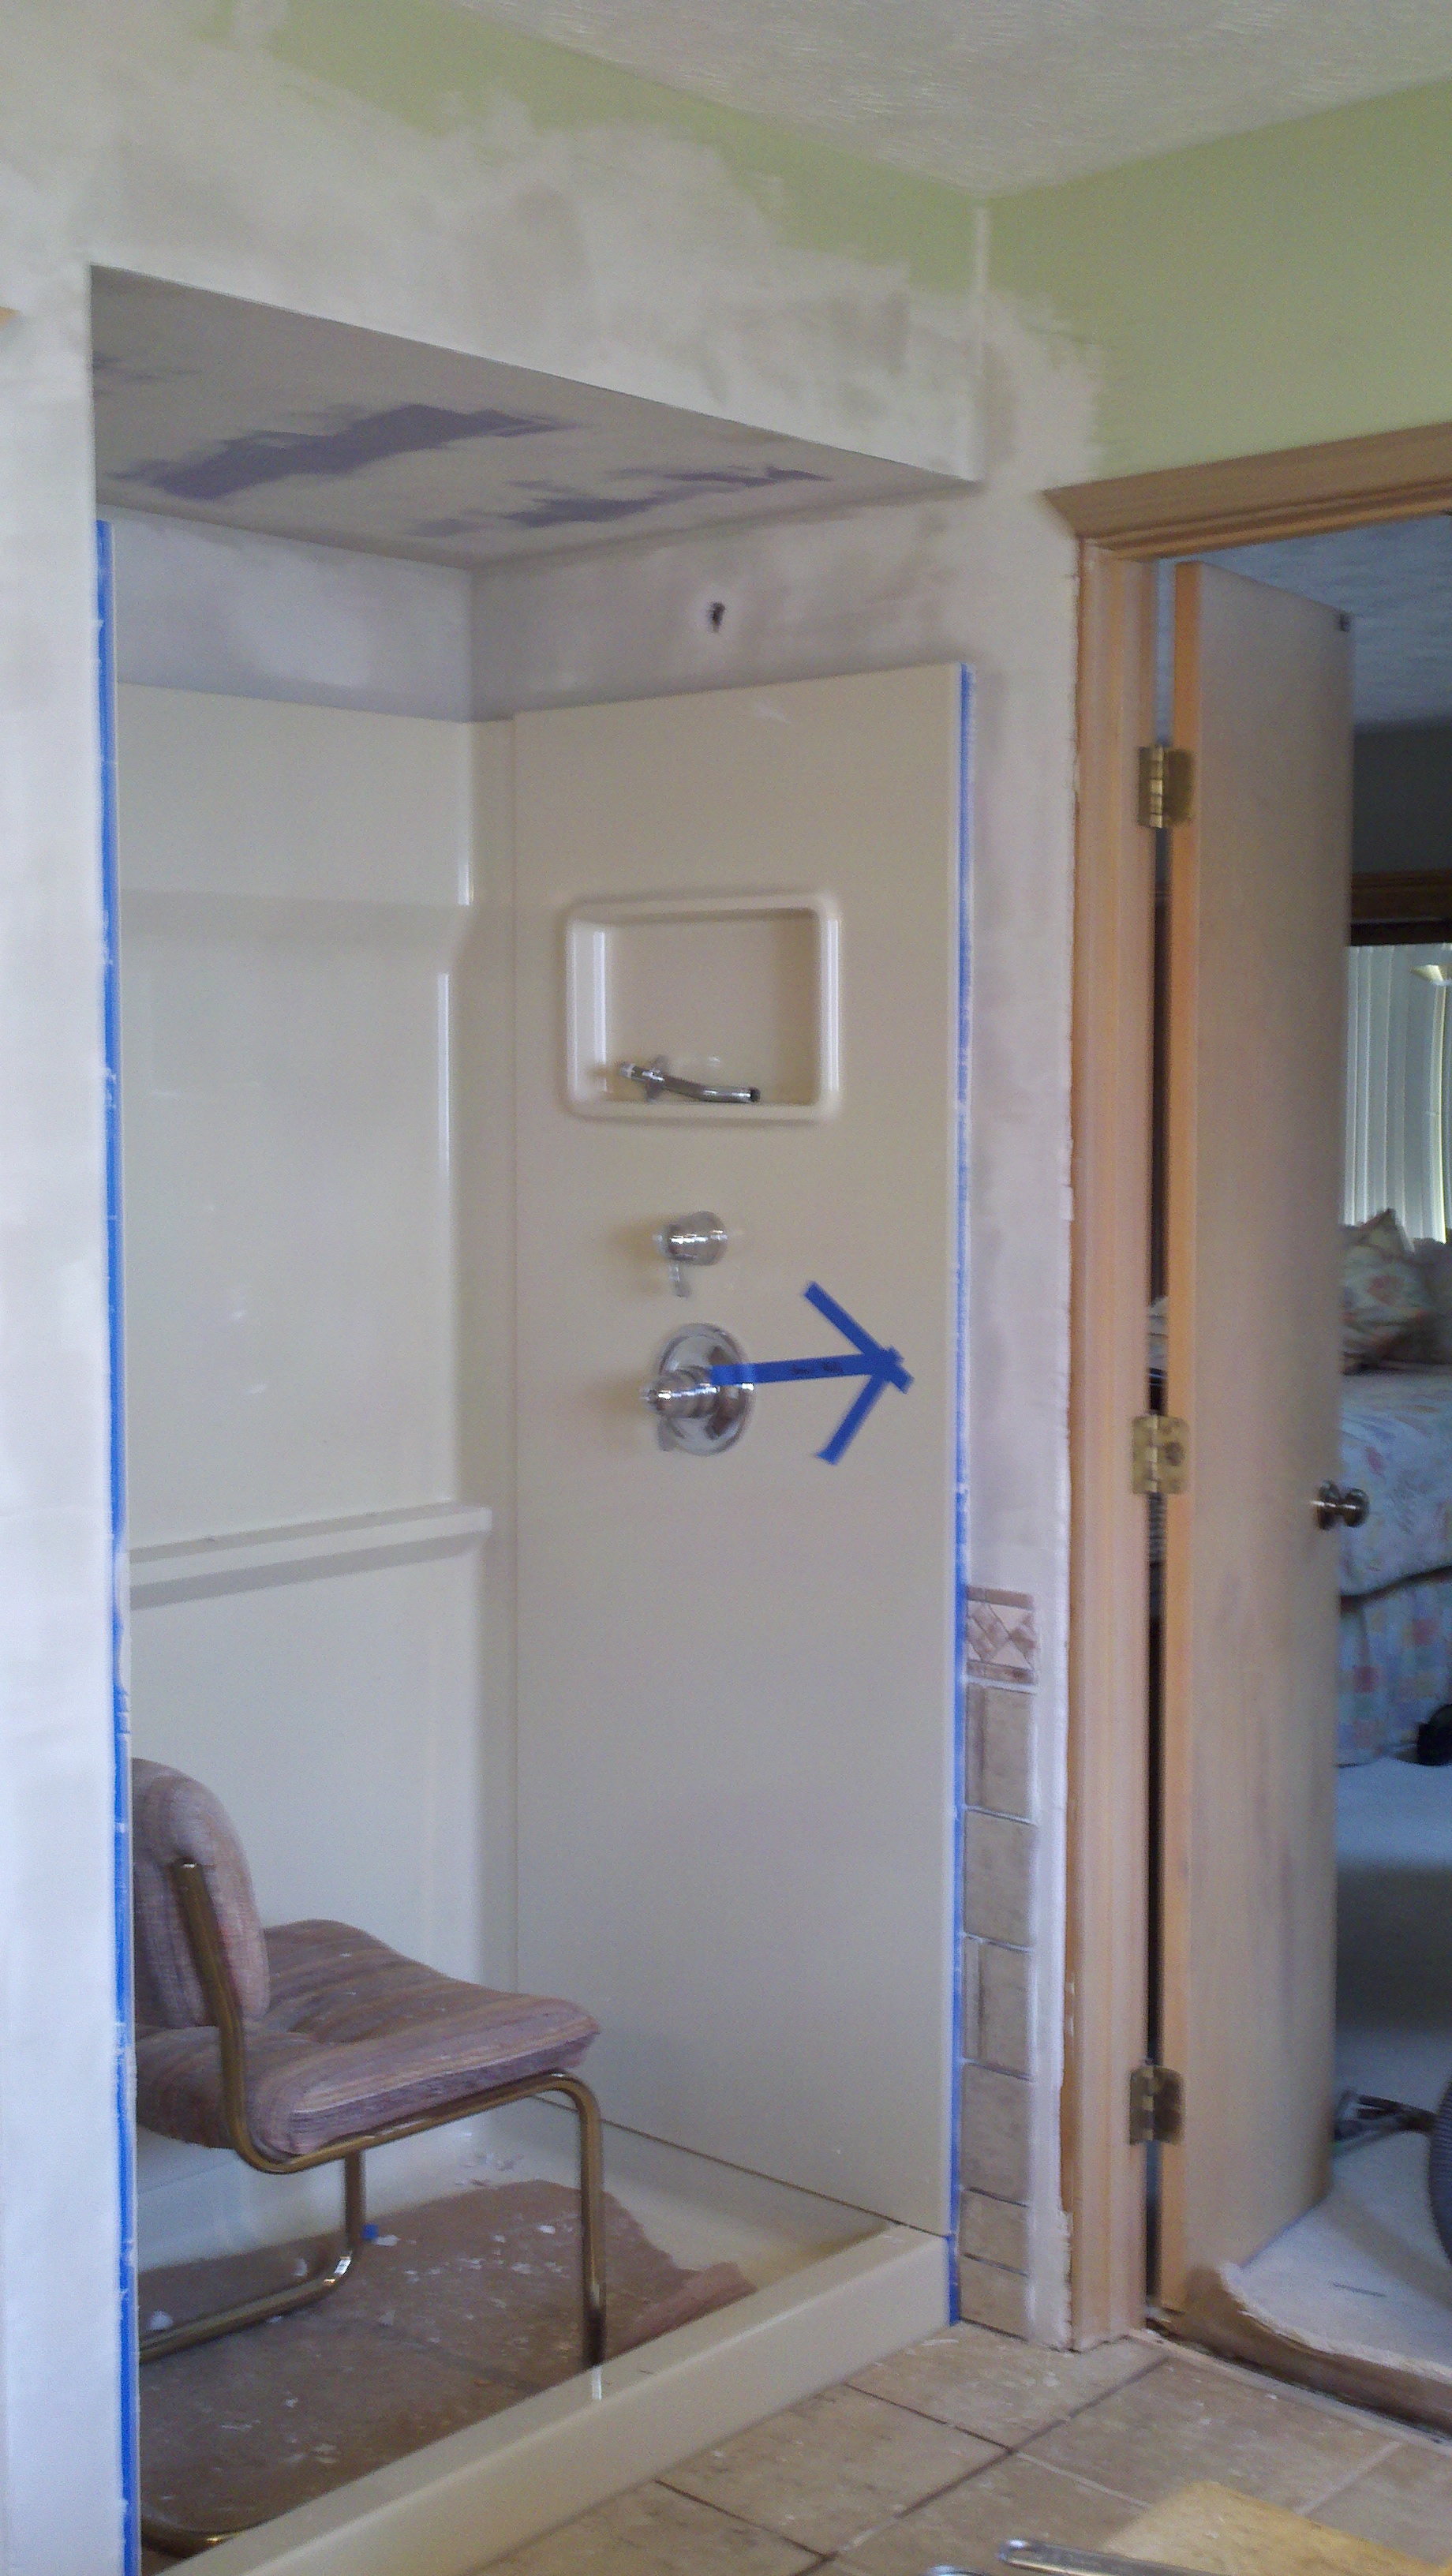
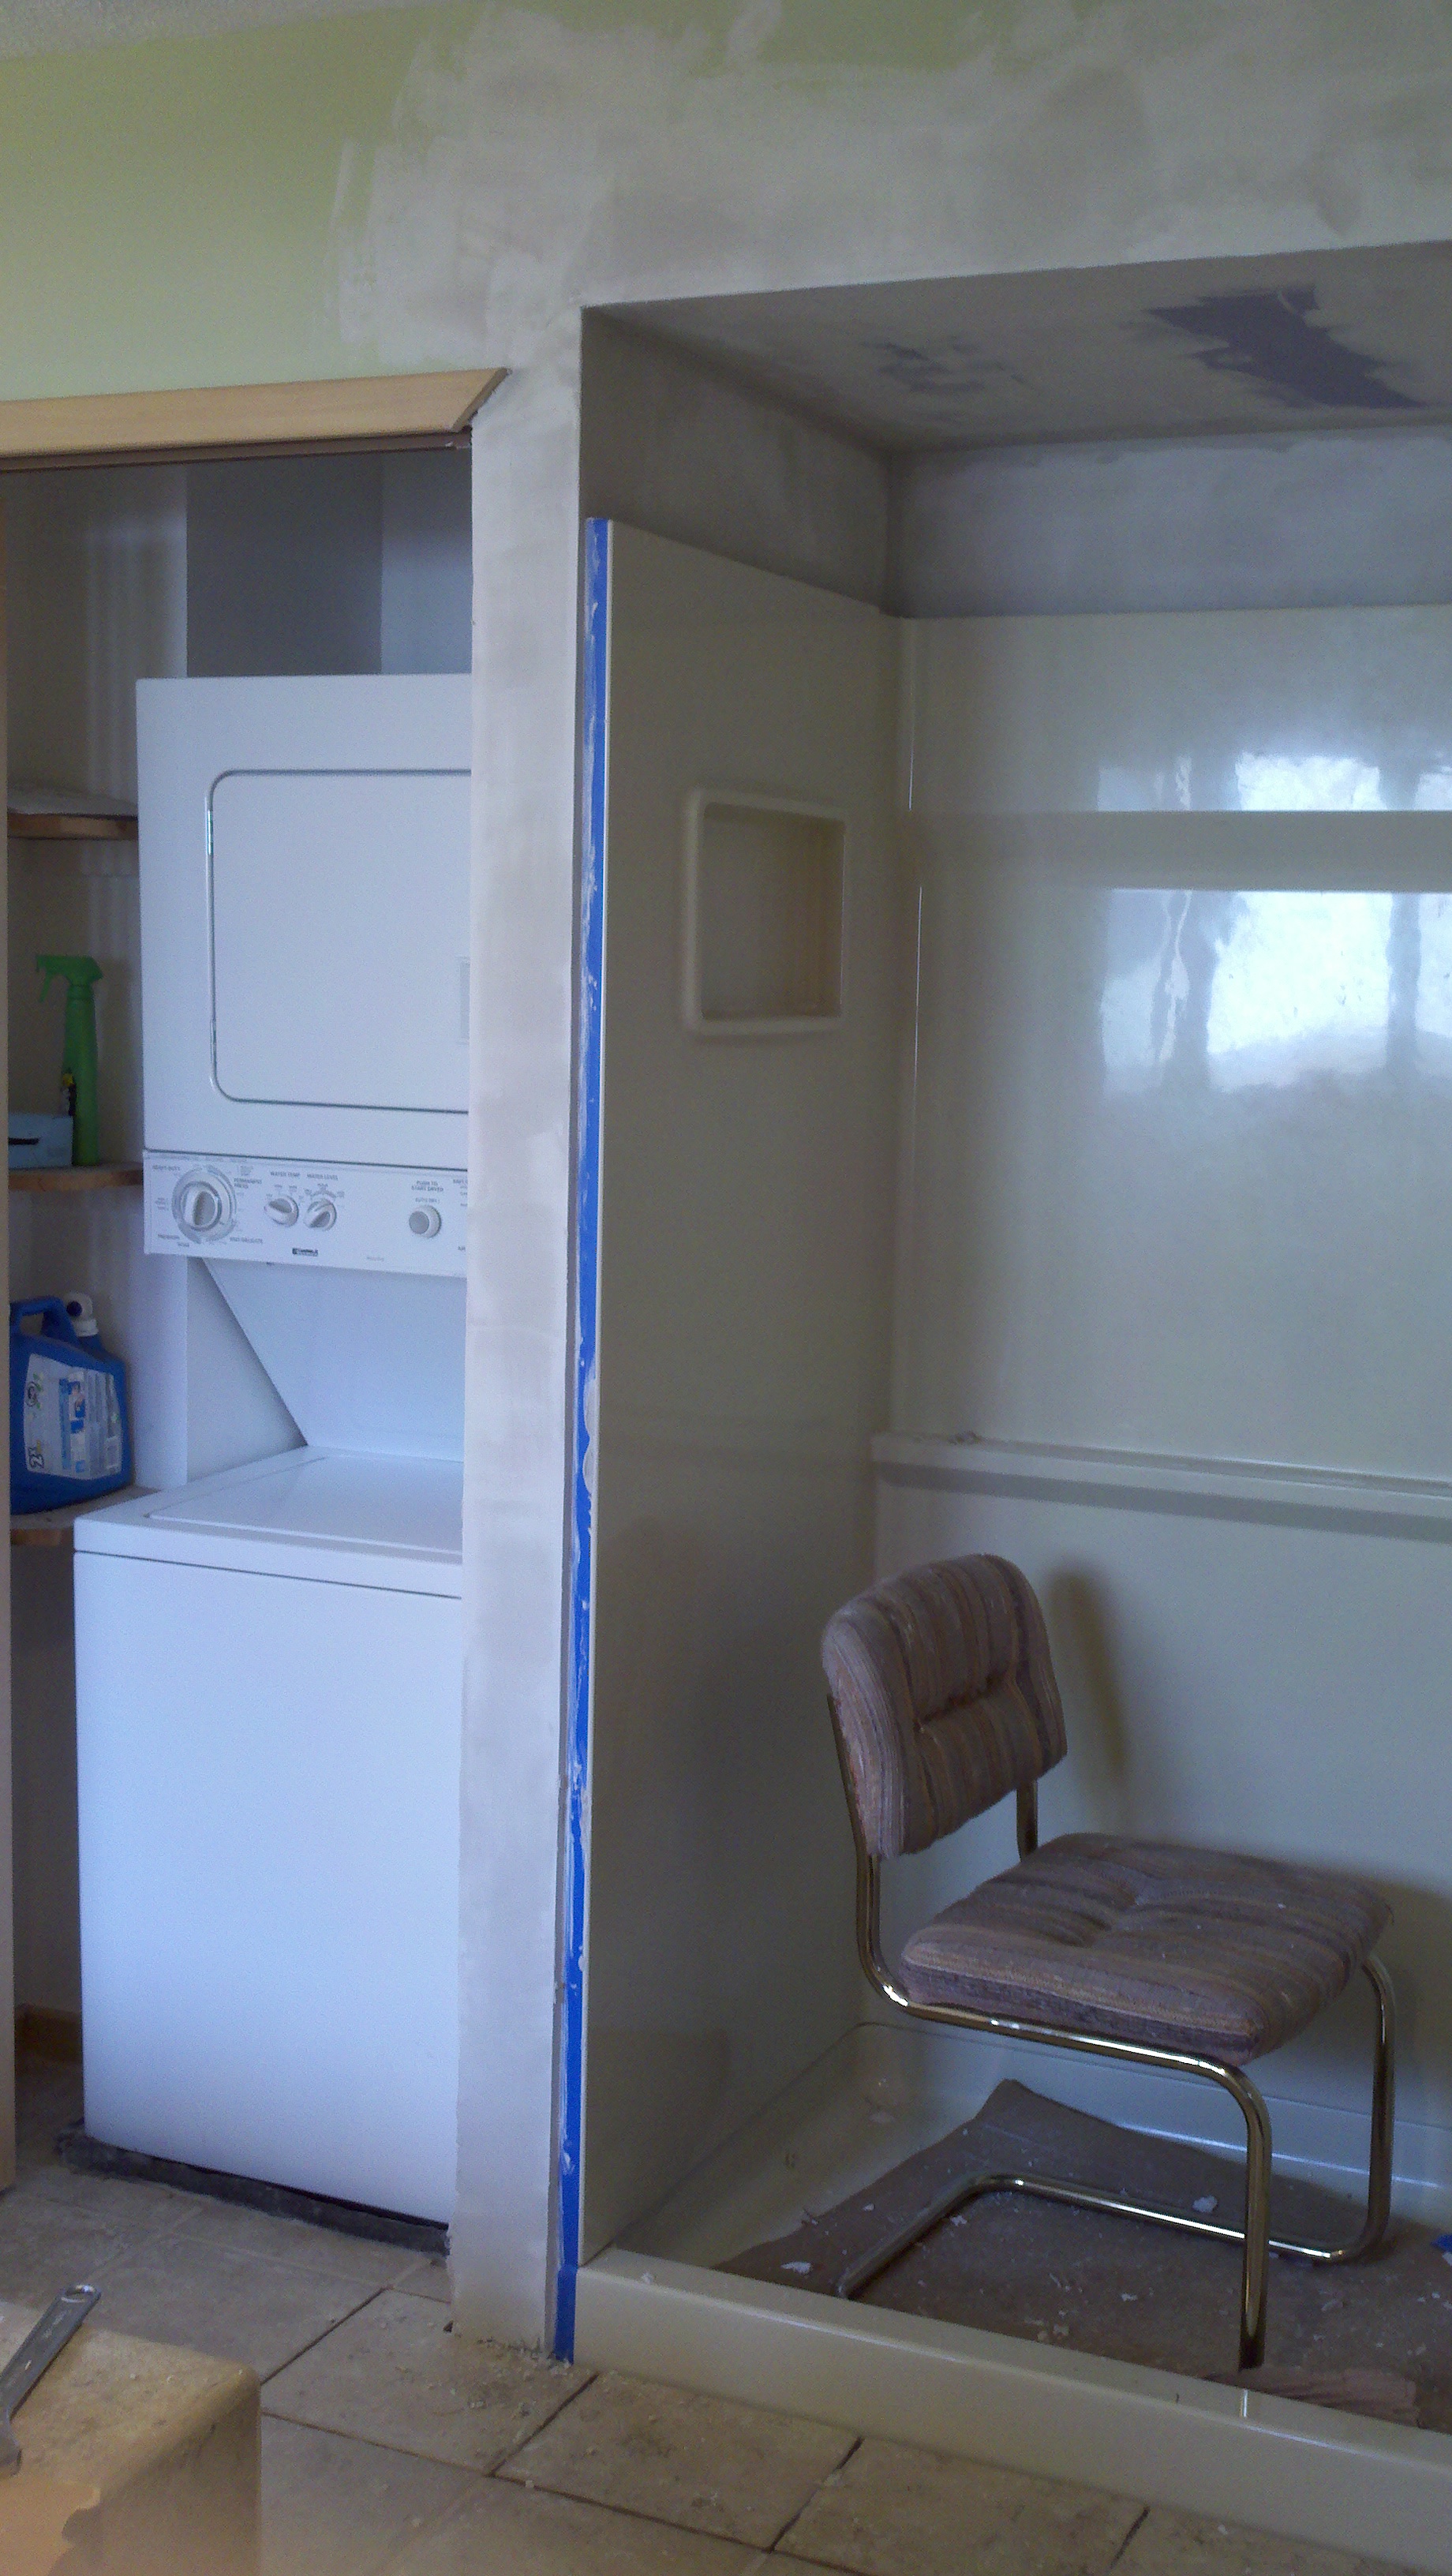
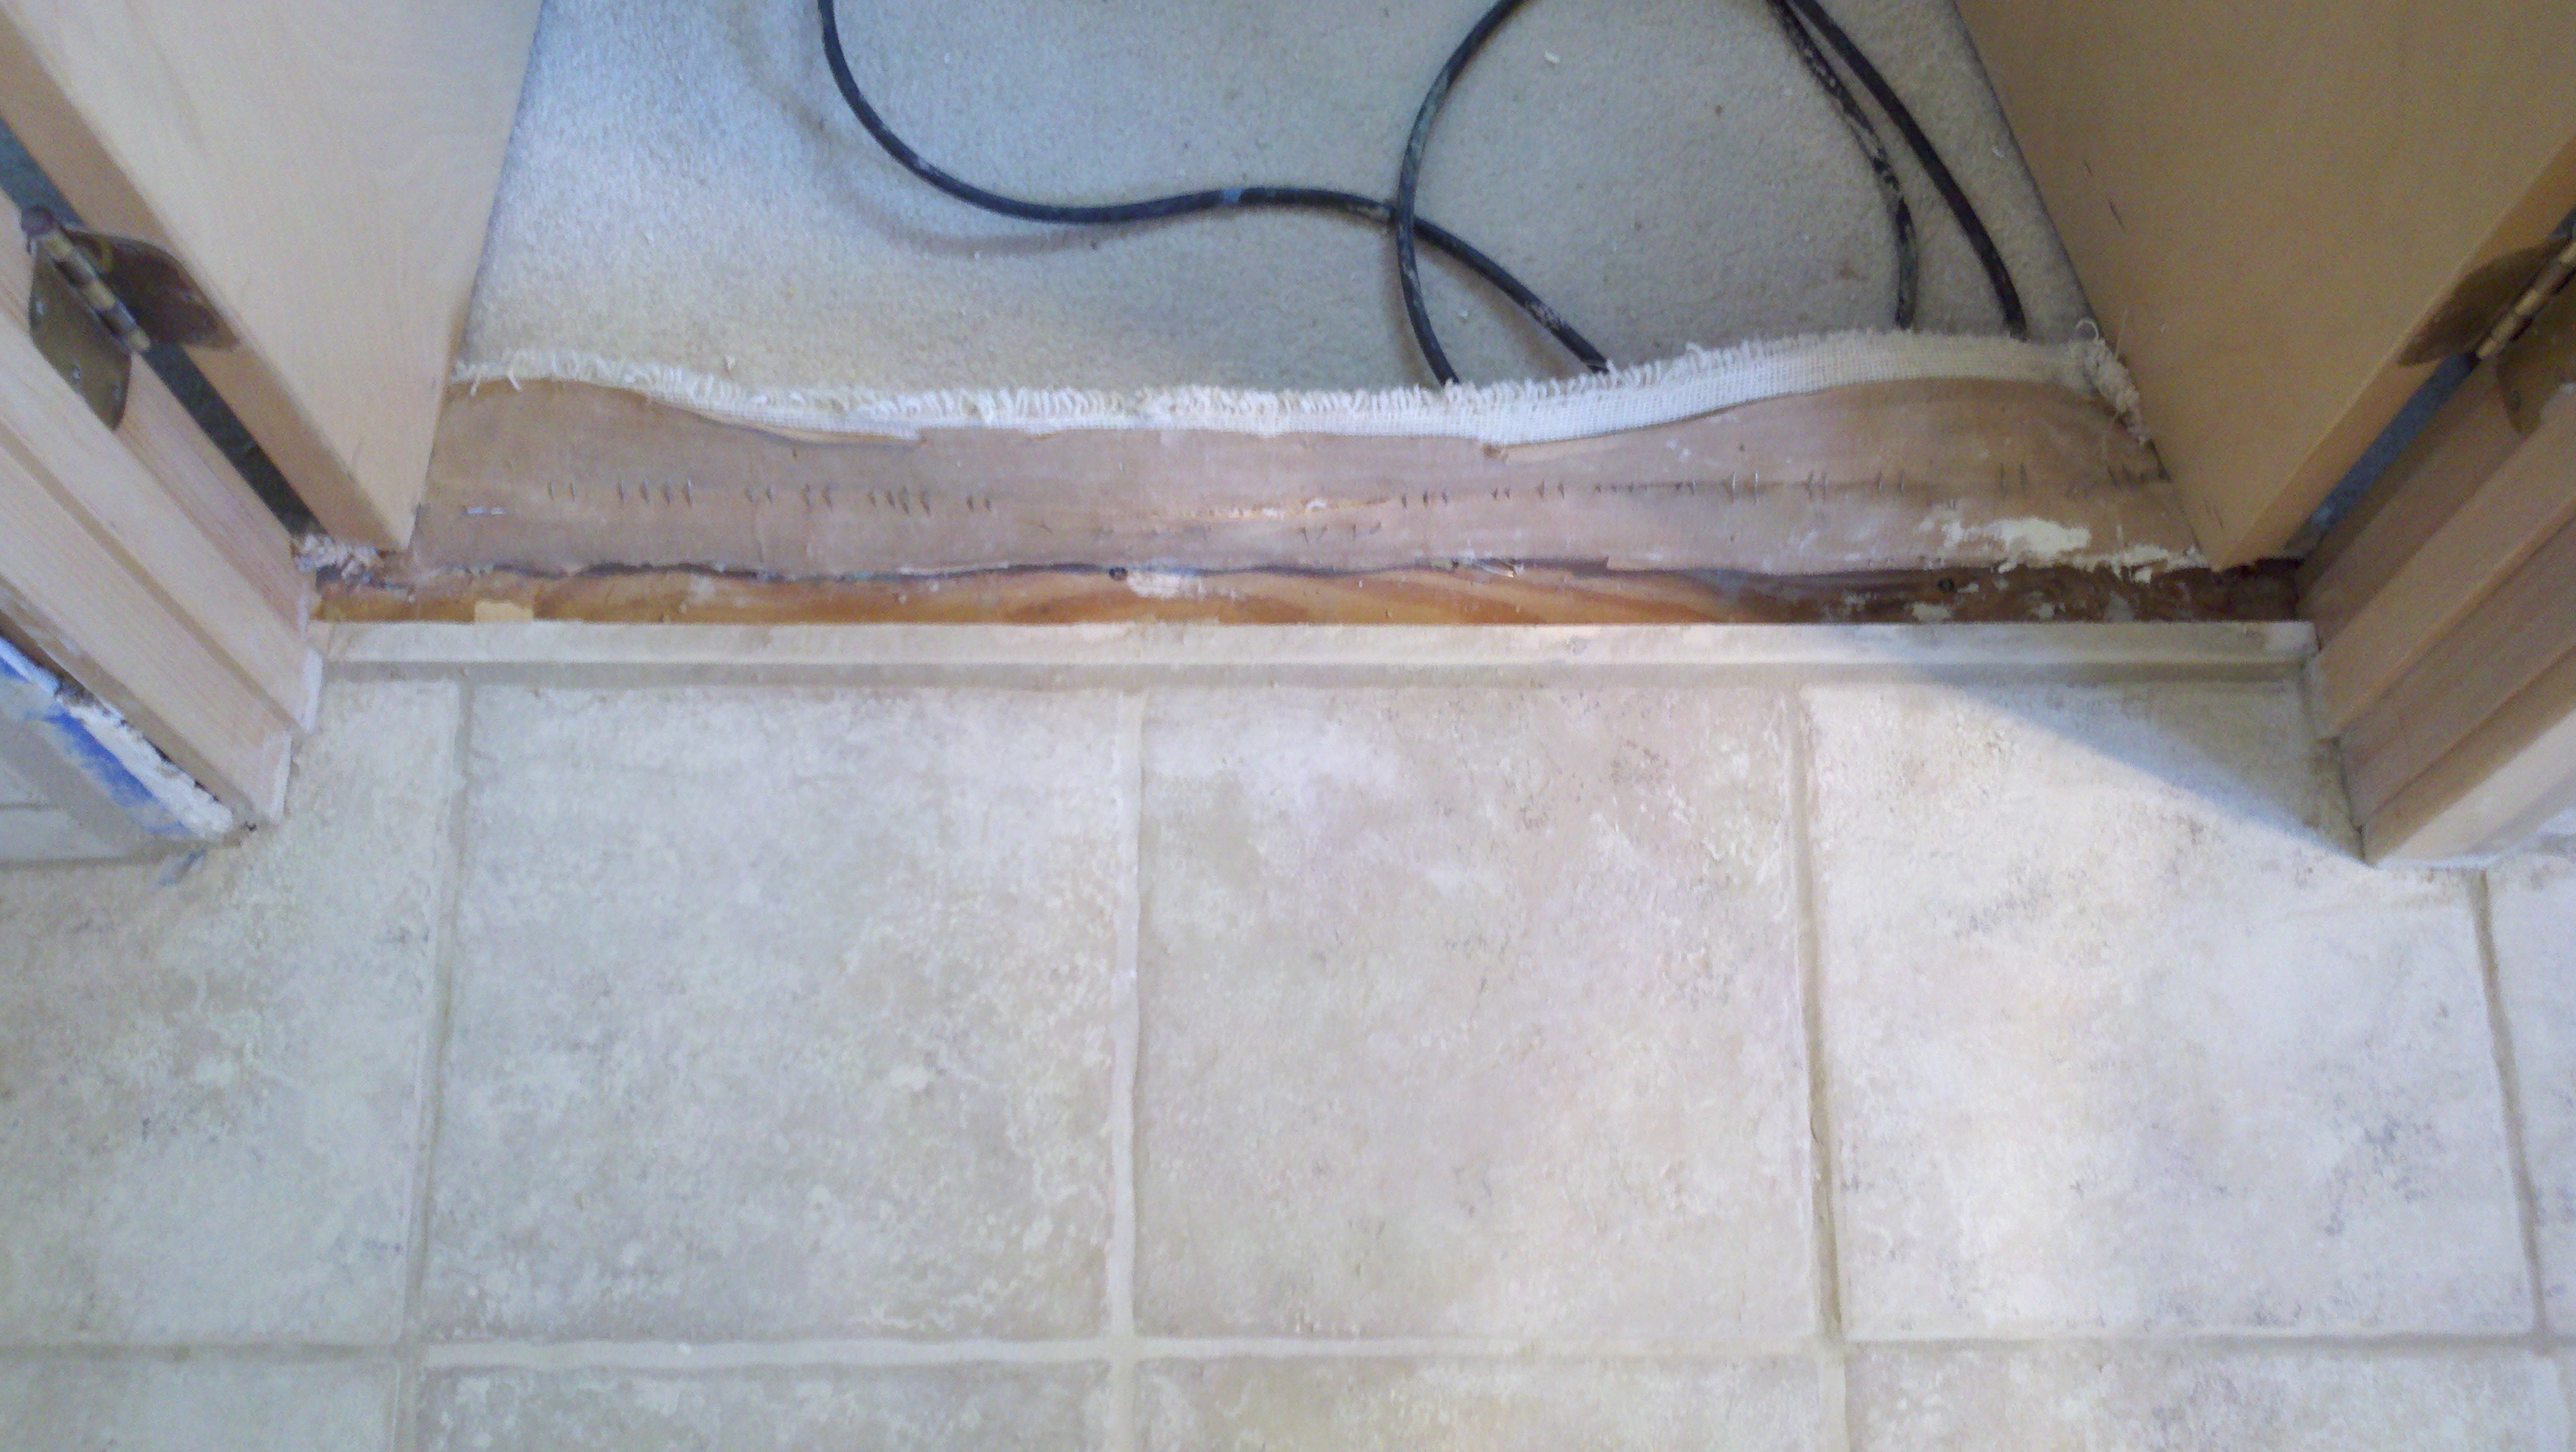
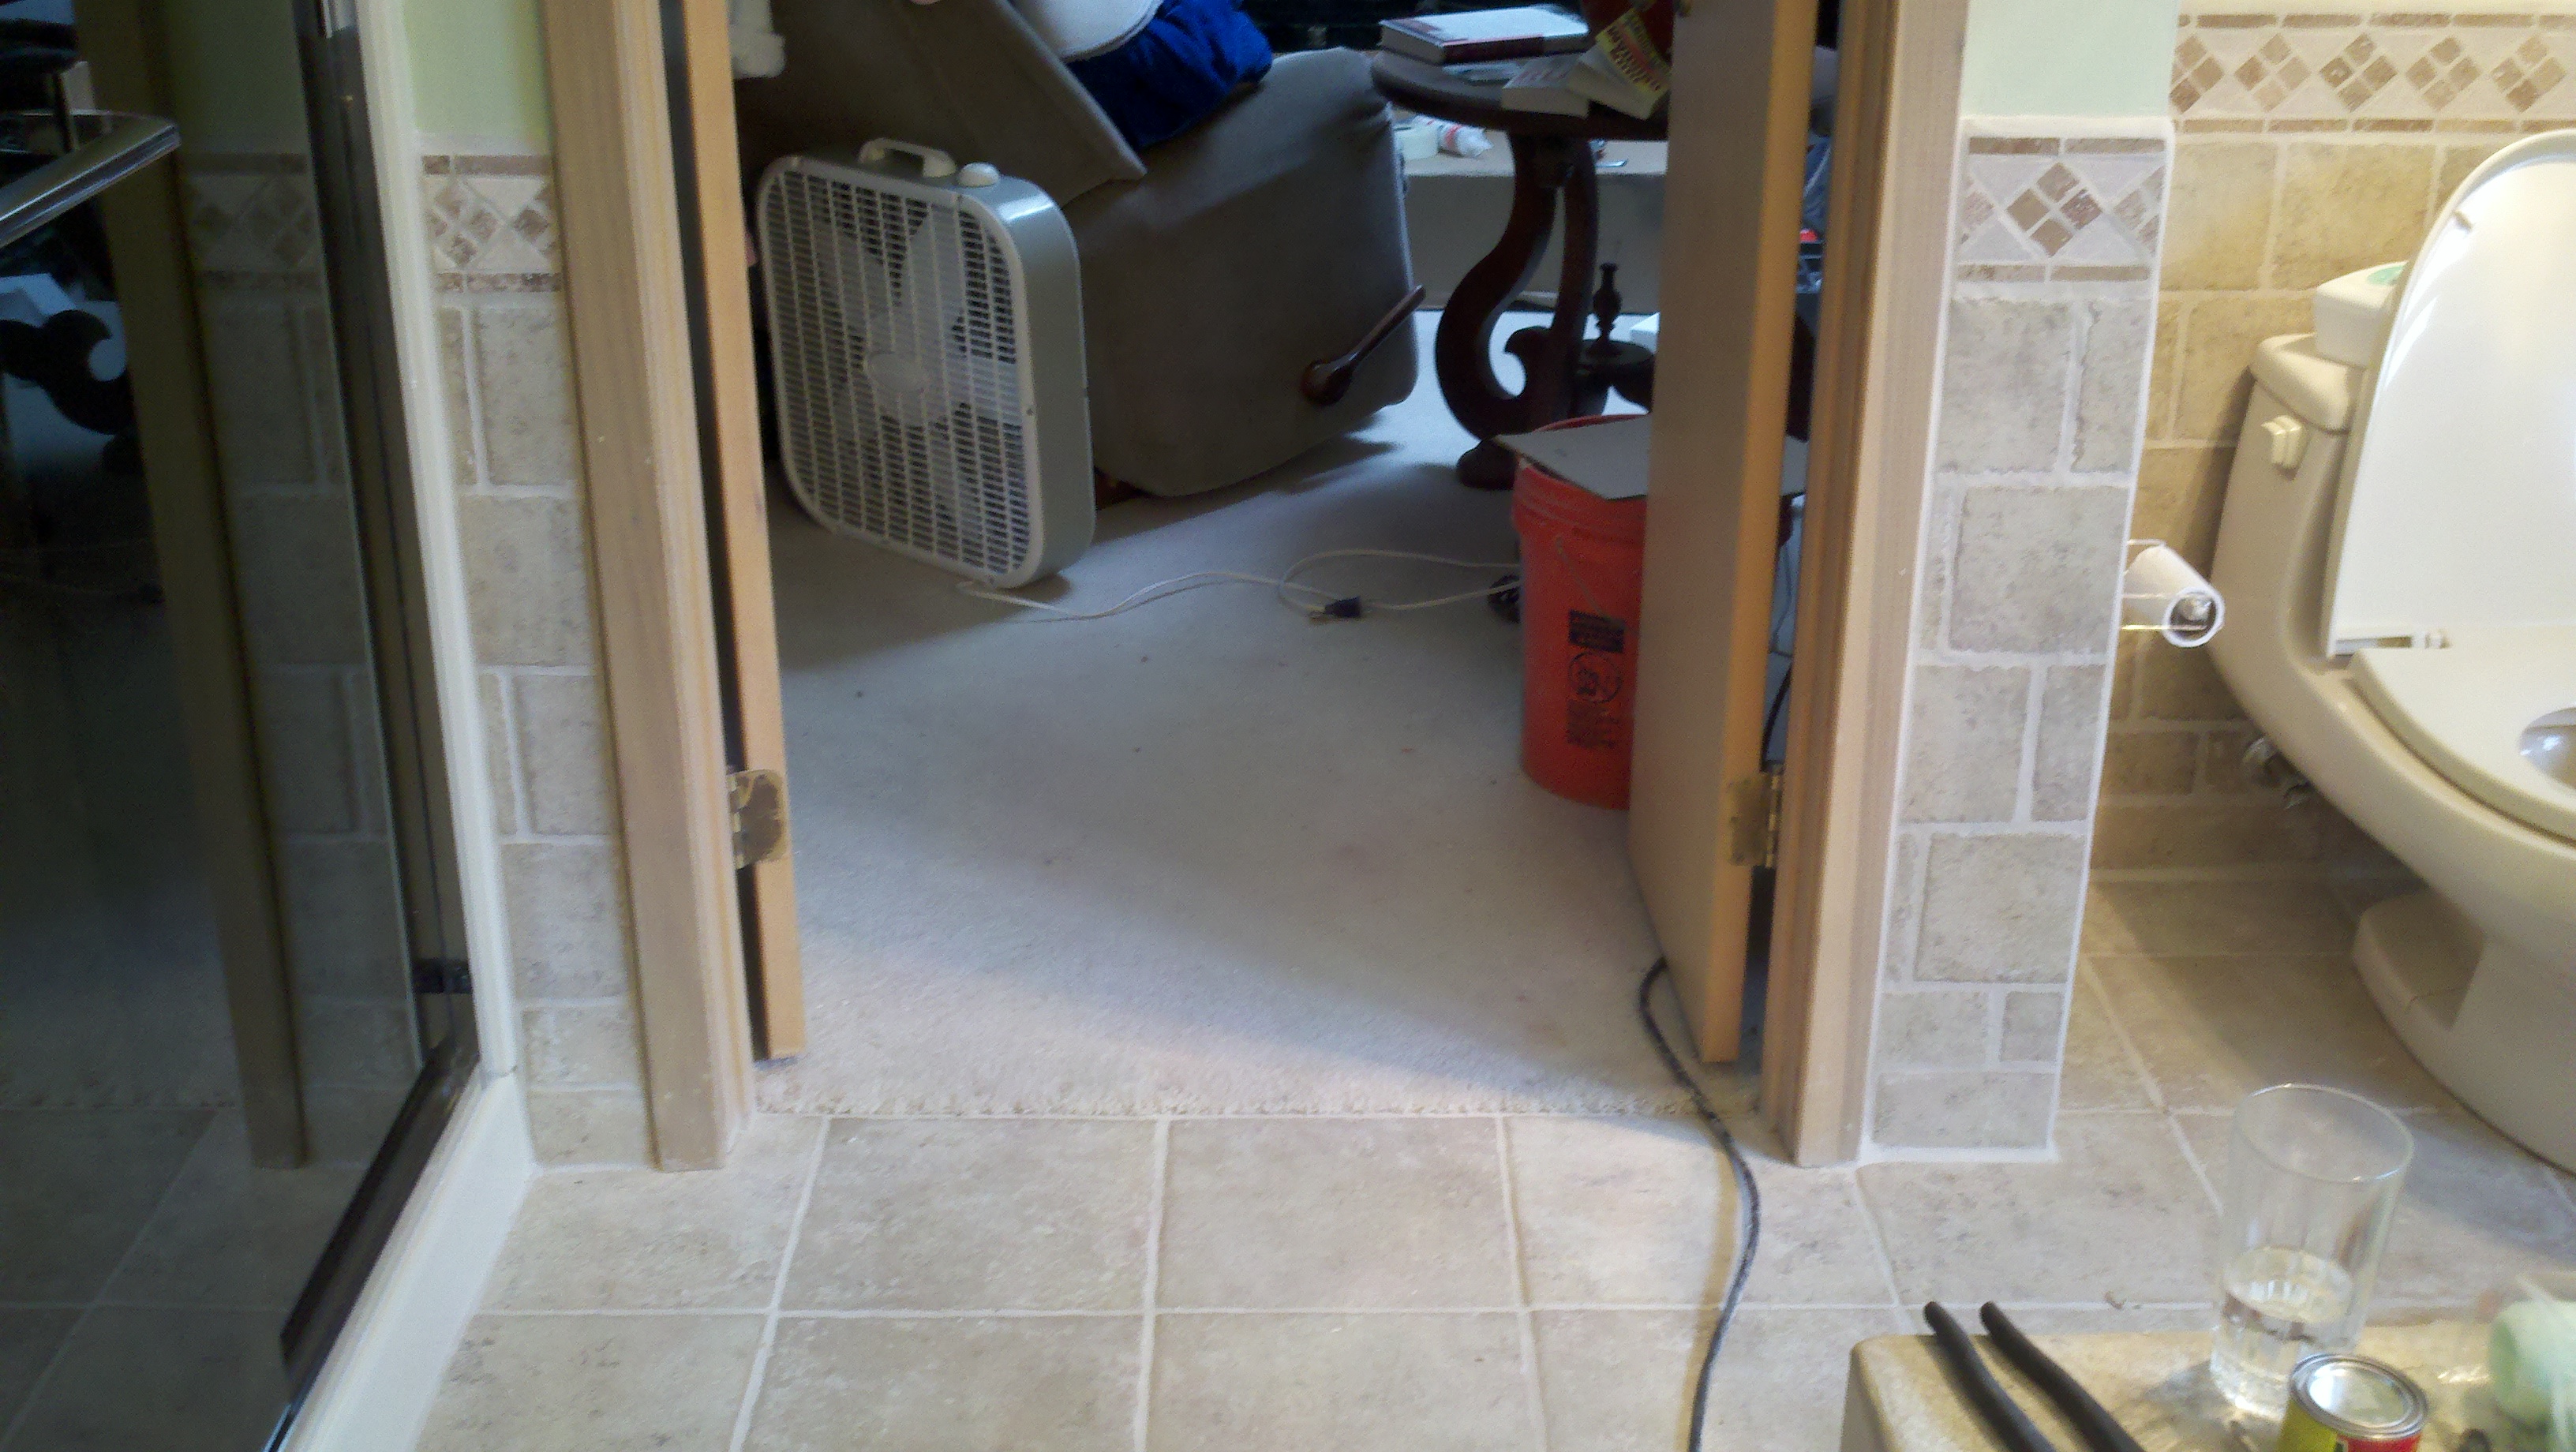
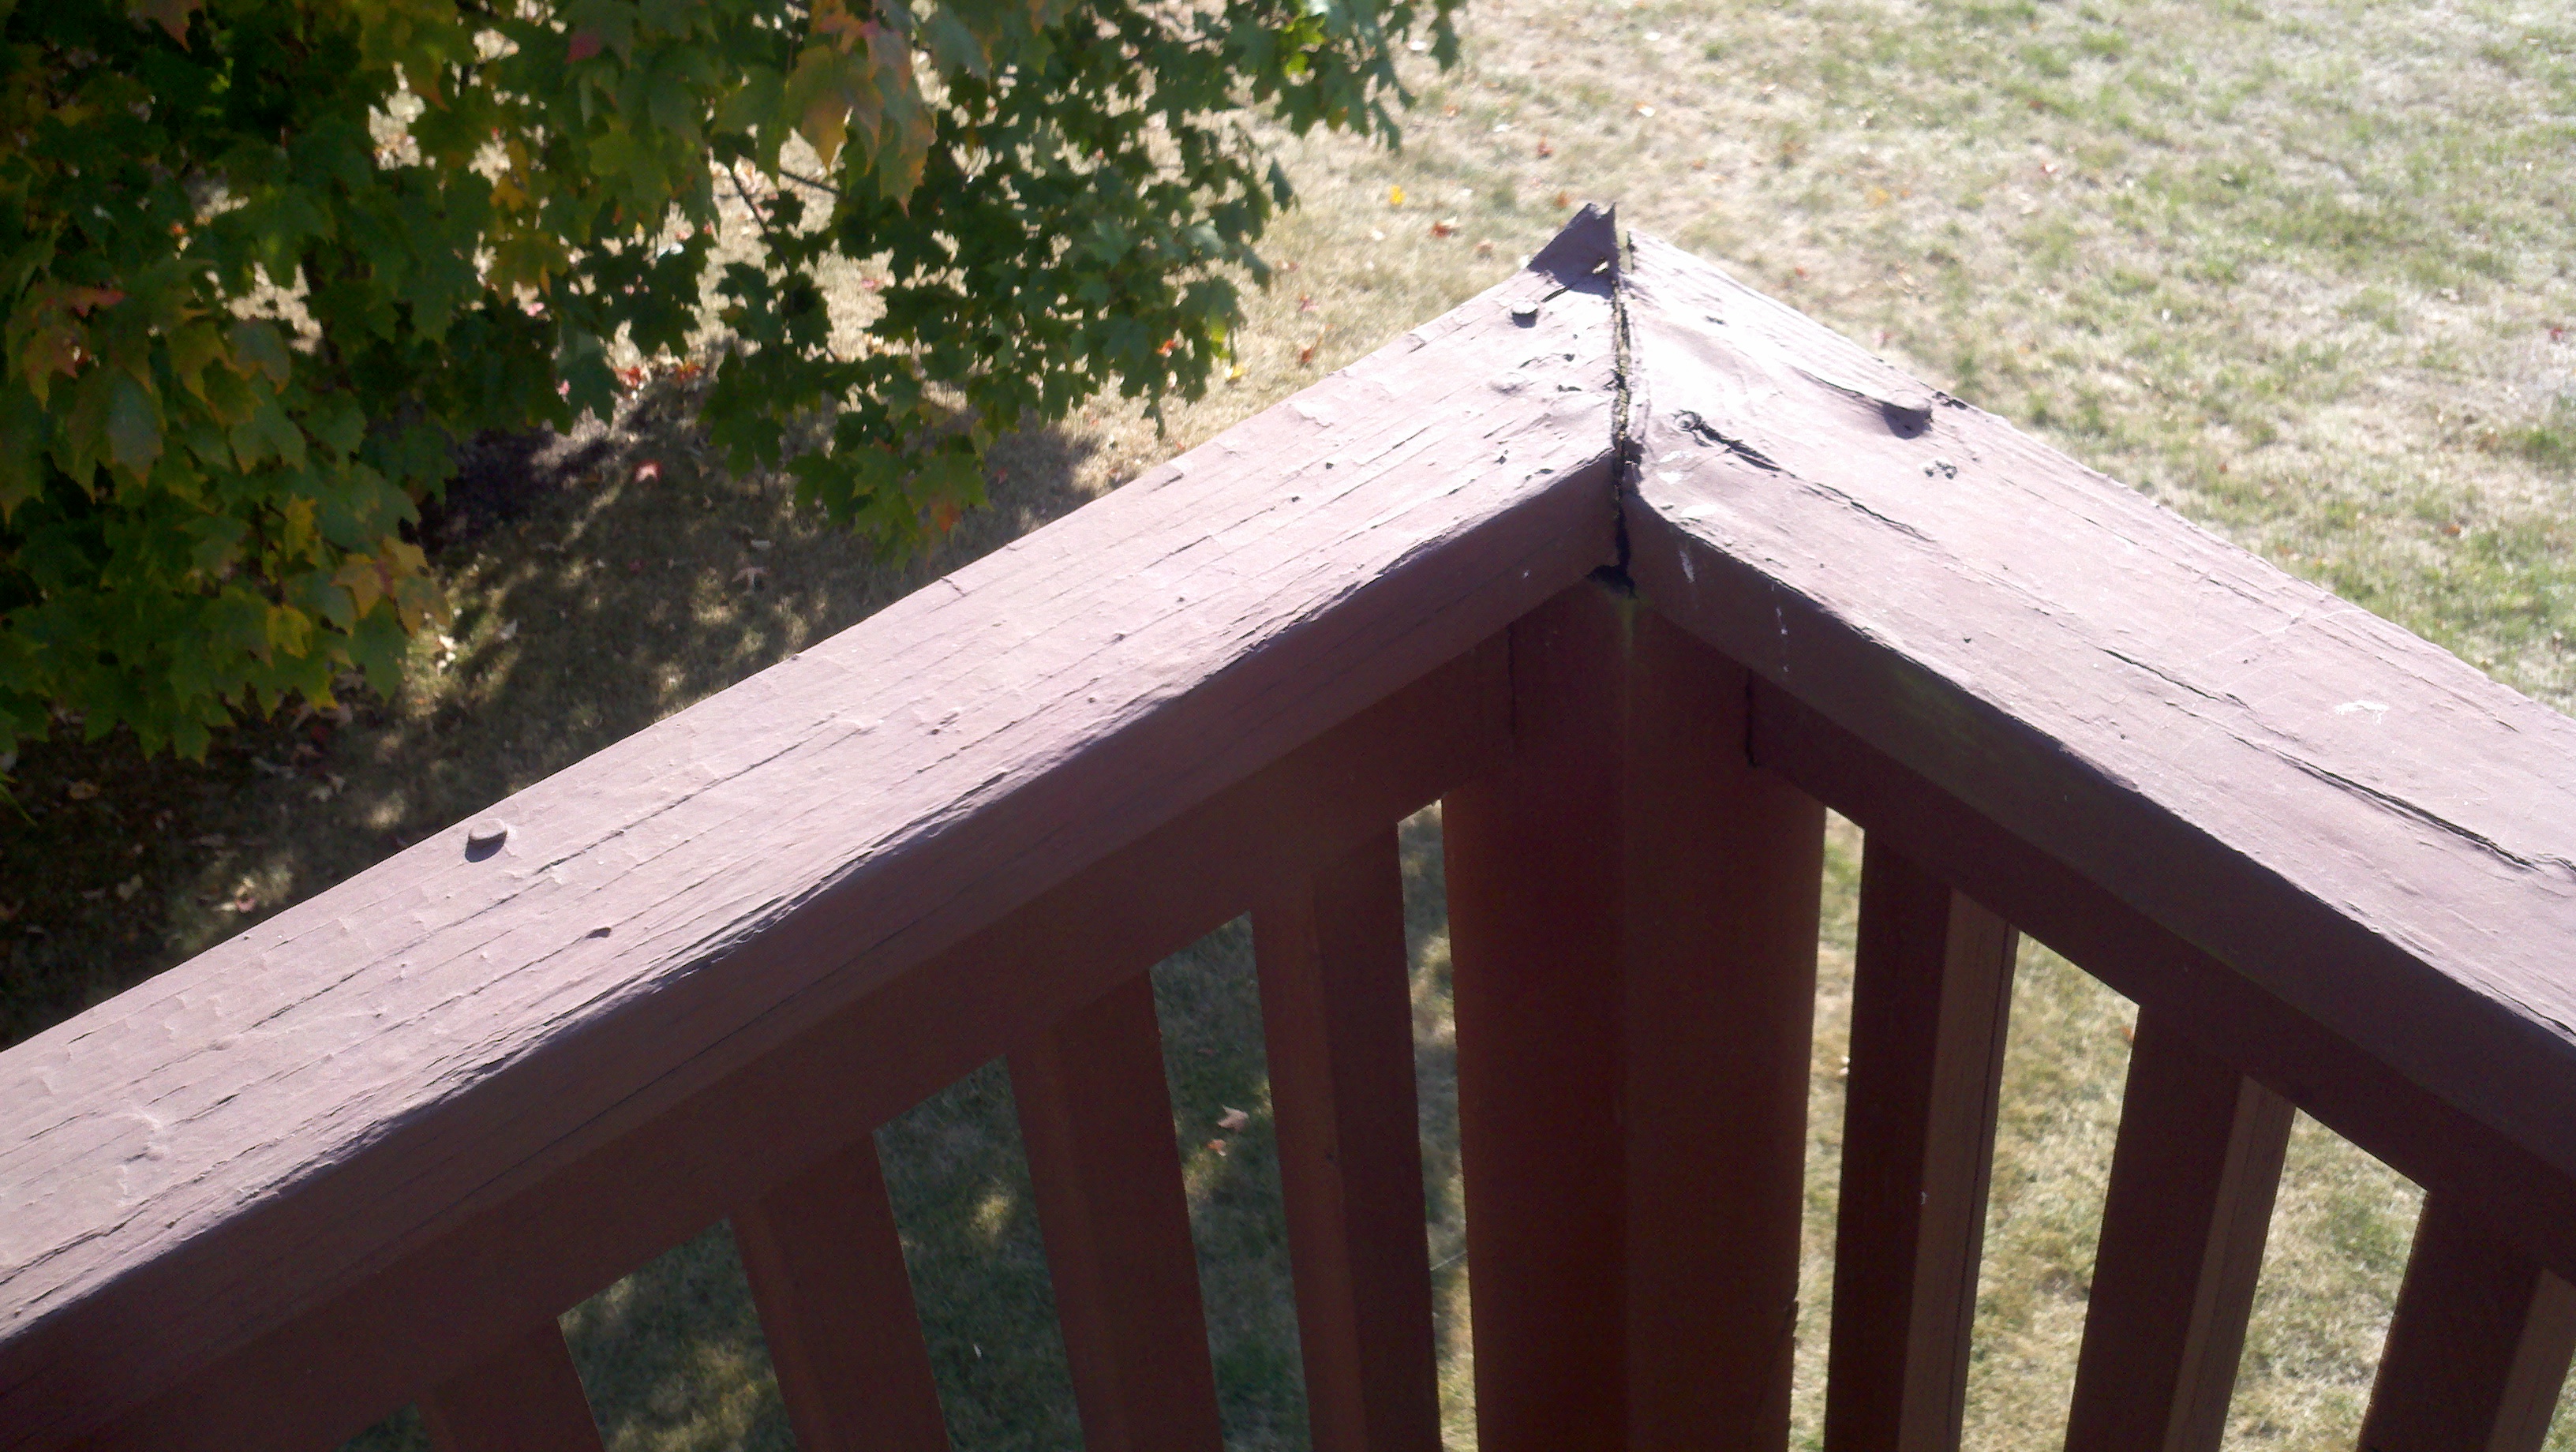
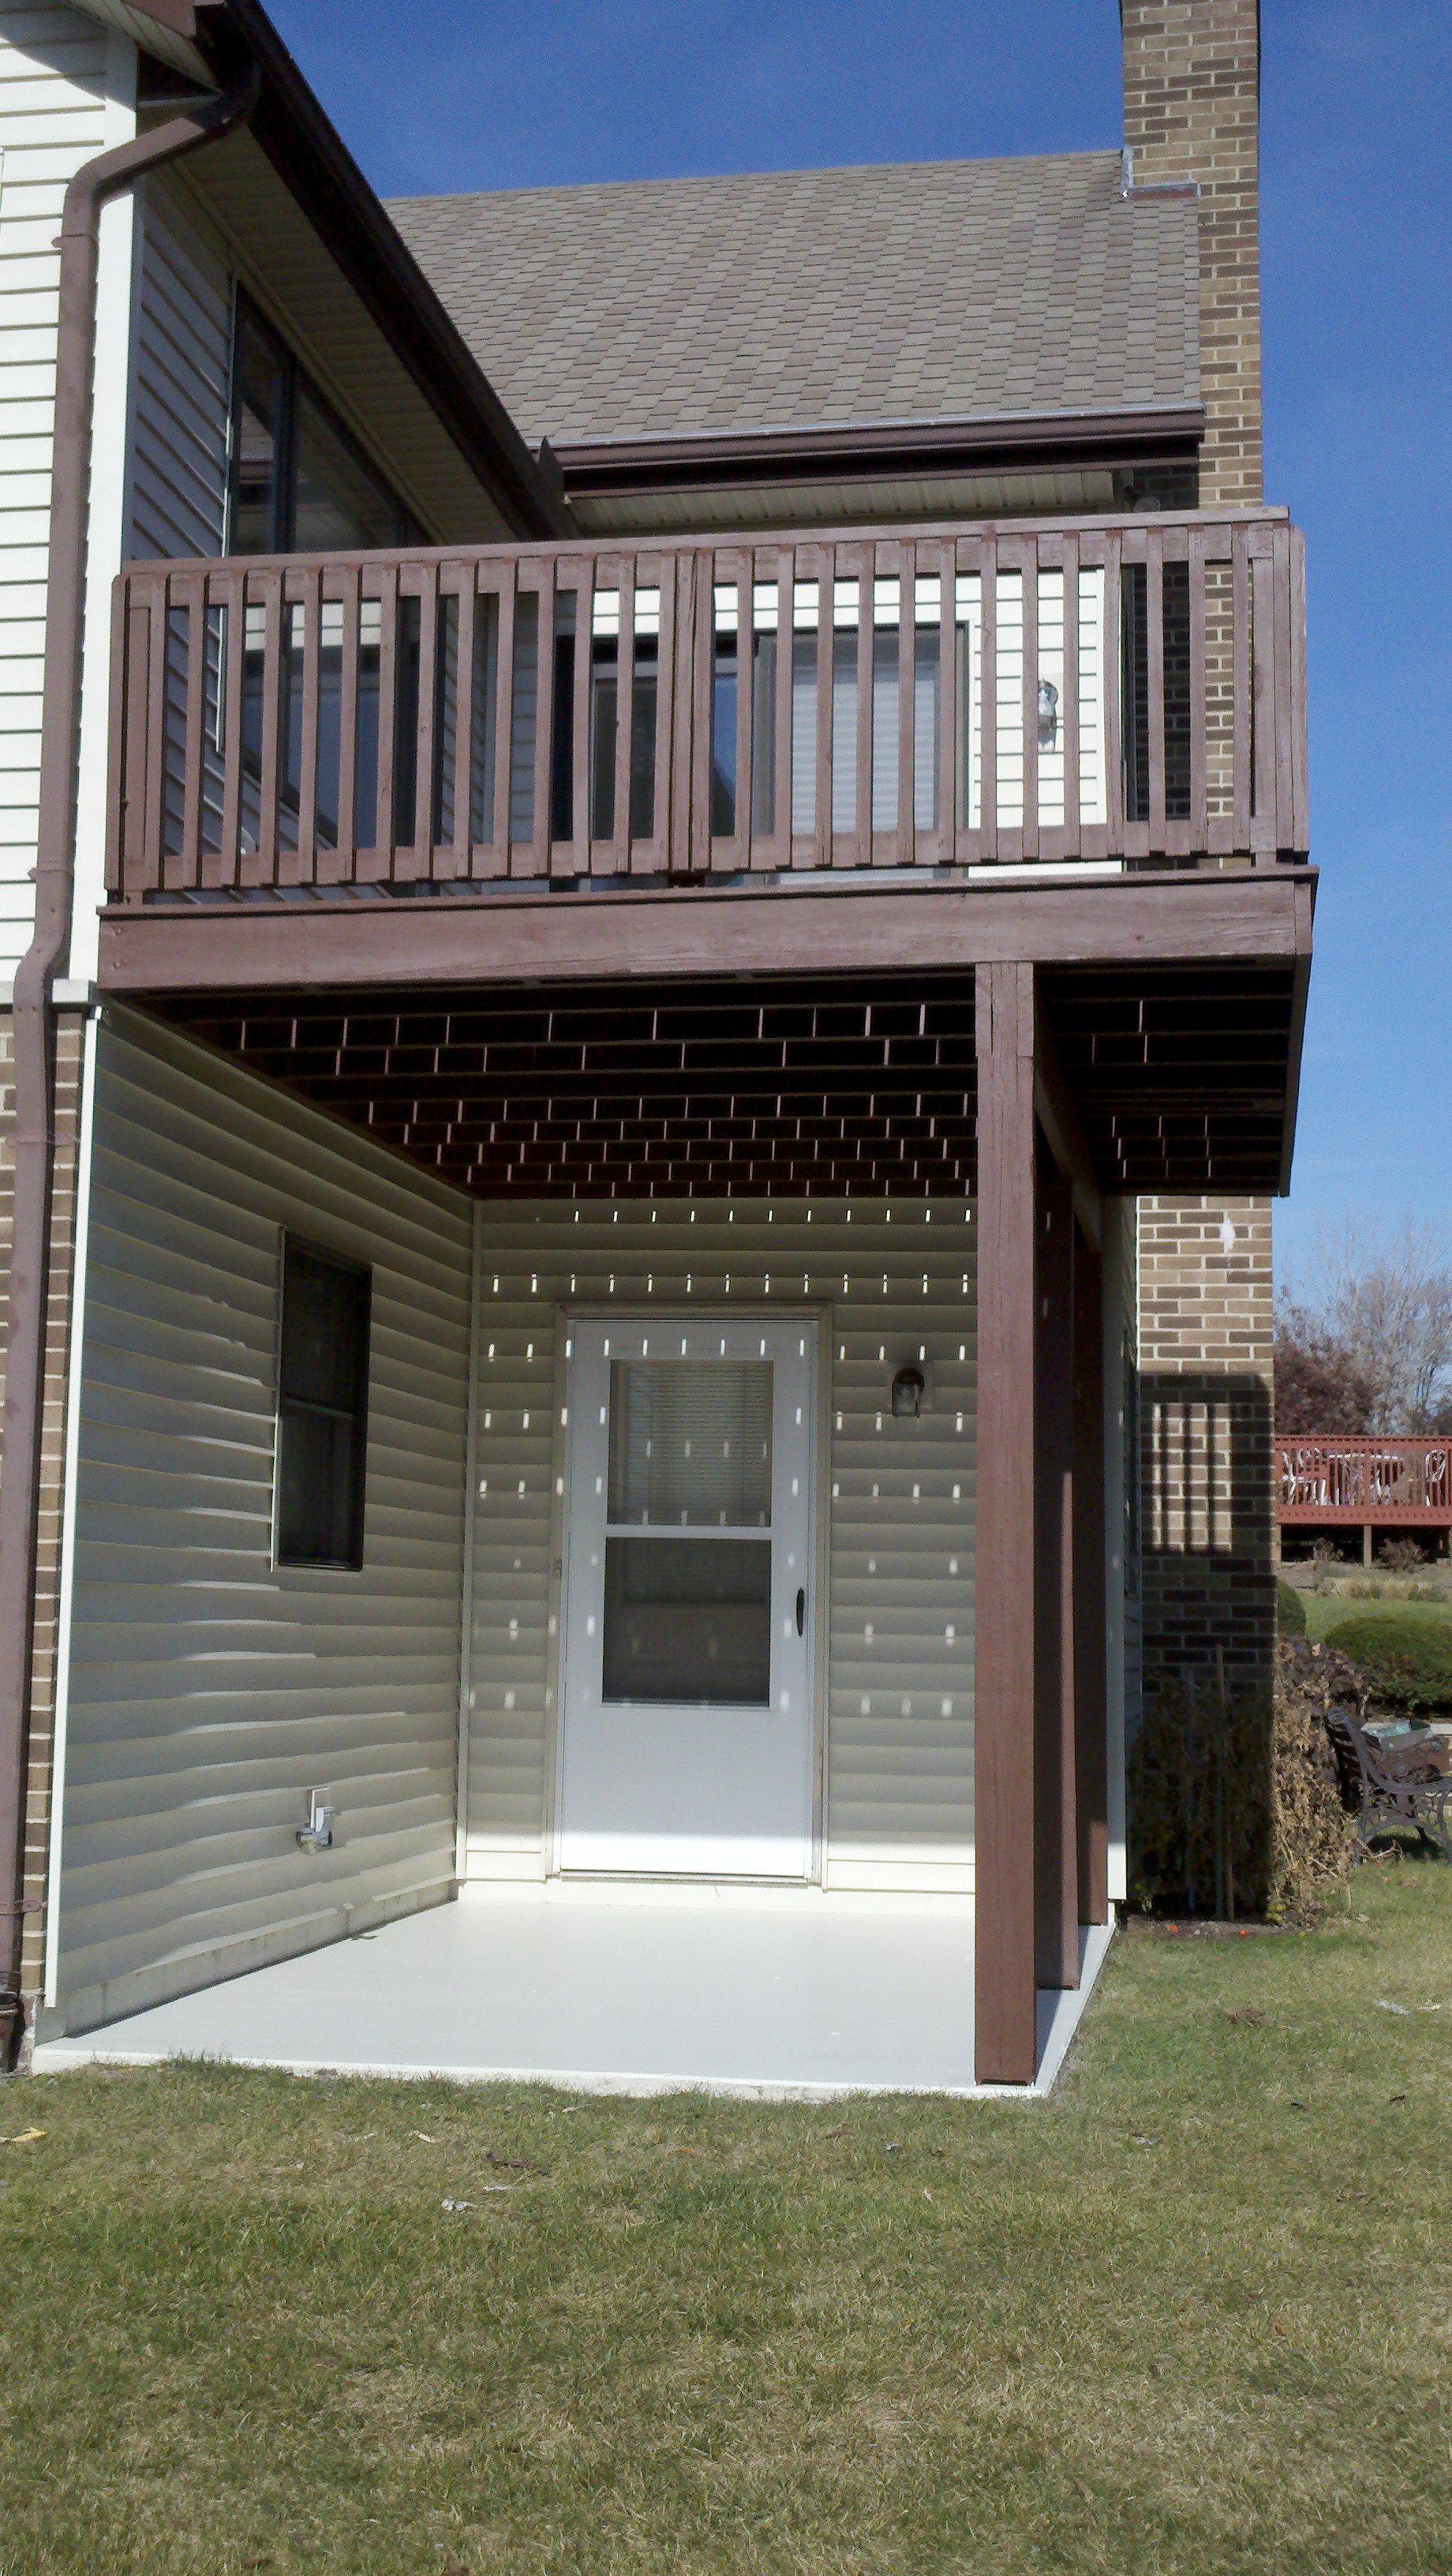
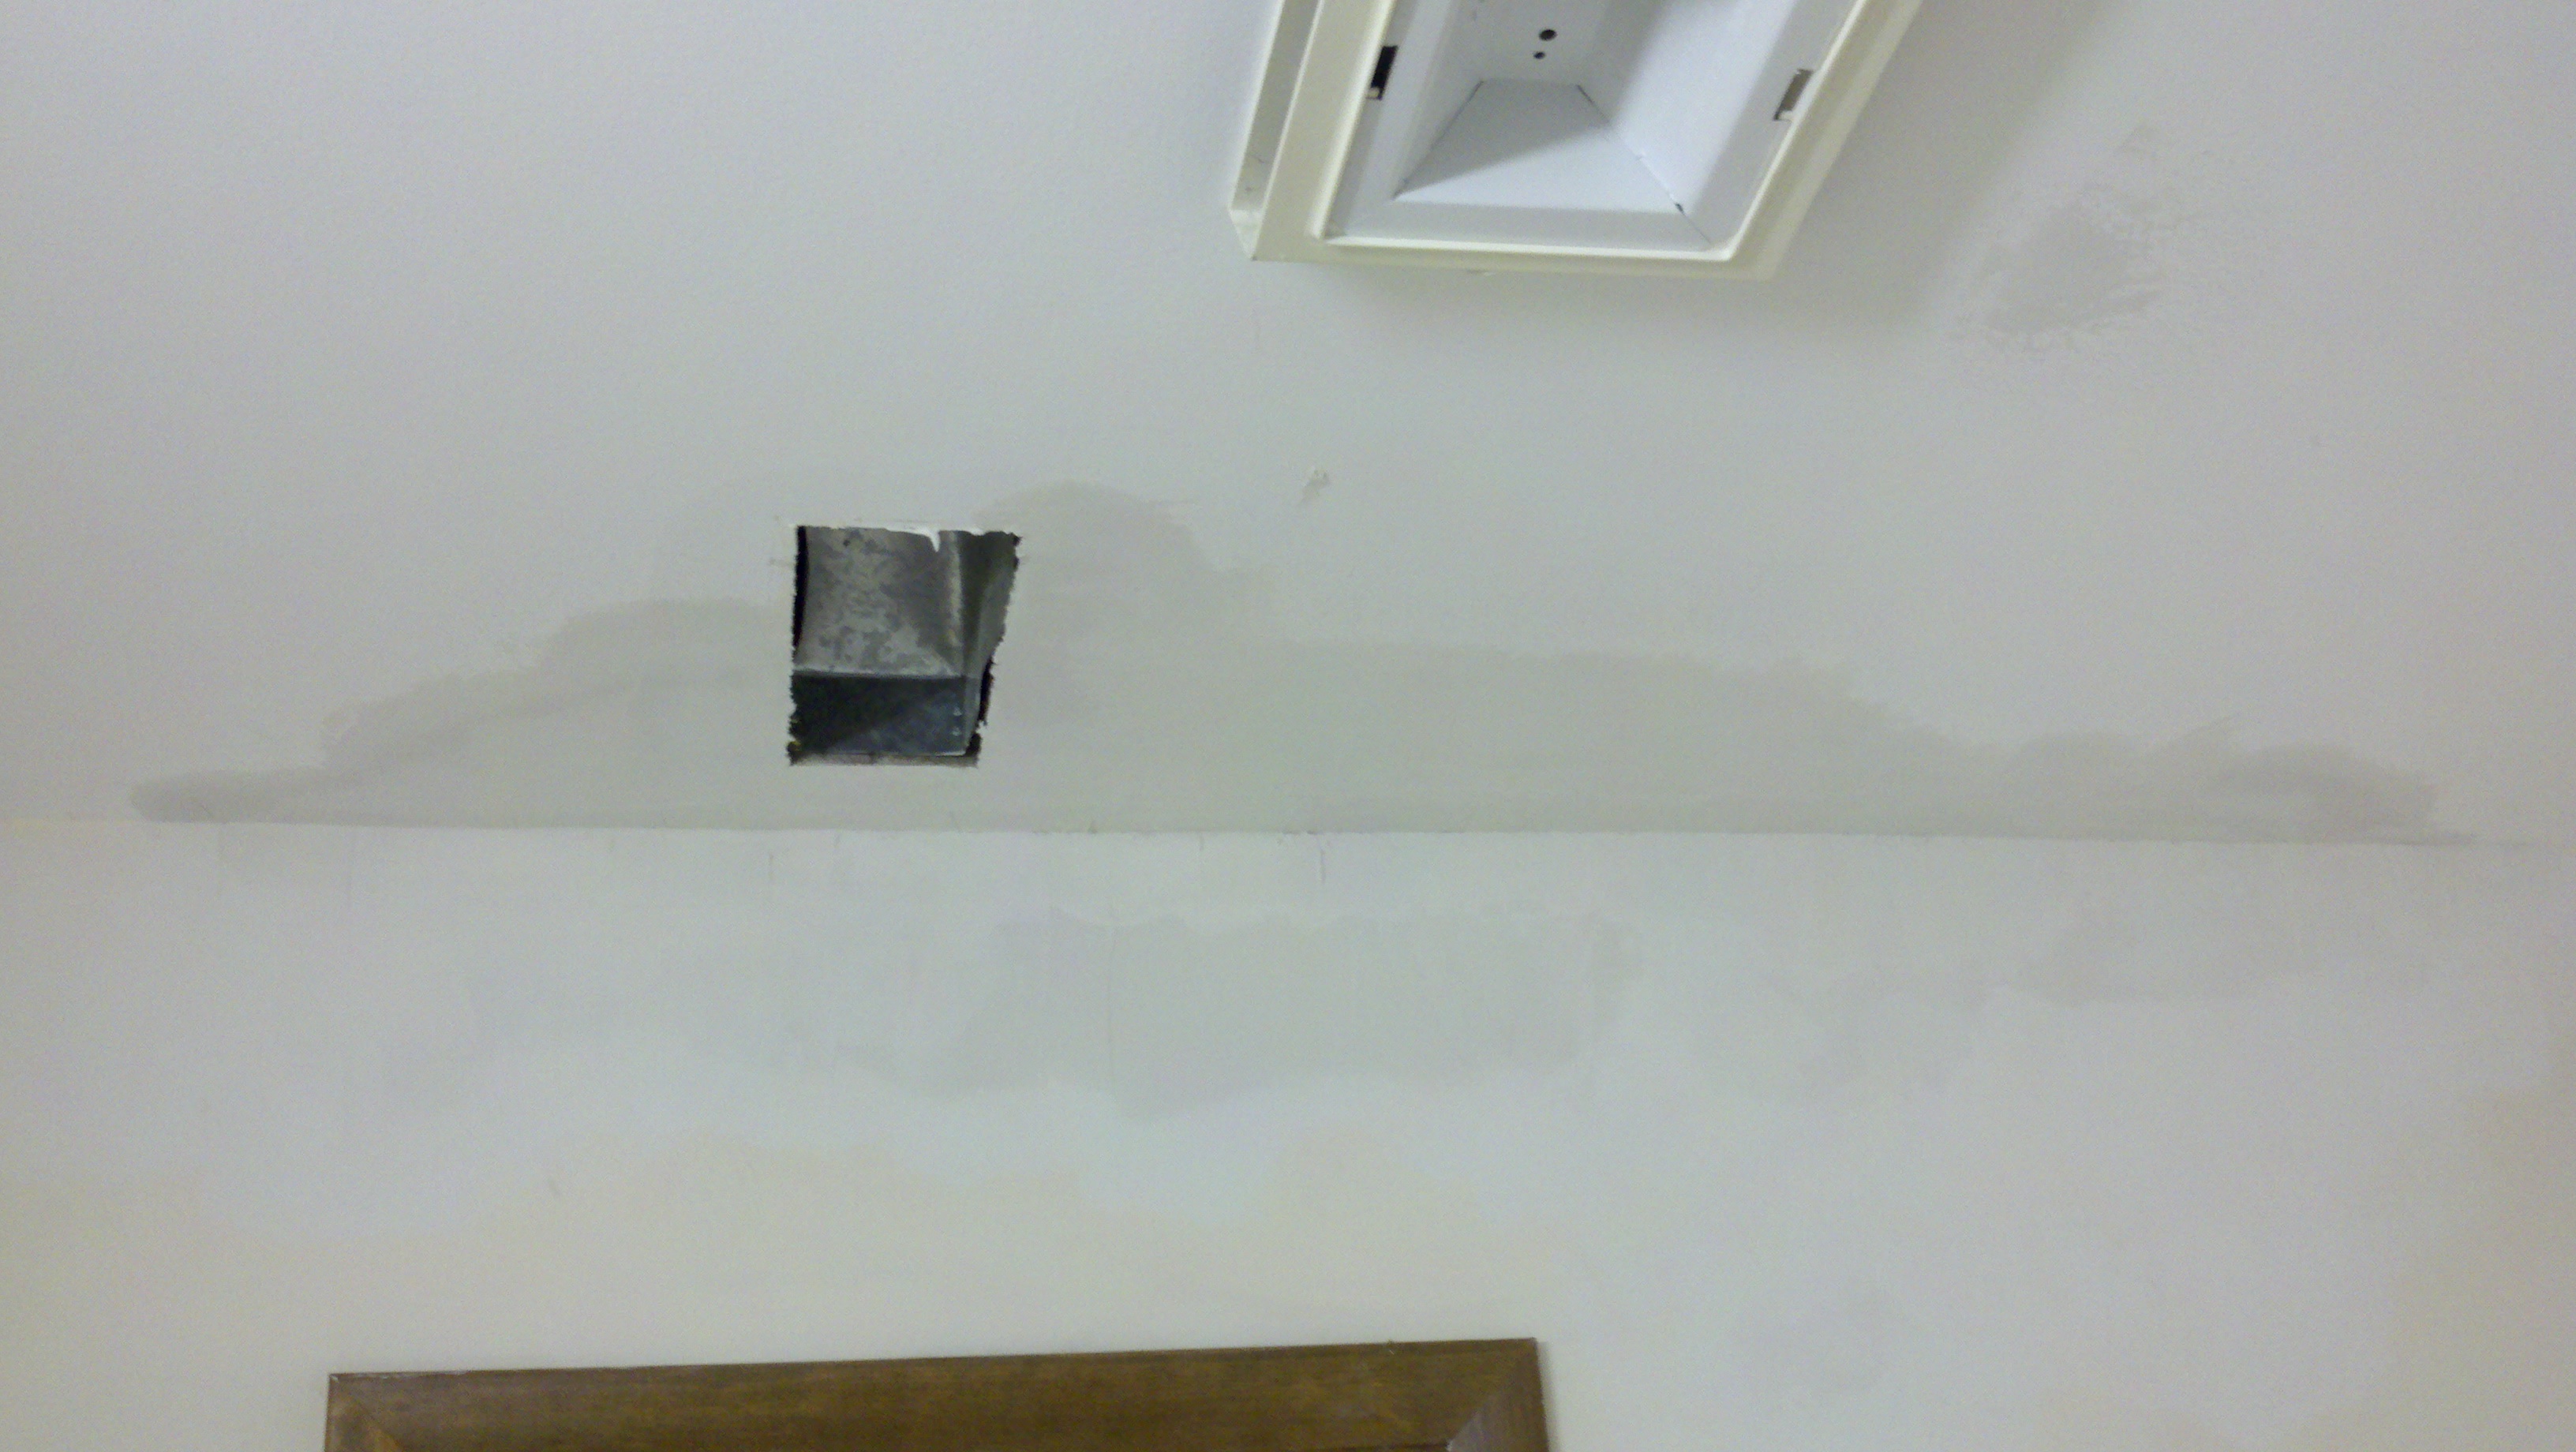
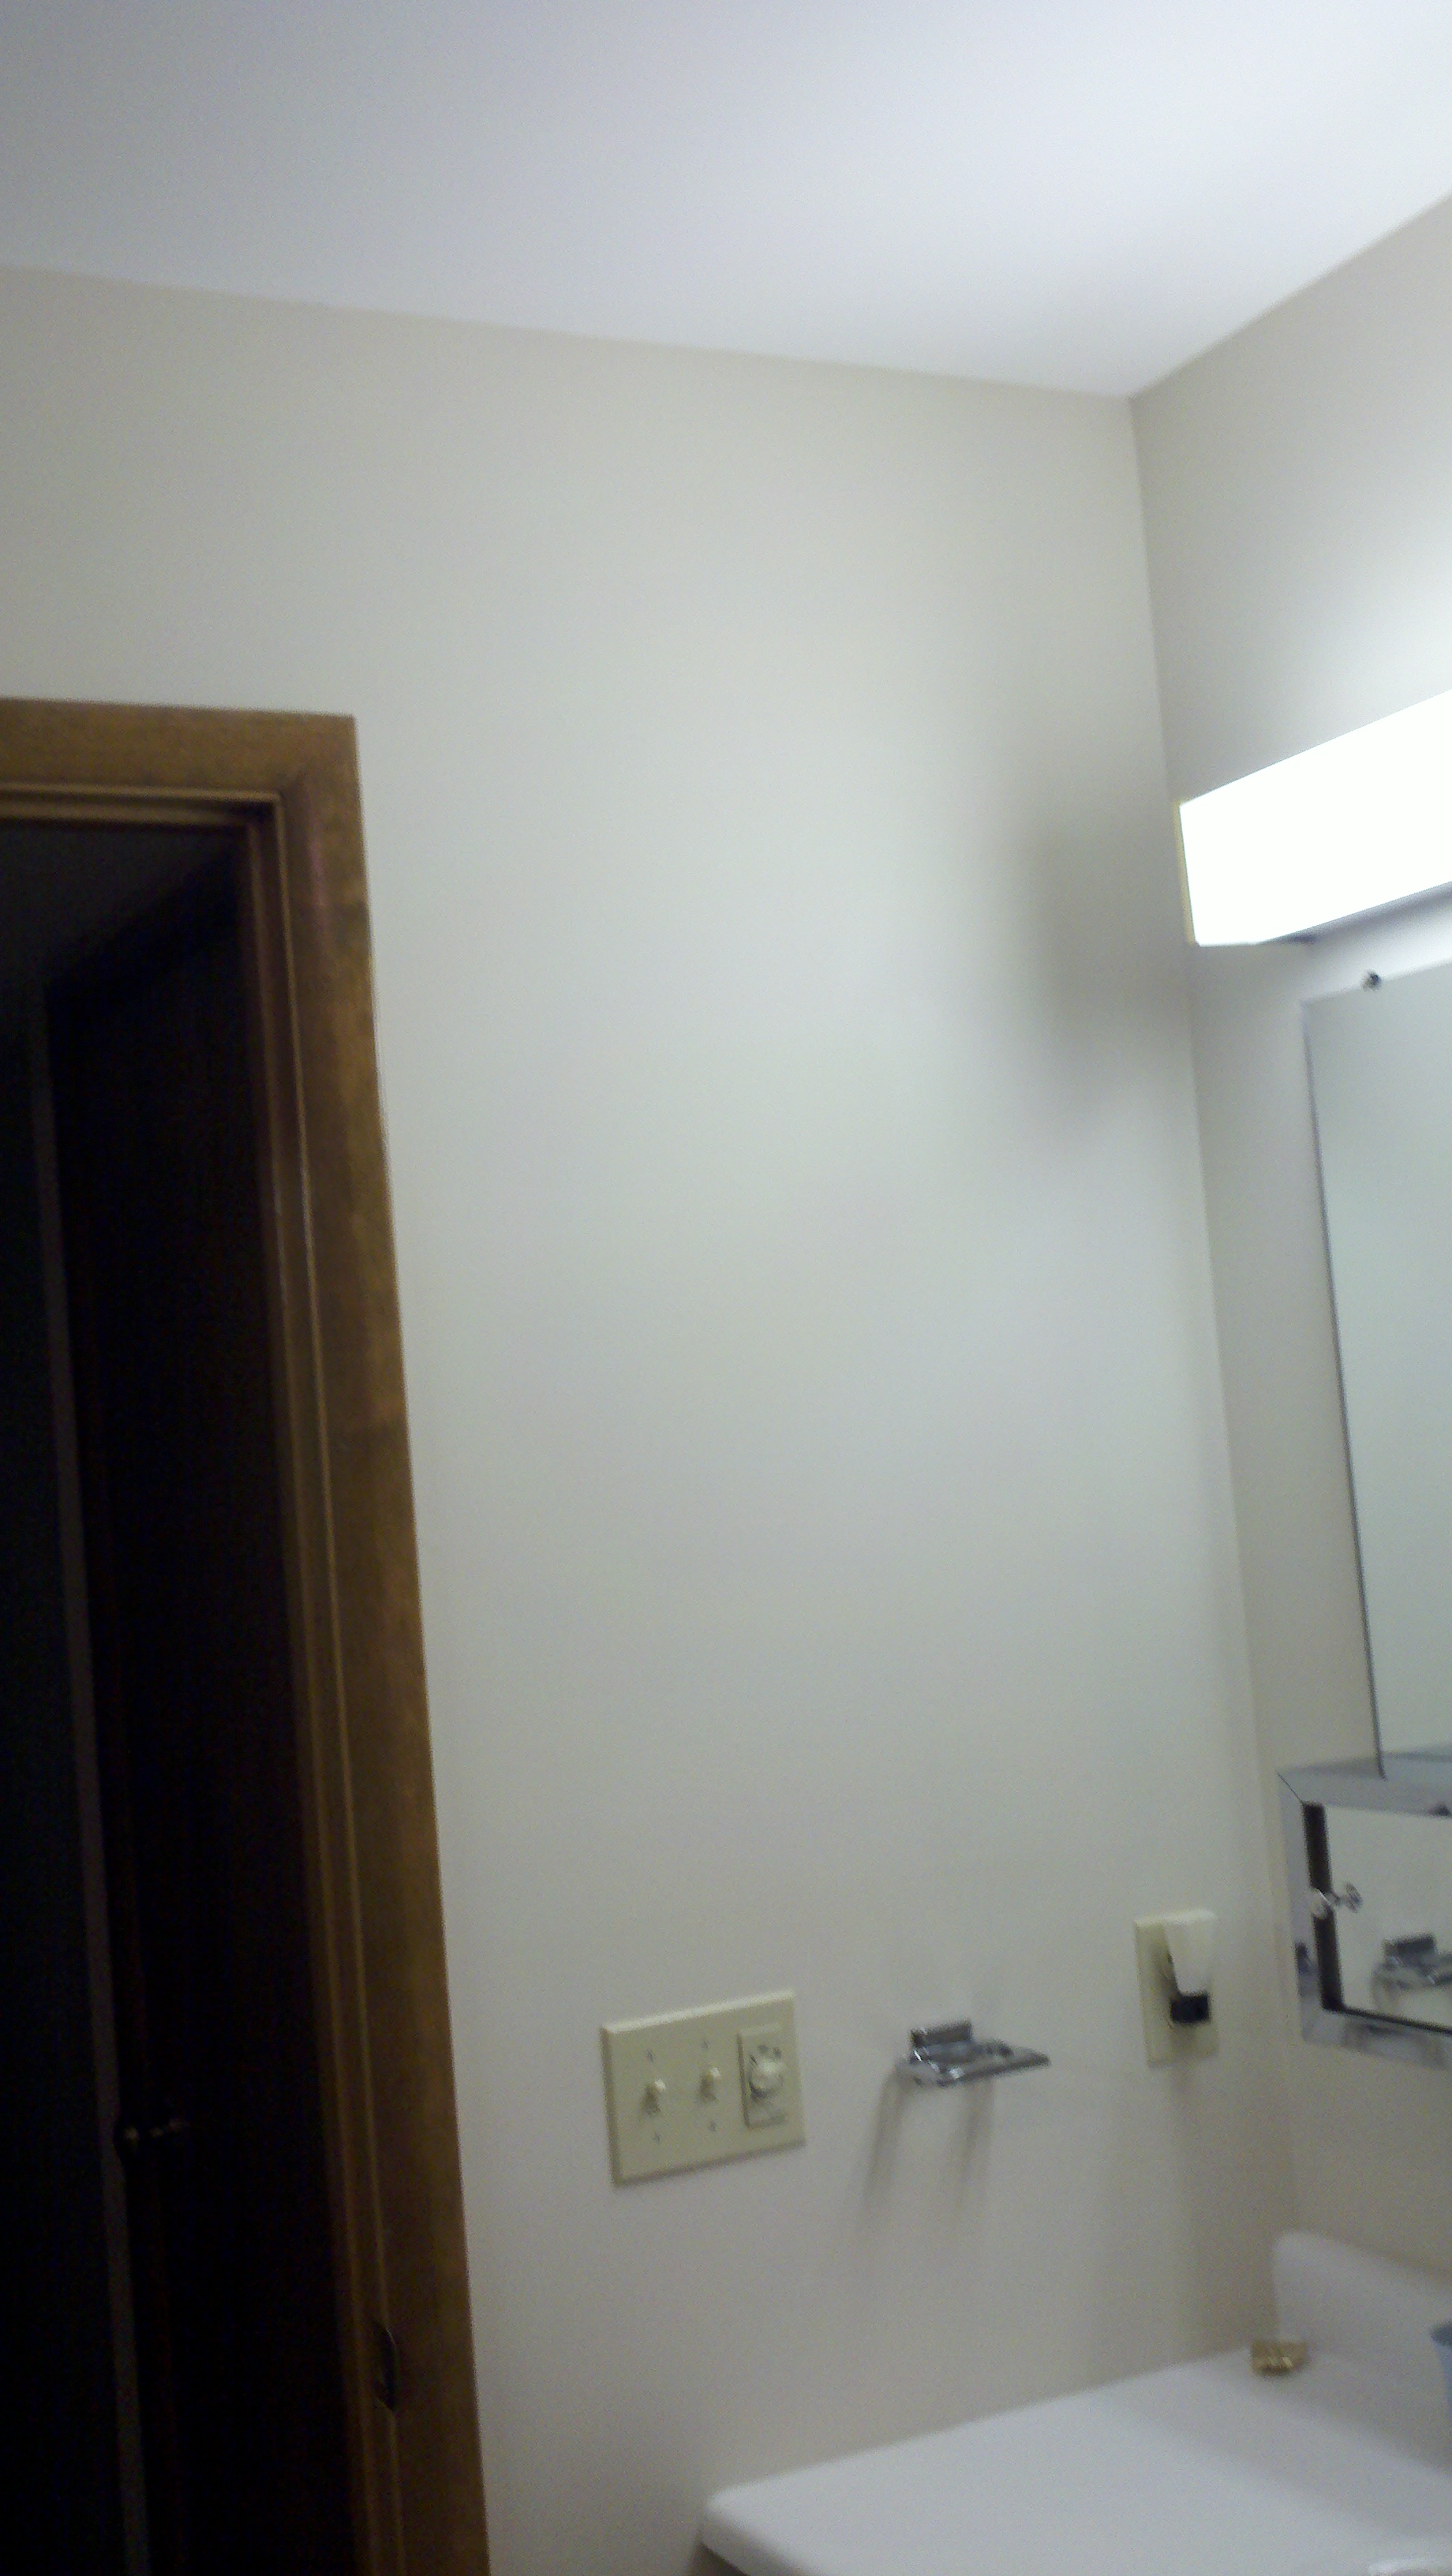
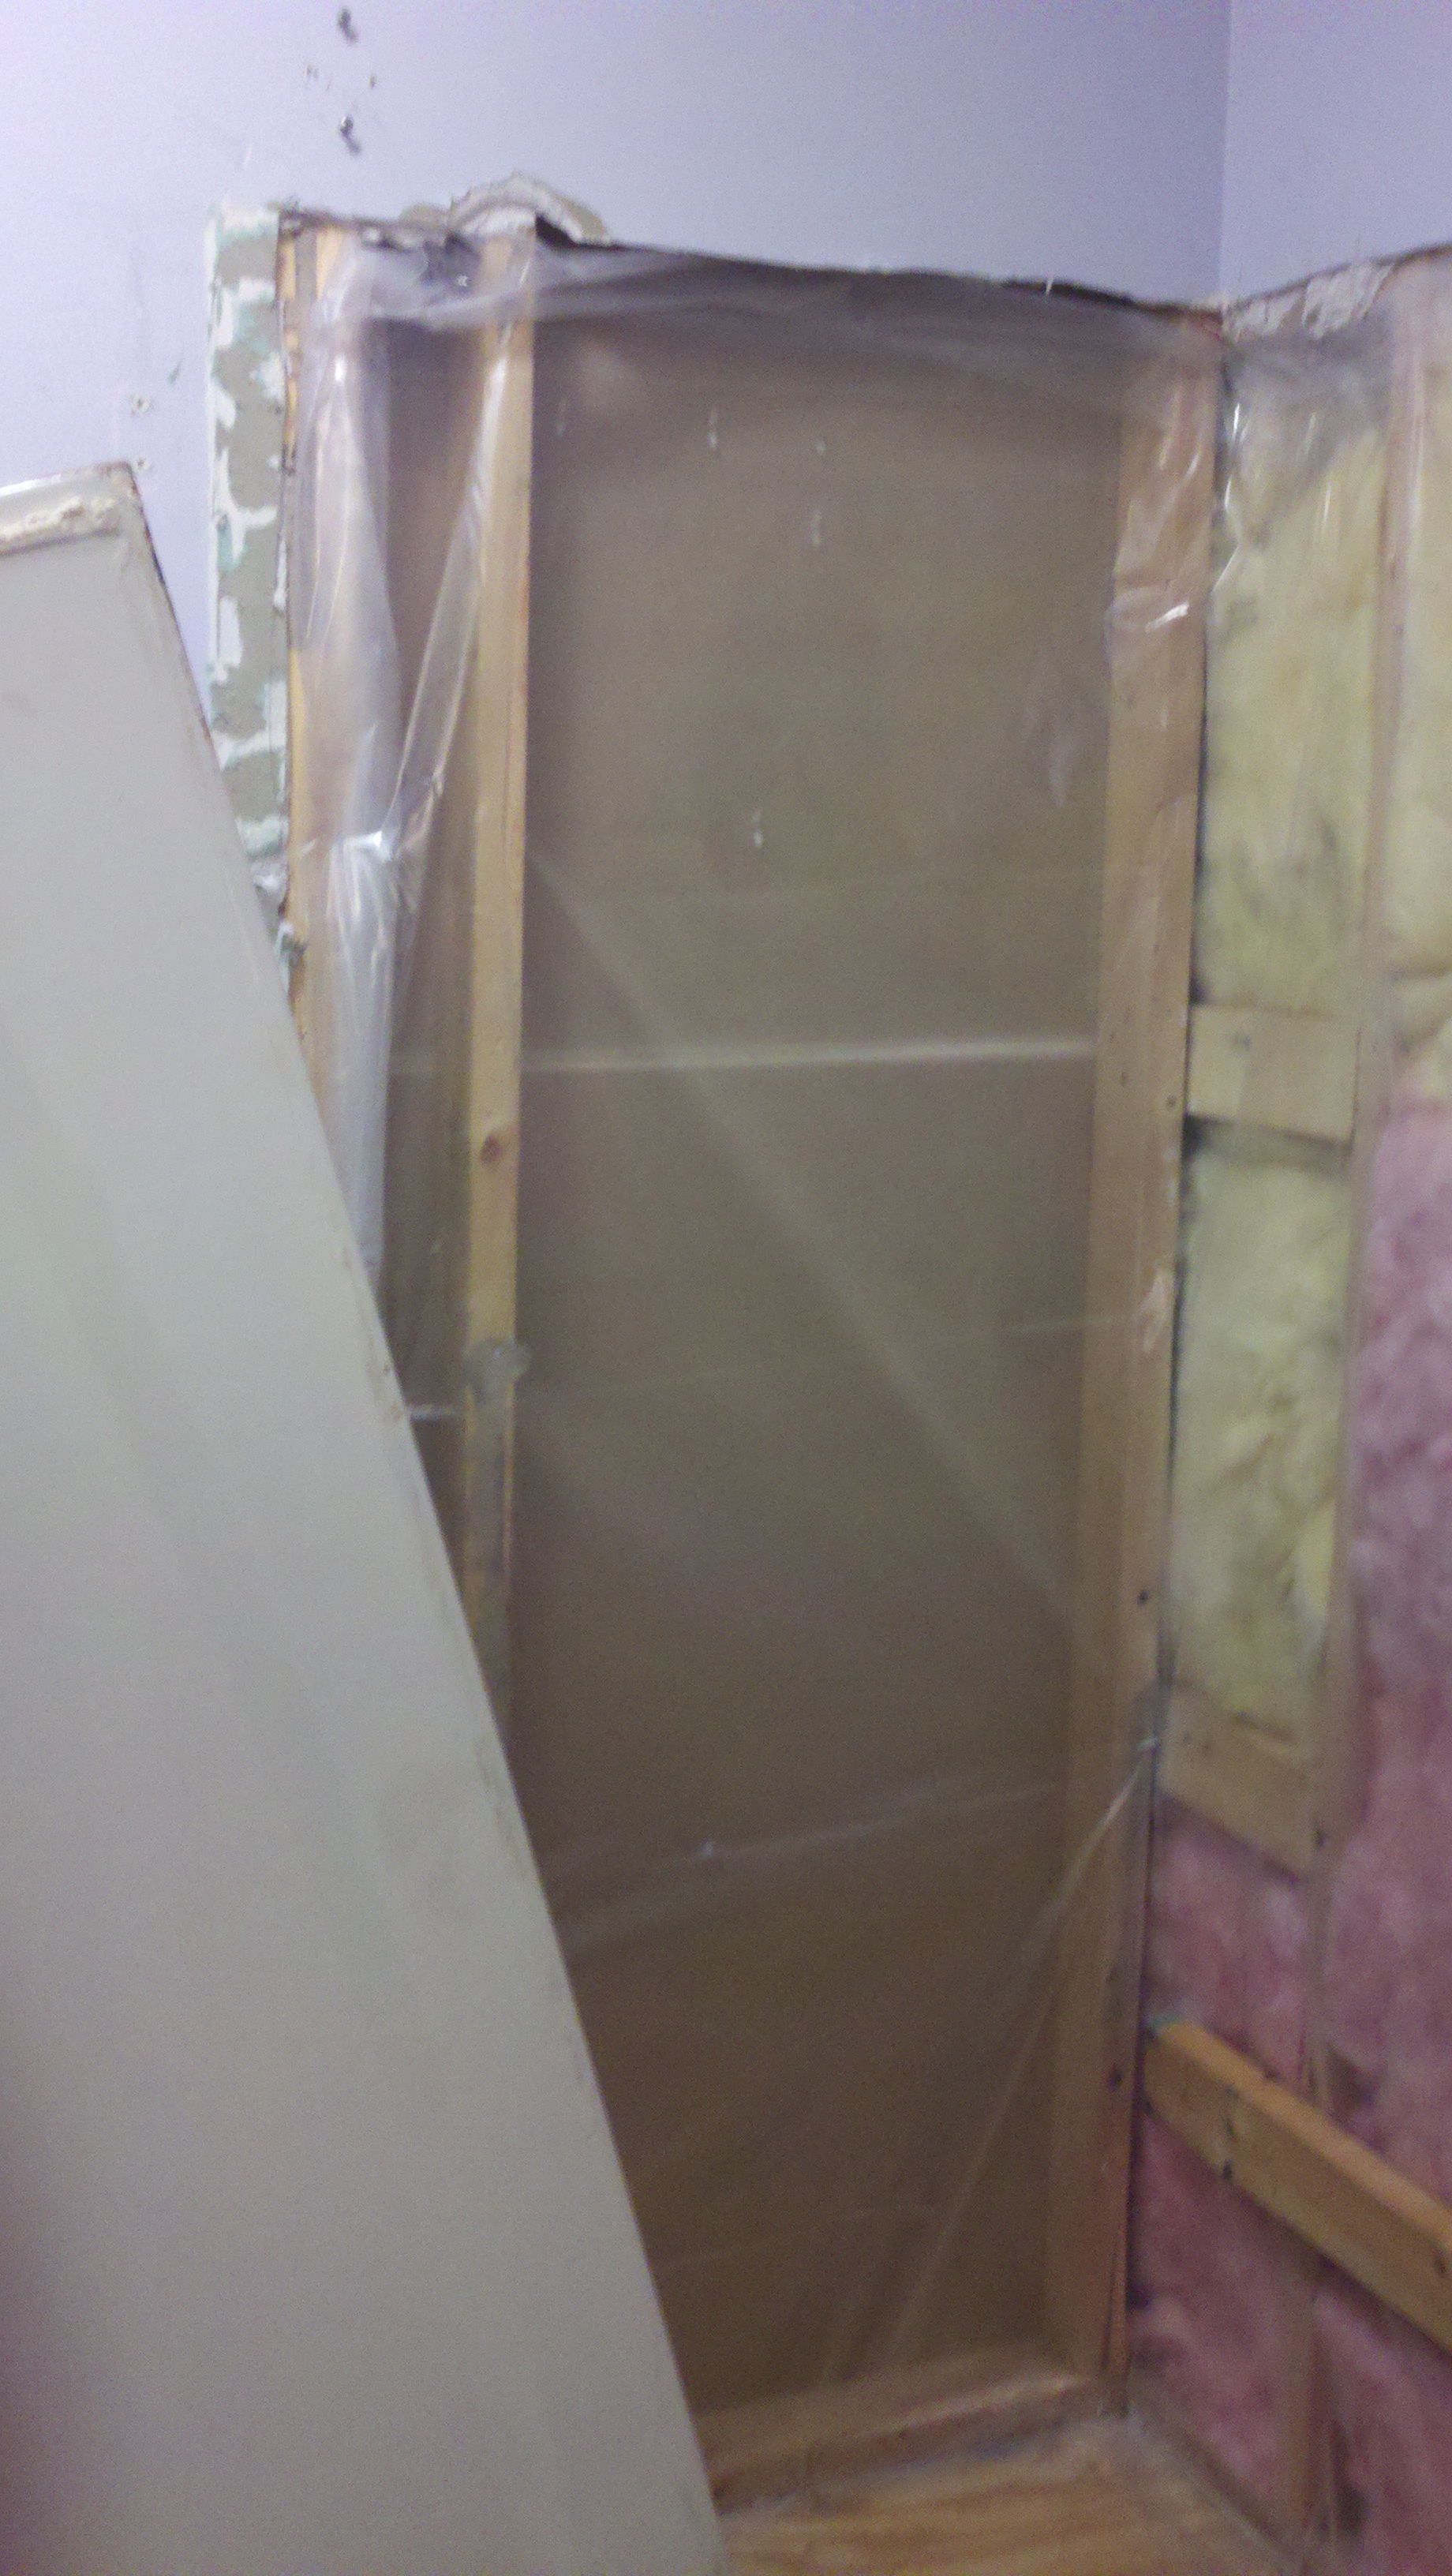
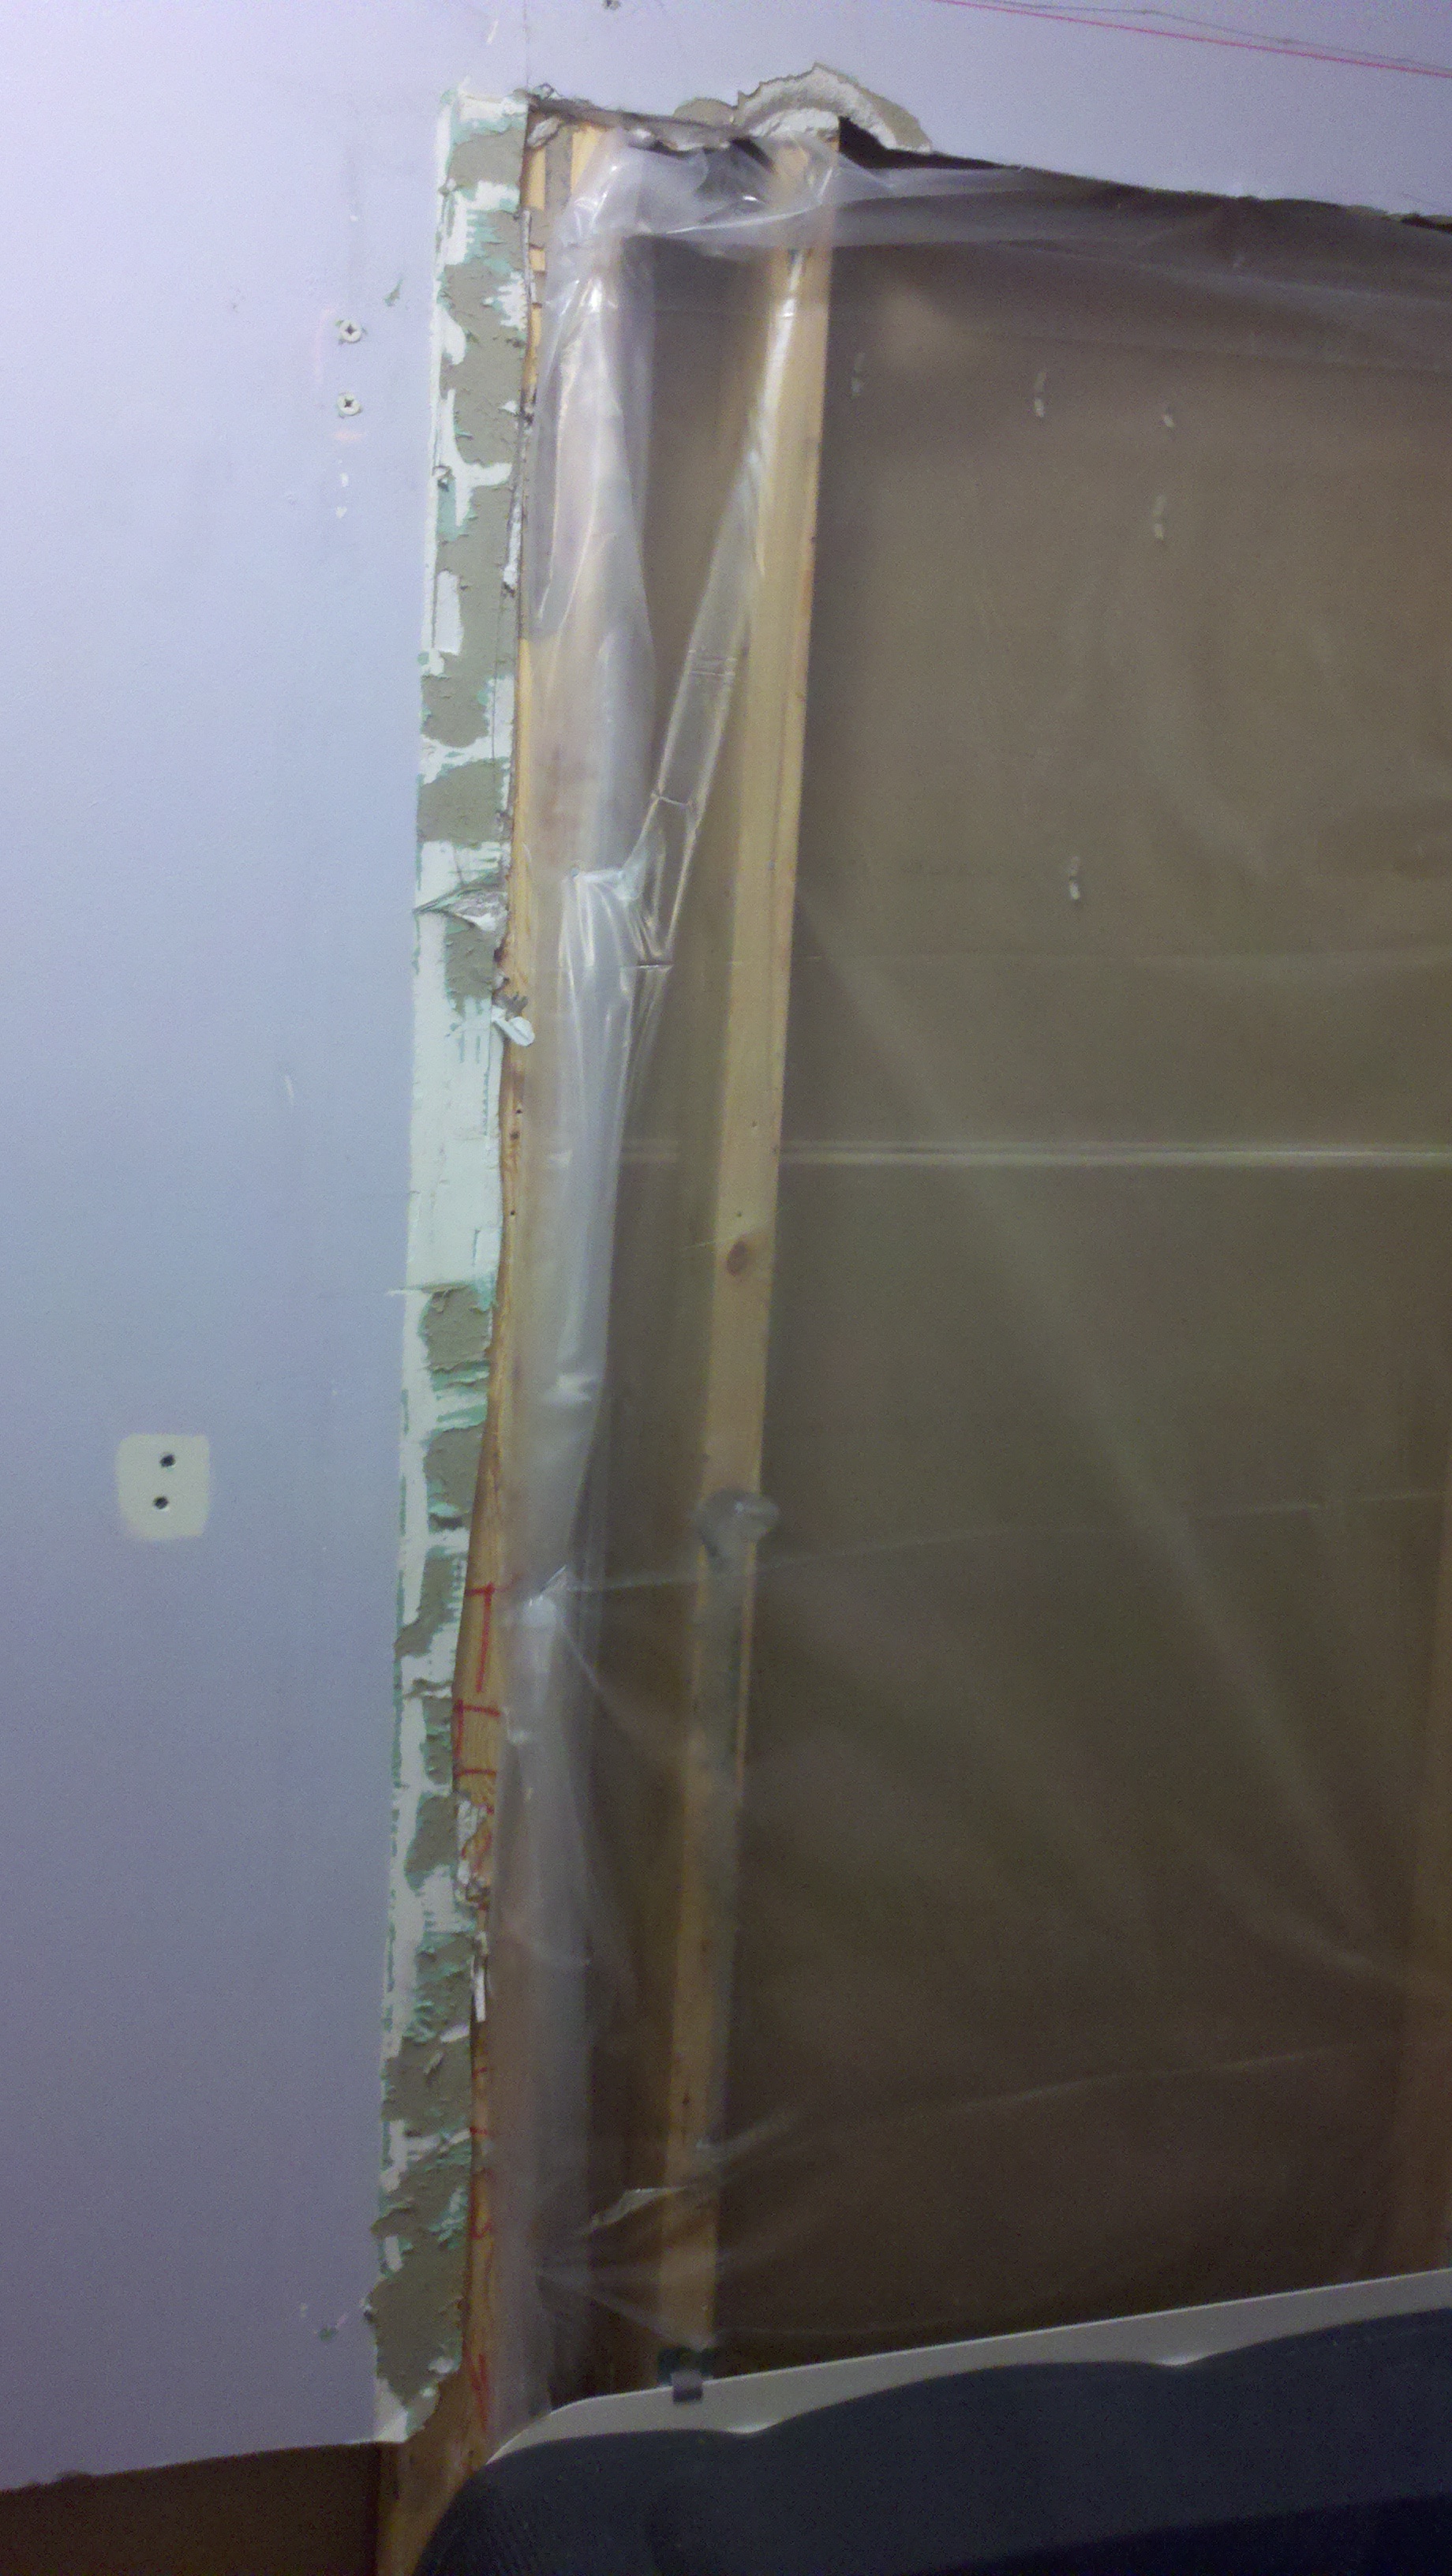
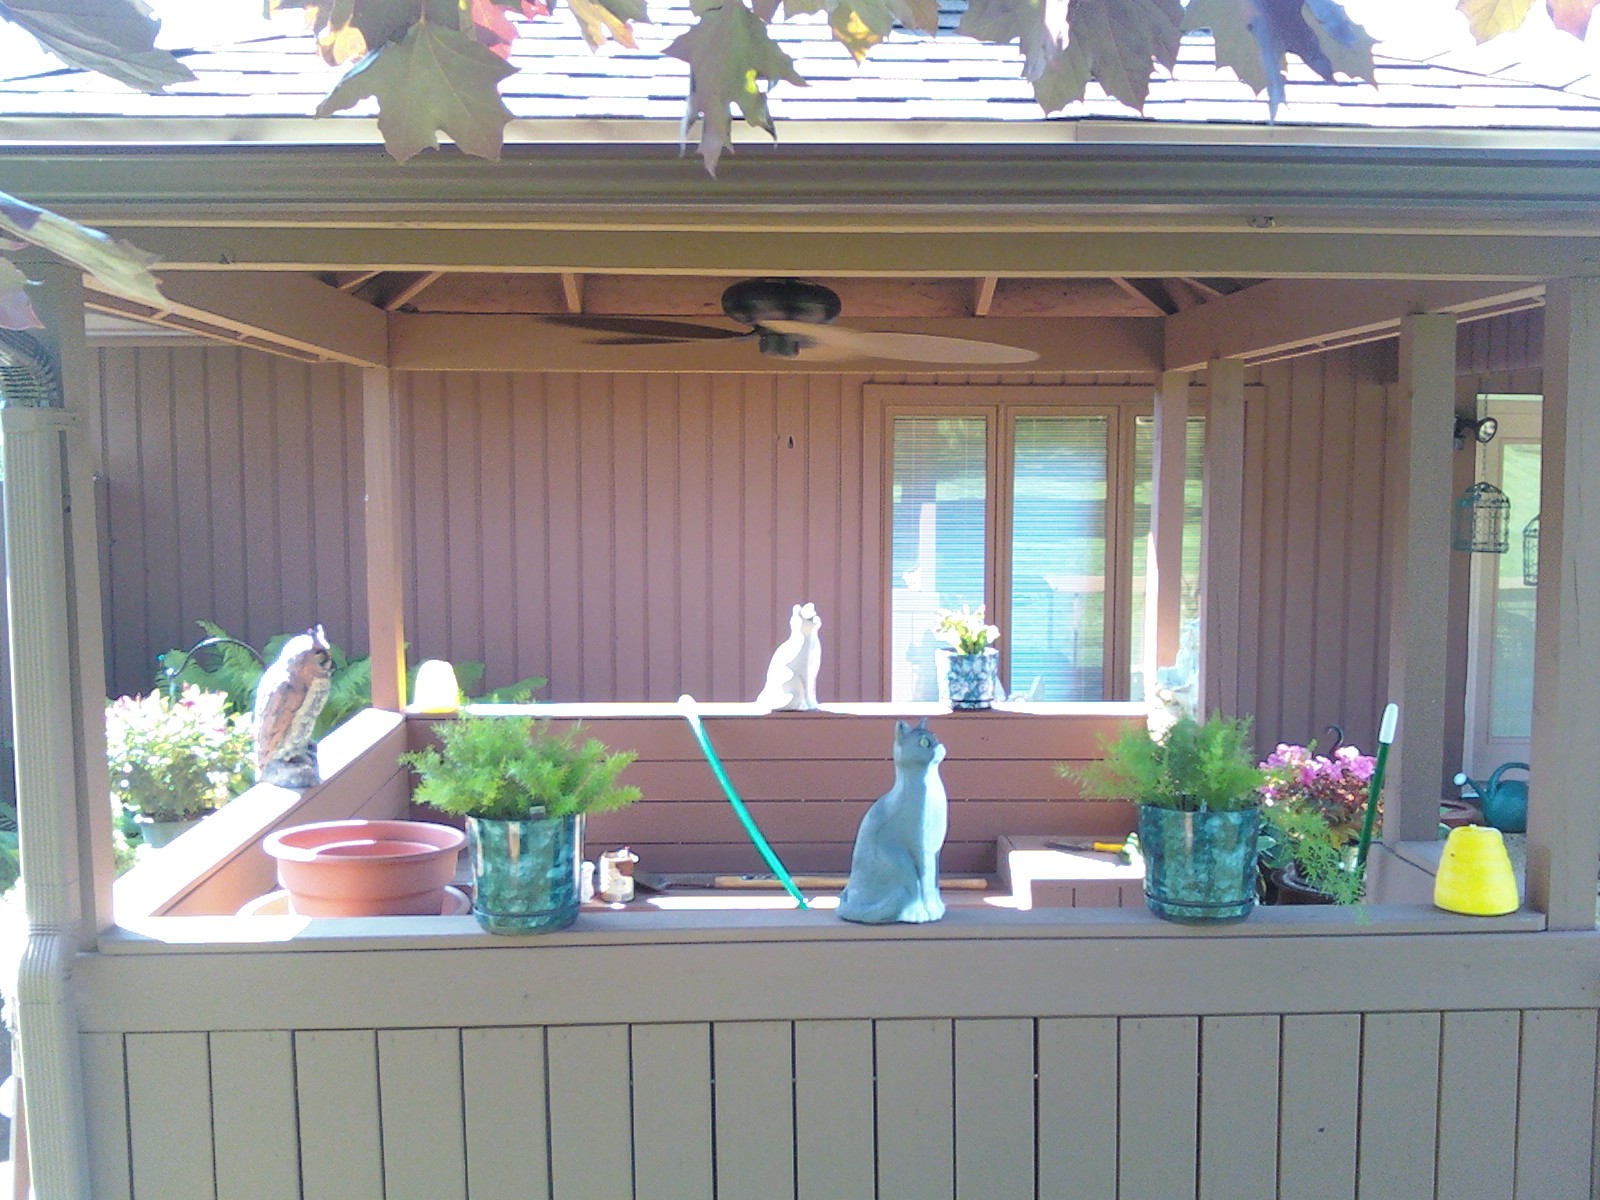
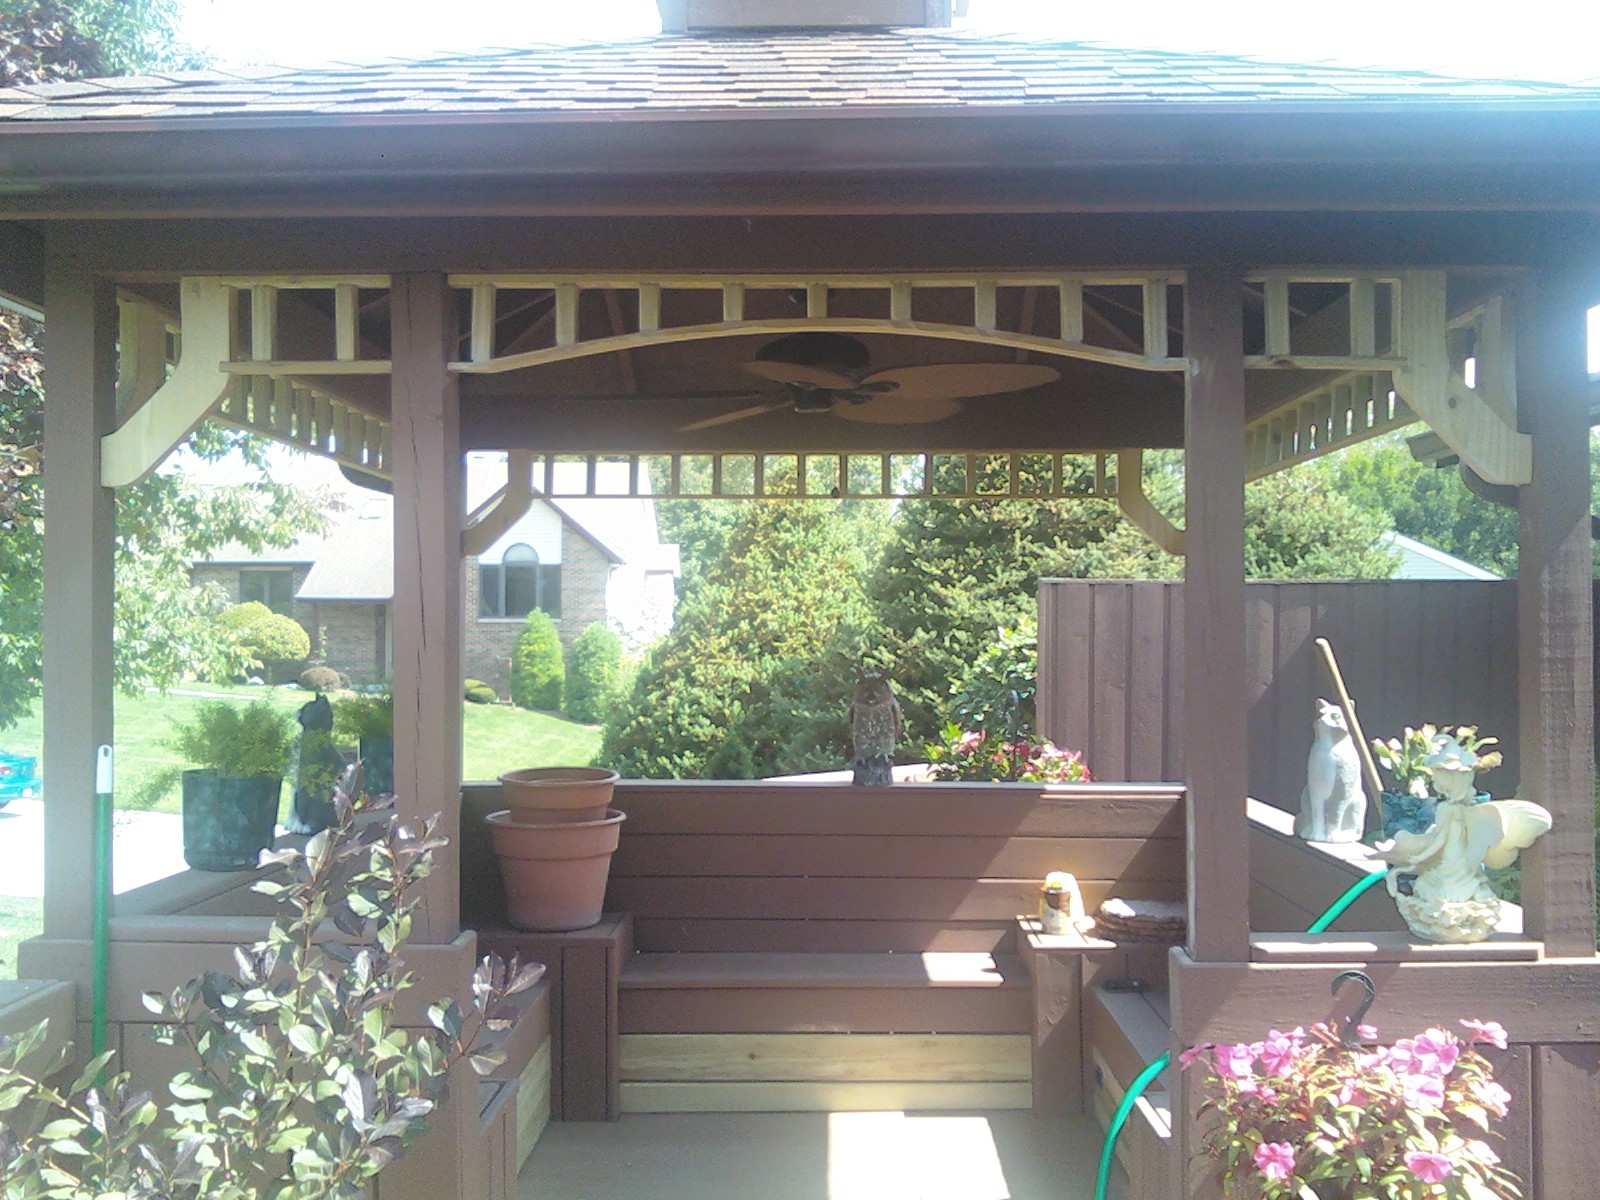
Gazebo Outdoor Fan Installation & Paint Application The task of installing an outdoor fan to reduce the infestation of stinging bugs living in a gazebo was introduced to me. This undertaking was accepted with a few additional tasks, including the installation of a 120VAC underground power line, painting portions of the gazebo/ deck, and fabricating a mounting location for the fan. The process was anticipated to consume approximately 24 hours. Design and fabrication of the fan mount was the first task of the project. Designing the descending fan mount required many restrictions for proper customer satisfaction and safety. The mount required a length long enough for proper clearance for the fan blades and prevention of possible unintentional human interference. An inverted triangular design was chosen to match the physical appearance of the existing architecture. The overall height of the fan was chosen to be seven feet. Wood similar to the existing planks used to build the gazebo was used to fabricate the fan mount. Pictures one through three
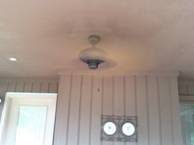
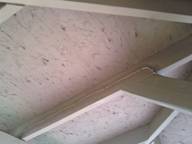
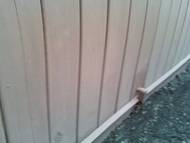
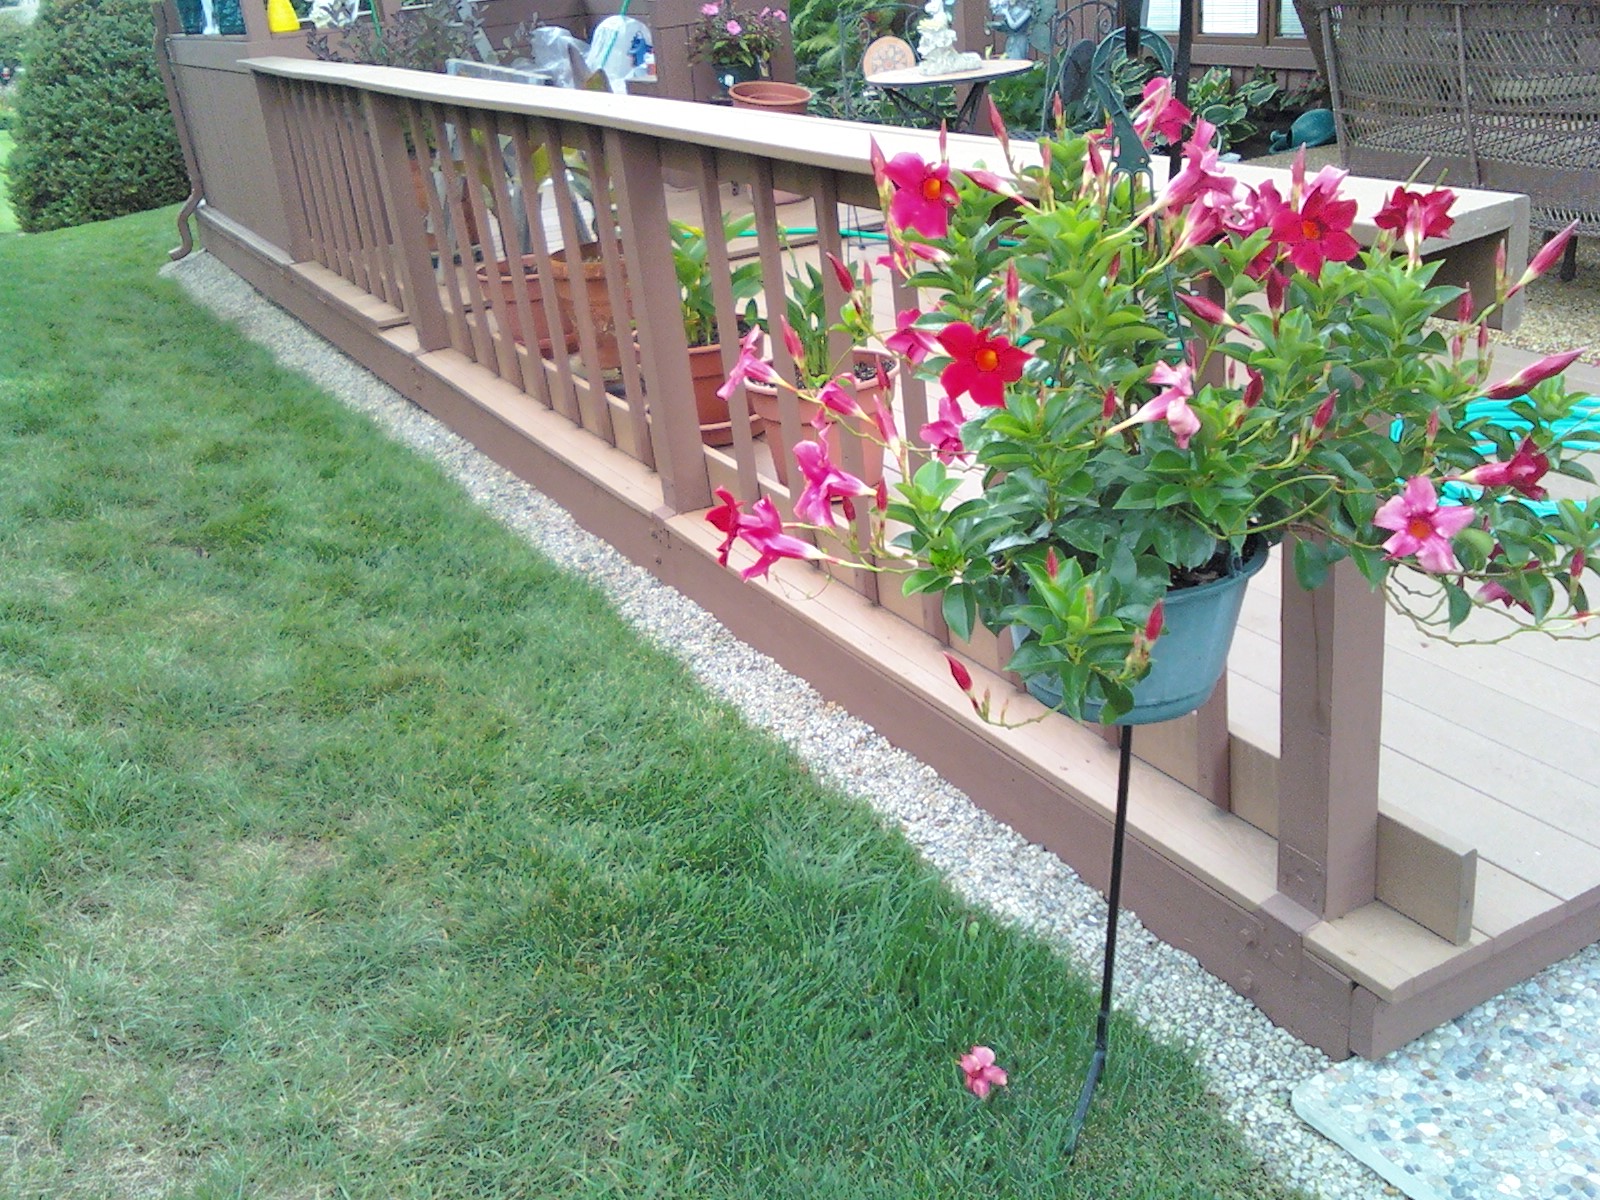
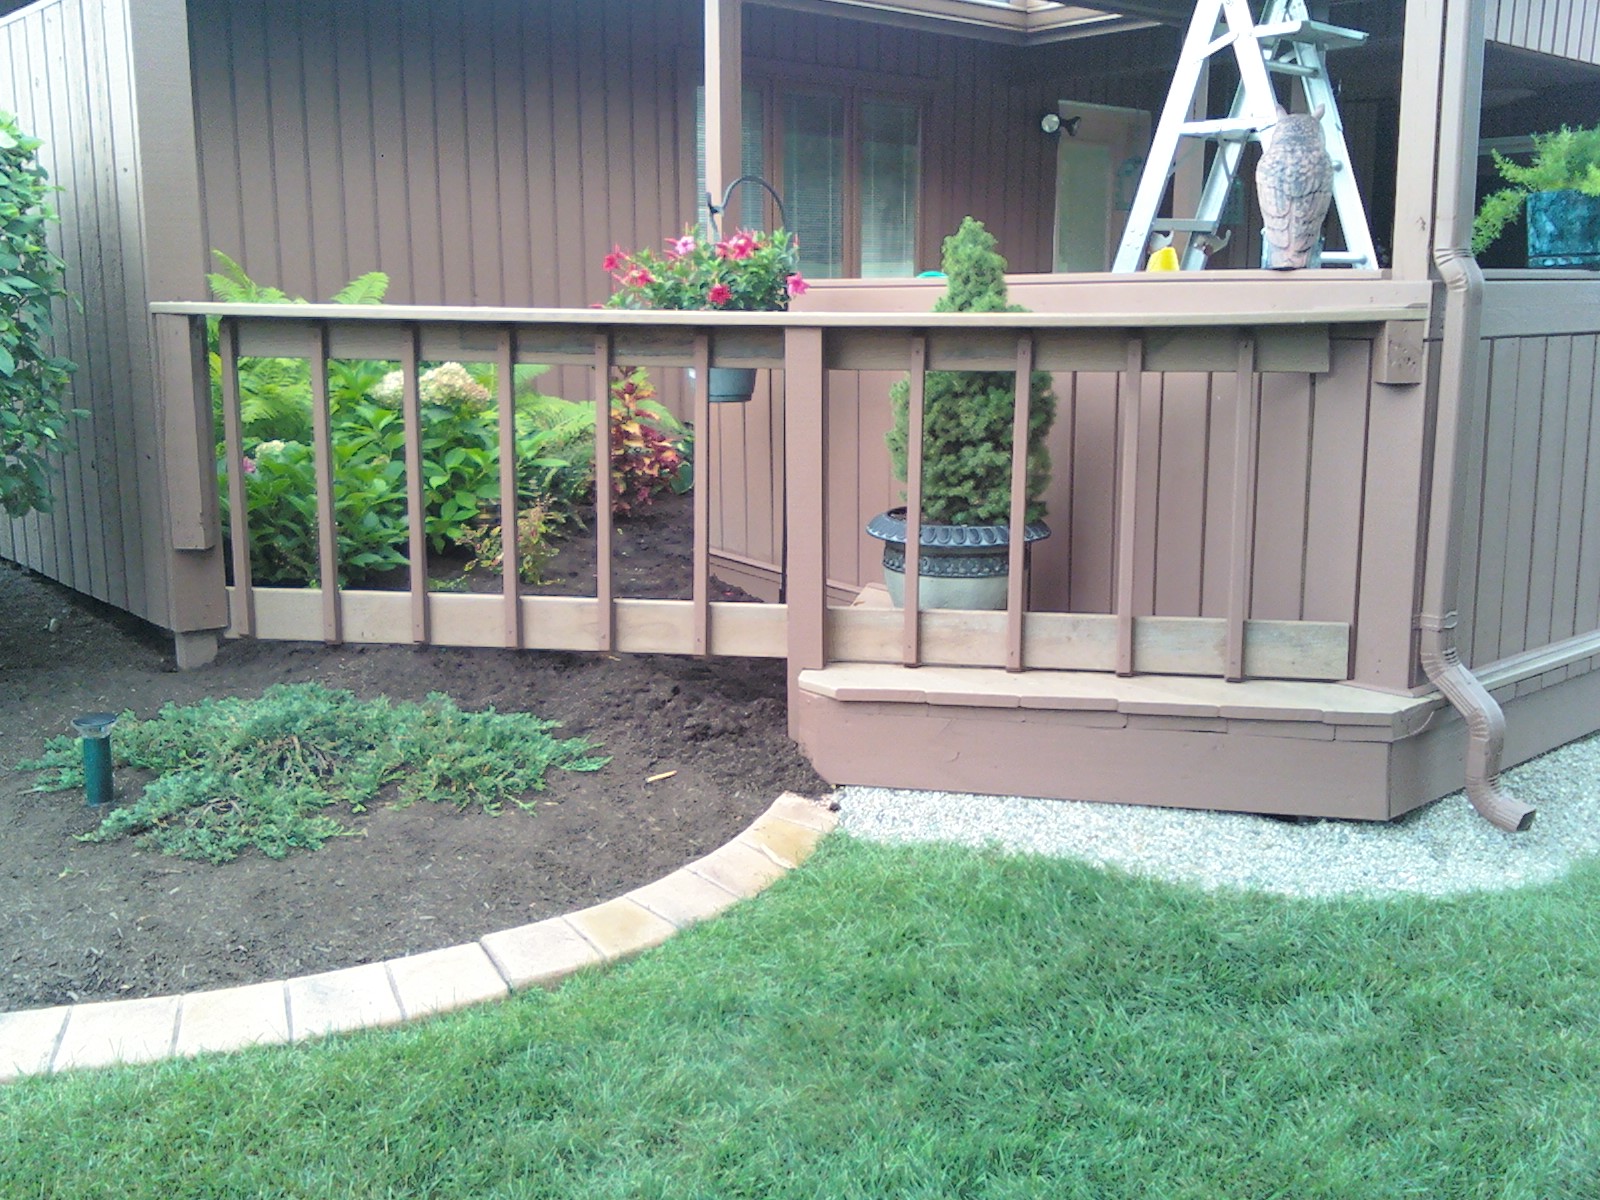
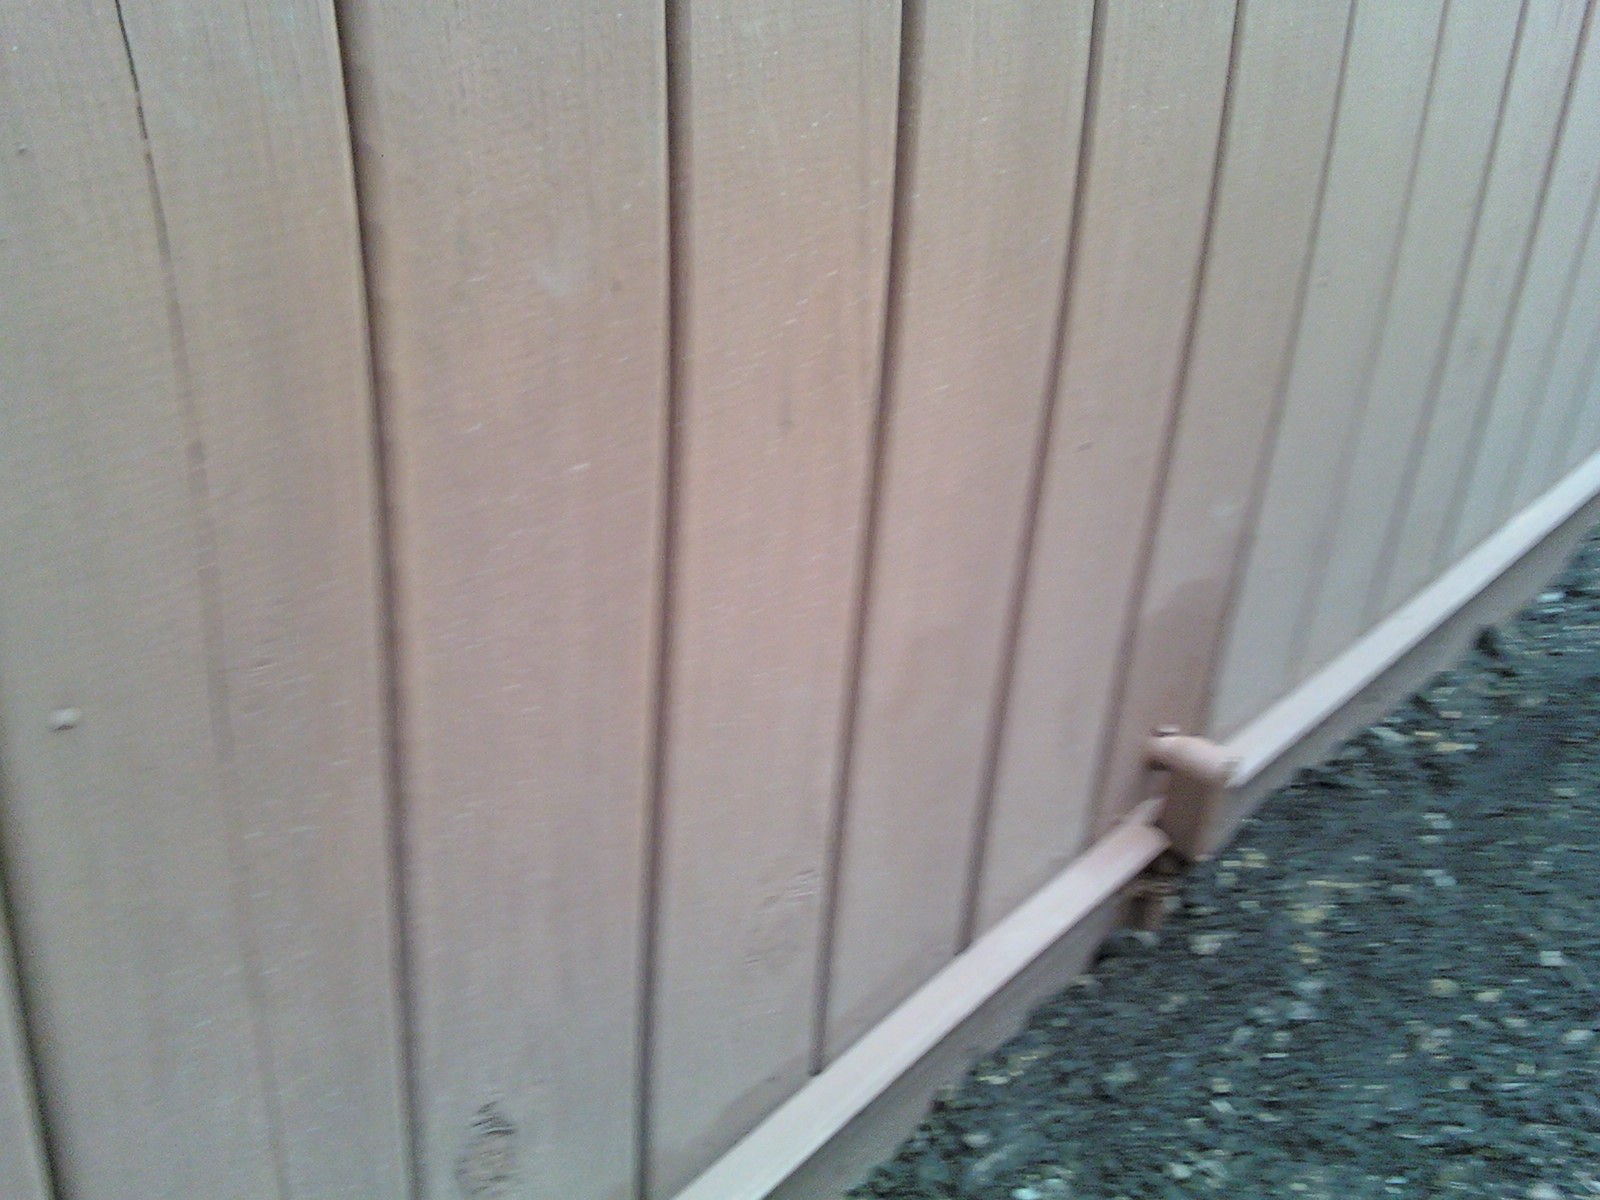
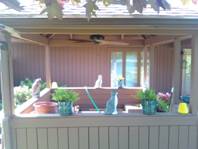
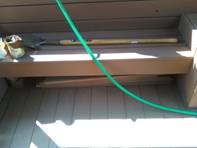
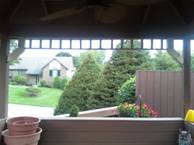
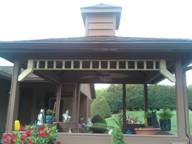
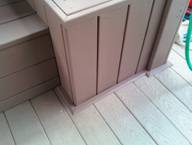
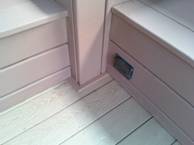
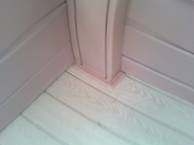
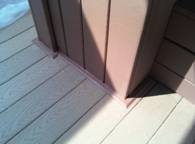
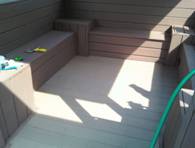
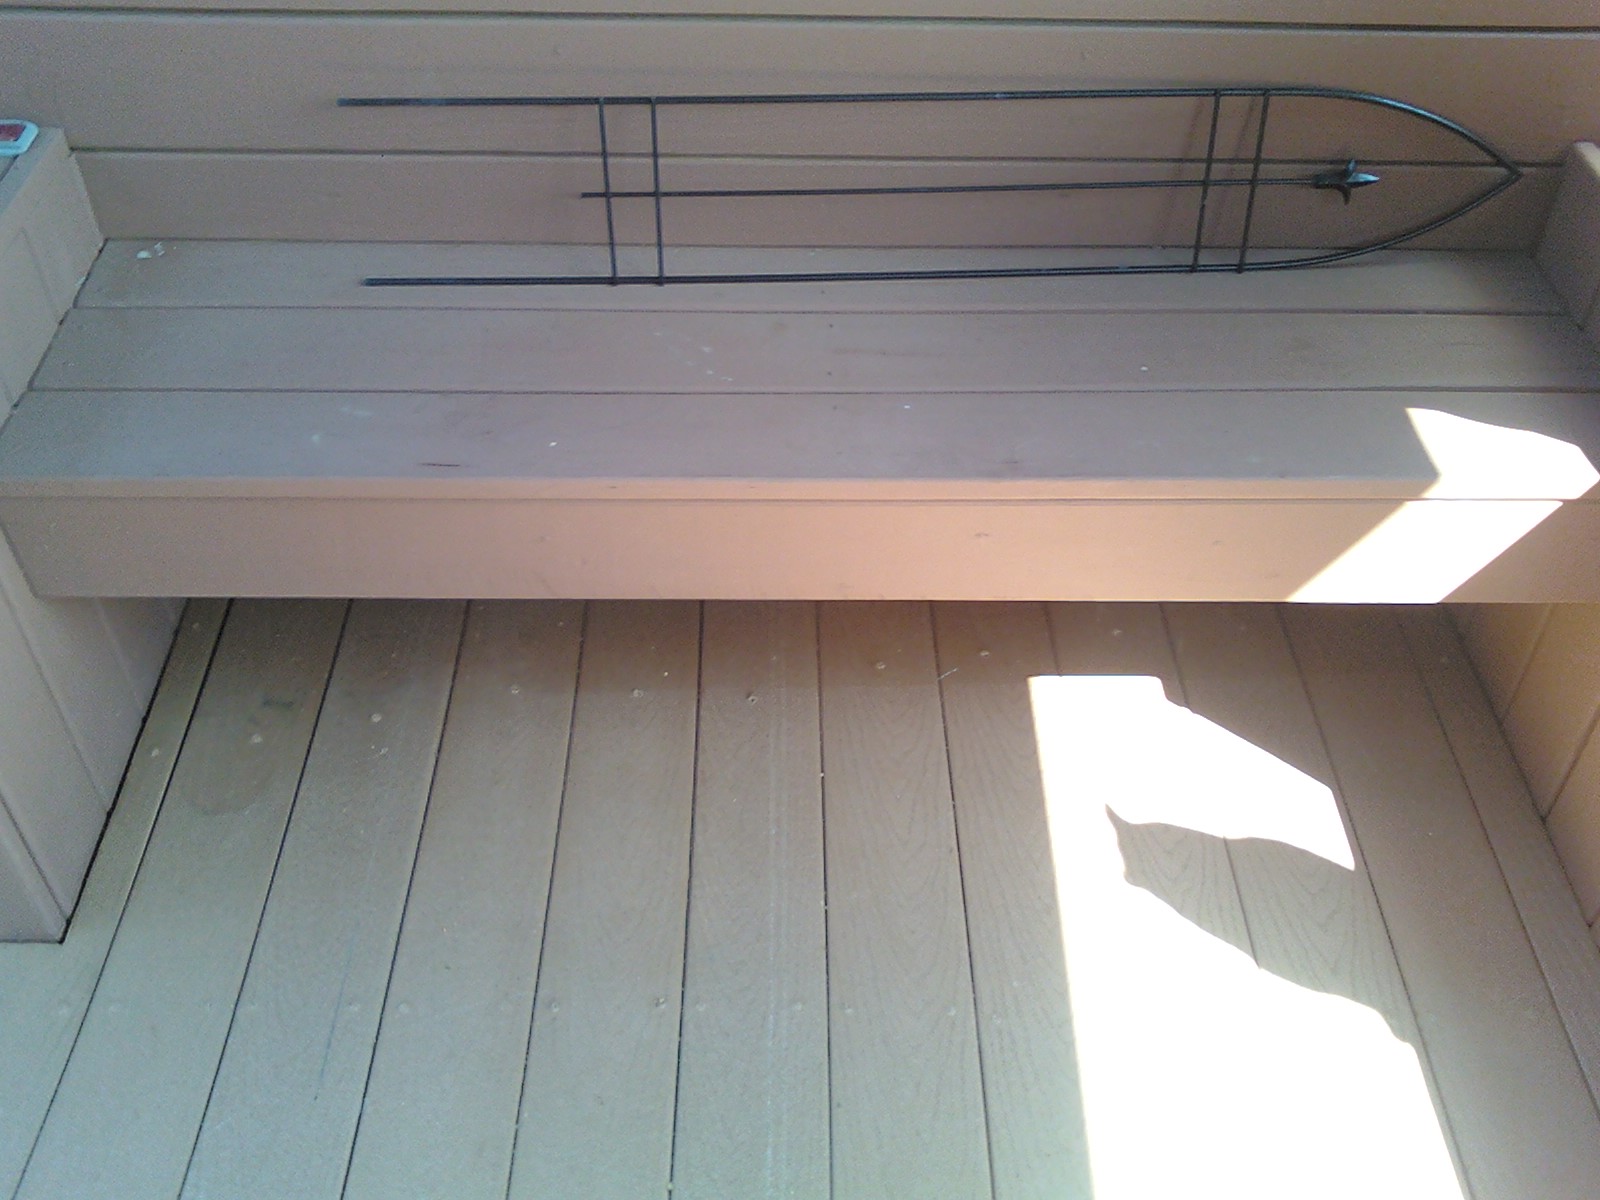
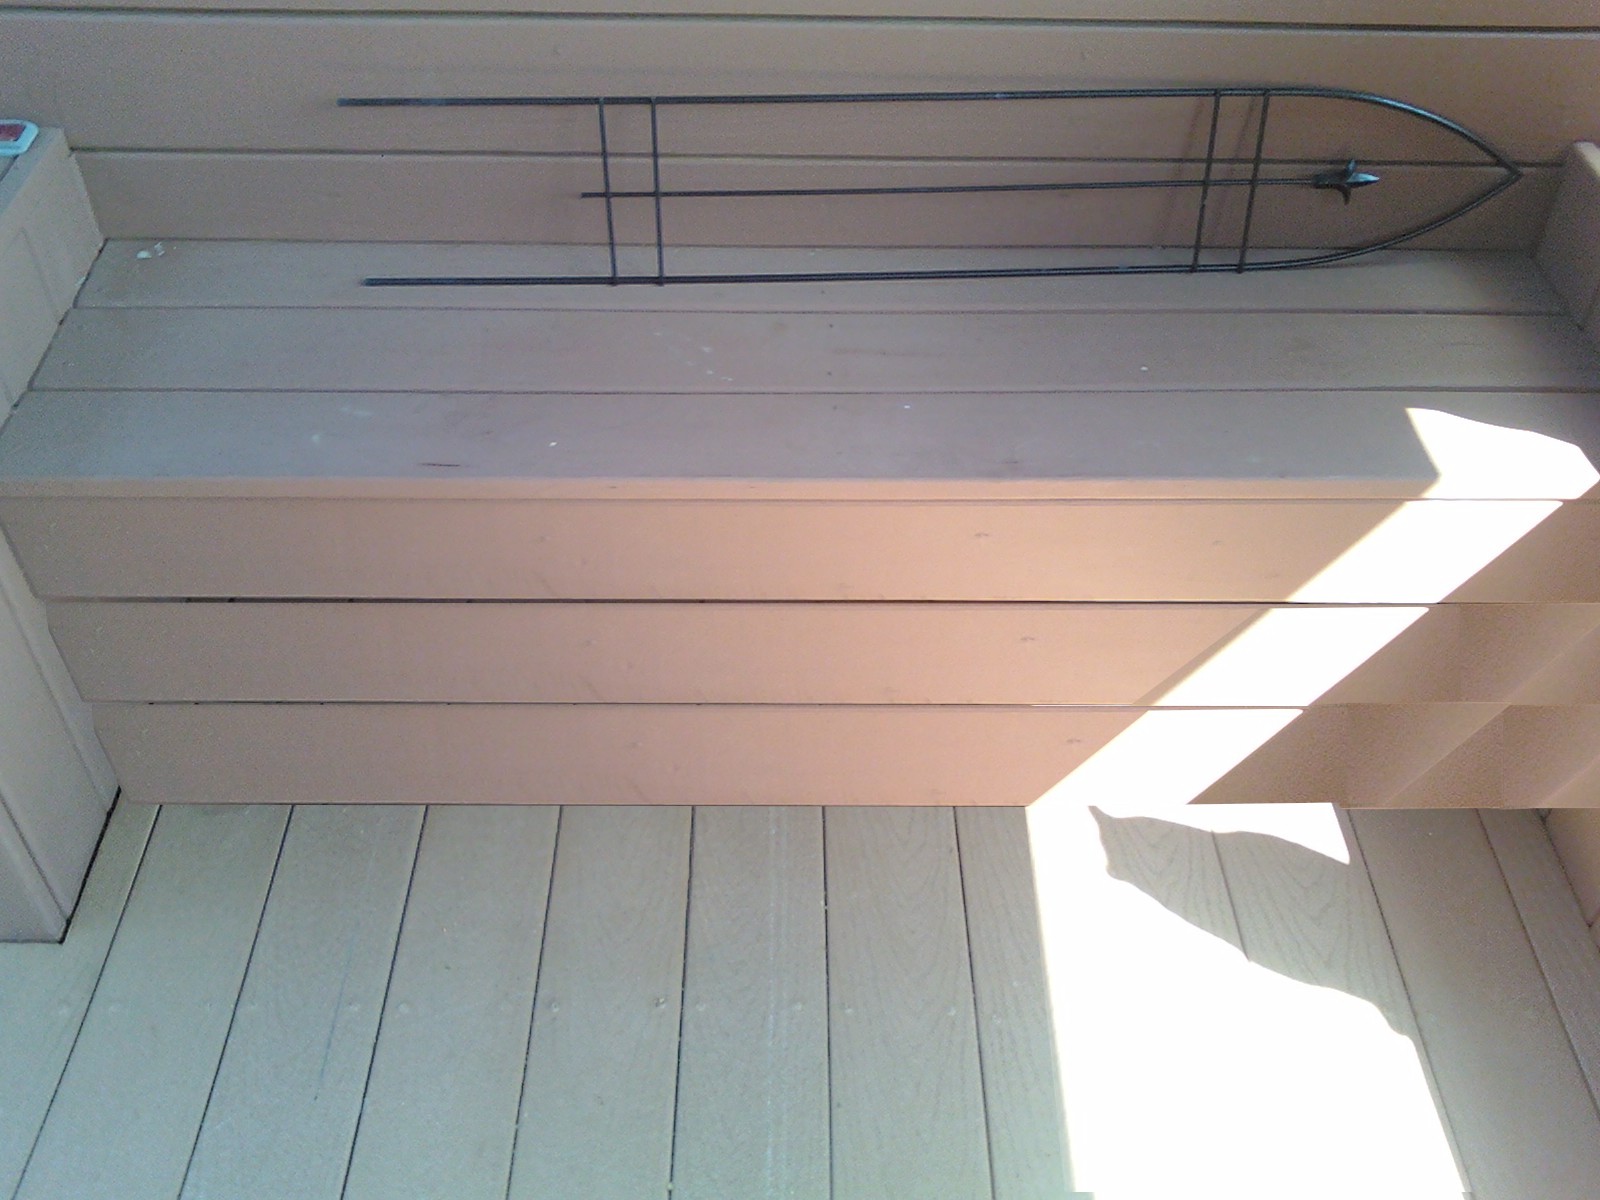
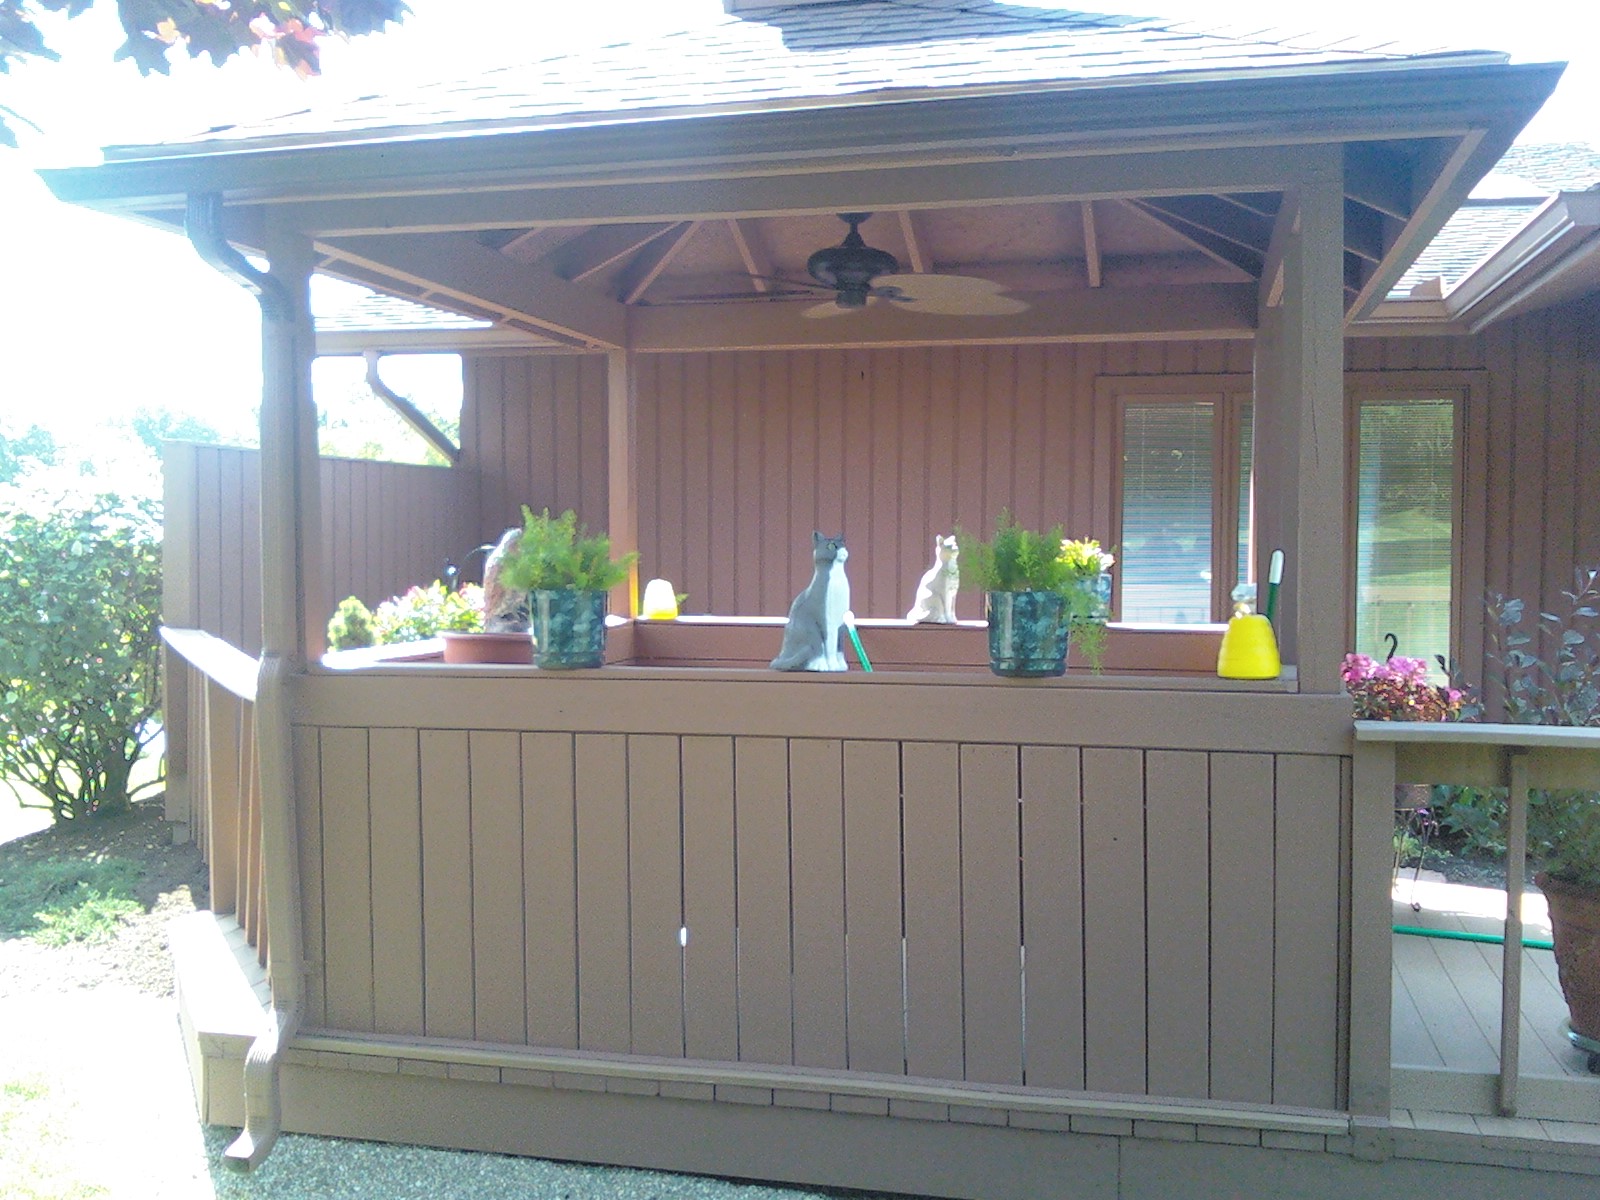
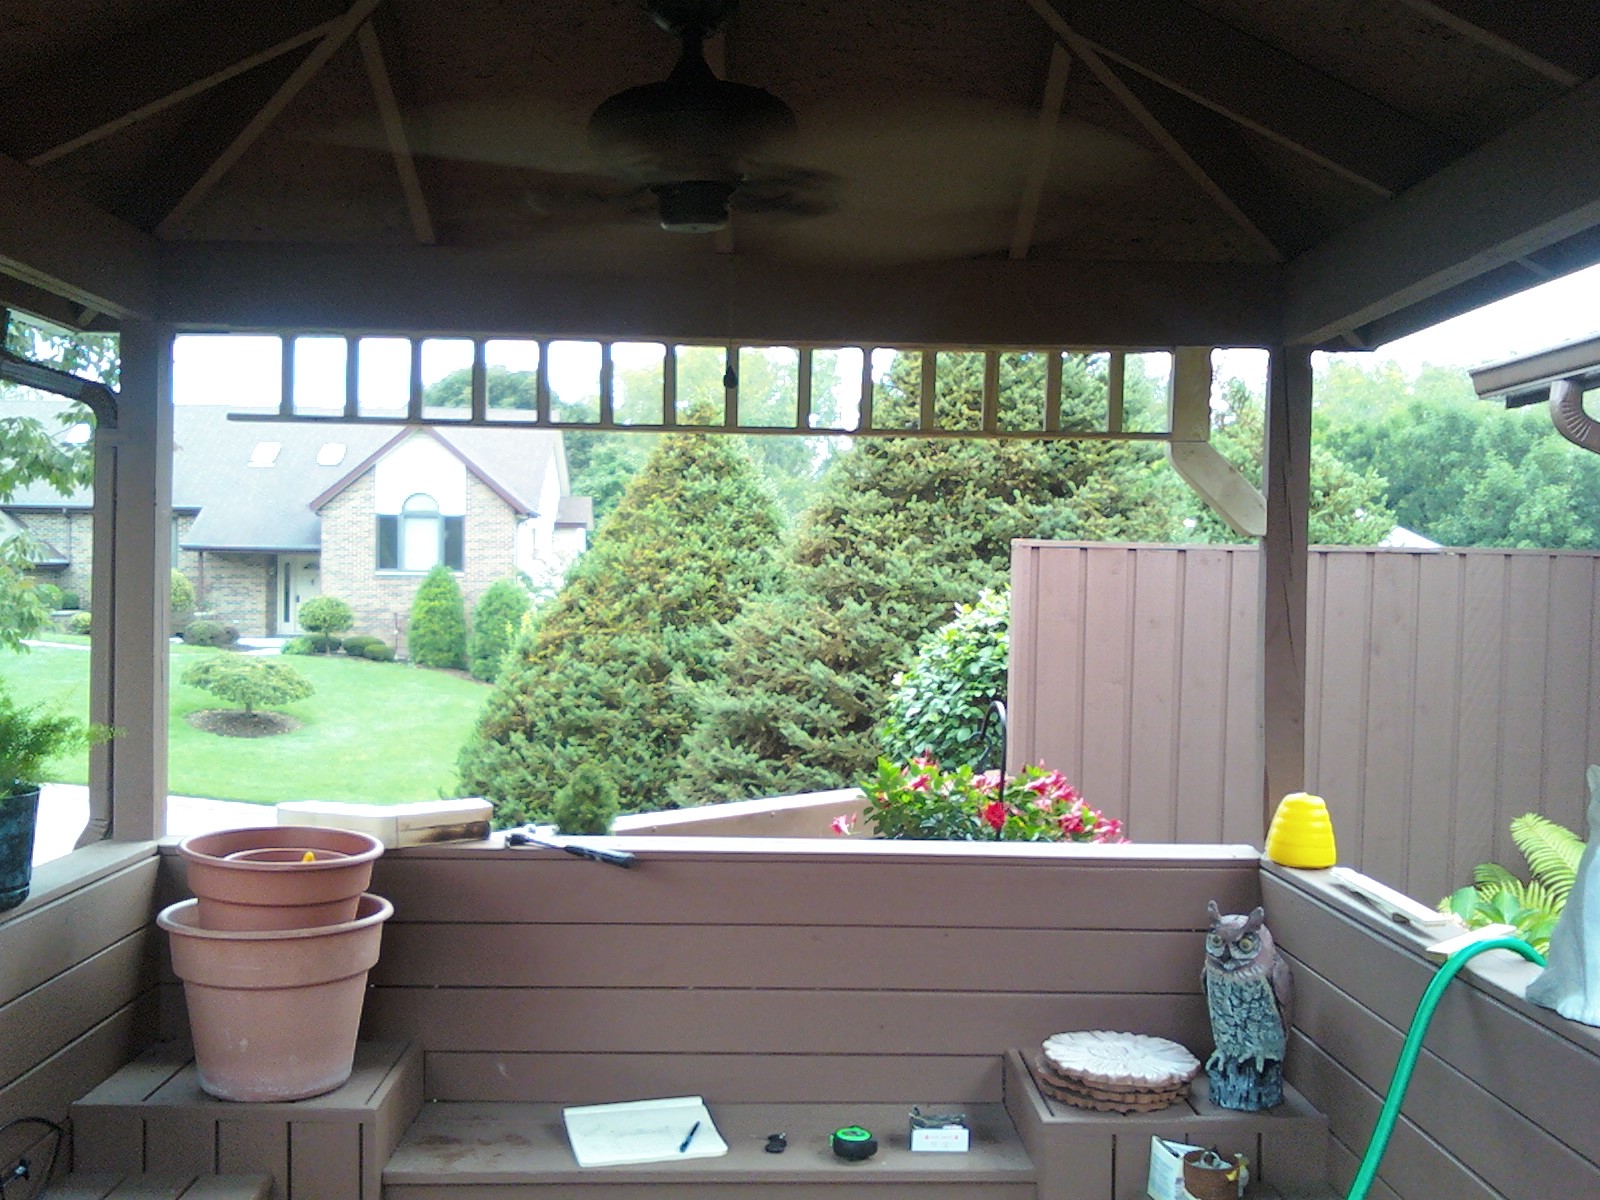
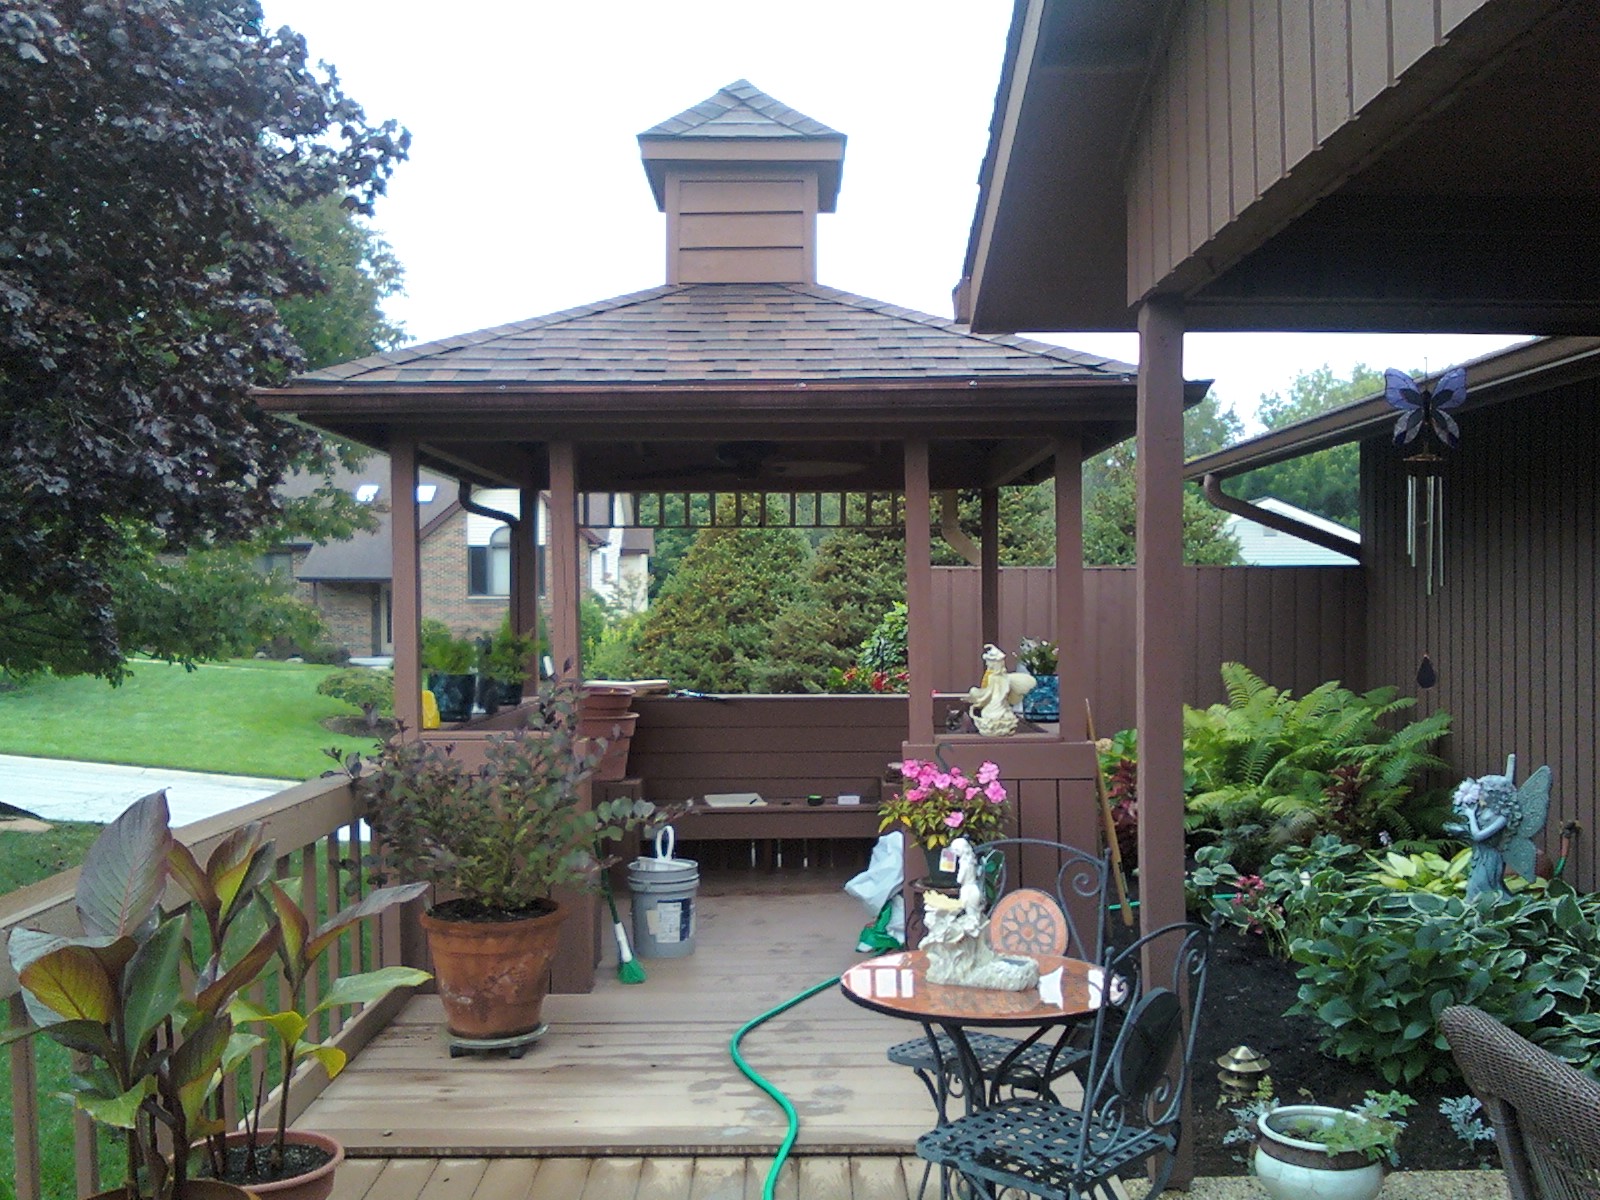
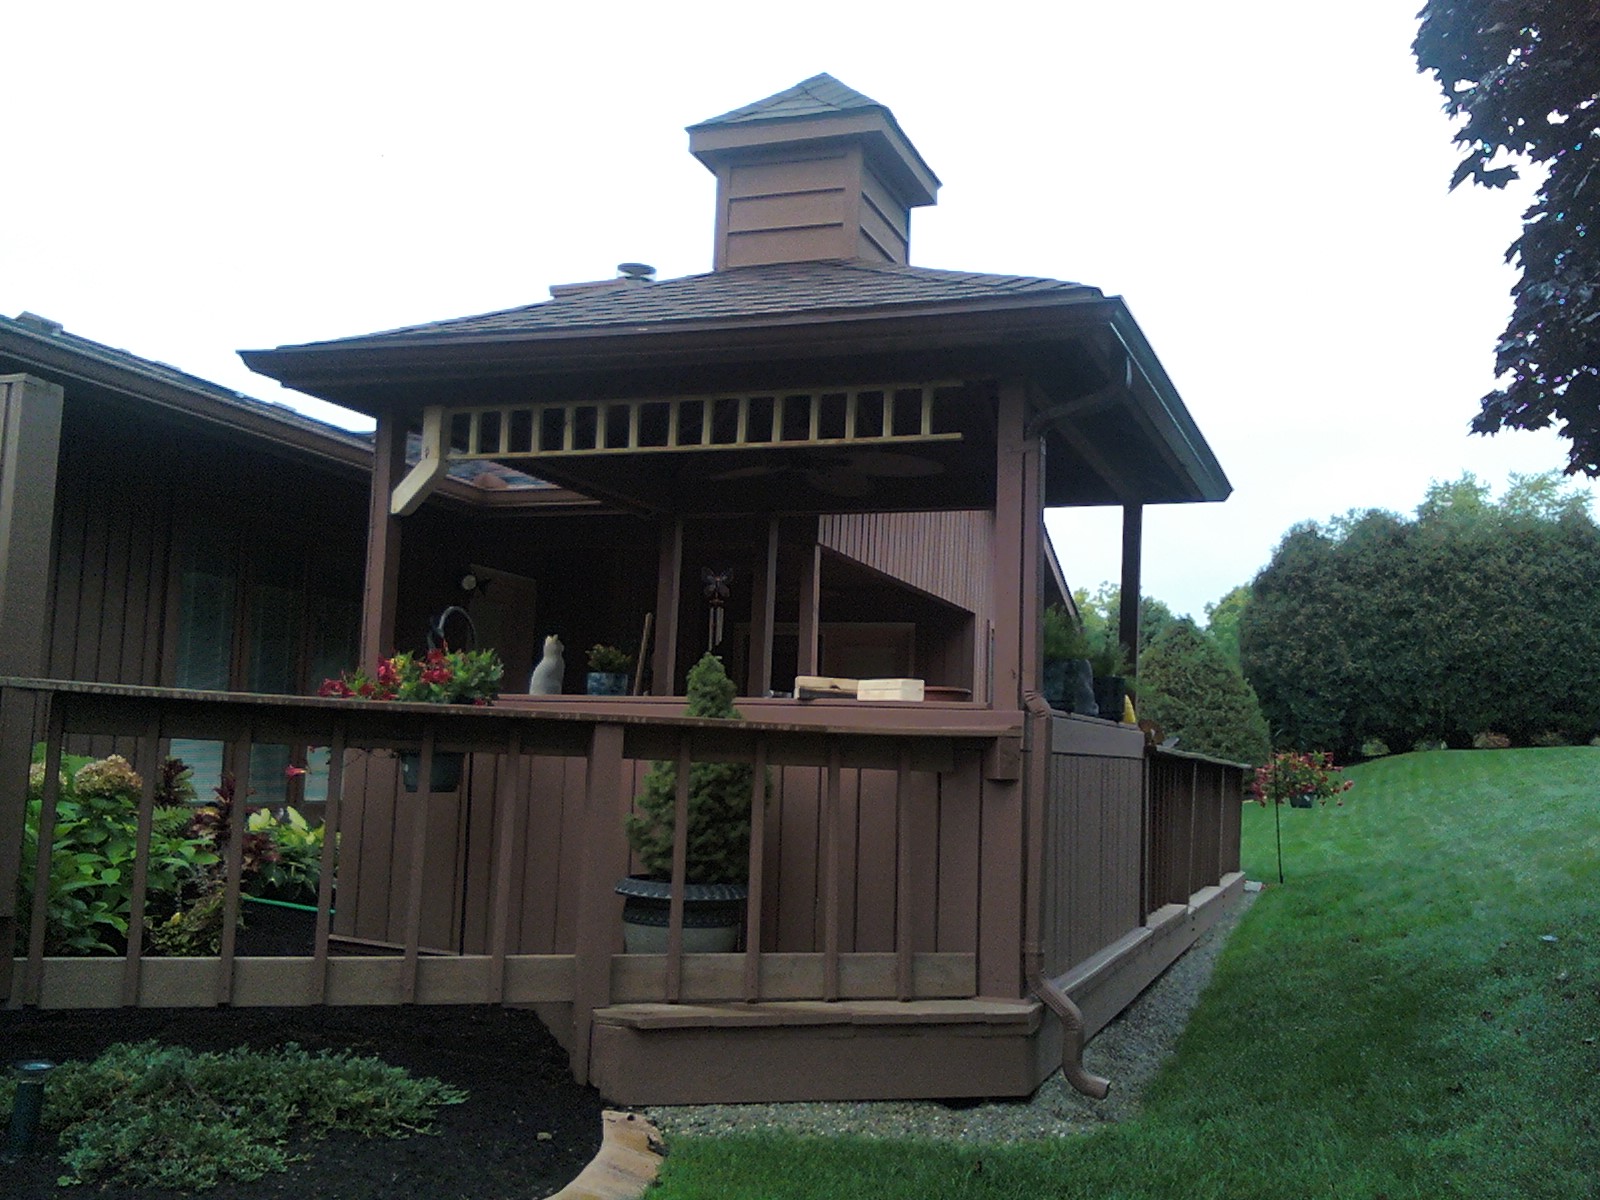
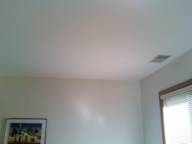
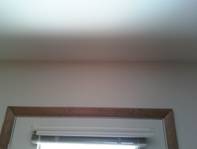
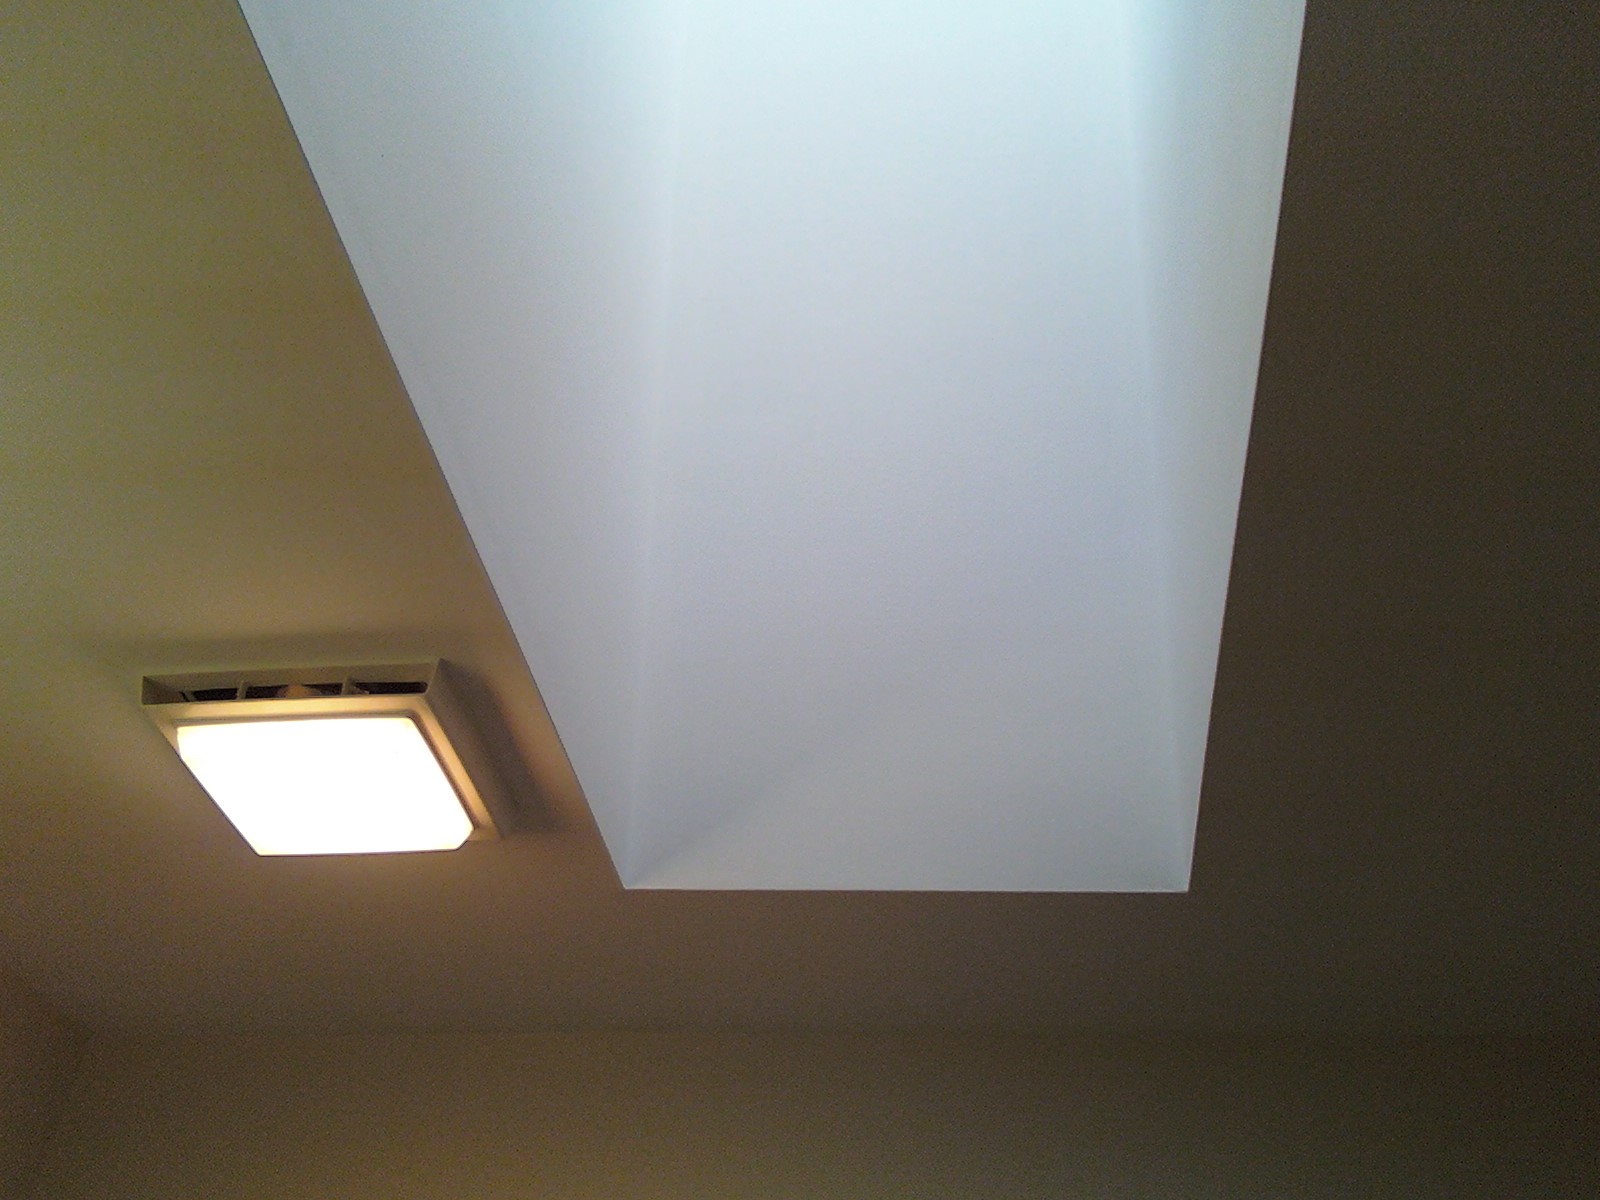
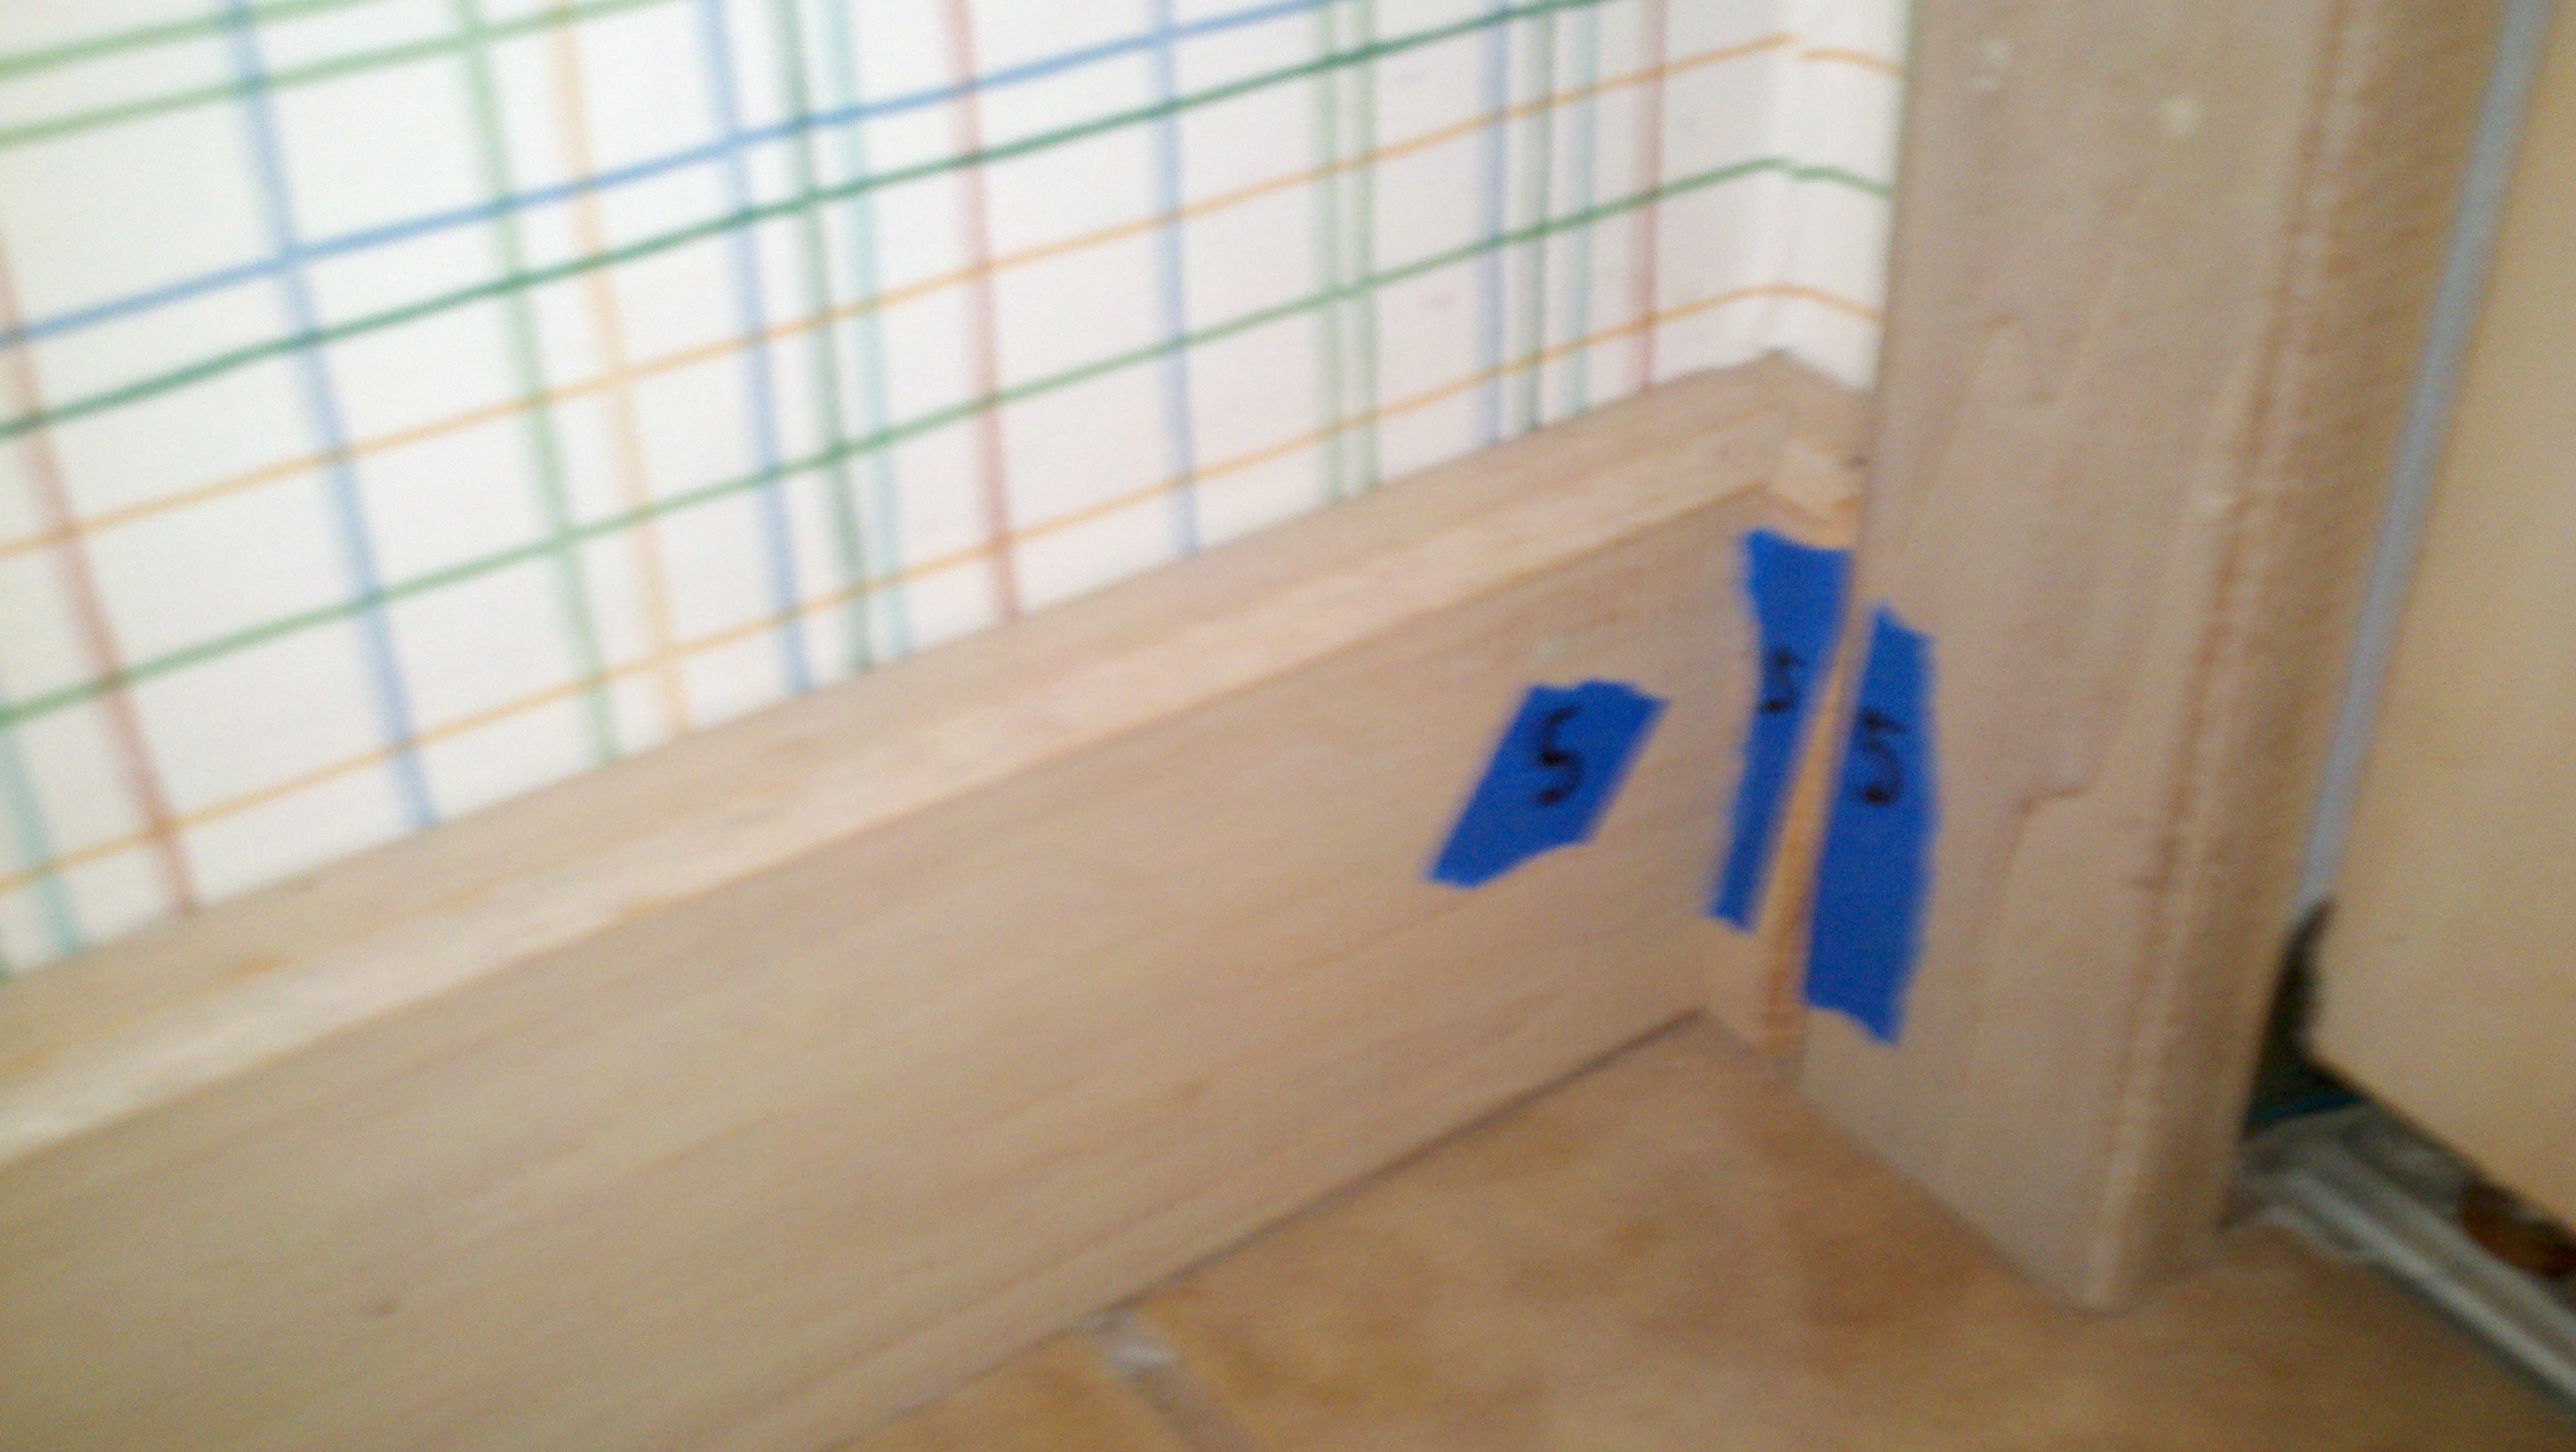
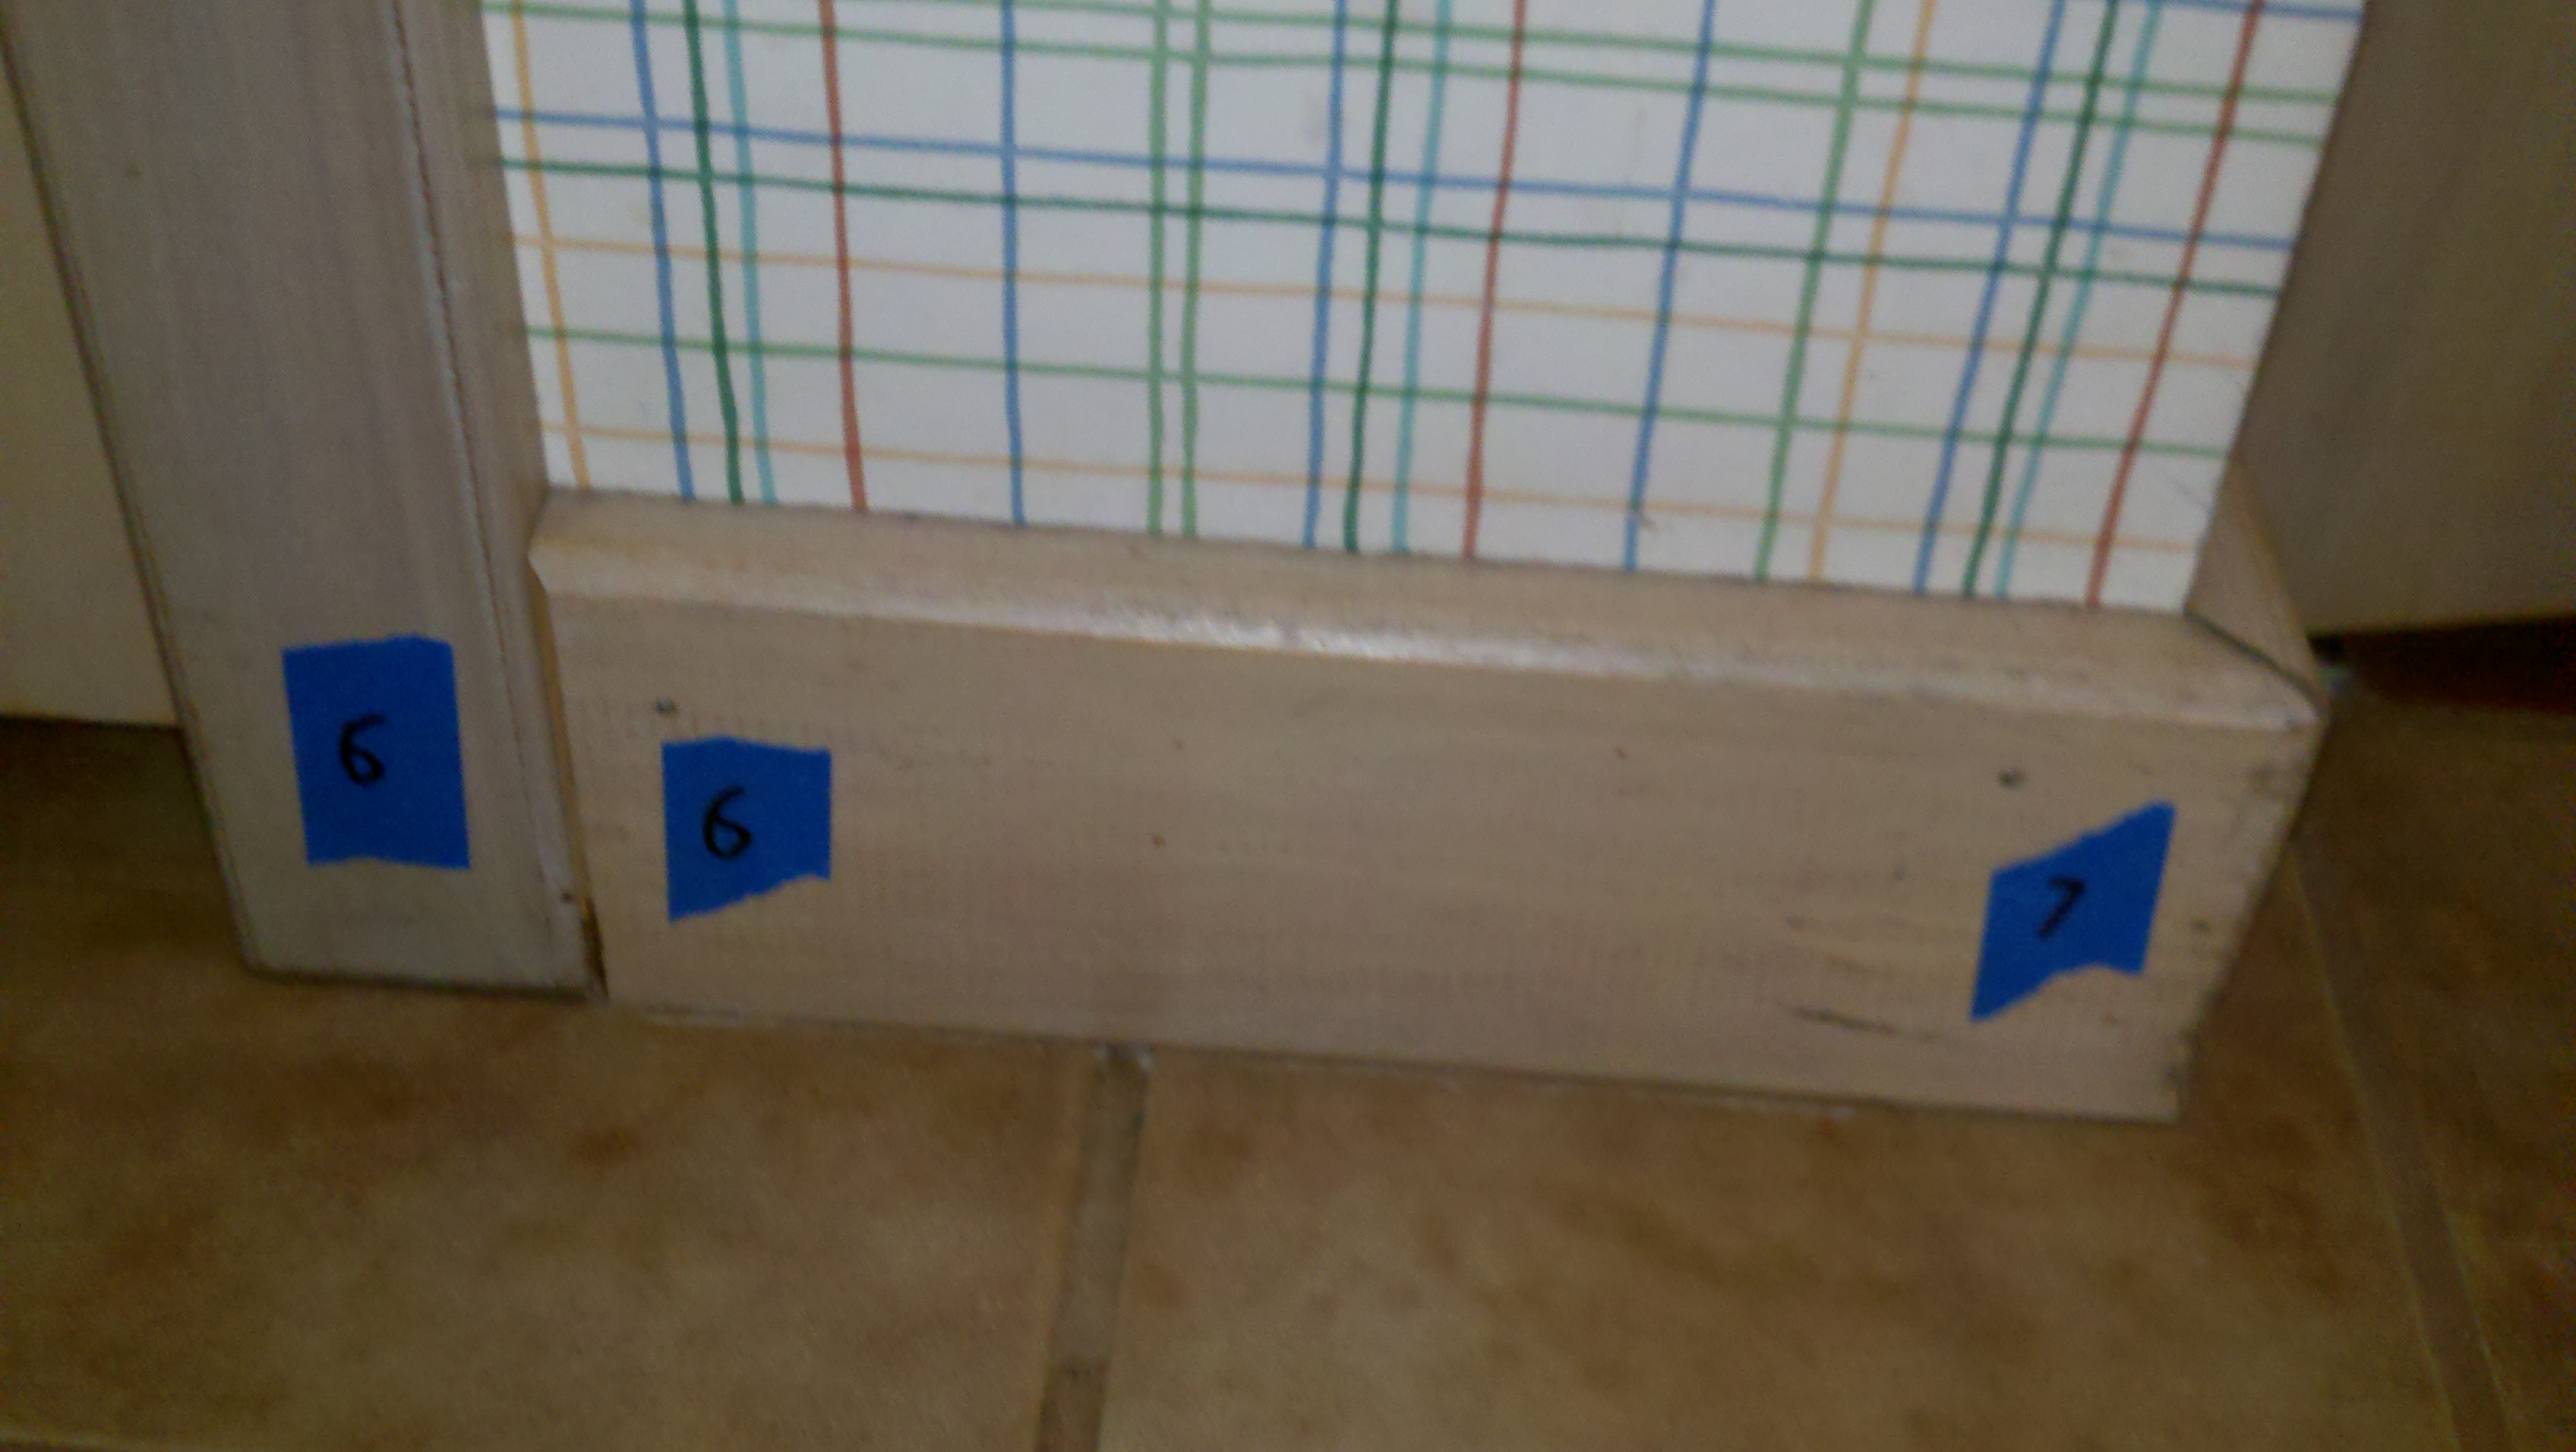
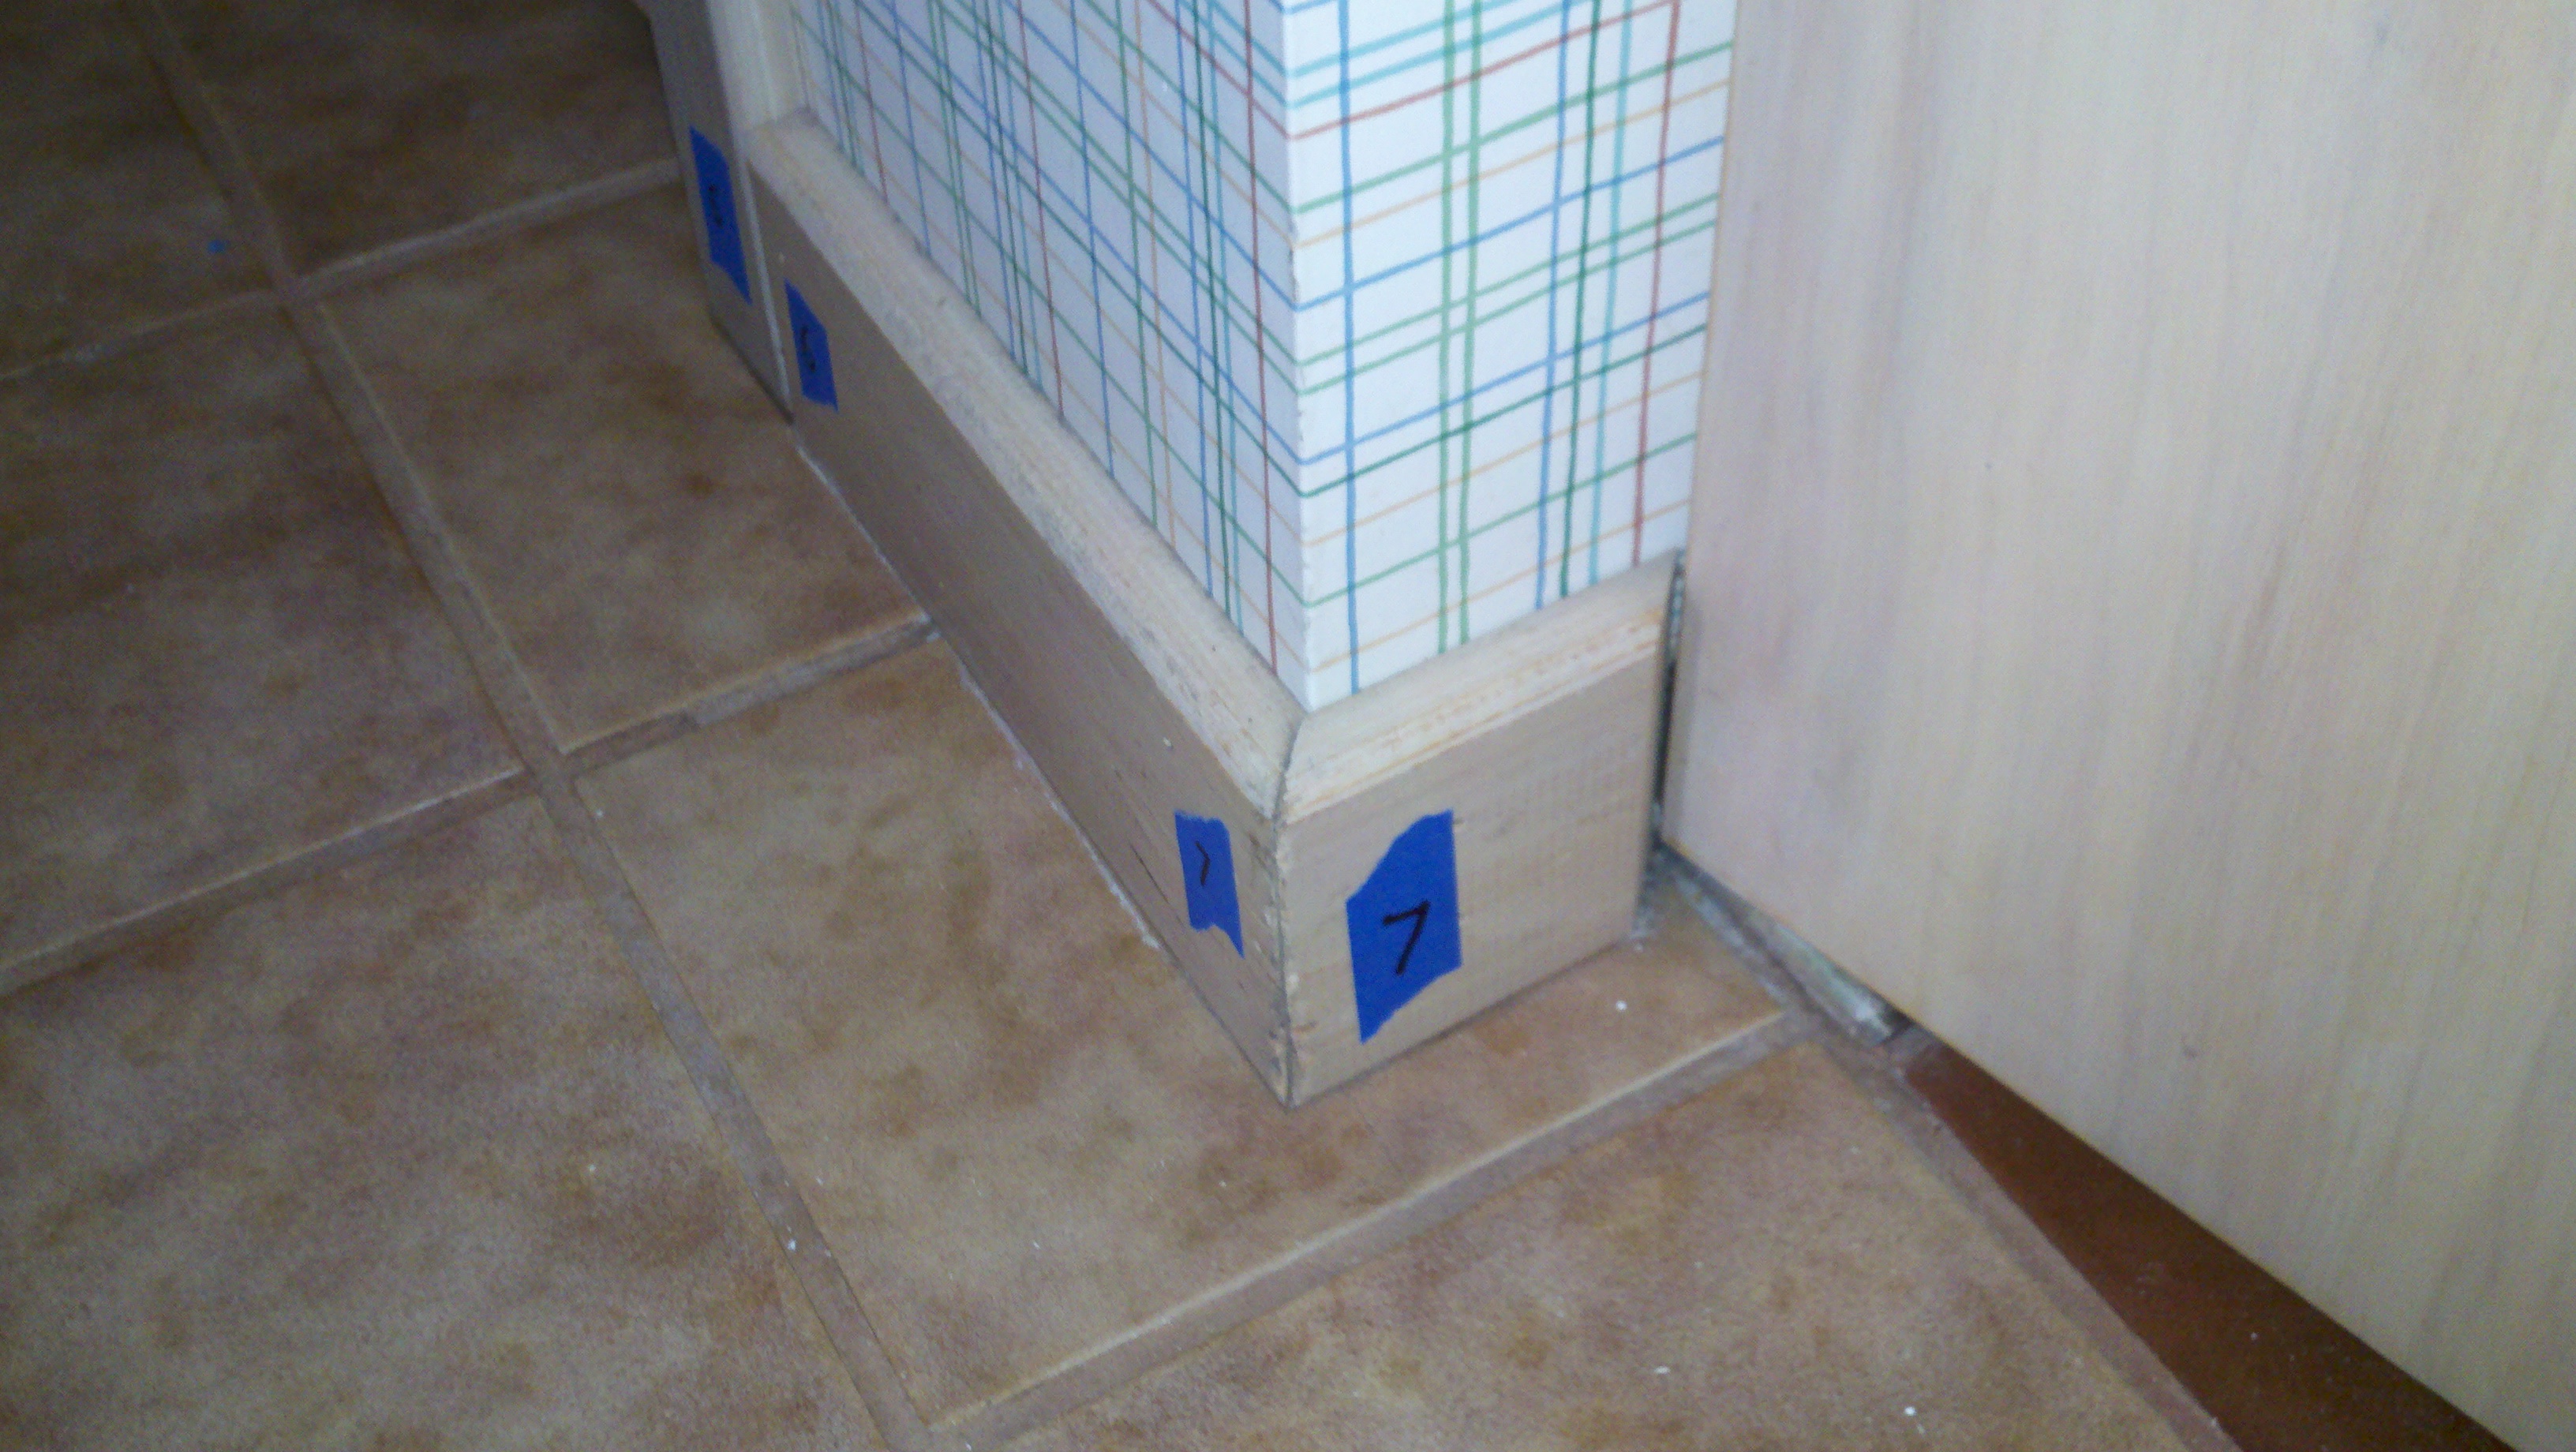
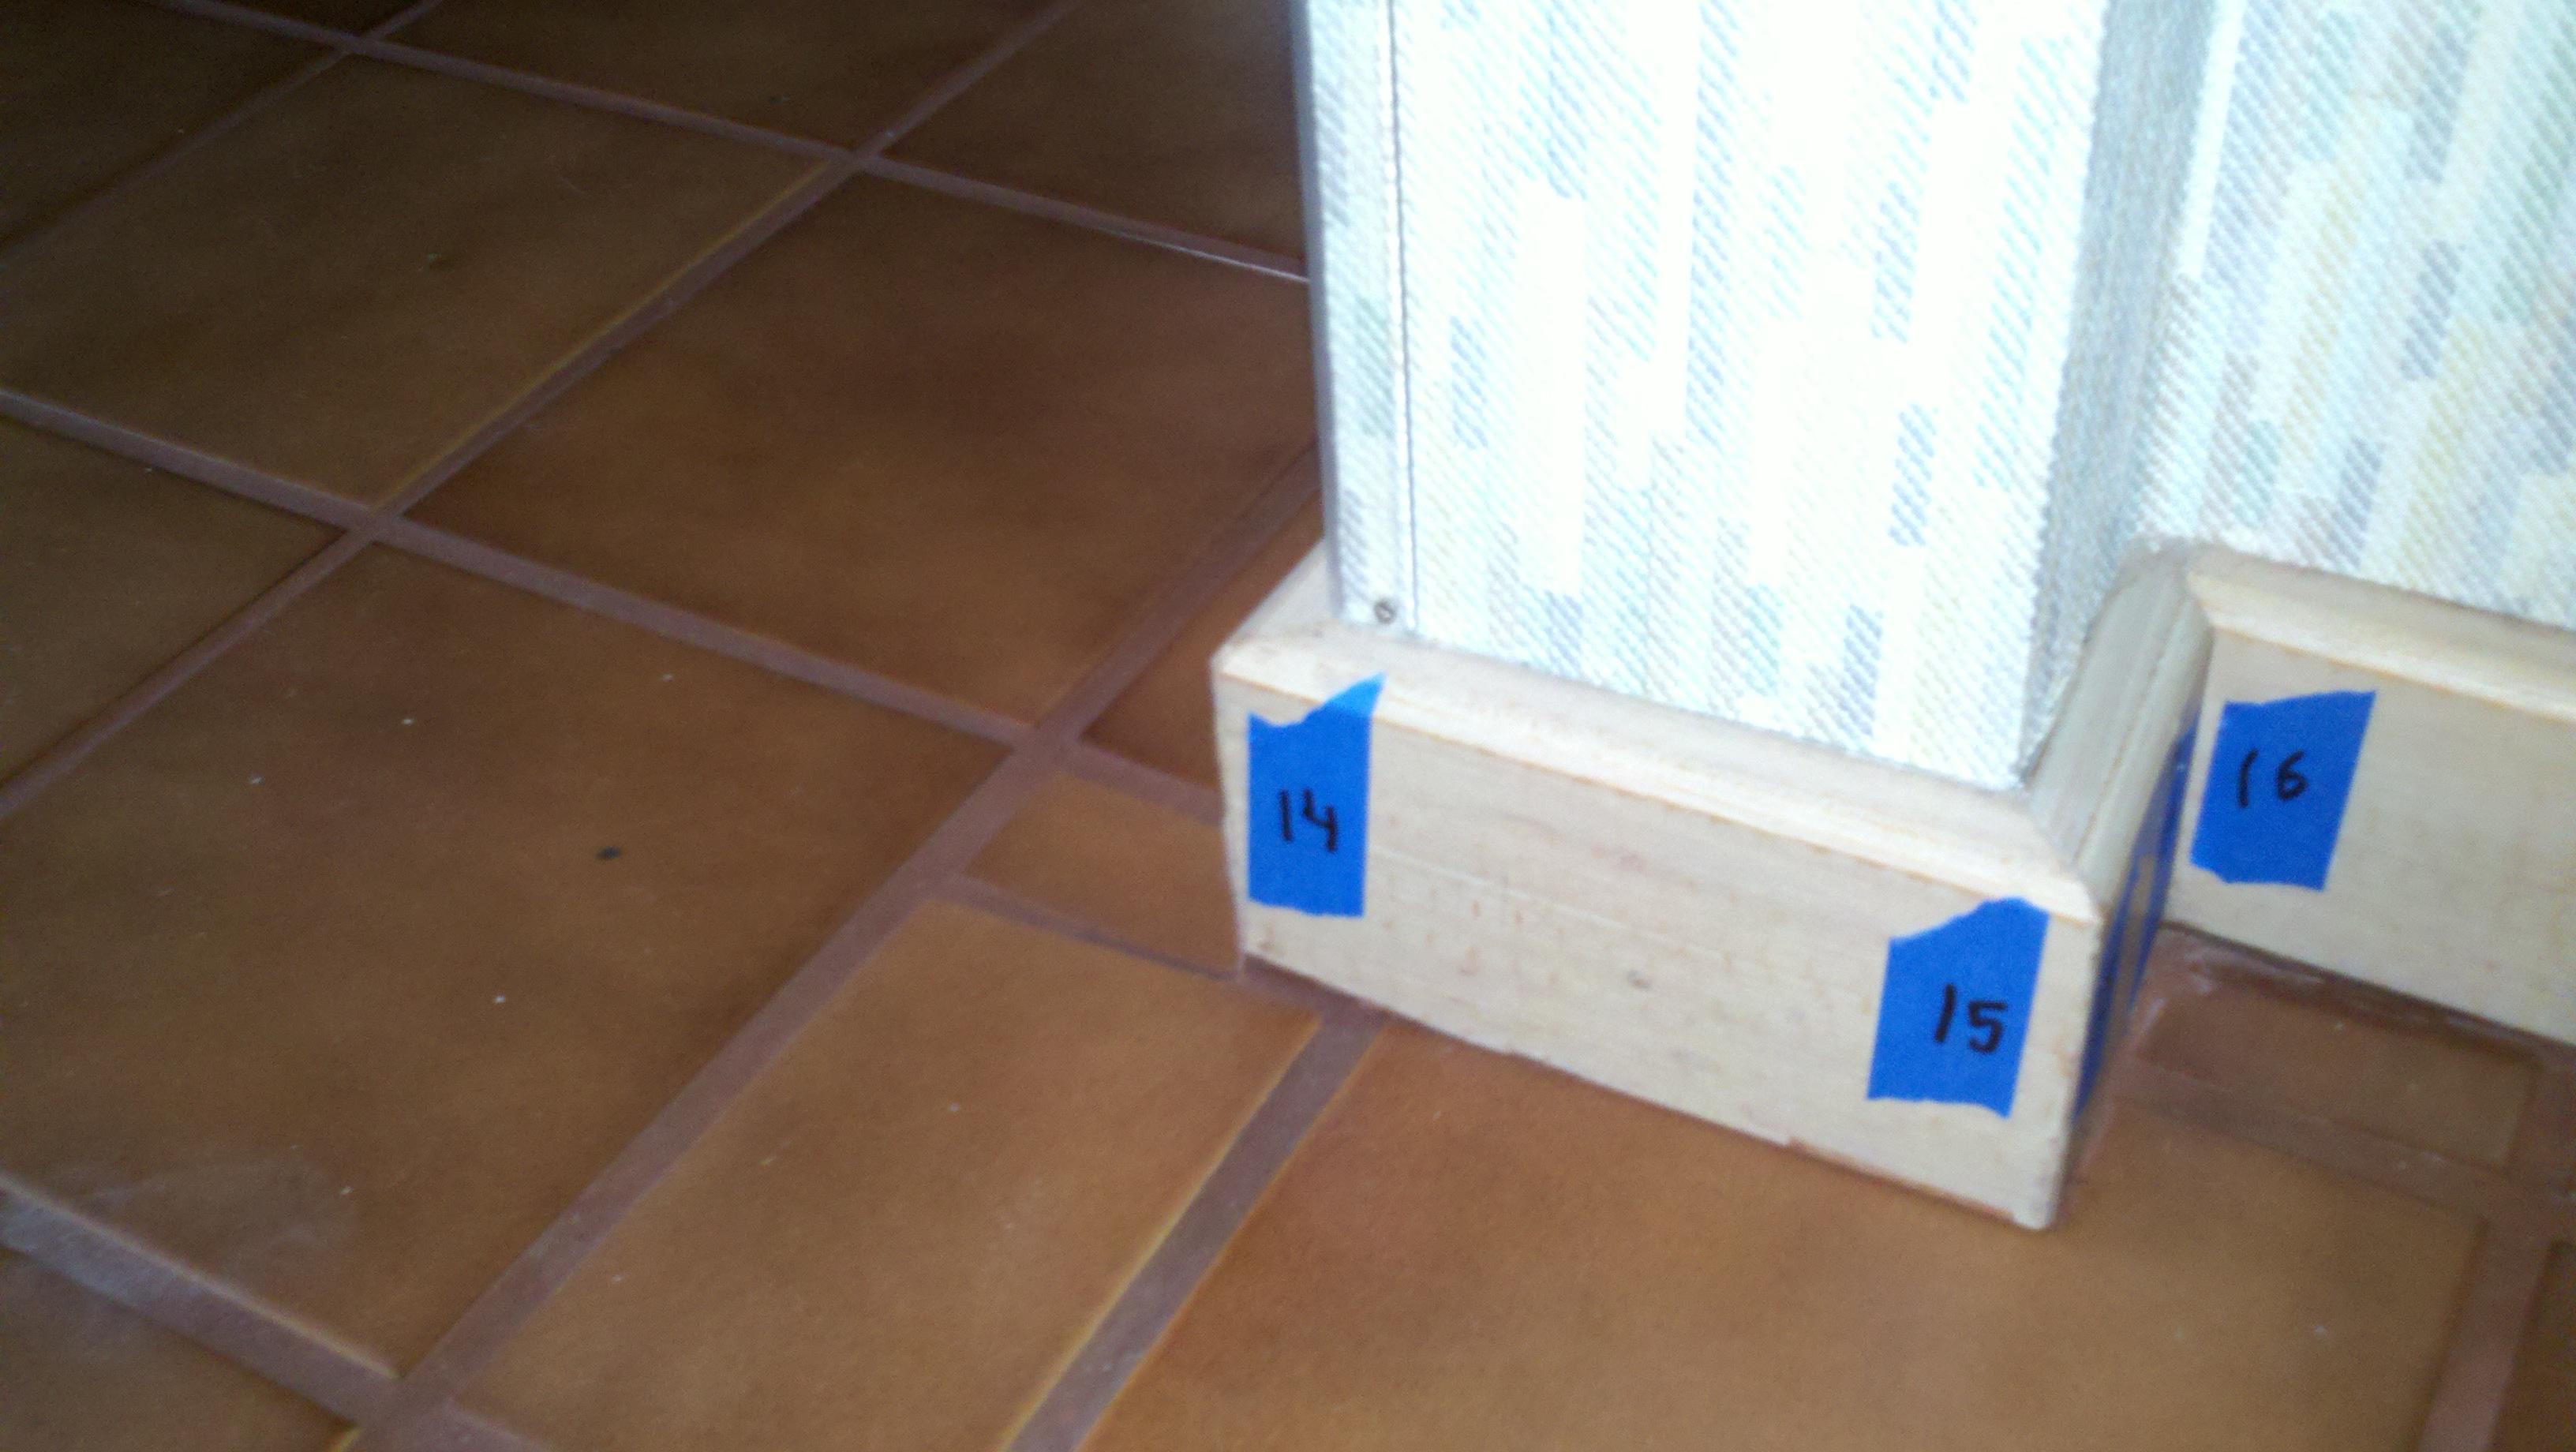
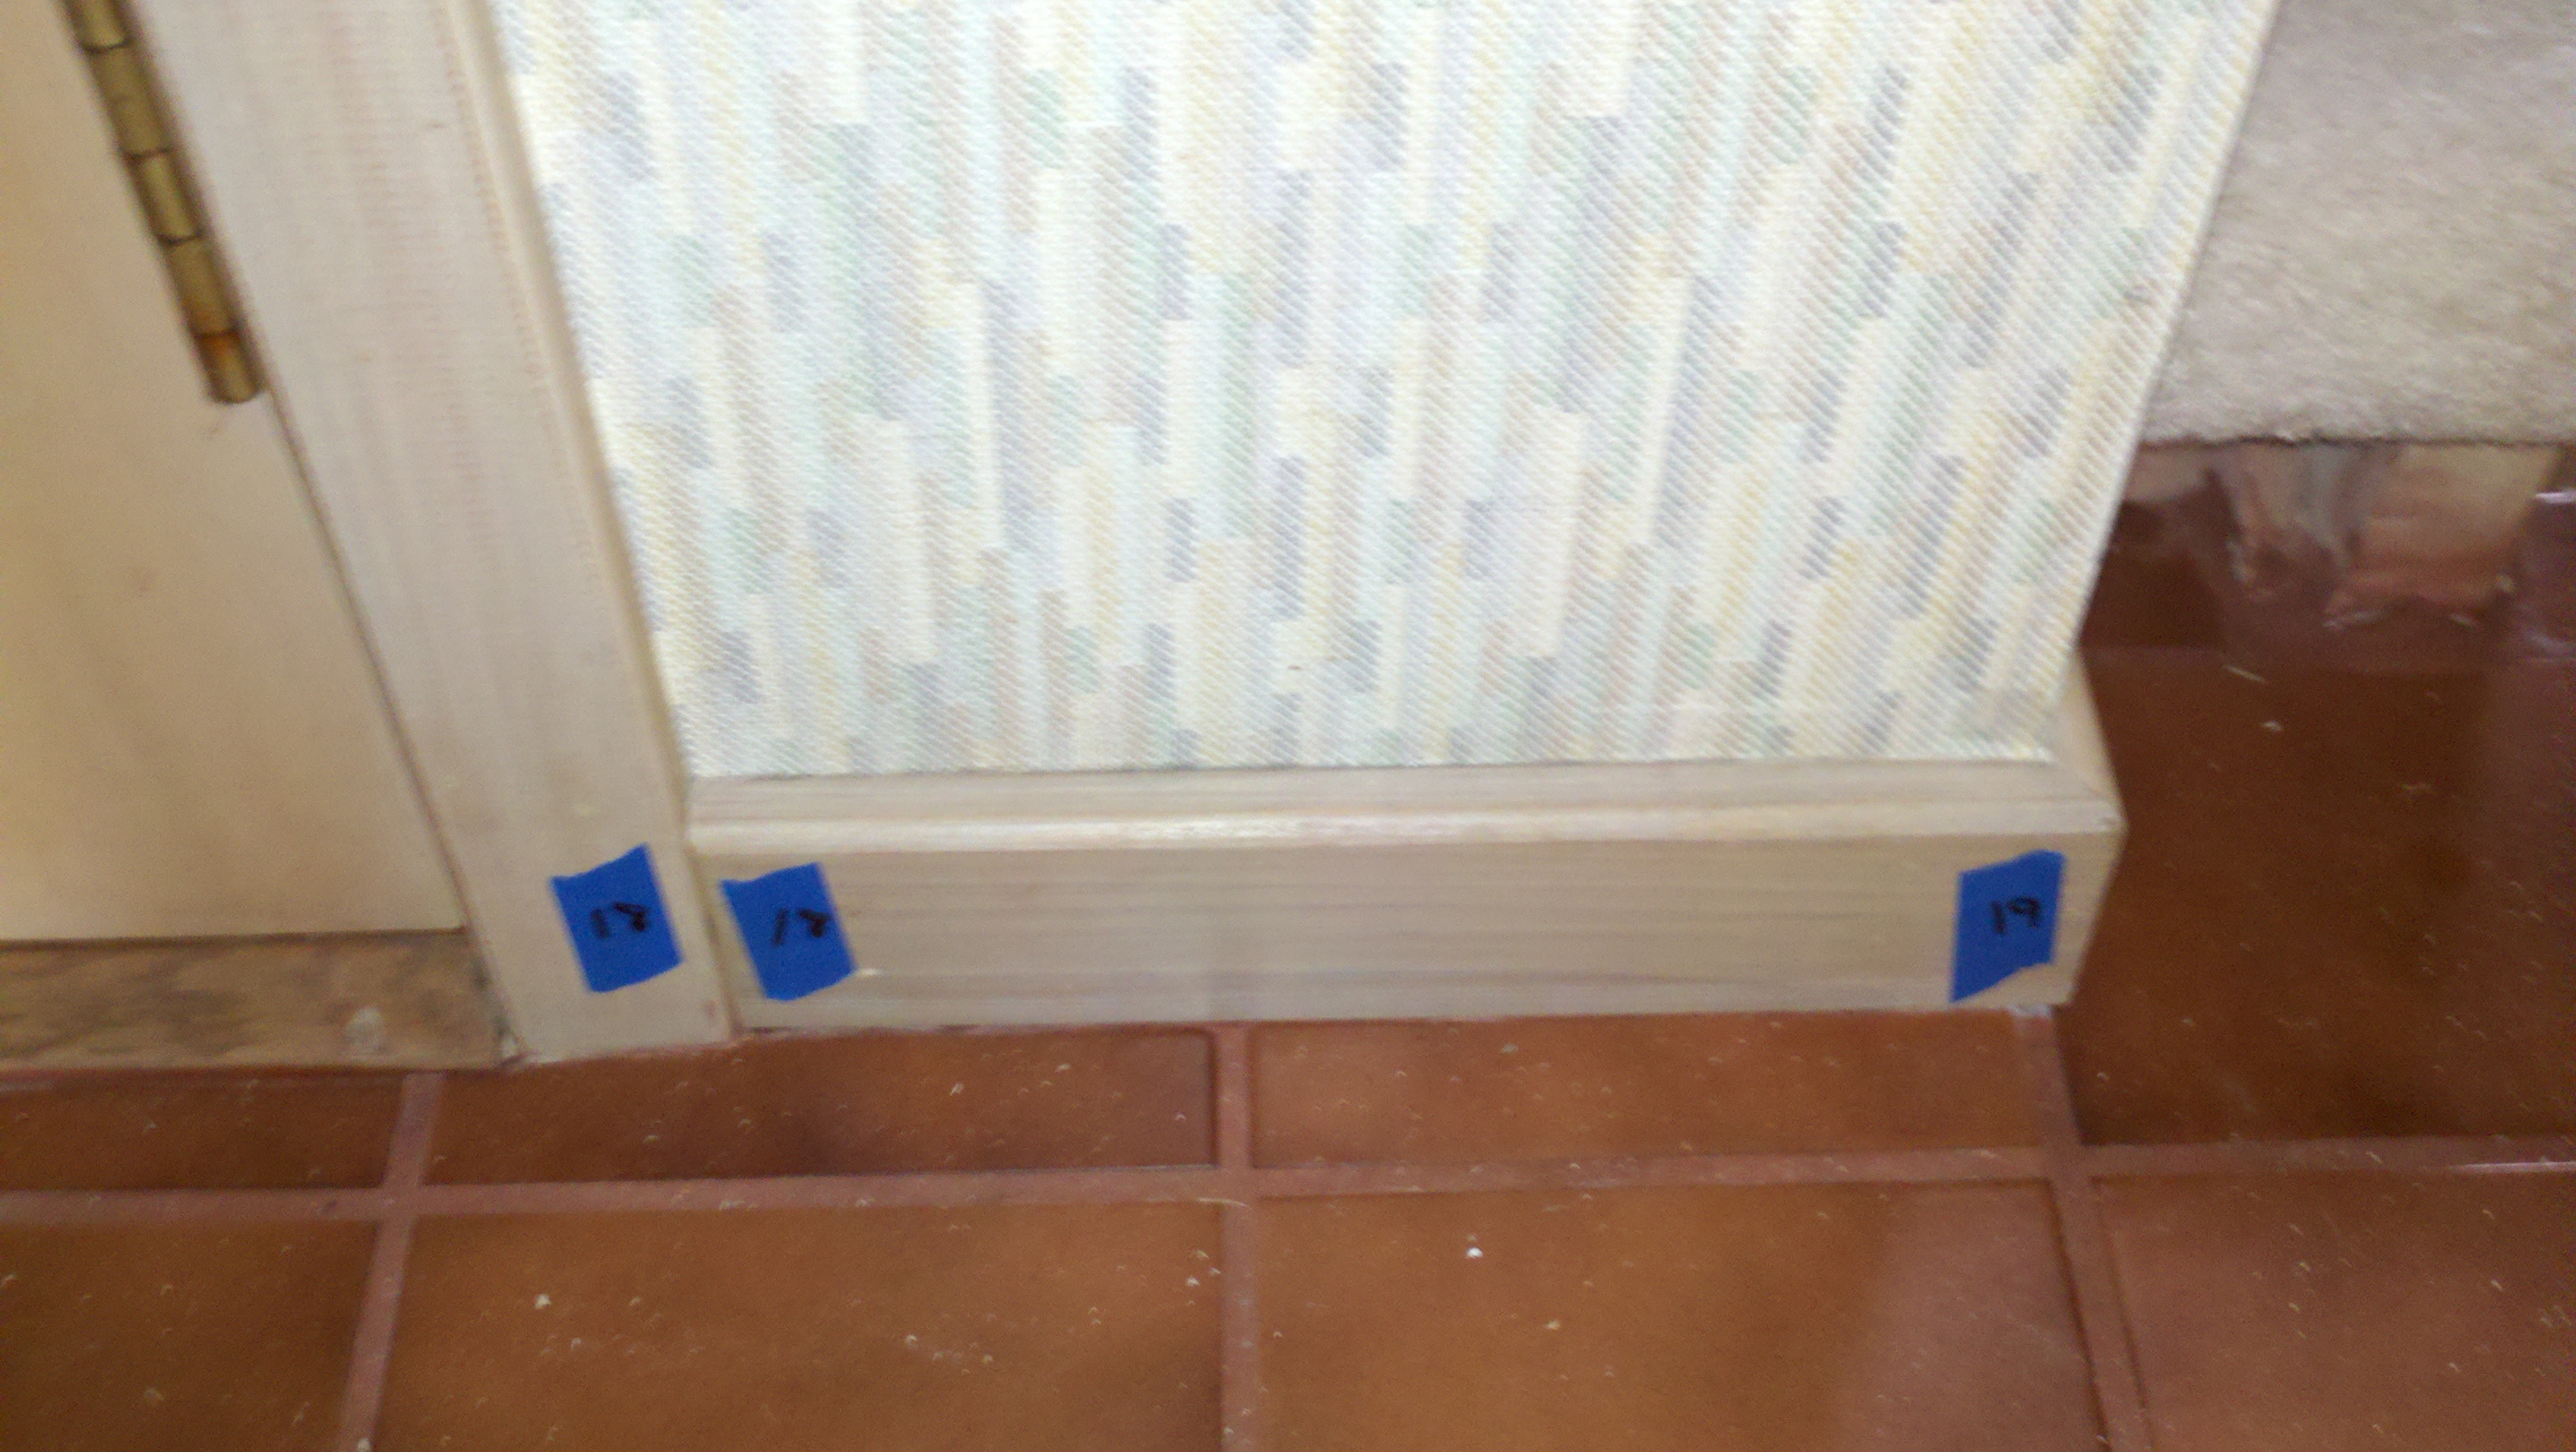
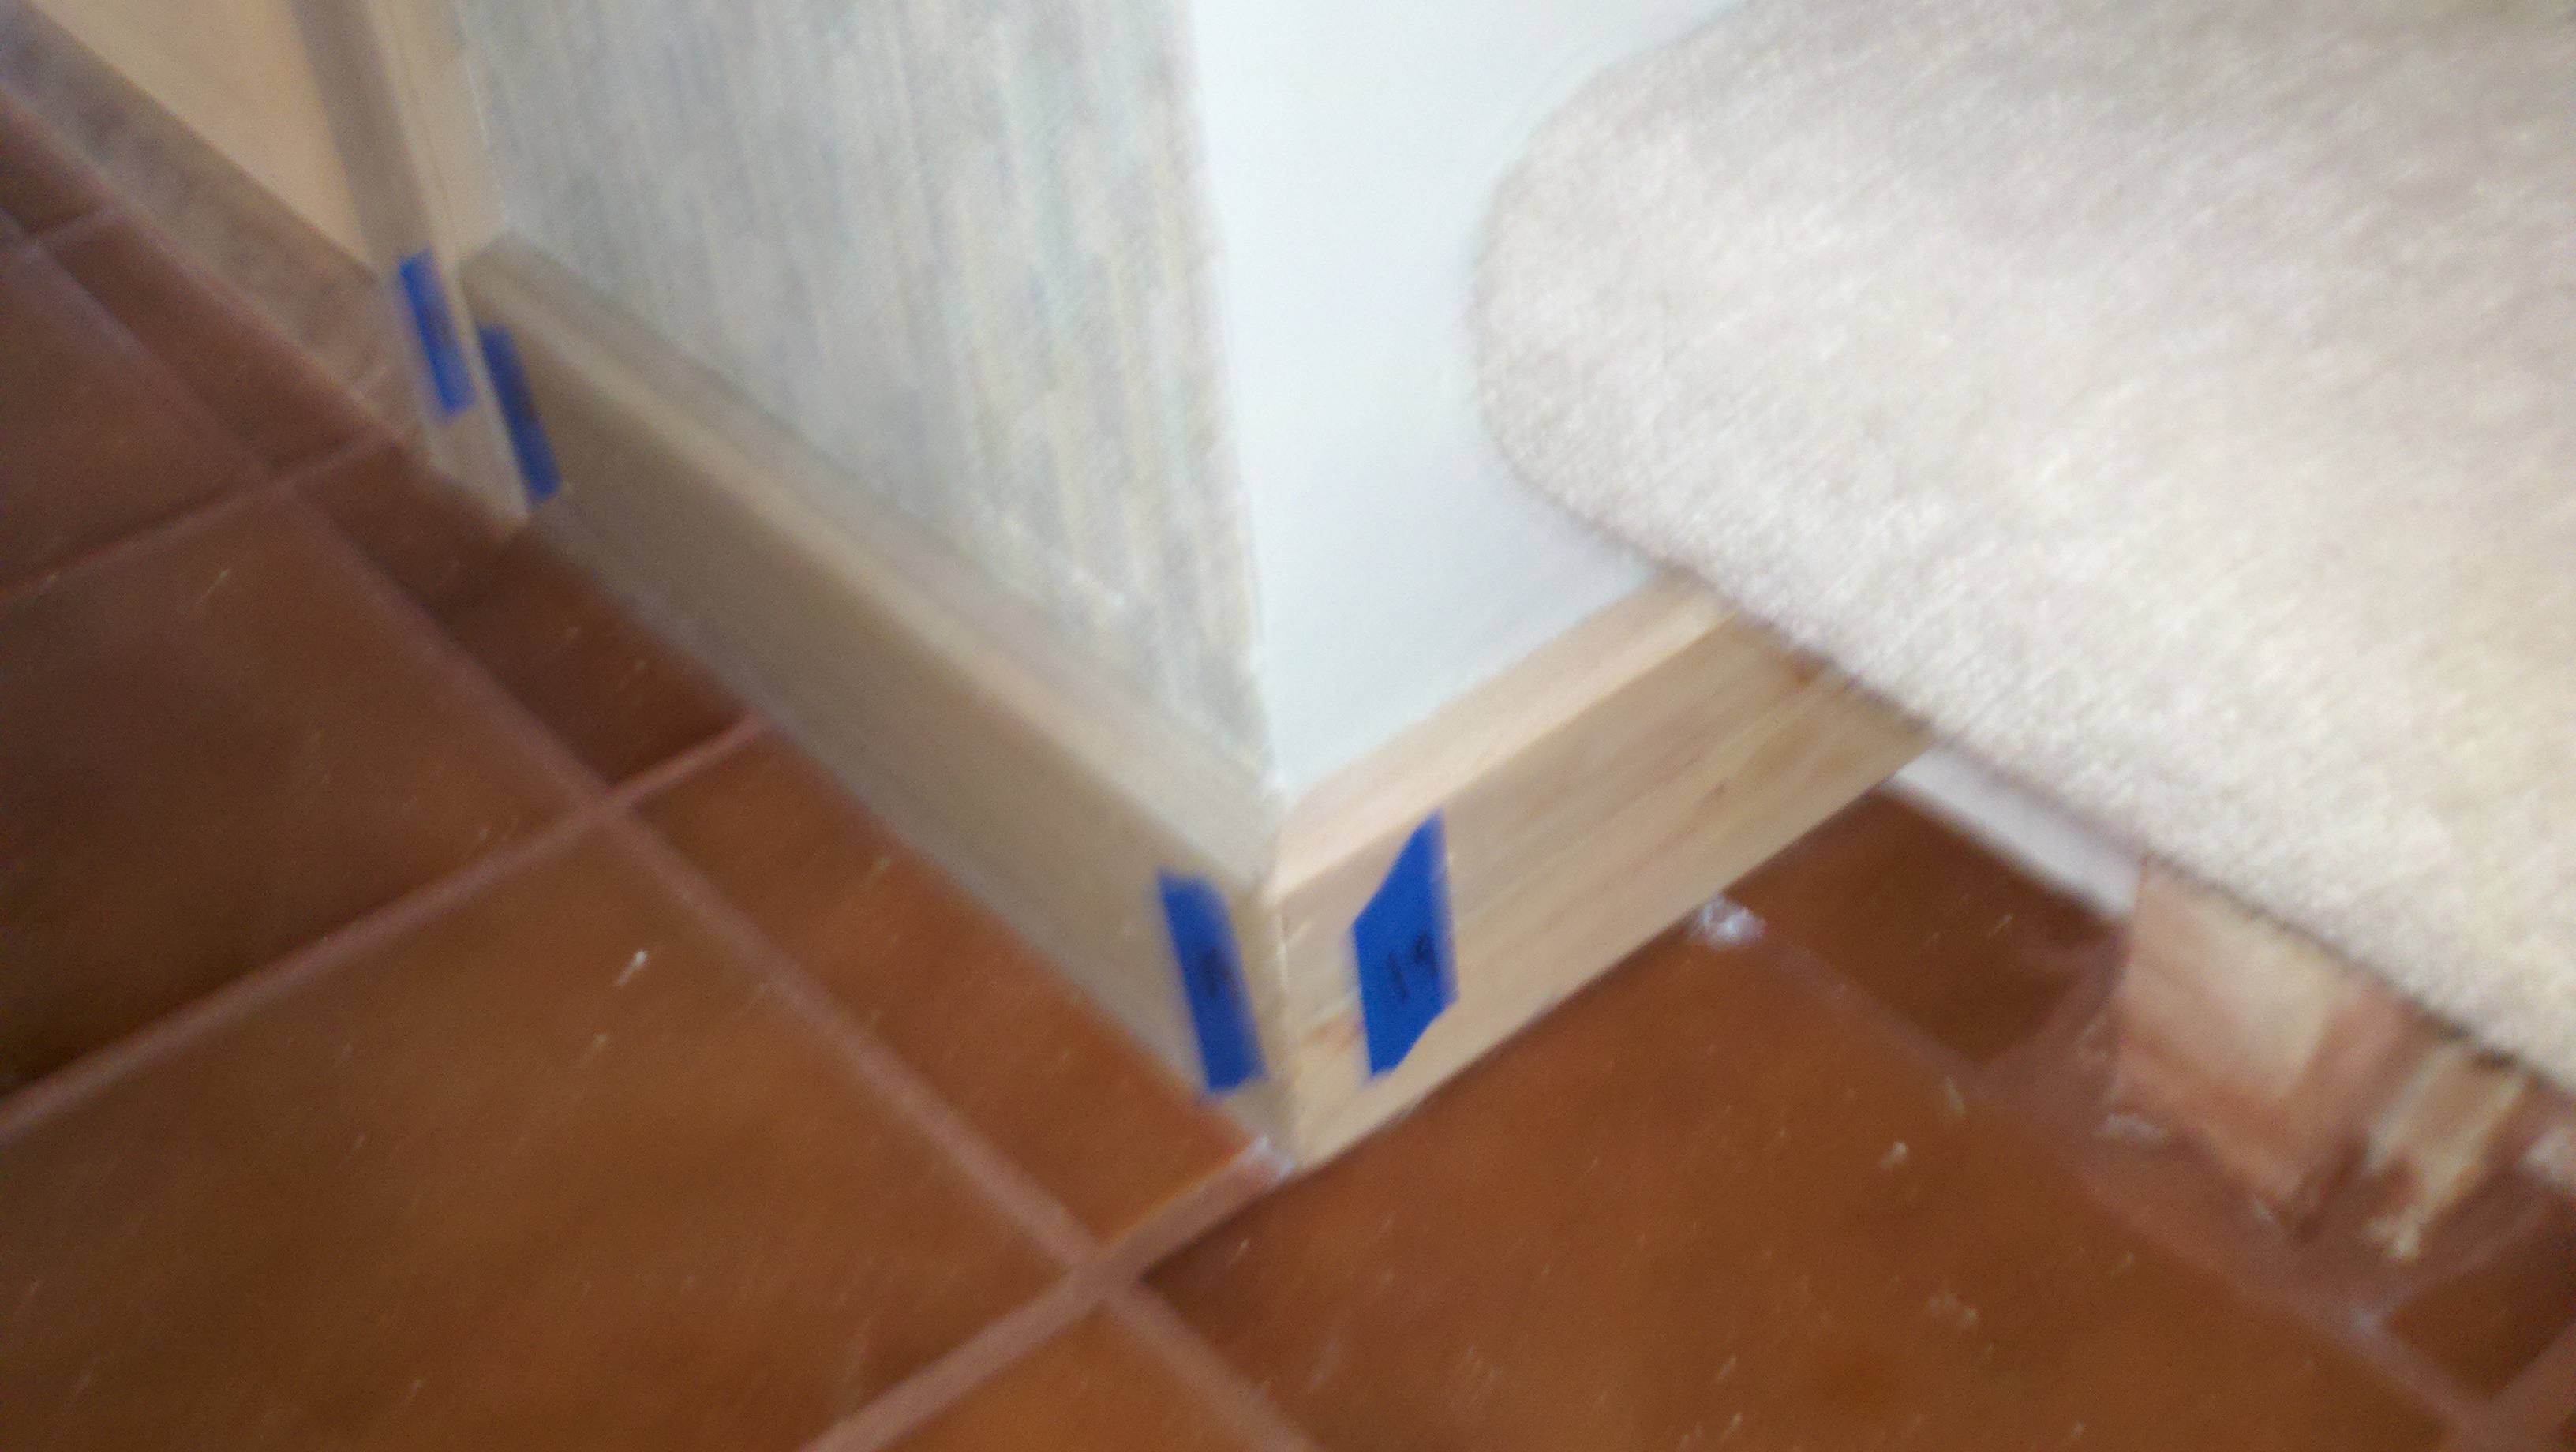
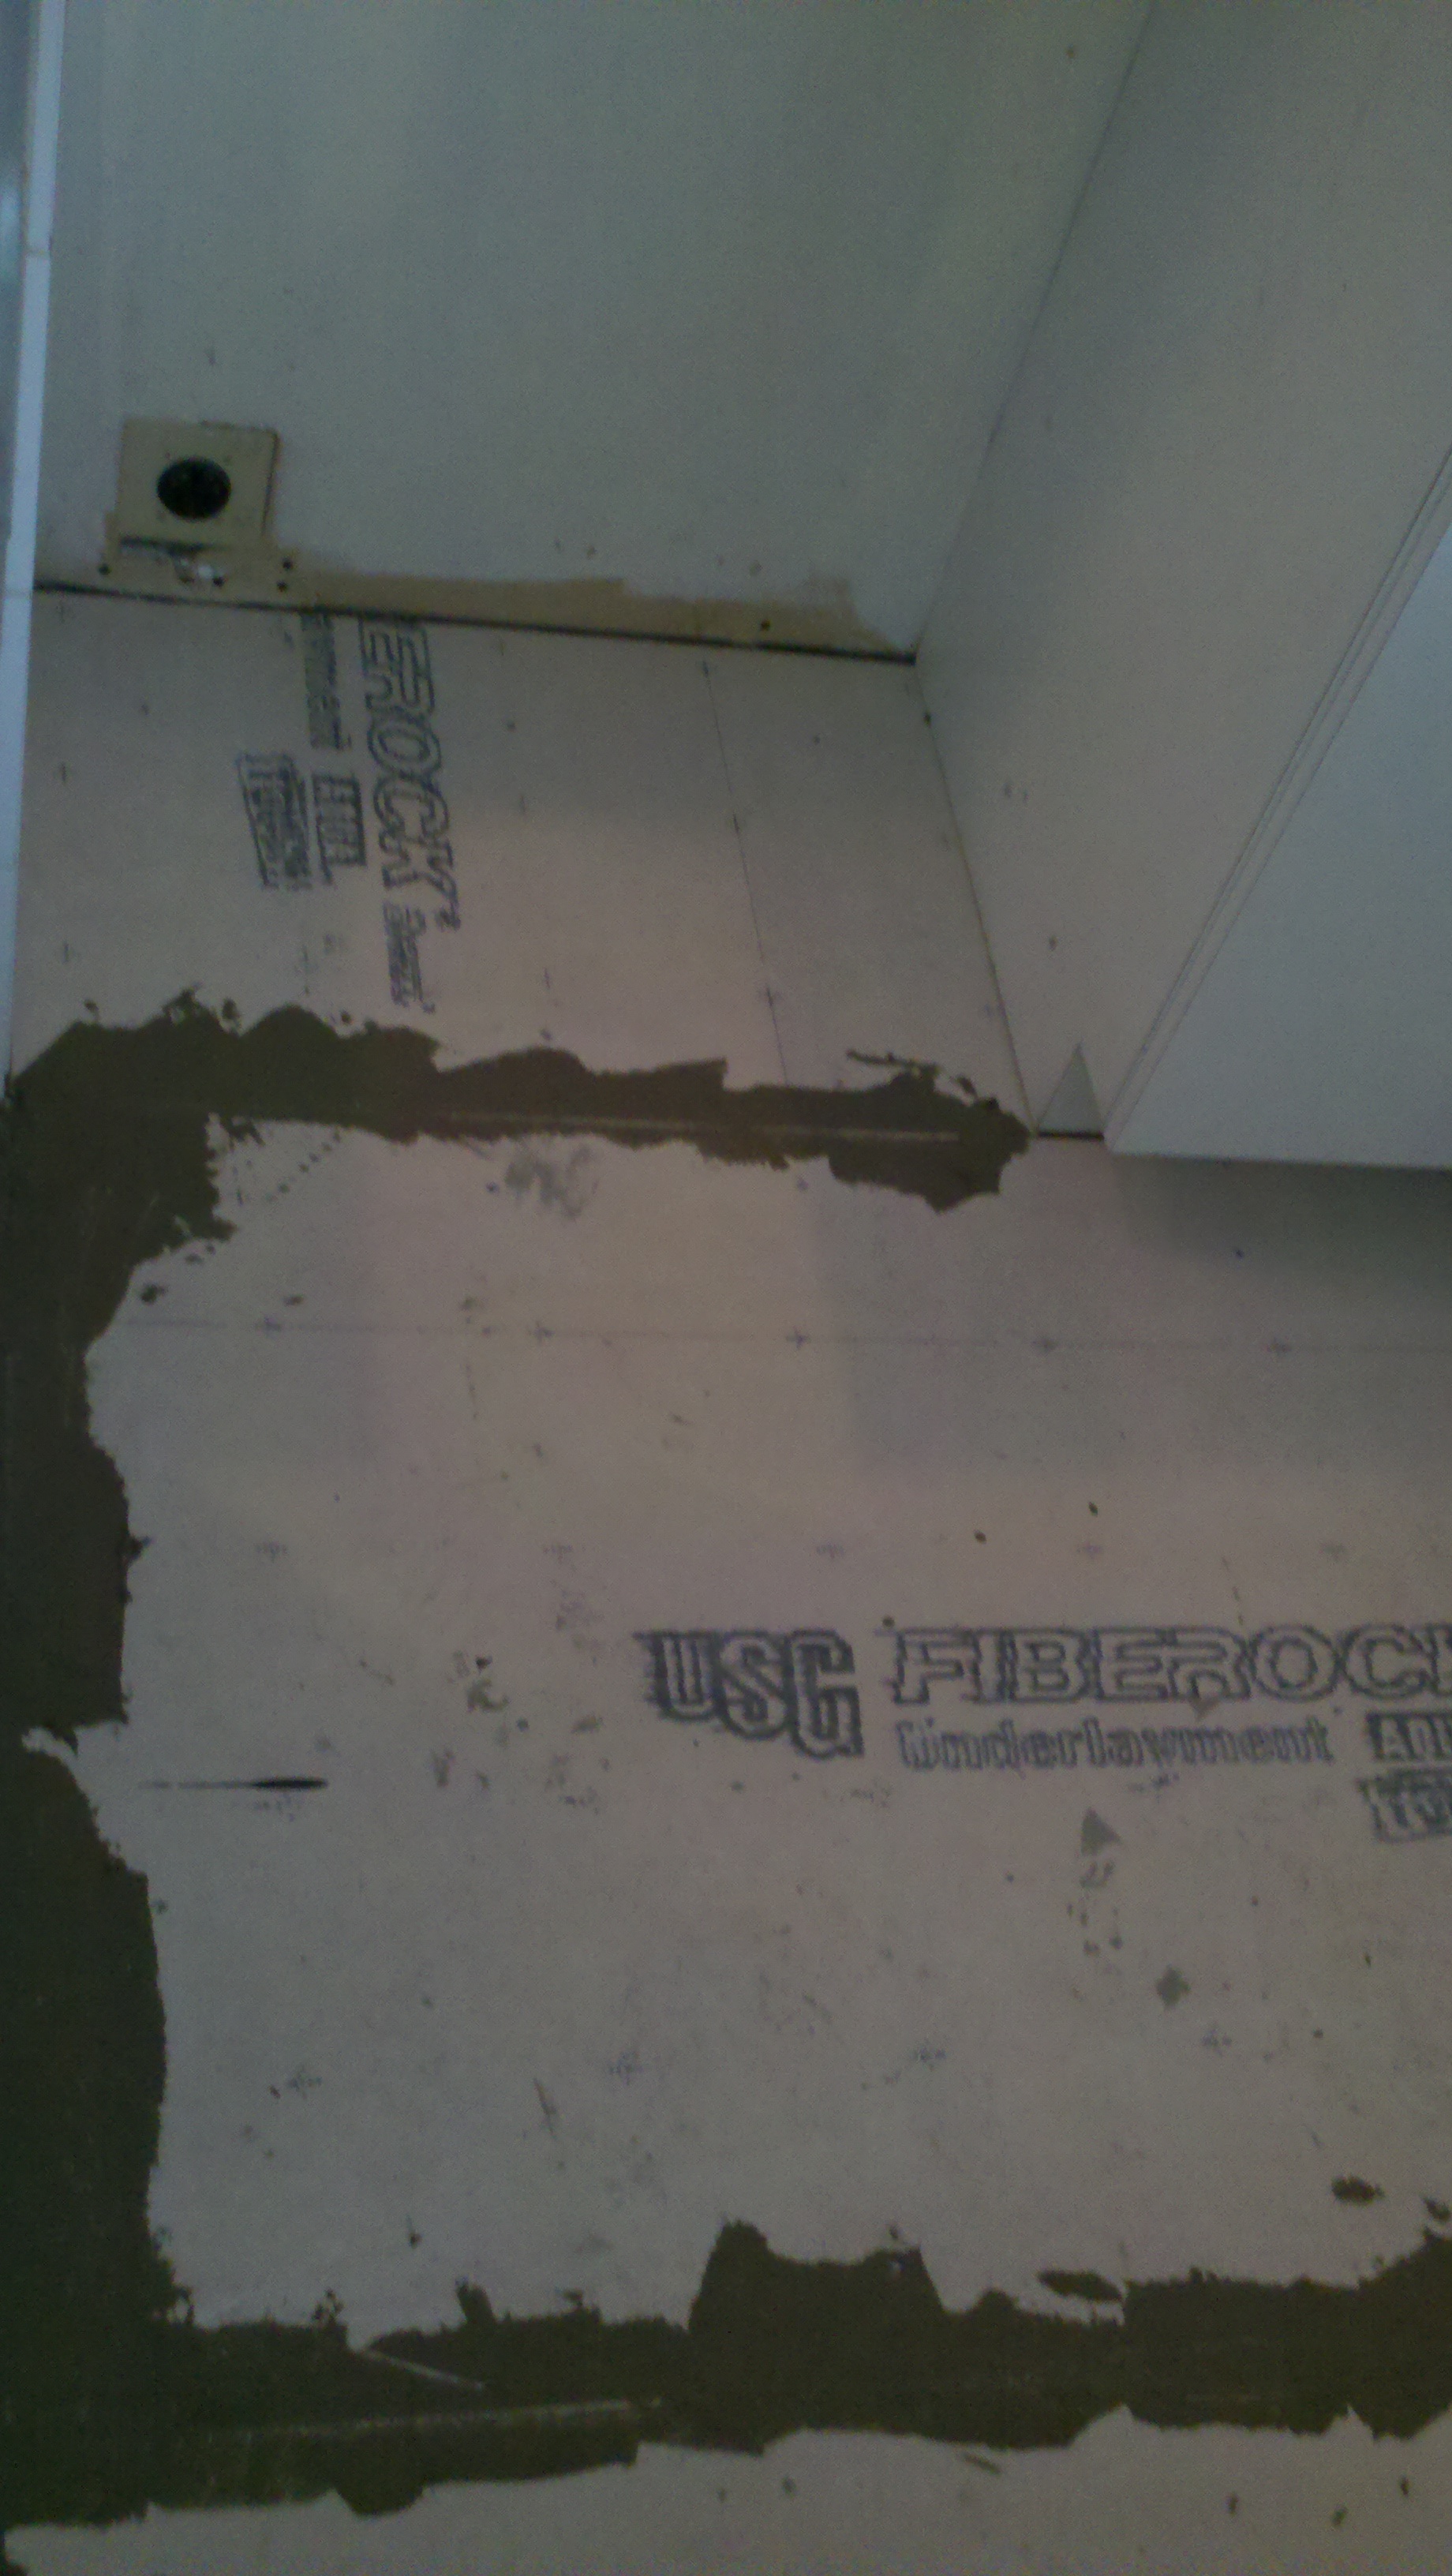
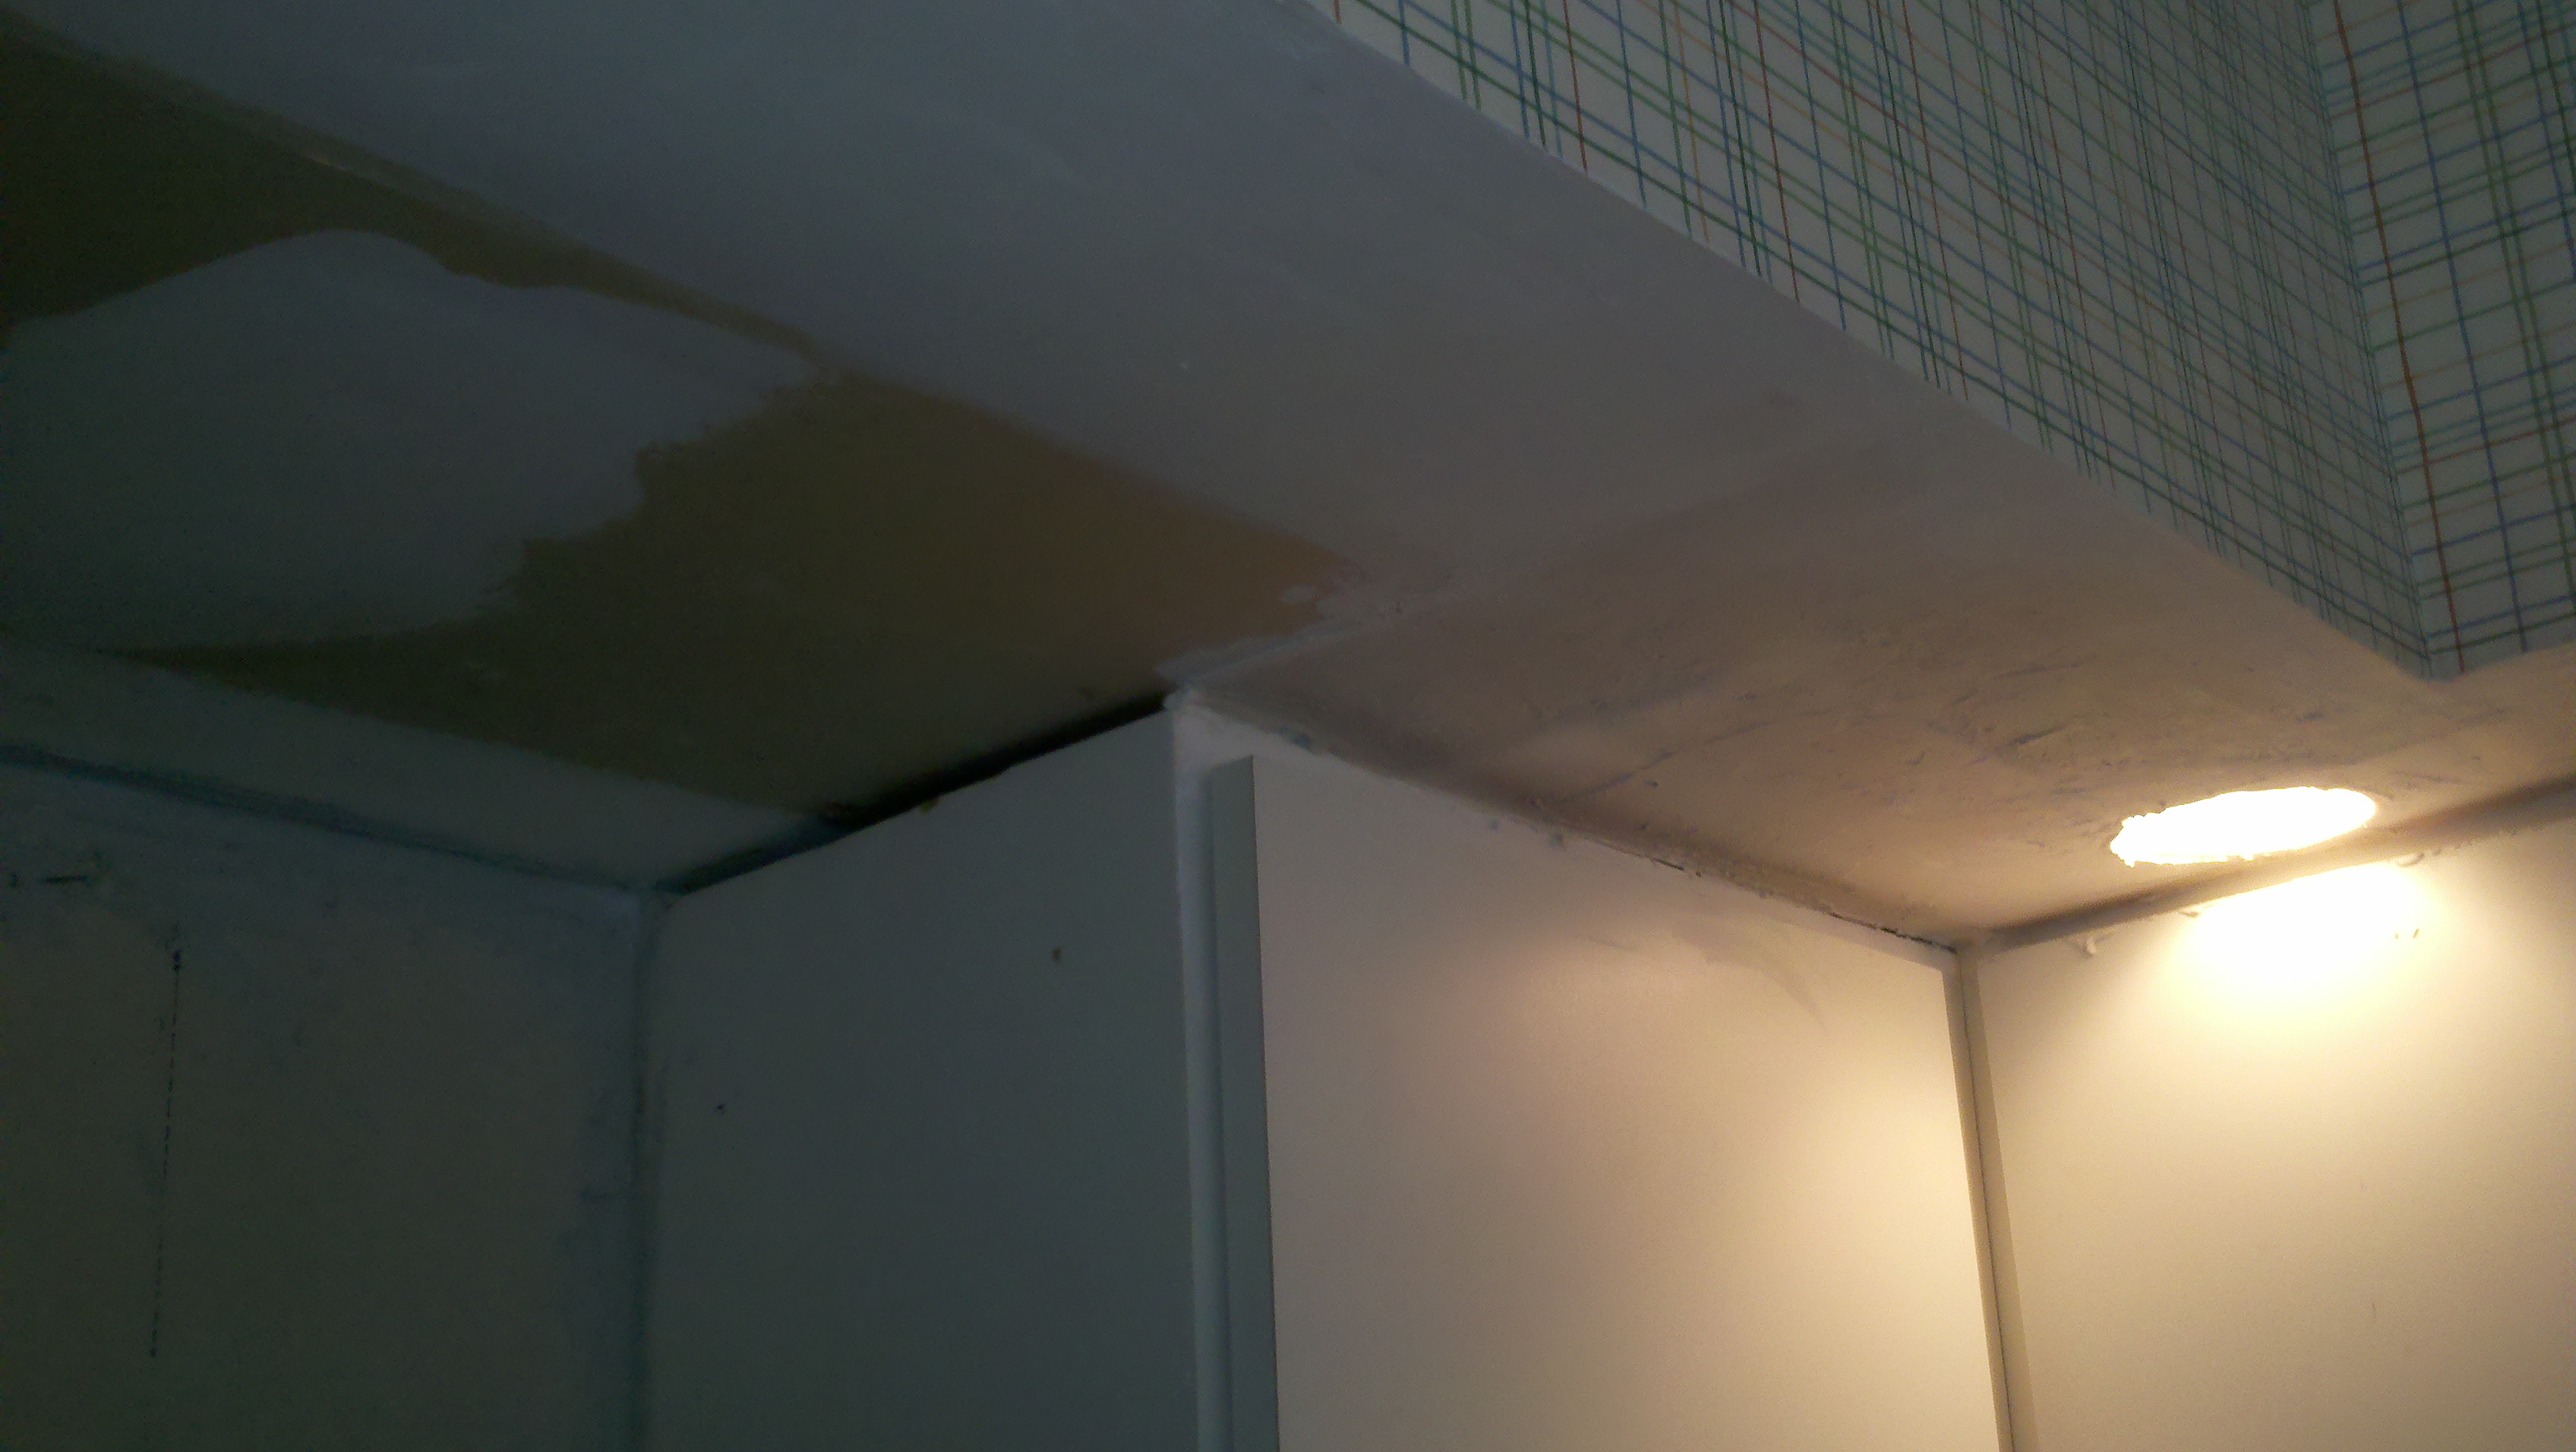
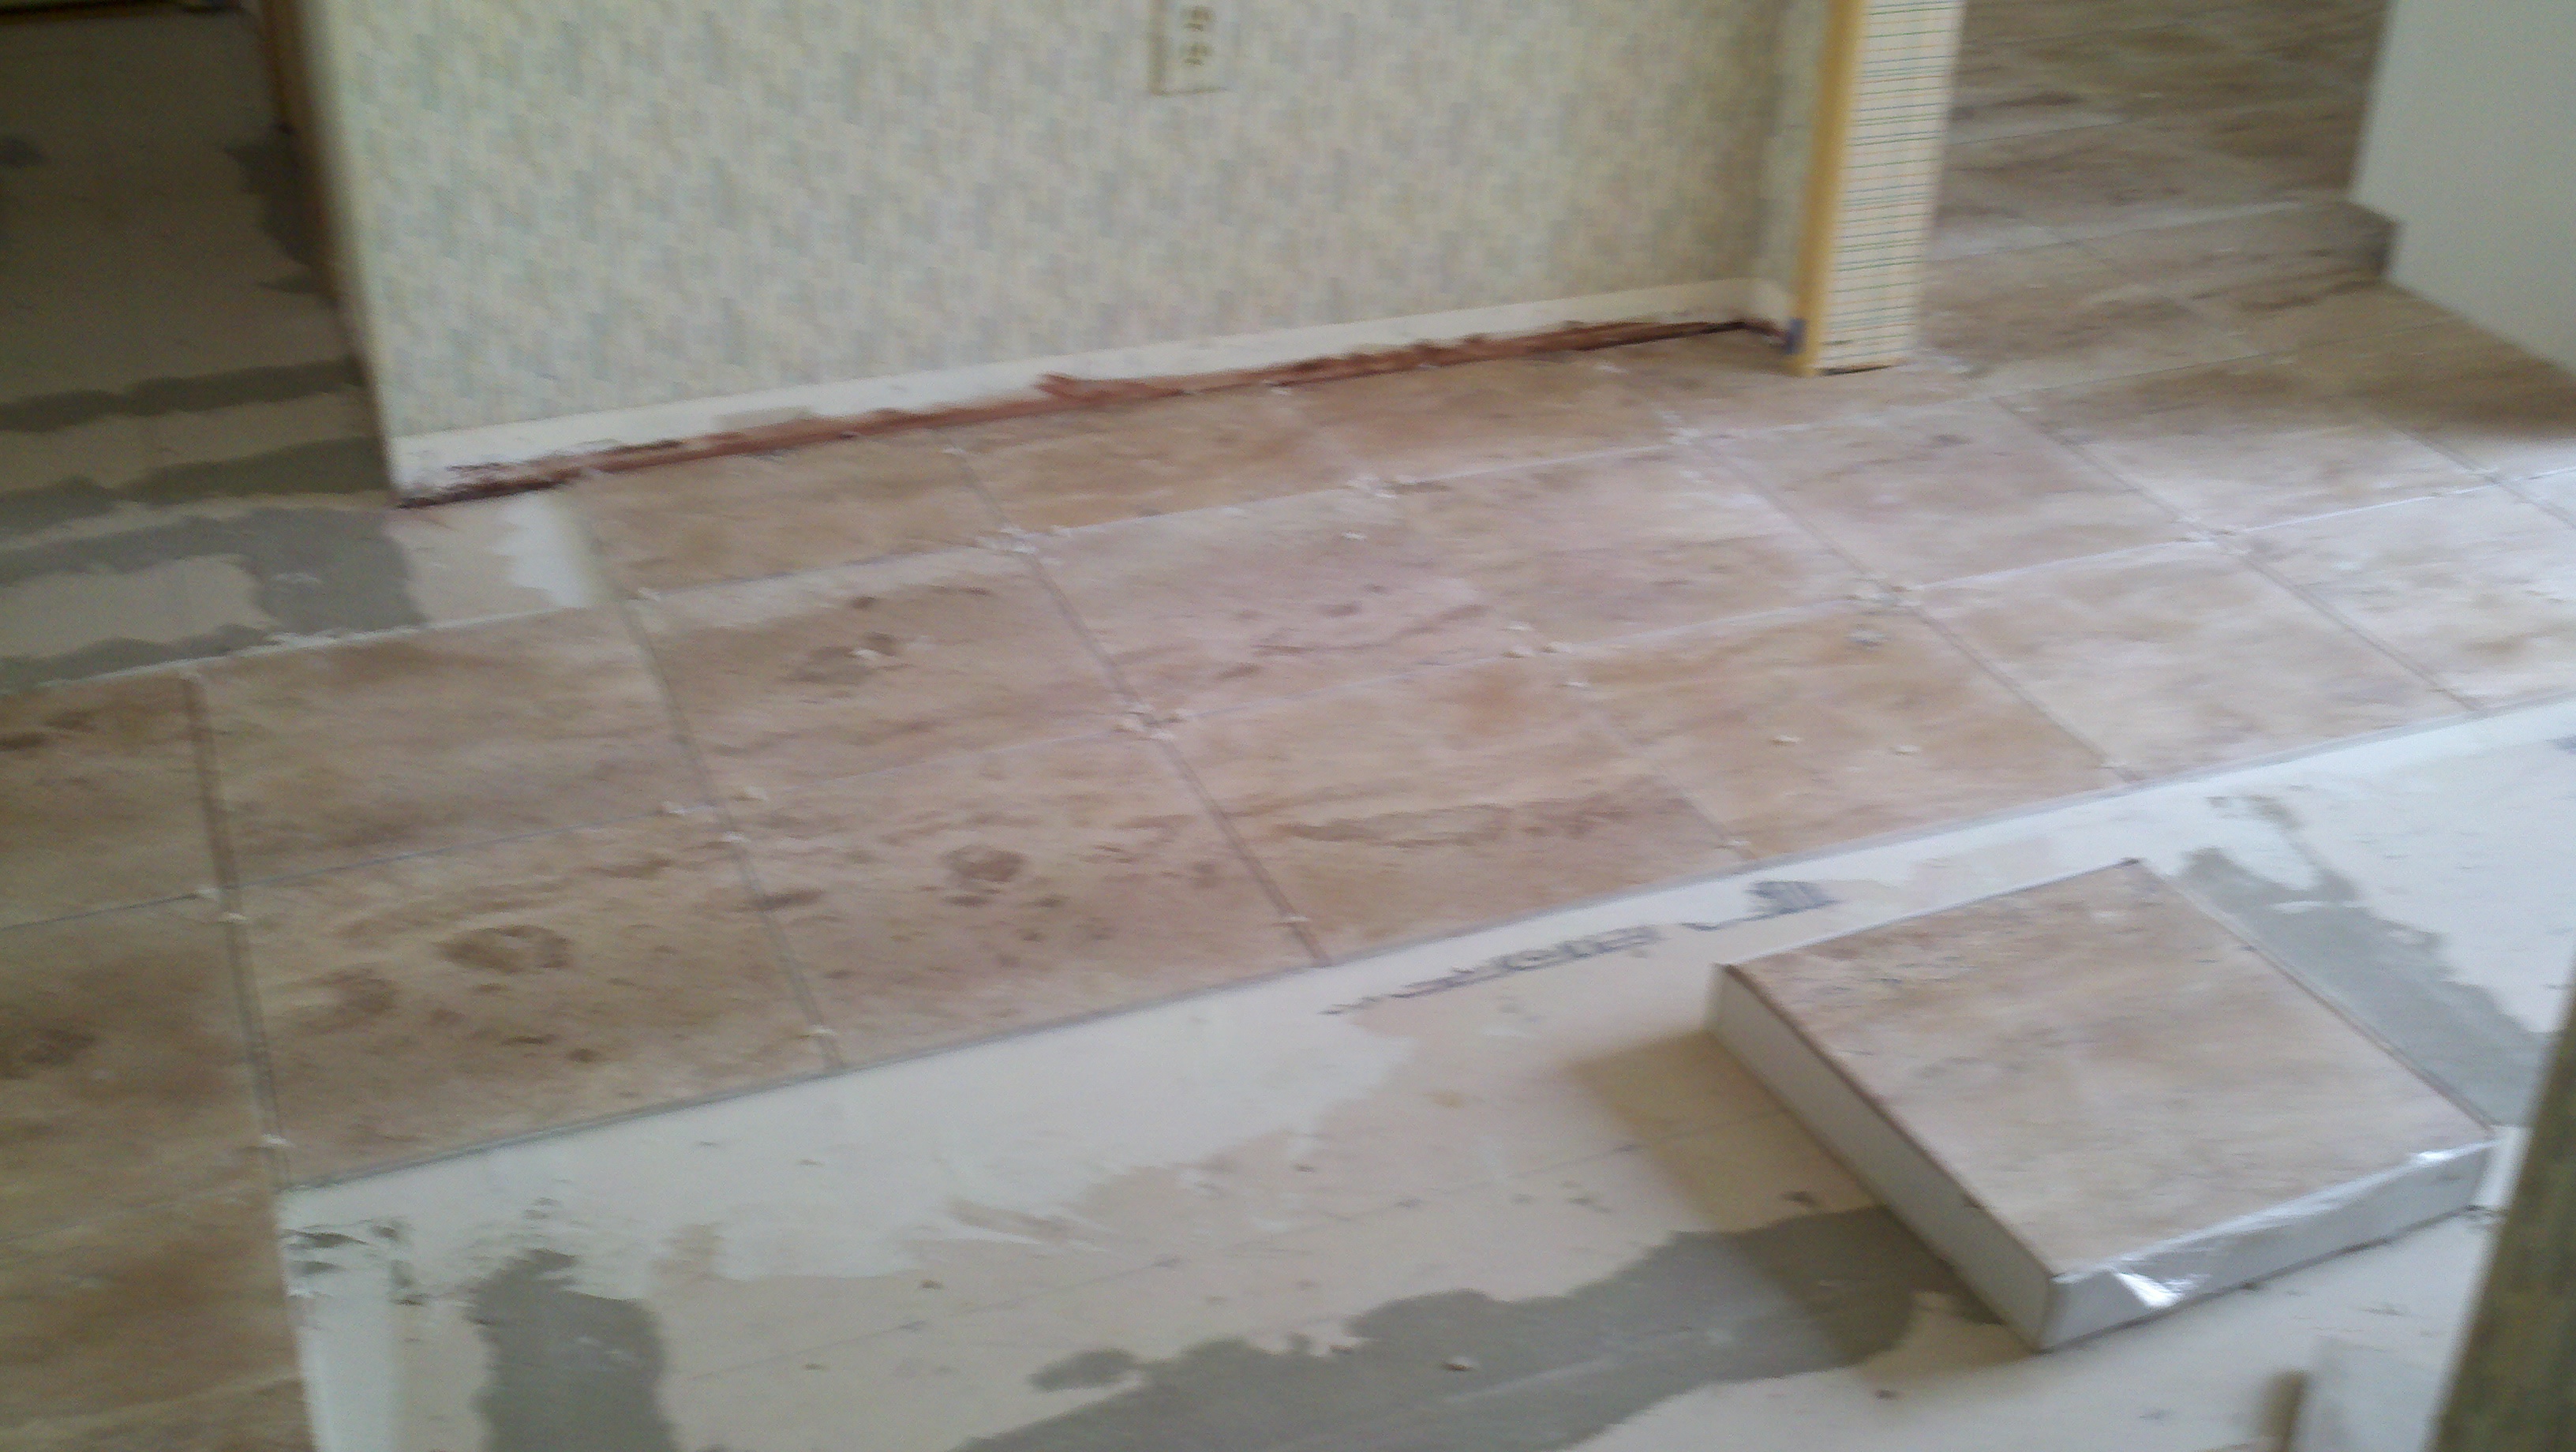
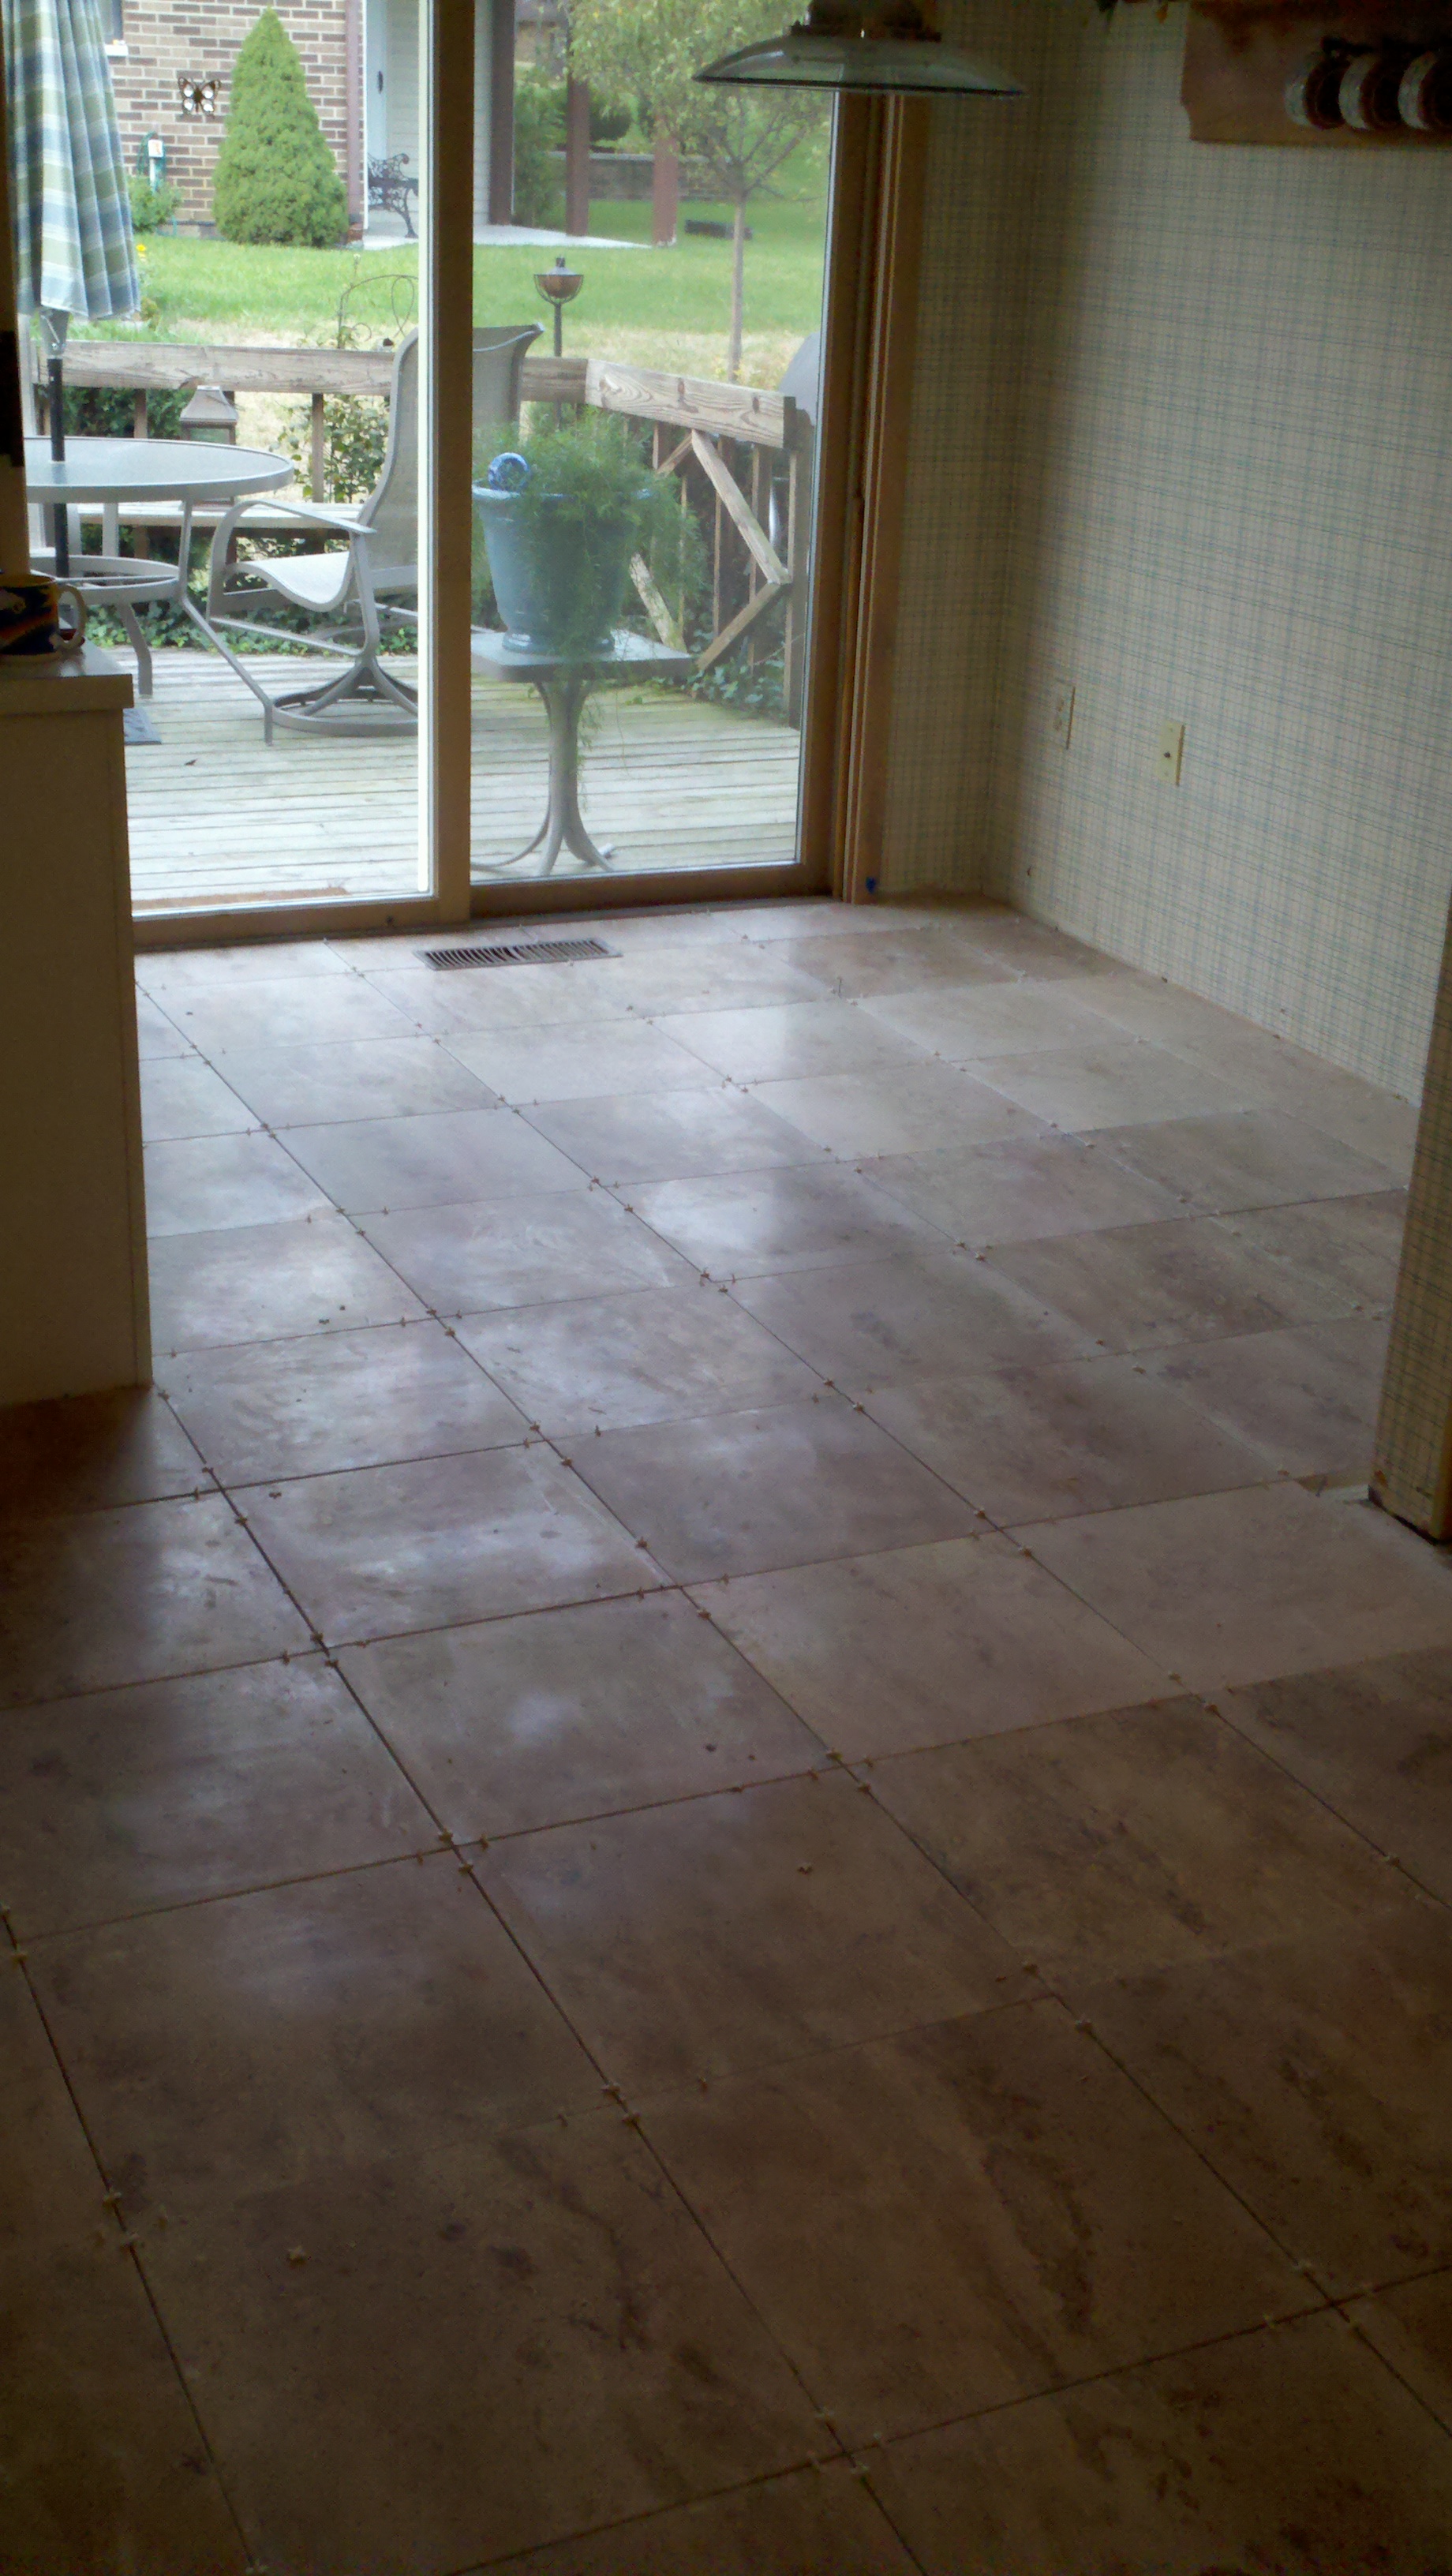
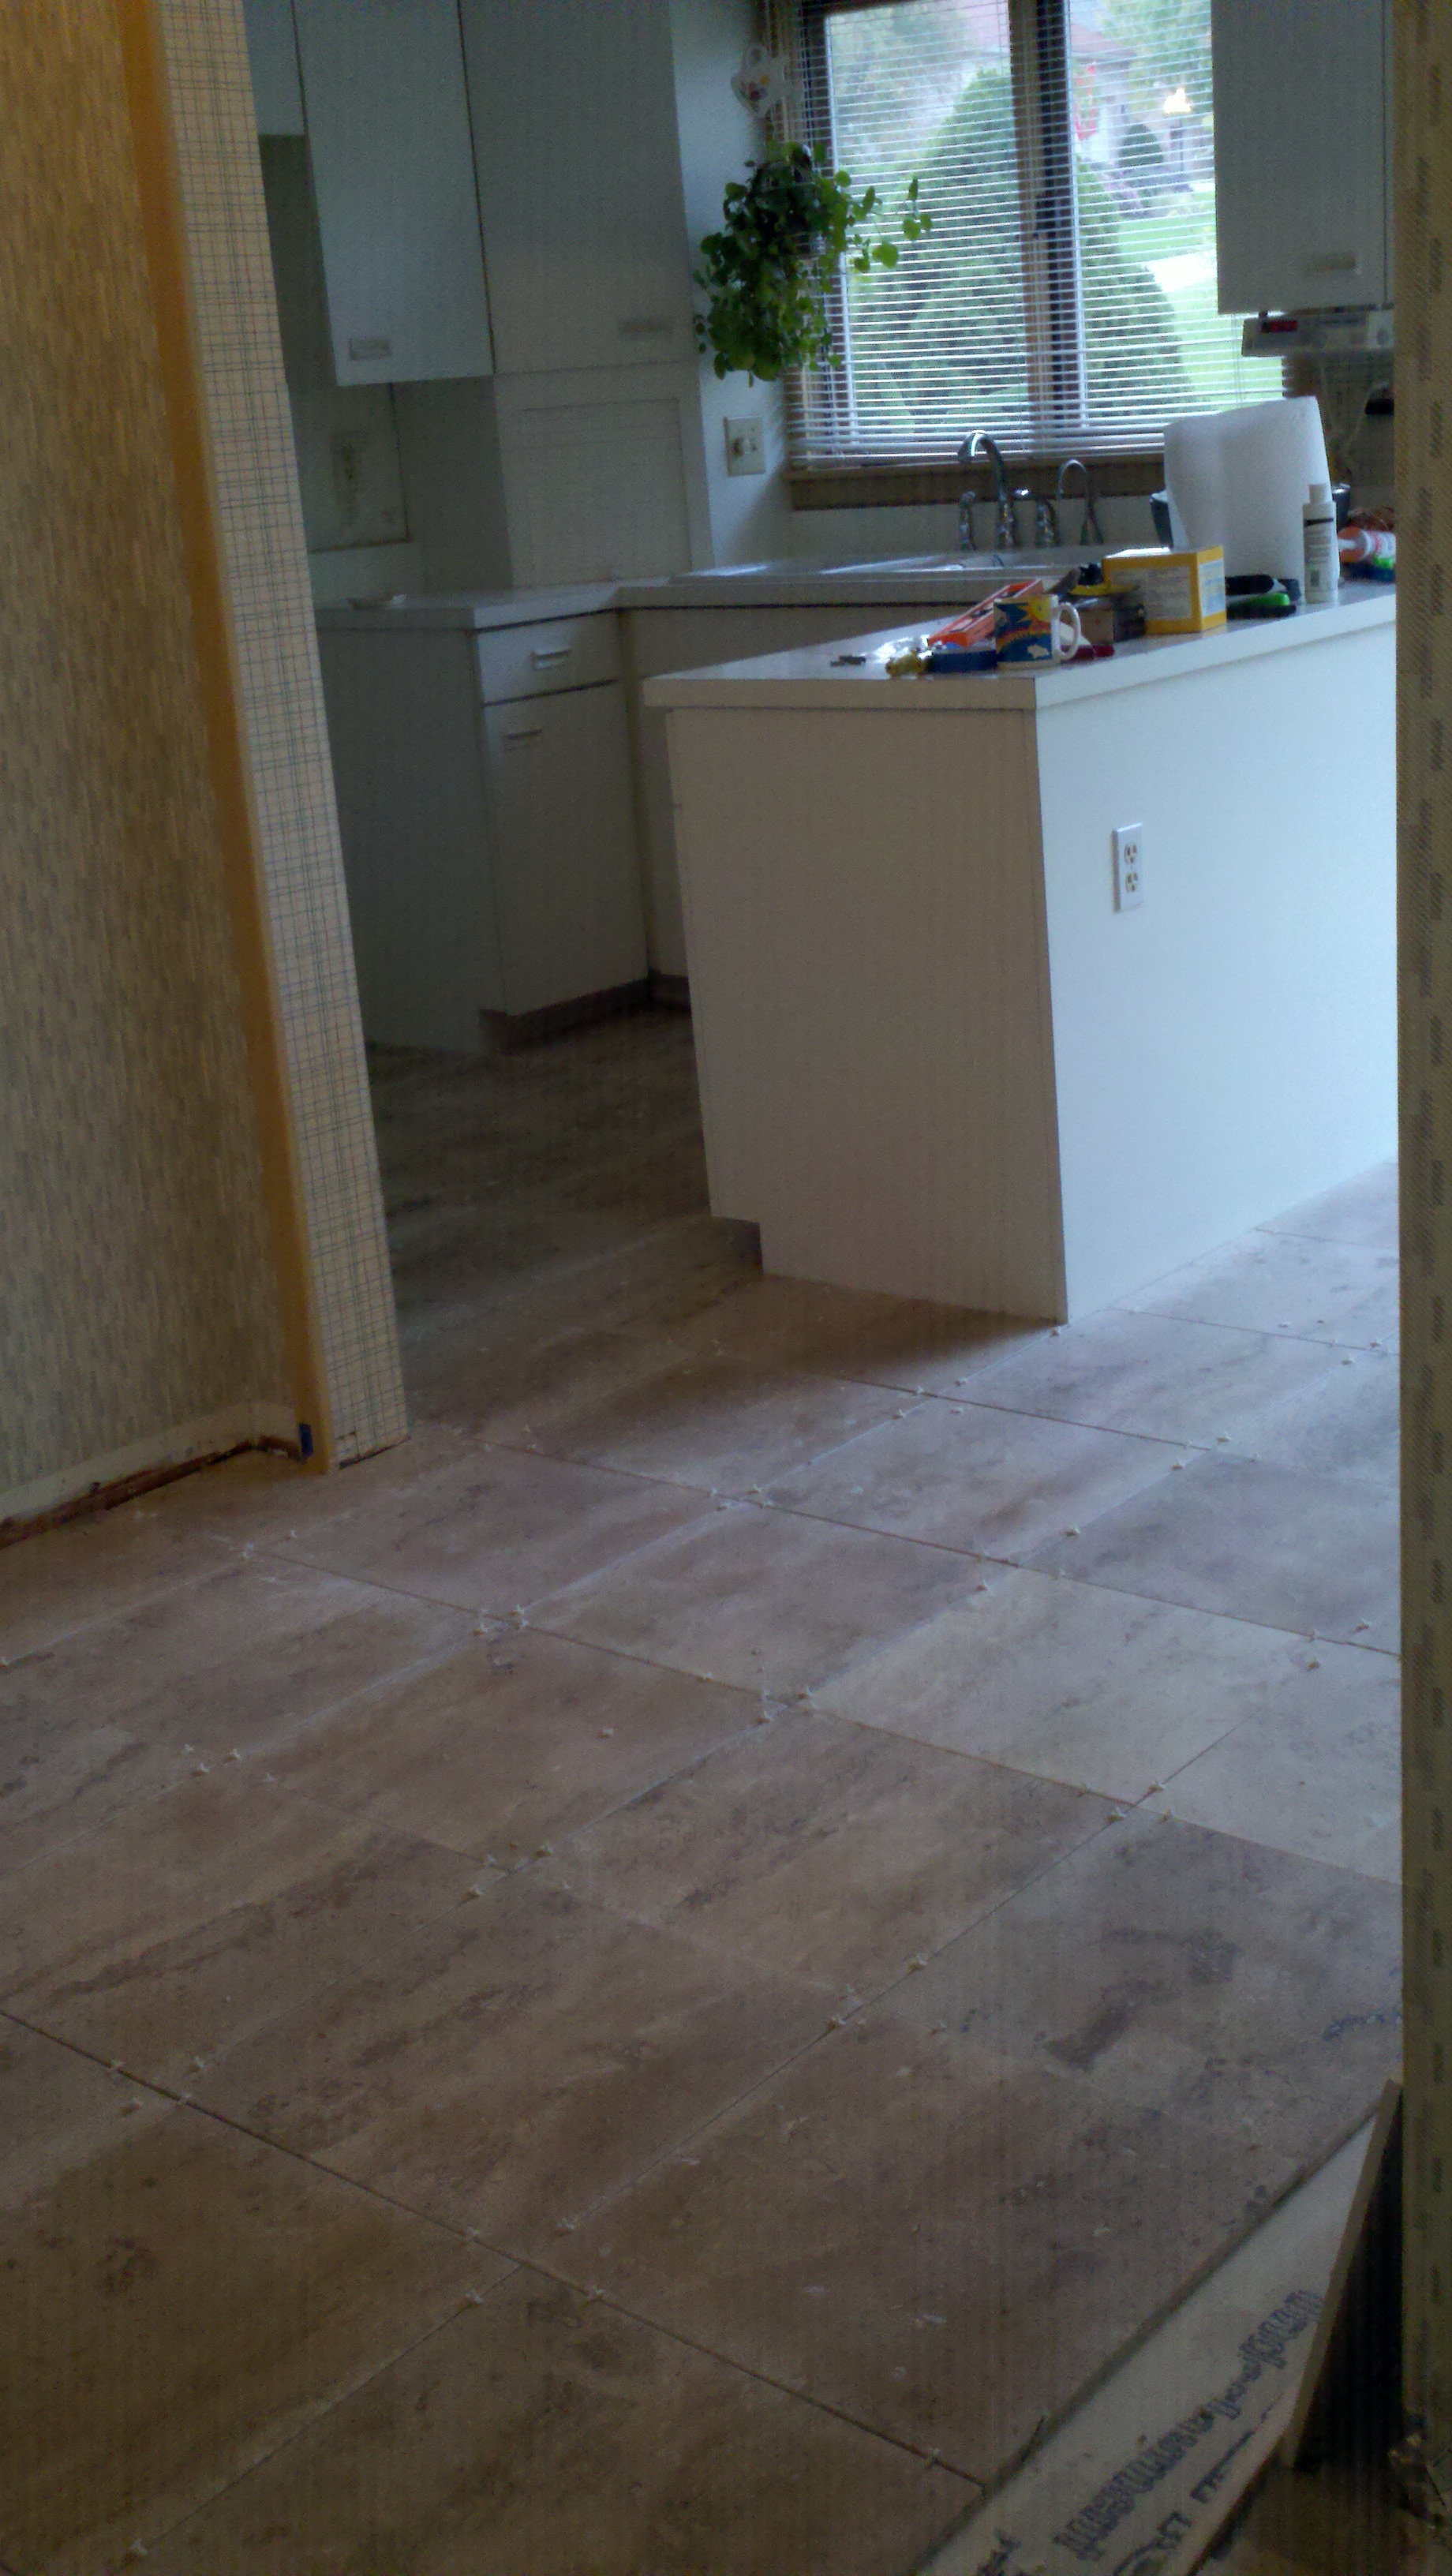
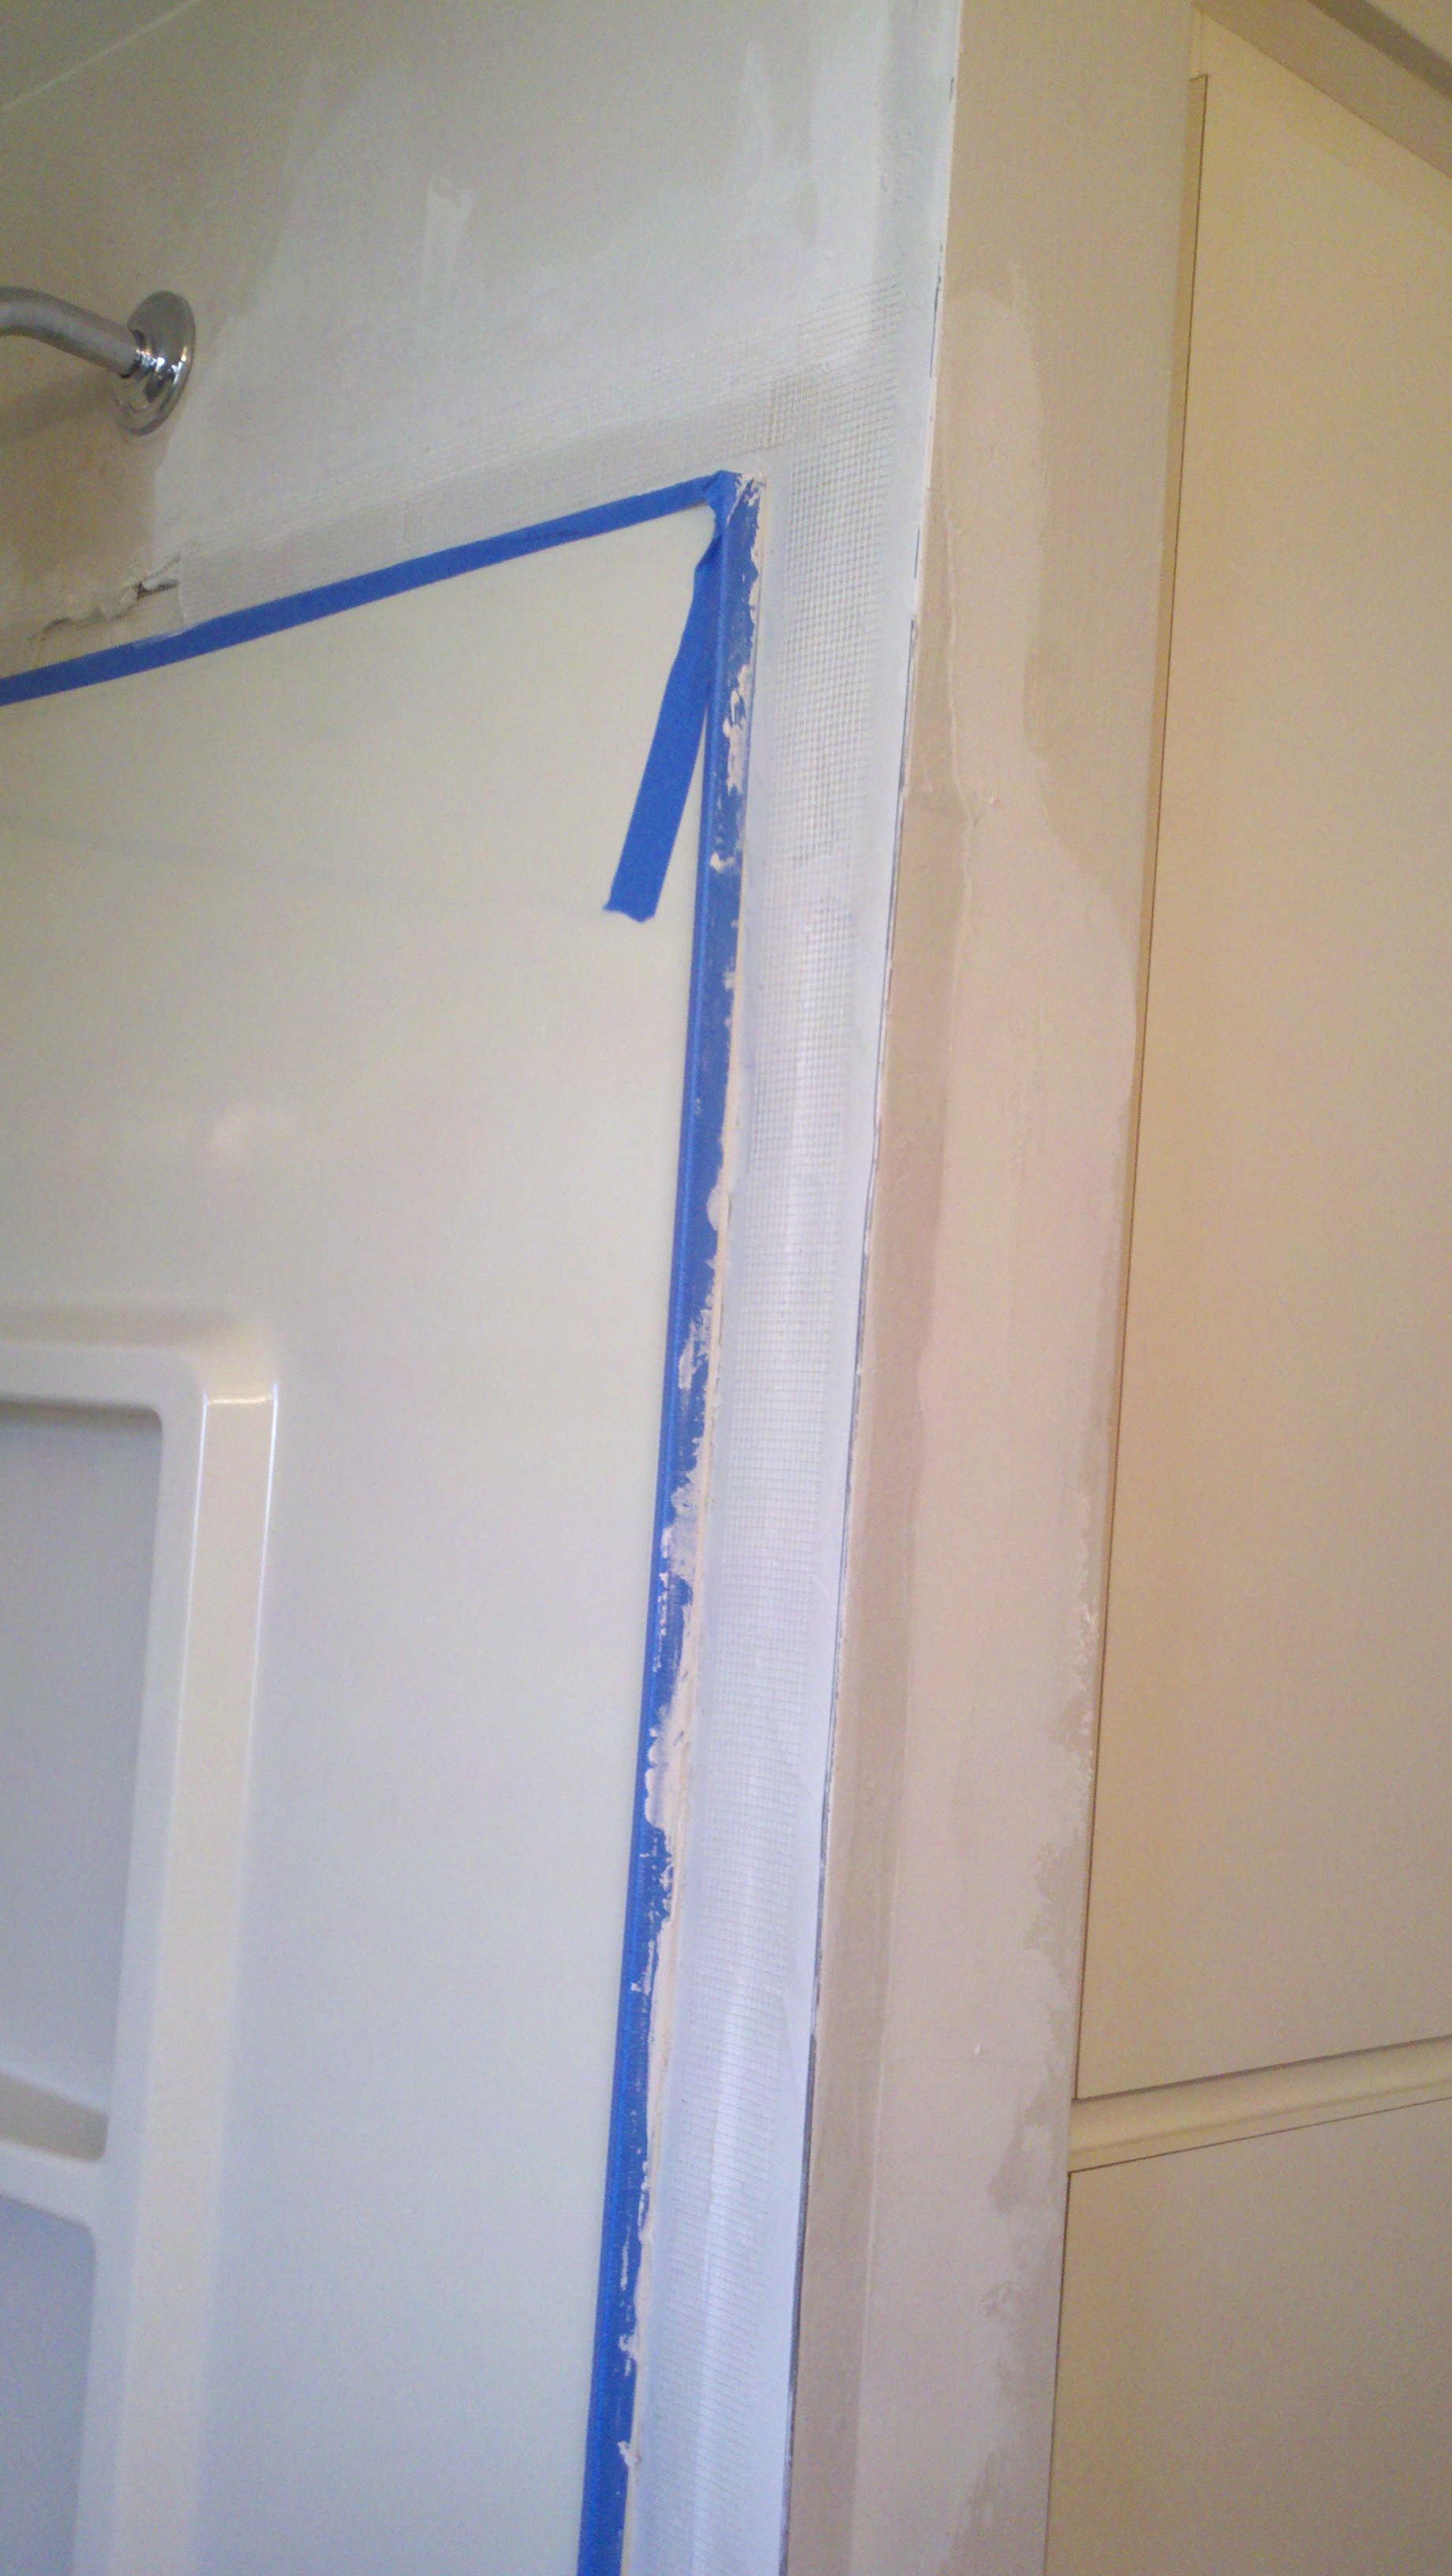
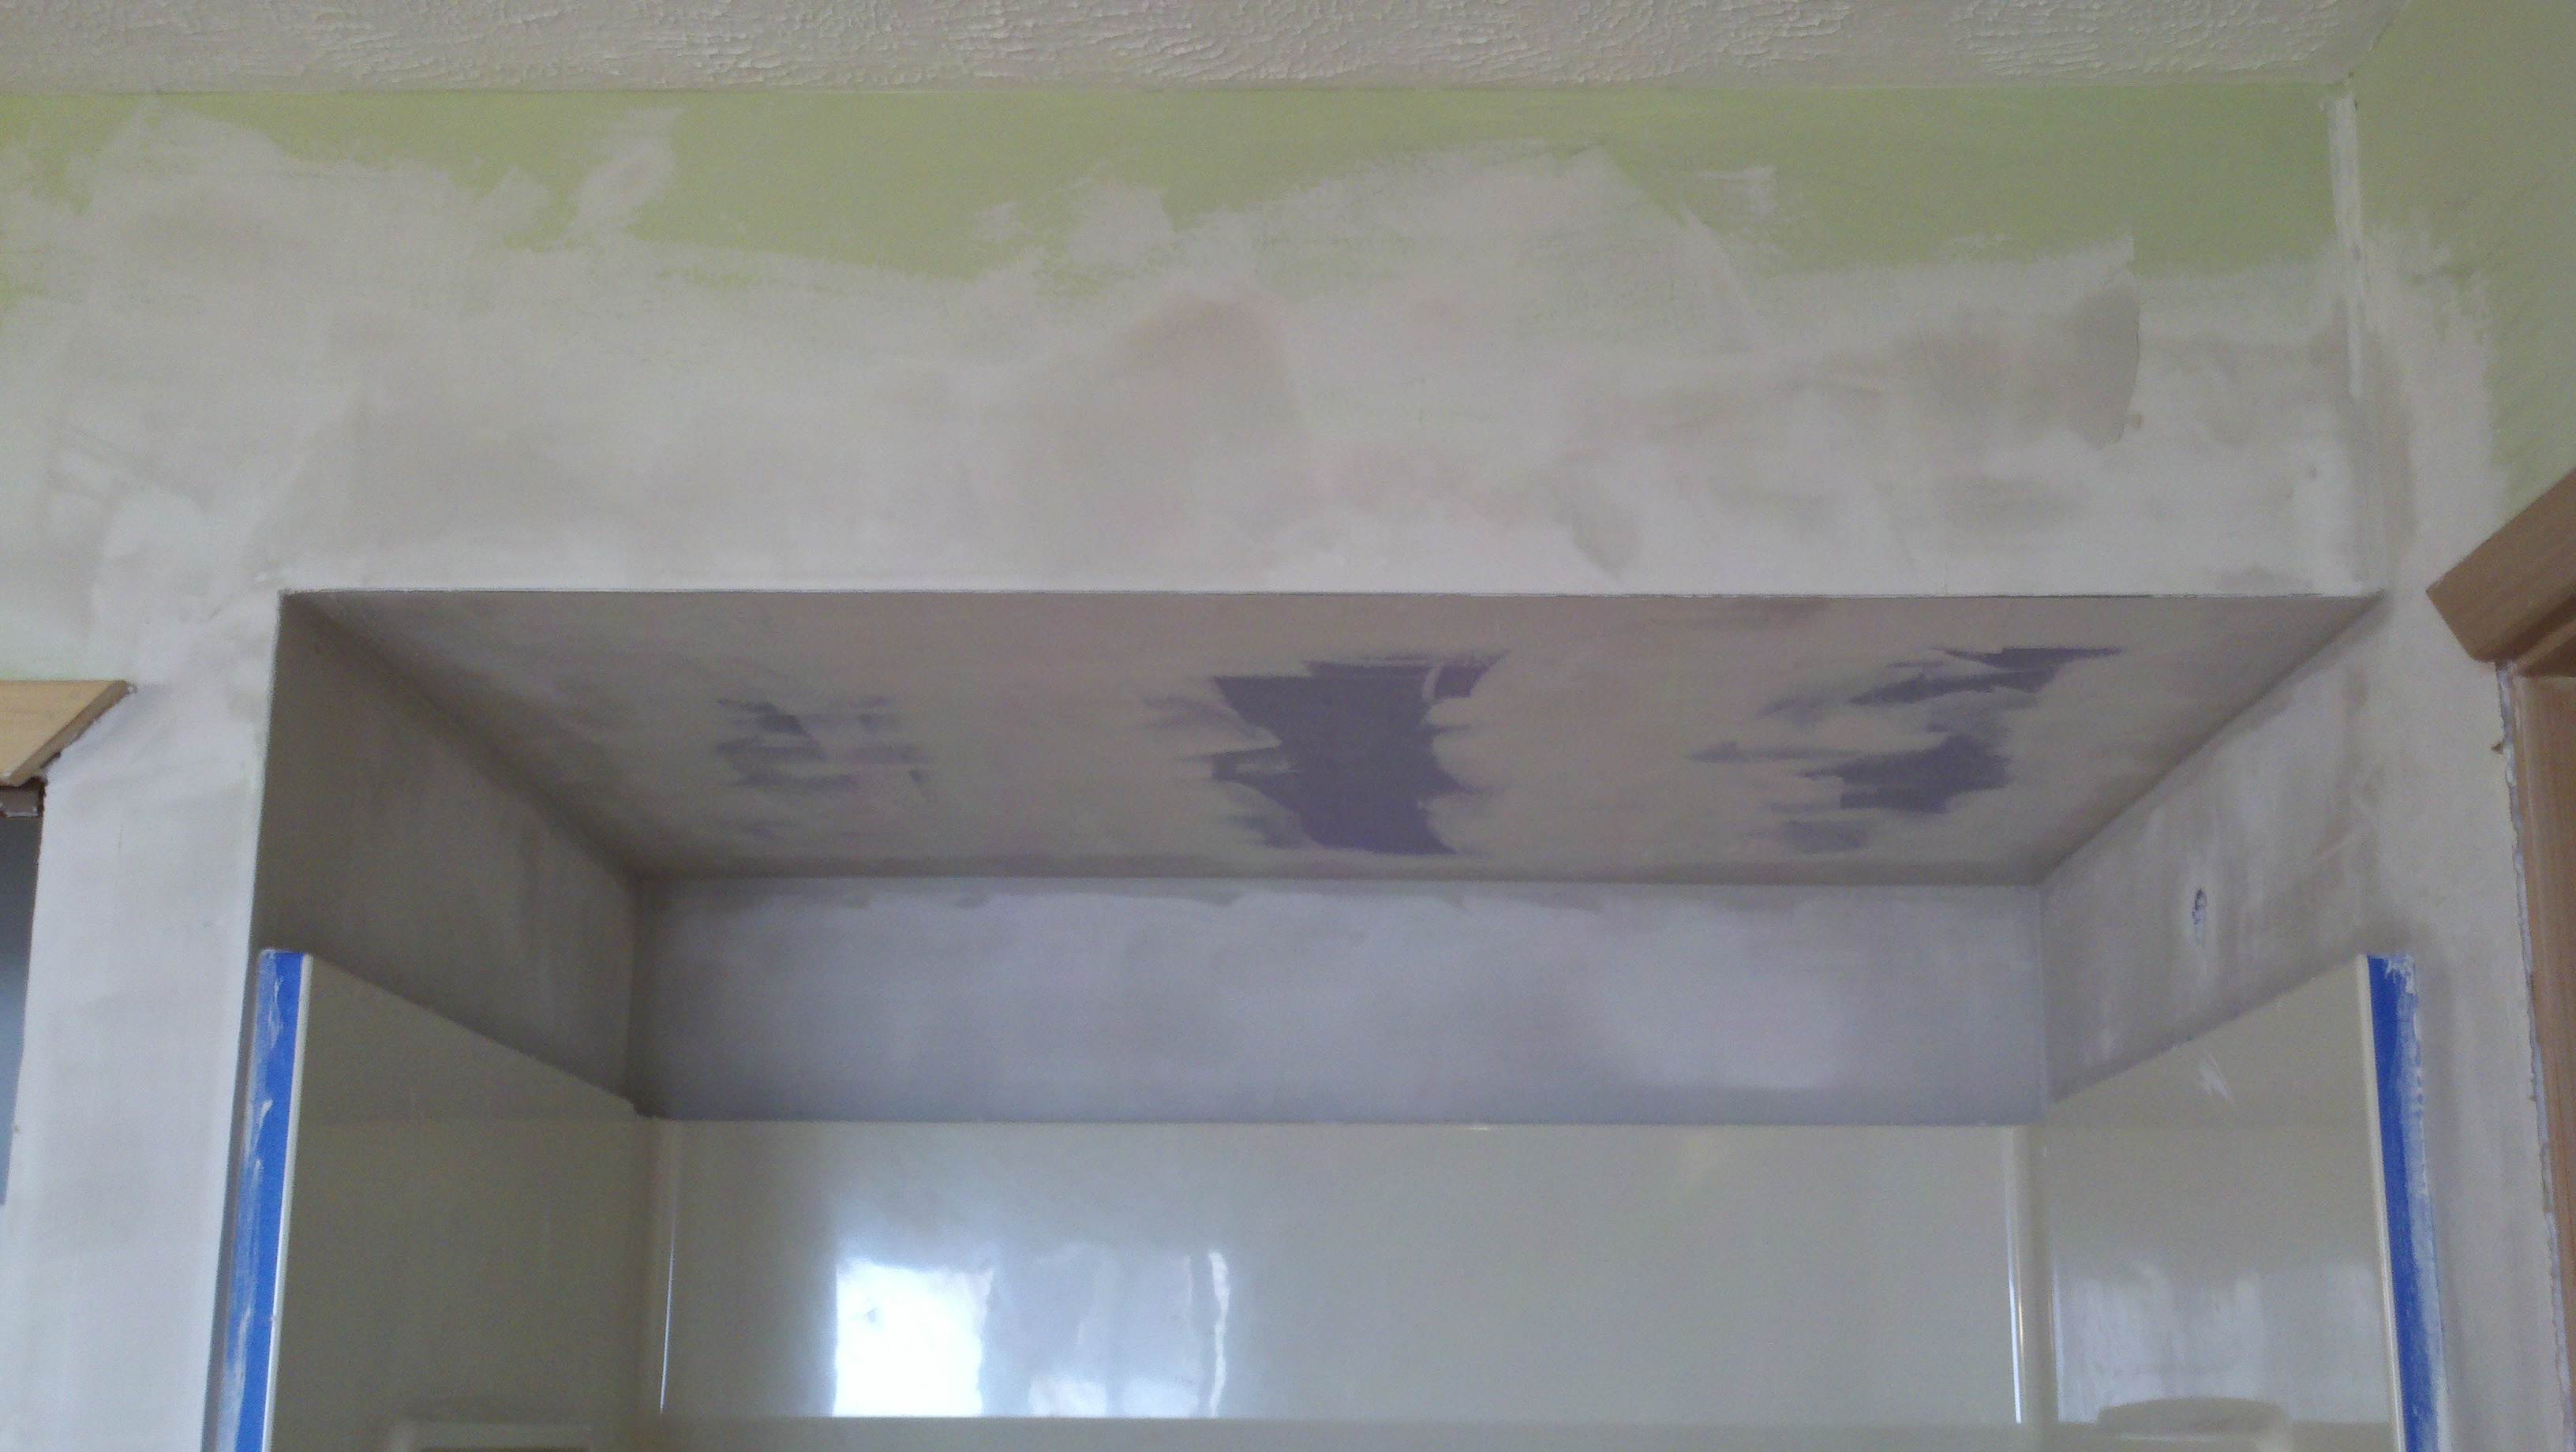
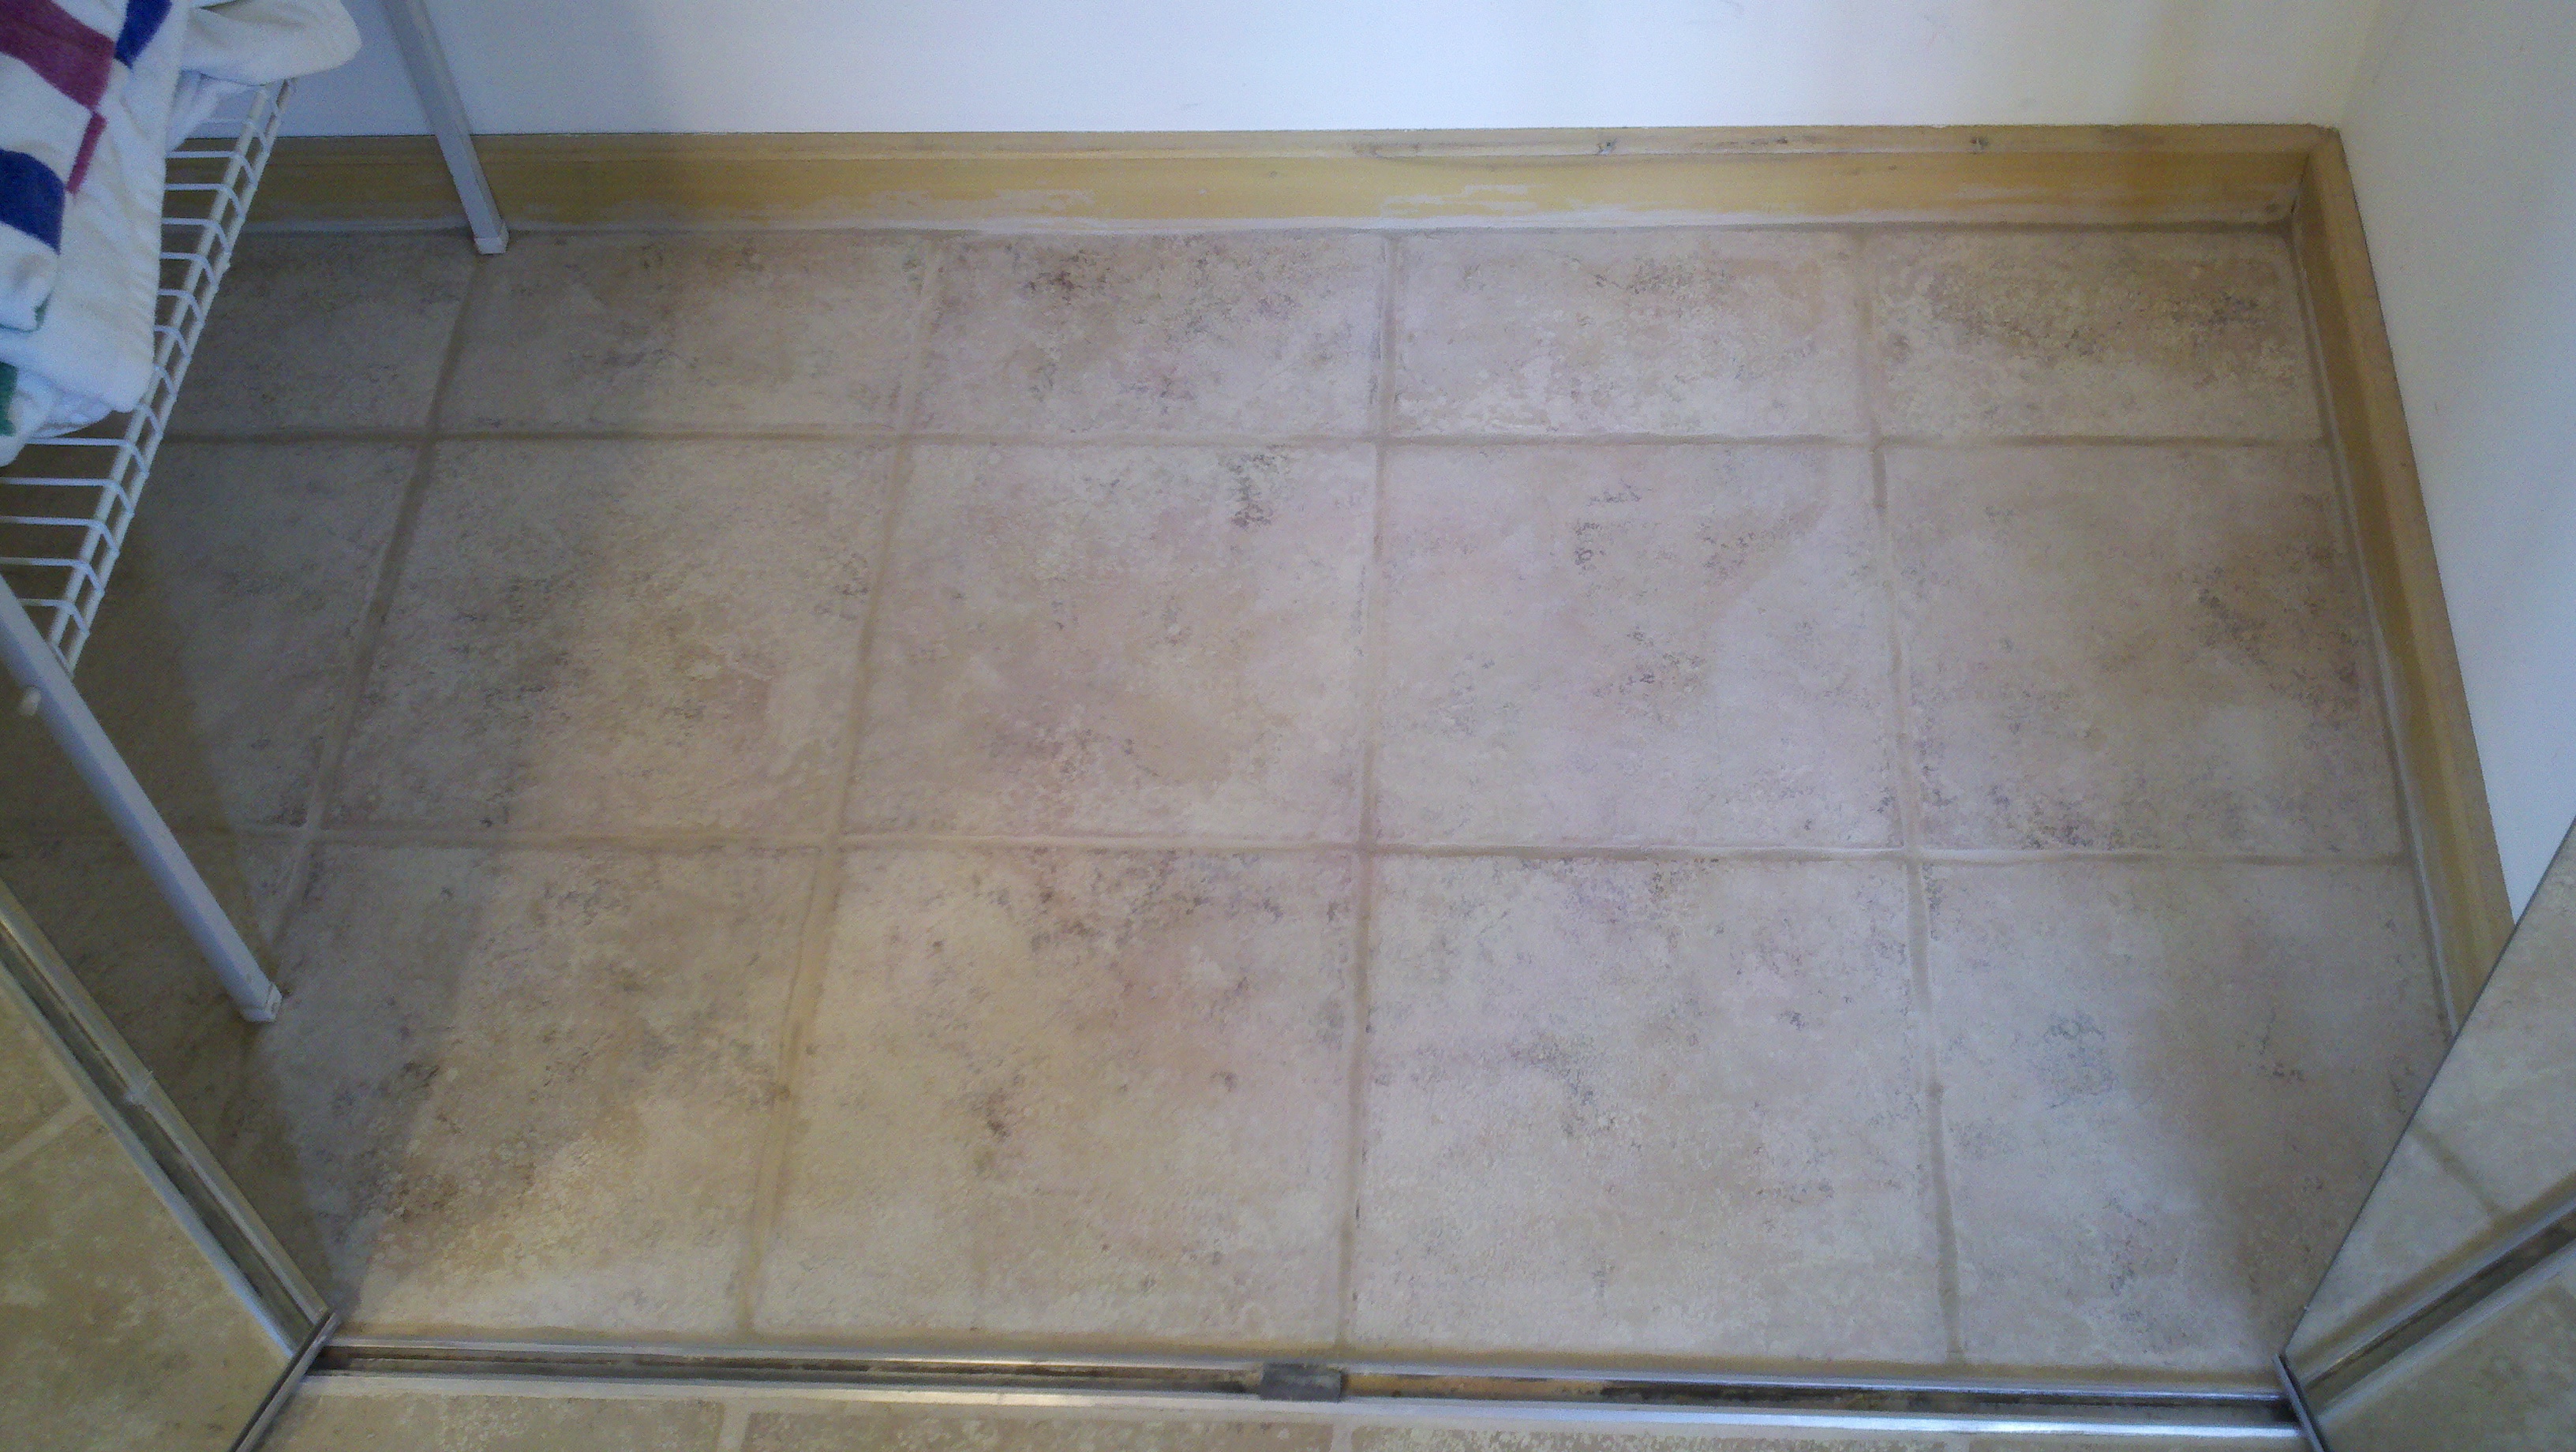
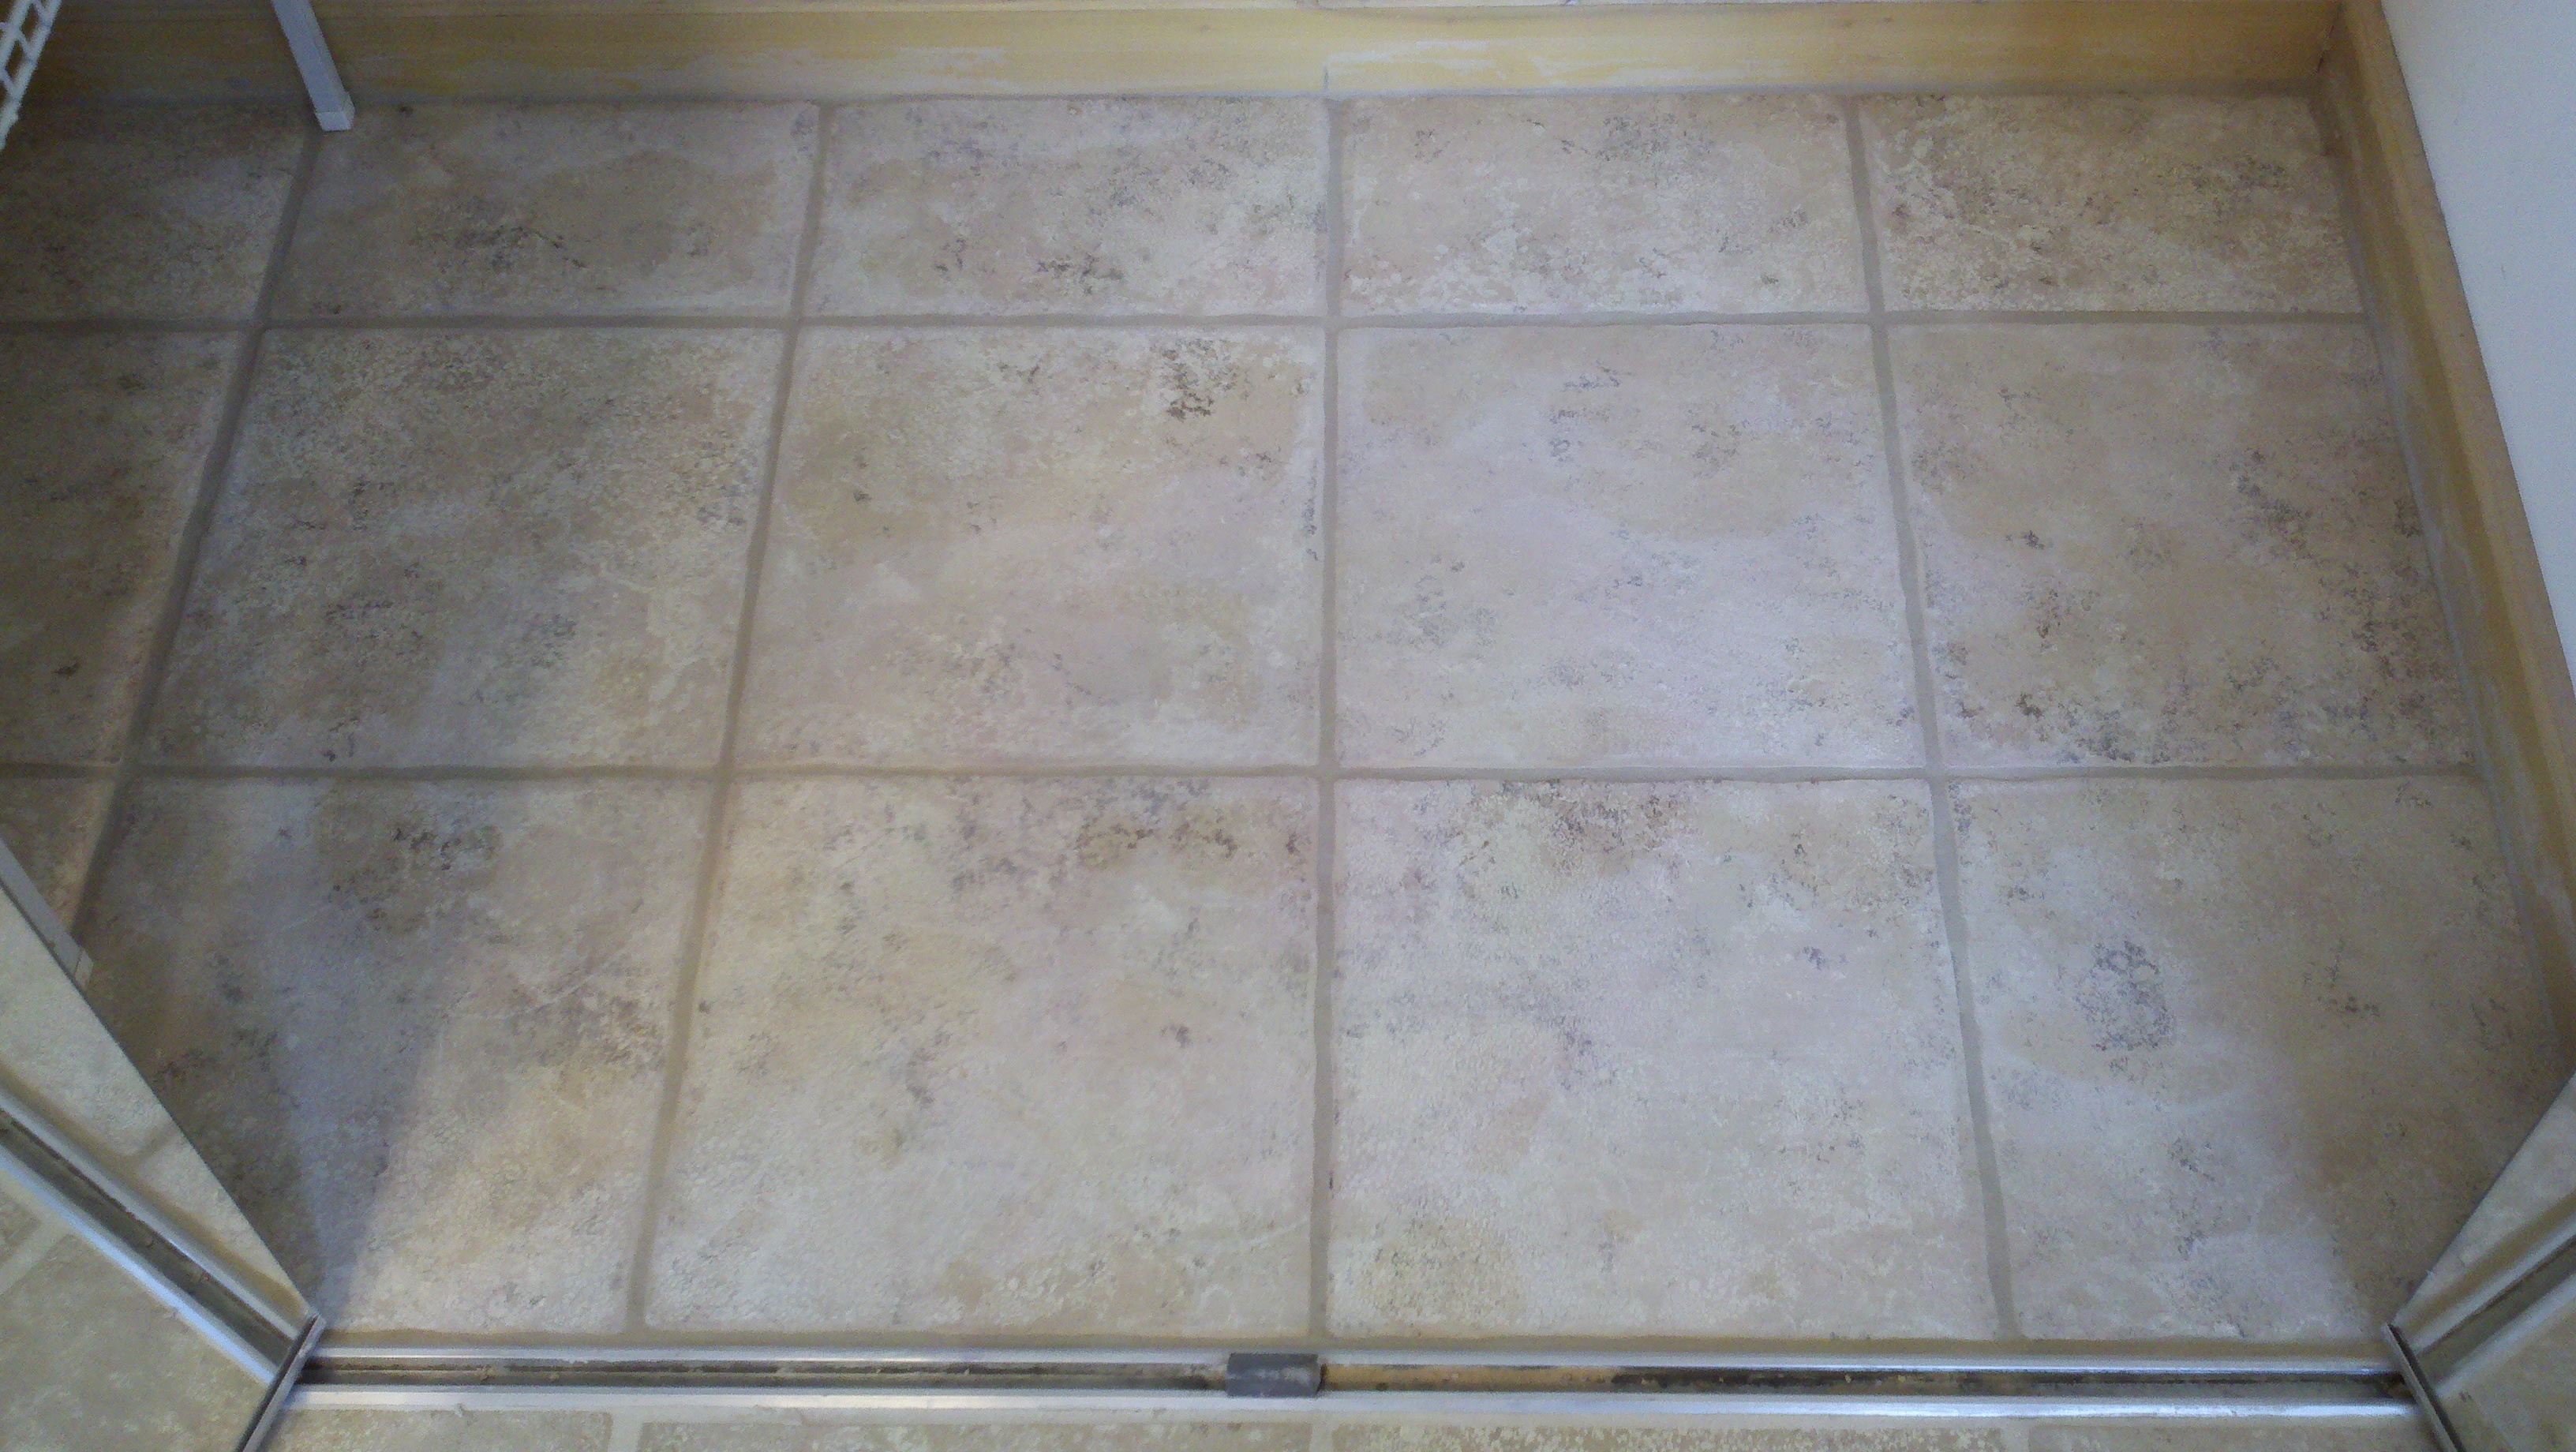
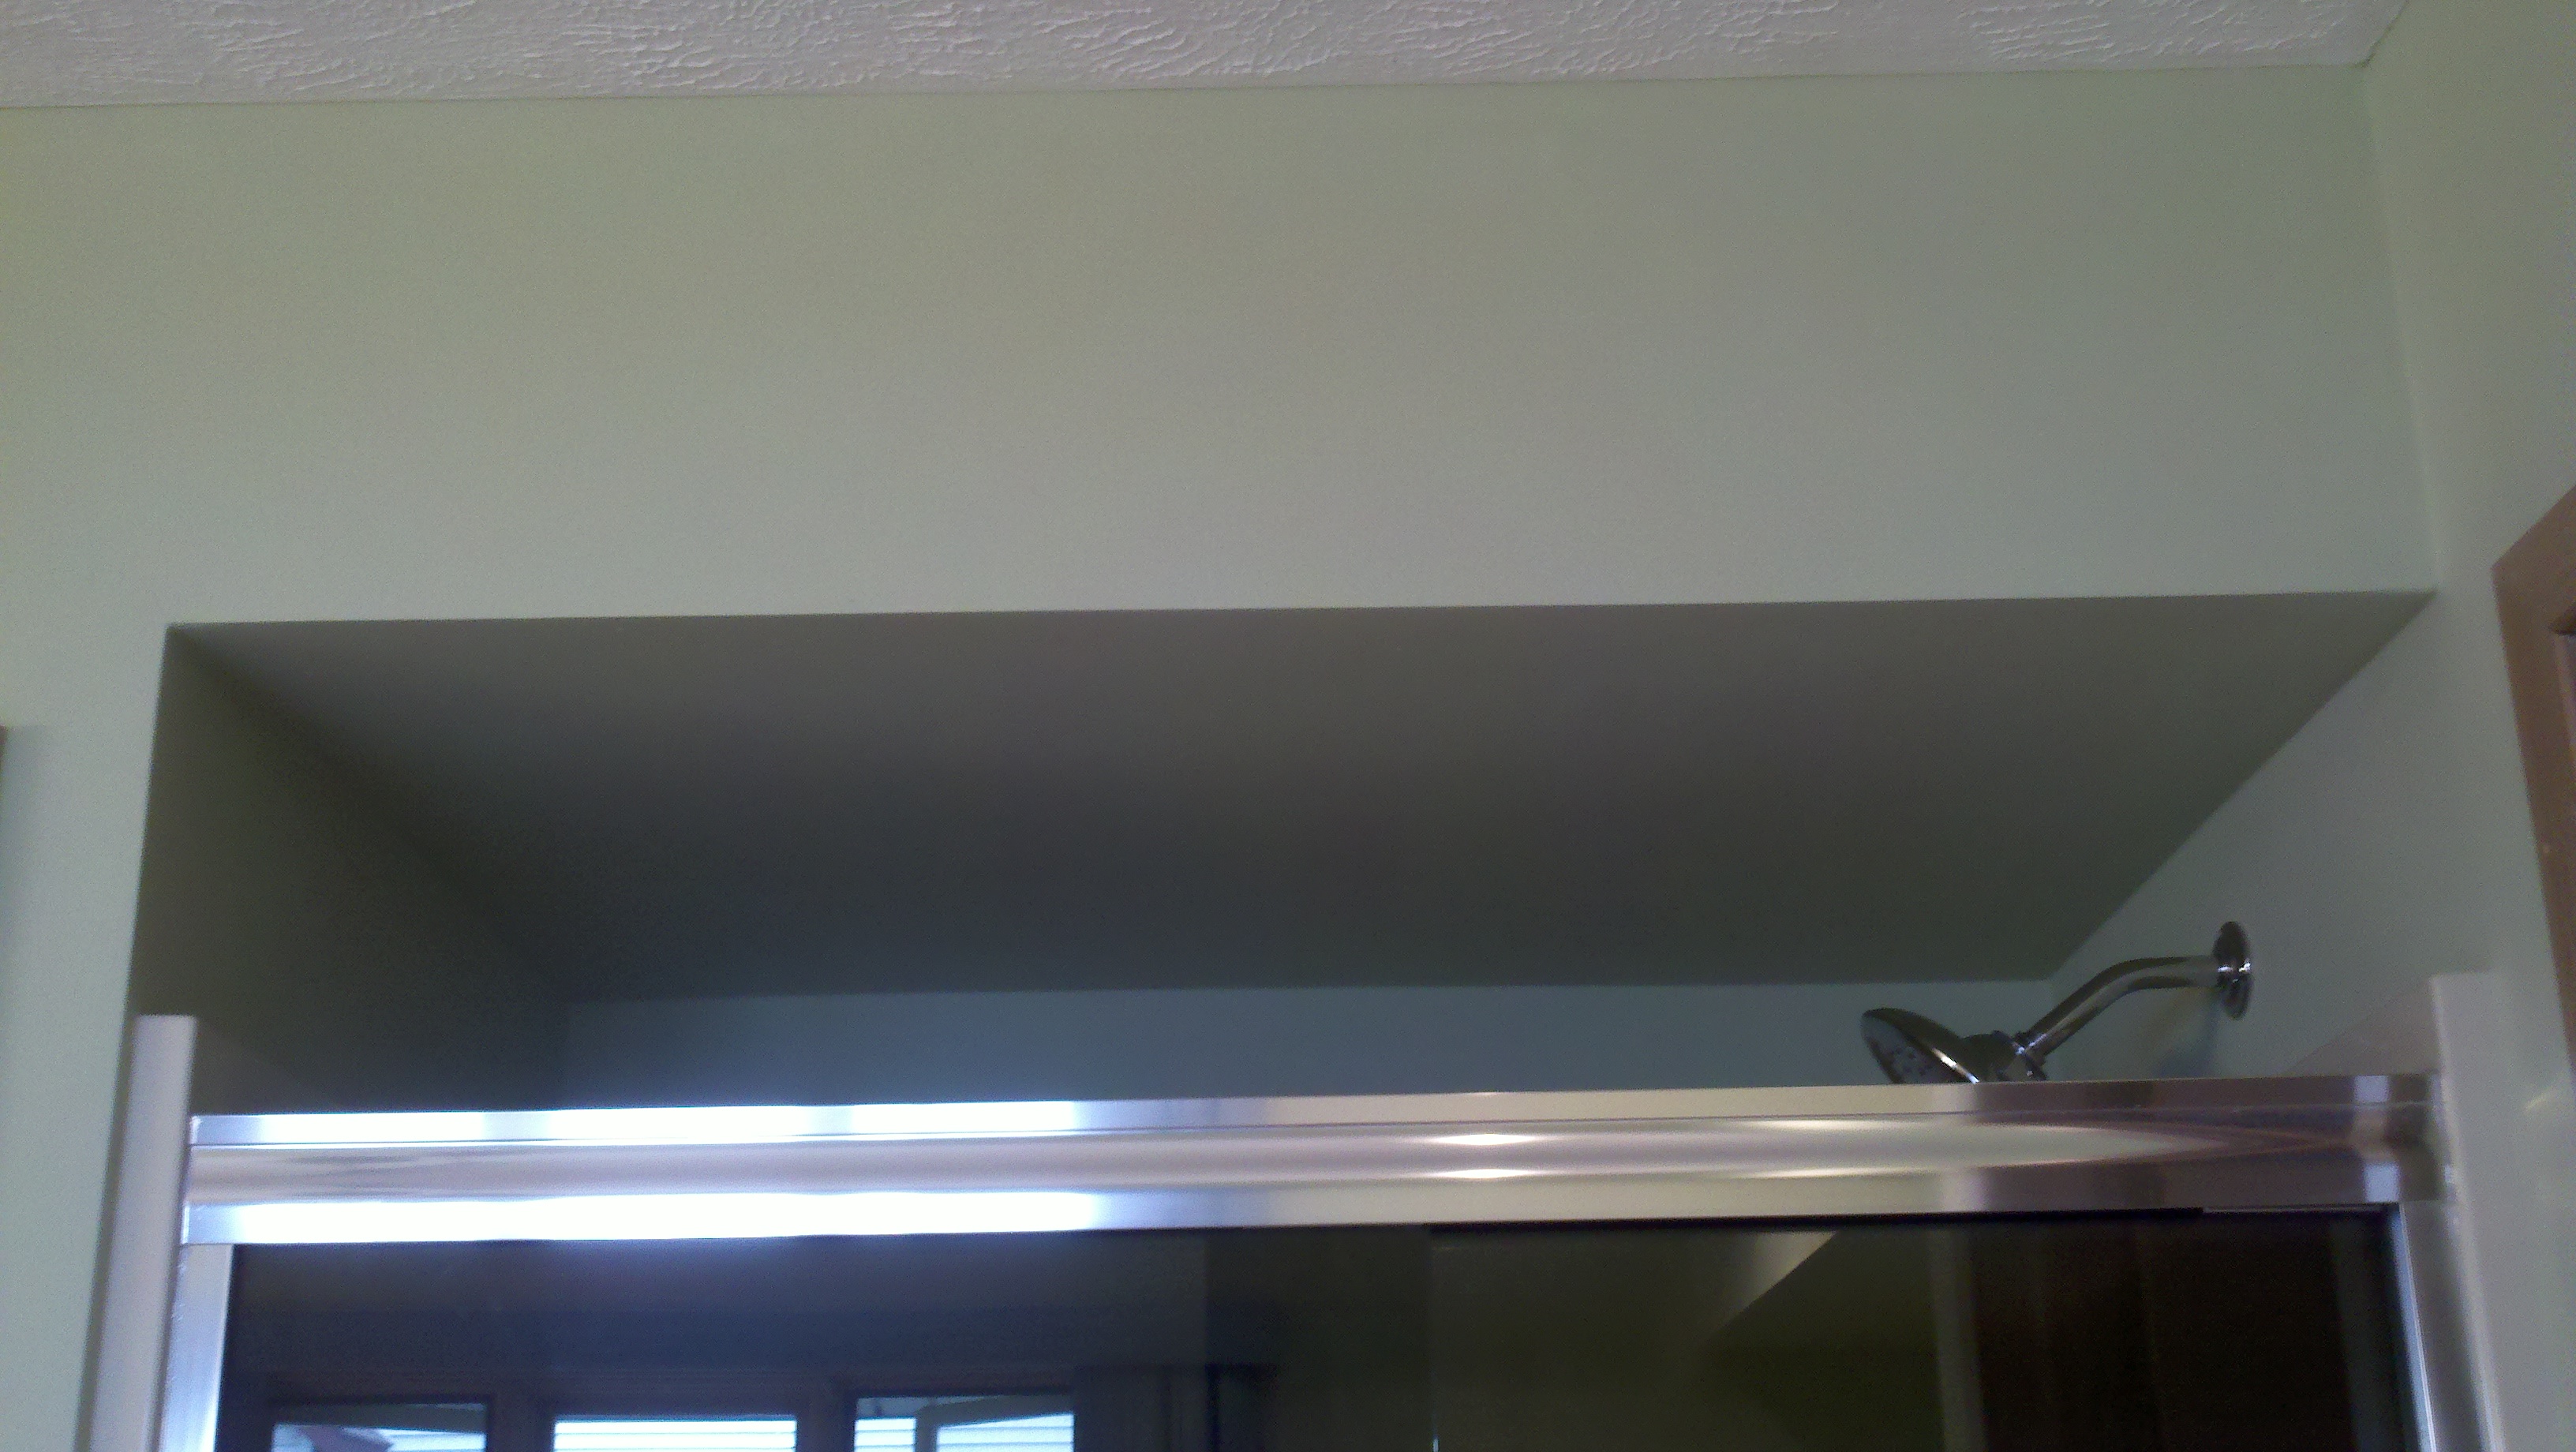
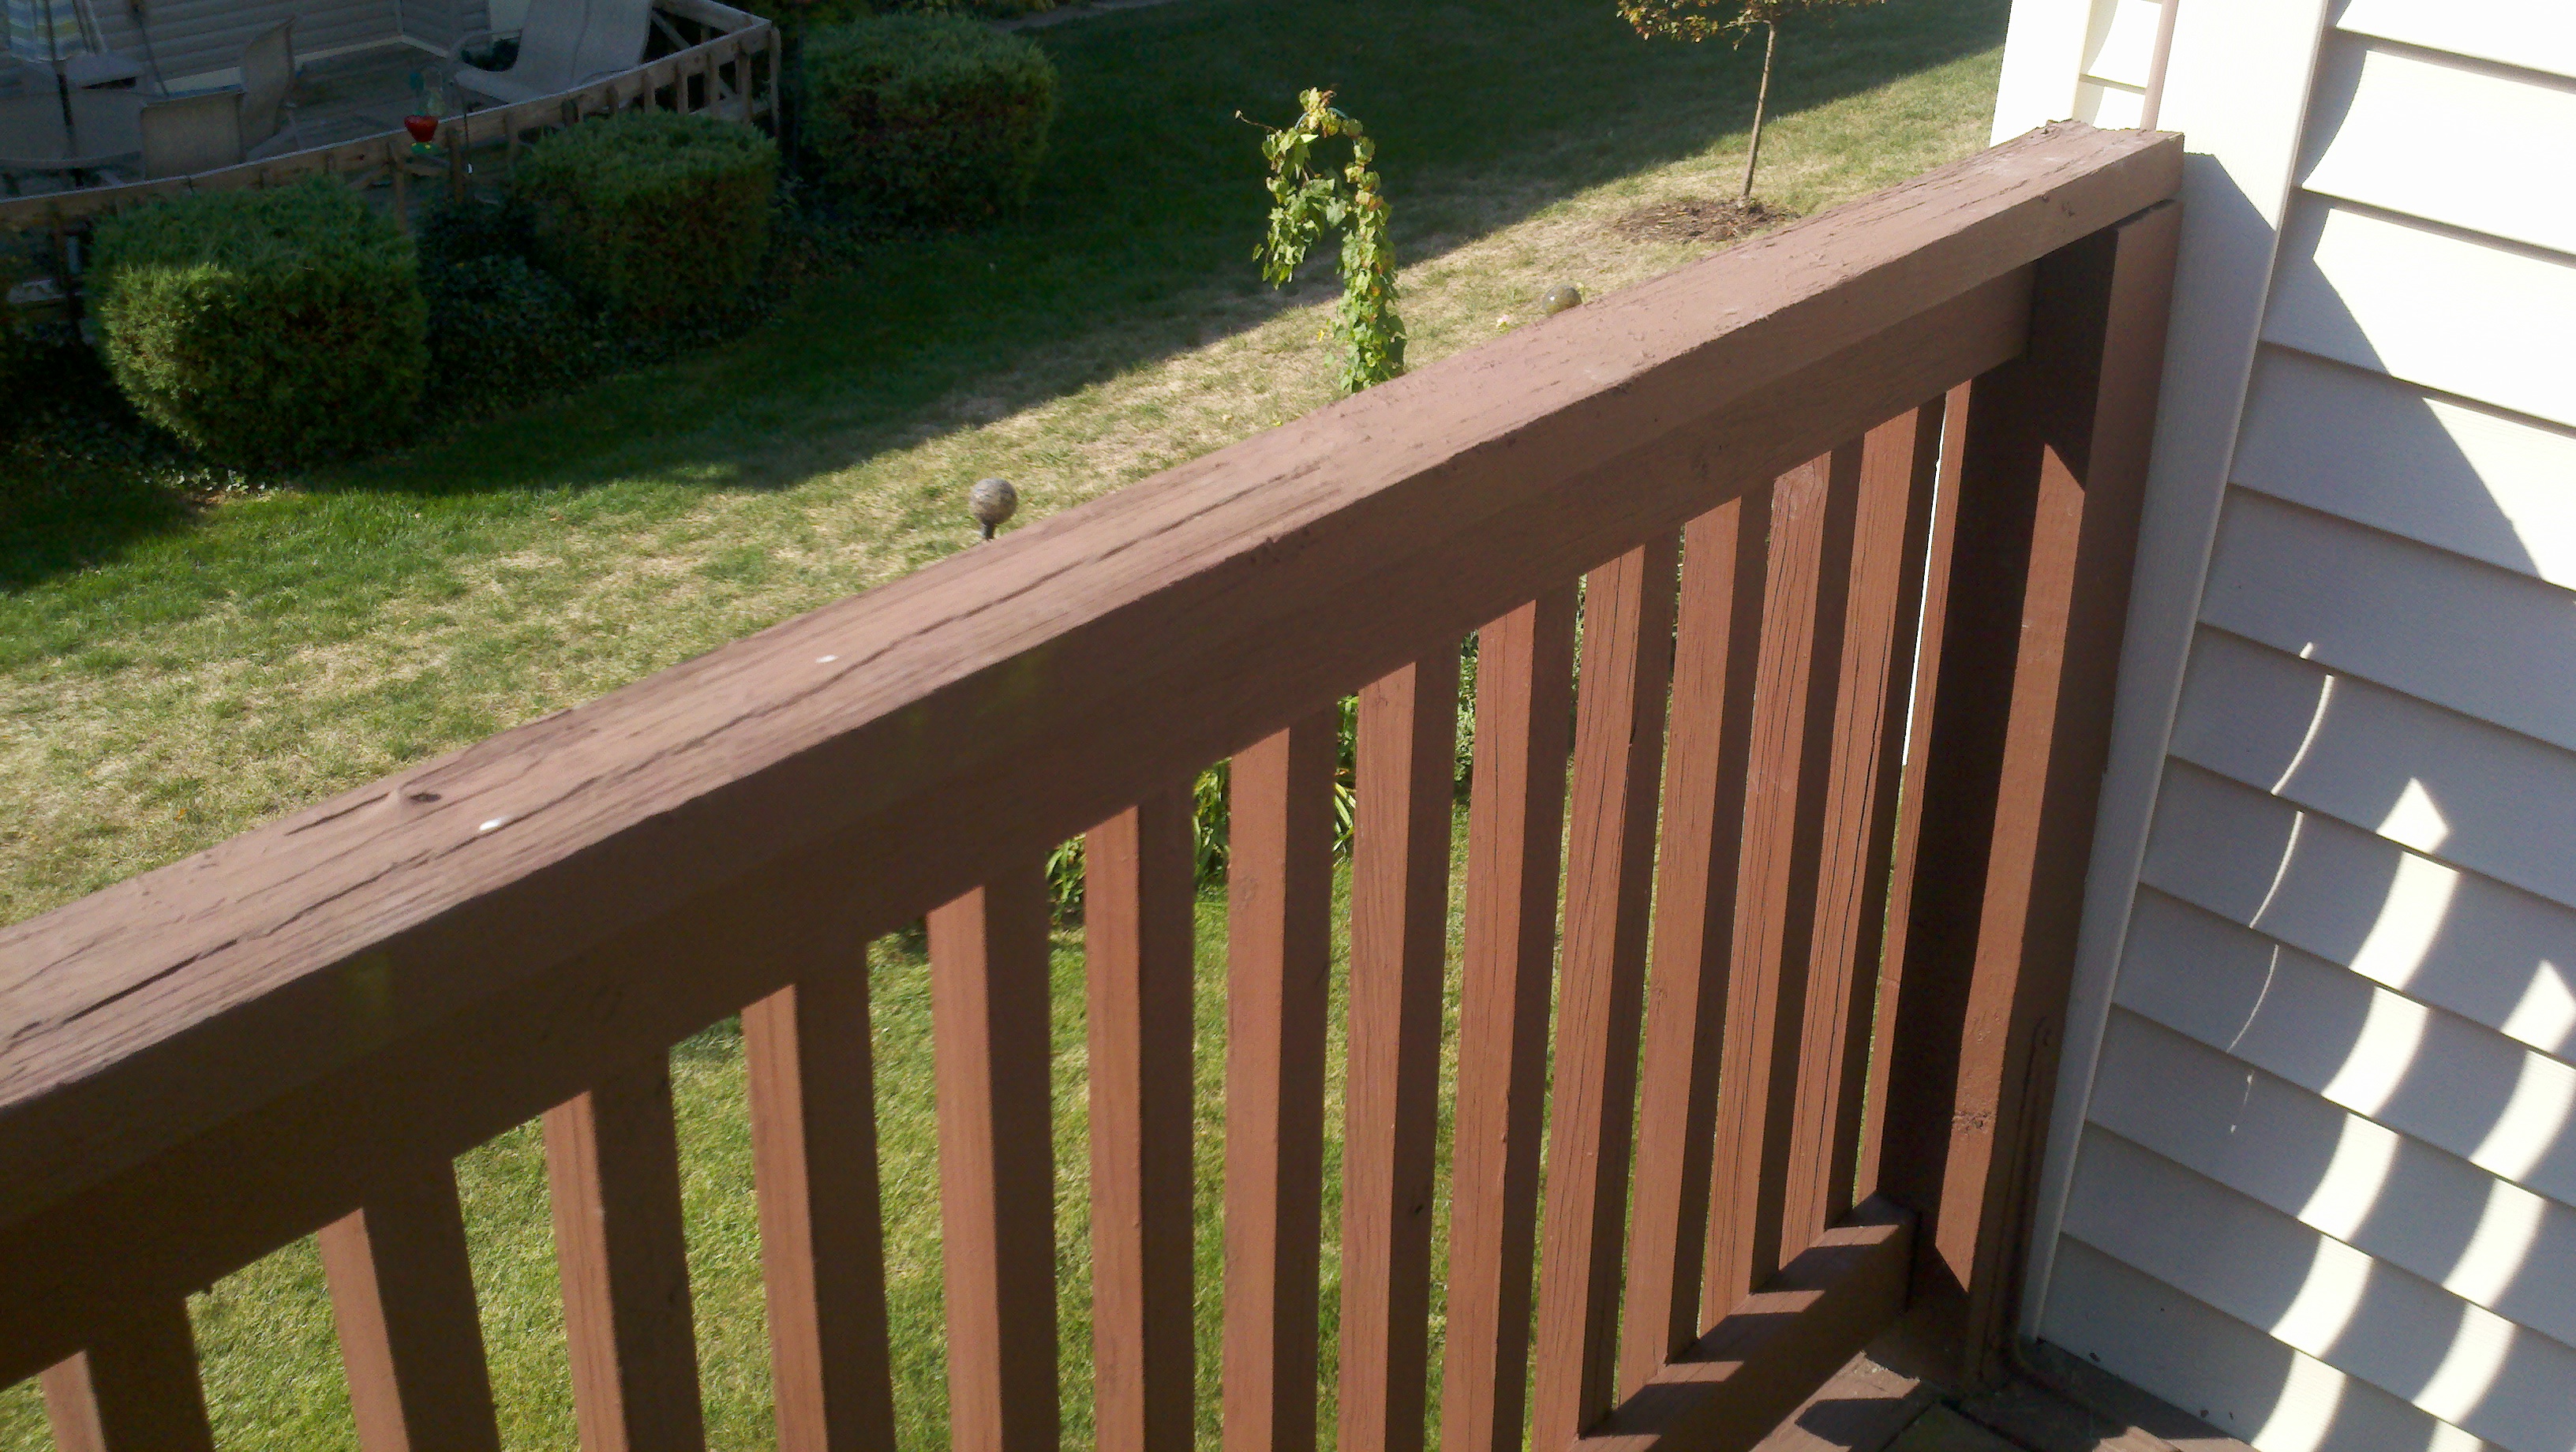
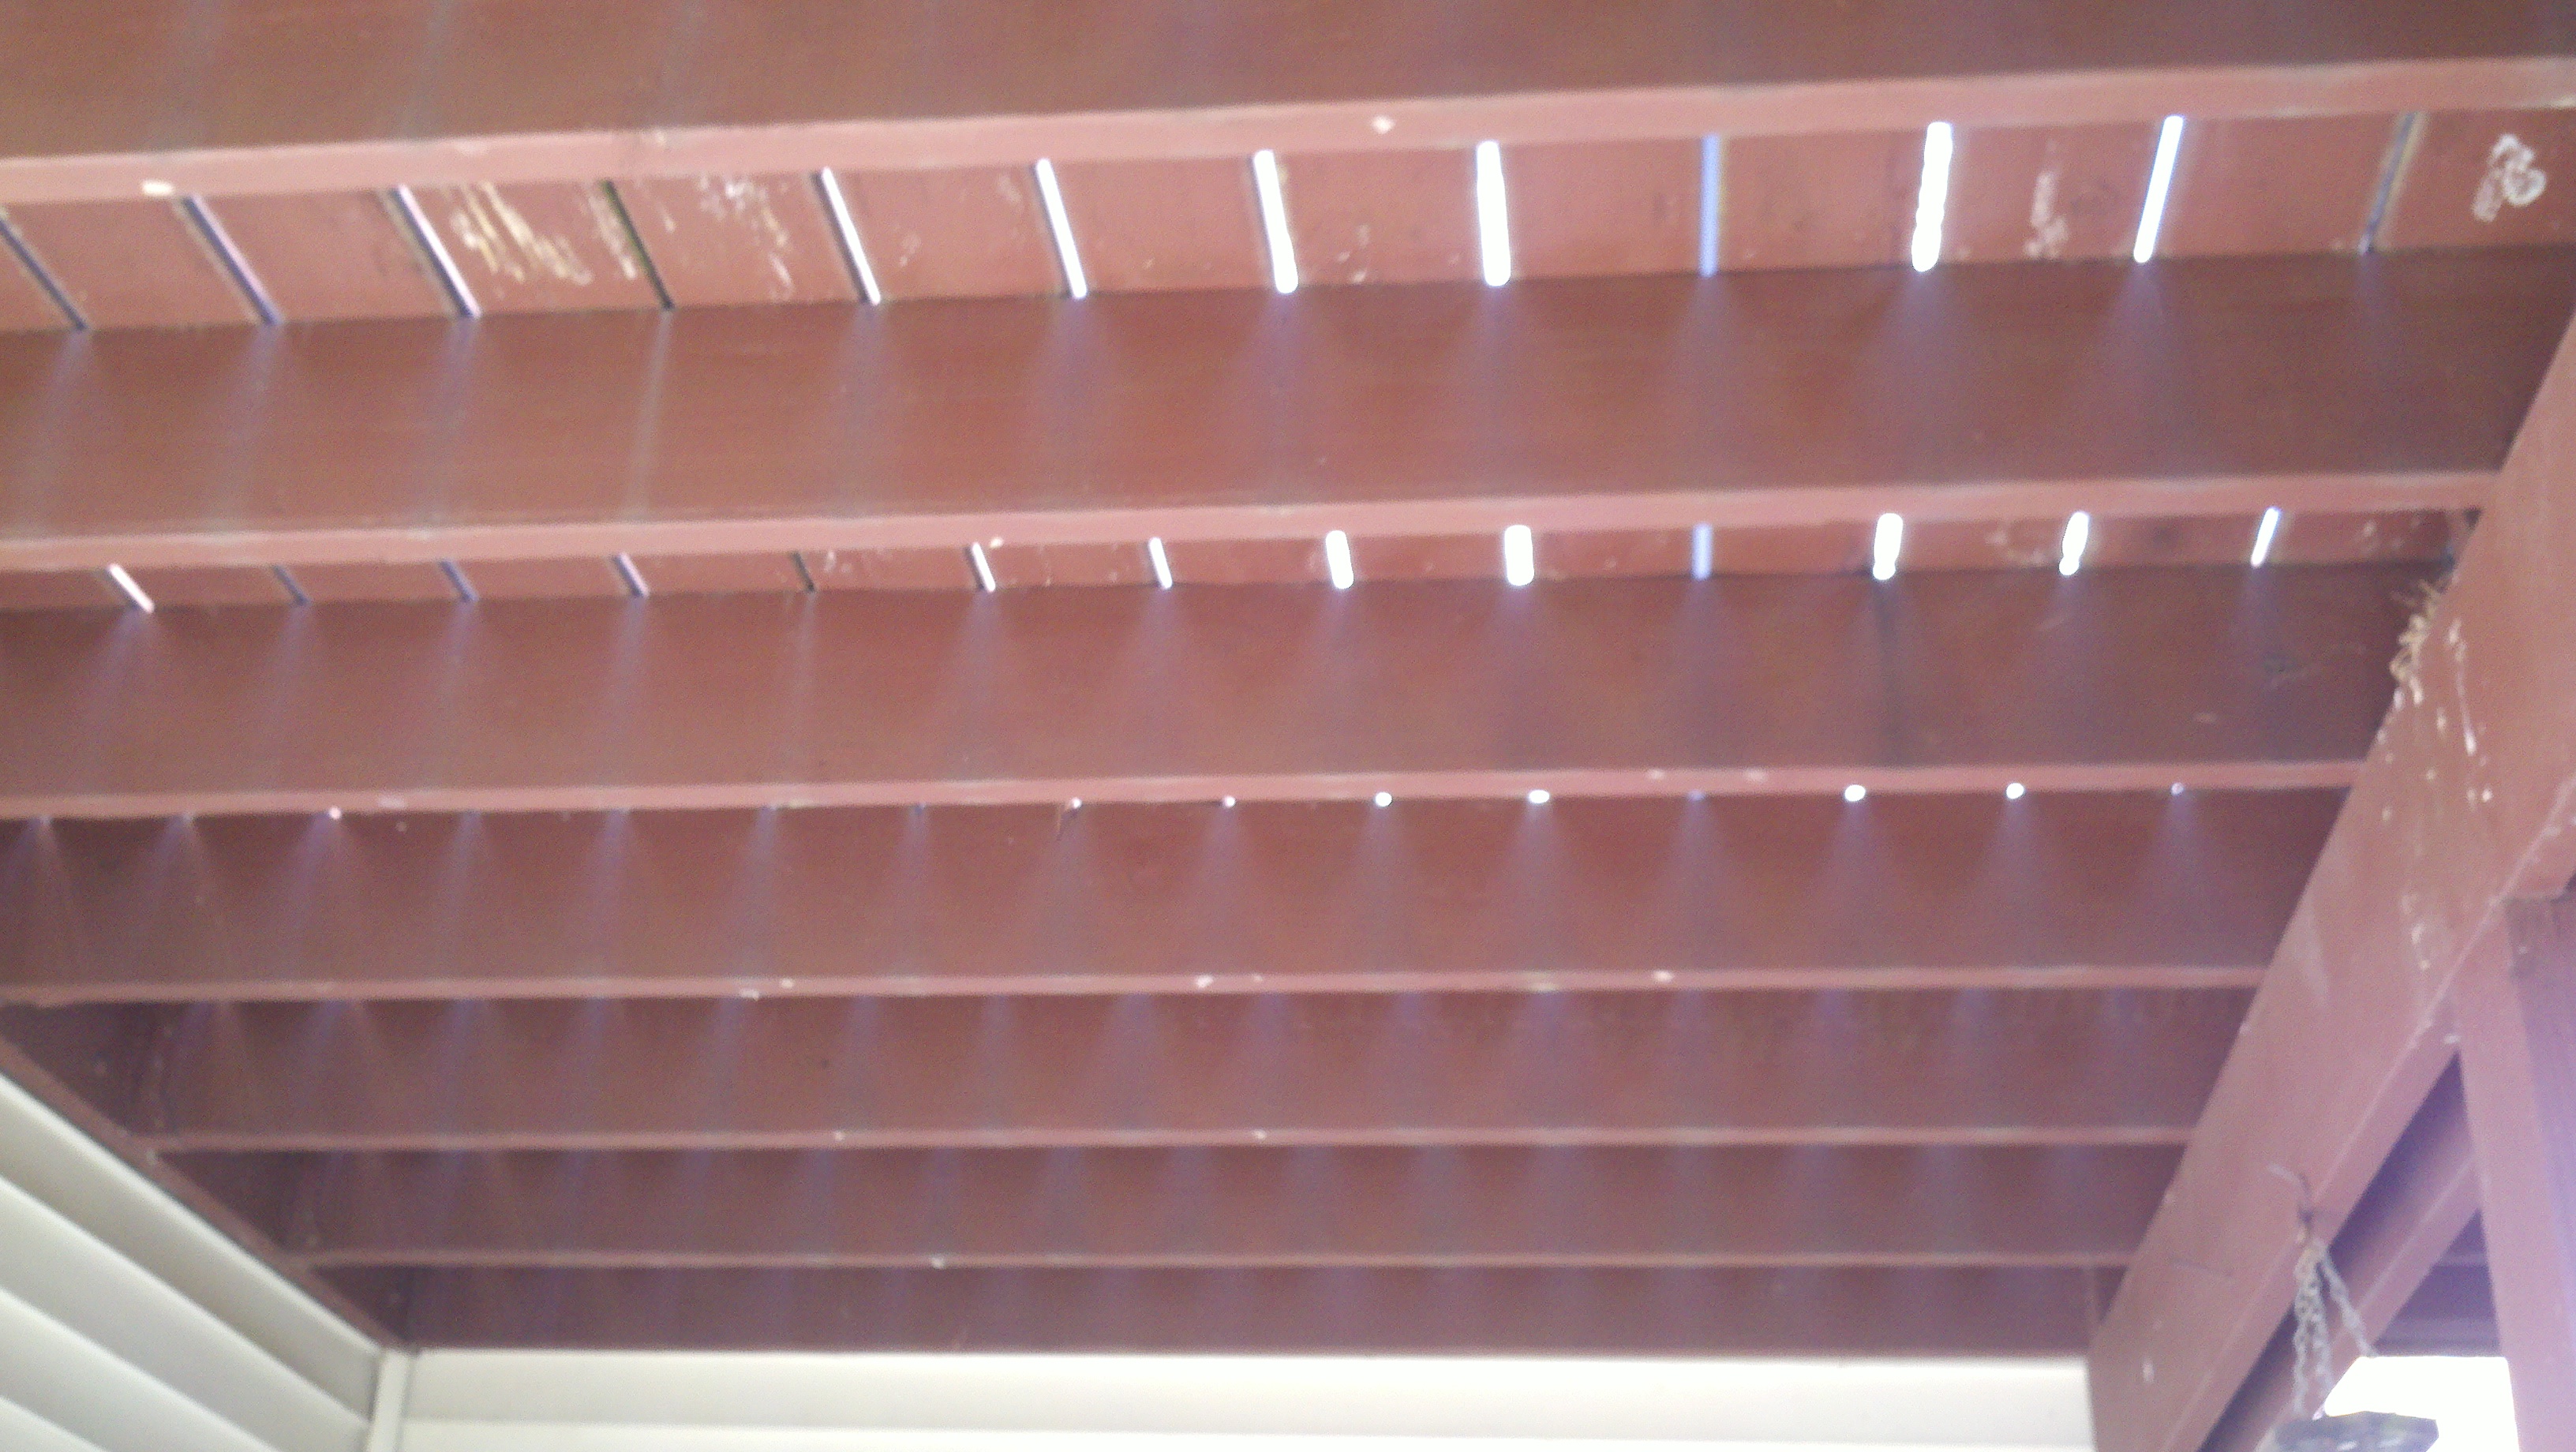
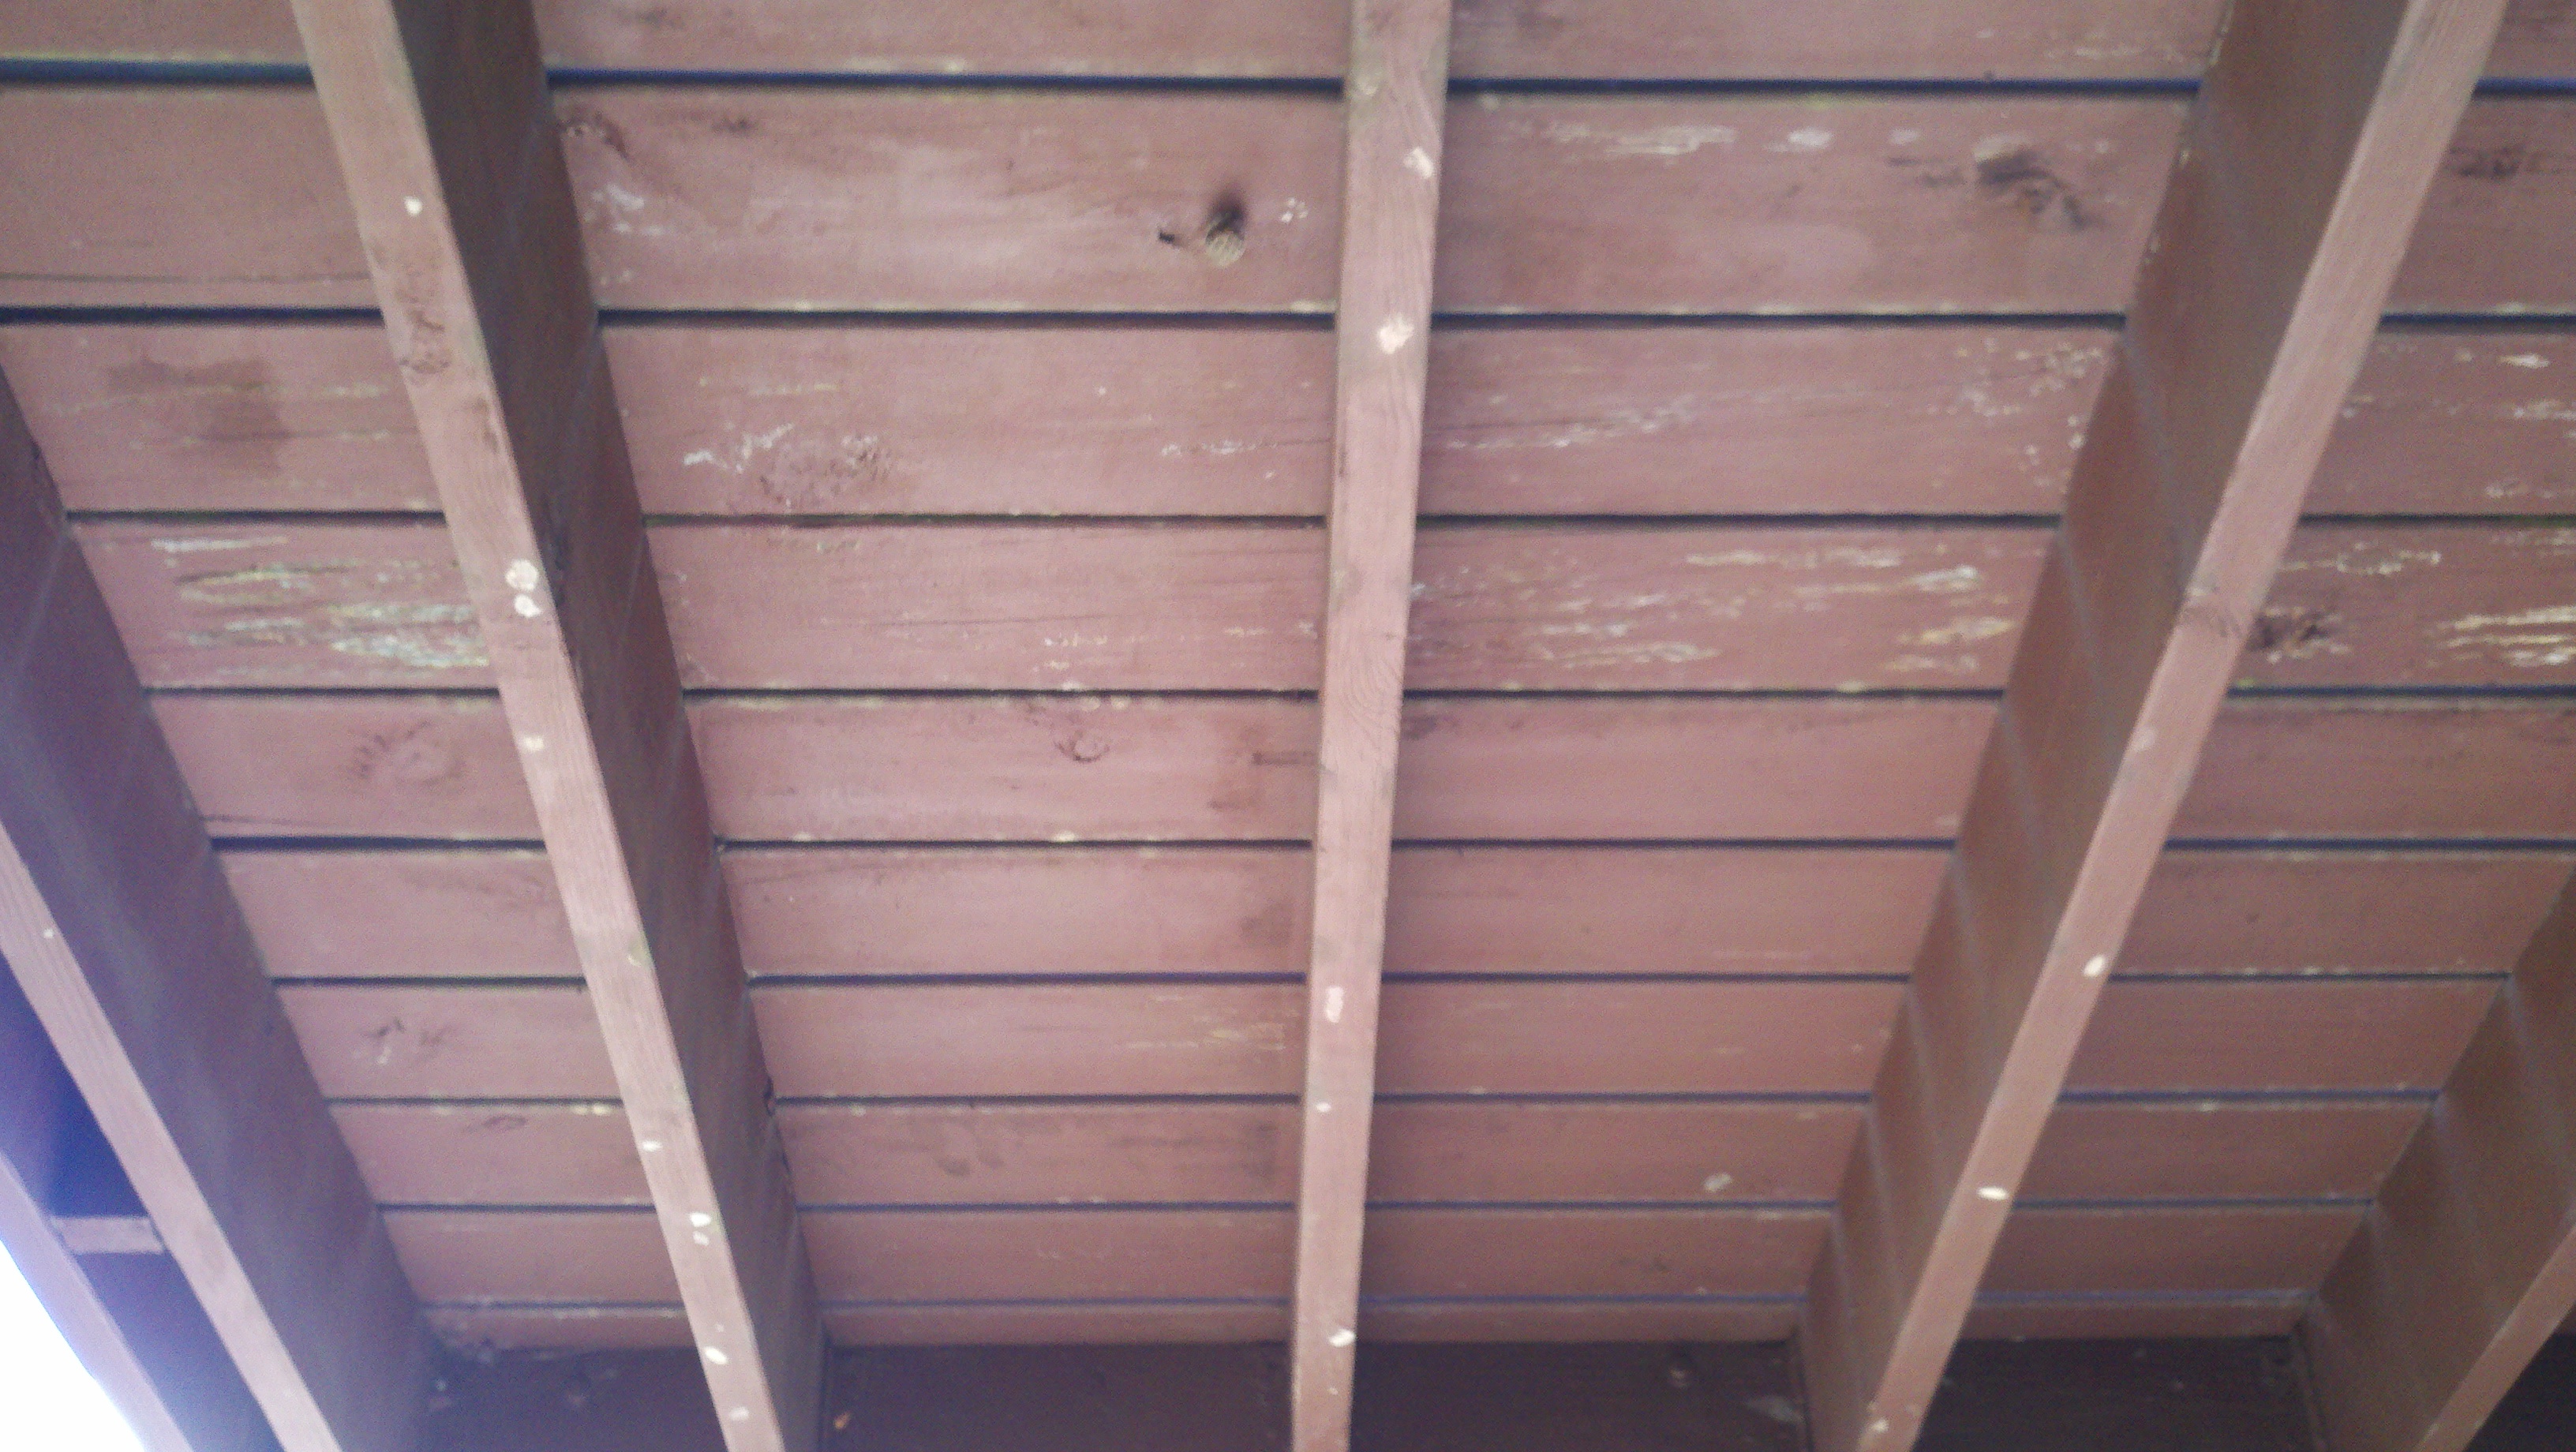
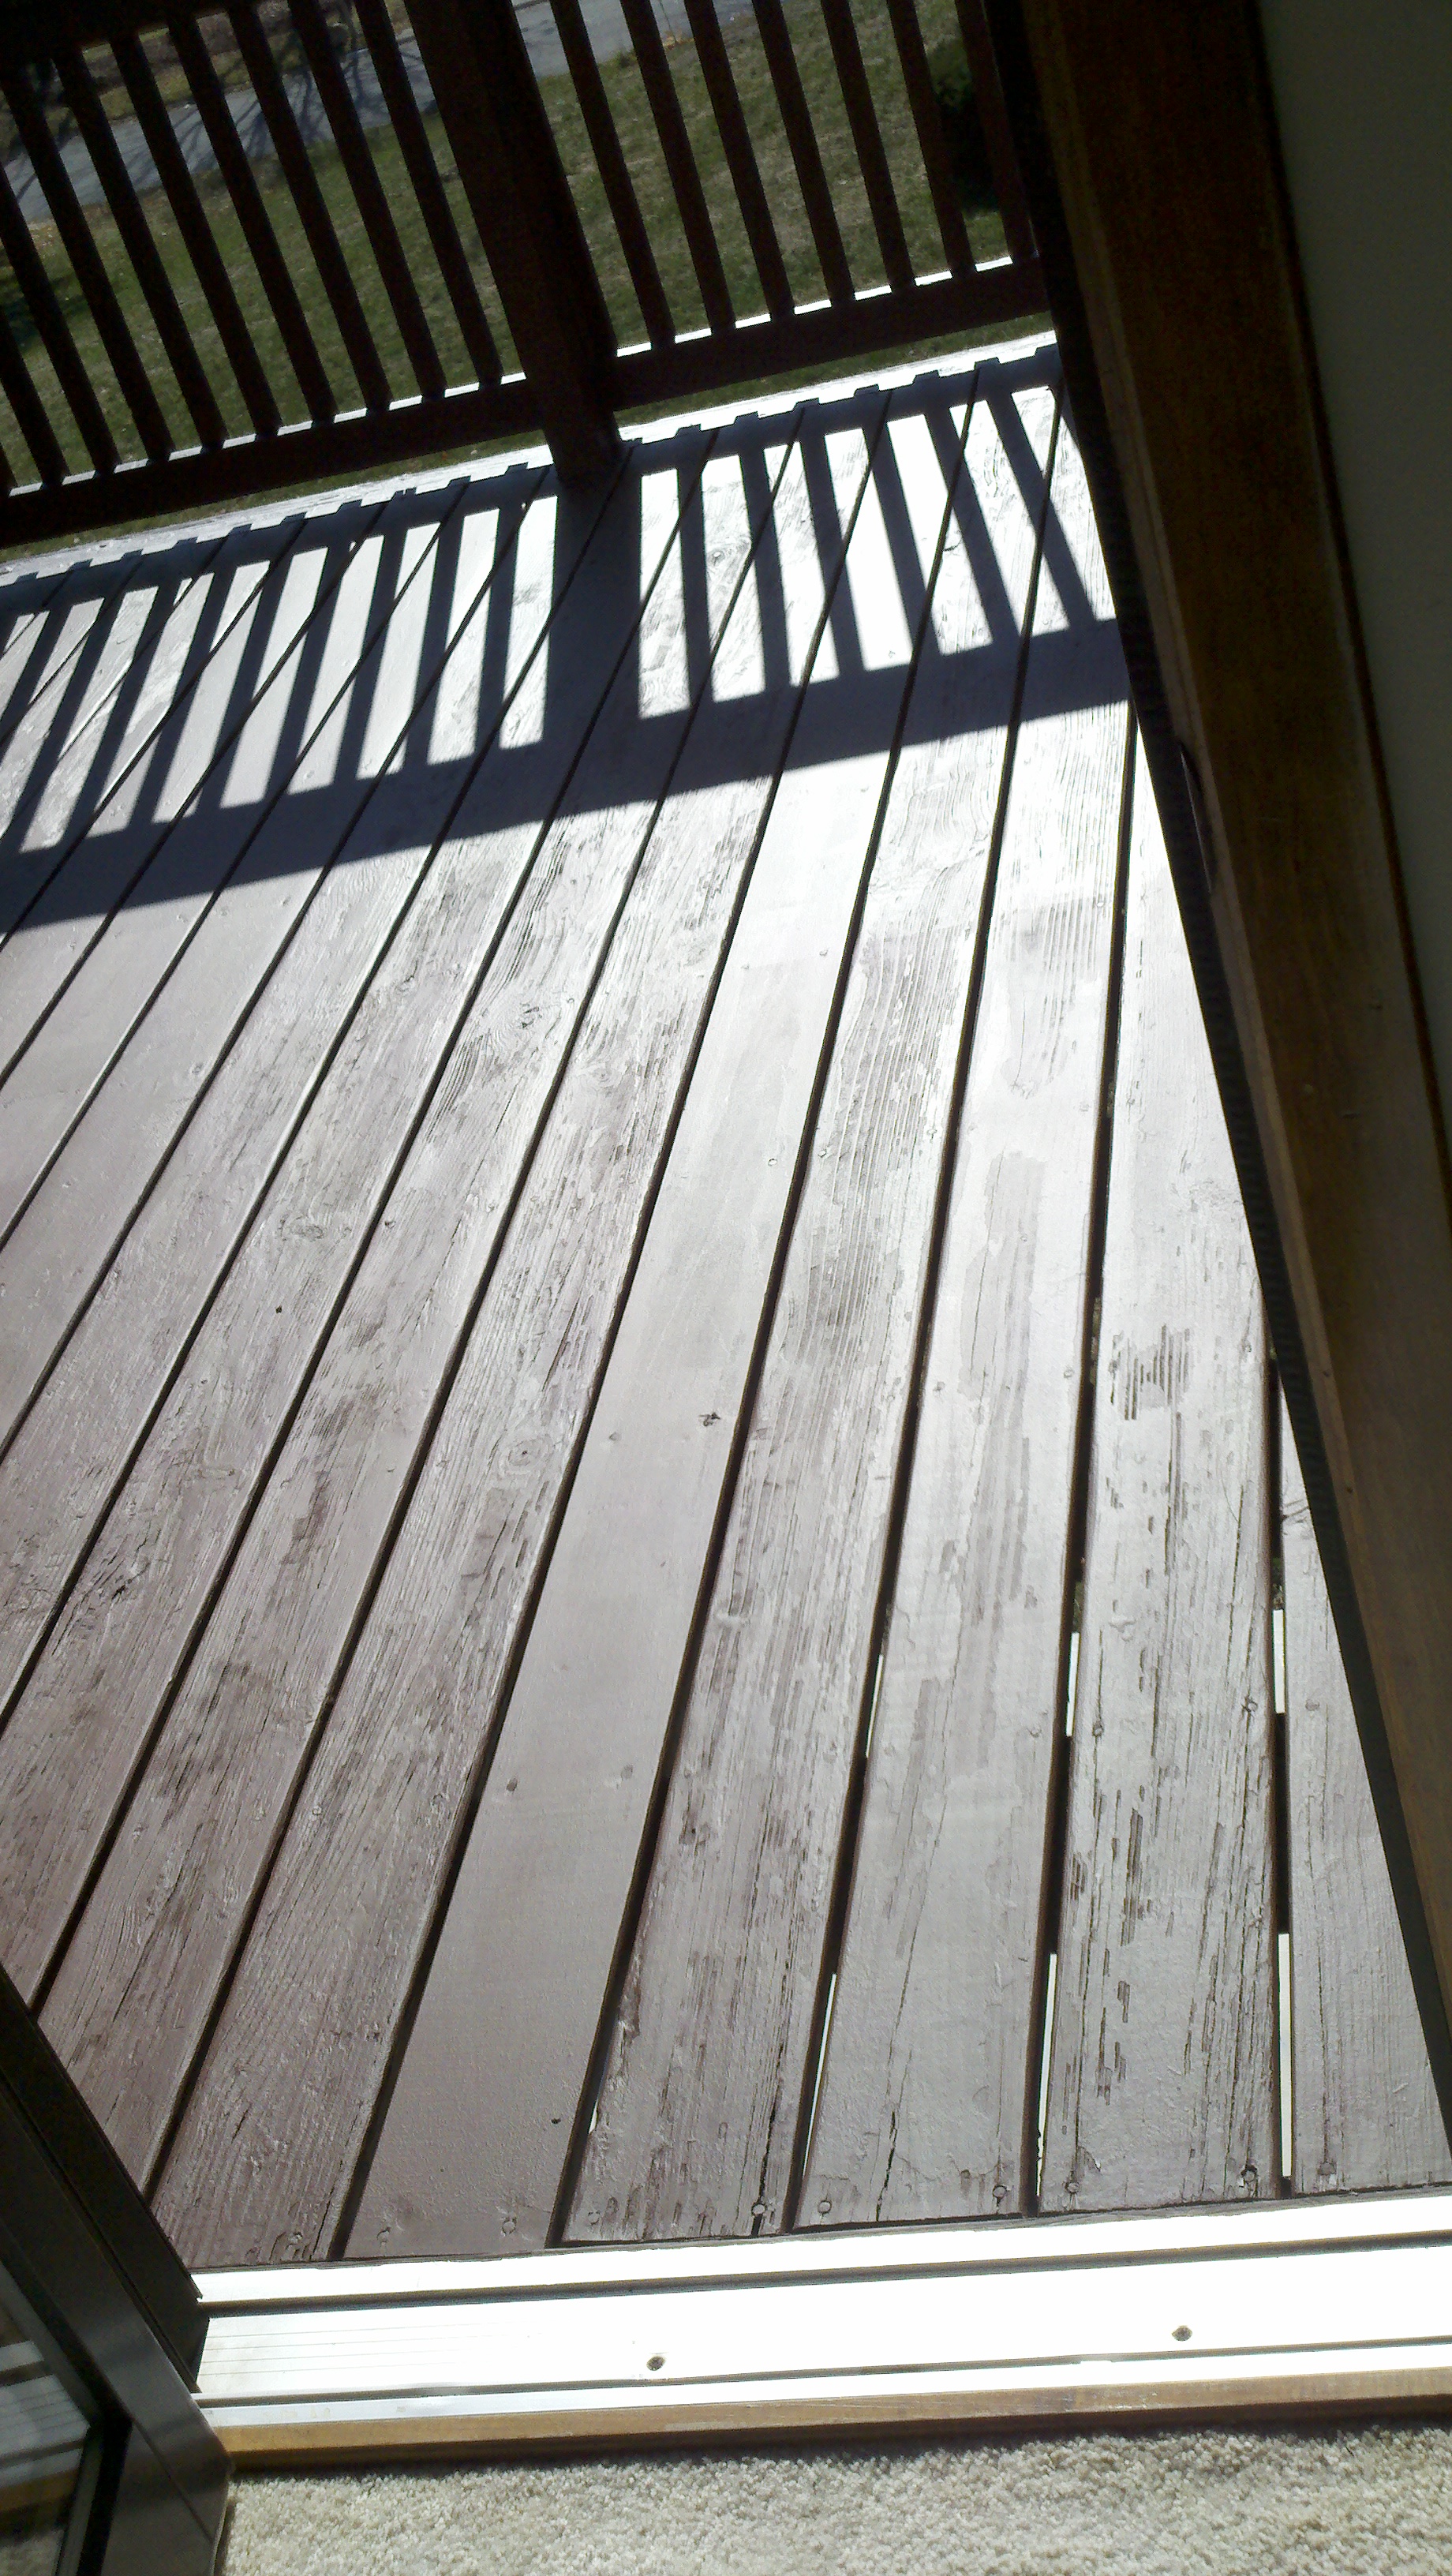
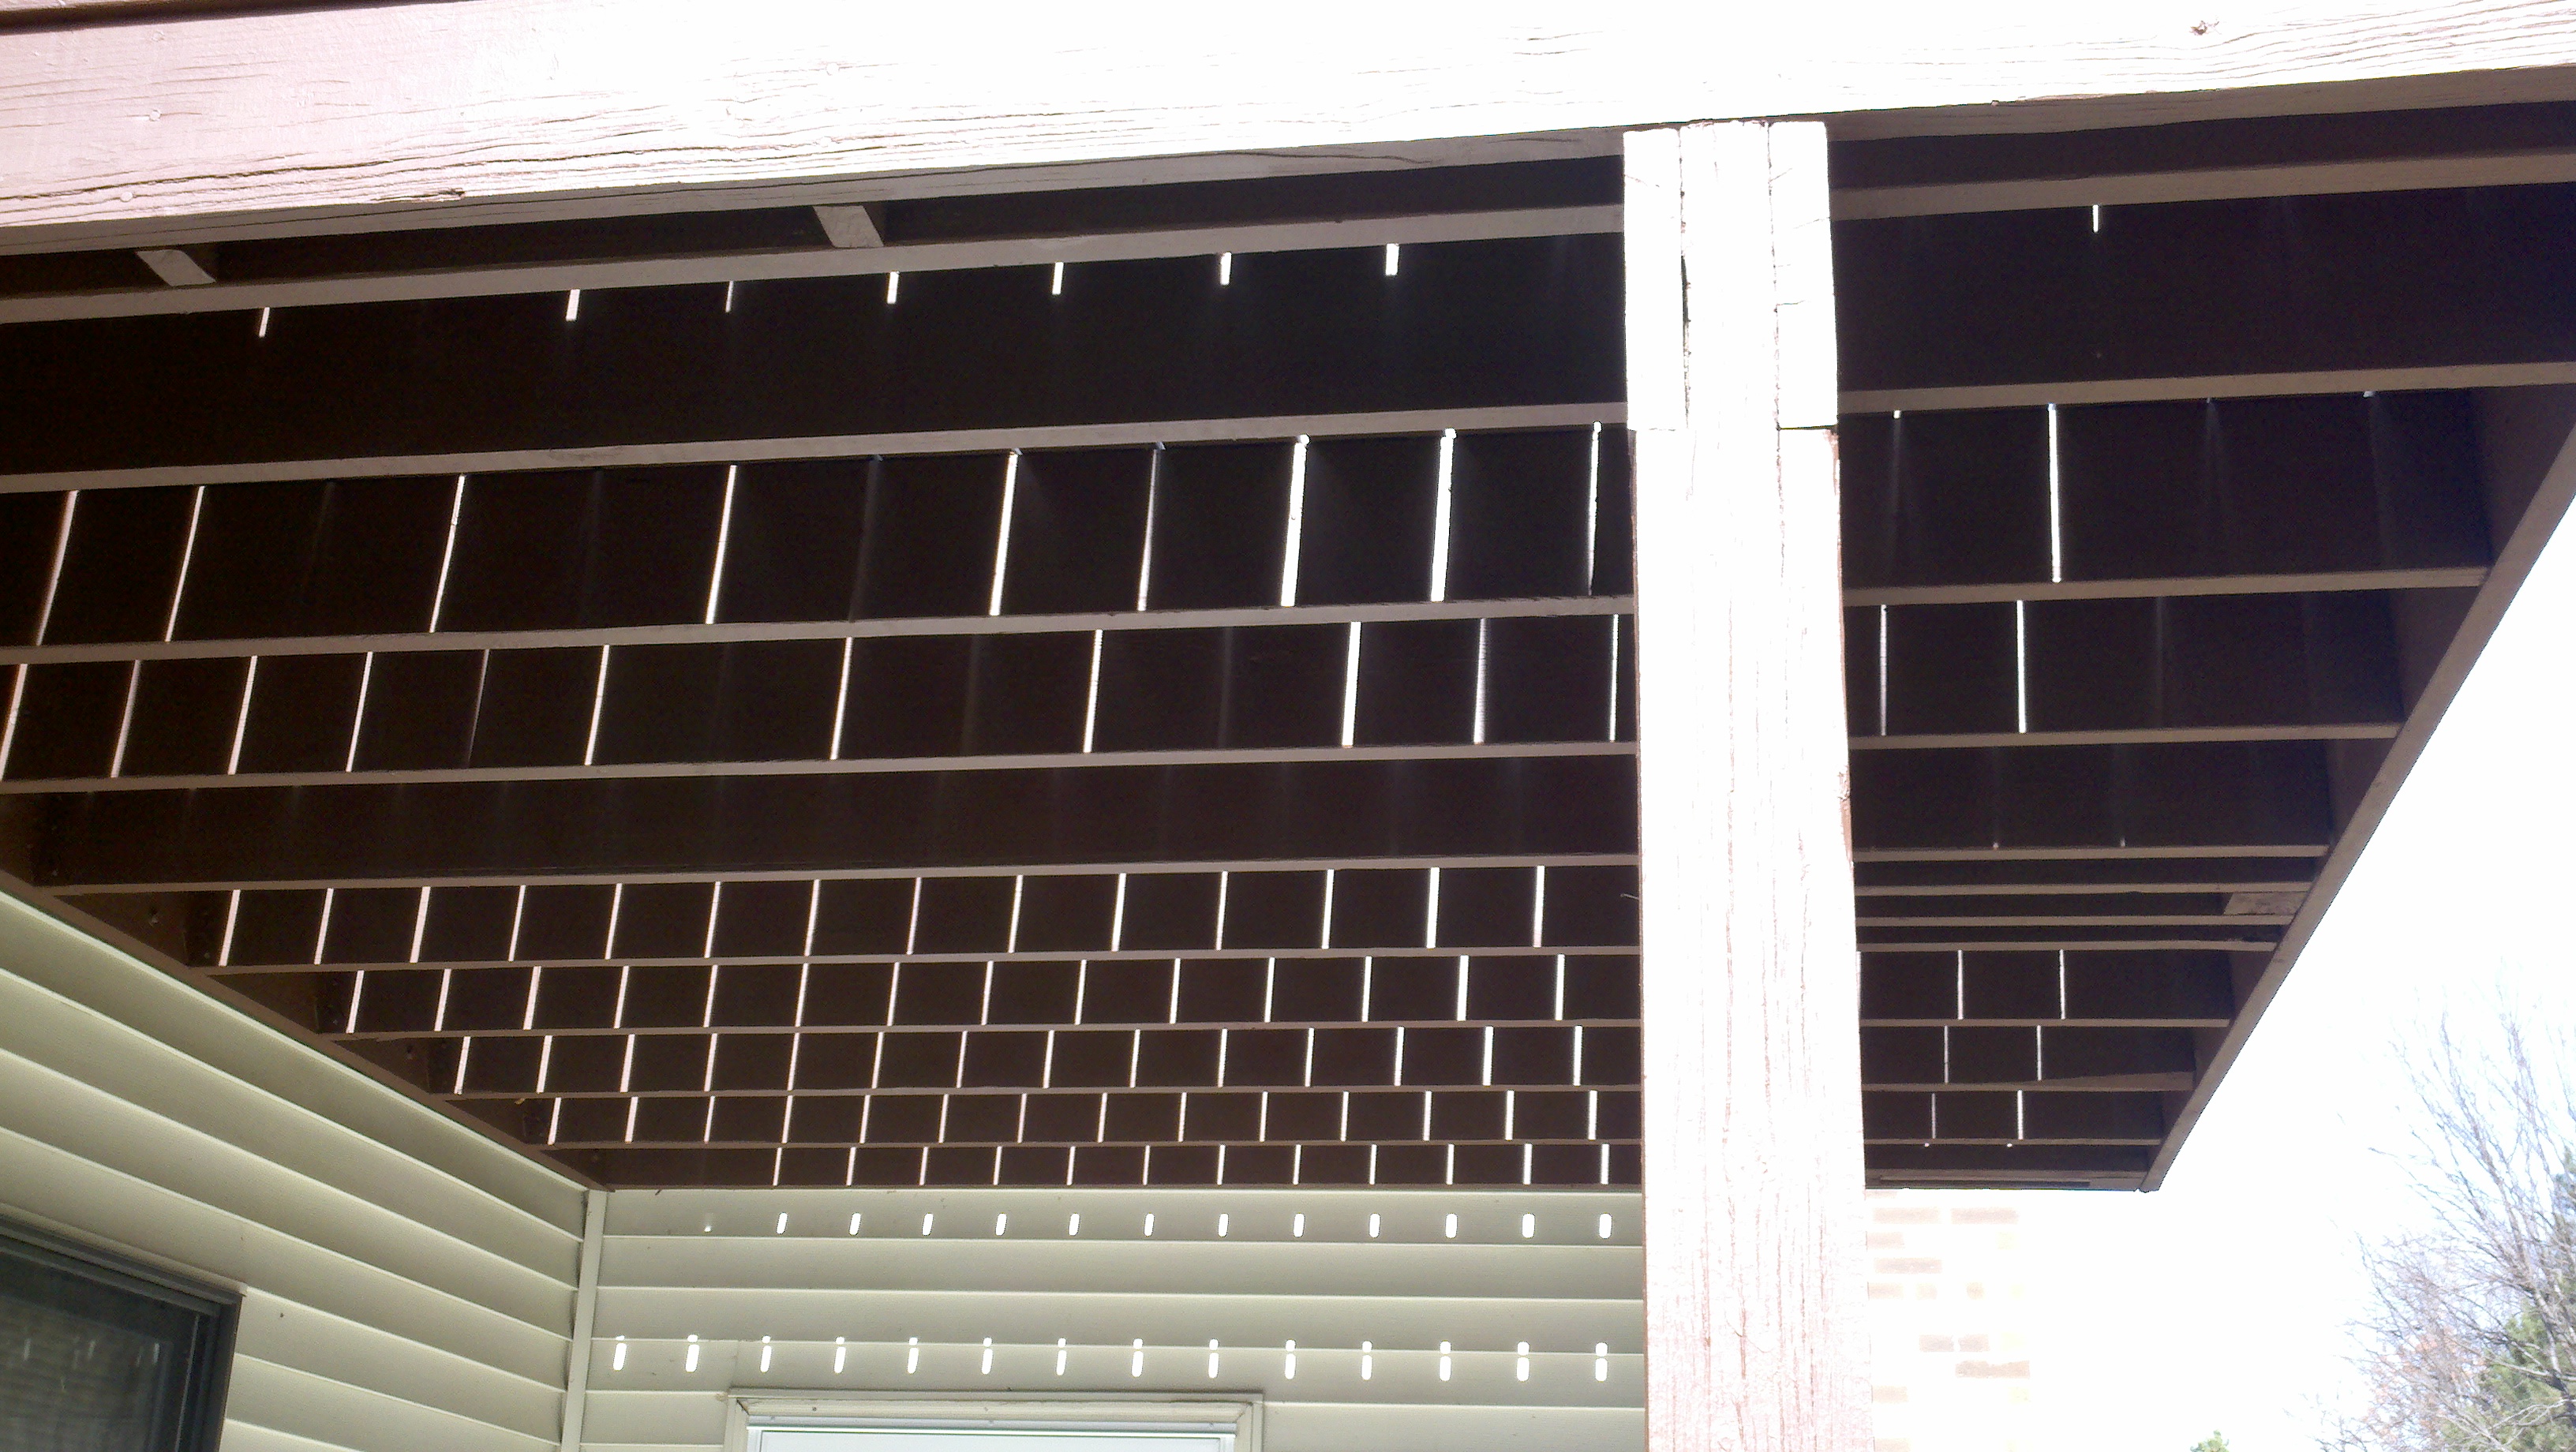
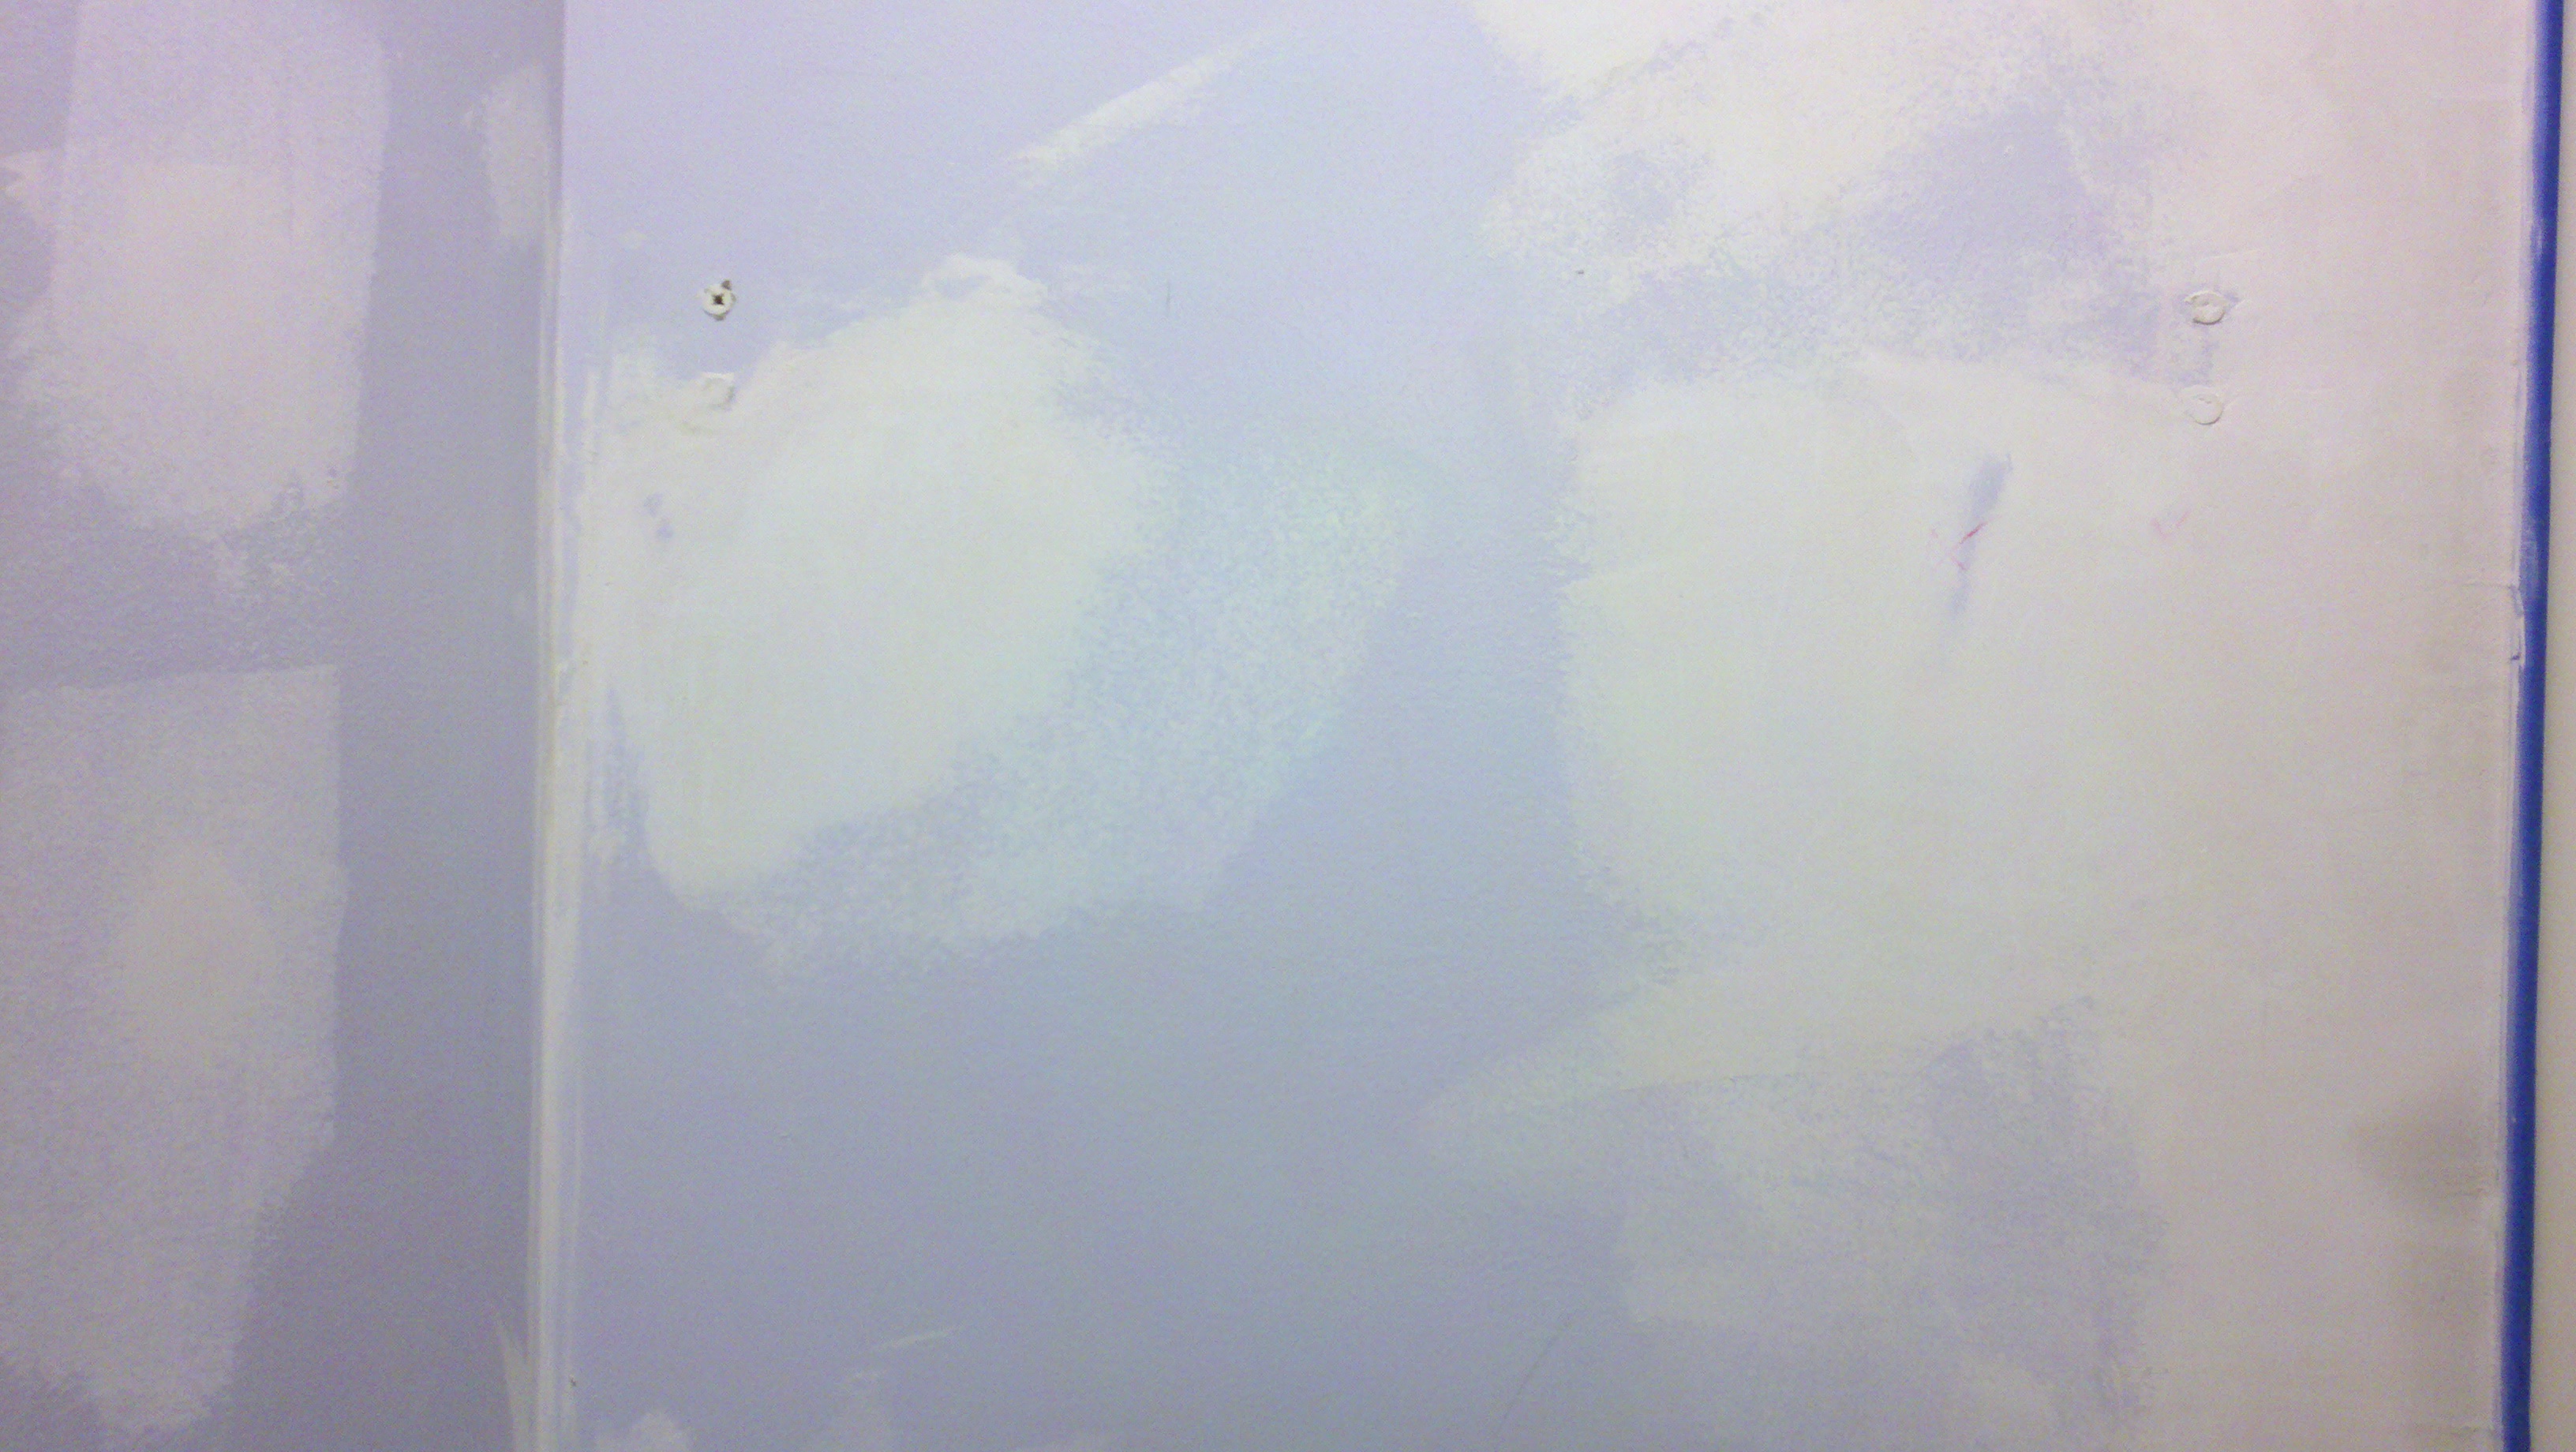
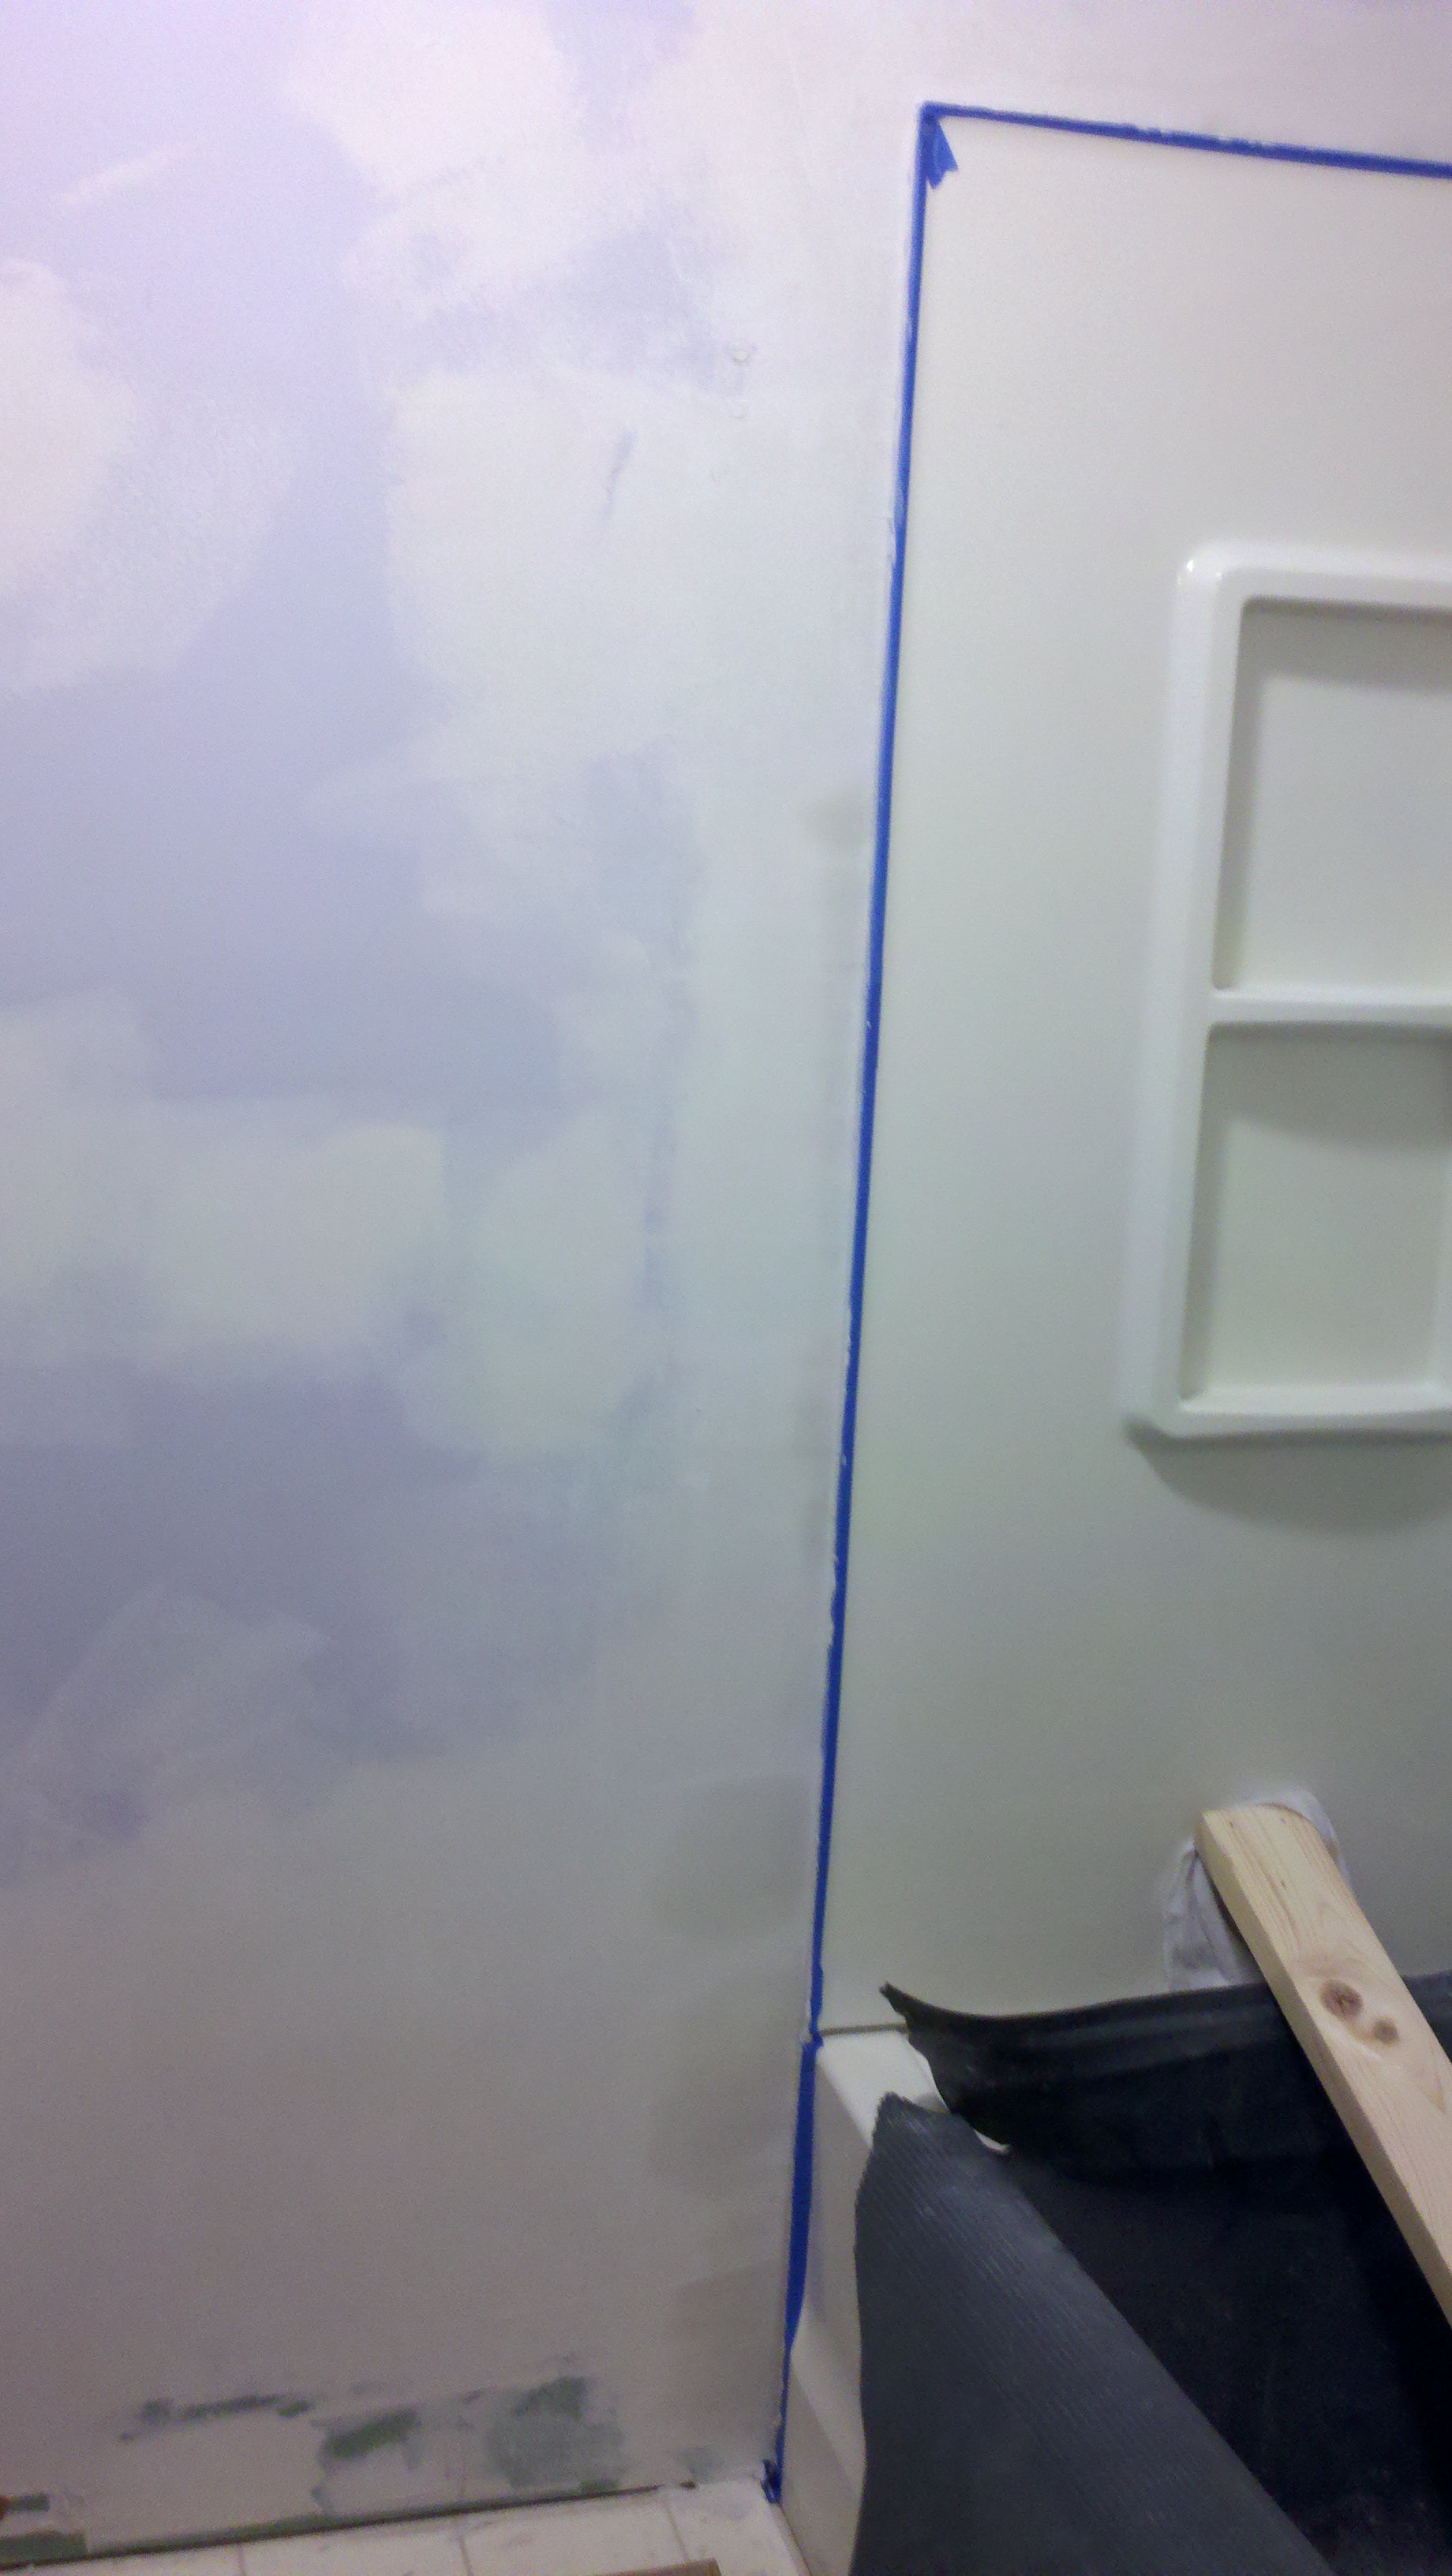
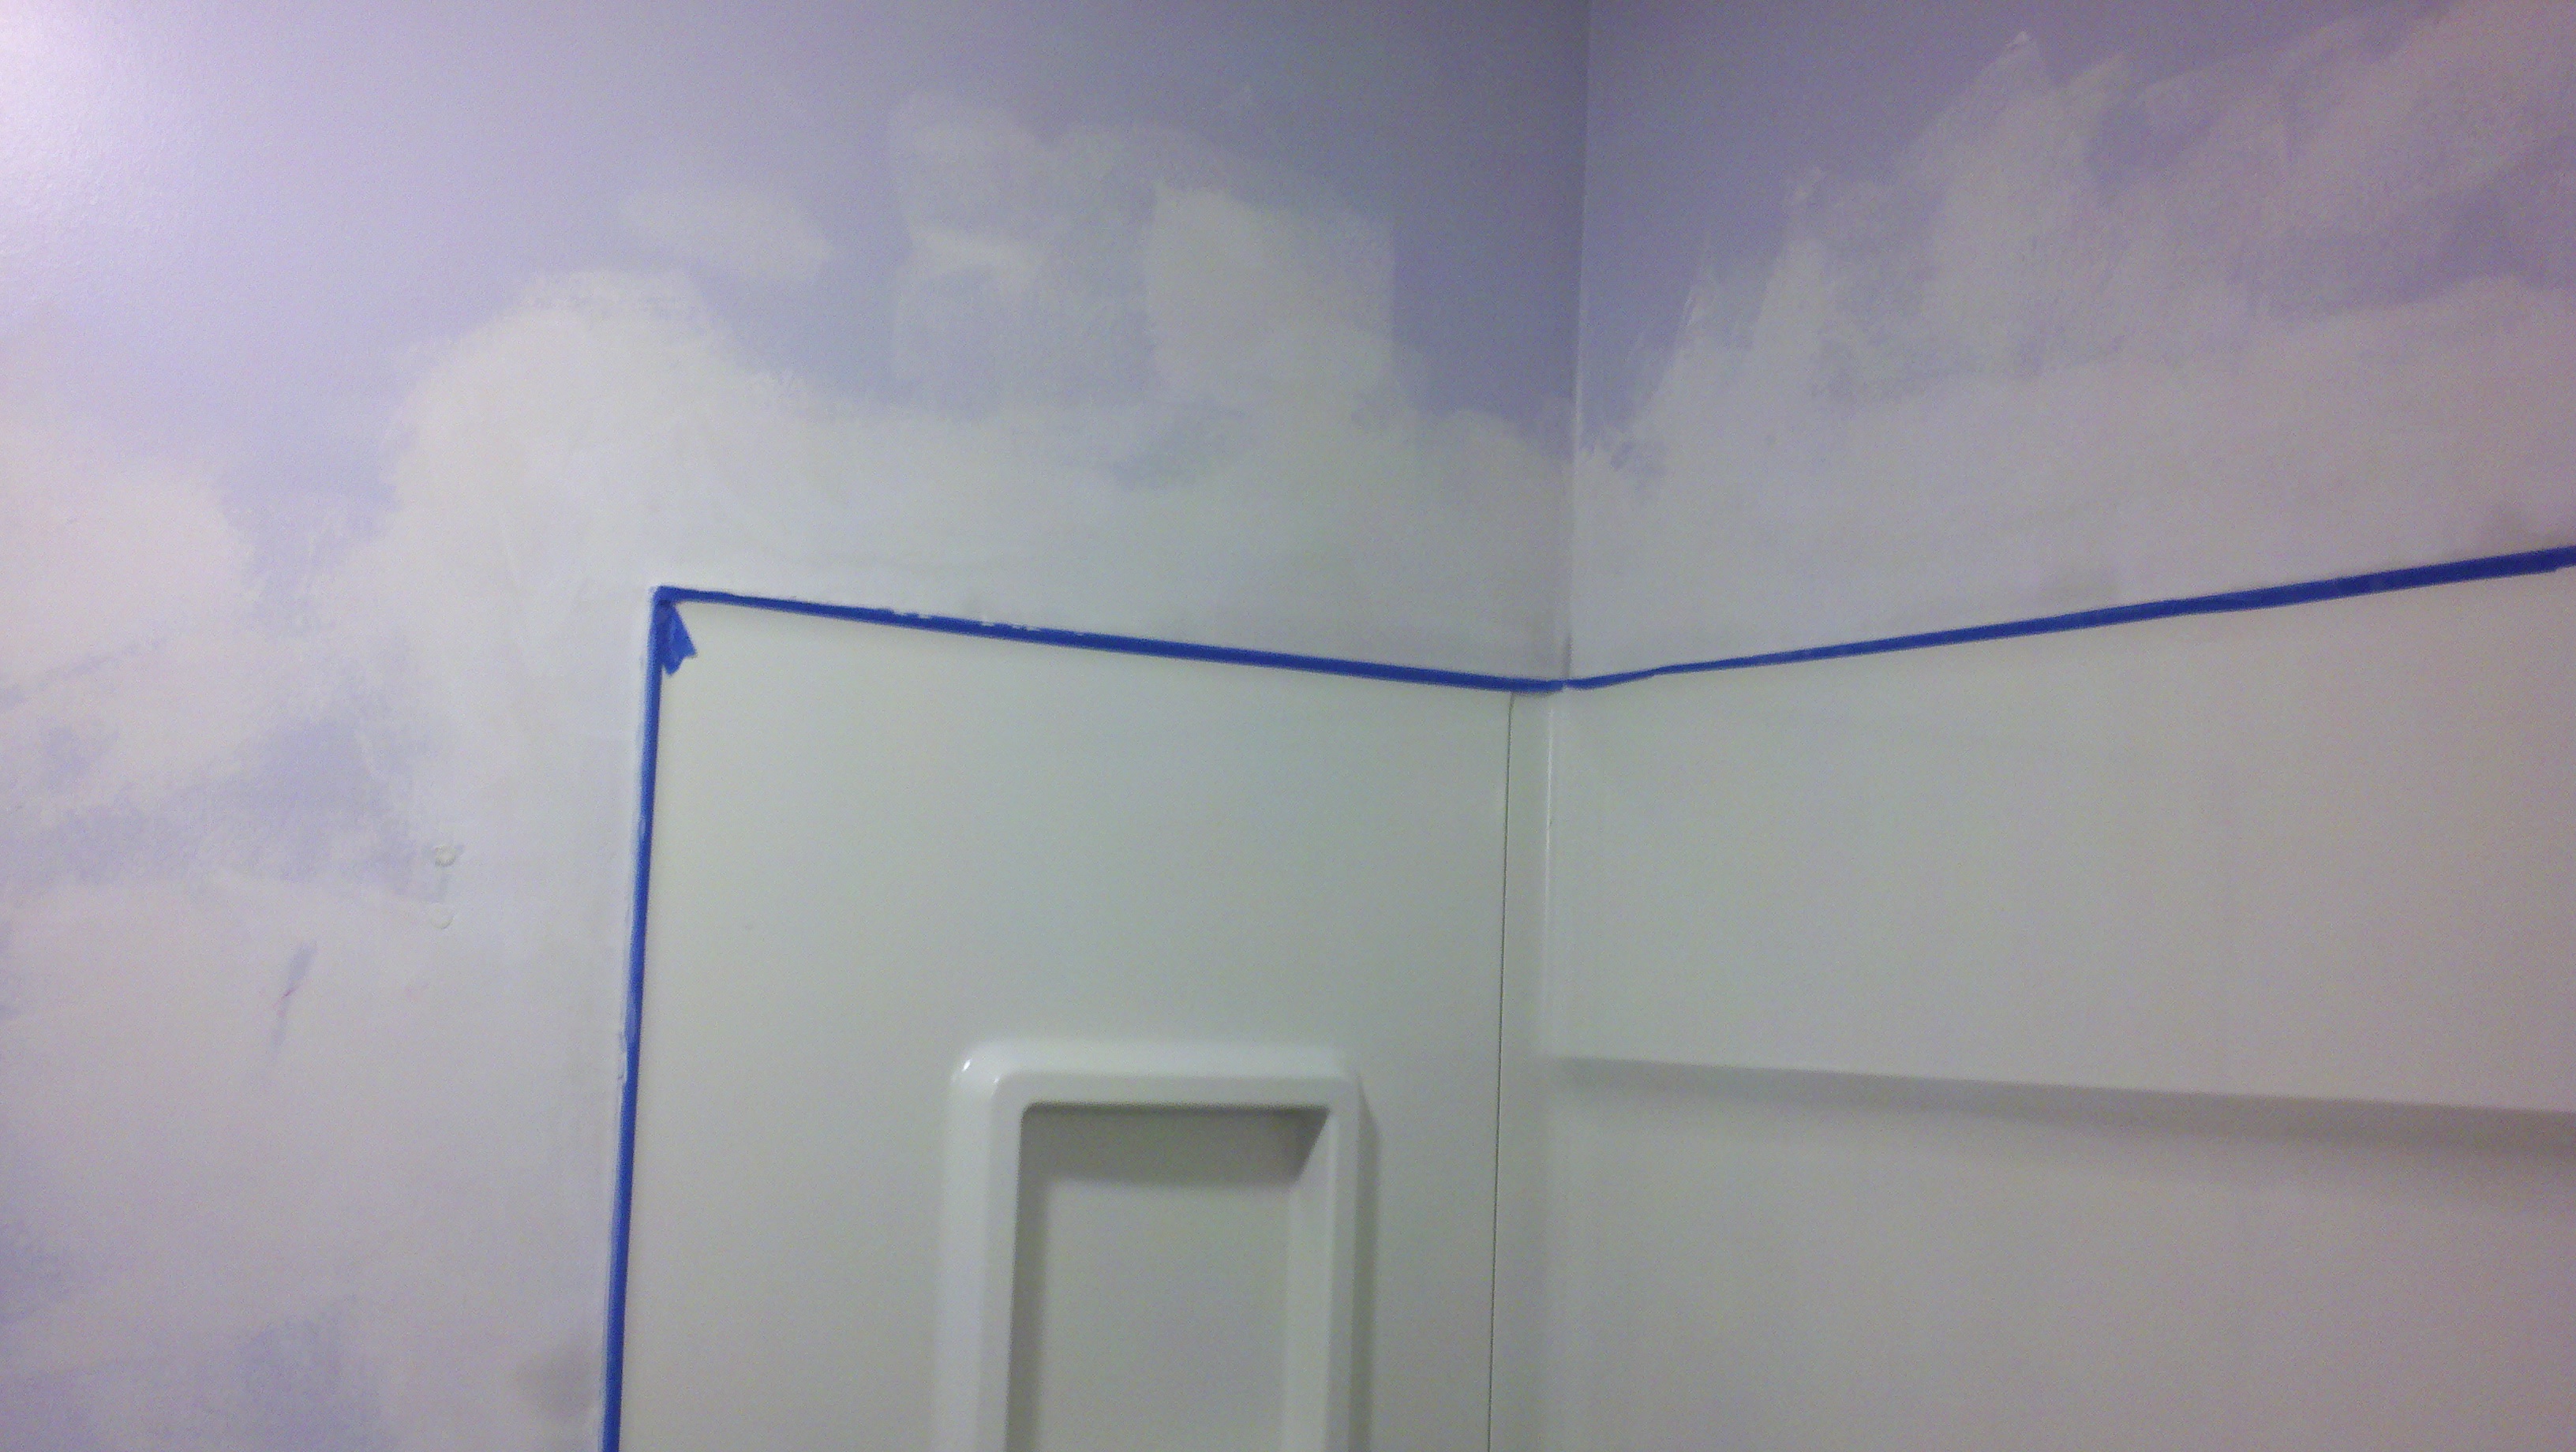
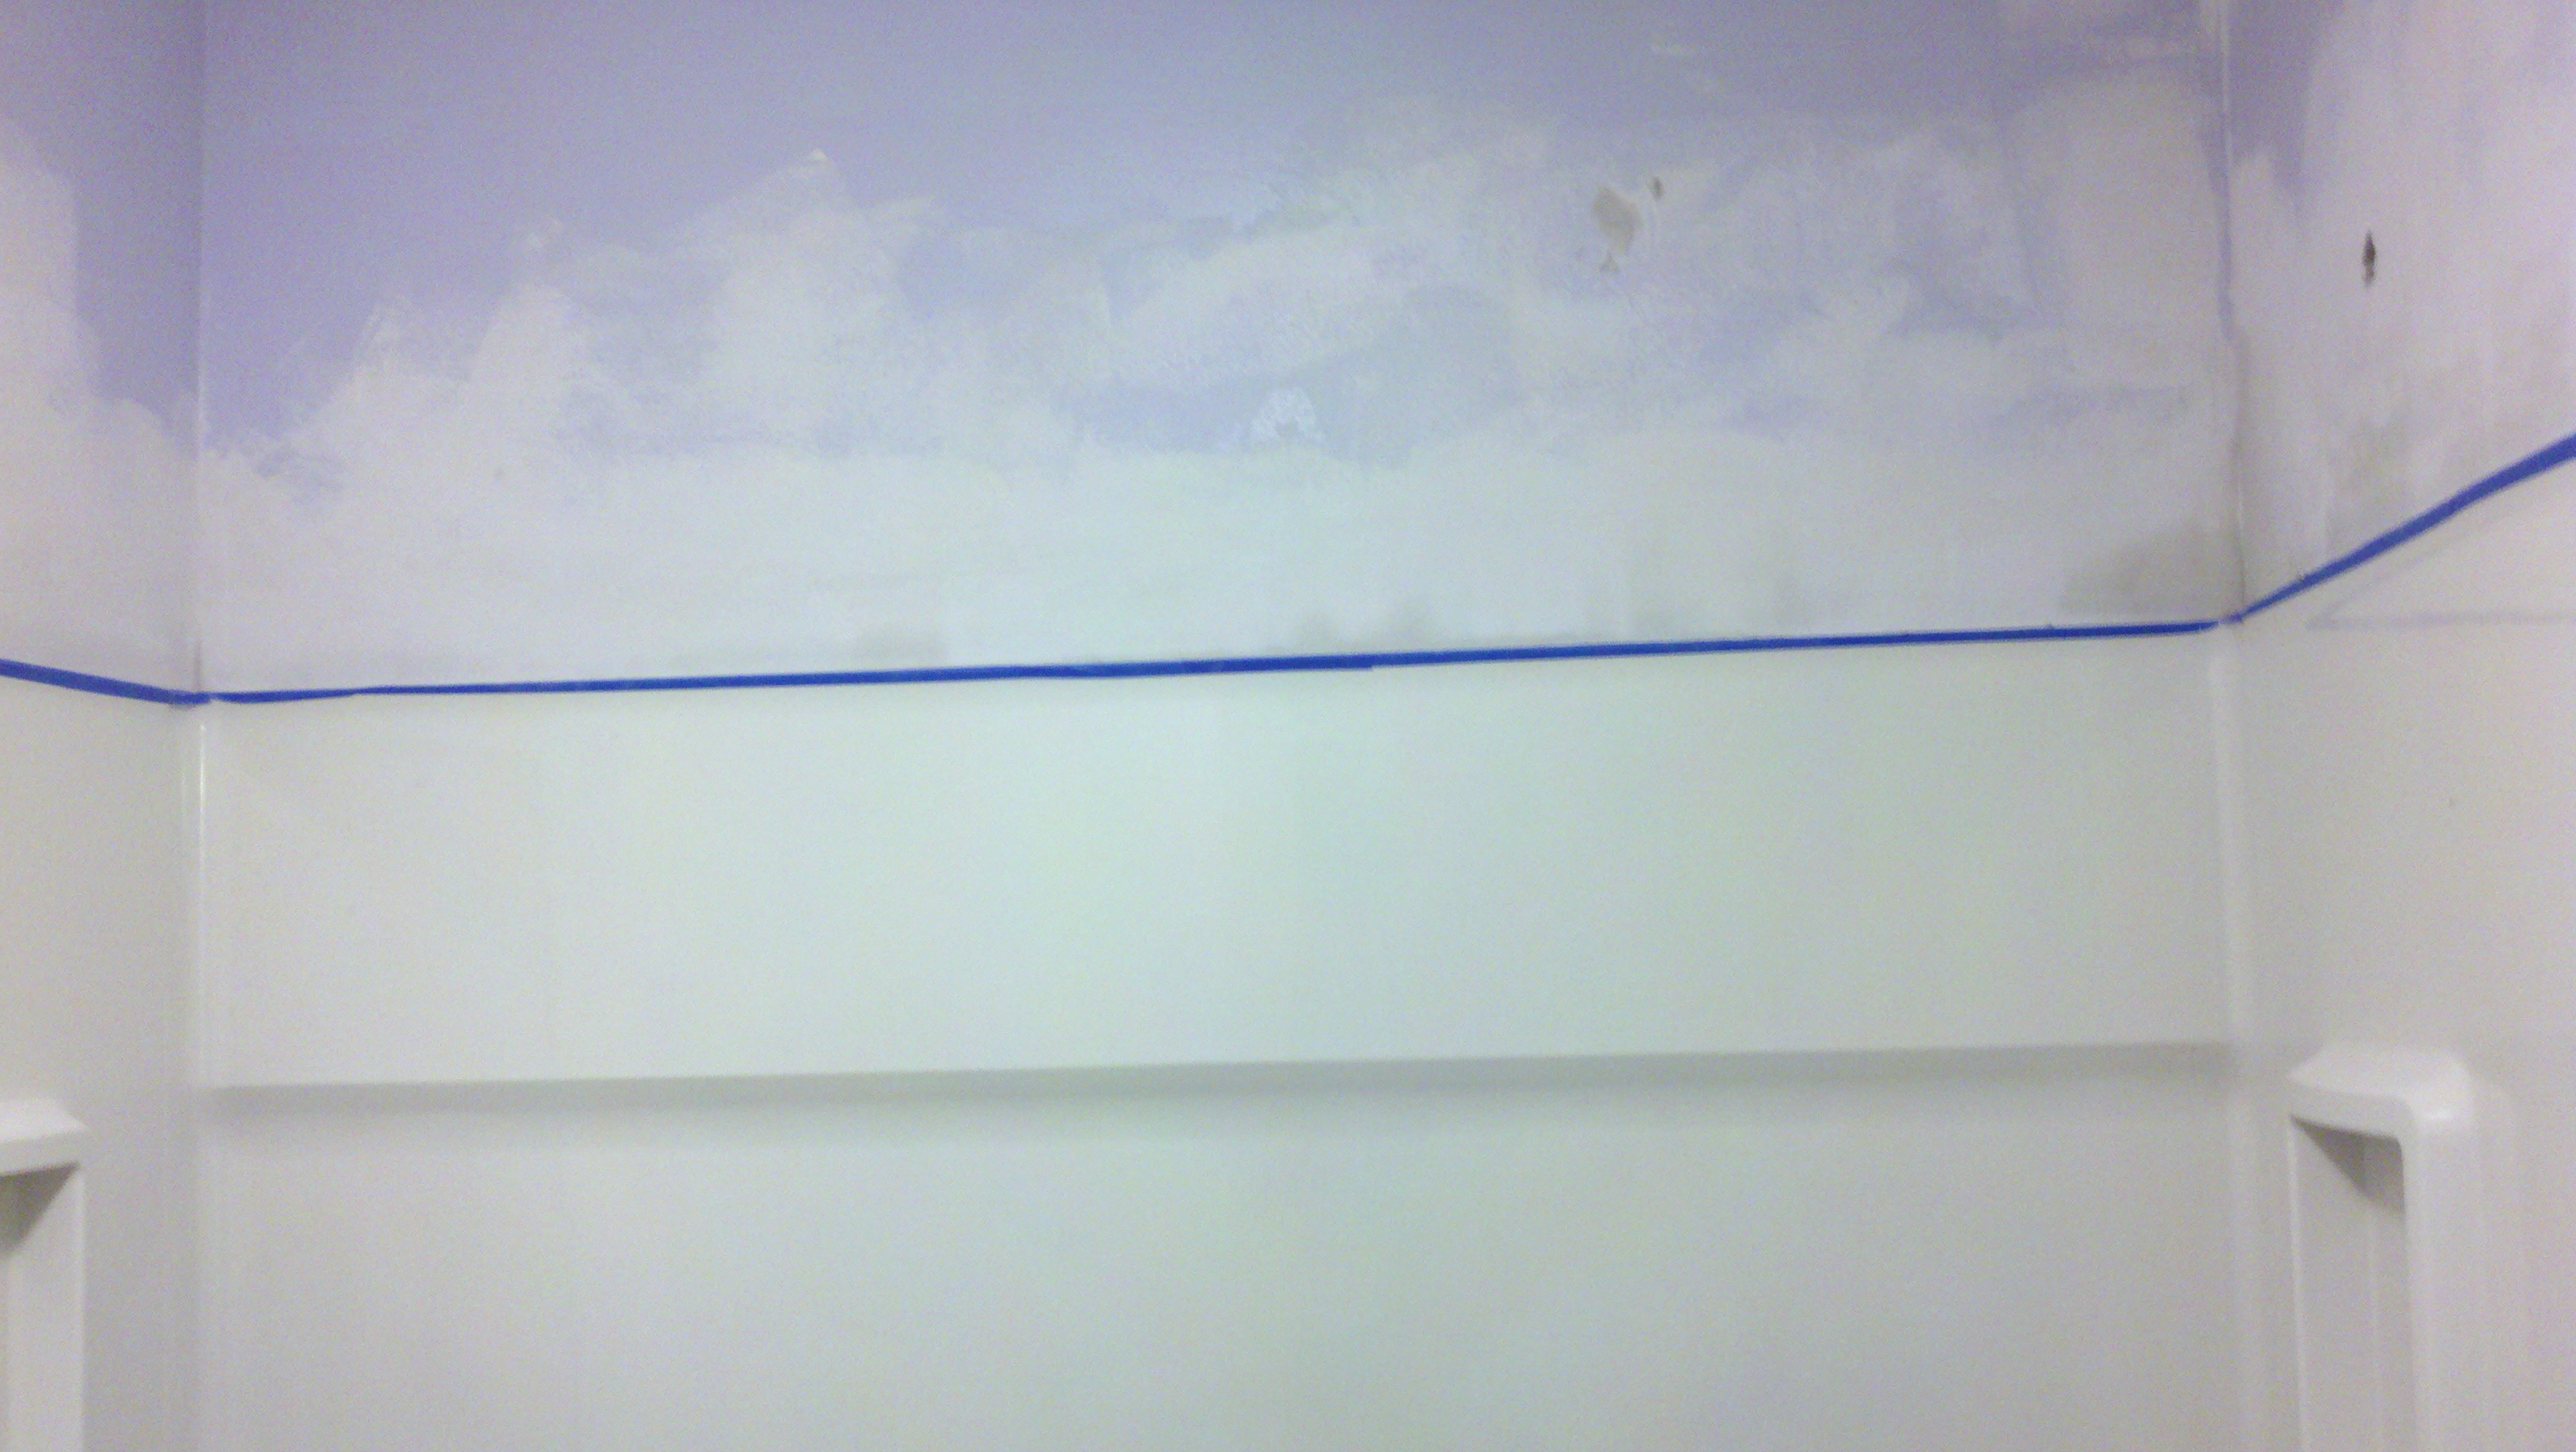
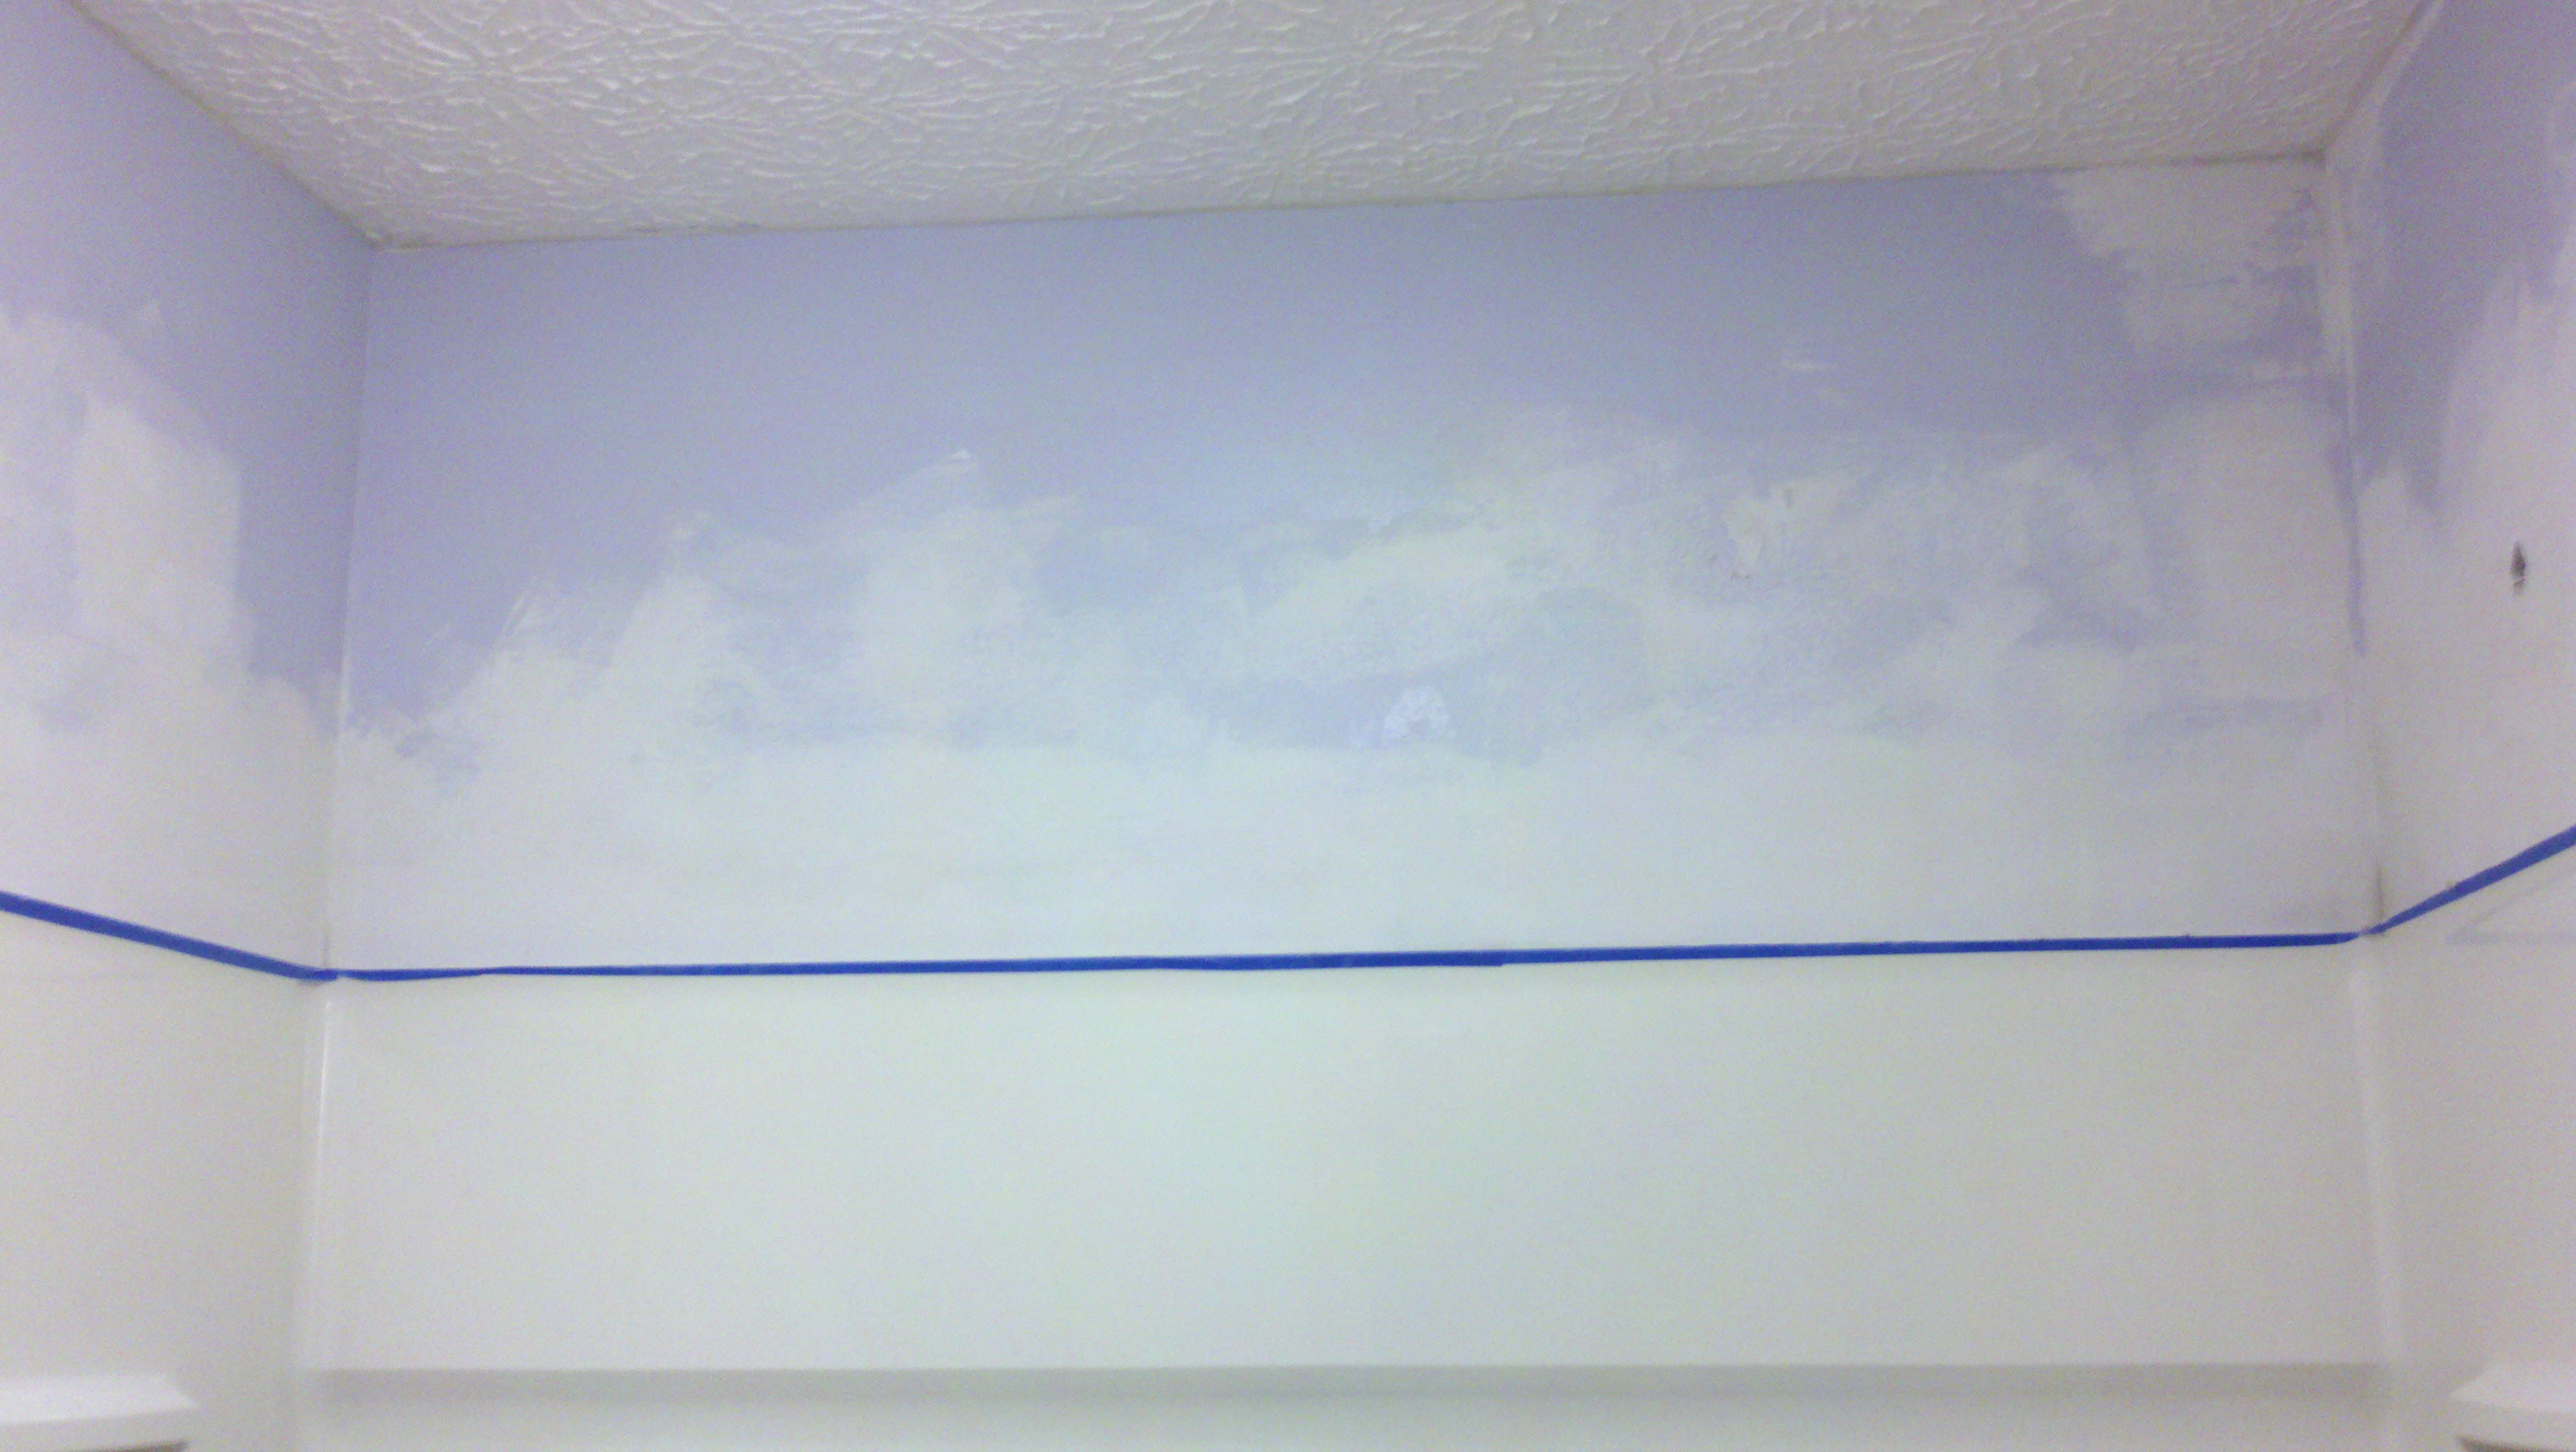
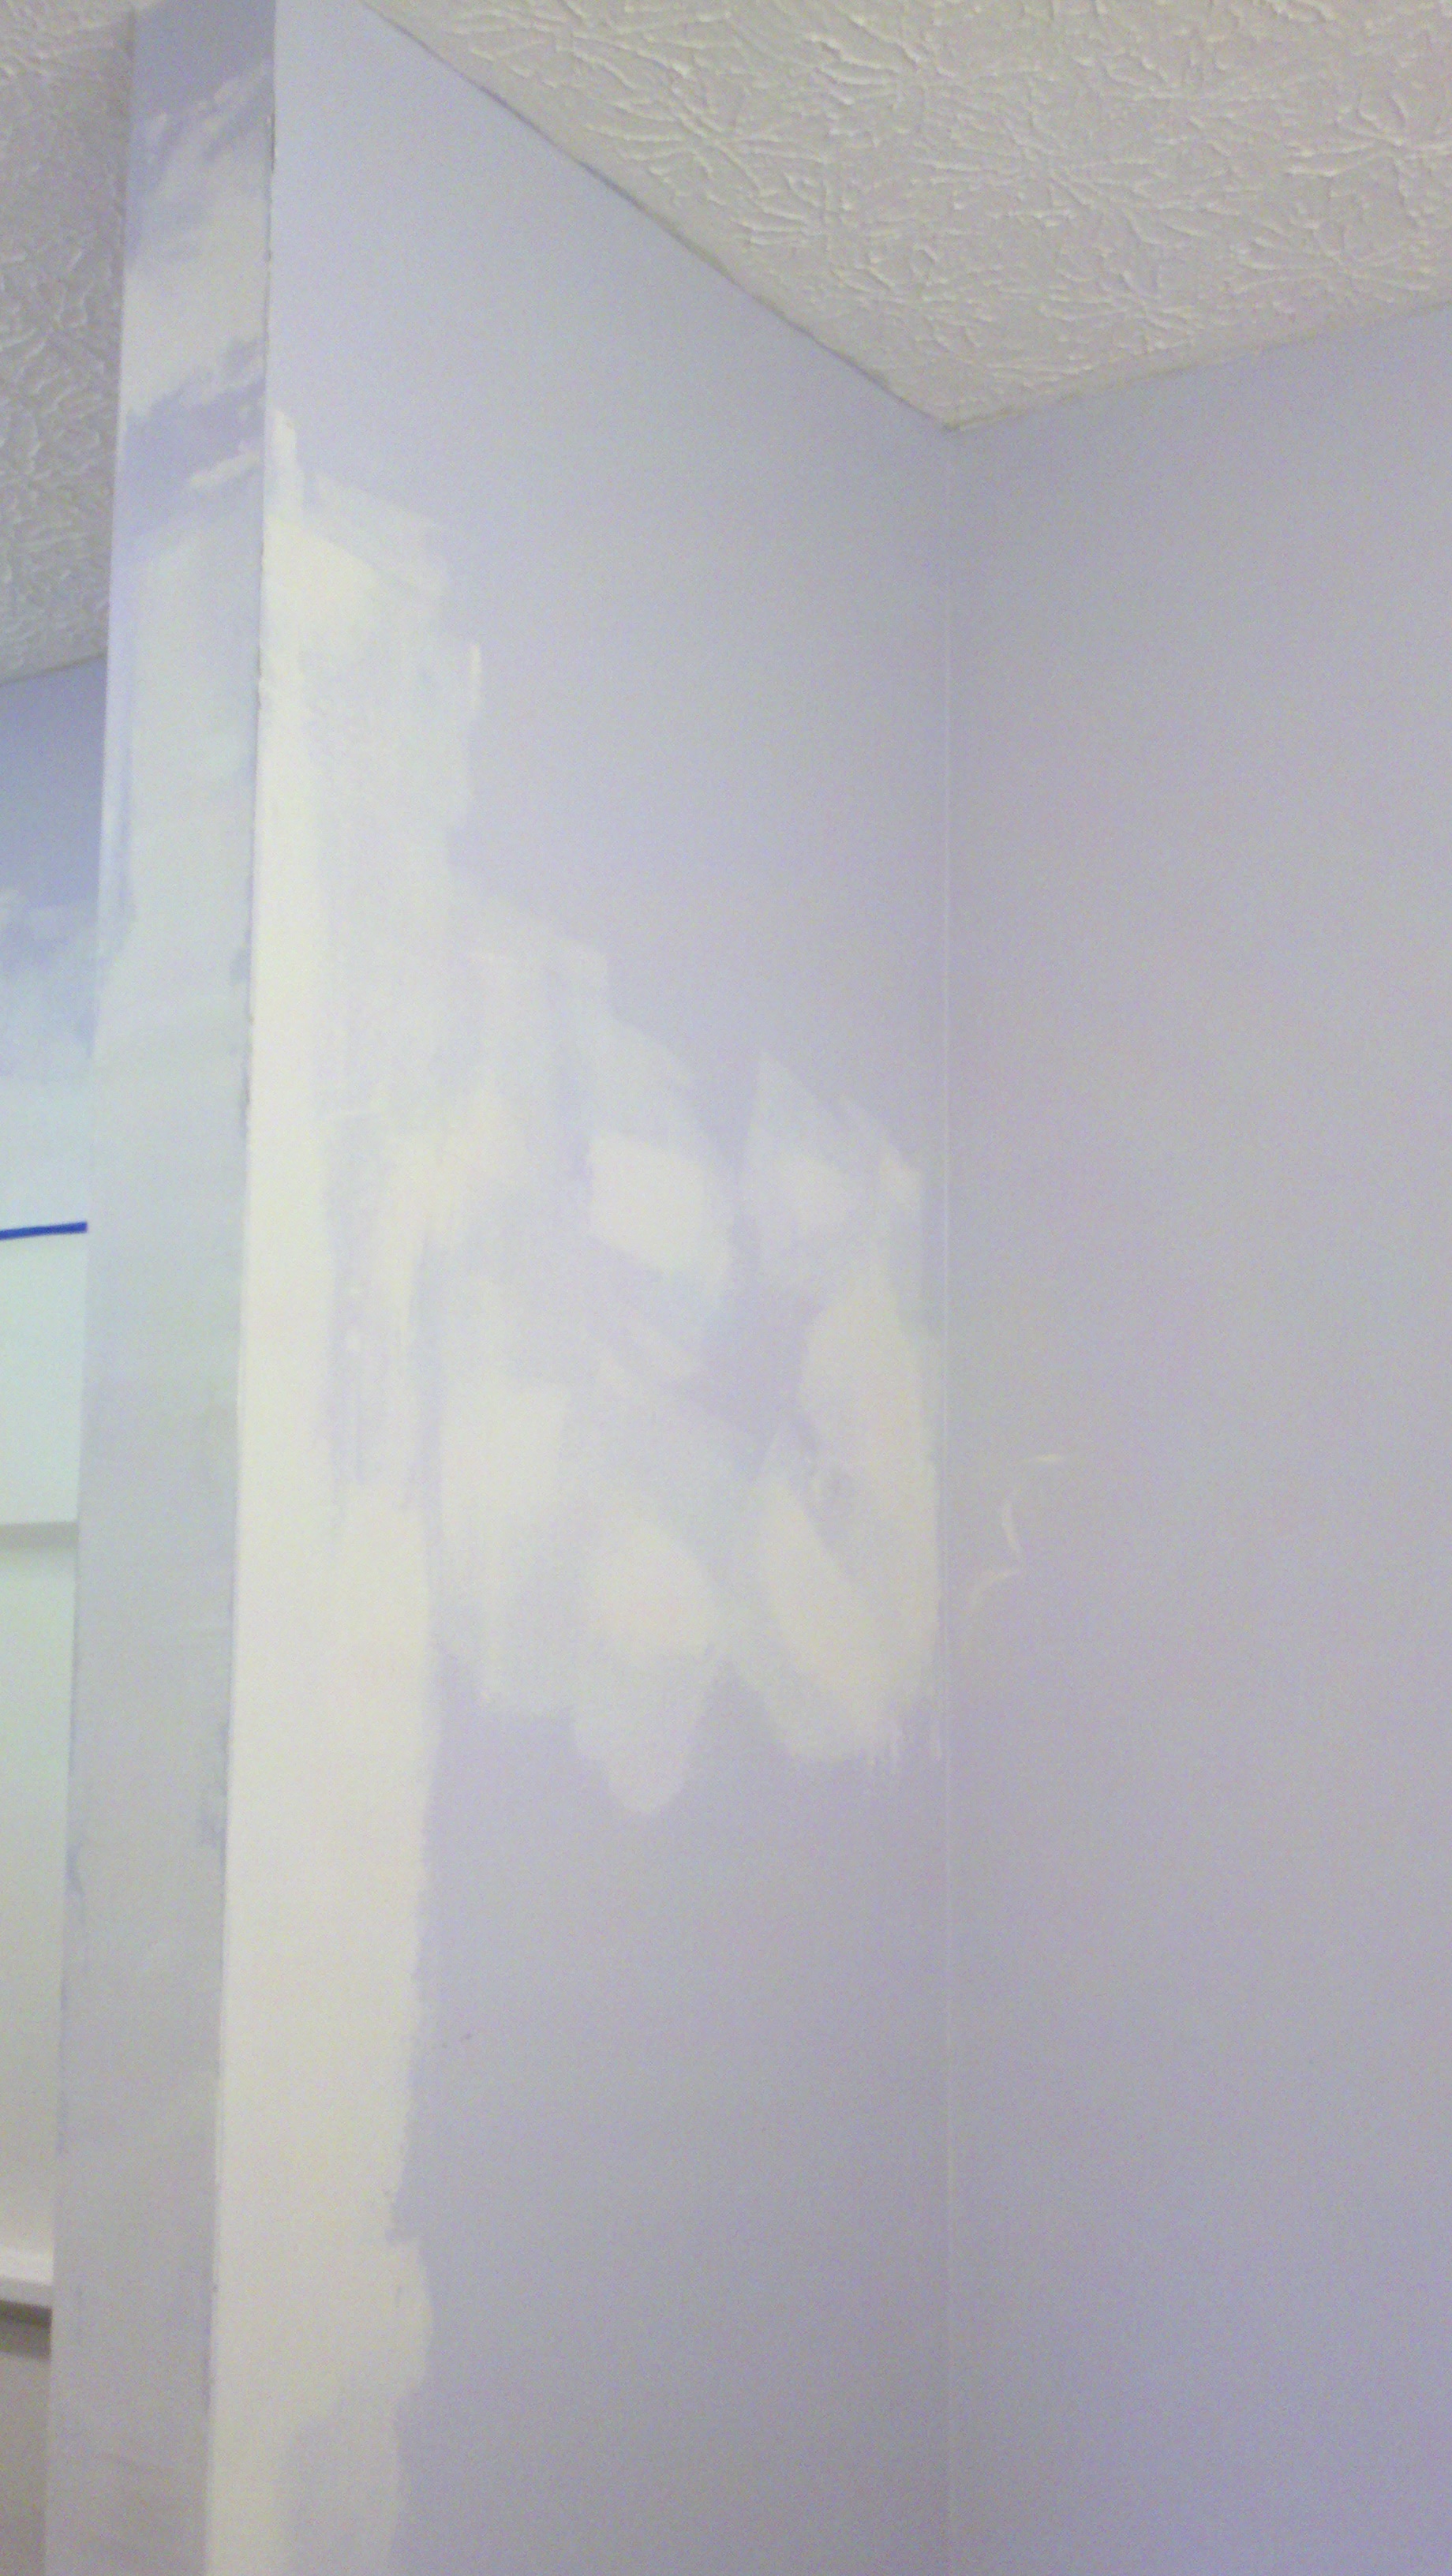
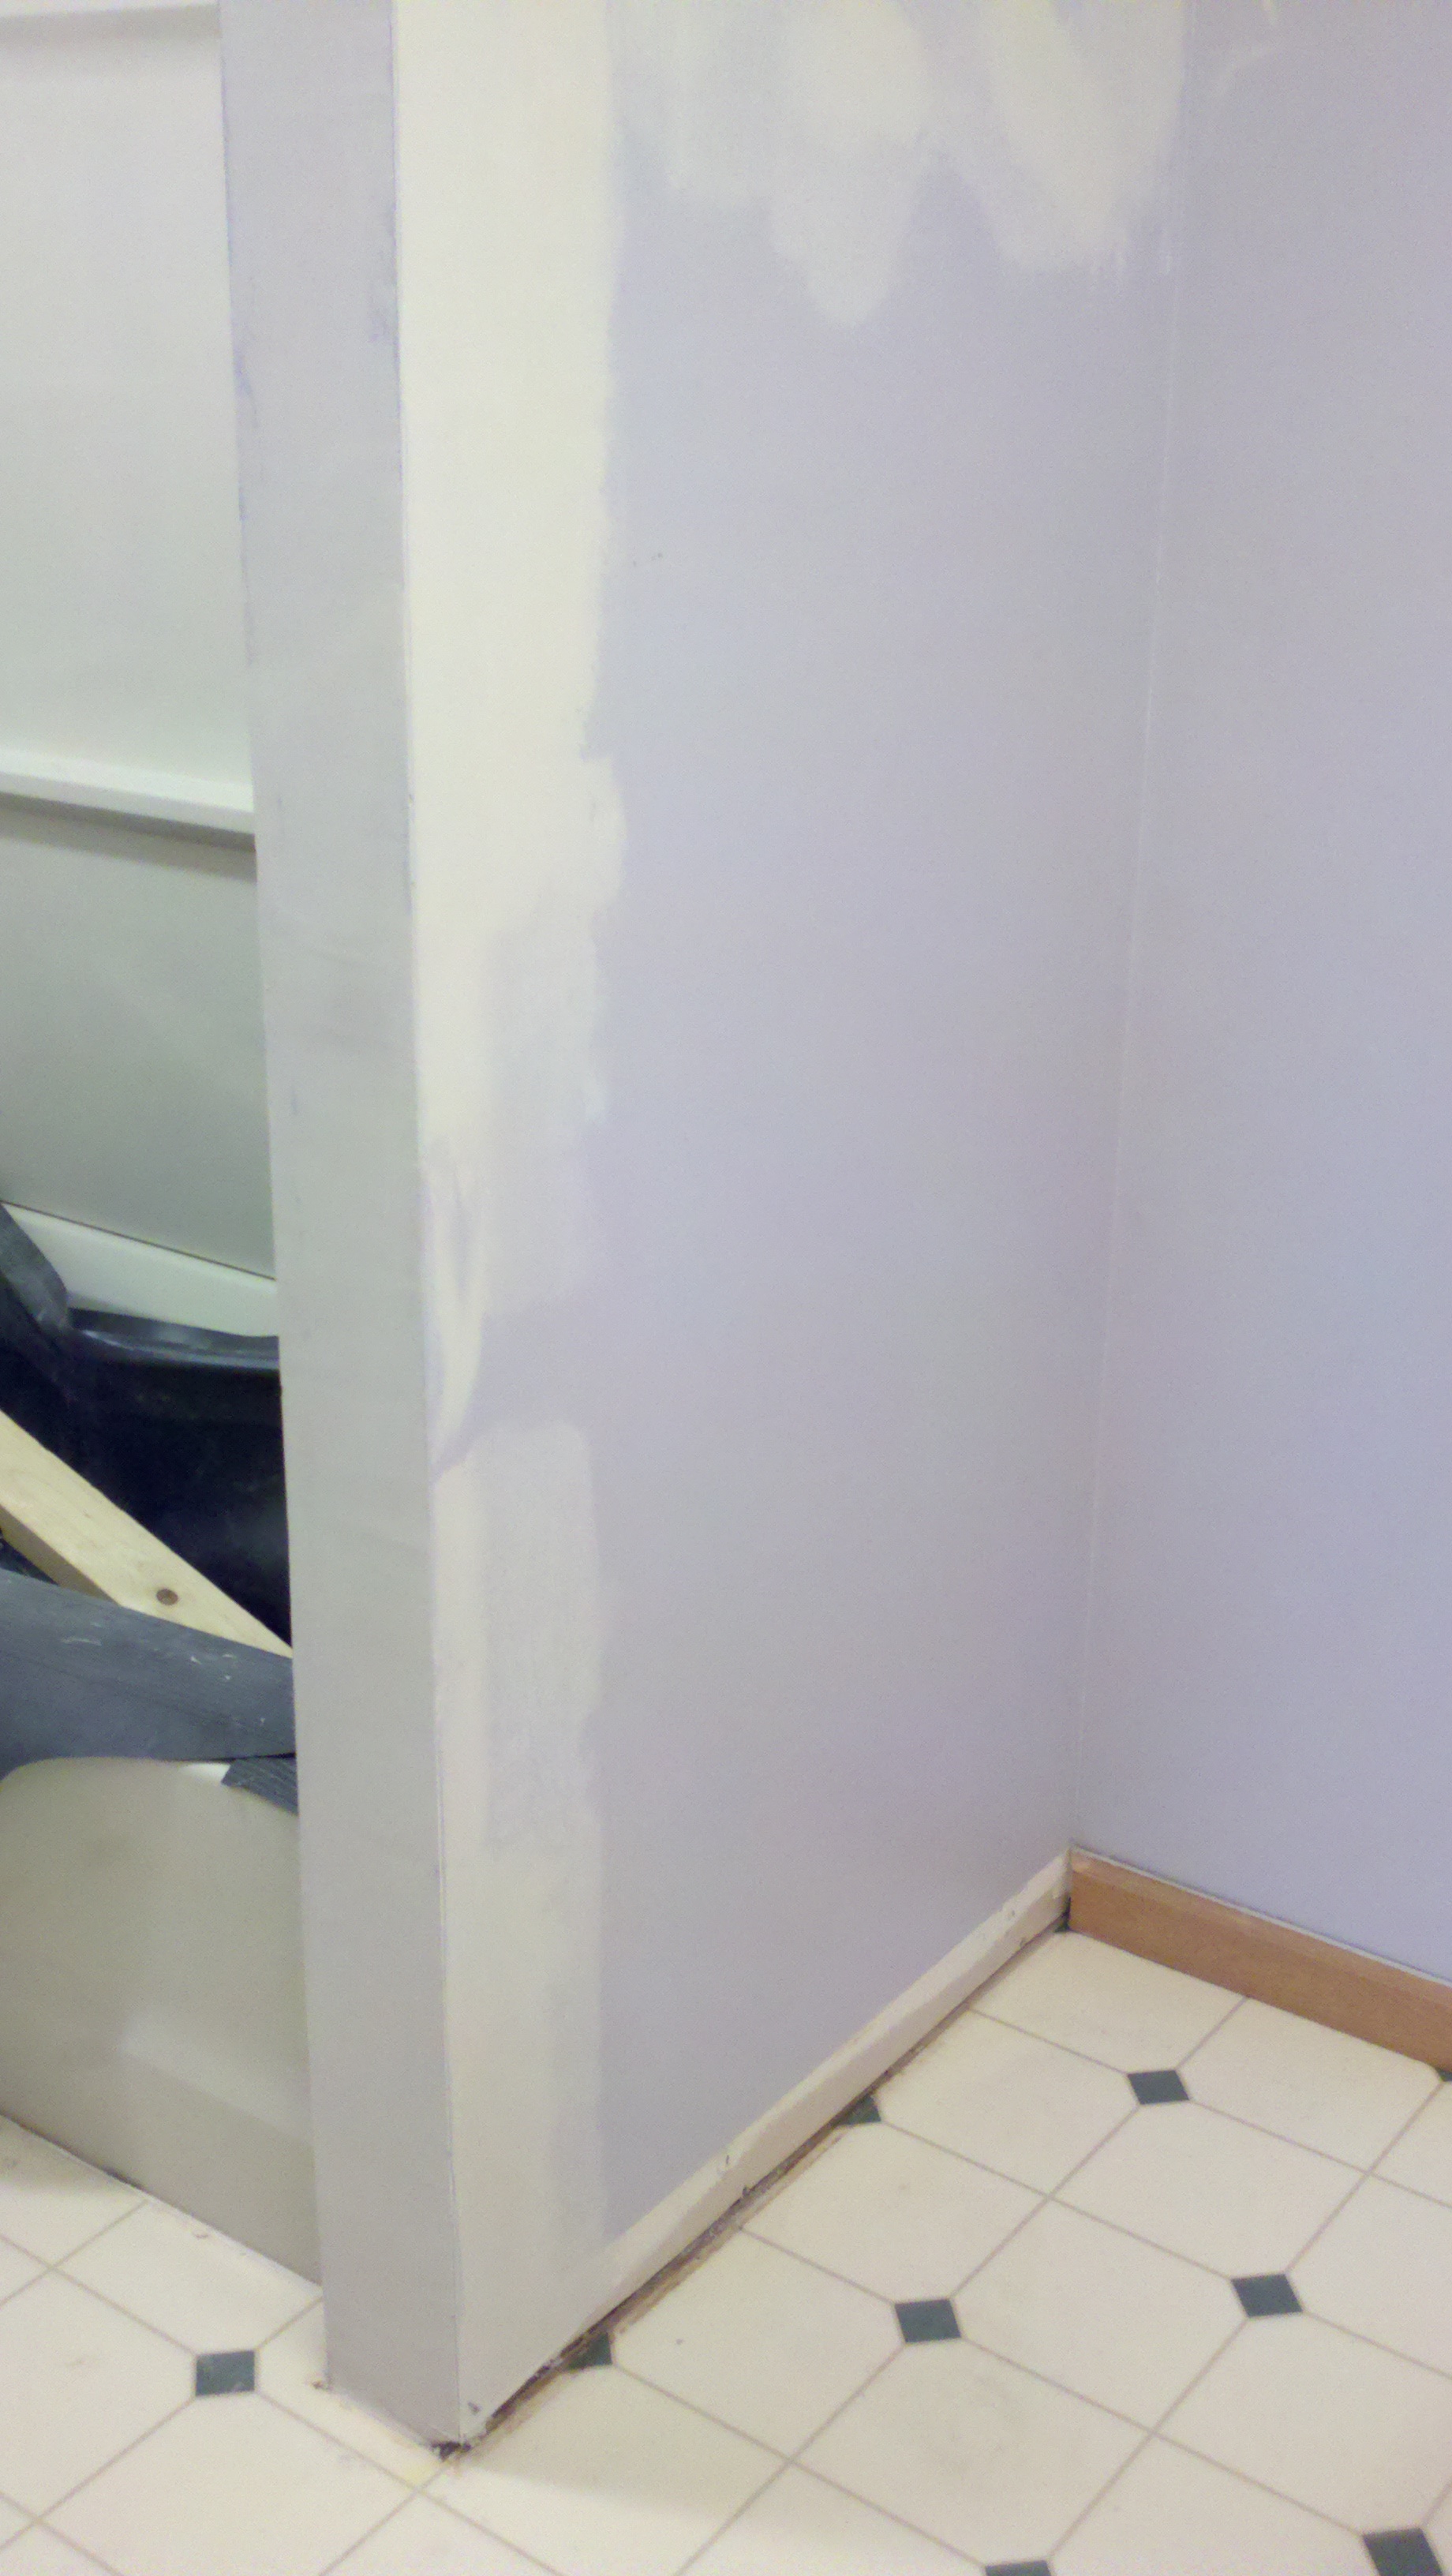
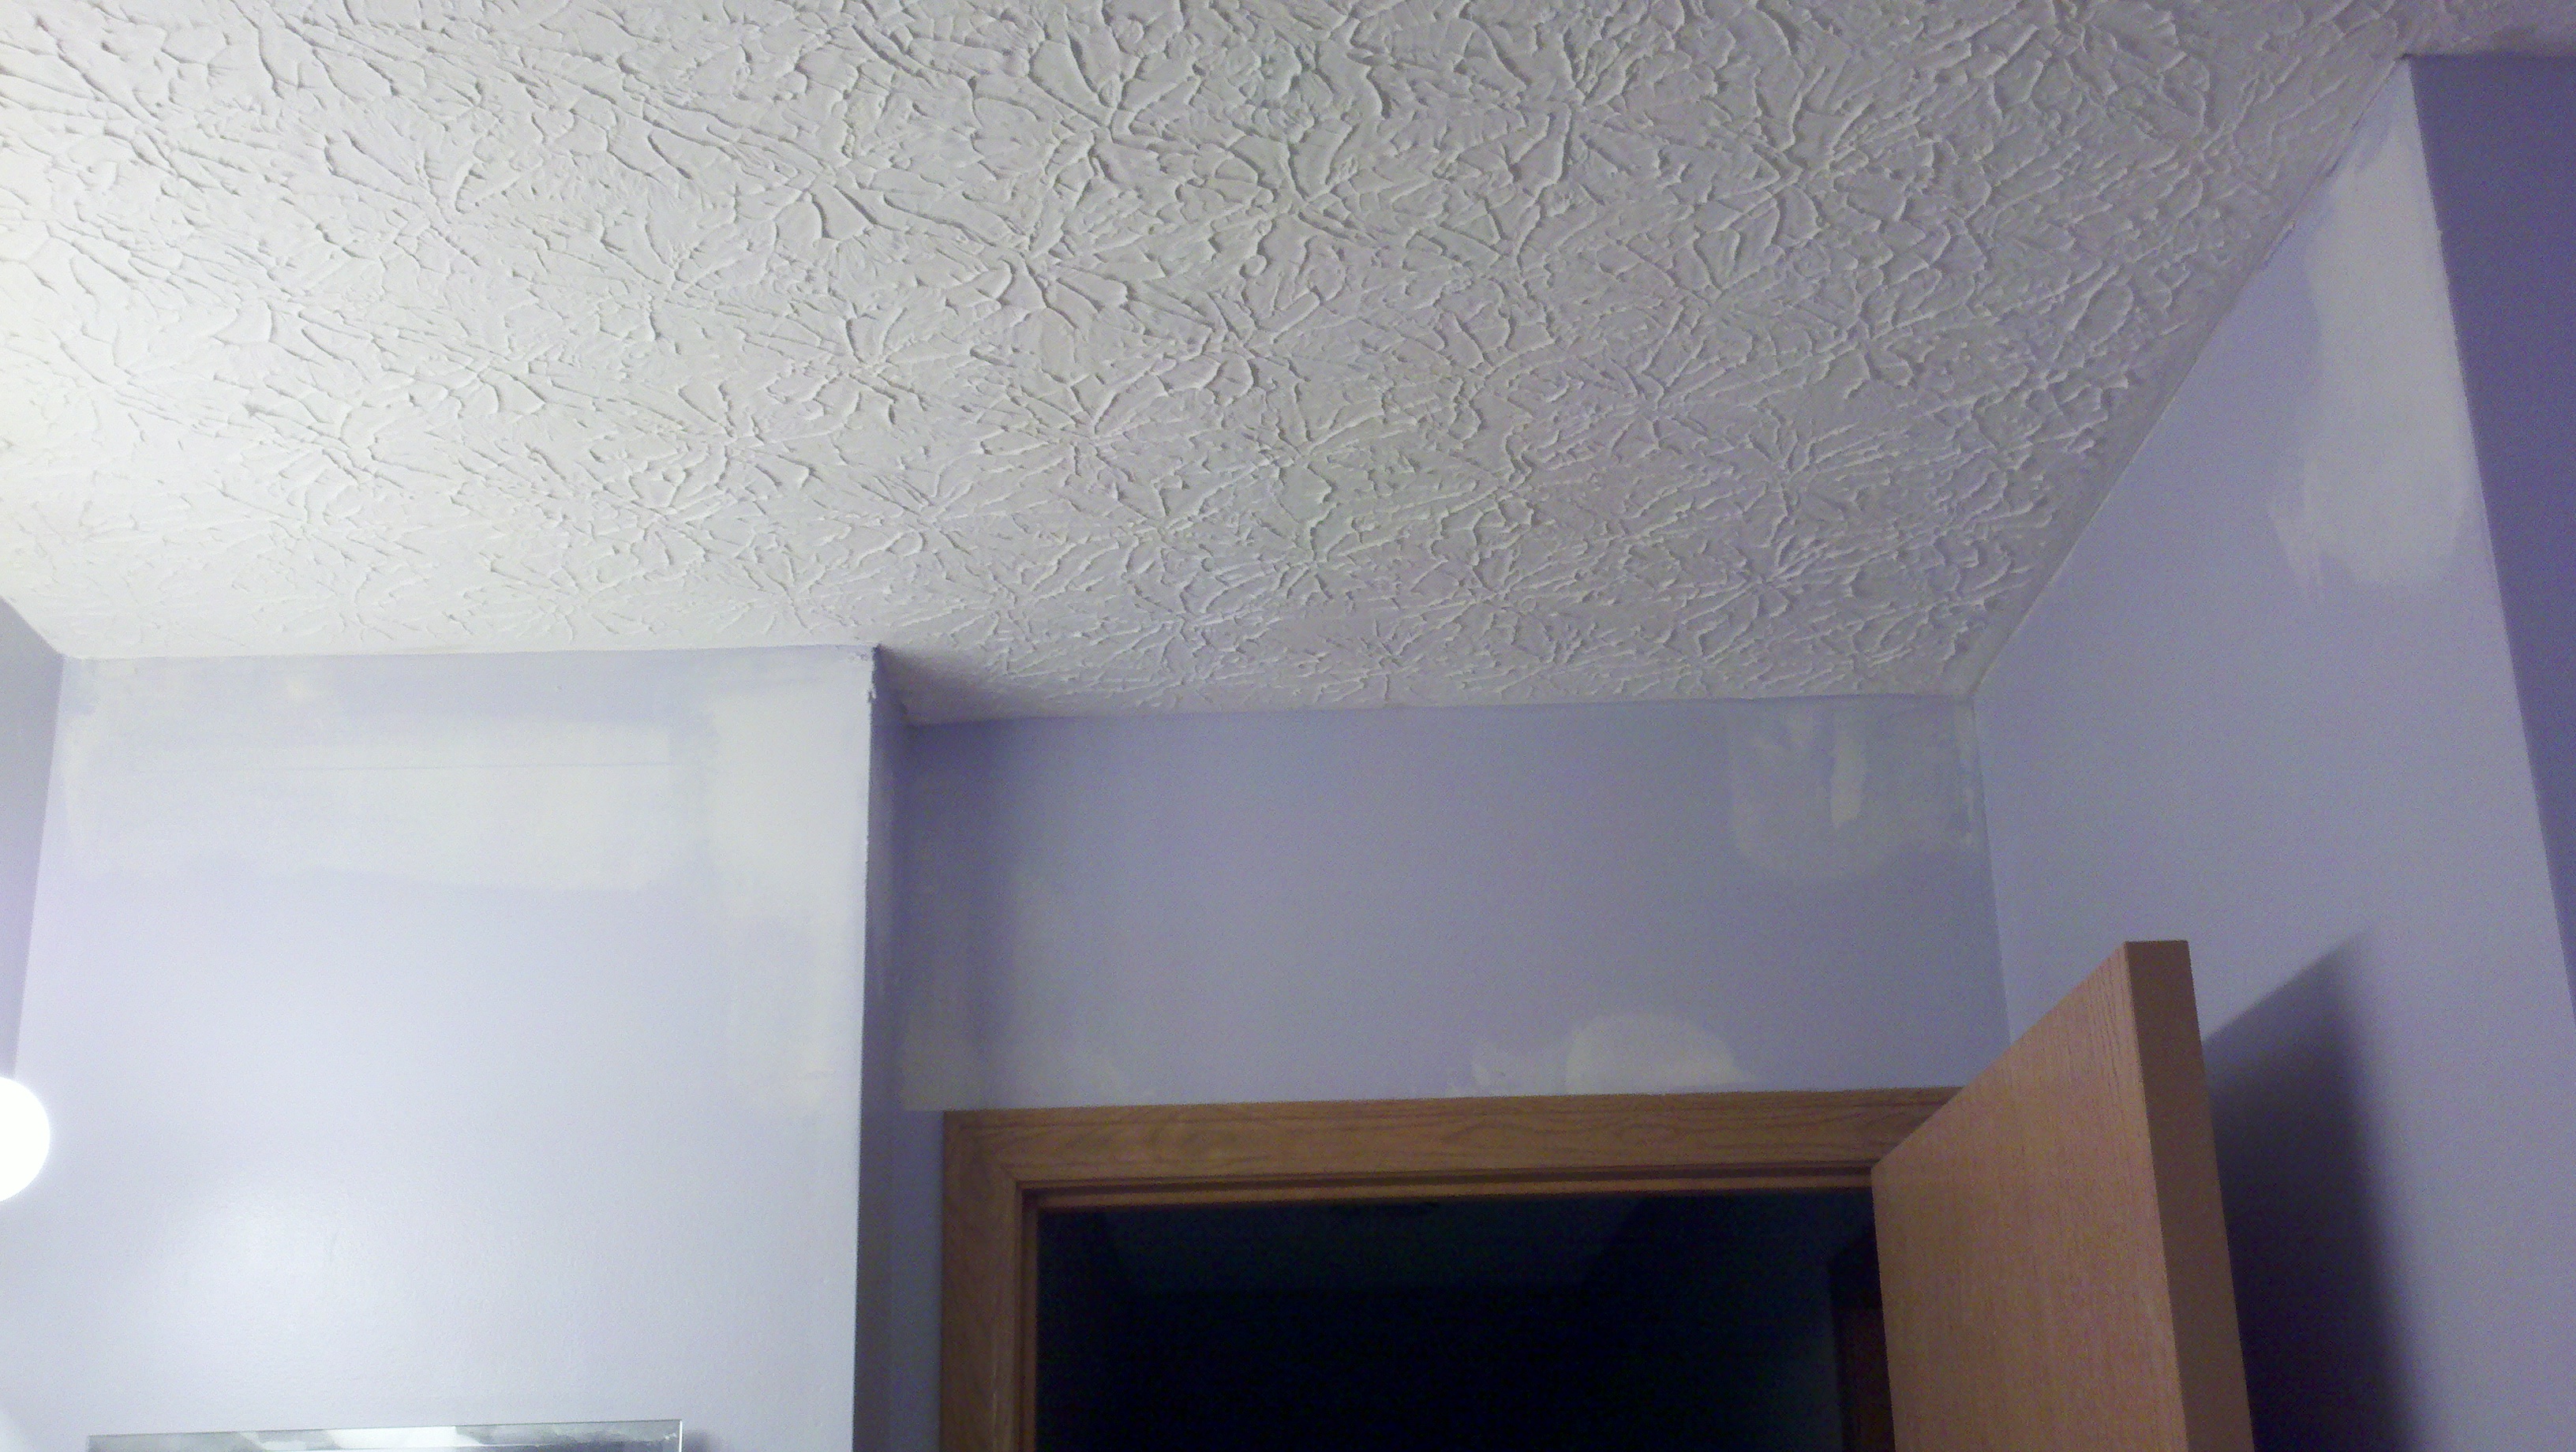
Painting the gazebo was the next task required for installation of the outdoor fan. Painting the gazebo ceiling, lower sides, rails, the deck lower sides, and additional individual bare places around the deck was also included in the agreement. Pictures one and two represent the preliminary painting process of the ceiling paint process. Later in the paper additional pictures of the ceiling will provide the finished representation of the painted ceiling. Pictures three through ten, provide a pictorial definitions of the painted items mentioned above.
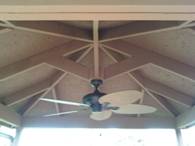
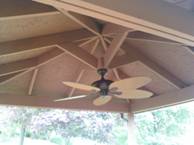
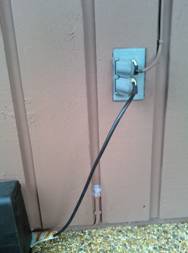
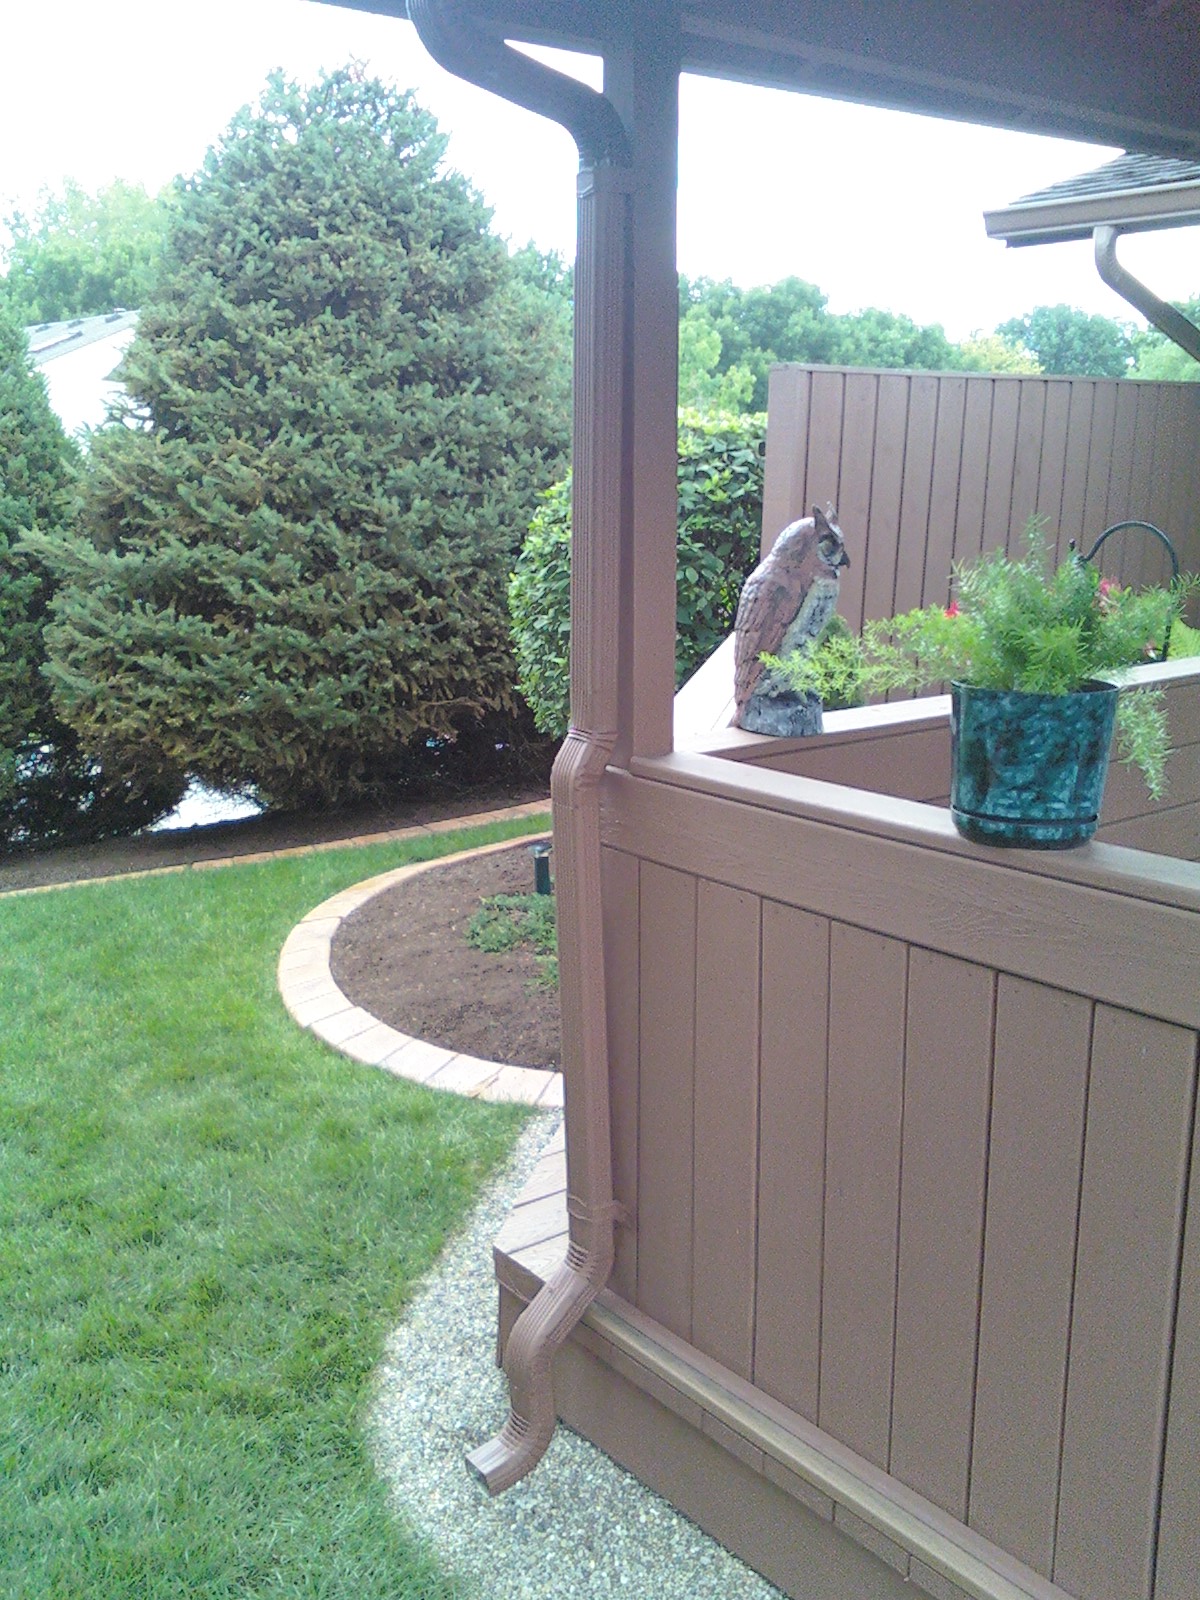
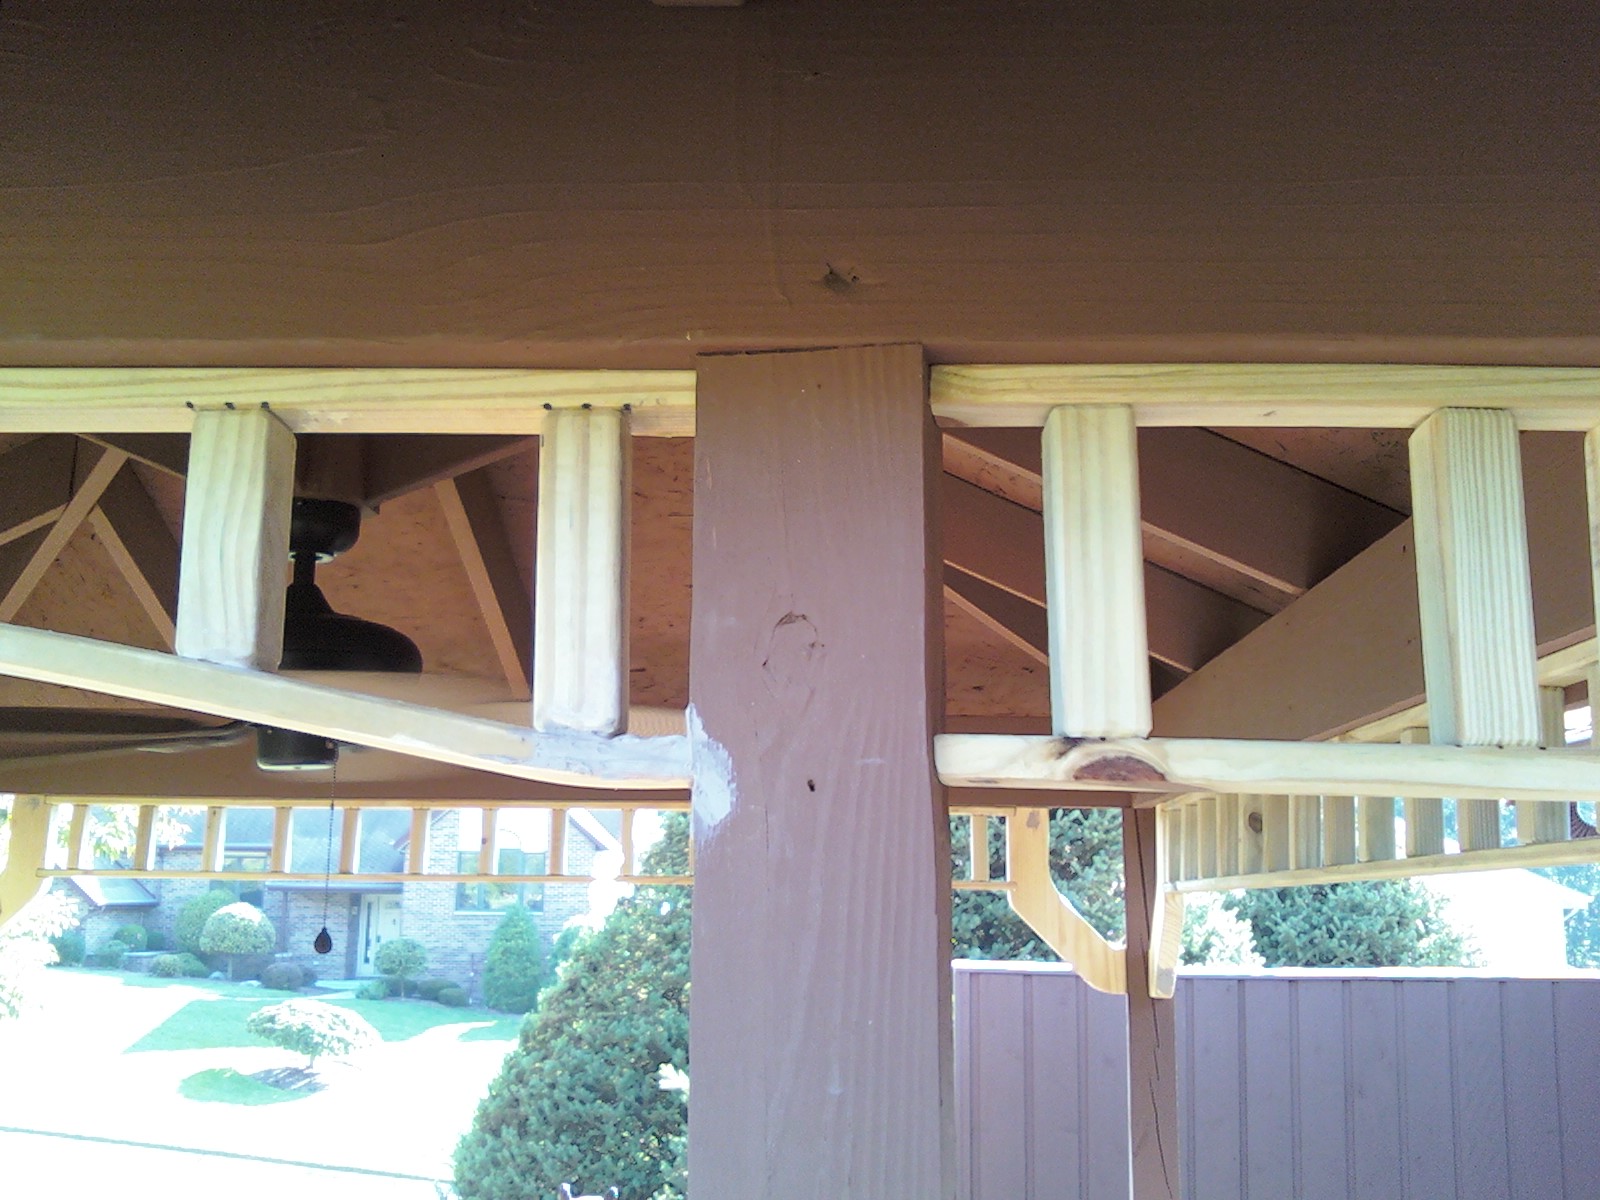
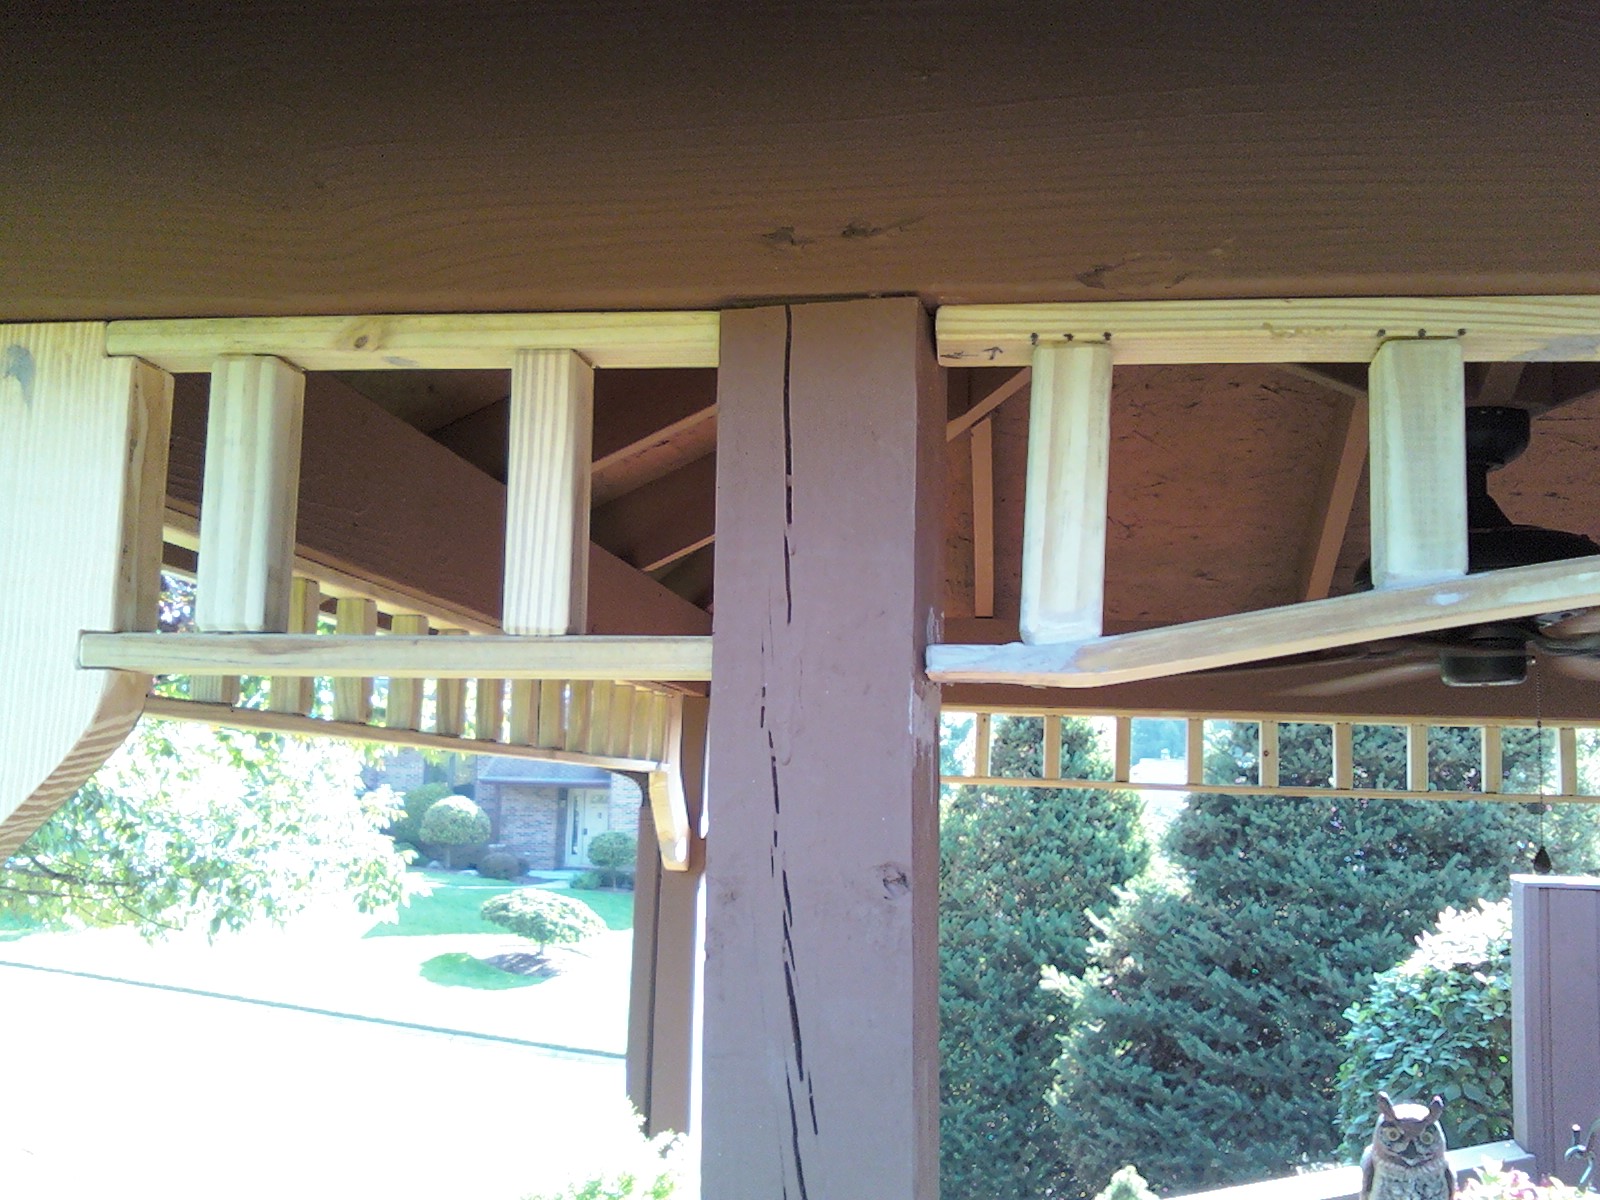
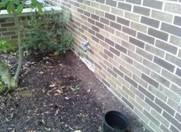
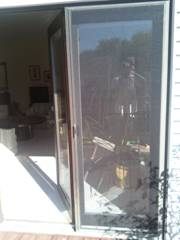
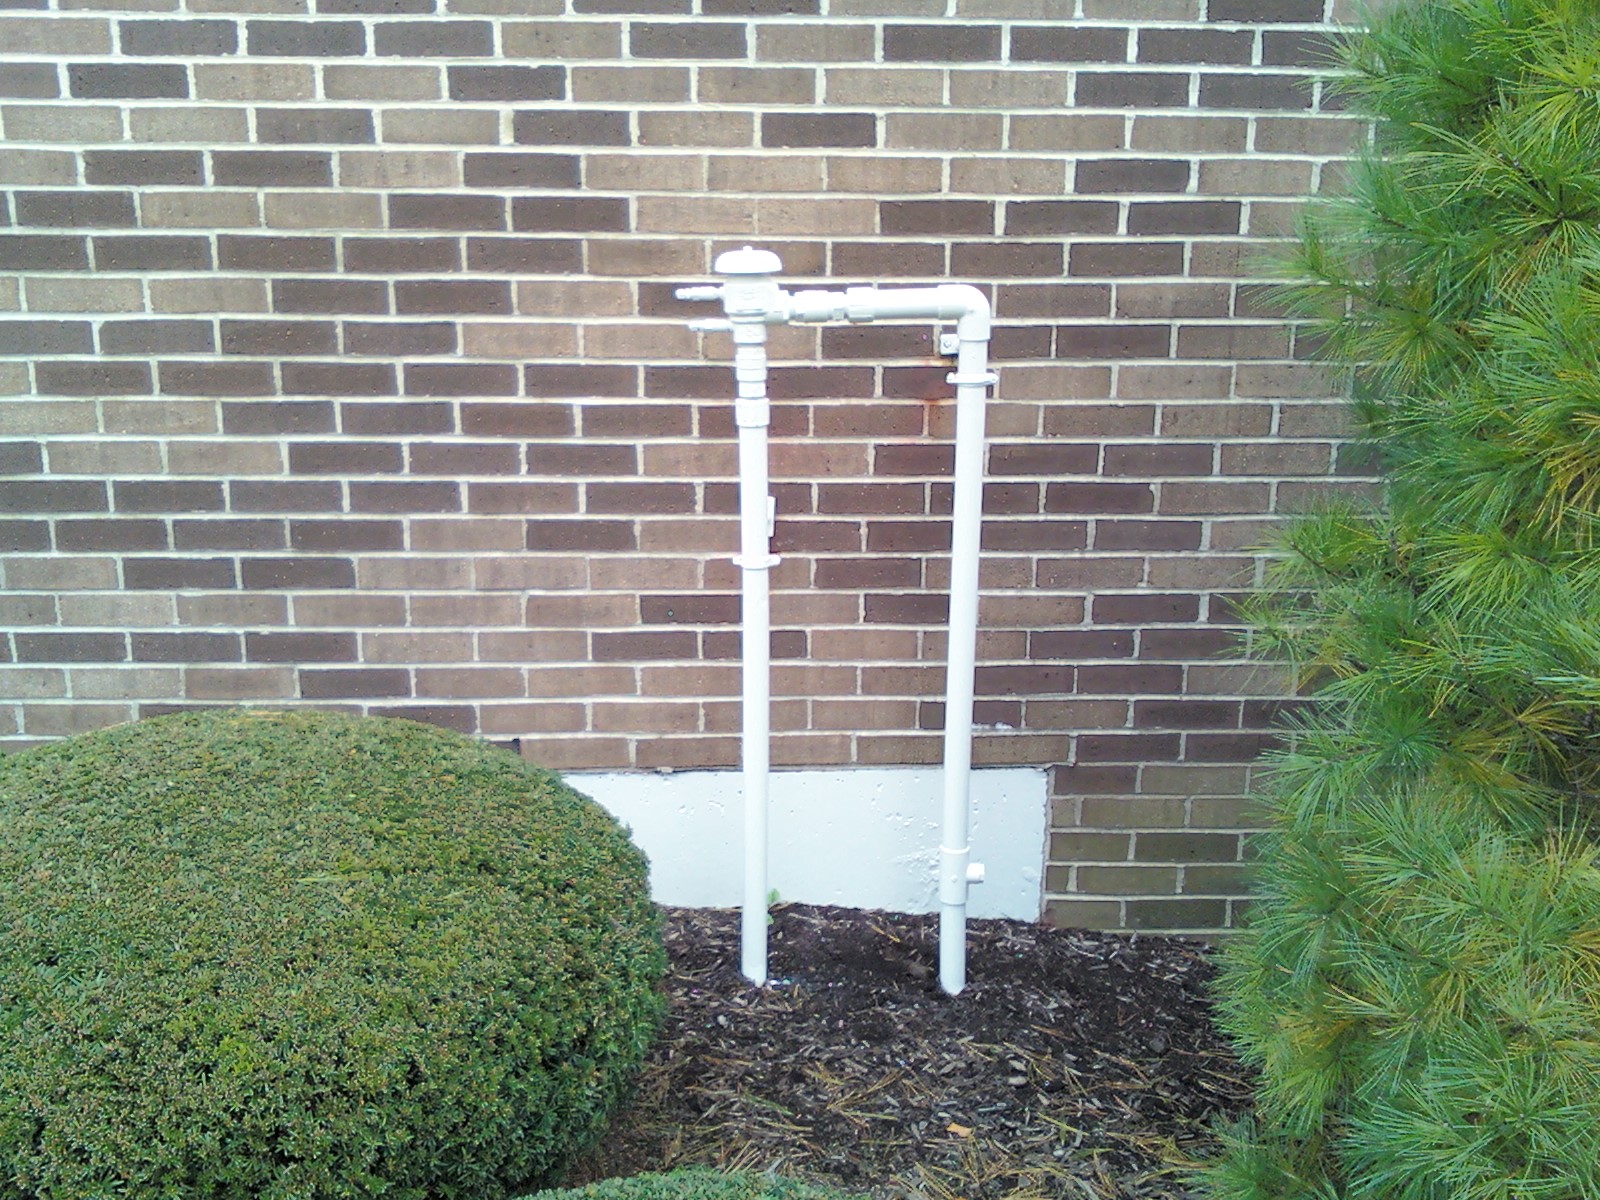
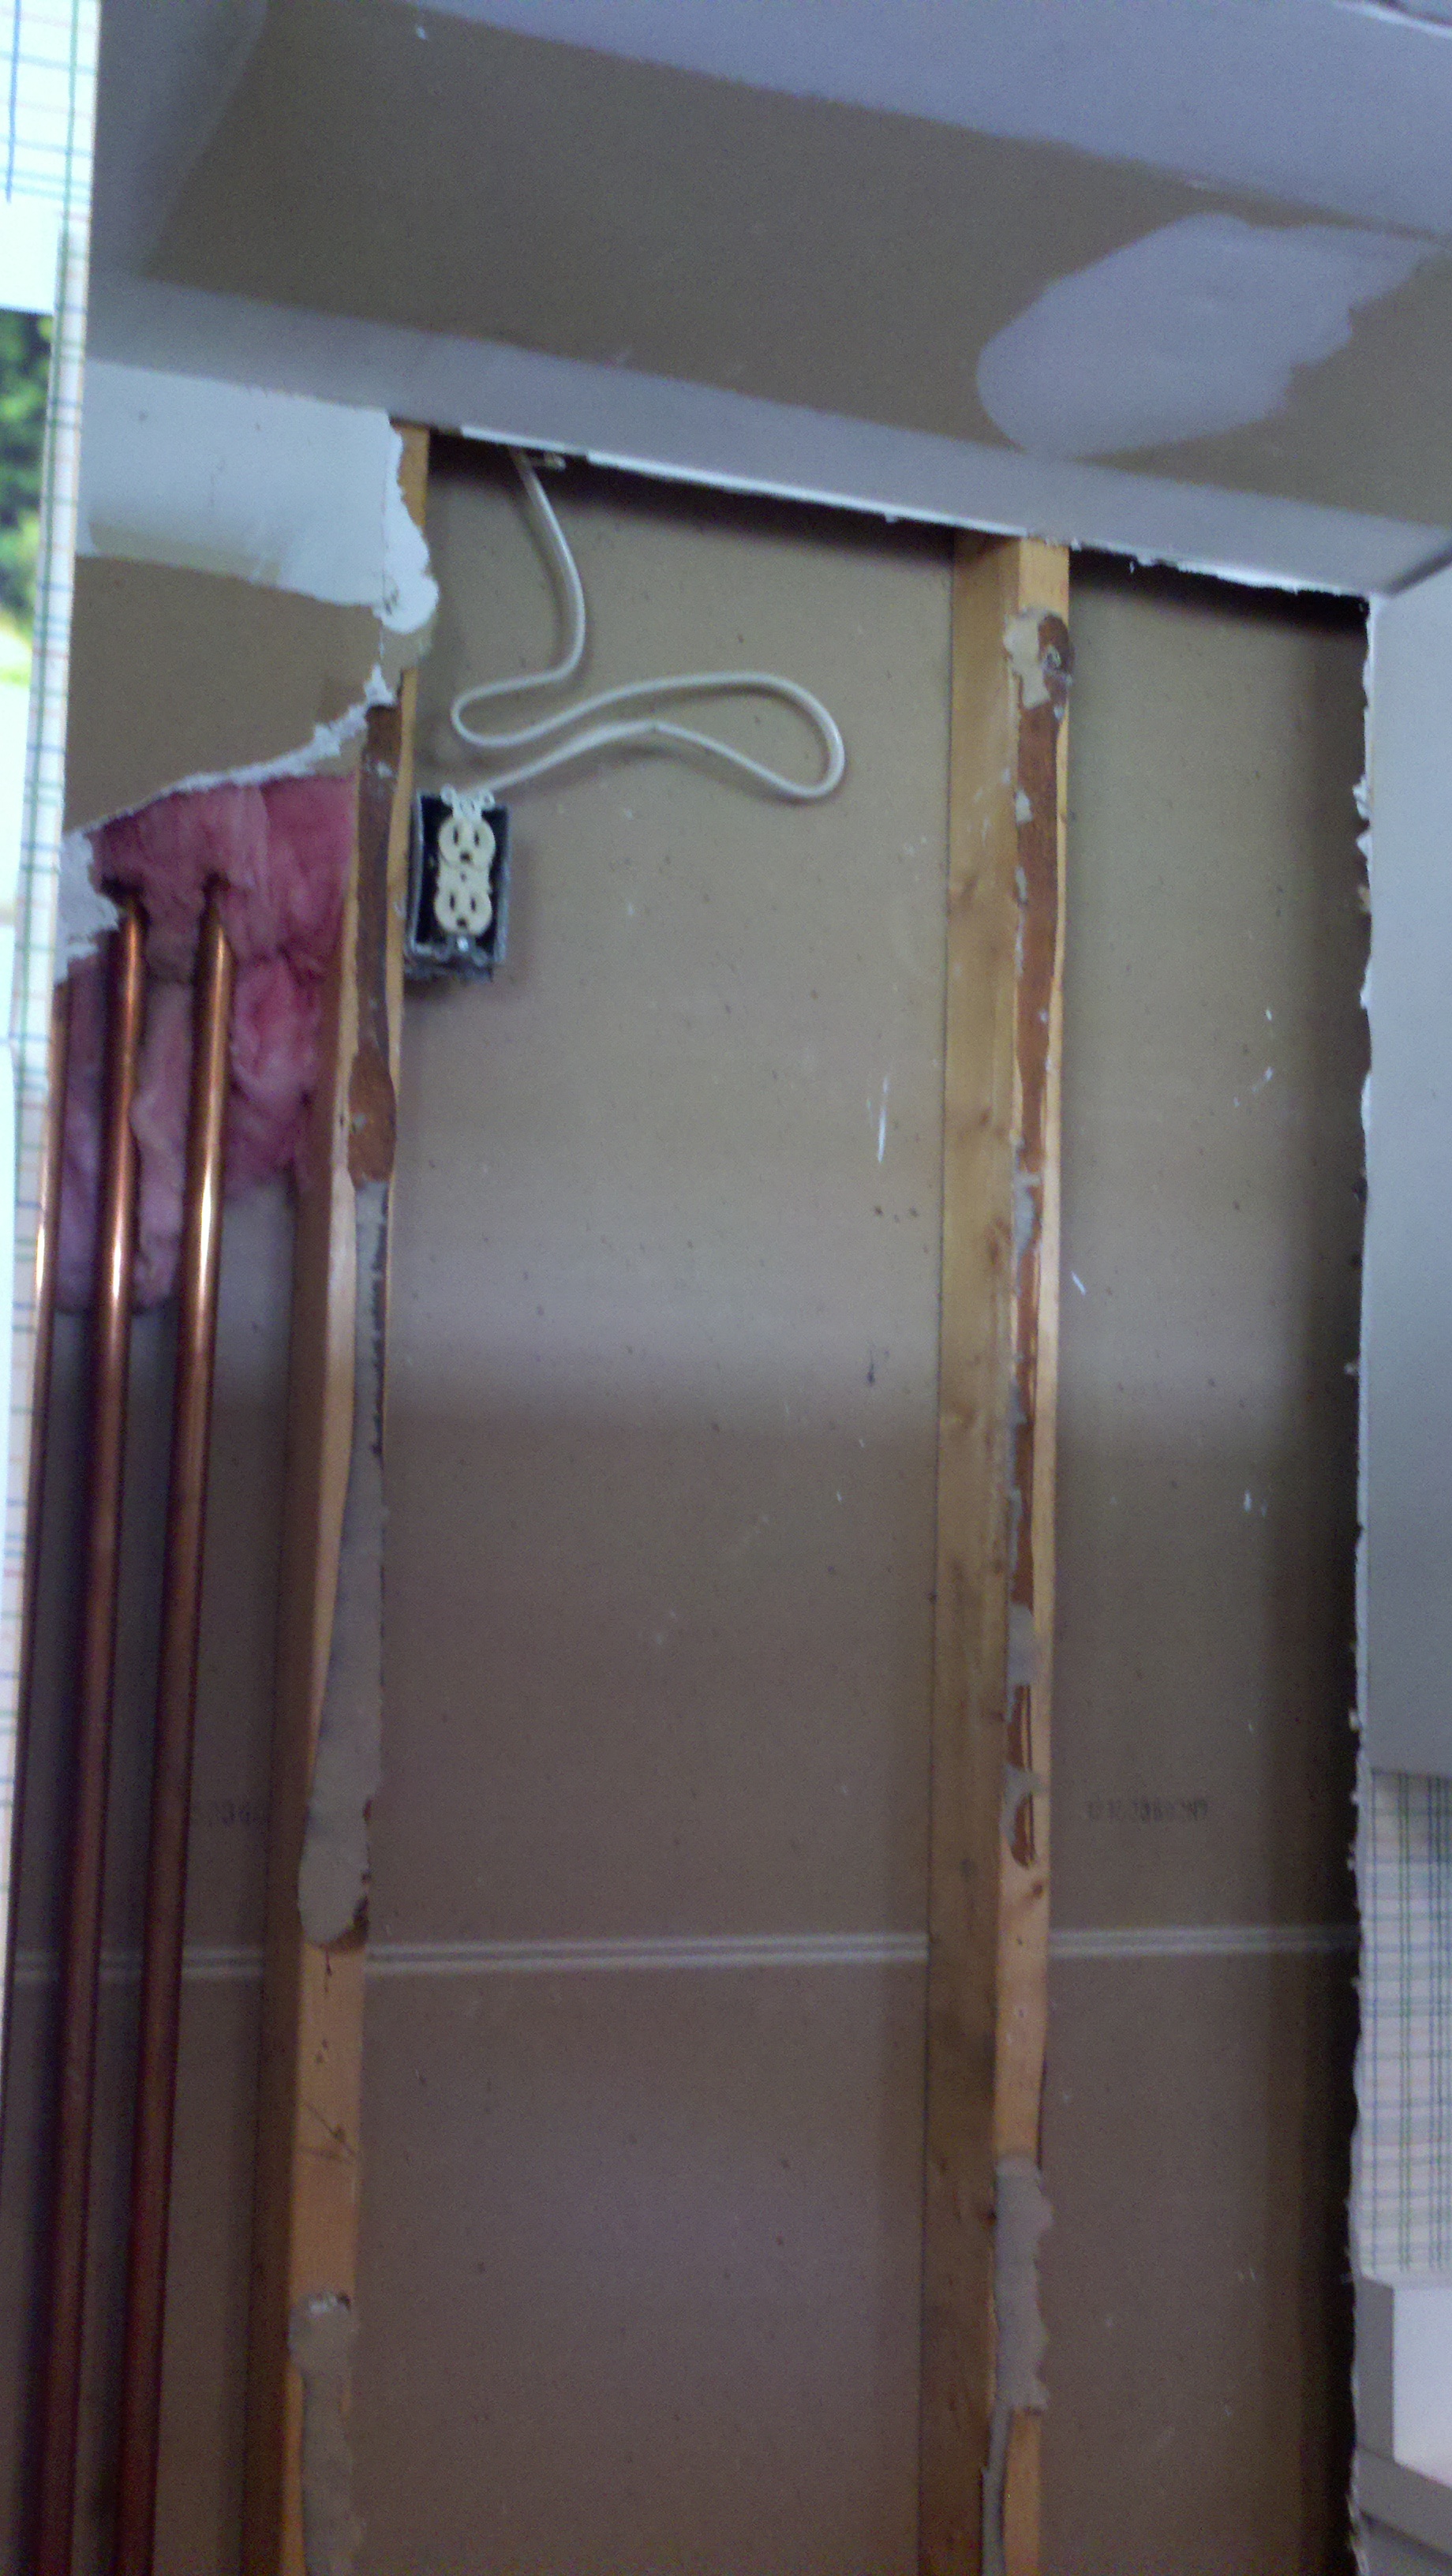
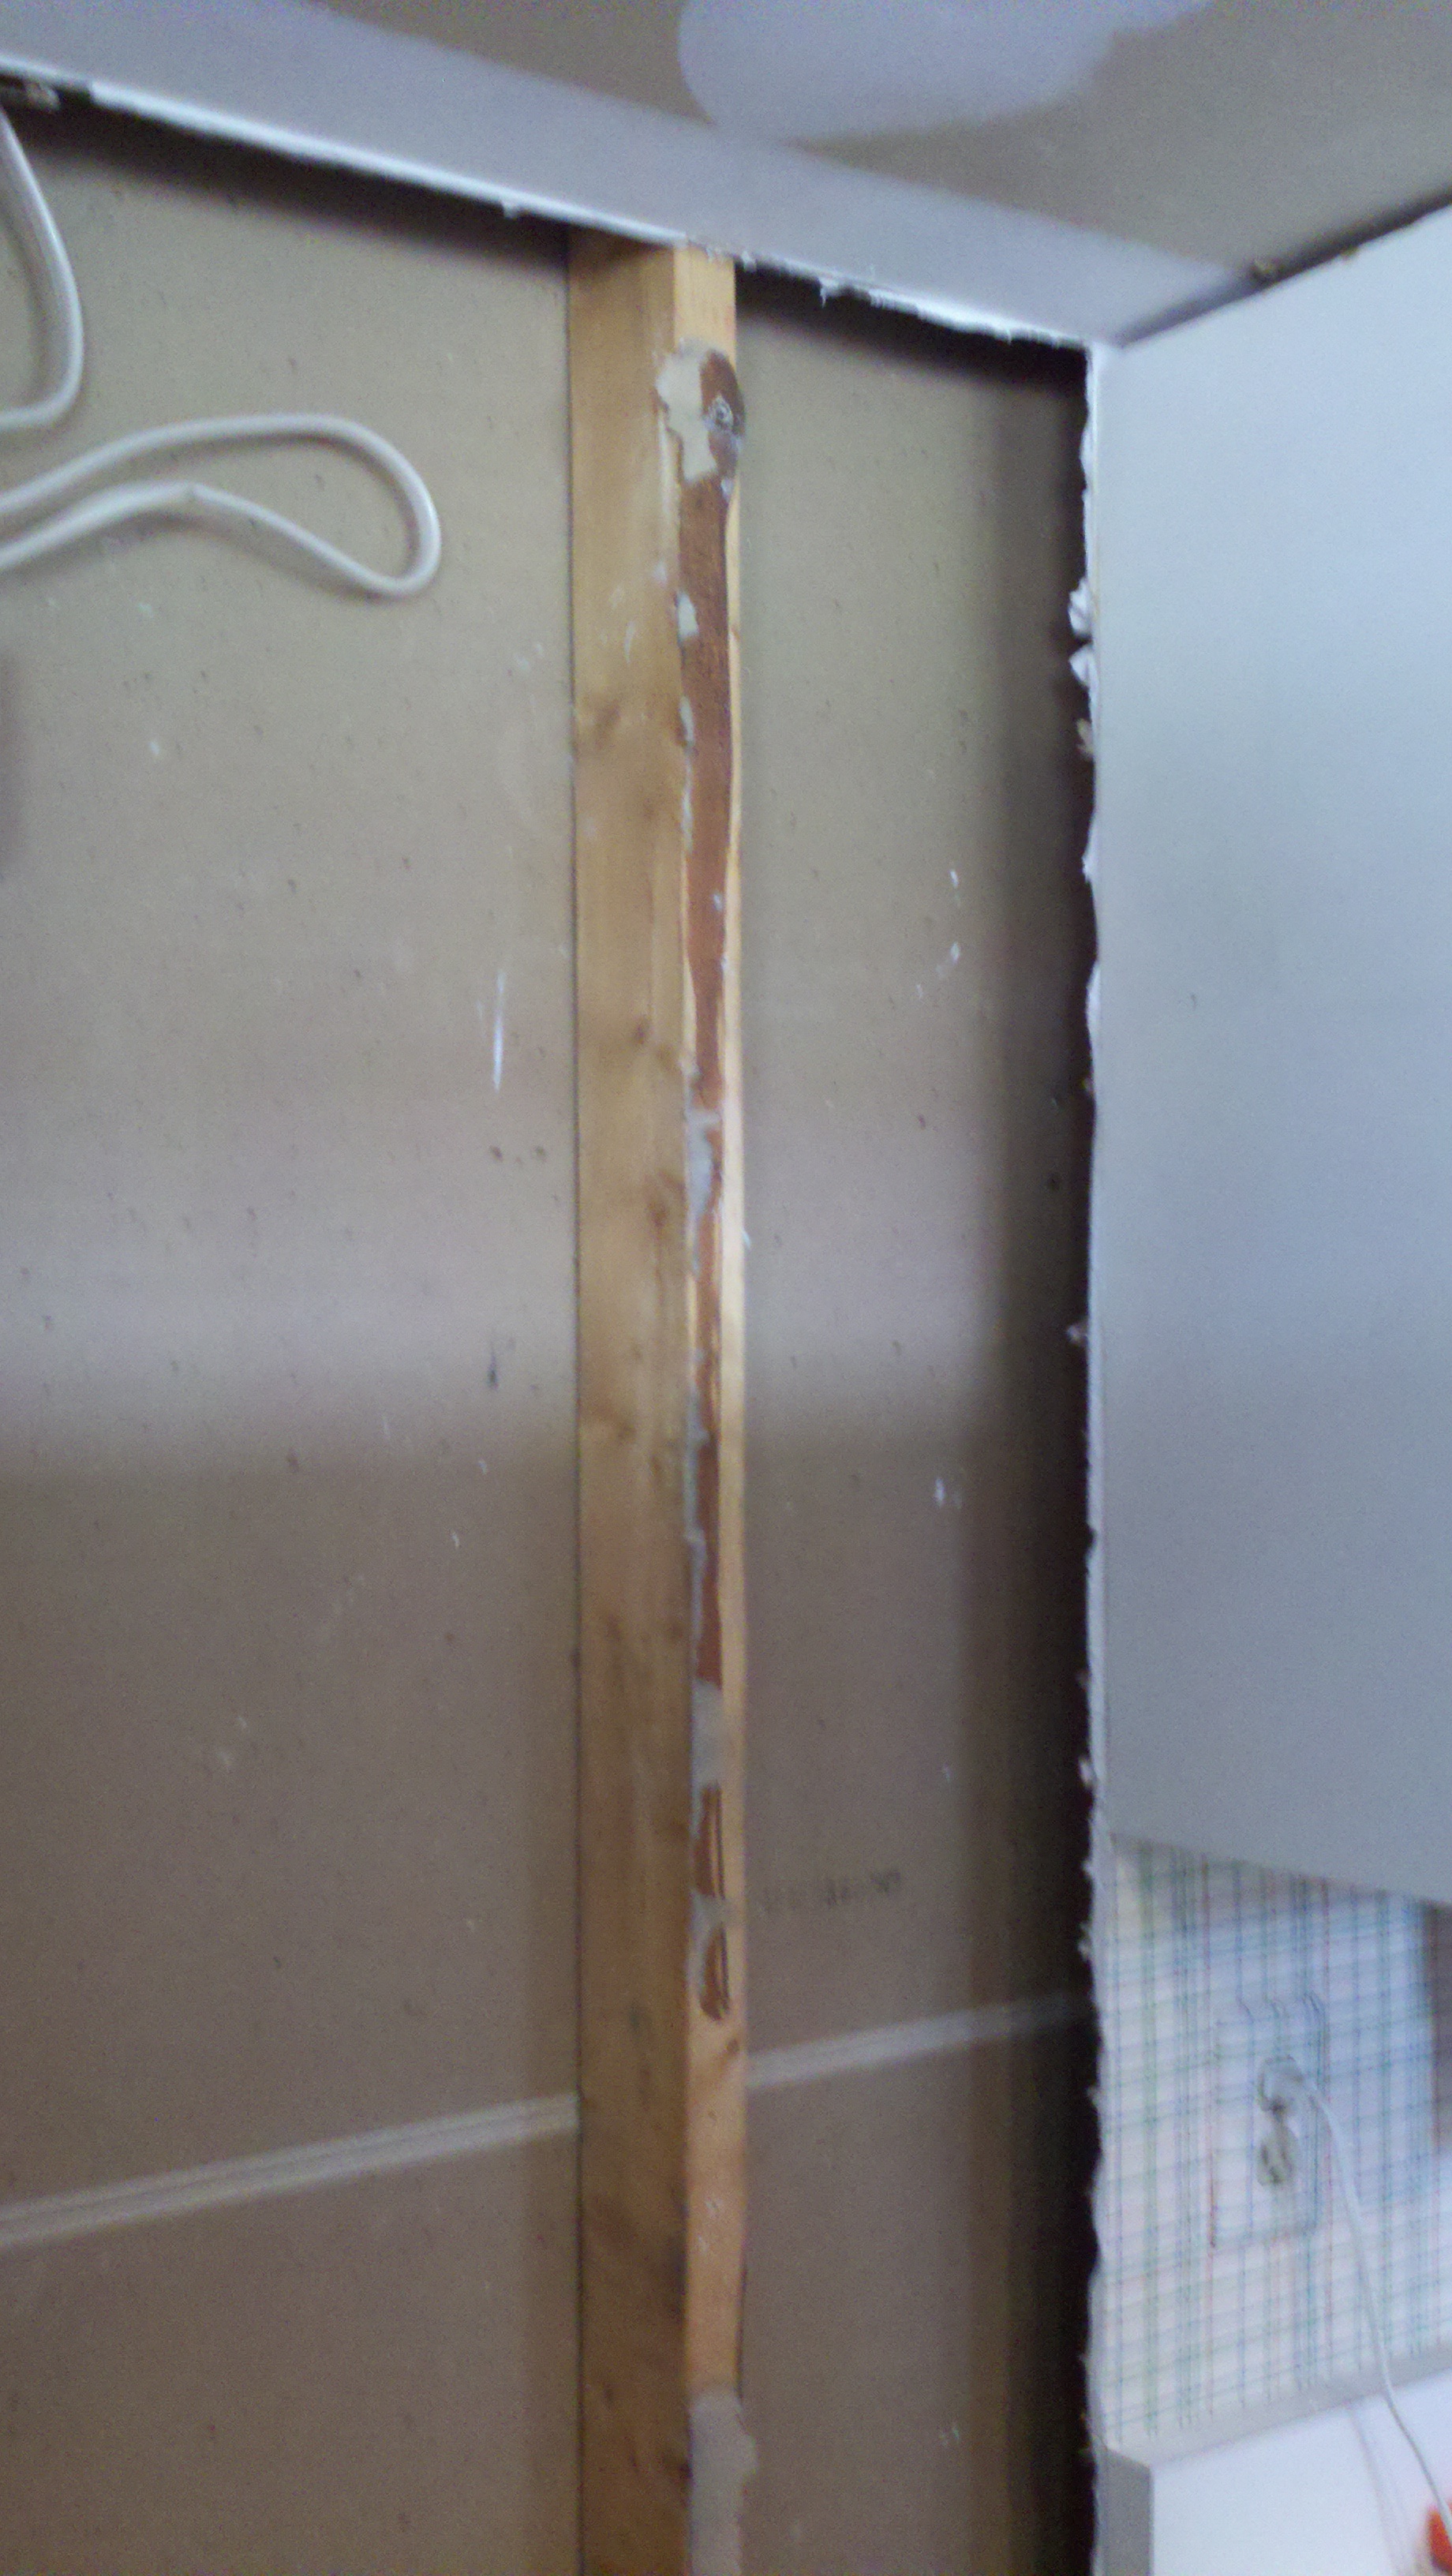
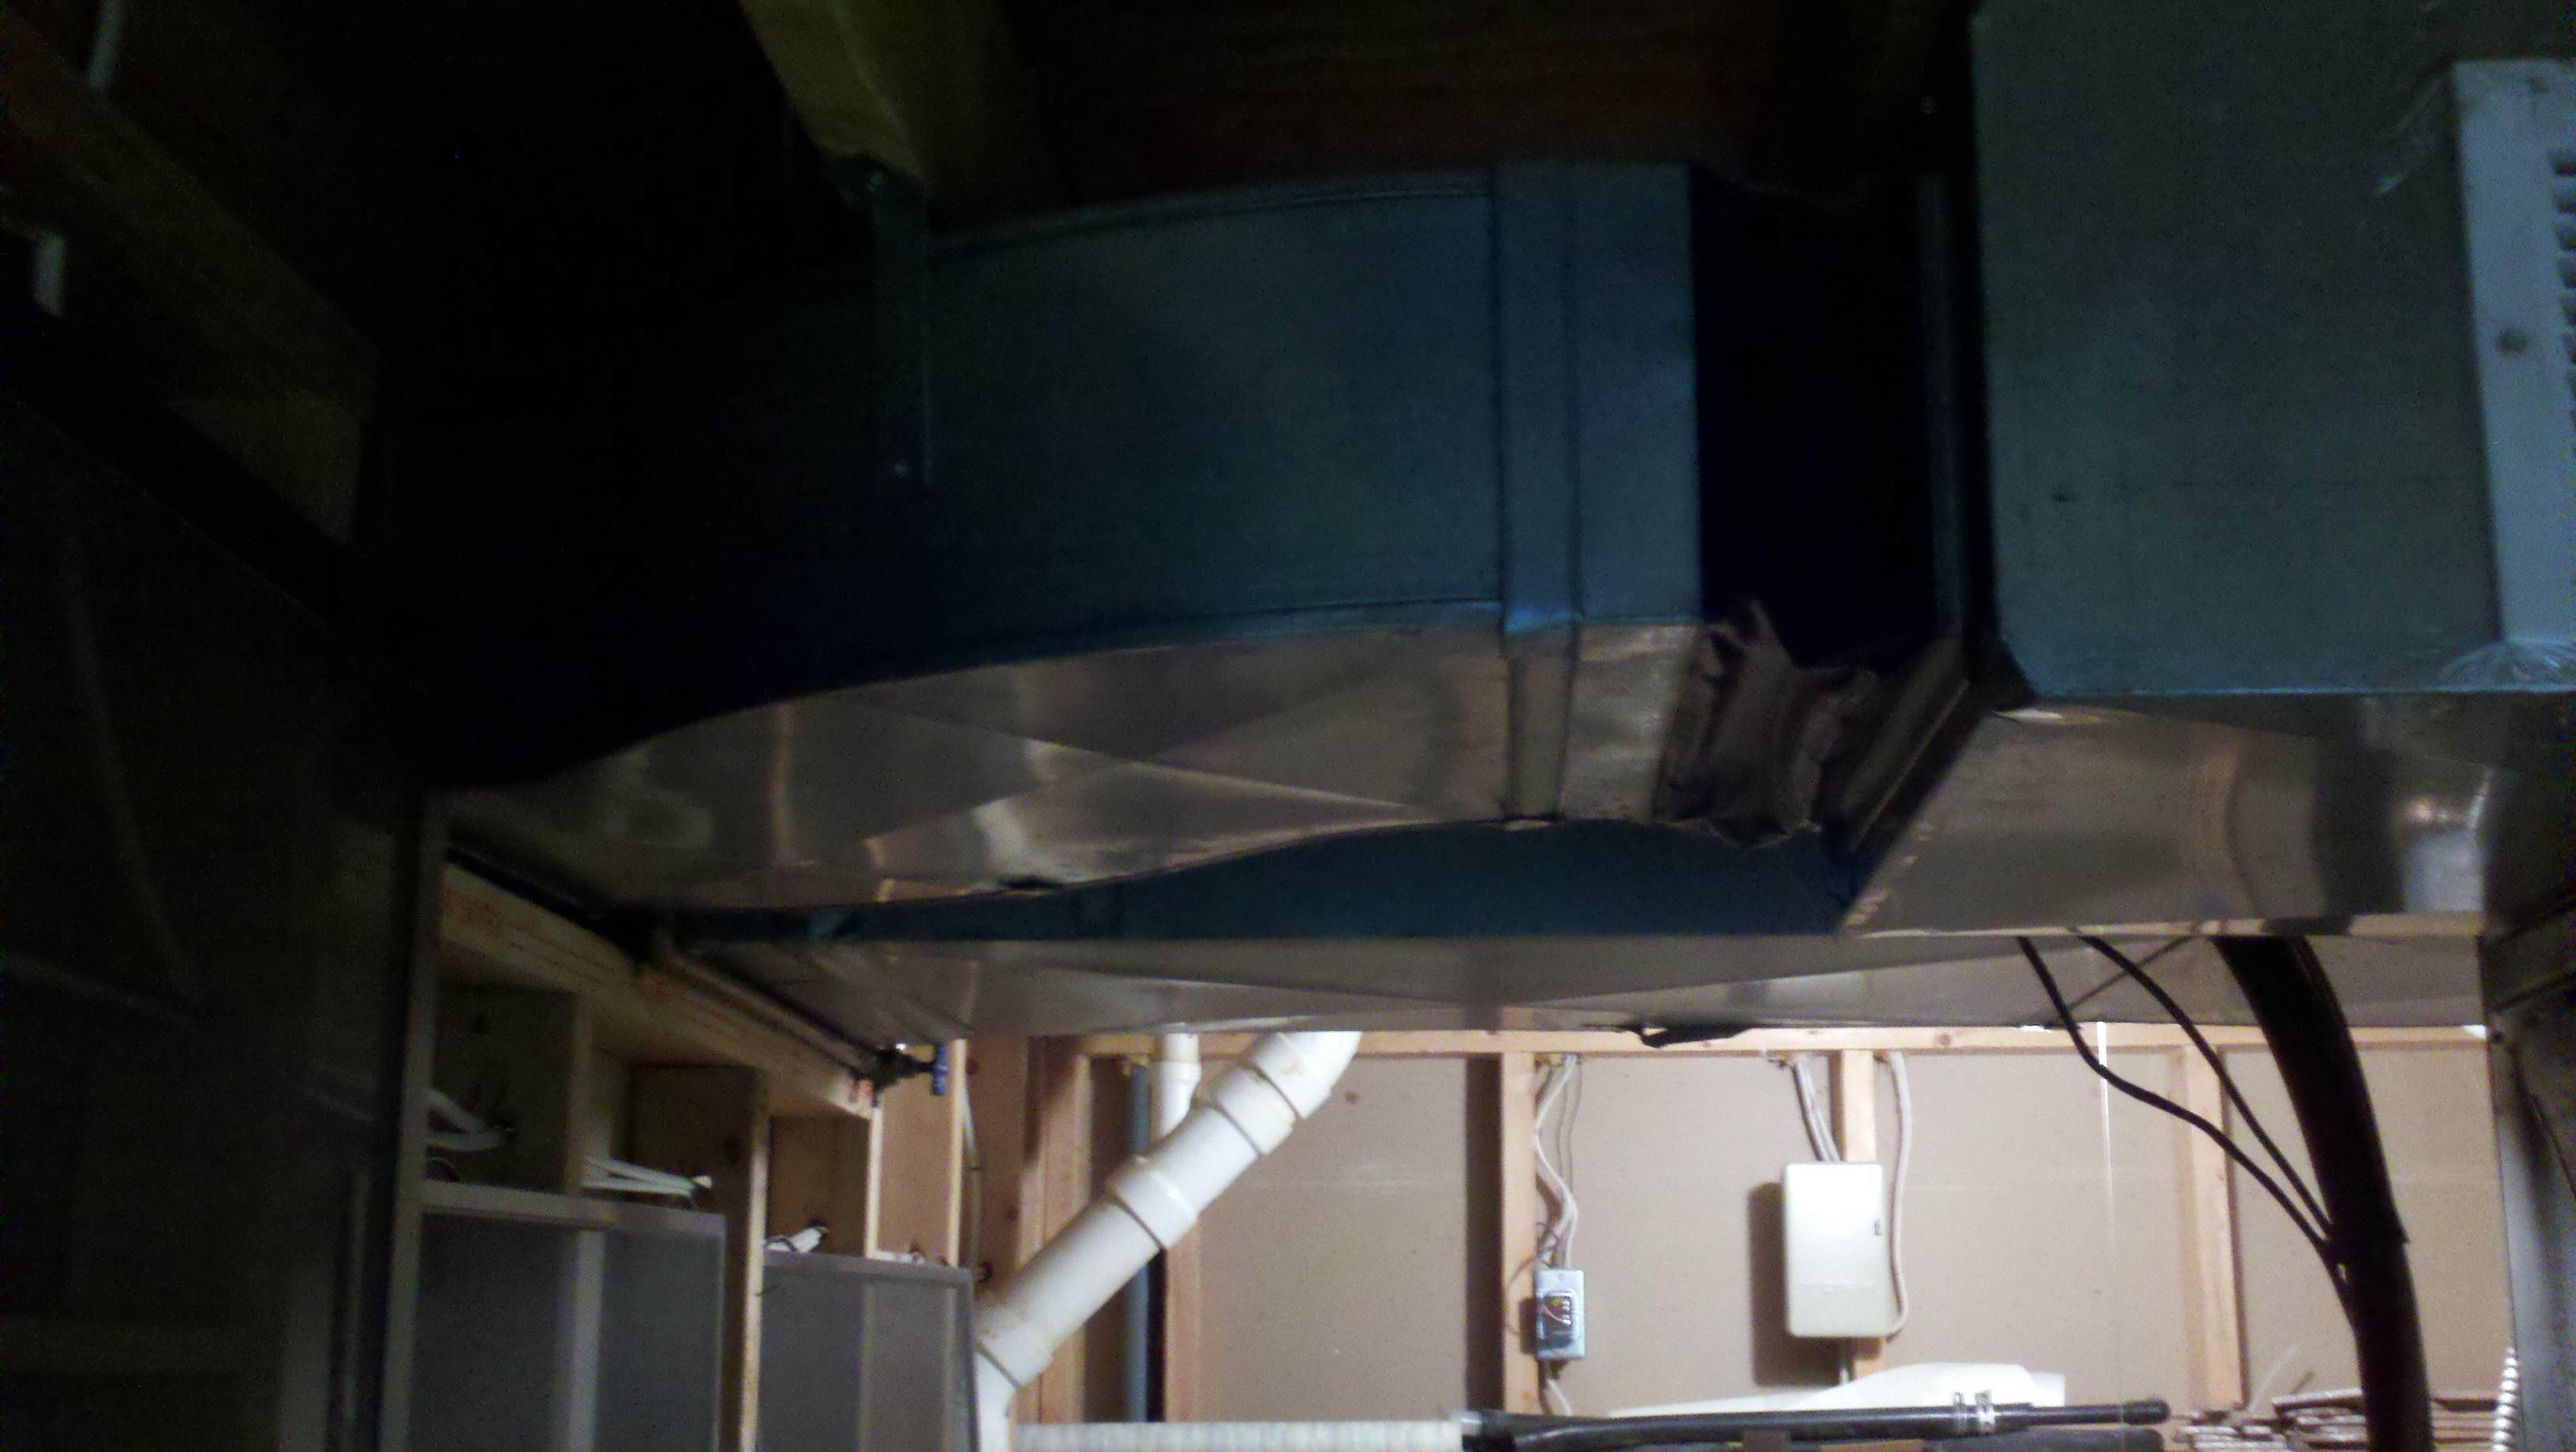
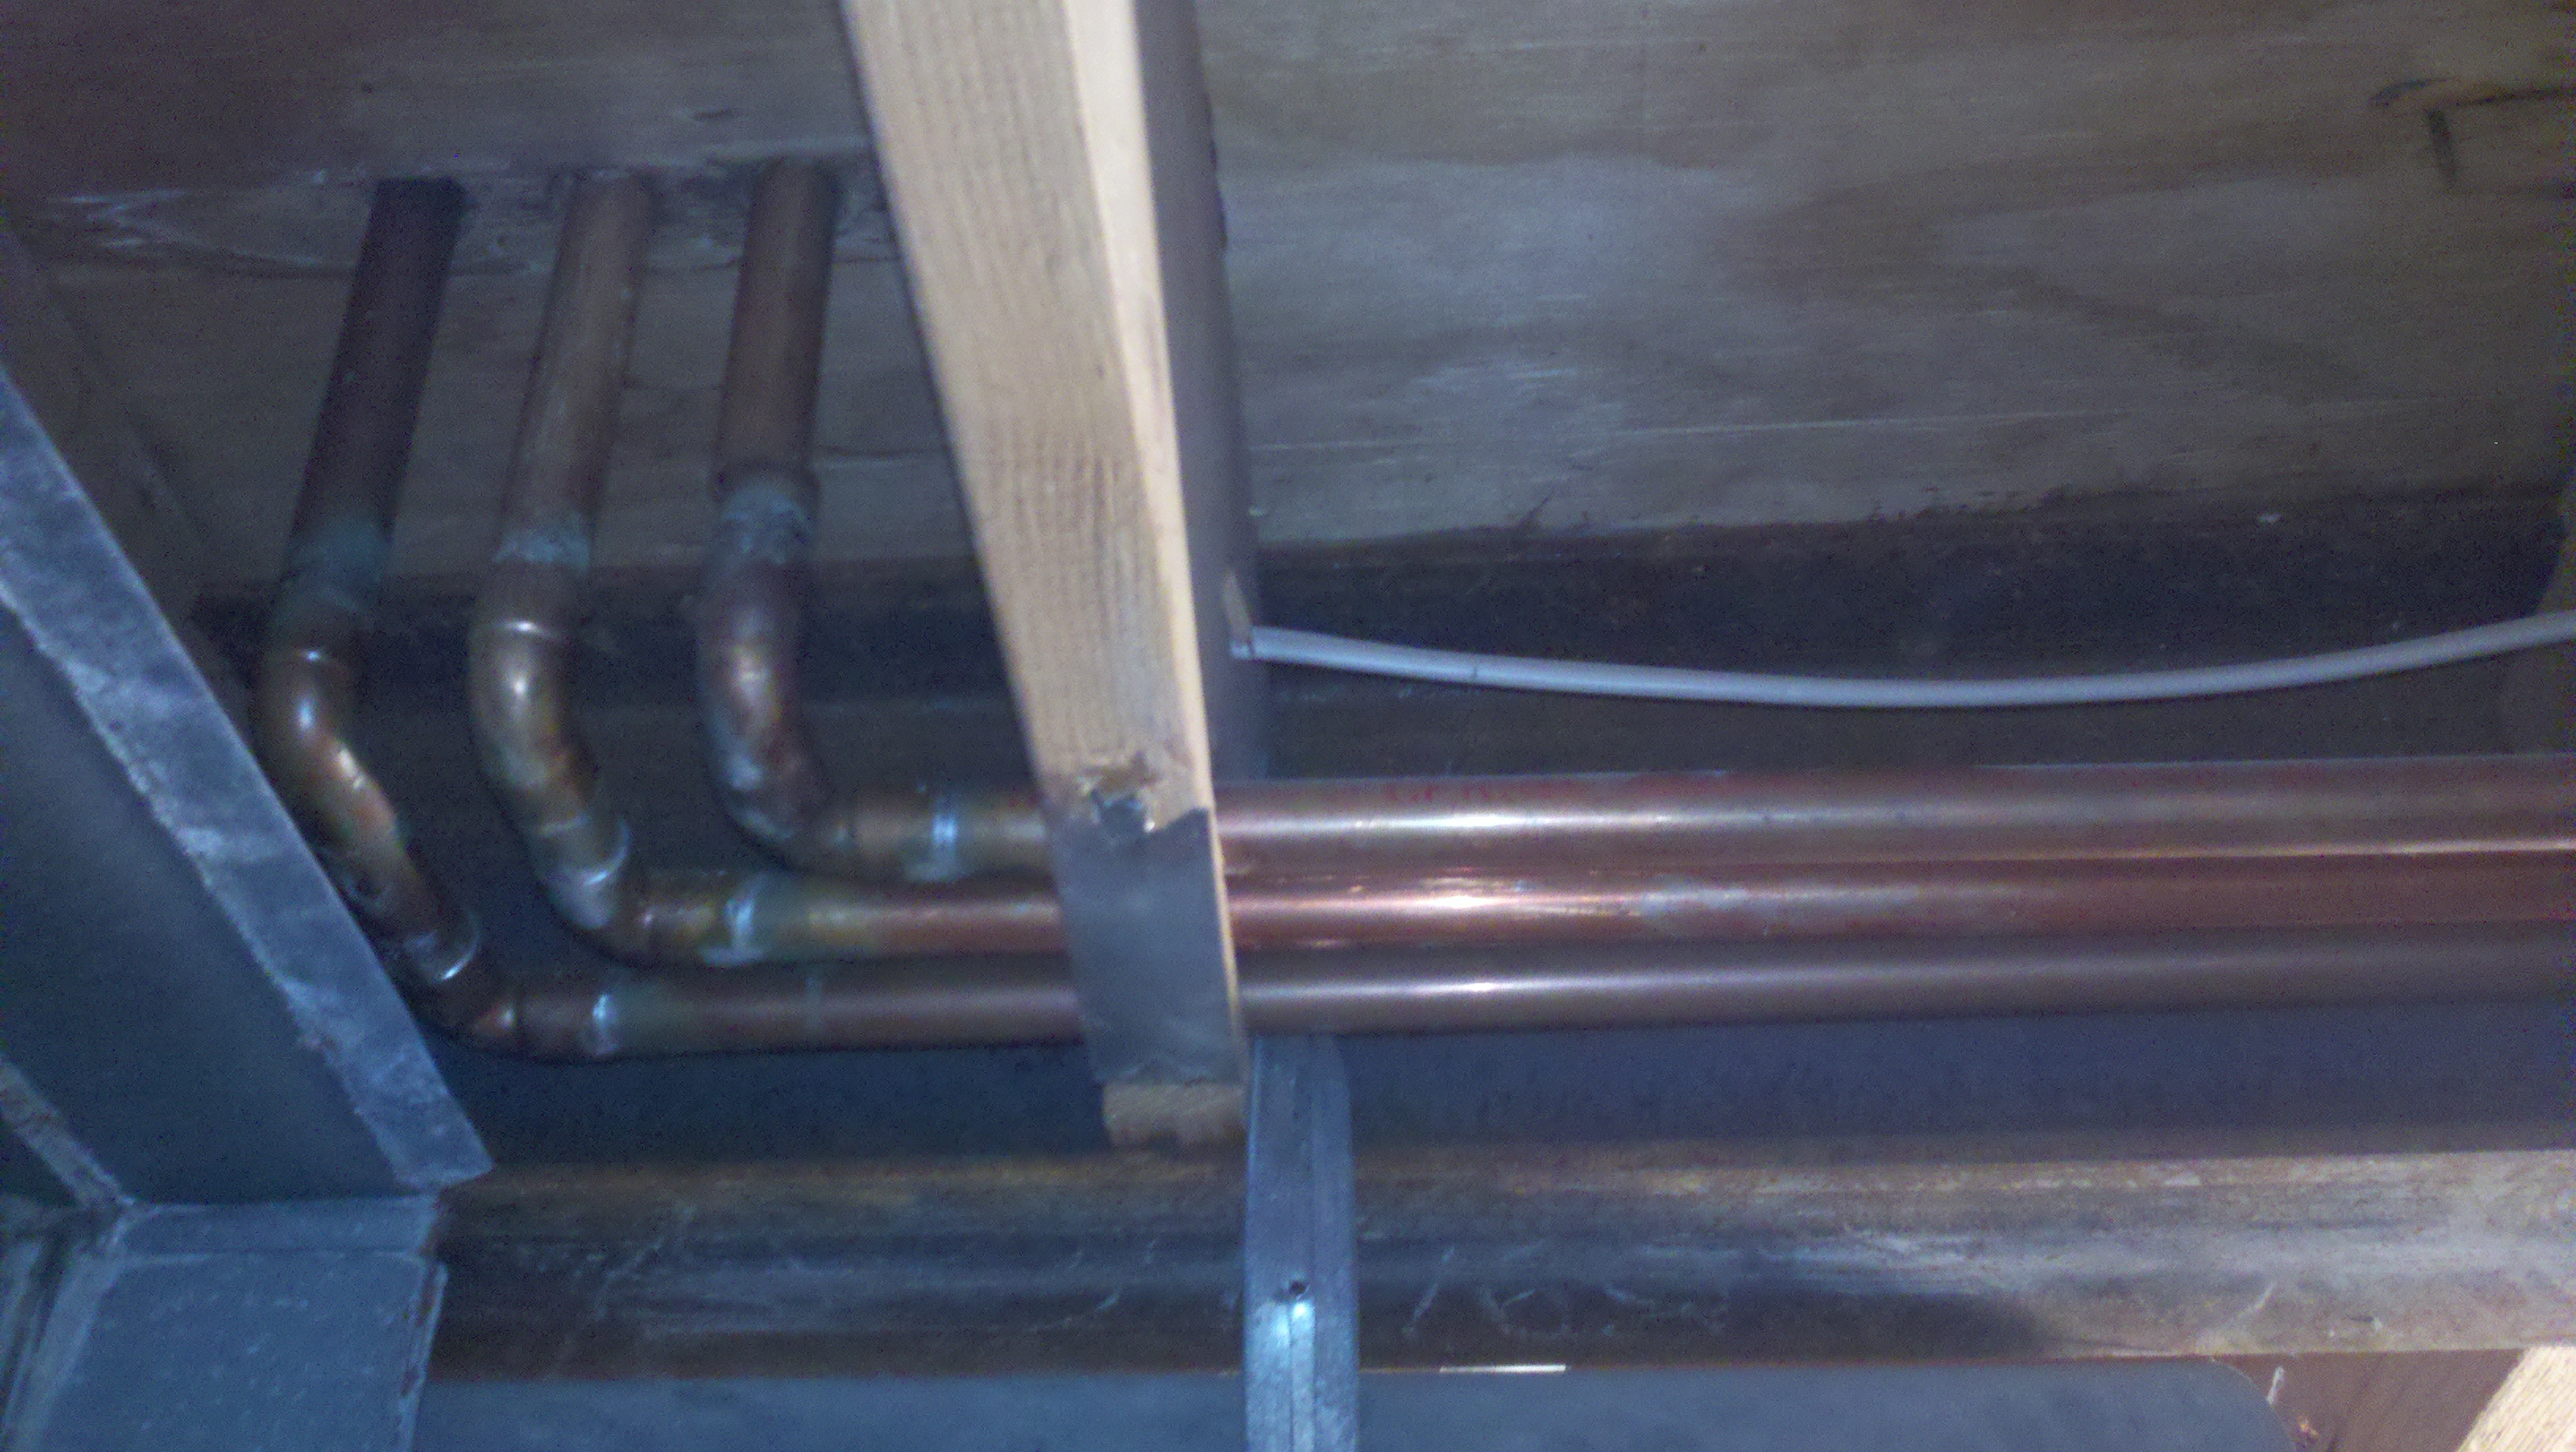
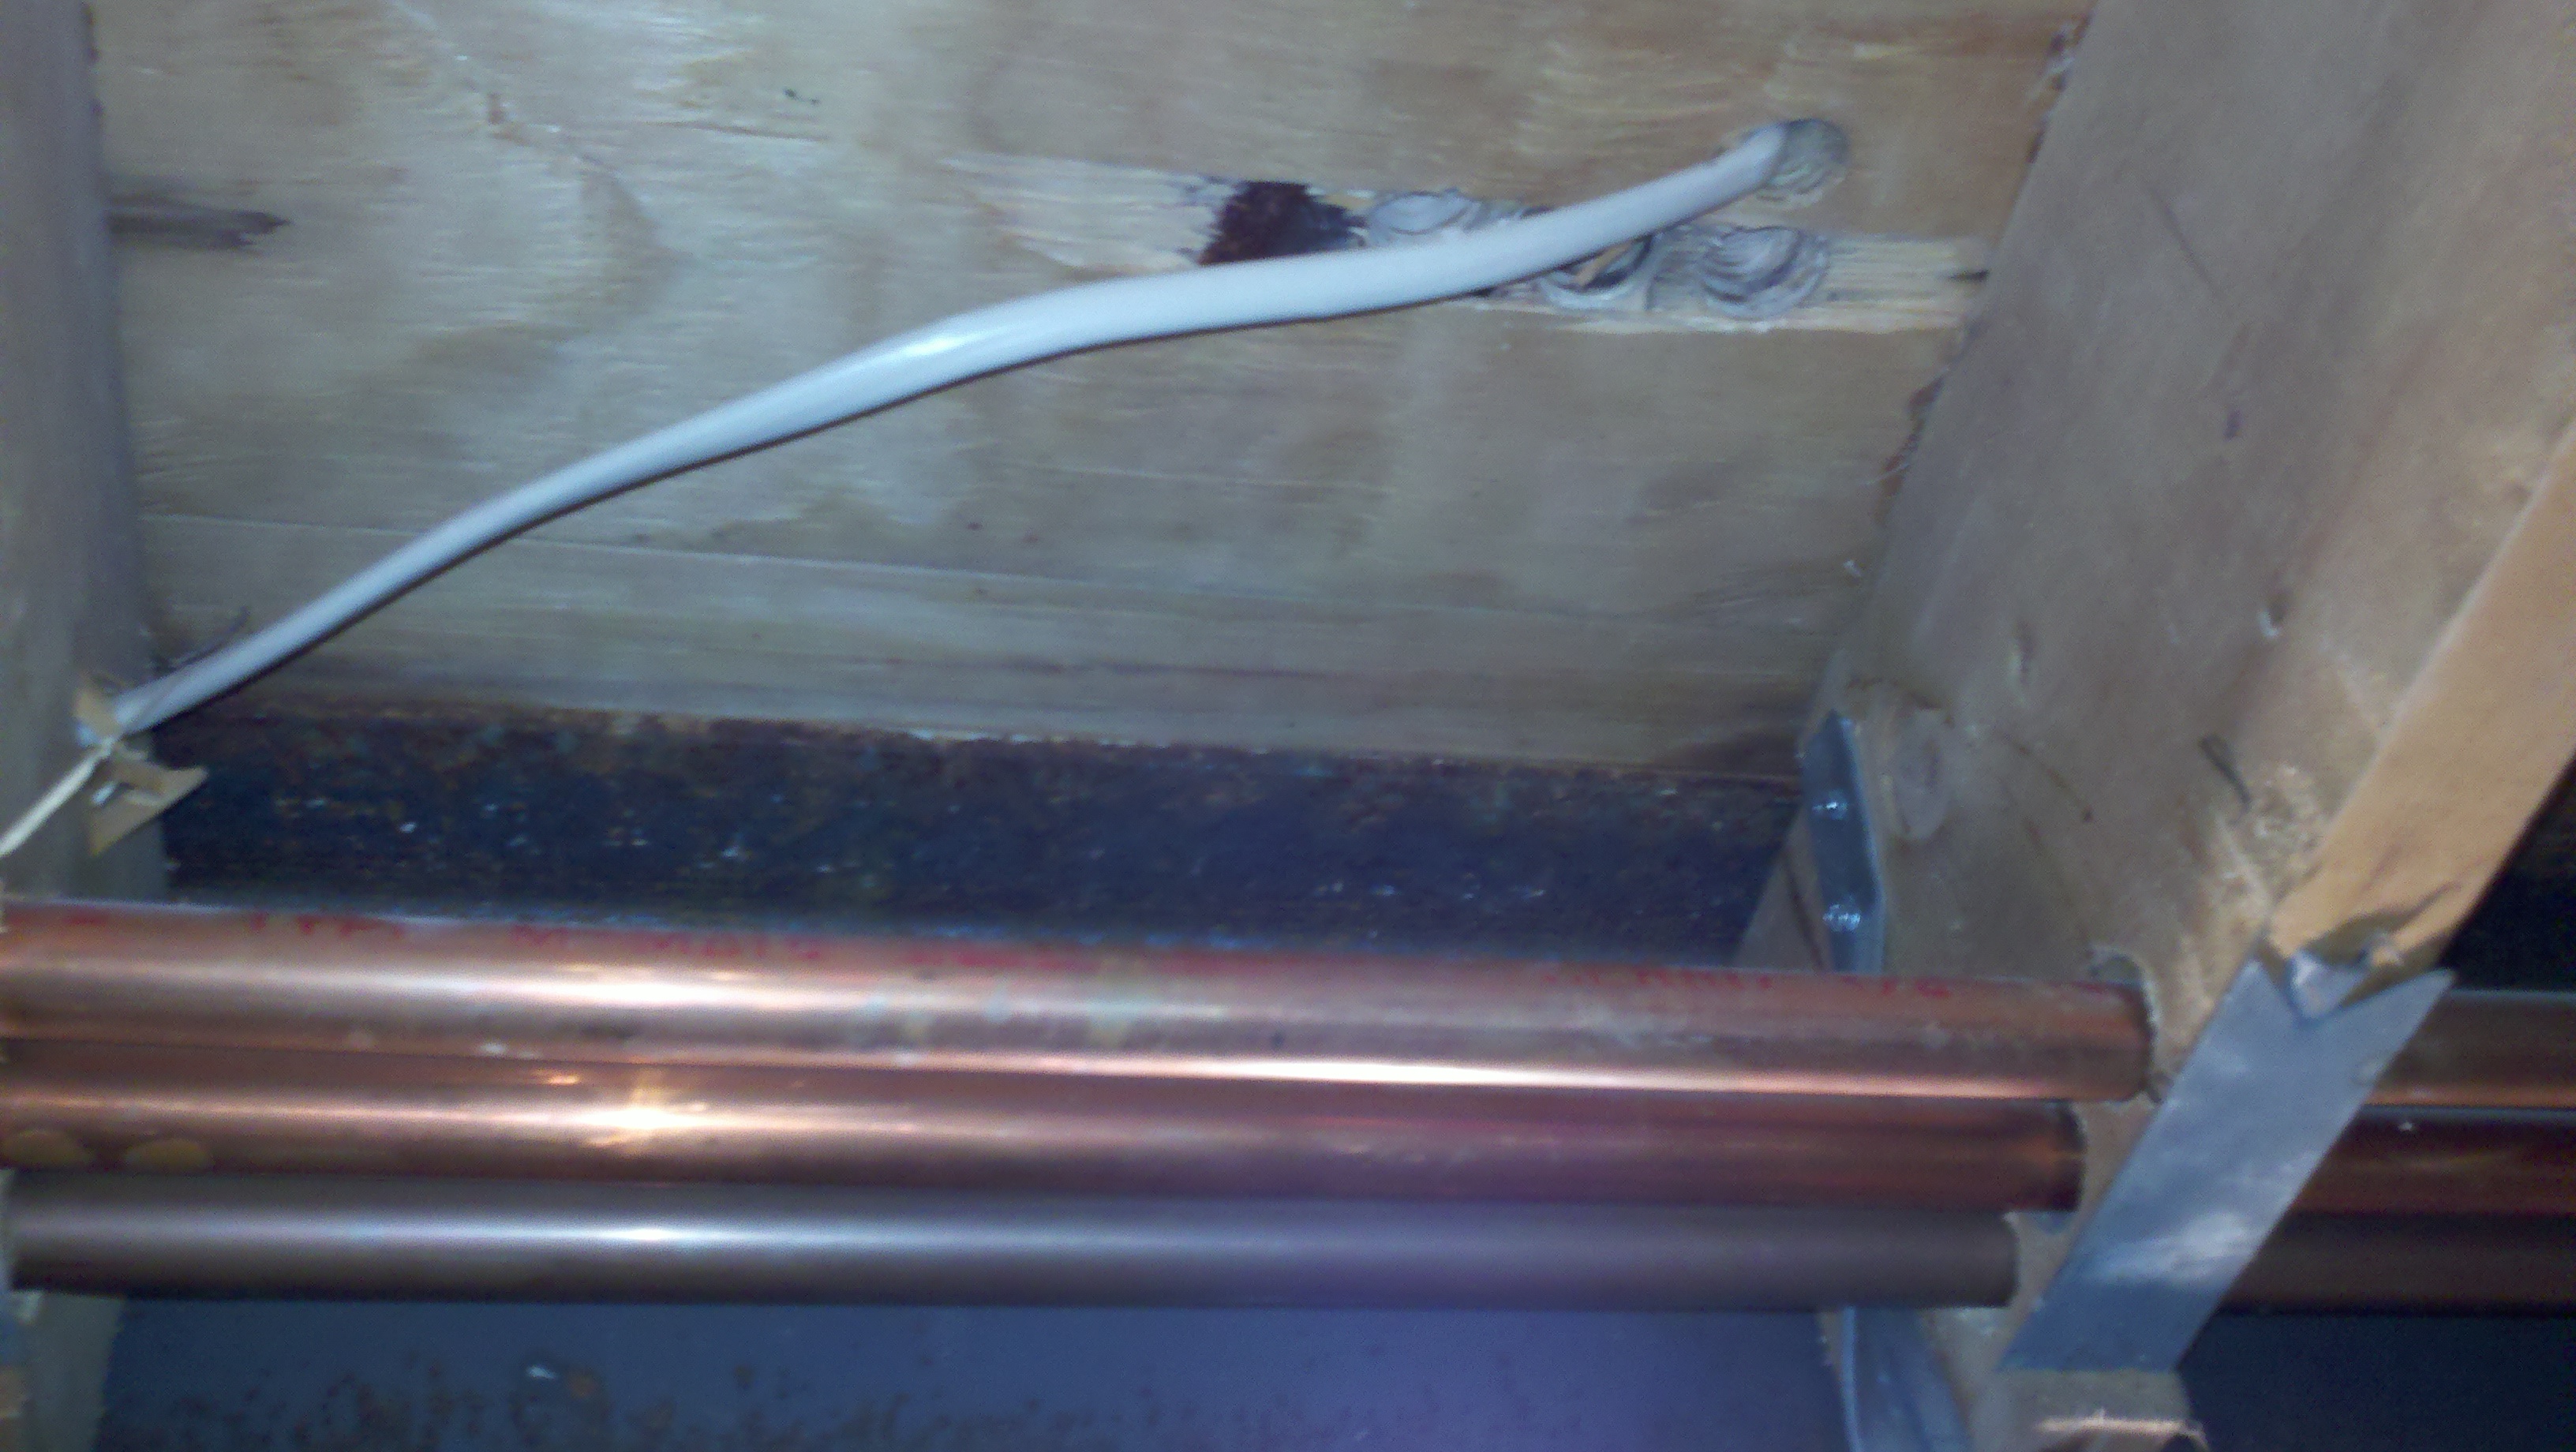
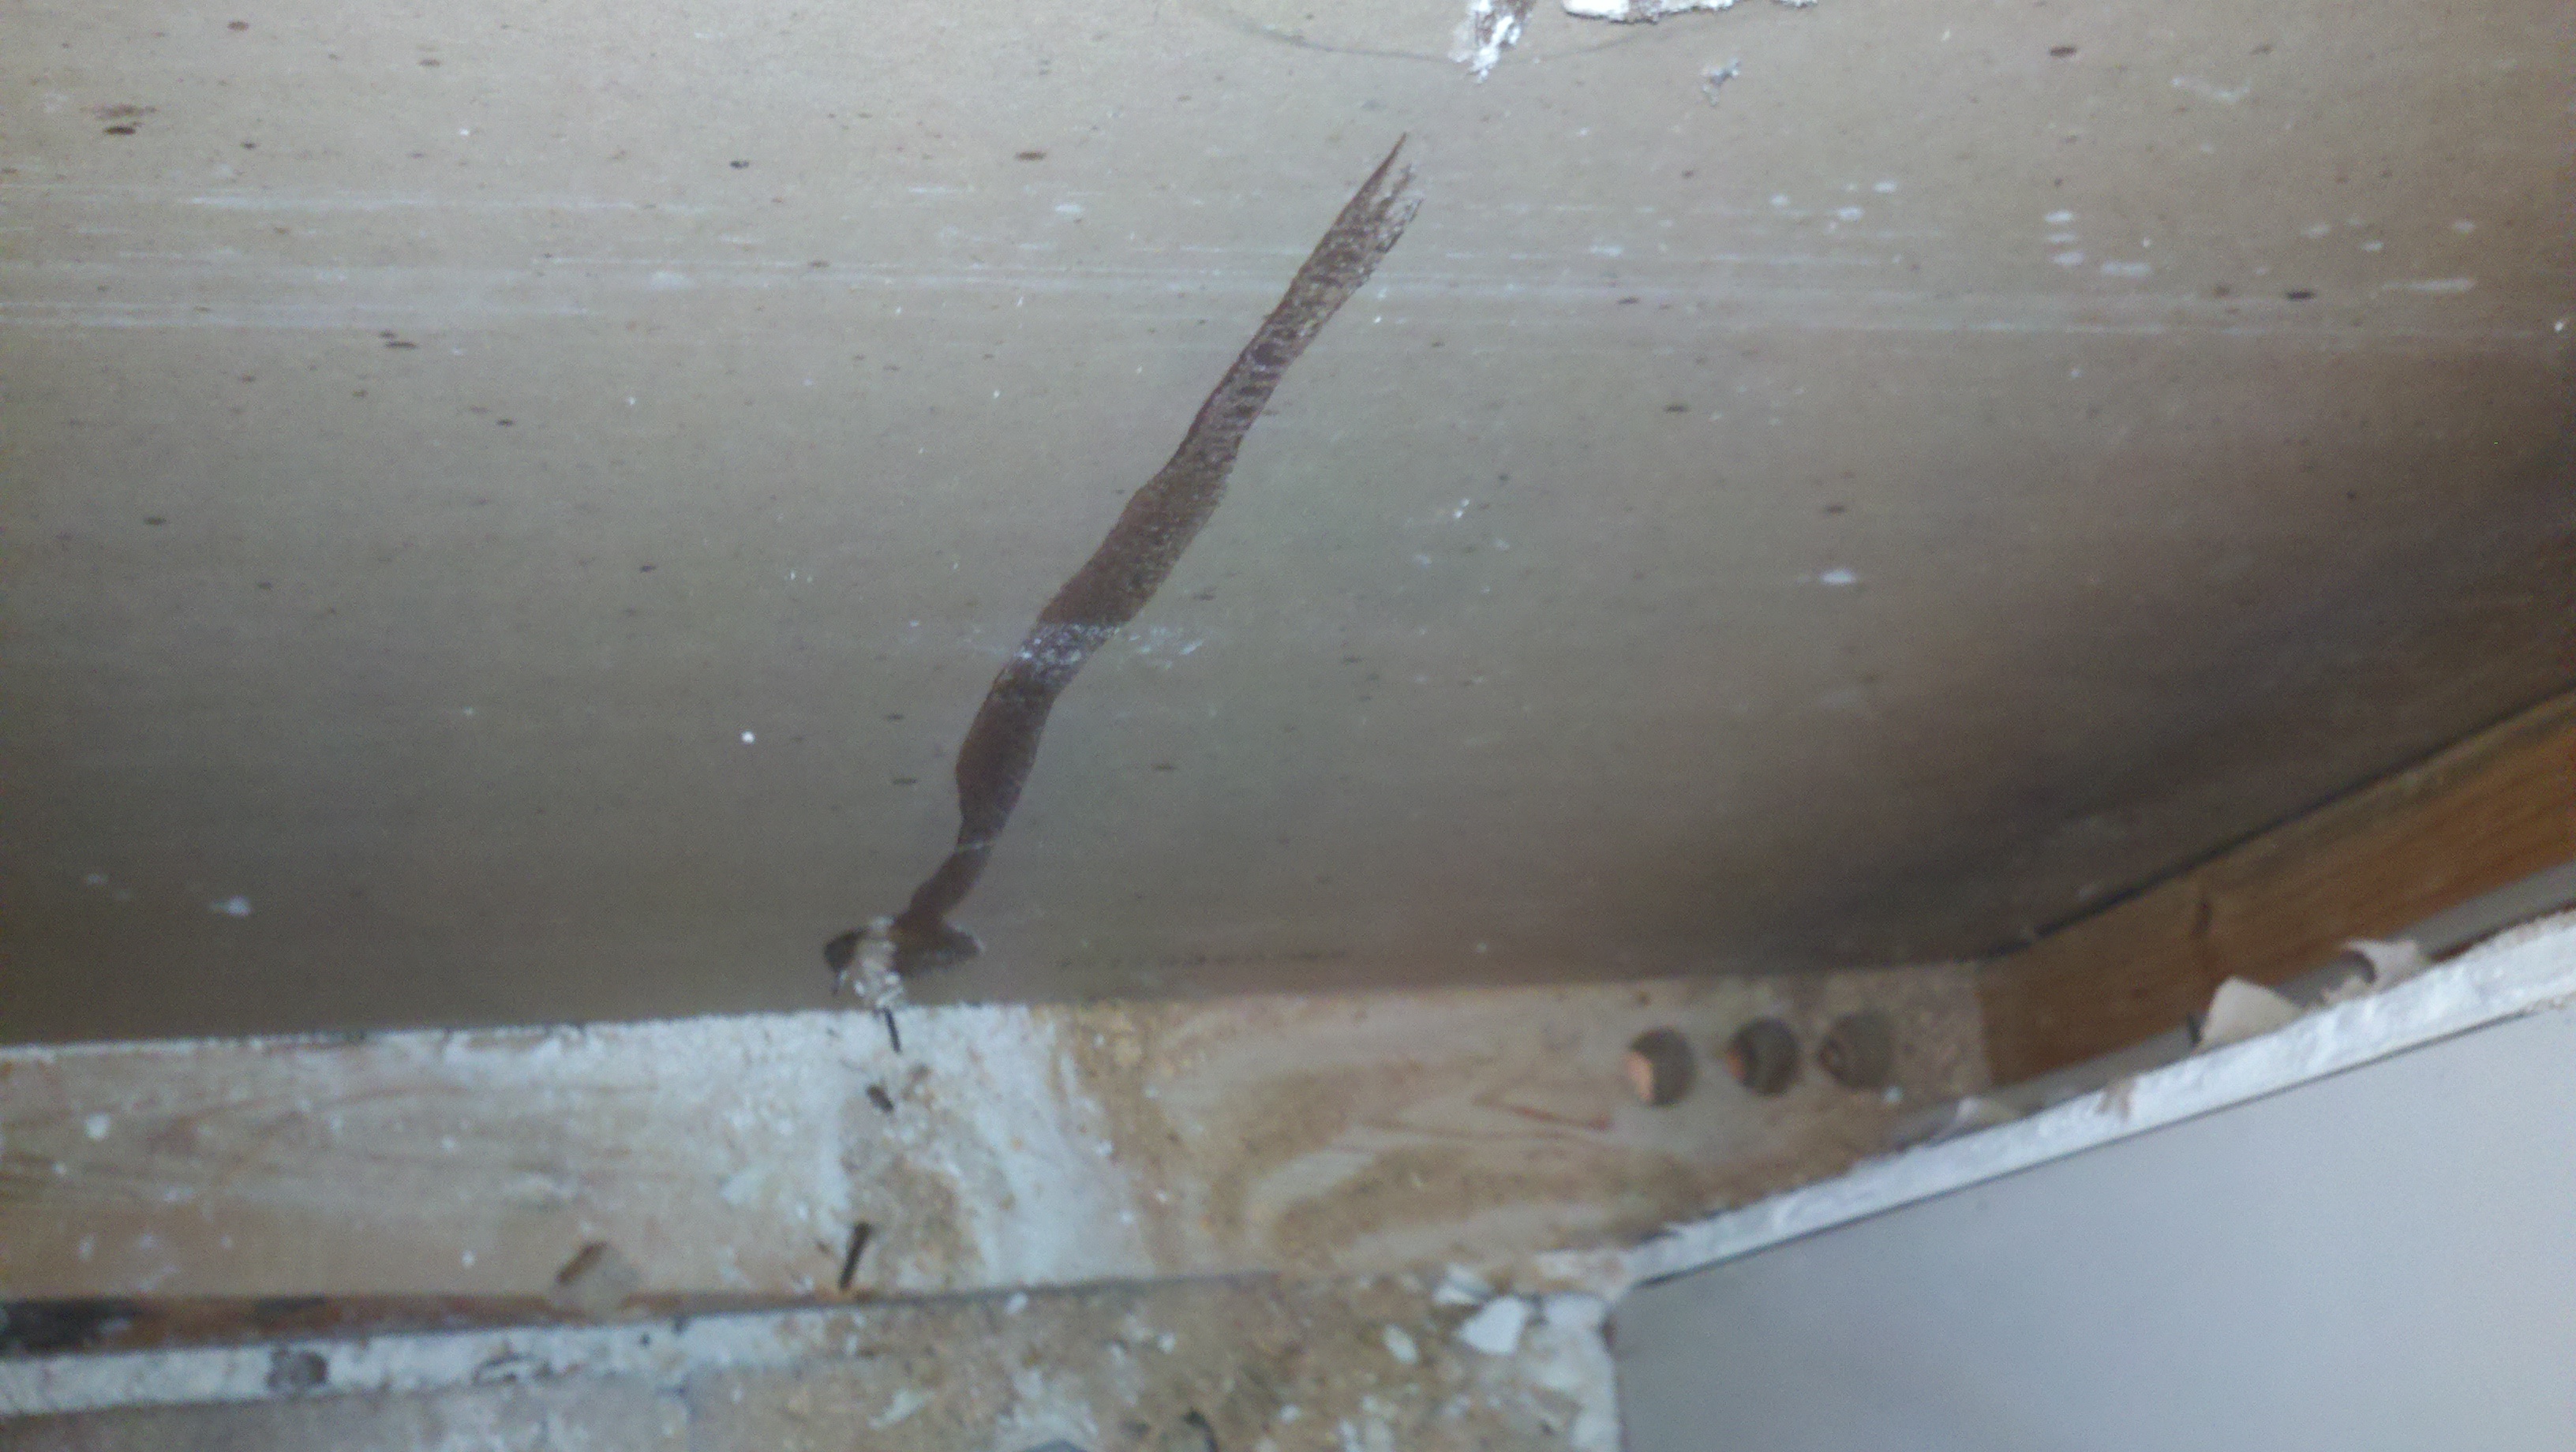
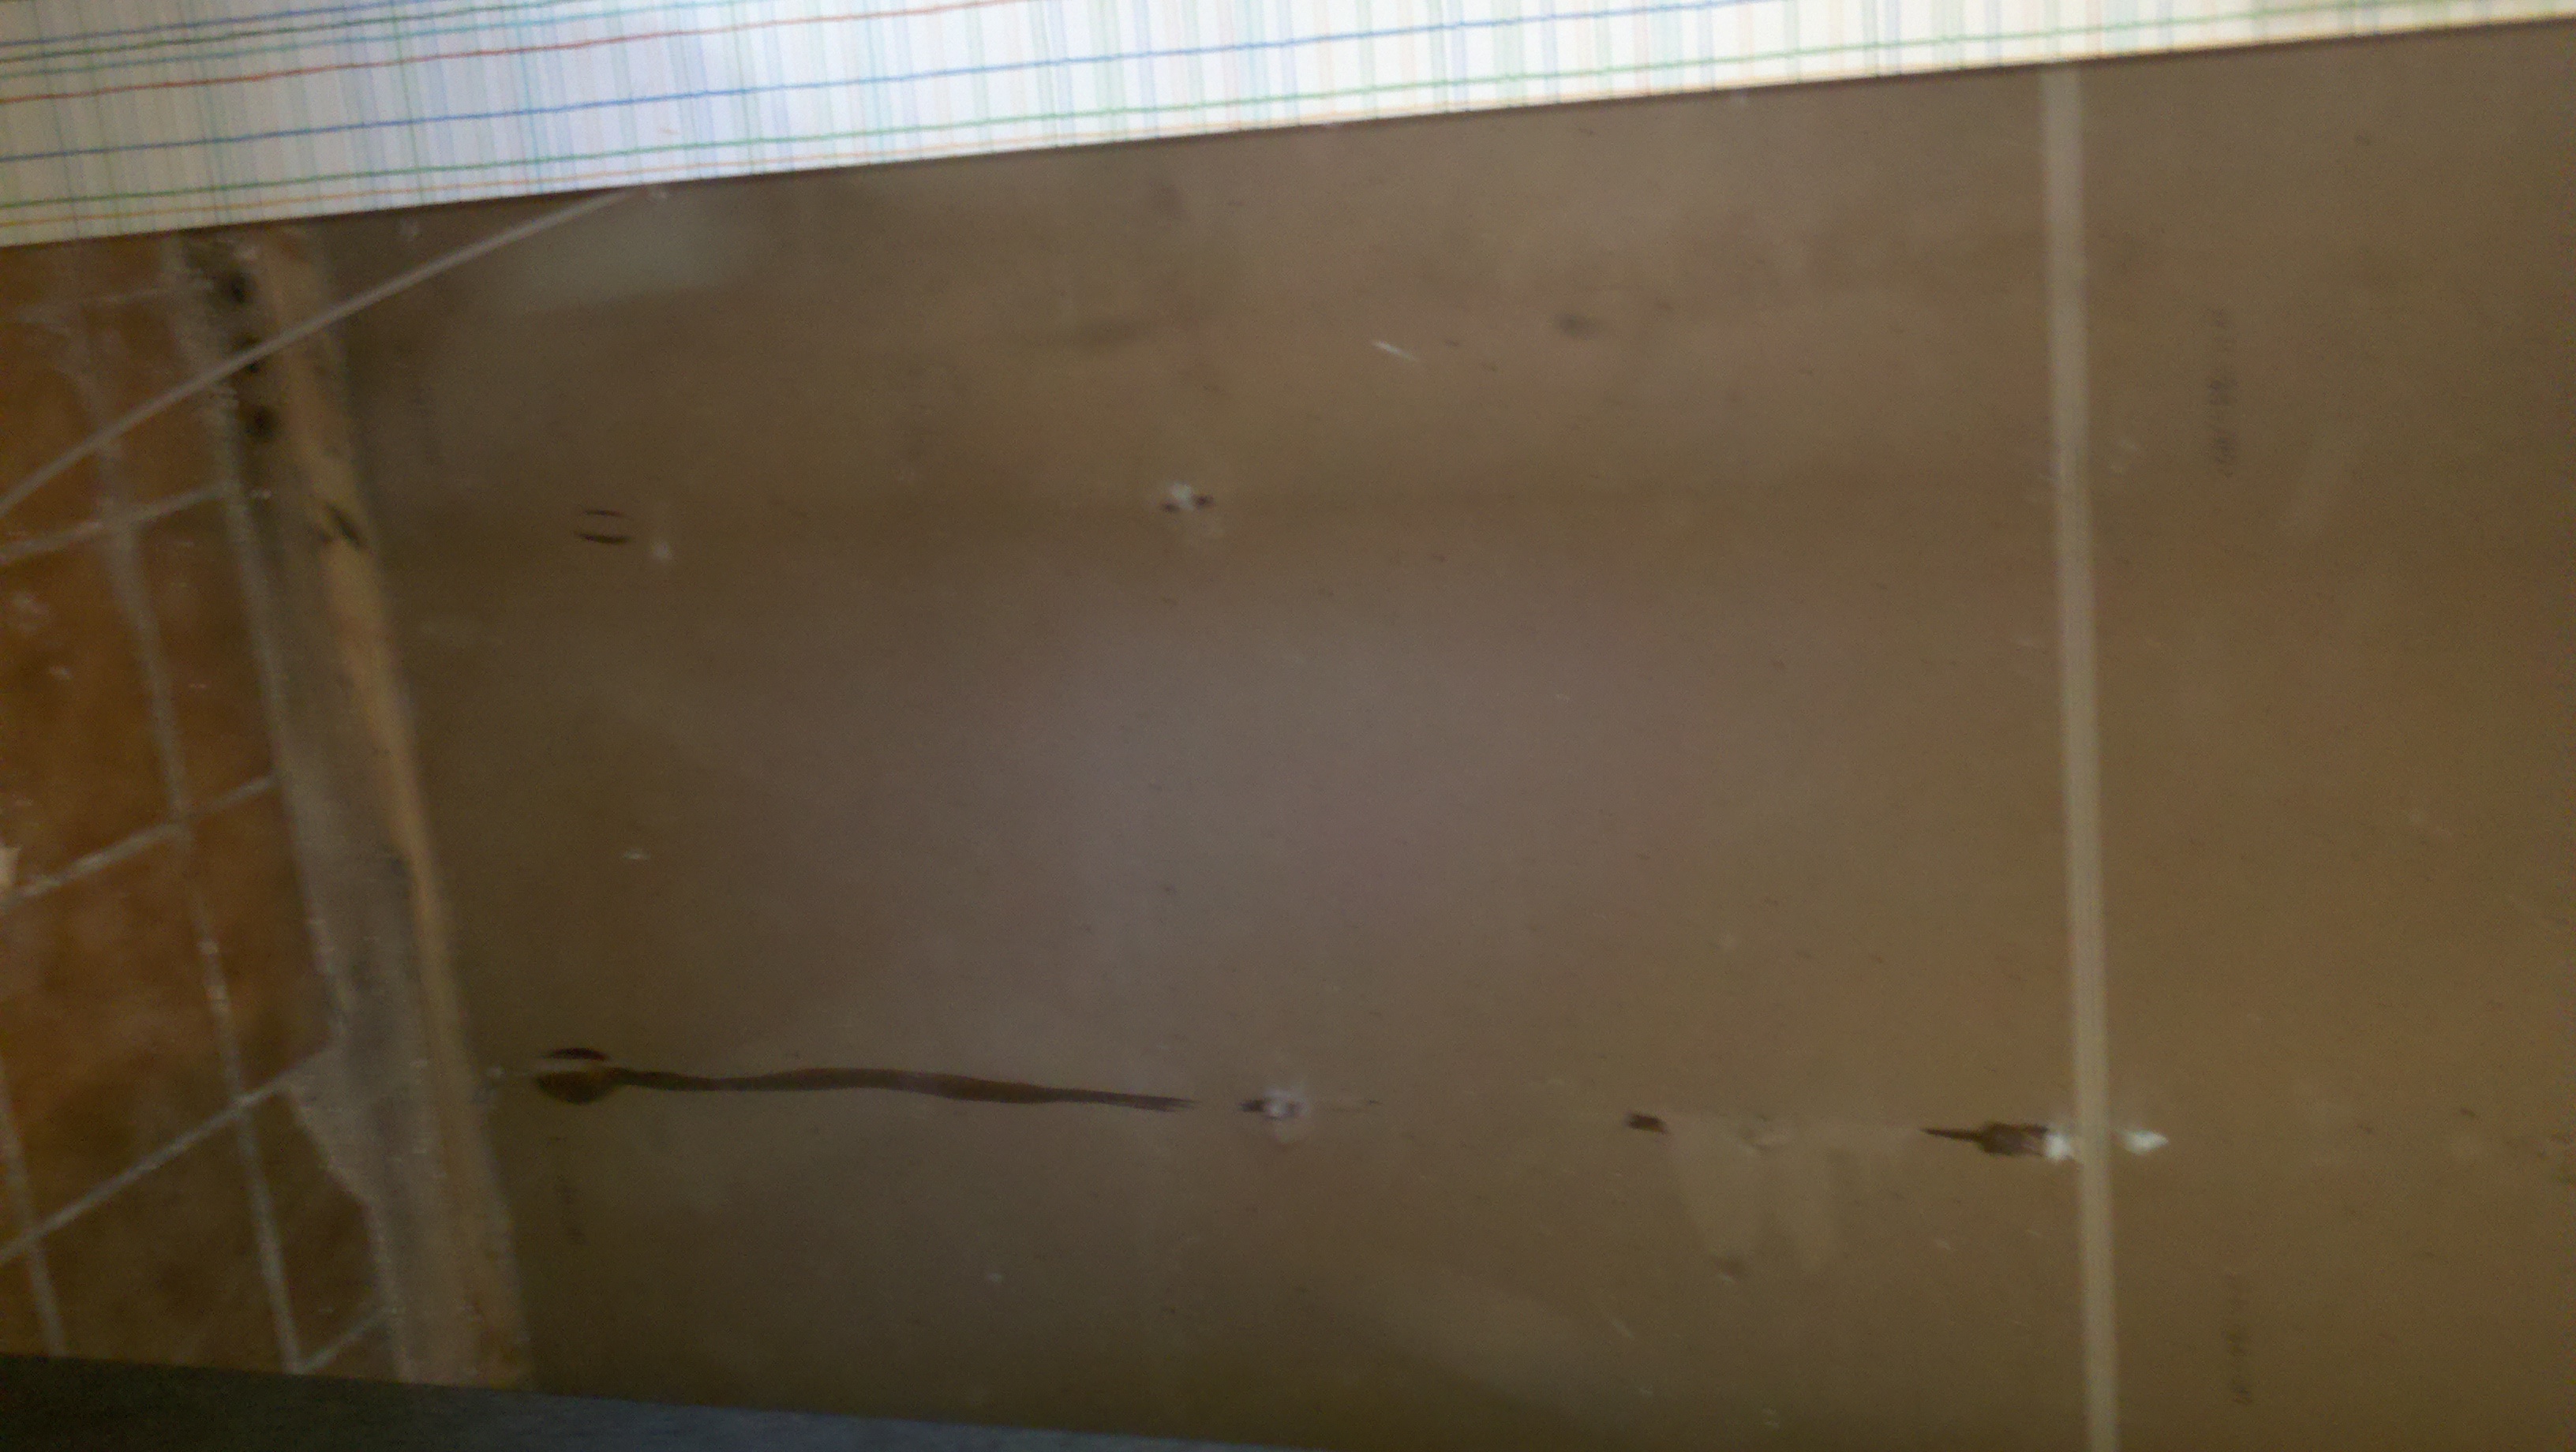
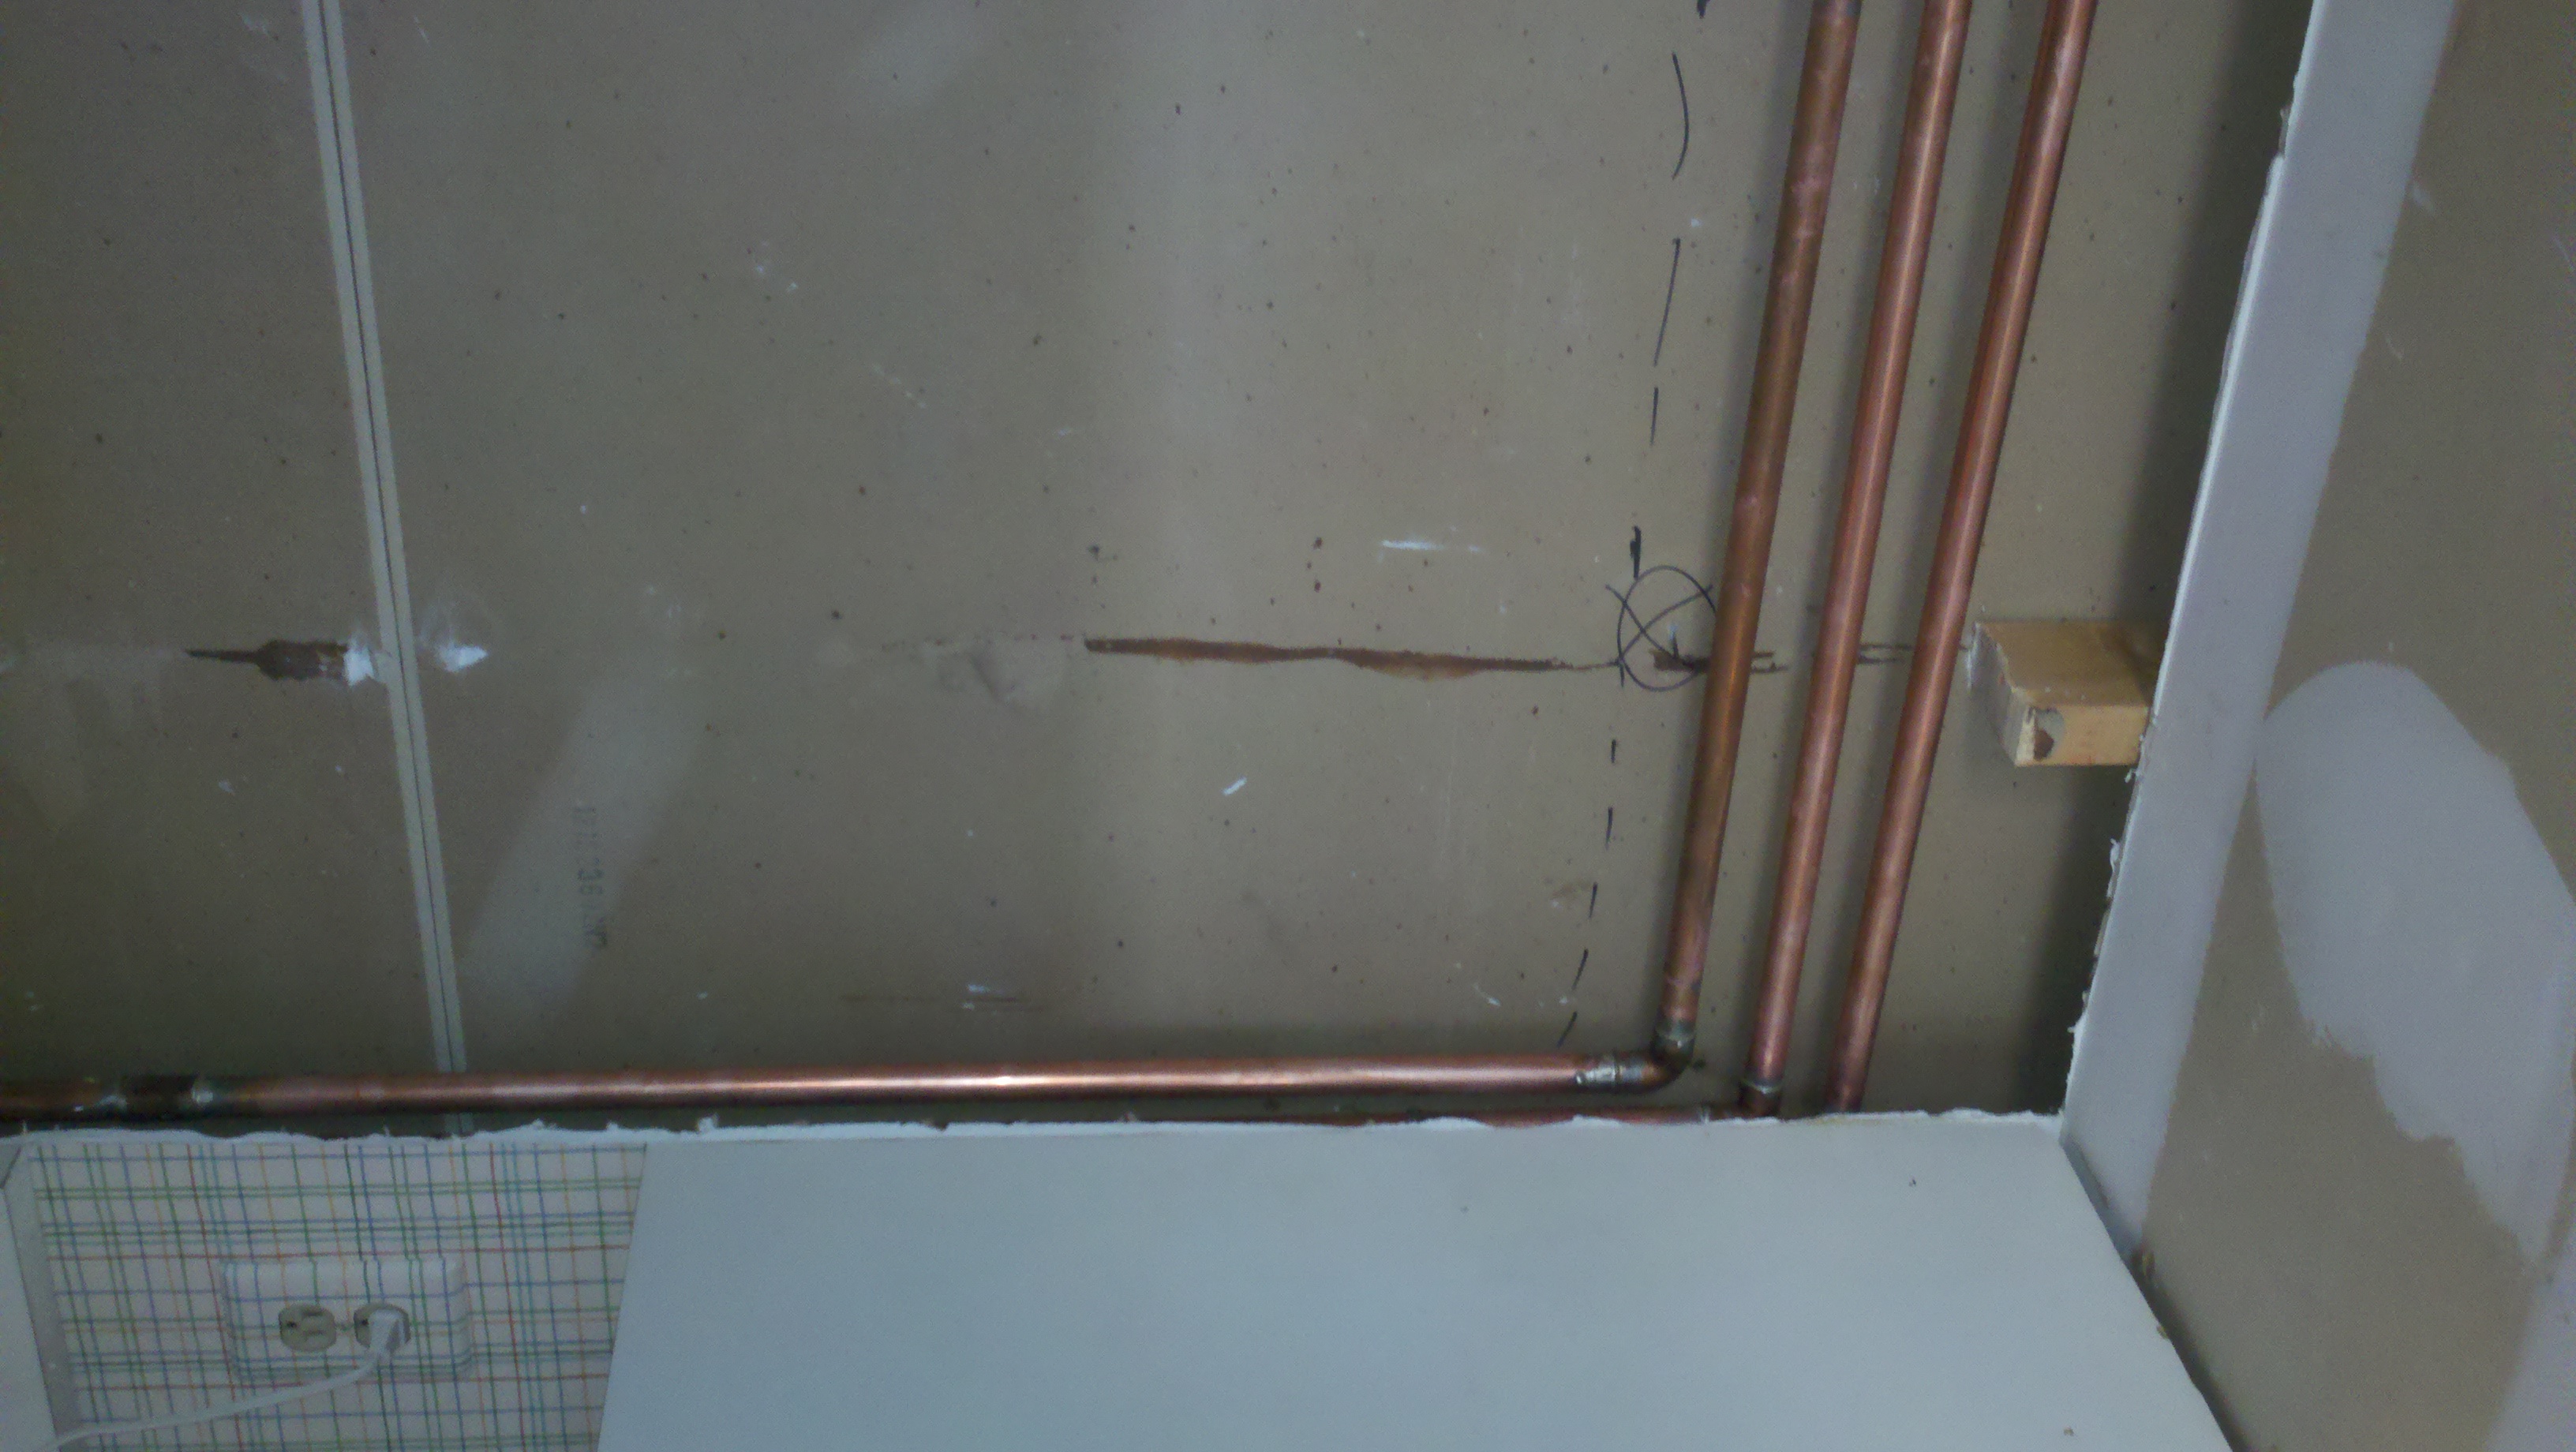
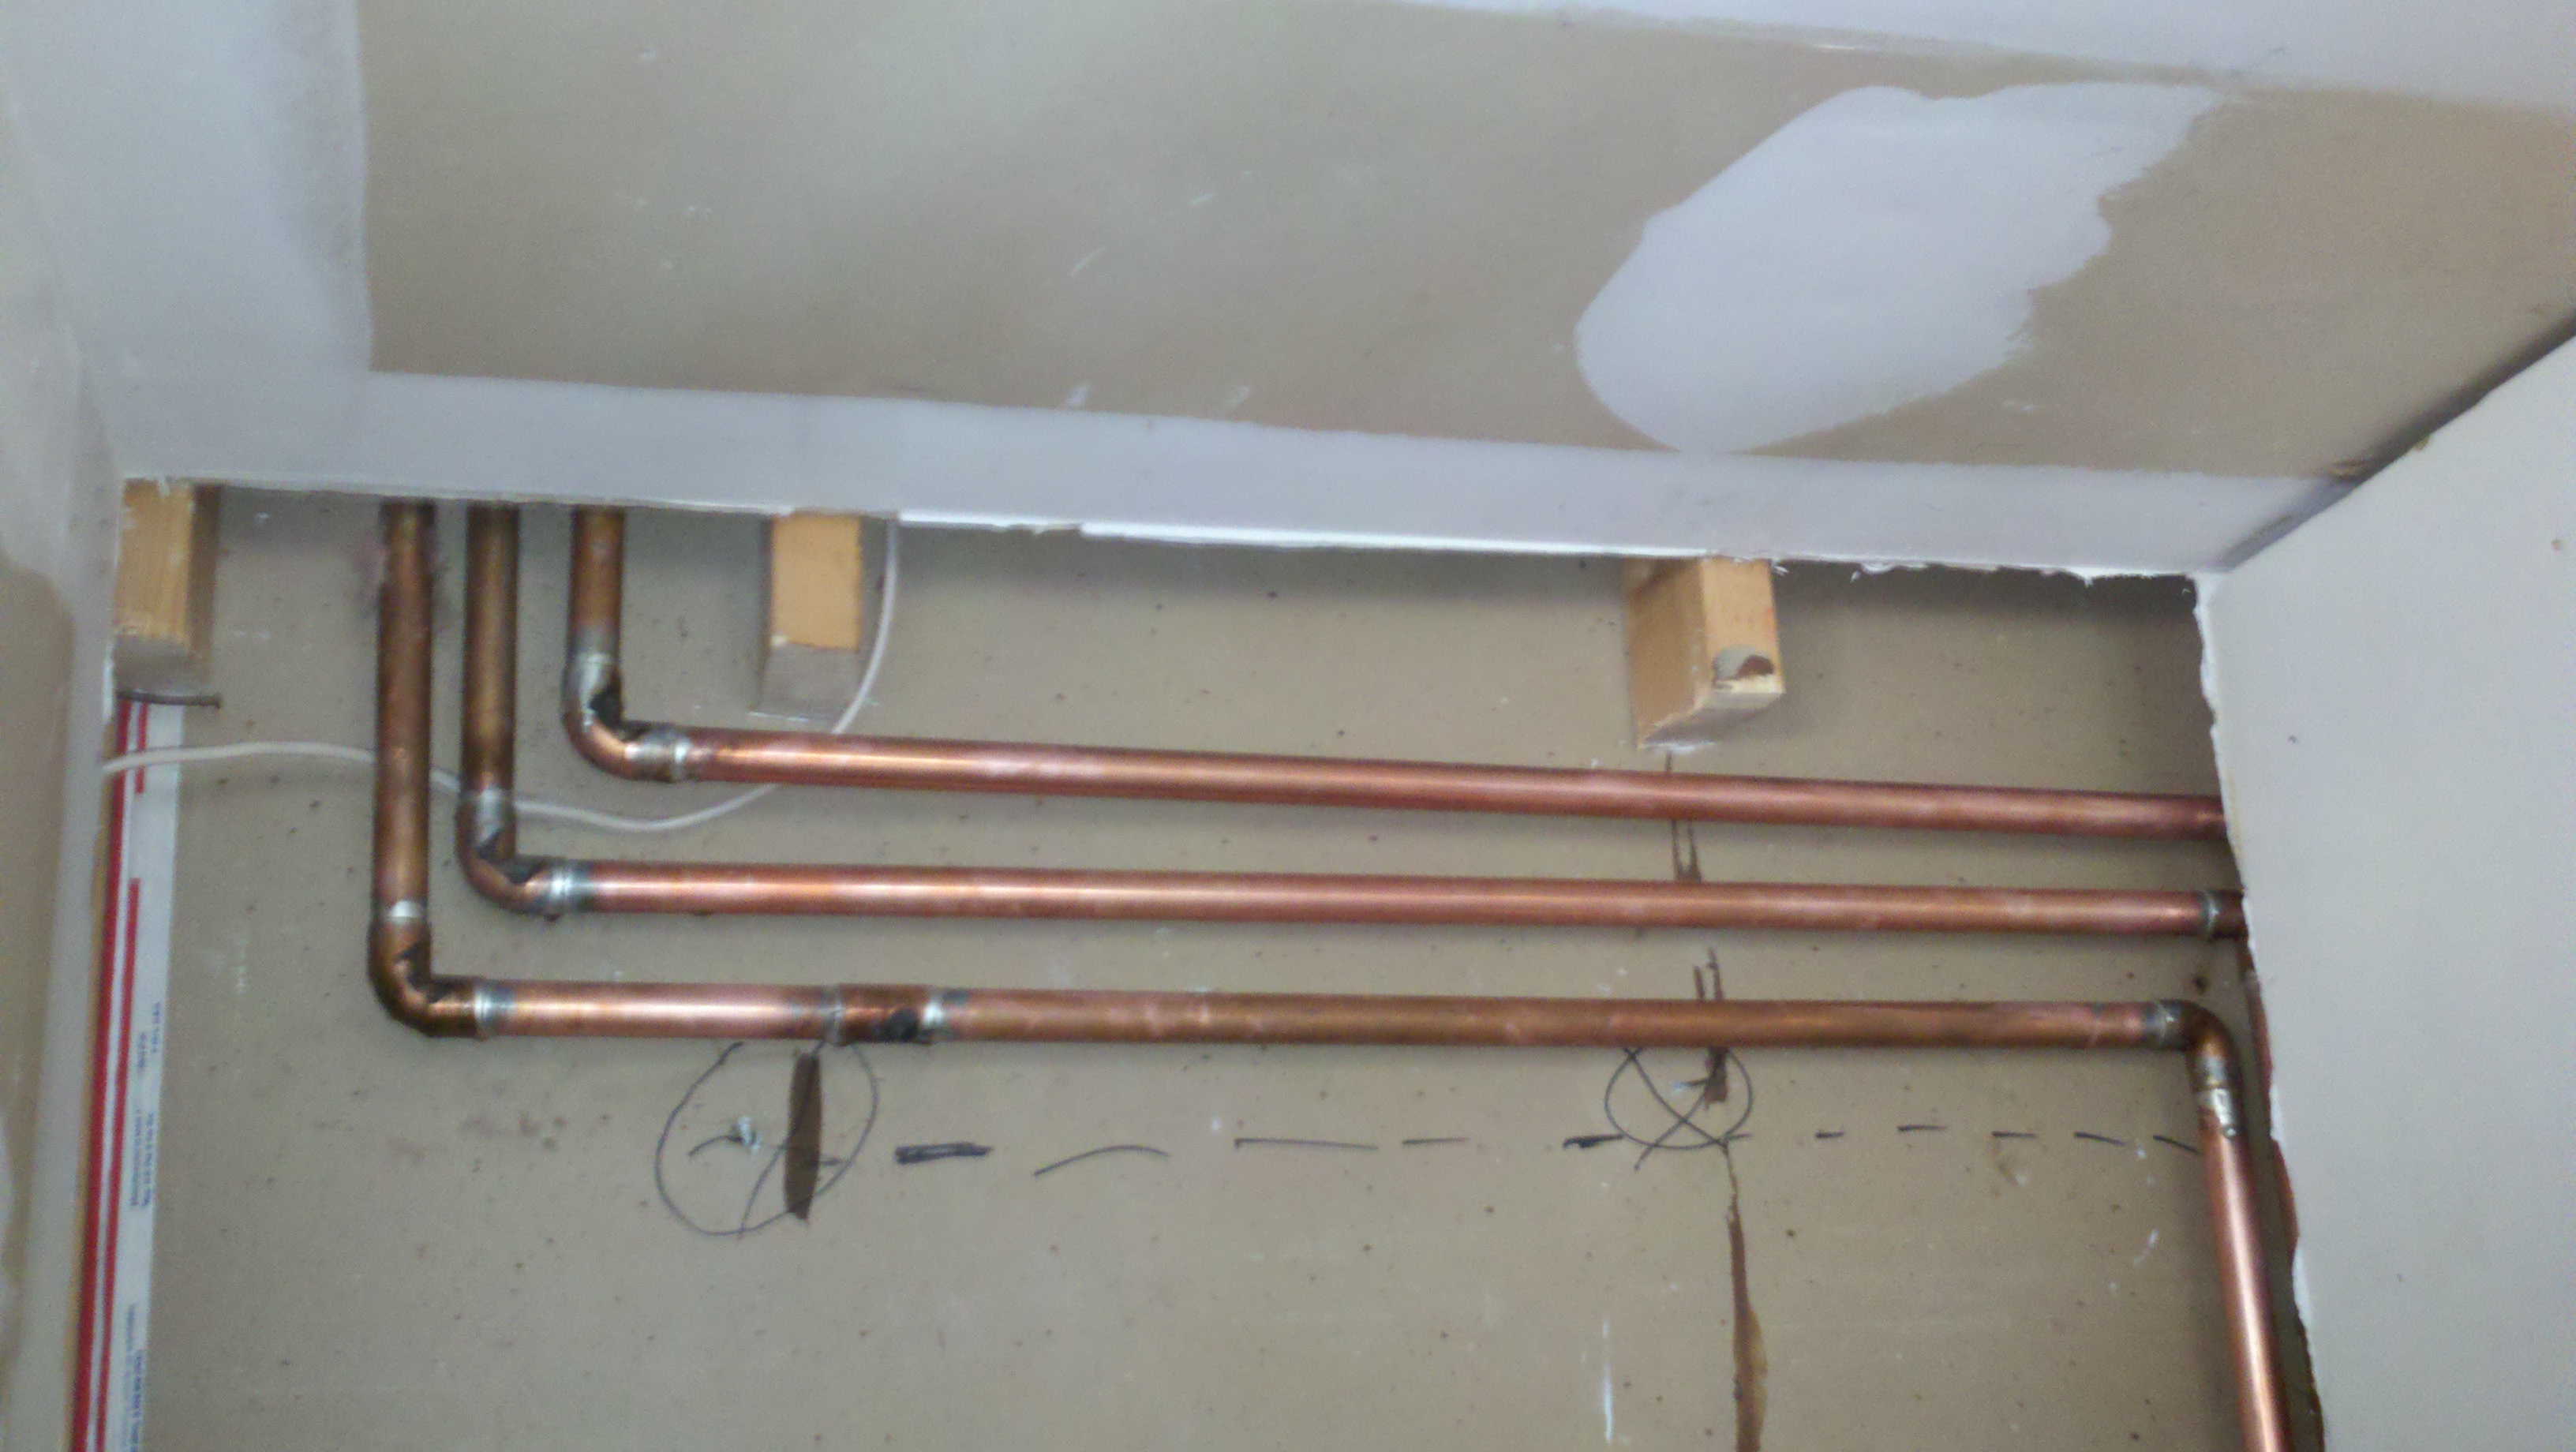
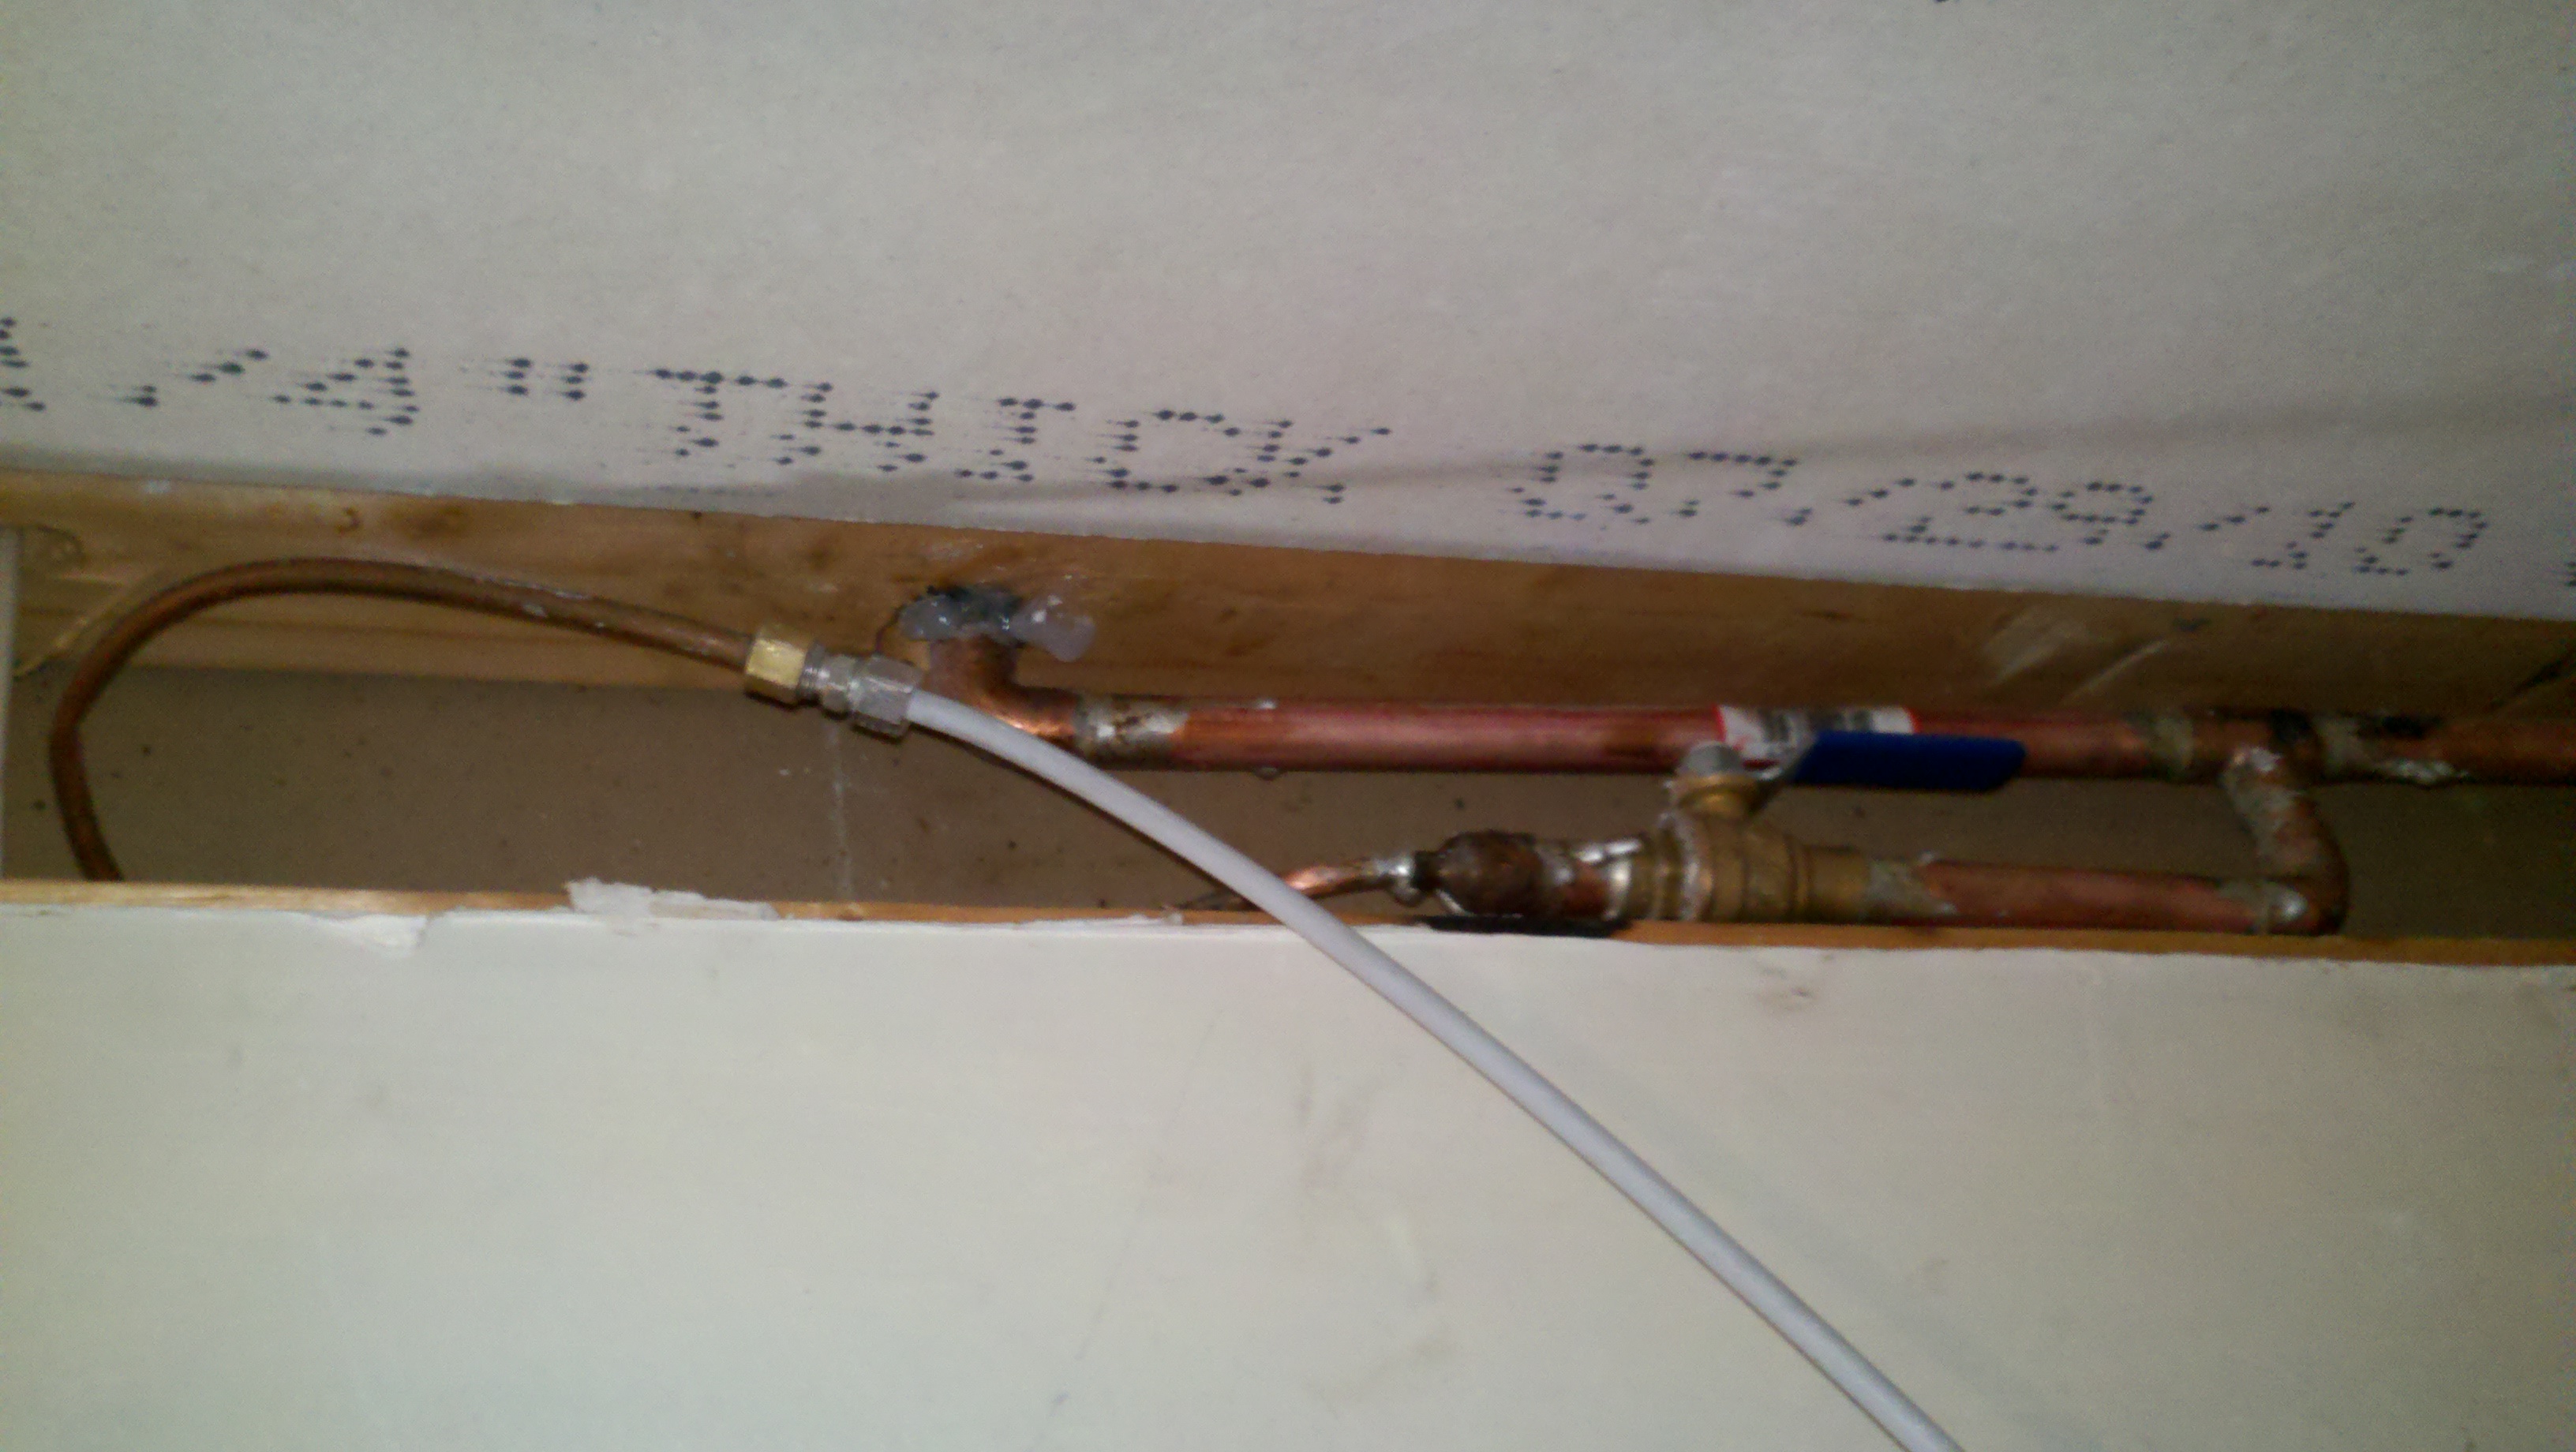
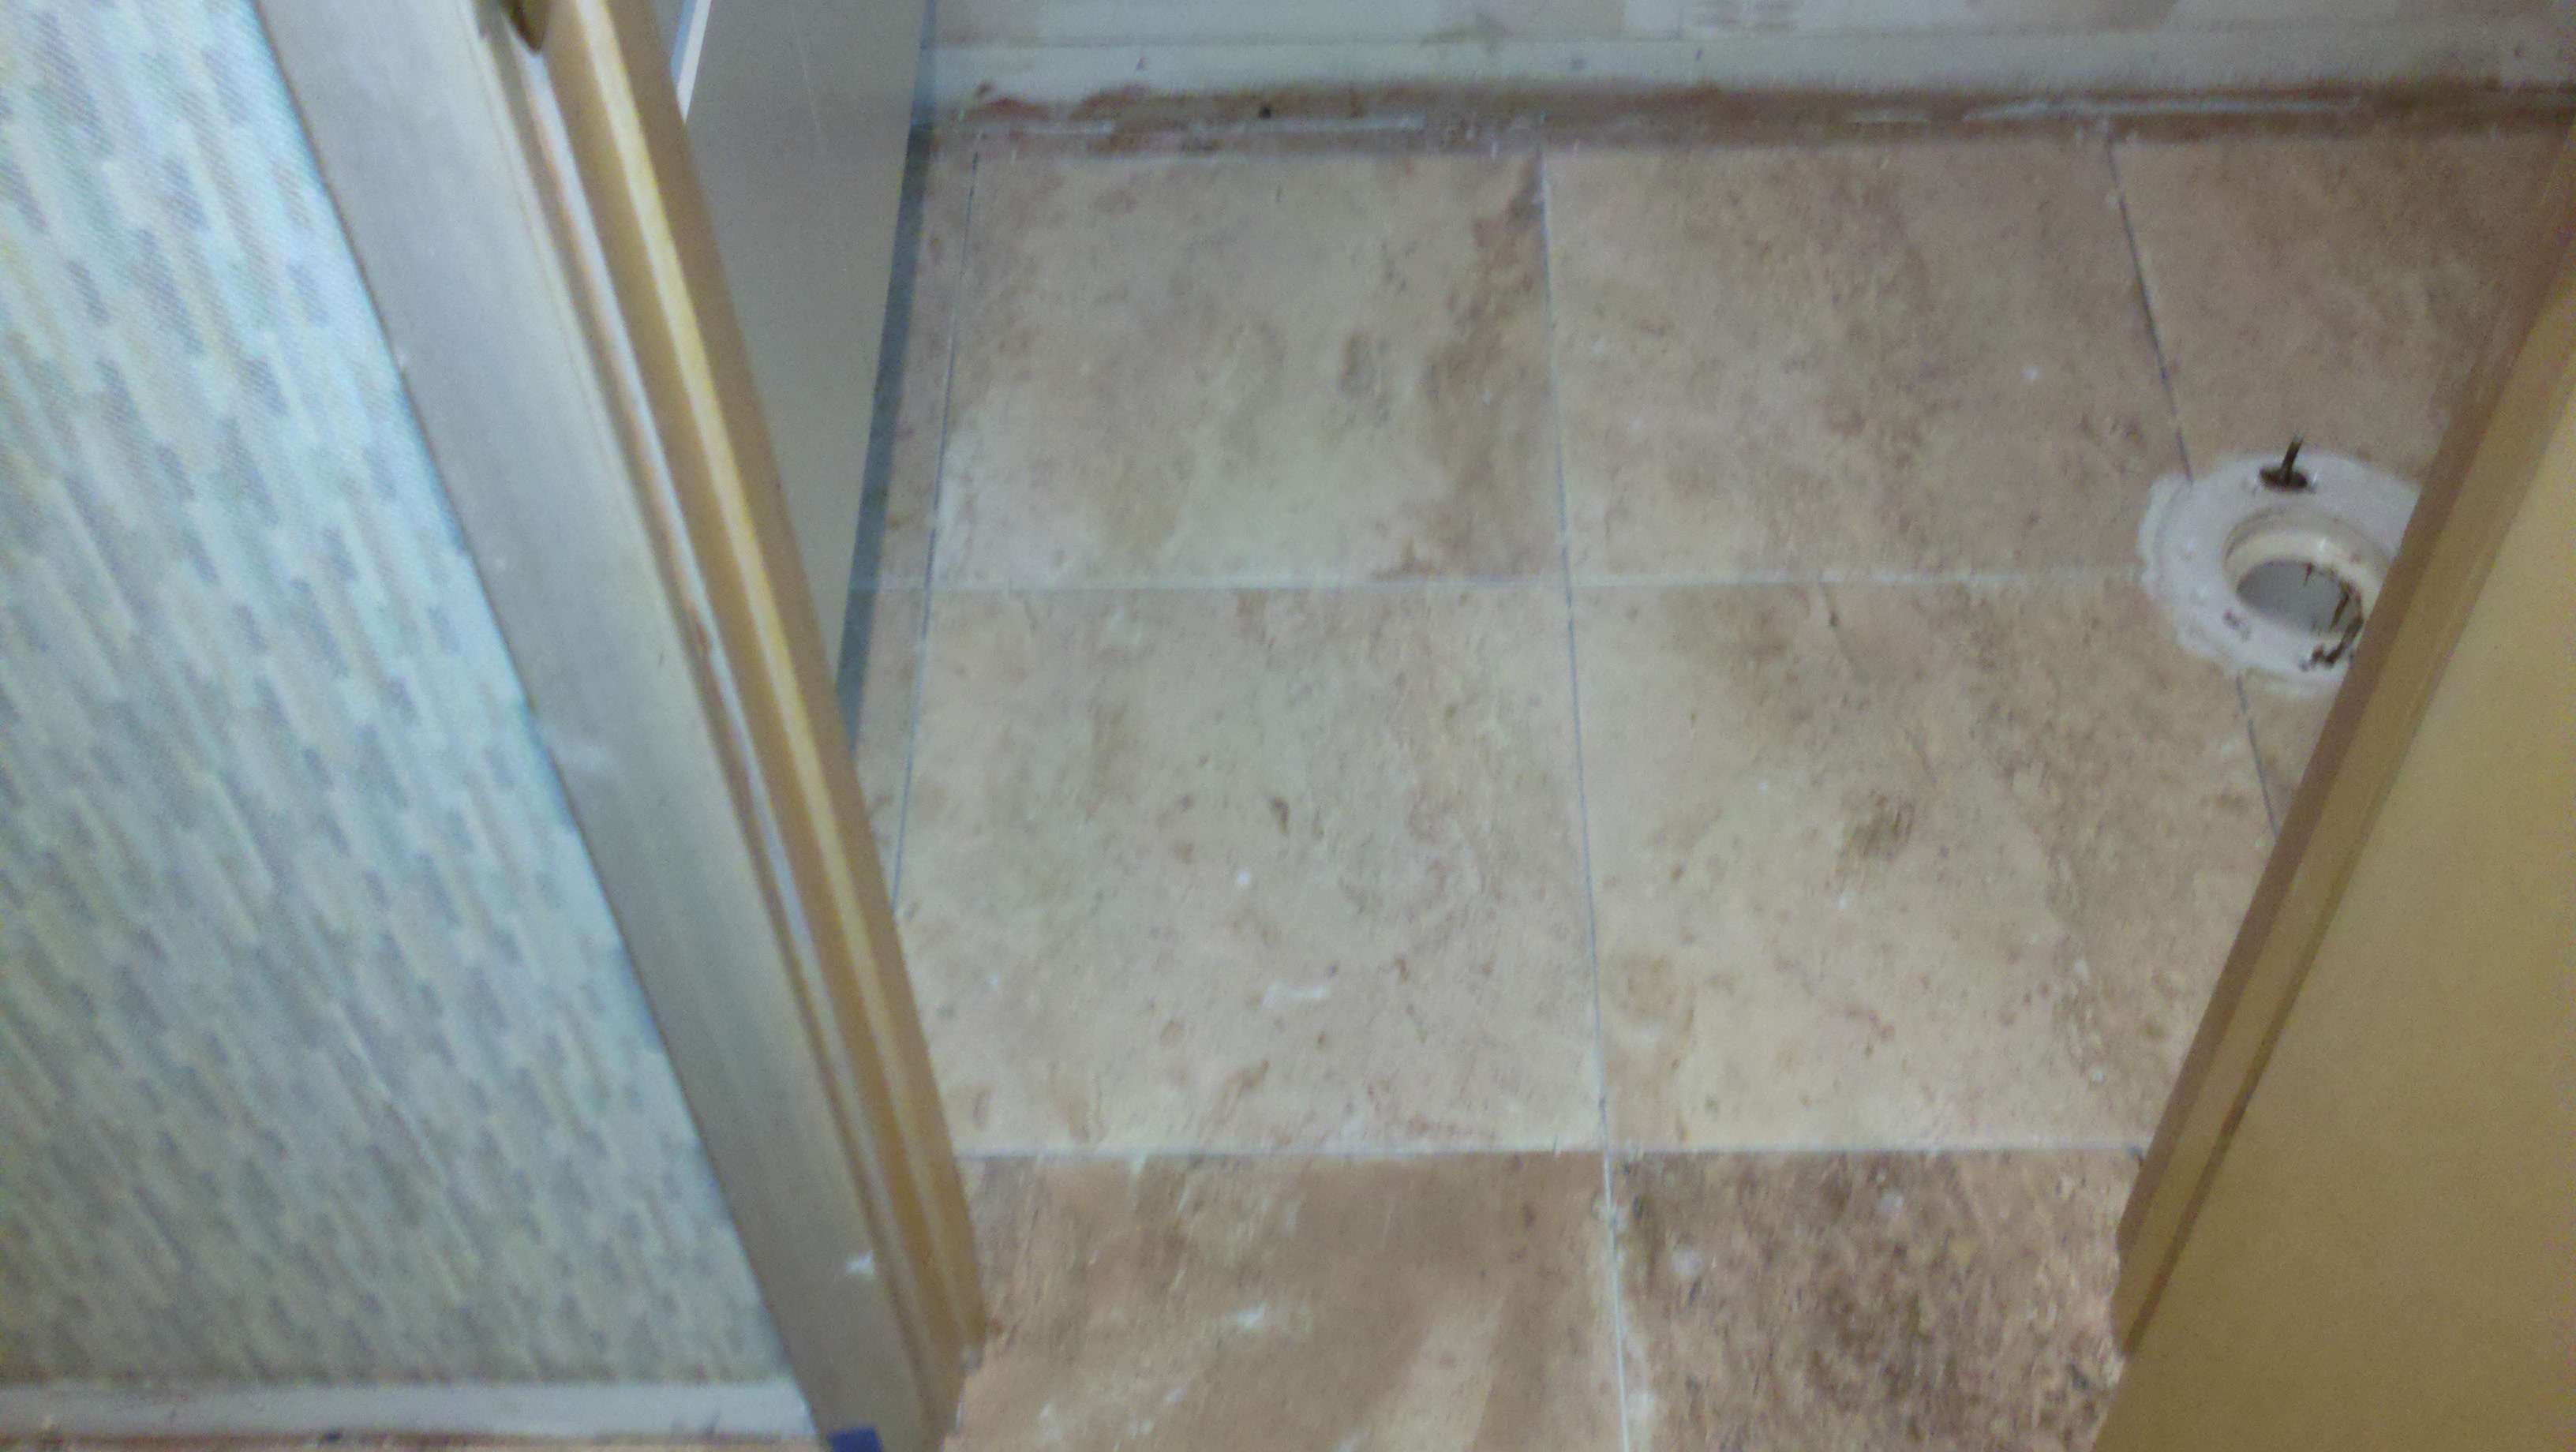
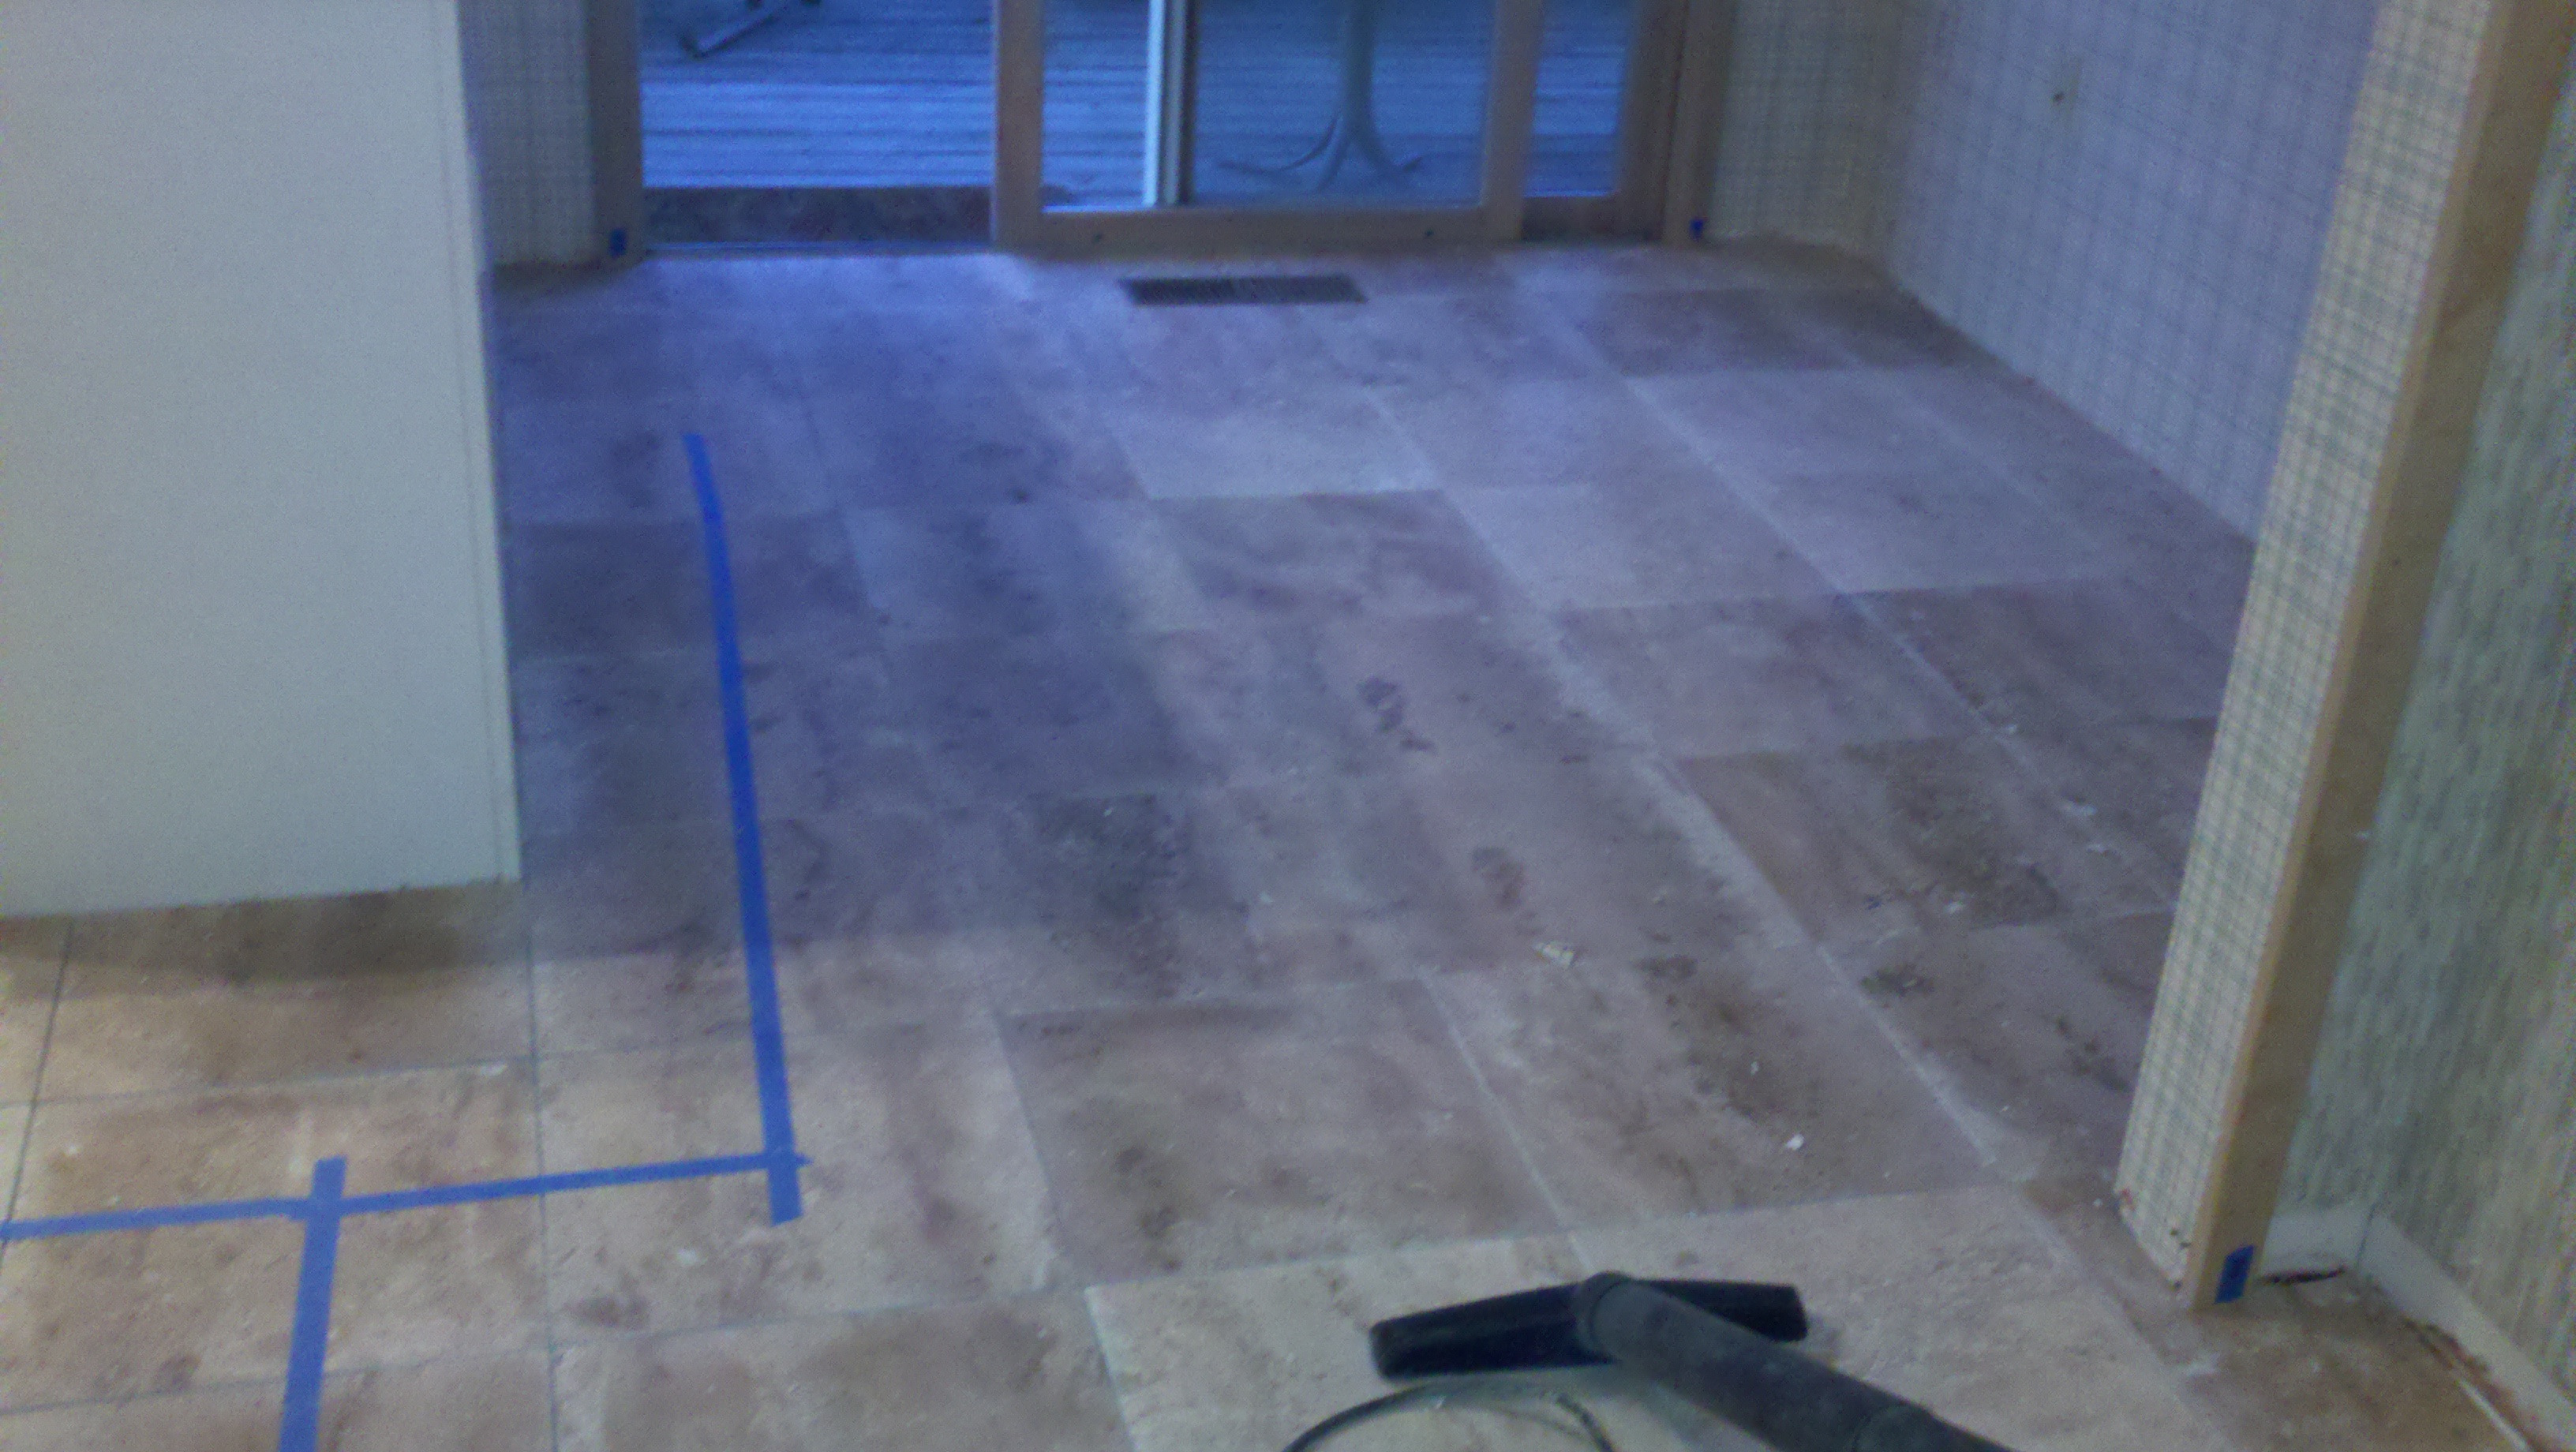
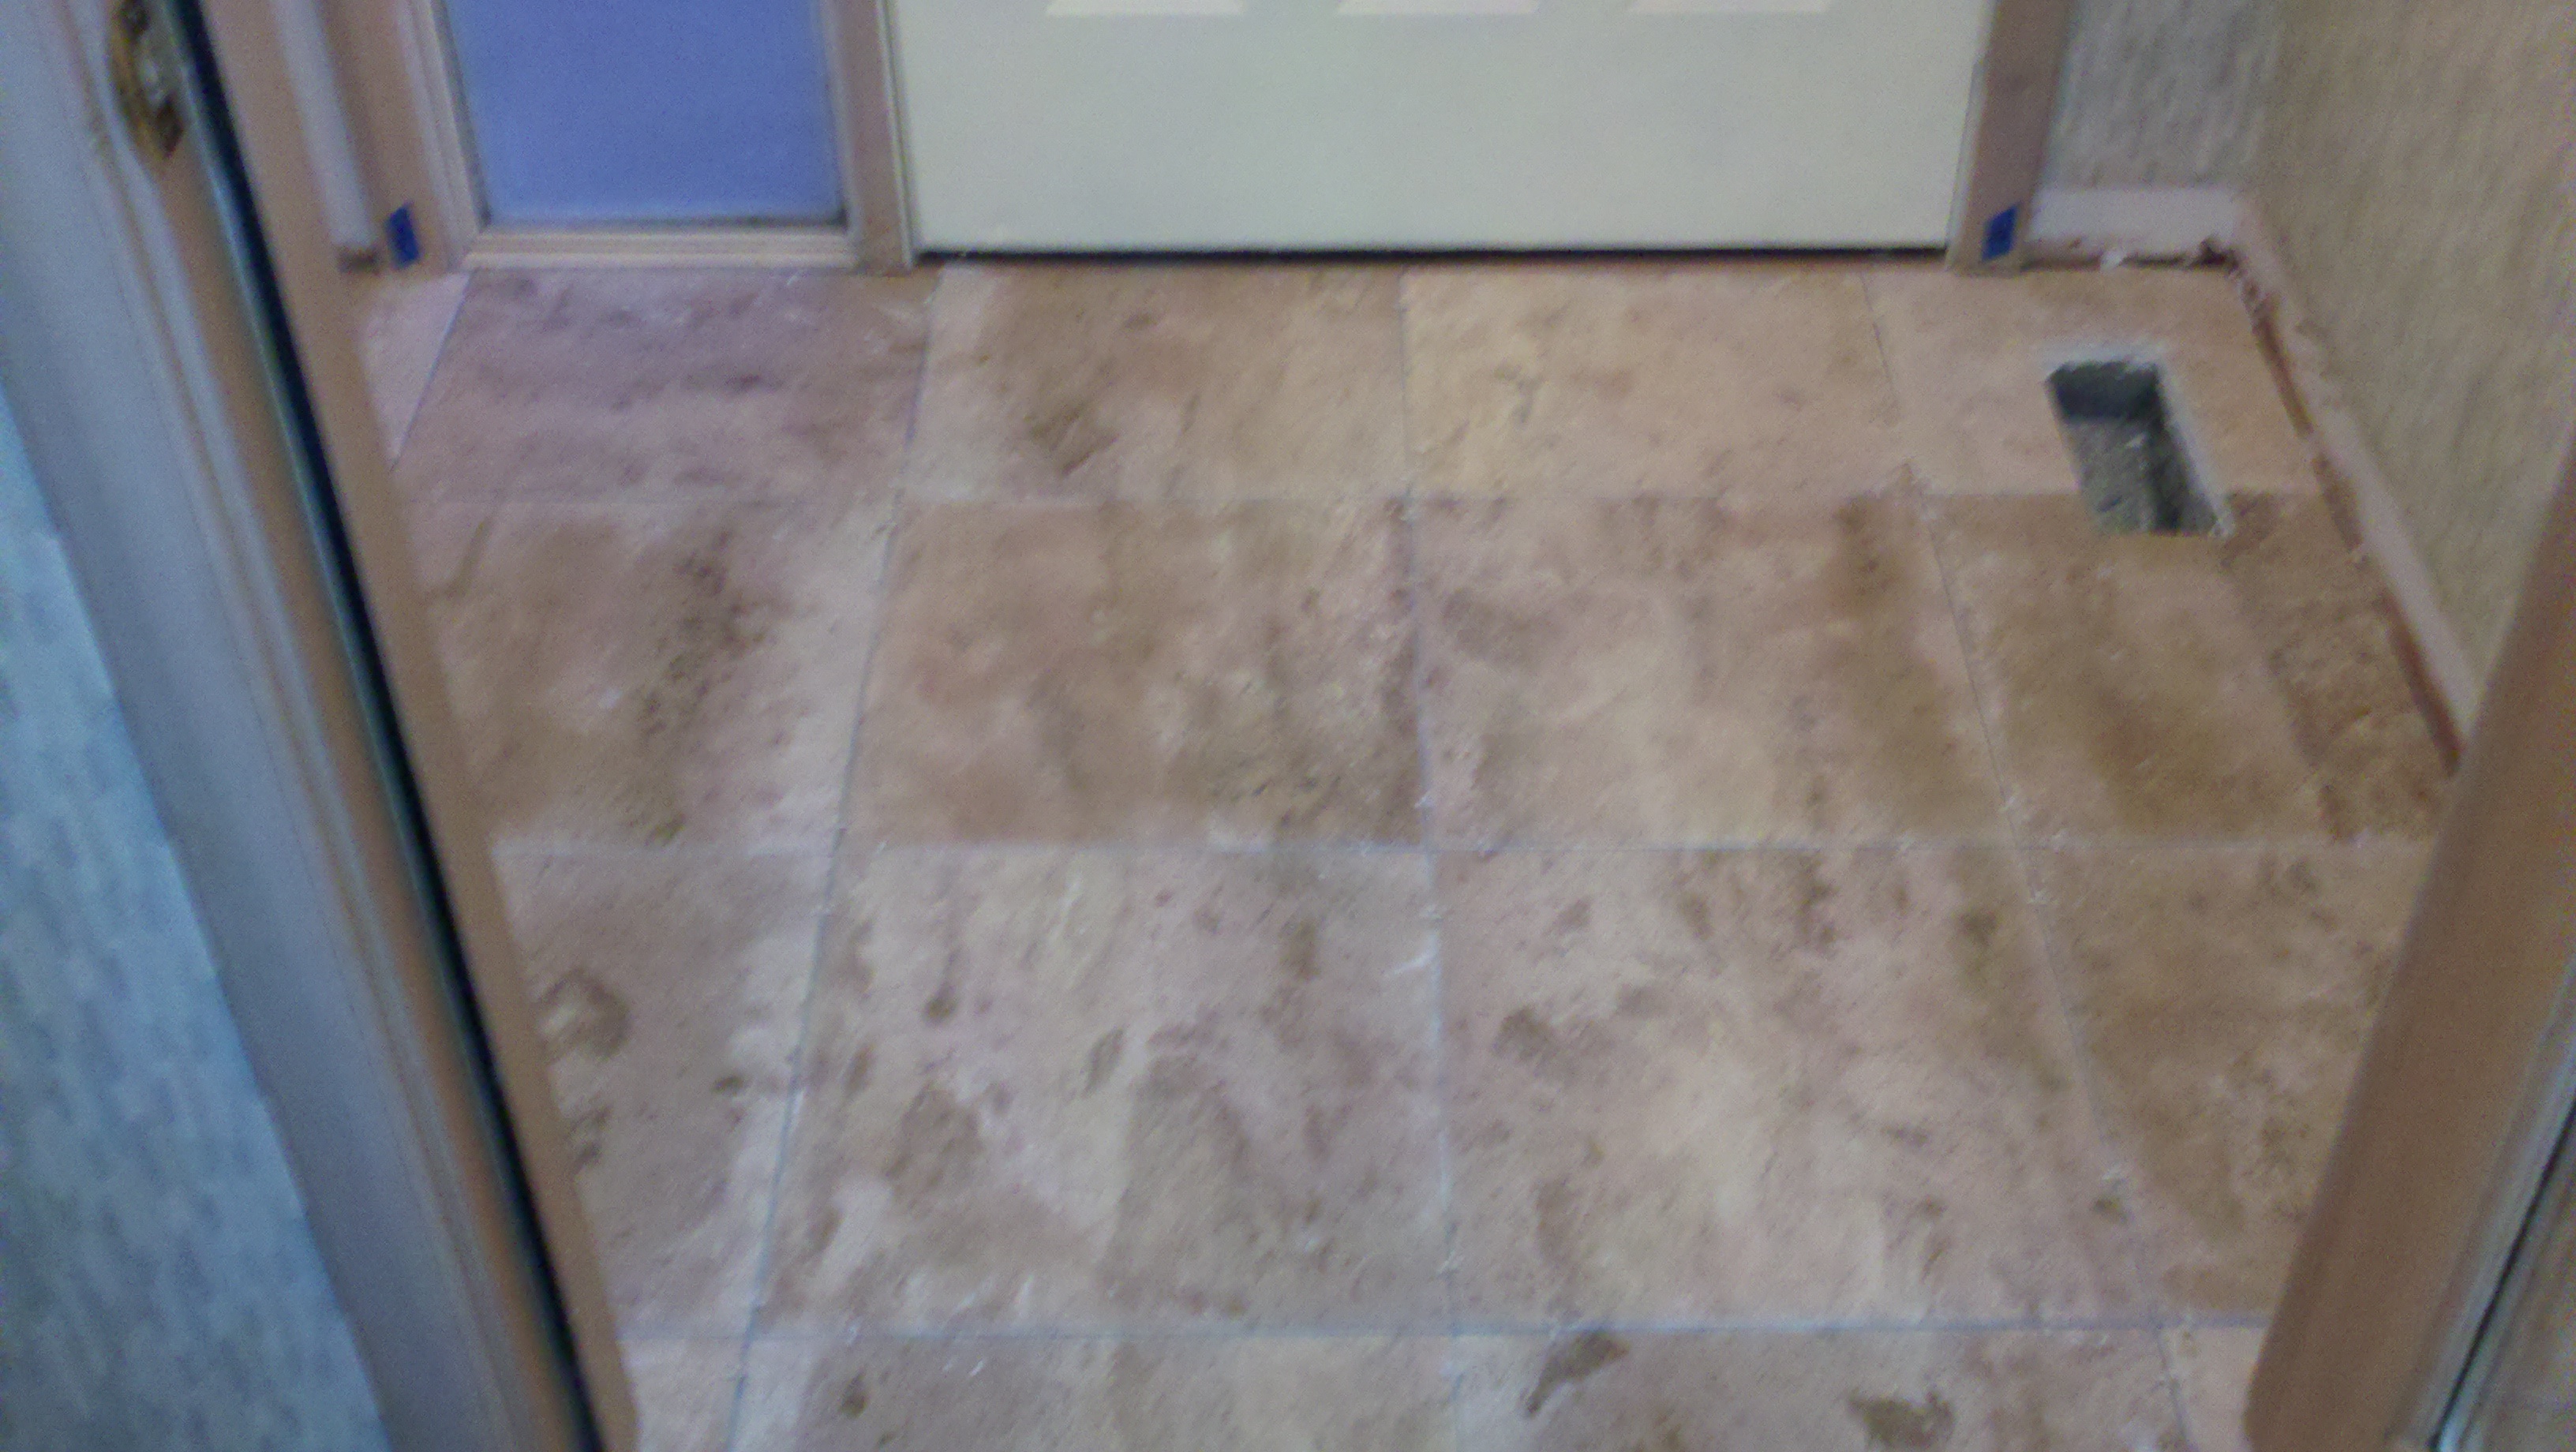
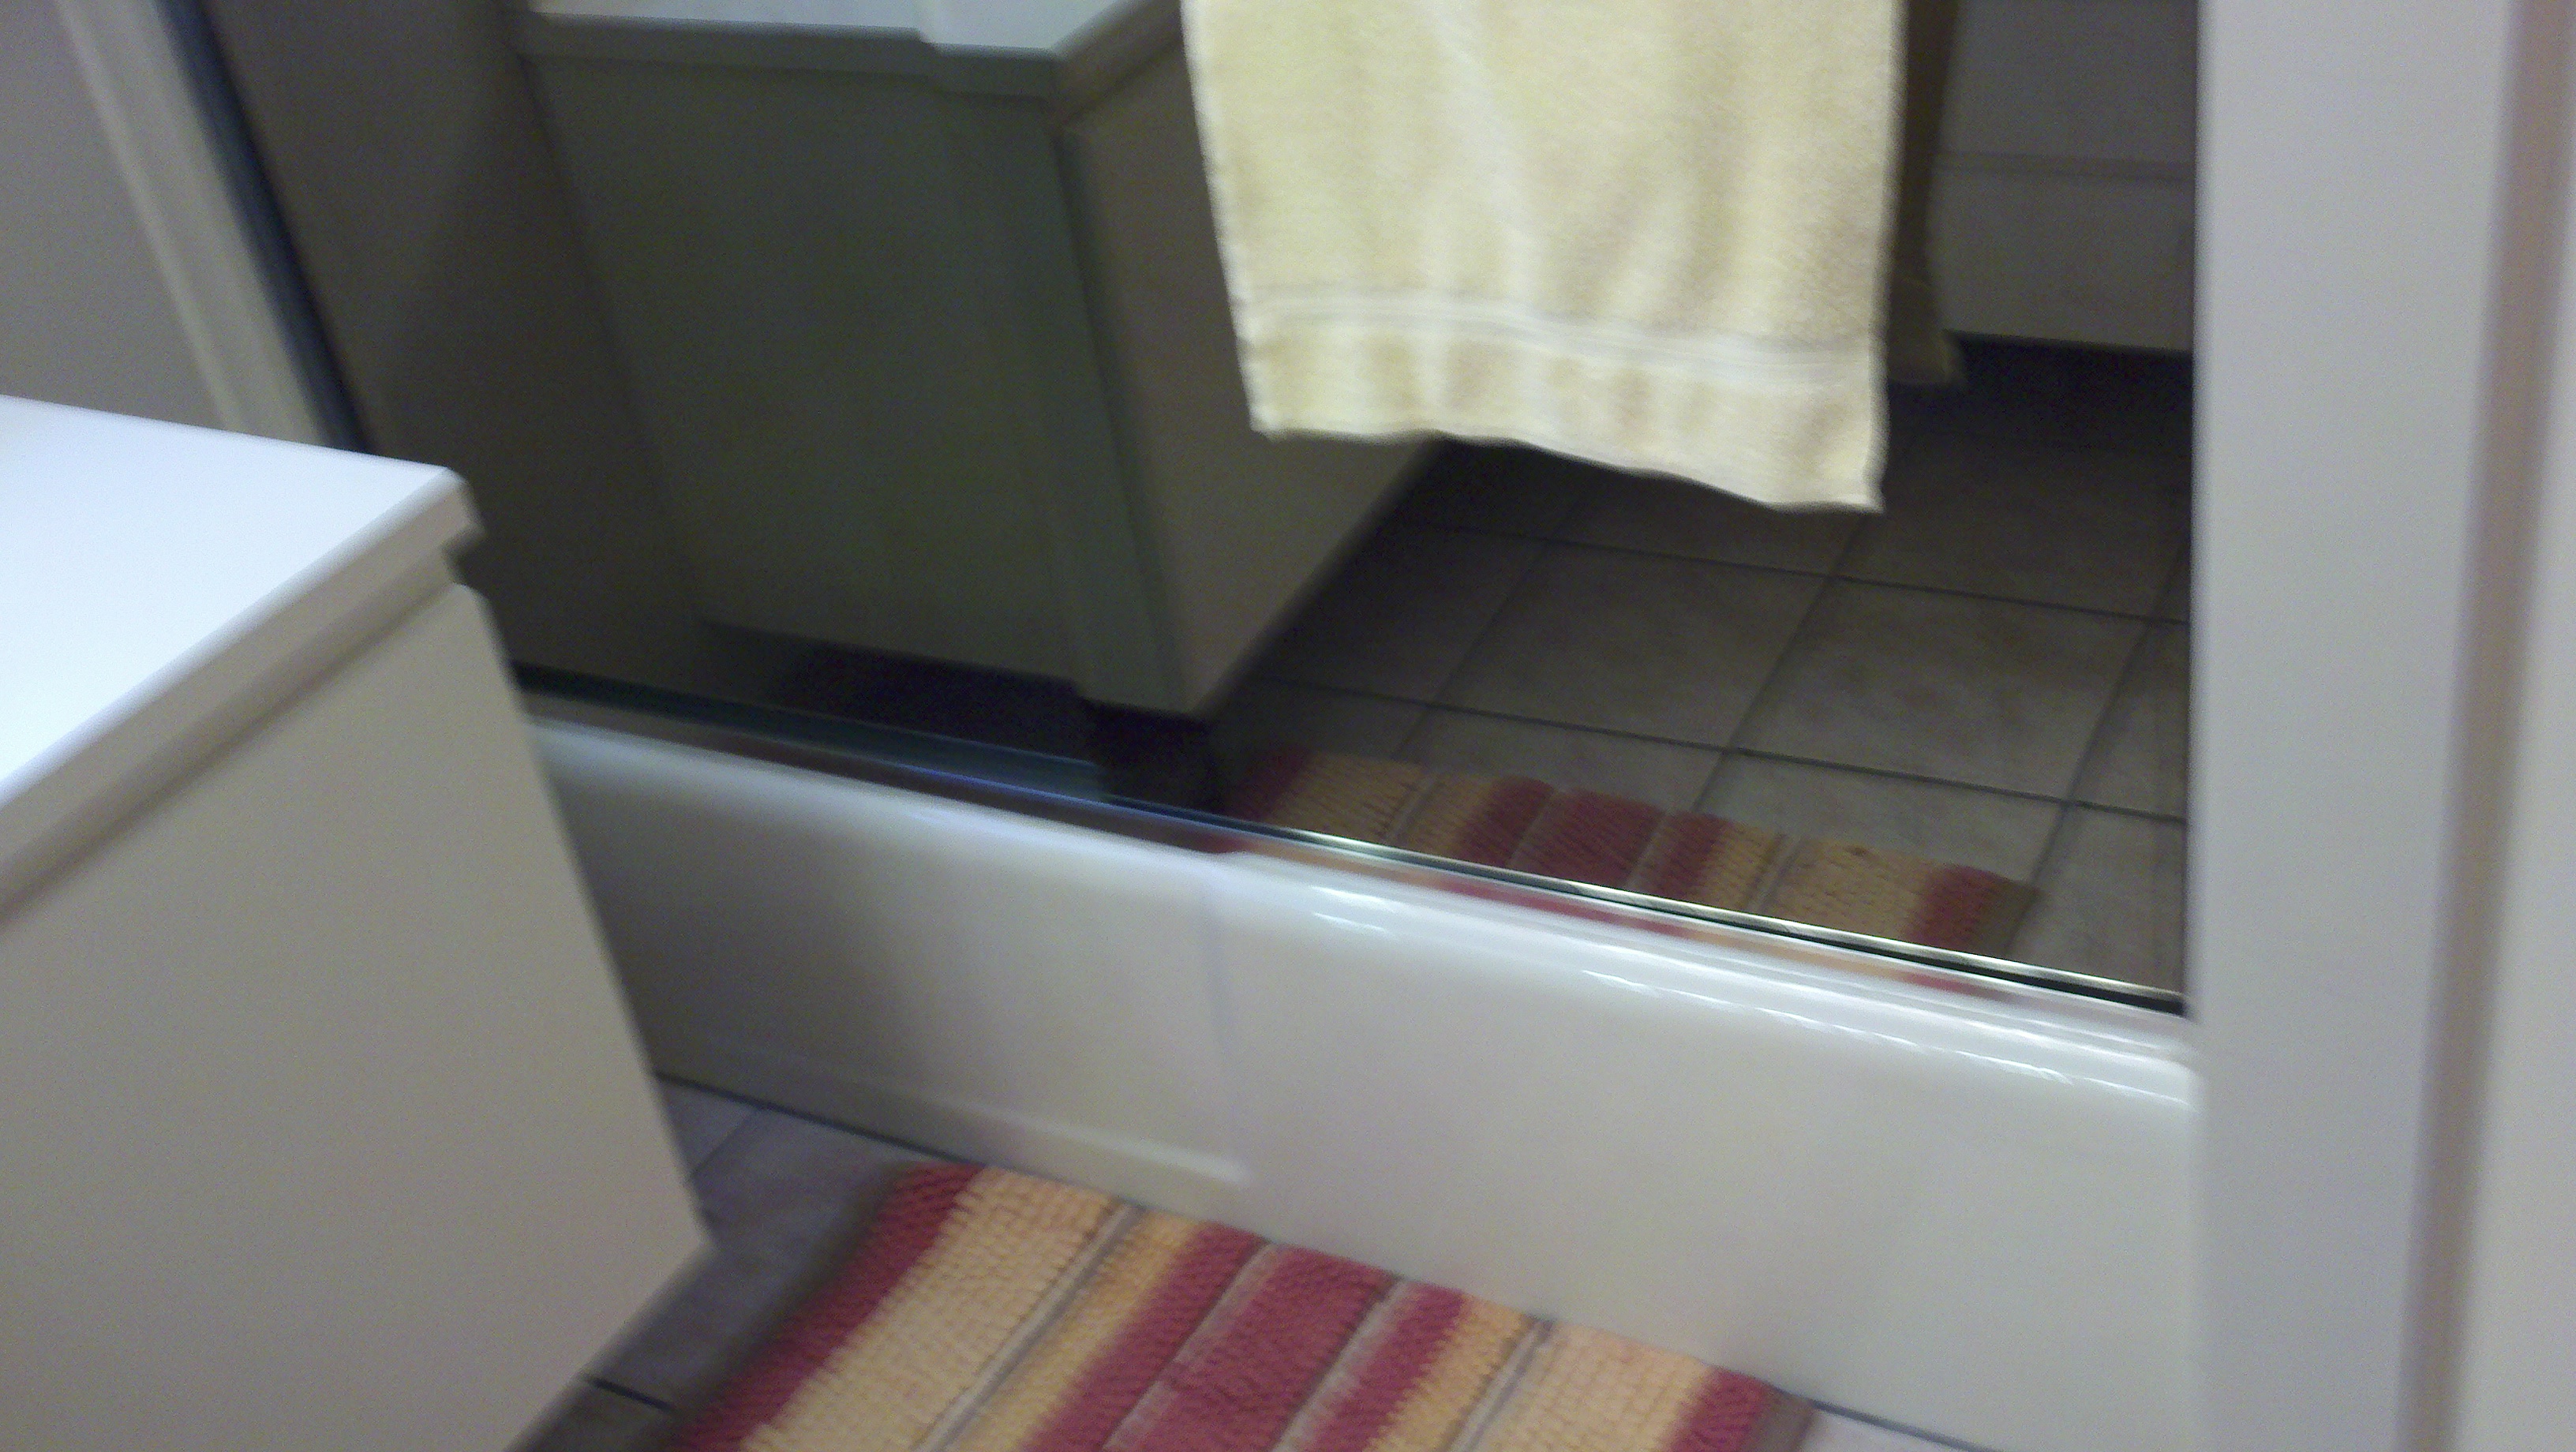
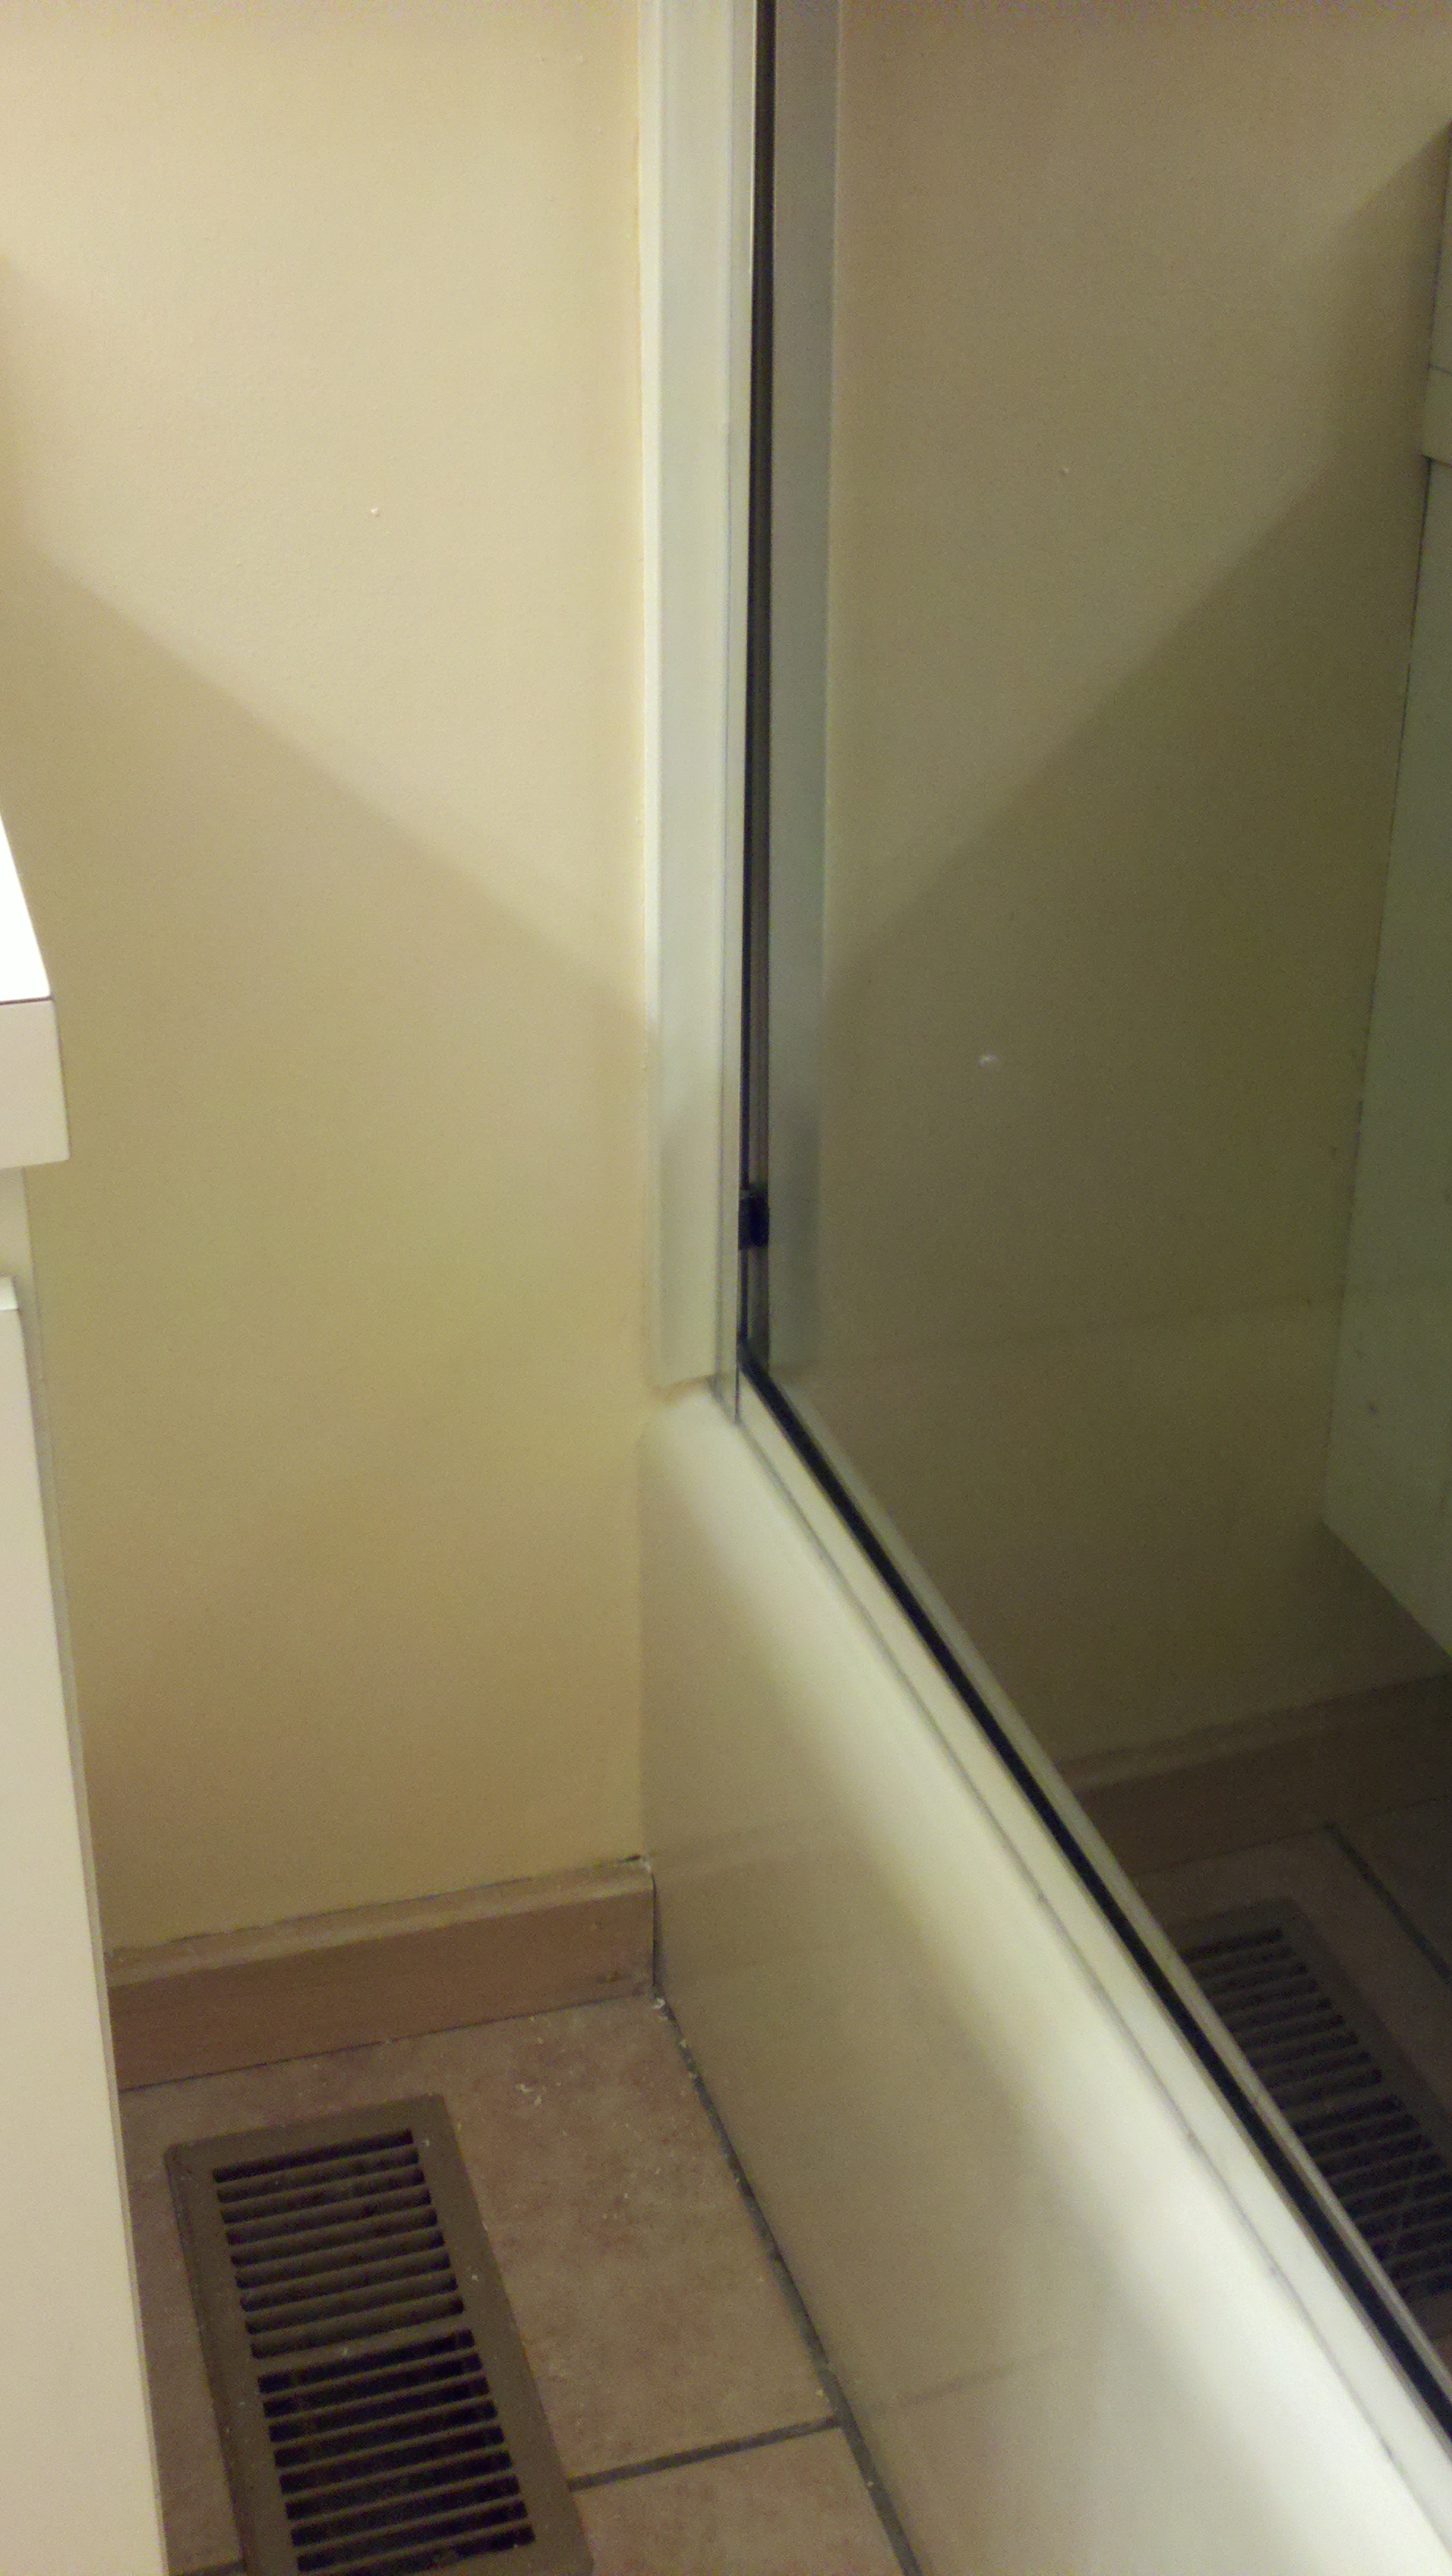
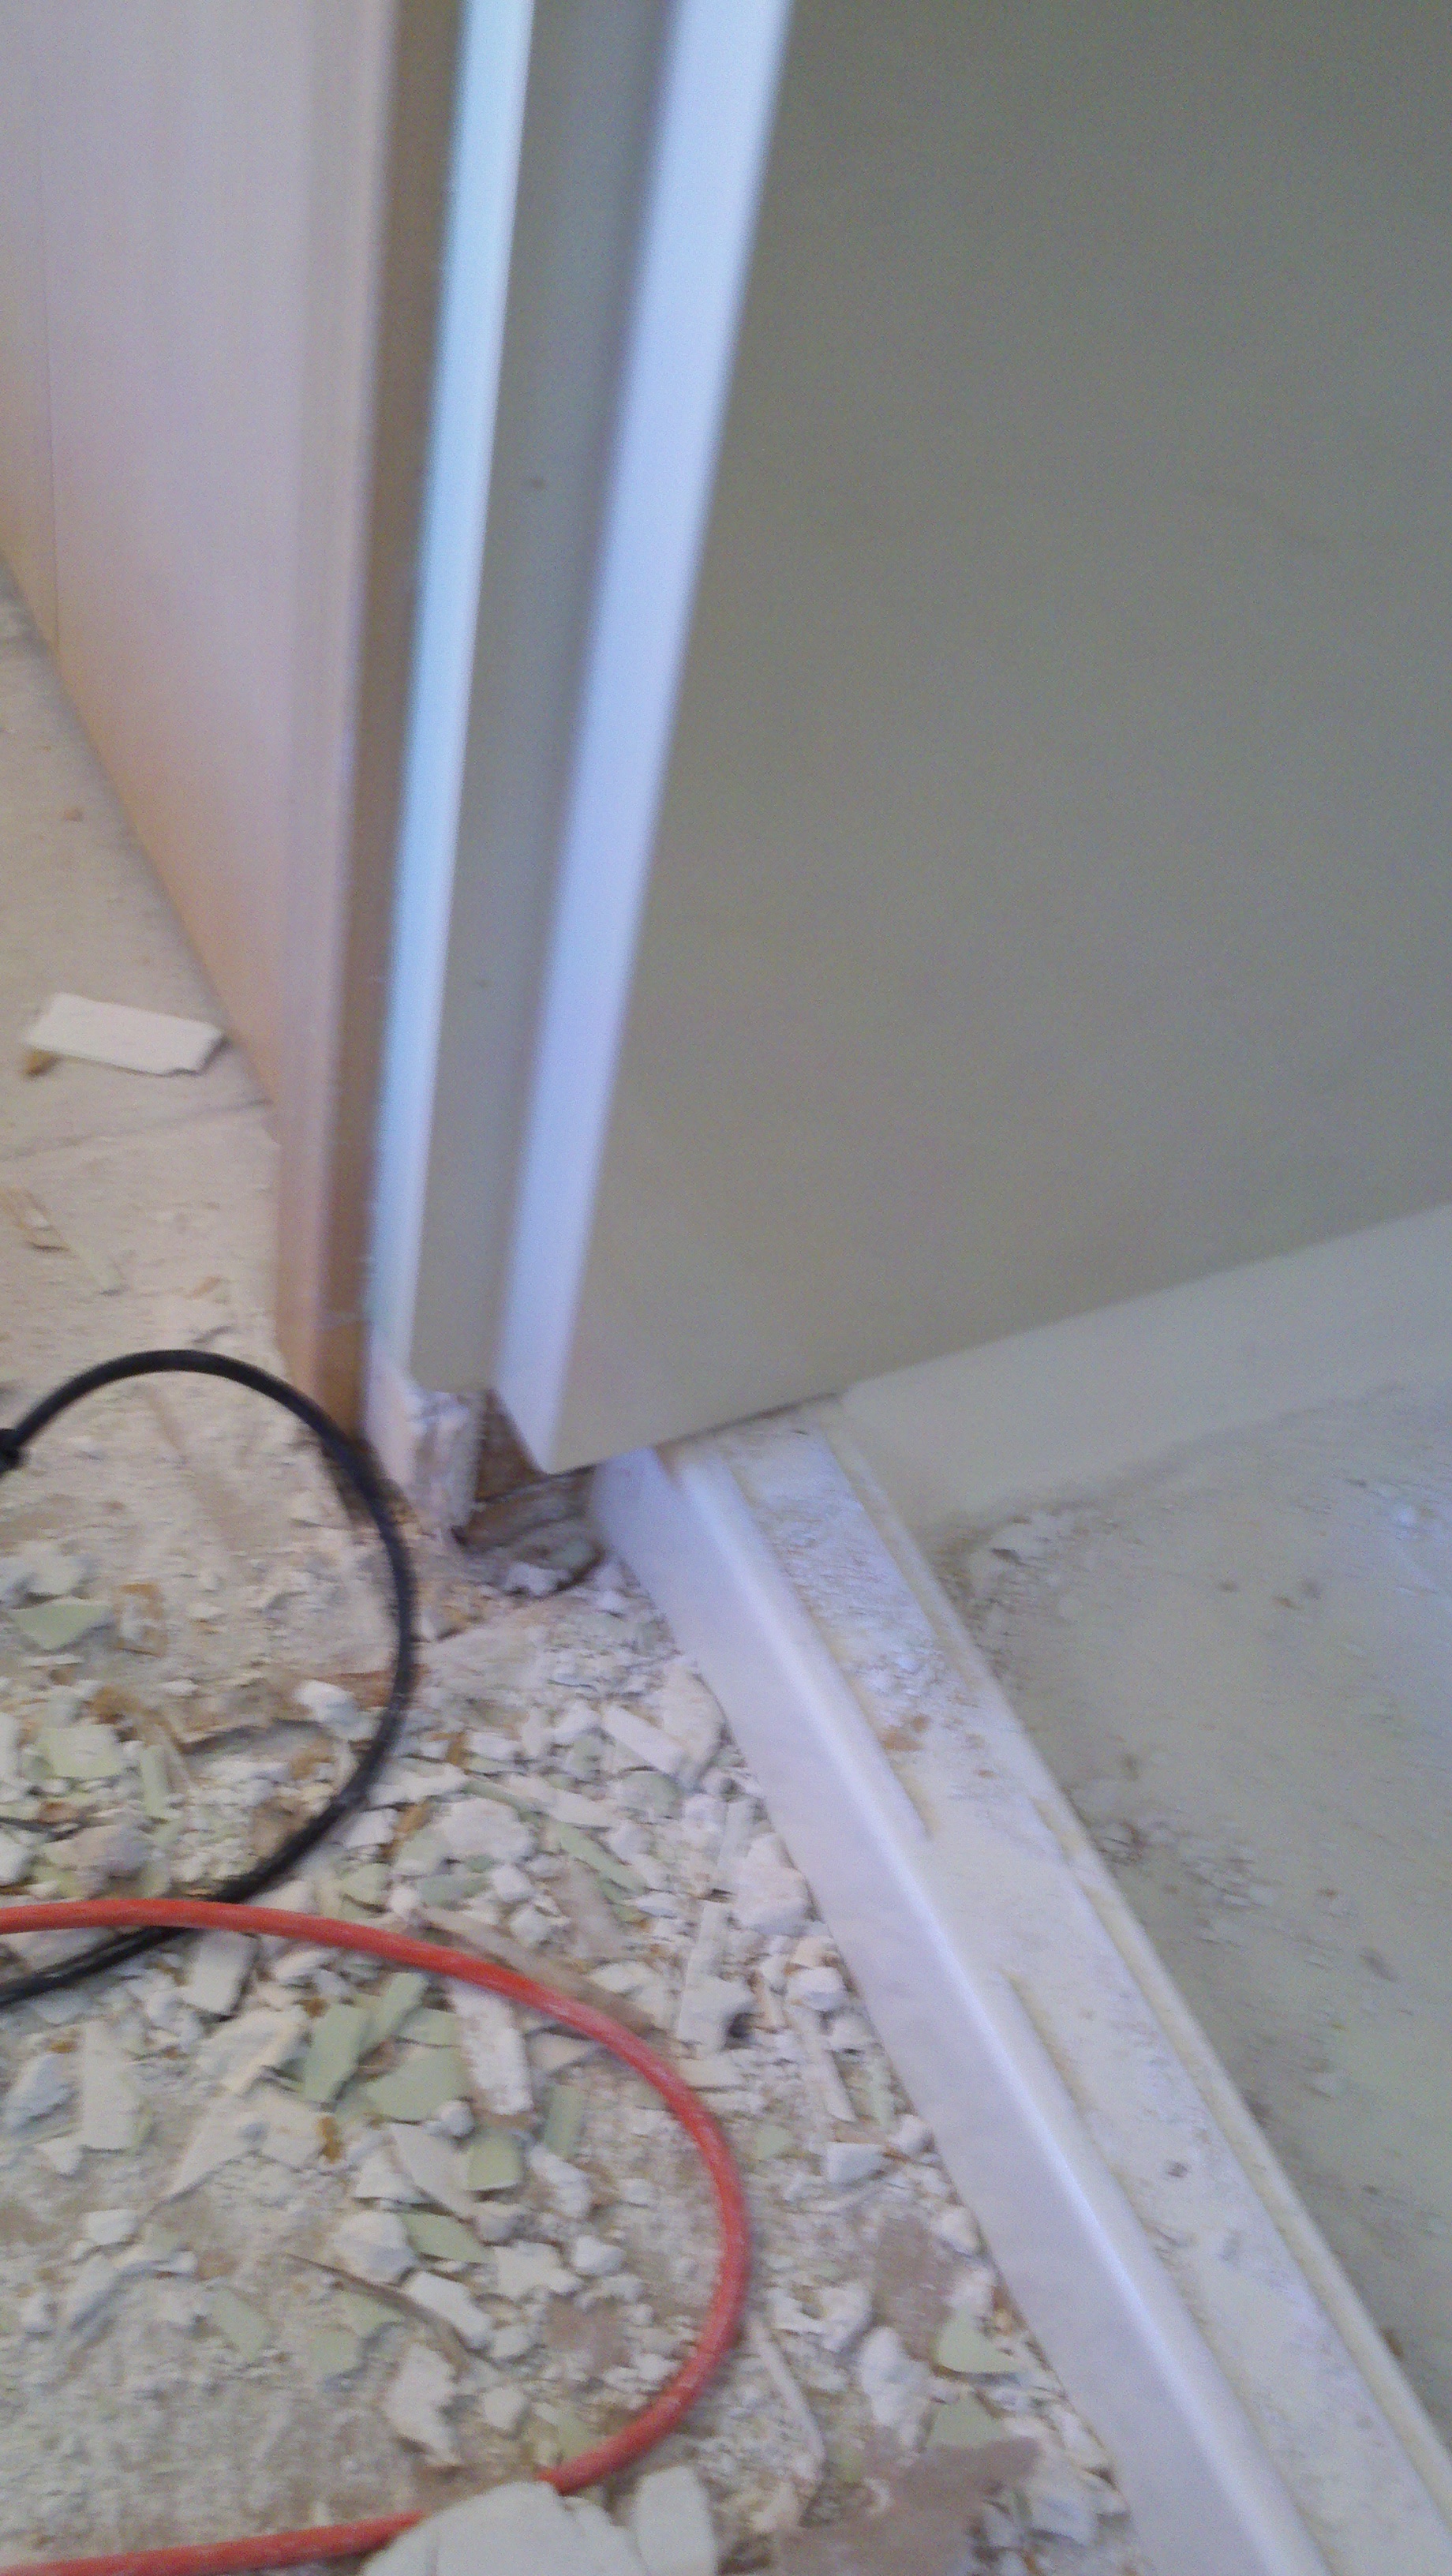
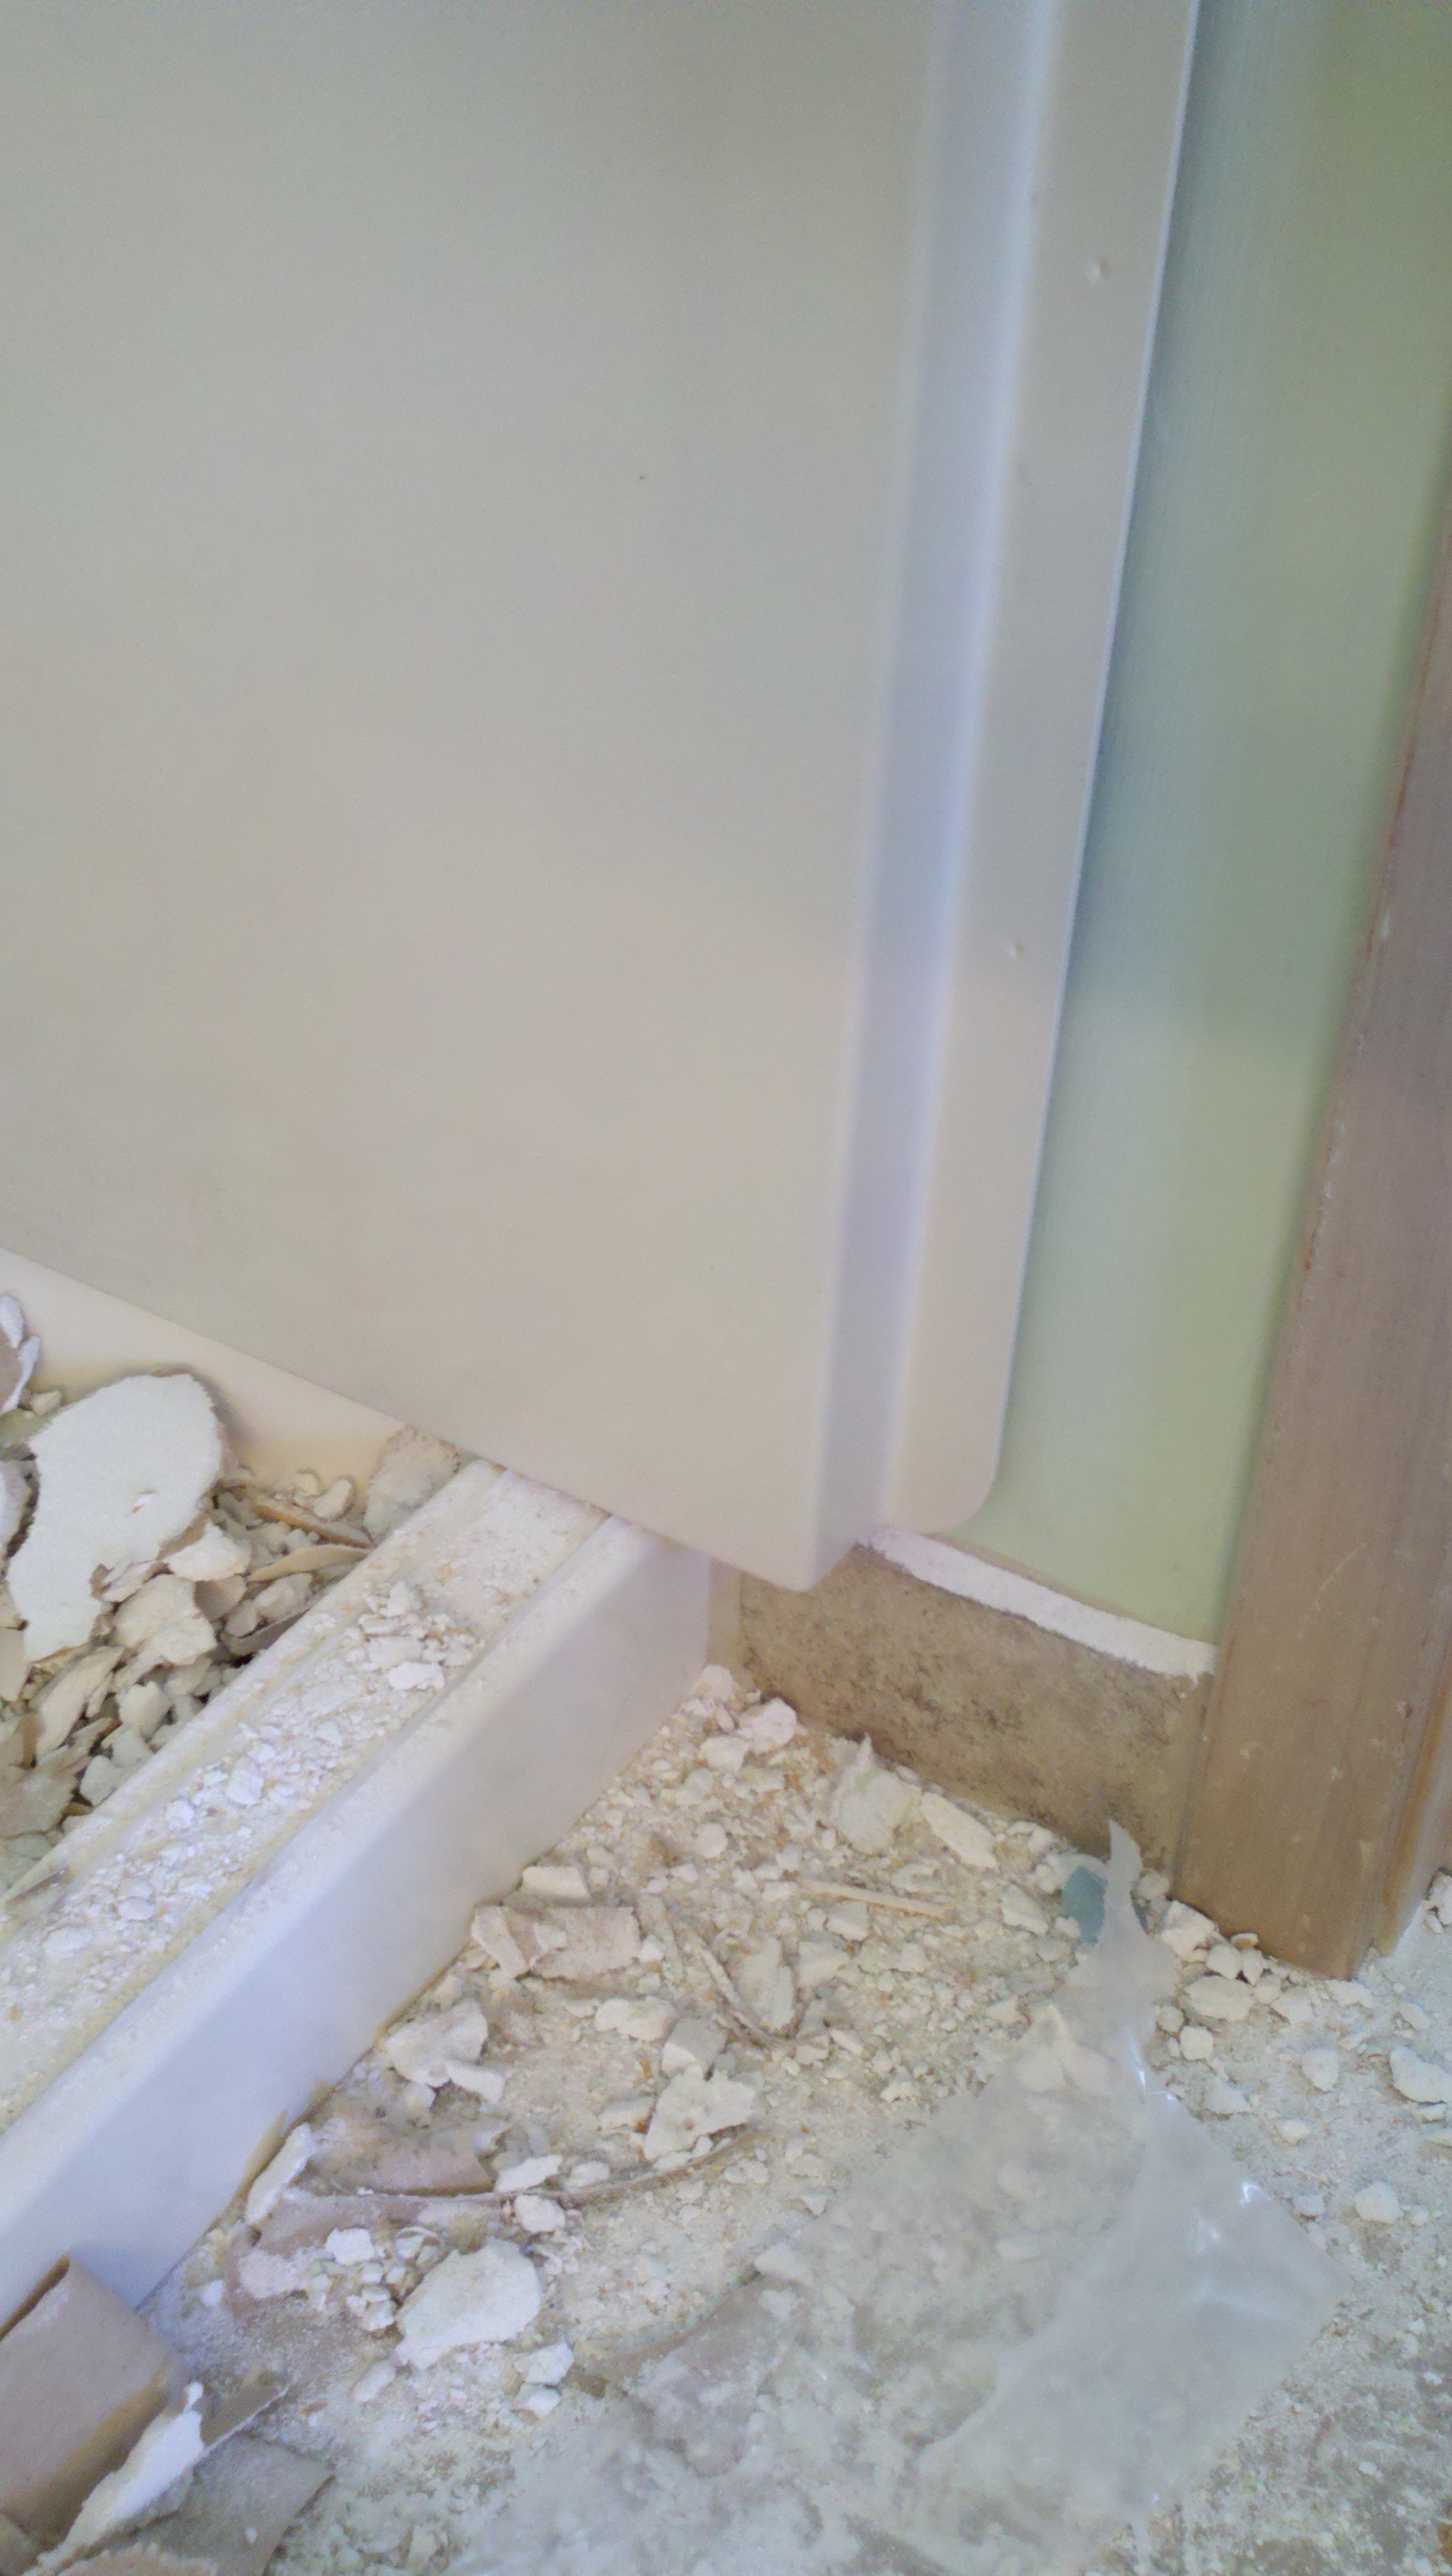
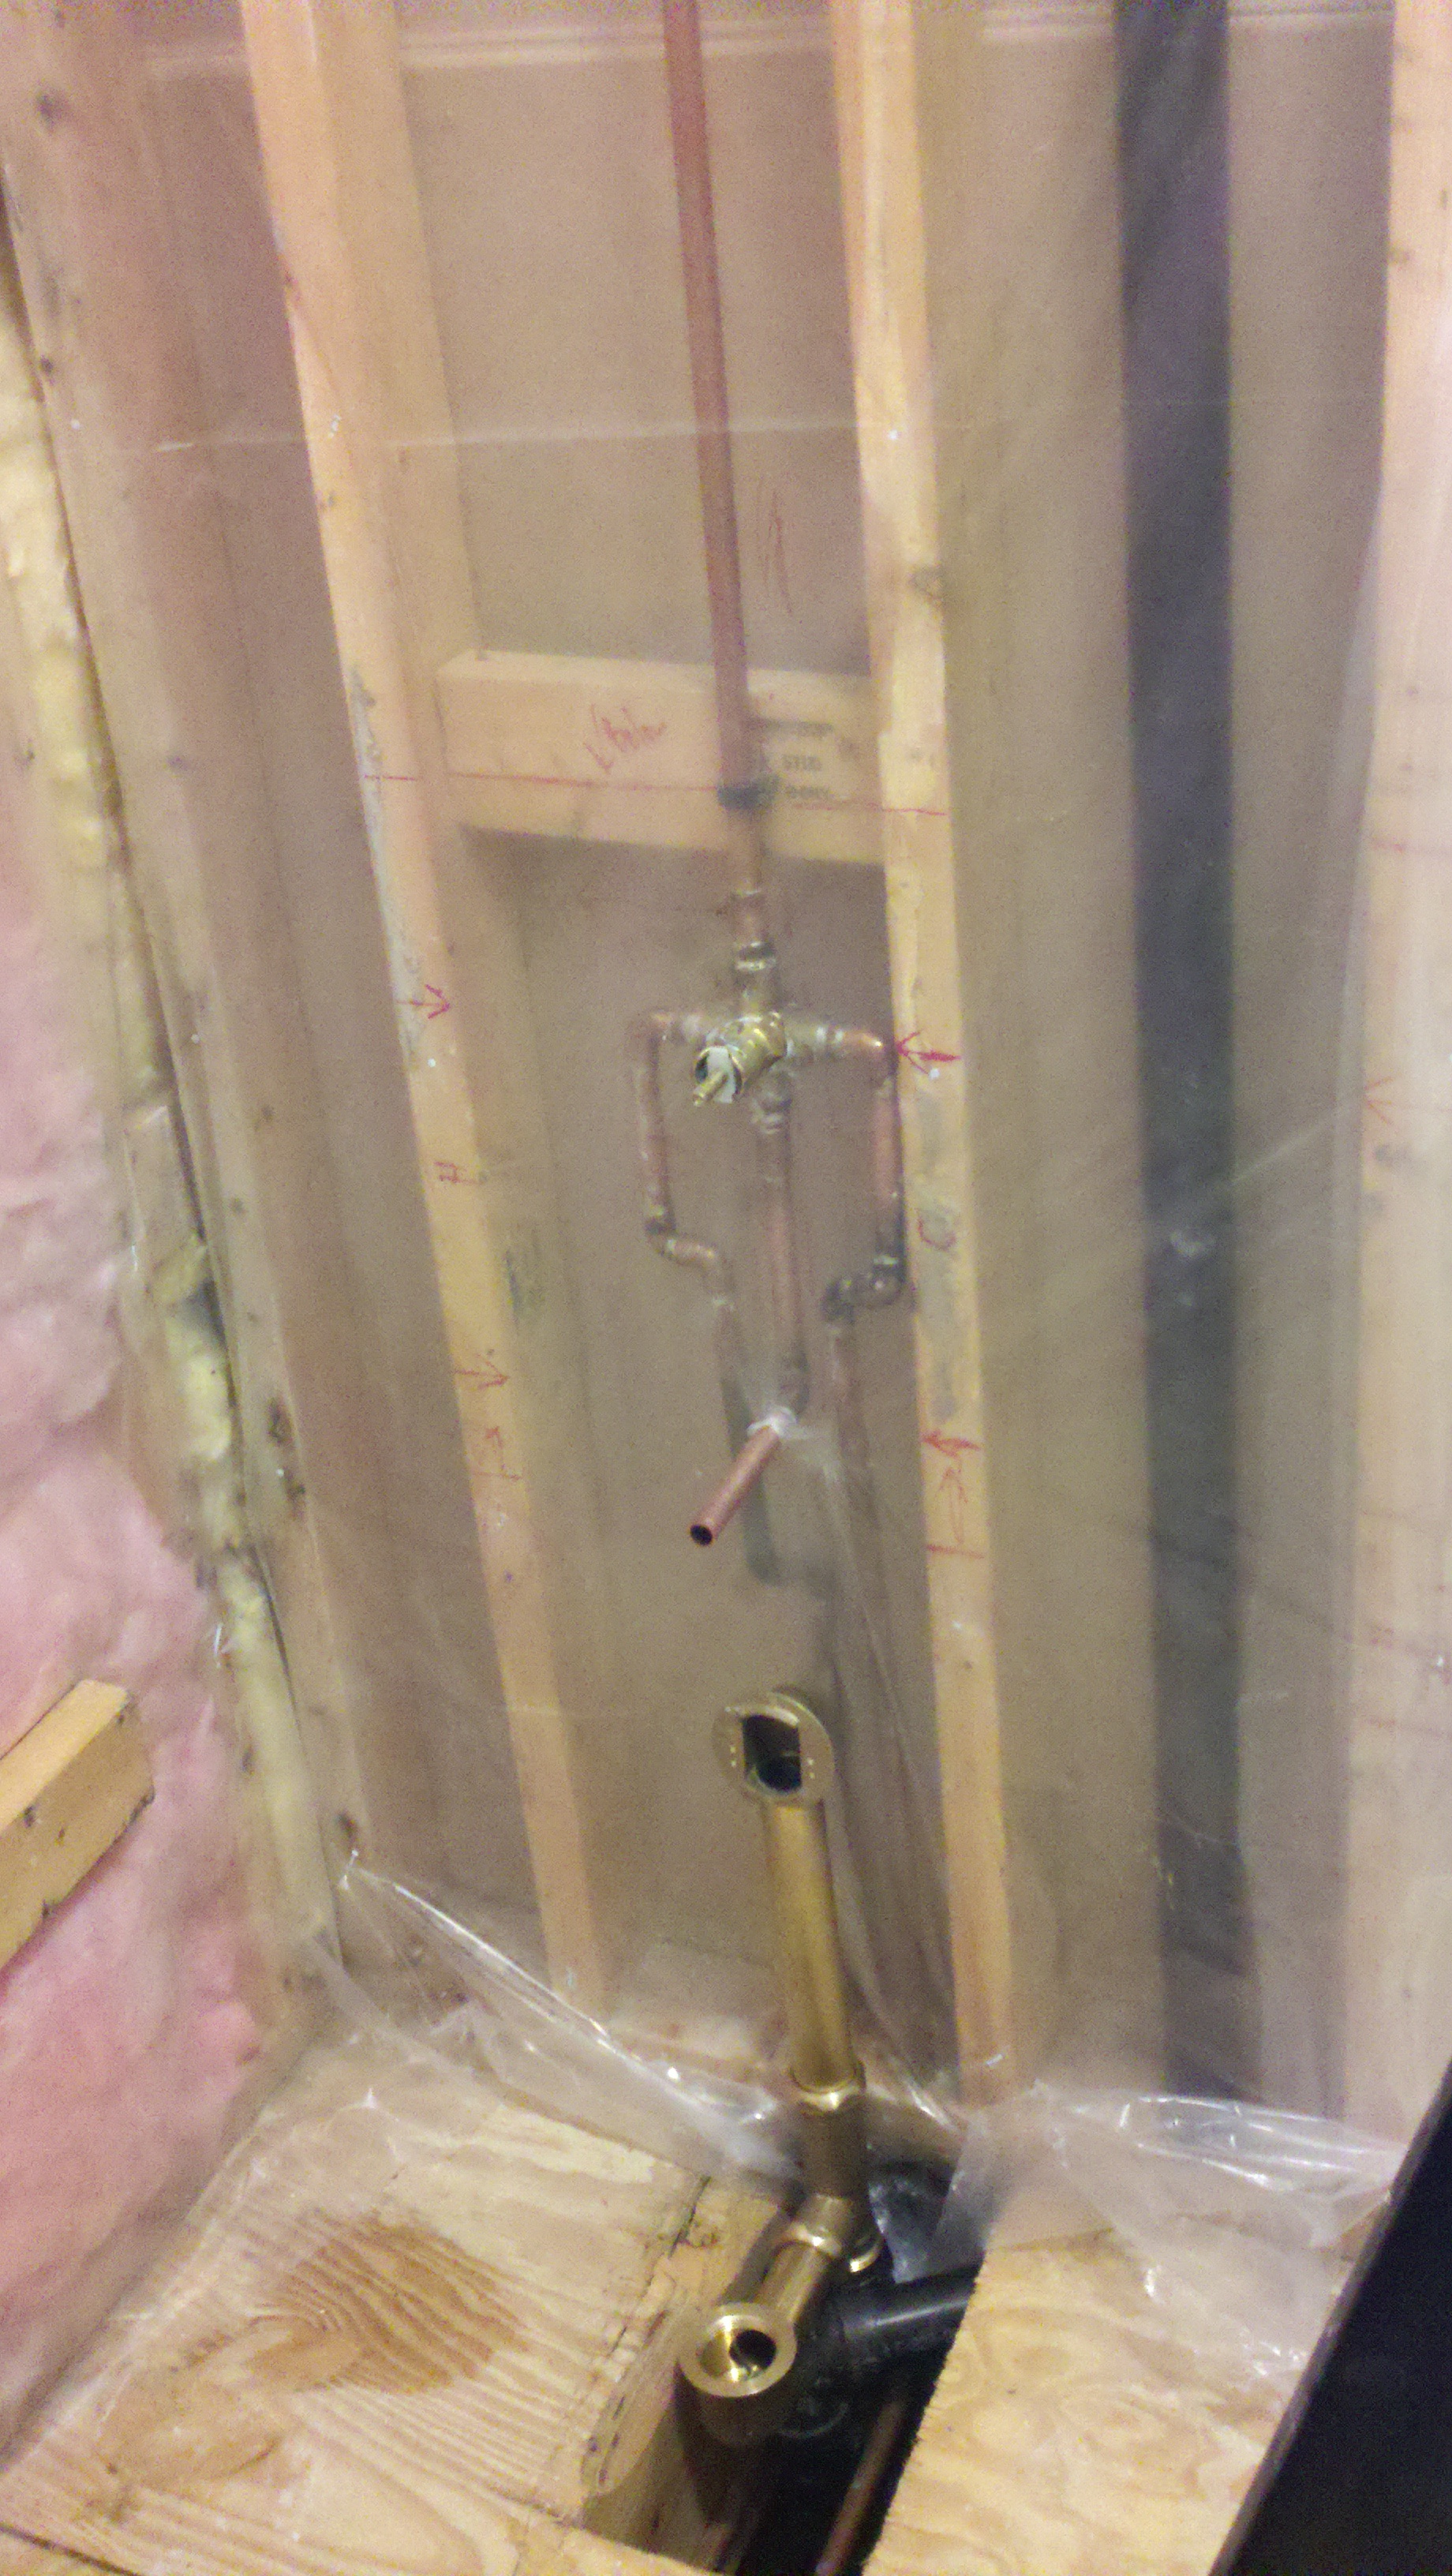
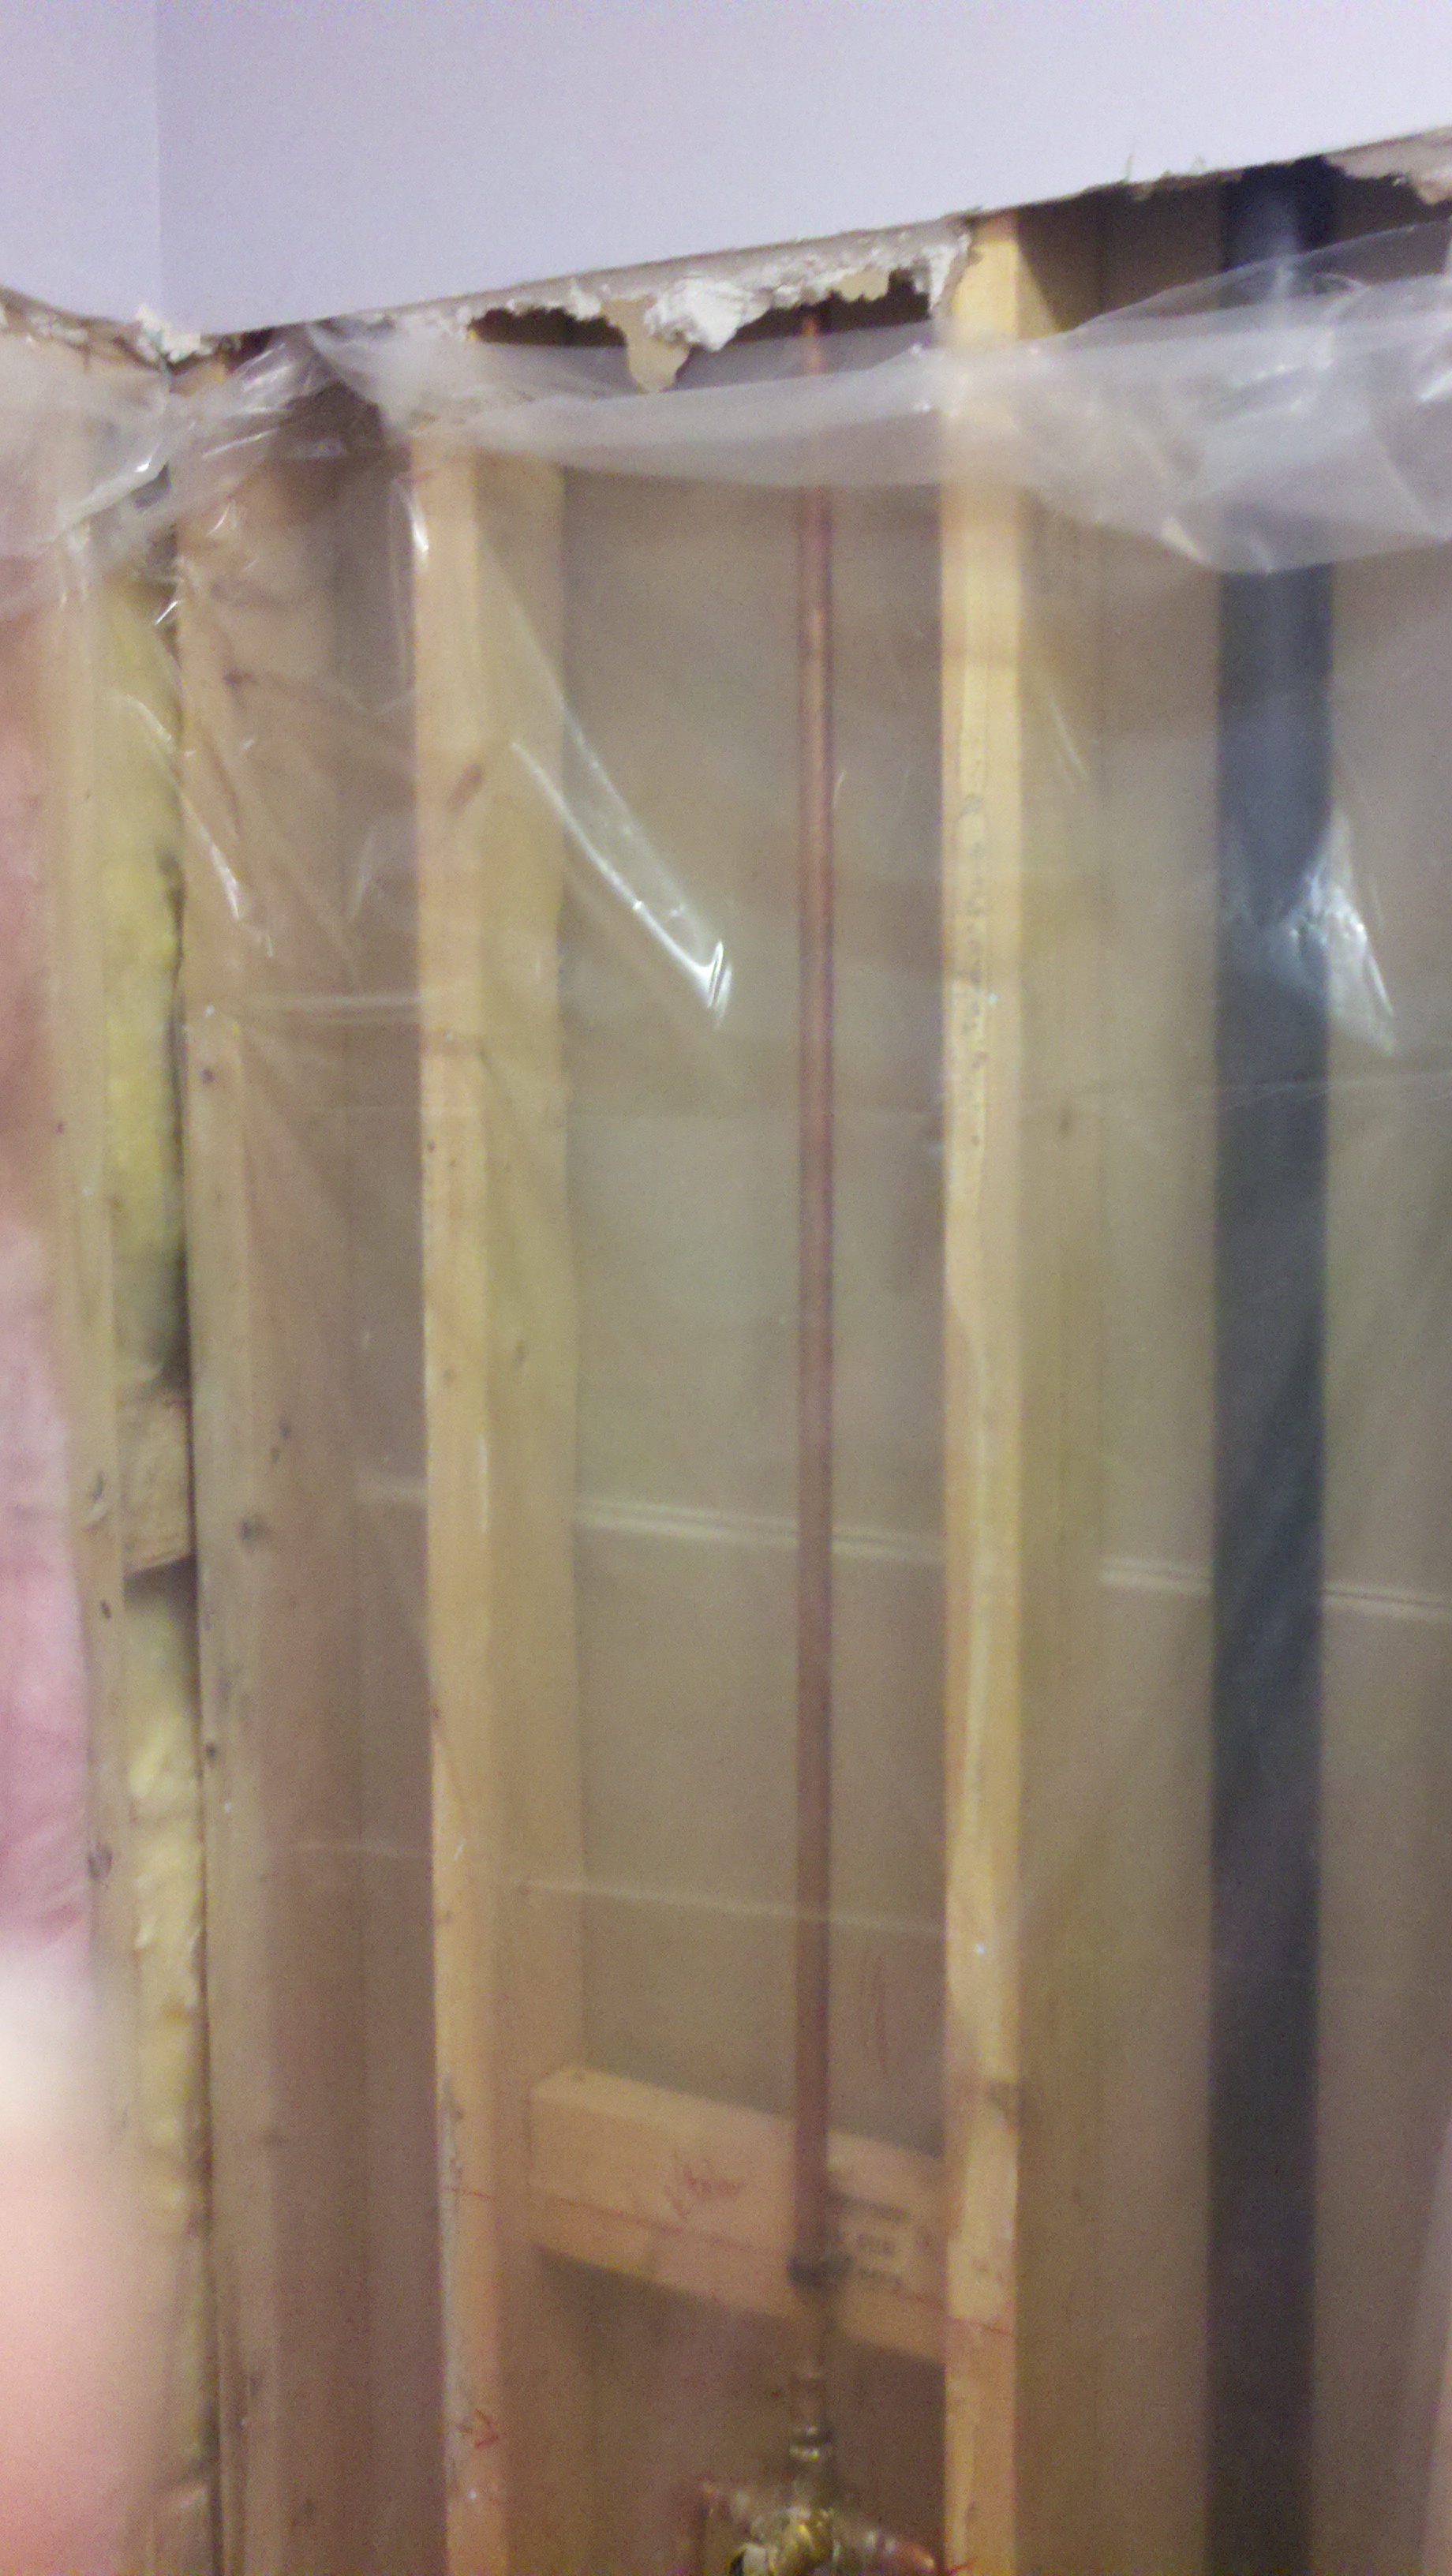
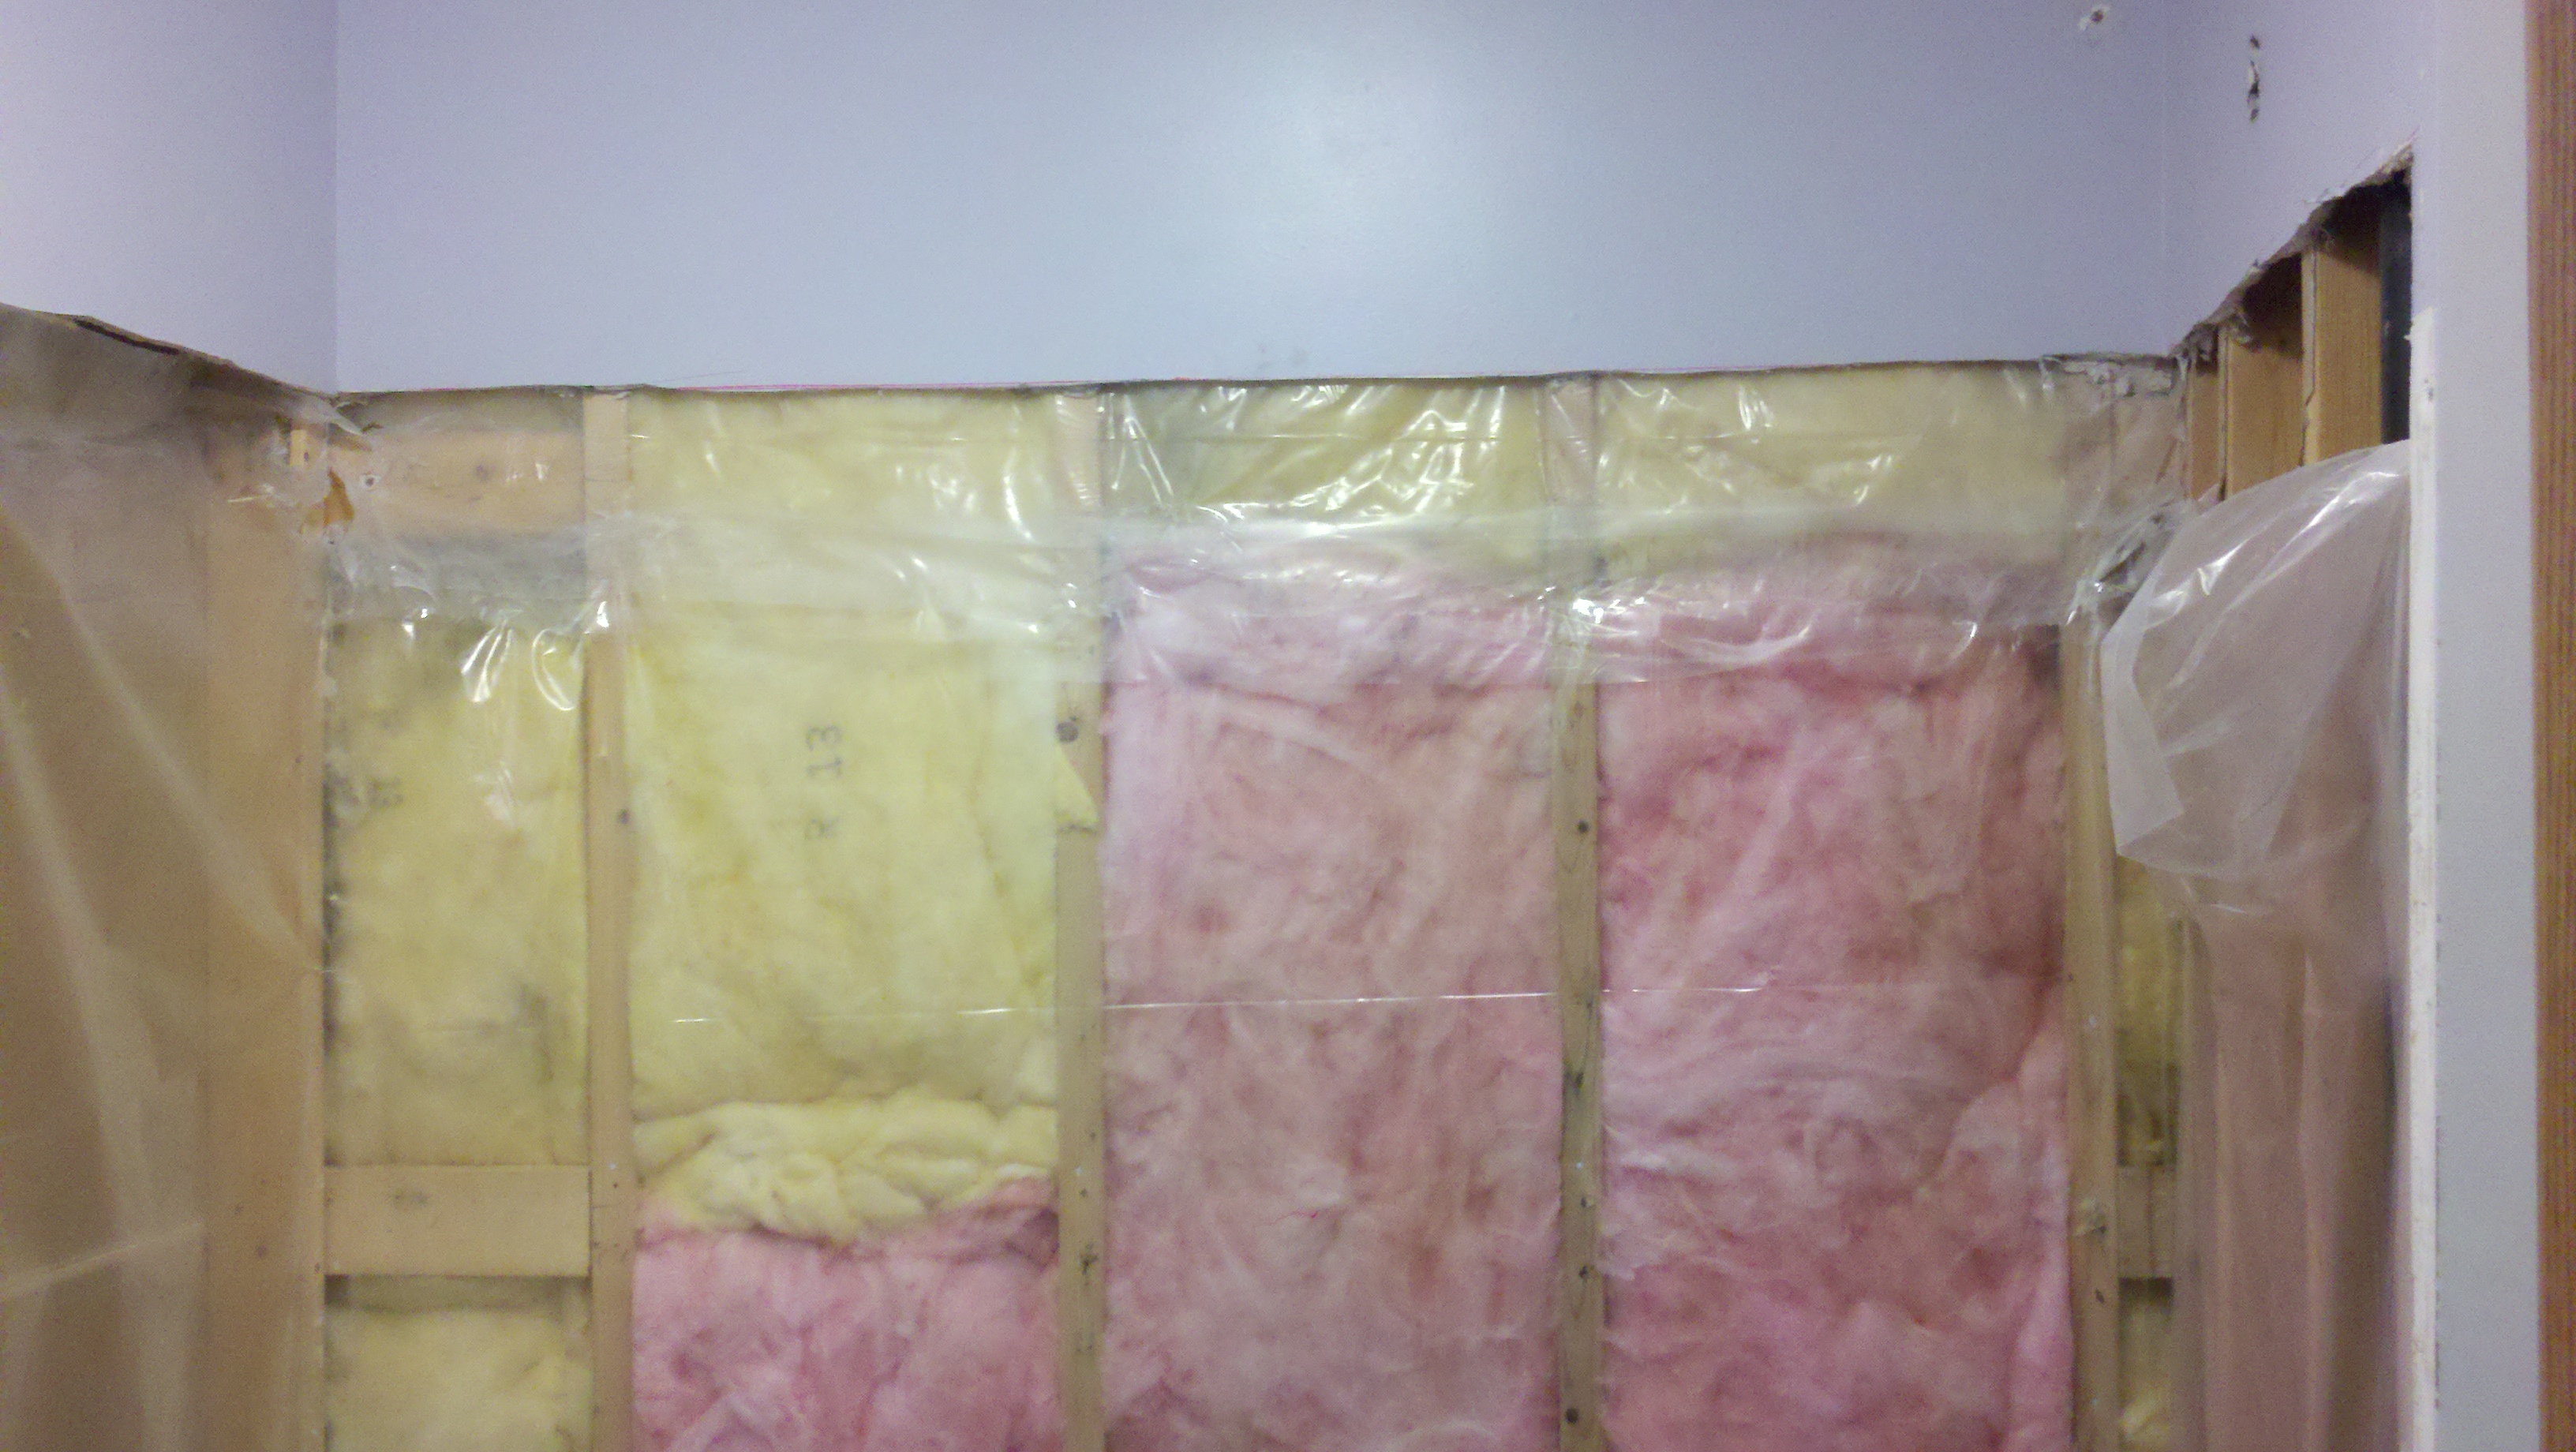
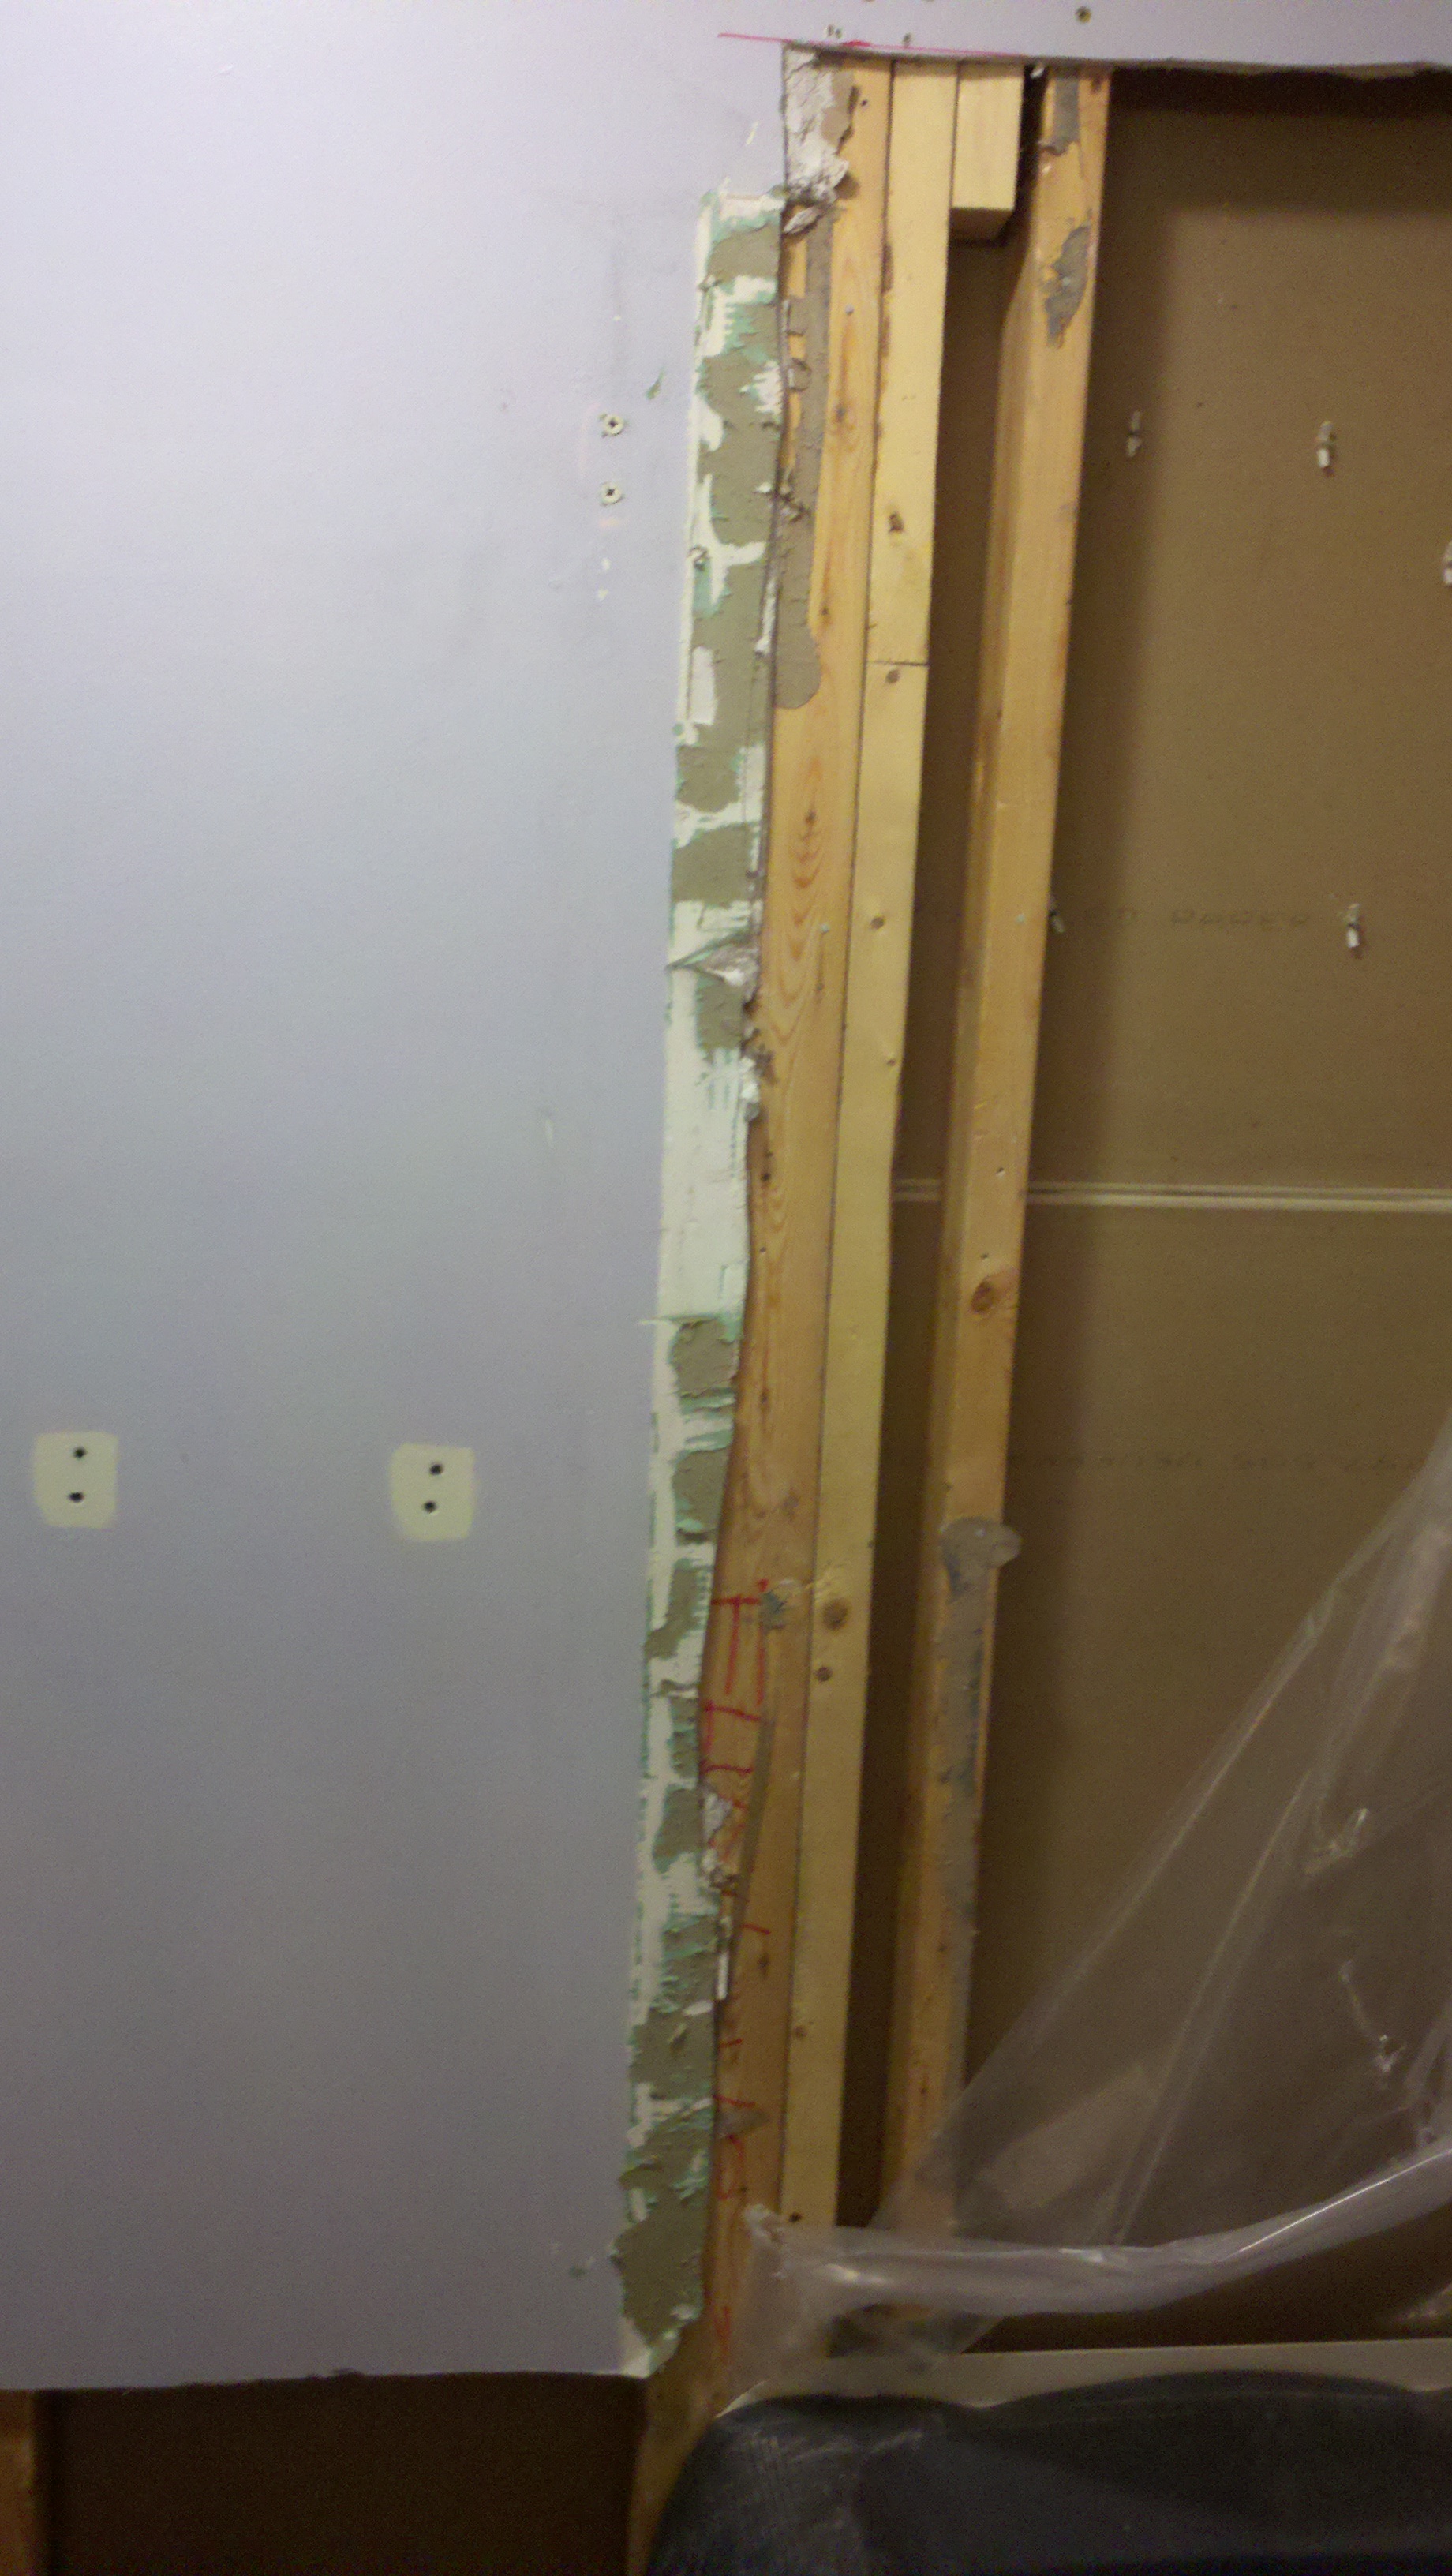
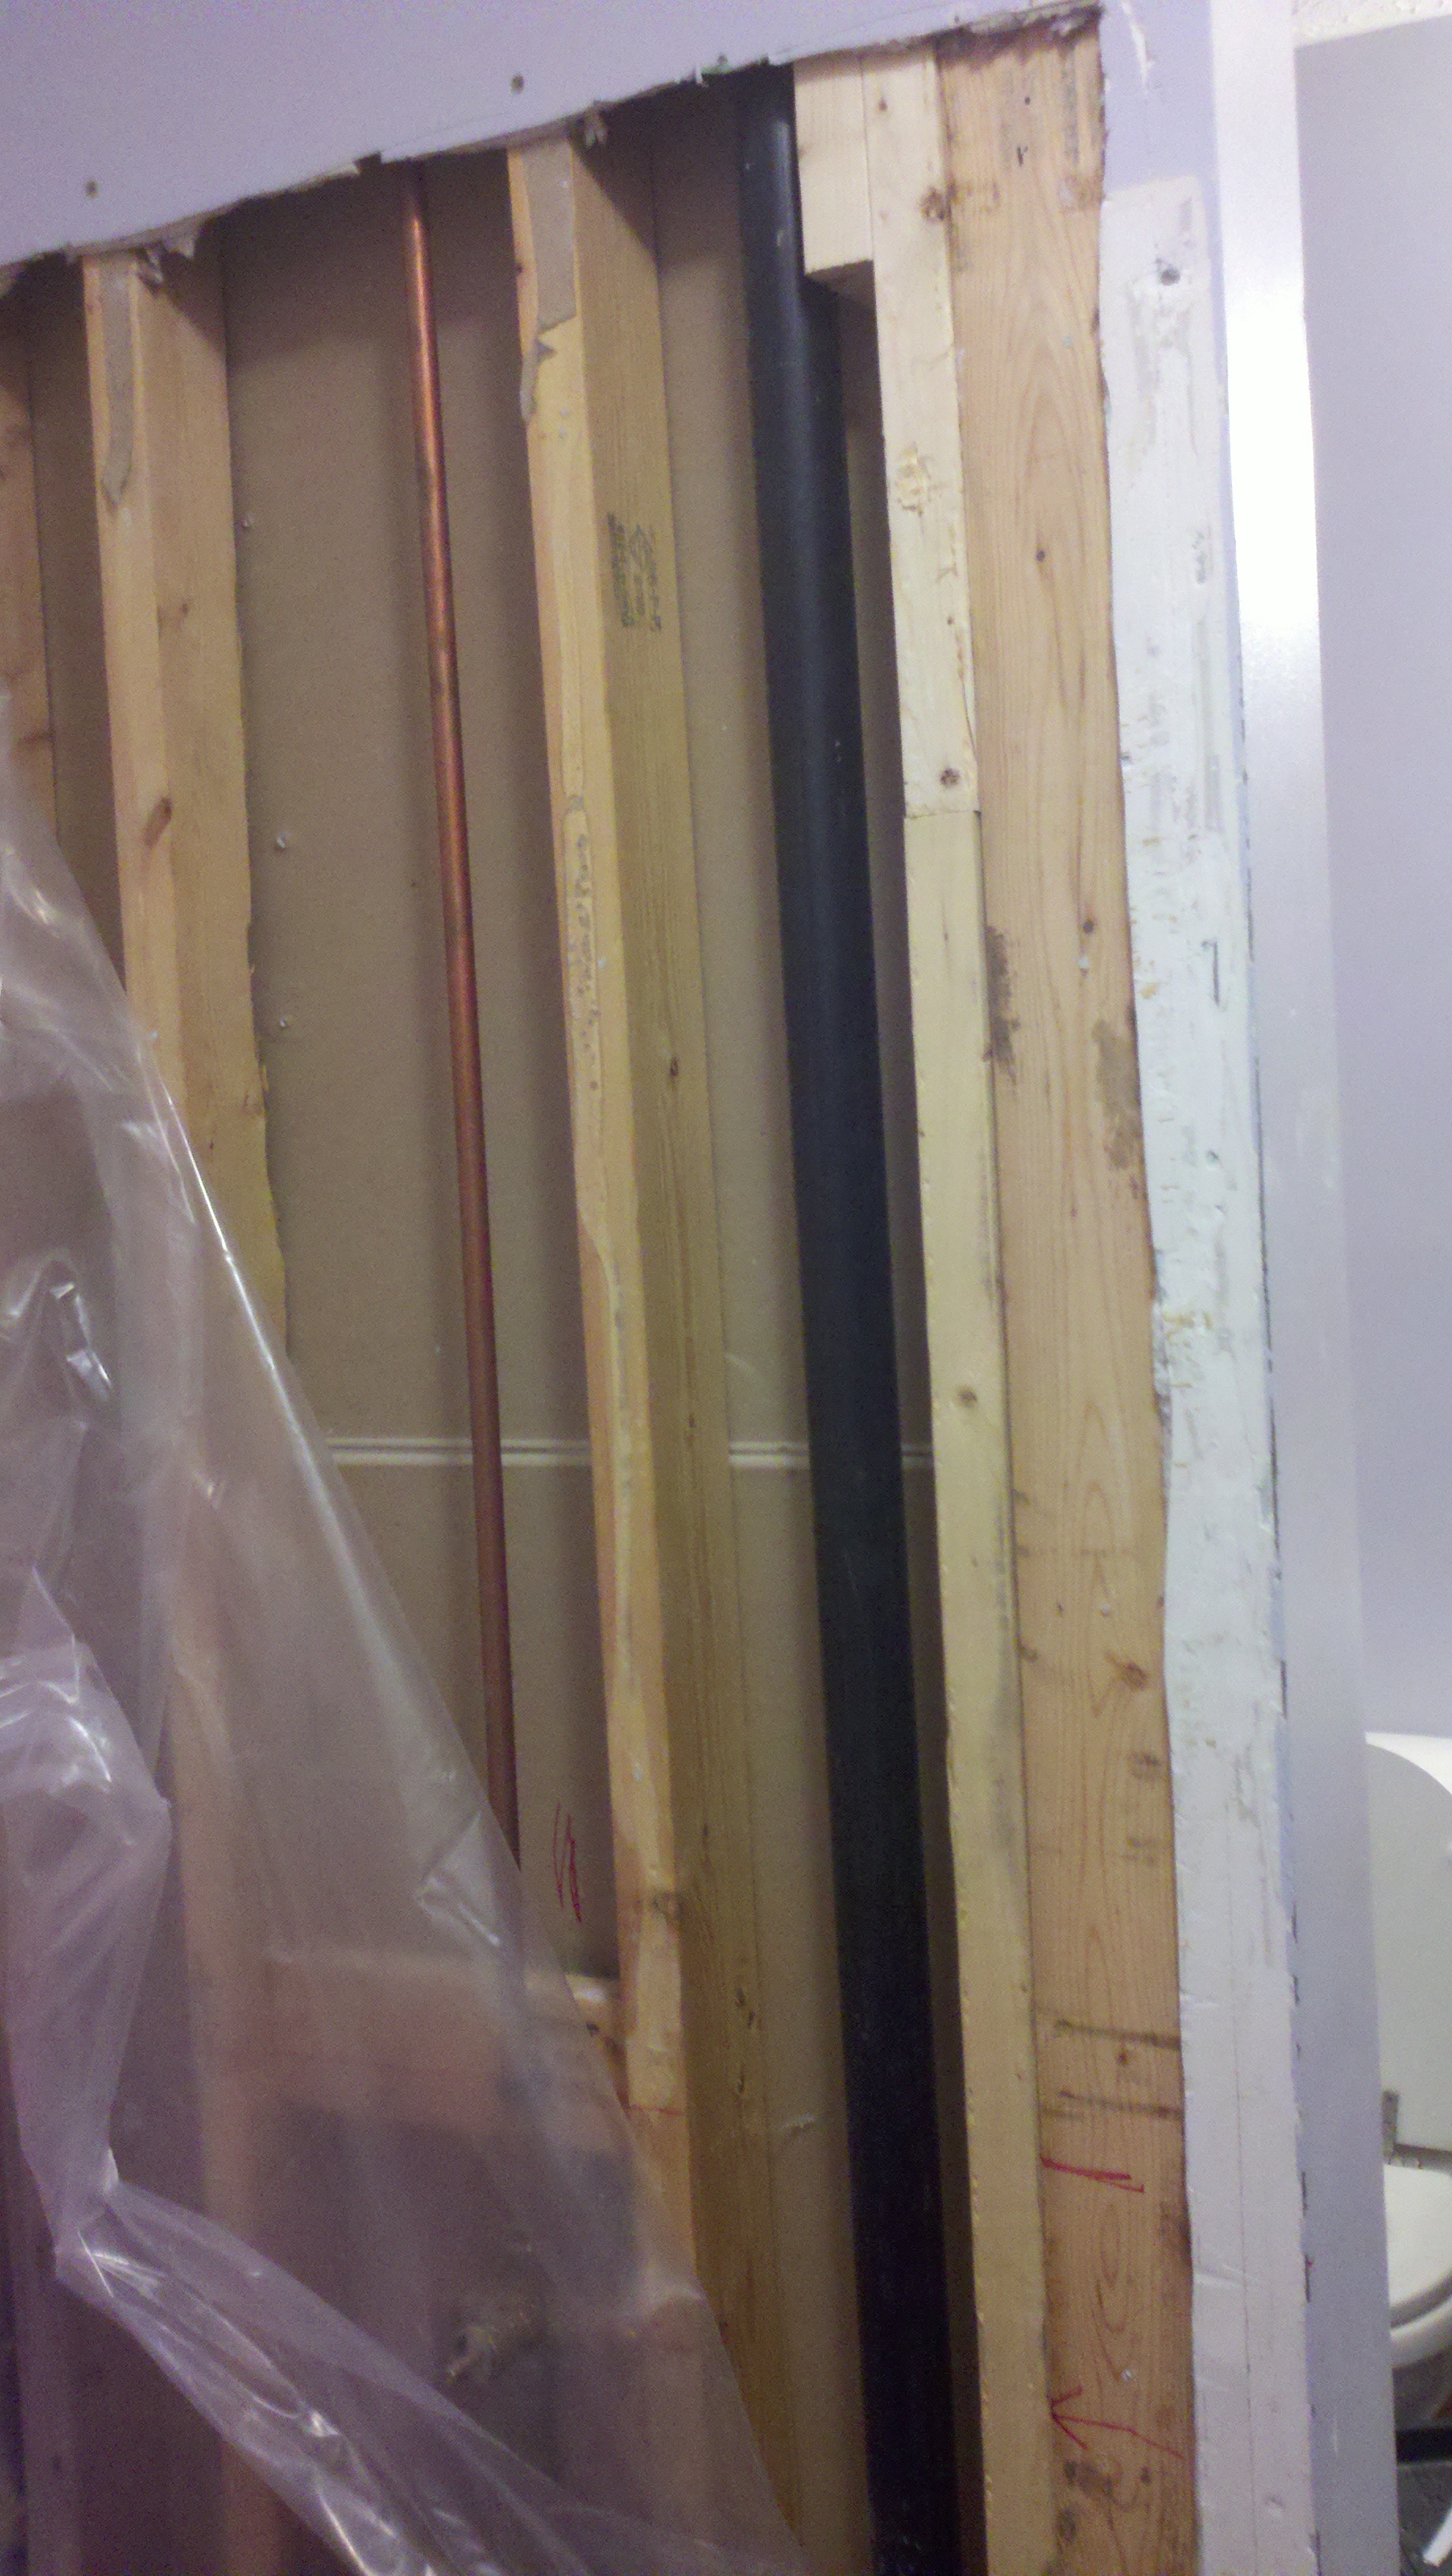
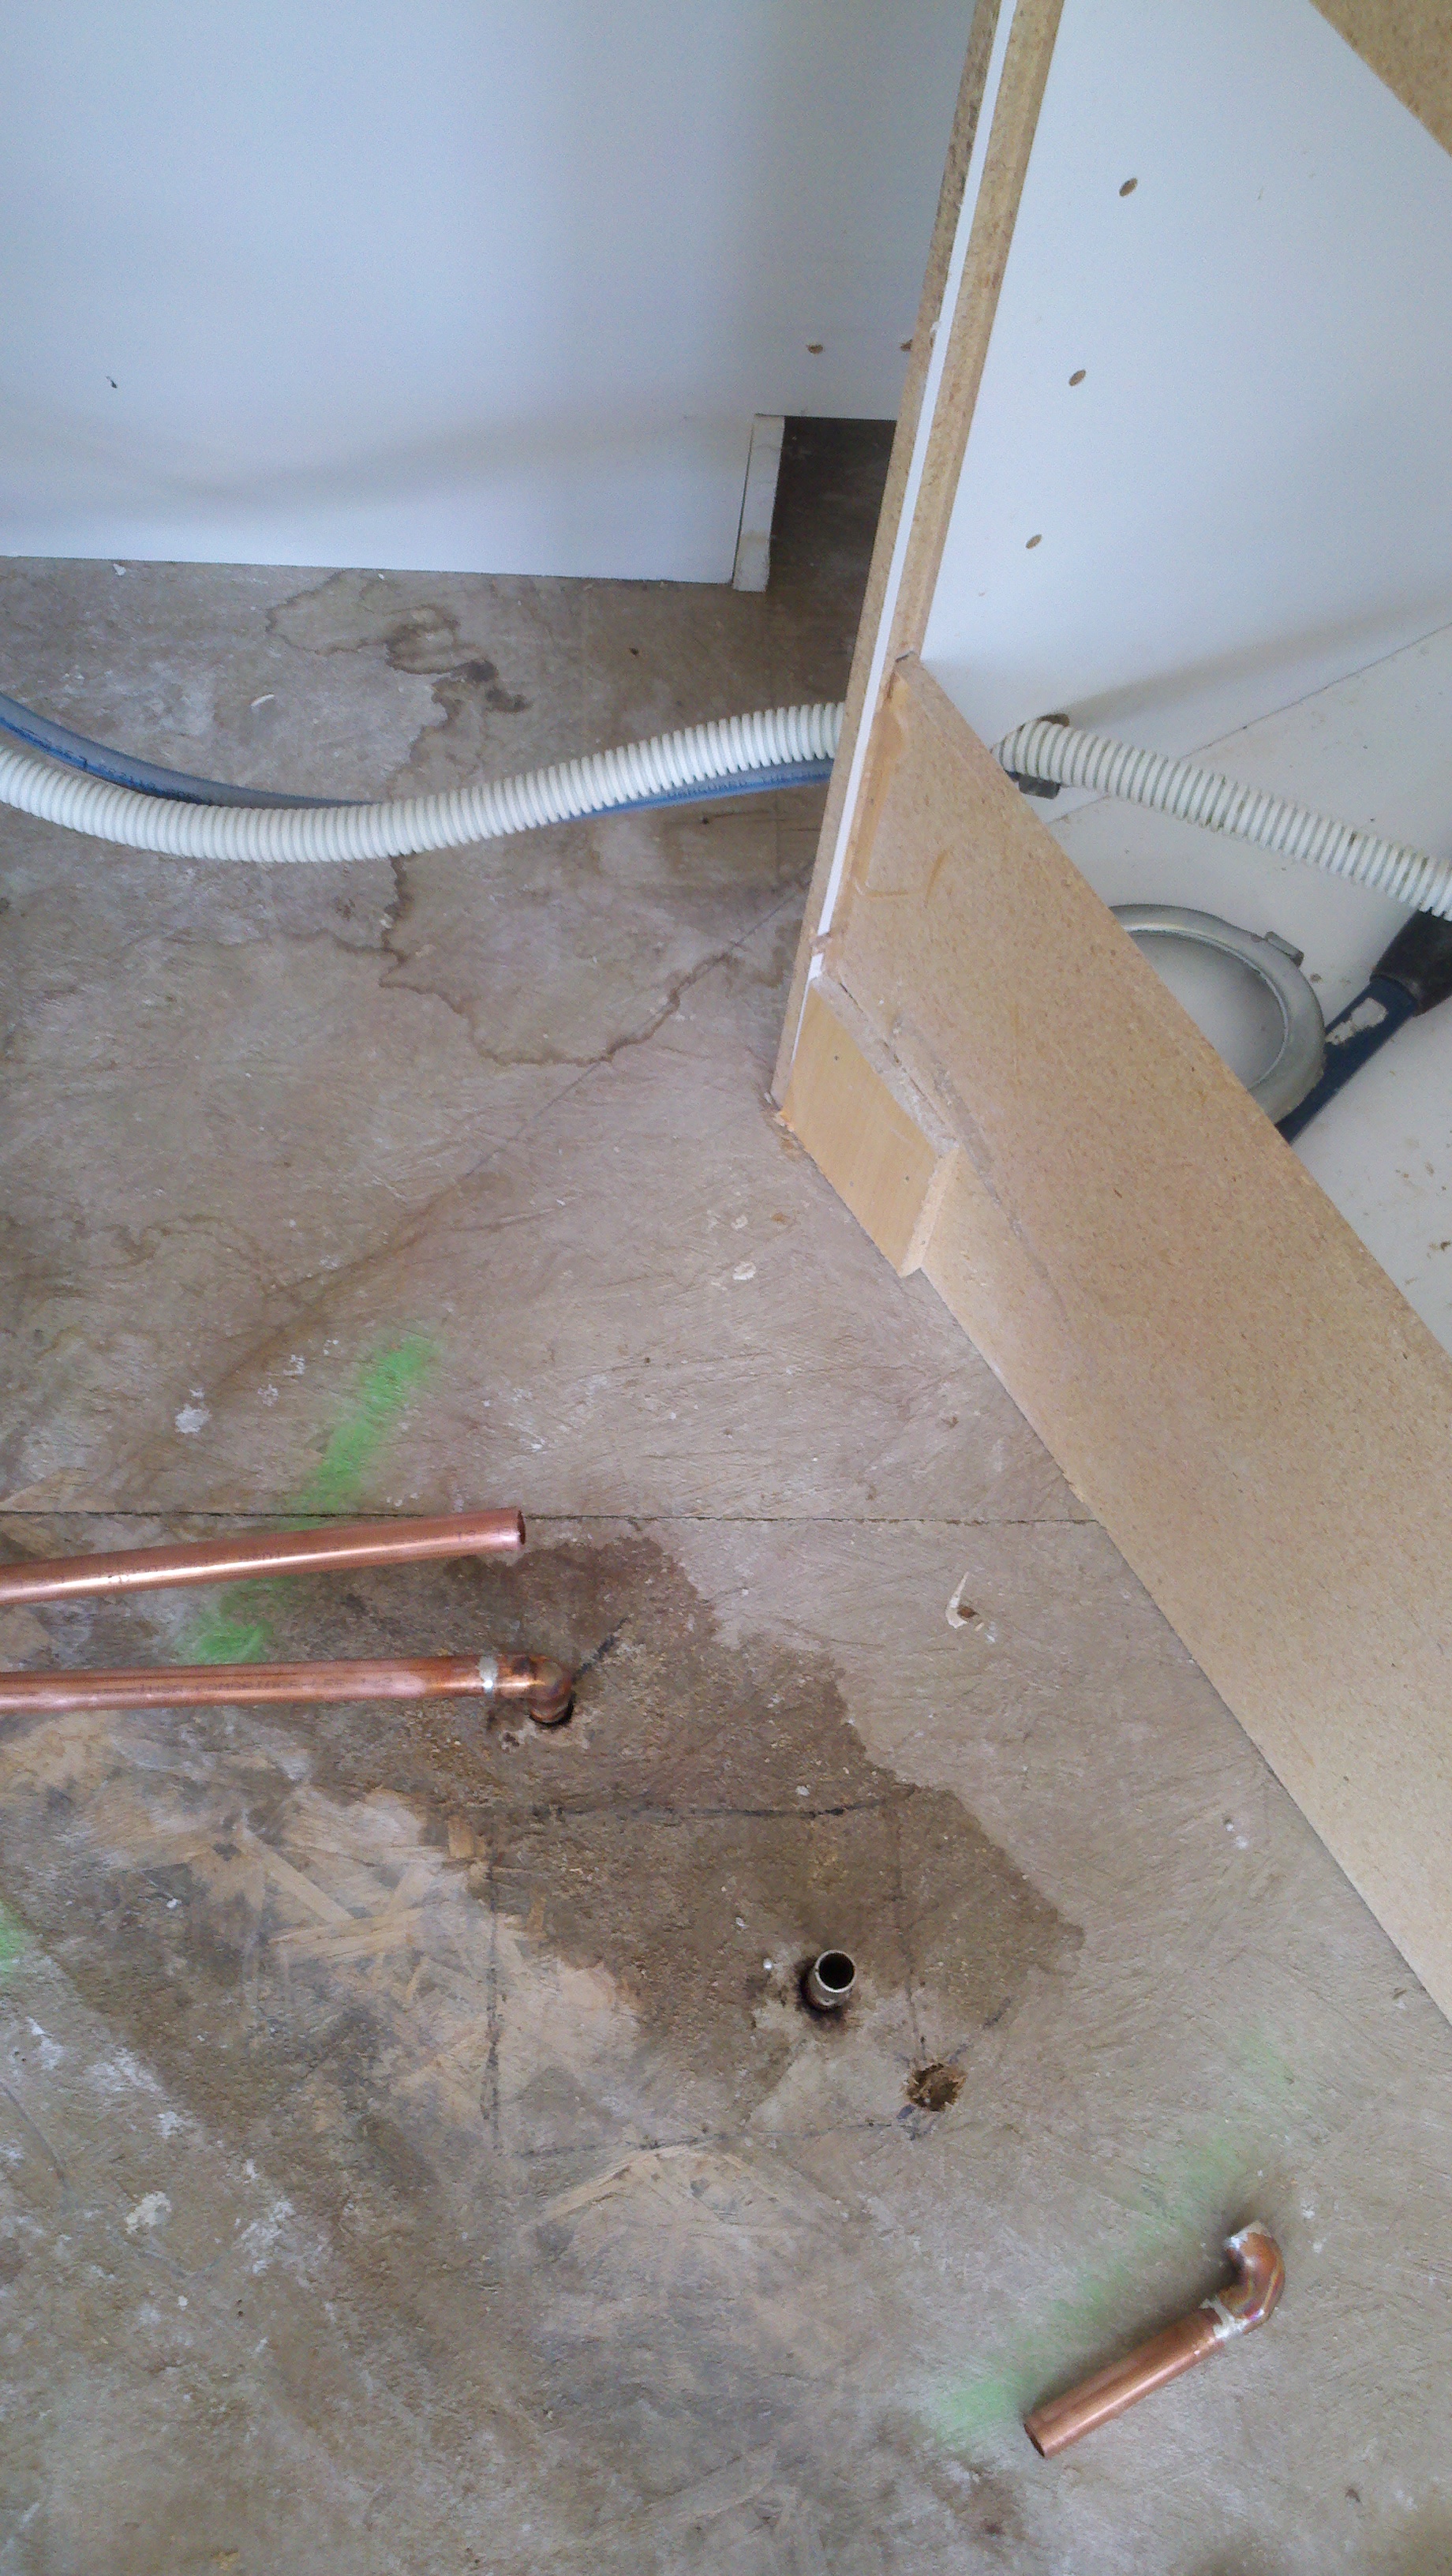
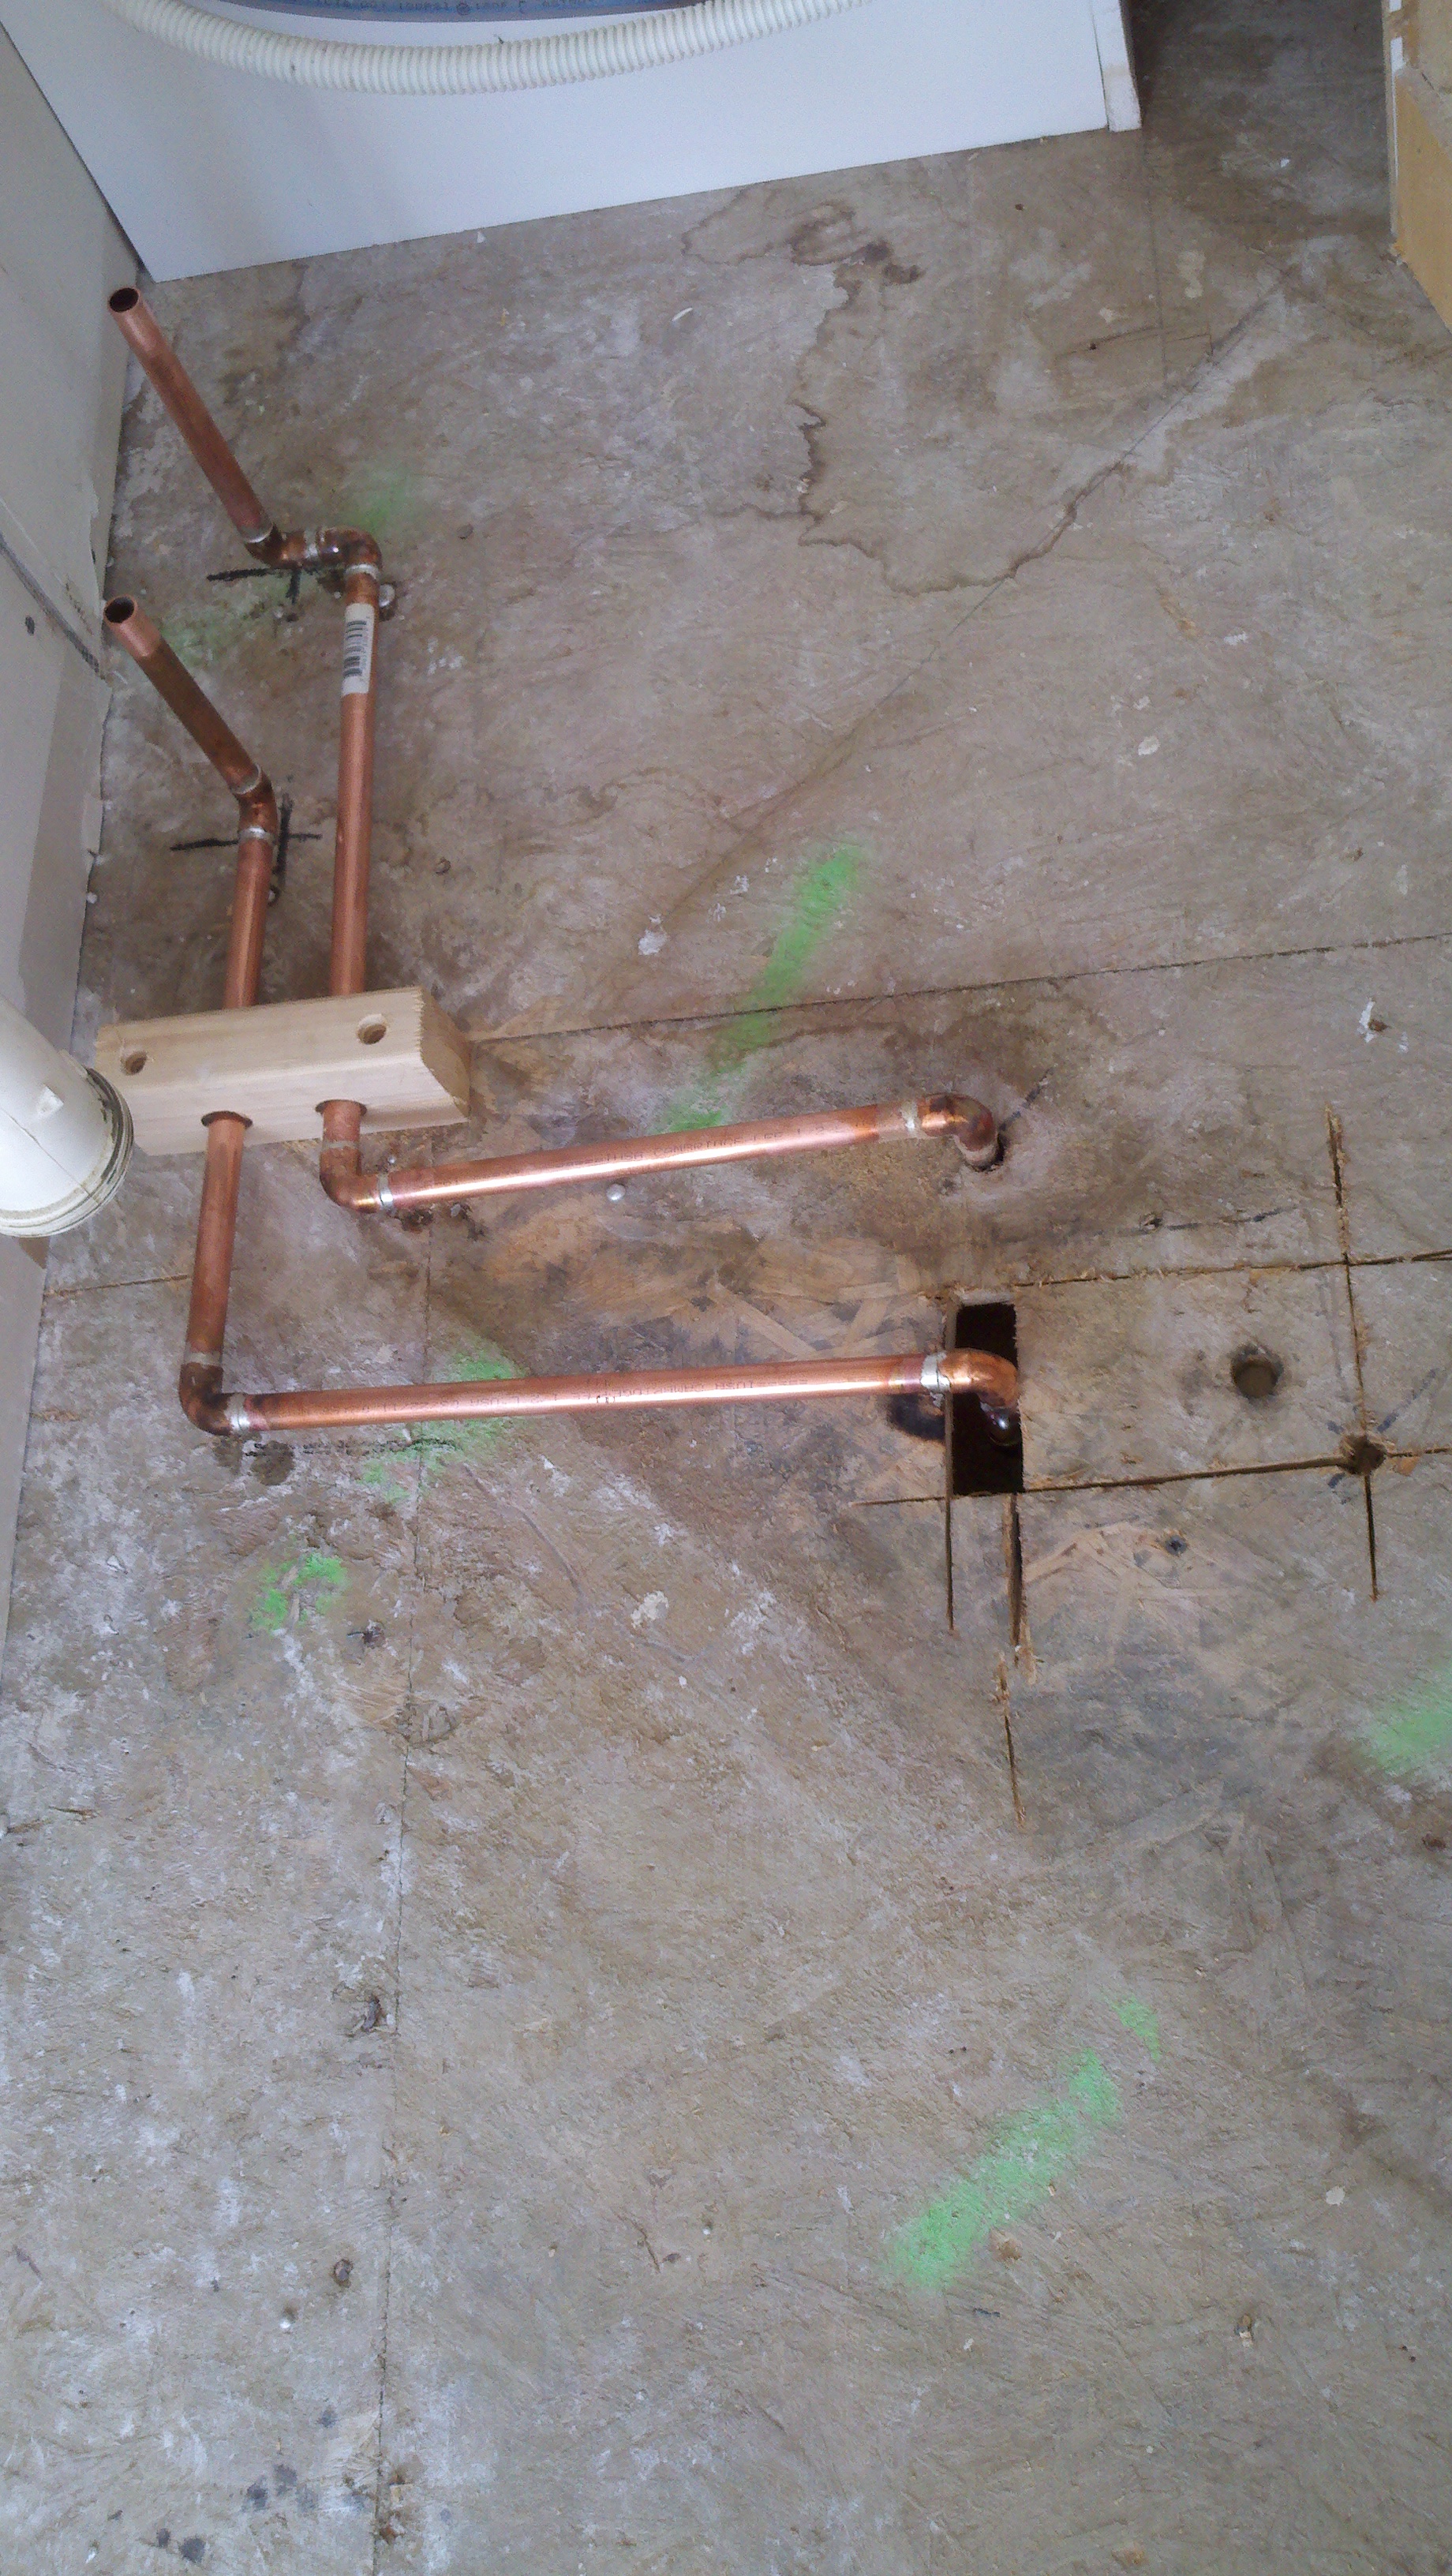
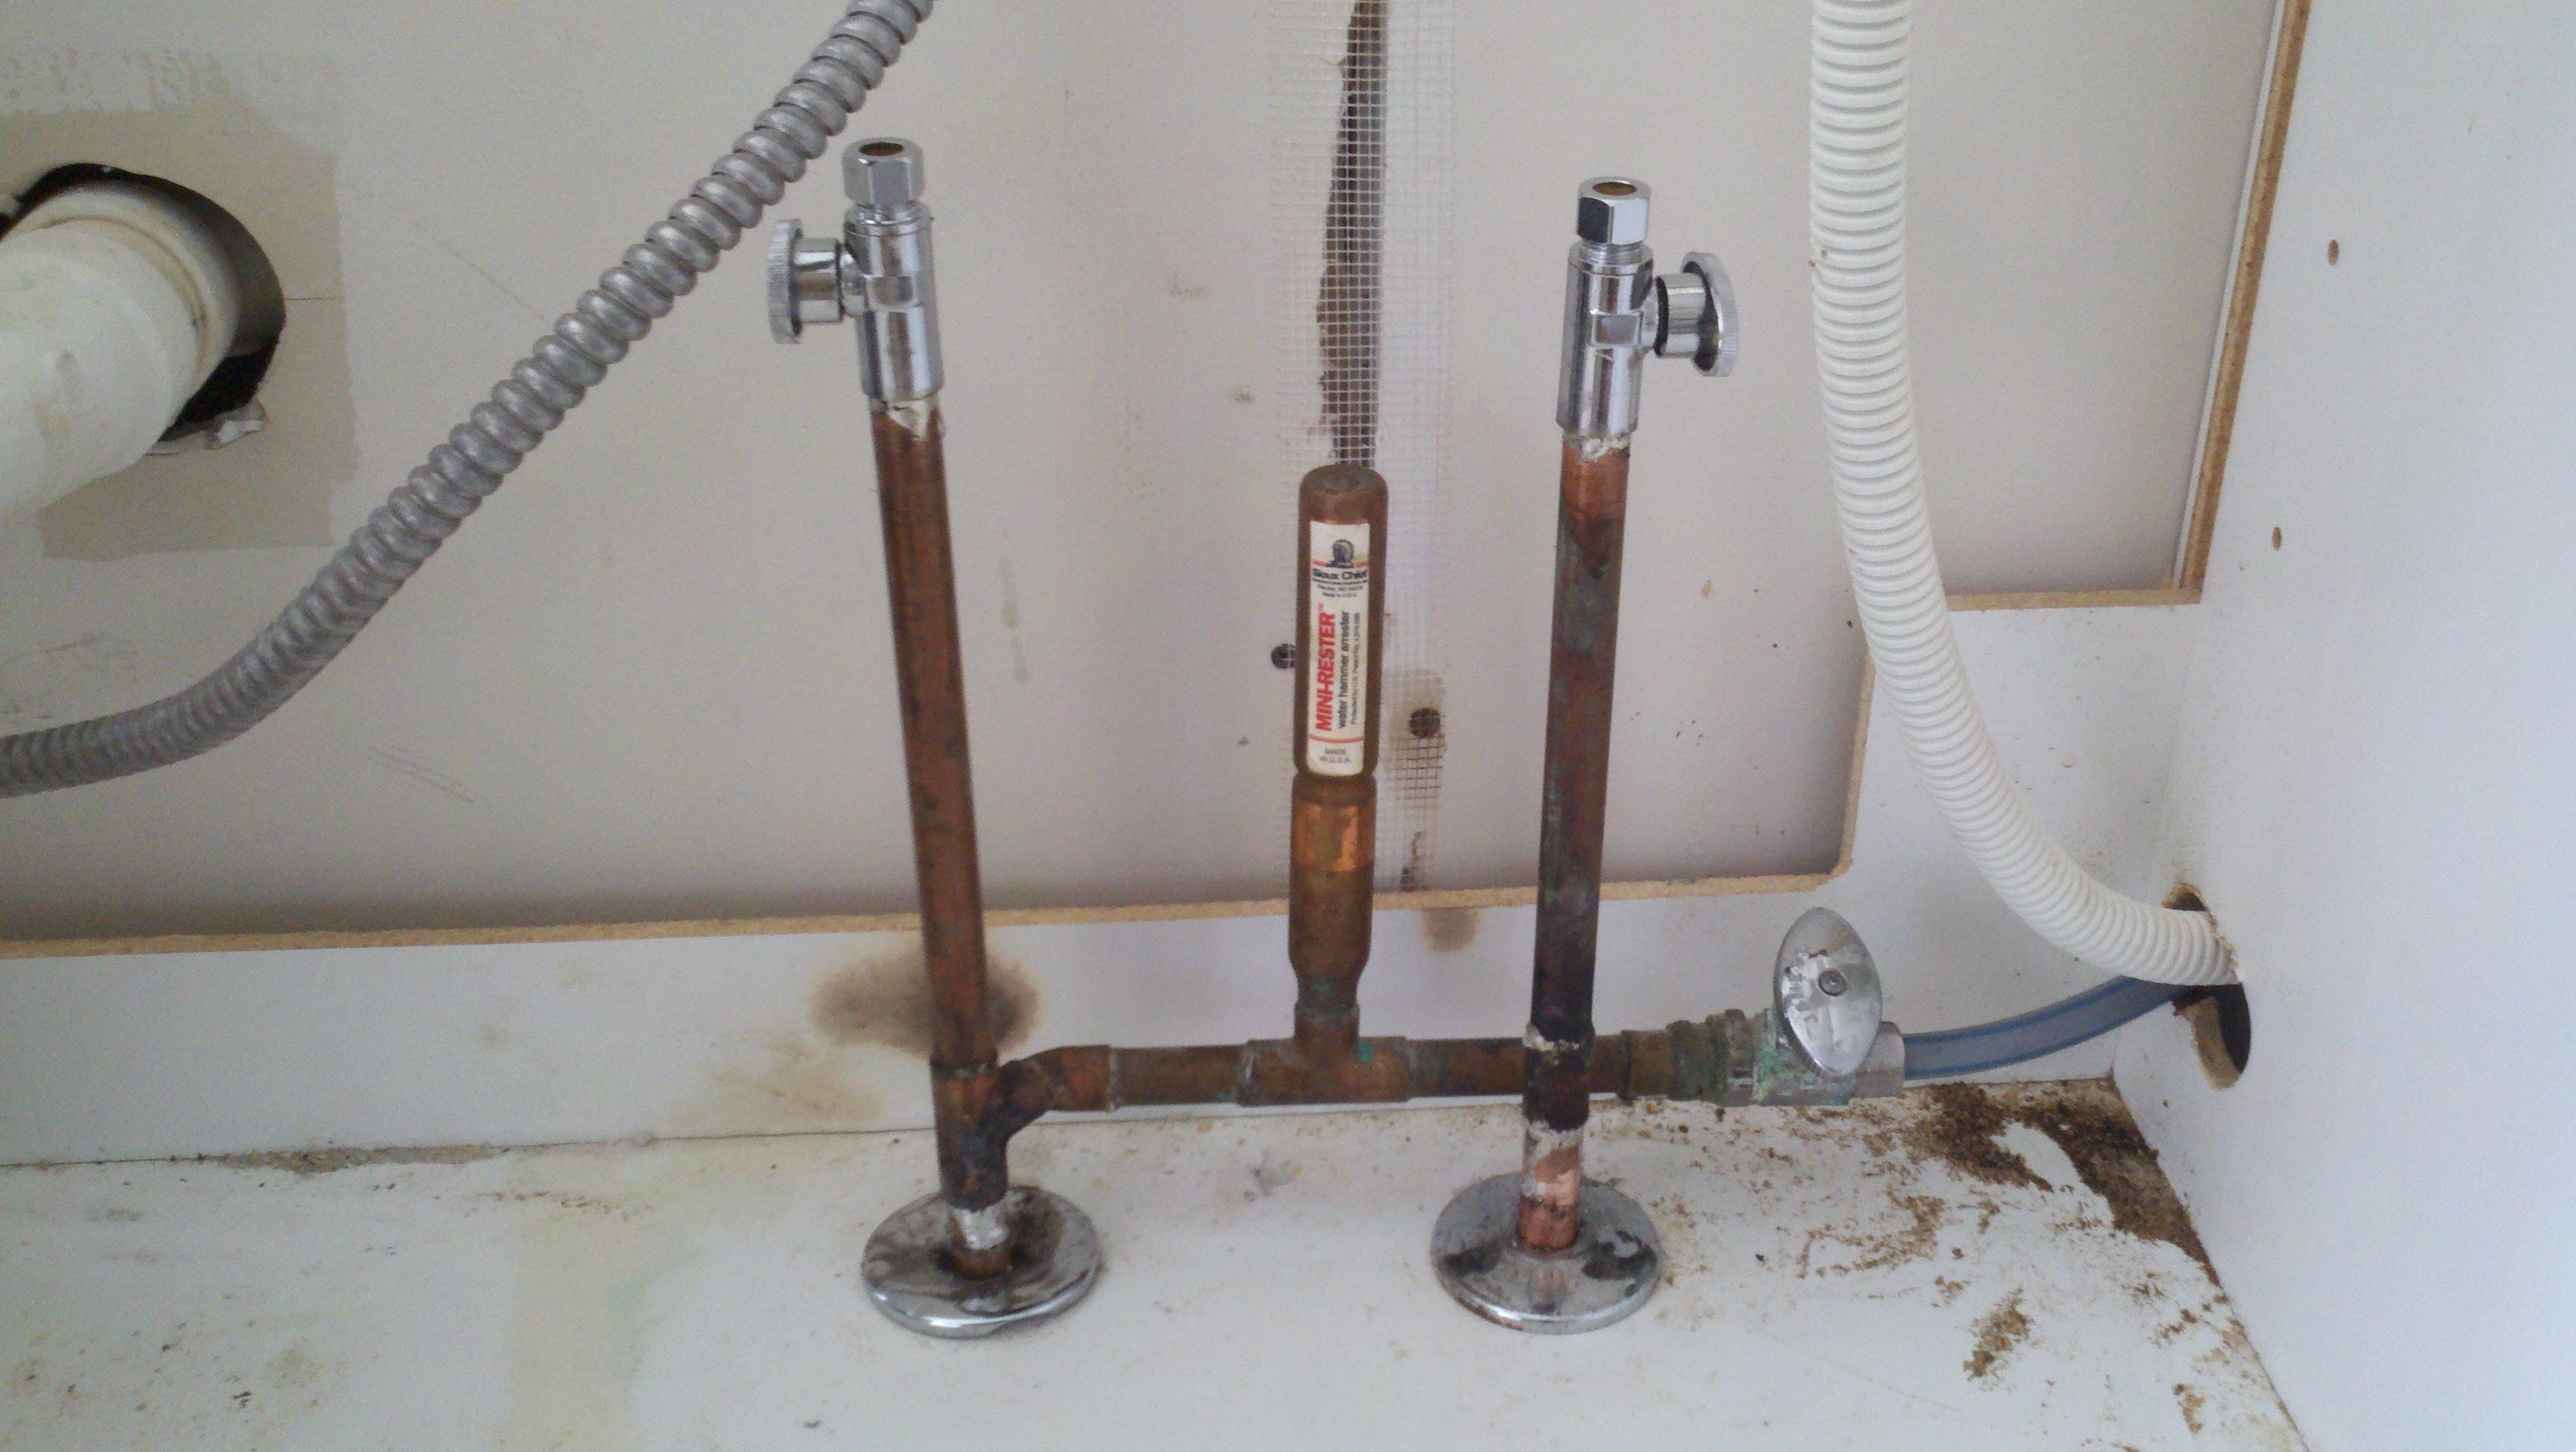
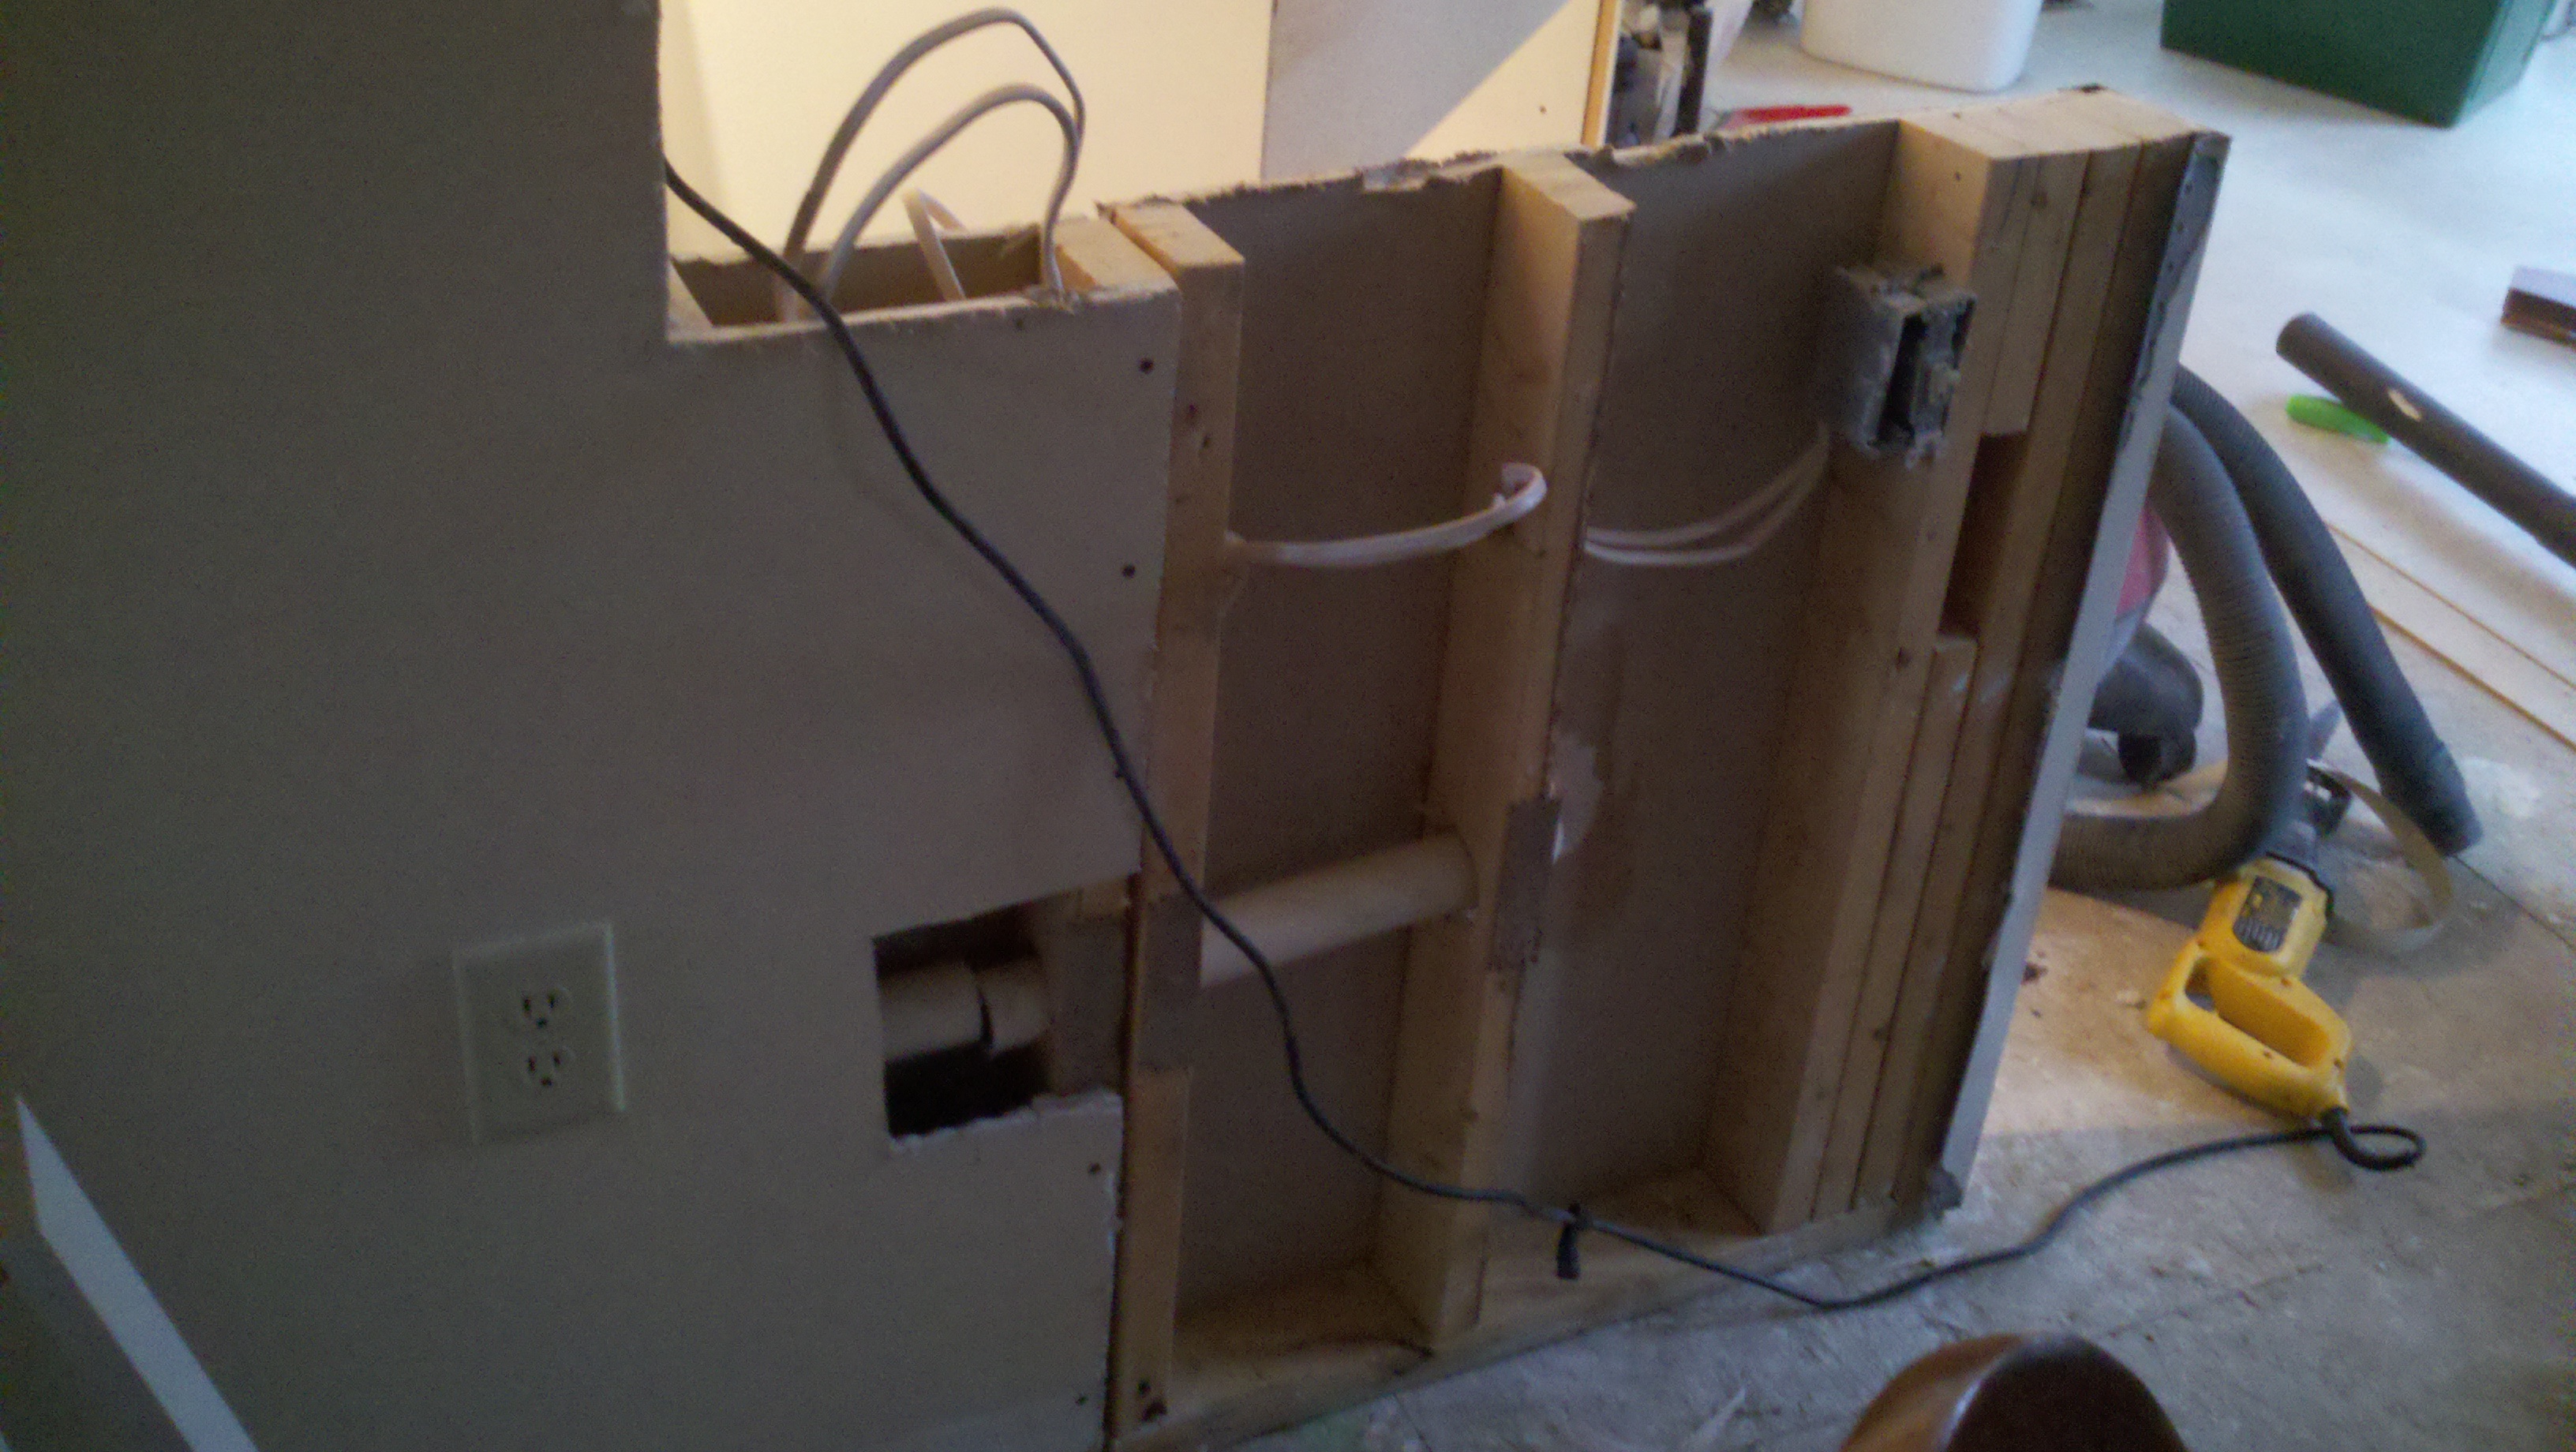
Following the painting process, installation of the 120VAC power wire and both of fans needed to be fulfilled. The first fan replaced an additional fan for consistent visual comparison. Since there were two fans in the same general area, both fans were required to match. Pictures twelve and thirteen provide the physical stance of the gazebo fan. The remaining pictures provide visual documentation of the wiring routes and connections of the conduit tunneling under the garden between the house and the gazebo.
|
|
|
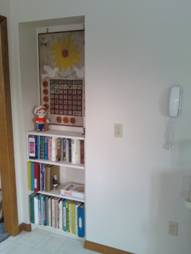
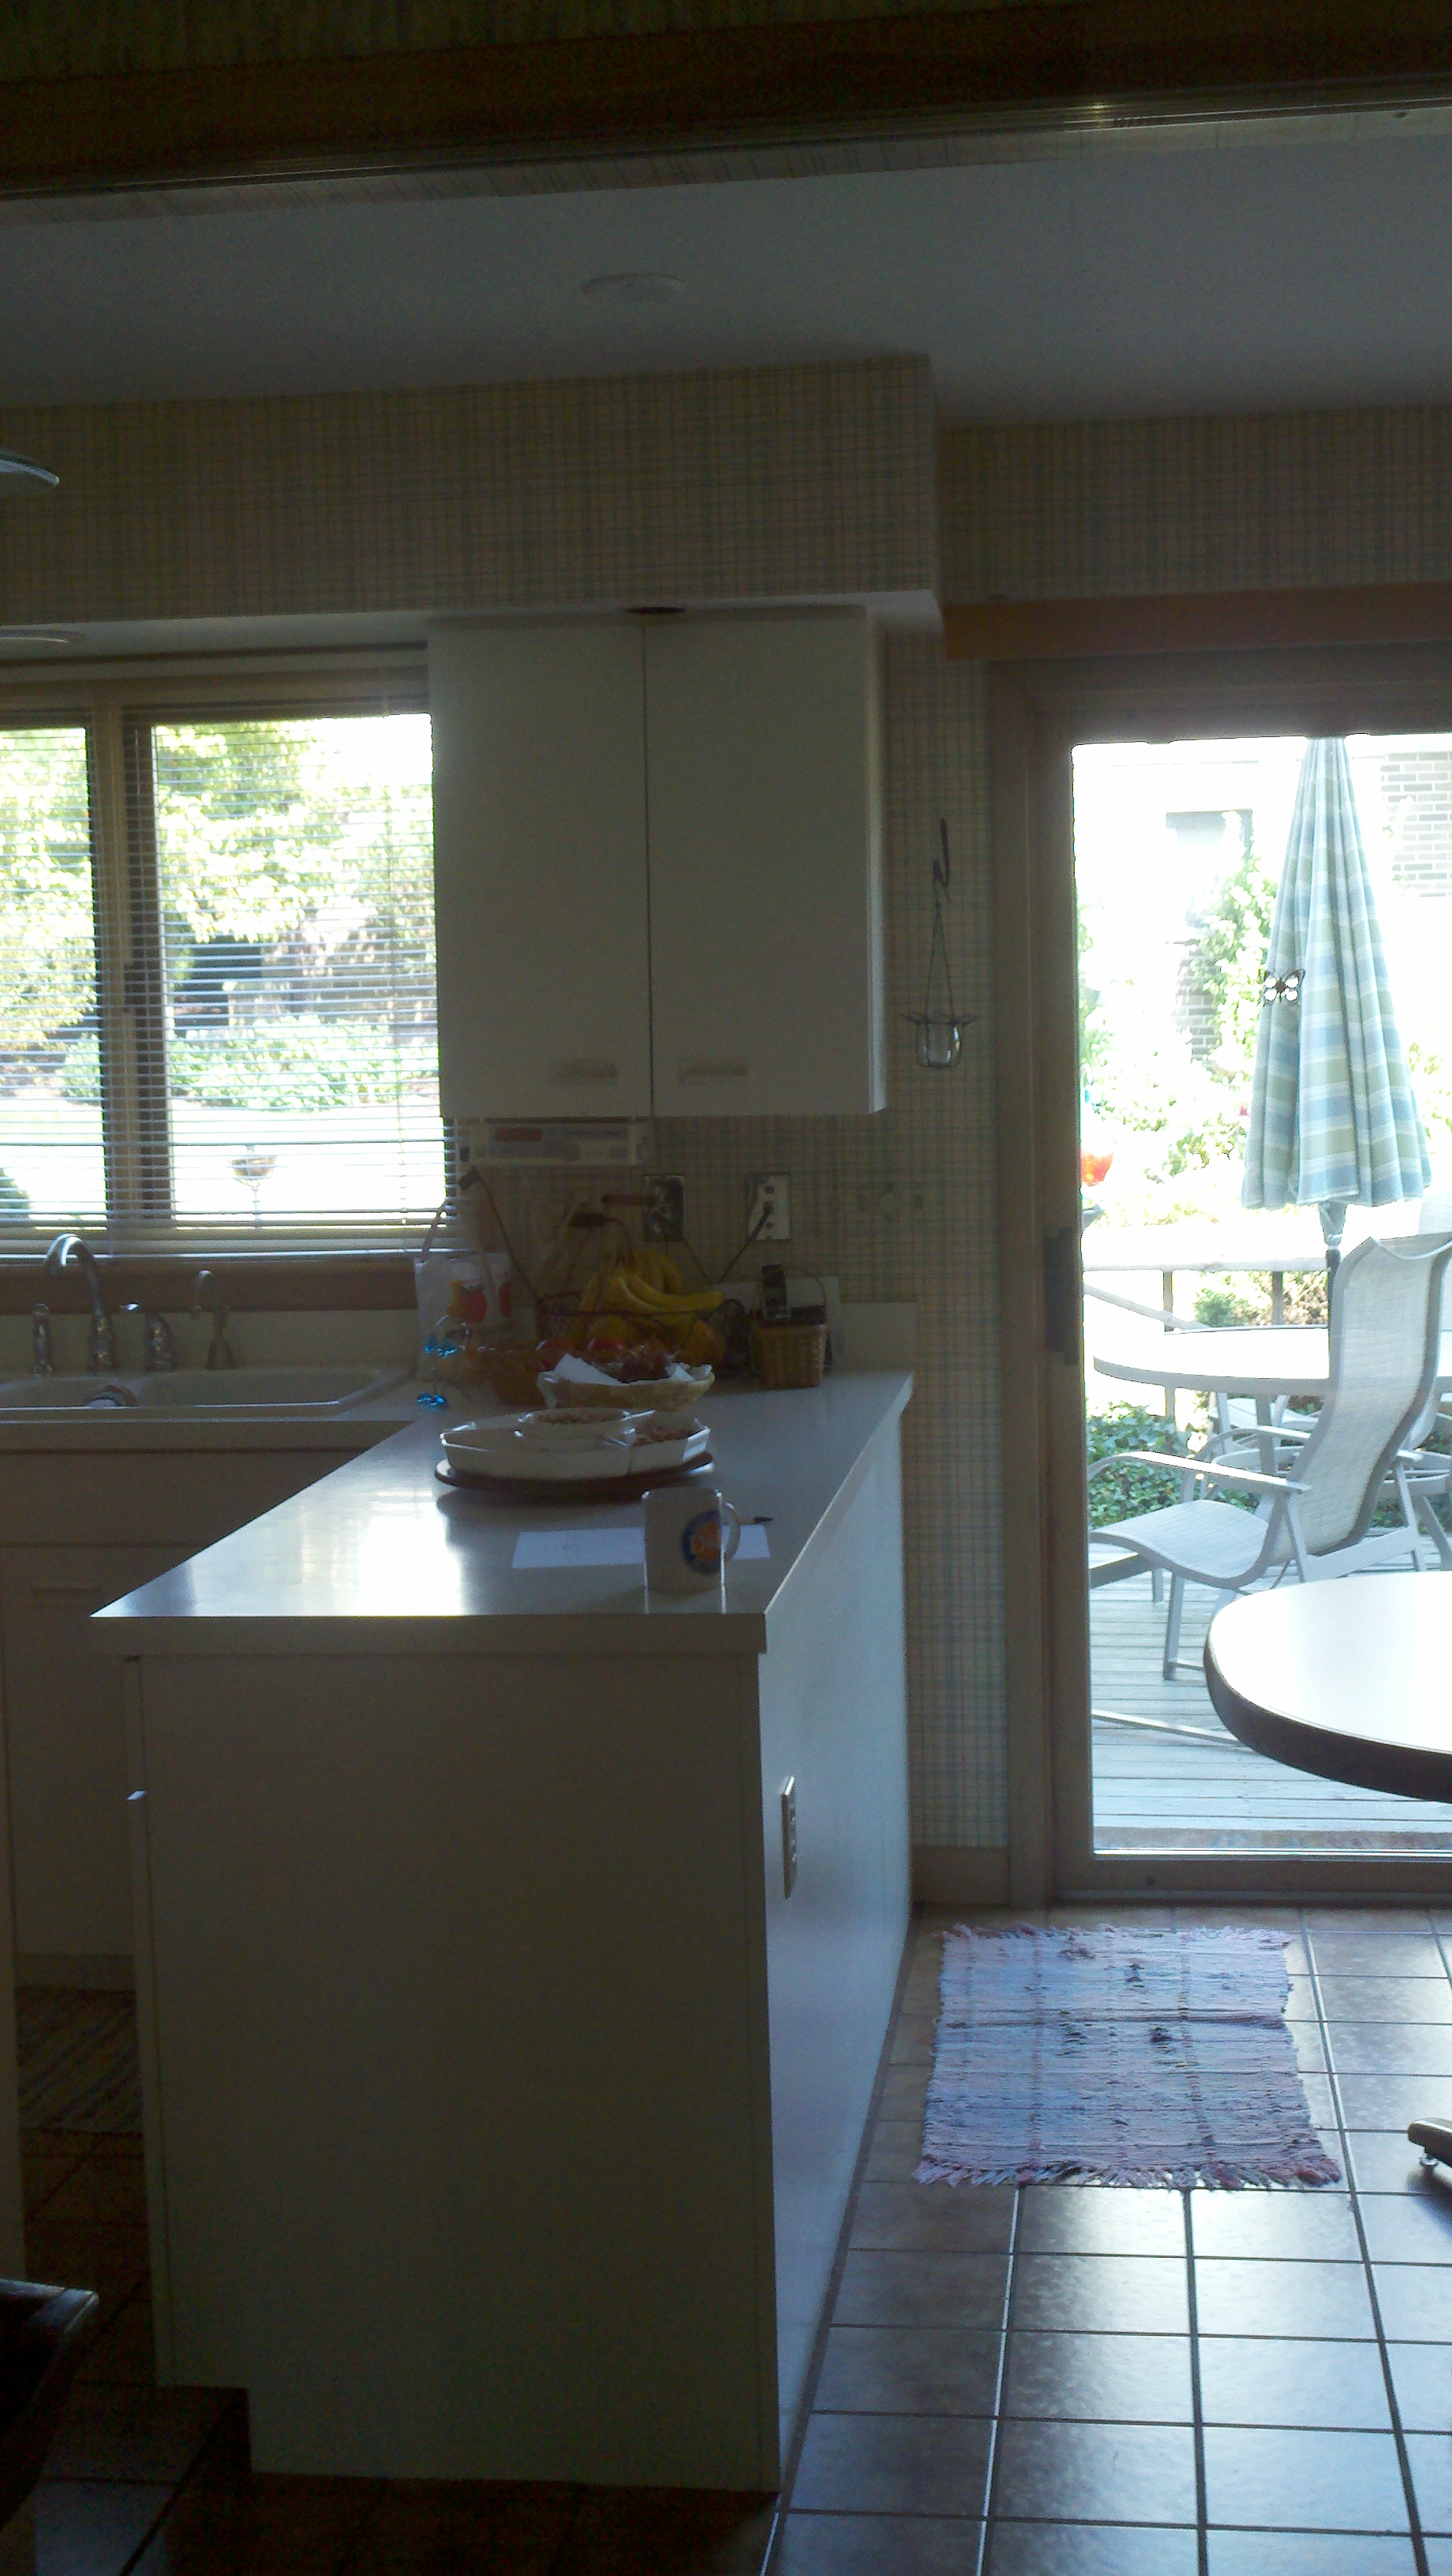
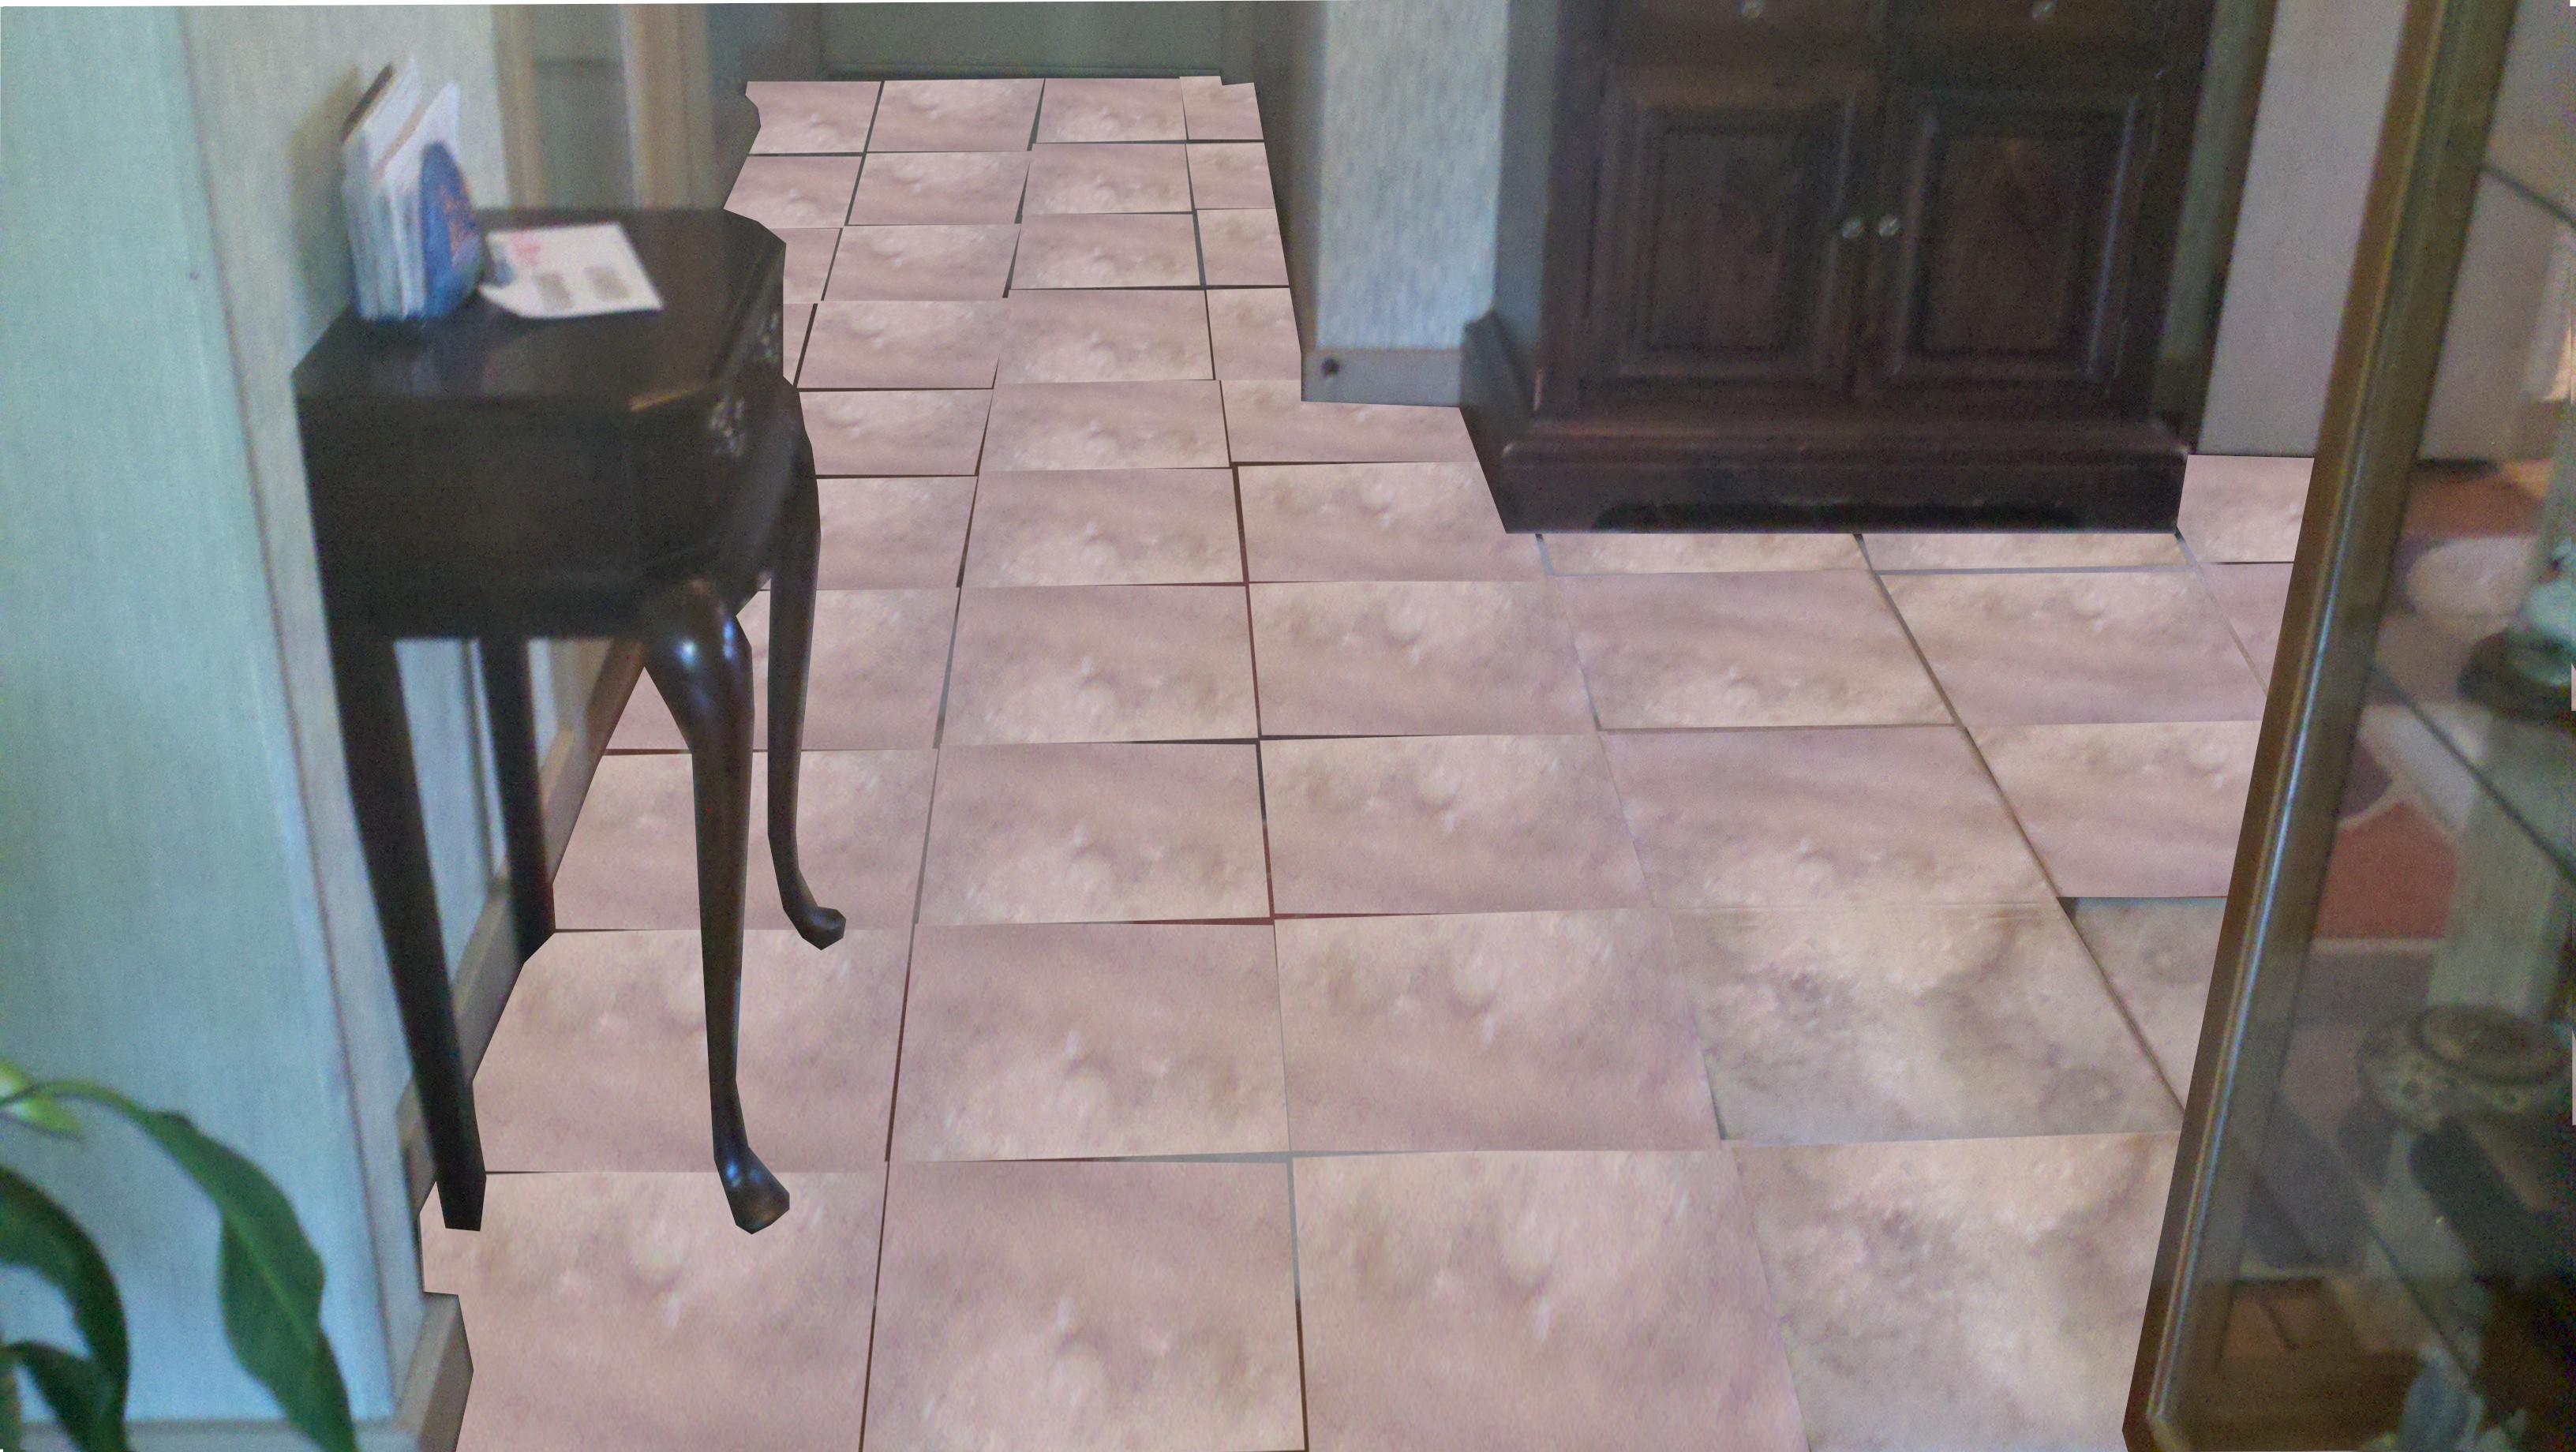
Gazebo
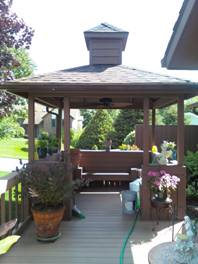
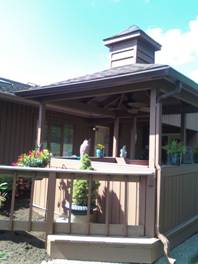
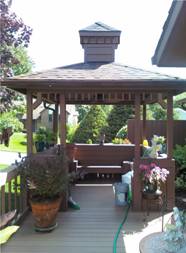
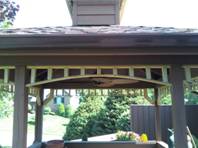
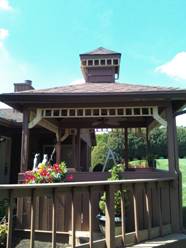
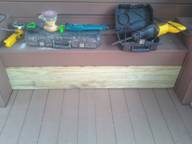
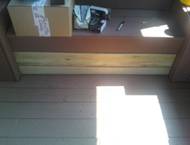
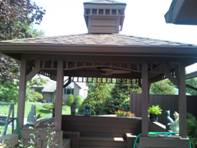
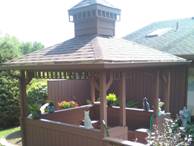
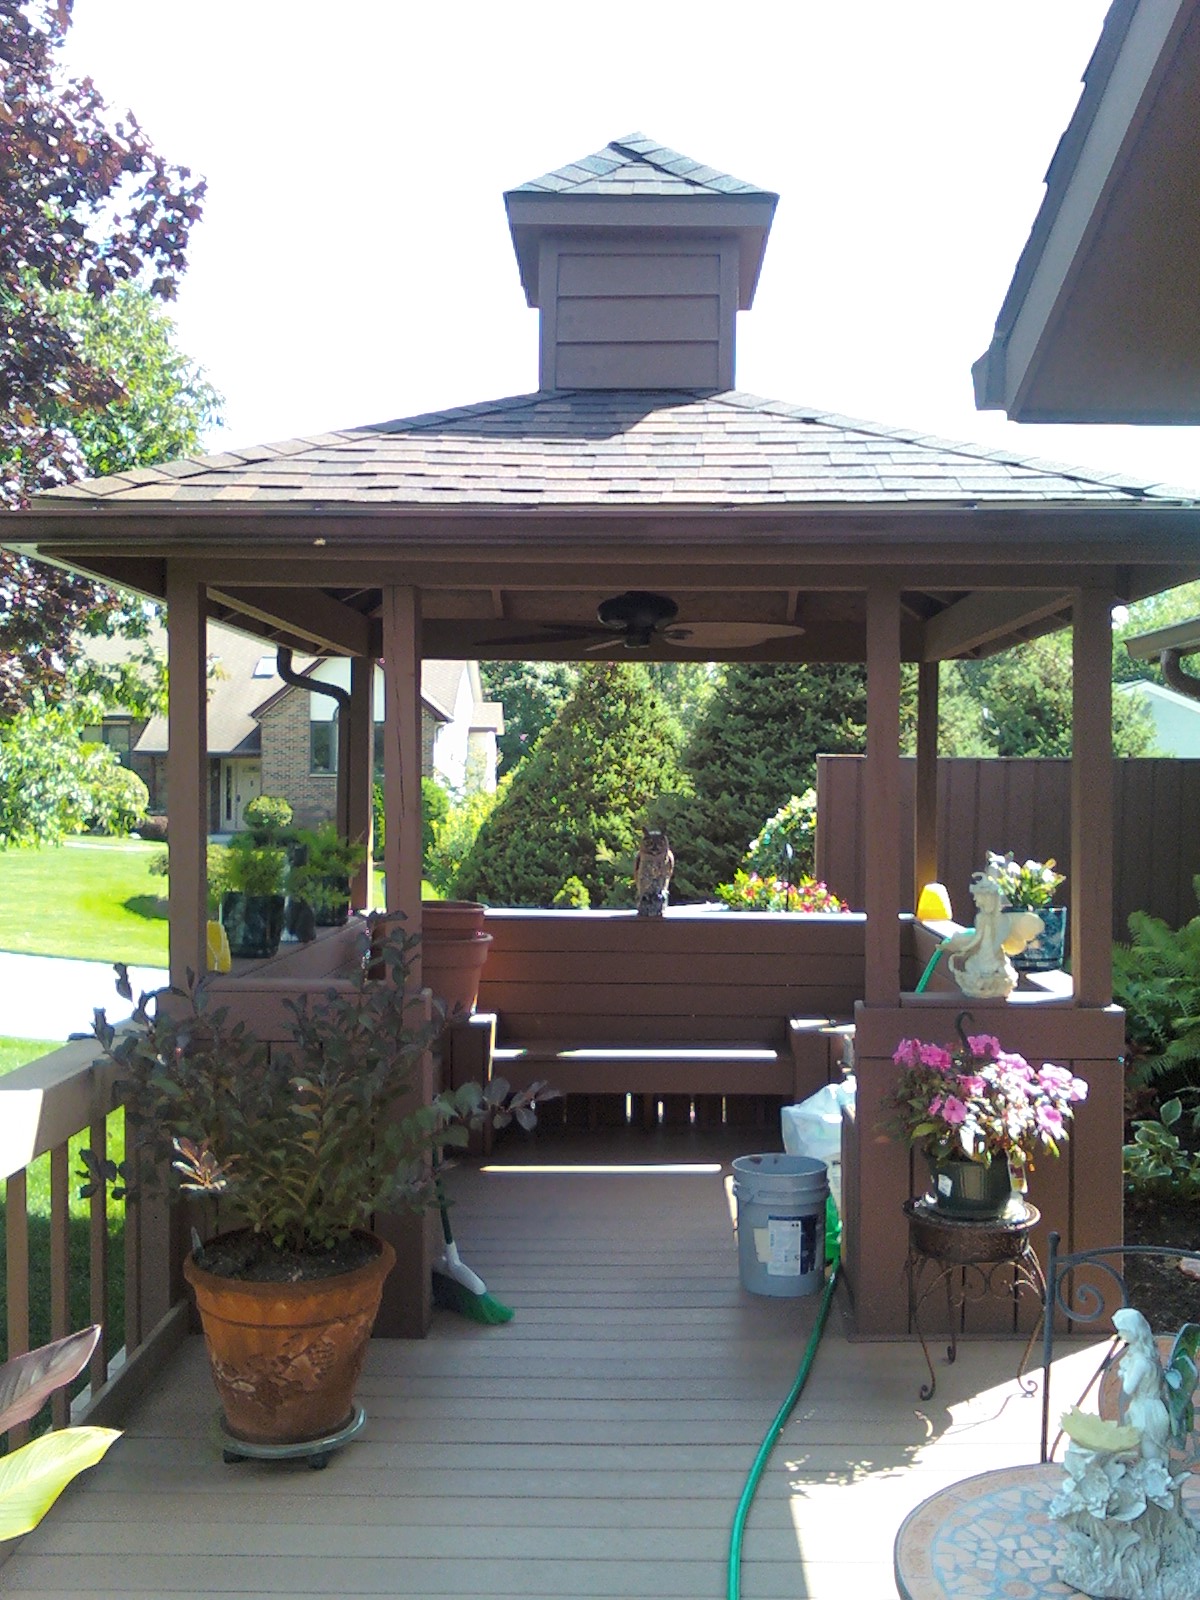
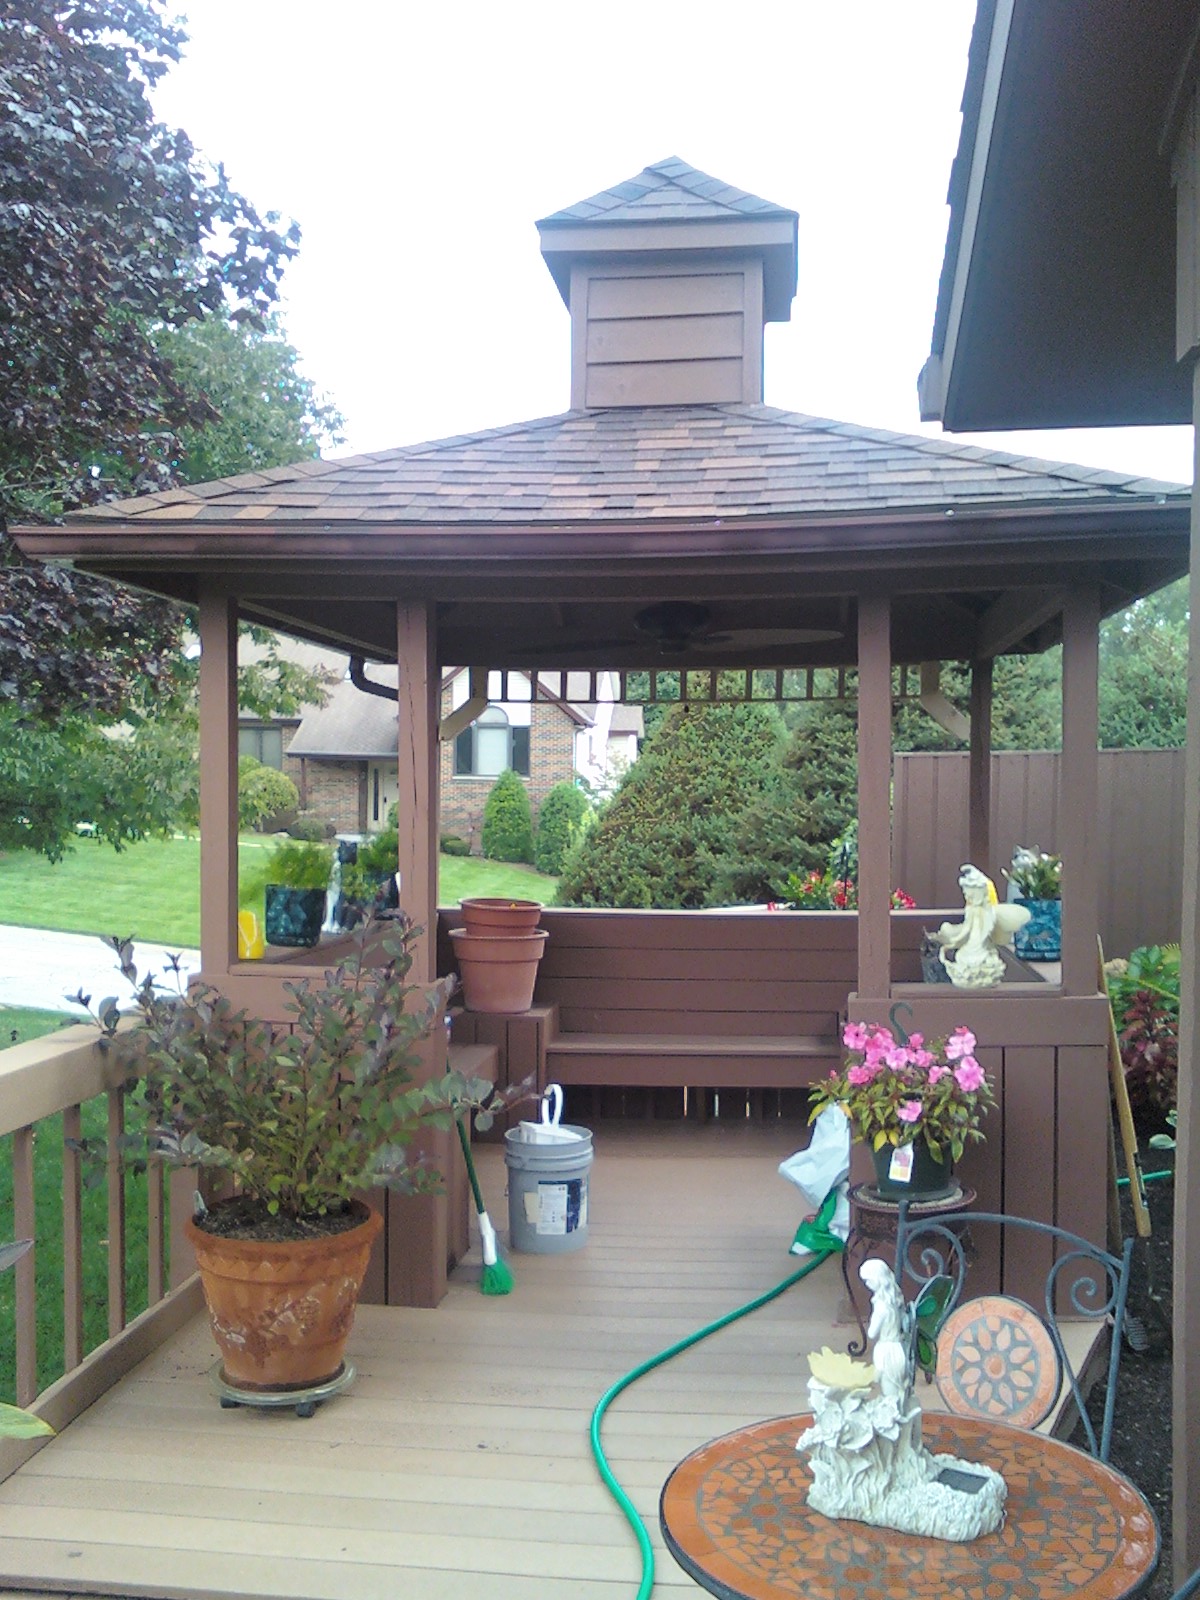
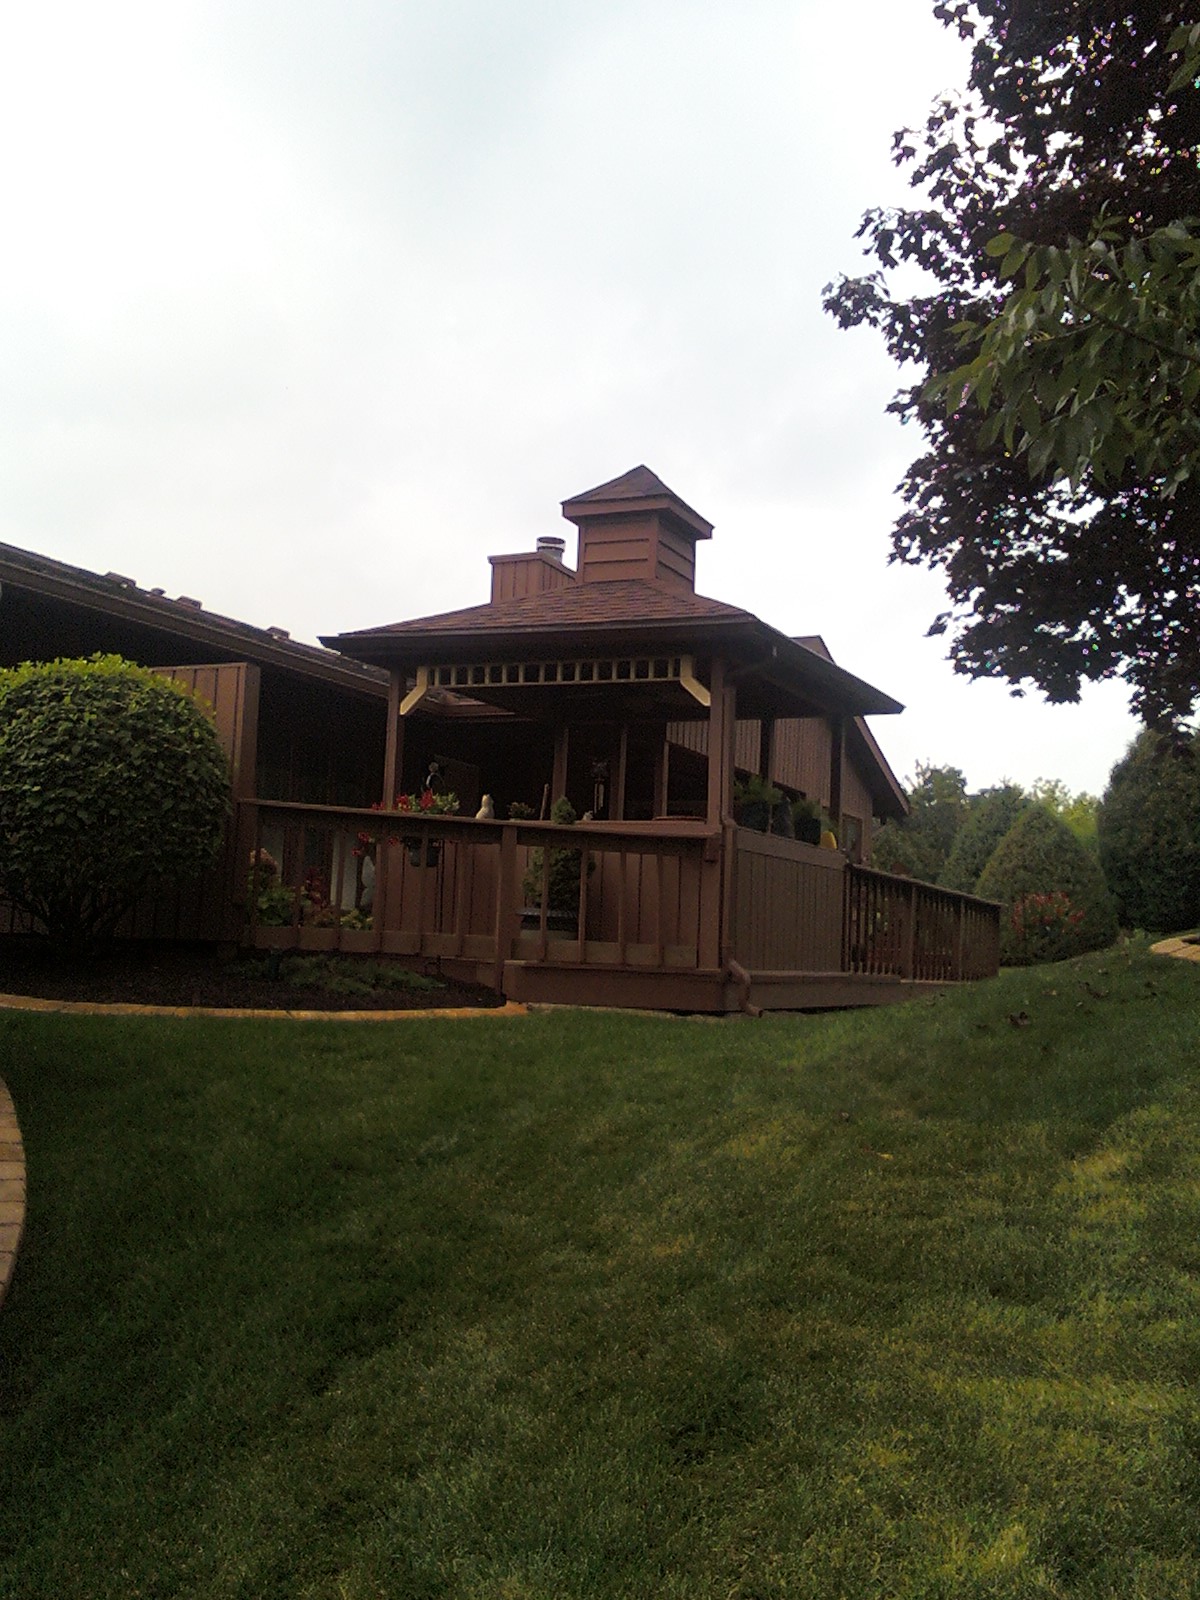
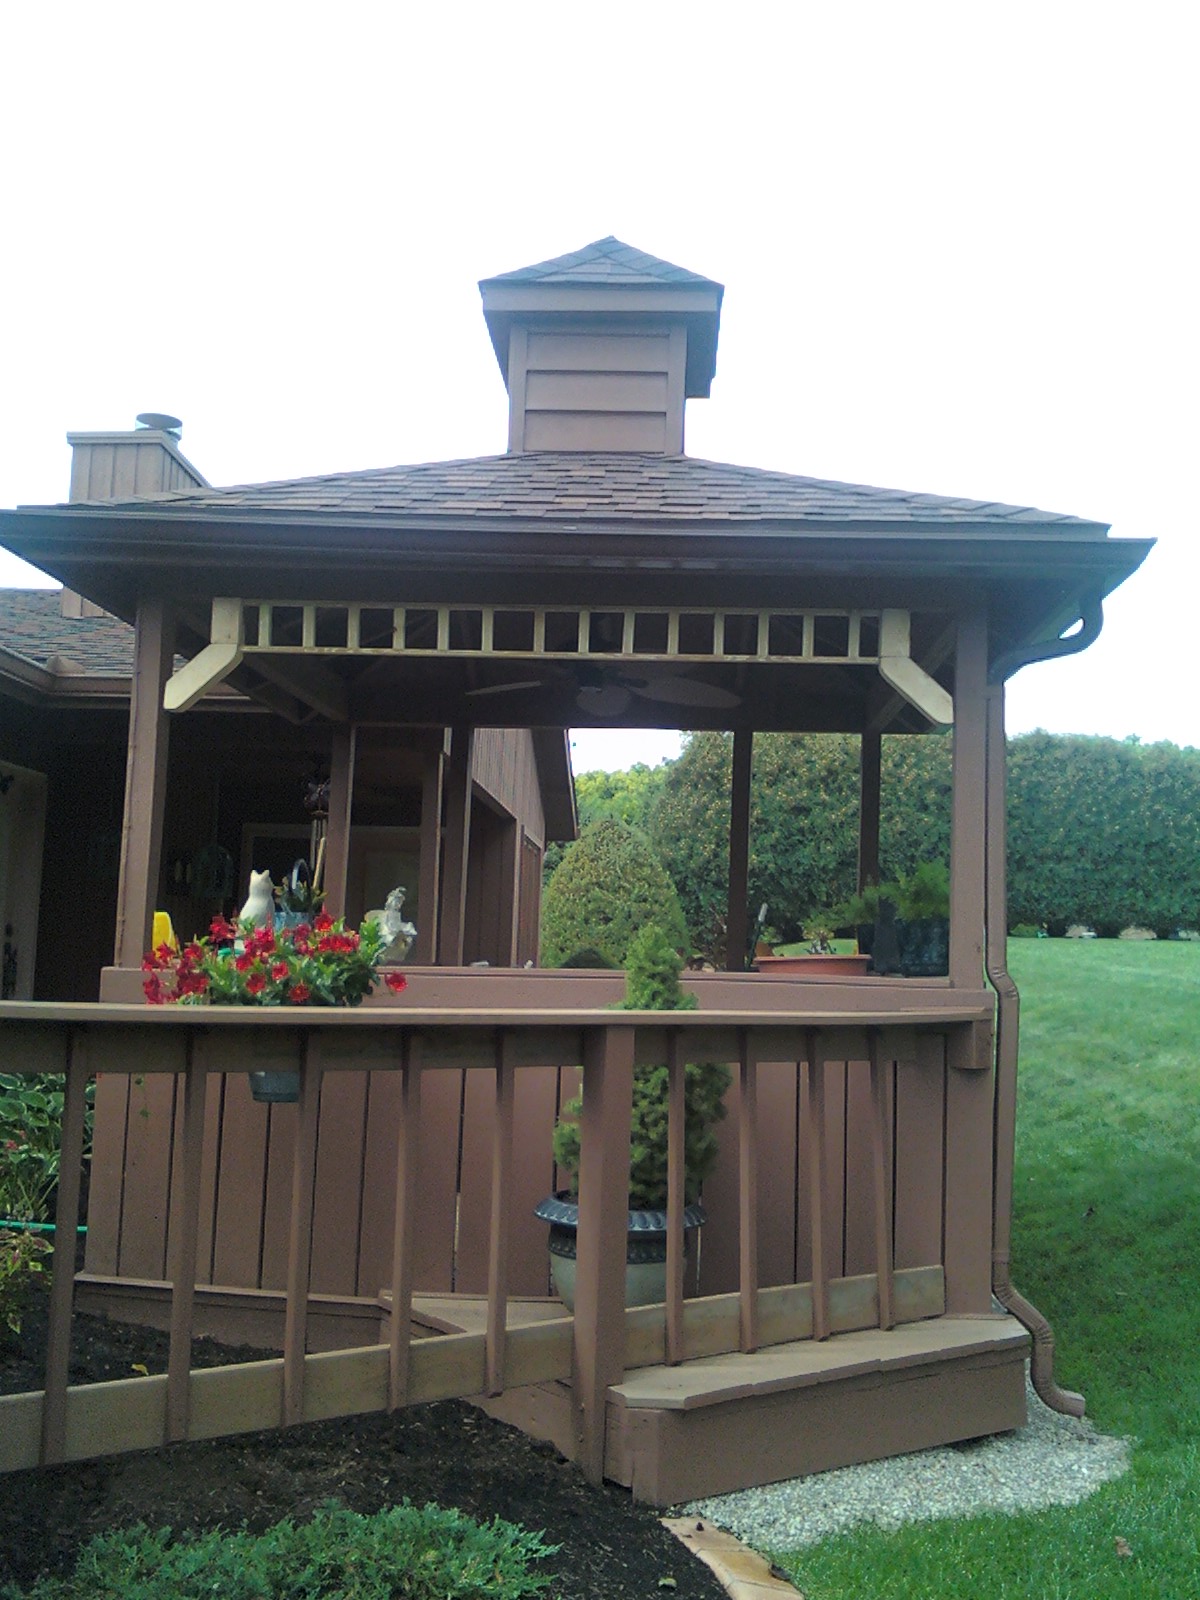
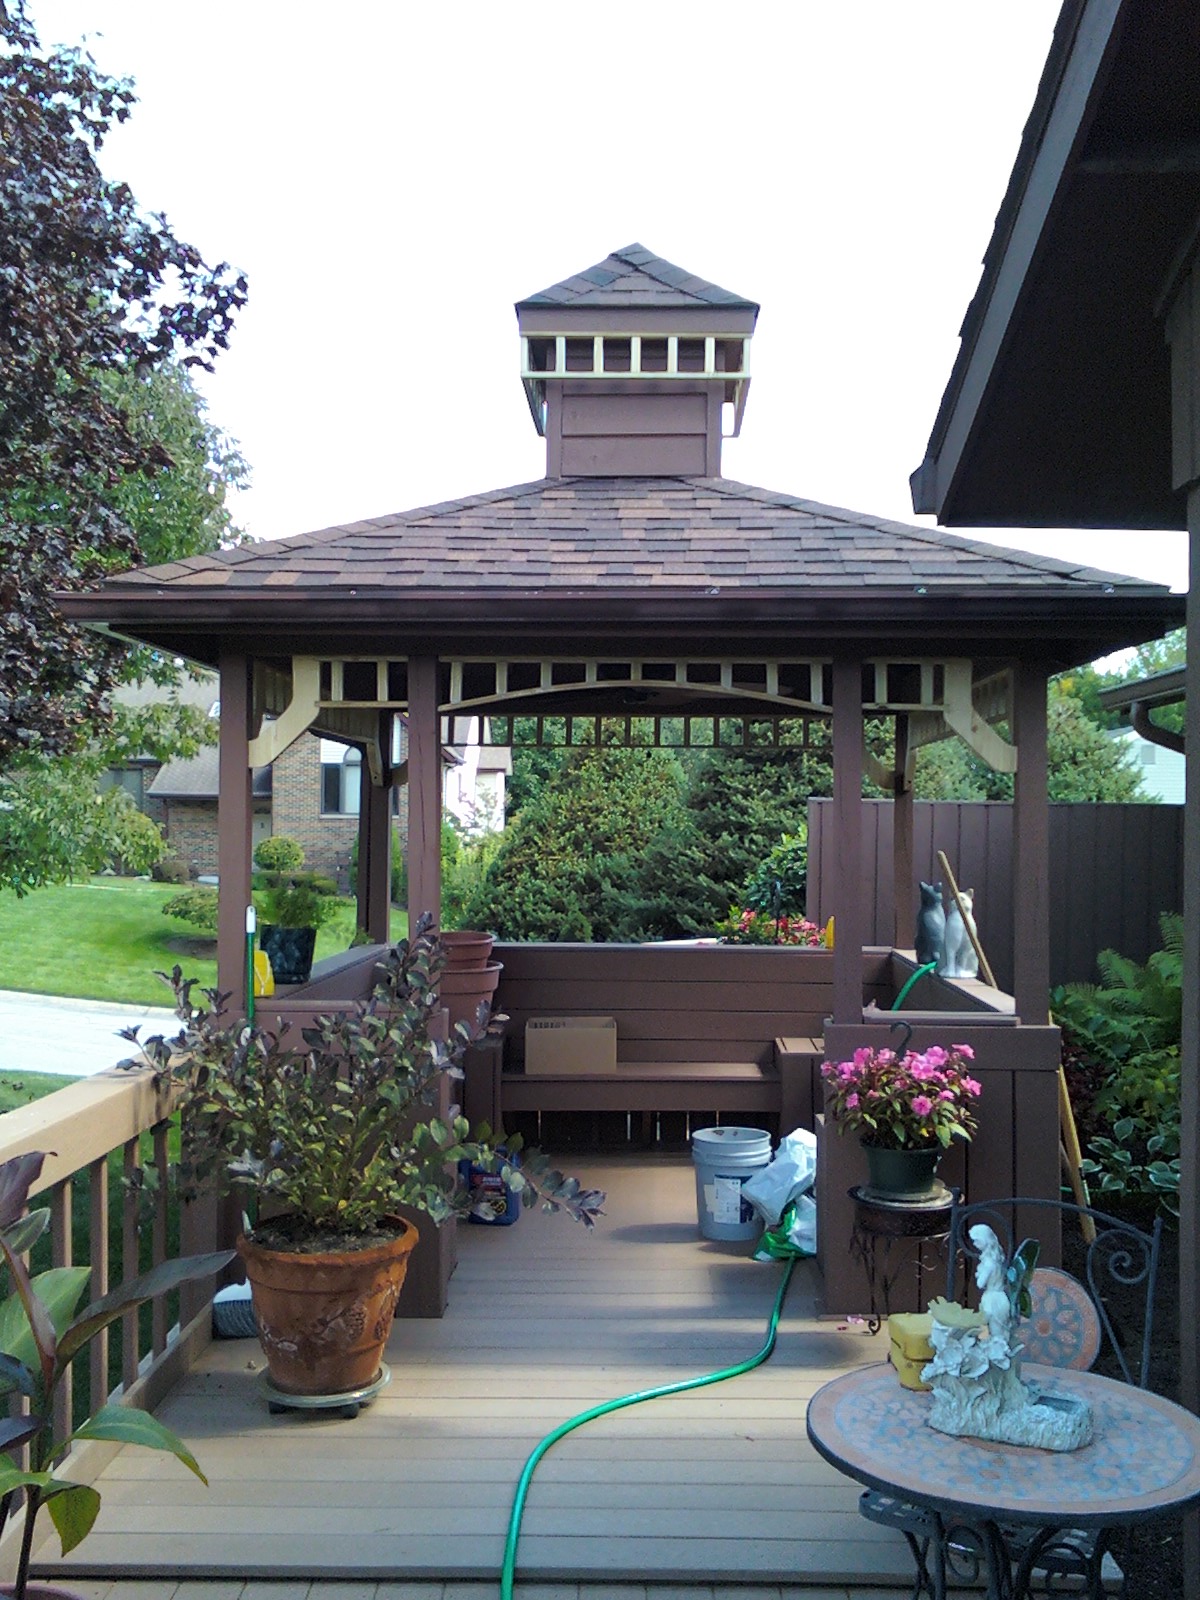
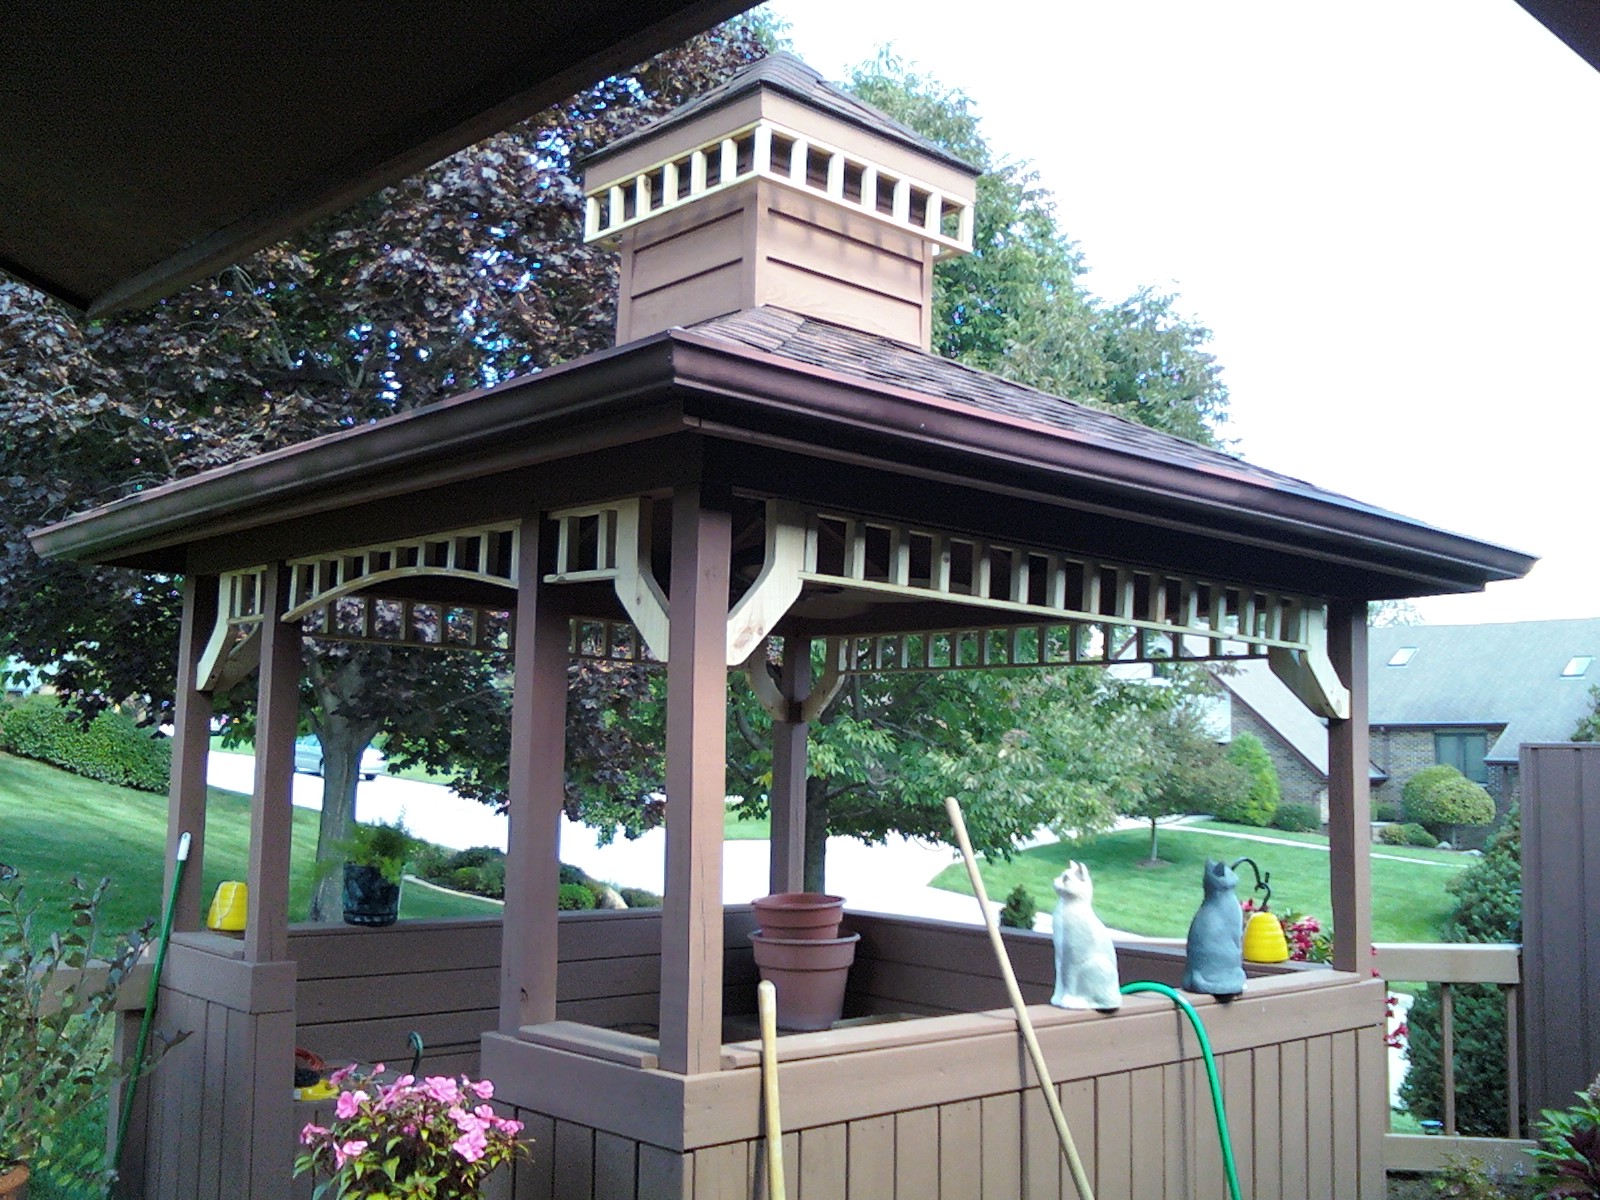
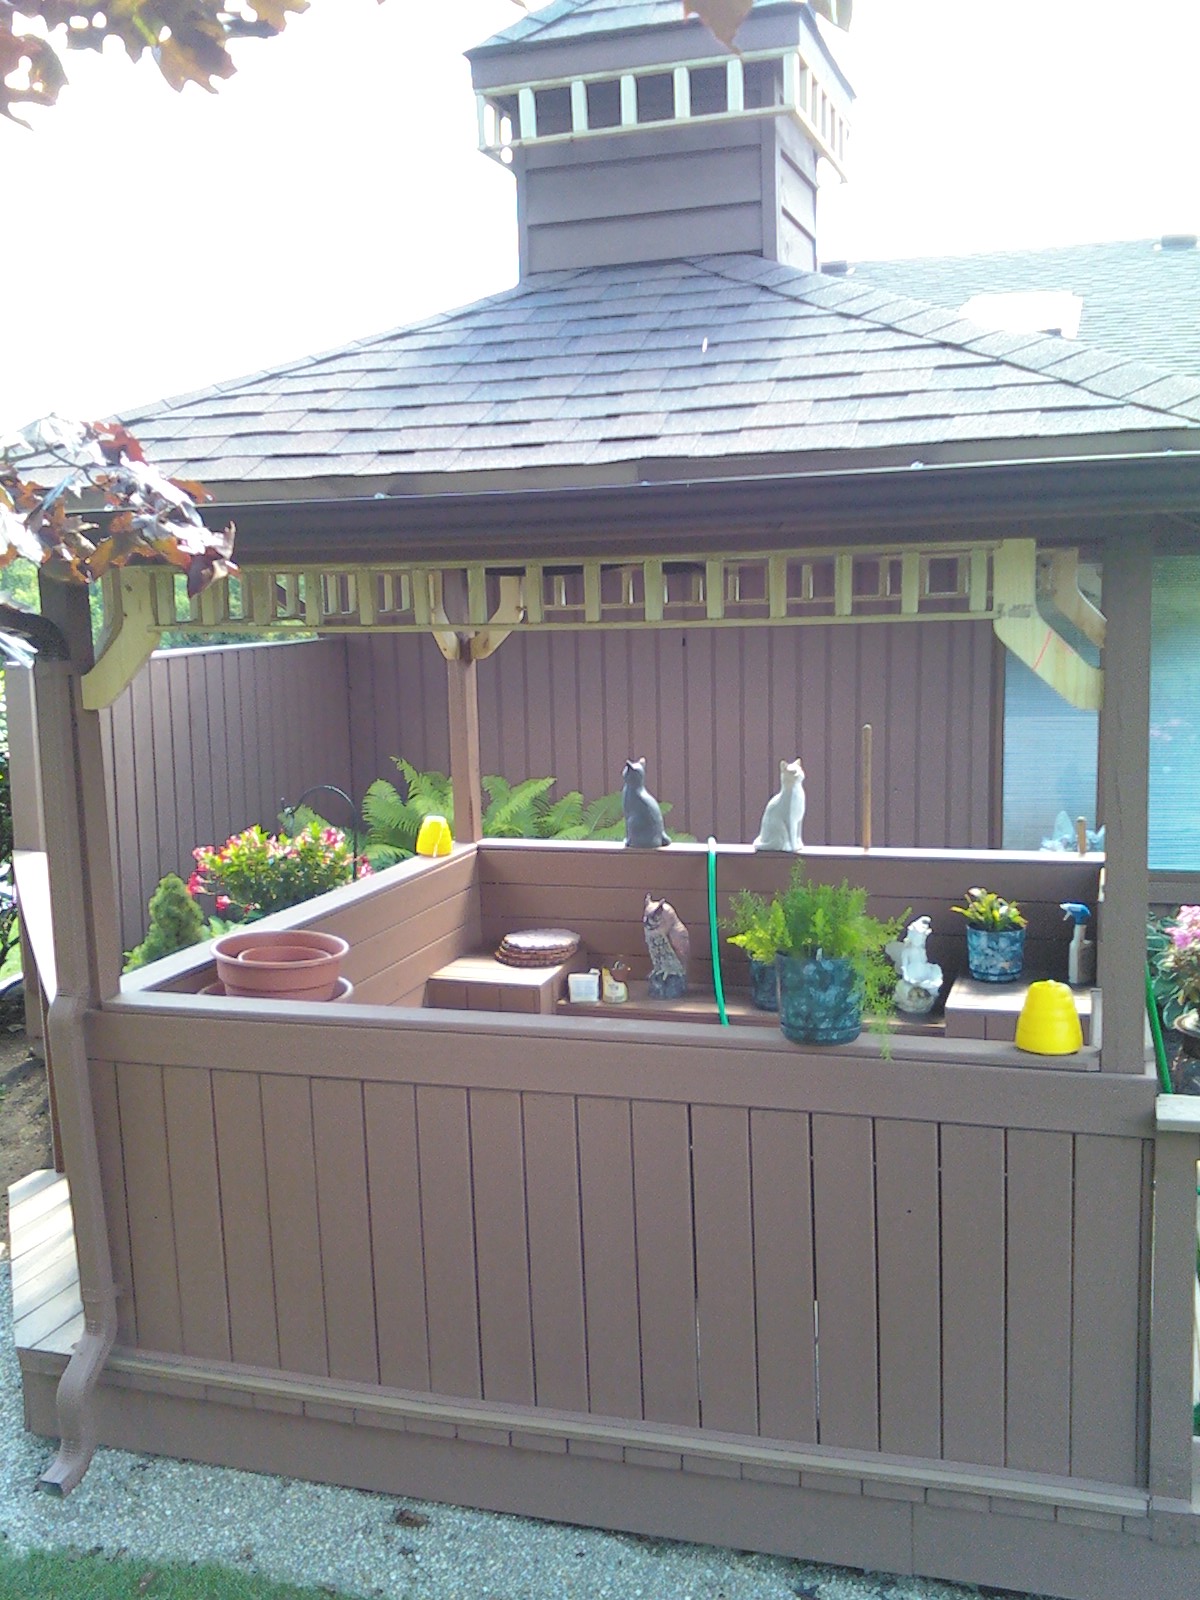
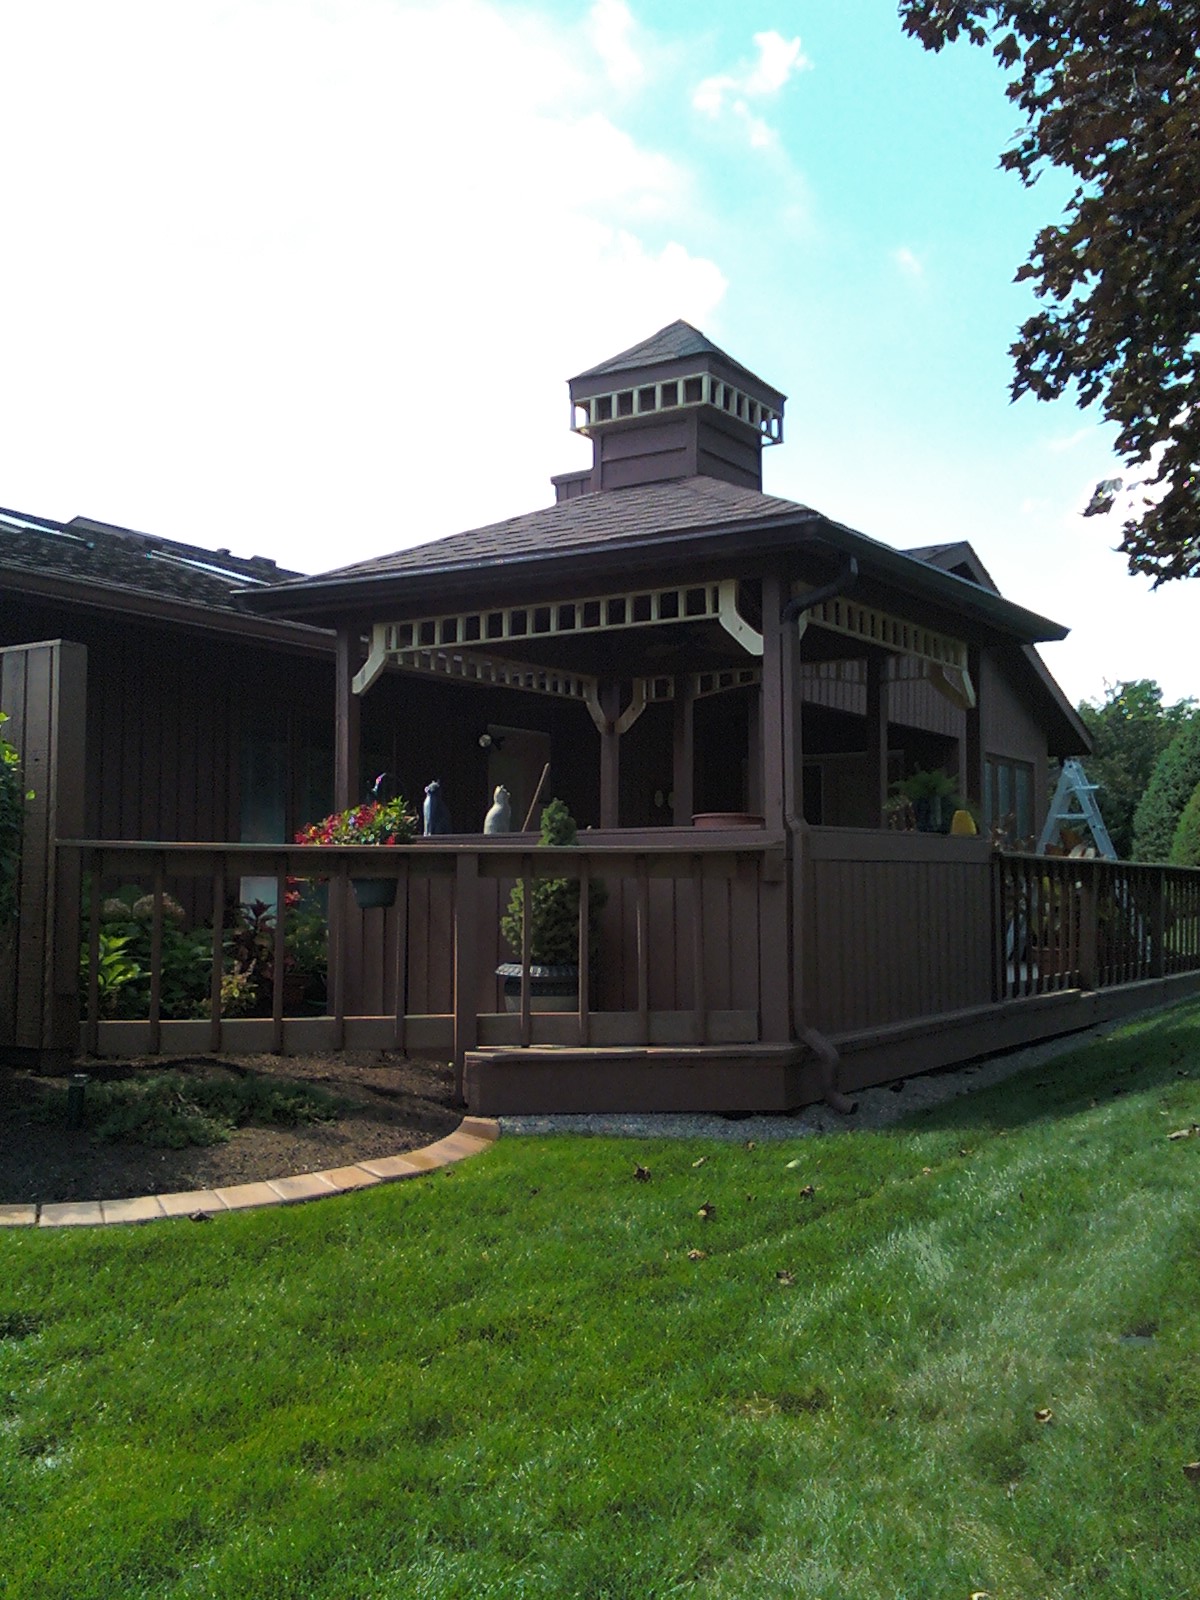
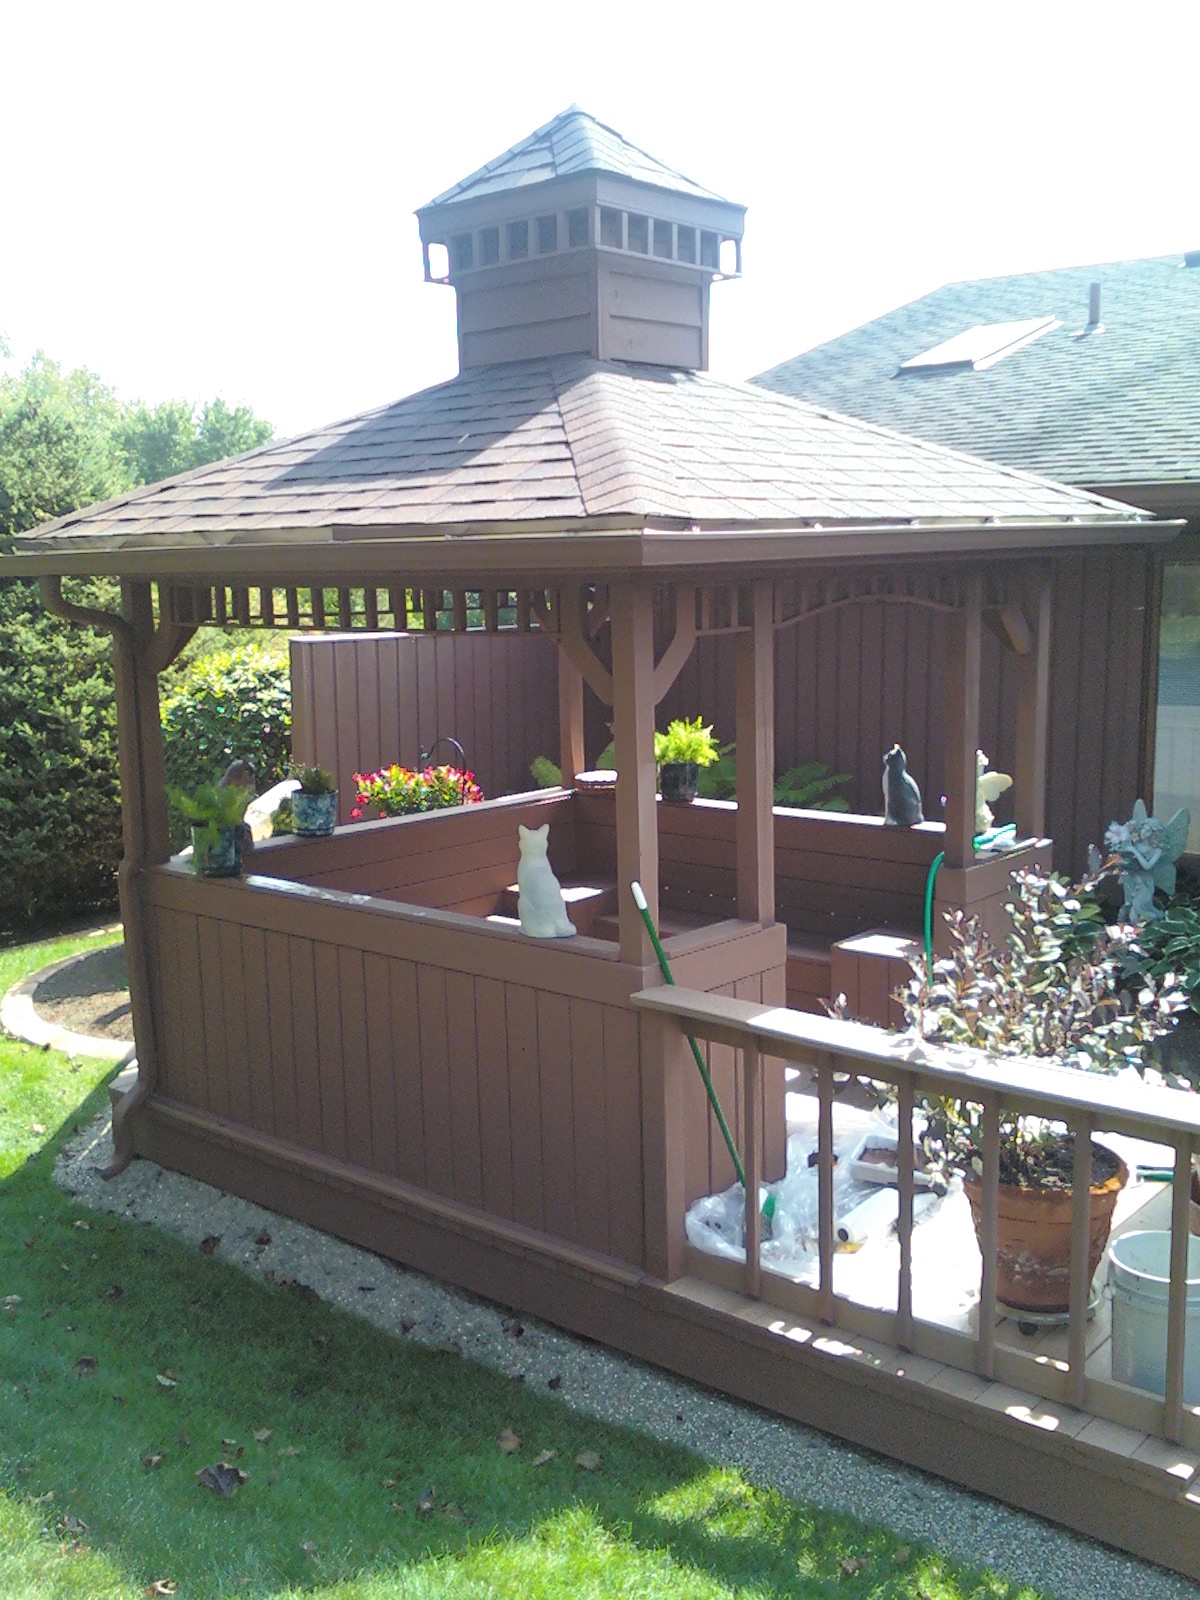
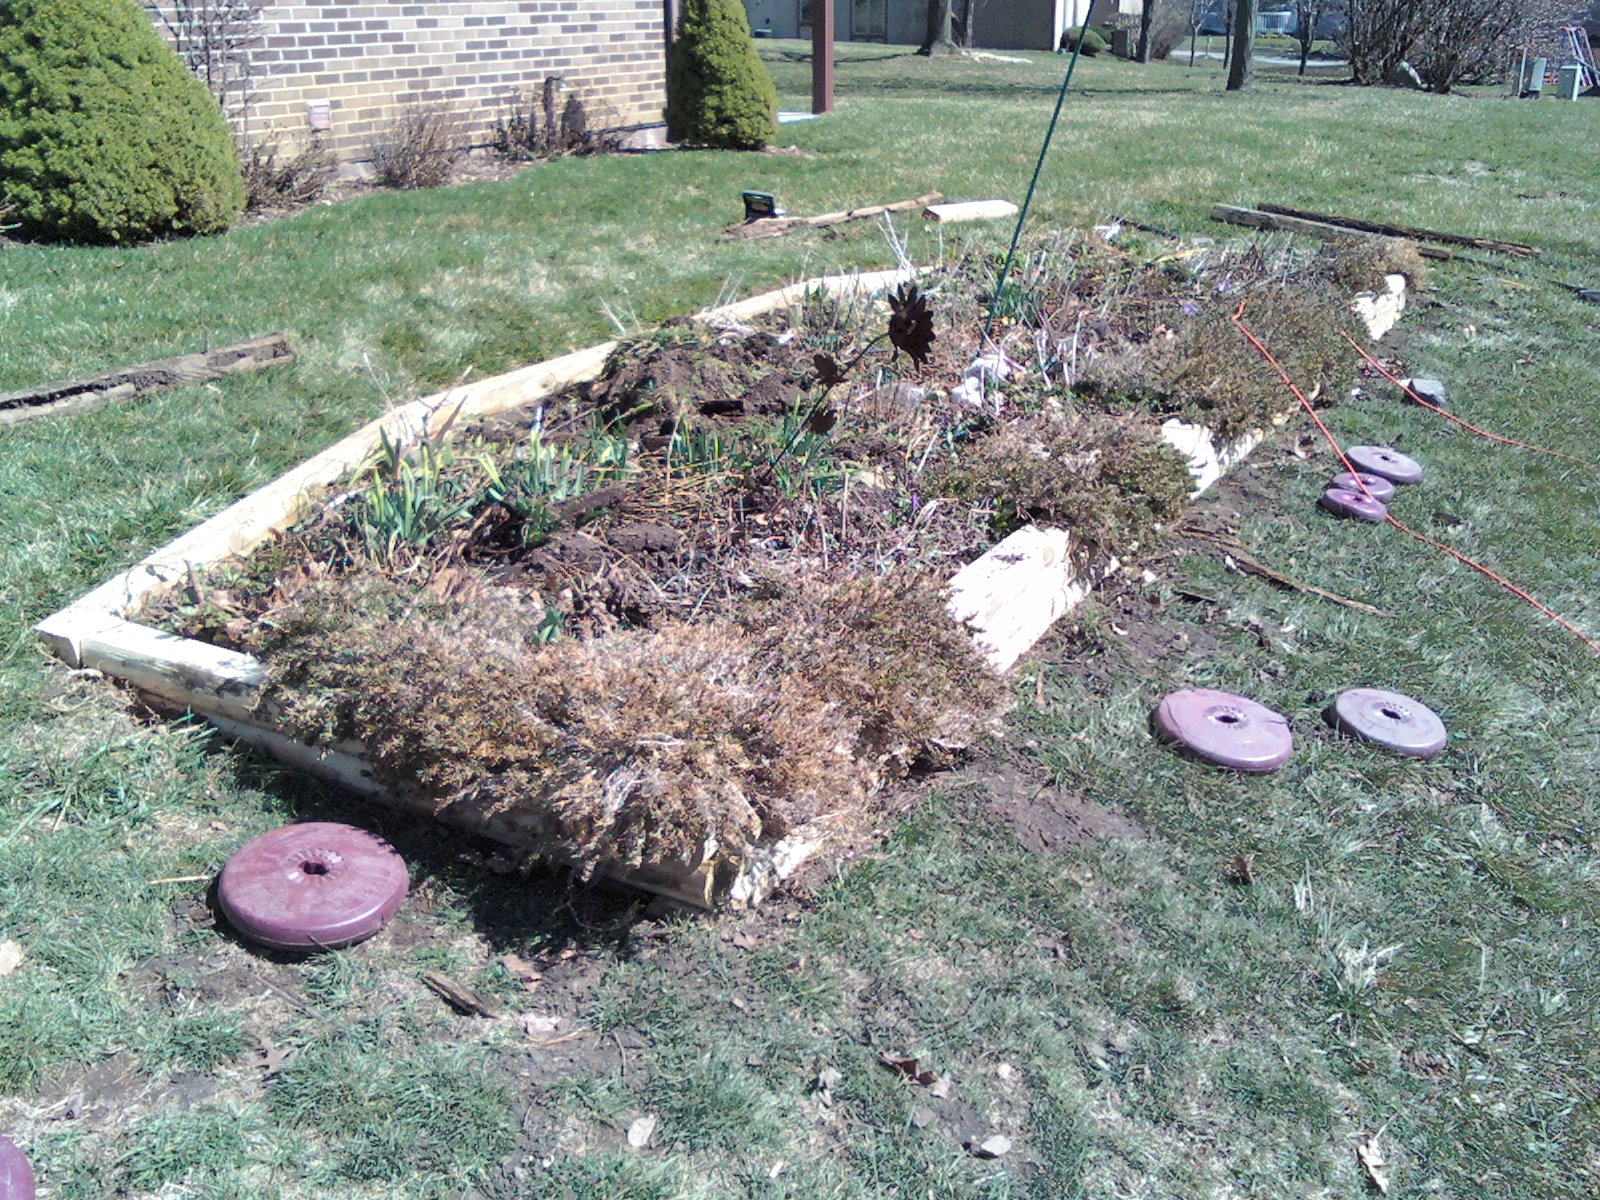
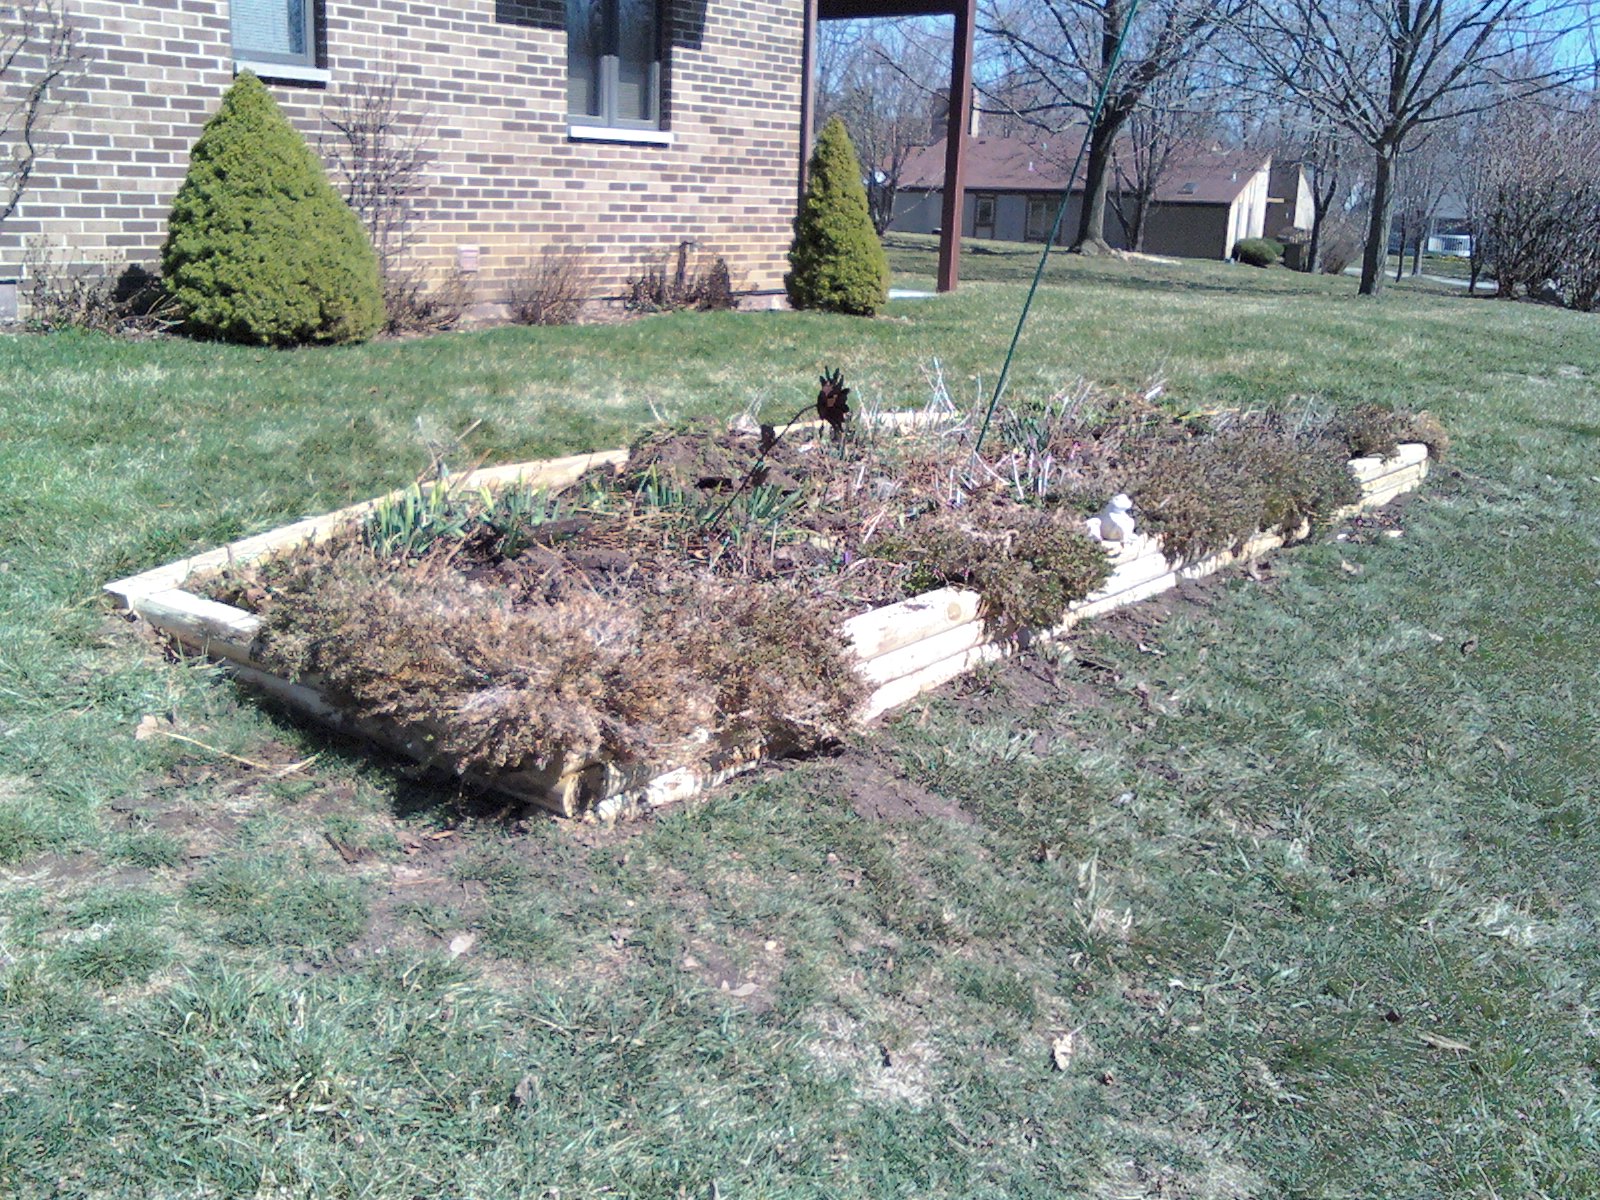
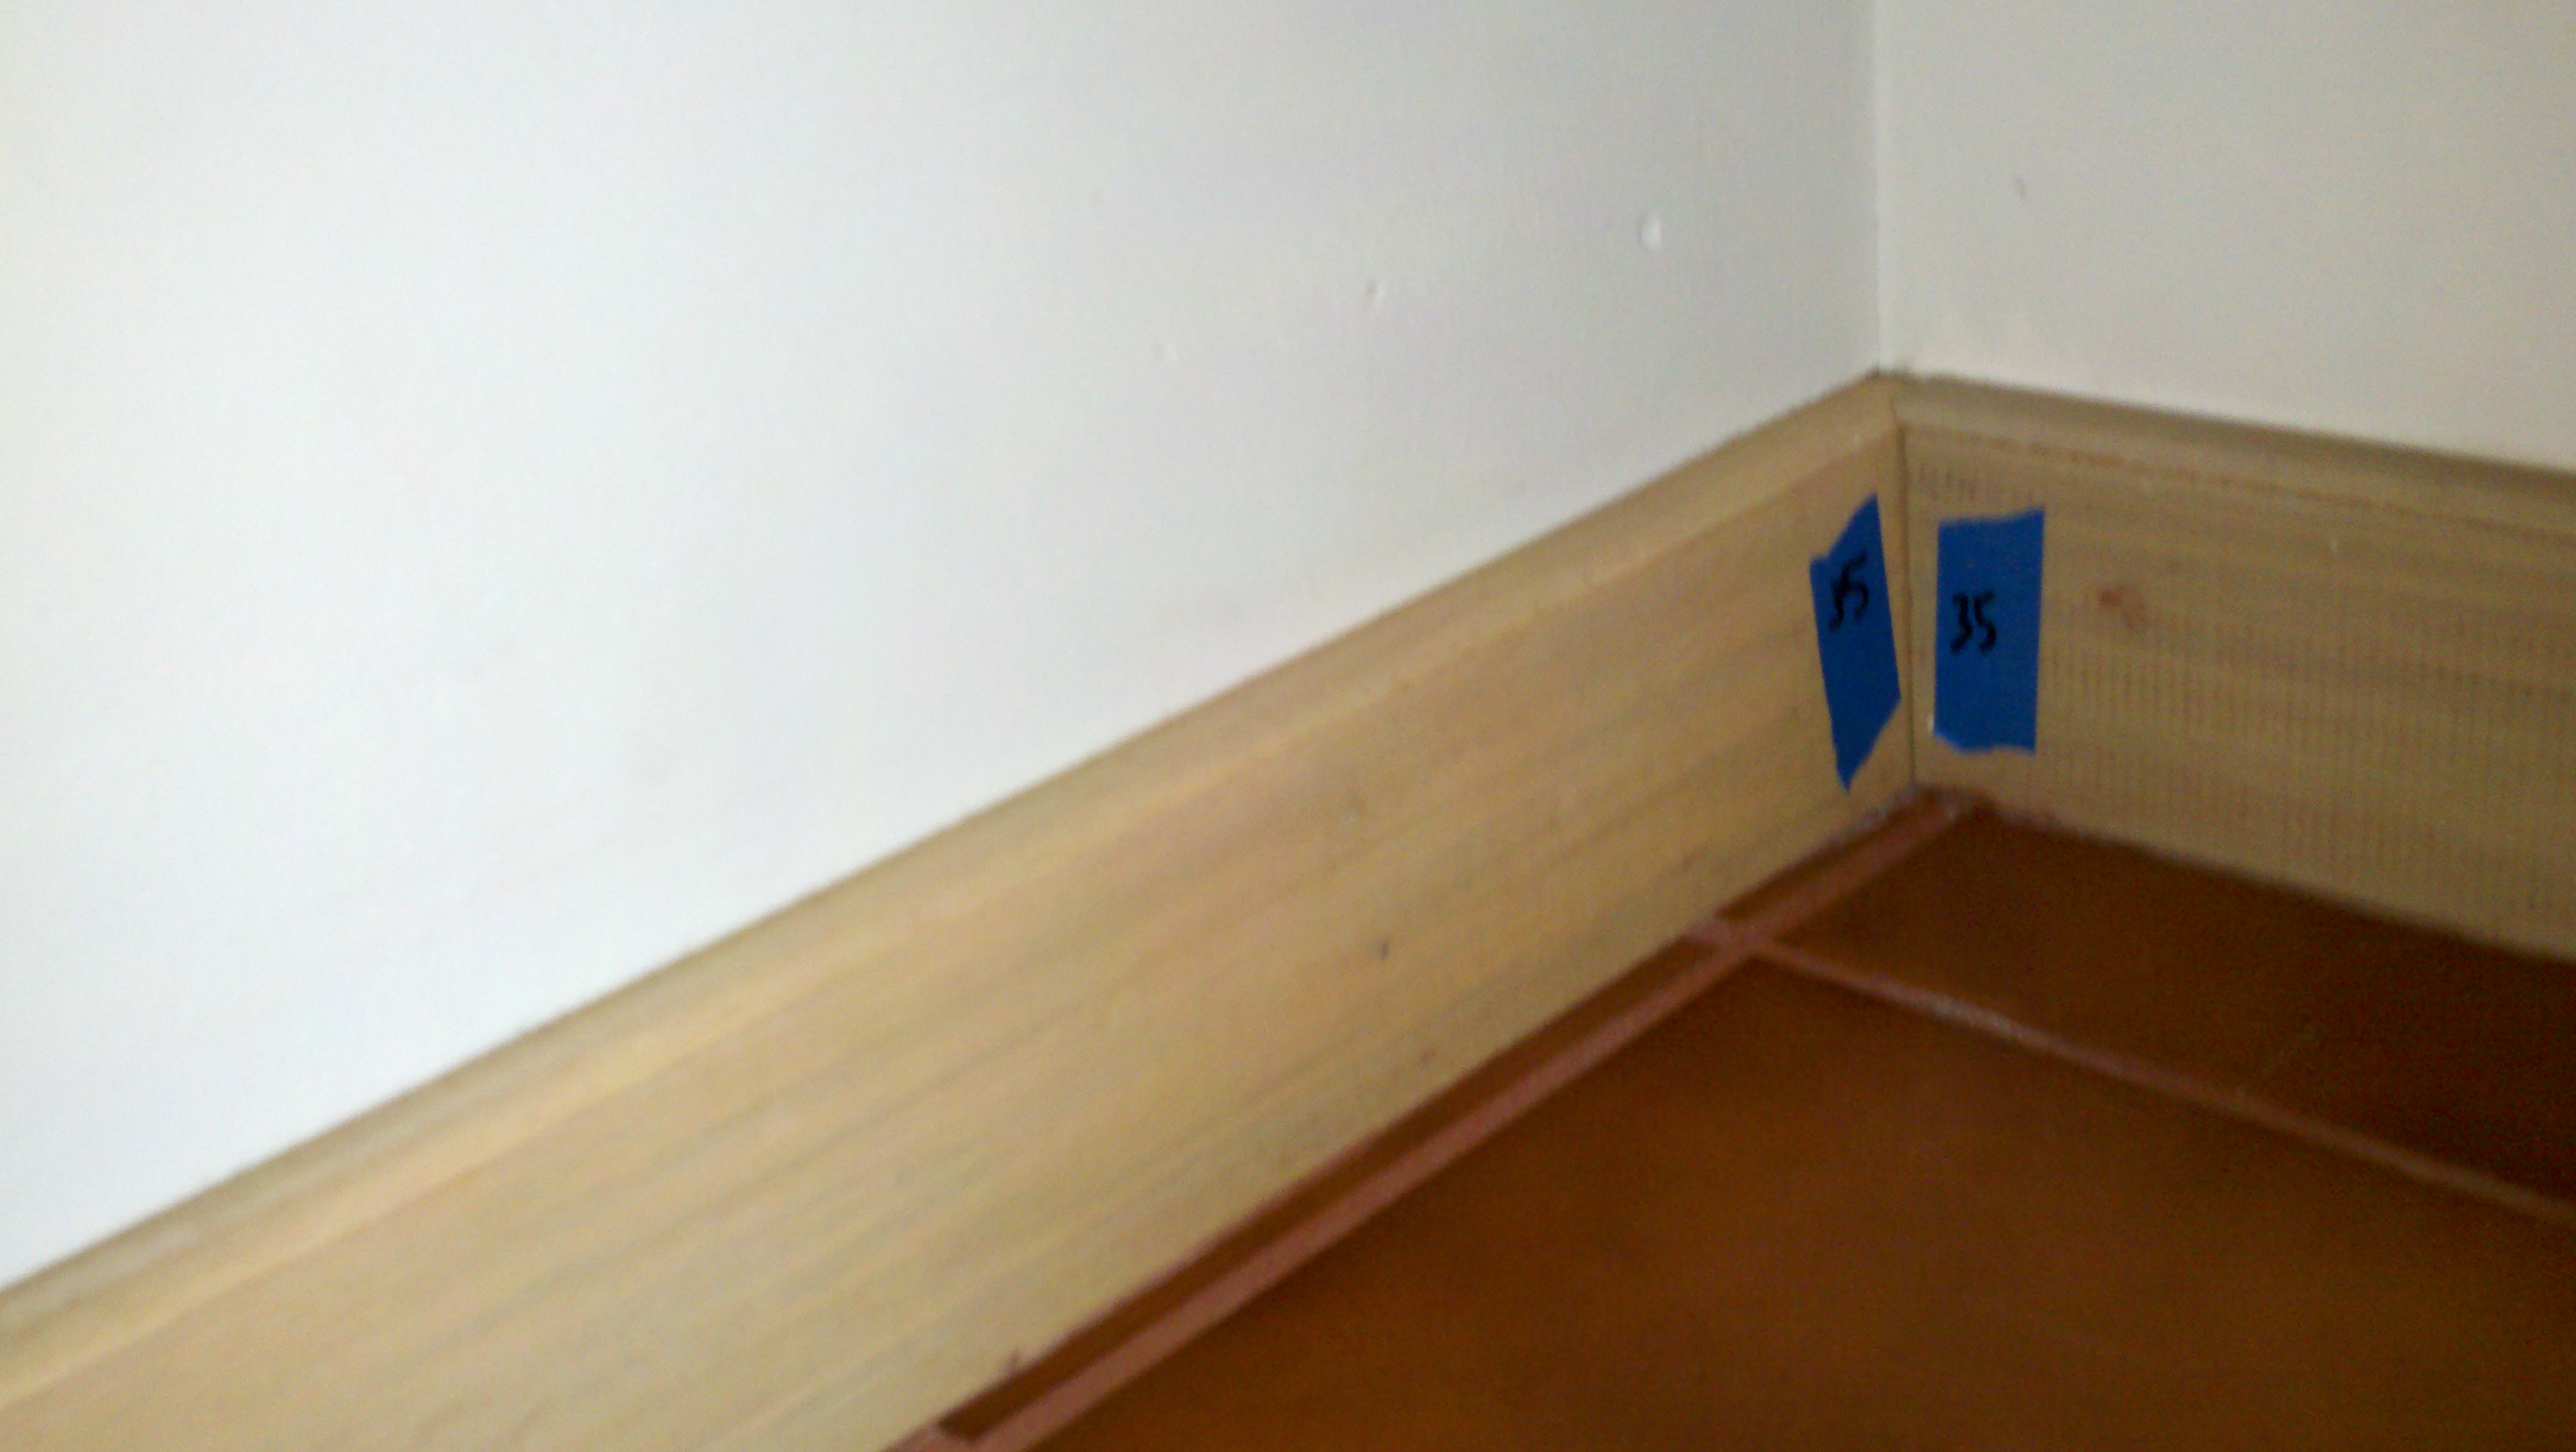
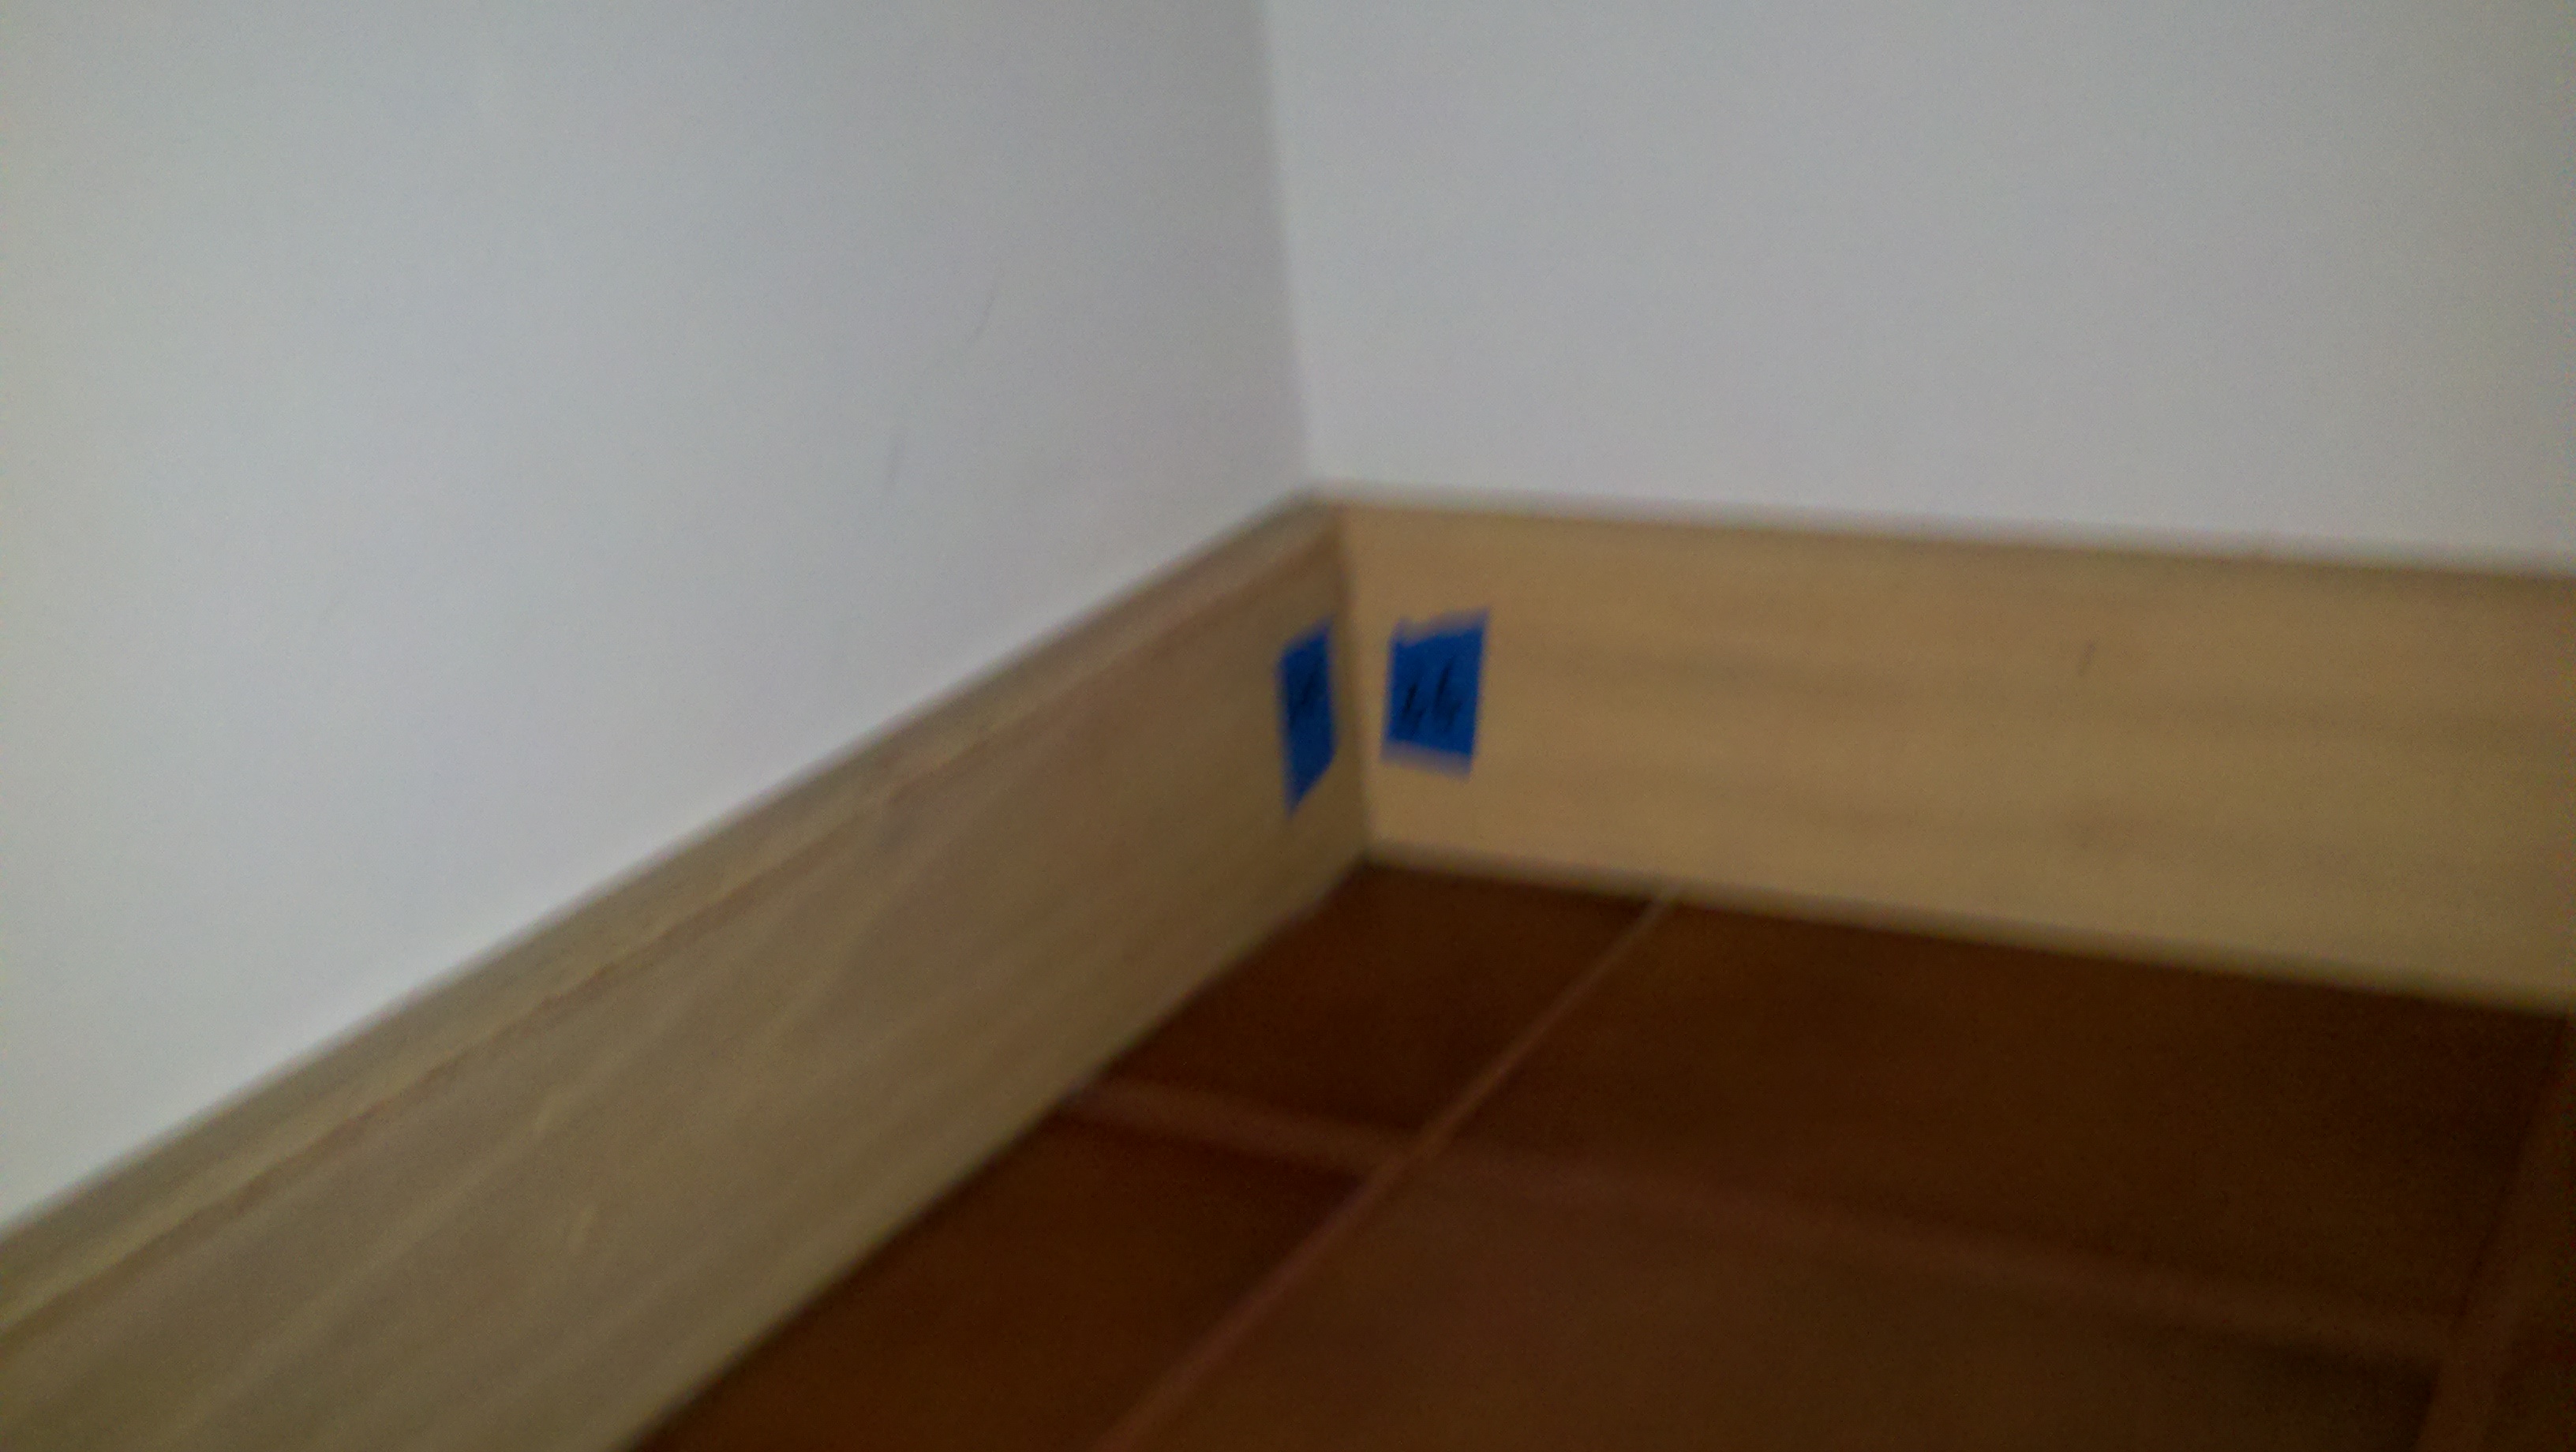
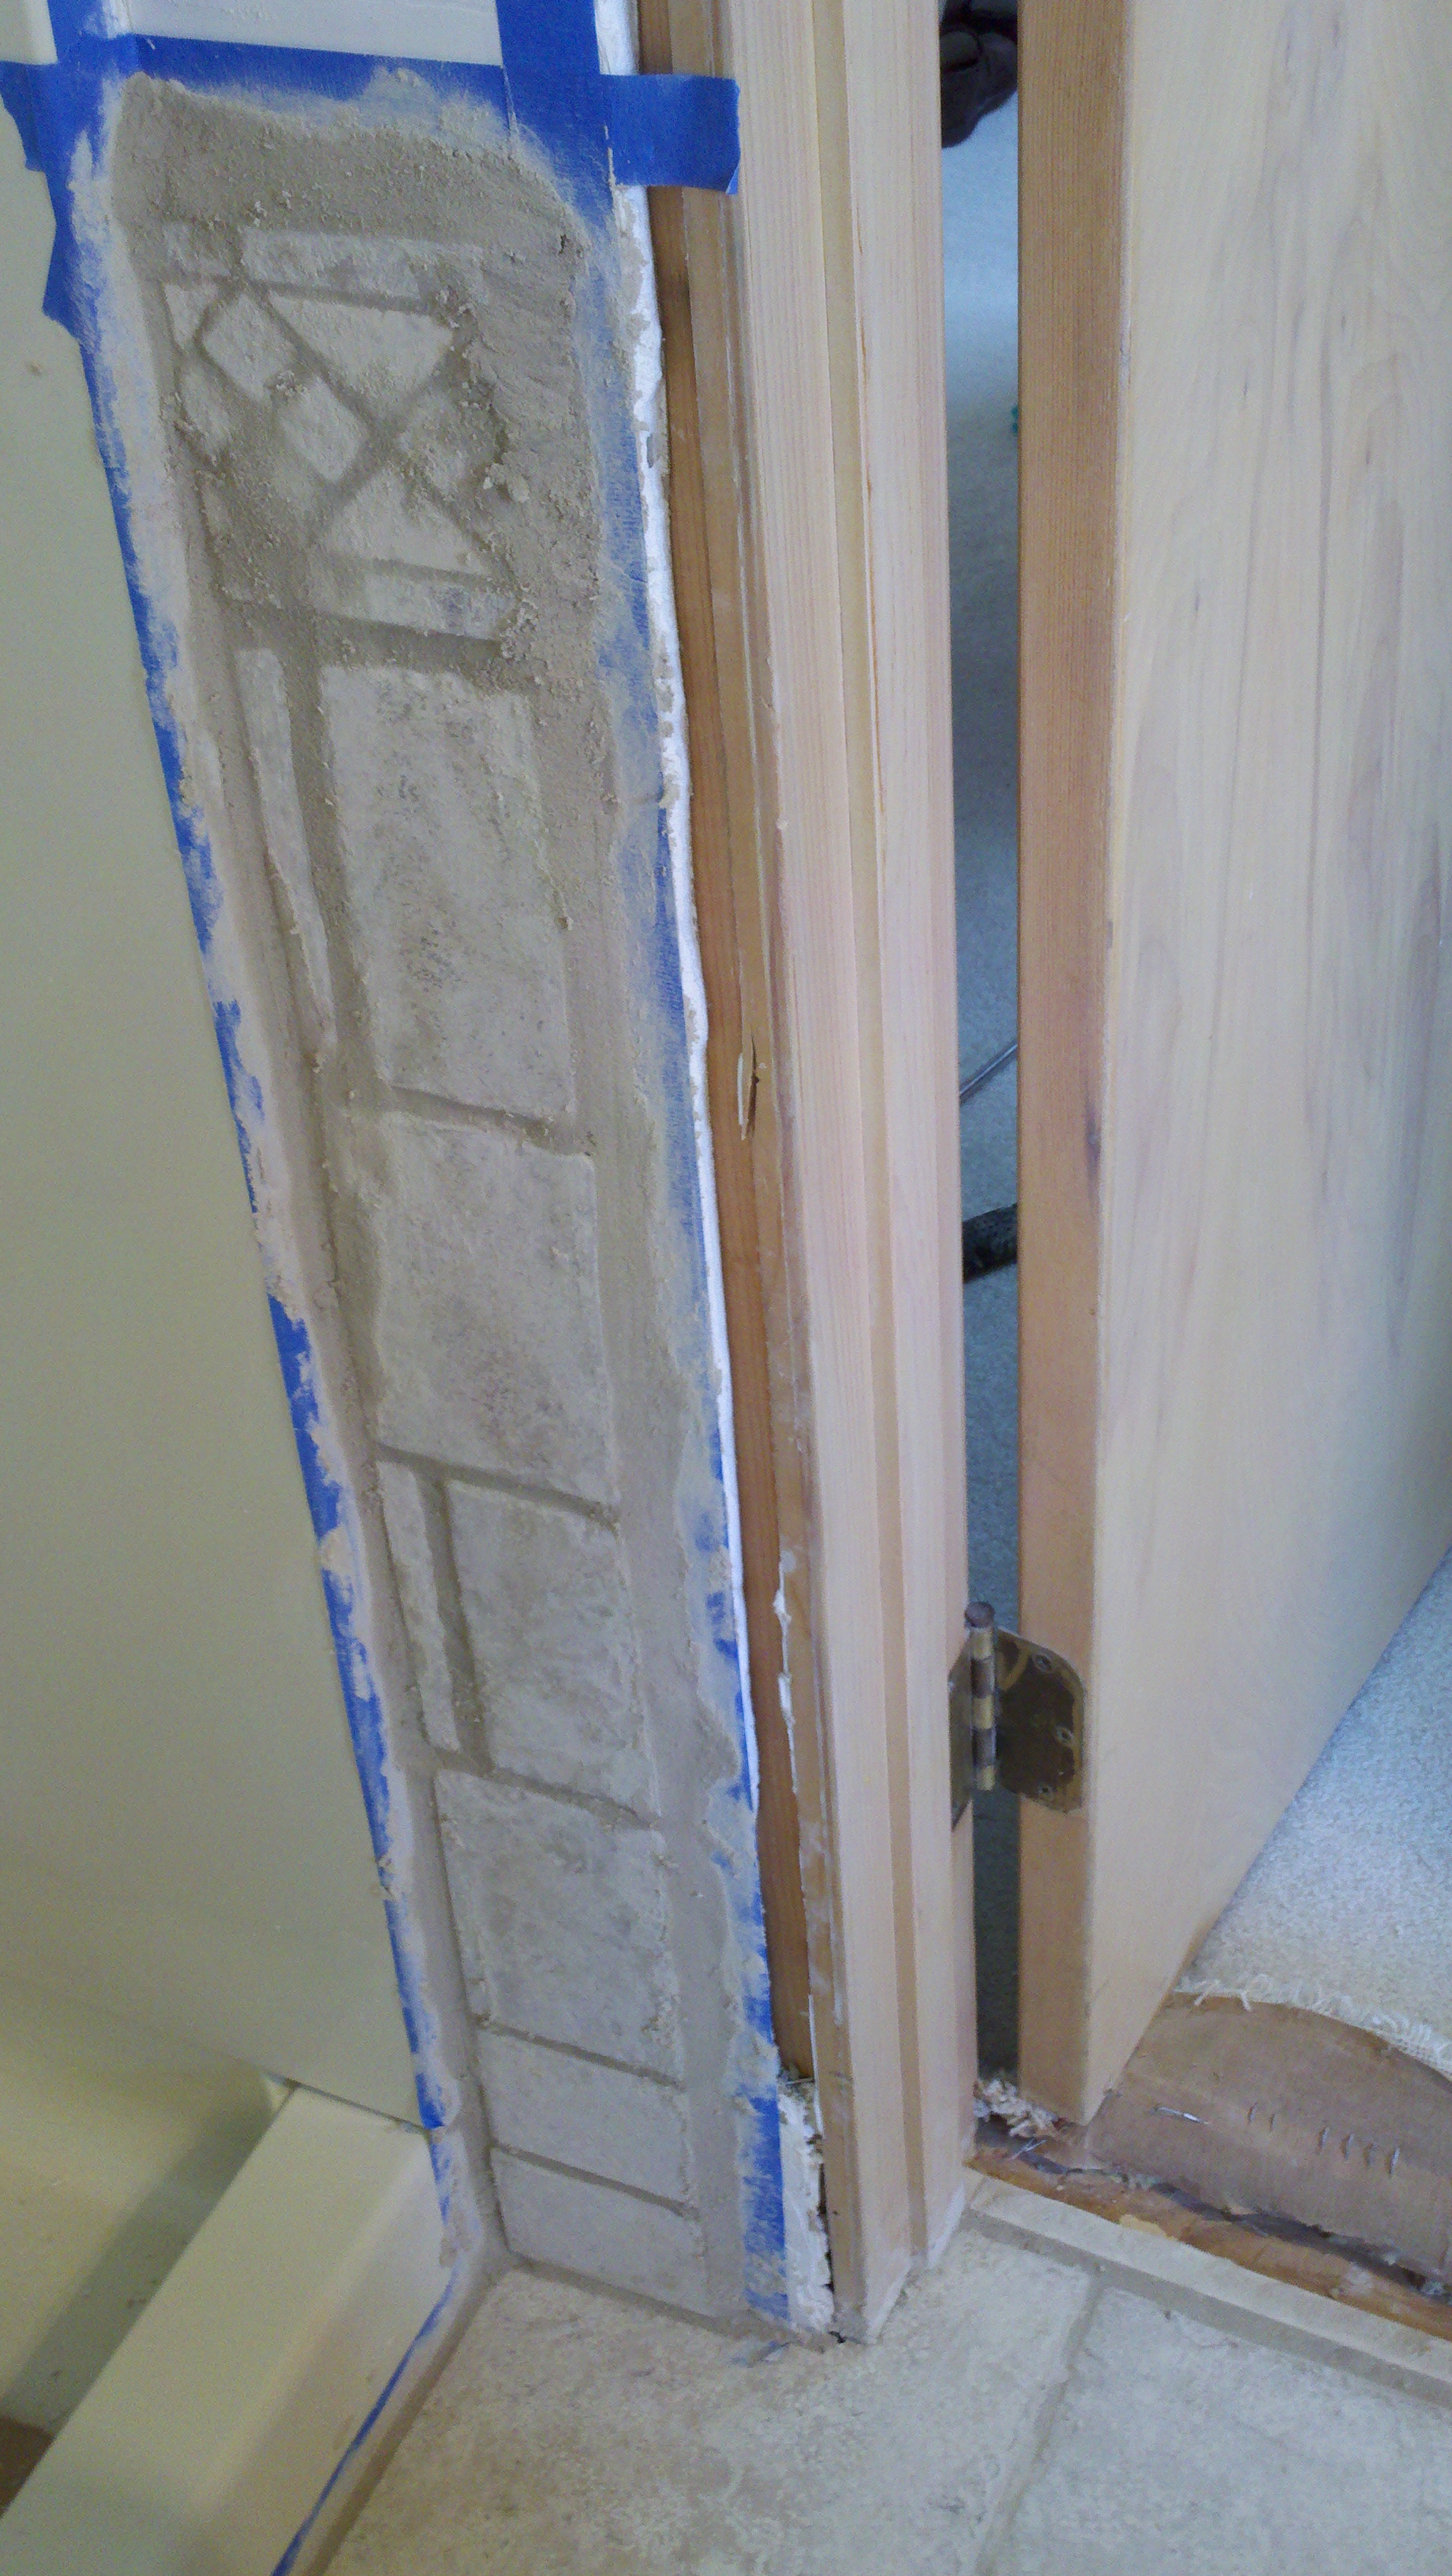
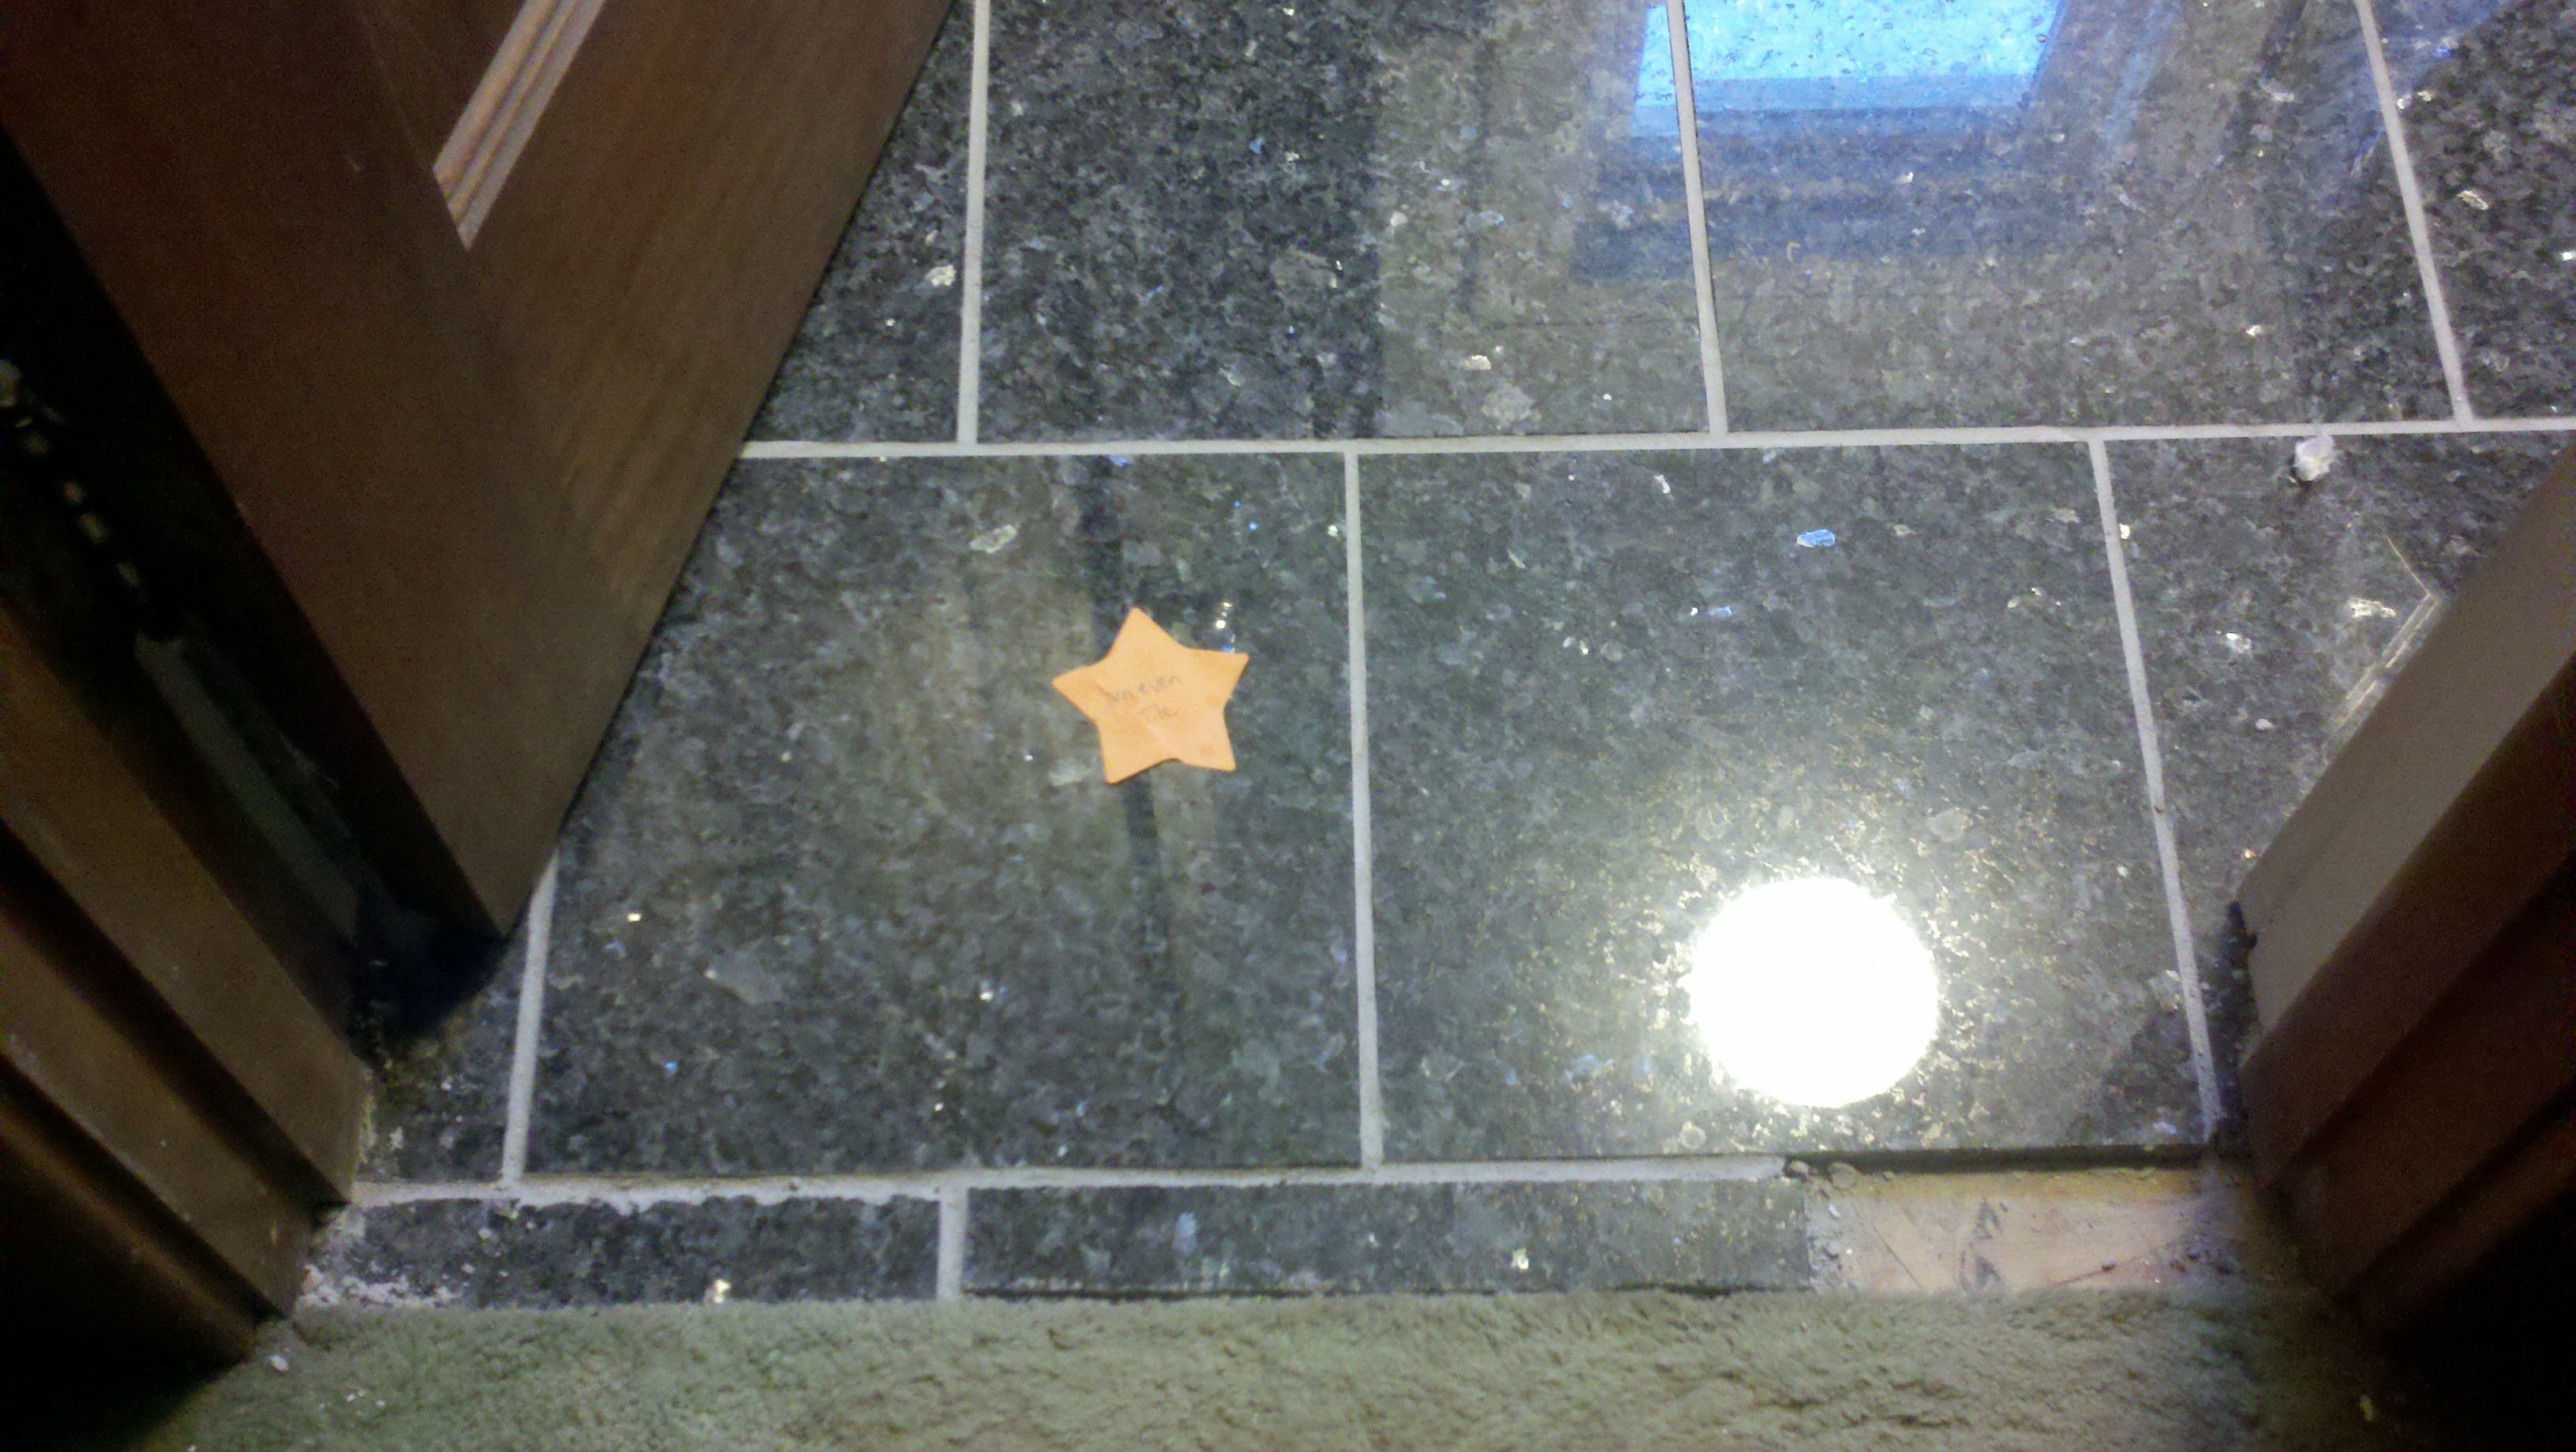
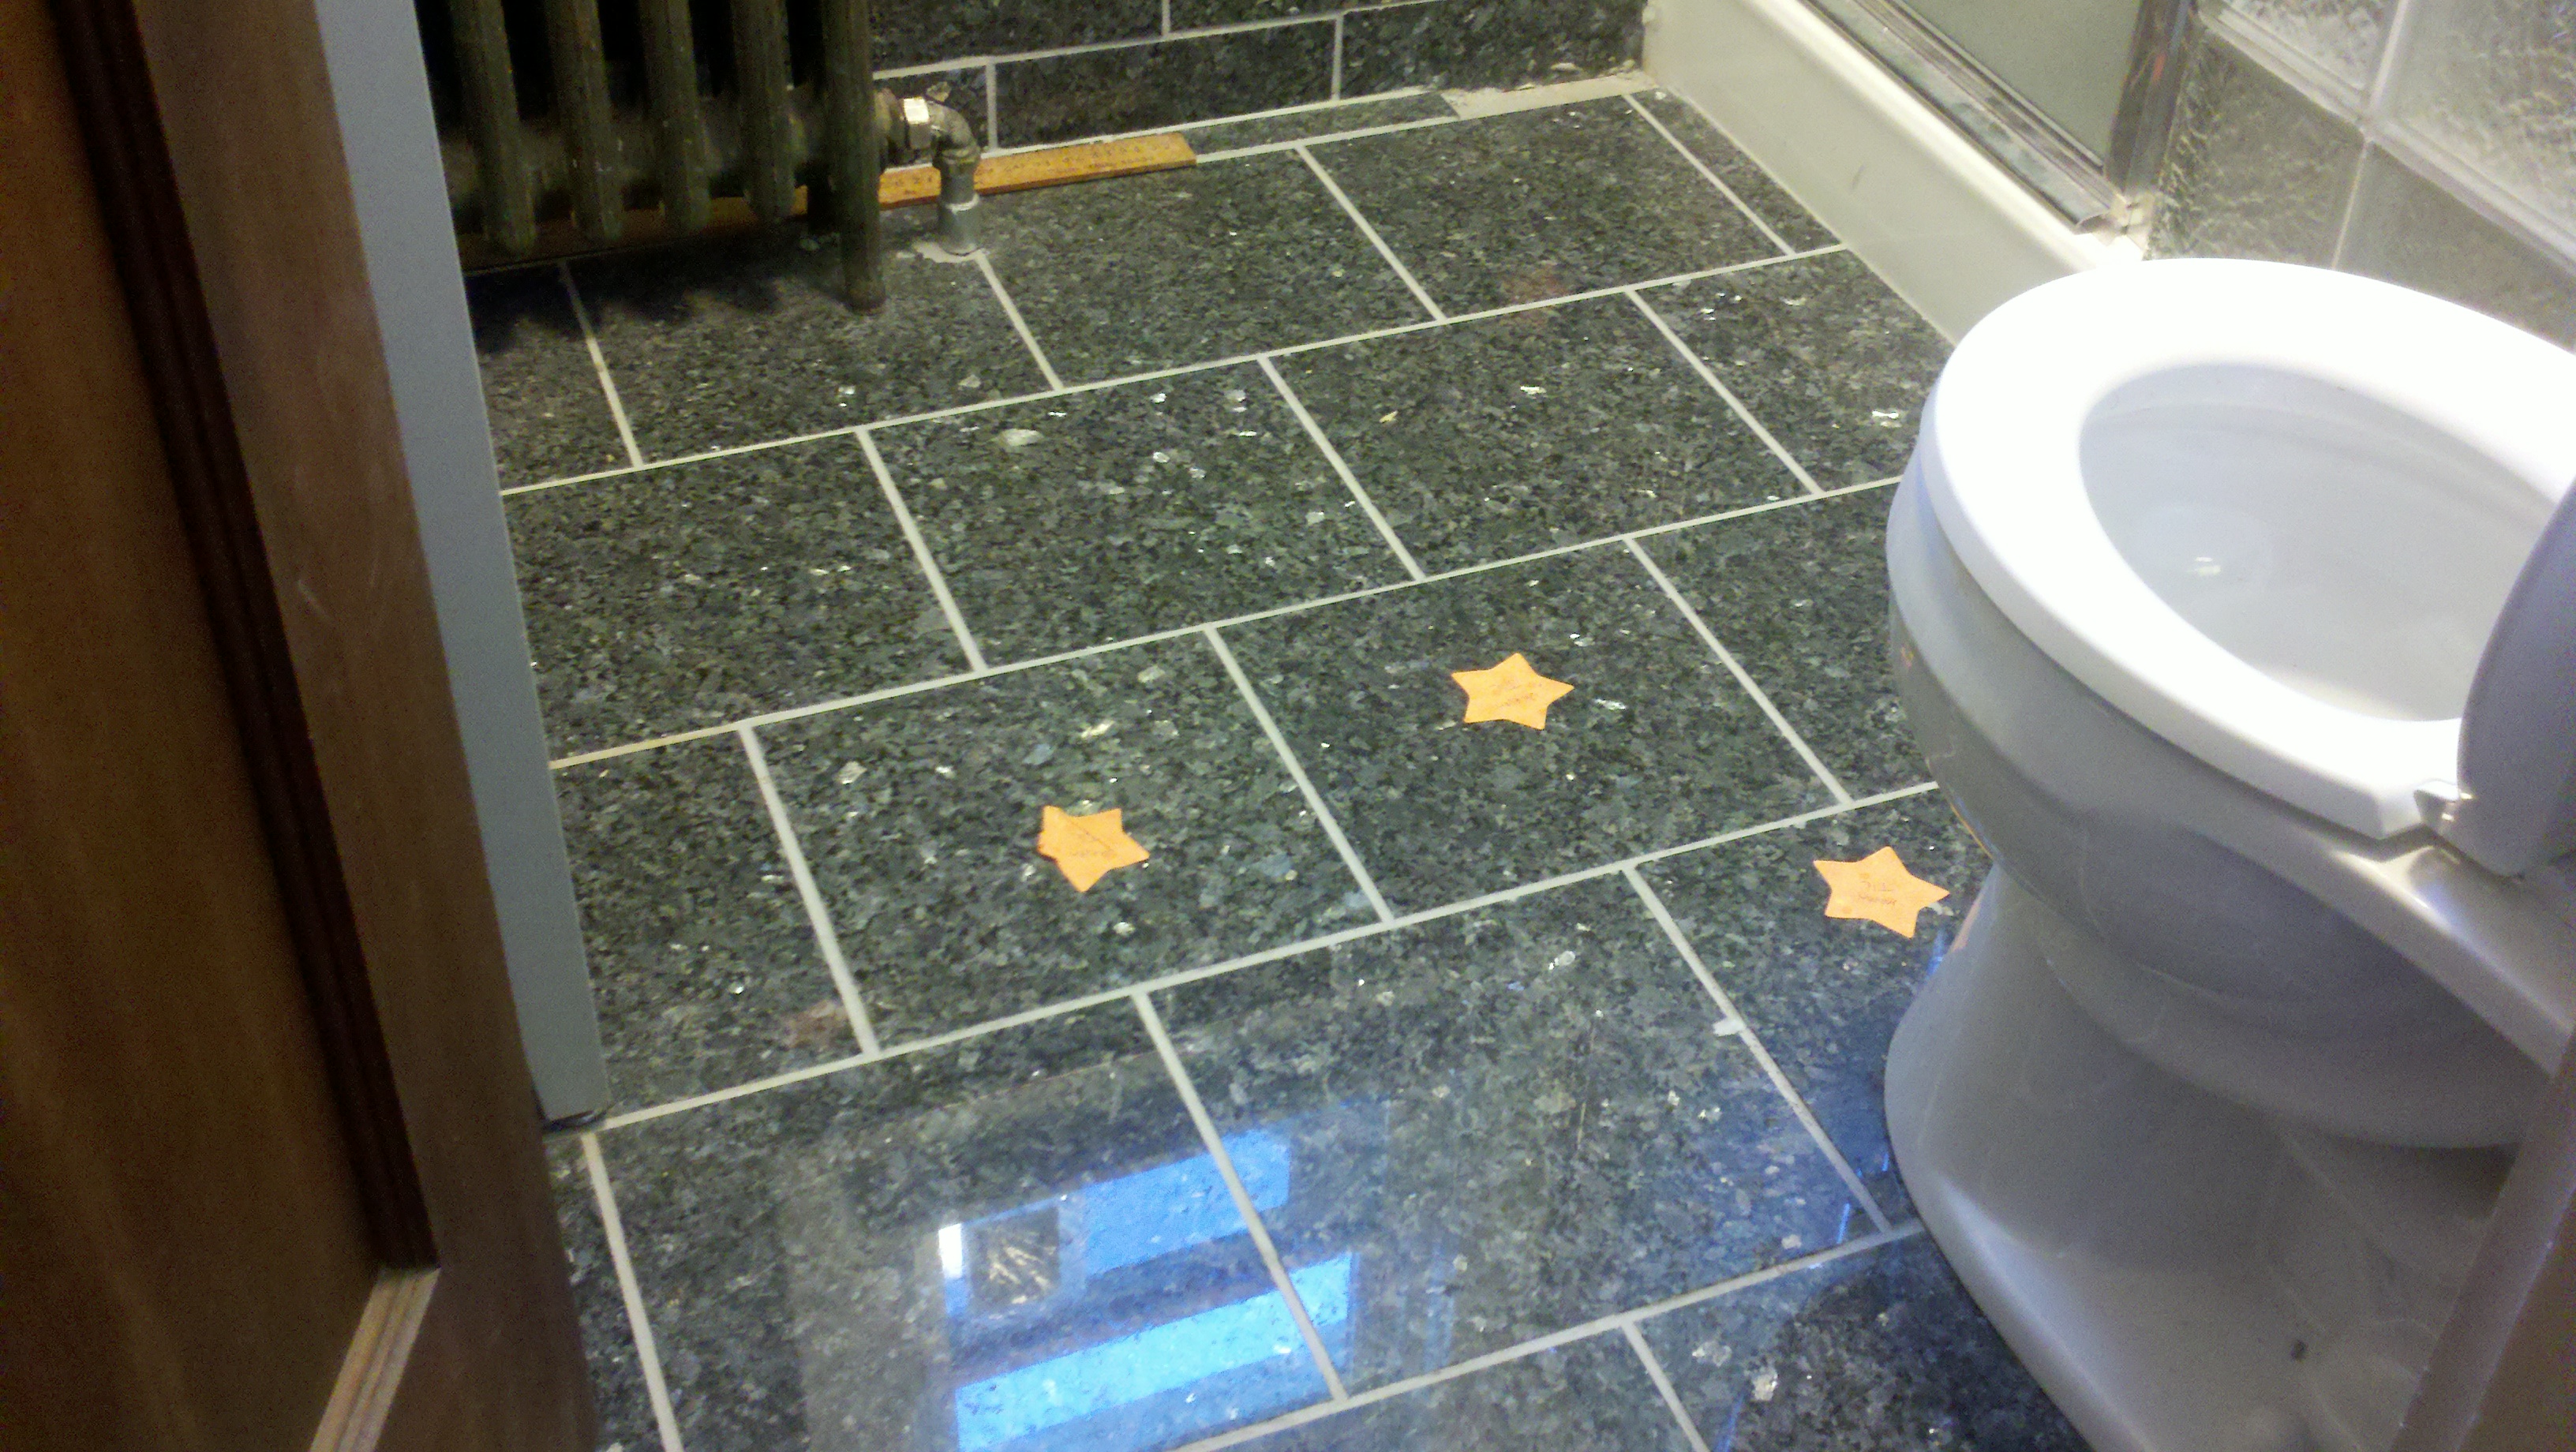
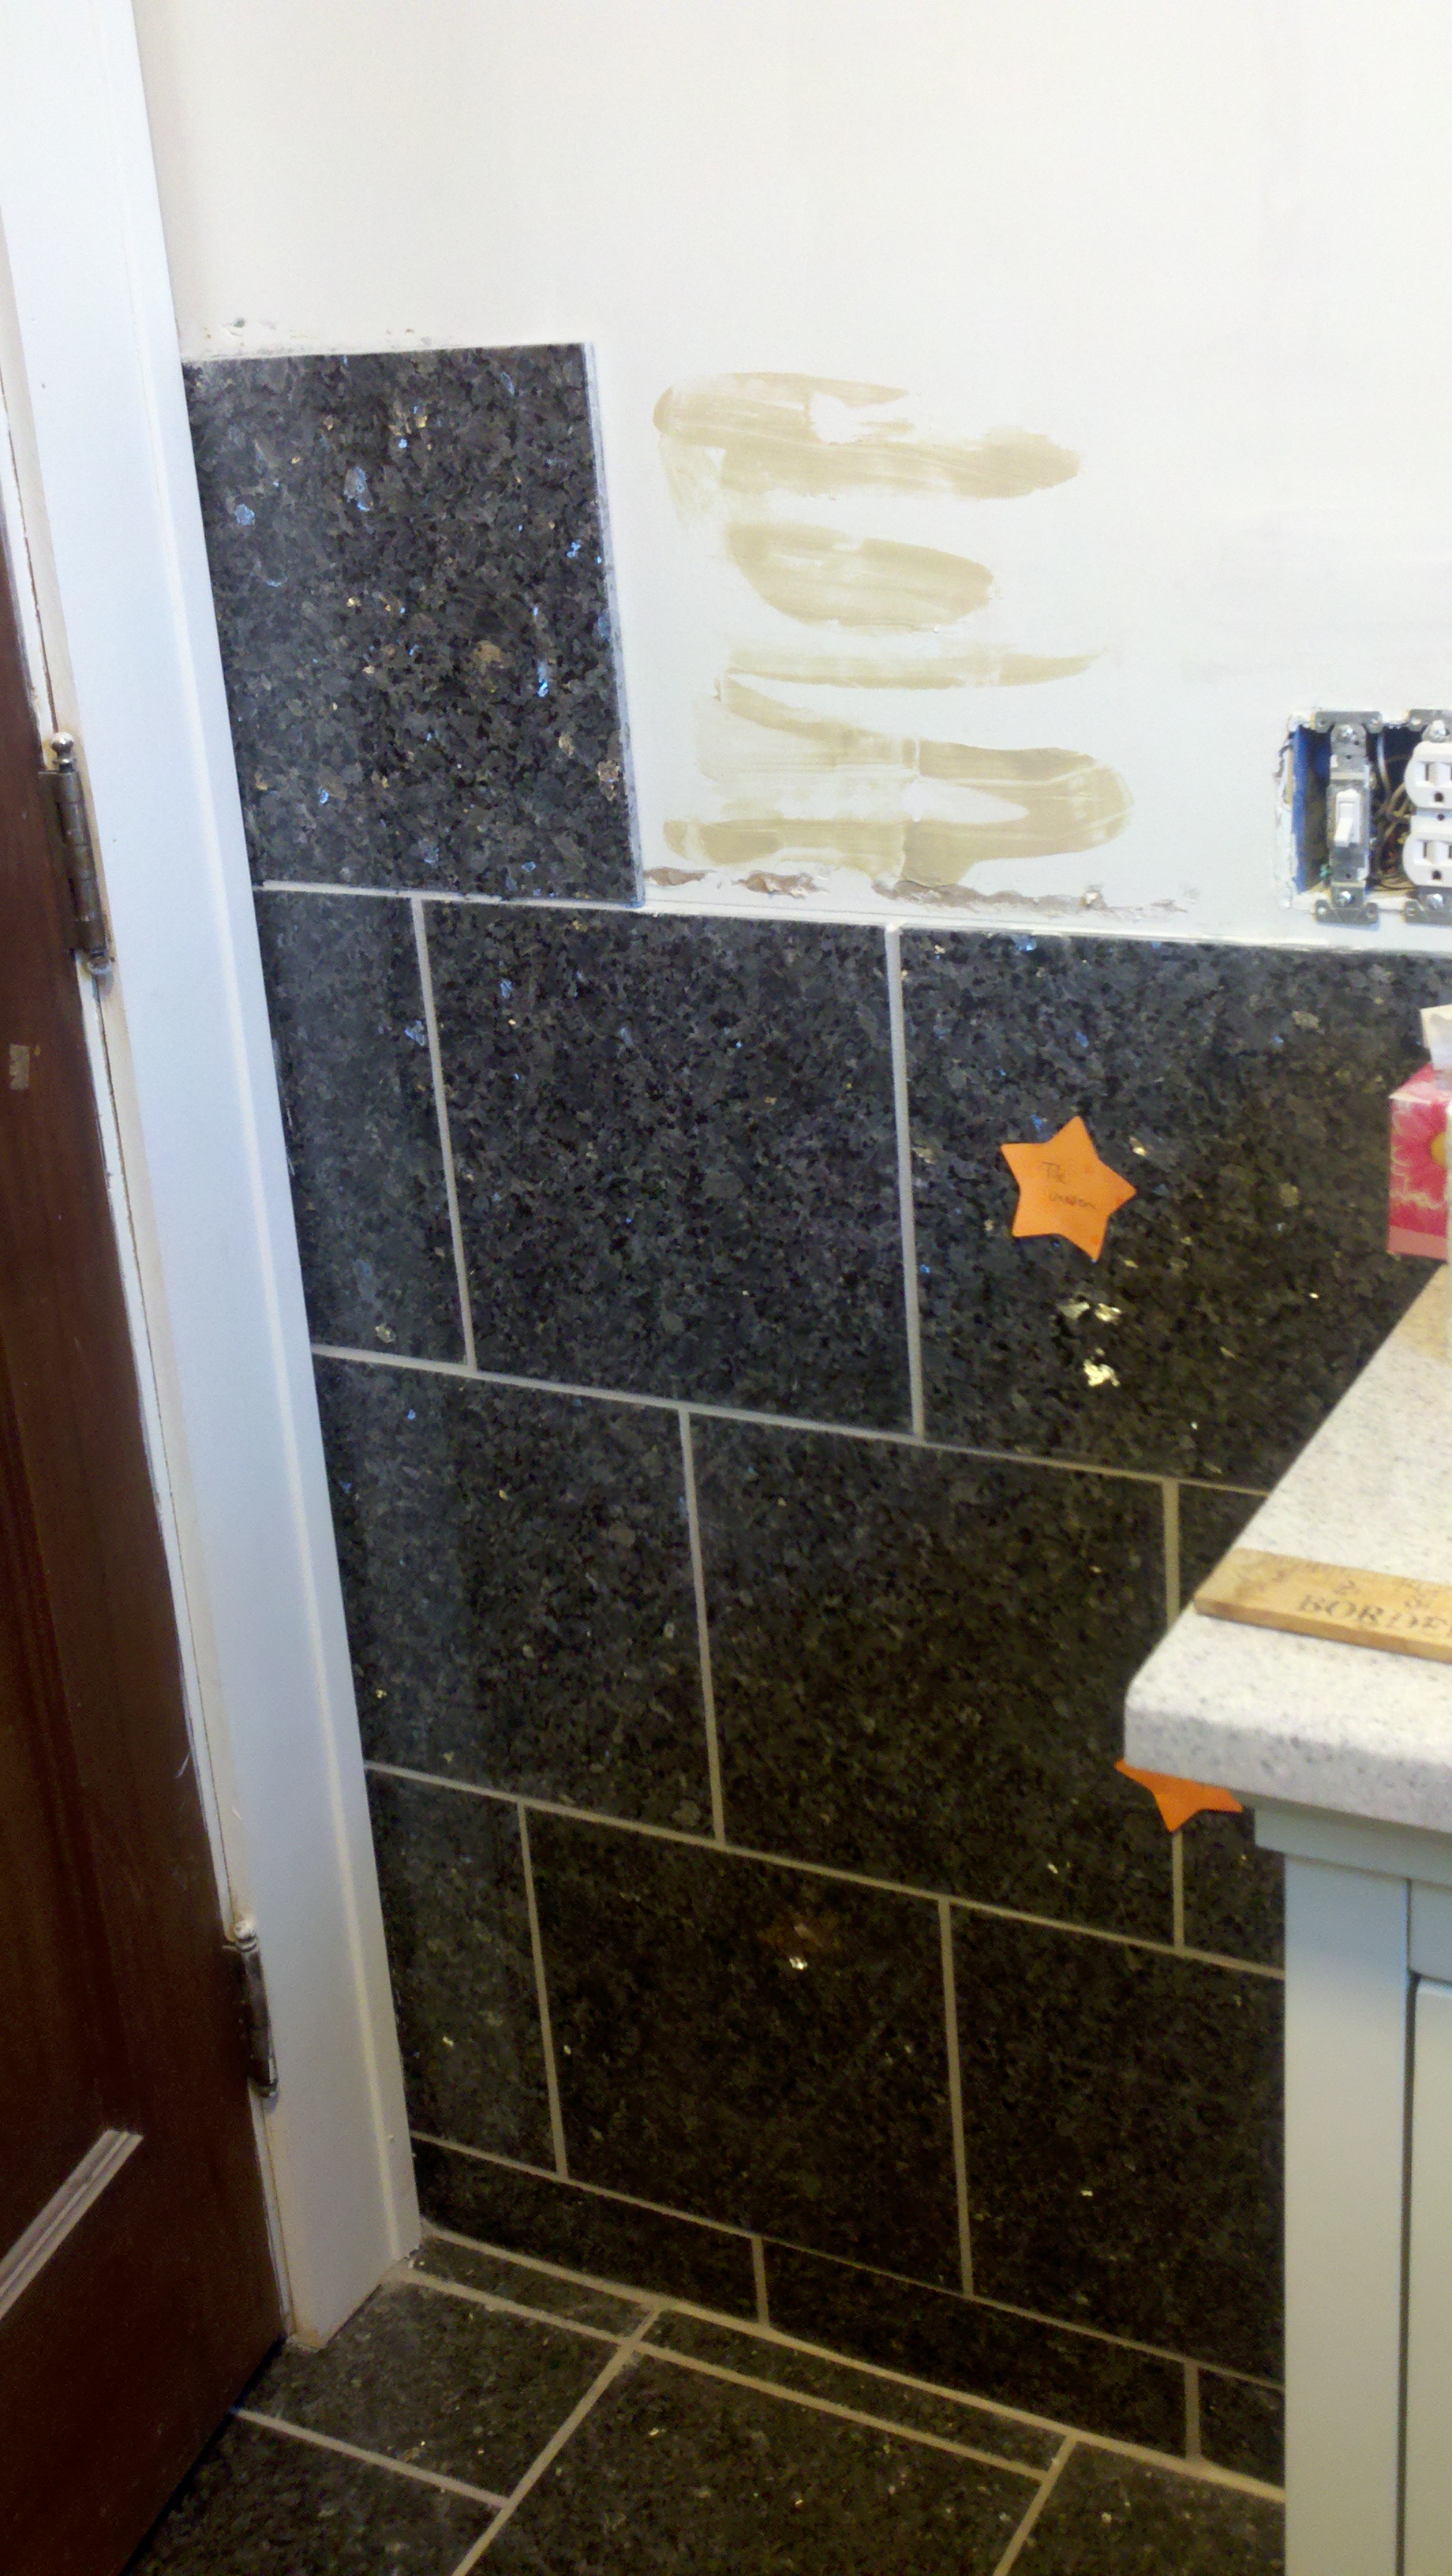
Soffit Decorative Trim and Paint Gazebo residency and fabrication is at times viewed by some to be incomplete while lacking the necessary describing trim. A customer provided a creative and interesting desire to complete a gazebo with completion criteria and decorative trim installation. The task was accepted and complete to the necessary desires of the customer through the use of design and a small amount of trial and error. Pictures one through eight provide the original form of the gazebo which will be cosmetically changed with wood trim, wood covering attached to the lower front of the seats, and application of paint to all of the additions and rain collection attachments.
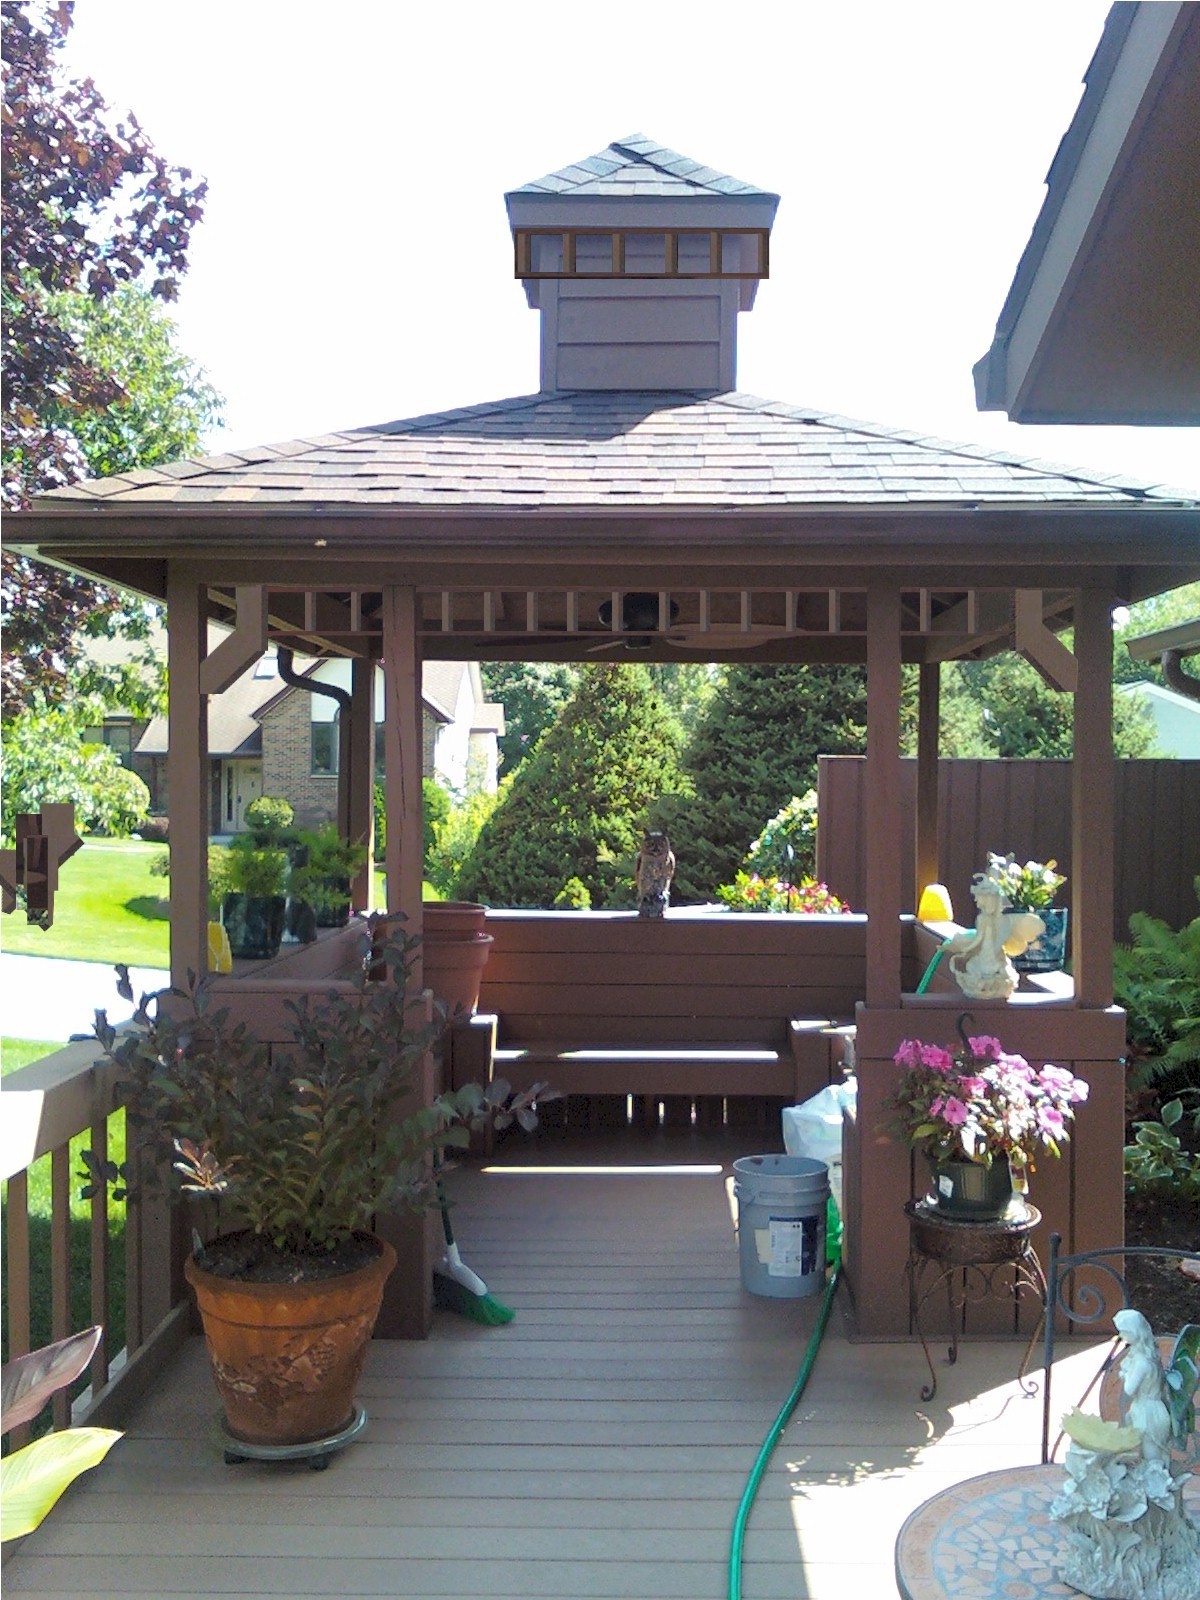
The pictures nine and ten provide images which were digitally altered for possible completed version of the gazebo. Picture eleven provides an image of a trial soffit decoration for confirmation of theory and drawings. The trial soffit will be installed onto the gazebo for size and design confirmation for the customer acceptance.
The seats posted as pictures four through six, above, visually represent a comparison to the digitally changed completion pictures of the labeled before pictures: twelve, thirteen, and fourteen.
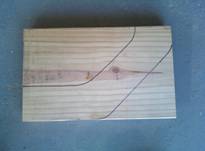
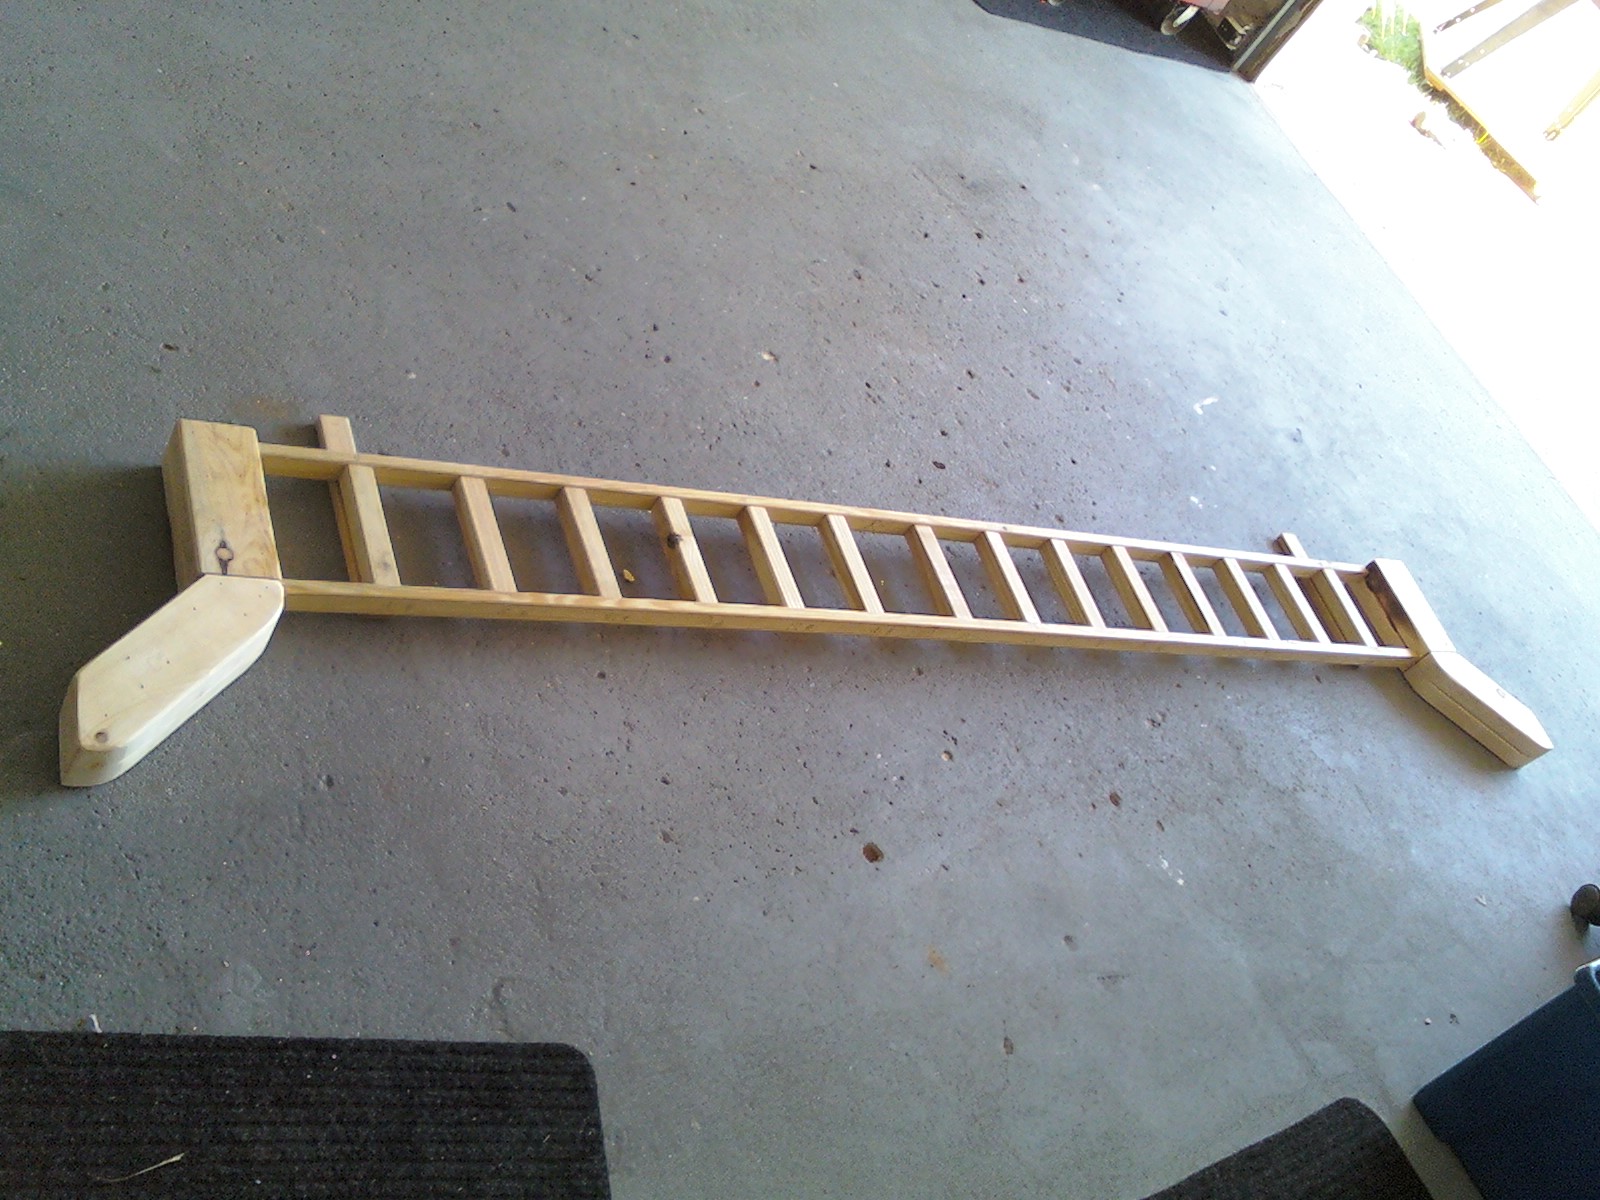
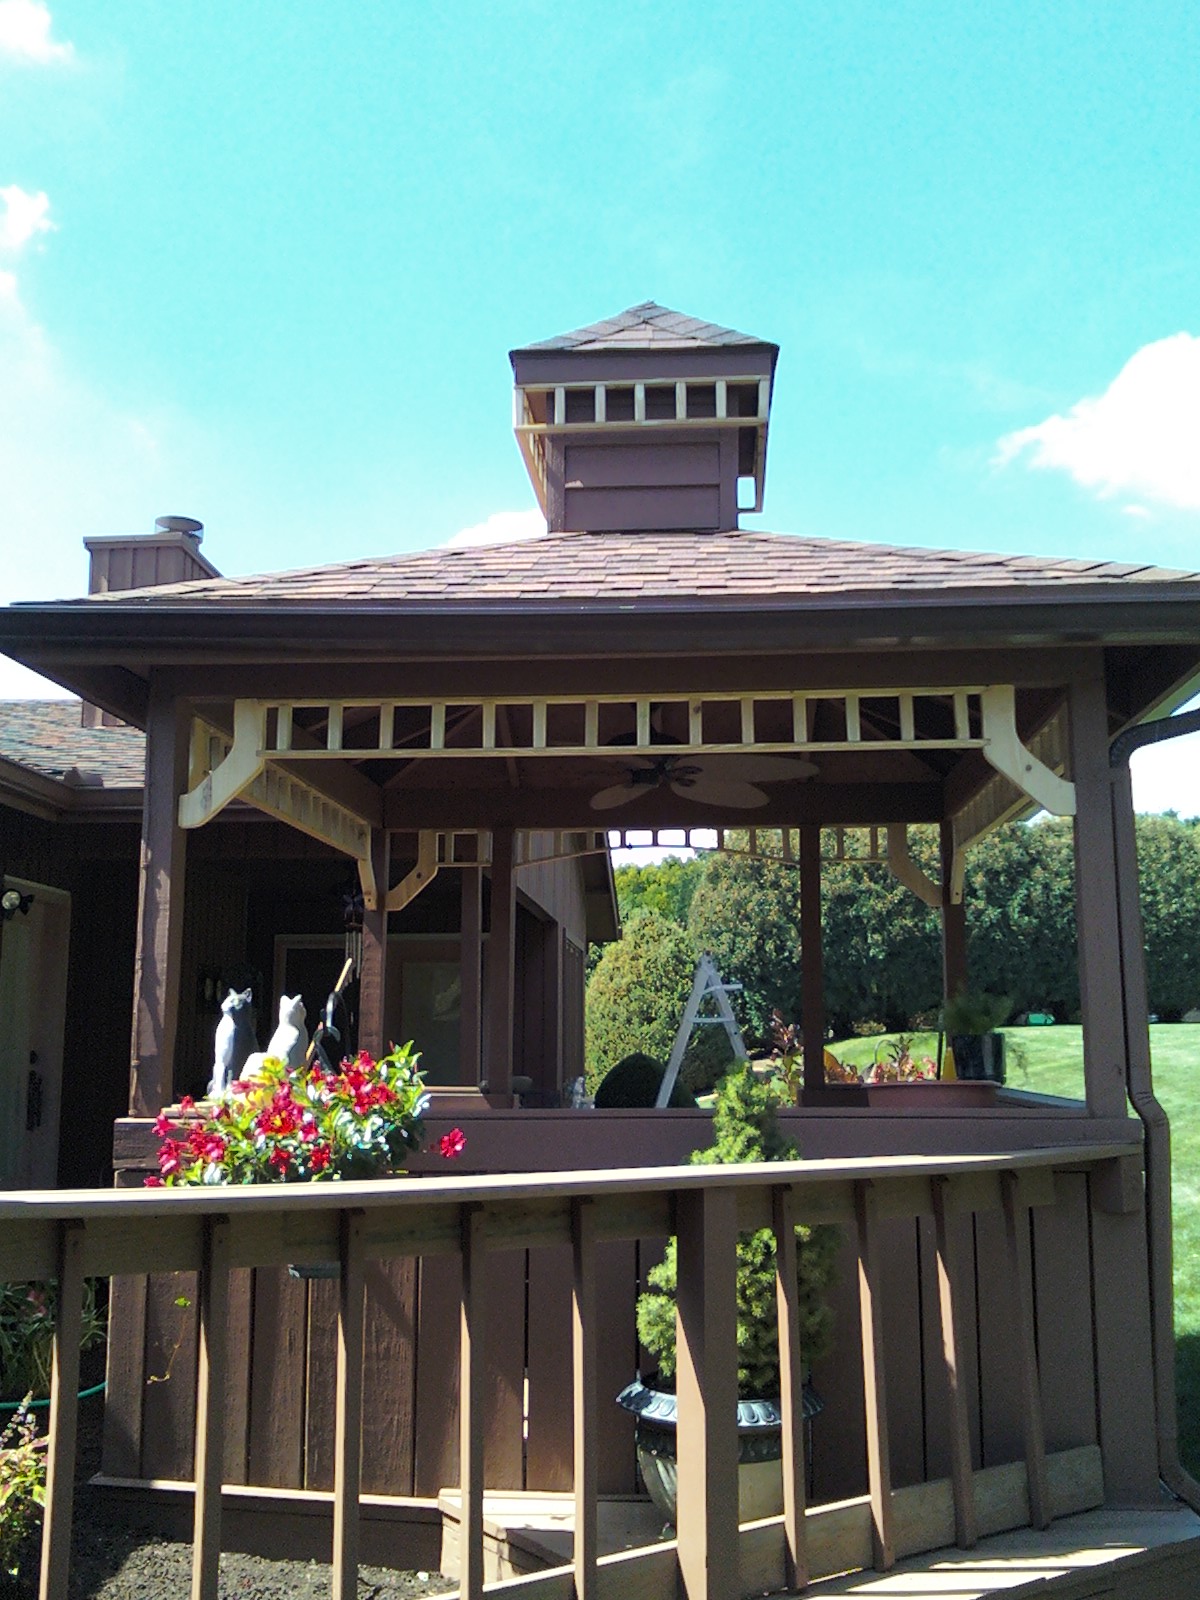
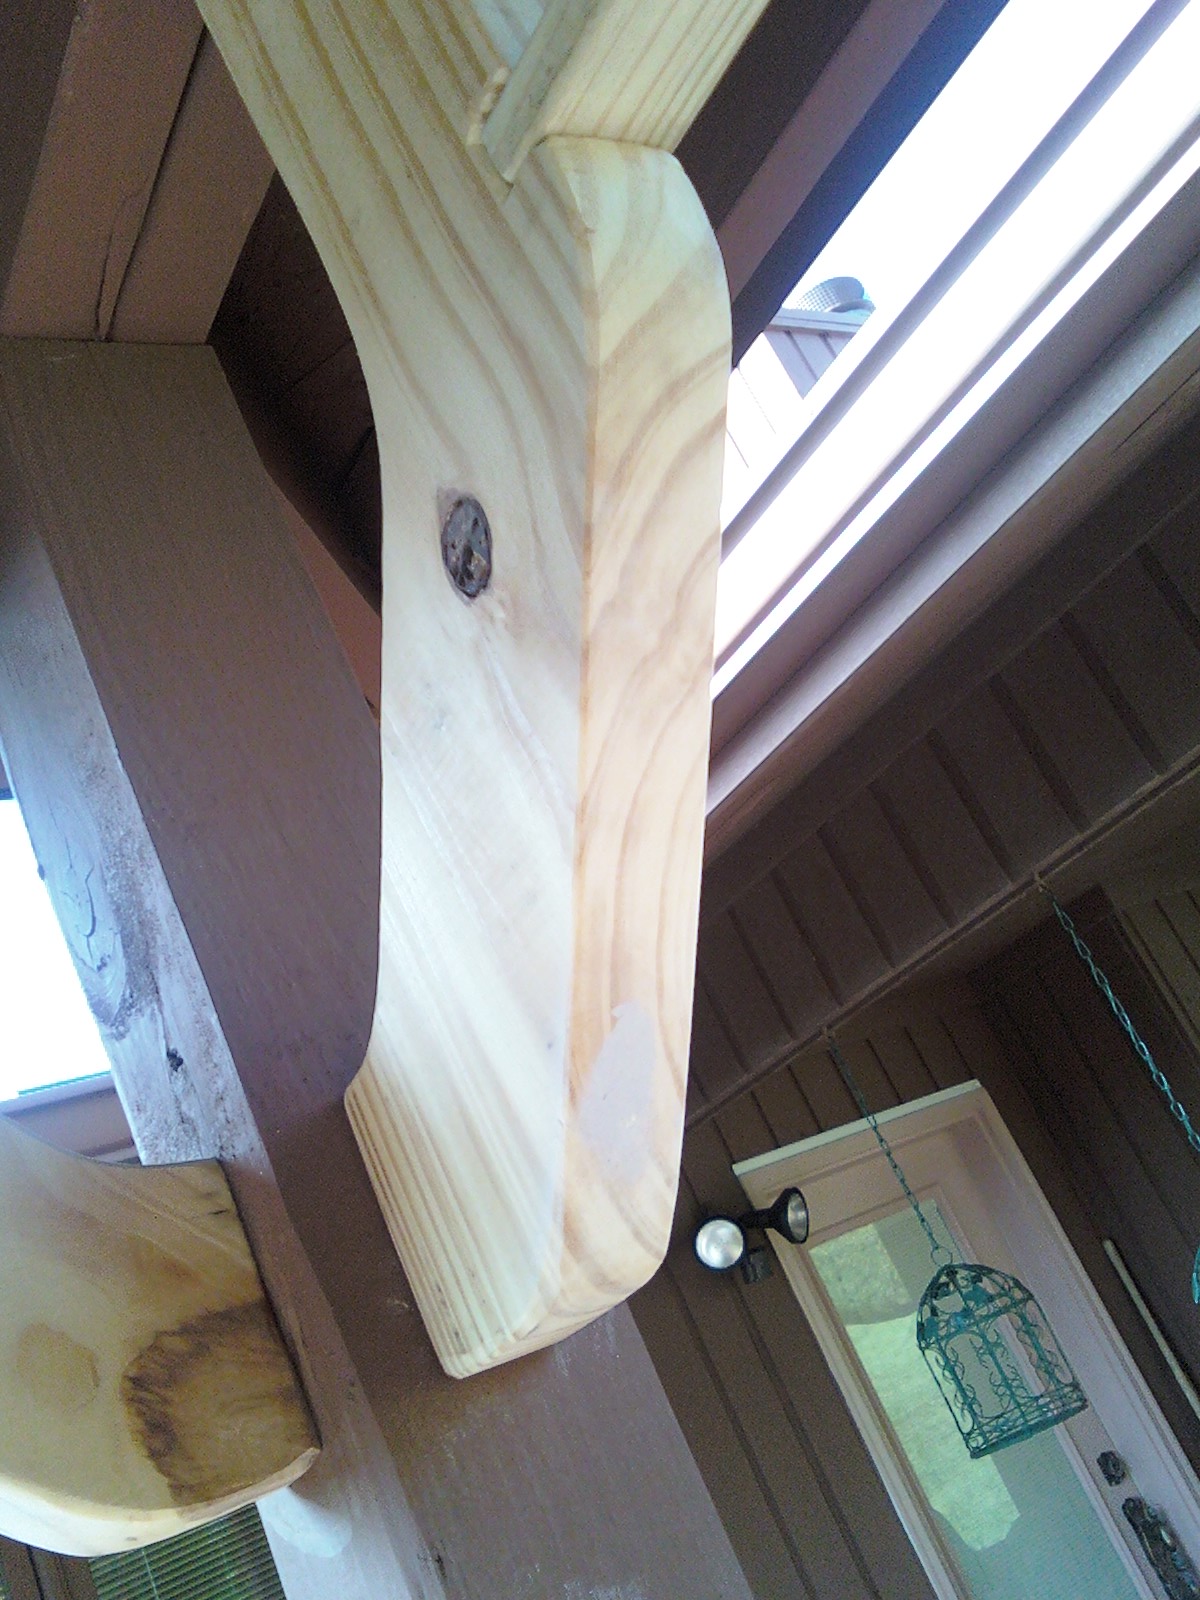
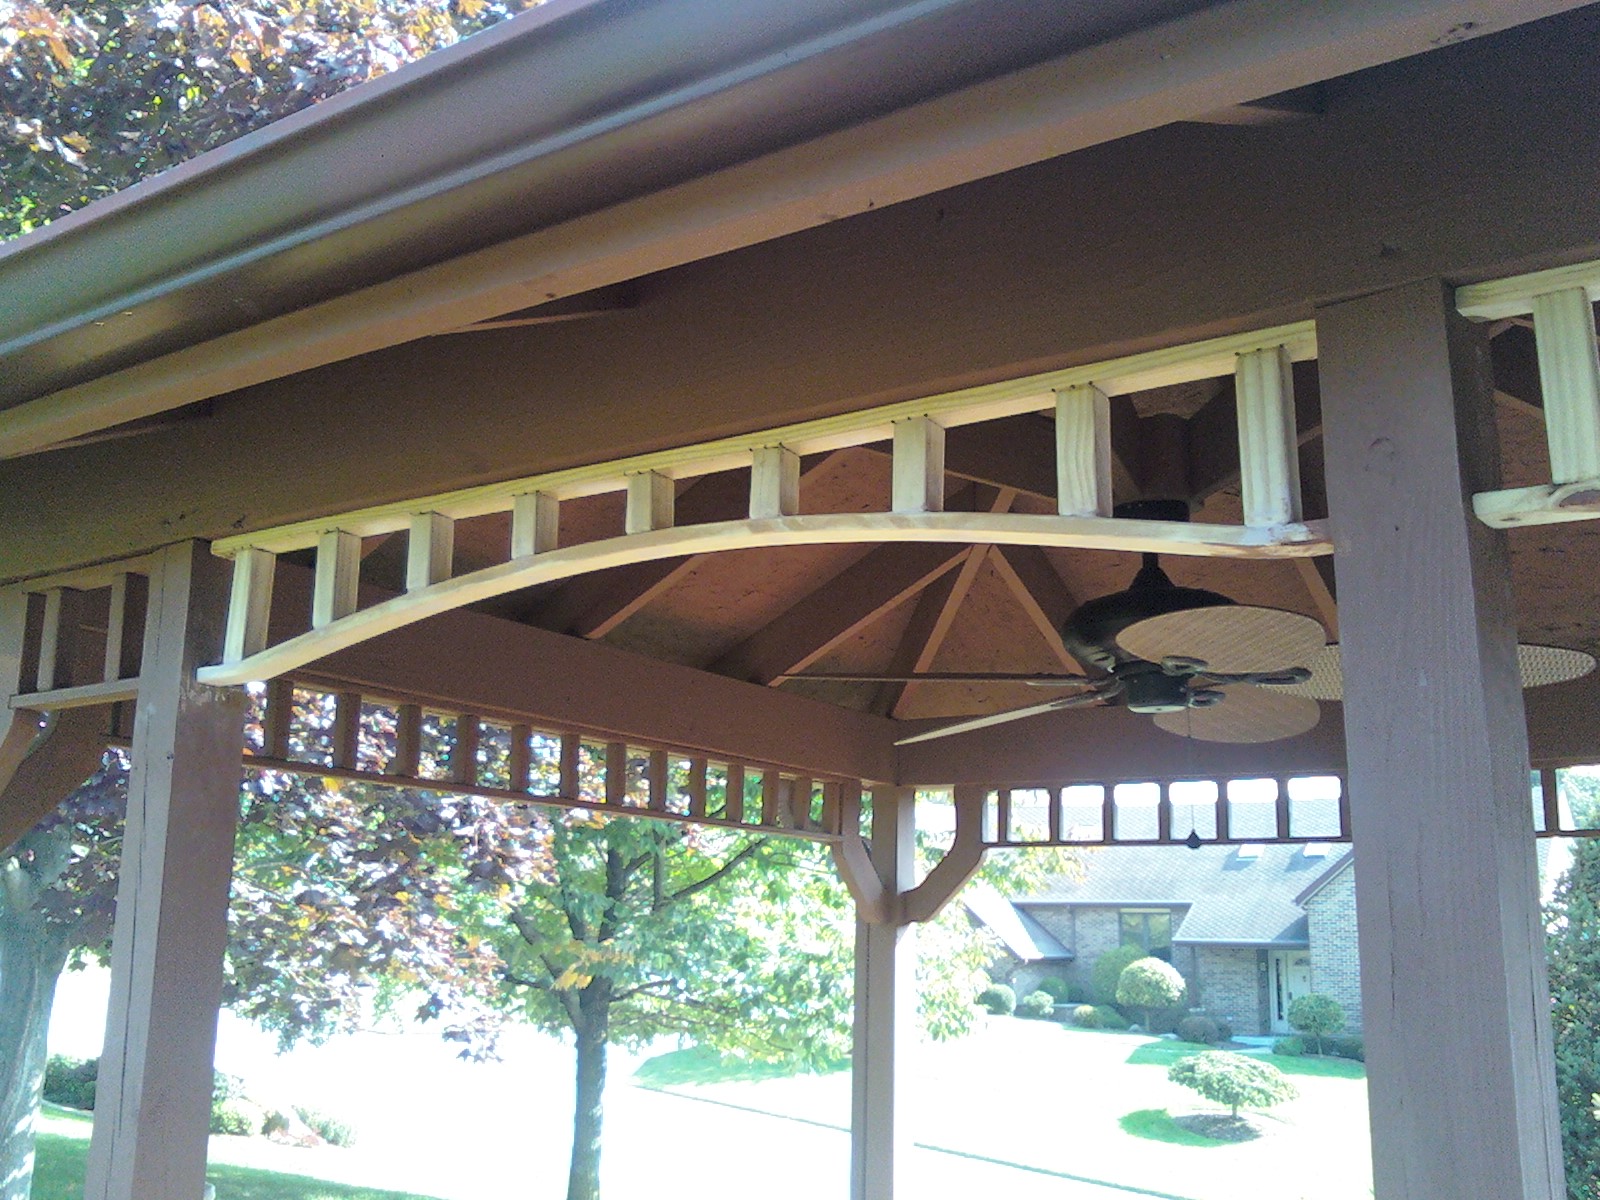
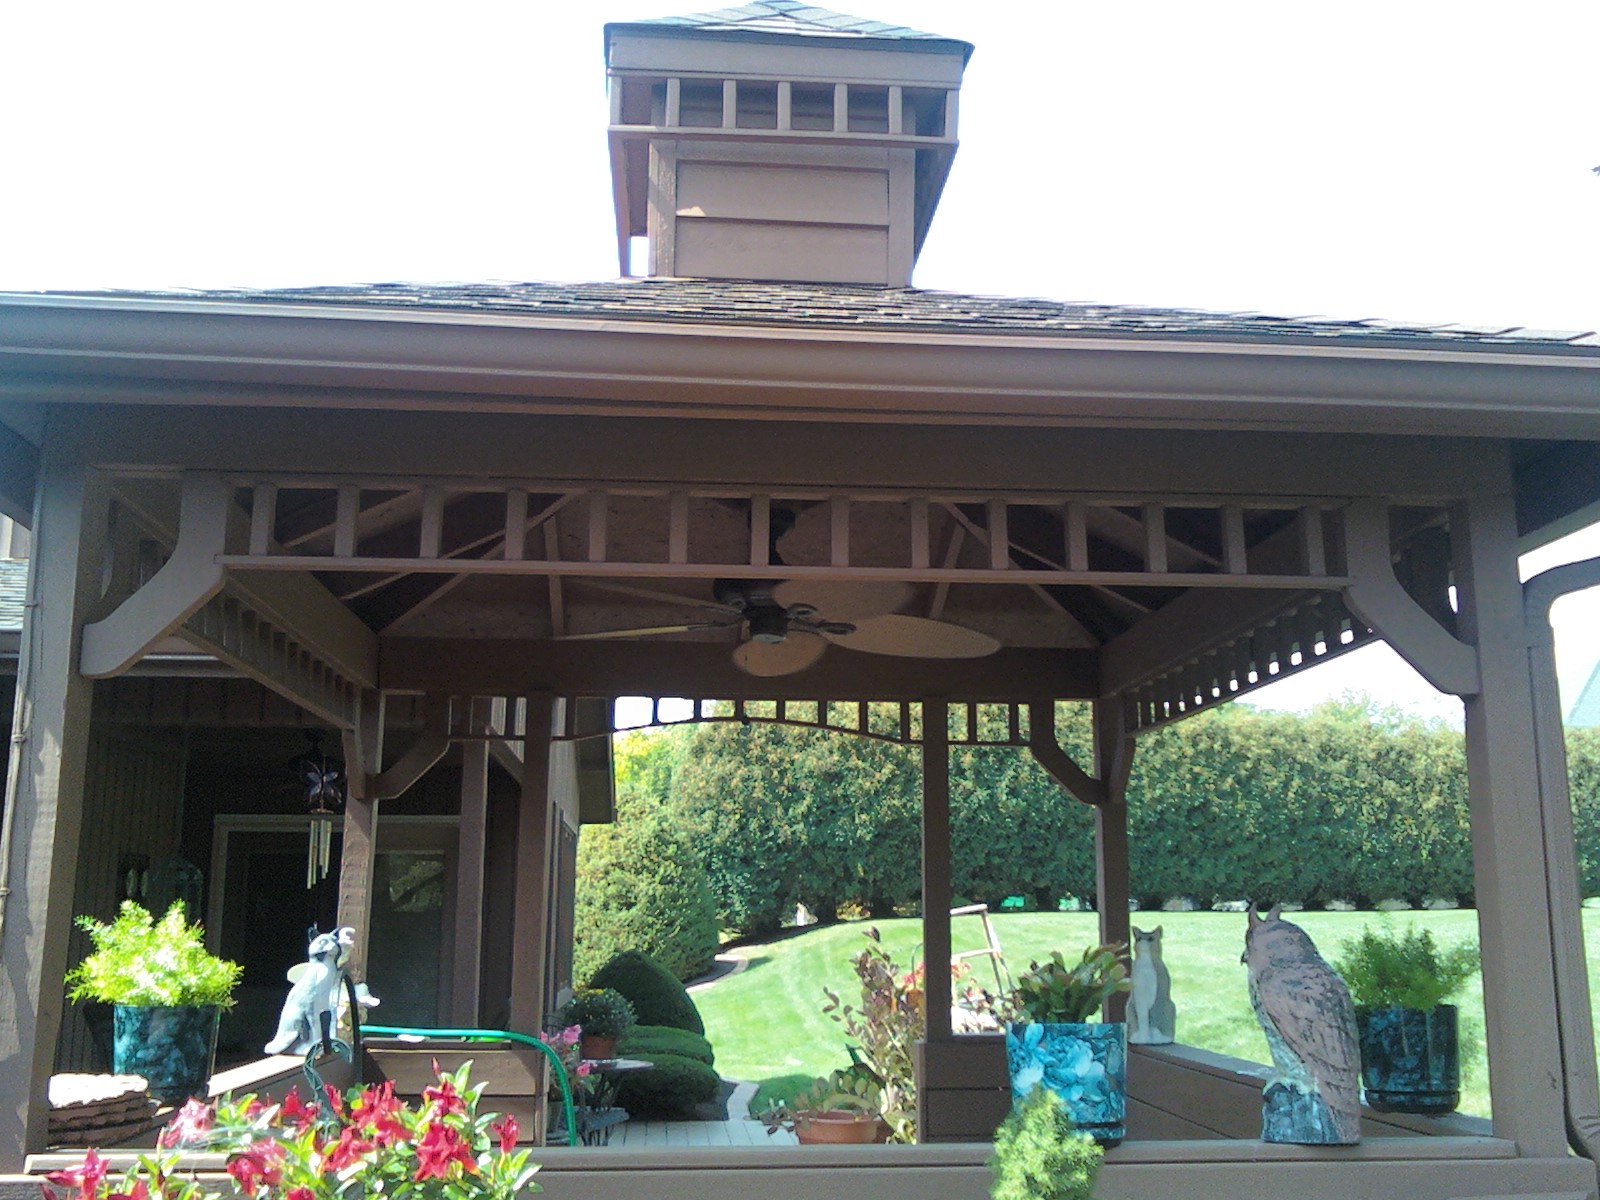
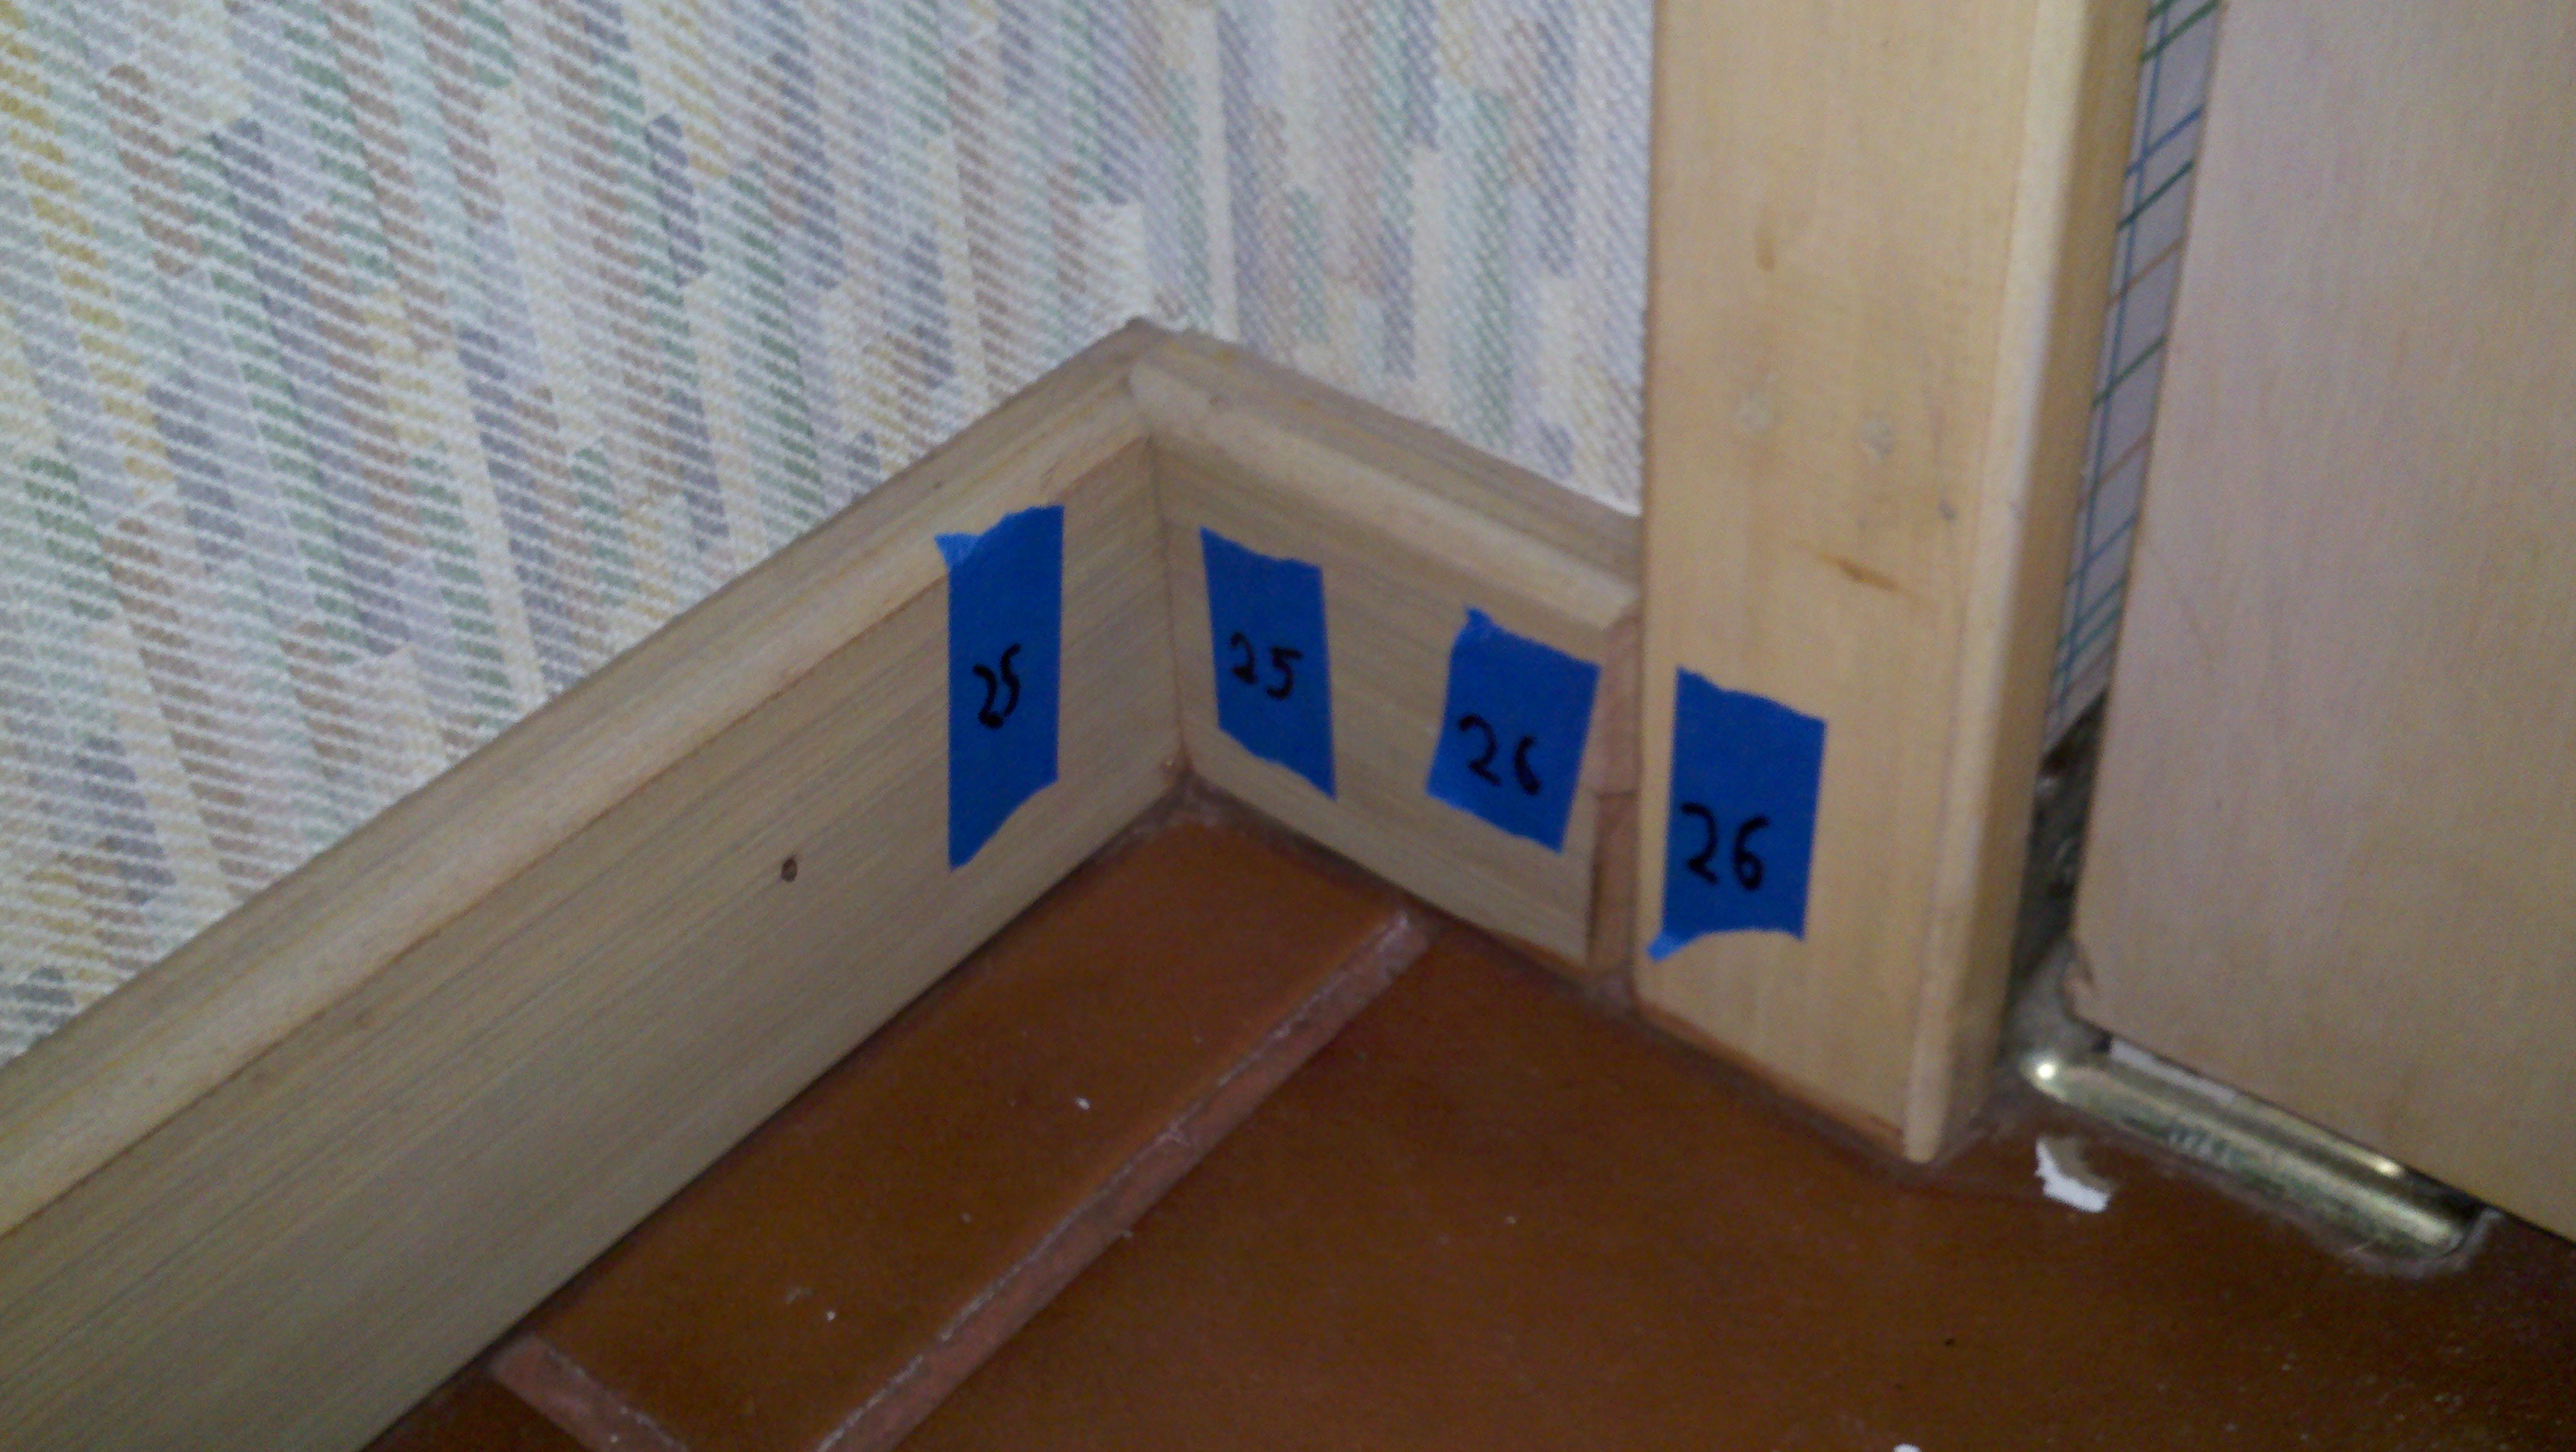
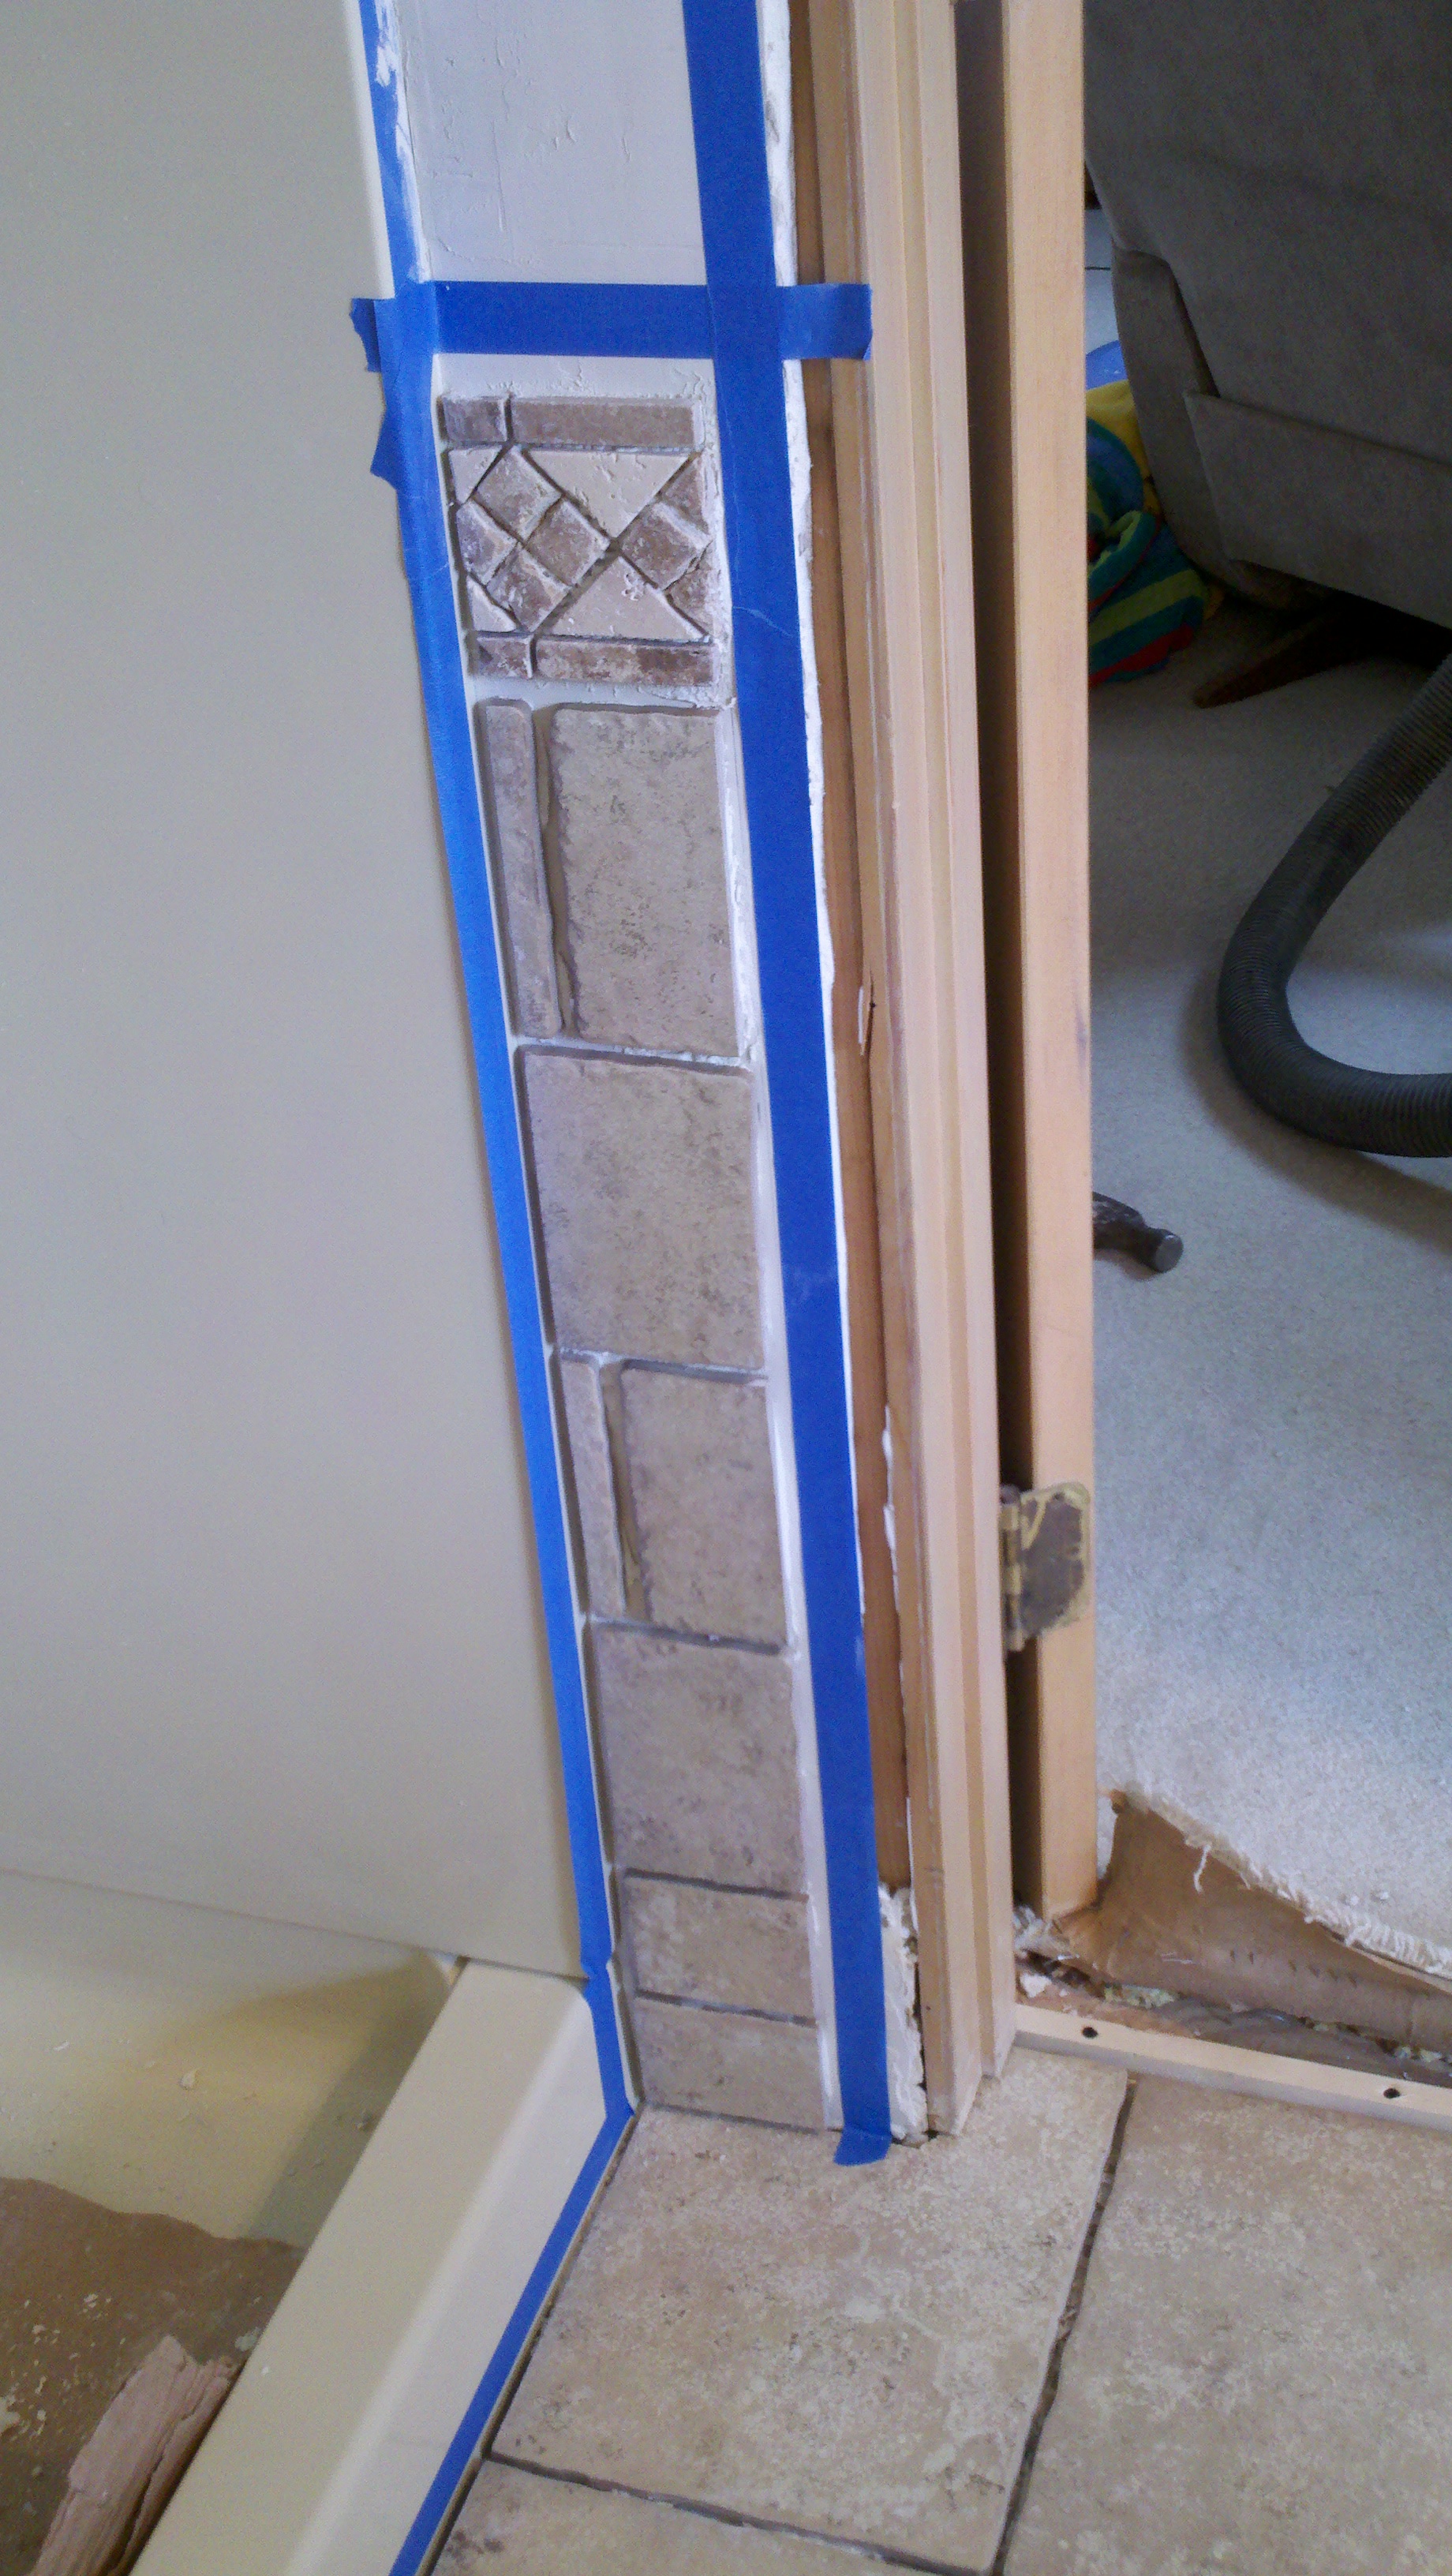
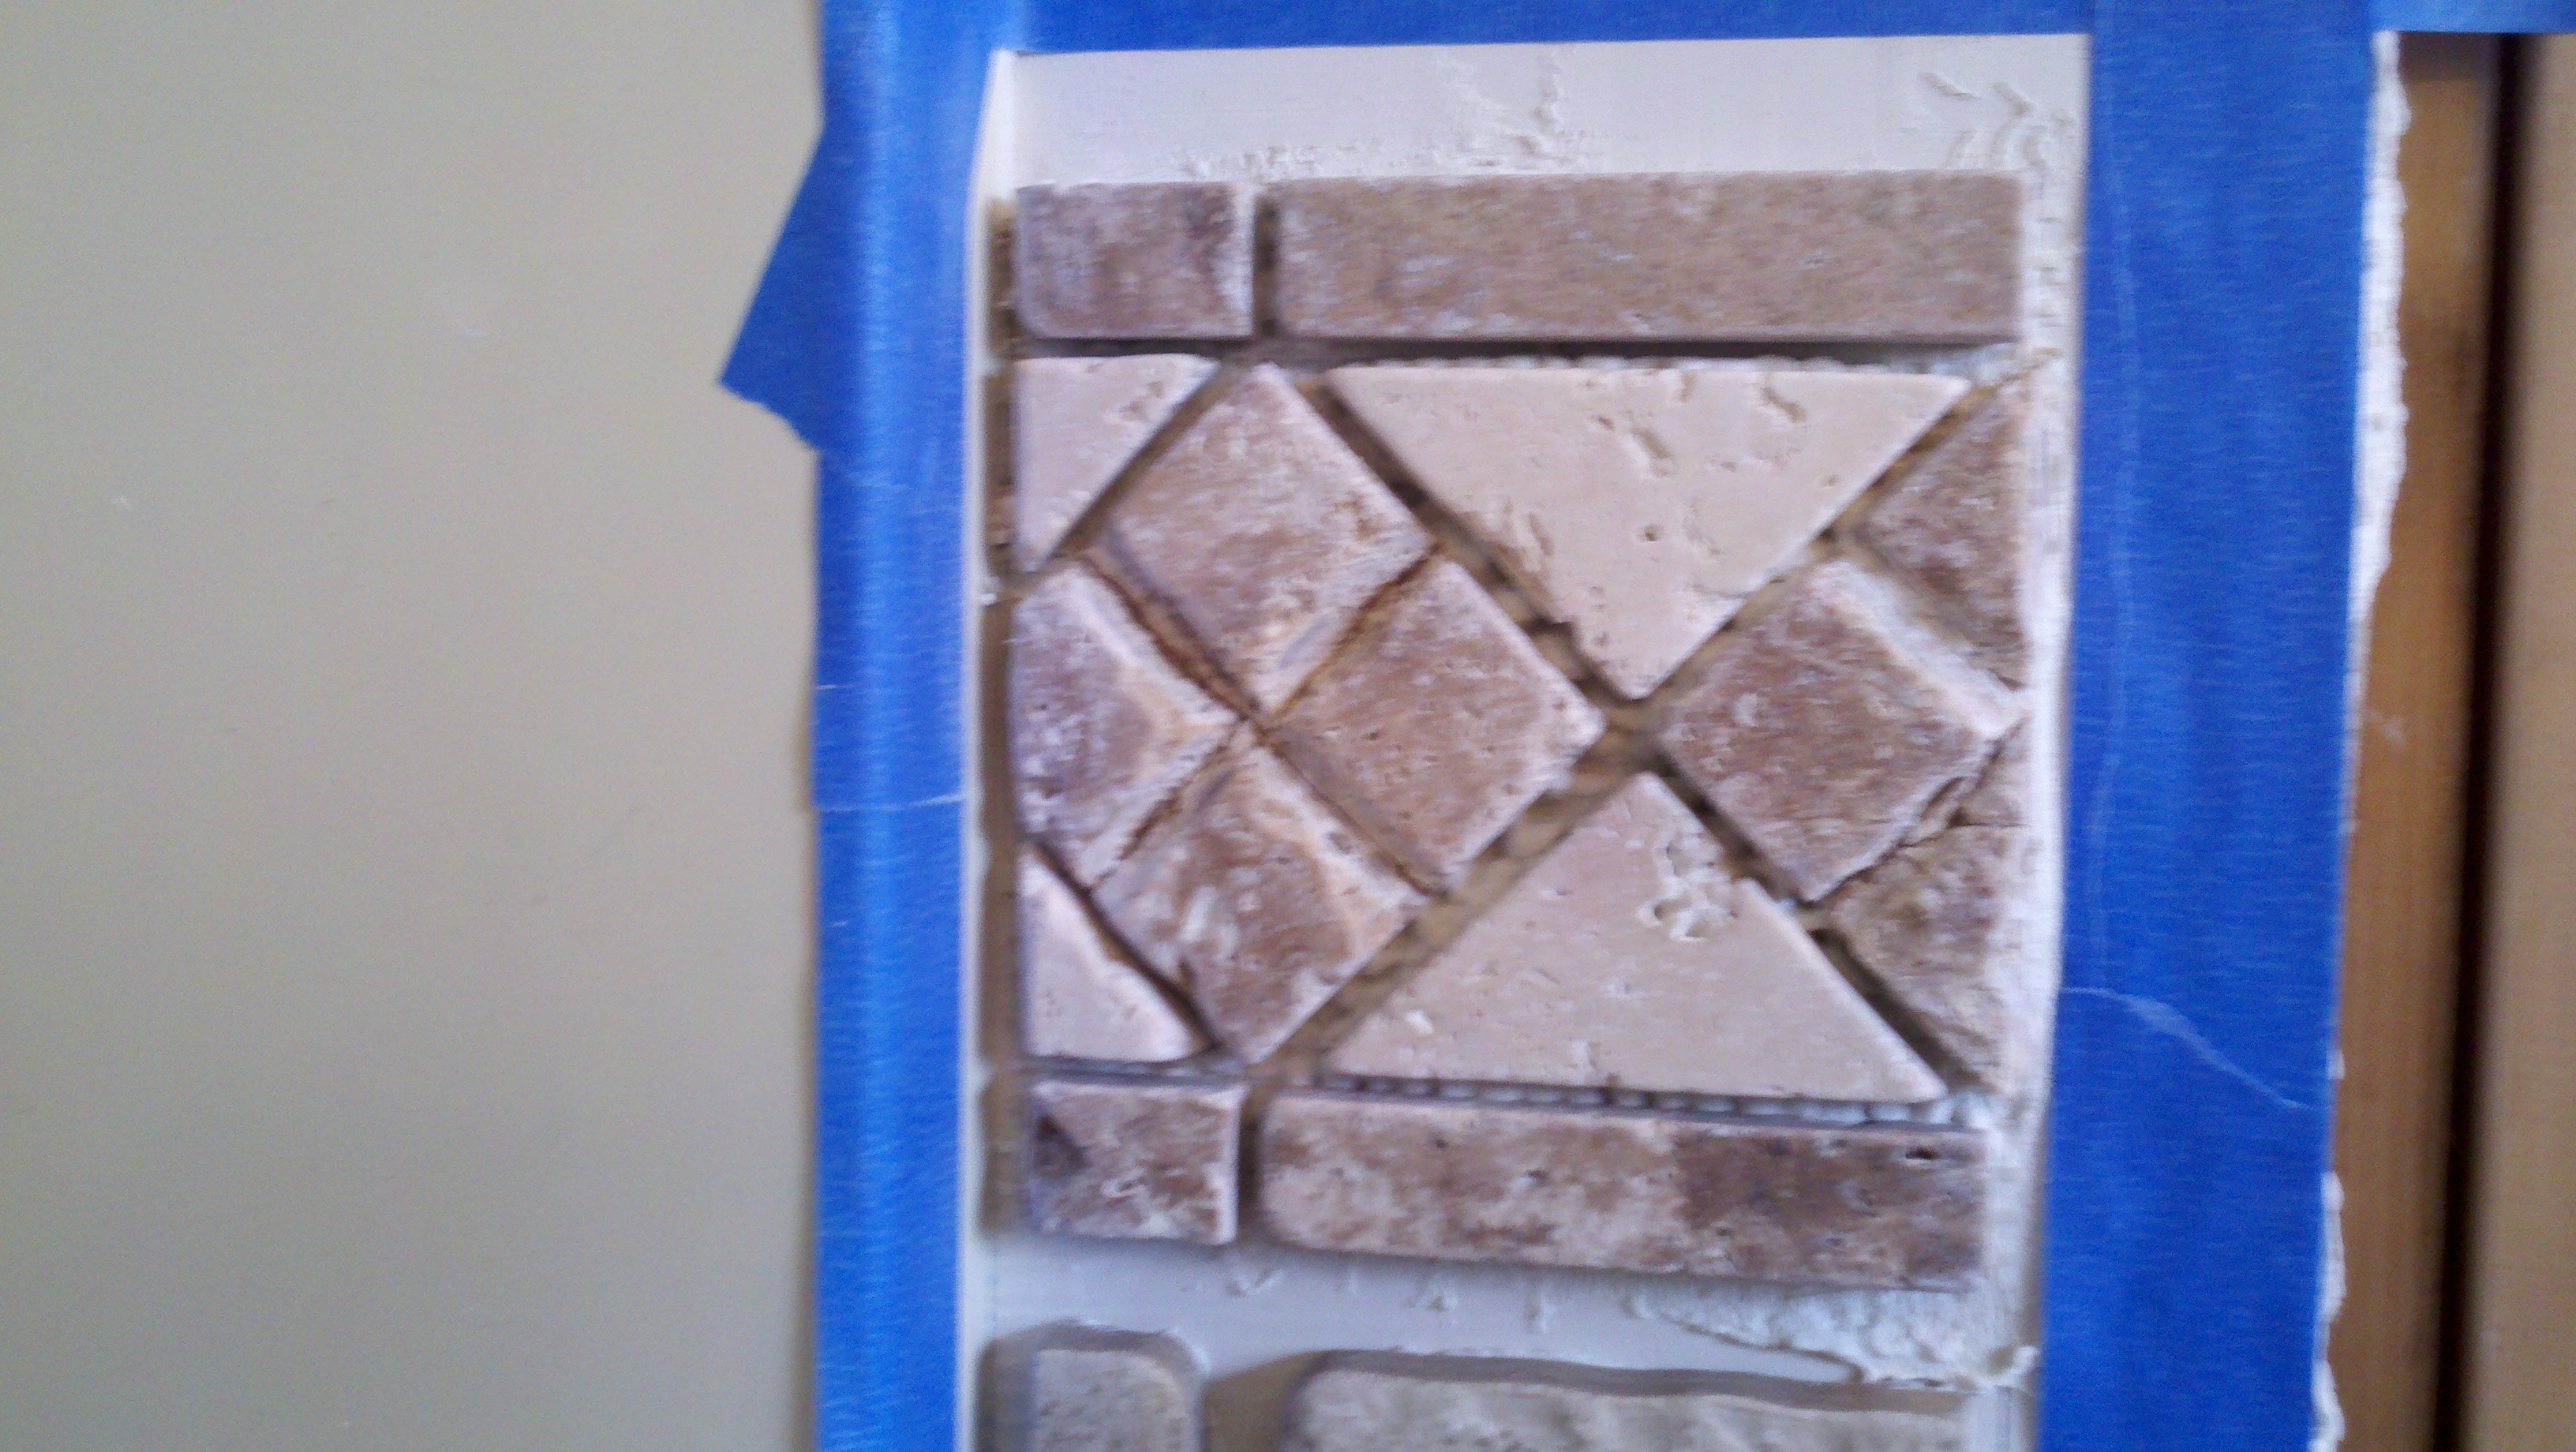
Design timeframe of the project occurred during the initial connection to the customer before the quote discussion. Desire for a certain design became obvious after a short consultation with possible designs uploaded from the internet. A dental molding was chosen as the initial design choice. Most of the dental molding designs corresponded to railing post separation widths. The project gazebo was configured with planks of wood mounted vertically around the base of the structure. The decision to make the distance between each of the dental molding pieces was based off the distance between the gaps of each vertical plank. The length was measured to be 5.75 inches. Further investigation into gazebos introduced the addition of decorative roof supports into the dental molding. Previous designs only presented the supports as additions to the trim, not an integral portion of the trim. Dimensions of the trim were estimated through analytical and computer generated versions of the gazebo. A trial version of the design was fabricated to the possible dimensions. Temporary installation, for visual connection and concept, was complete. The basic design provided a distinct and classic recreation of the gazebo visual appeal. Customer satisfaction of the trim shape and gazebo design relation was confirmed.
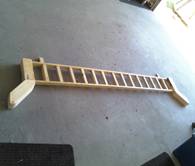
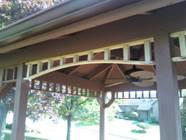
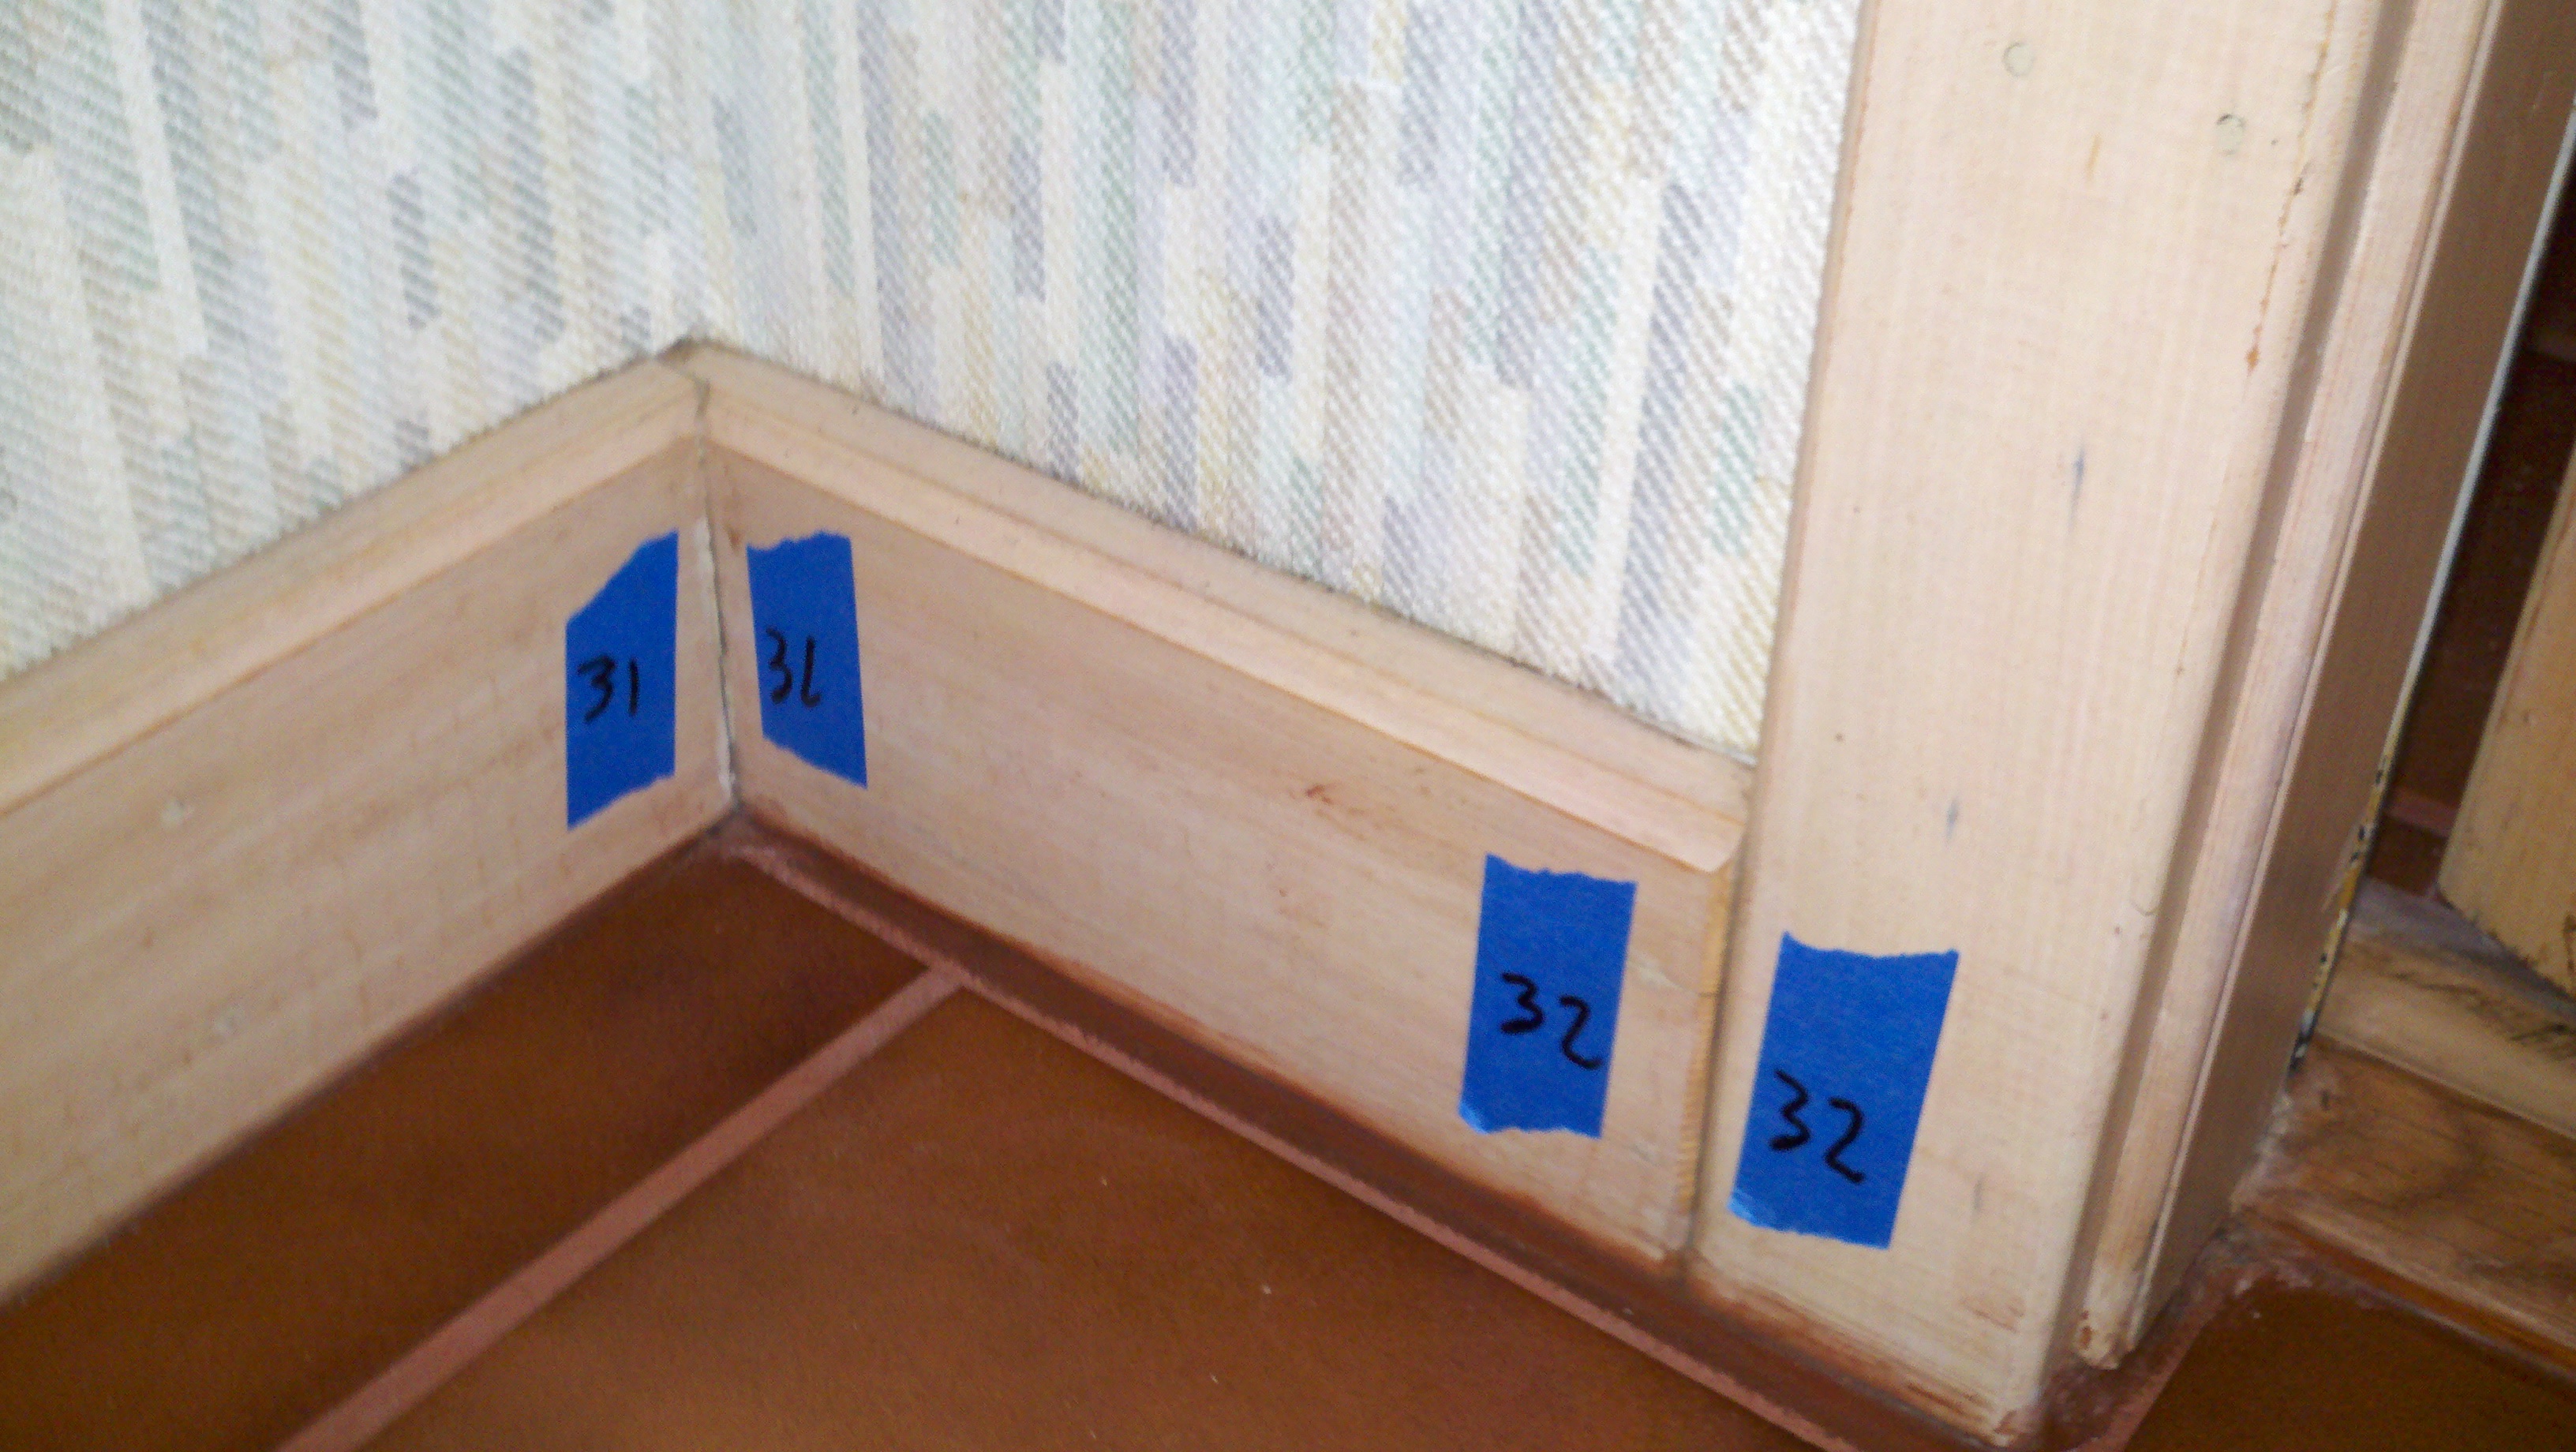
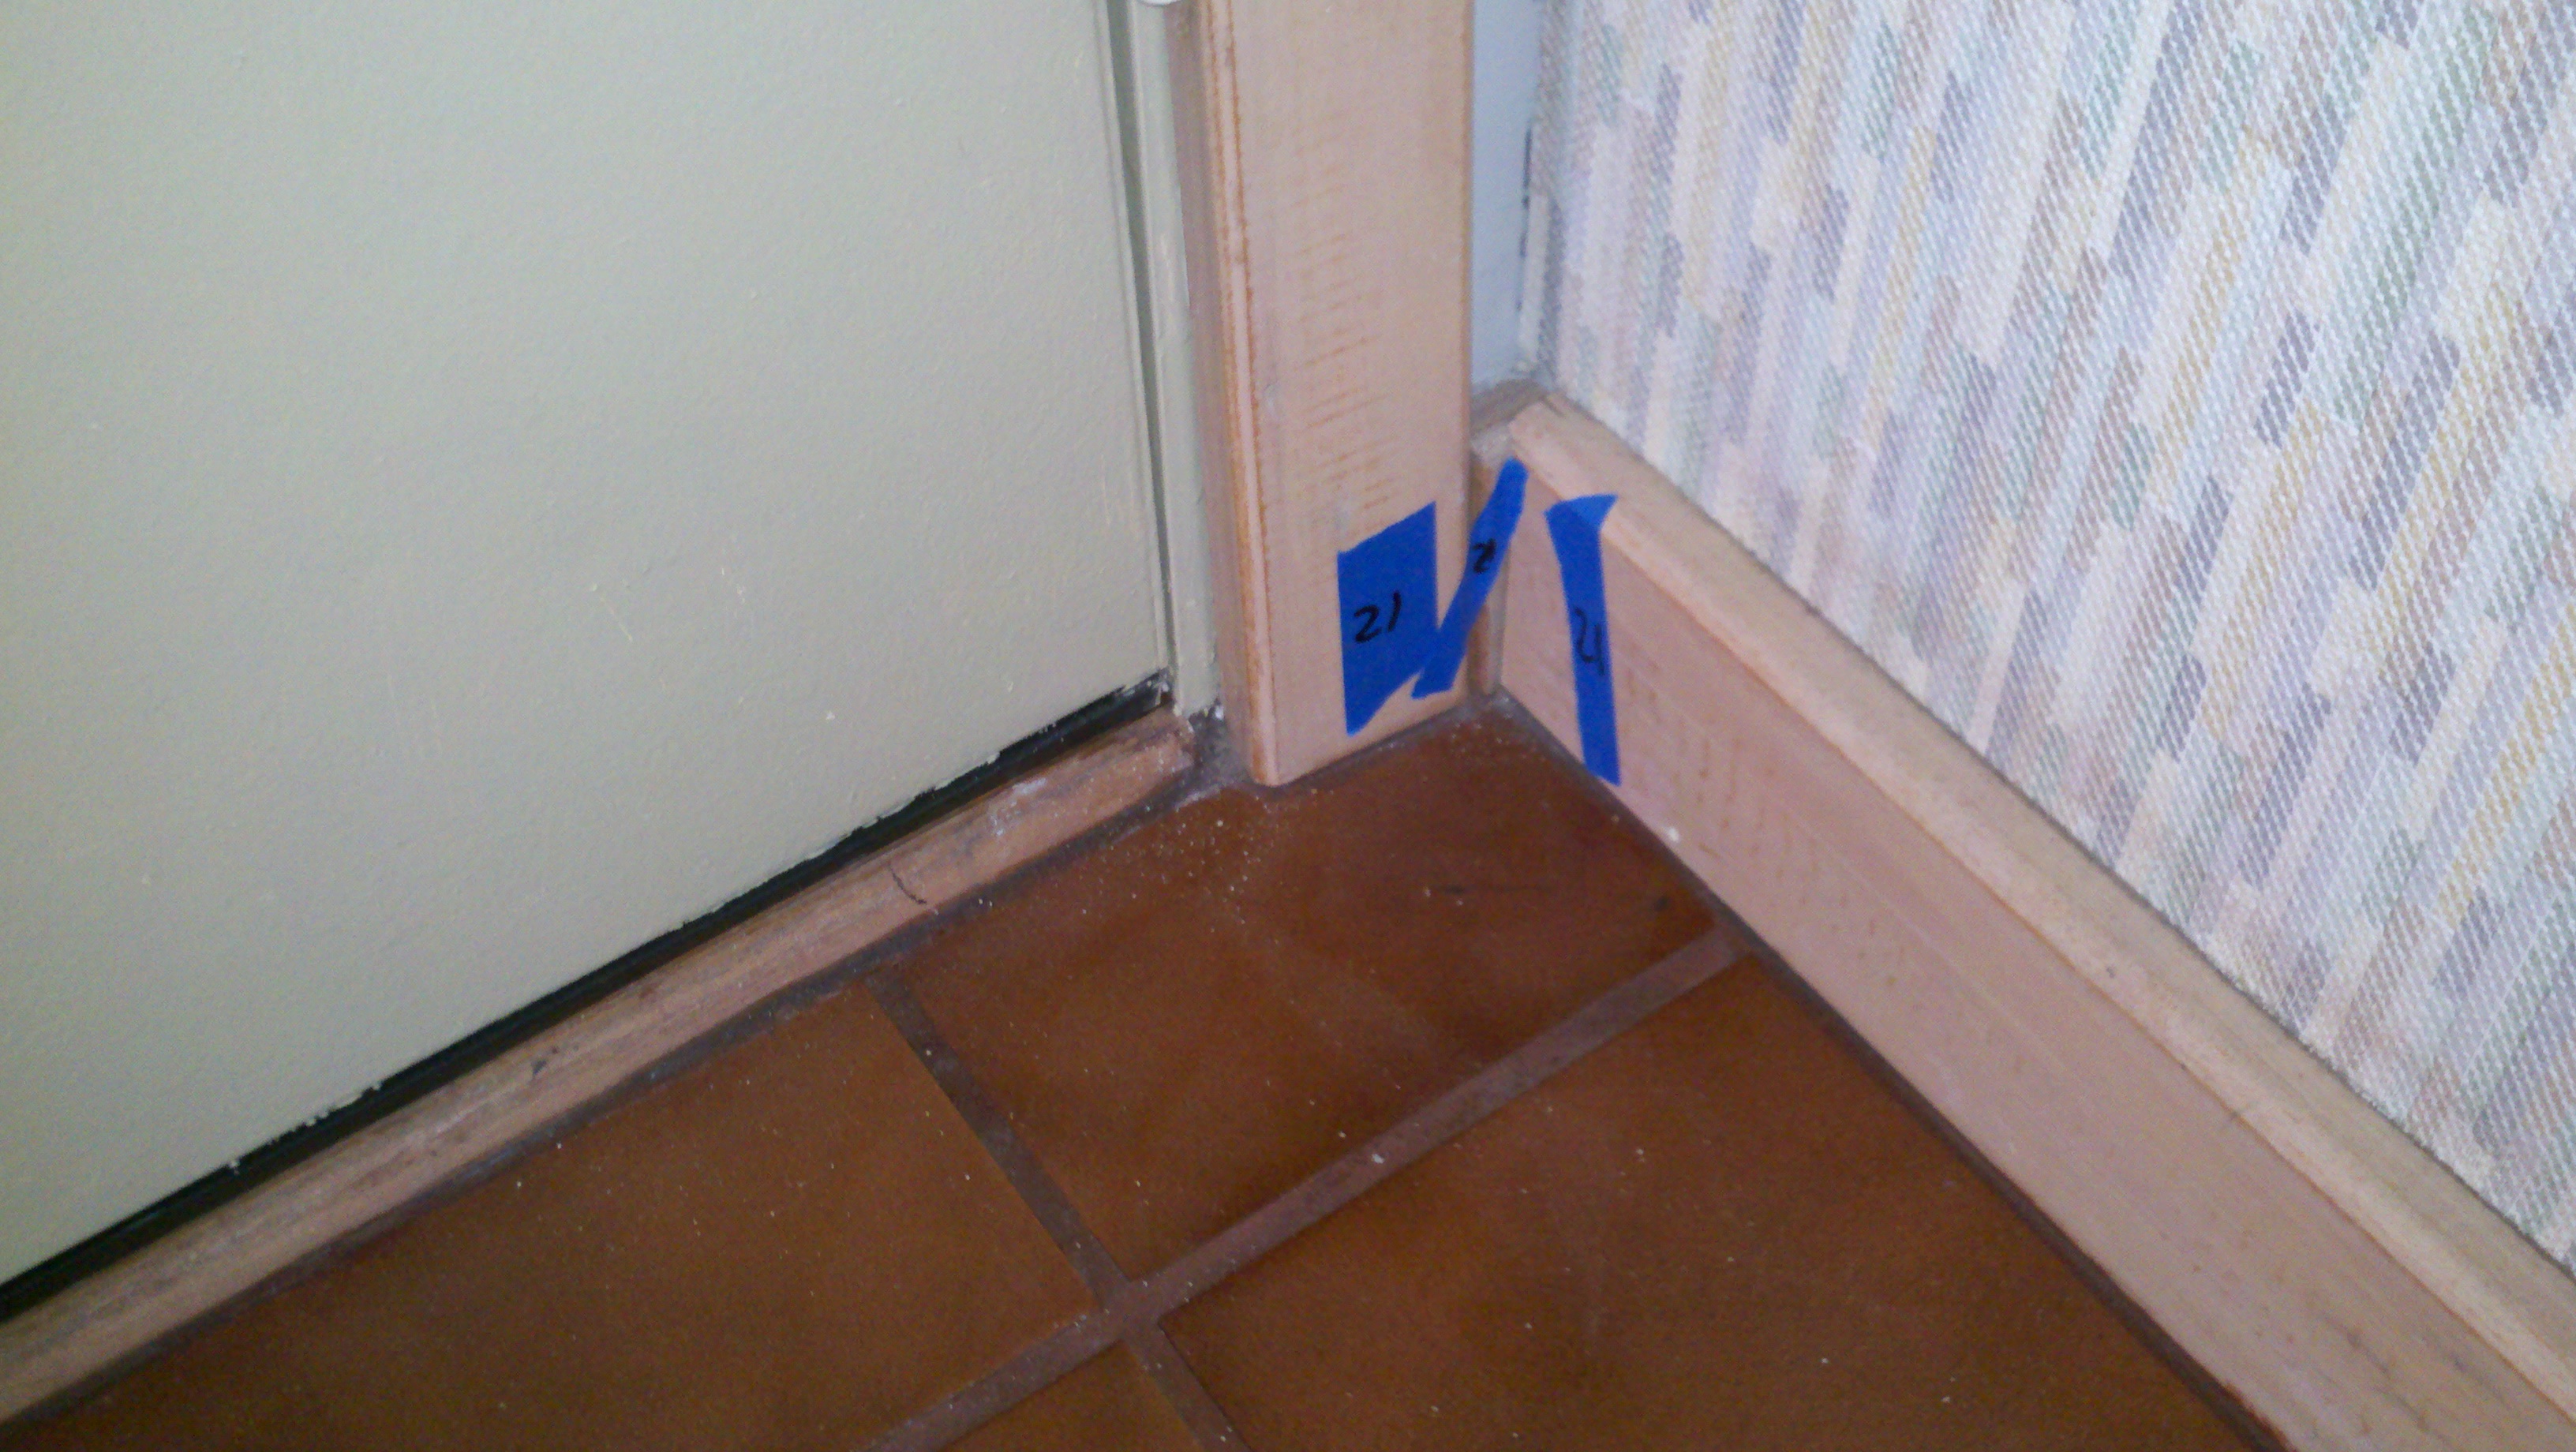
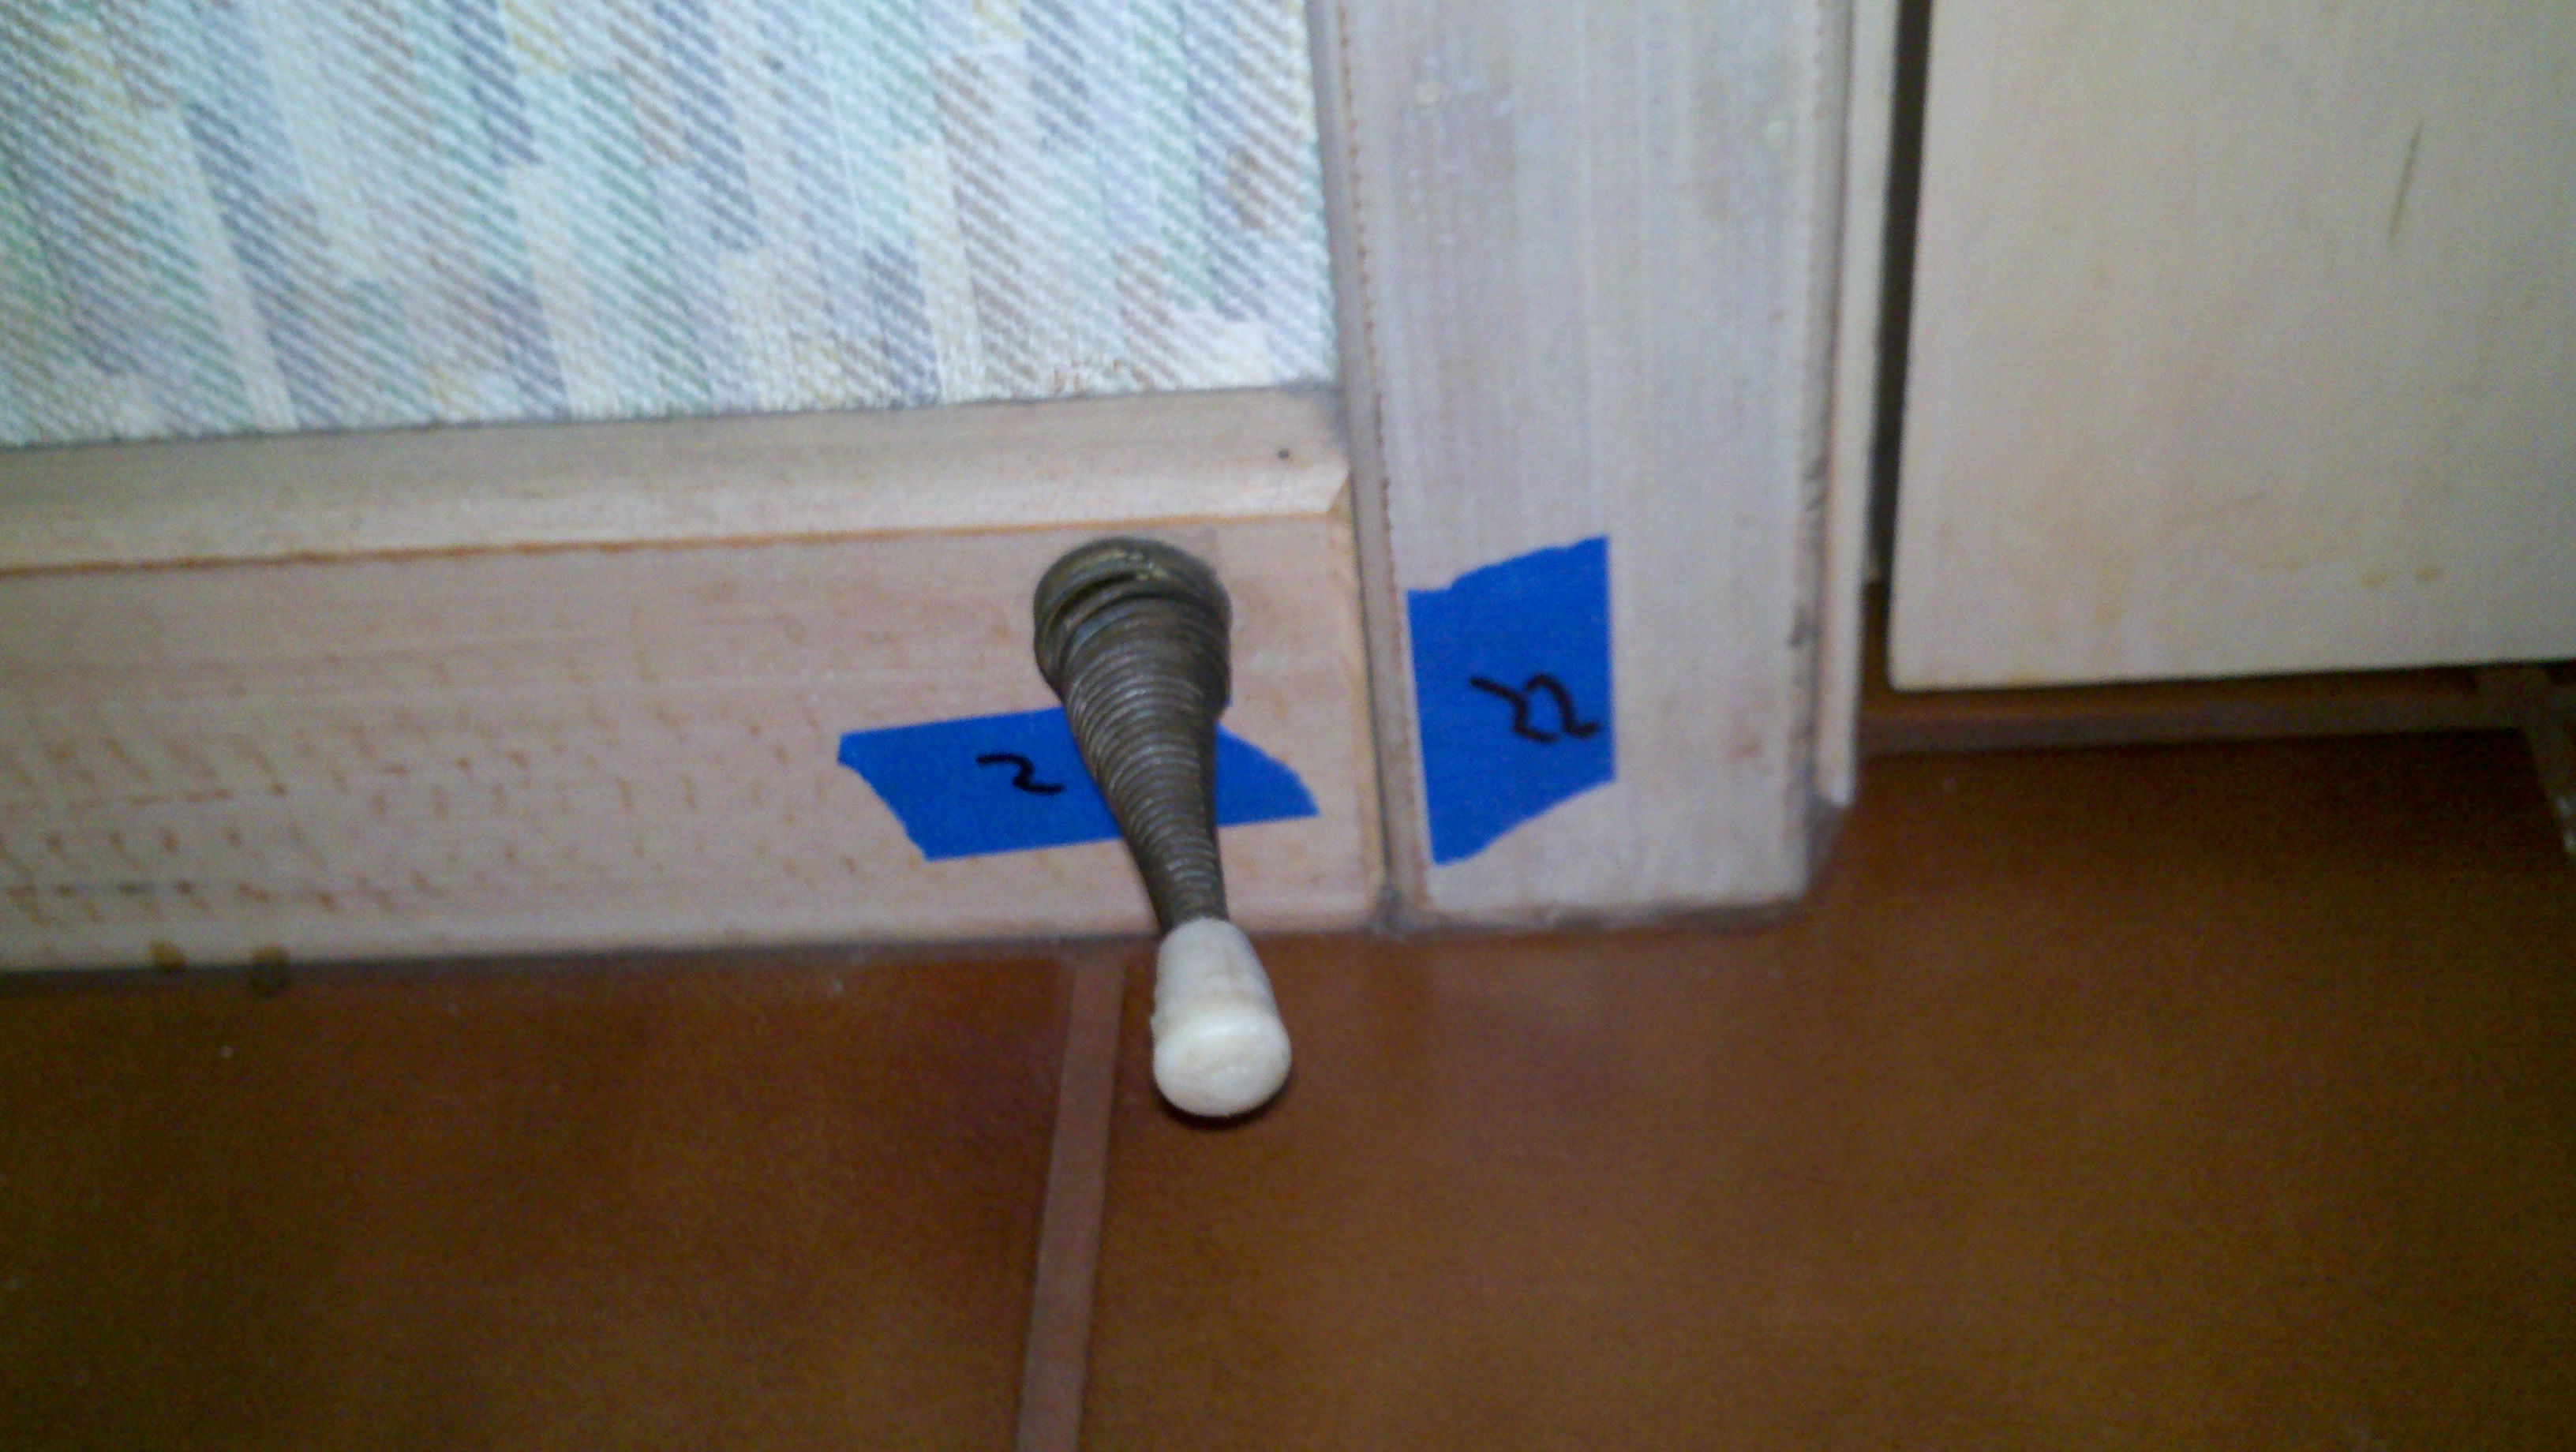
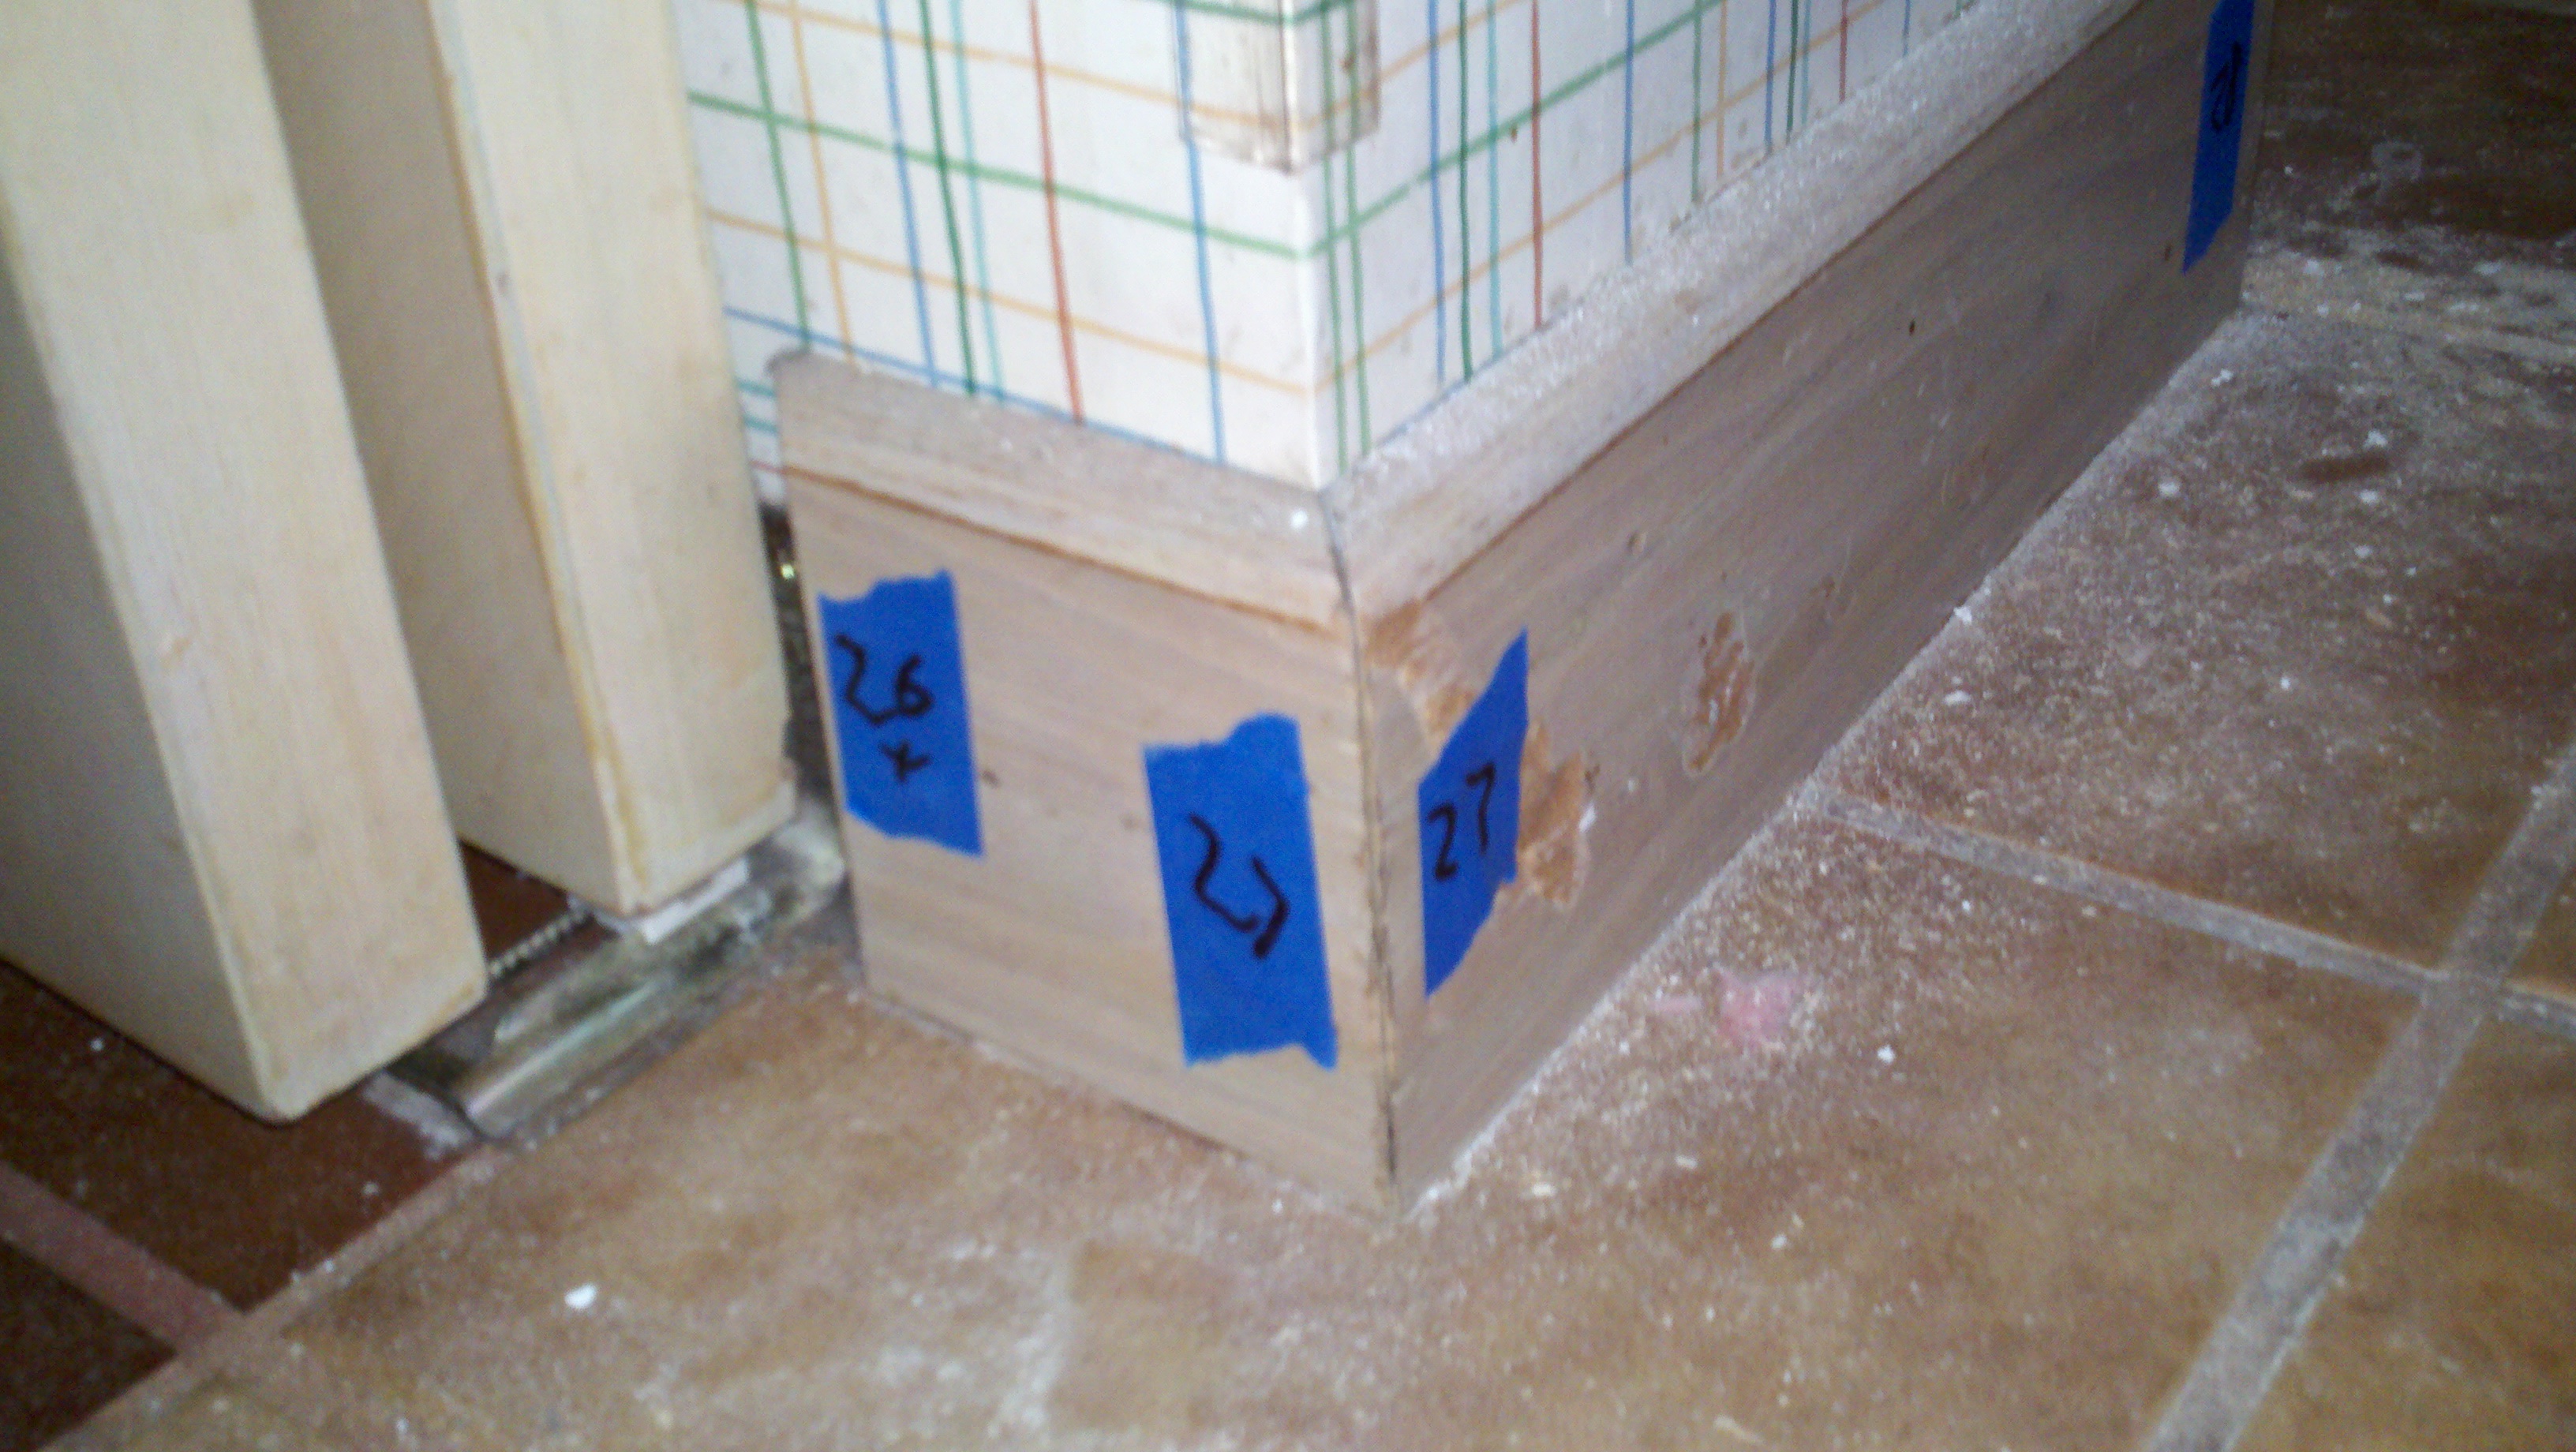
Multiple fabrications of the trim piece had to be complete for the correct dimensions visualized in the analytical and computer generated visual rendition. The first trial piece is presented as picture fifteen. The interpretation provided answerers too many questions regarding the physical fit and finish. The addition of the integrated roof supports was decided to be a good idea. Disappointingly, the height of the dental molding proved to be a little out of proportion. Additional pictures regarding this trial are labeled picture sixteen and seventeen. An additional trial fit followed the introduction of the design and acceptance decision. The height of the dental trim was reduced to an acceptable height and reduced in length for a more complete visual picture of the possible completed project. Pictures eighteen through twenty provide images of the experience. Following the confirmation of design by the customer, new desires for dental molding installed around the protruding top of the gazebo and a 120VAC socket was added to the desired quote. Following the acceptance of the presented quote, final design and initial fabrication was initiated. Three of the longer dental molding fabrications were complete first. The four smaller versions of the molding, secondly, had their fabrication complete. The entrance molding required additional fabrication due to the curved shape and supplementary side trim portions. All of the main dental molding, less the smaller, required the roof supports. These supports were fabricated from a solid piece of wood trimmed and sanded to required shape. Pictures twenty-one through twenty-three provide depictions of some of the fabricated parts.
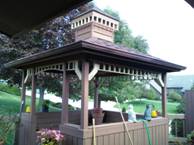
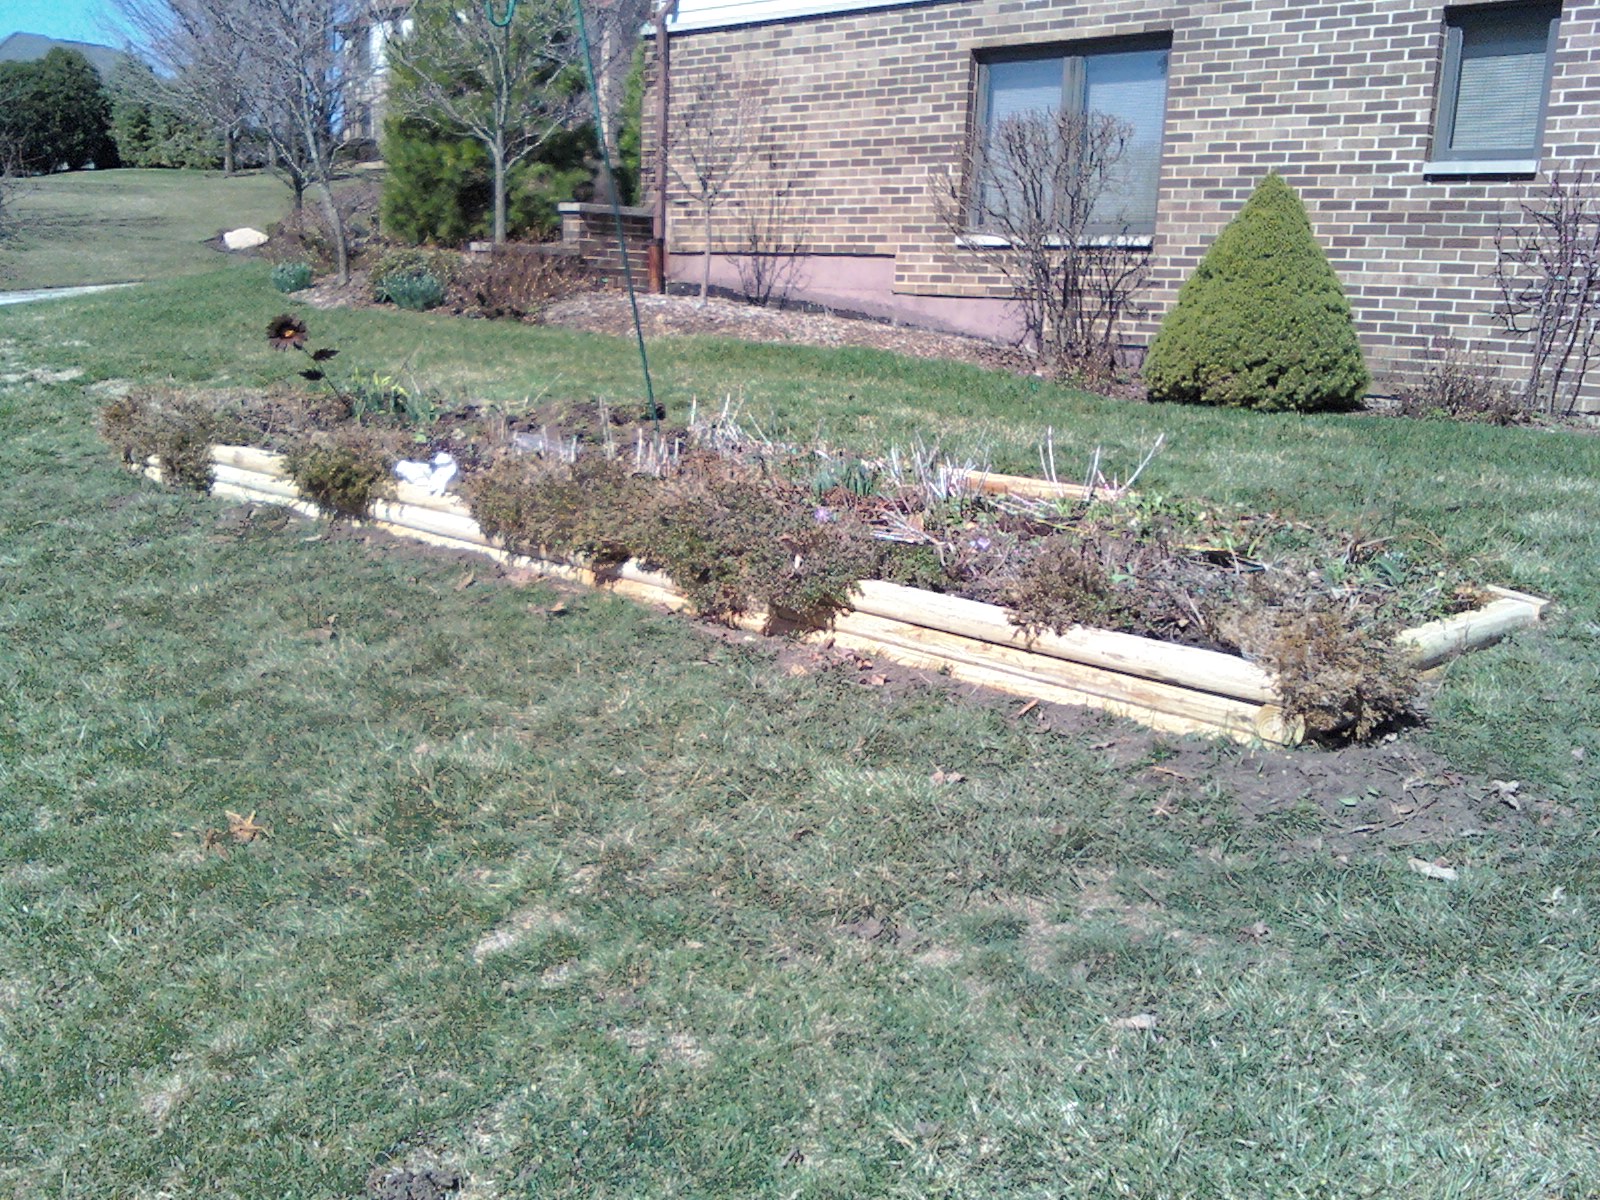
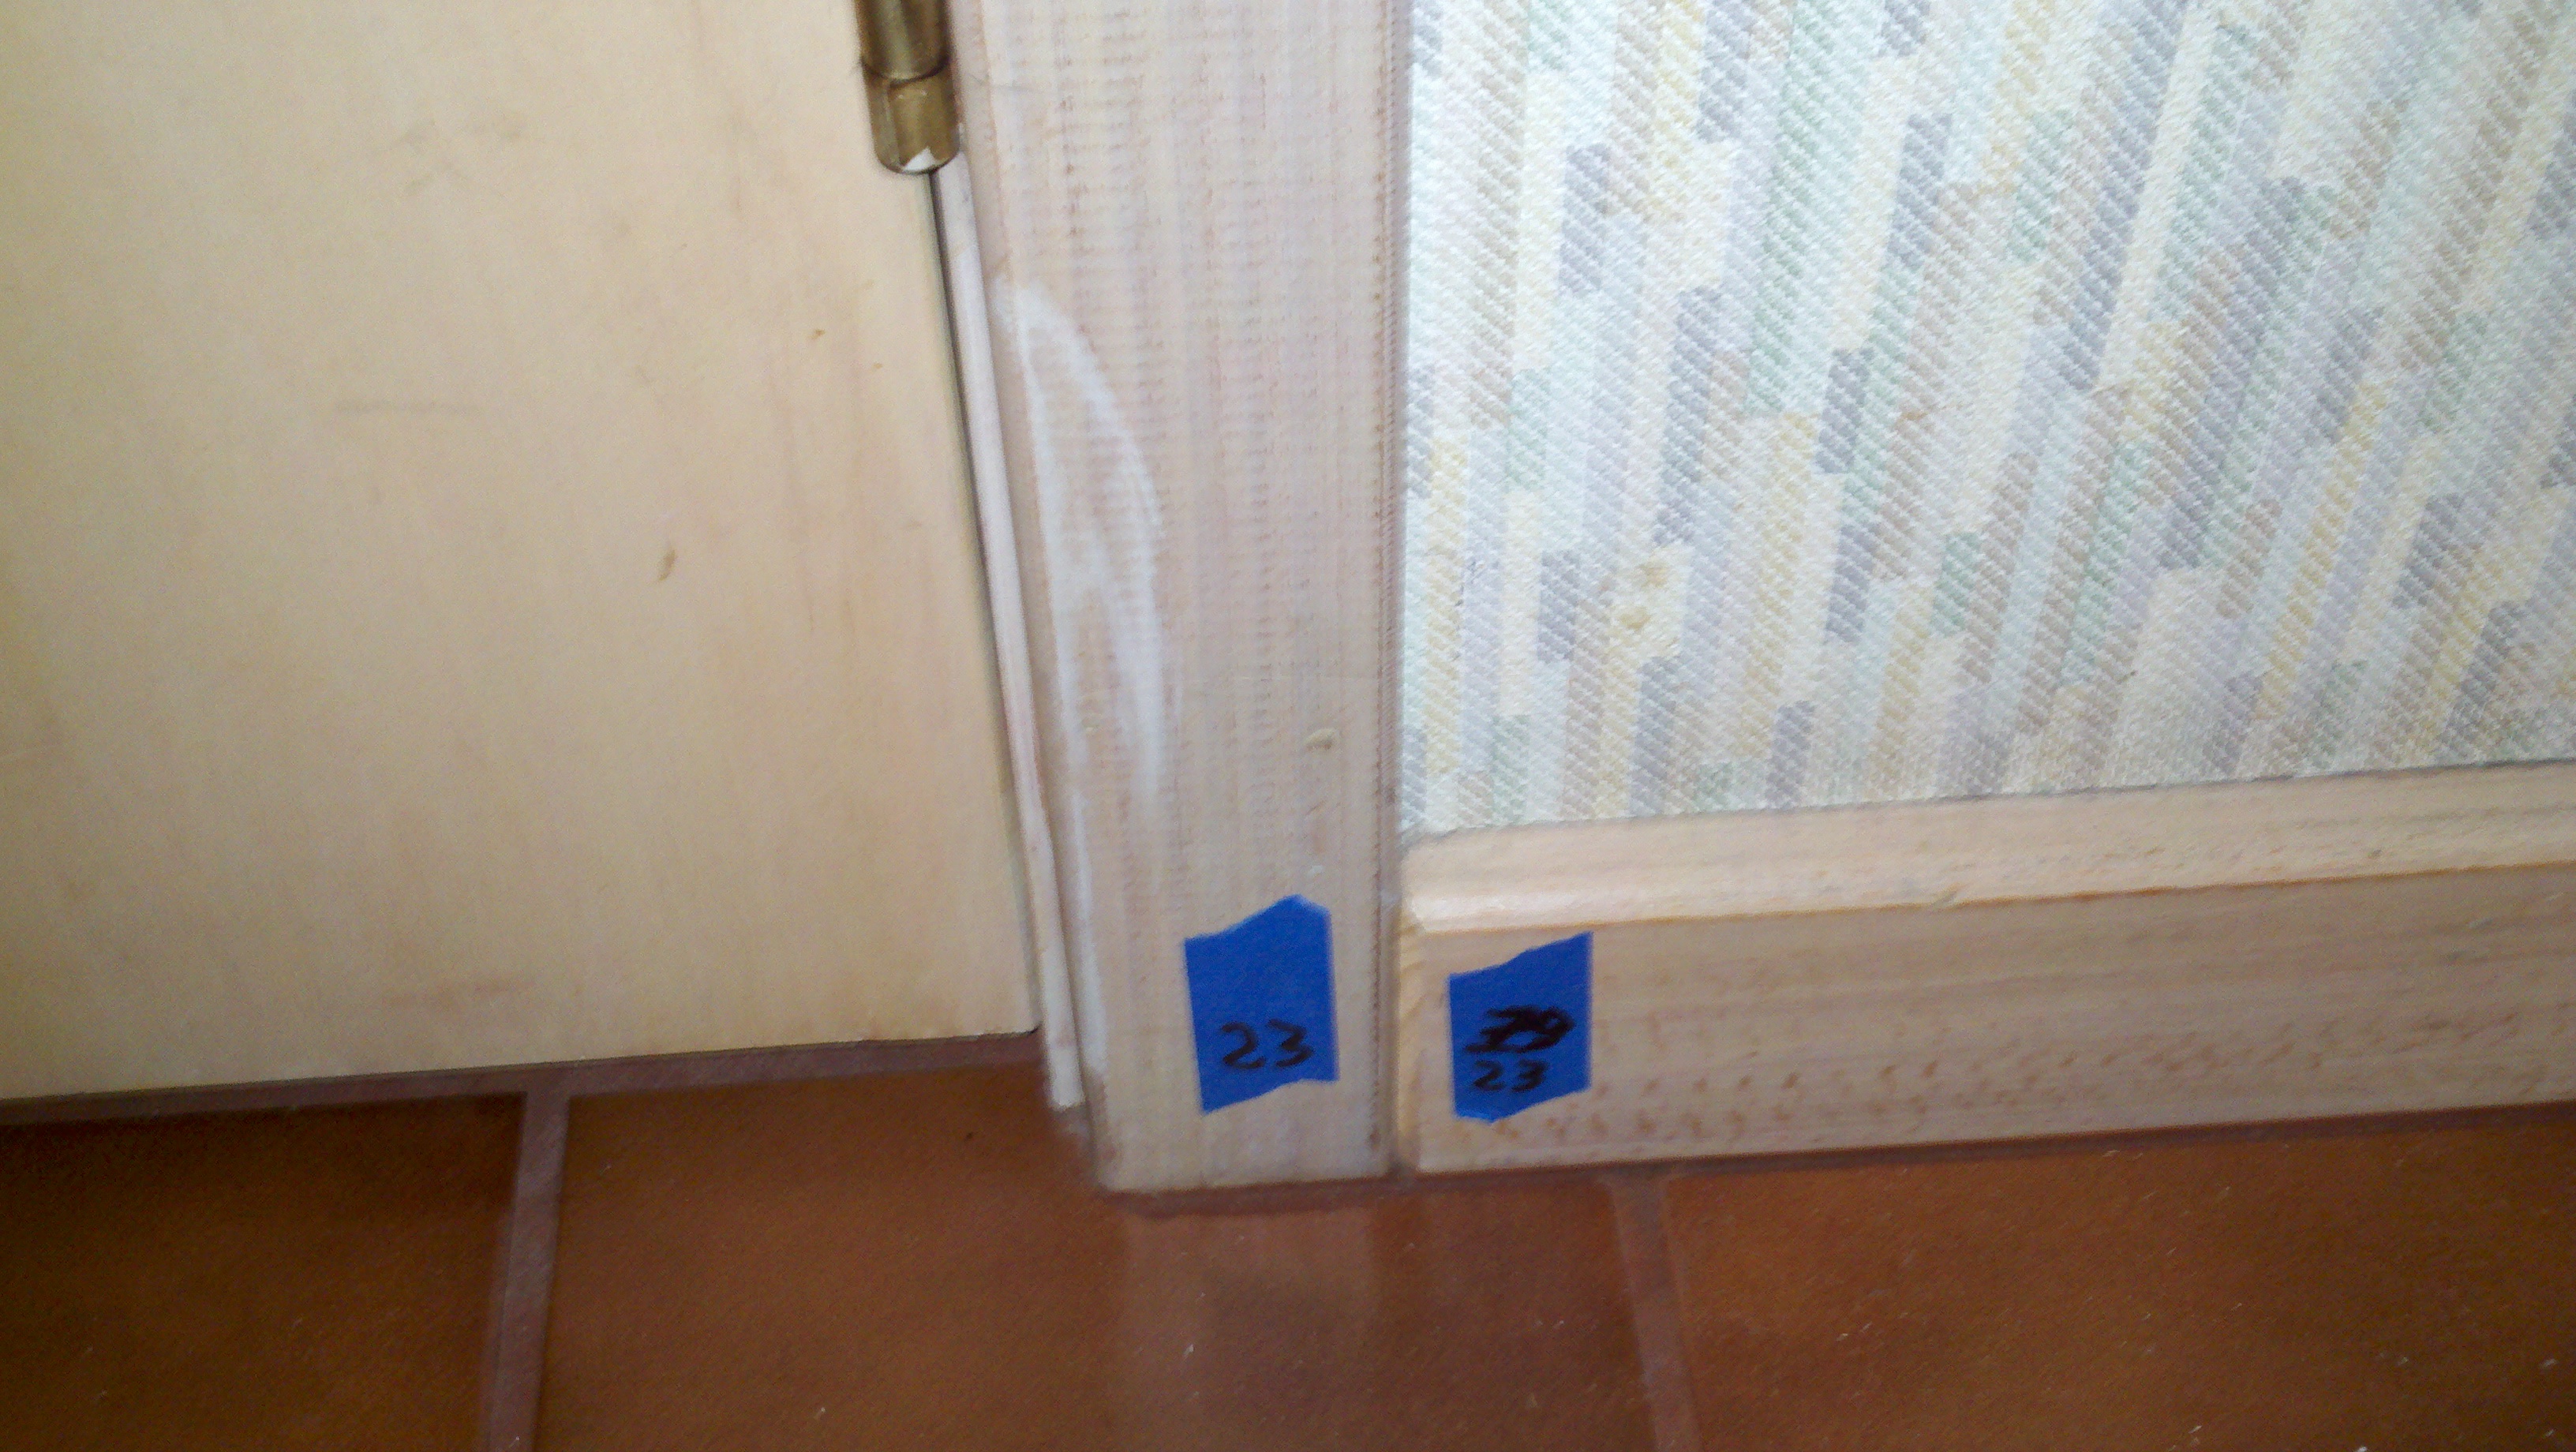
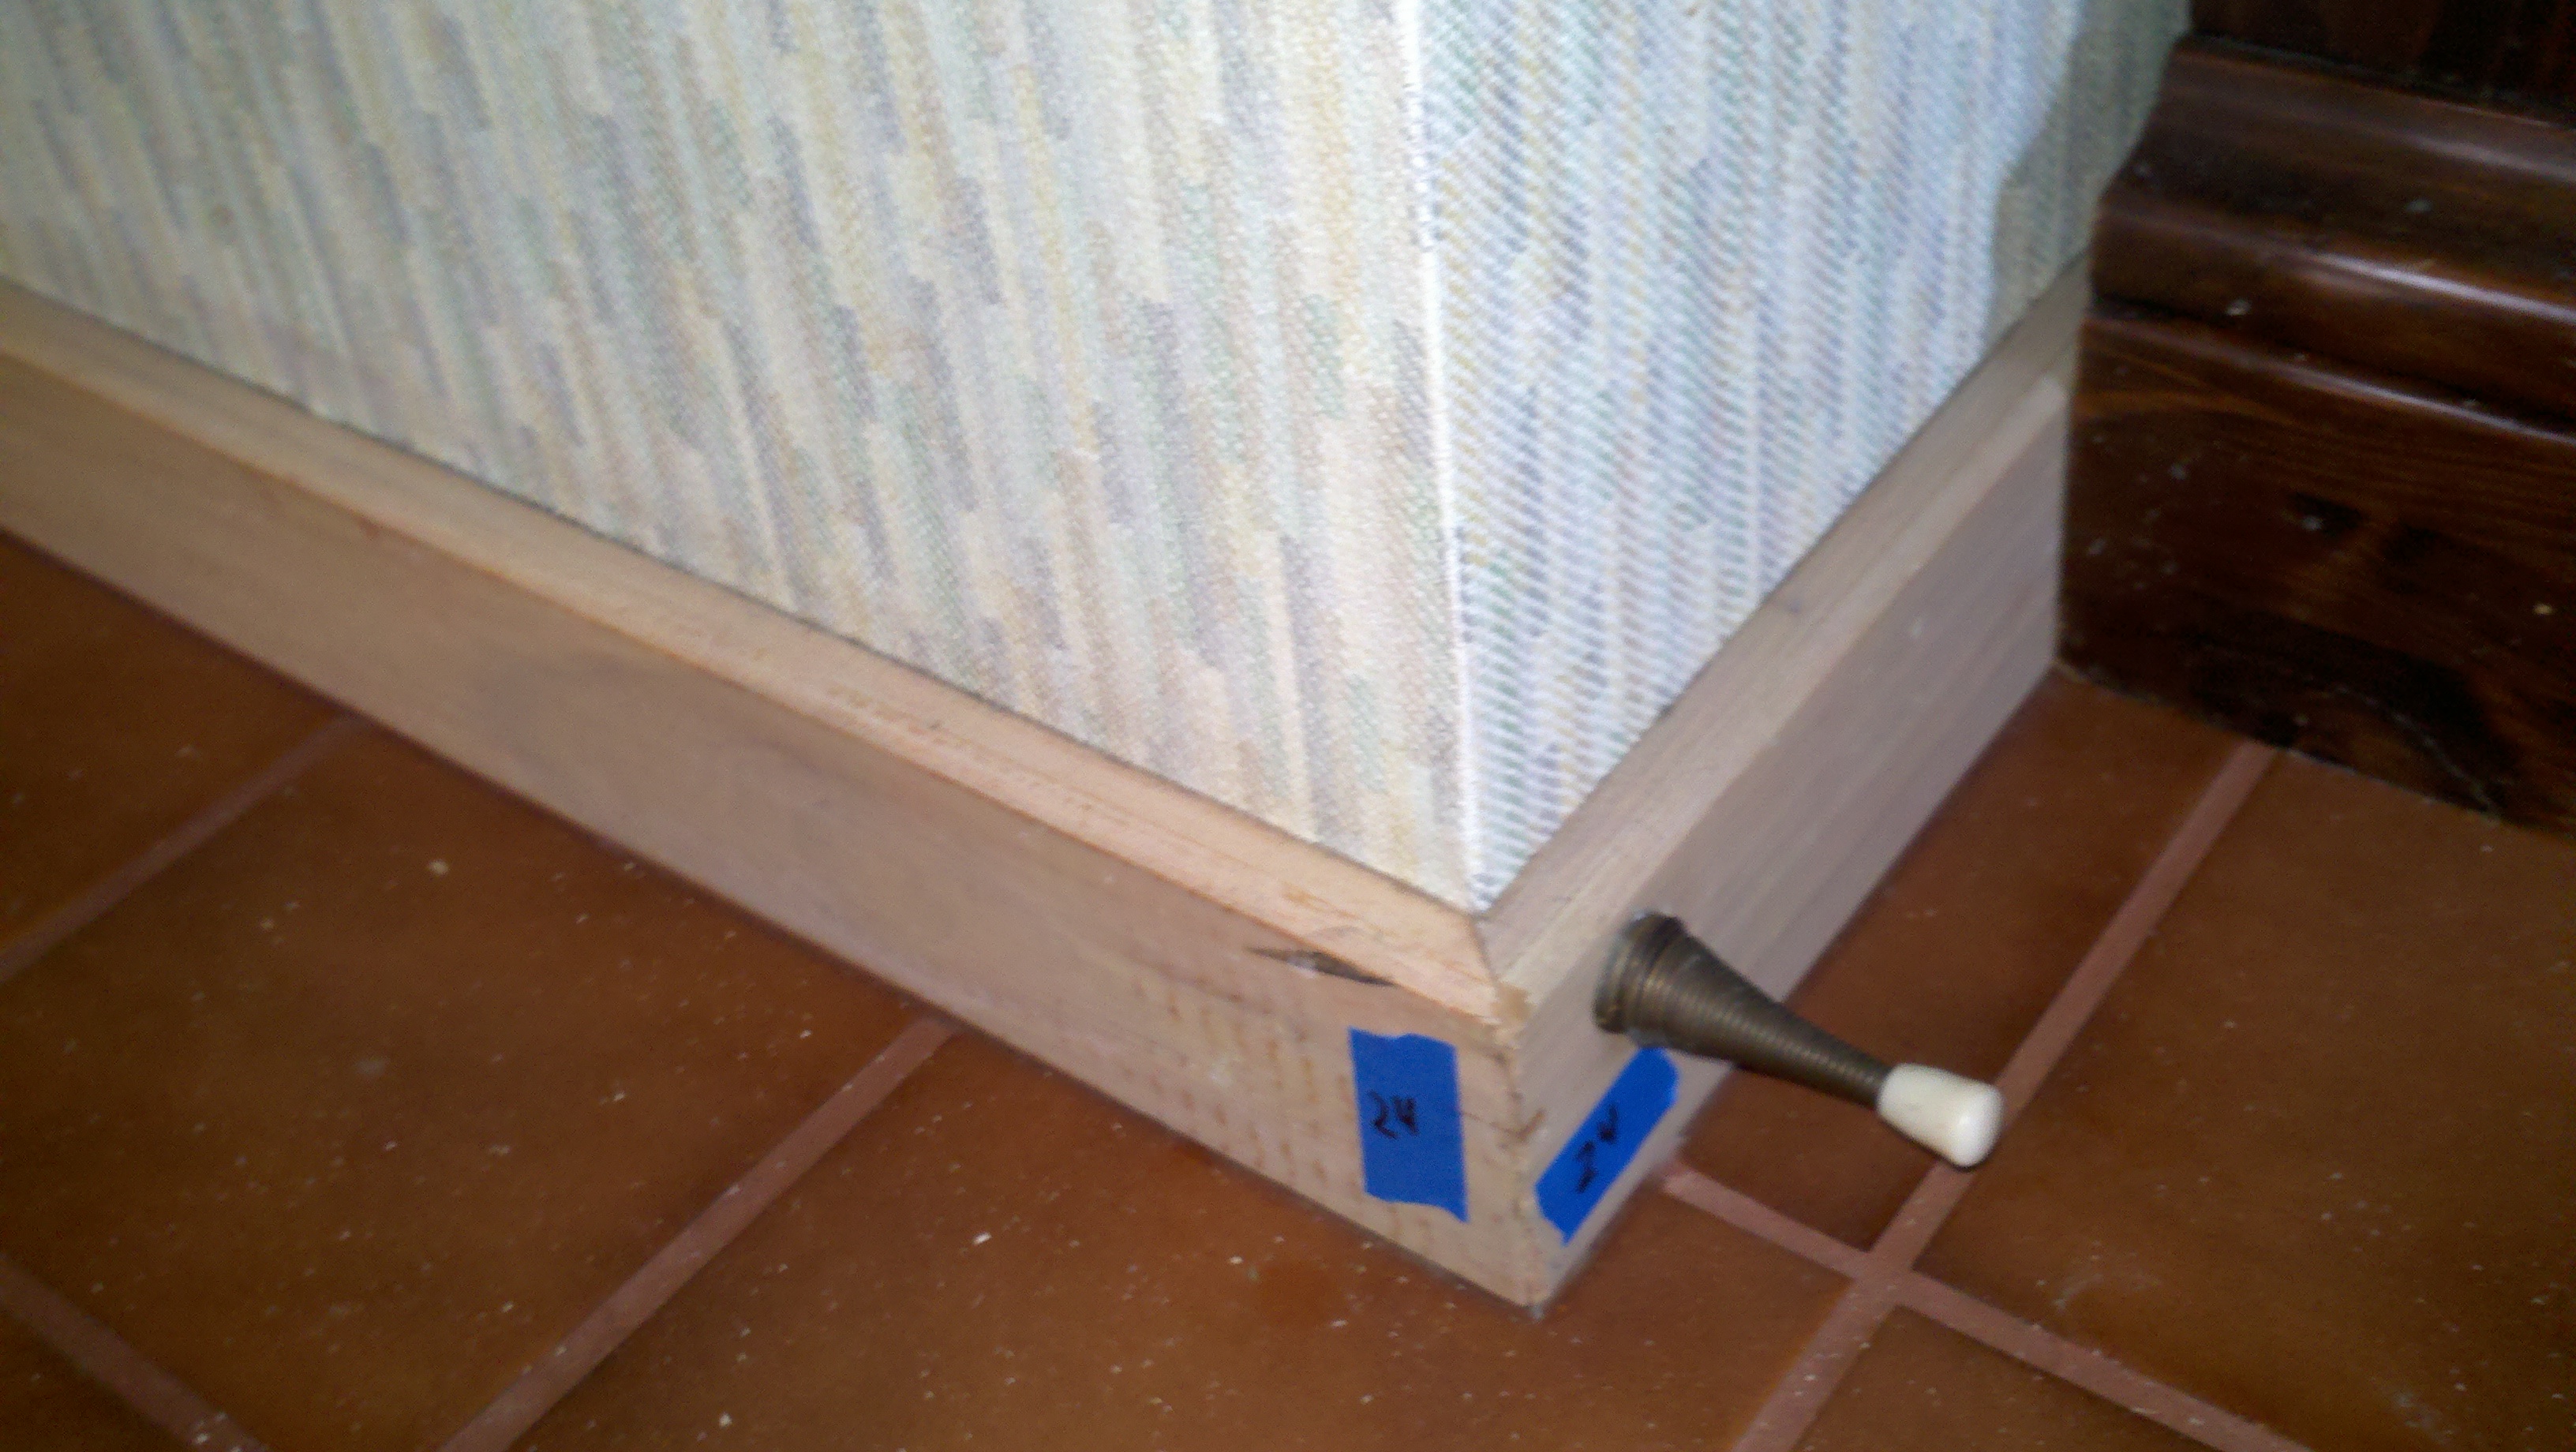
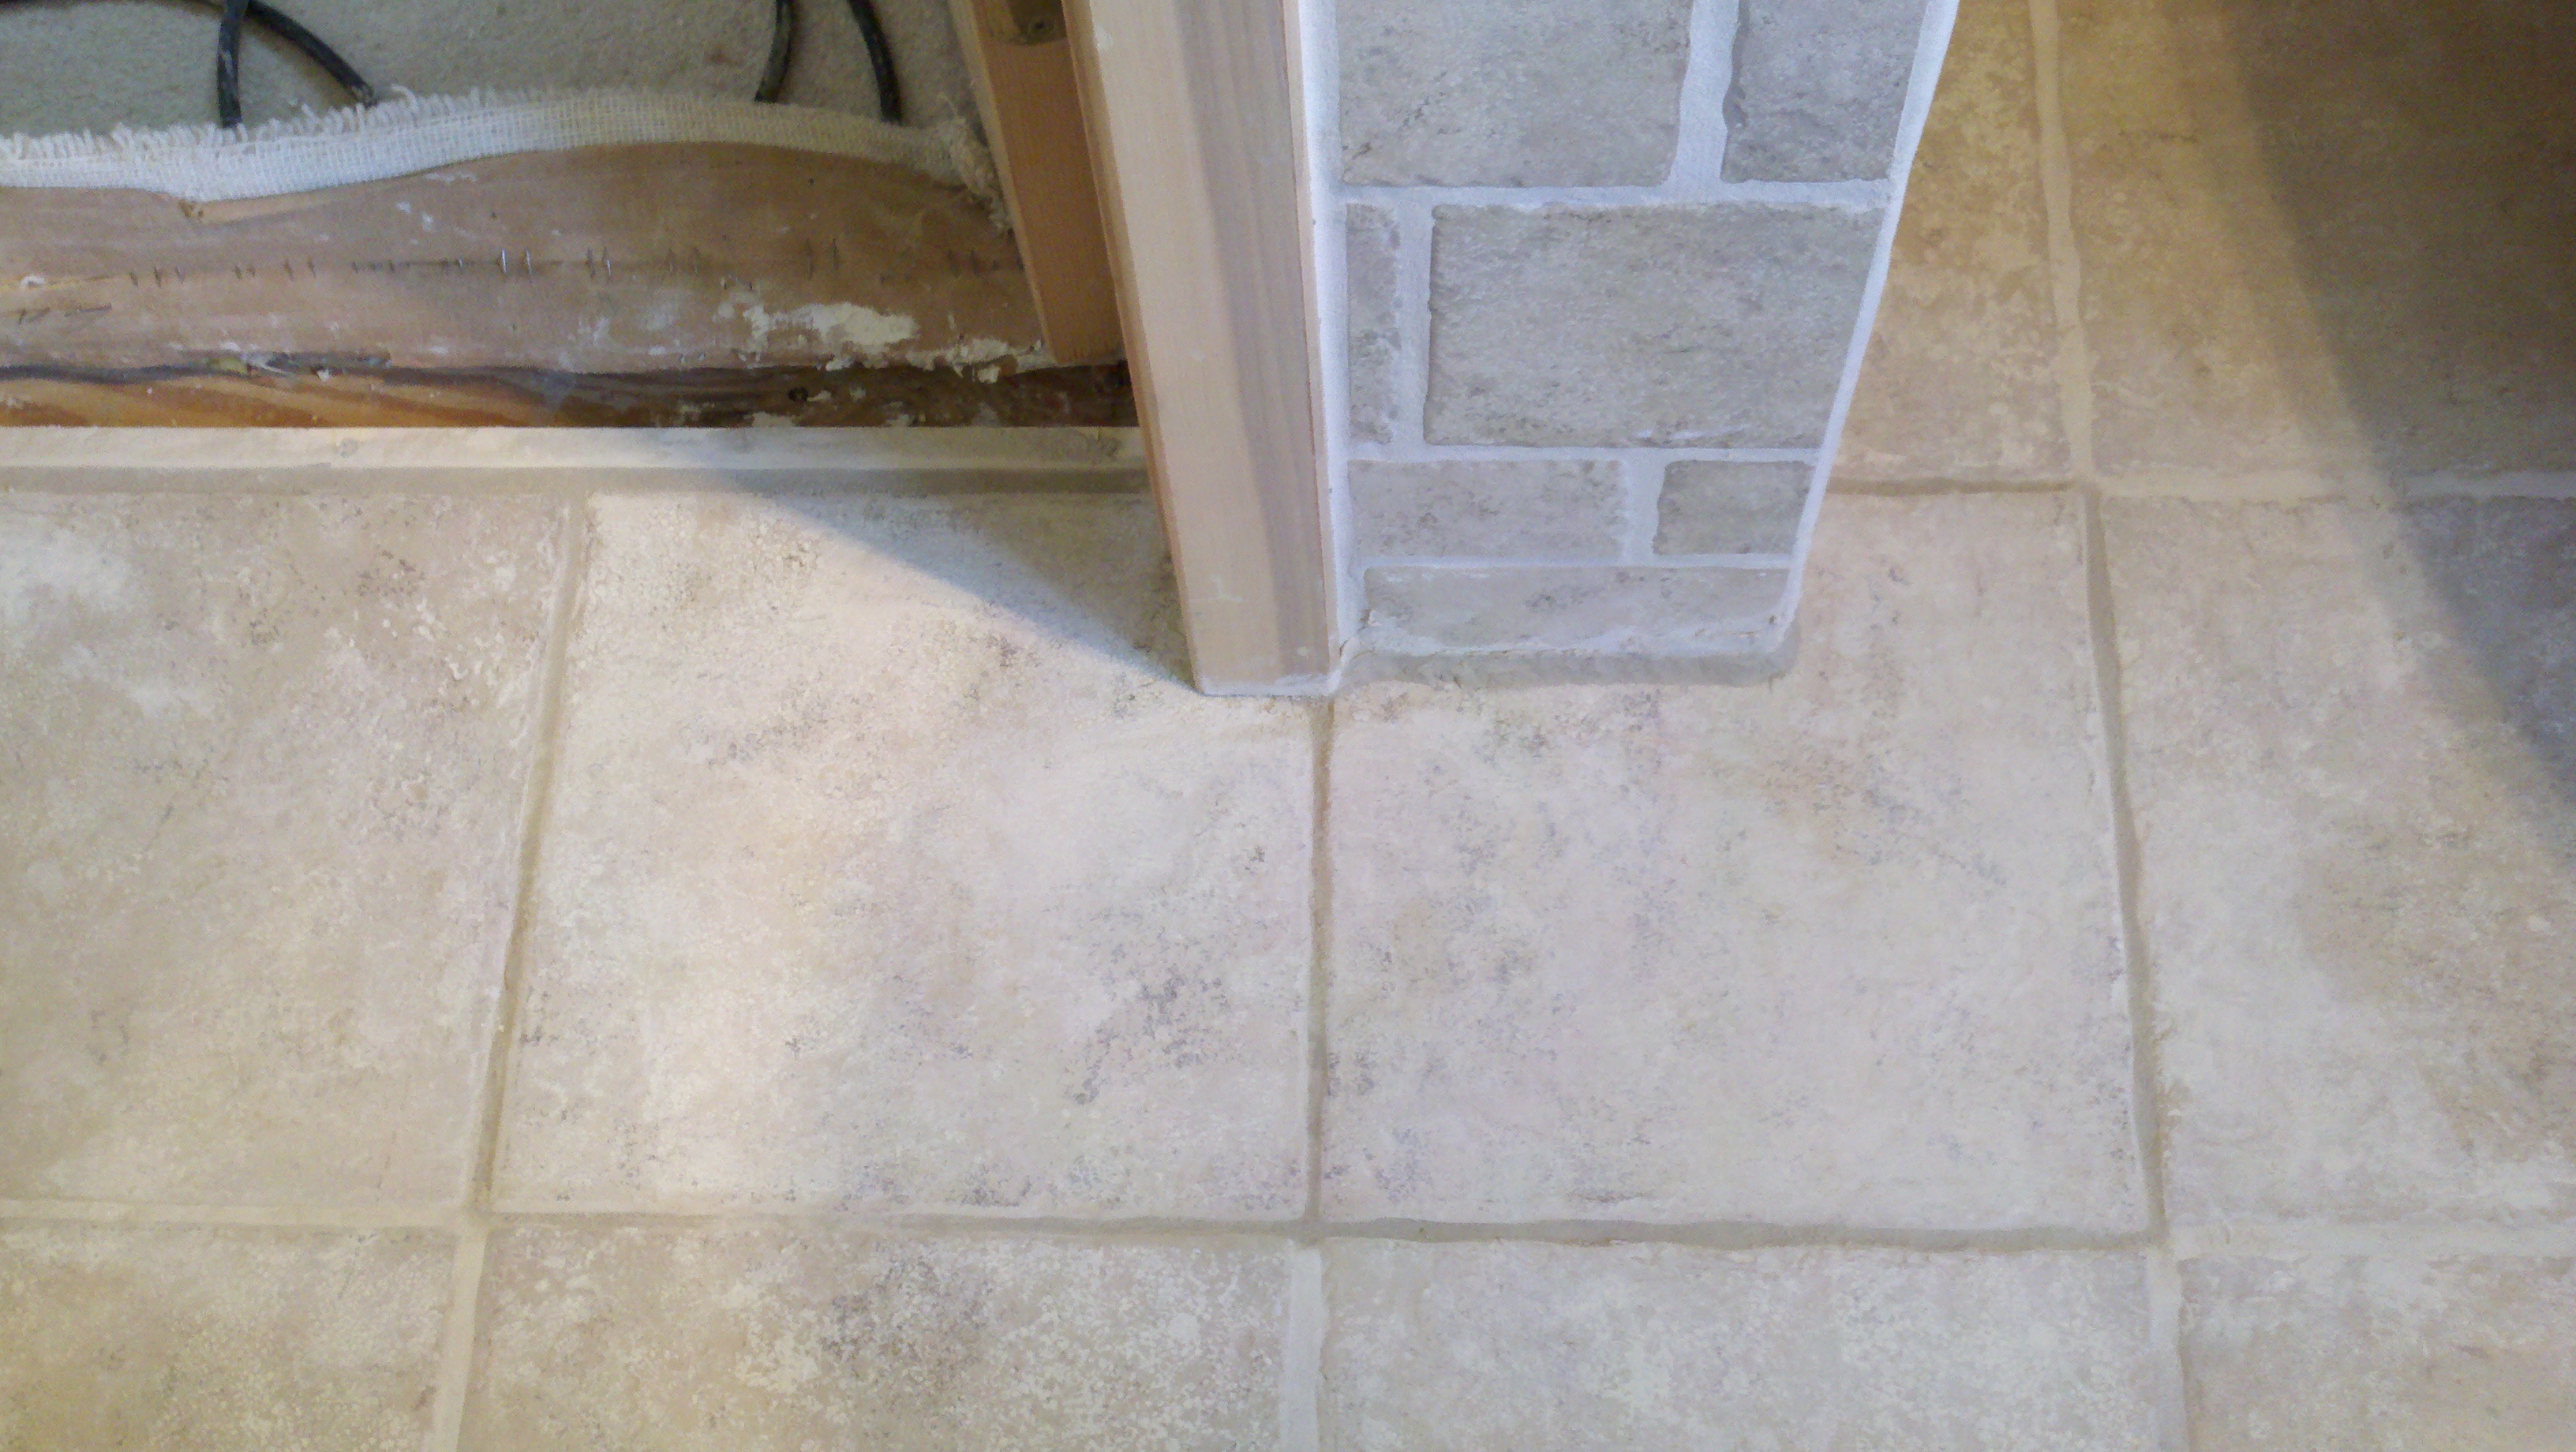
Installation of the trim pieces and roof supports were complete without extreme alterations to the pre fabricated pieces. The pictures presented below as twenty-four to twenty-nine, allow for a personal connection to the addition installation.
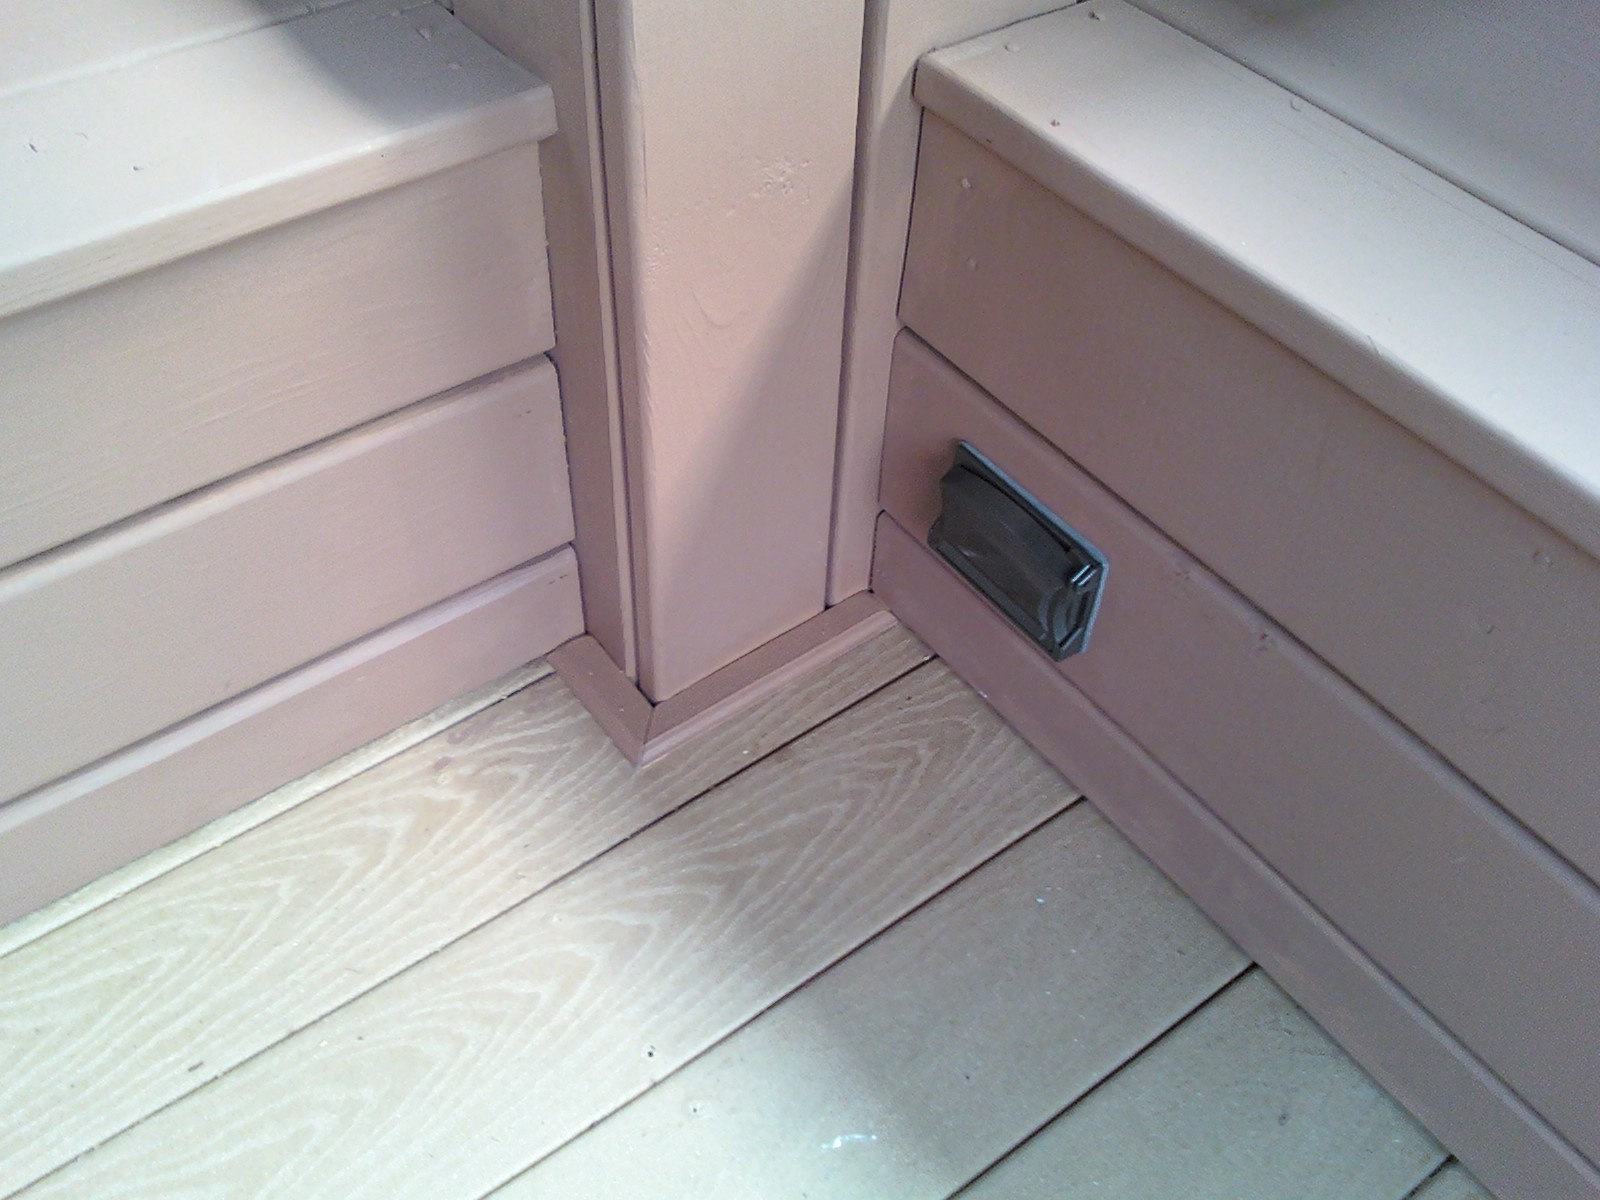
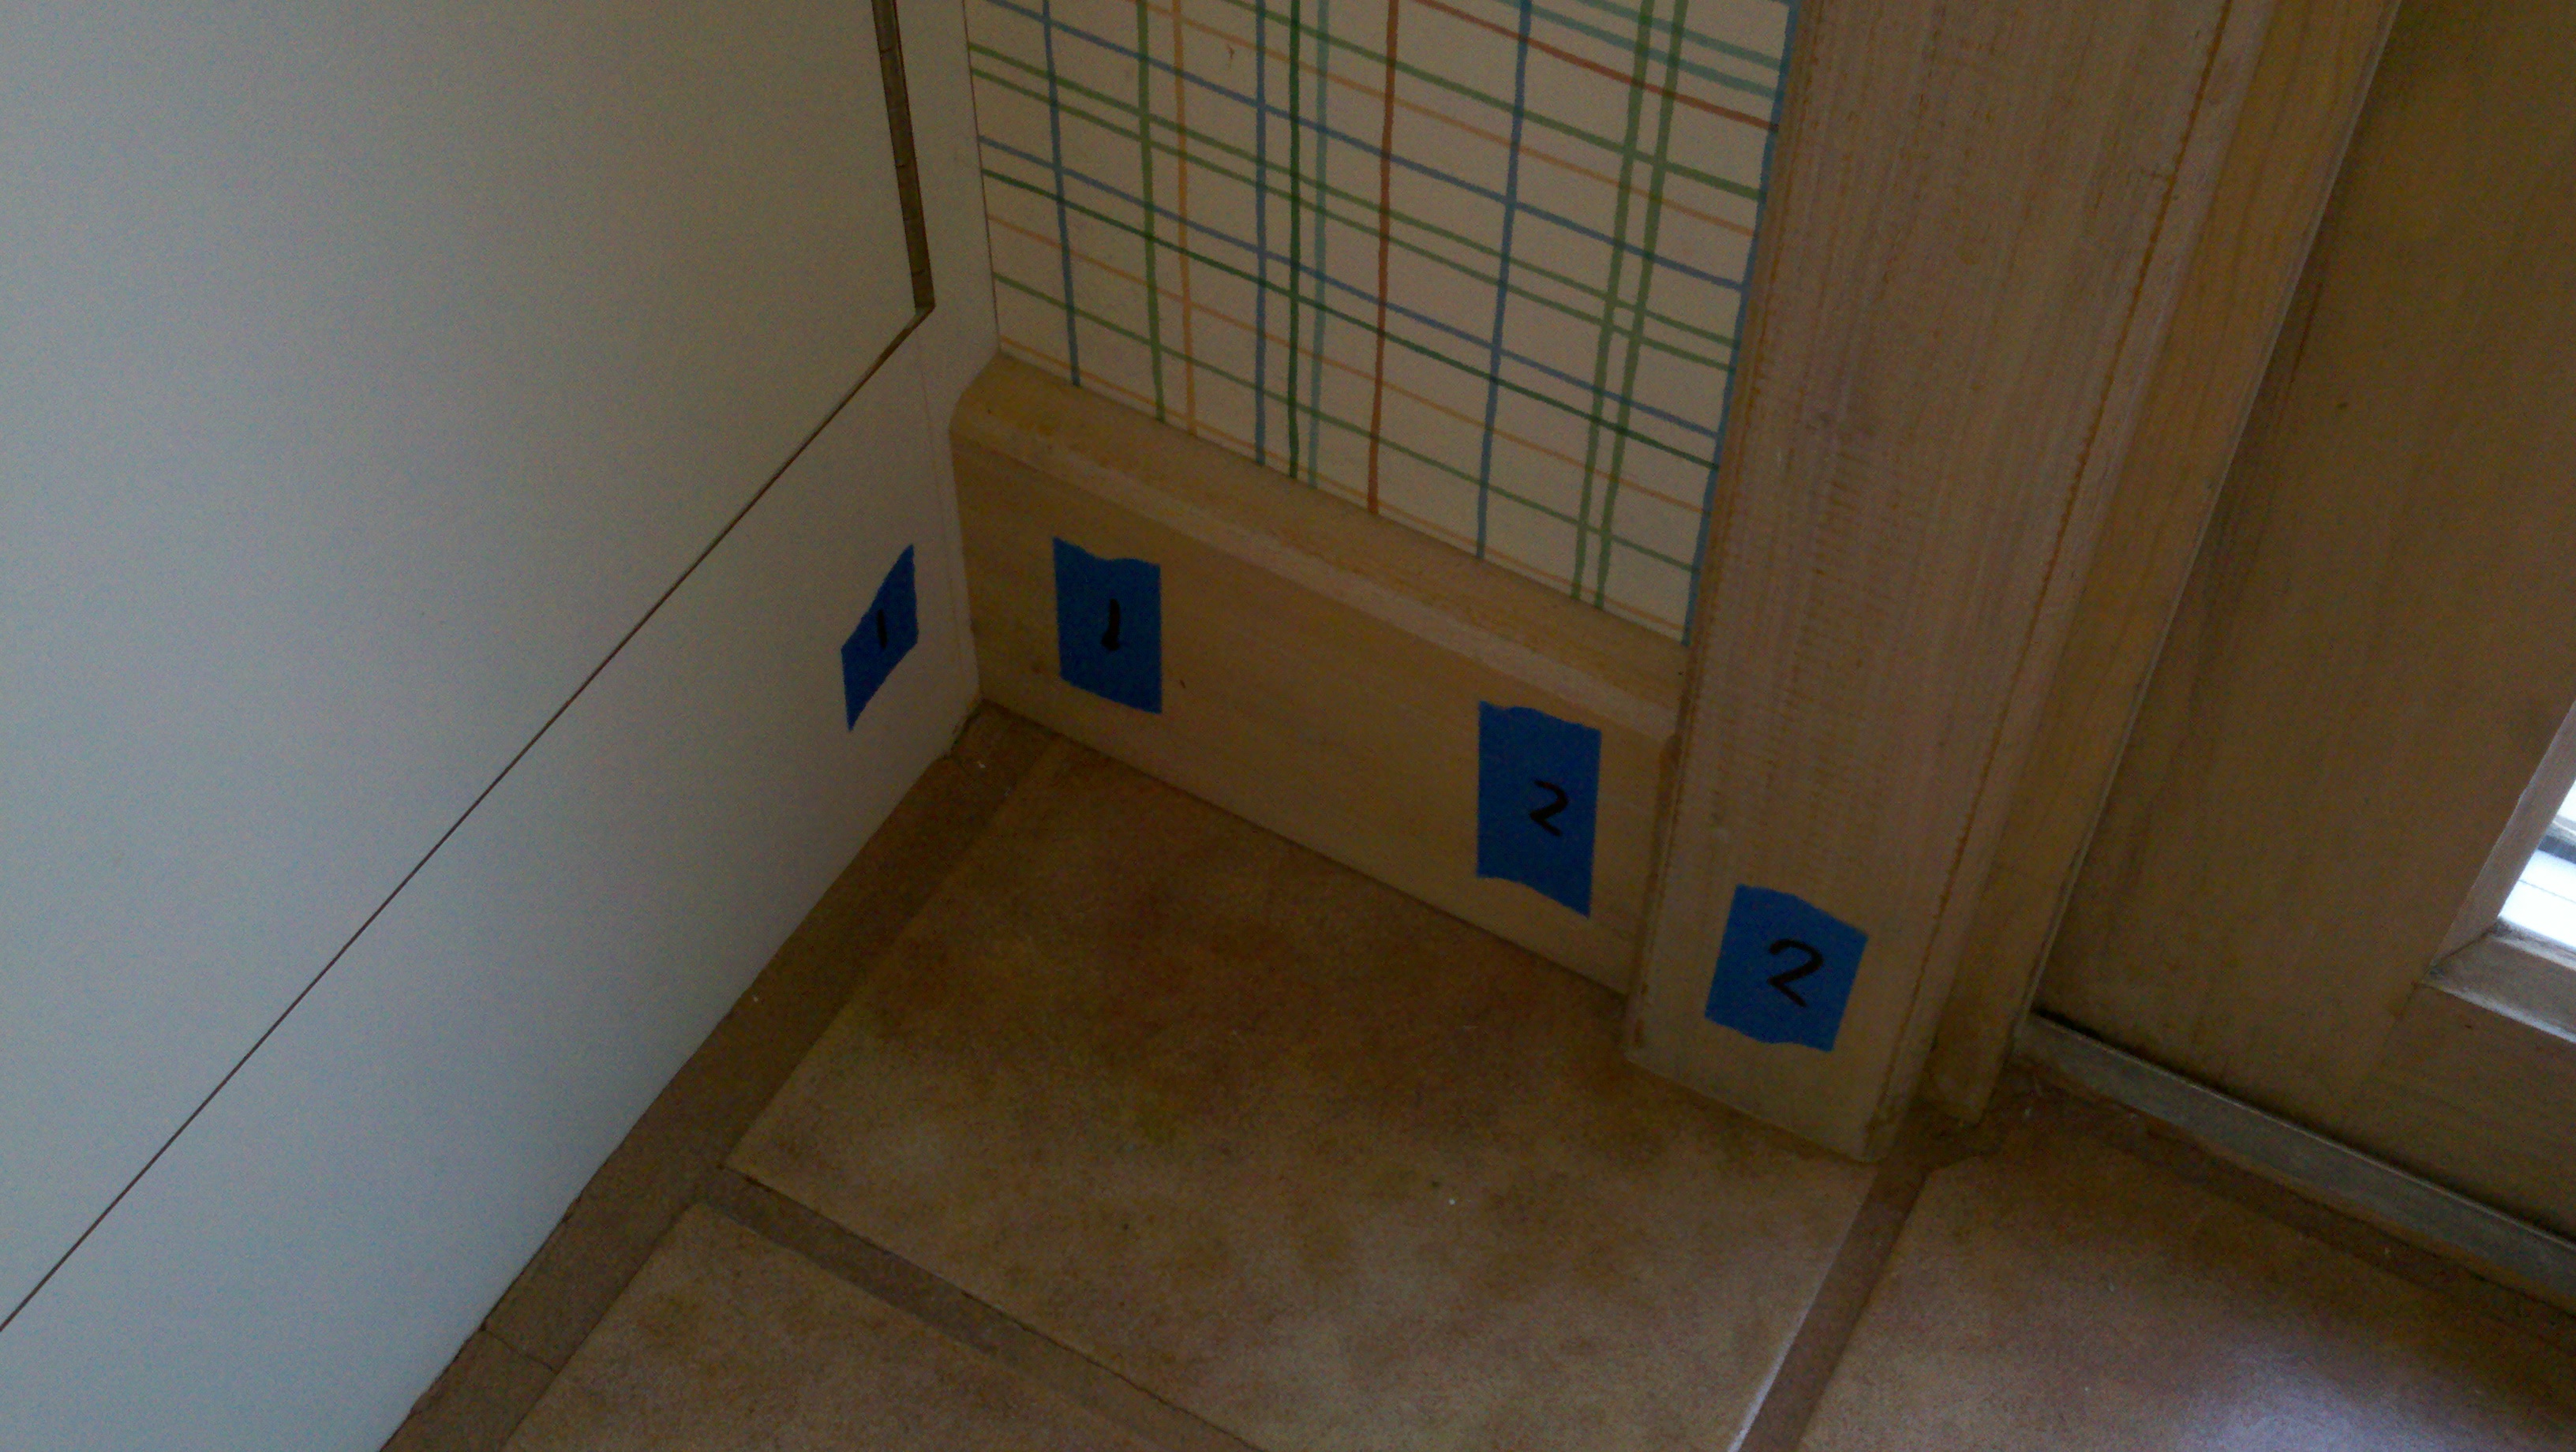
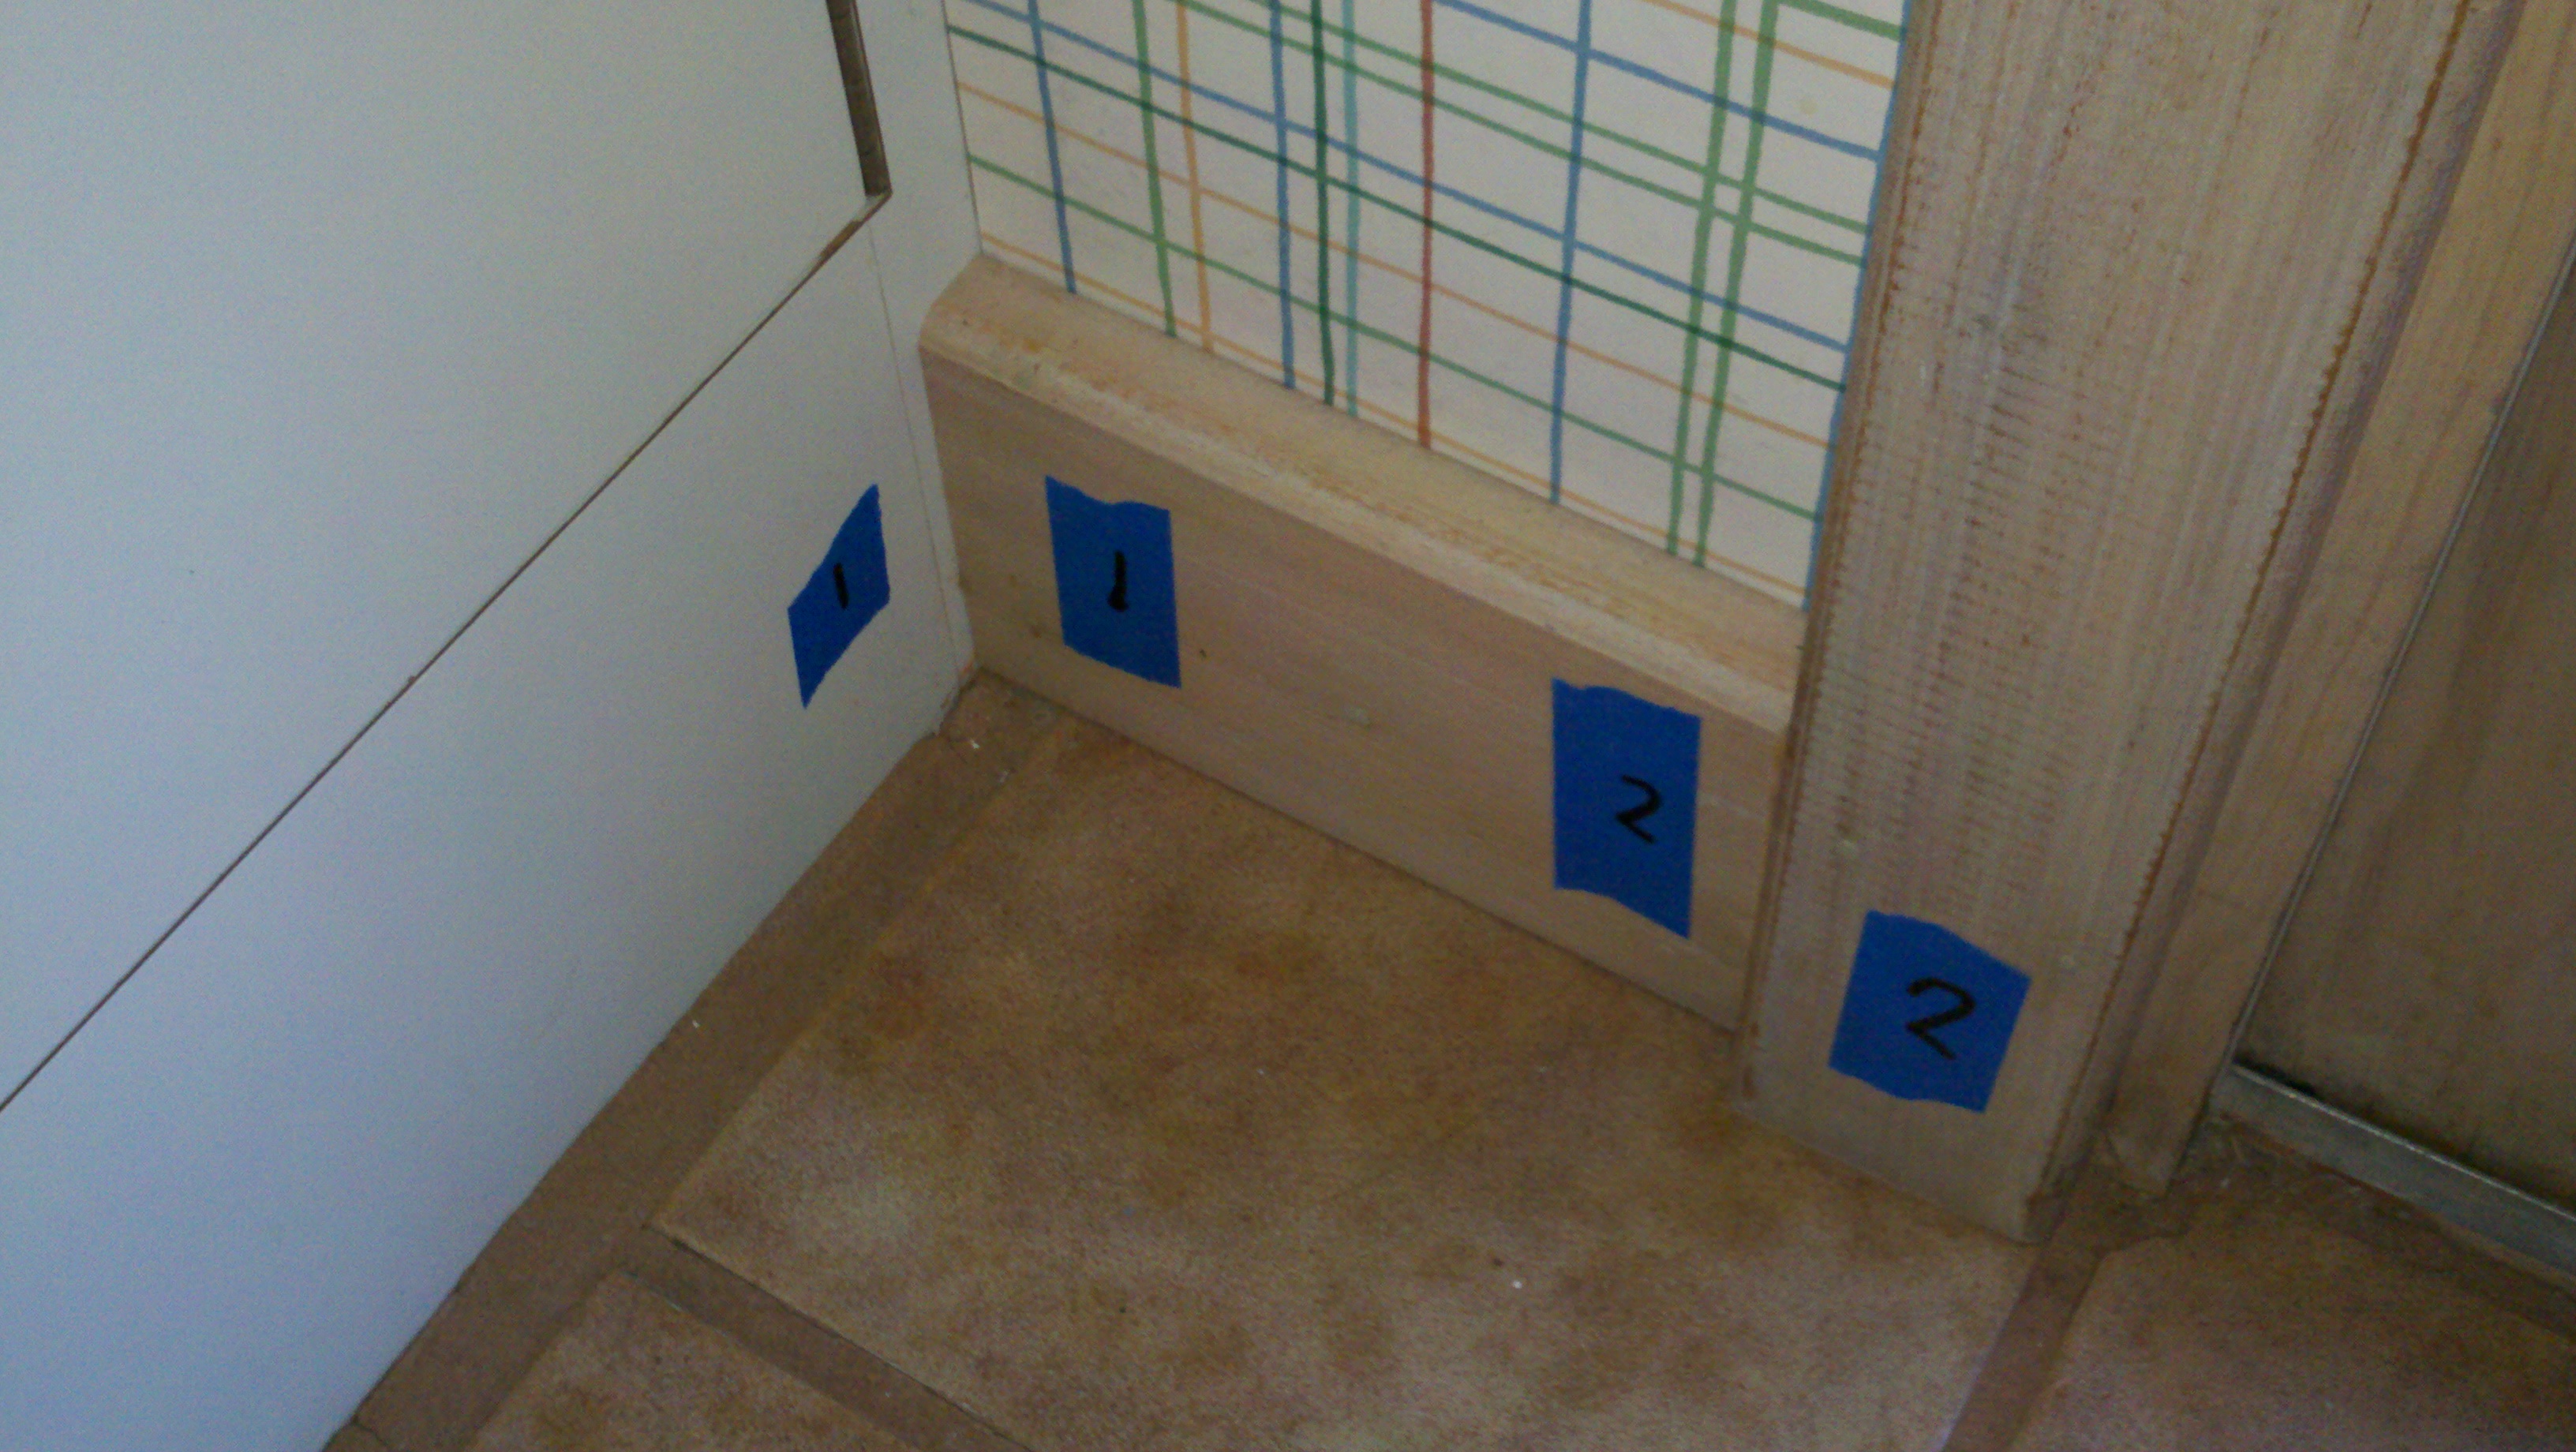
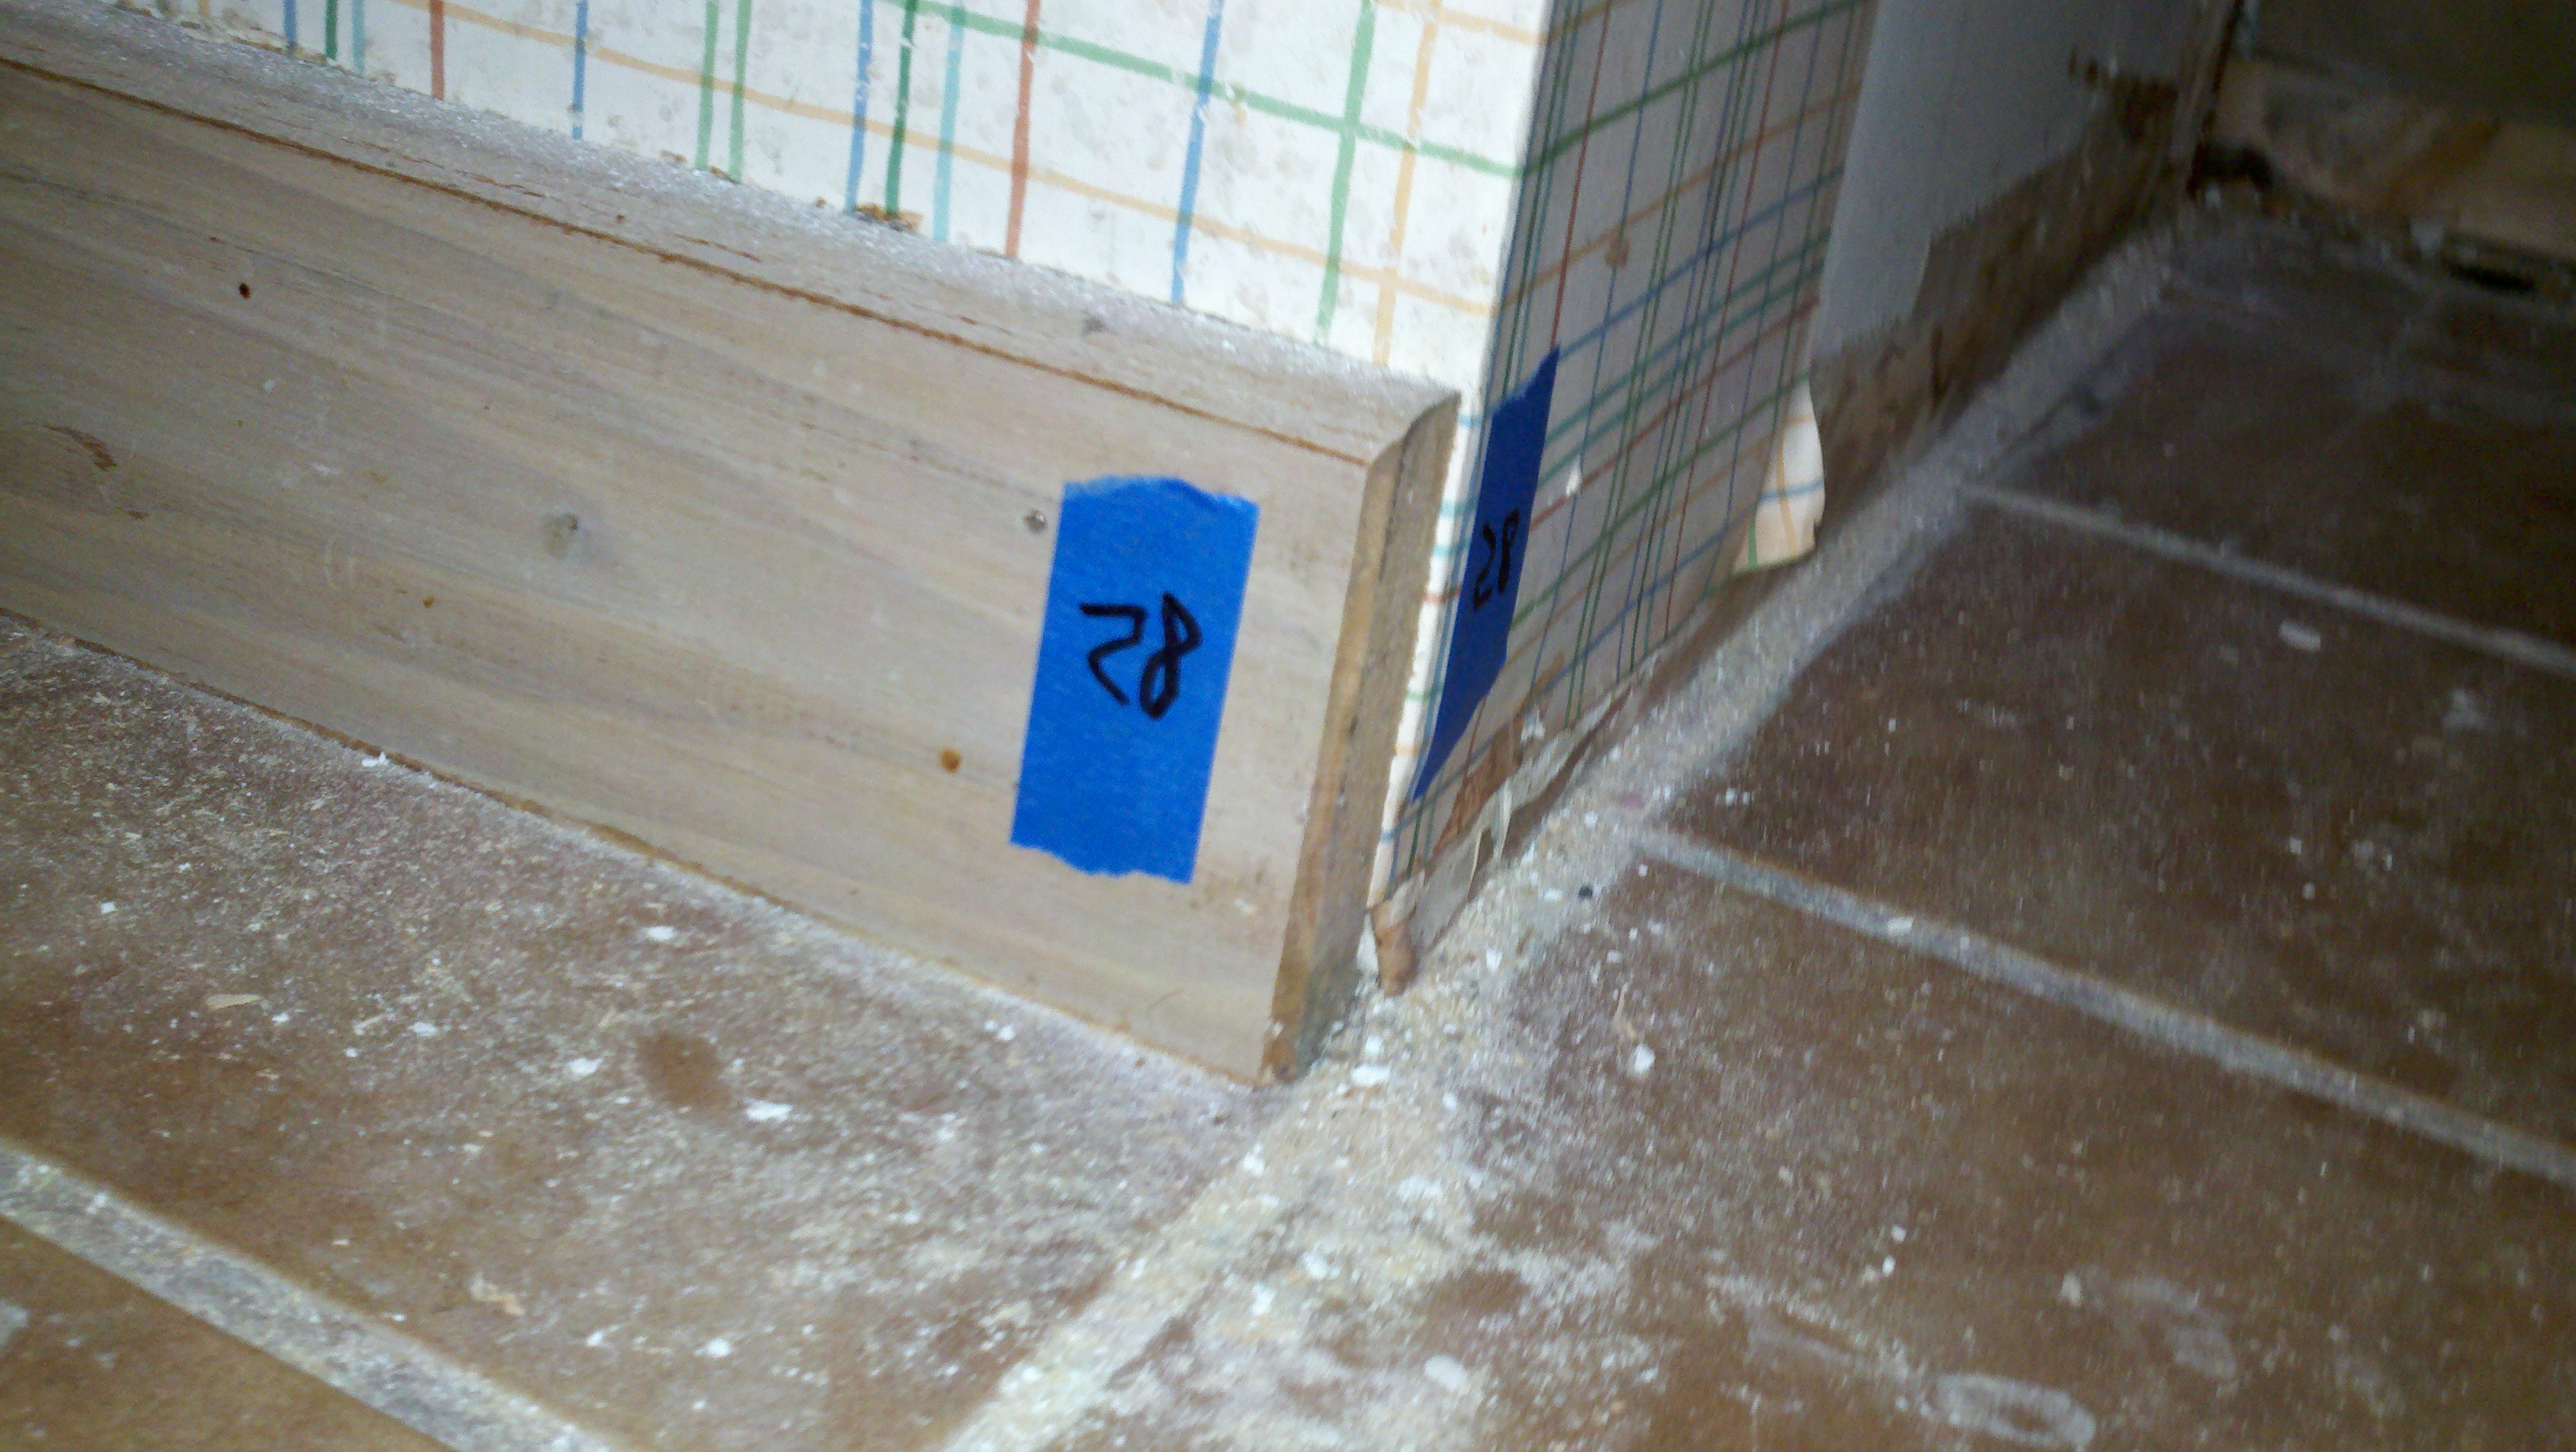
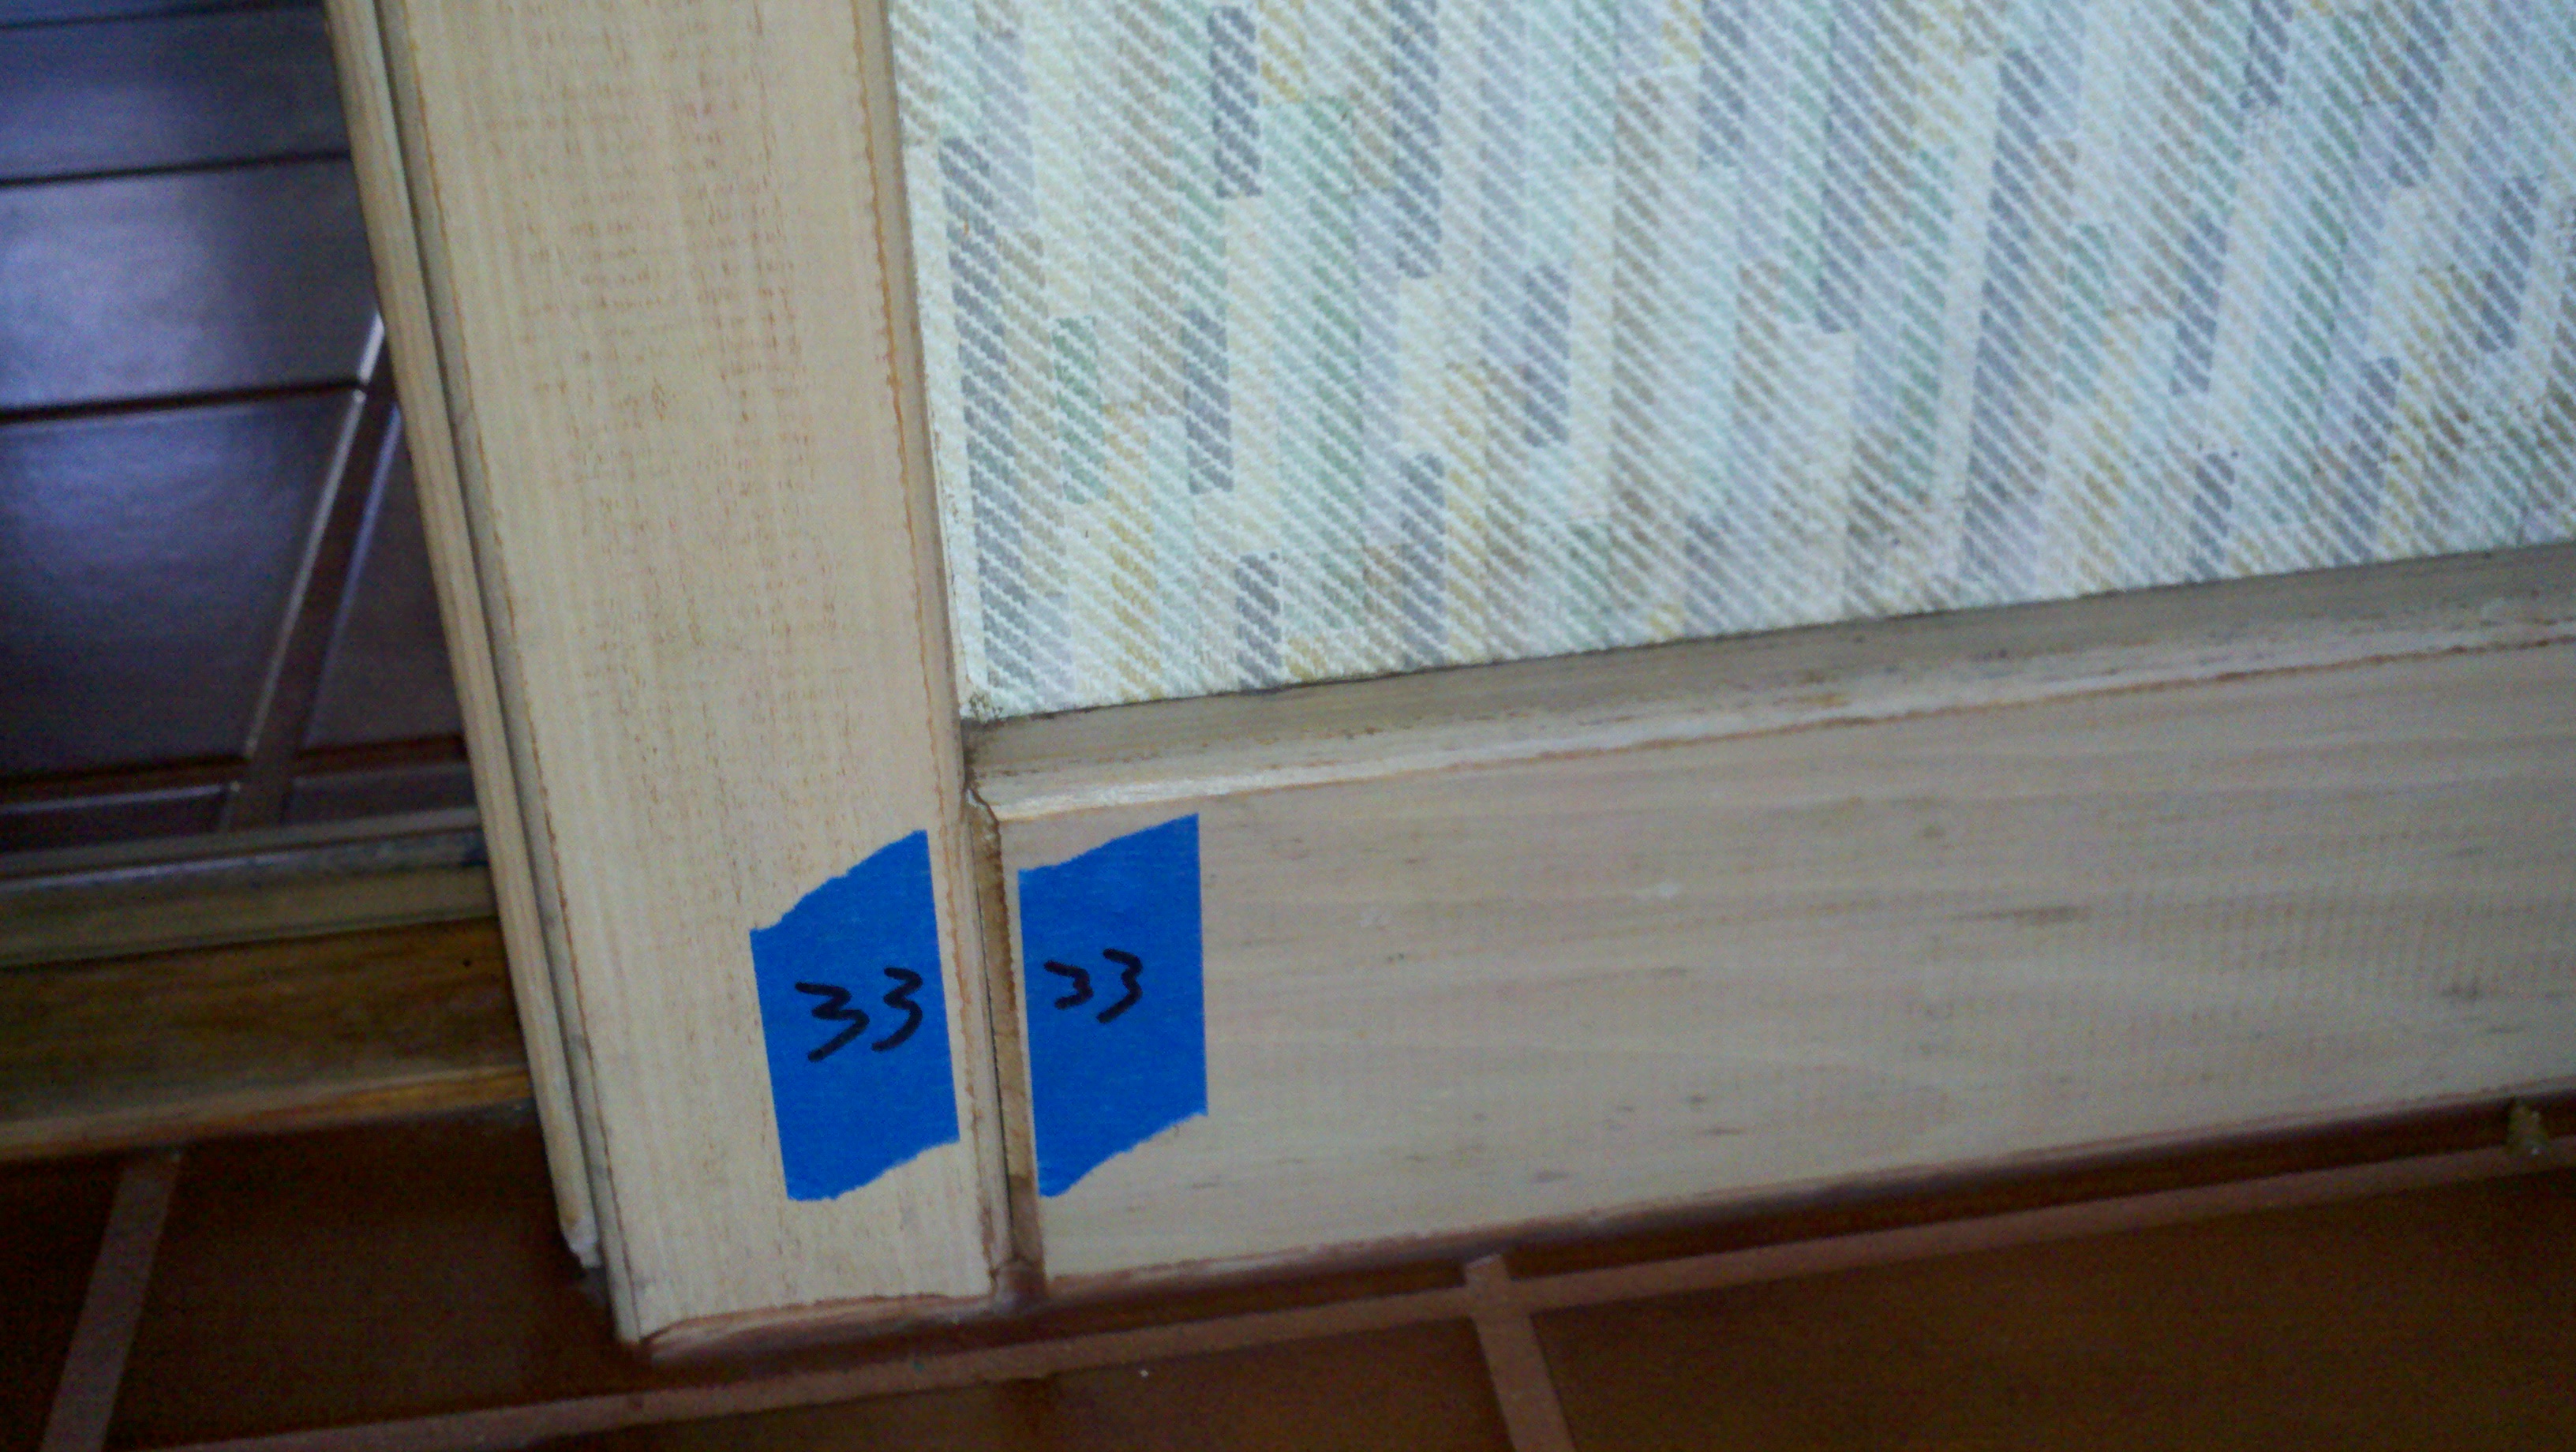
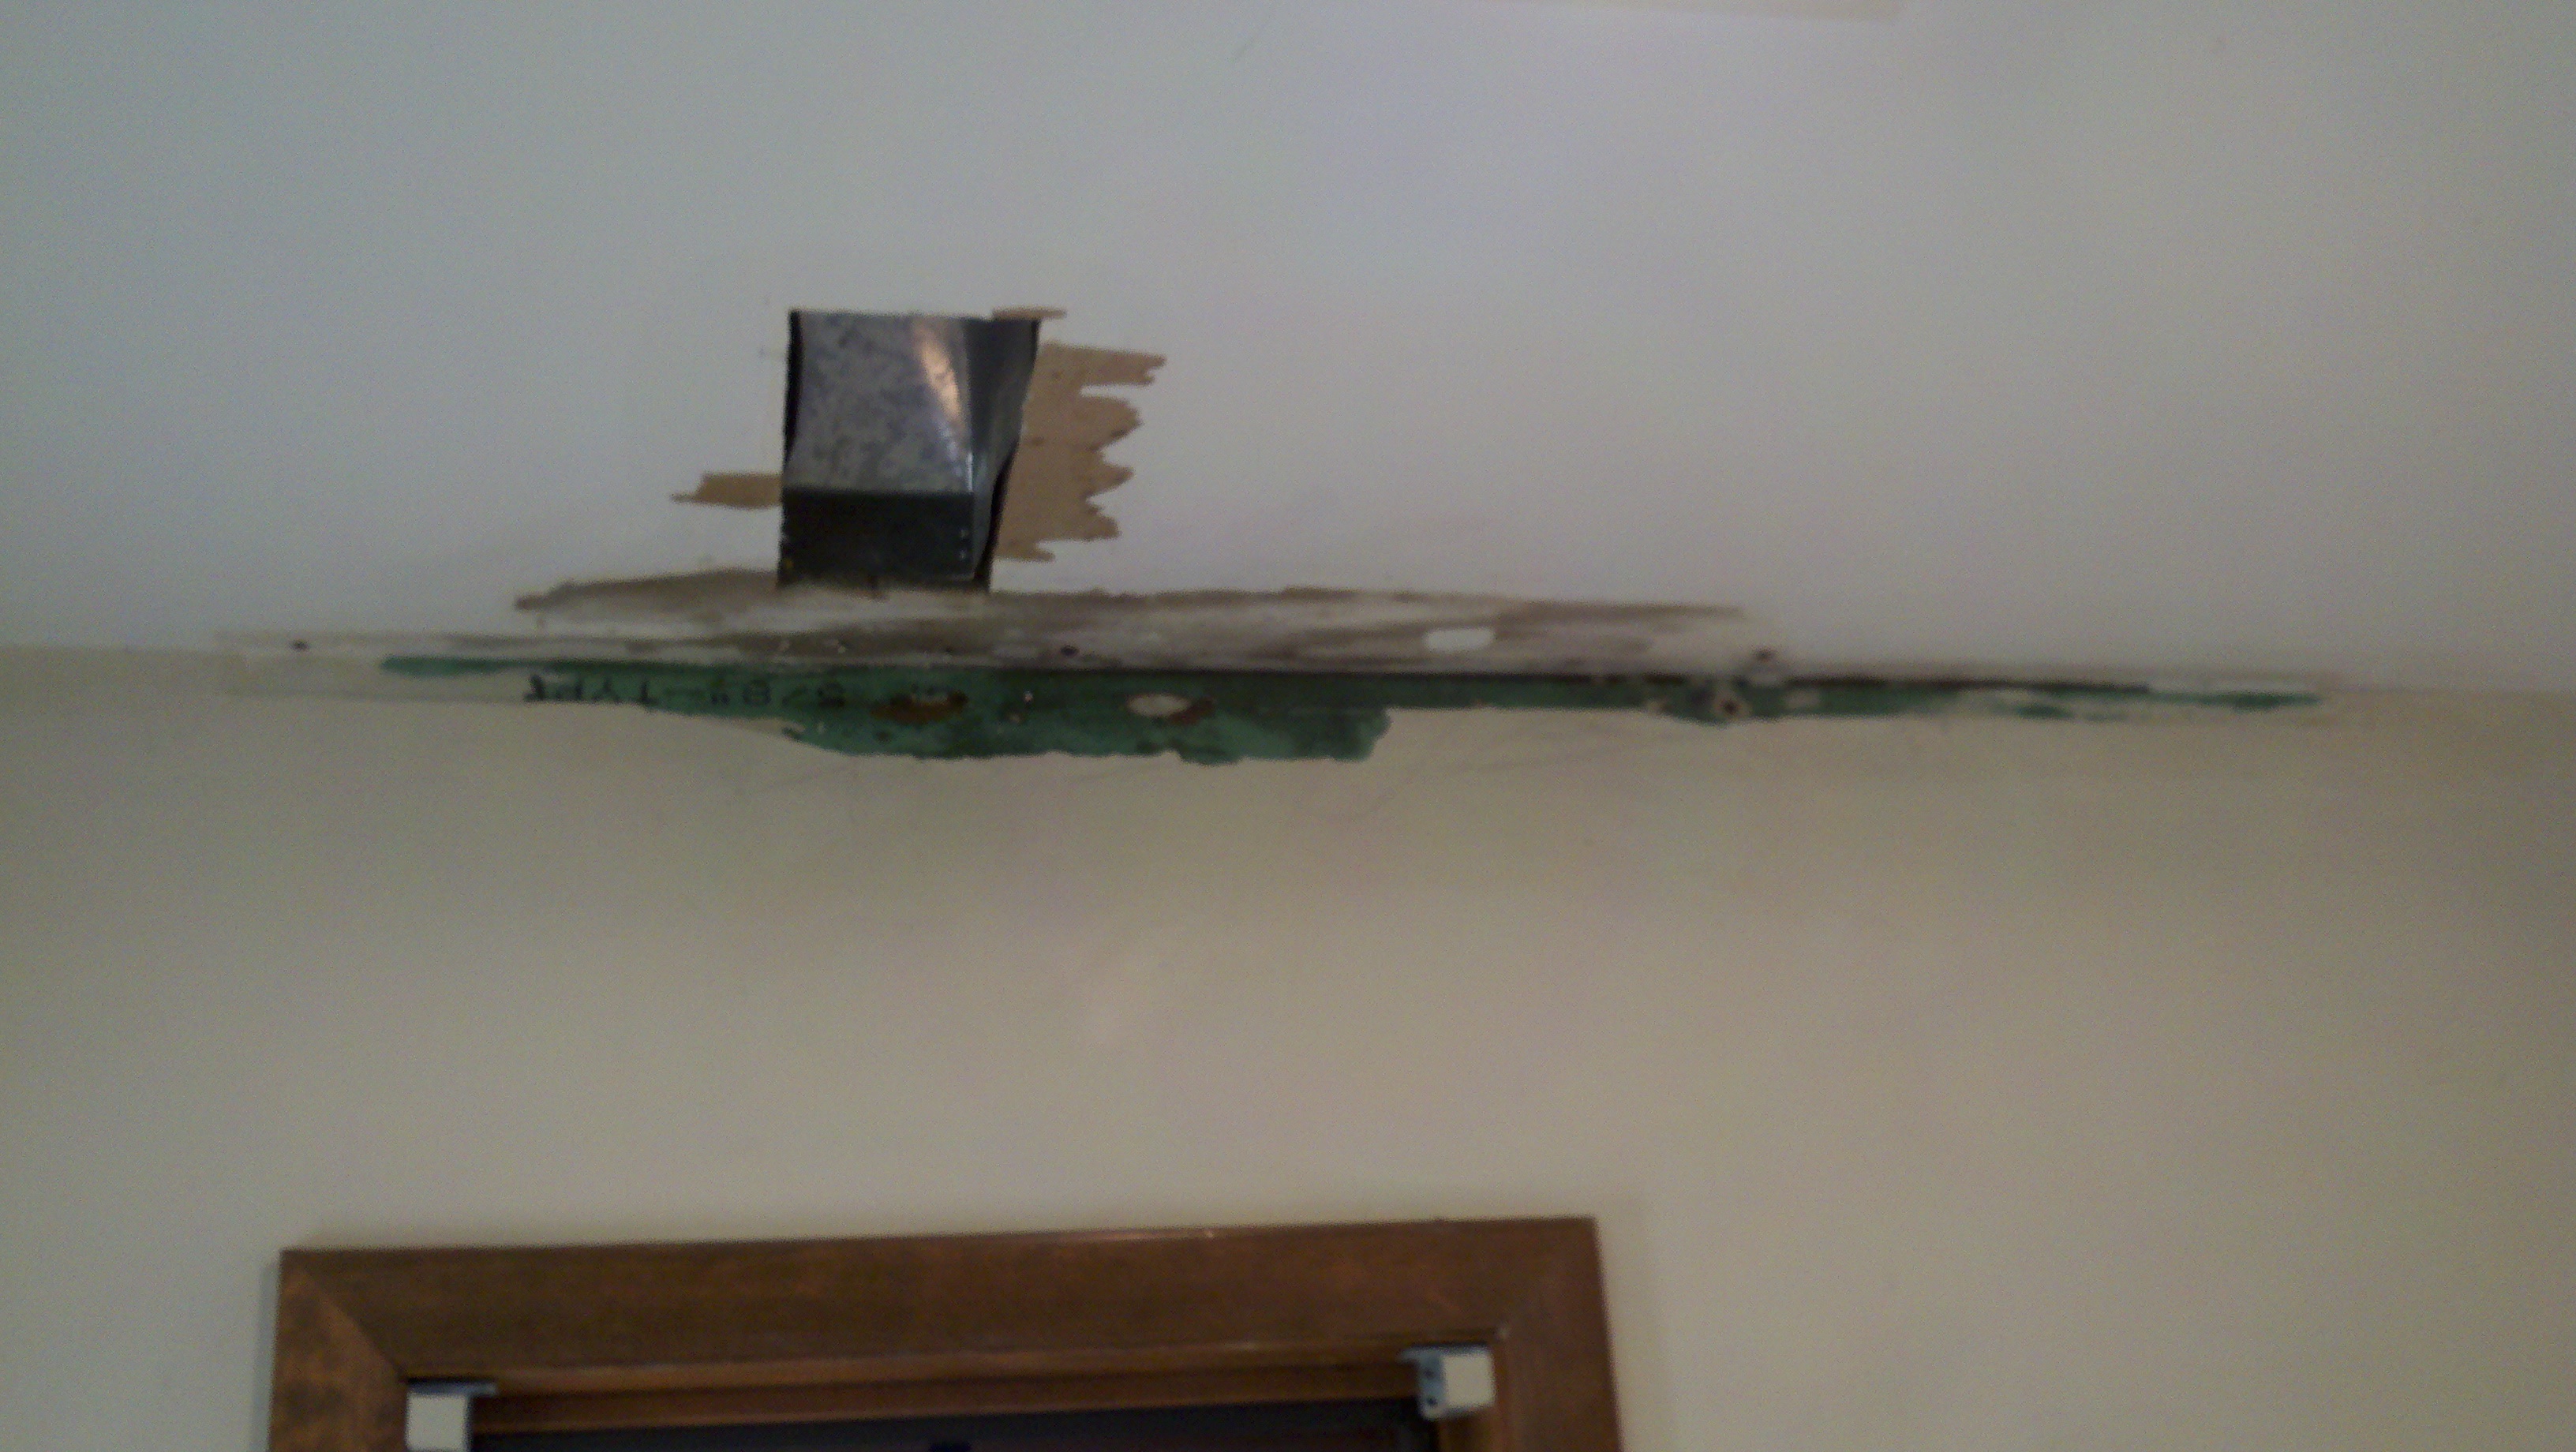
Alterations to the entrance area of the dental trim, needed to be complete after installation for accurate height adaptation to the ends of the trim. Additional required alterations included the filling of the fastener holes required for installation. Pictures thirty through thirty three provide visual information of the conversion provided for the entrance molding. The hole patching of the roof mounts are represented by picture thirty-four, portion in gray at lower part of the support.
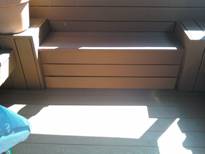
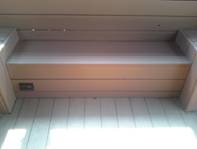
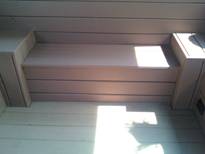
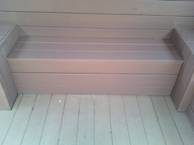
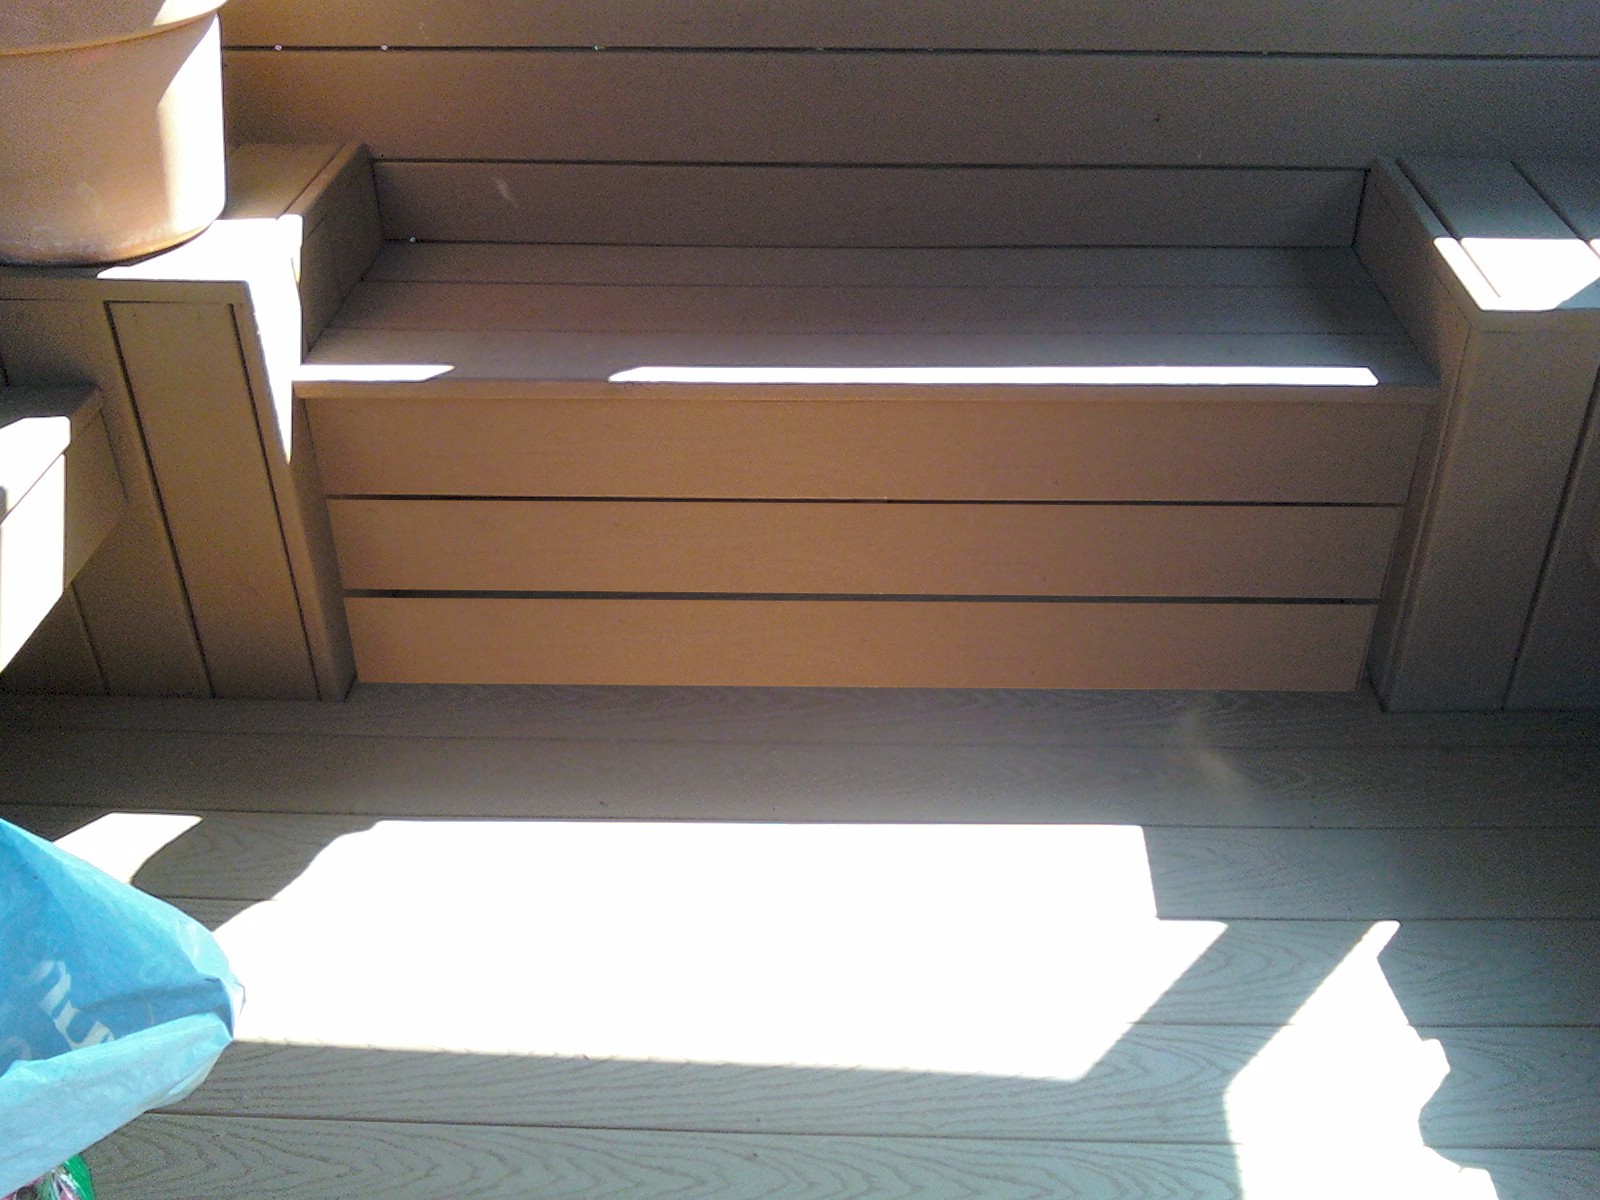
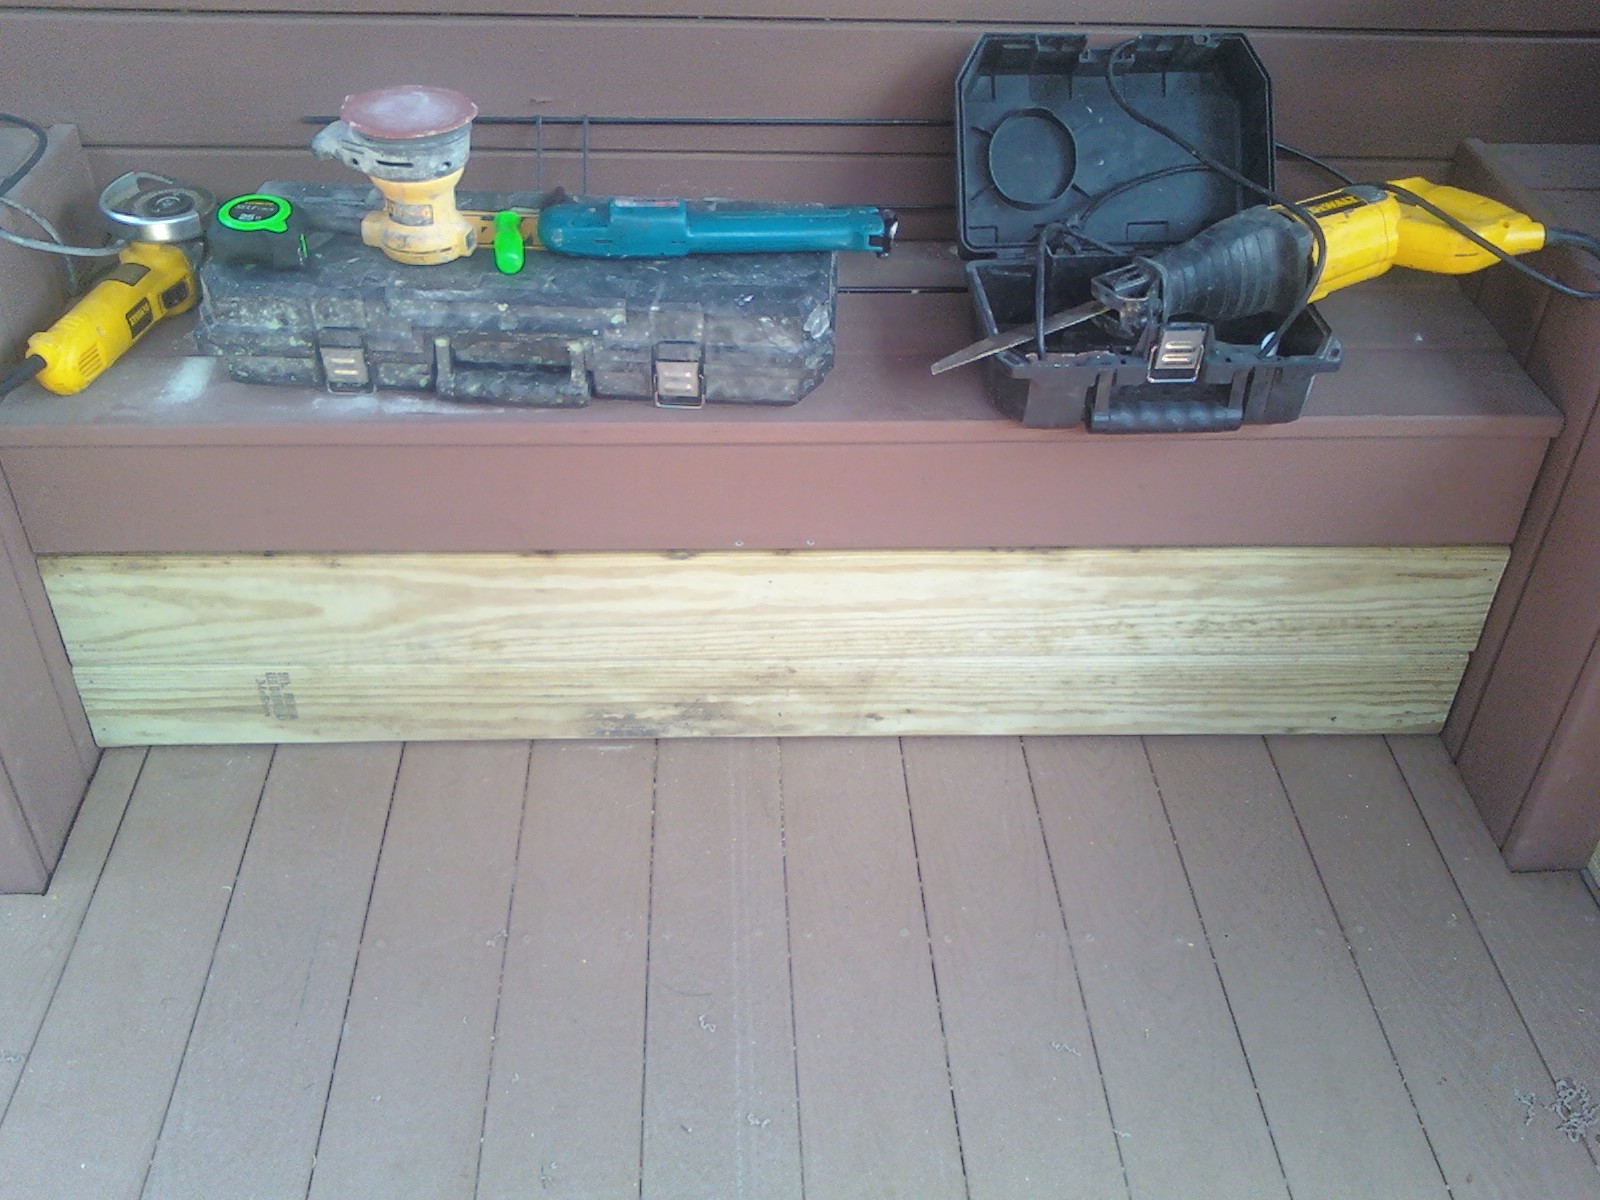
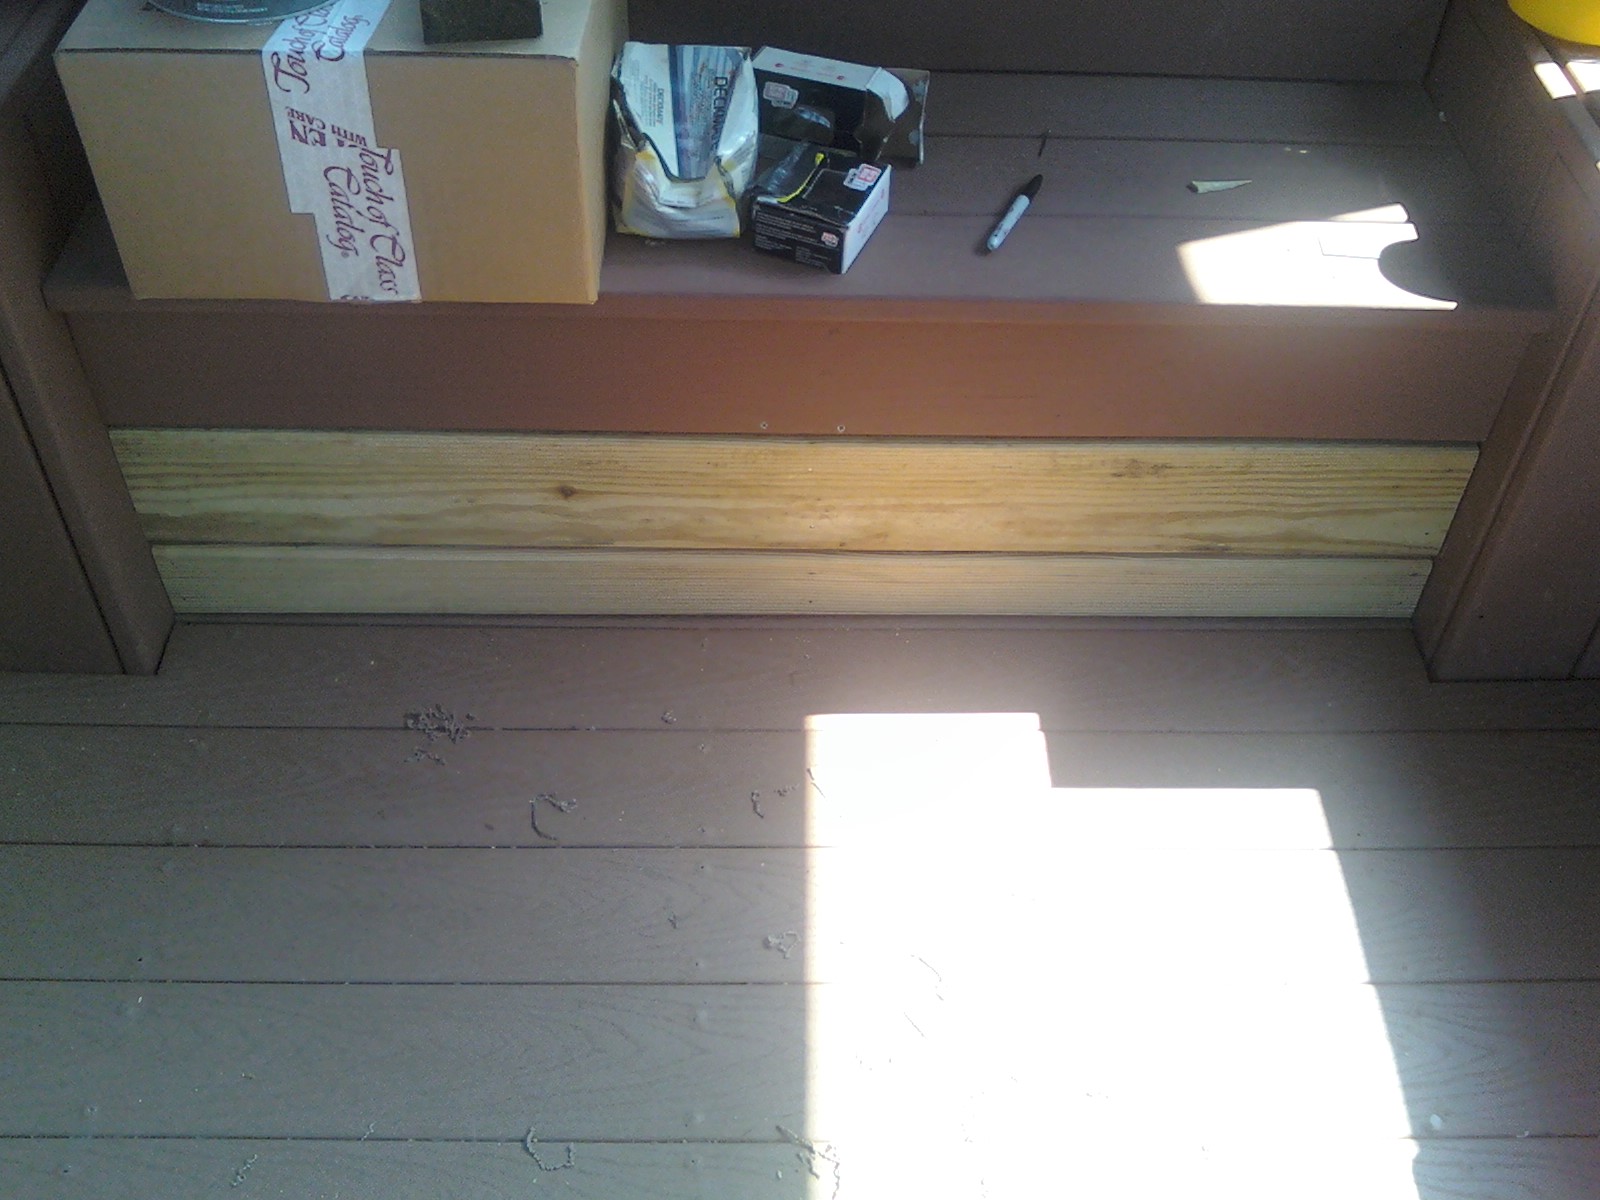
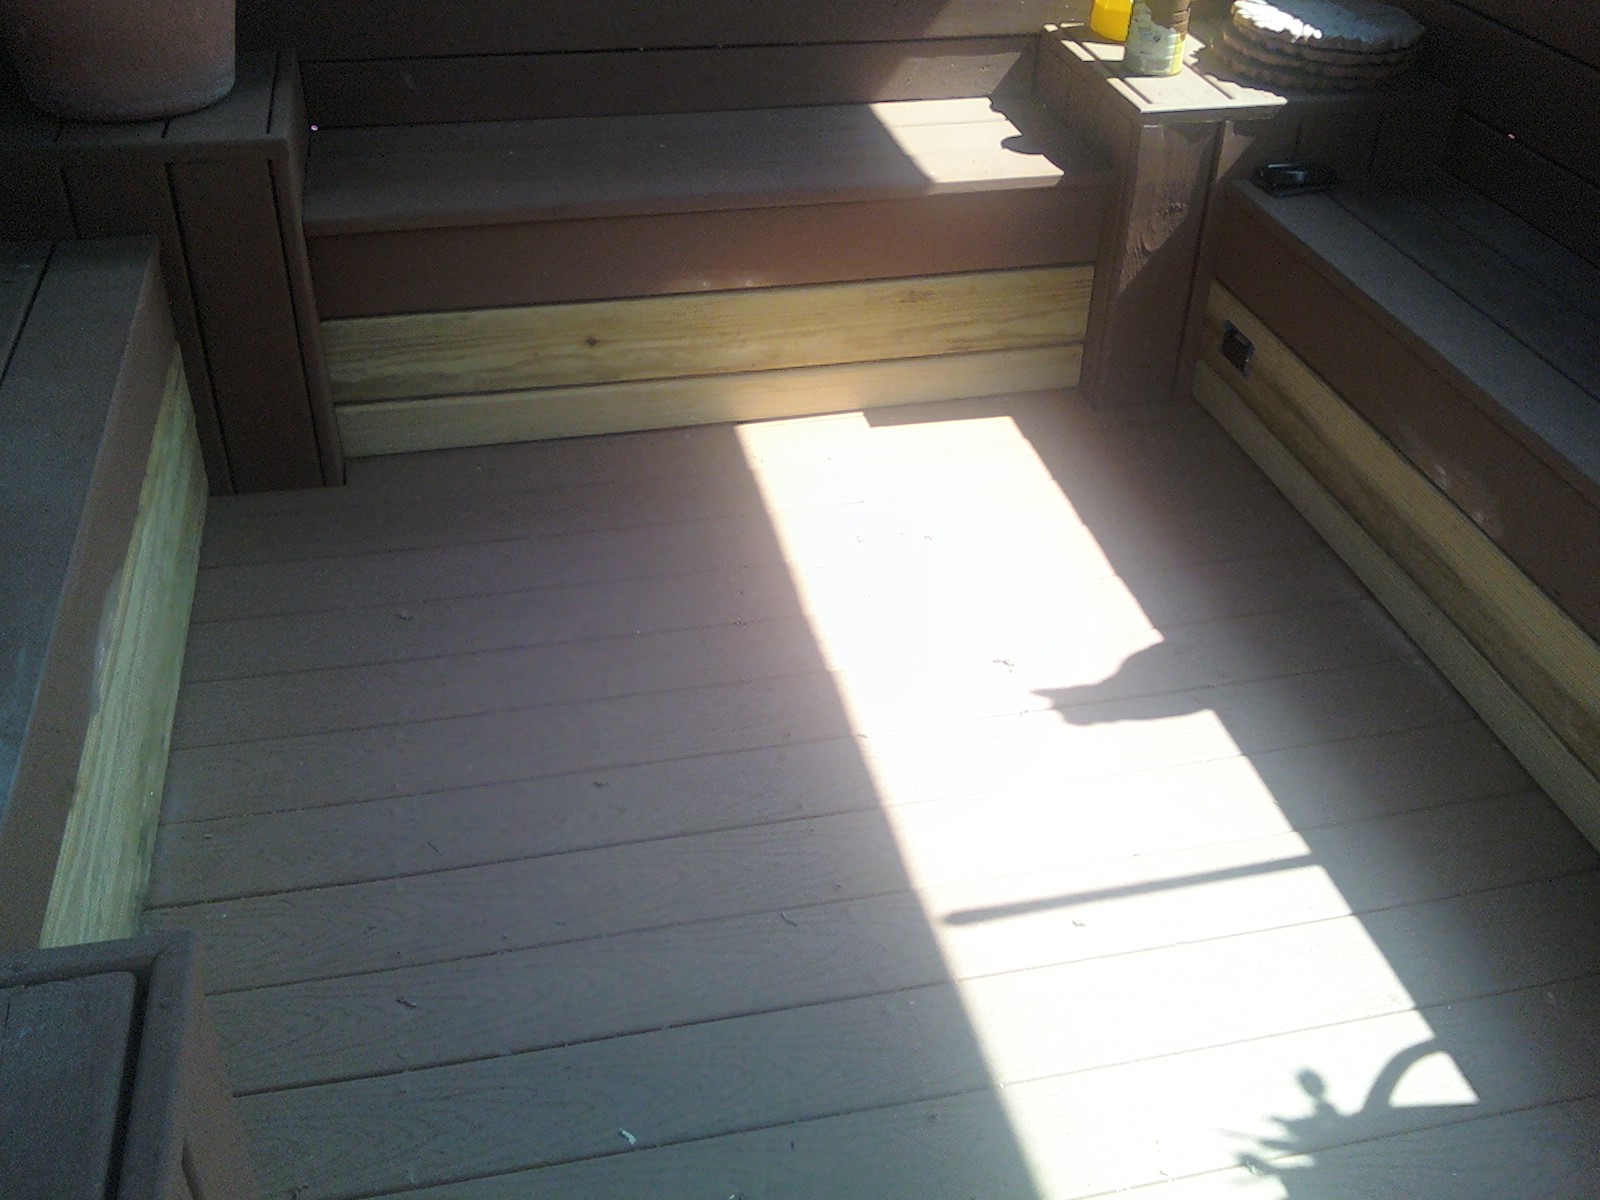
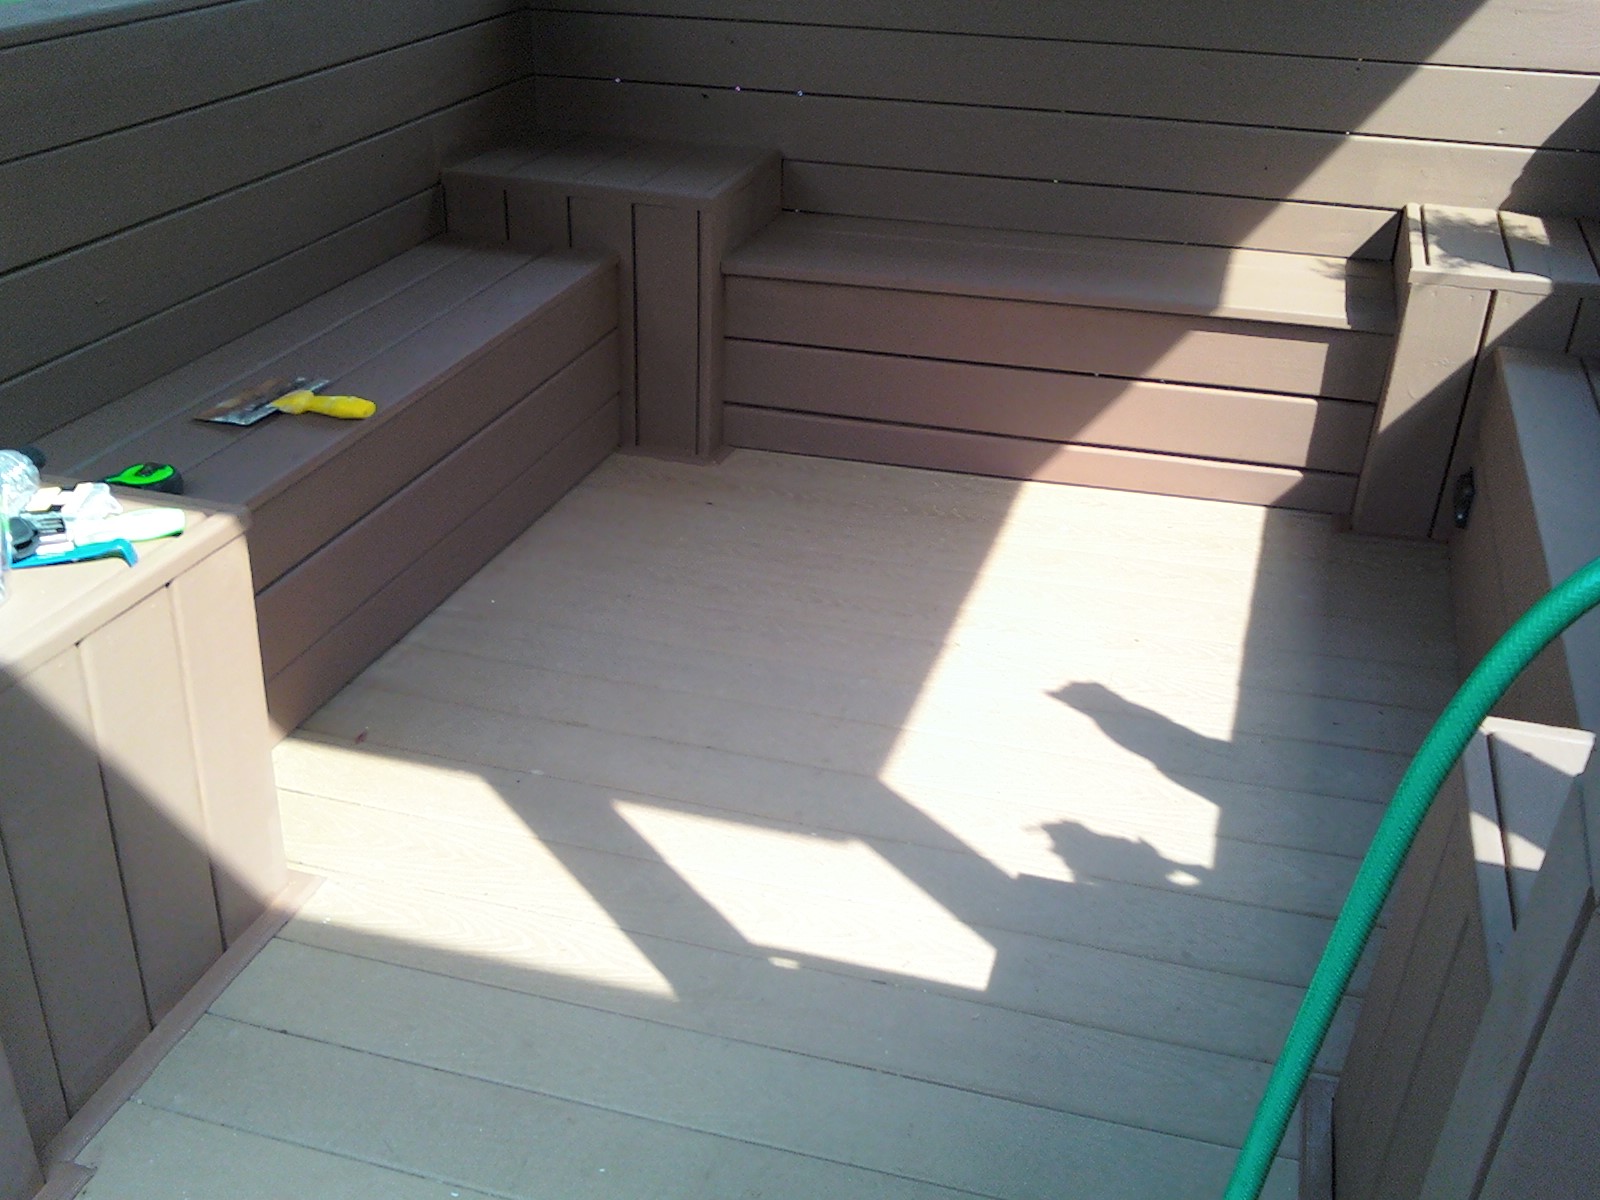
The following three pictures provide a still record of the complete installation of the boards below the seats, before paint.
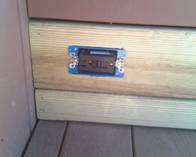
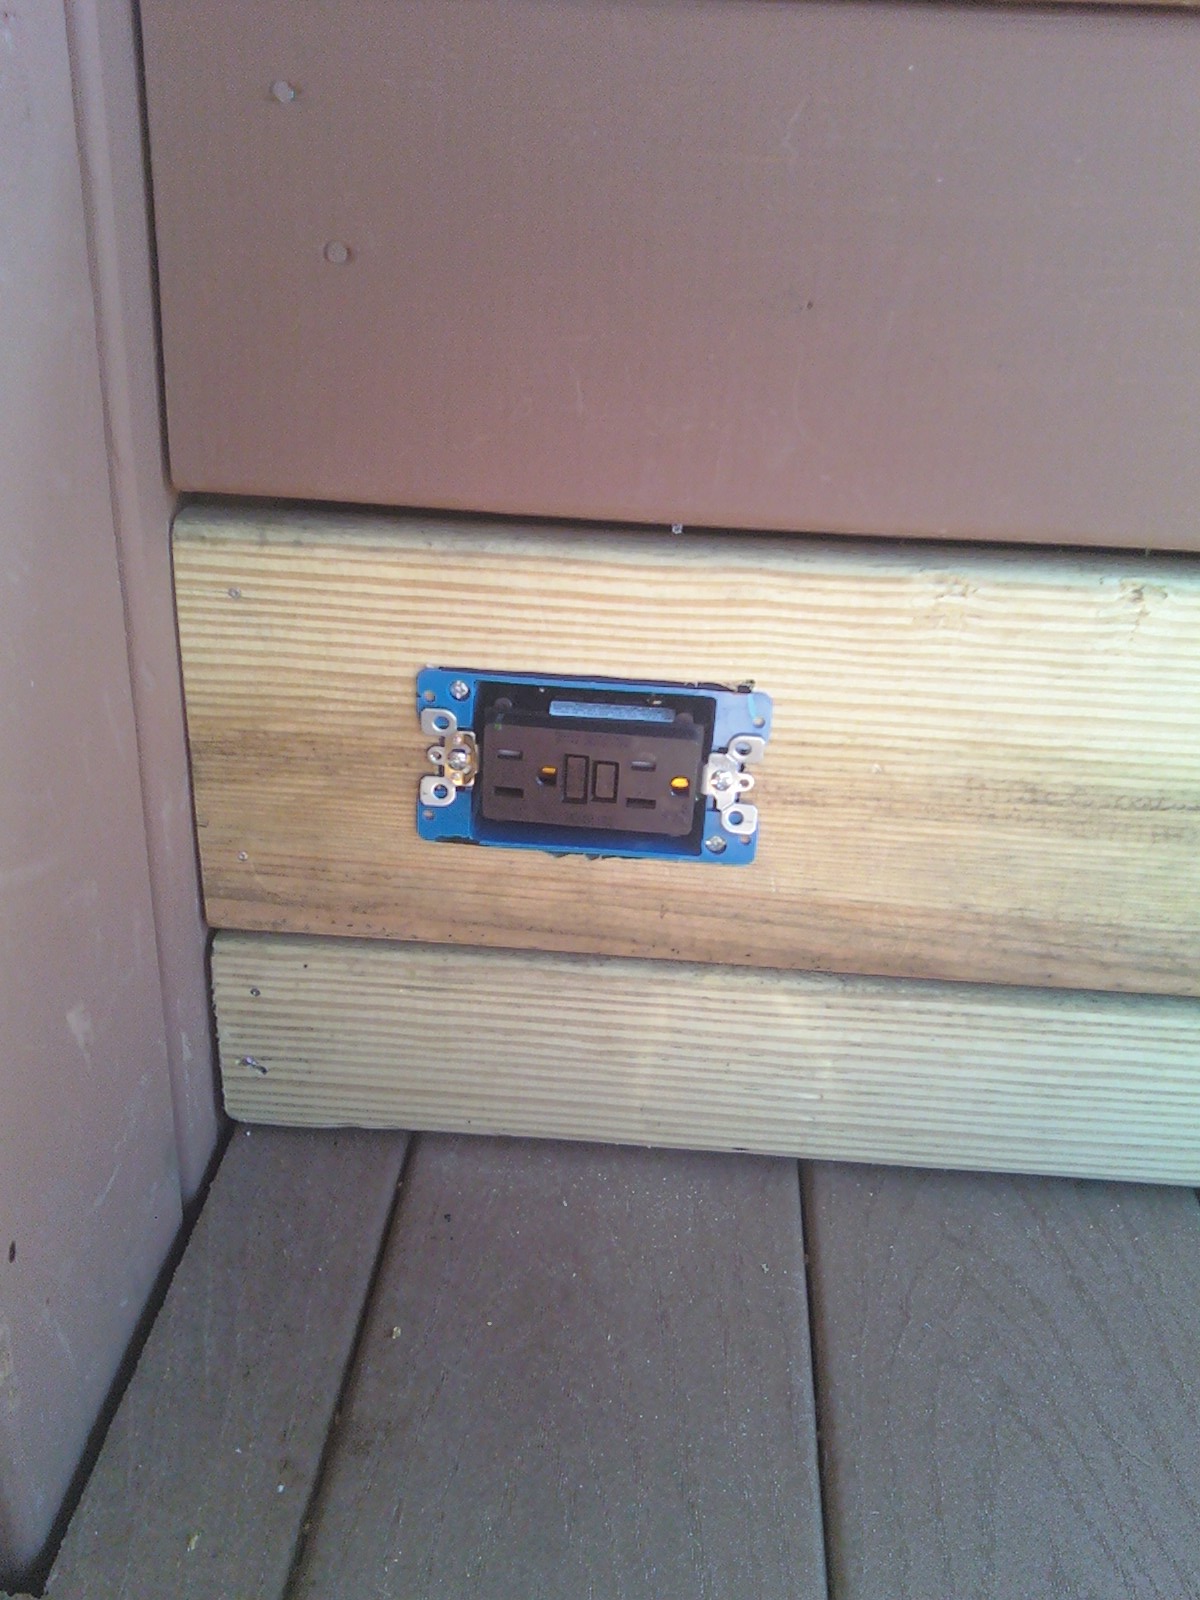
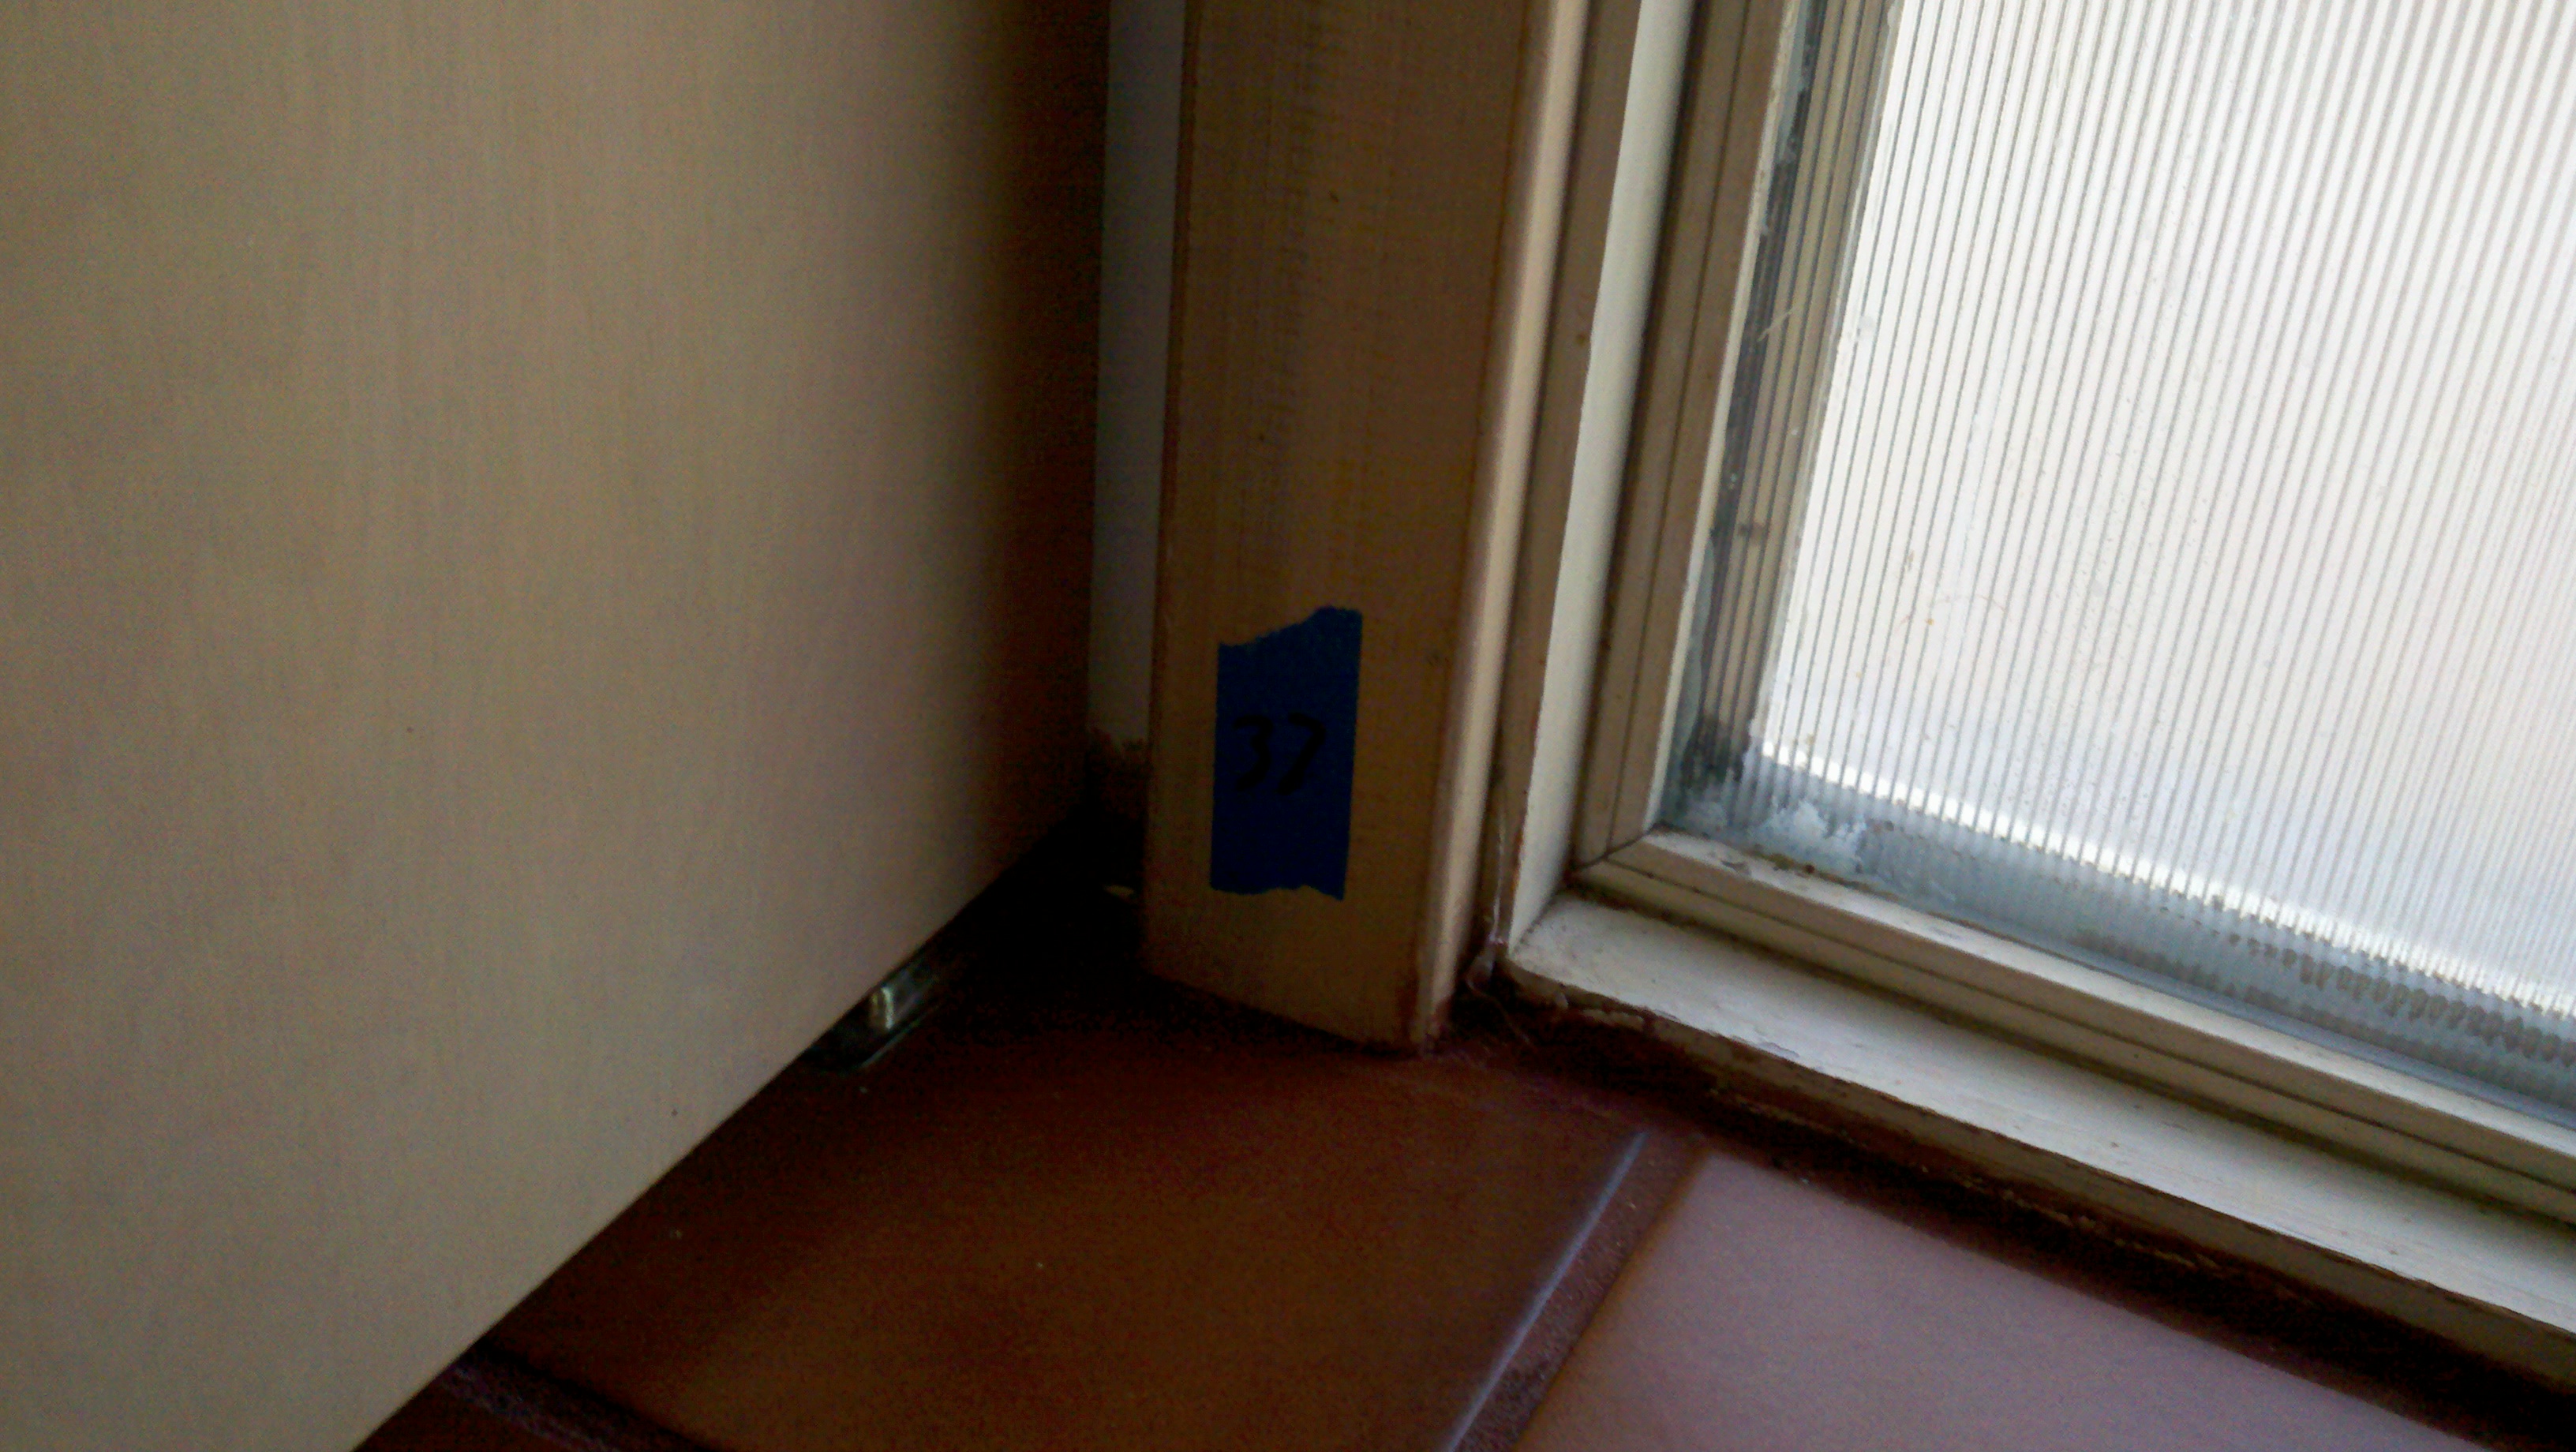
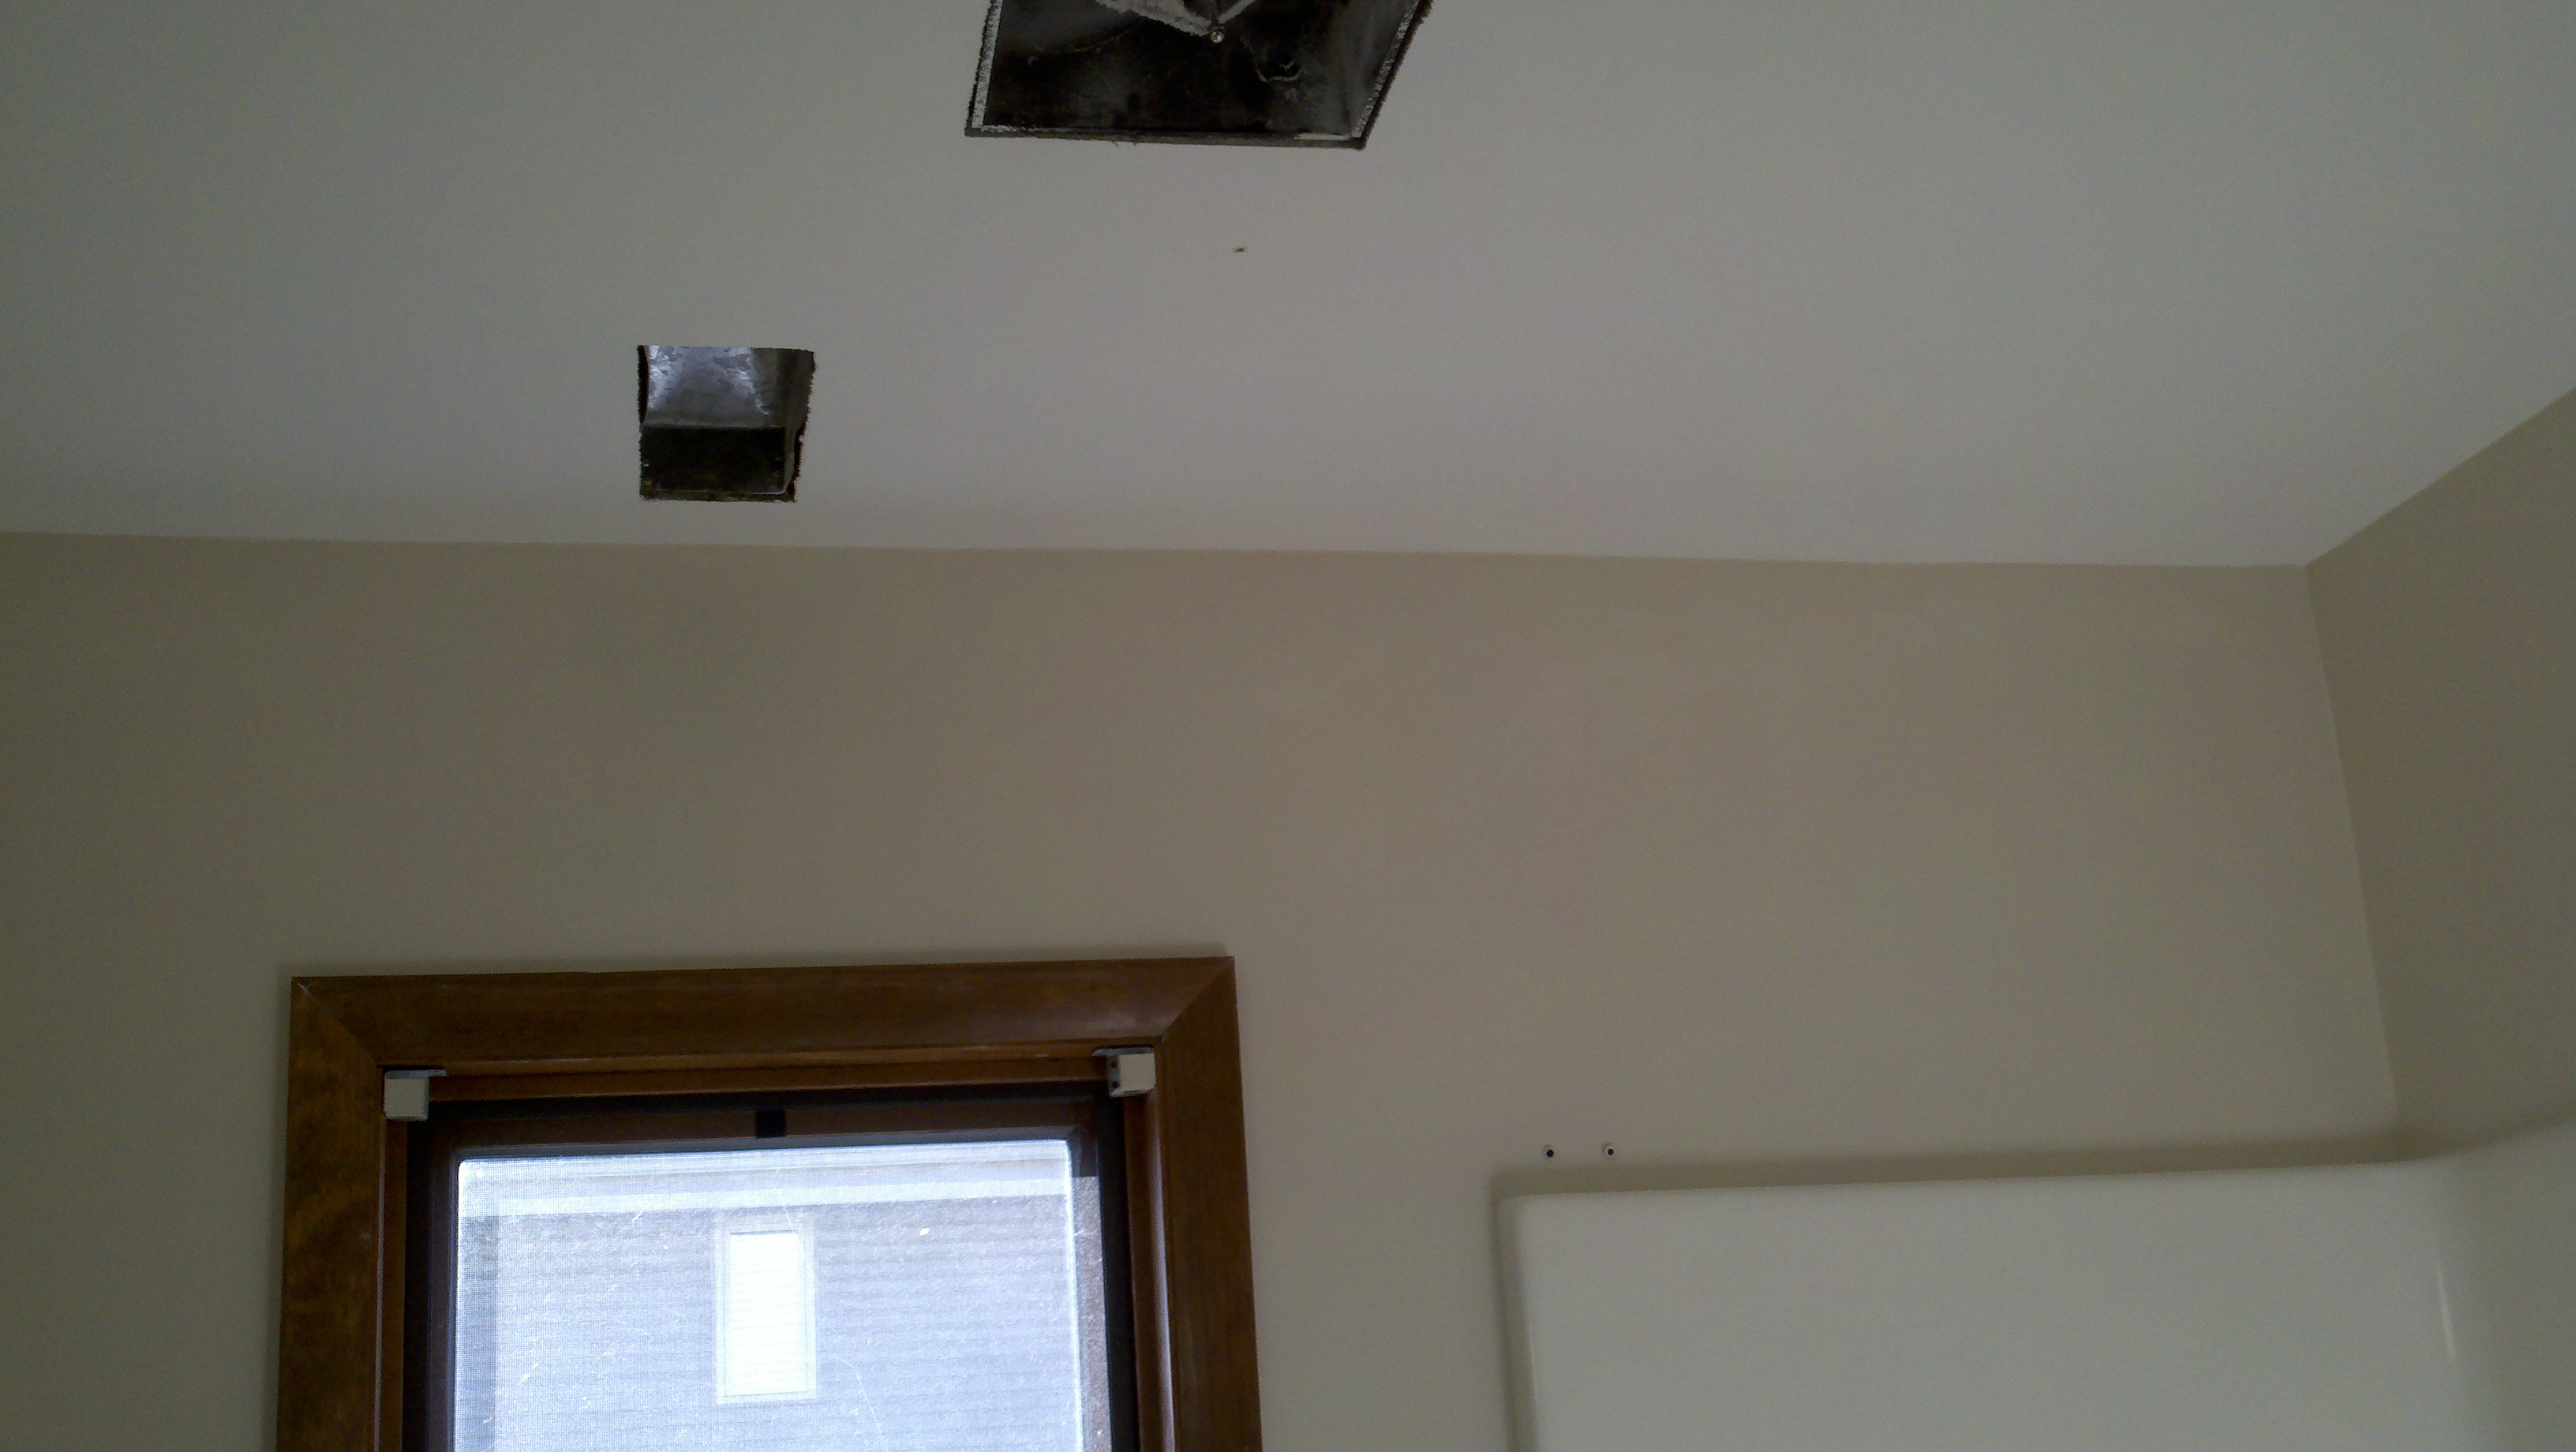
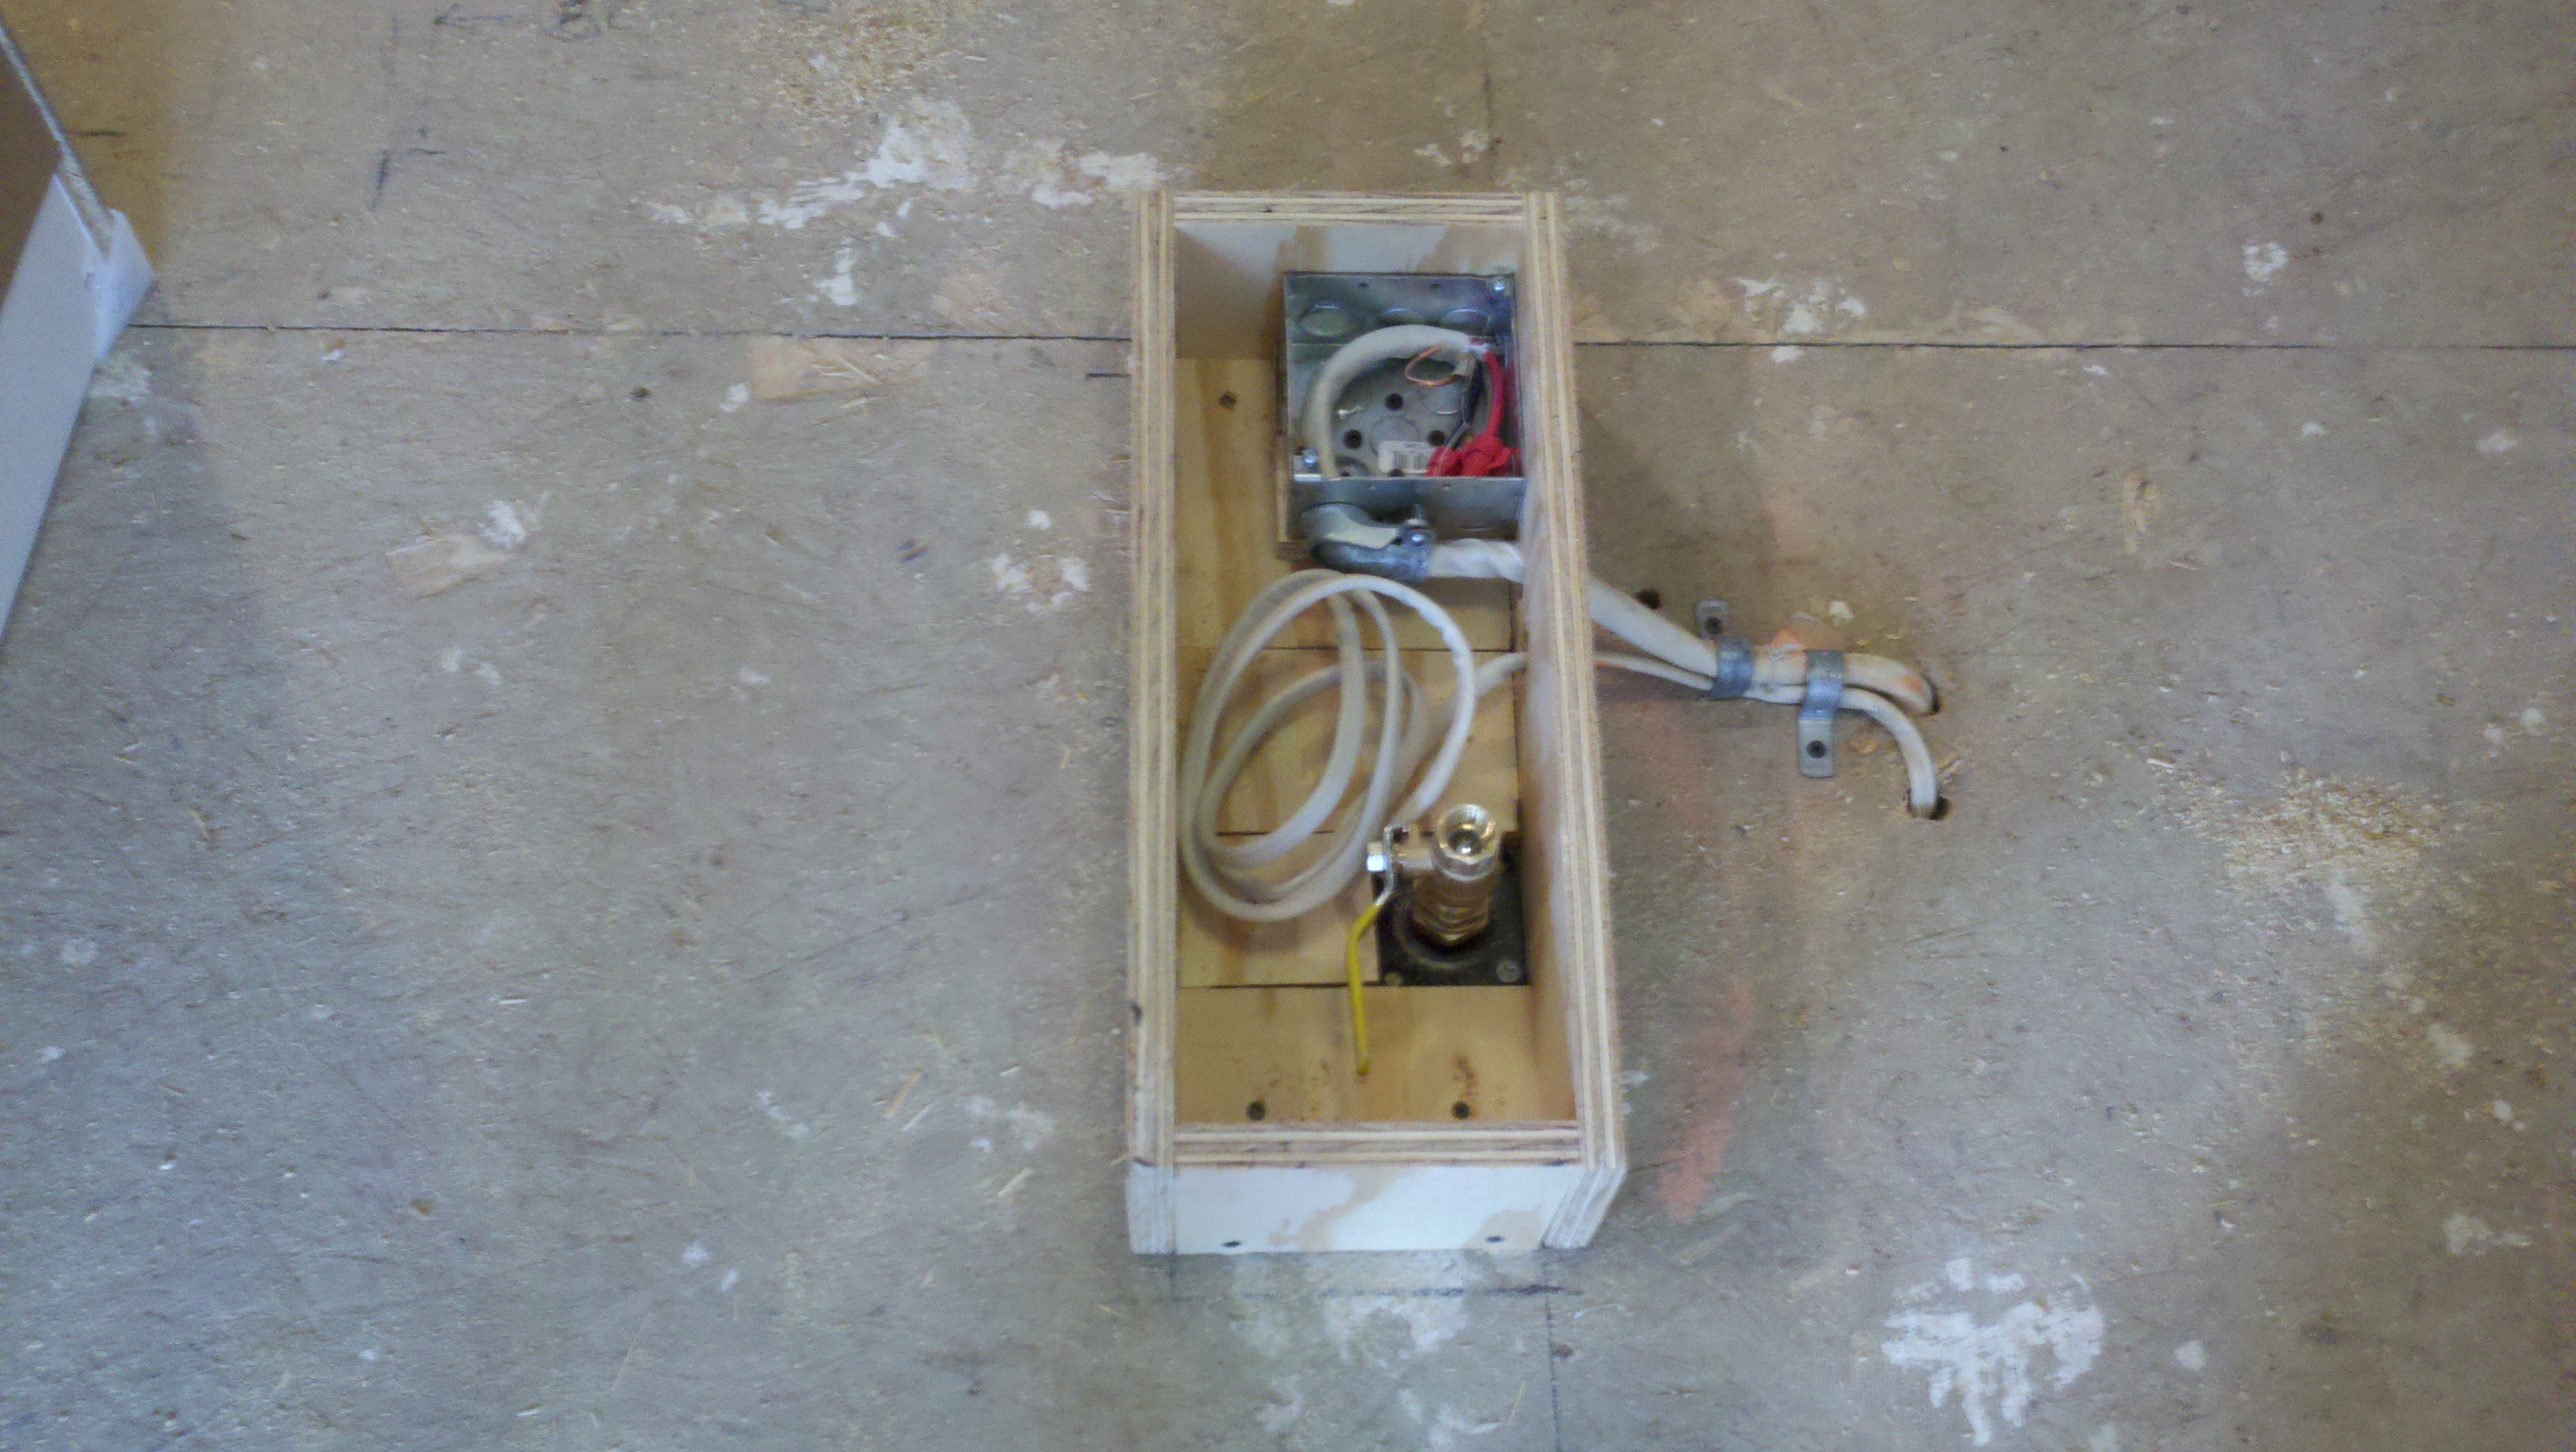
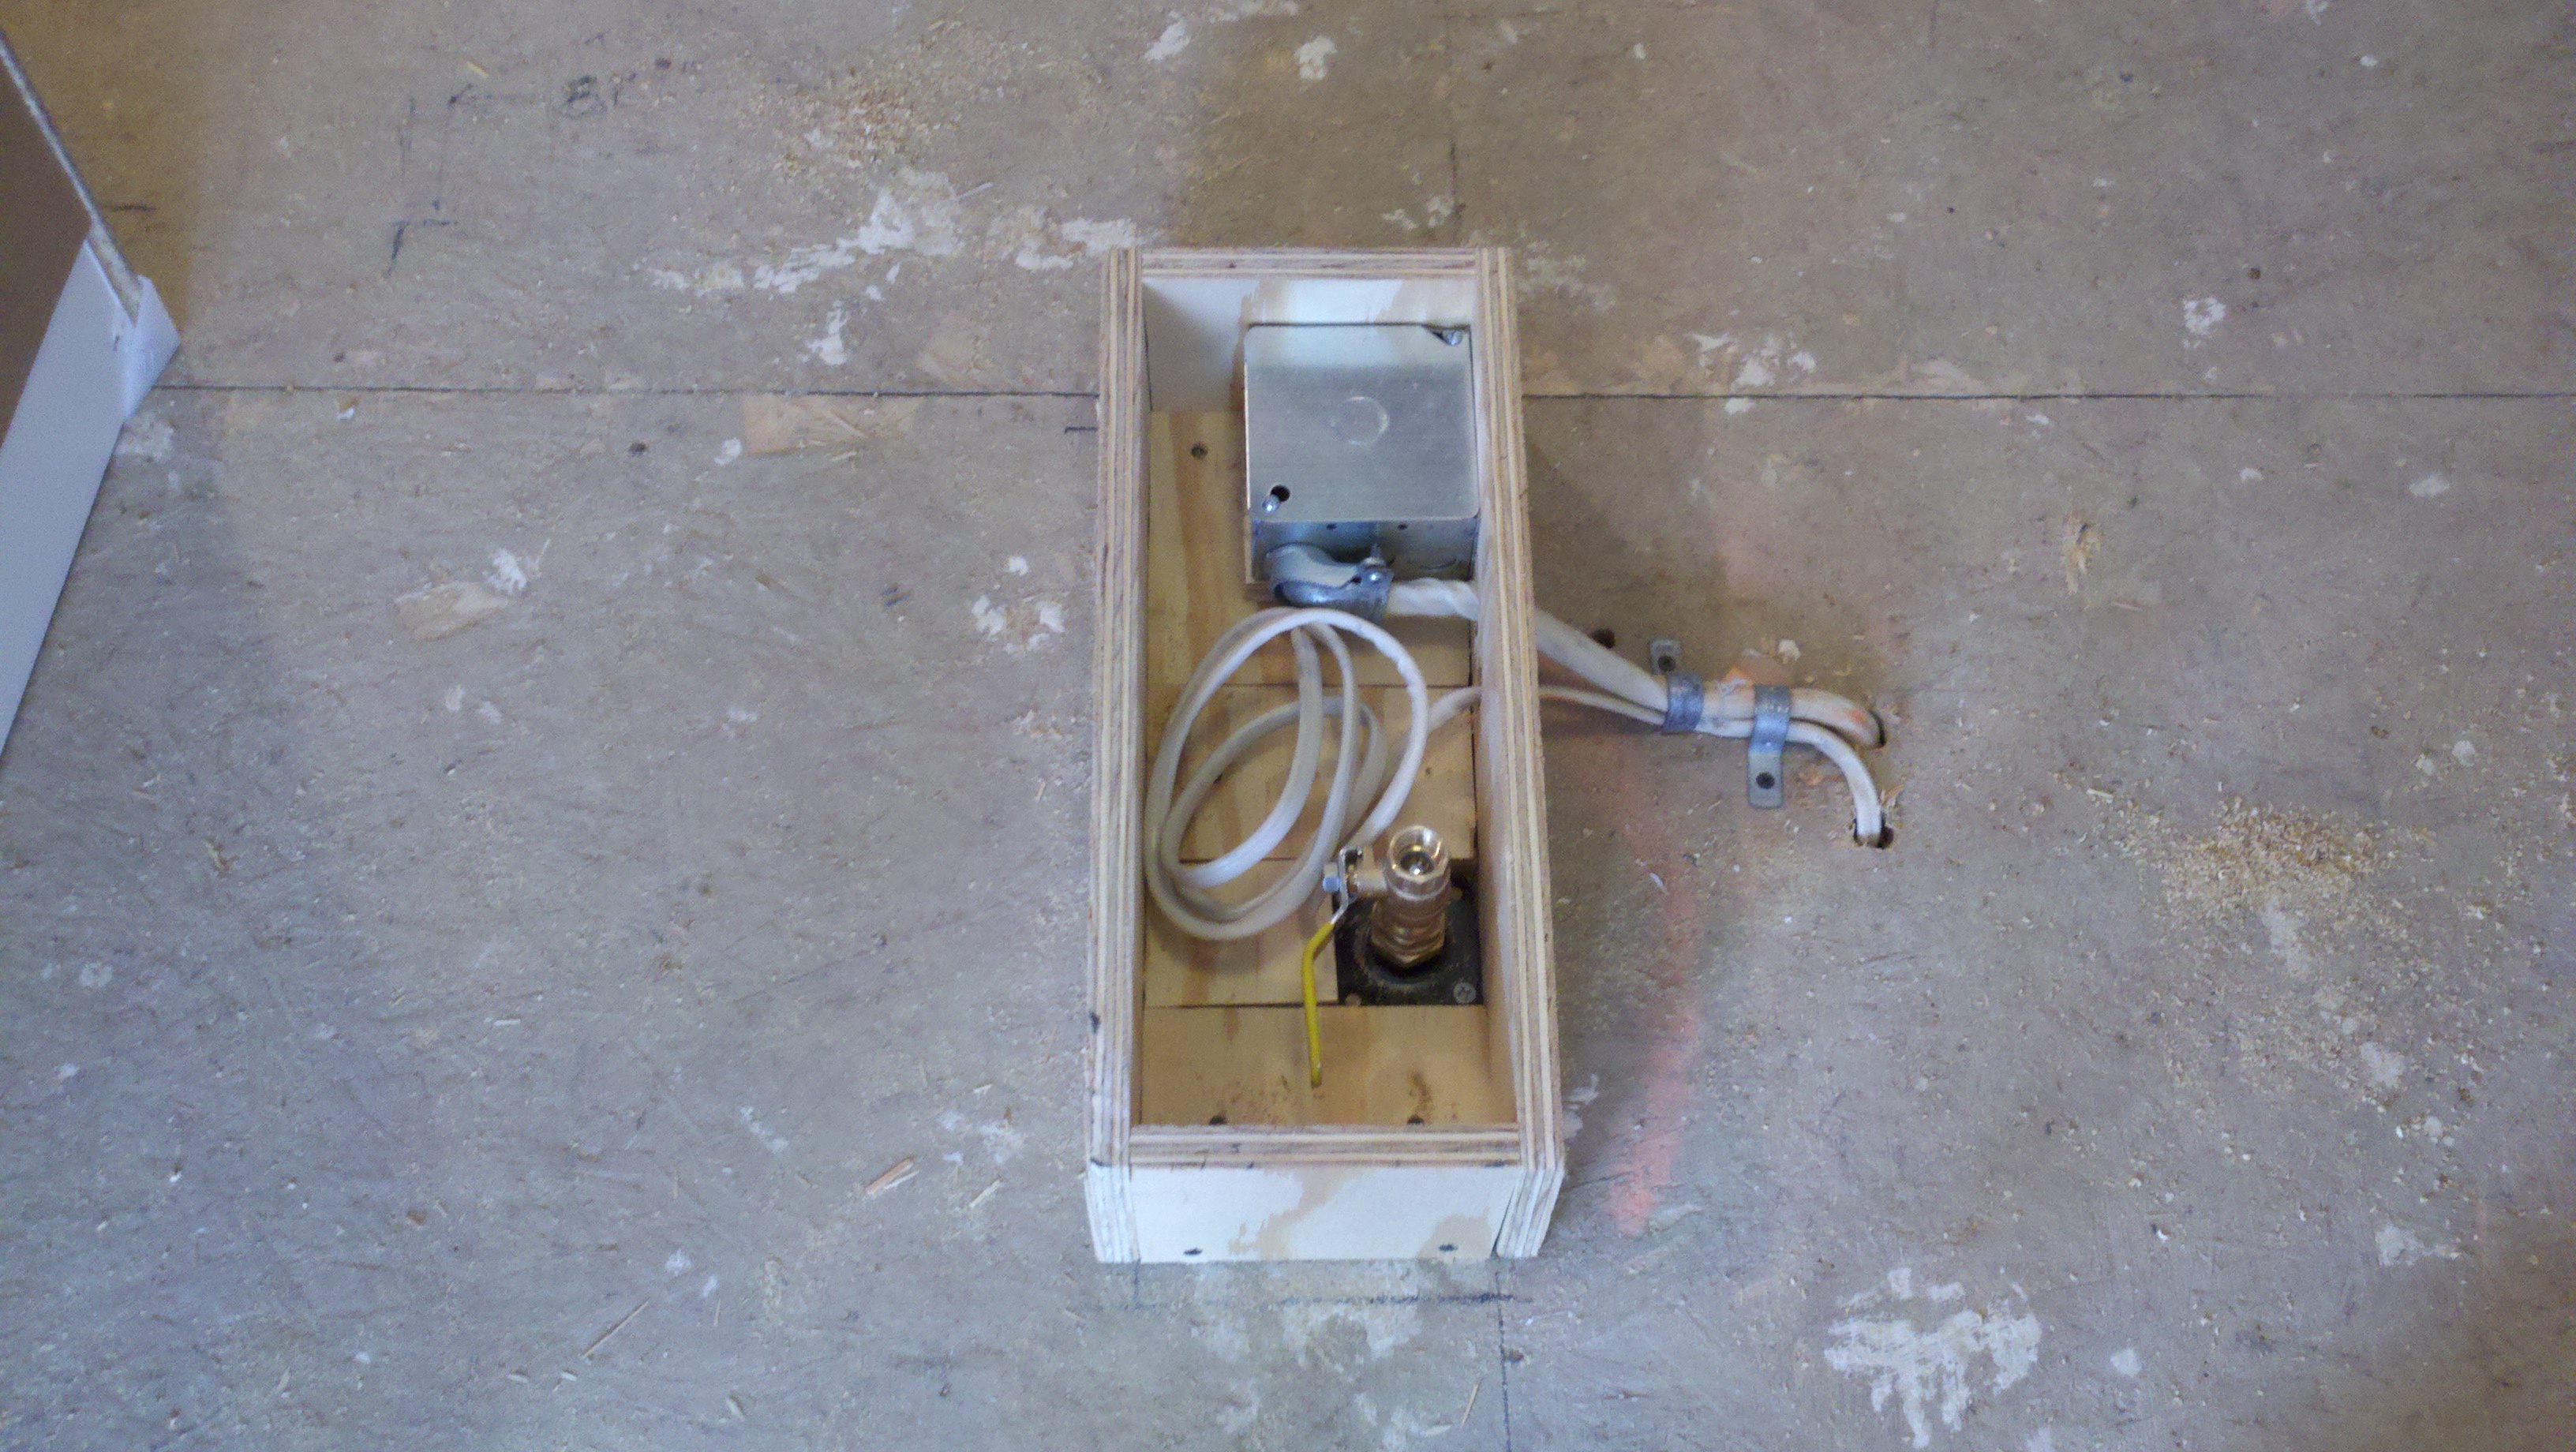
Picture thirty-eight provides a preliminary completion picture of the 120VAC plug. The internal breaker is additionally connected to the ceiling fan.
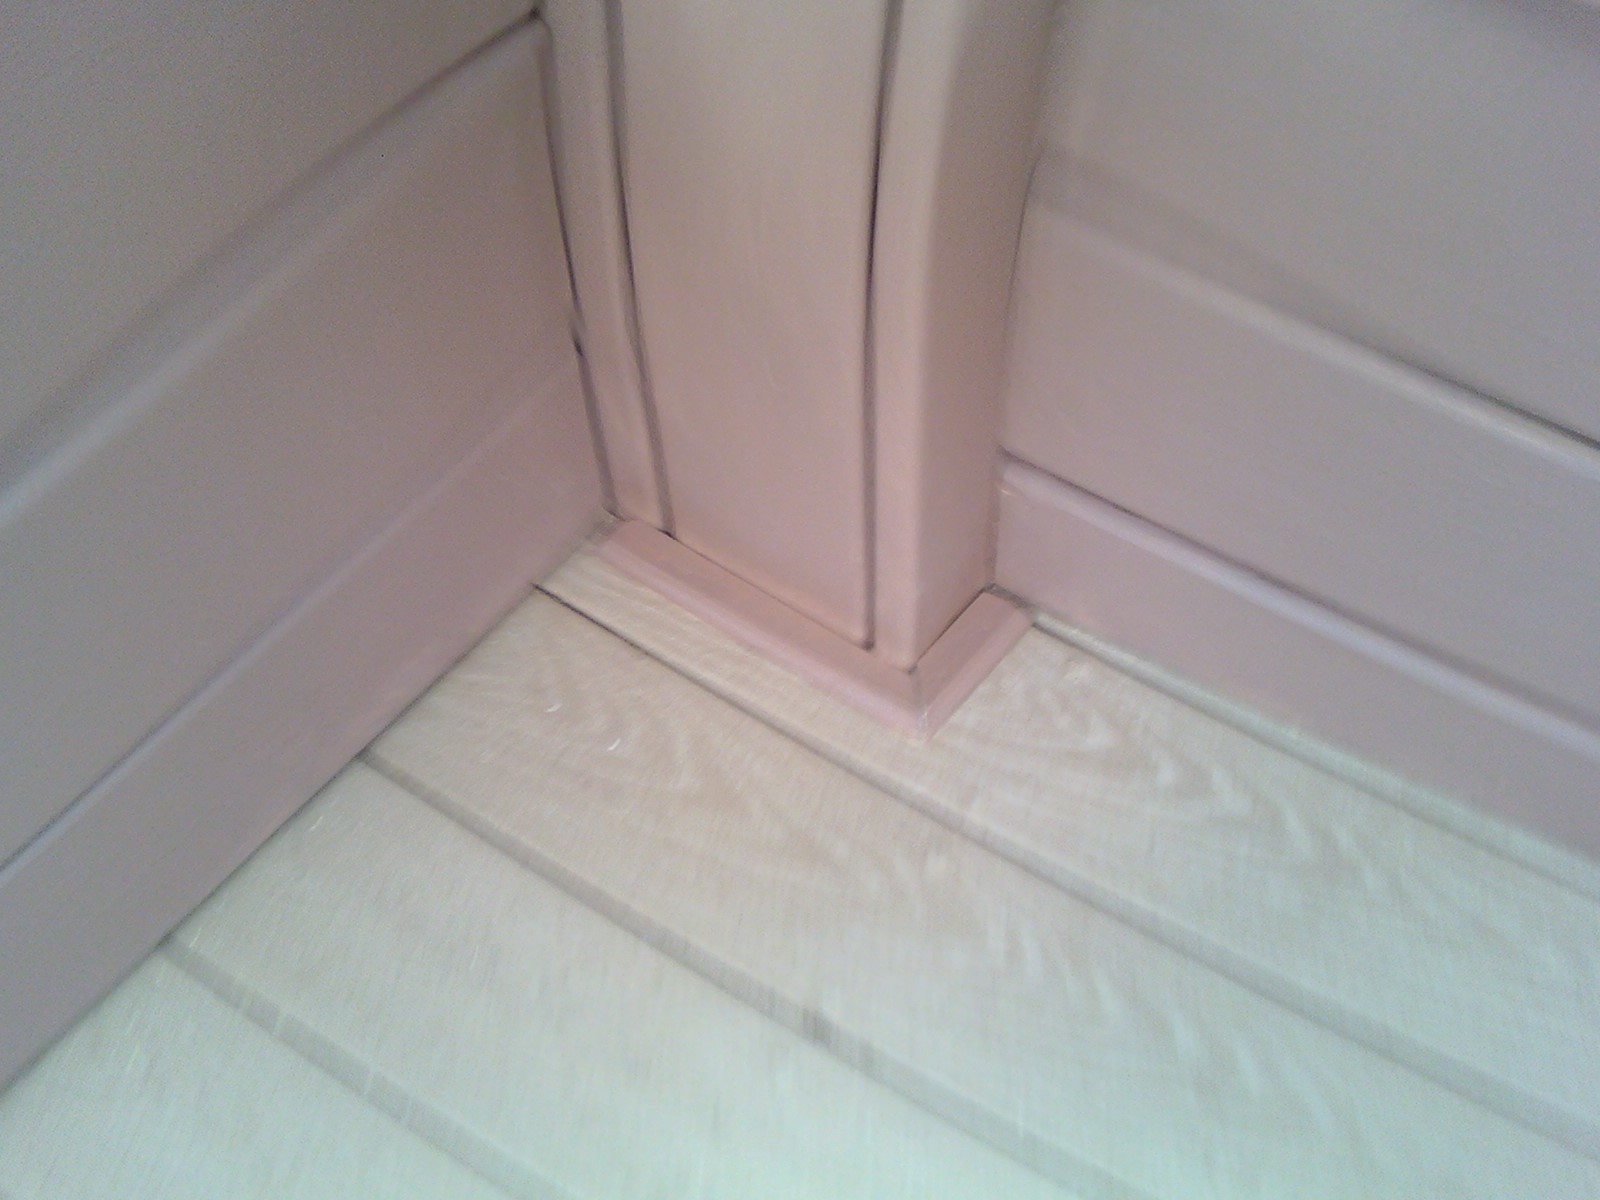
The final portion of this project required an in-depth paint process and addition of trim around portions of the floor plank intersections with the gazebo stools and seats. Following this exert, the pictures provide a visual rendition of the complete project.
|
|
|
|
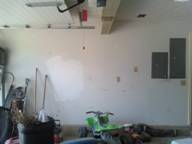
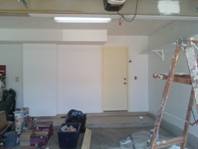
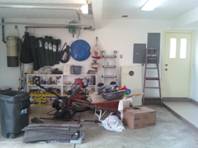
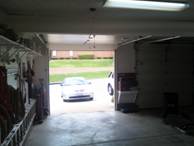
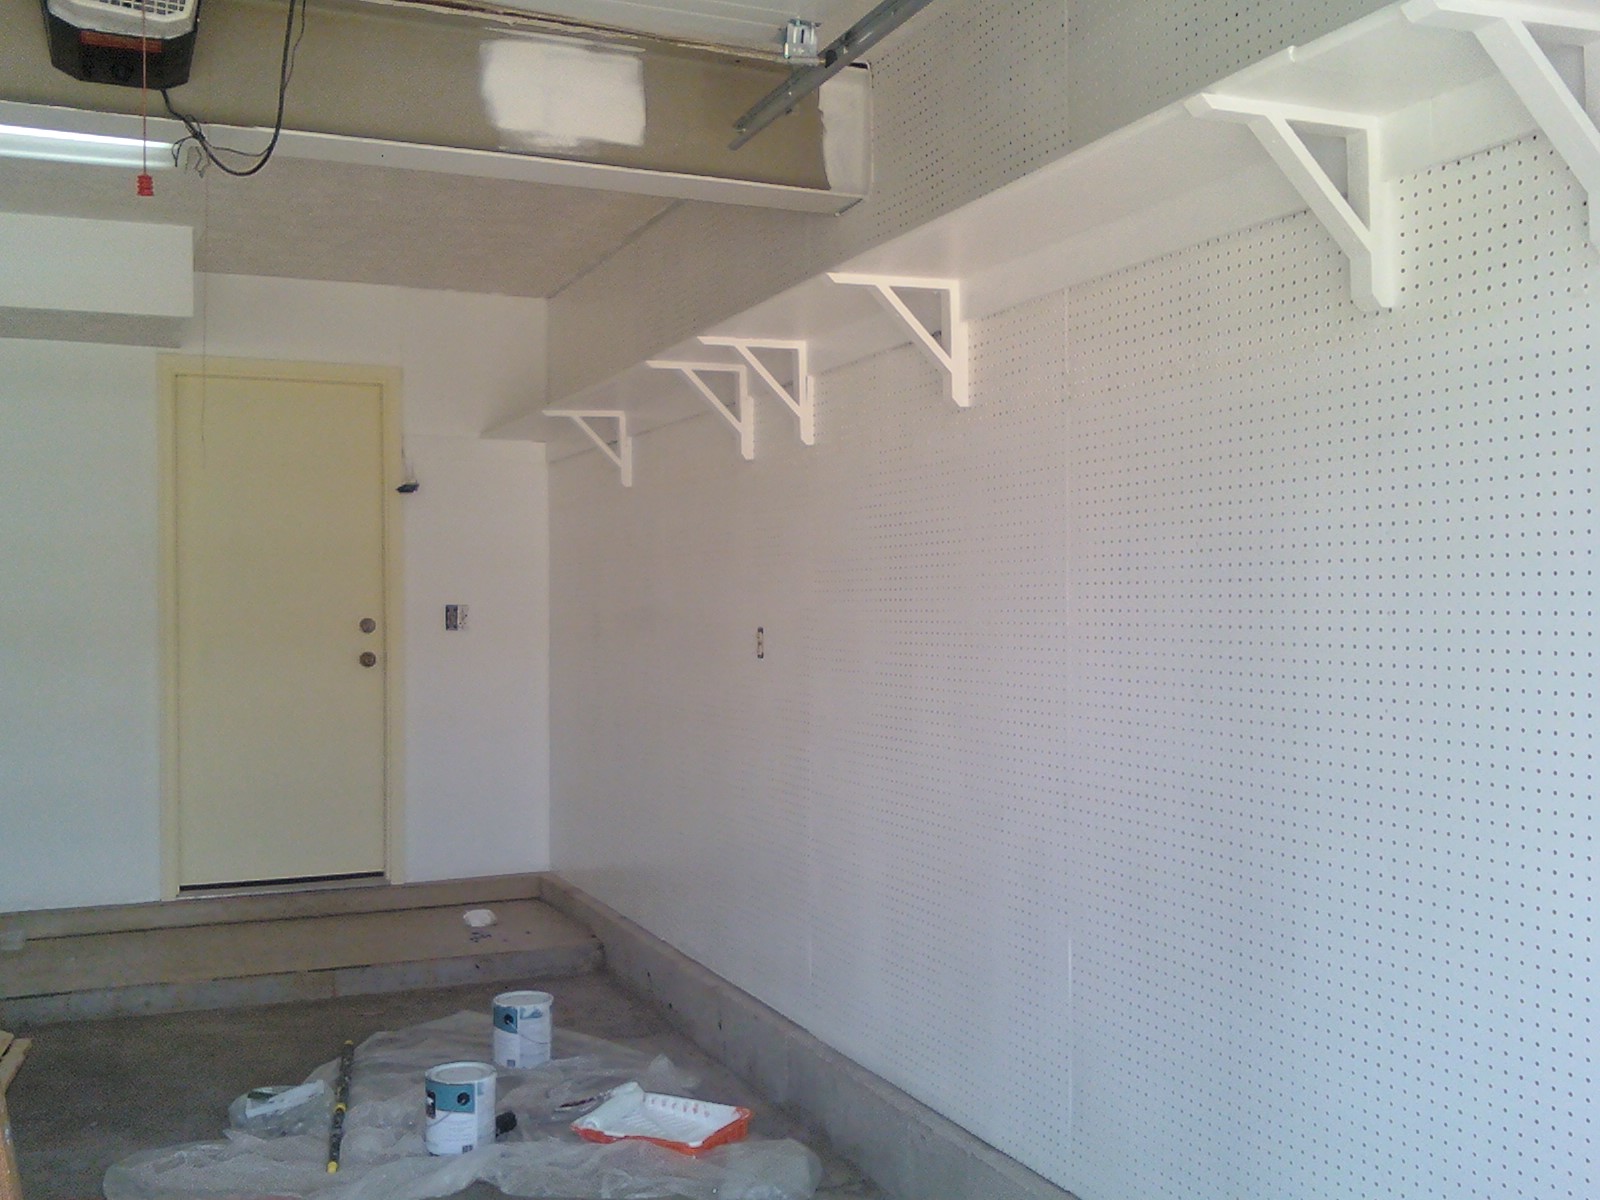
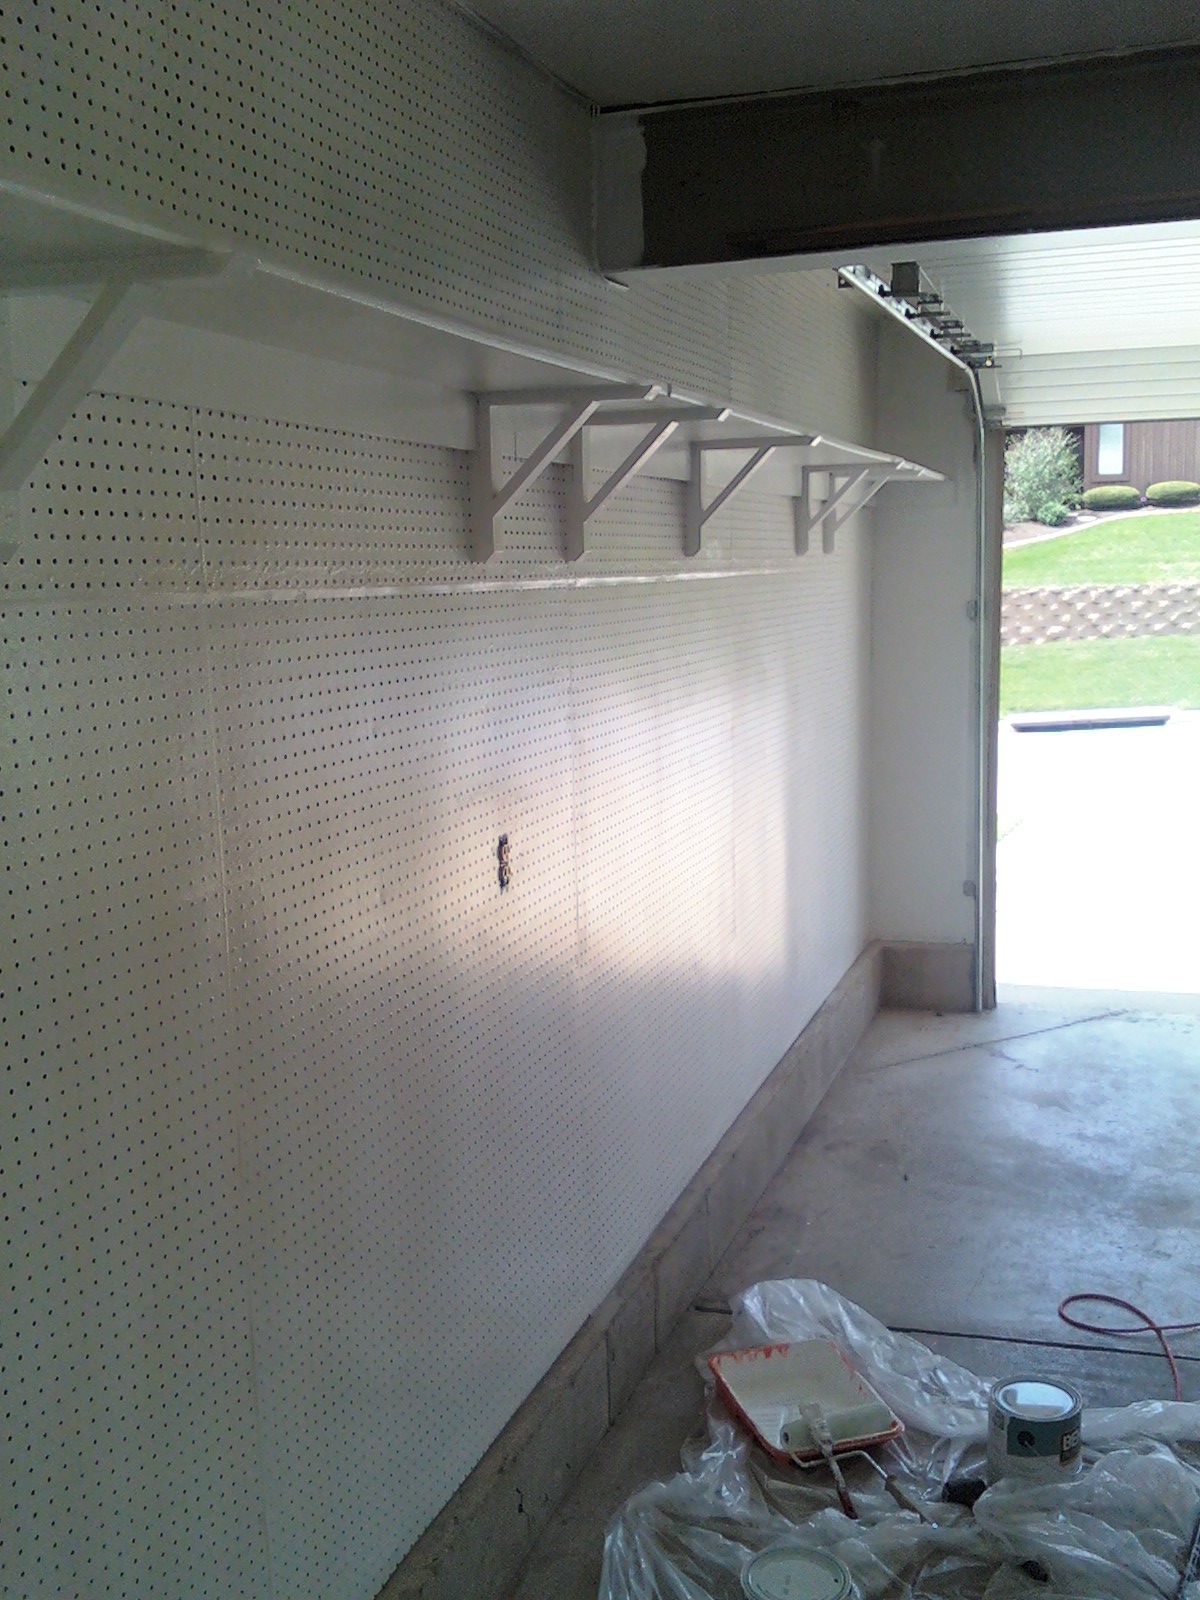
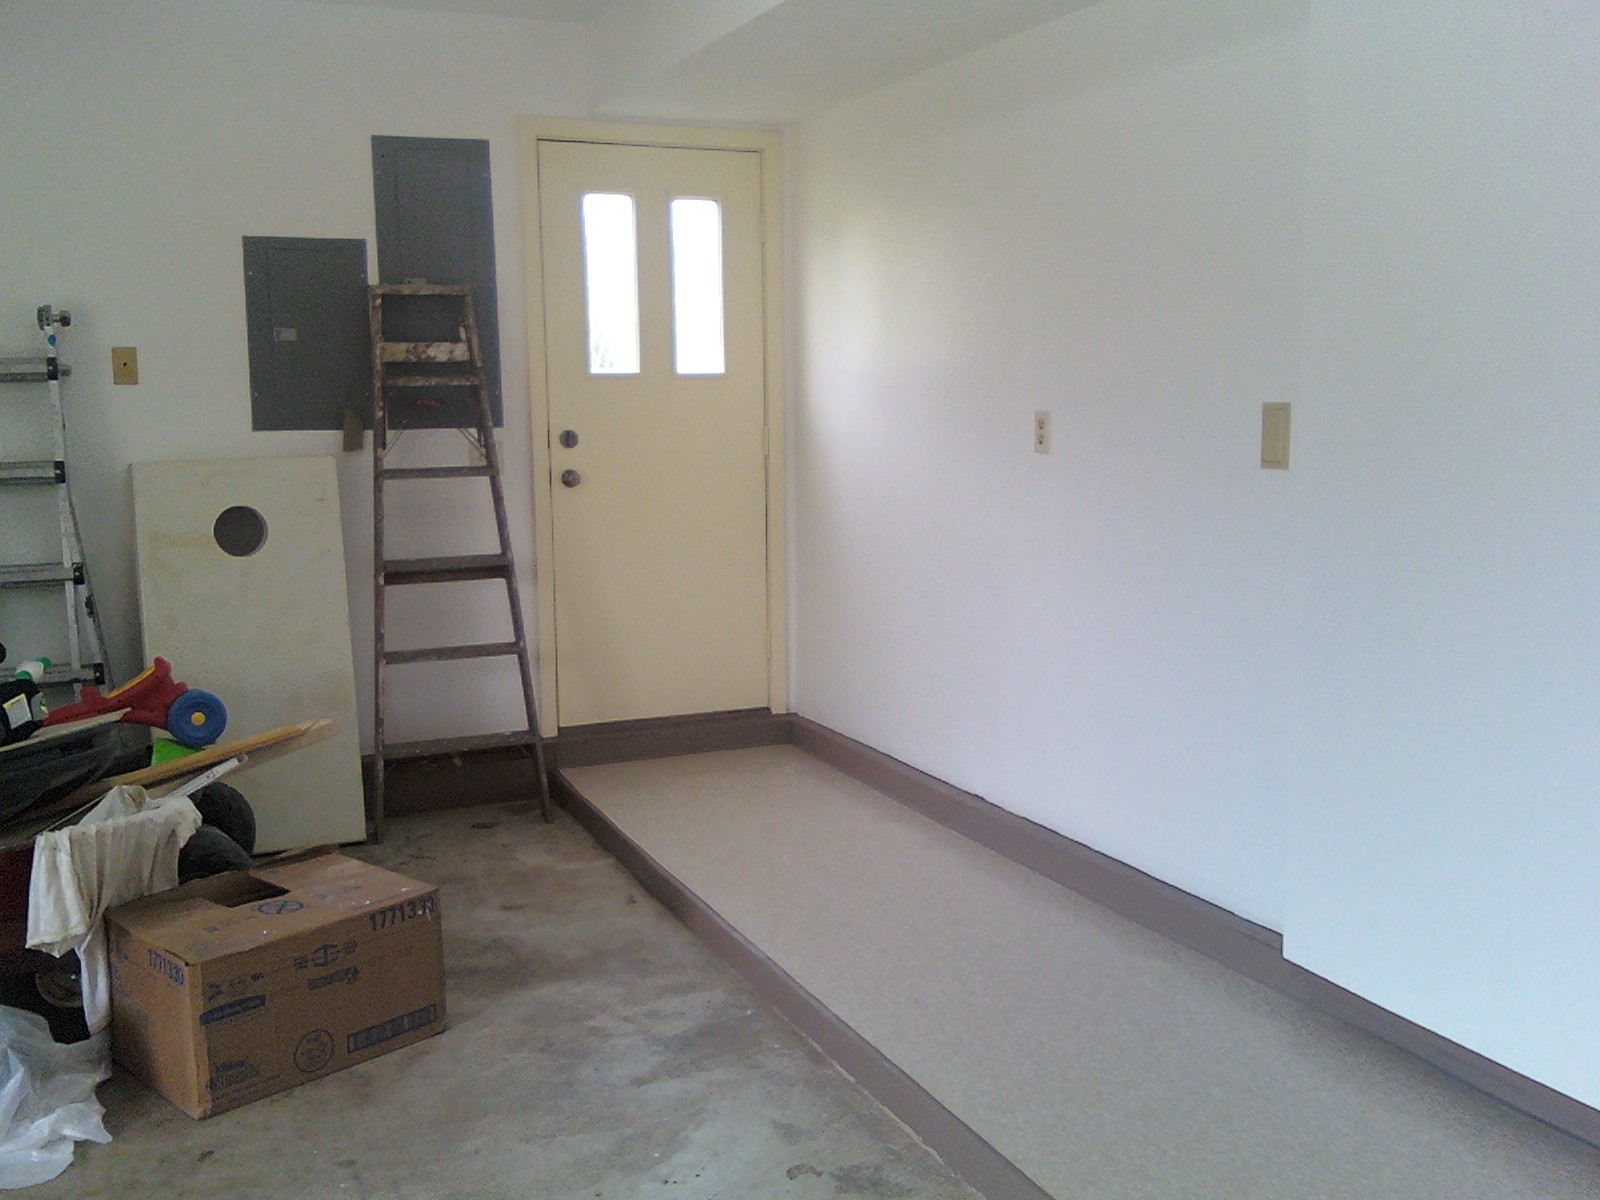
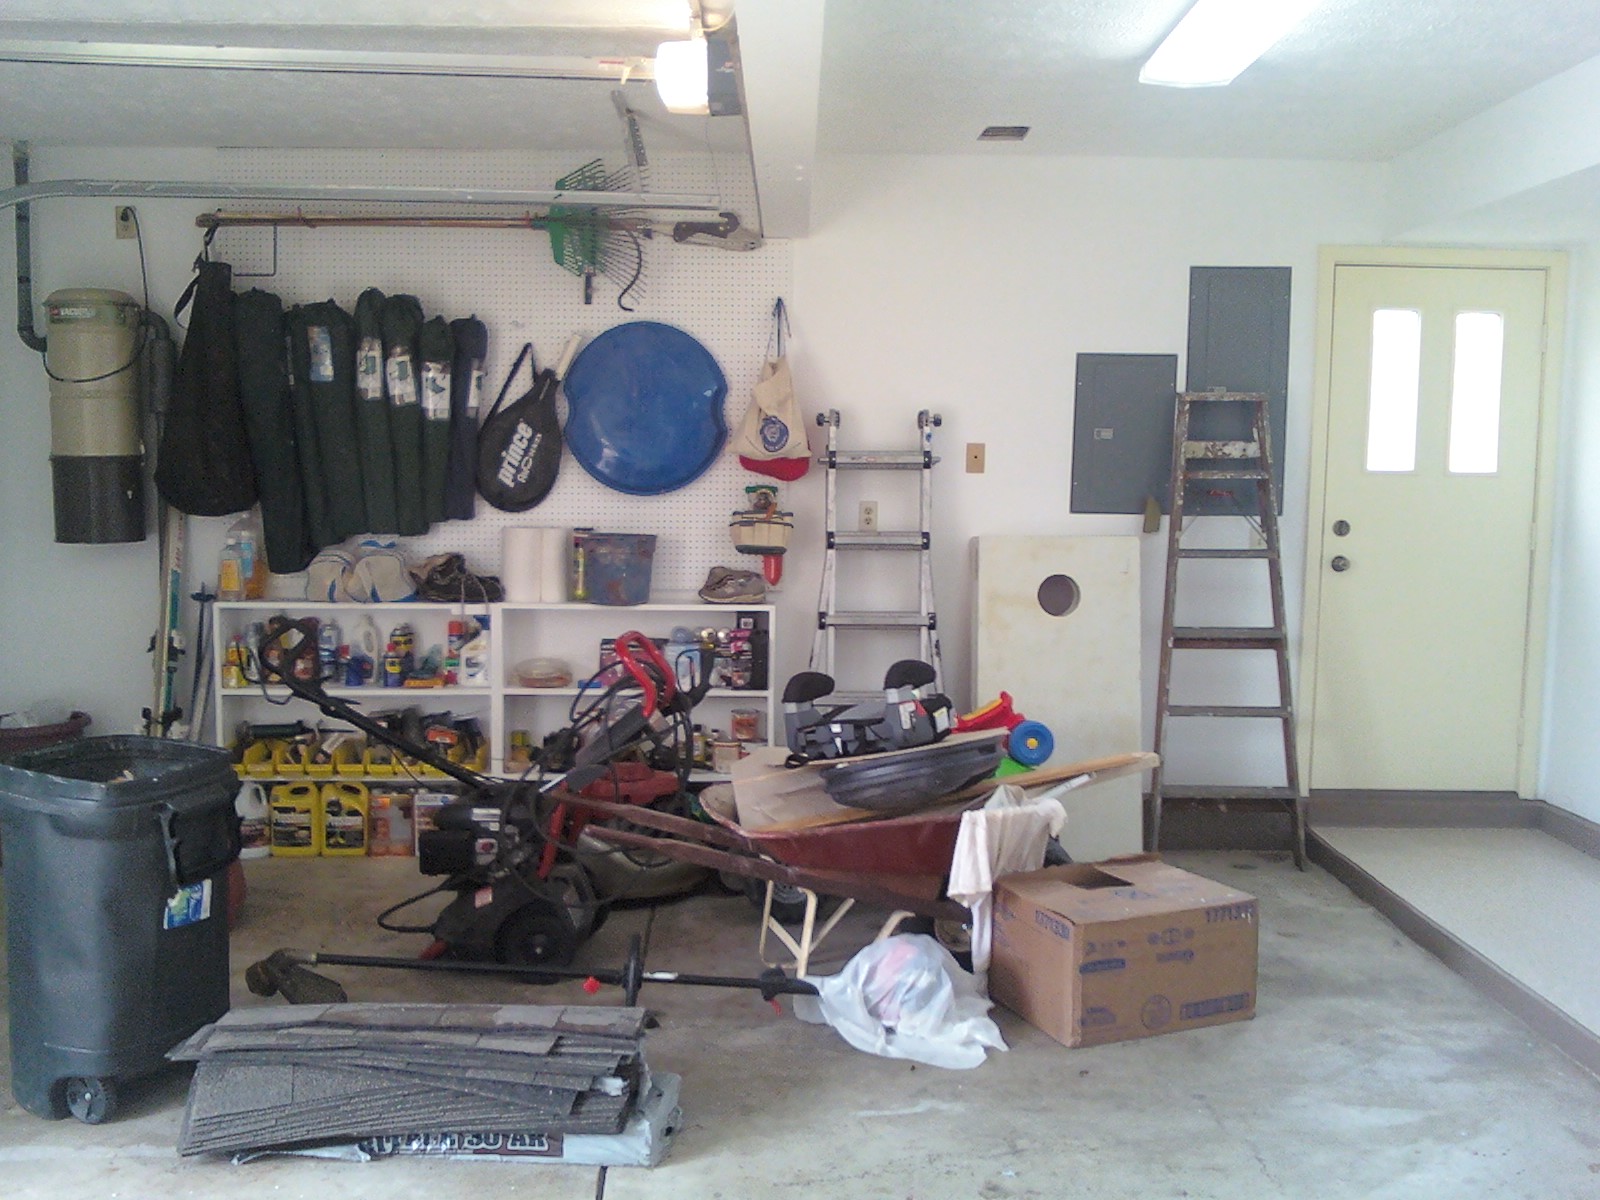
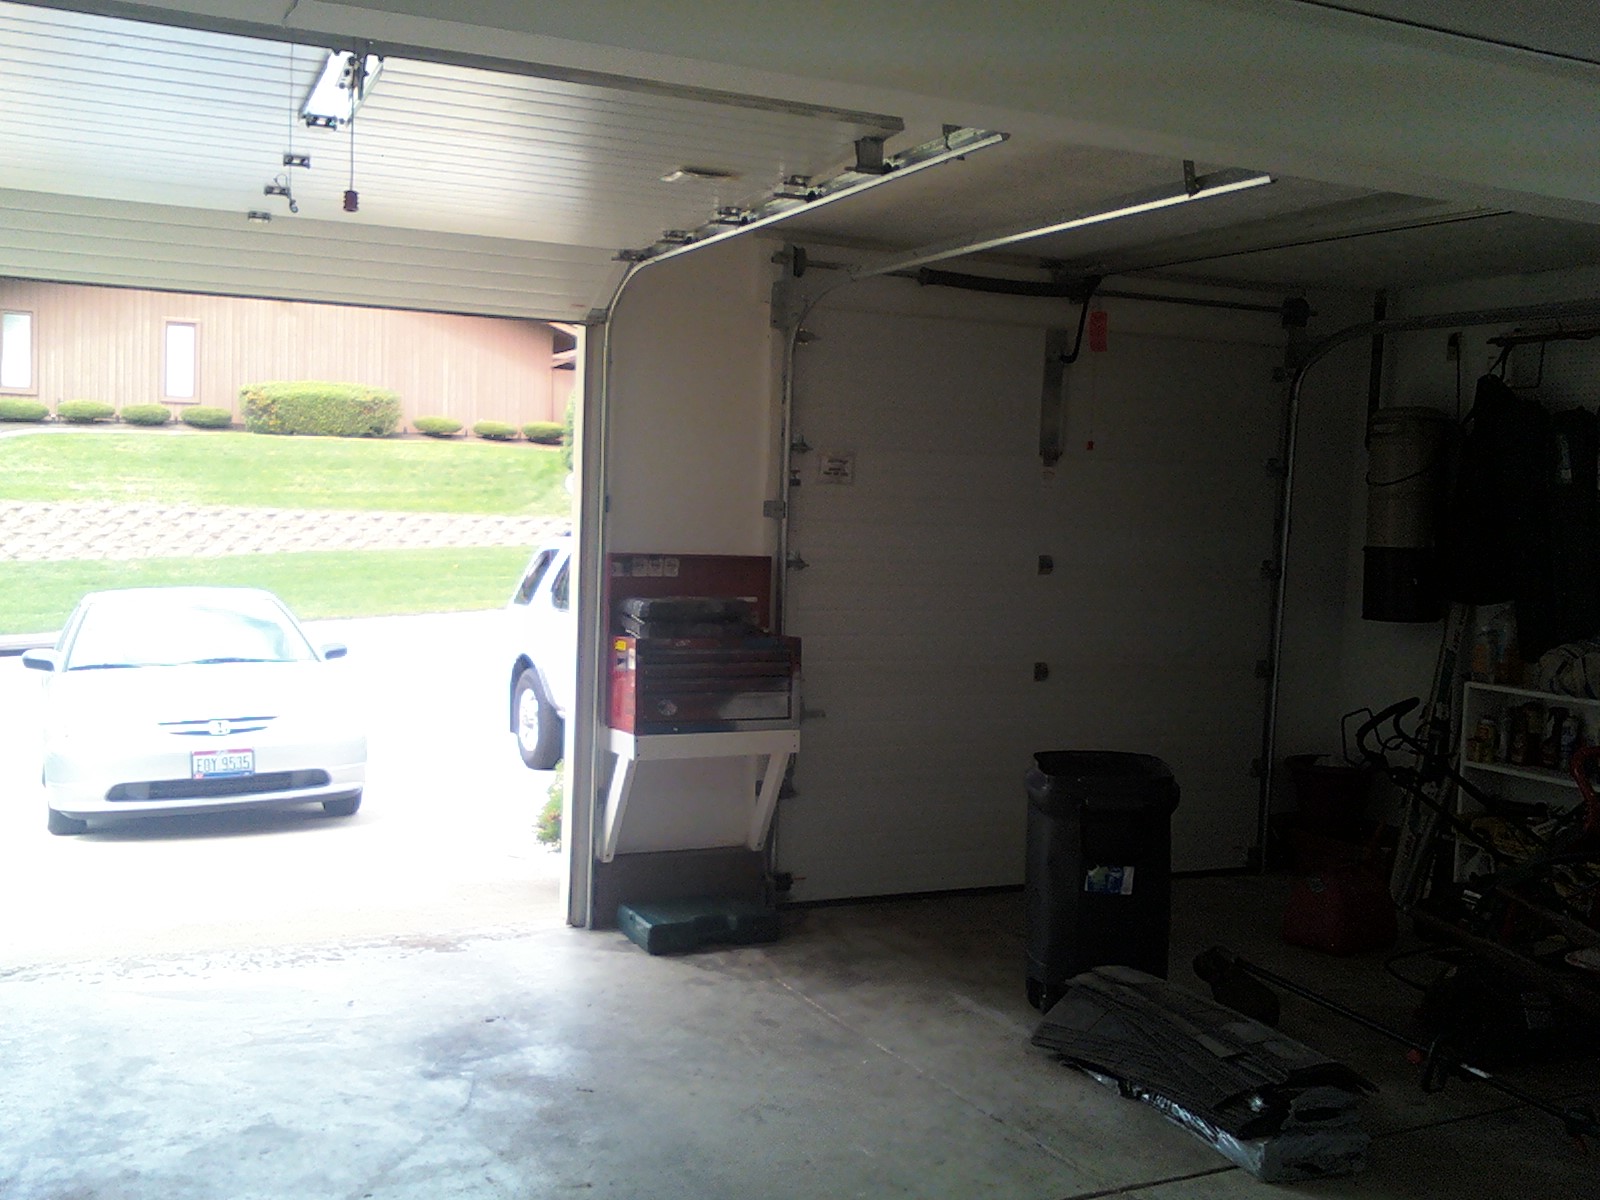
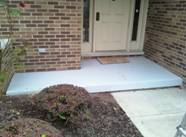
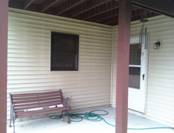
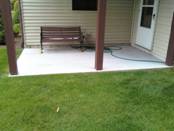
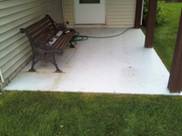
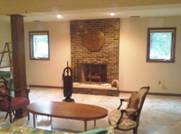
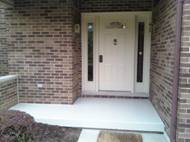
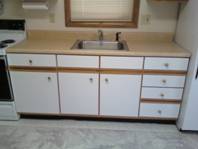
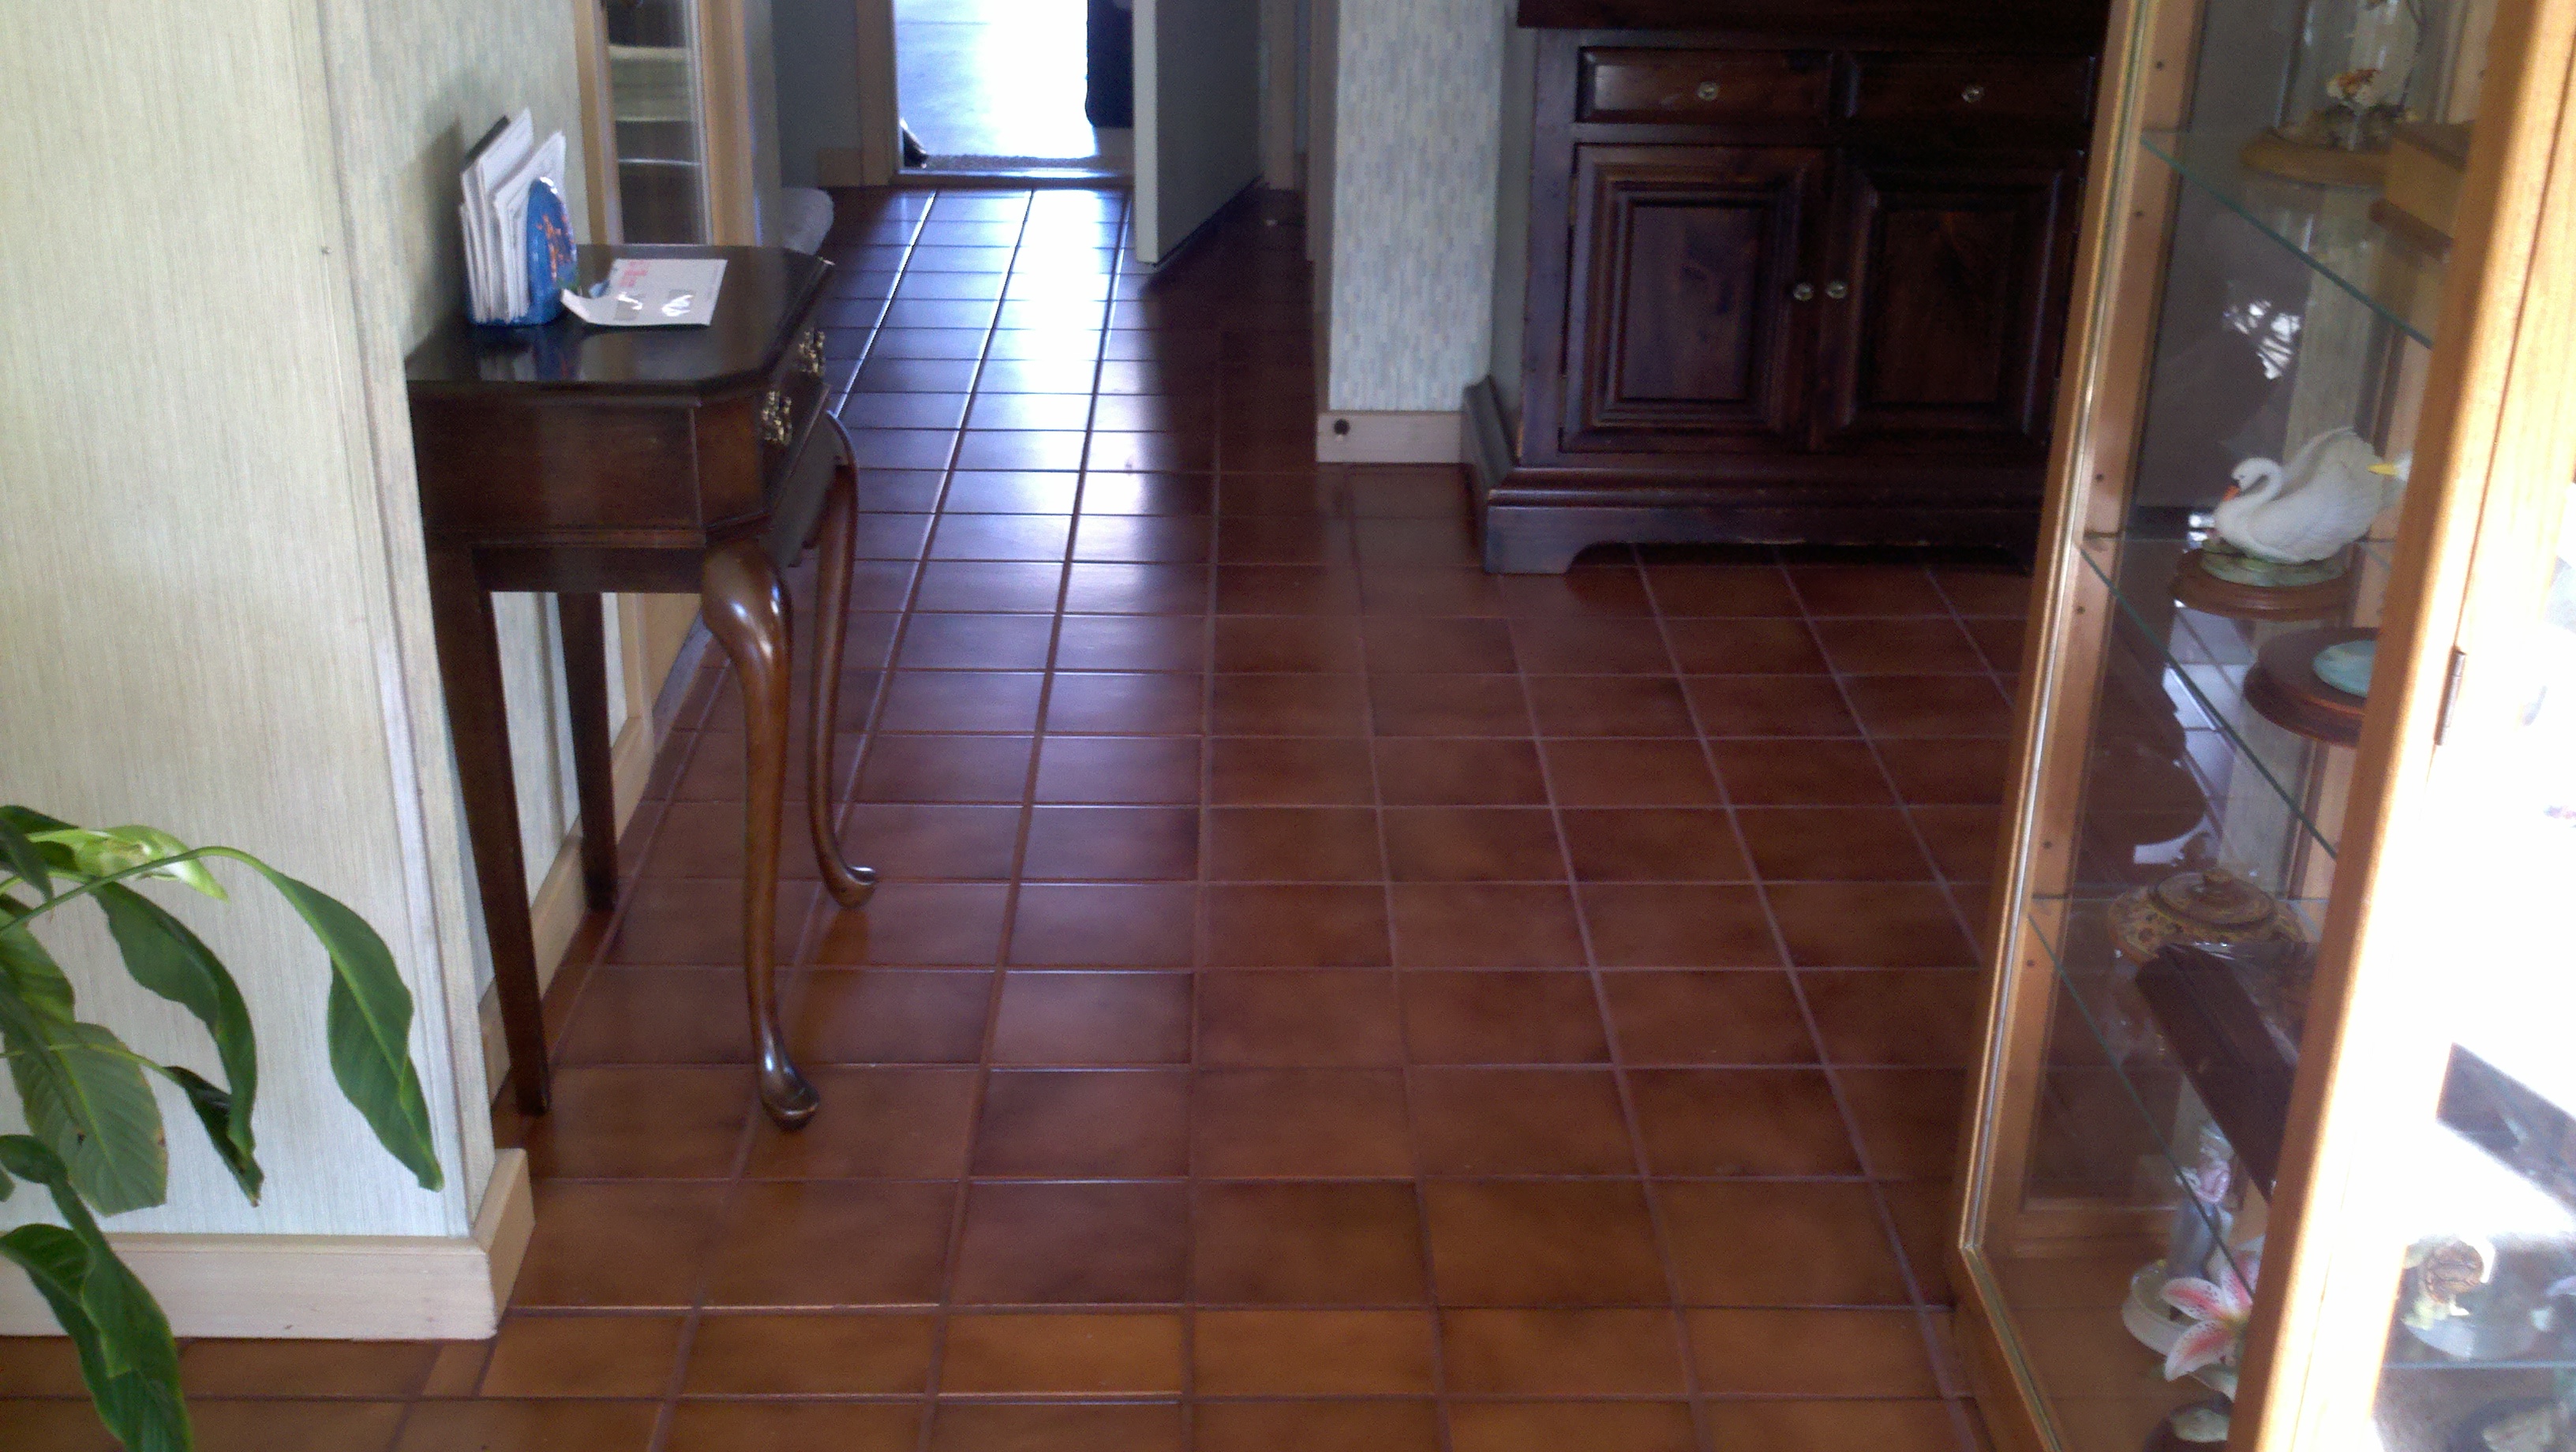
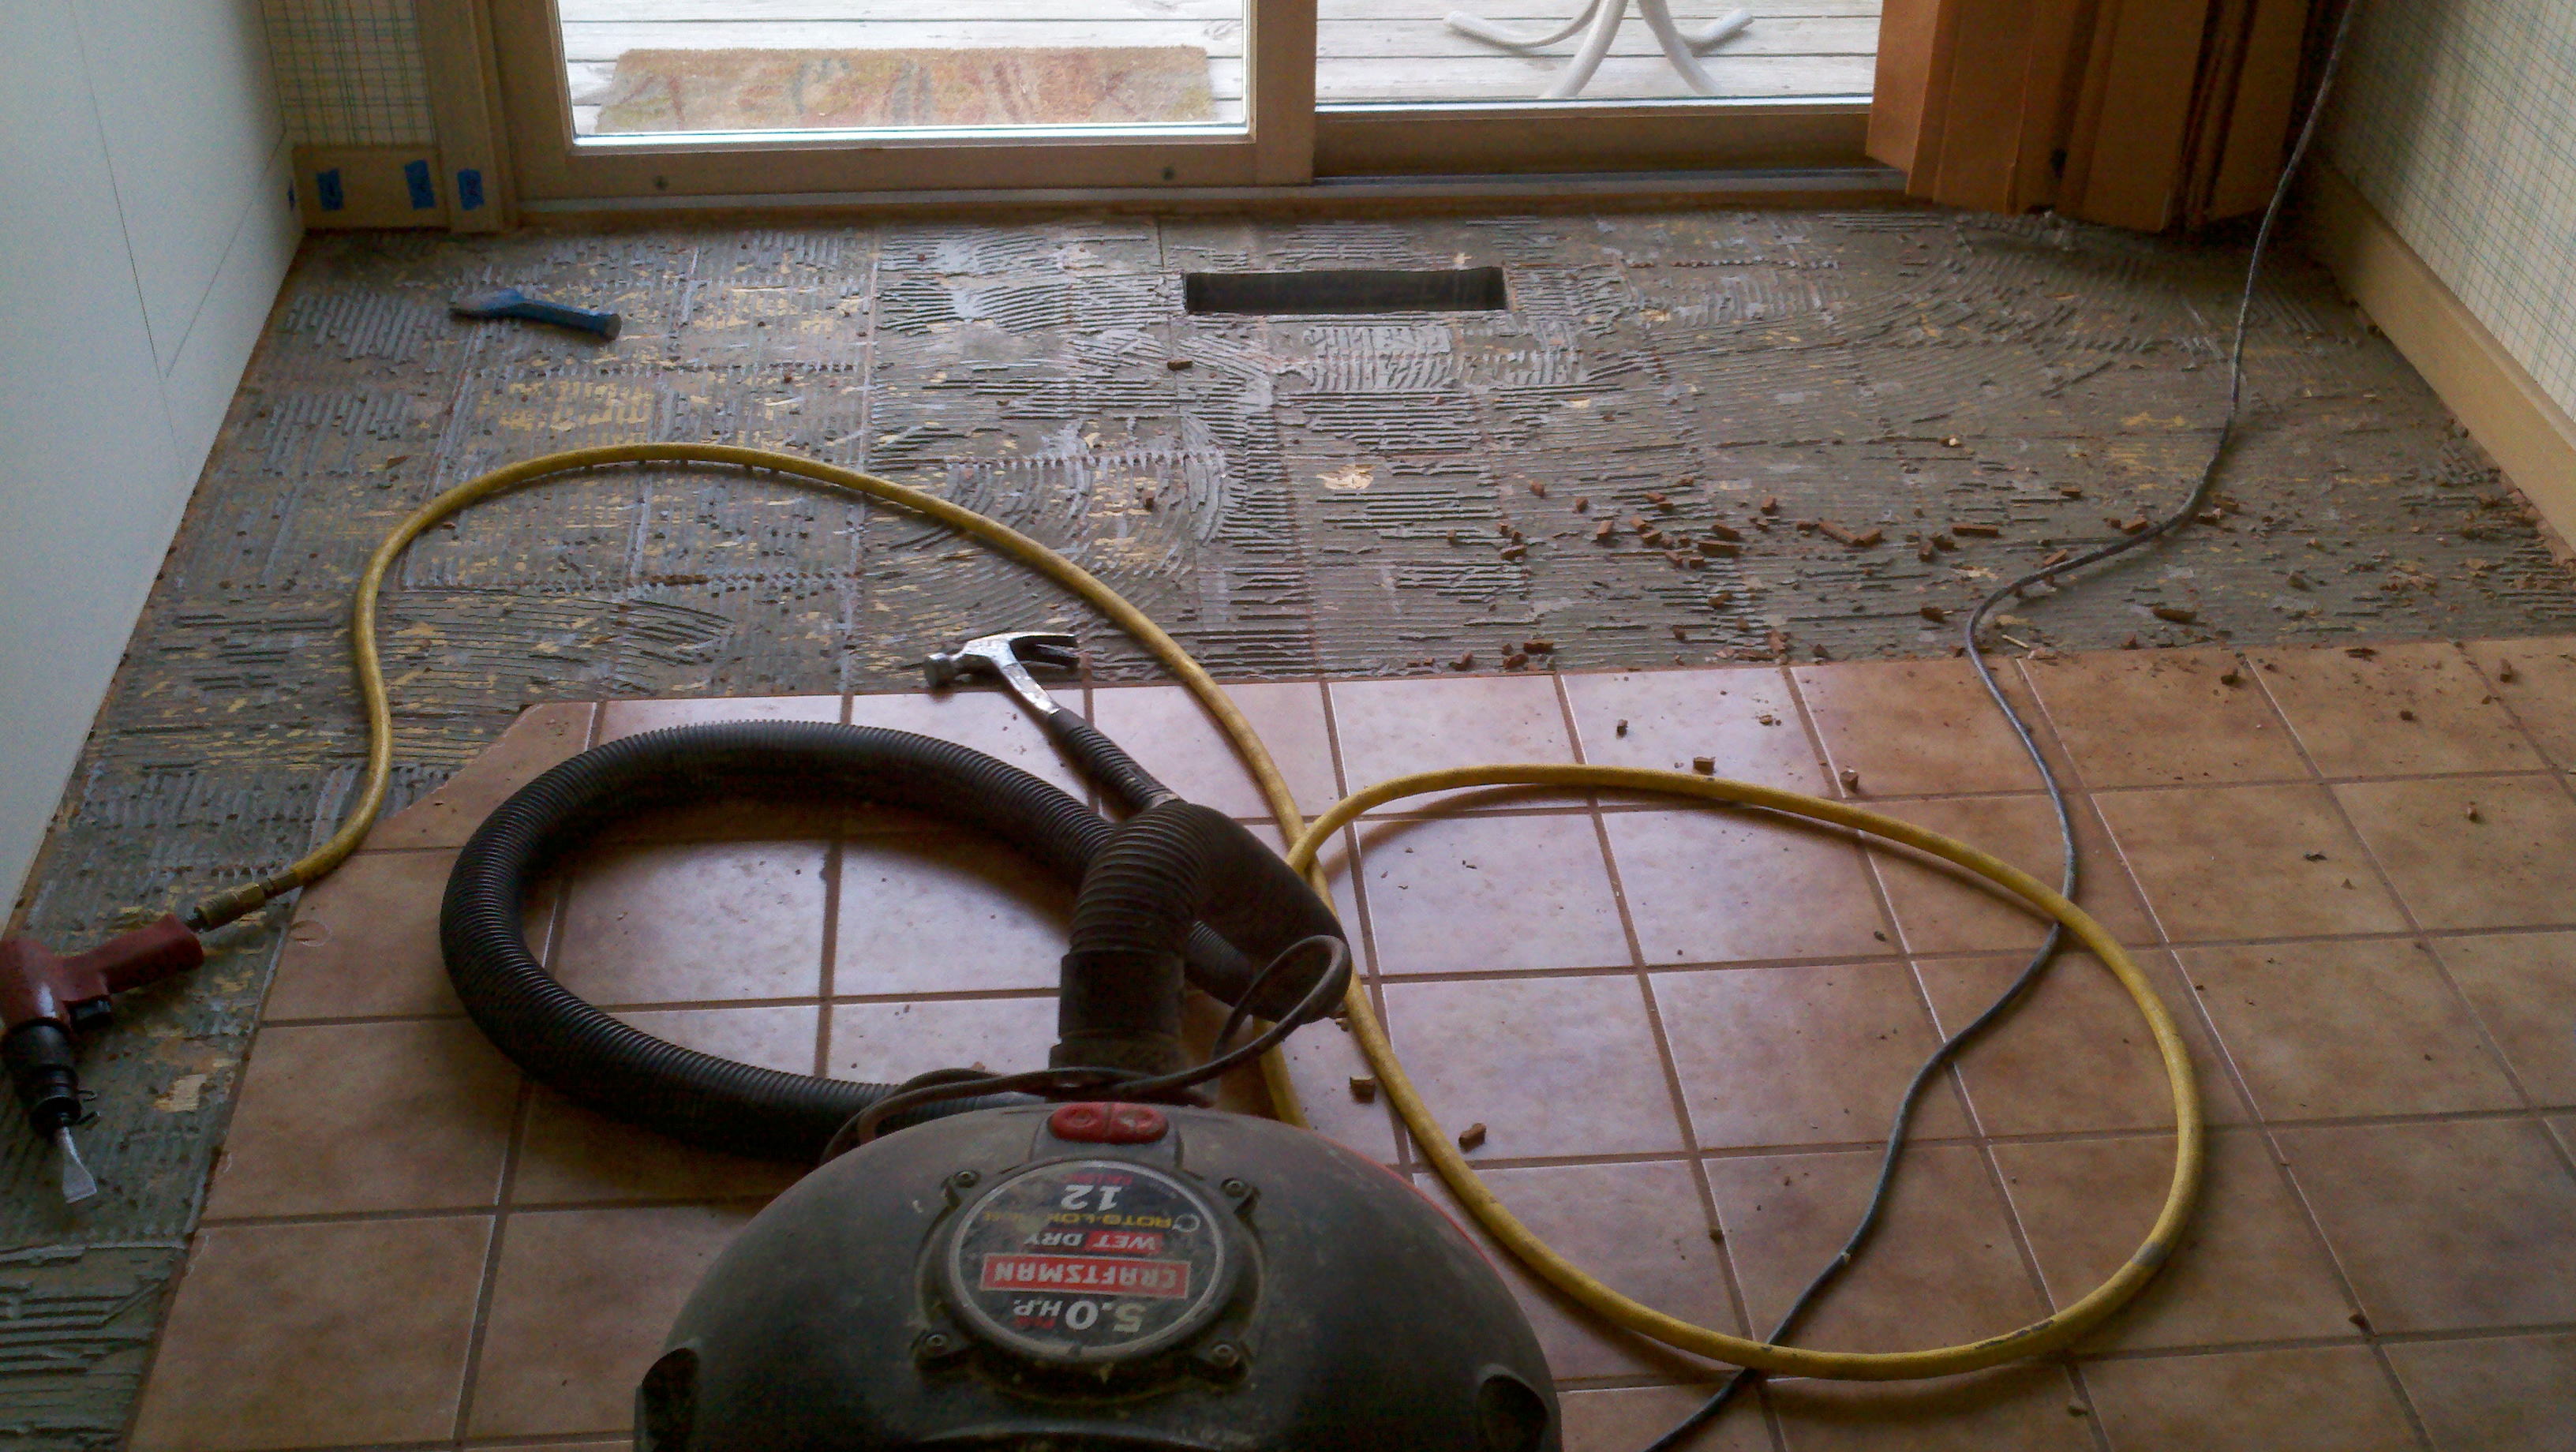
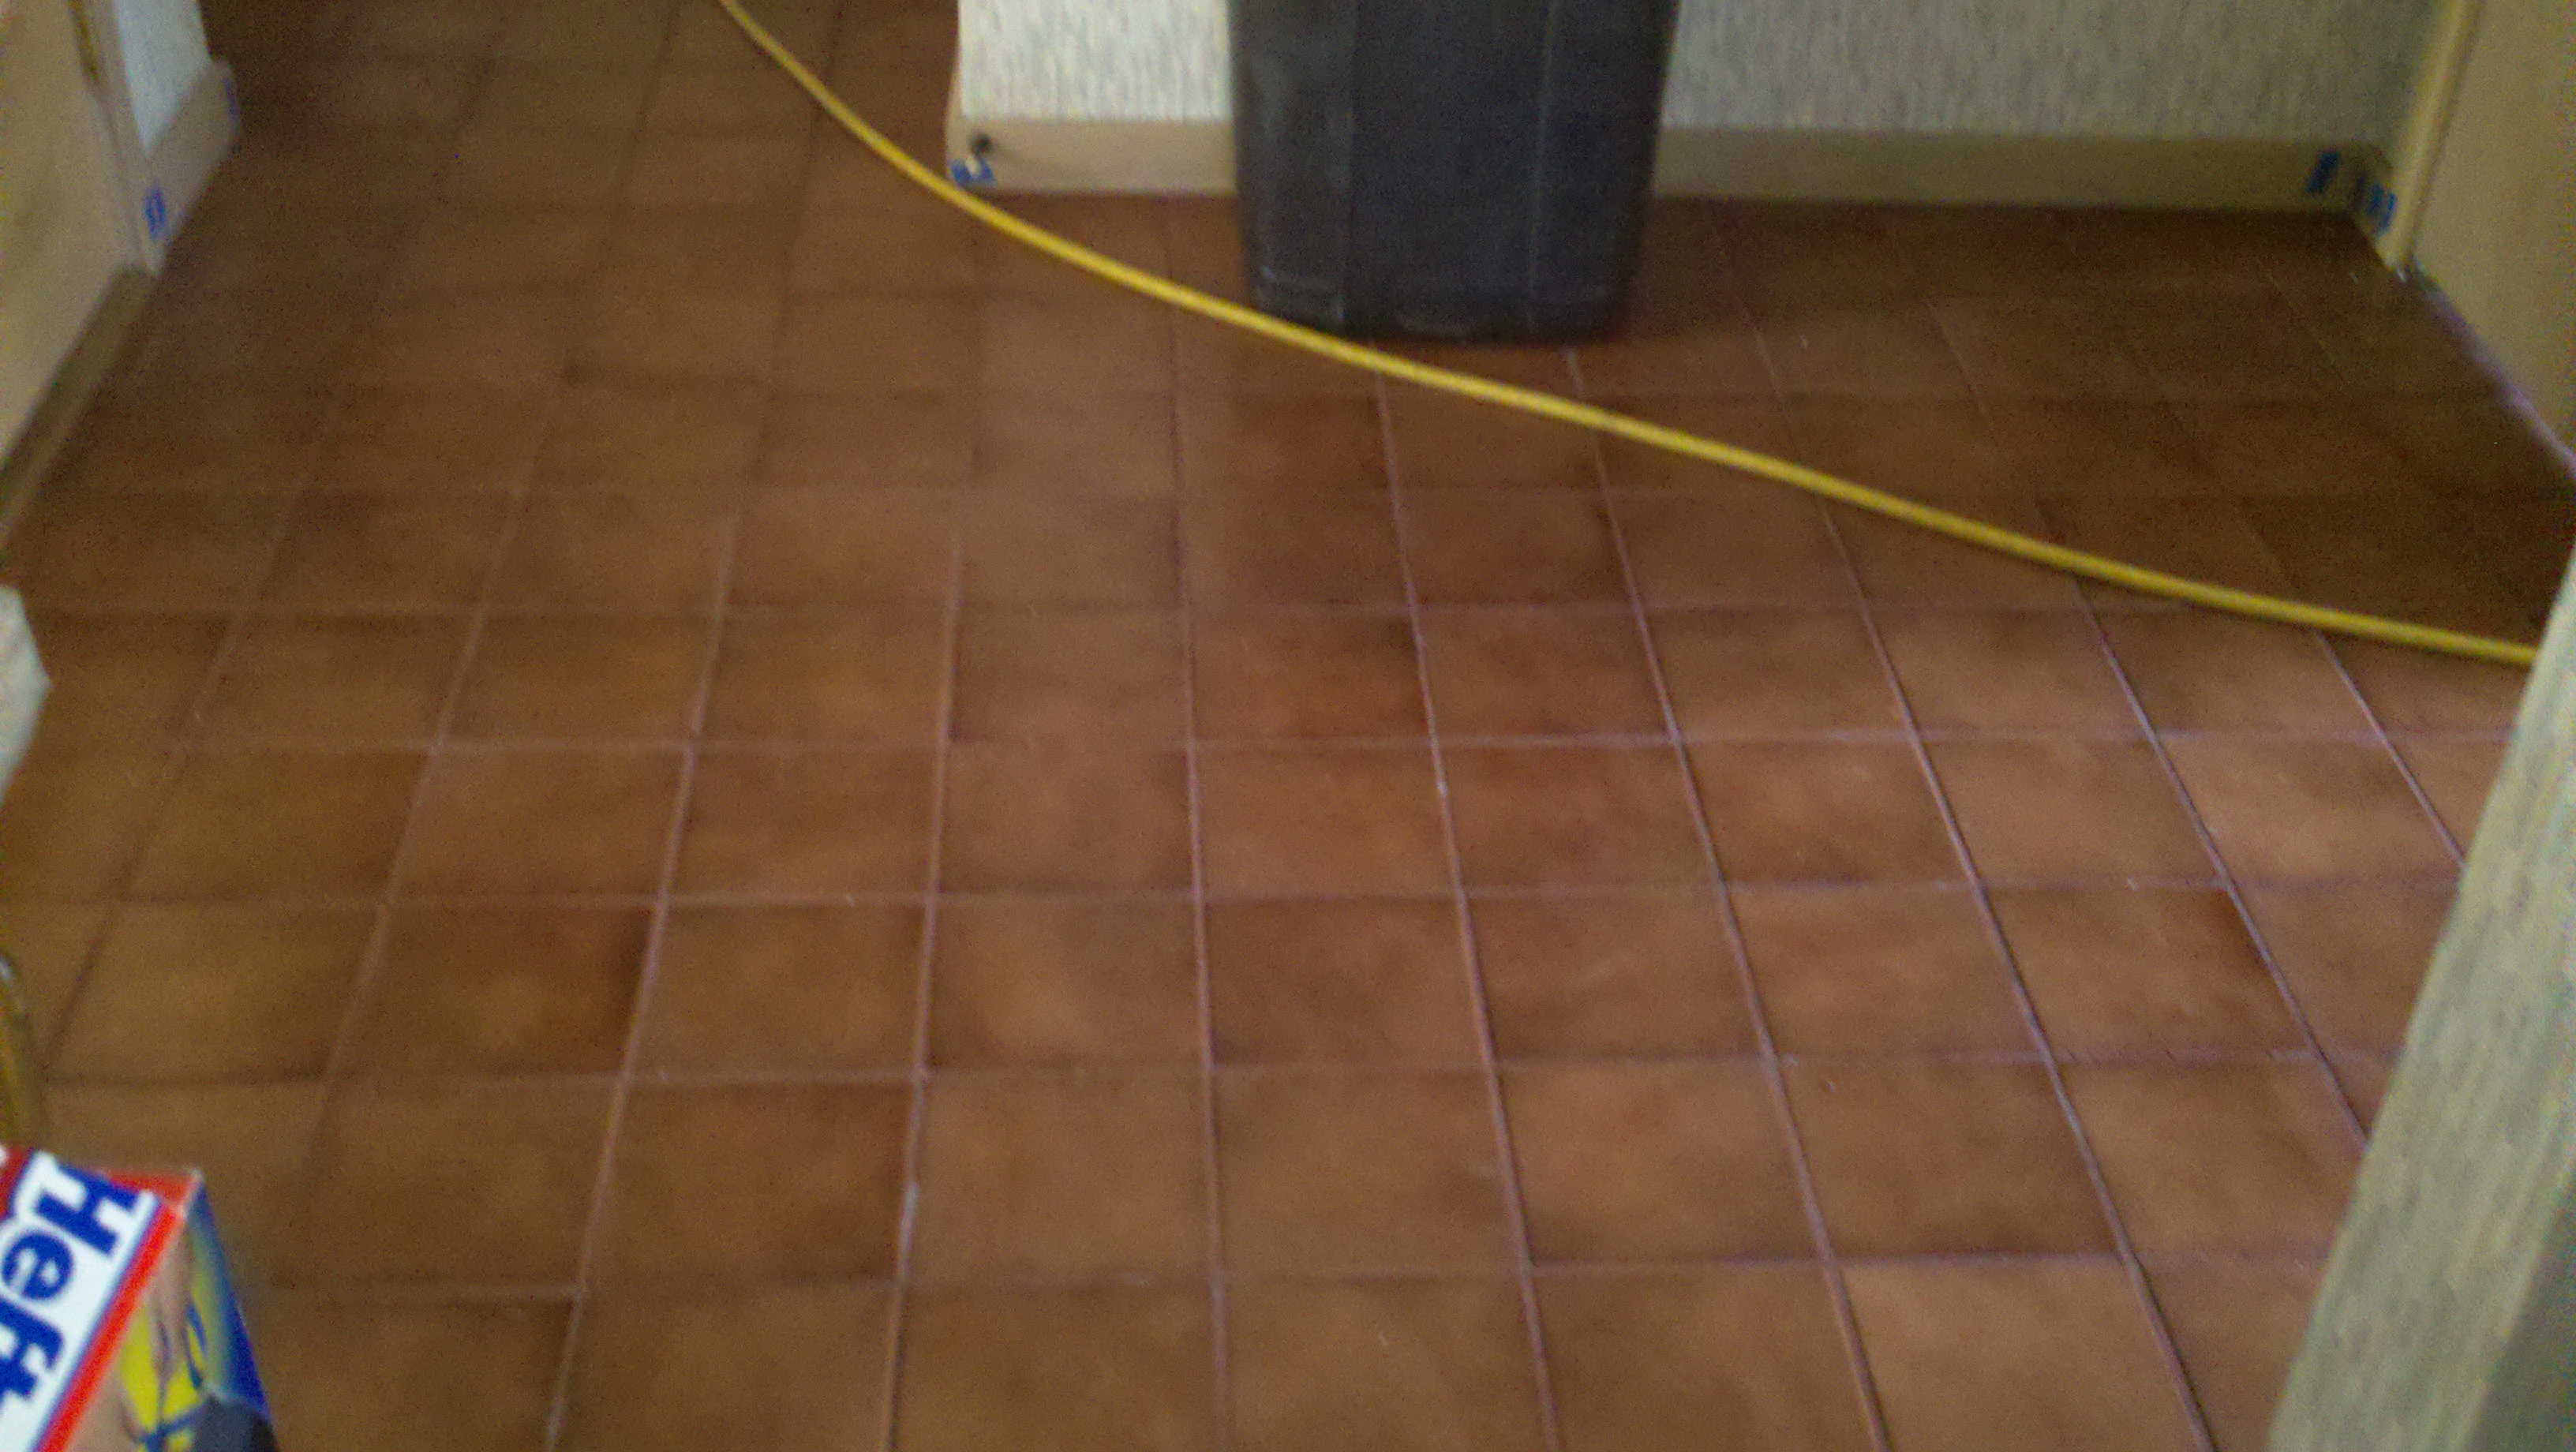
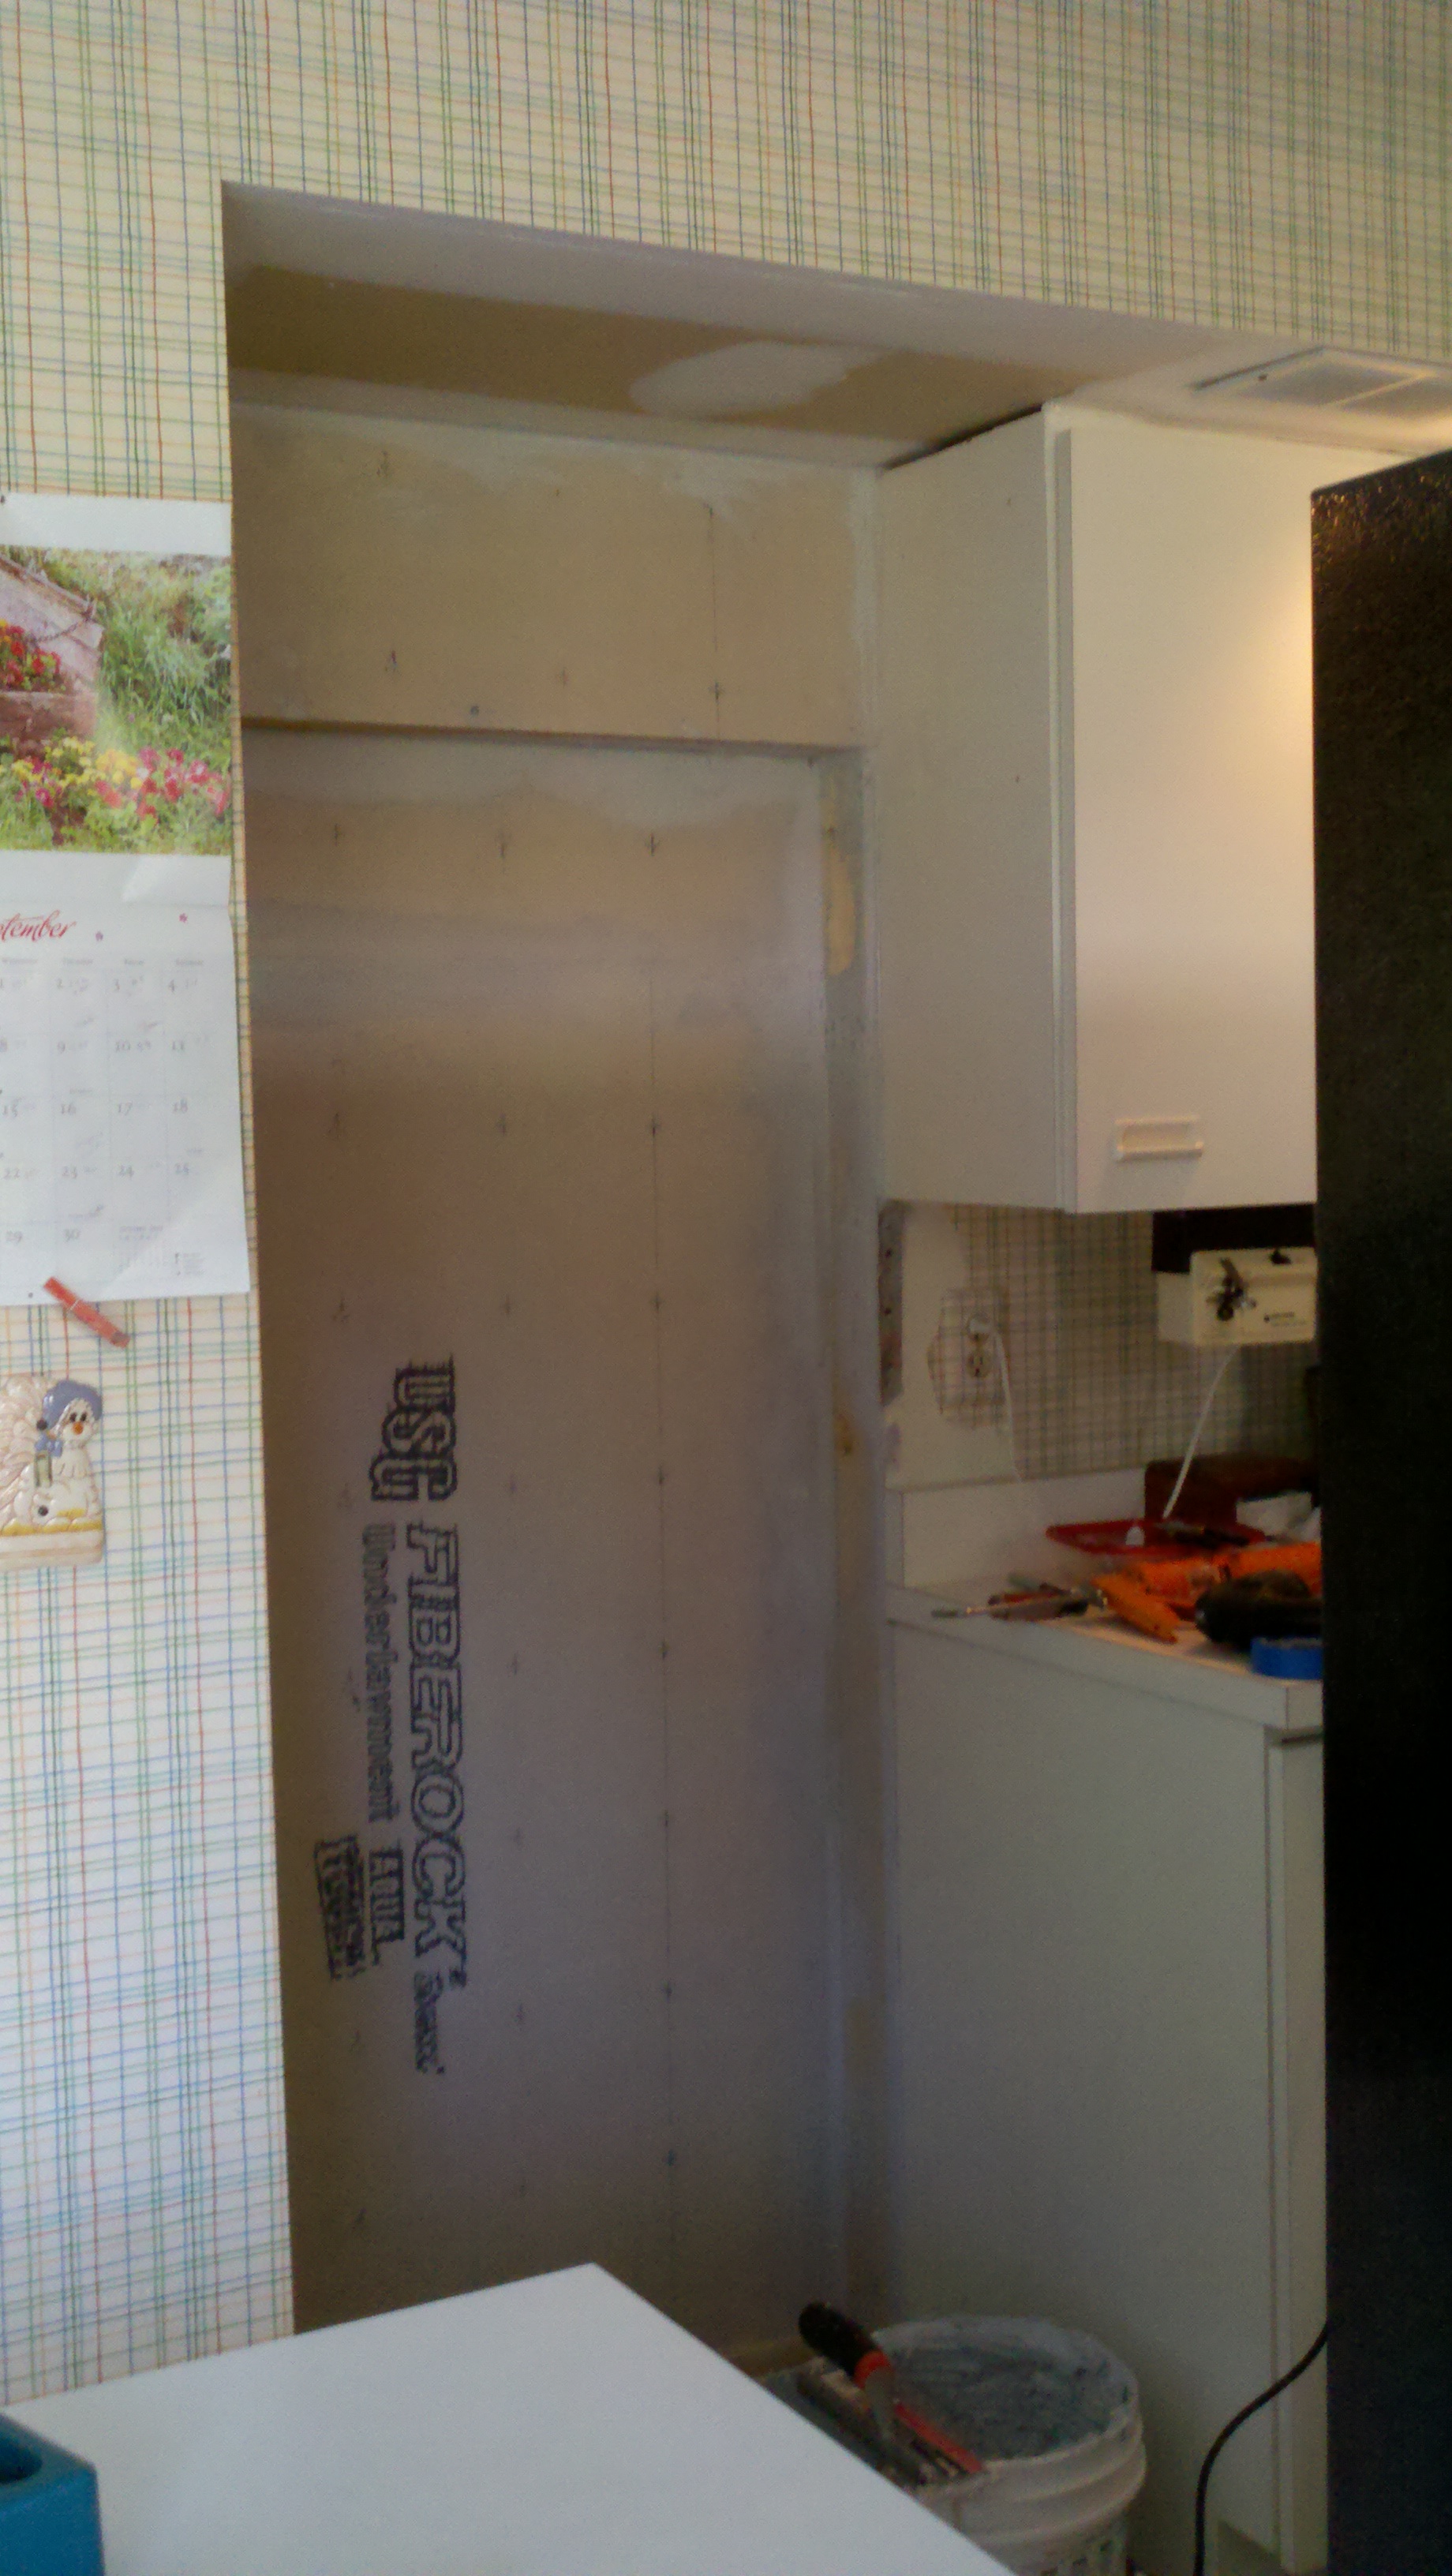
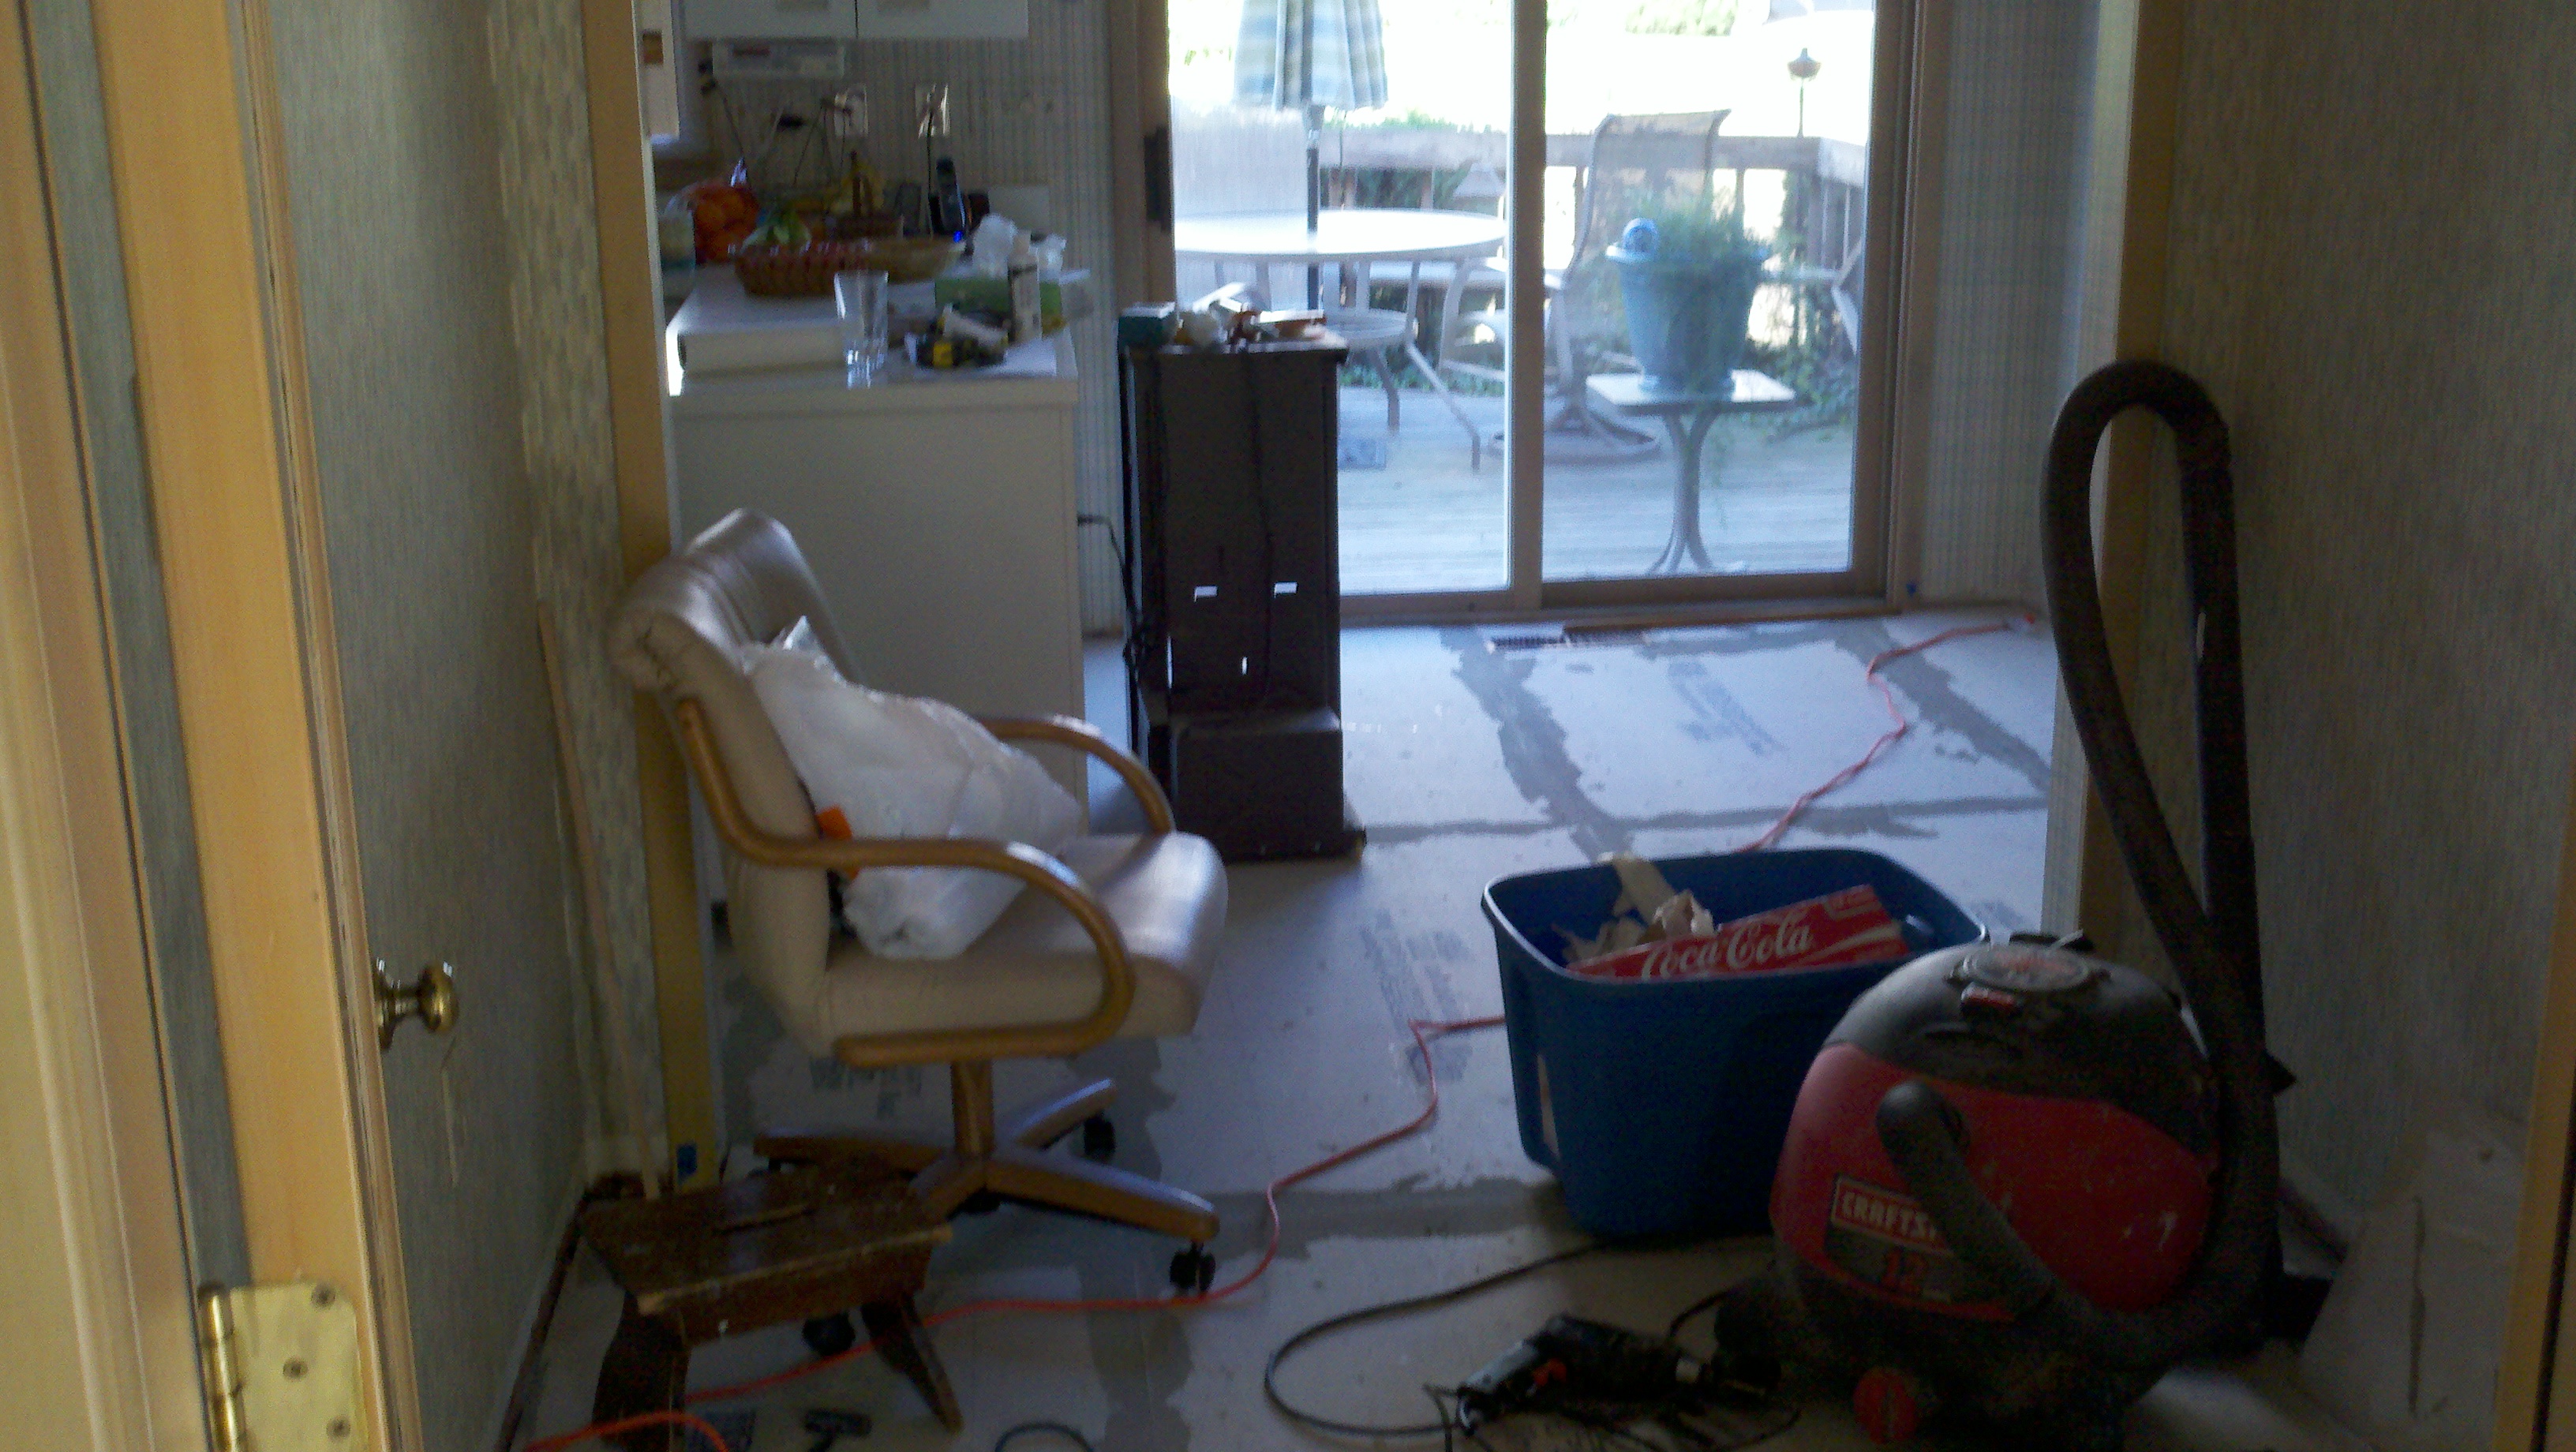
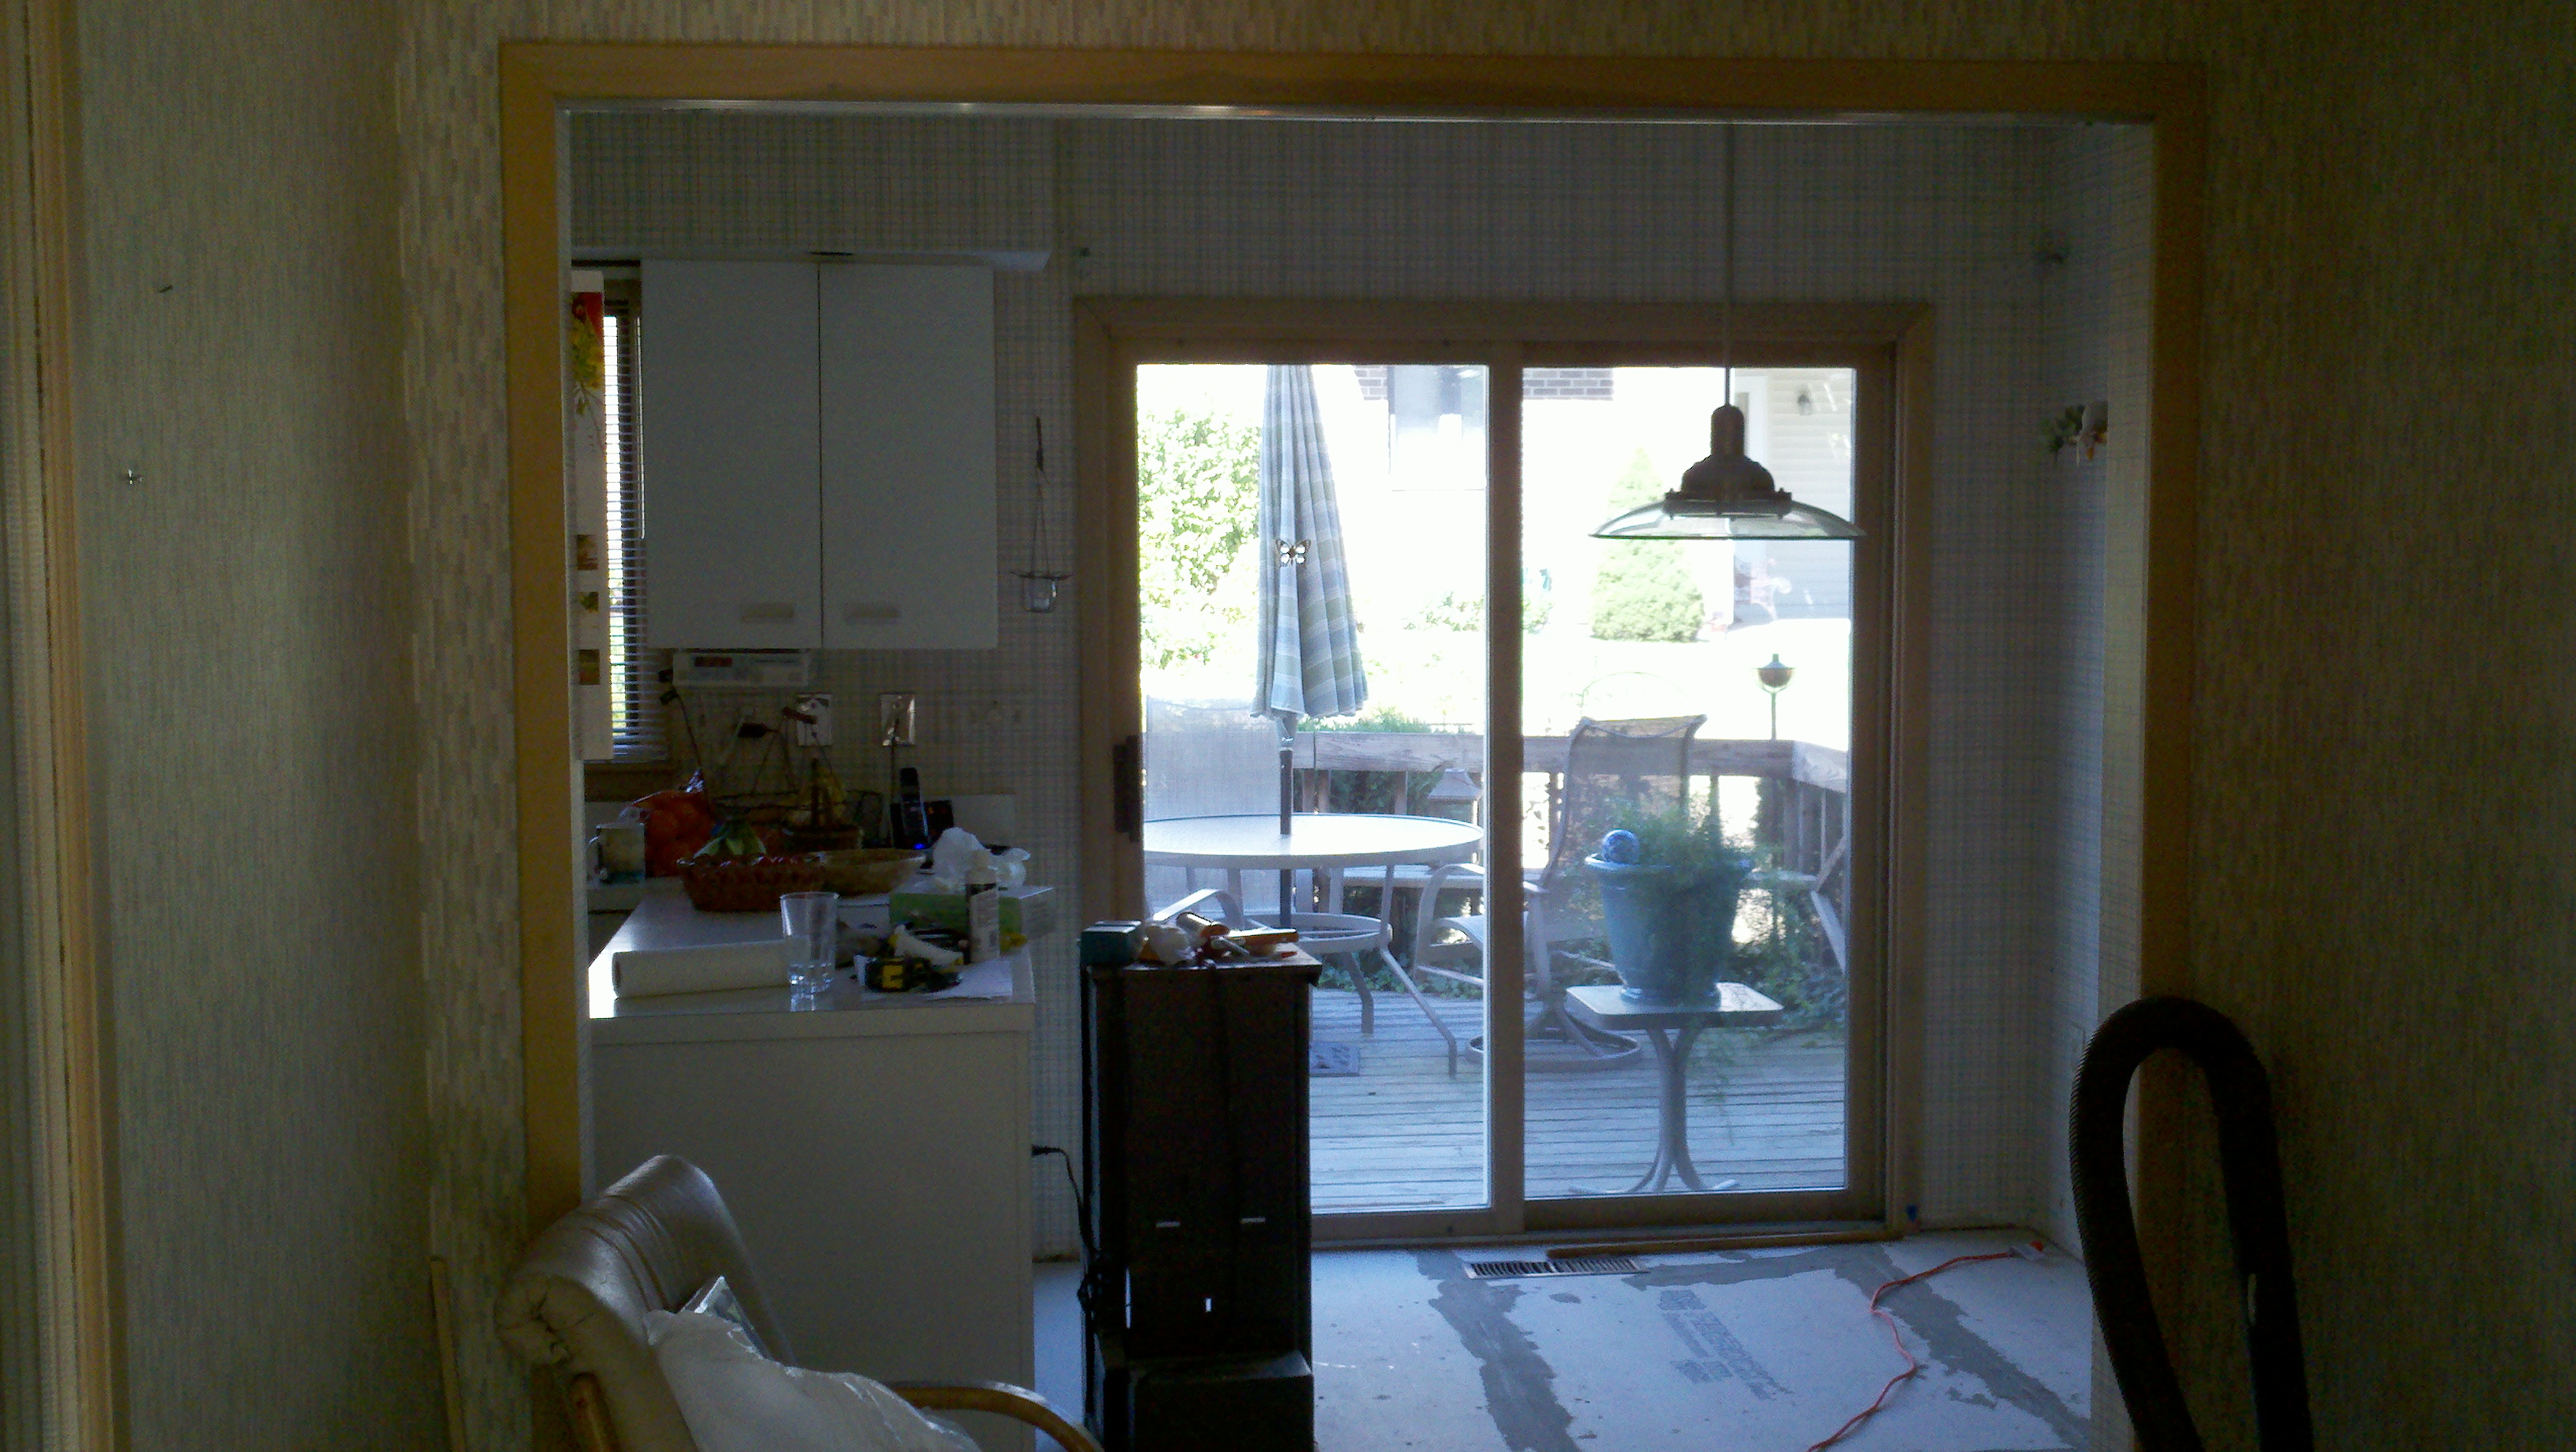
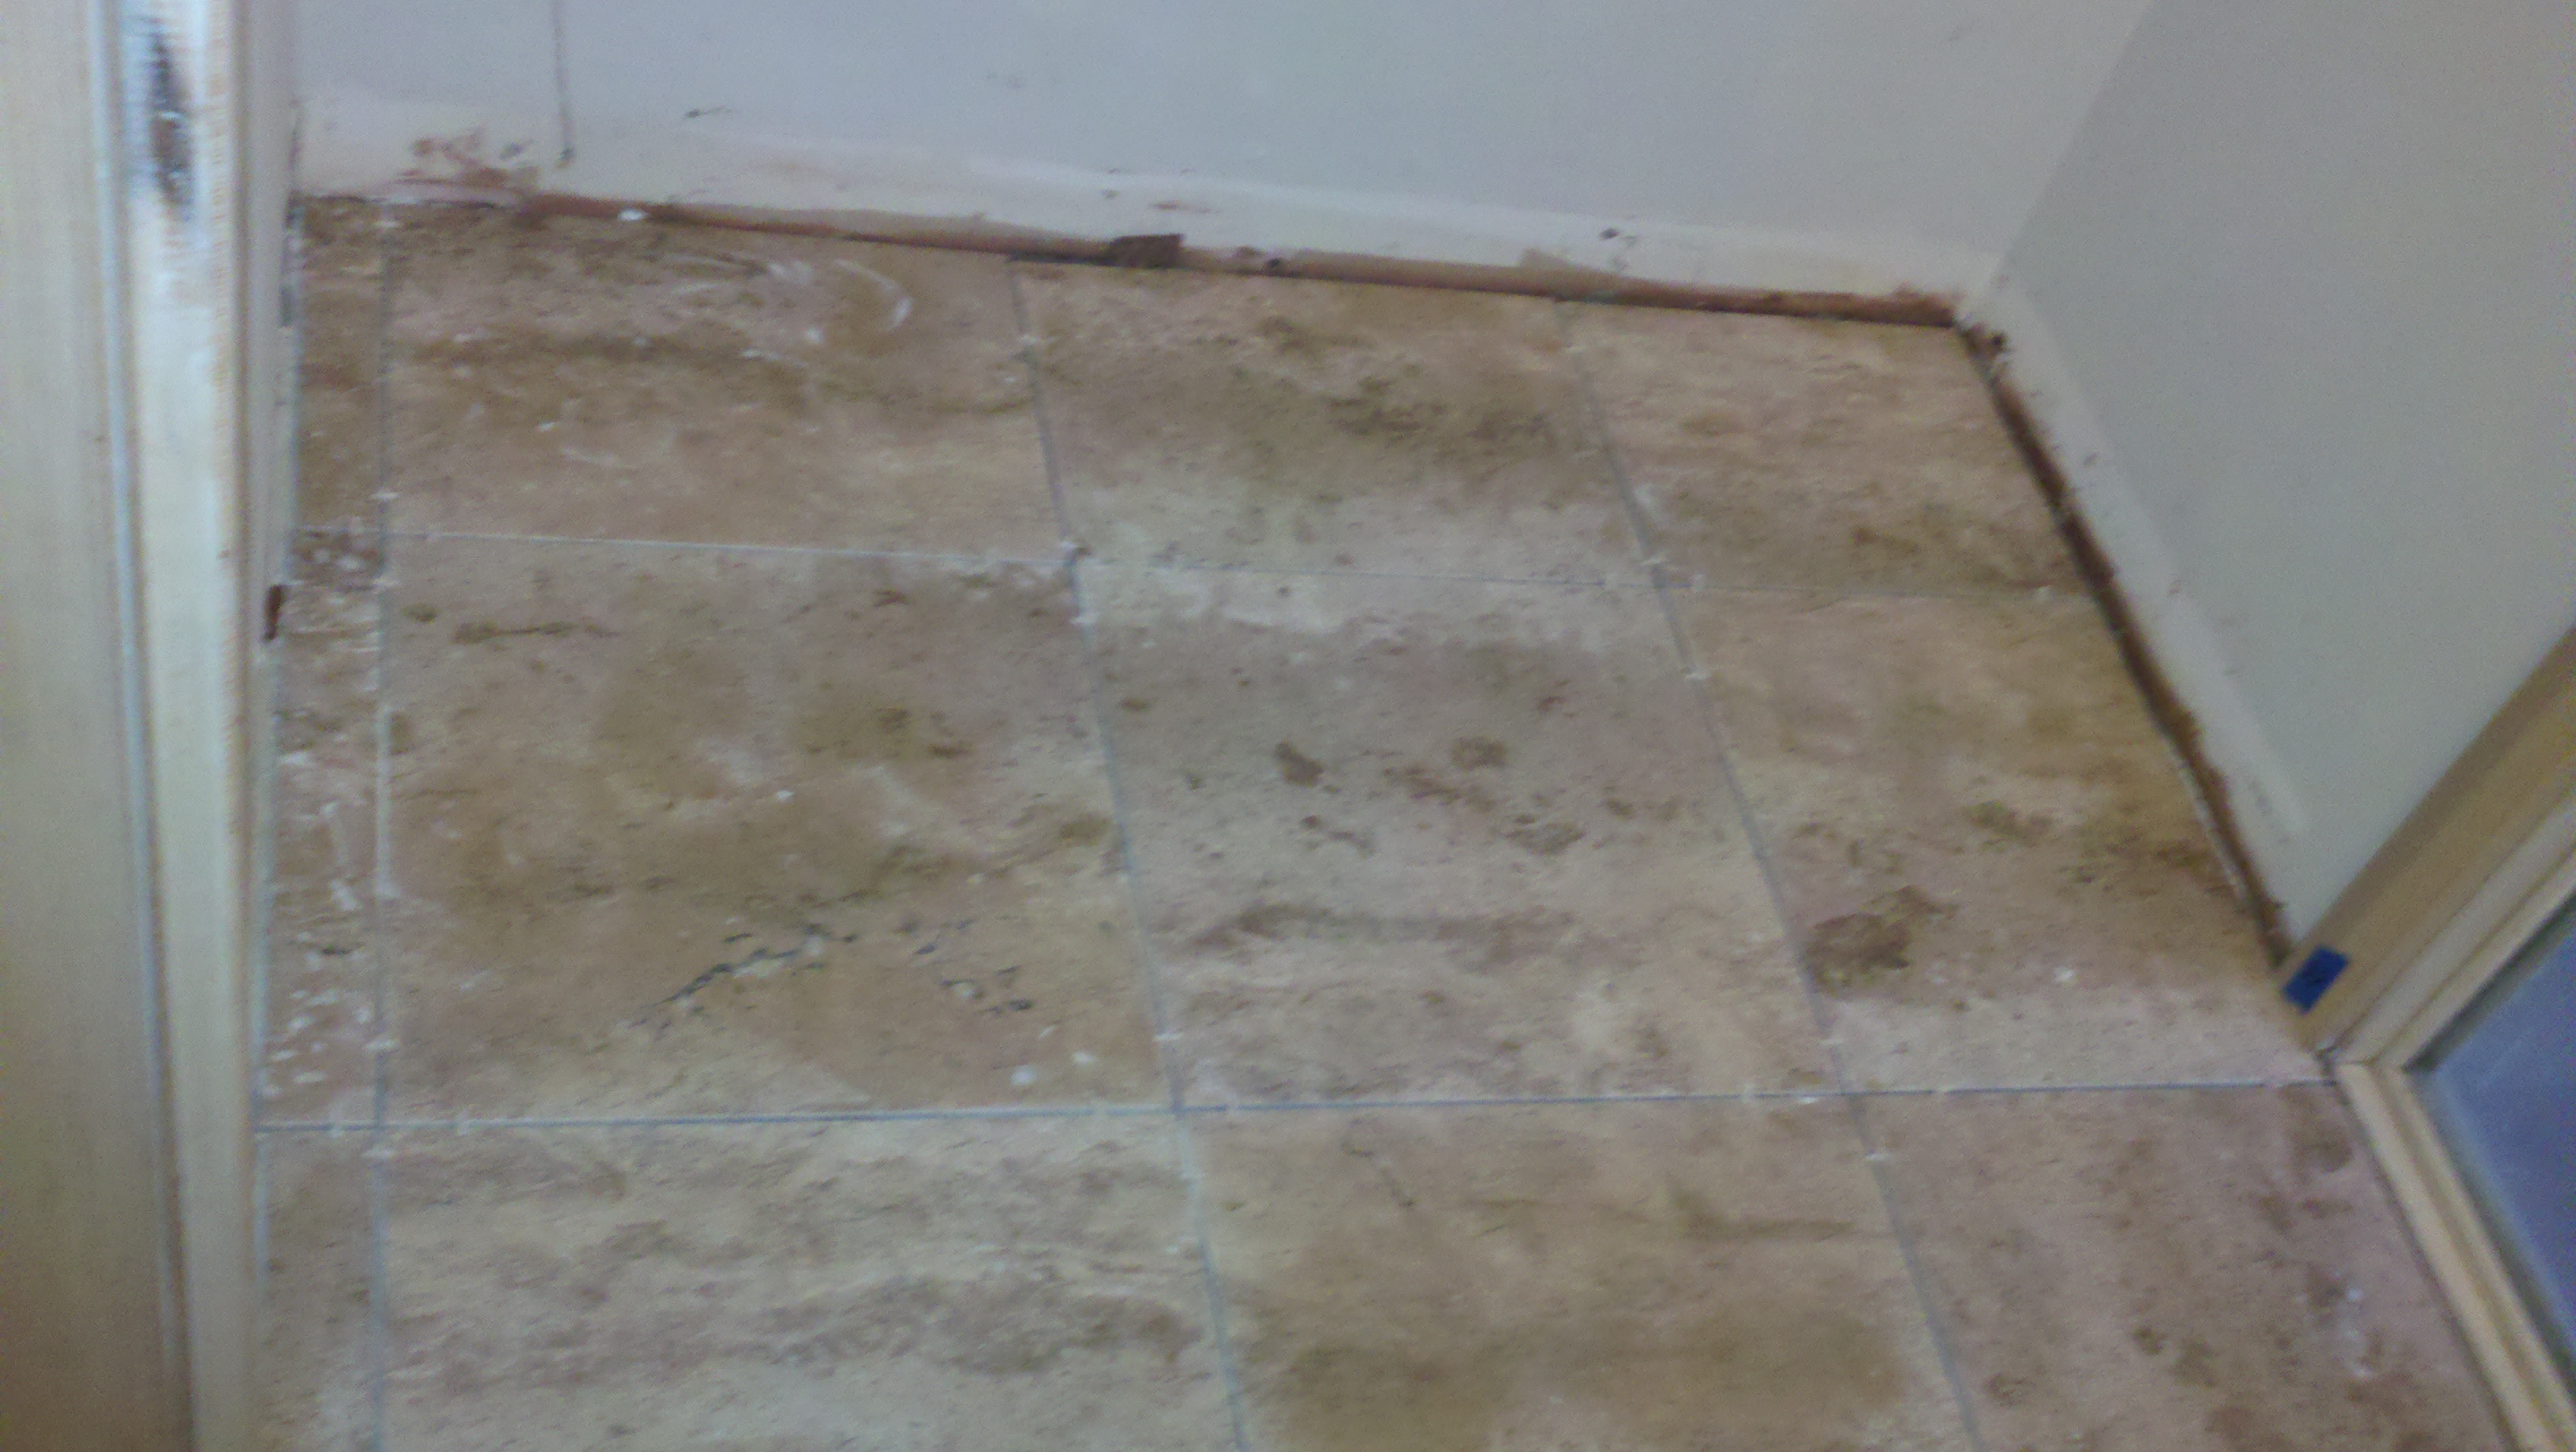
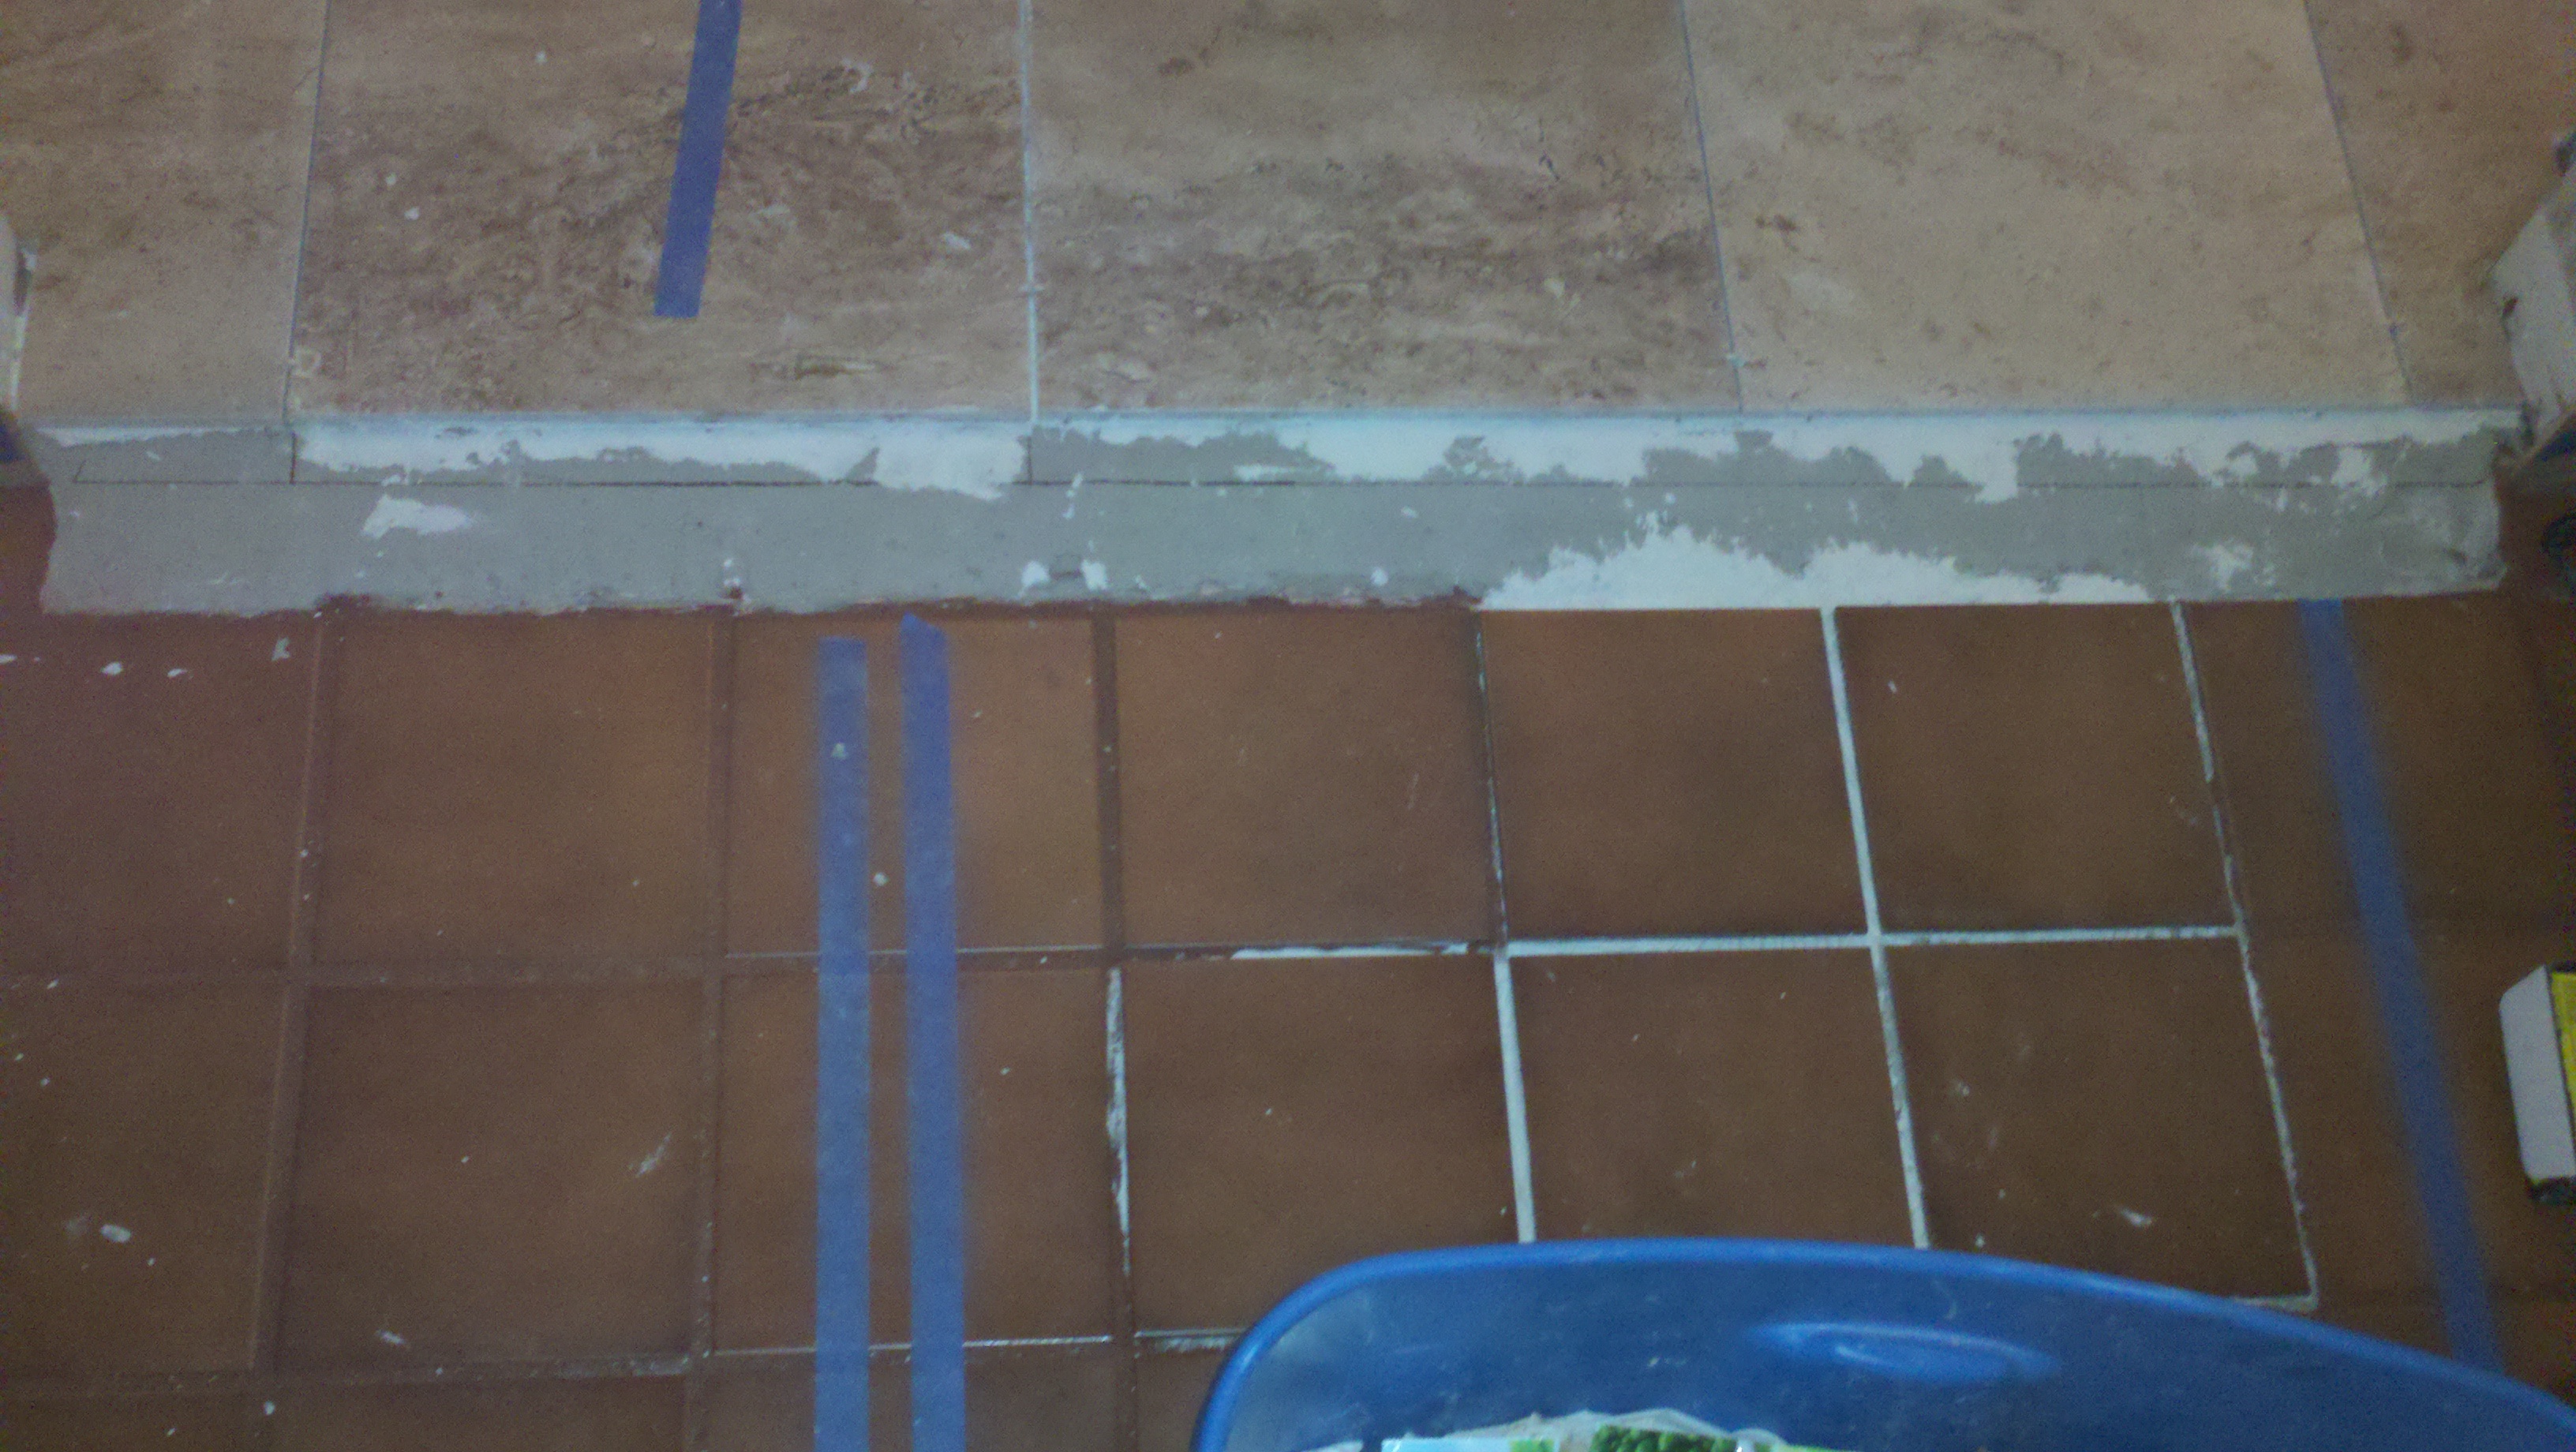
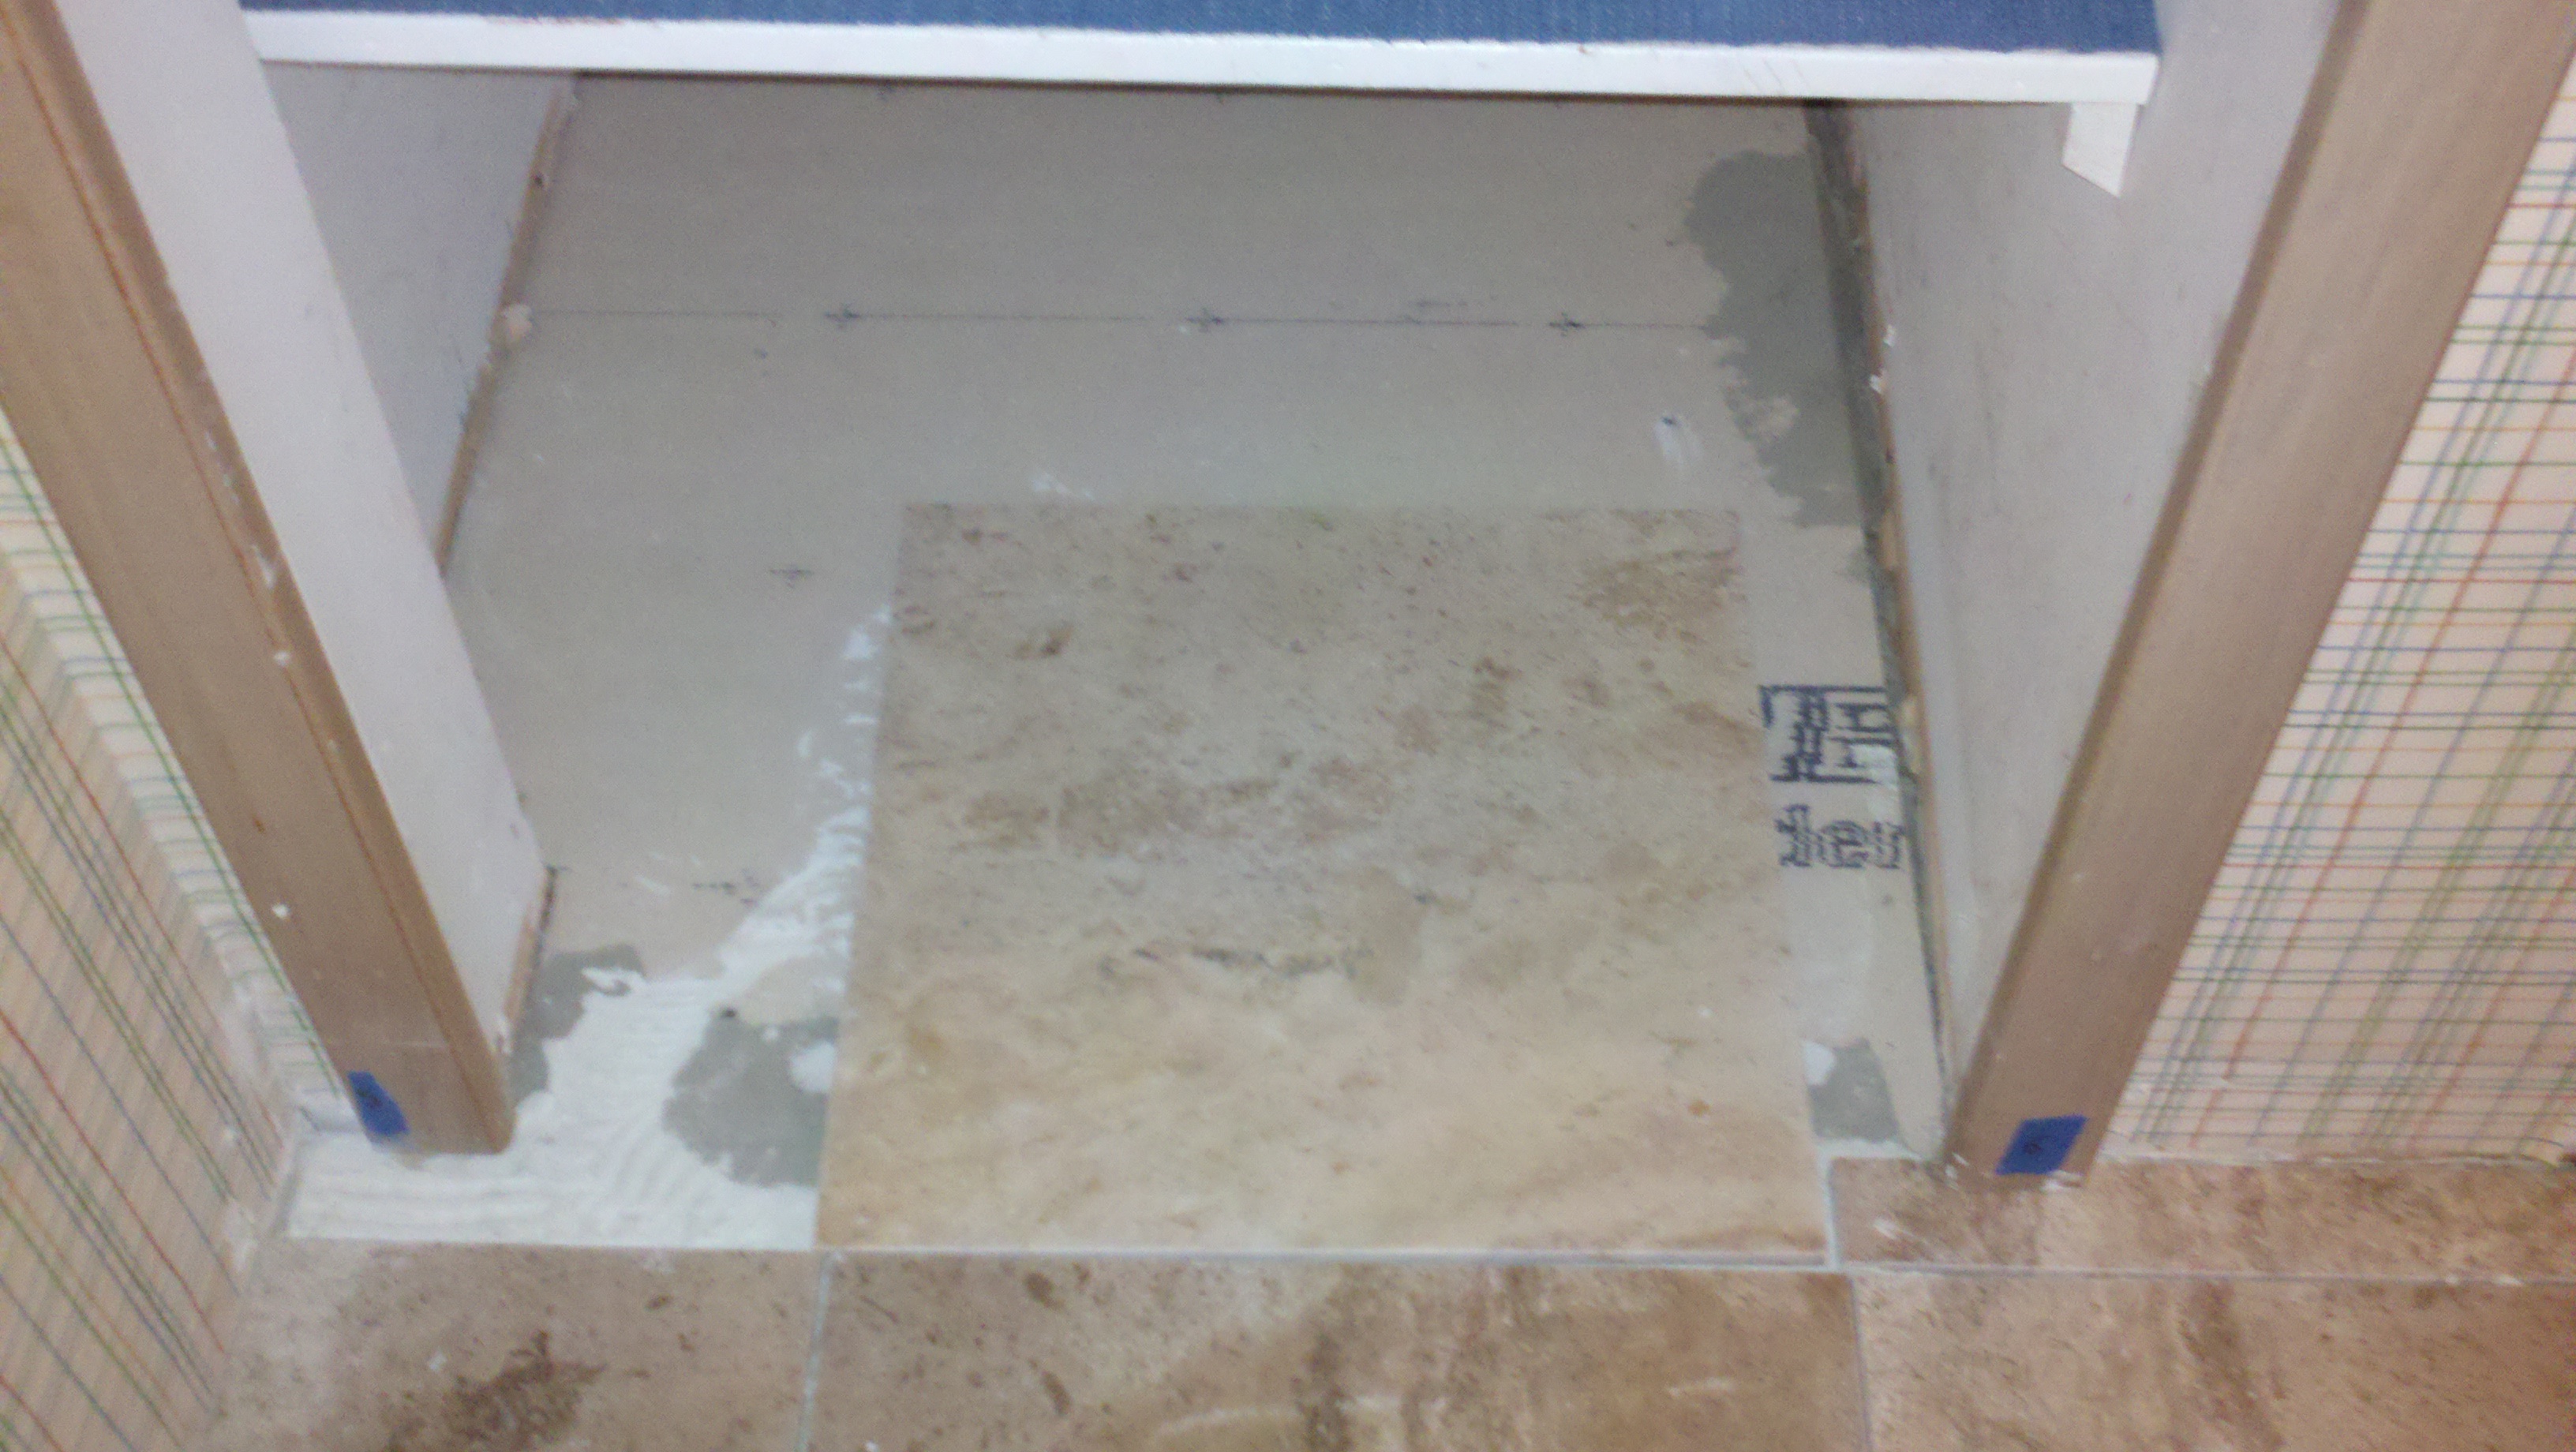
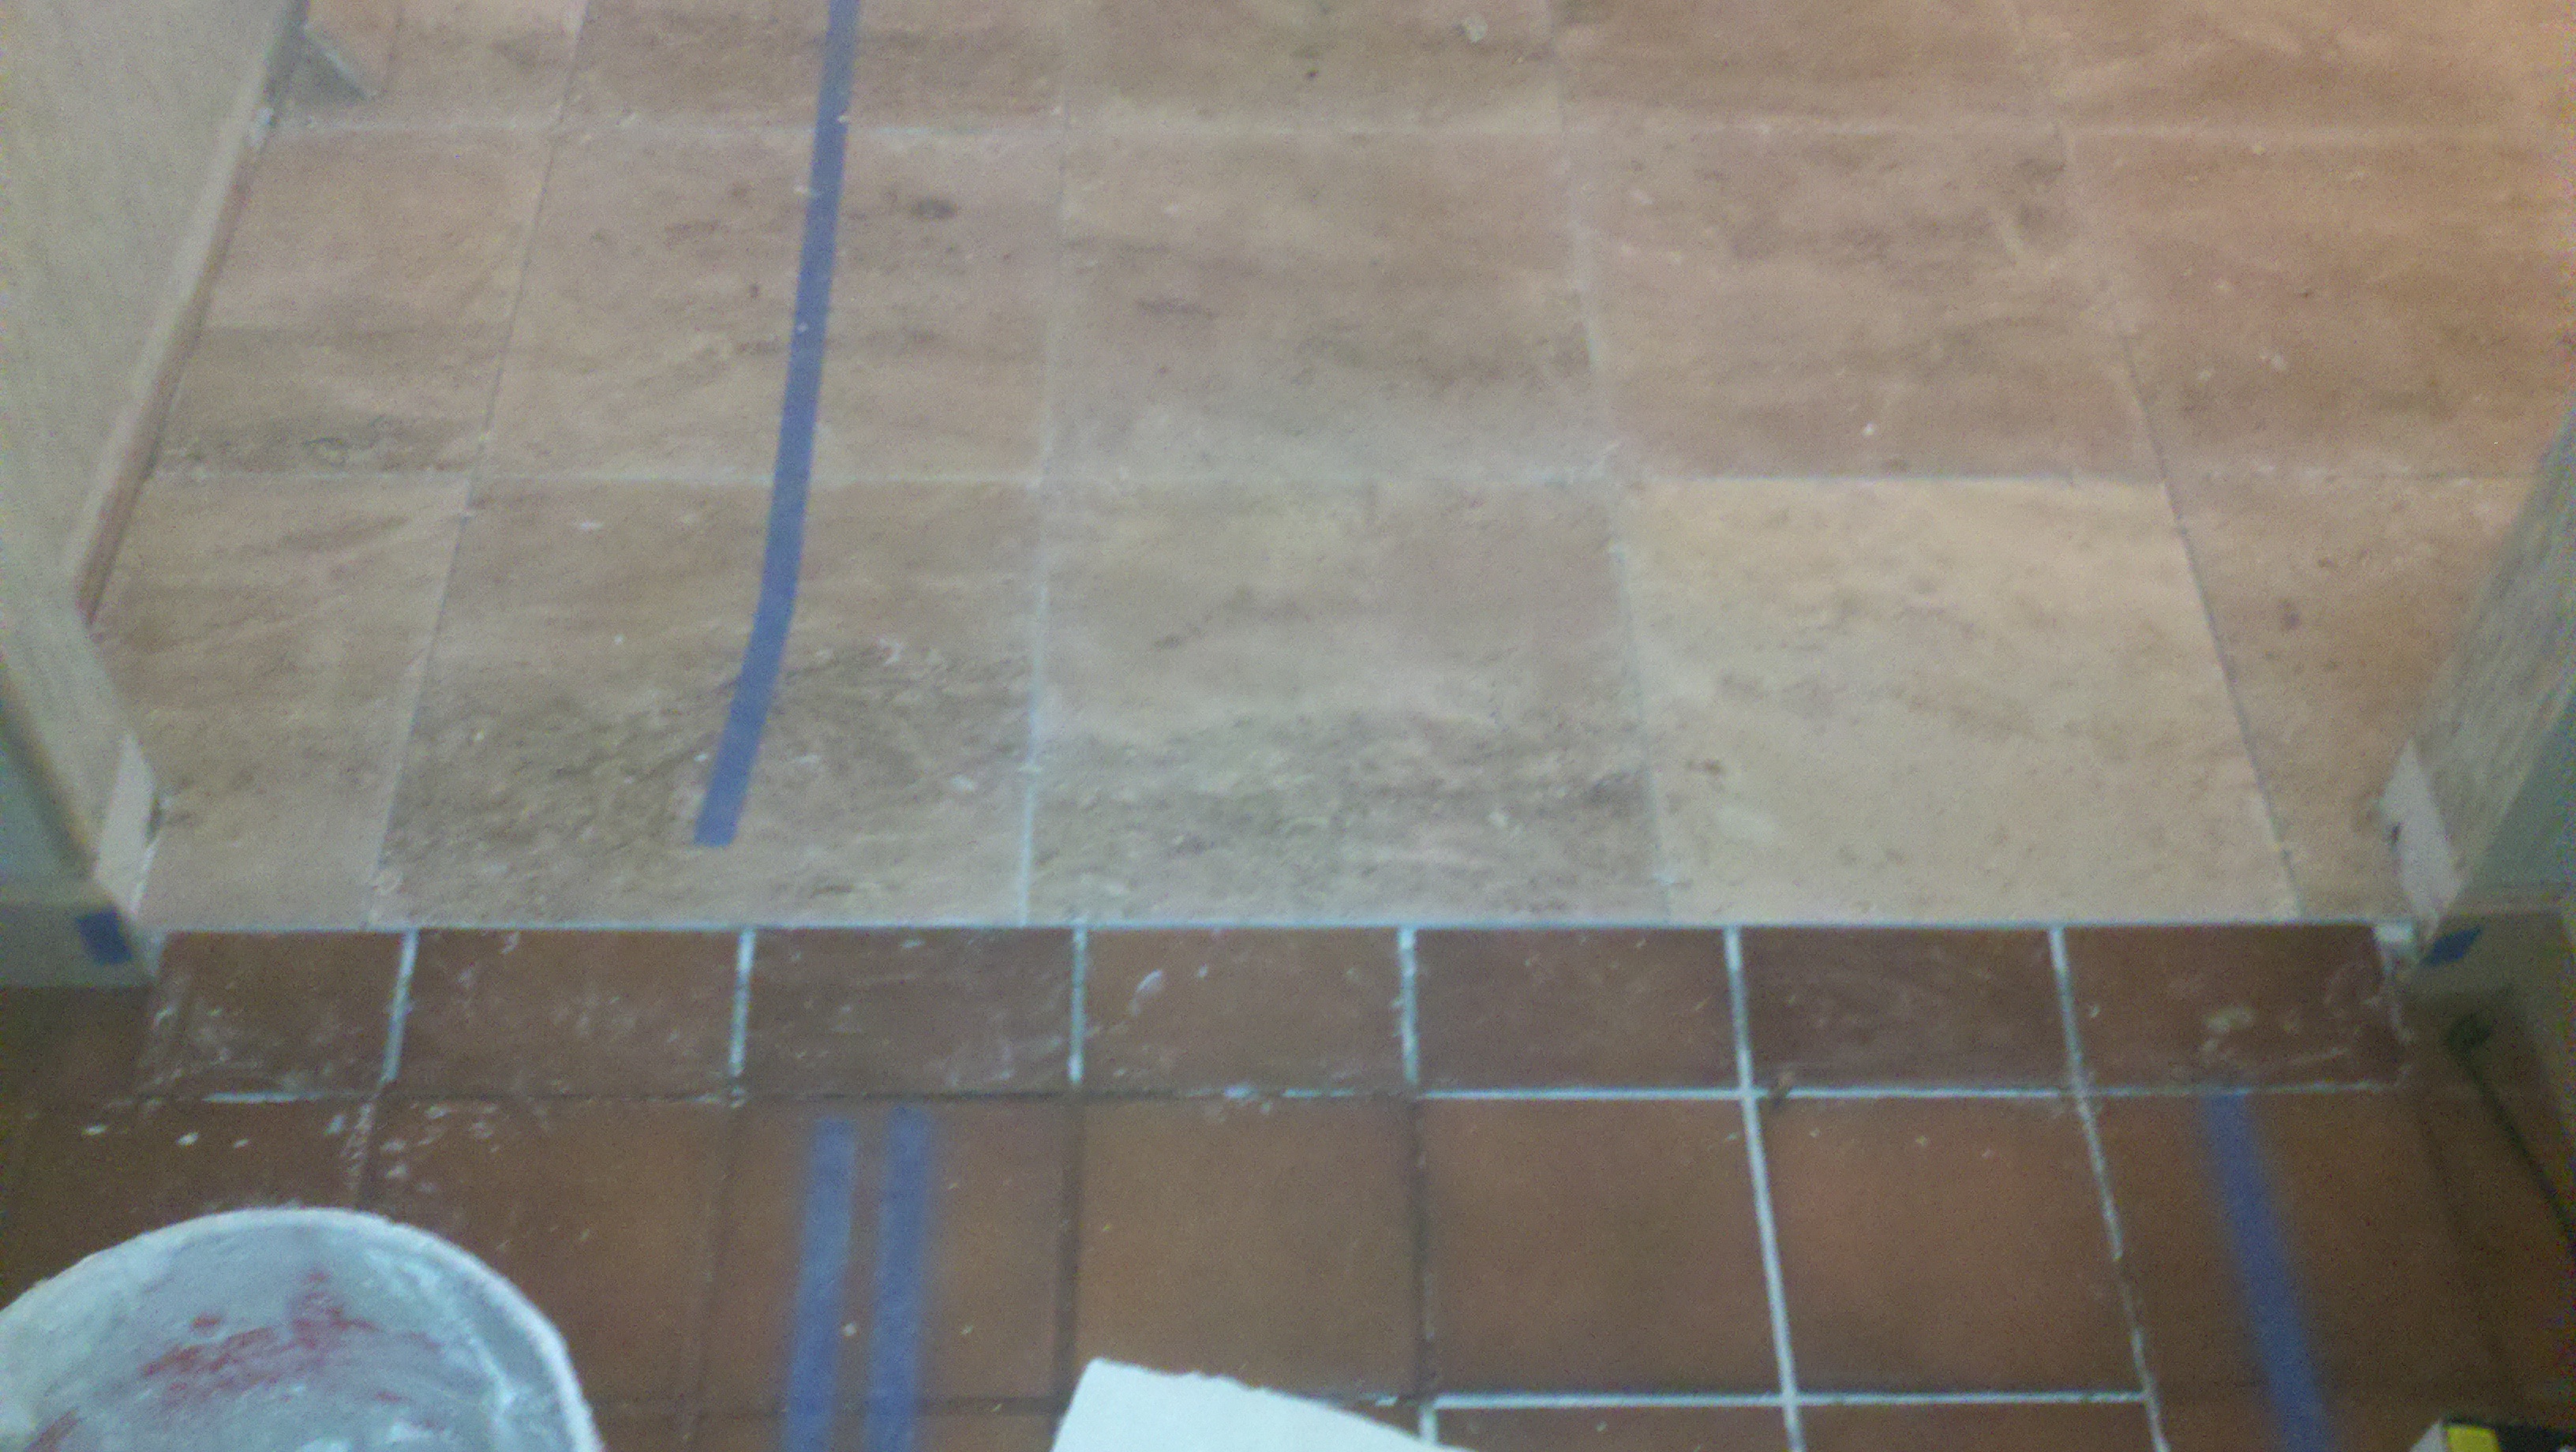
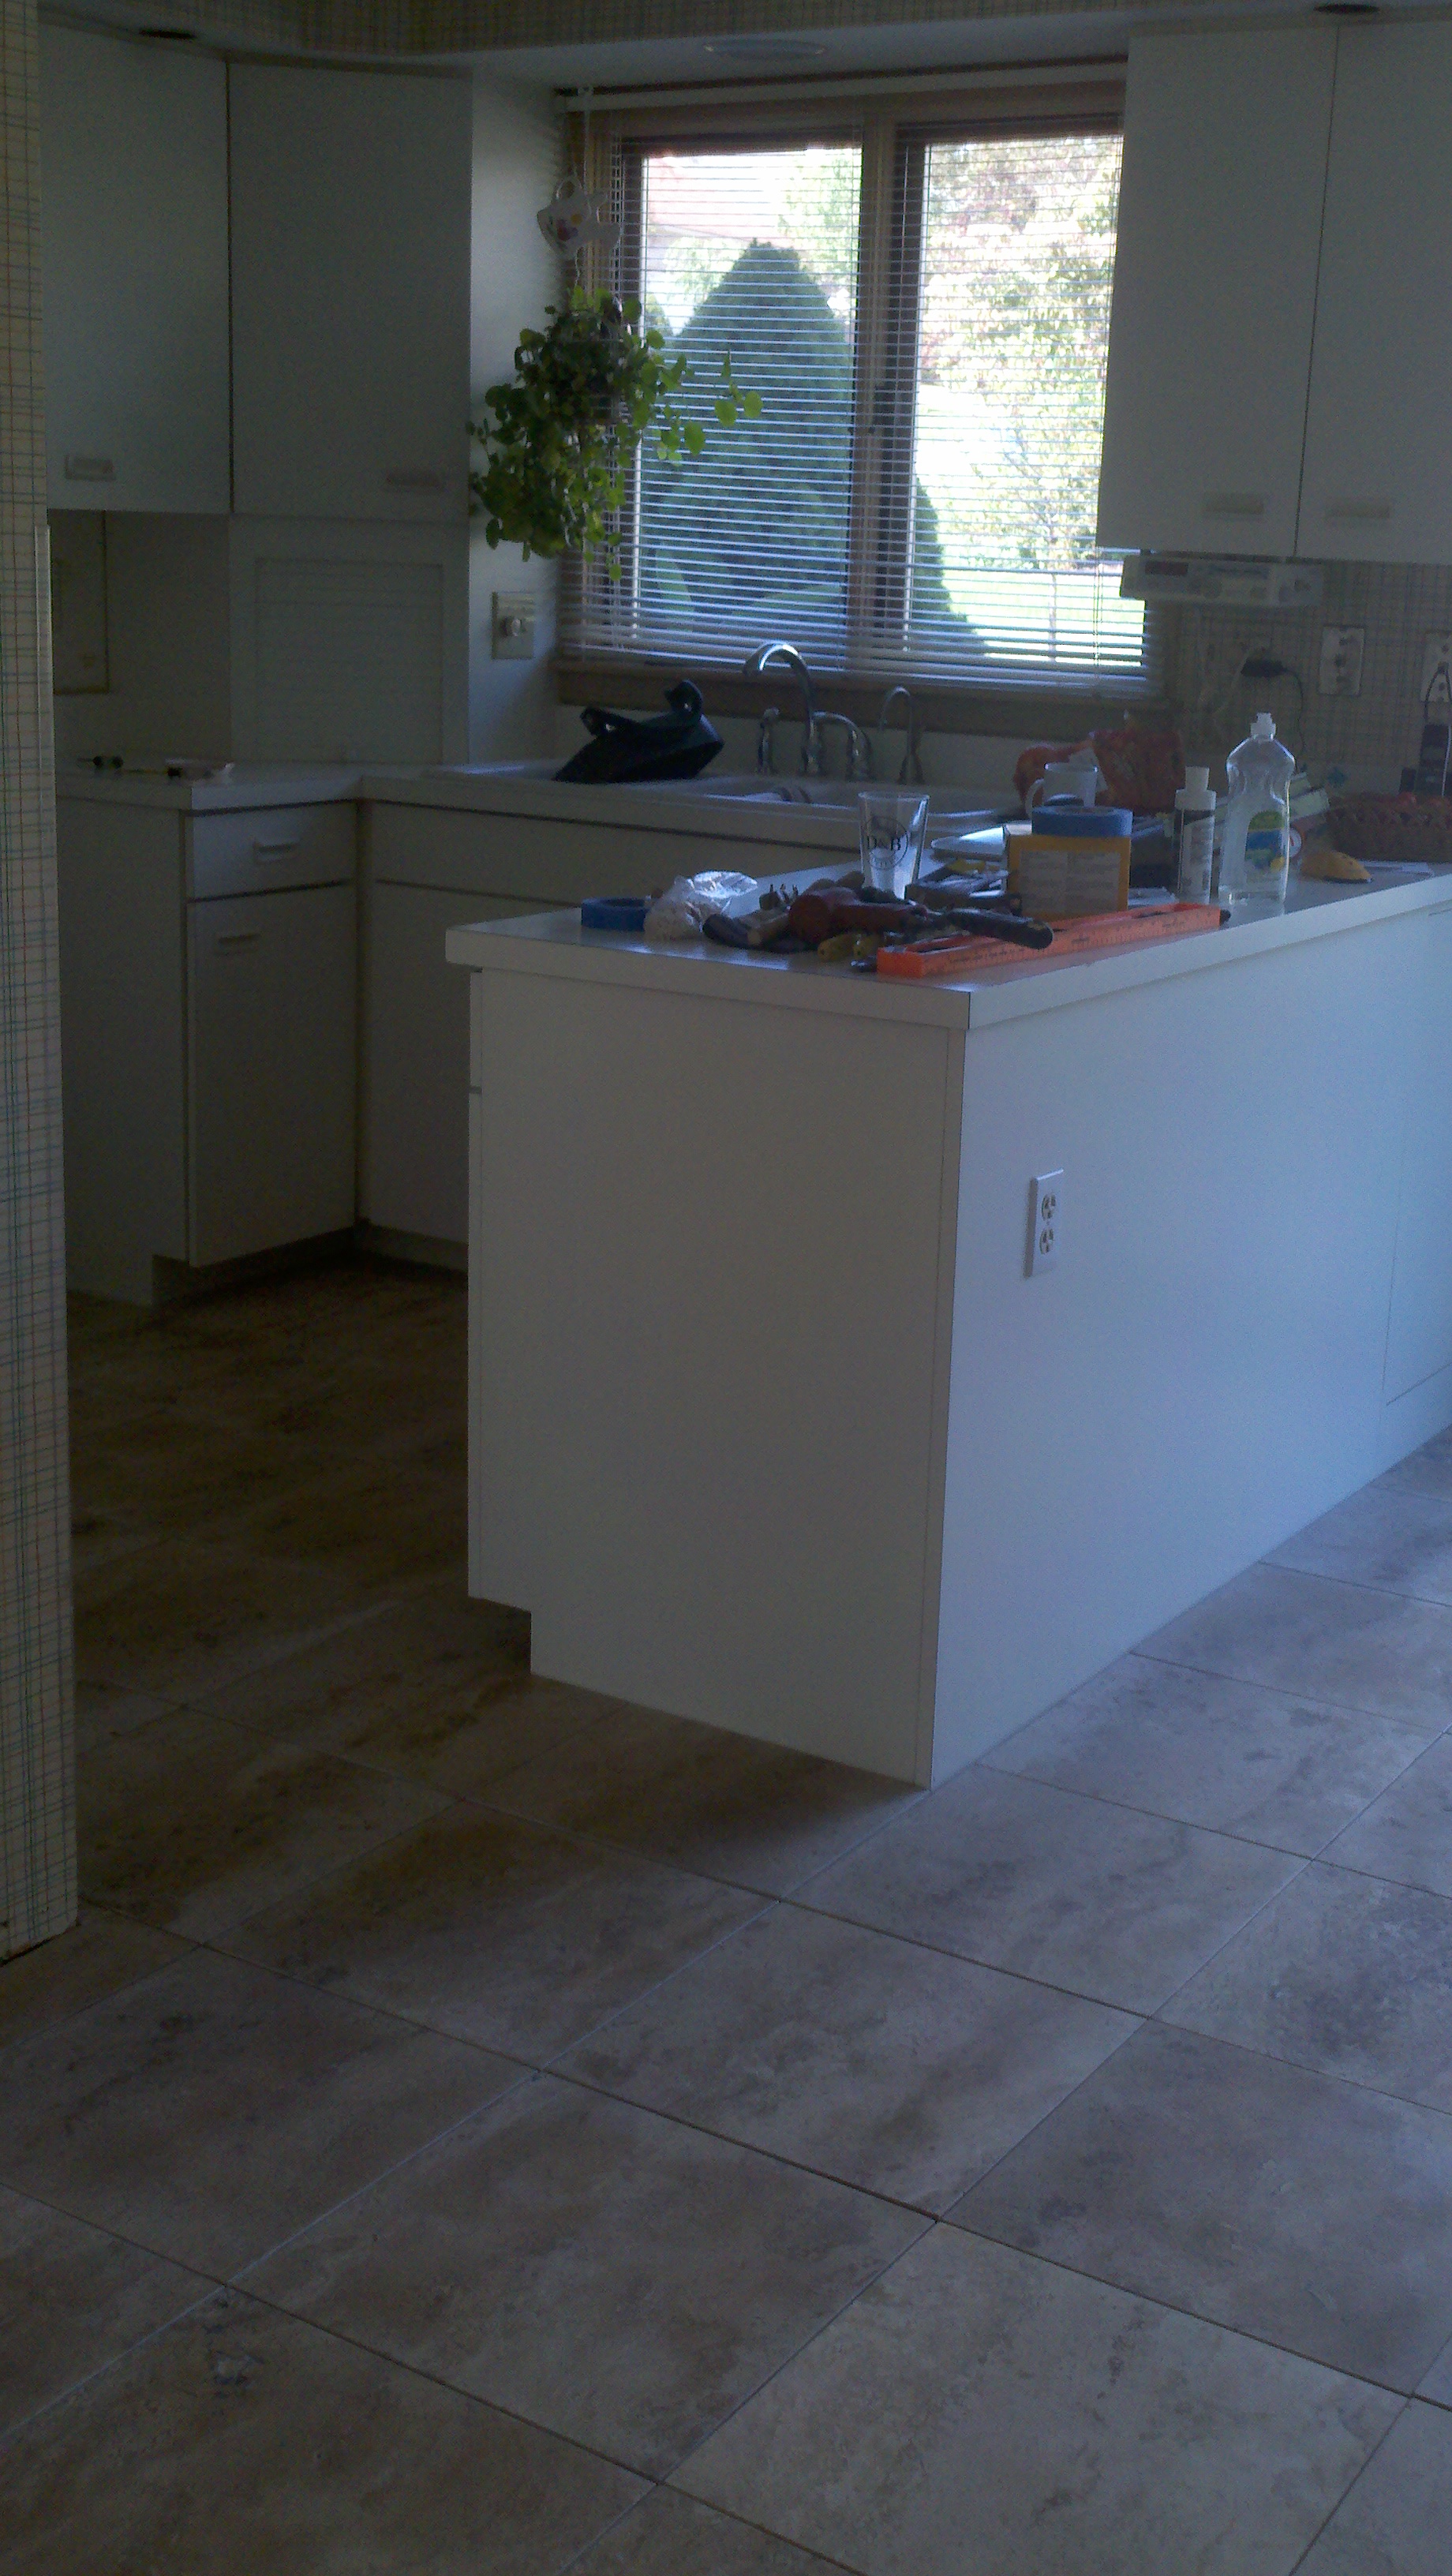
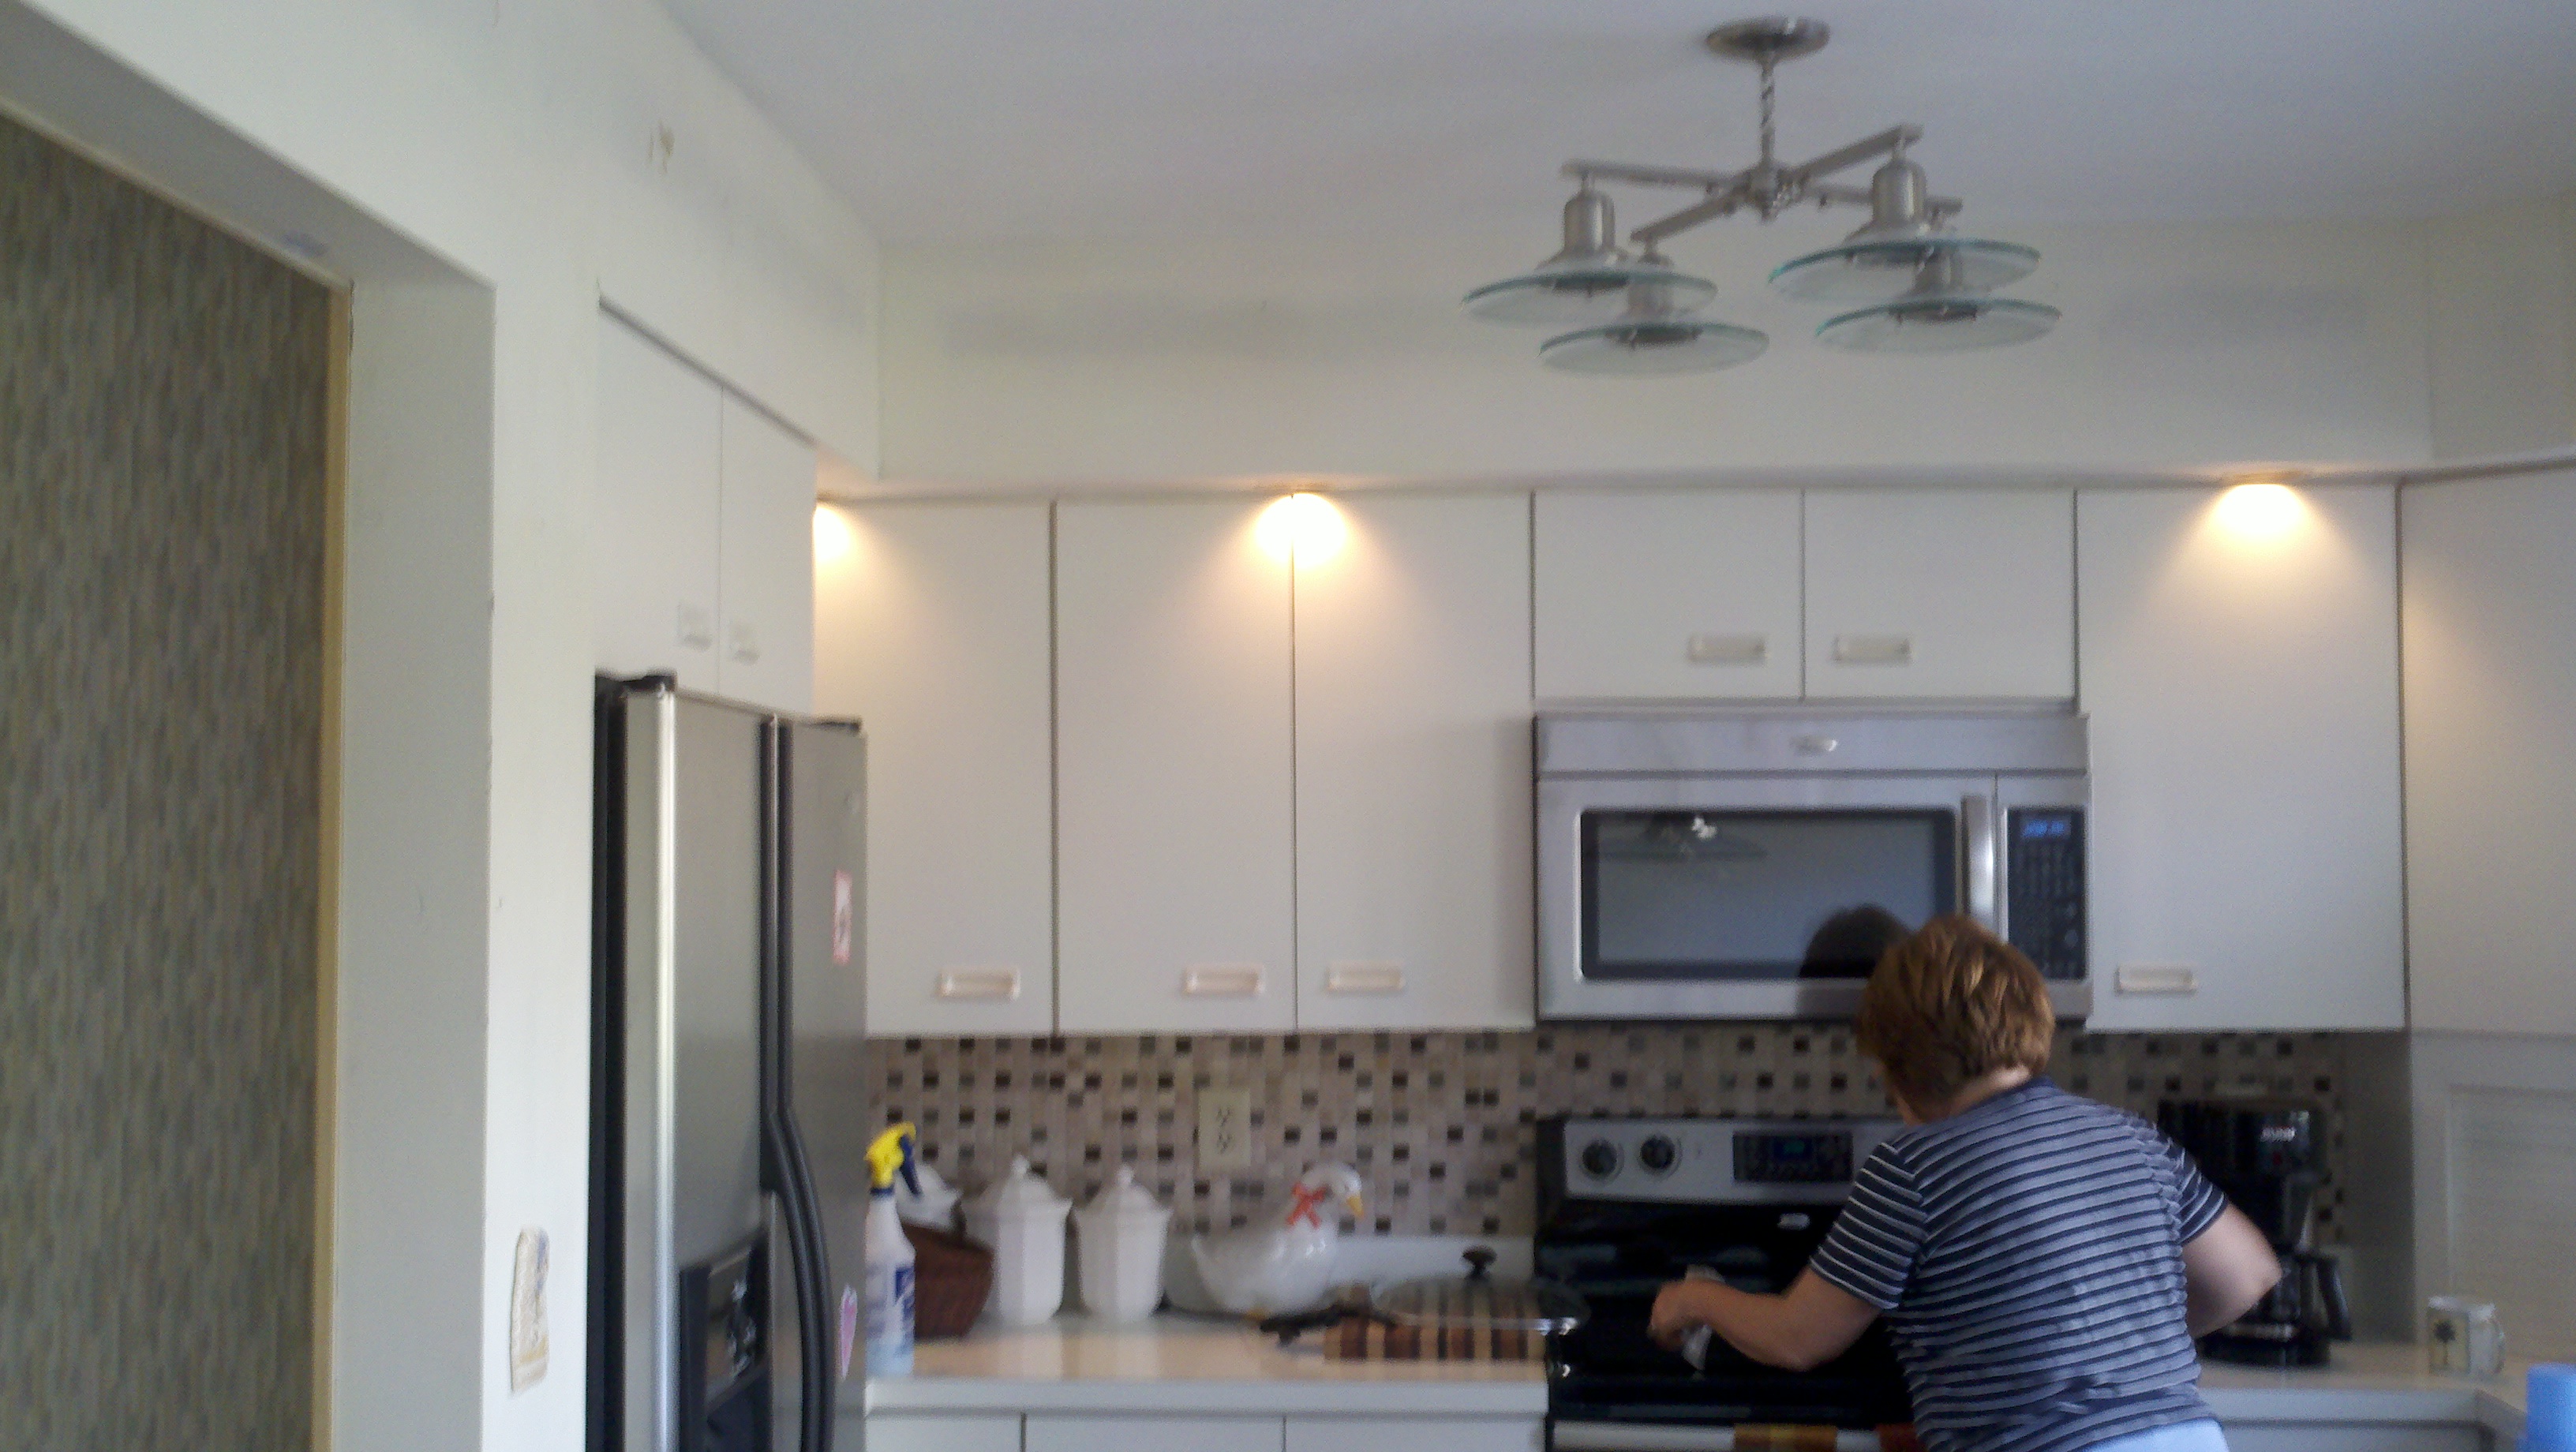
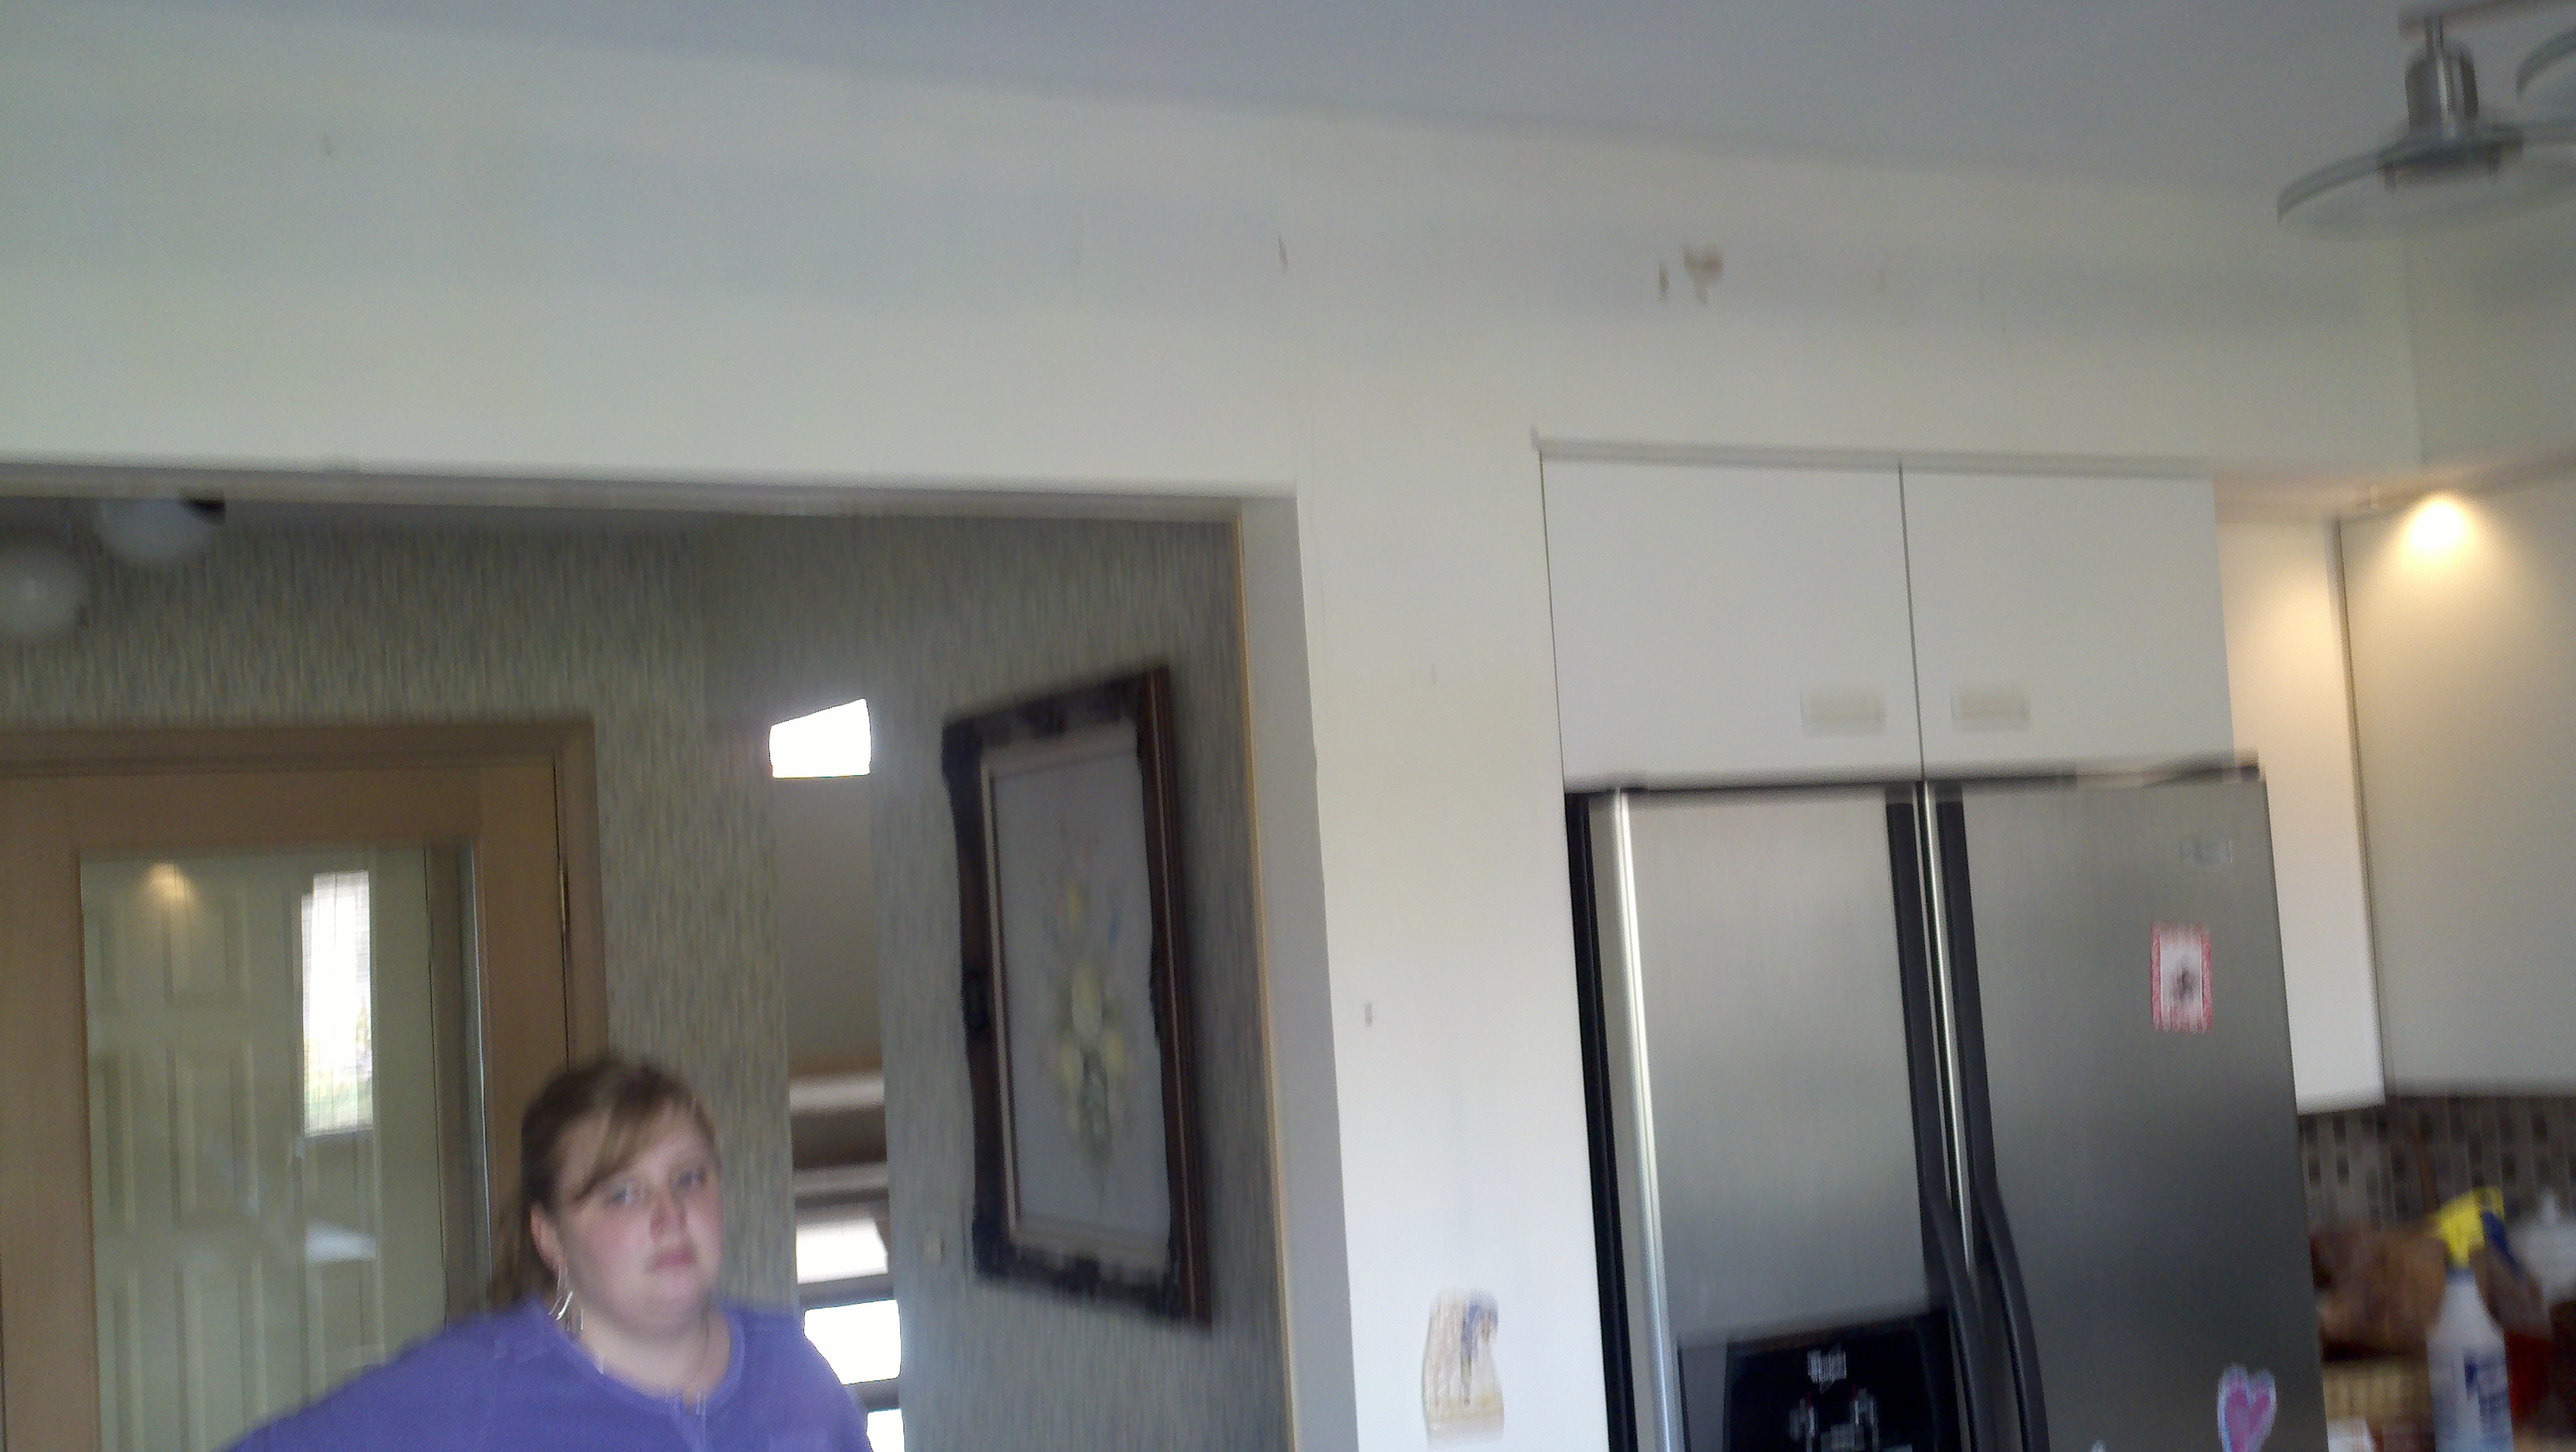
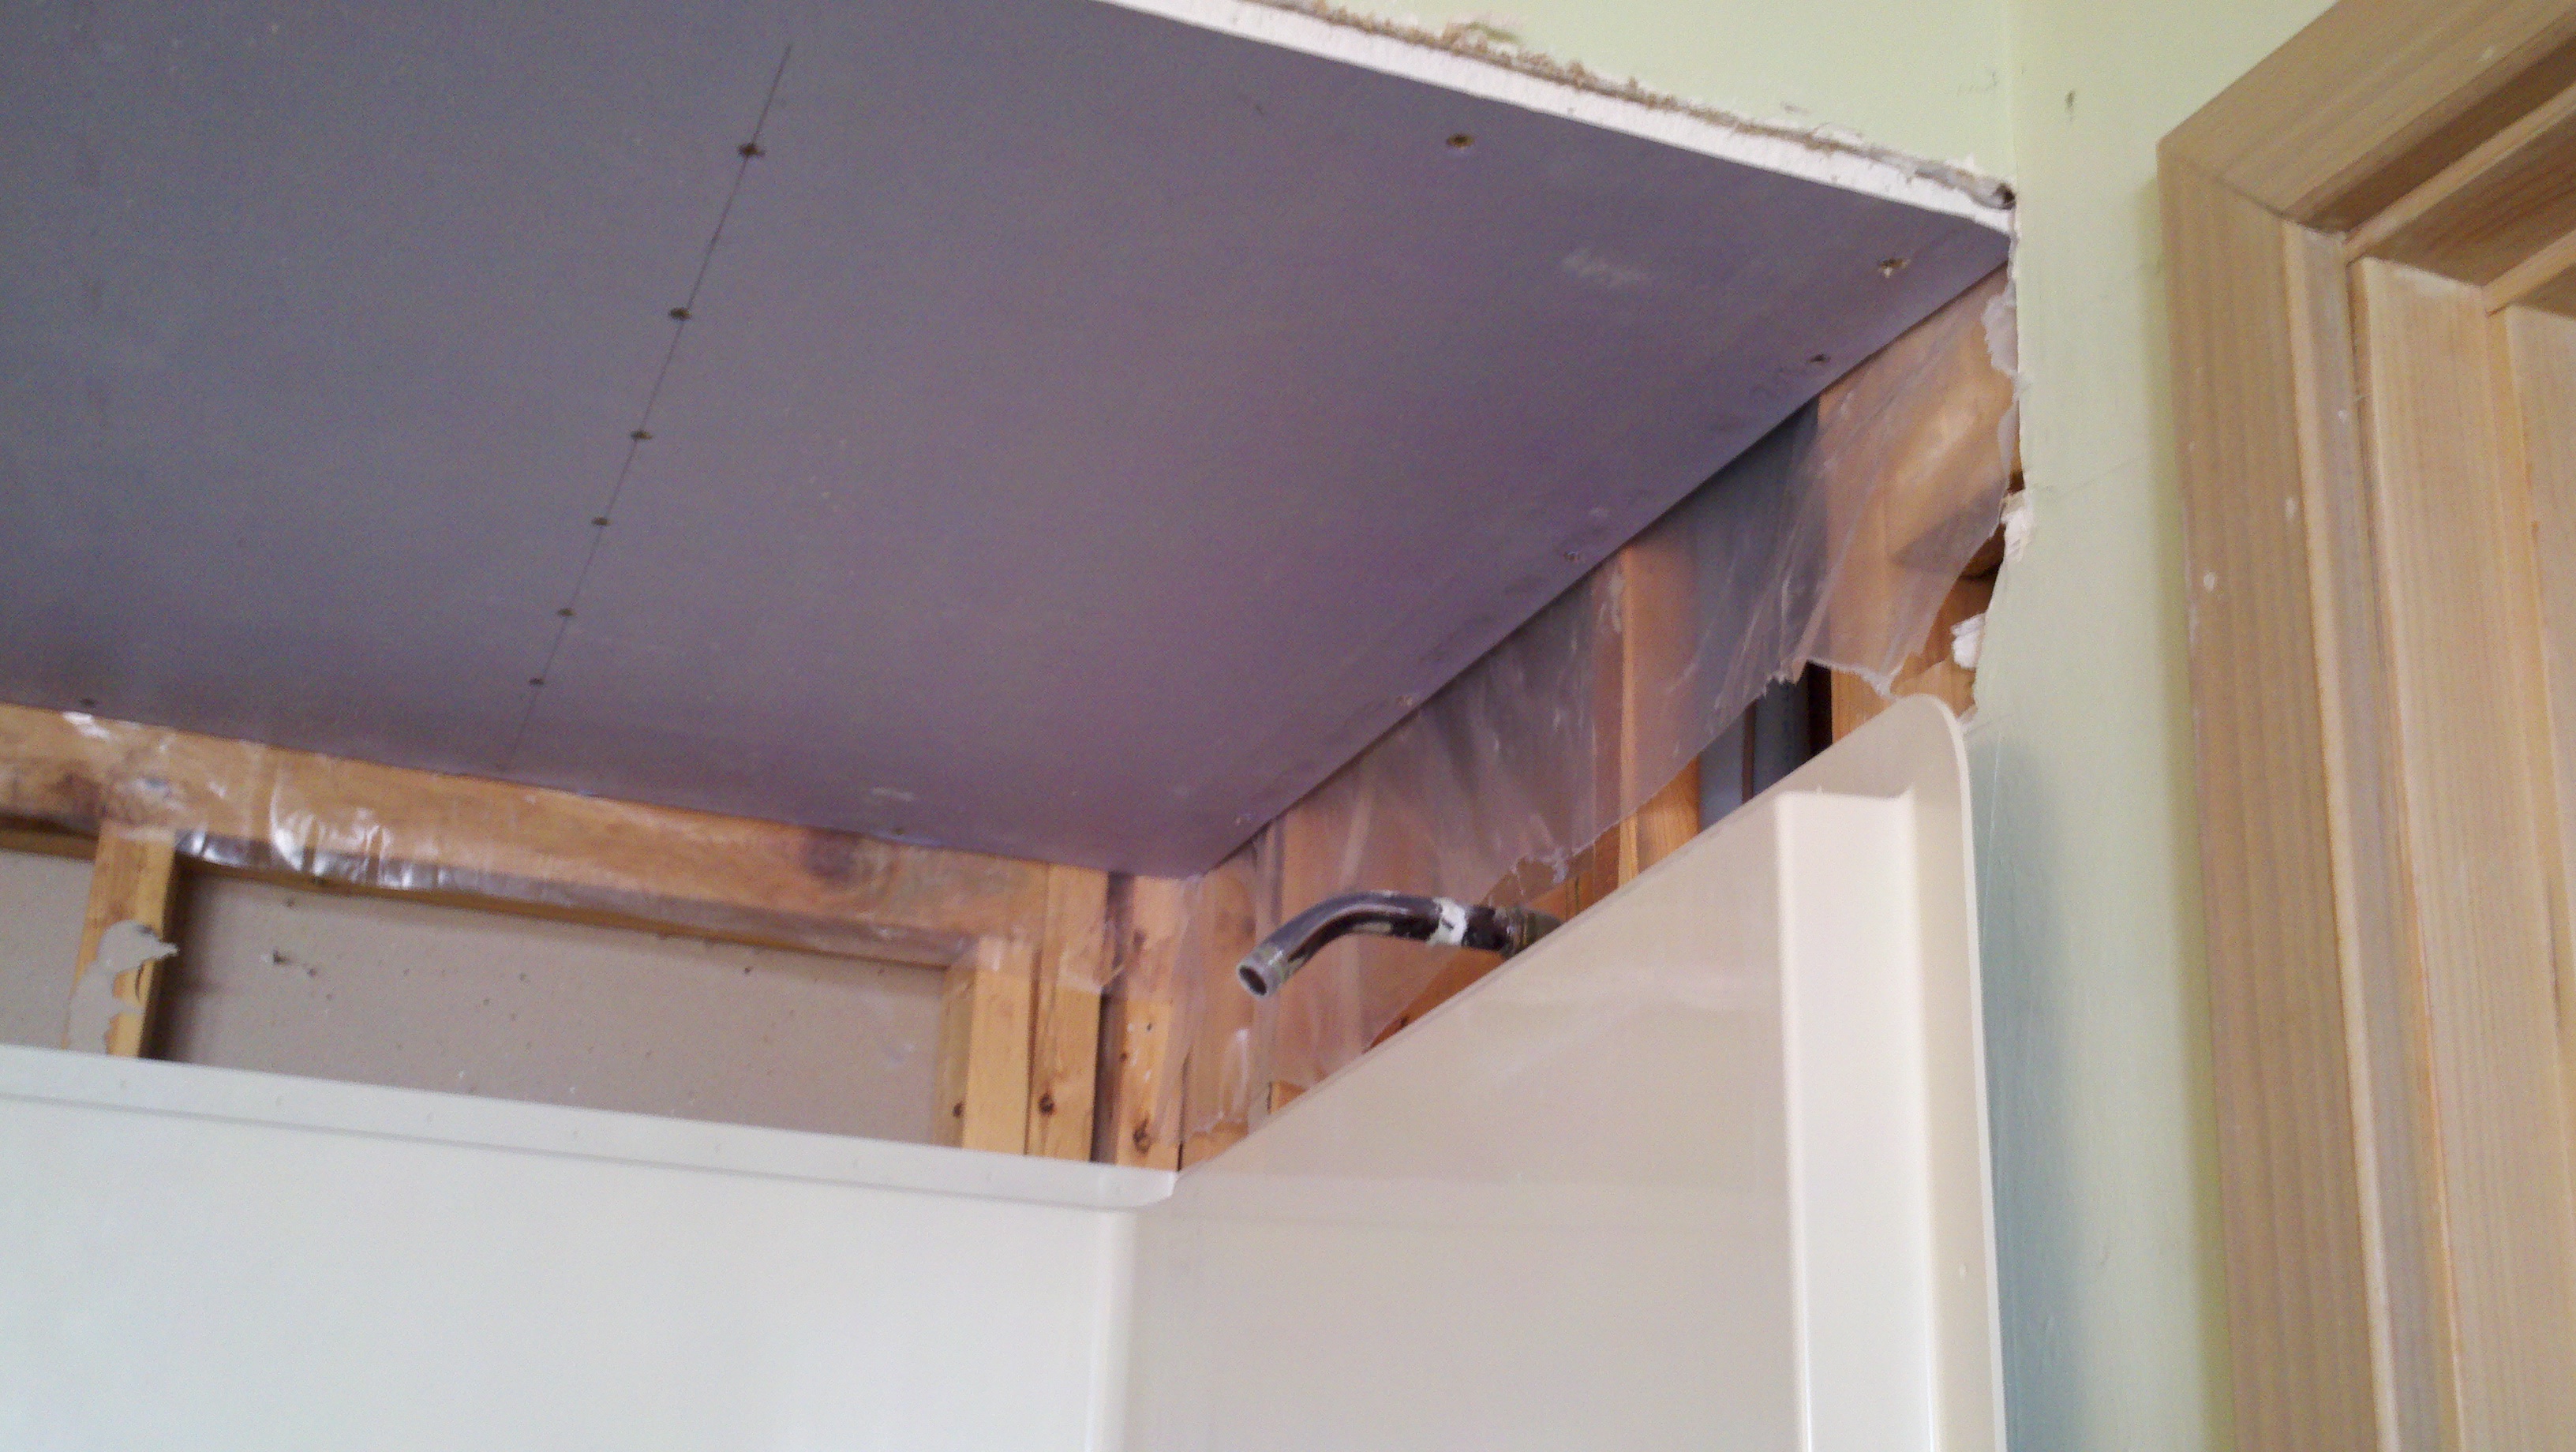
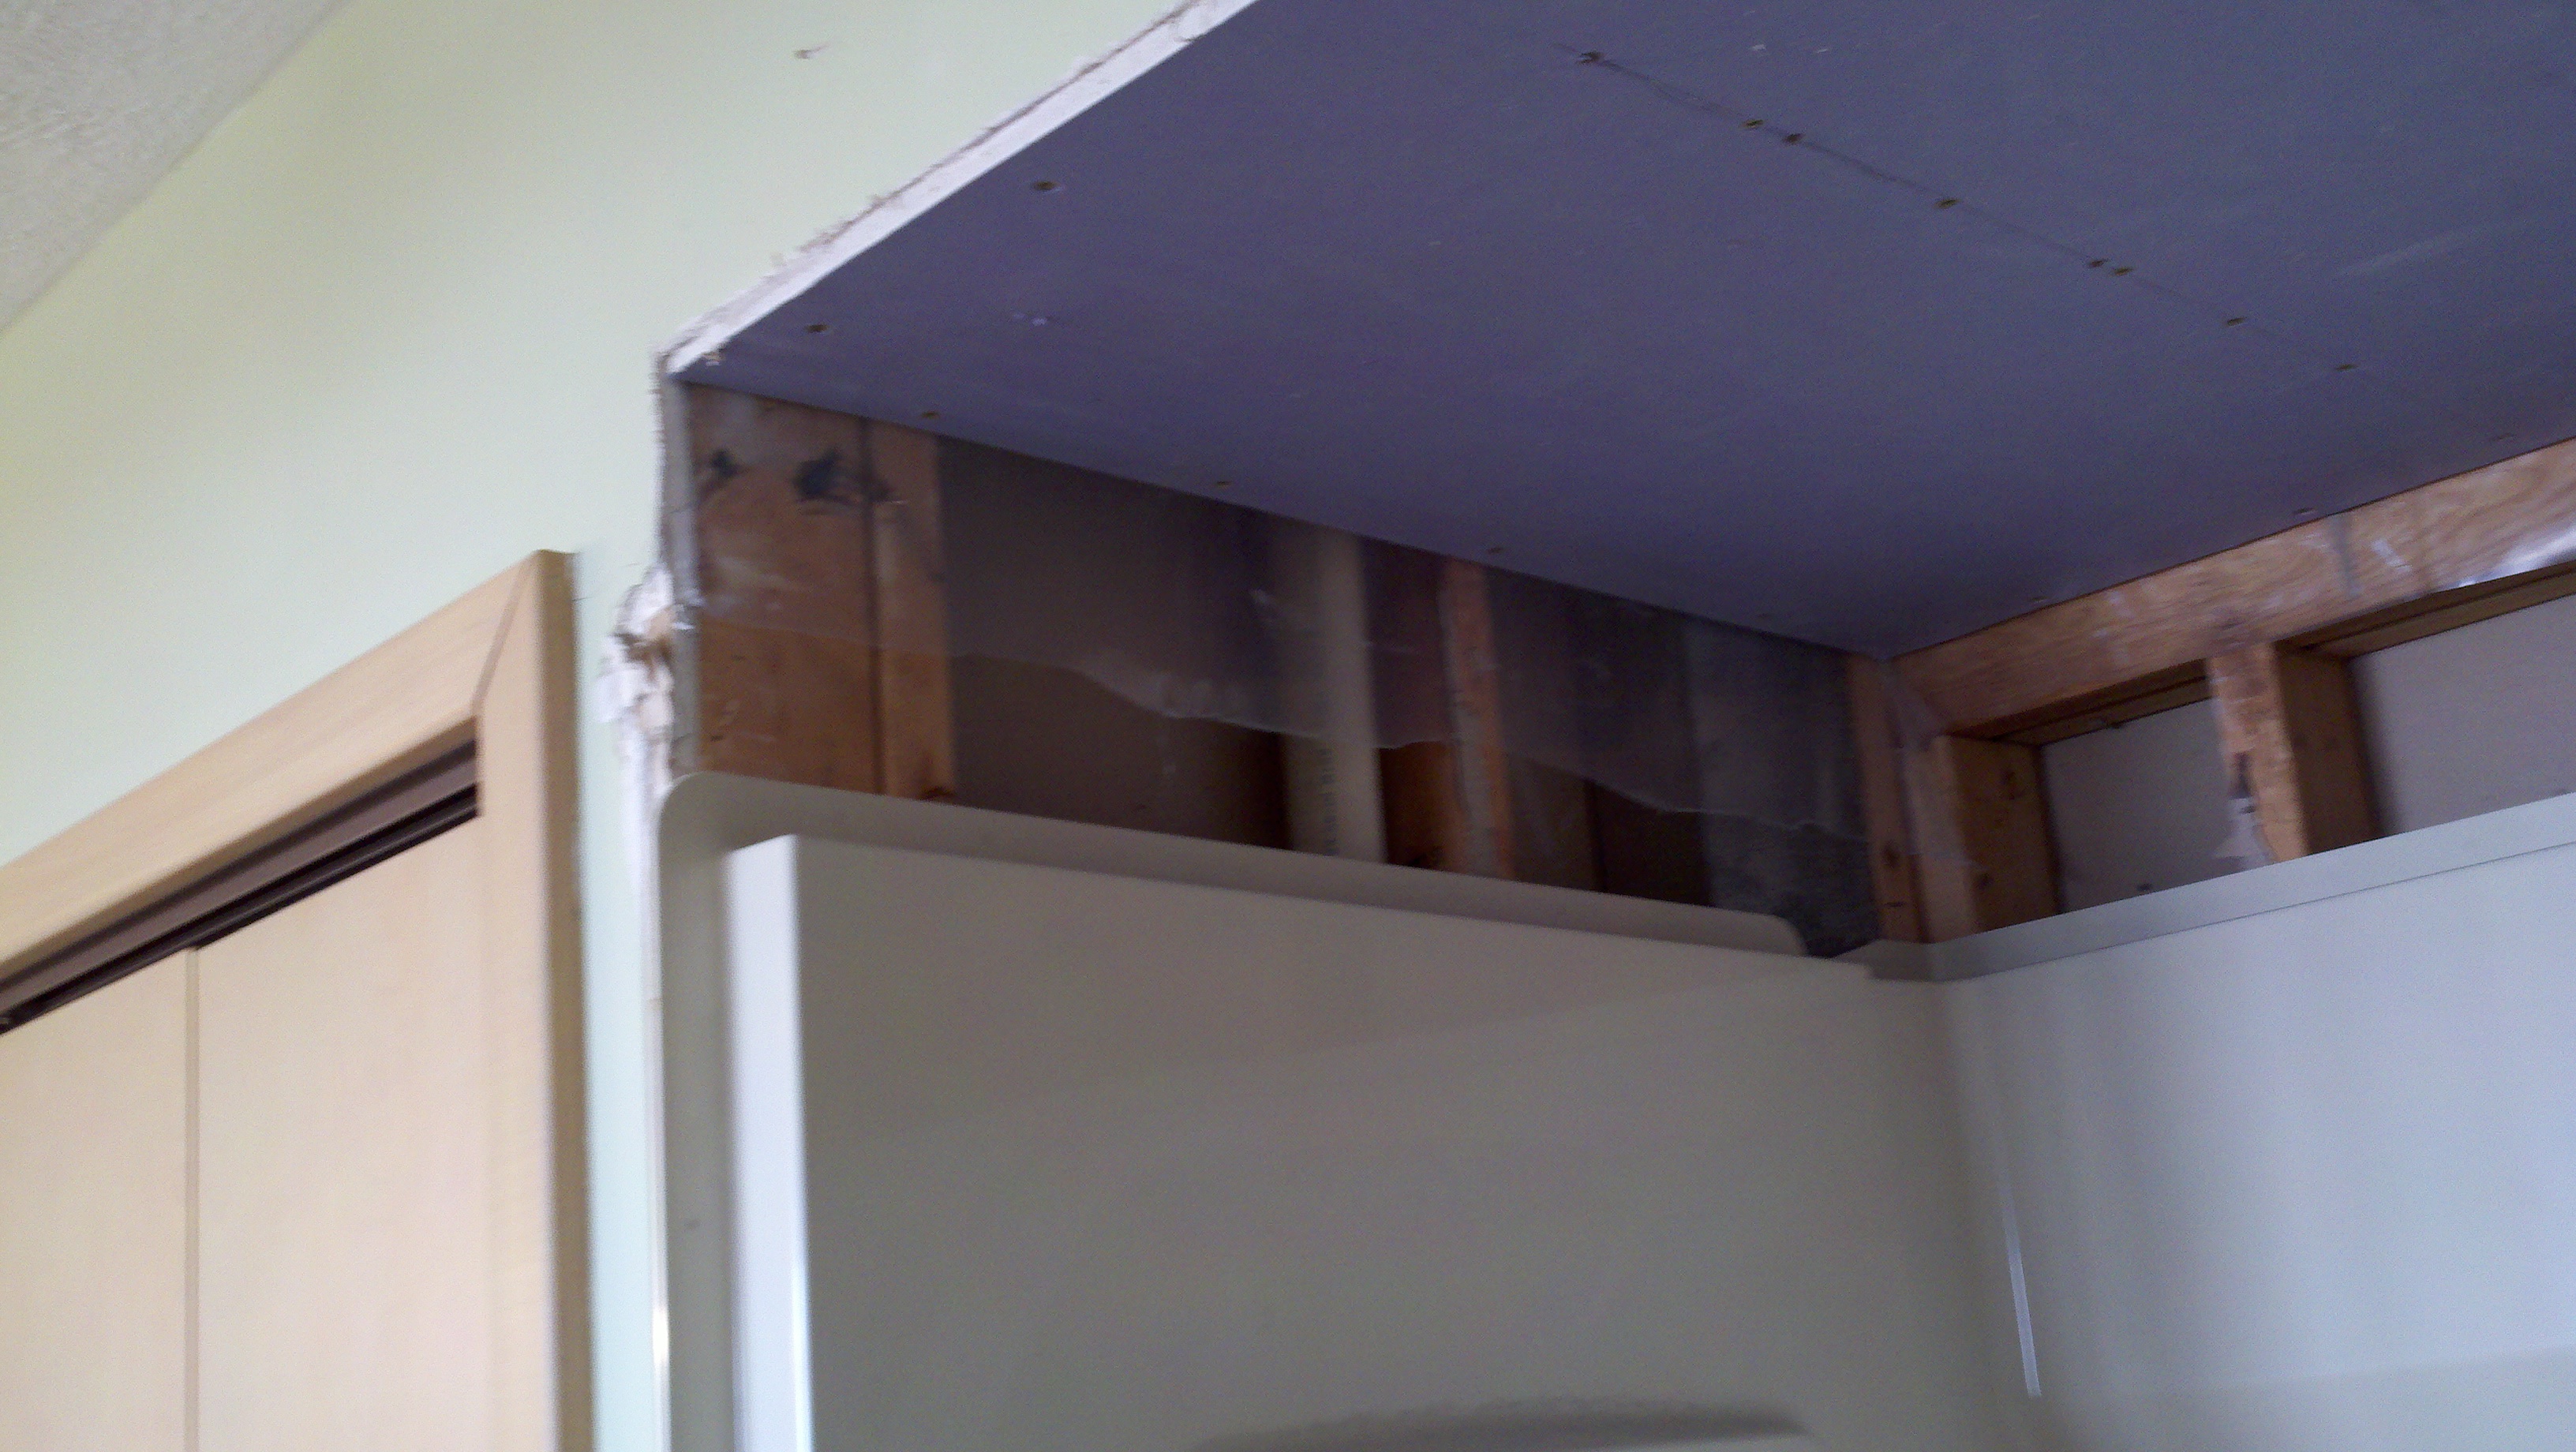
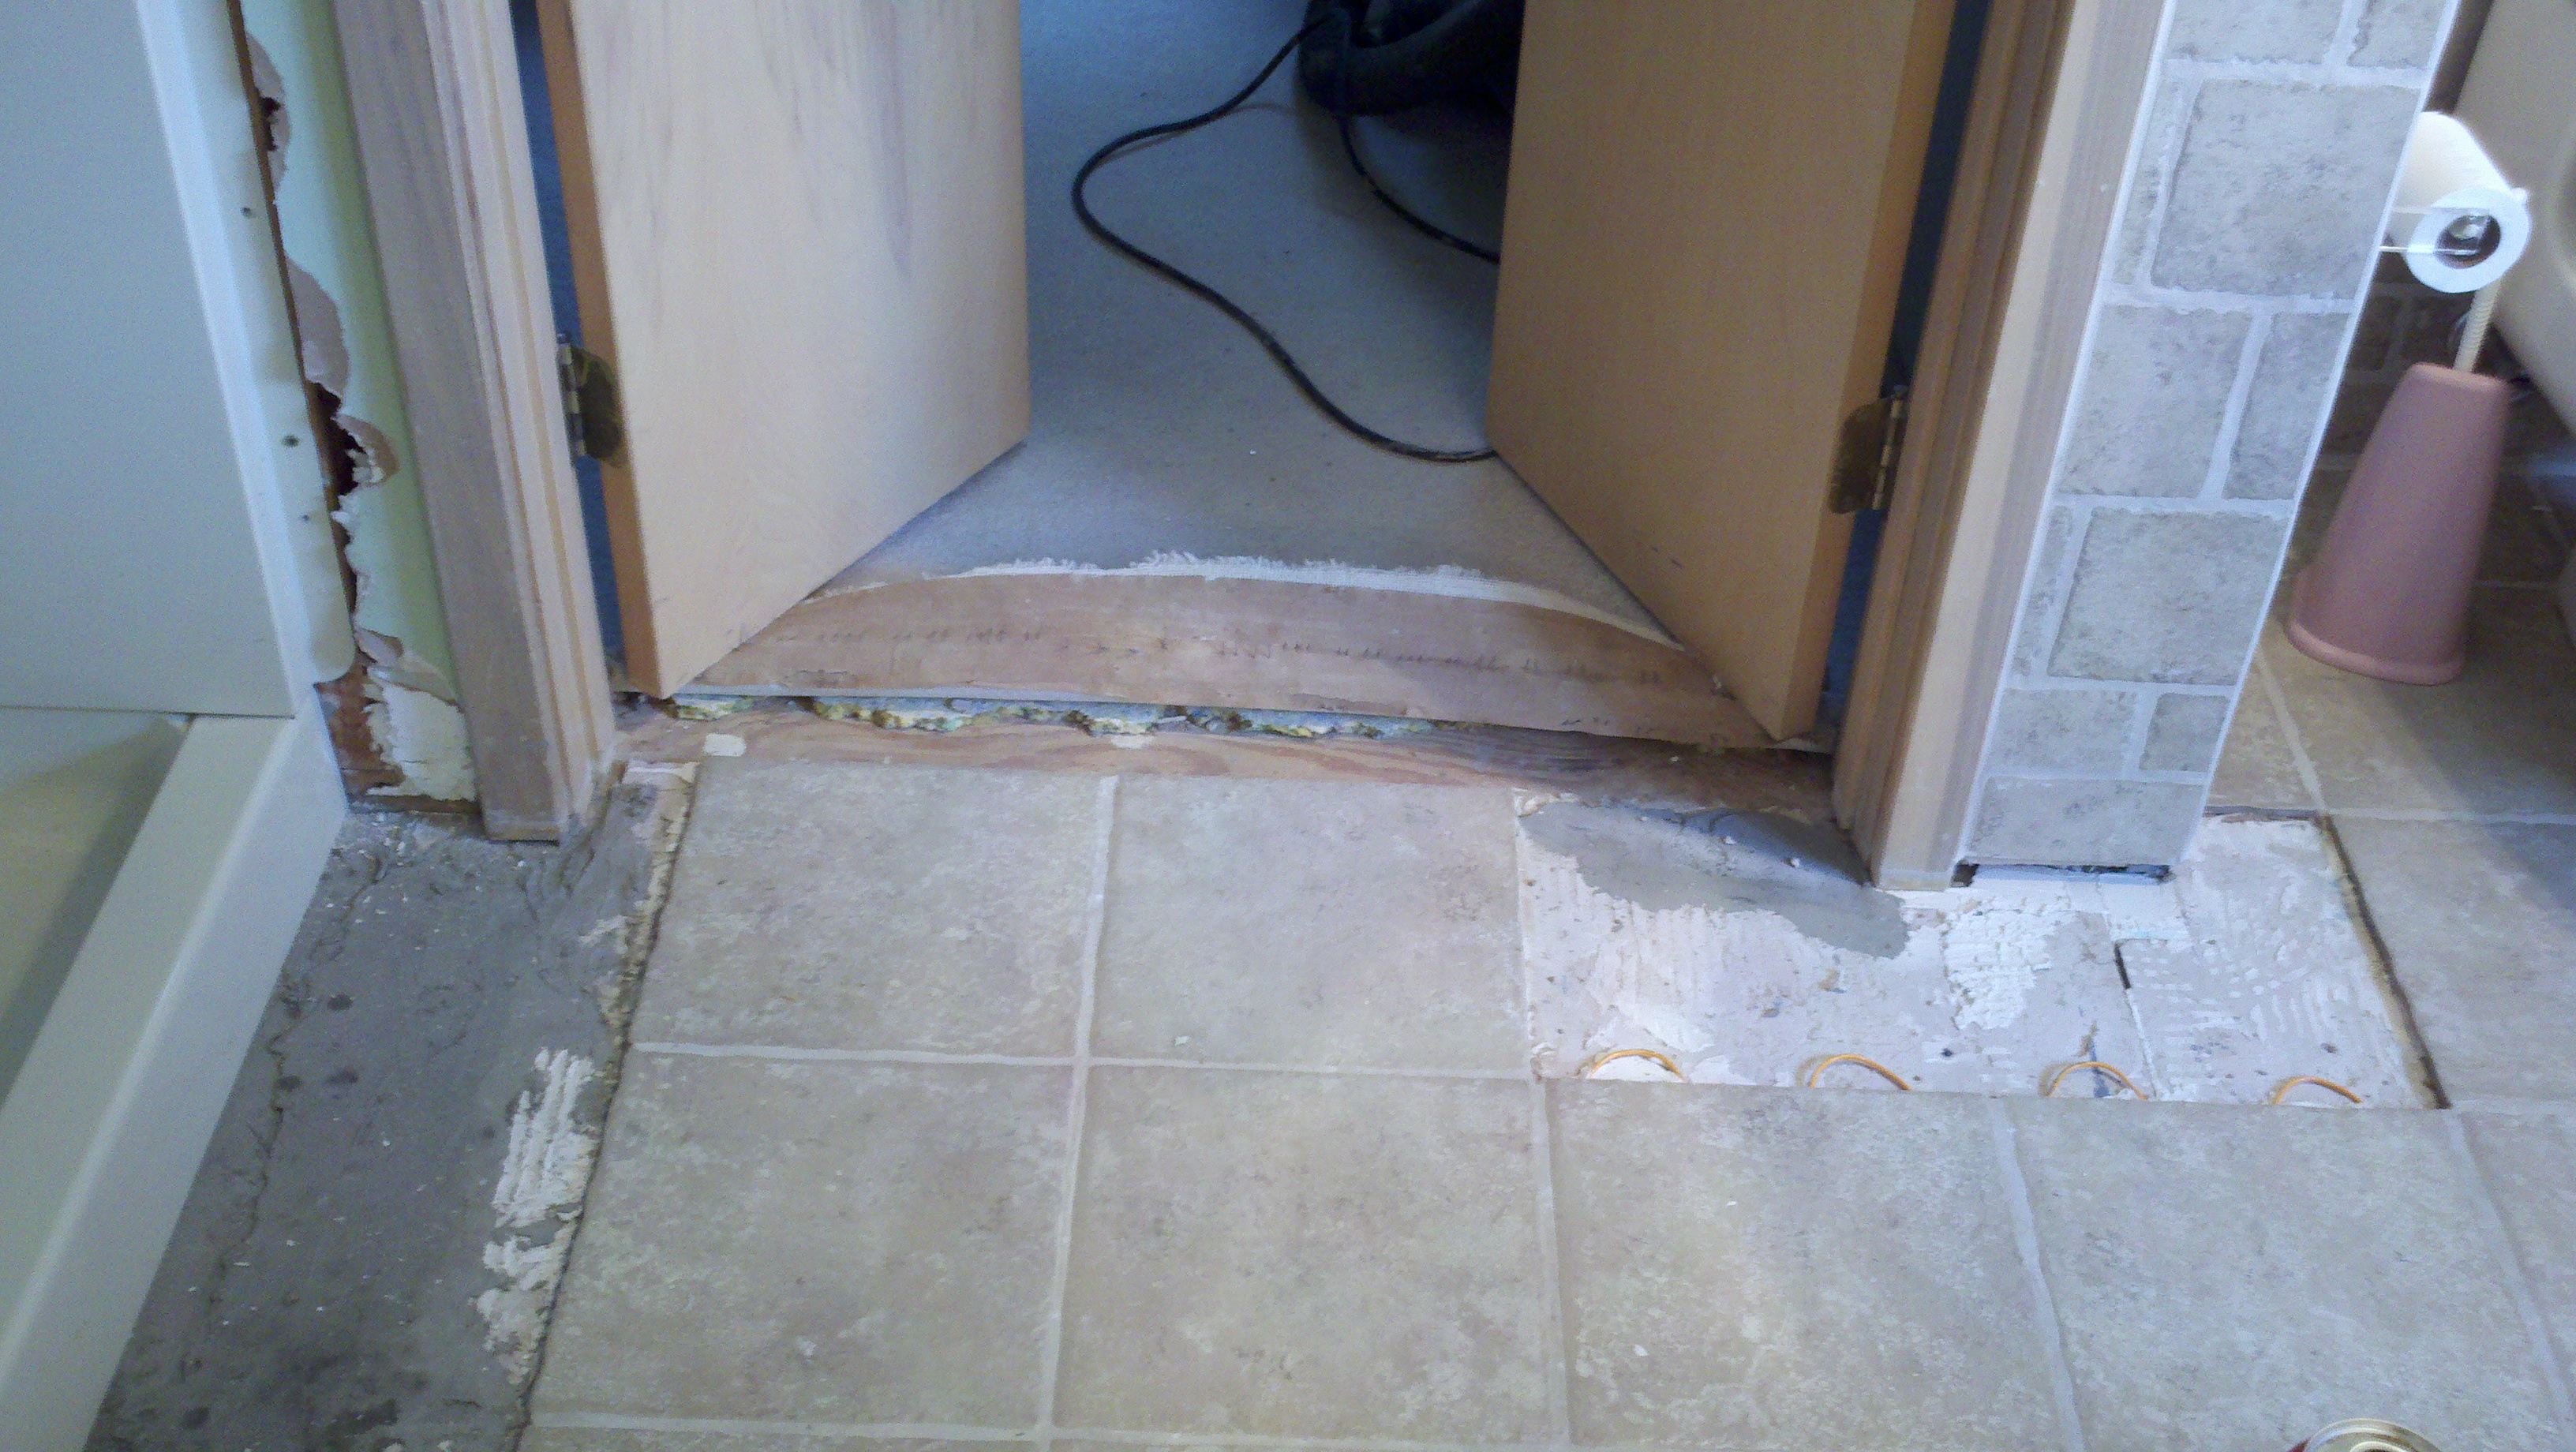
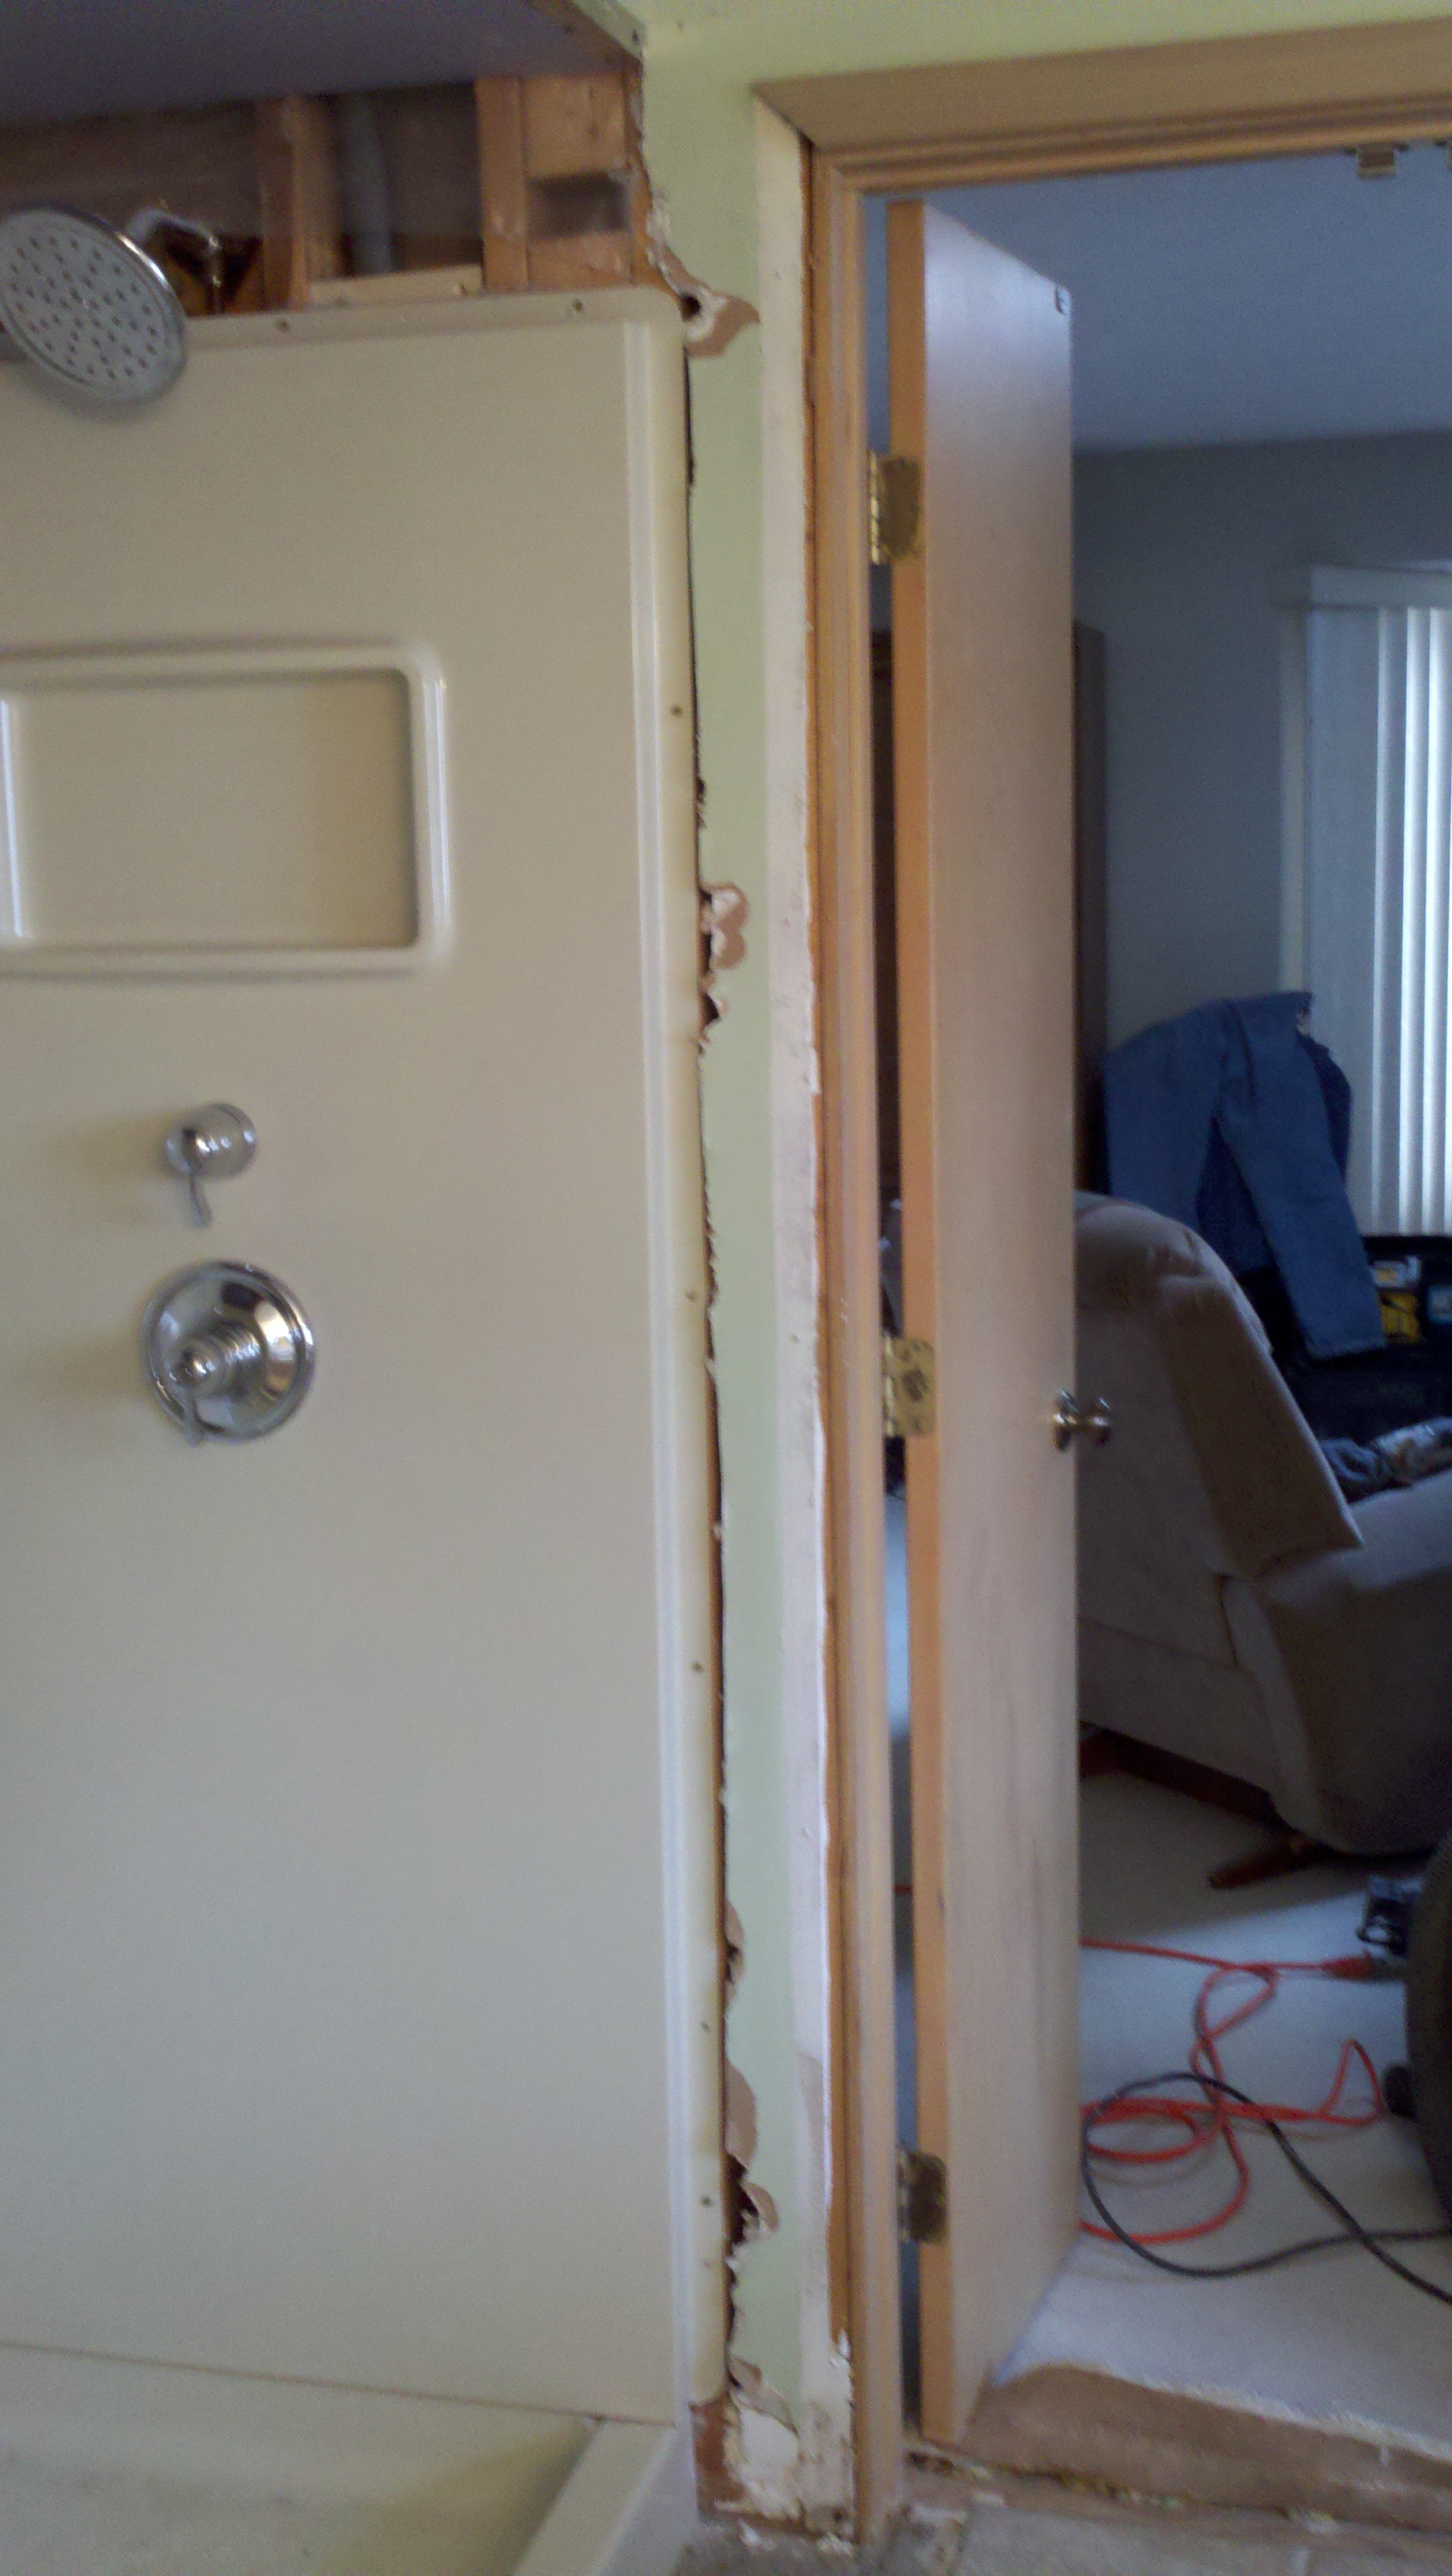
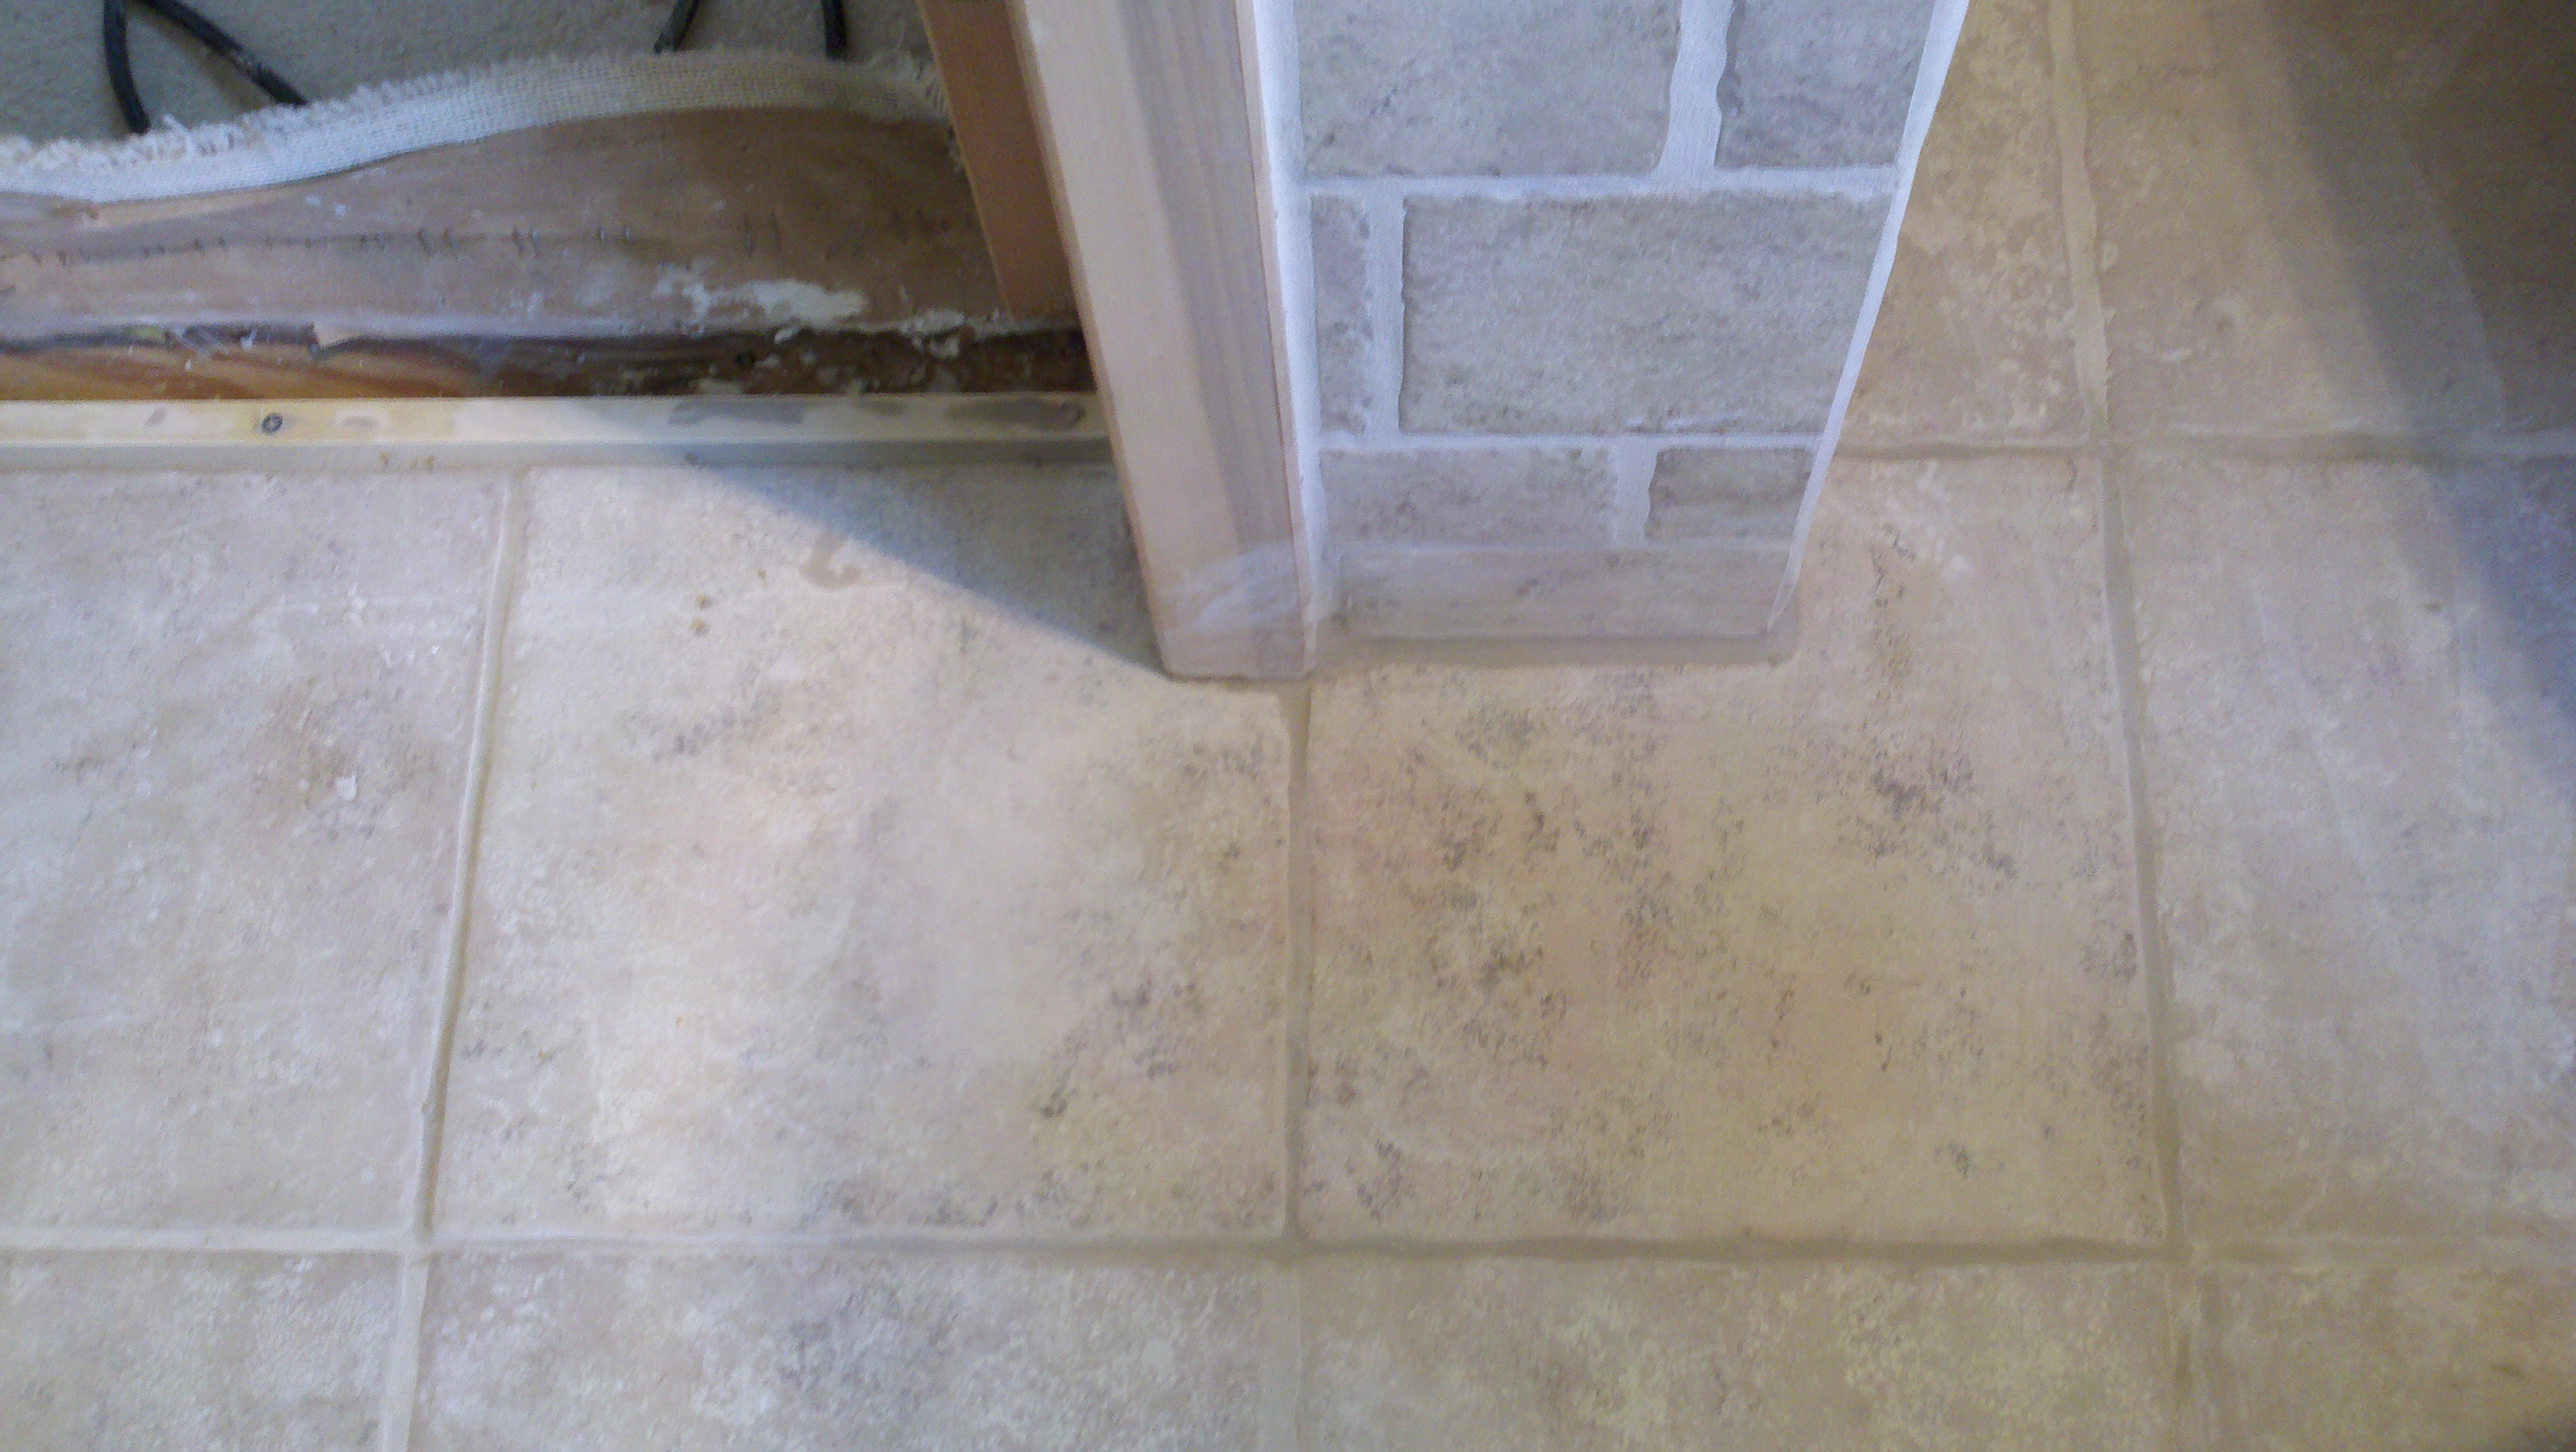
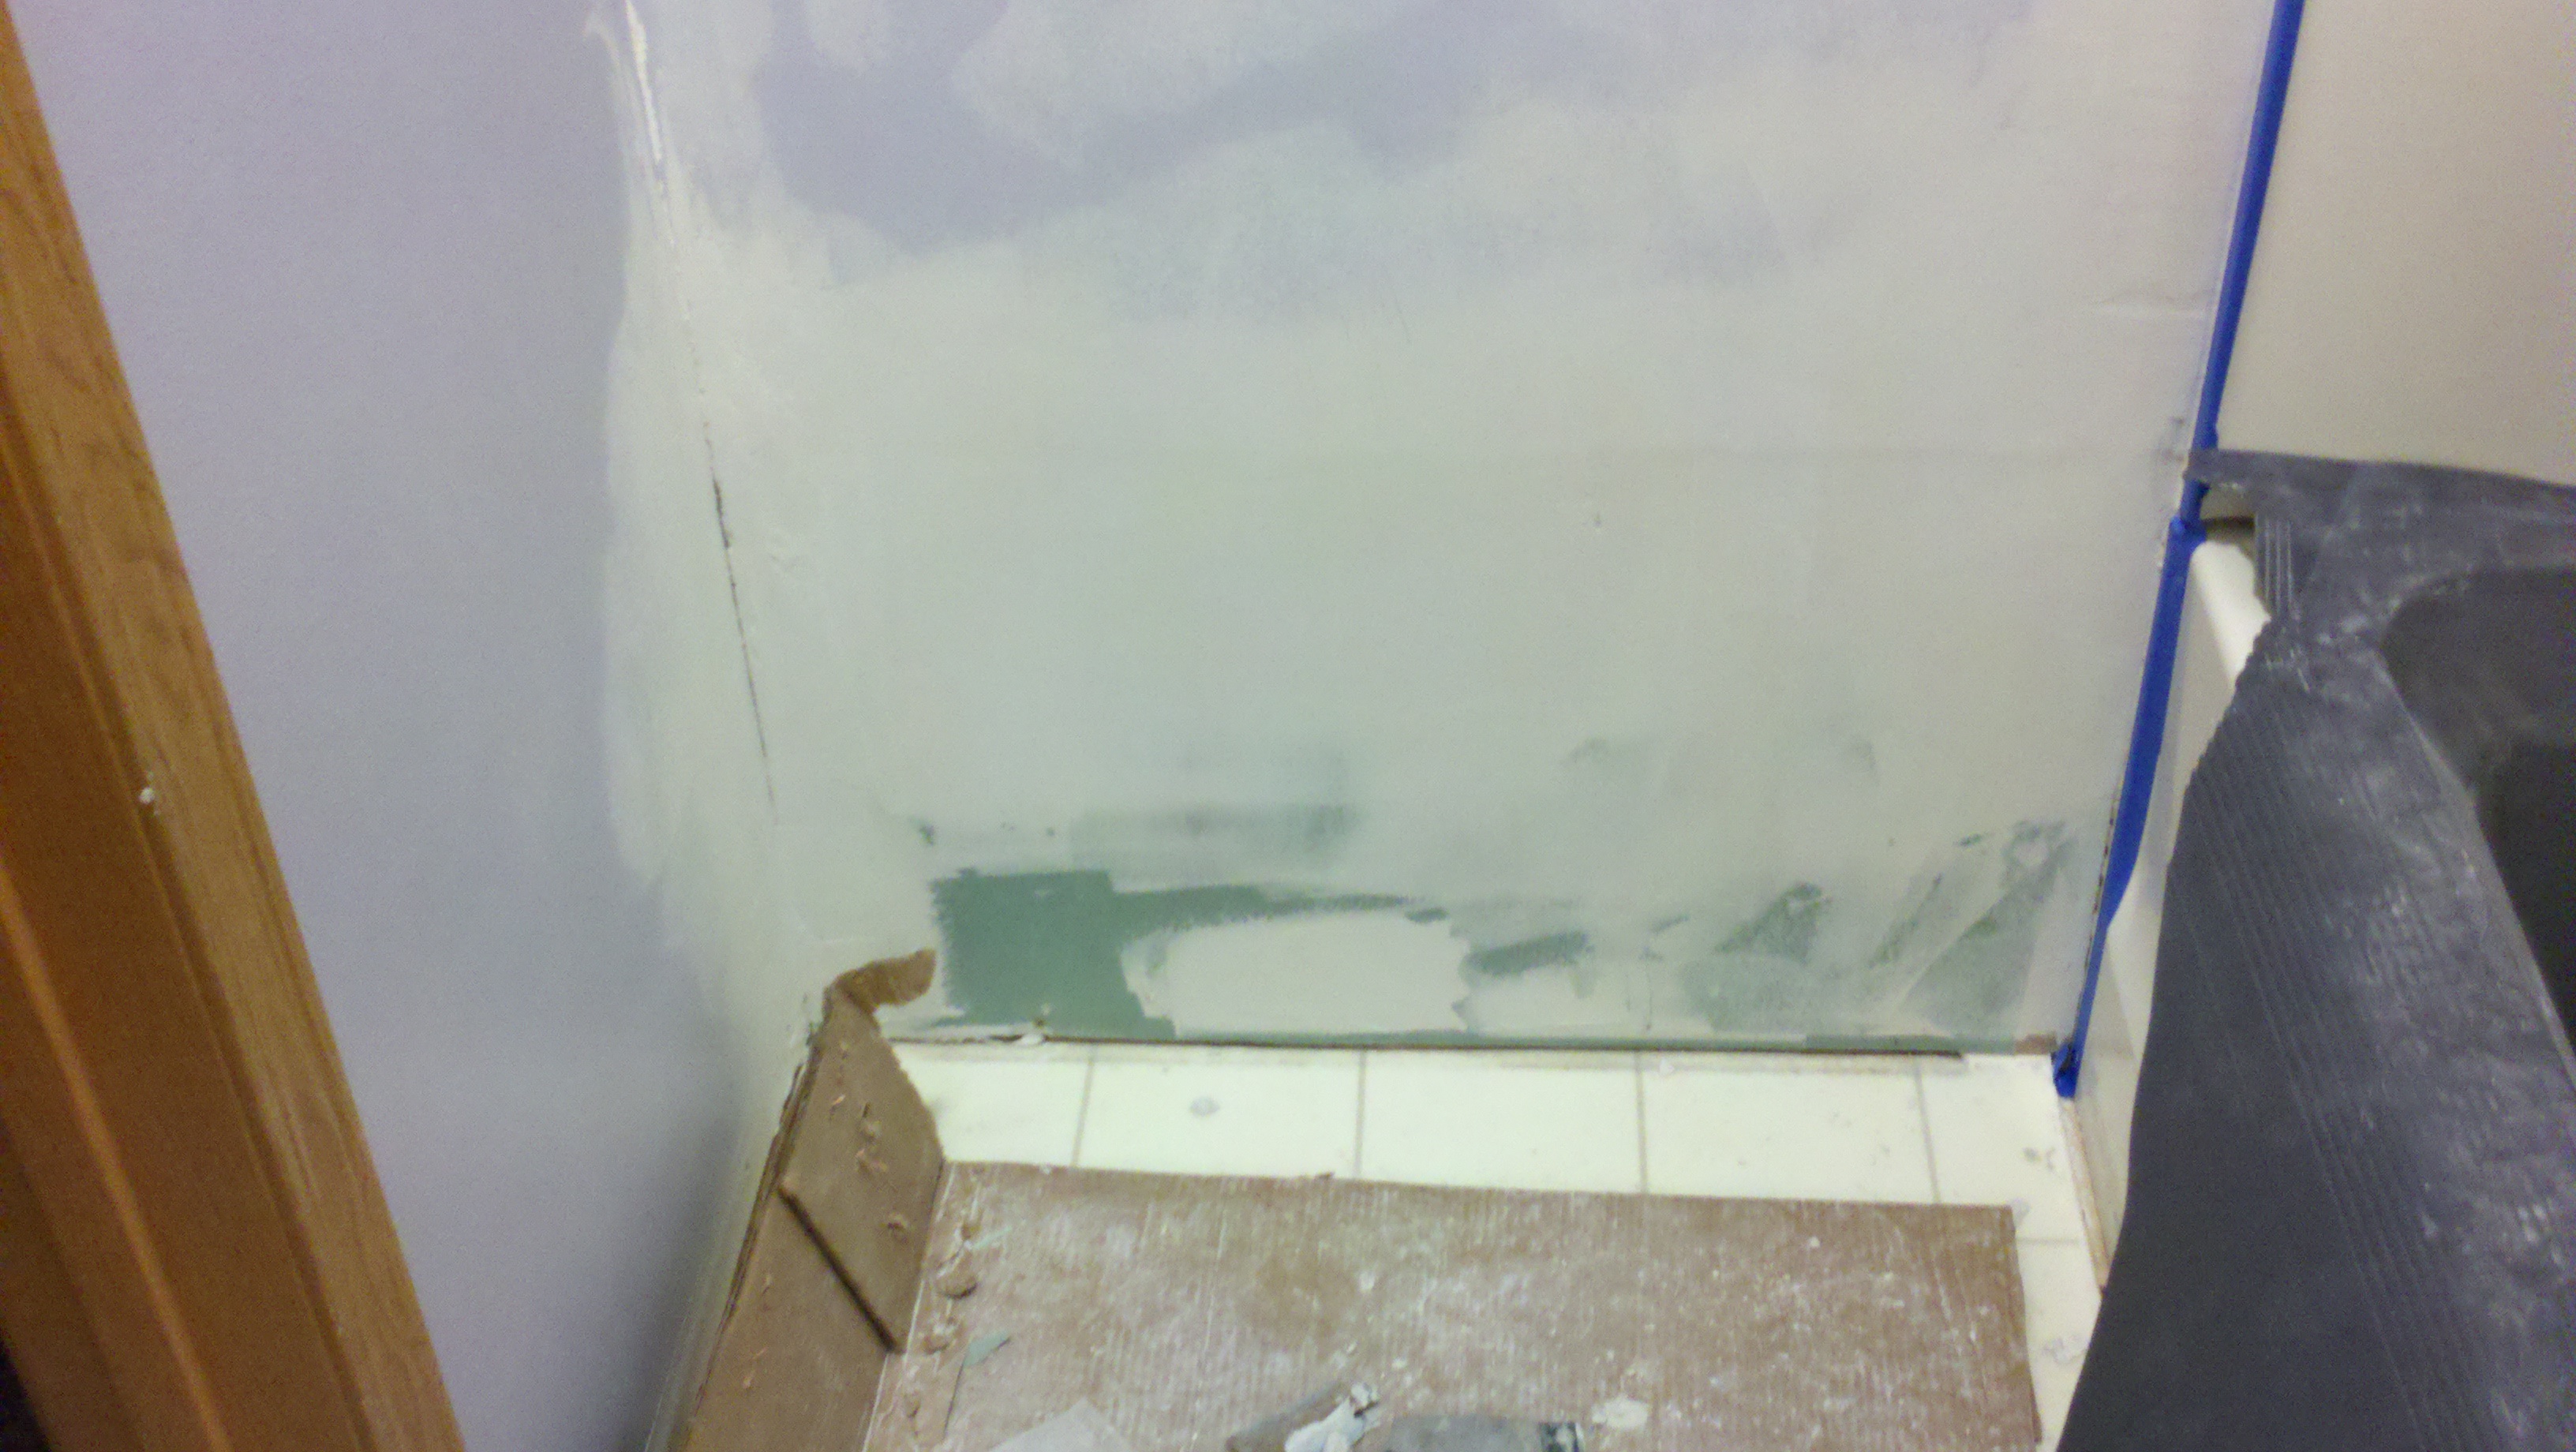
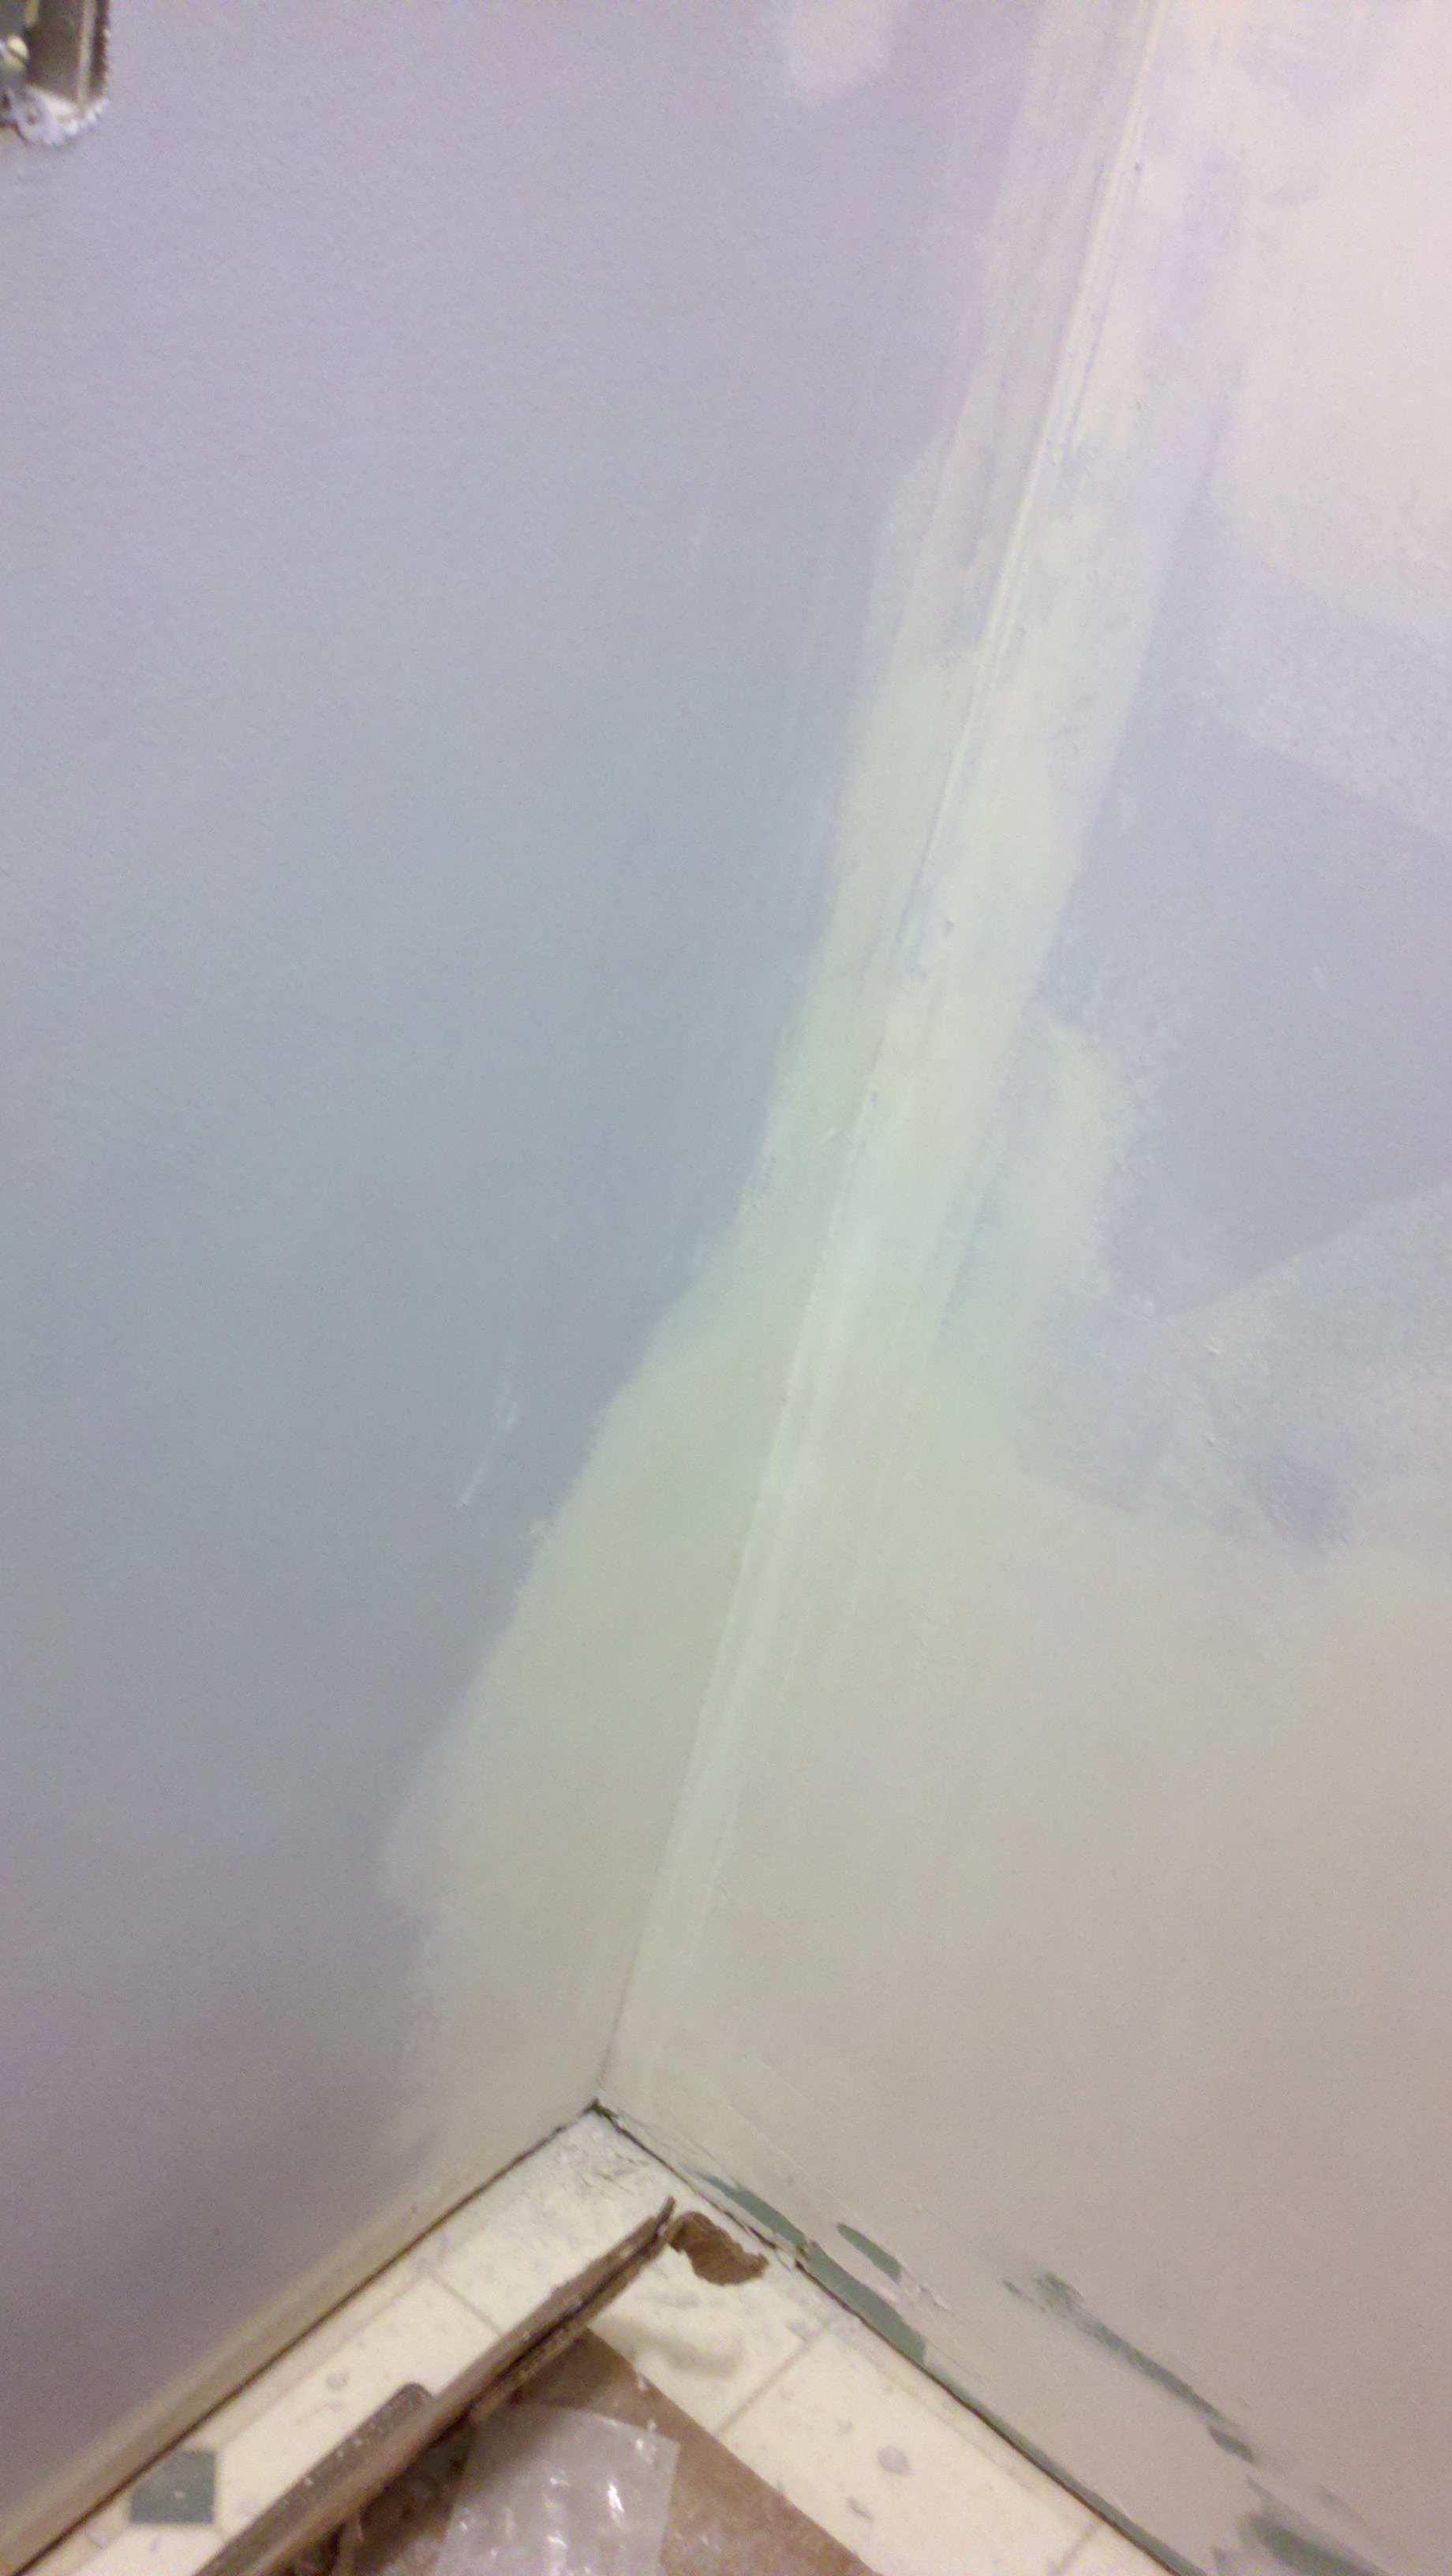
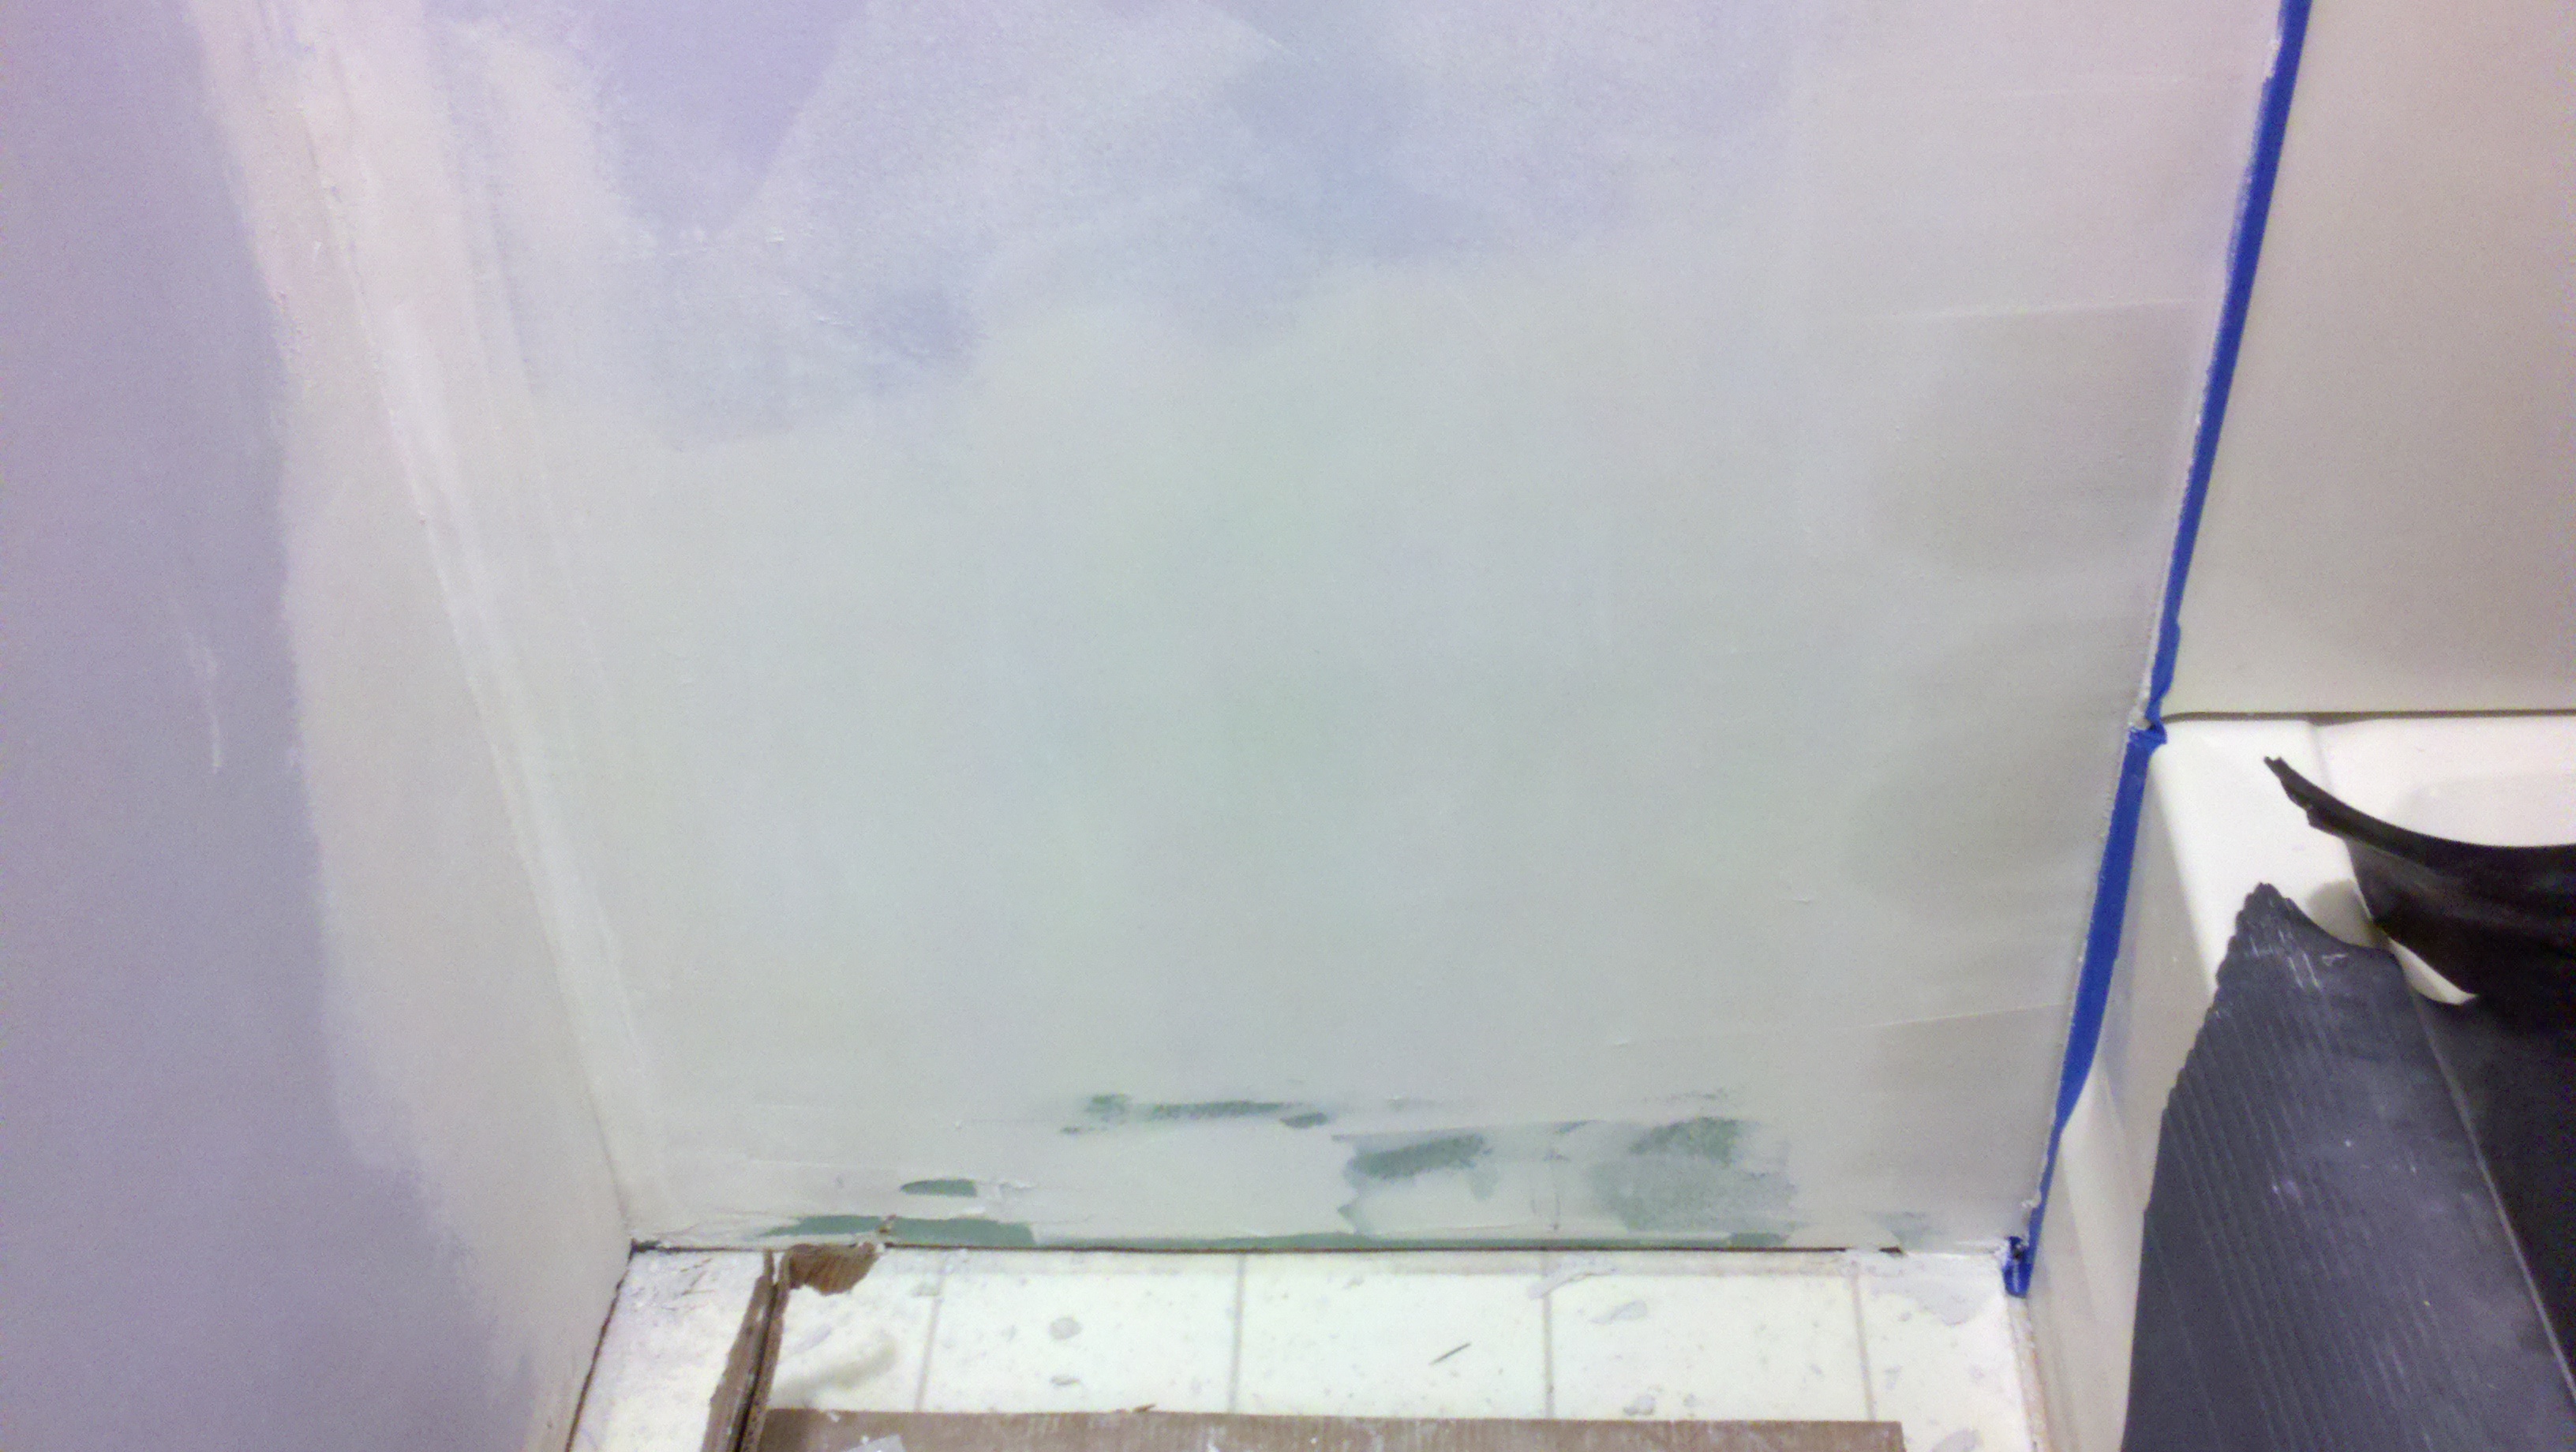
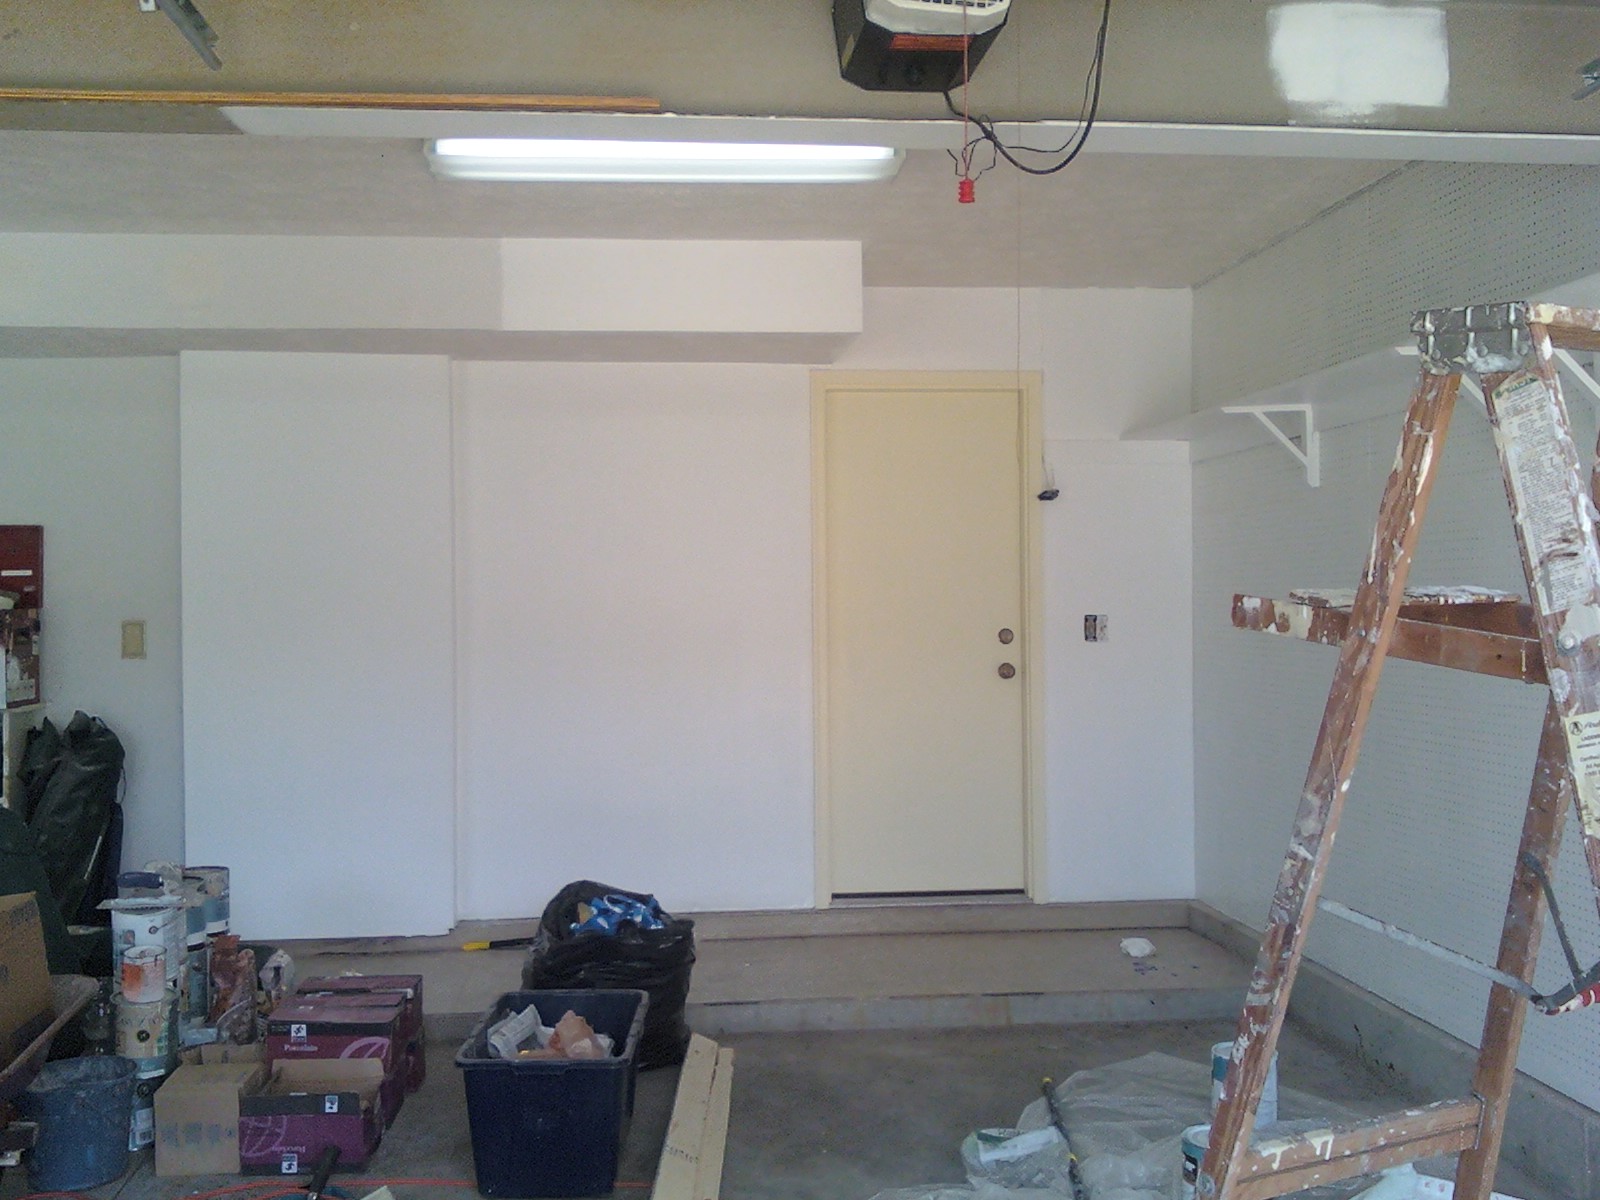
Garage Repair and Paint Garages provide solutions to created desires by humans; keeping the car at room temperature and dry. Storage of lawn equipment and party supplies sometimes find a resting place along side the parked automobile. The car storage shed on occasions becomes damaged and disordered. The acquired task by a customer was to rehabilitate their garage to the original condition upon initial construction, or improved. Pictures one through three provide some insight of the garage condition before reconstruction. Painting the walls, ceiling, doors, and surrounding bay floor was accepted to be the main conversion of the garage. Tile floor at the rear of the garage needed to be replaced. Peg board visually exposed some warped defects and holes; replacement seemed to be the only option. Additional peg board and shelving installed on the wall parallel to the existing pegboard will provide storage location for some tools and party supplies.
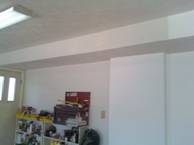
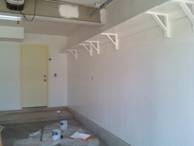
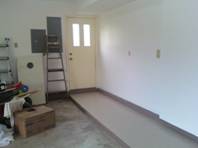
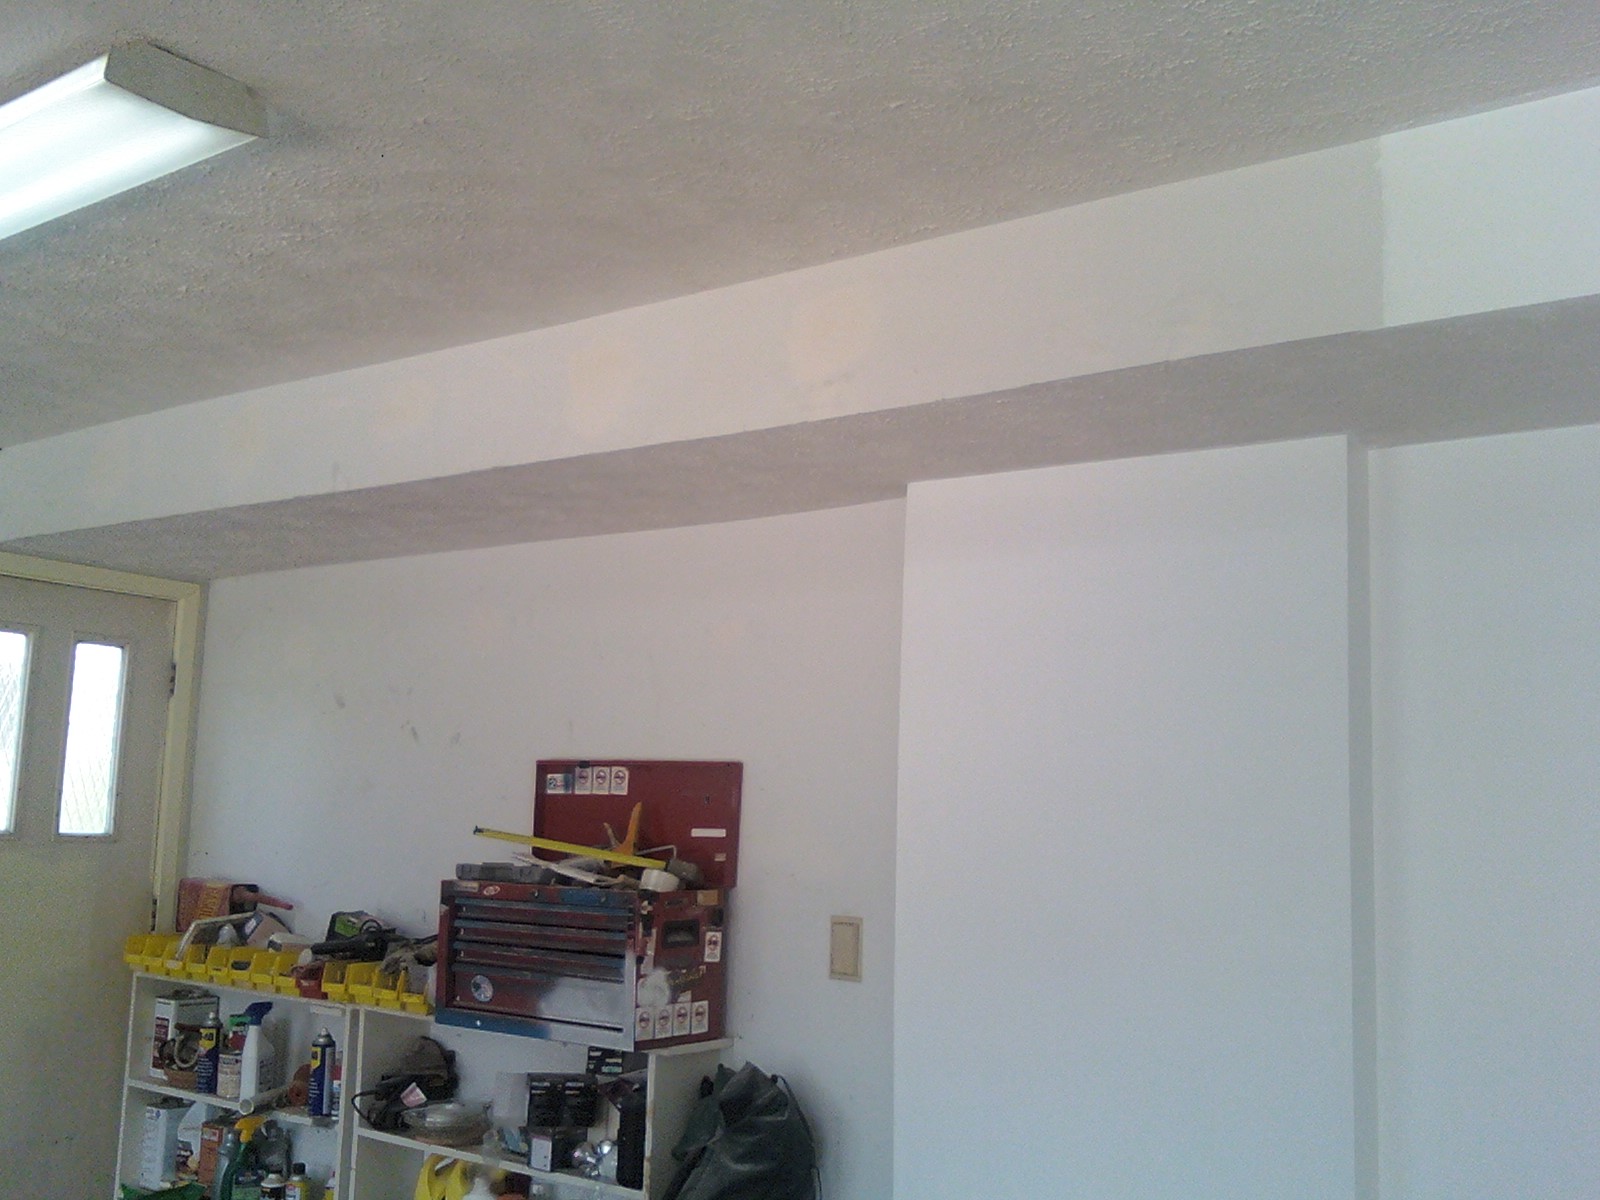
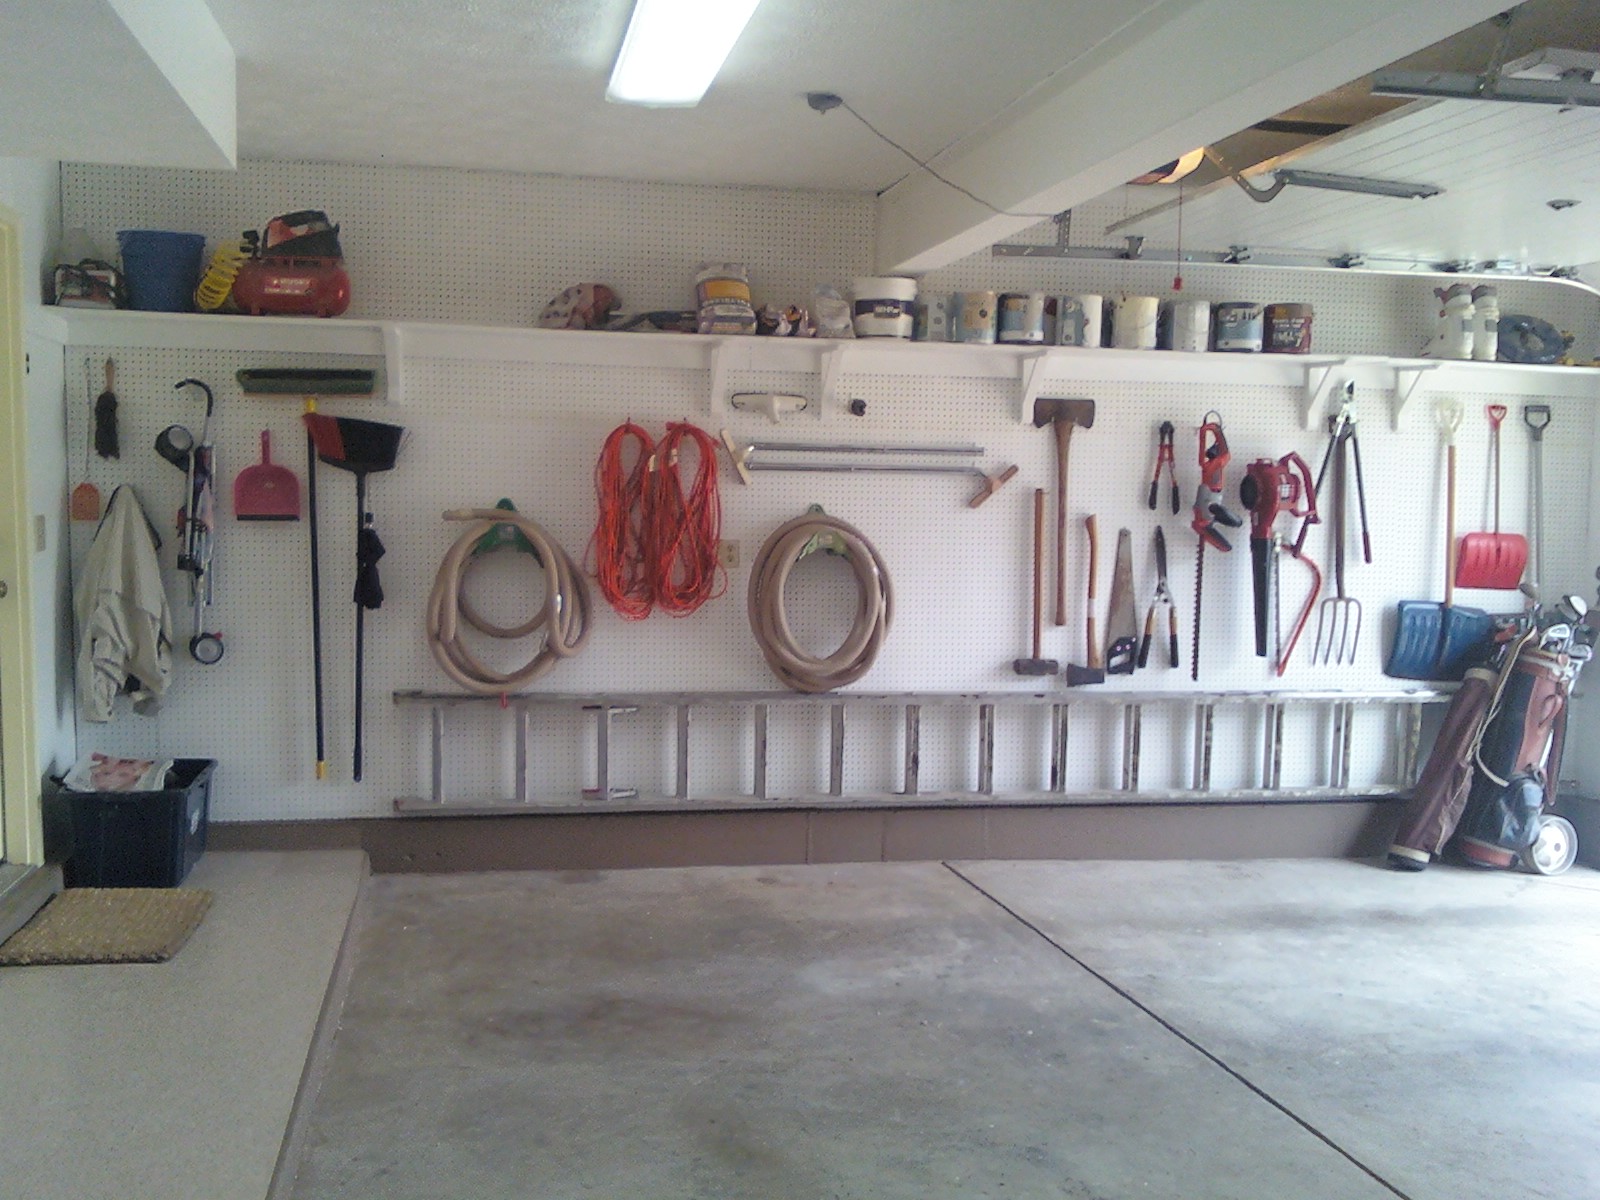
Removal and installation of the new peg board provided an acceptable starting task for the rehabilitation. Additional peg board was installed above the transplanted existing shelves from the rear of the garage. The peg board was painted white to match the surrounding anticipated color. Painting the garage was required to be the only next acceptable job. Dent, hole repair, and finish sanding provided perfect preparation for the paint adhesion. The breaker boxes also needed to be removed and the surrounding gypsum required joint compound leveling to the mounted wall. Breaker boxes were also cleaned to remove all of the extra paint and debris embedded on the surface finish. Painting the ceiling required an additional task of painting the support I beam above the parking positions. Additional door painting was completed at this time. The tool box required a stand, mounted between the garage doors, to allow for easy access and use.
|
|
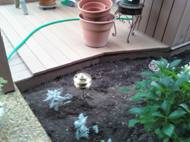
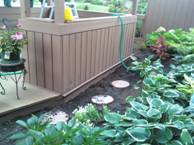
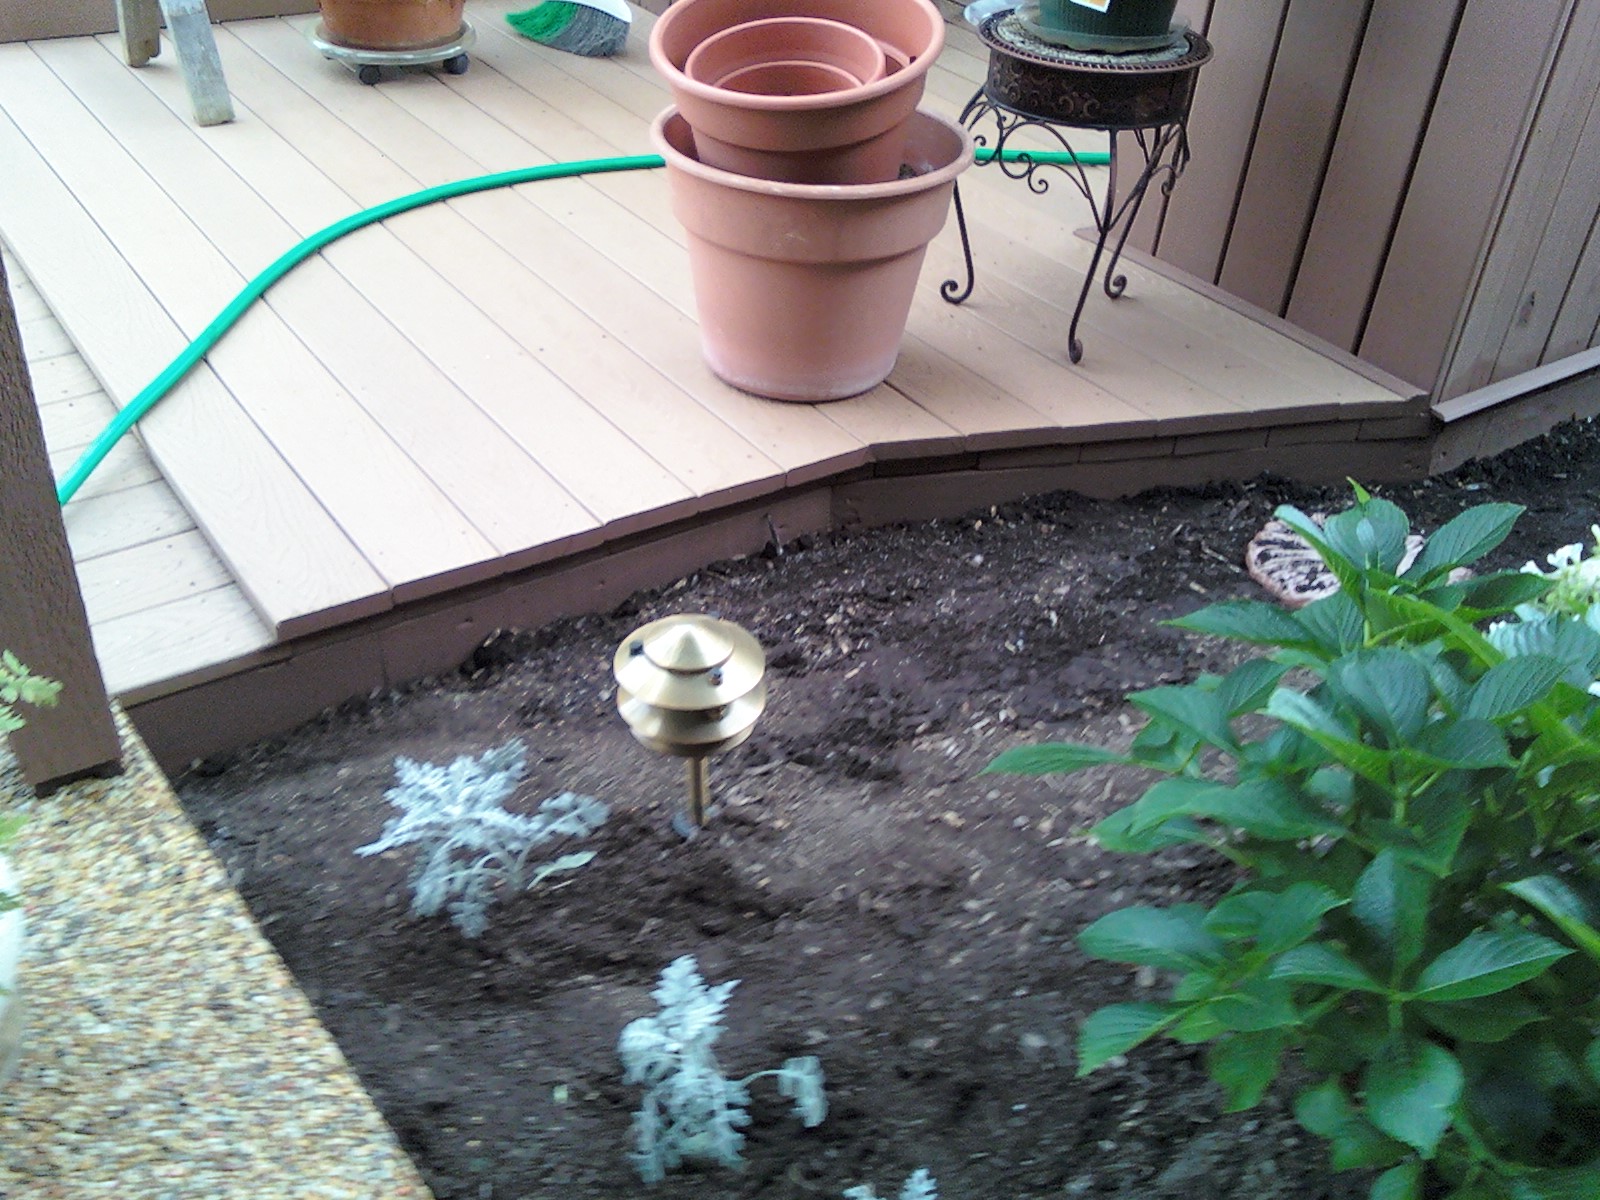
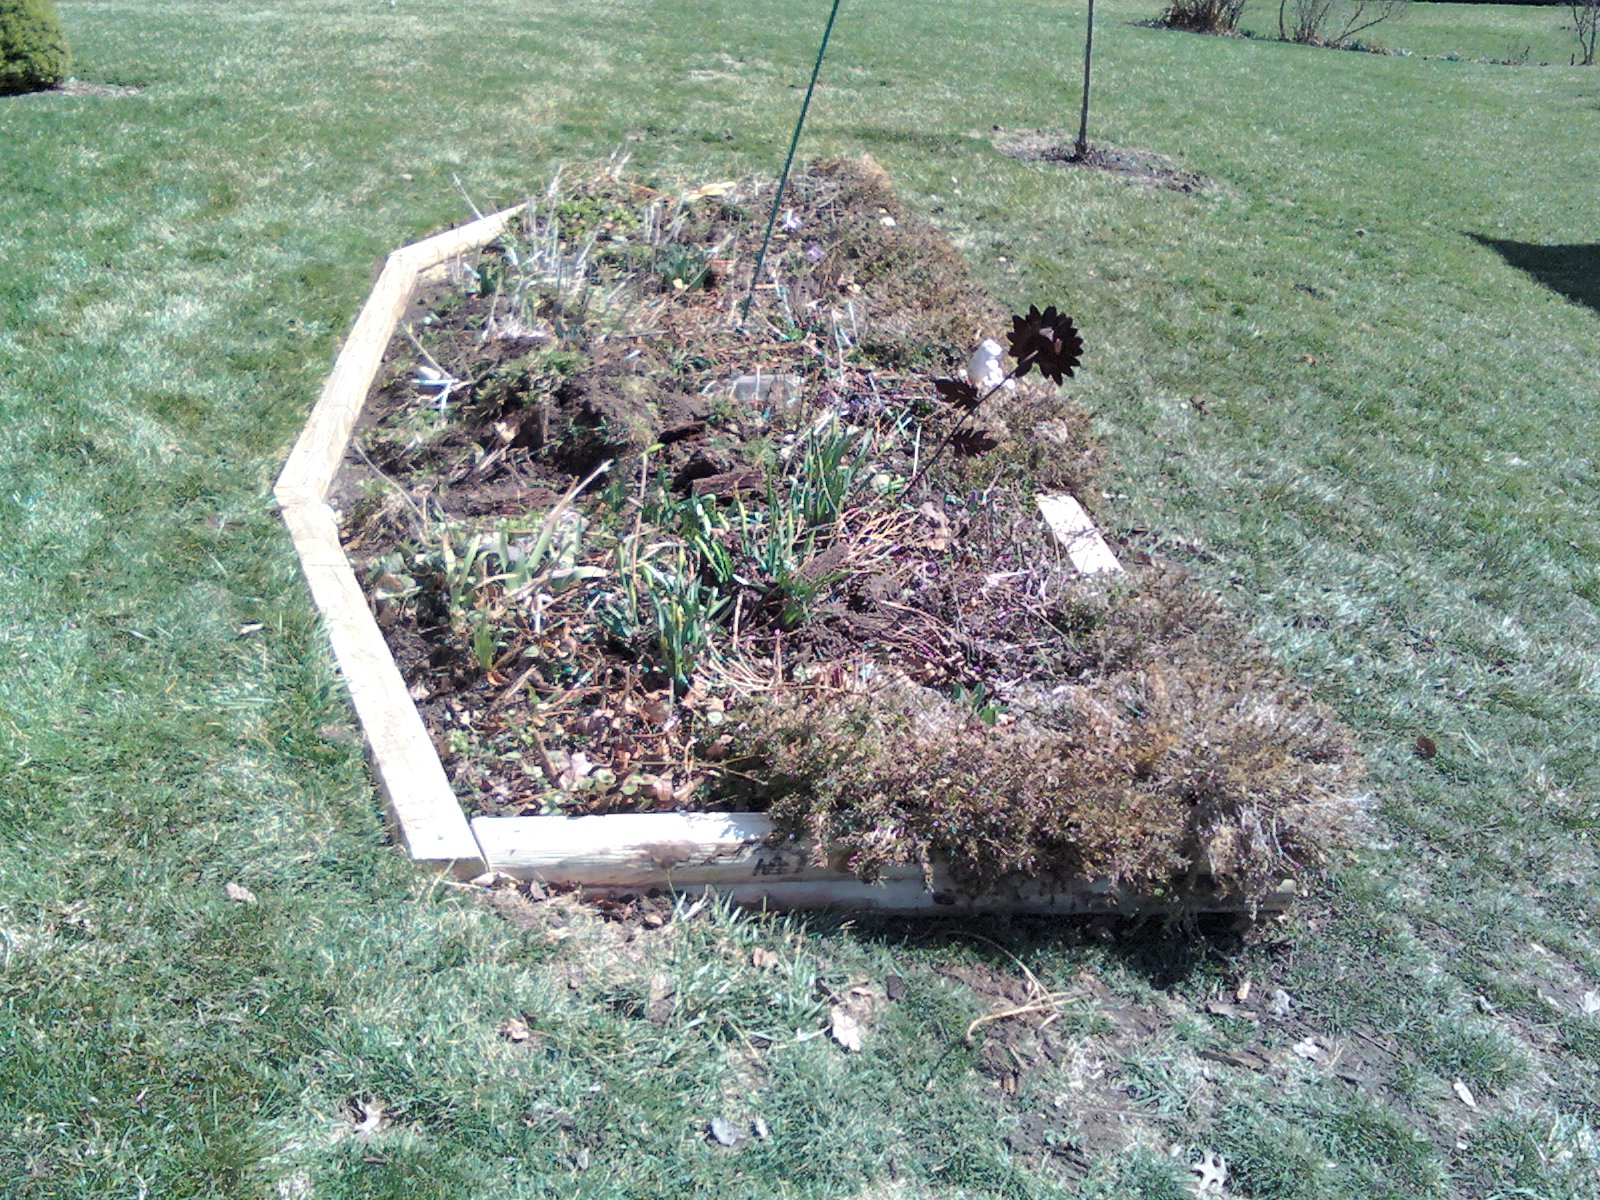
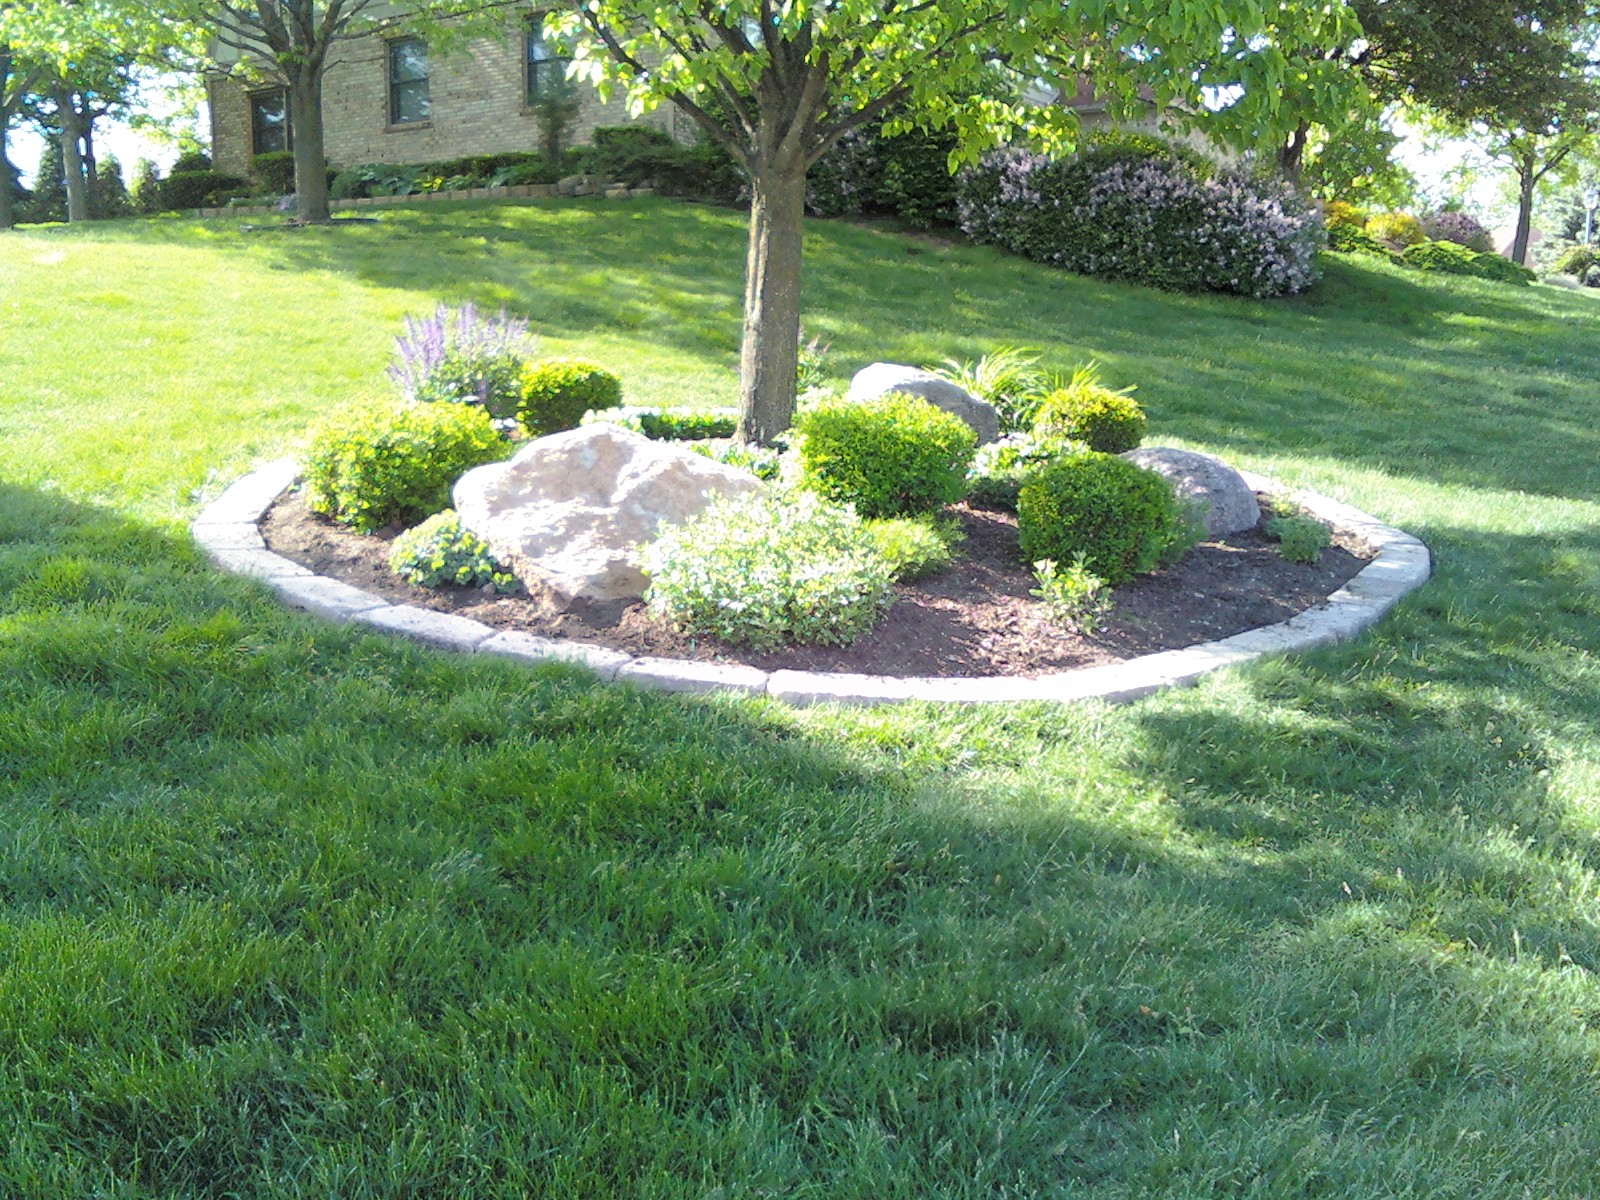
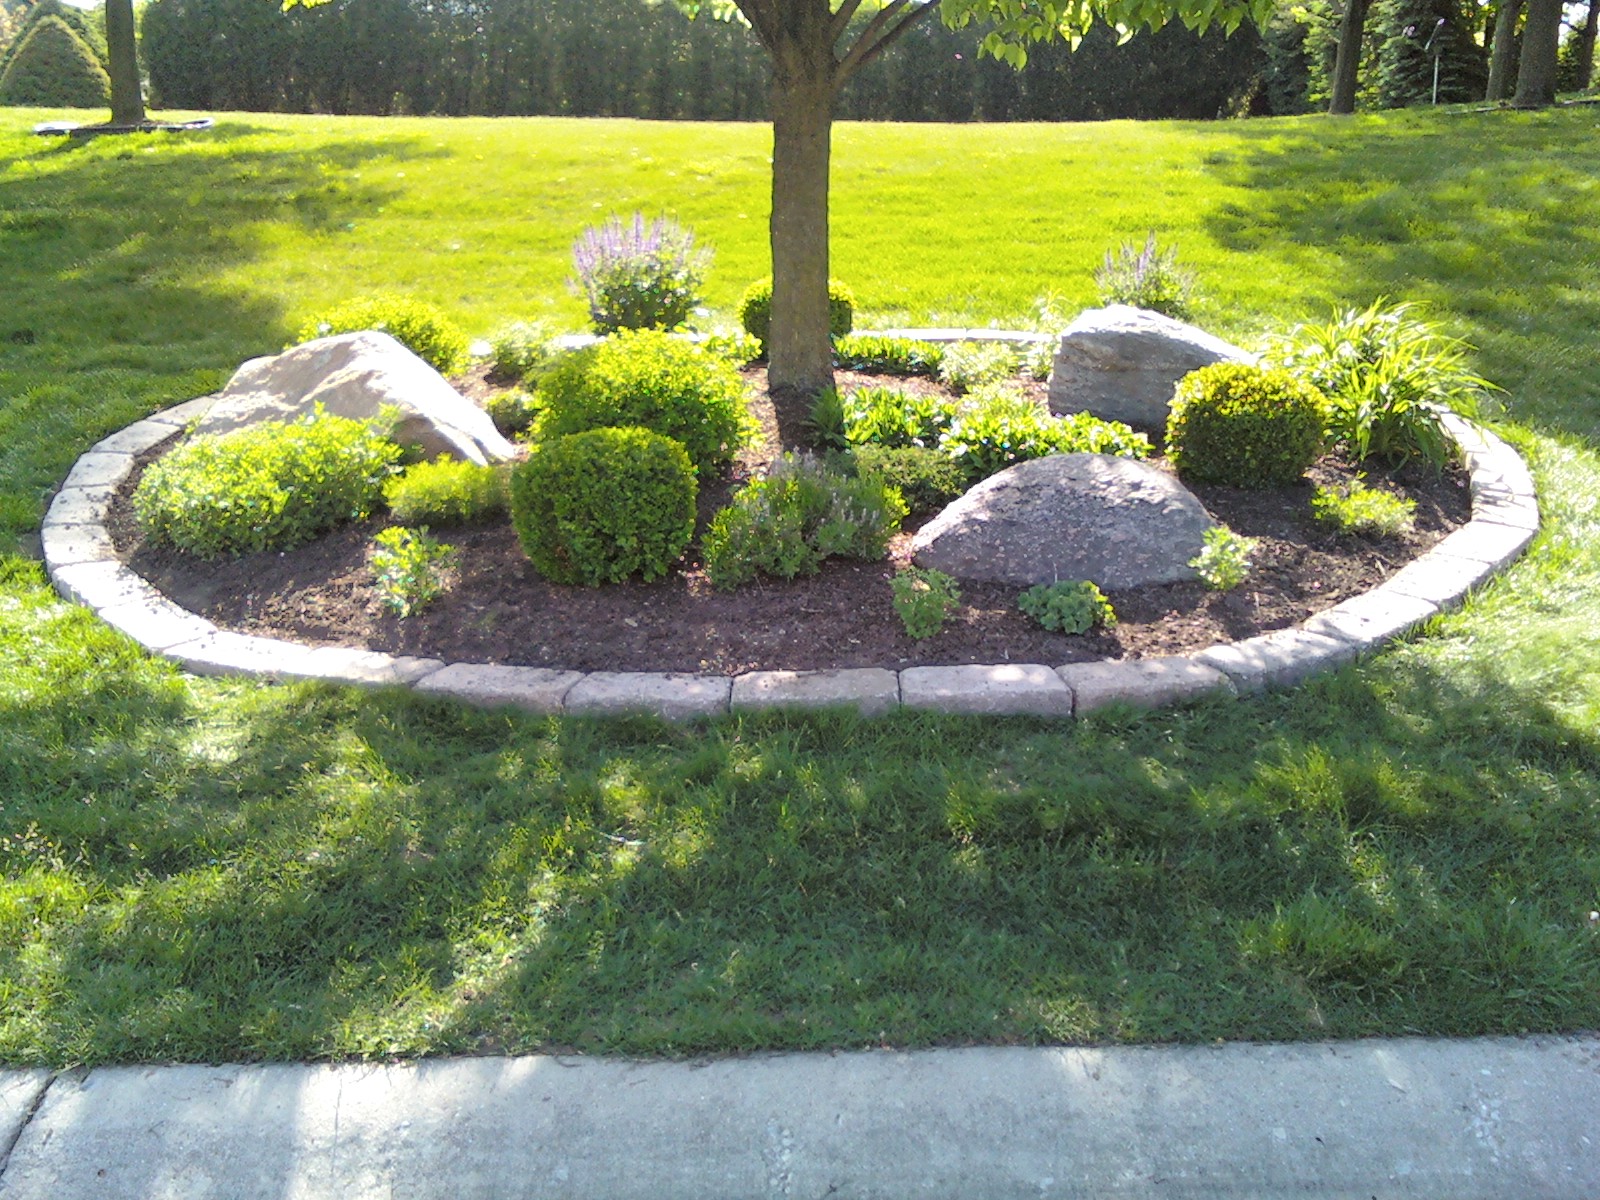
| Removal of rotten and installation of new wood planks around flower box | 
|
| Installation of cement blocks around plant area | 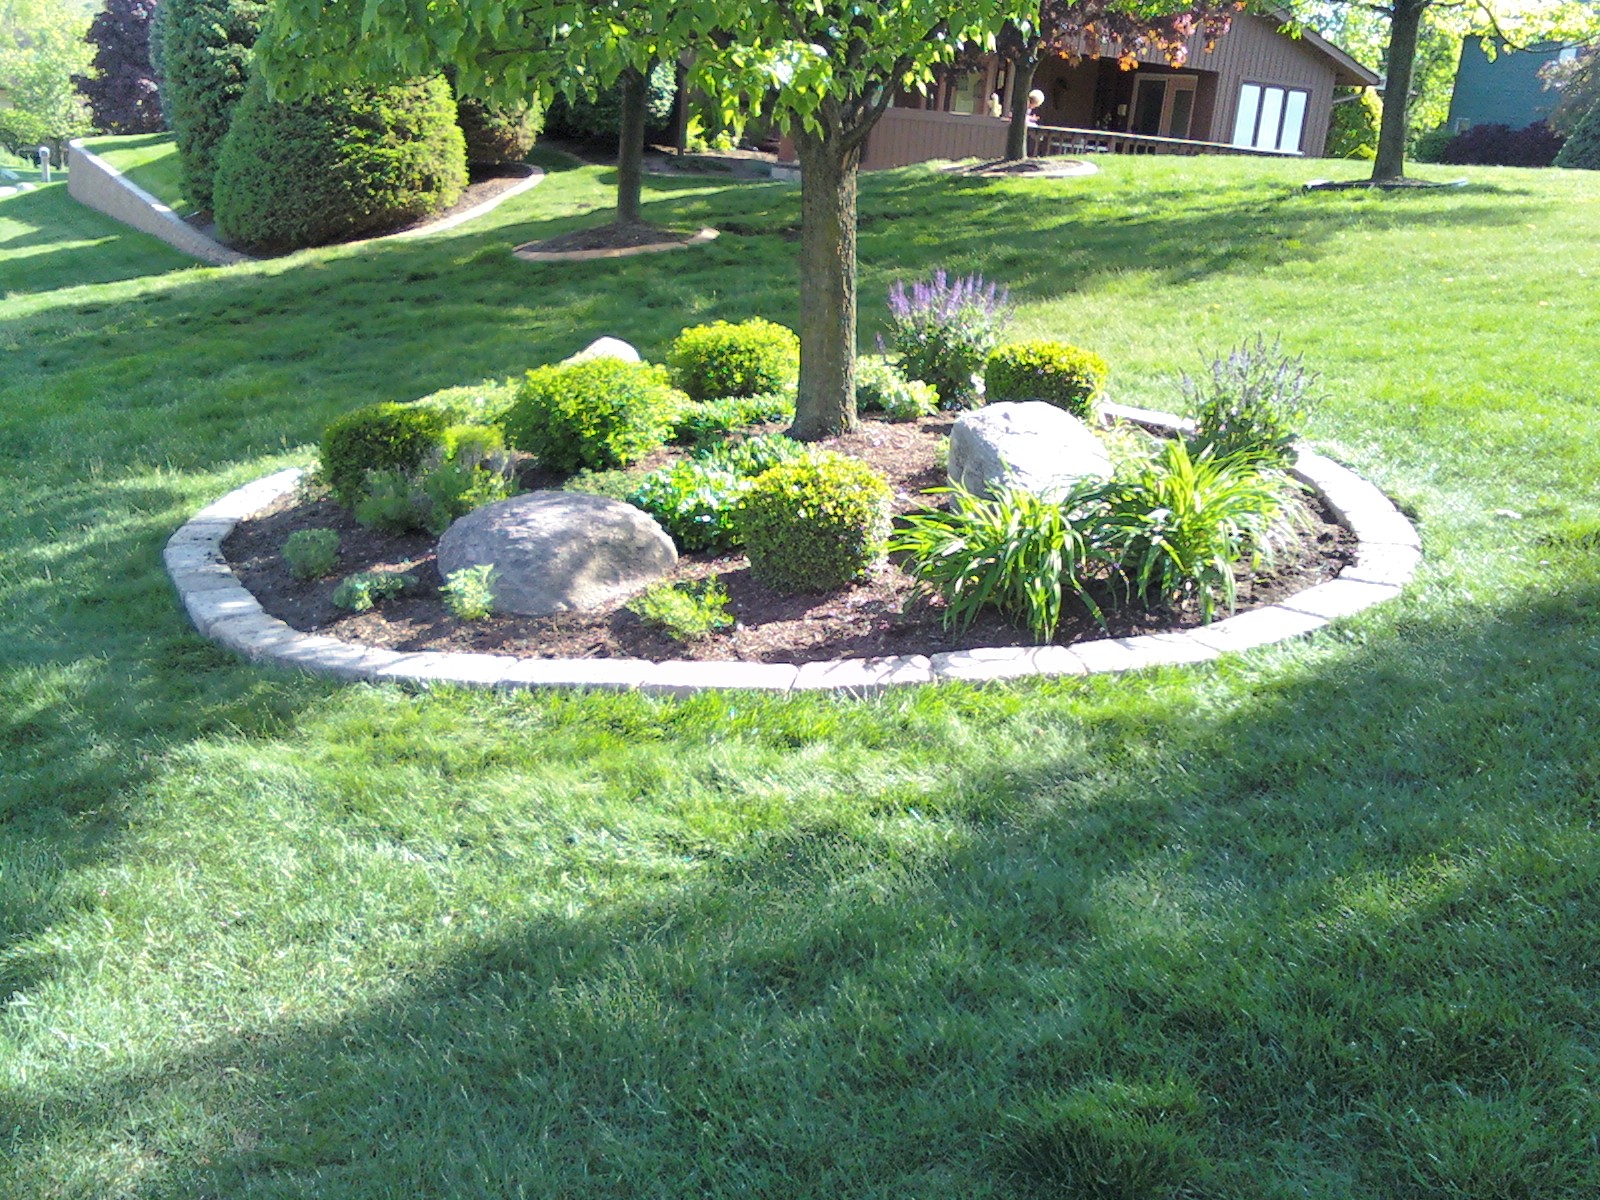
|
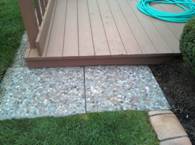
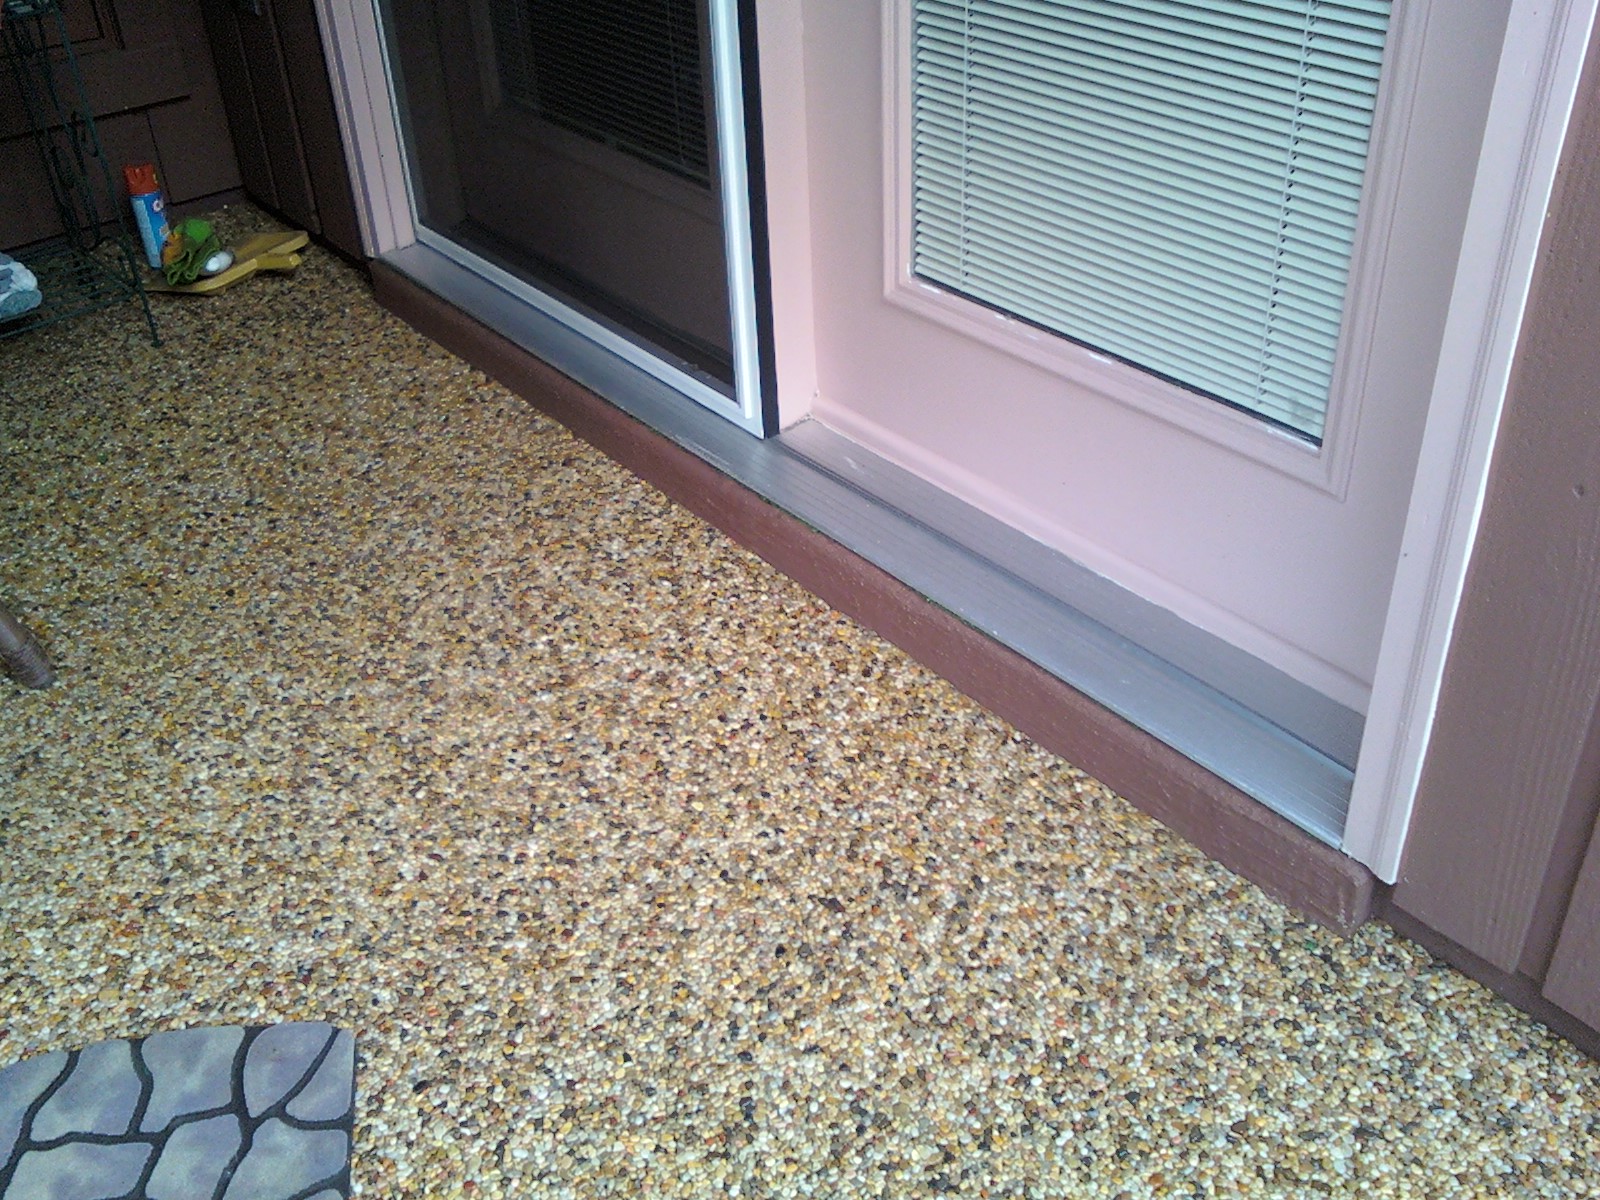
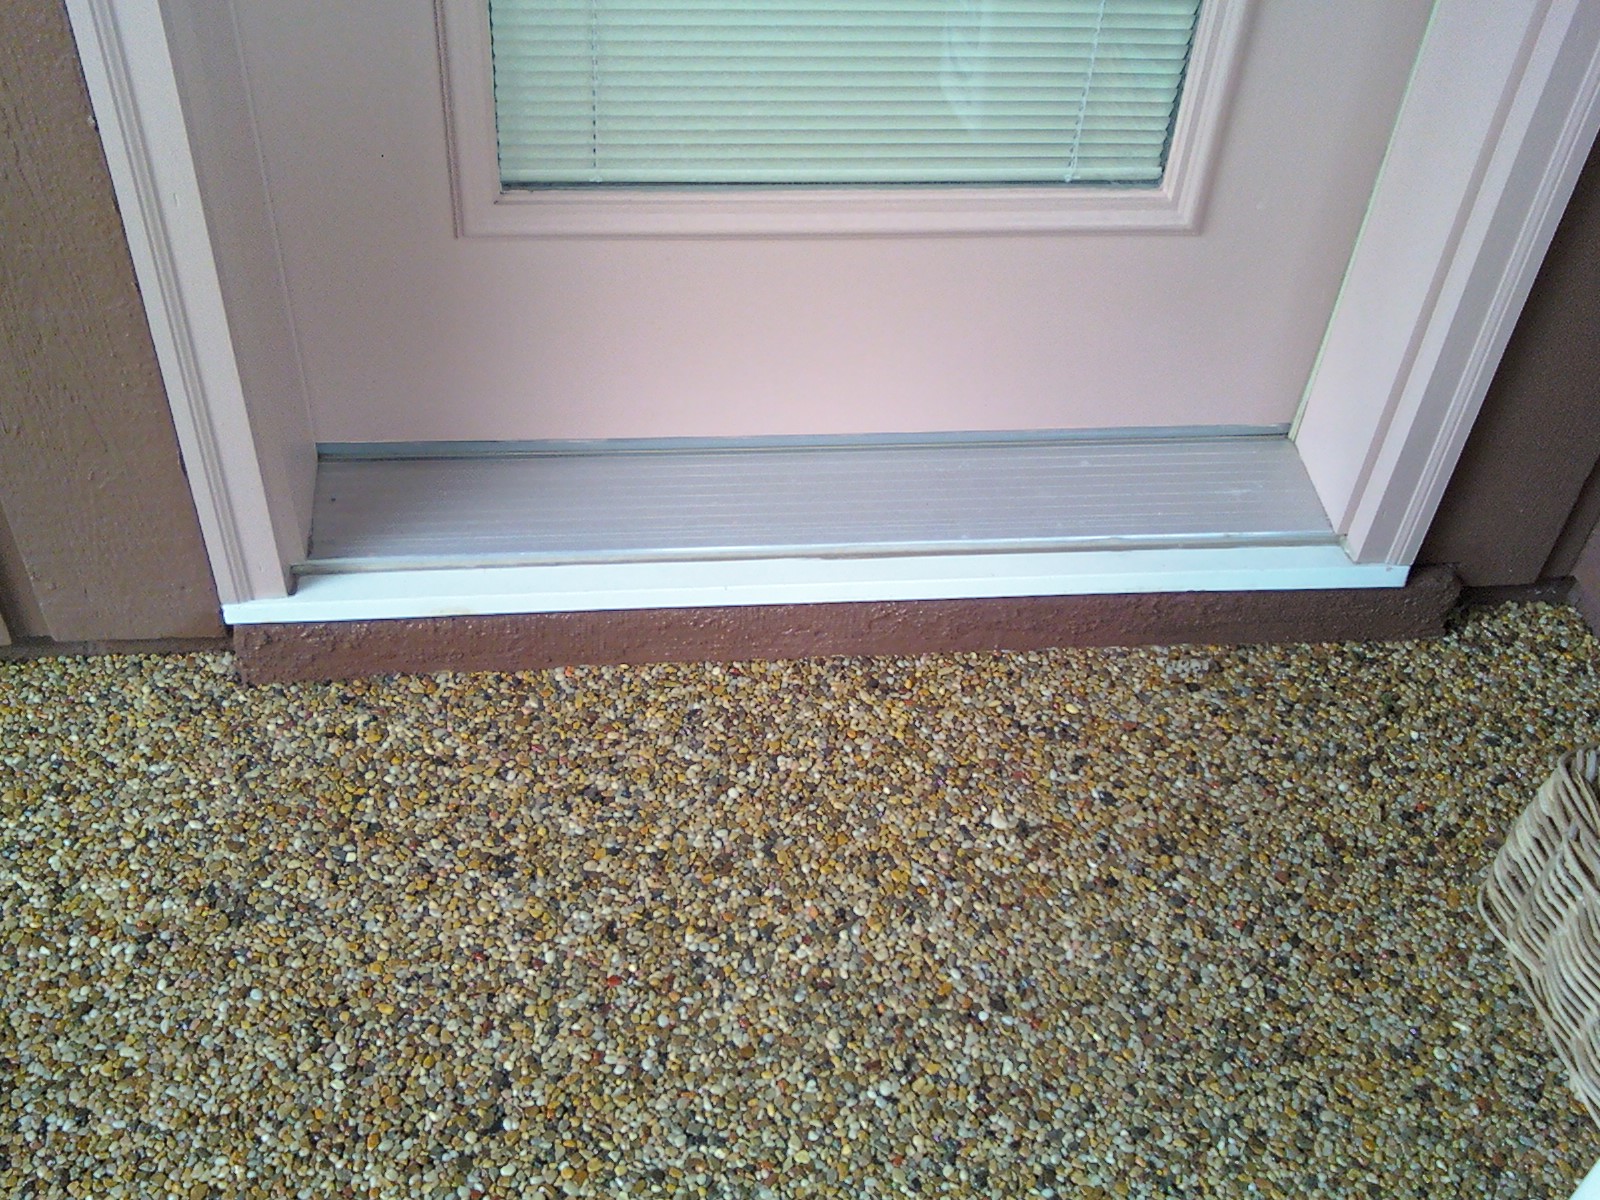
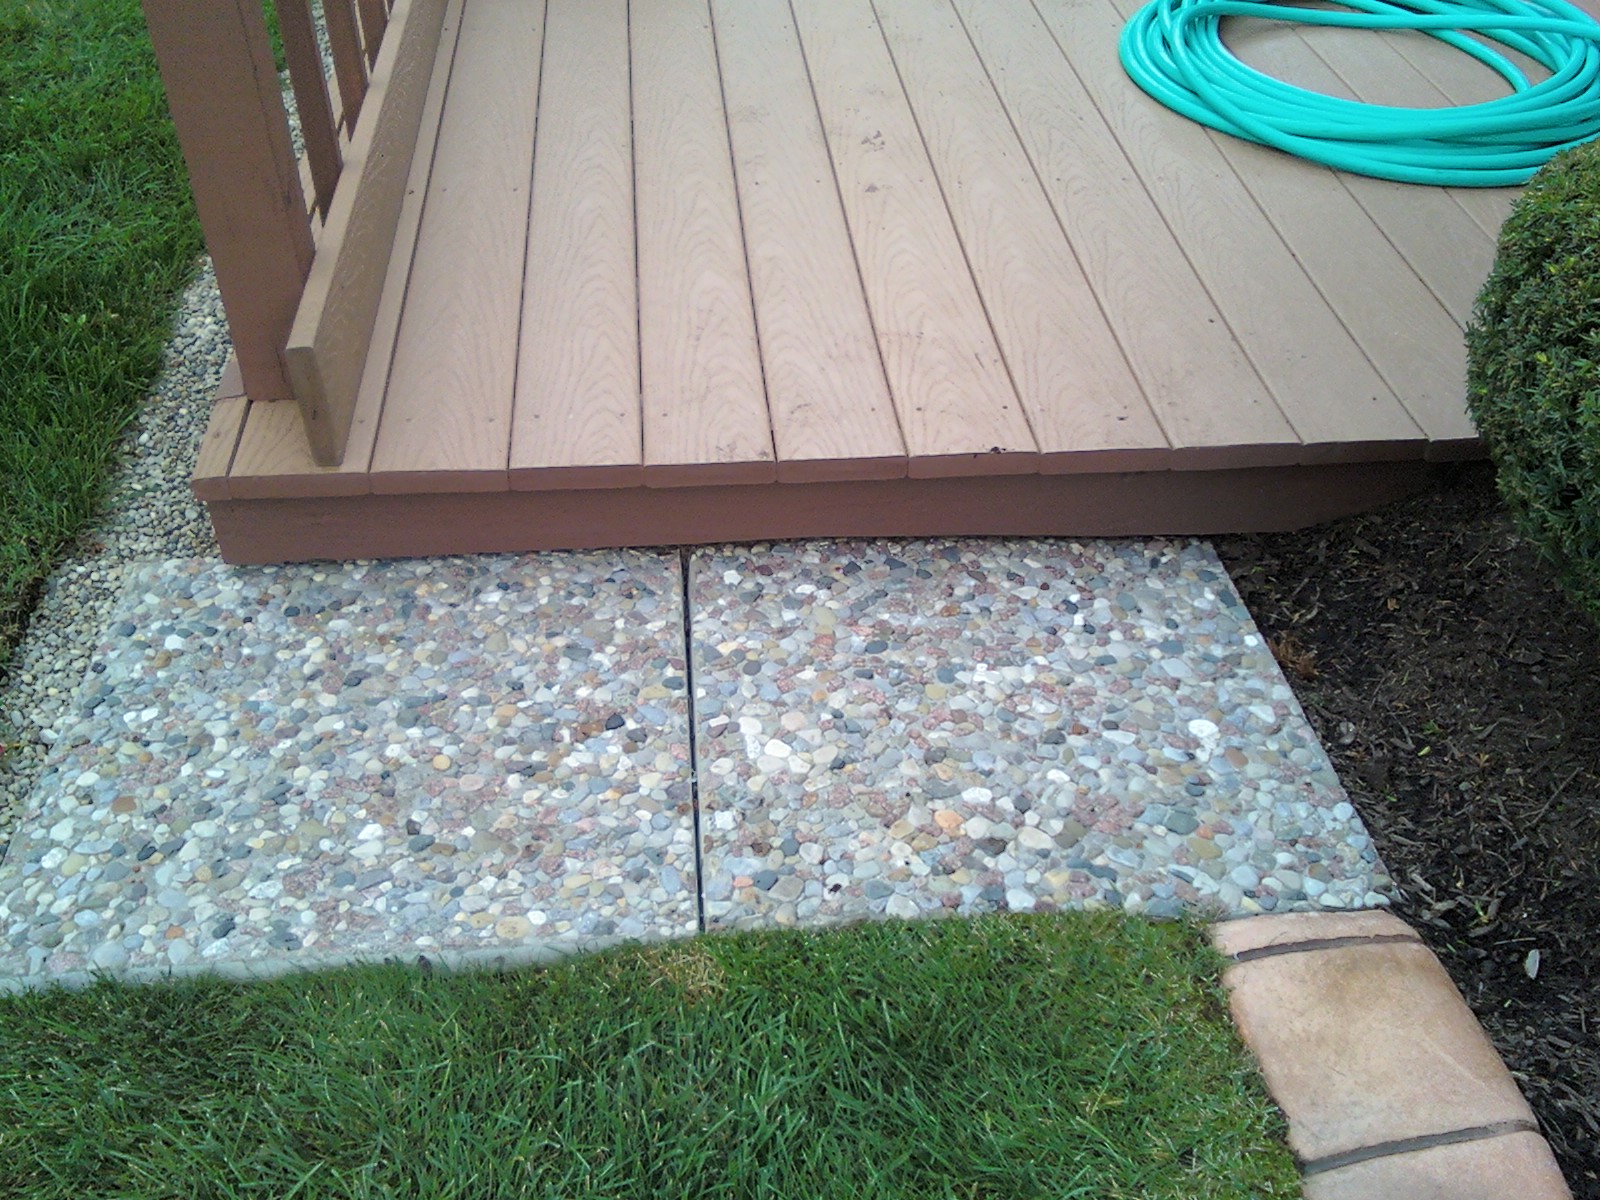
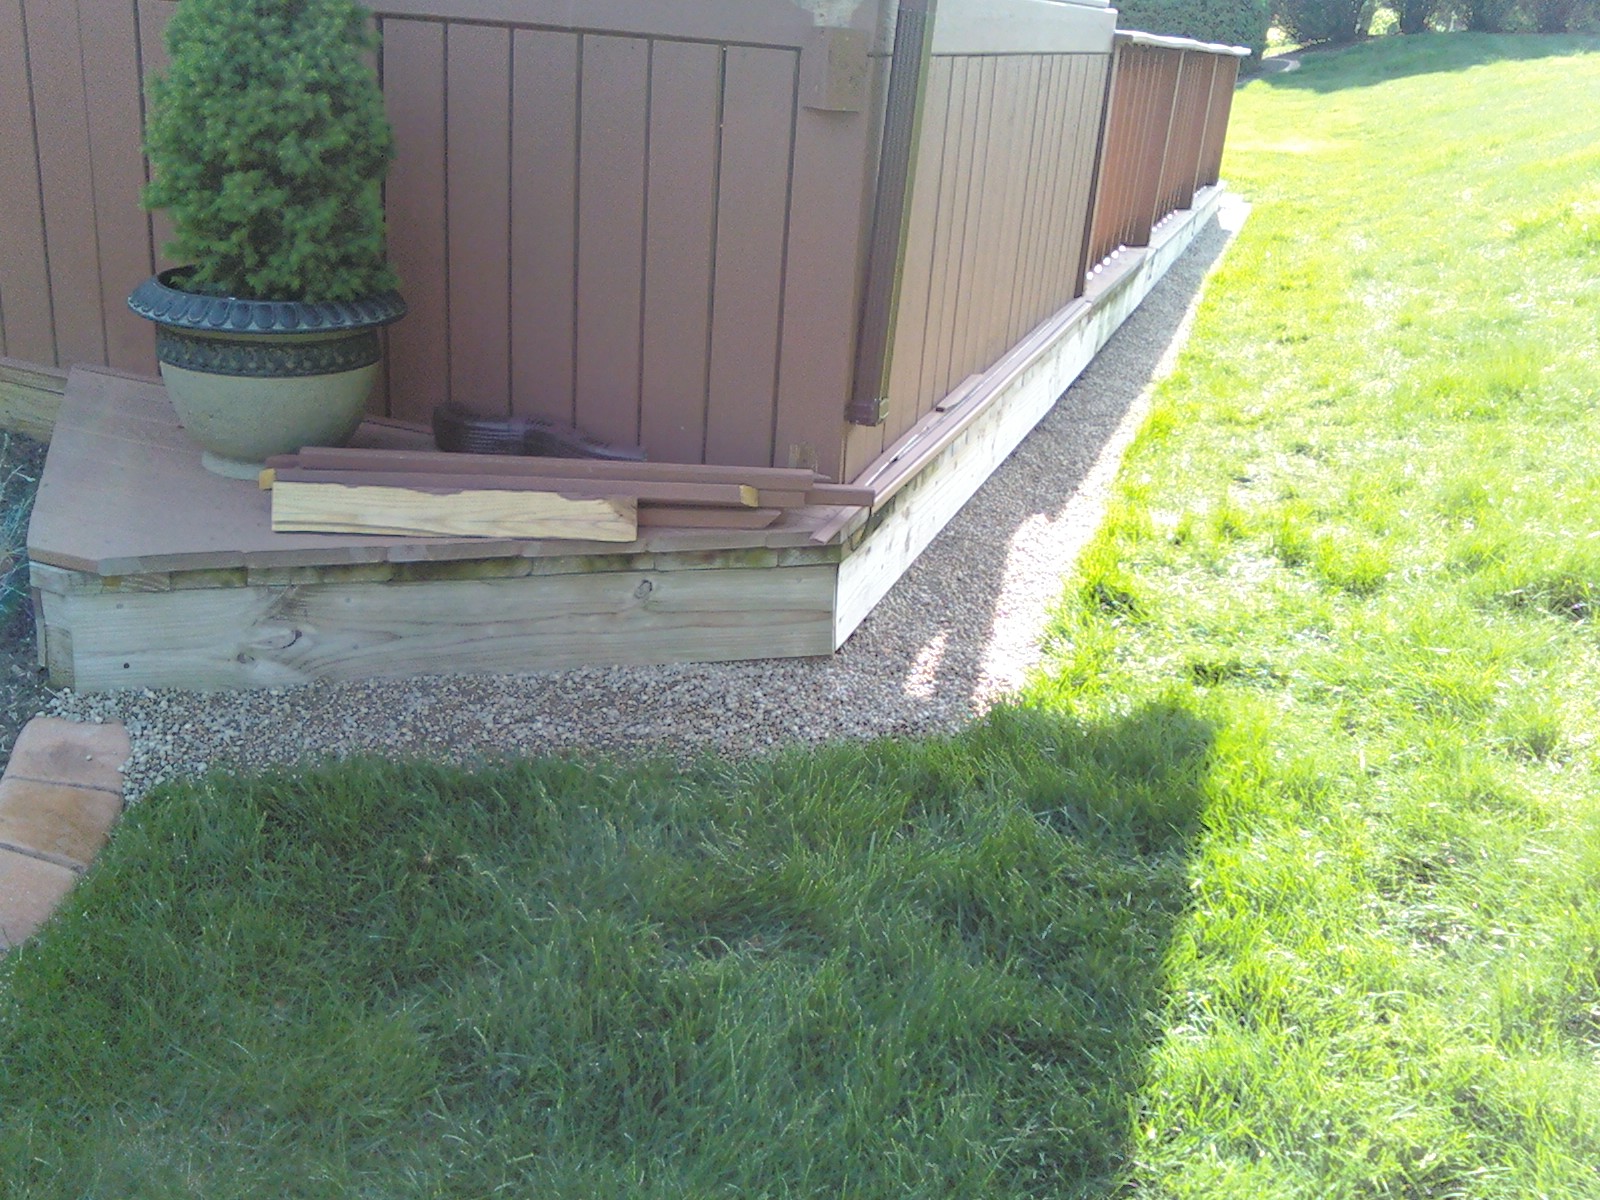
| Installation of rocks around wood deck |
|
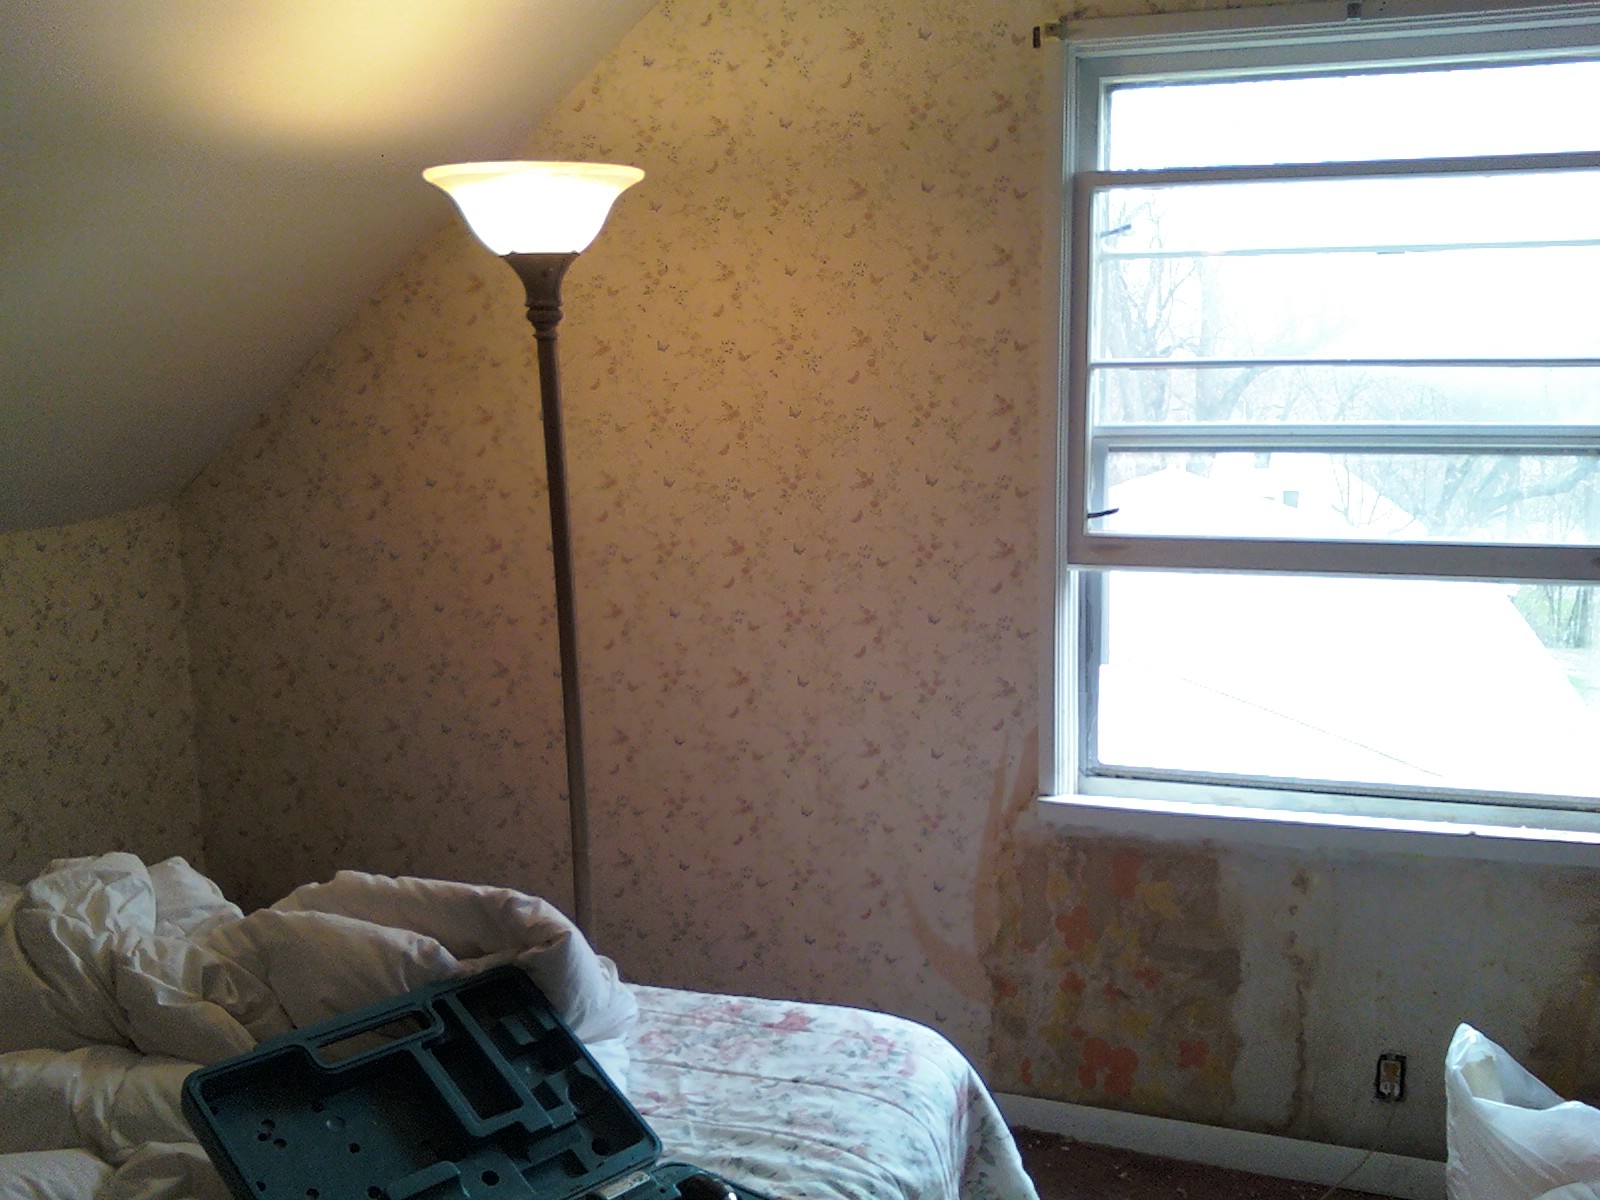
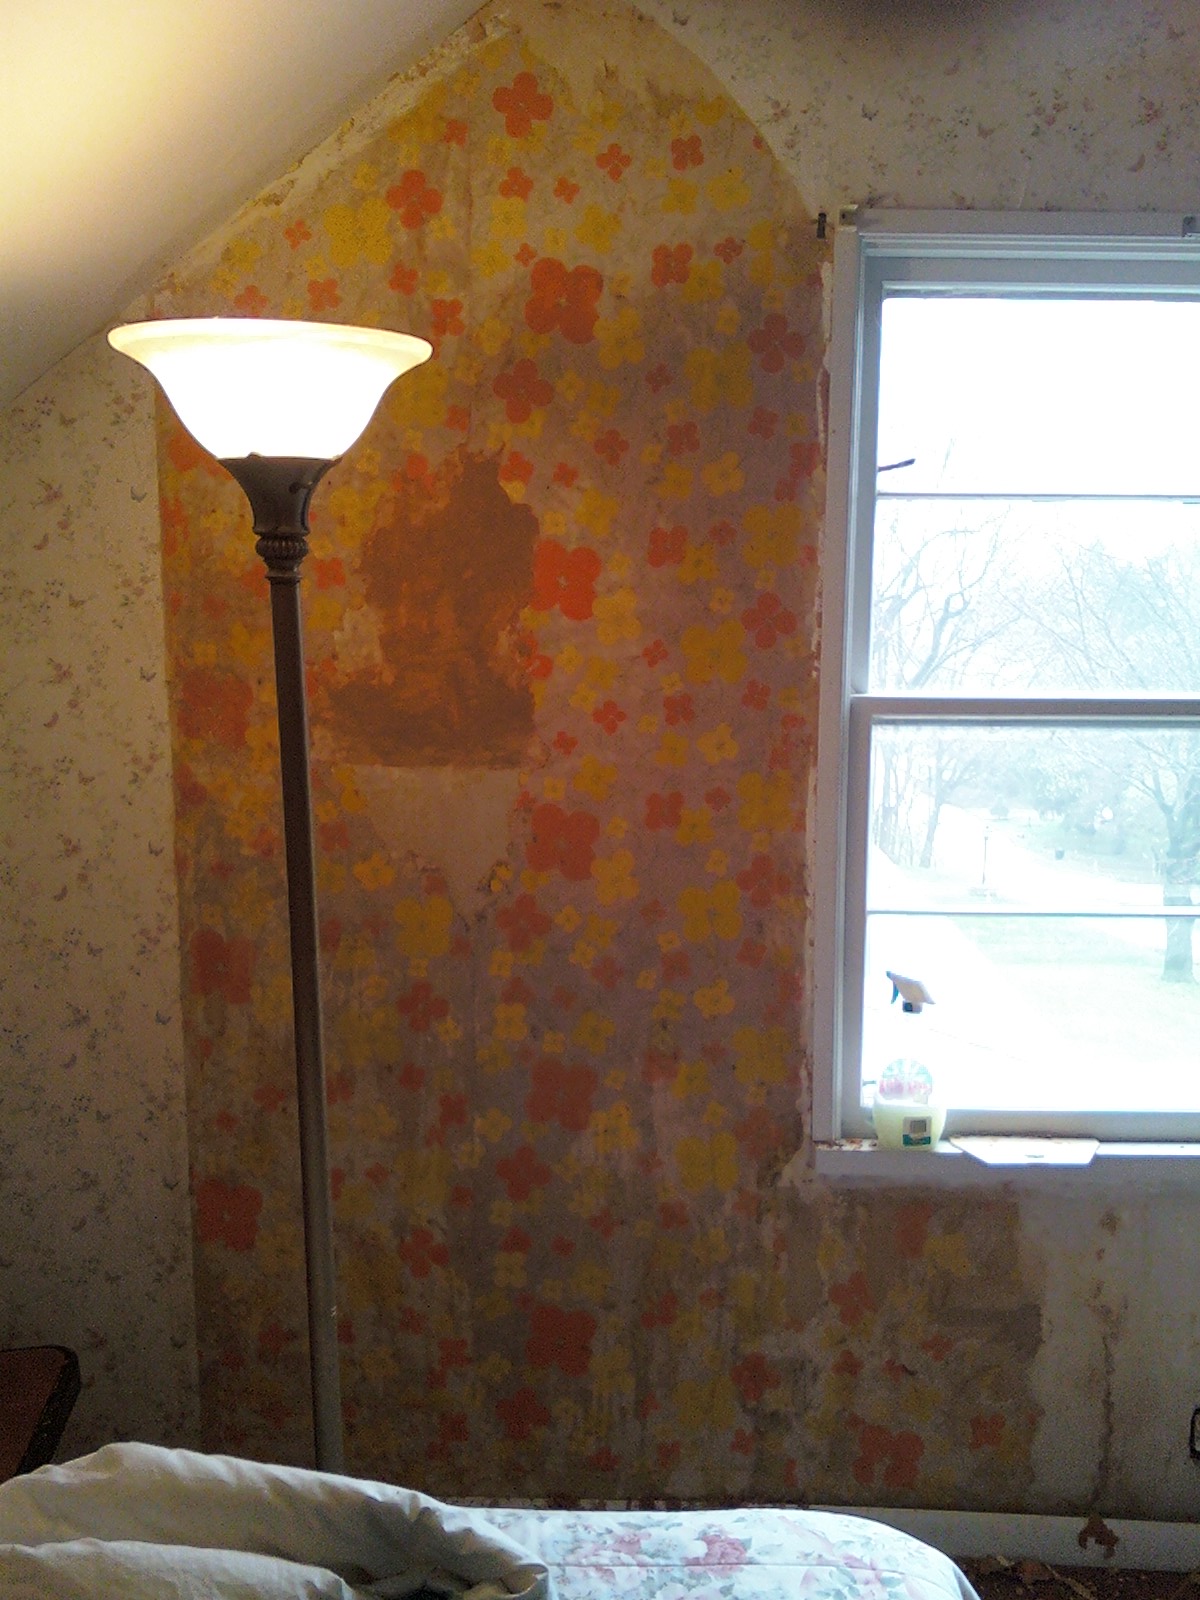
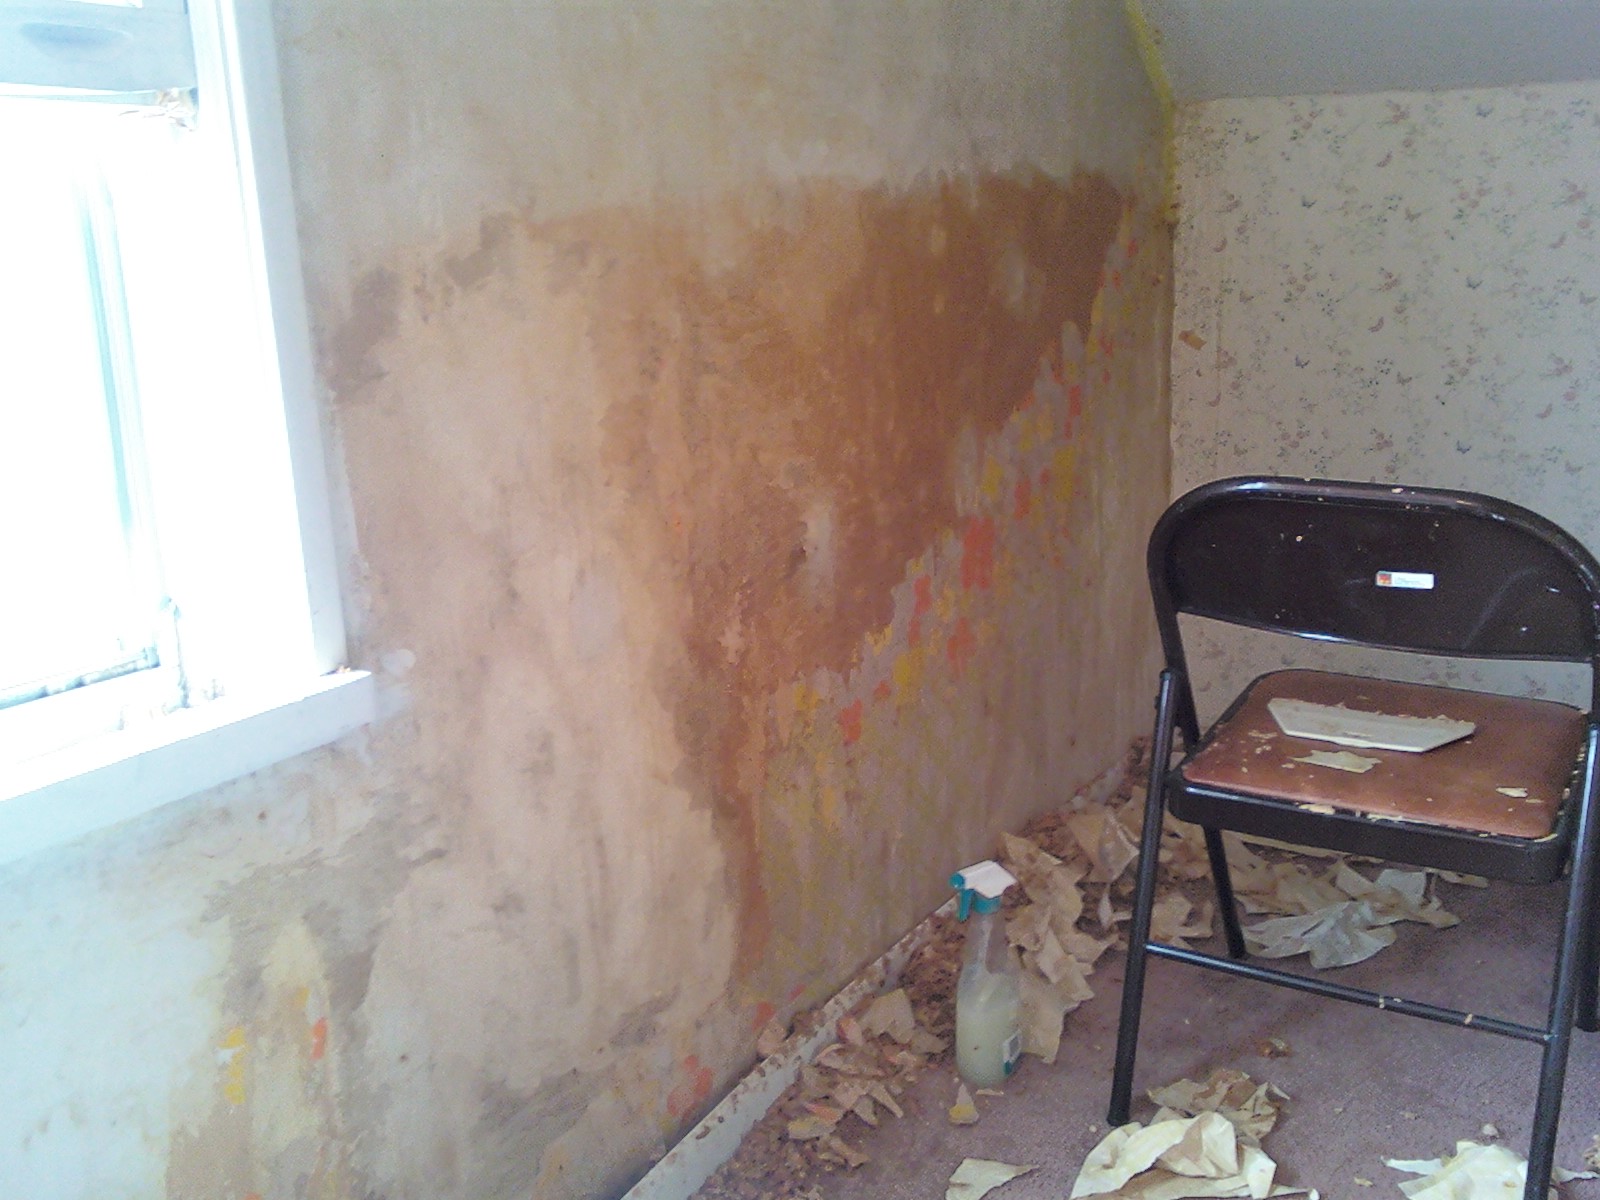
| Removing Three Consecutive Applications of Wallpaper | 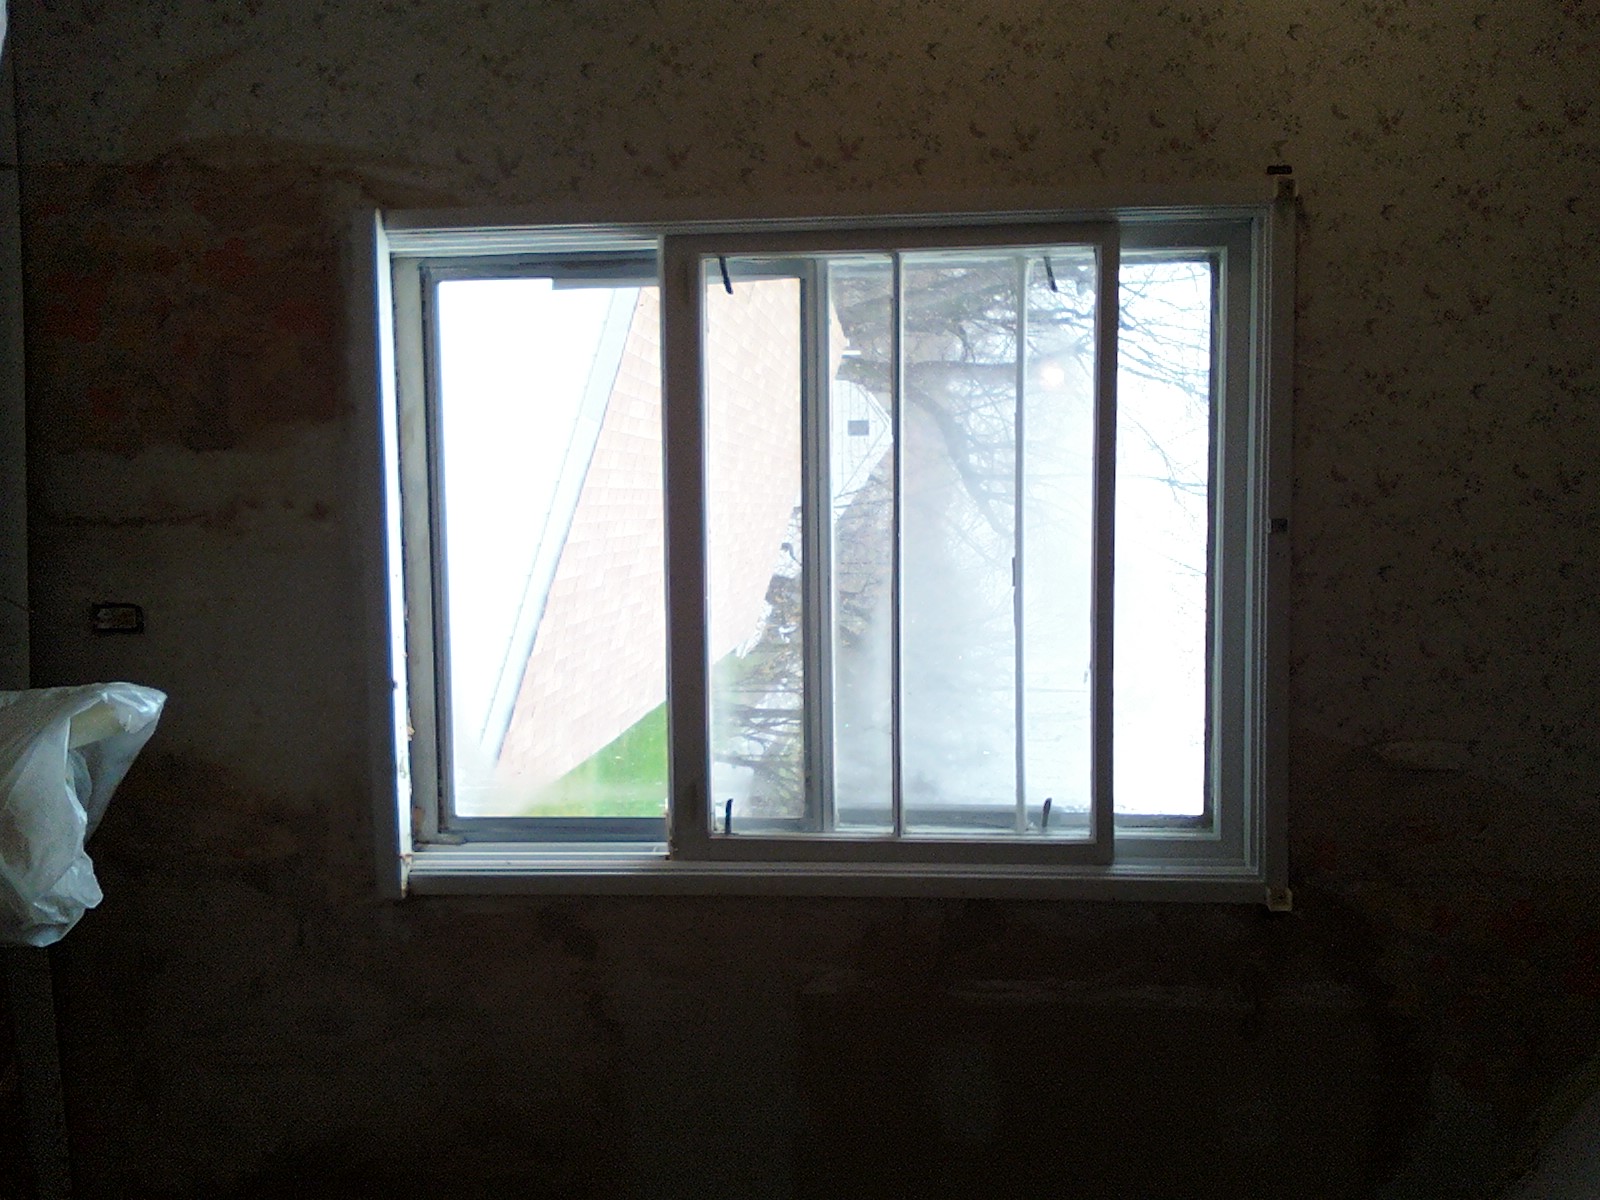
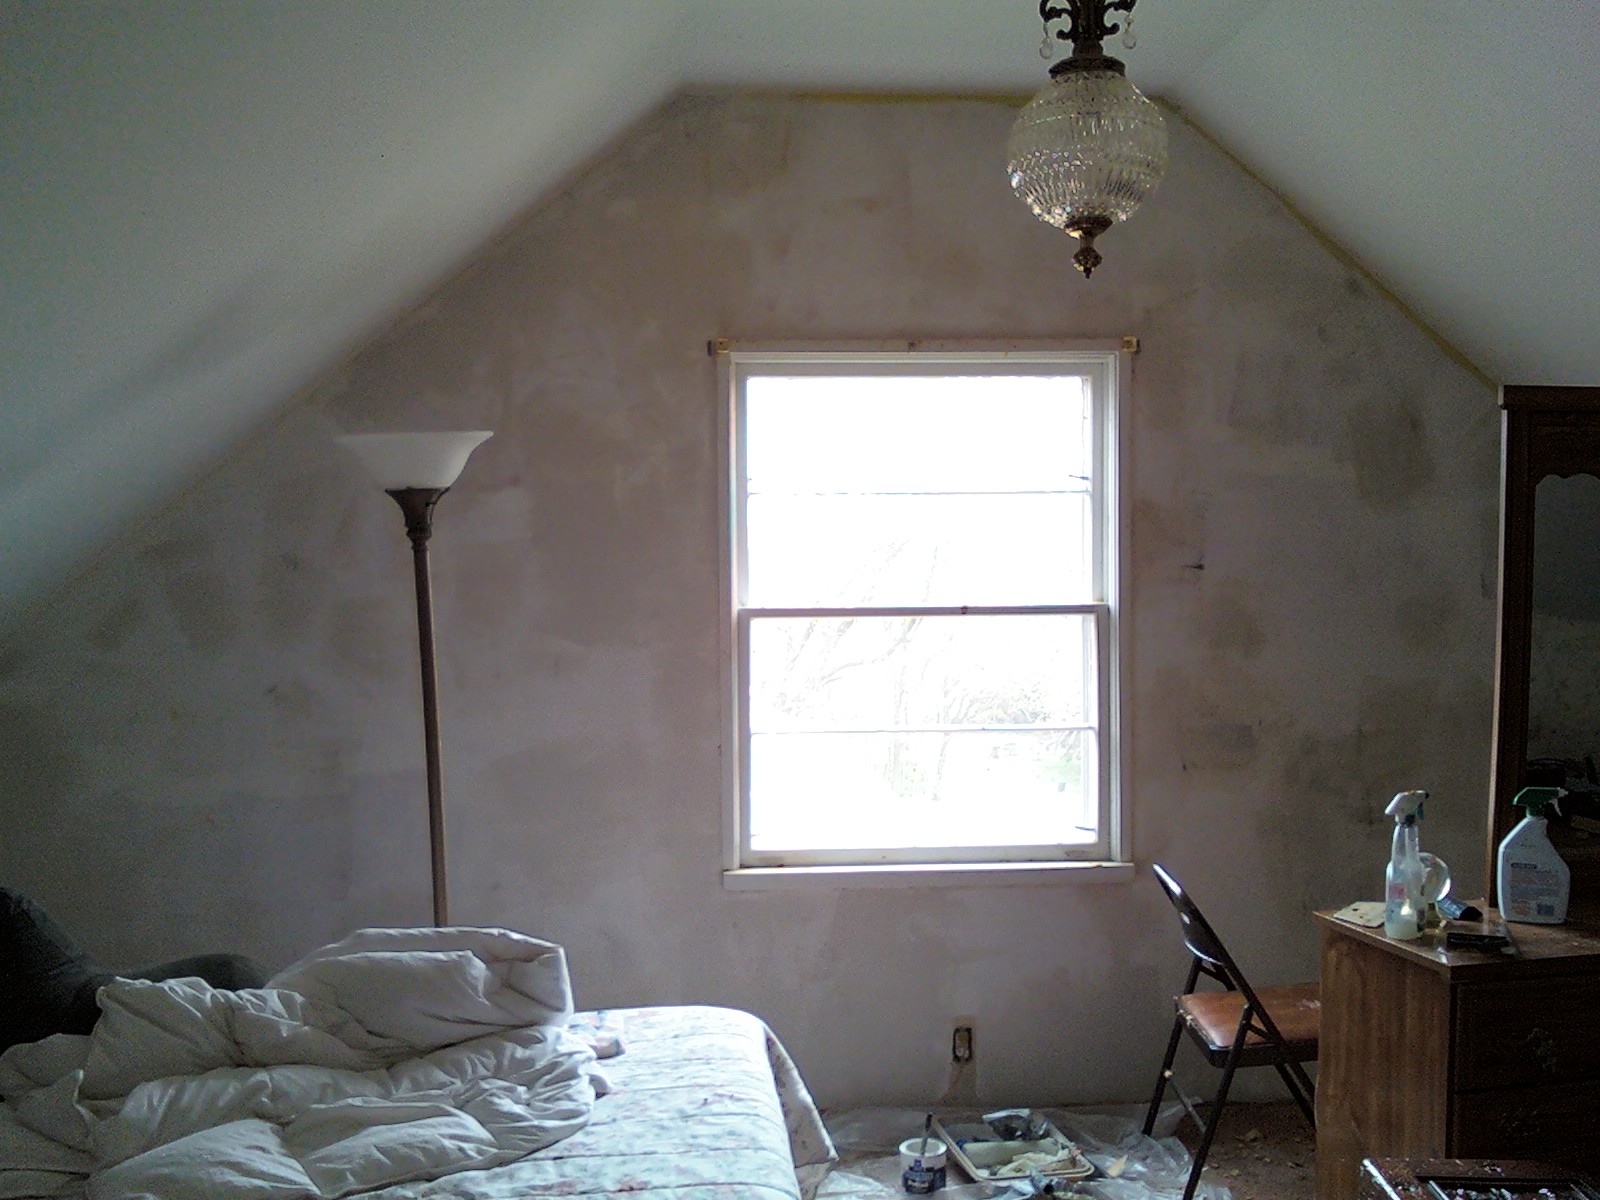
Repair Gashes and Gypsum Connection Points
Sand Joint Compound and Paint
|
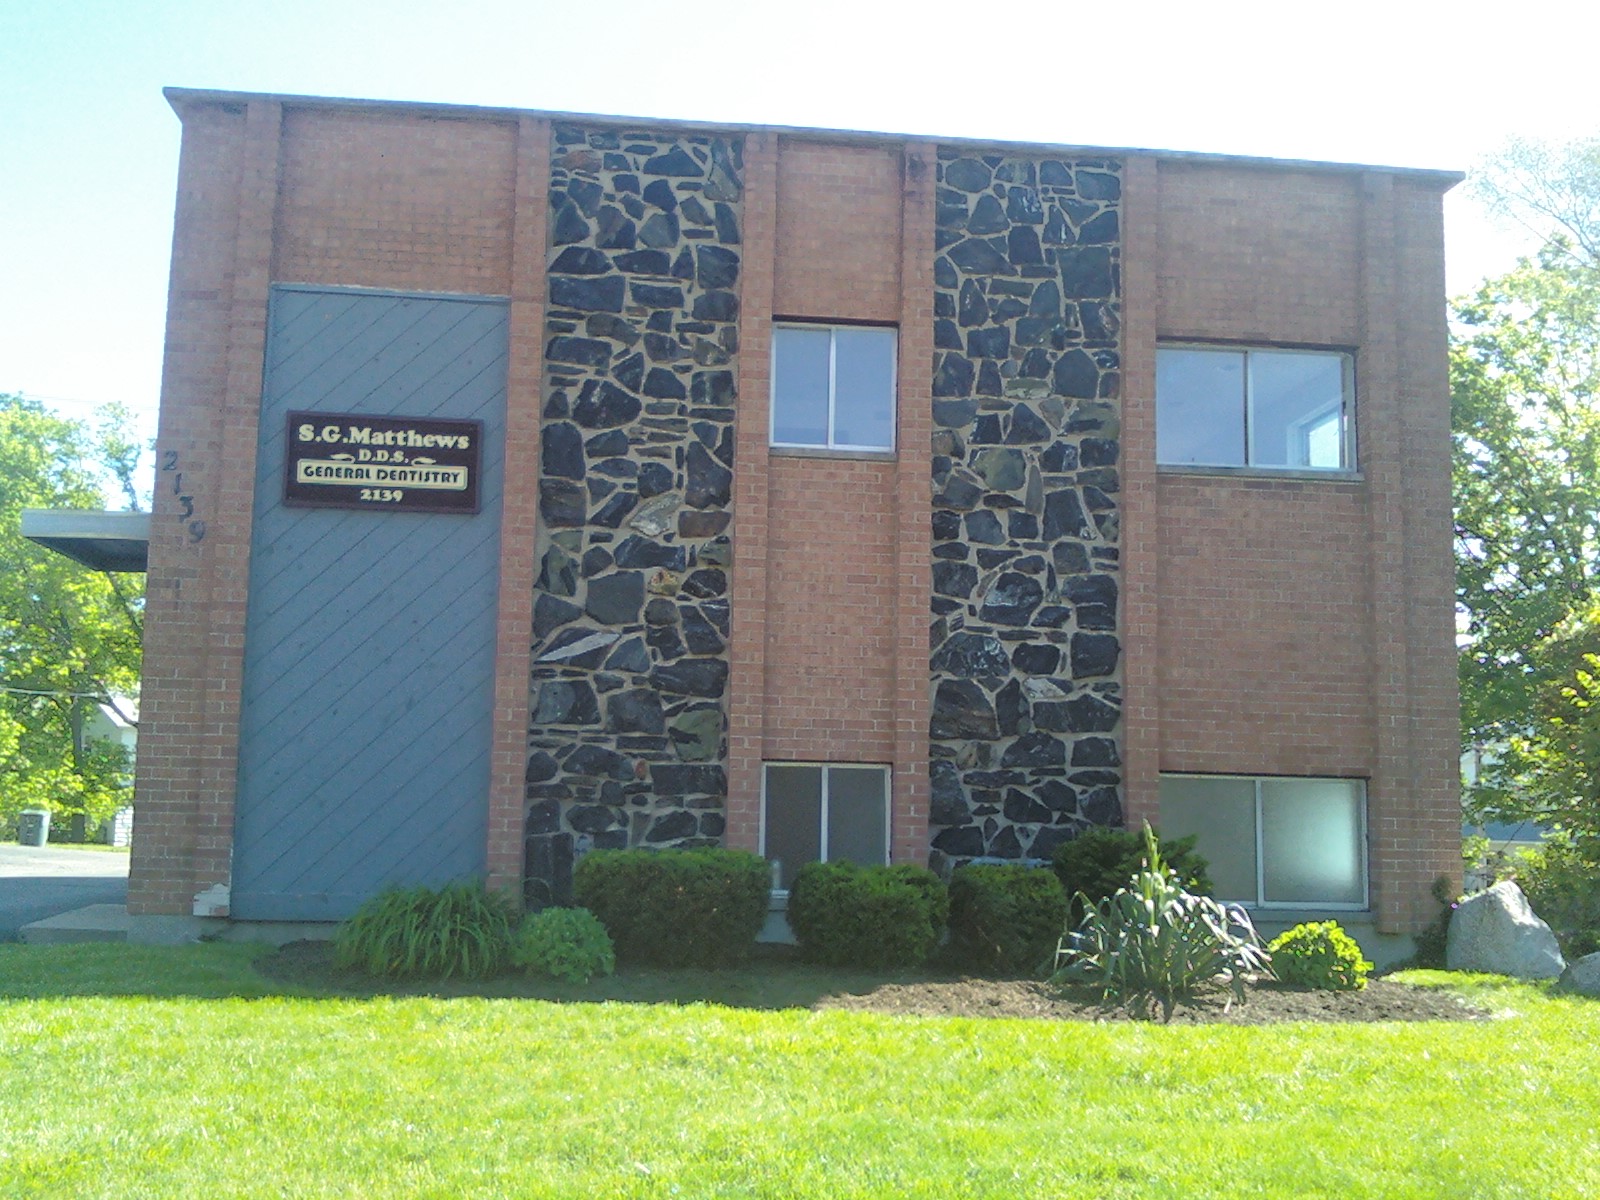
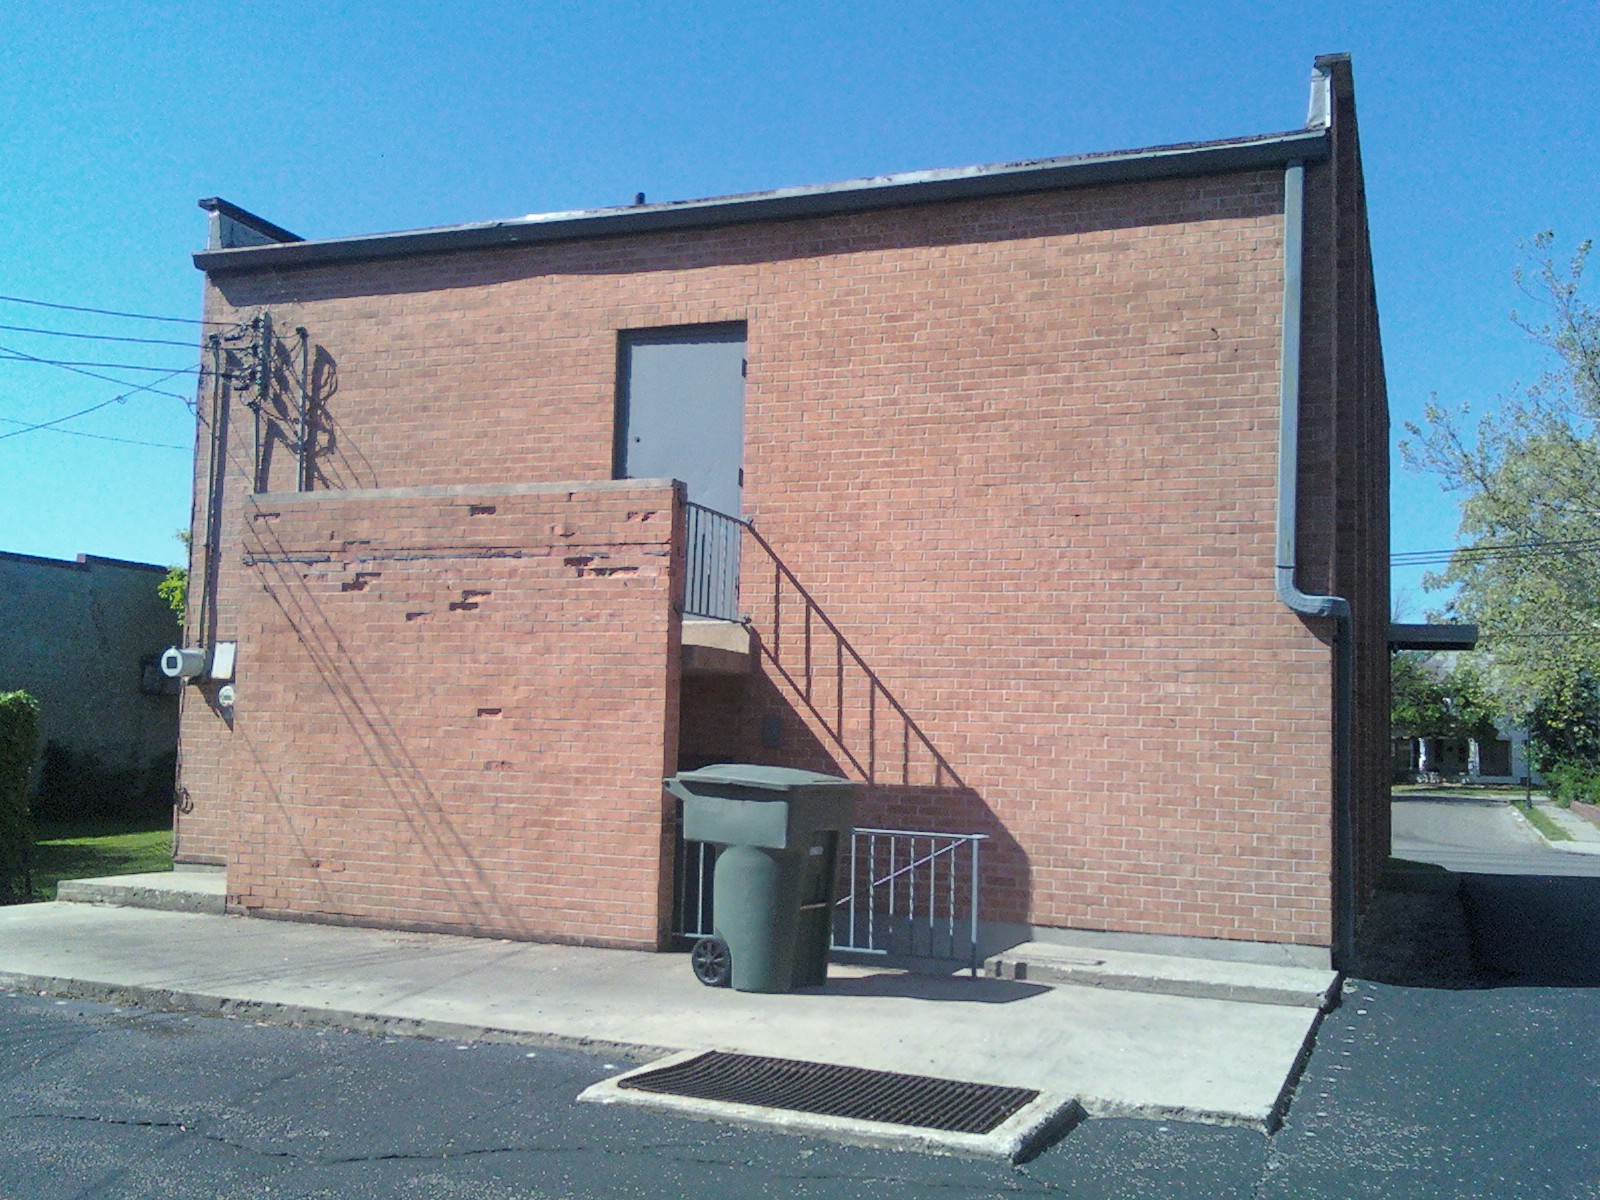
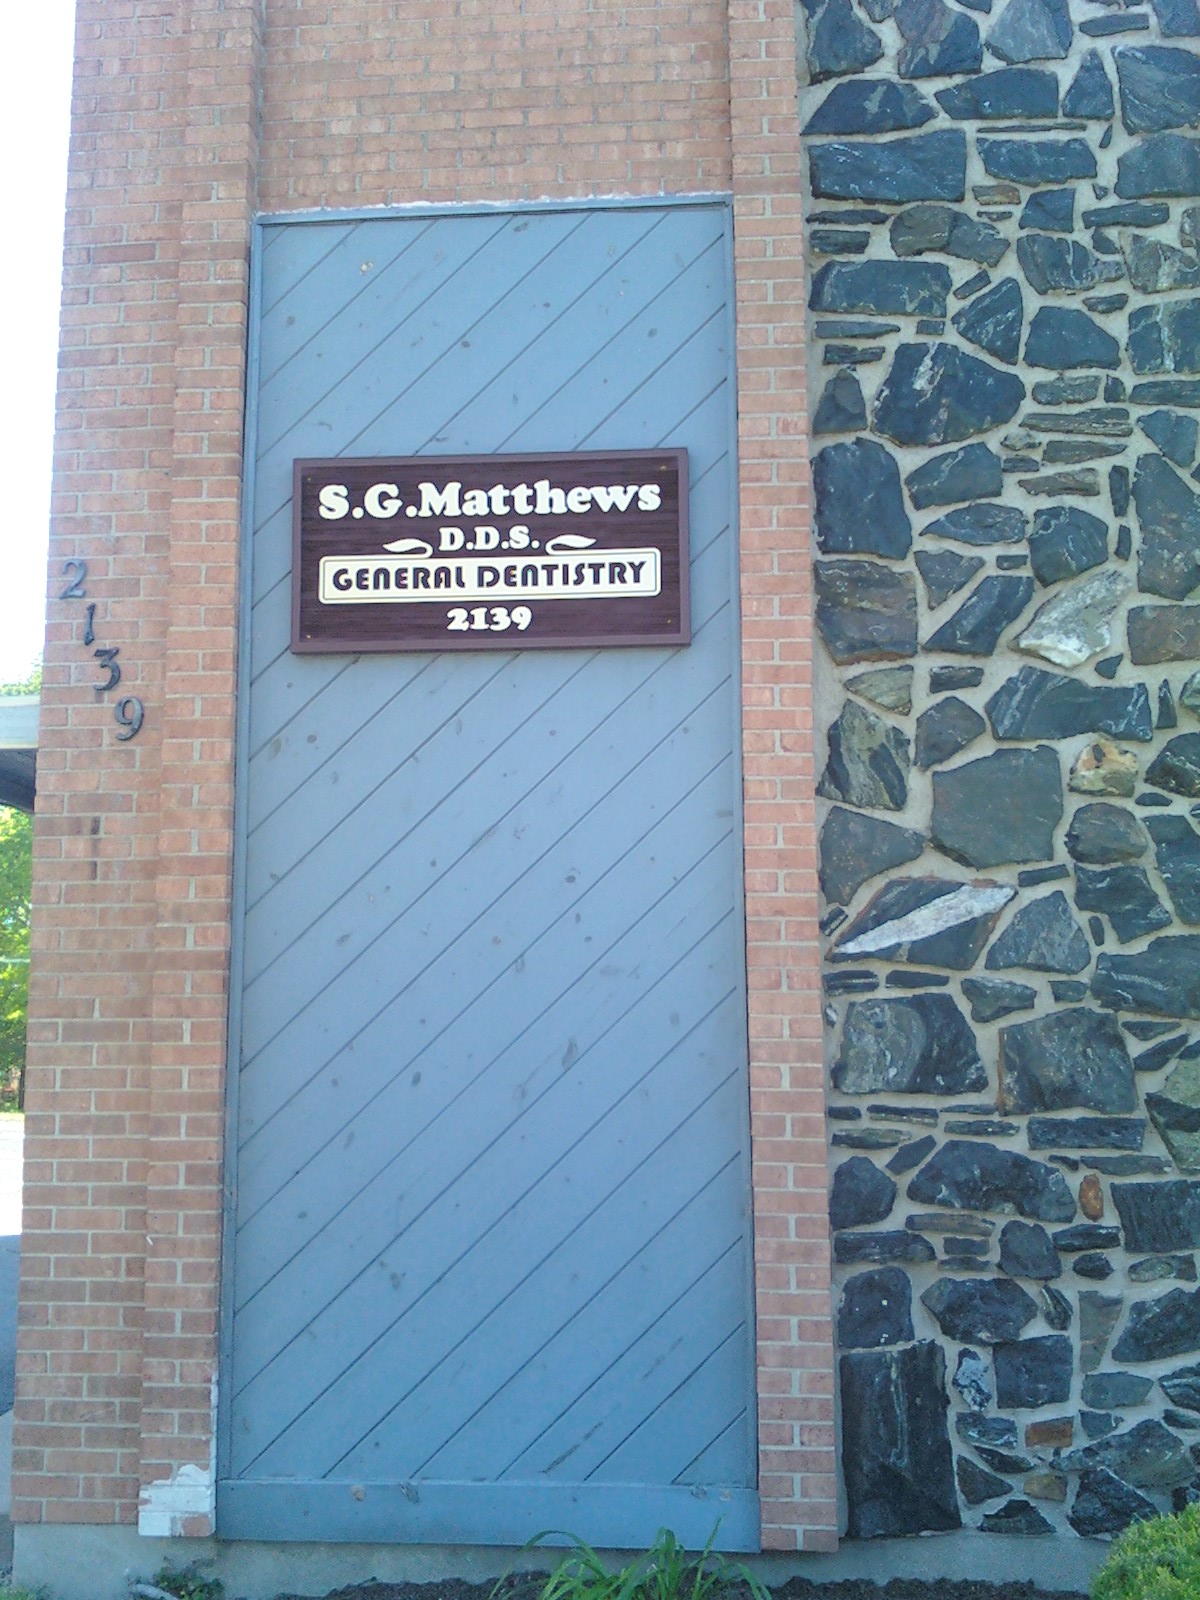
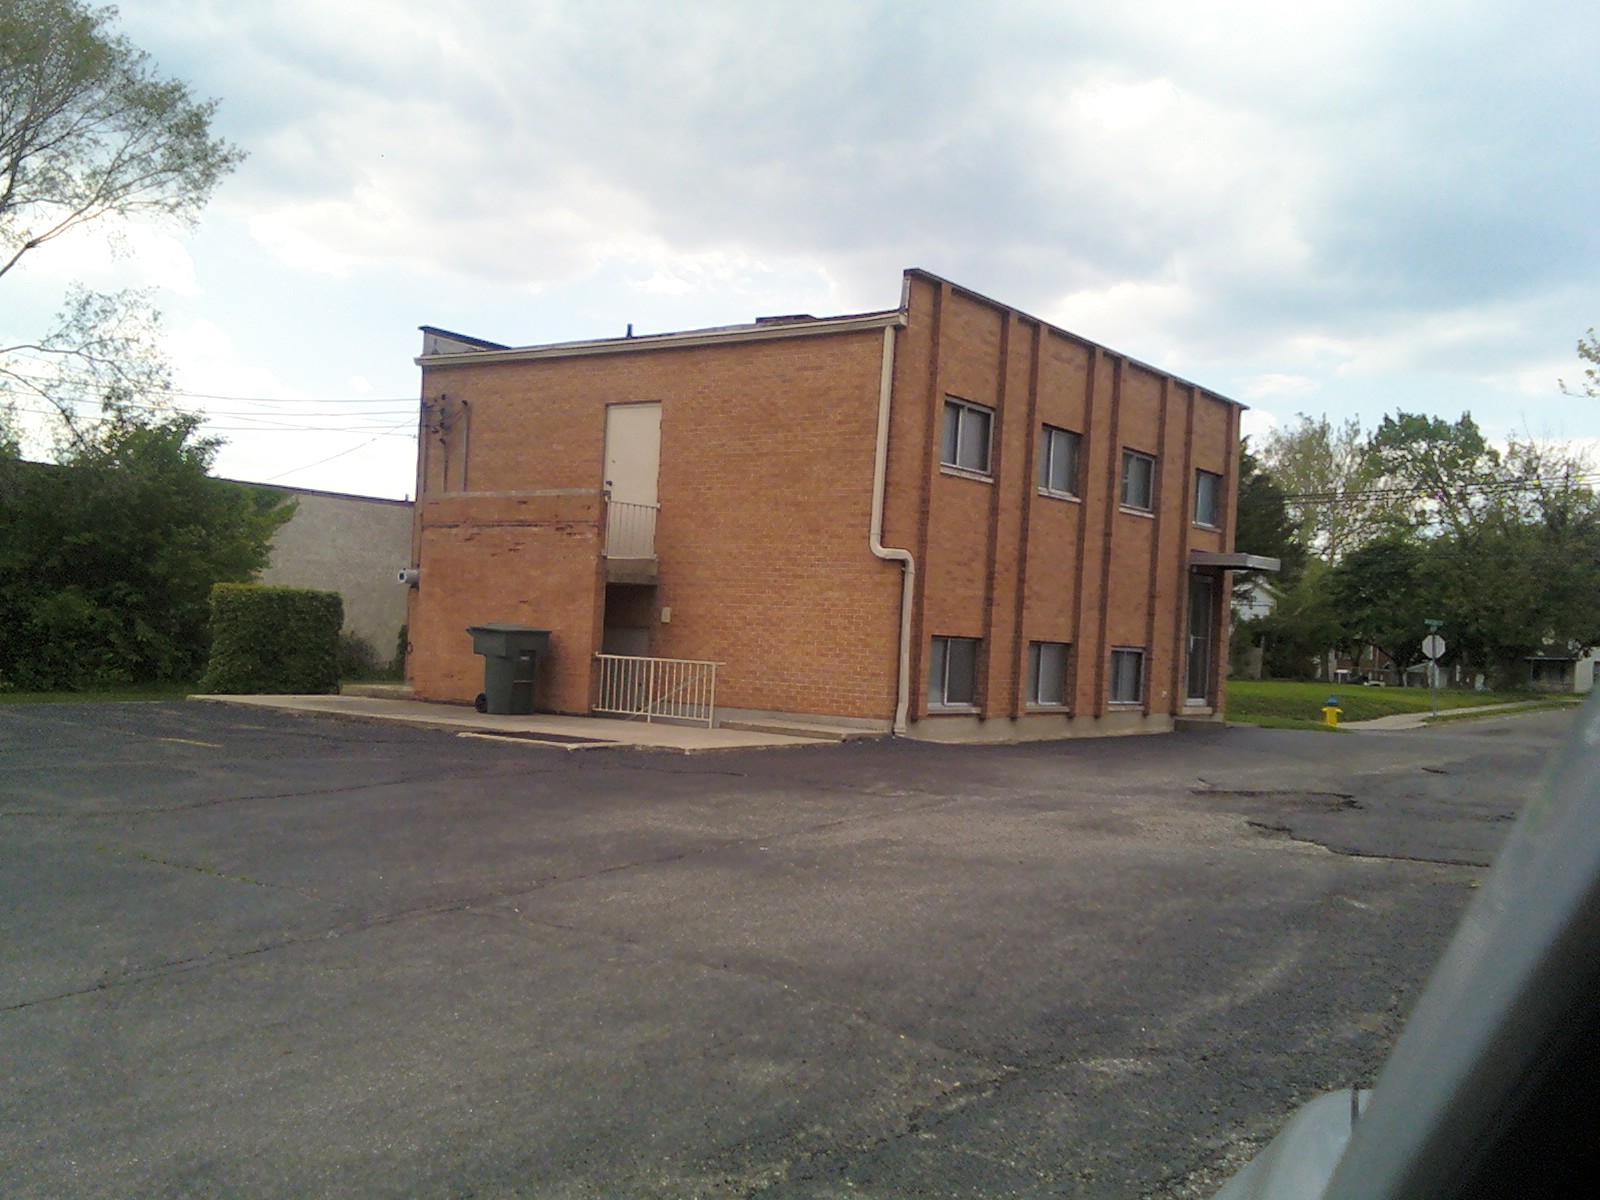
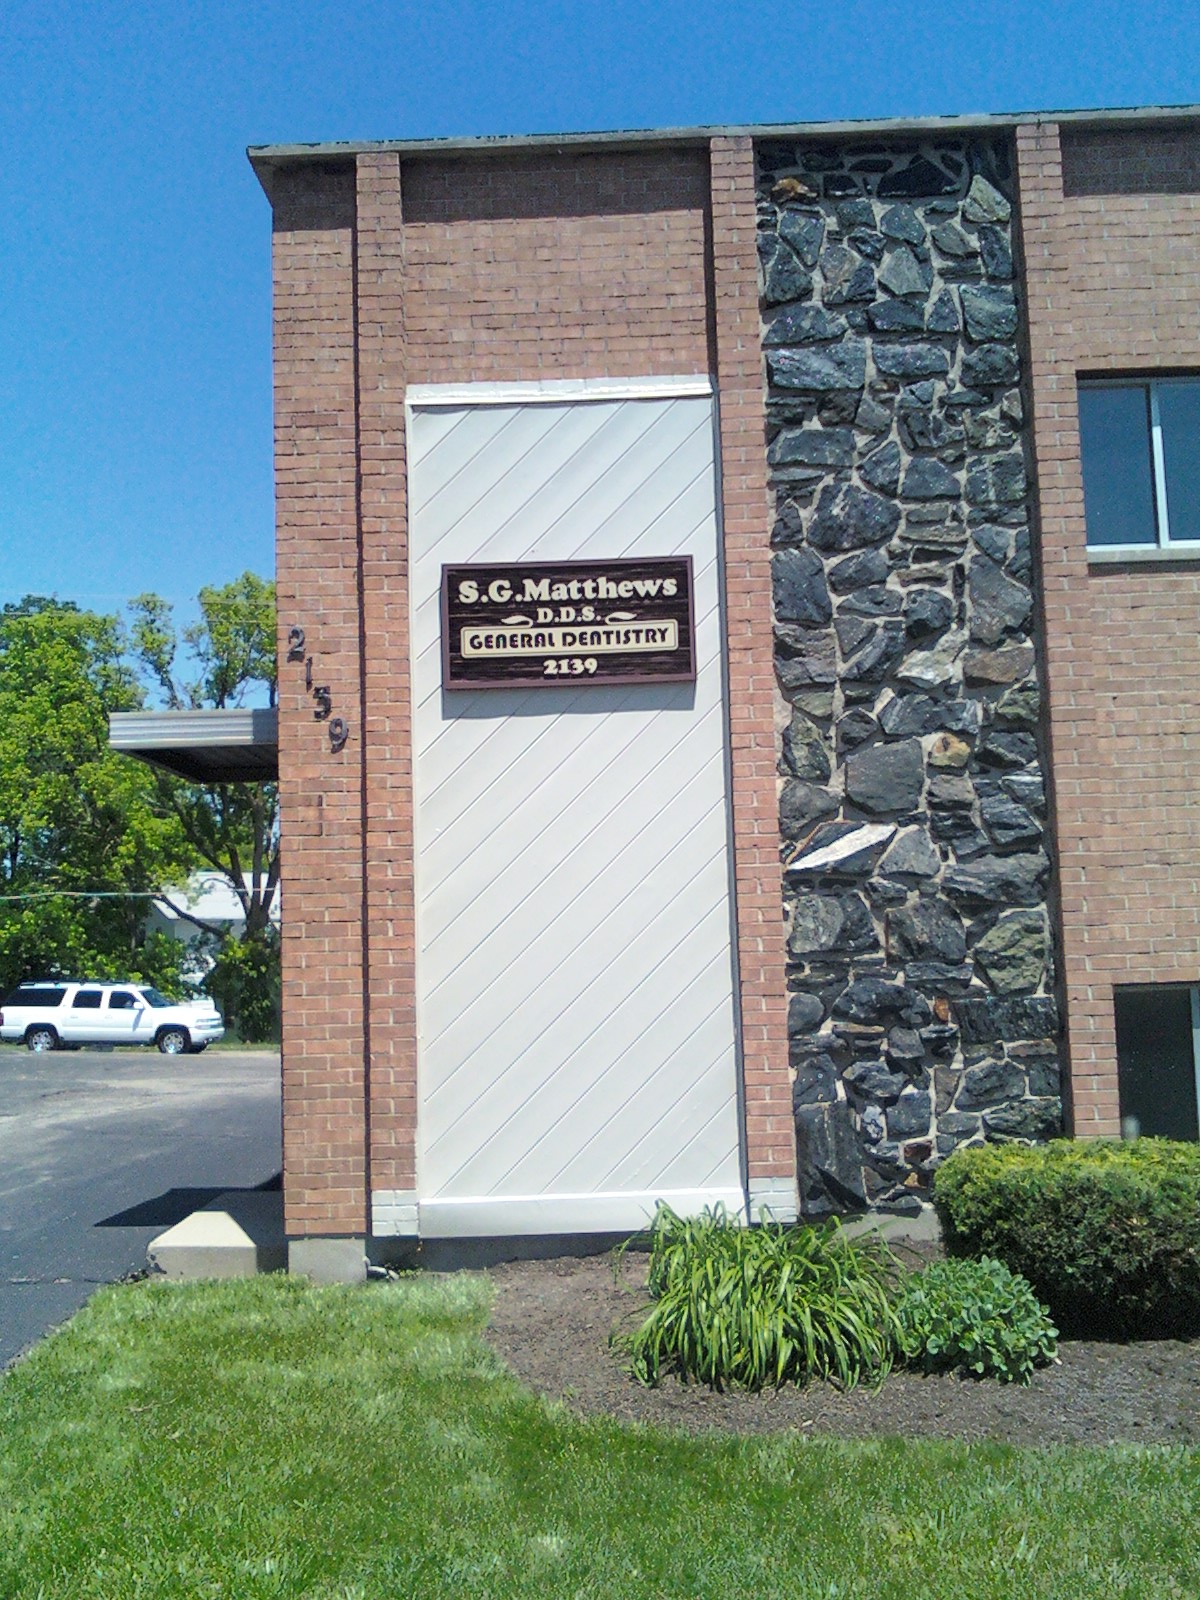
| Exterior Painting, Dental Office |
Office before painting
|
Office after painting
|
|
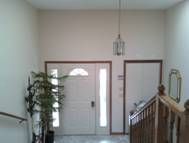
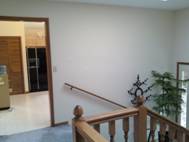
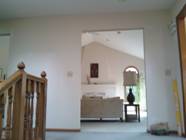
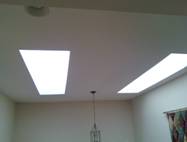
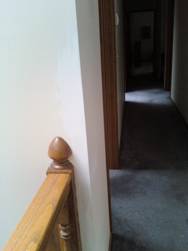
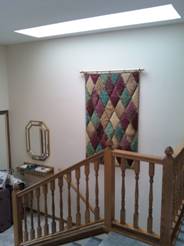
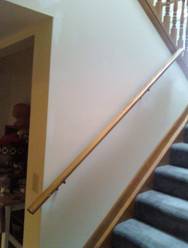
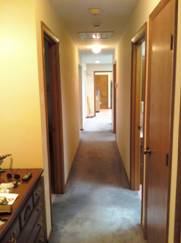
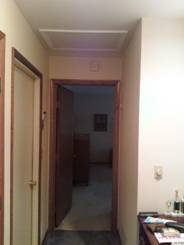
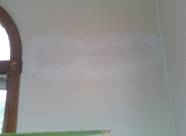
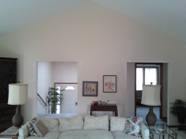
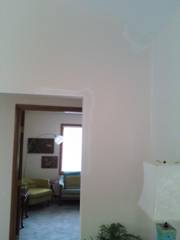
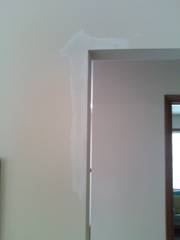
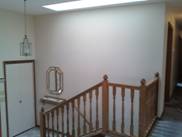
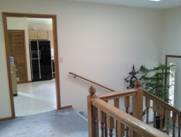
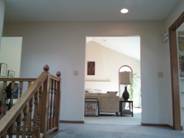
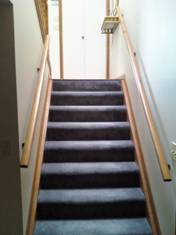
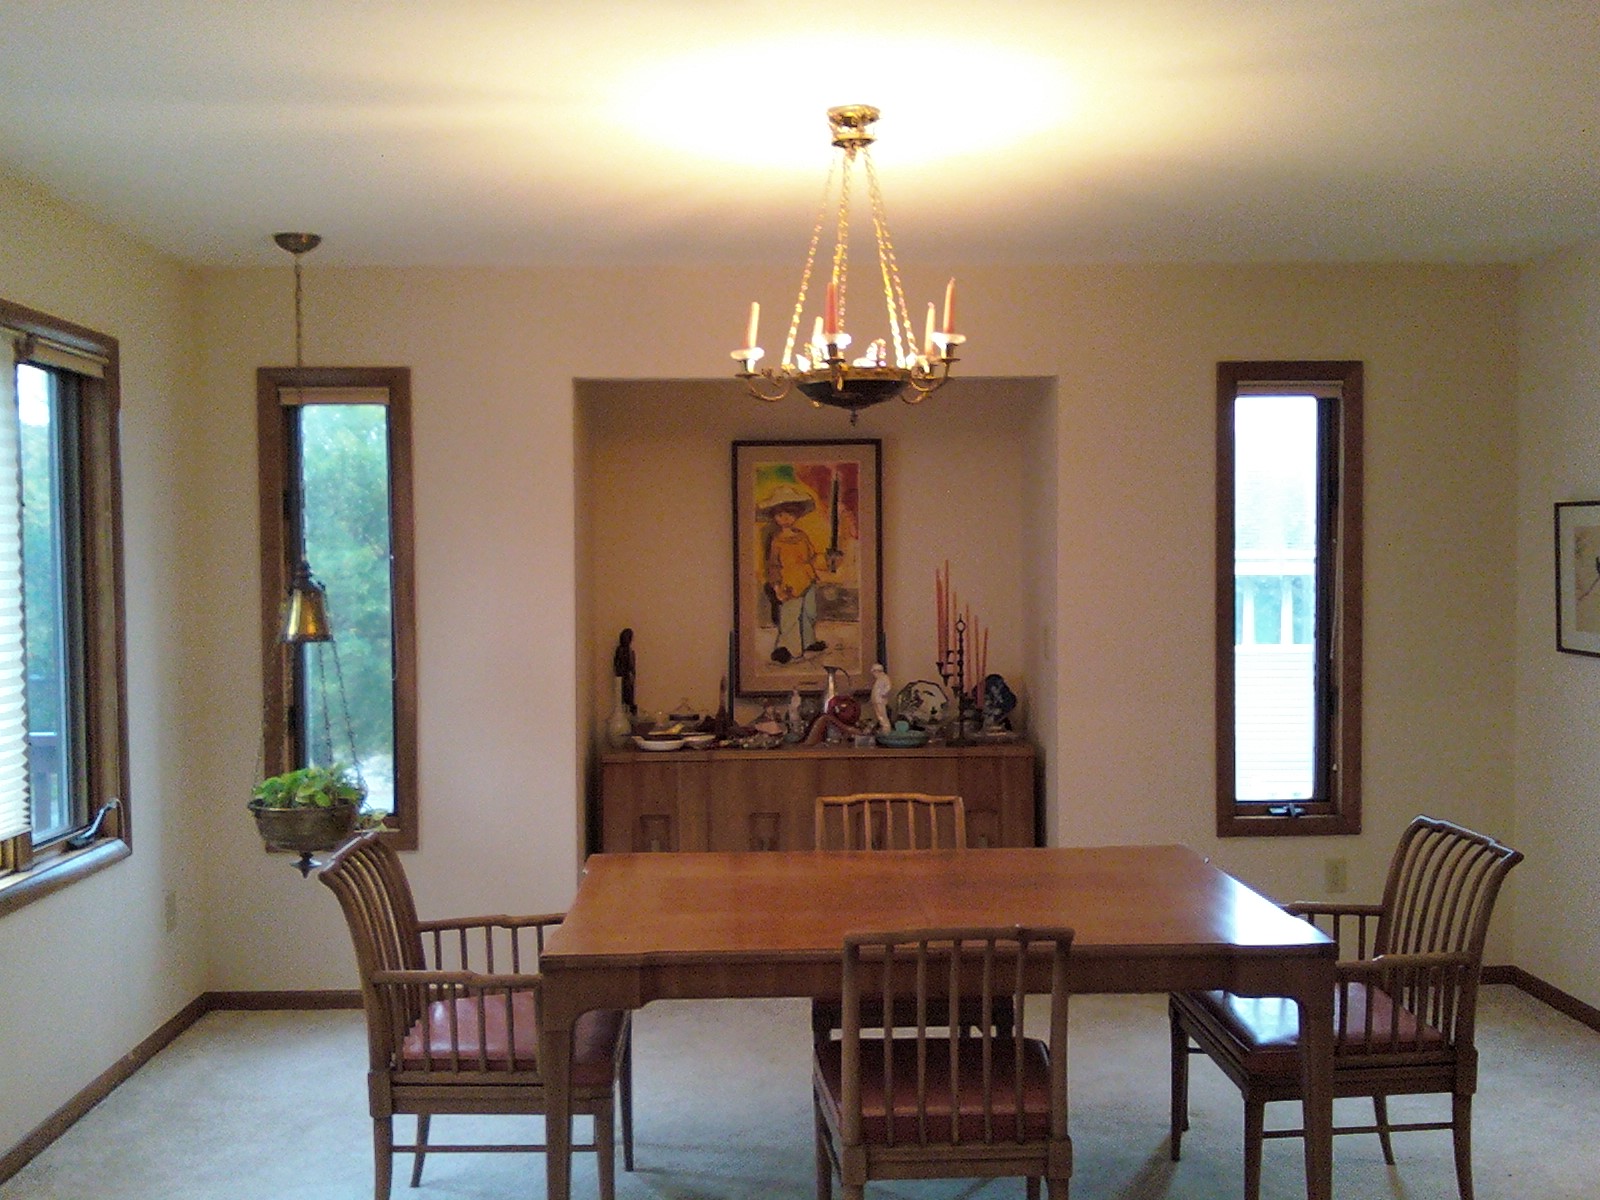
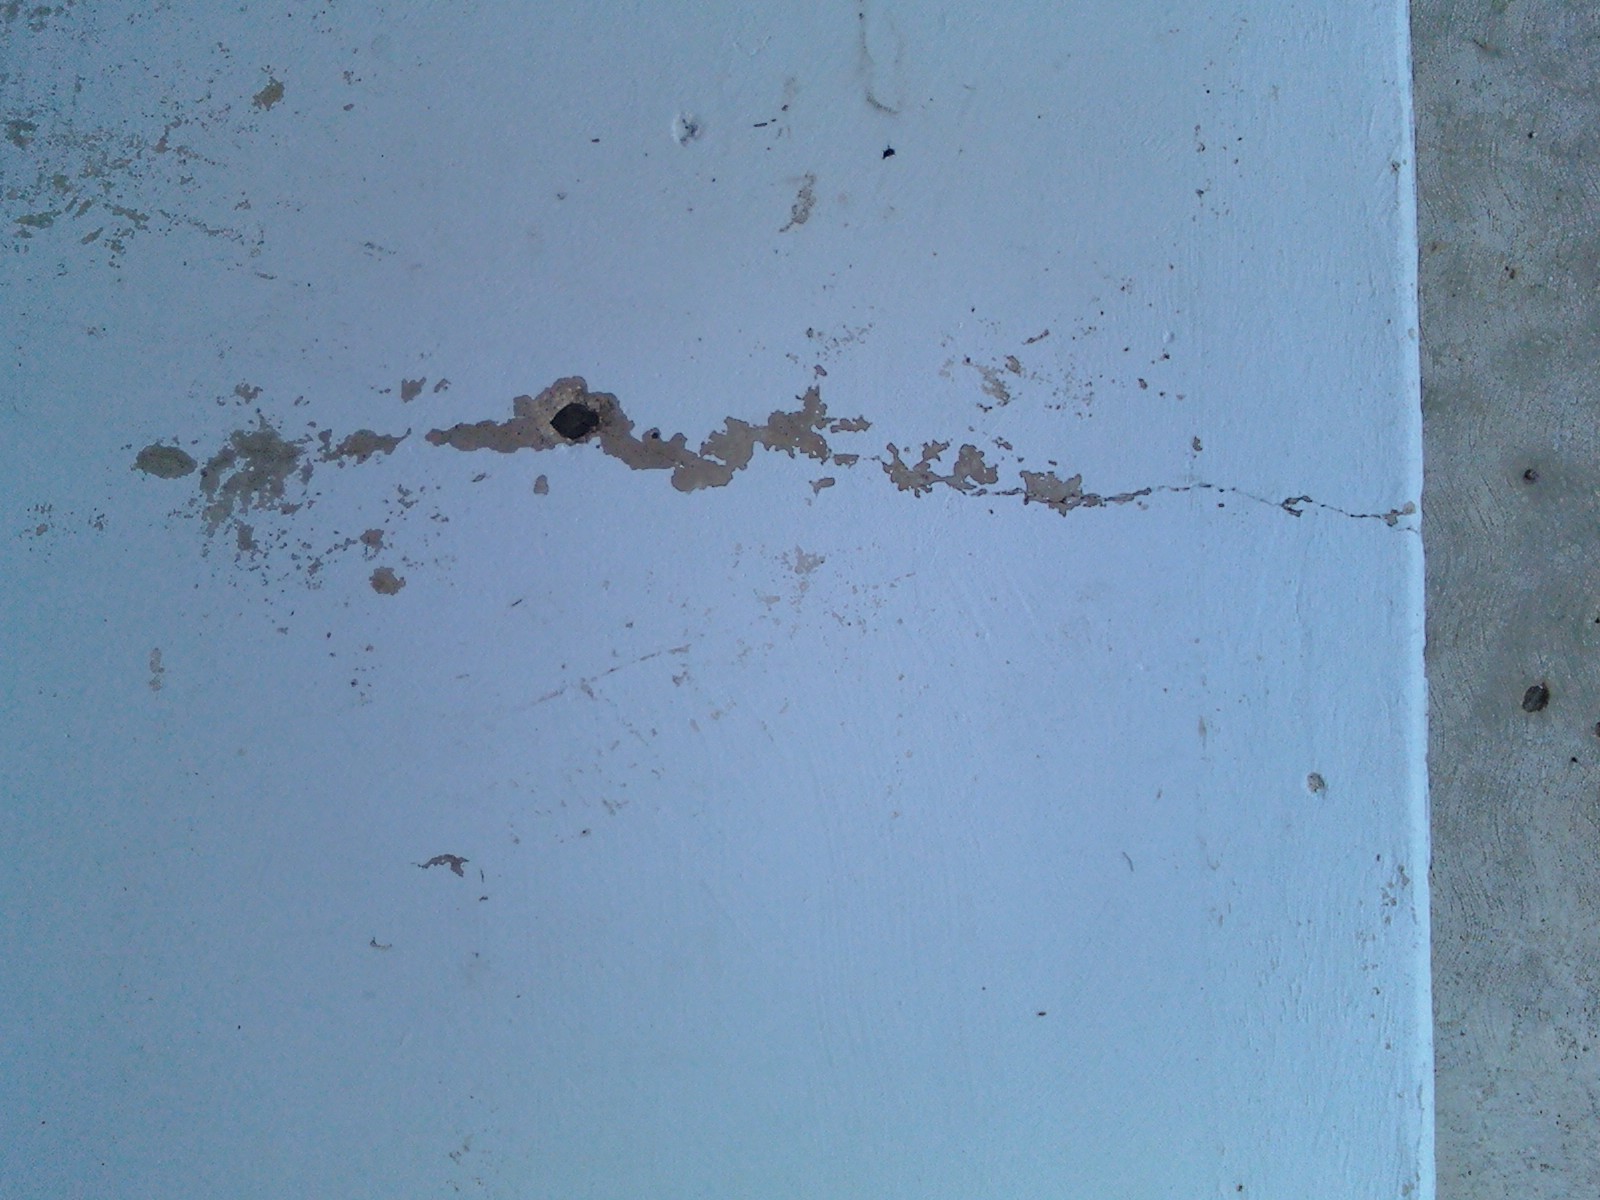
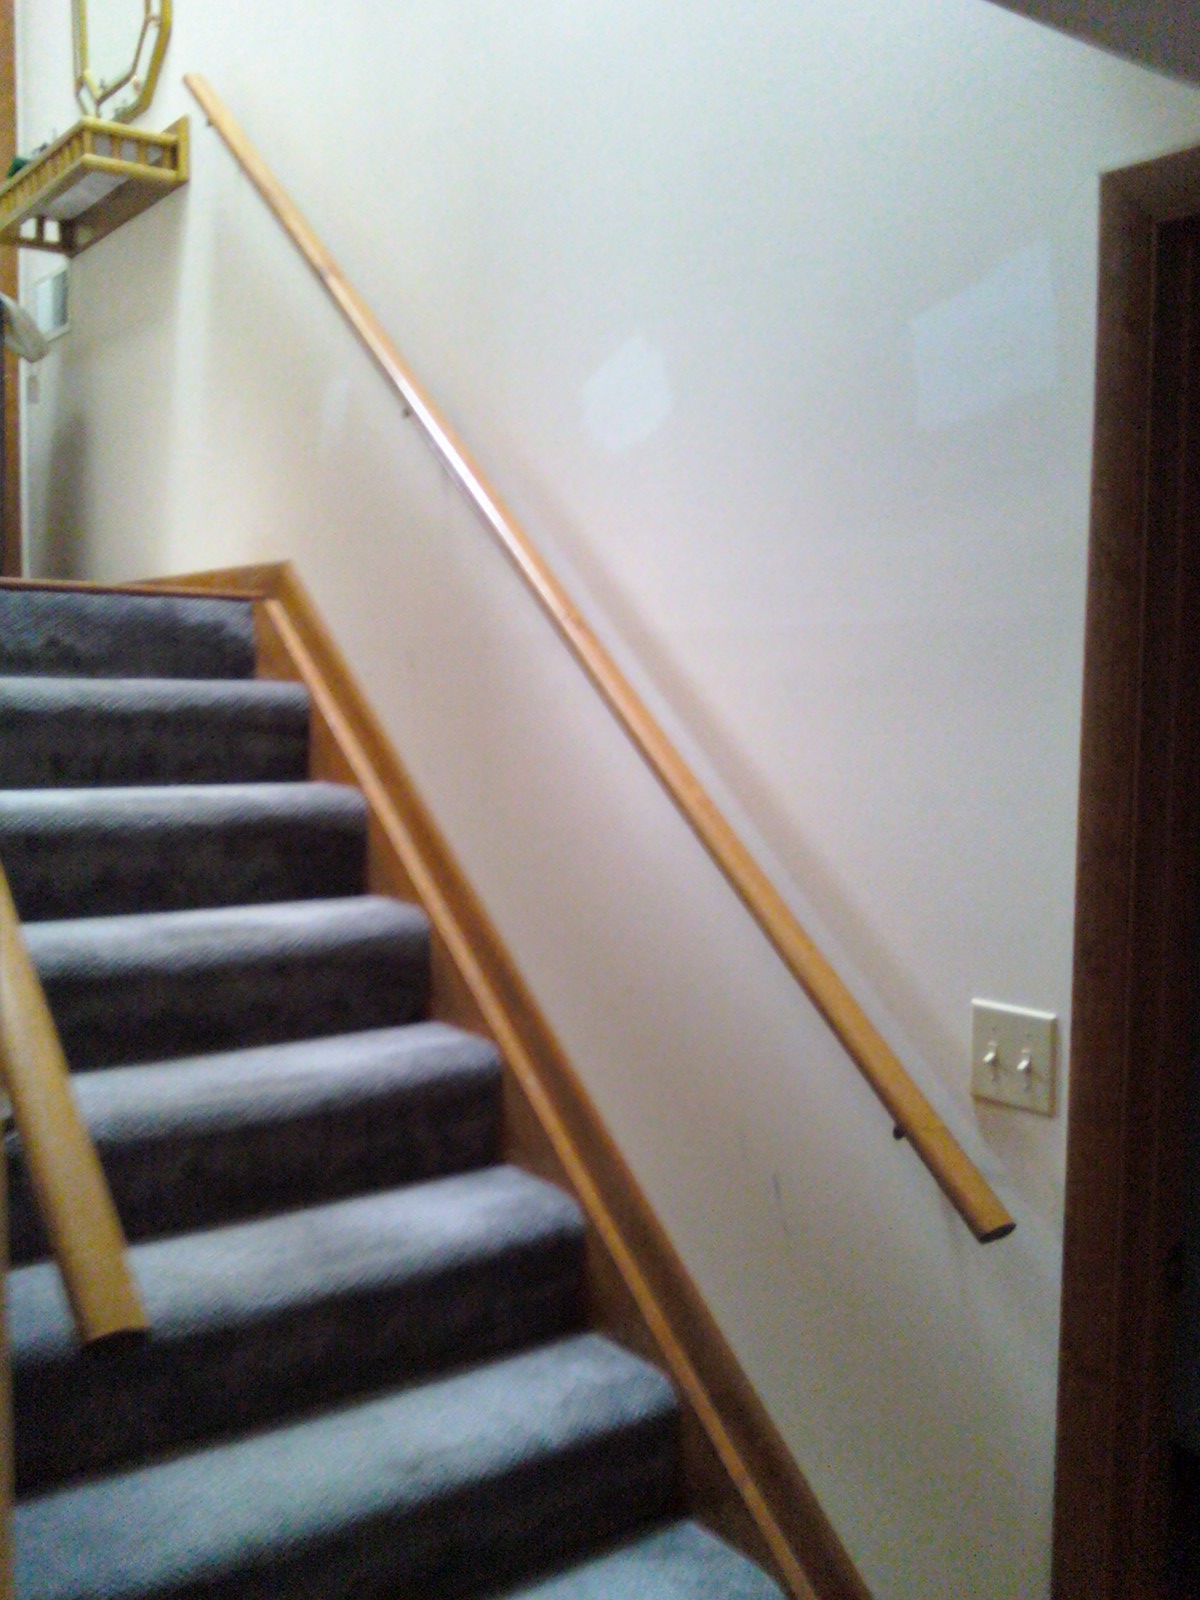
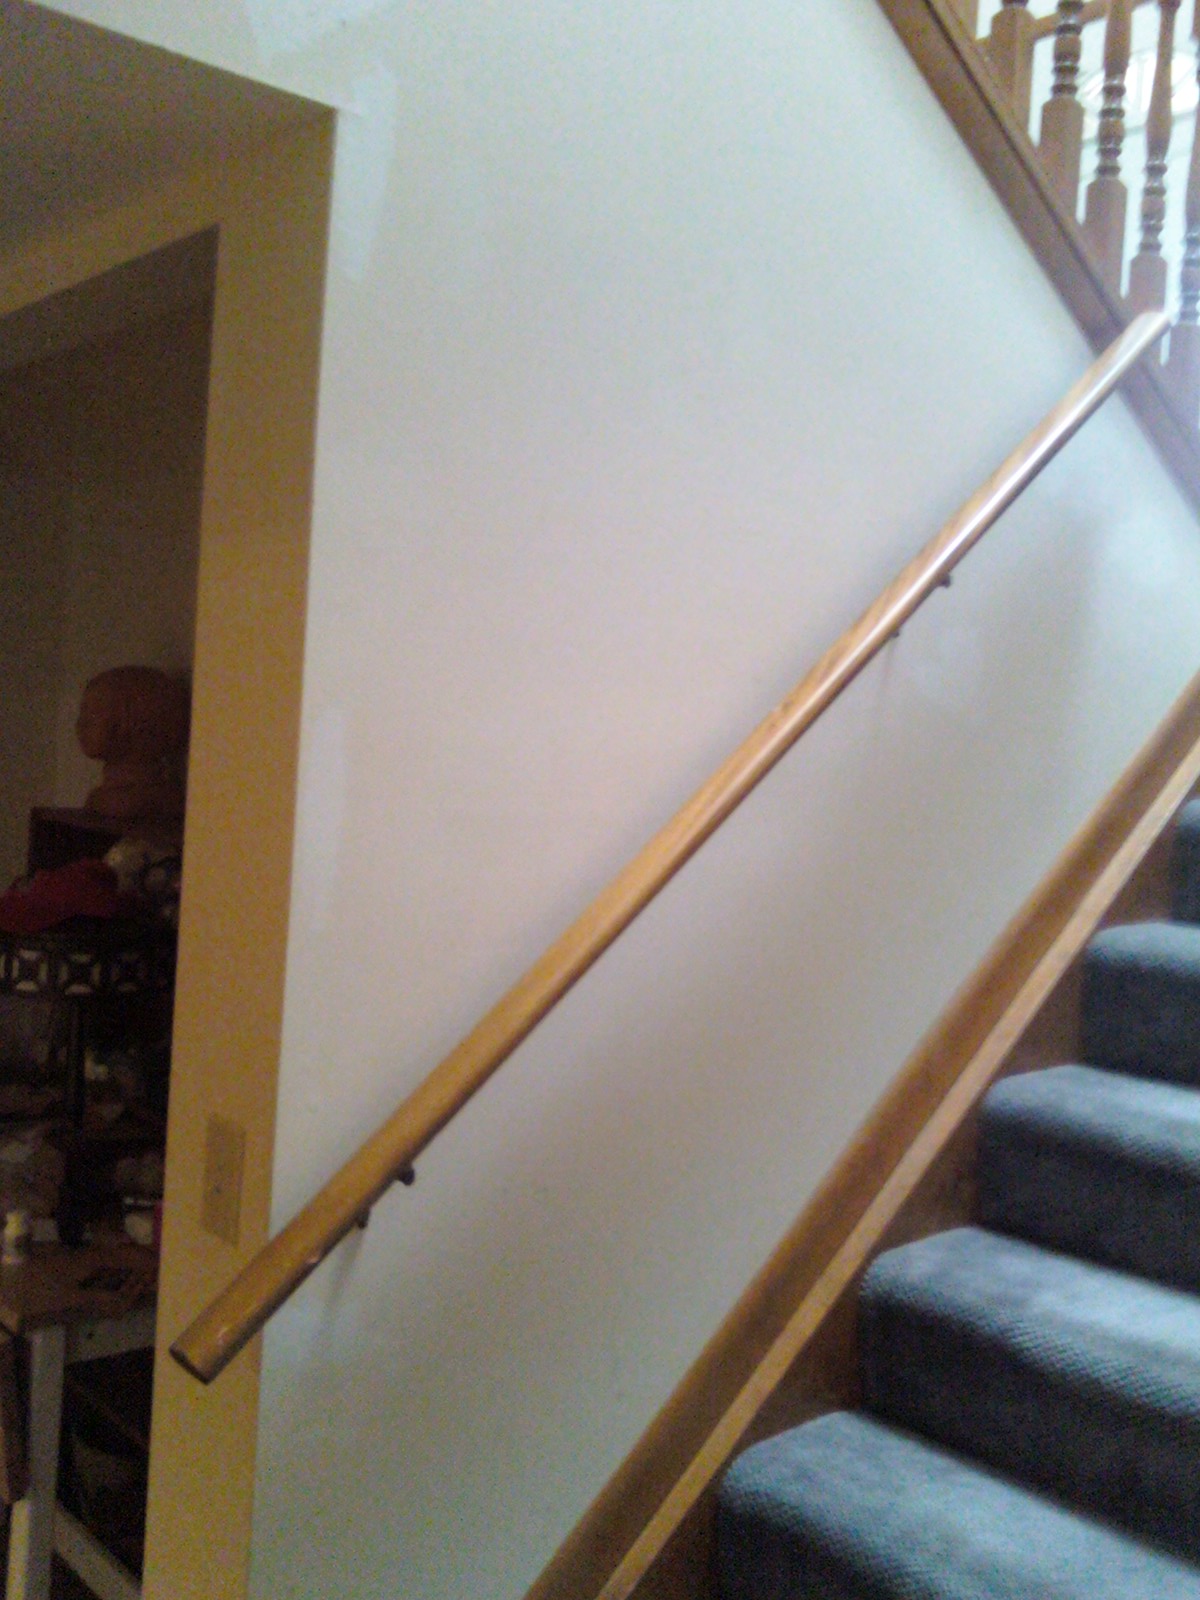
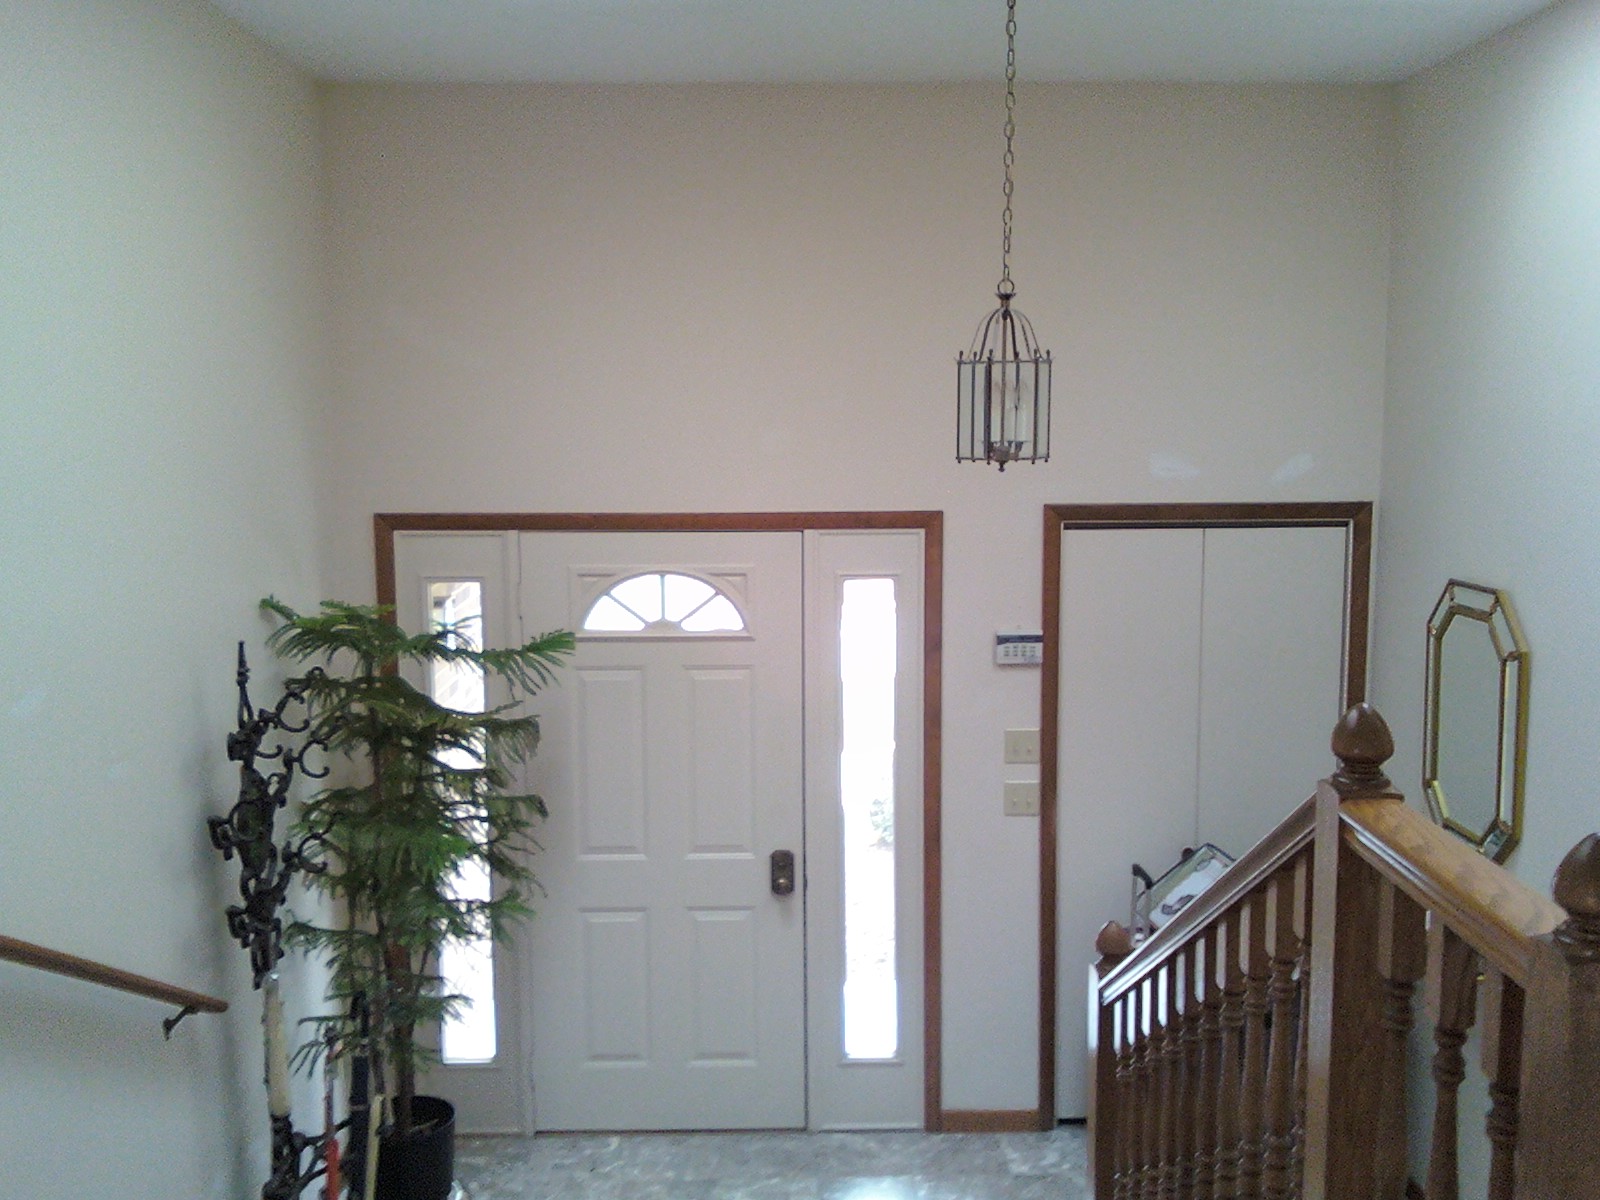
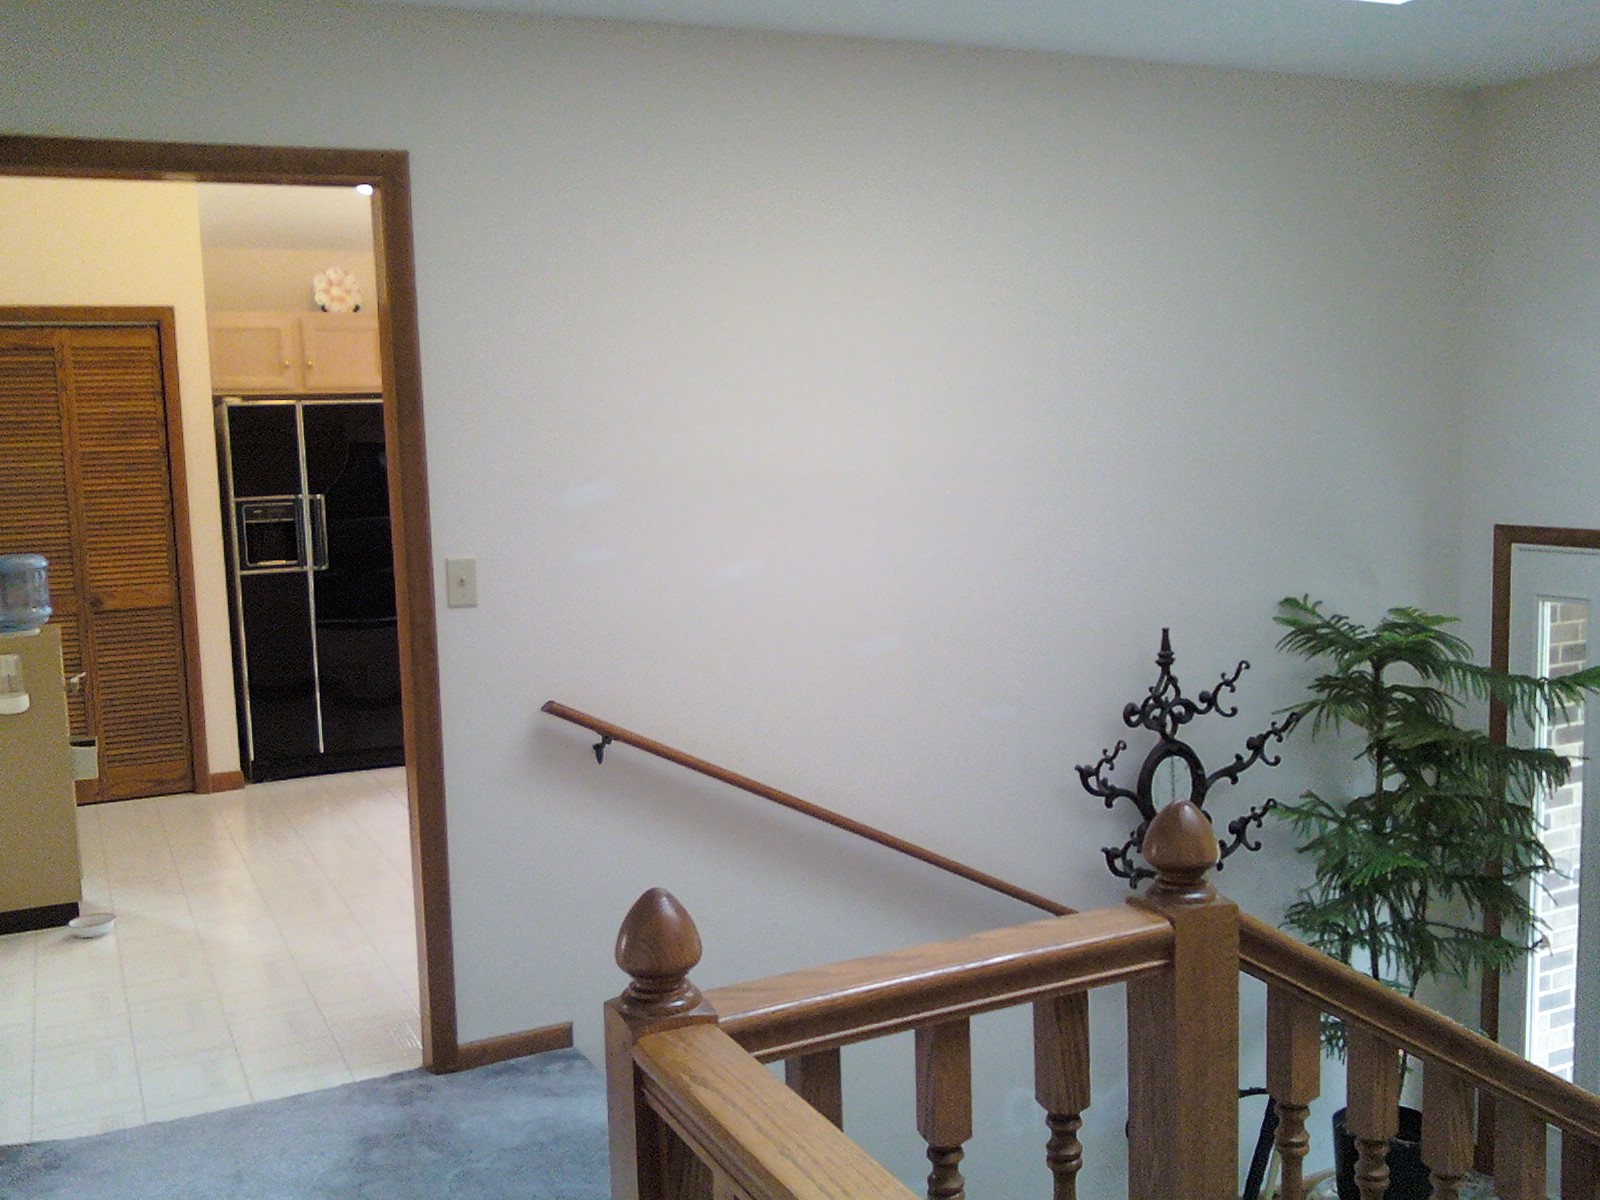
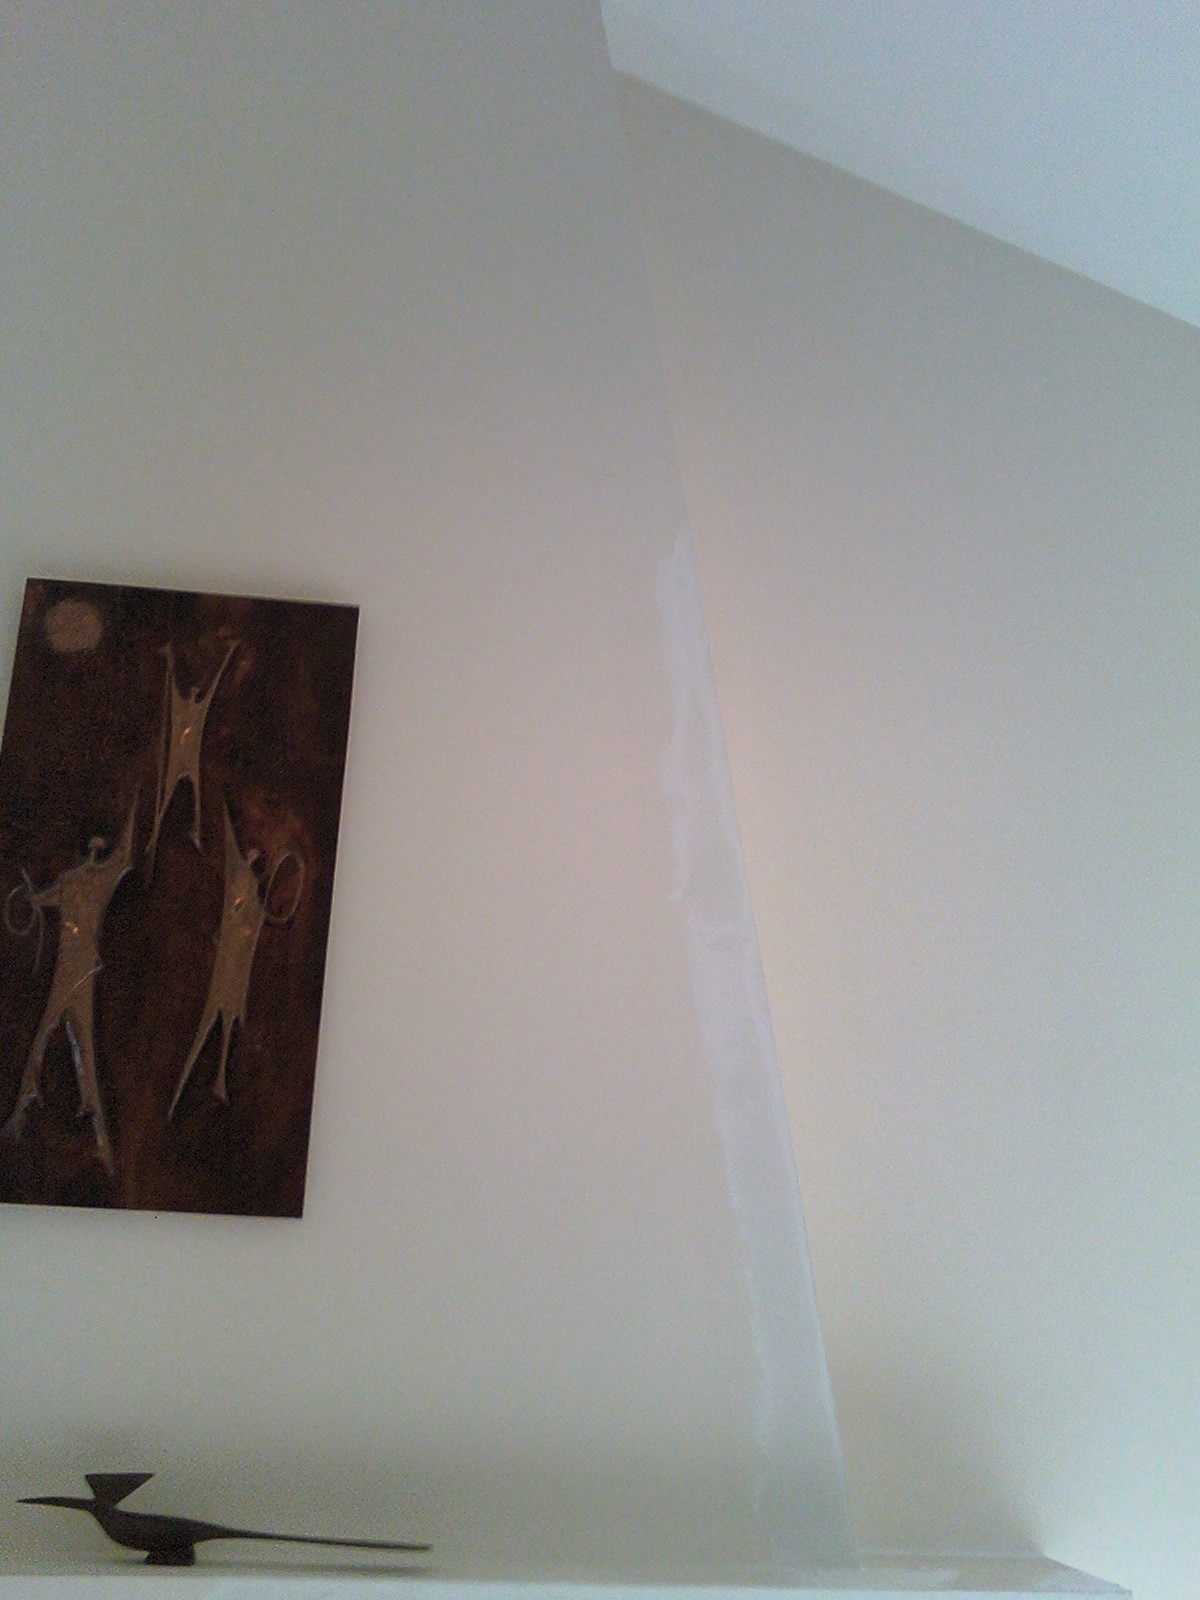
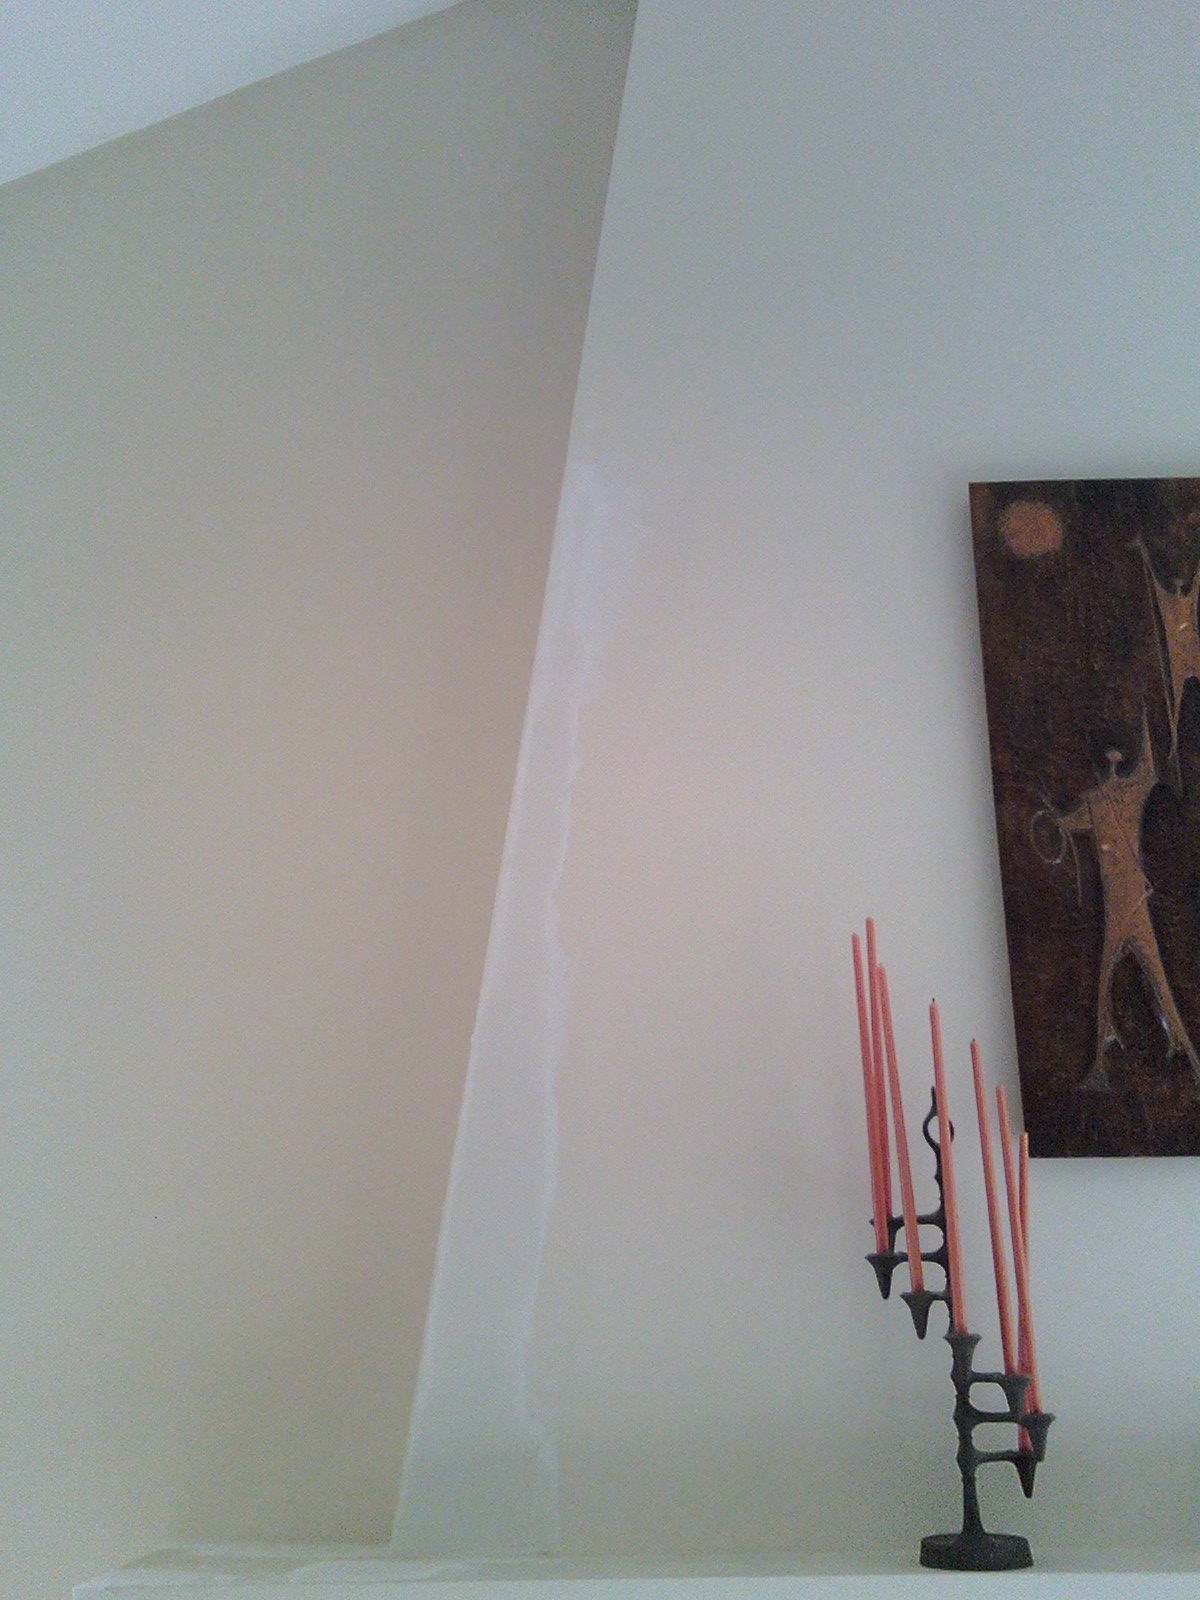
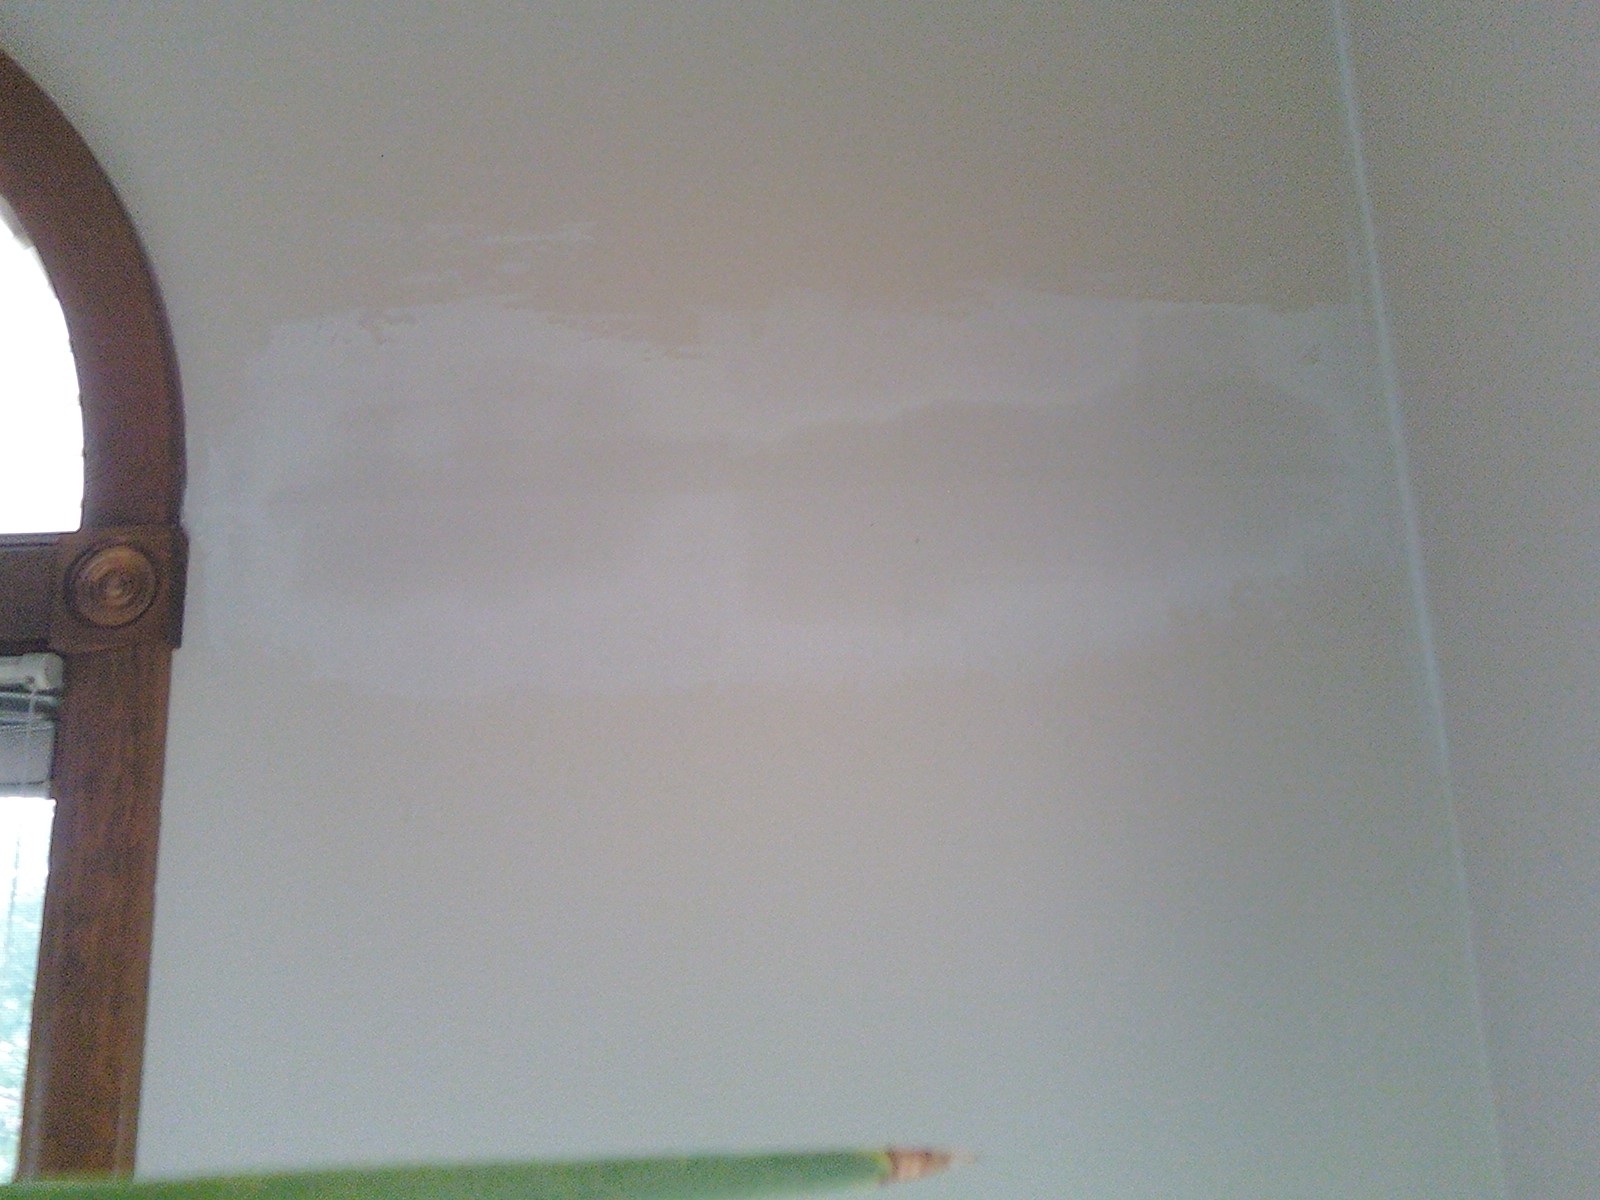
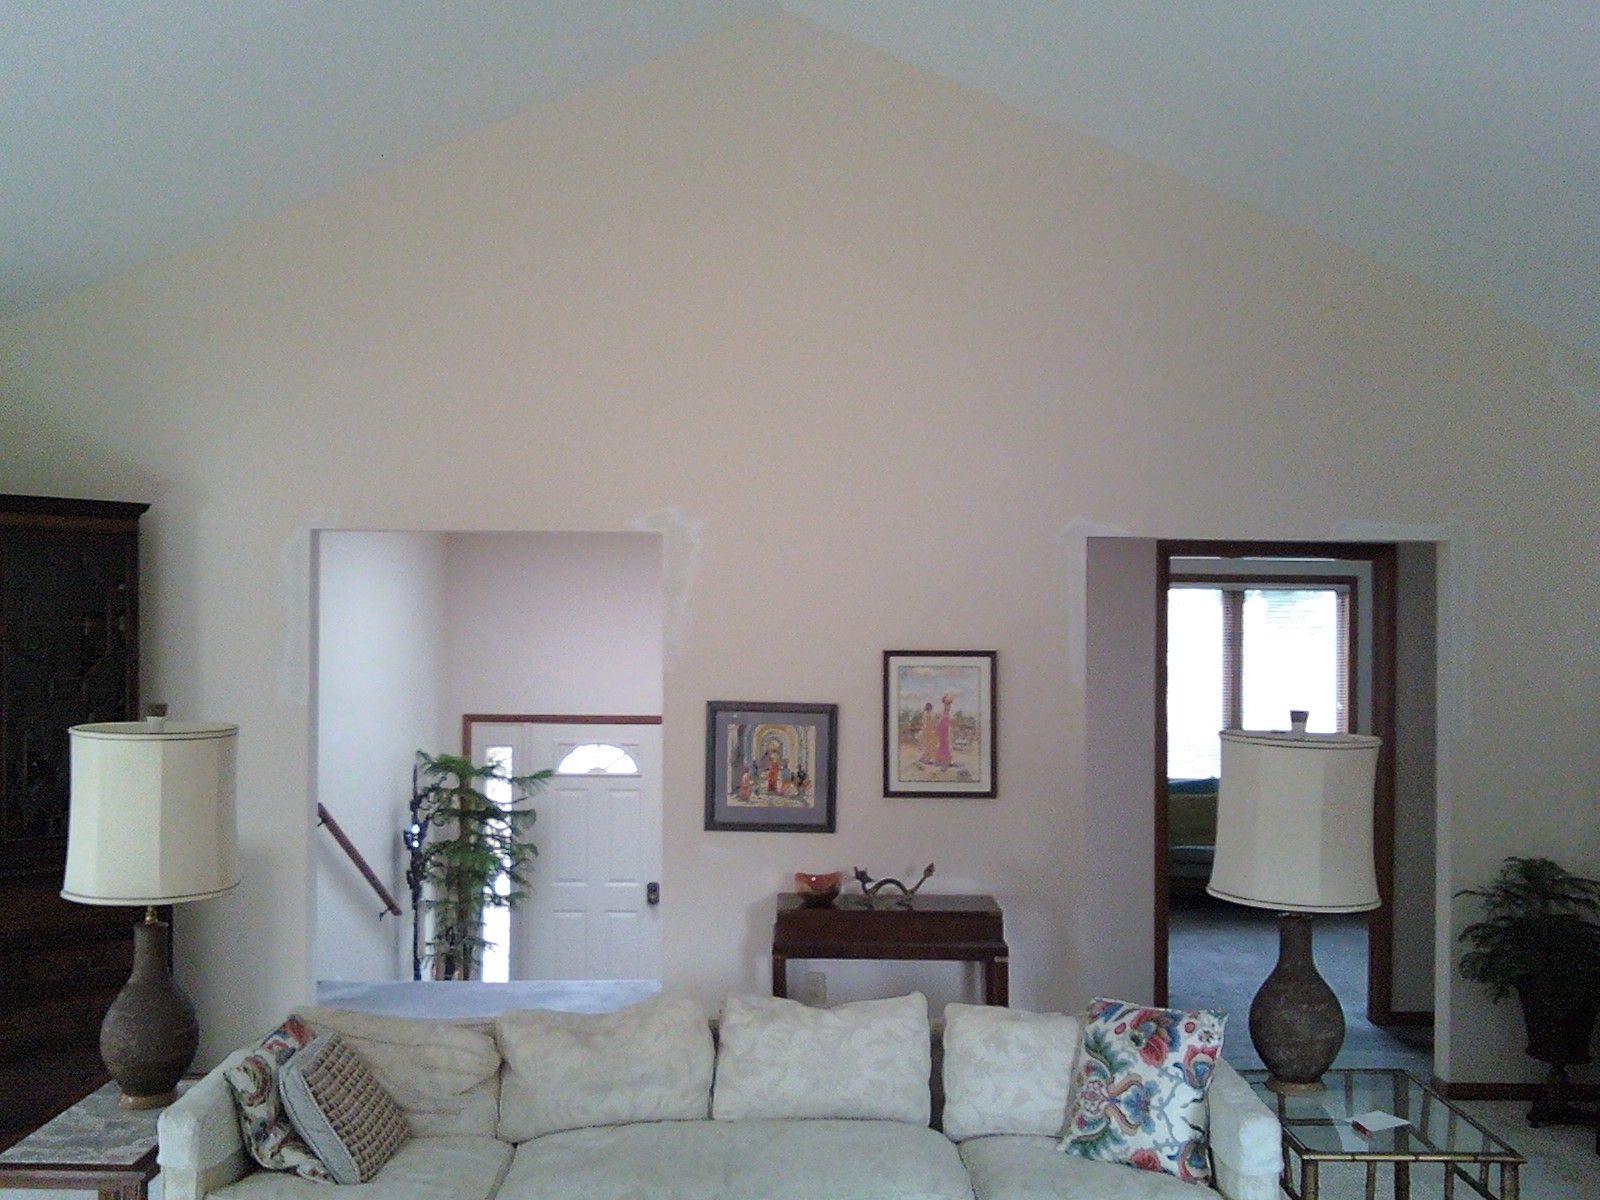
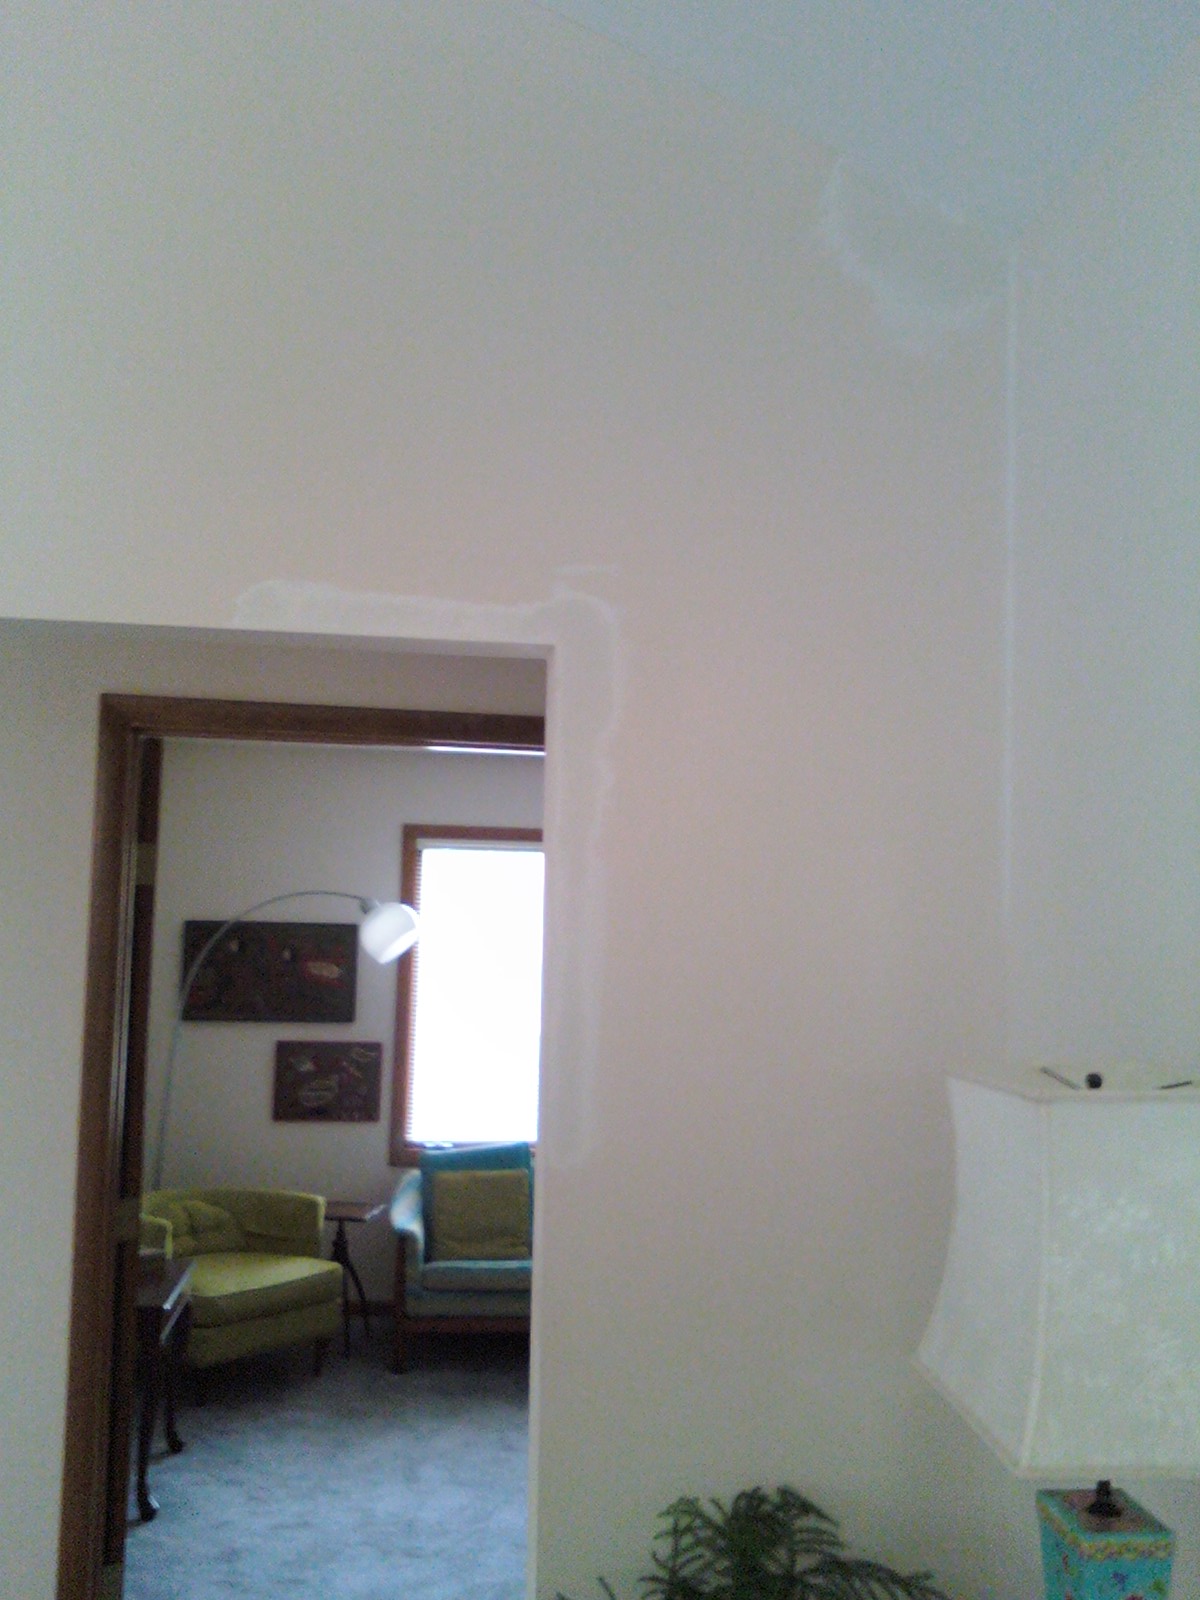
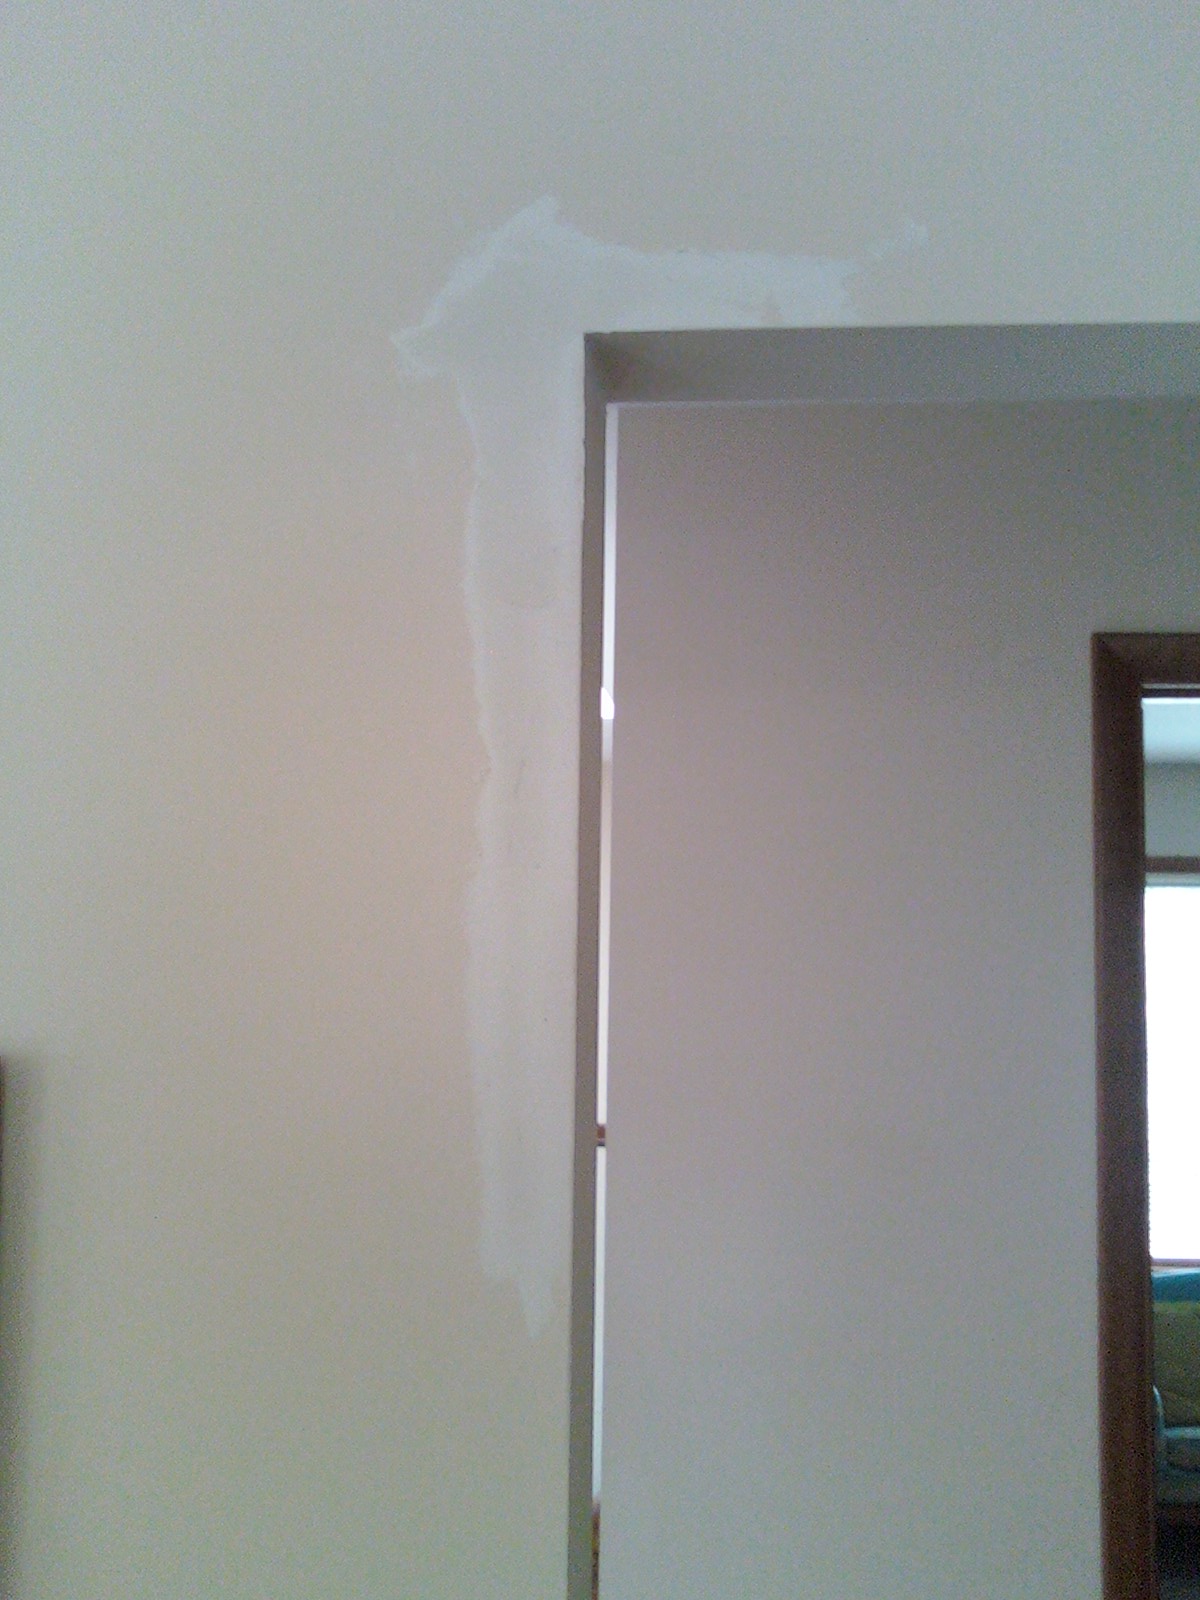
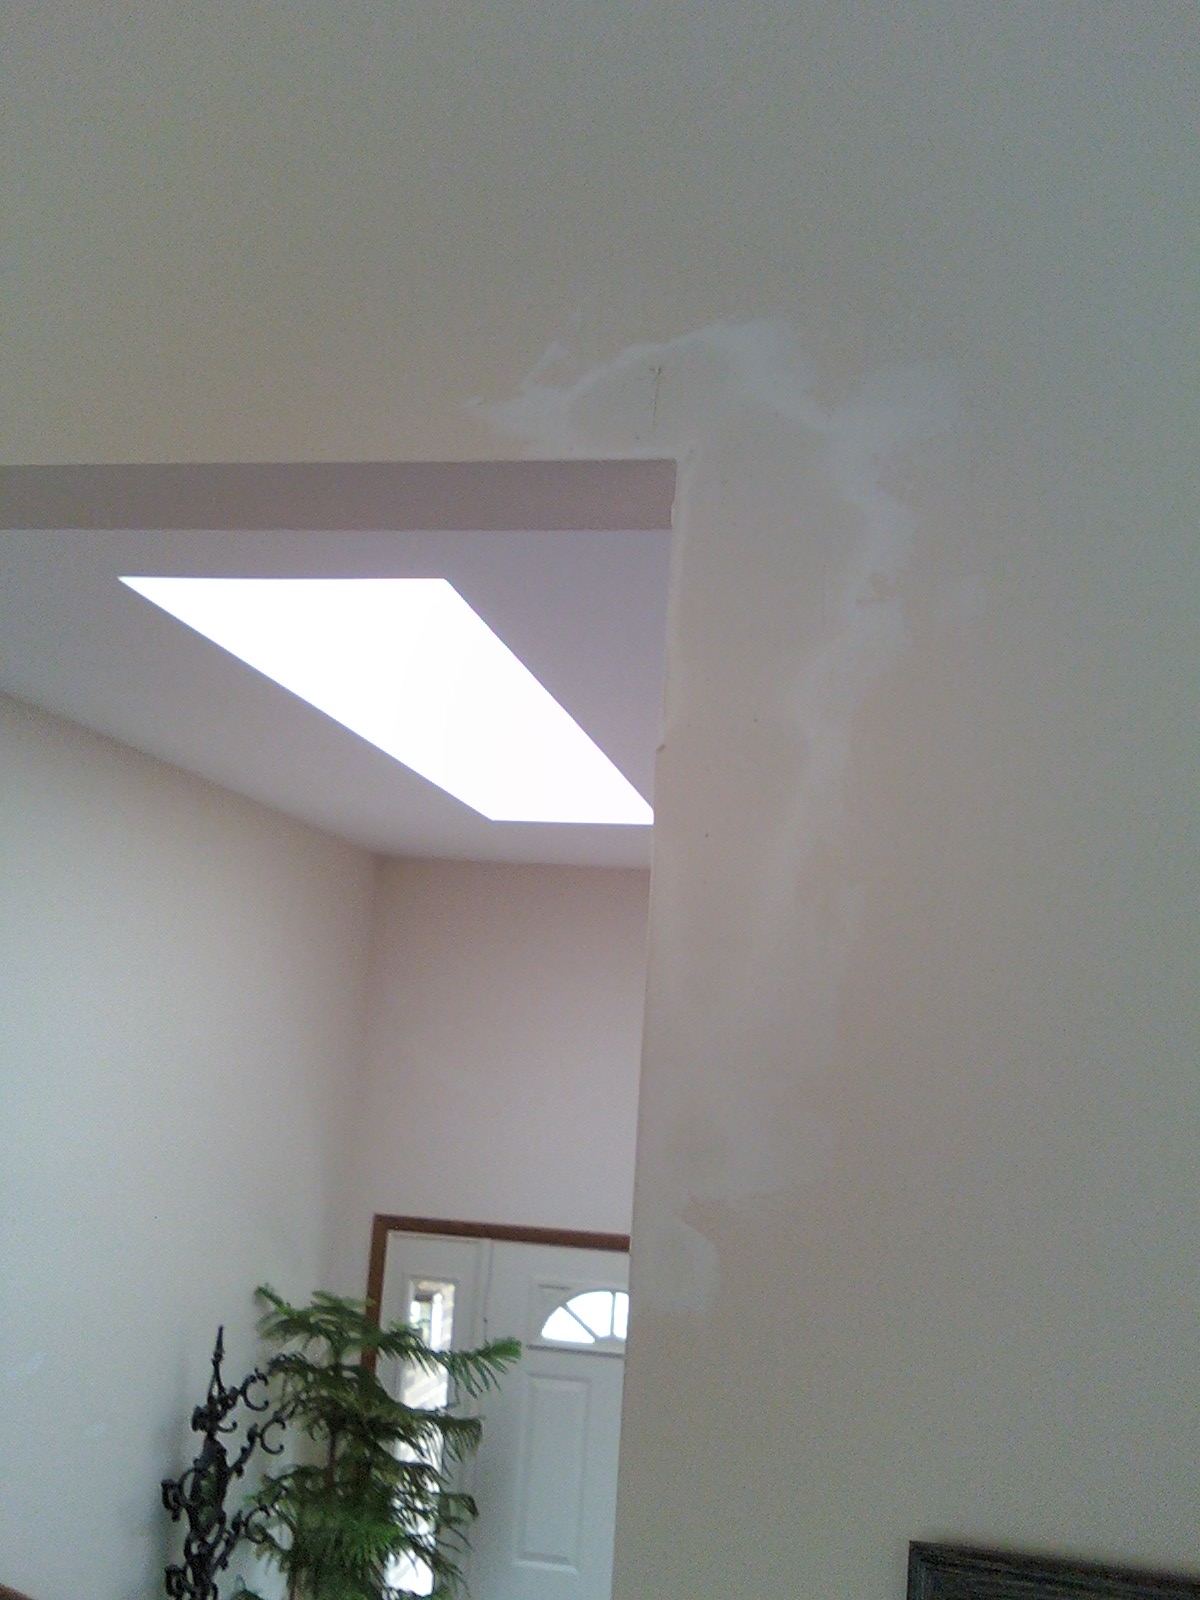
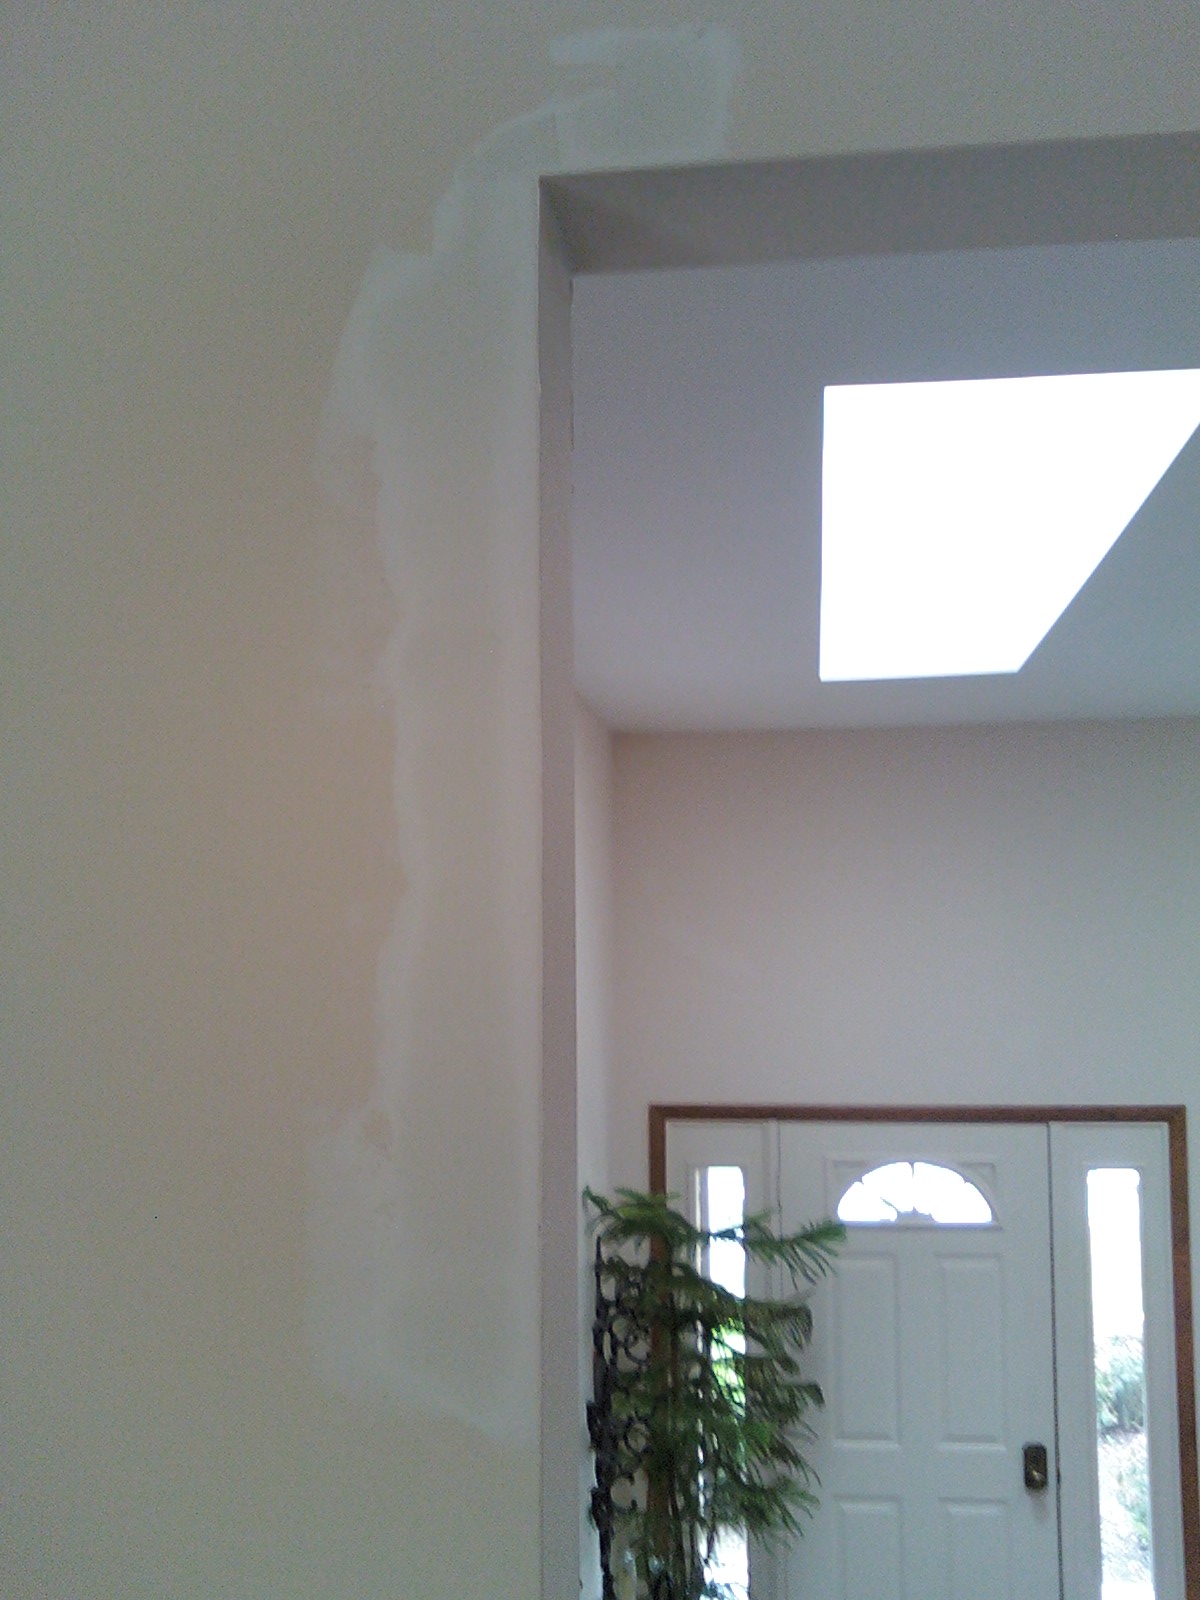
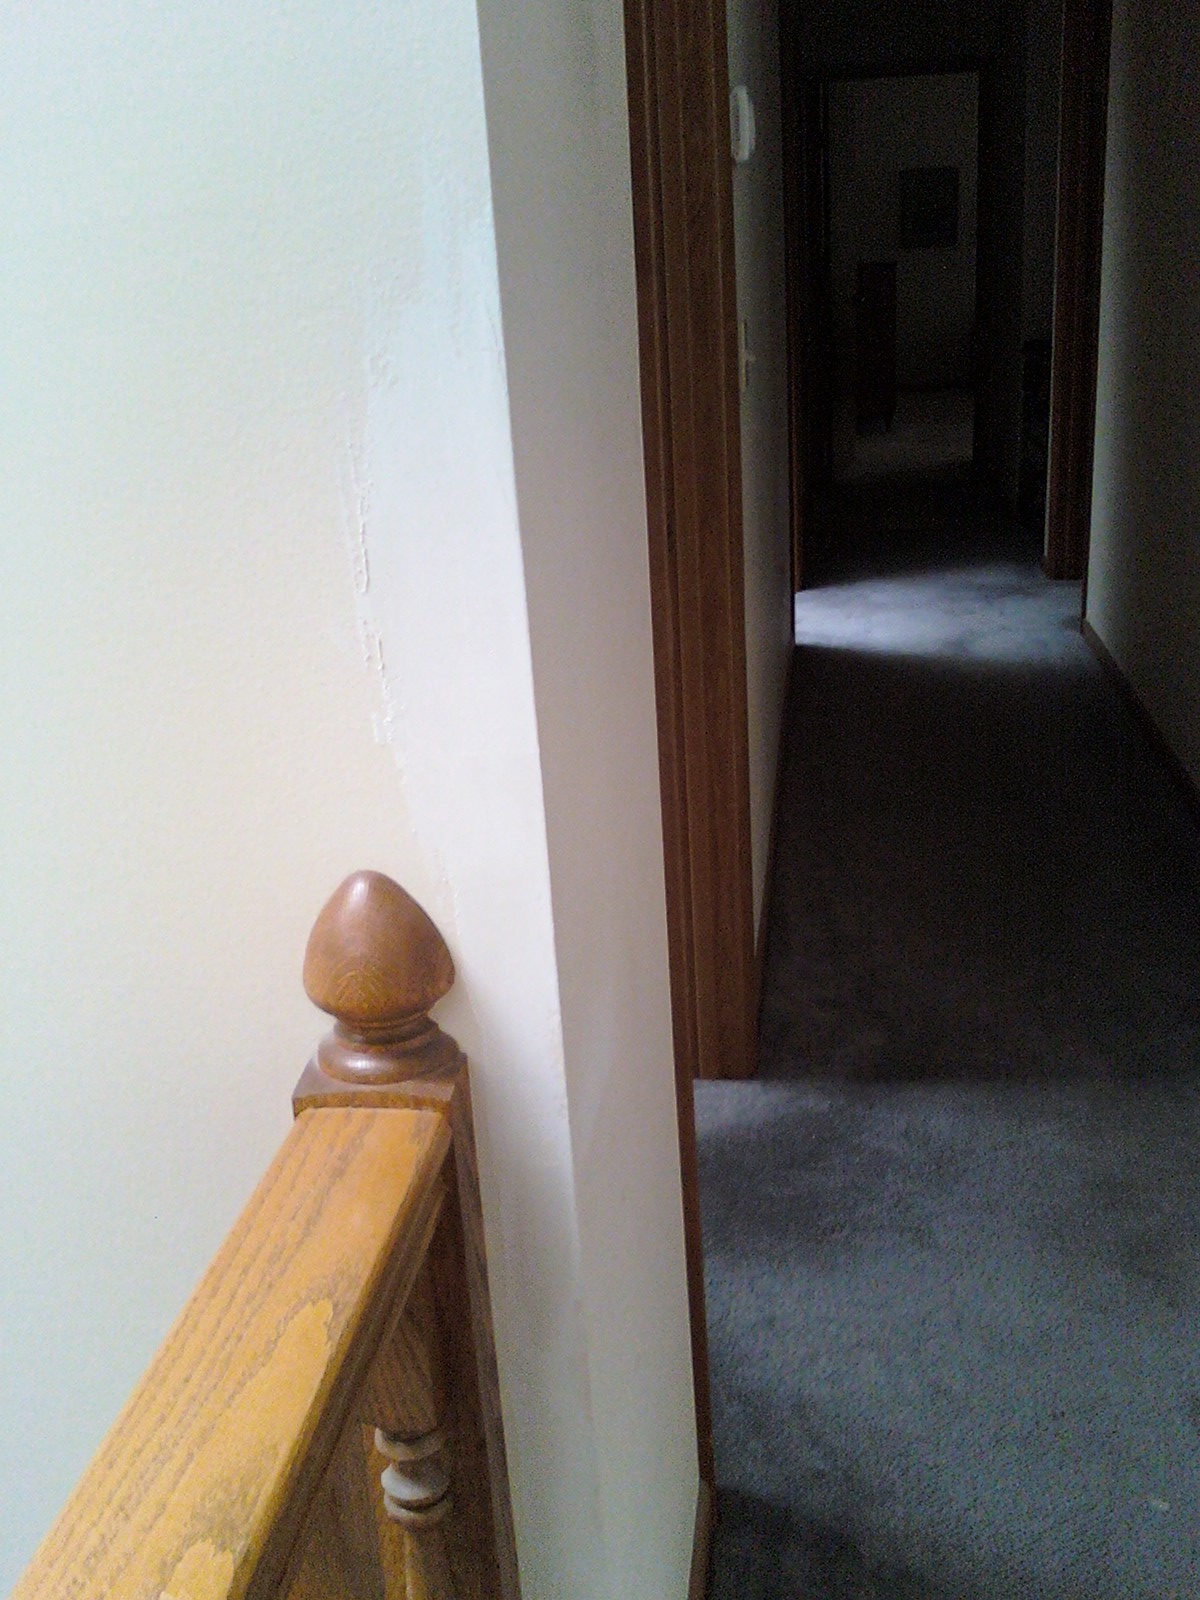
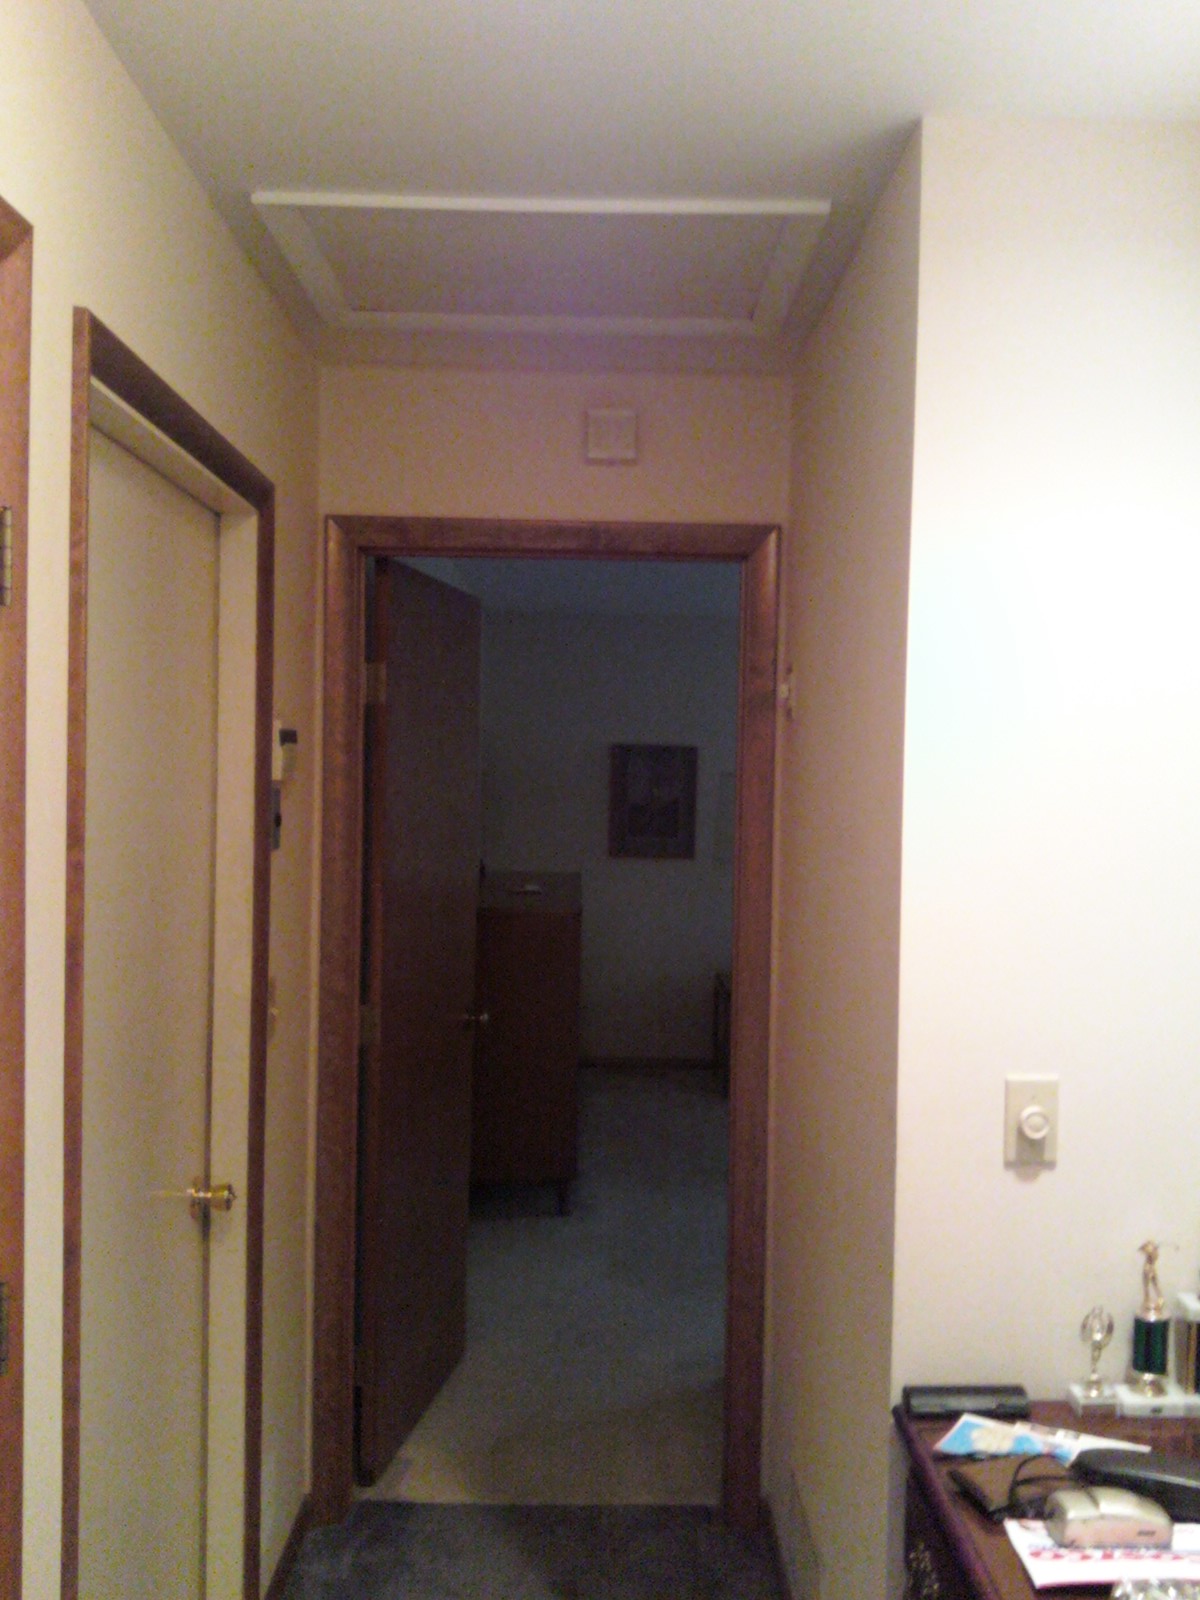
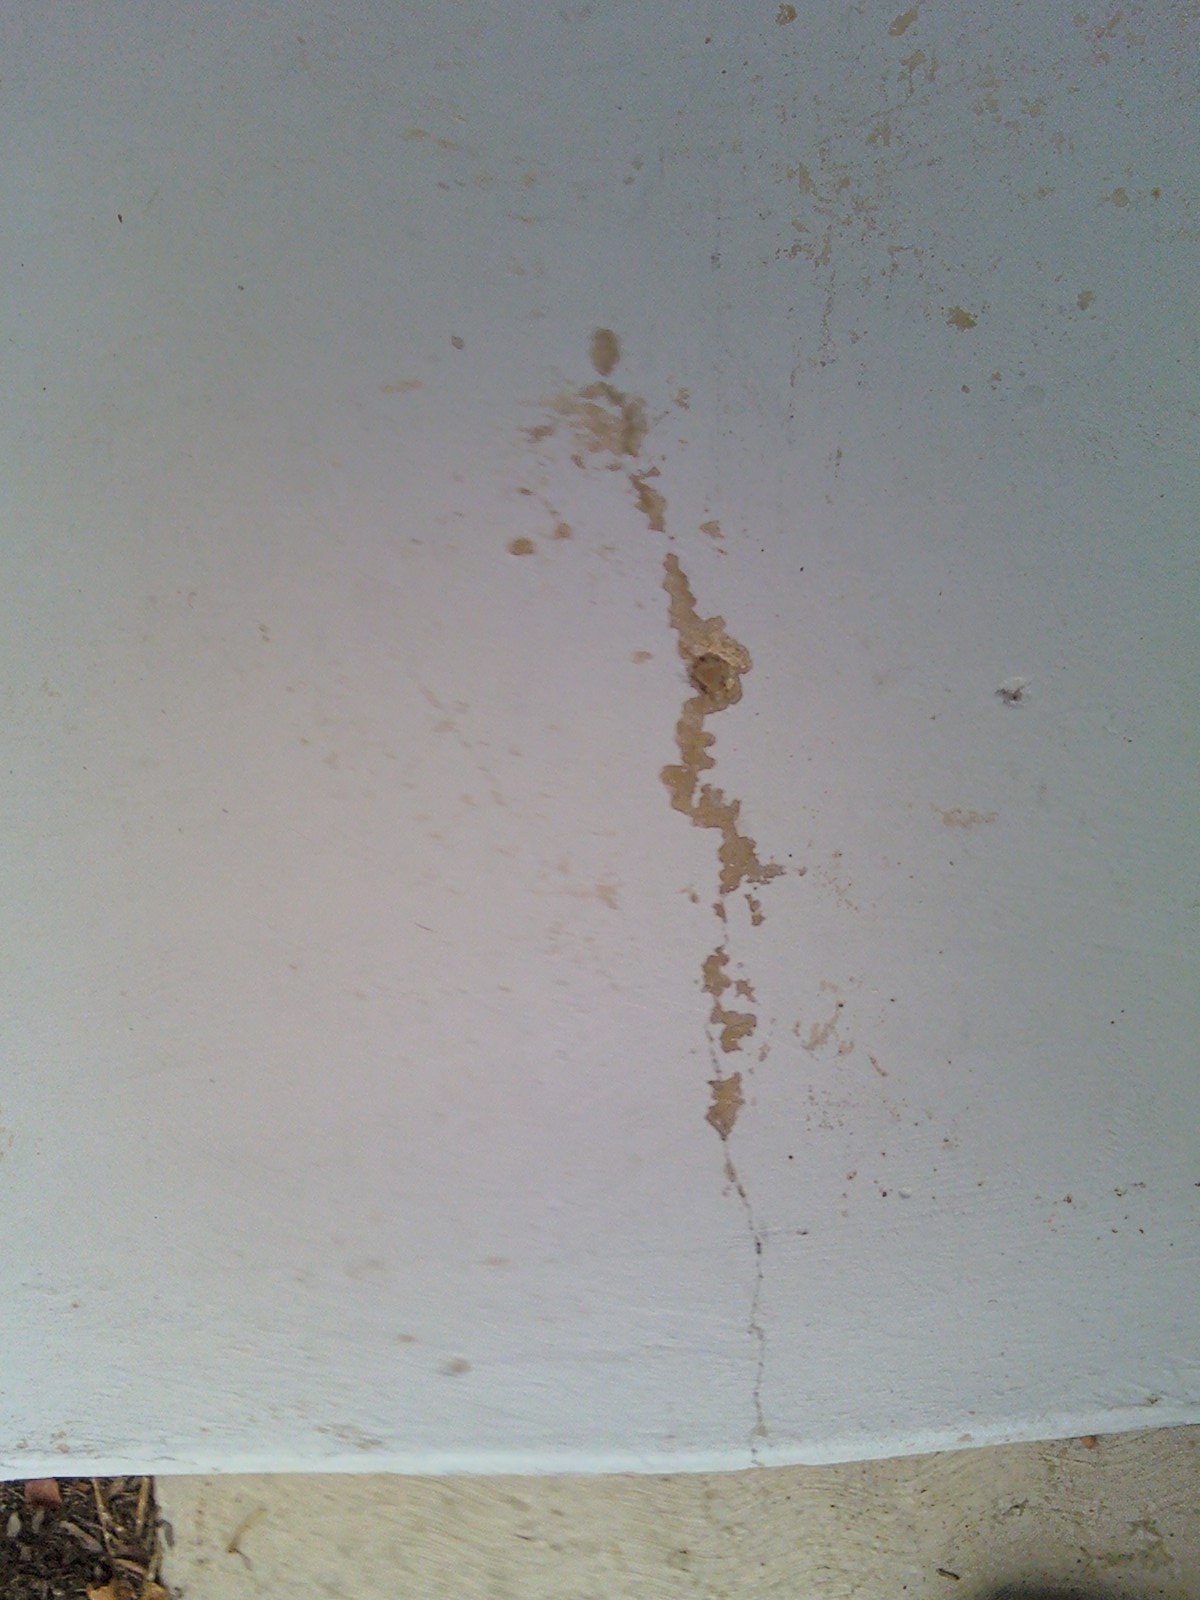
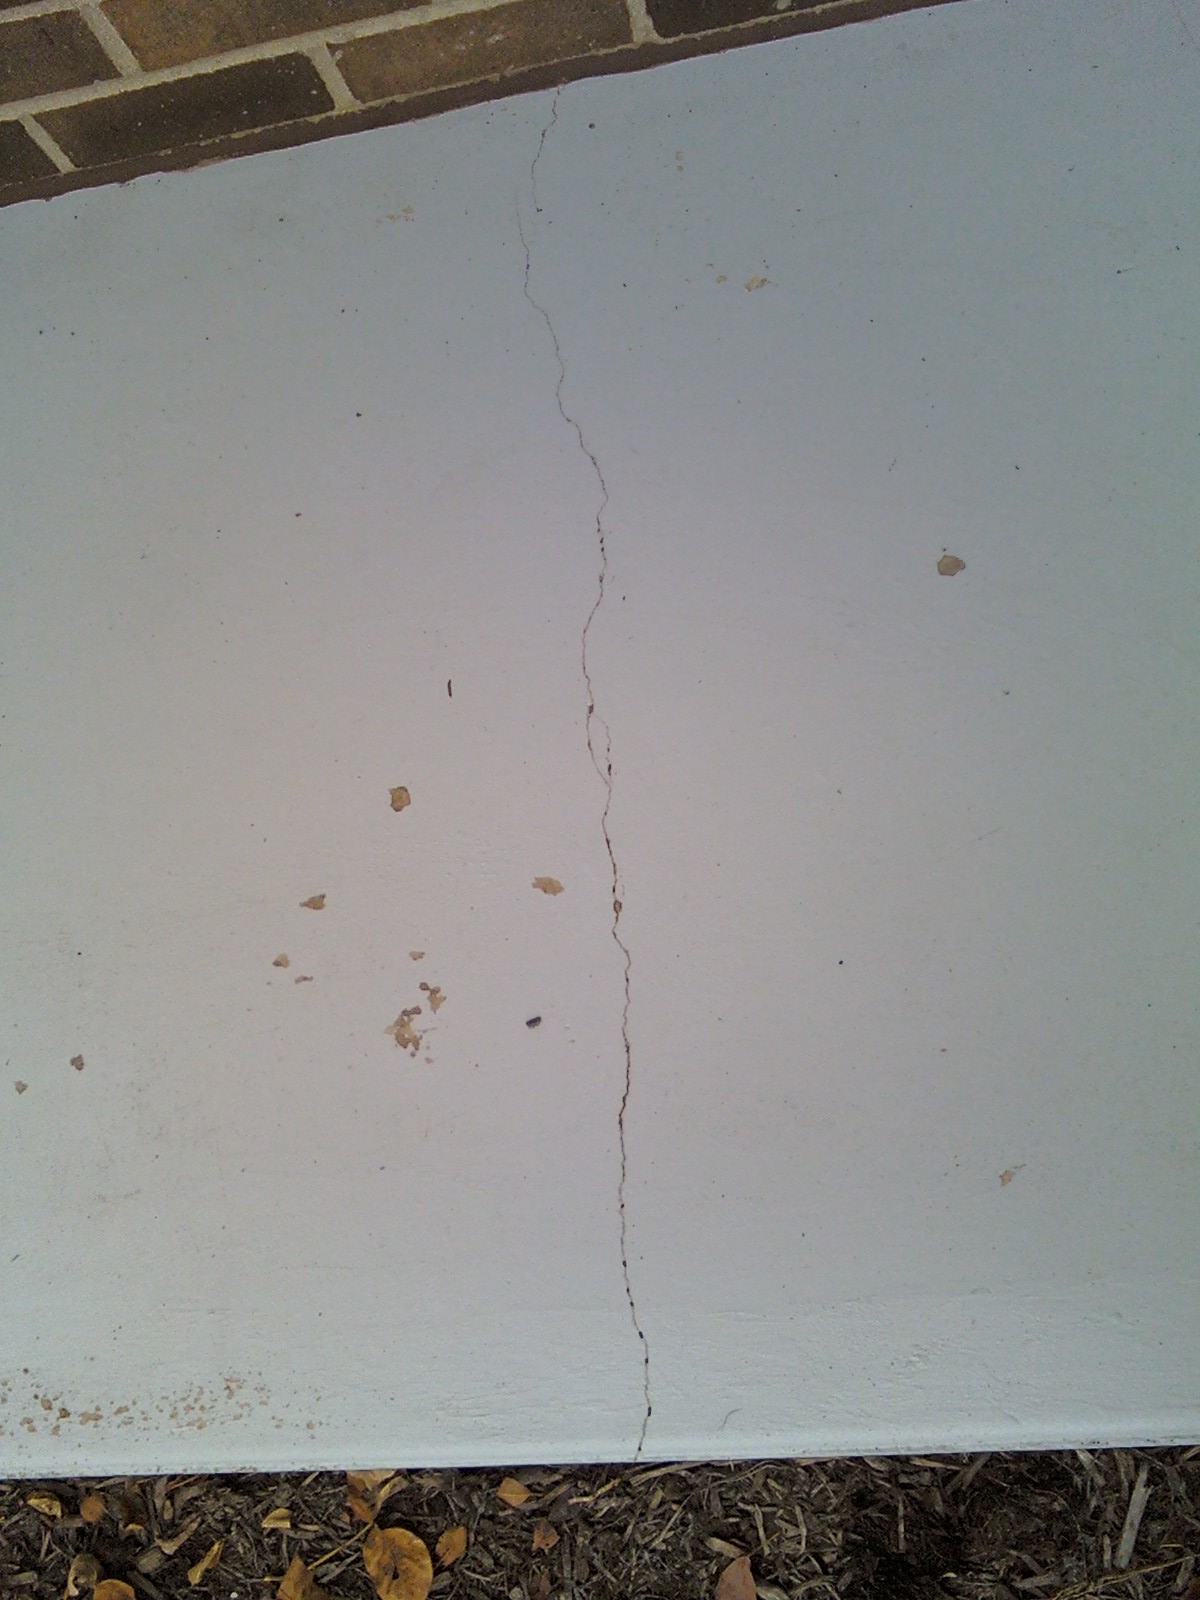
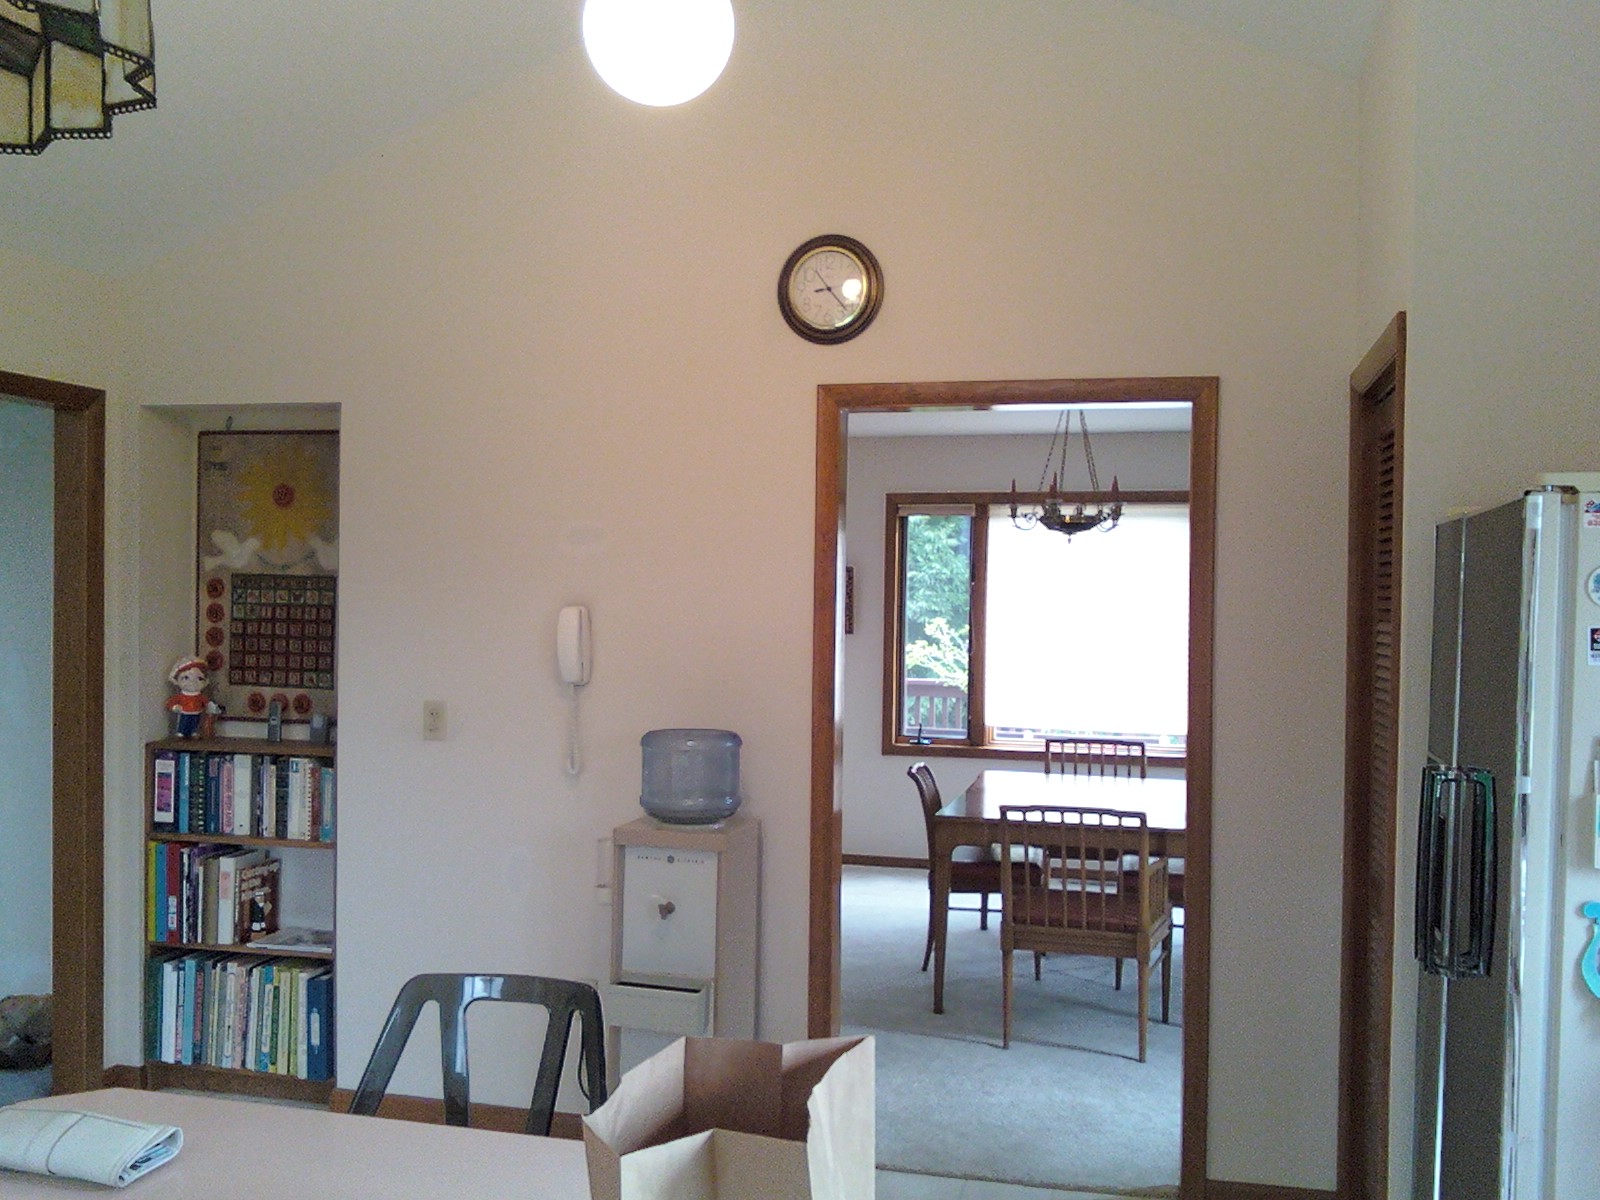
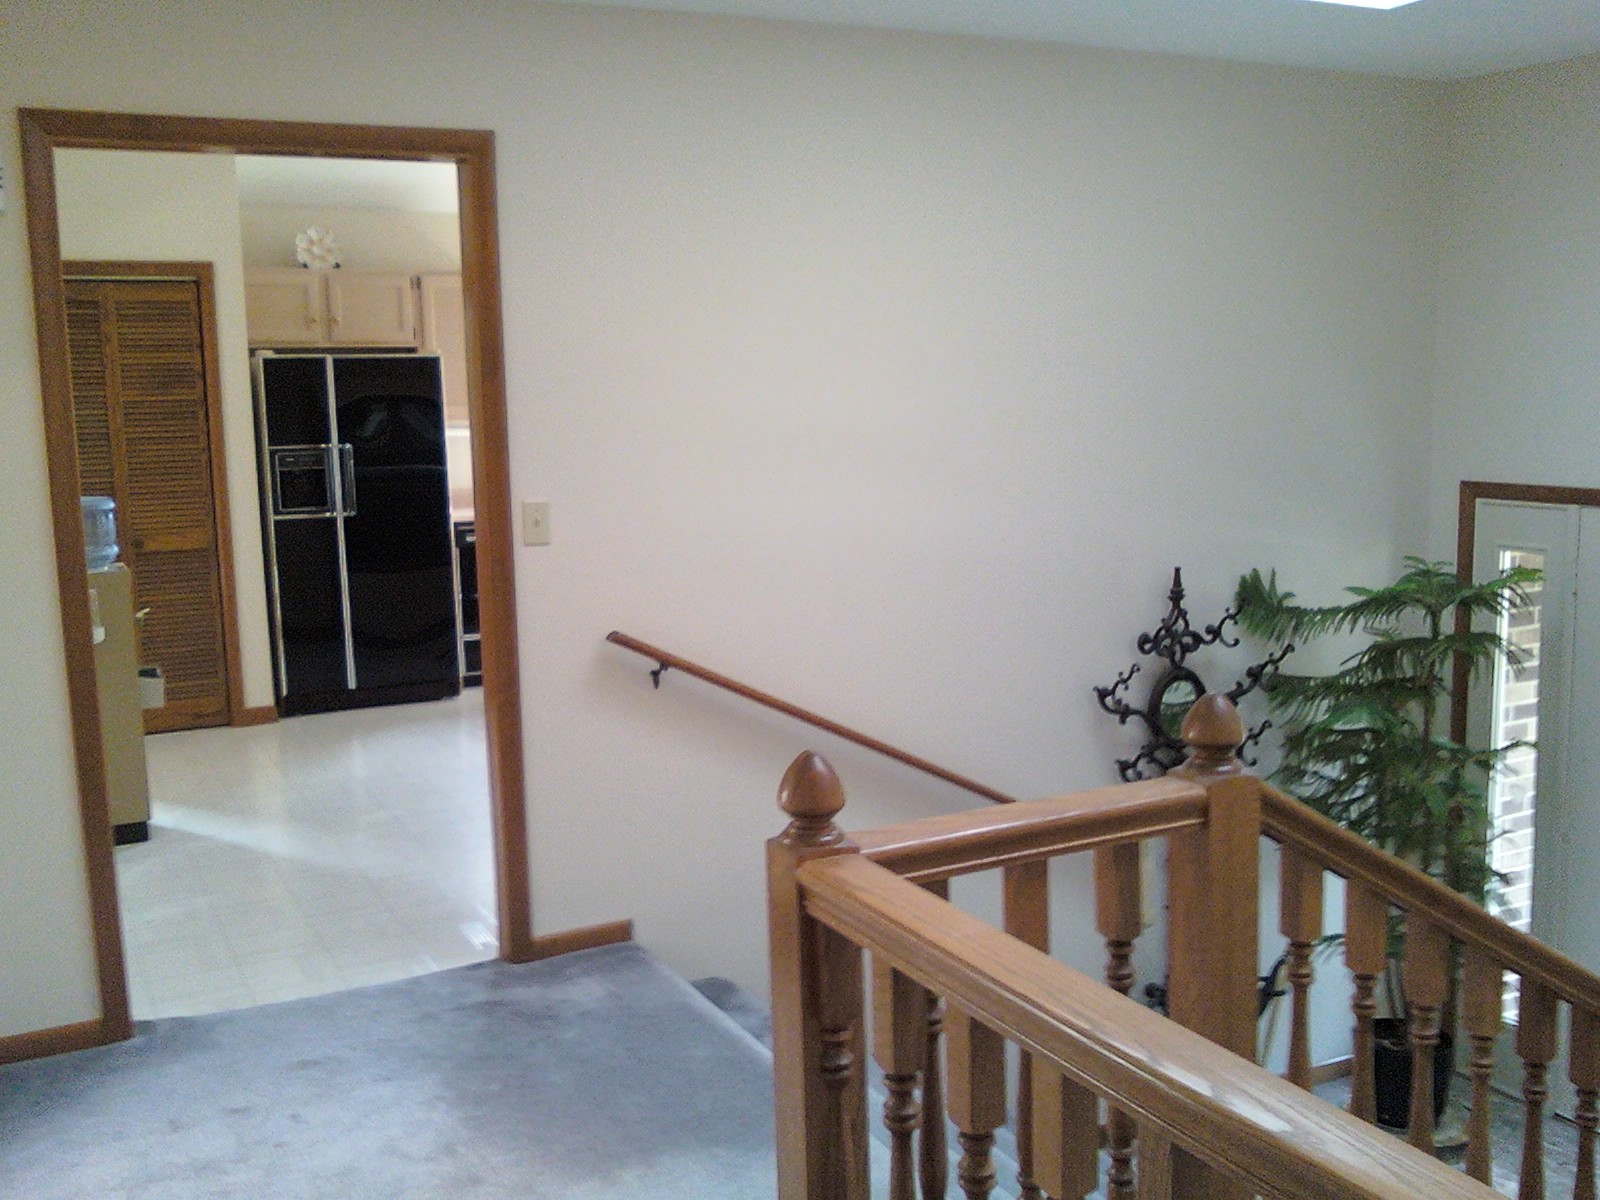
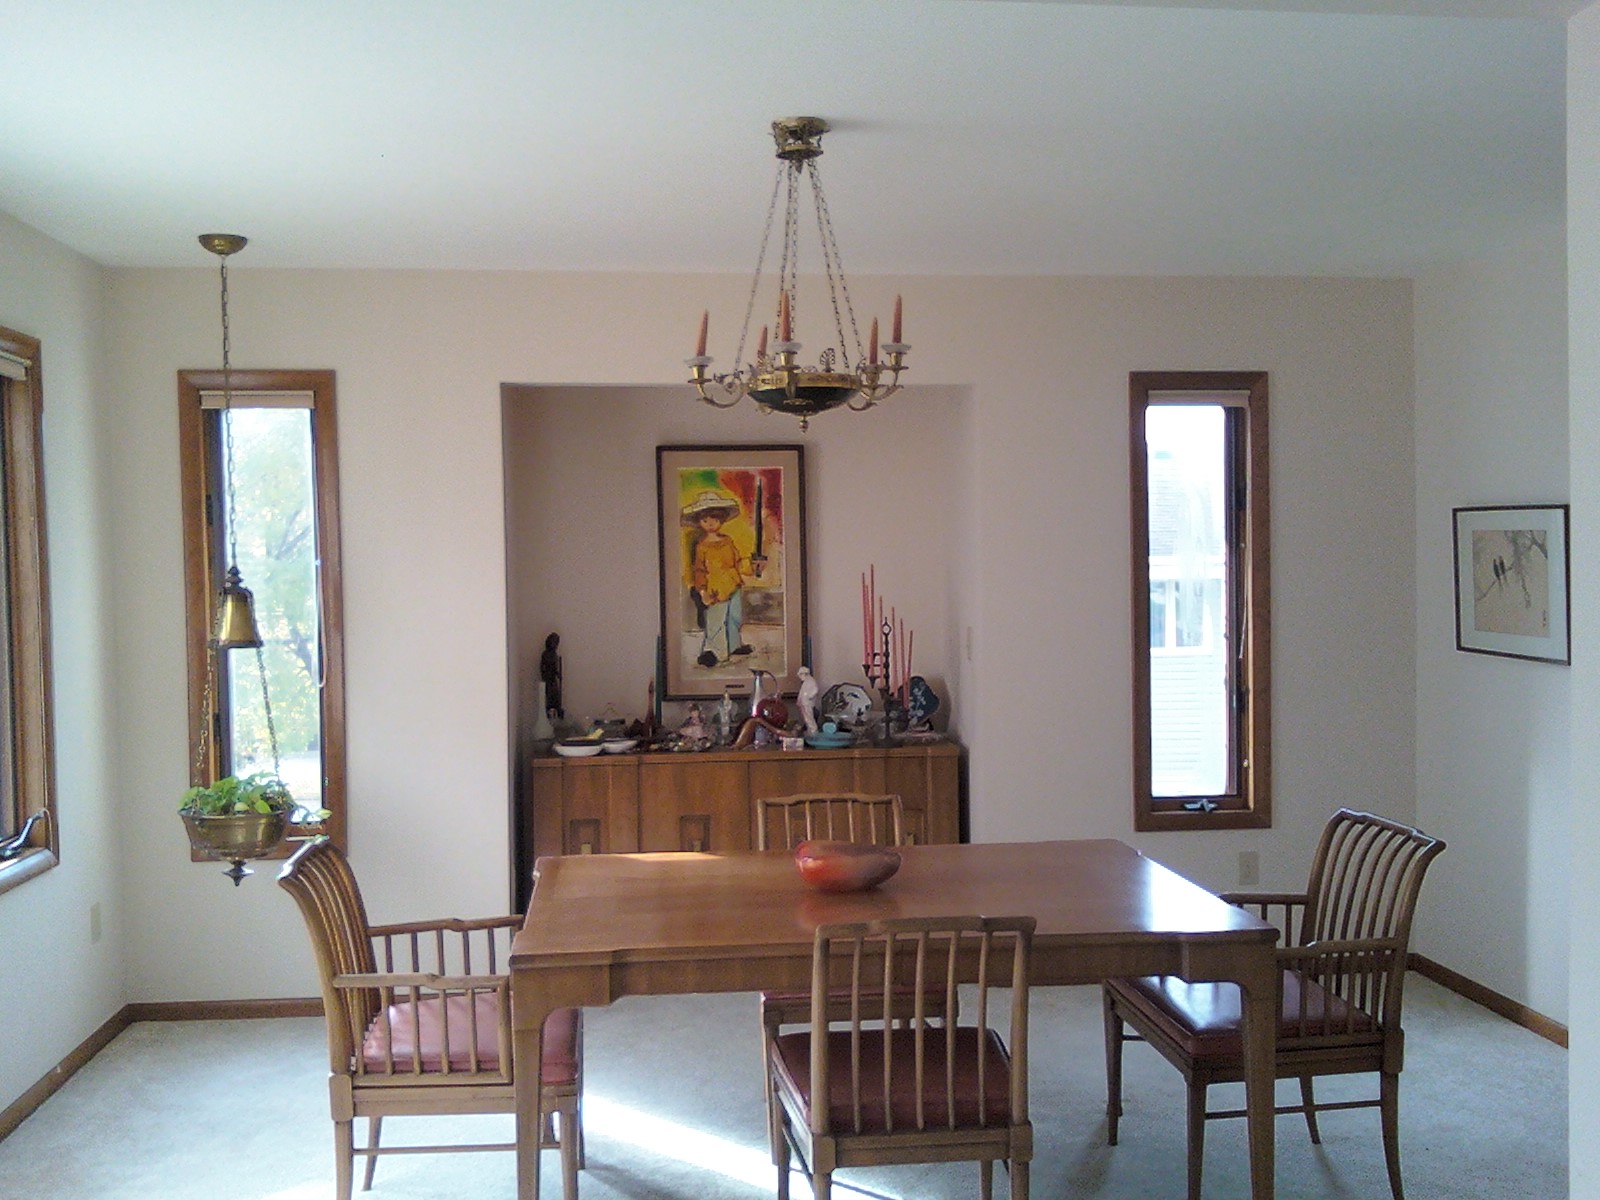
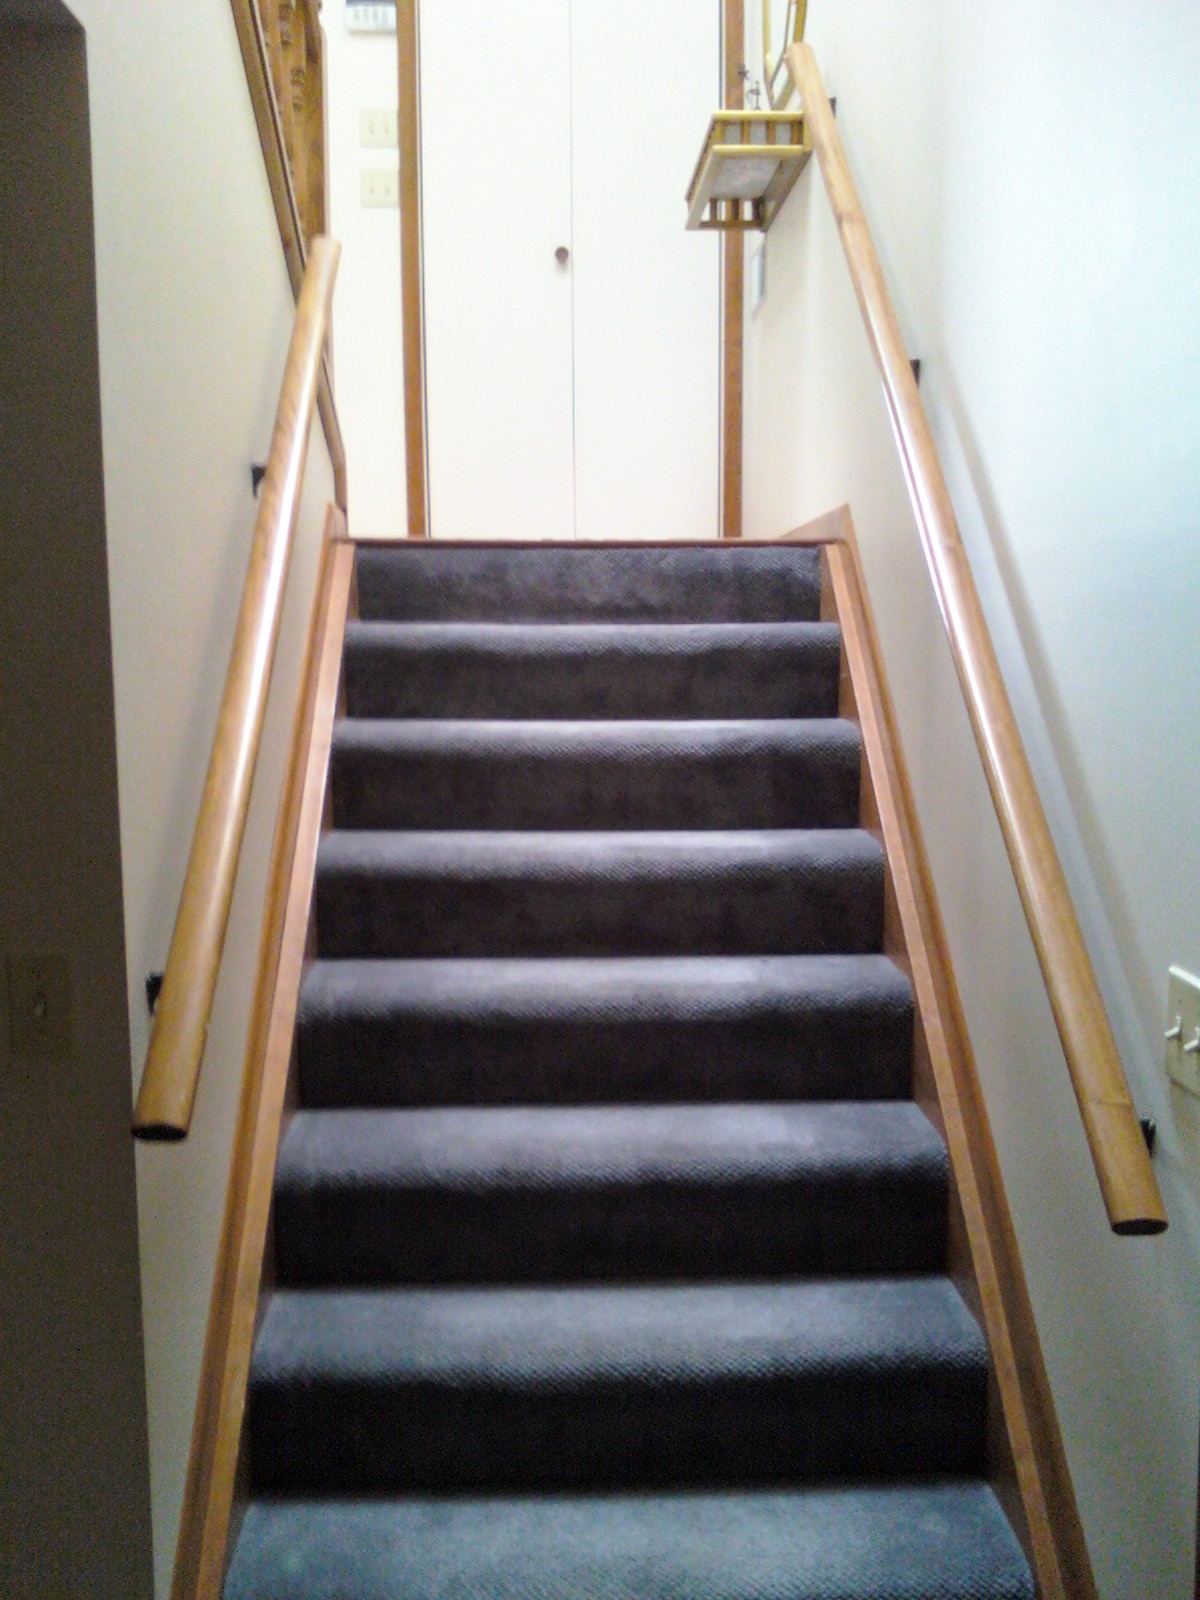
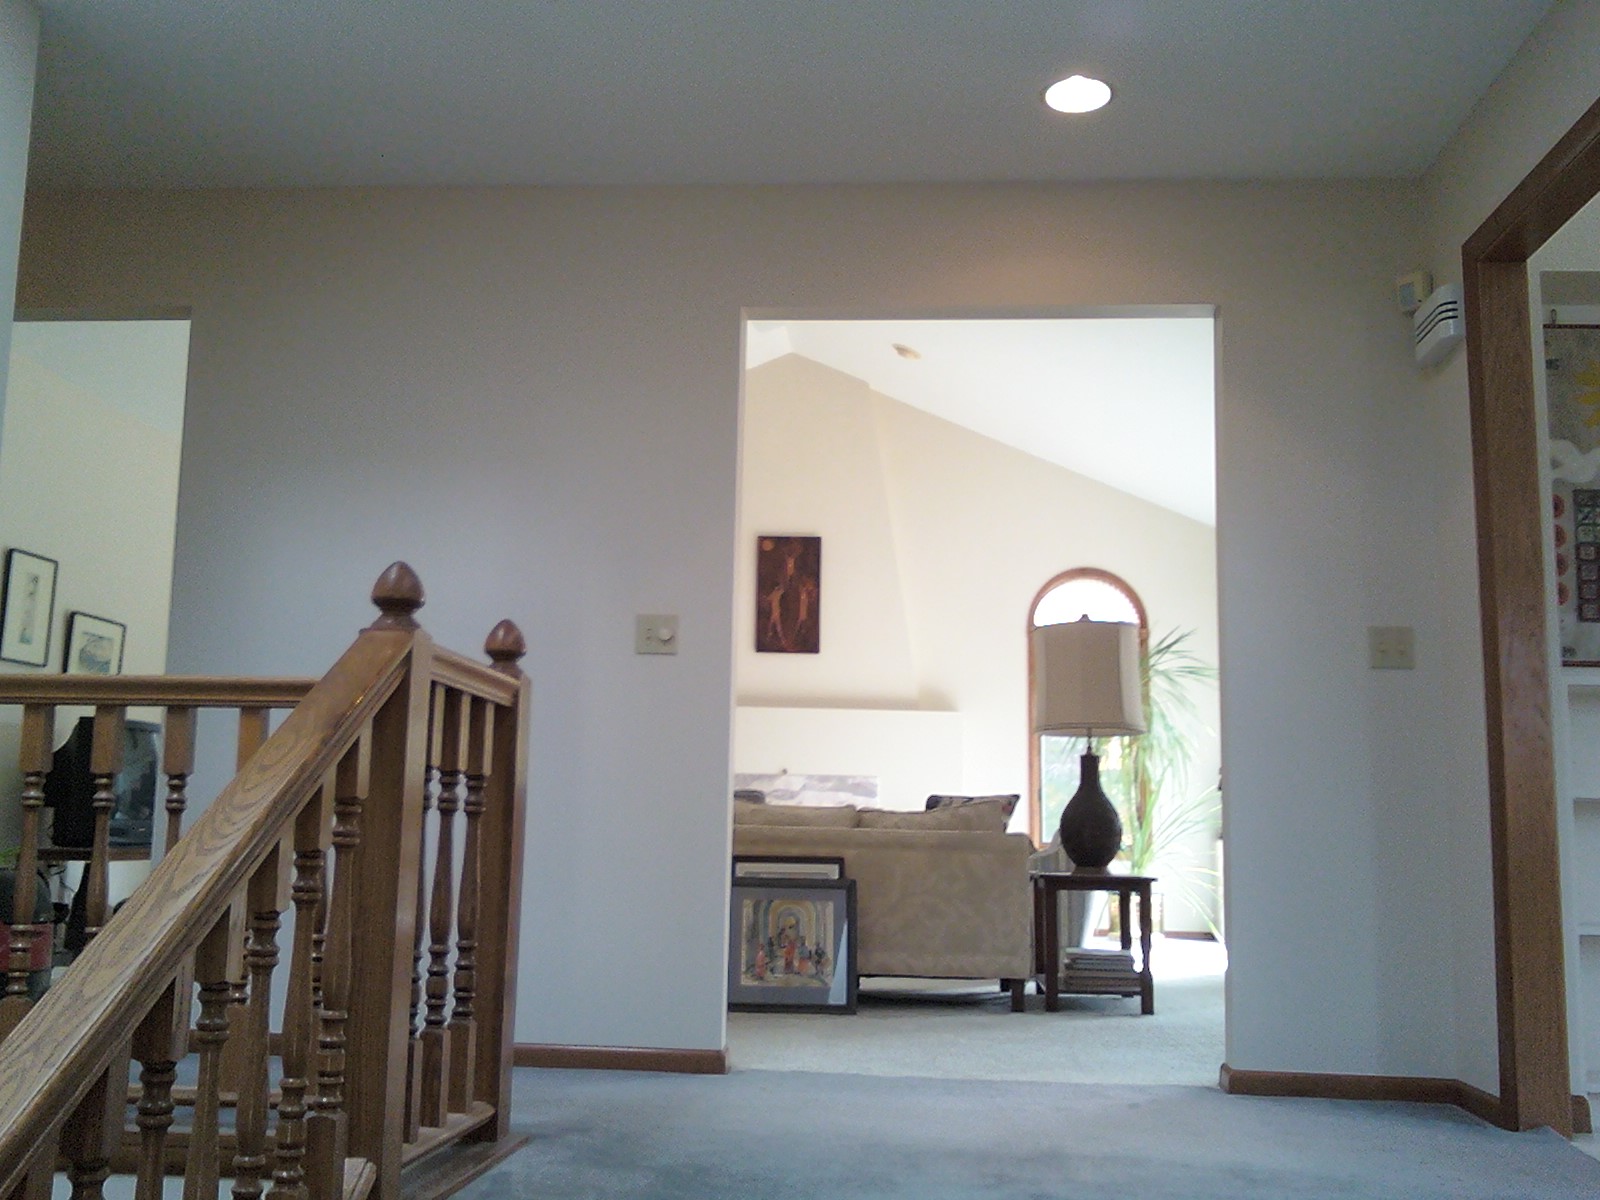
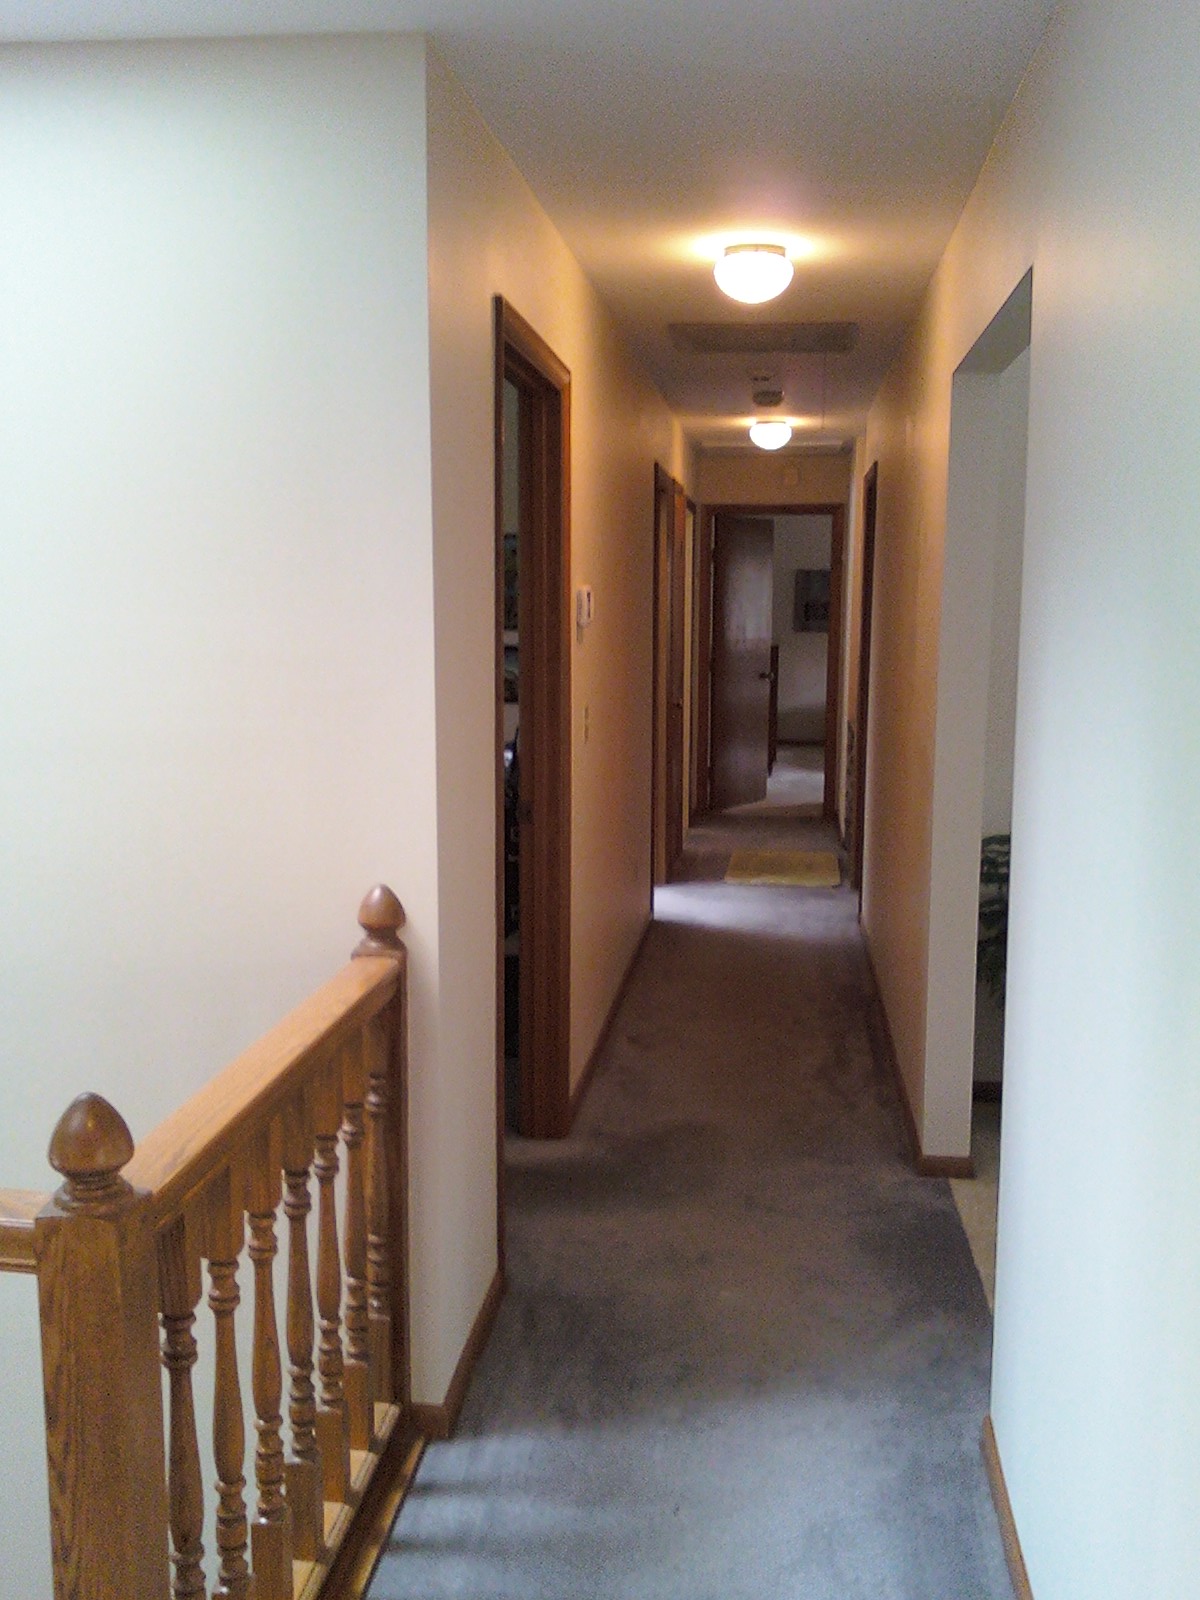
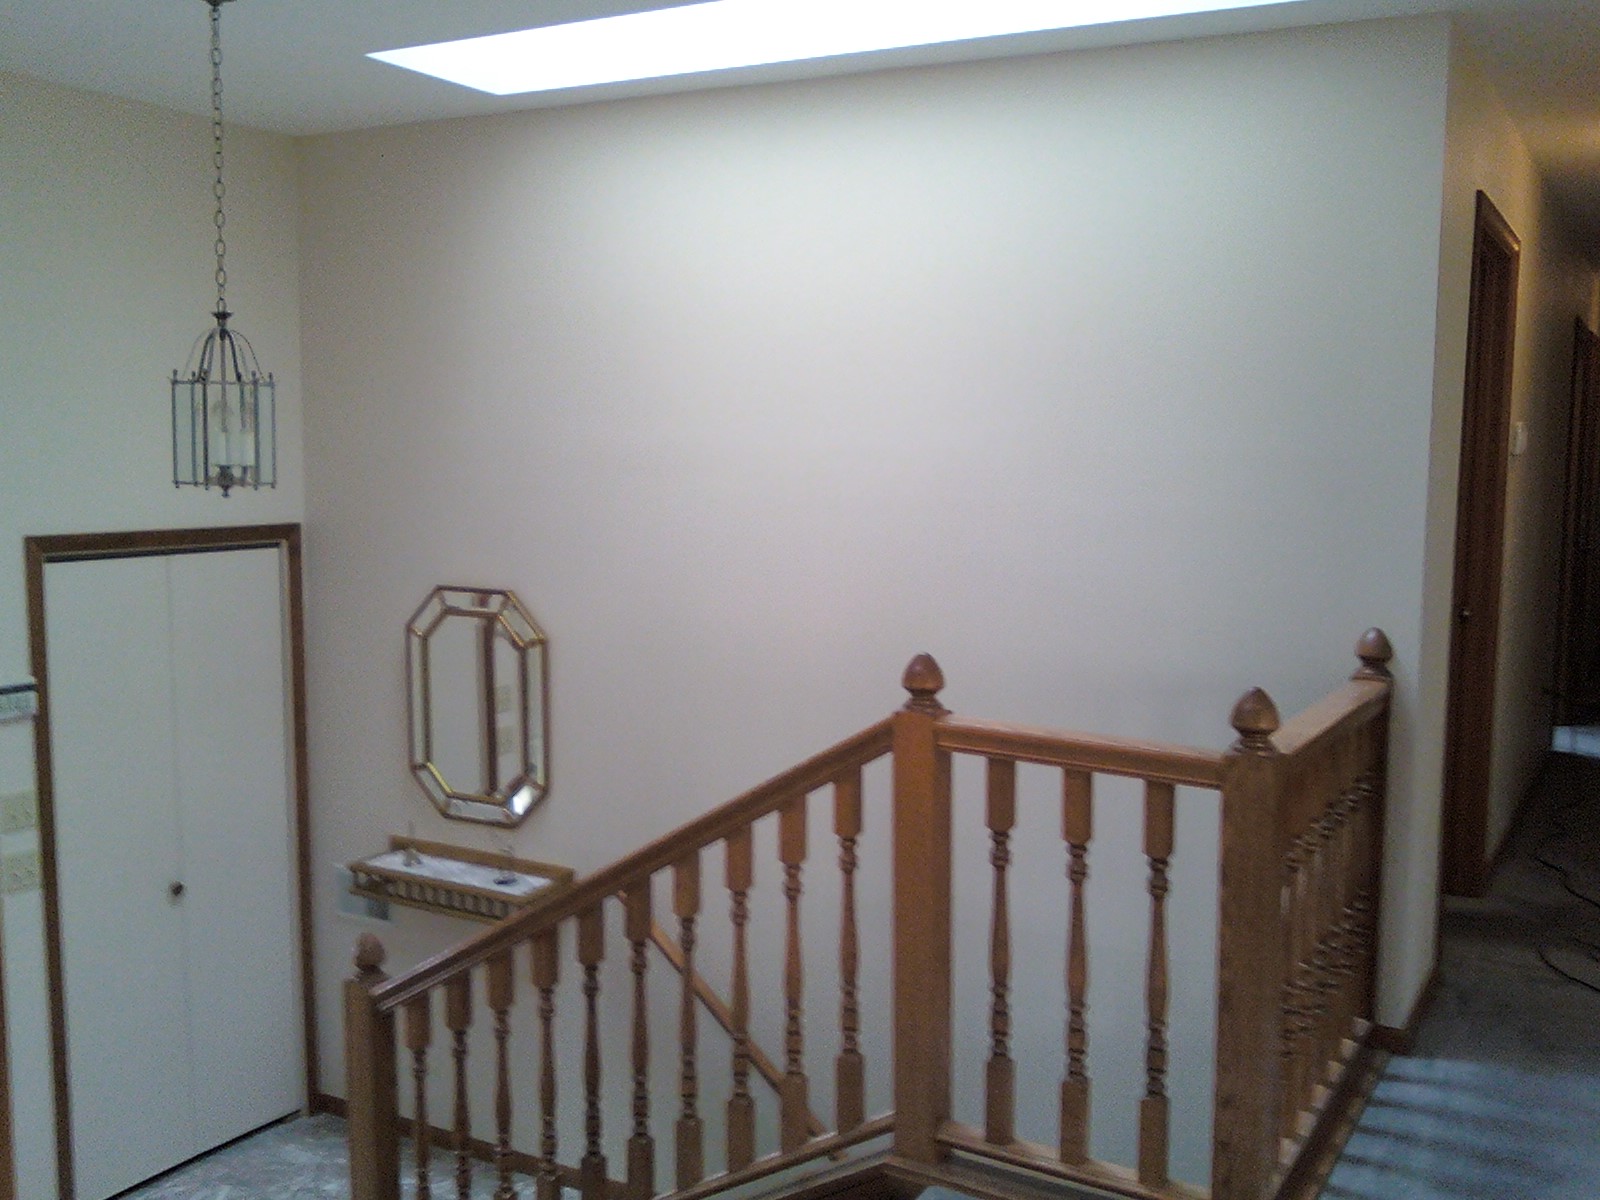
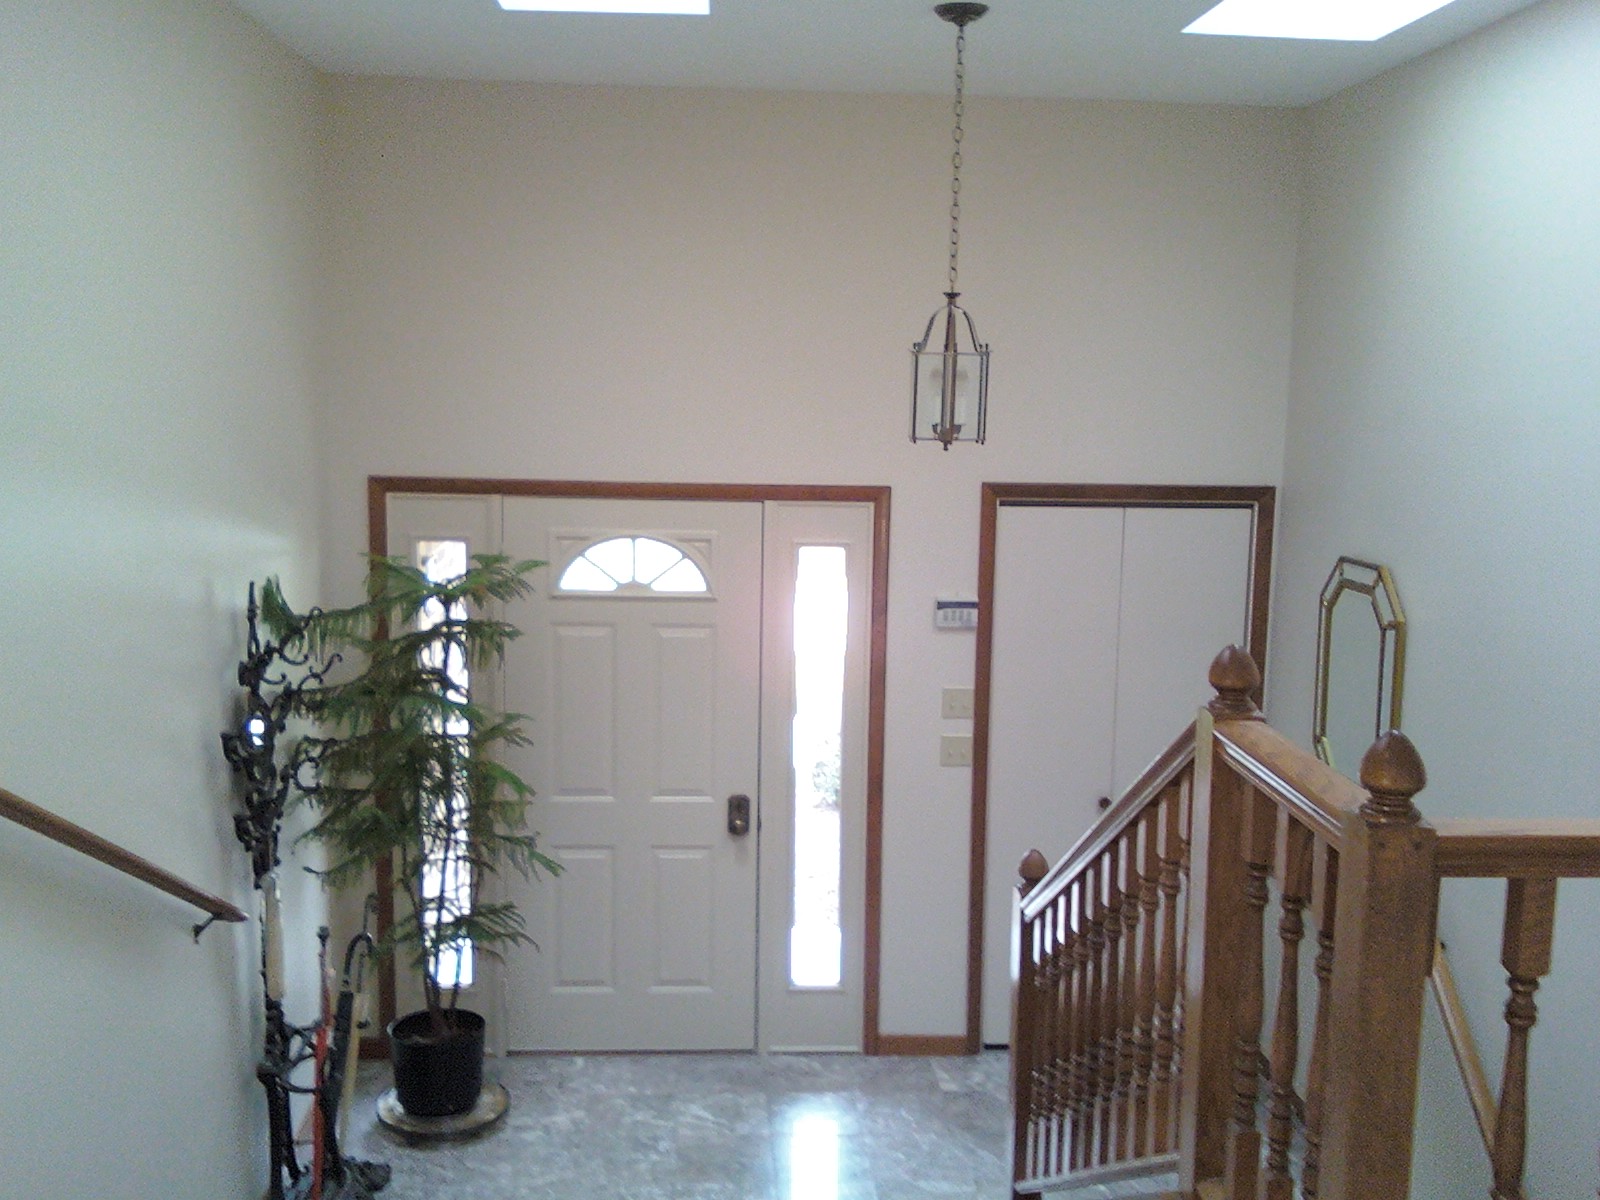
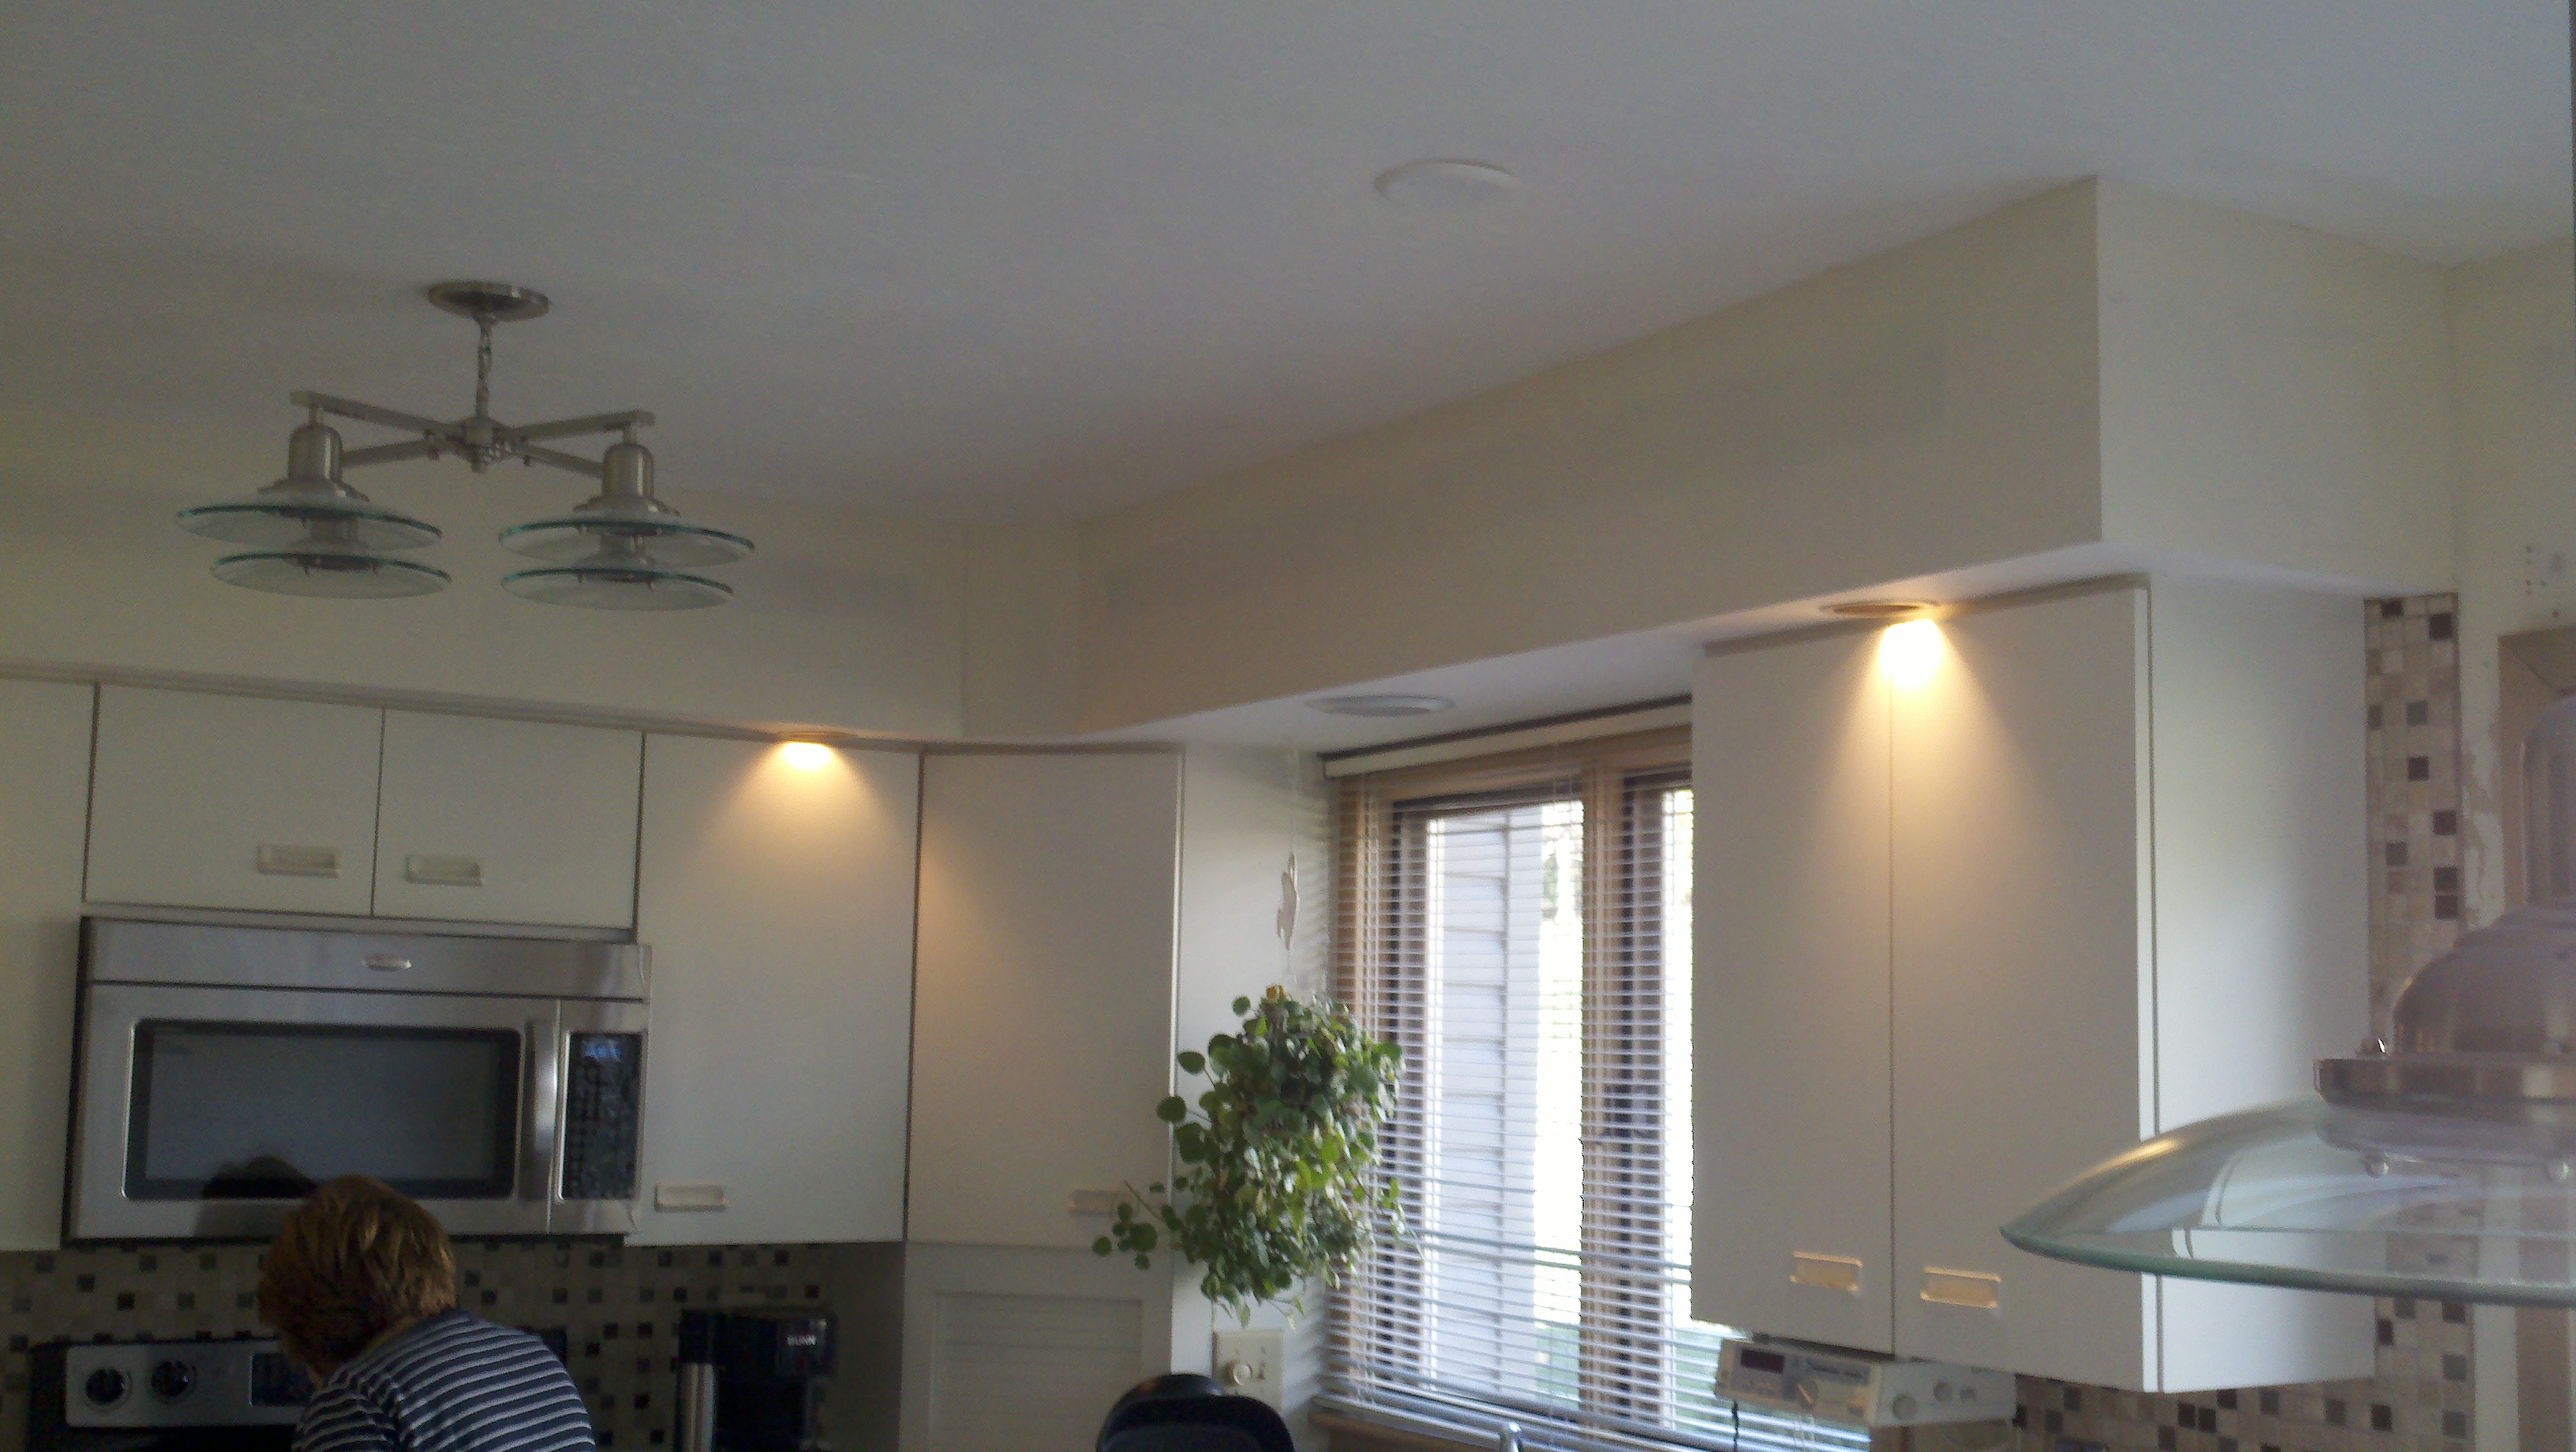
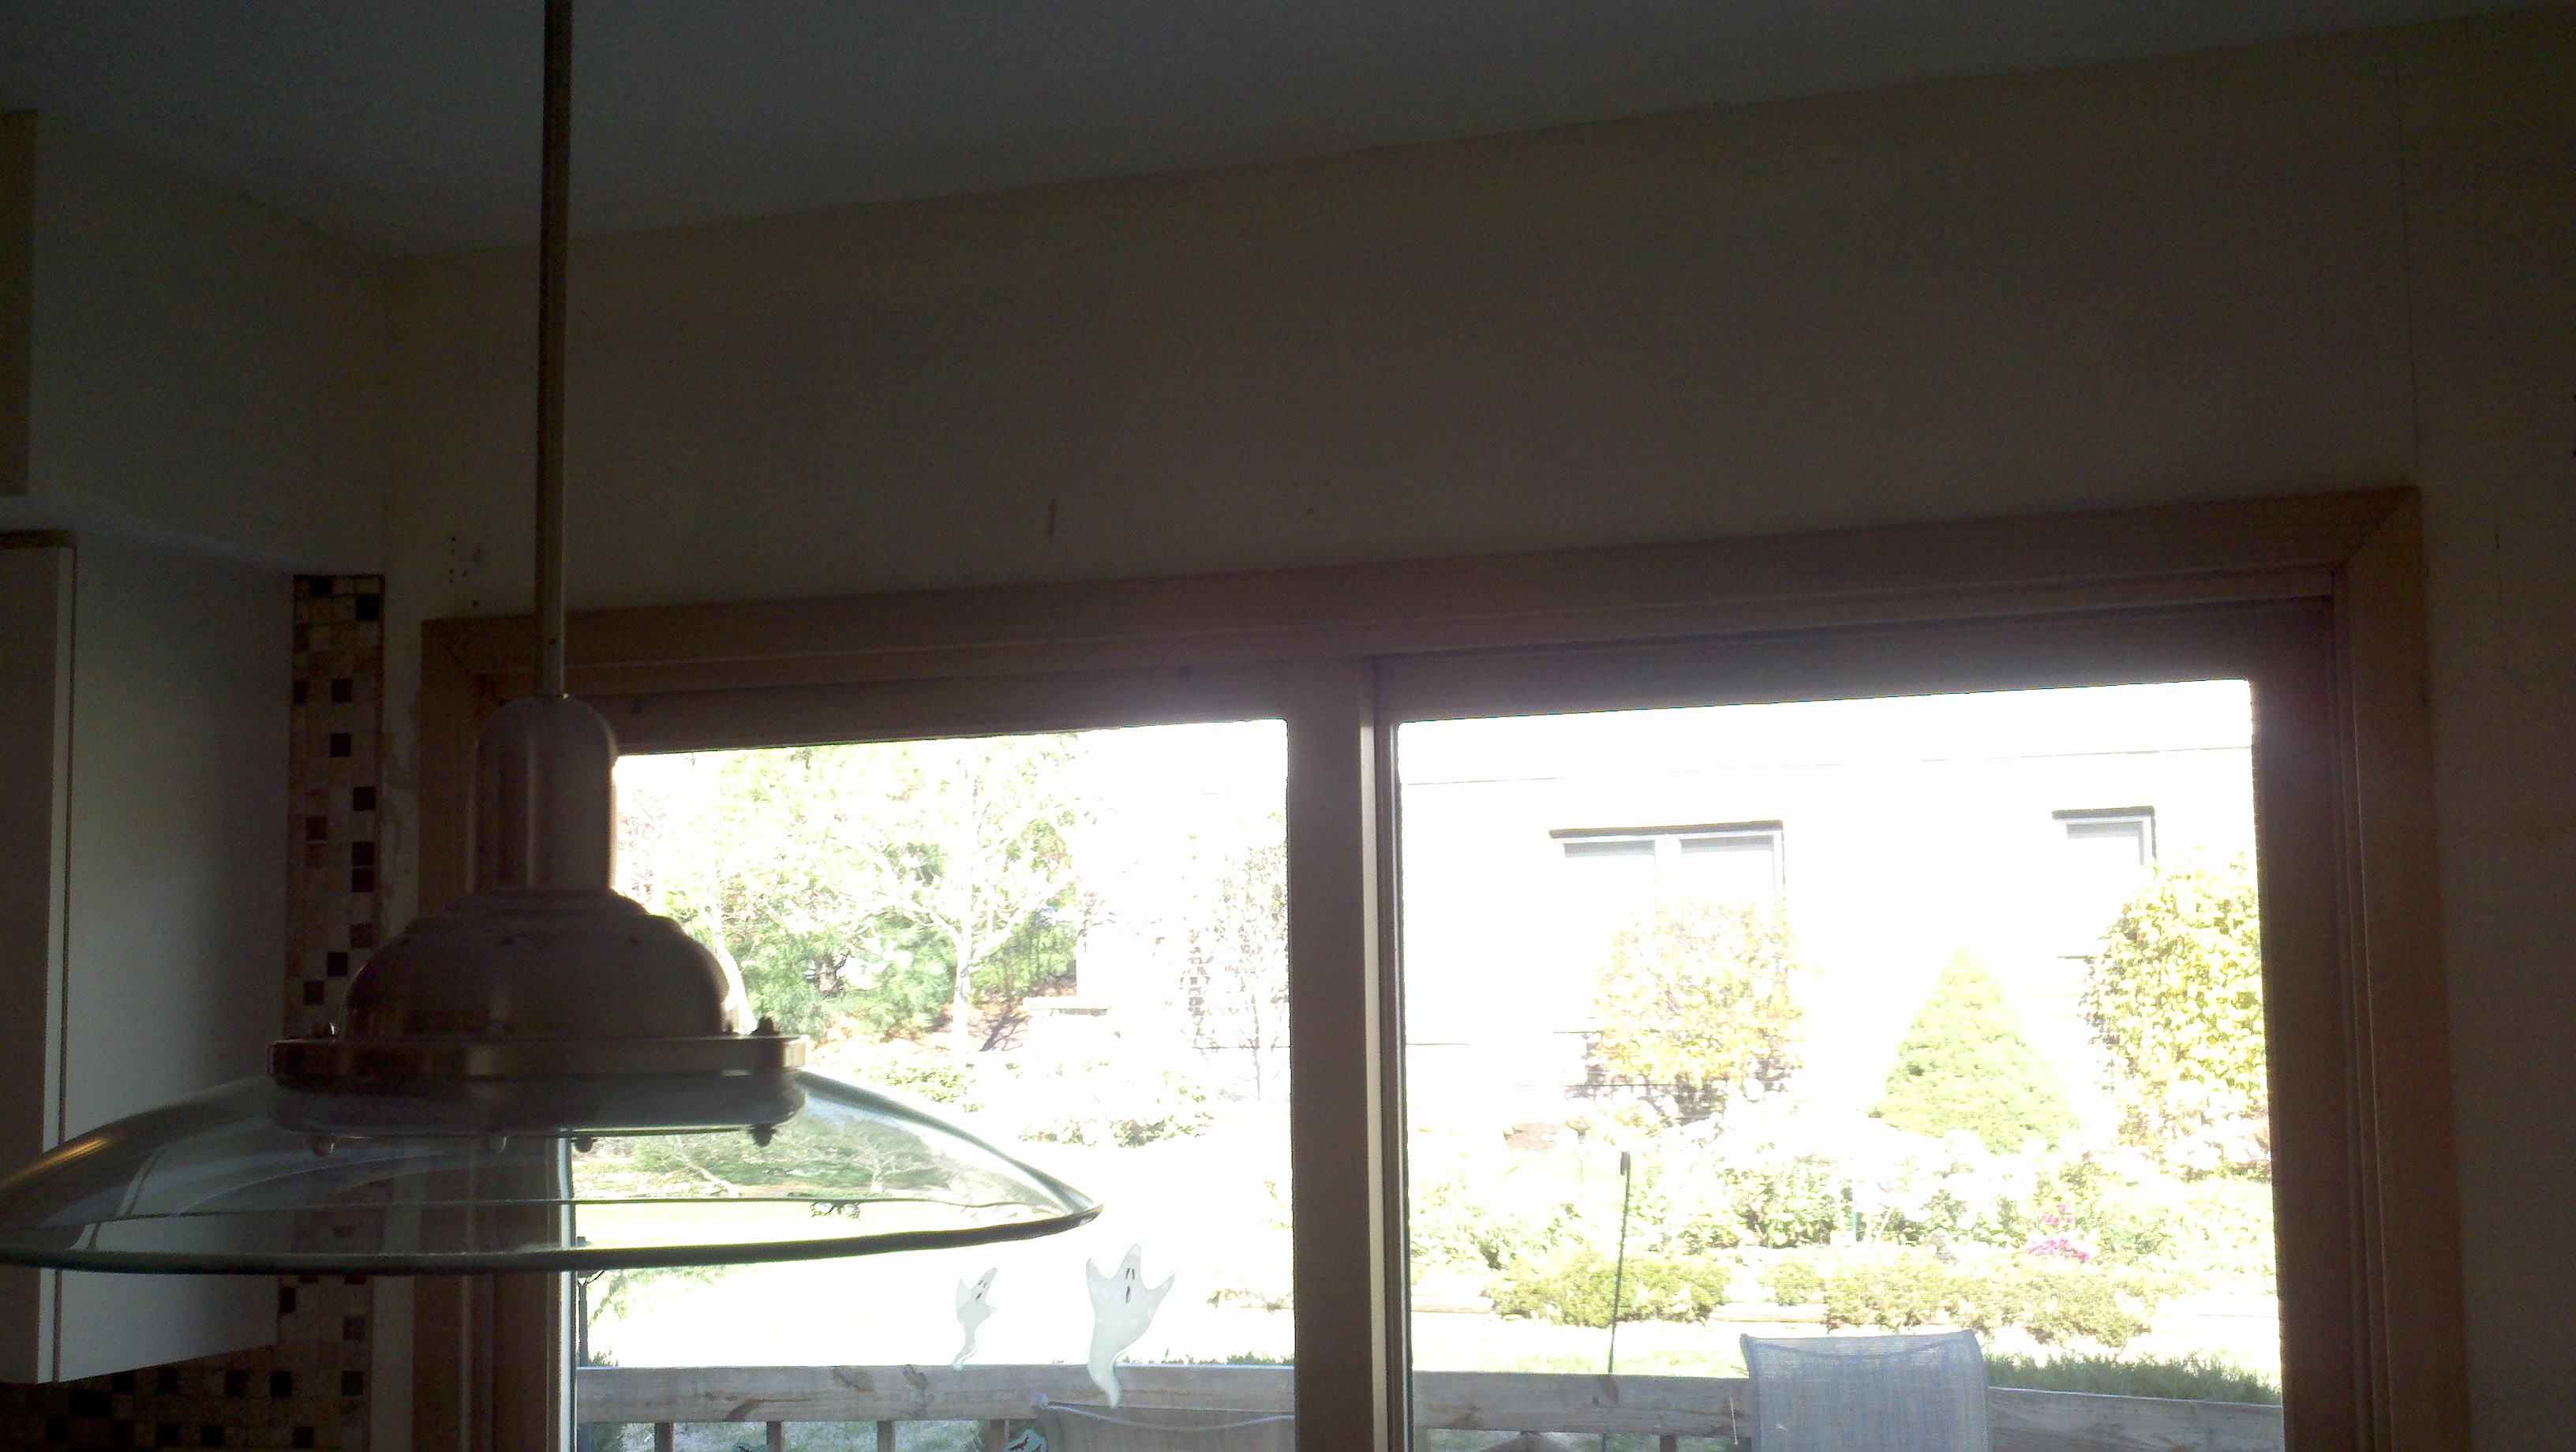
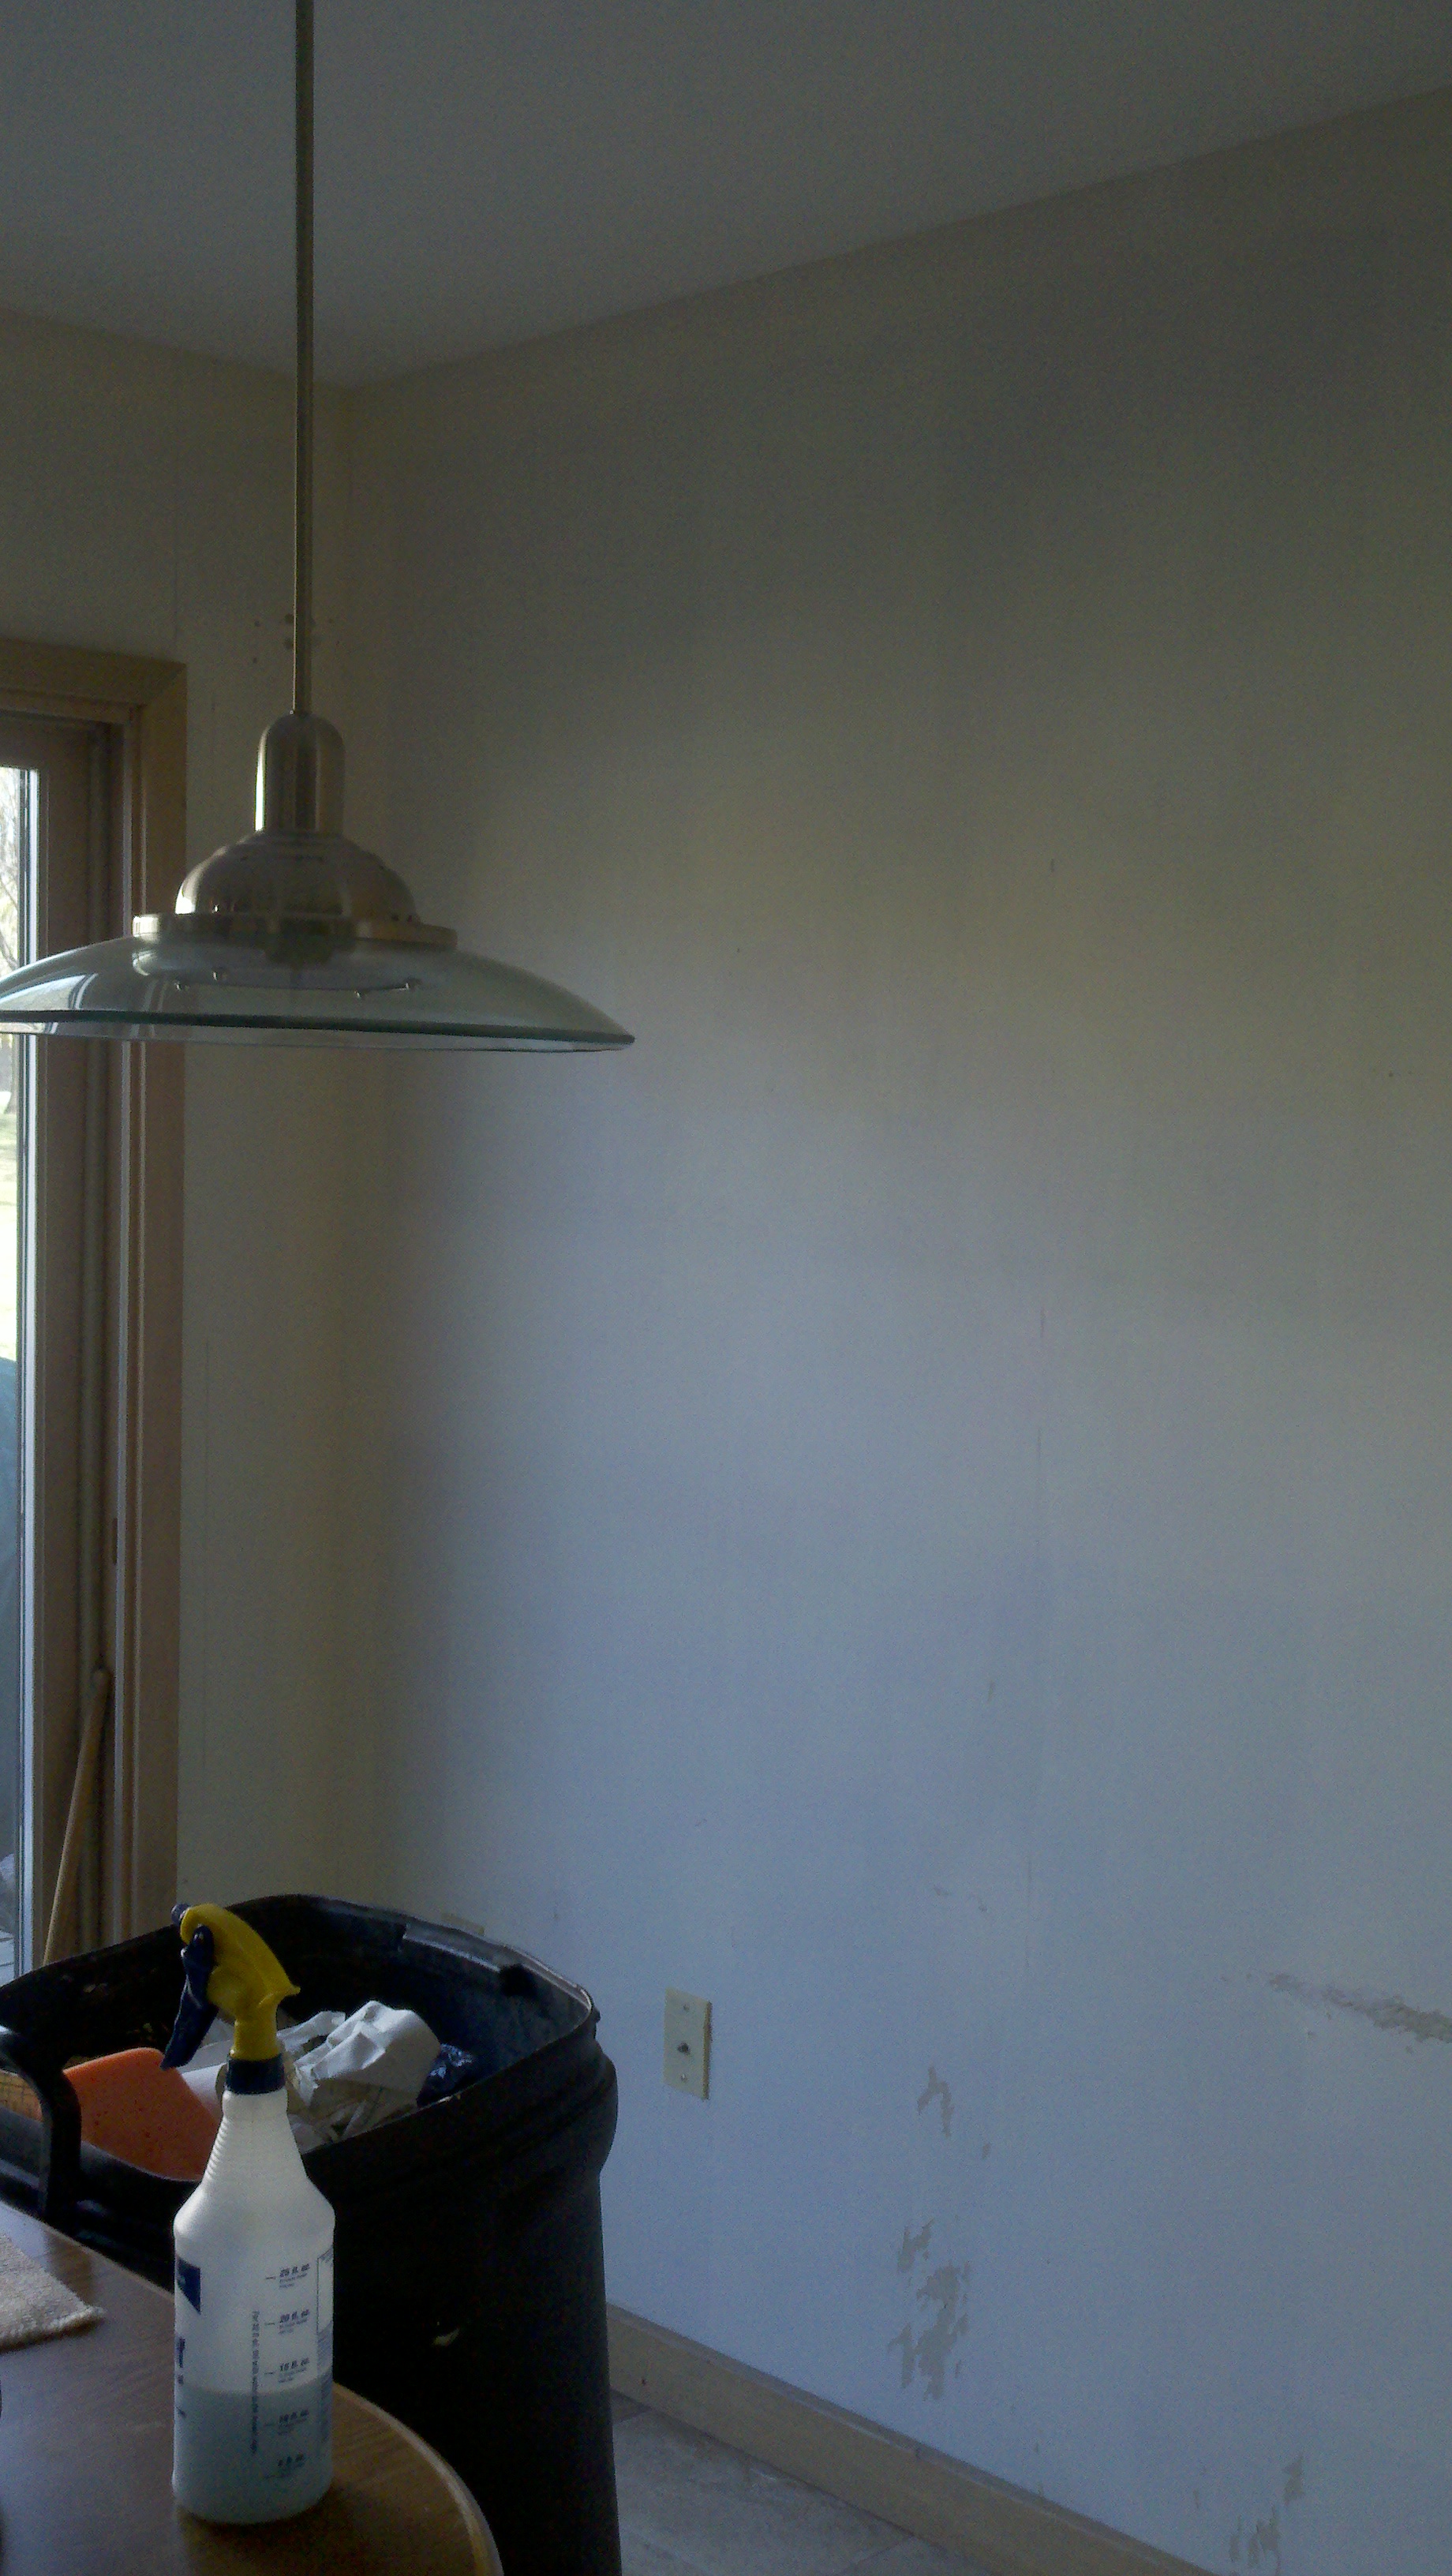
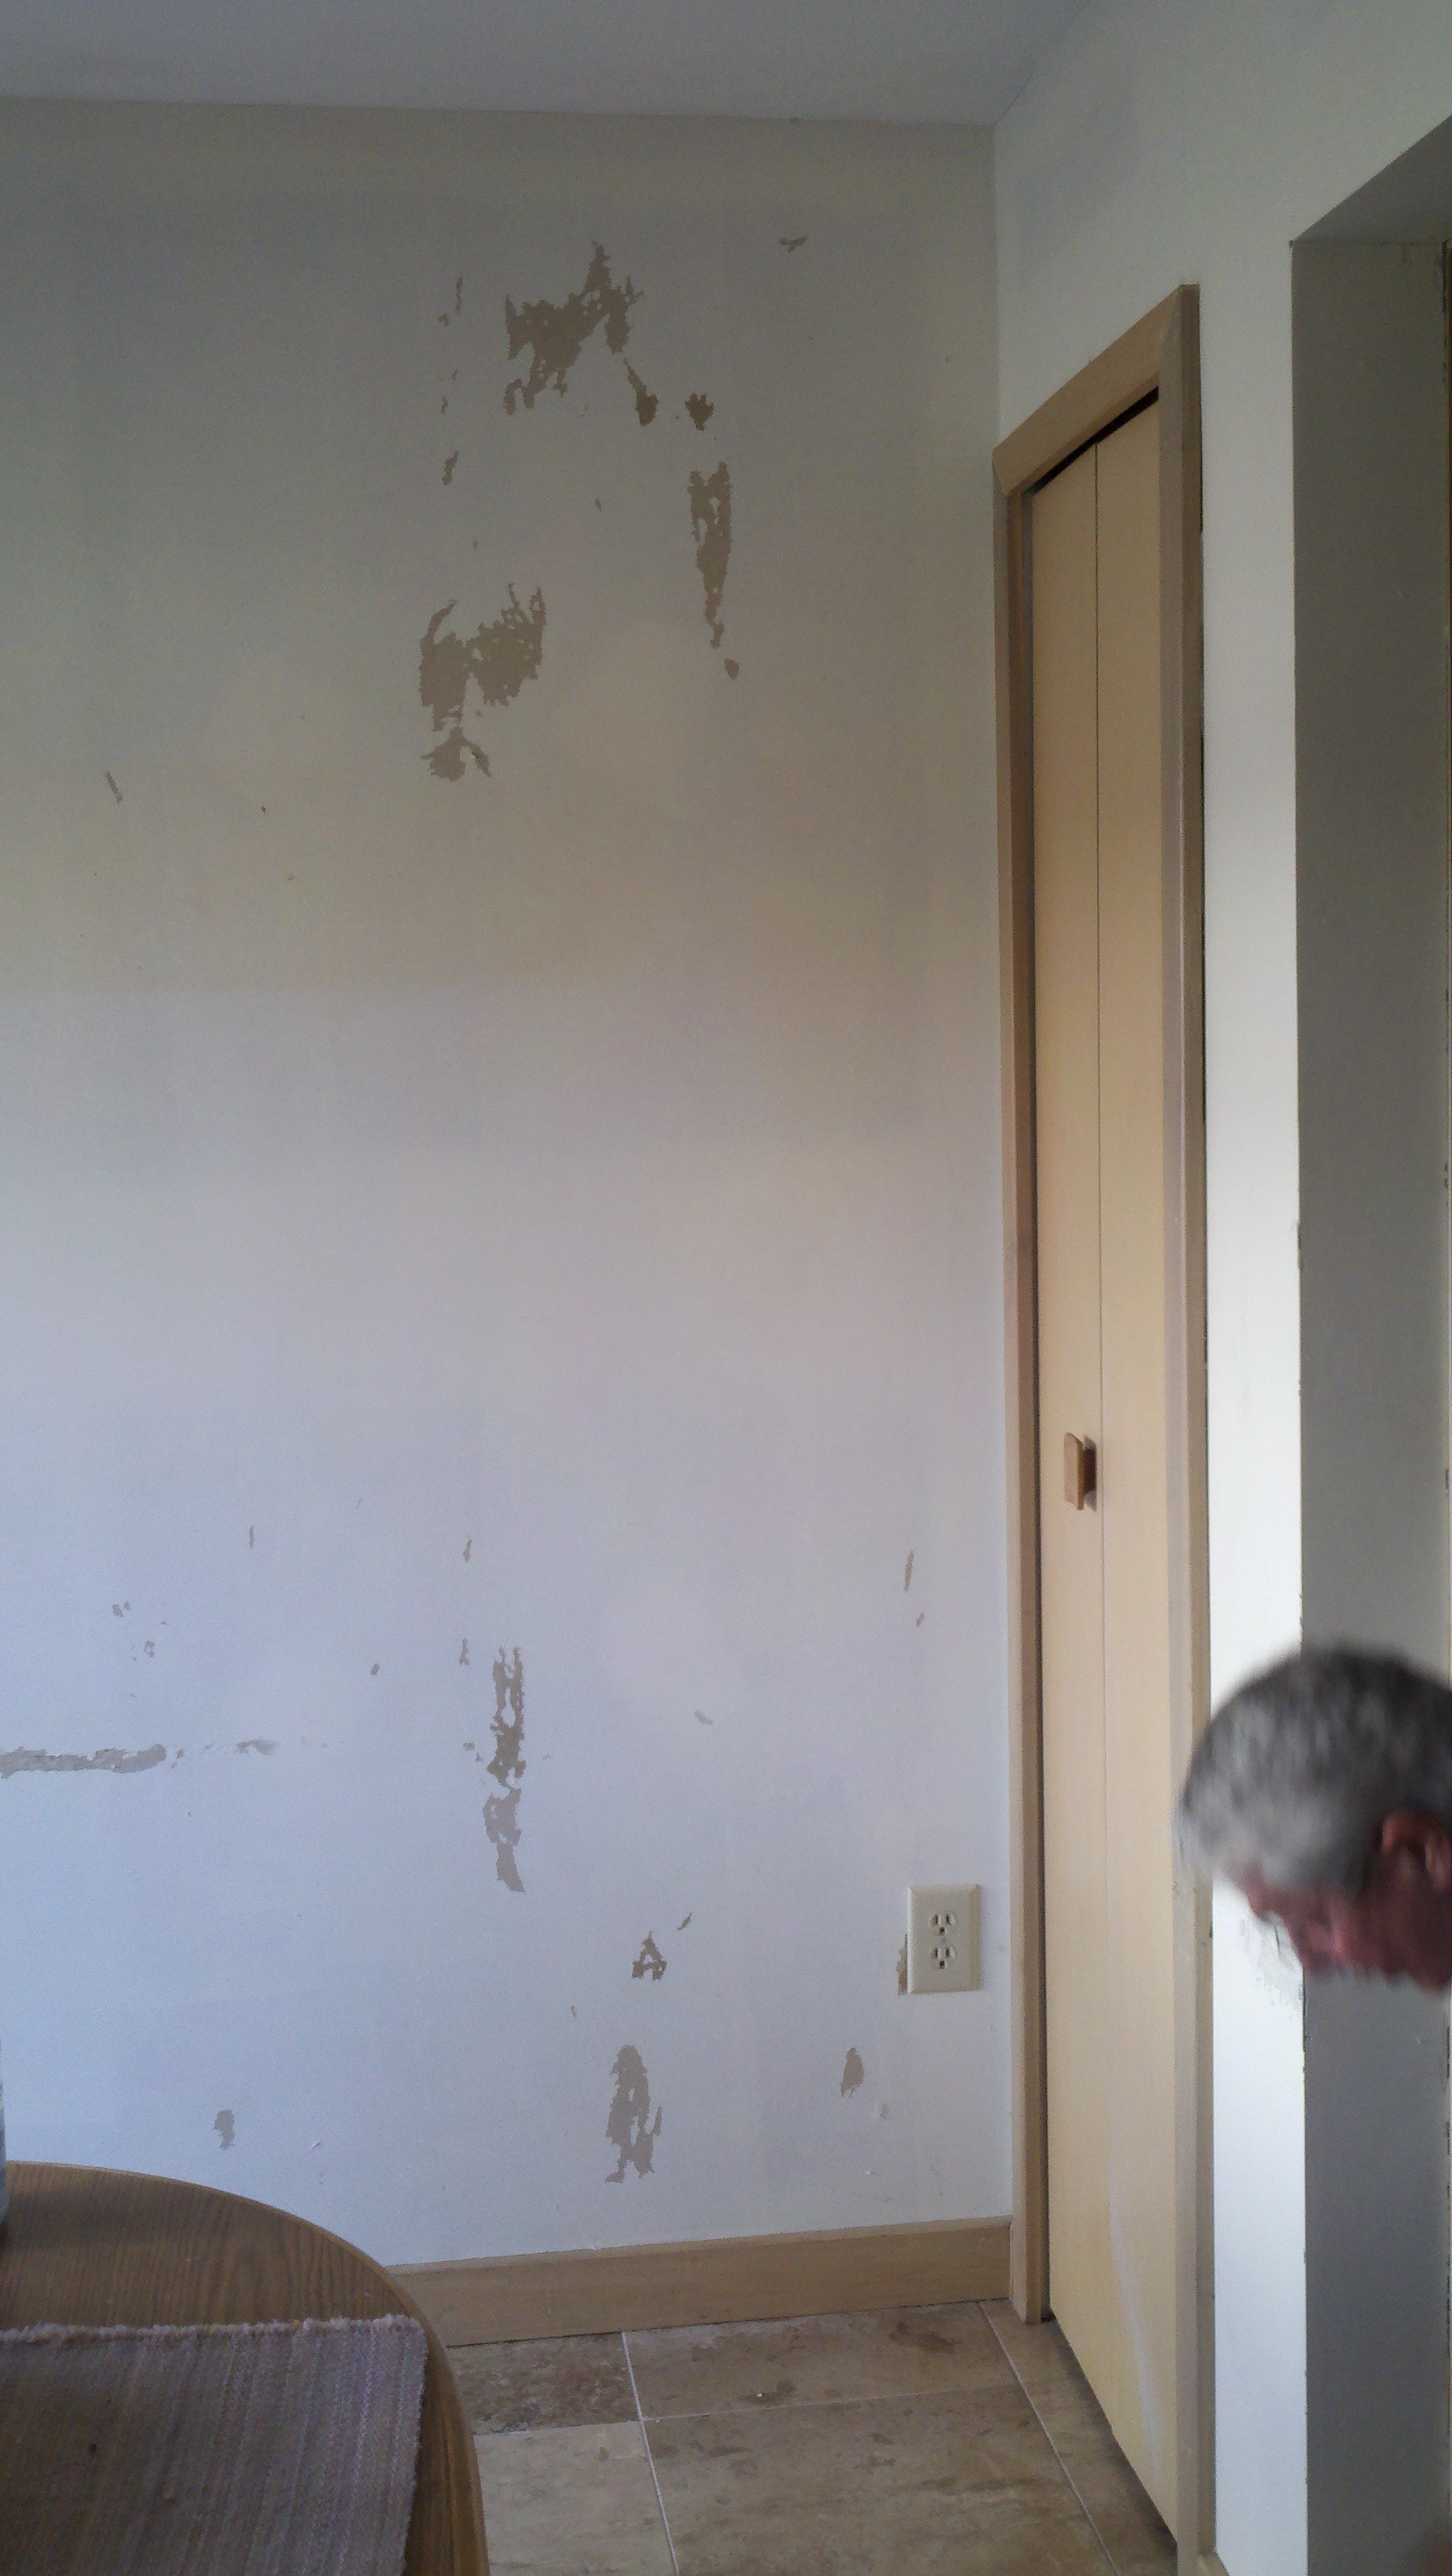
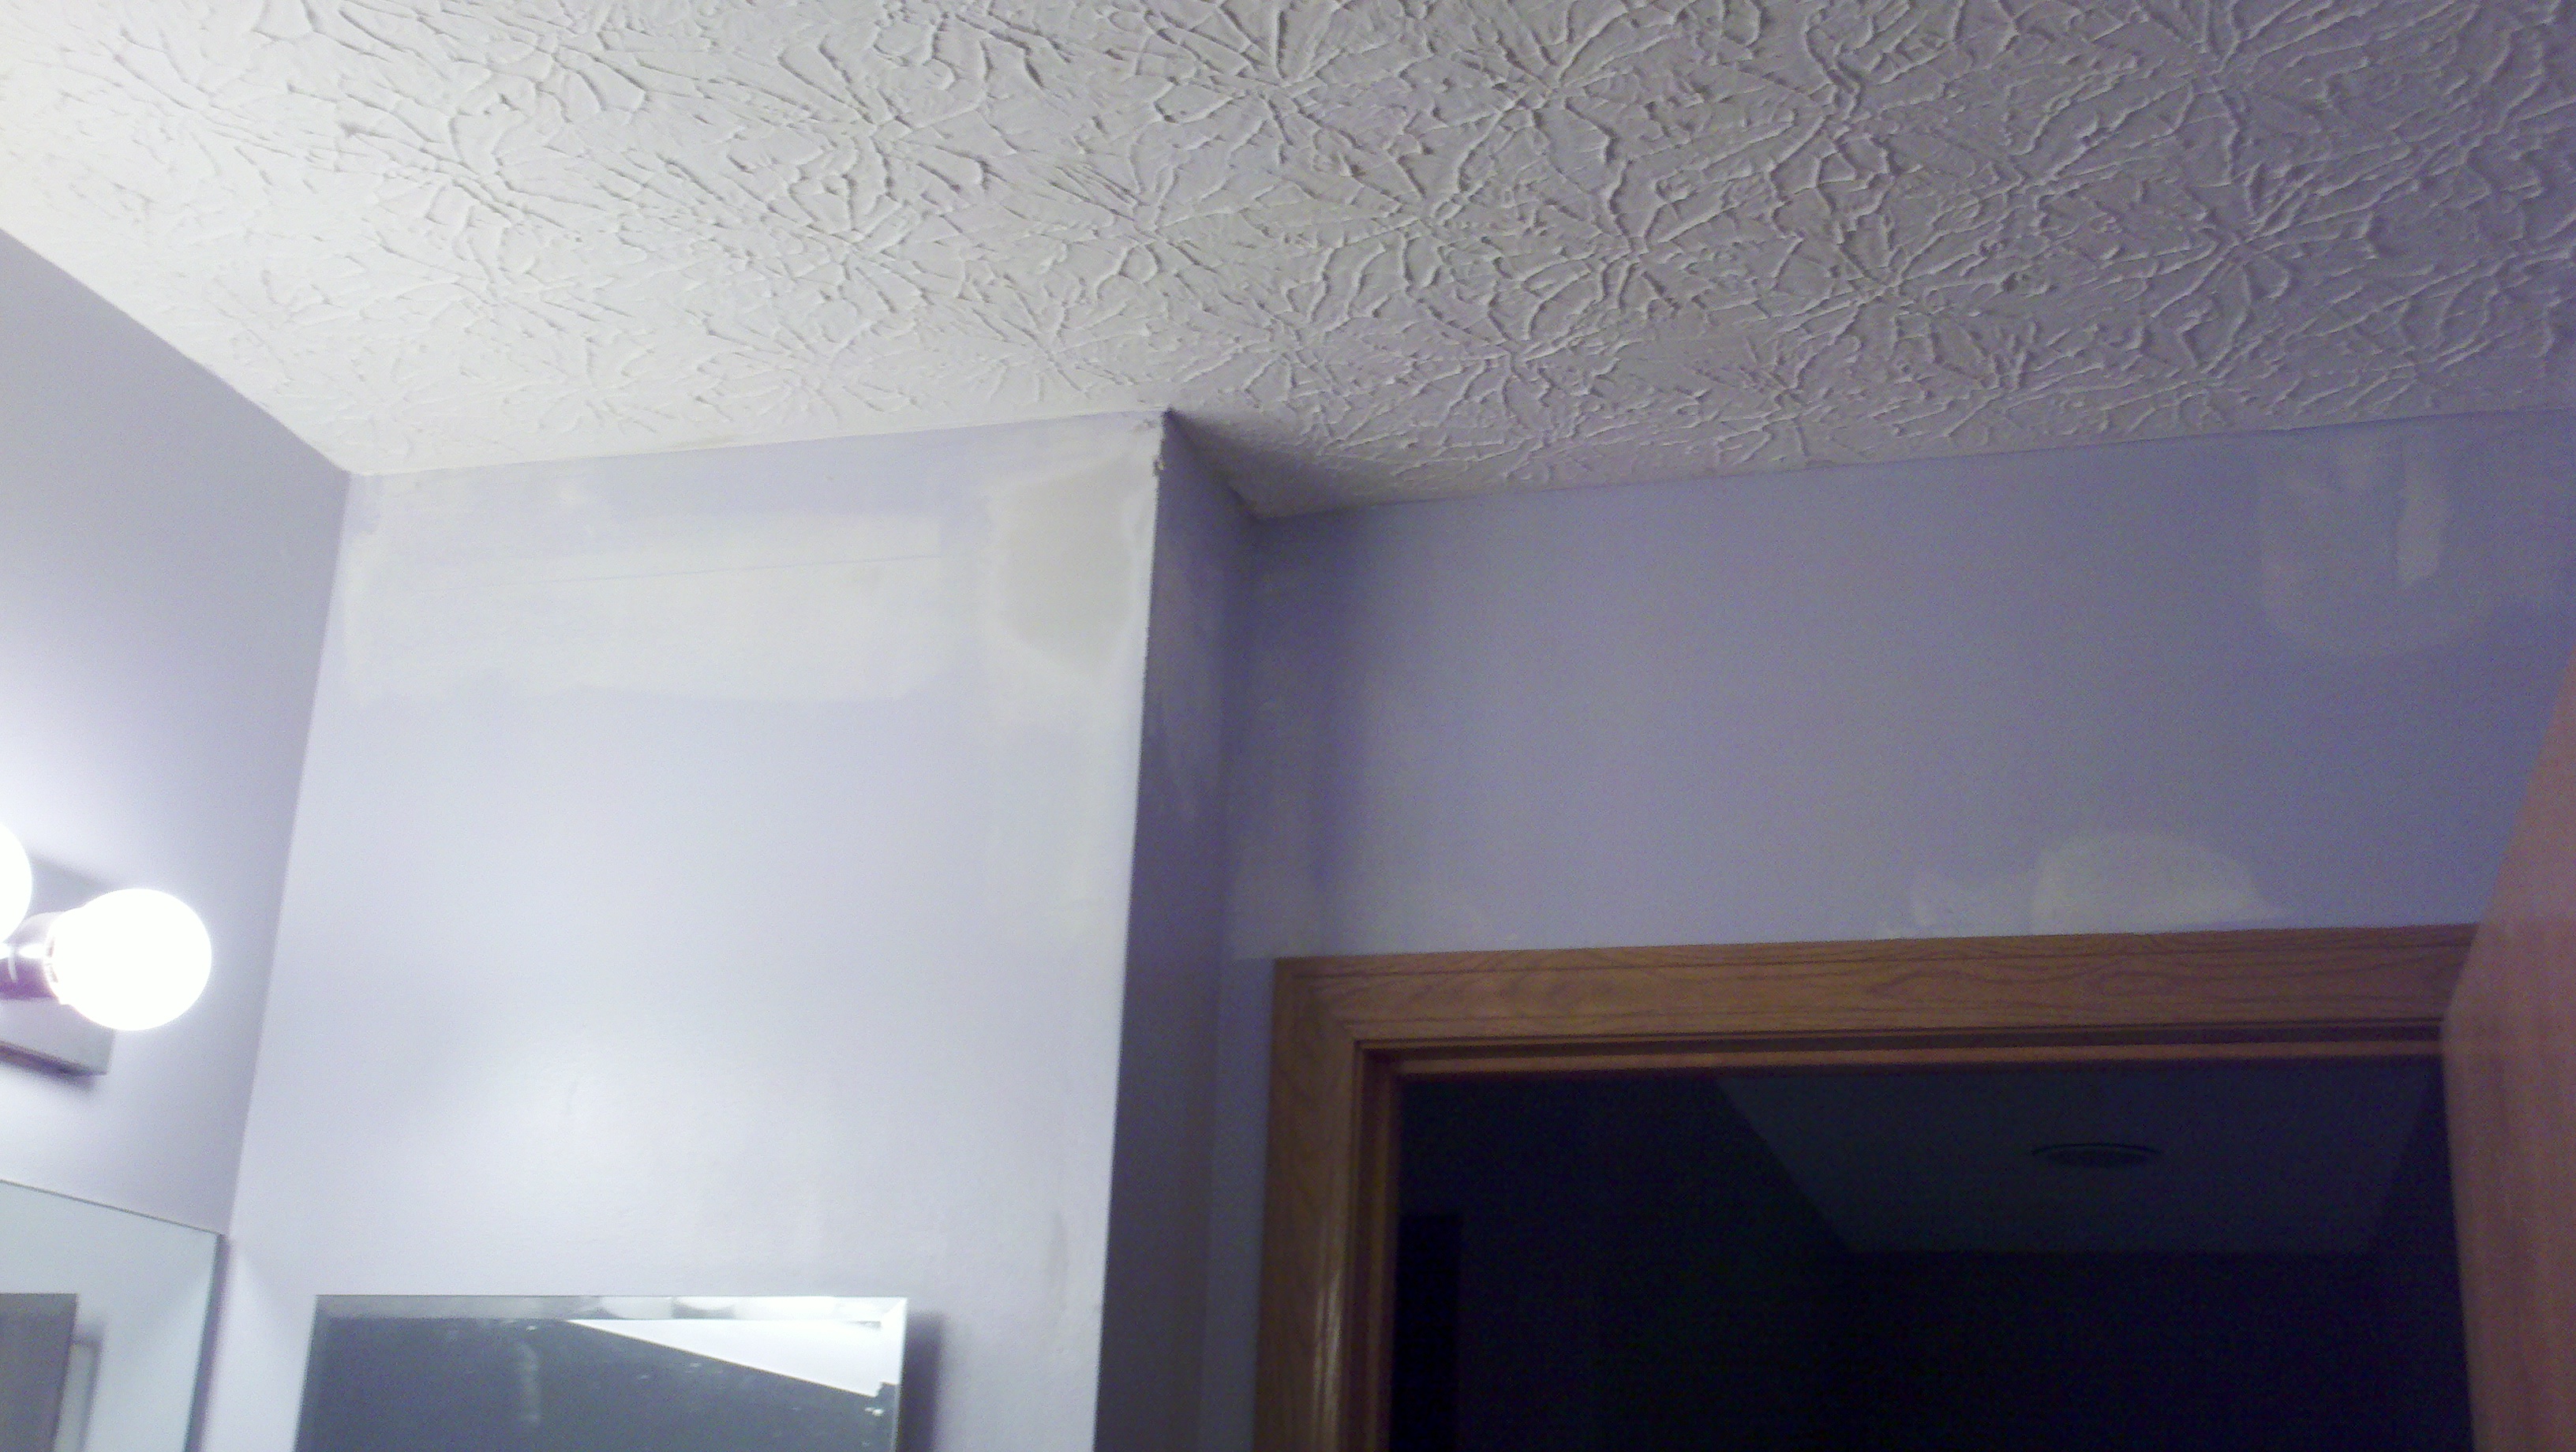
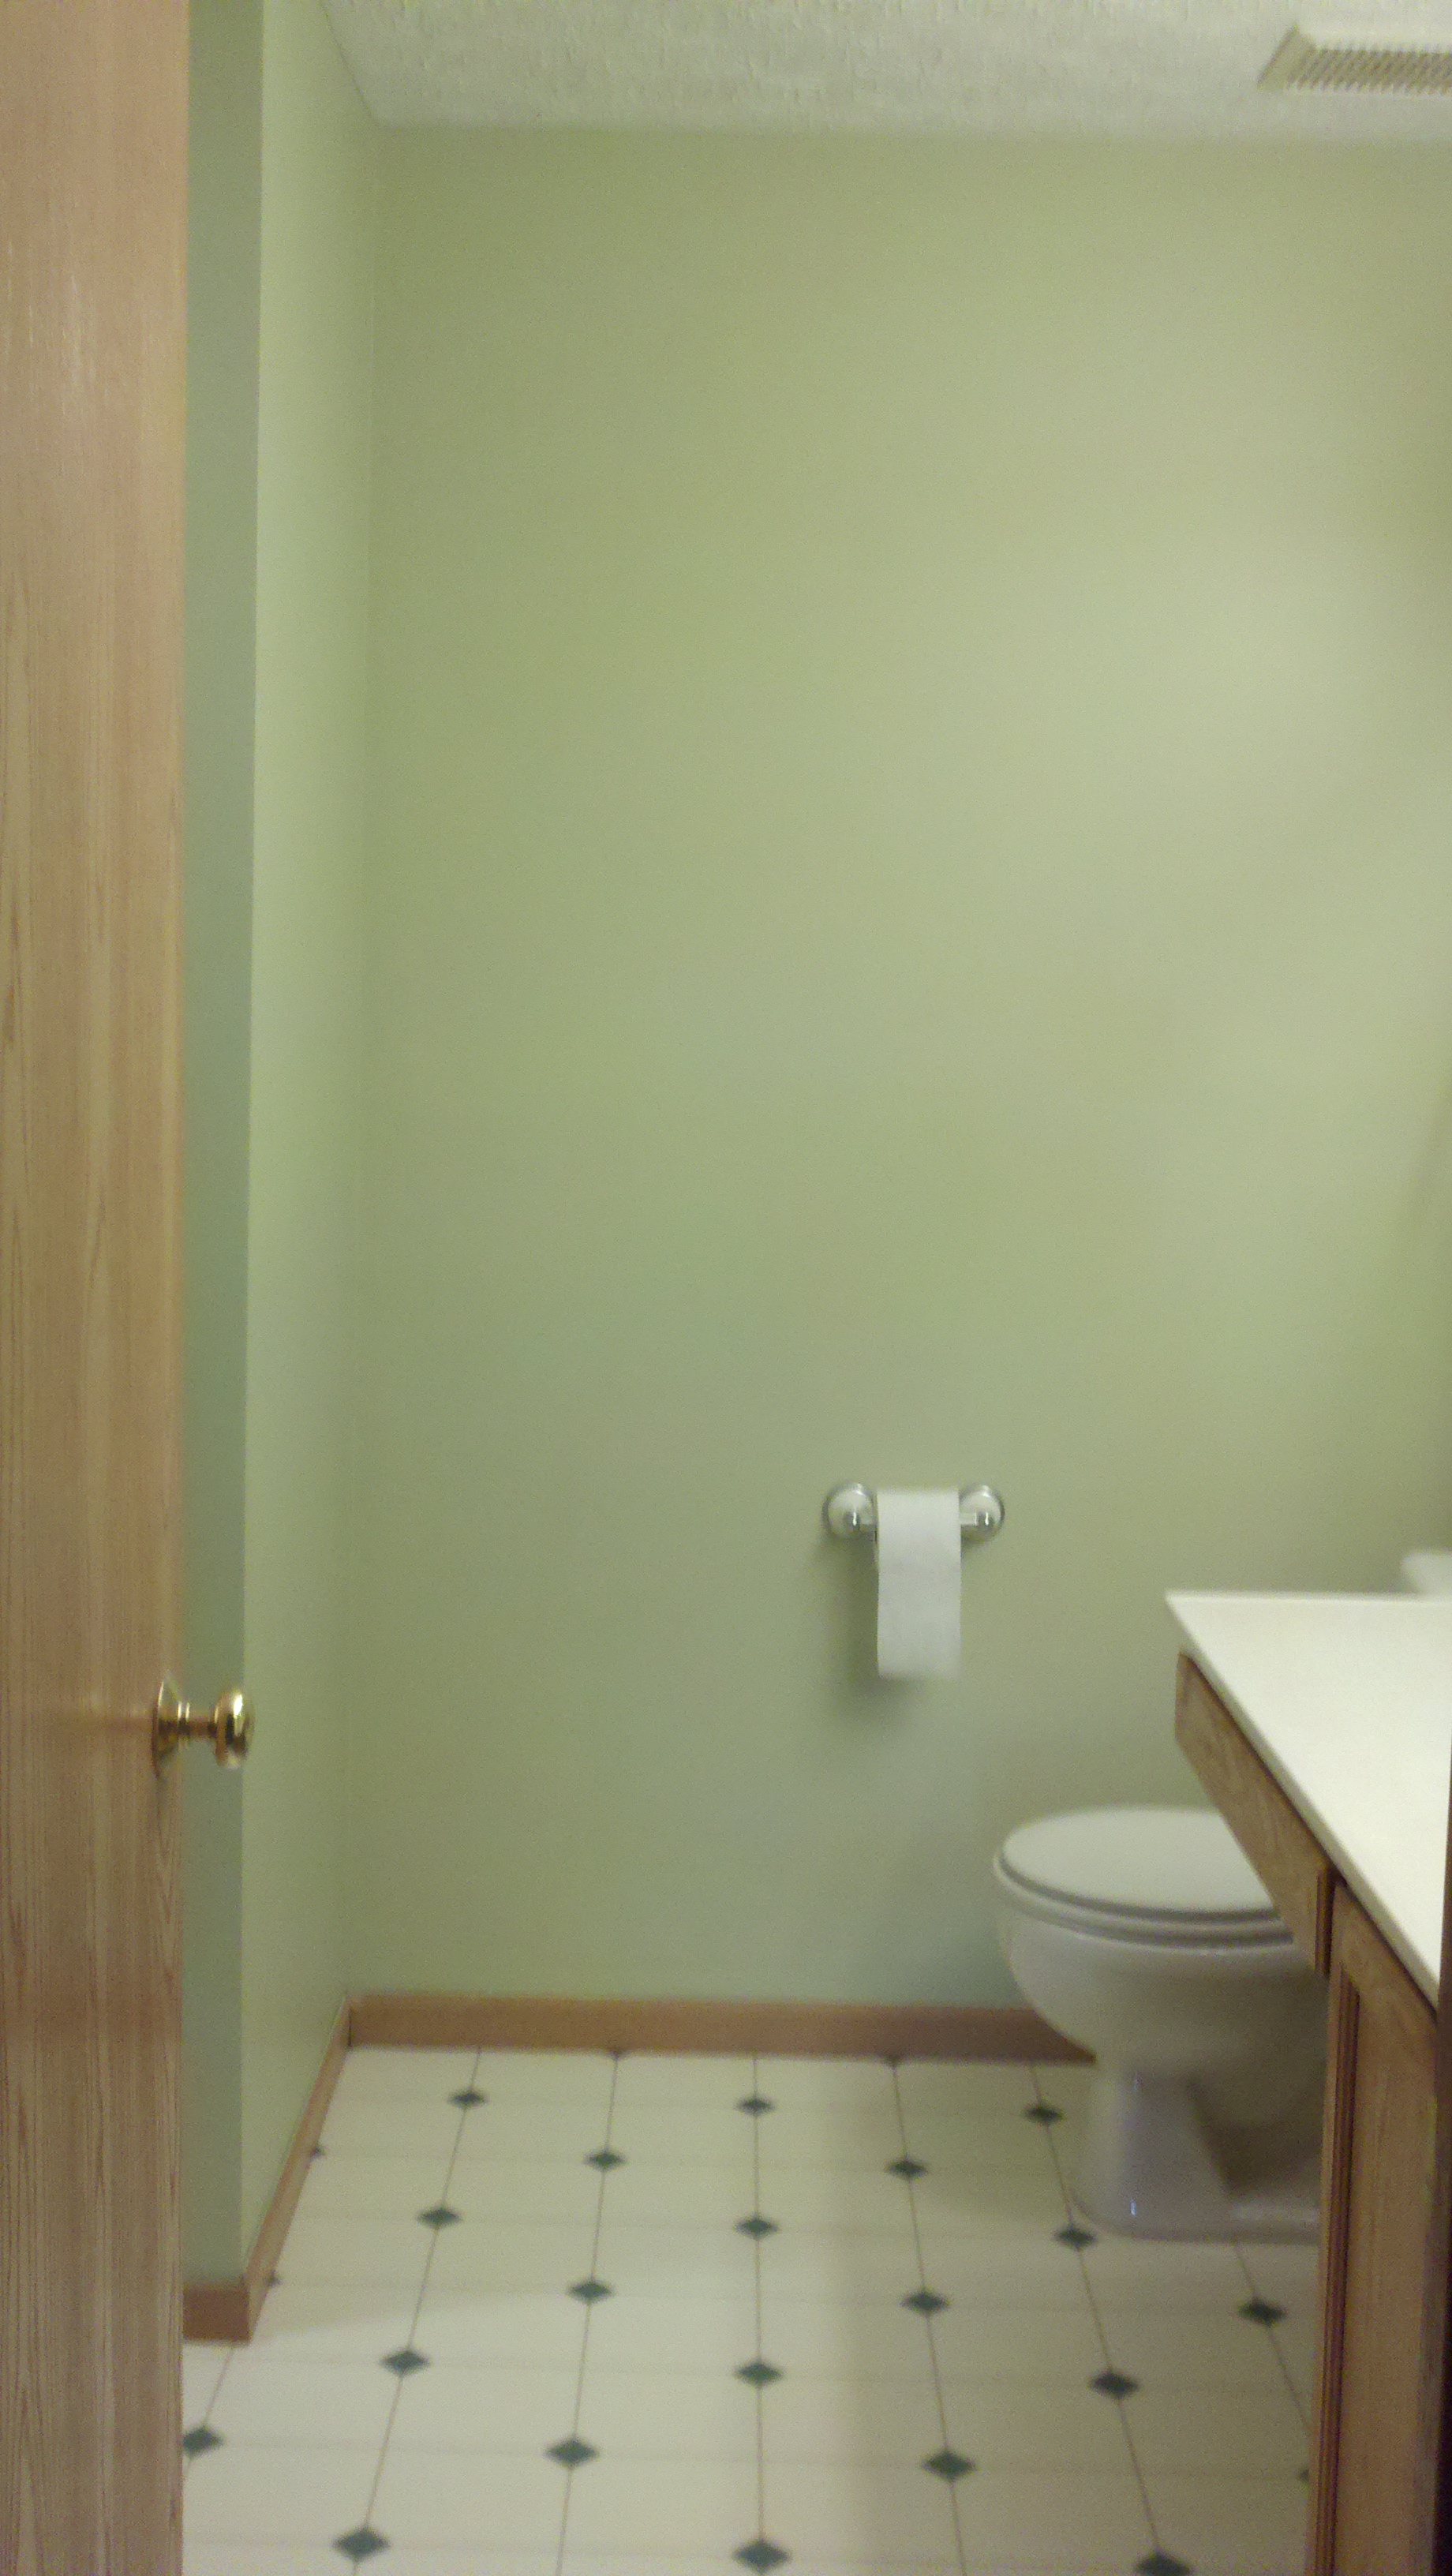
Richard’s & Beverly’s House Rehabilitation Recently the house illustrated through this documentation, was a candidate for resale and rehabilitation. Many tasks seemed necessary for complete restoration. Filling many settling cracks an old fastener holes was necessary before almost complete coverage of the first floor and portions of the basement. Paint color applied to every wall in the house is unusual beige with a light tone of pink. Since all of the walls have the same color, matching the paint will be a single process. Removal of a three inch square piece of existing wall paint to perform a color match was chosen for highest possible accuracy. Test eight ounce paint container was purchased for proof of color match by the paint distributor. The test sample matched perfect, and five gallons of the paint was purchased. Additional quart of semi-gloss paint, for the front door, was purchased. The entrance and rear patio paint will be purchased to resemble a cement color tone. Preparation of the pre-painted surface will require a thorough preparation of all of the walls in reference. The complete process of preparation includes removal of all paint drips, fasteners, wall coverings, and impurity patching with additional sanding. Rooms that will require preparation and paint application include the entrance room, kitchen, dinning room, living room, main hallway, bathroom on main floor, and basement gathering room. Pictures one through nine provides depictions of the entrance room and stairwell. Ceiling will be painted in addition to correction of imperfections. Removal of items attached to the walls will be complete and reminisce of the hanging fasteners will be removed.
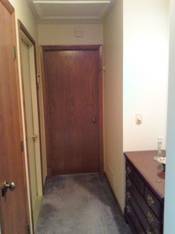
The main hallway on the first floor will require repair of marks and dents created from years of access and wall hangings. Ceiling paint re-application will complete the renovation of the access hall.
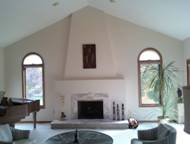
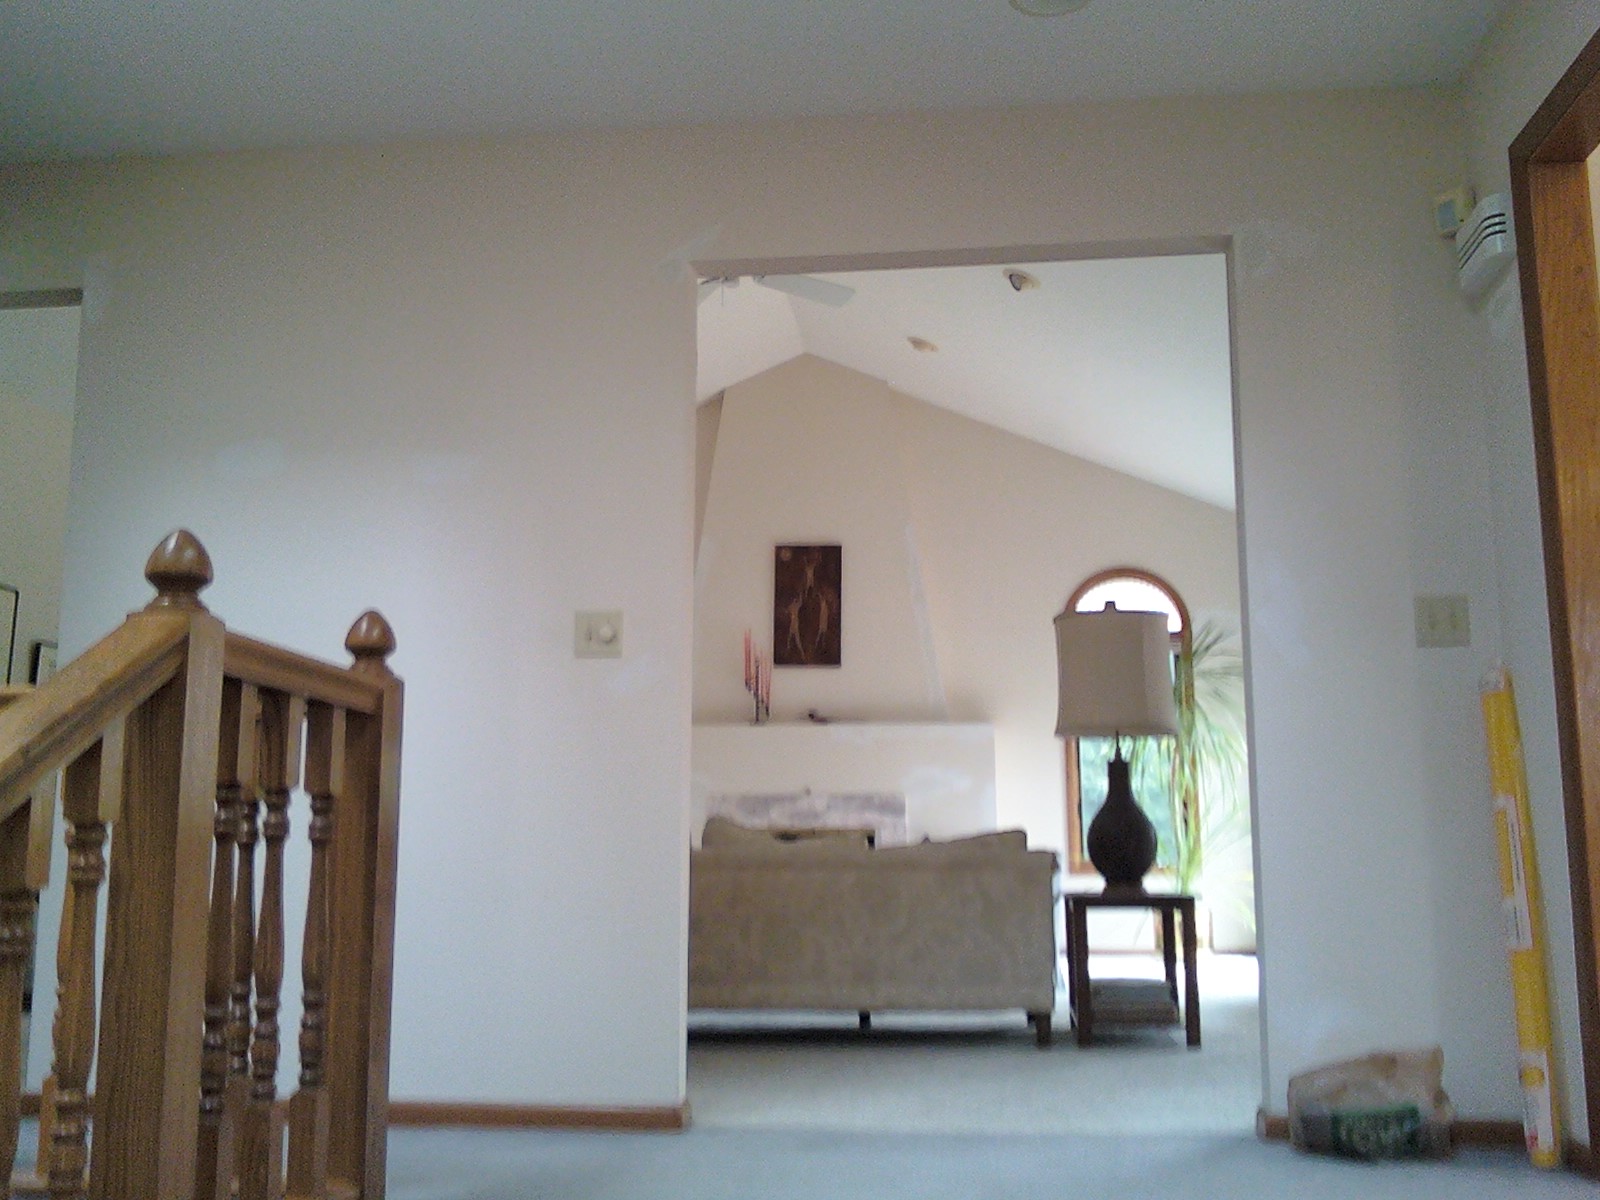
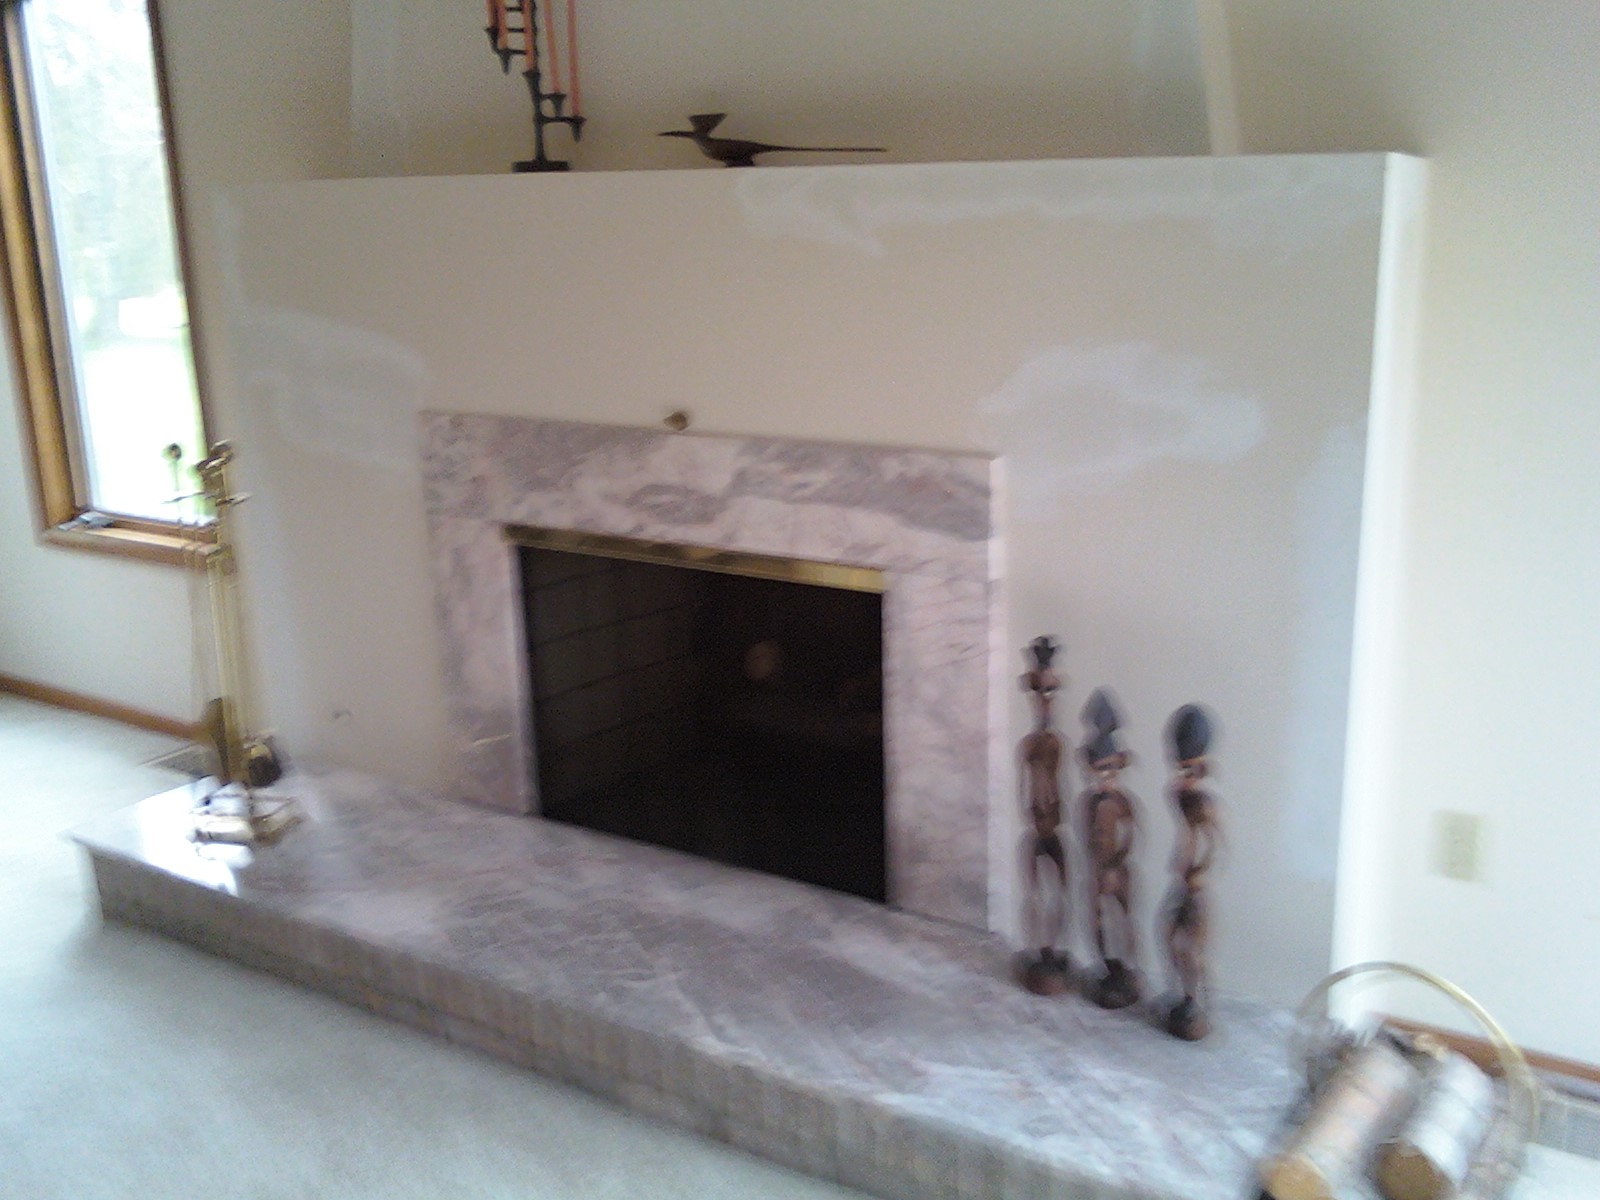
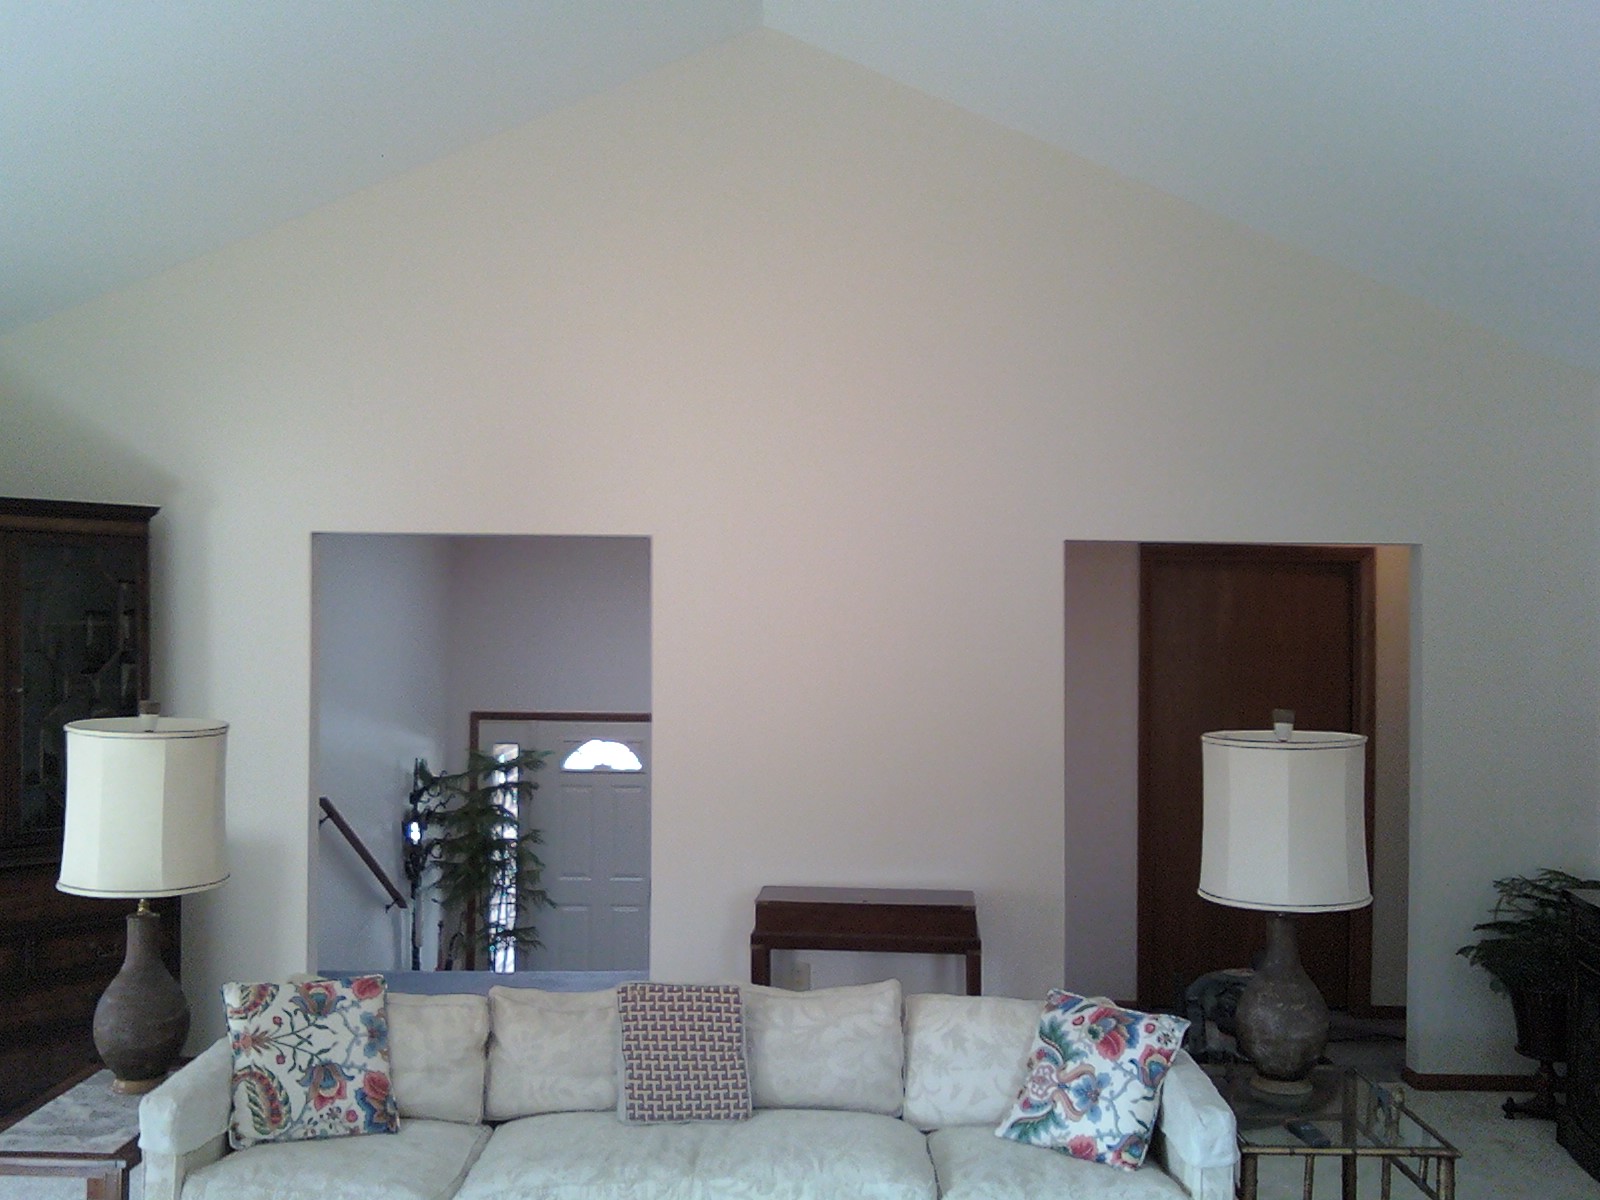
Living room will require various repairs and fillings of cracks and holes. Two of the four walls will be painted. The walls shown by pictures thirteen through twenty-two provide area requiring resurfacing and paint.
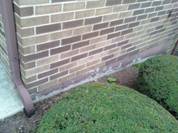
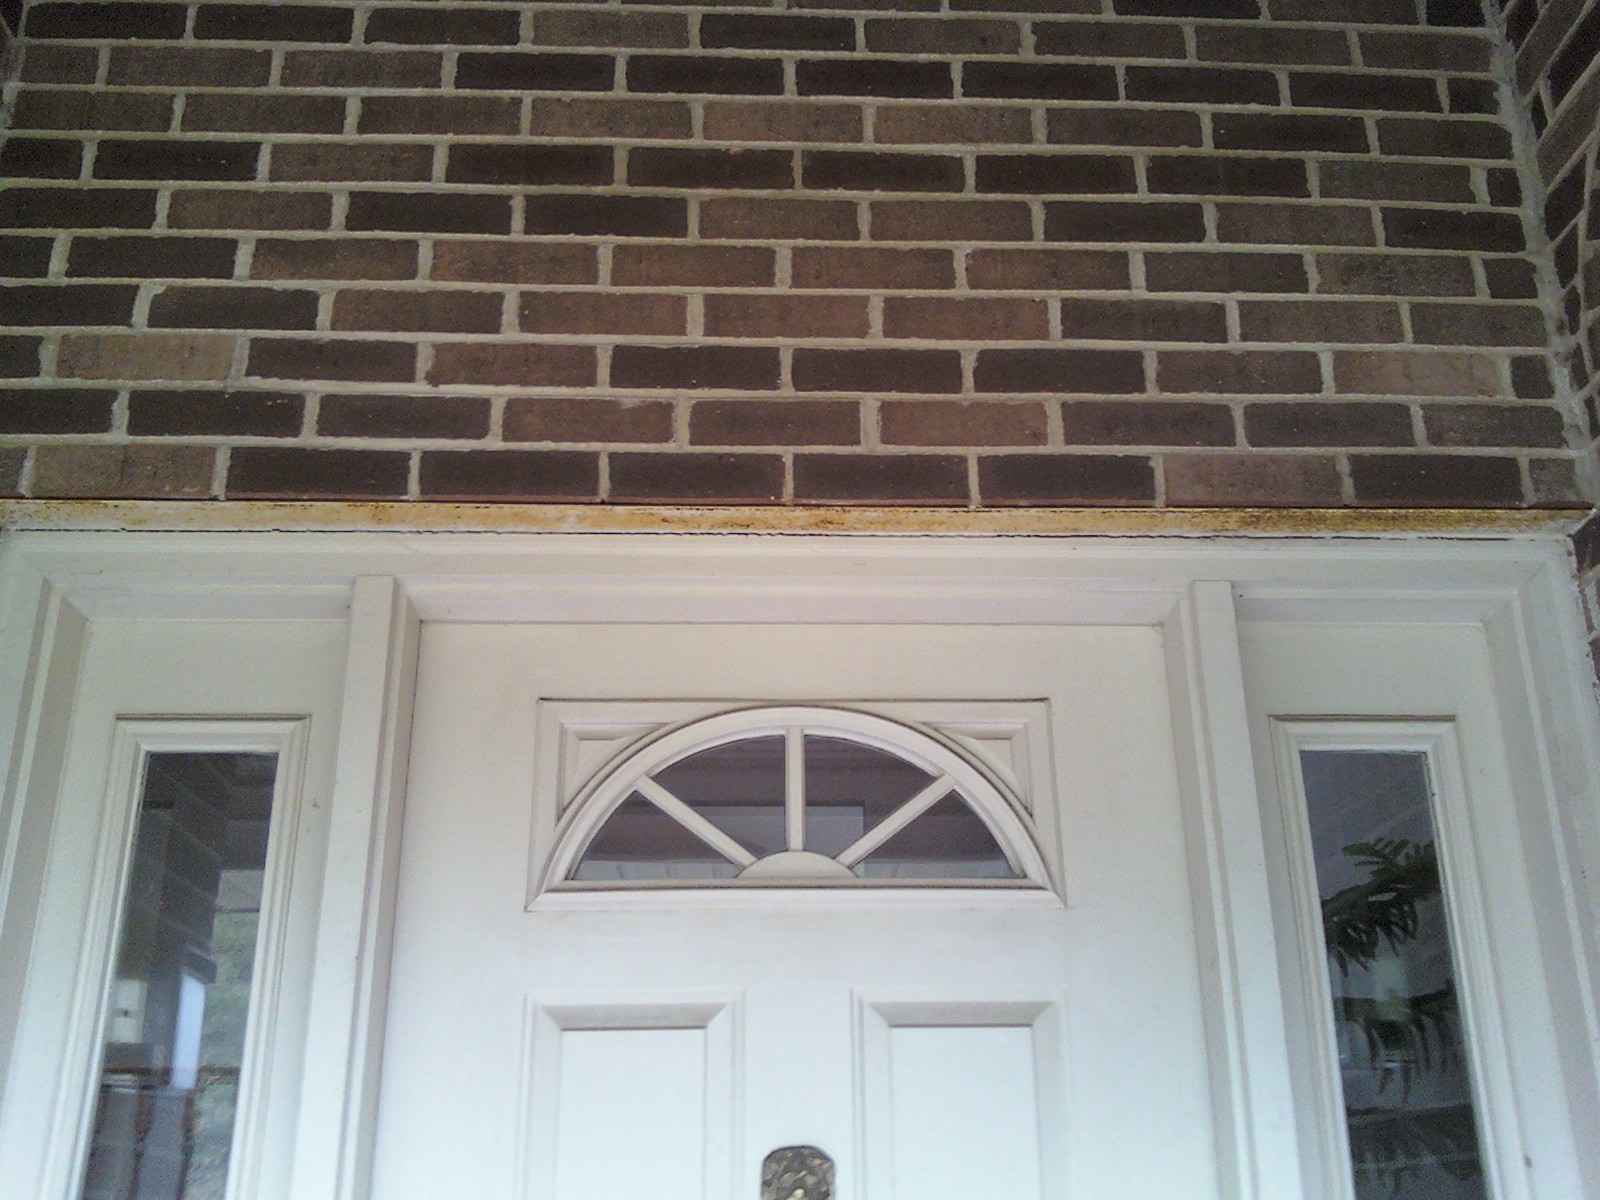
Front door requires rust removal from the brick support beam and addition of semi-gloss paint. At the base of the door, patio will need some crack repair in addition to color change by the use of stucco paint. Additional stucco paint will be applied to the lower portion of the house below the brick. The rear patio will also require pressure cleaning and stucco paint.
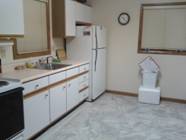
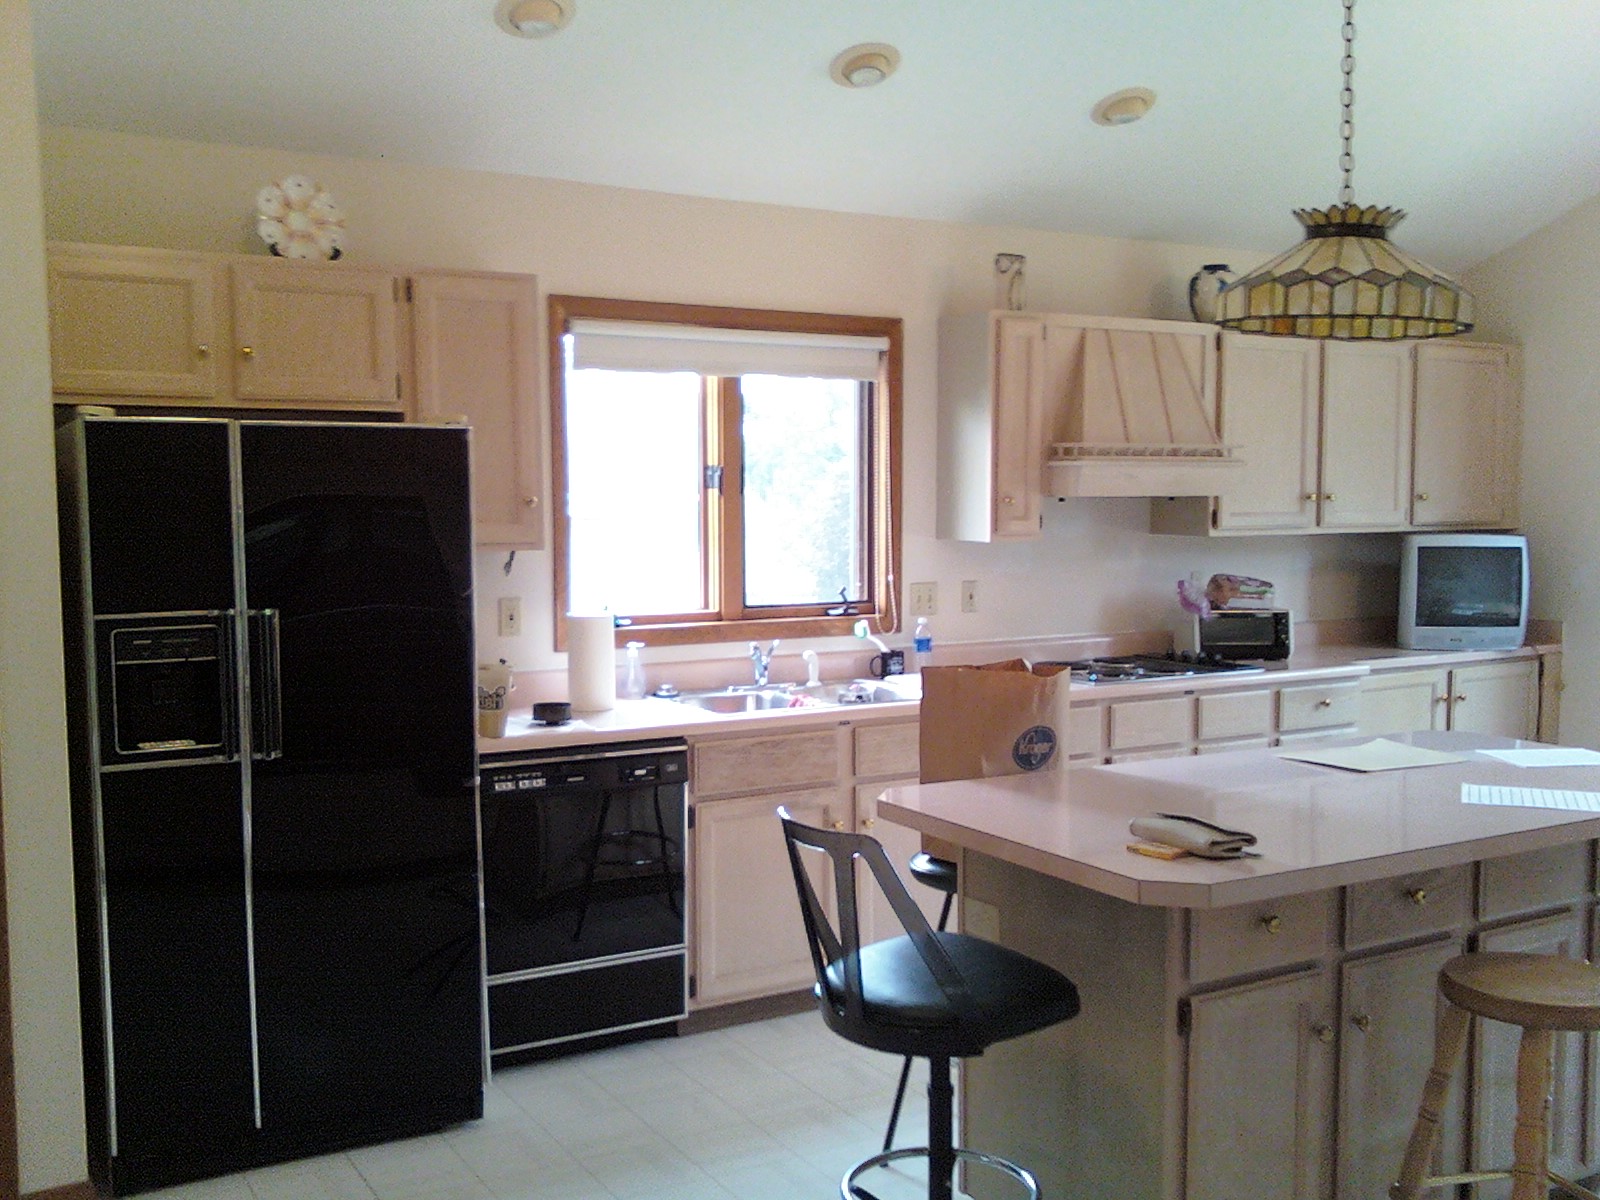
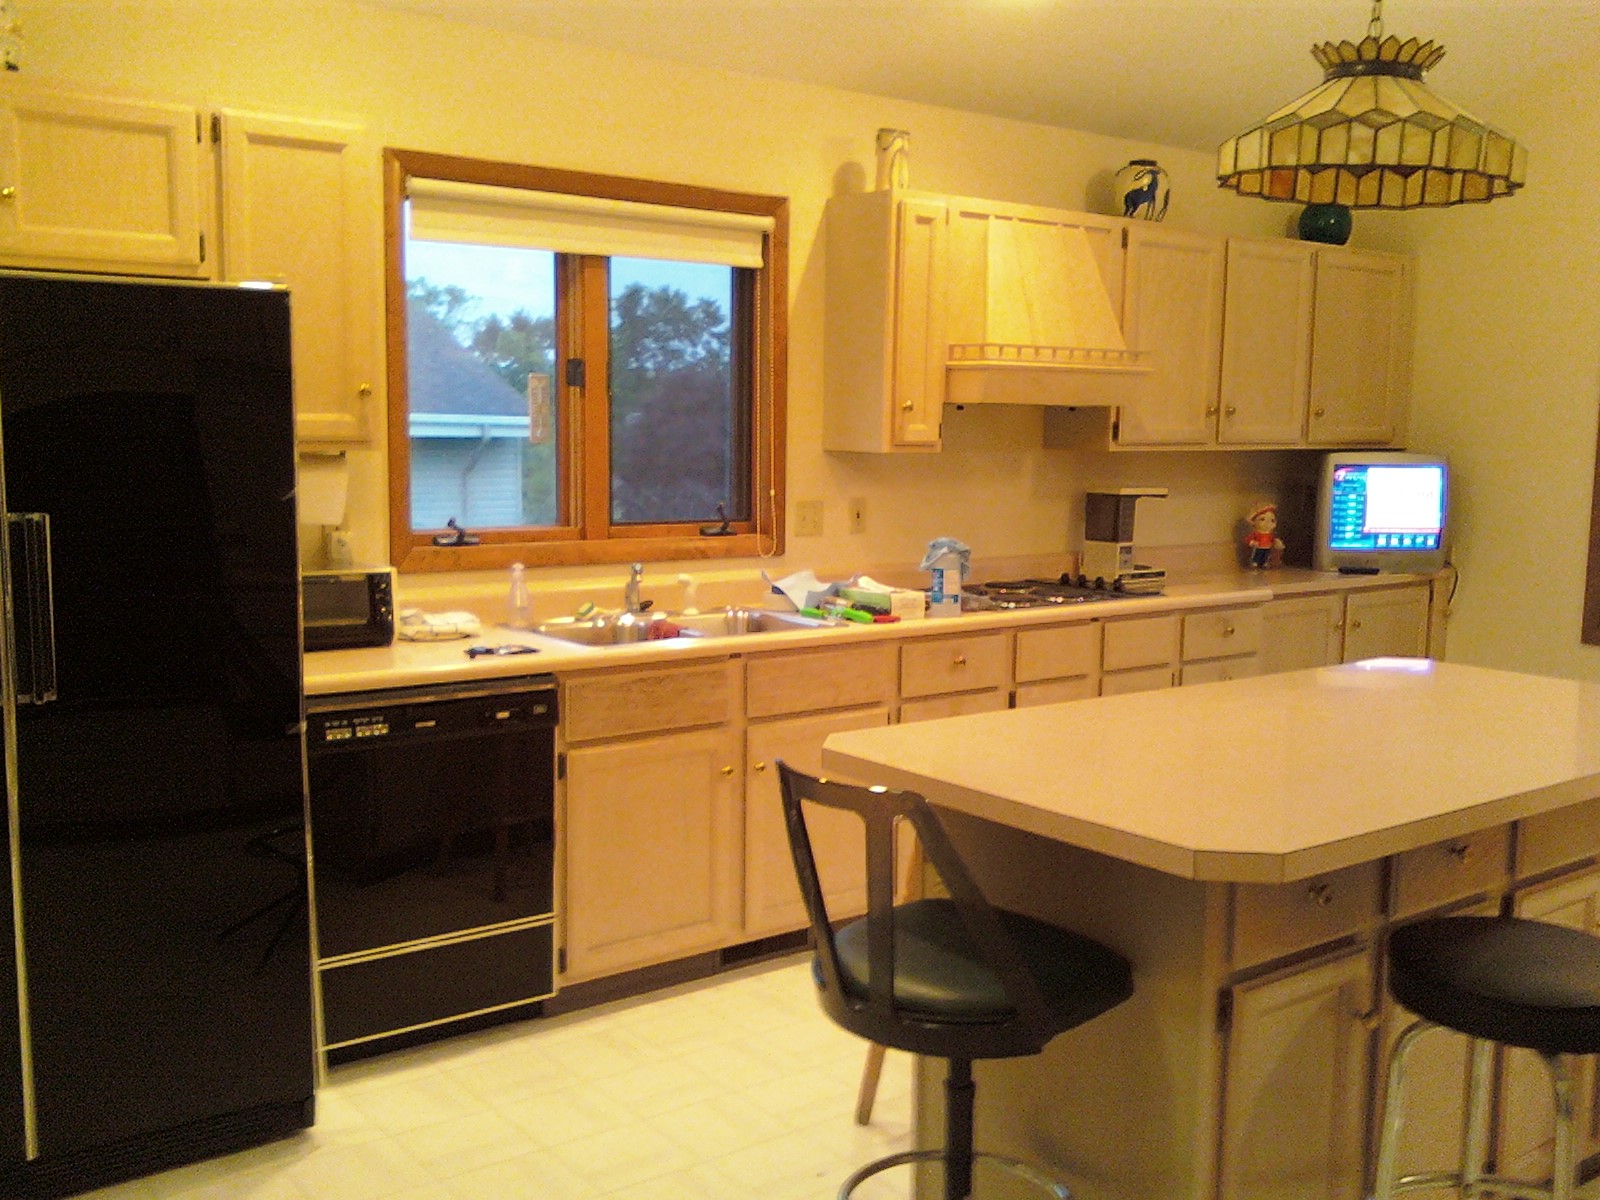
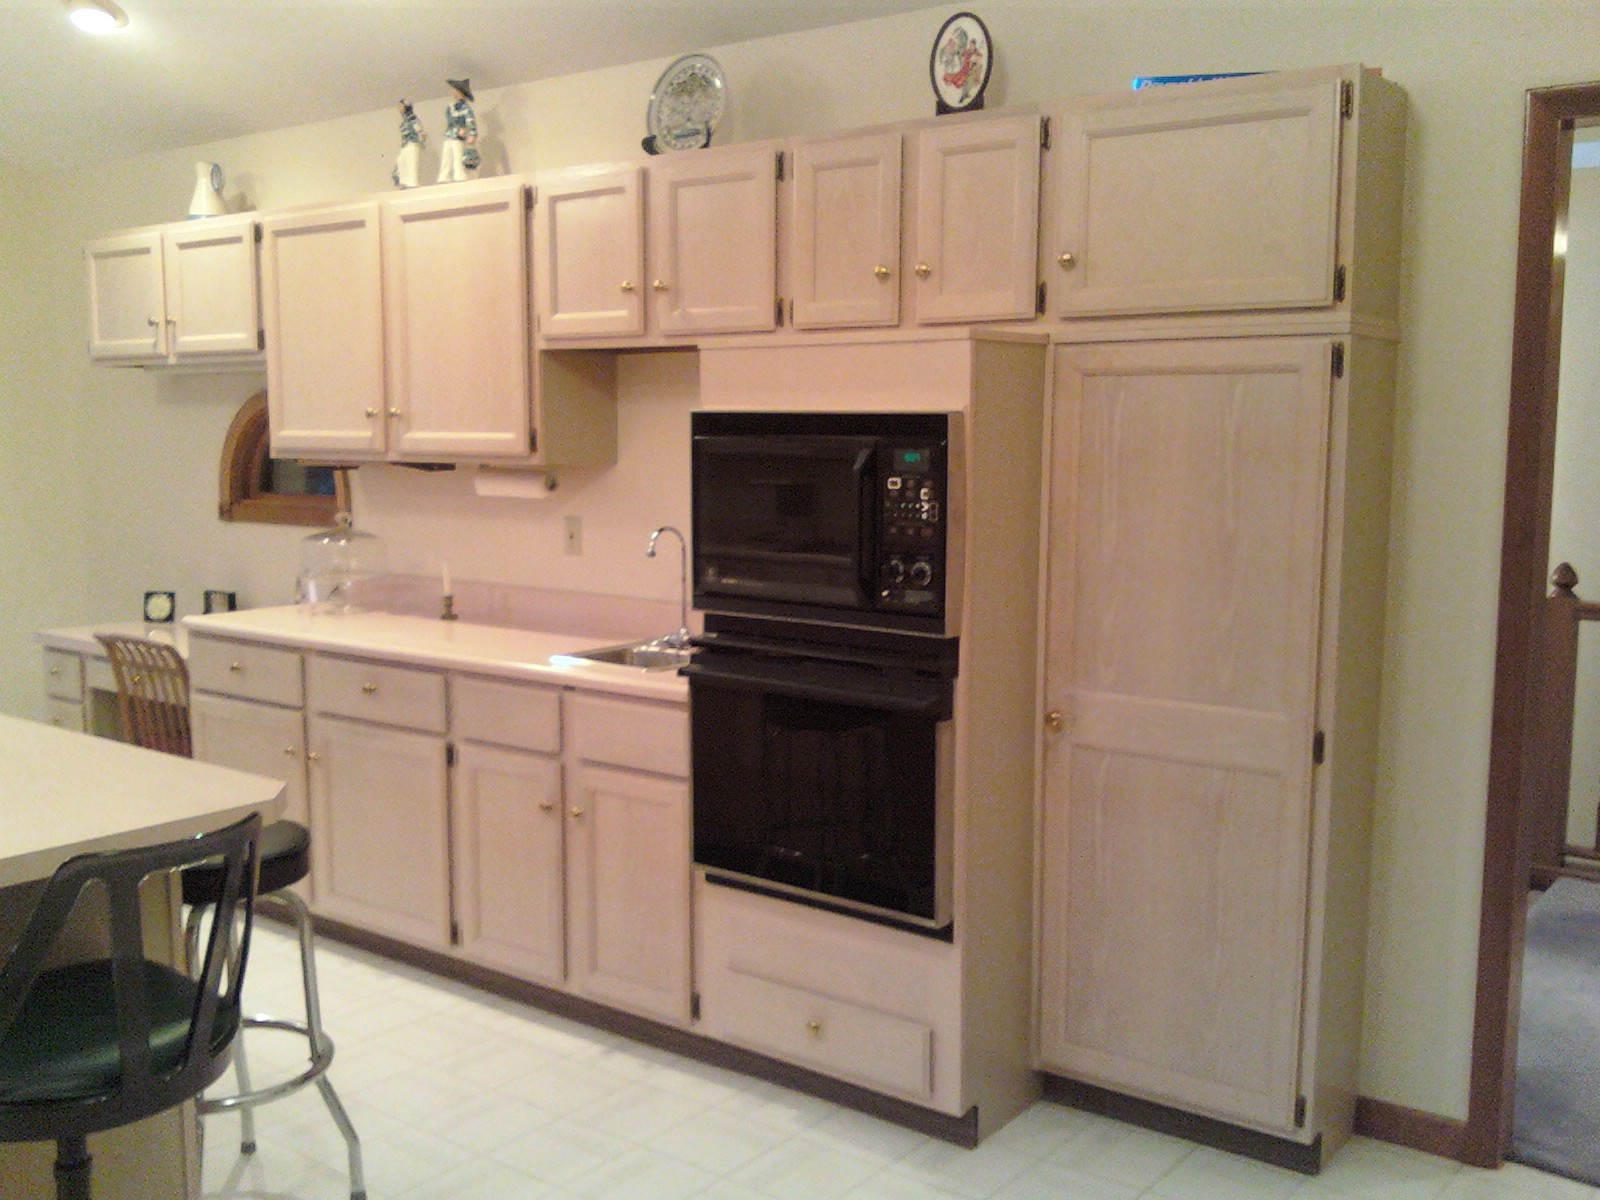
Kitchen will require similar preparation for four wall paint application. A trim piece will require primer and wall paint addition. The shelf inserted into the wall indention will be removed, primed, painted to match the walls, and reinserted back into the wall.
Bathroom on the first floor will require gypsum connection point rehabilitation due to expansion and contraction. Additional paint will be practical for coverage of the repaired wall areas and ceiling.
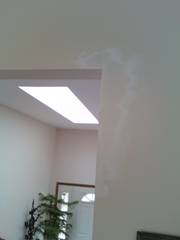
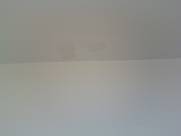
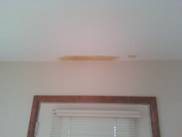
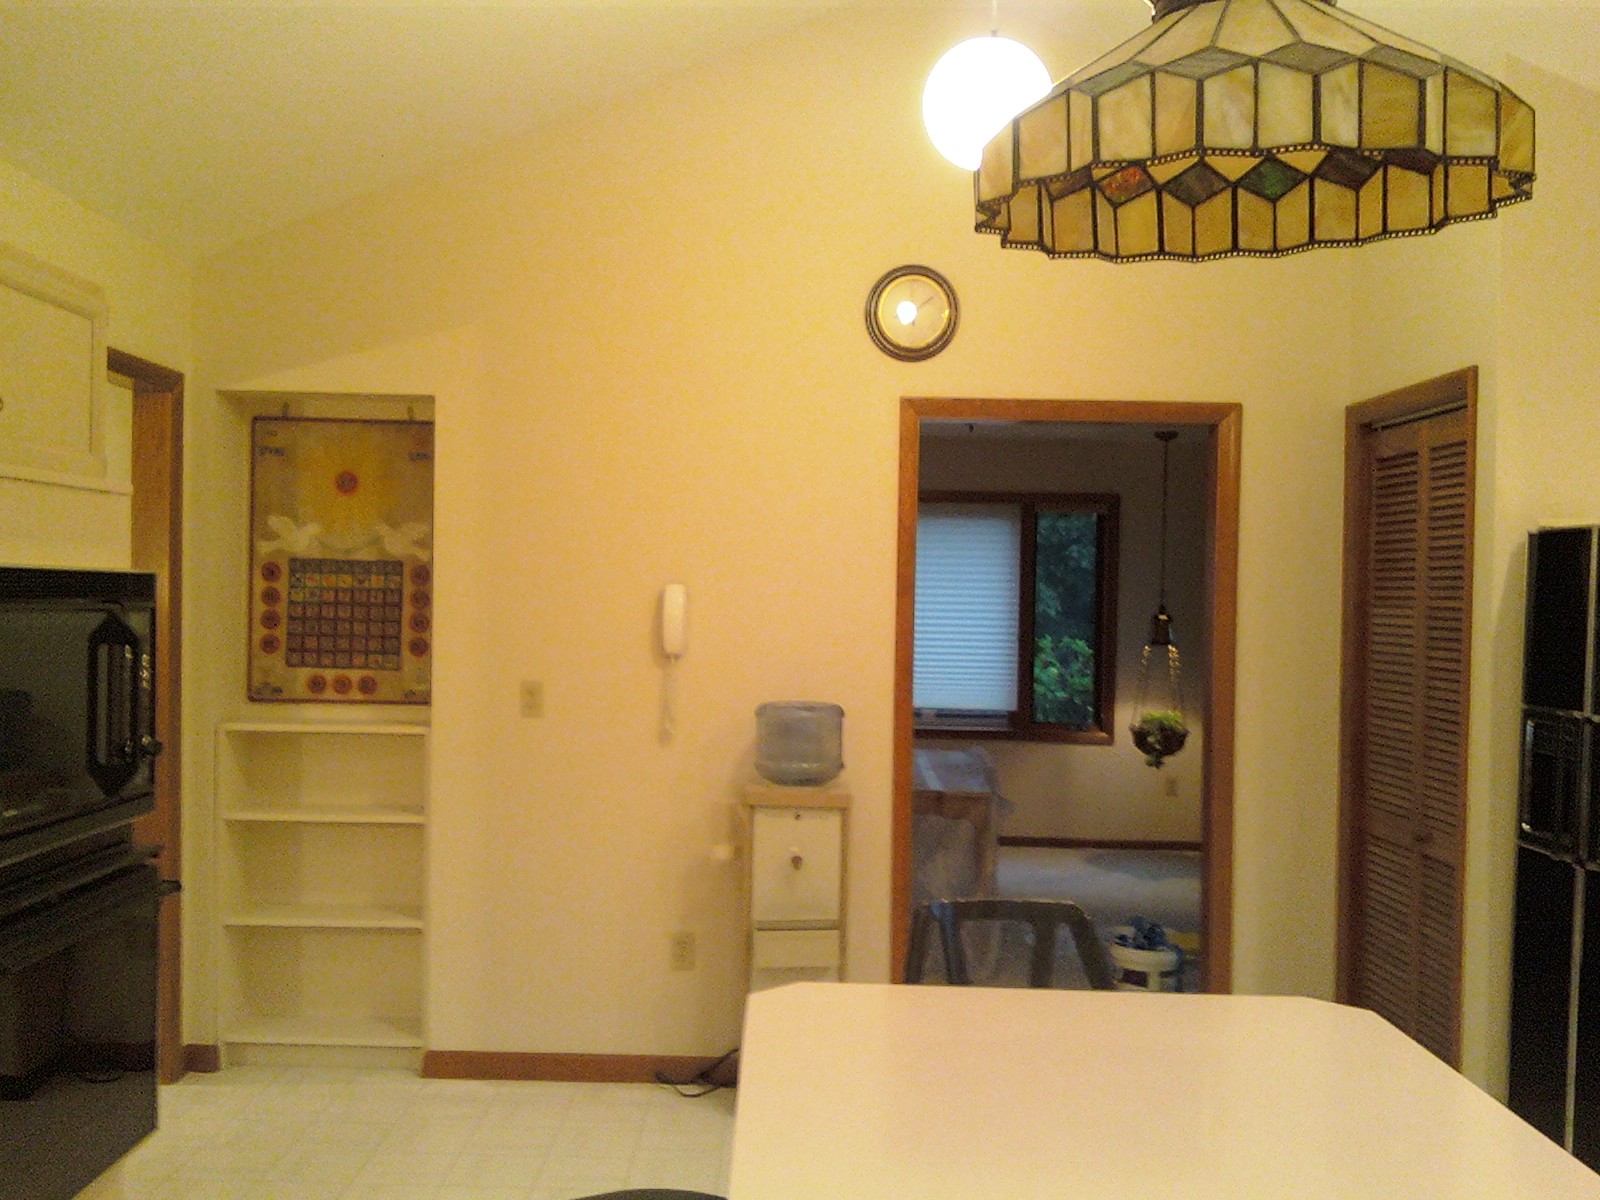
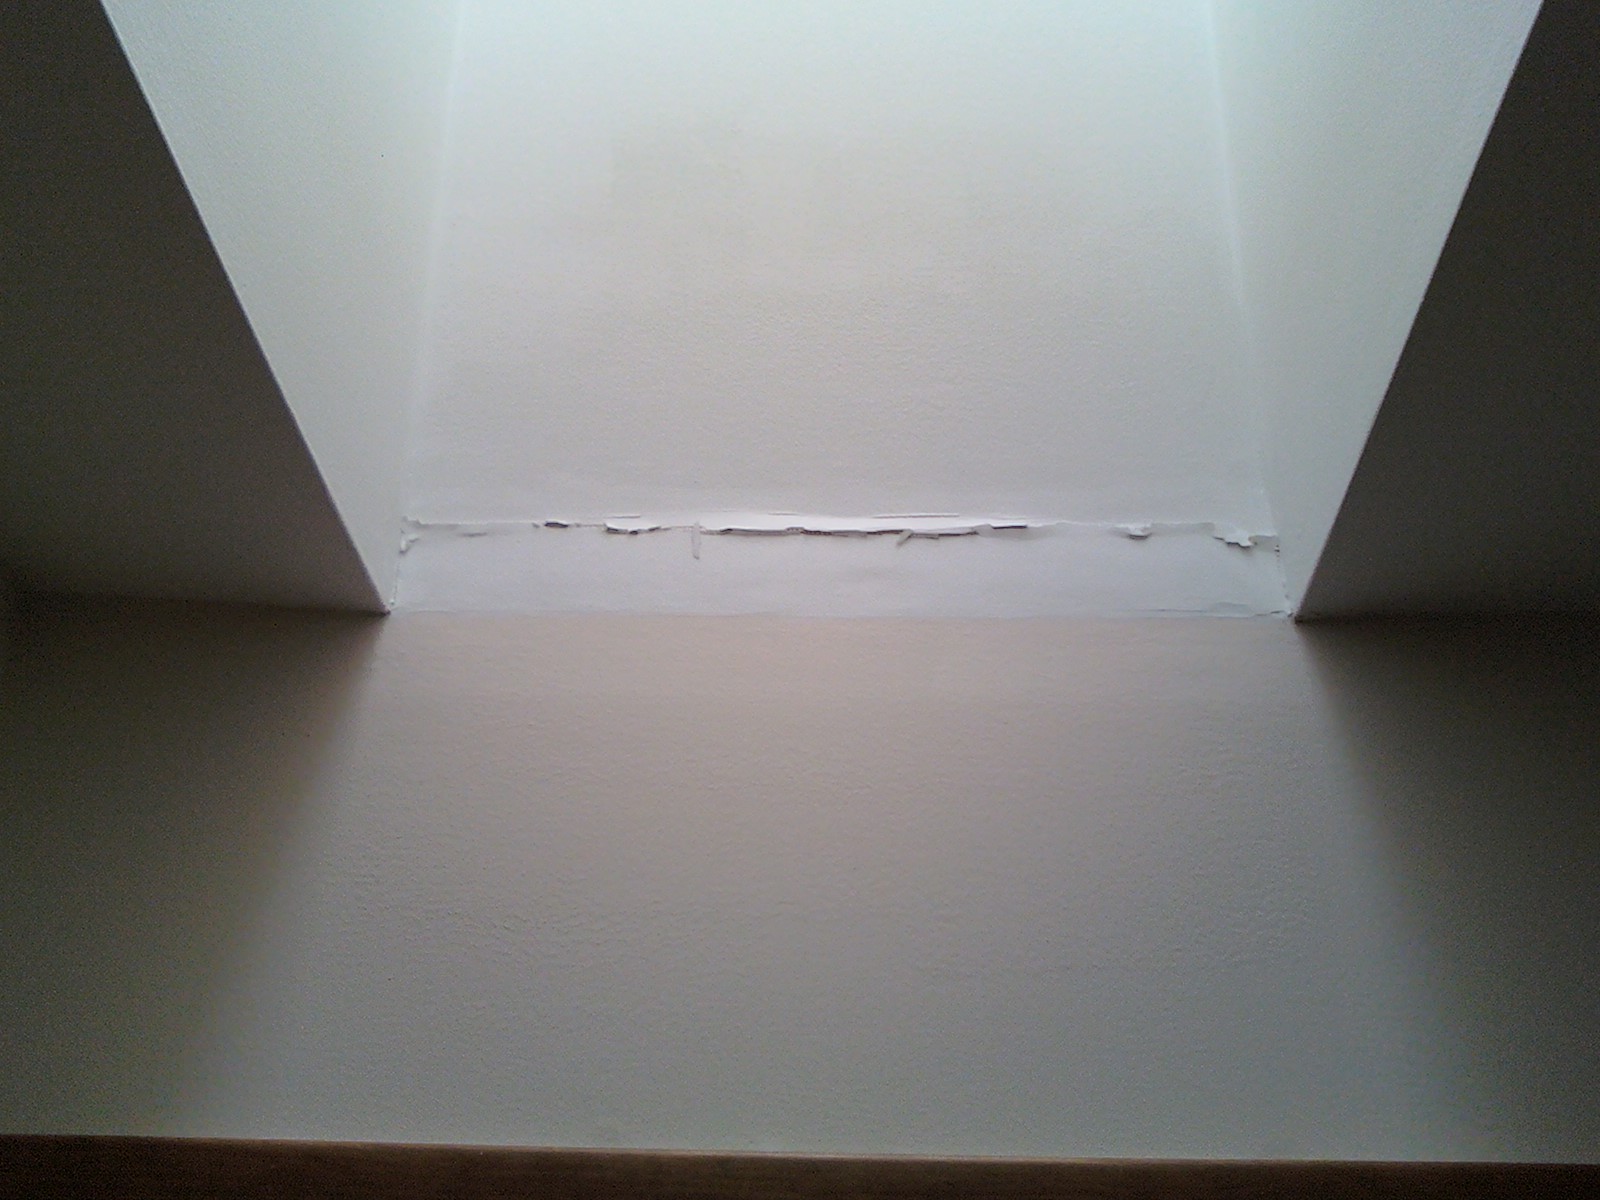
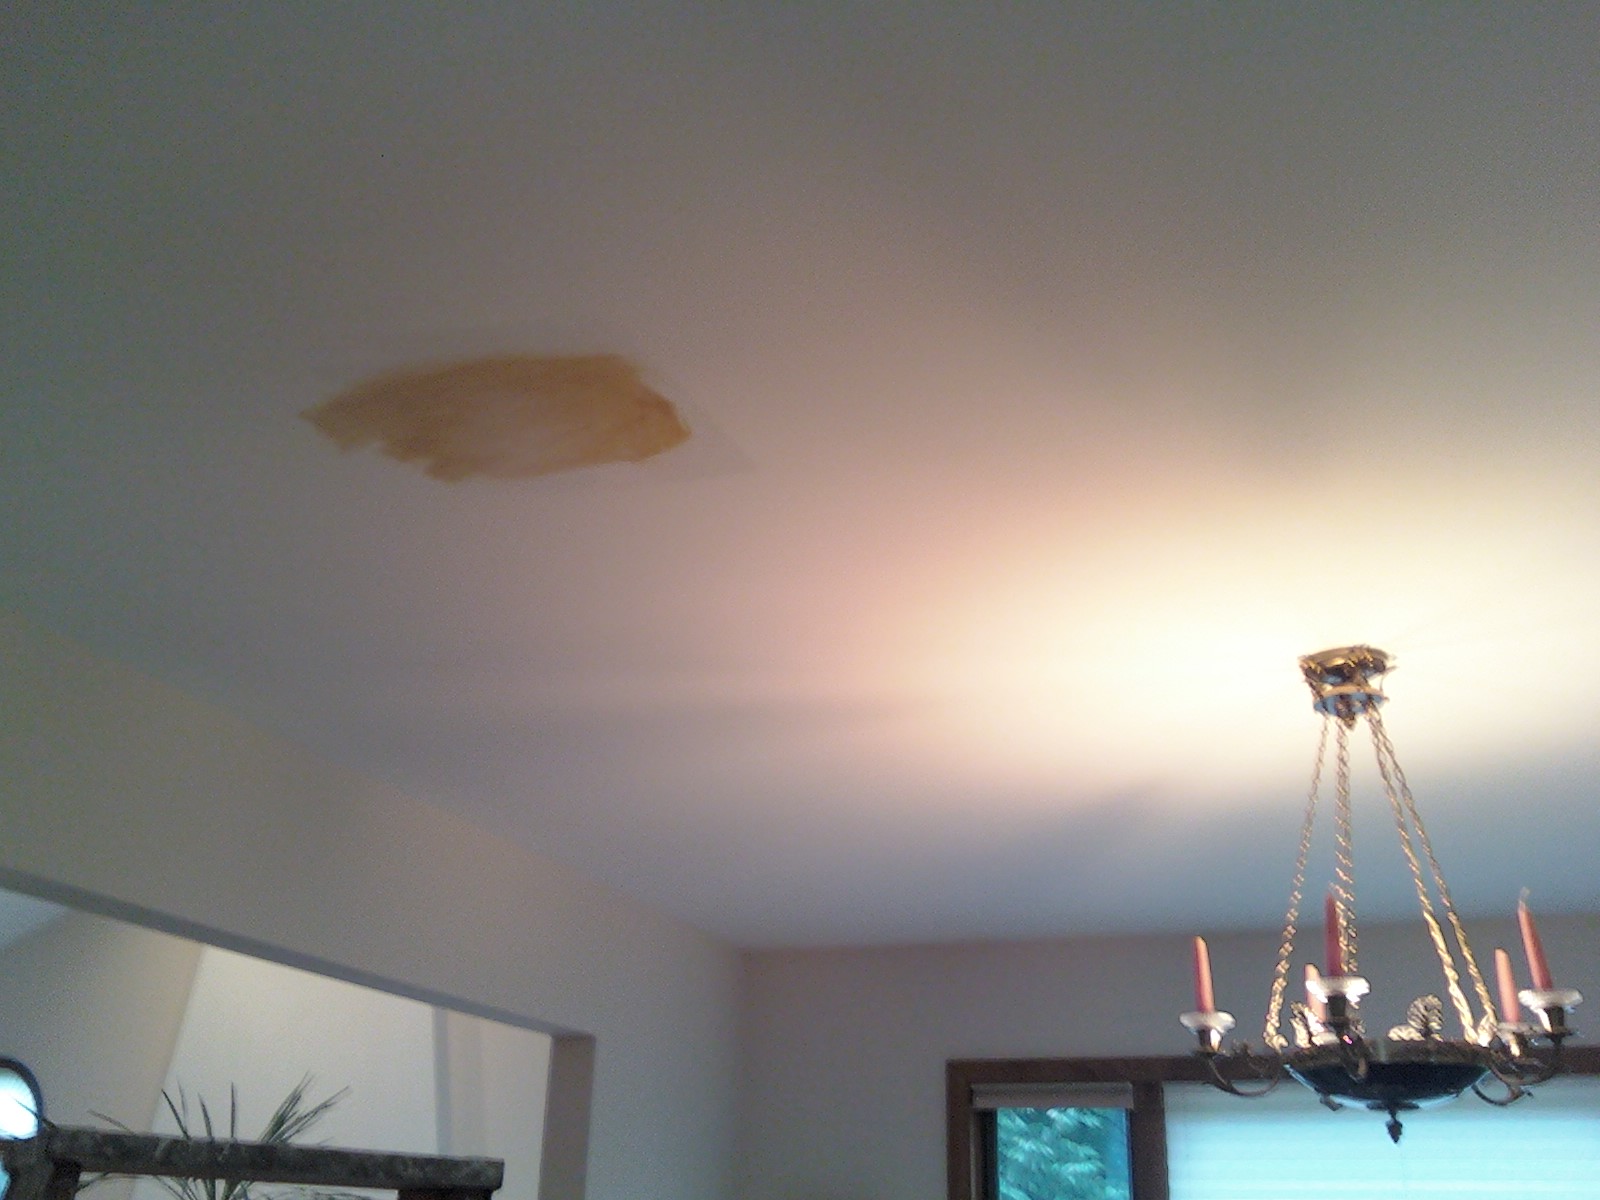
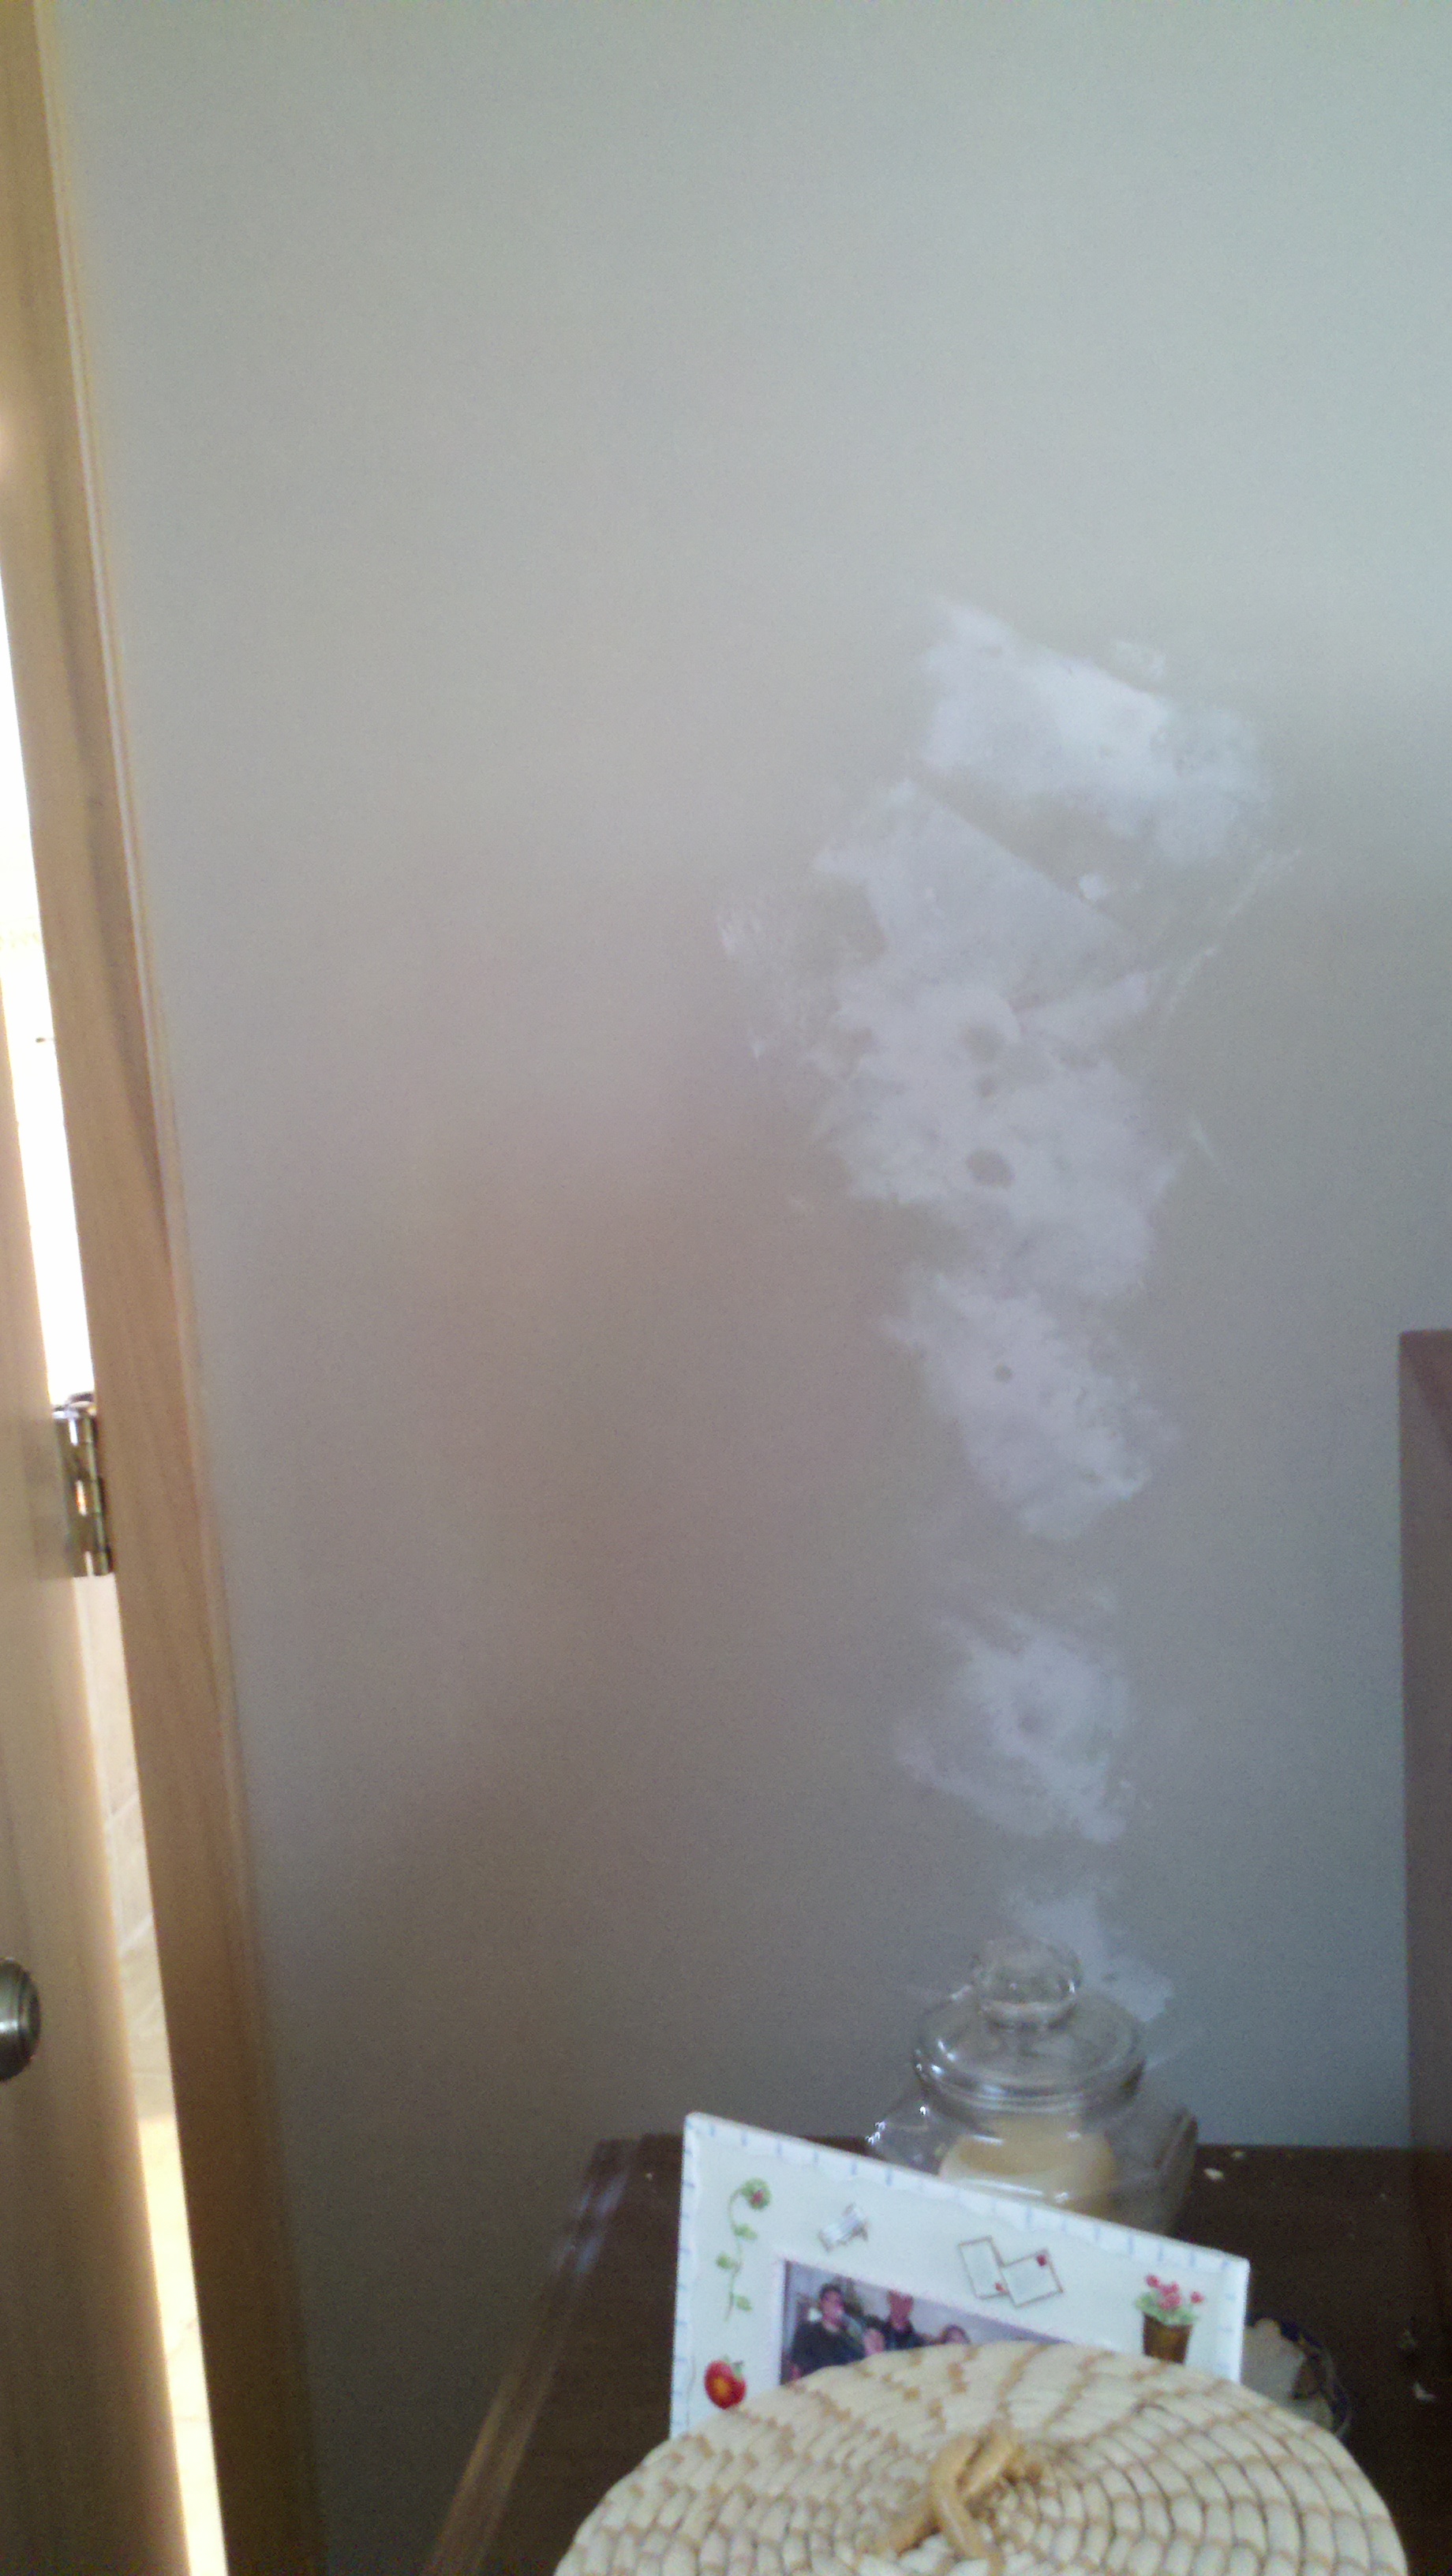
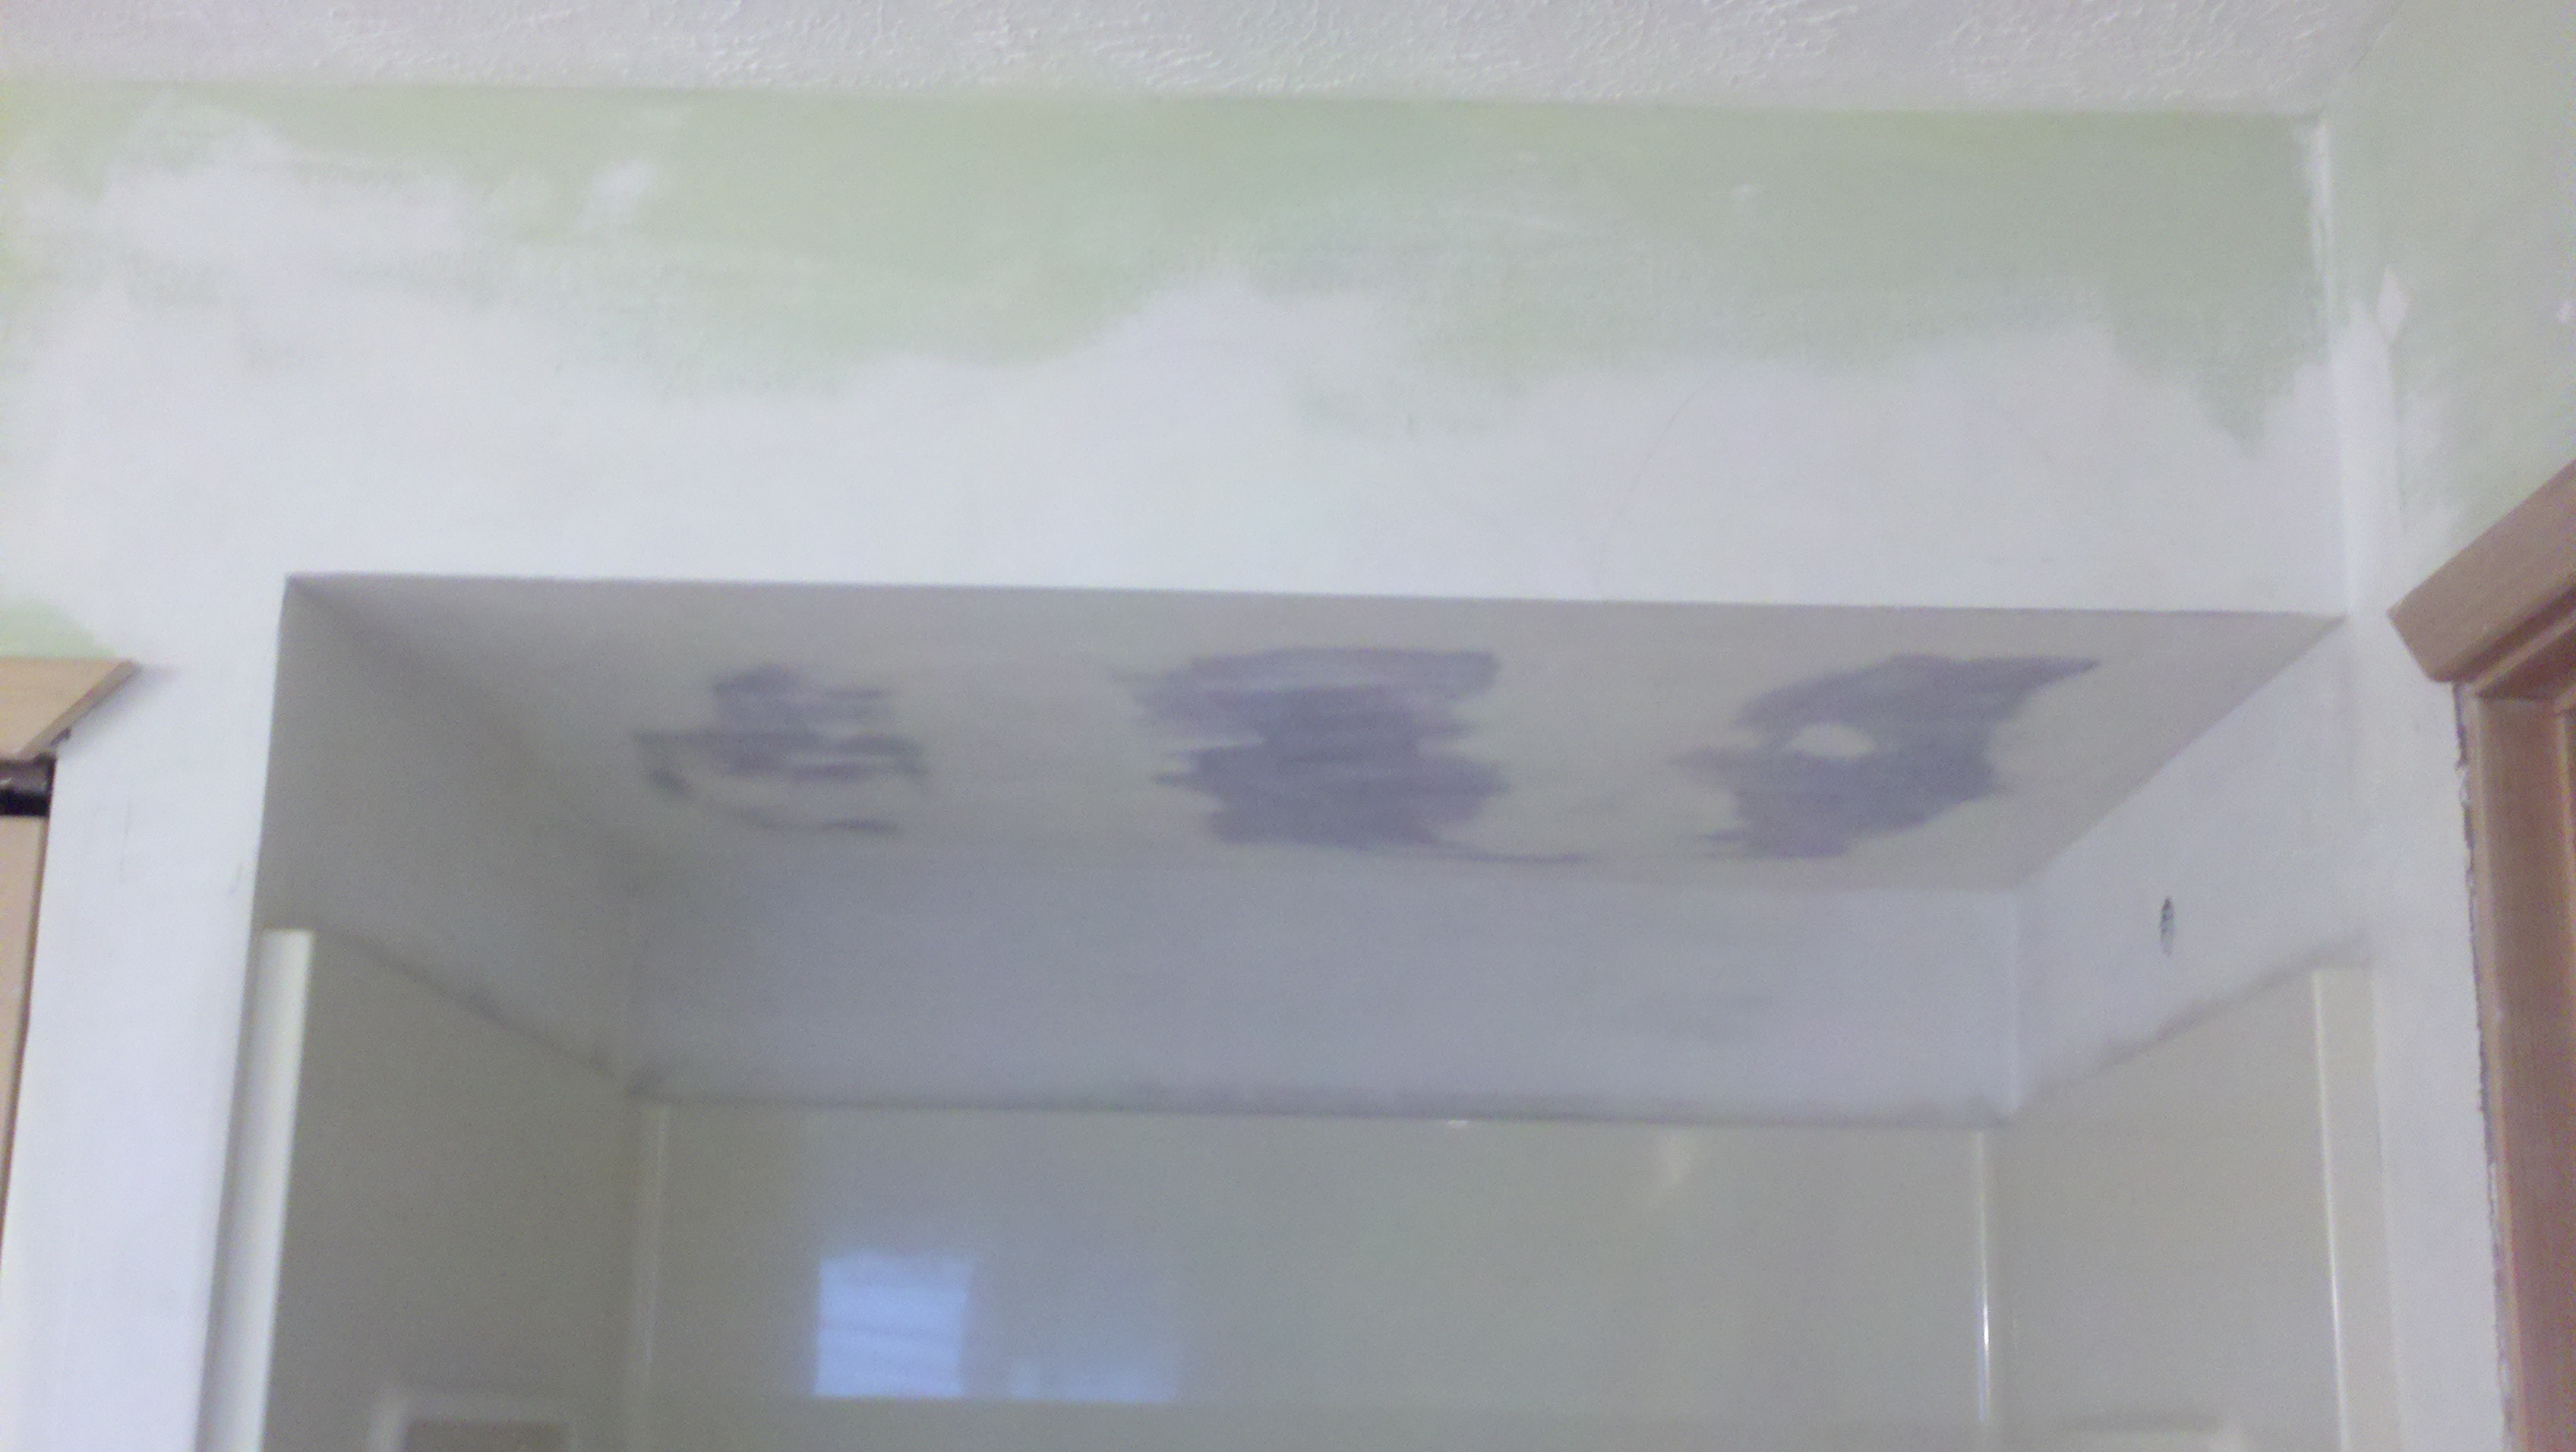
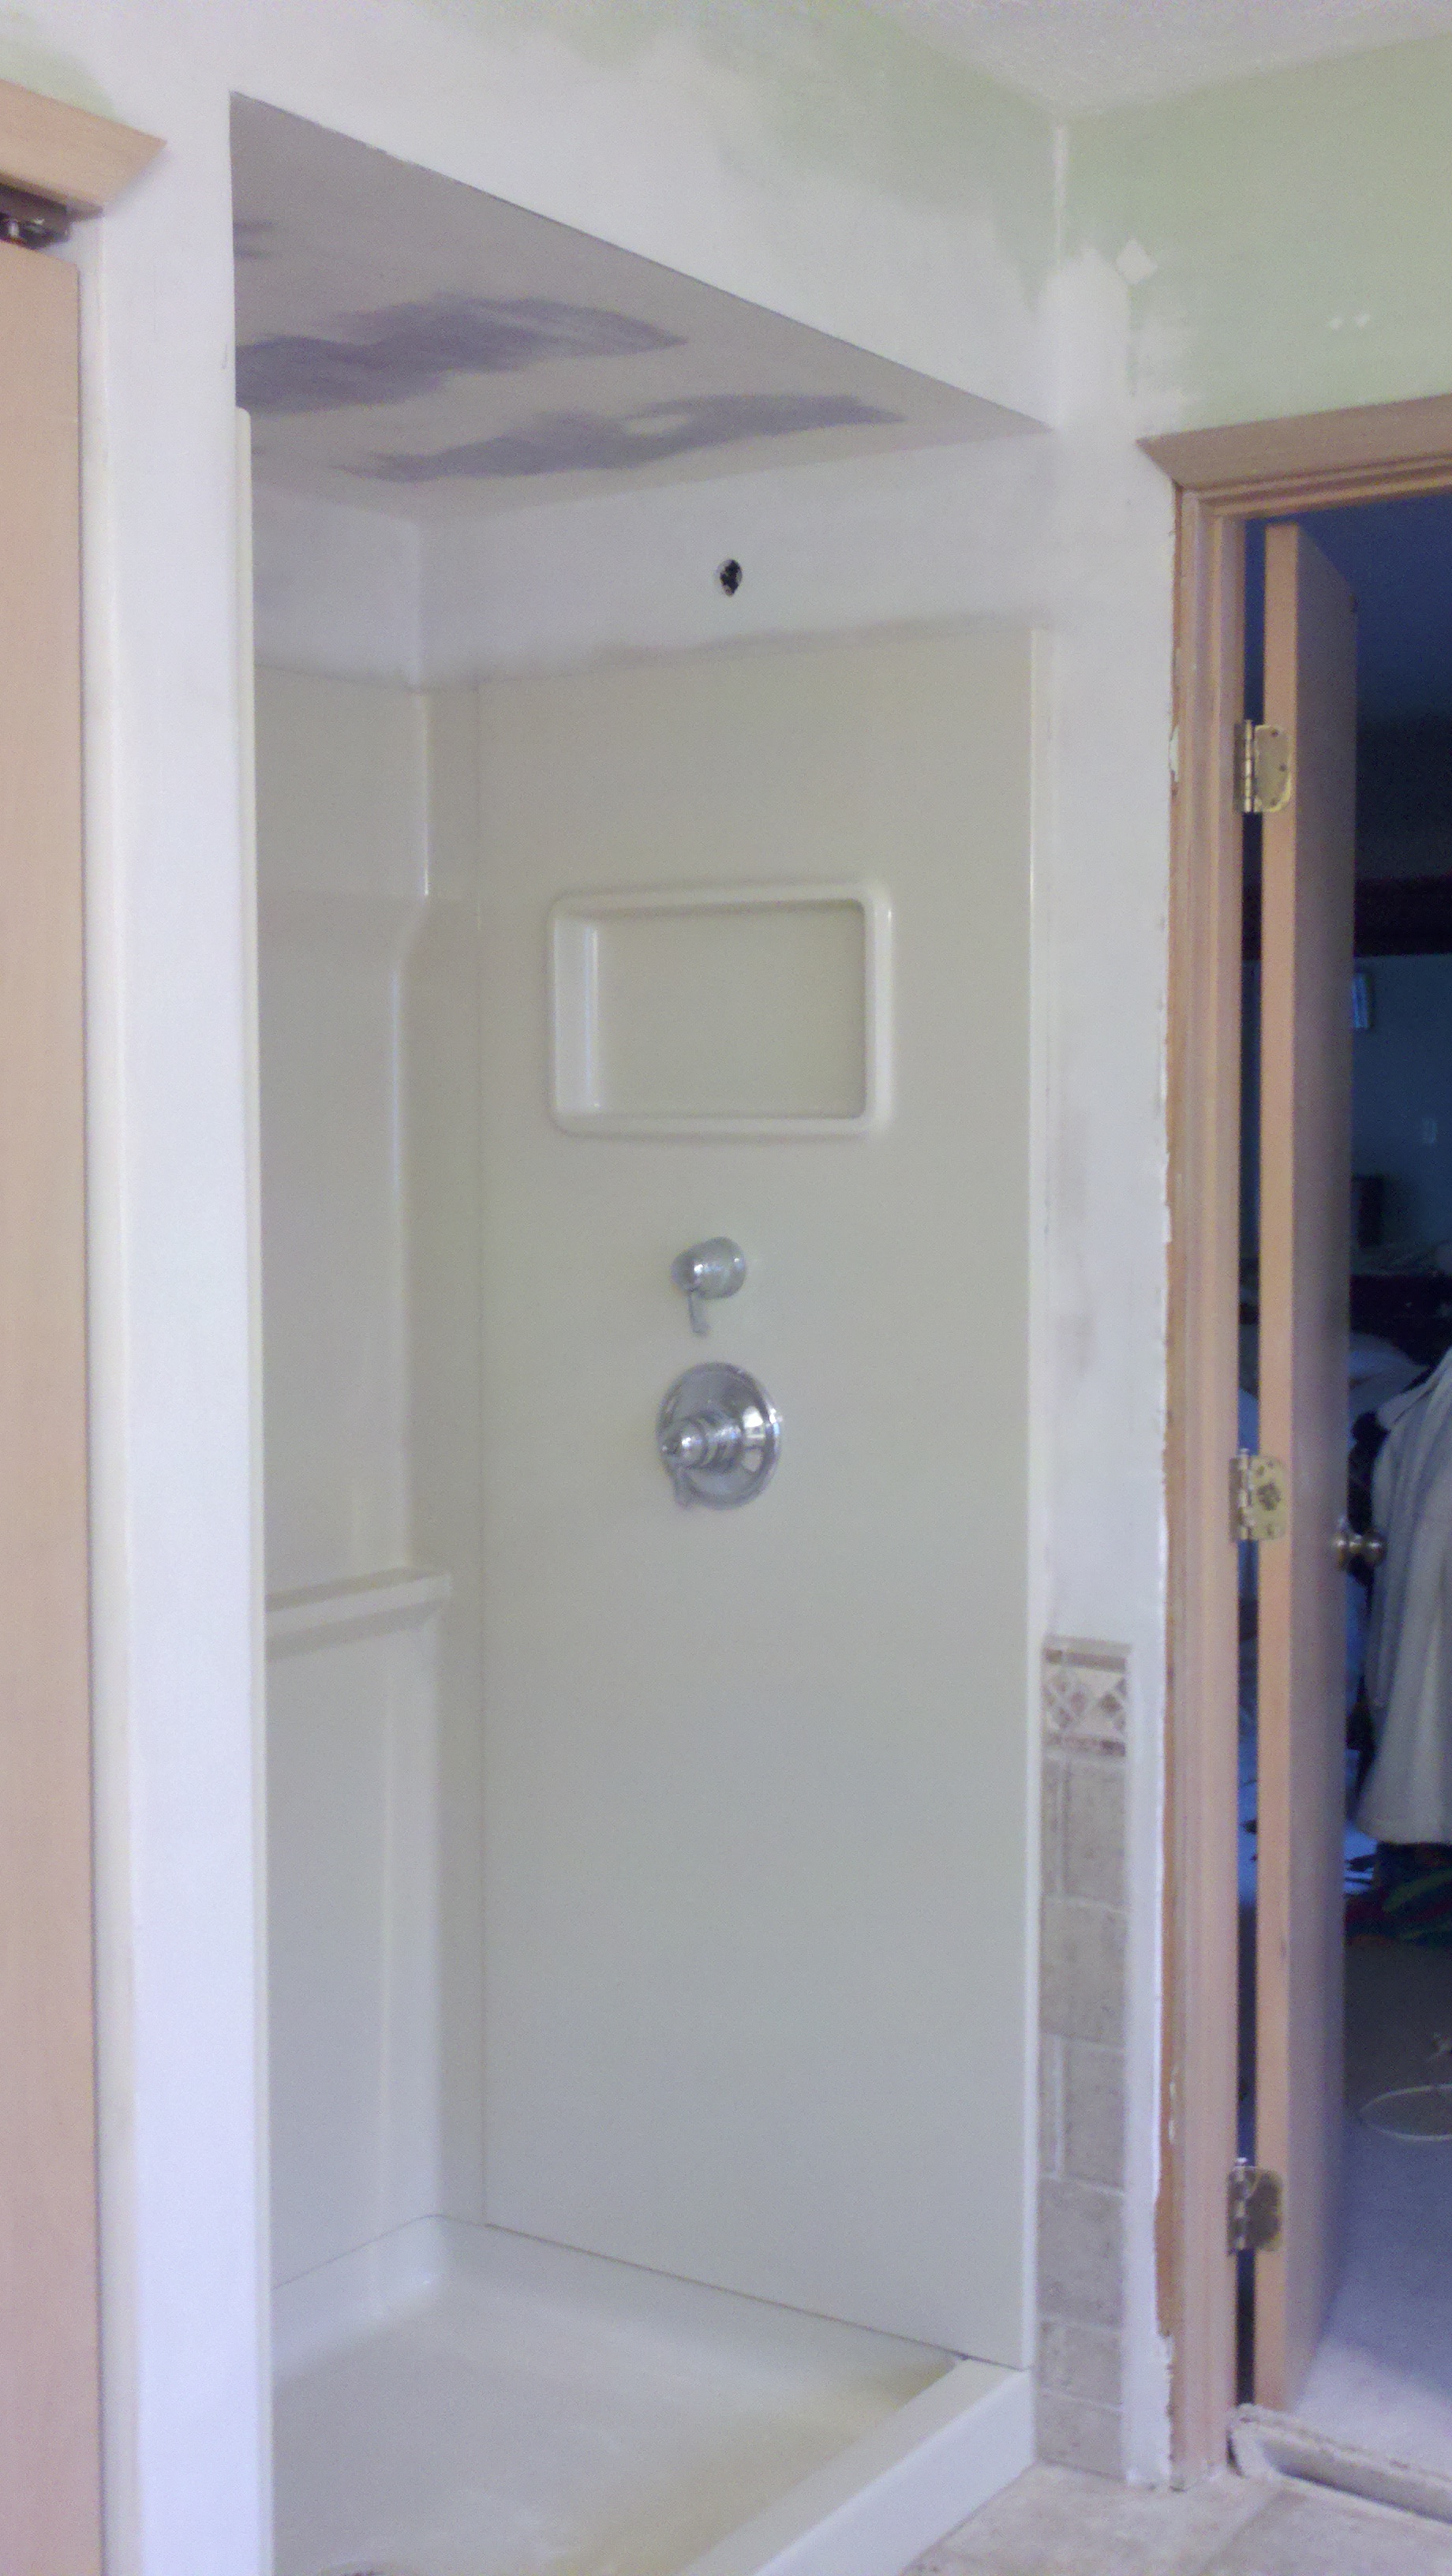
Lower level, of the house, will require a wall to be painted and a portion of the ceiling. The wall will also require the removal of curtain rod and repair of the existing holes. Repaint of the ceiling is due to a small amount of water damage above the door opening. Additional removal of a hanging lamp will be complete with patching of the existing holes.
Additional repair work will need to be attempted on the counter top of the lower floor’s kitchen. Laminate glue will be applied to the surfaces in hopes of re-binding the pieces back together.
Completed Project
Pictures Entry Room
Hallway
Living Room
Main Level Screen Door
Front Door & Patio
Rear Patio & Siding
Main Floor Kitchen
Main Level Bathroom
Lower Level Walls & Ceiling
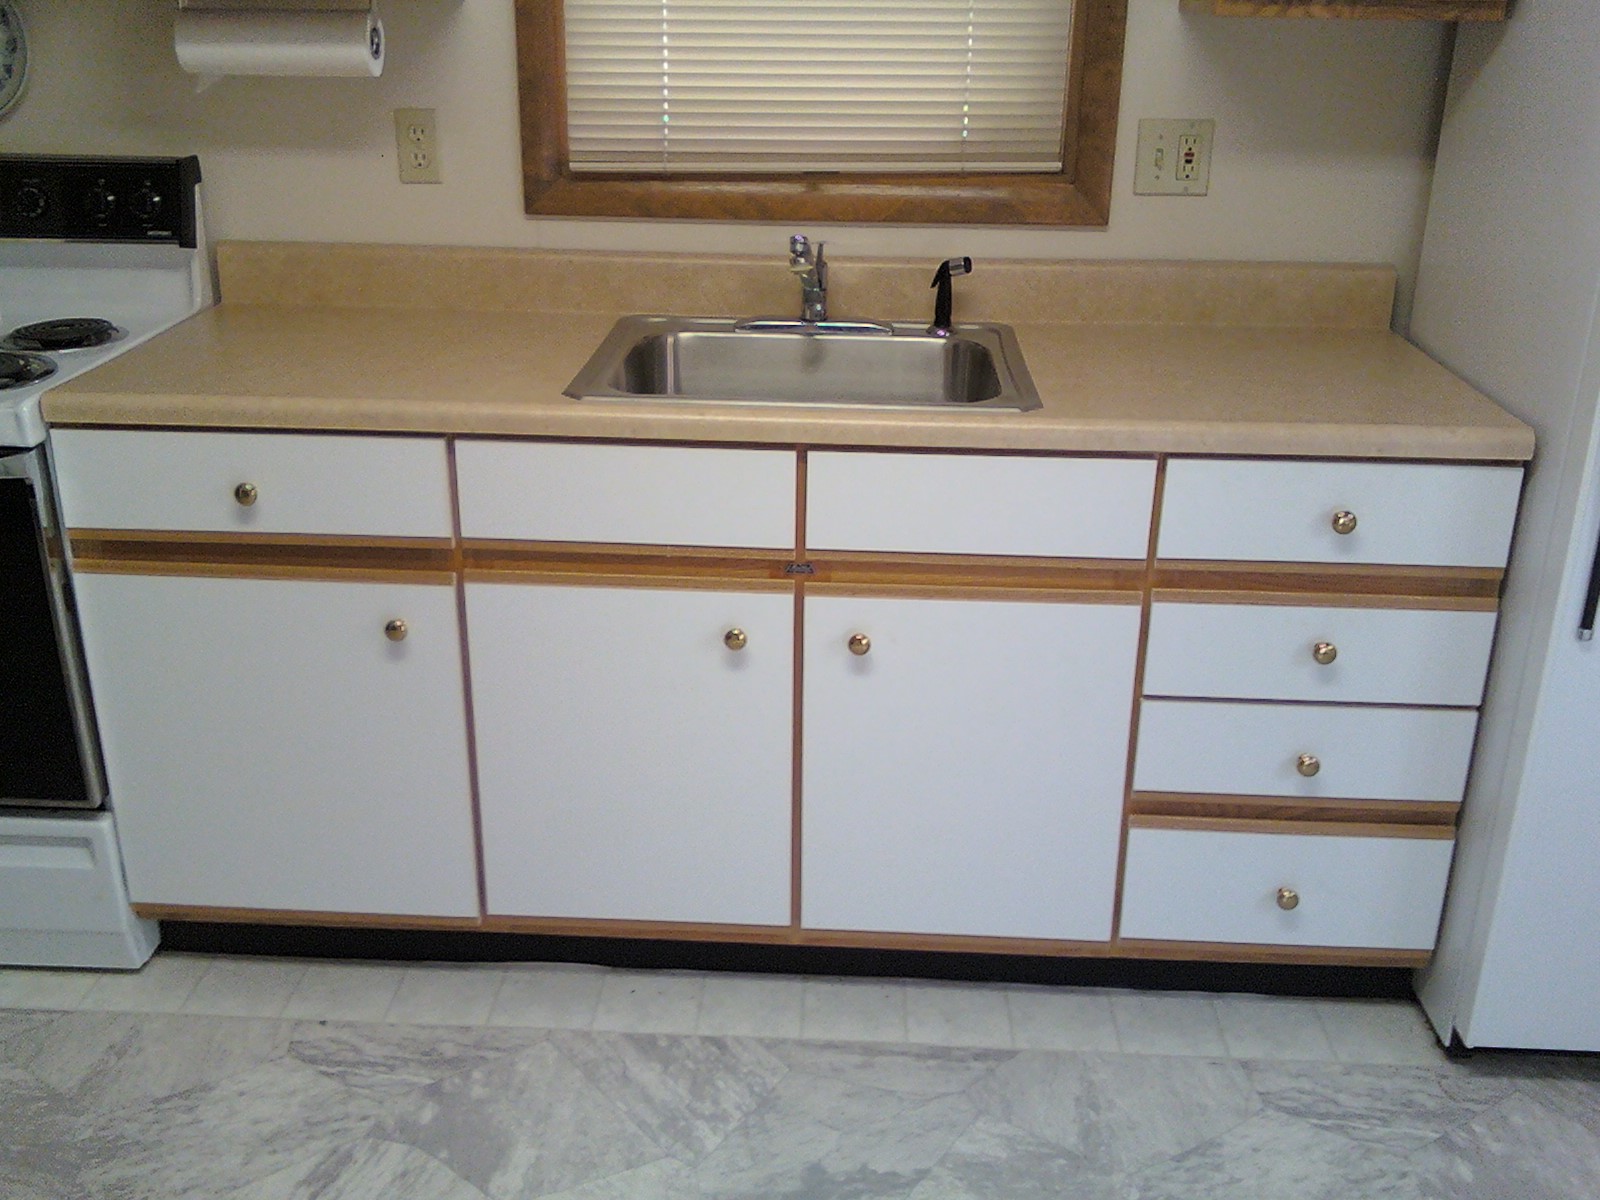
Lower Level Kitchen
Garage / House Entry Door
Dinning Room
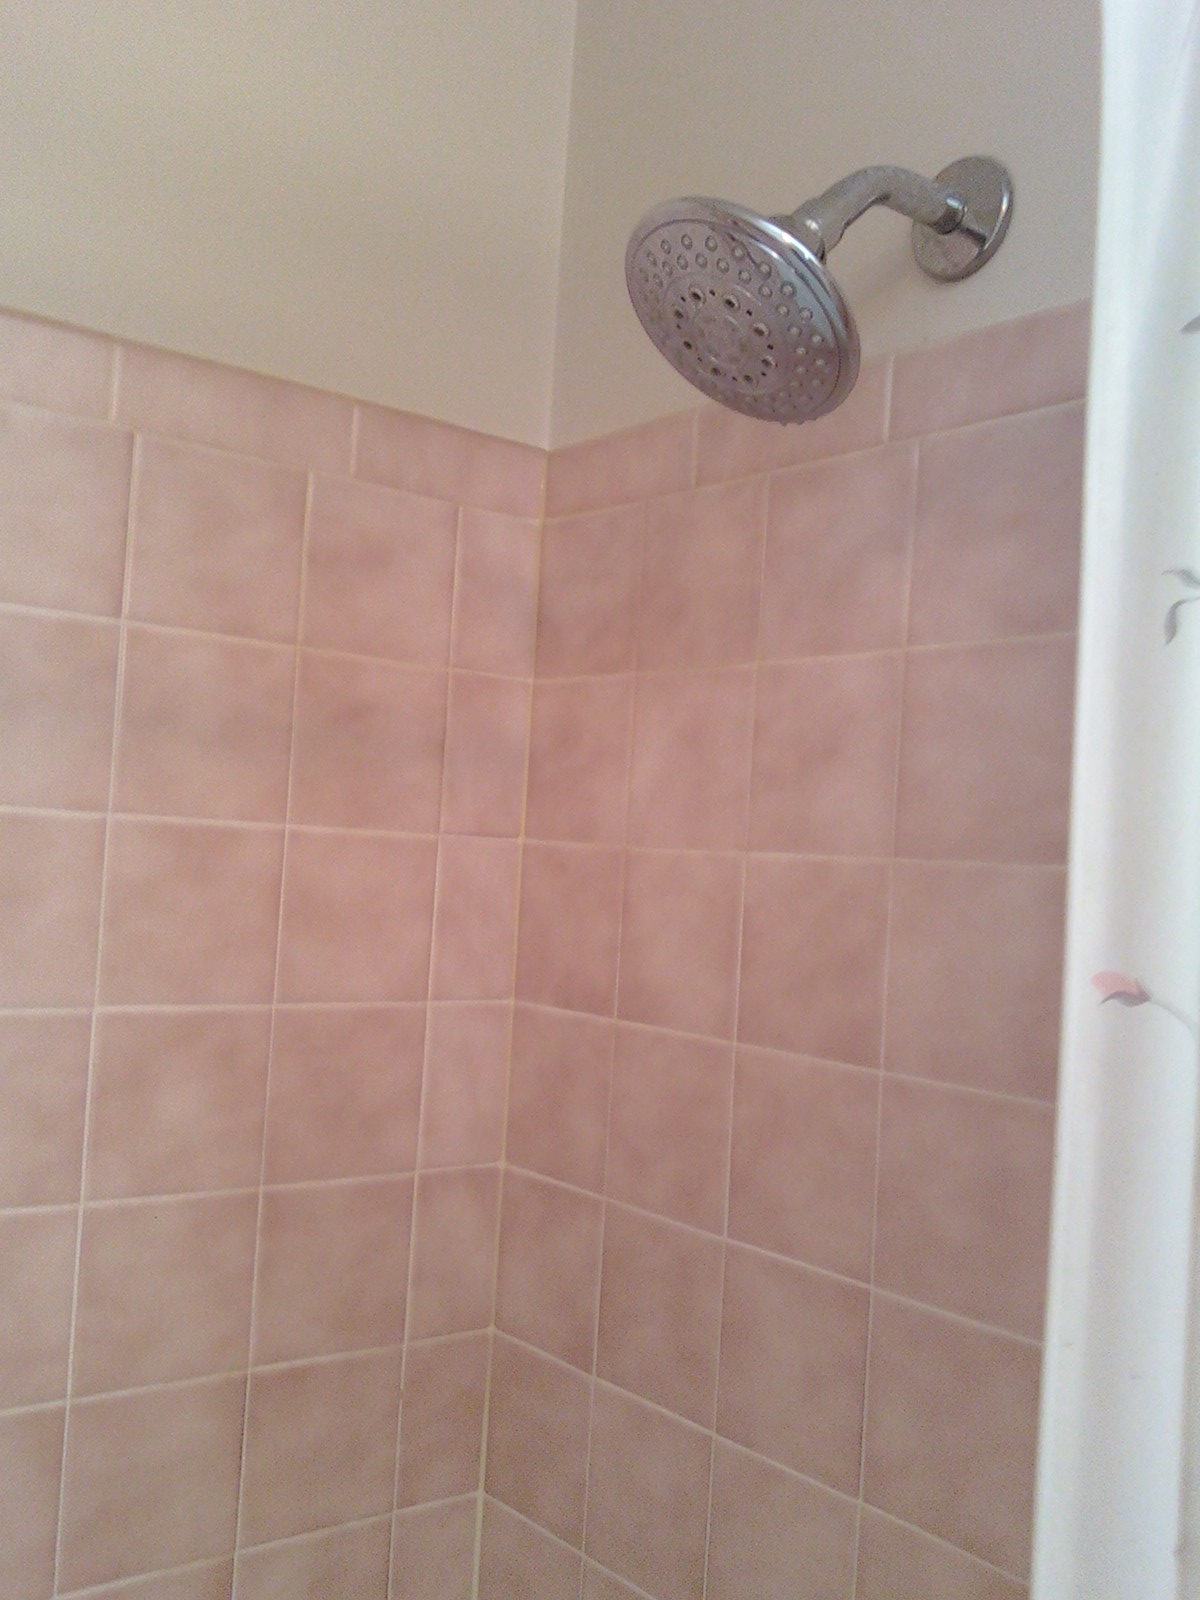
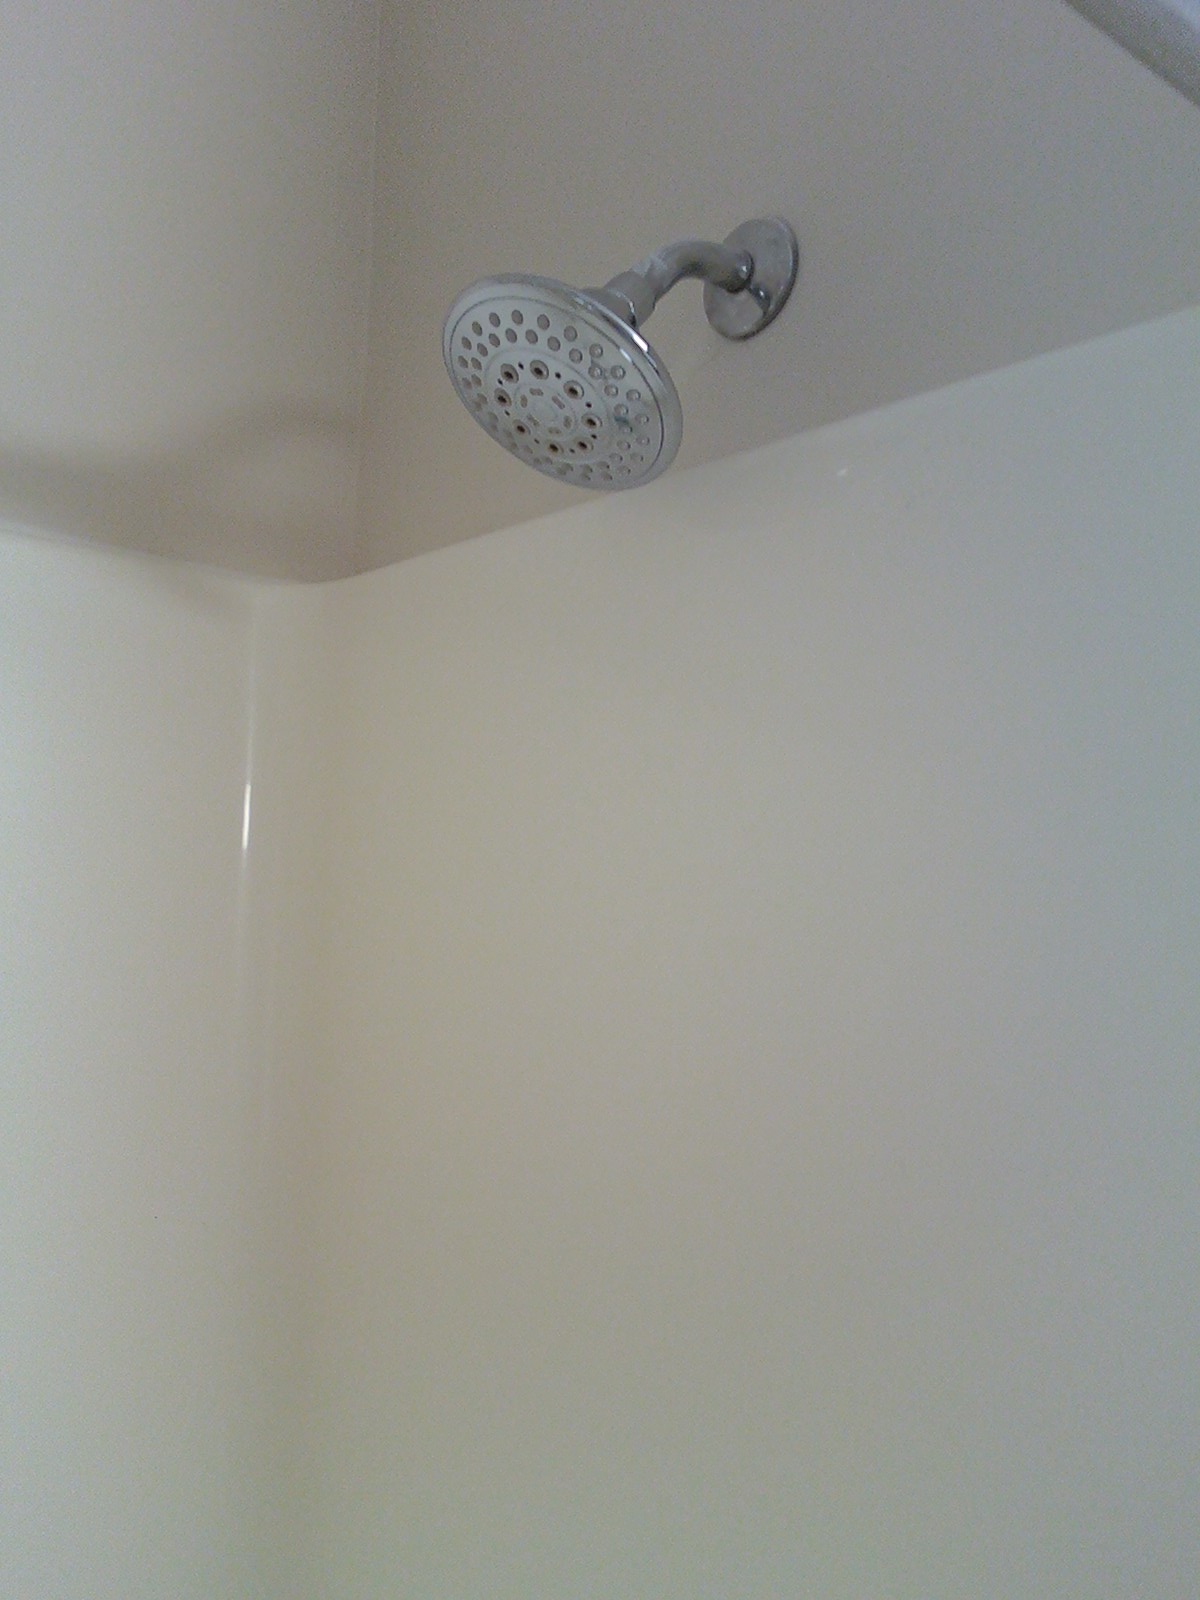
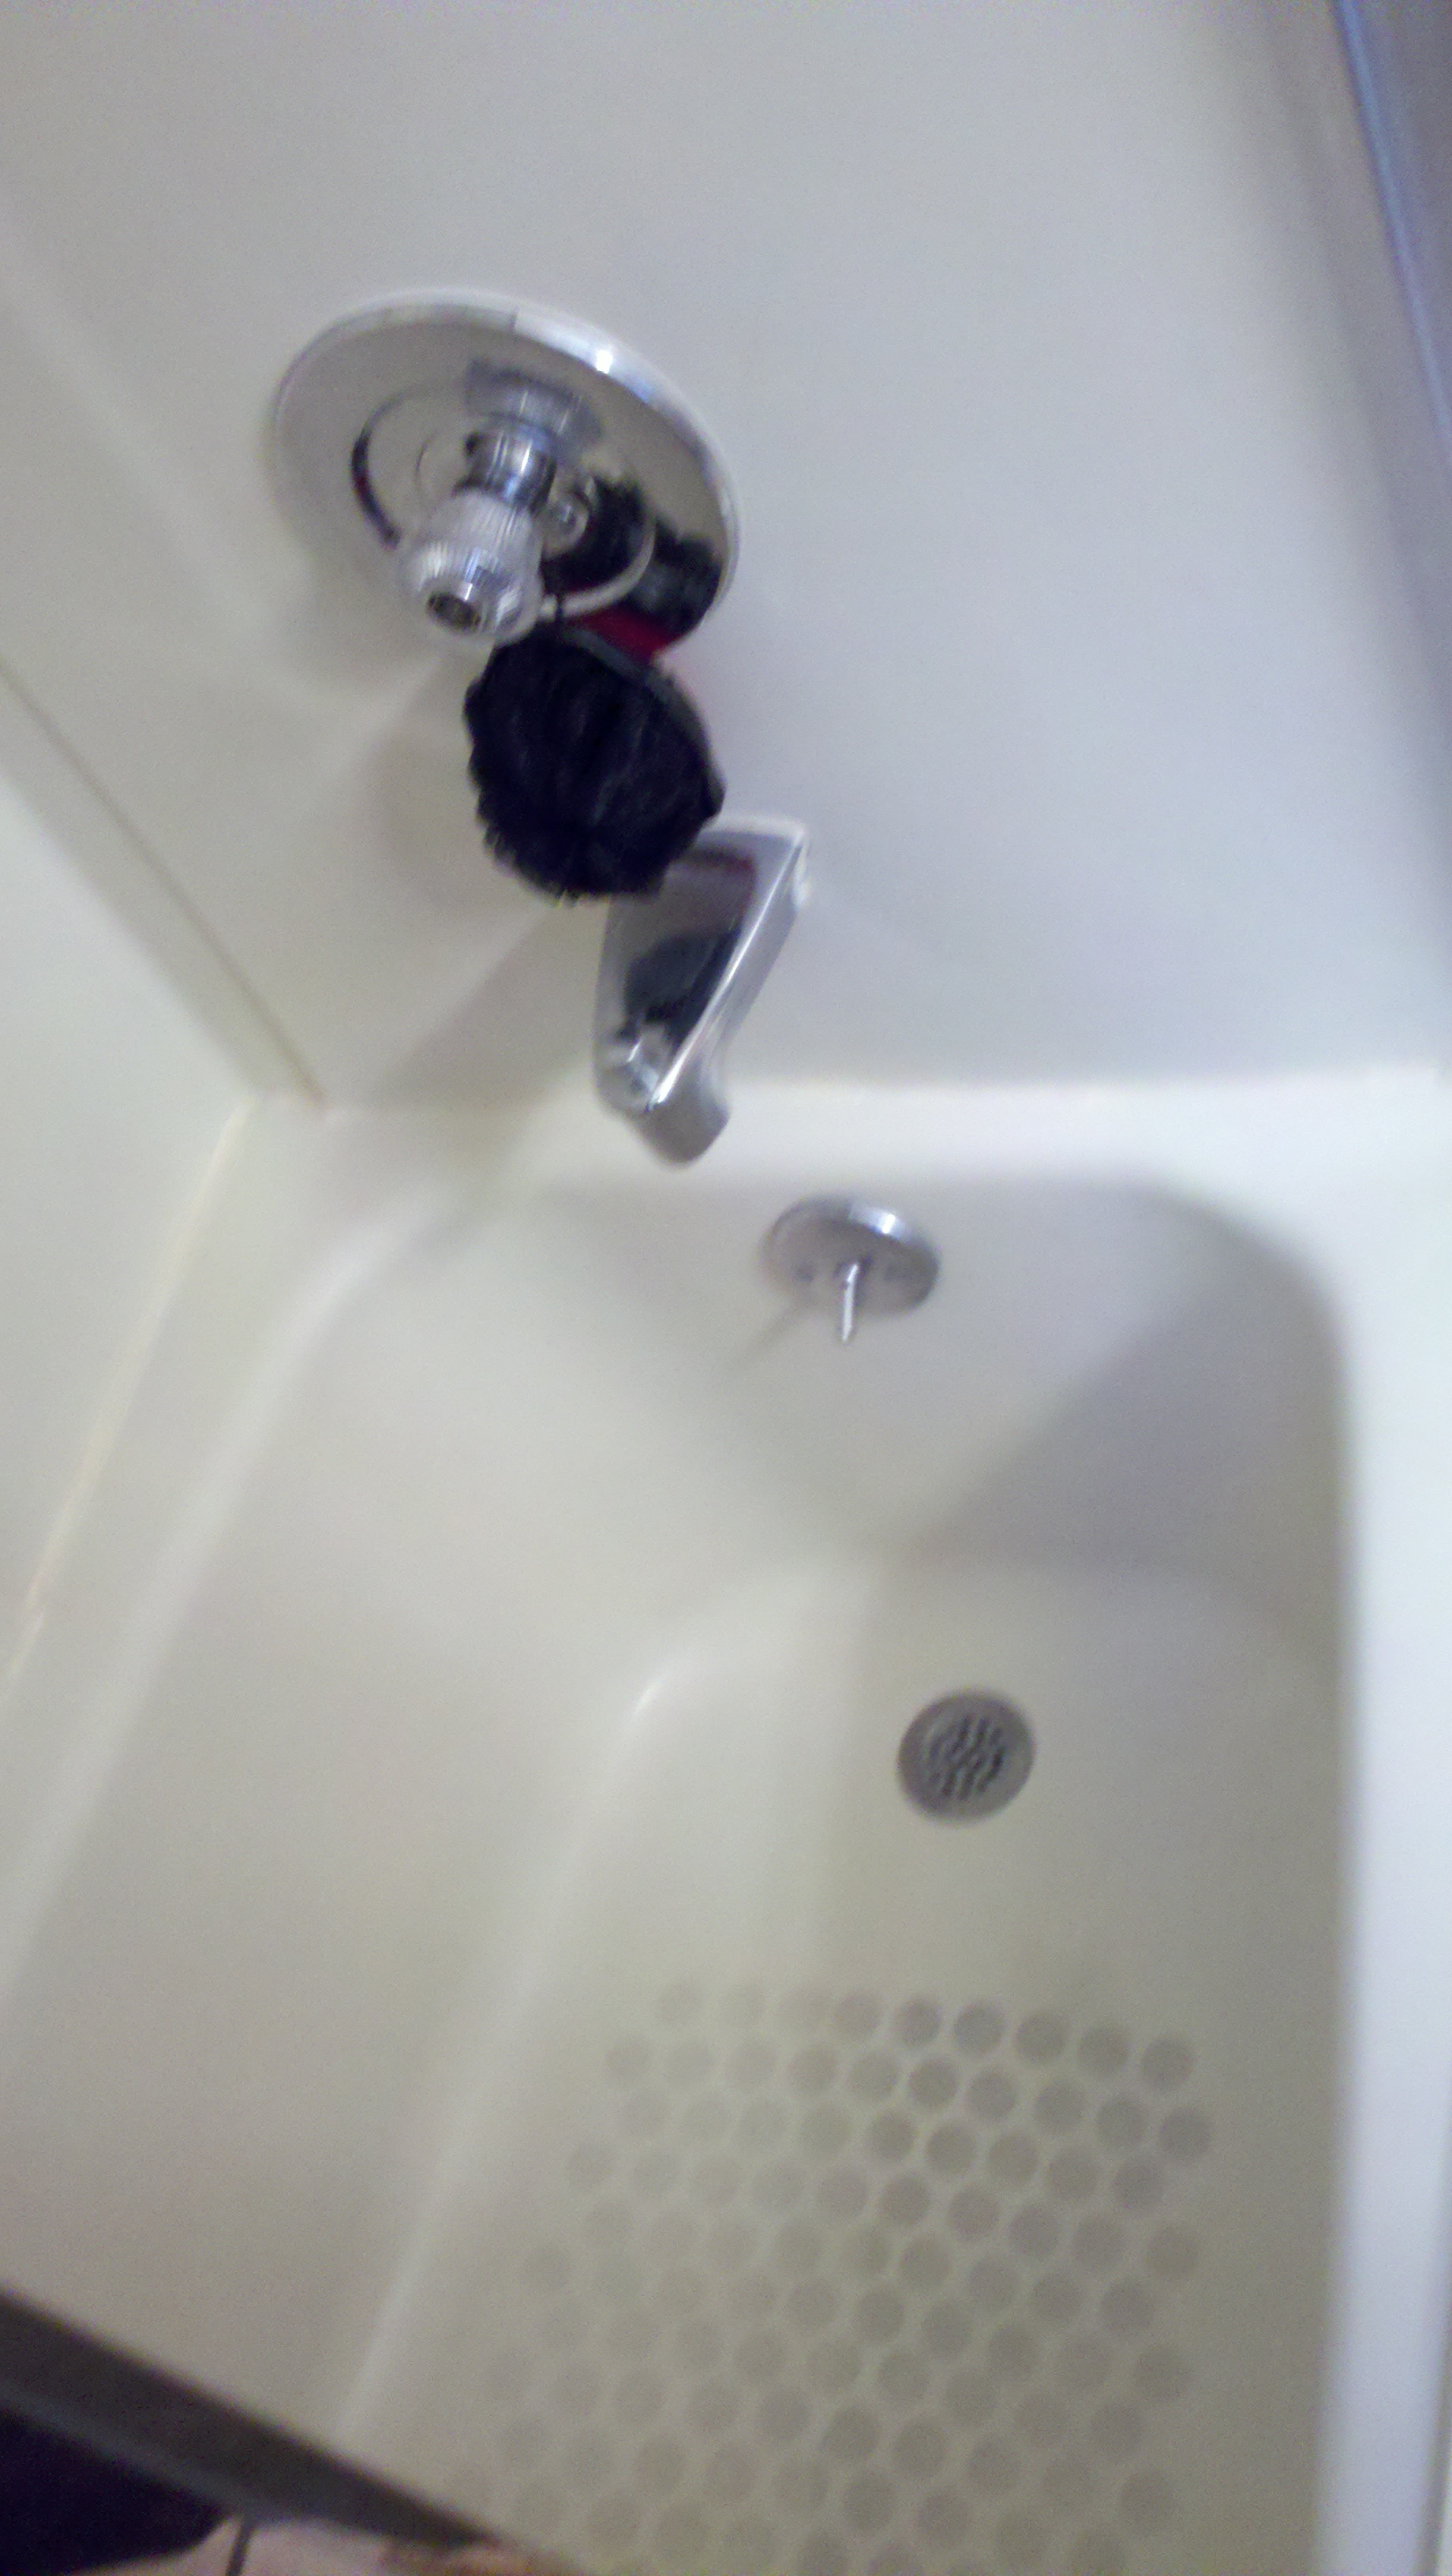
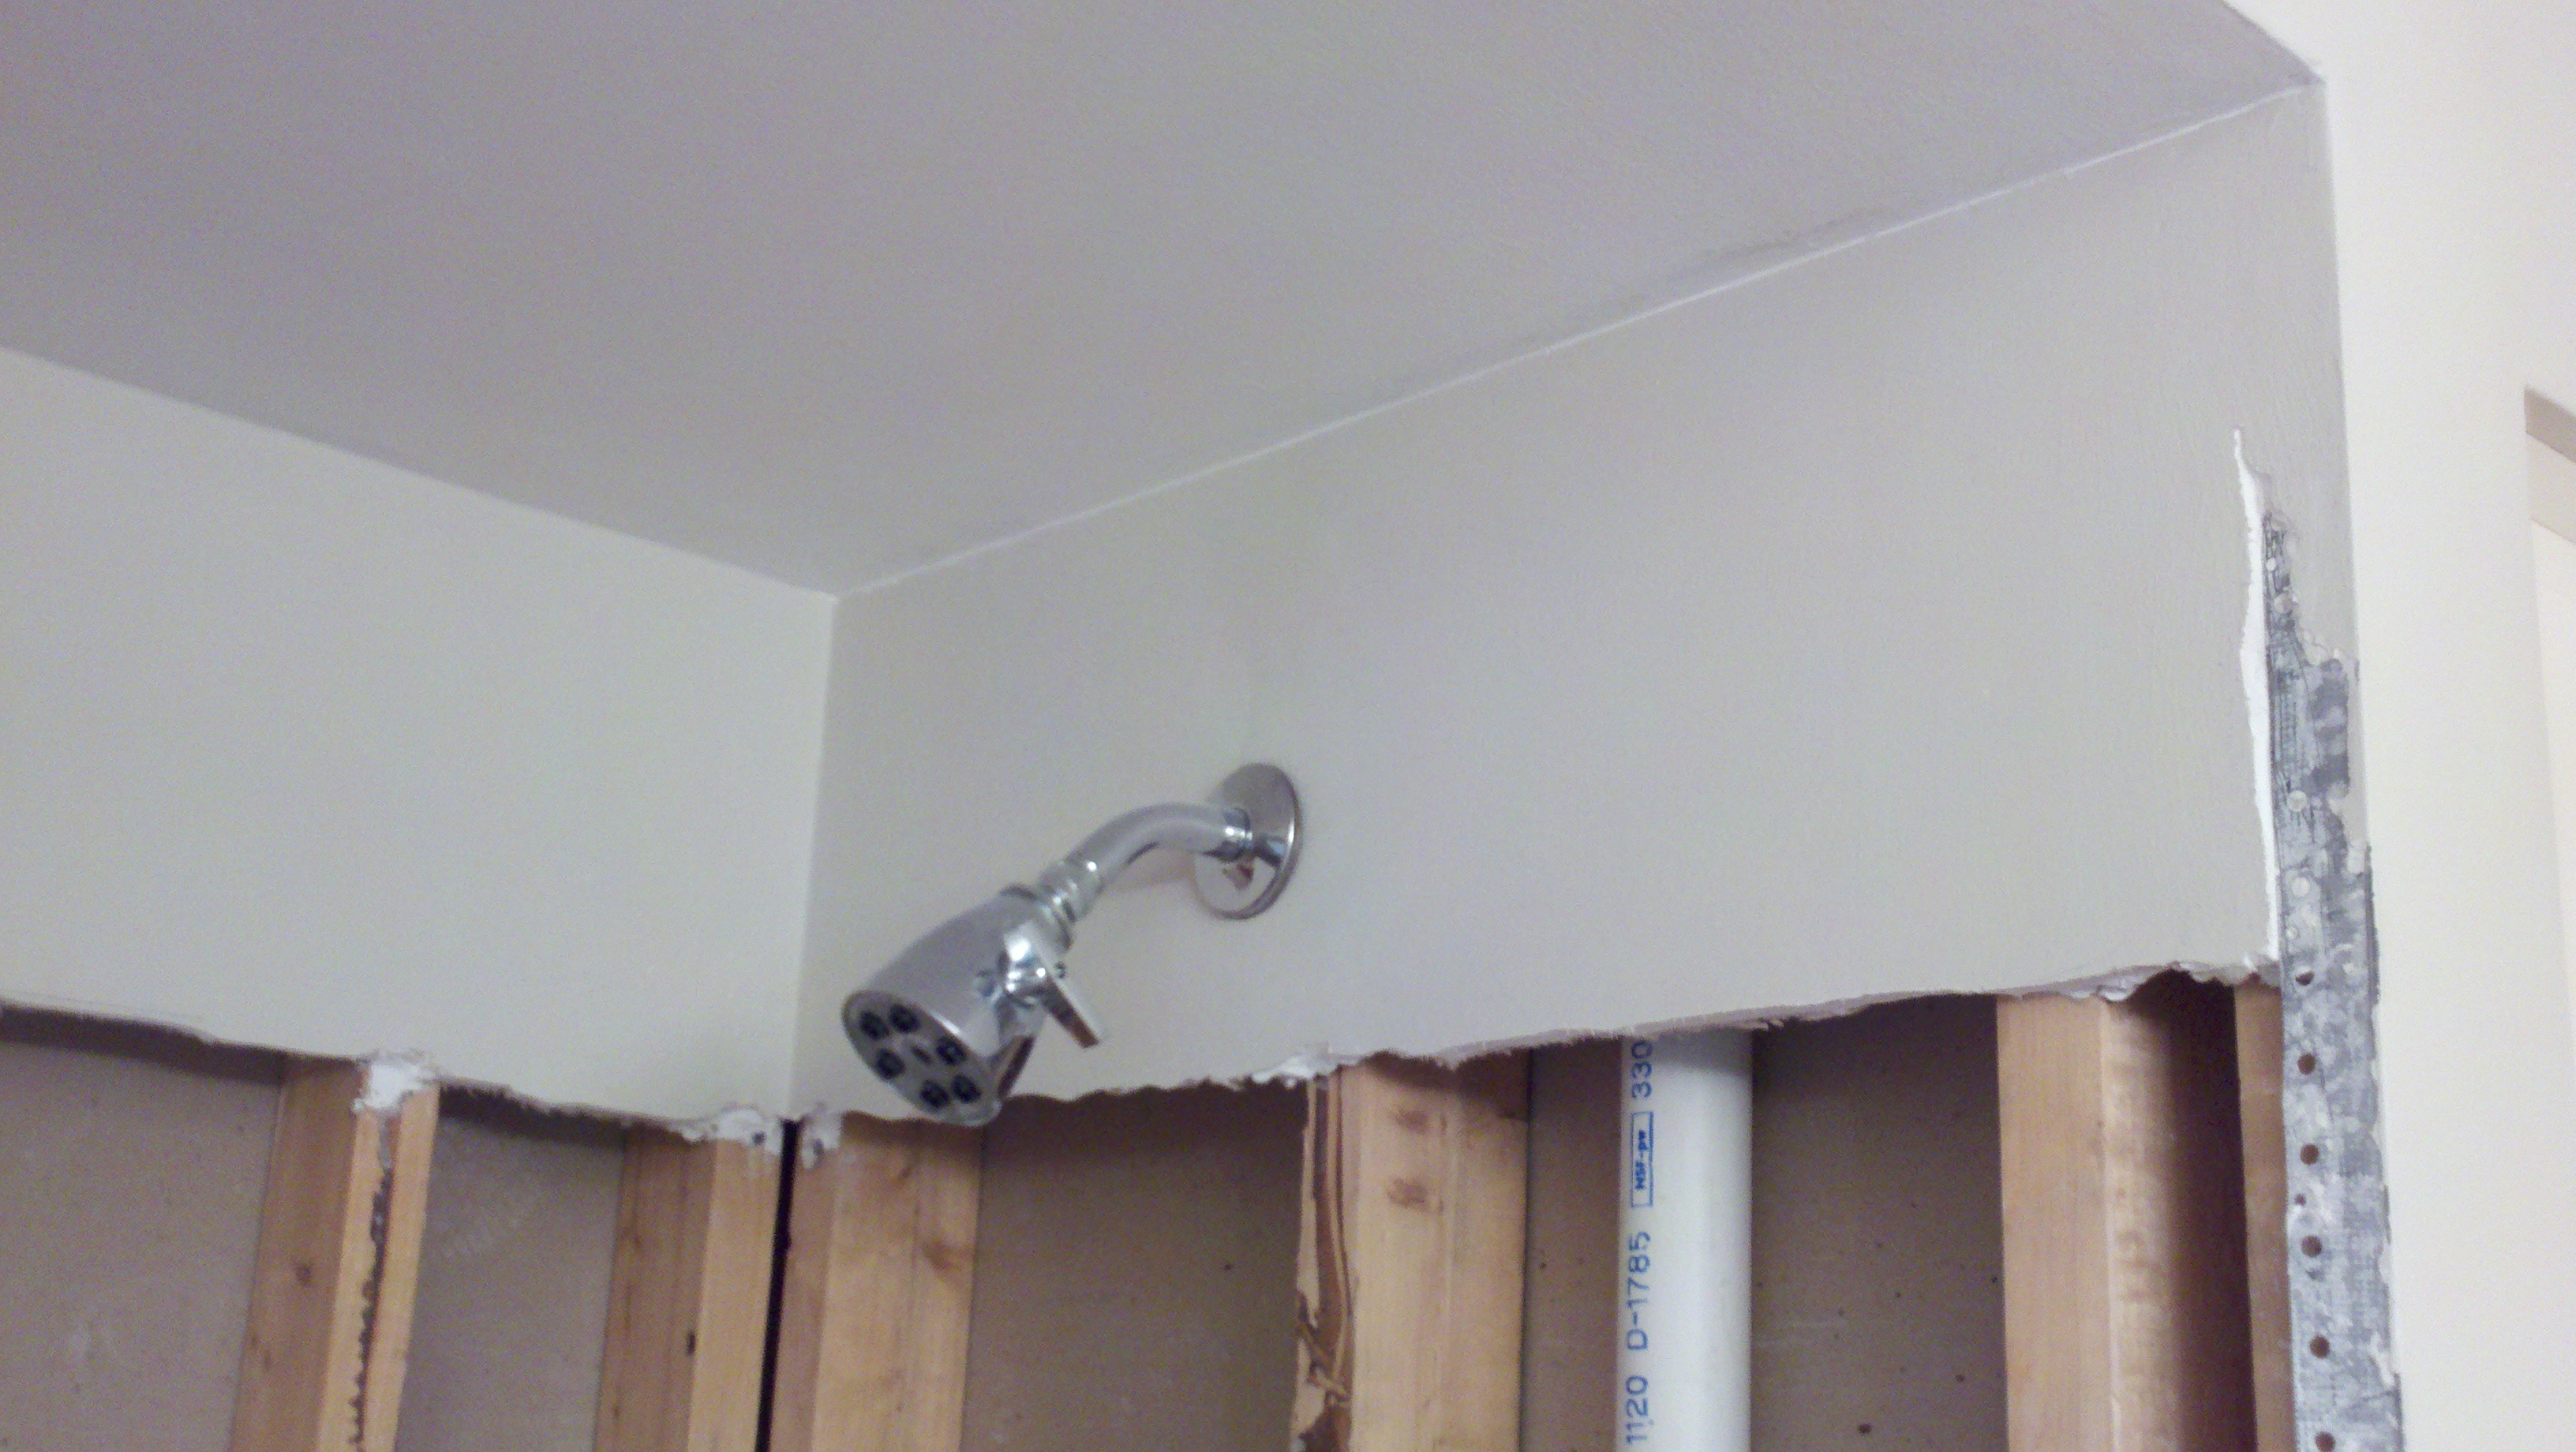
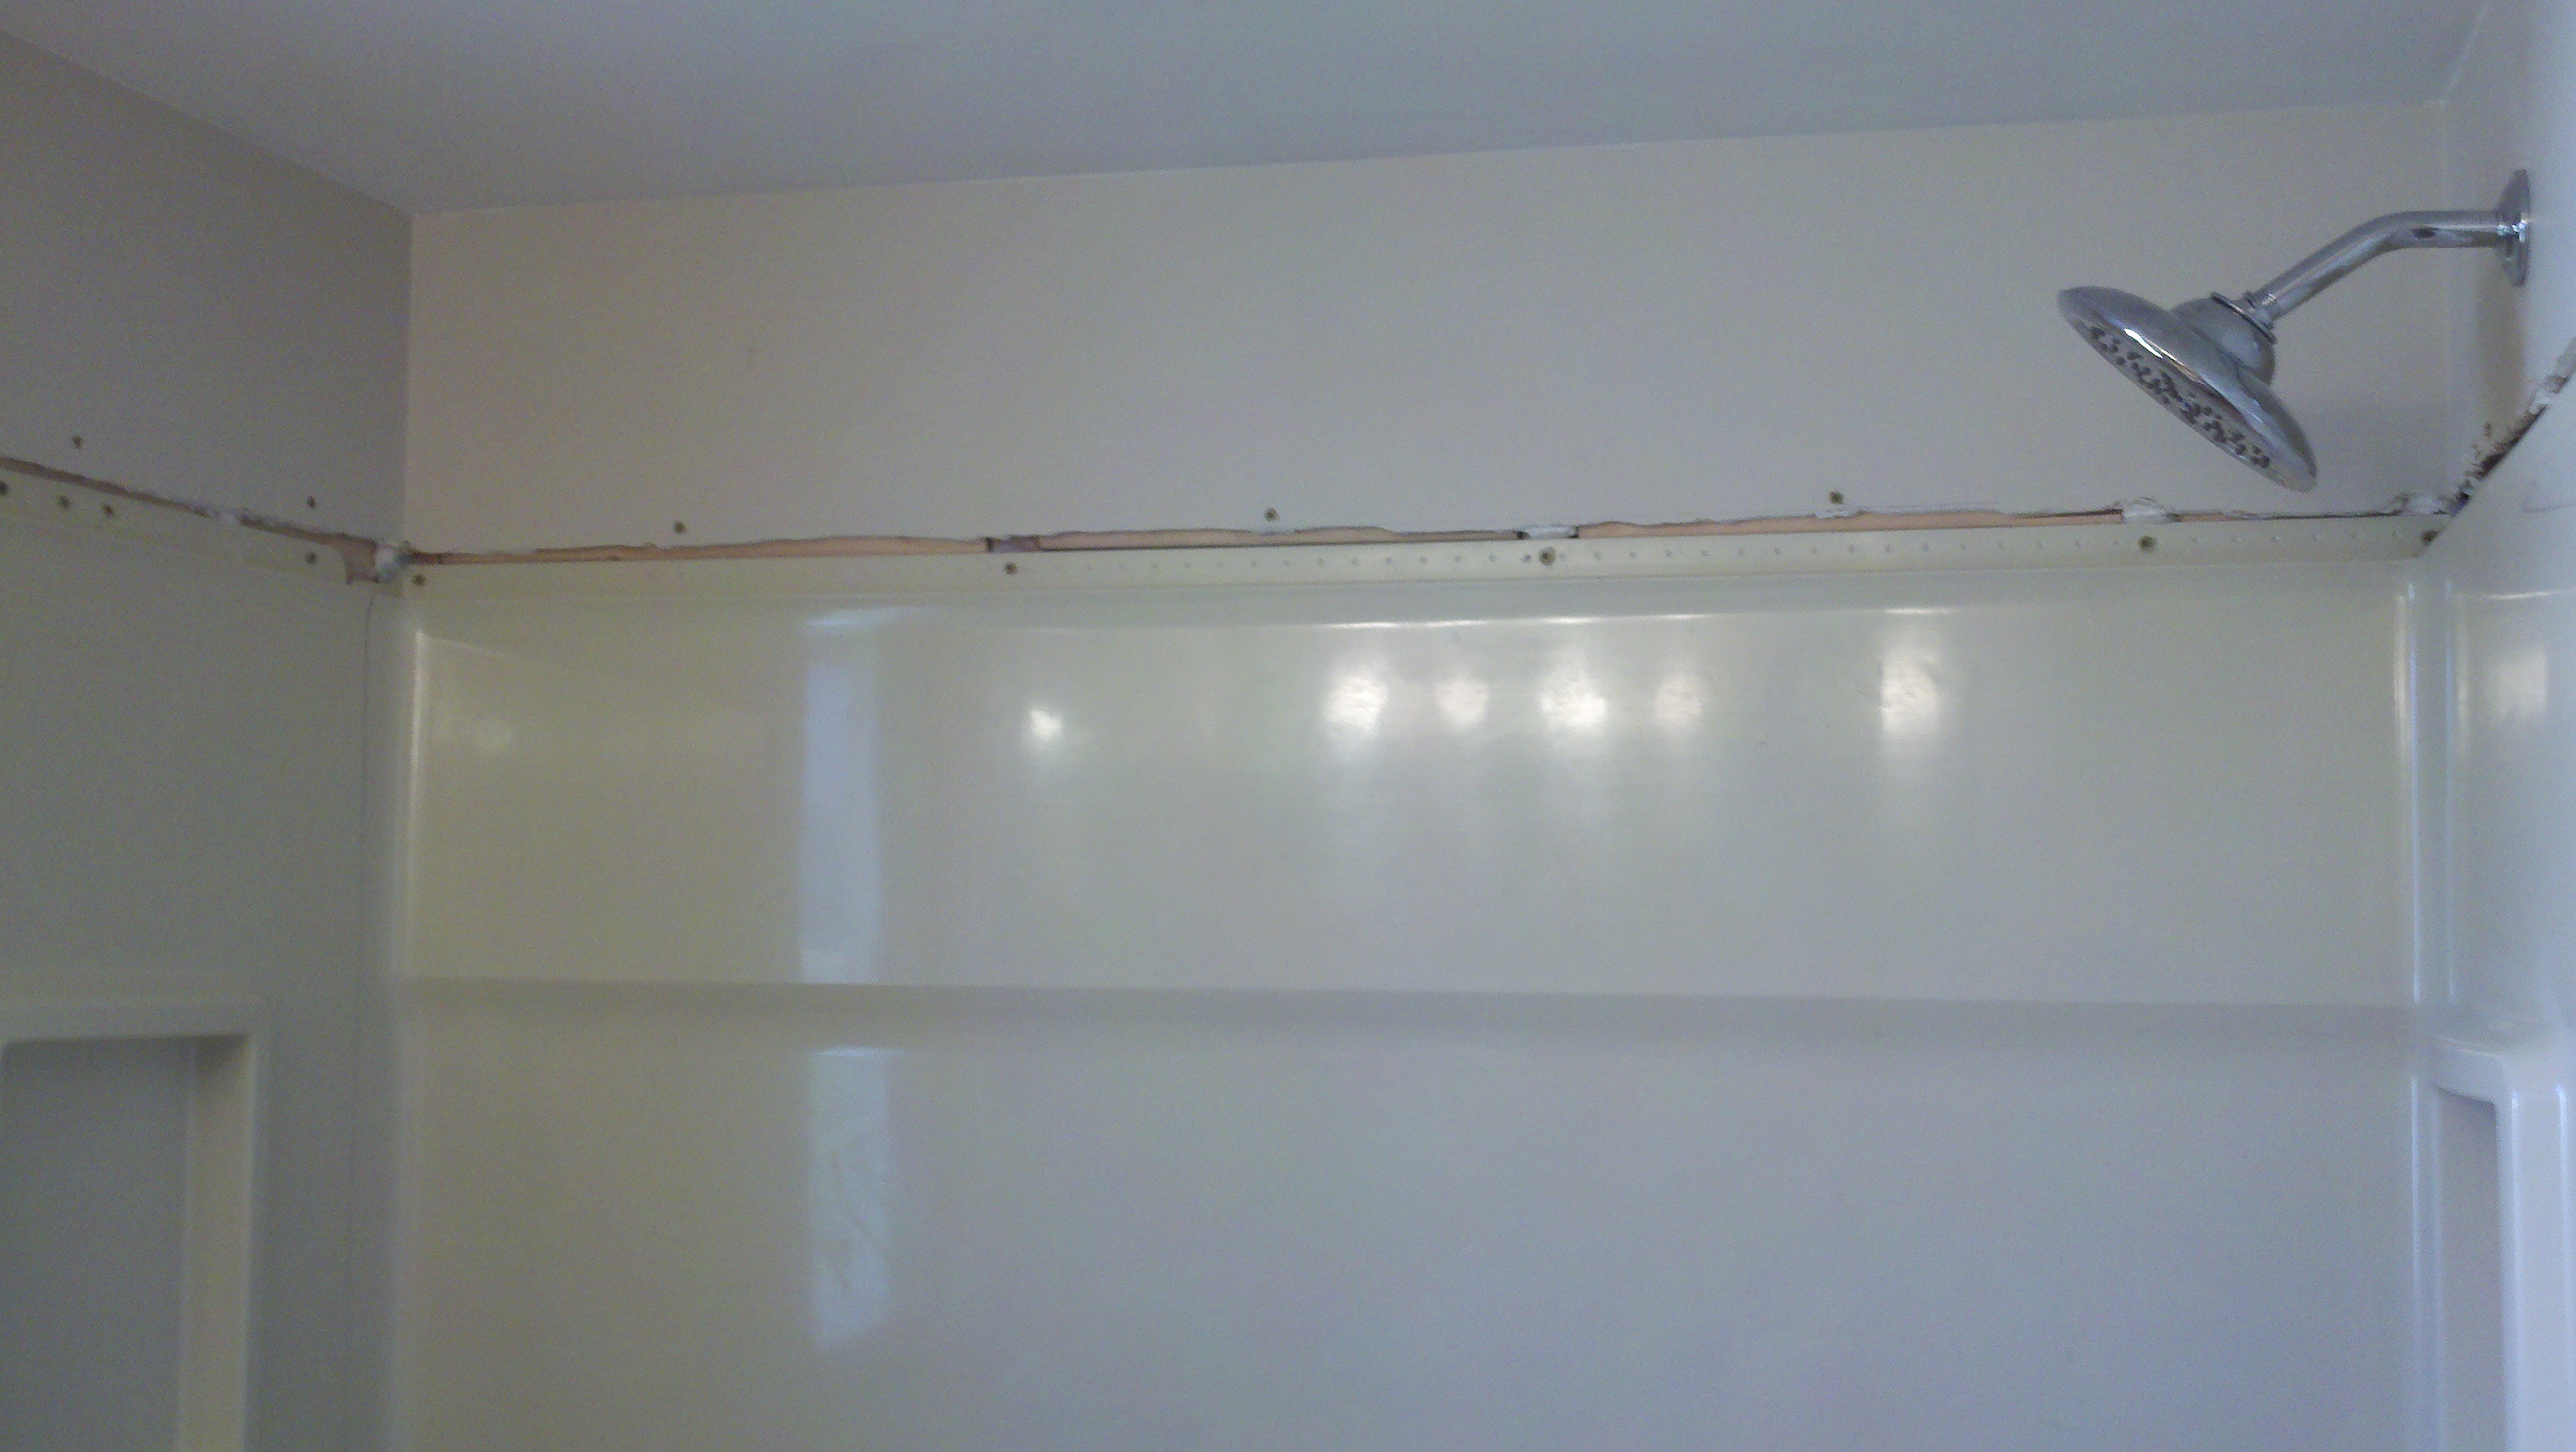
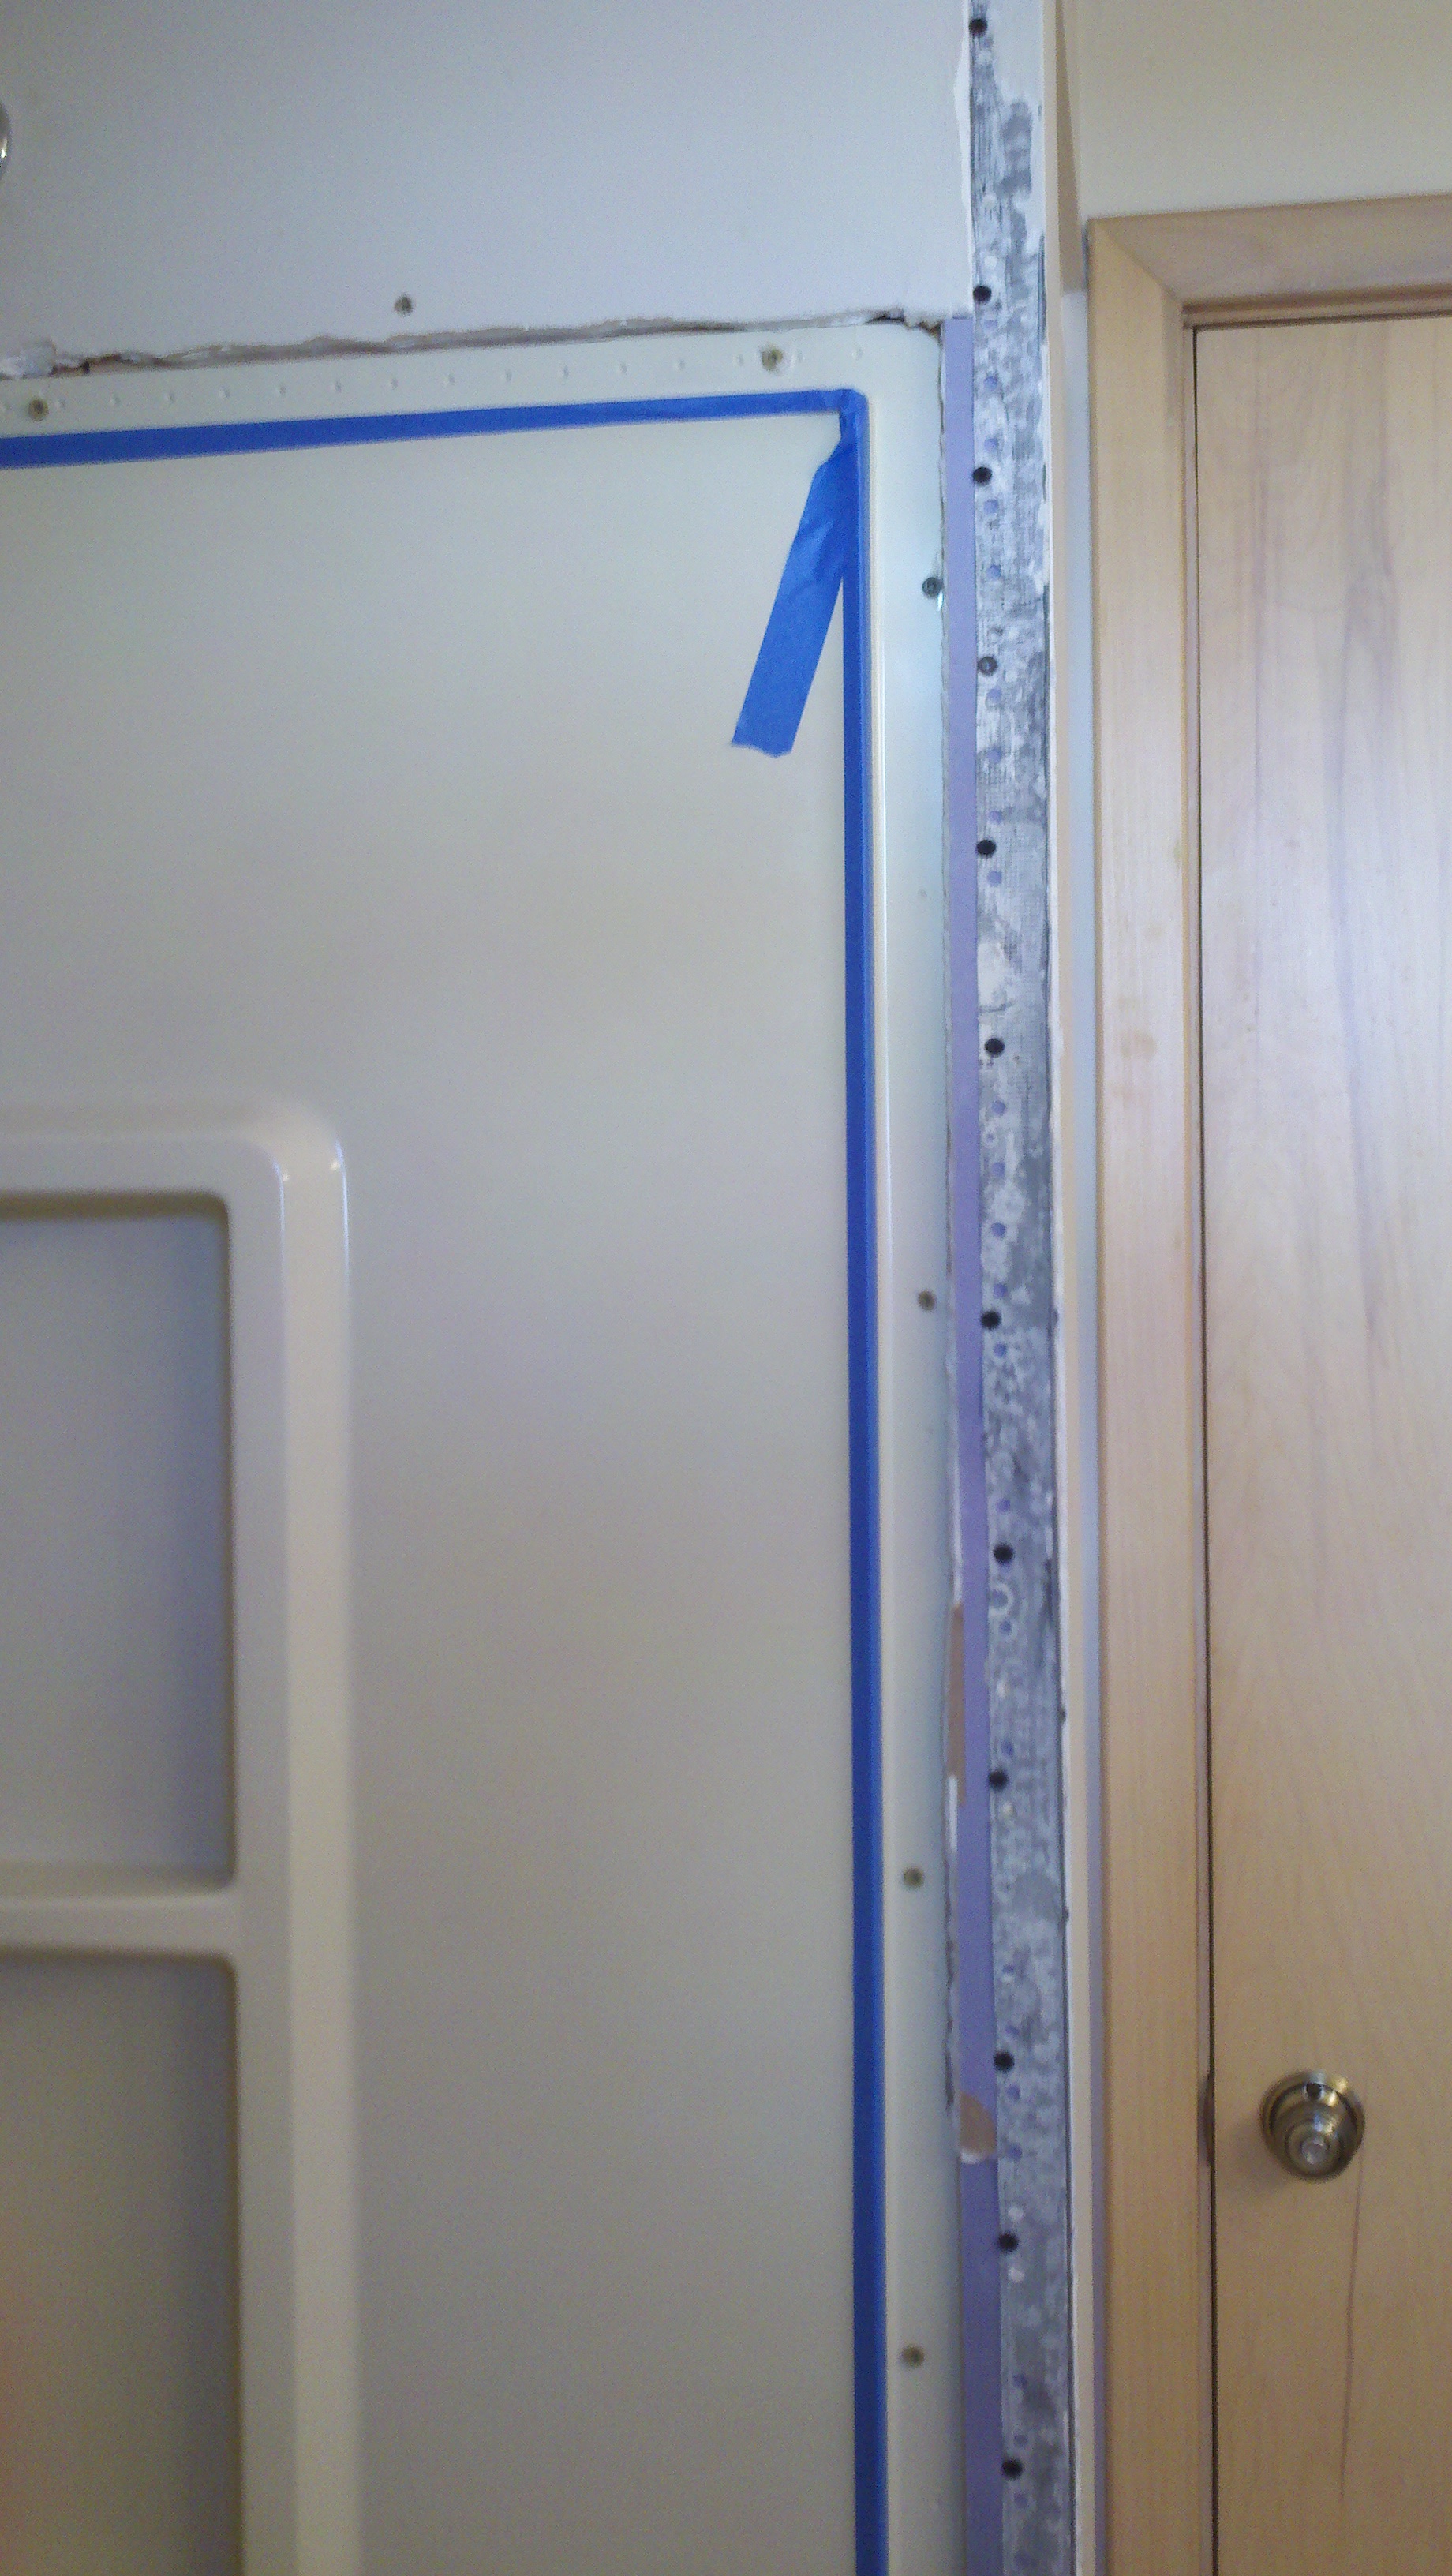
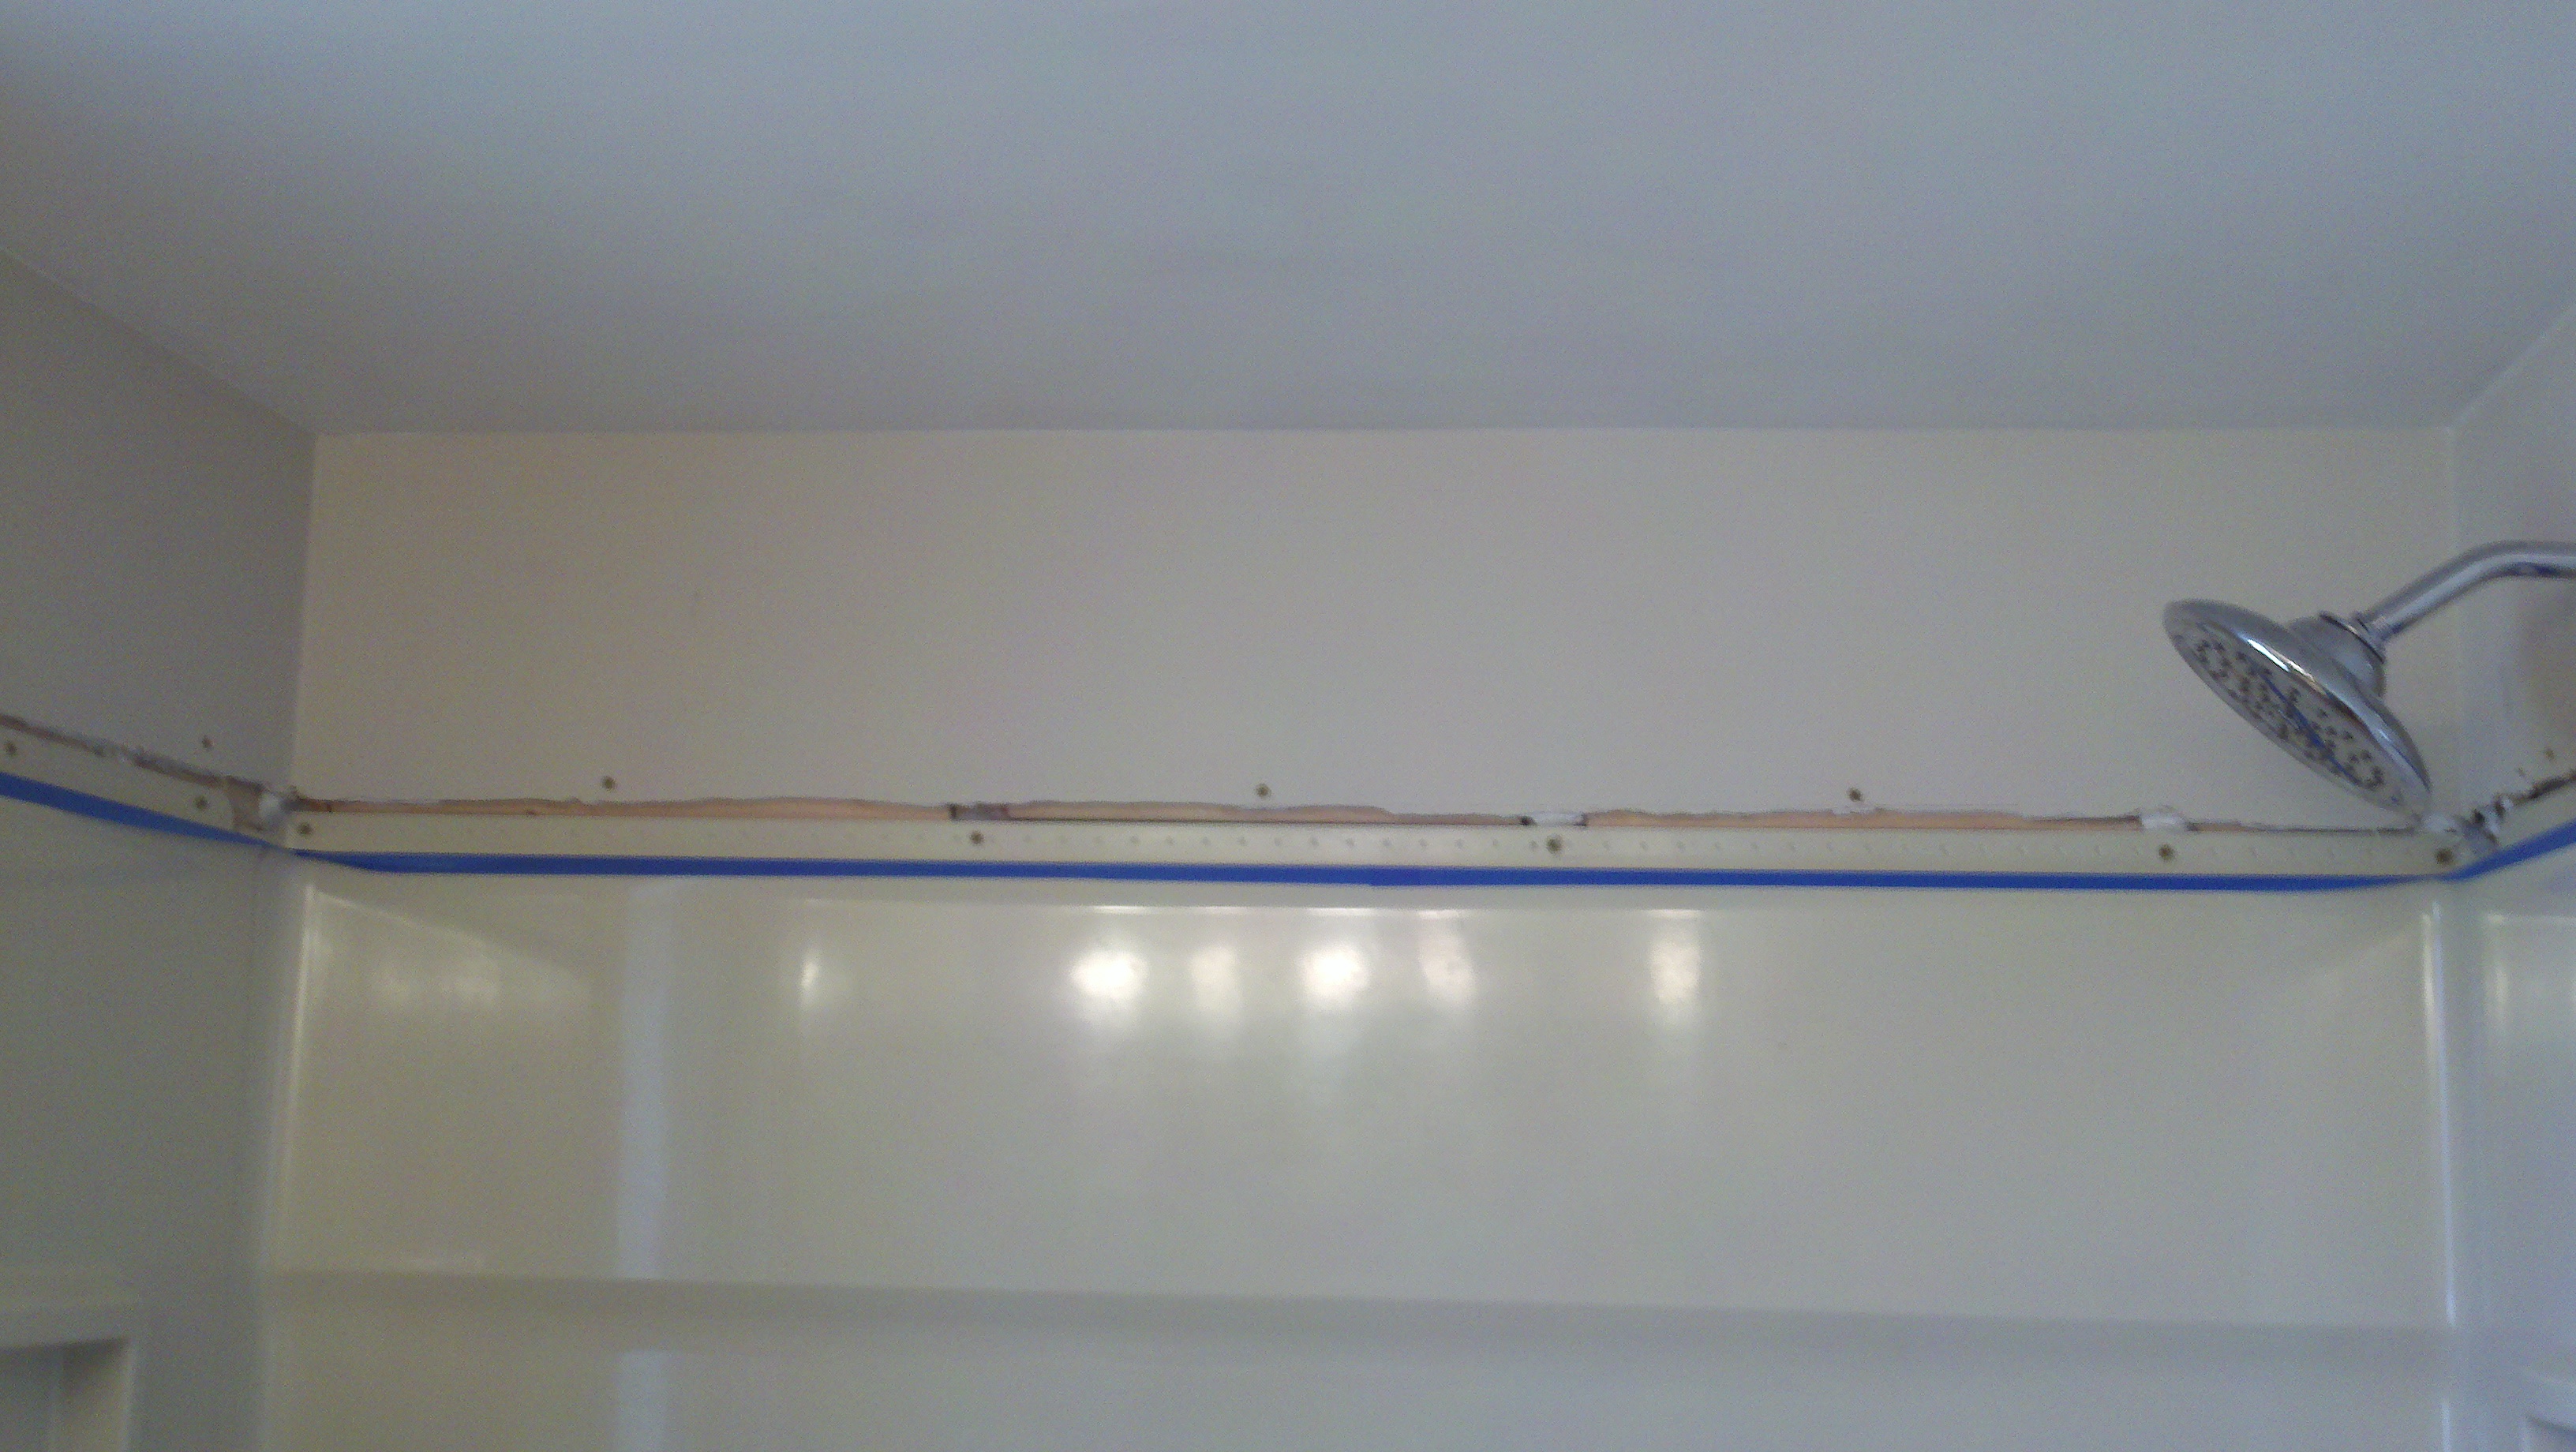
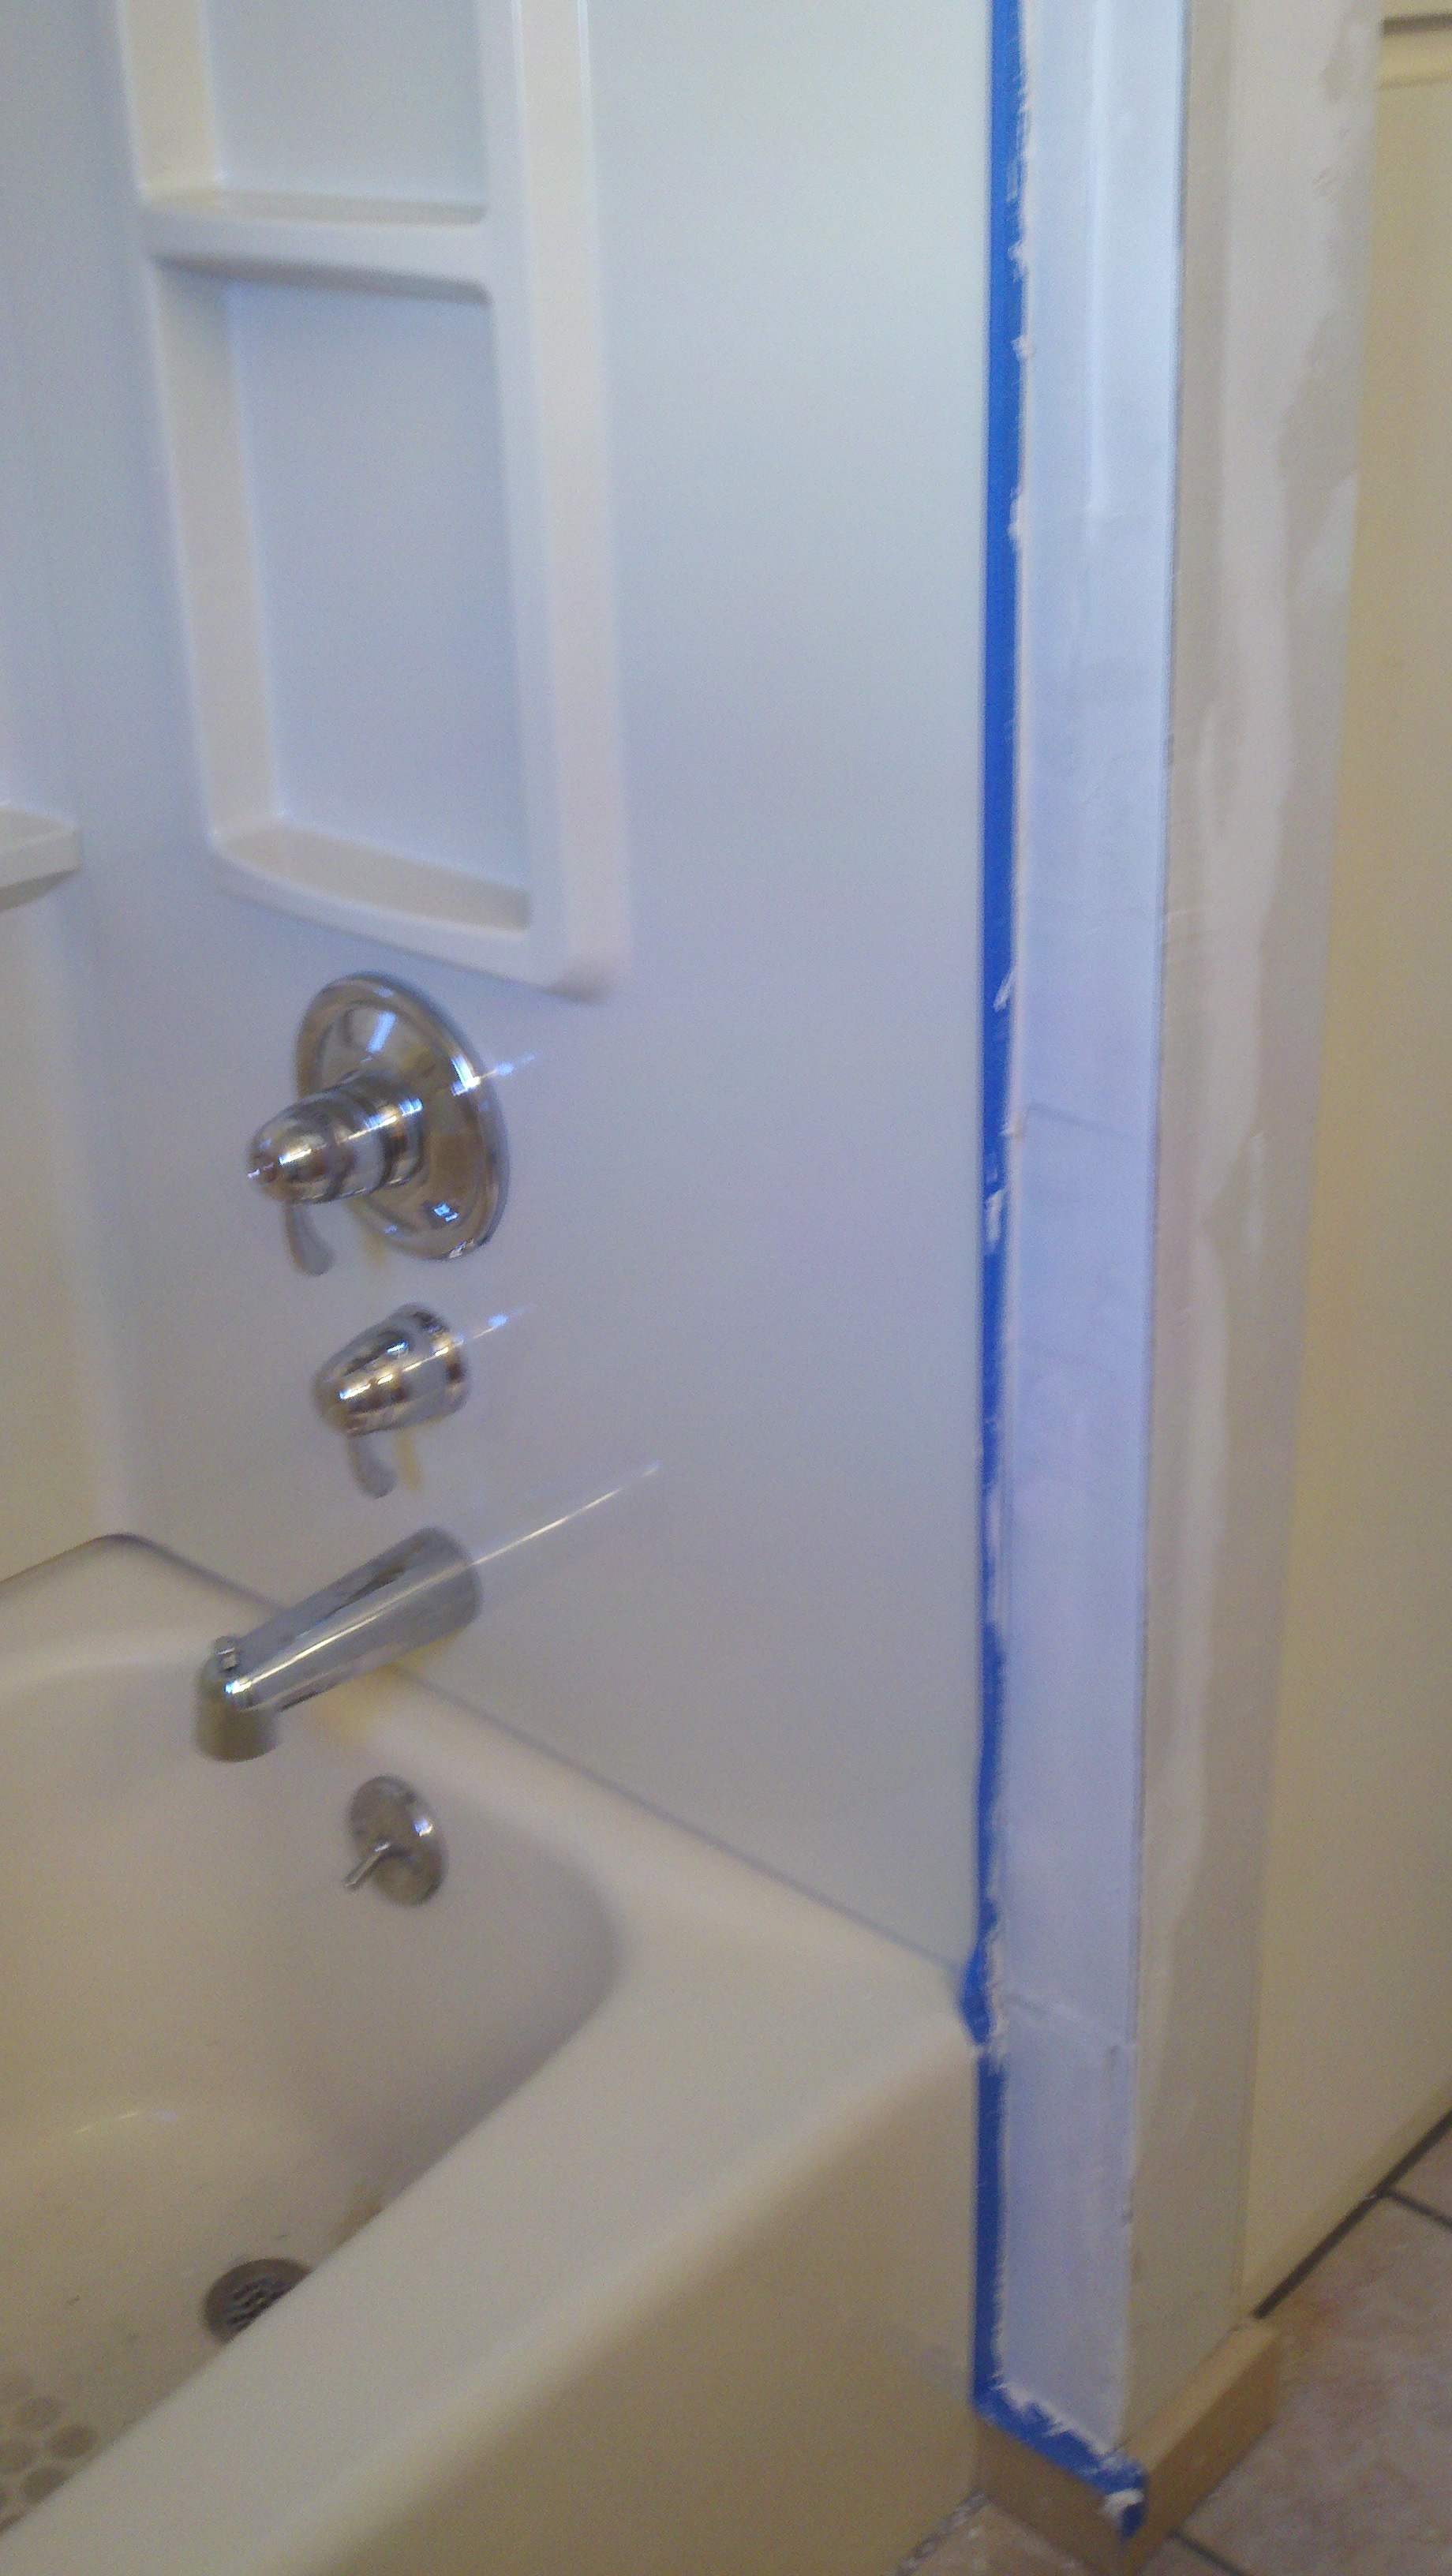
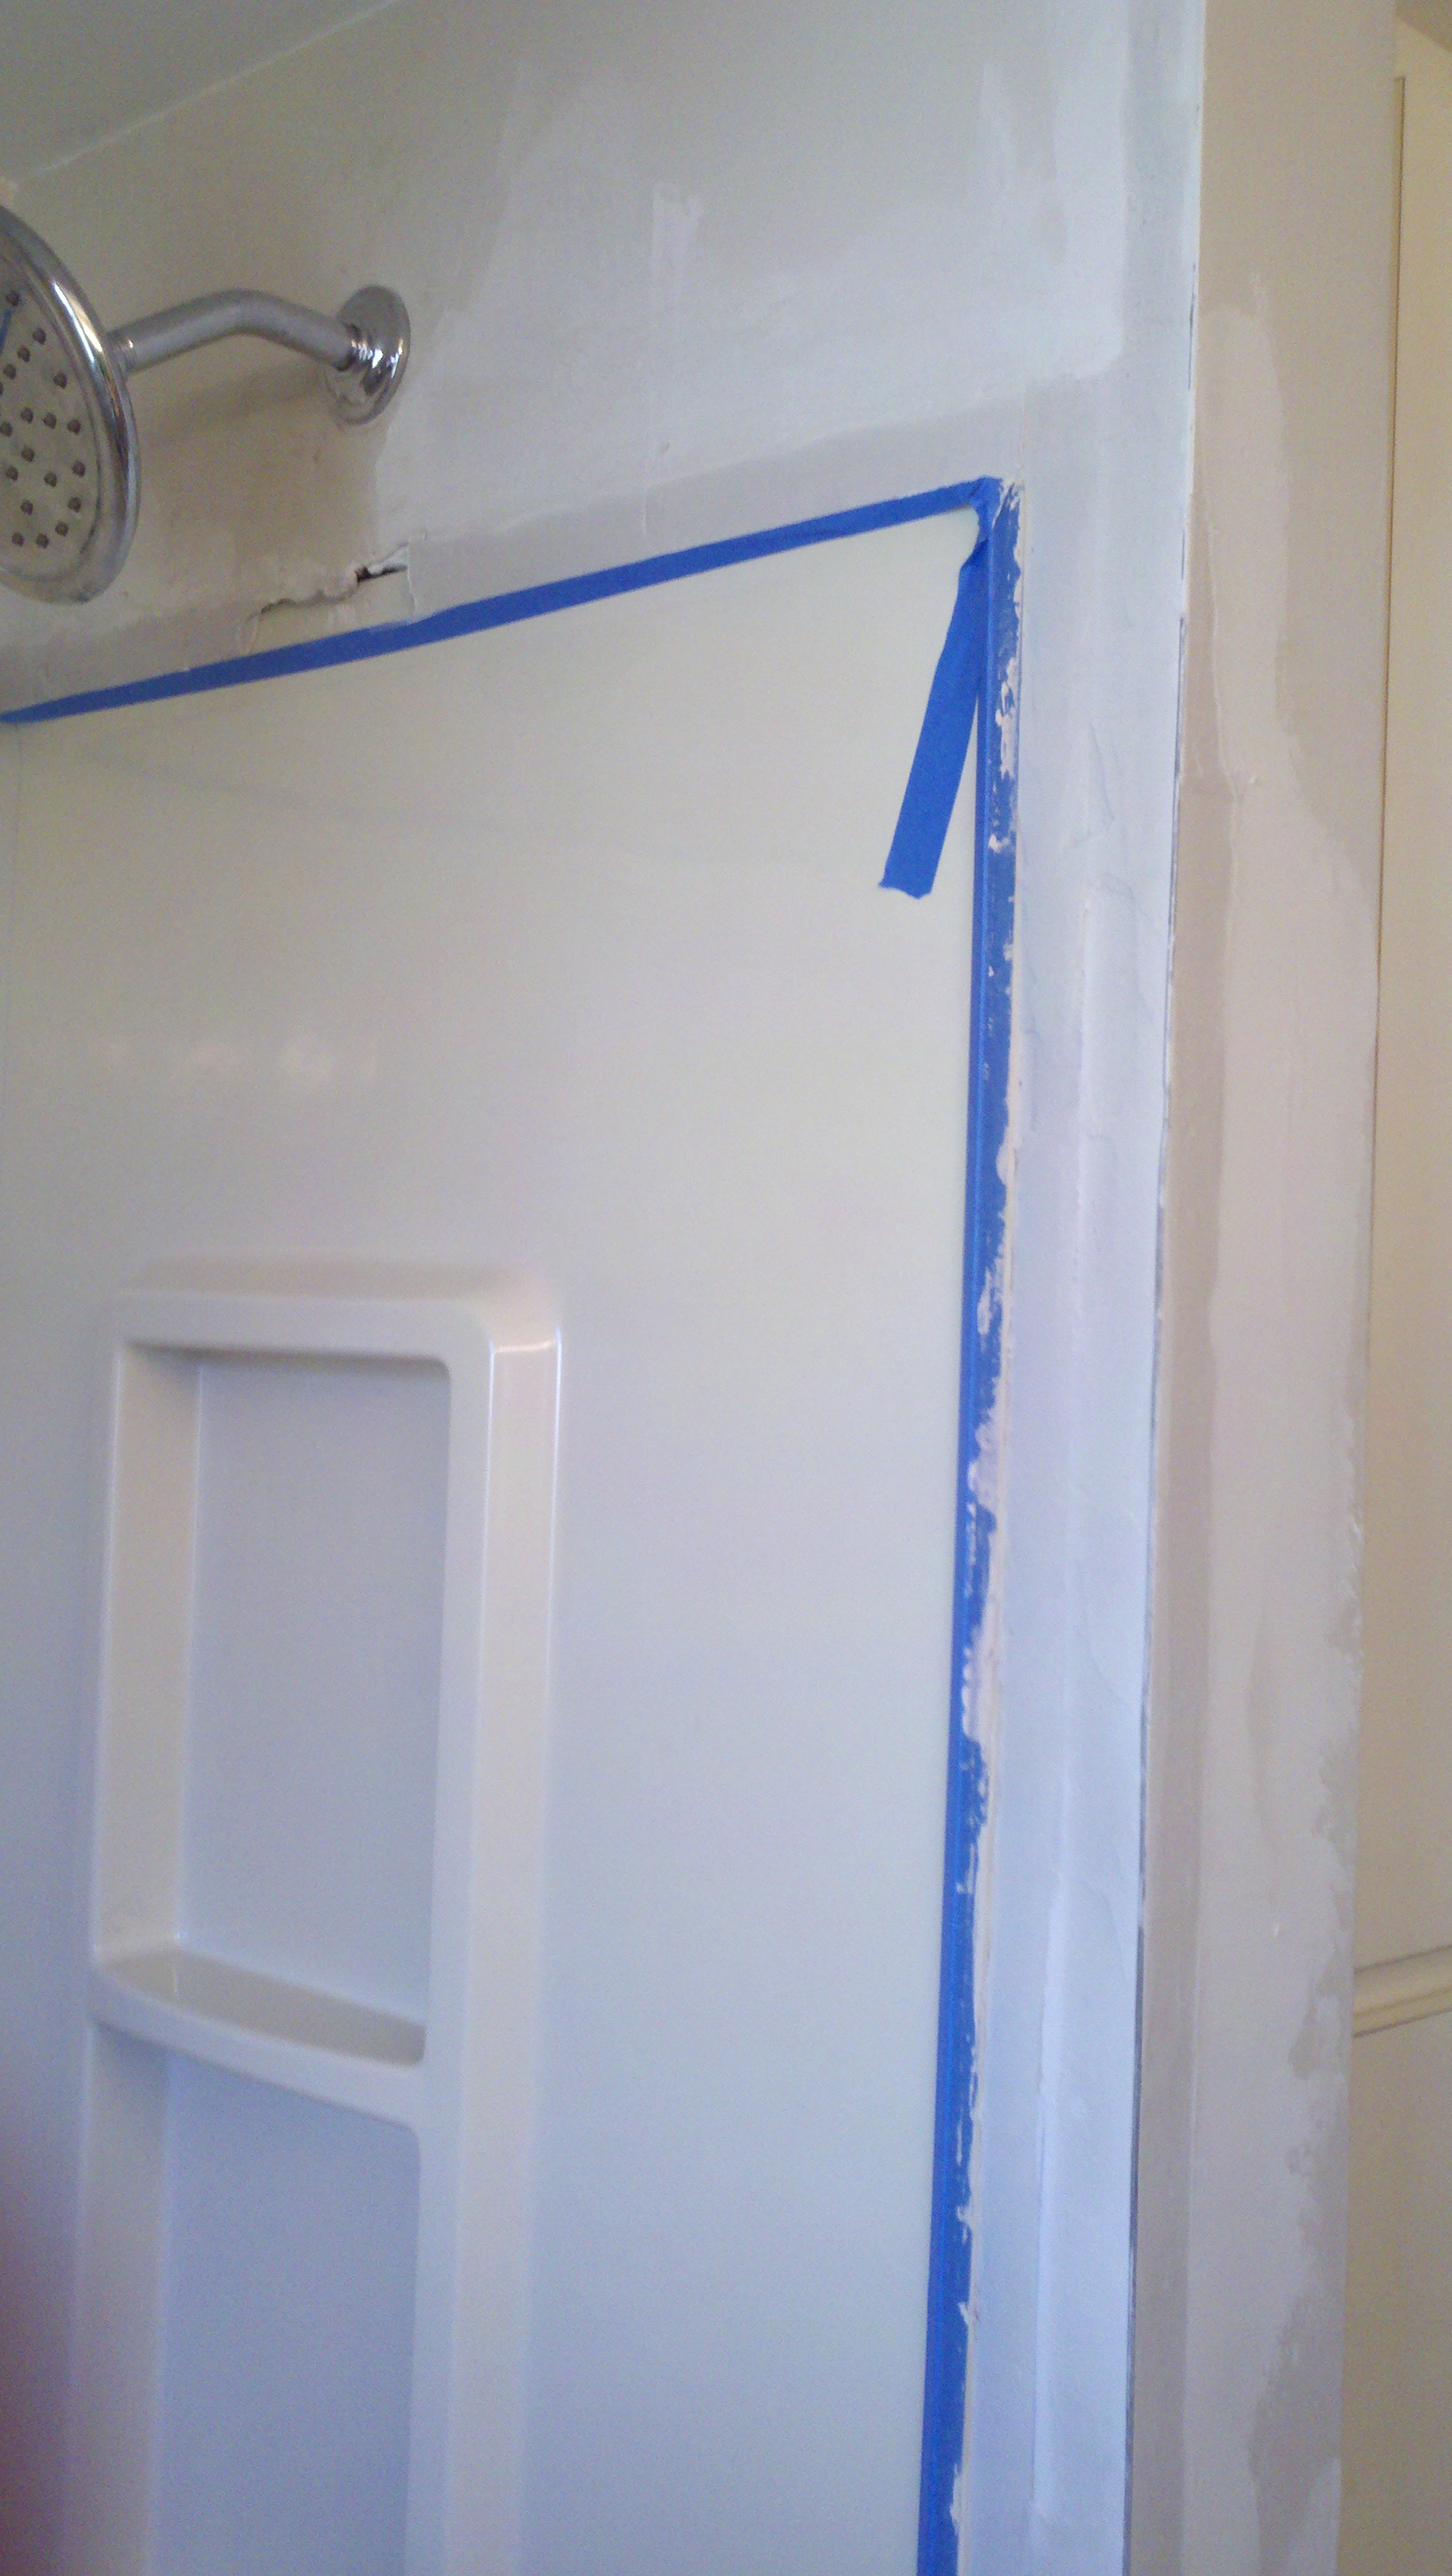
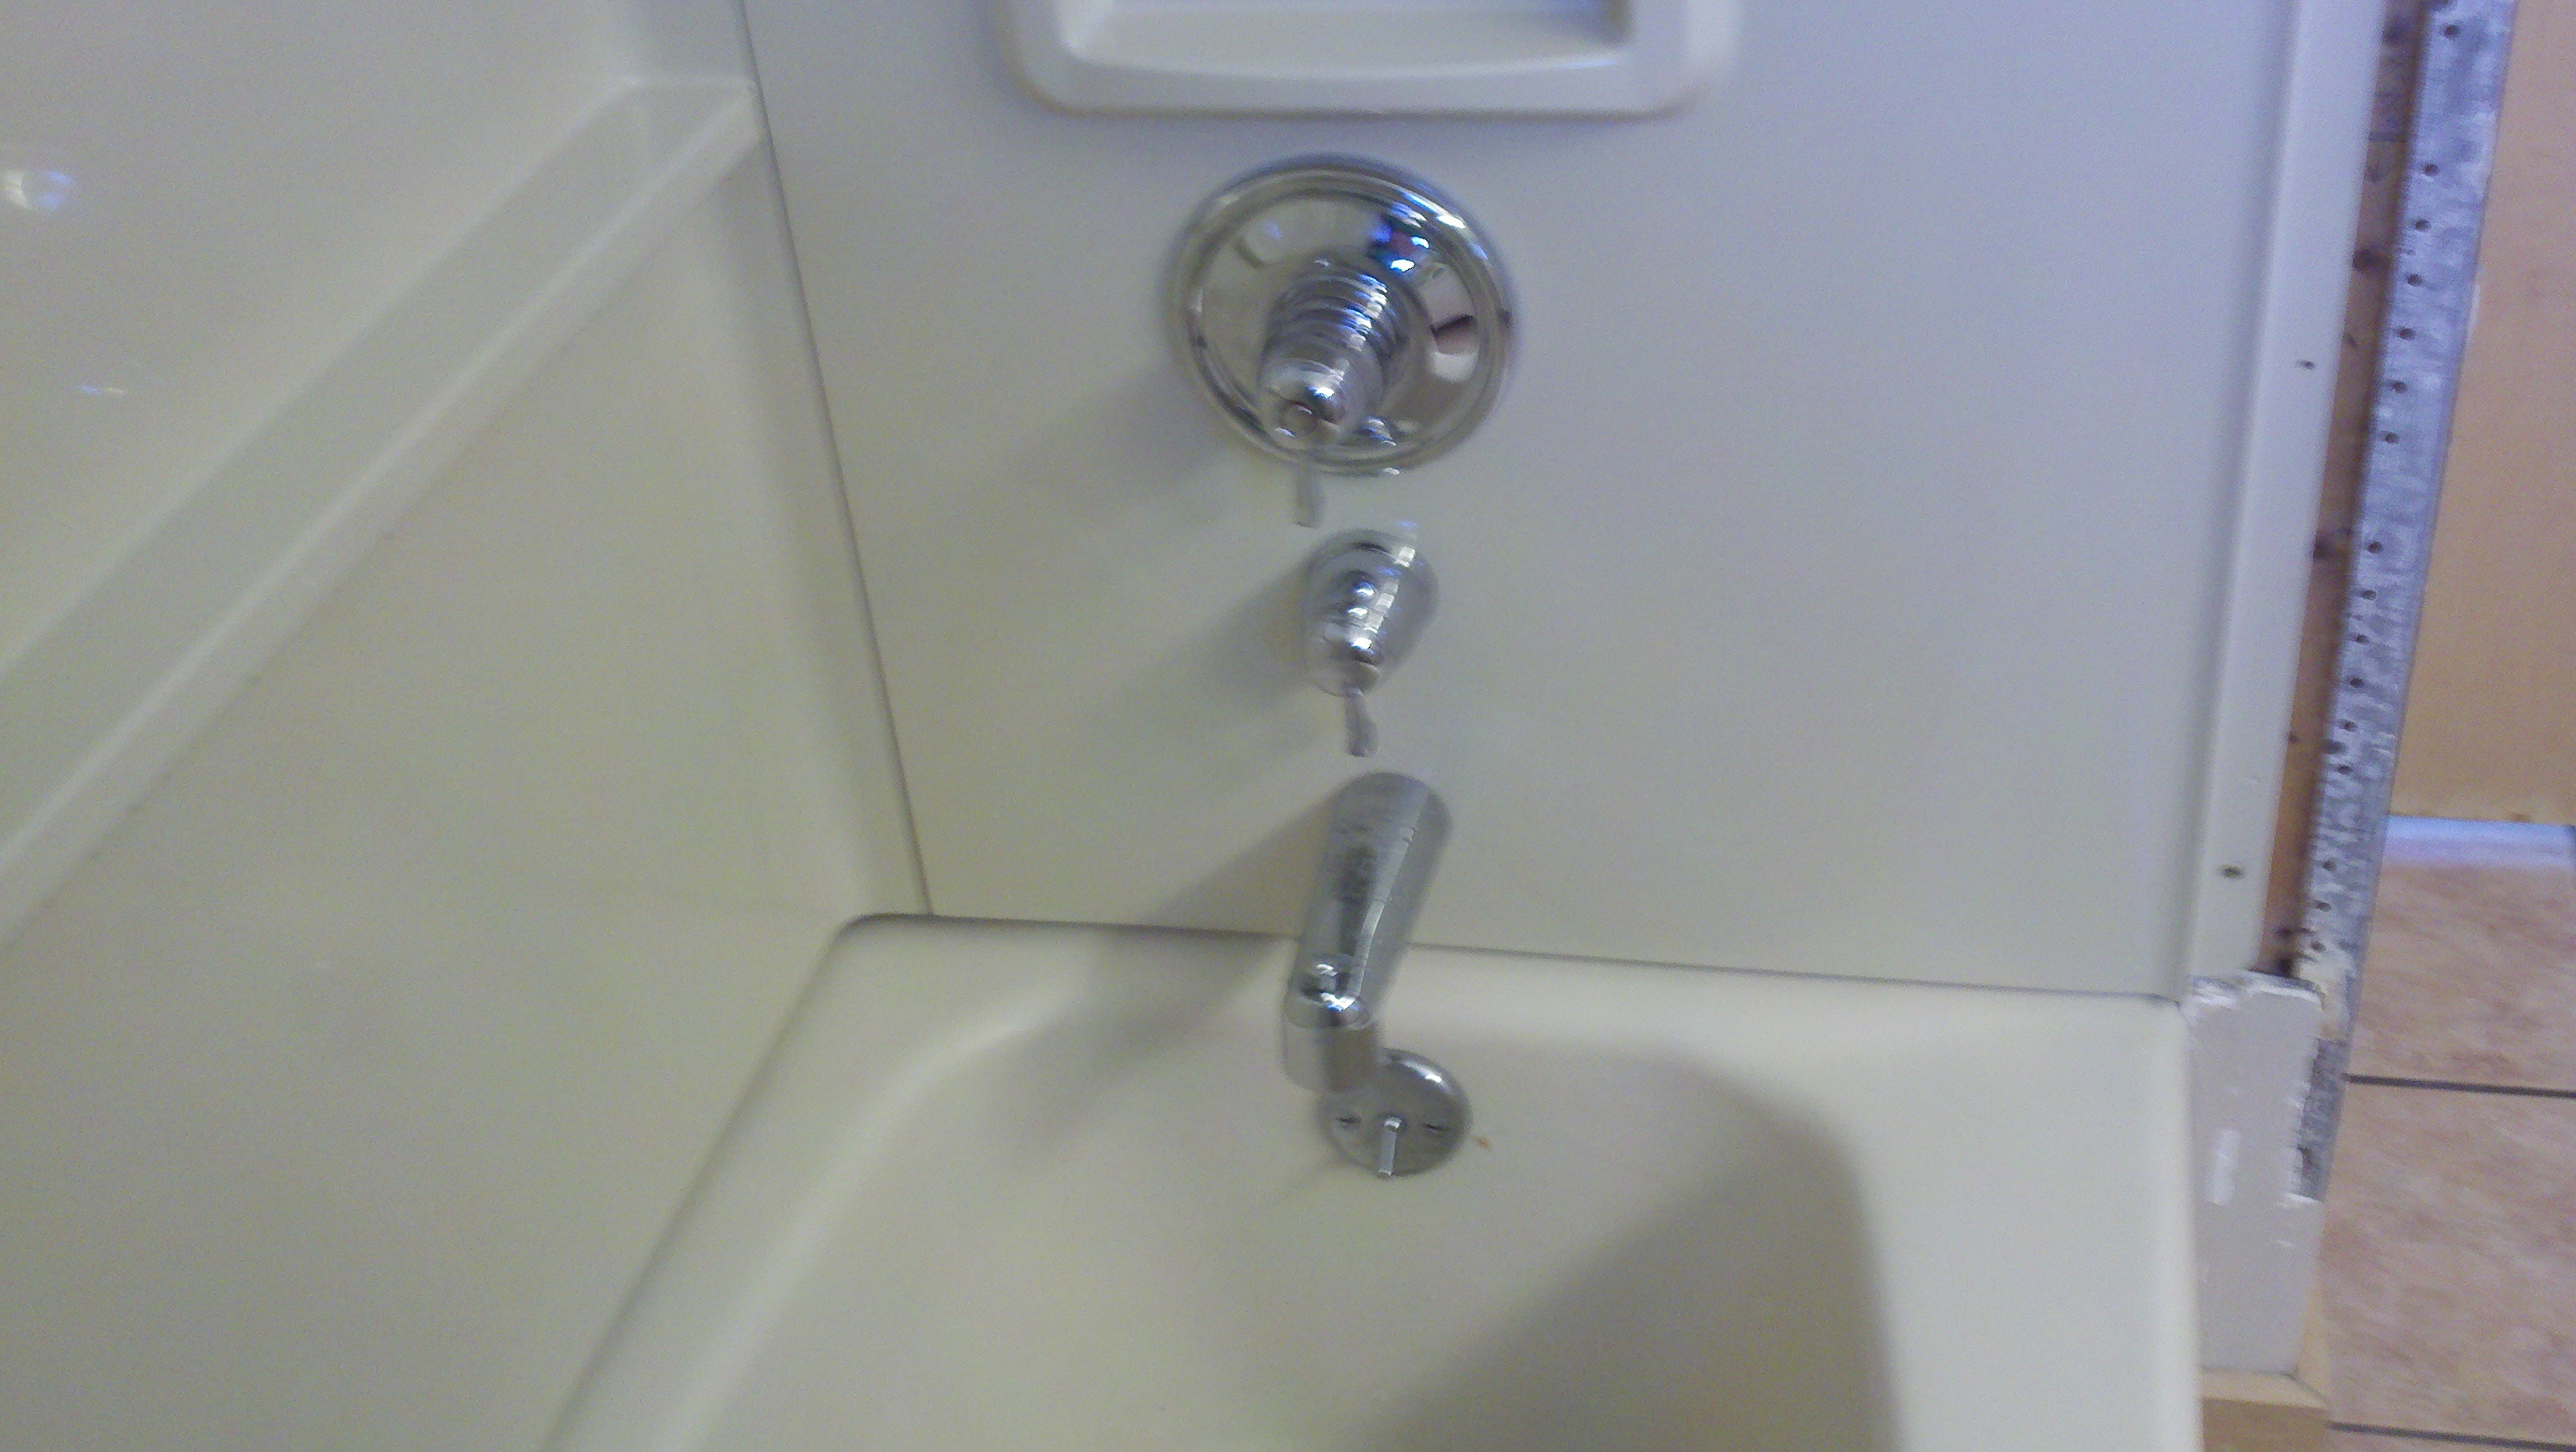
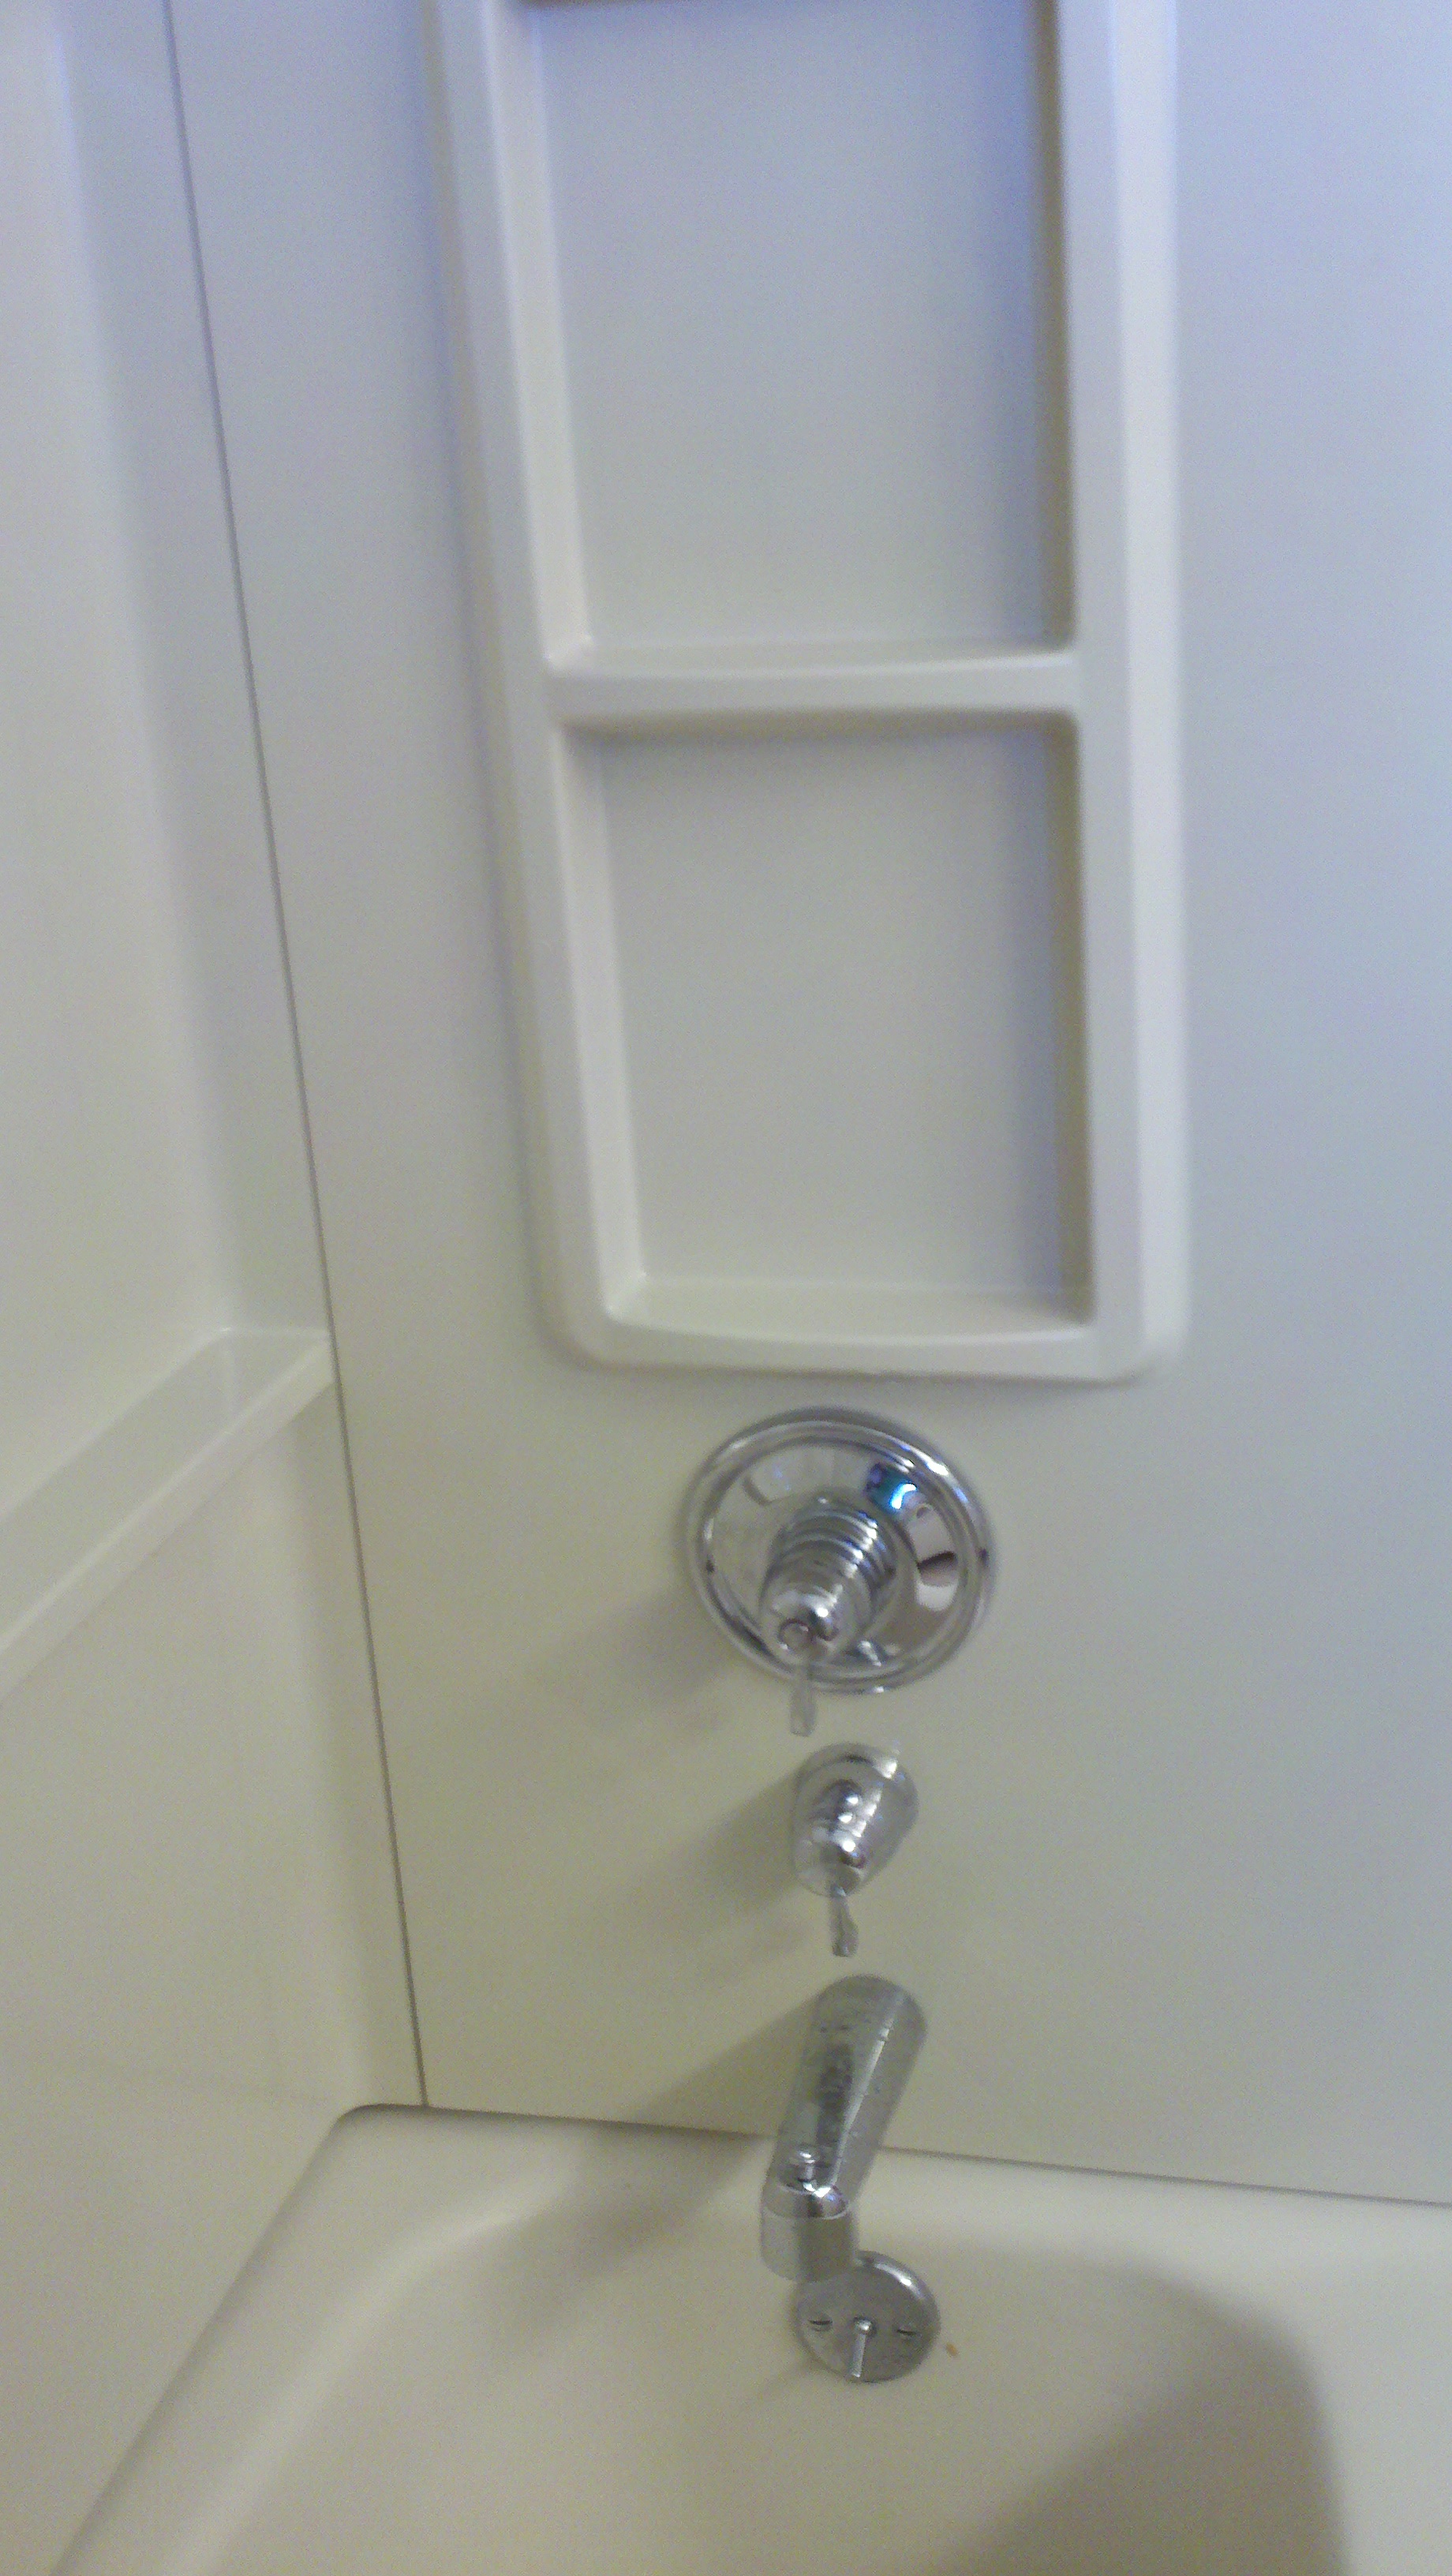
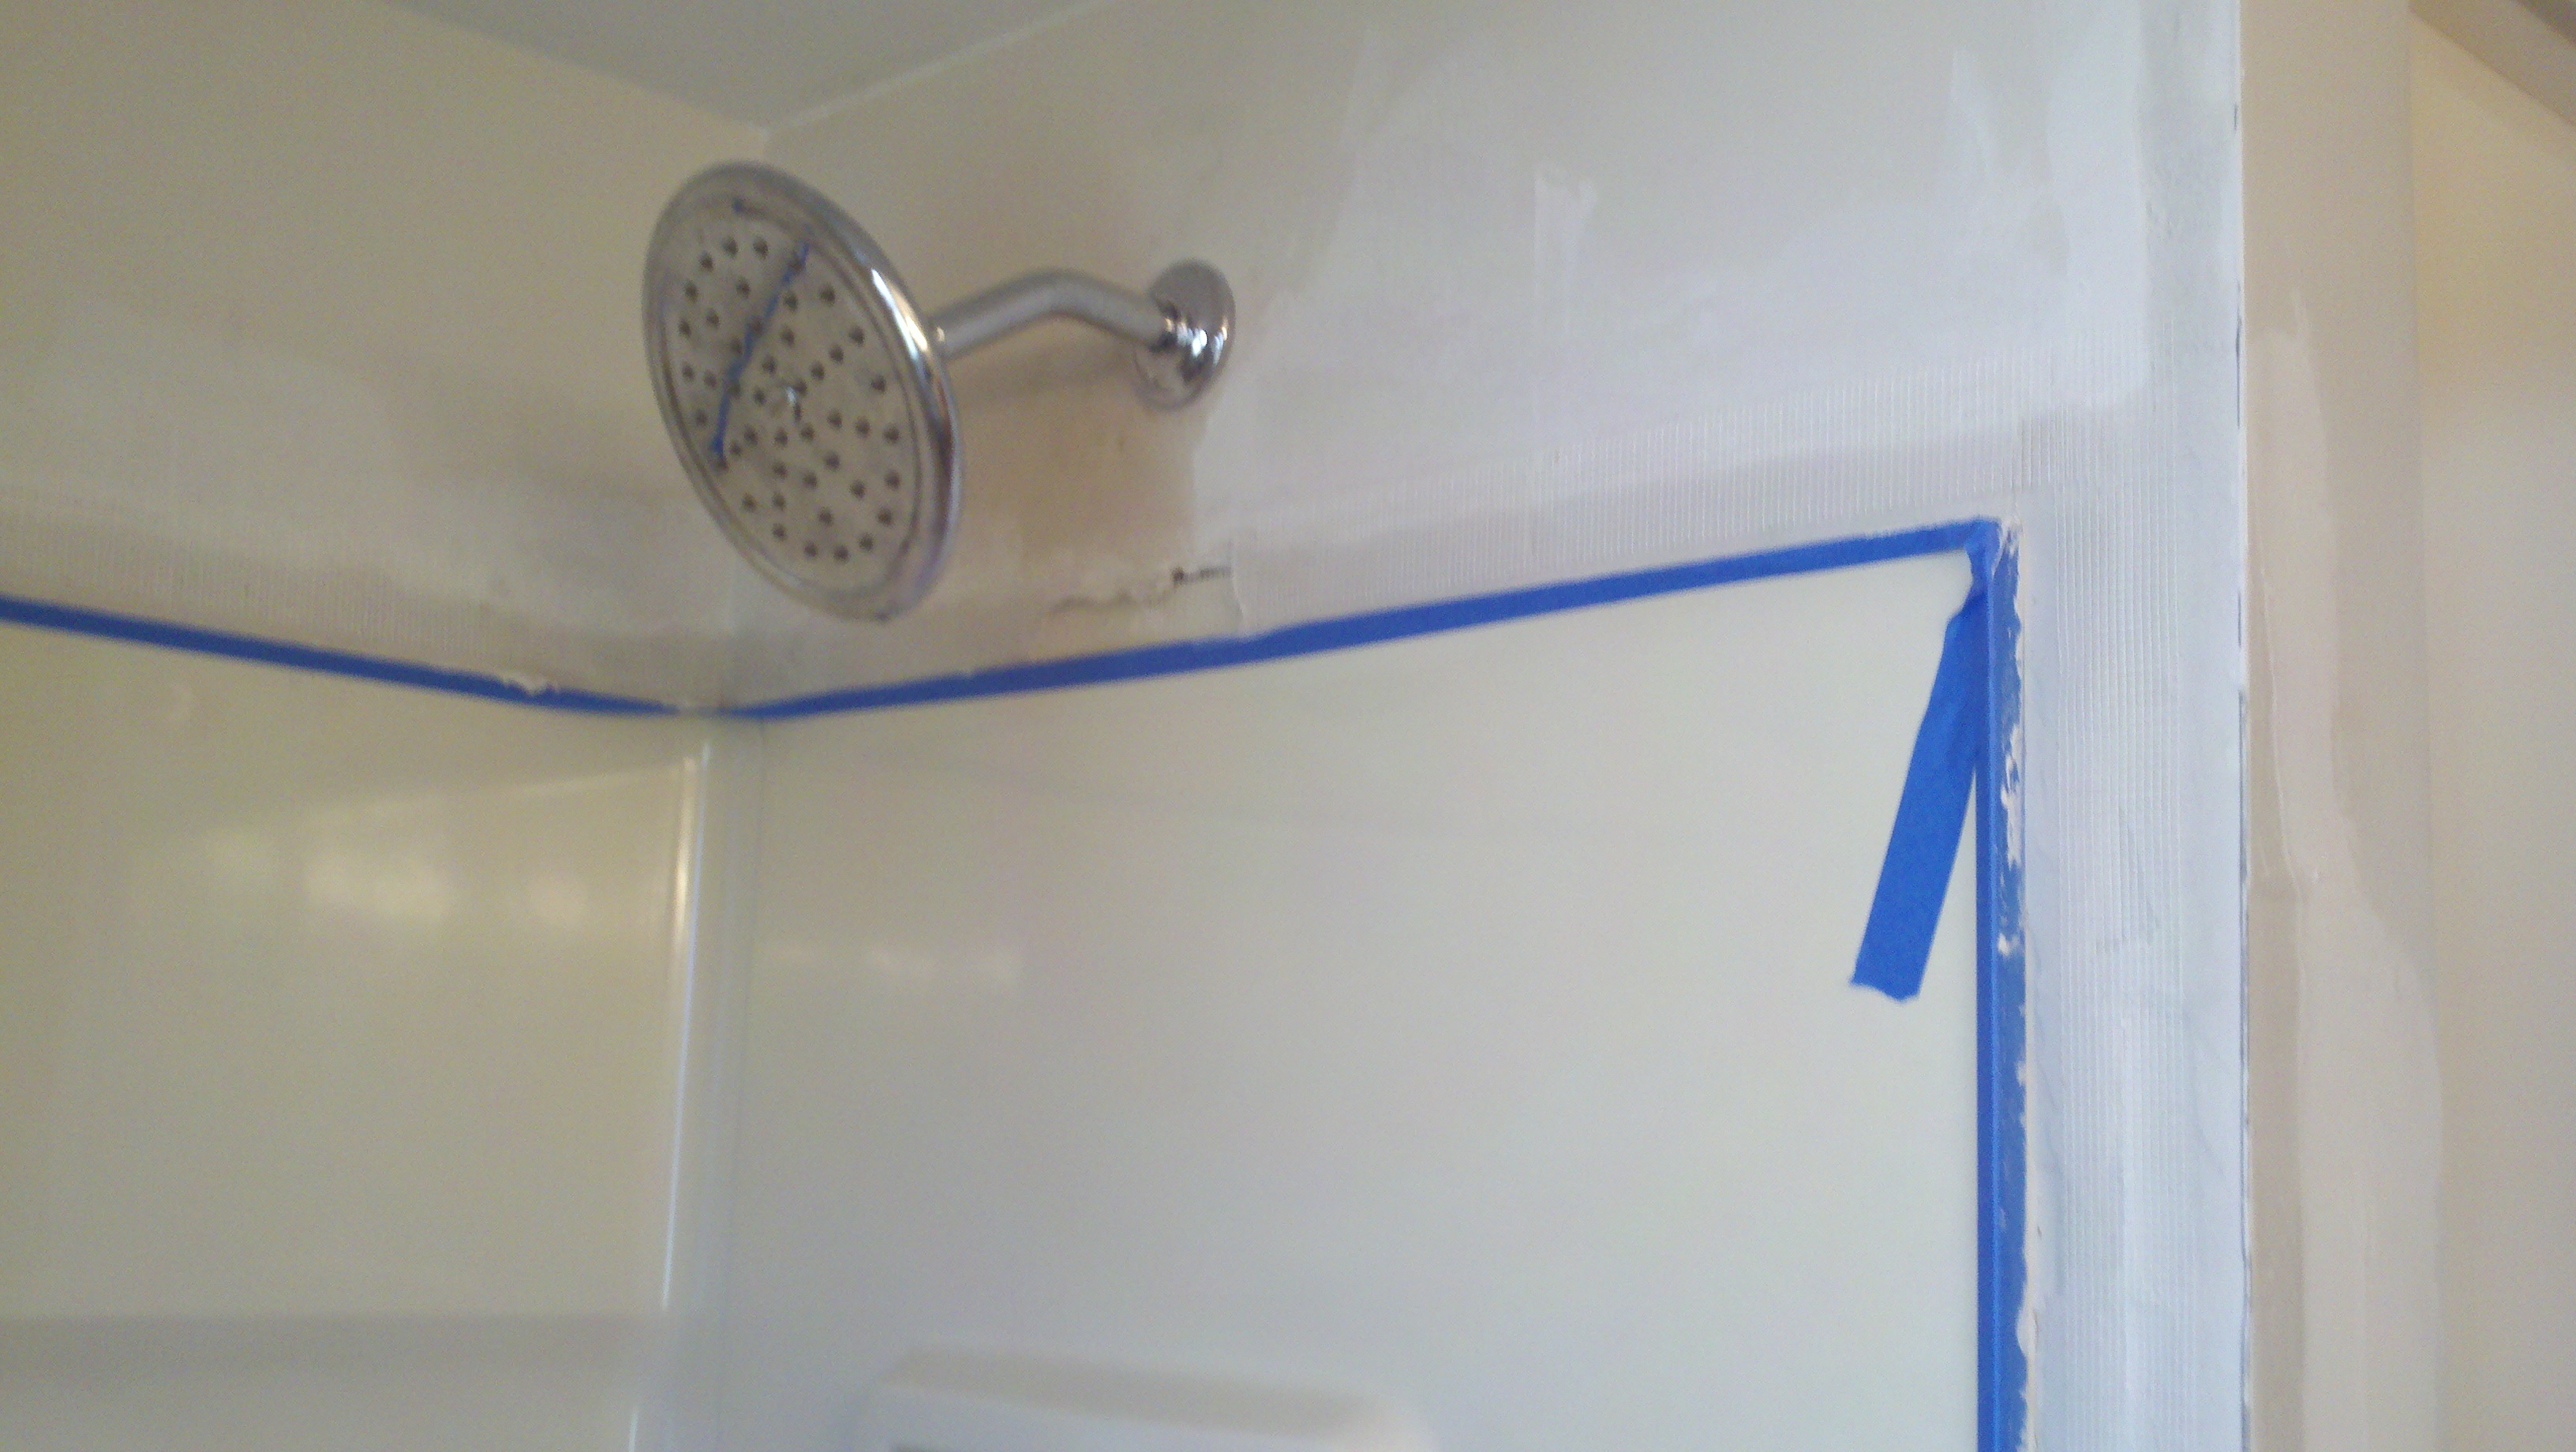
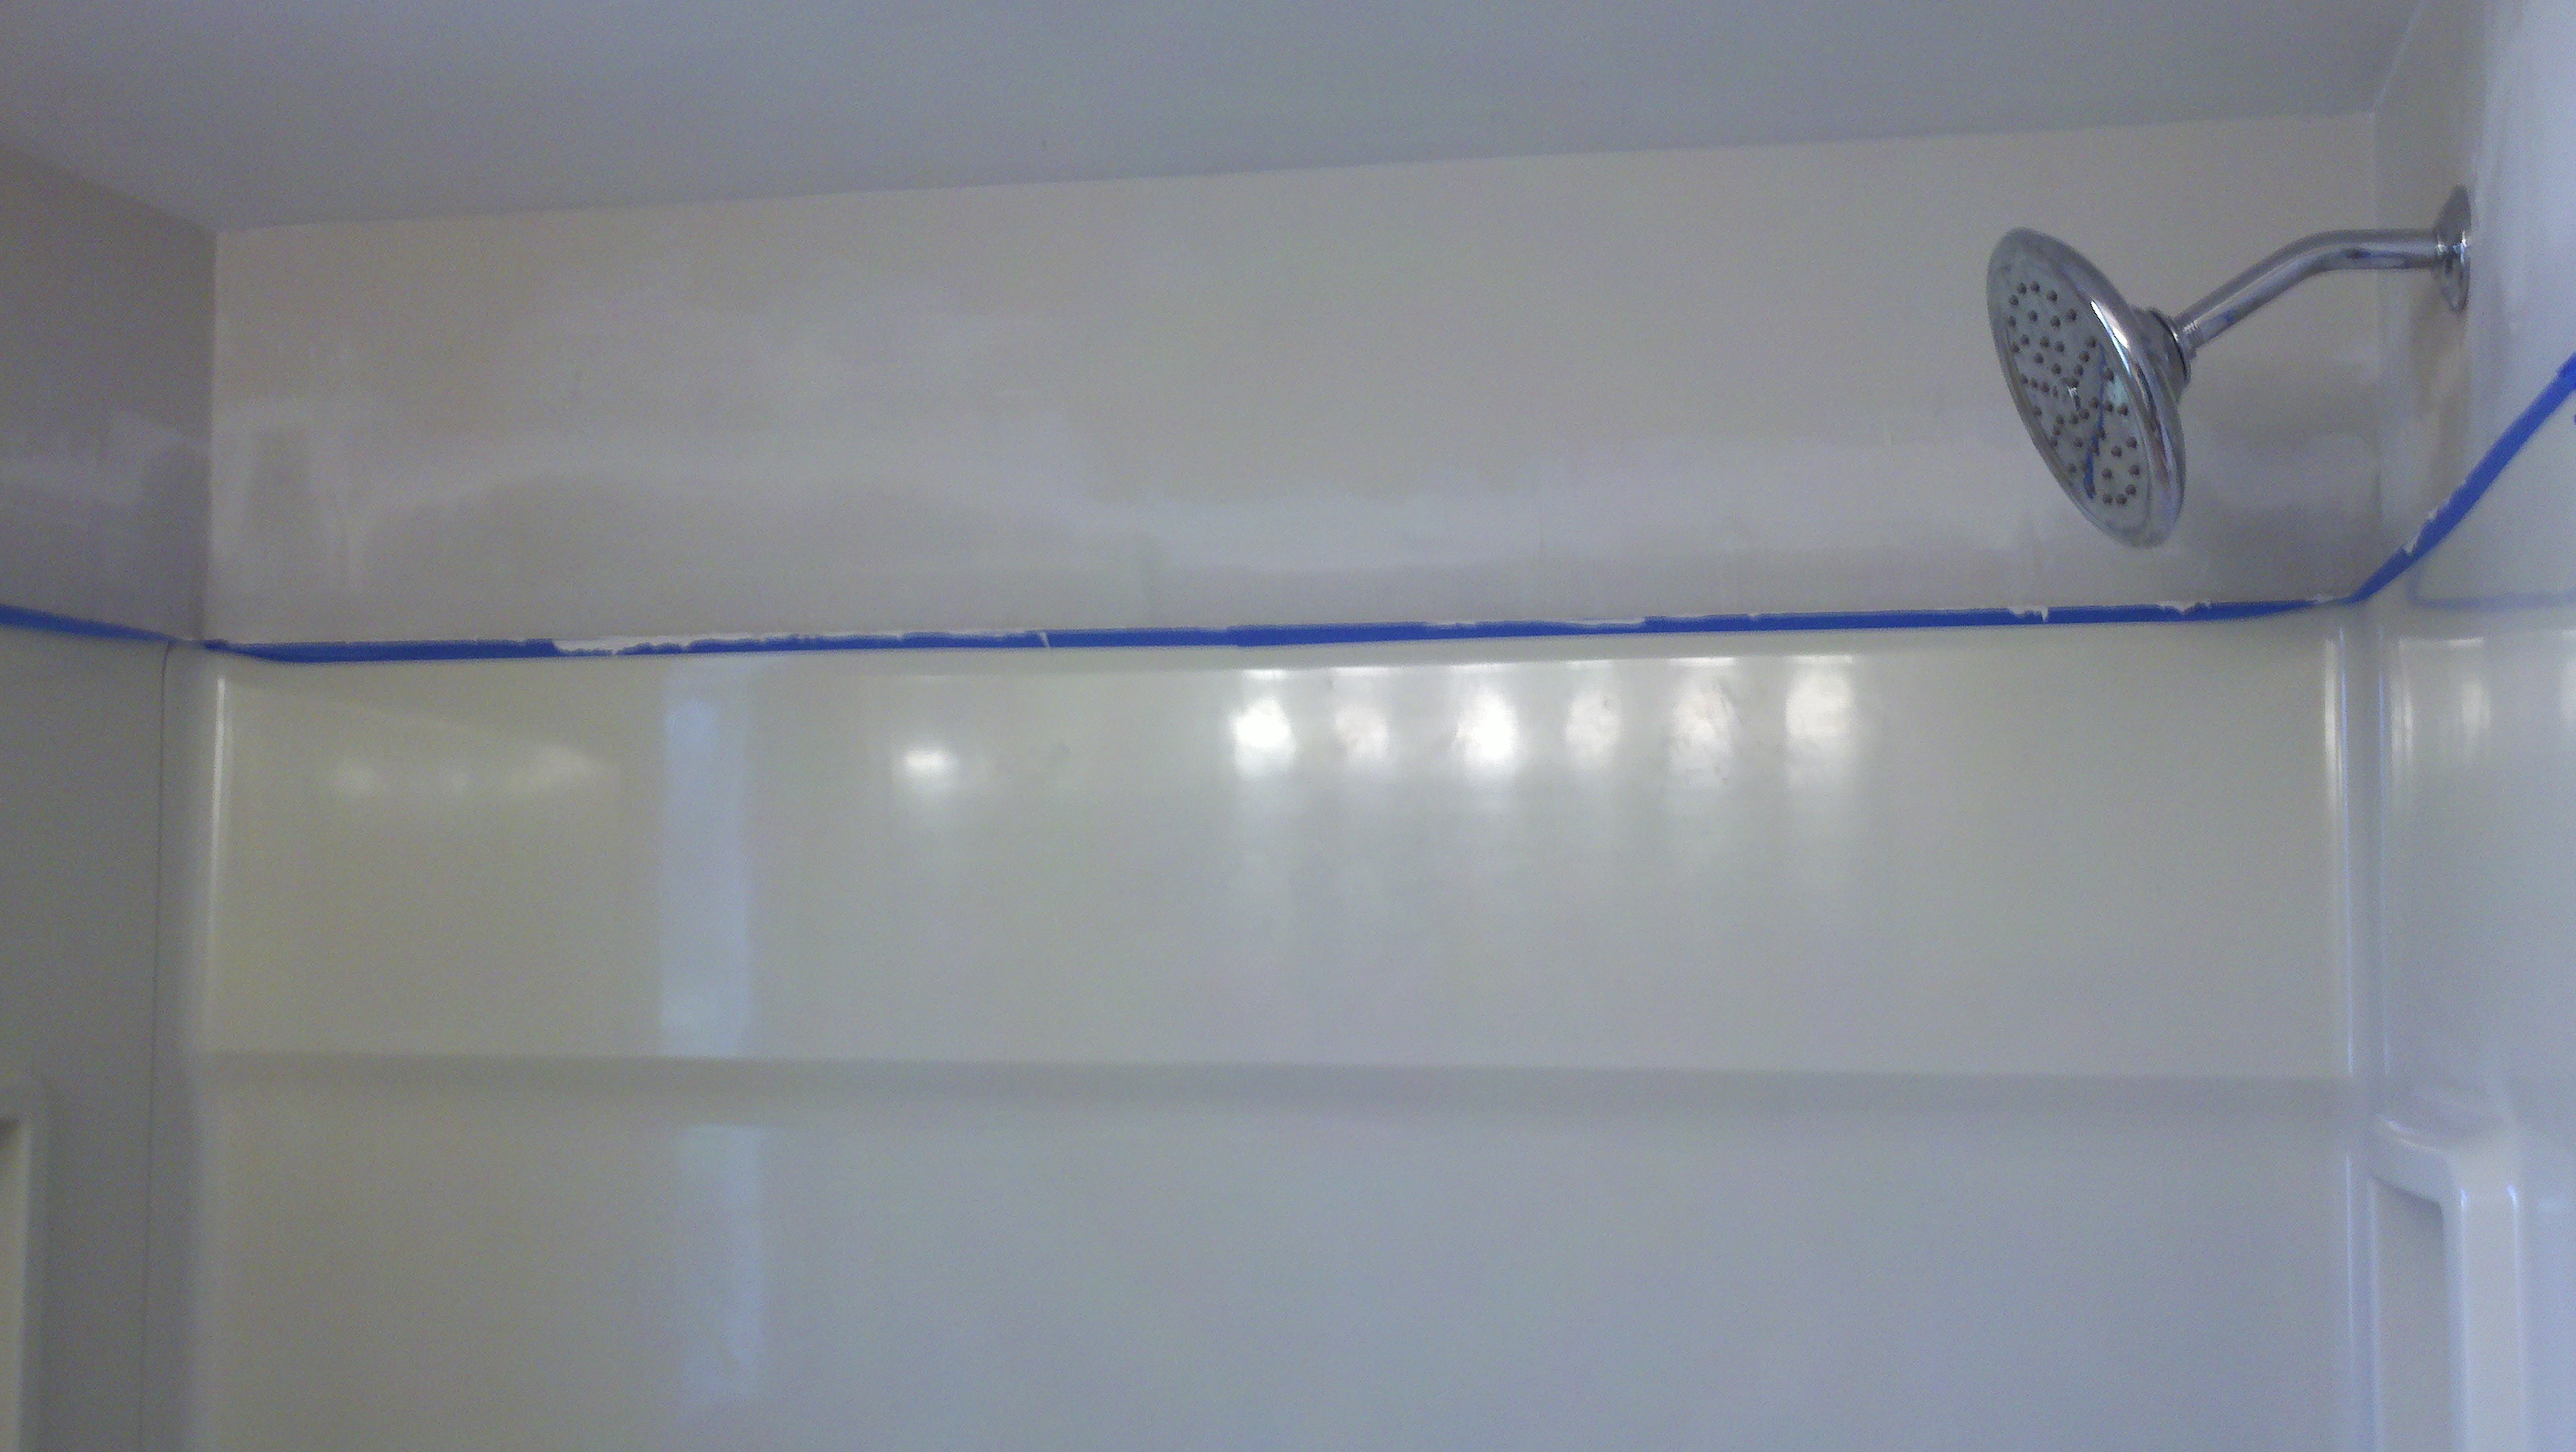
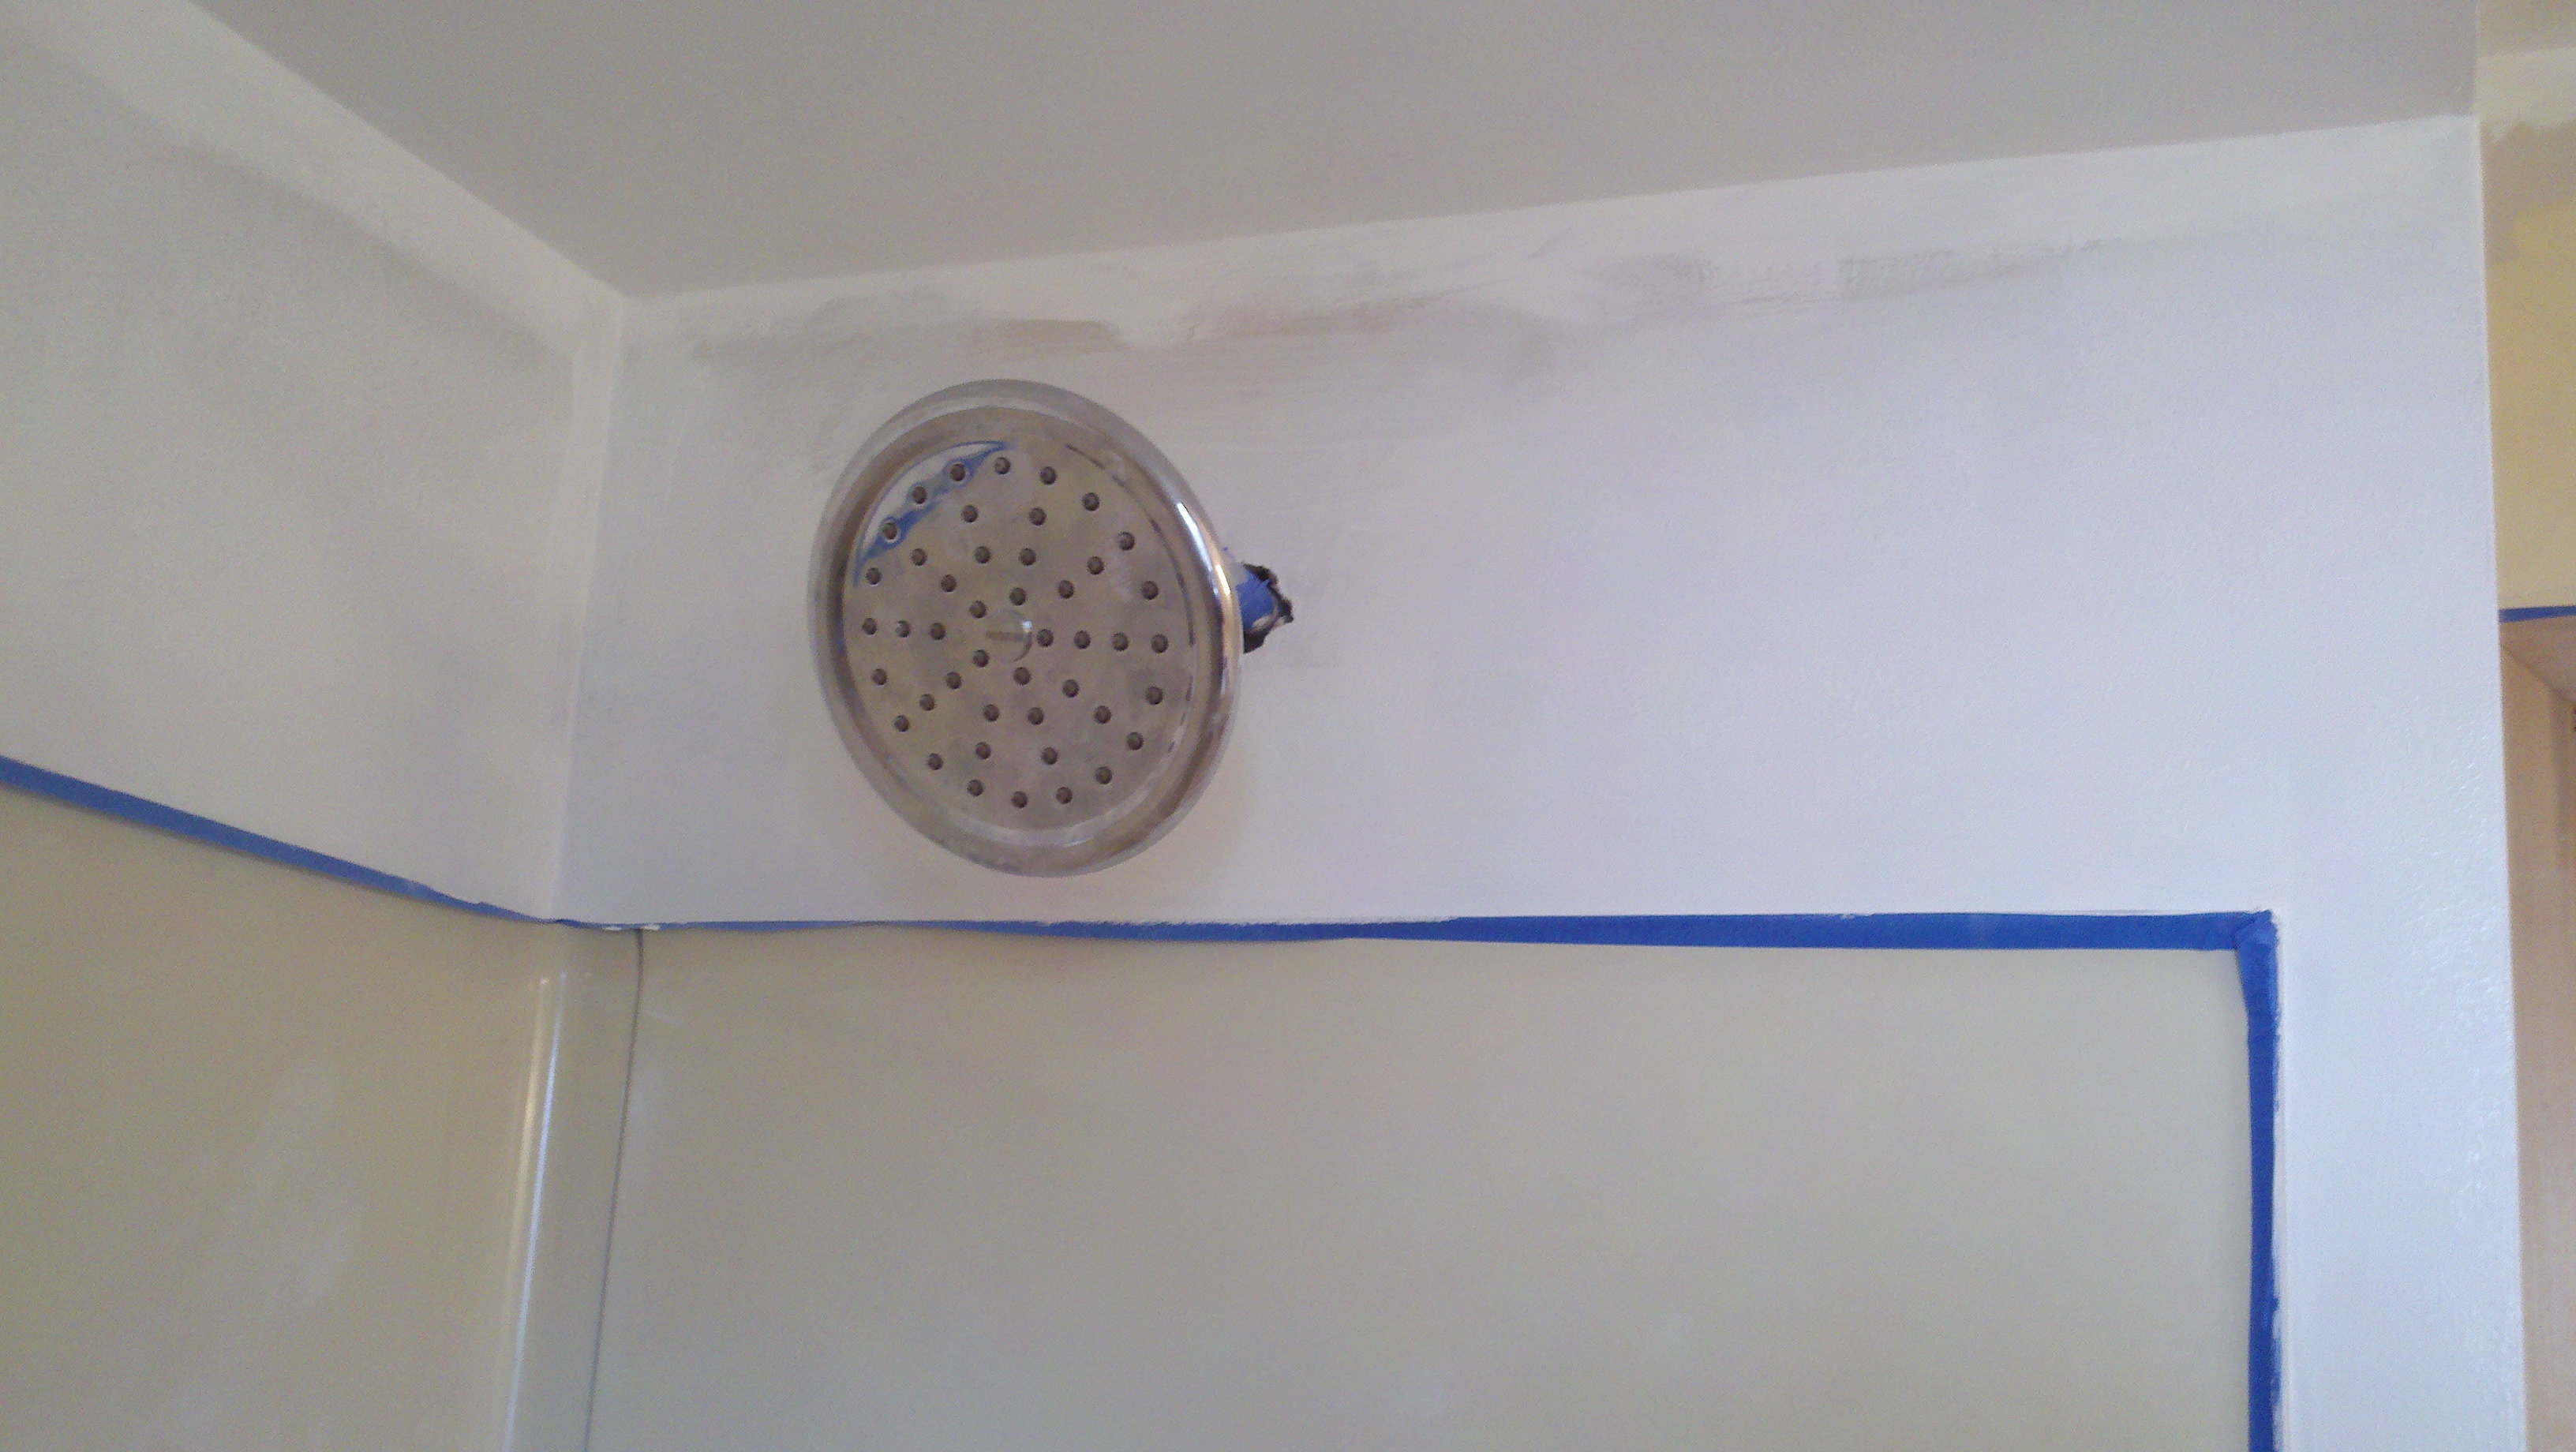
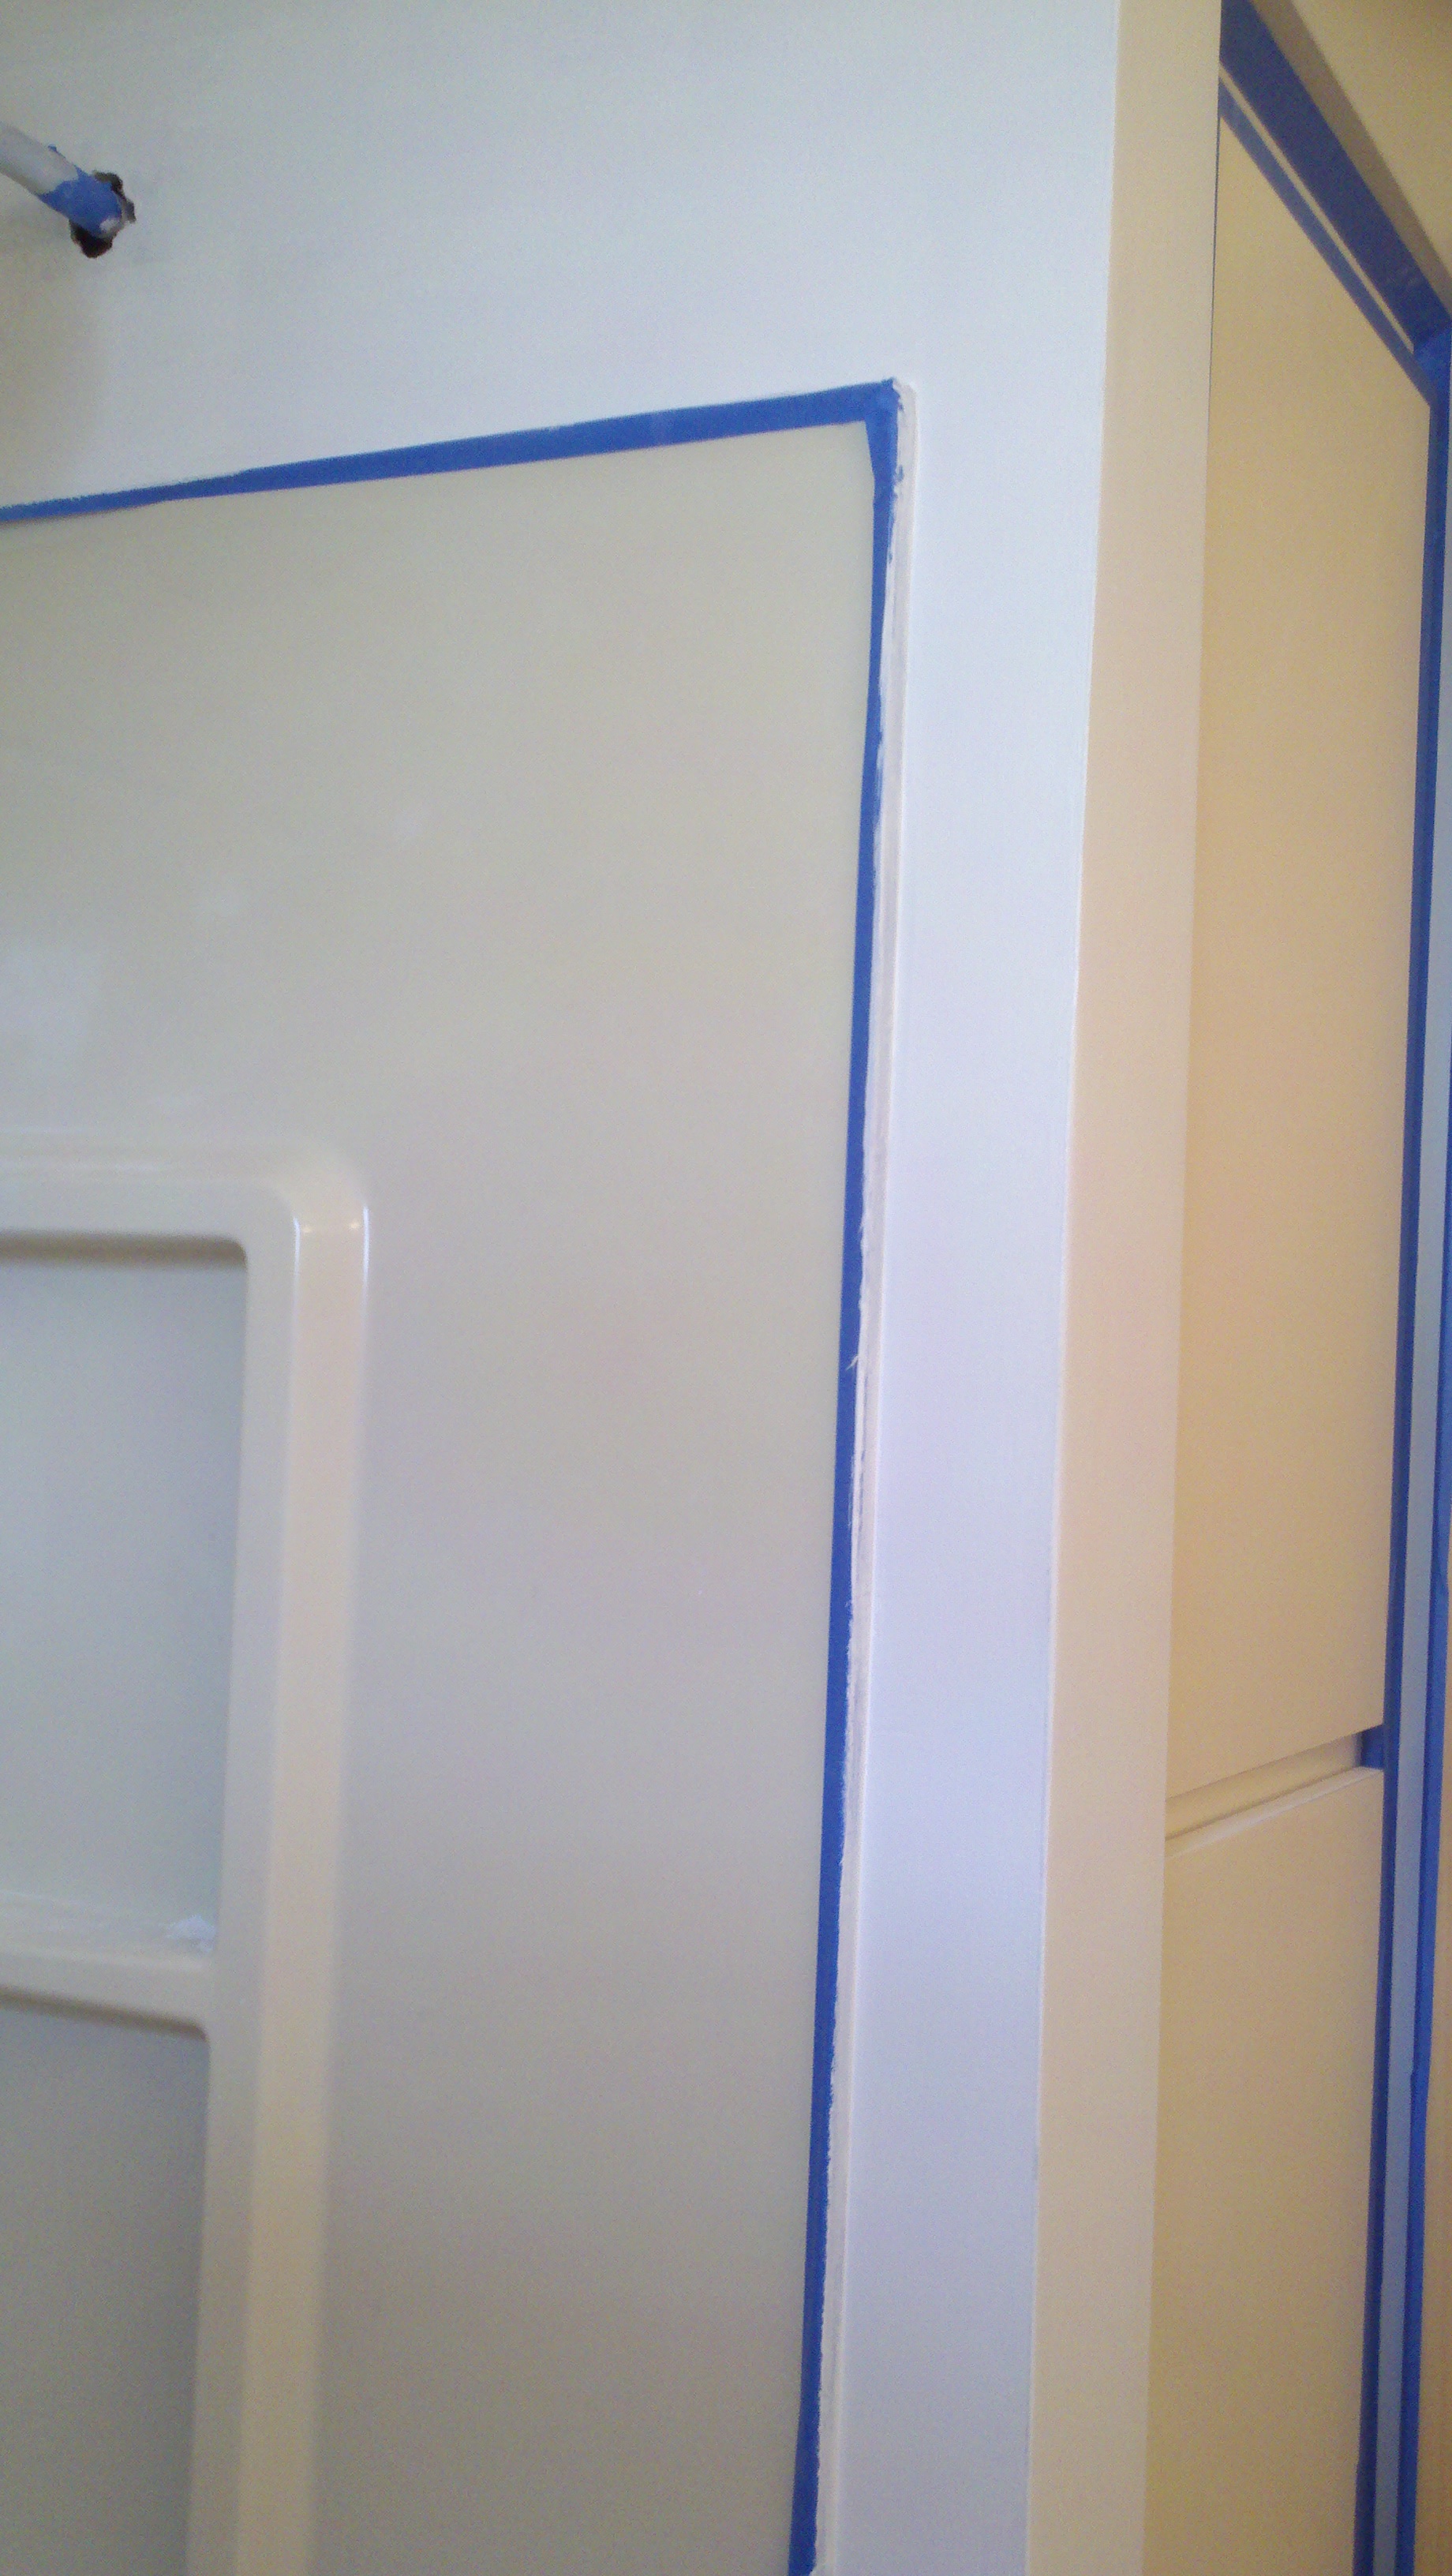
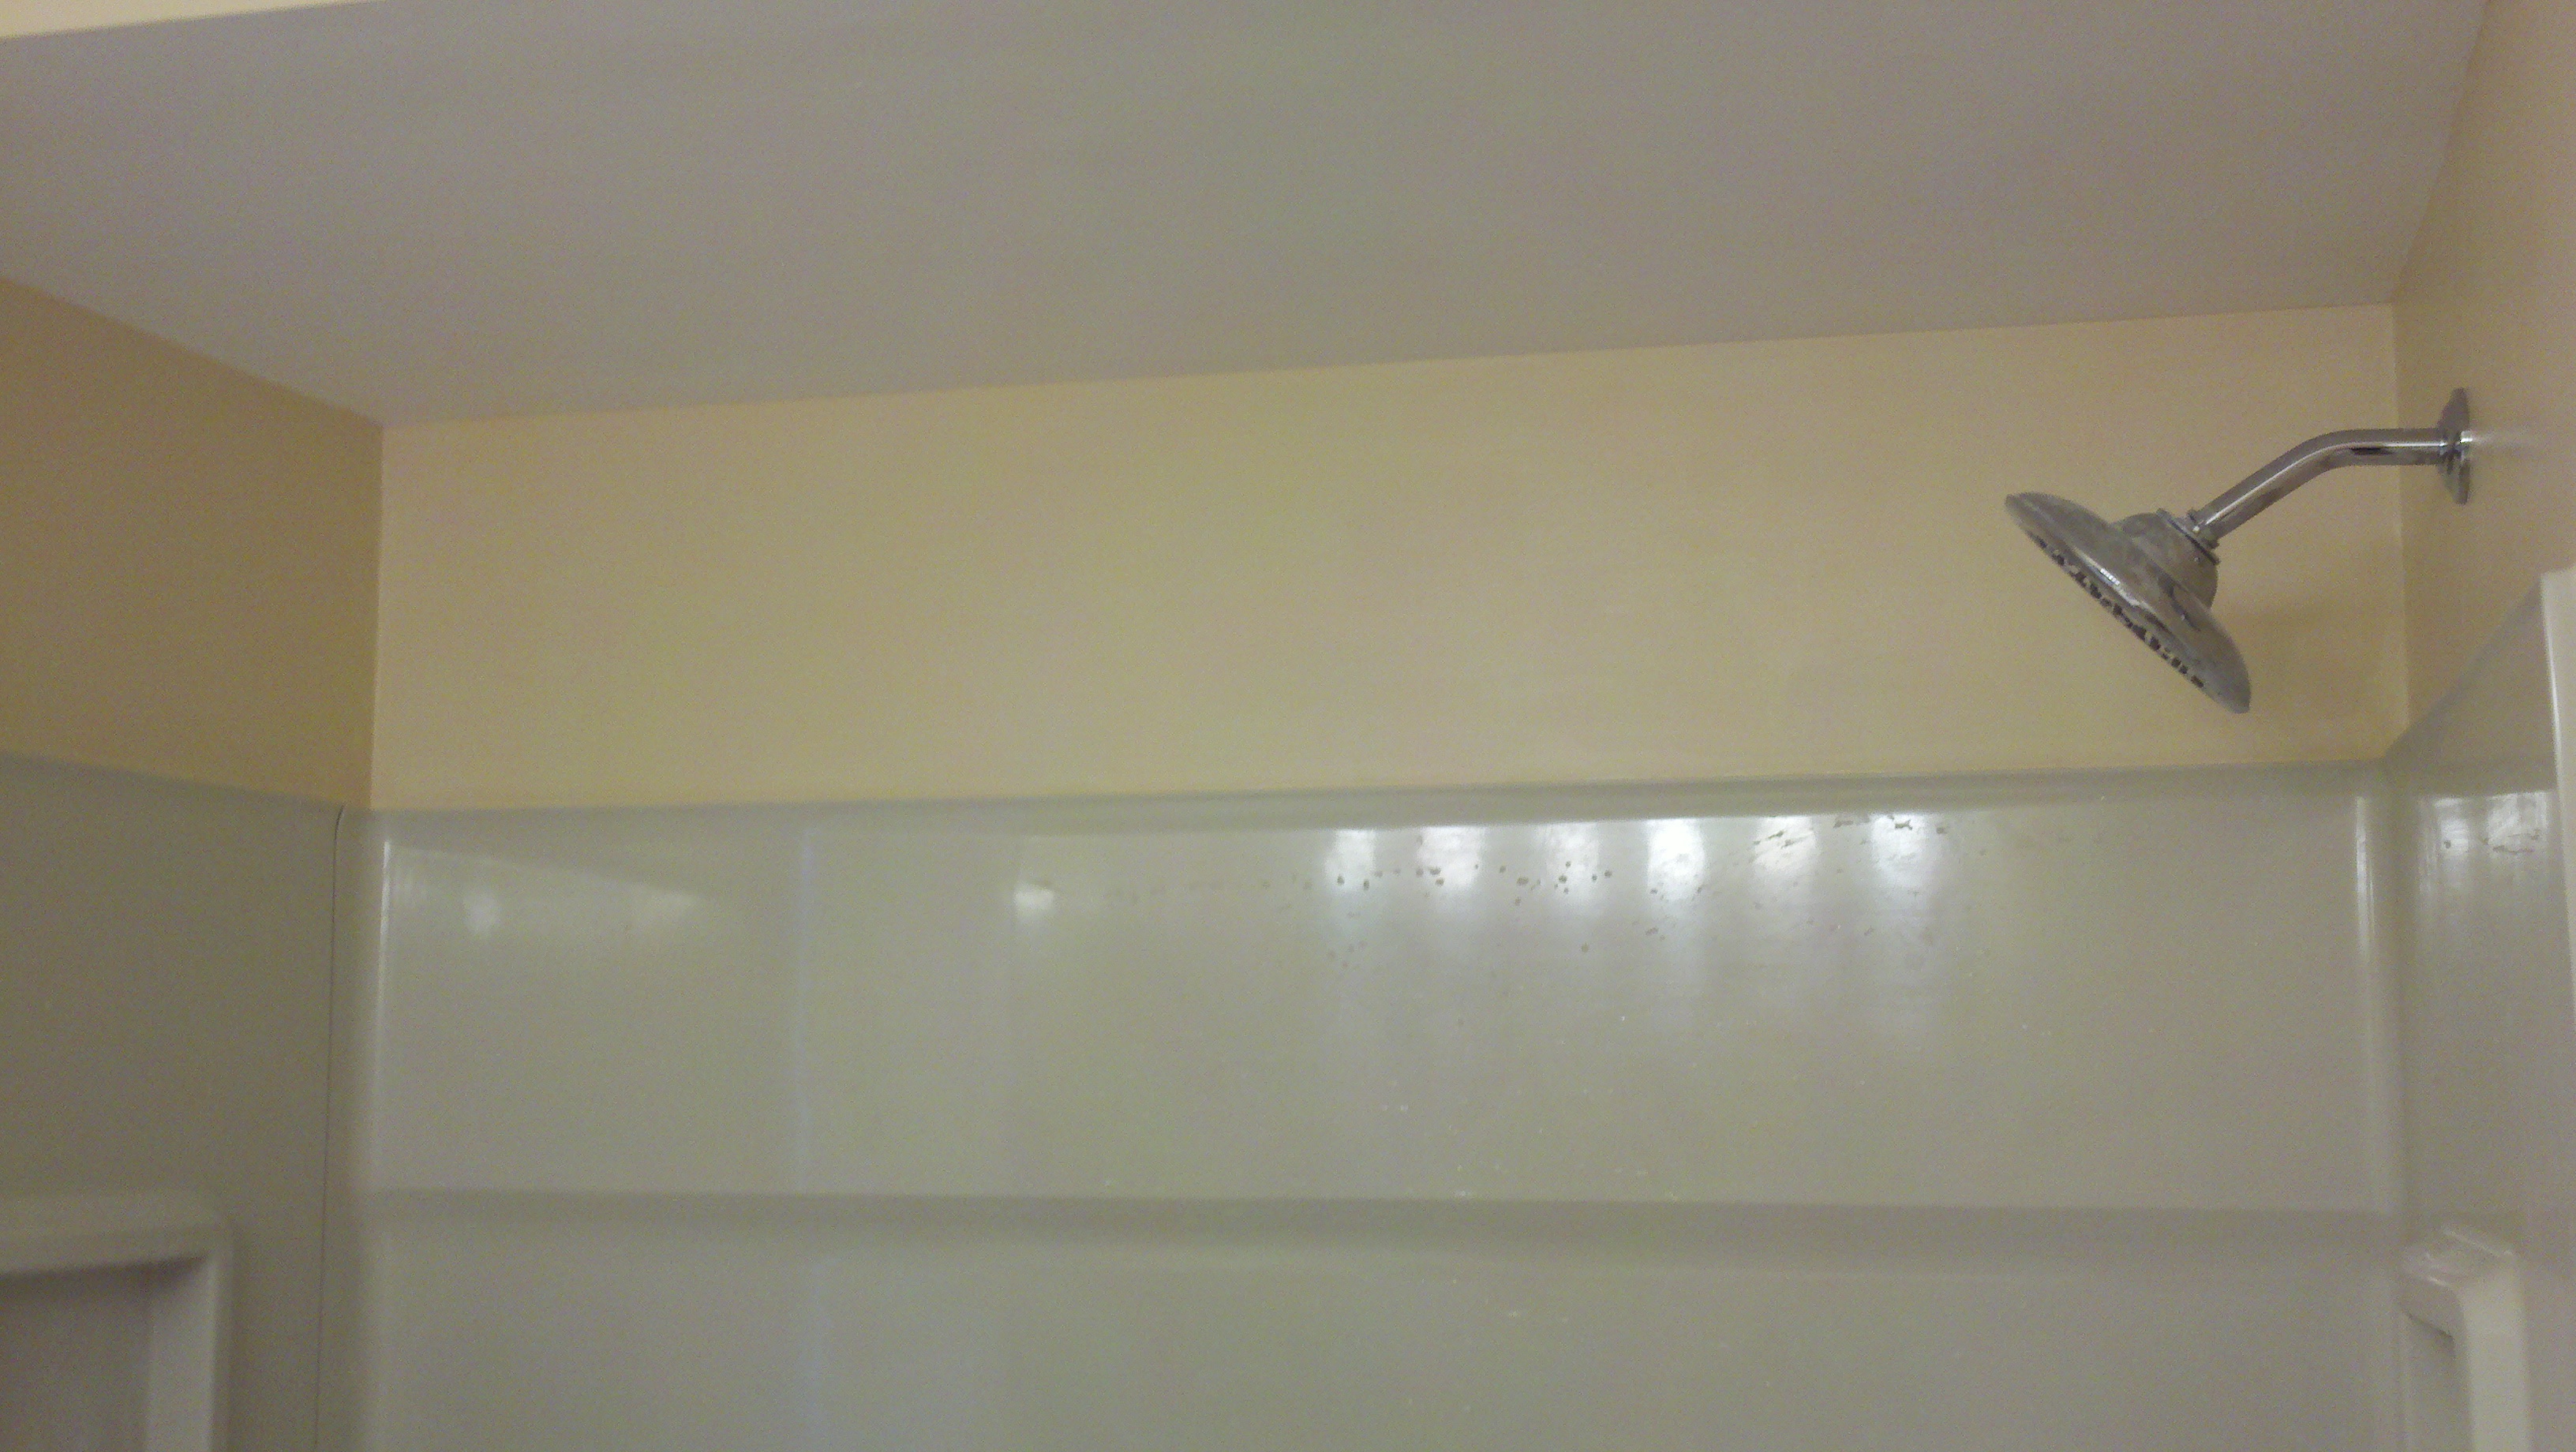
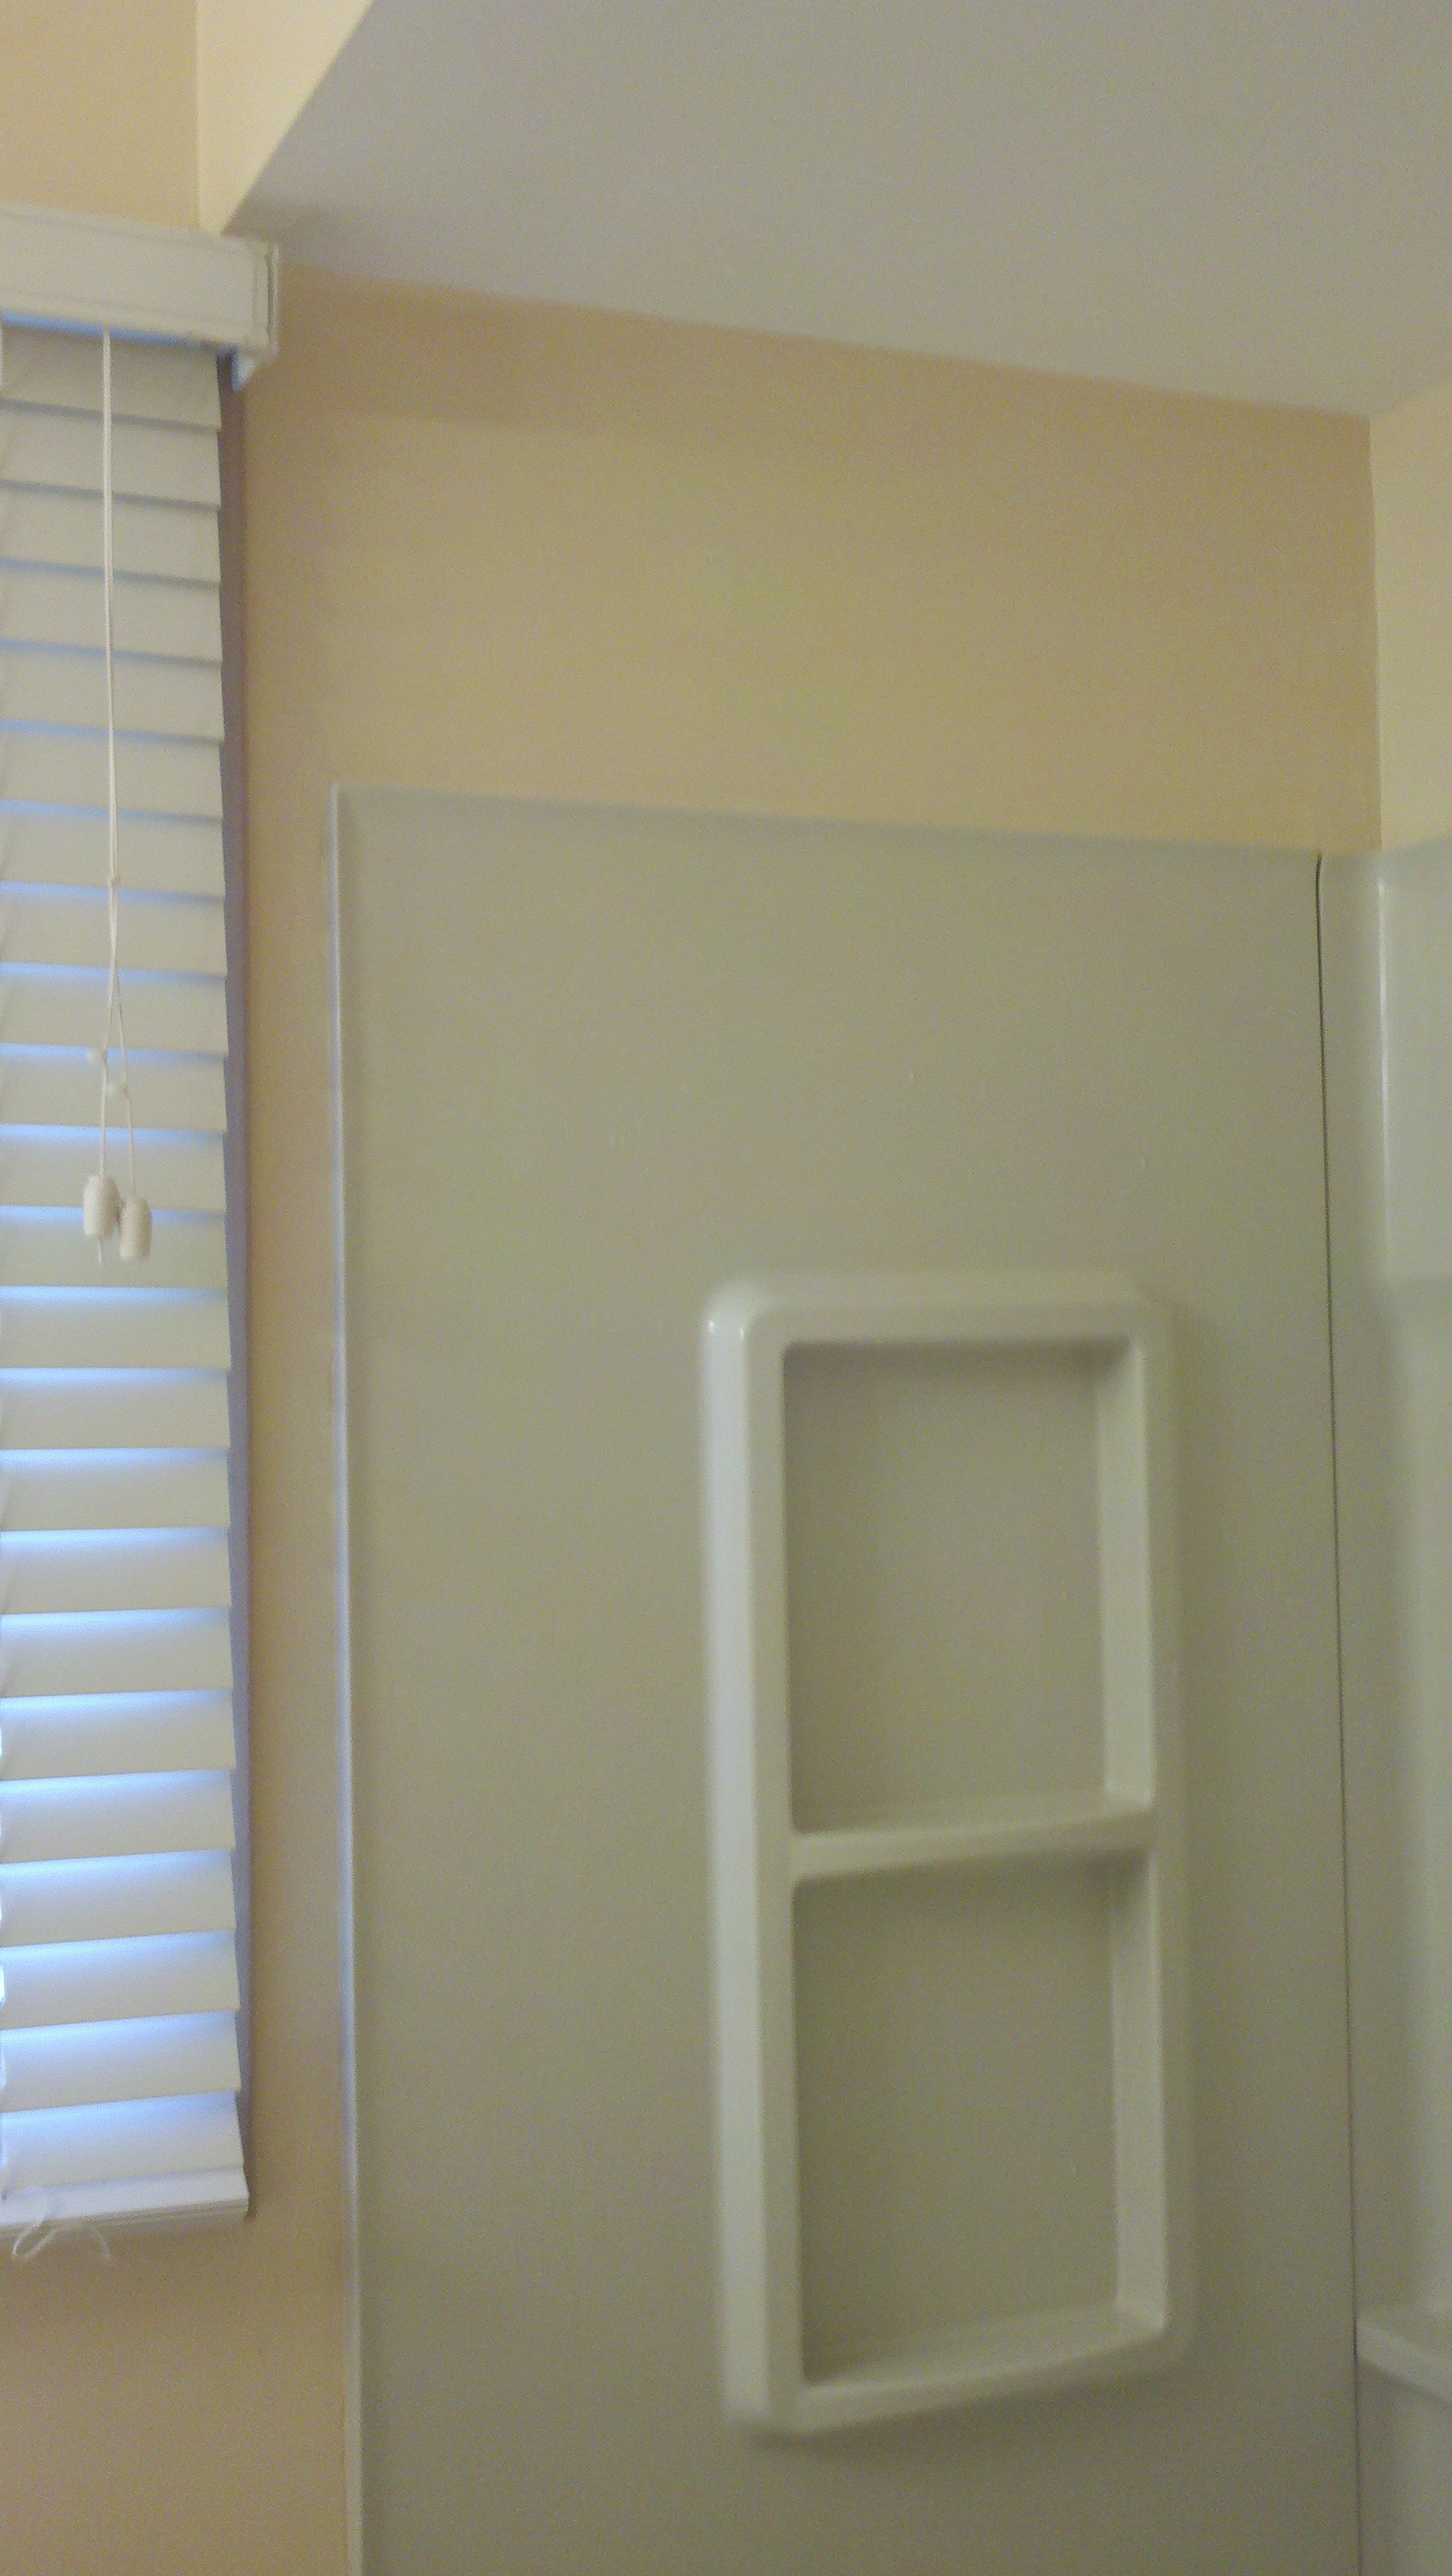
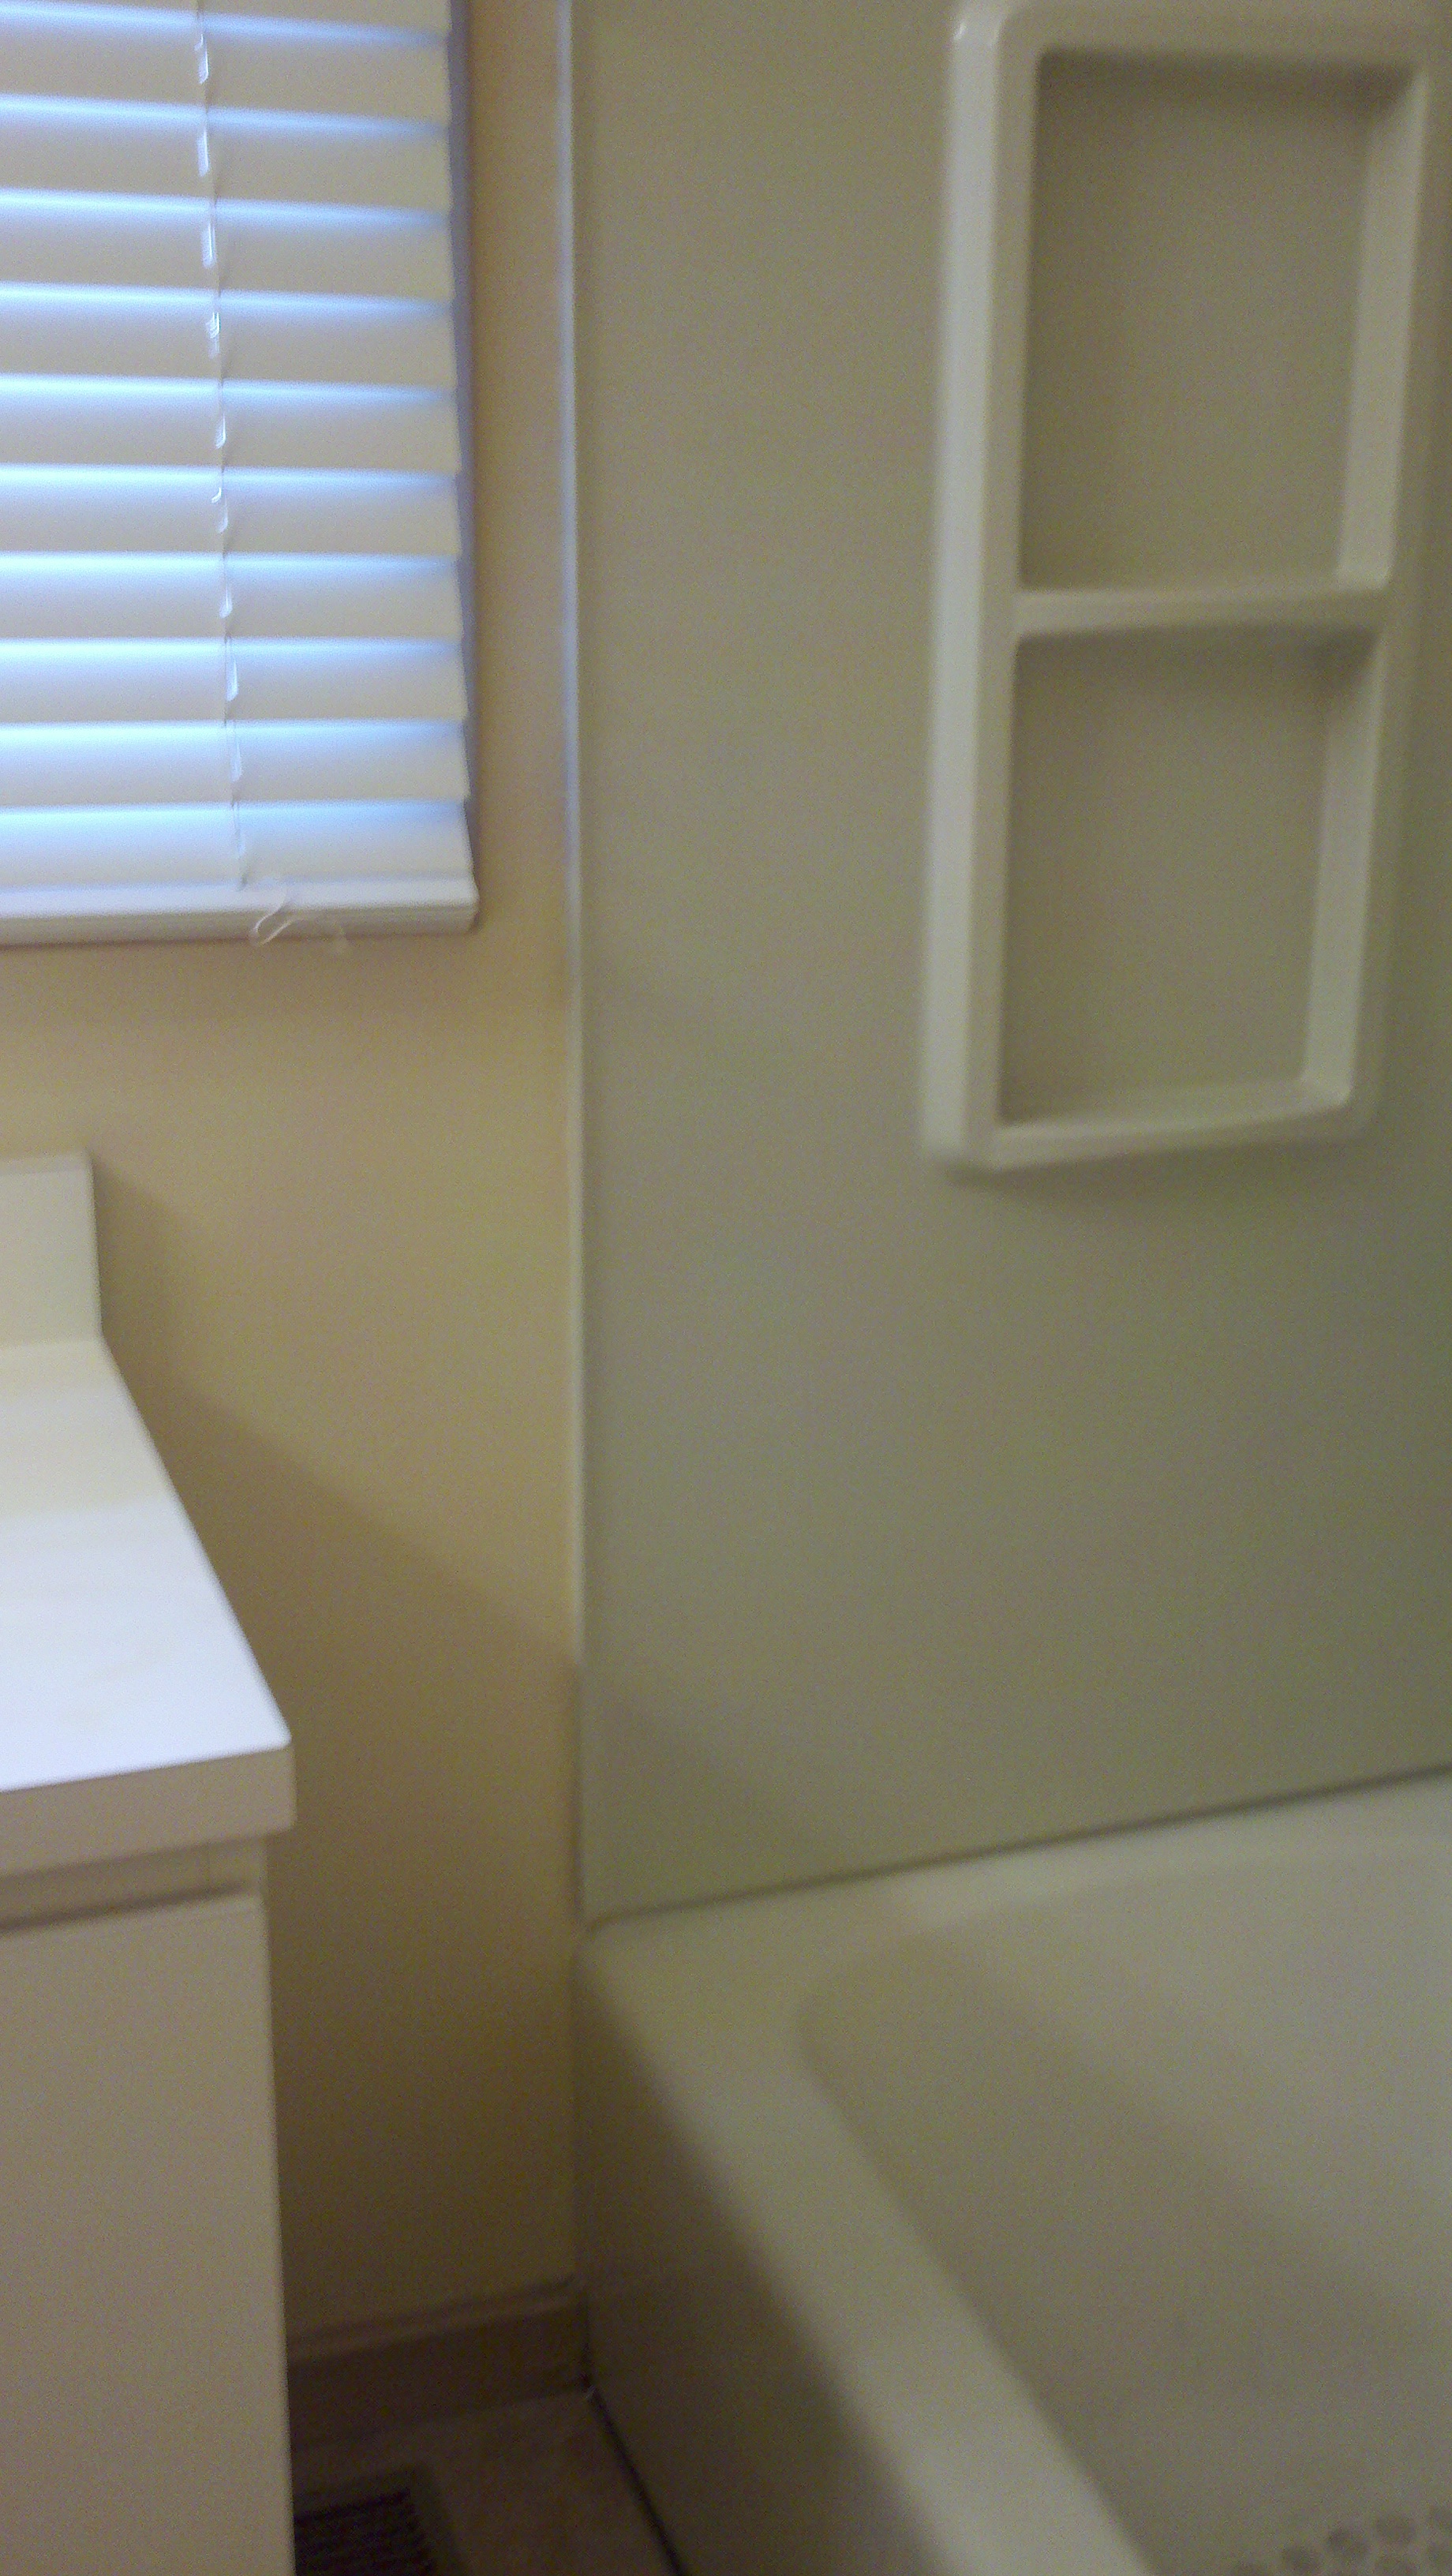
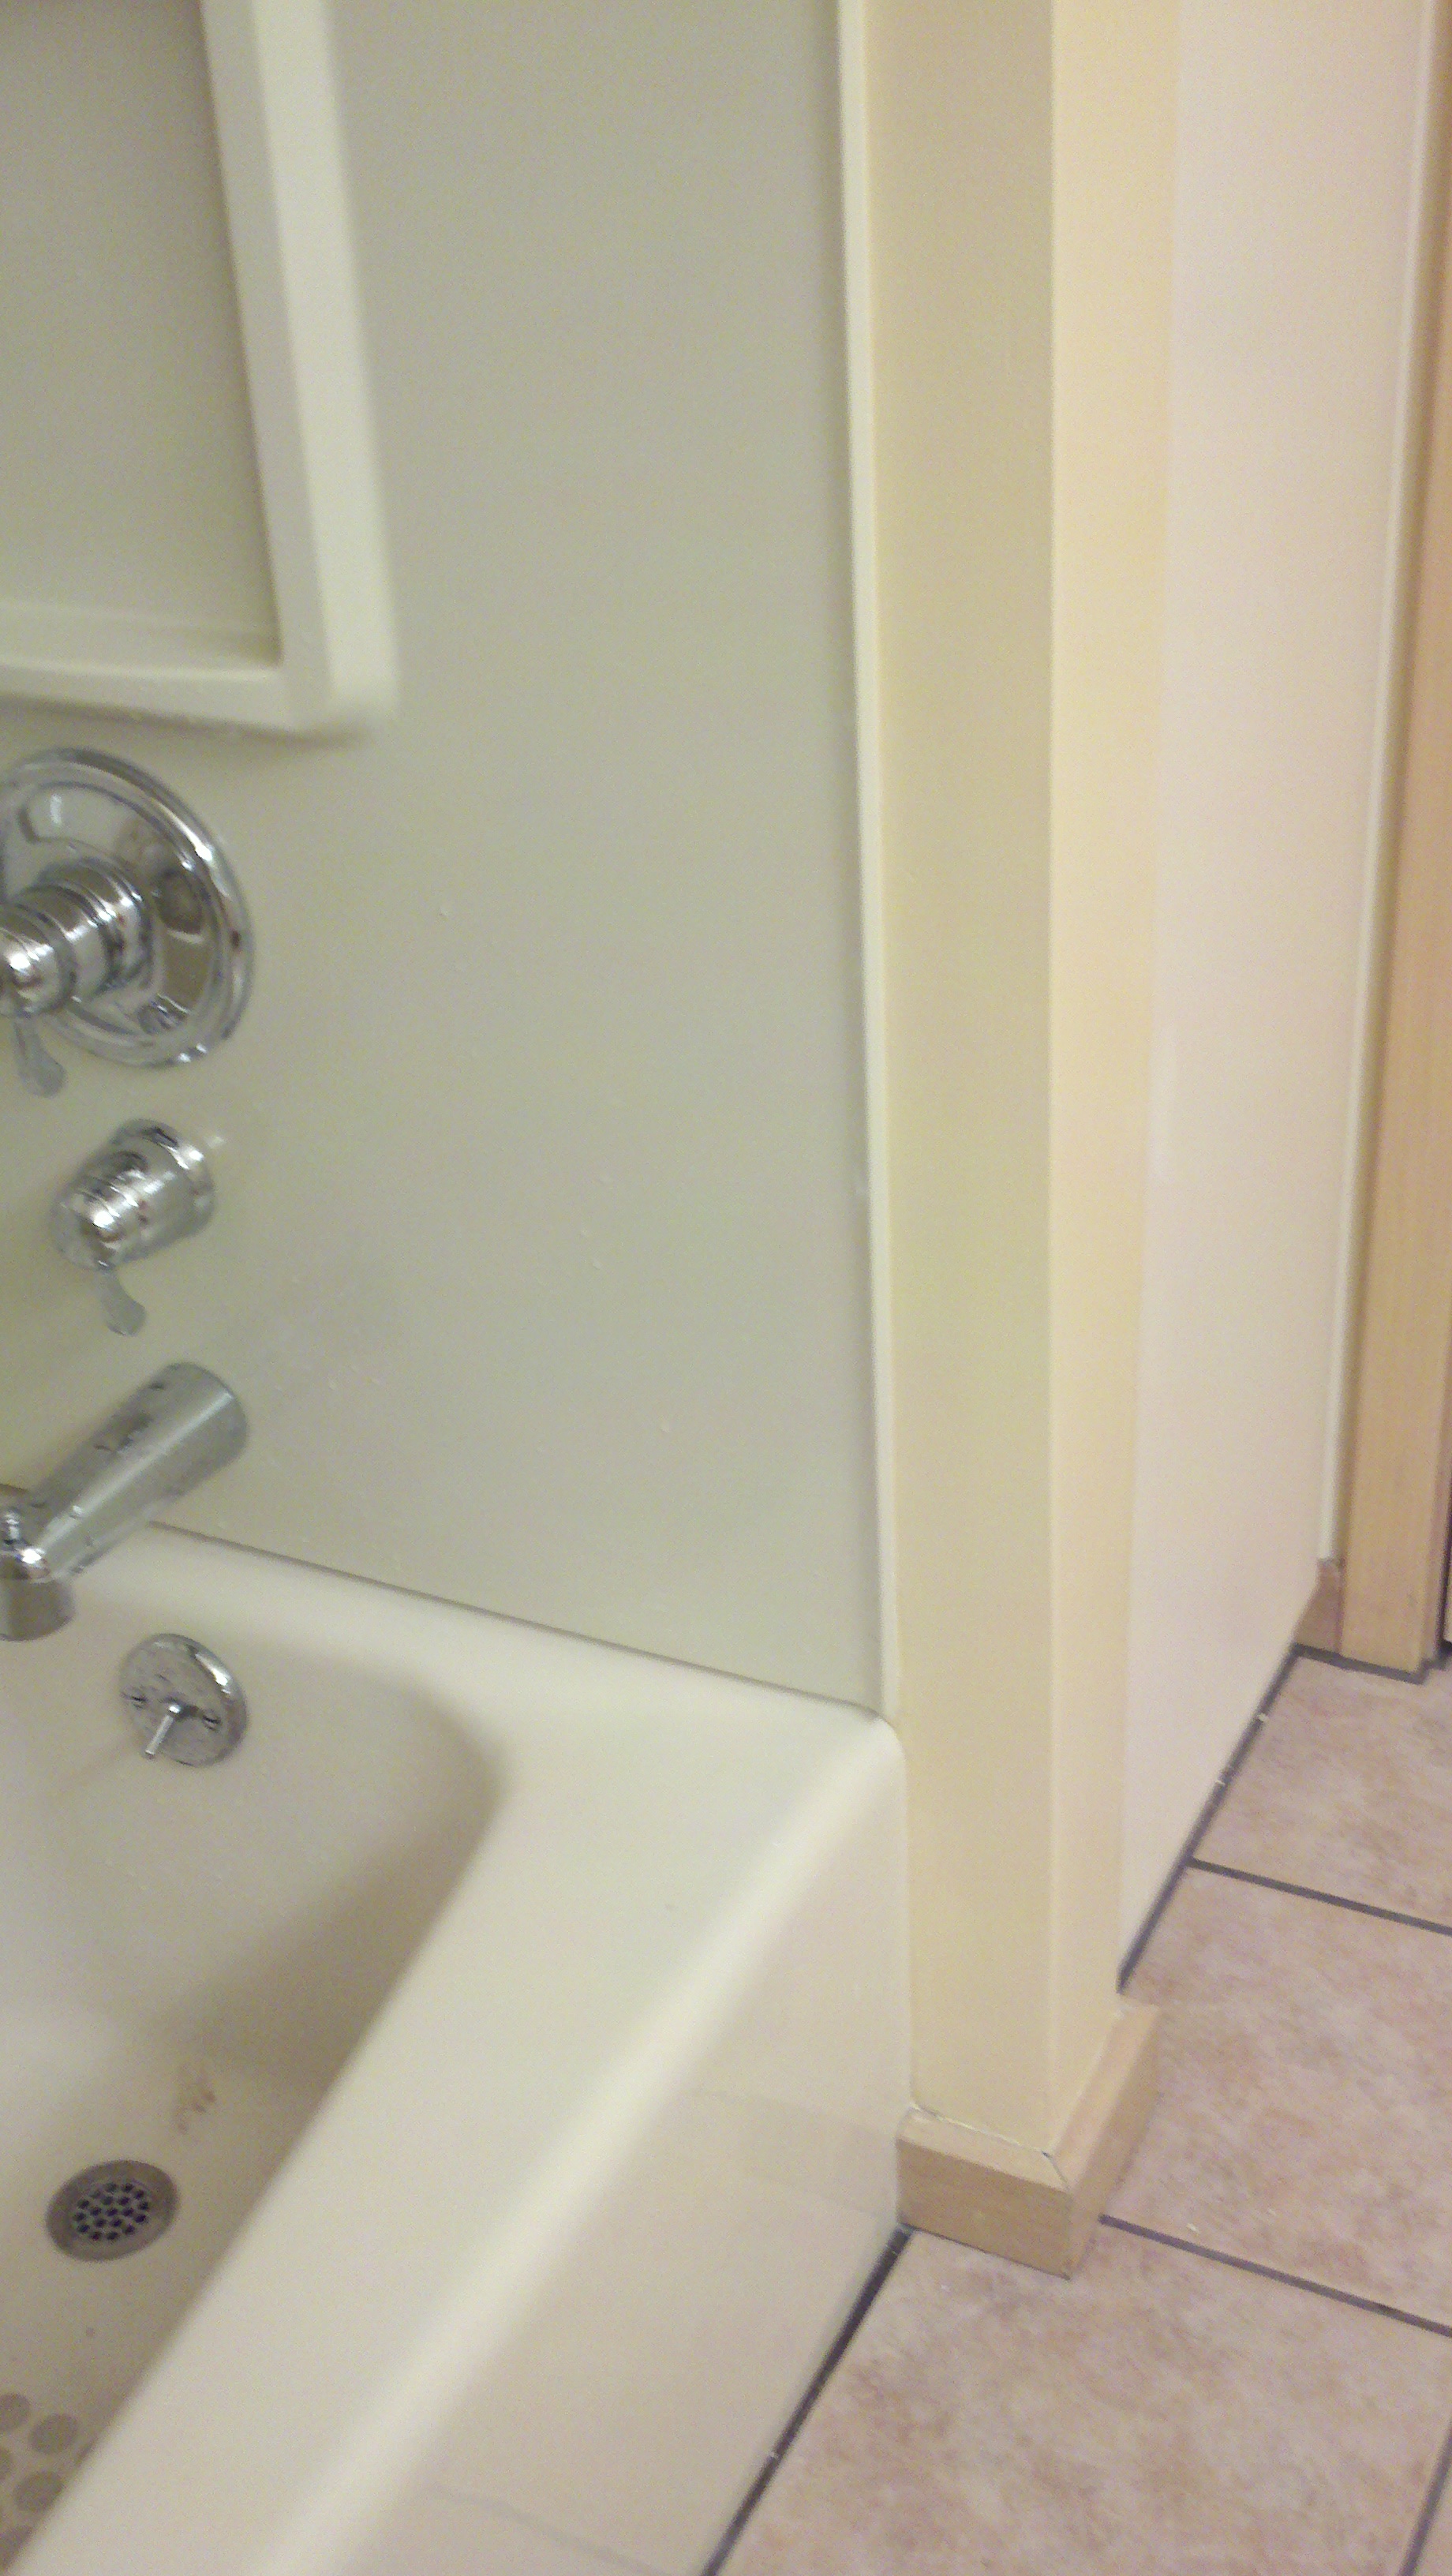
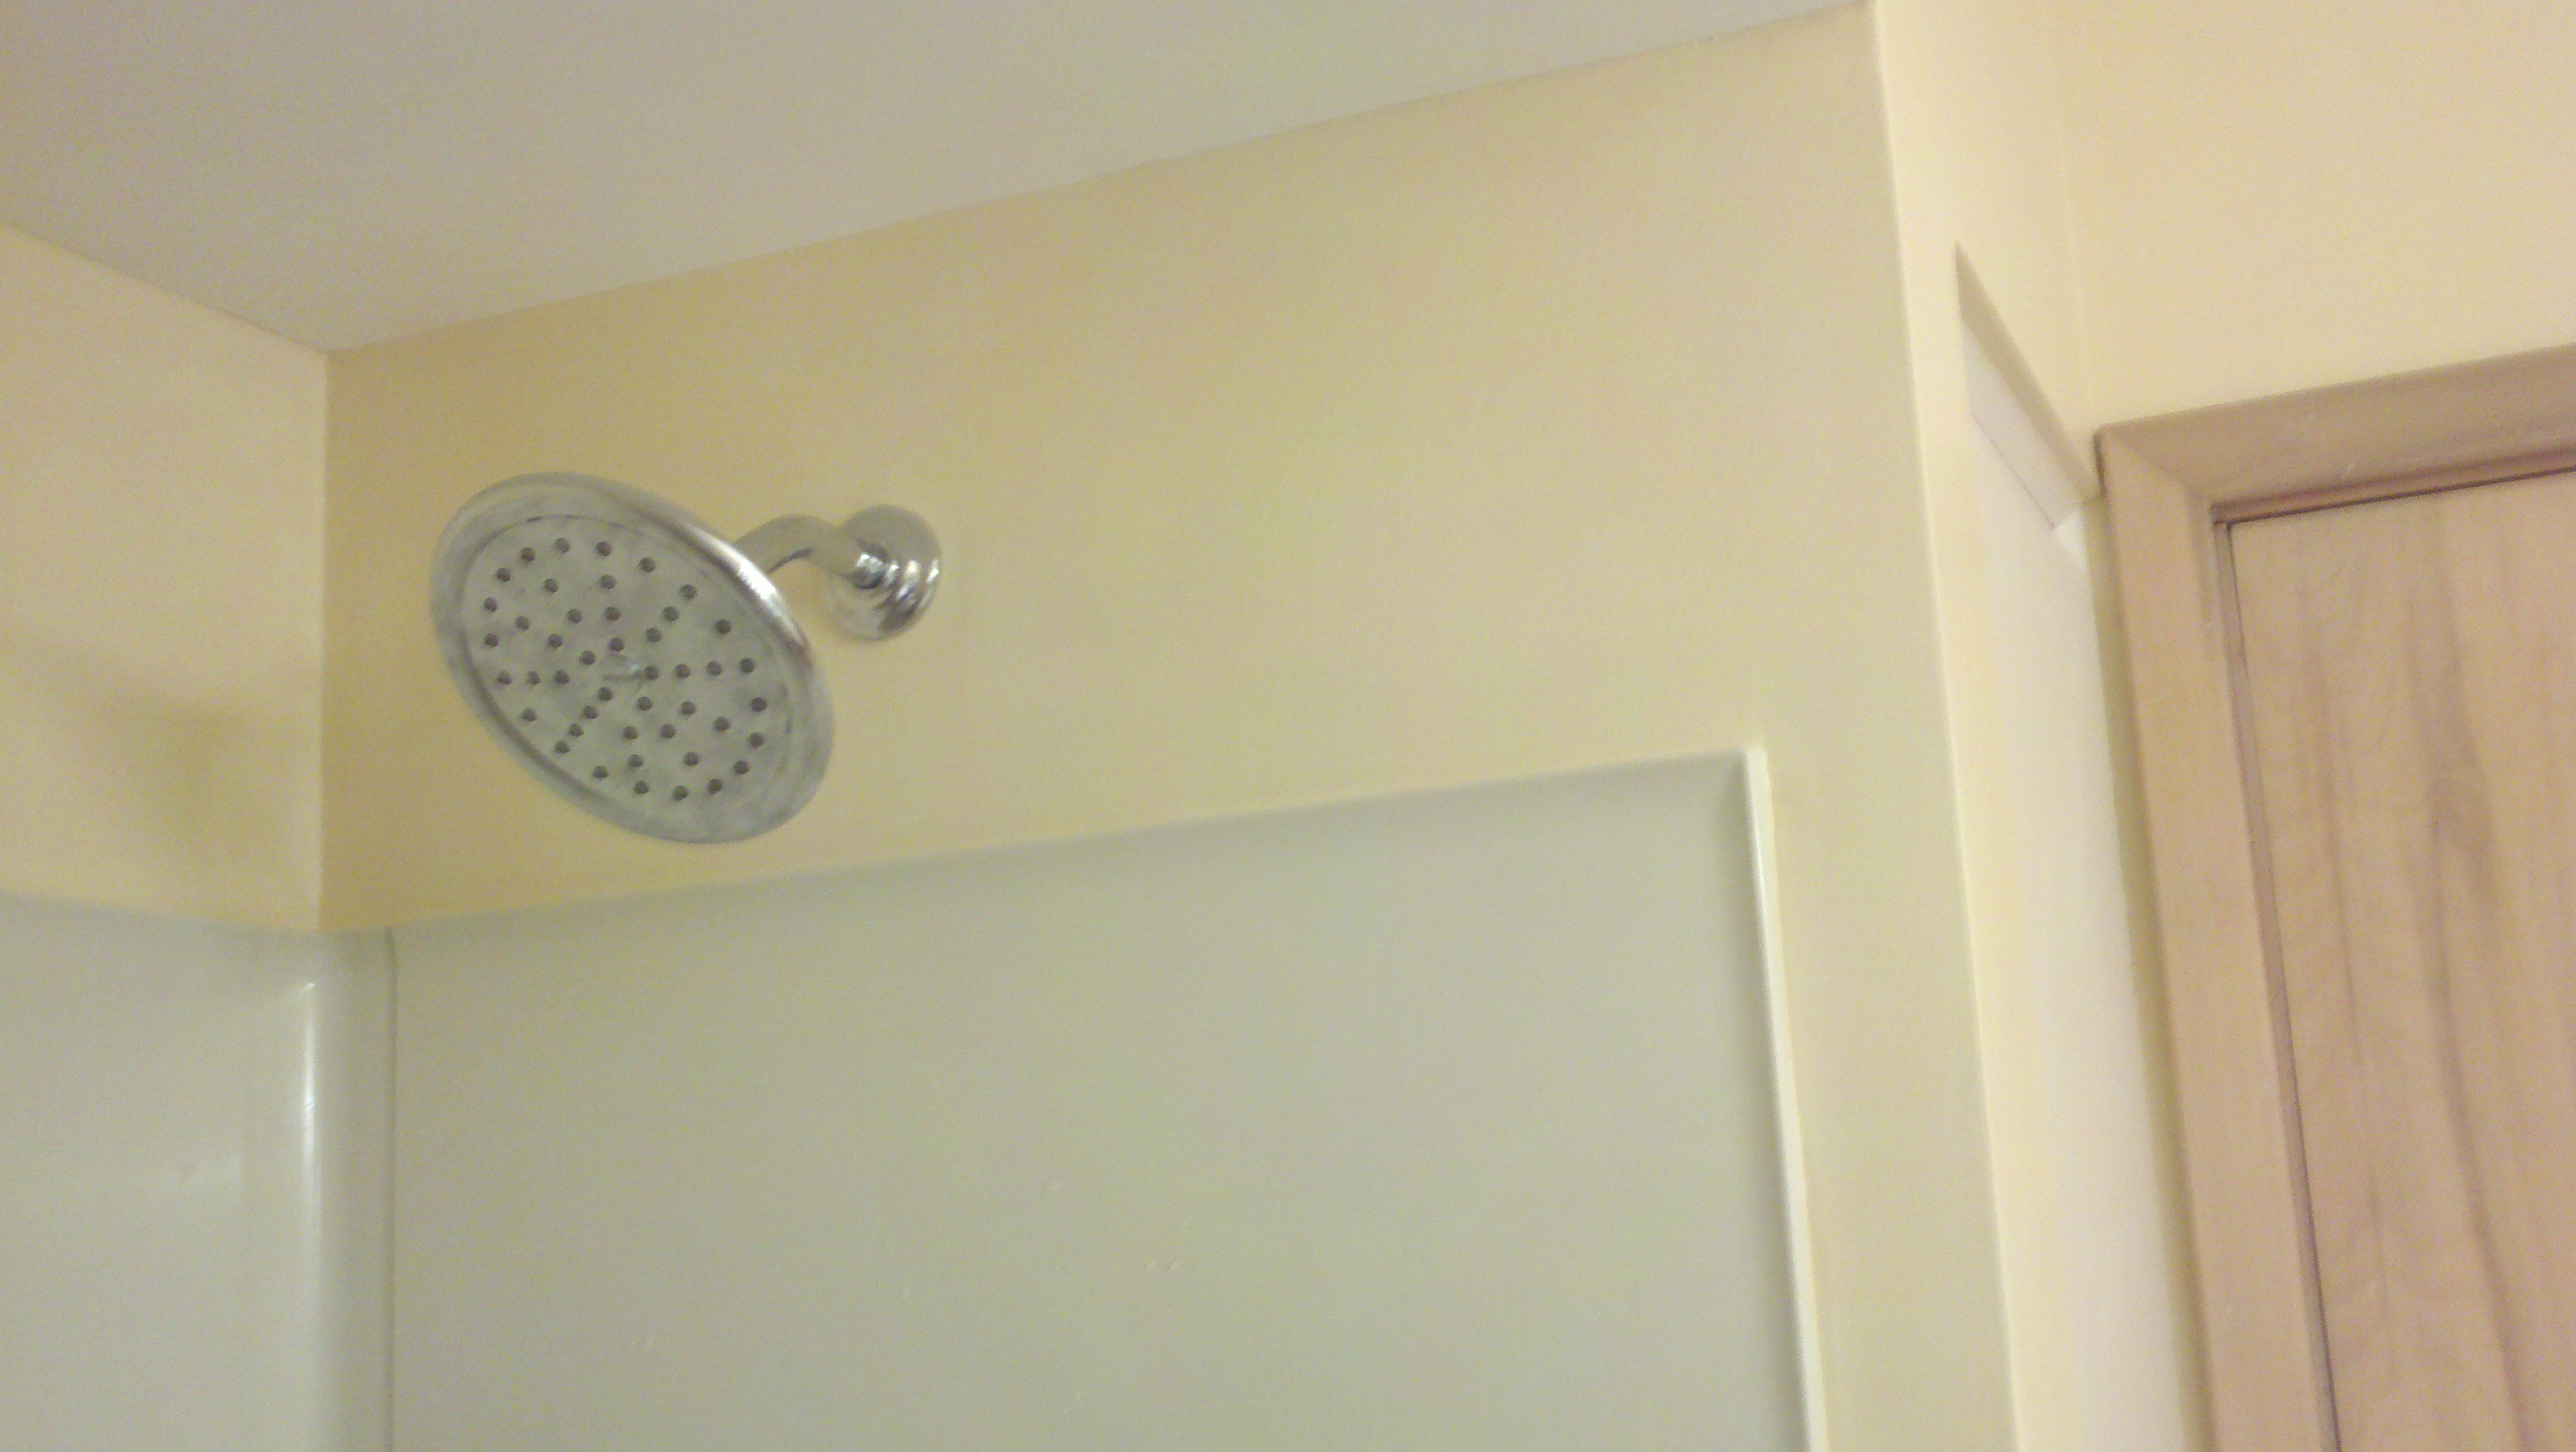
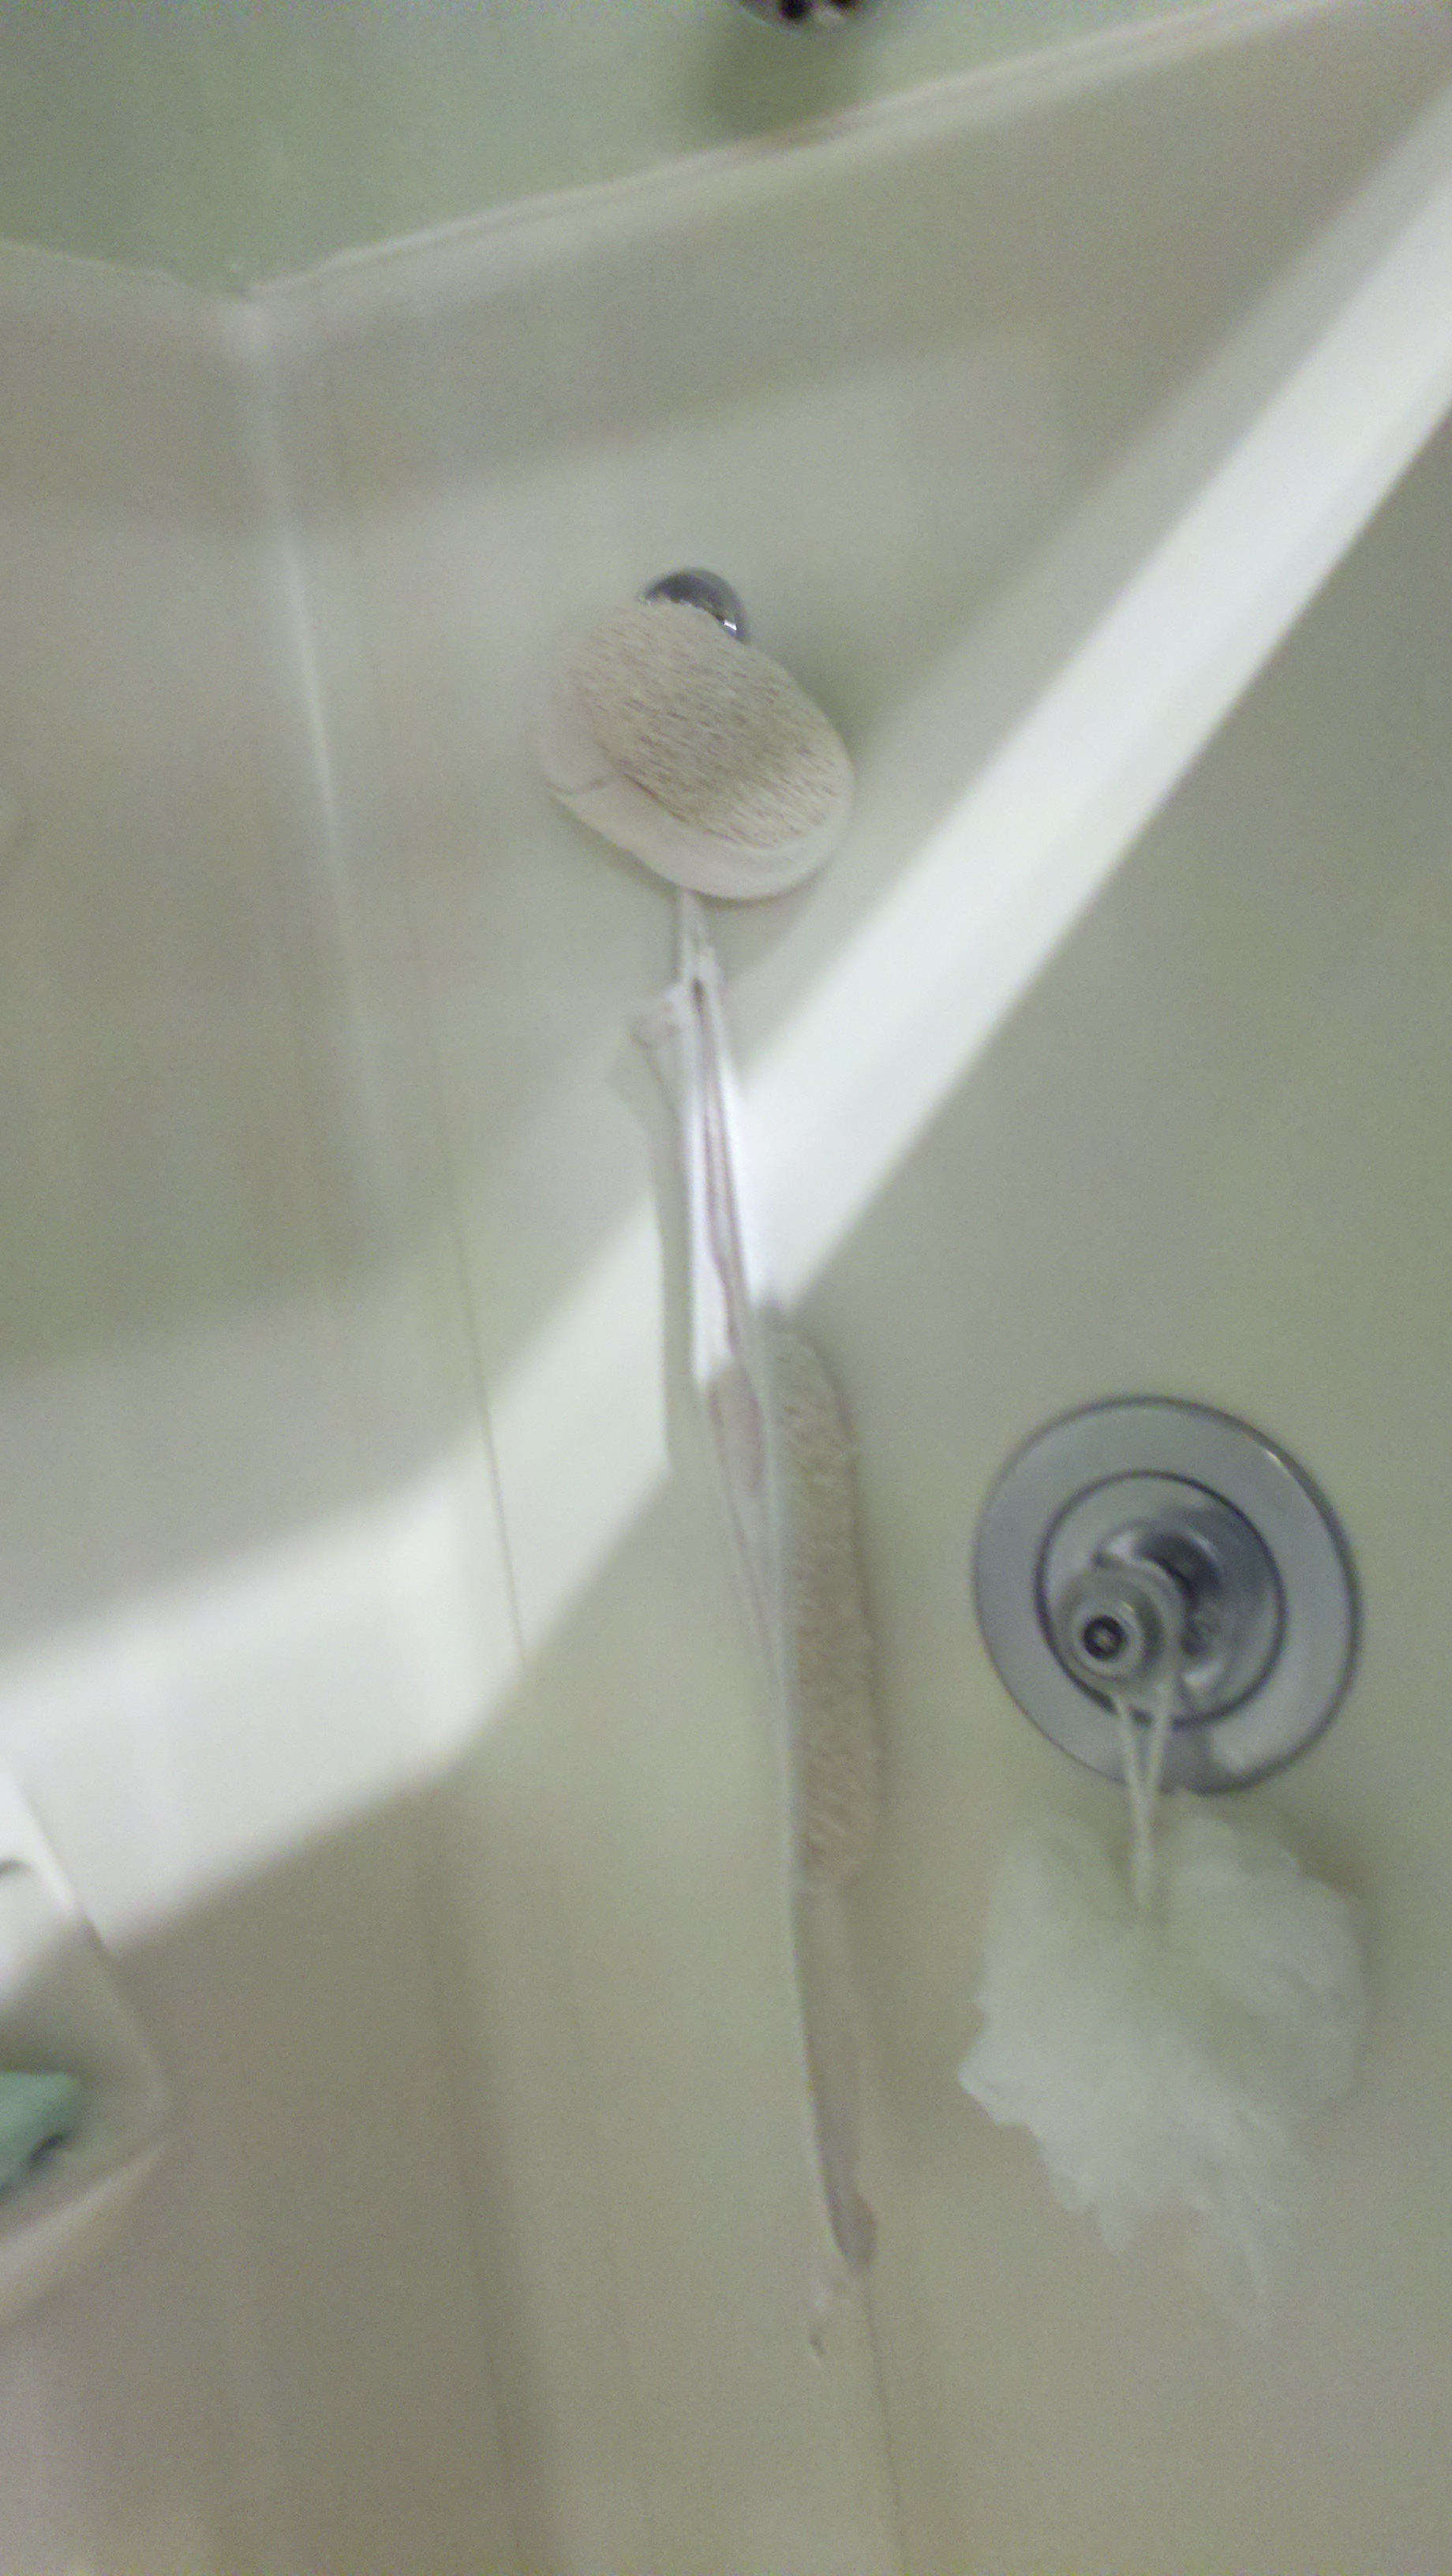
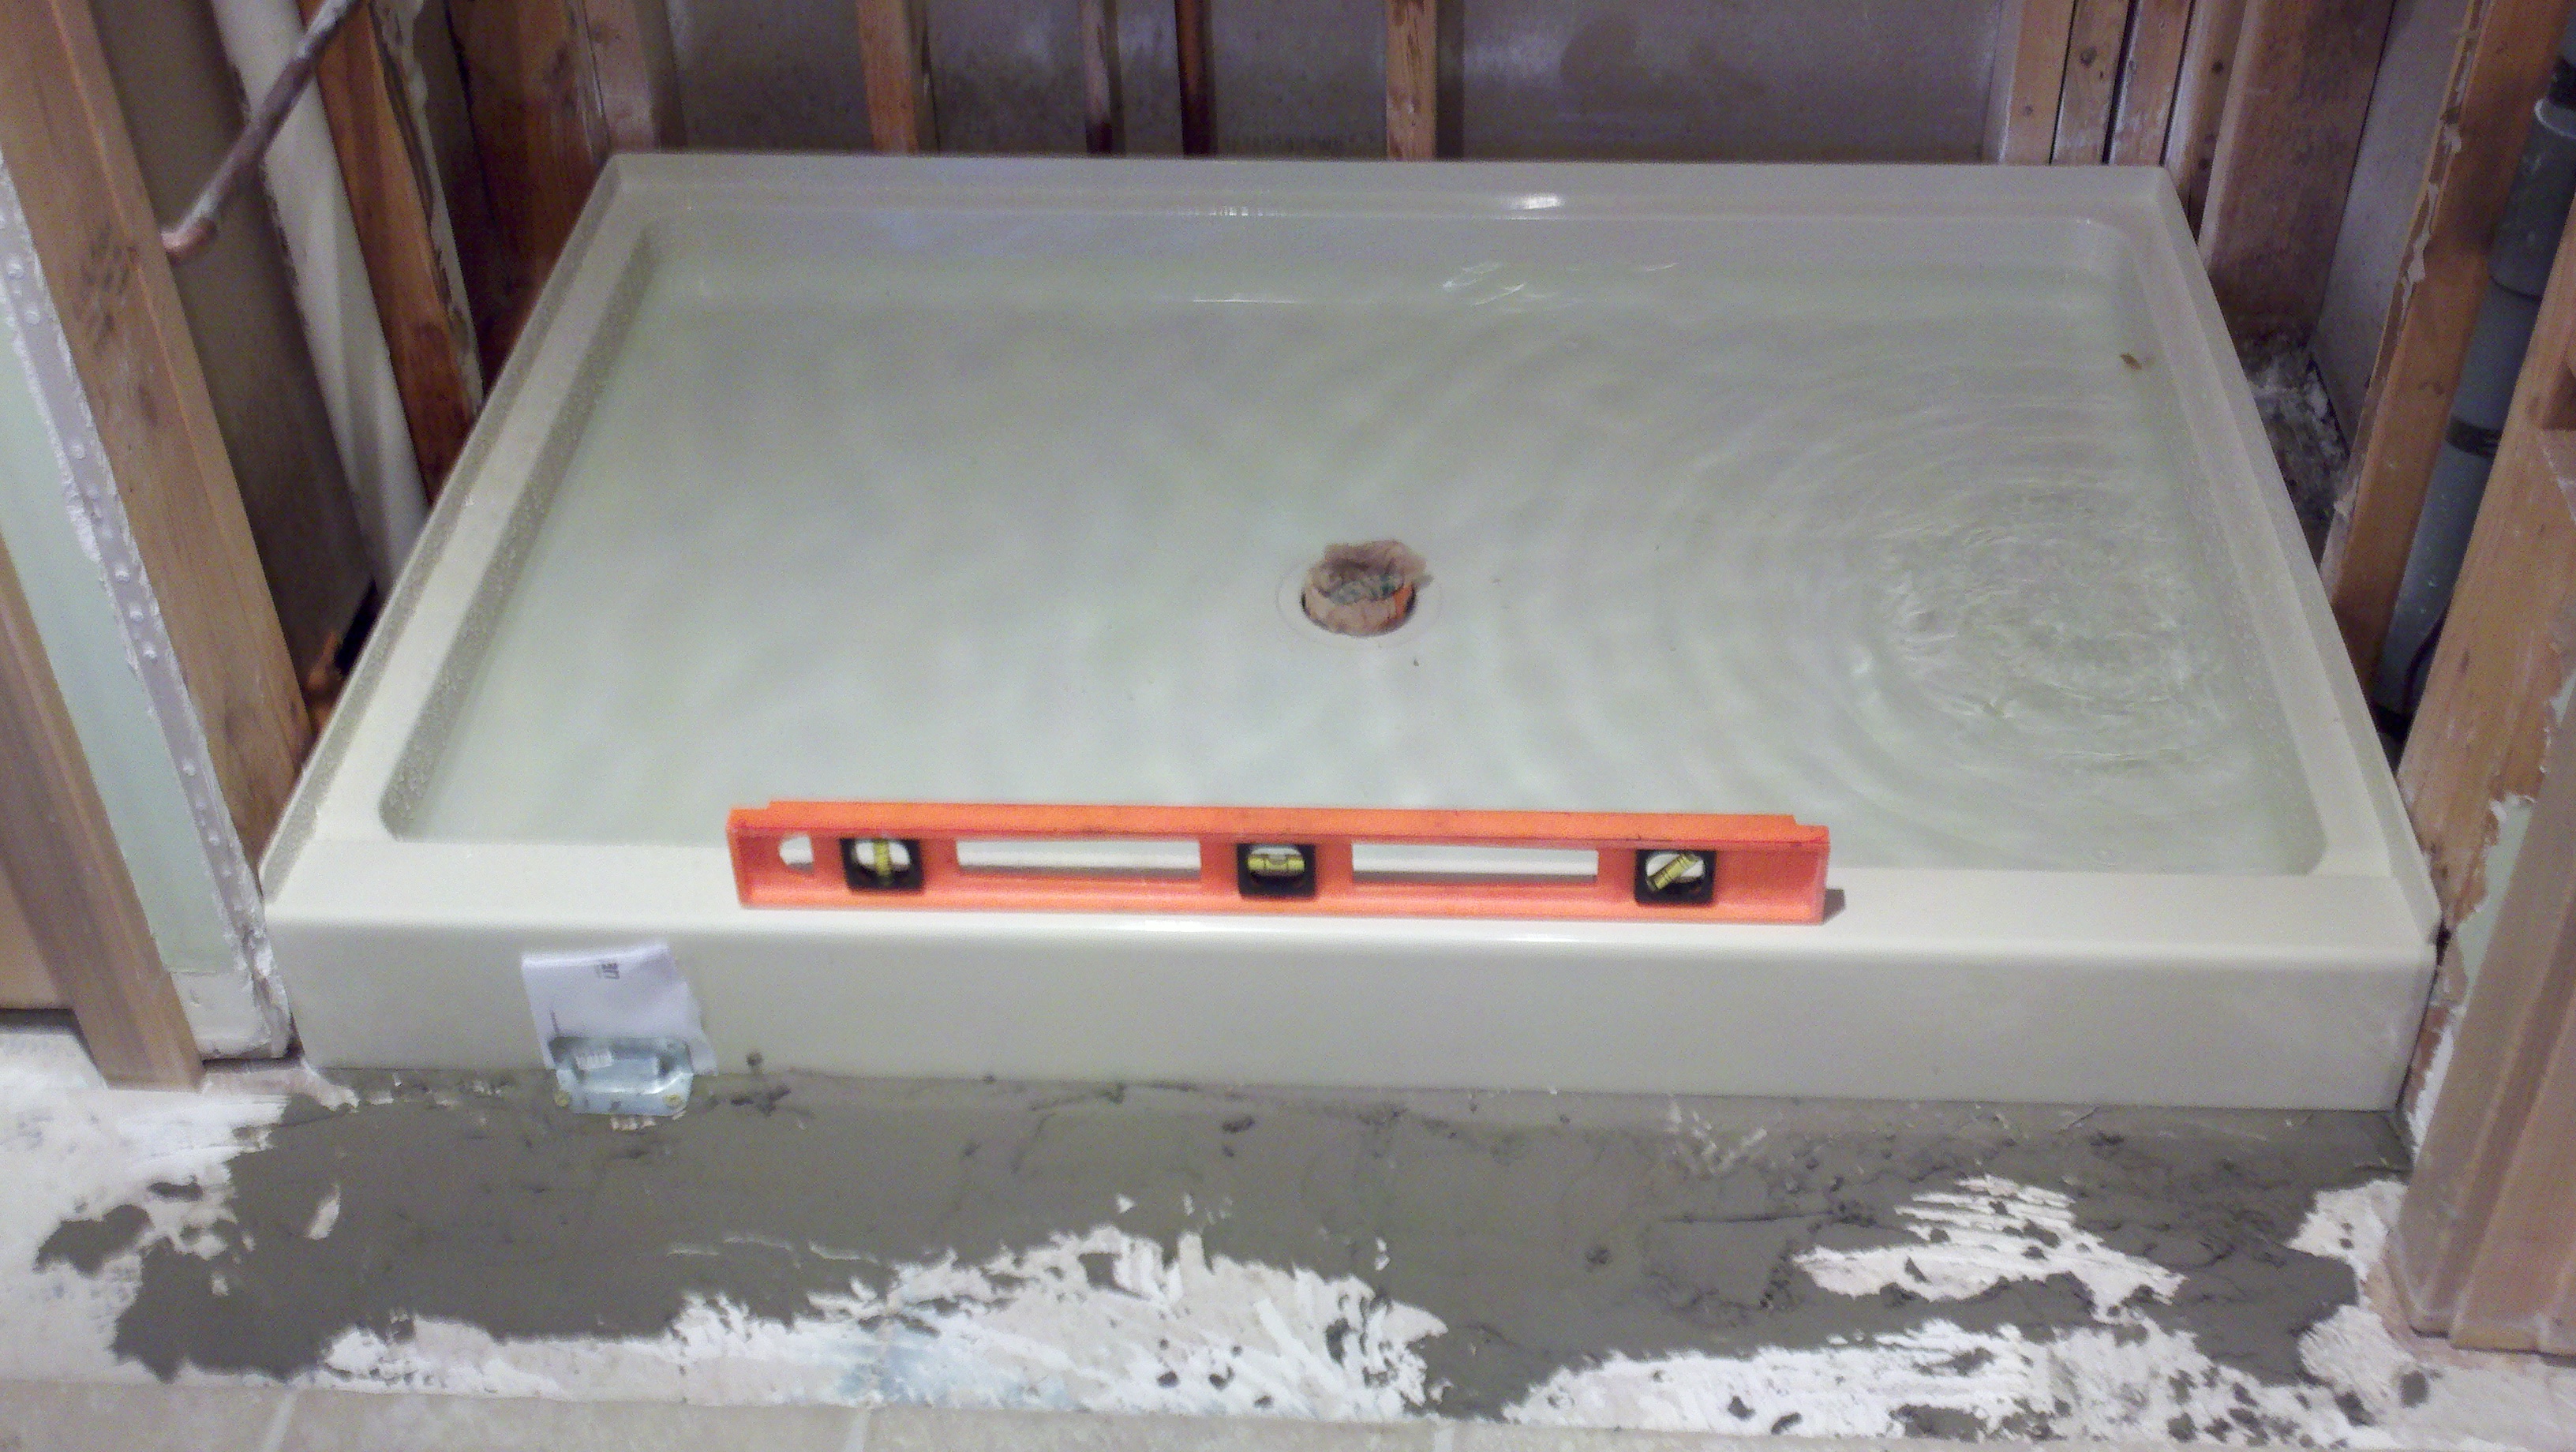
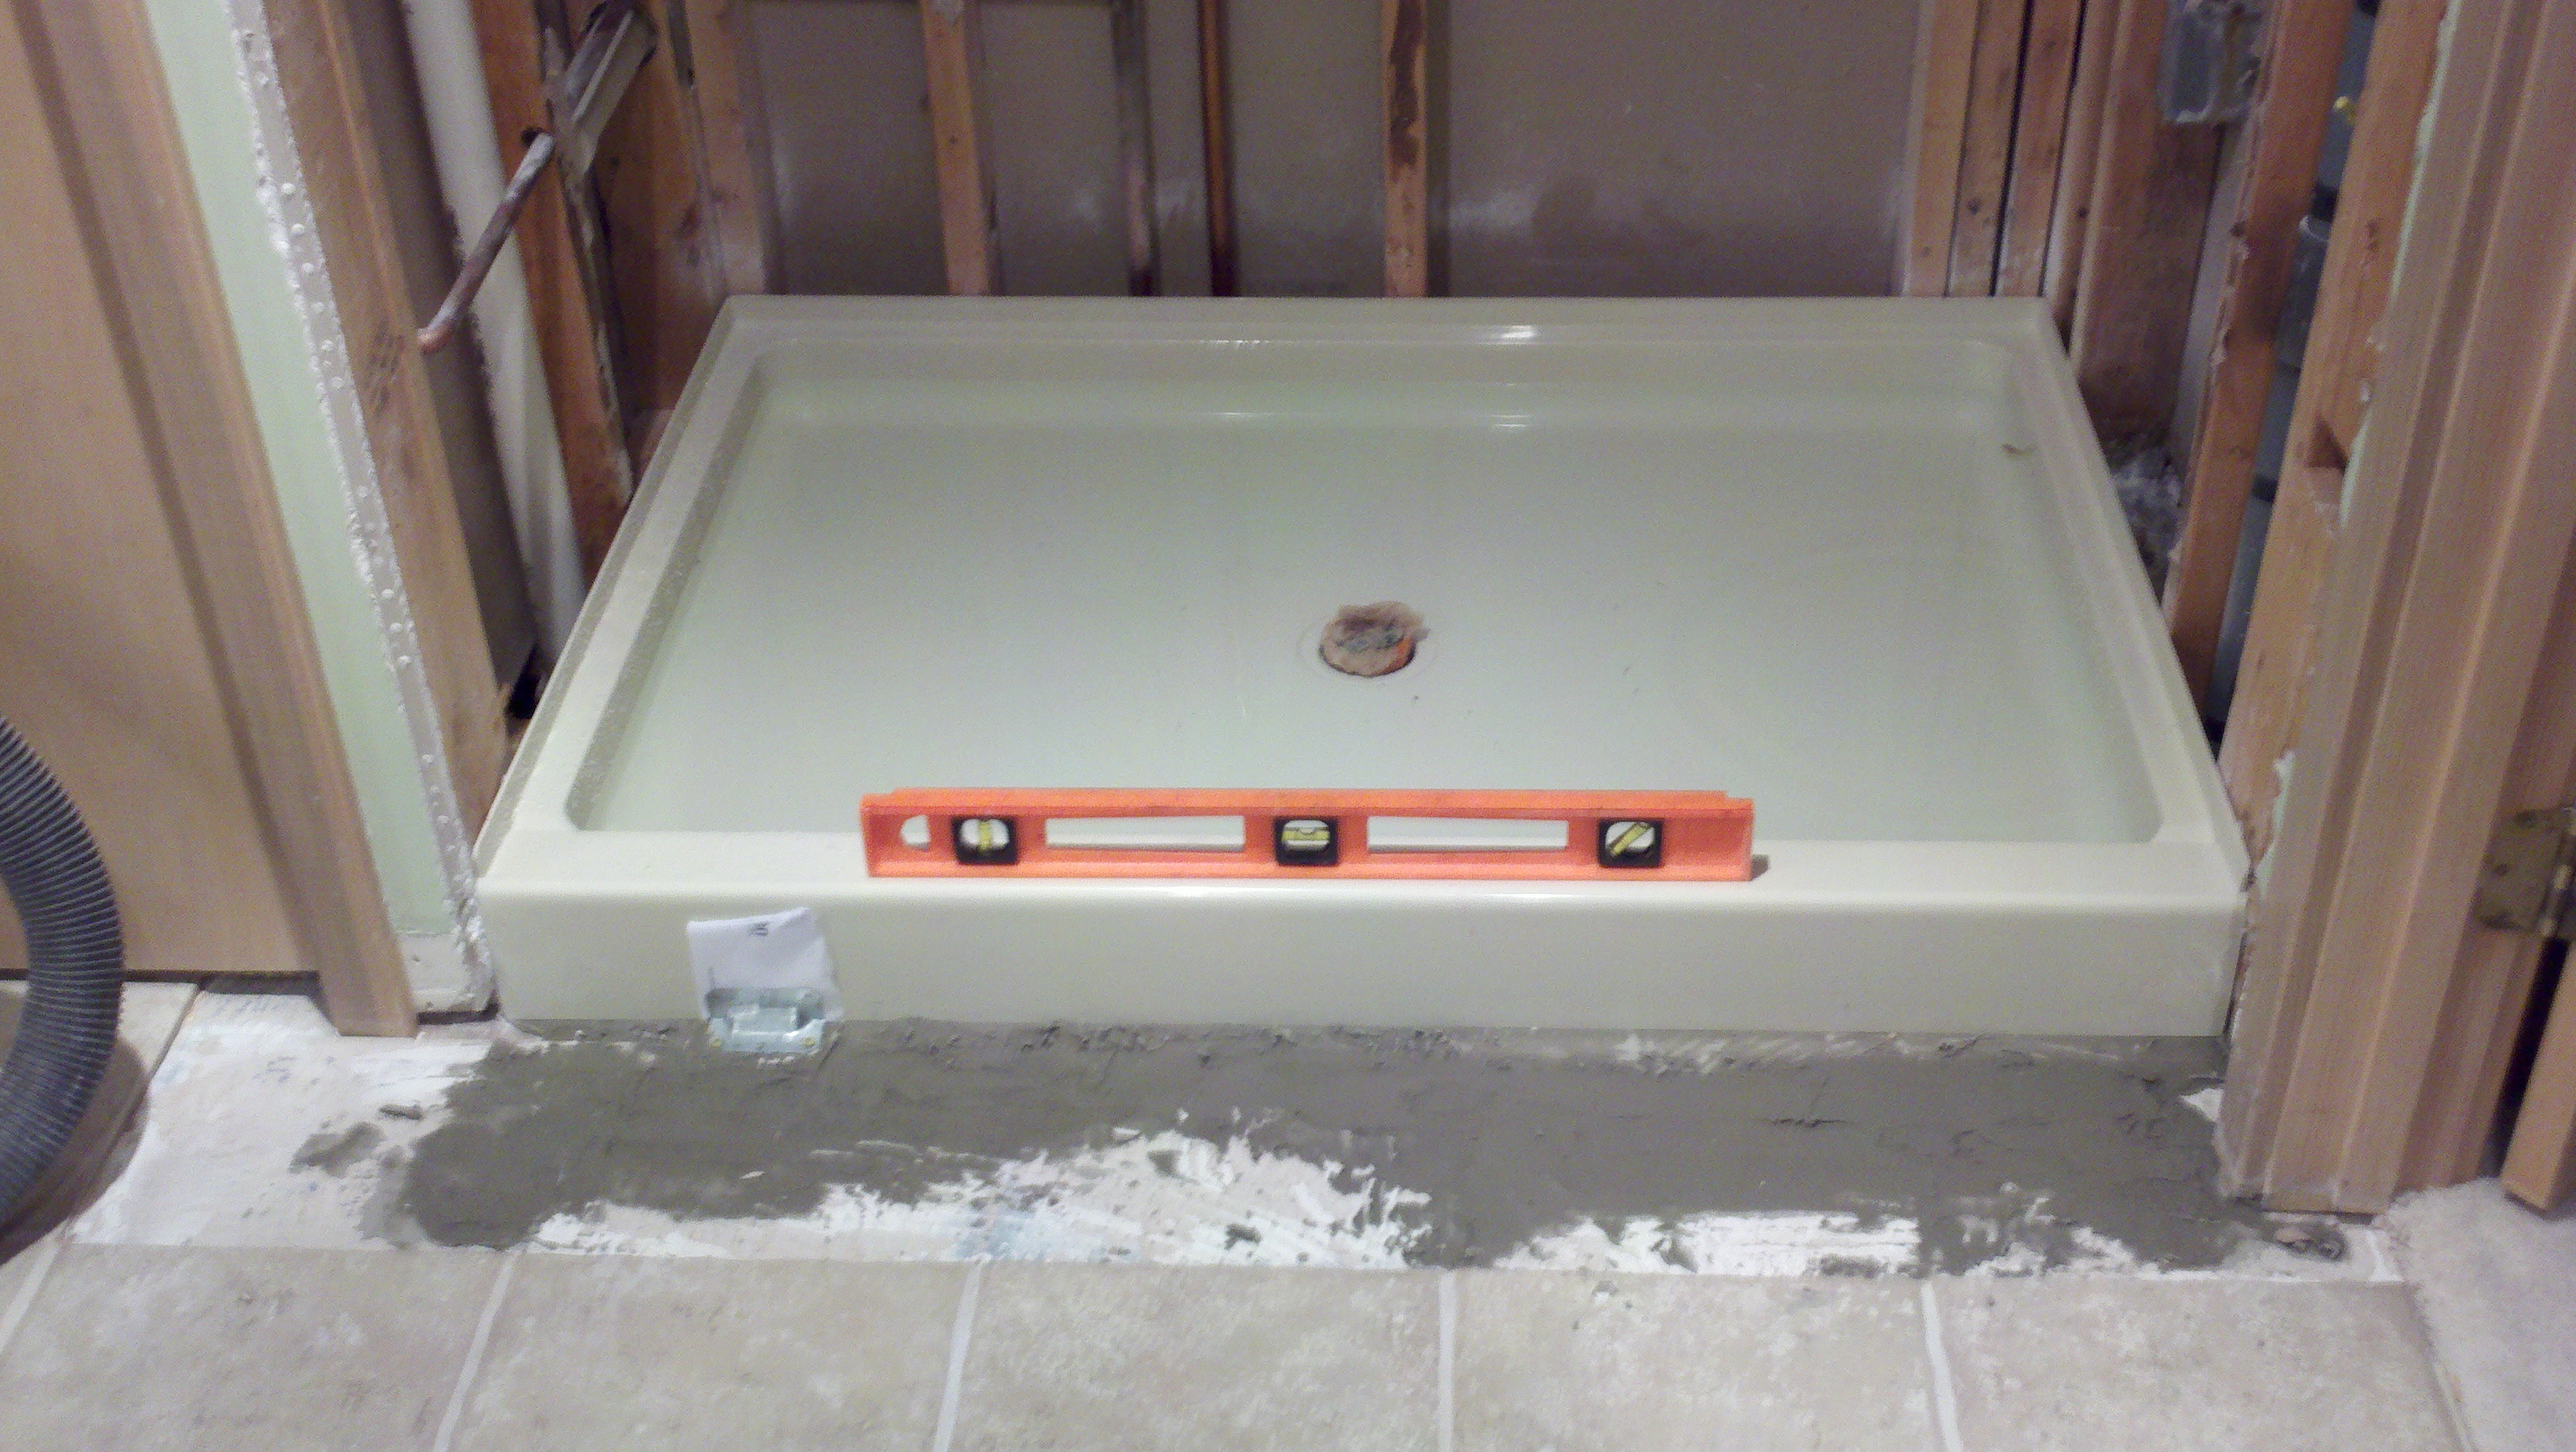
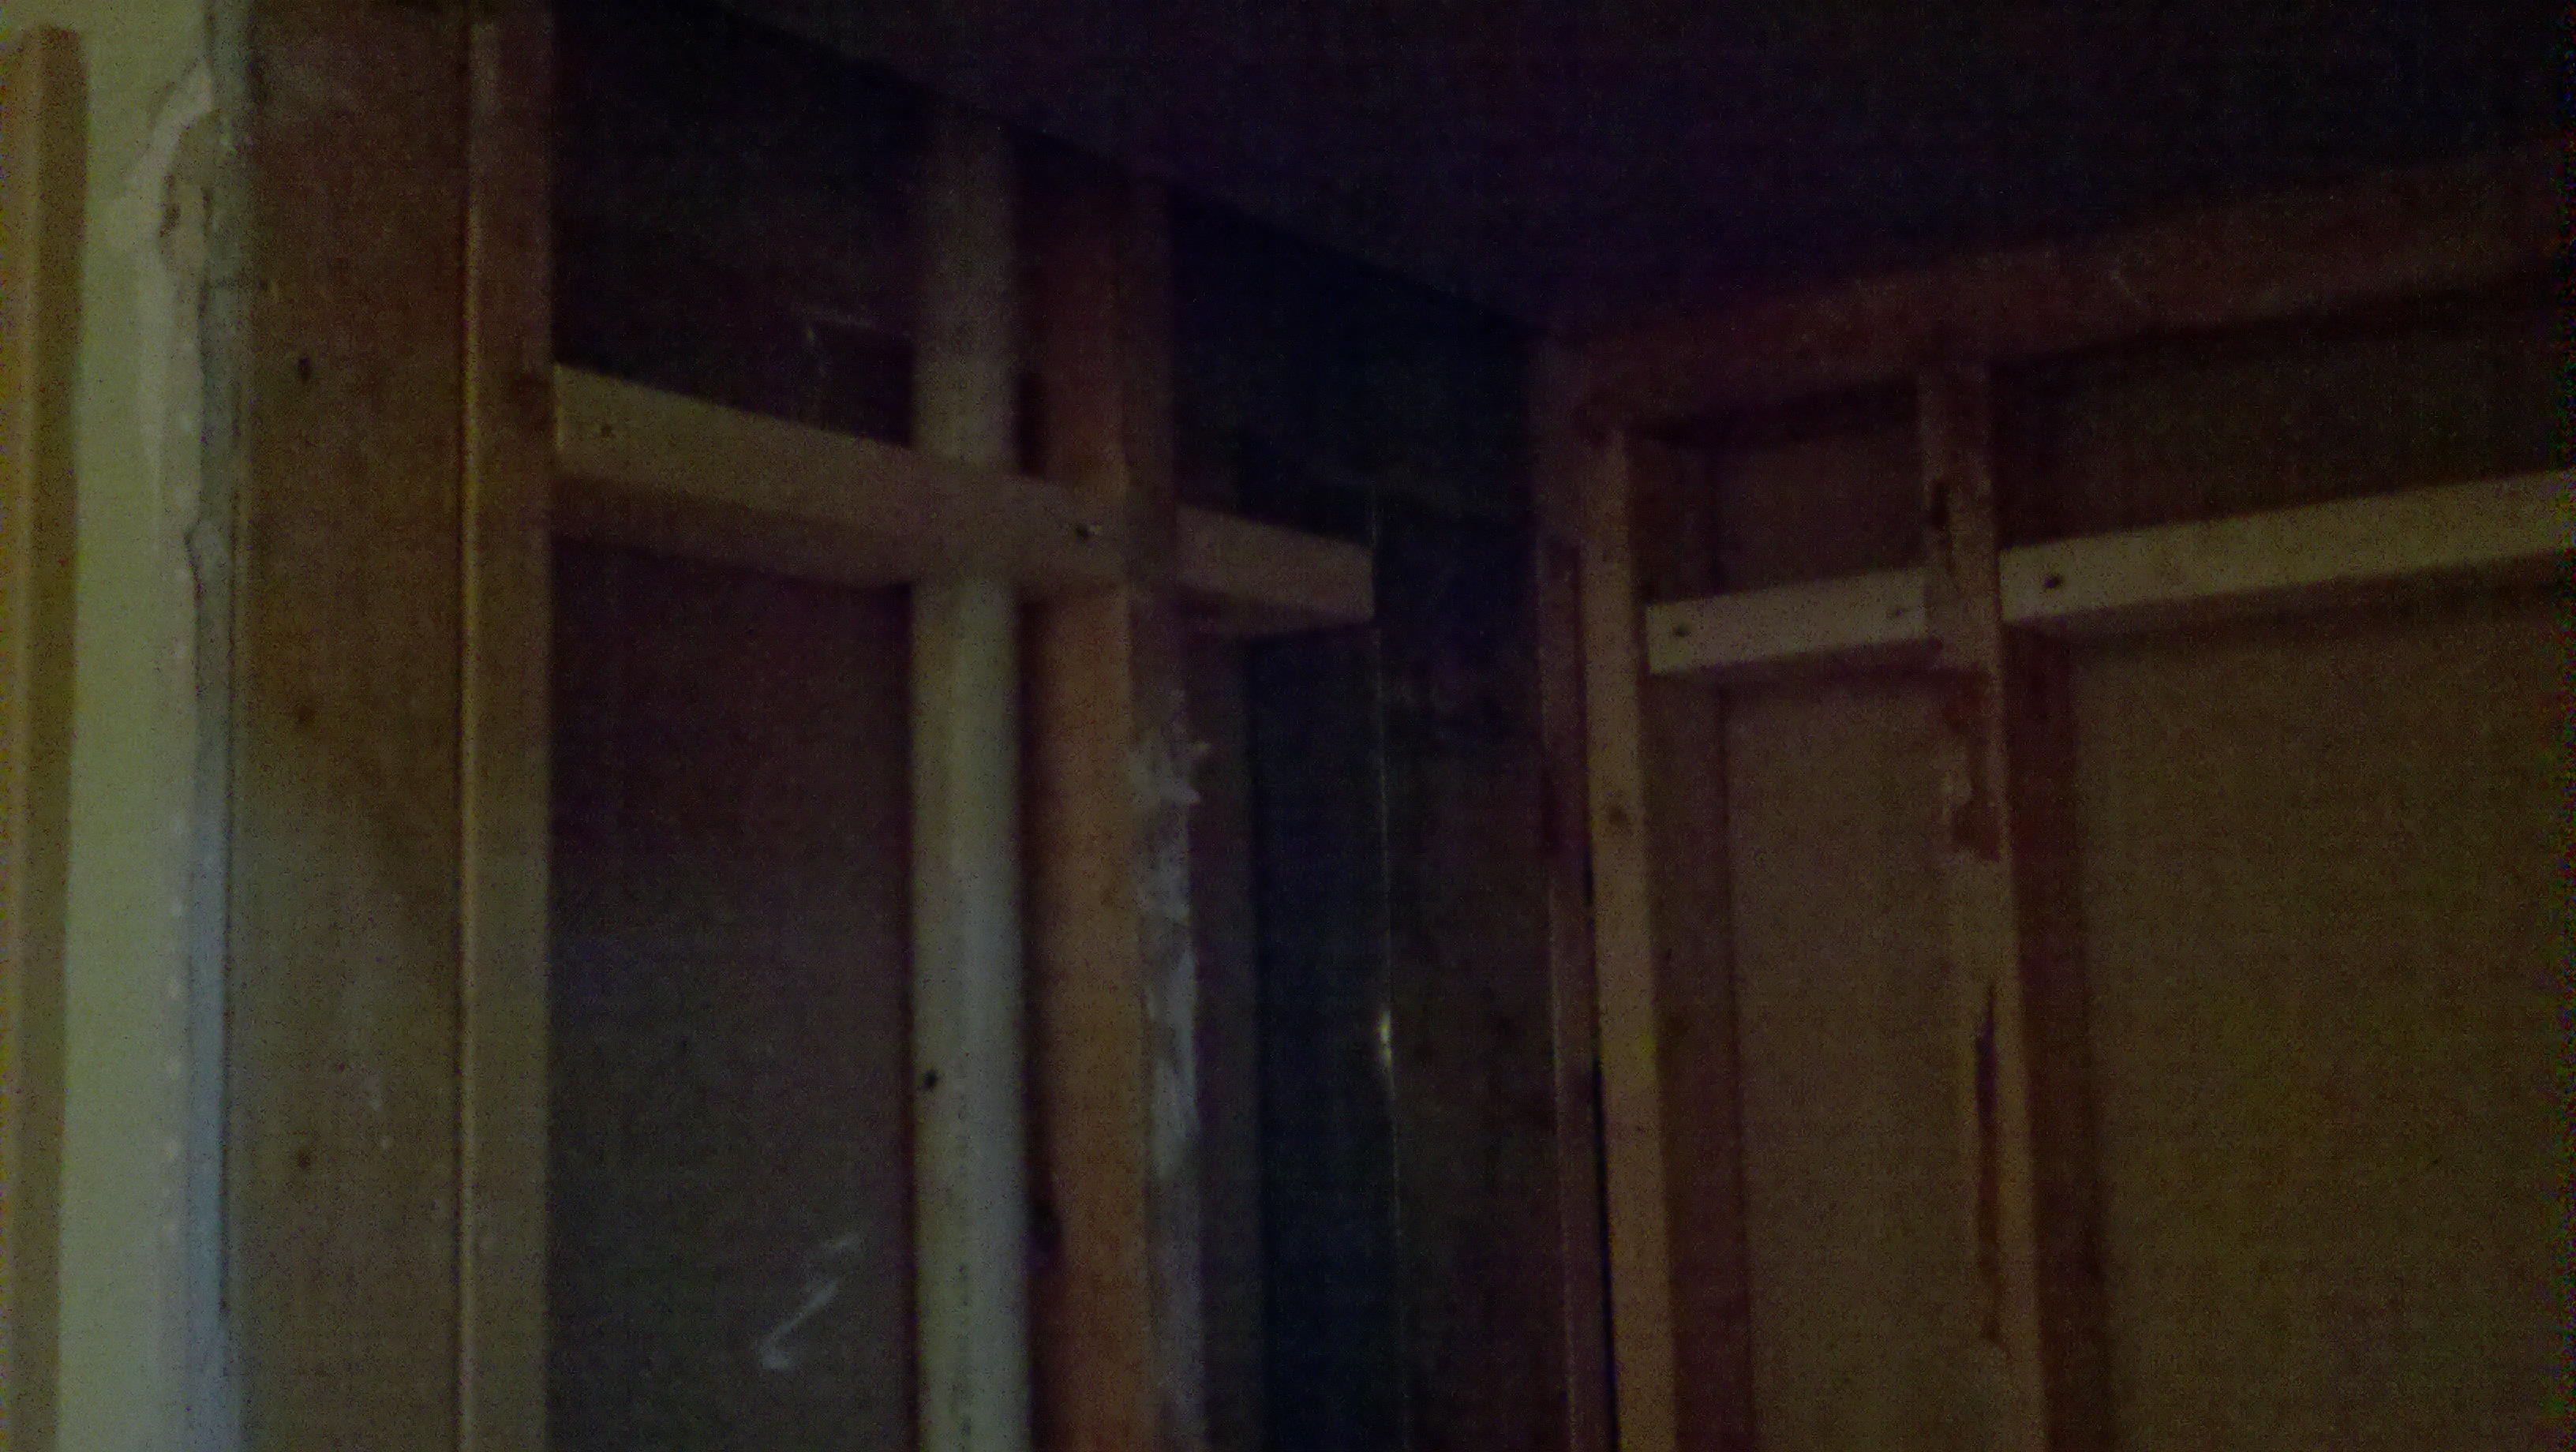
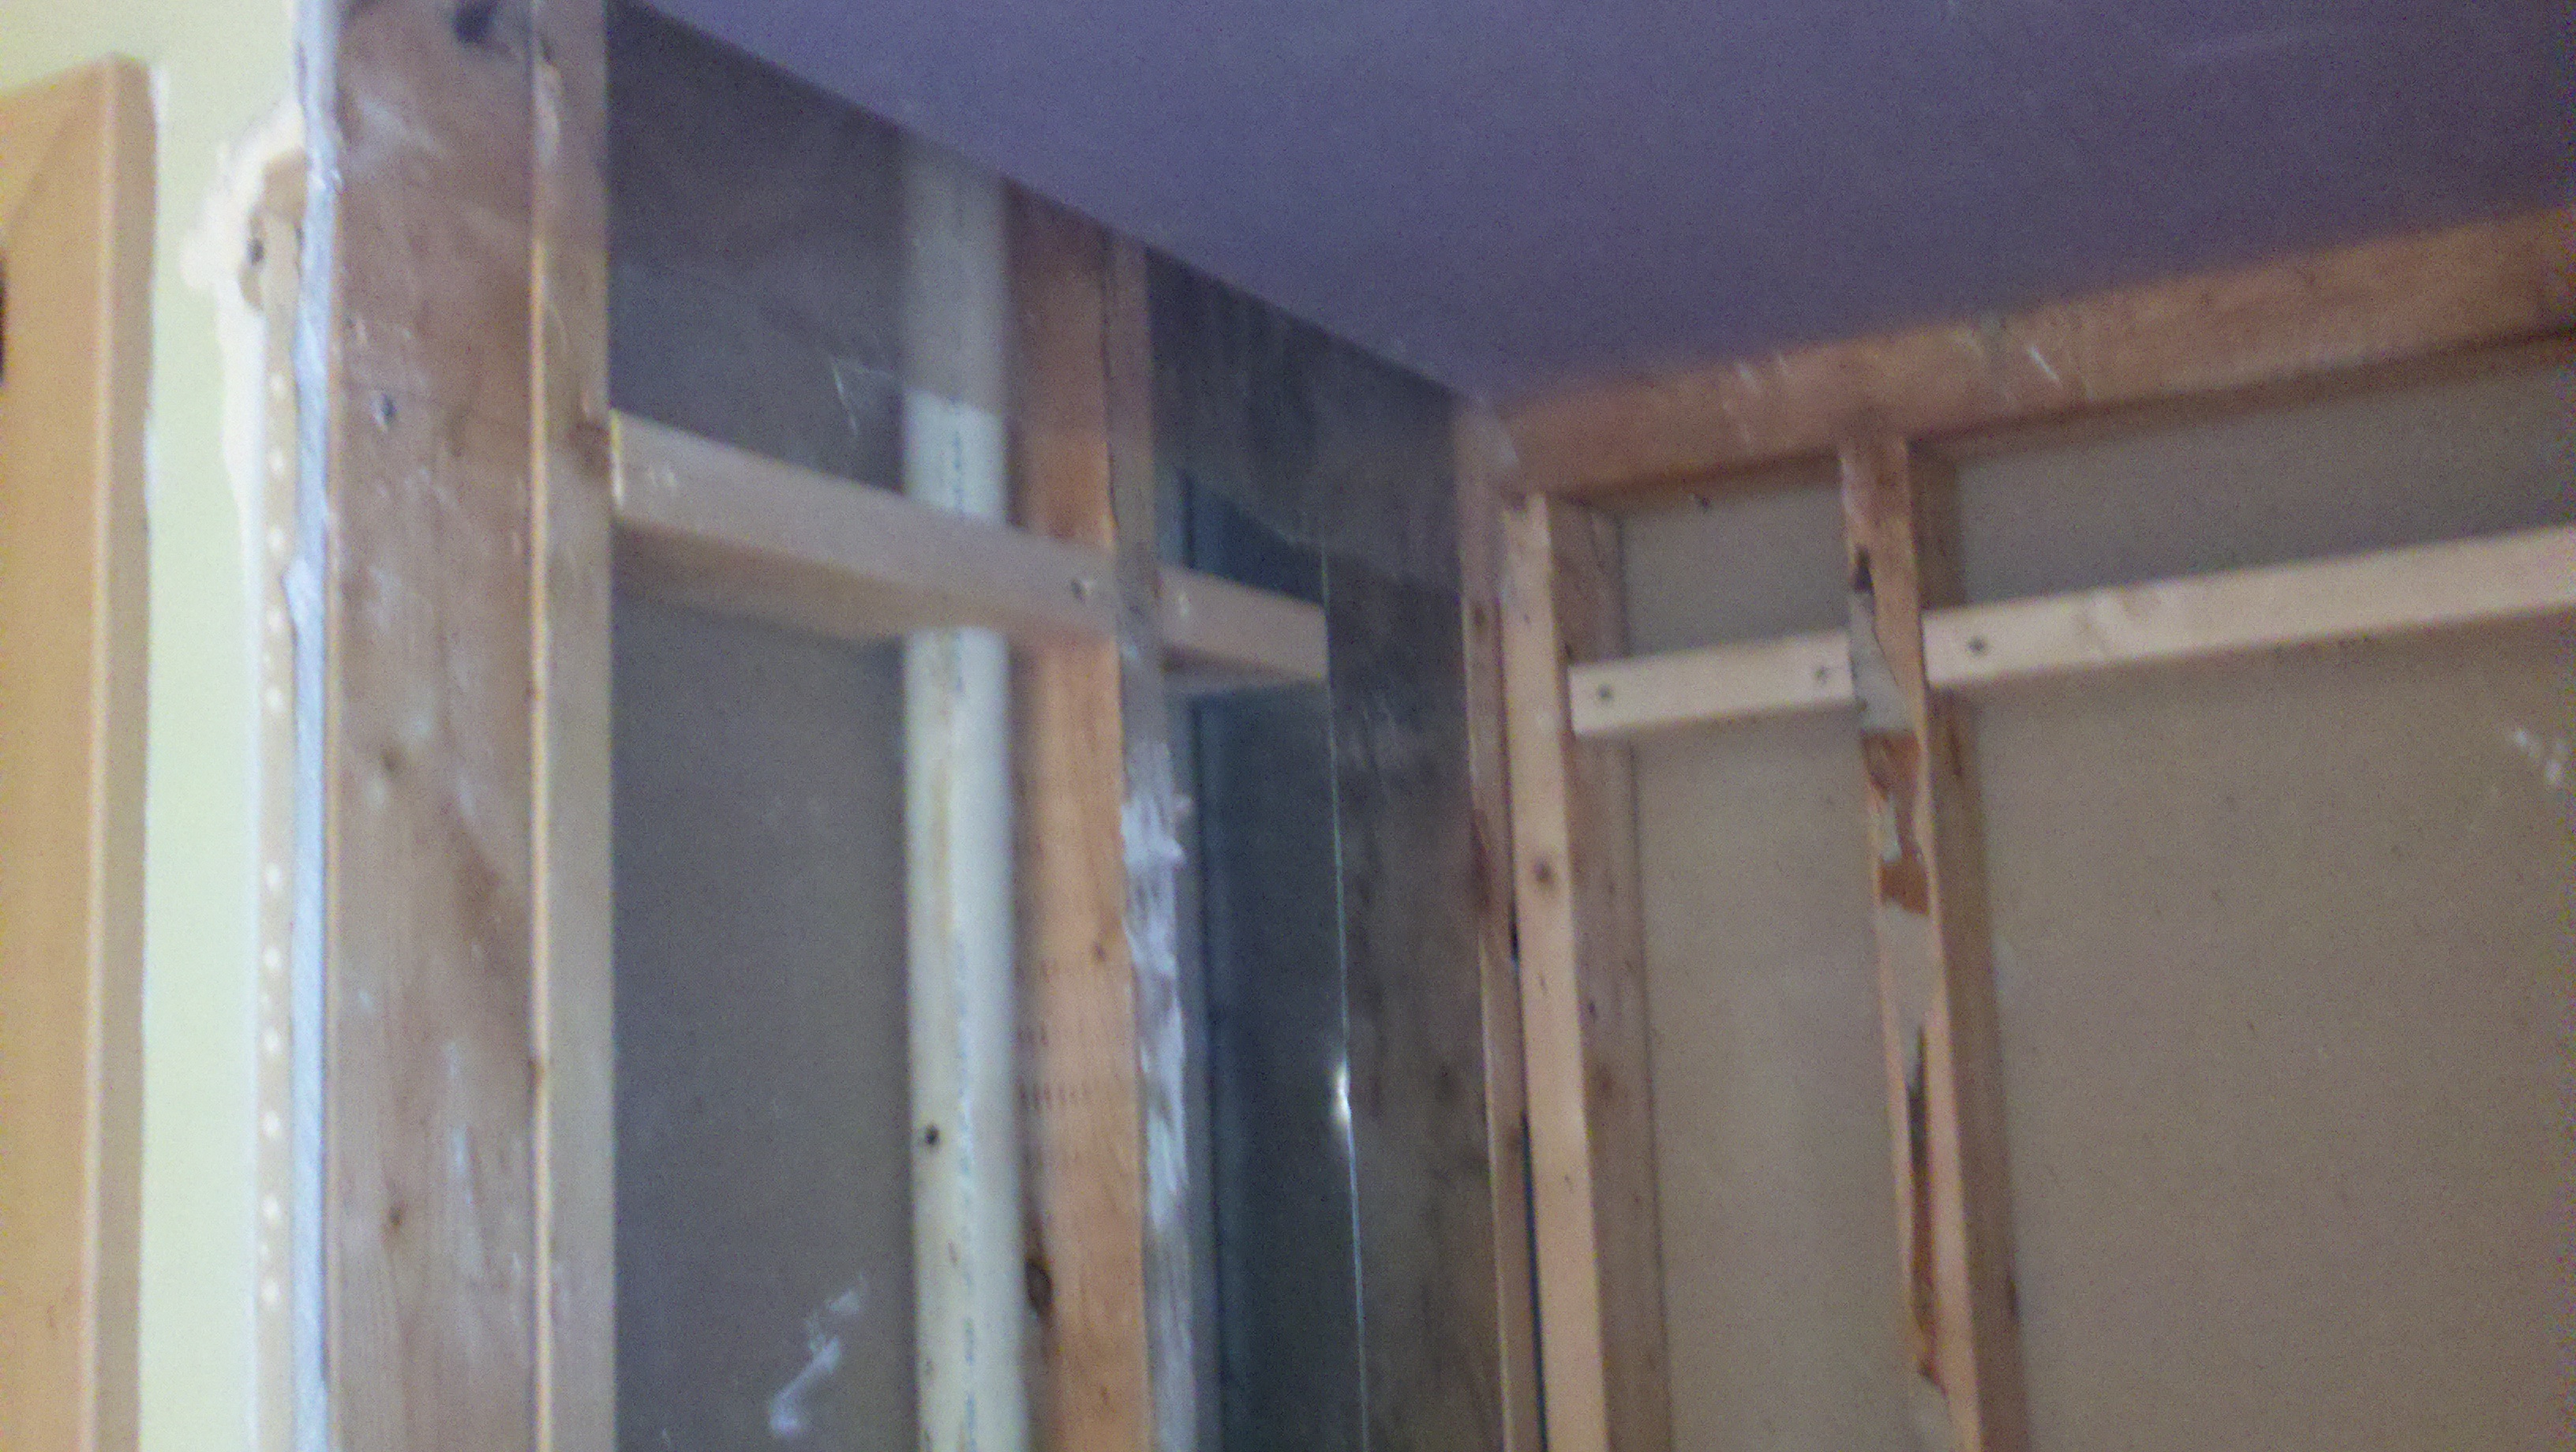
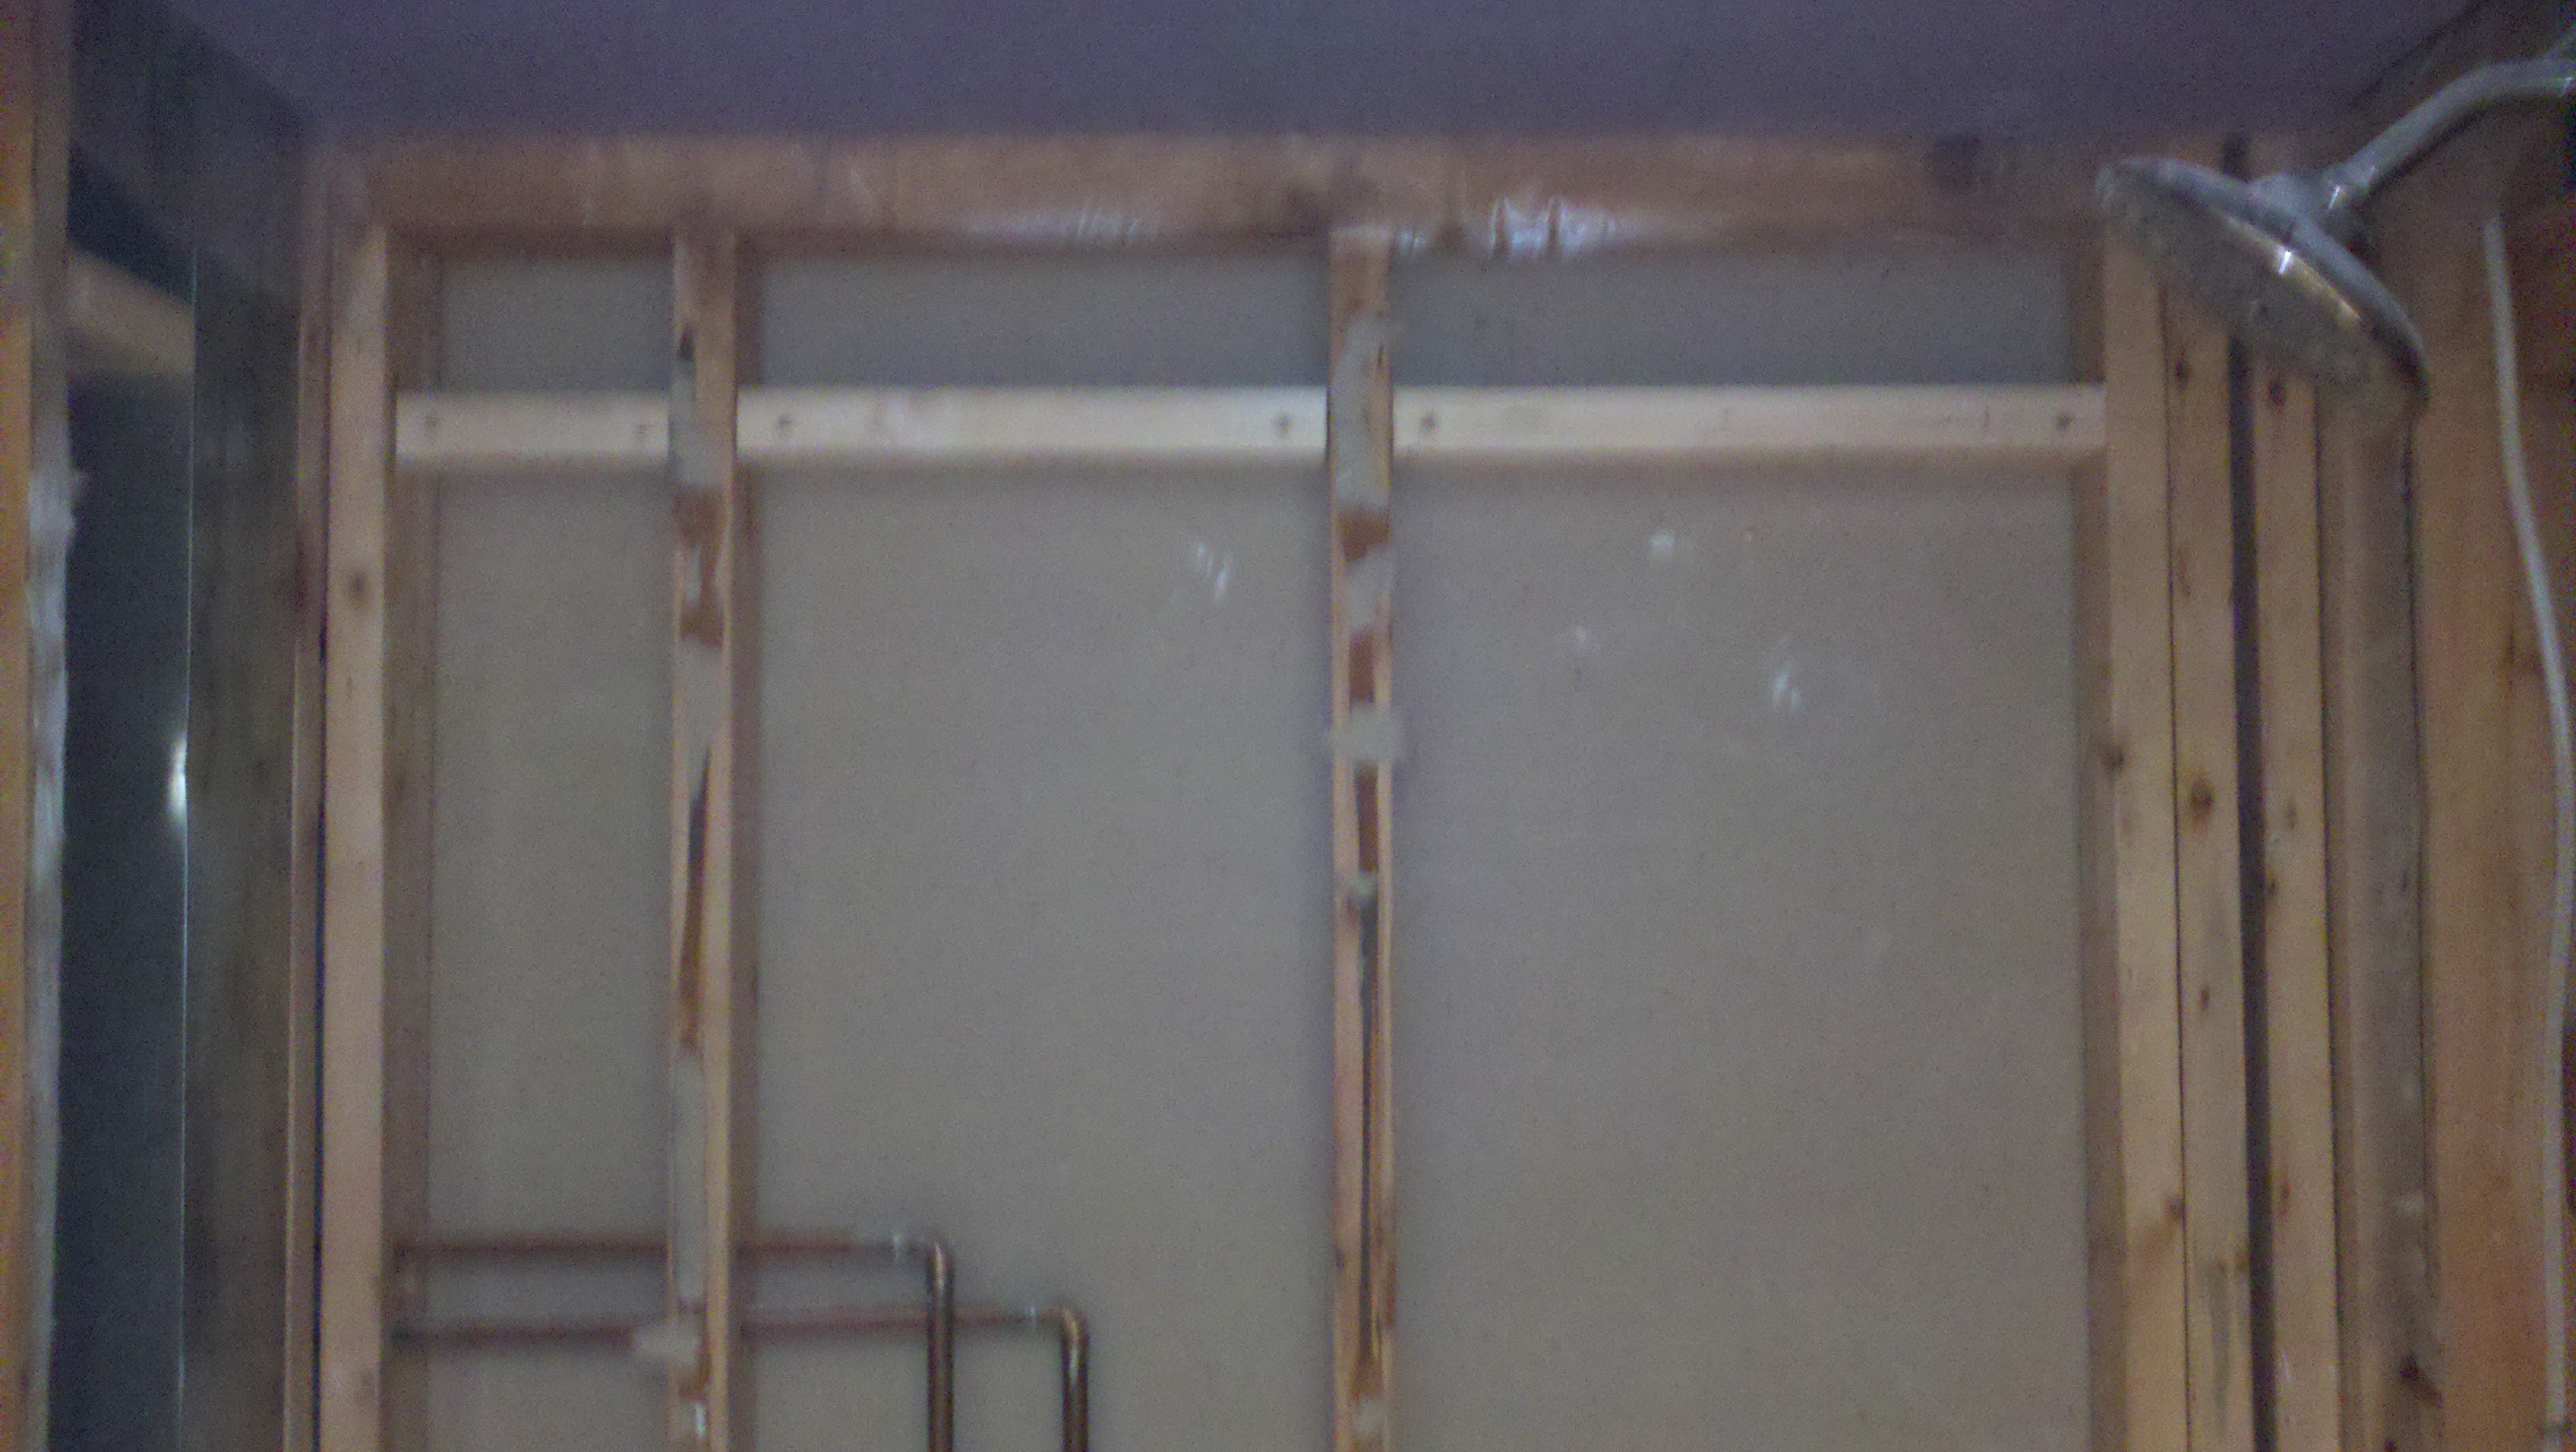
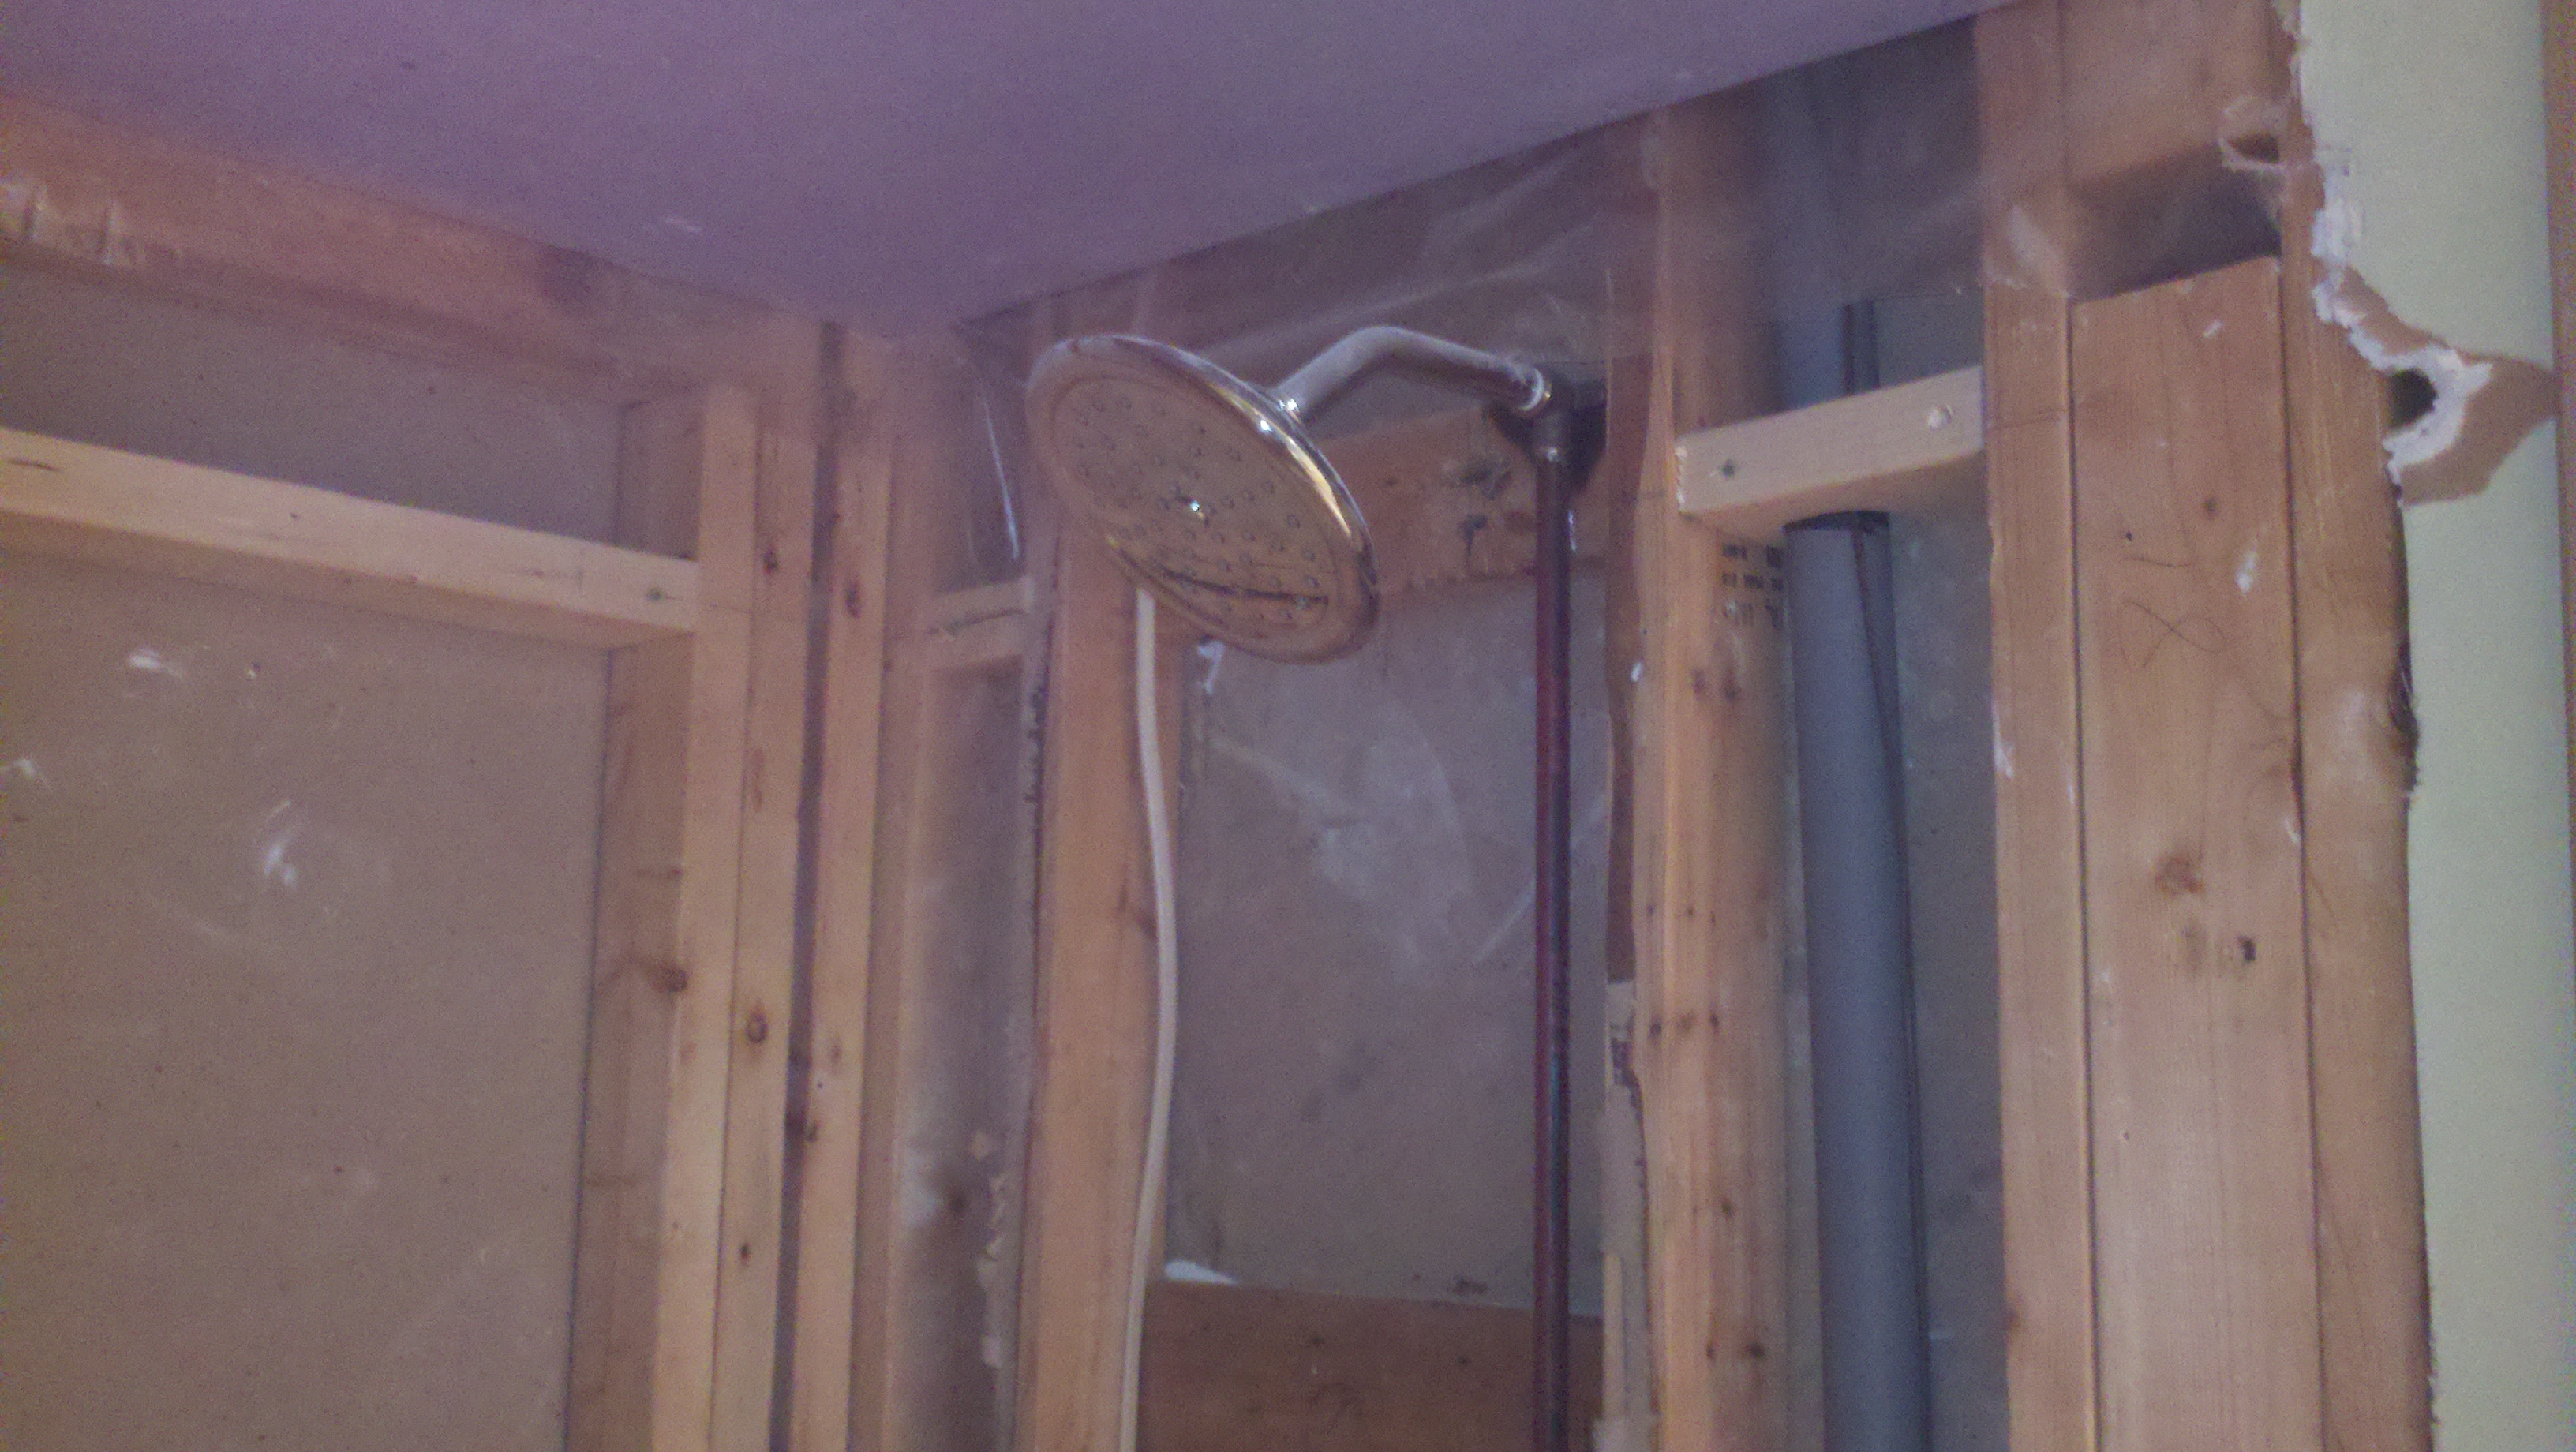
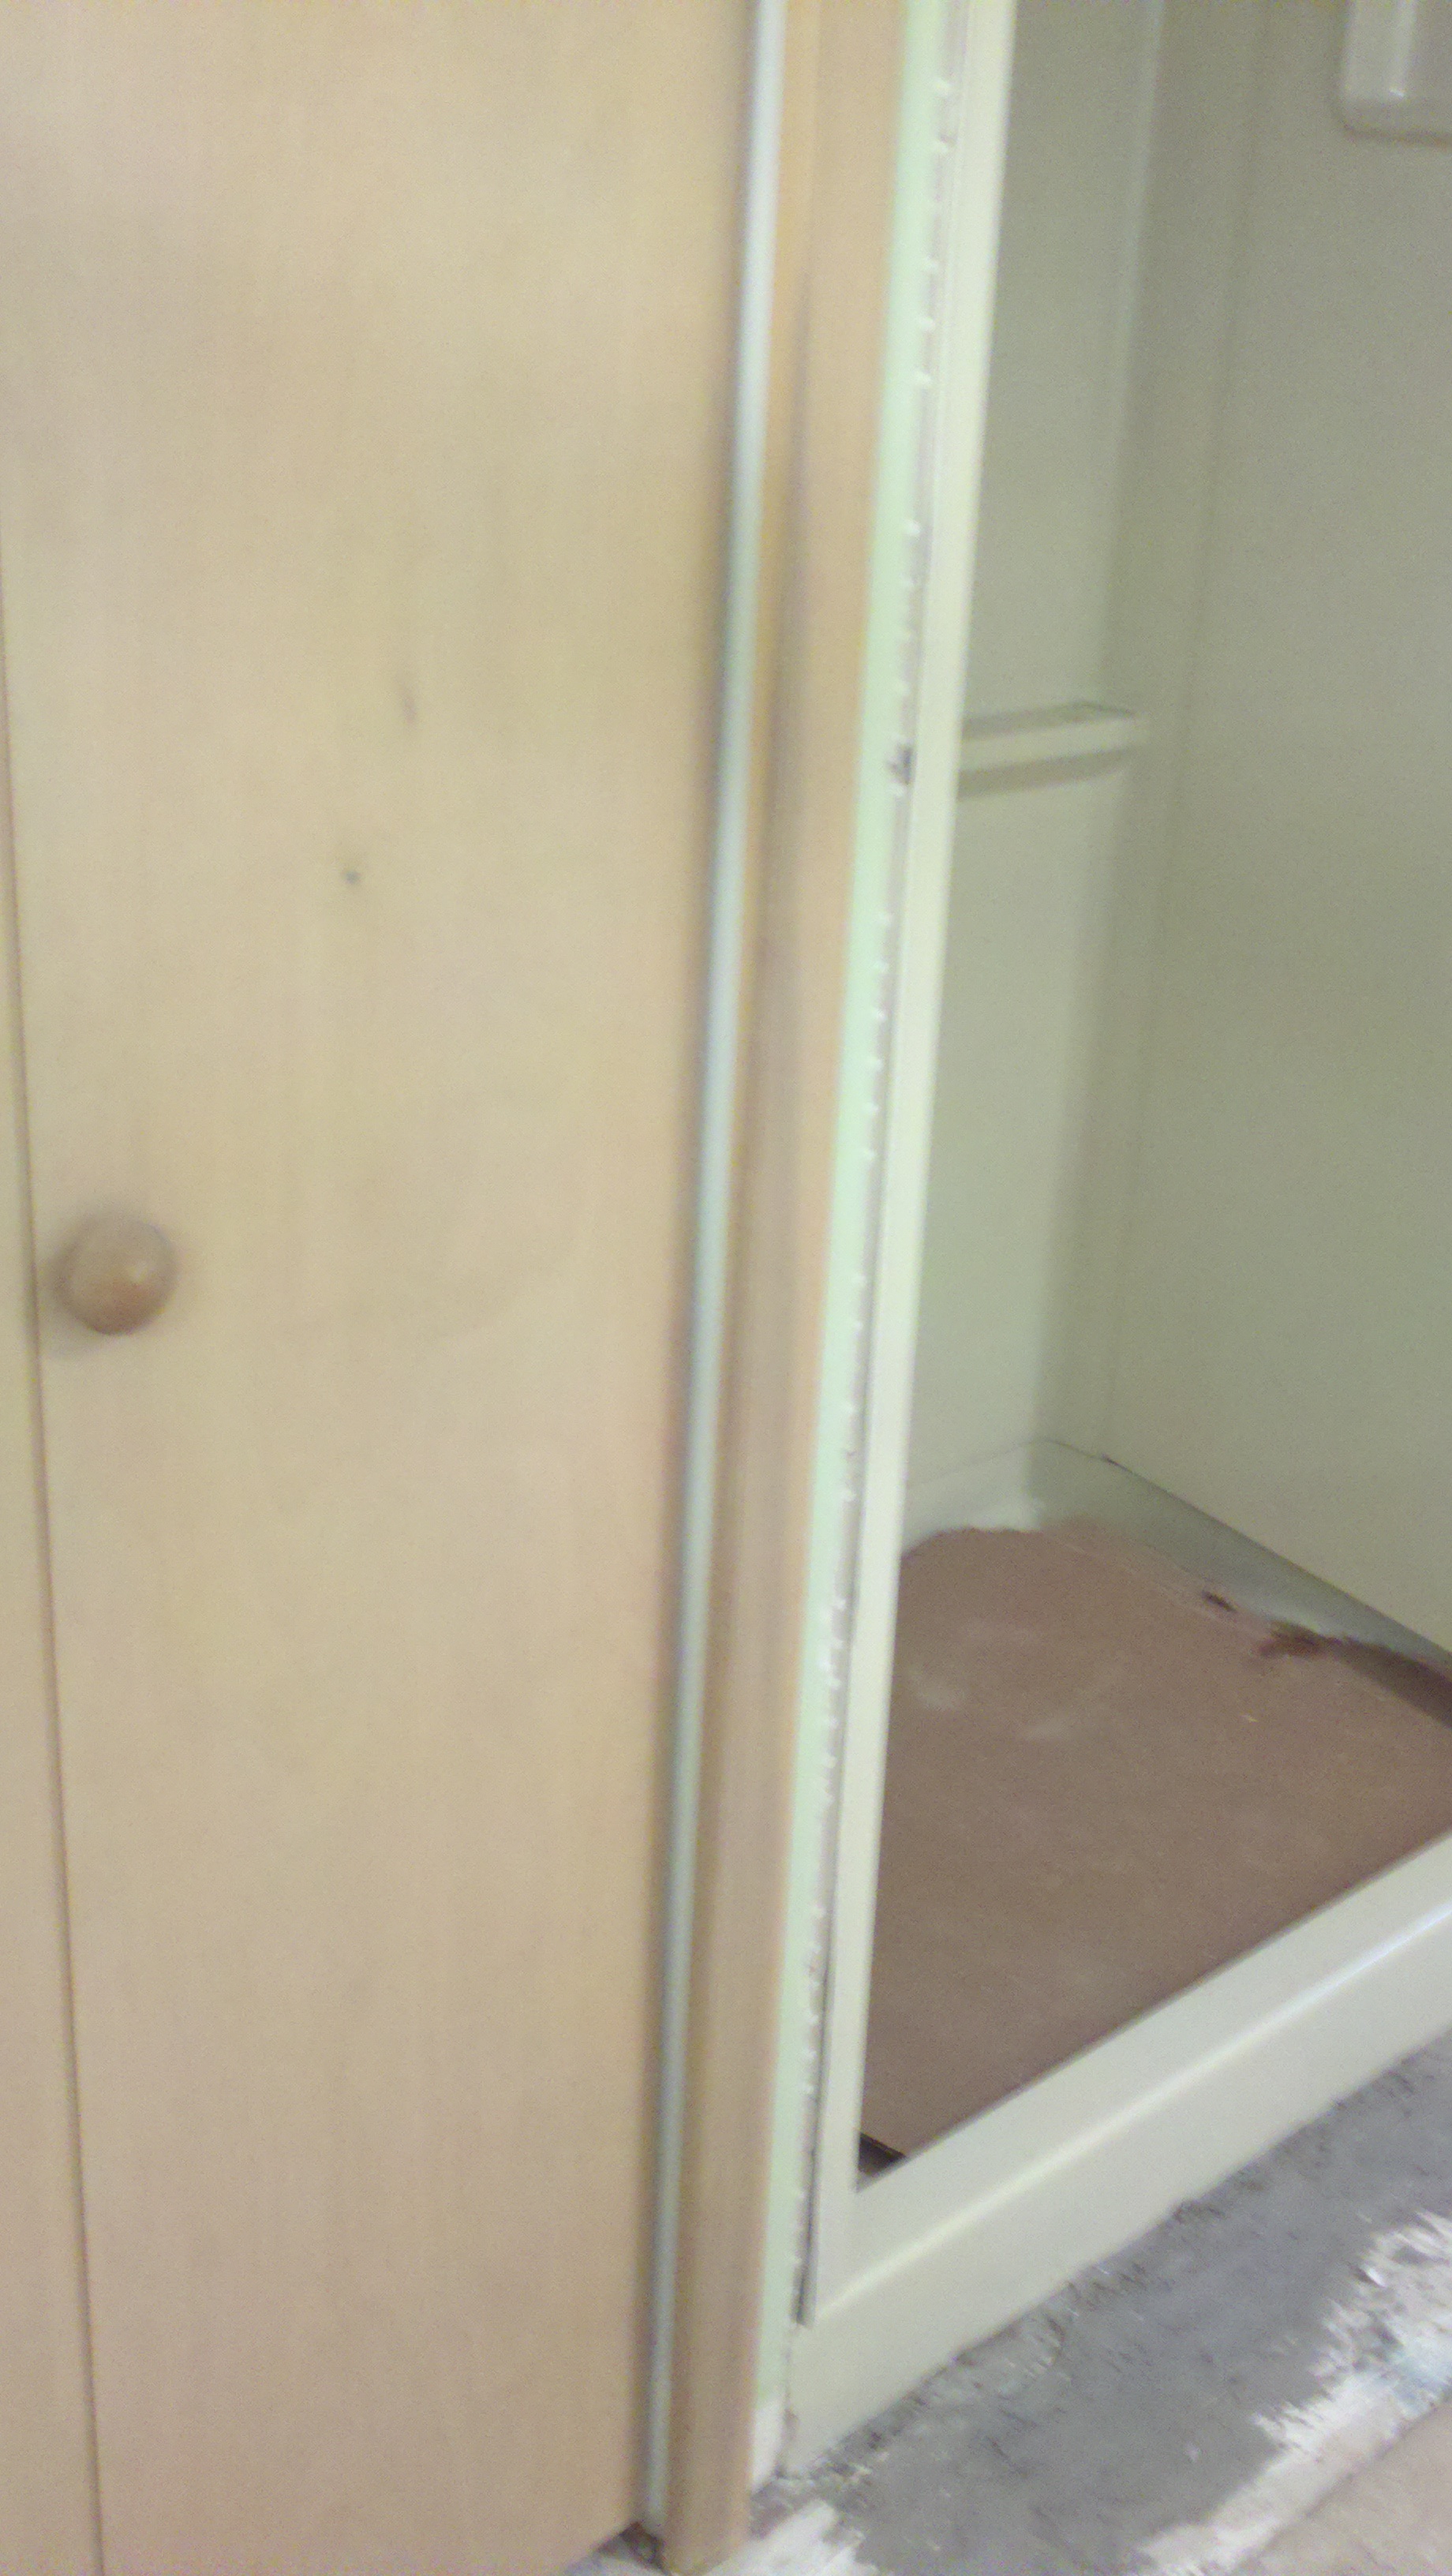
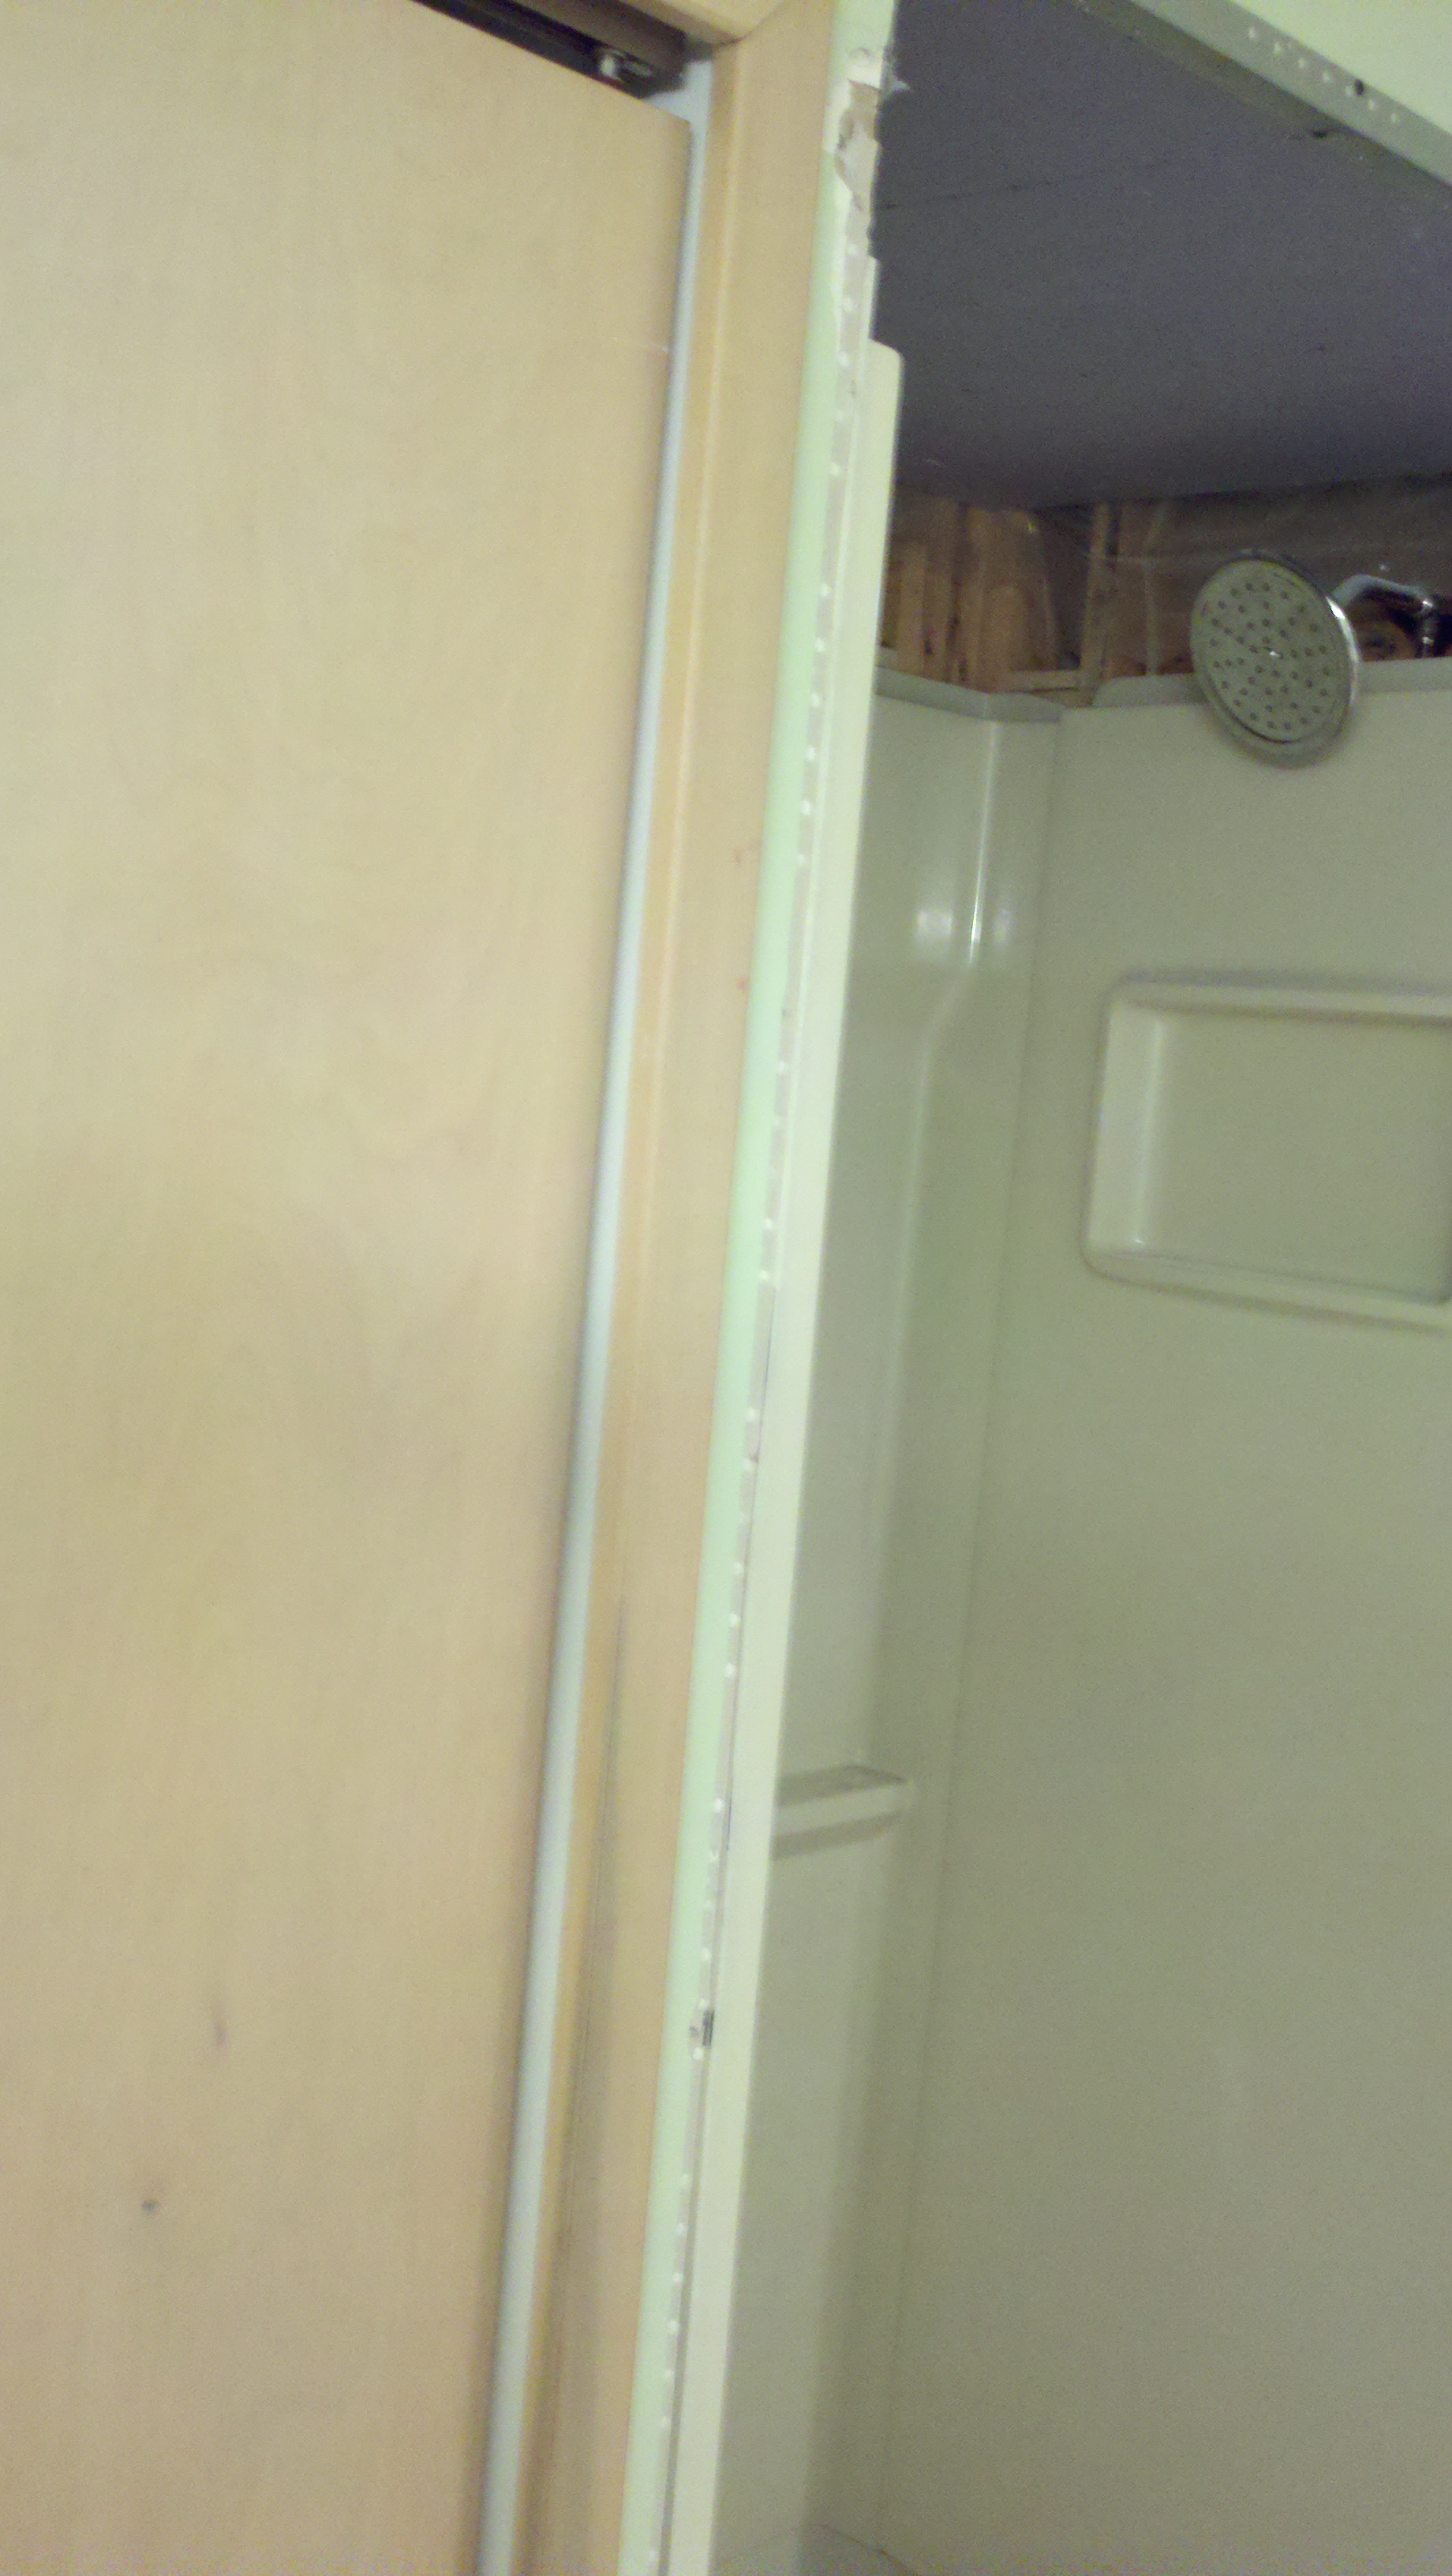
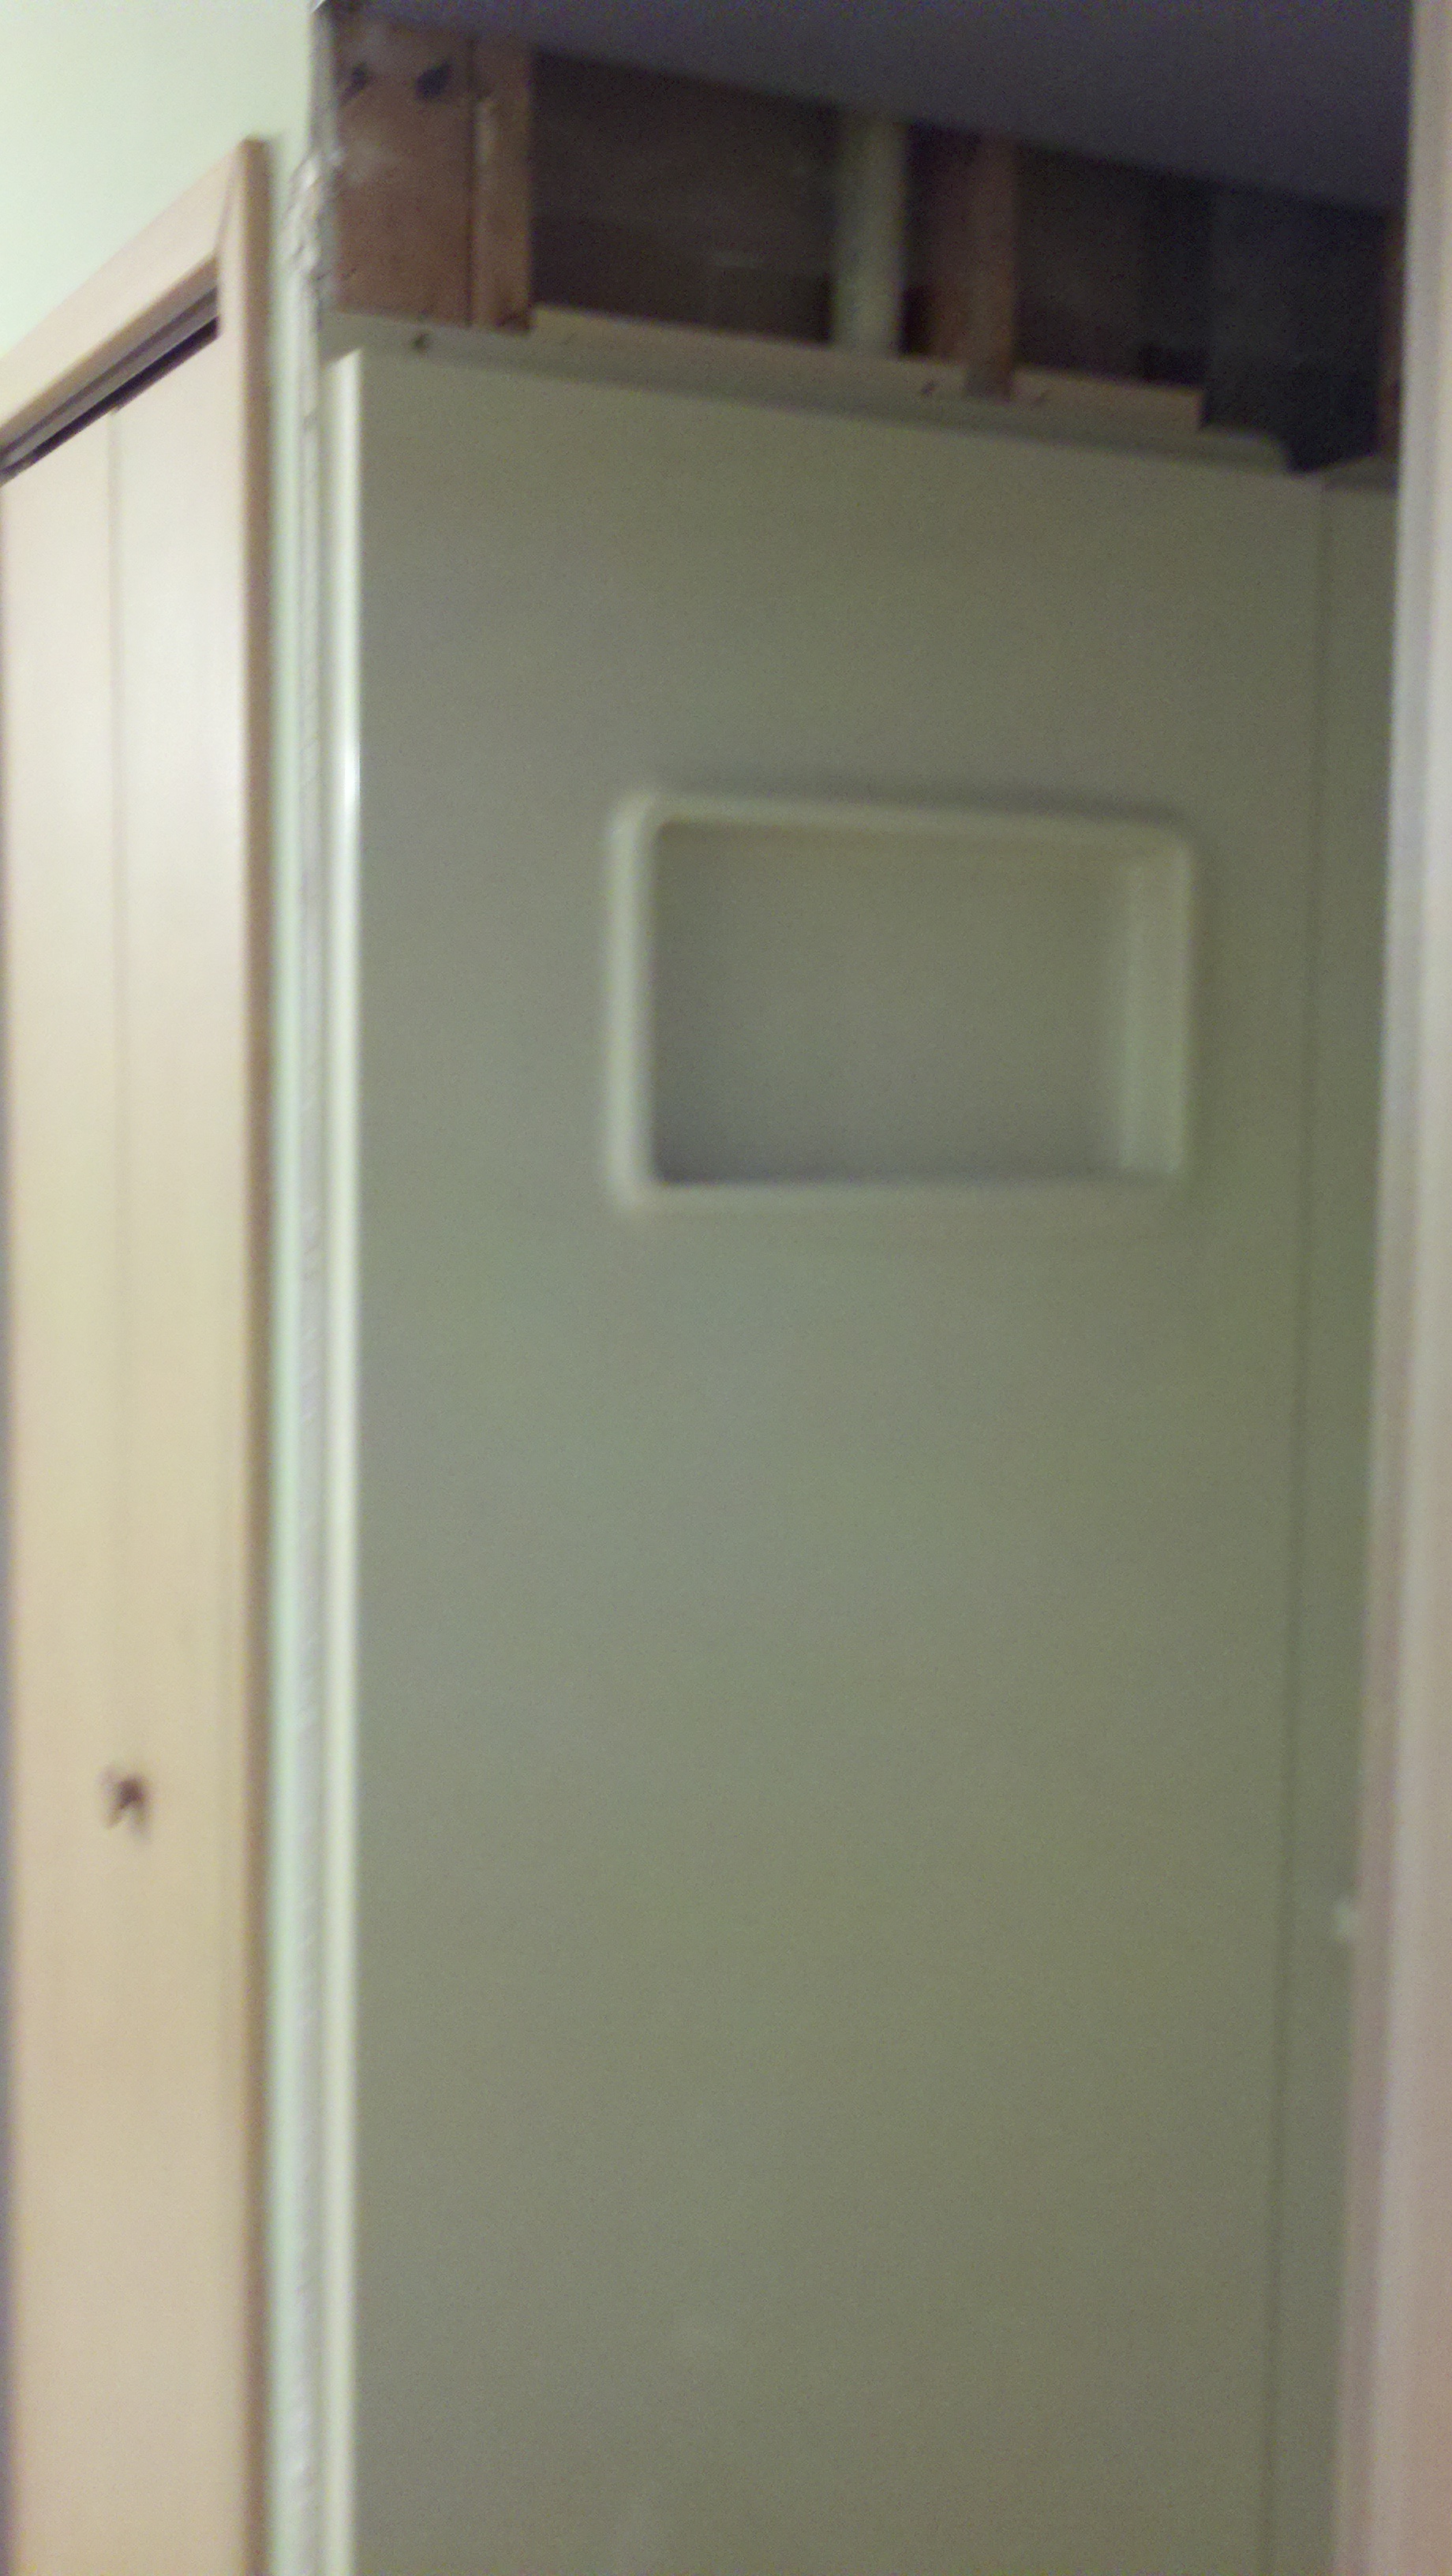
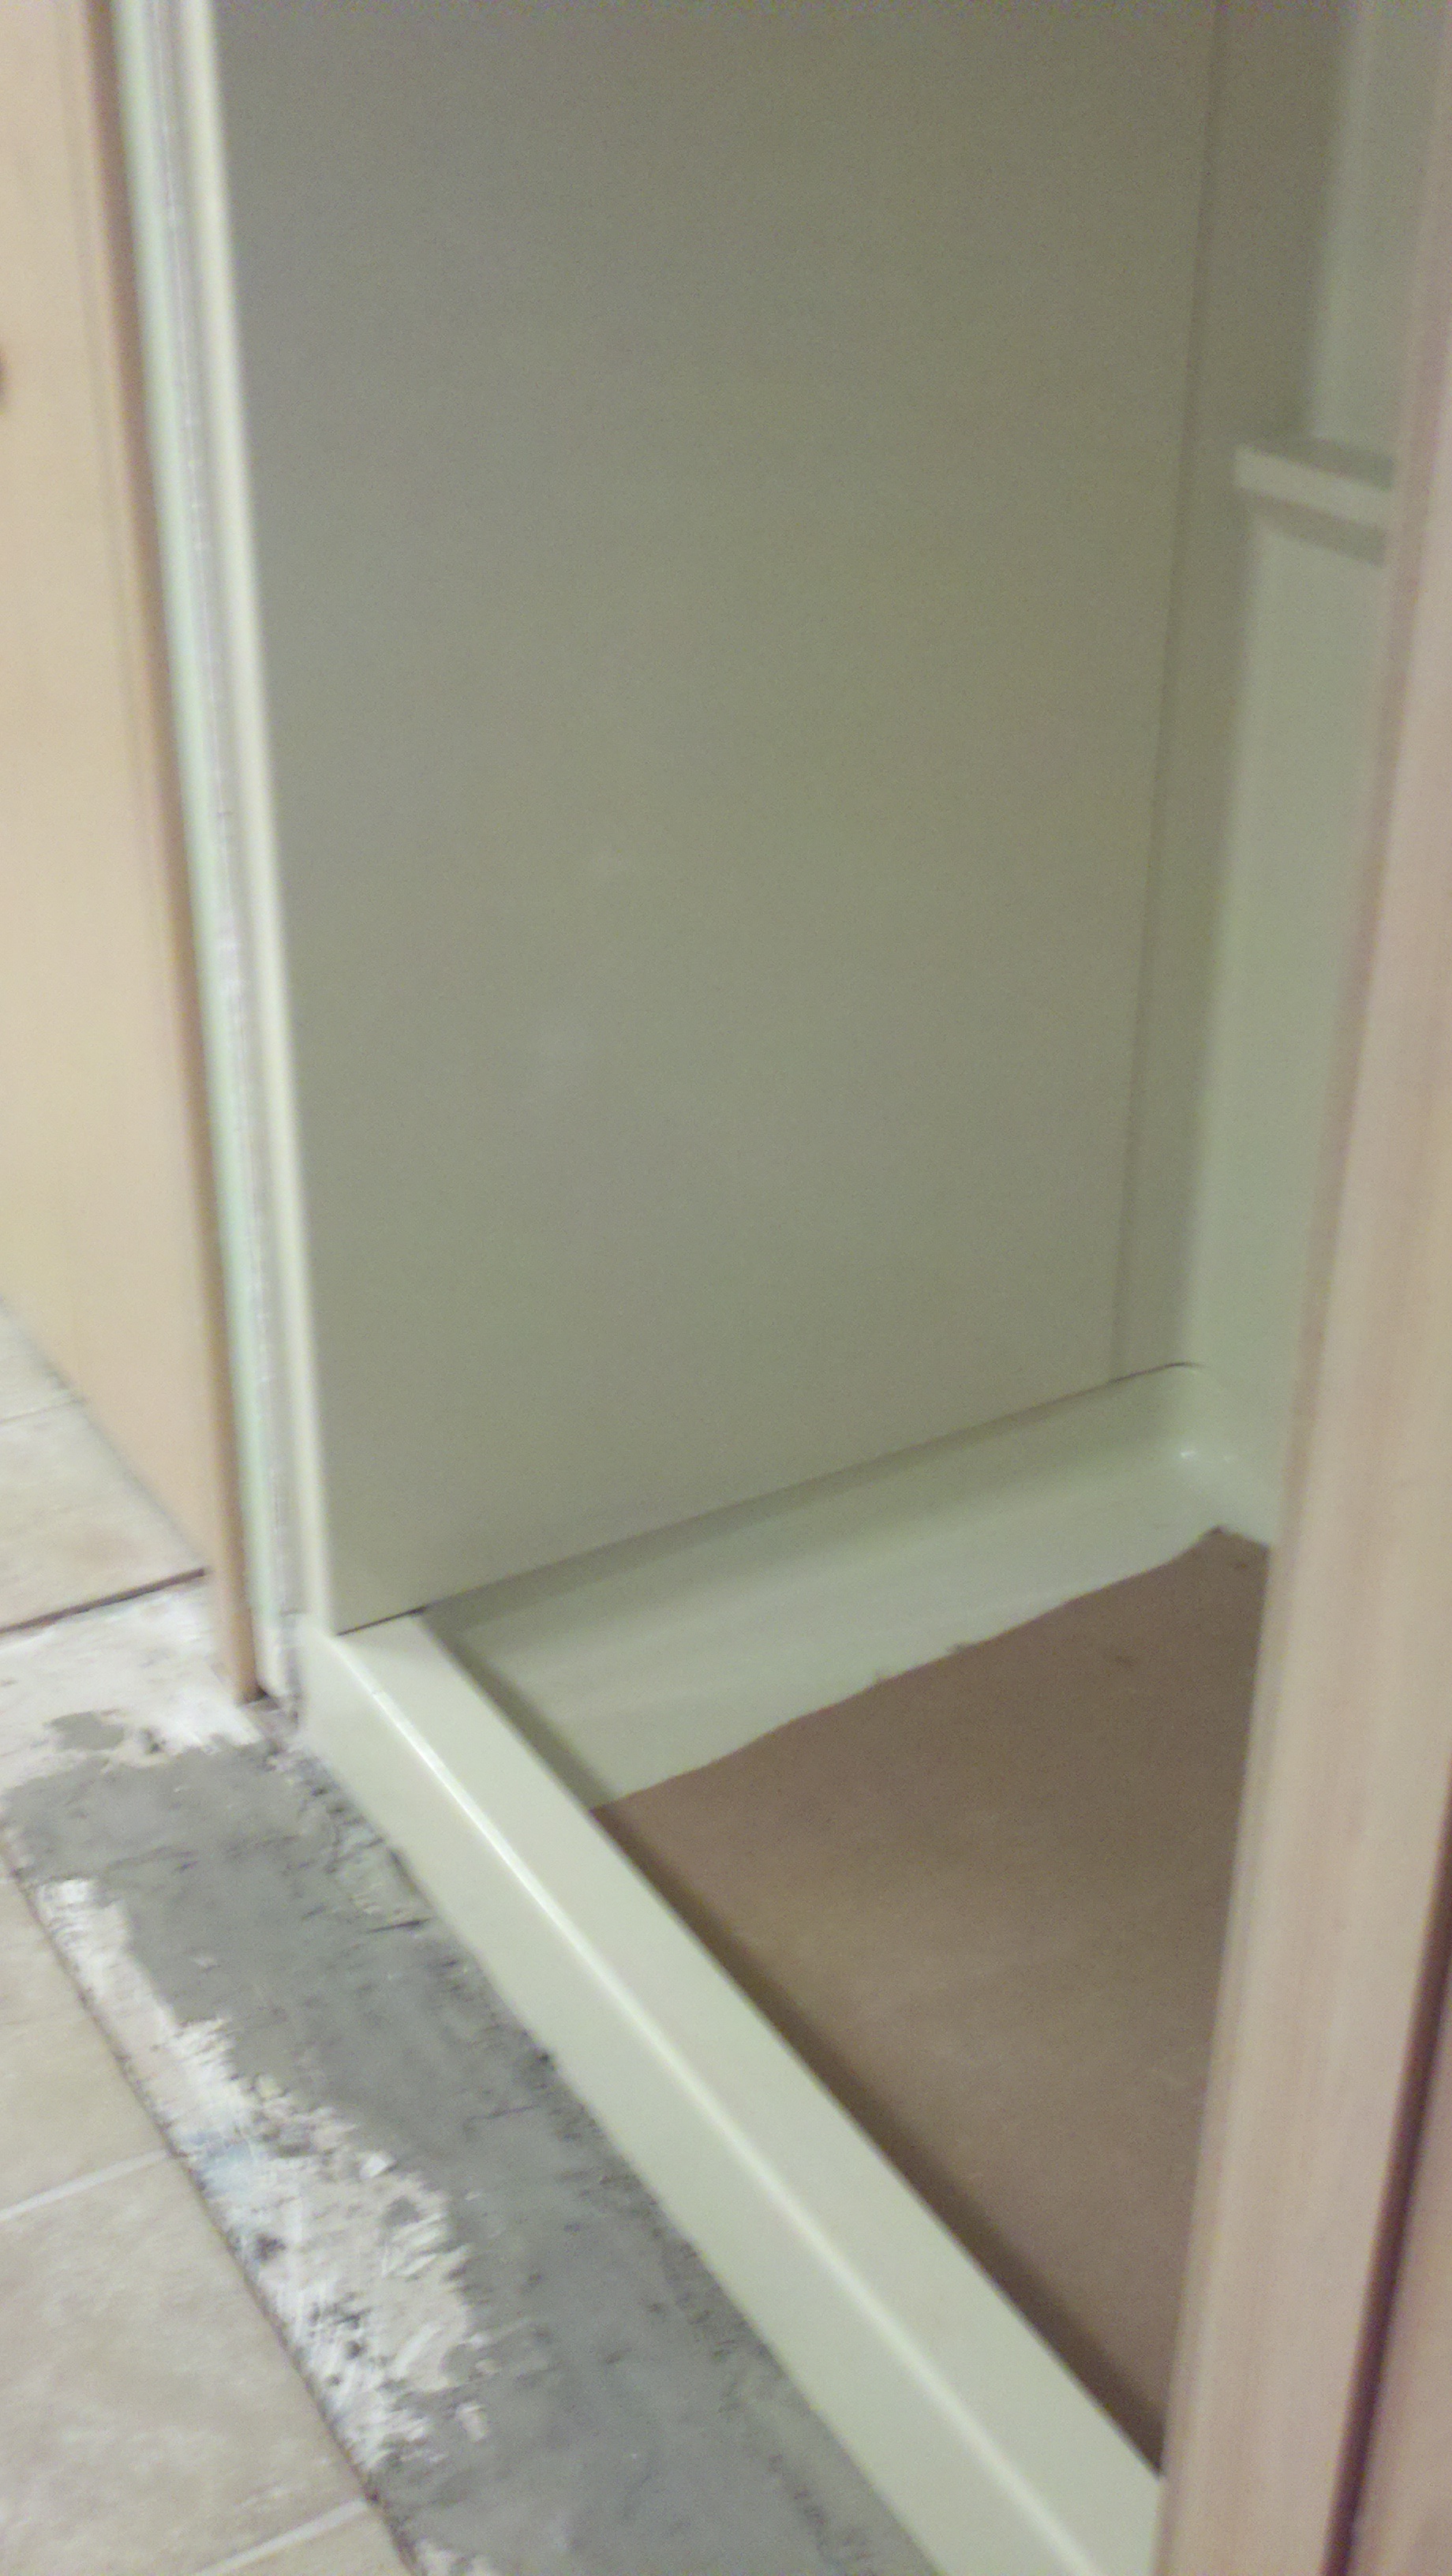
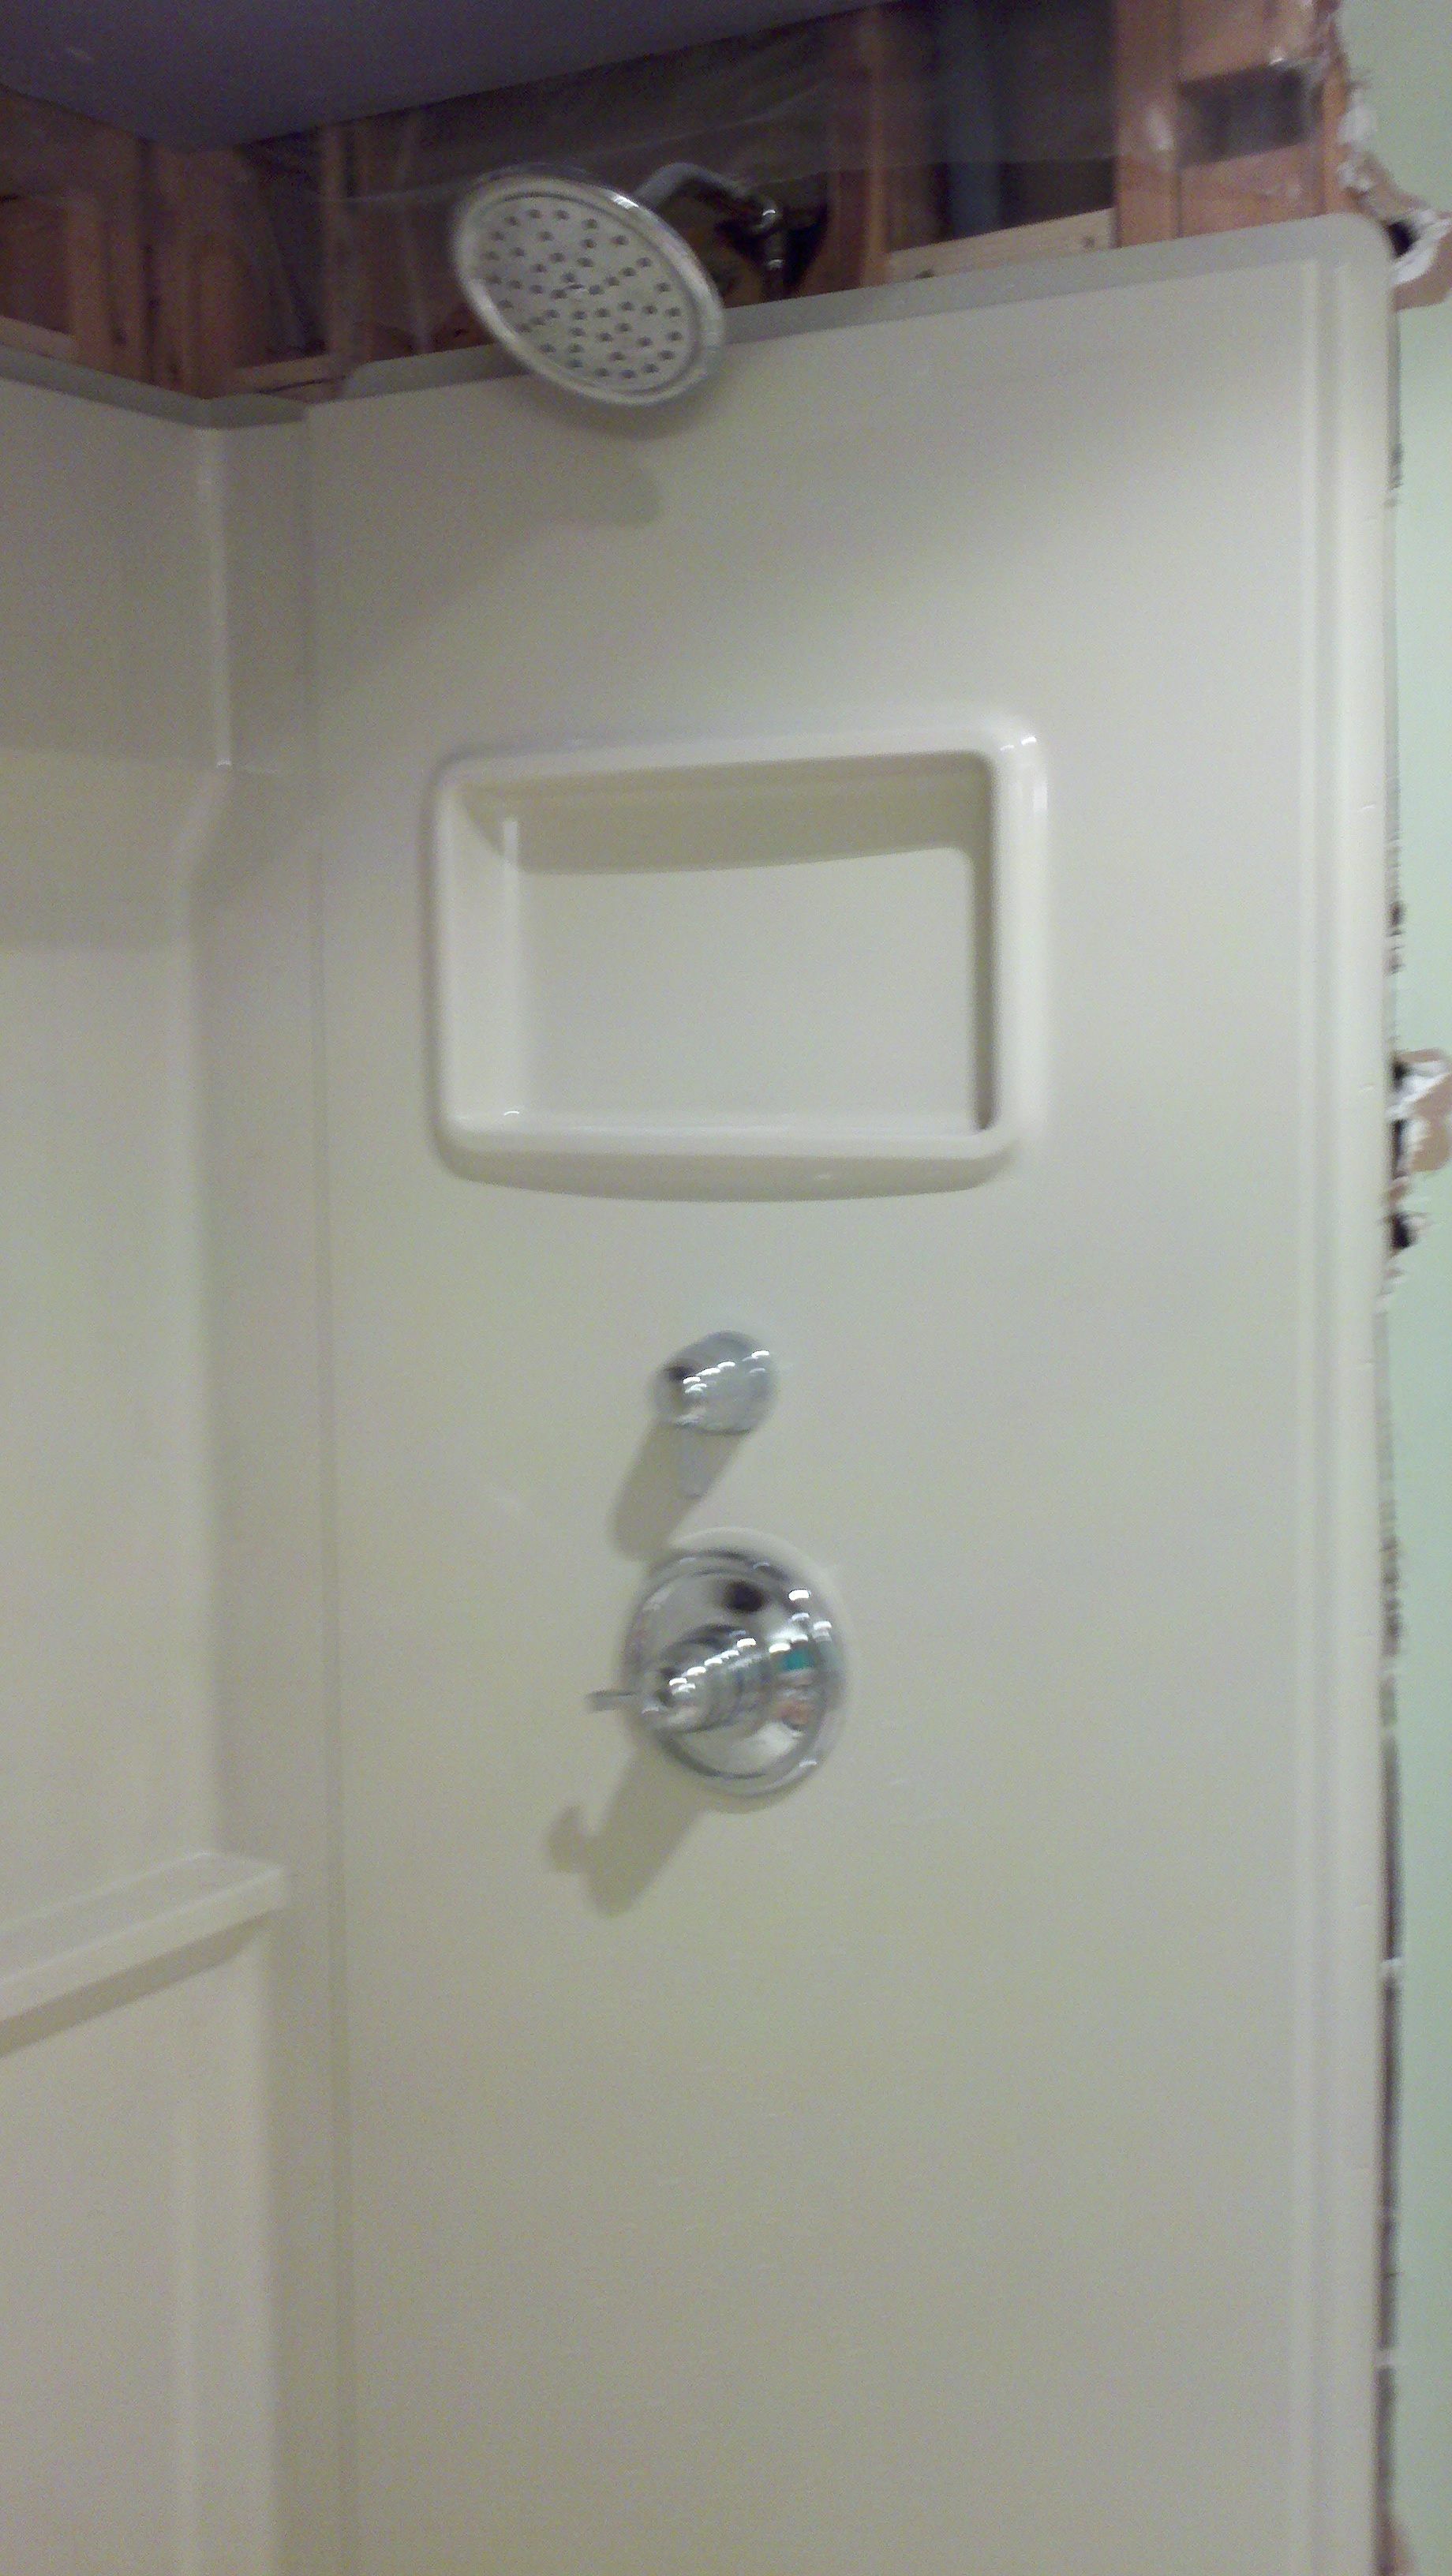
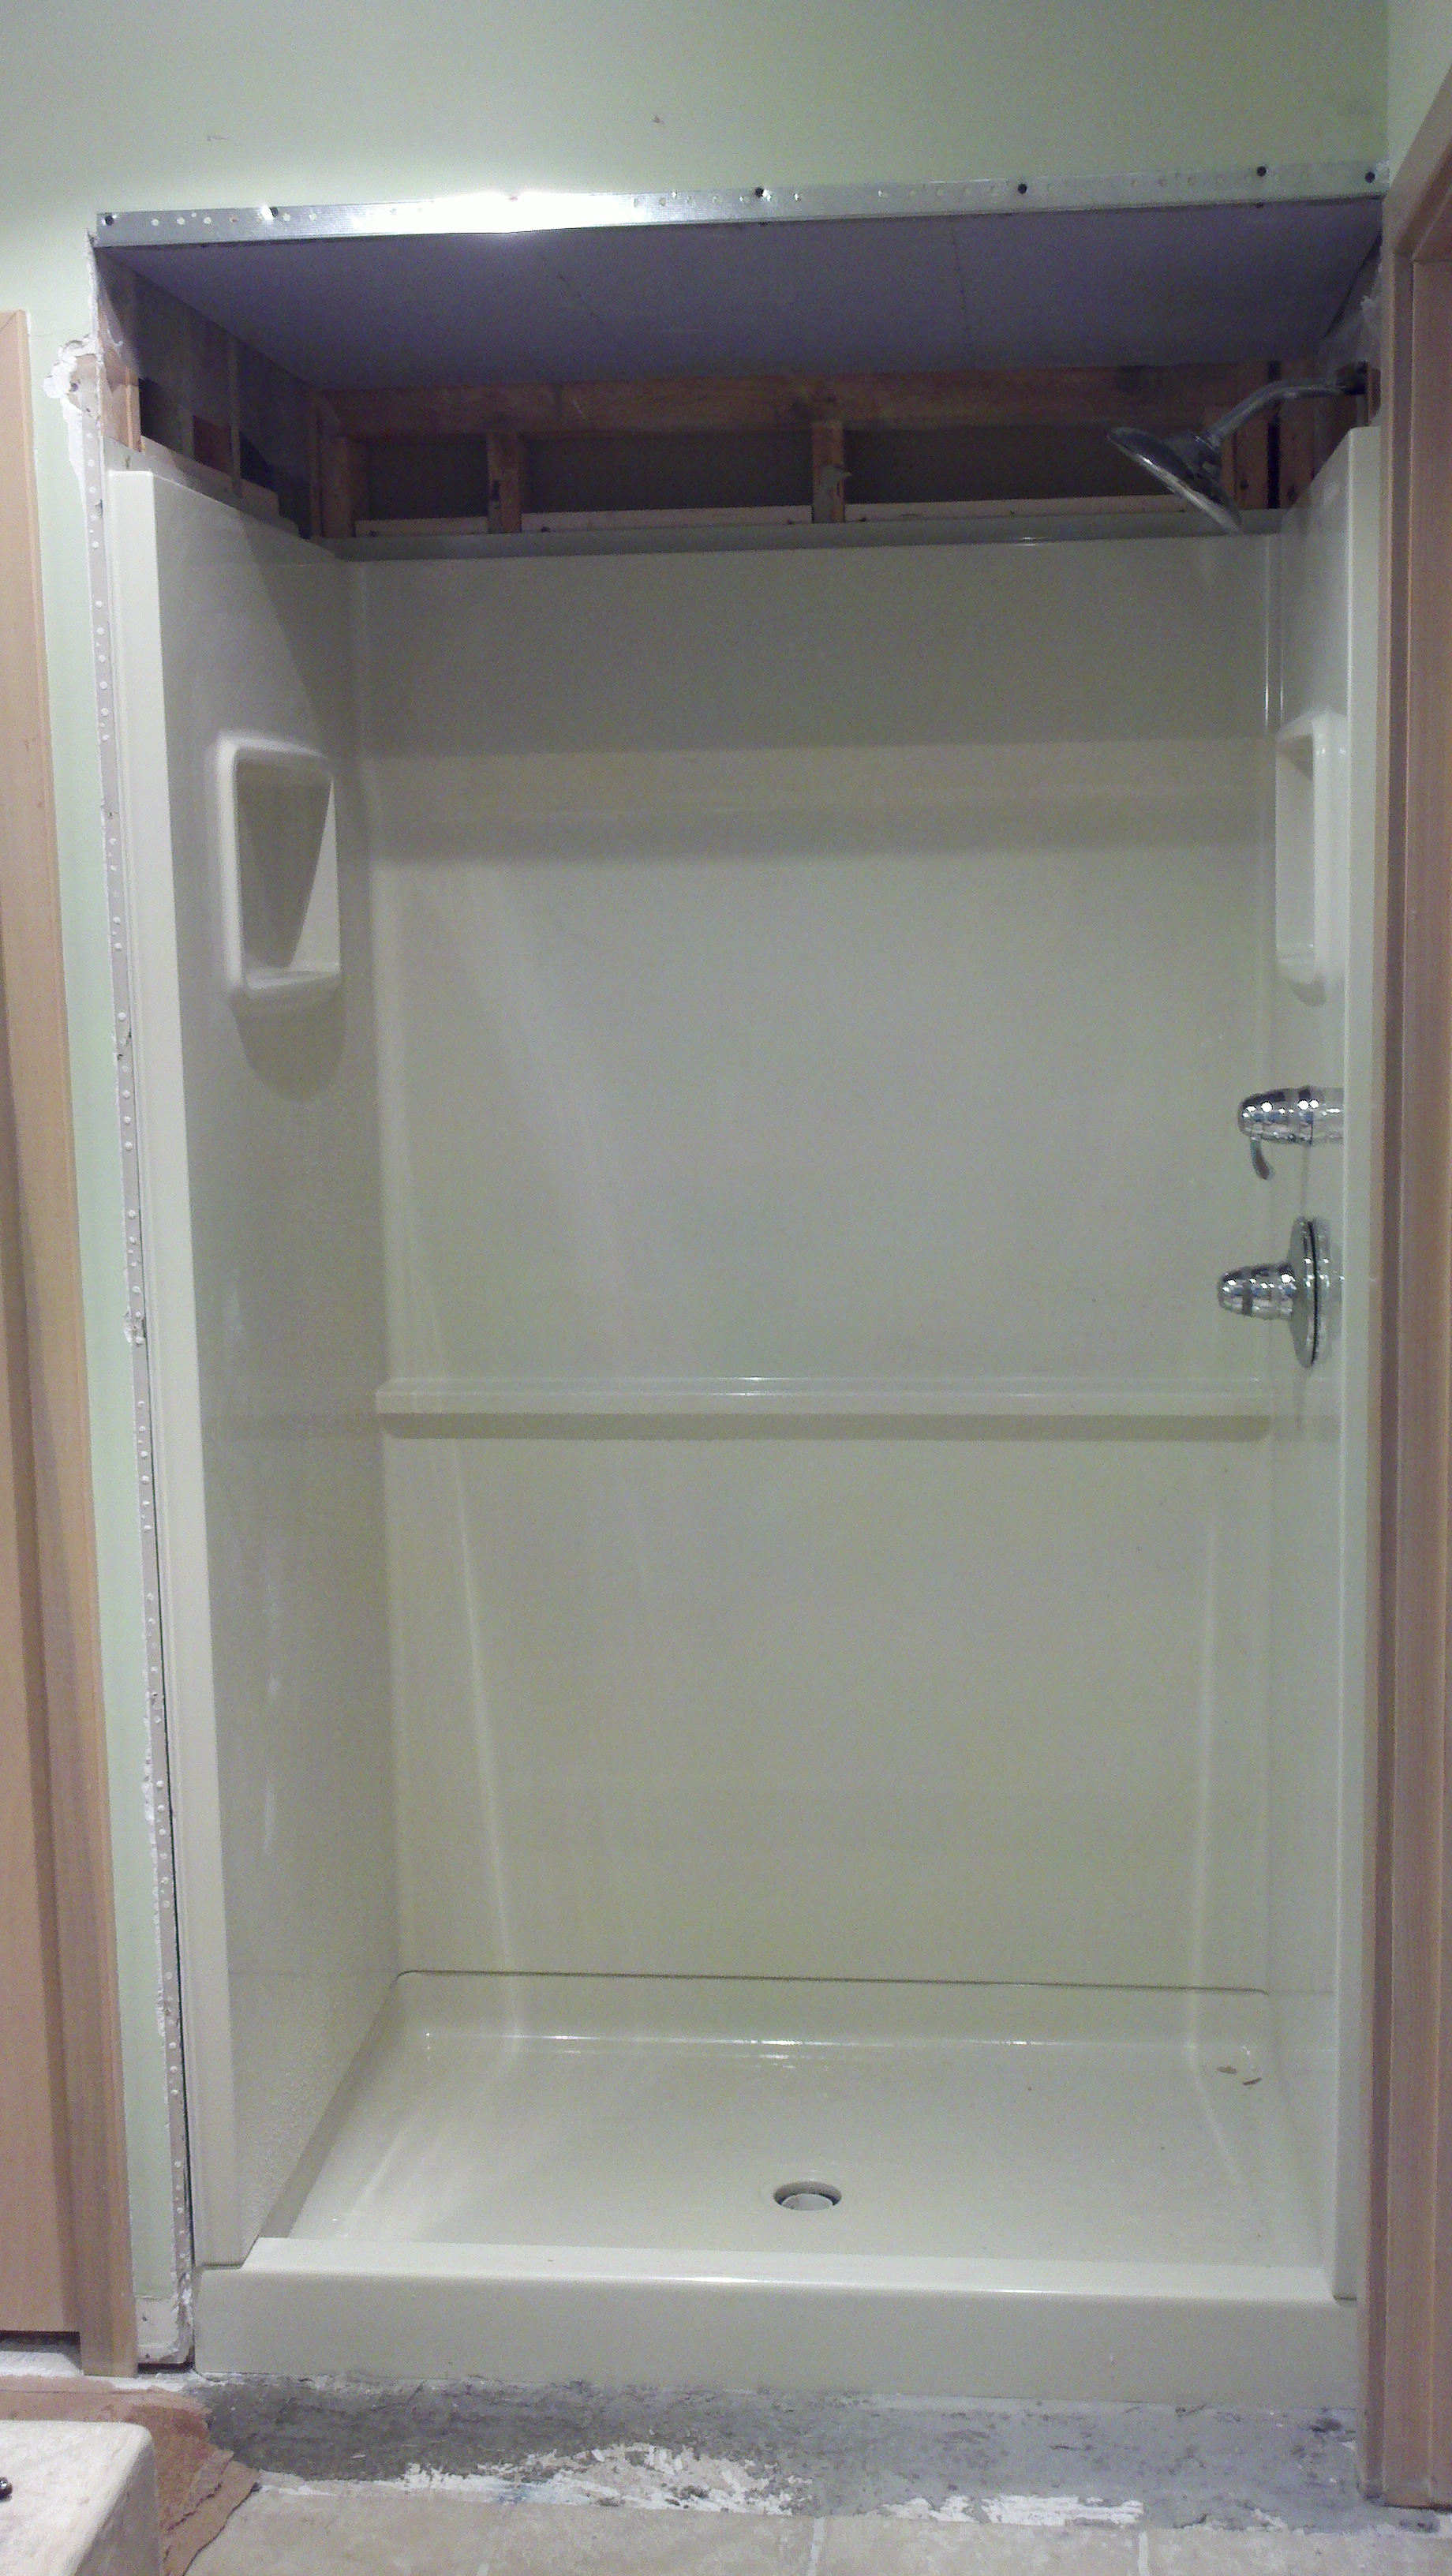
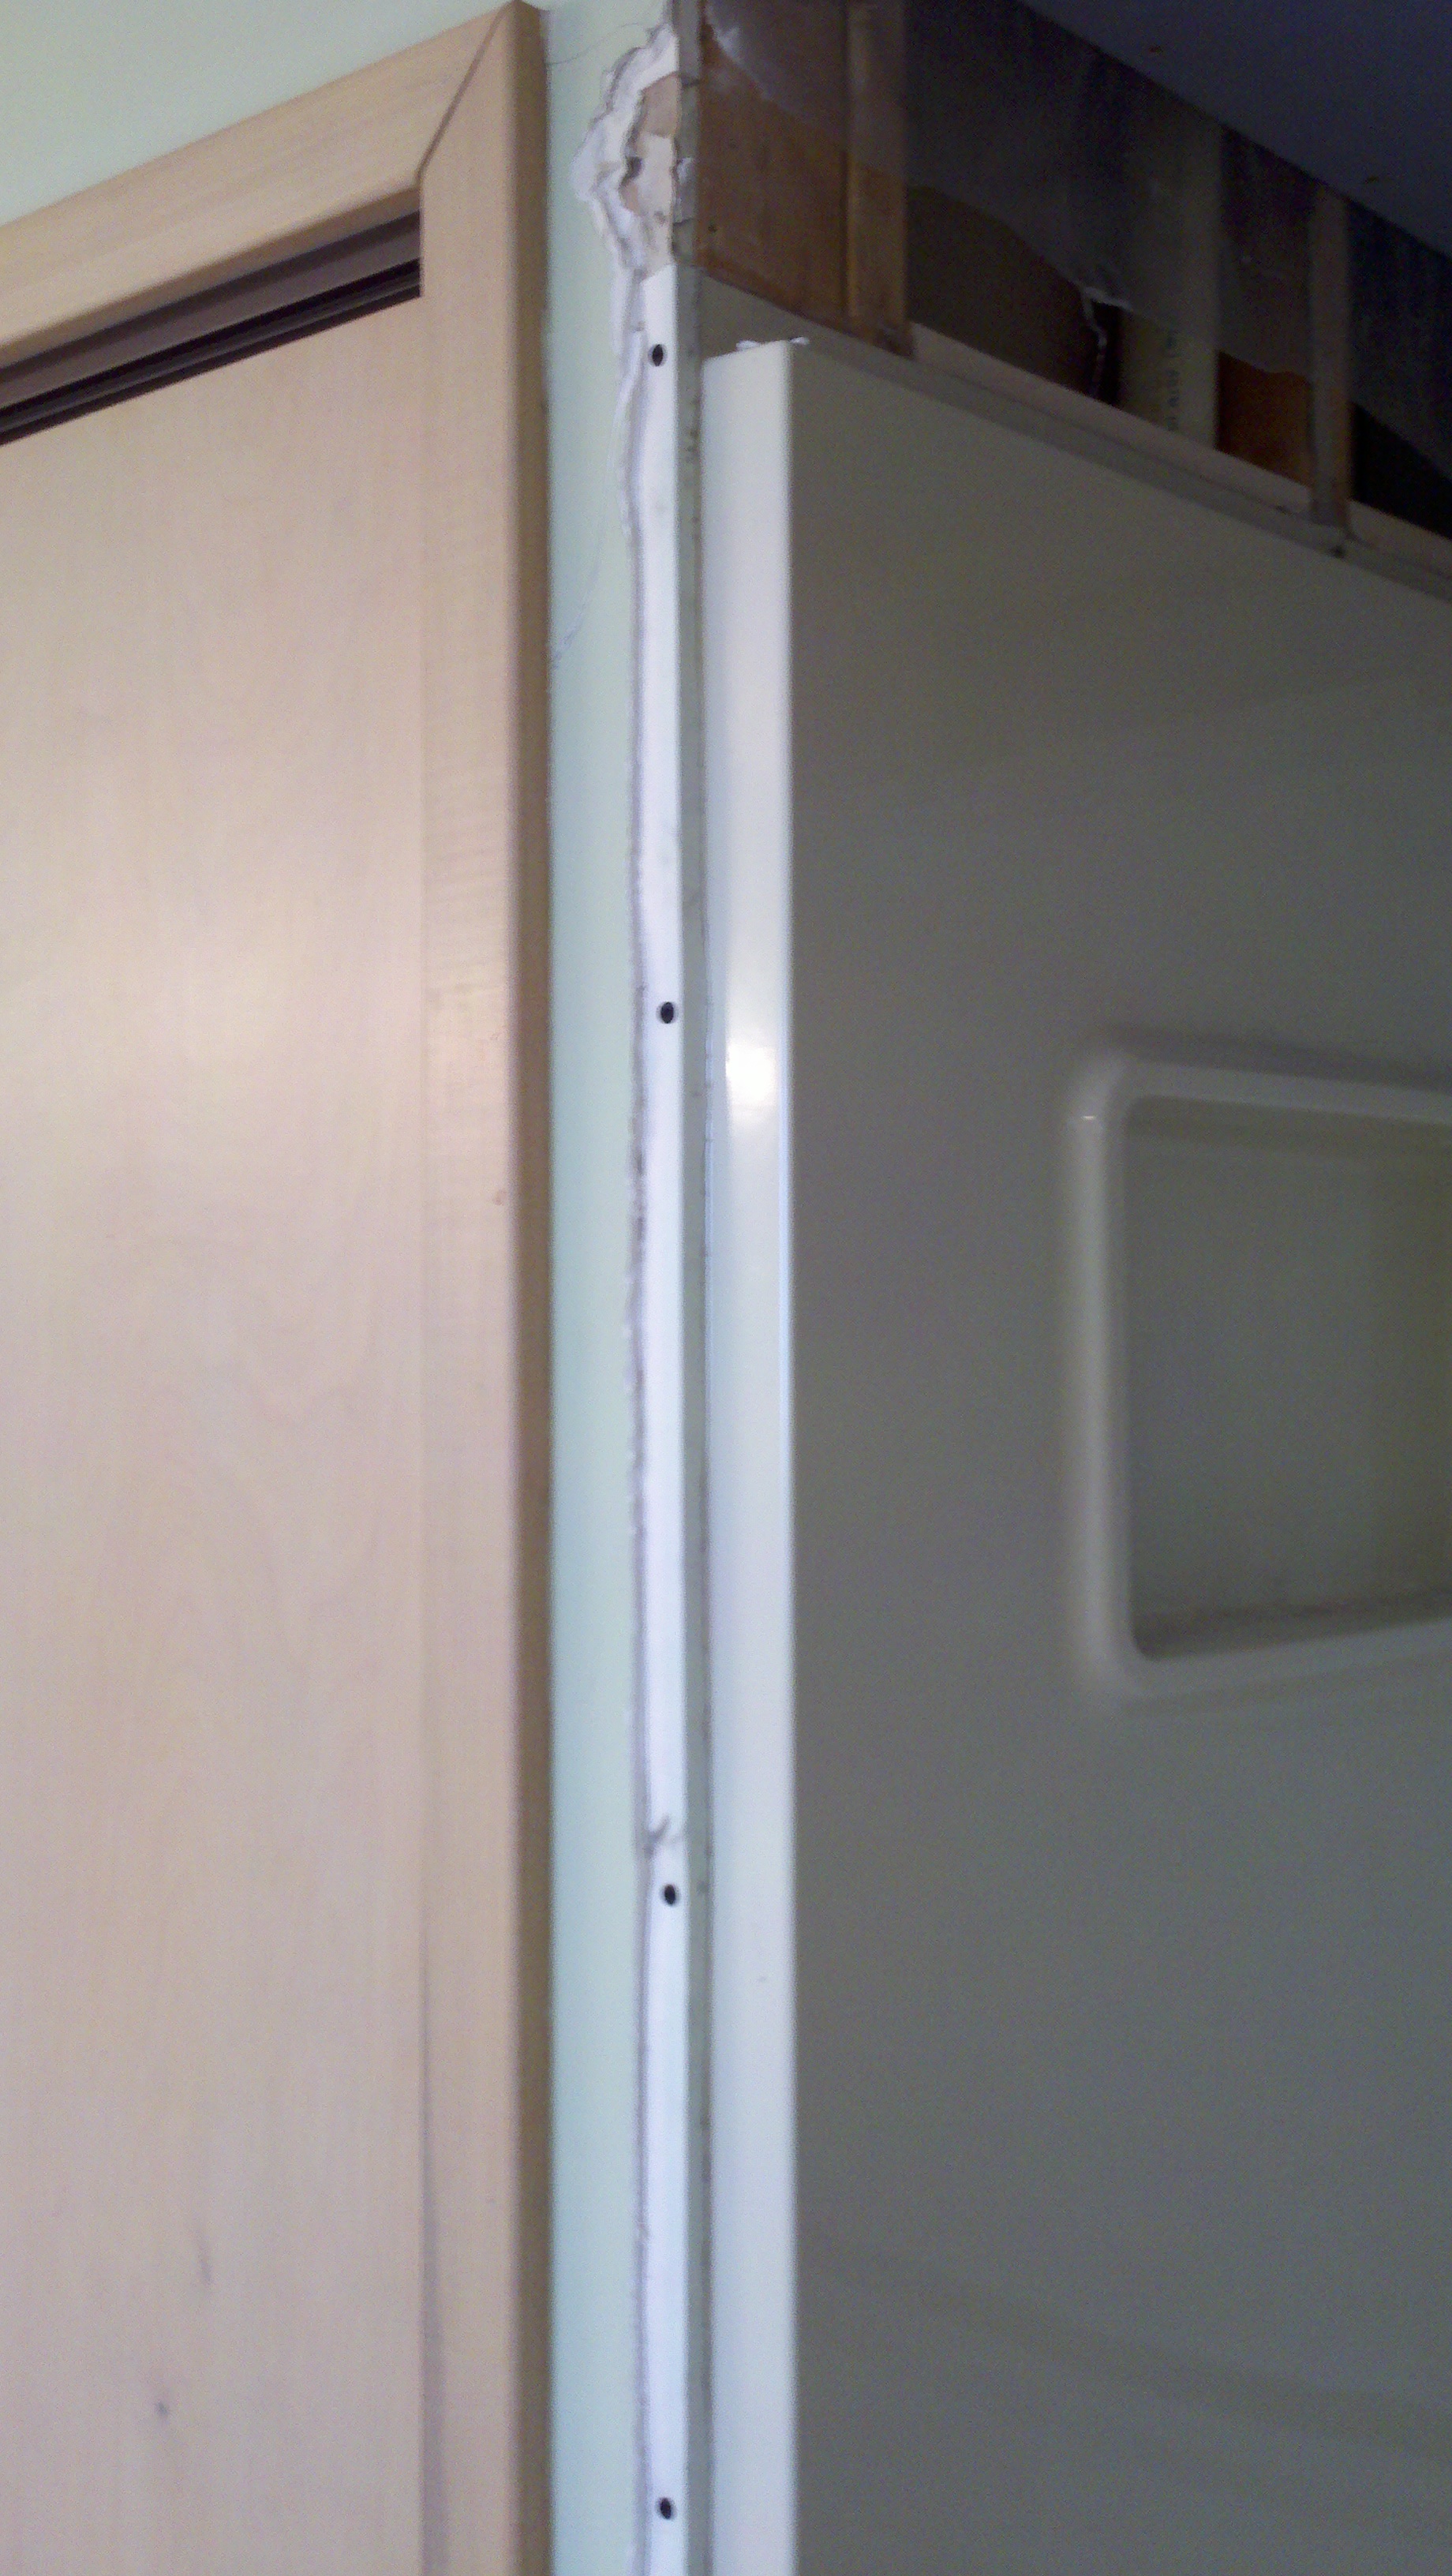
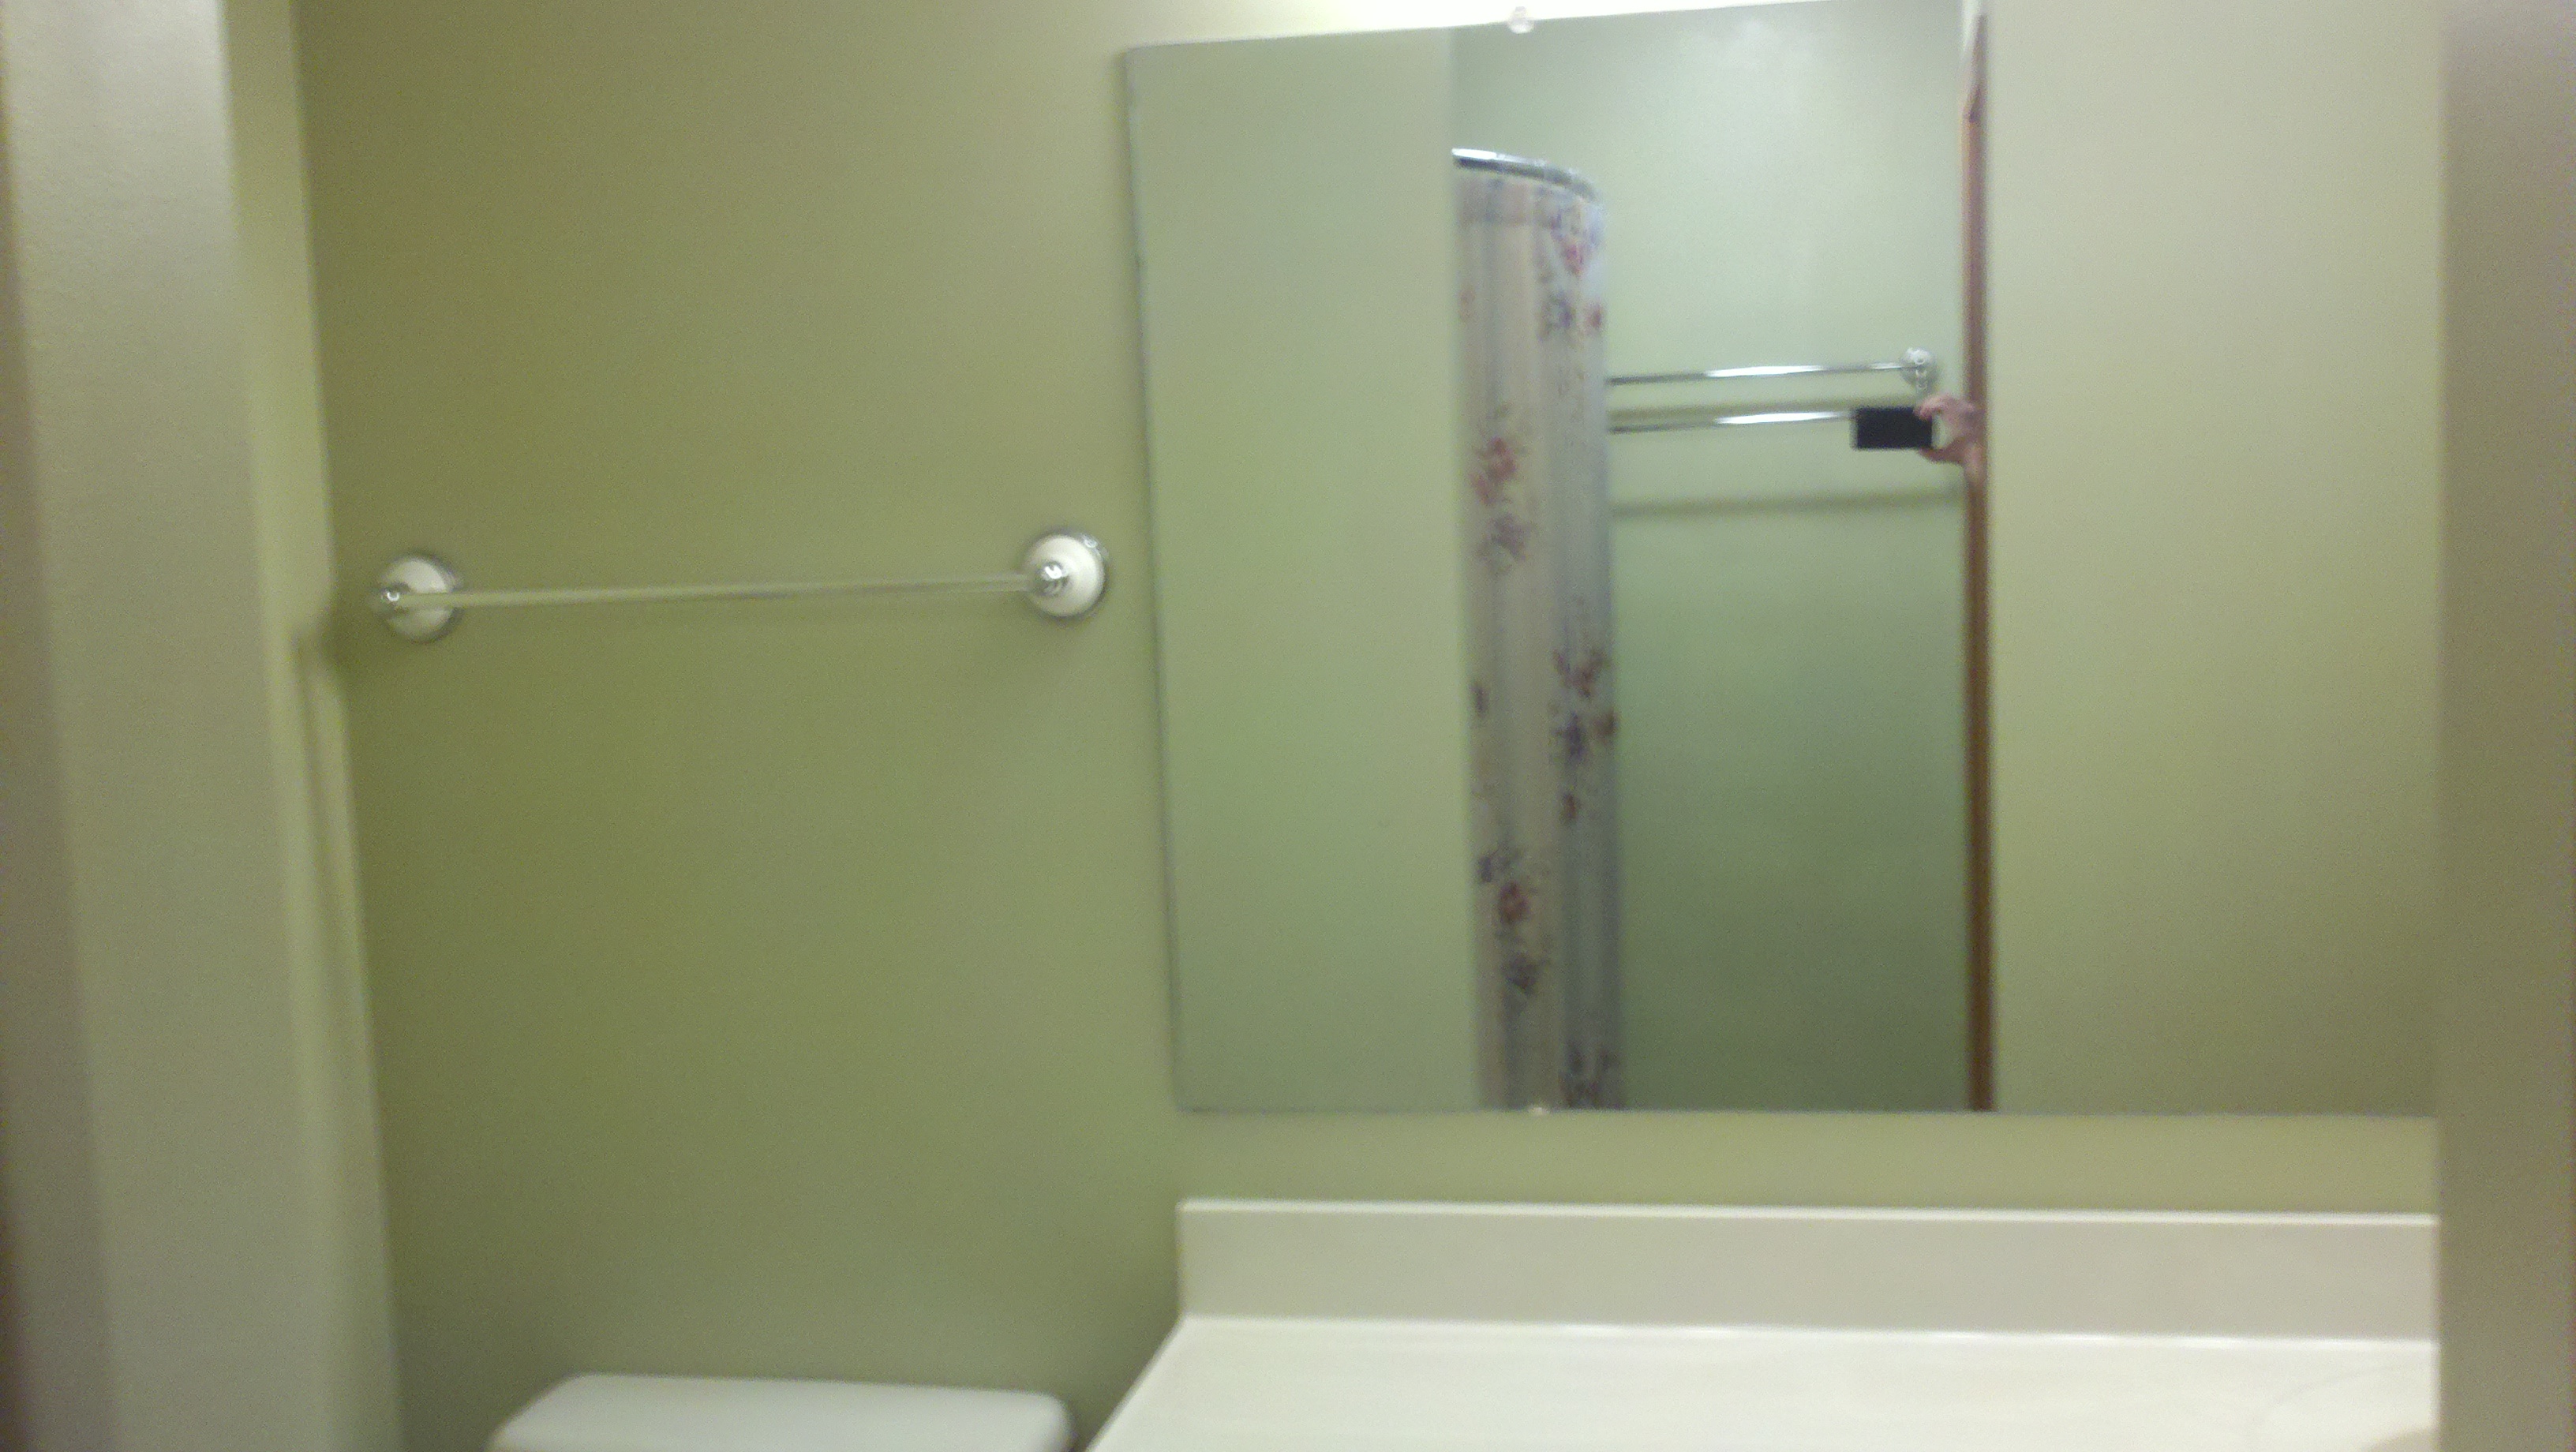
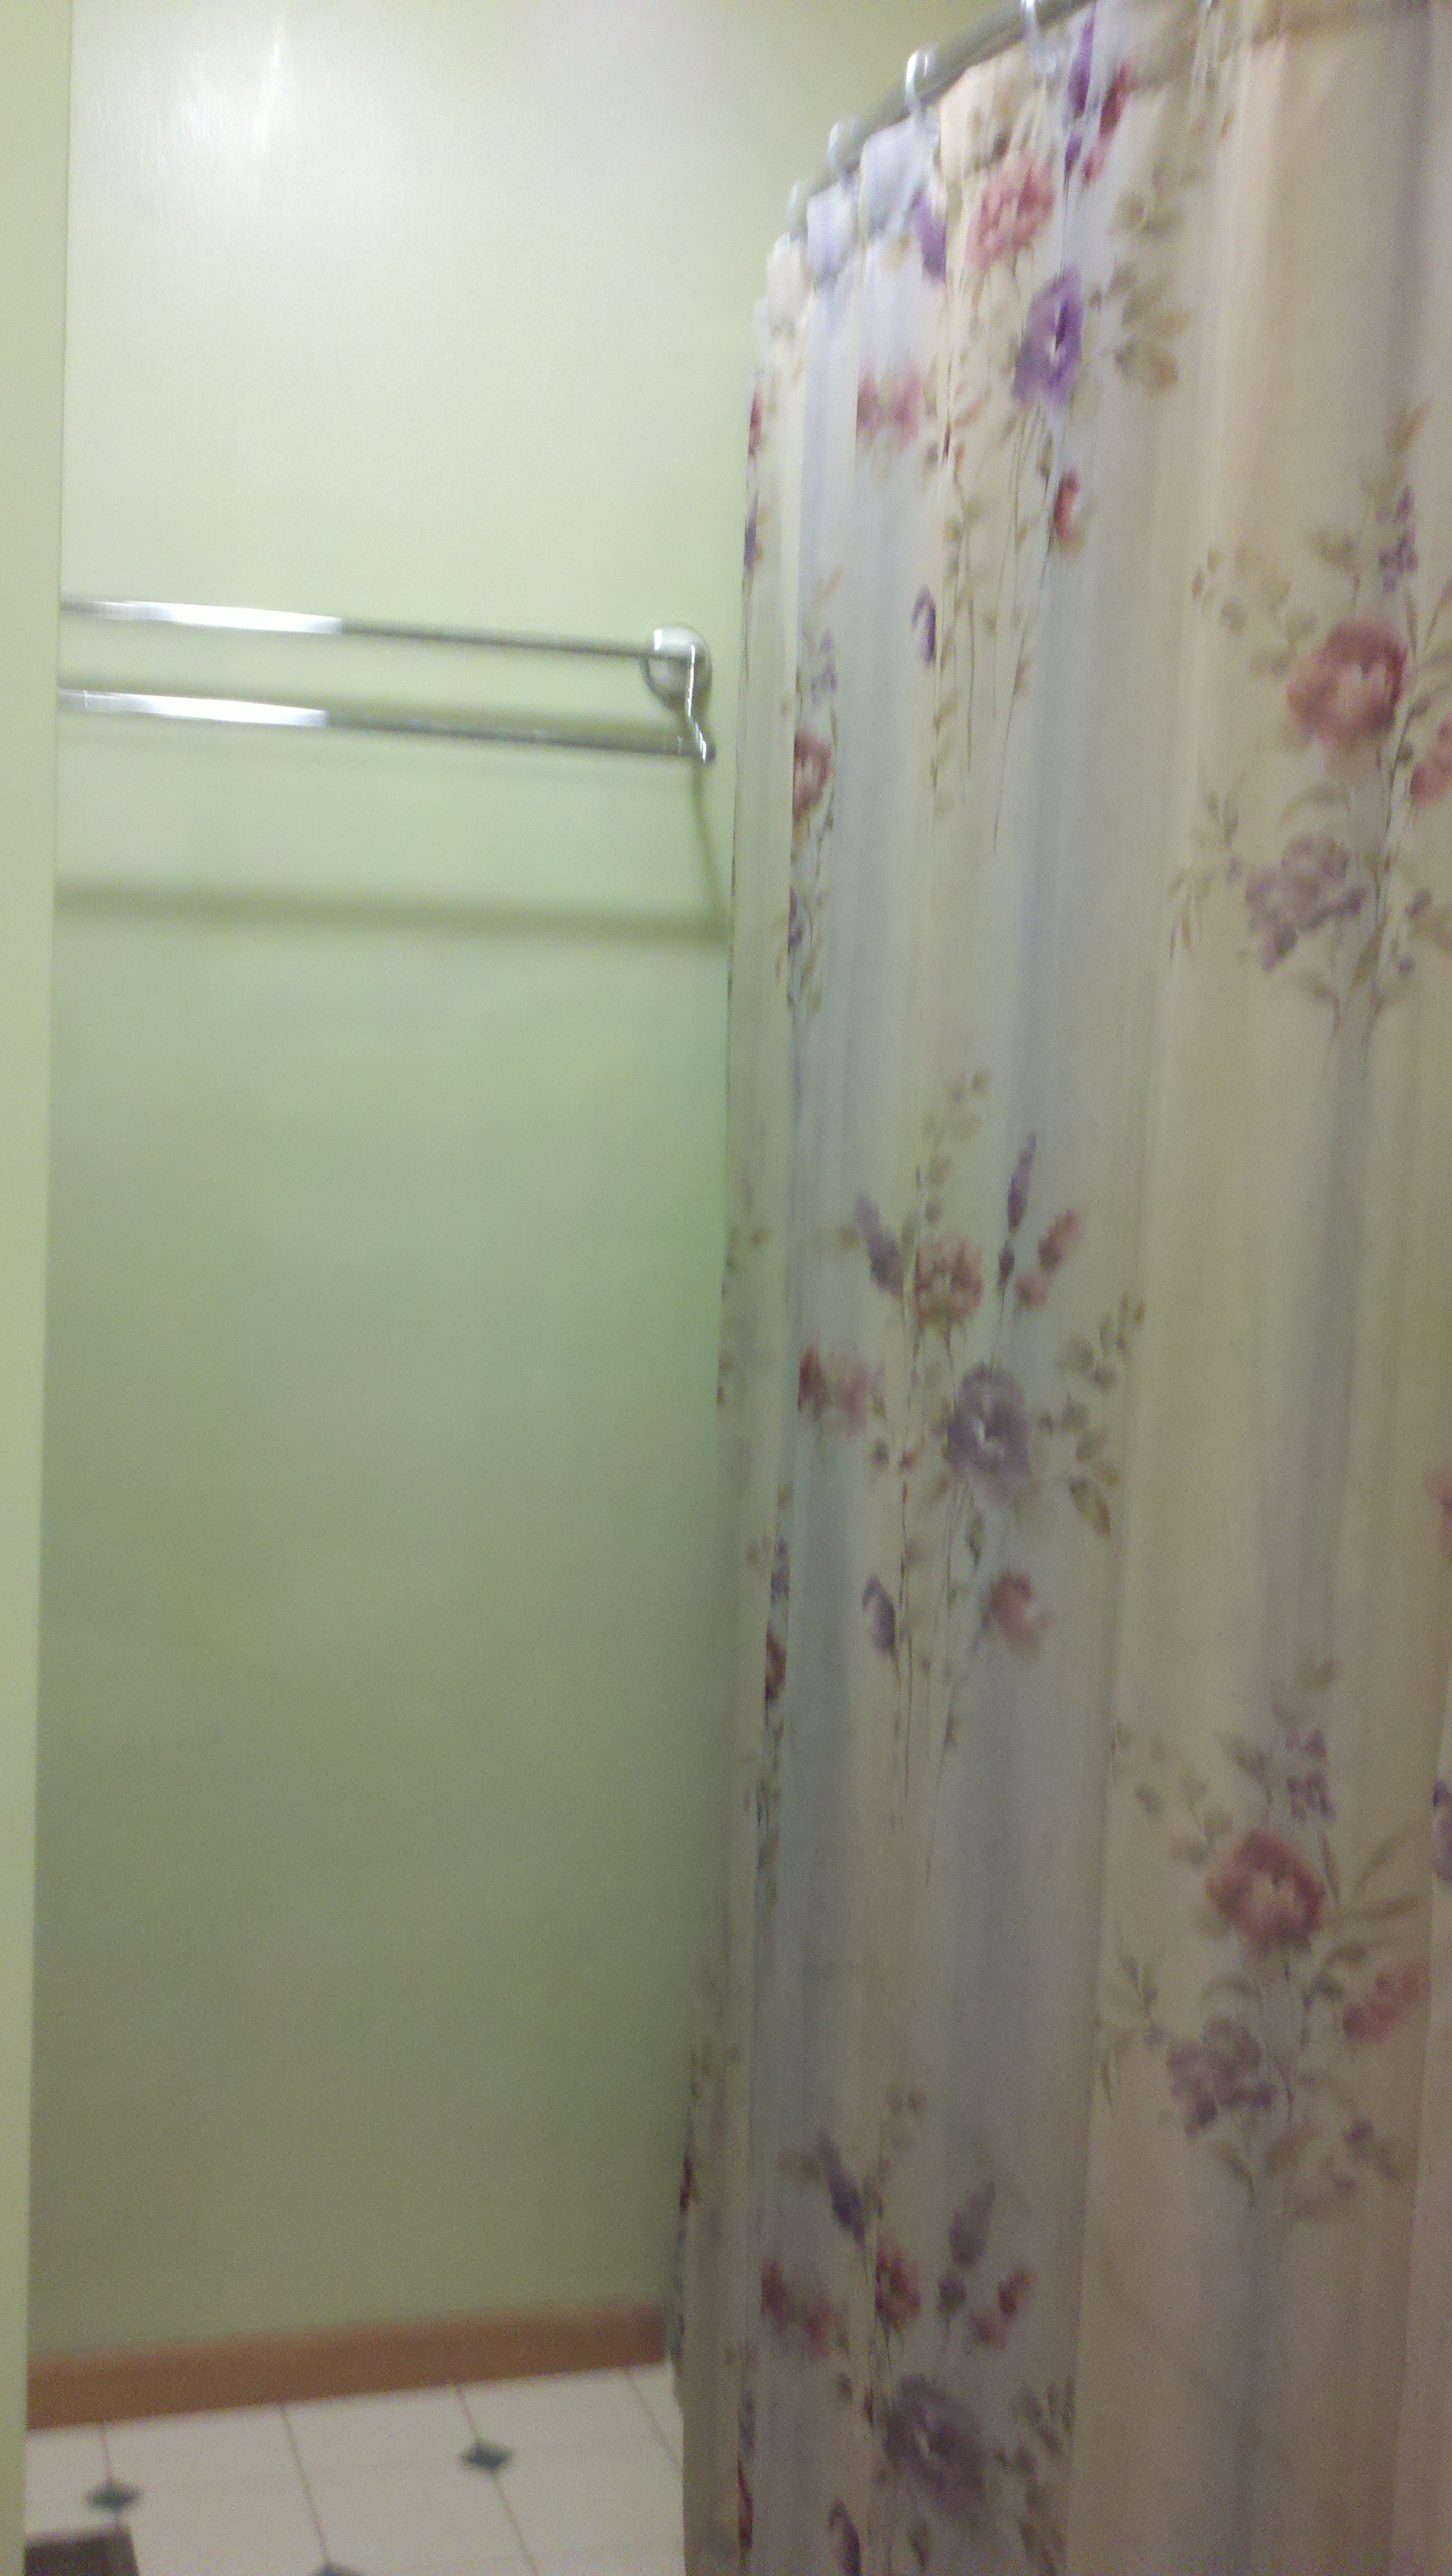
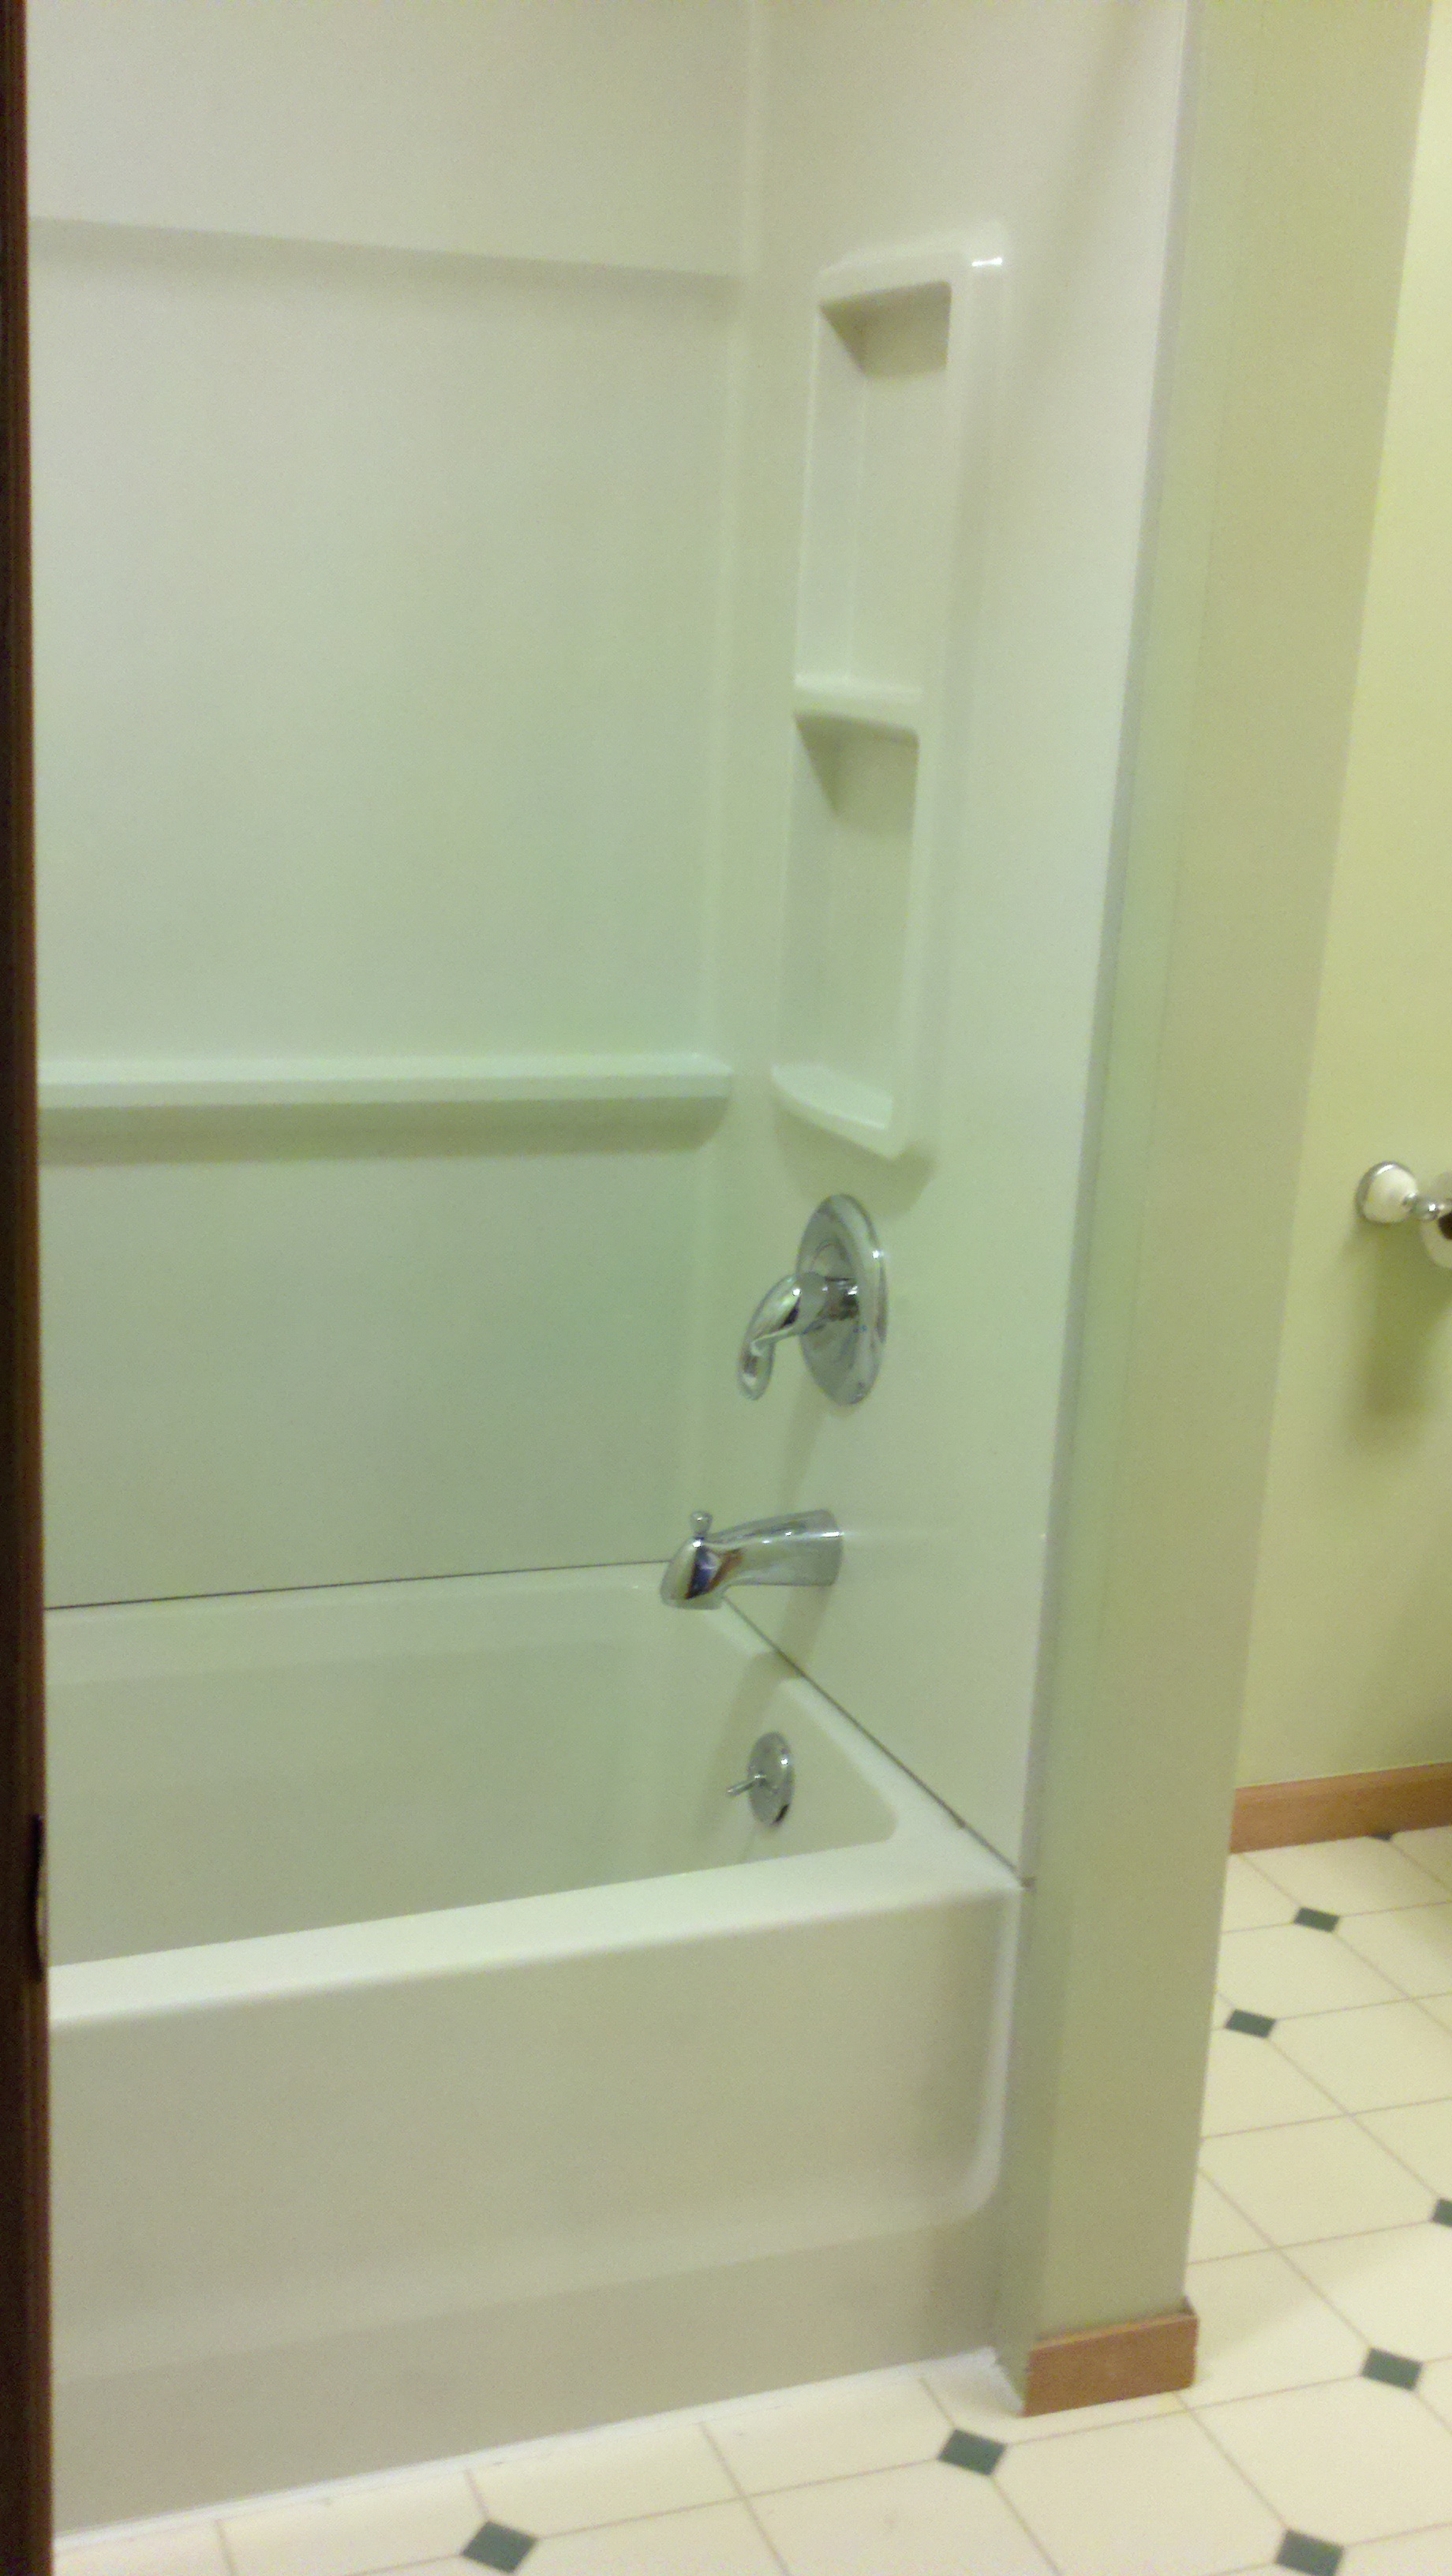
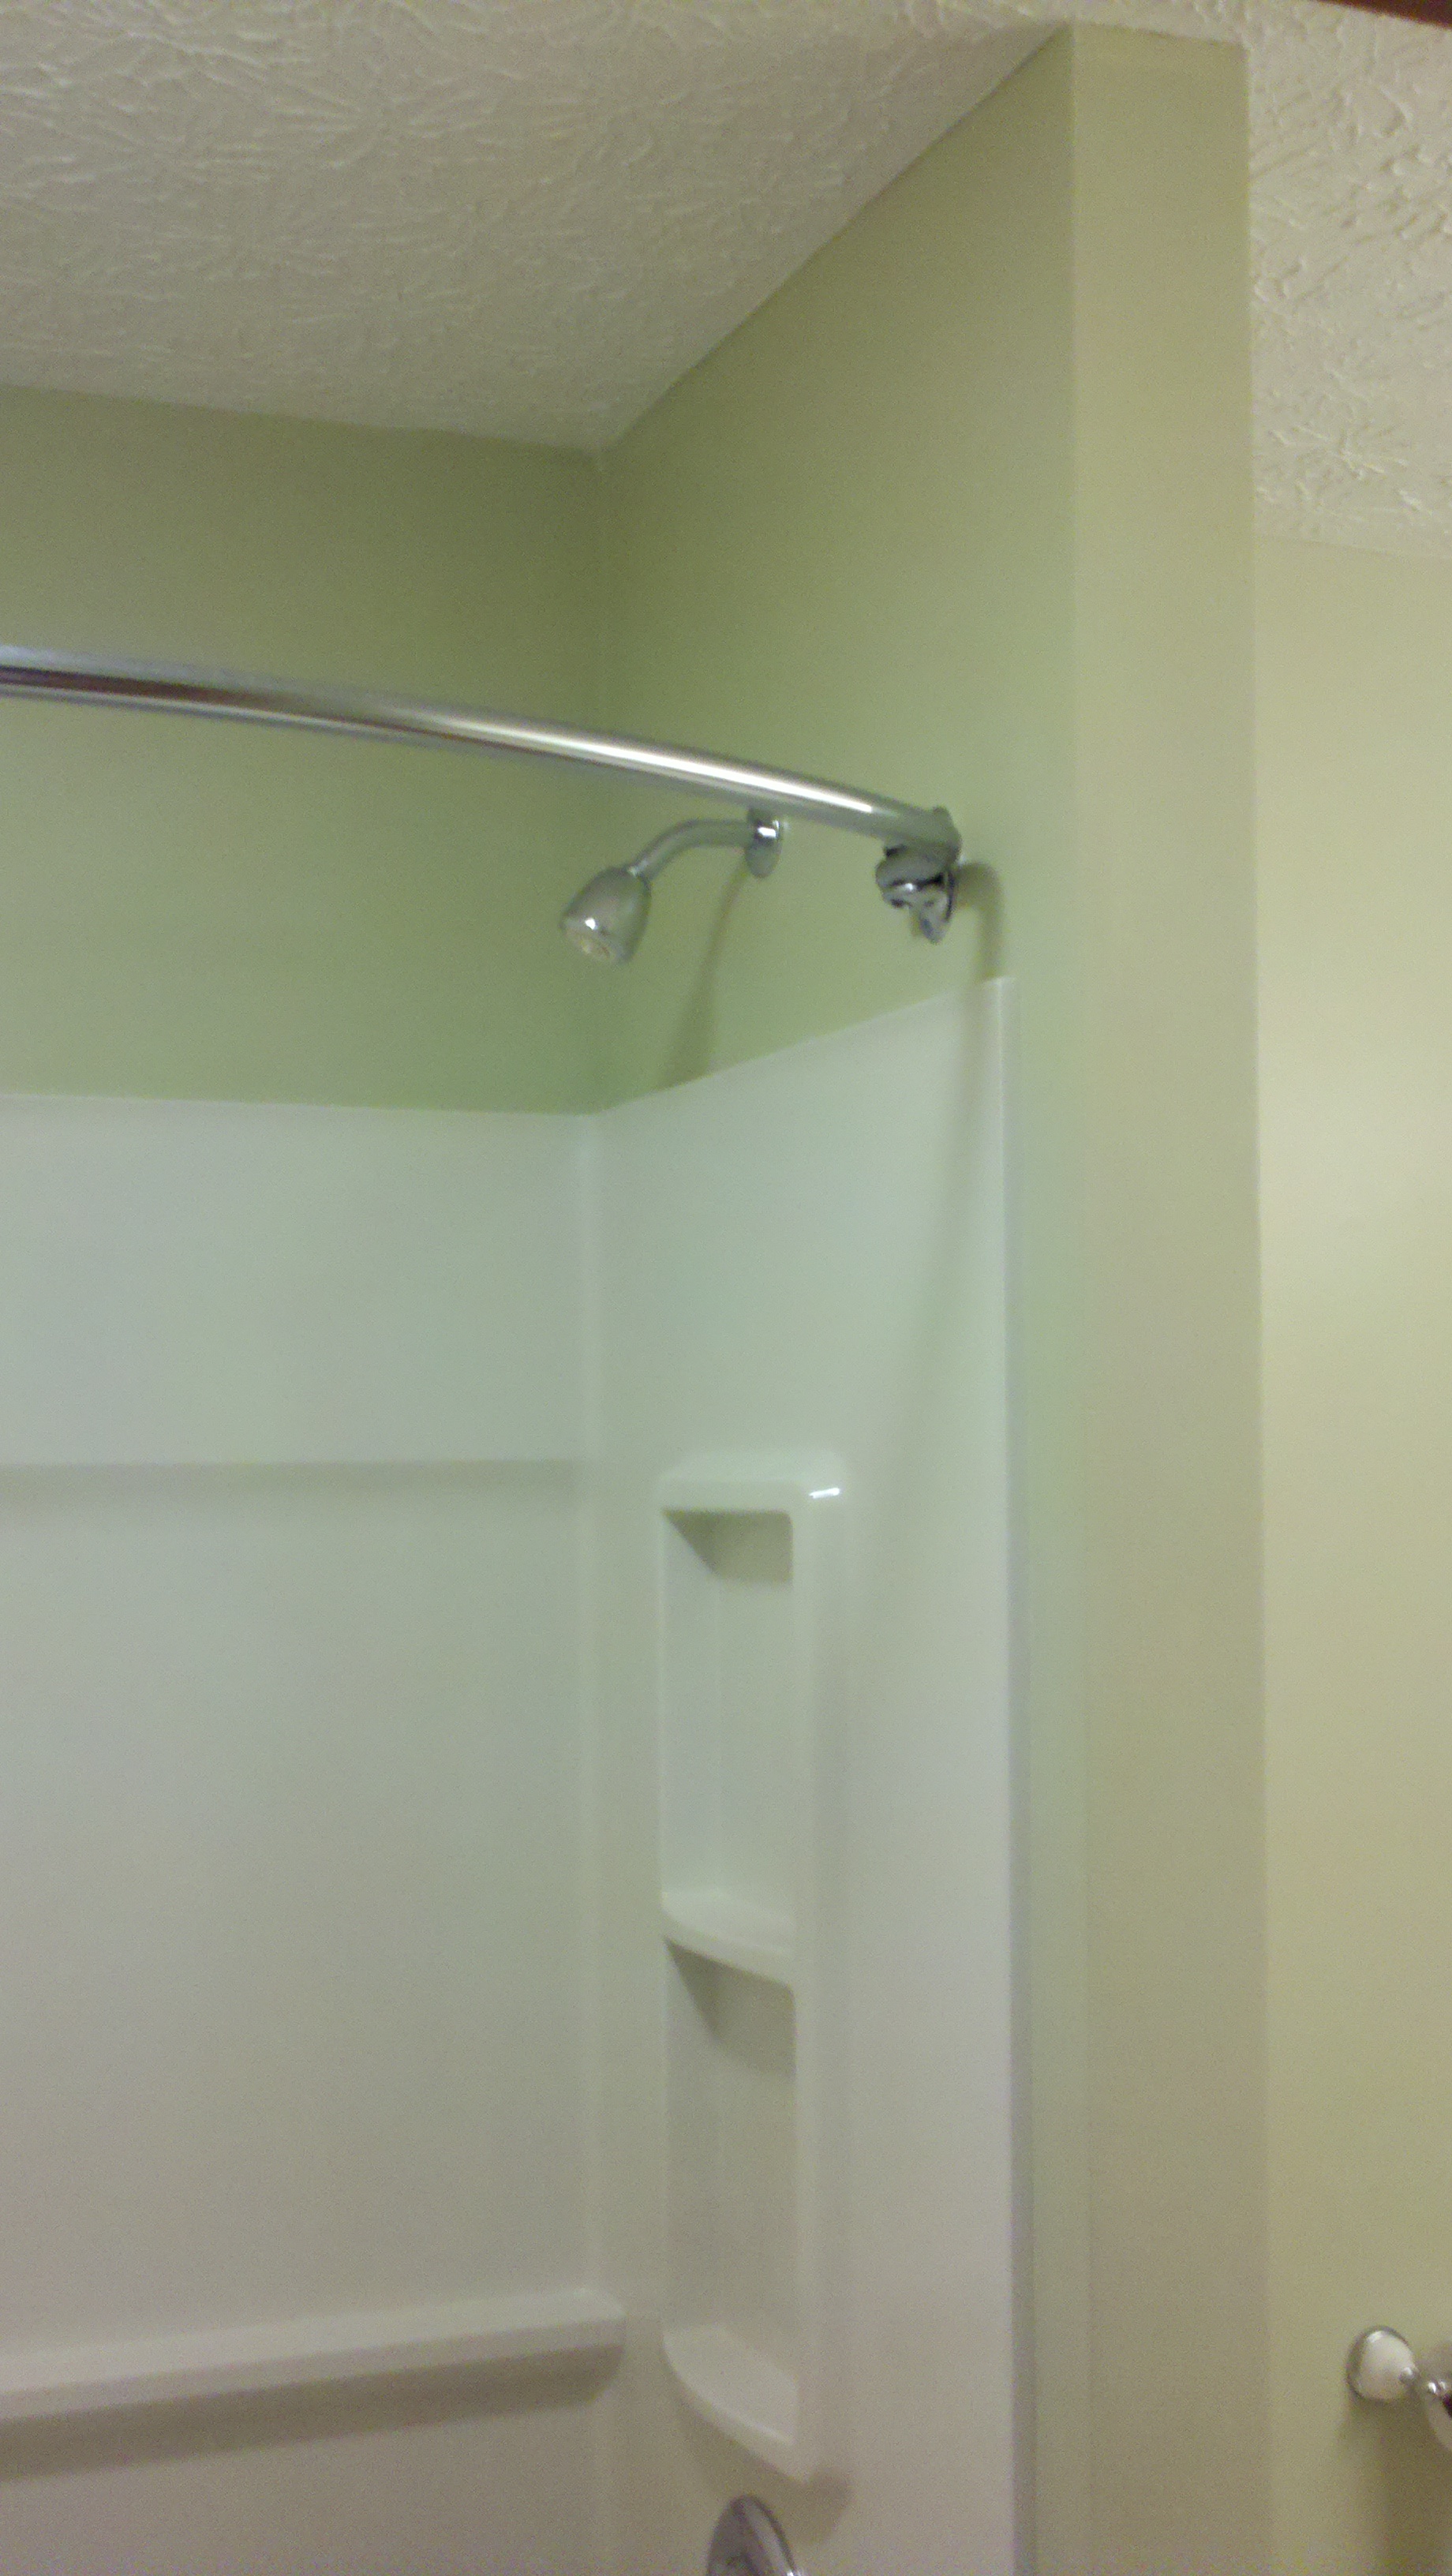
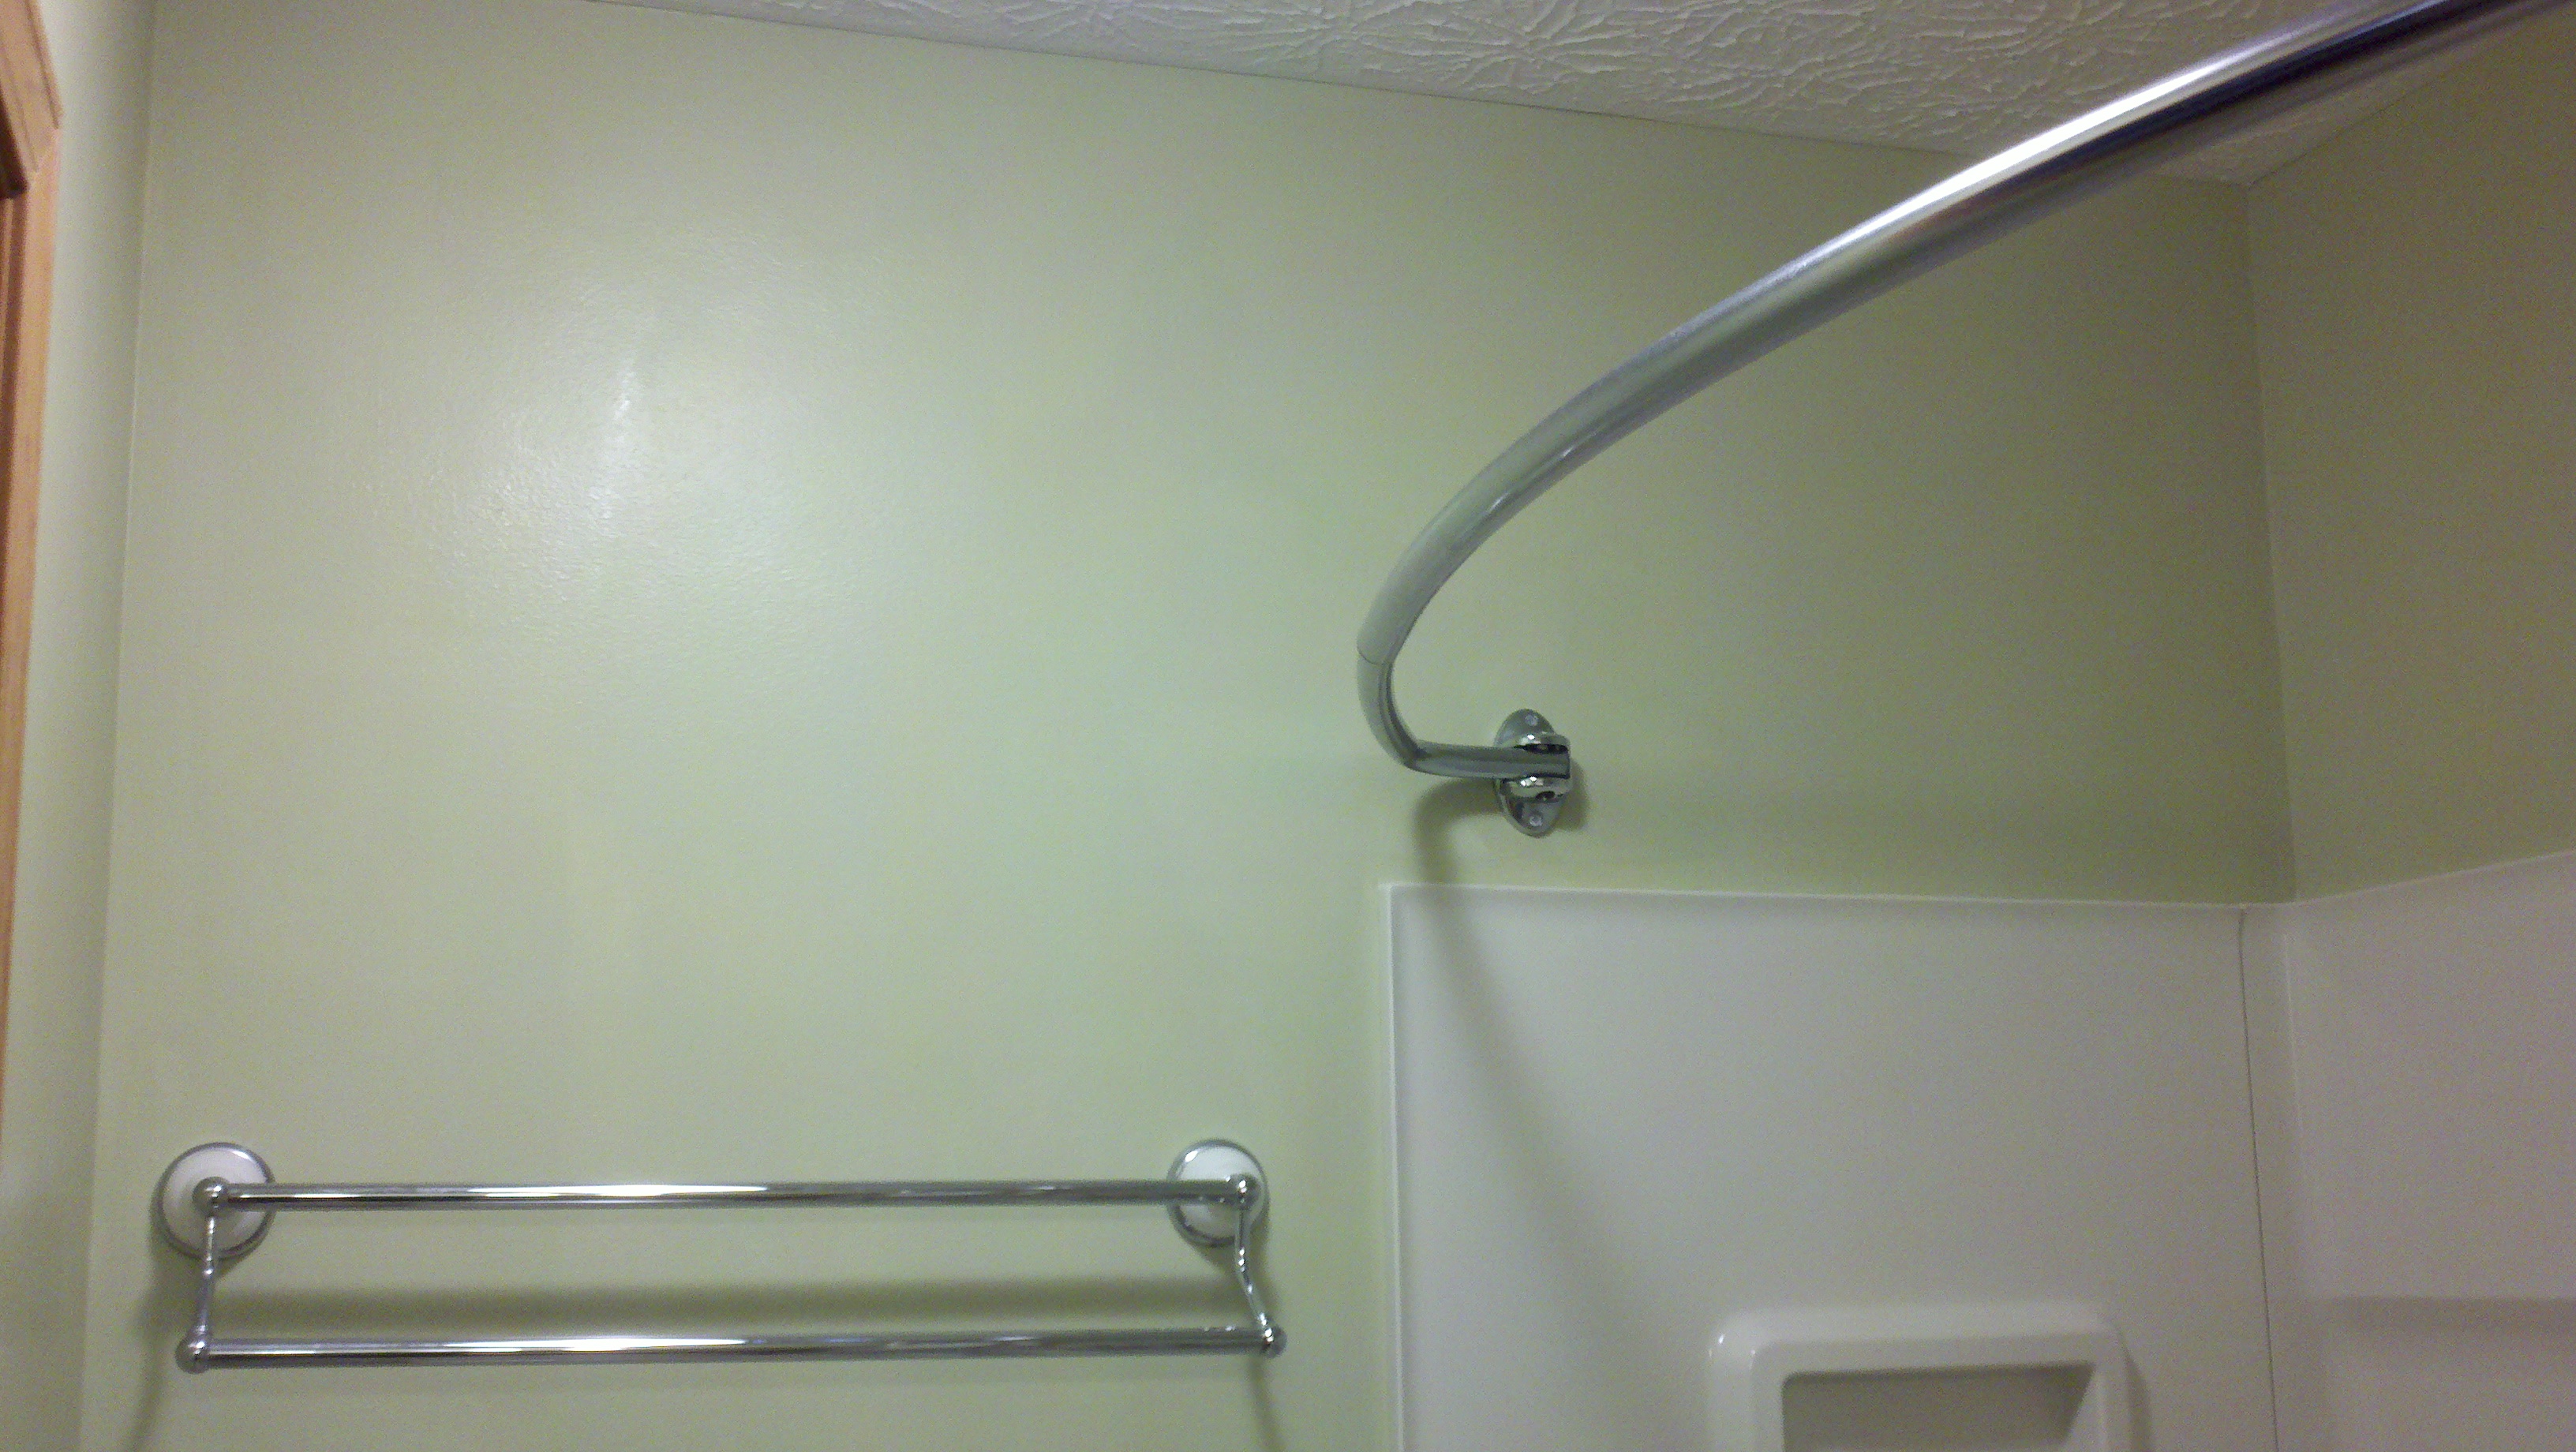
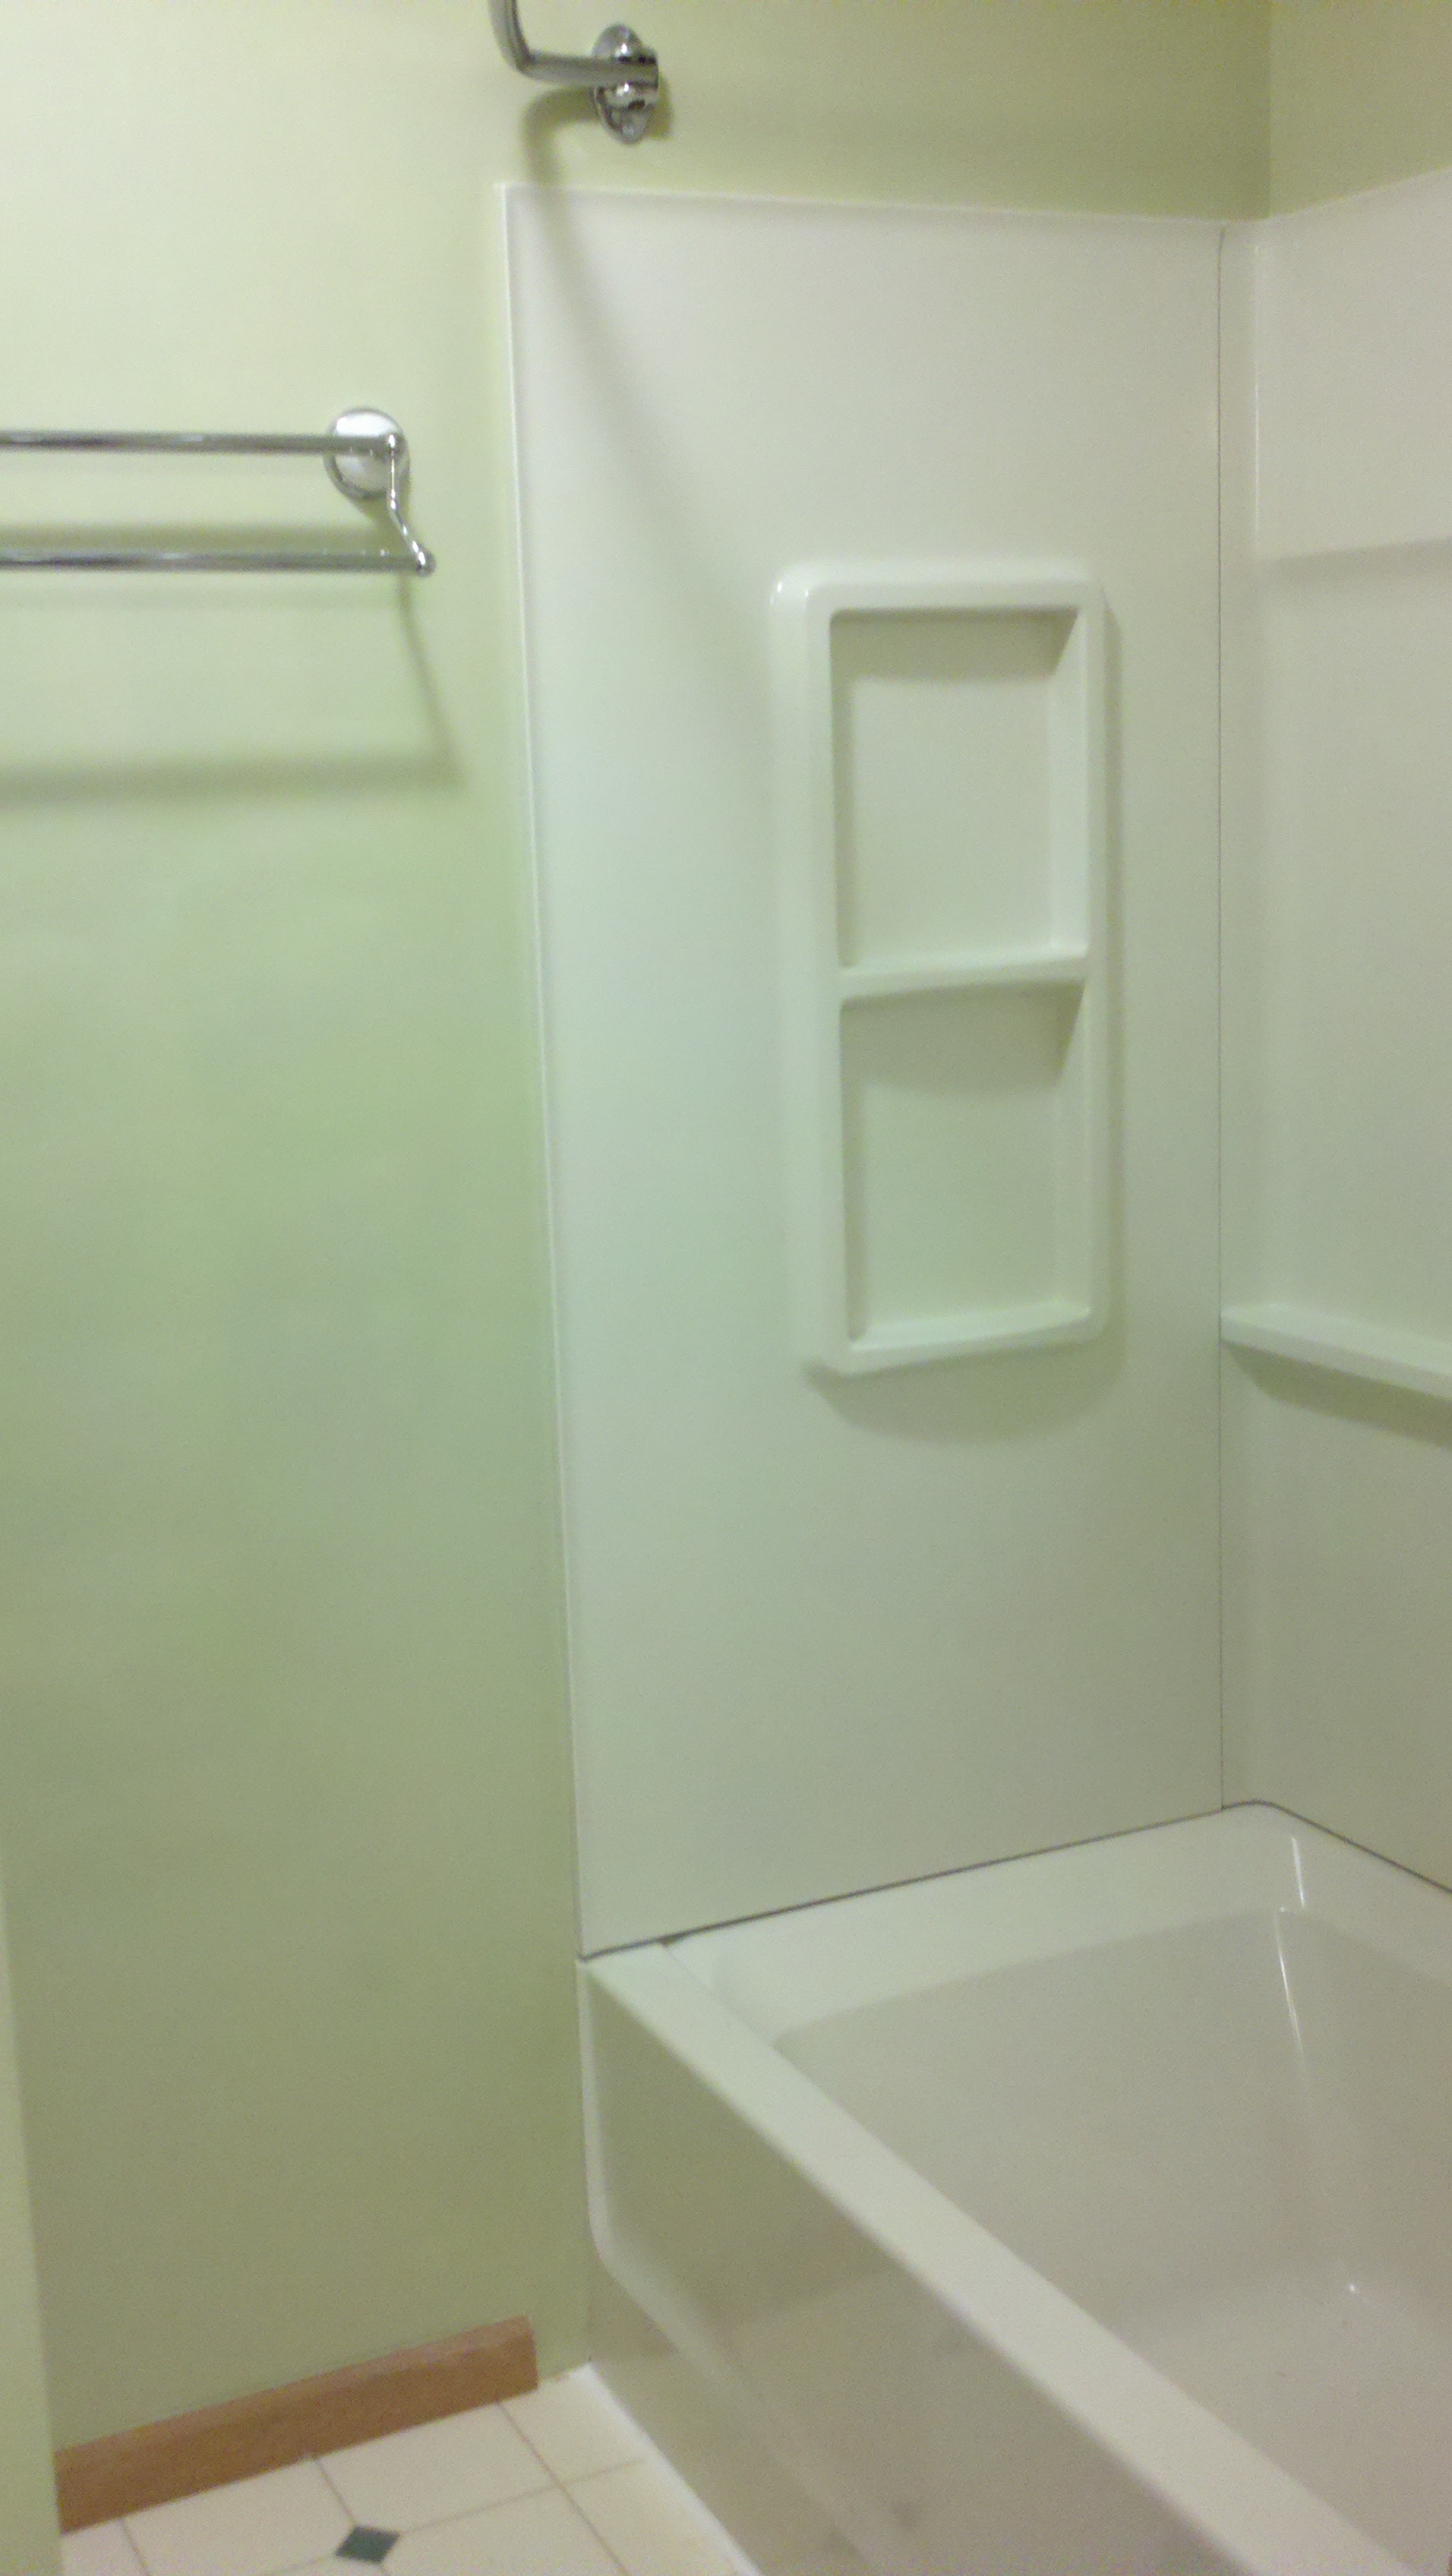
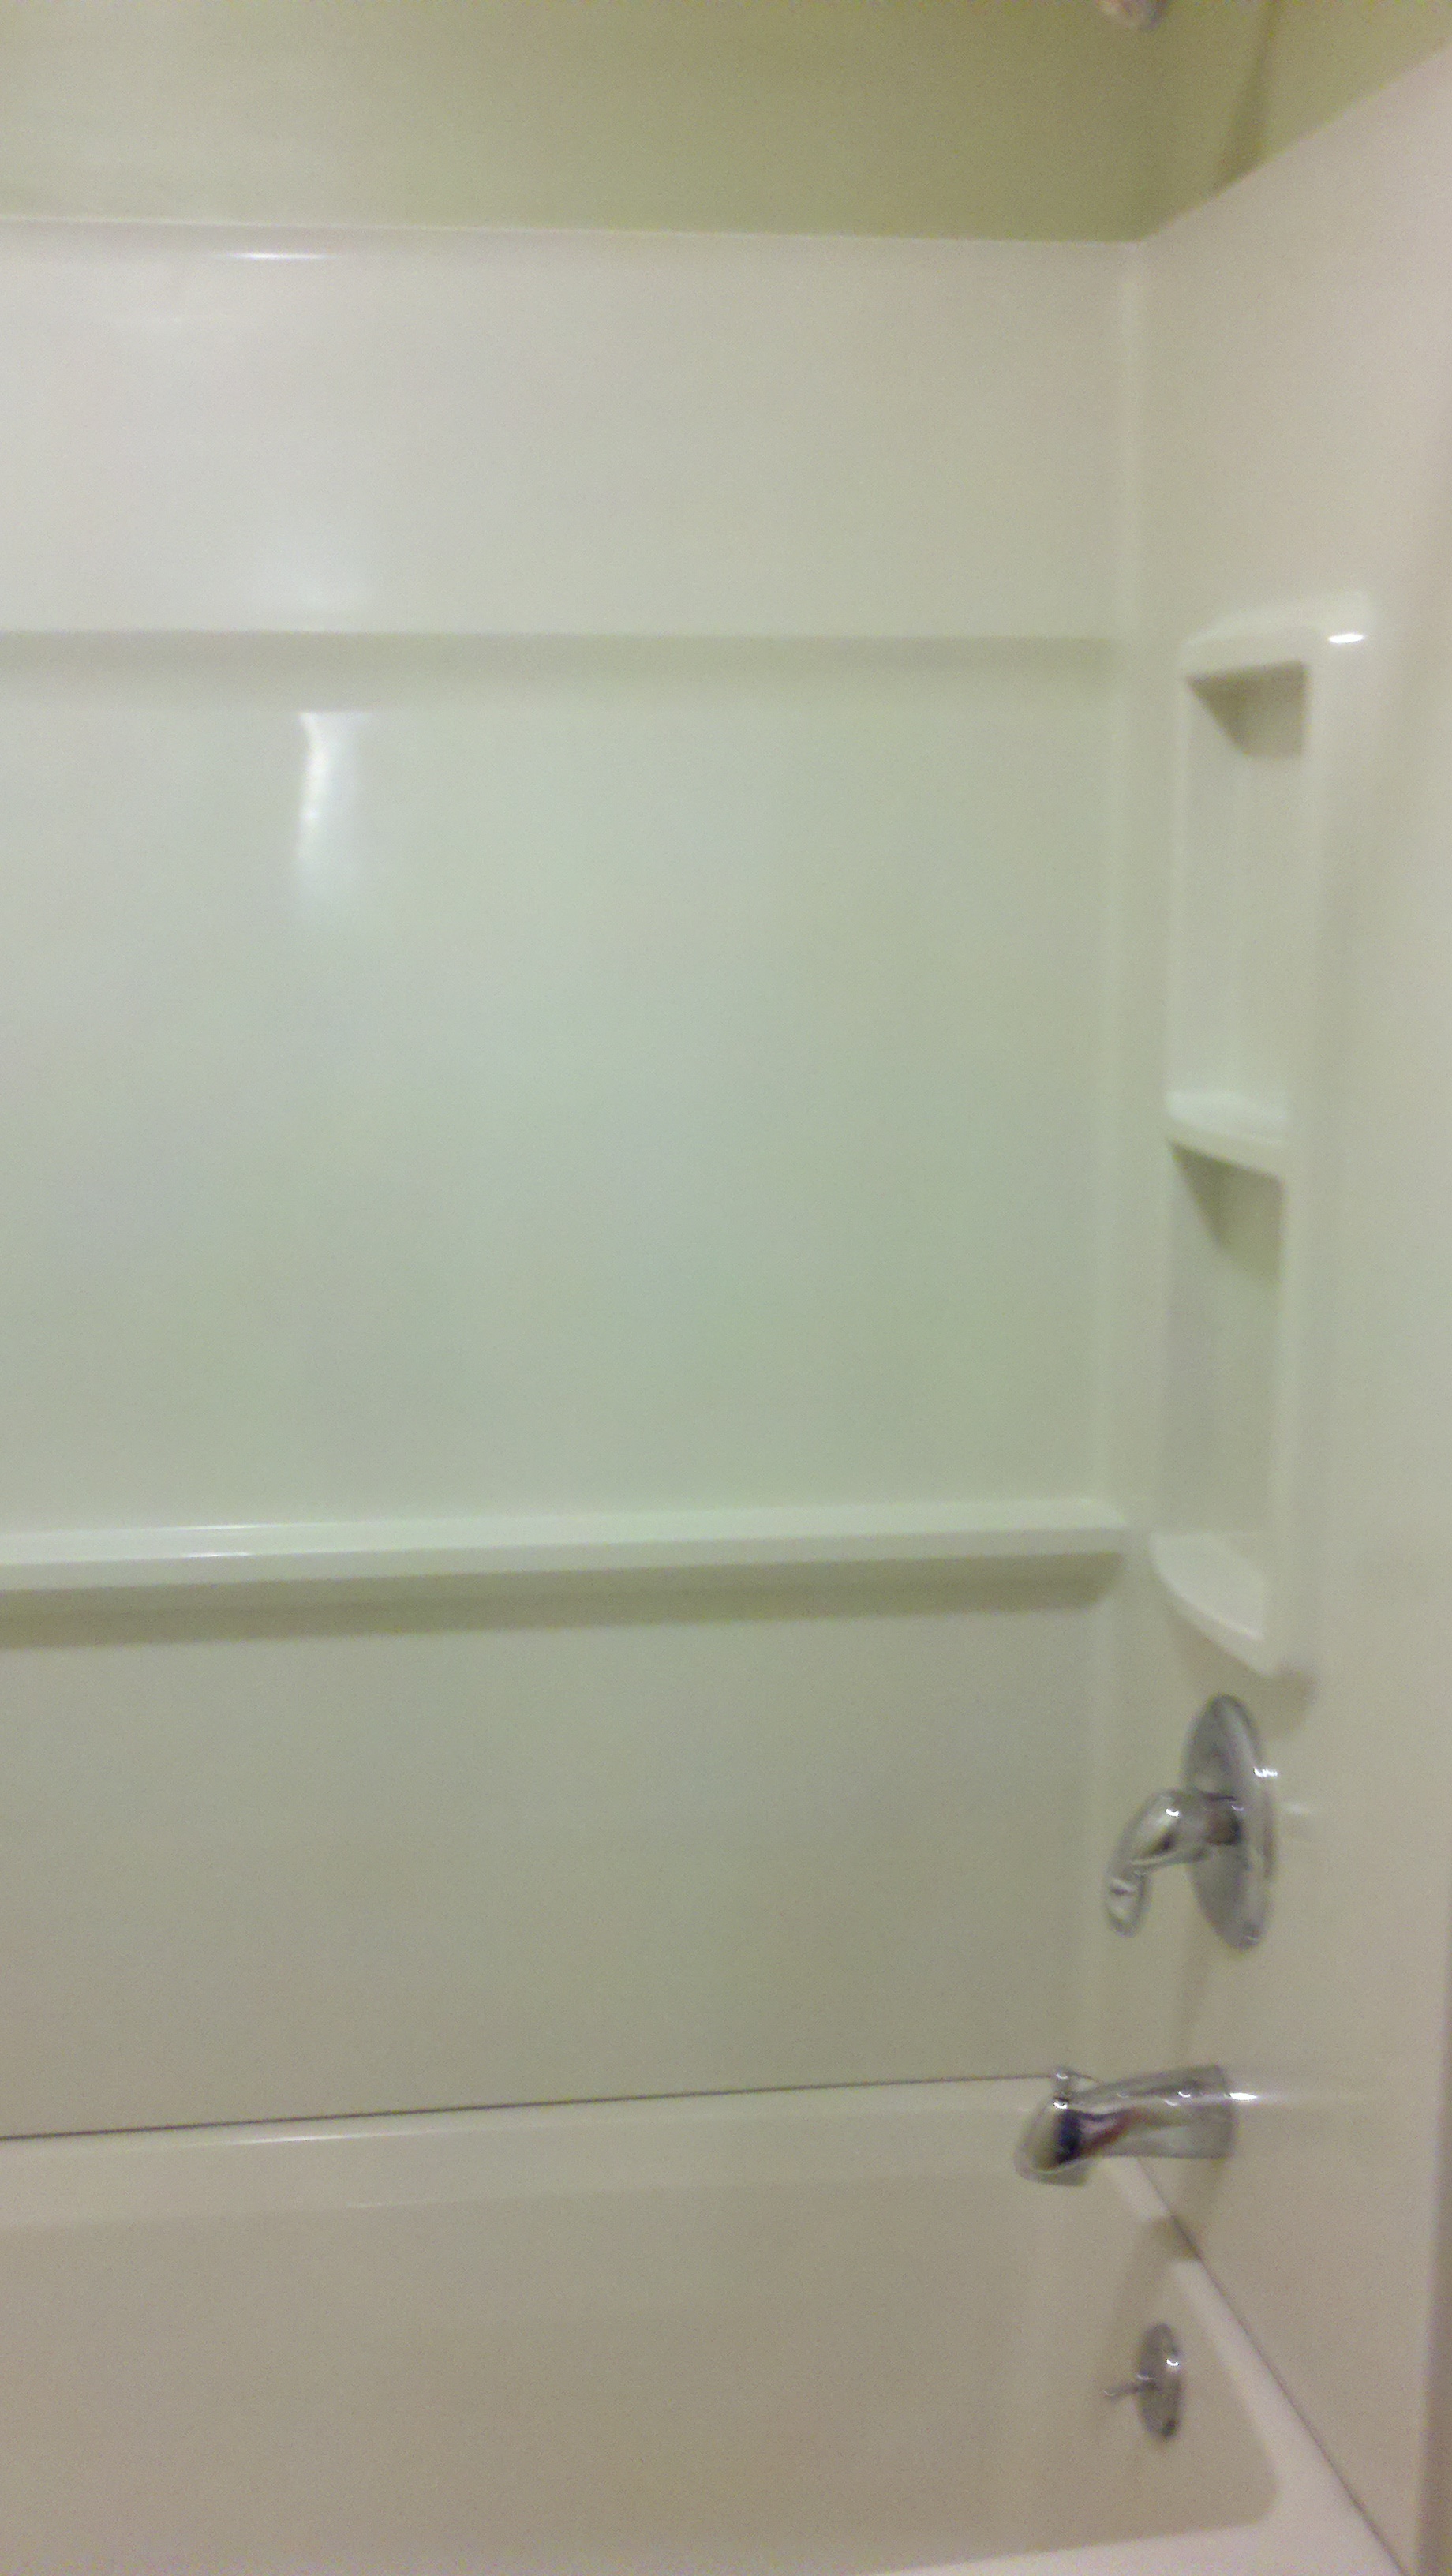
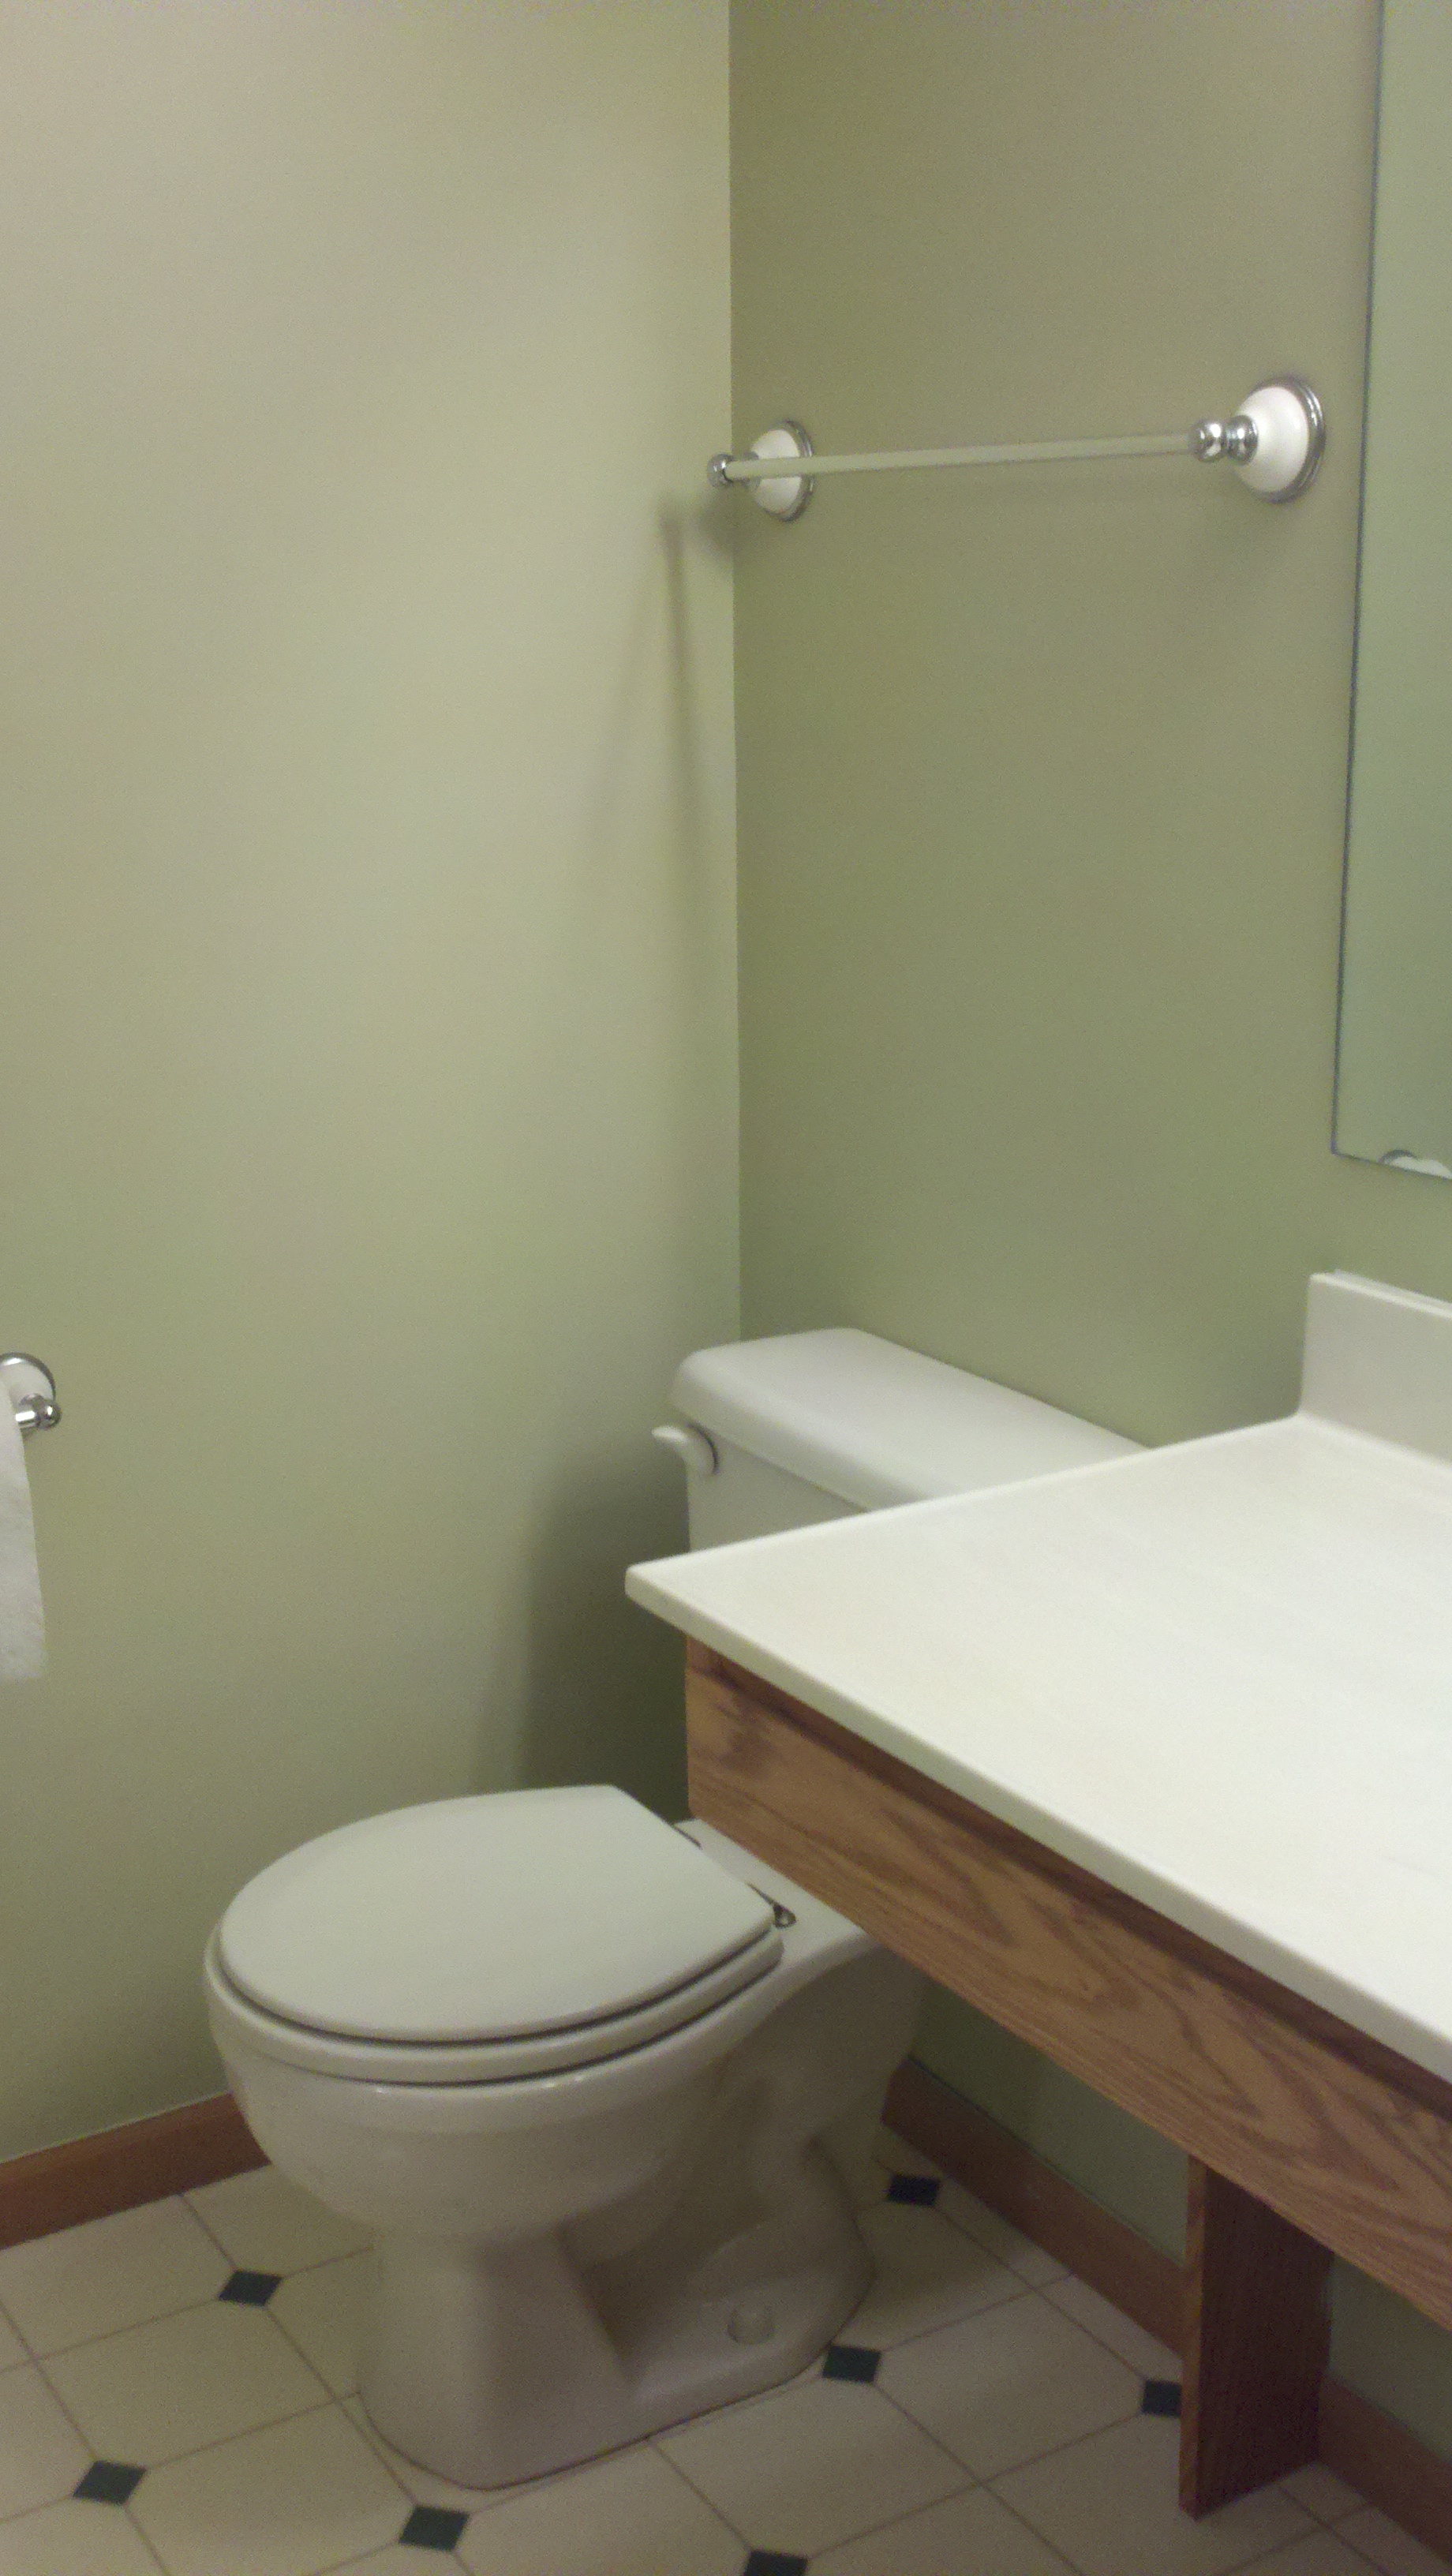
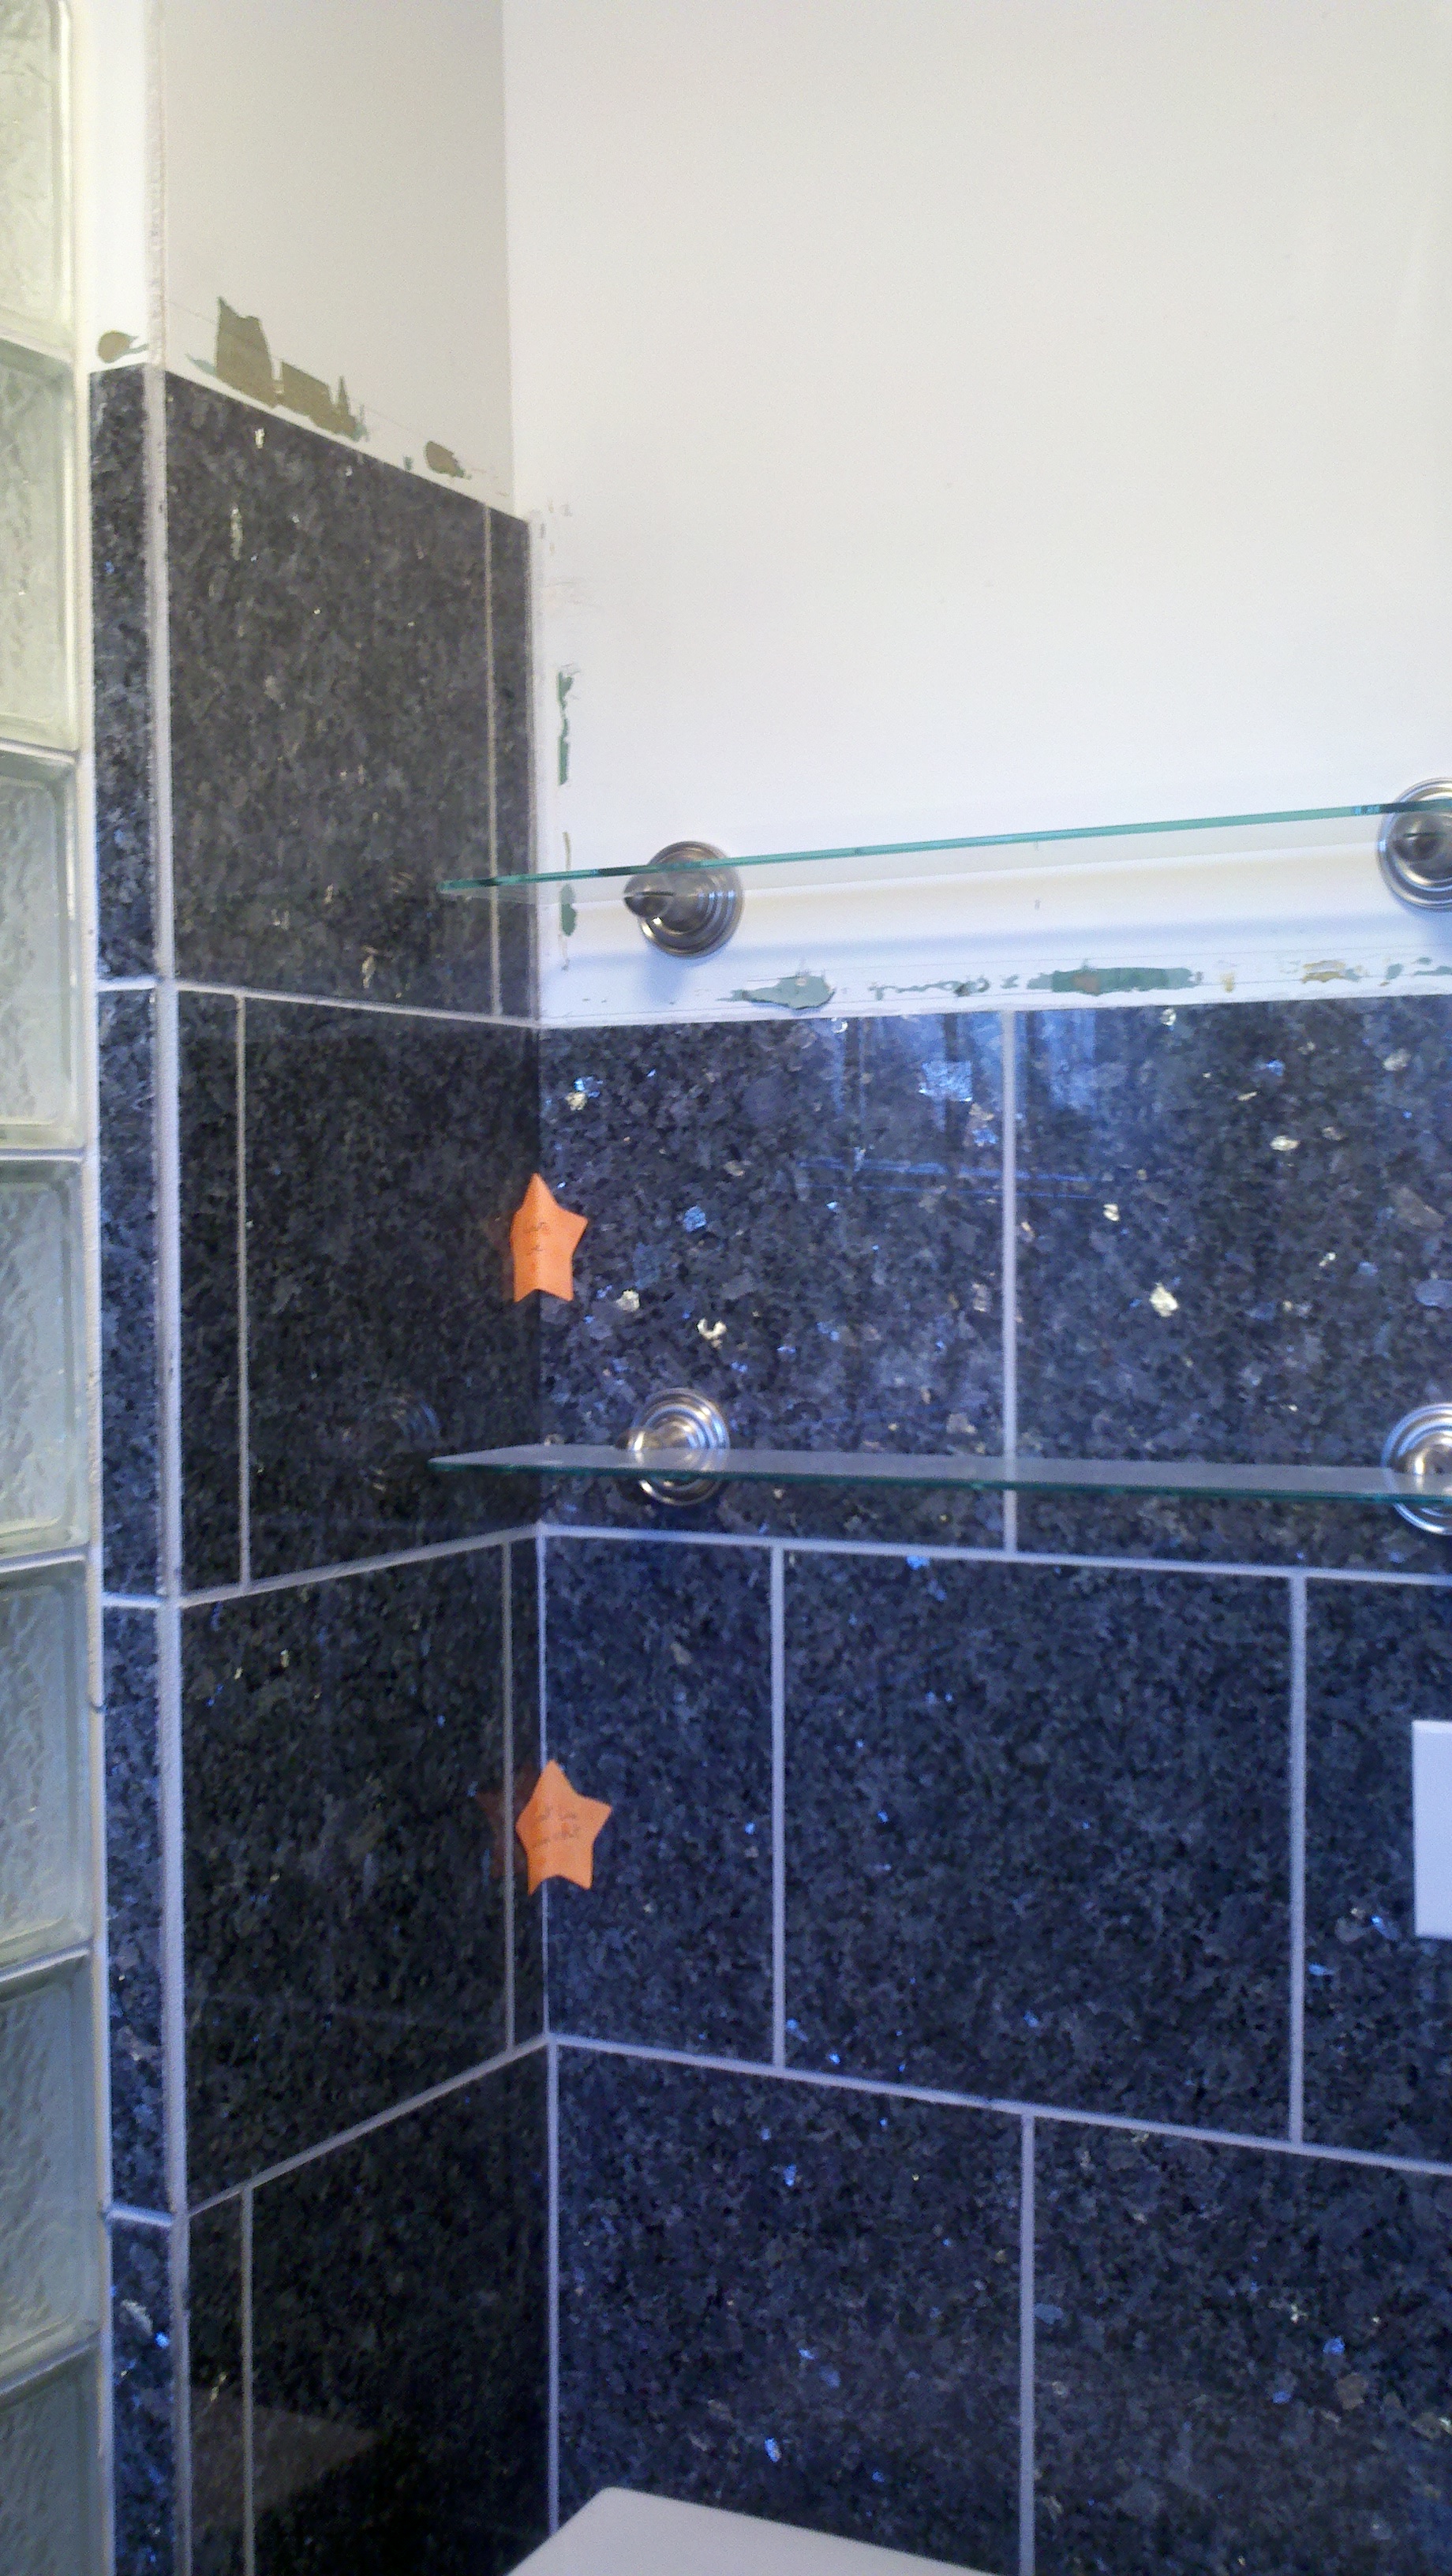
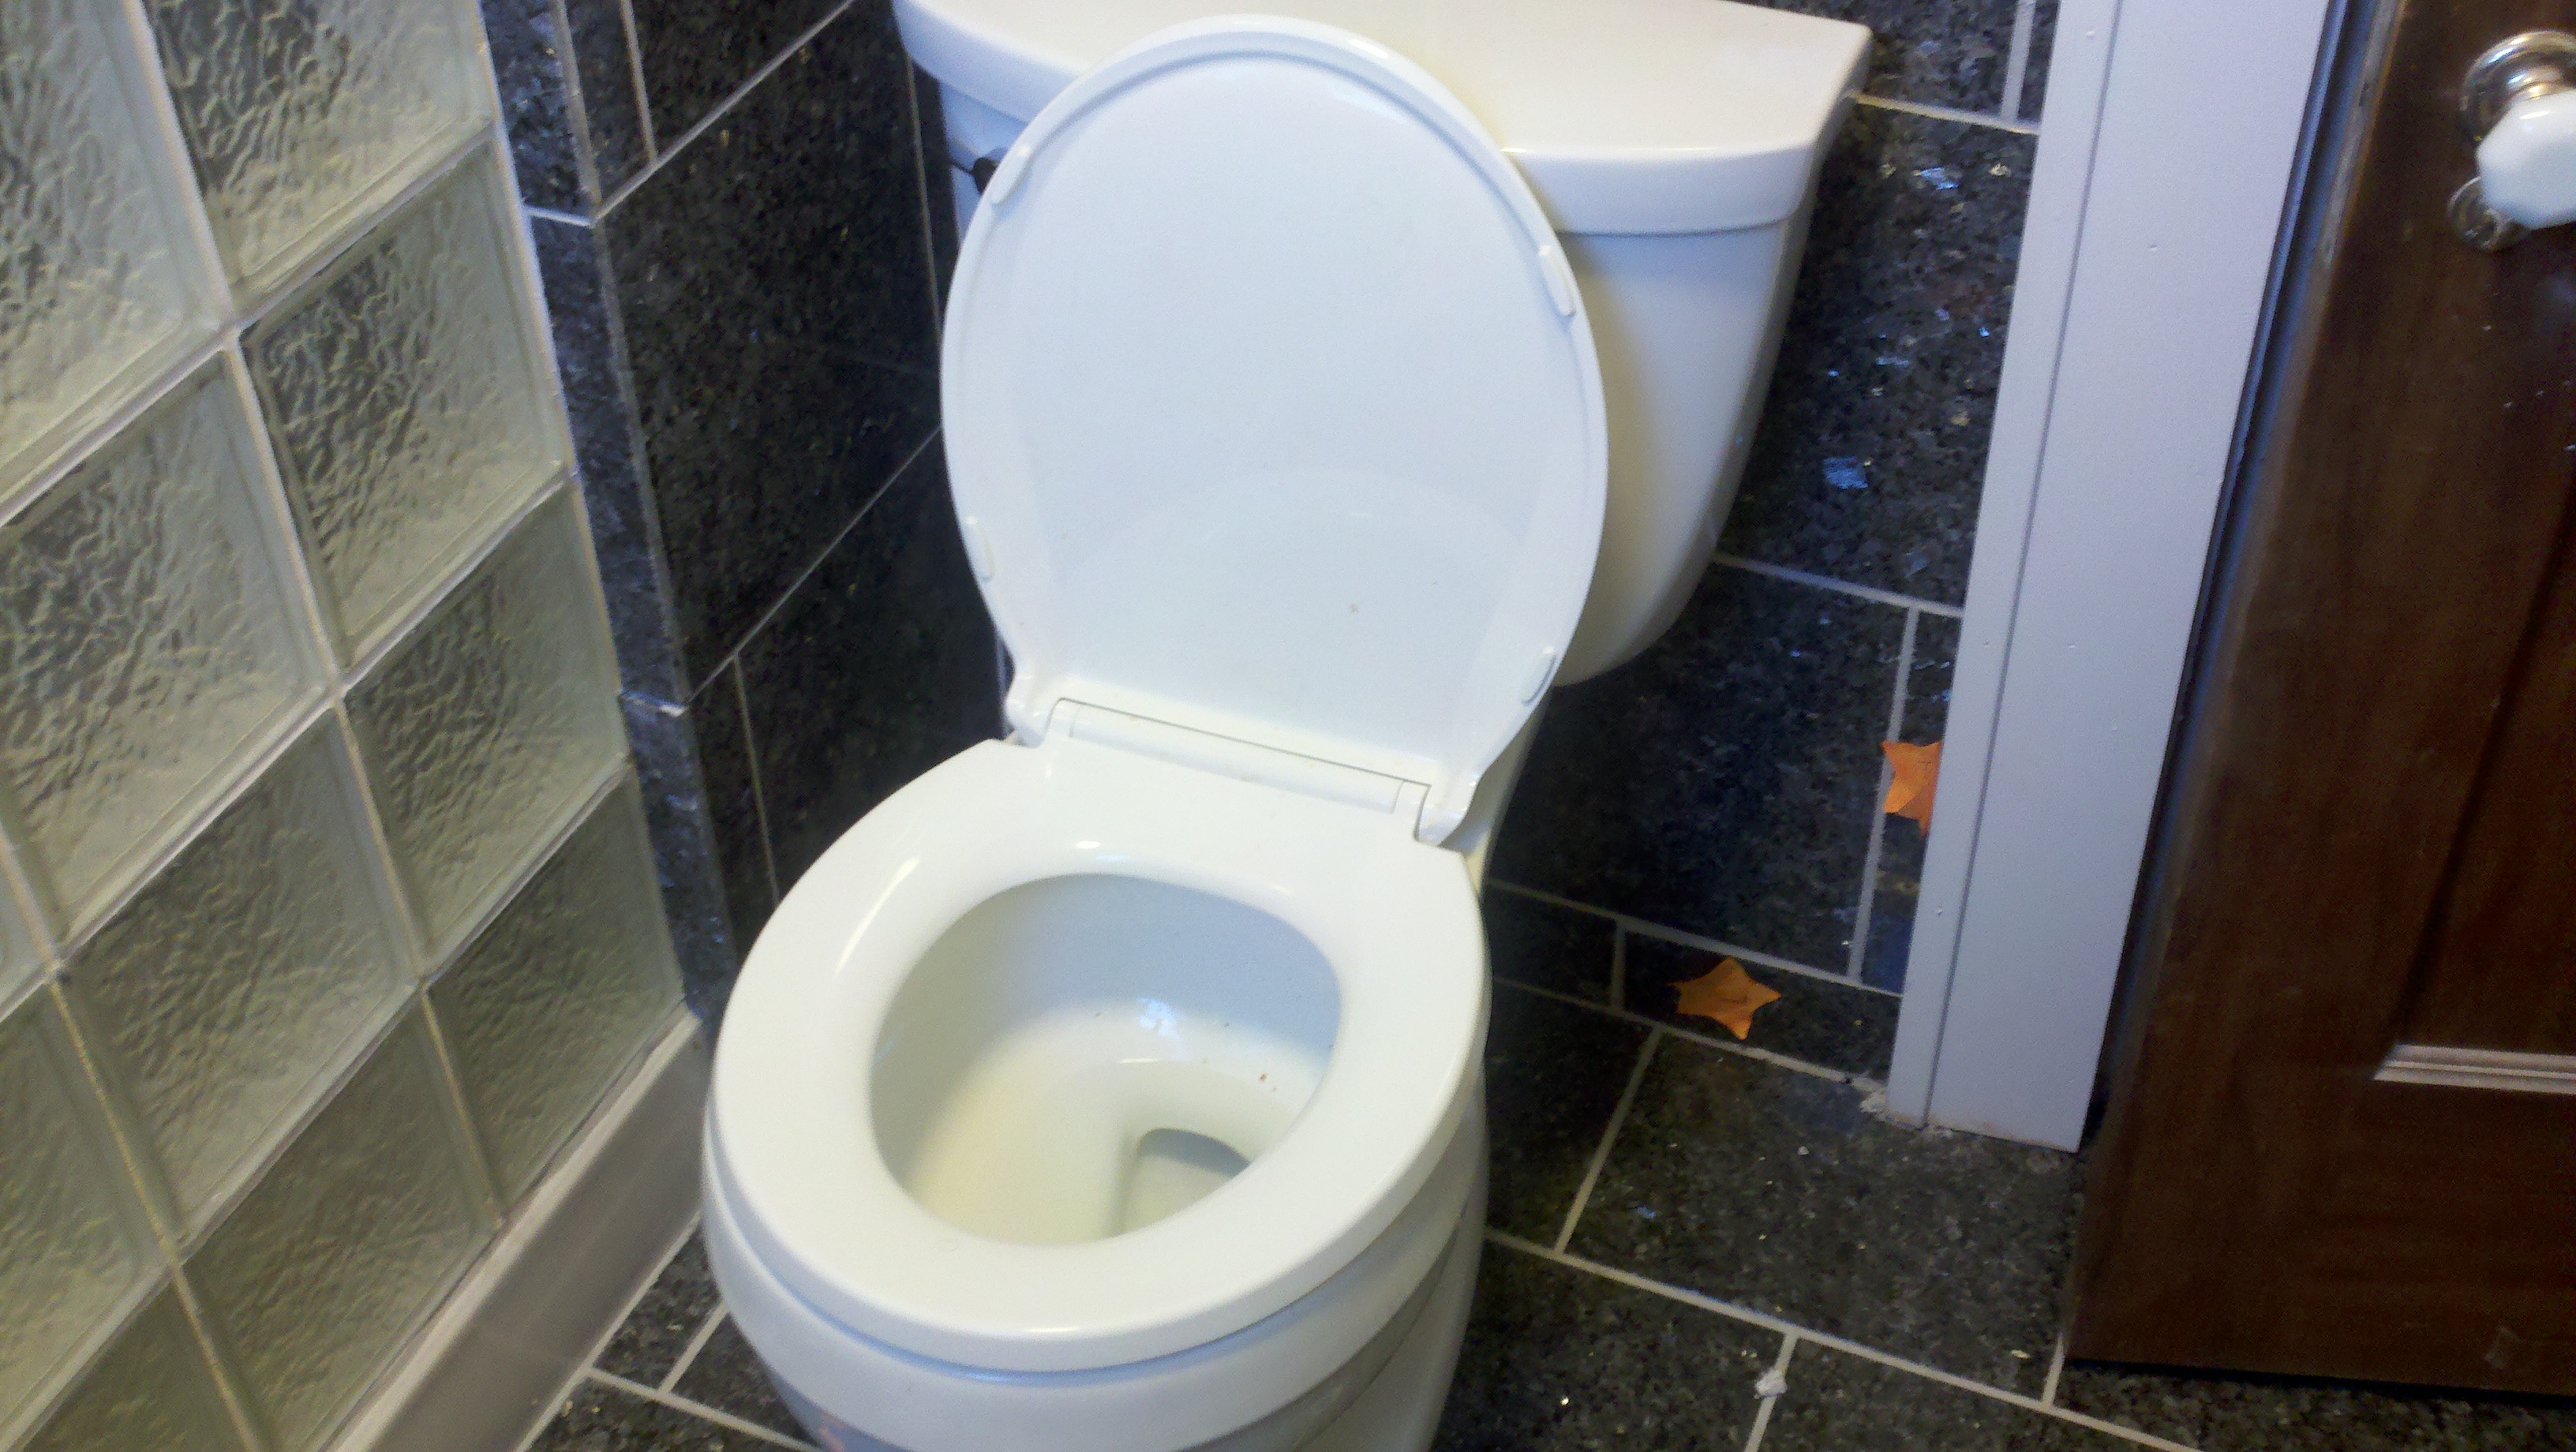
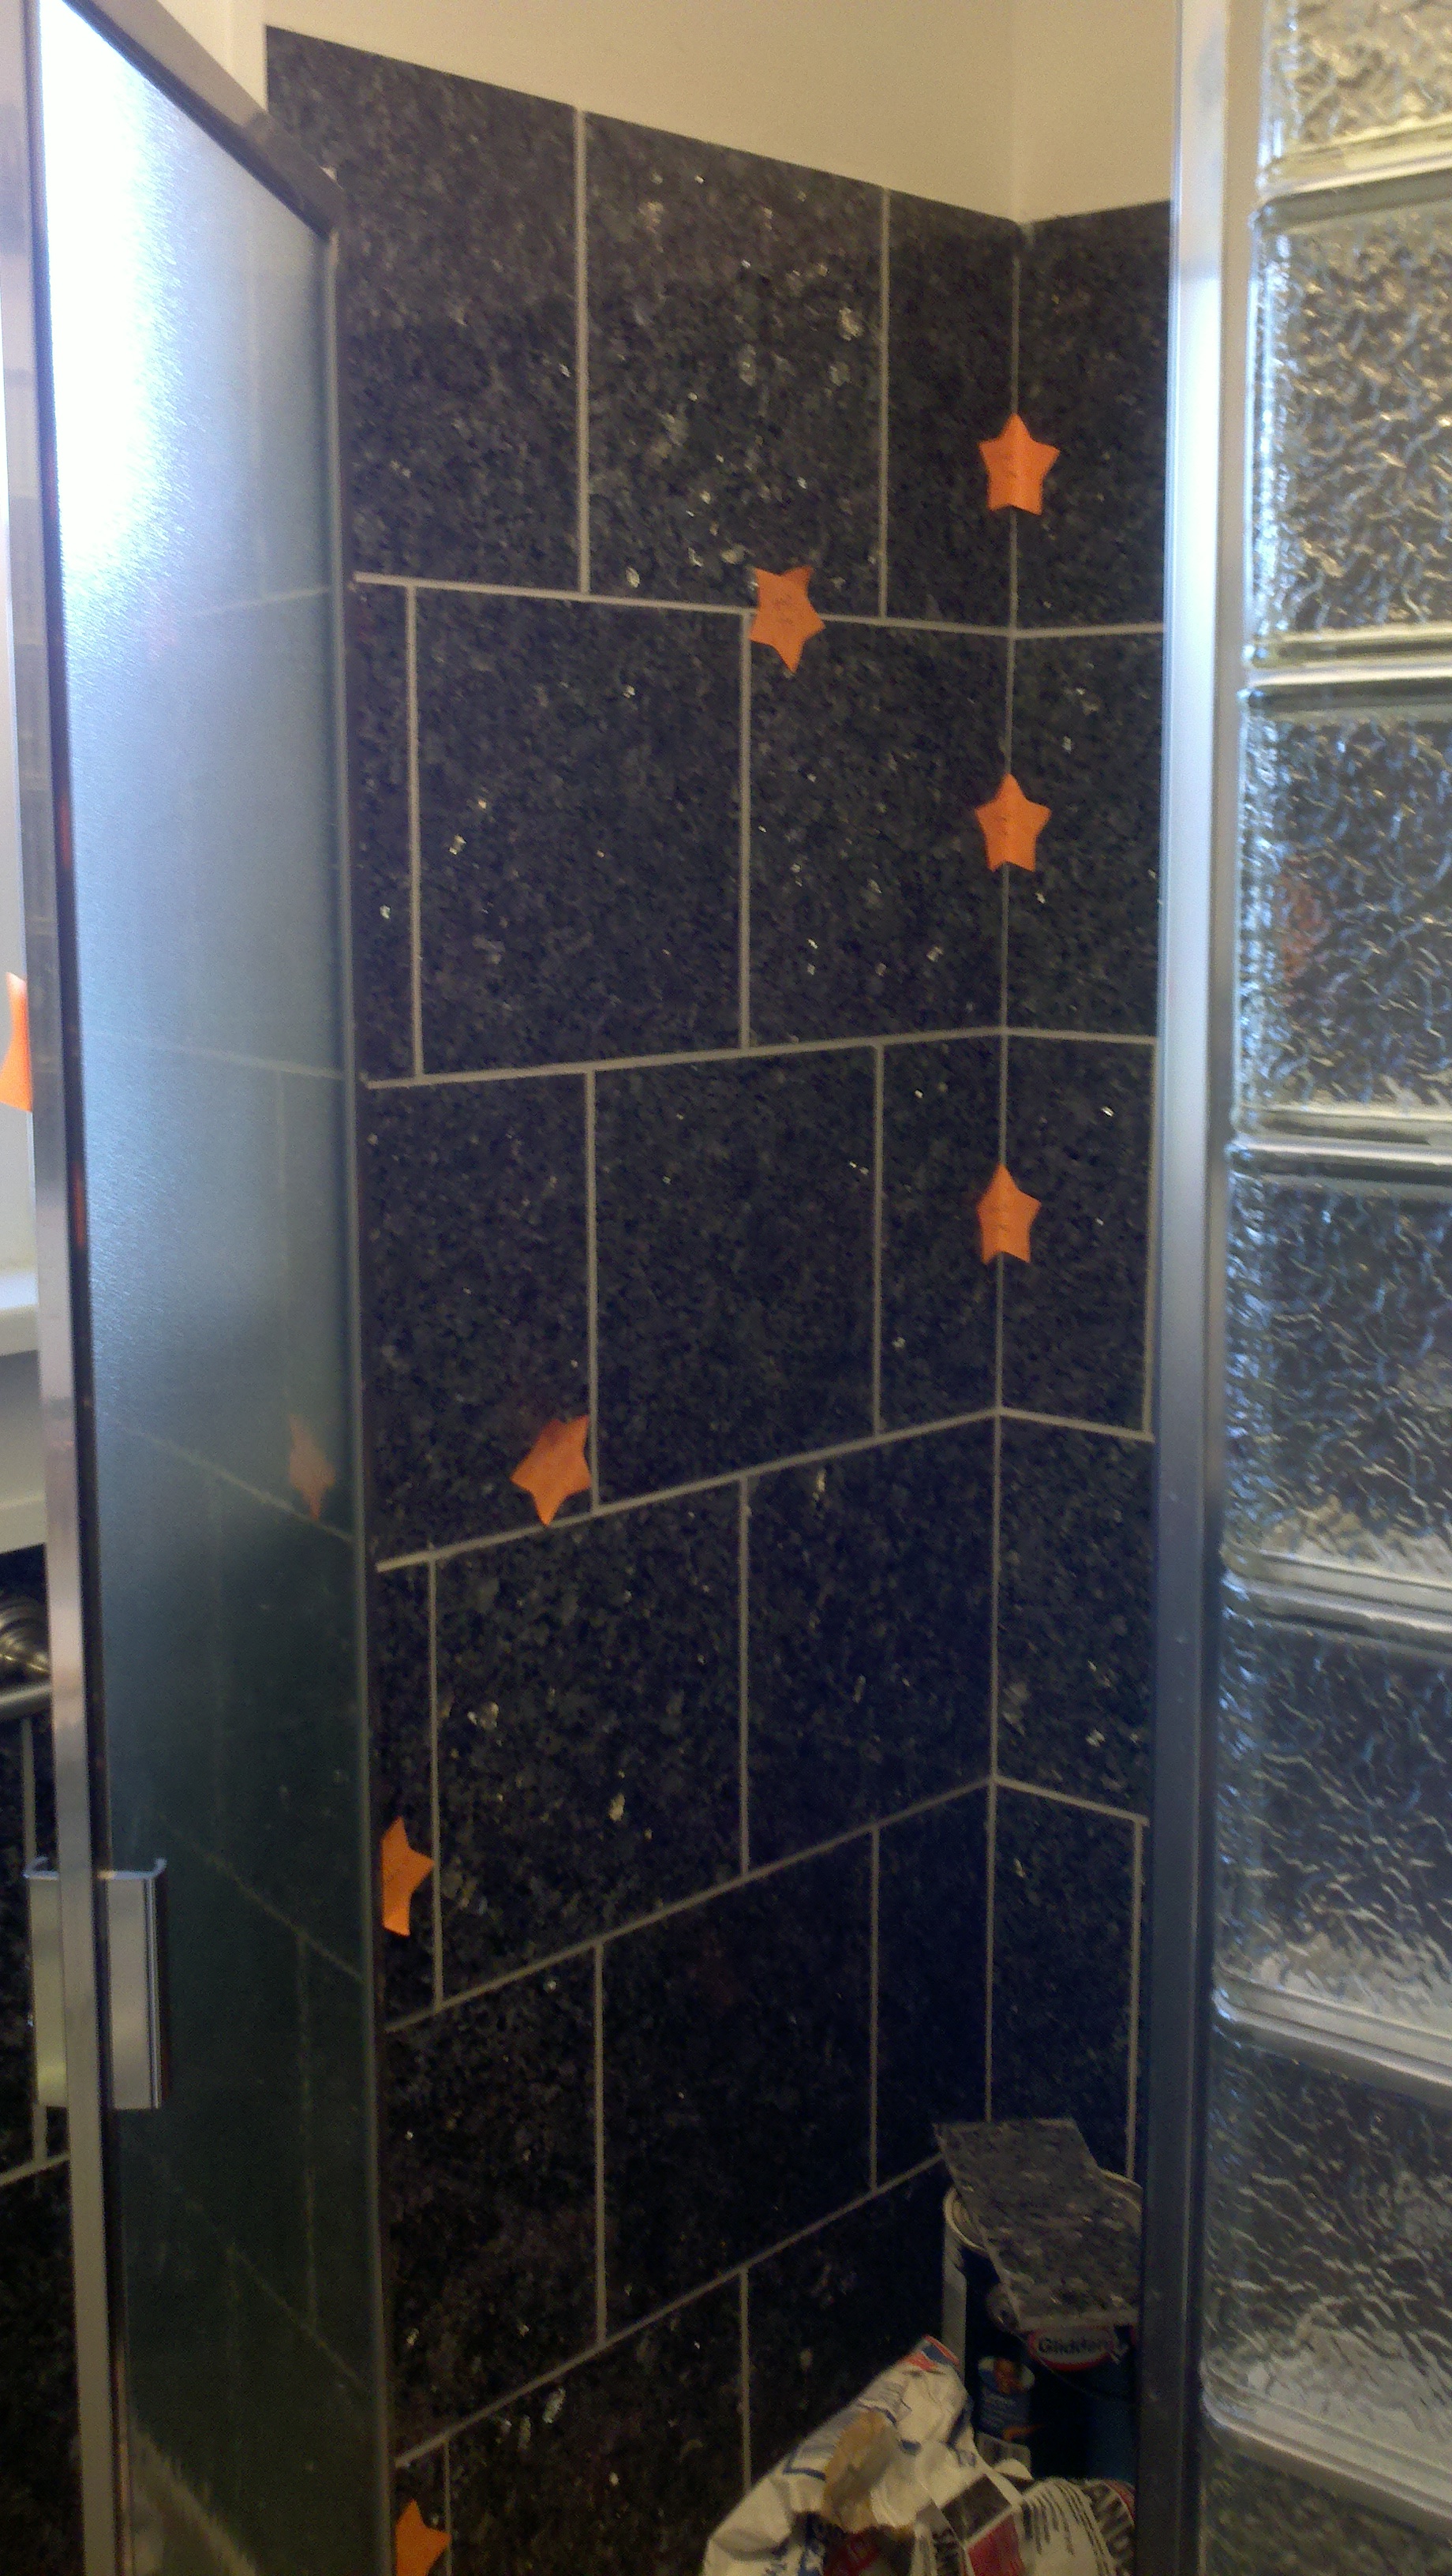
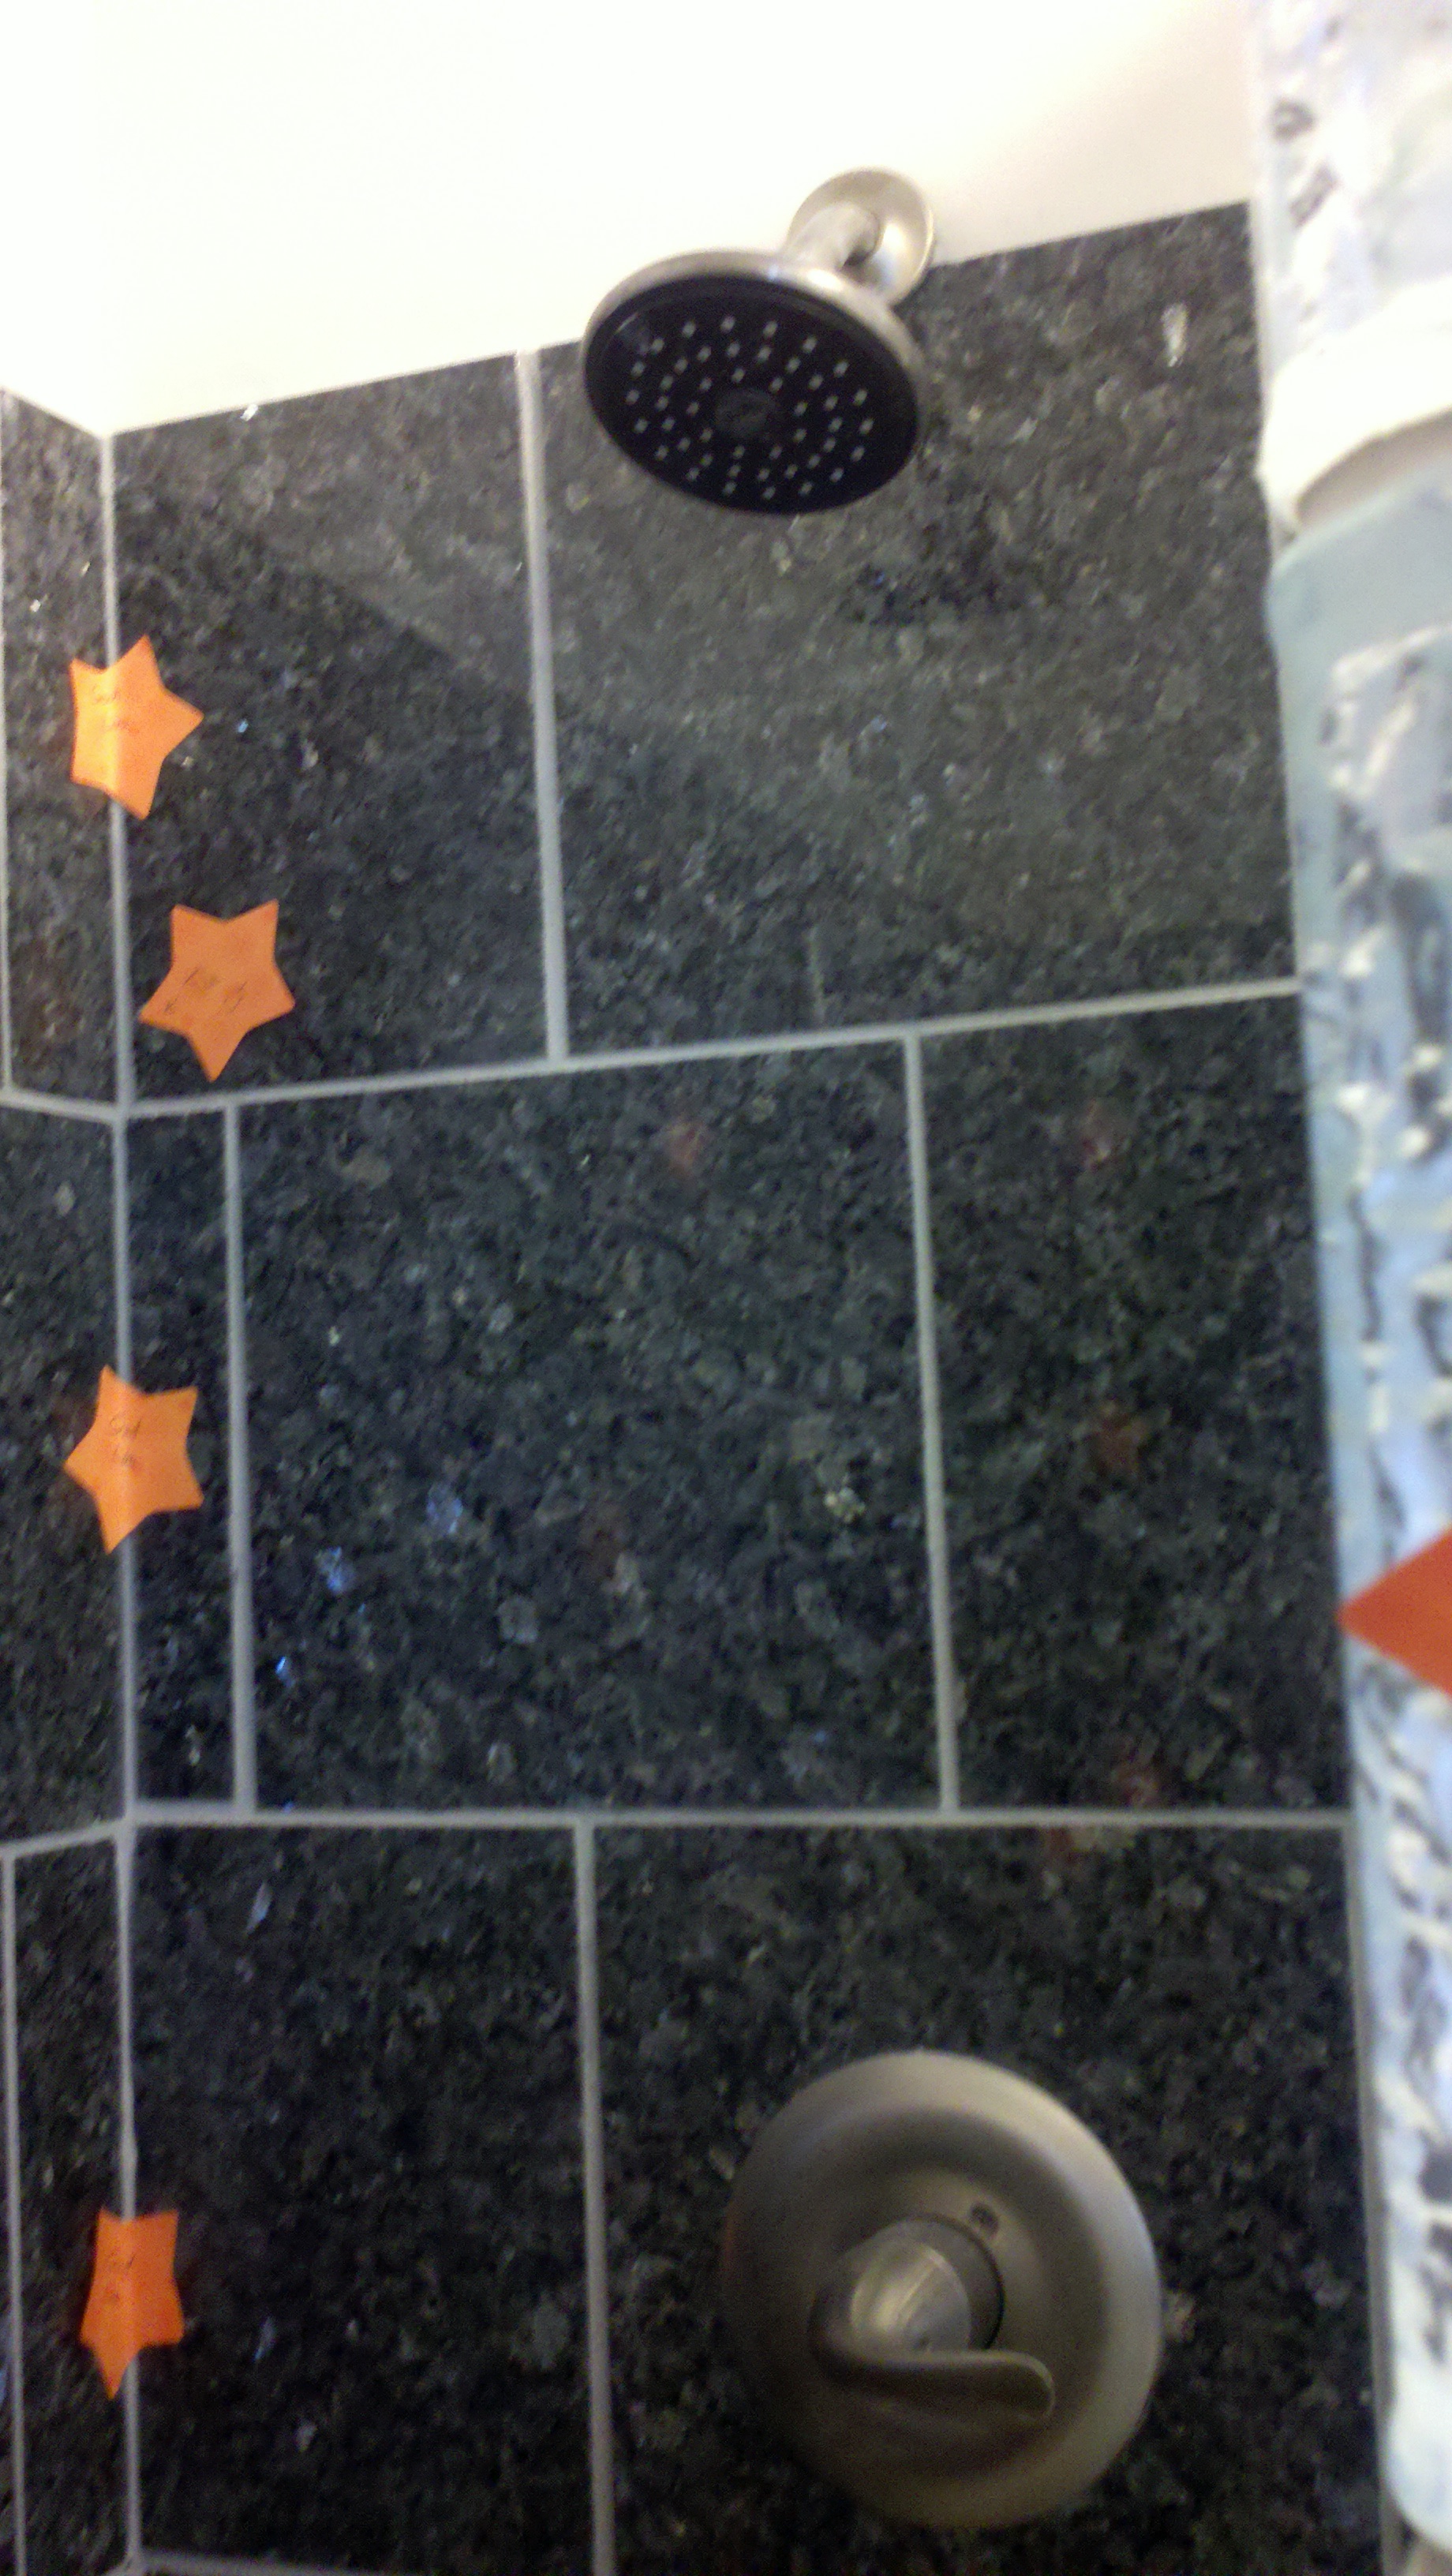
Three Bathroom Shower Head Replacement
|
|
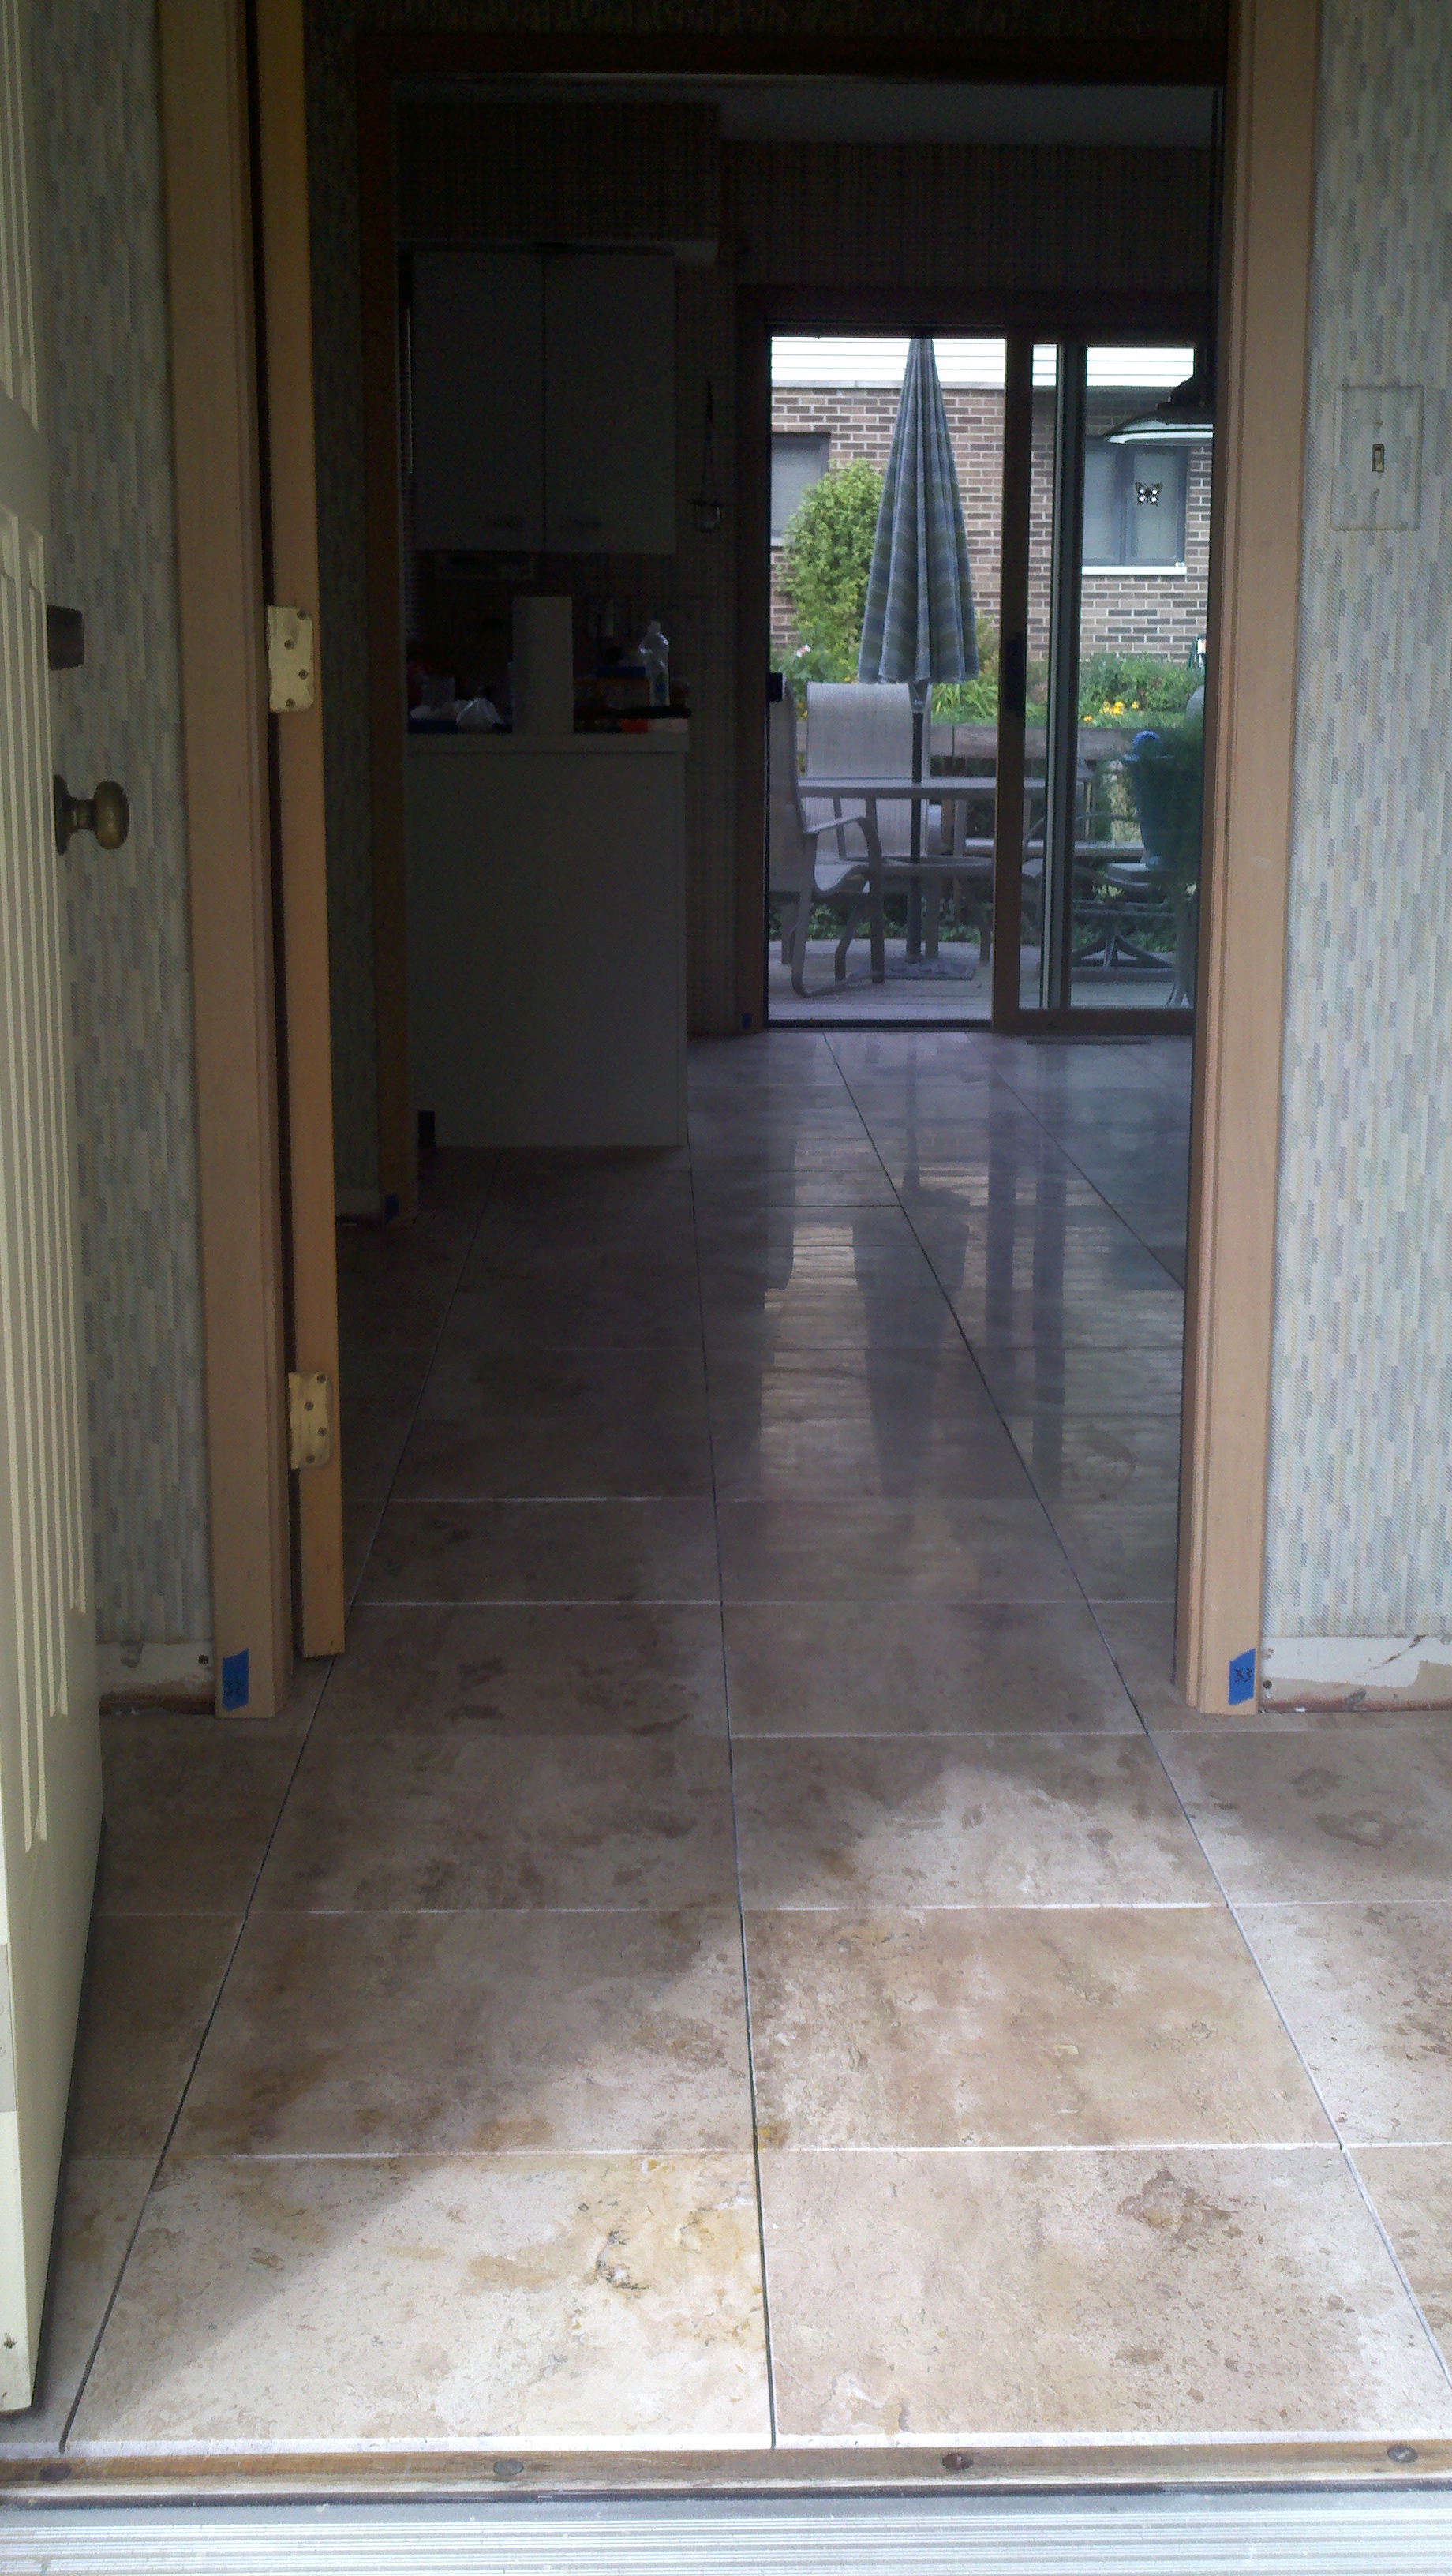
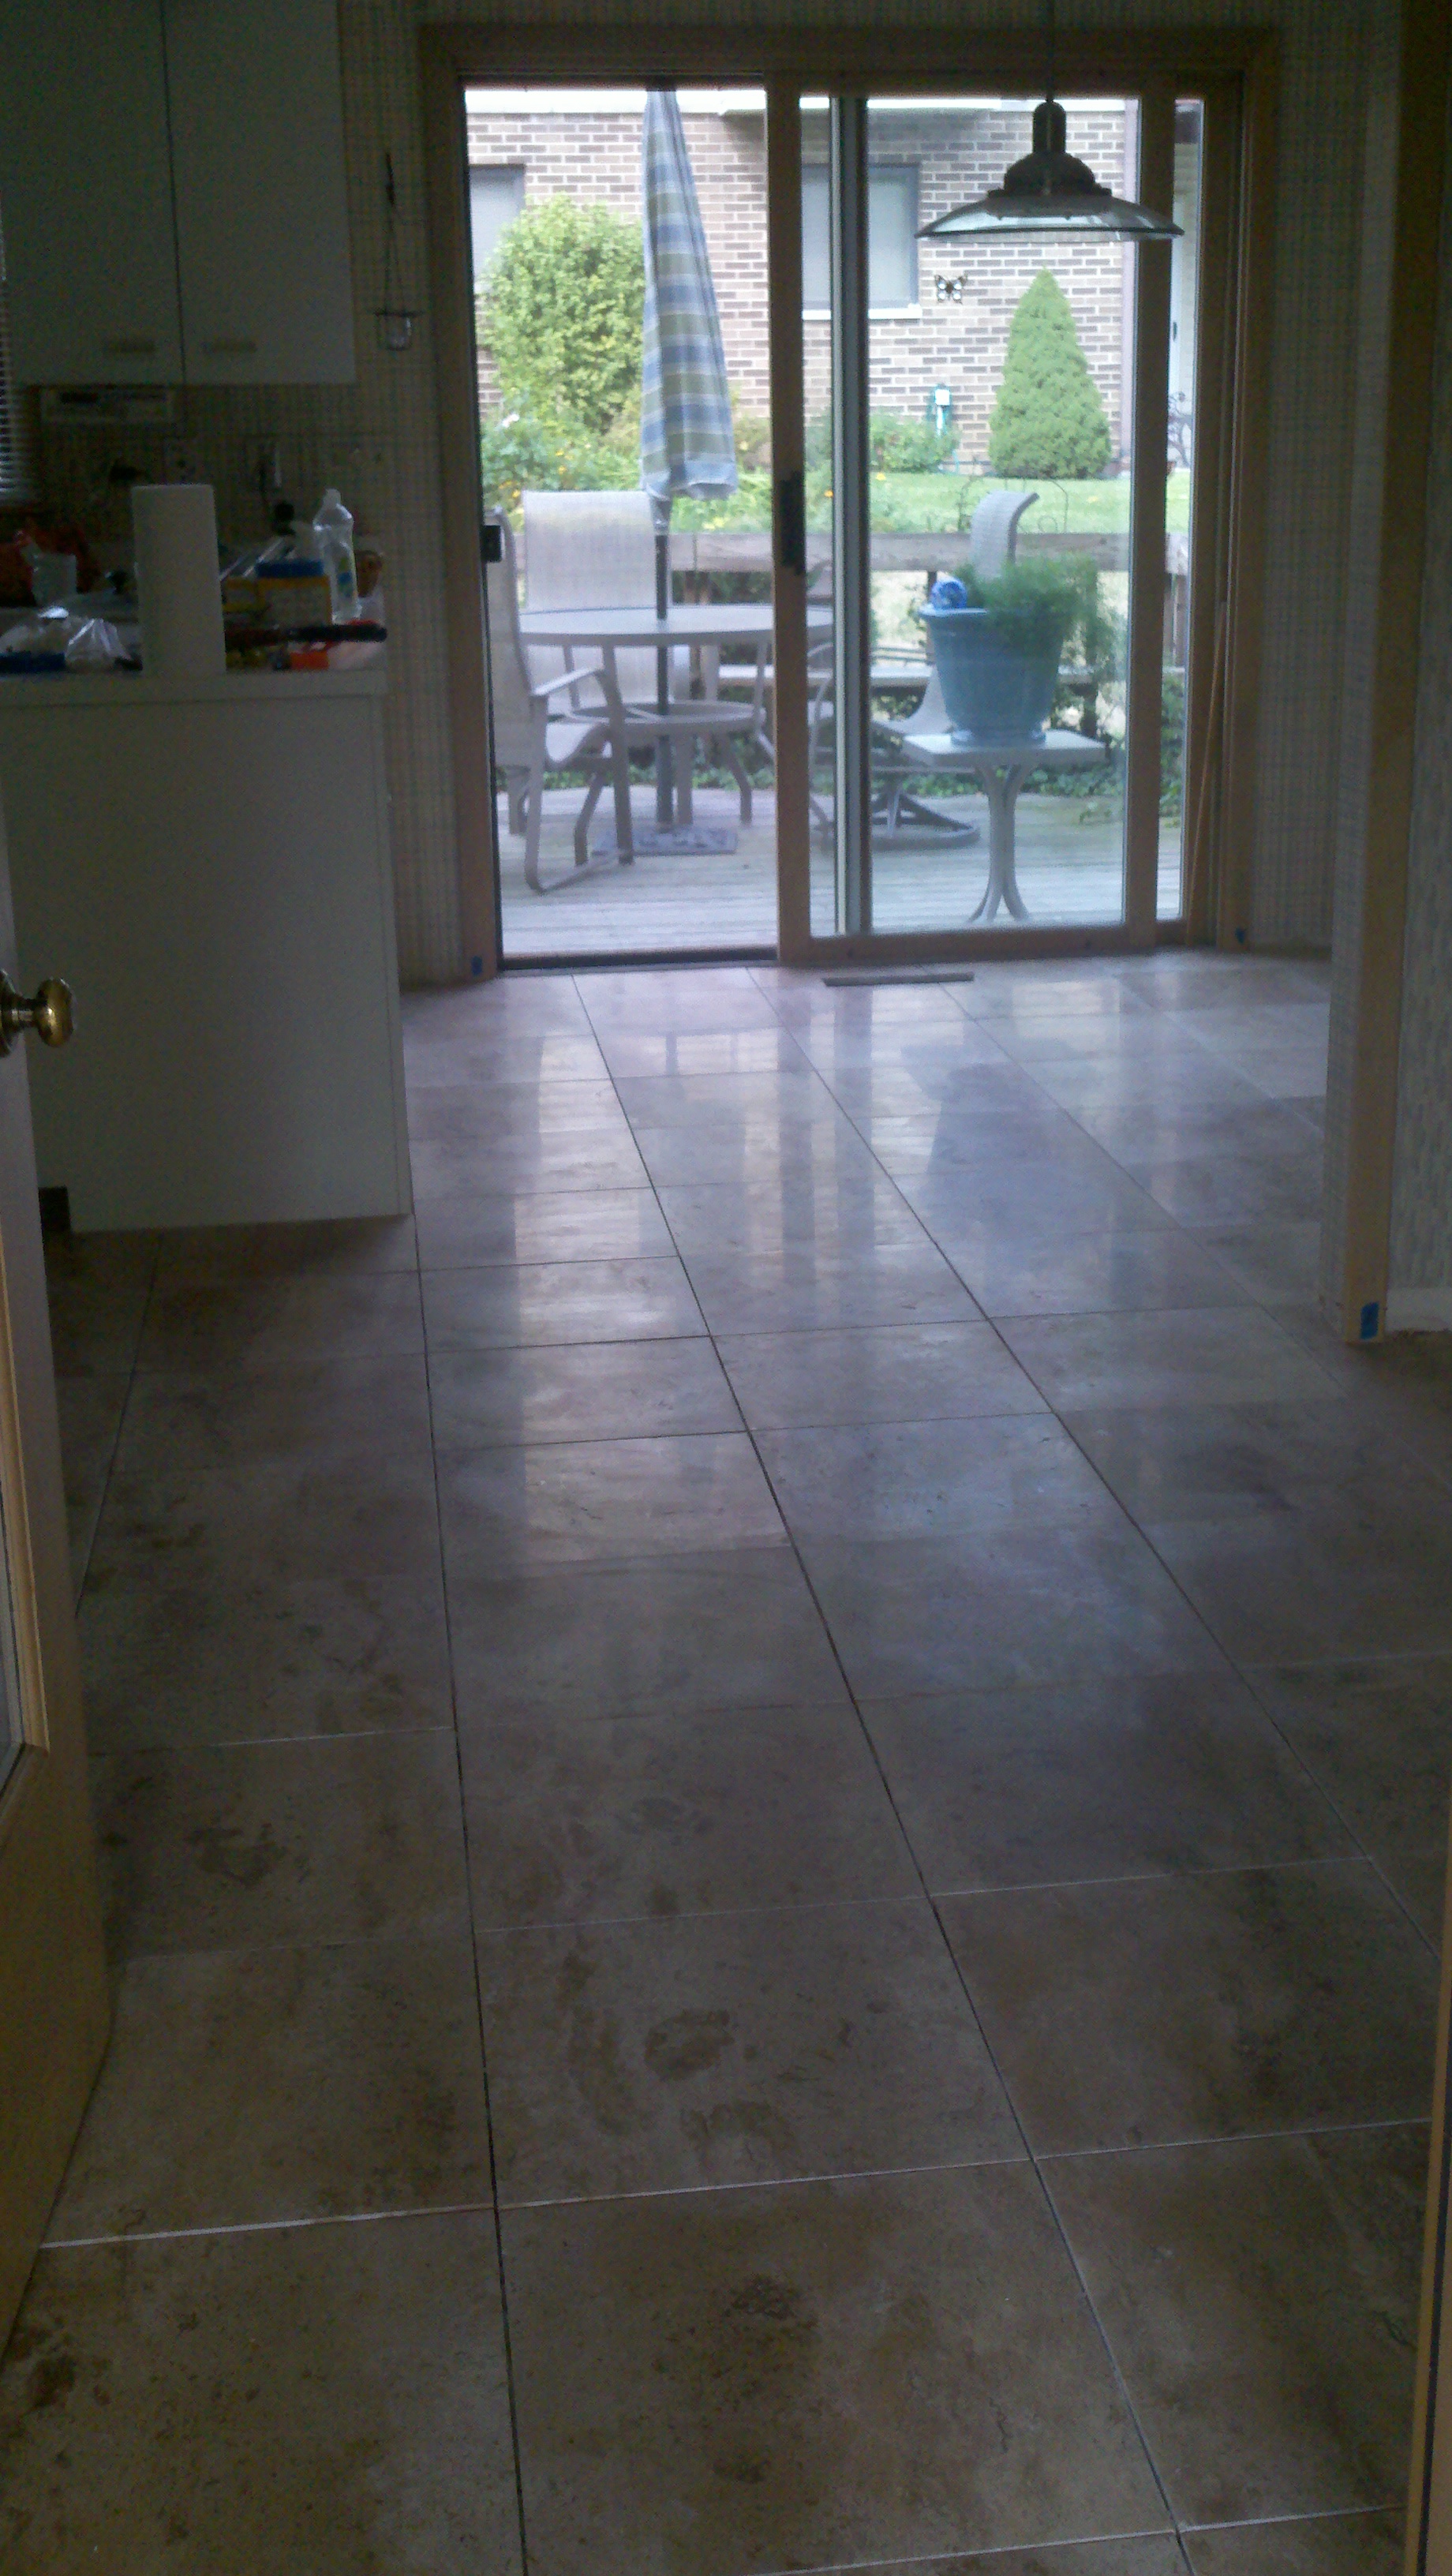
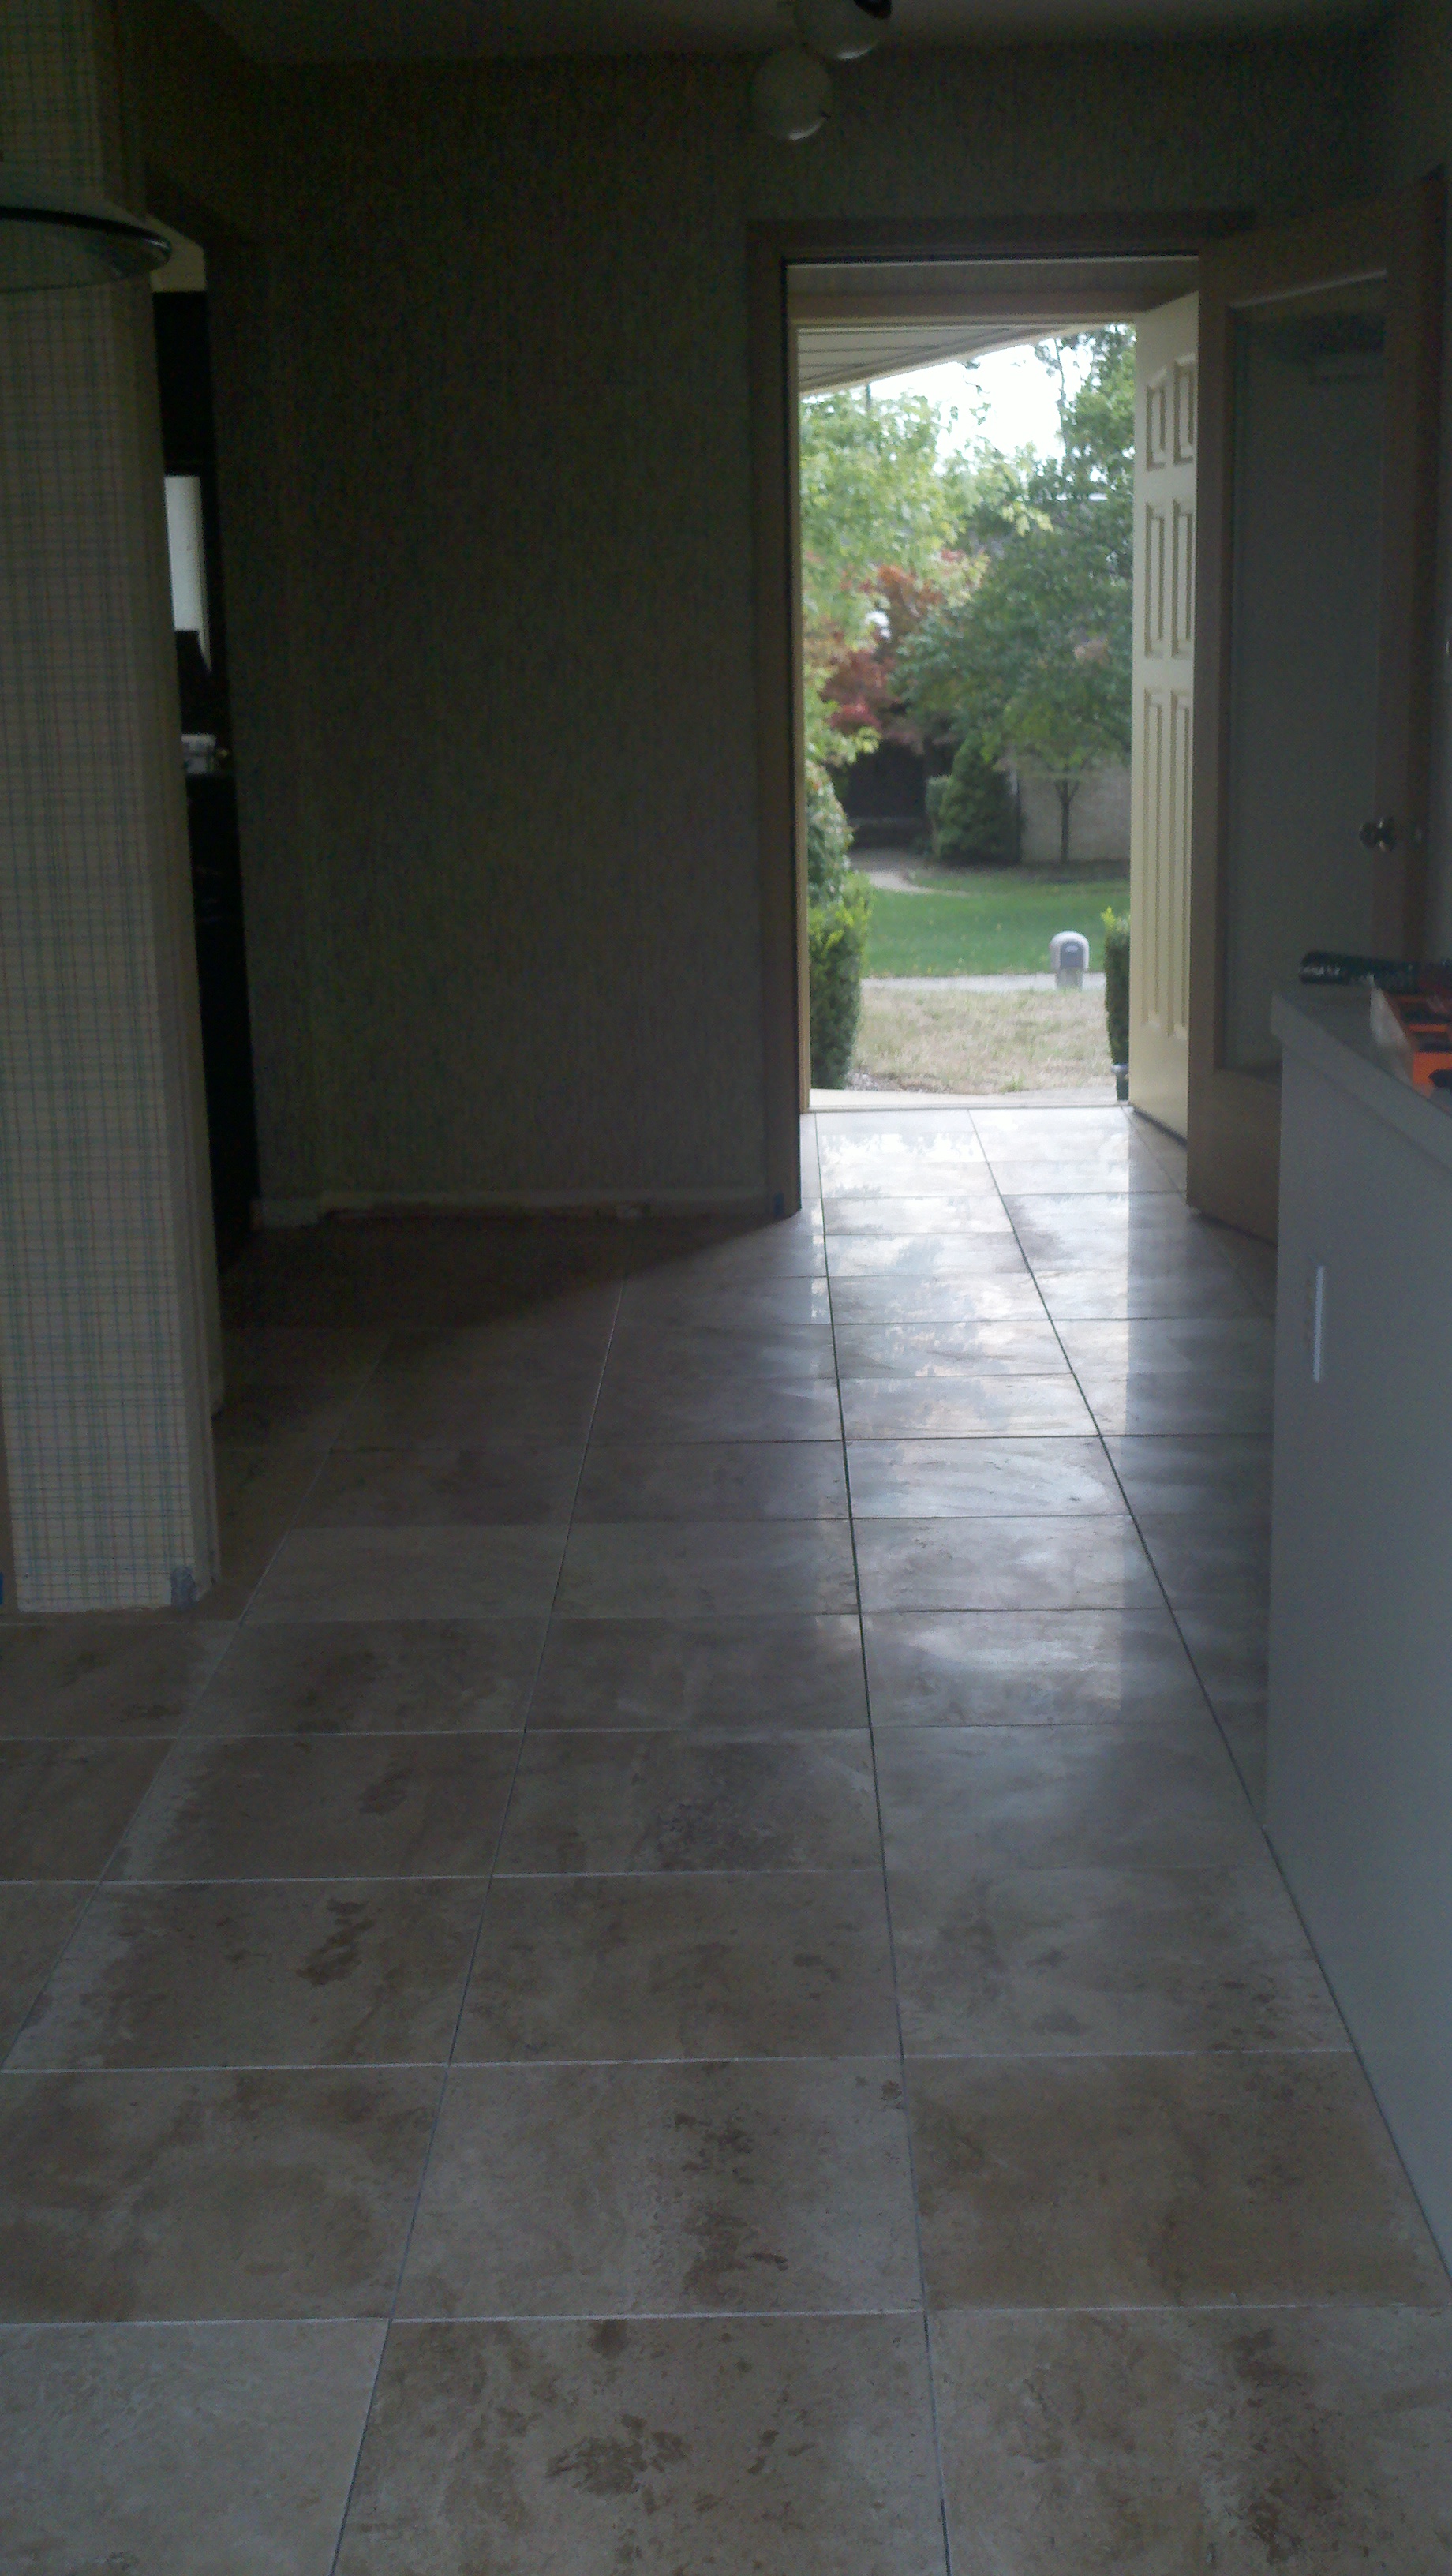
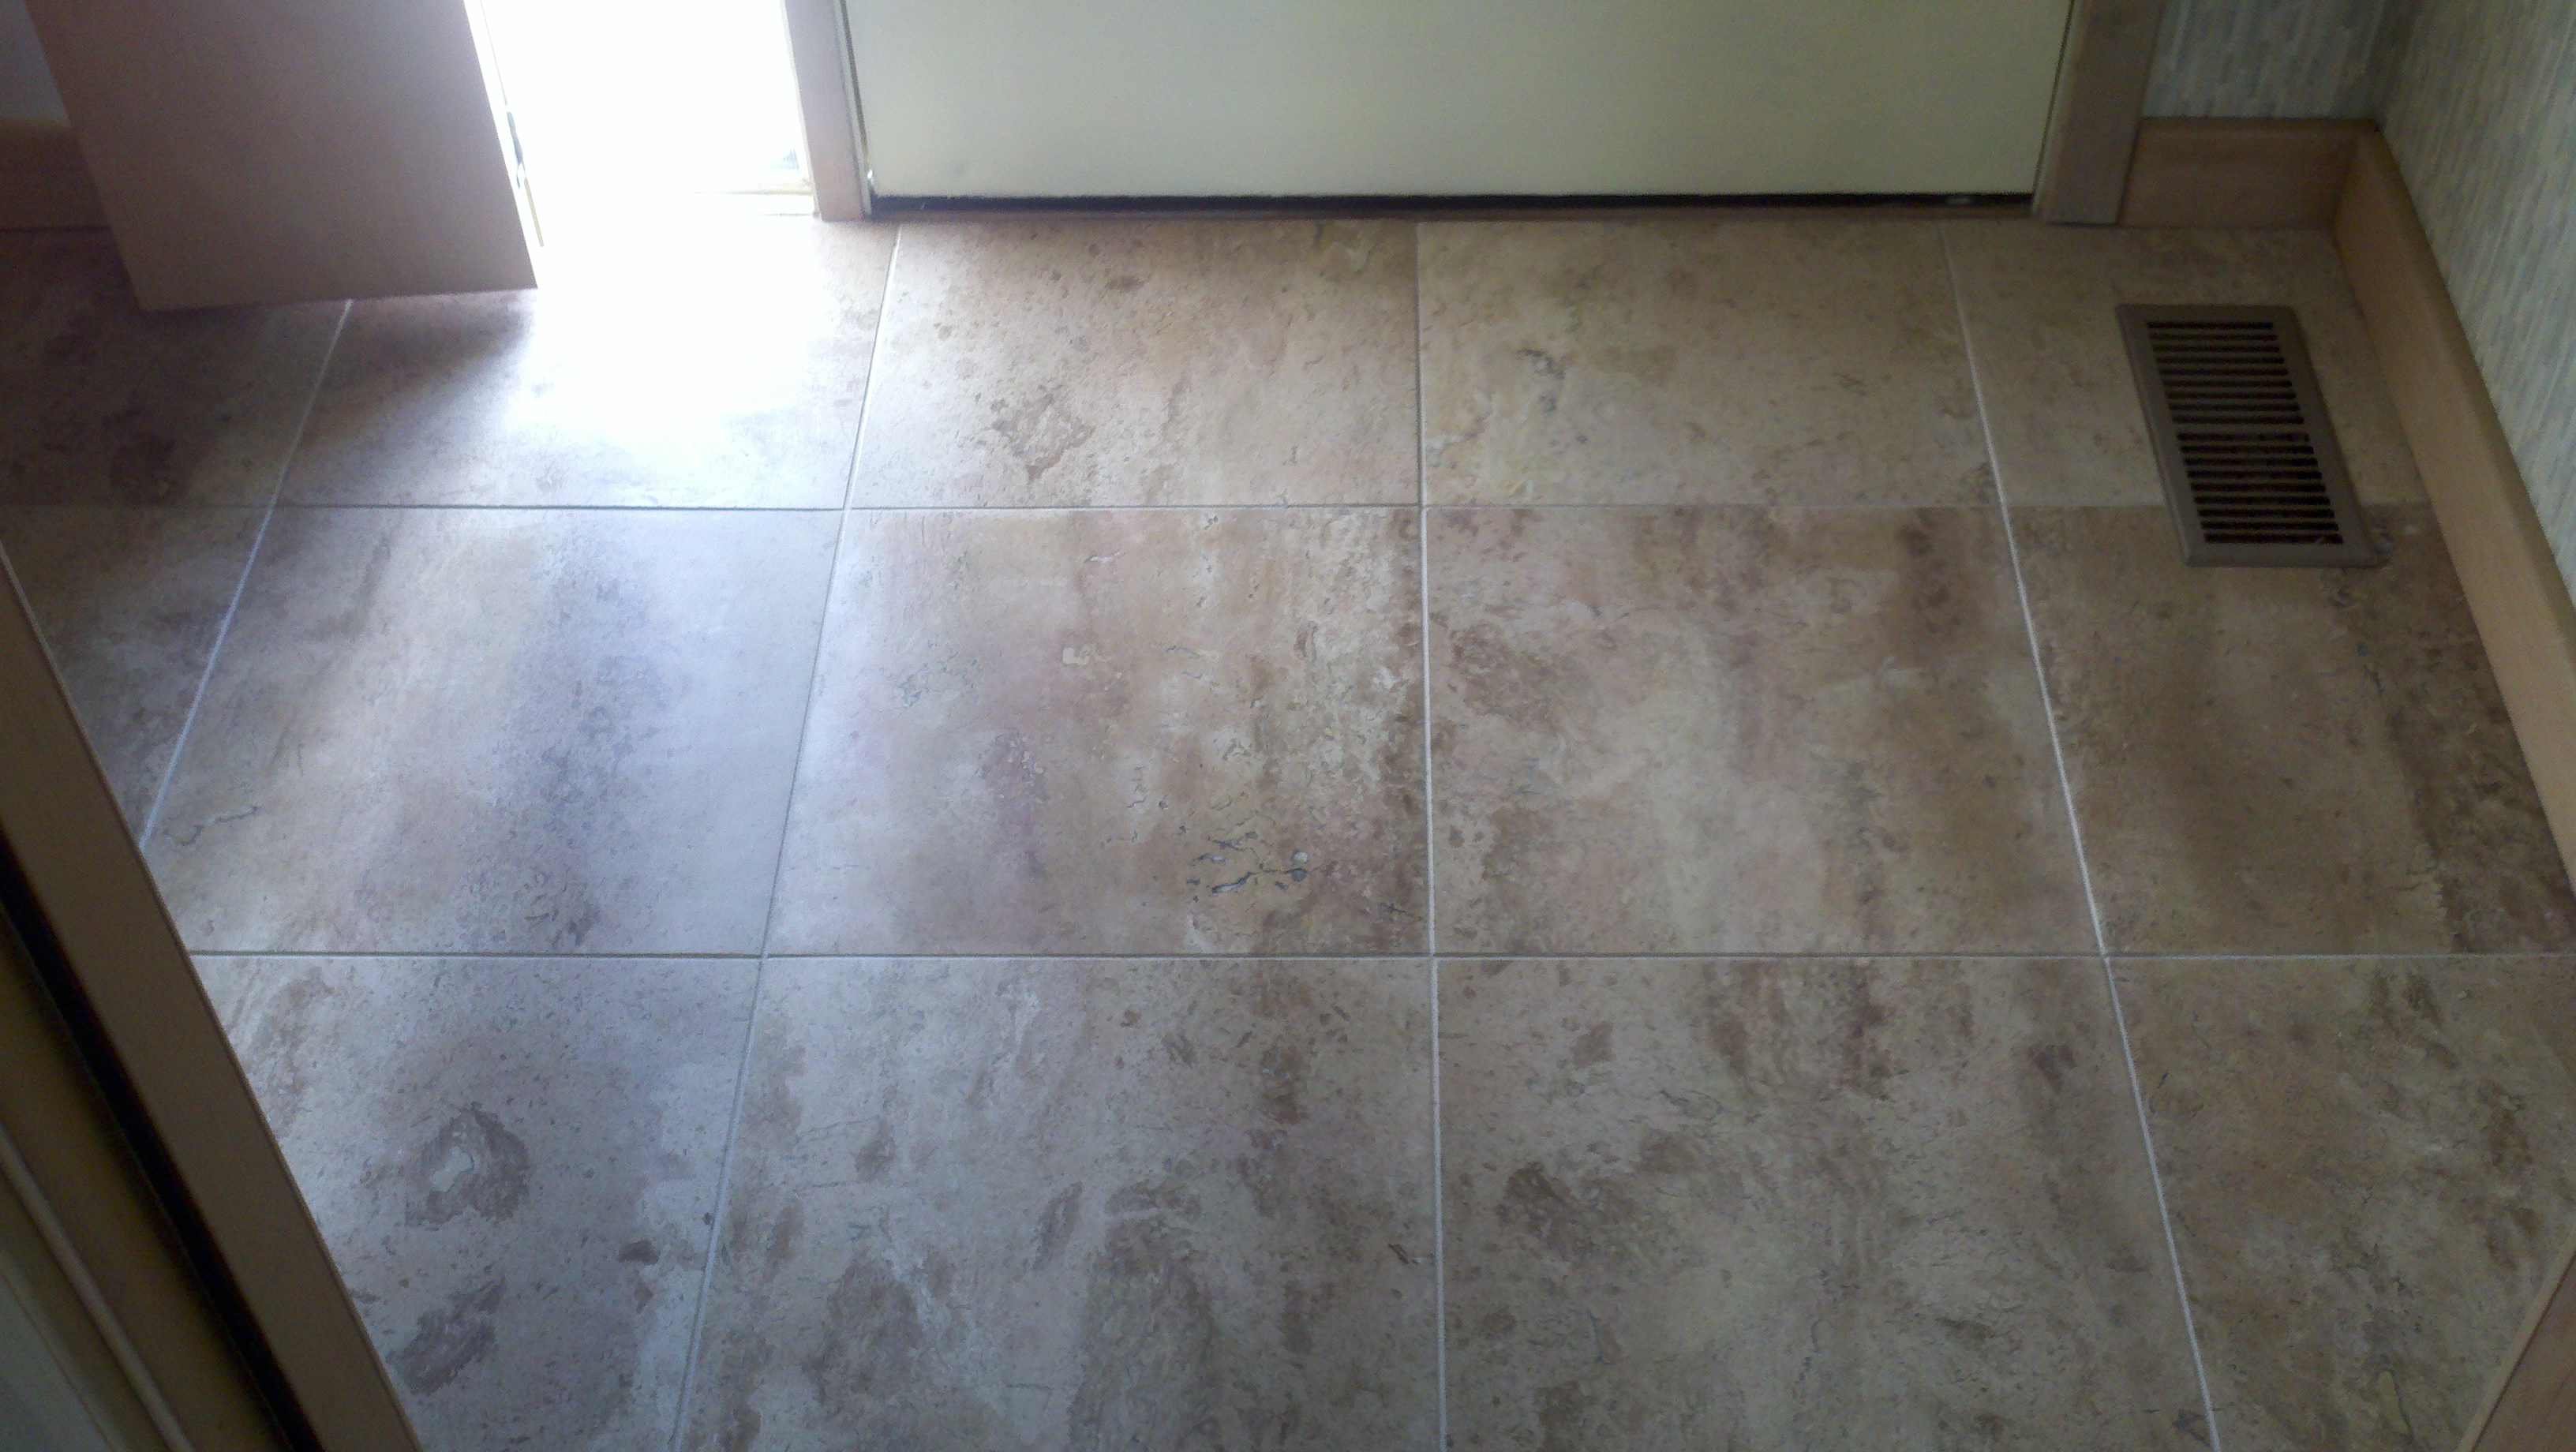
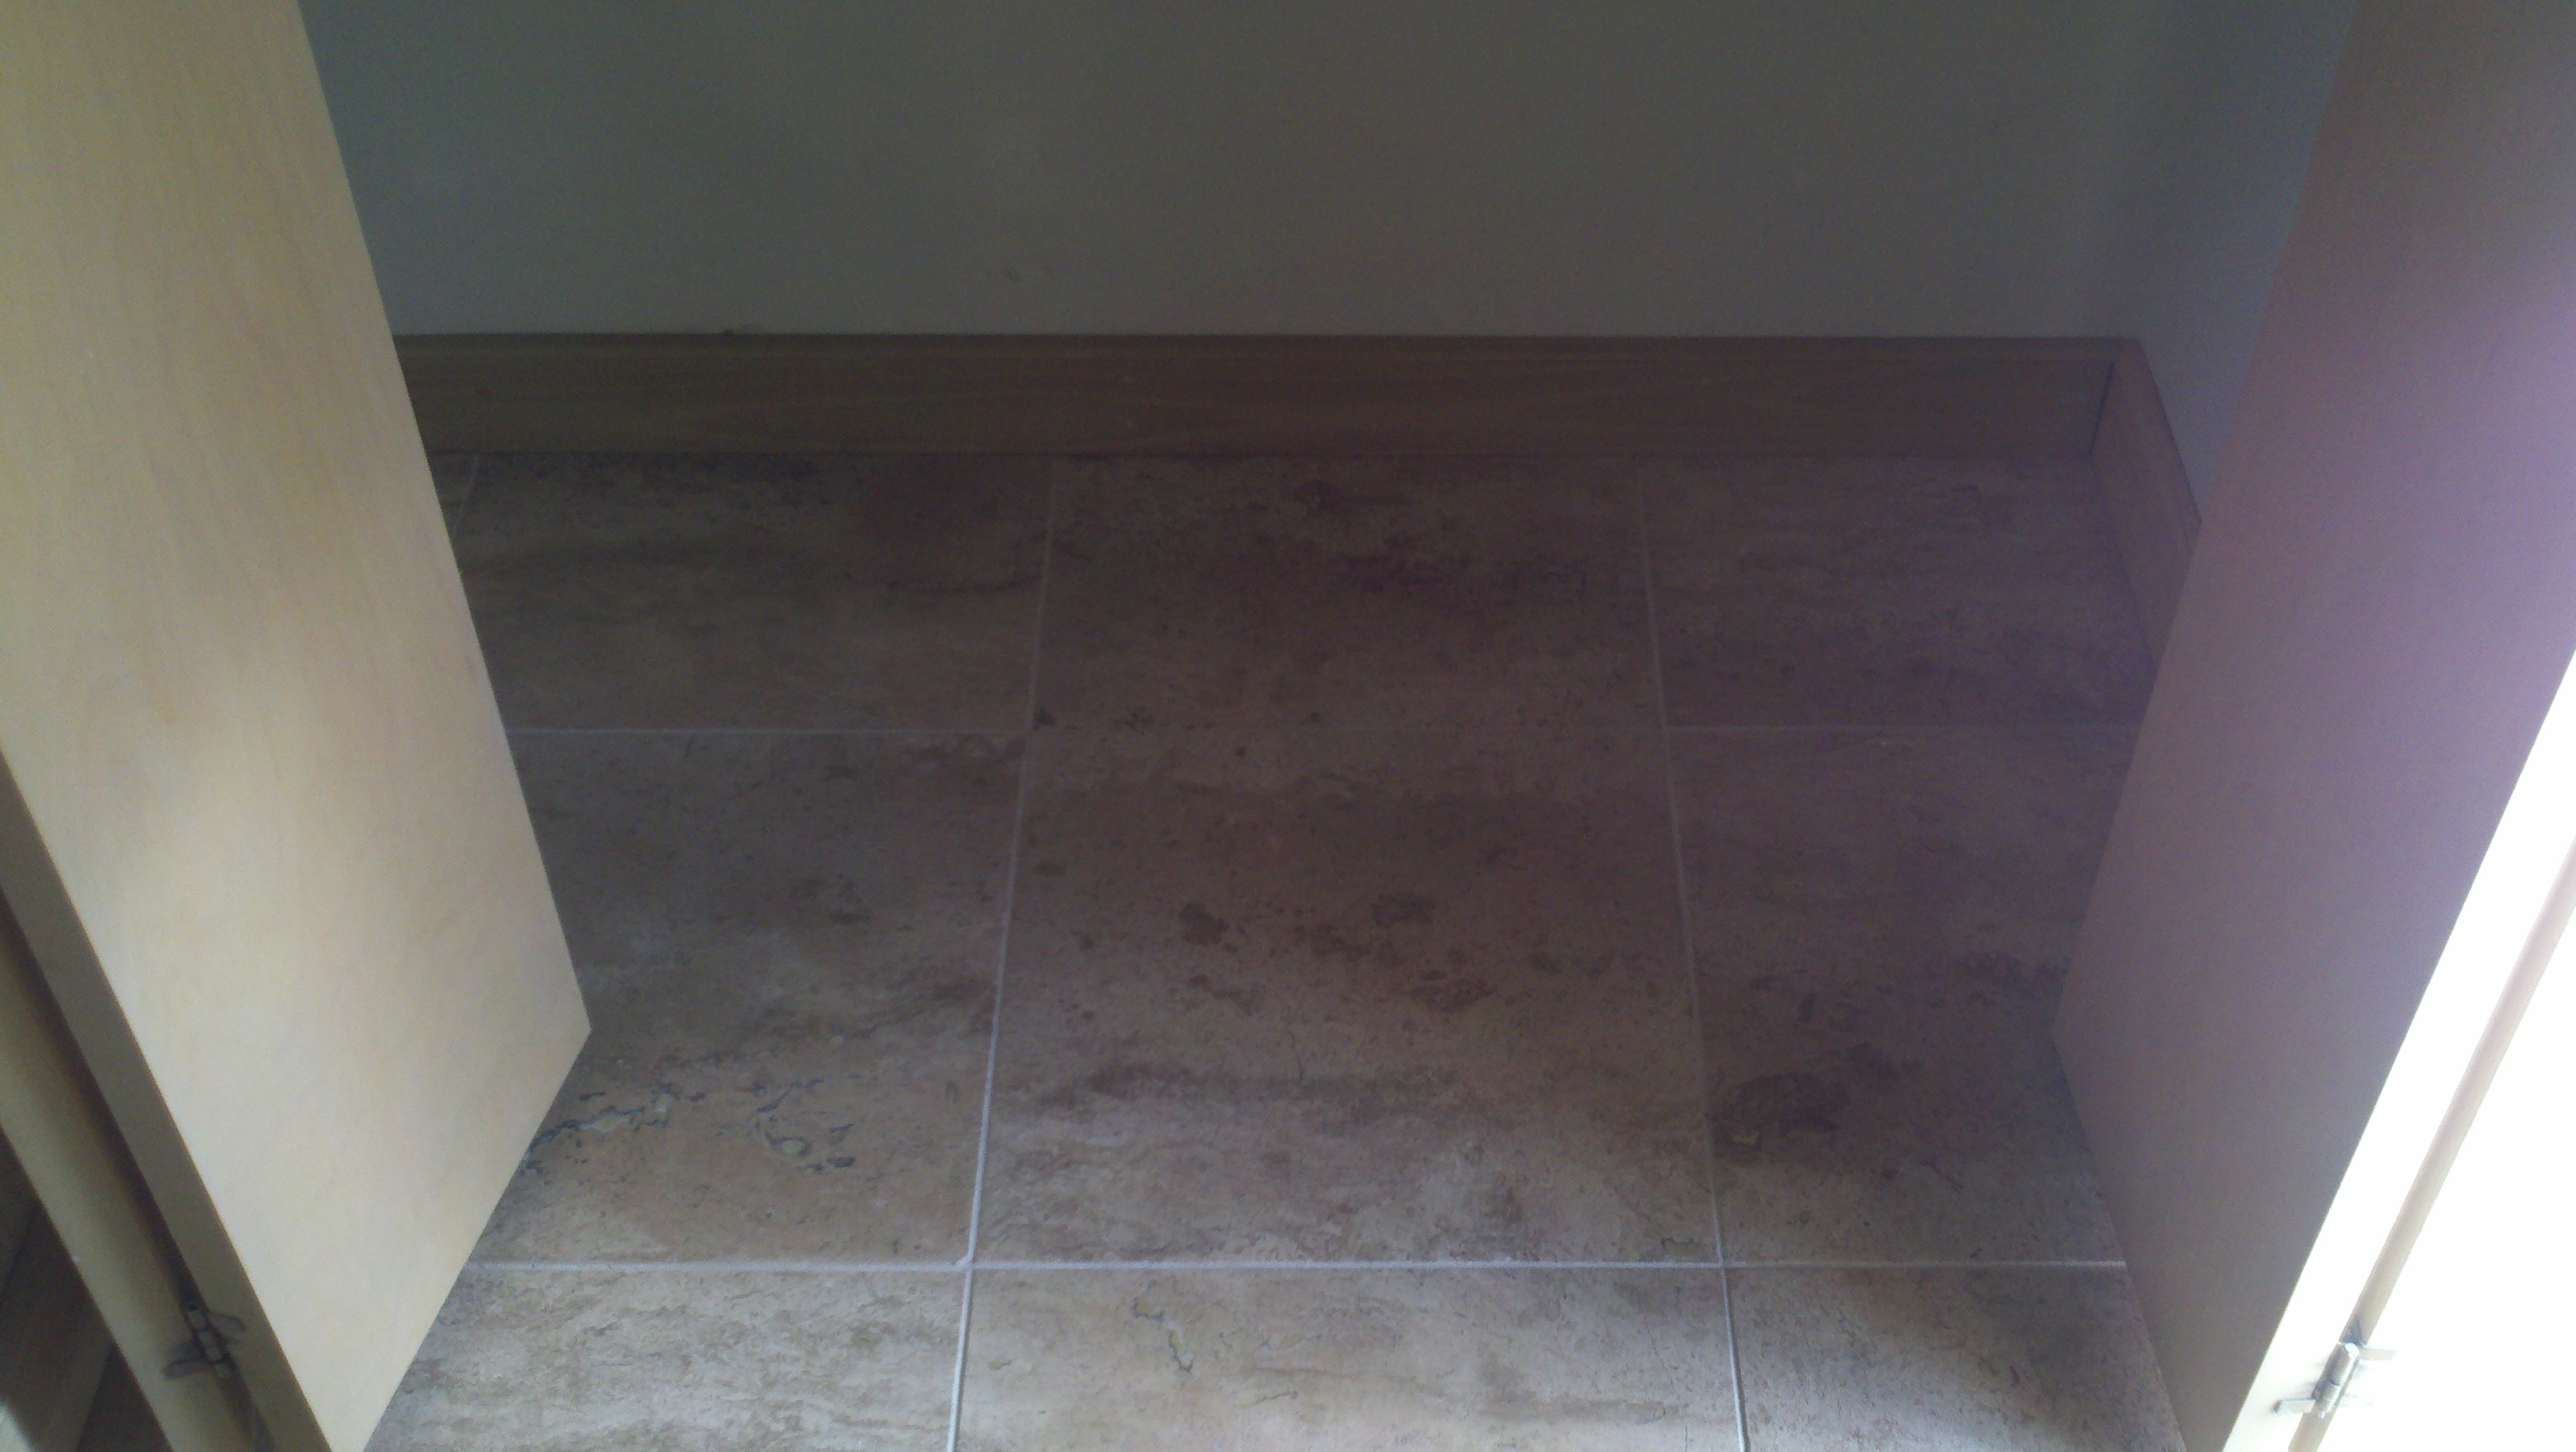
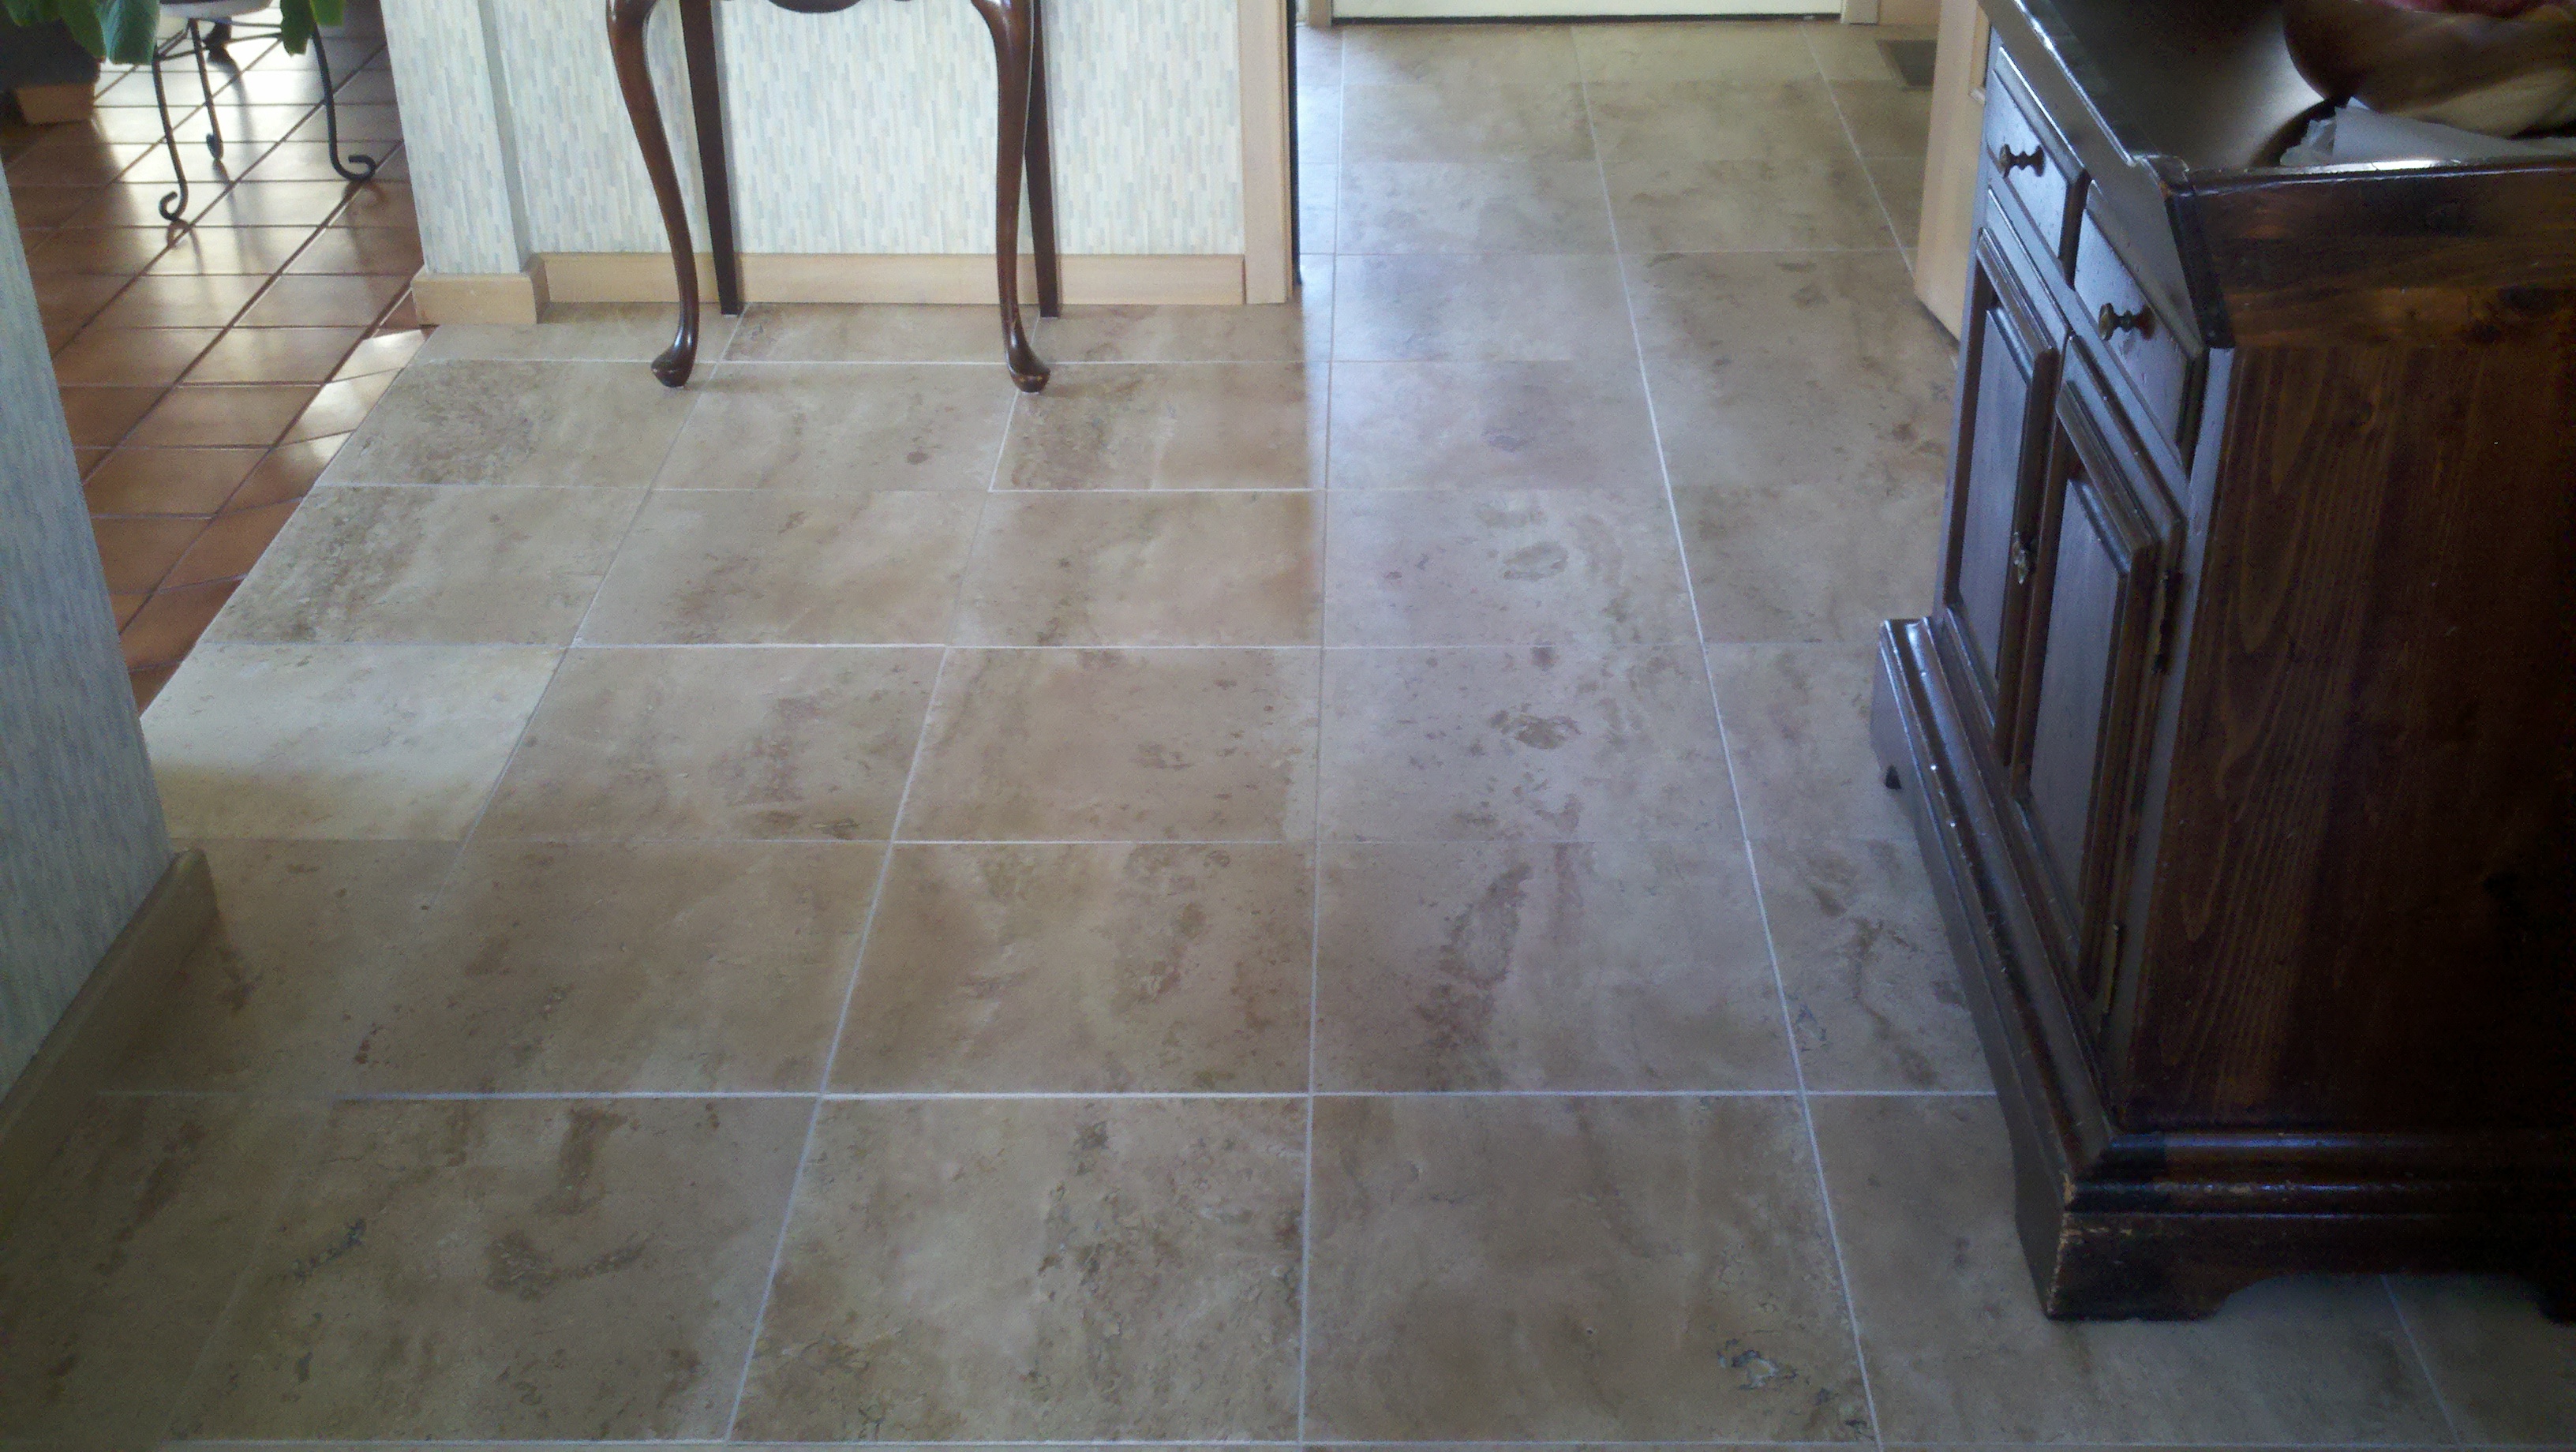
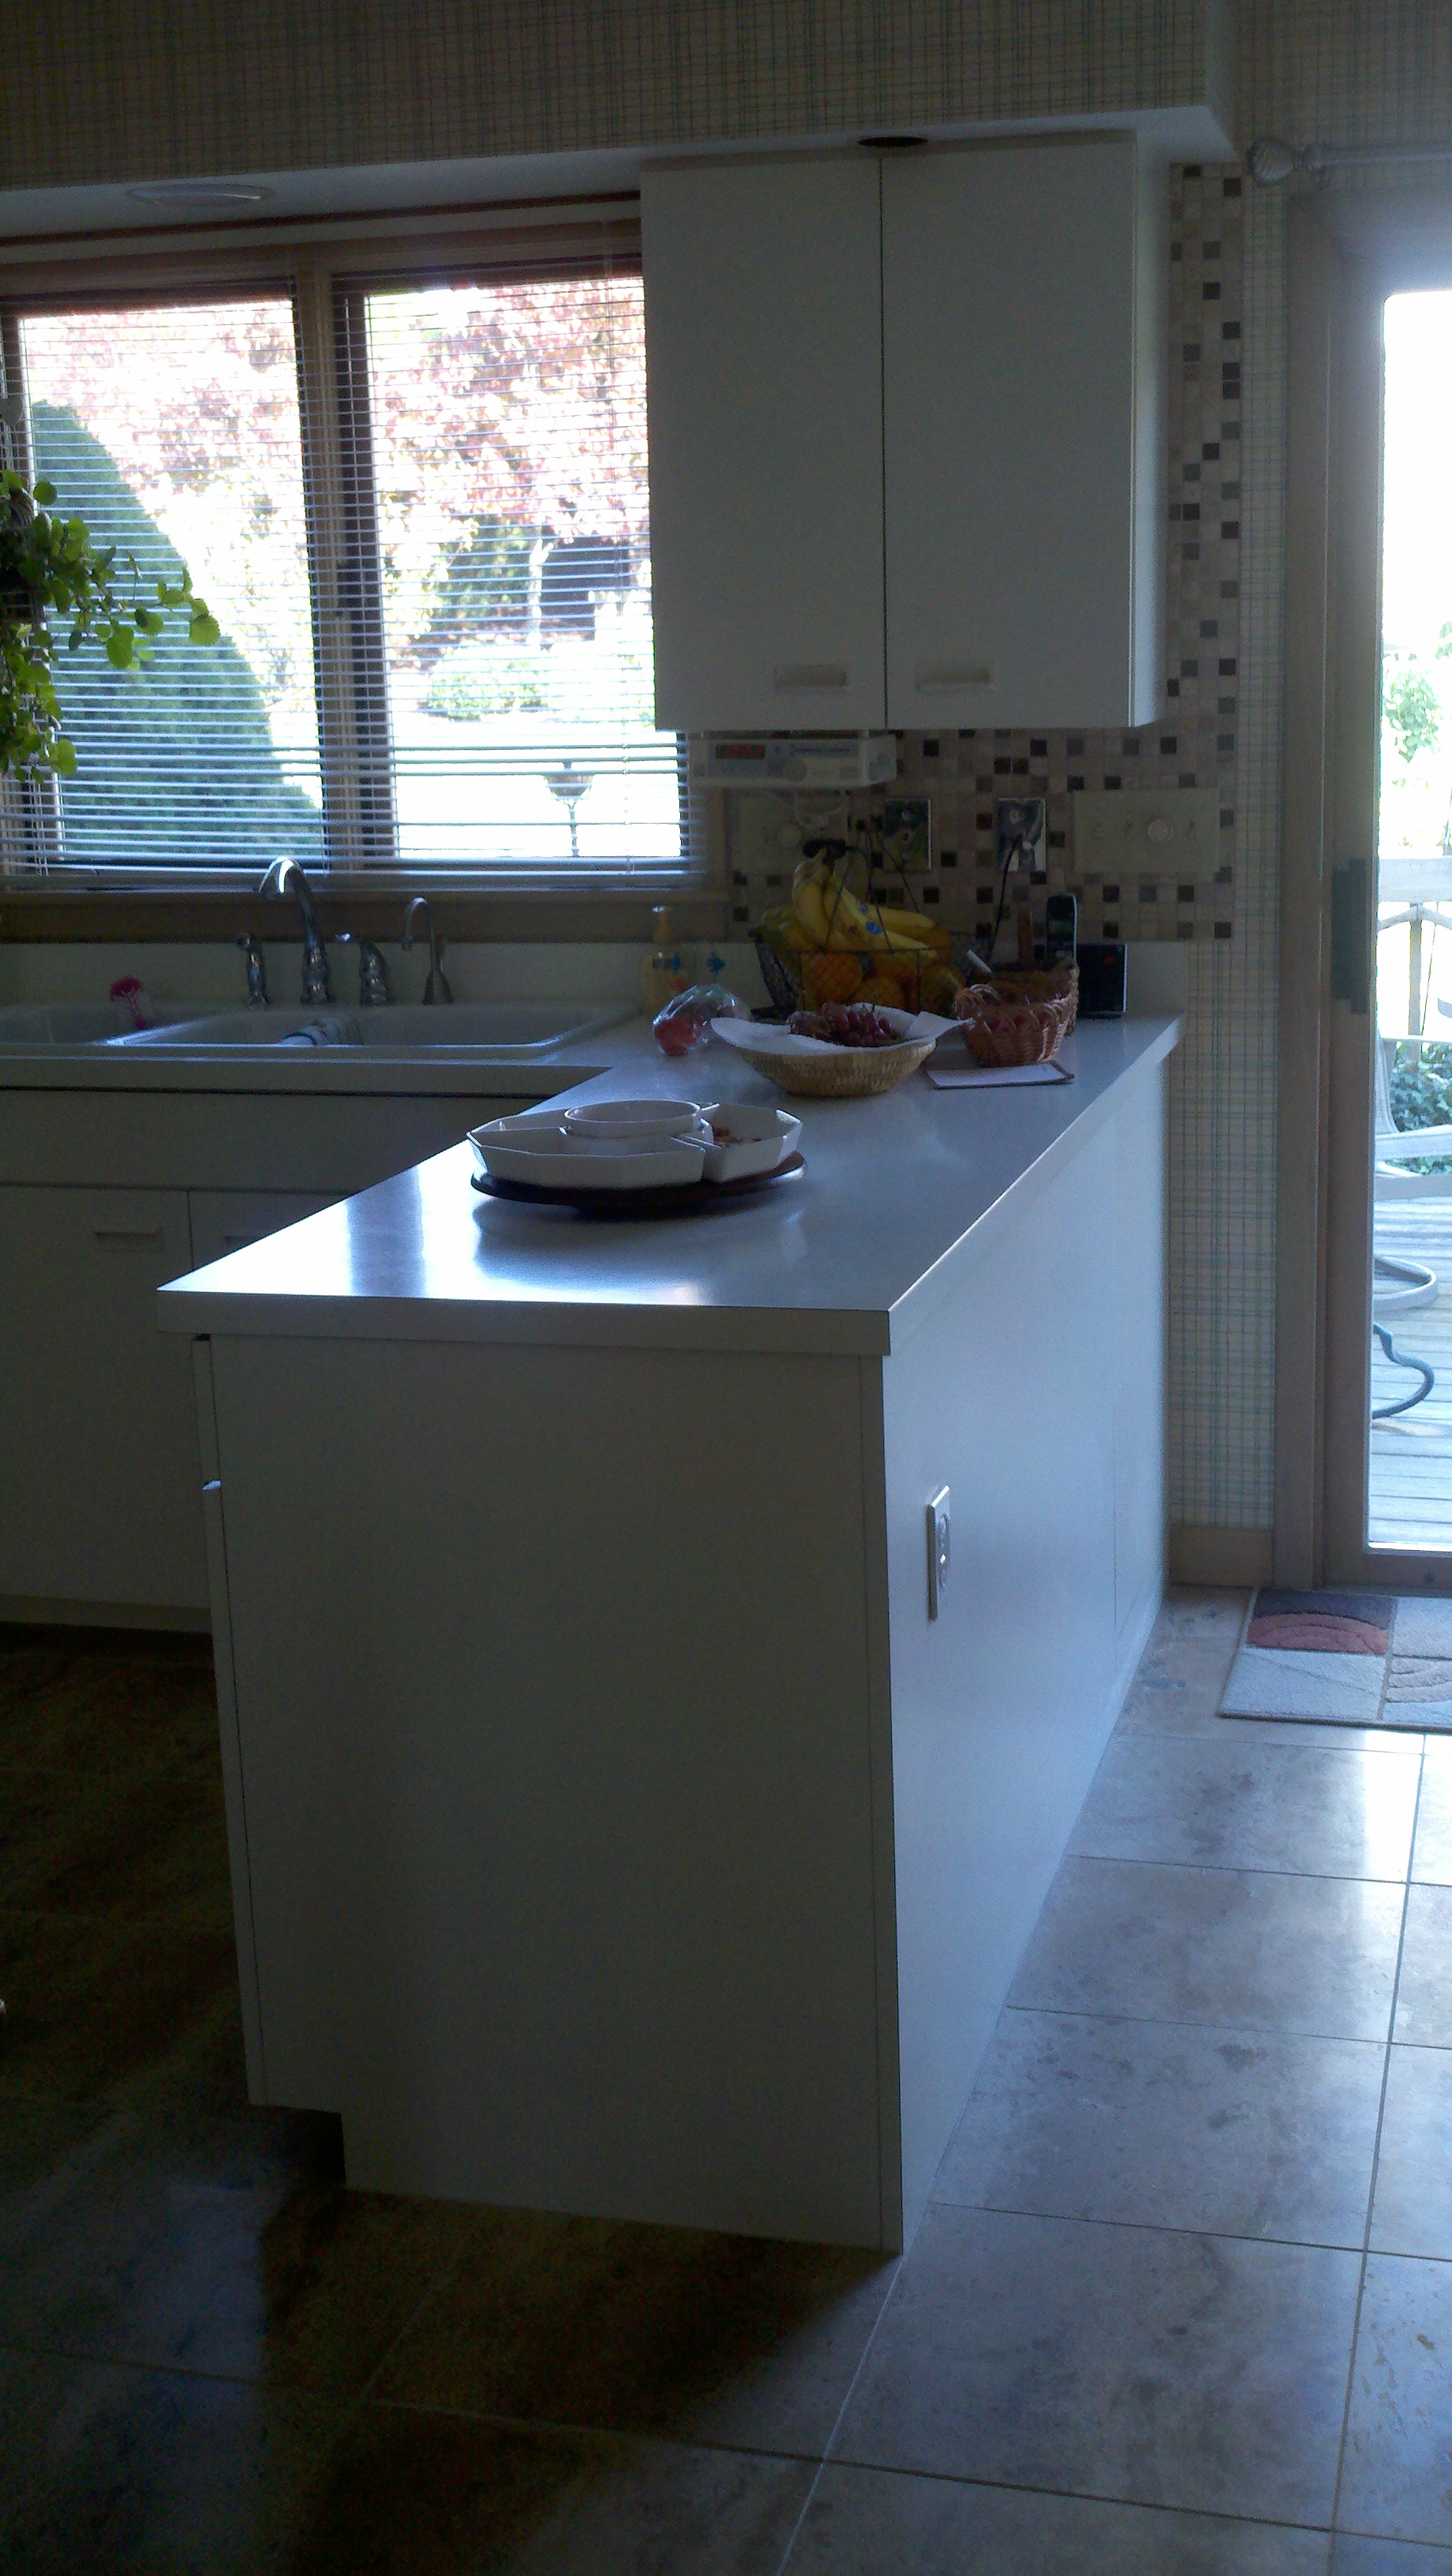
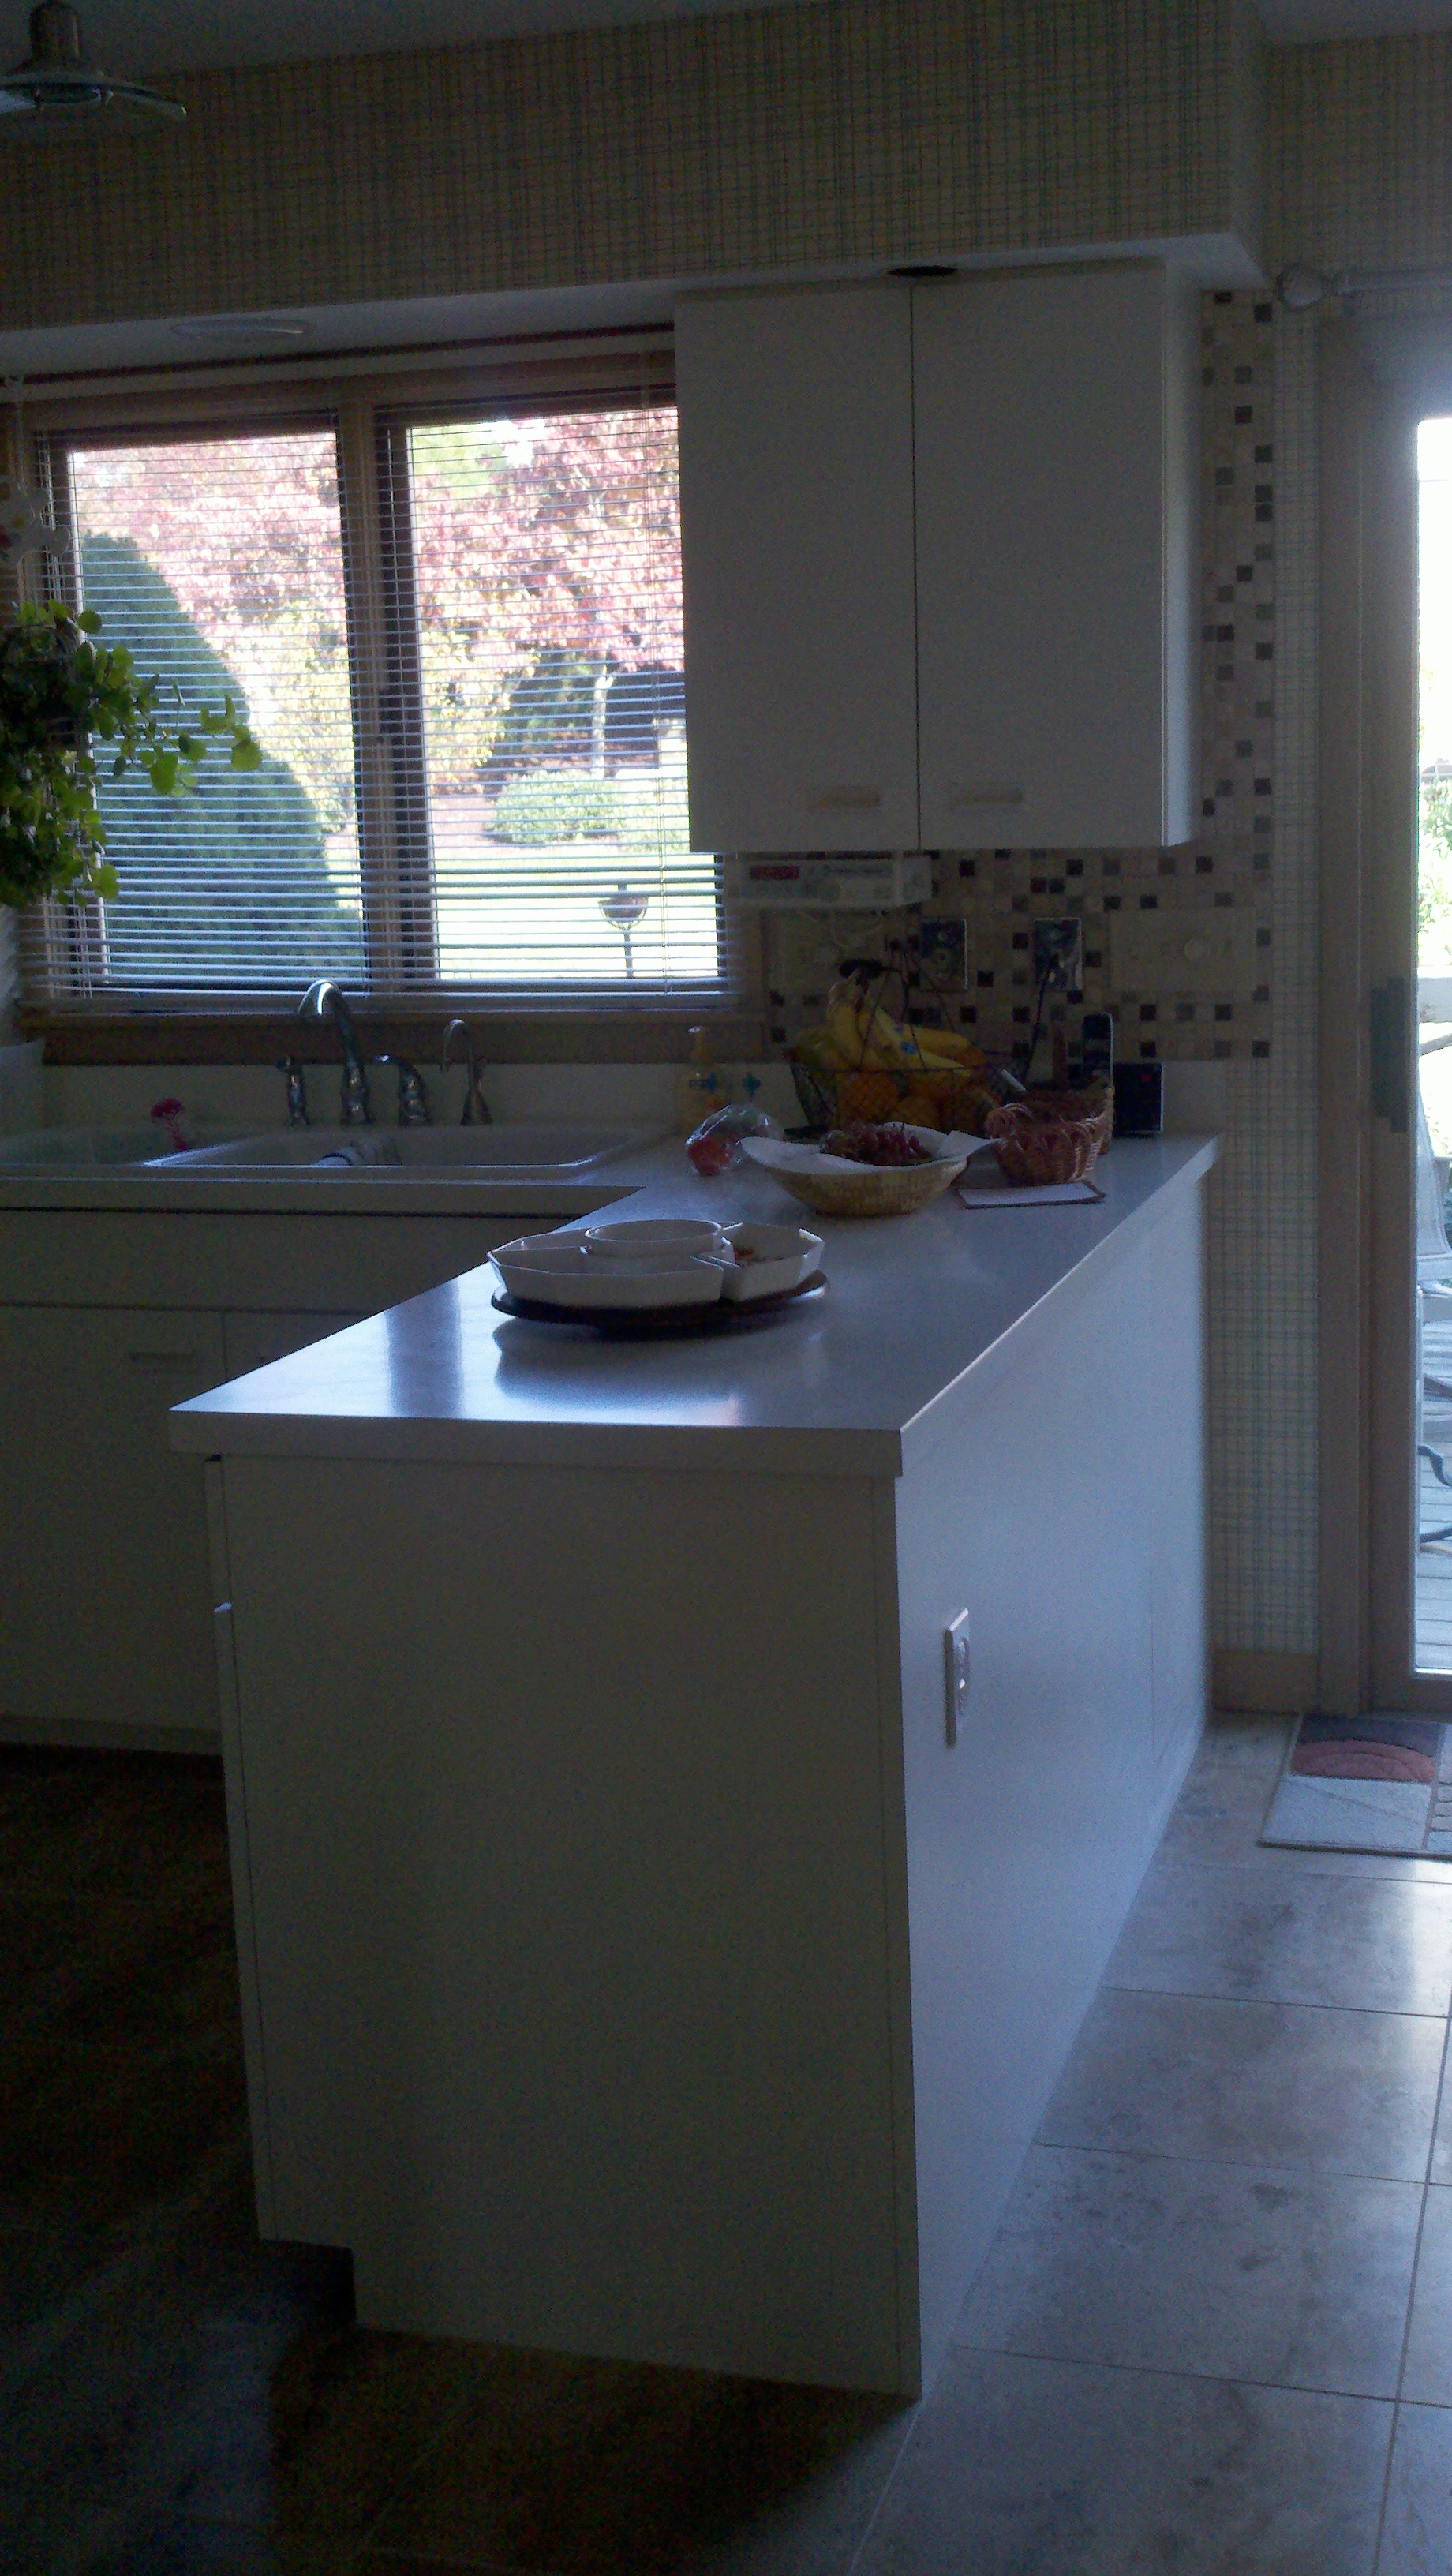
Matthews' House Rehabilitation
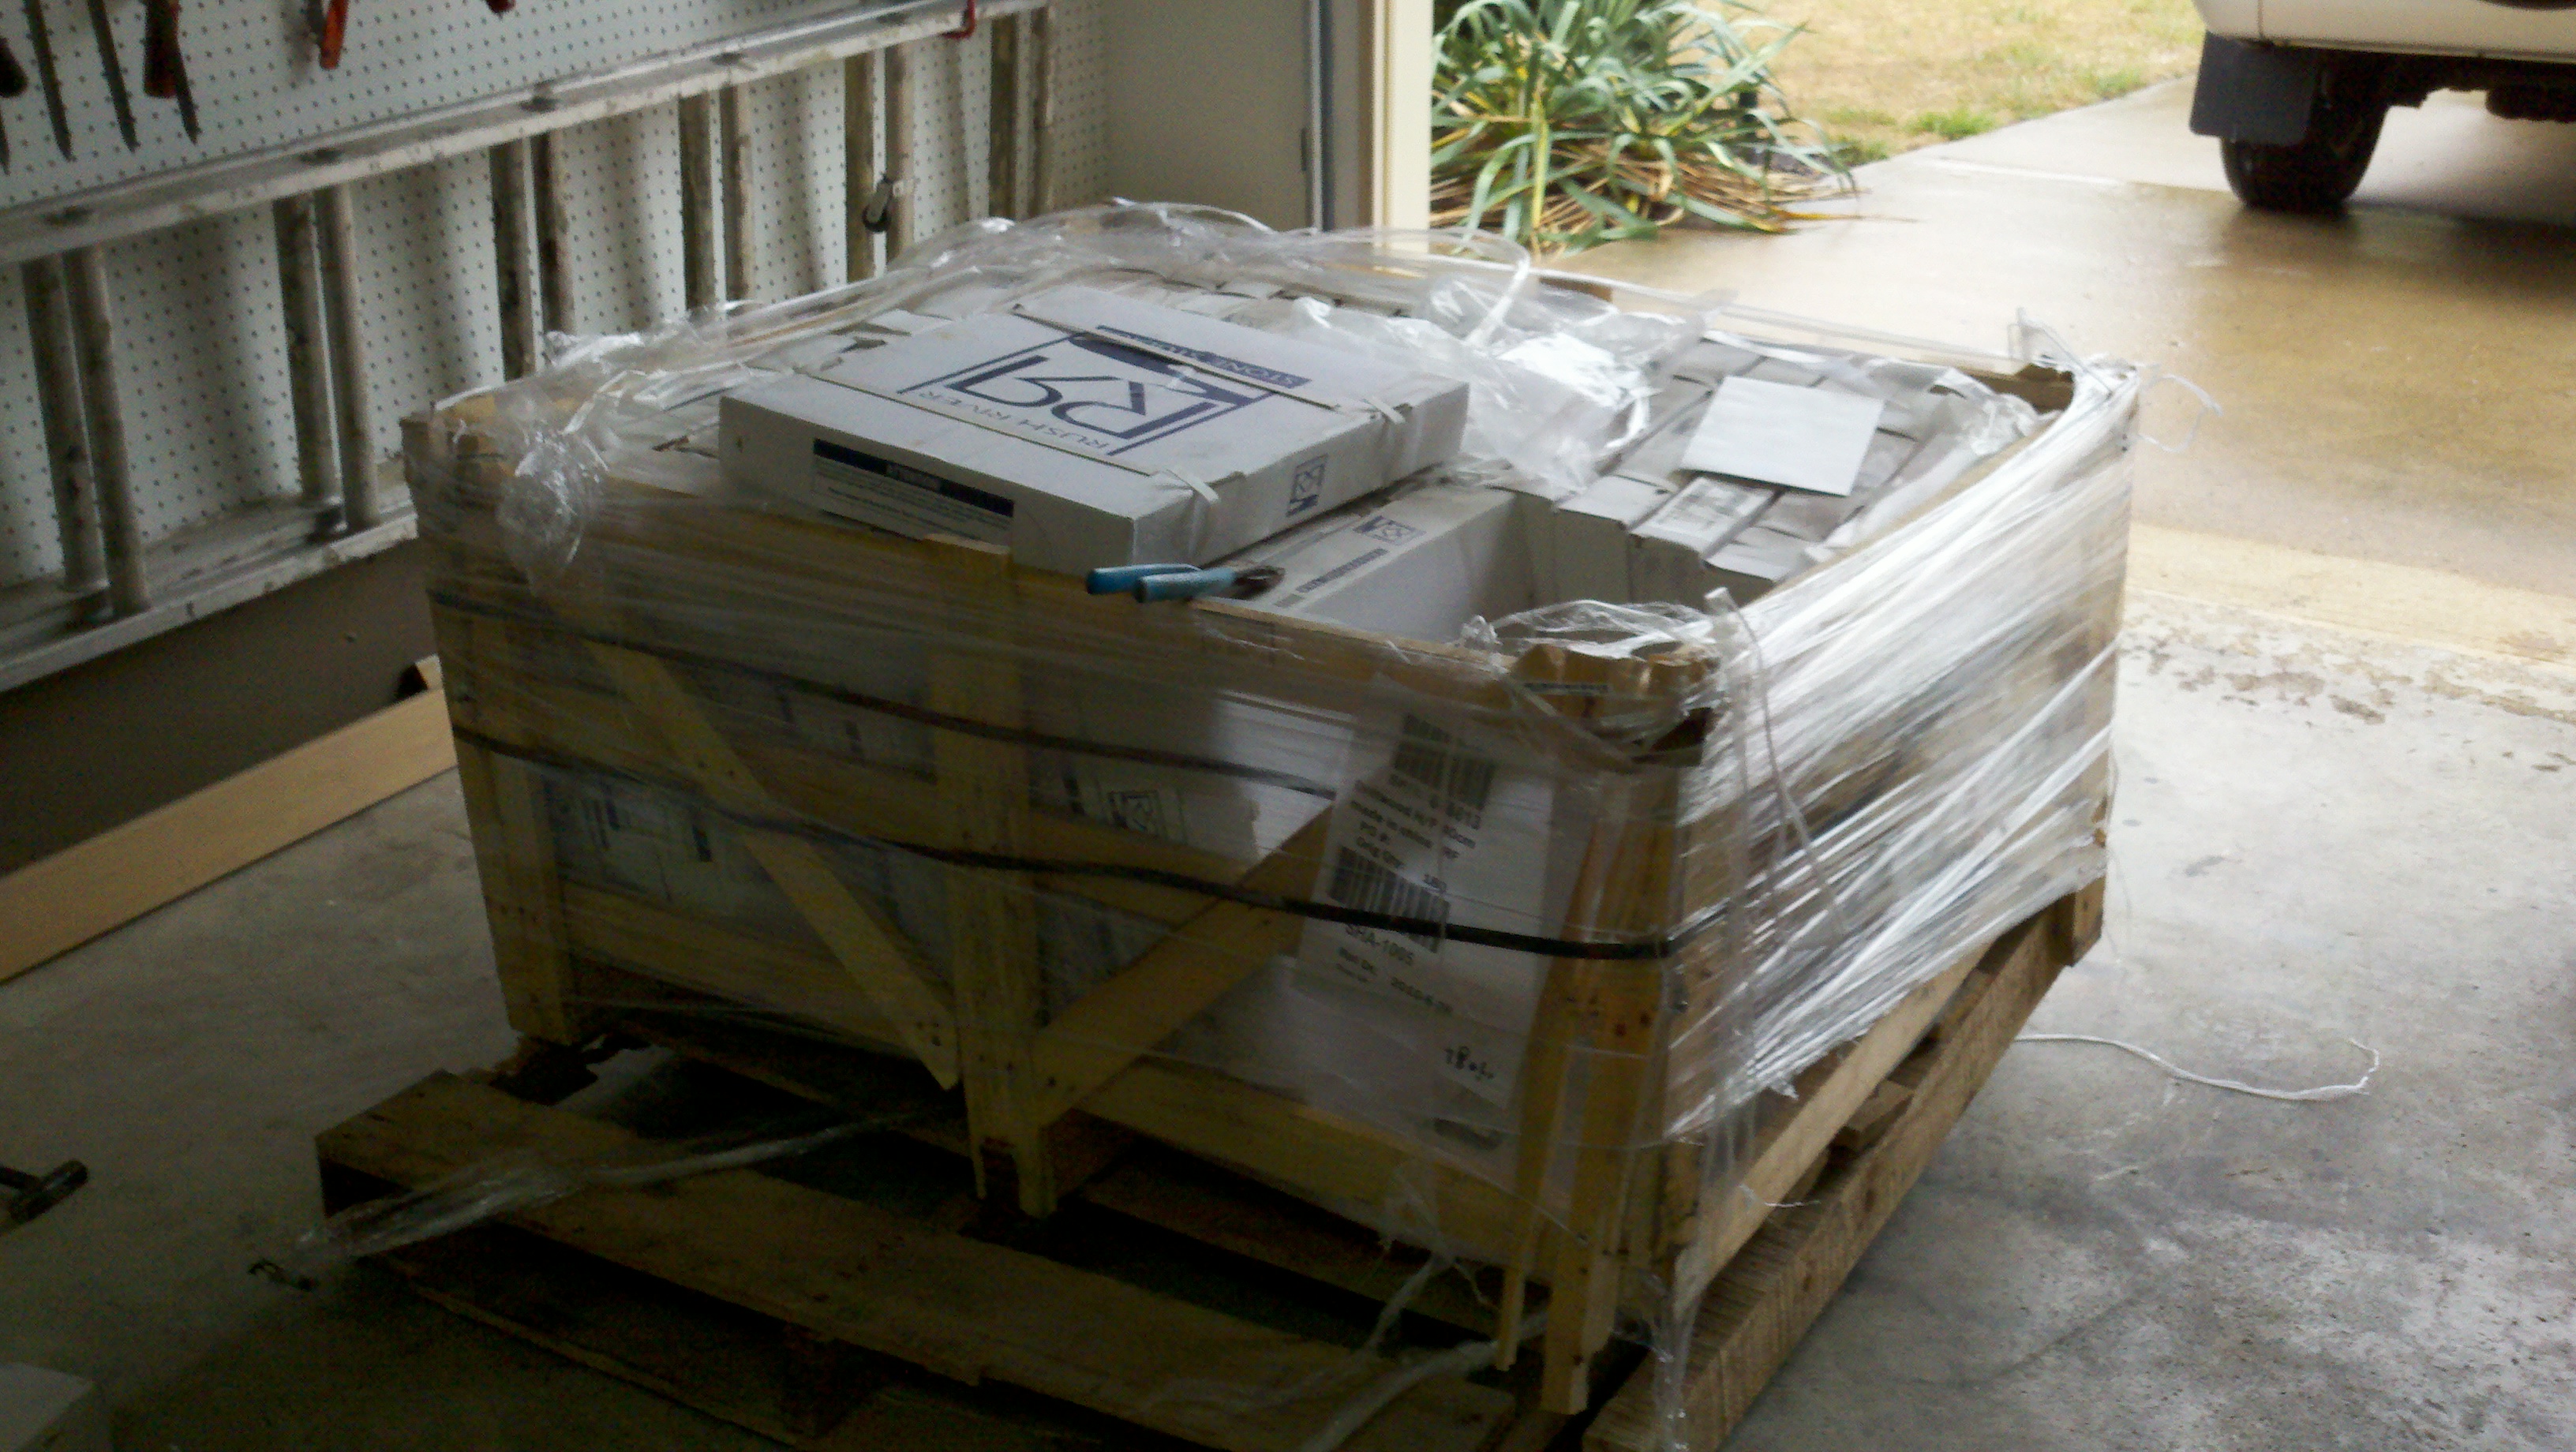
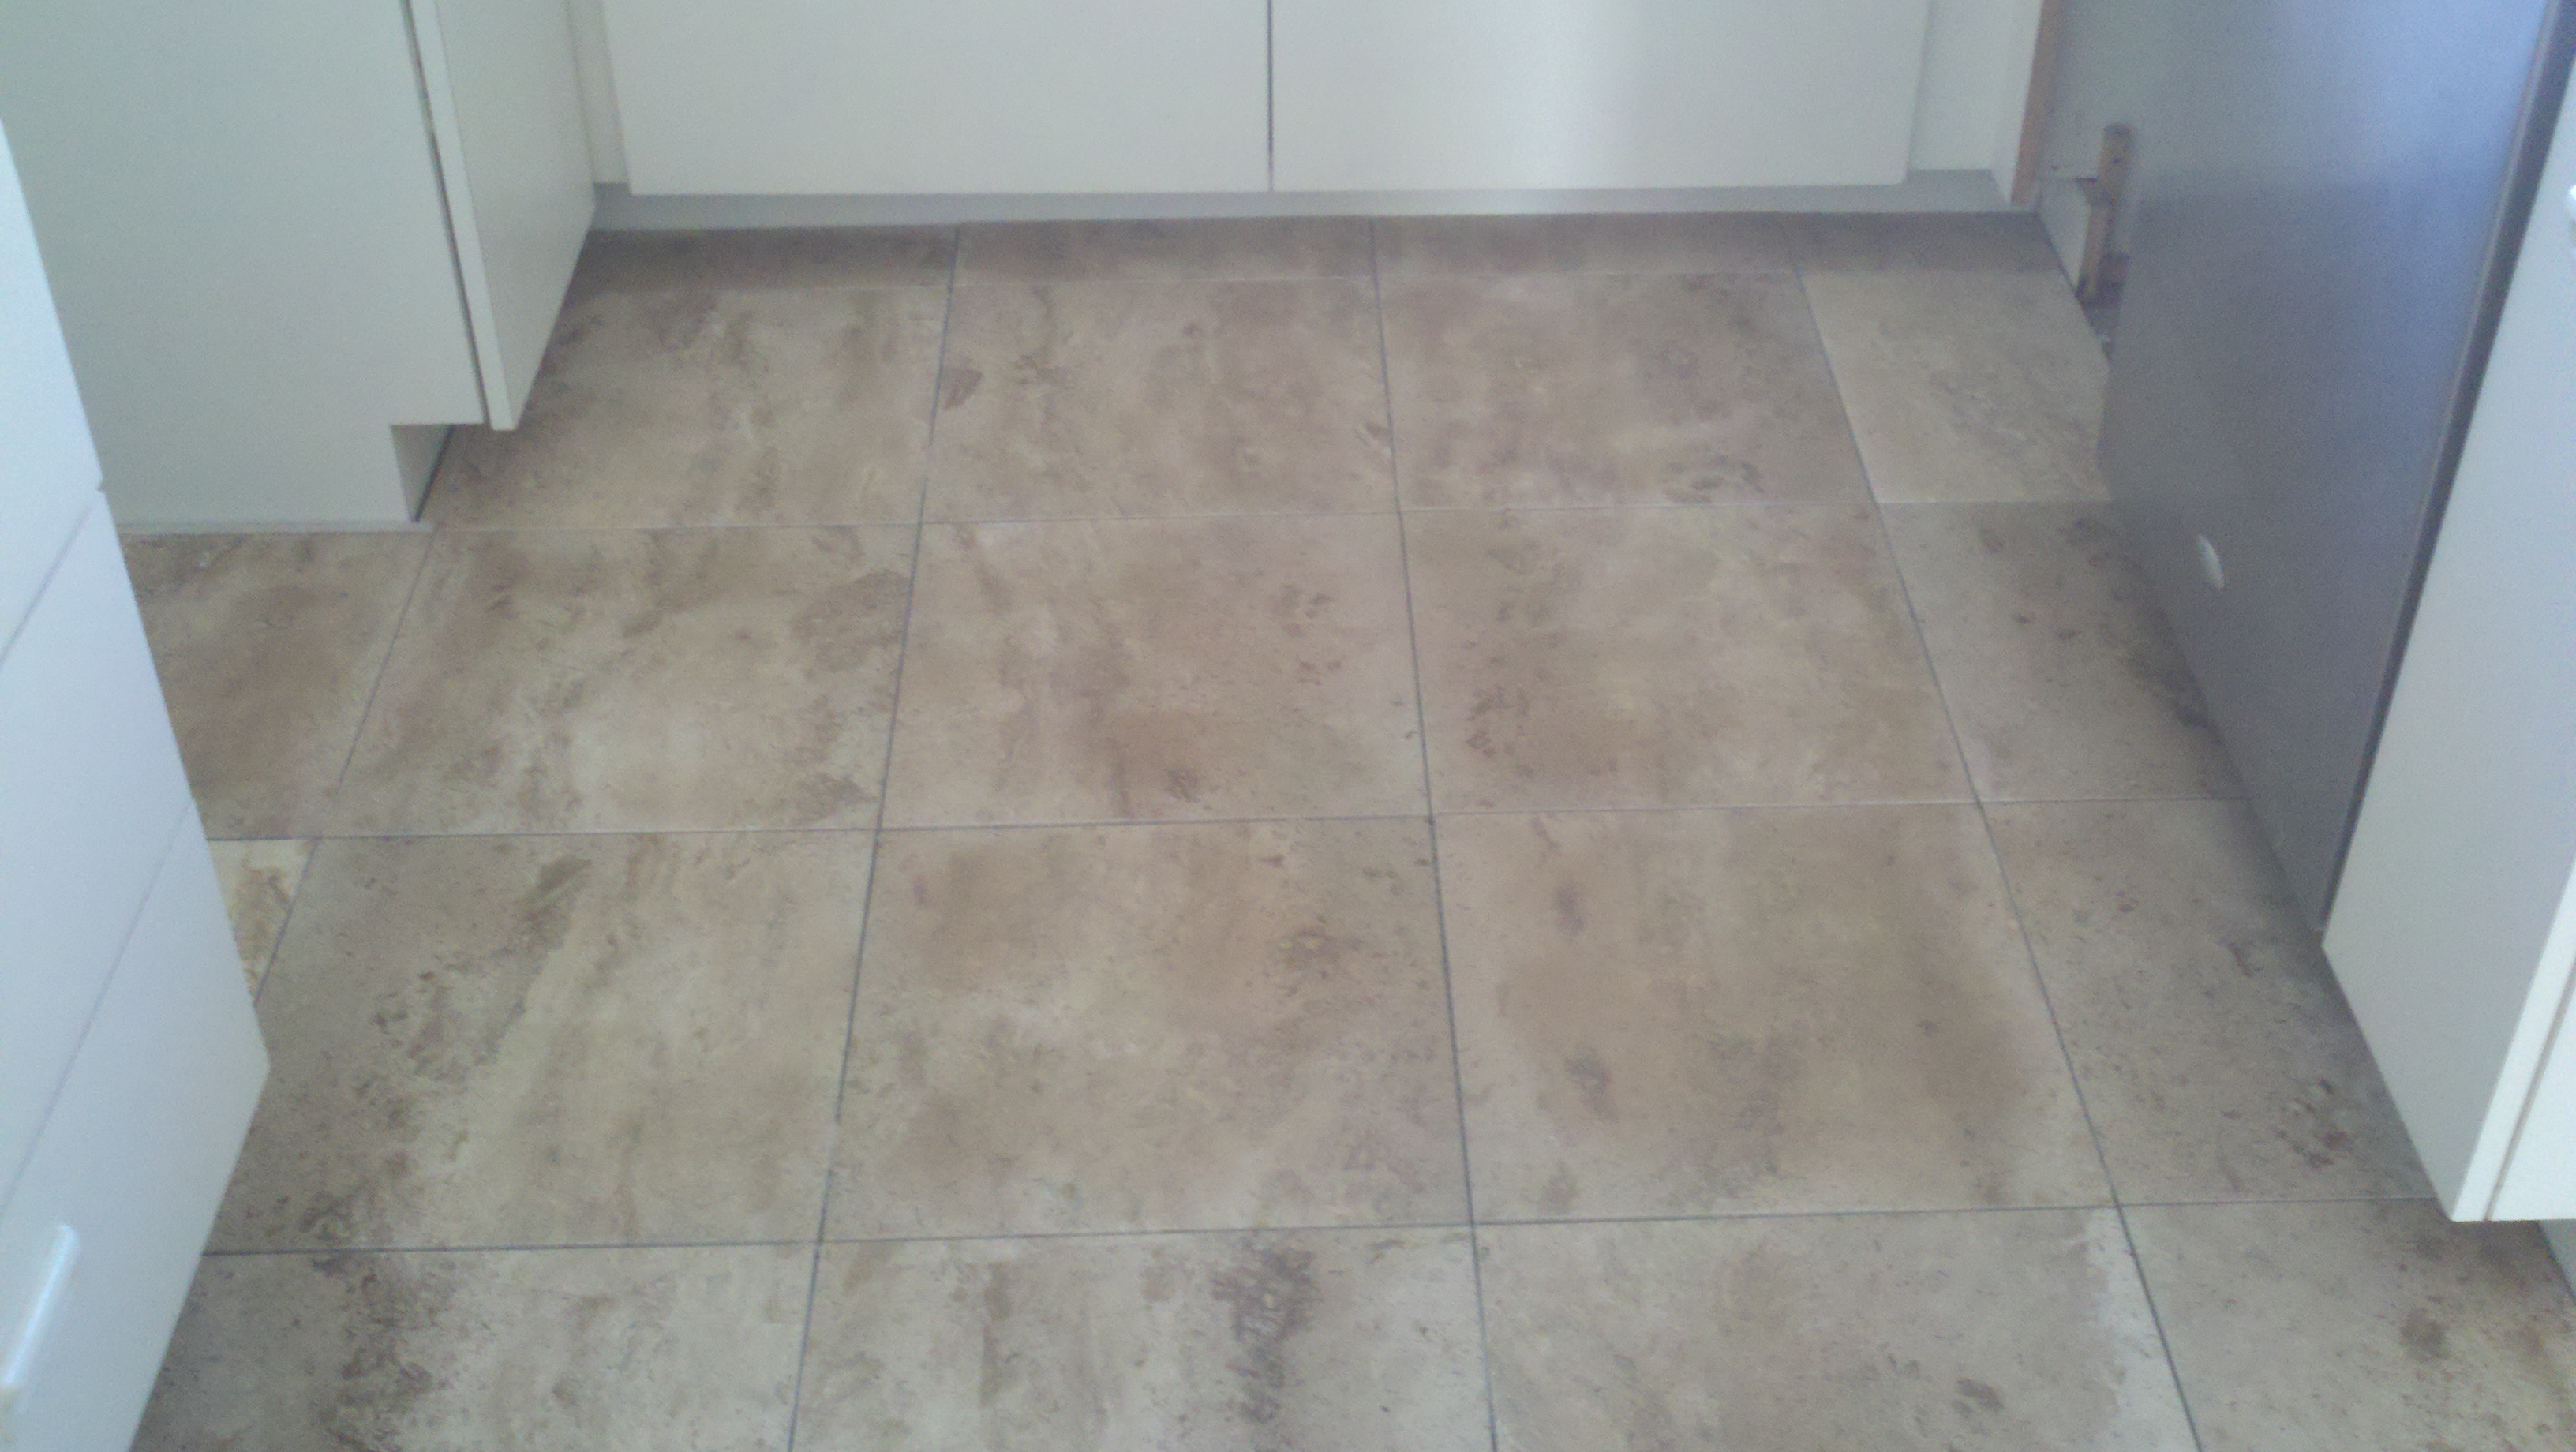
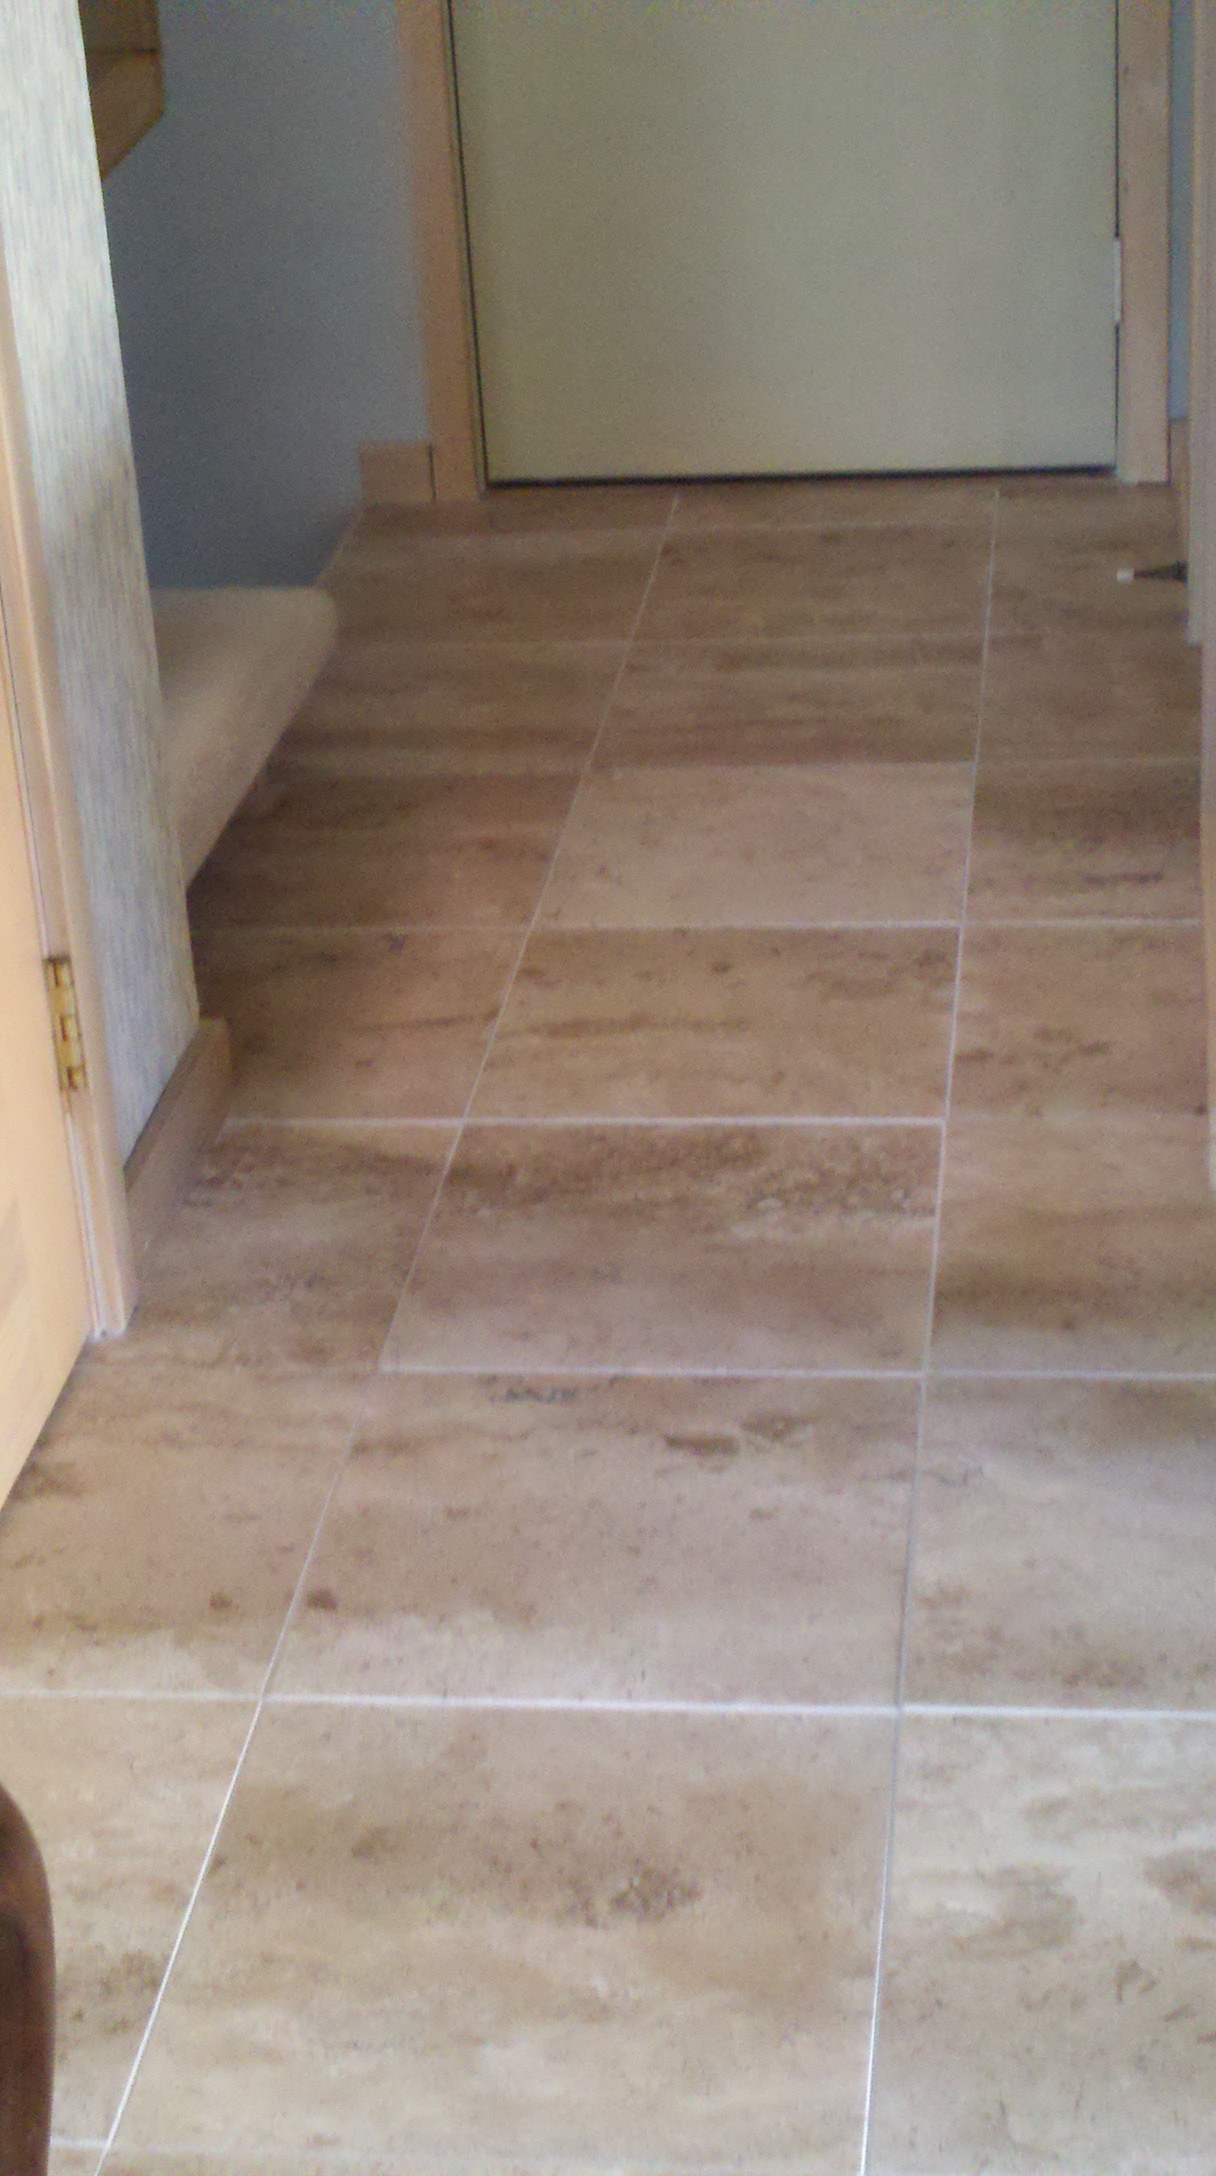
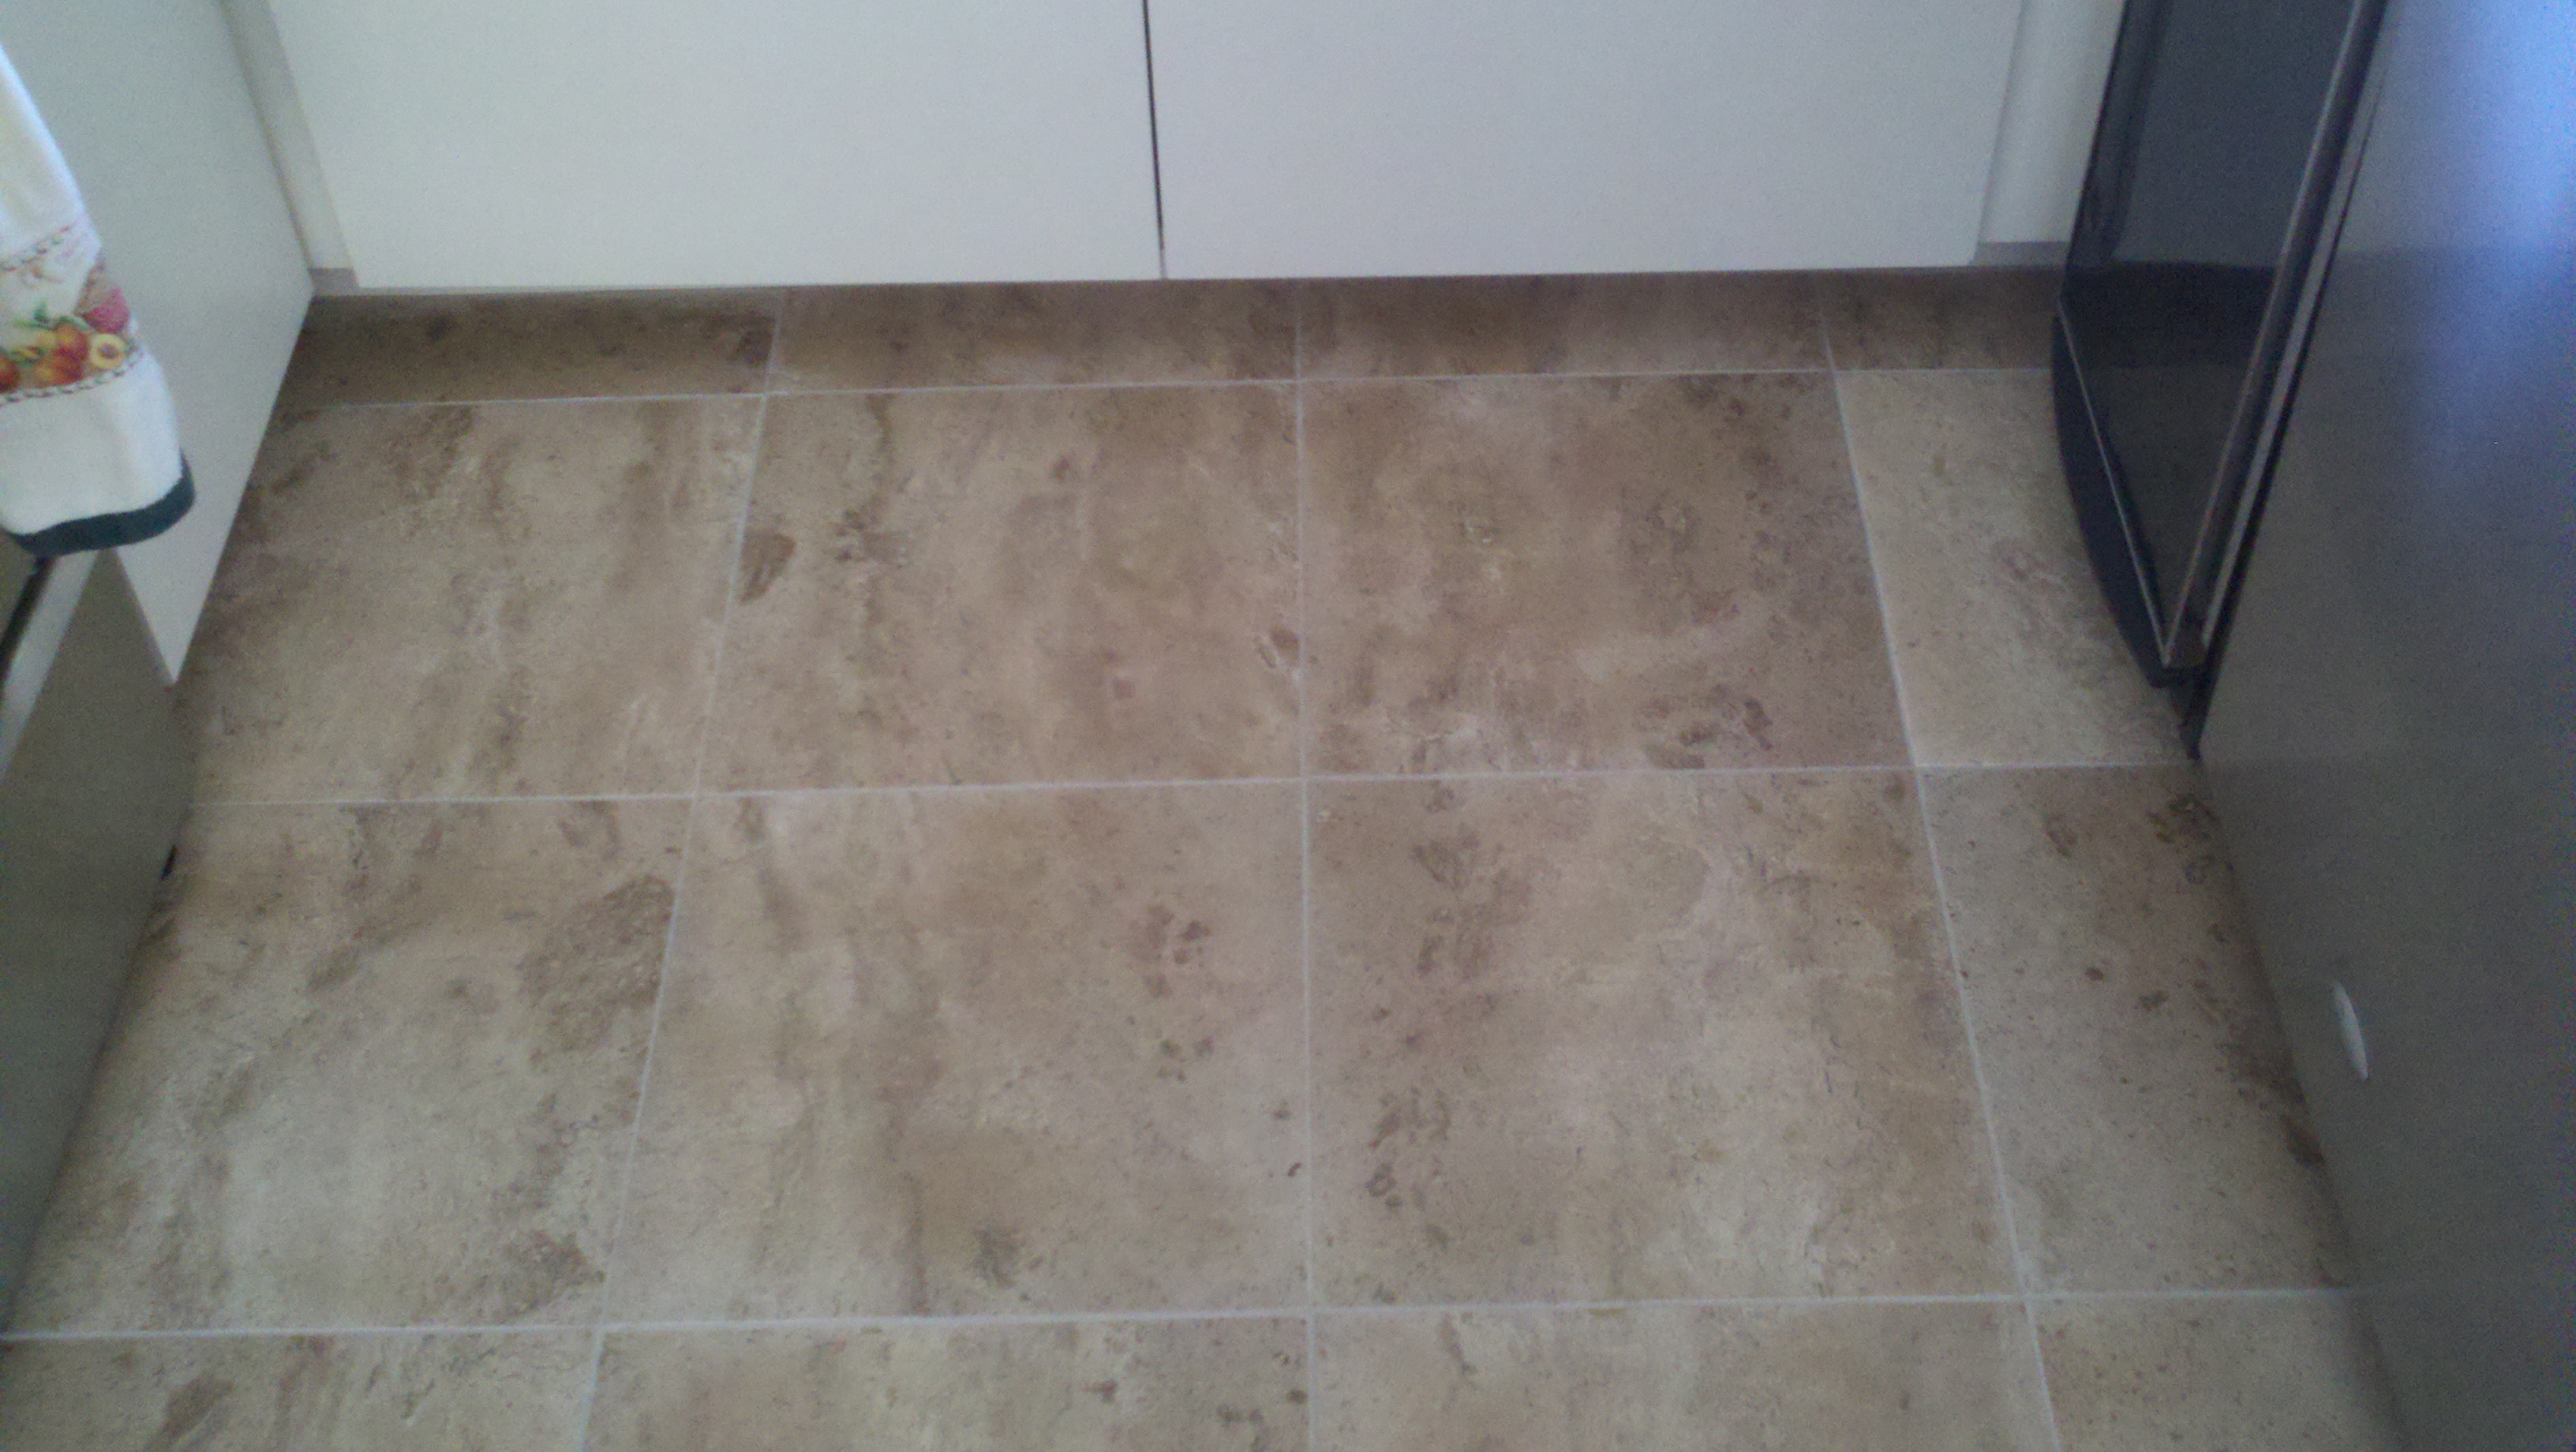
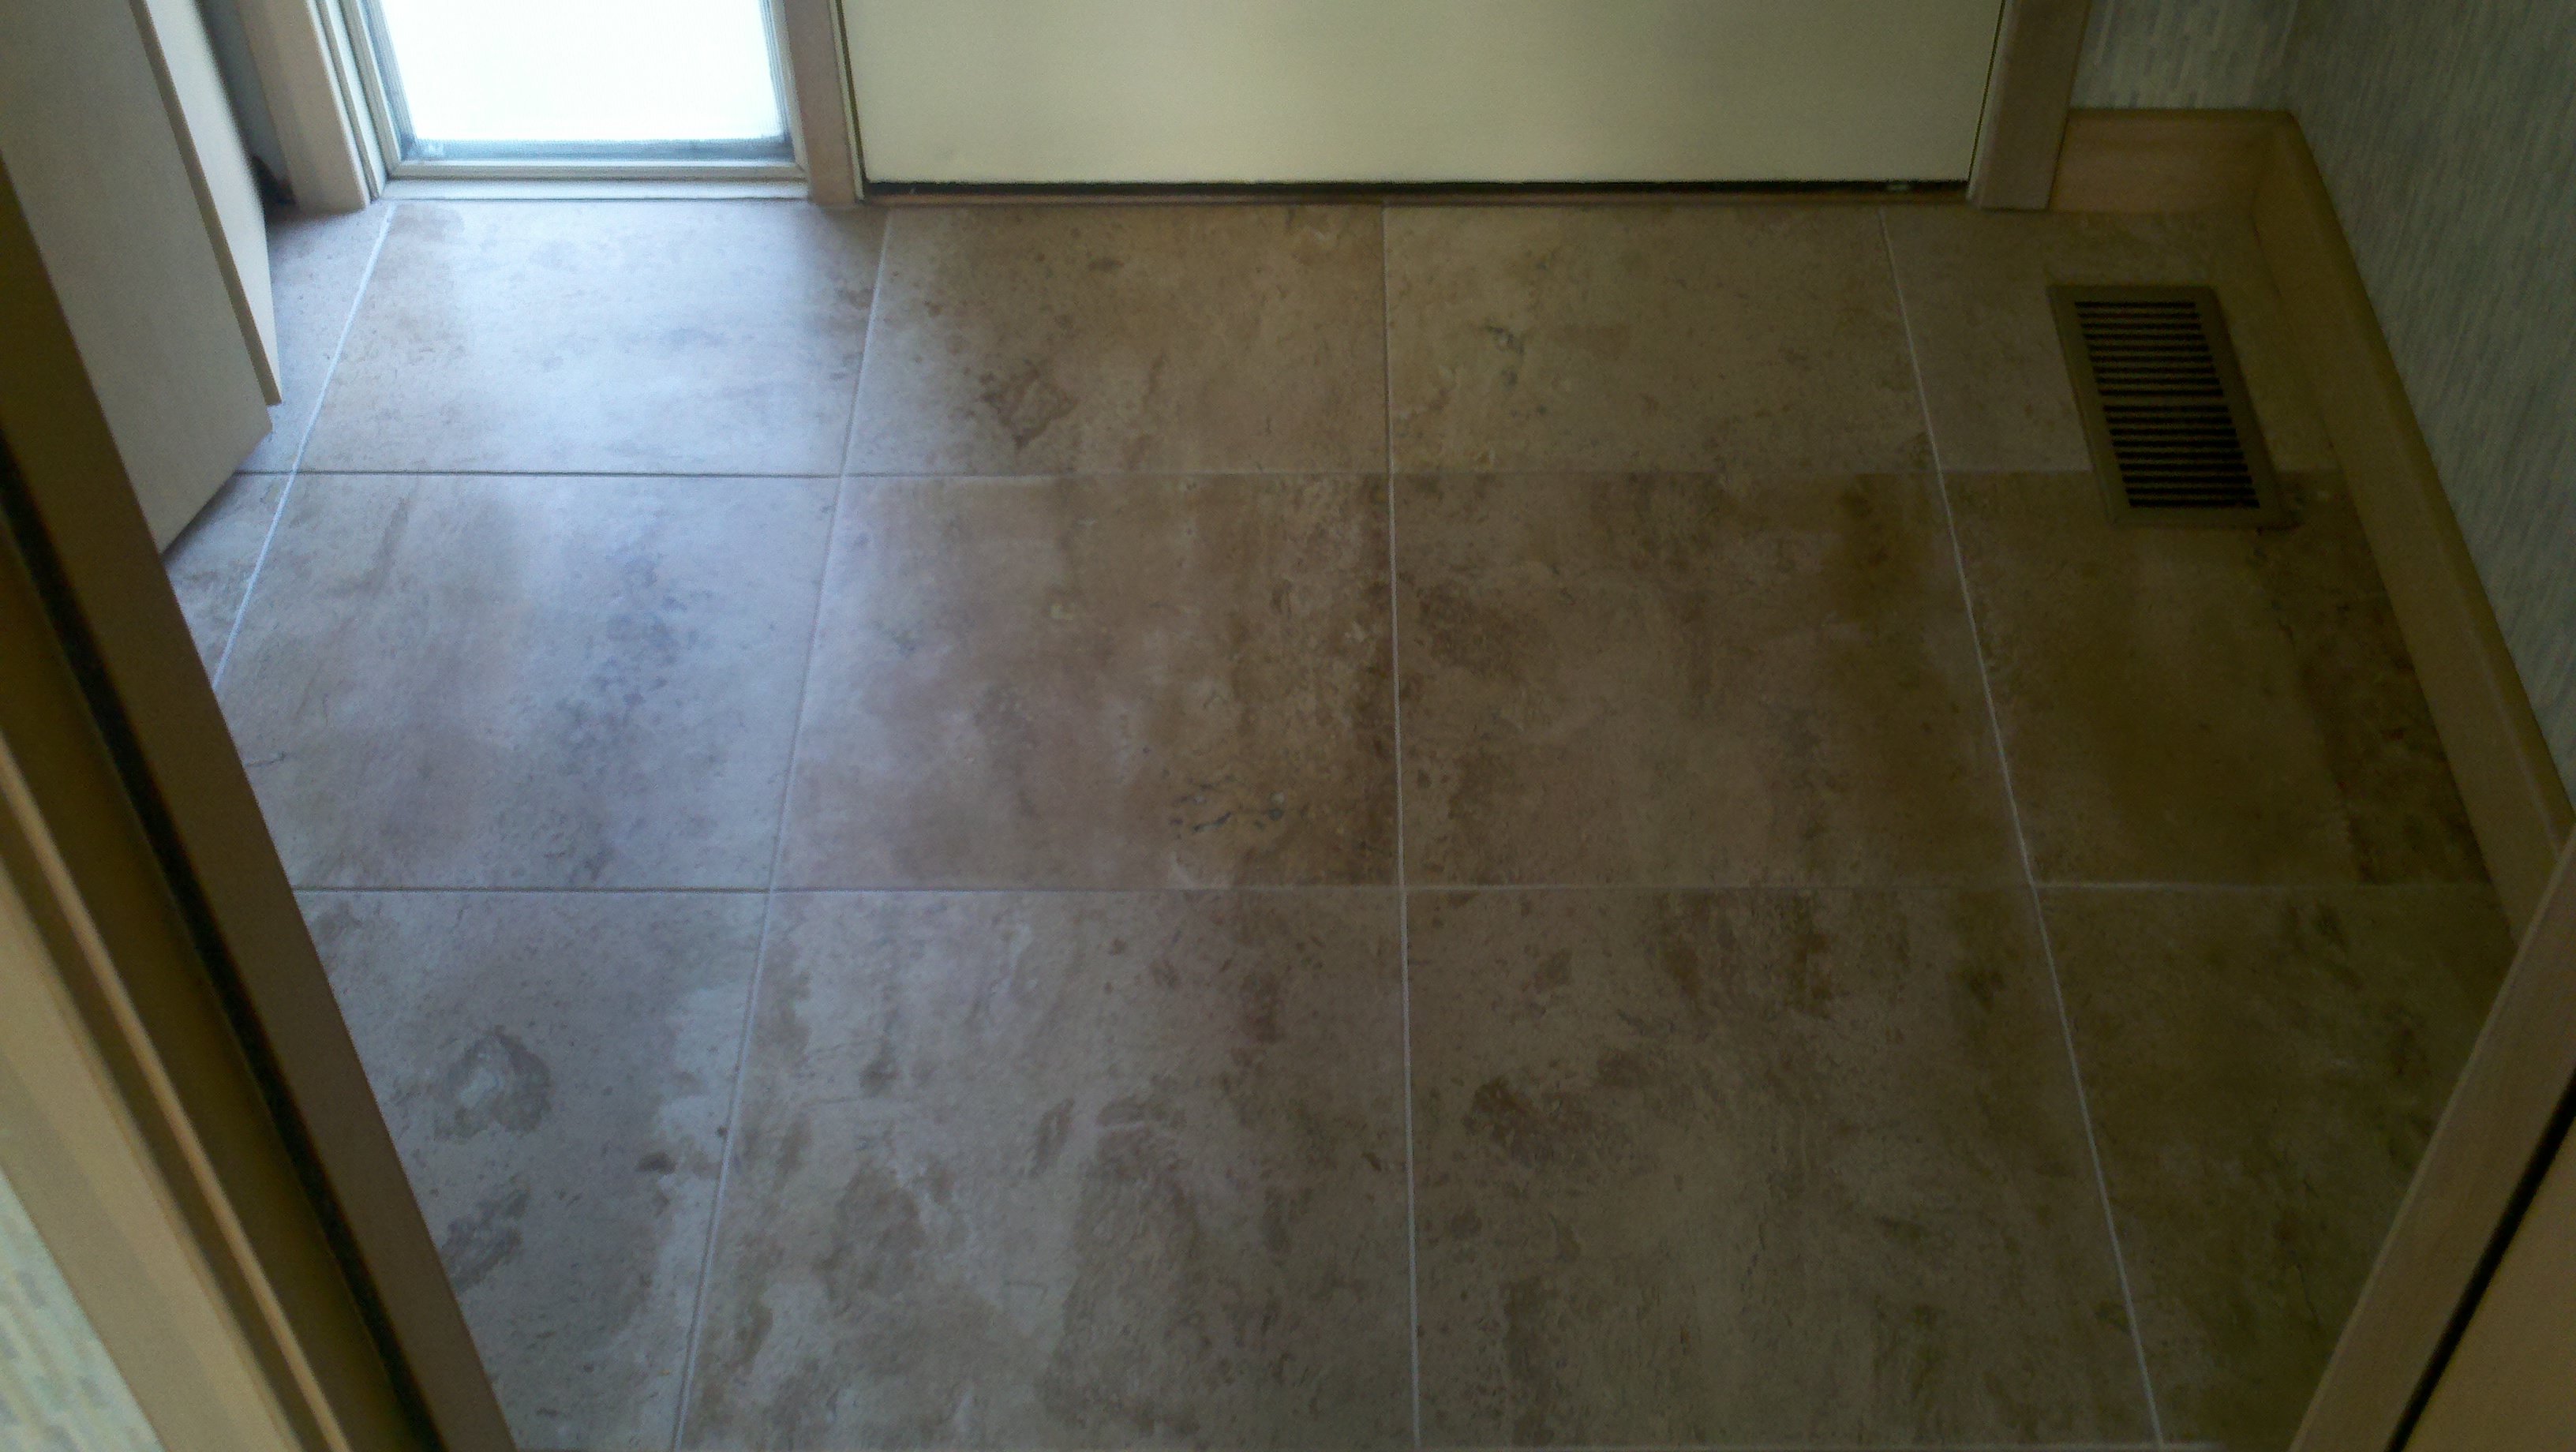
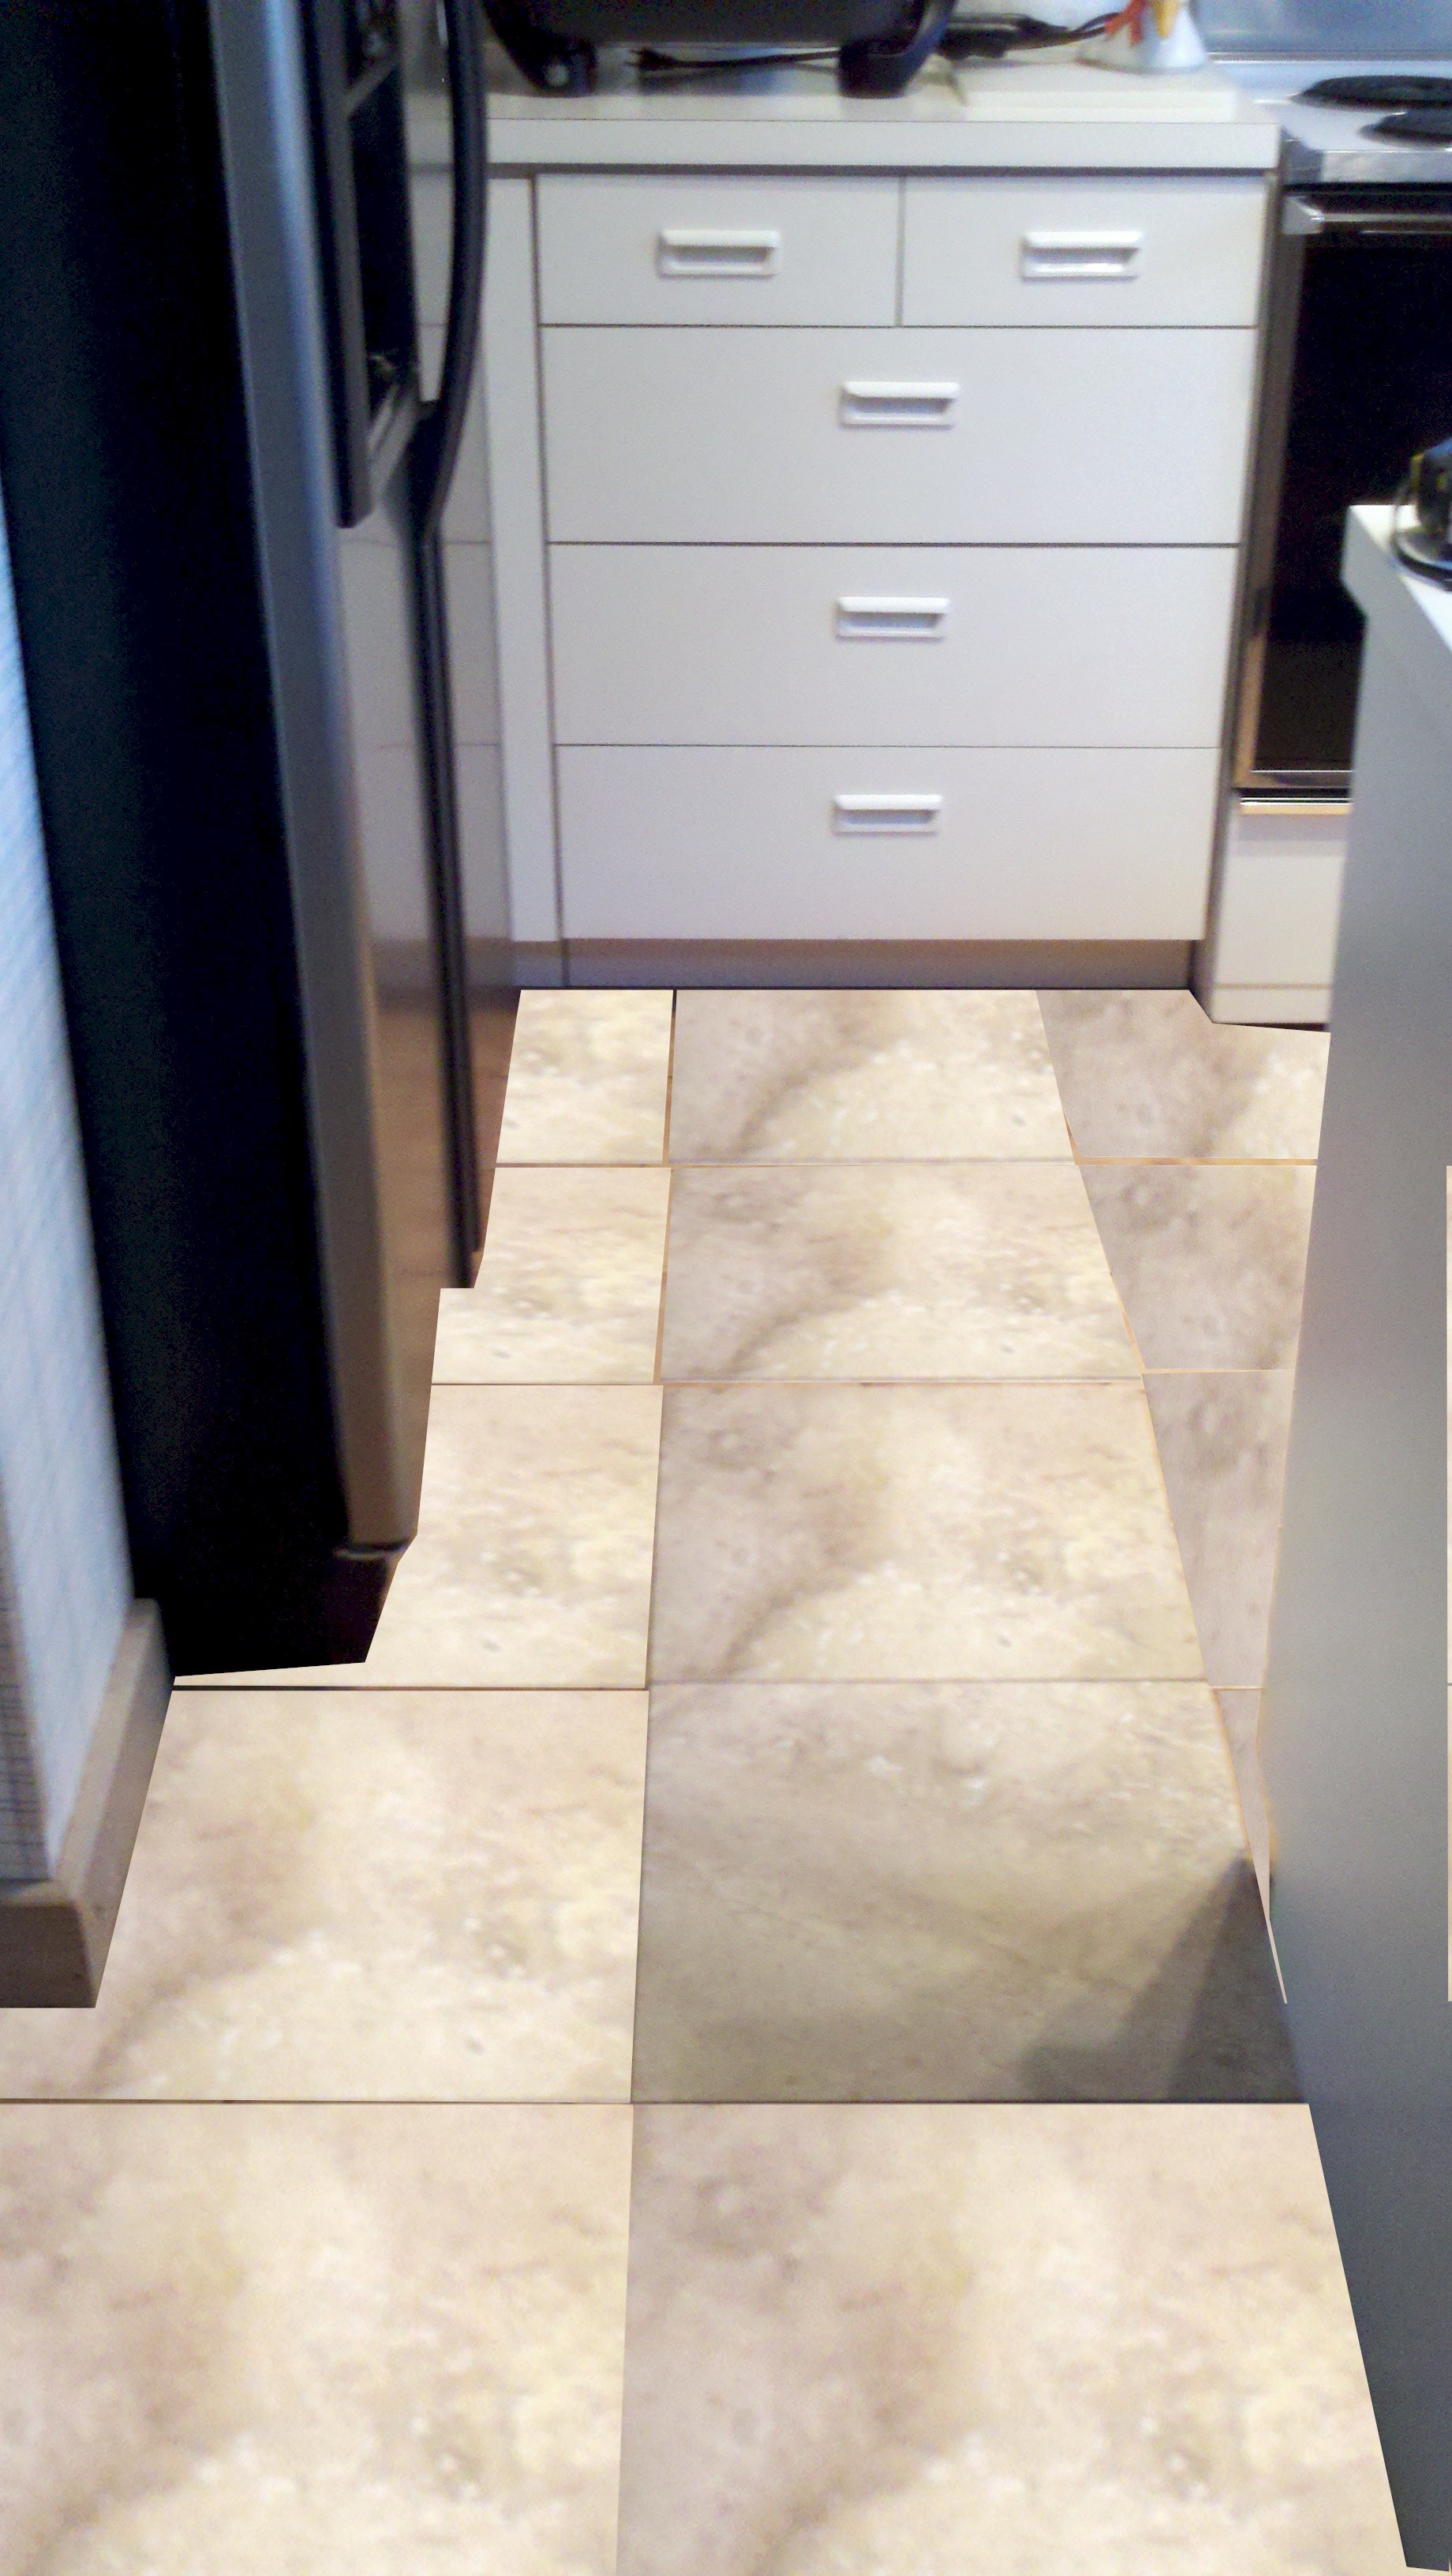
| 16" Tile Kitchen Floor |  |
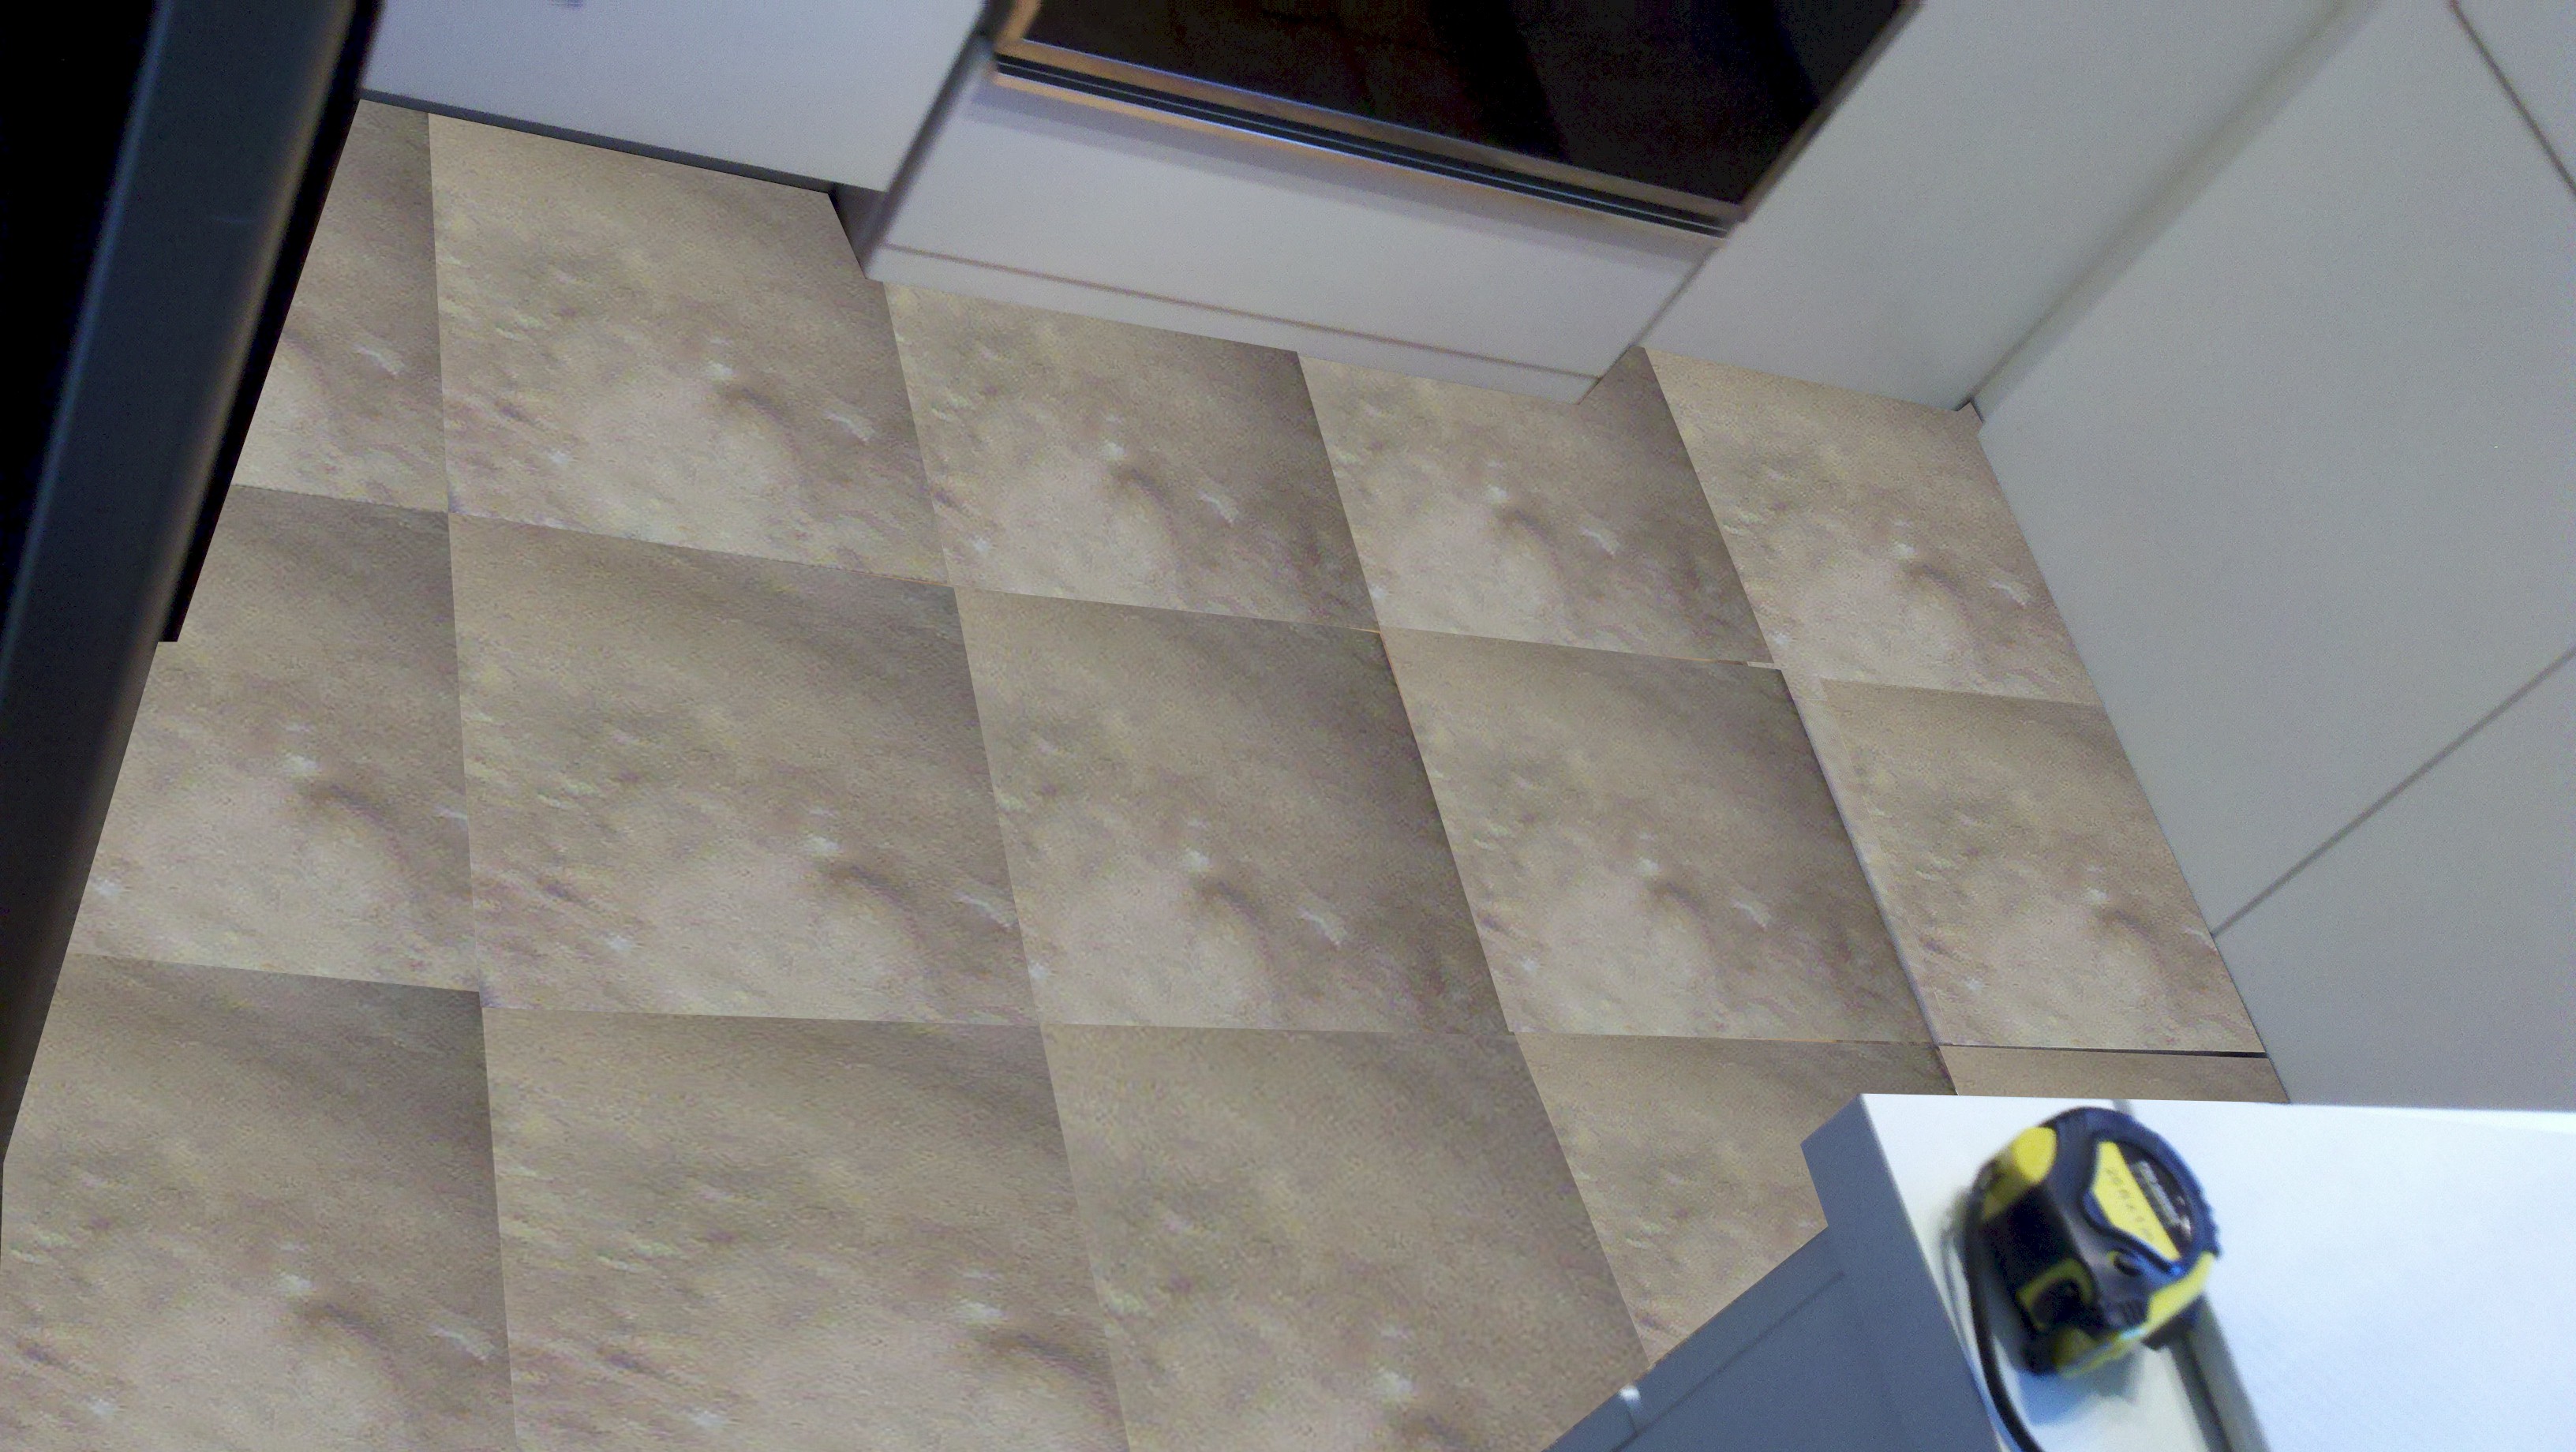 |
||
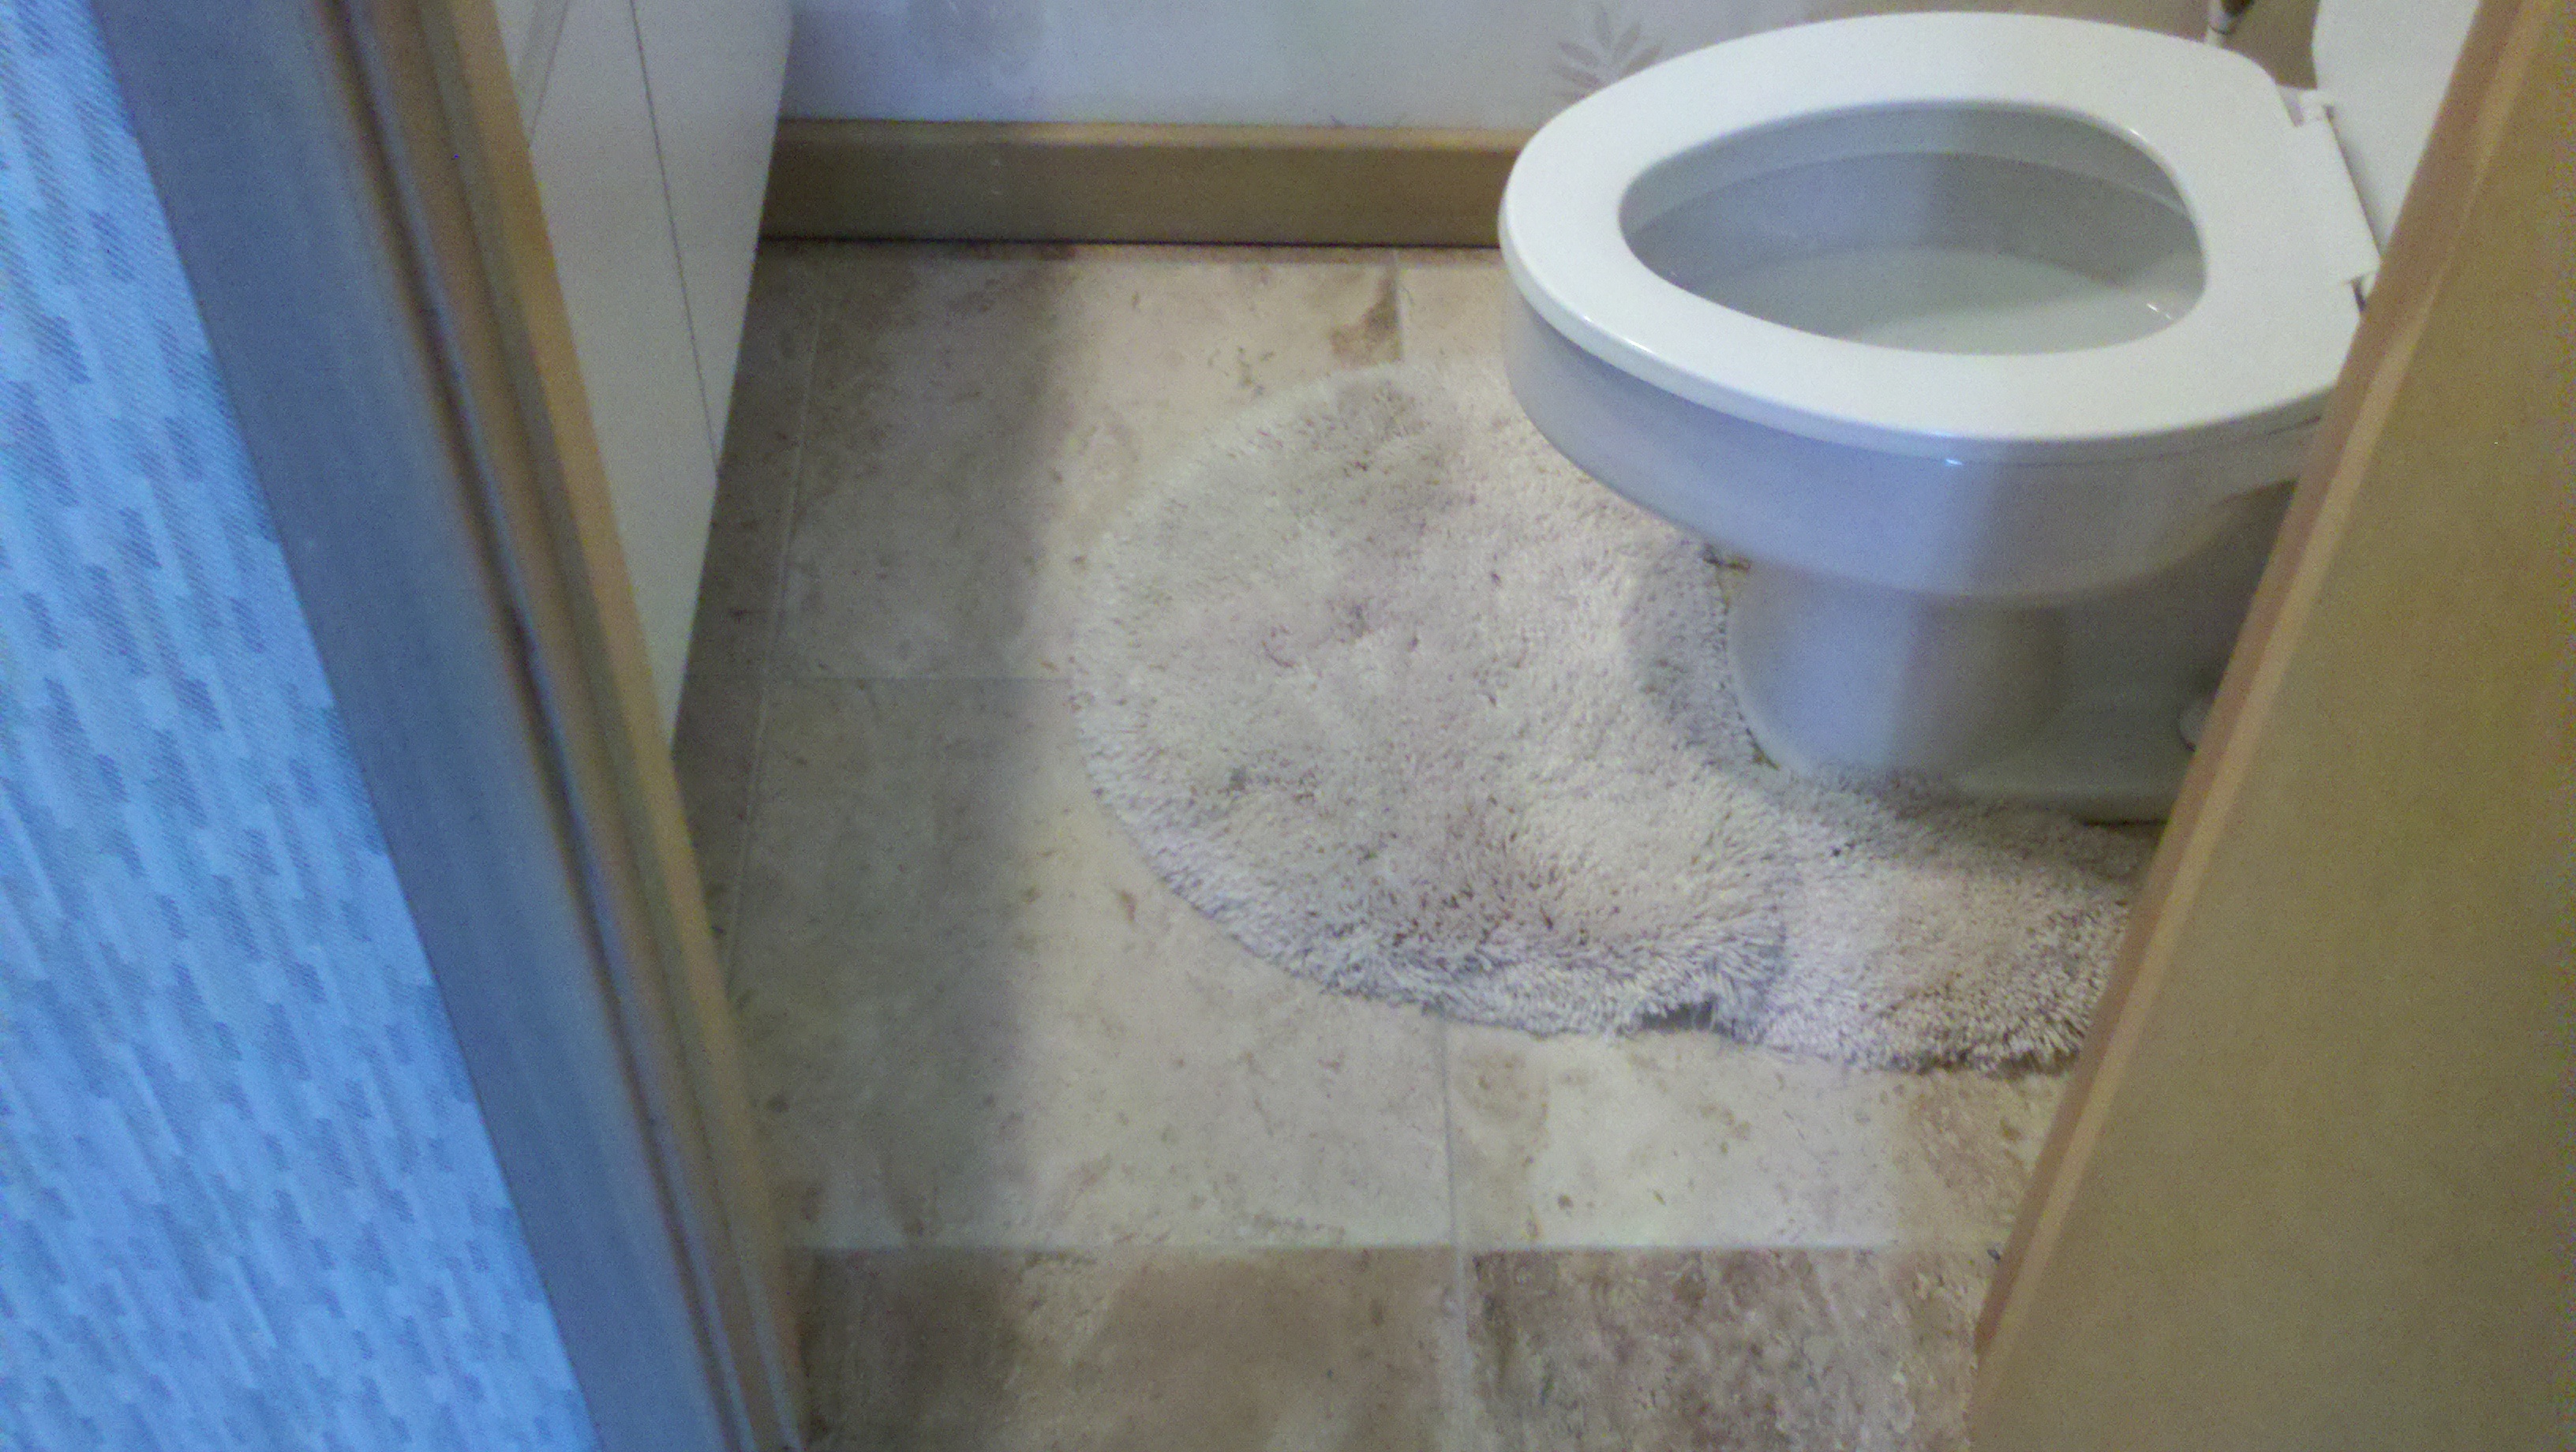
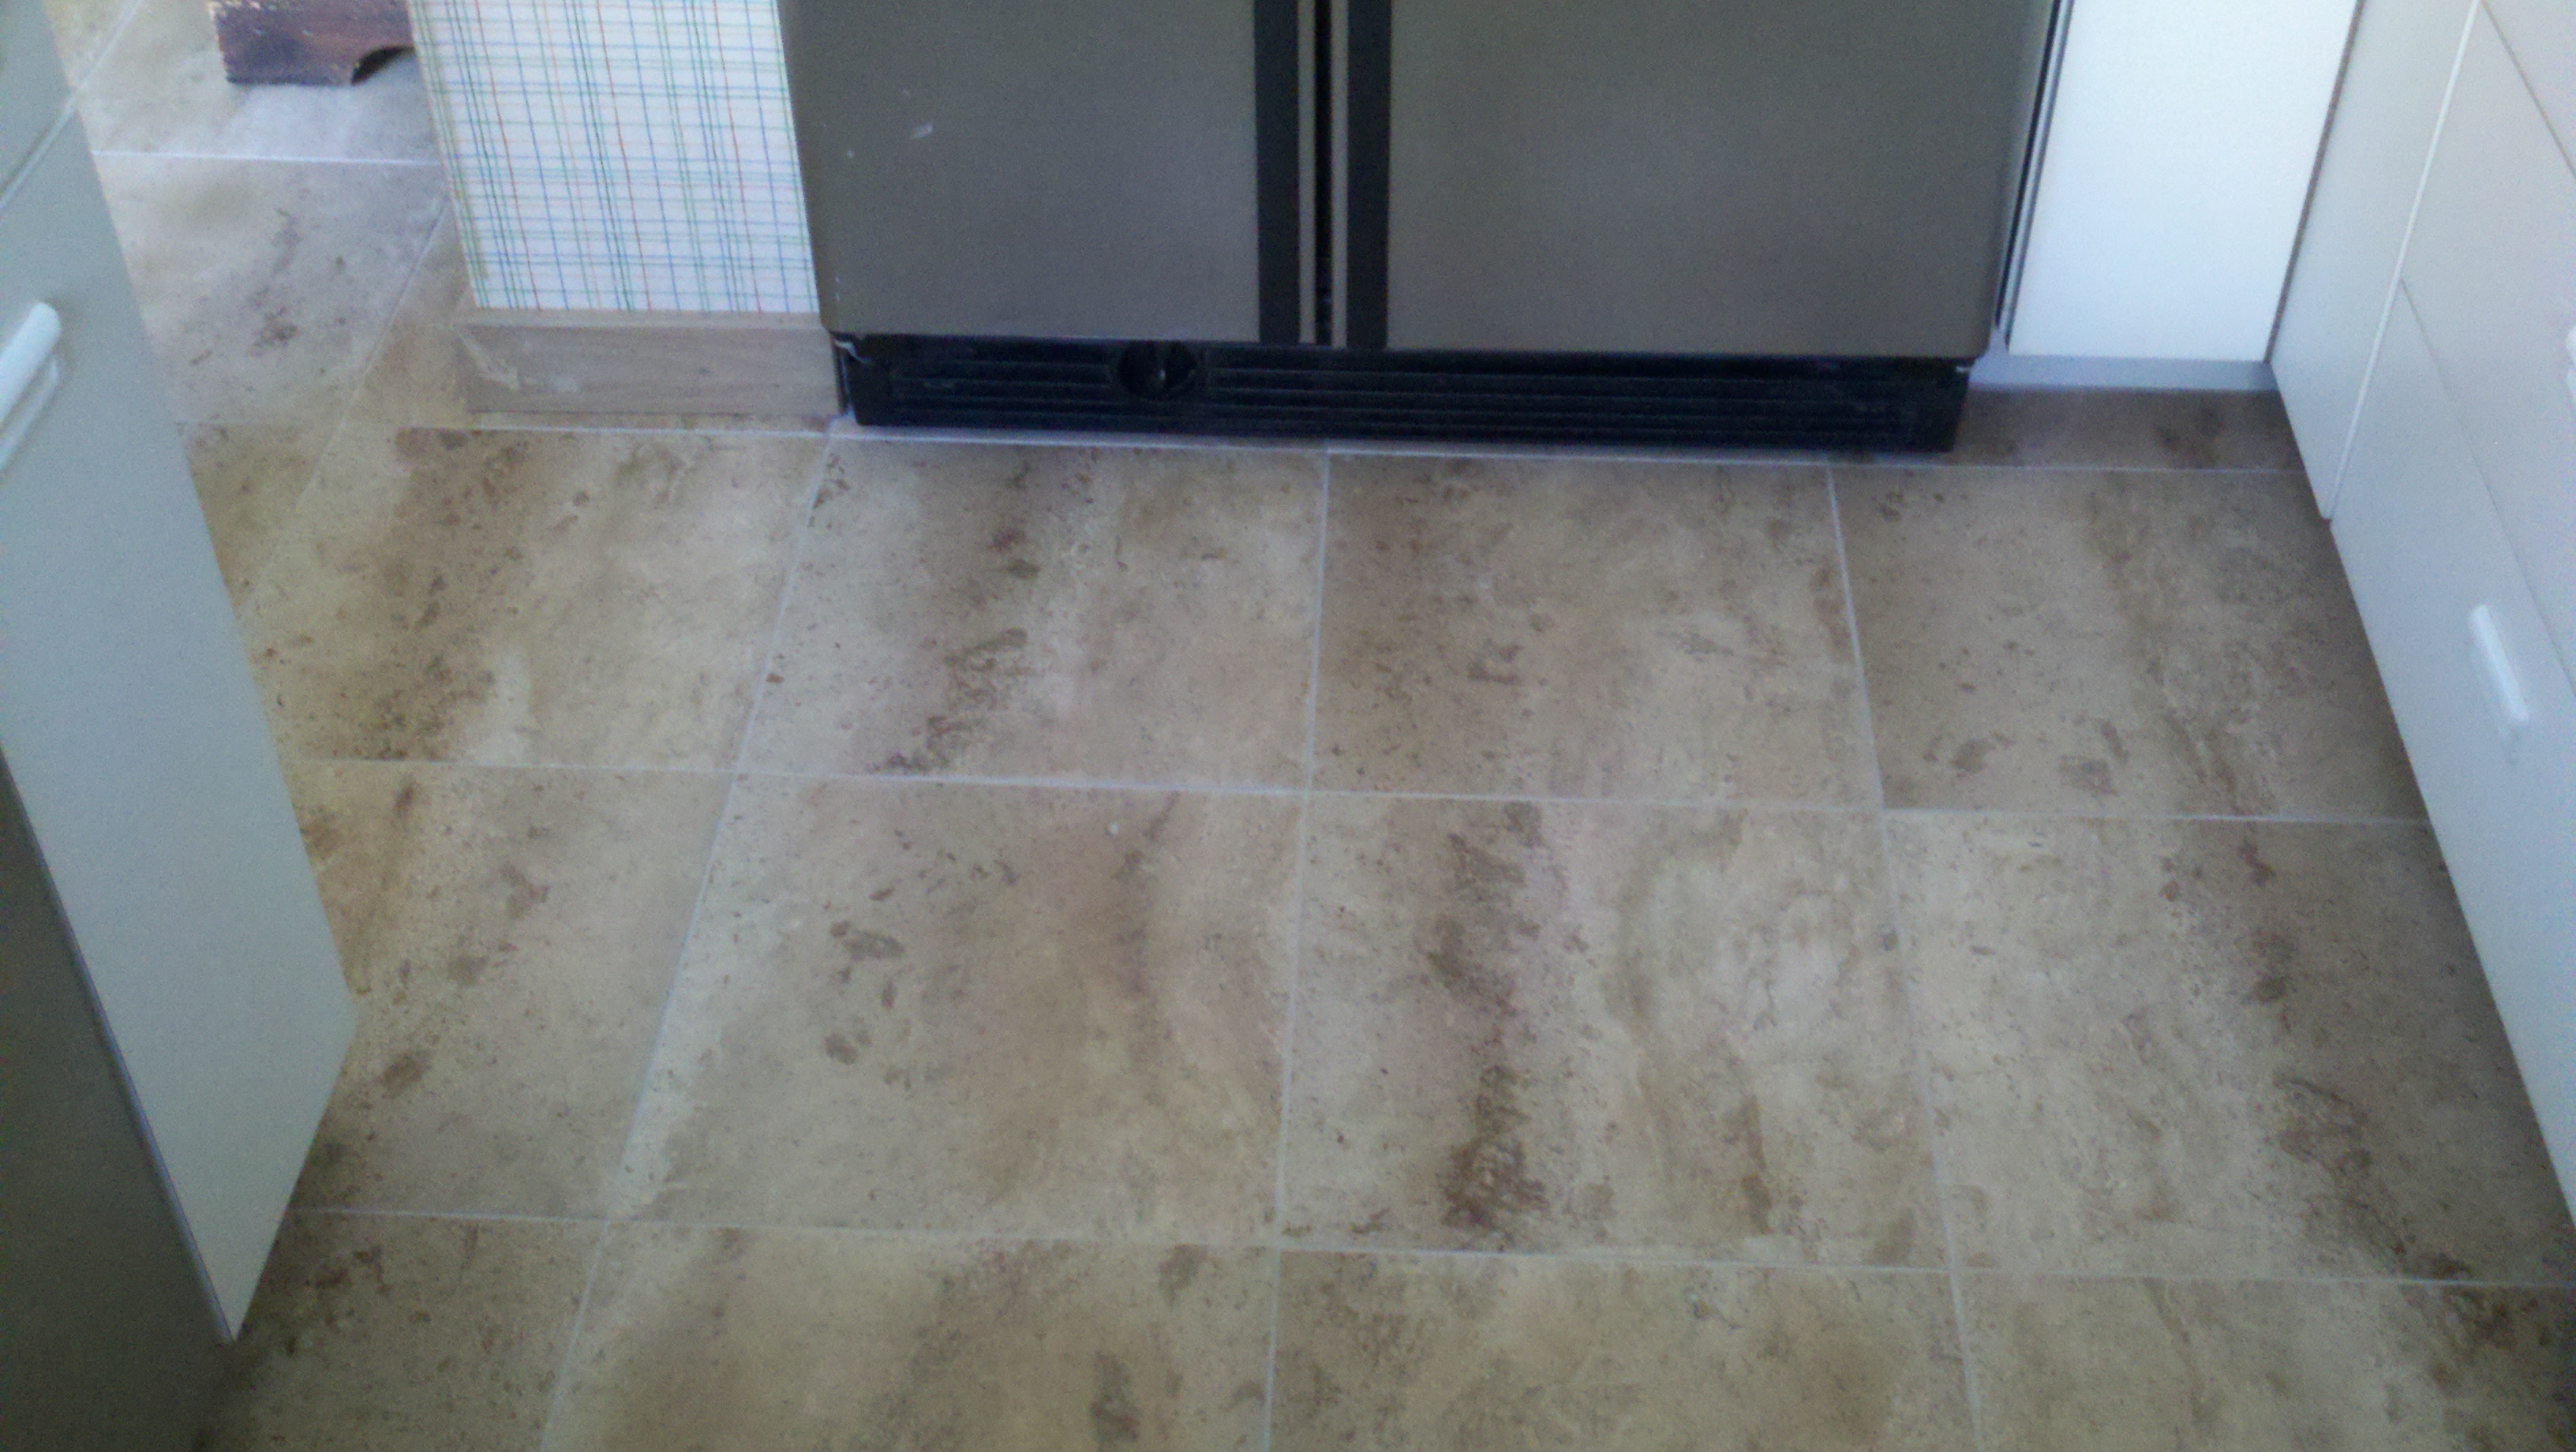
| 16" Tile Bathroom Floor | 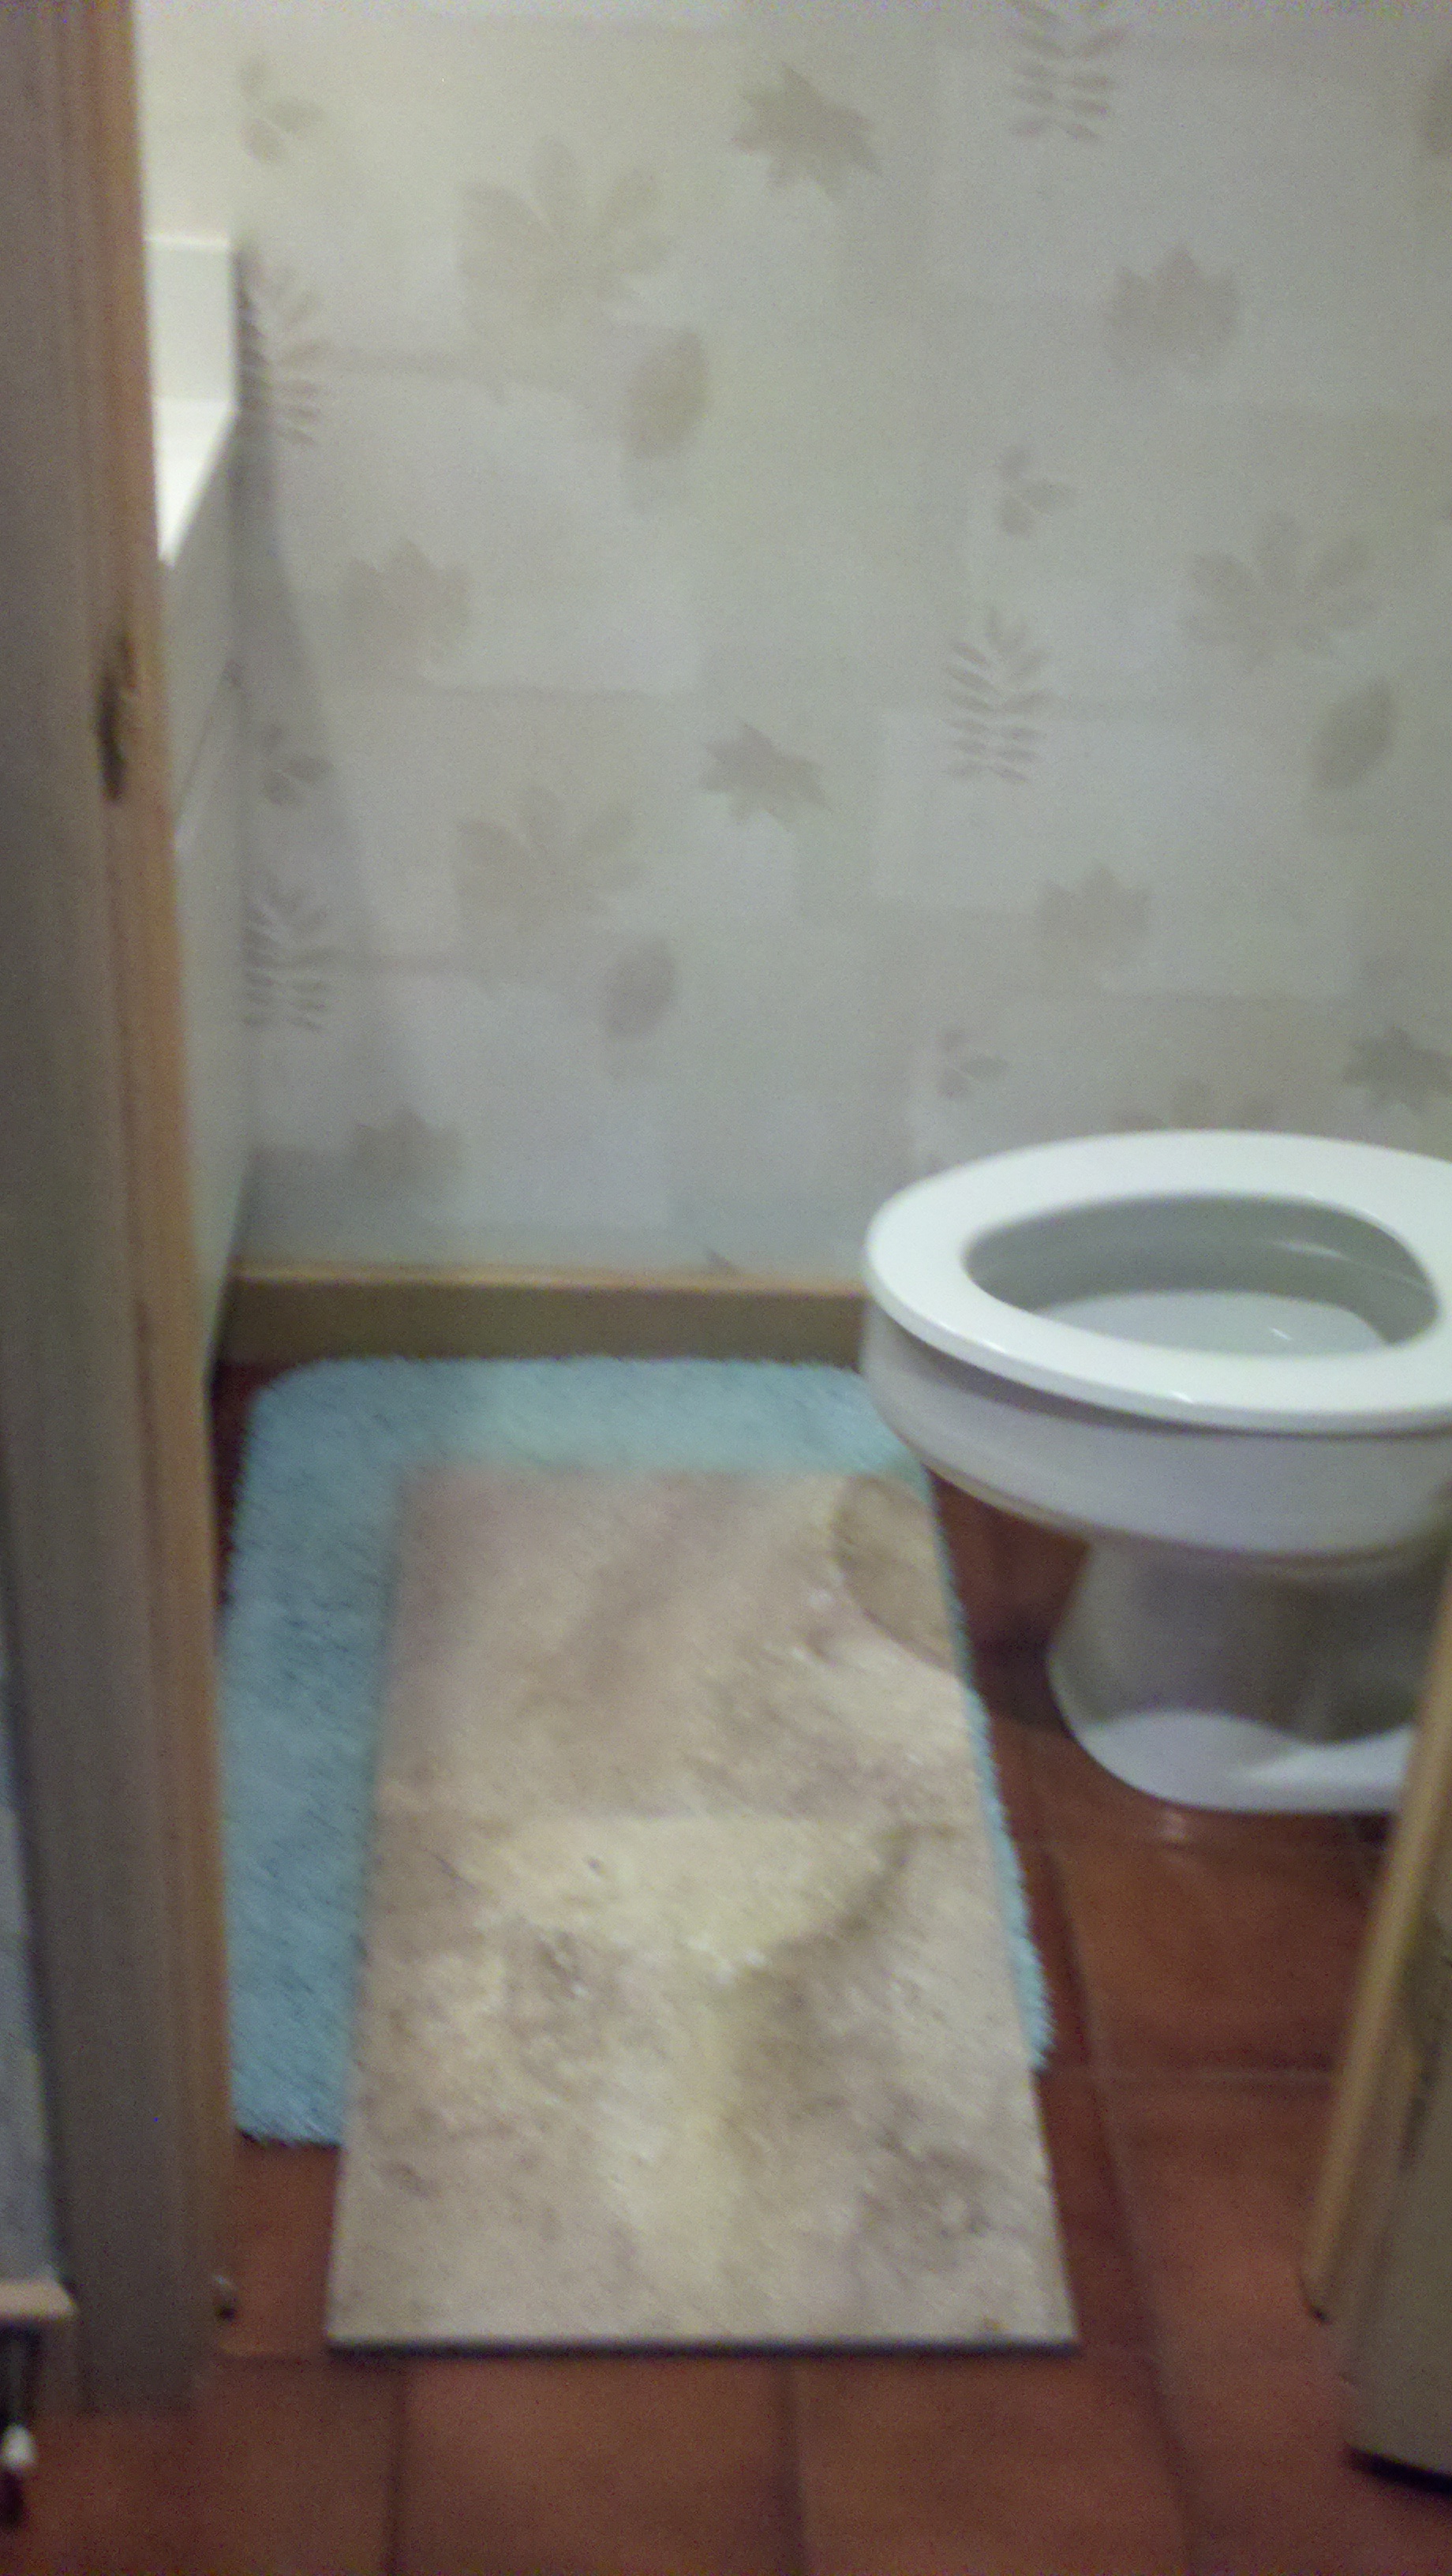 |
 |
||
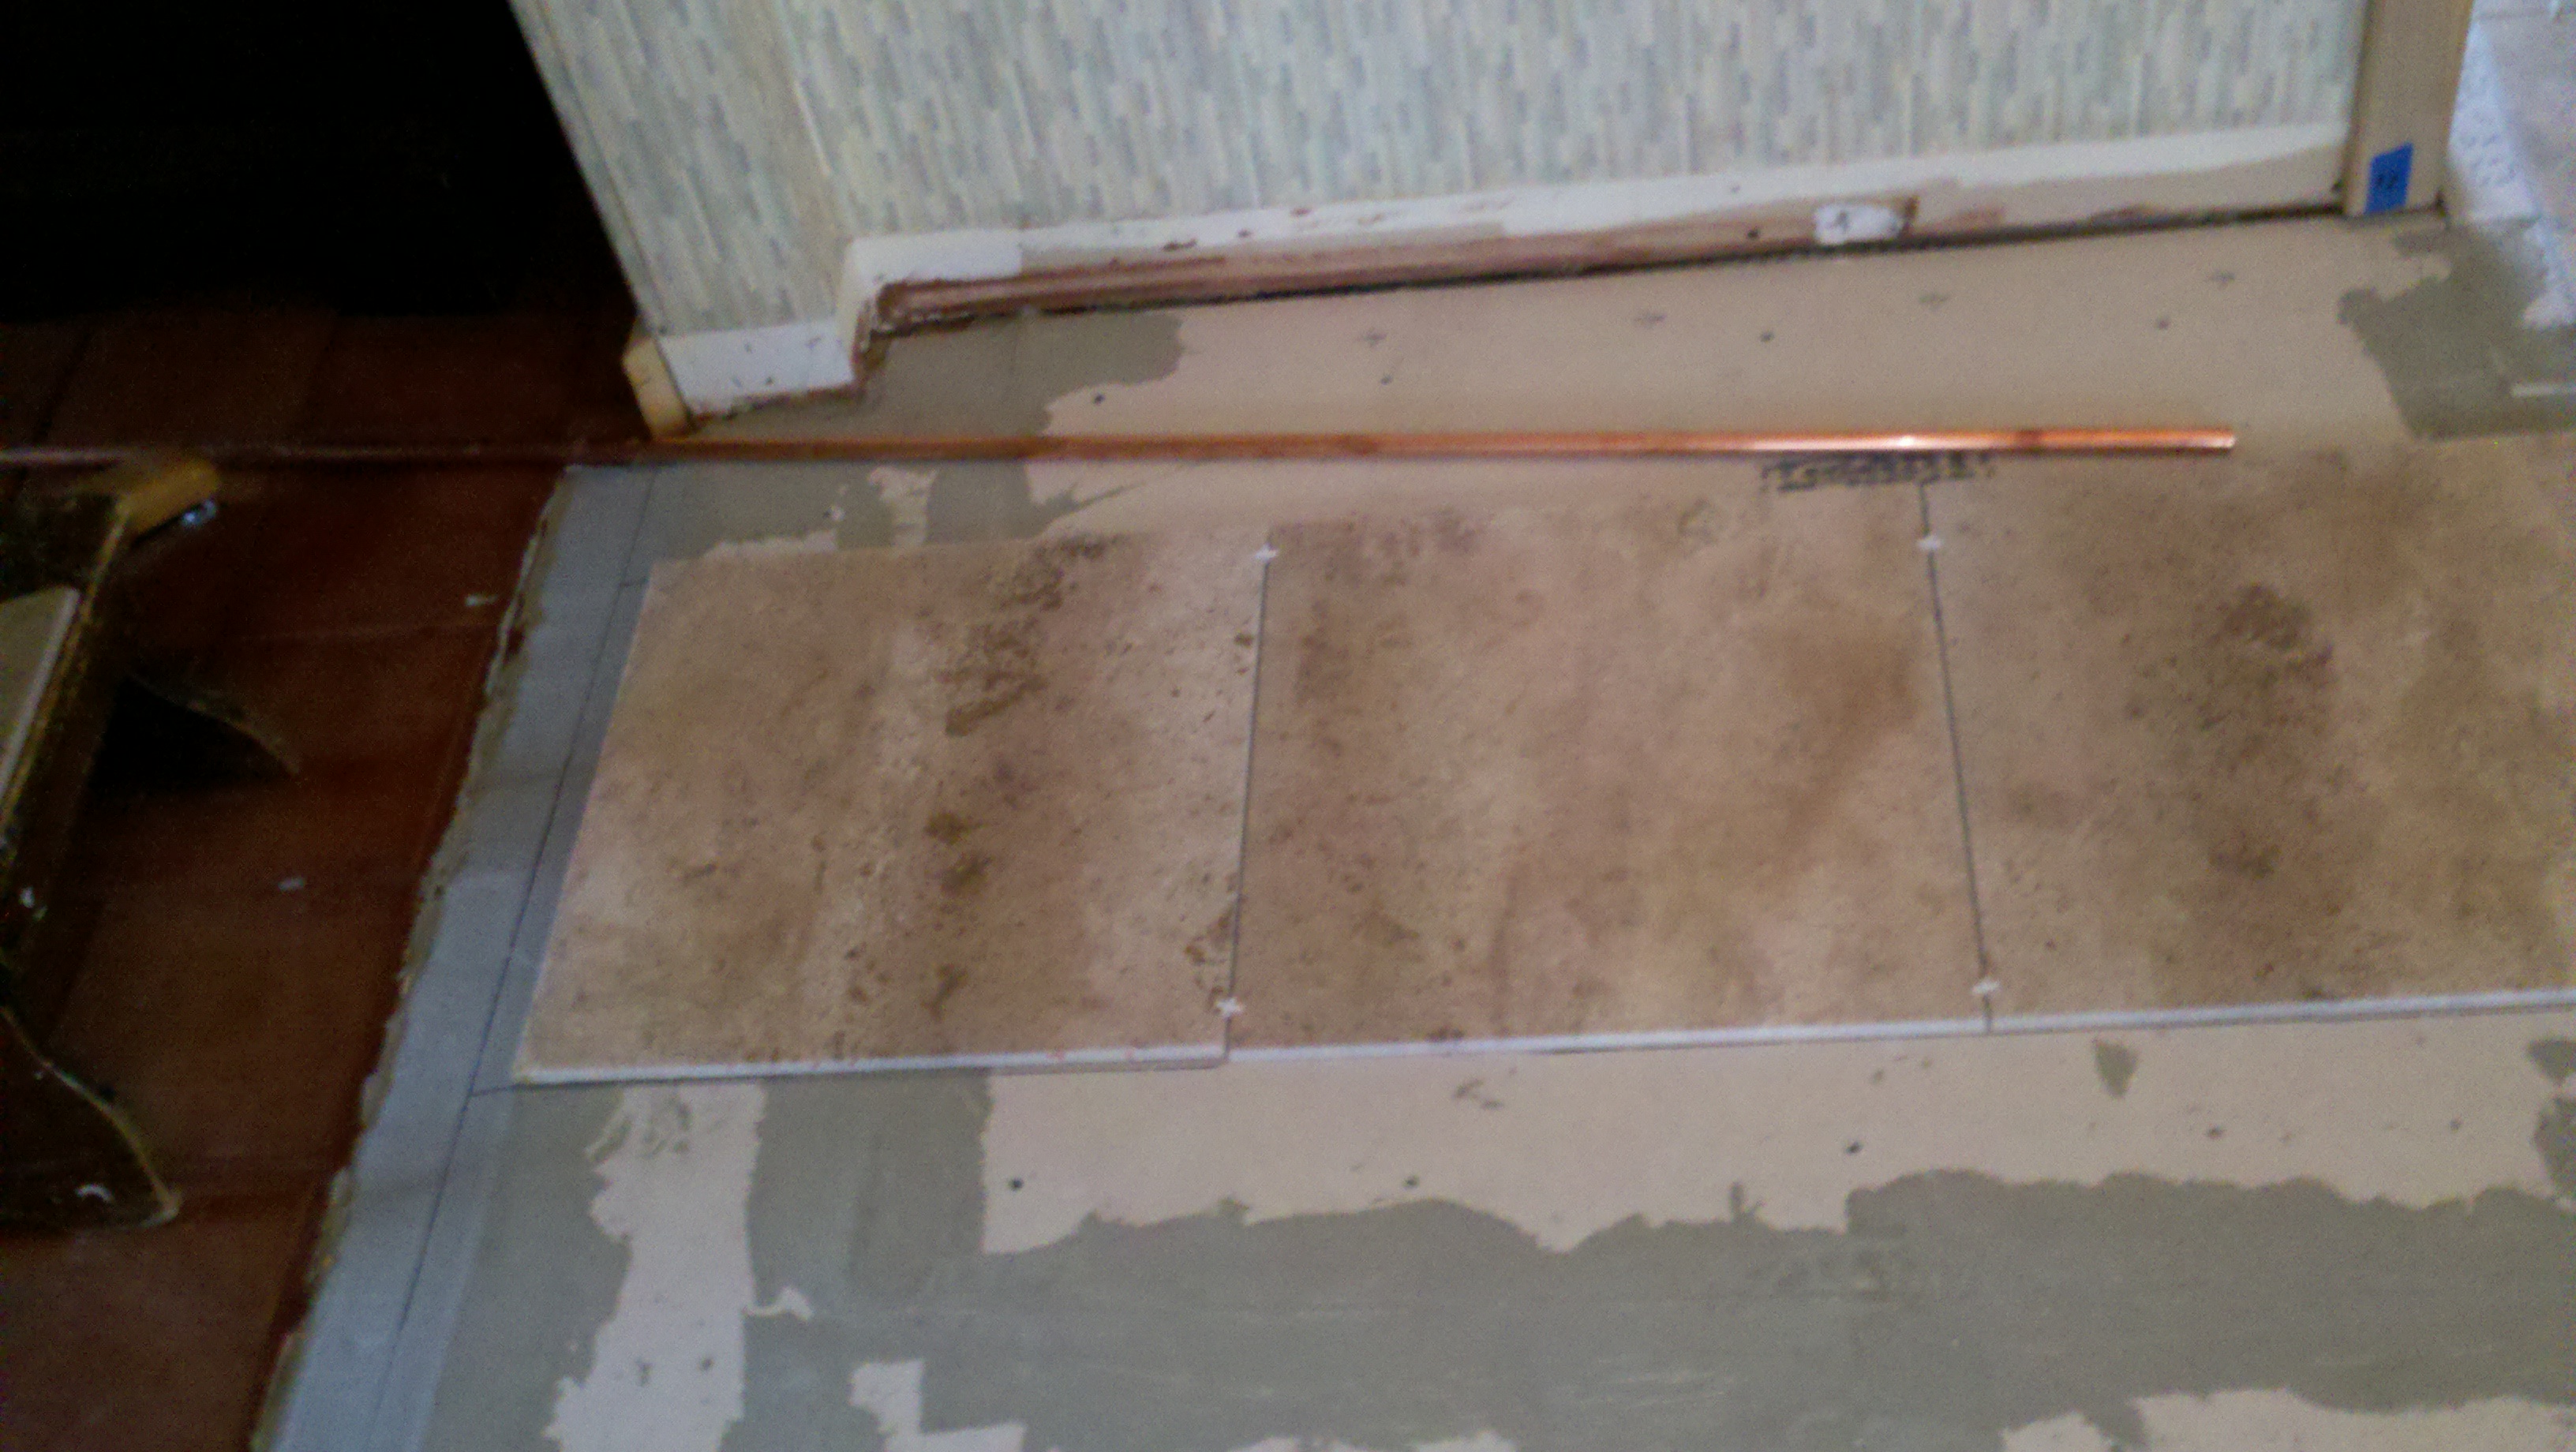
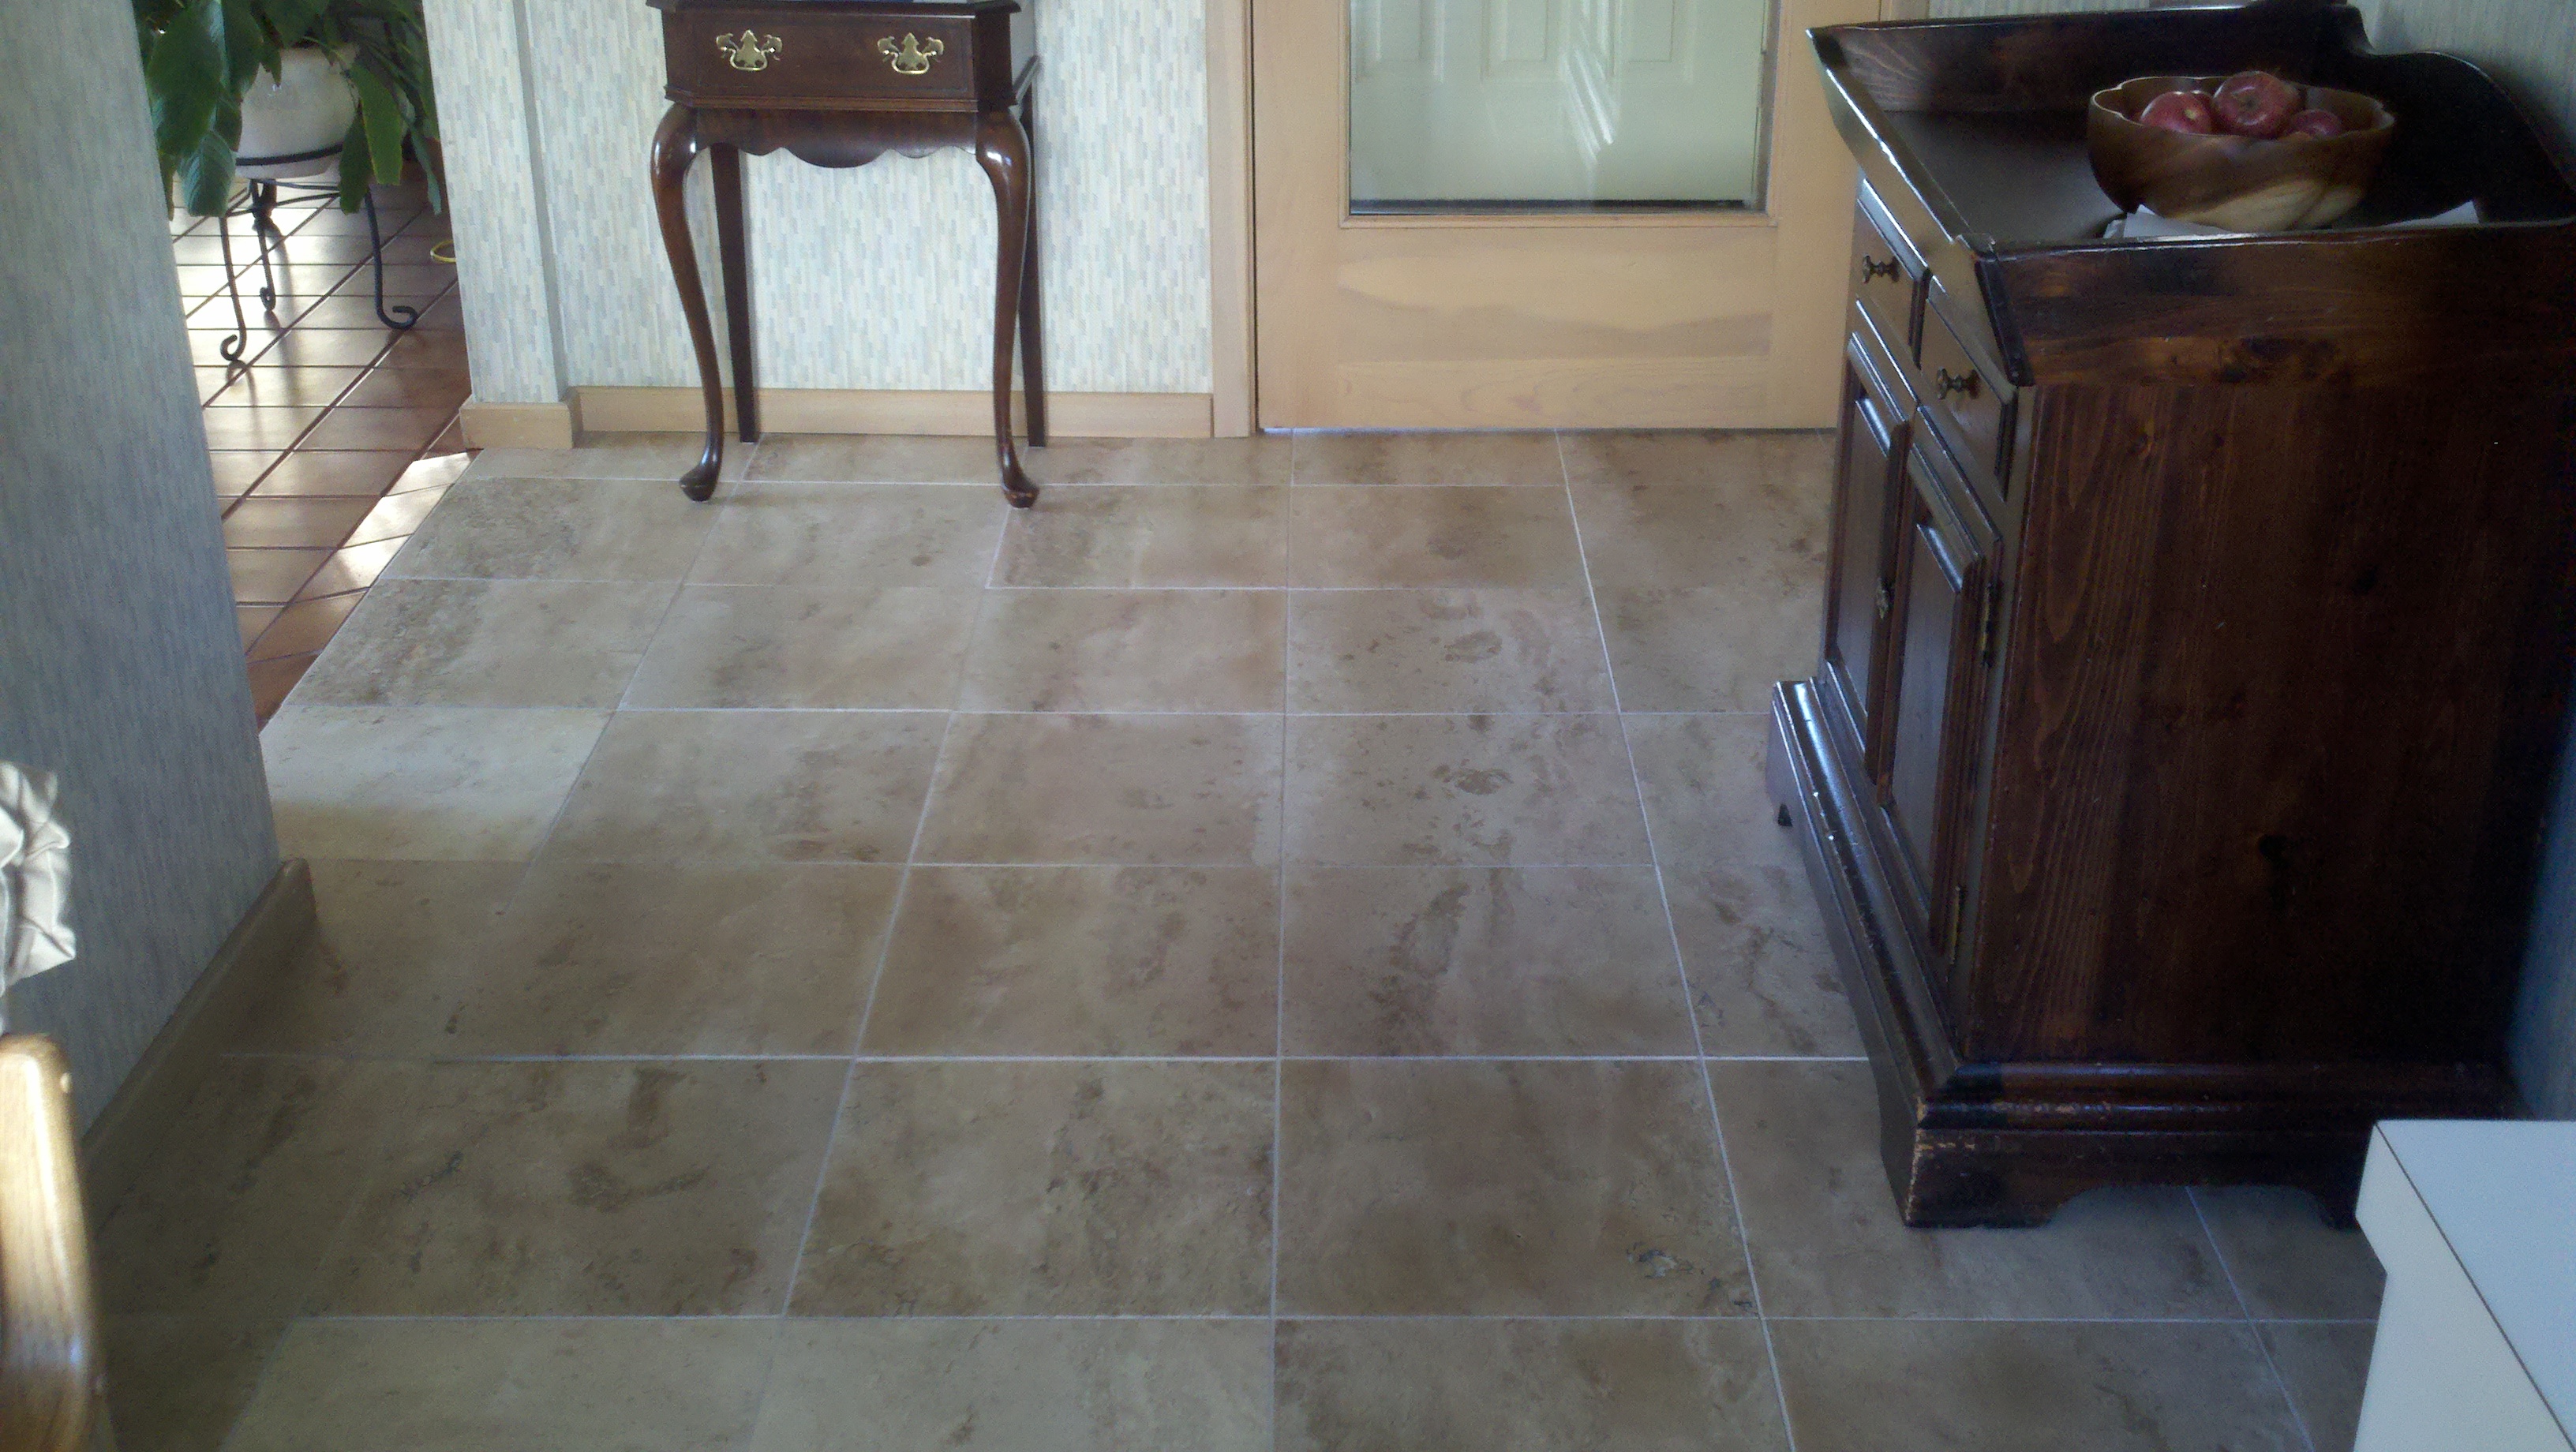
| 16" Tile Hallway | 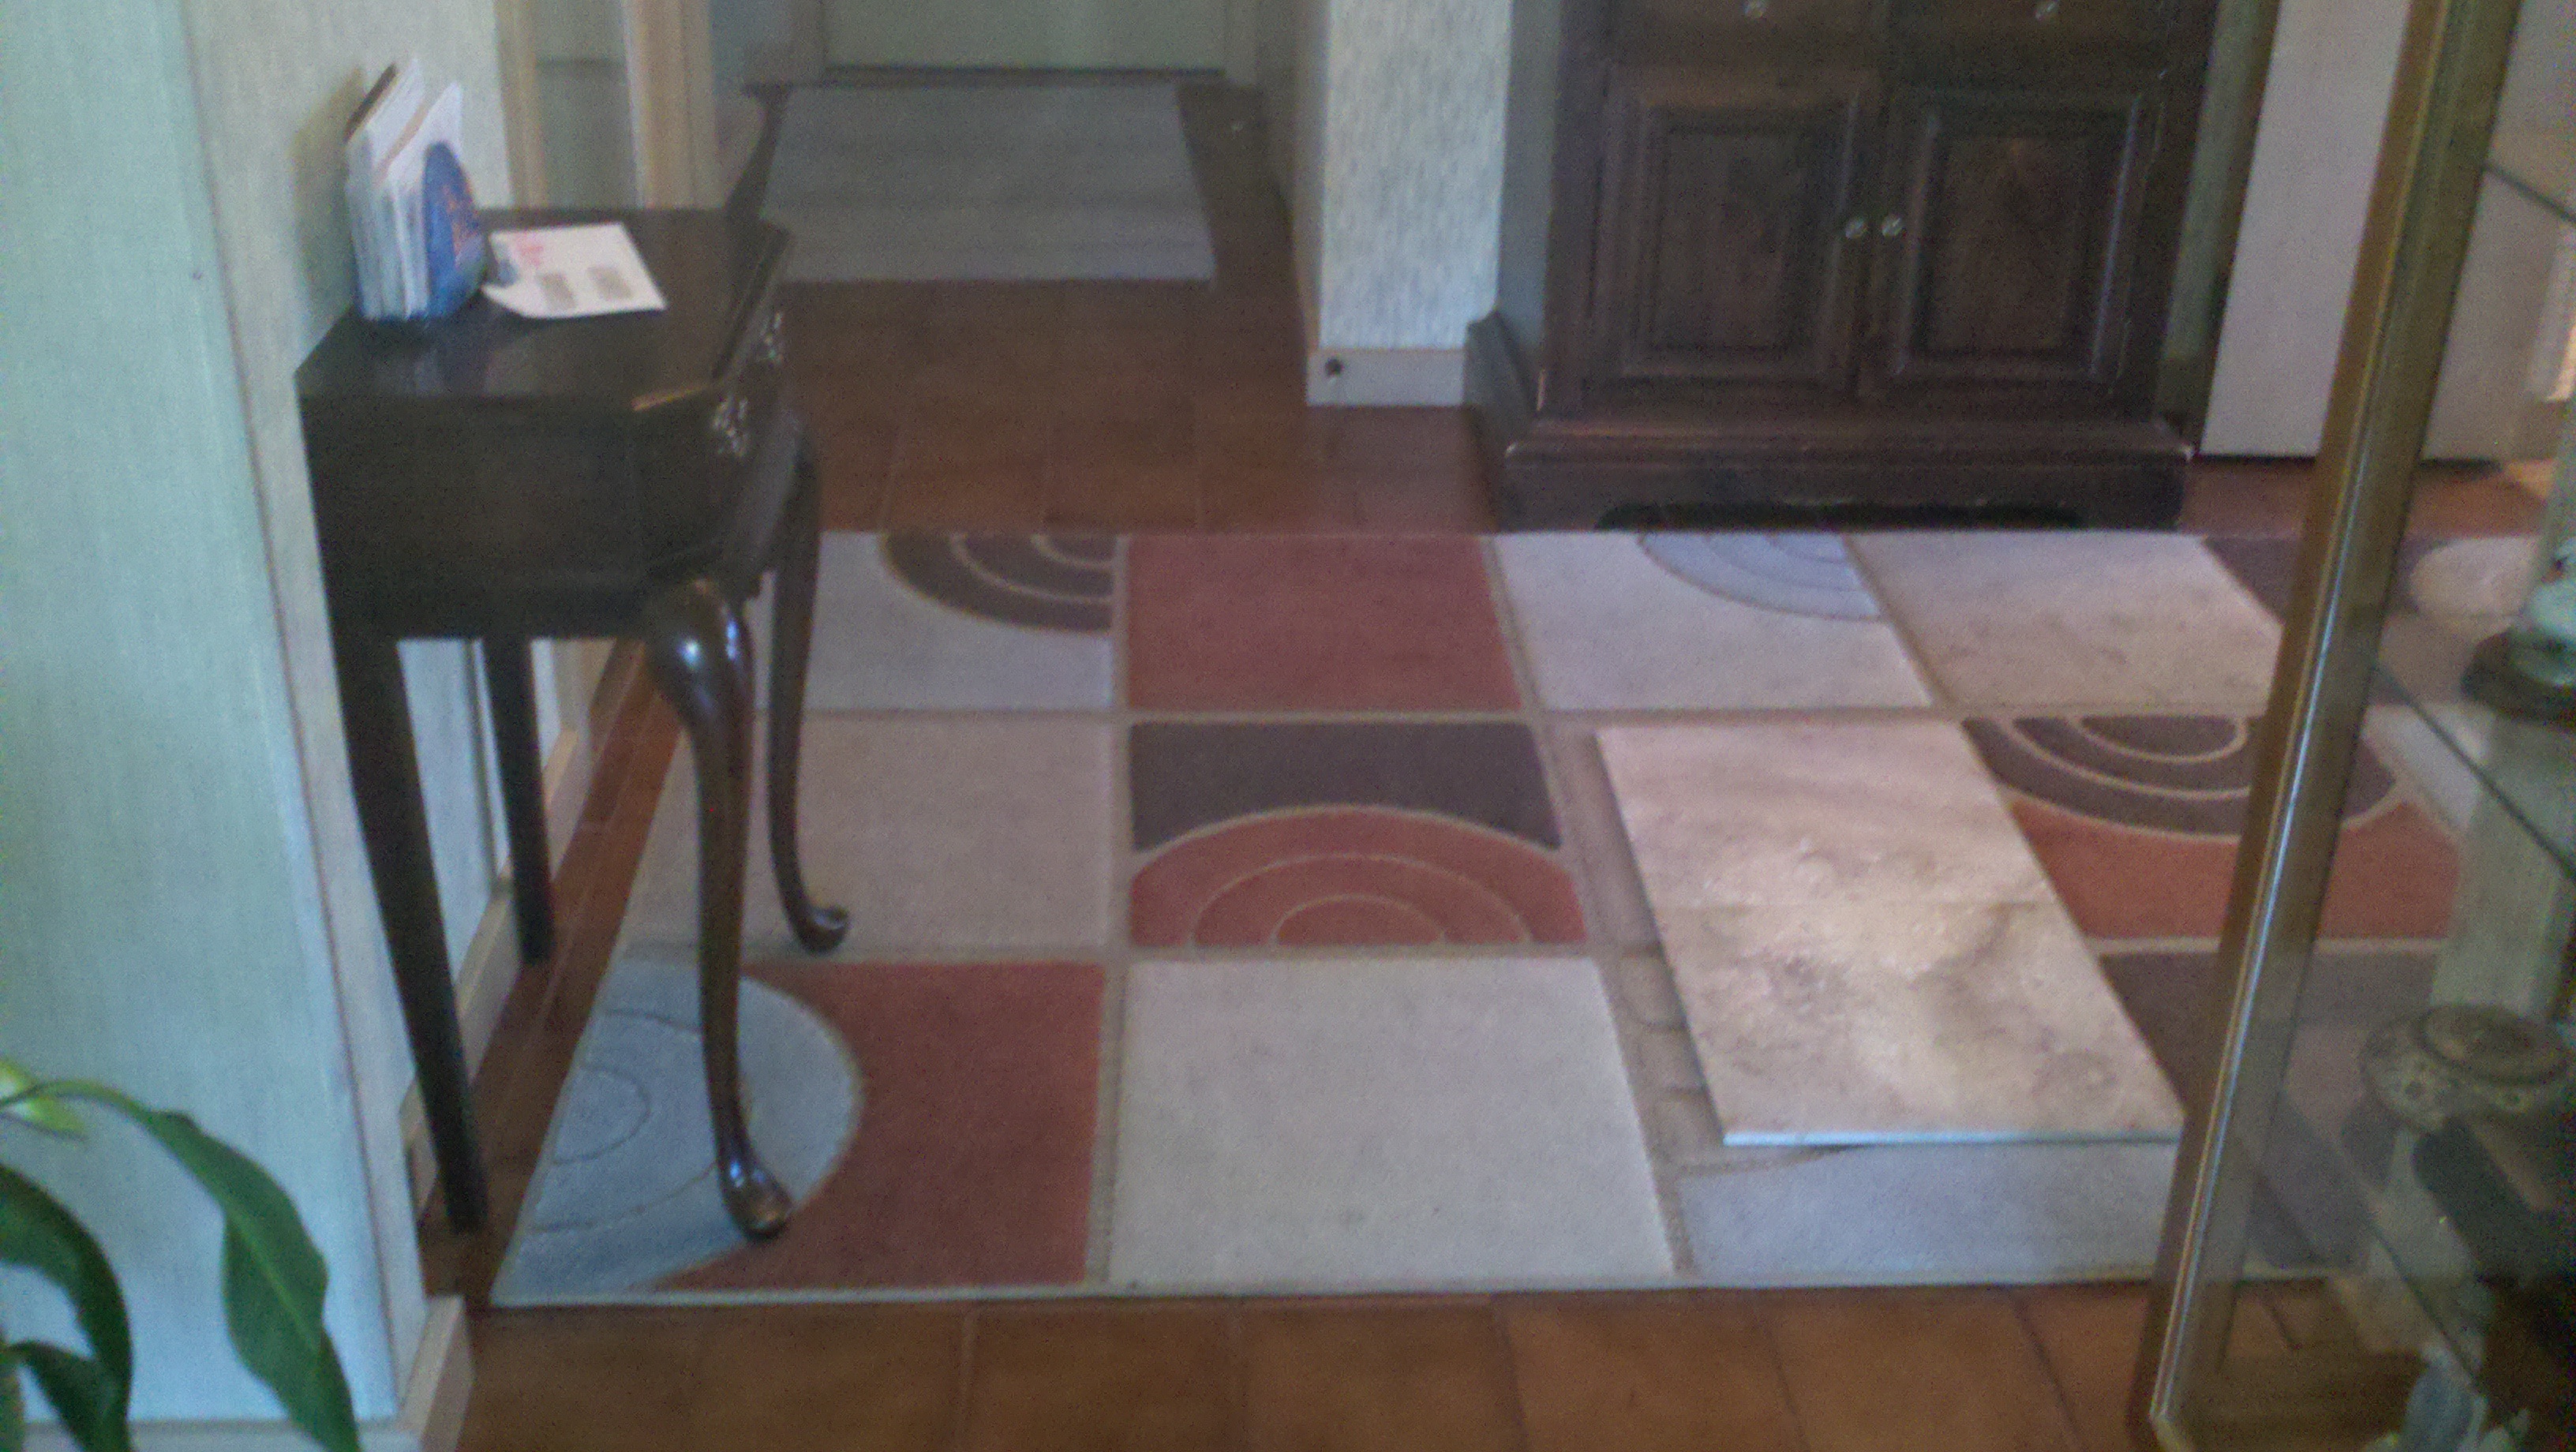 |
 |
||
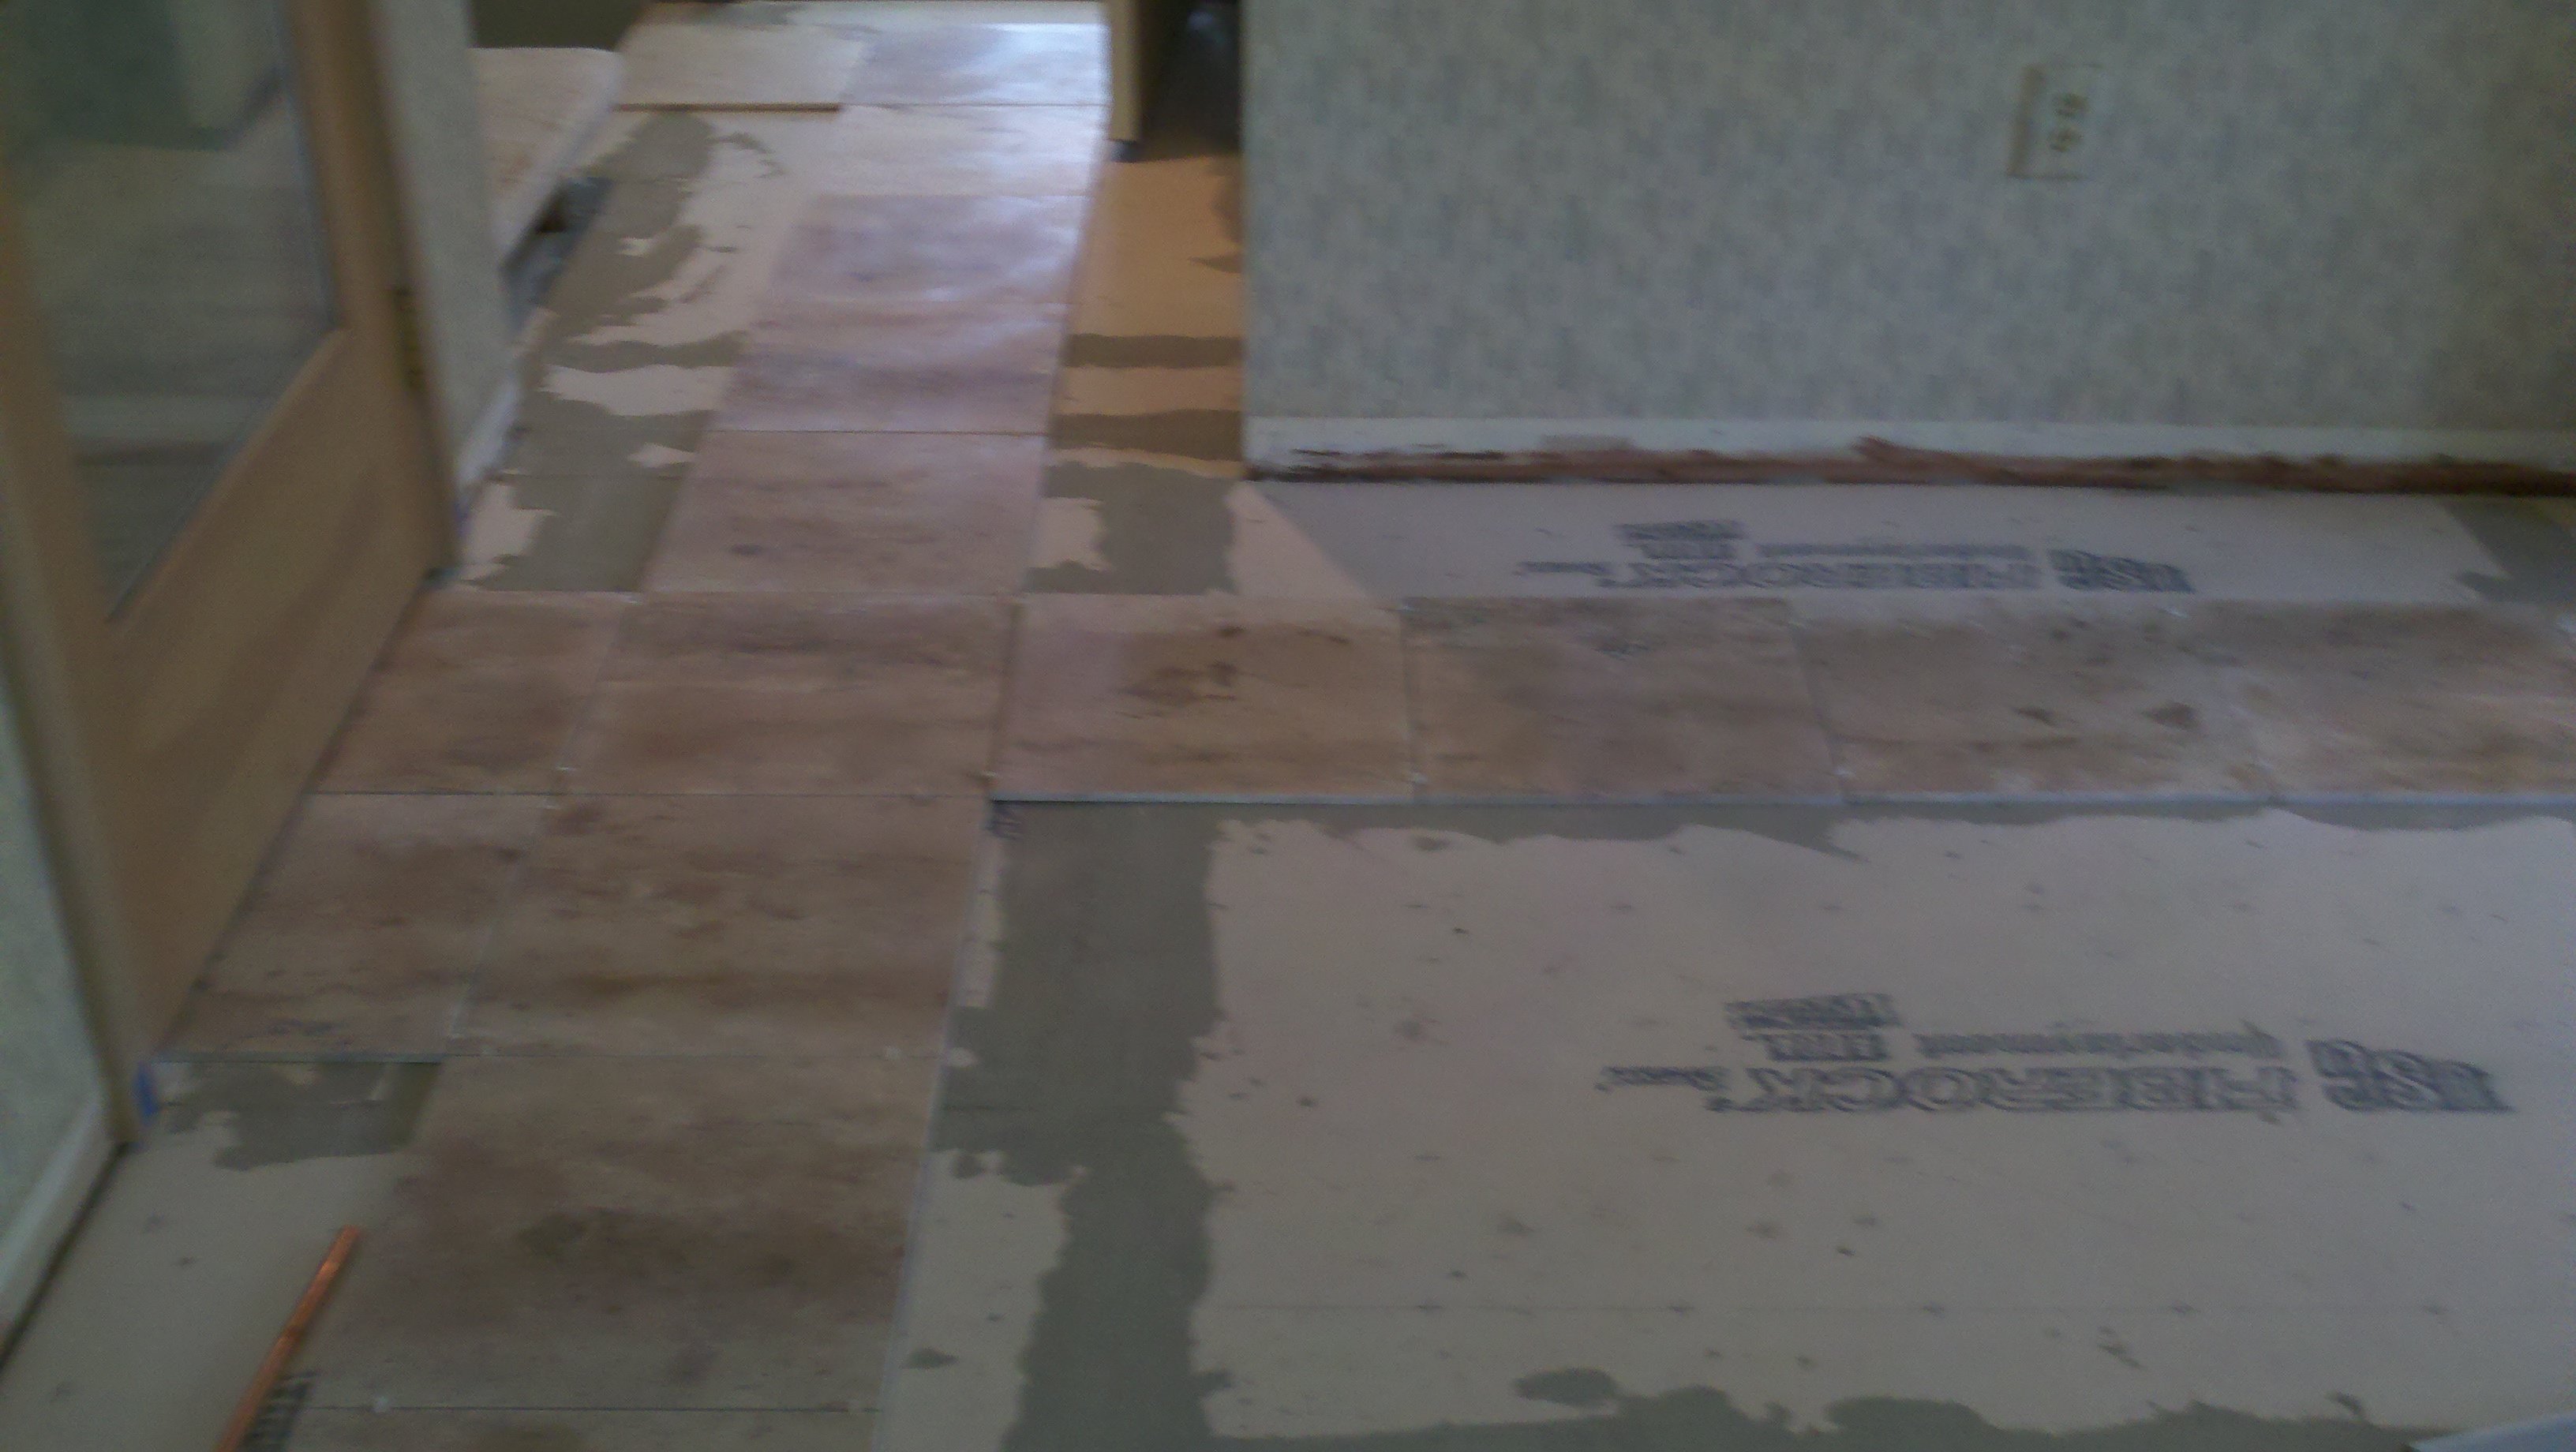
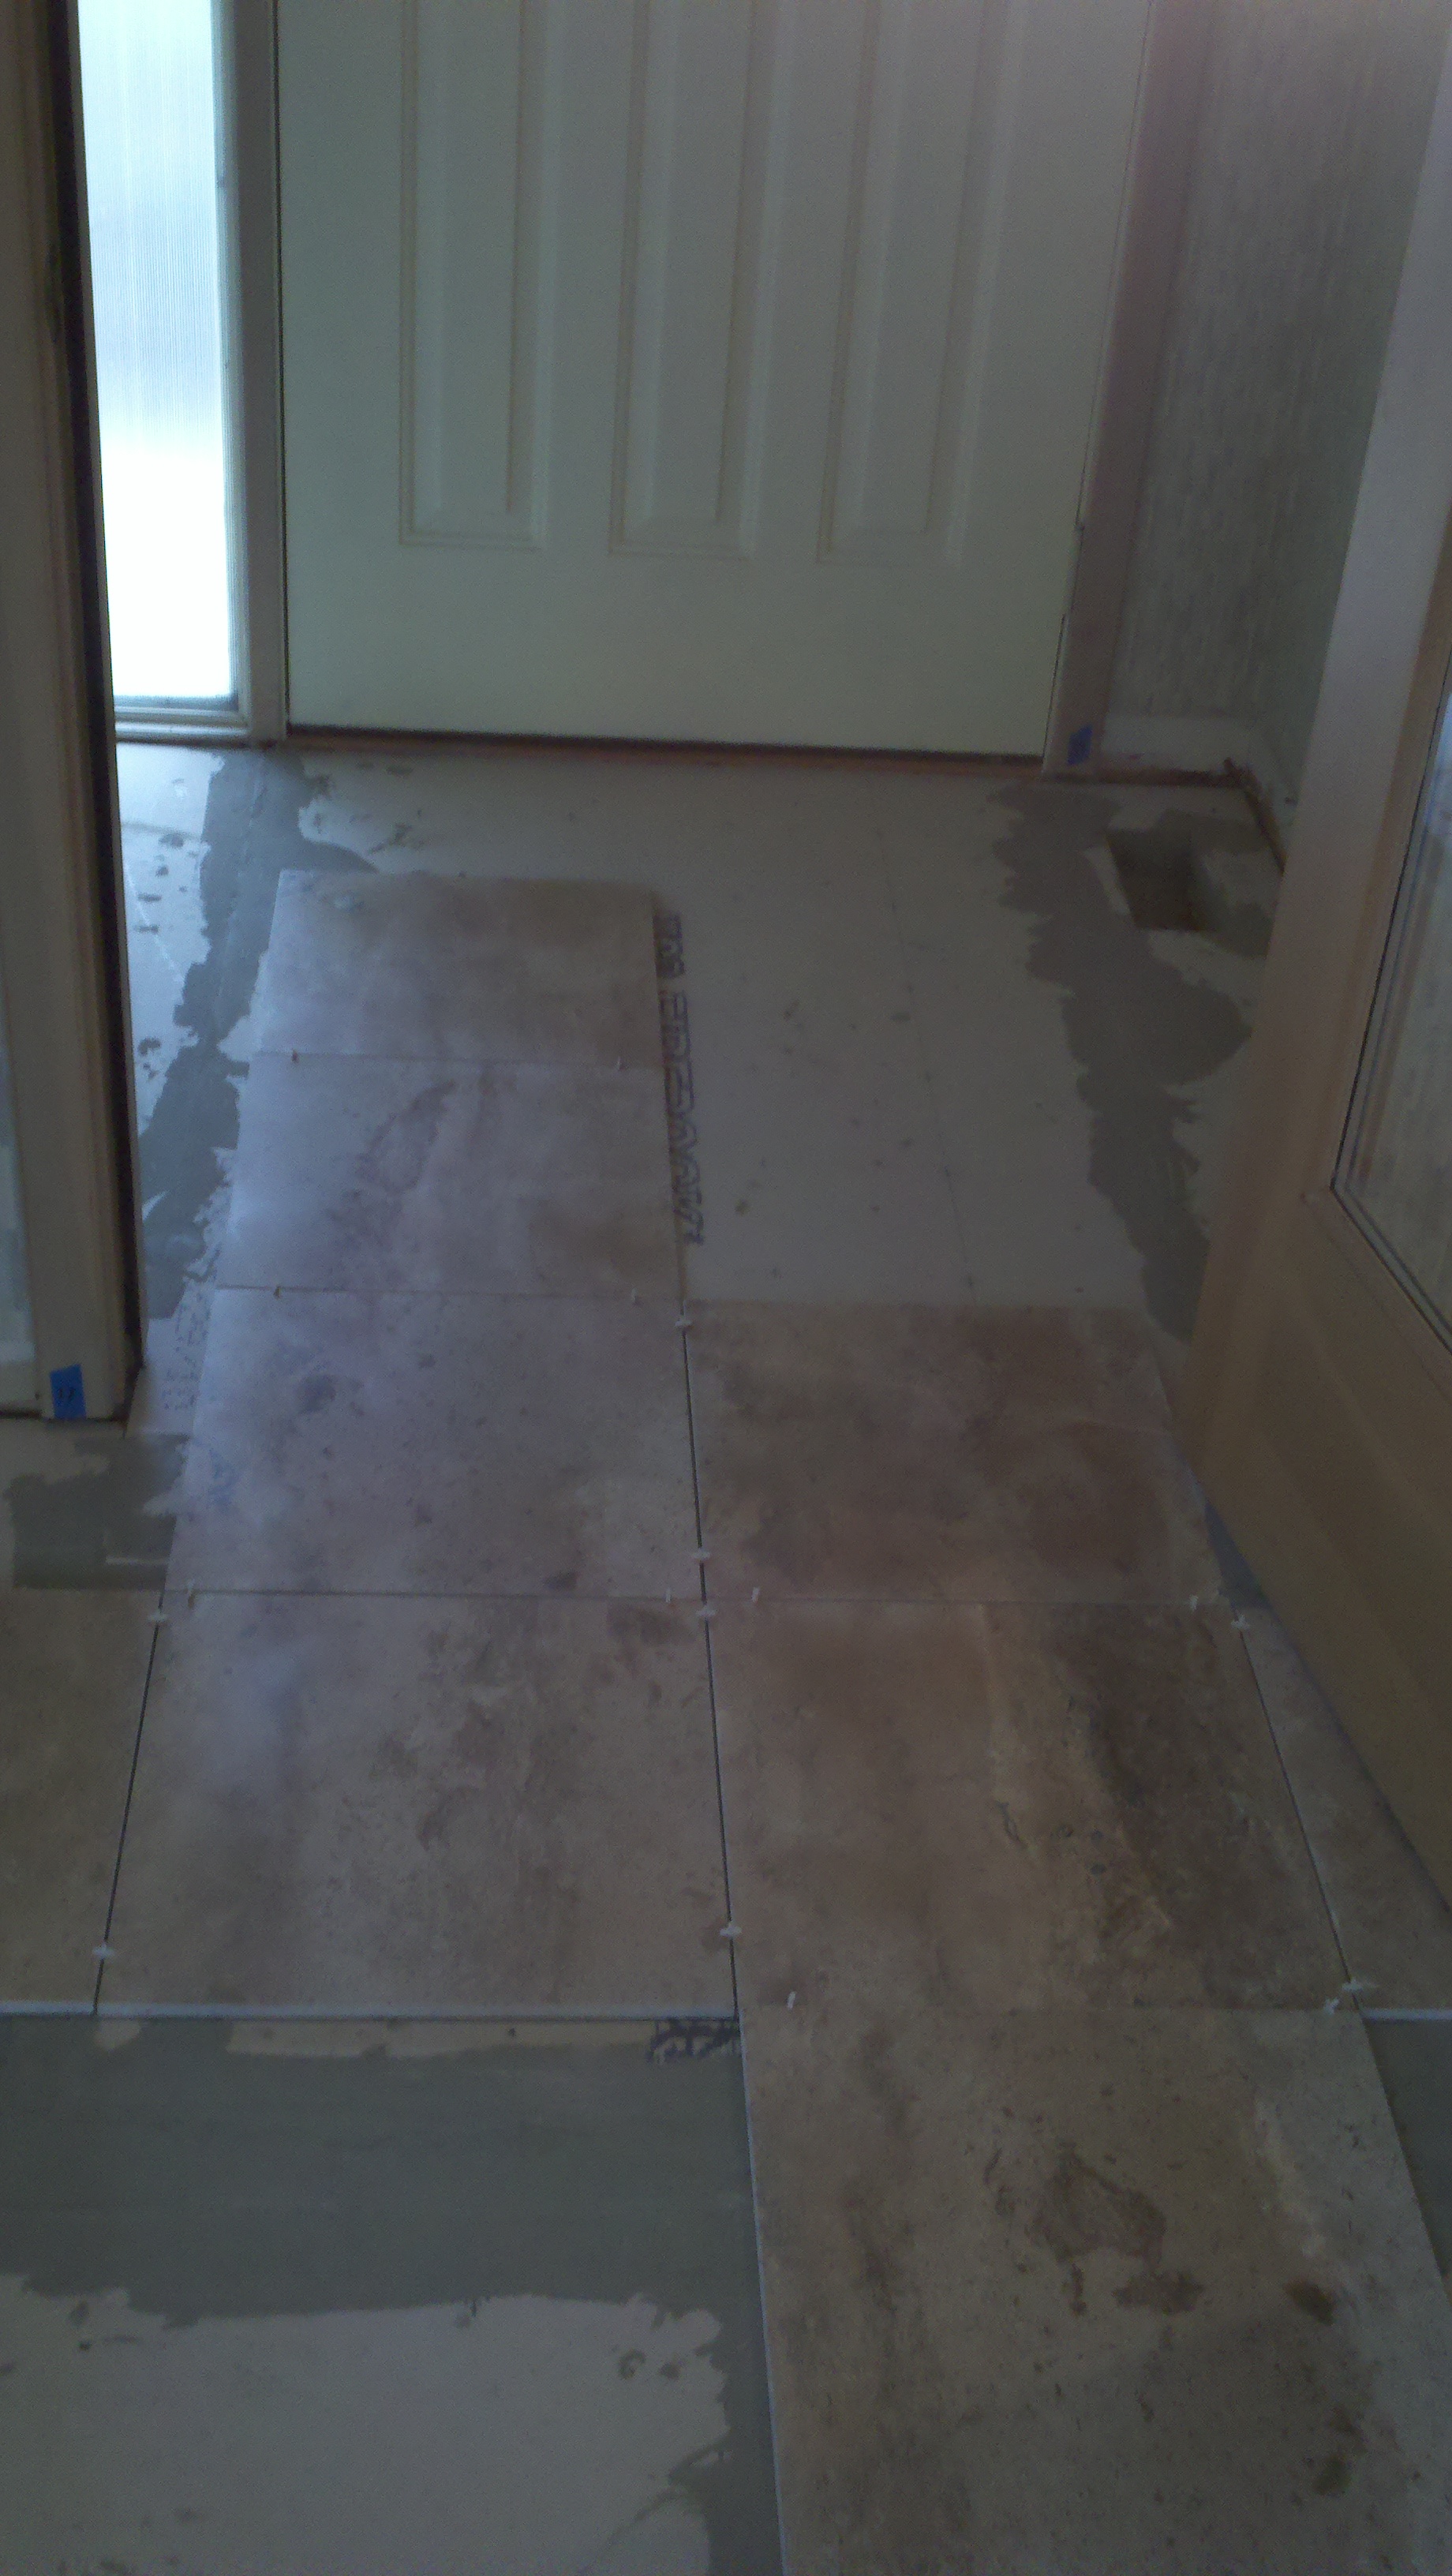
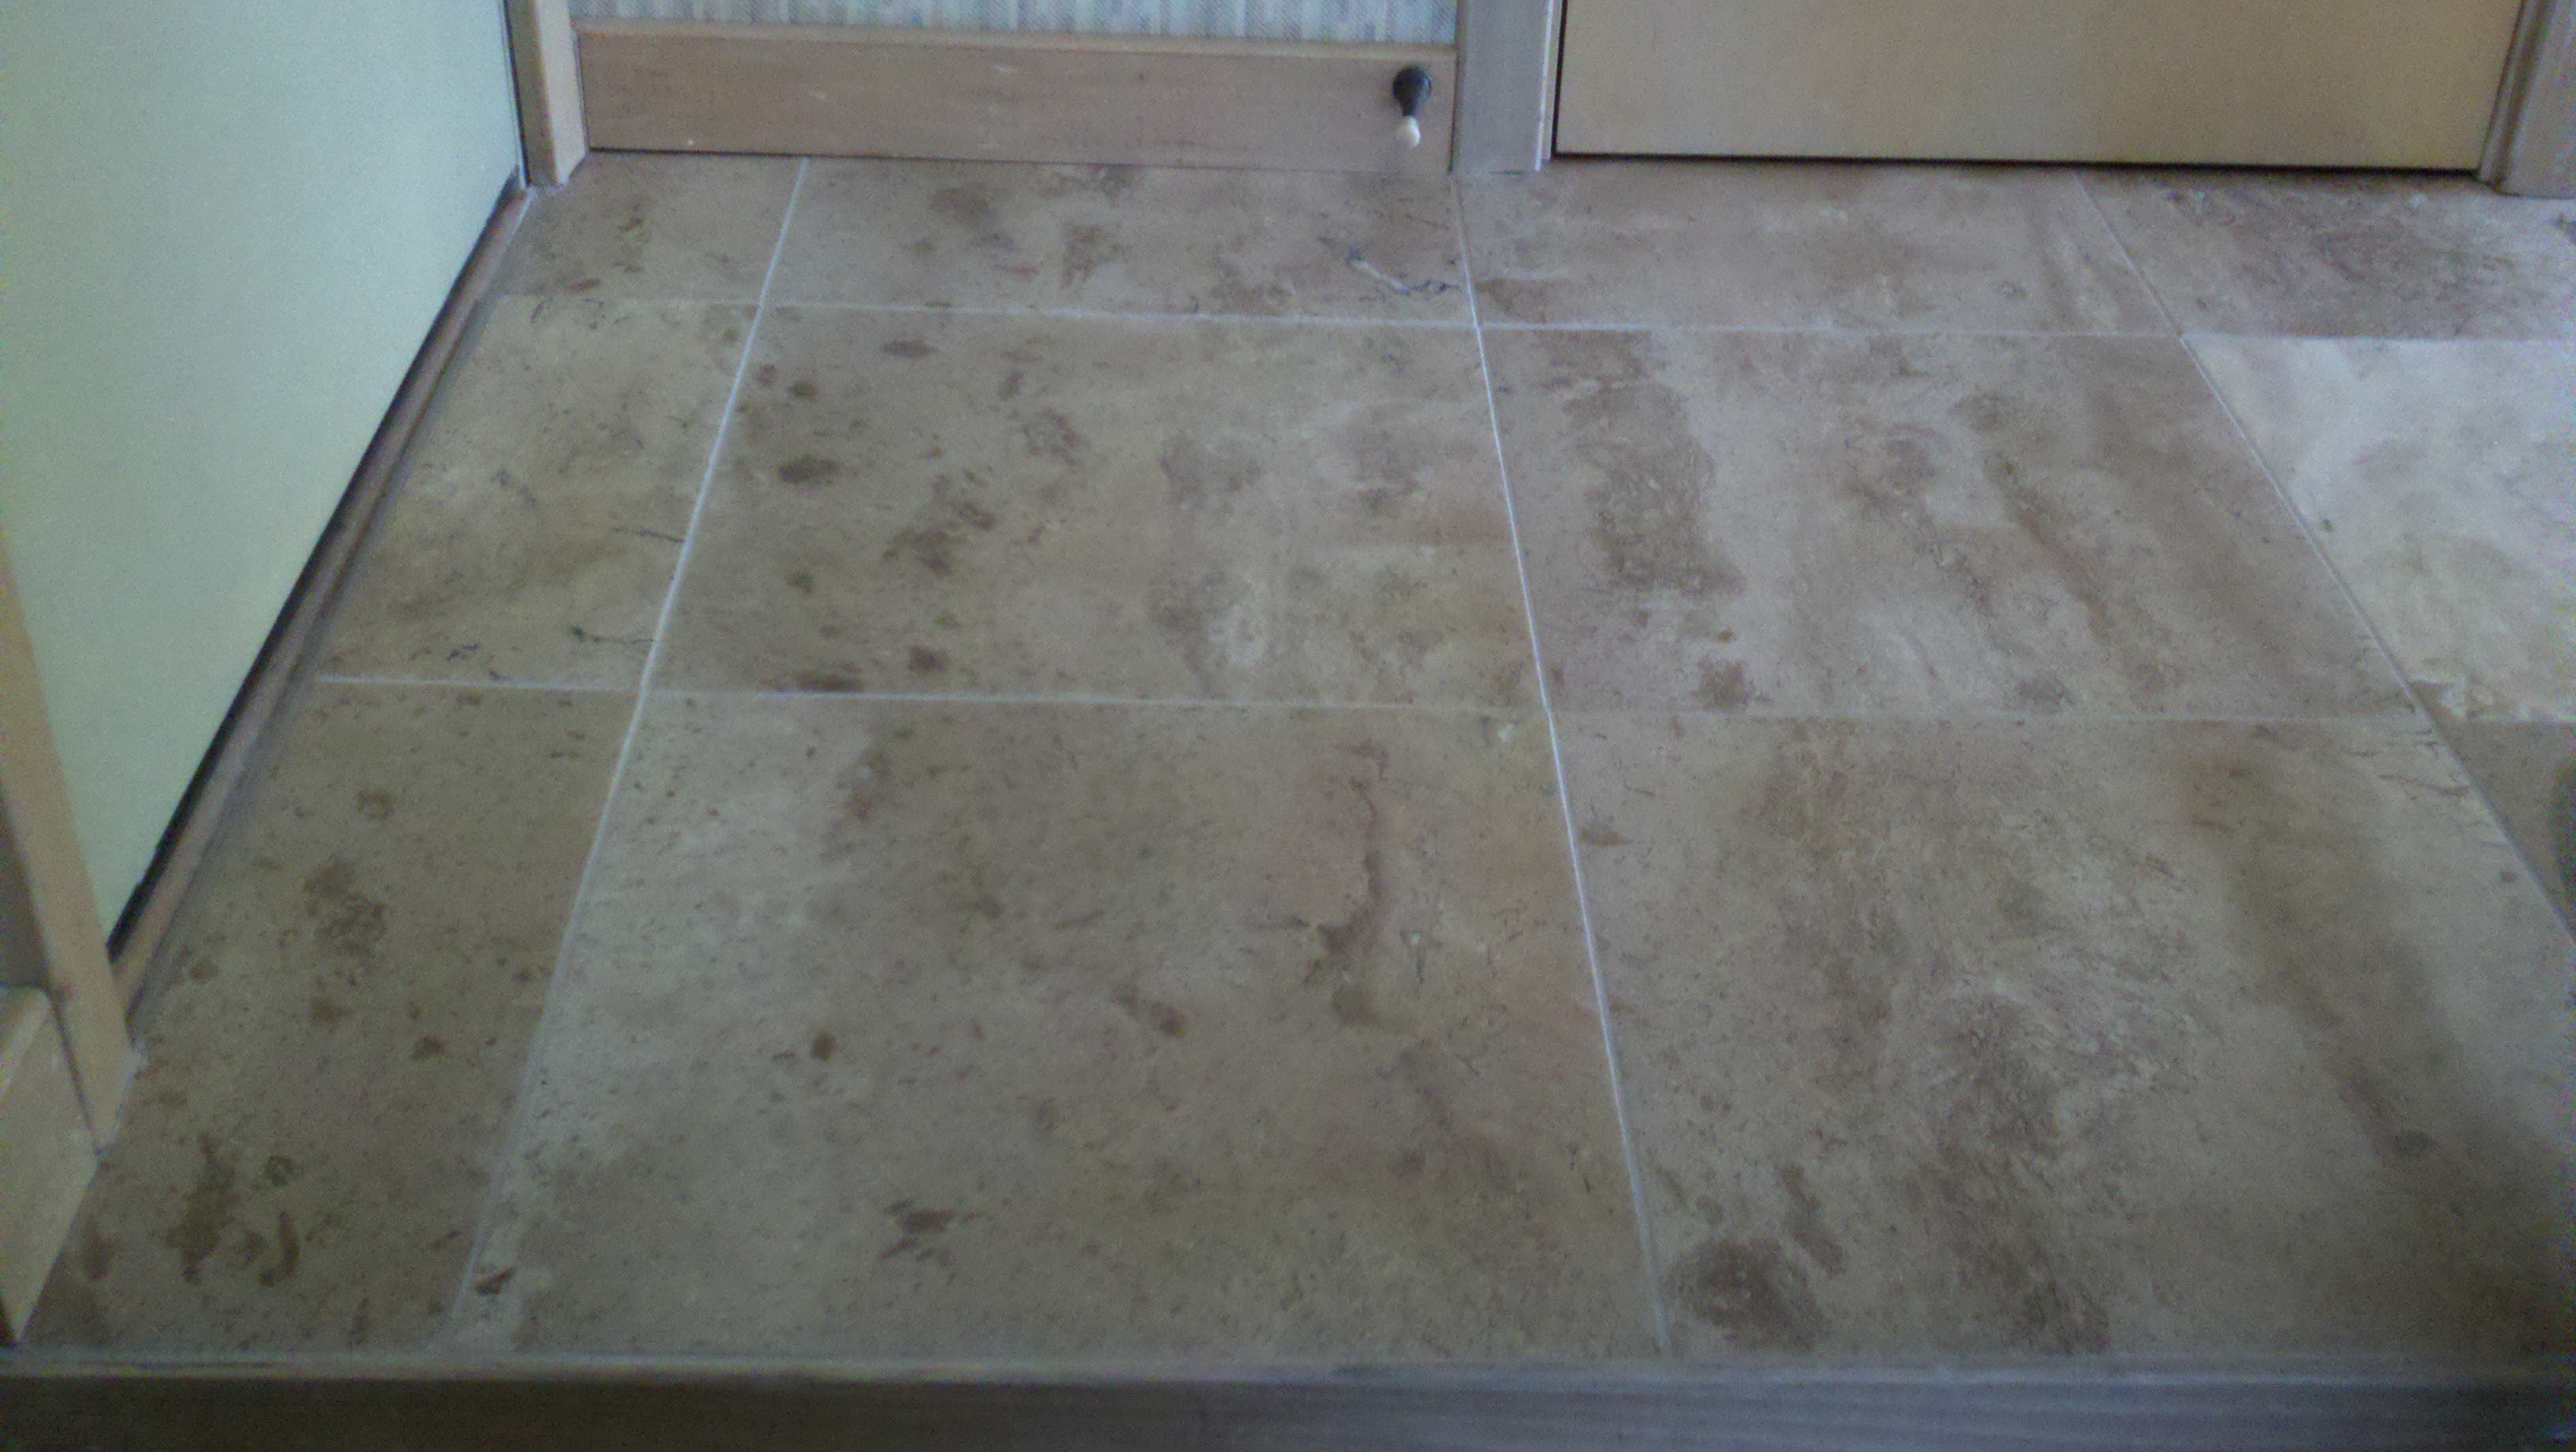
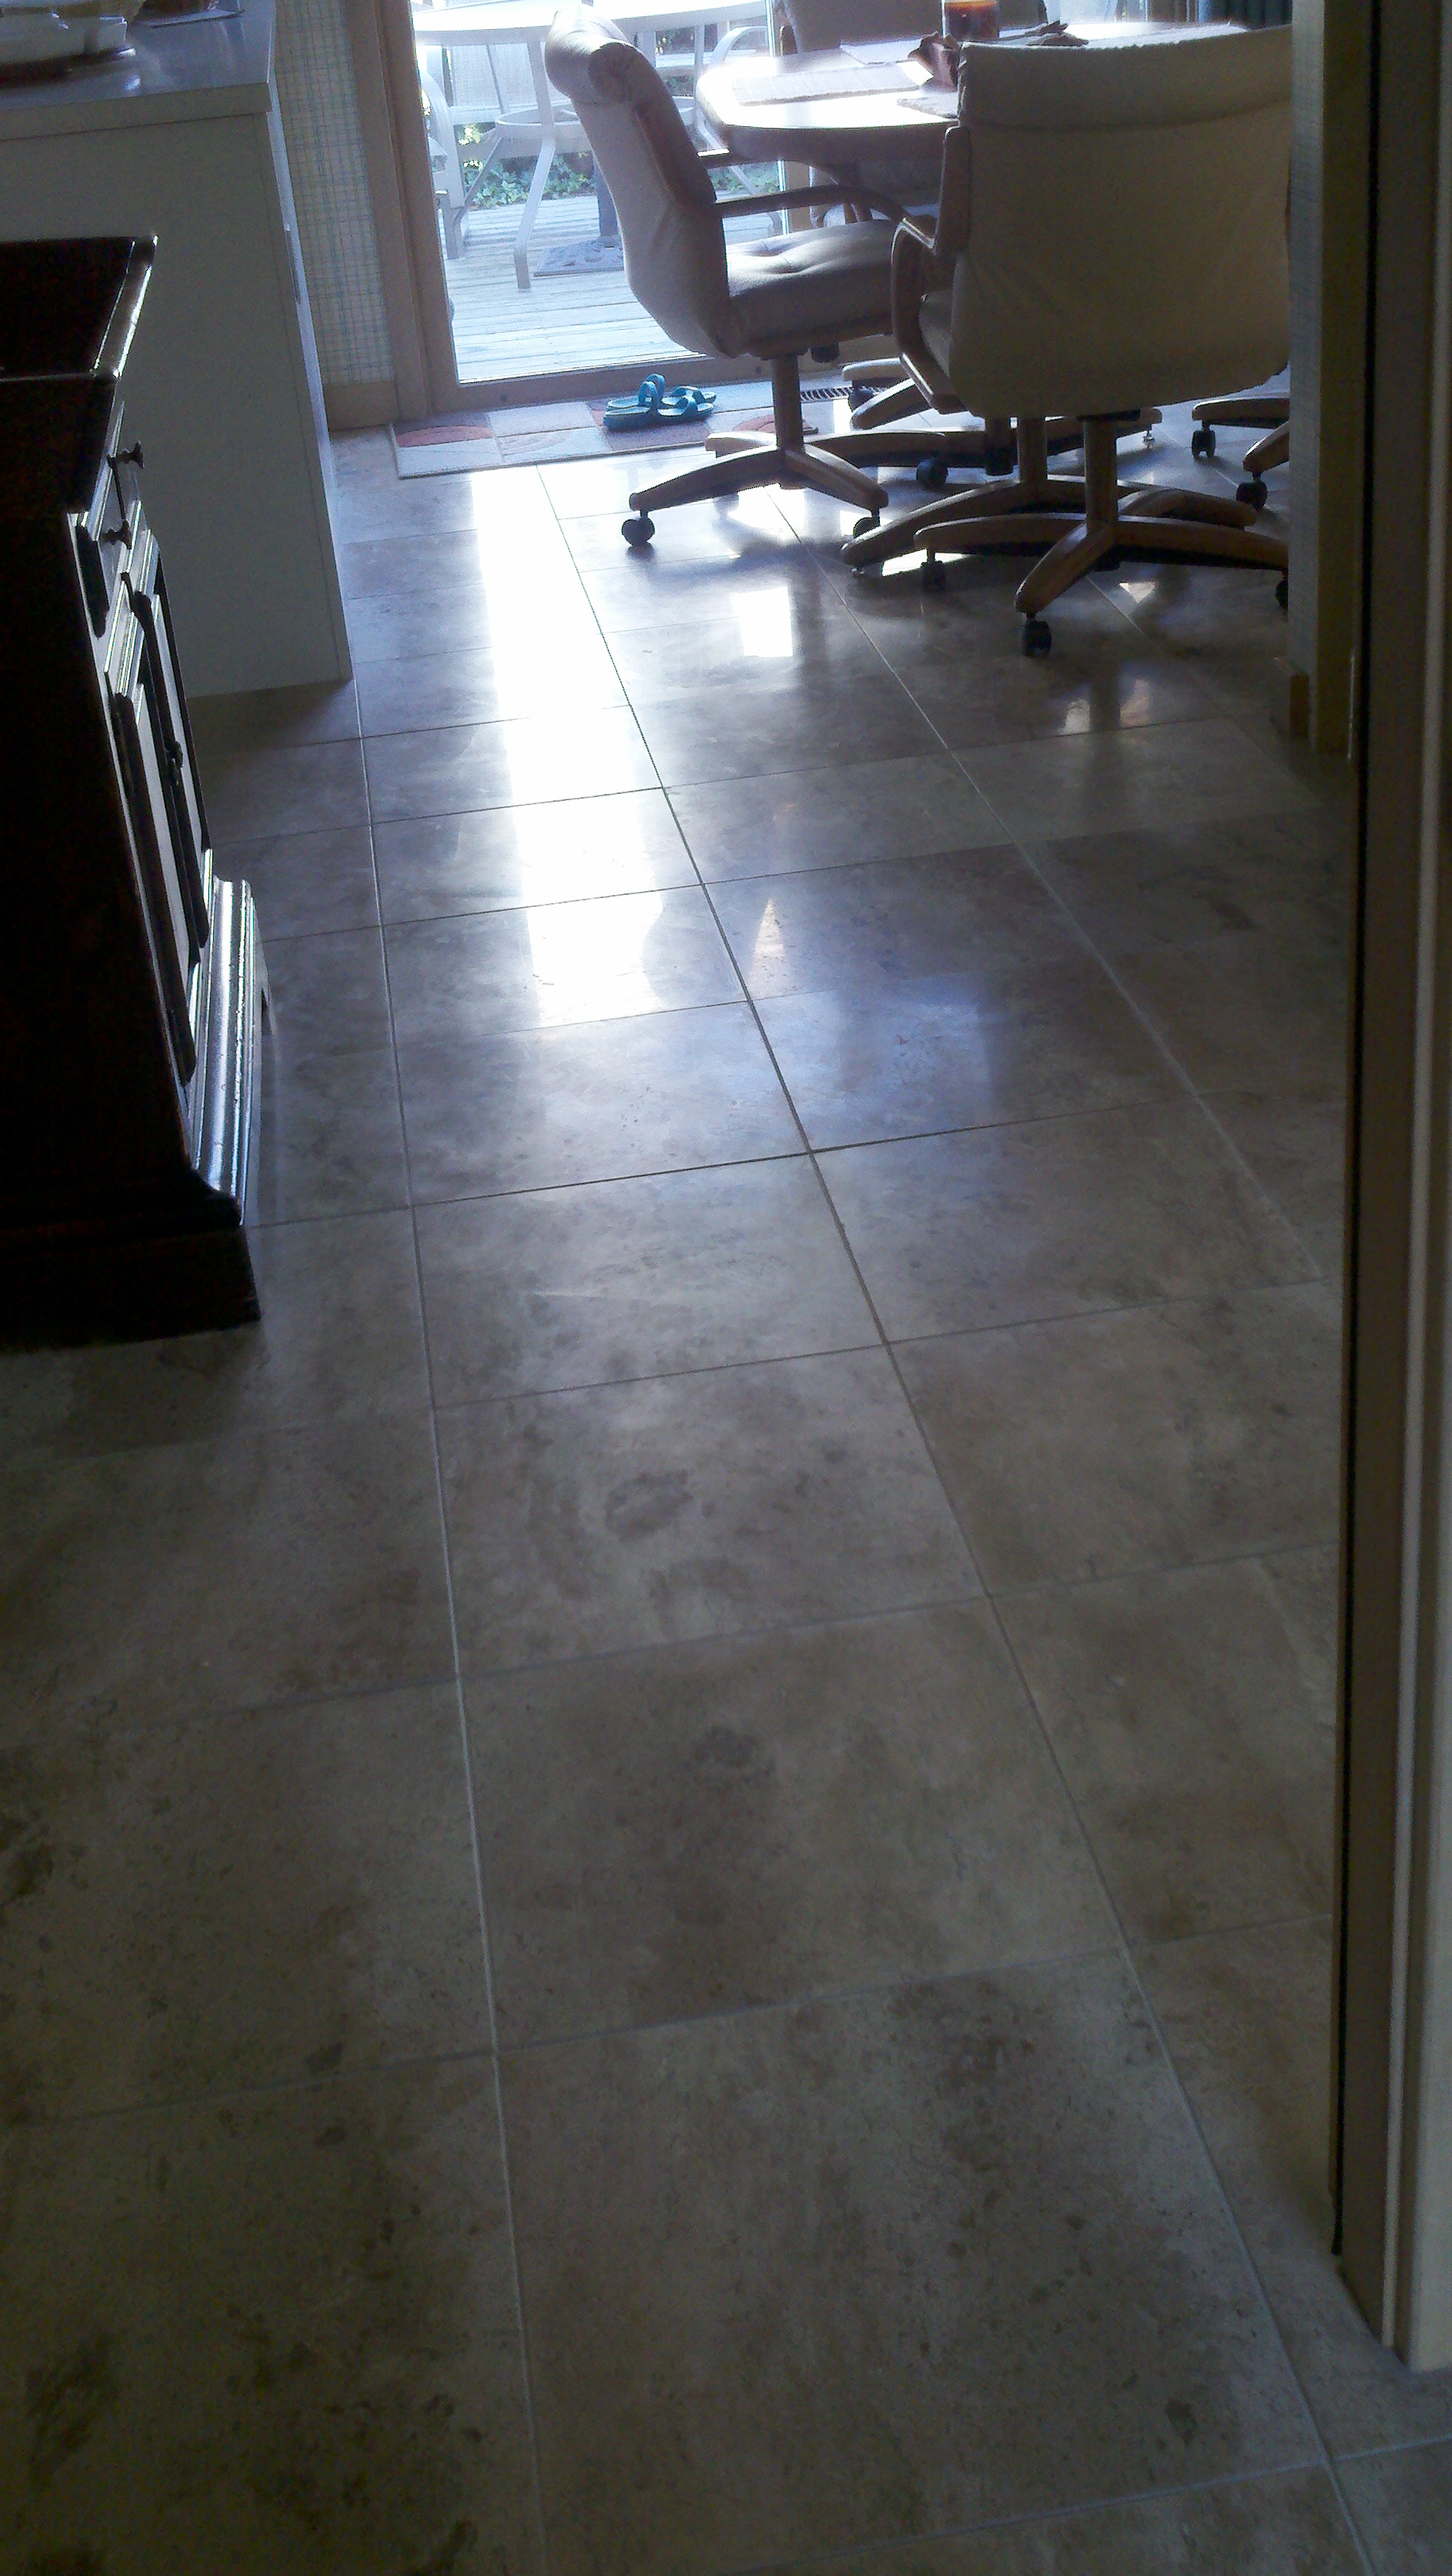
| 16" Tile Kitchen Entrance | 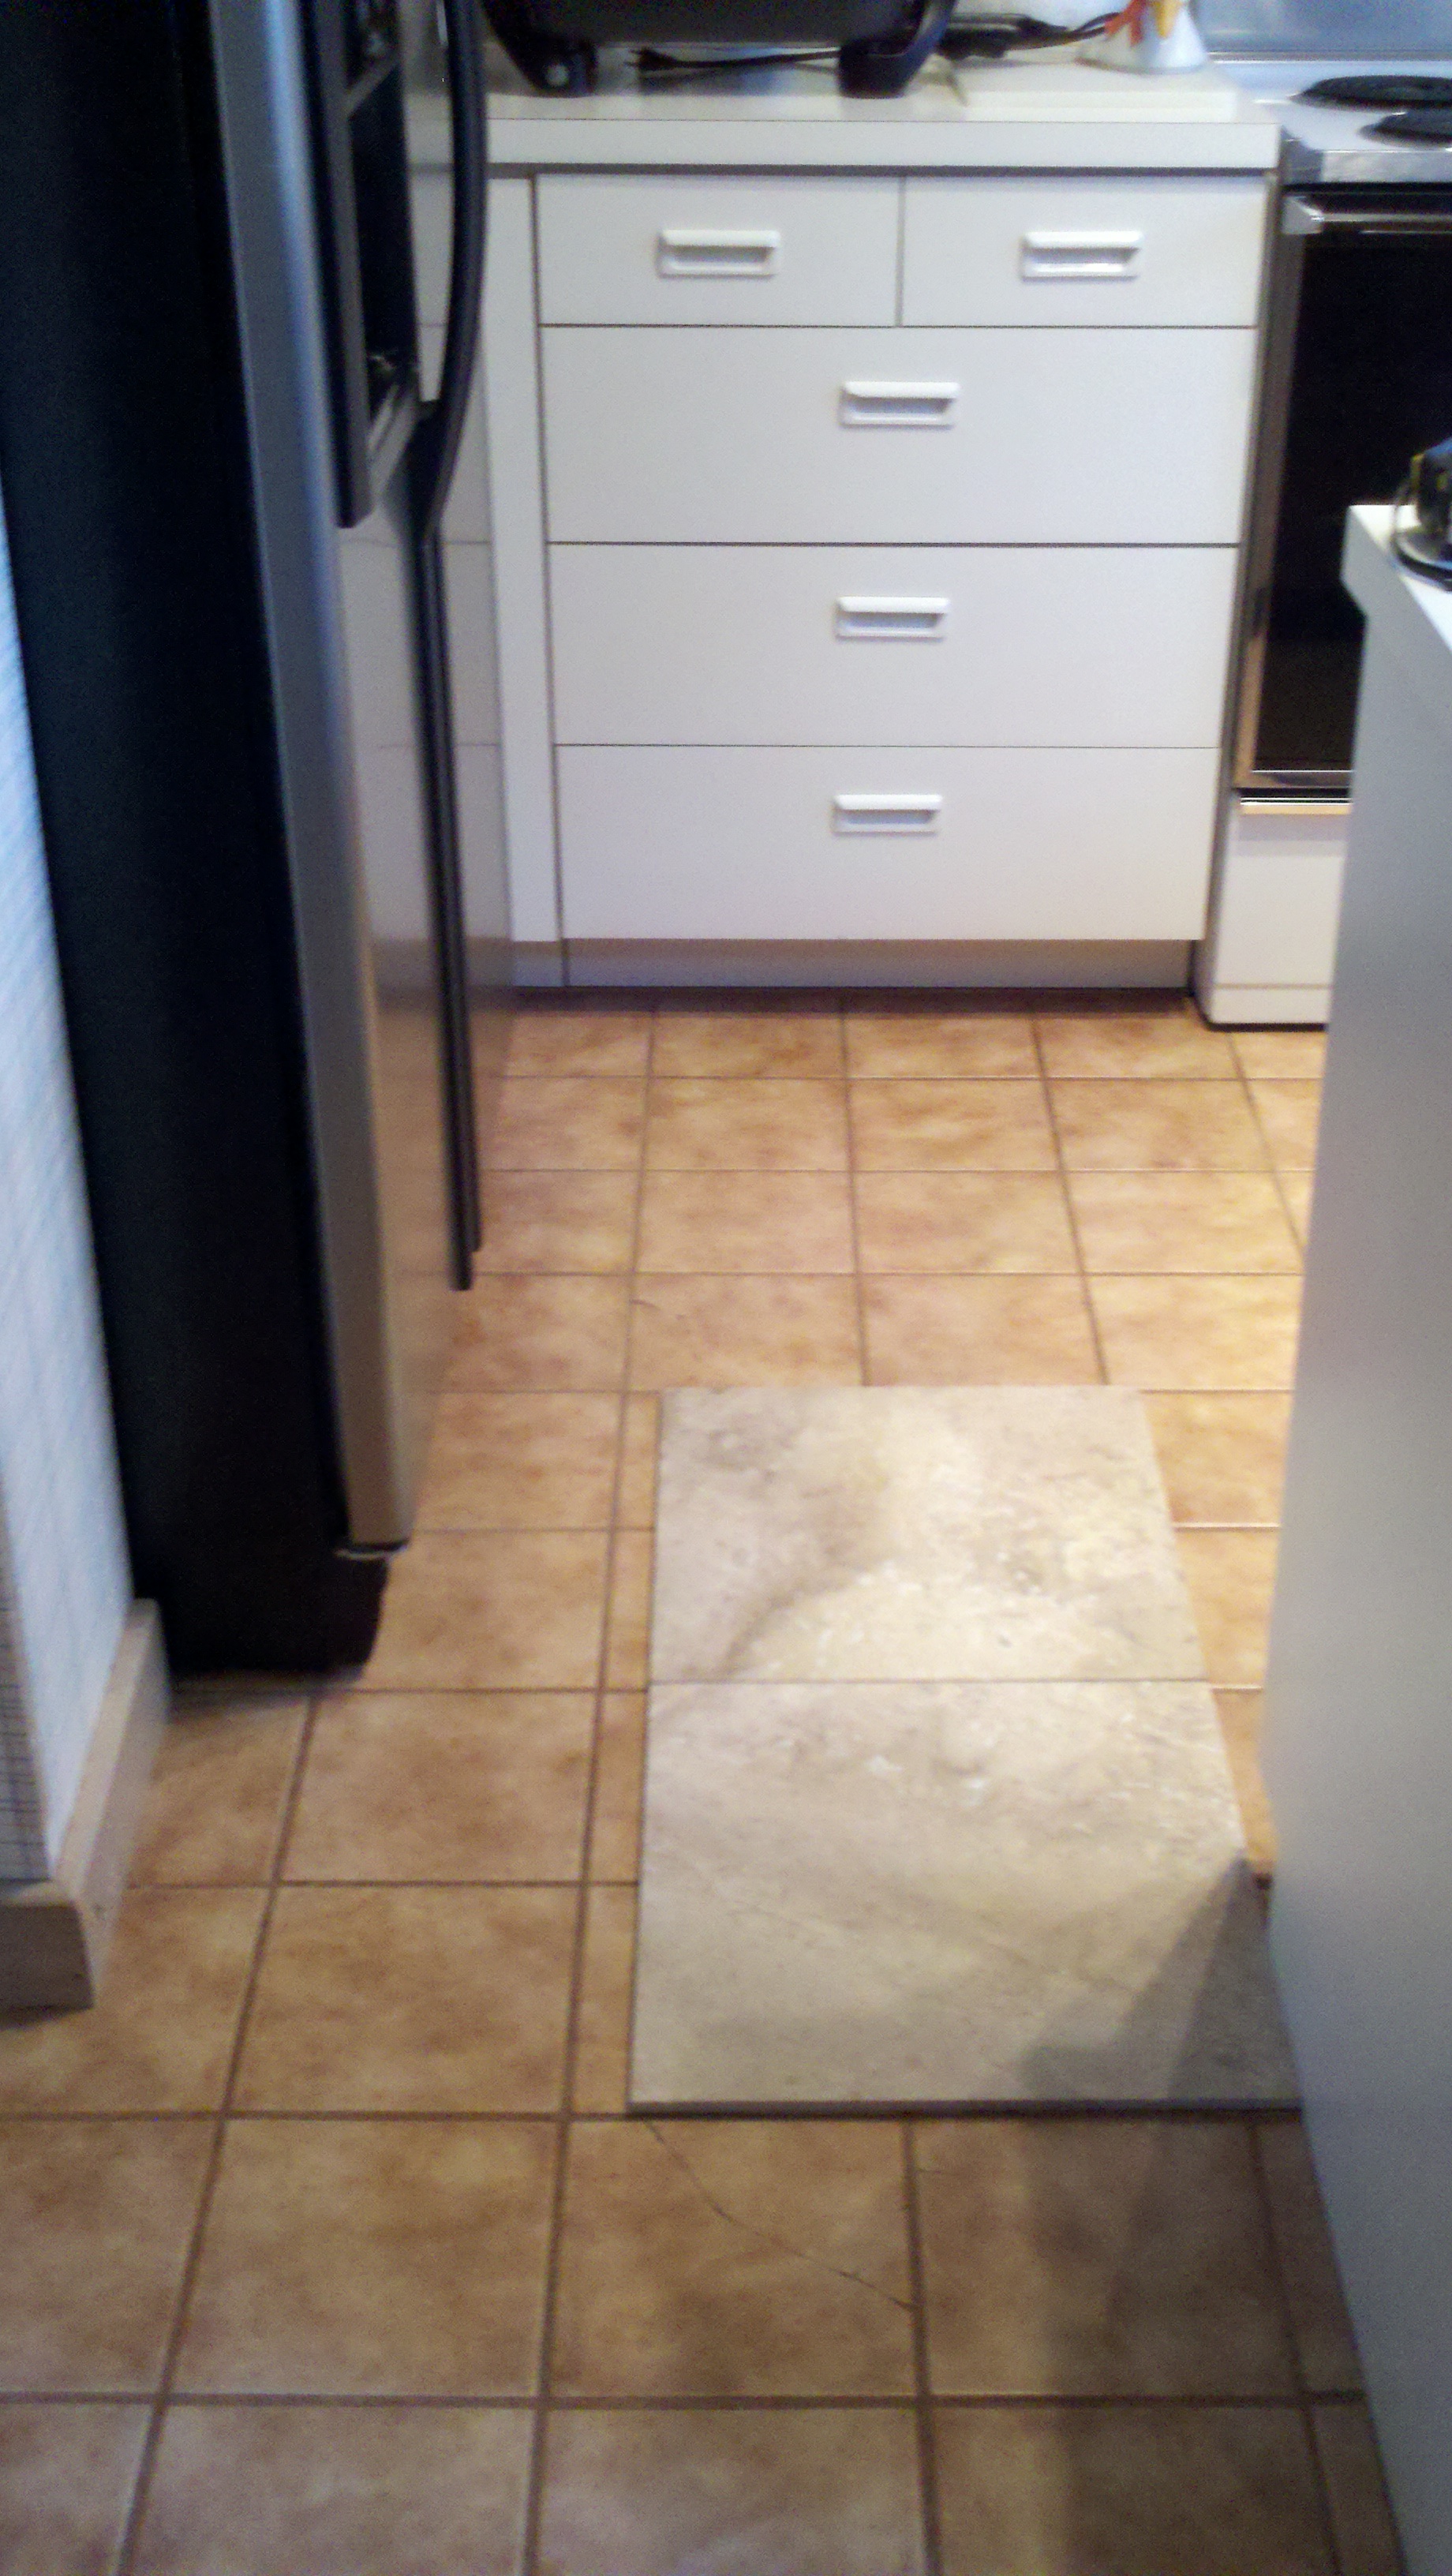 |
 |
||
| 16" Tile Kitchen Entrance | 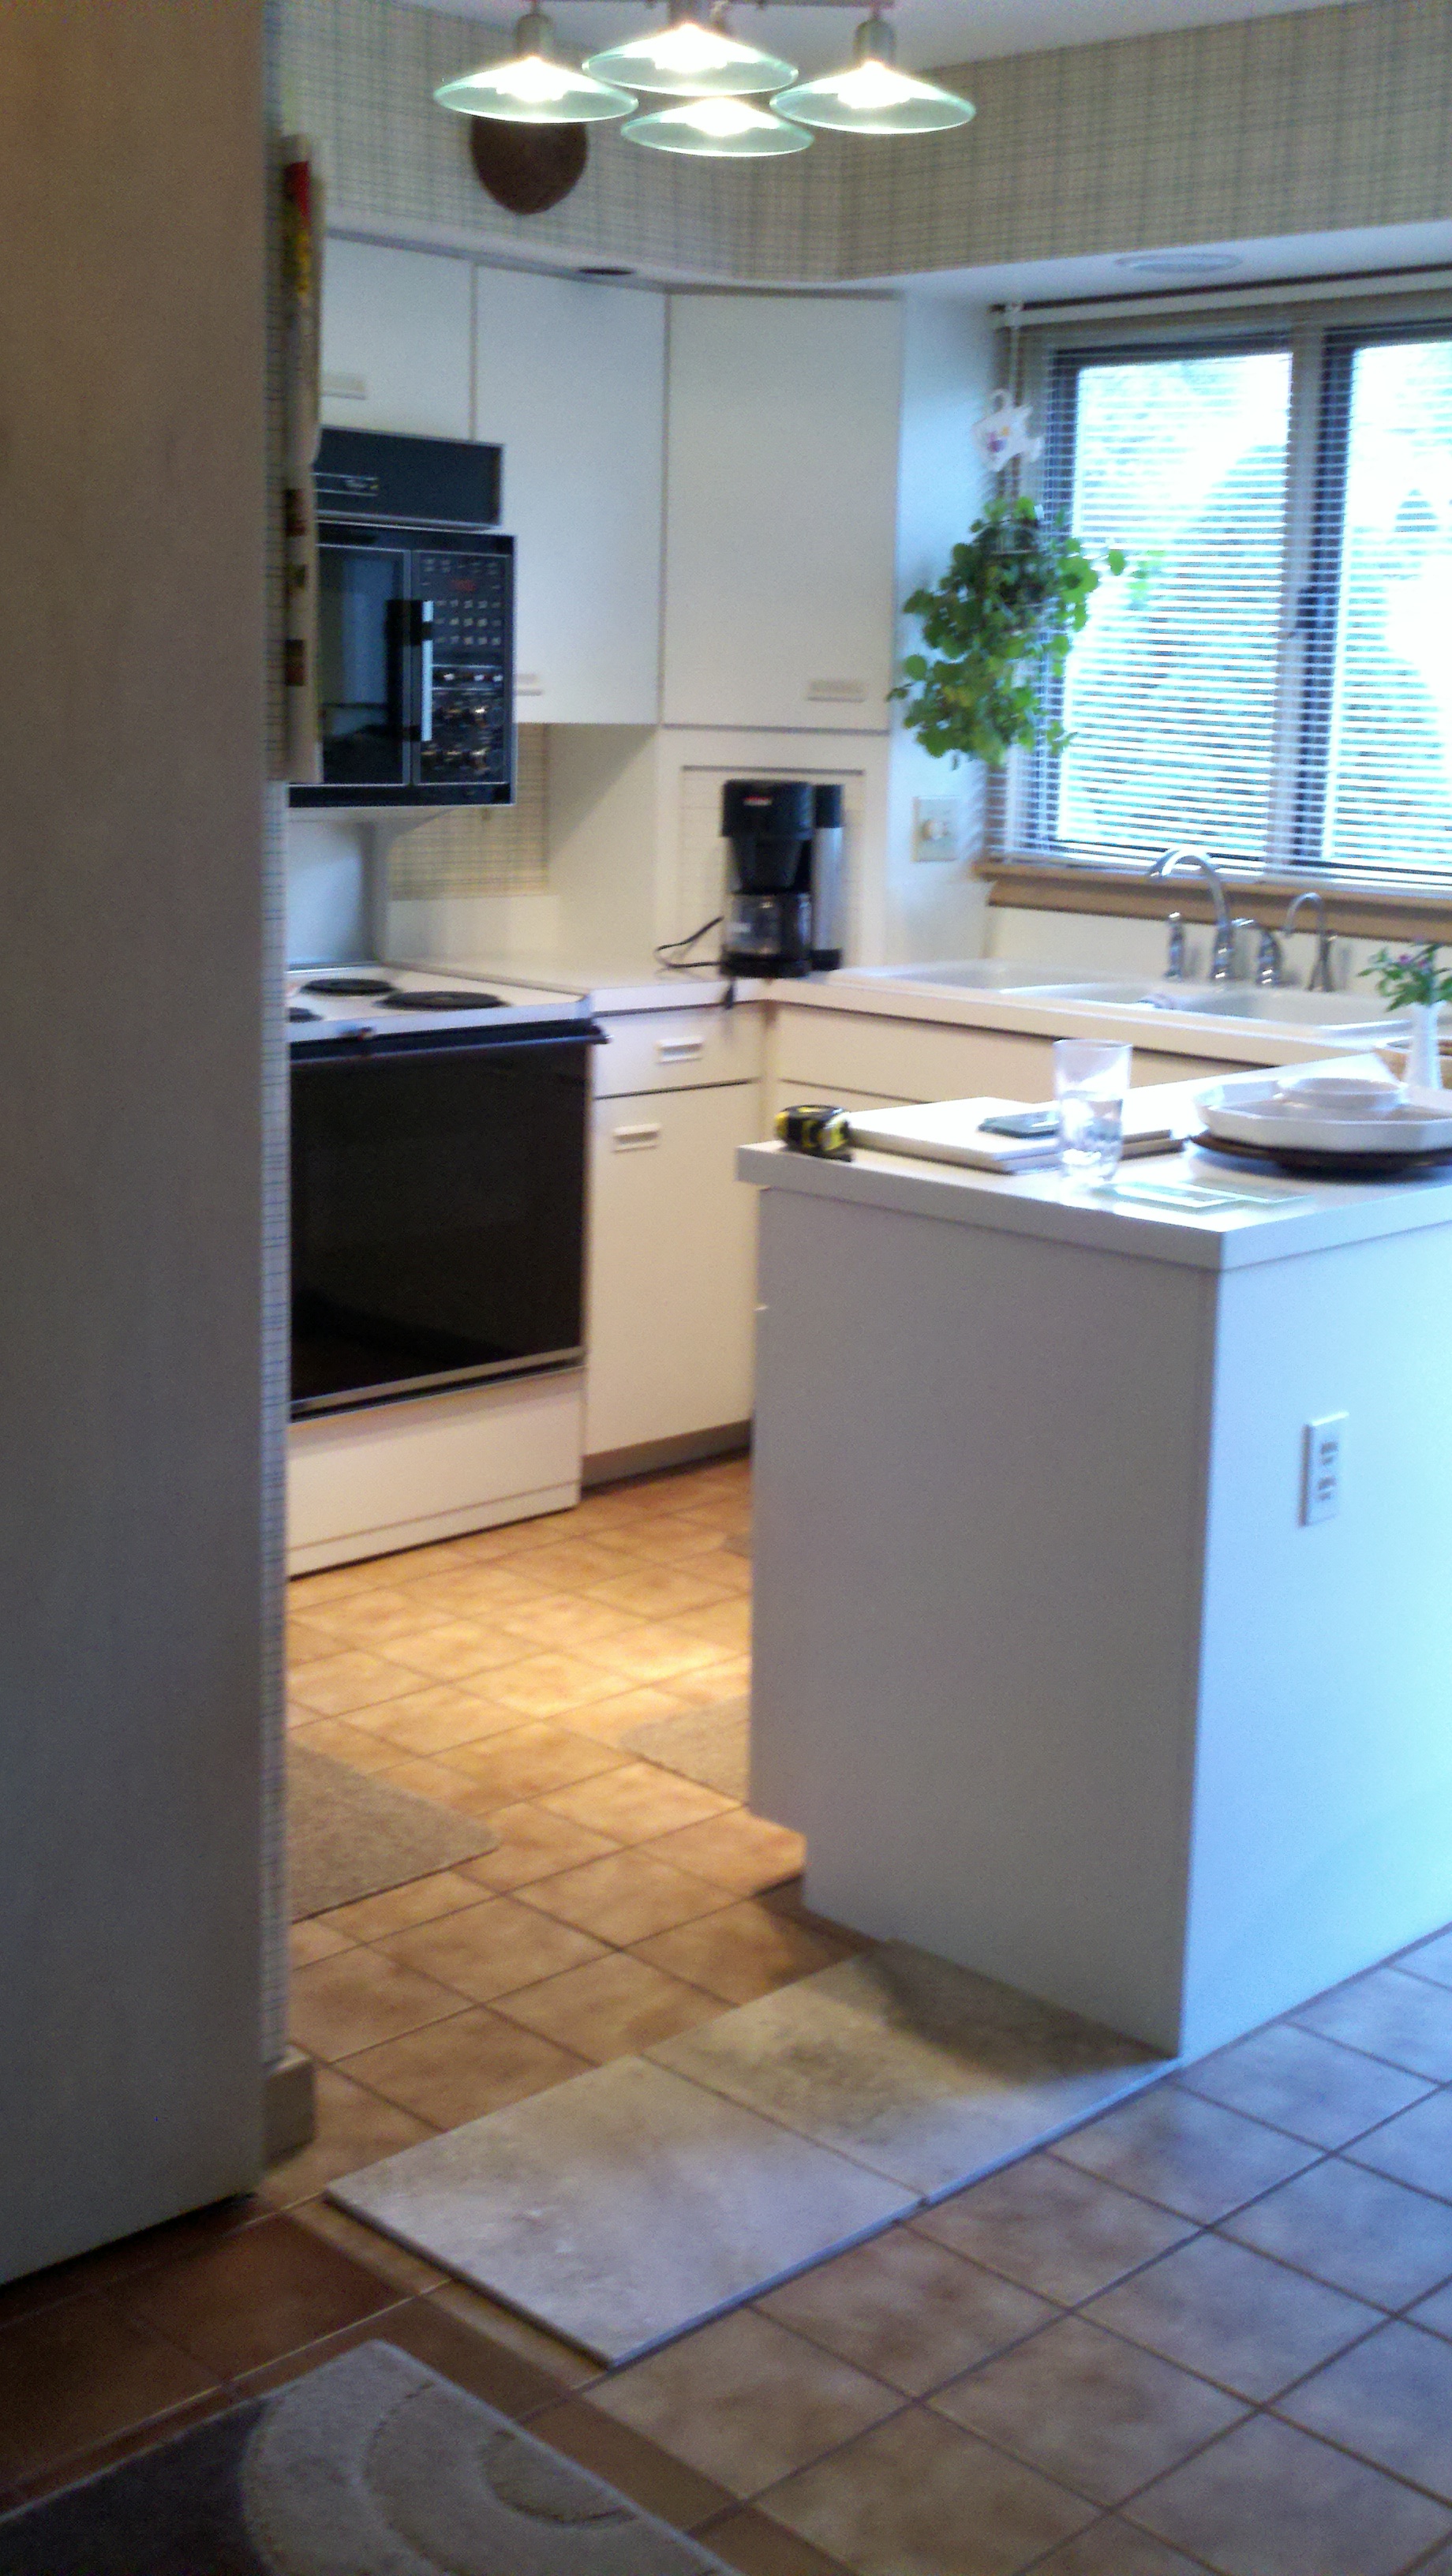 |
 |
||
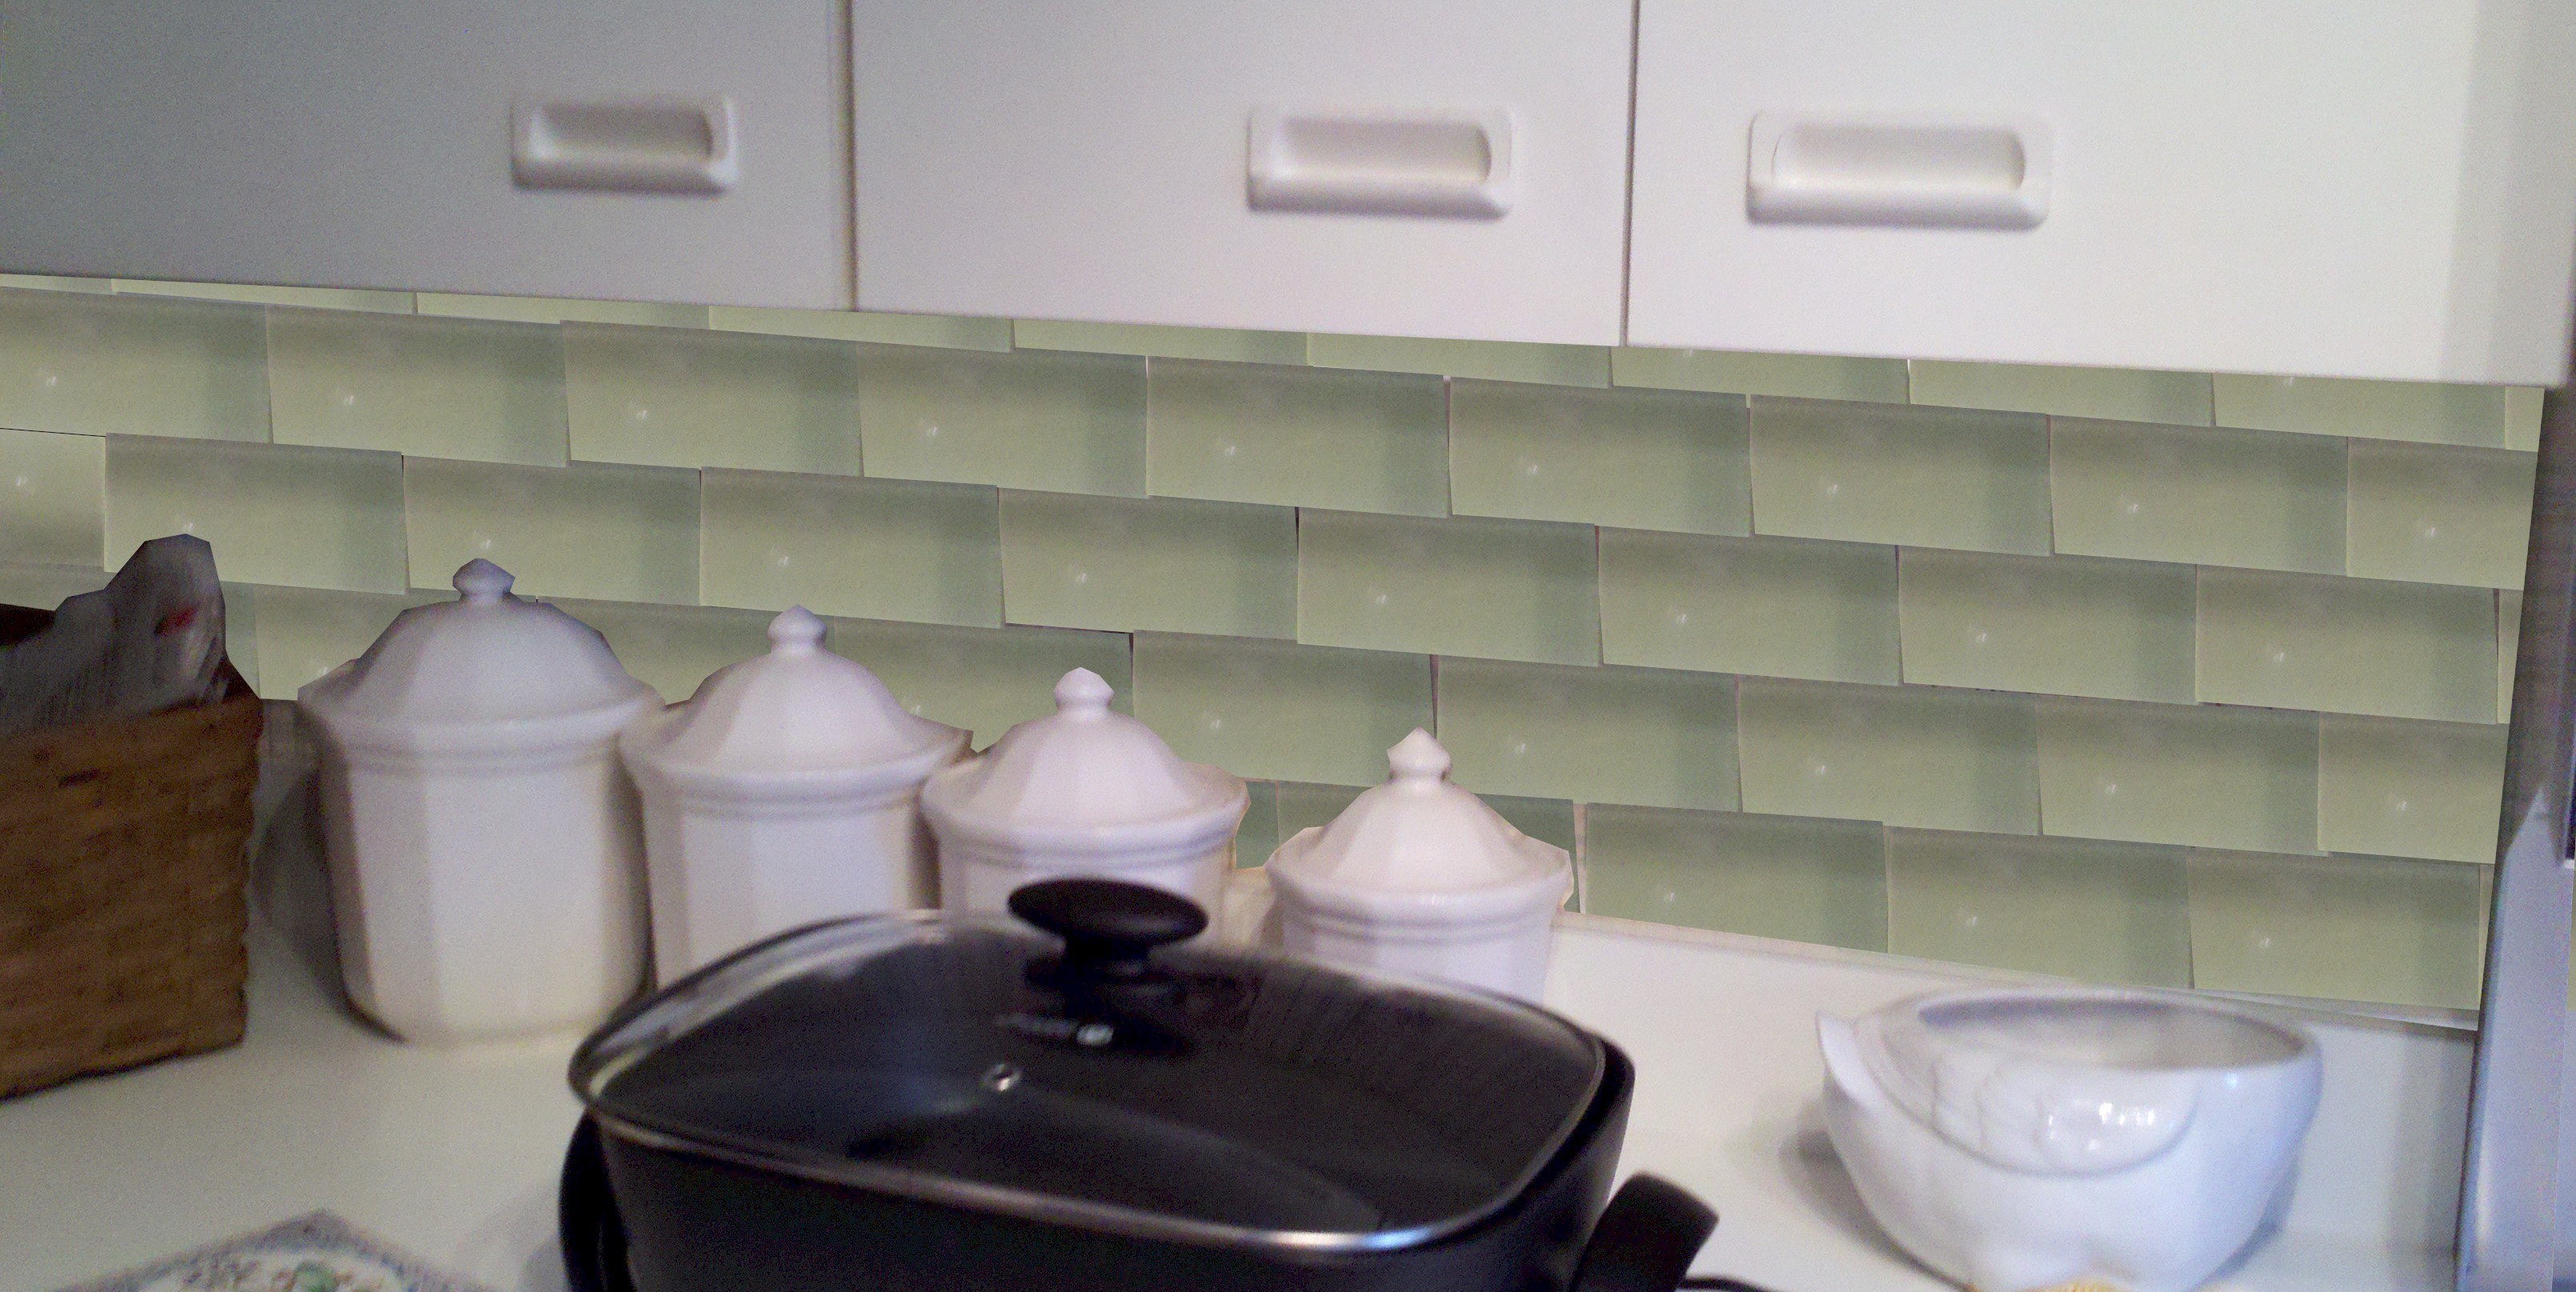
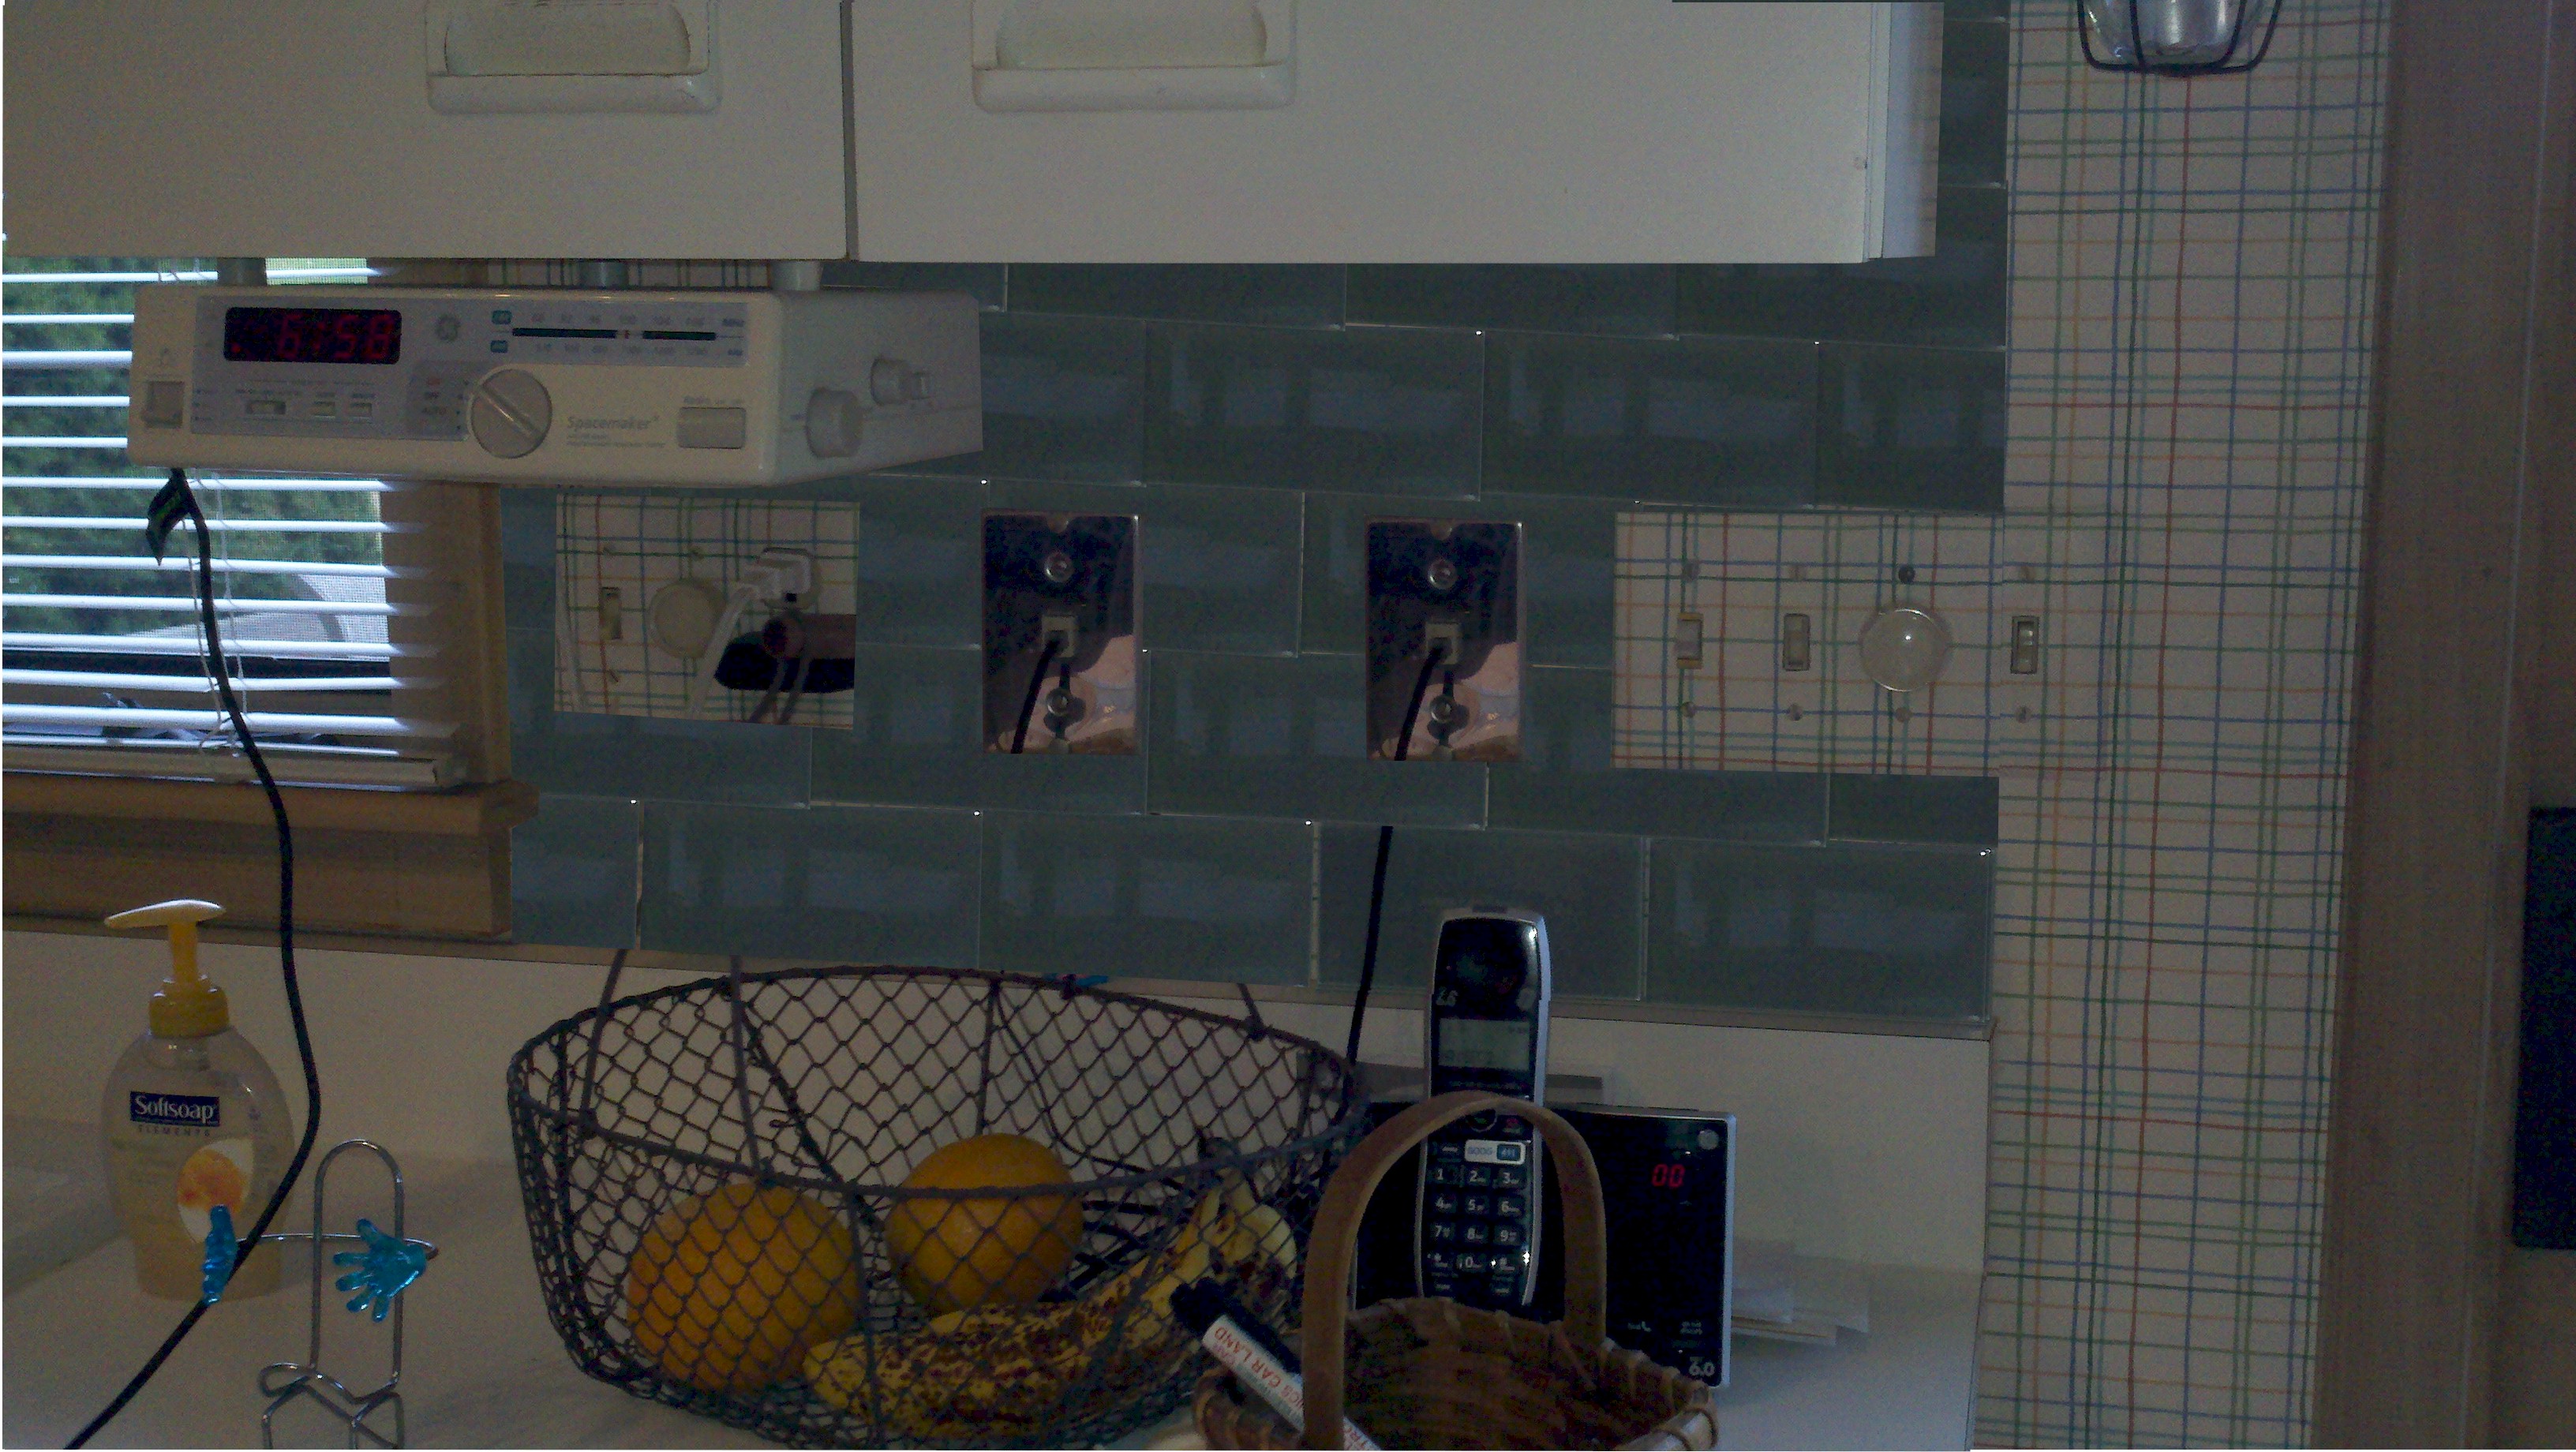
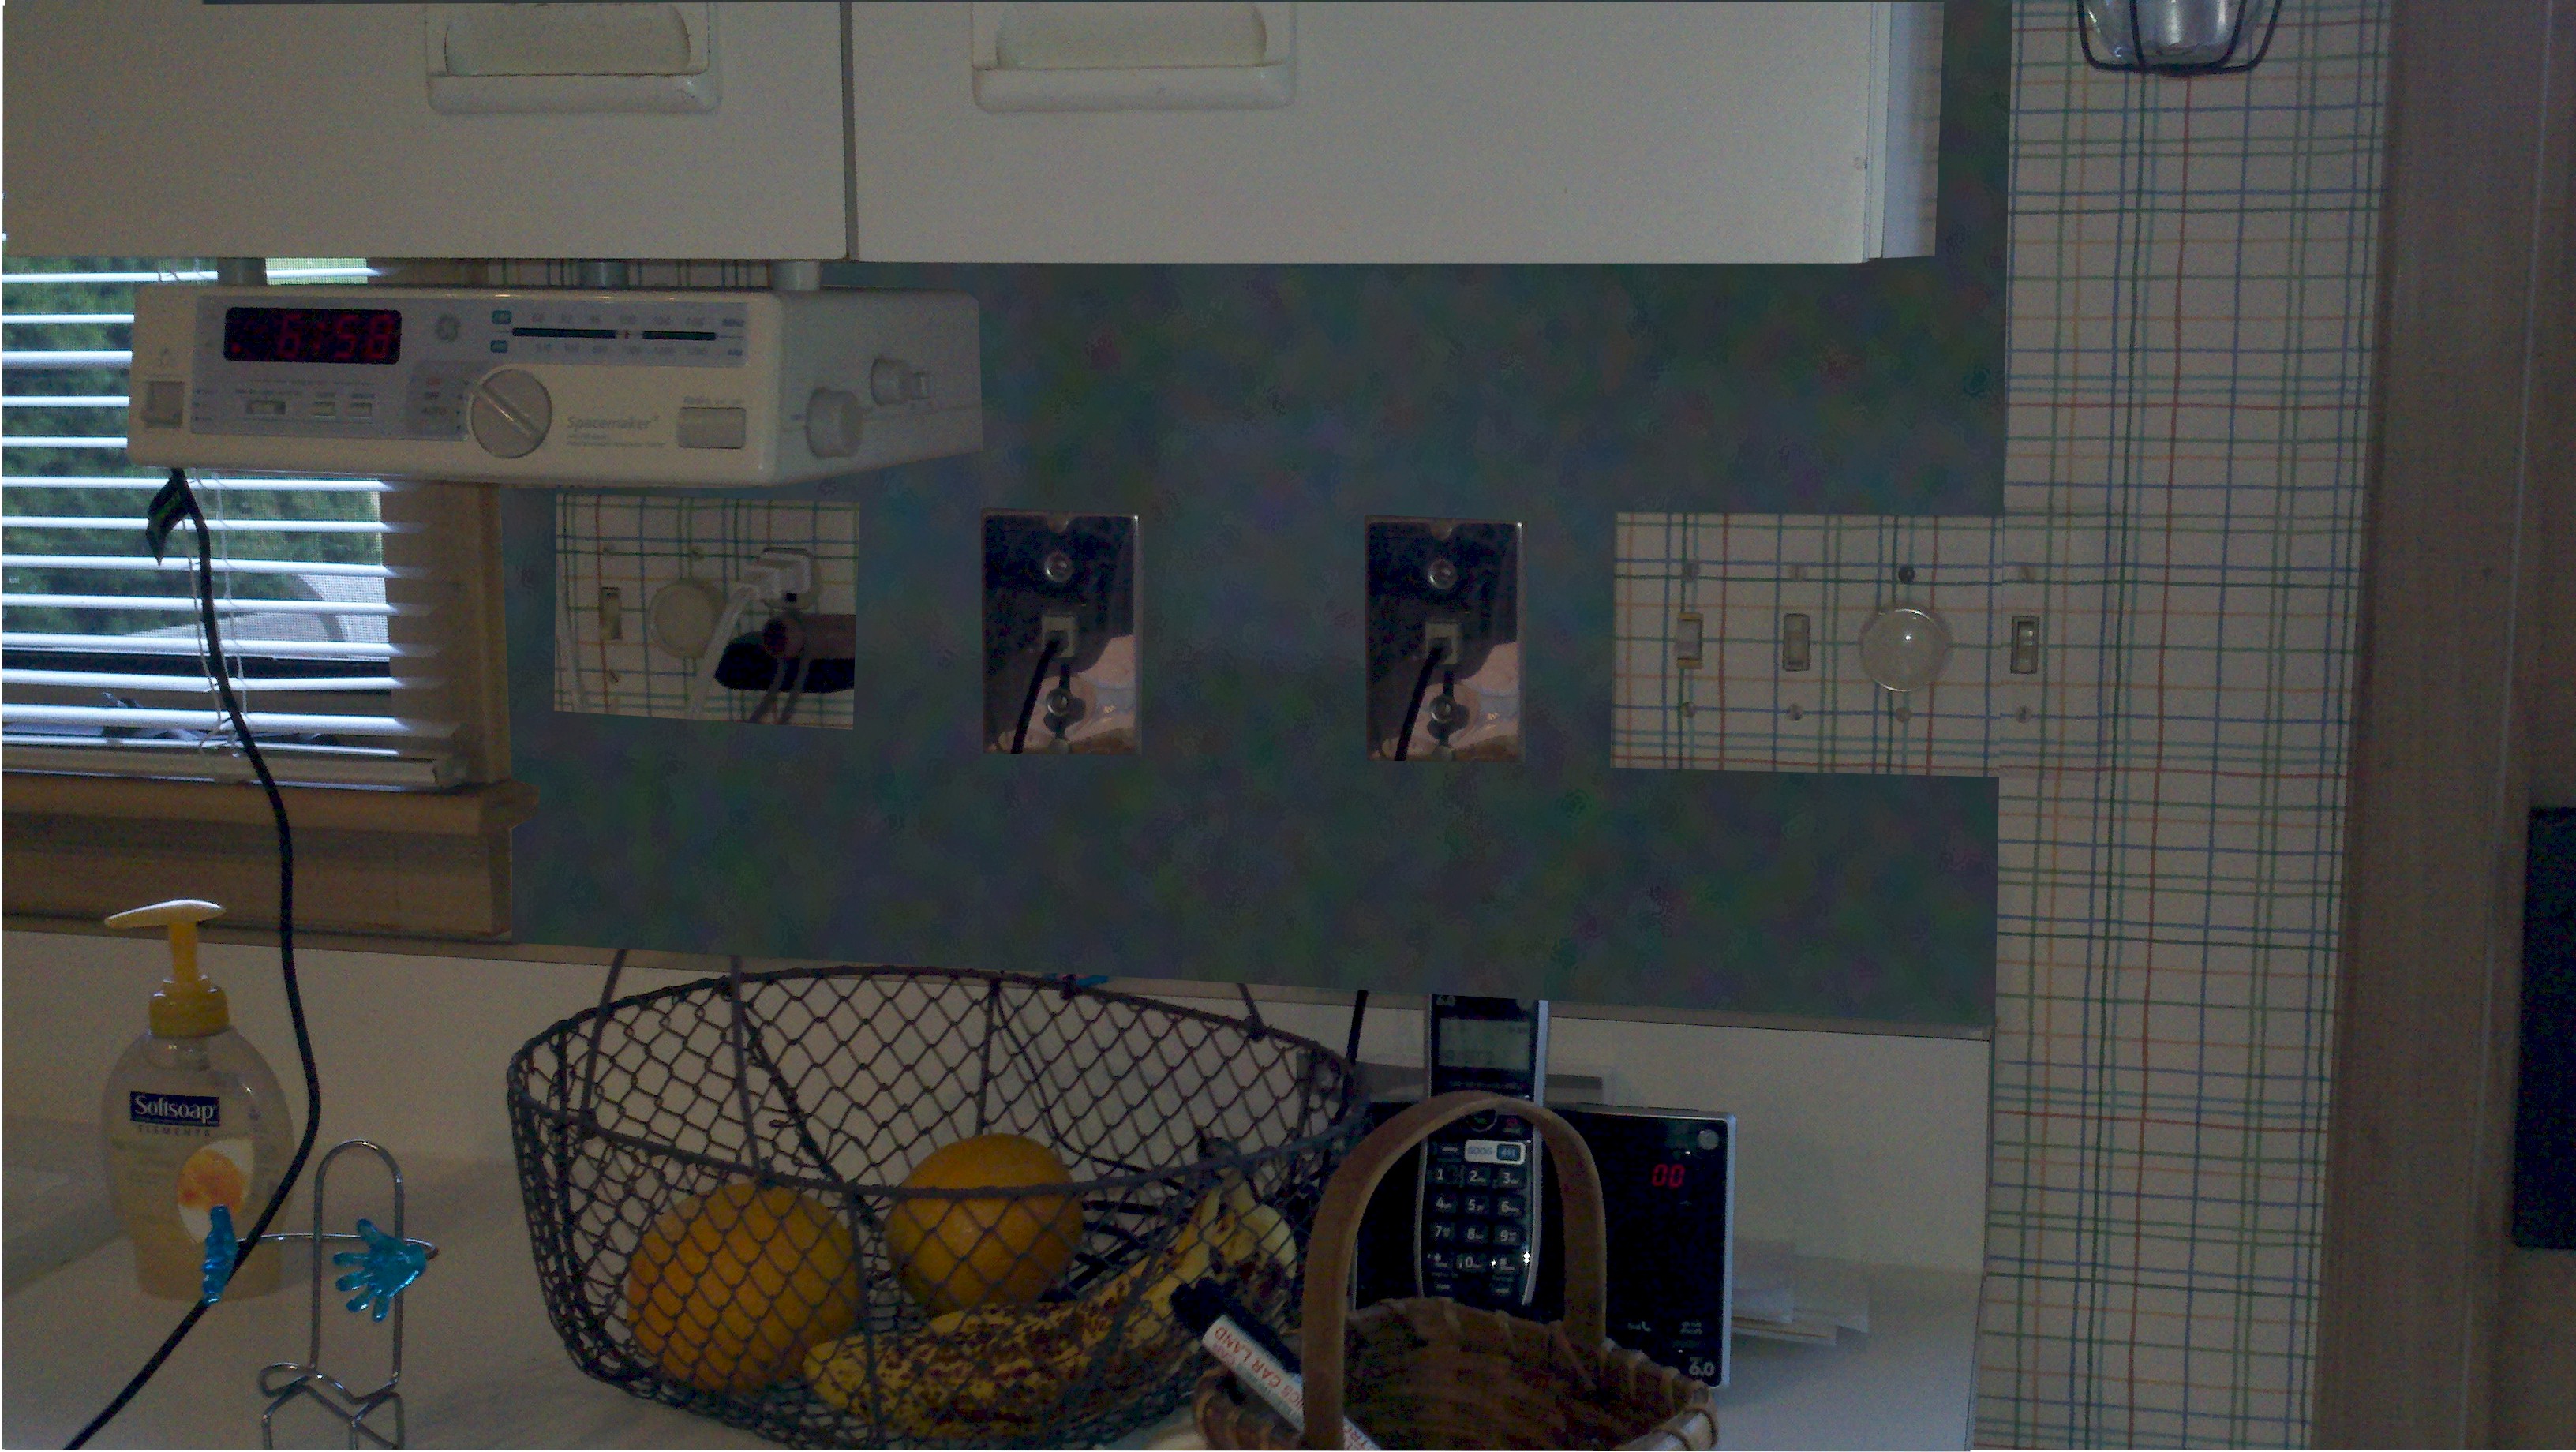
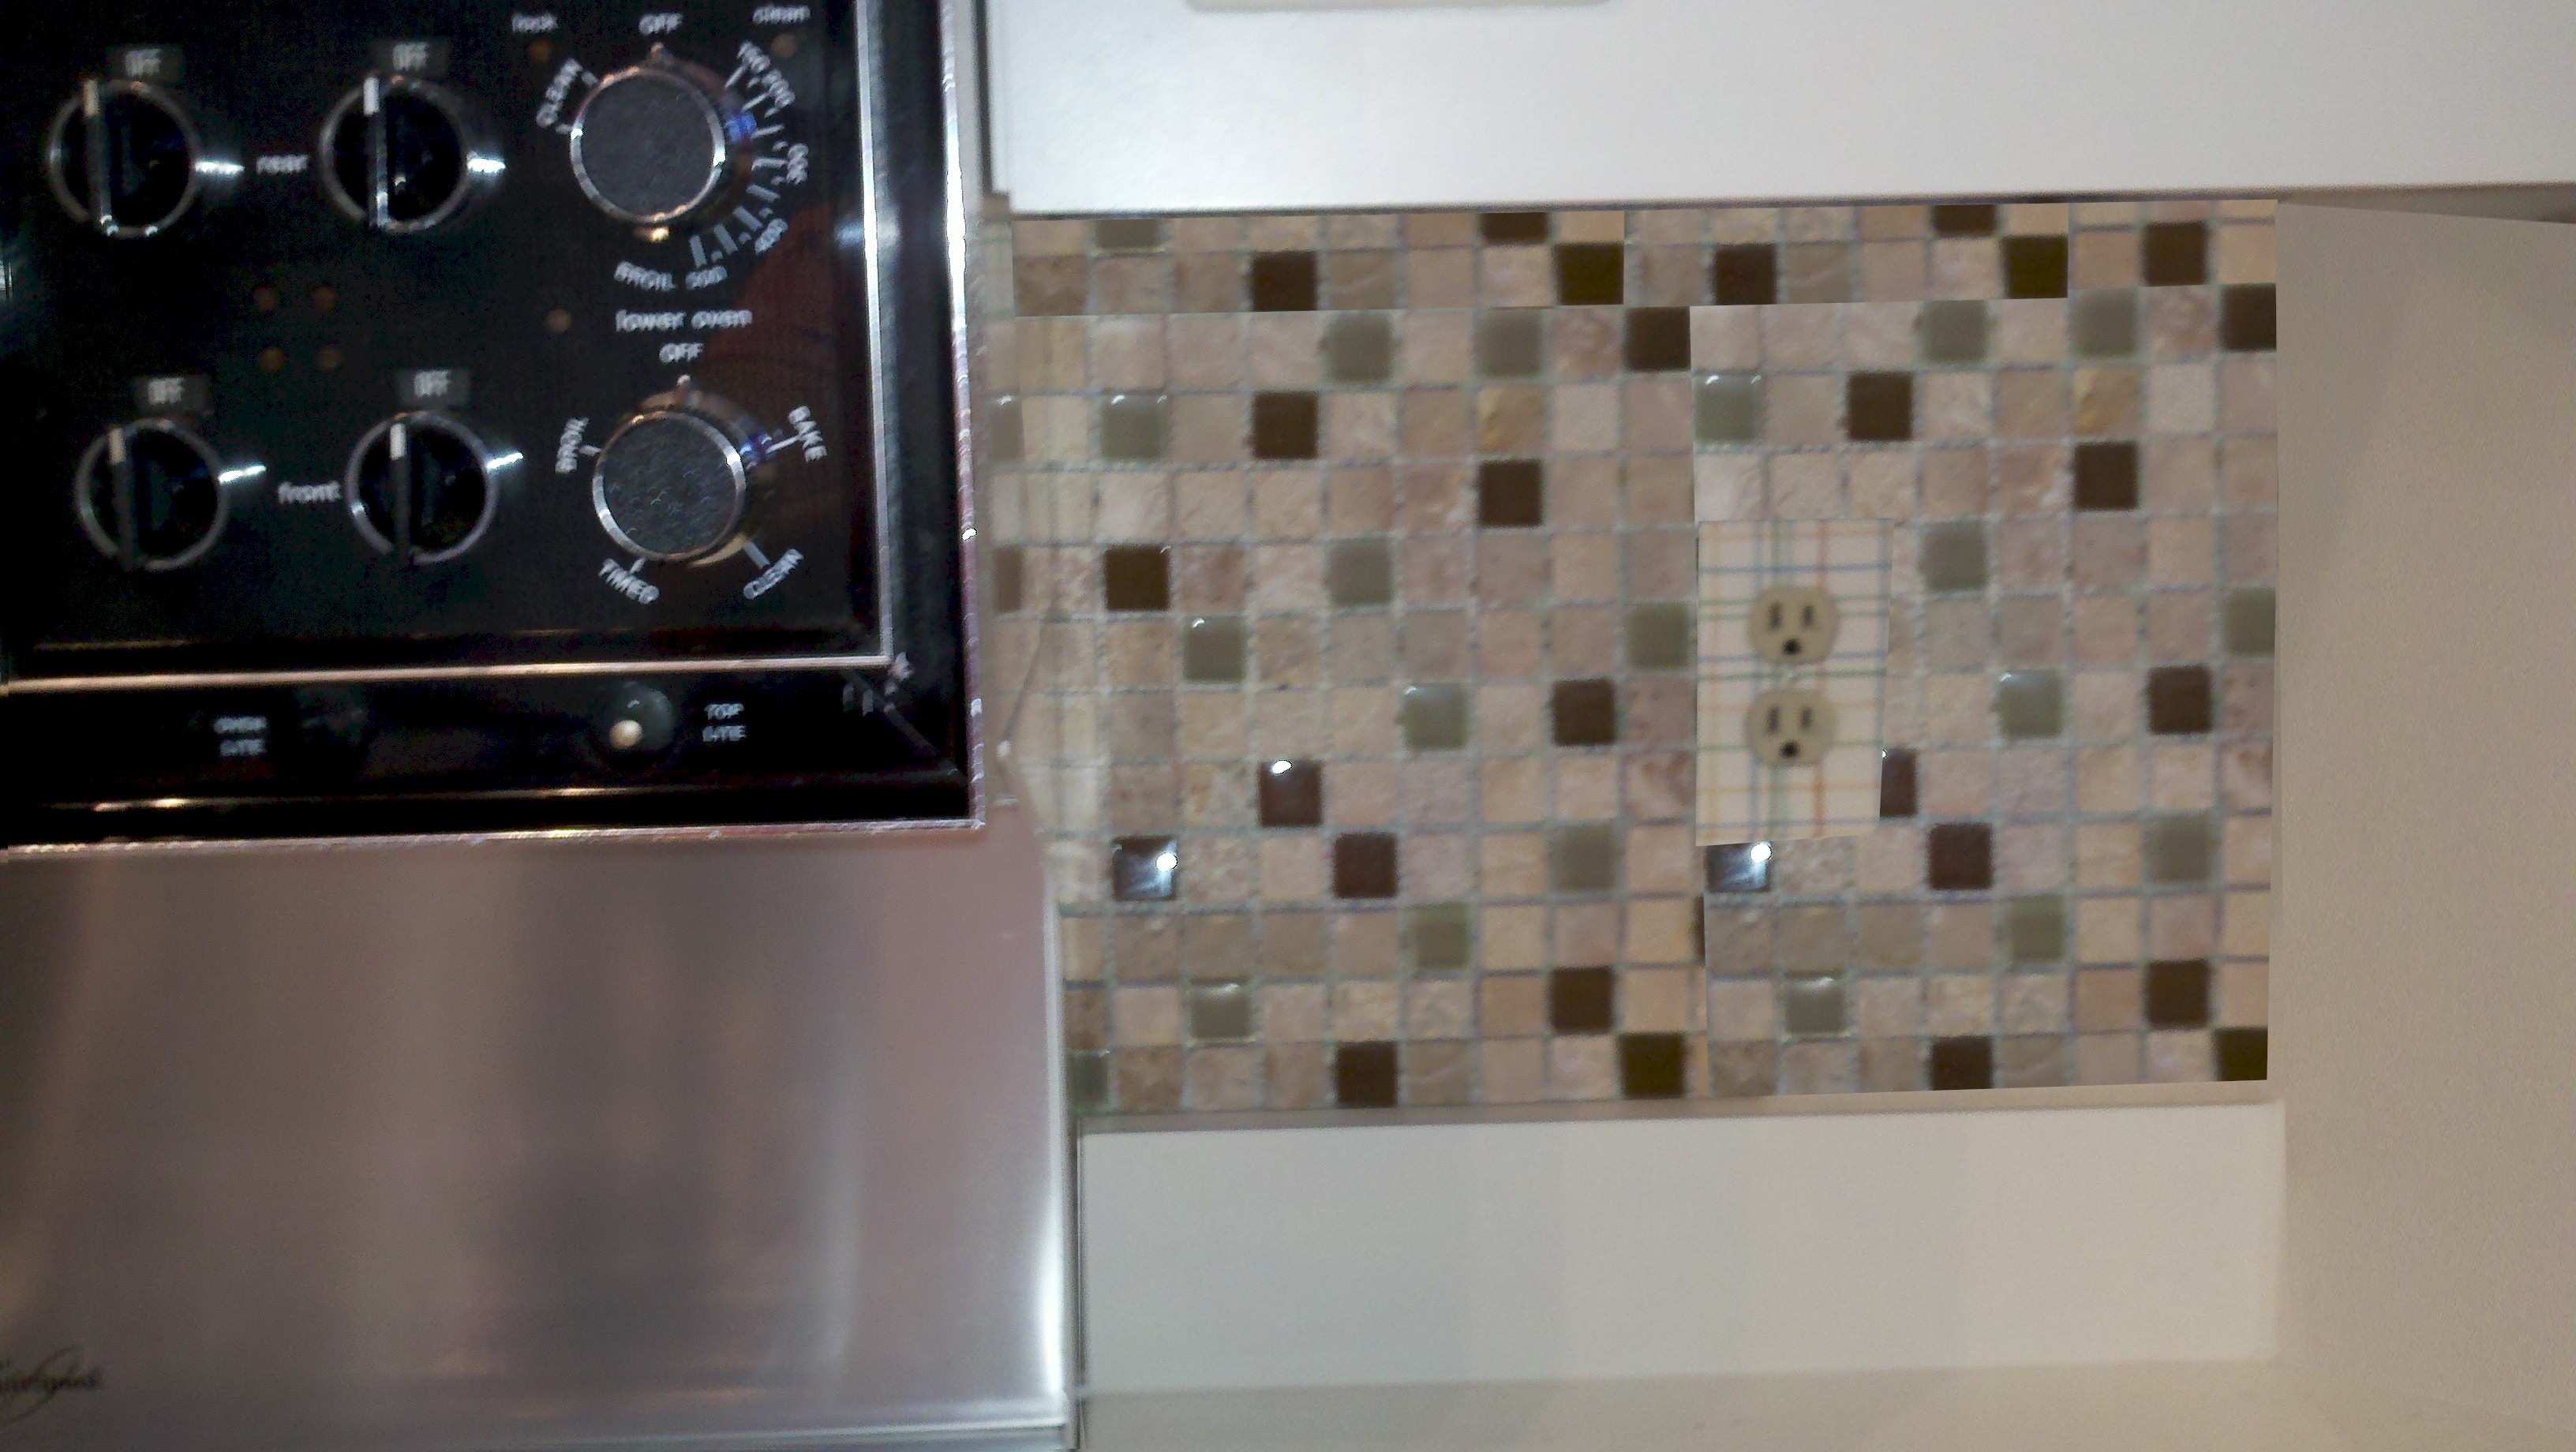
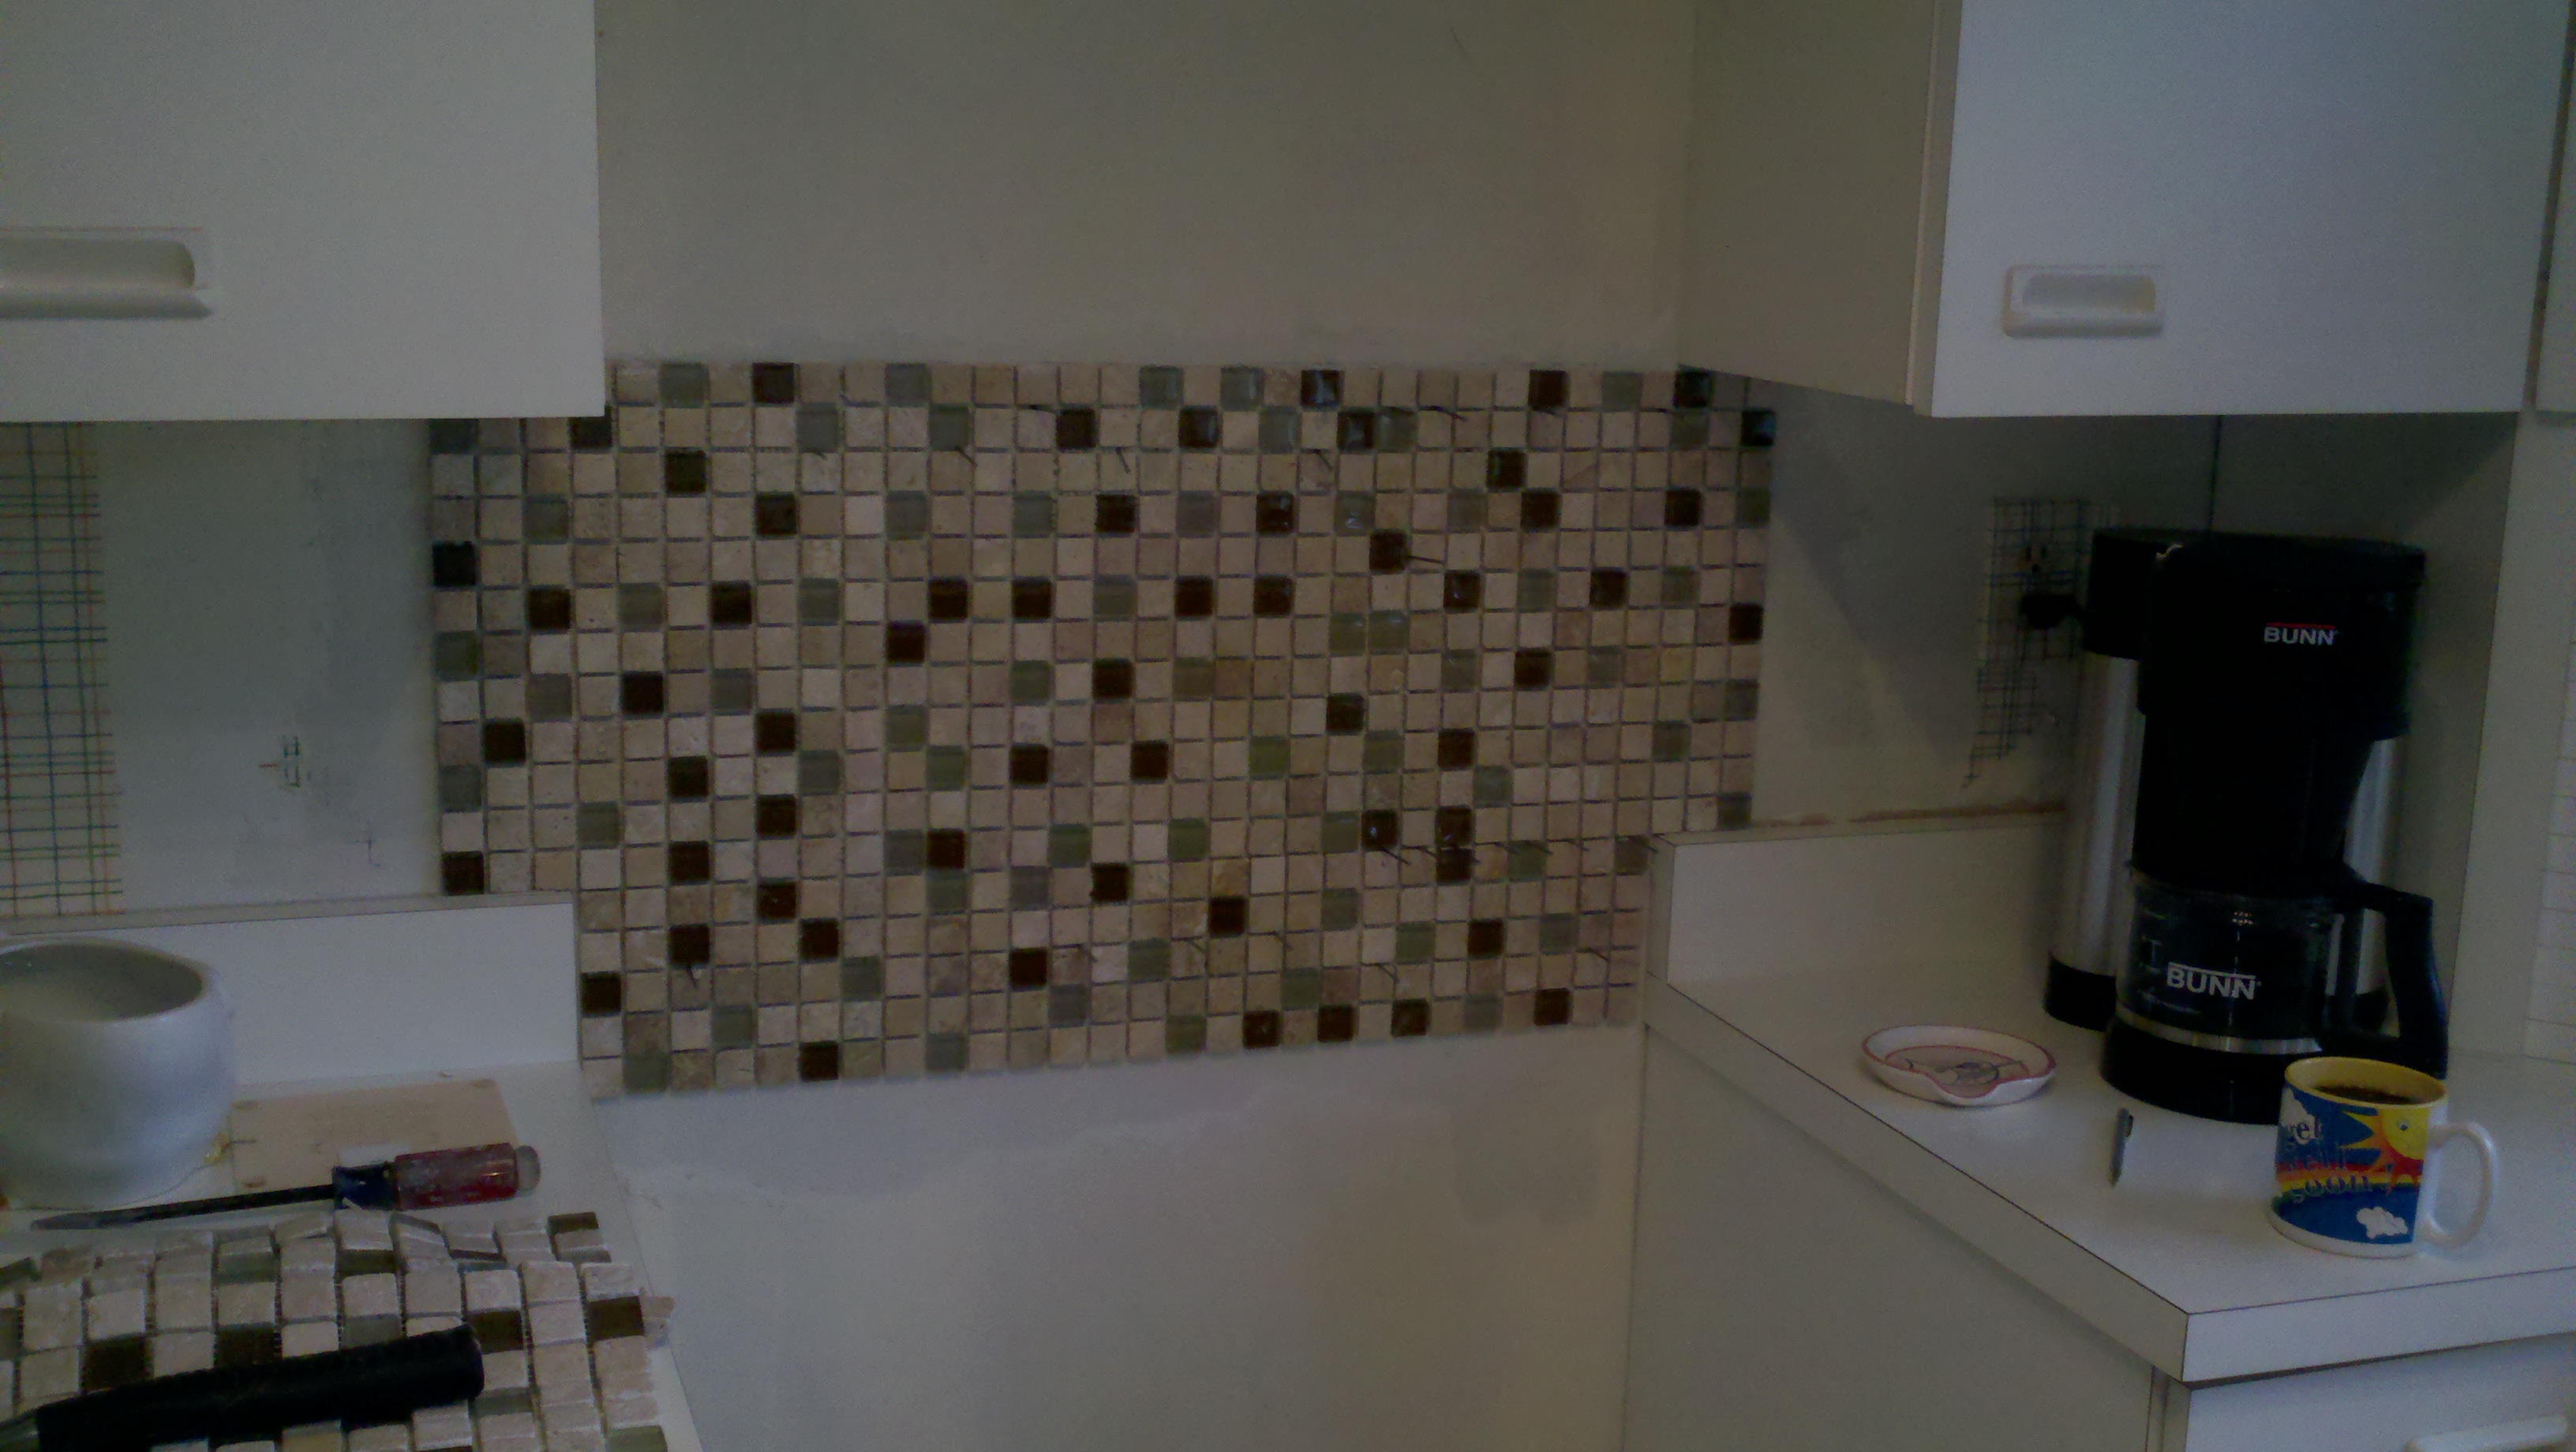
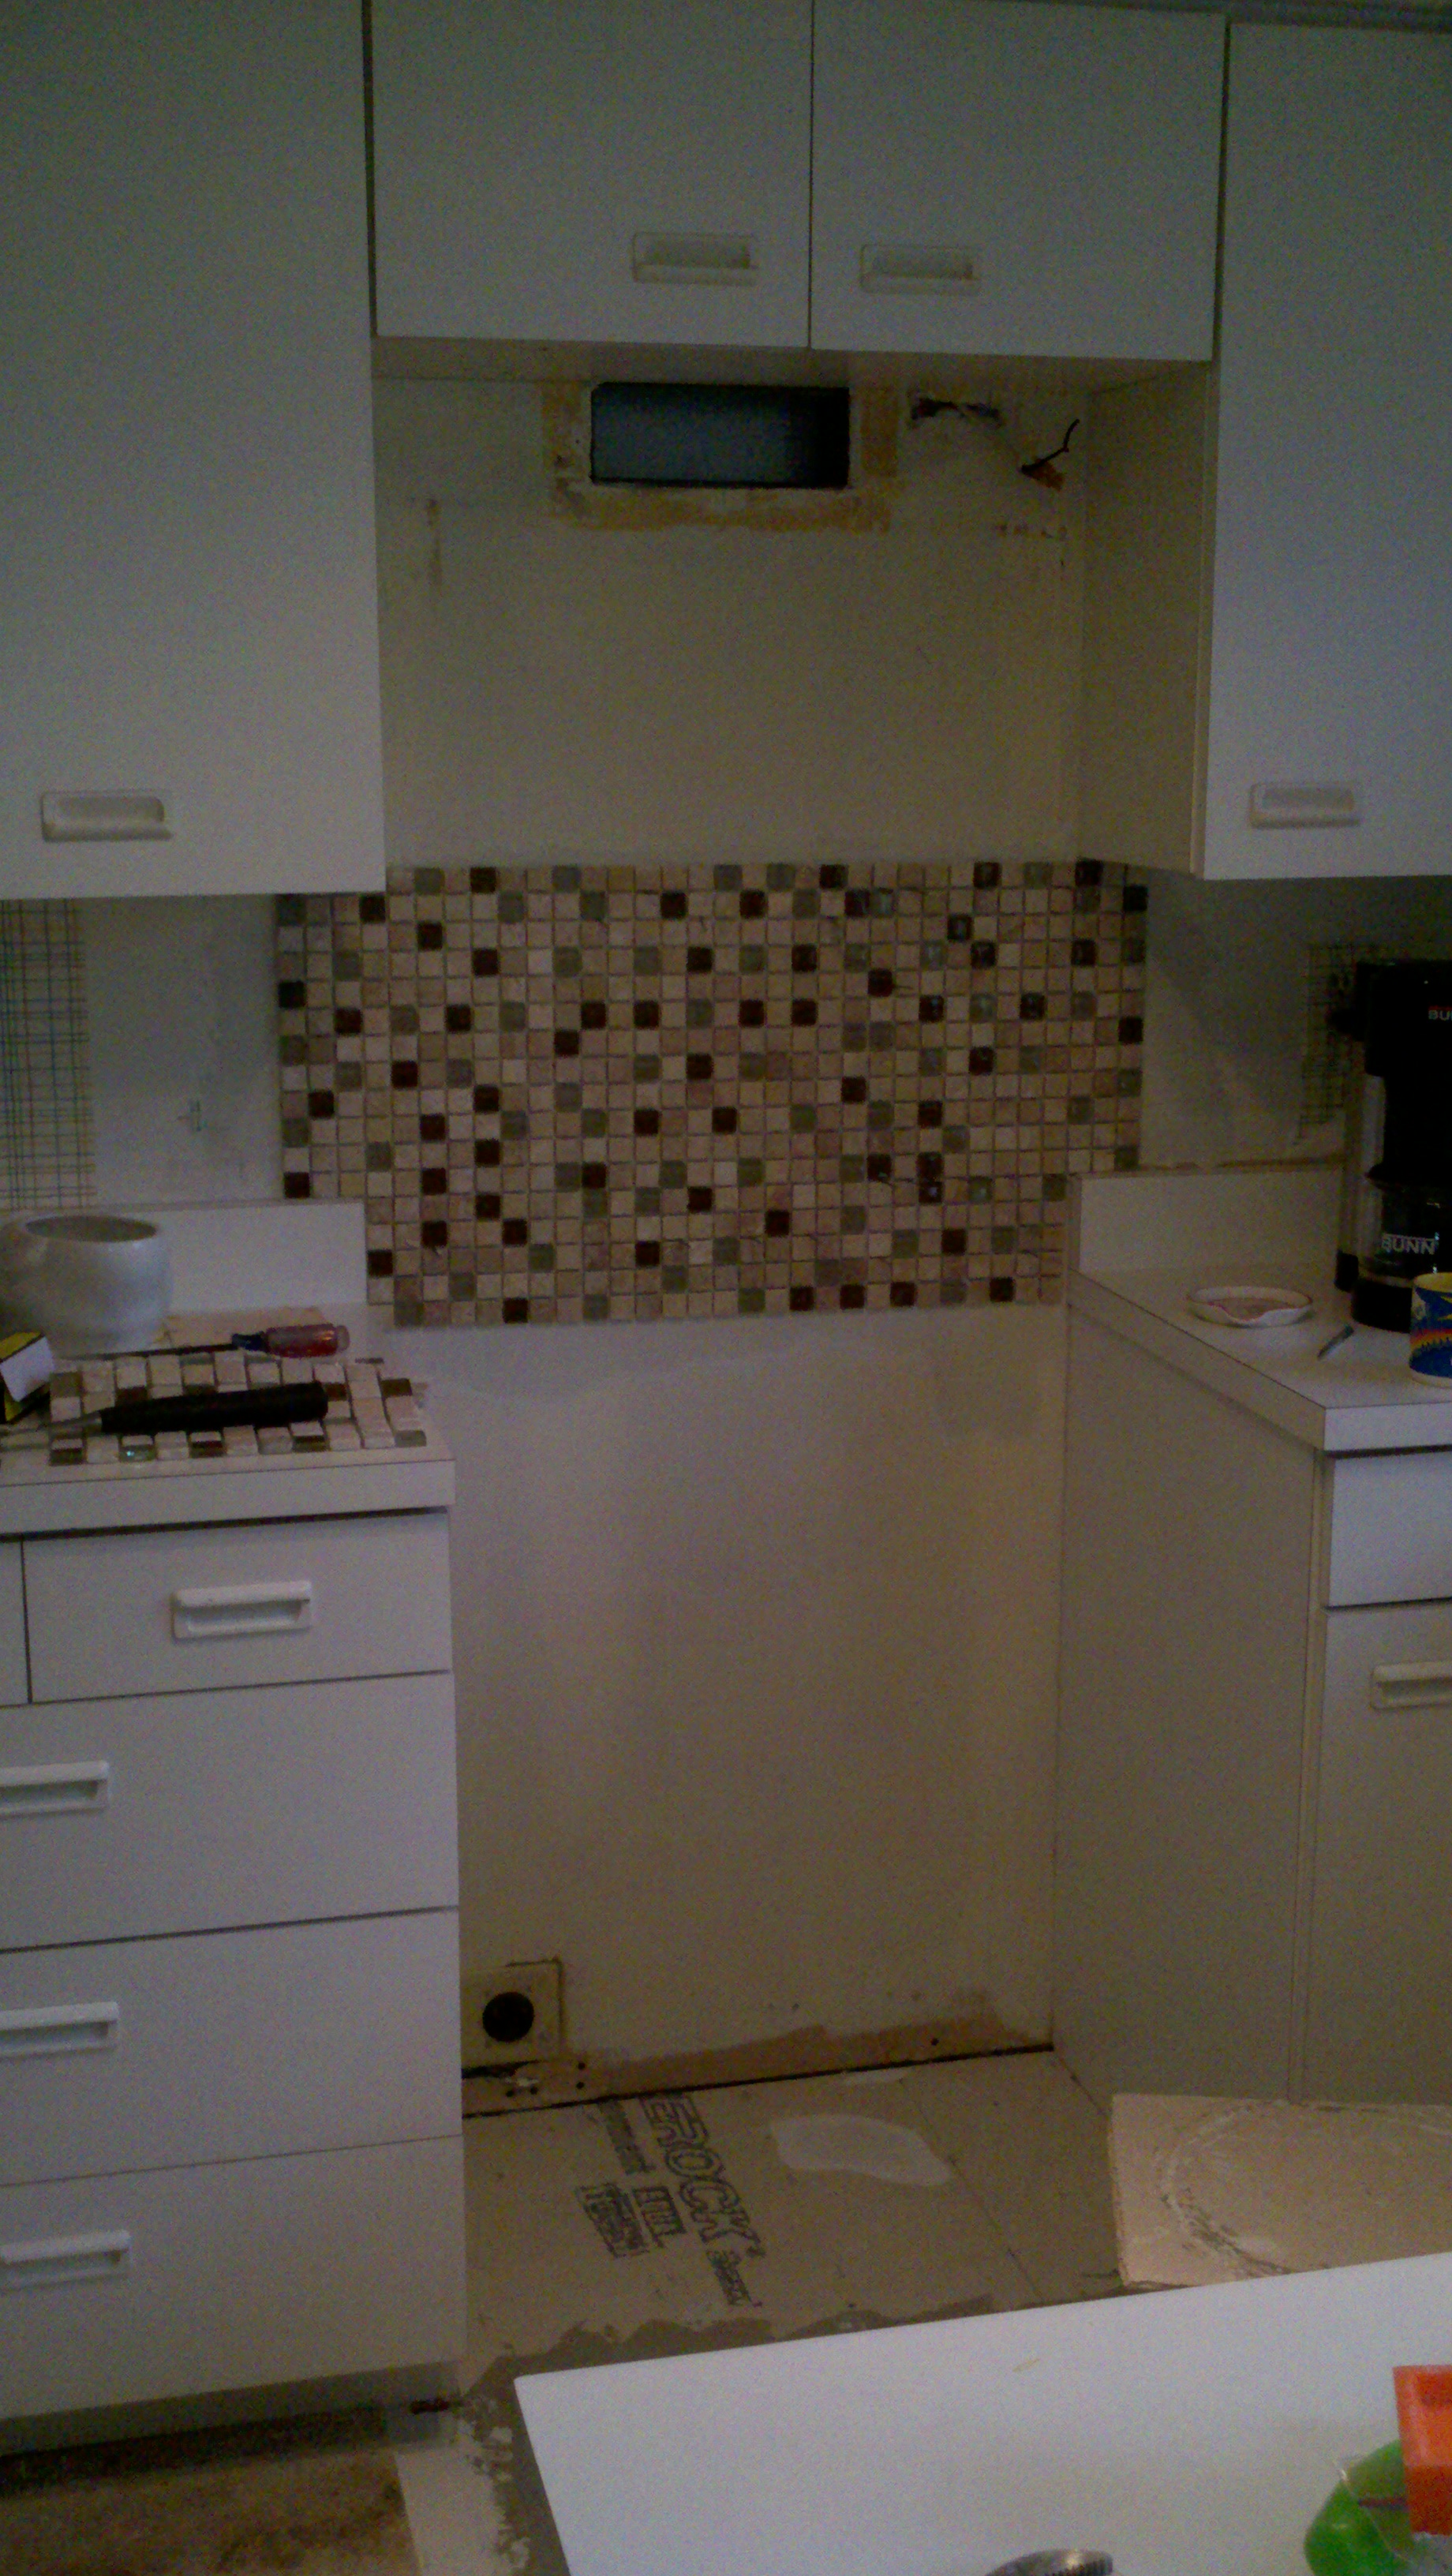
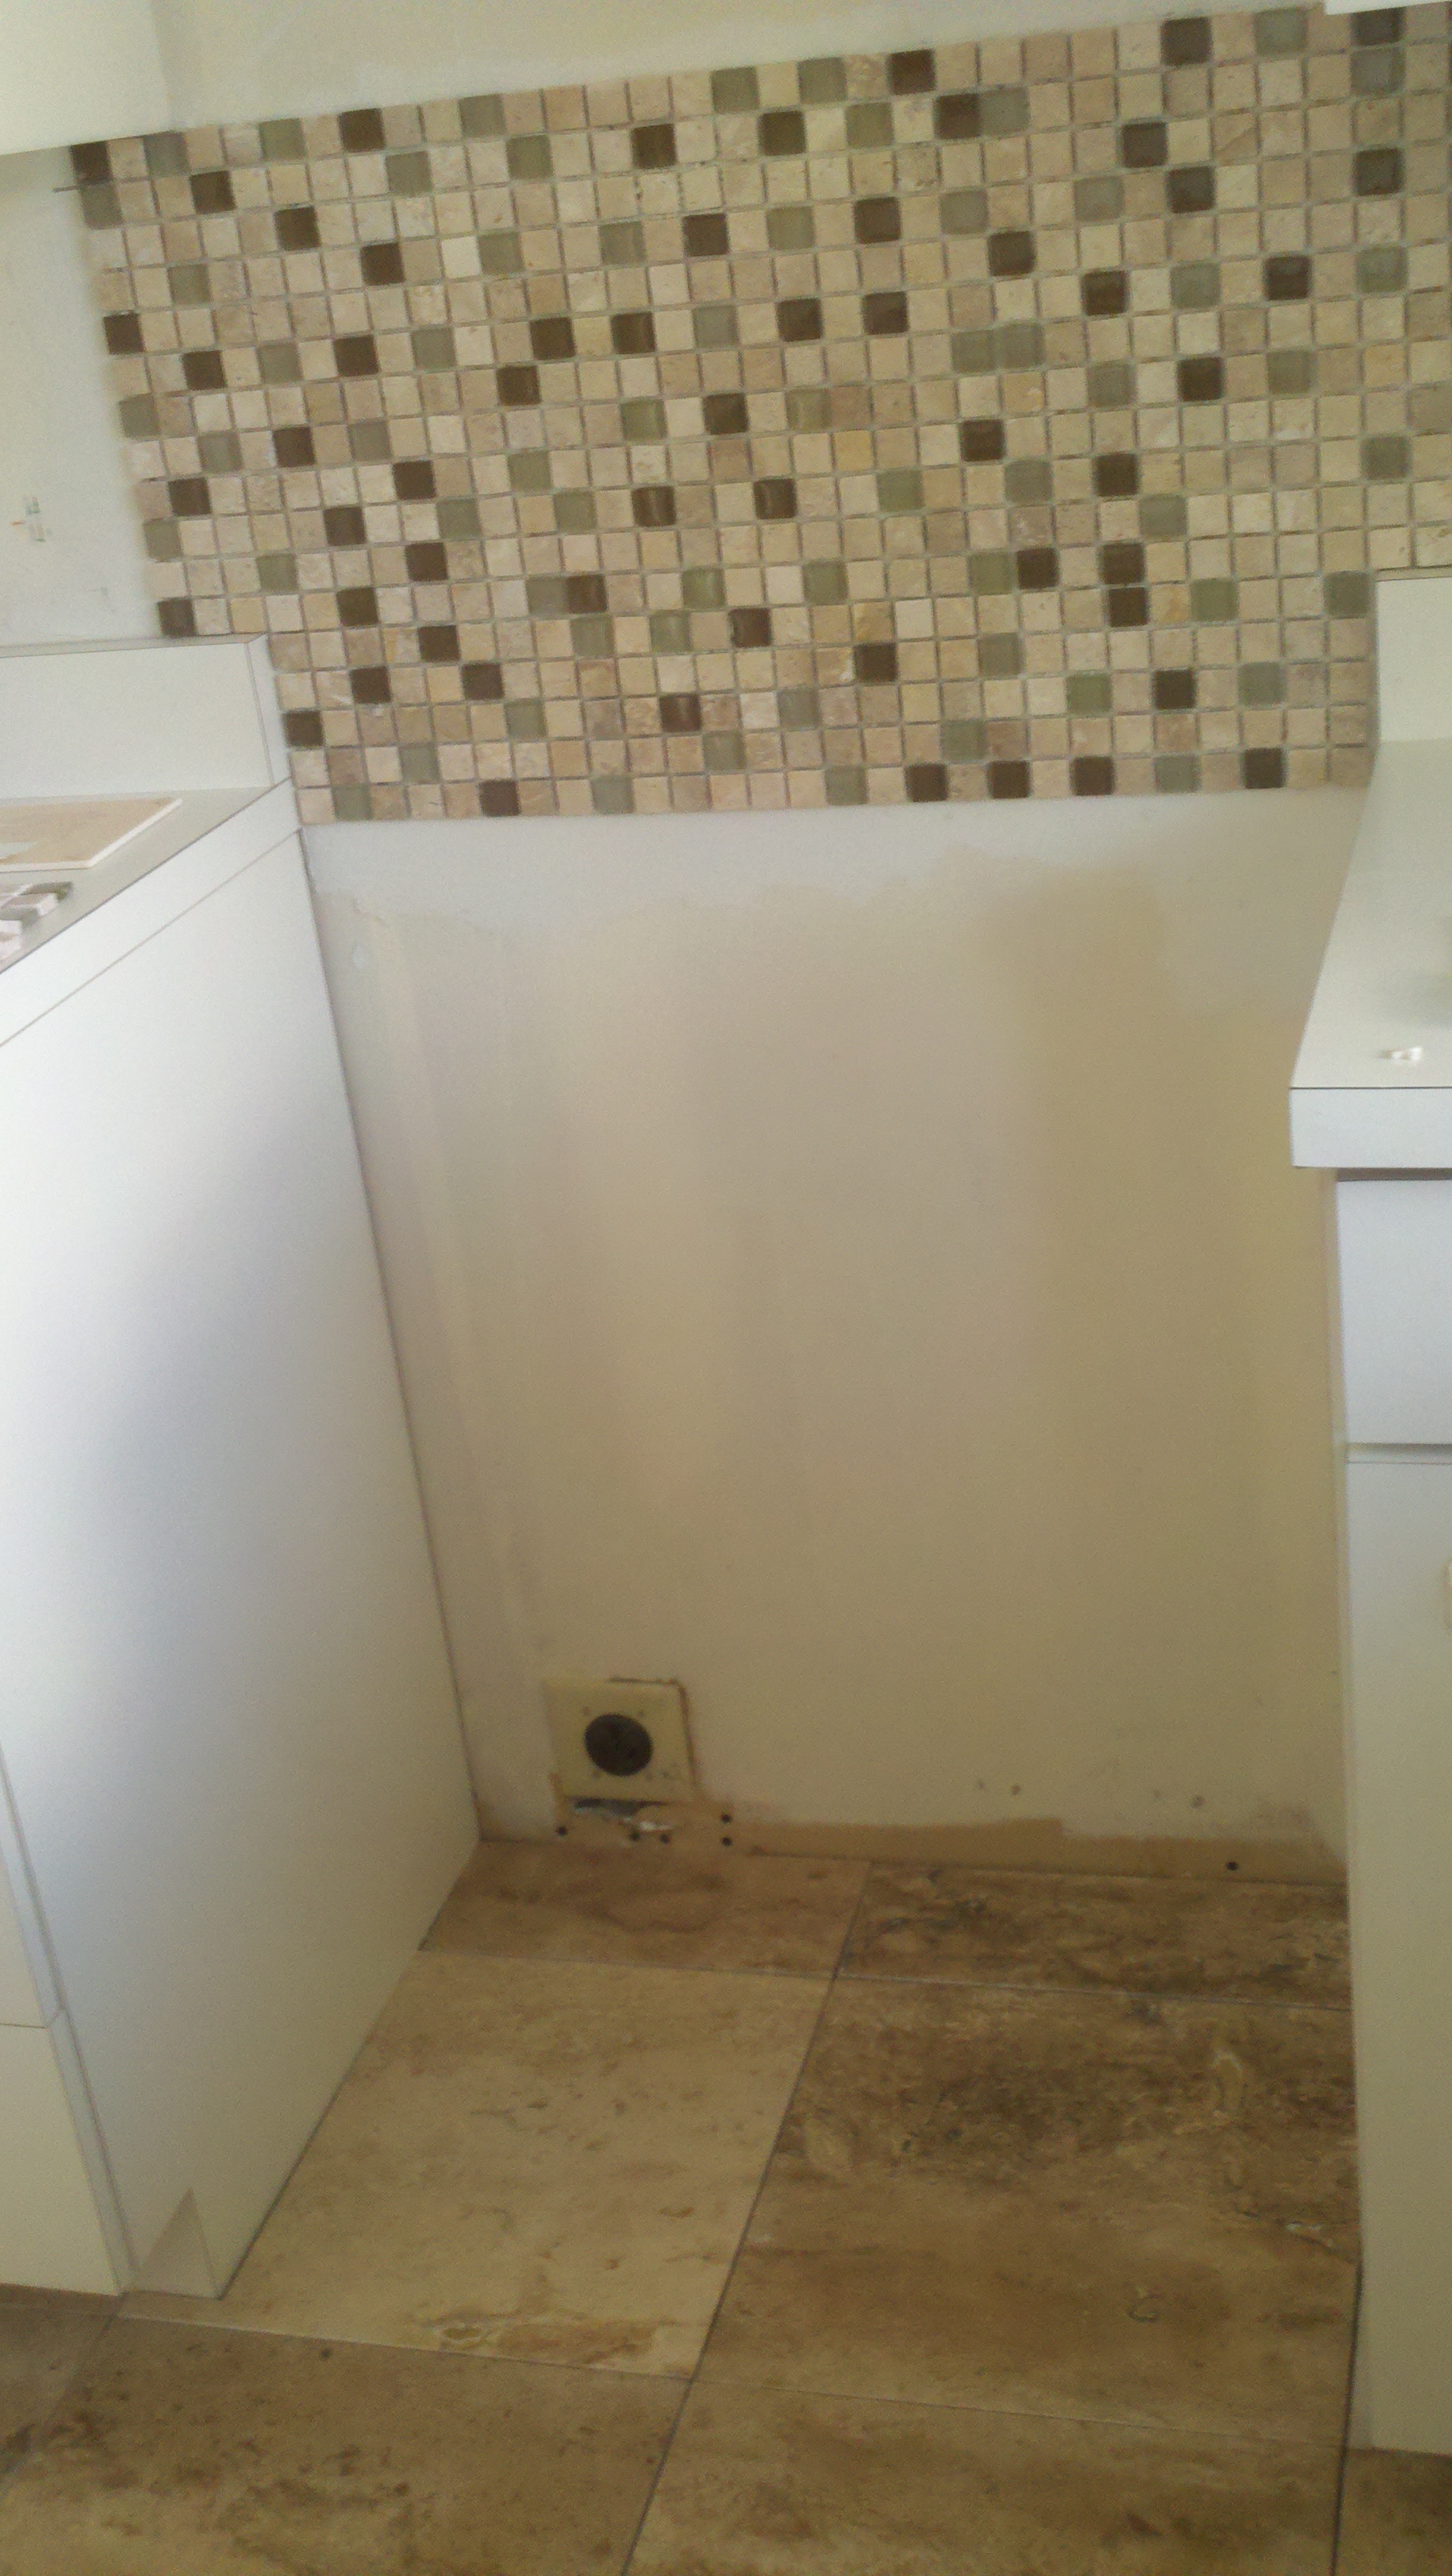
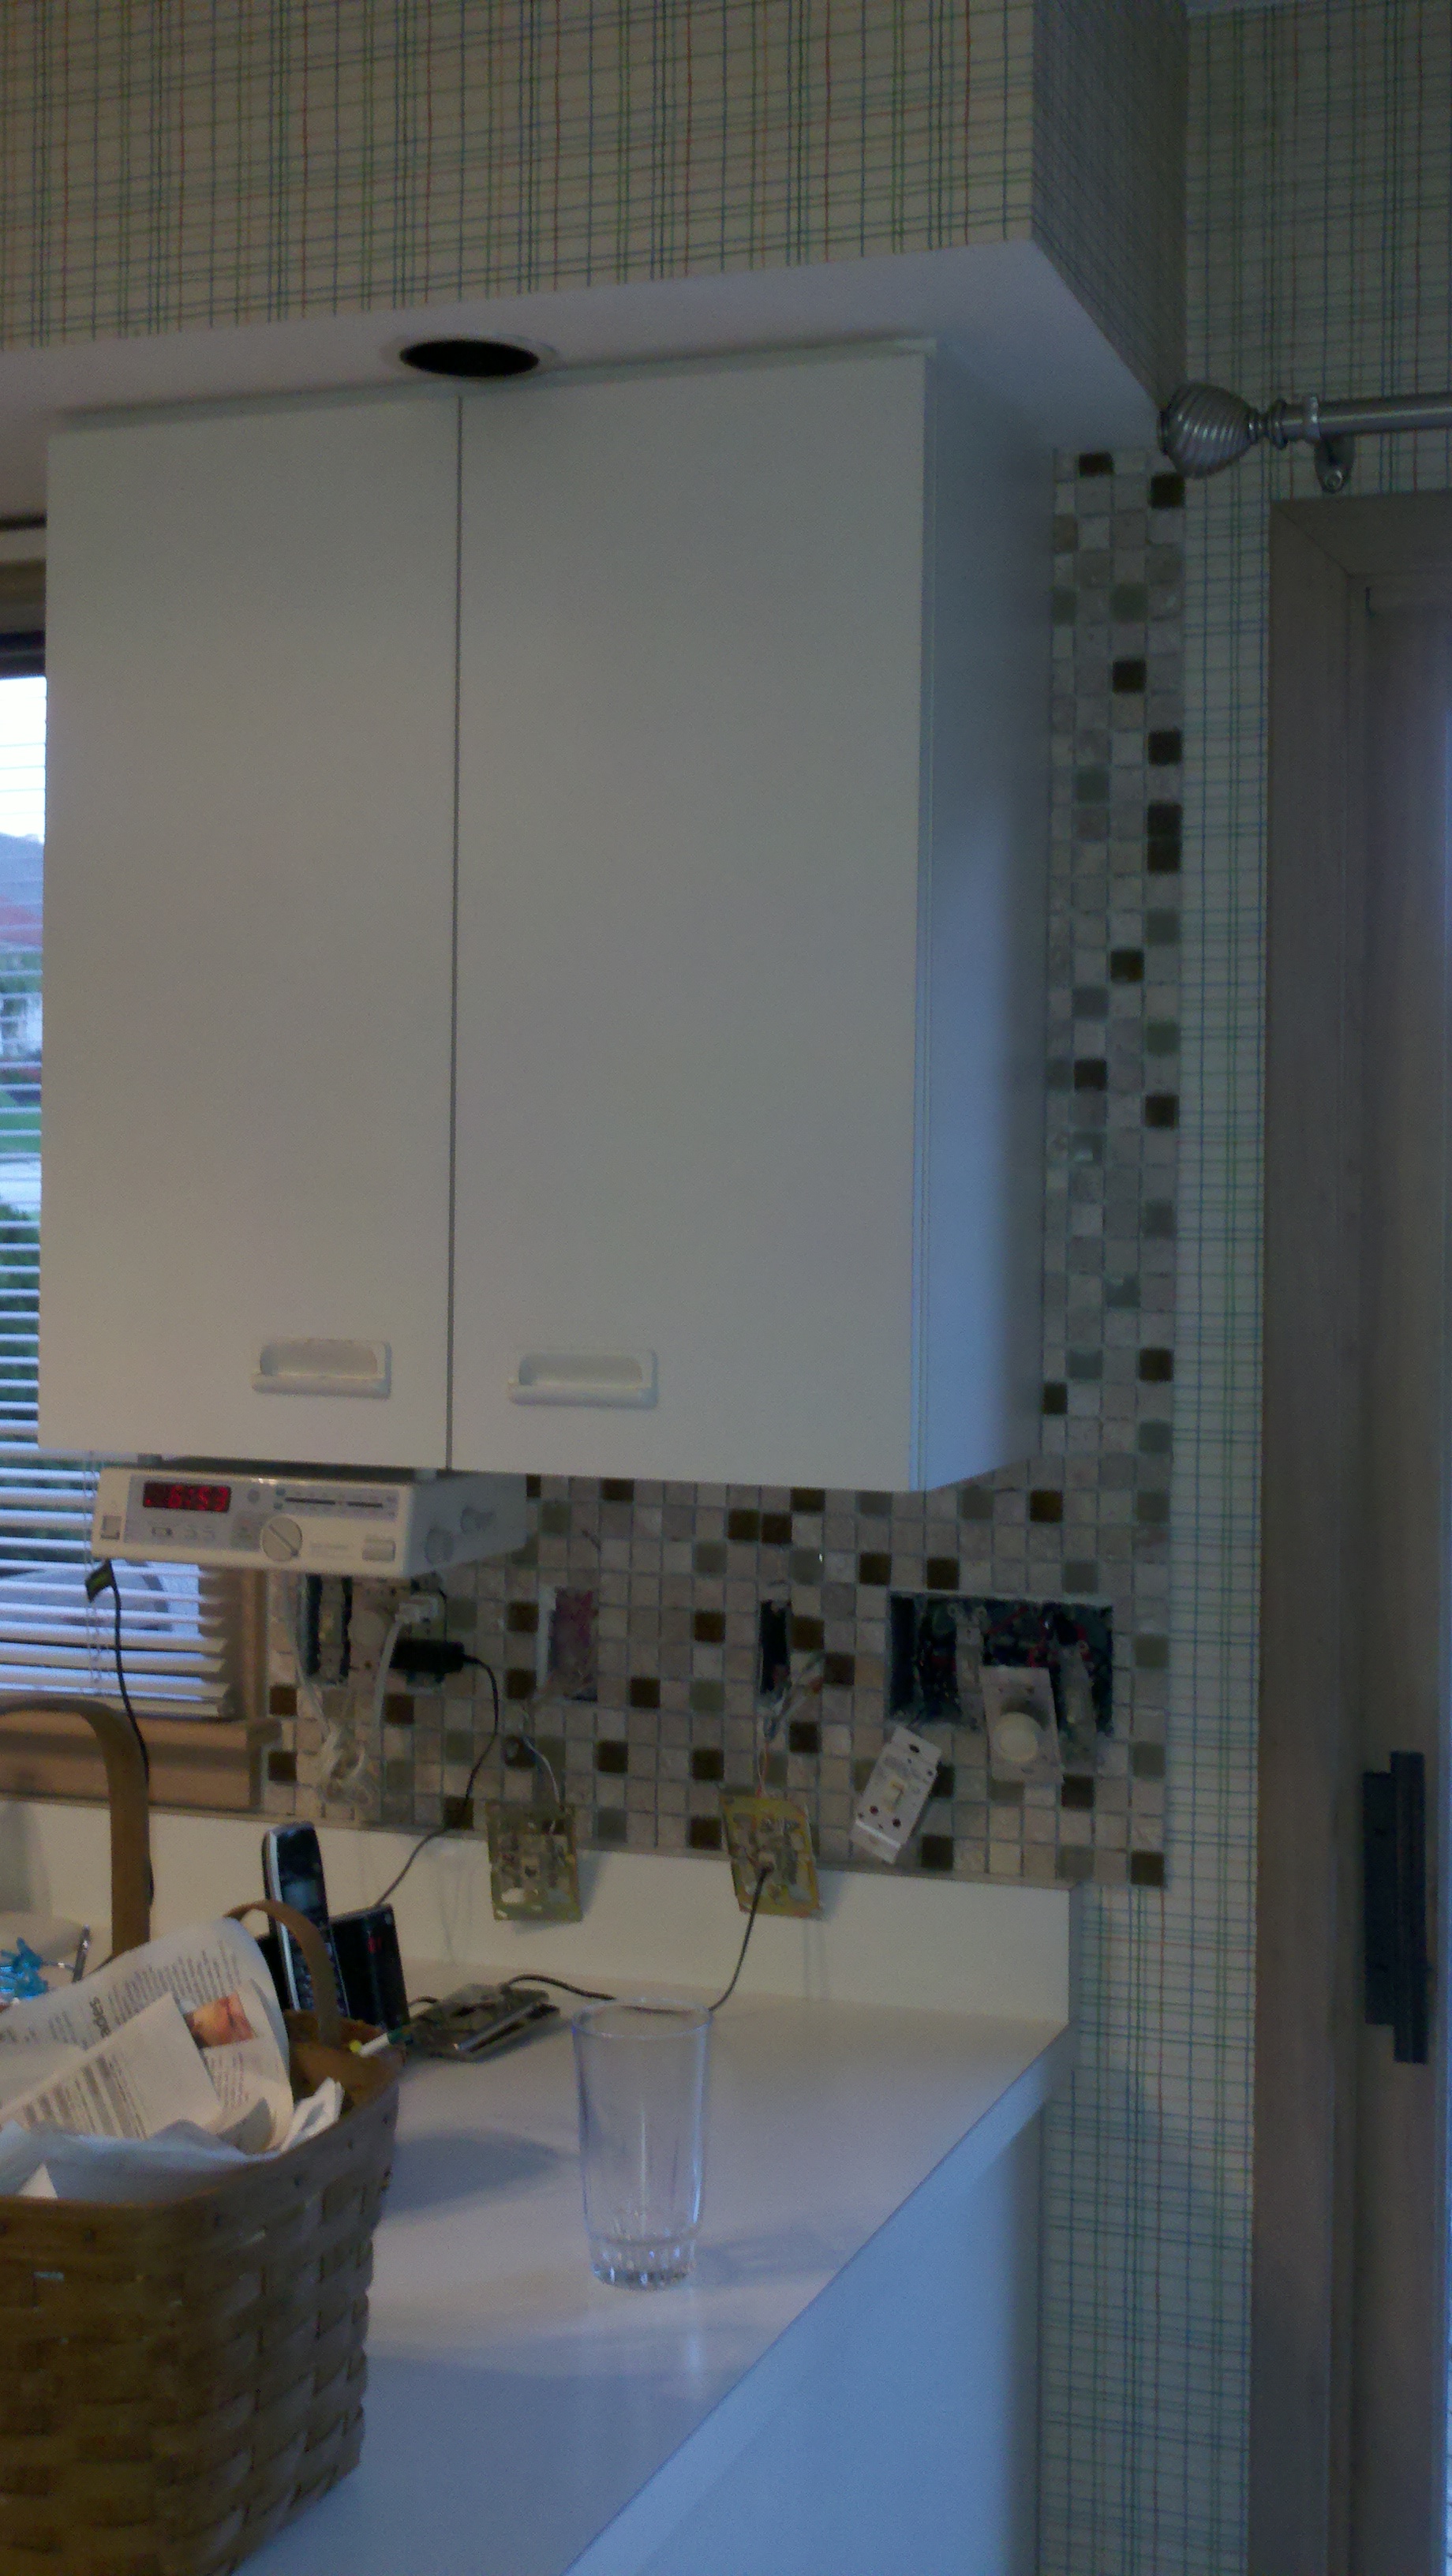
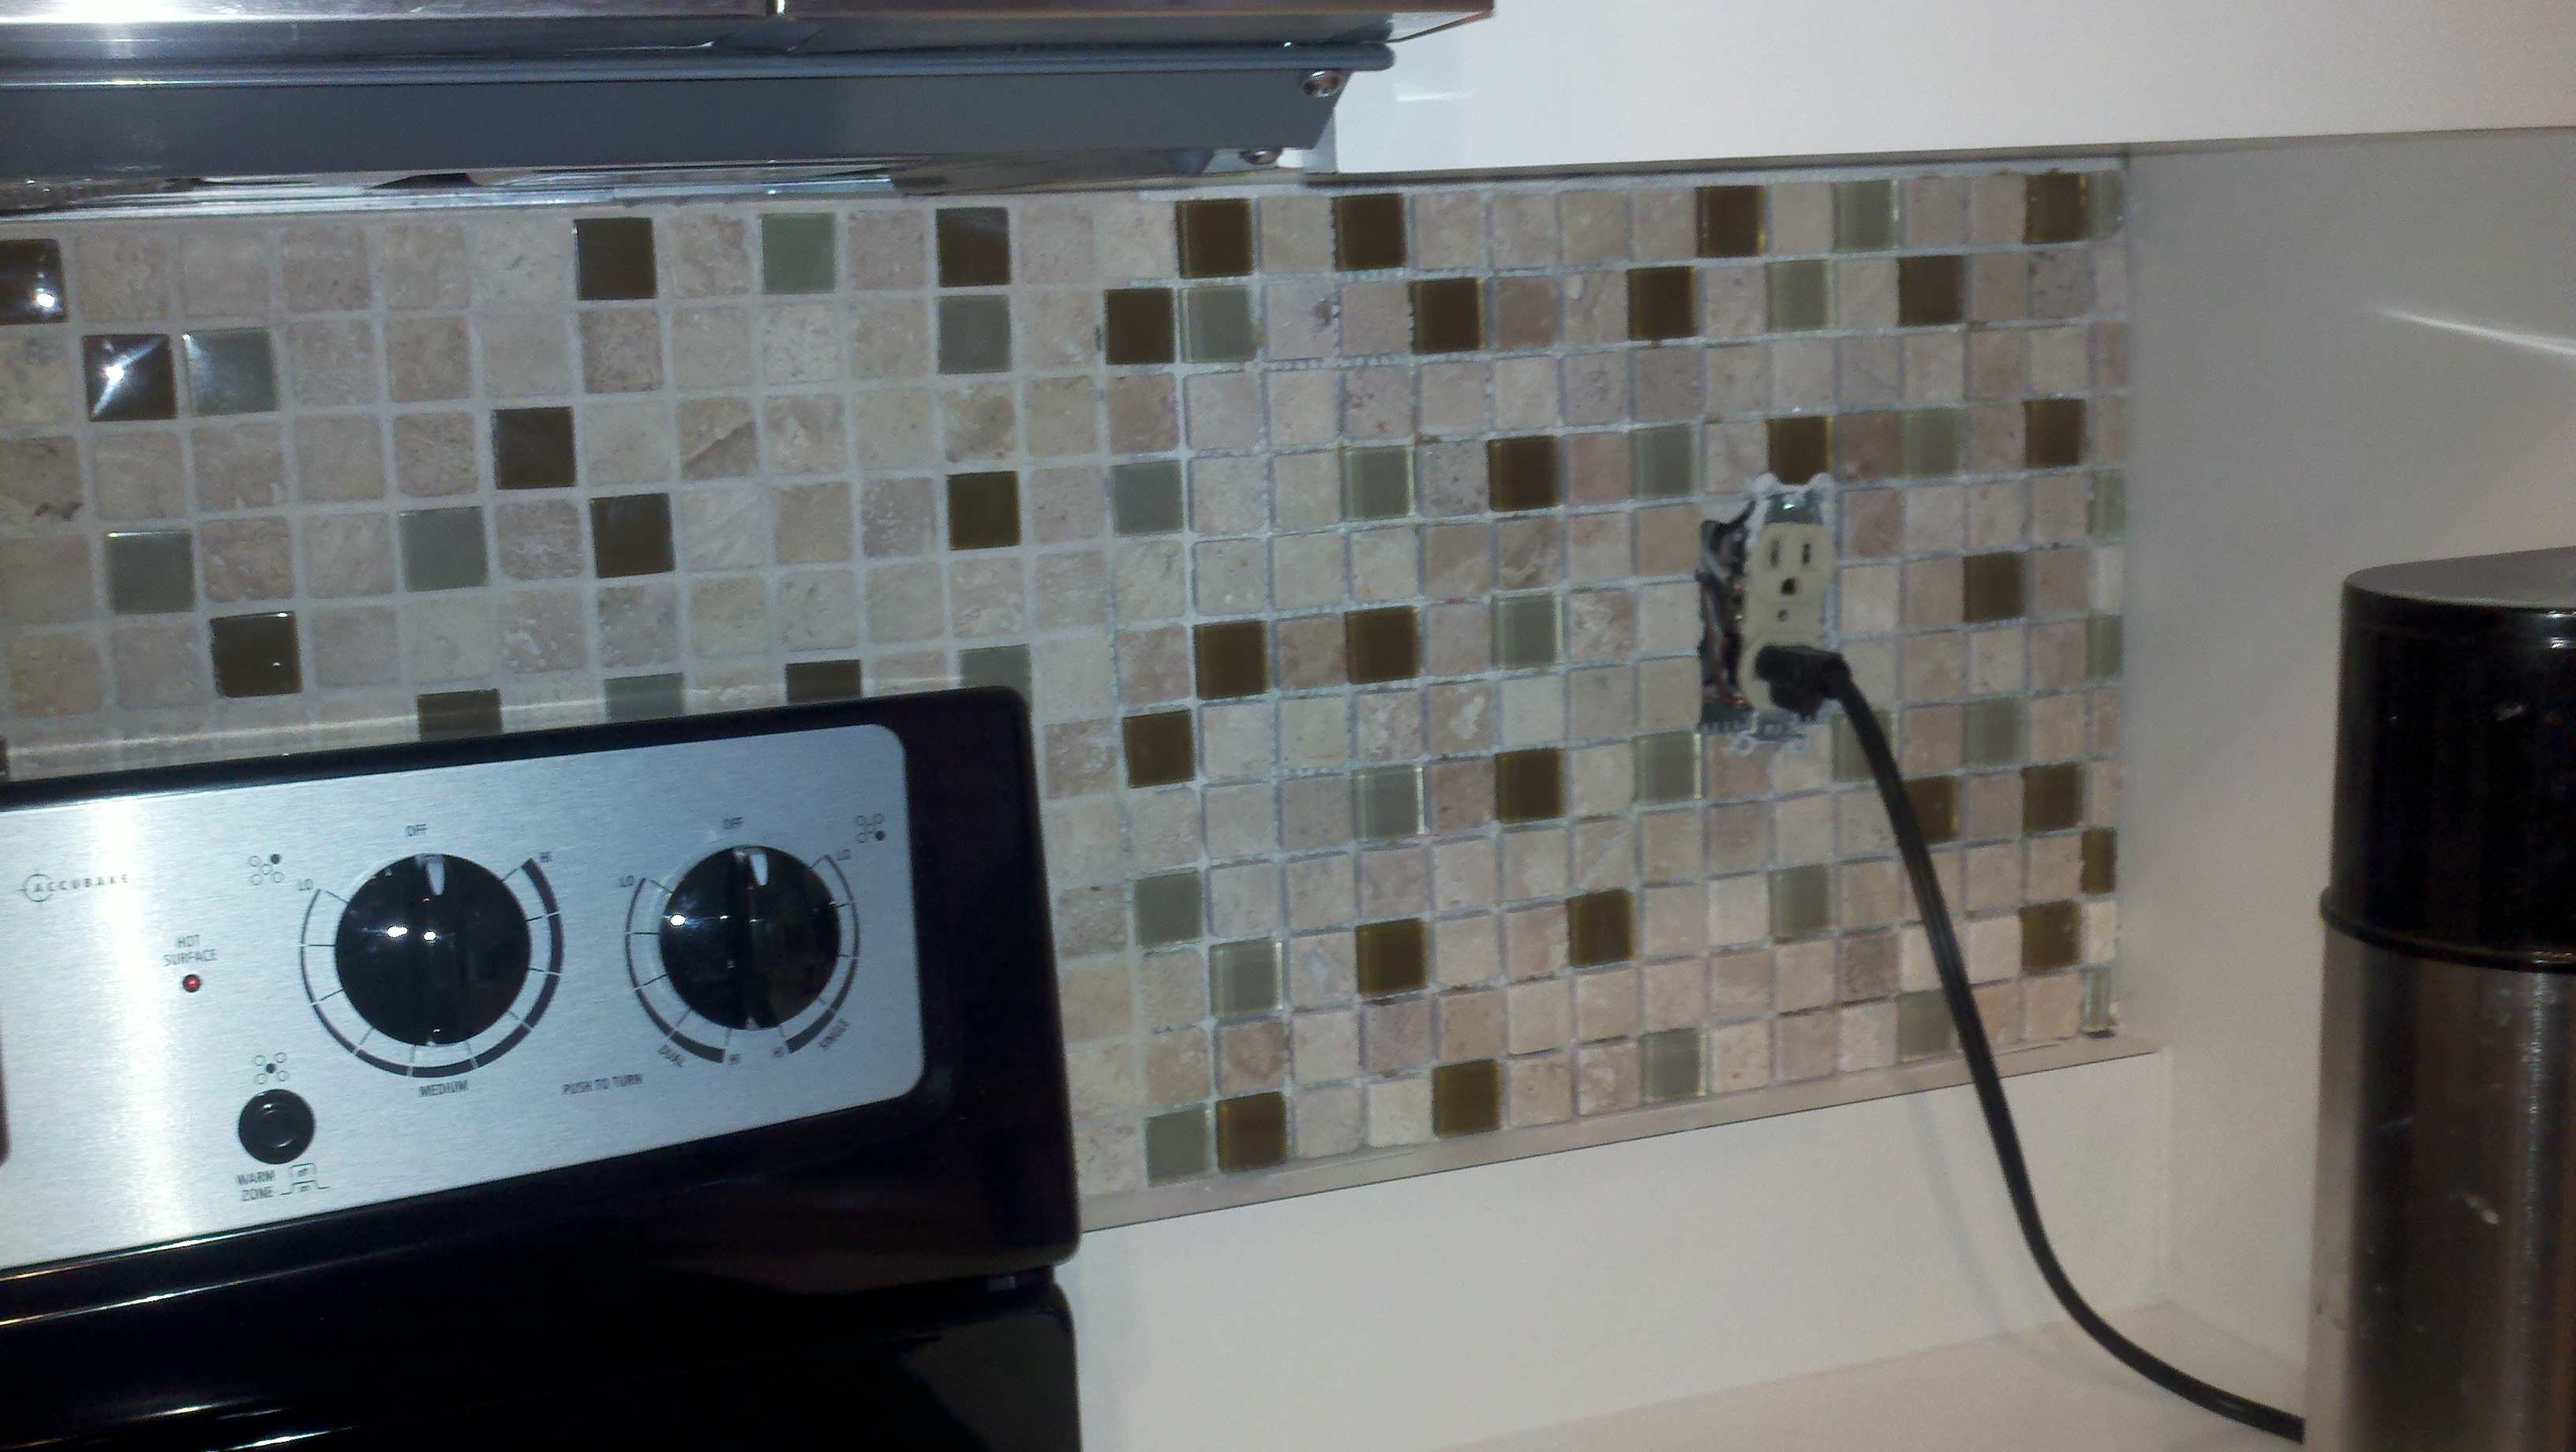
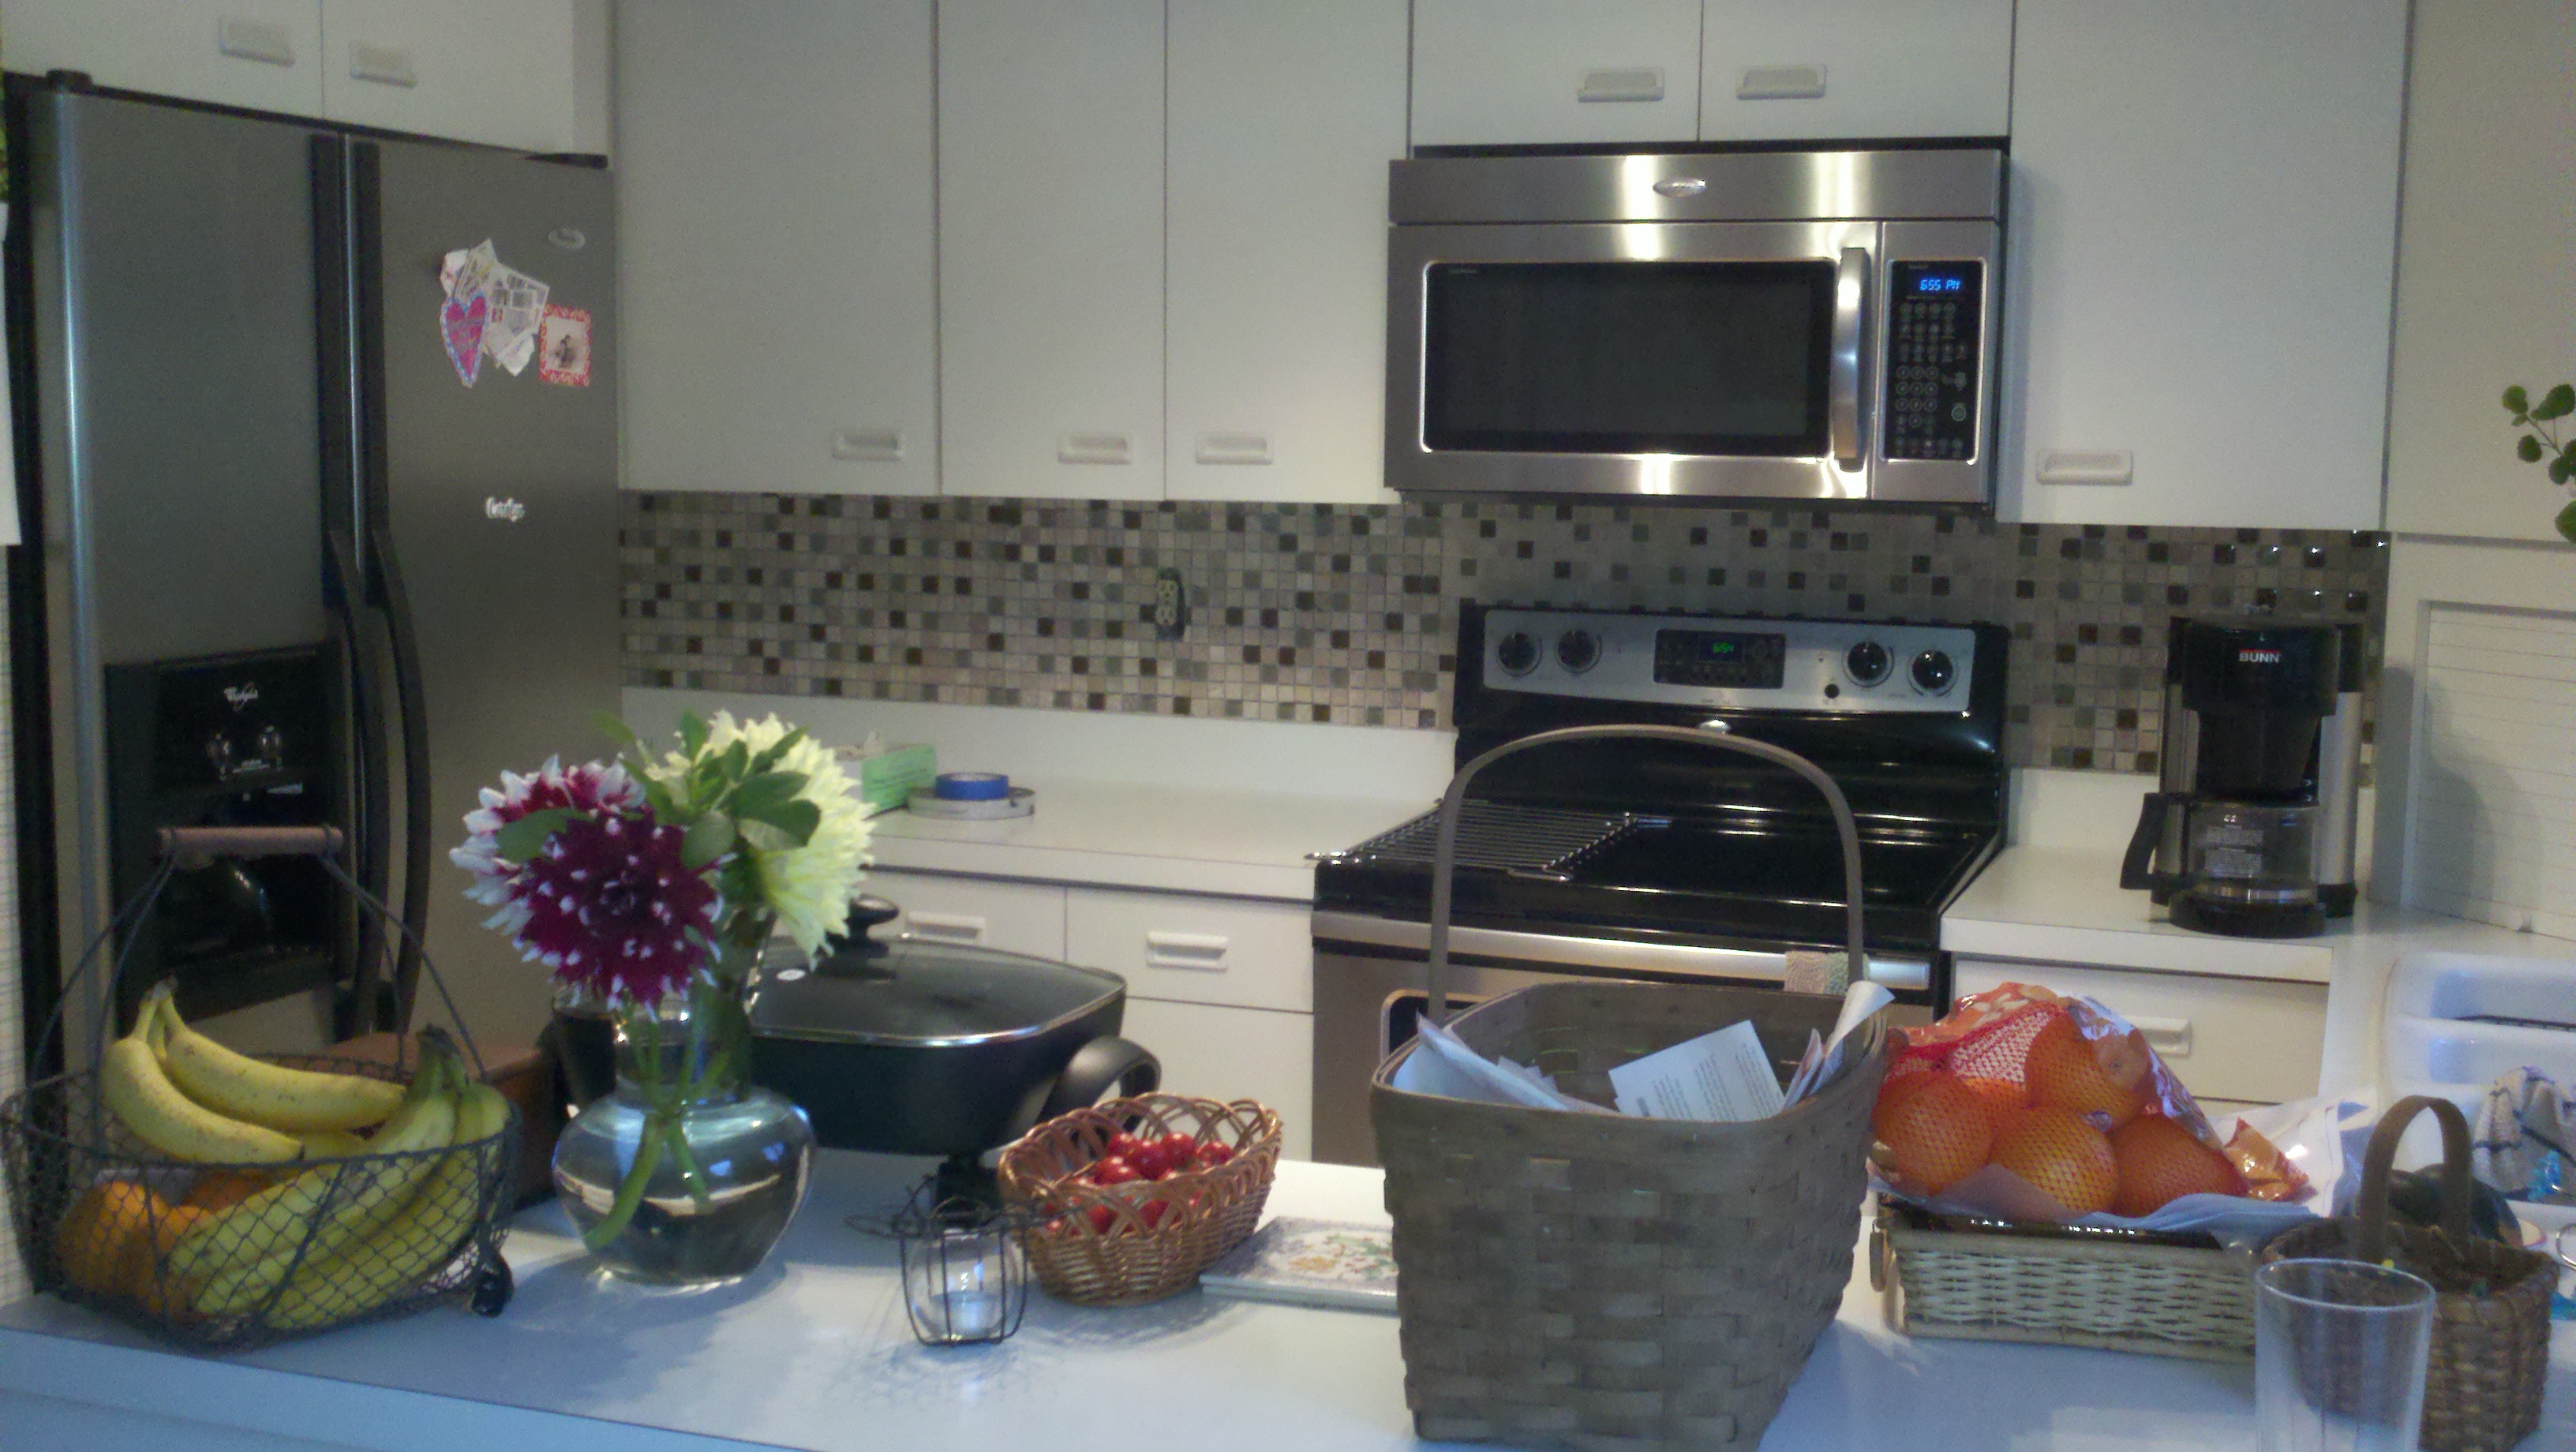
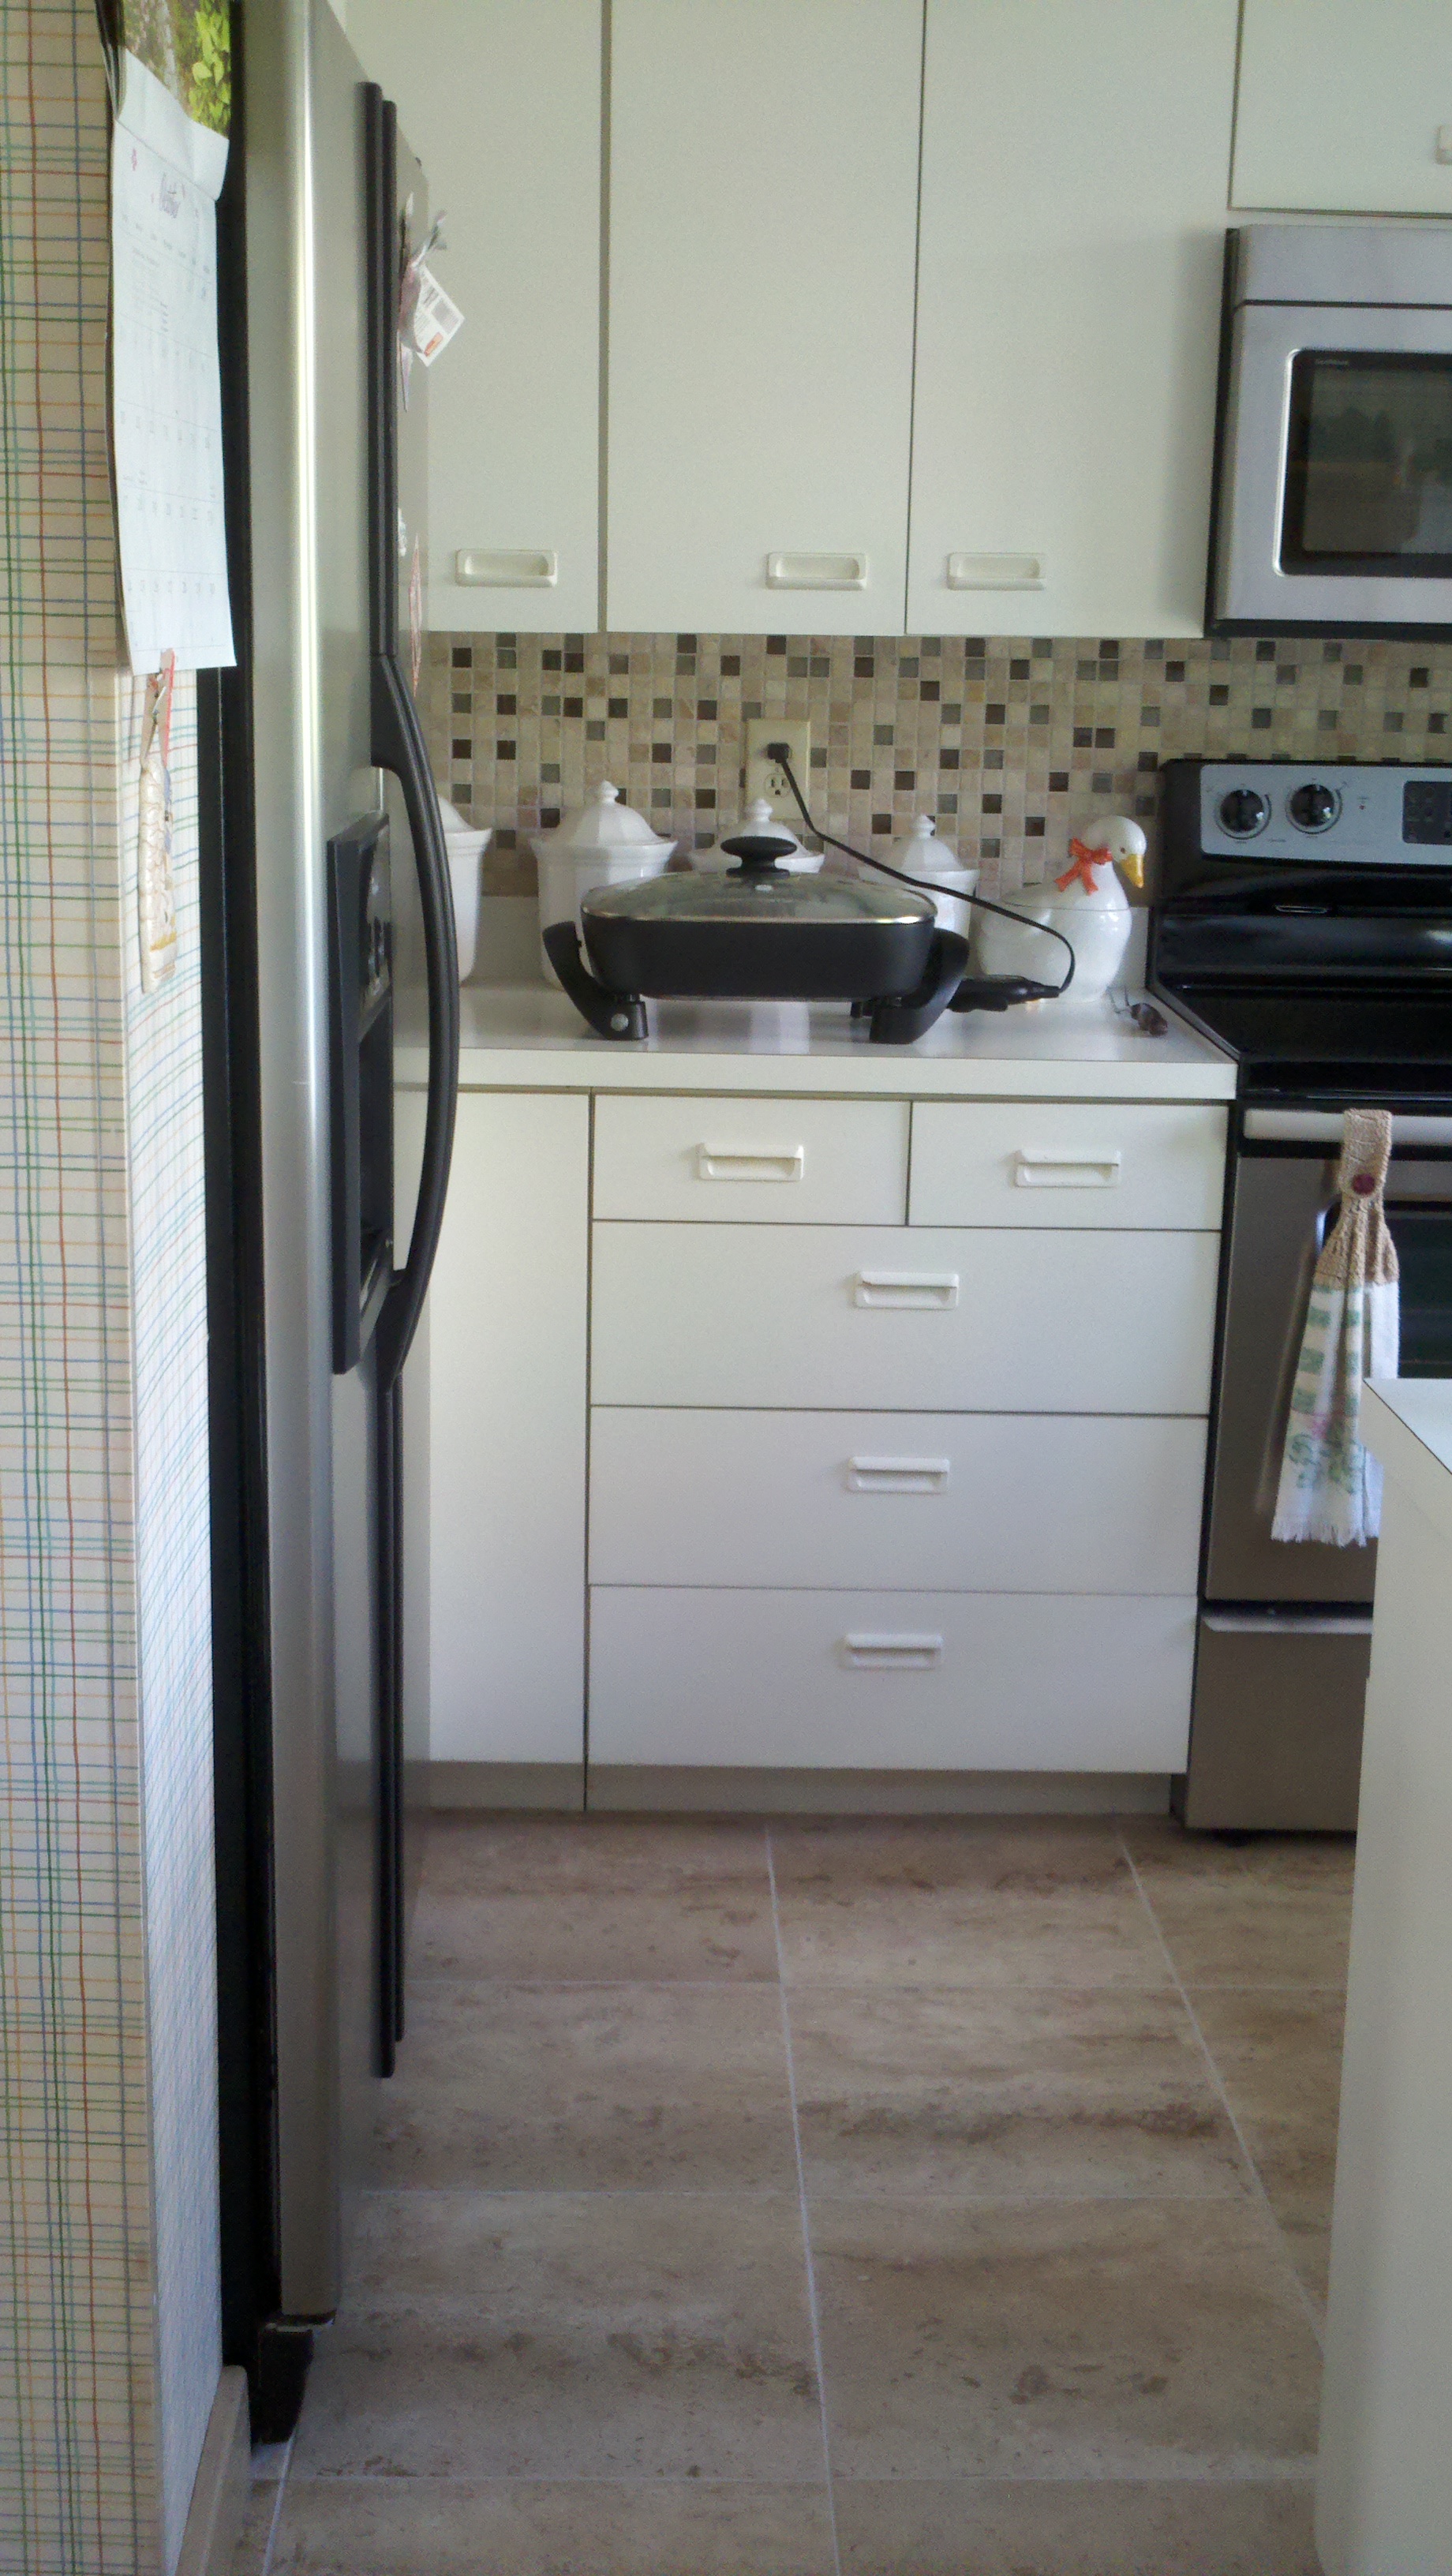
| Kitchen Backsplash, Range Left Side | Original
|
Subway
|
Glass Sheet
|
Mosaic Tile
|
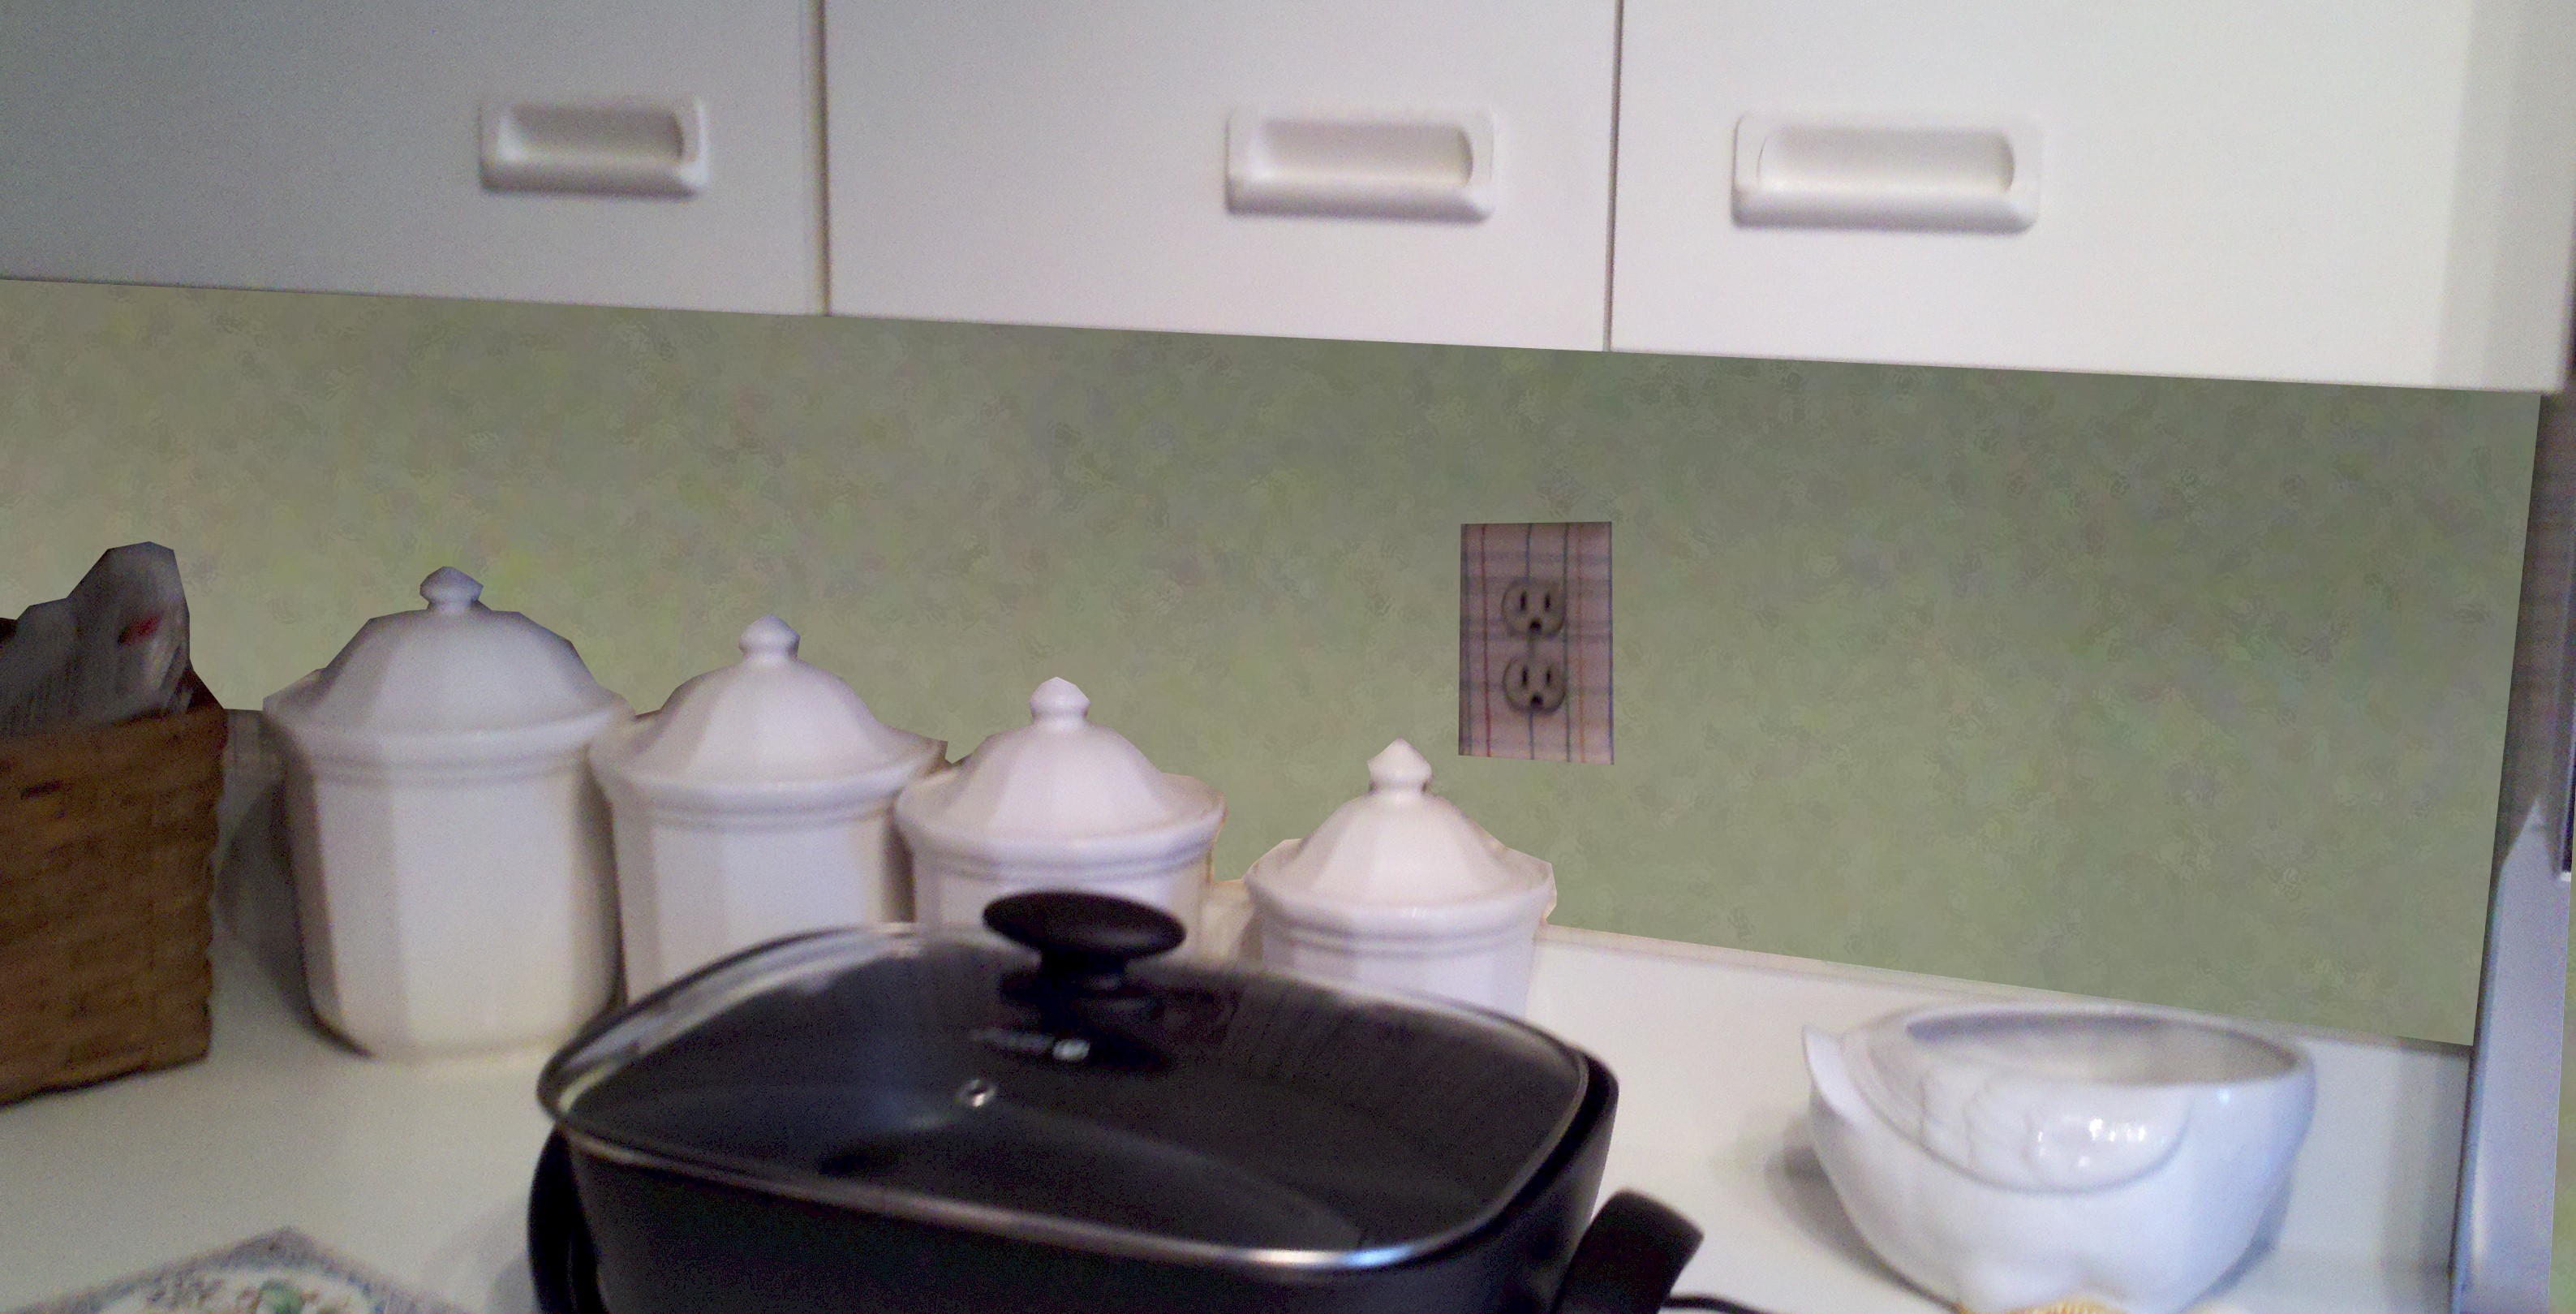
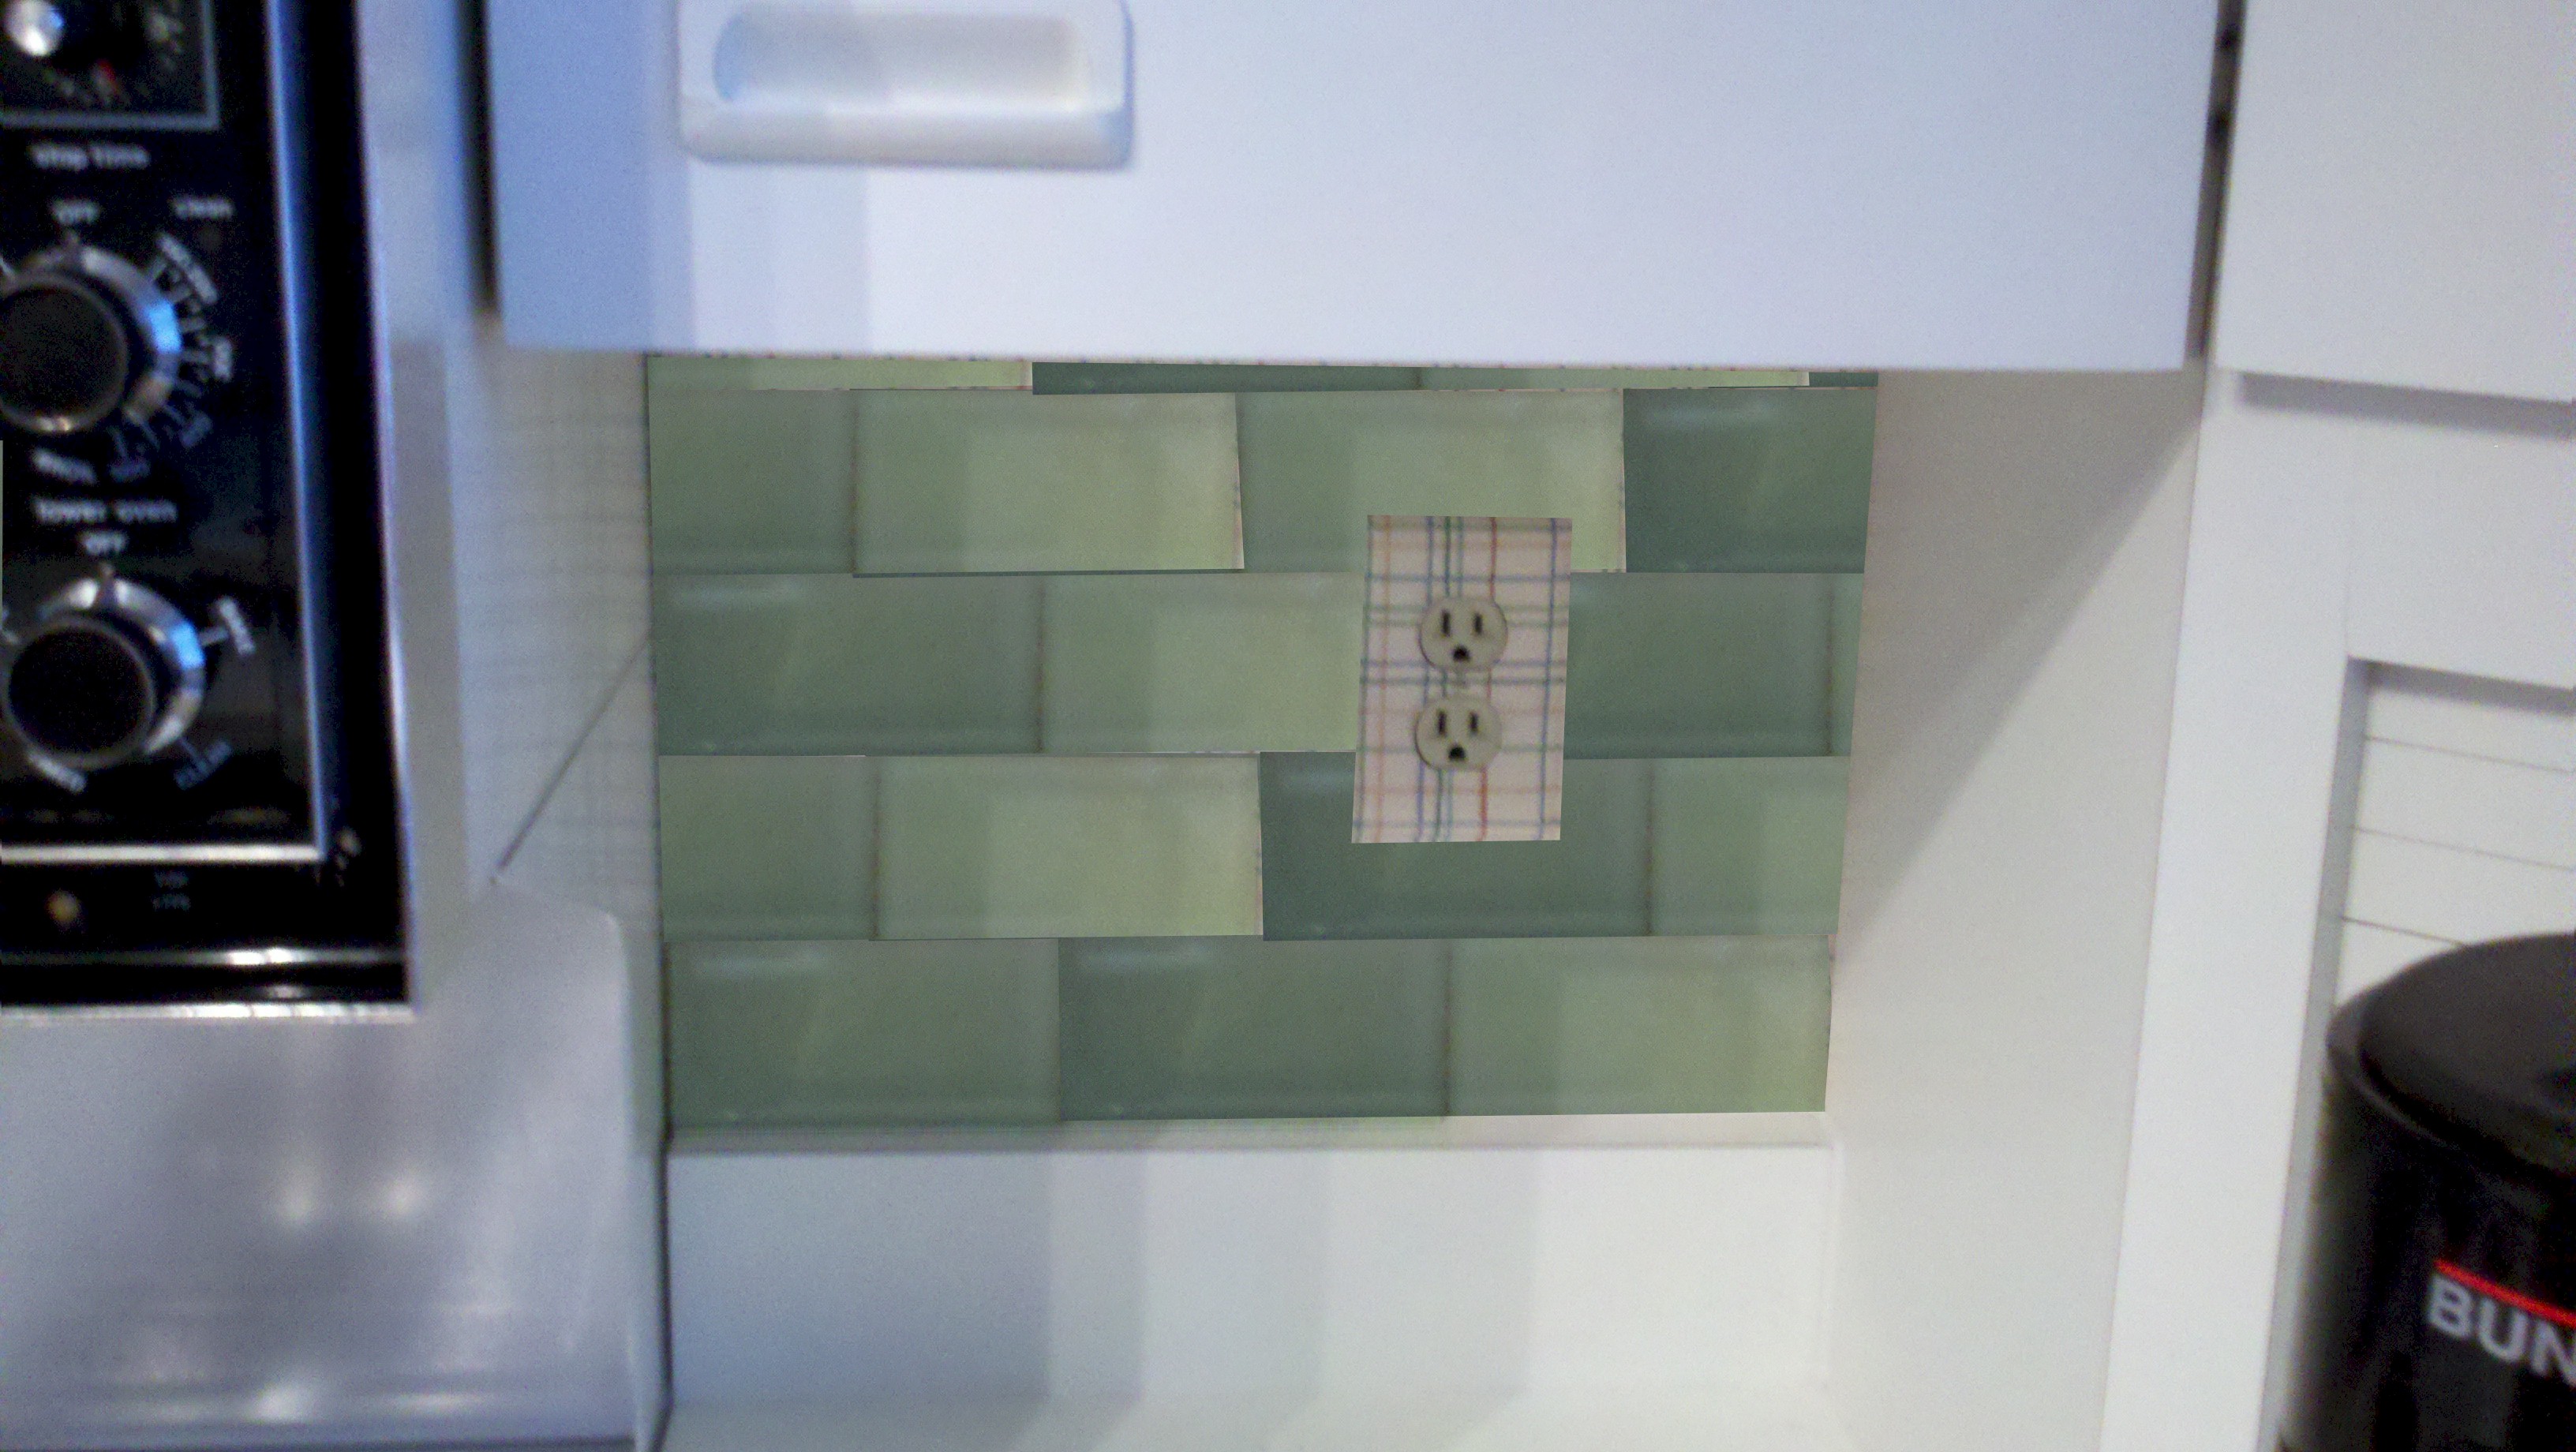
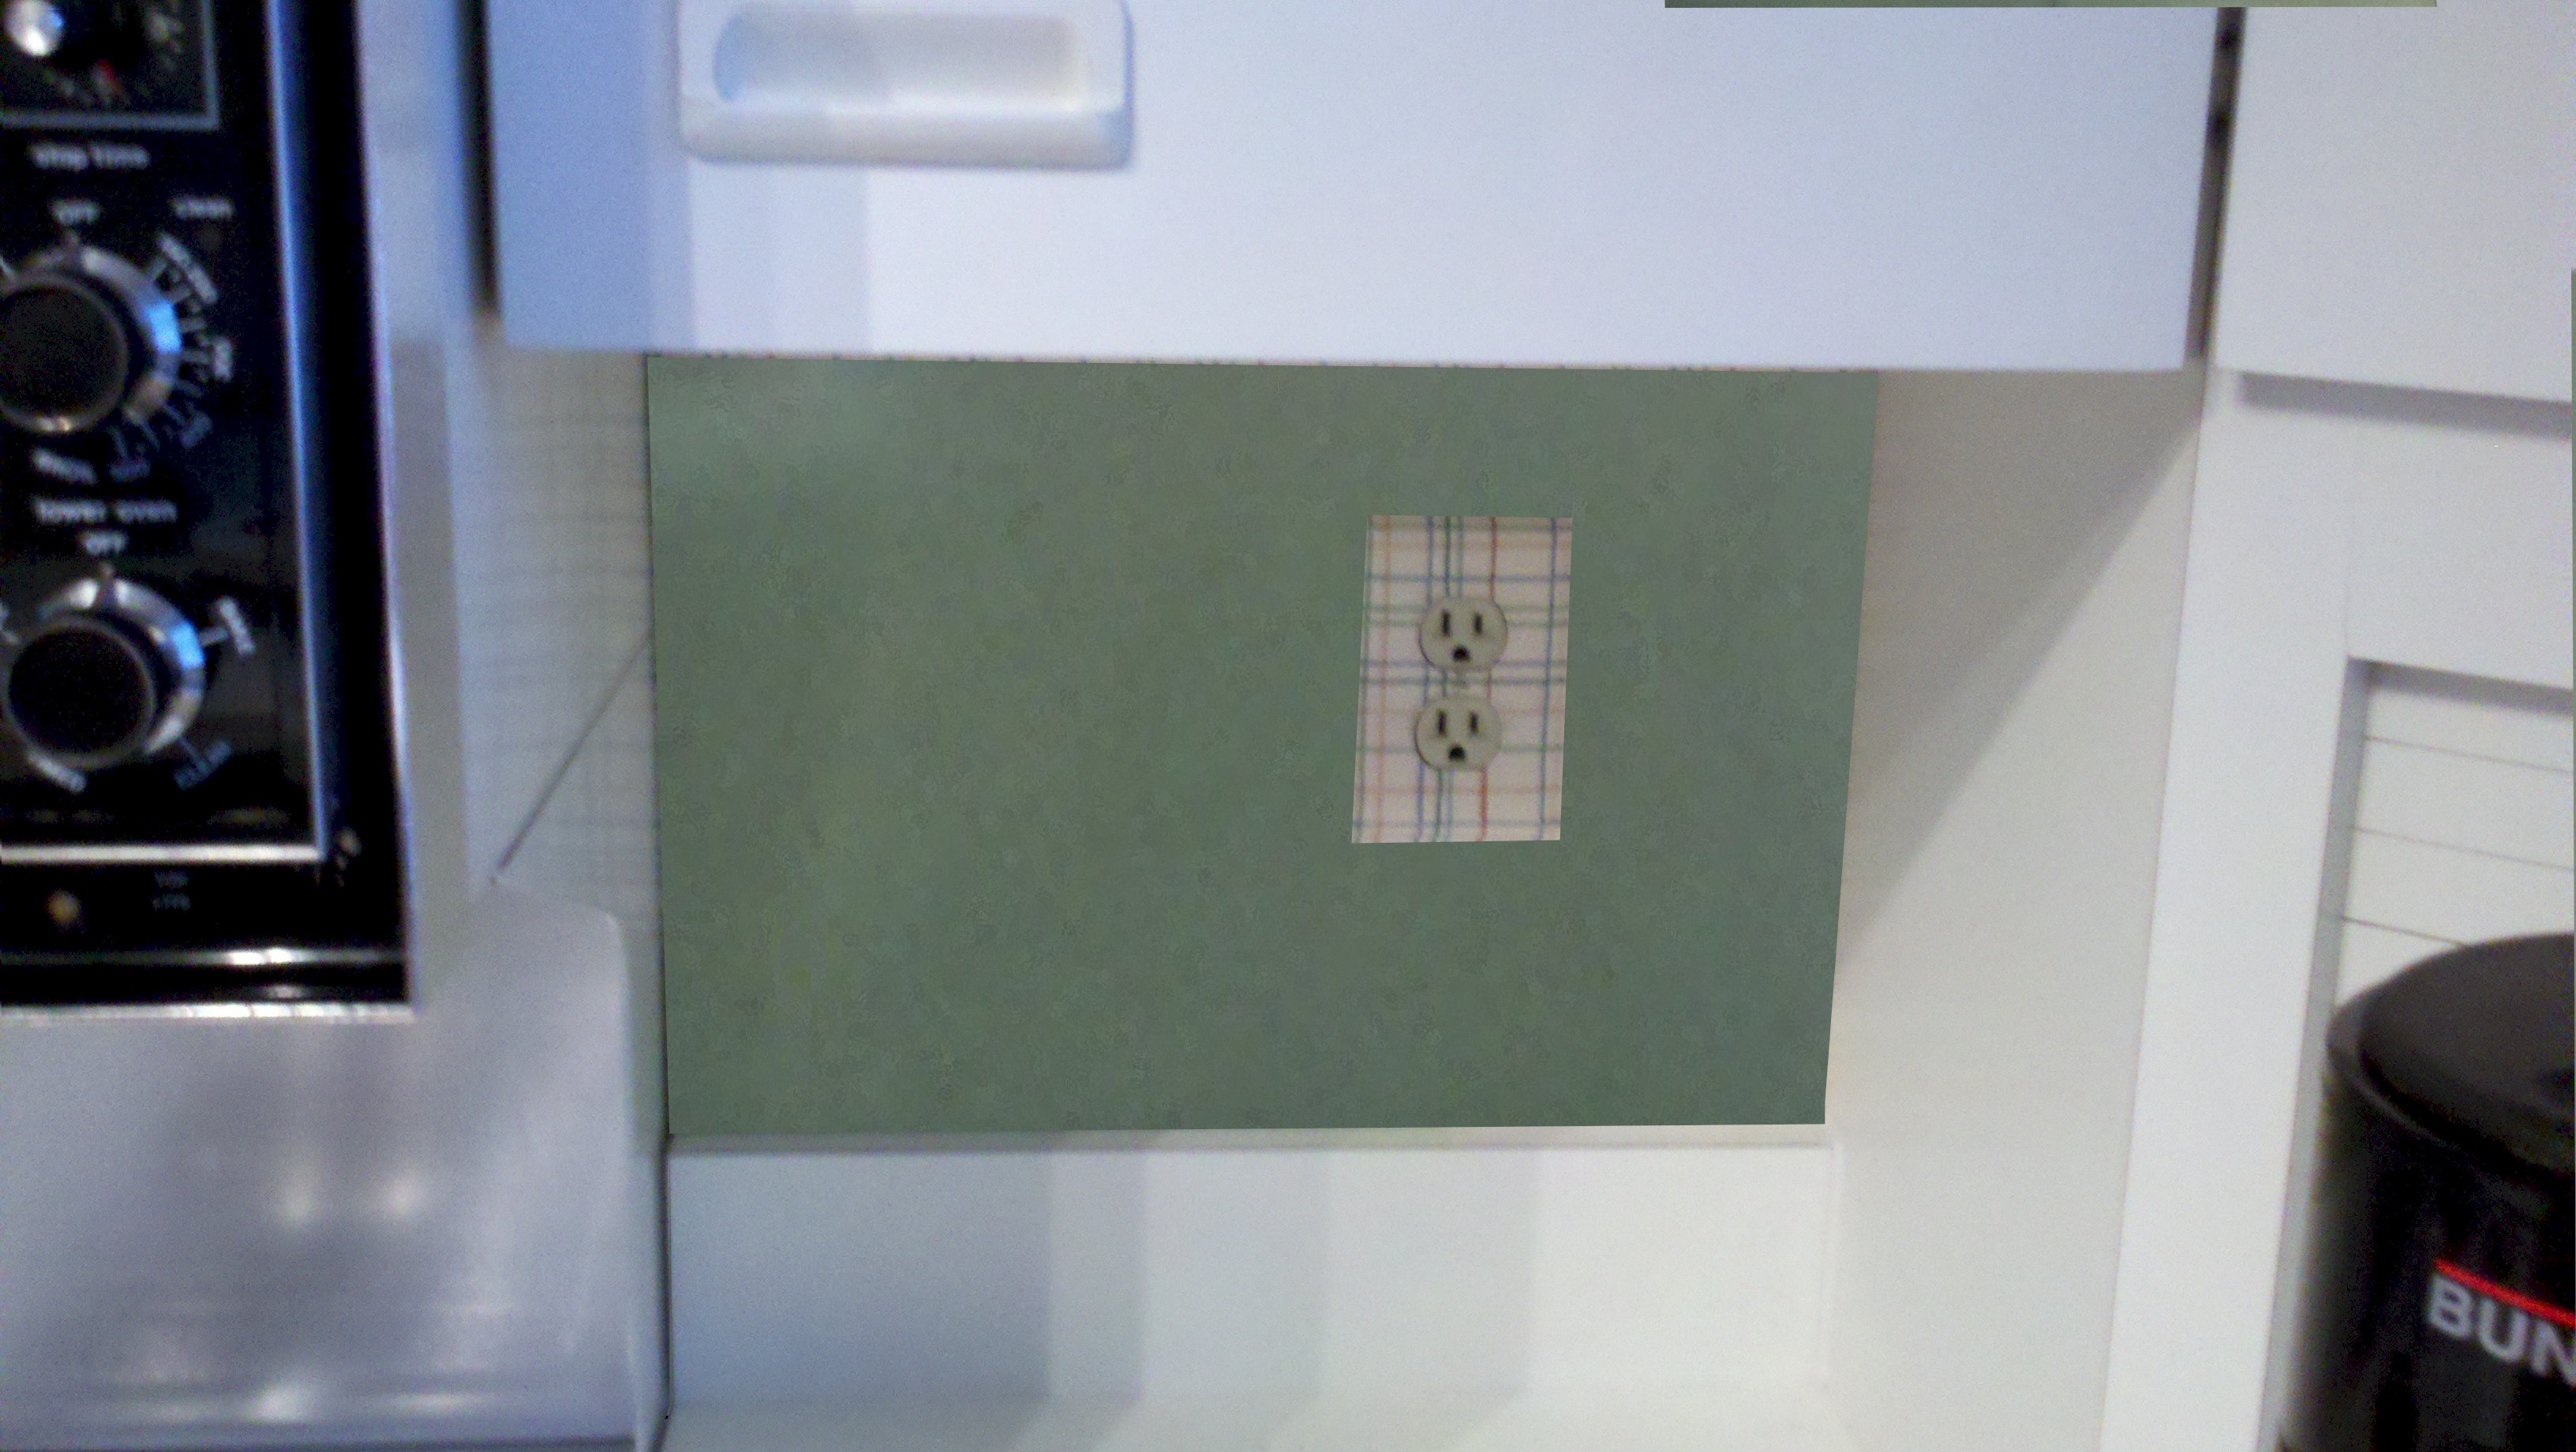
| Kitchen Back Splash, Sink Right Side | Original
|
Subway
|
Glass Sheet
|
|
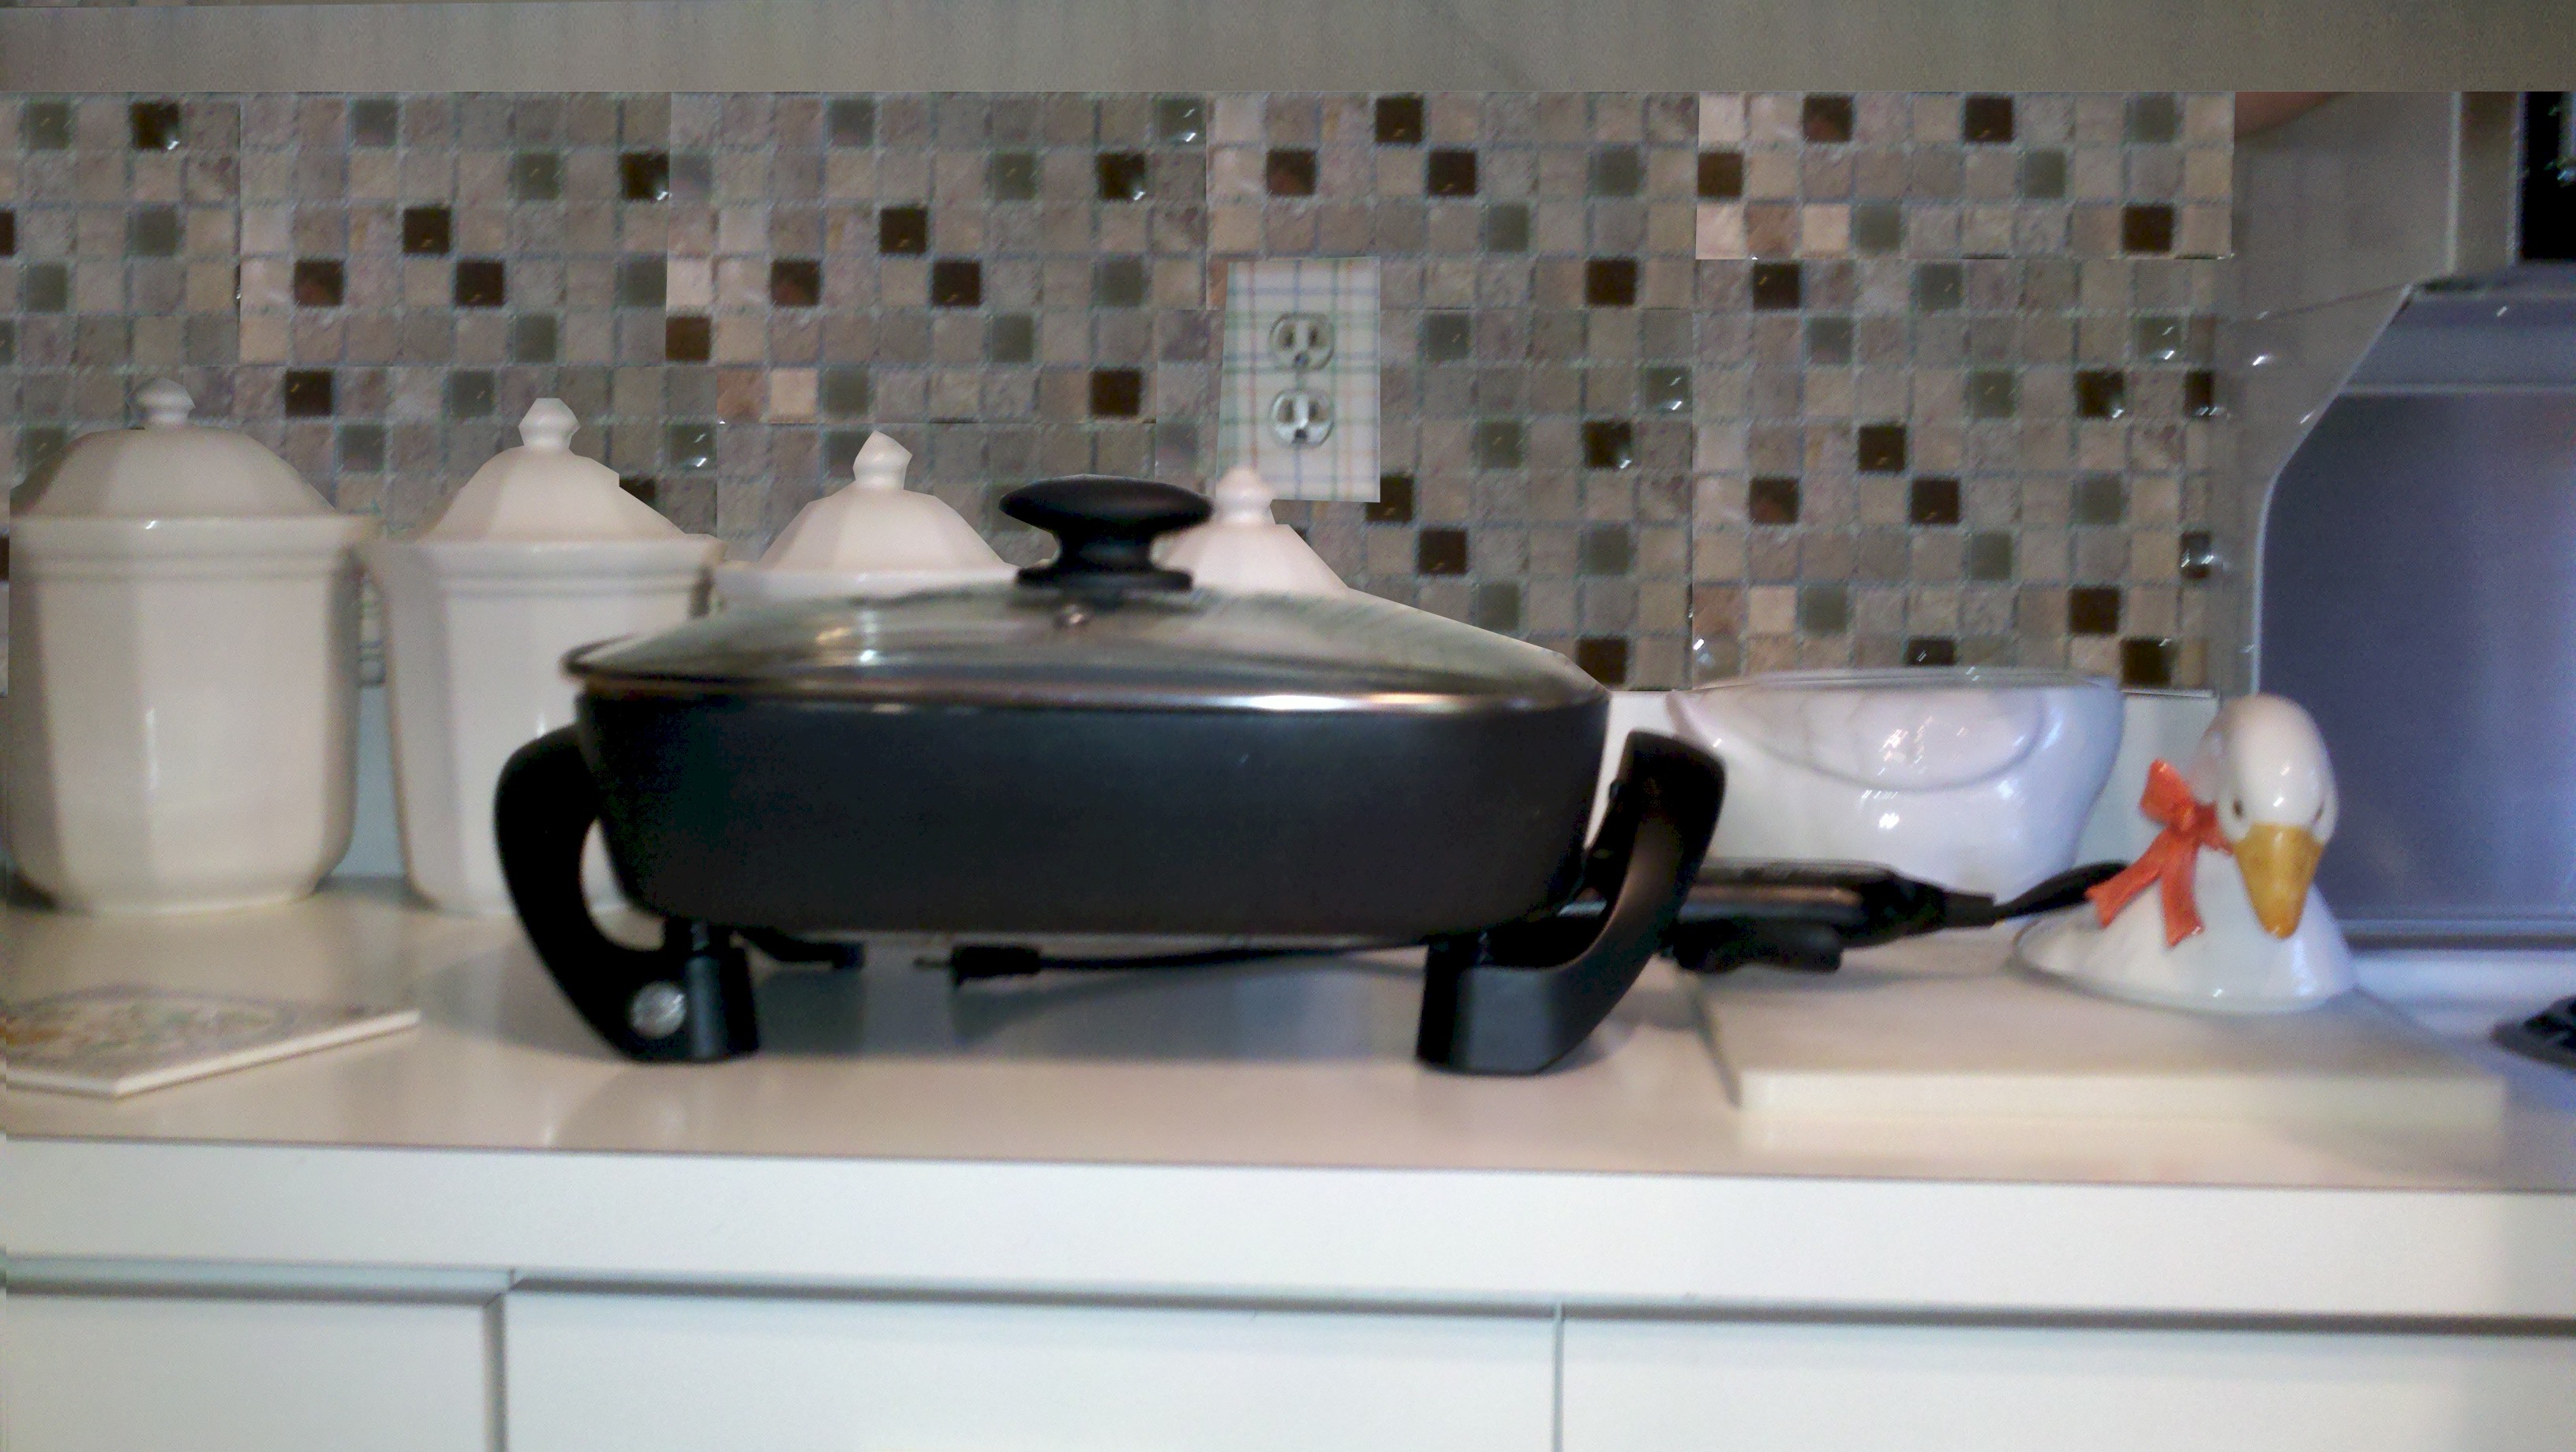
| Kitchen Back Splash, Range Right Side | Original
|
Subway
|
Glass Sheet
|
Mosaic Tile
|
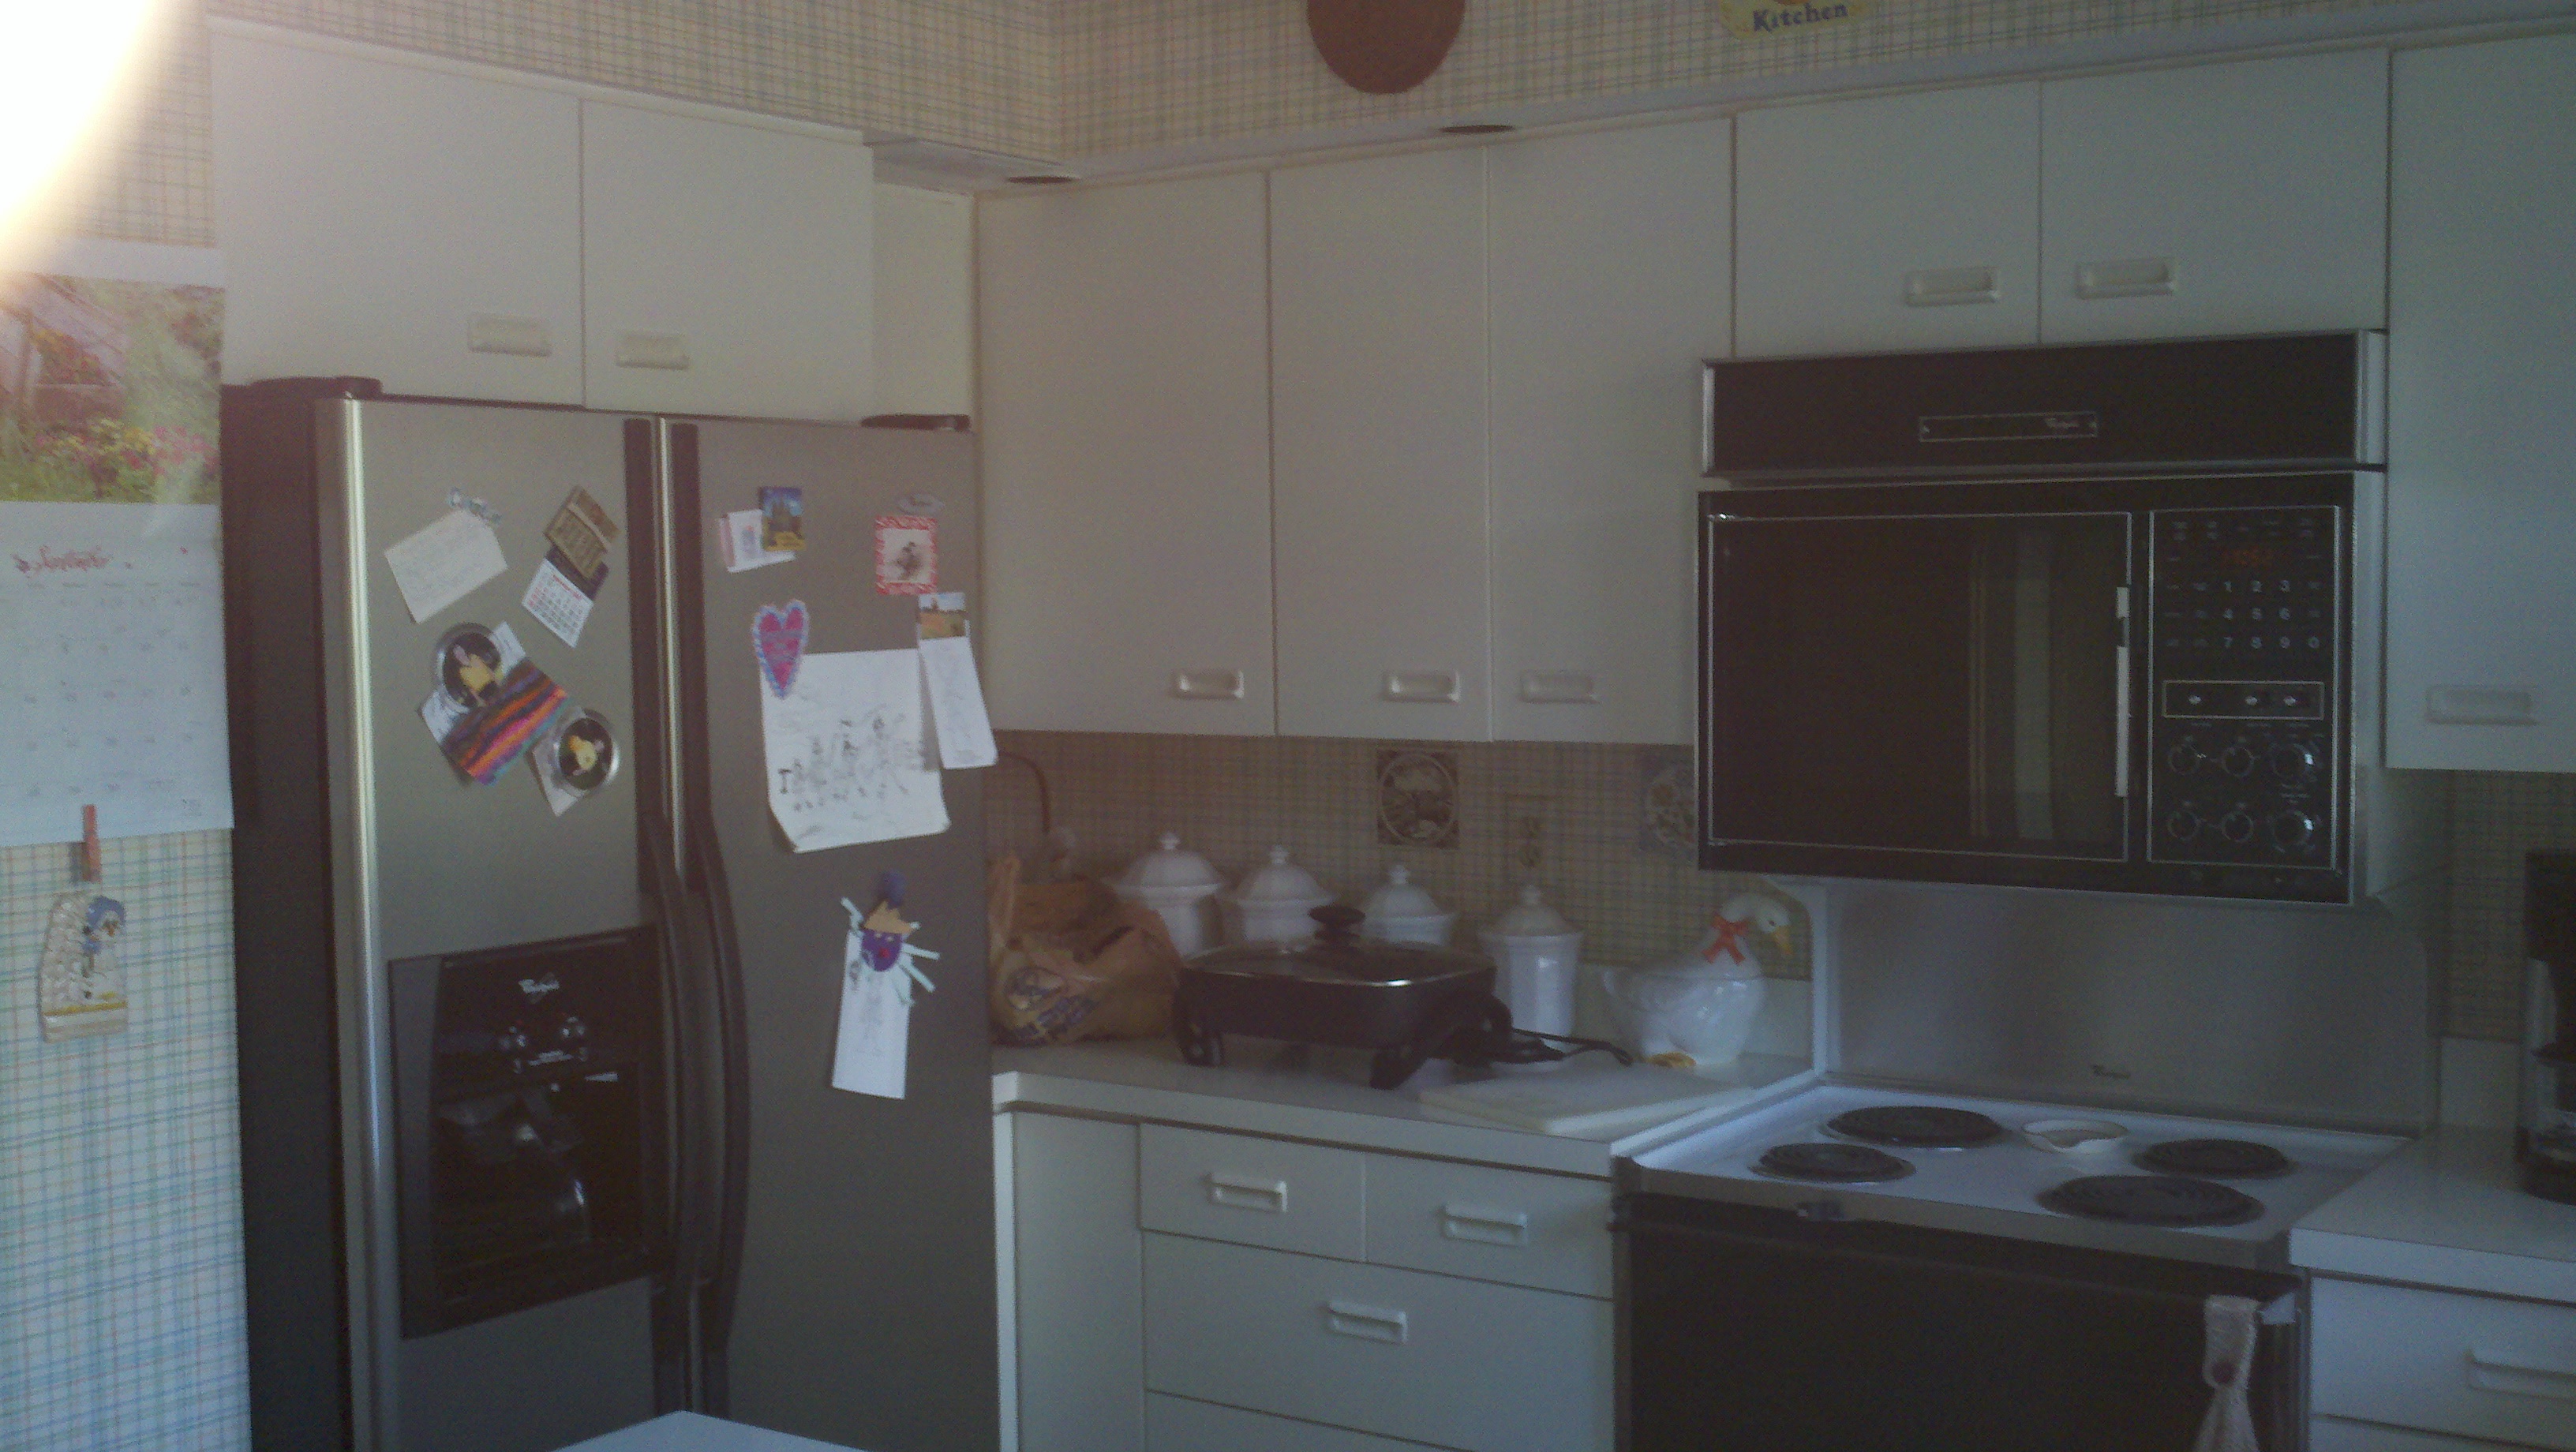
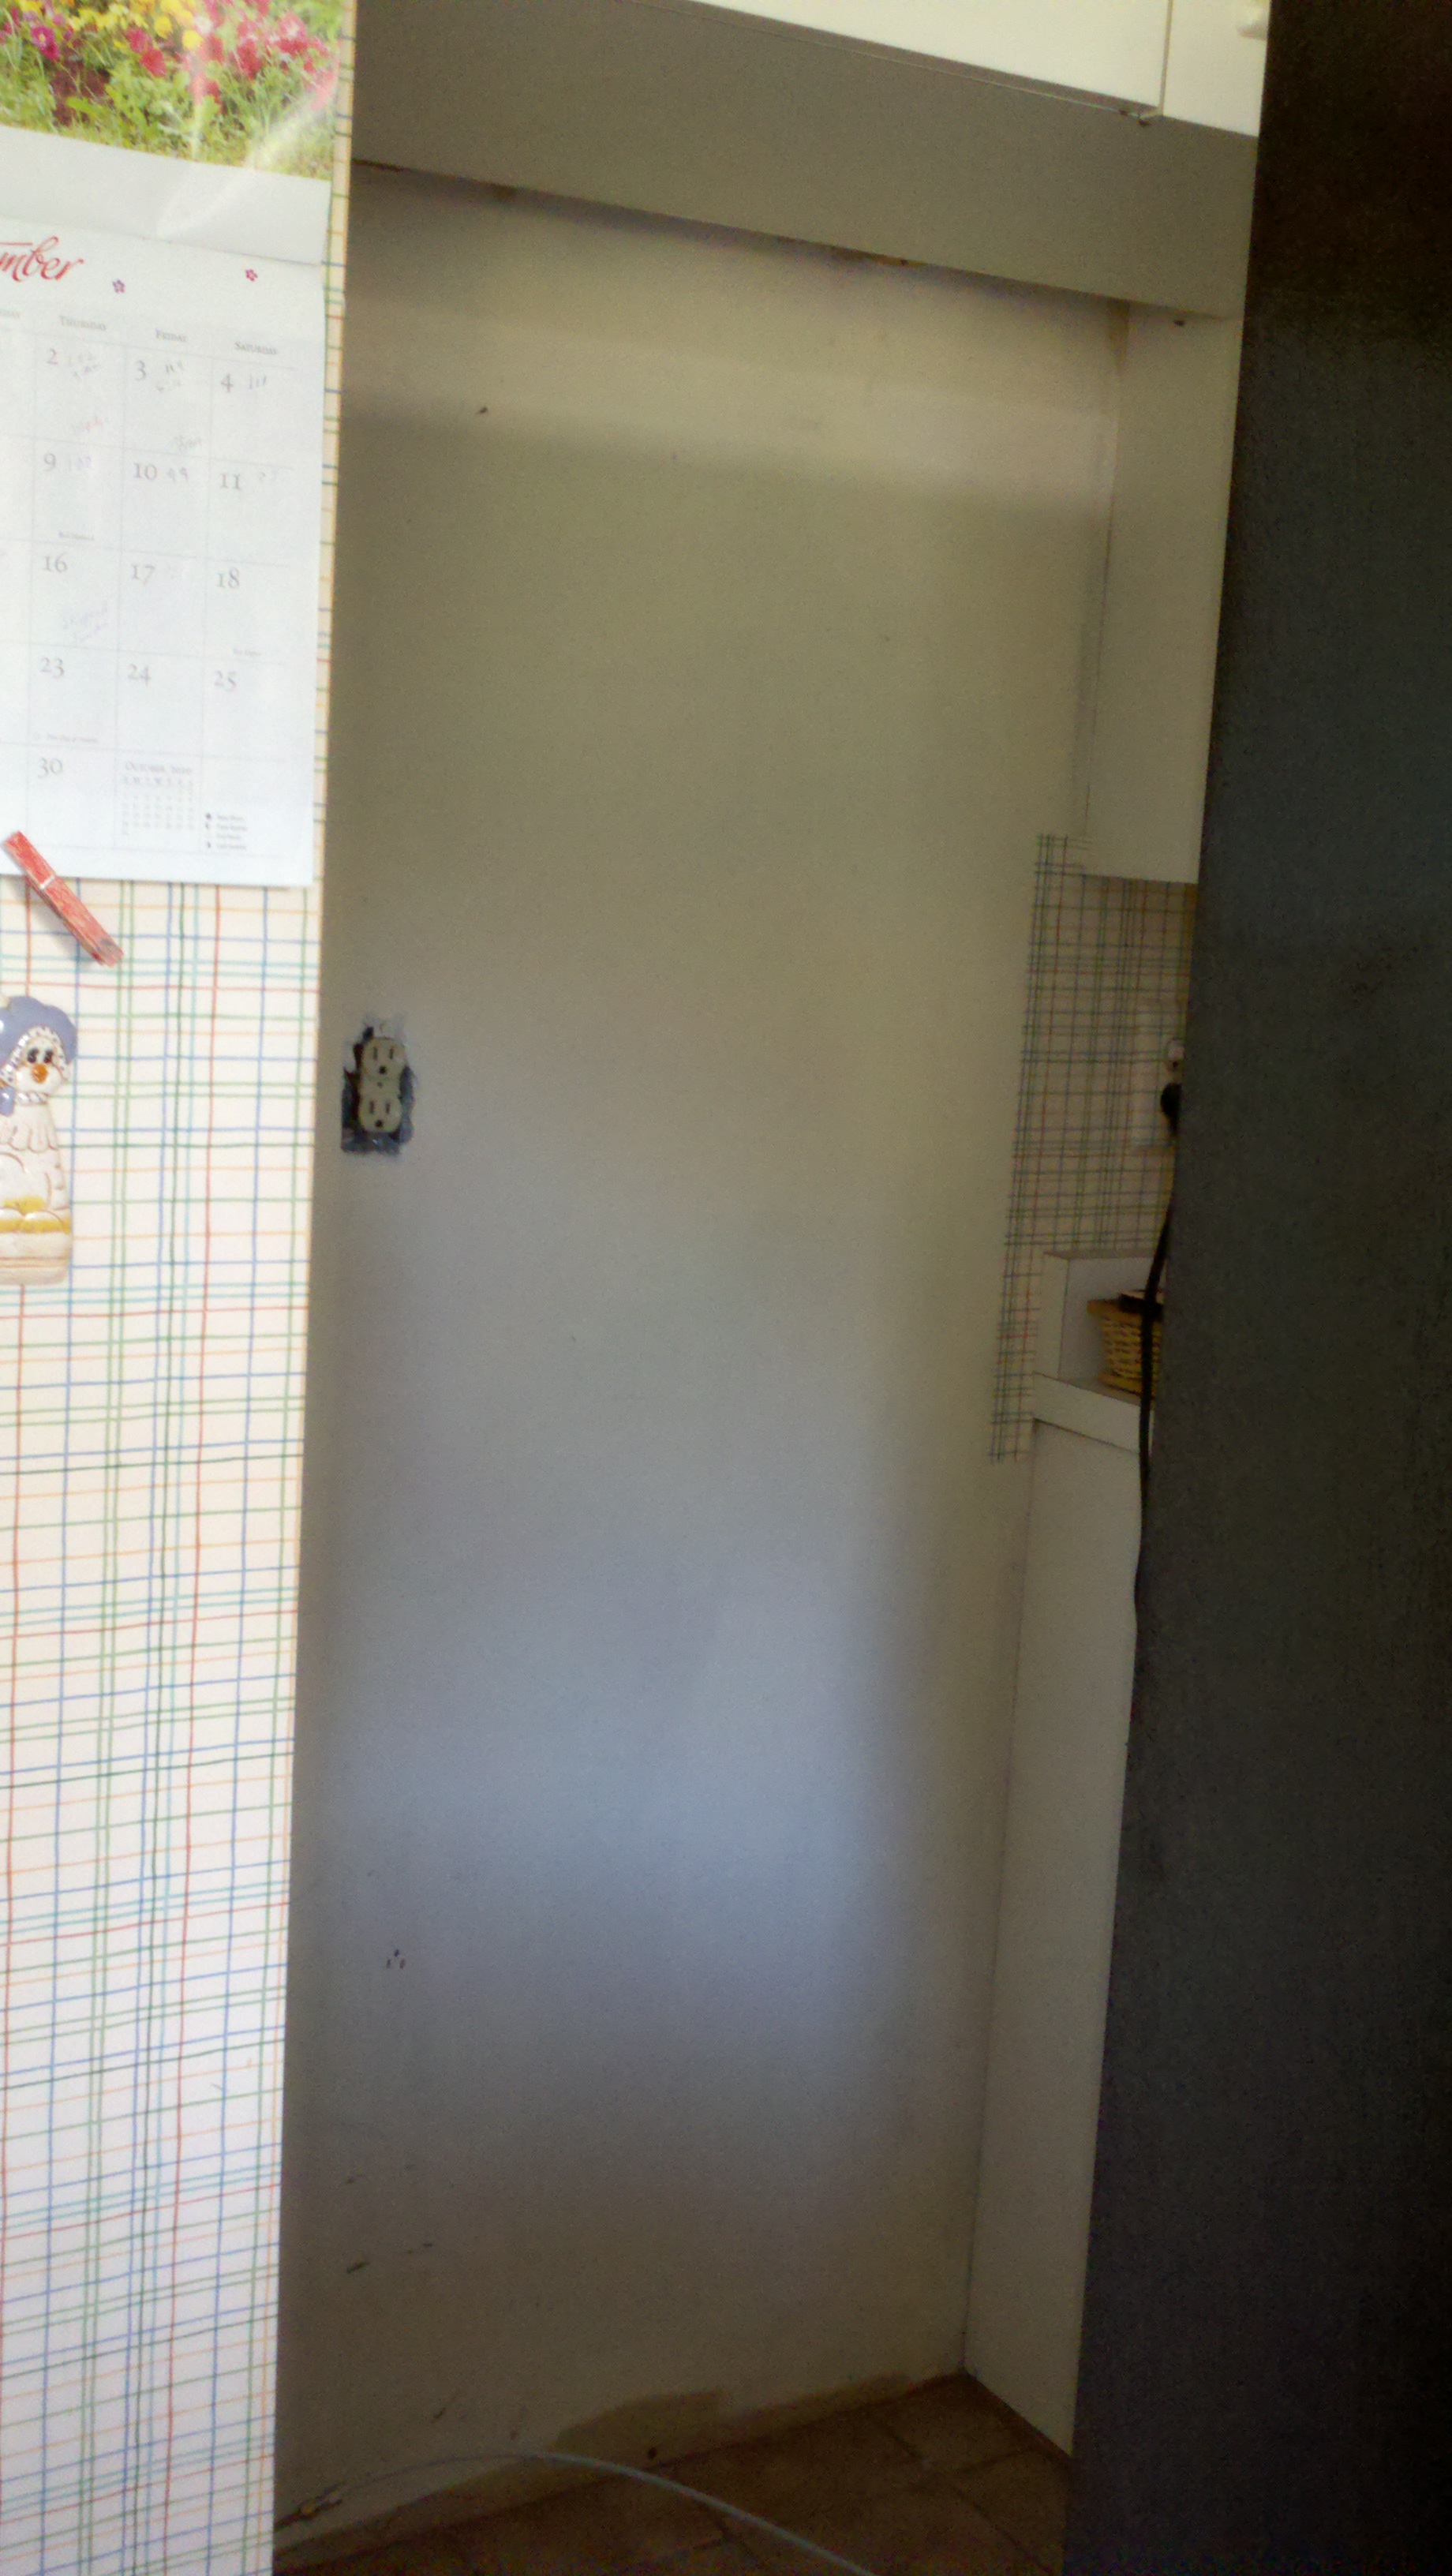
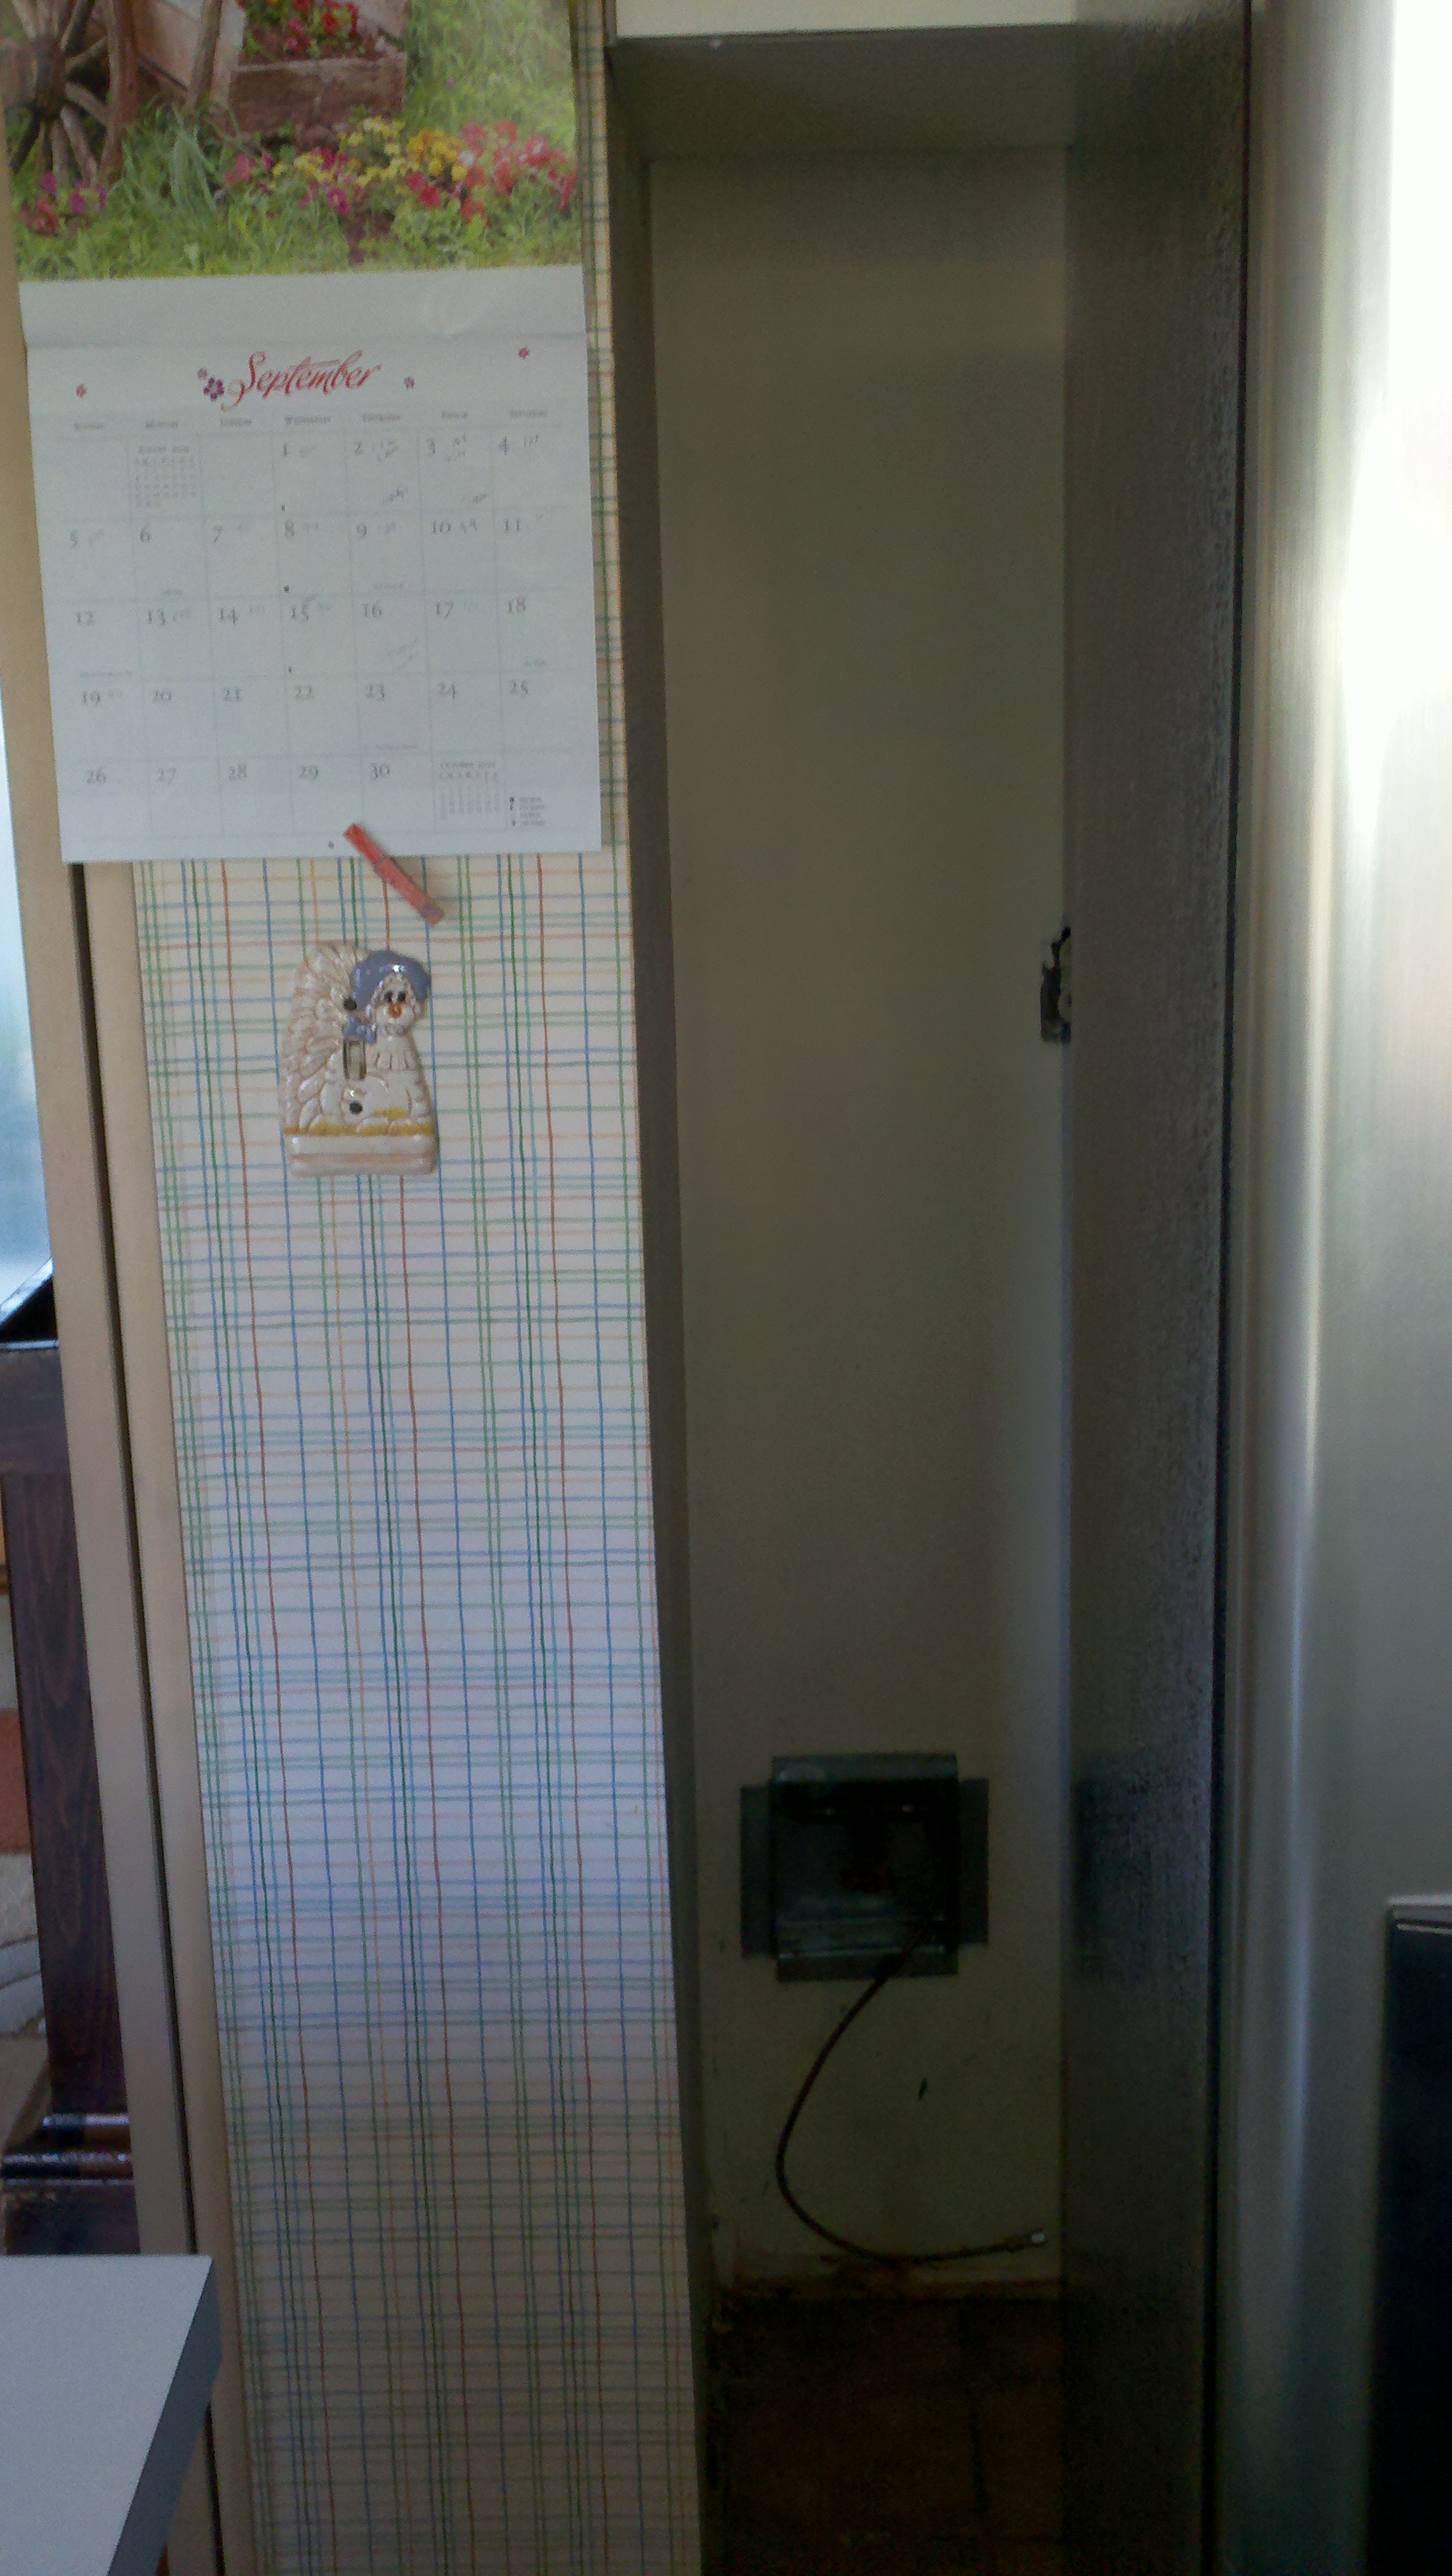
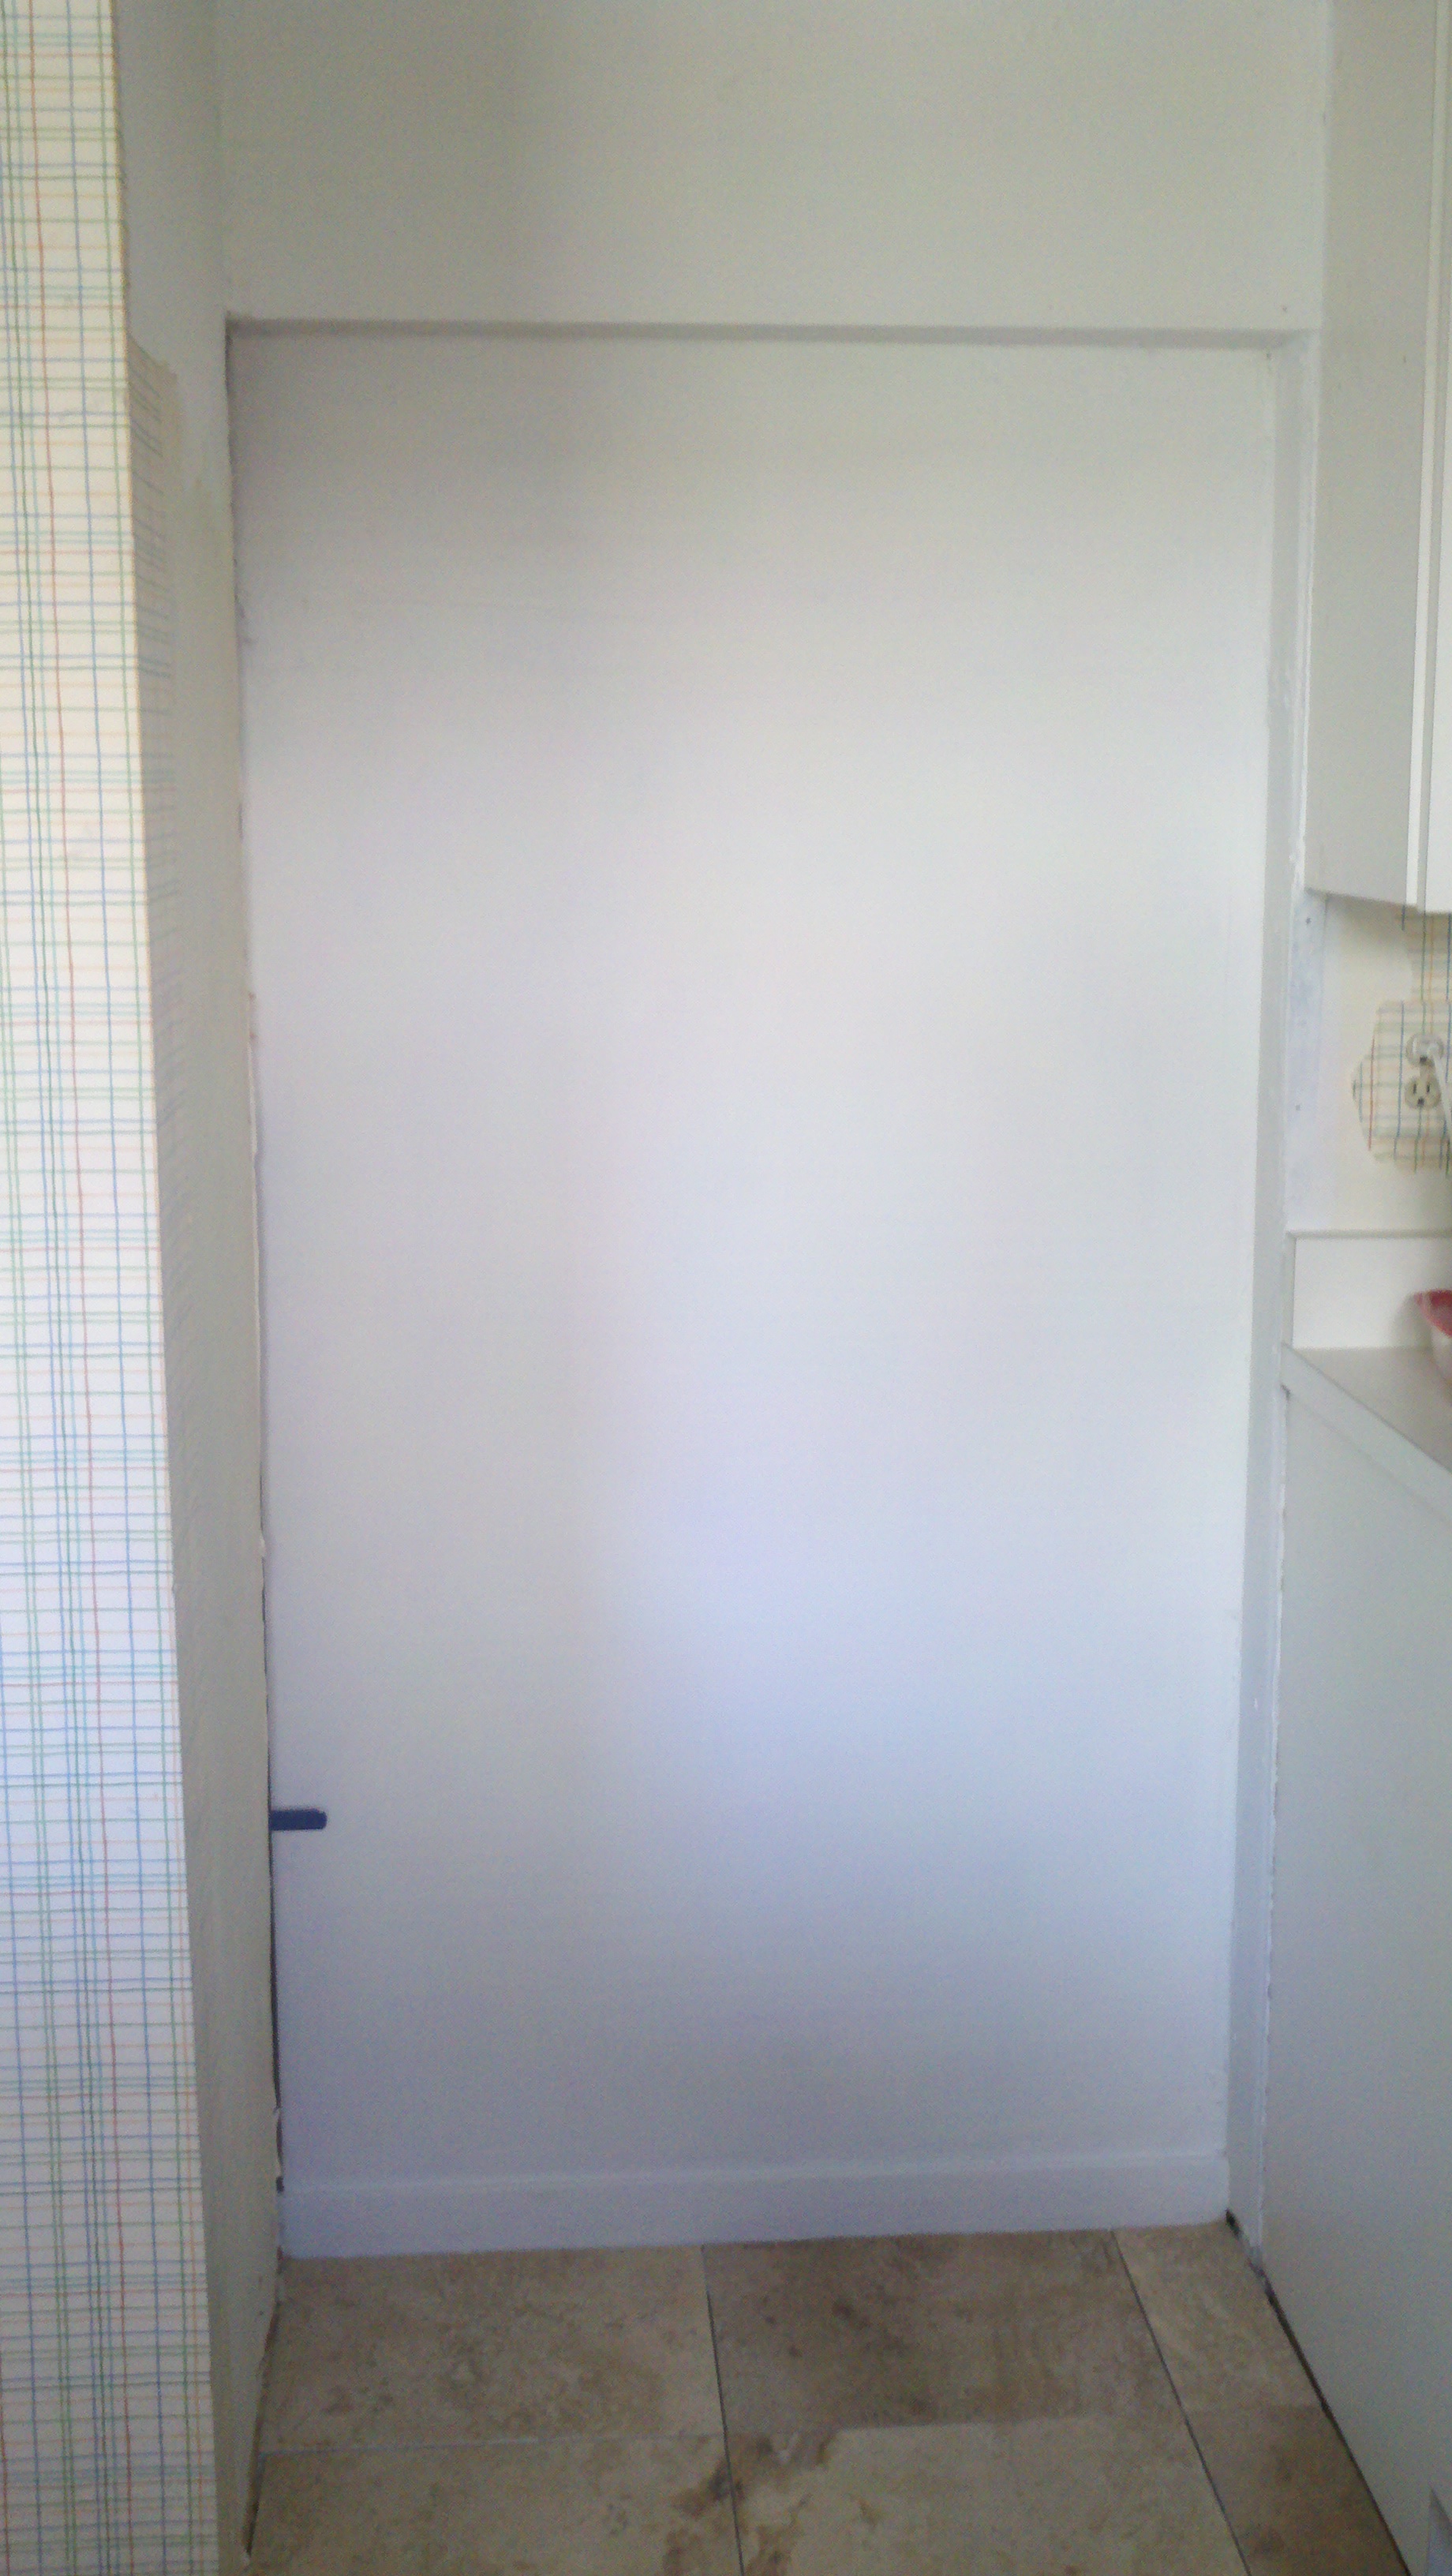
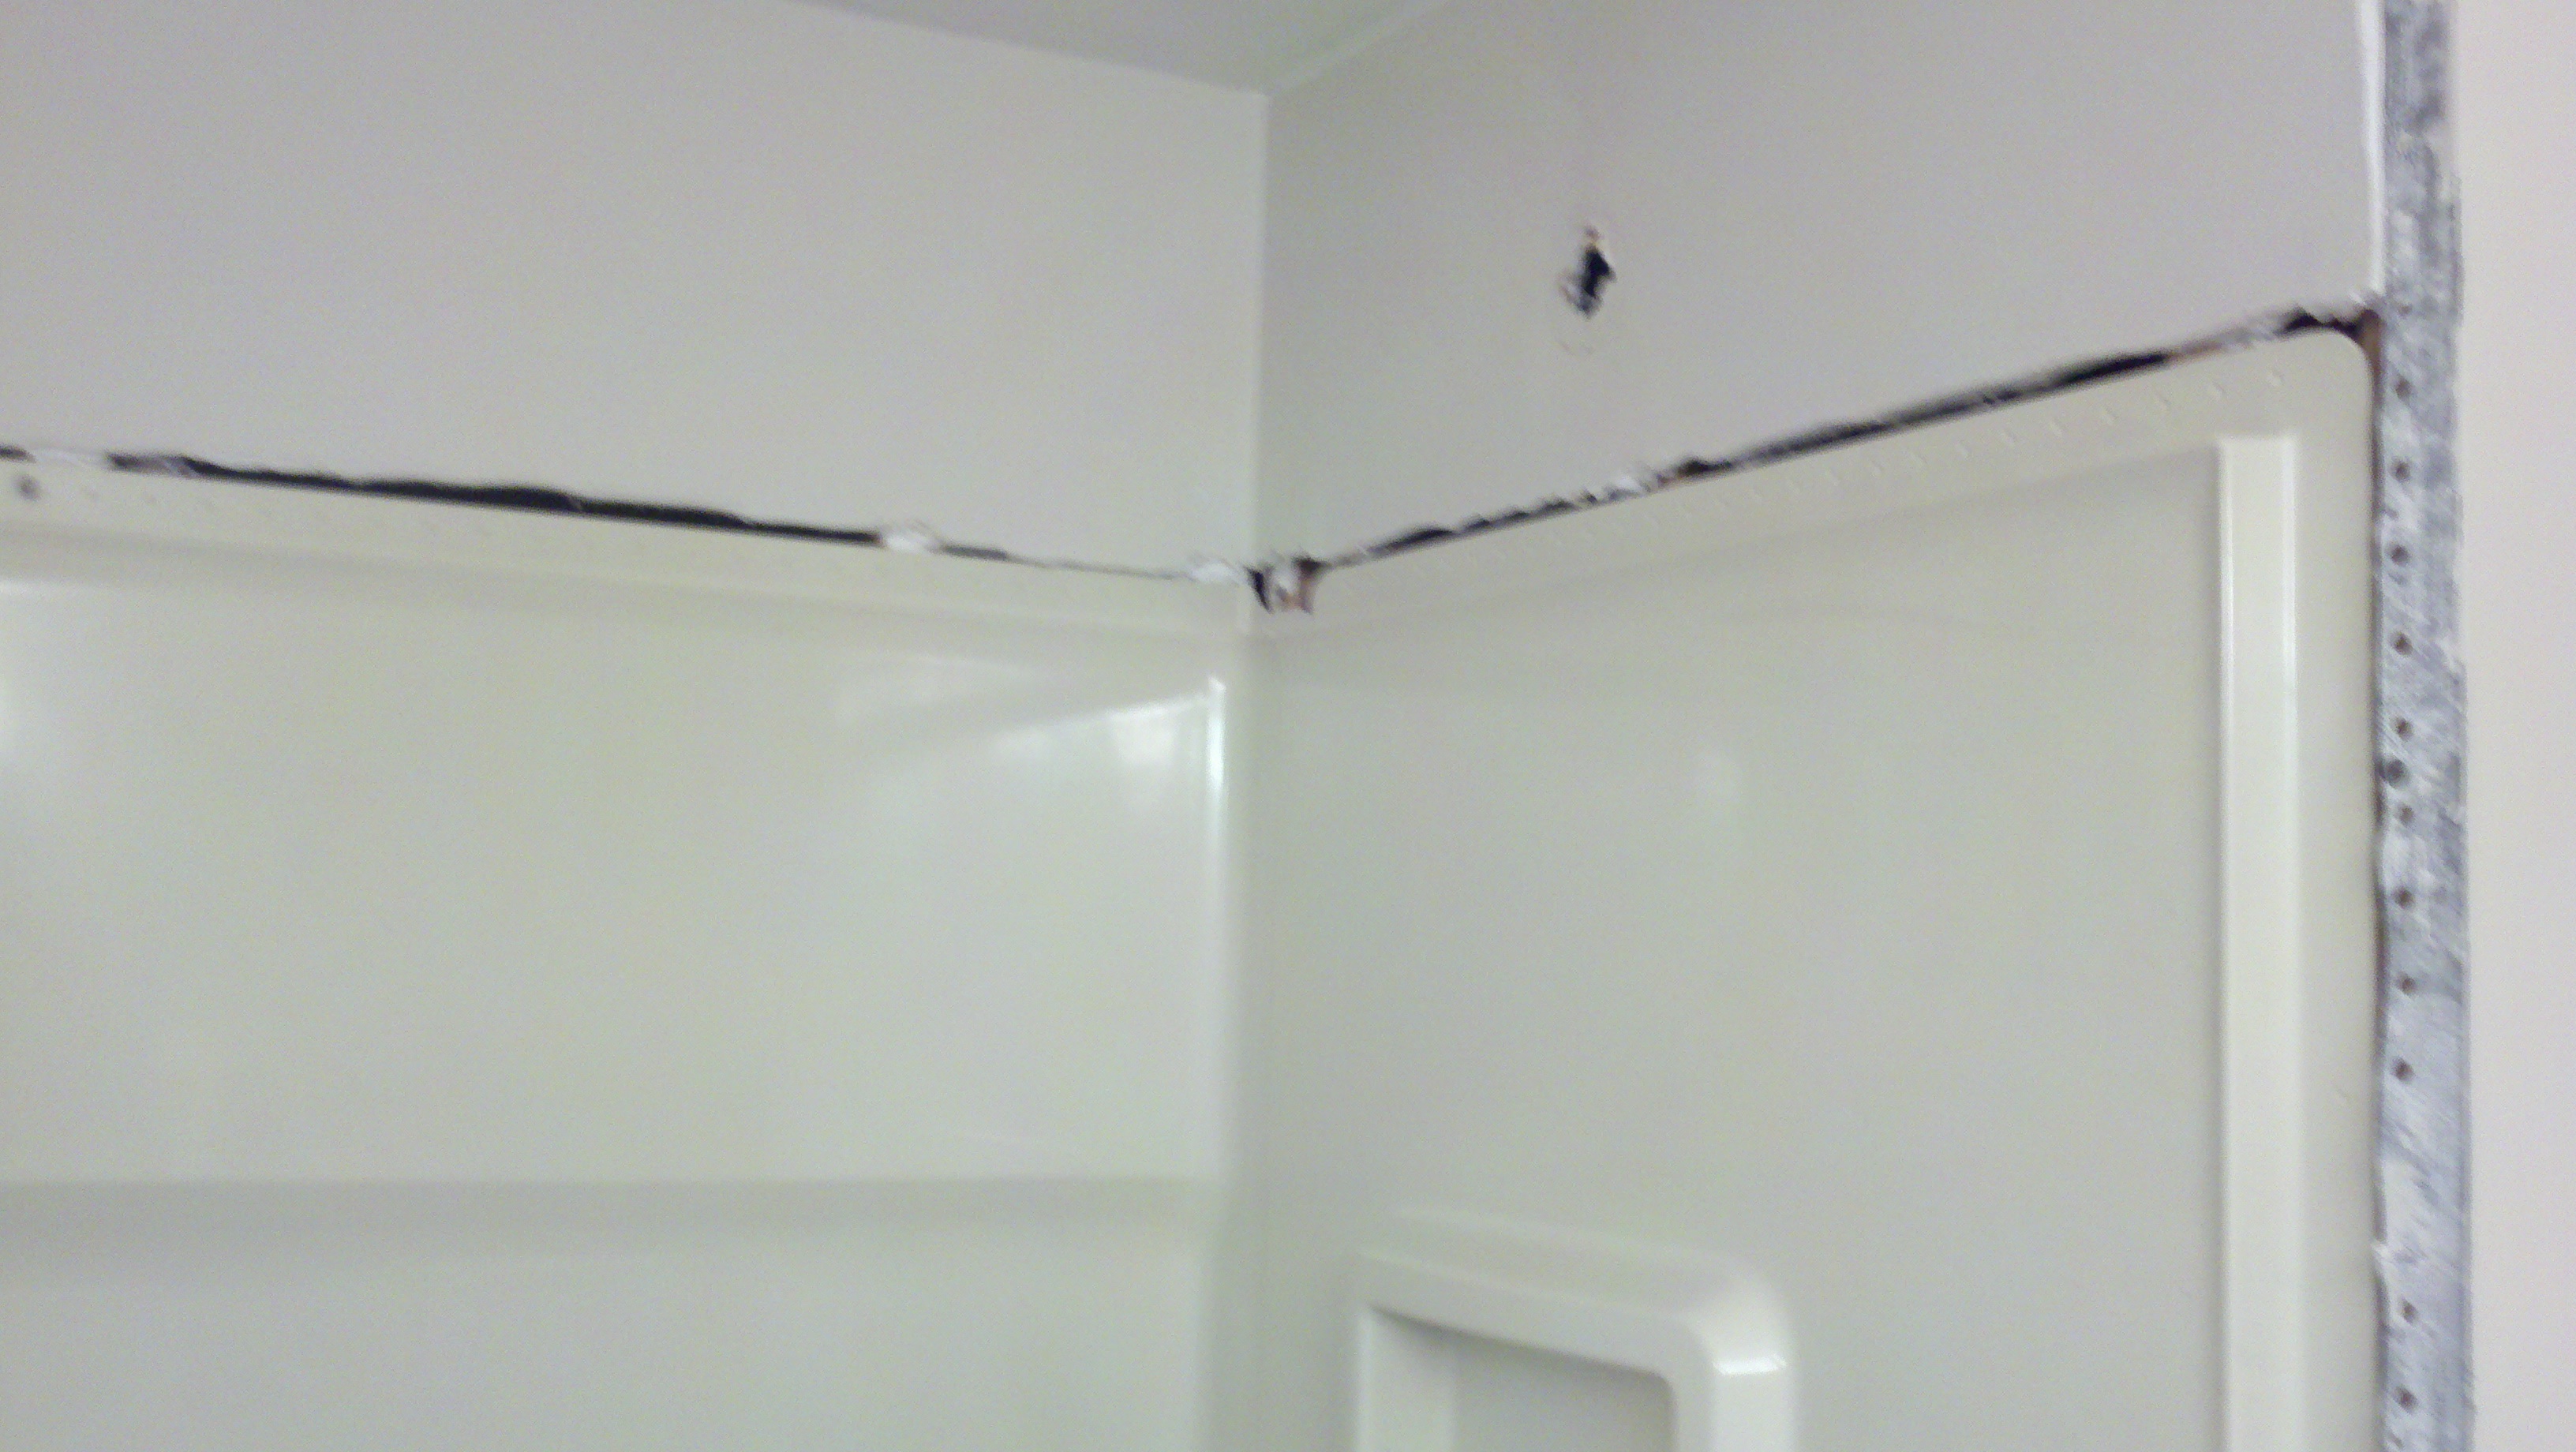
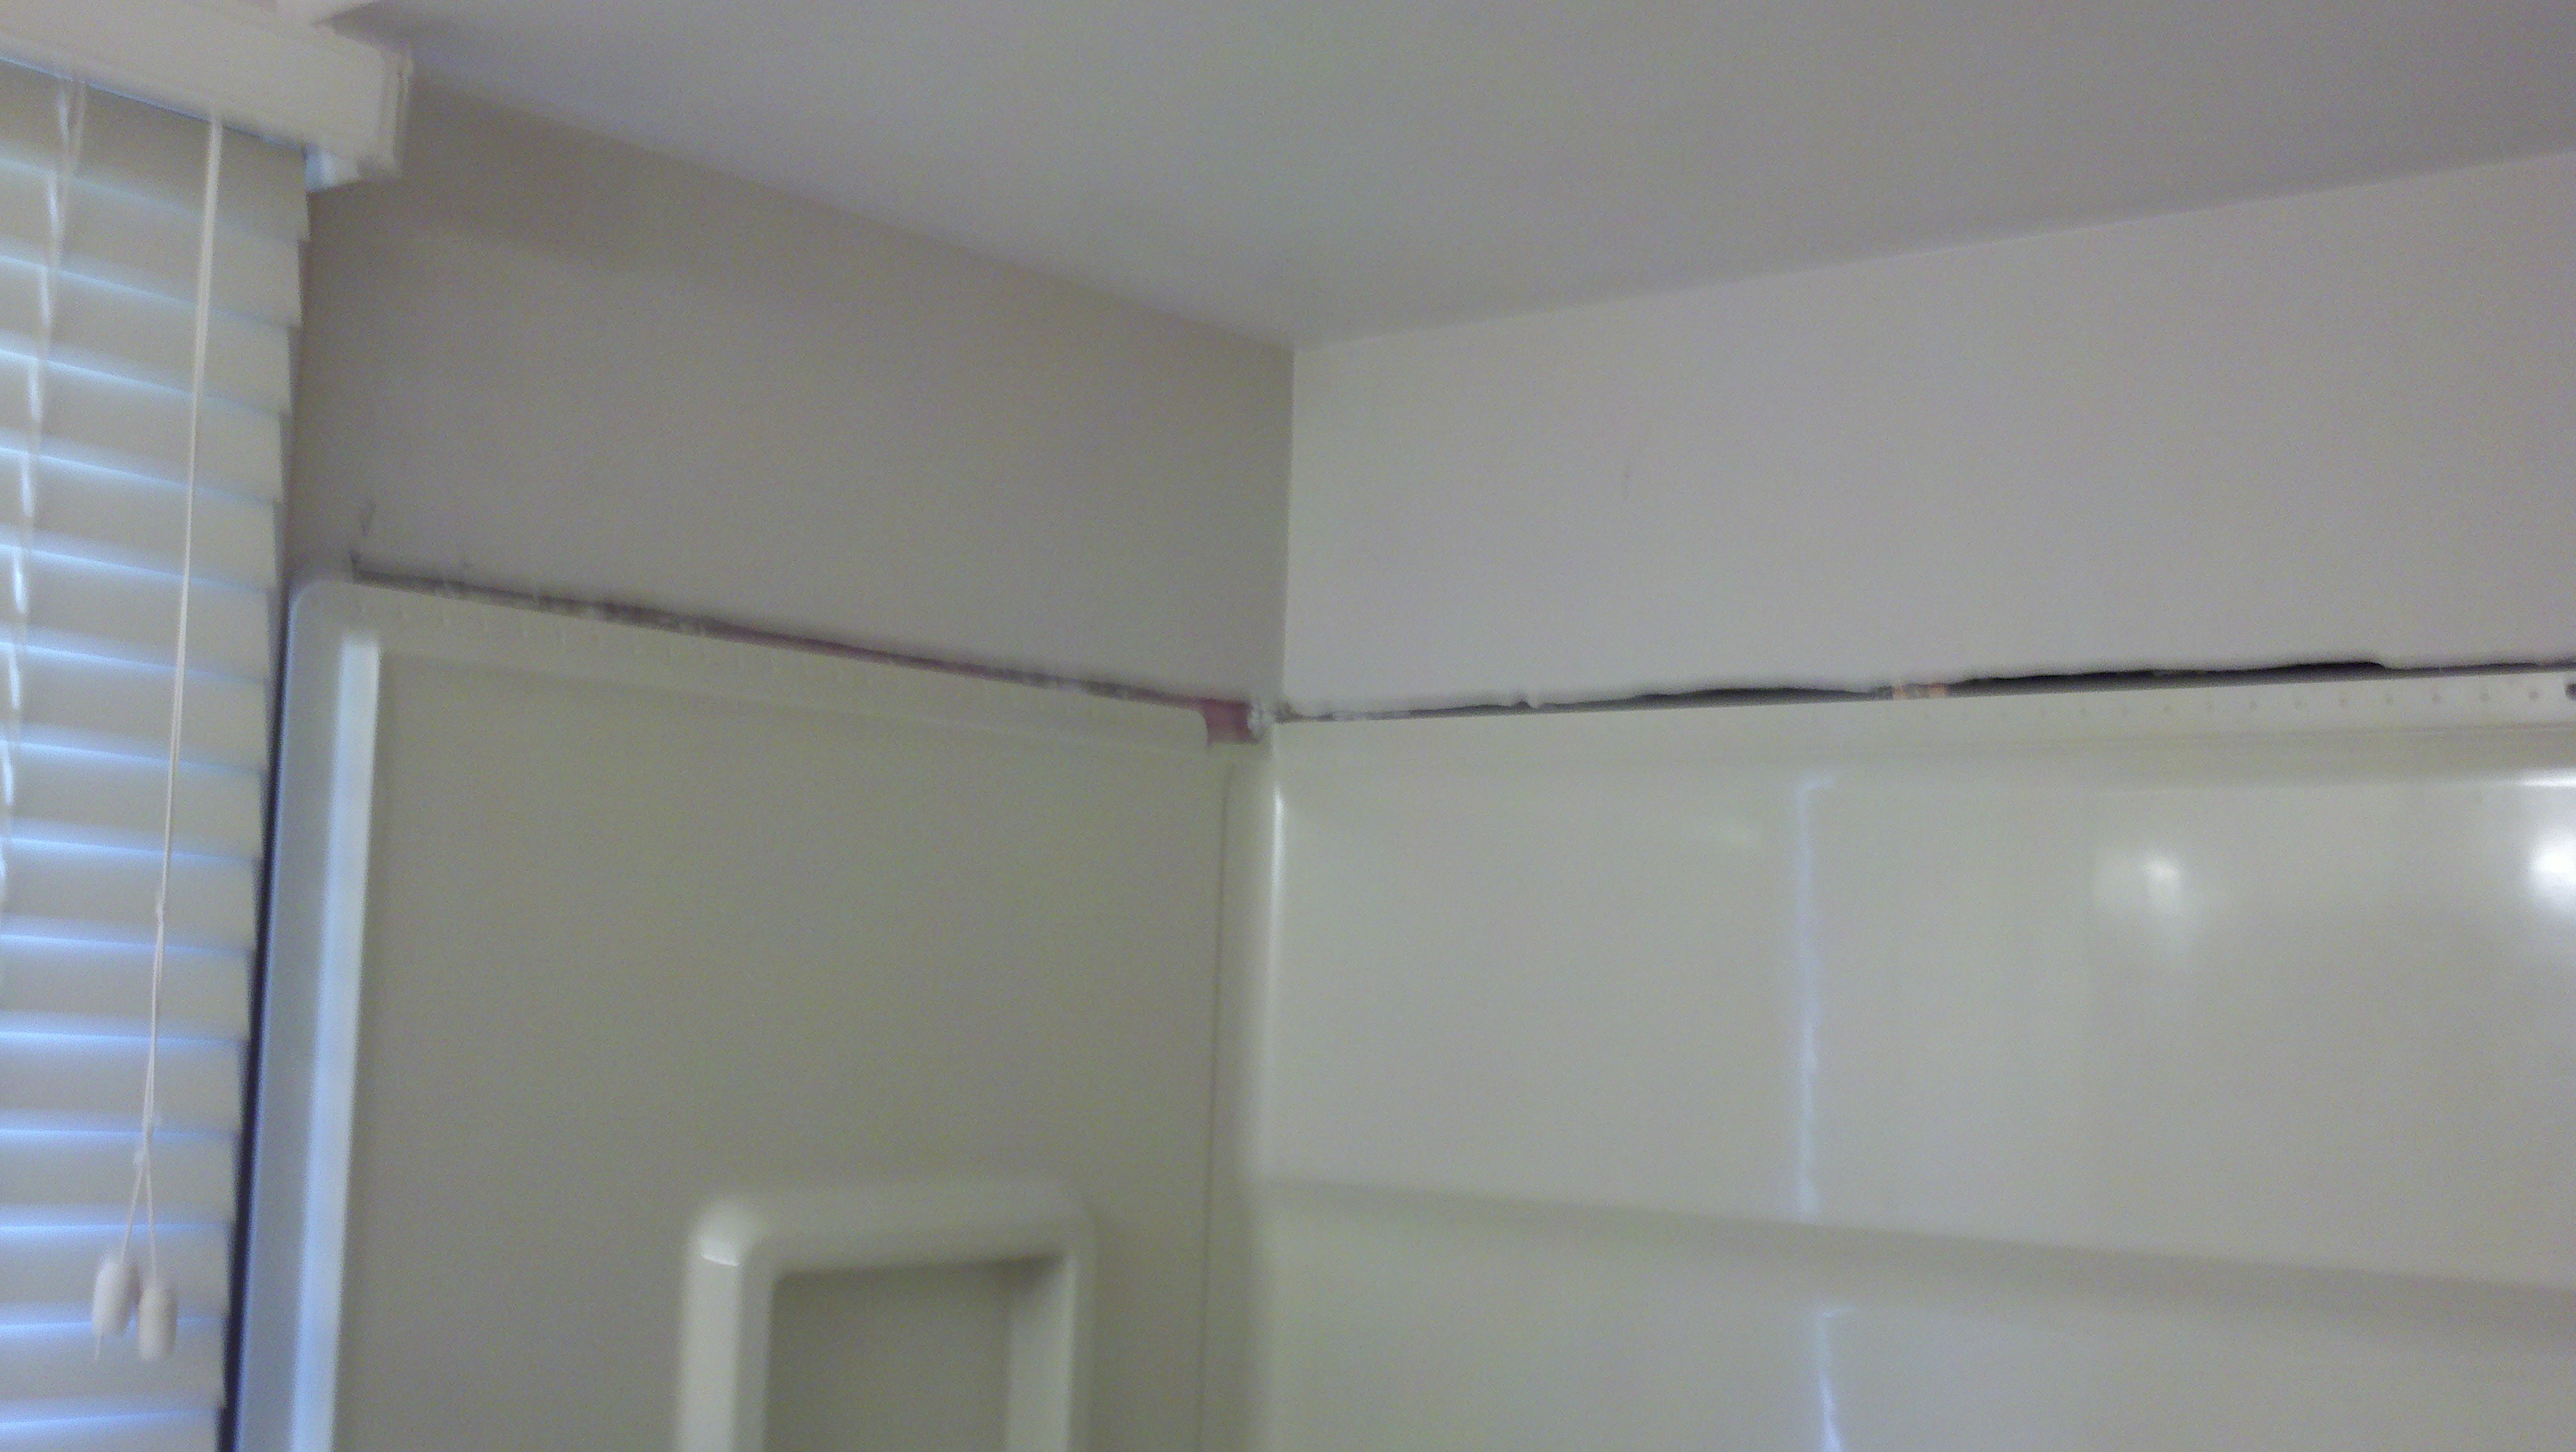
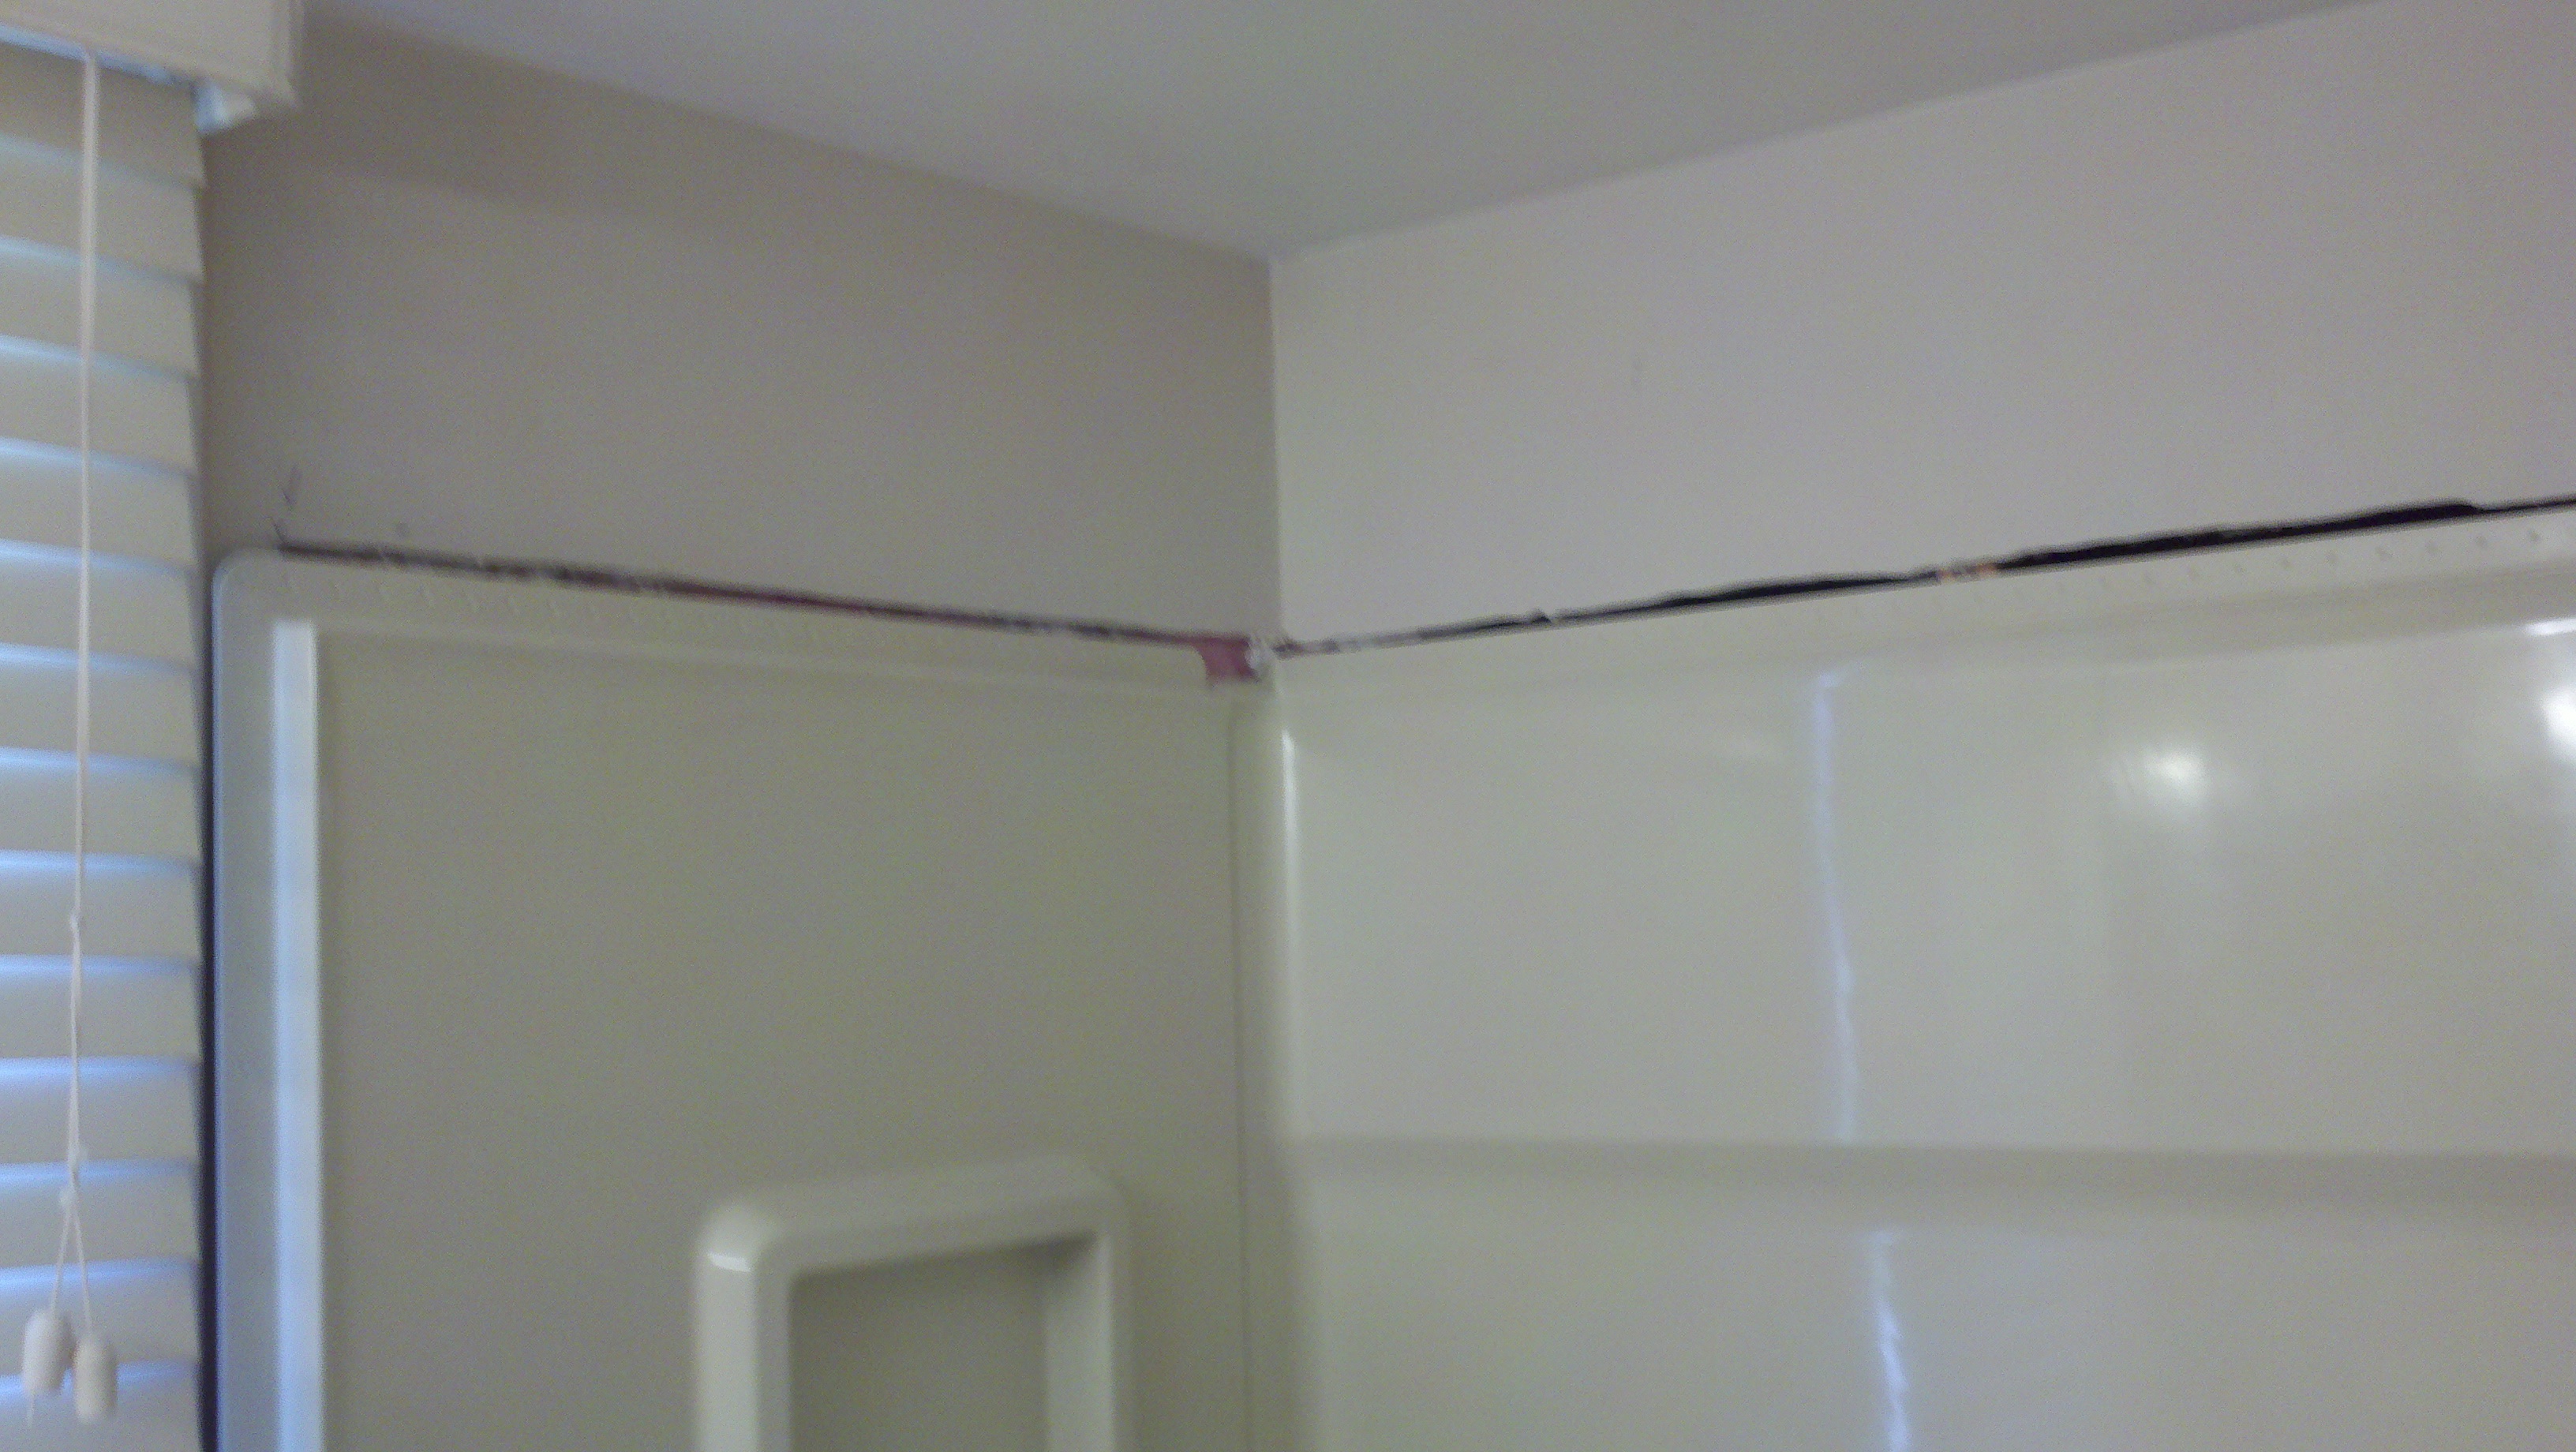
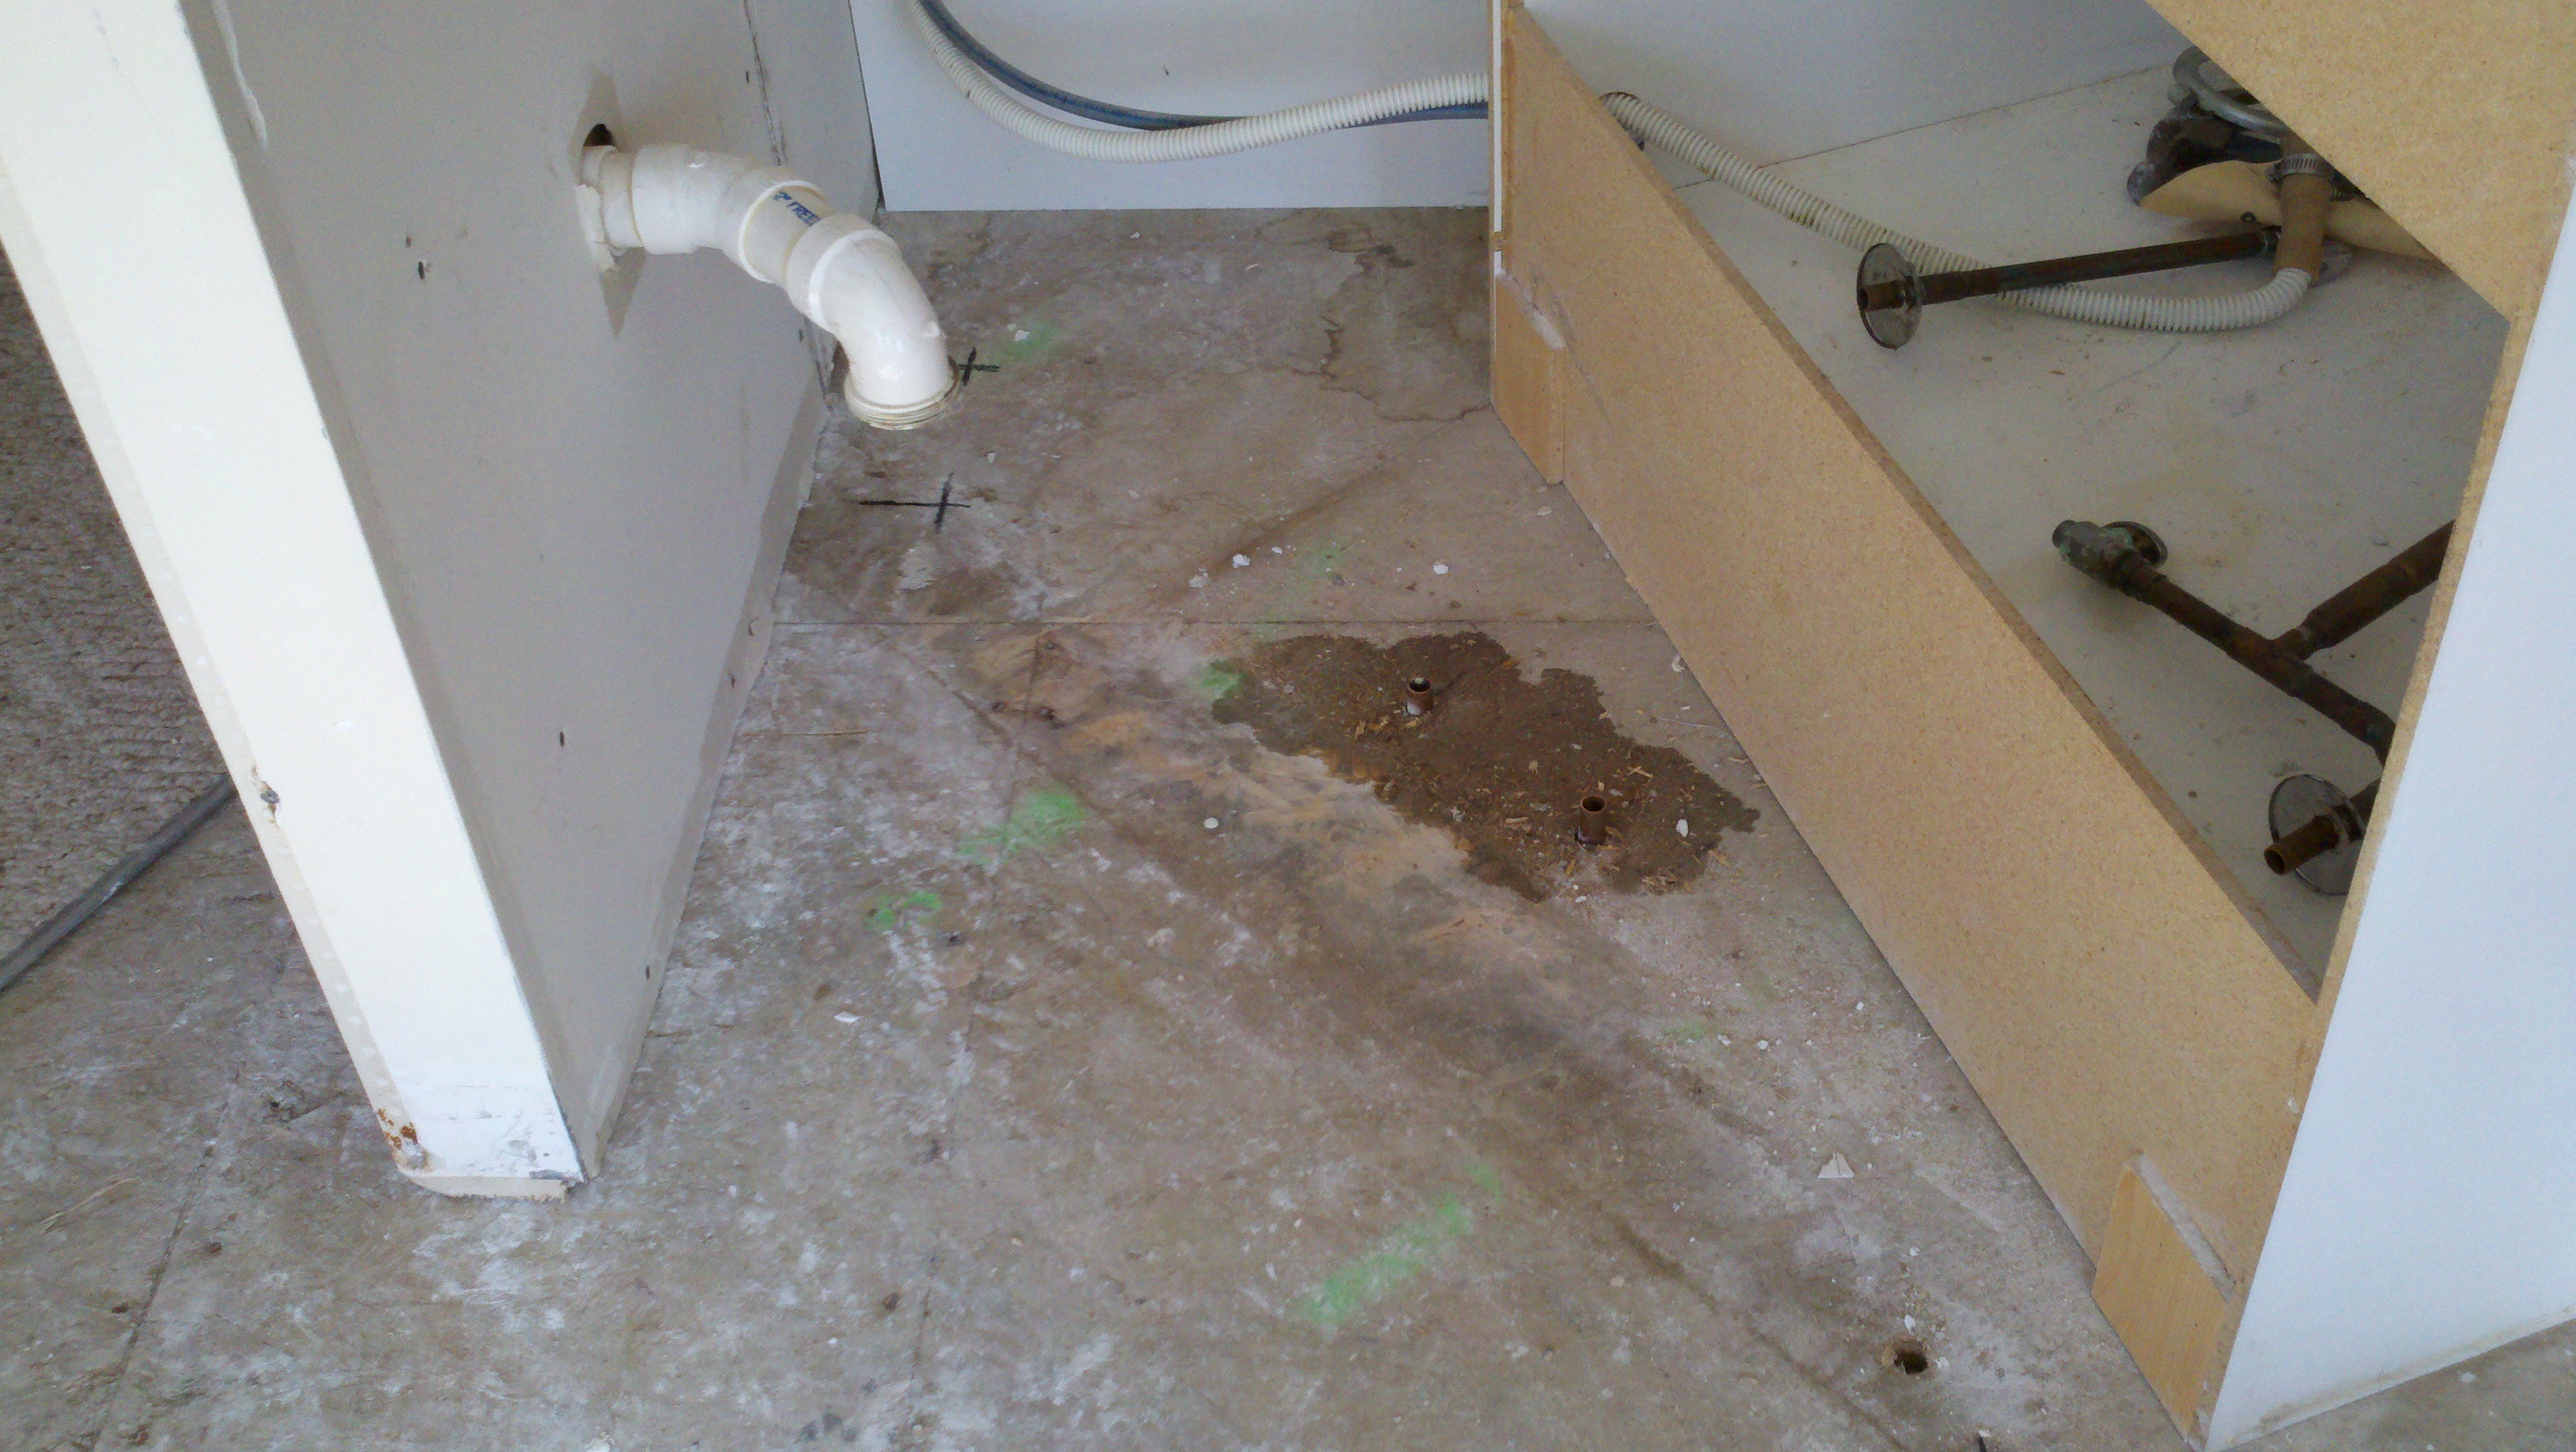
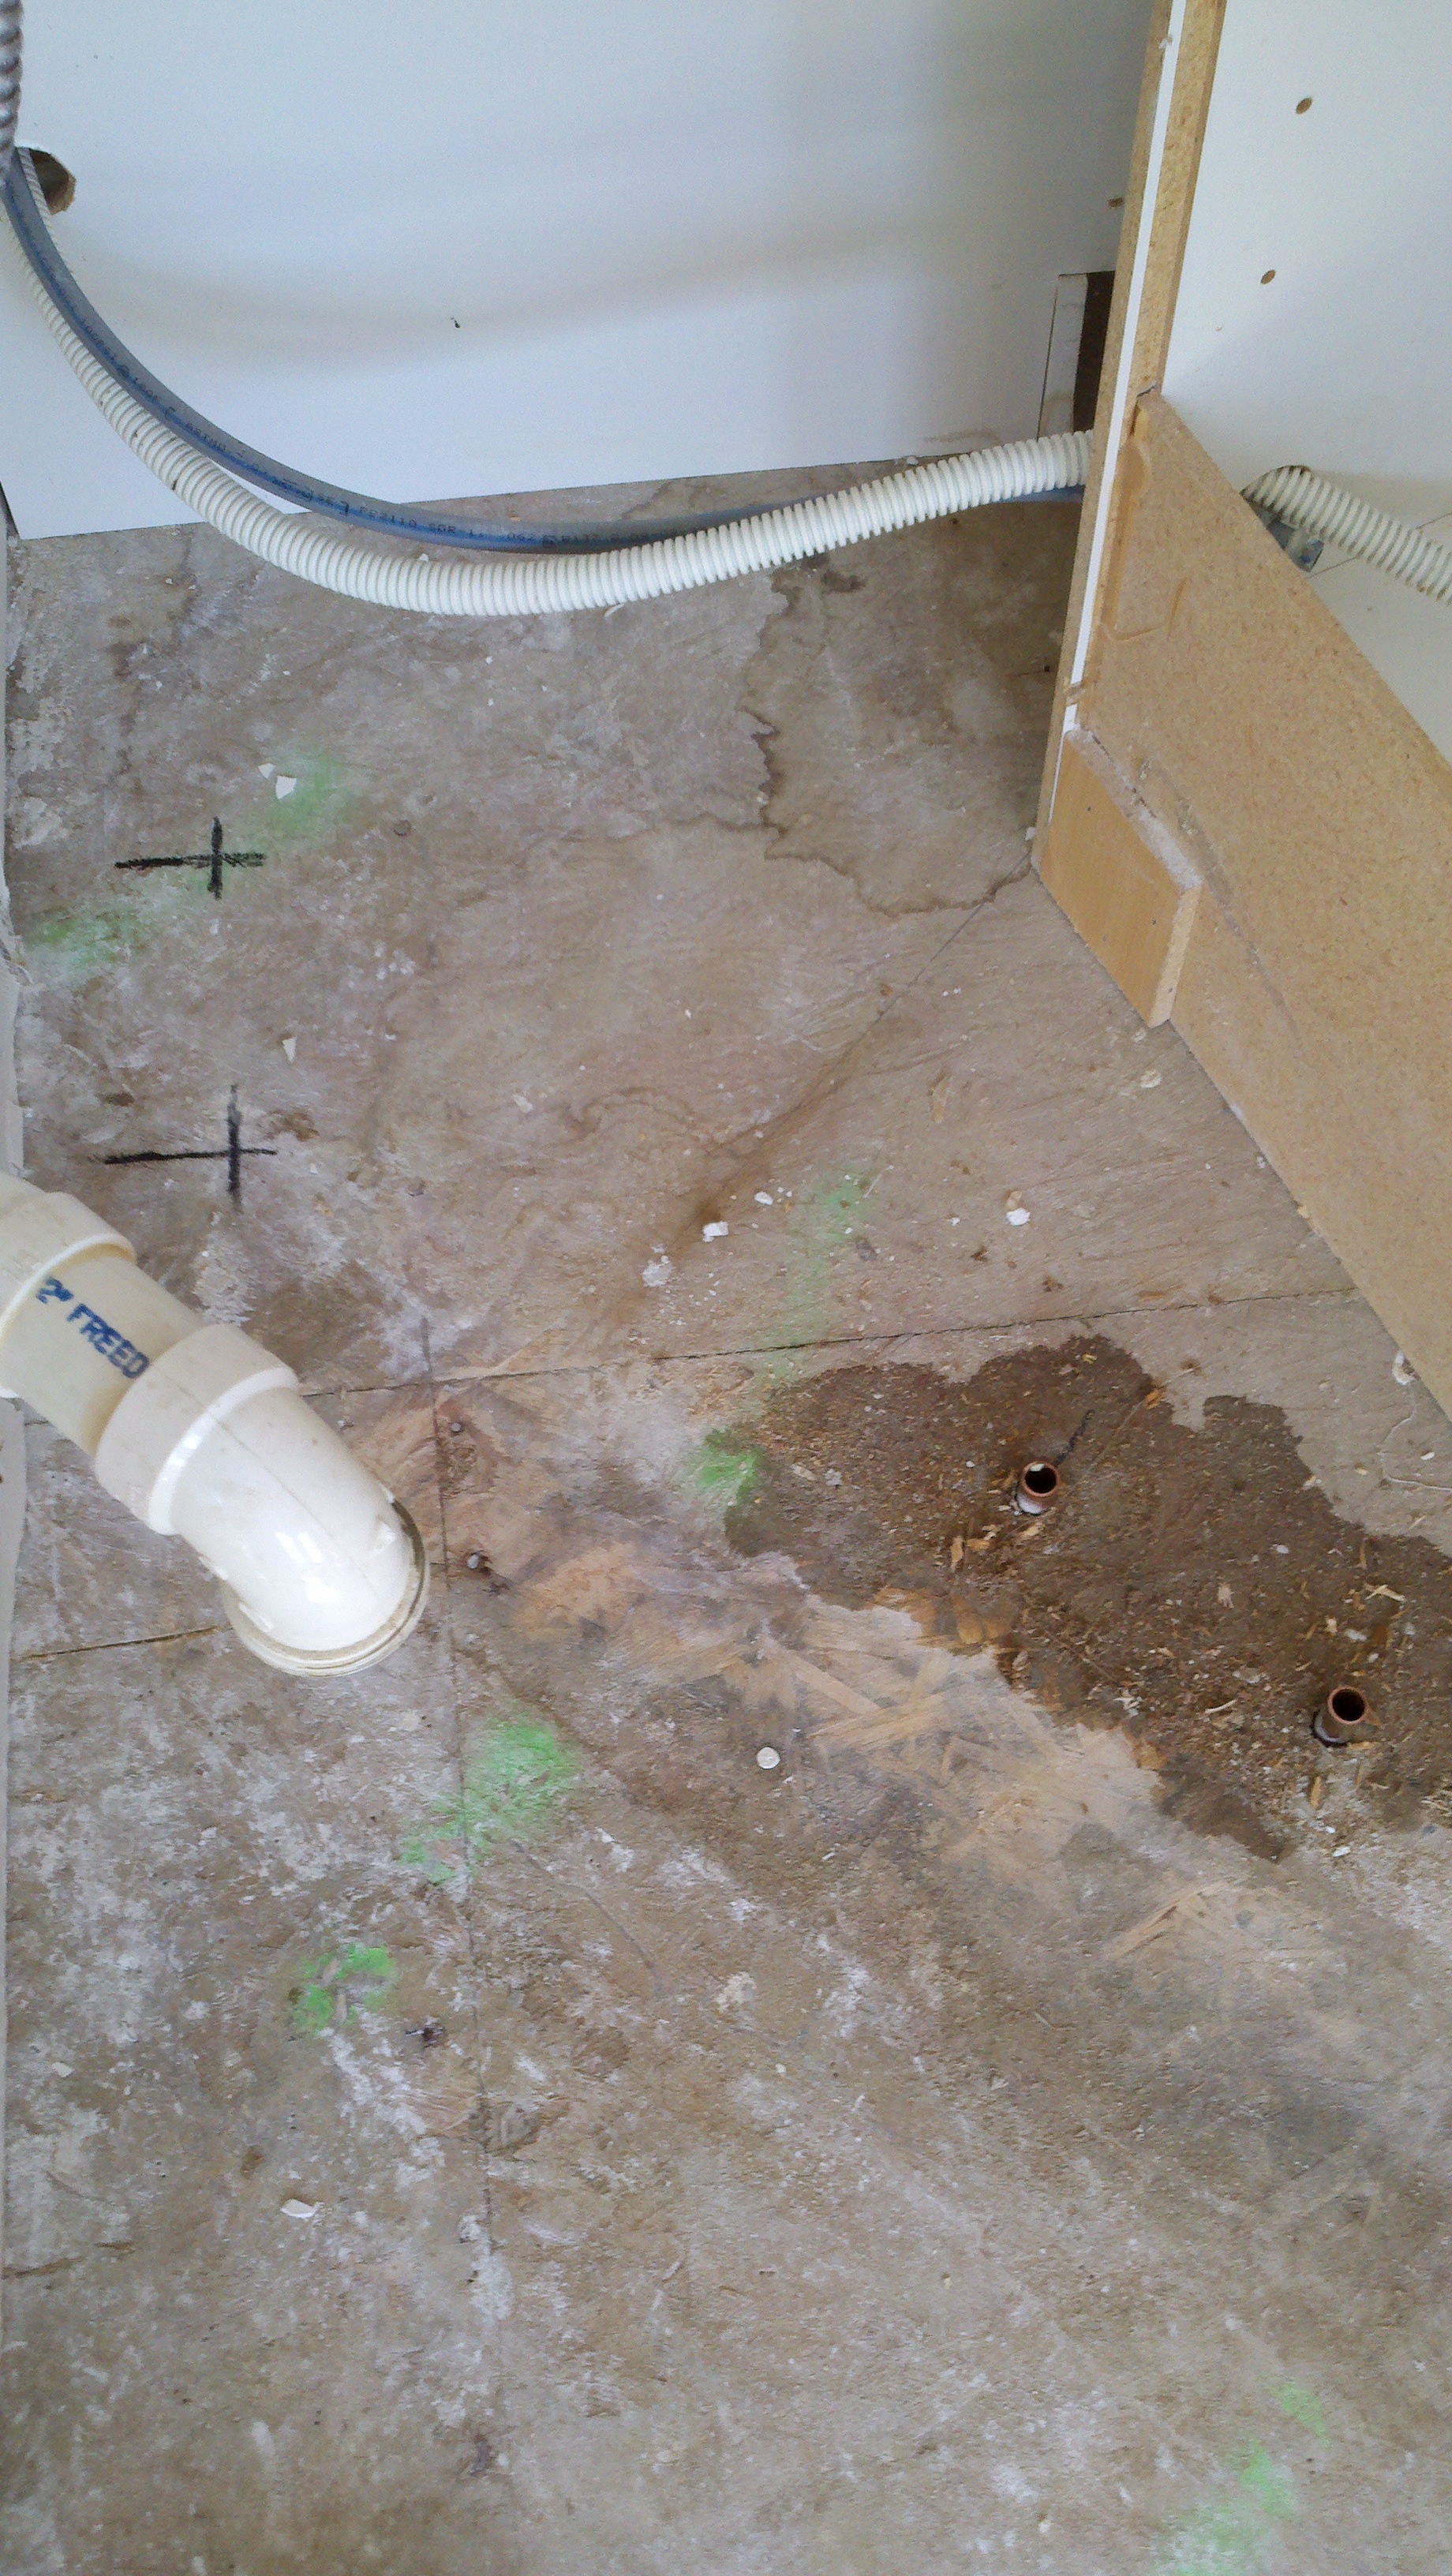
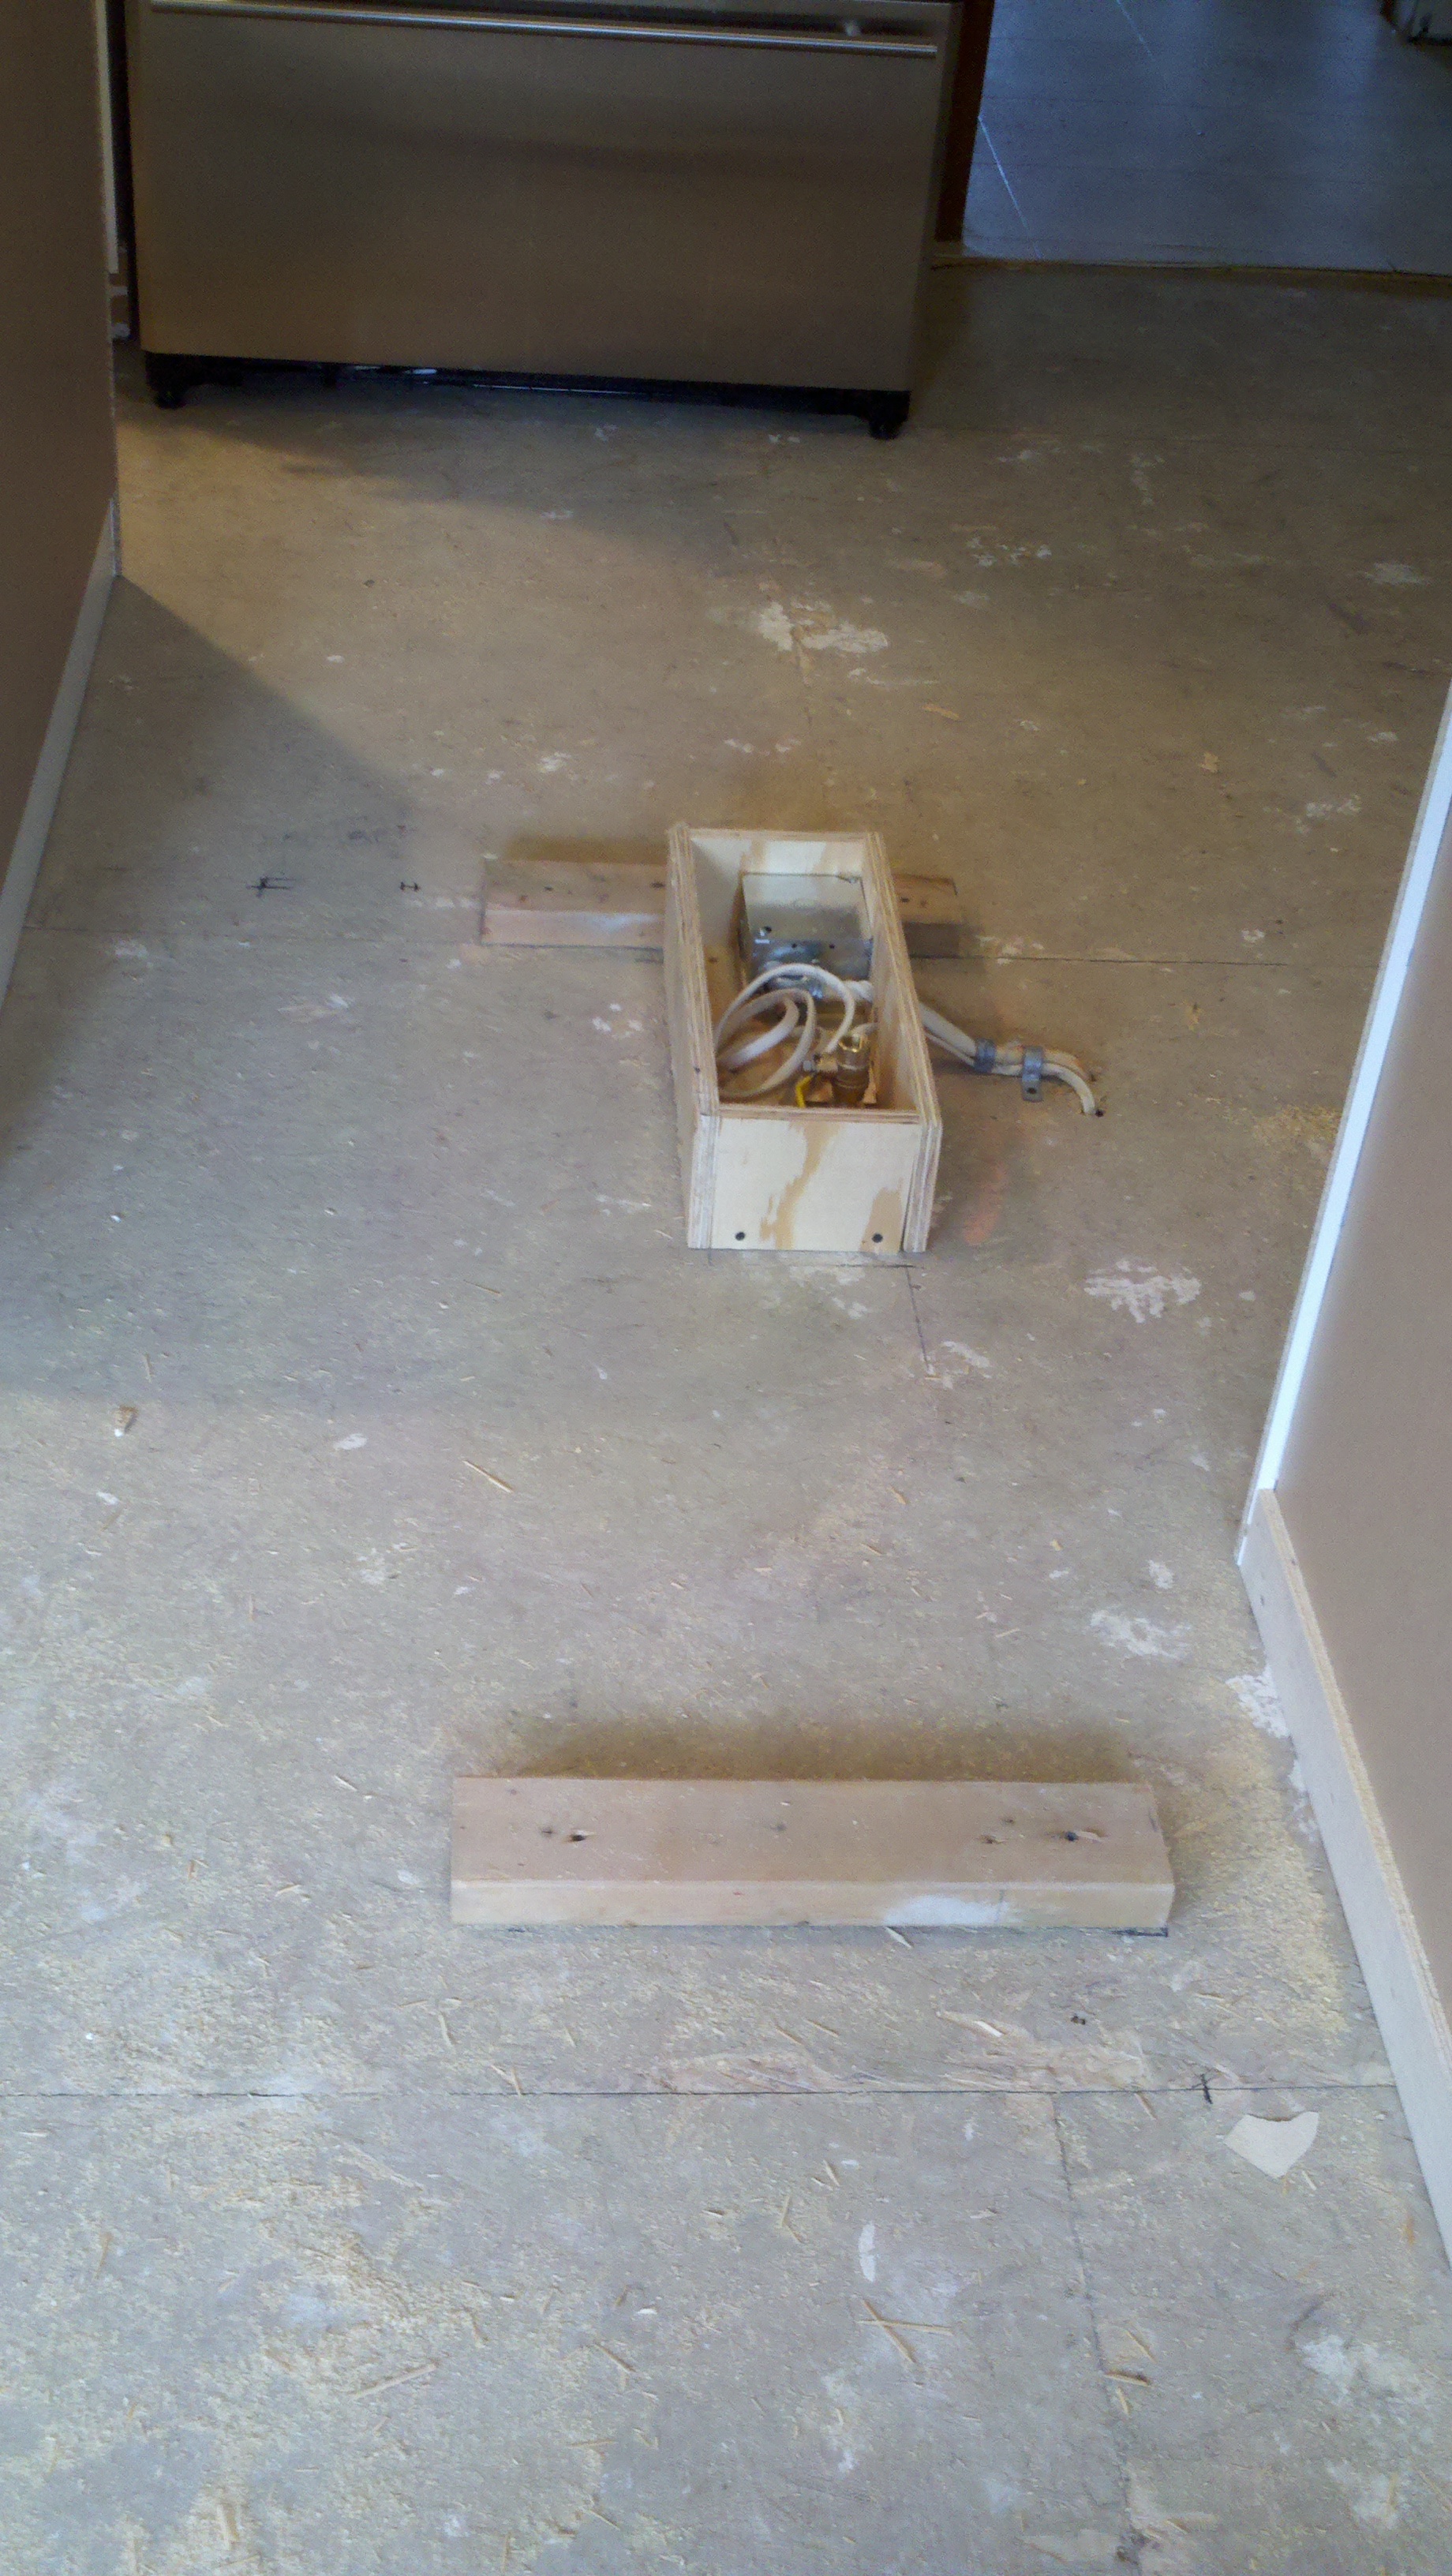
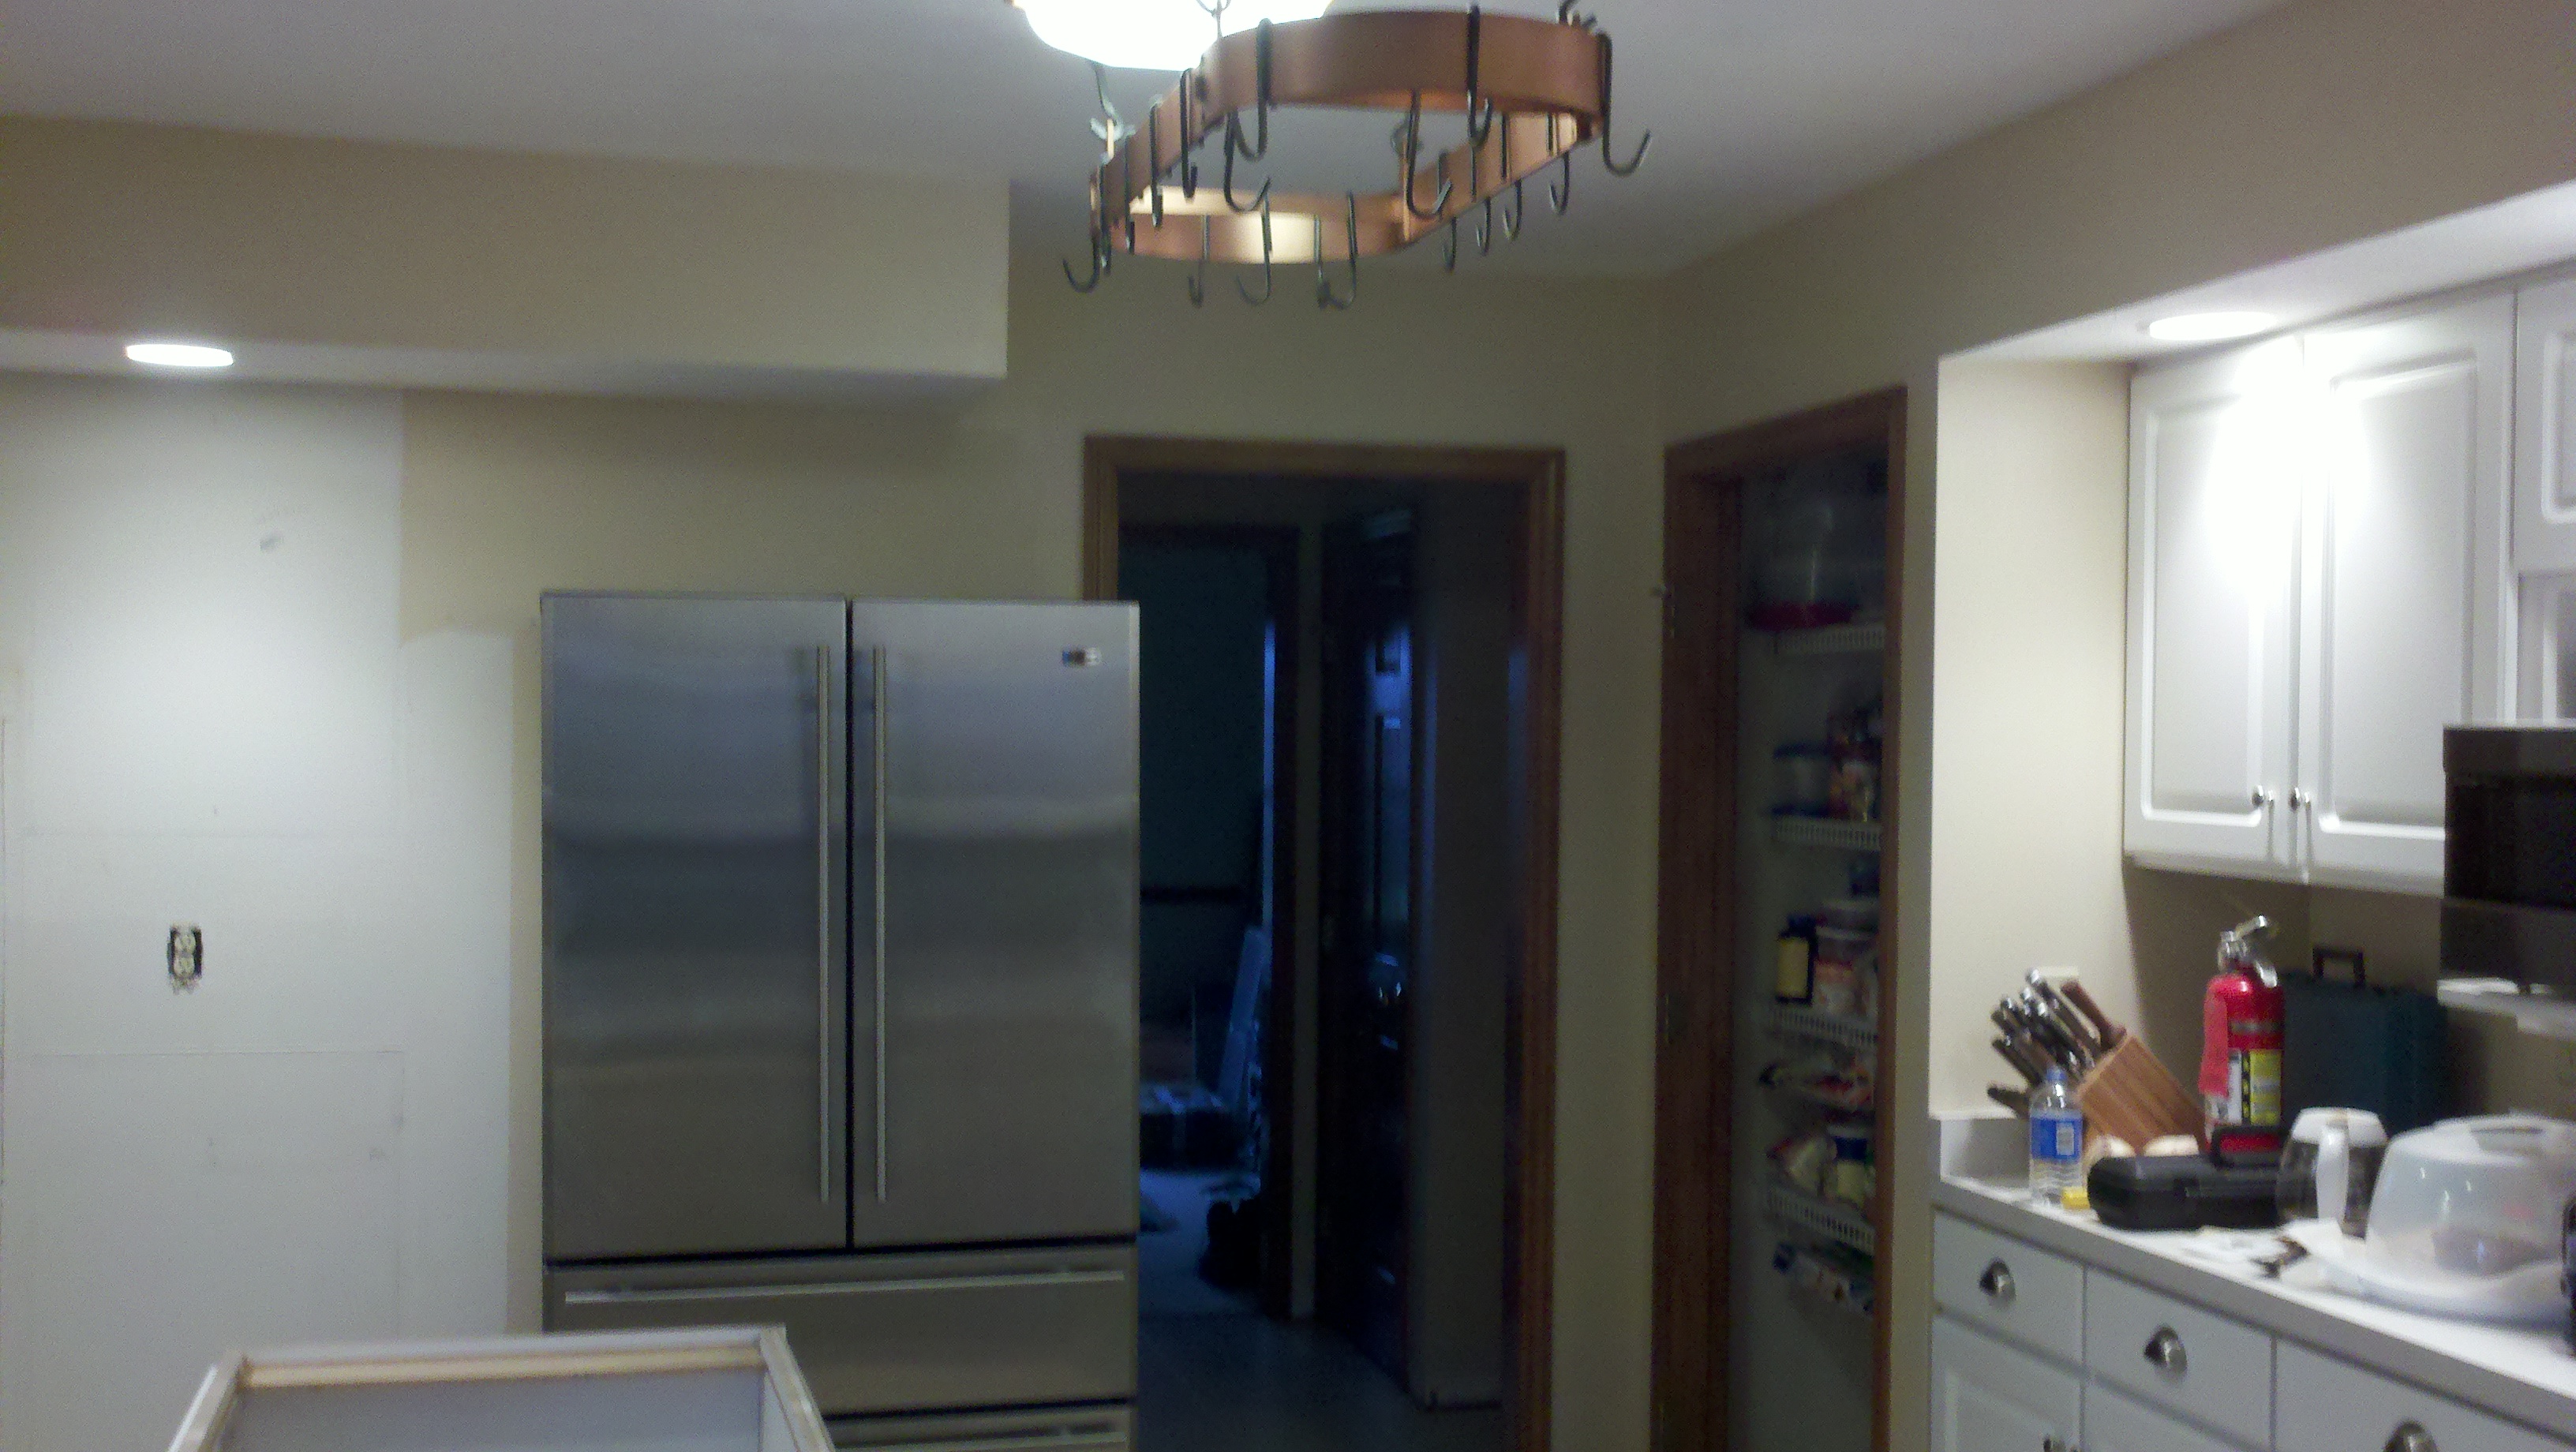
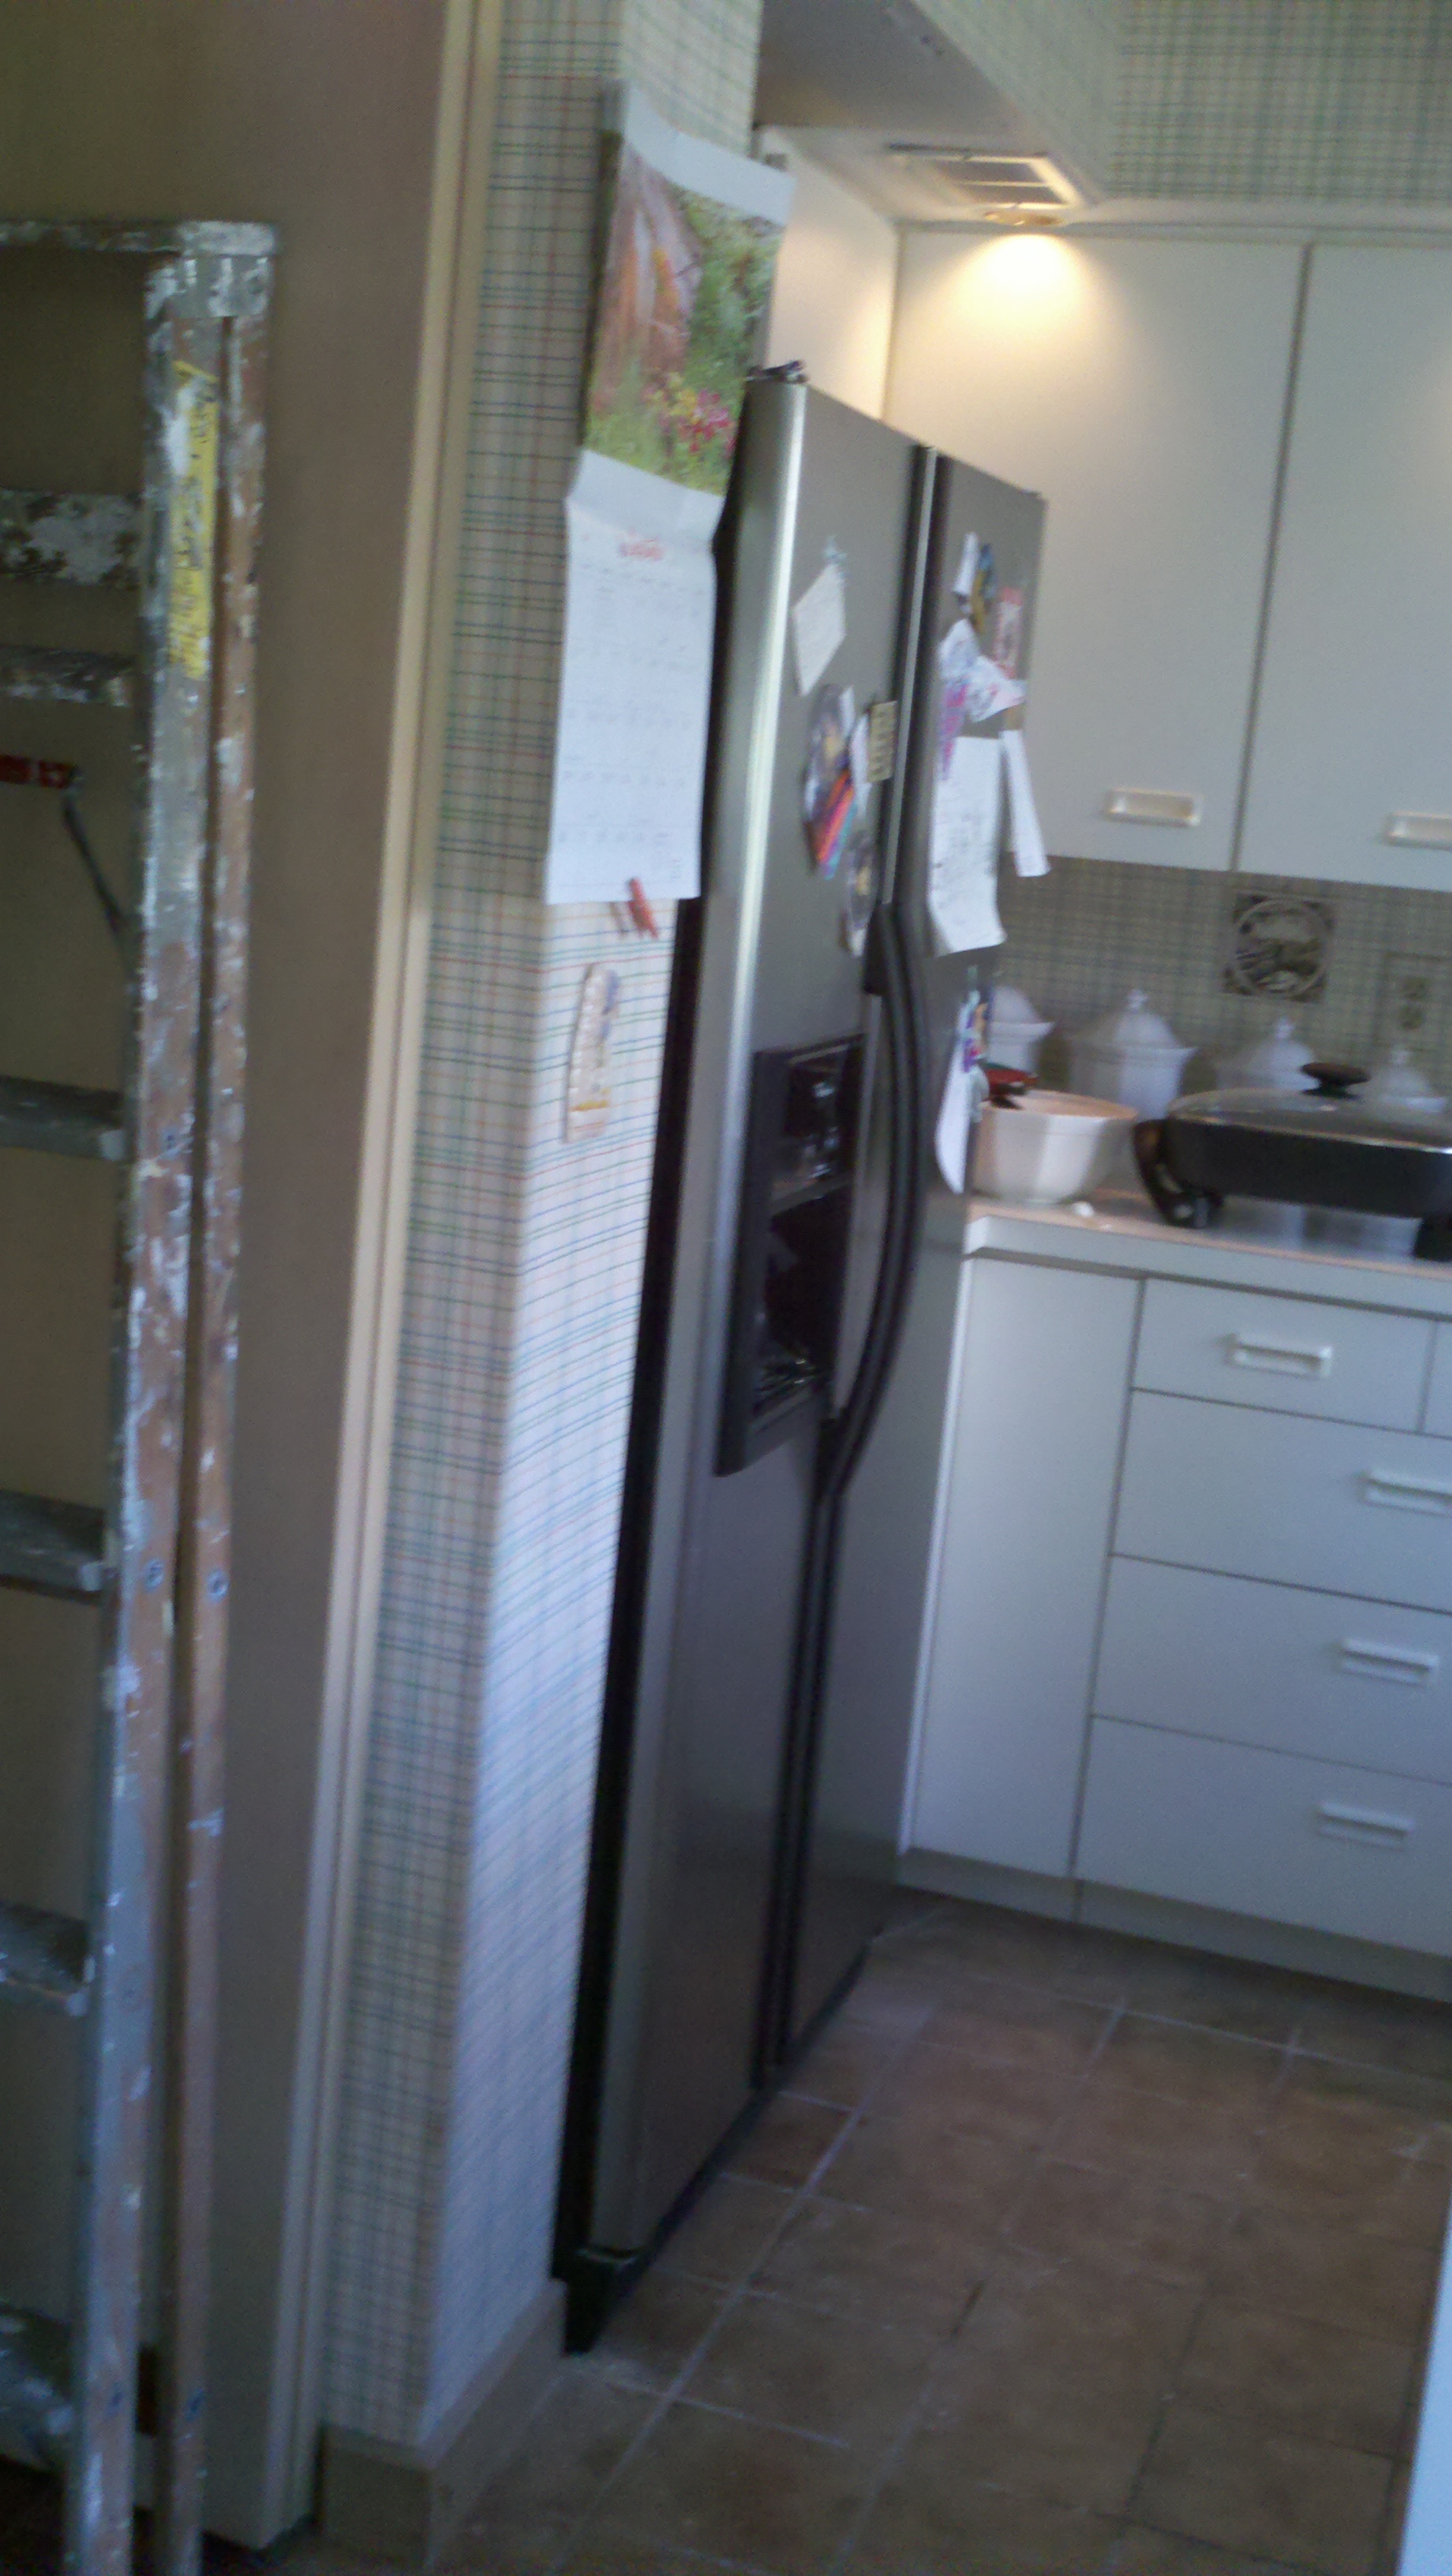
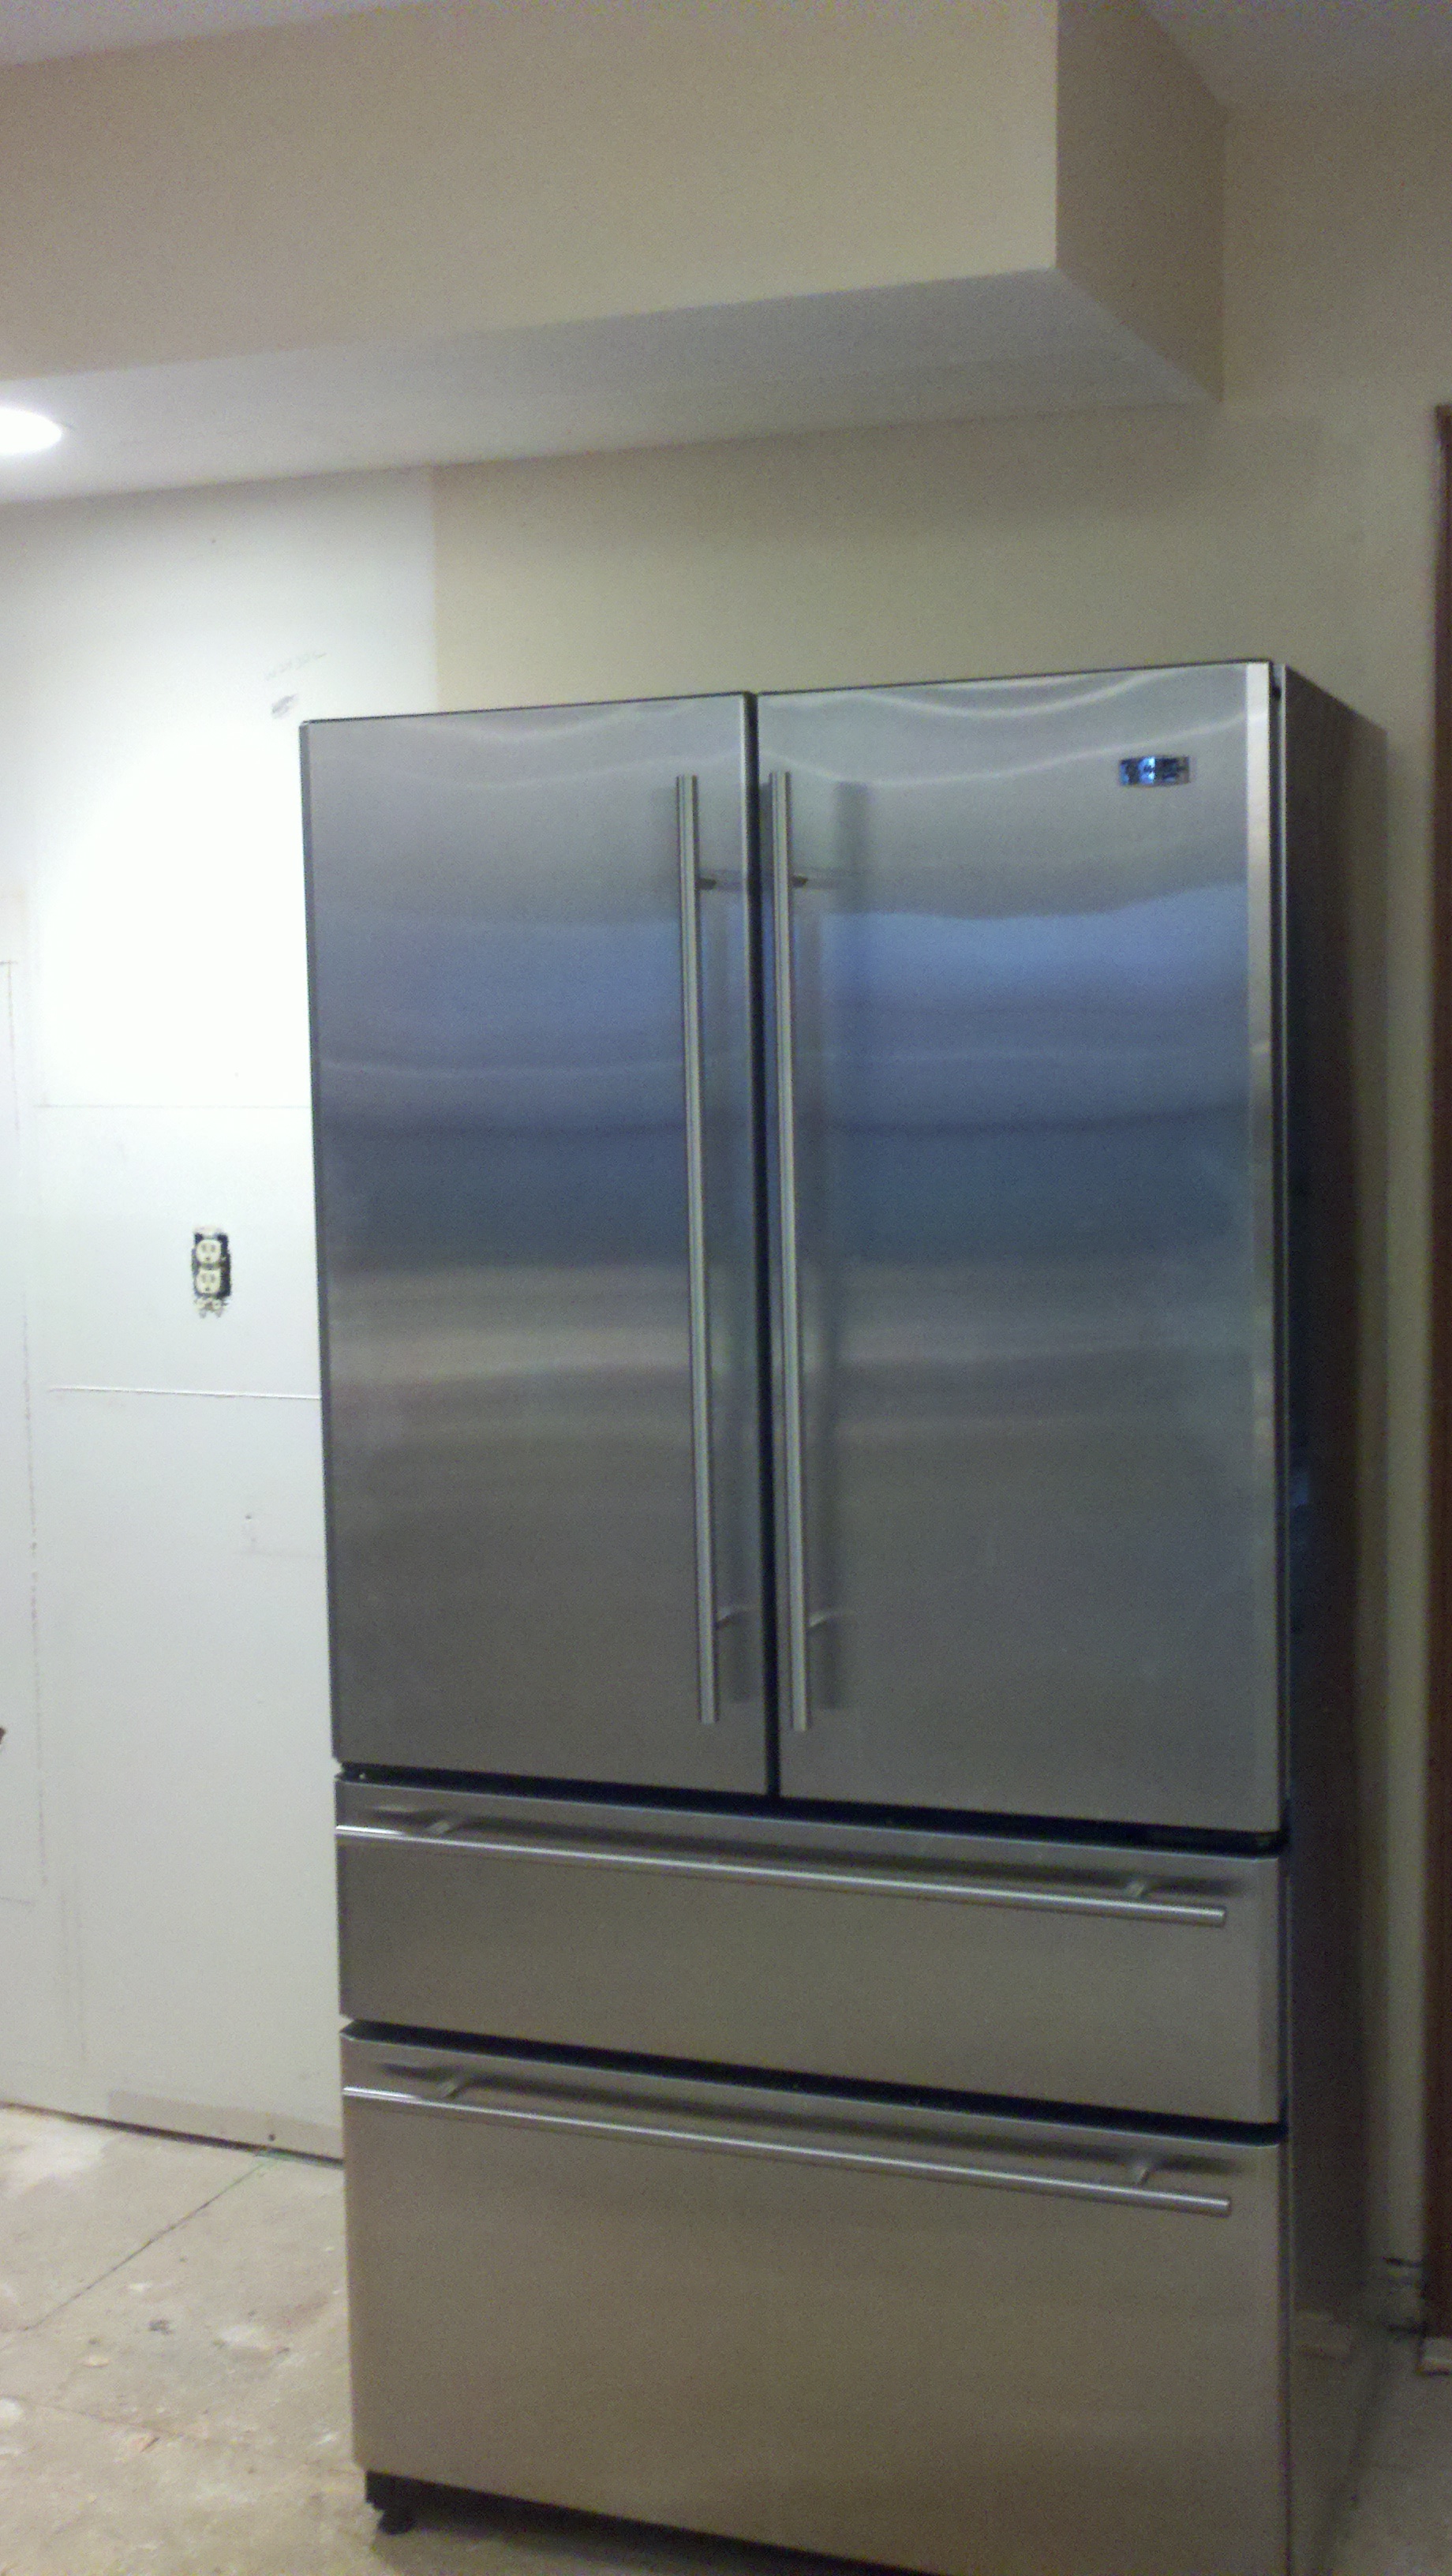
| REFRIGERATOR RELOCATION/BEFORE/AFTER PICTURES | 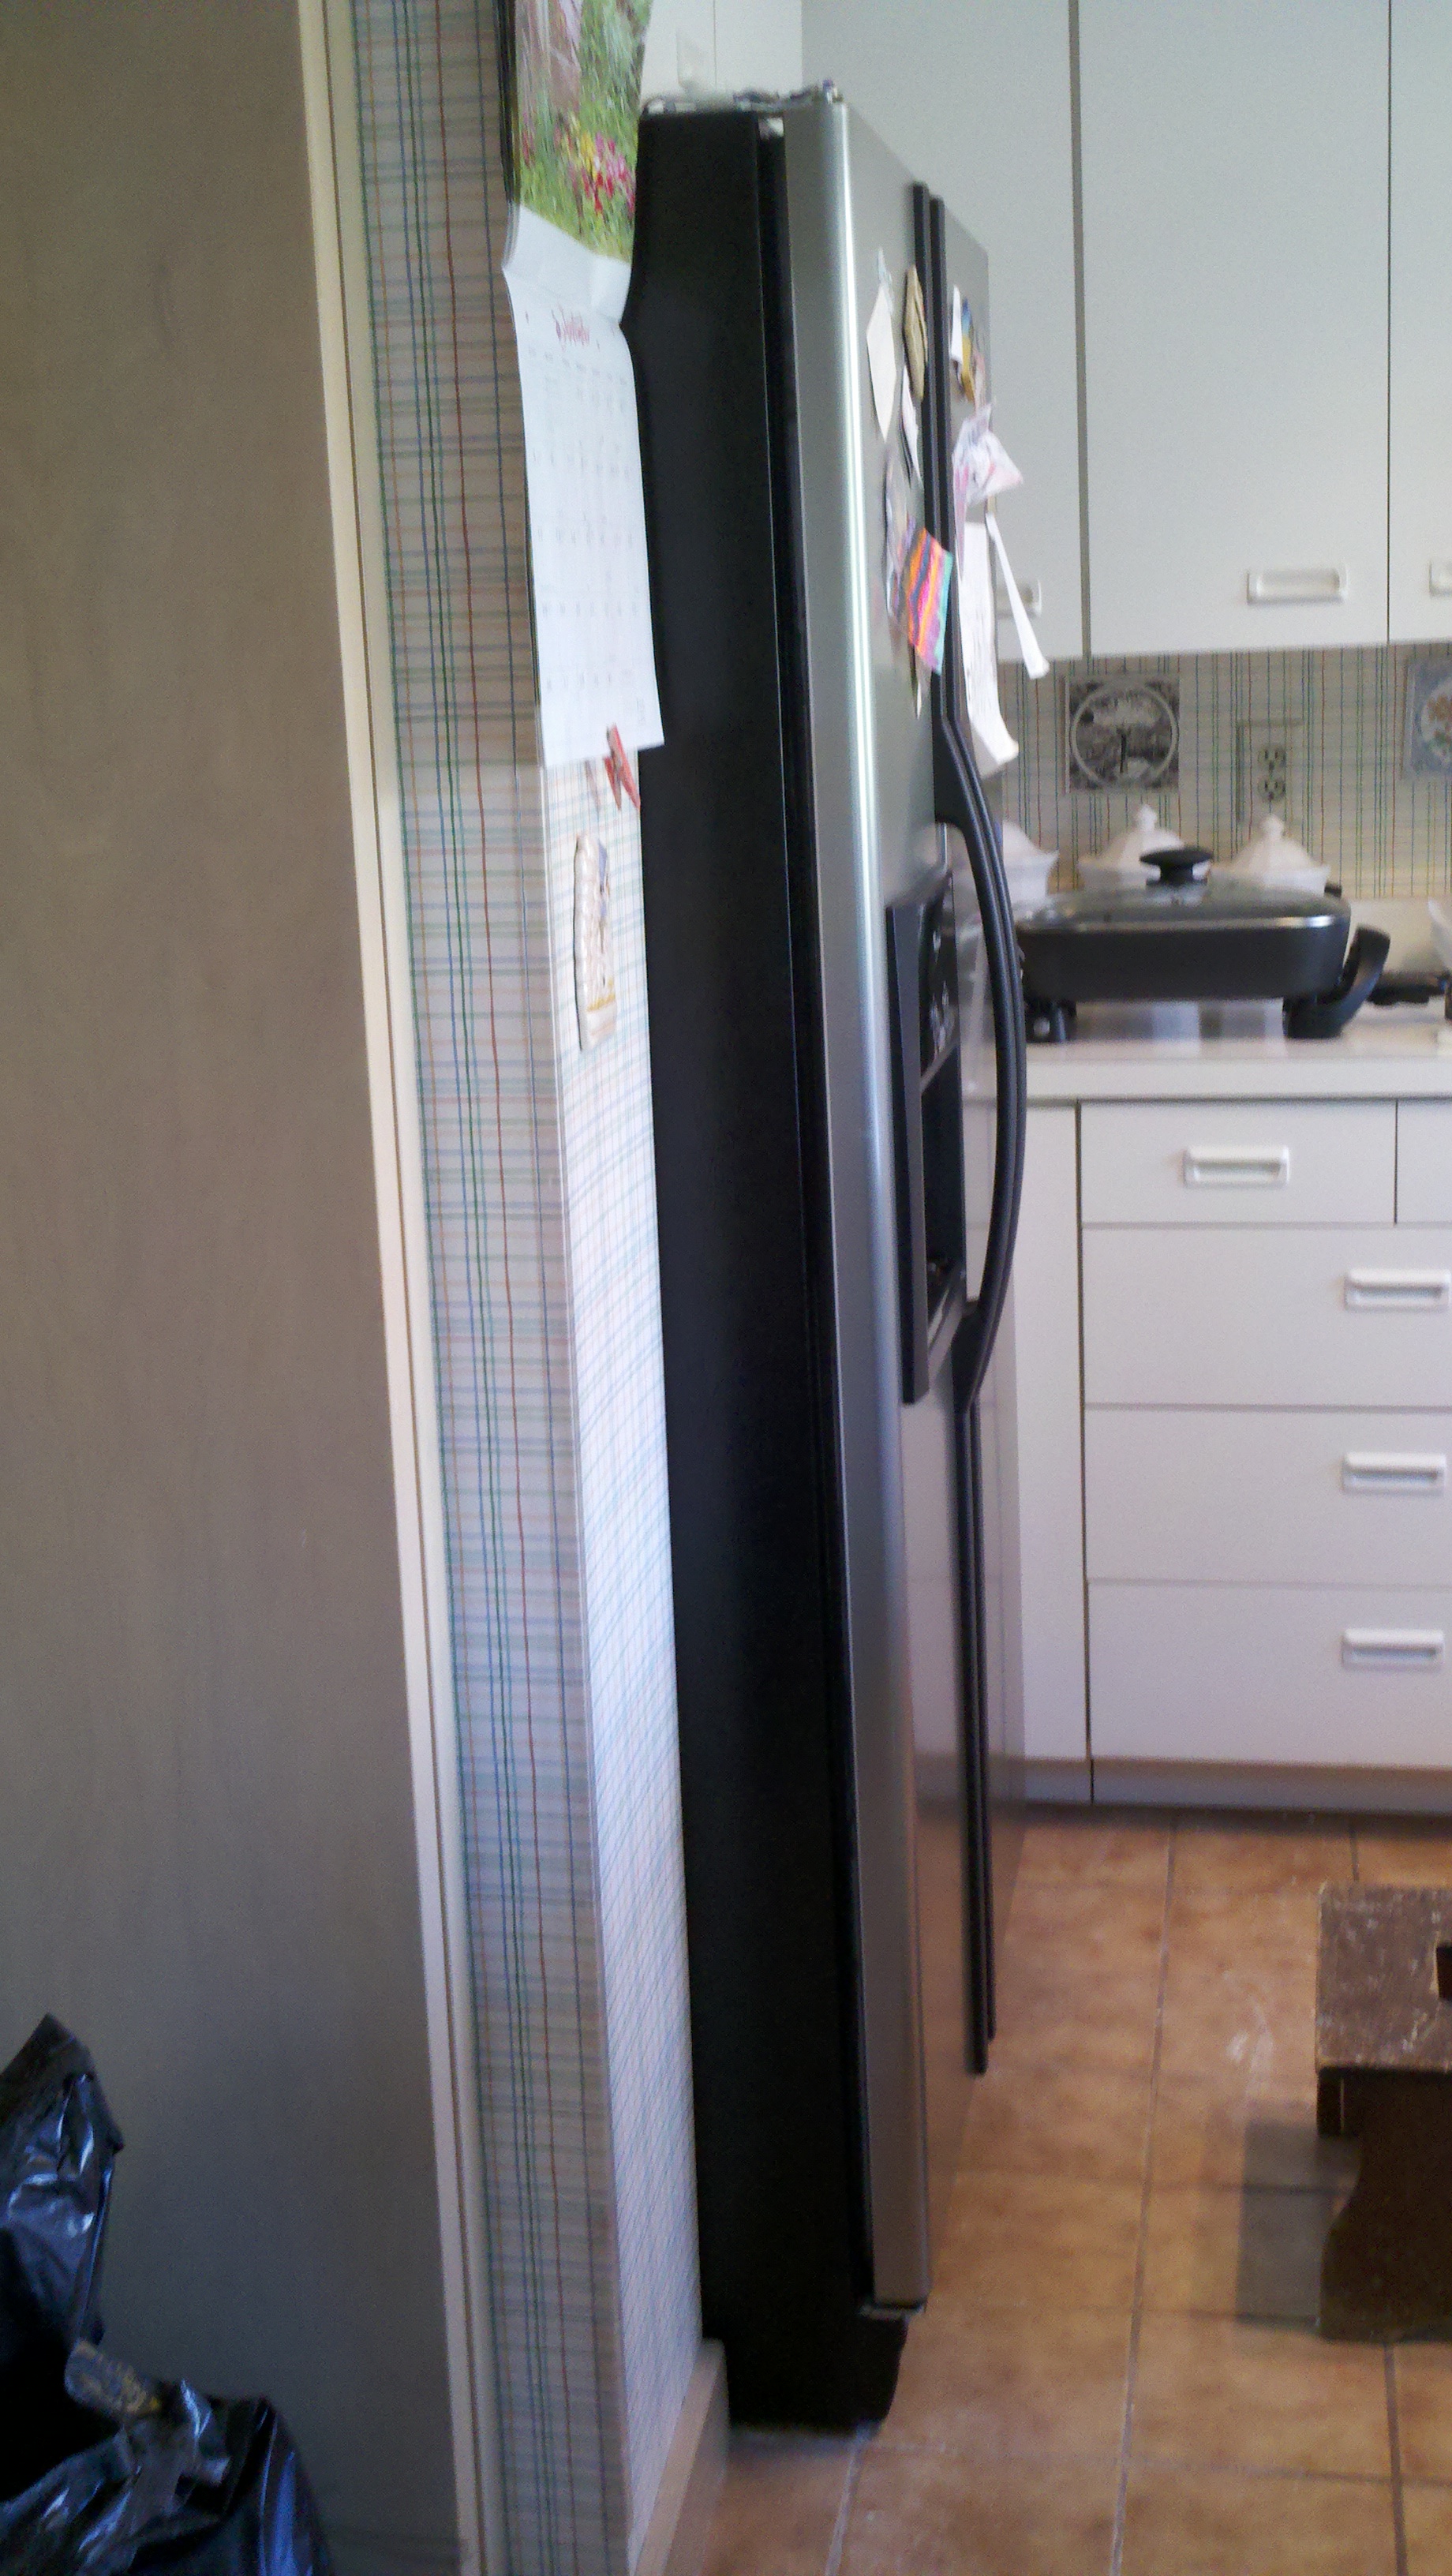 |
 |
 |
|
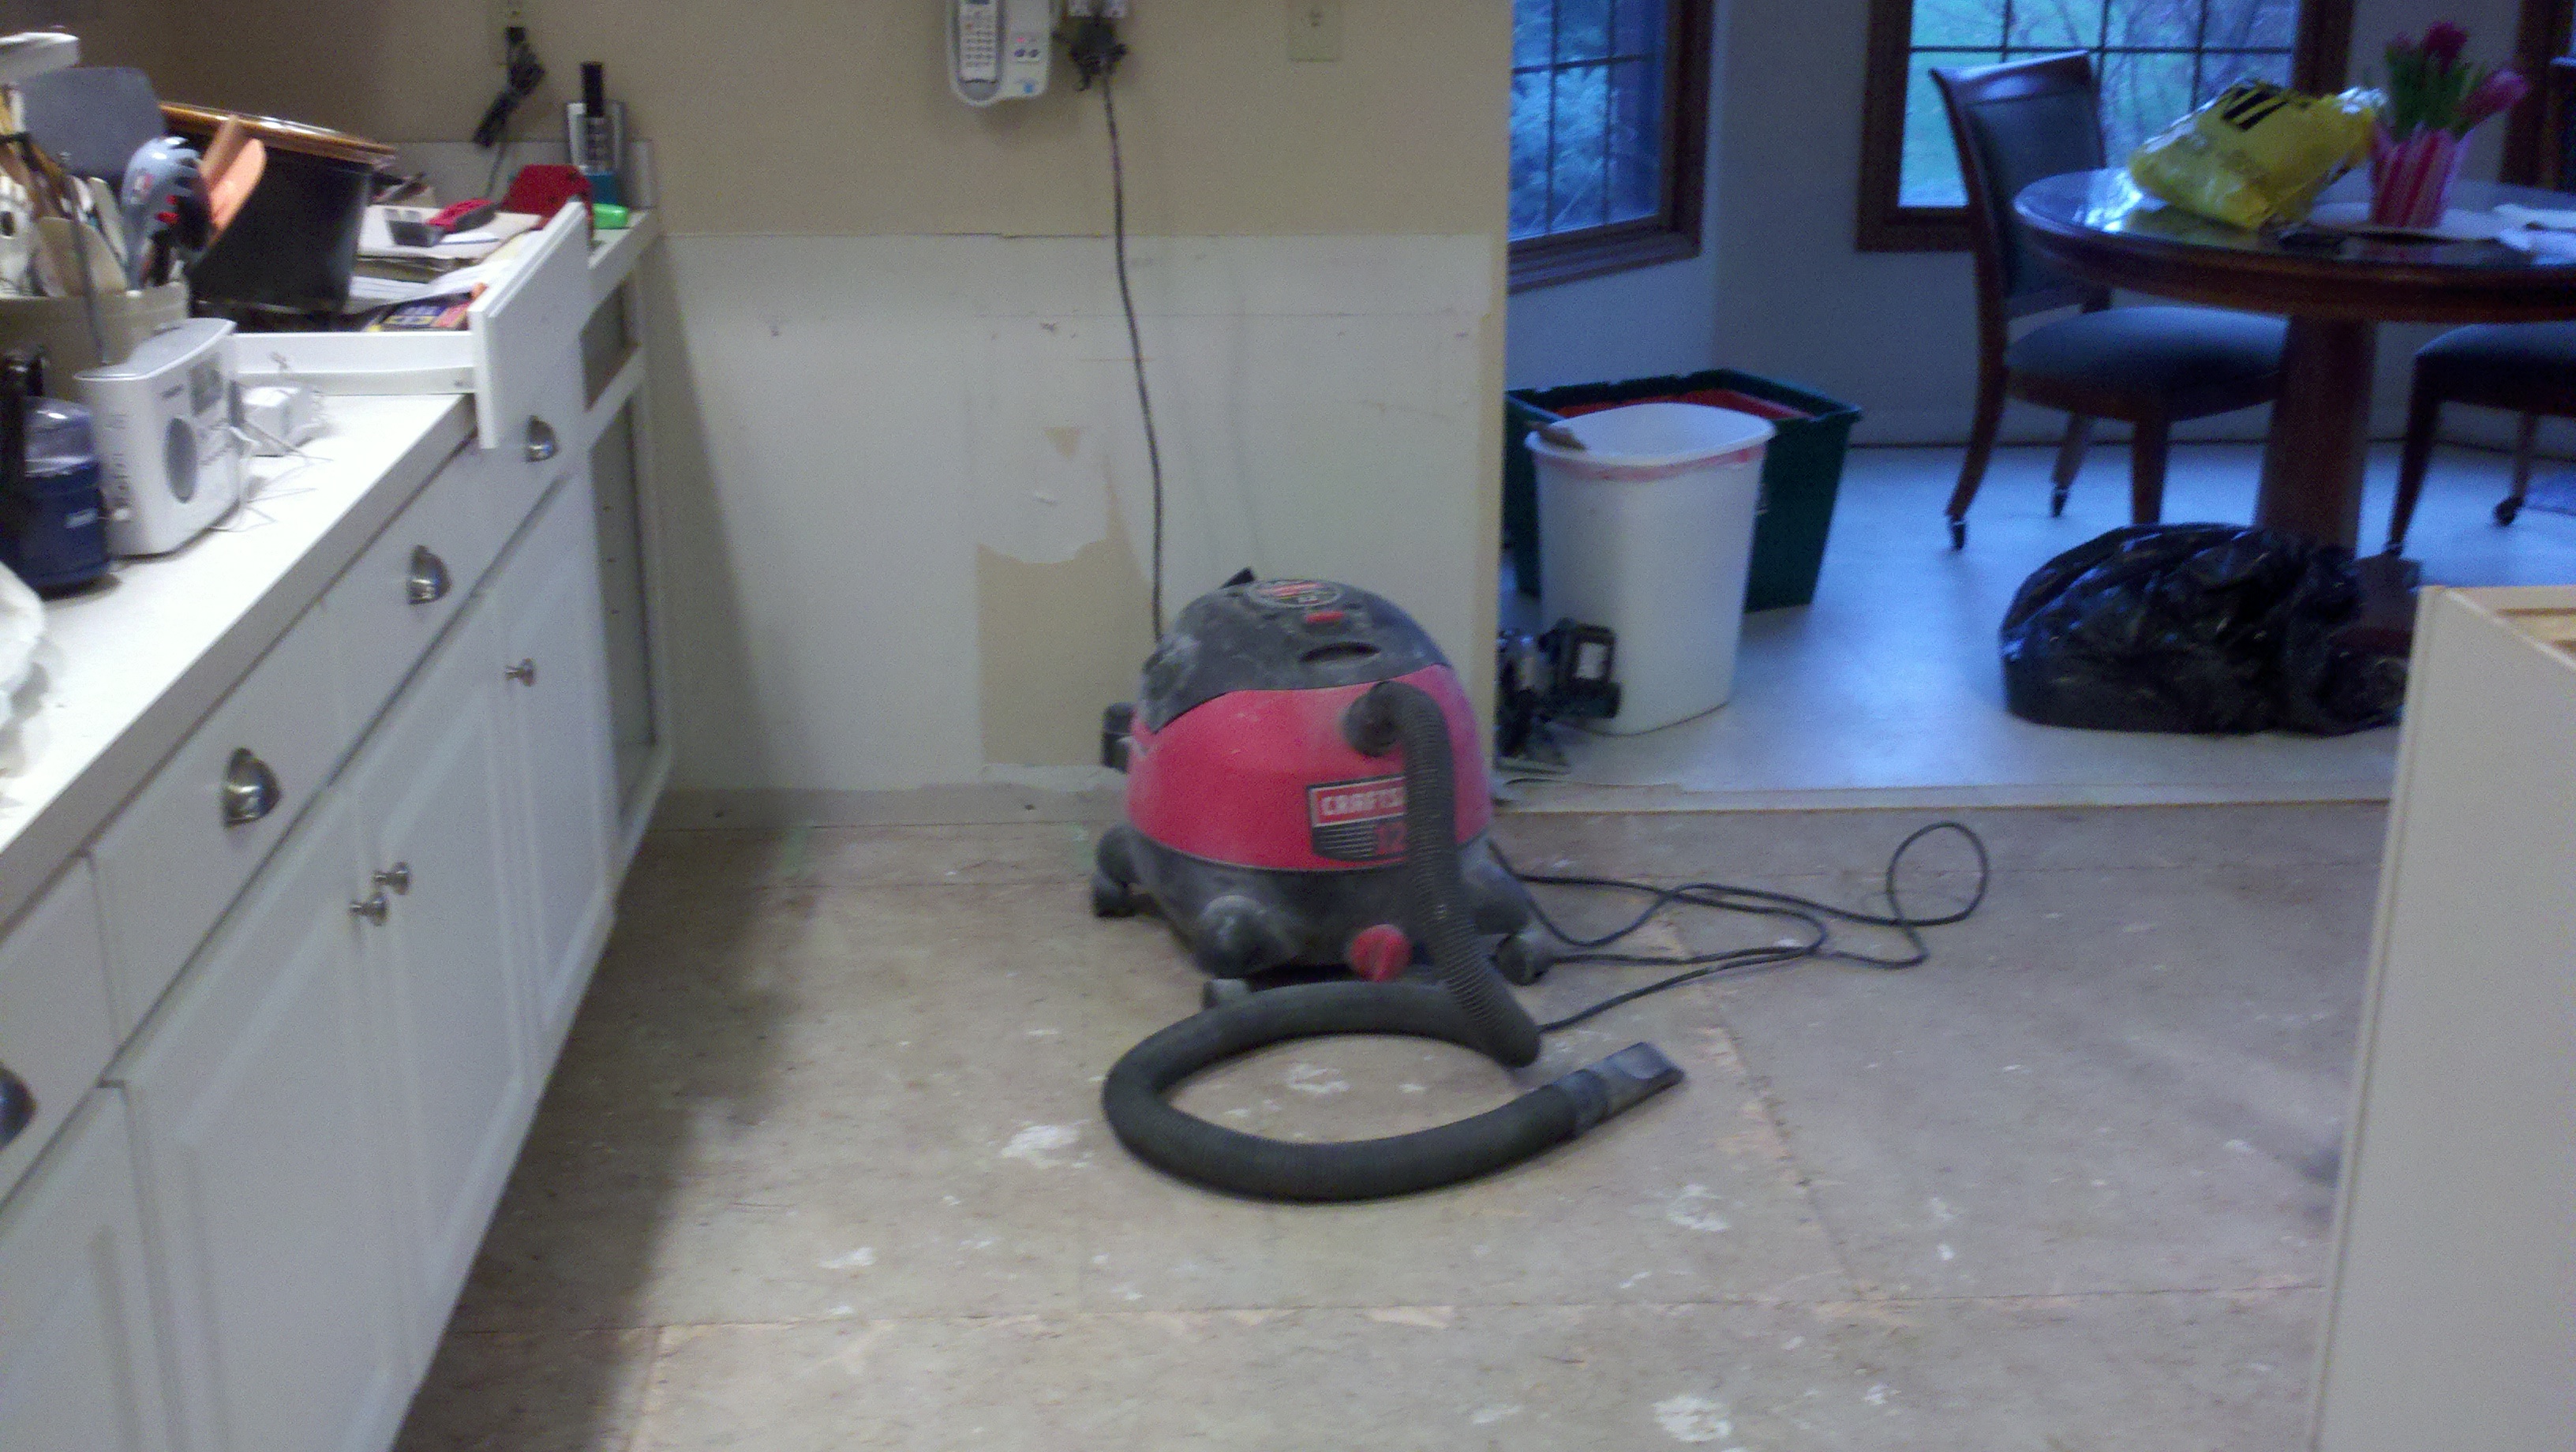
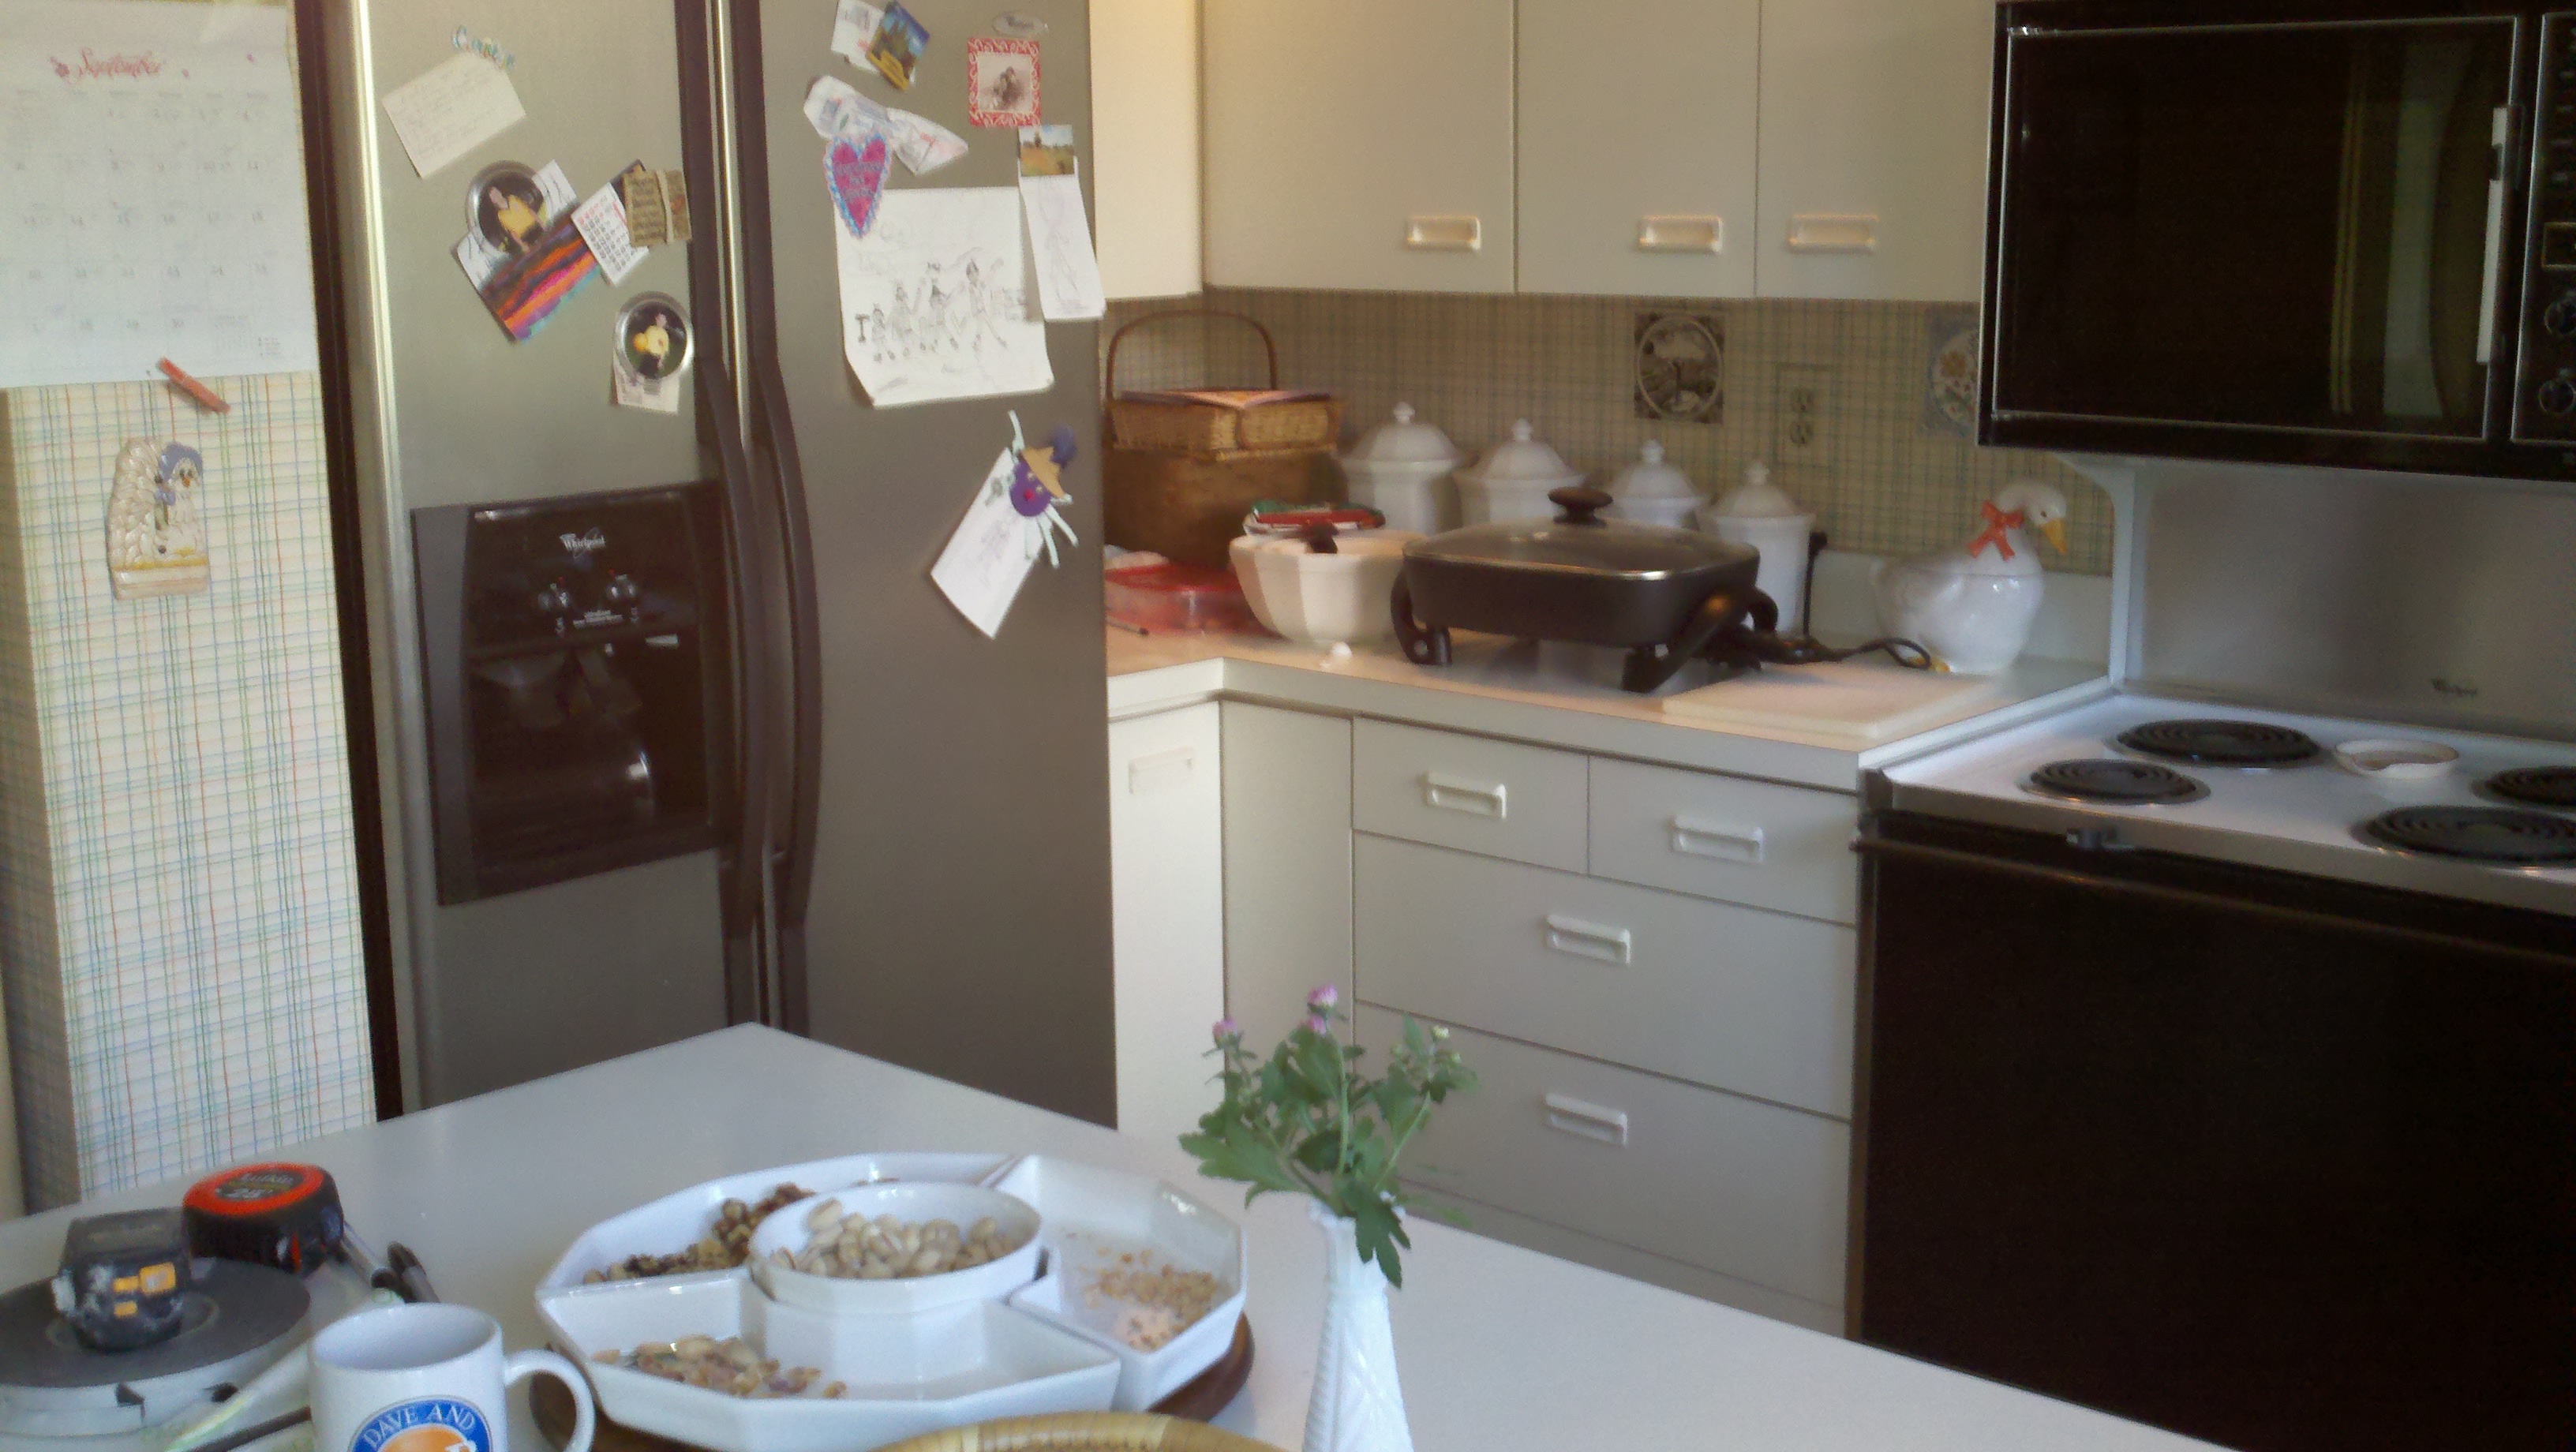
| KITCHEN BEFORE
REHABILITATION PICTURES
|
||||
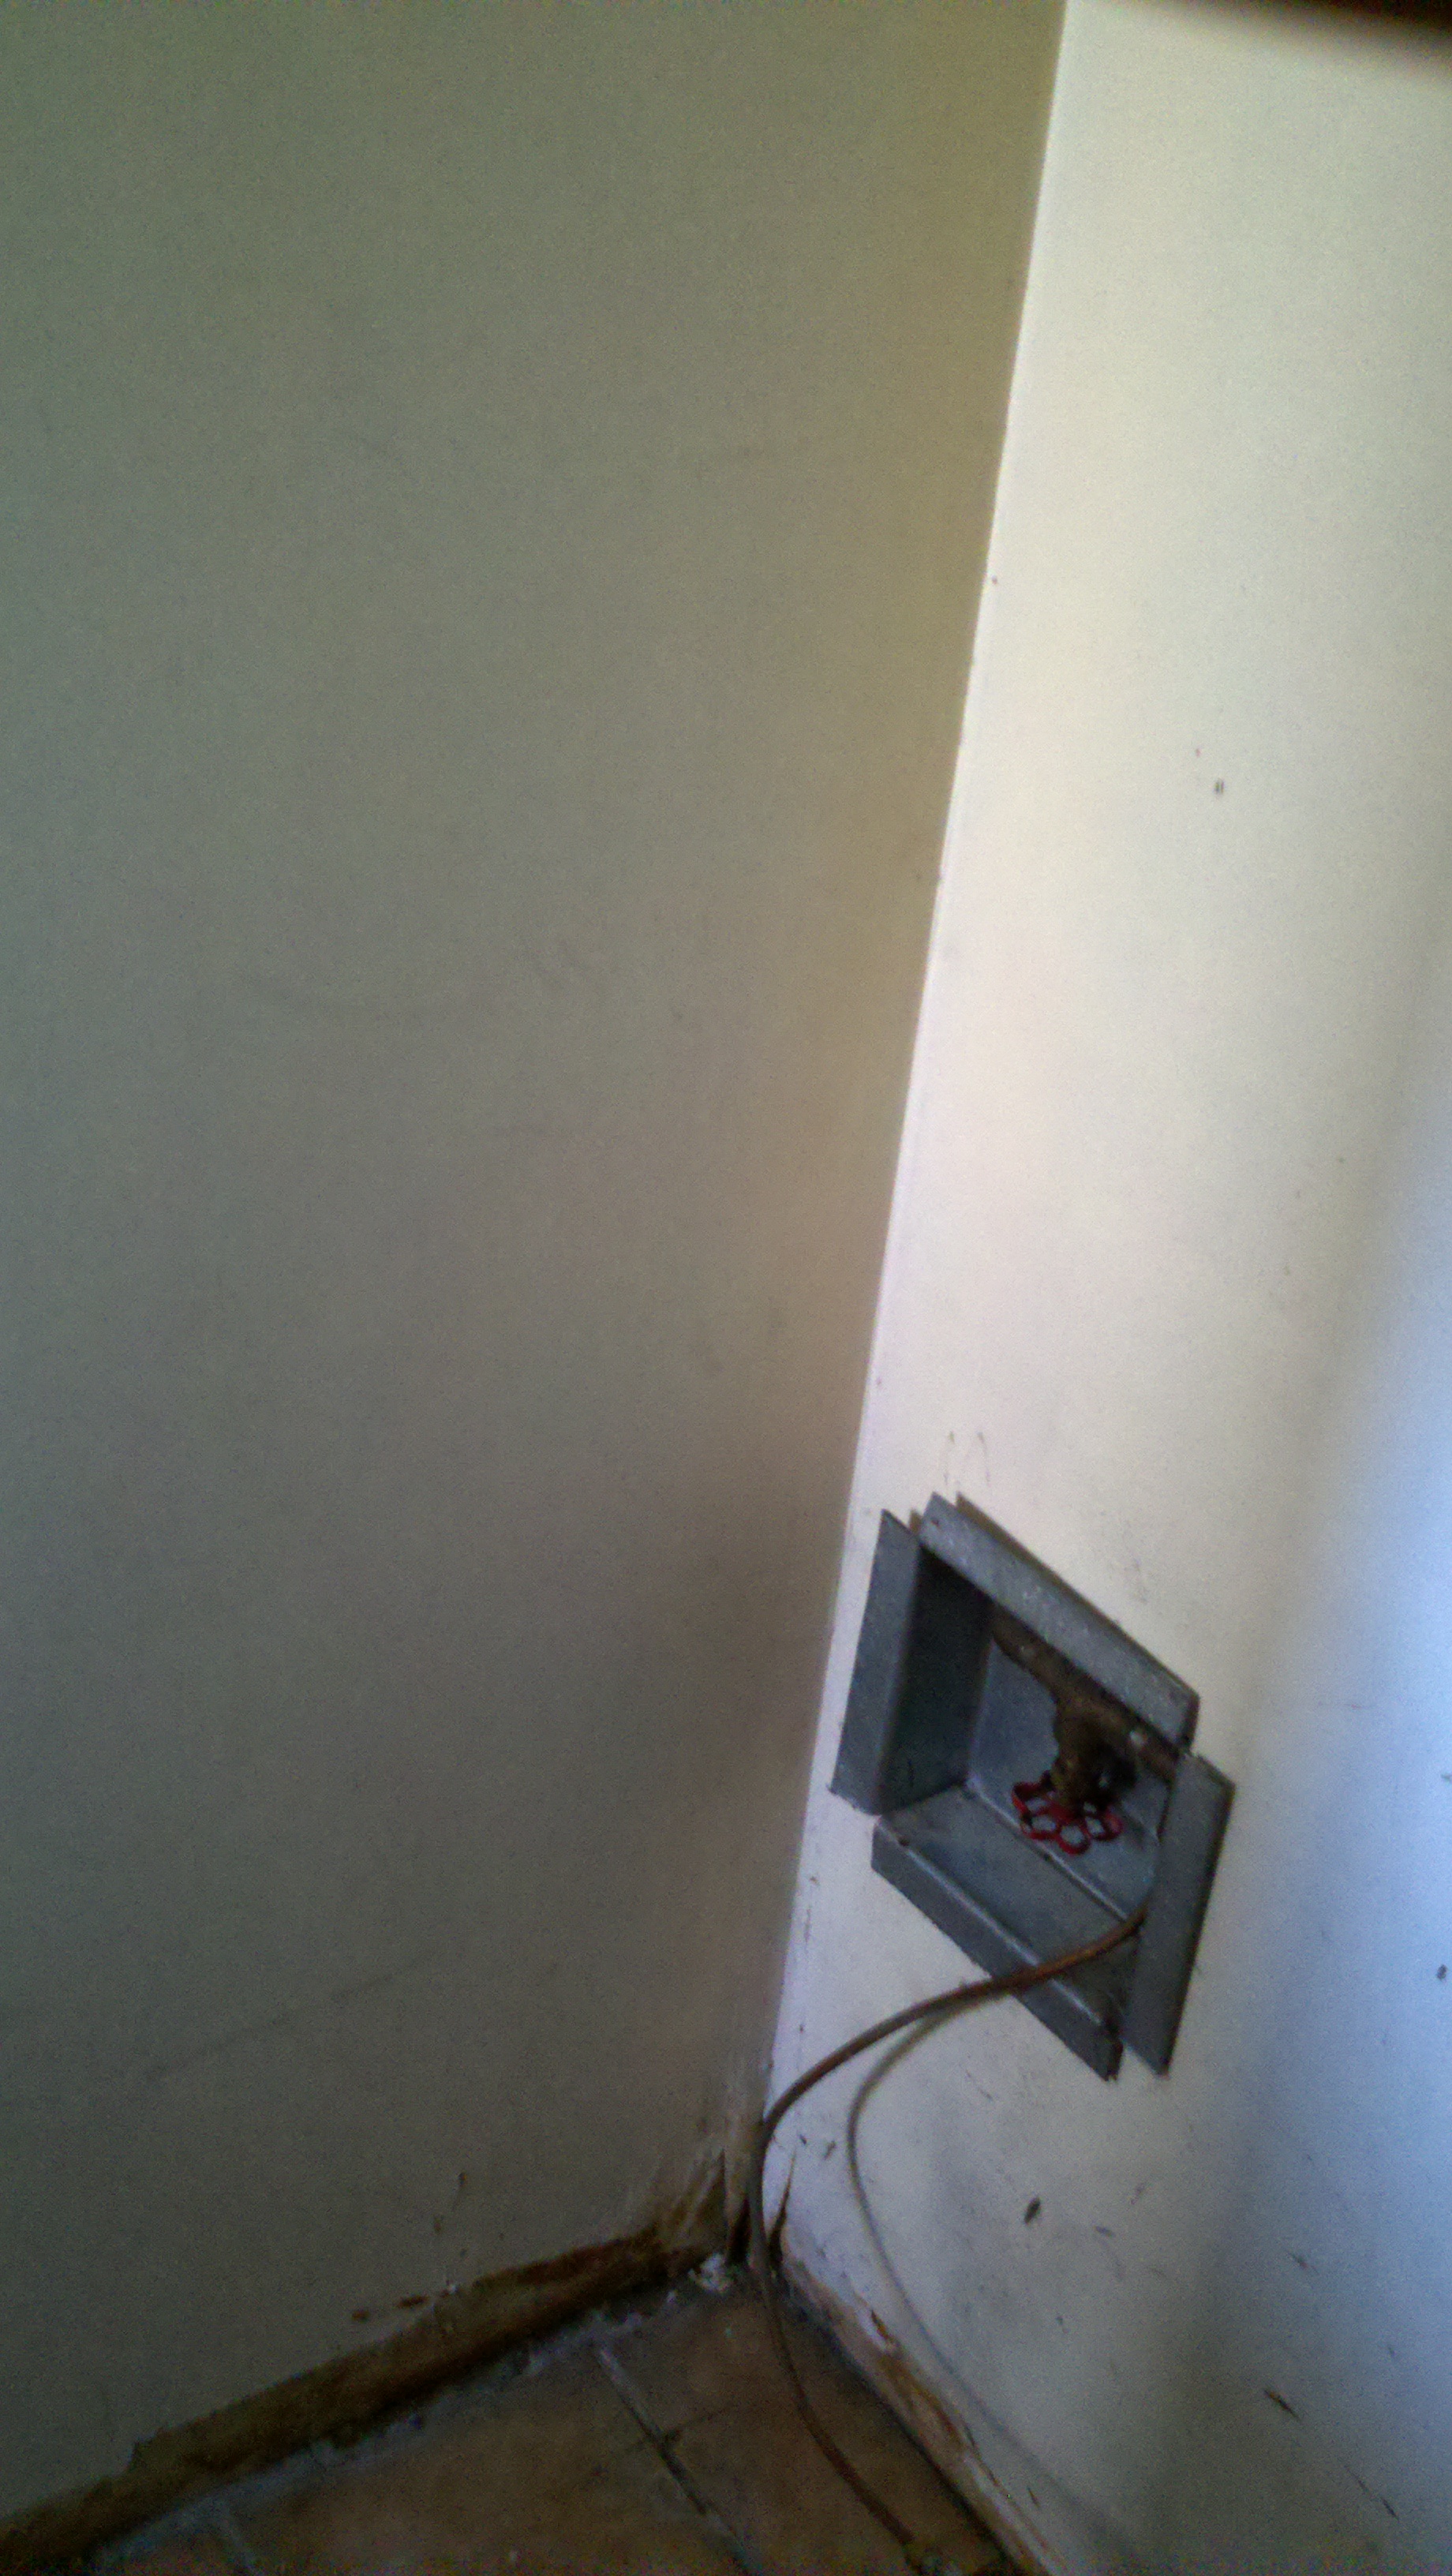
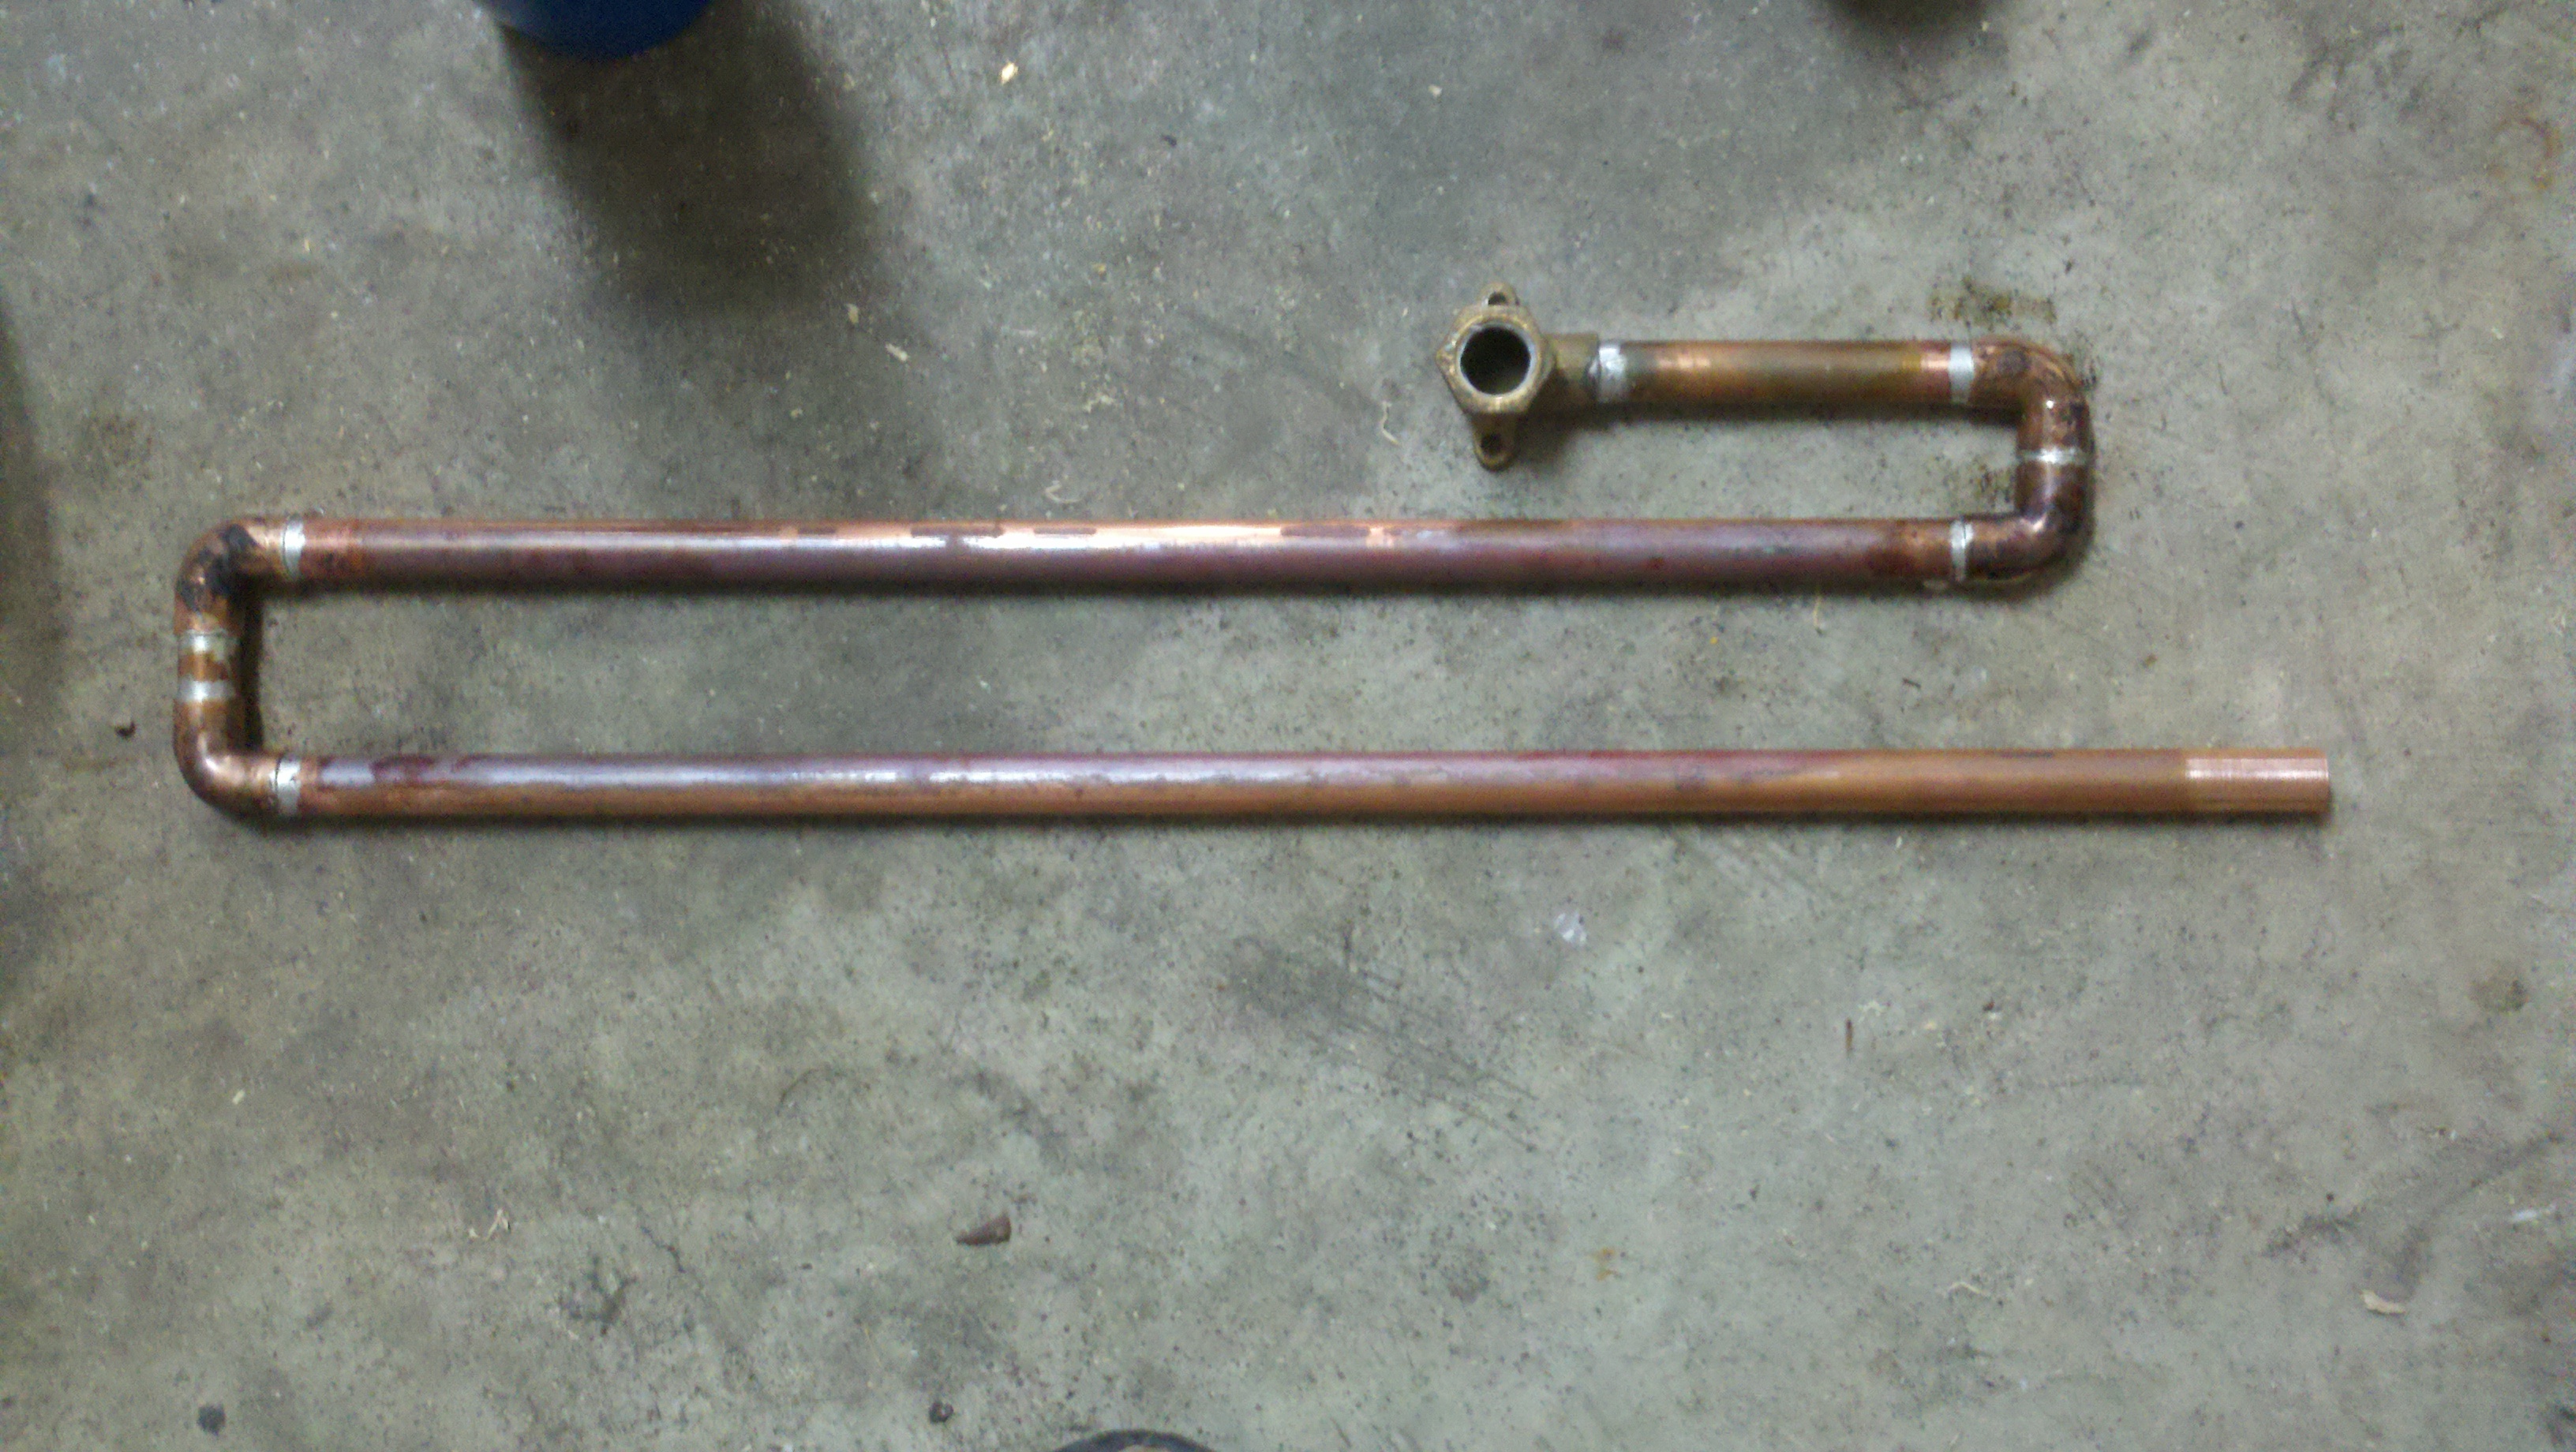
| REFRIGERATOR
RELOCATION PICTURES
|
||||
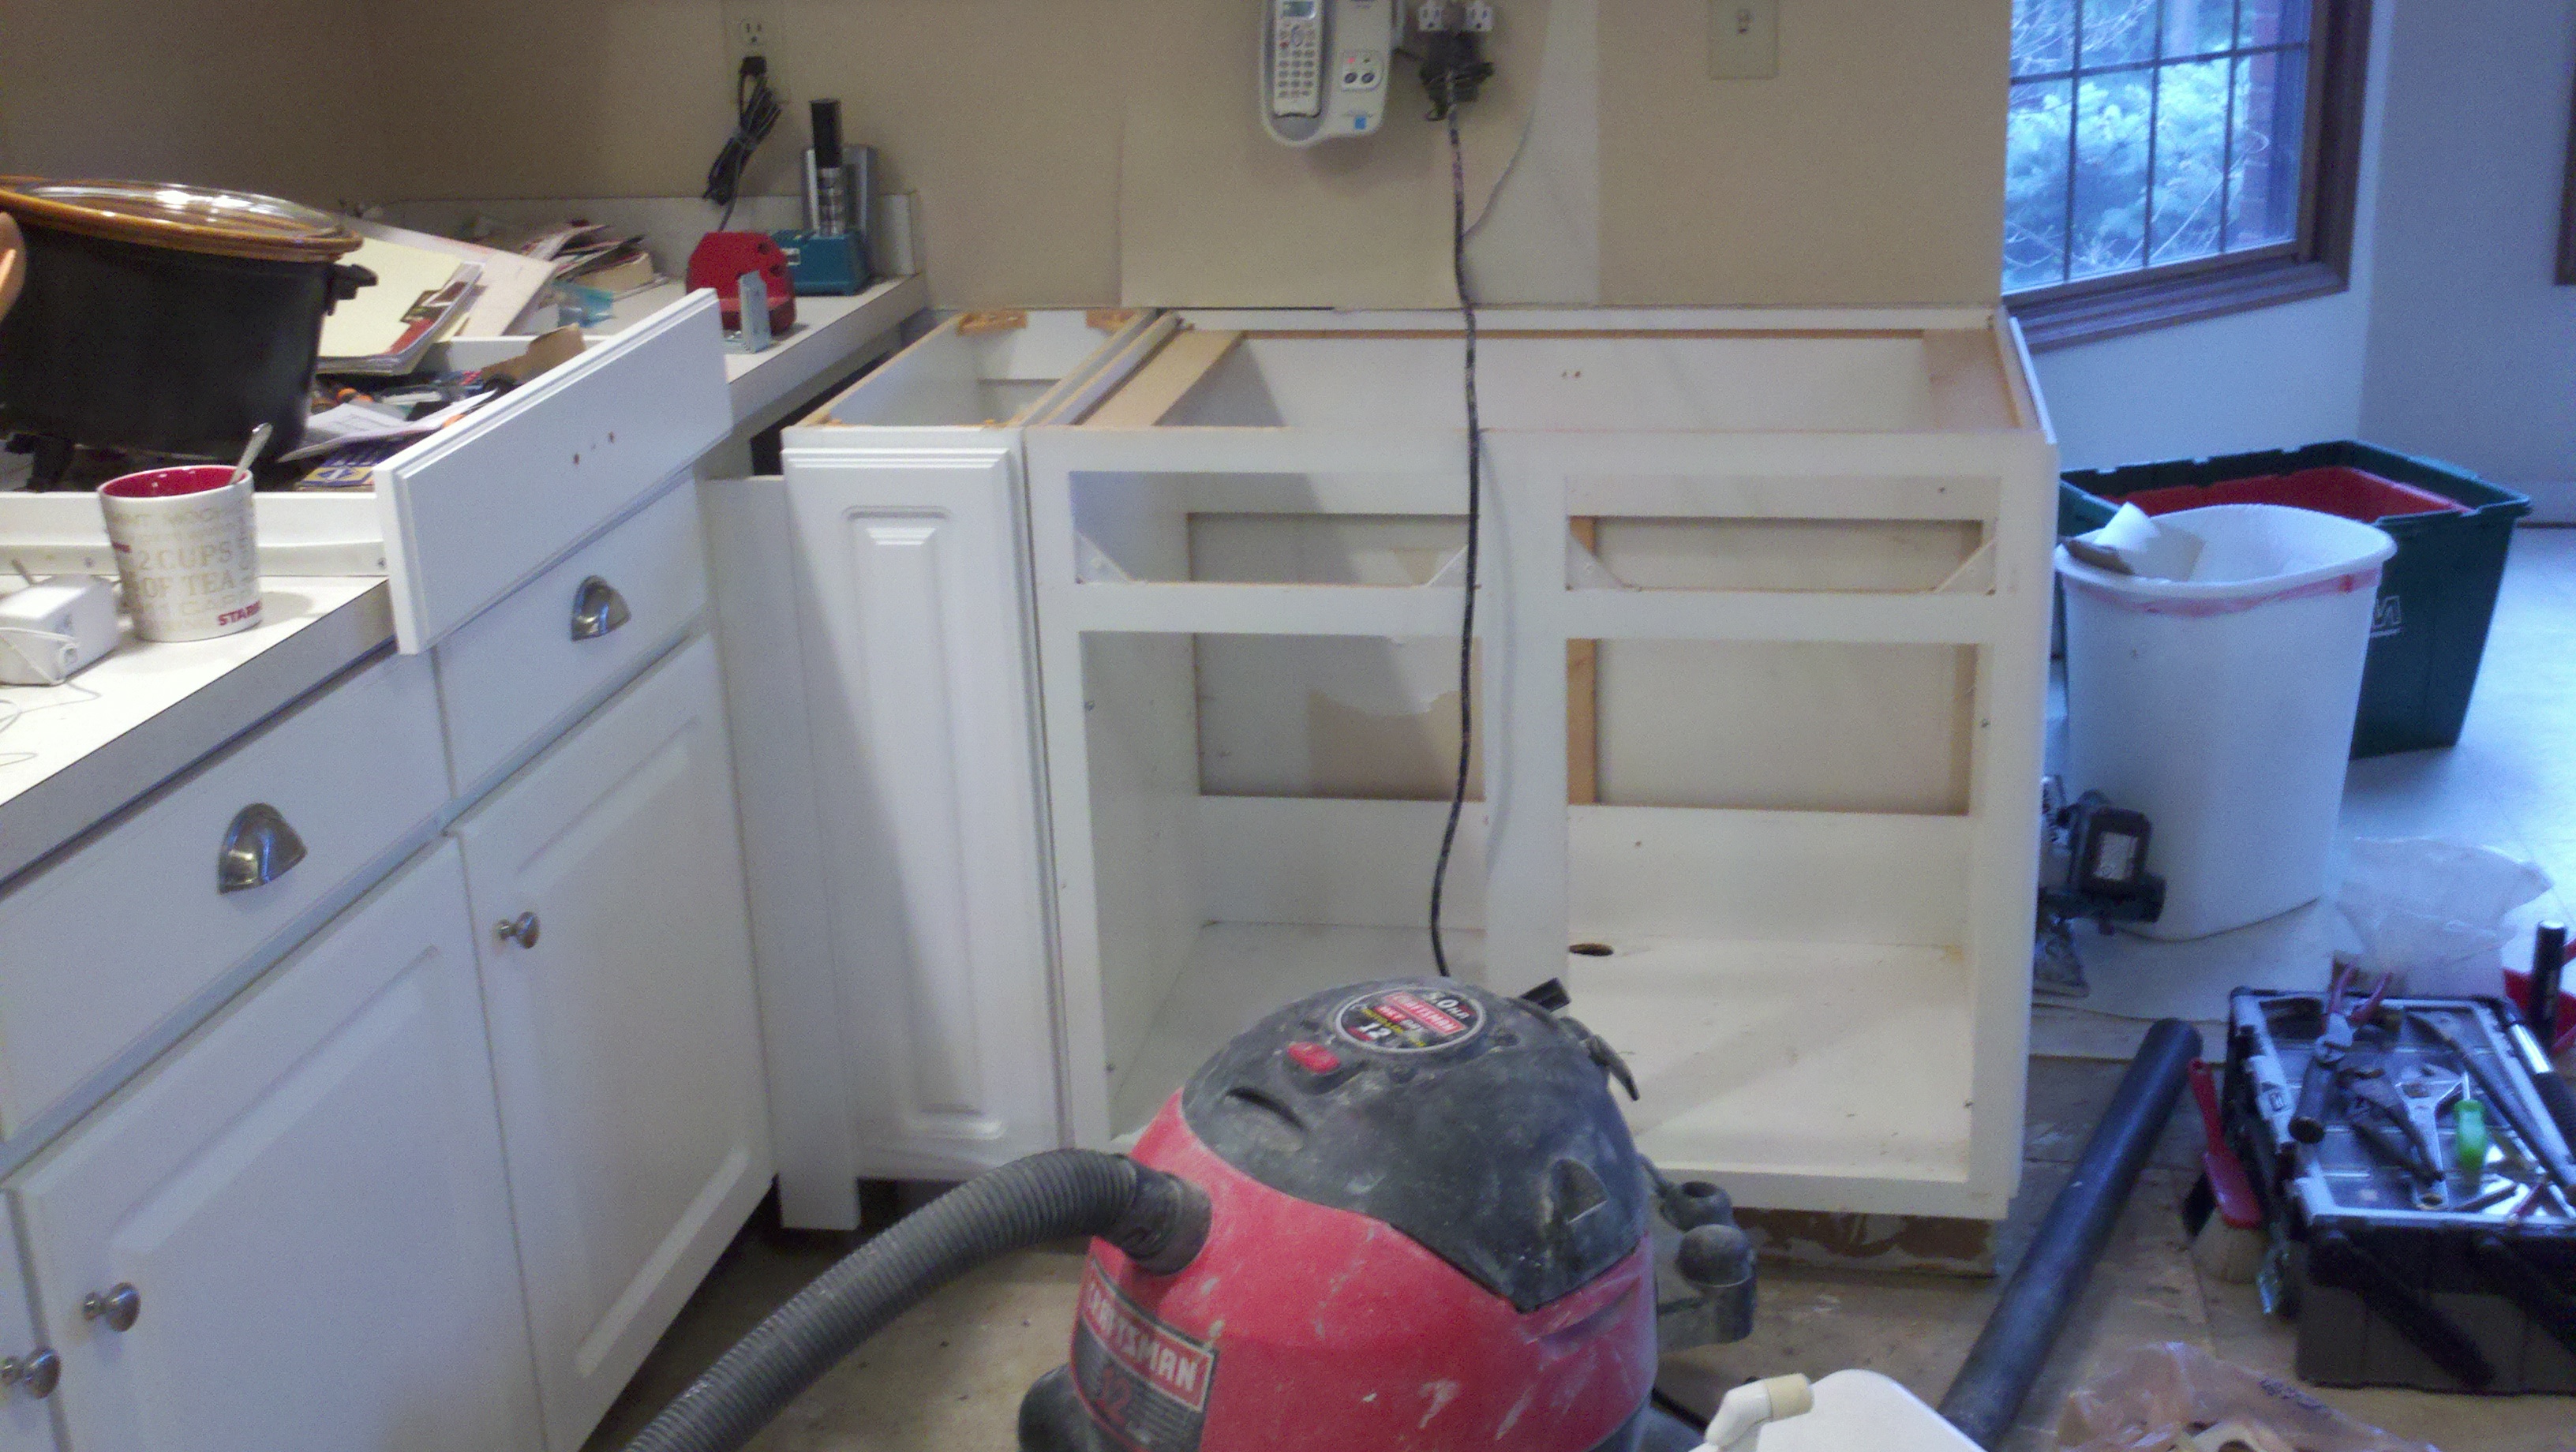
| TRIM REMOVAL
REFERENCE PICTURES
|
||||
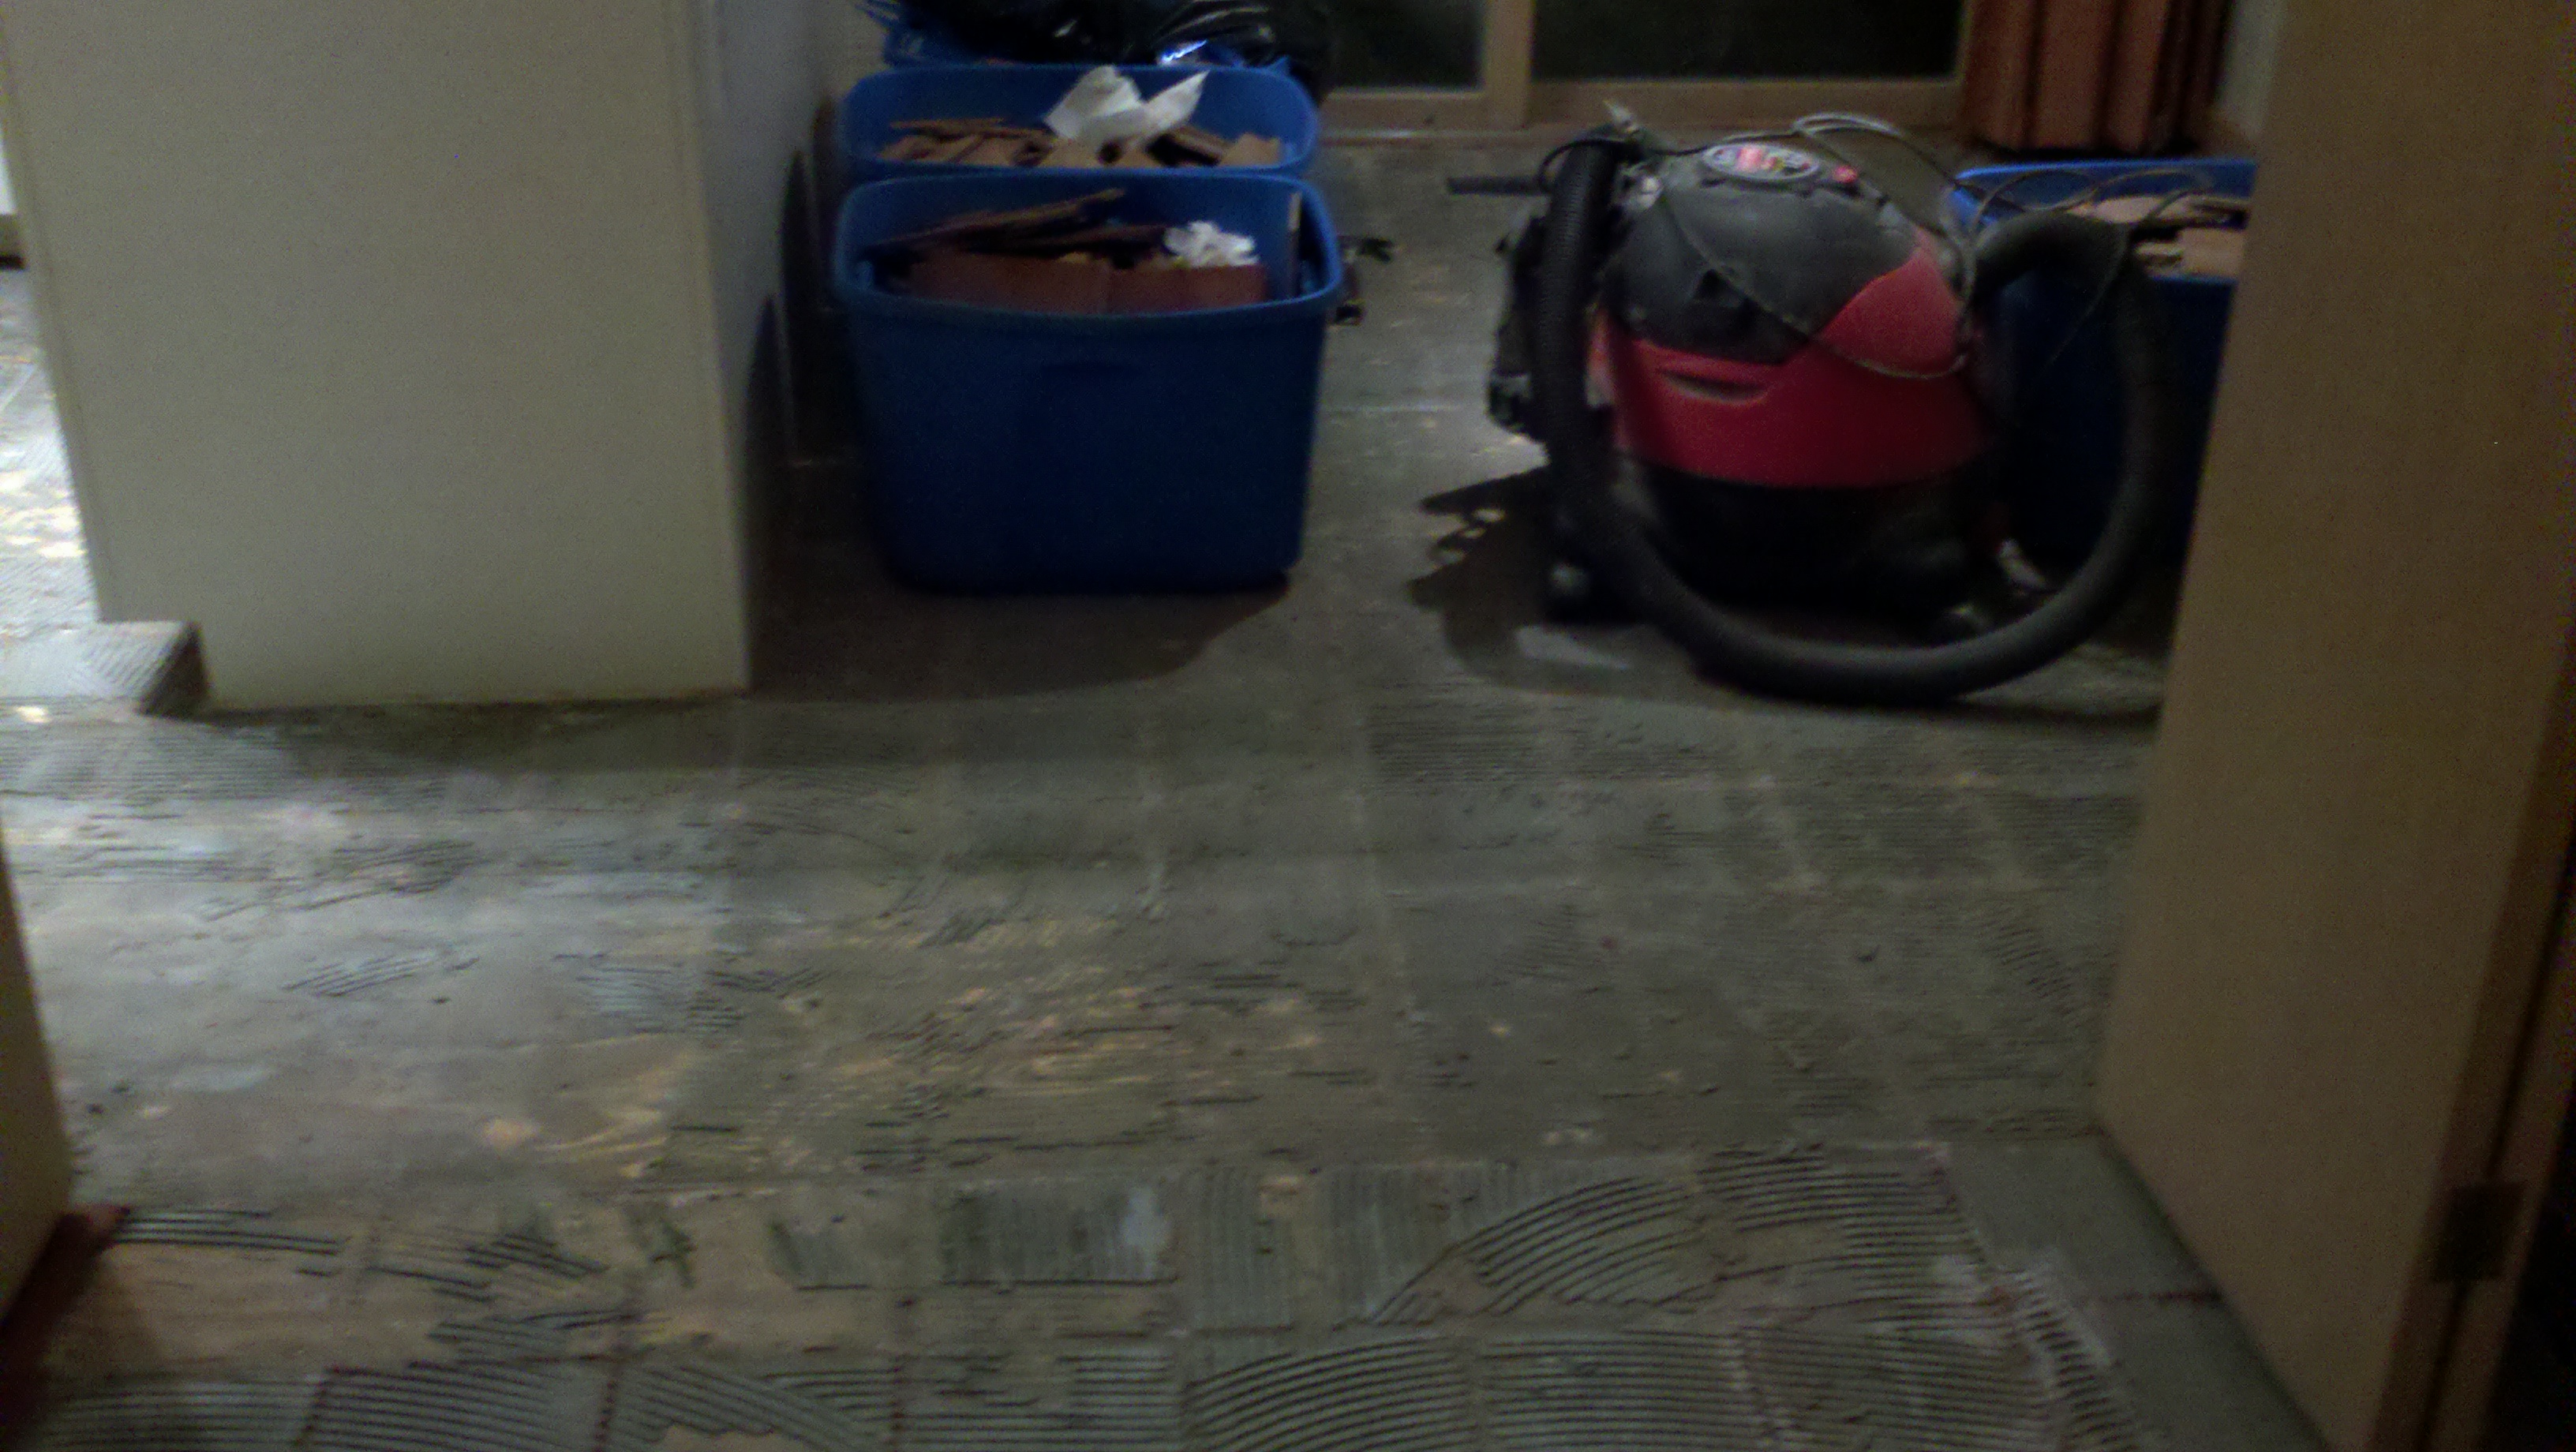
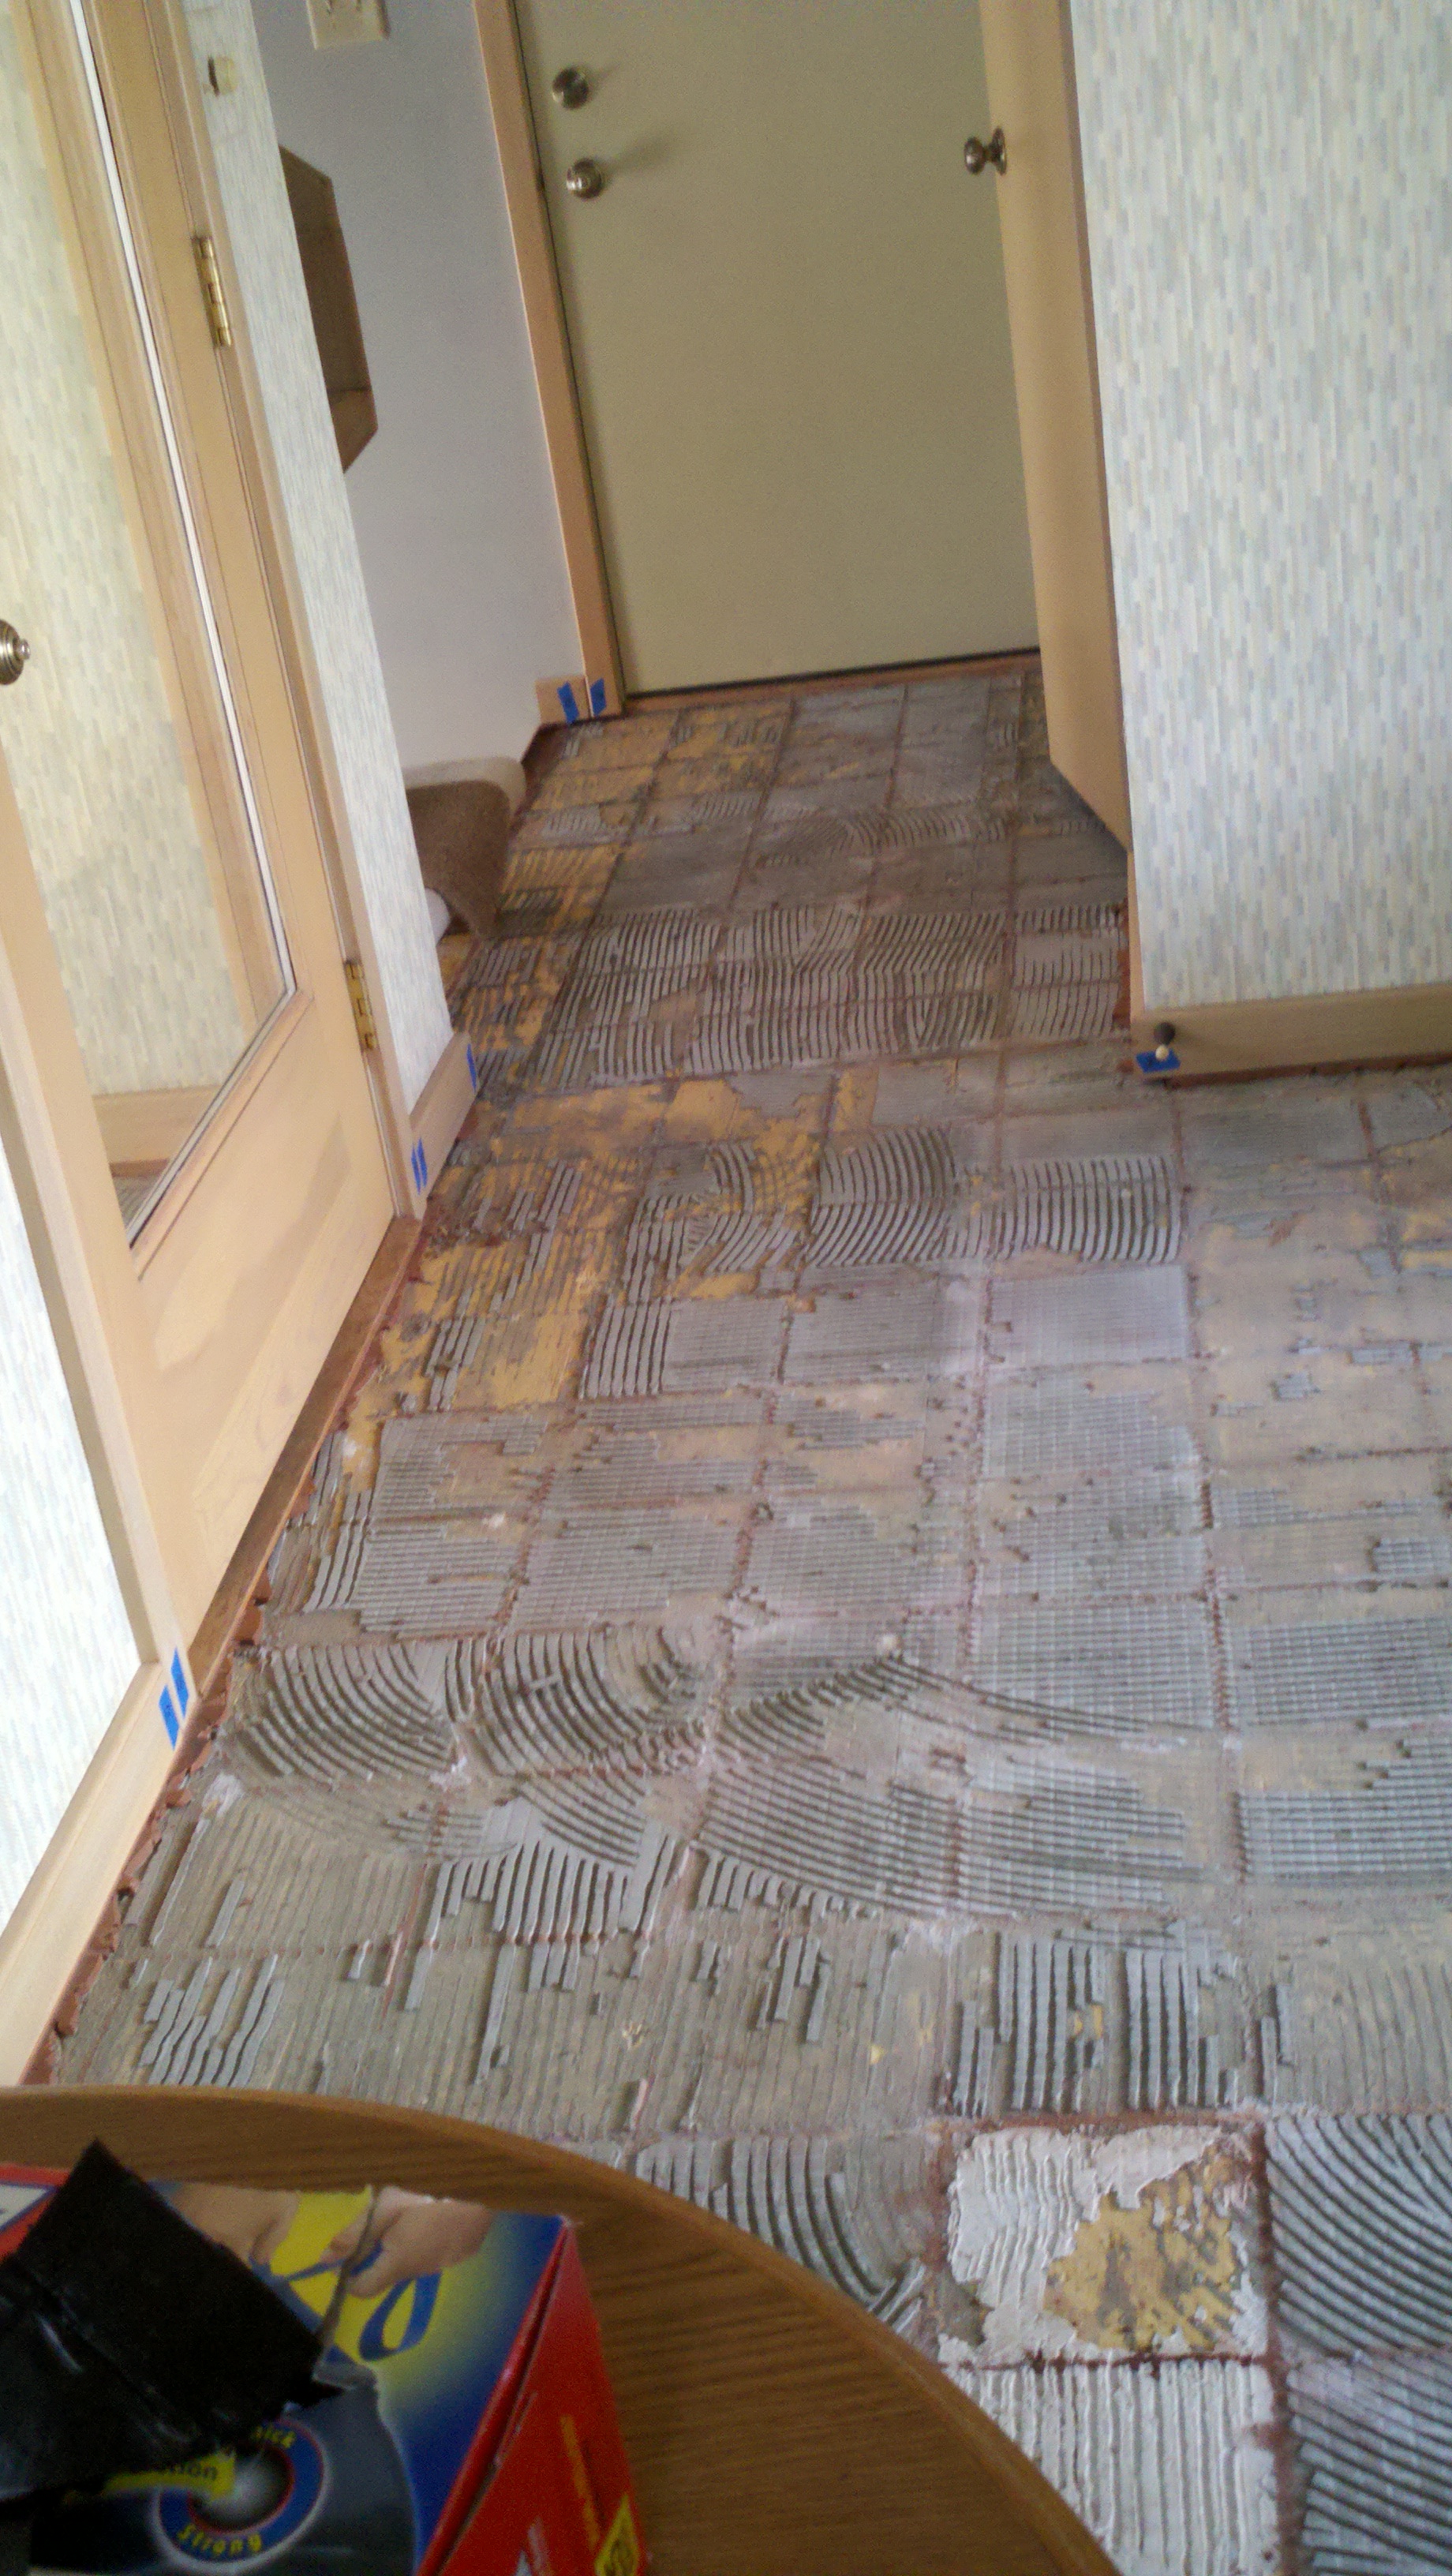
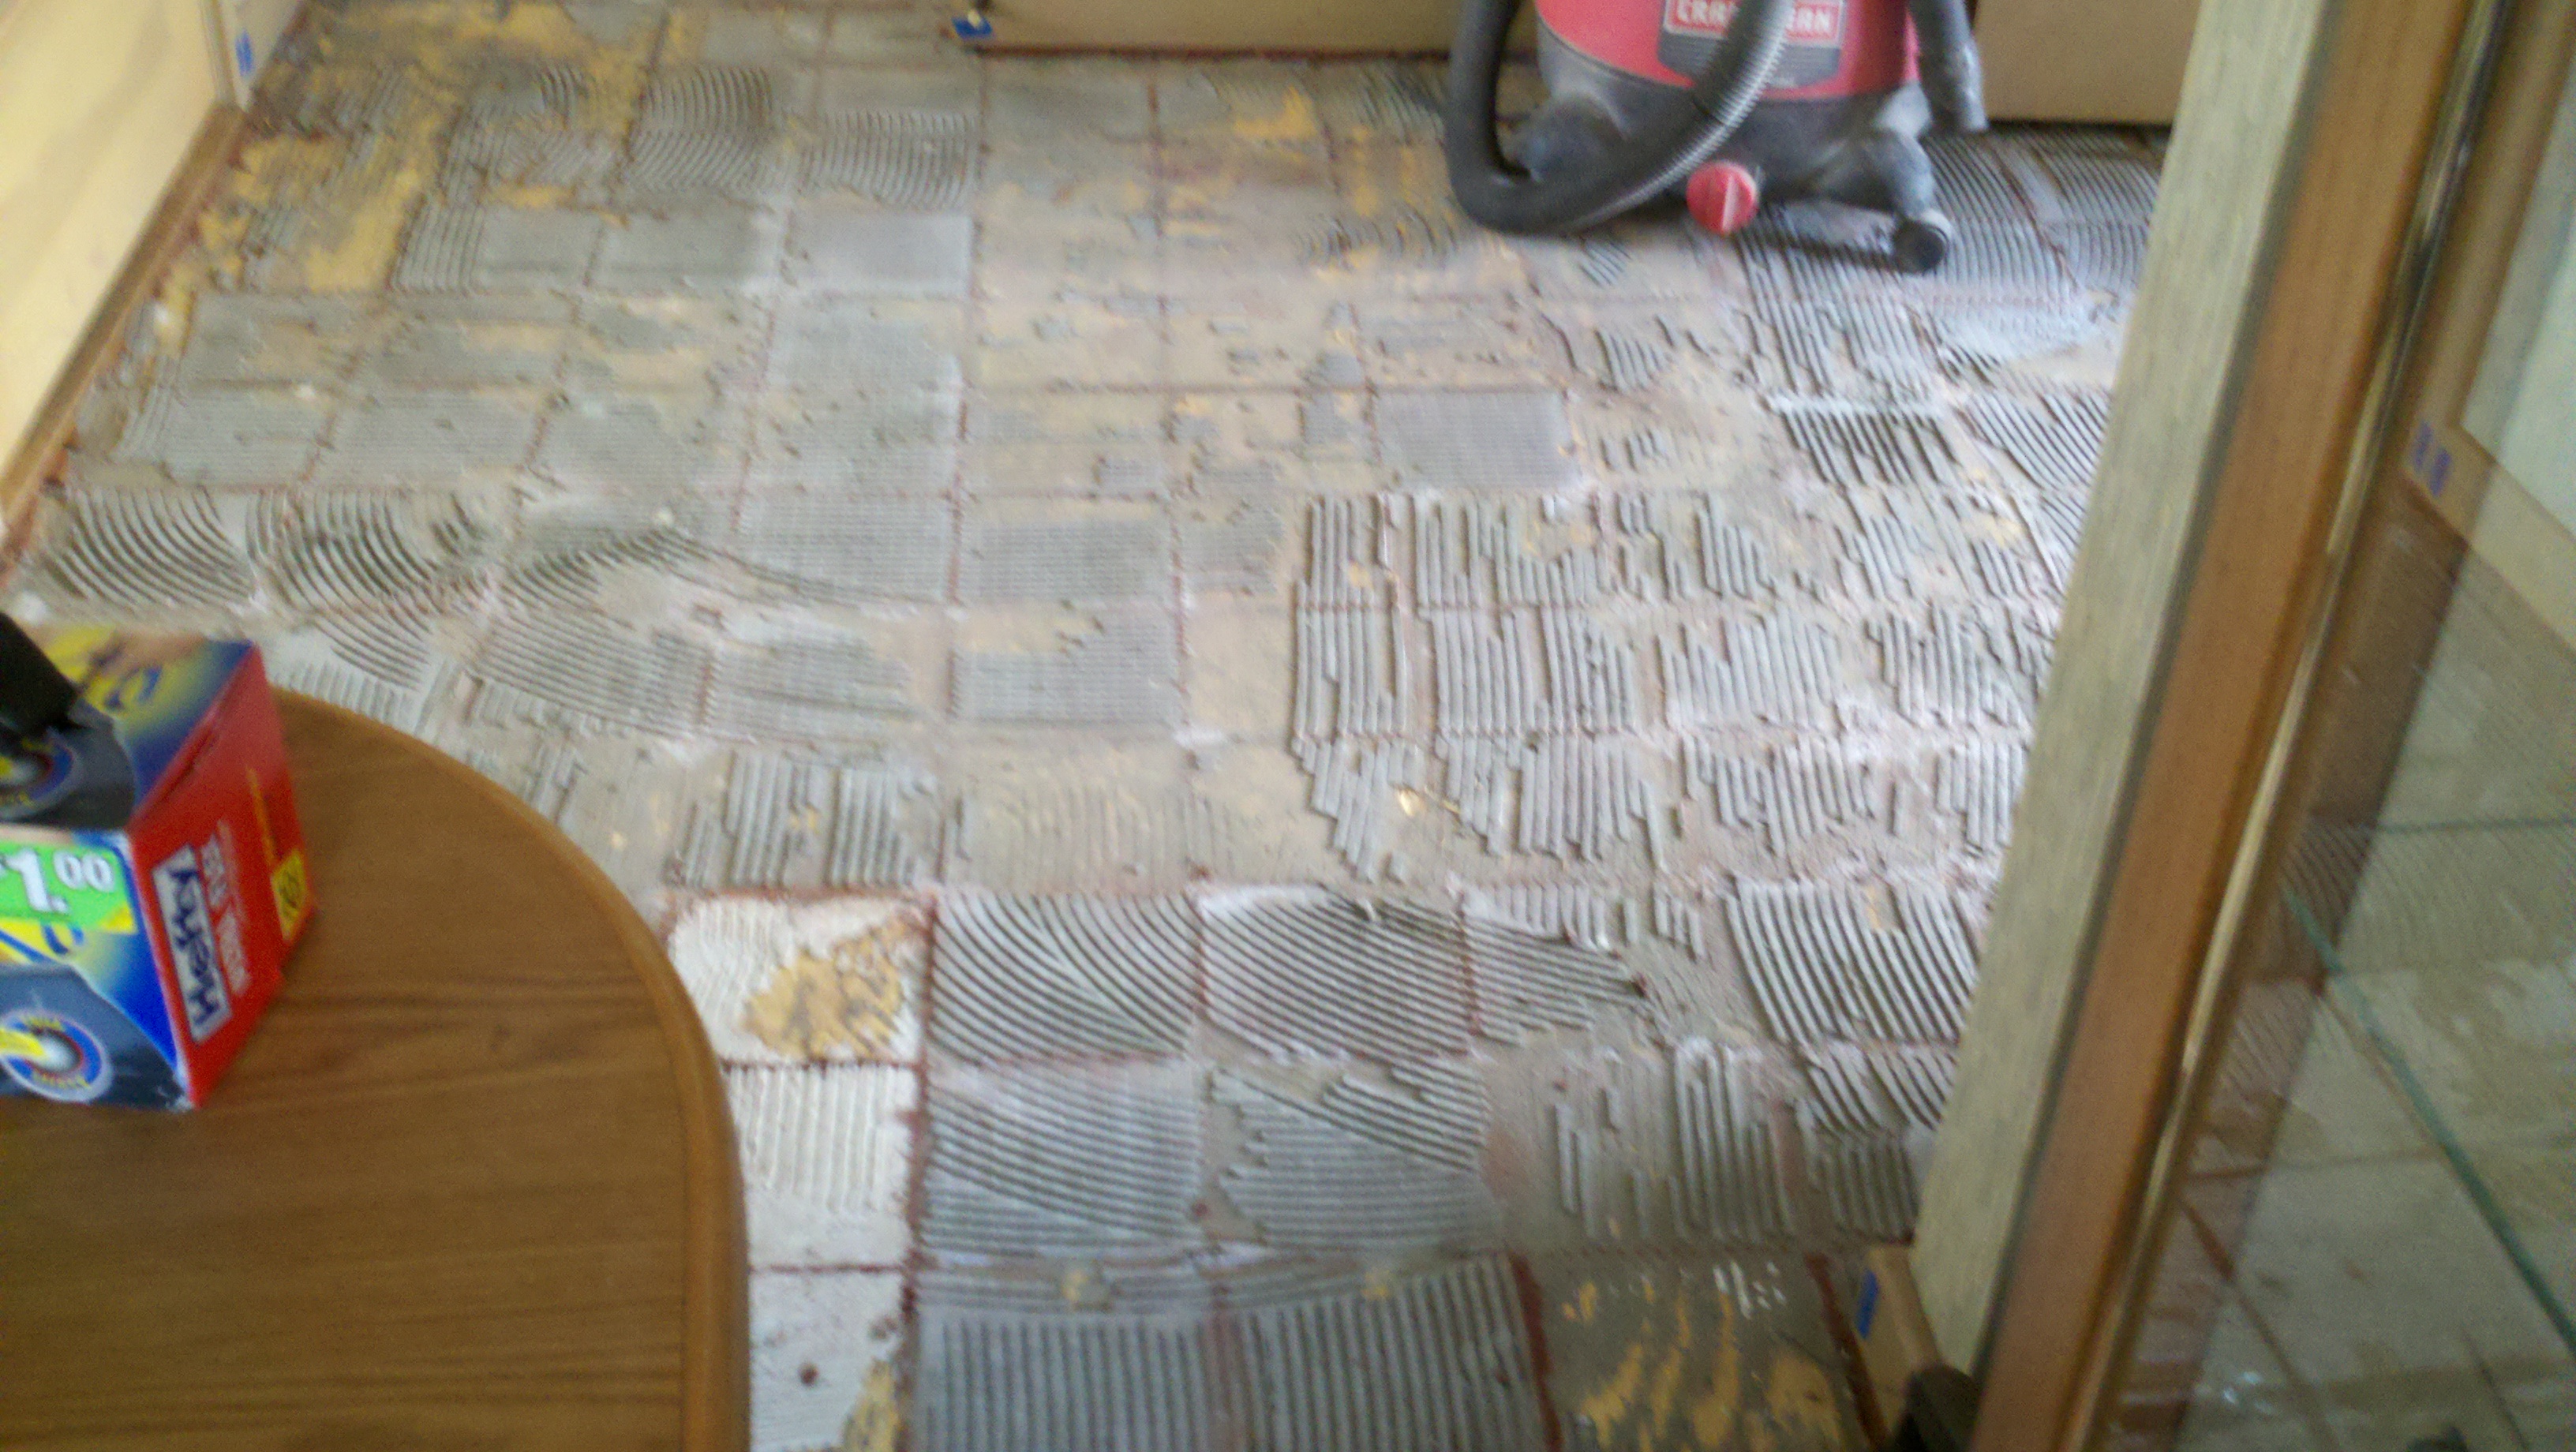
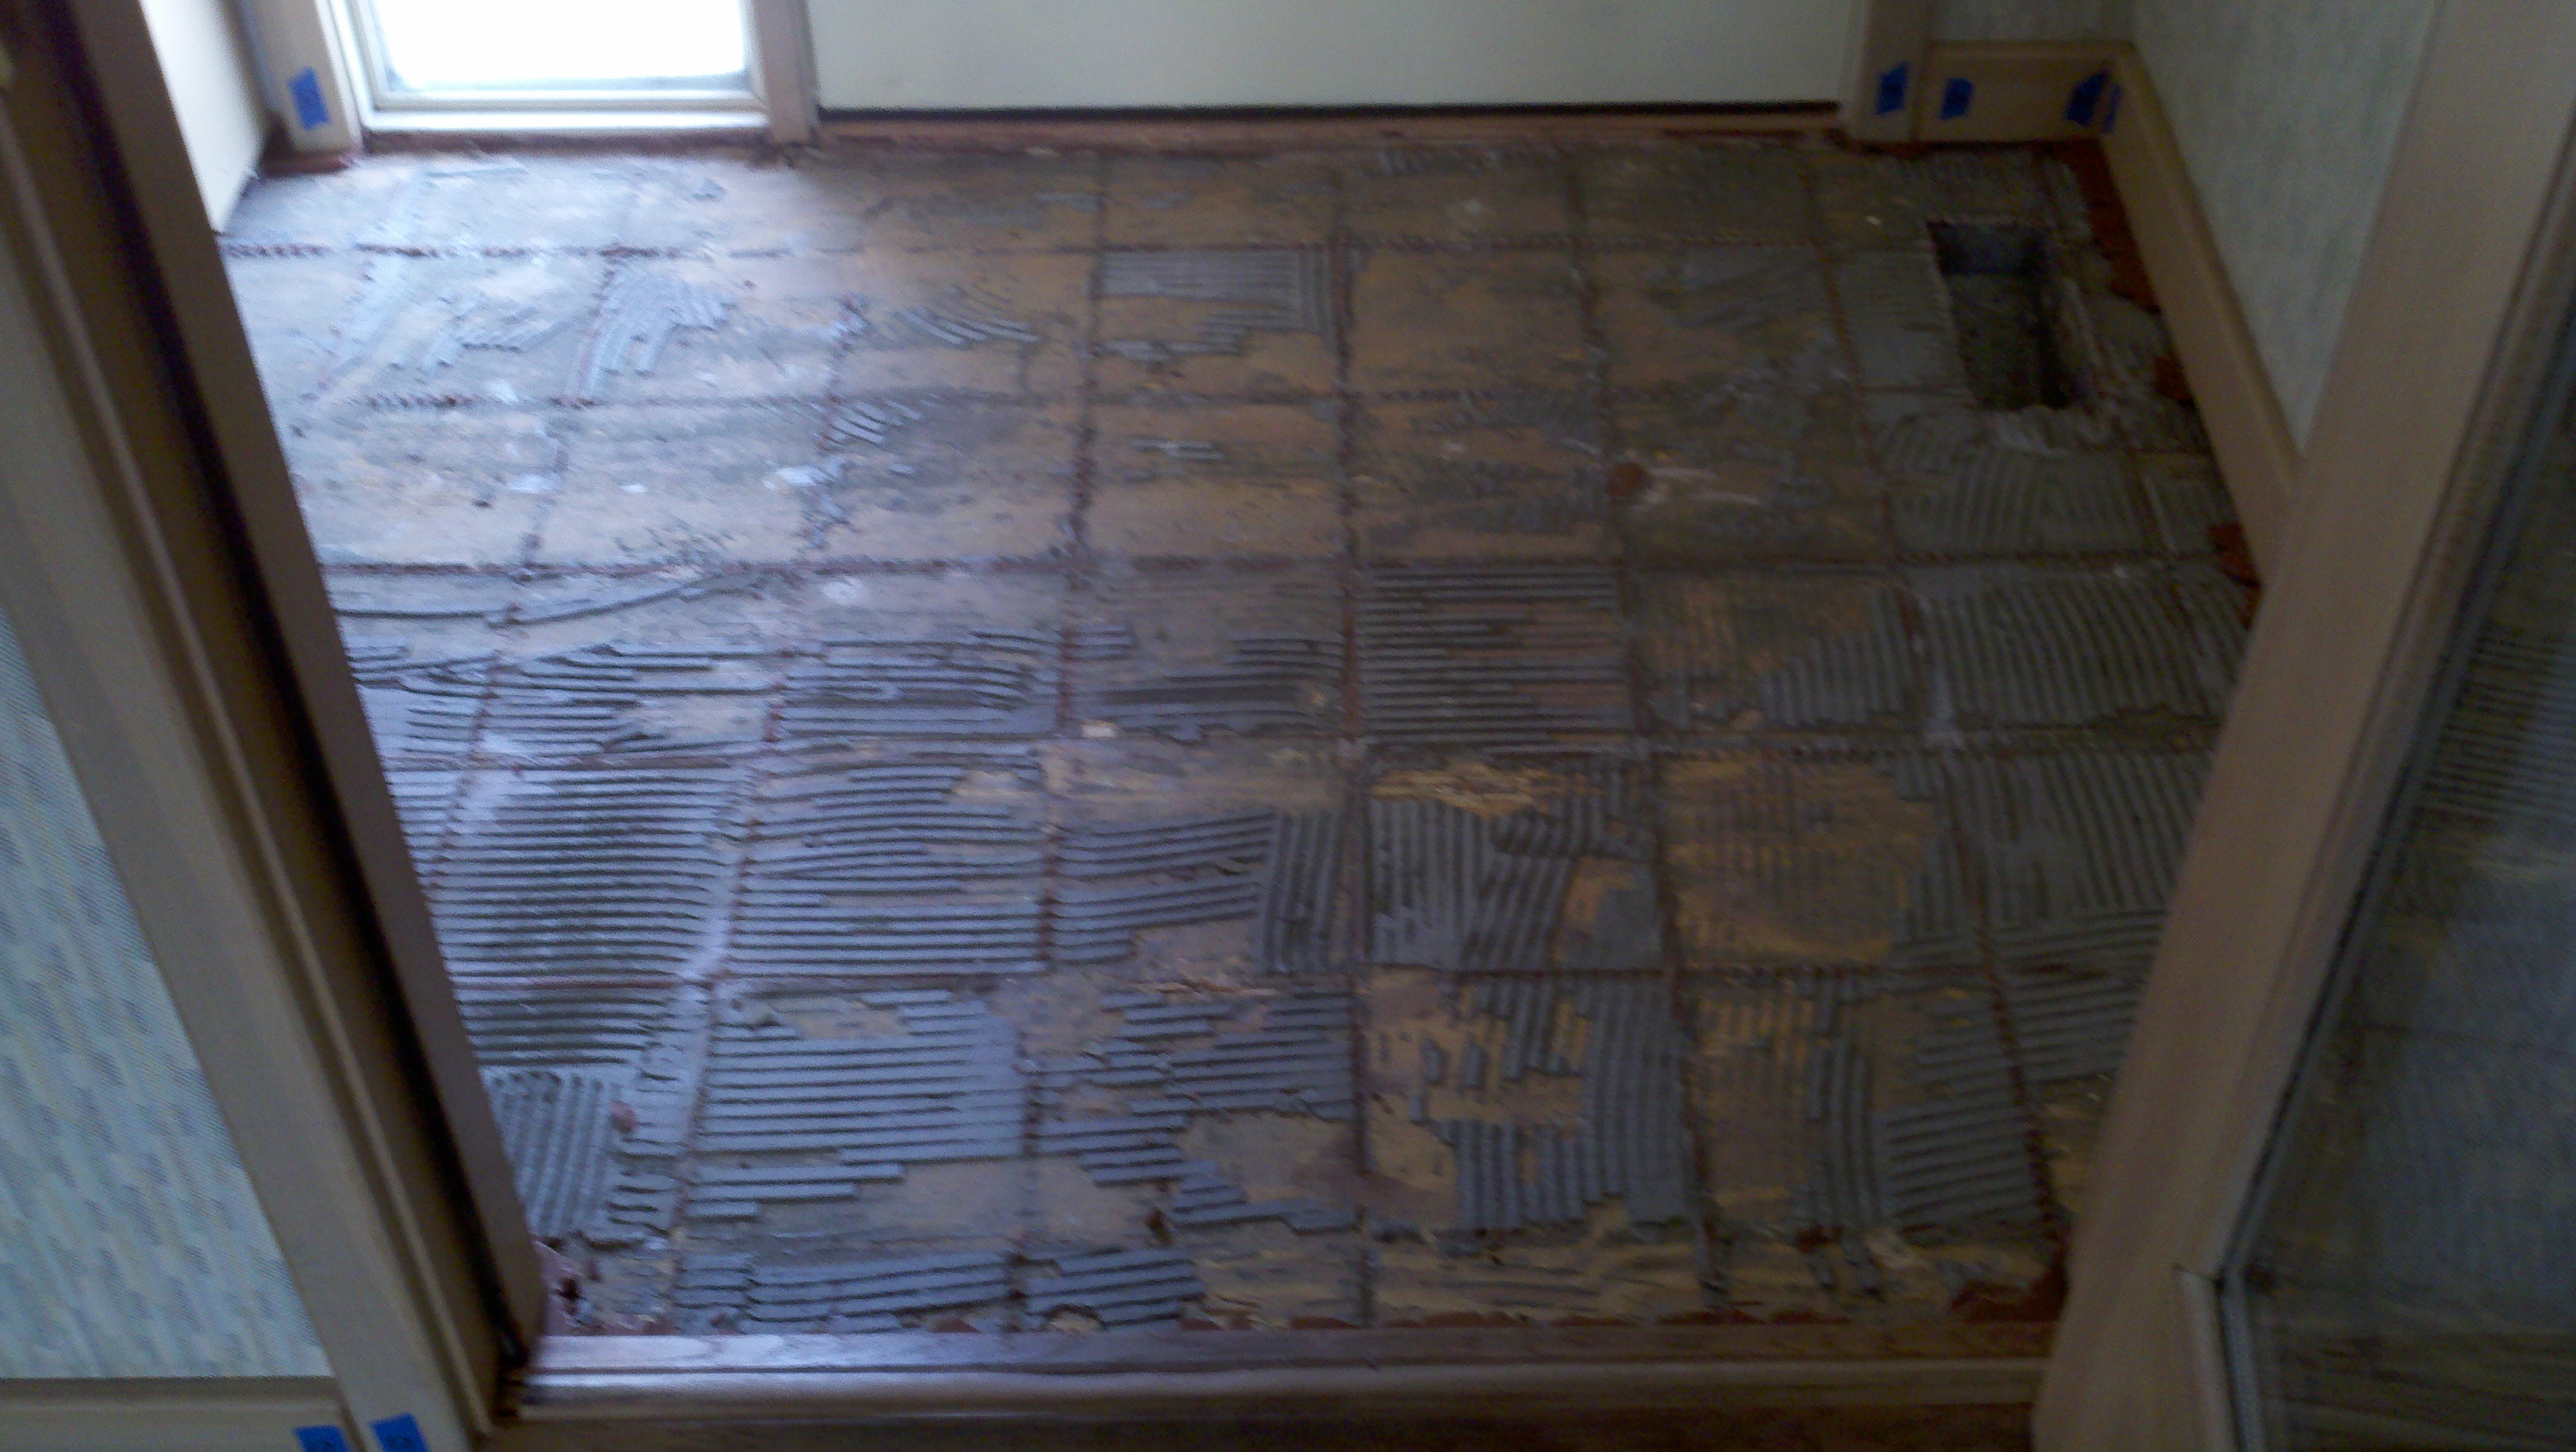
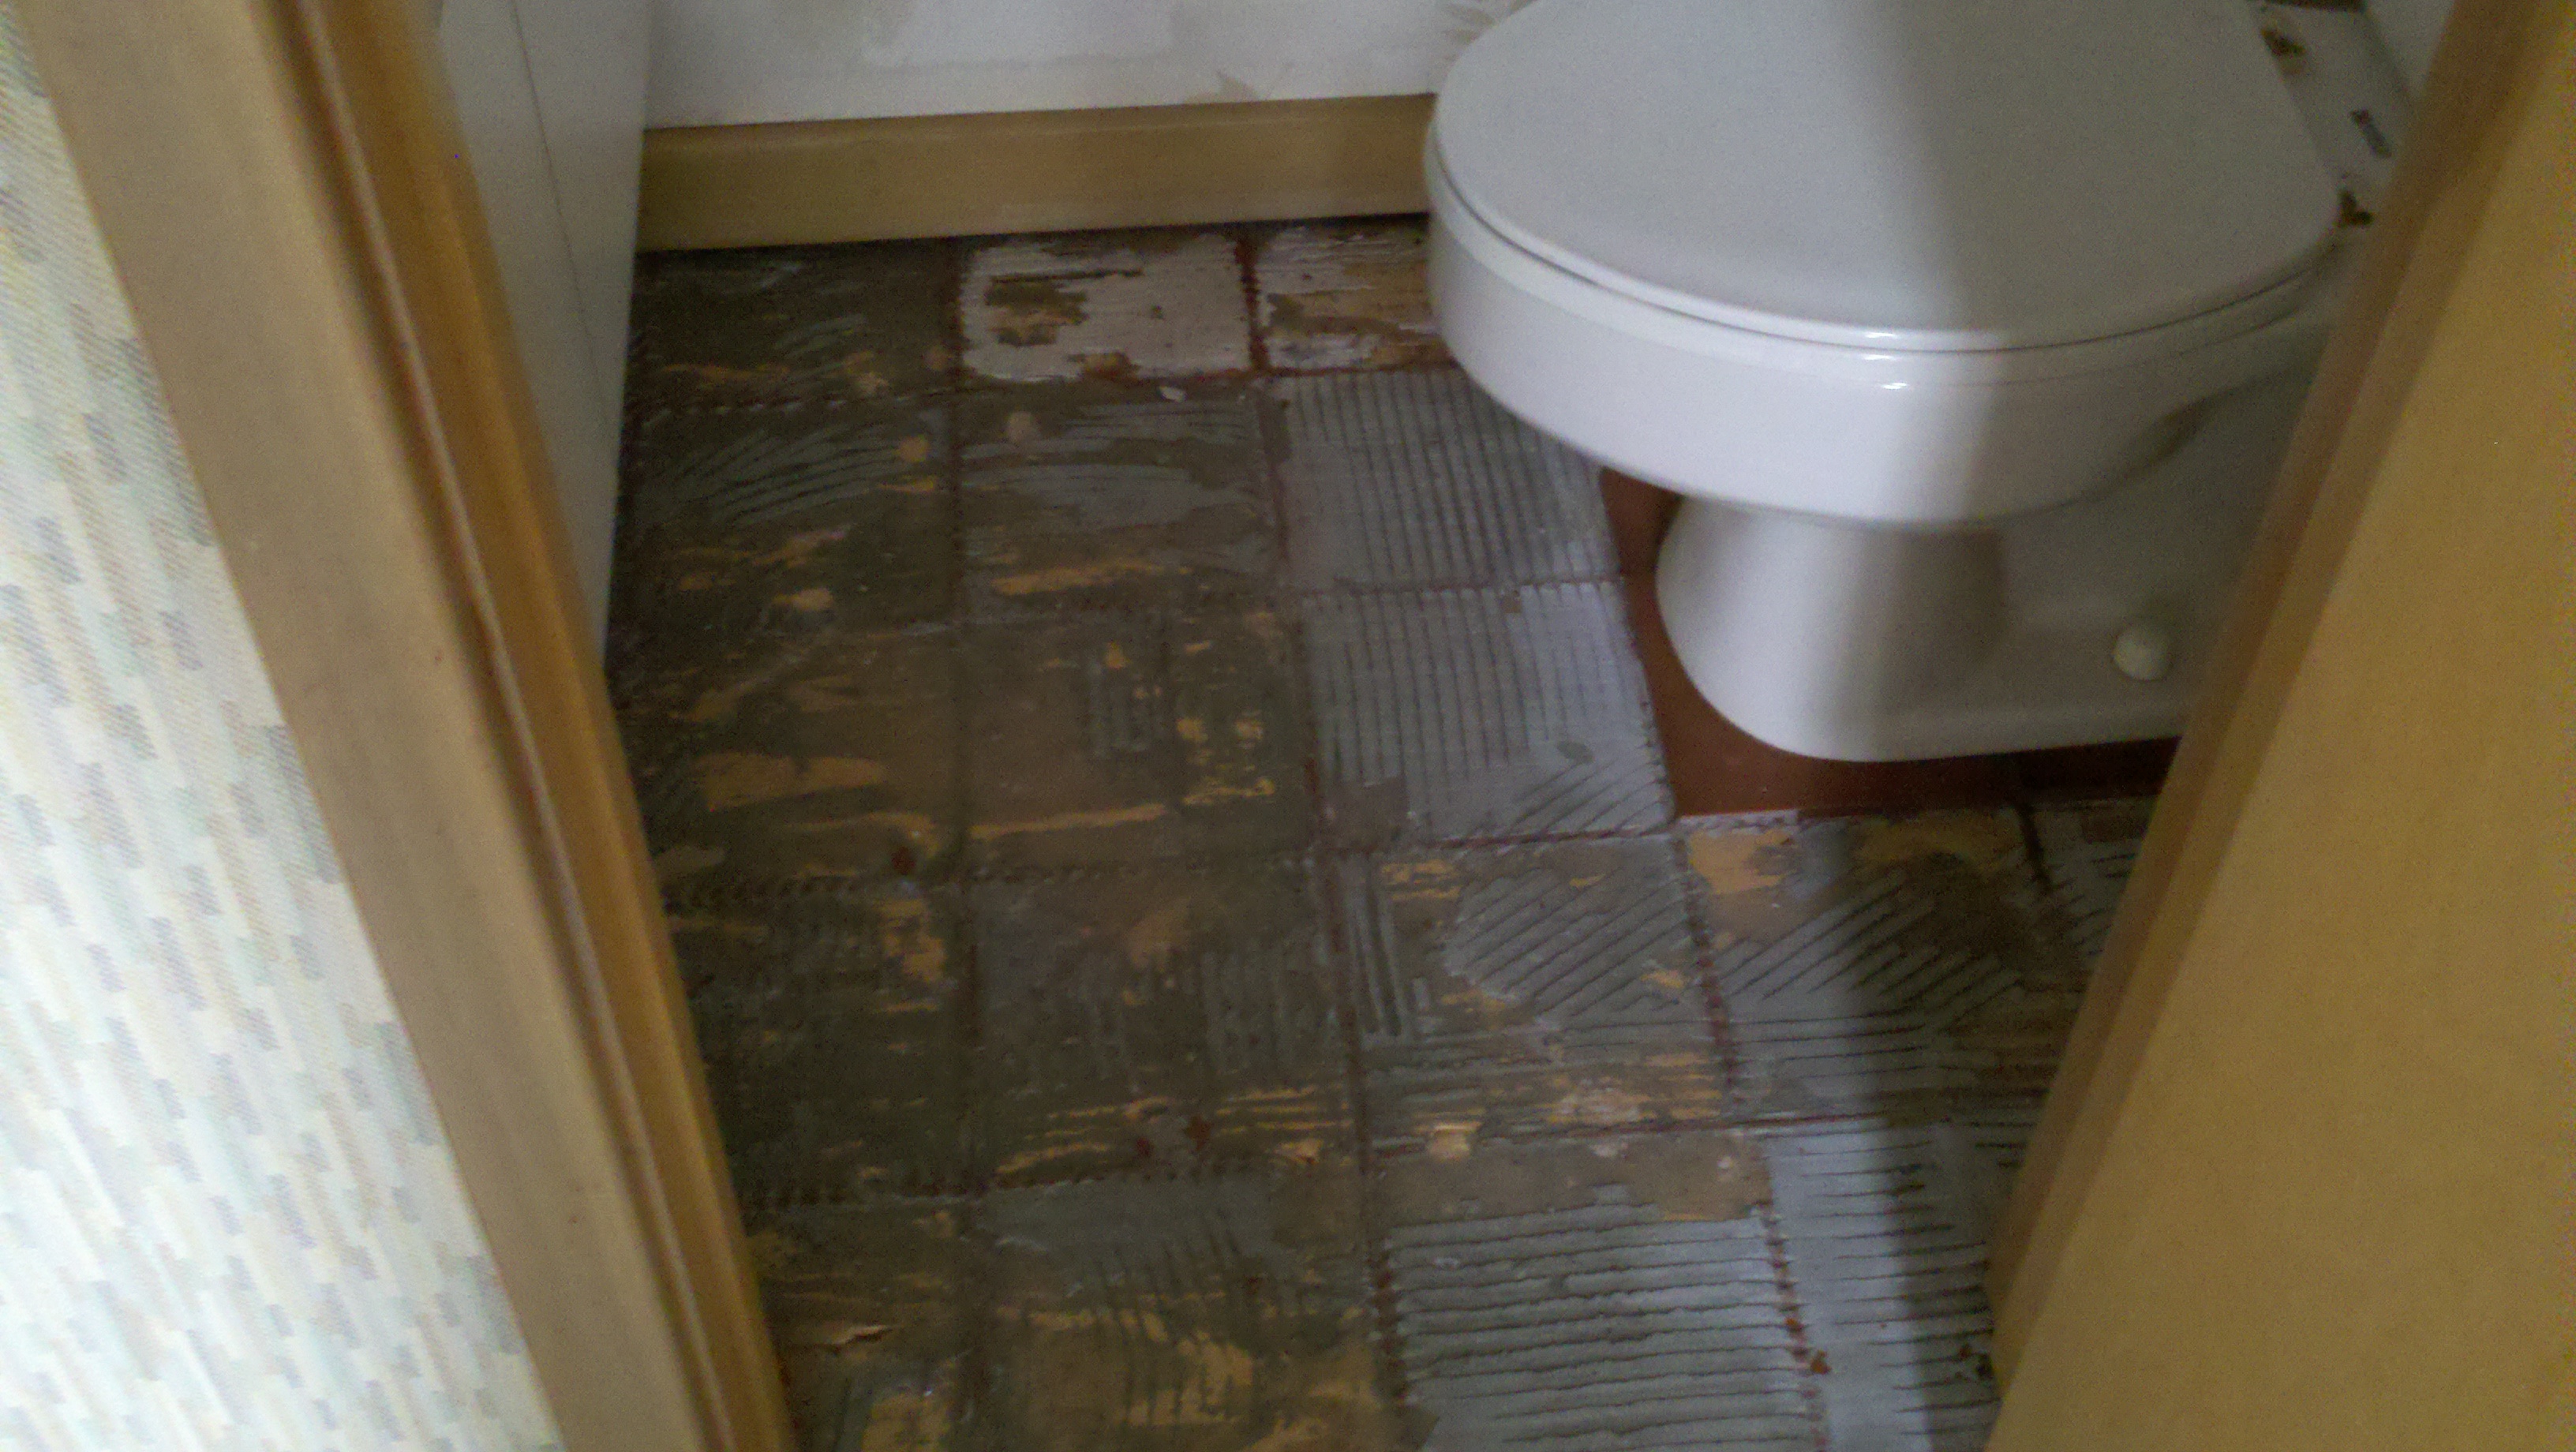
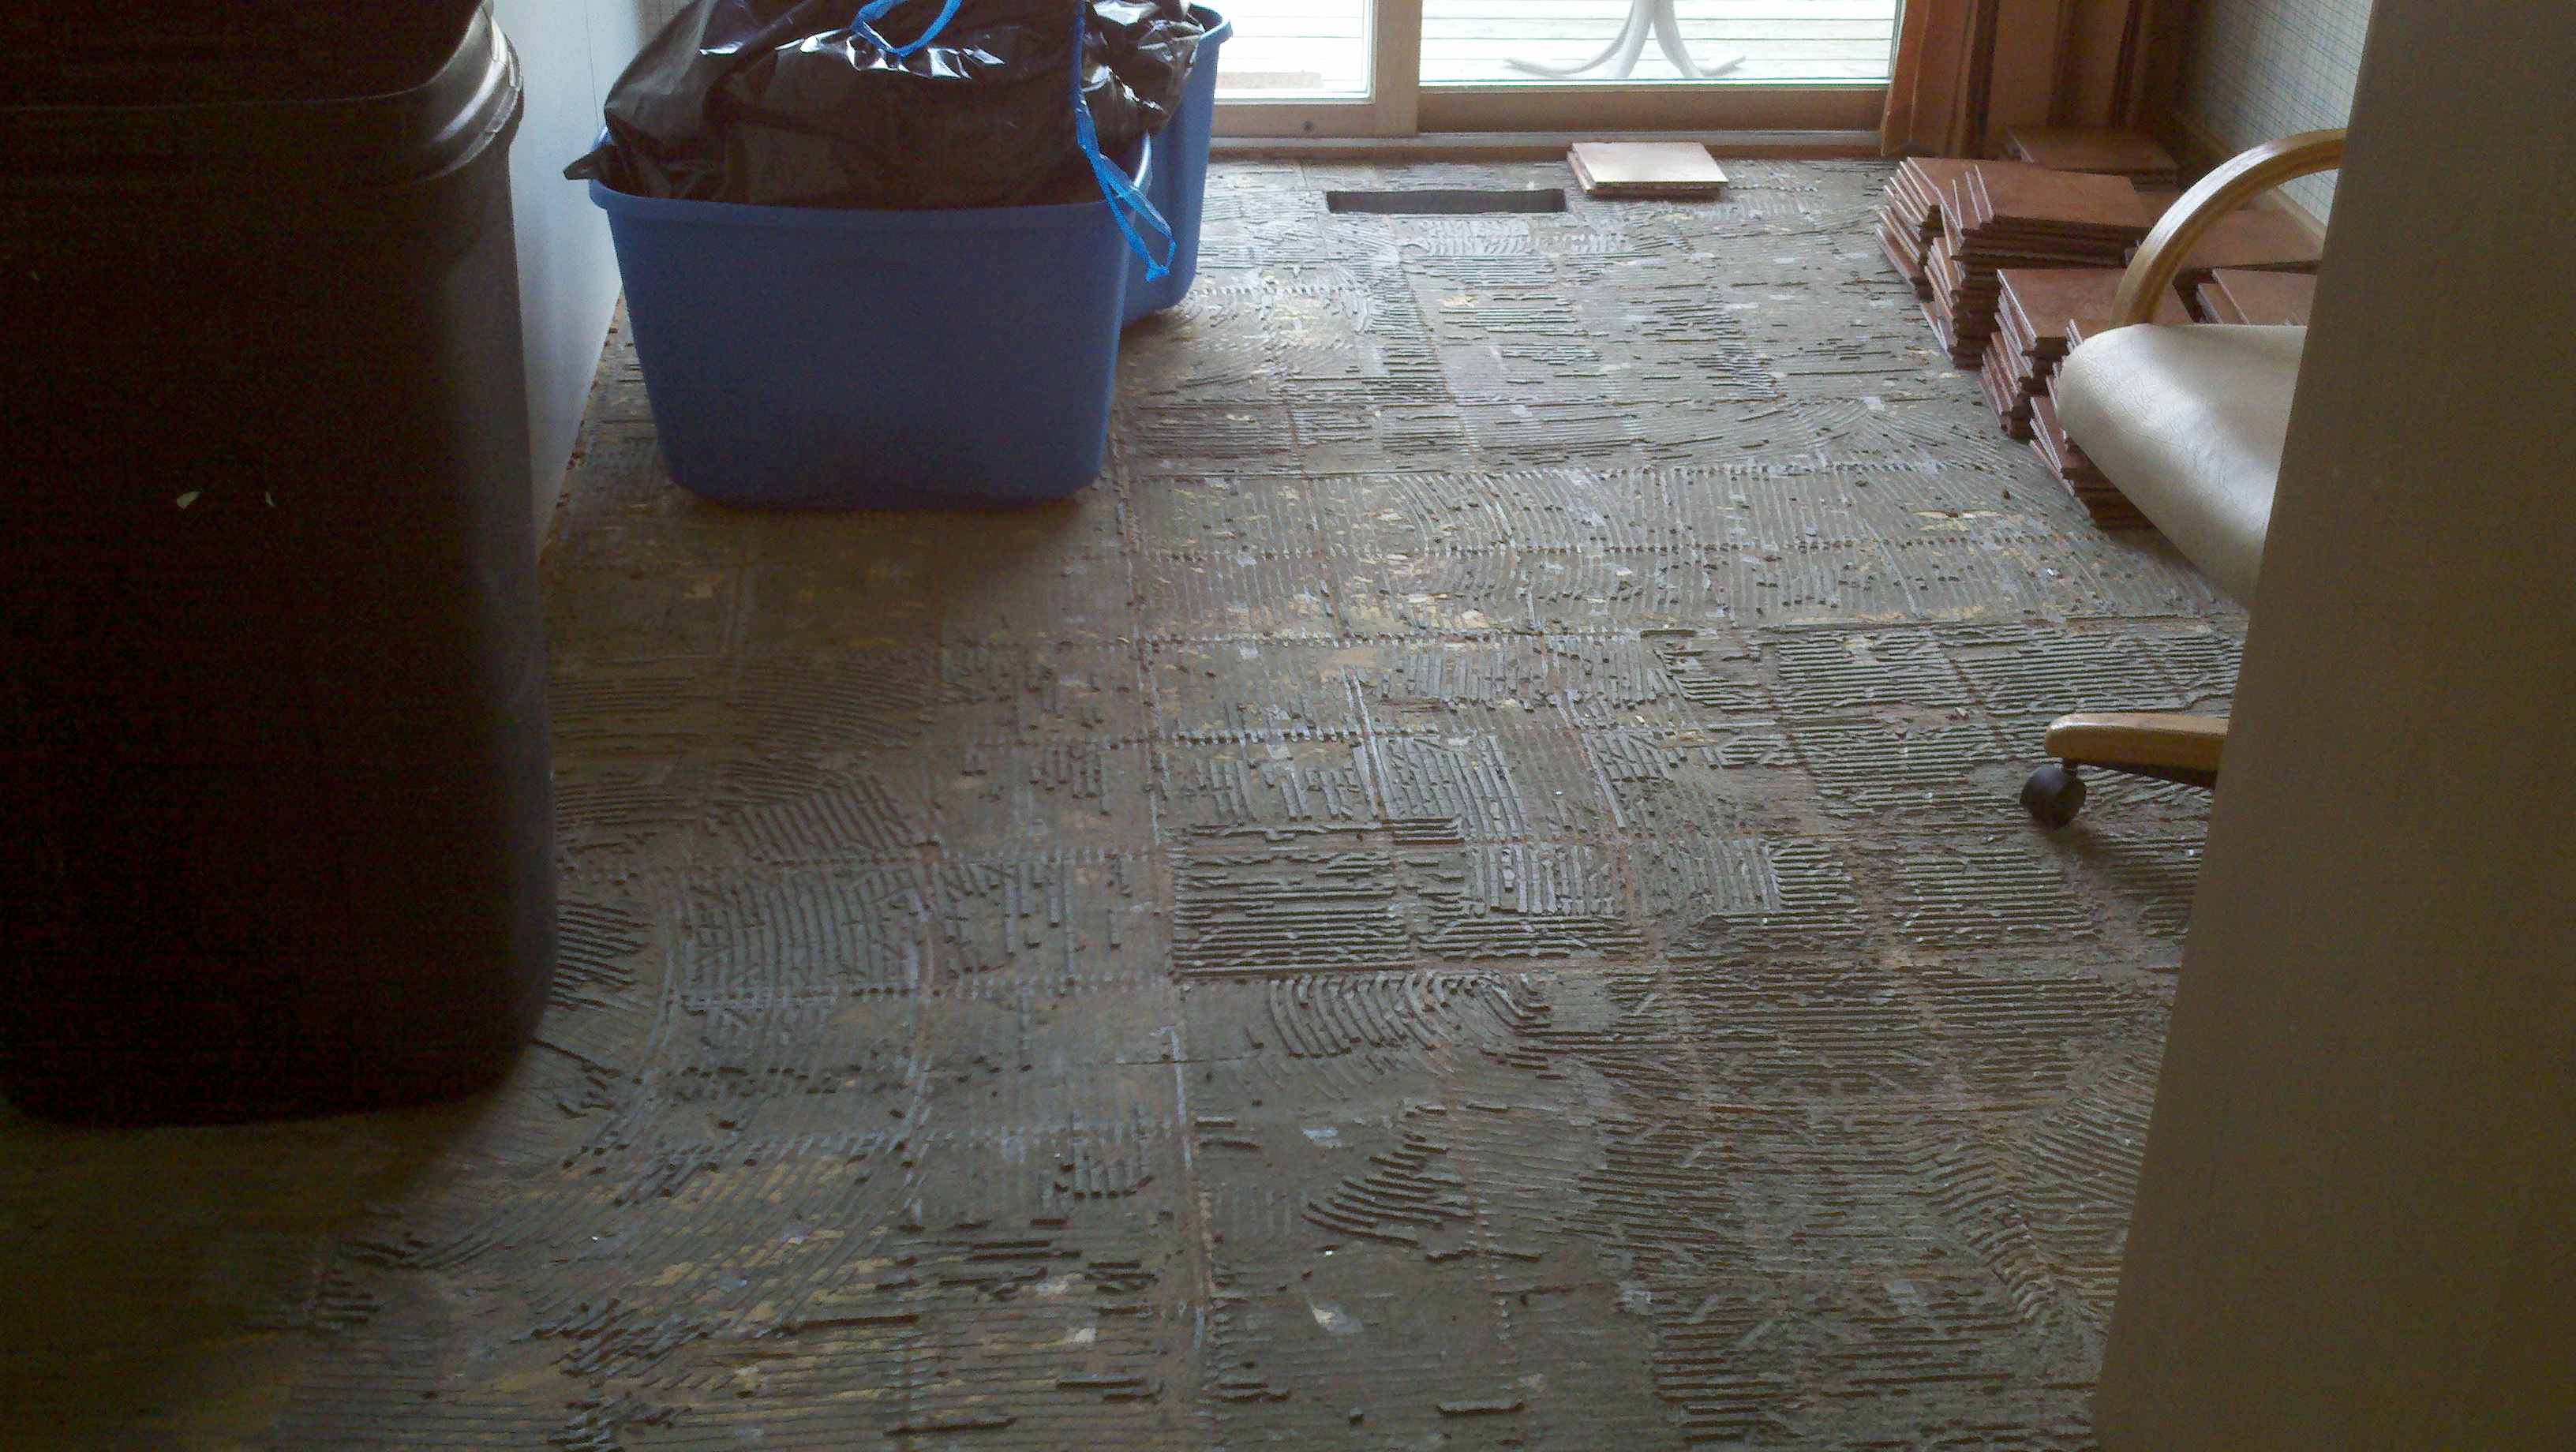
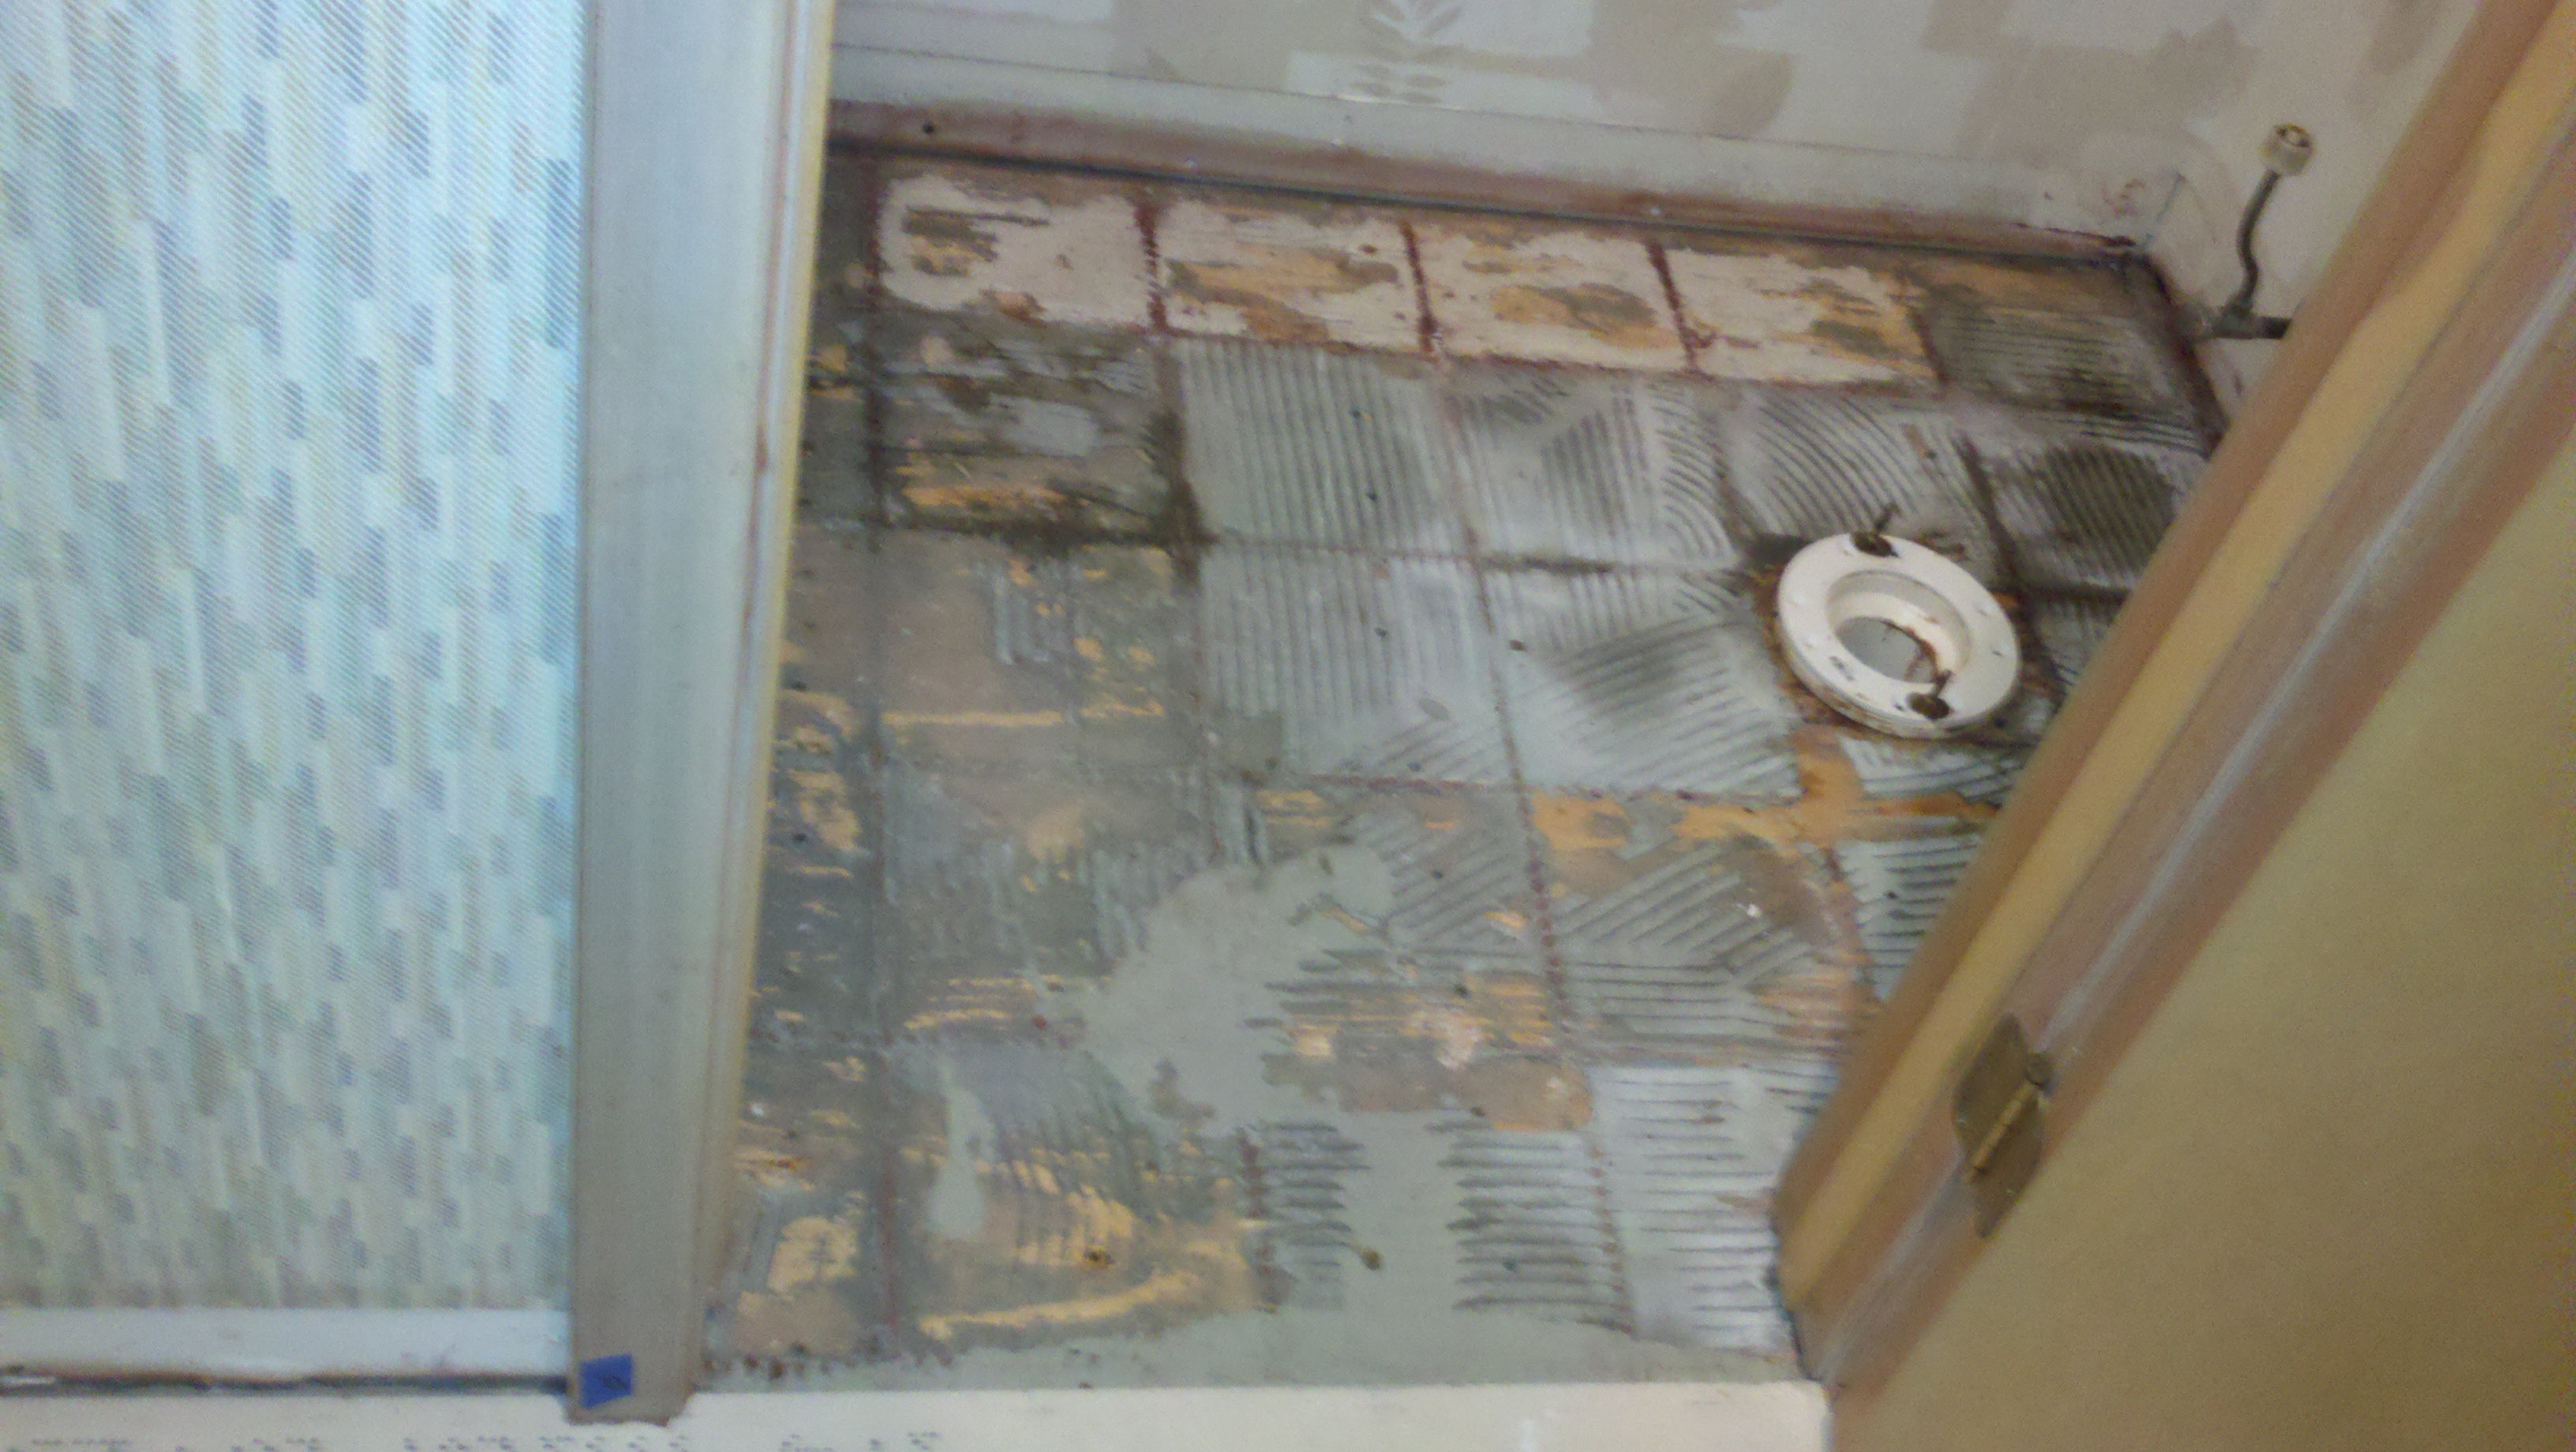
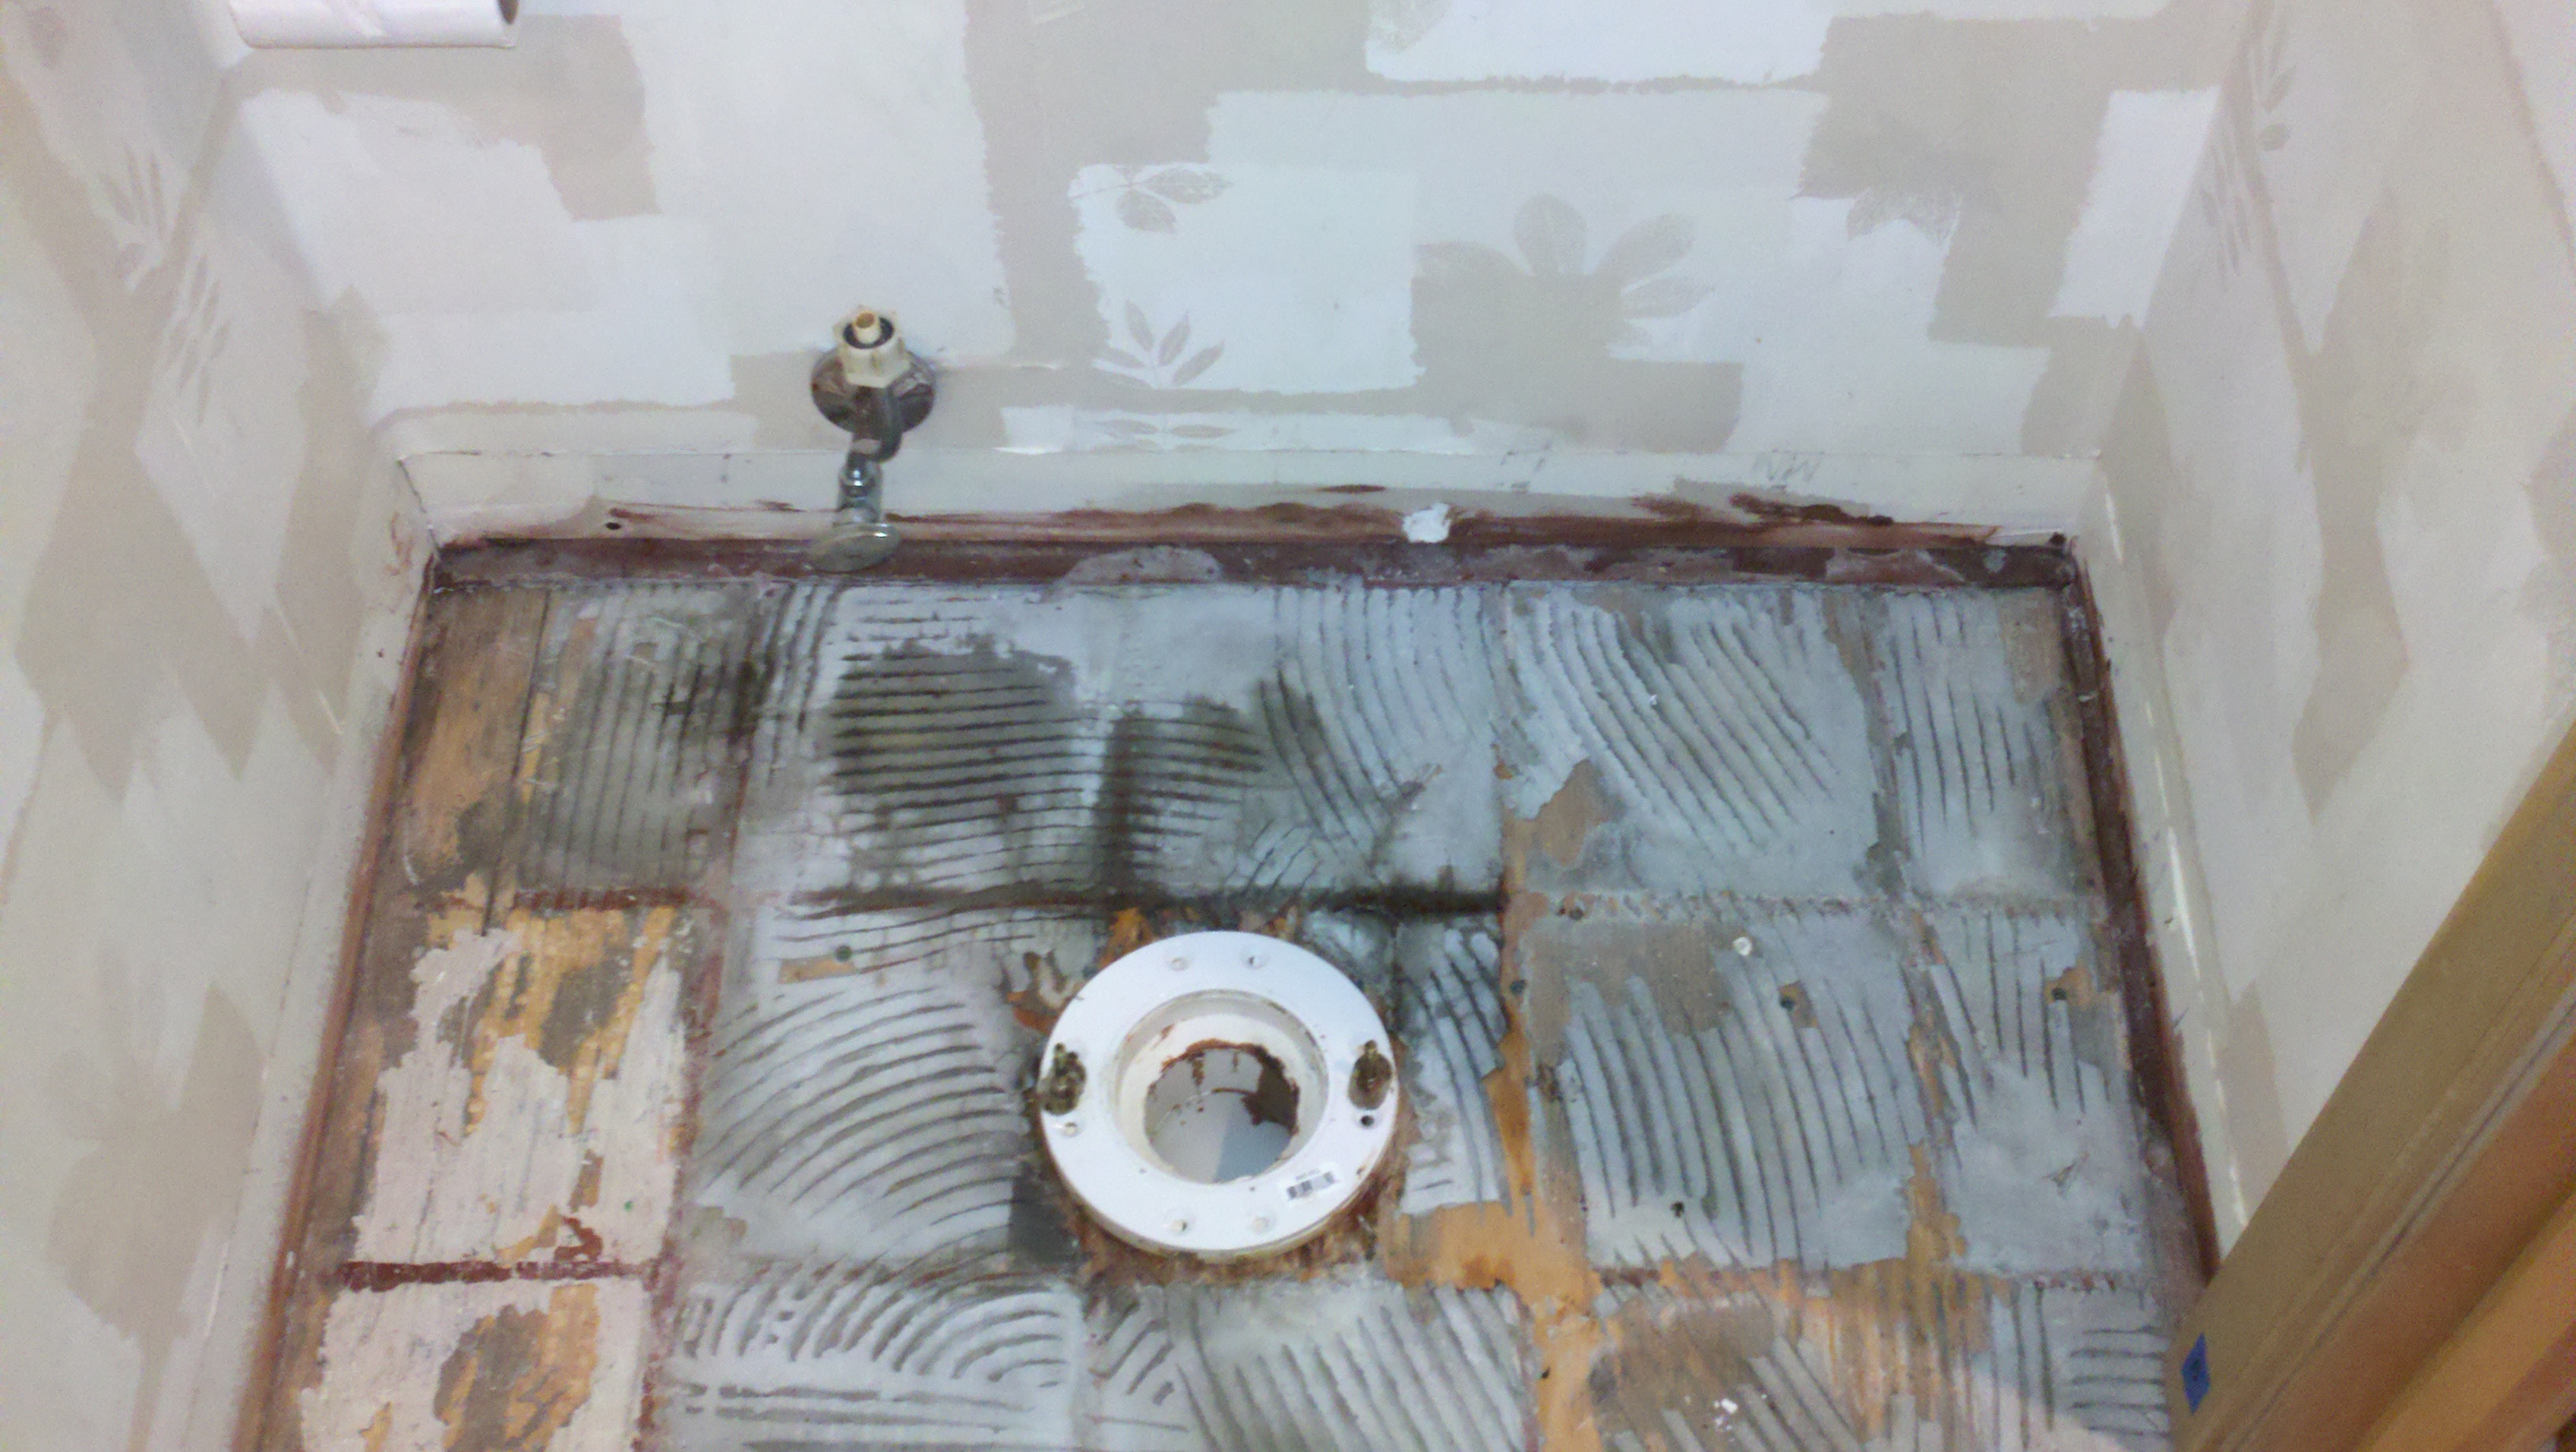
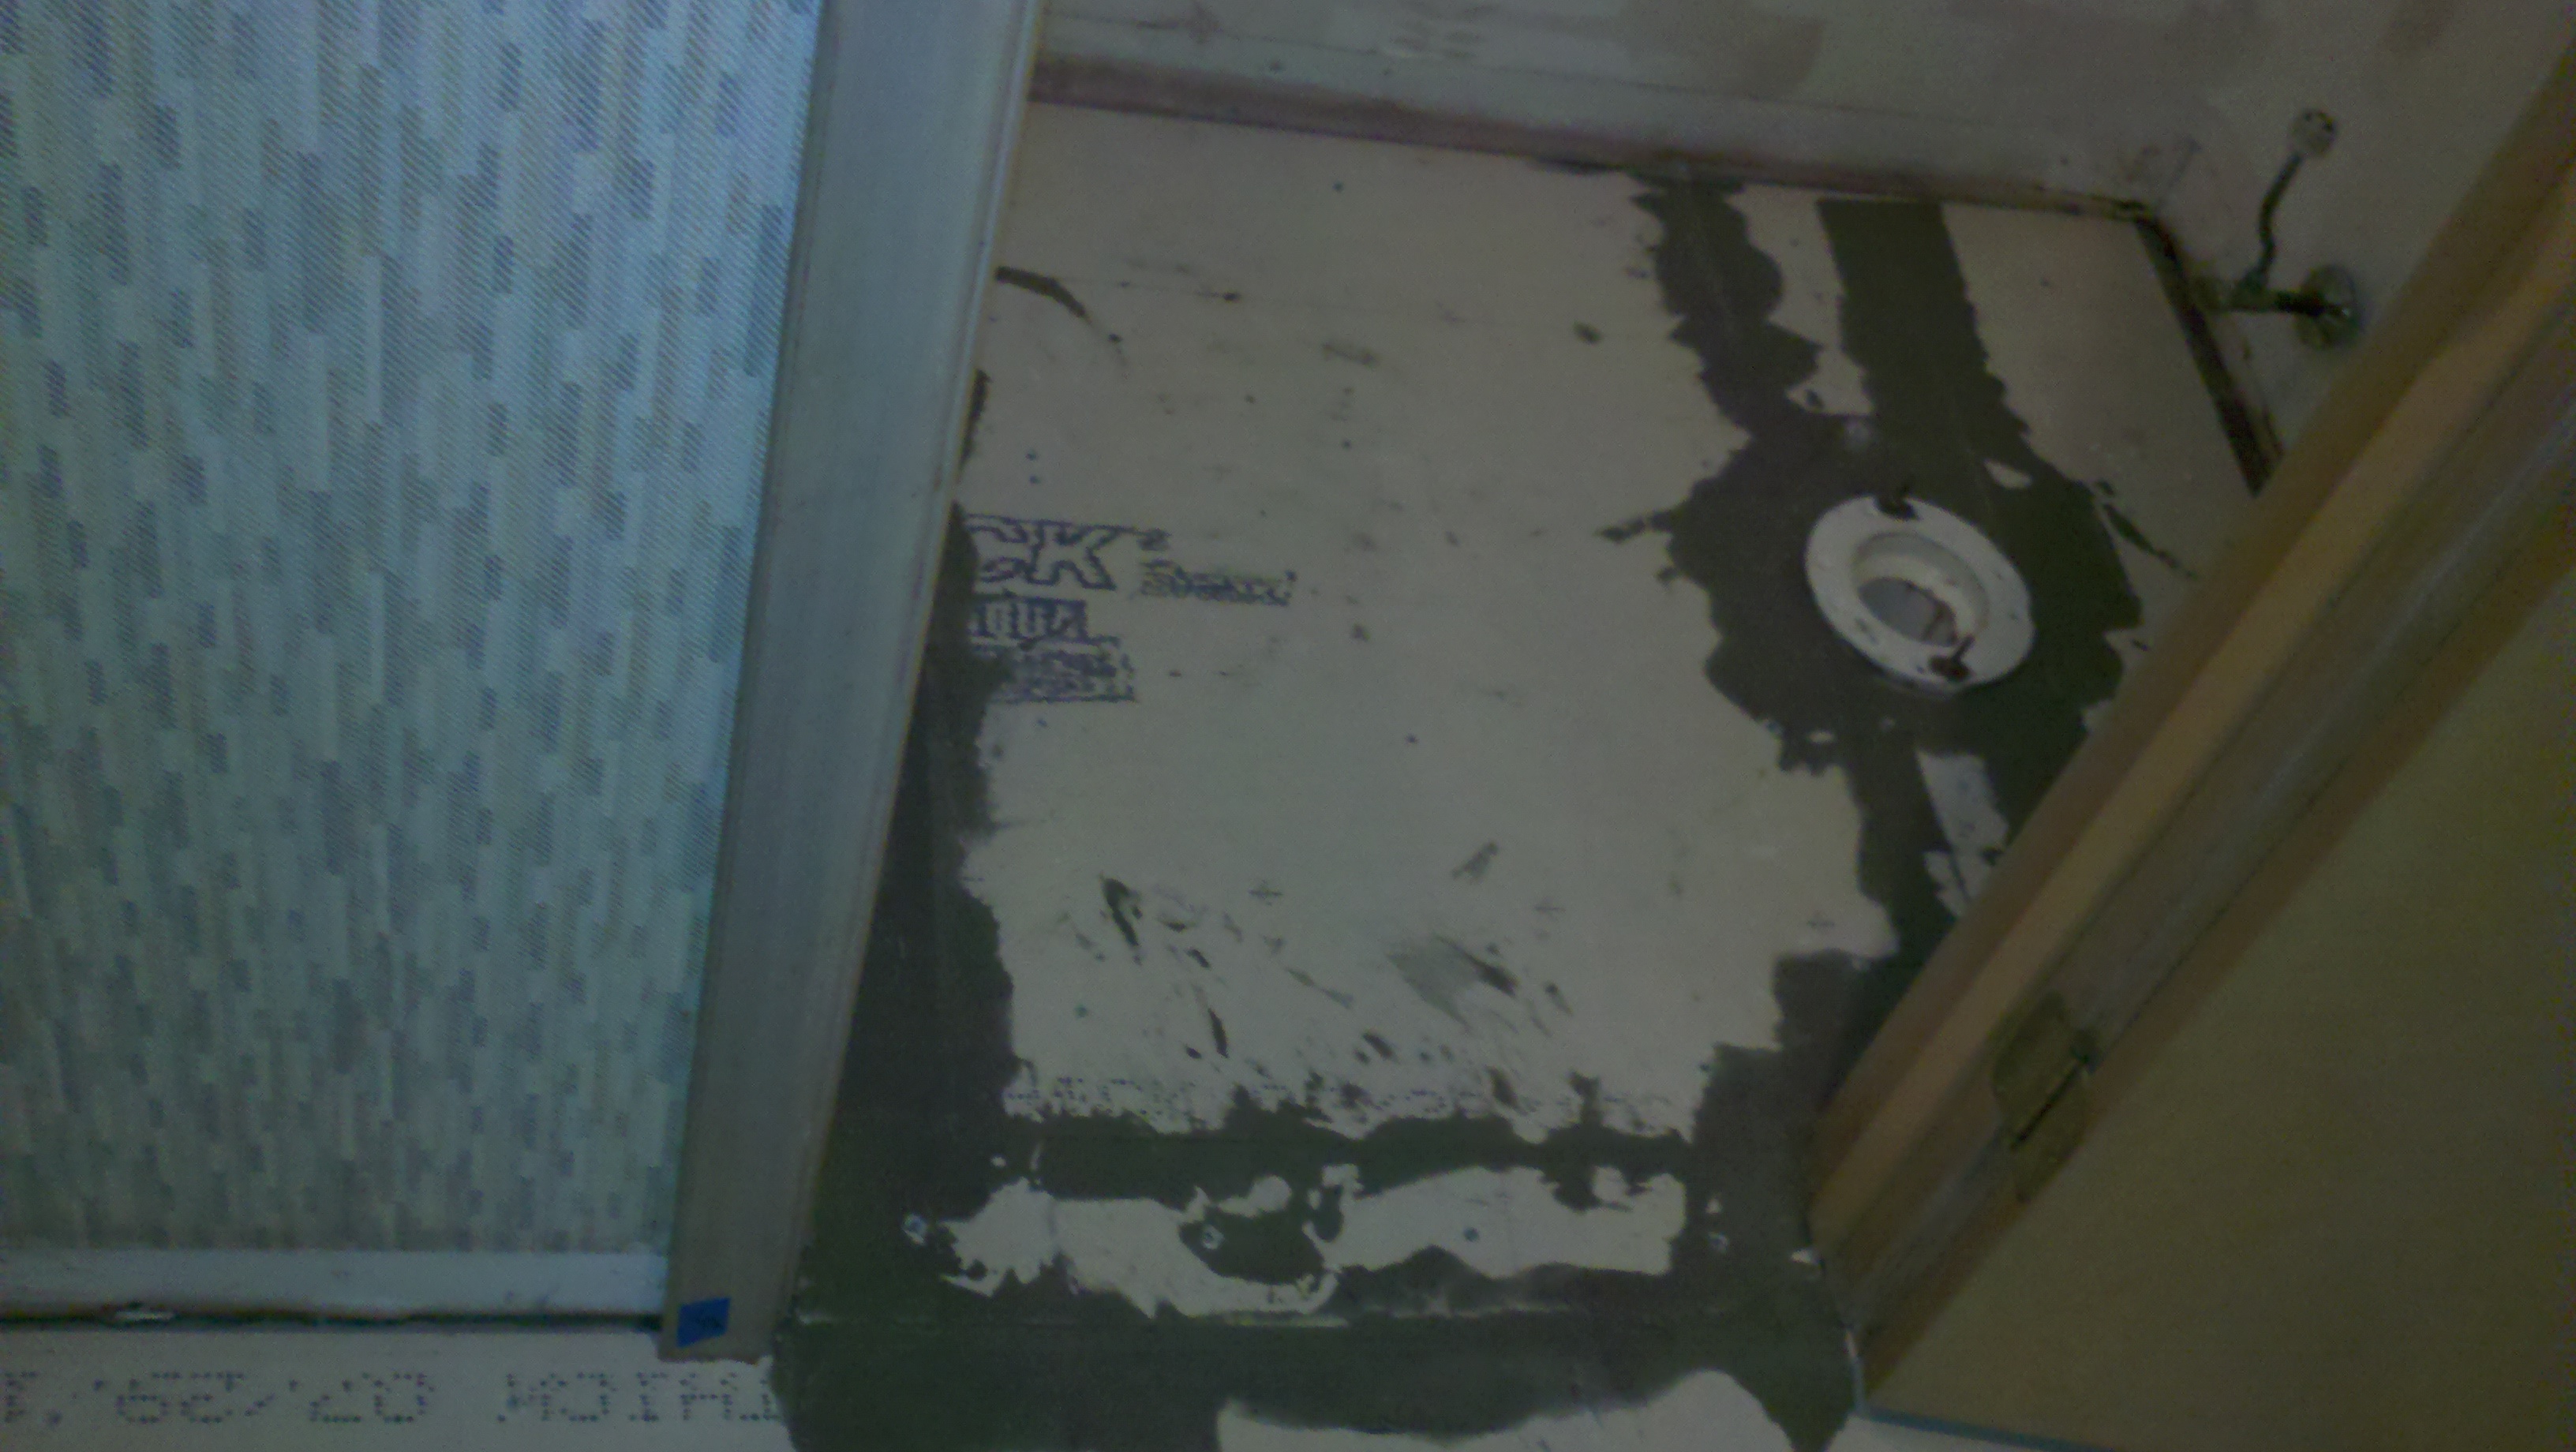
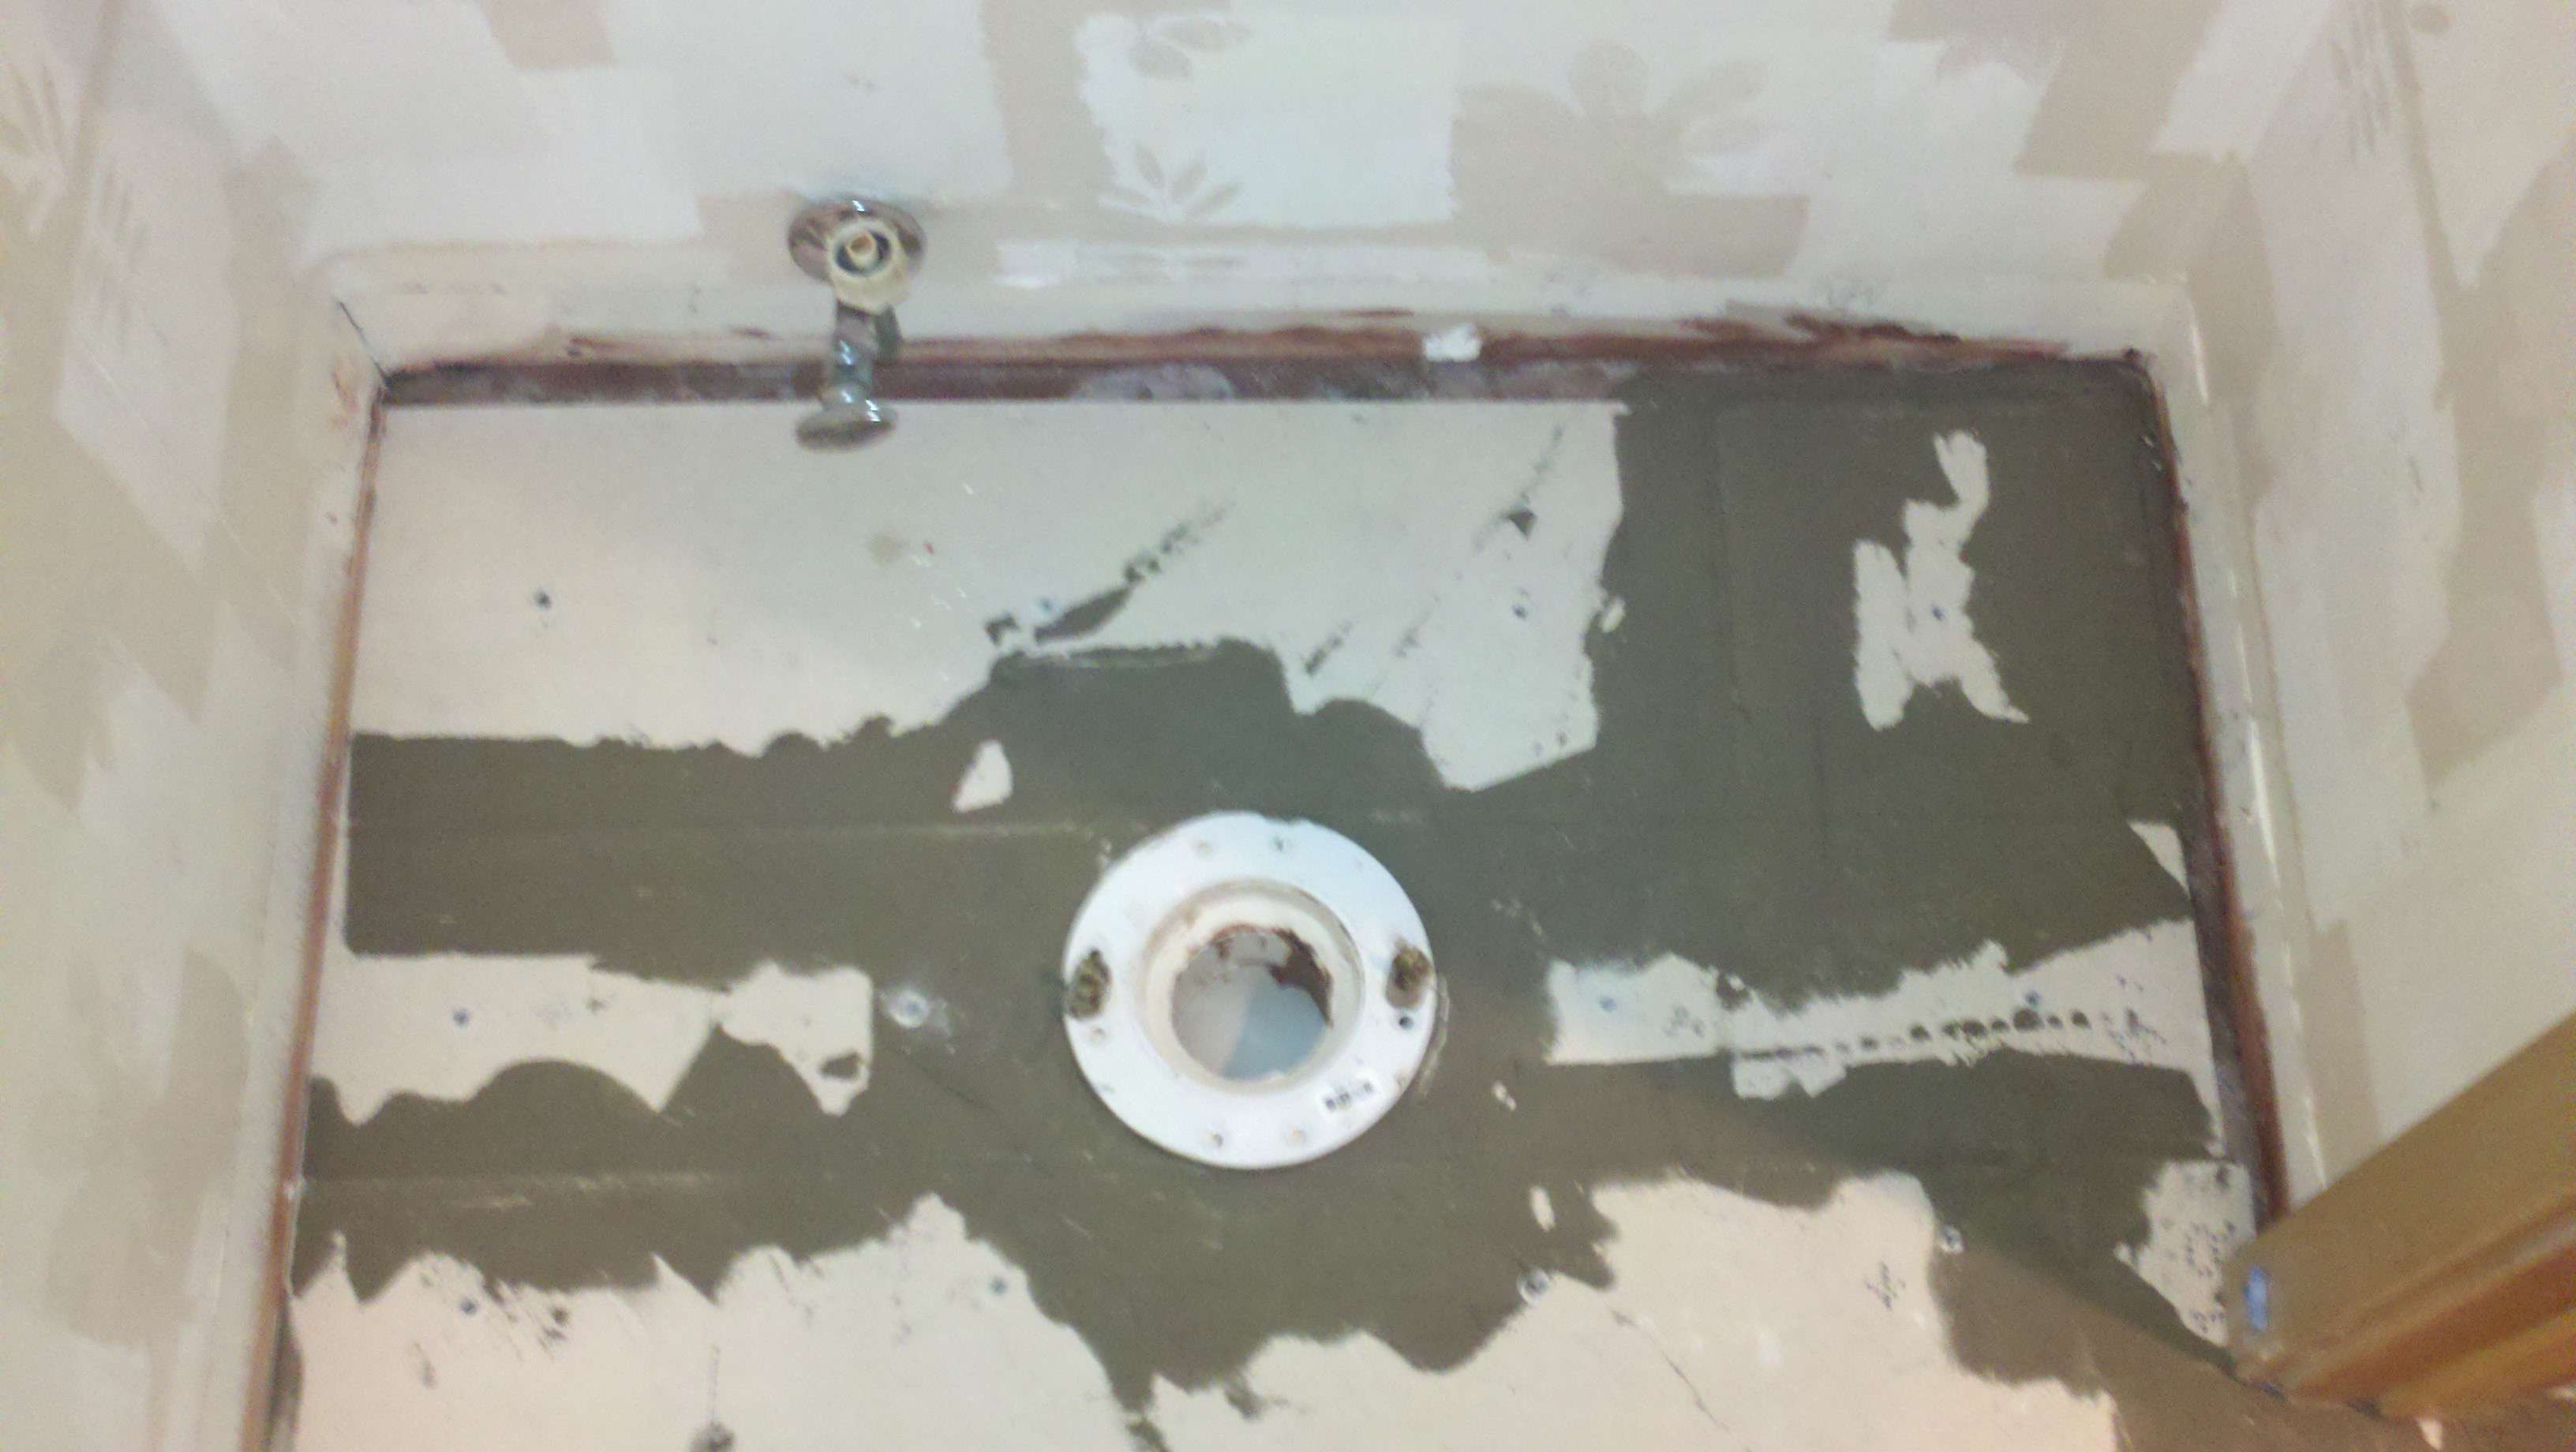
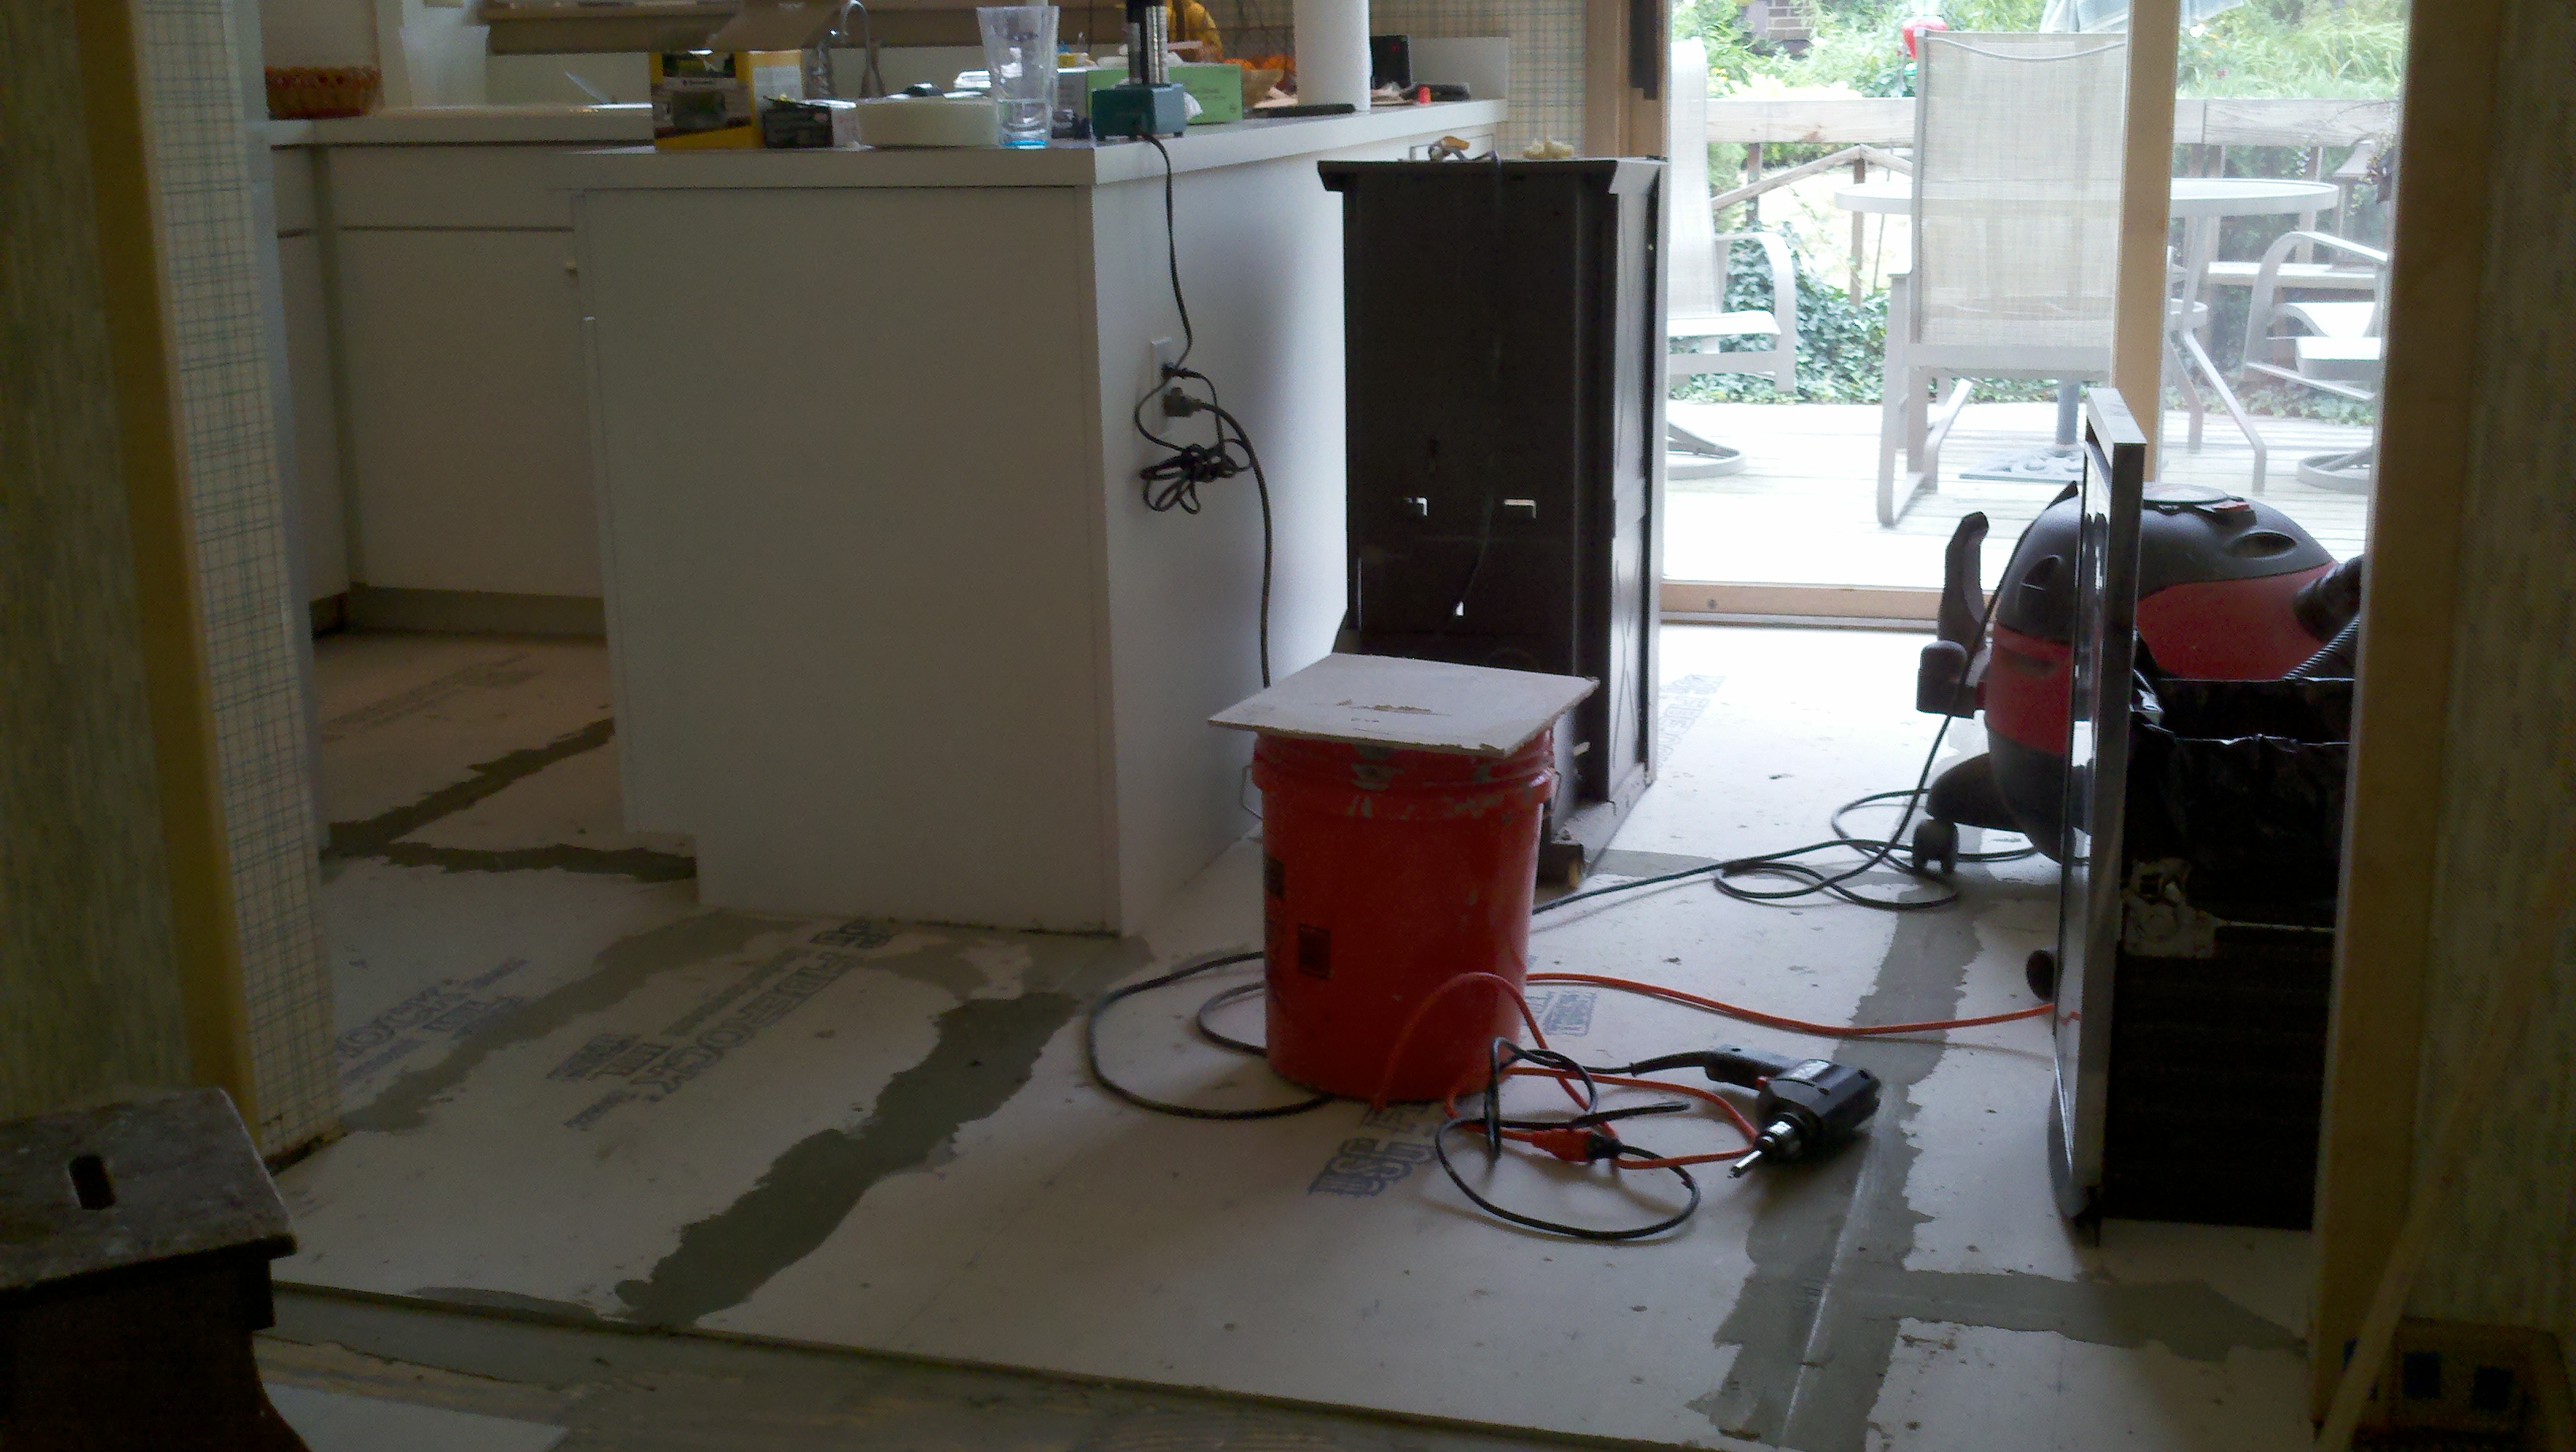
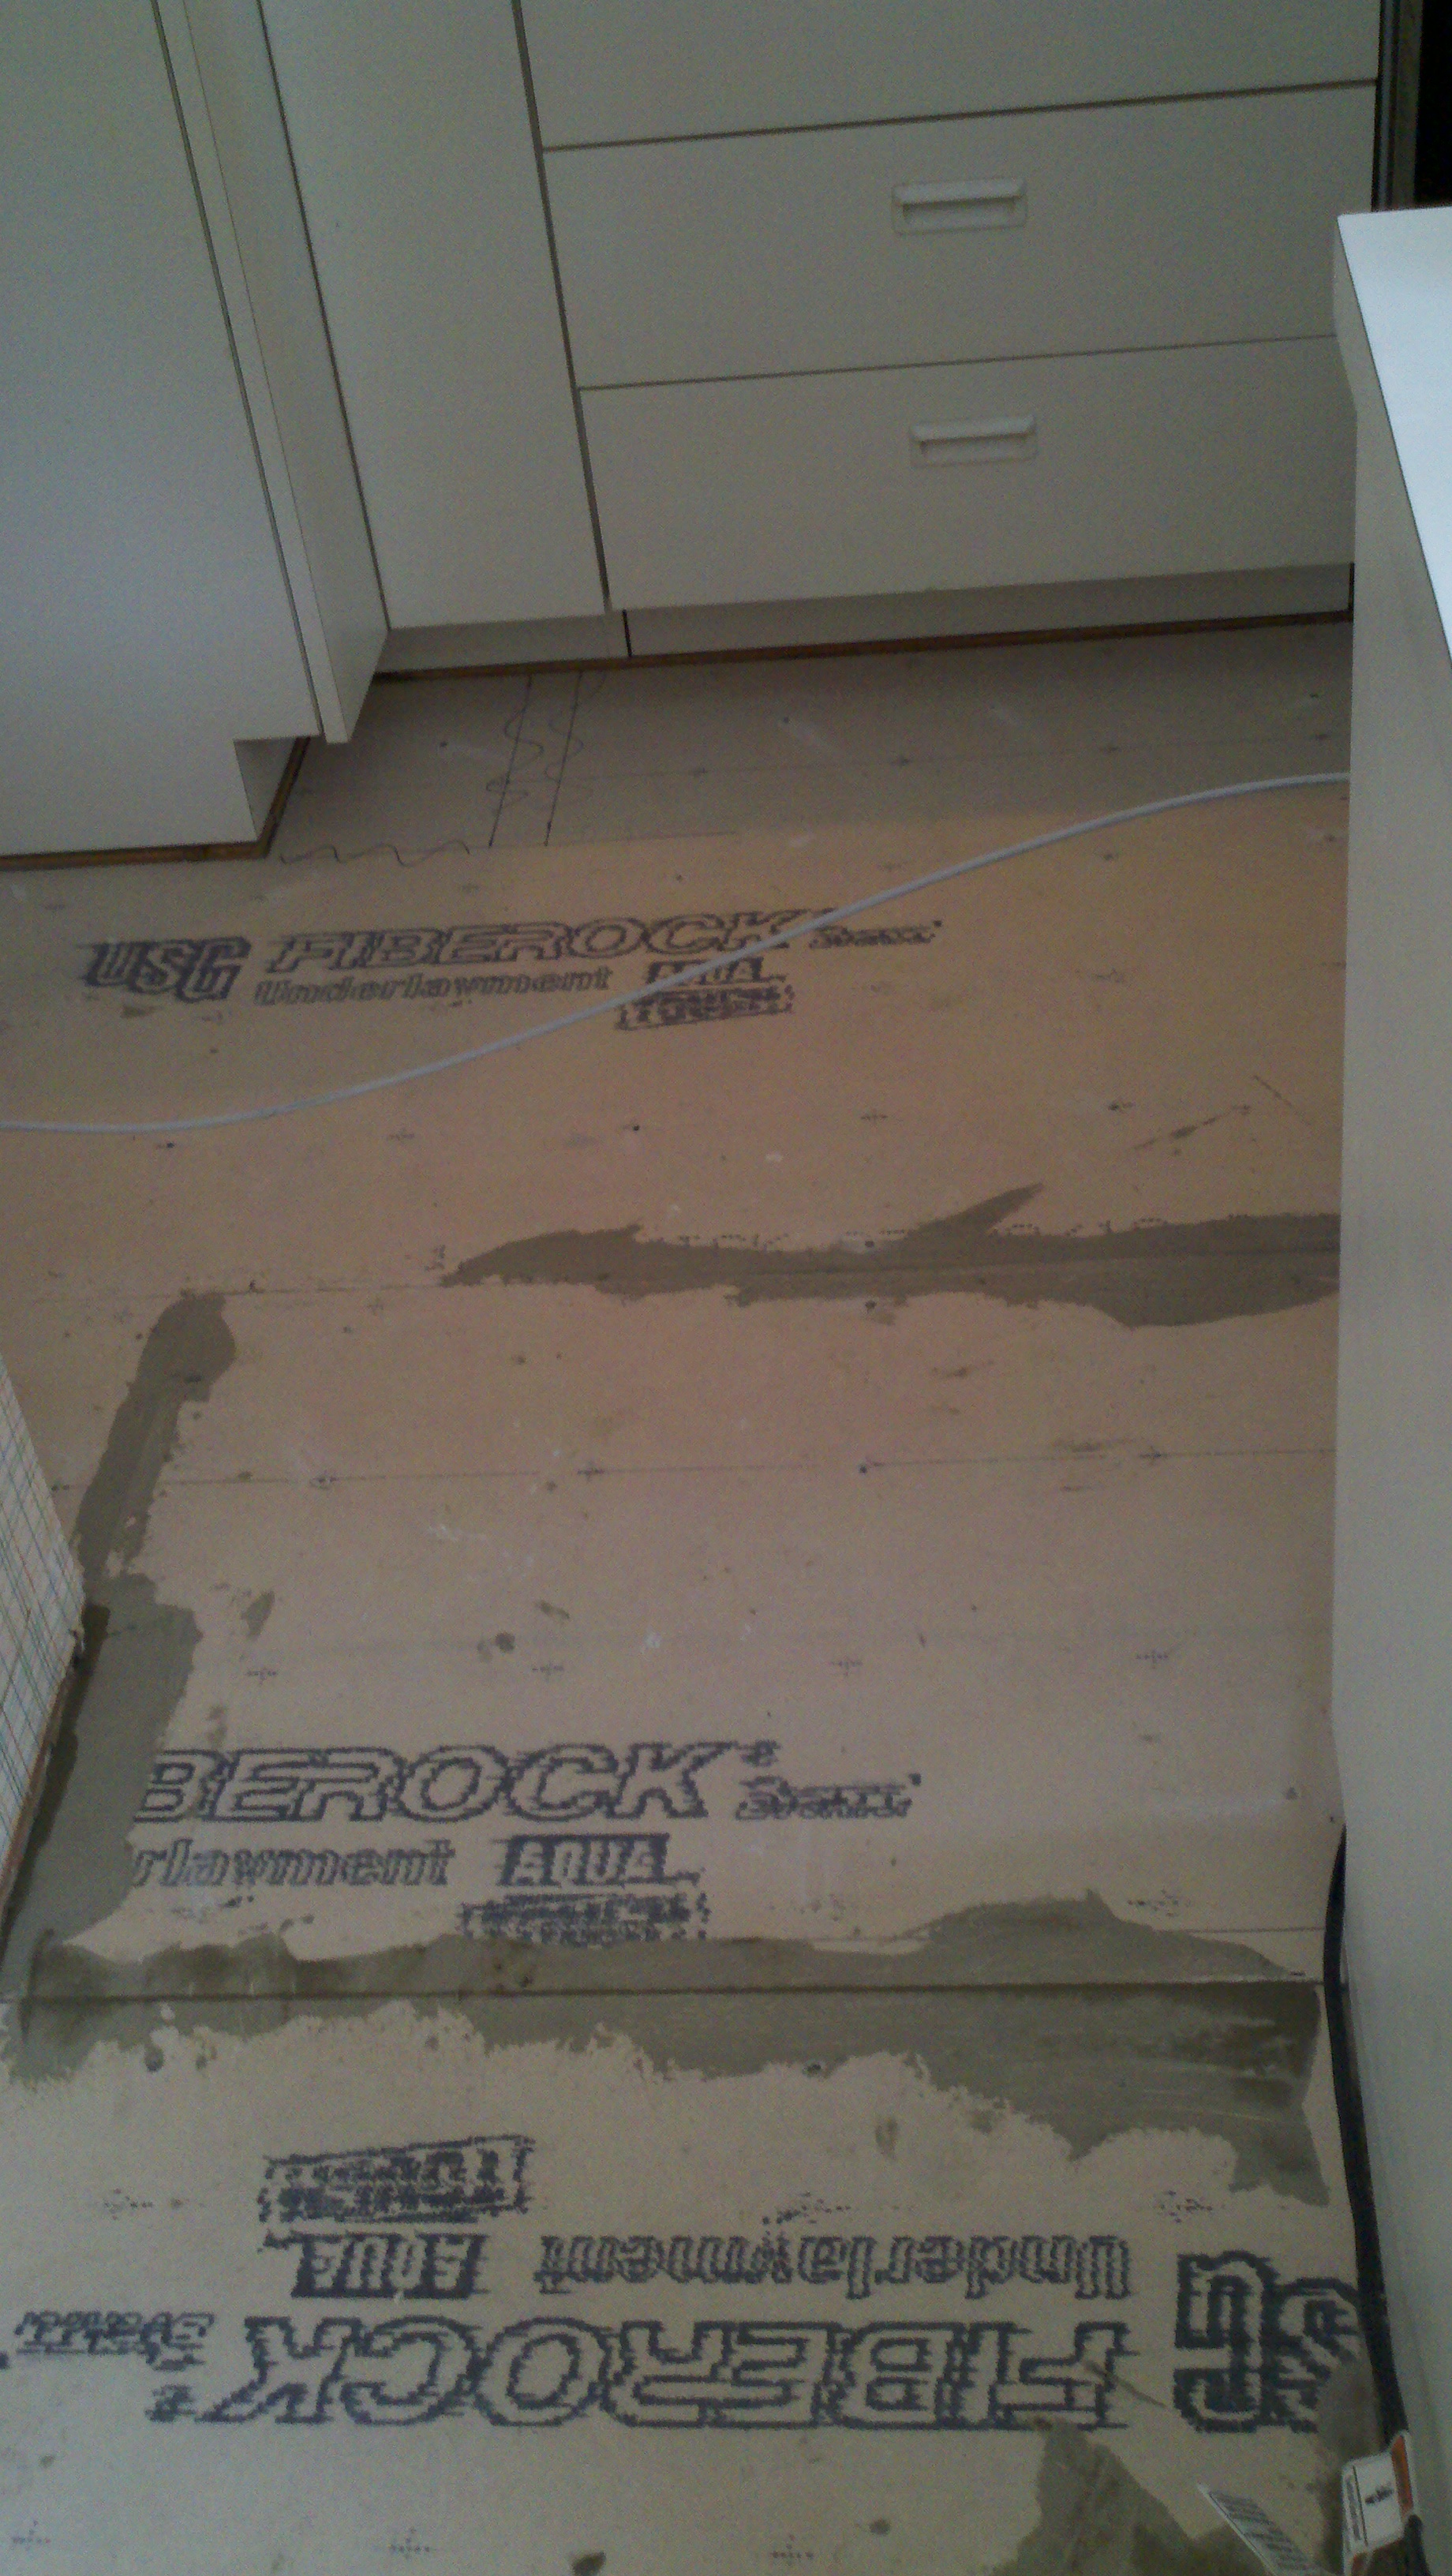
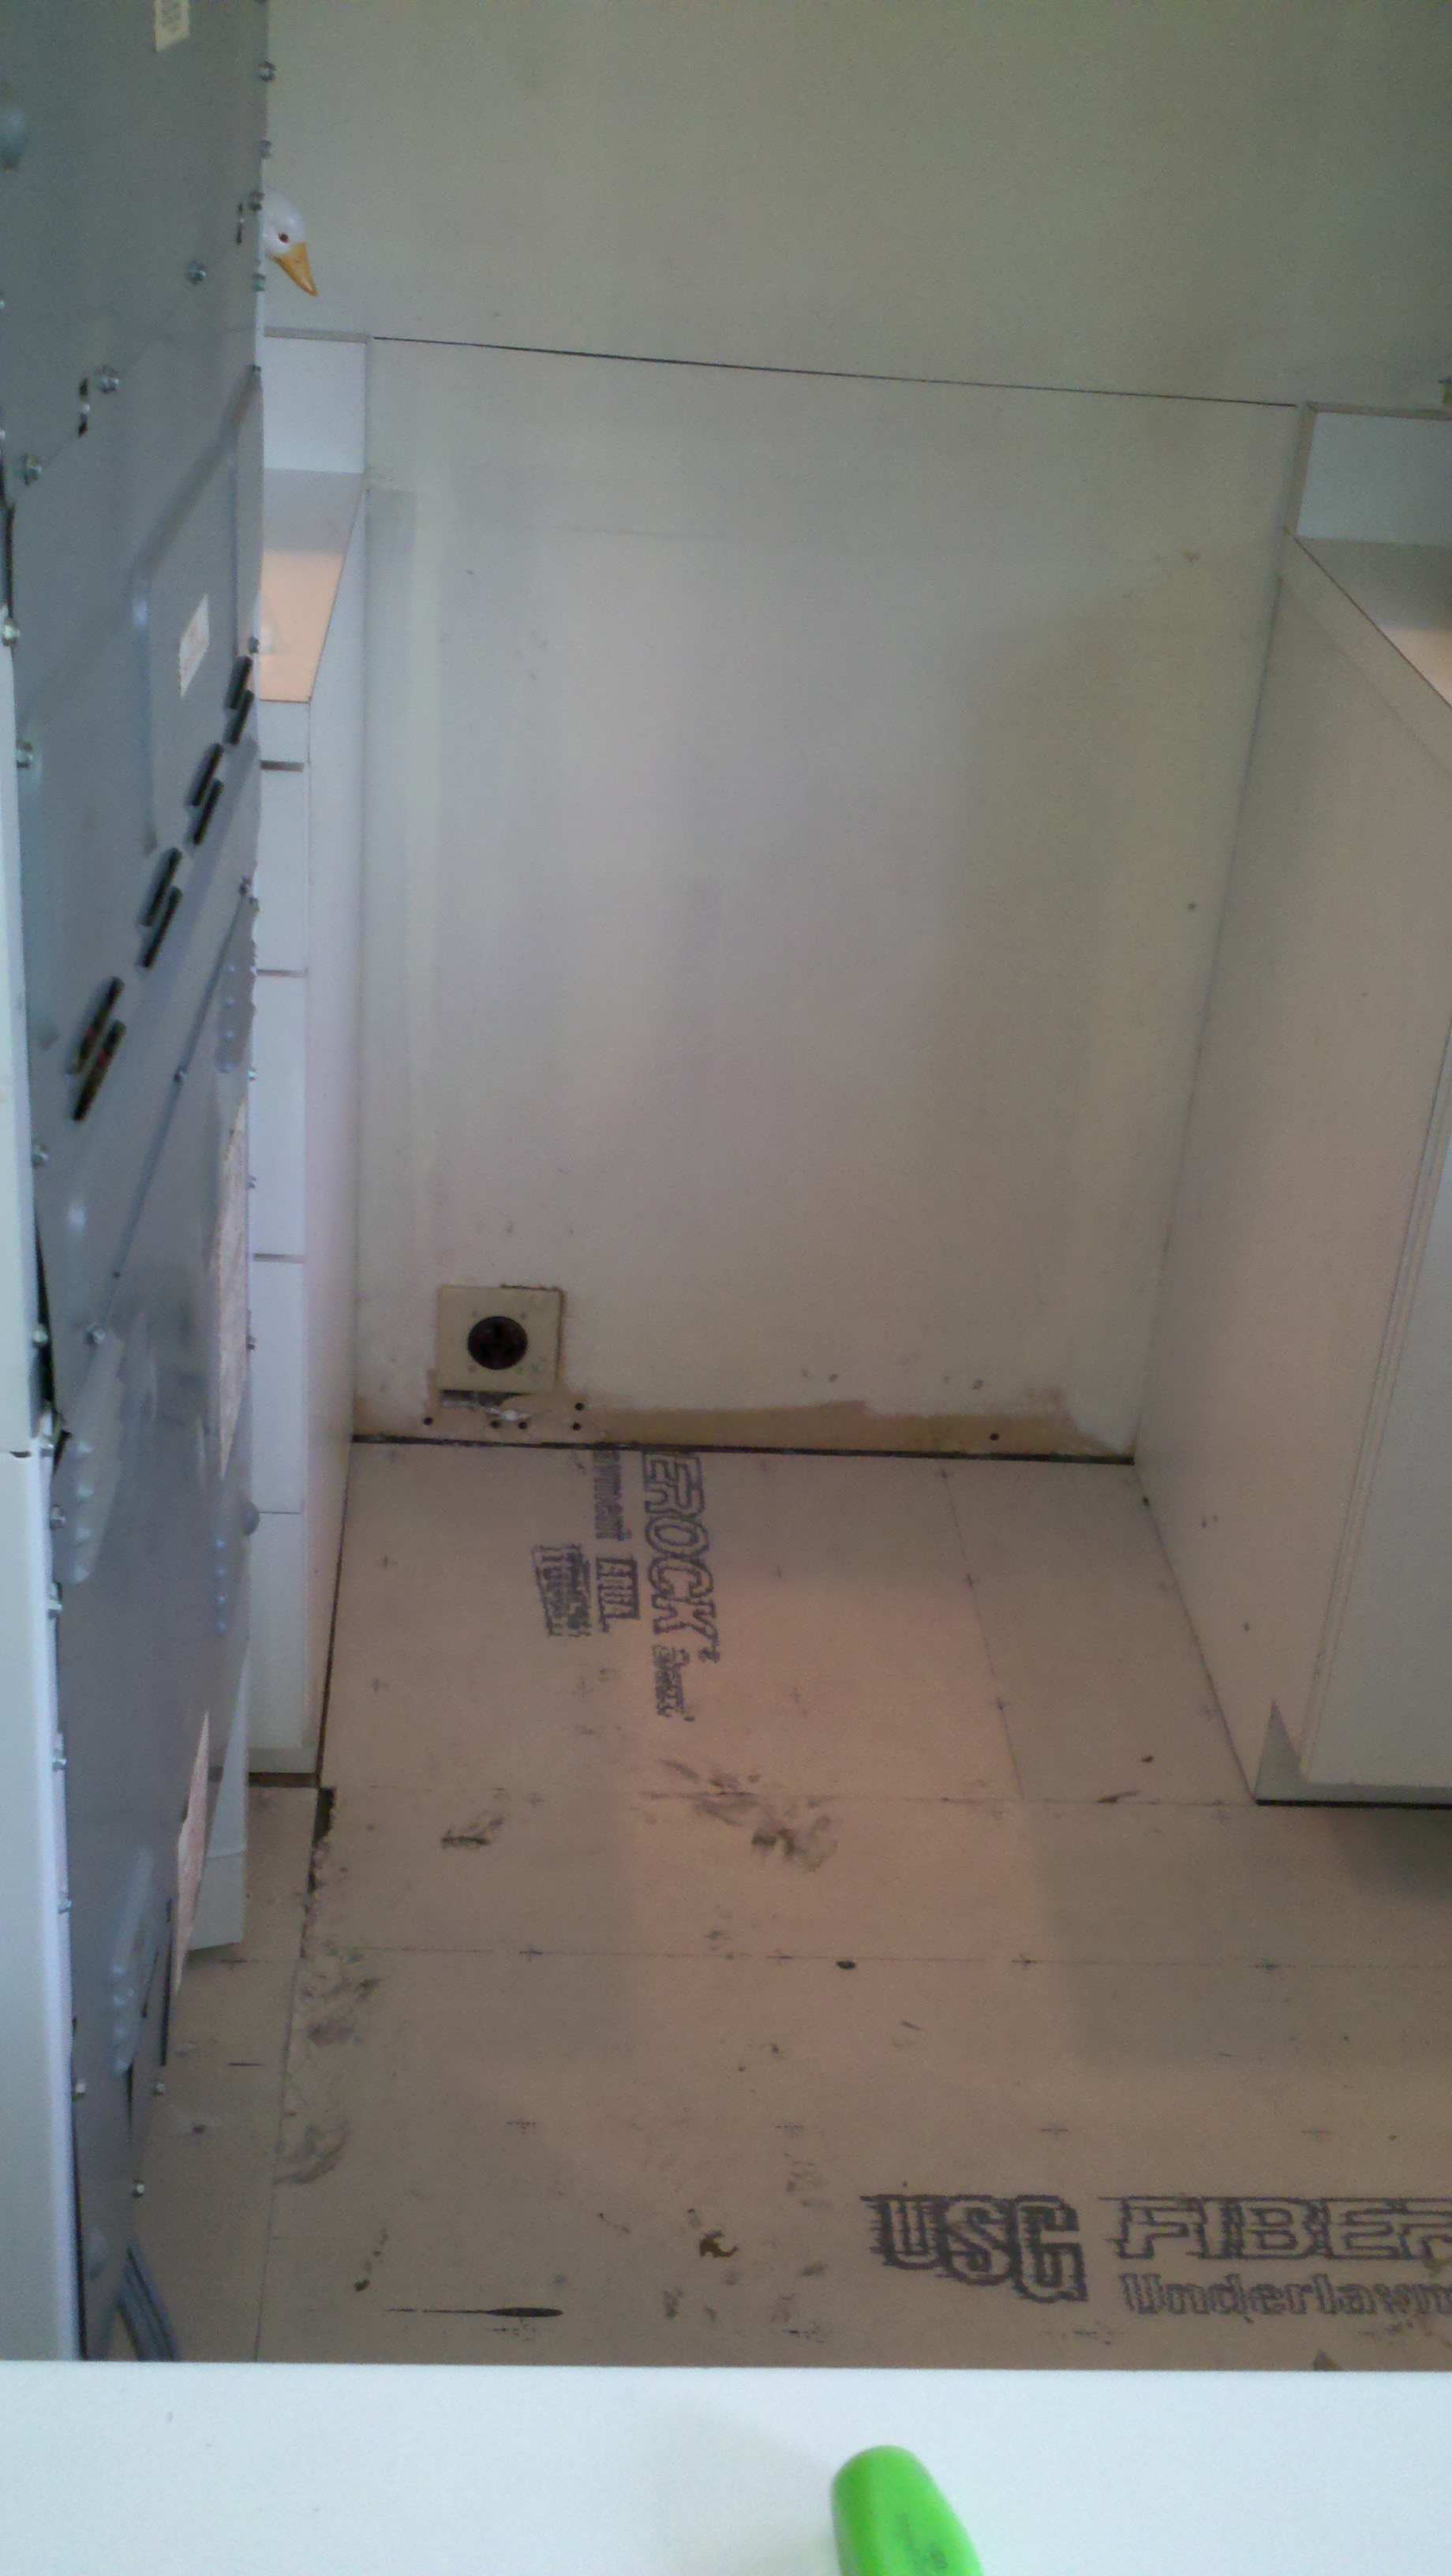
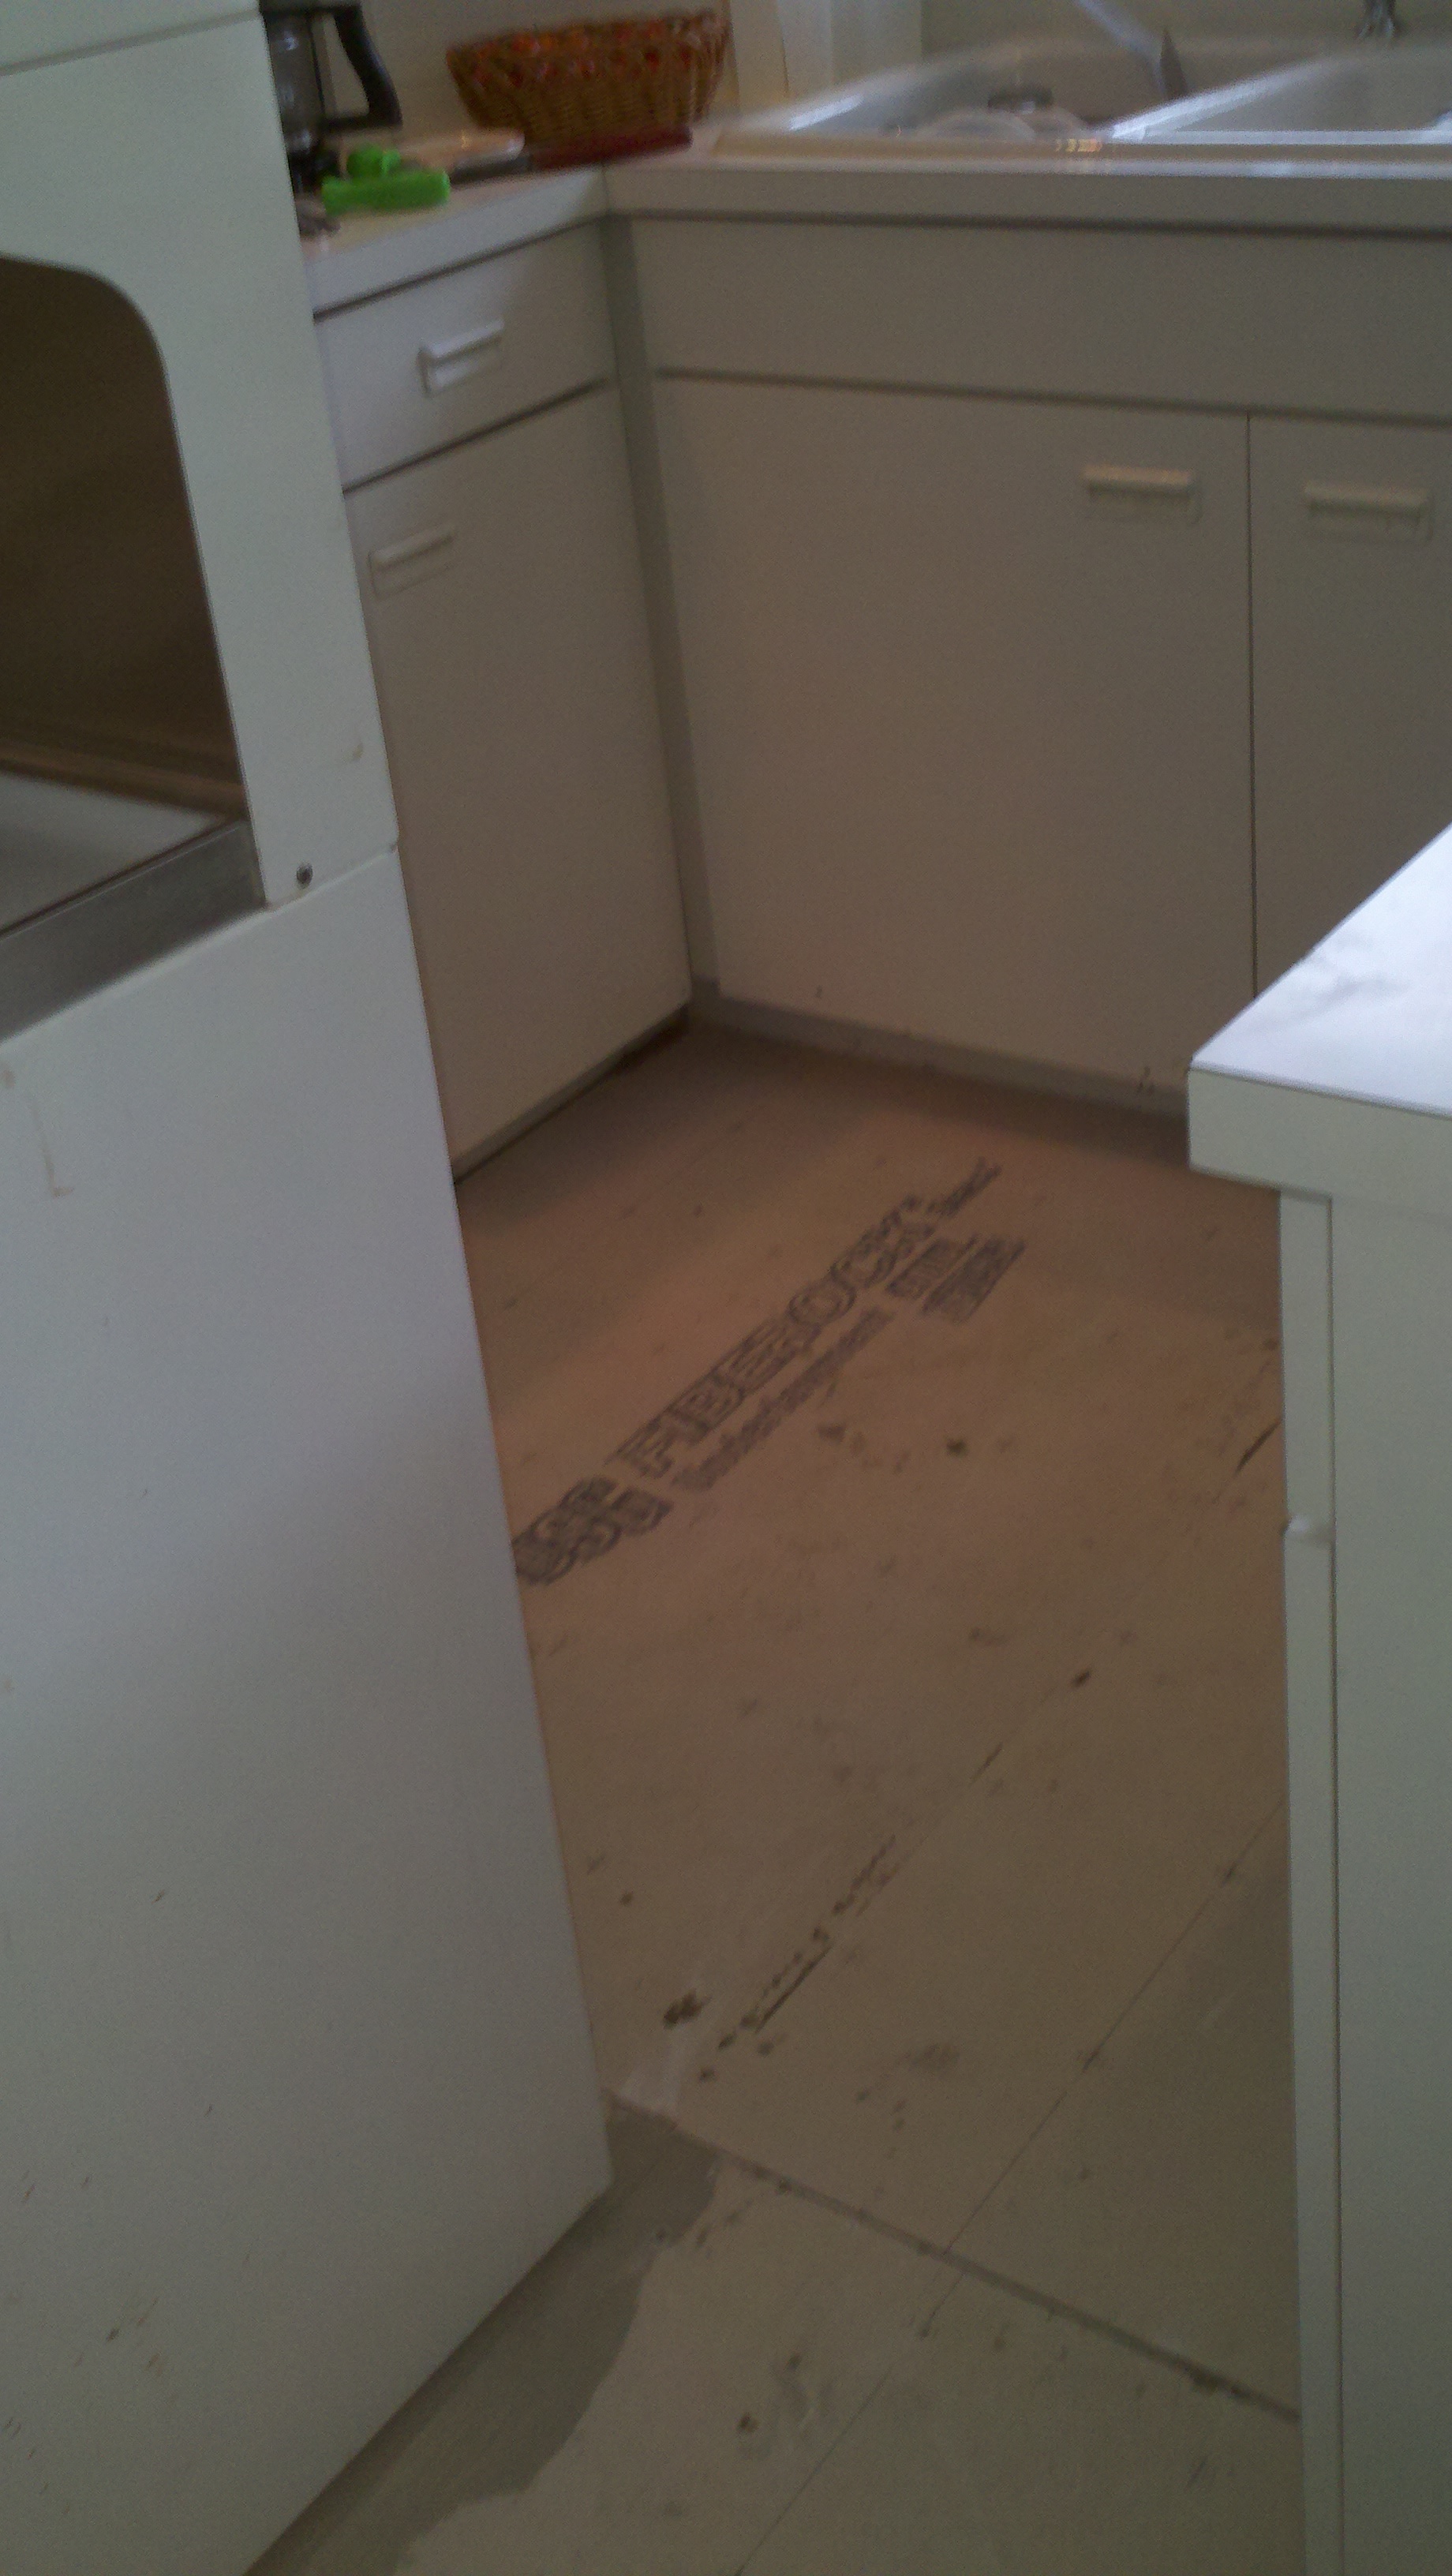
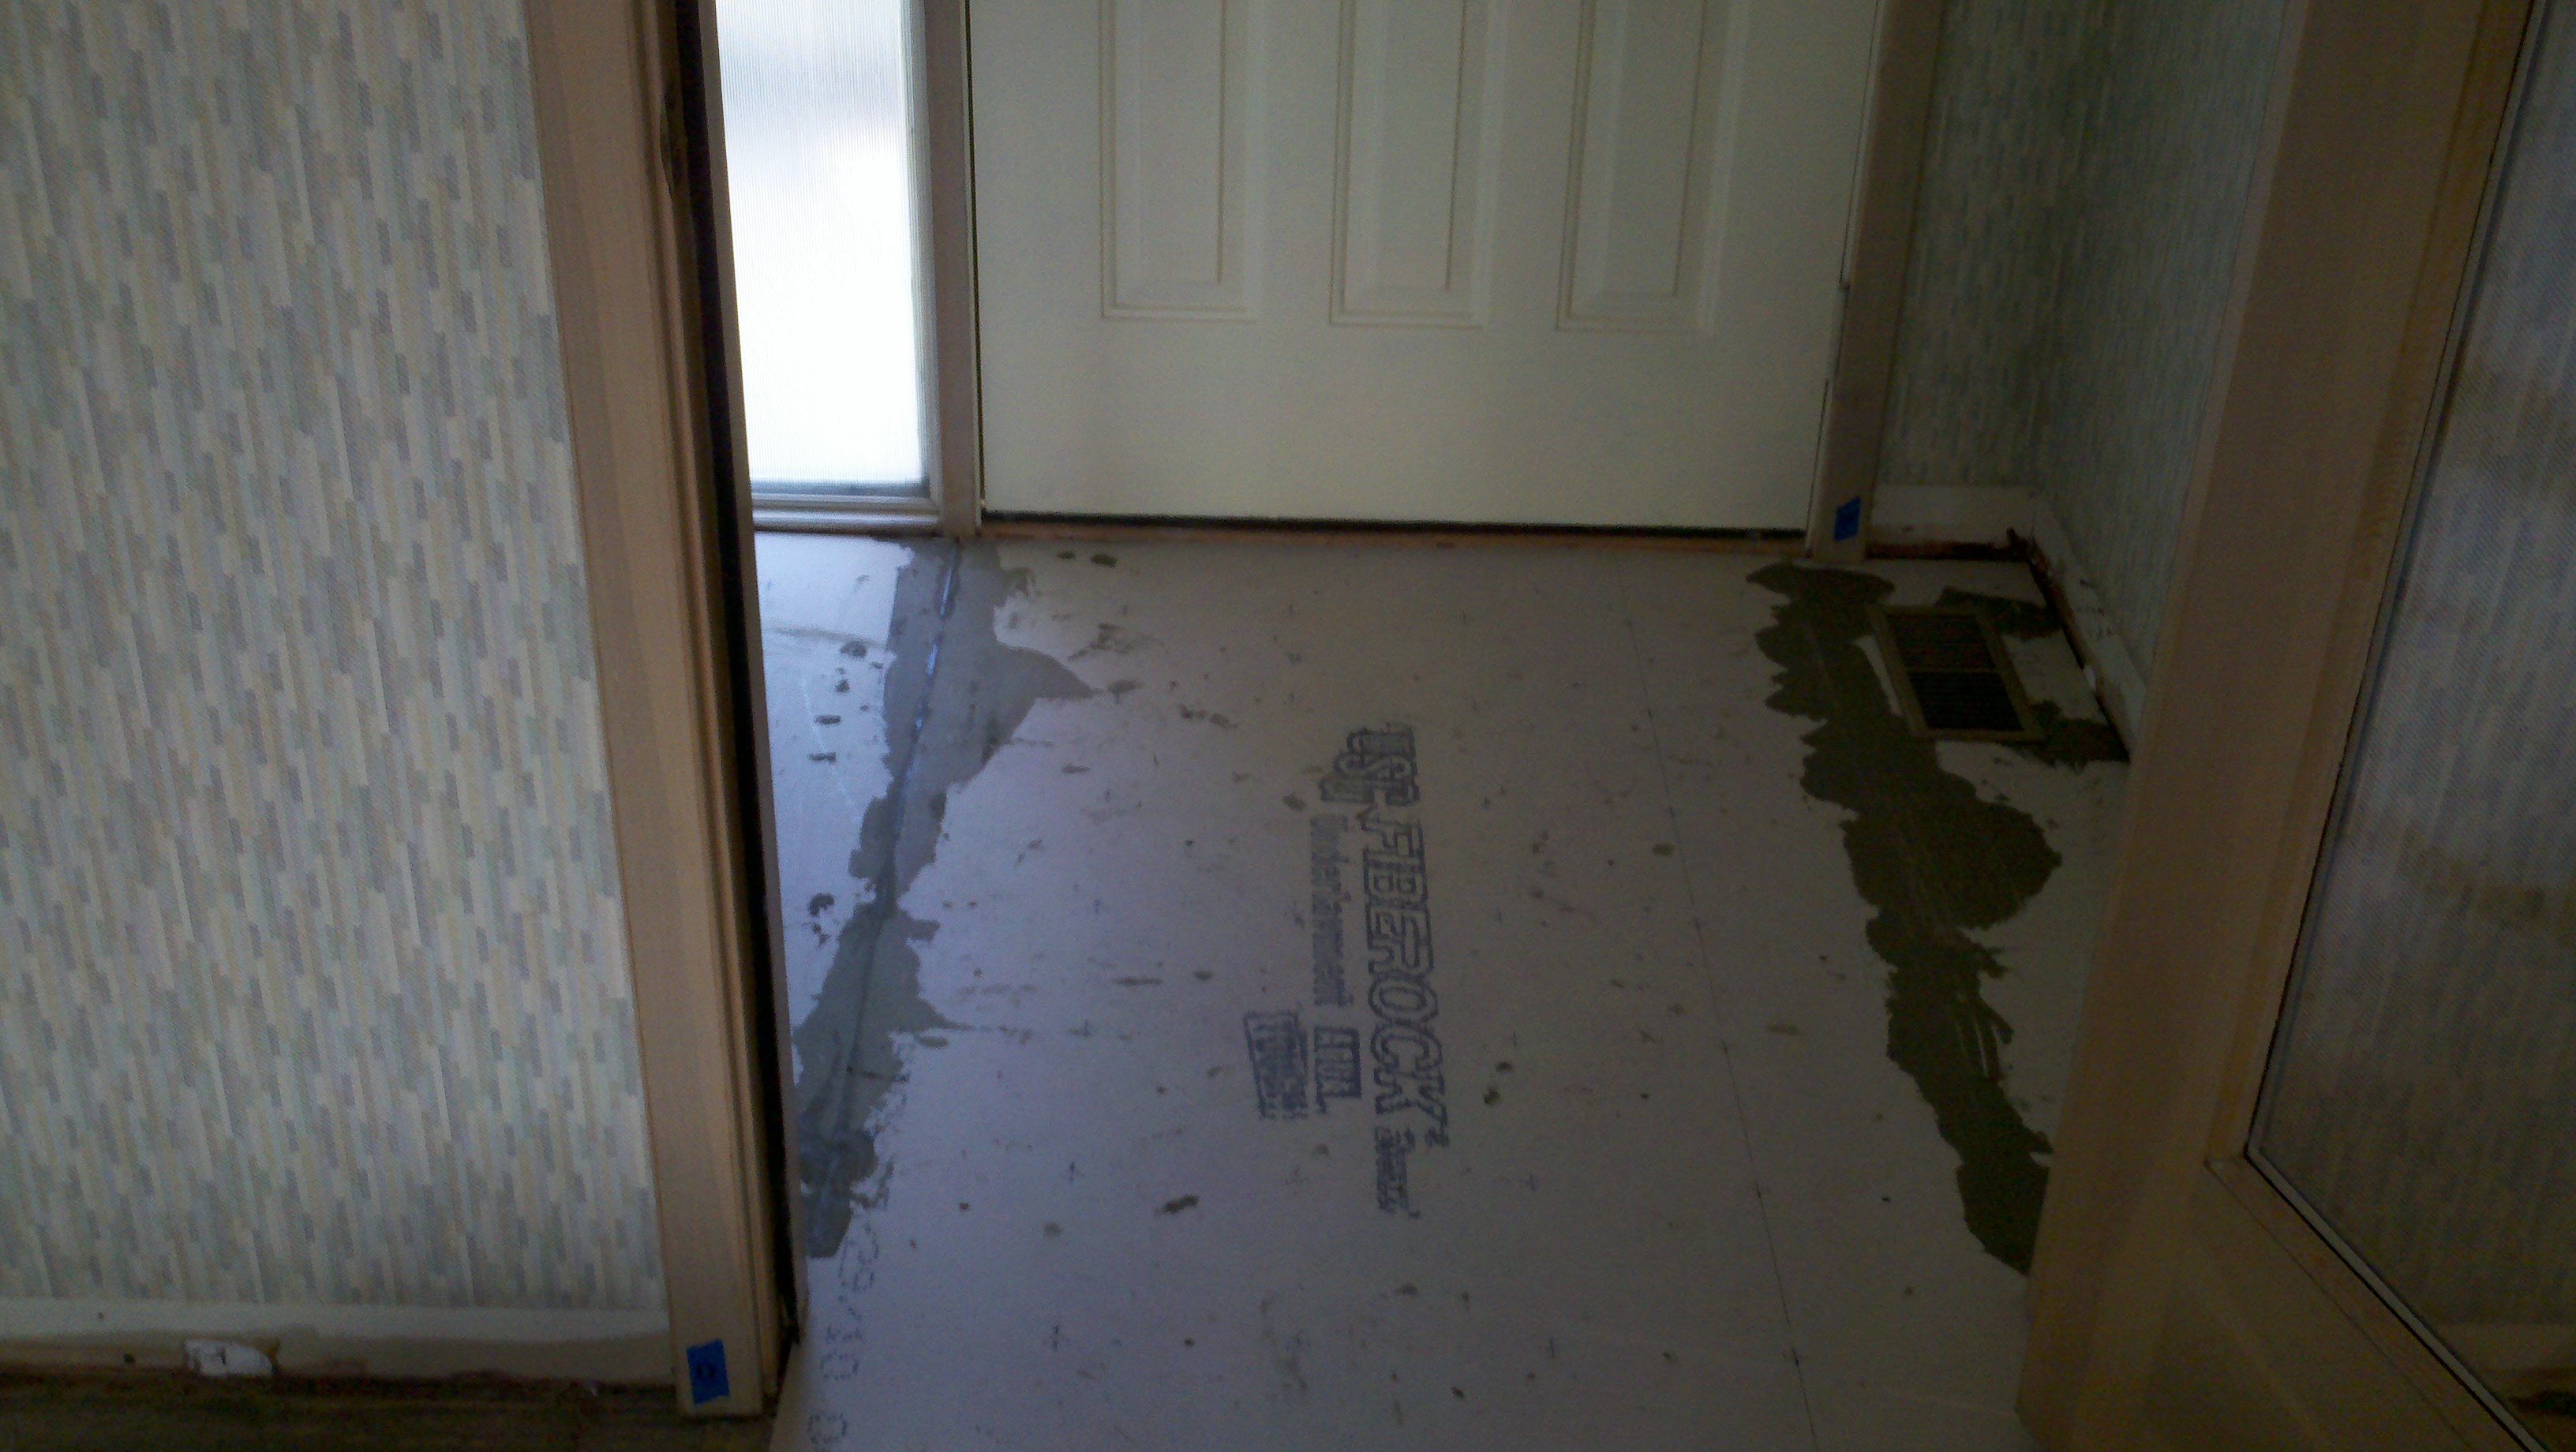
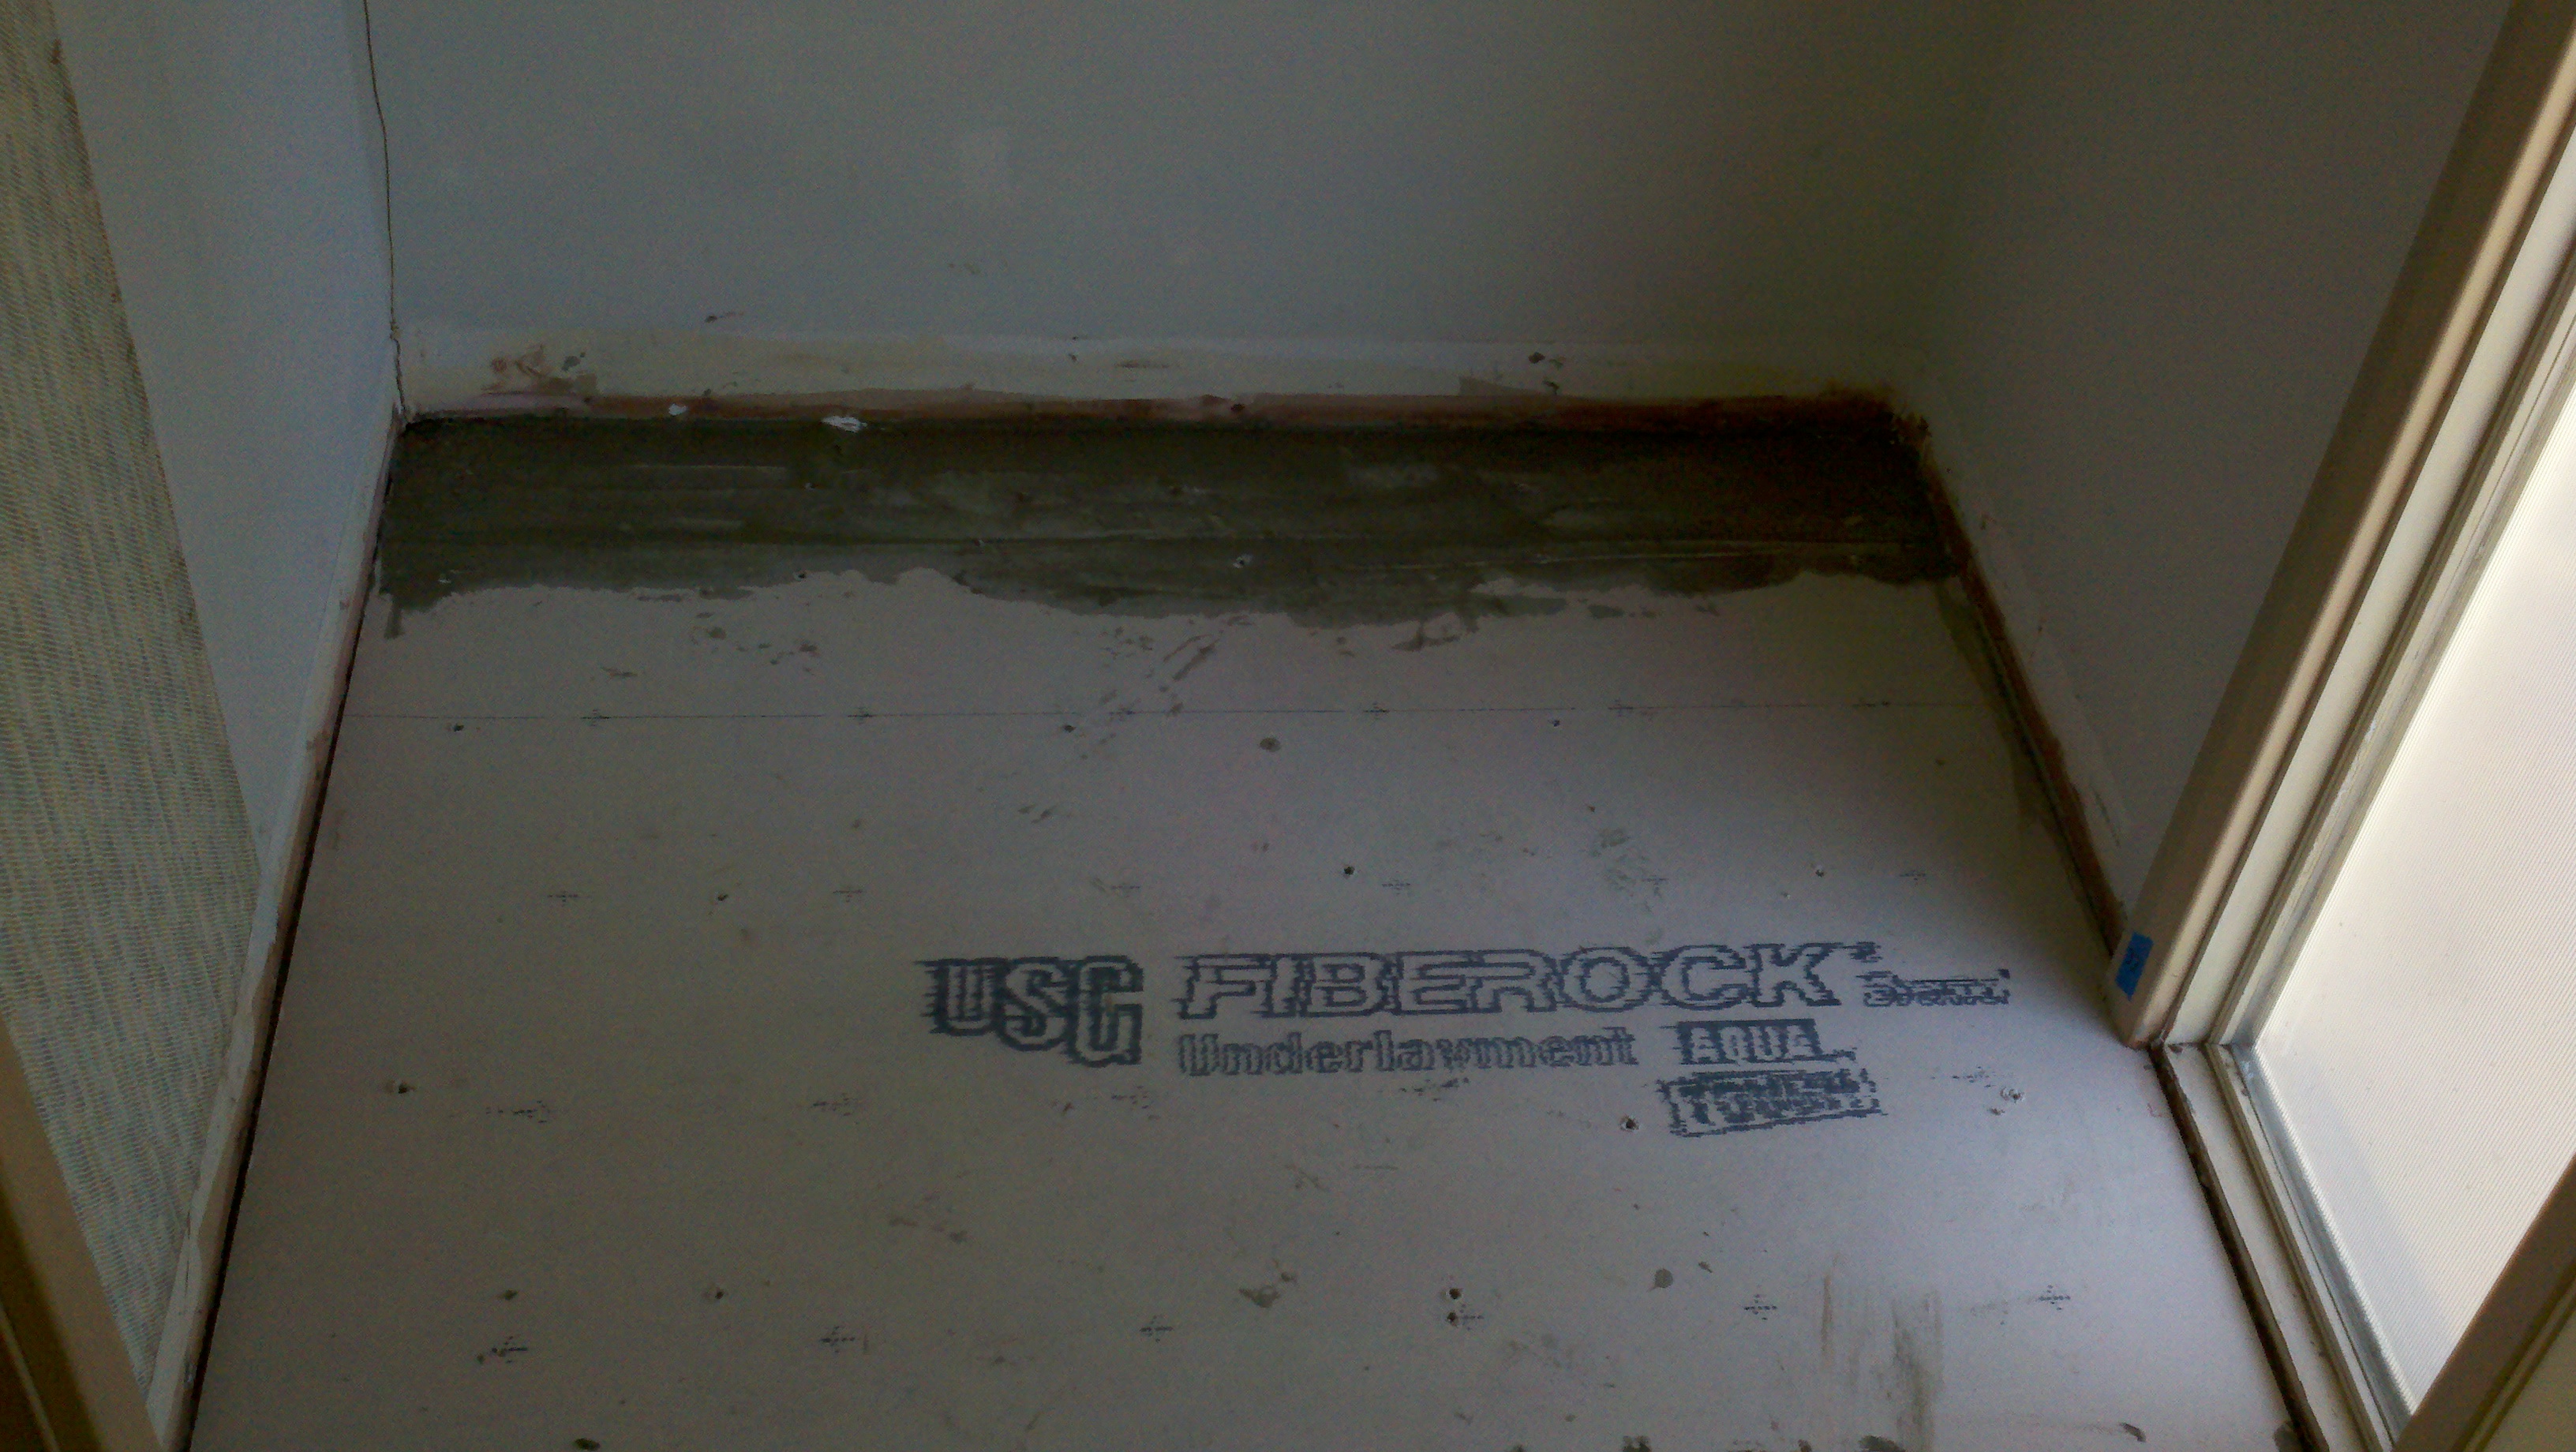
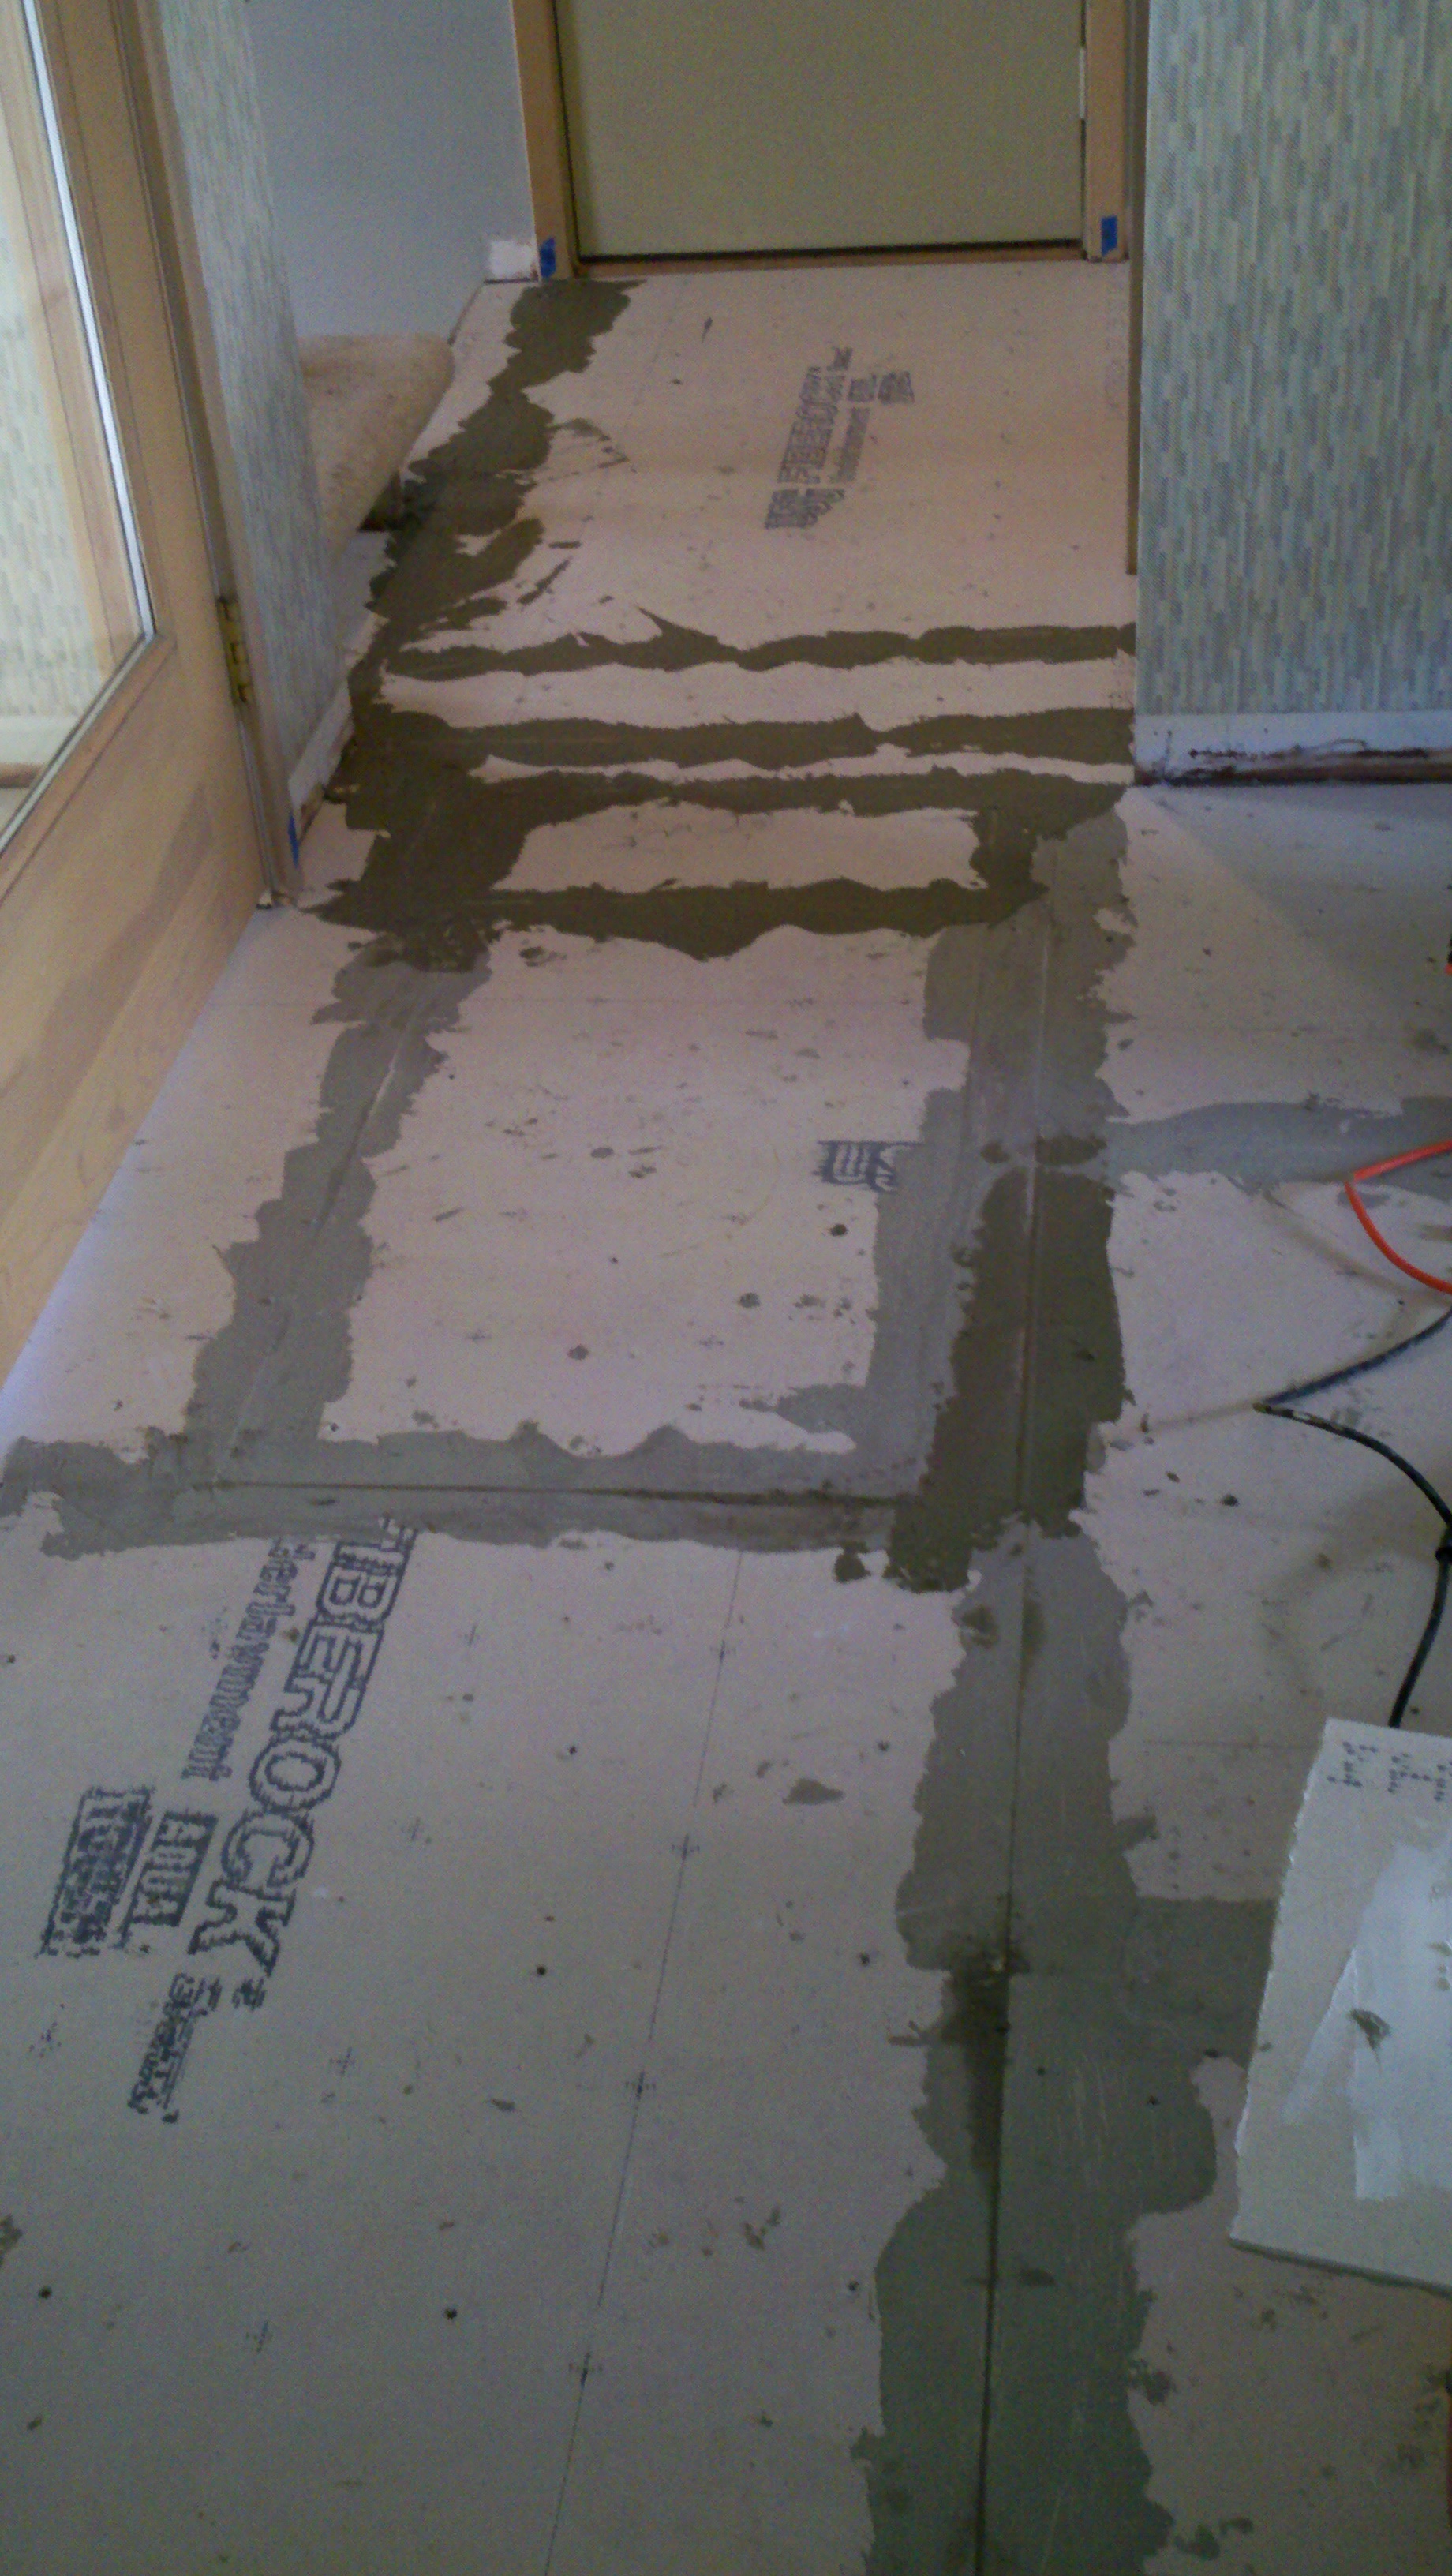
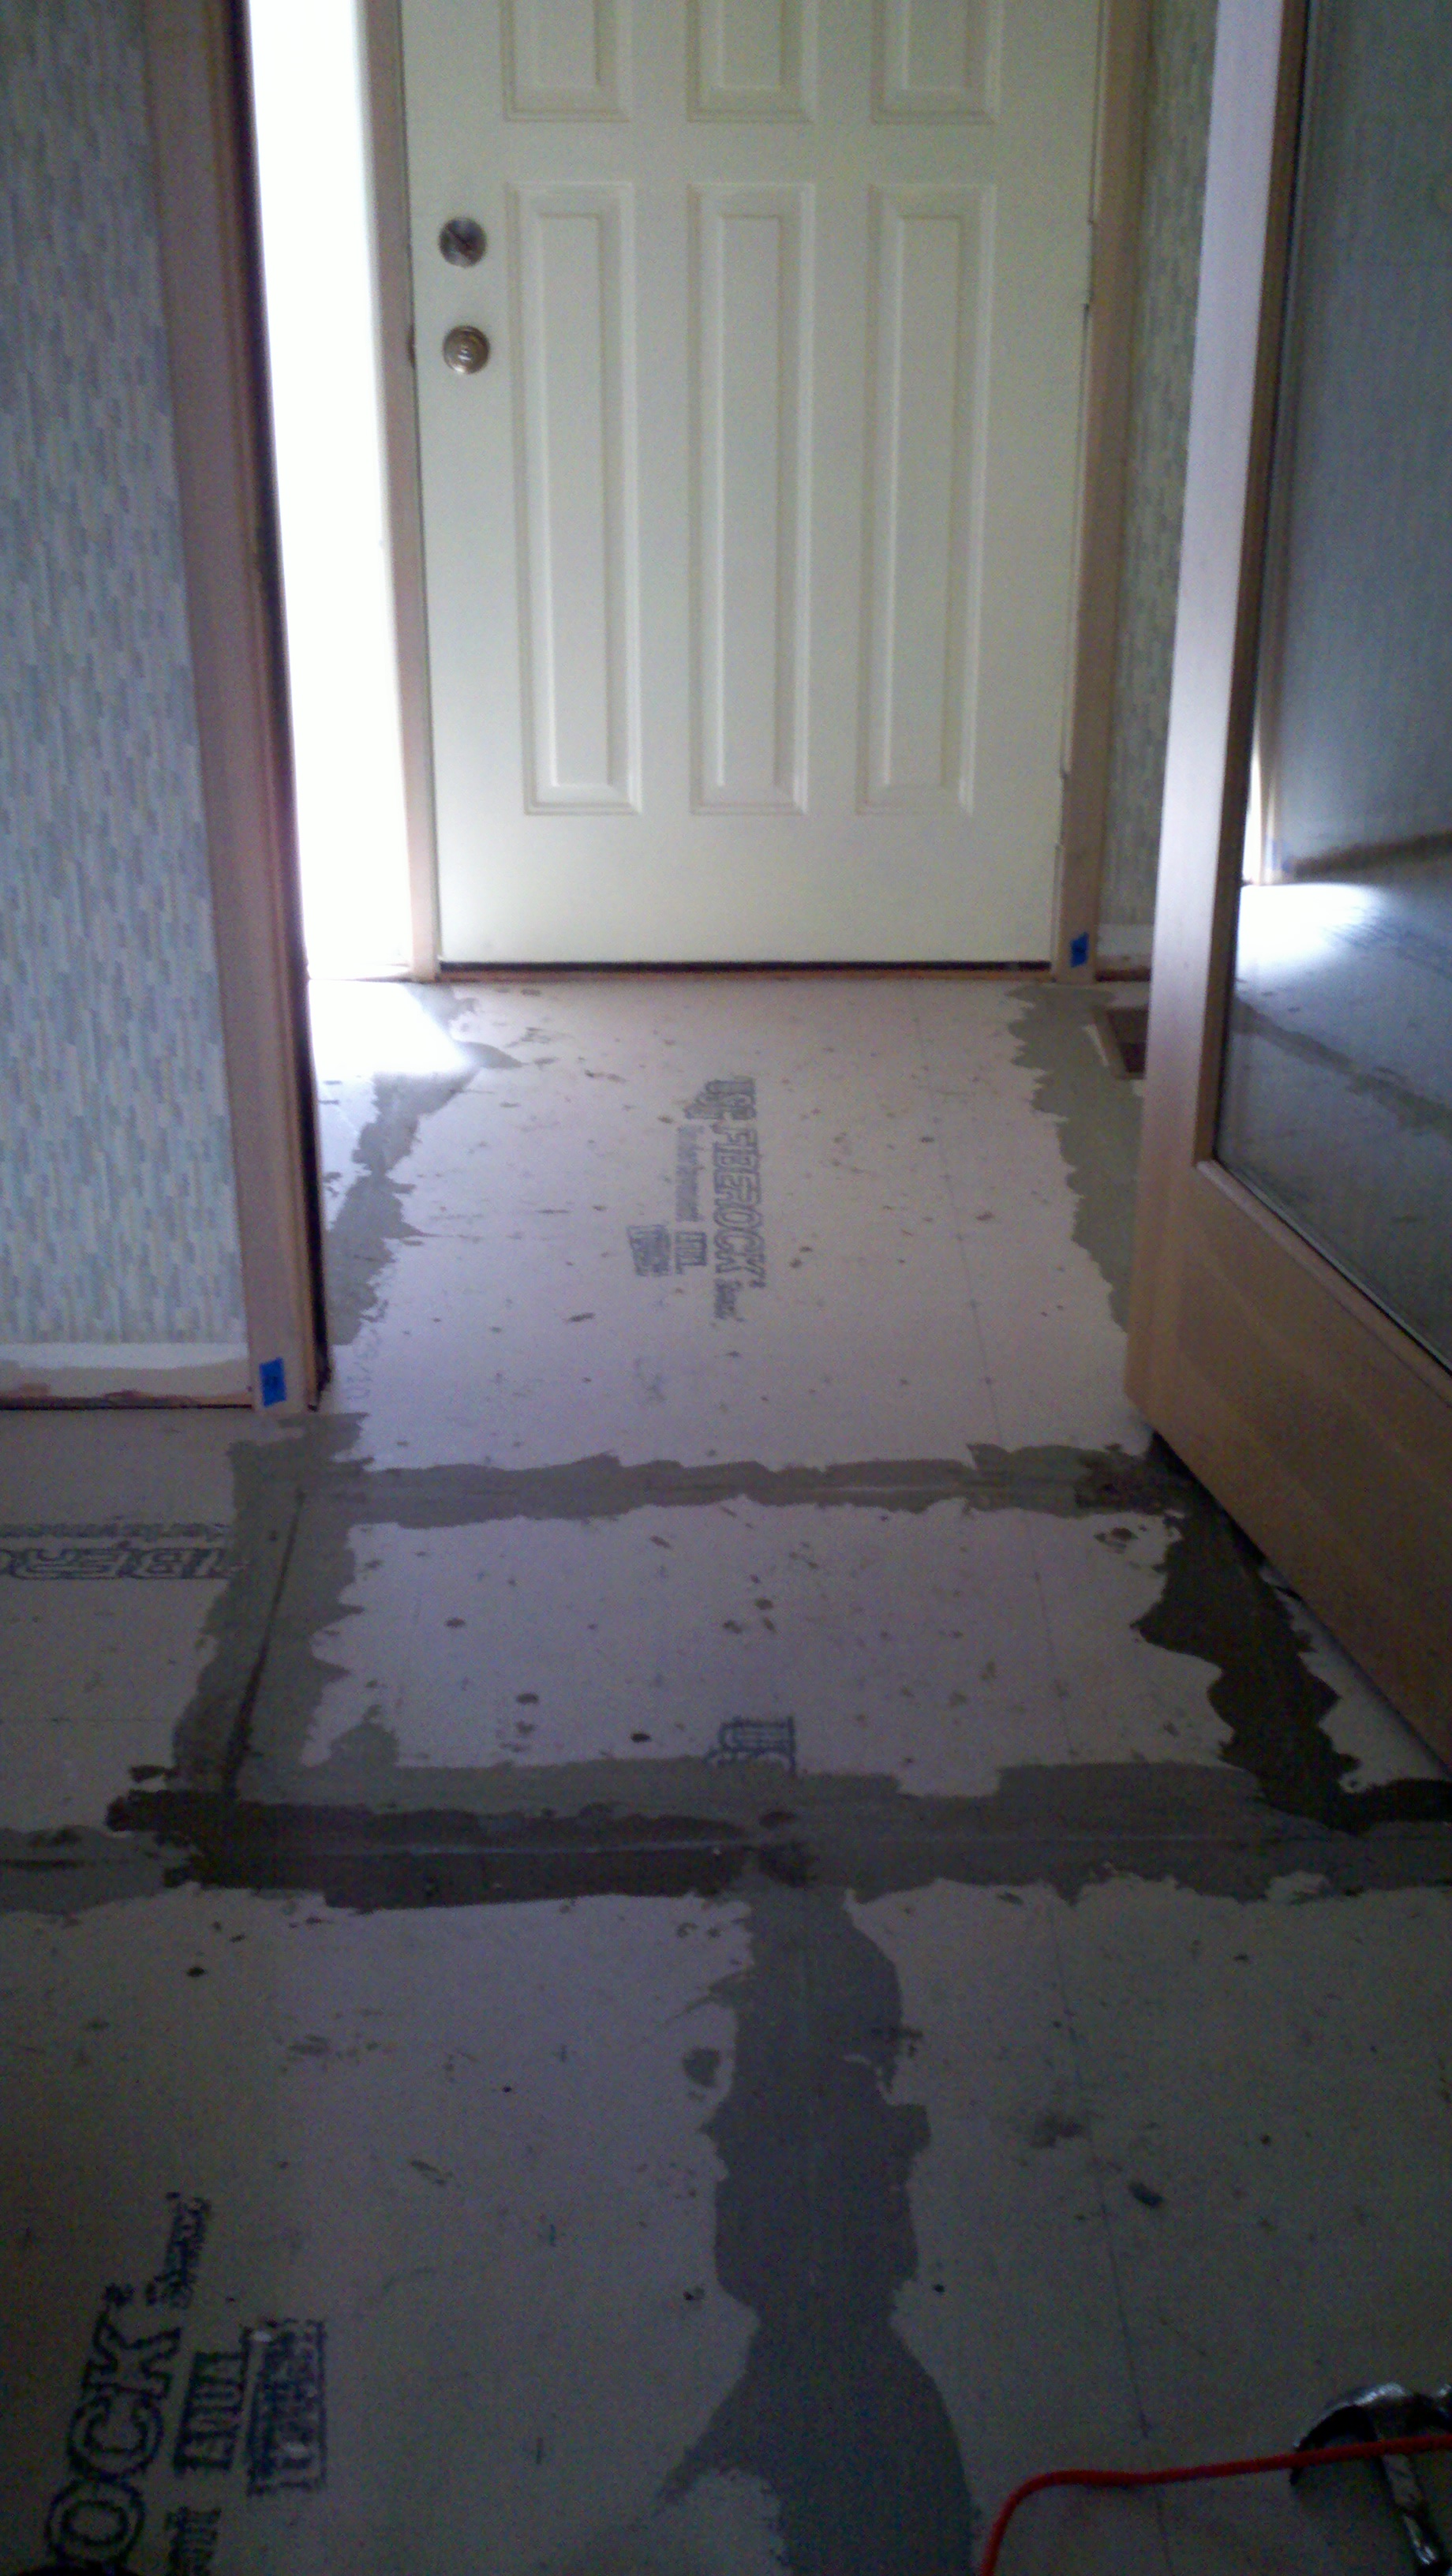
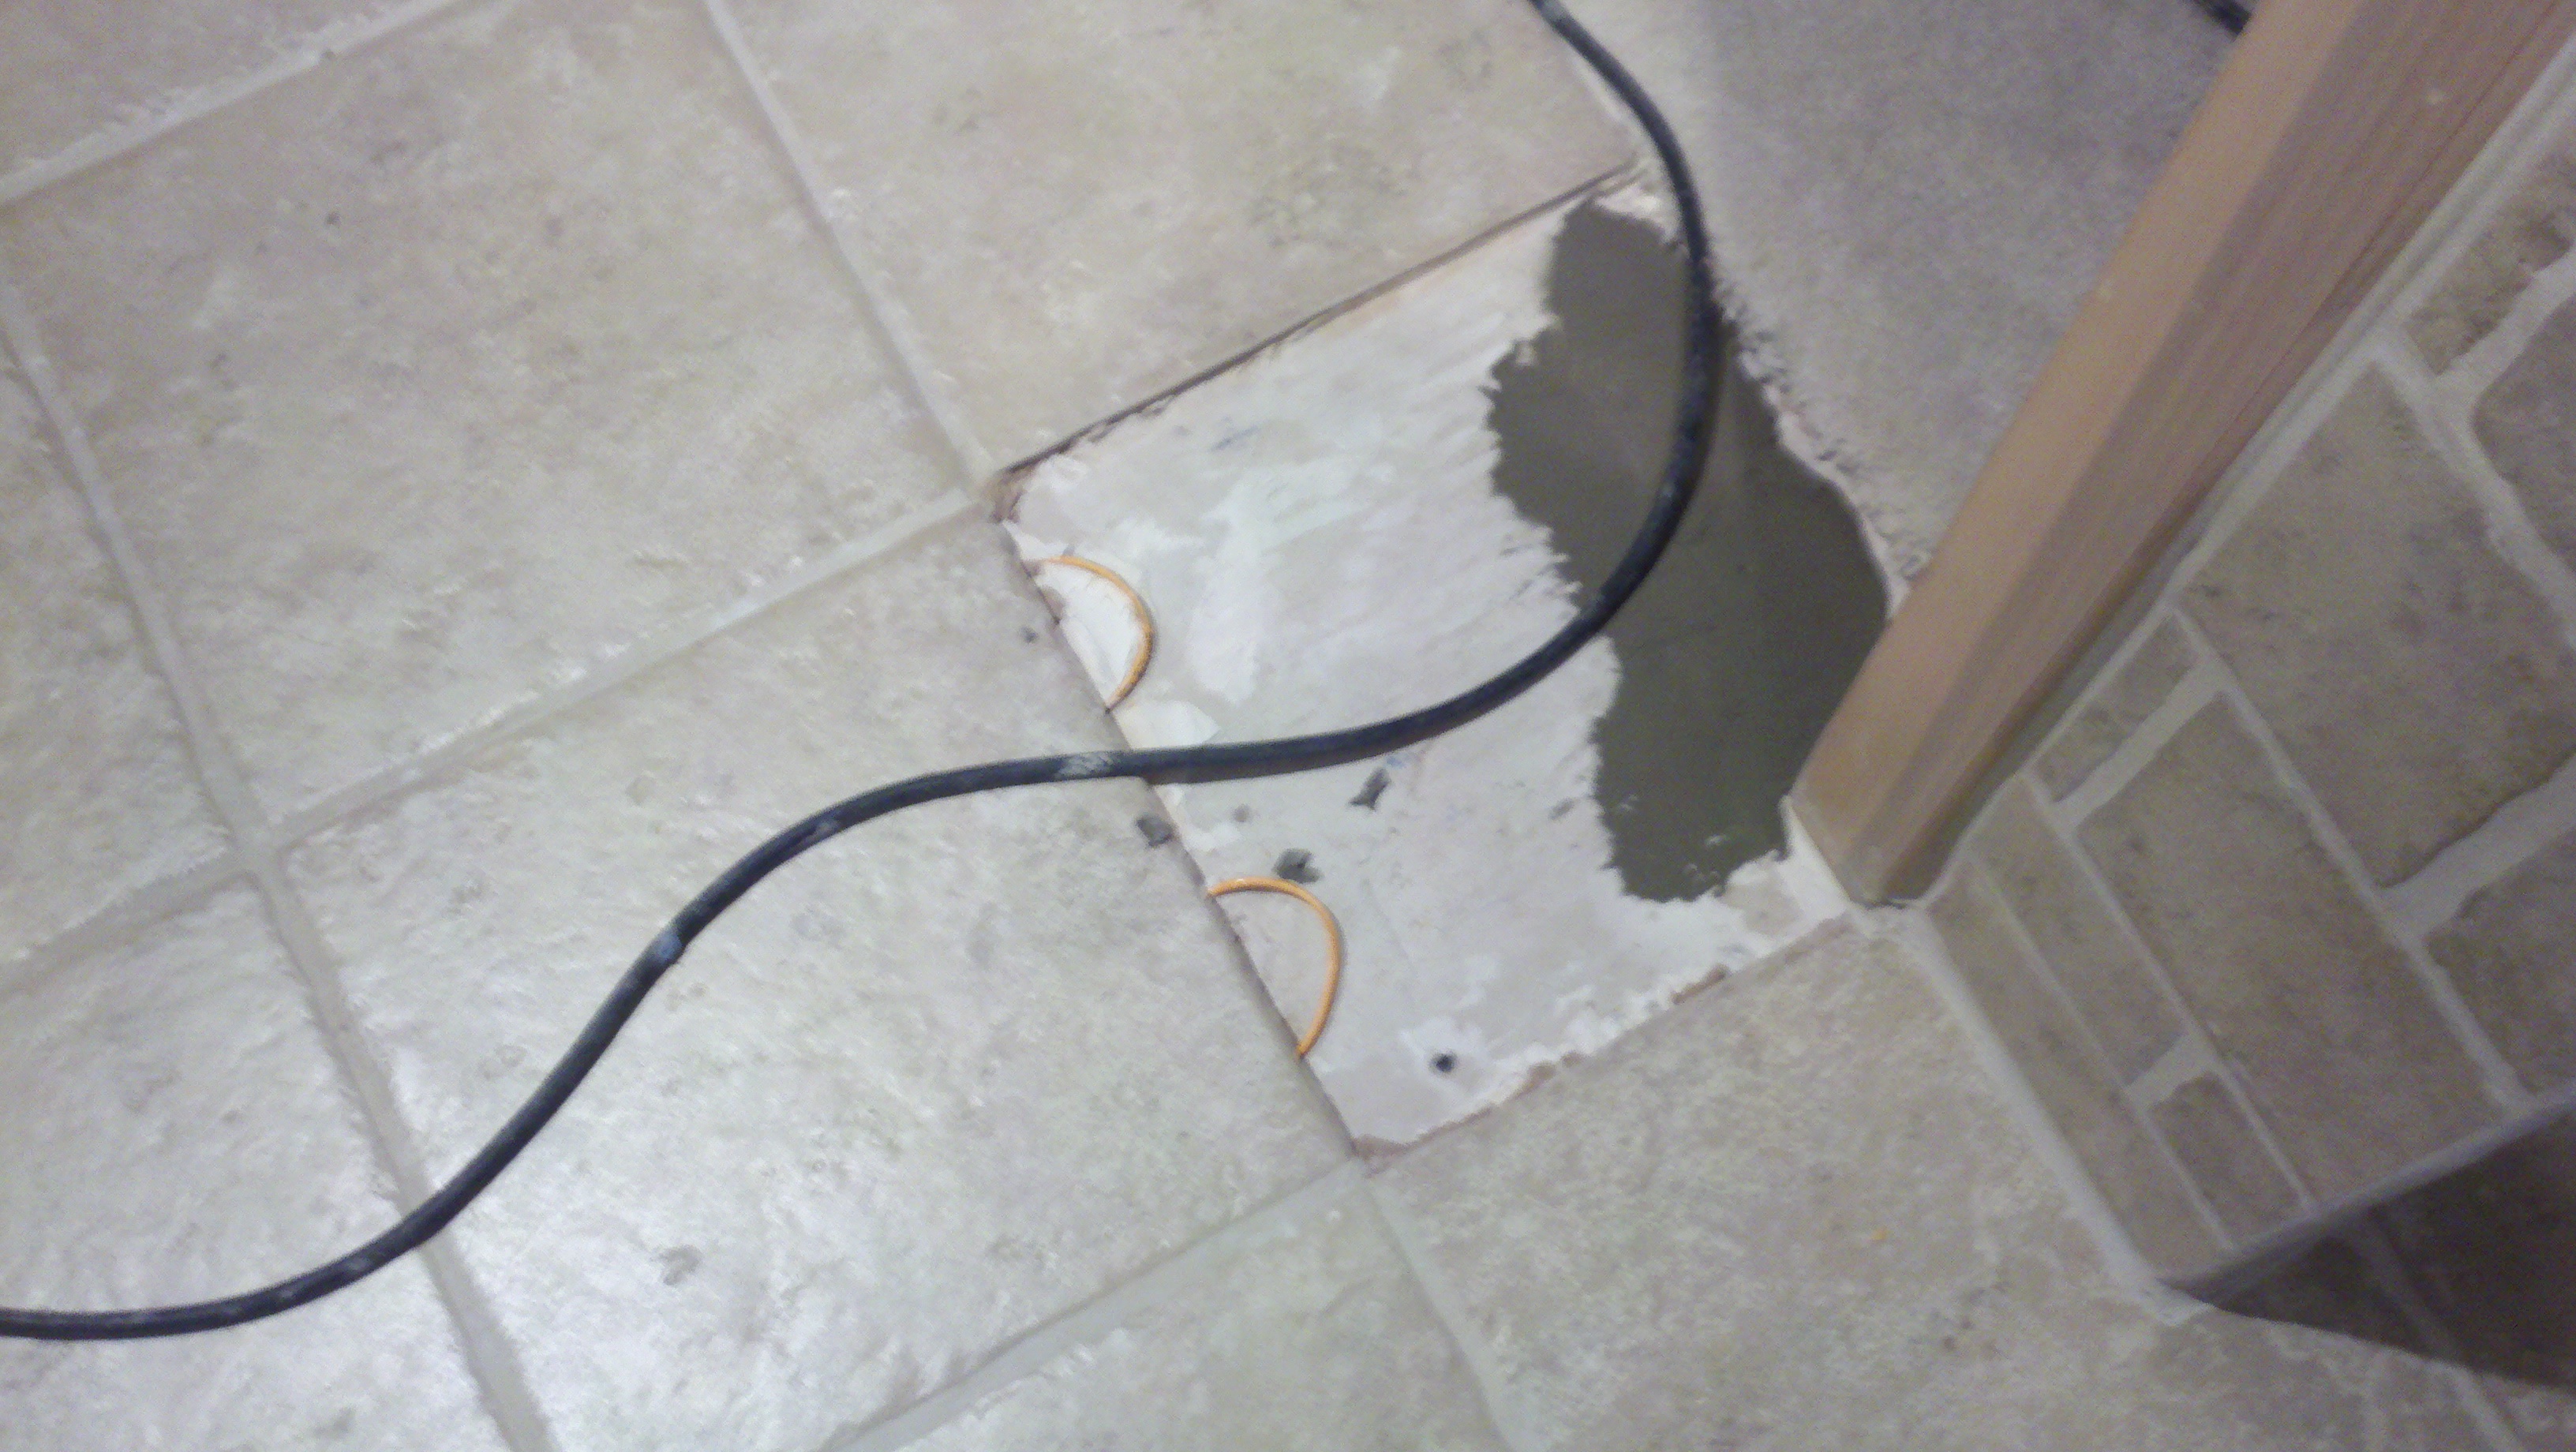
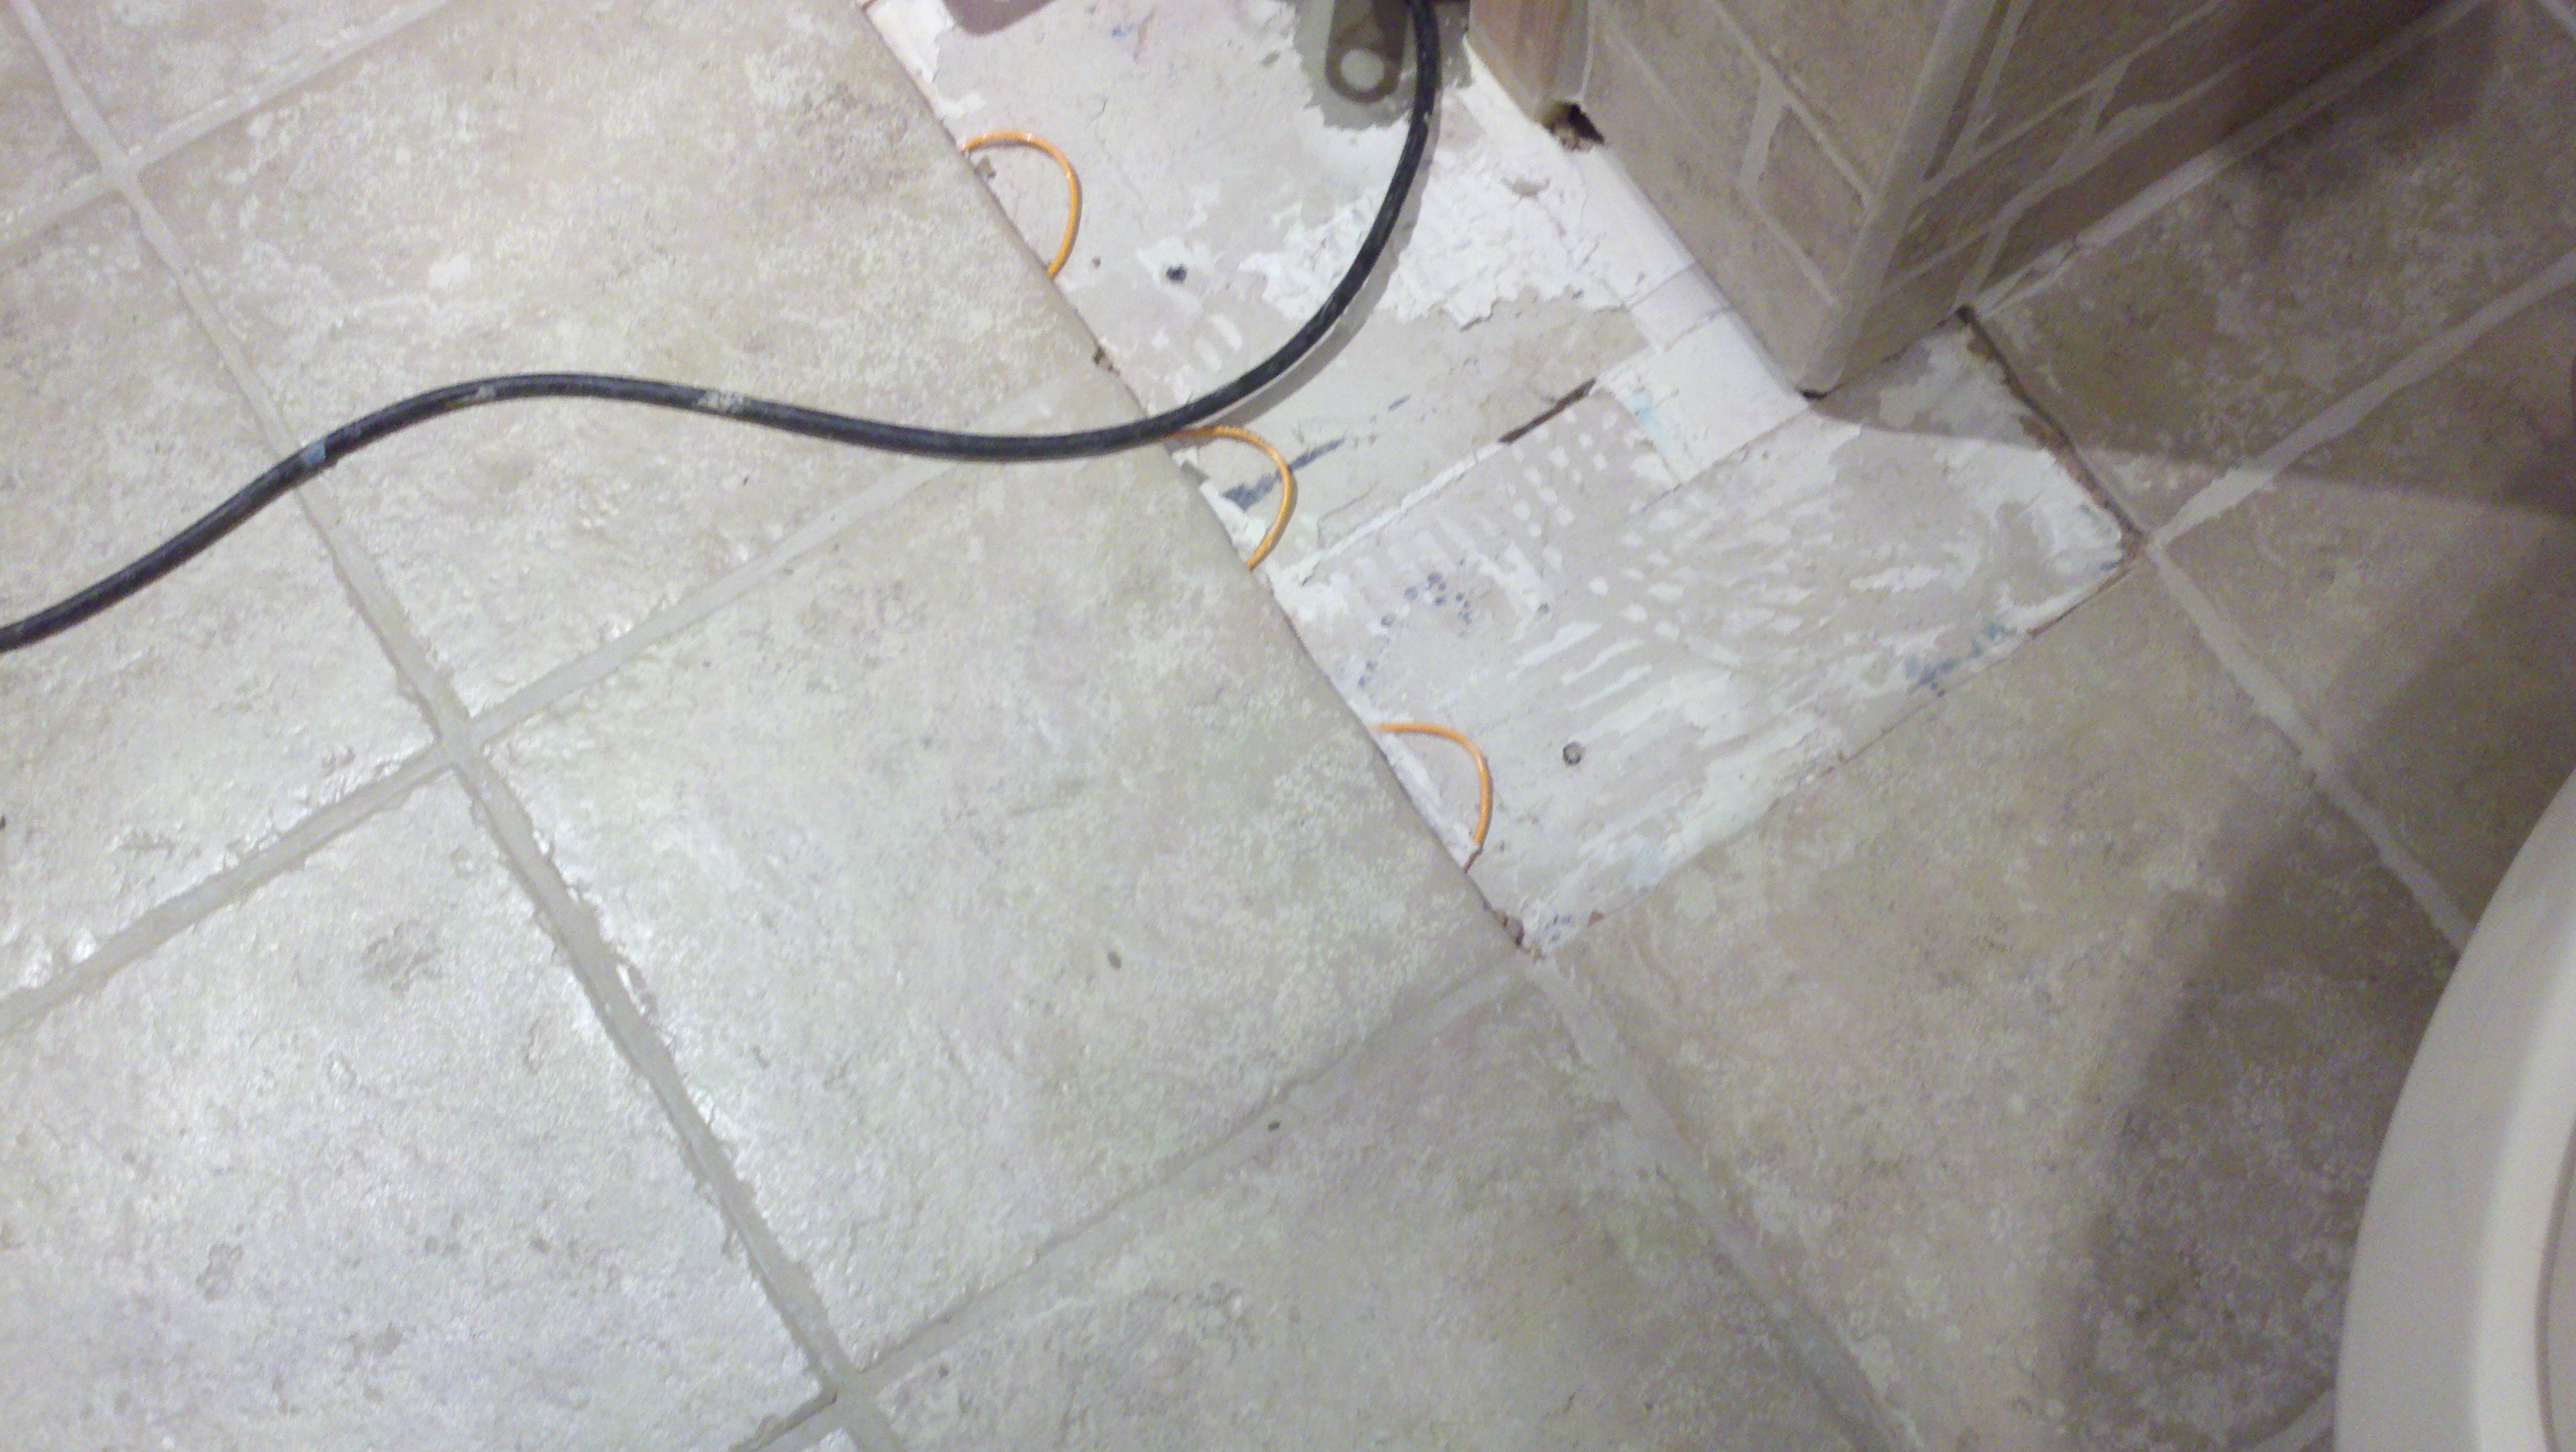
| OLD THINSET MORTAR/TILE
REMOVAL & UNDERLAYMENT INSTALLATION PICTURES
|
||||
| TILE INSTALLATION
PREPARATION & INITIATION PICTURES
|
||||
| TILE INSTALLATION
& GROUT APPLICATION PICTURES
|
||||
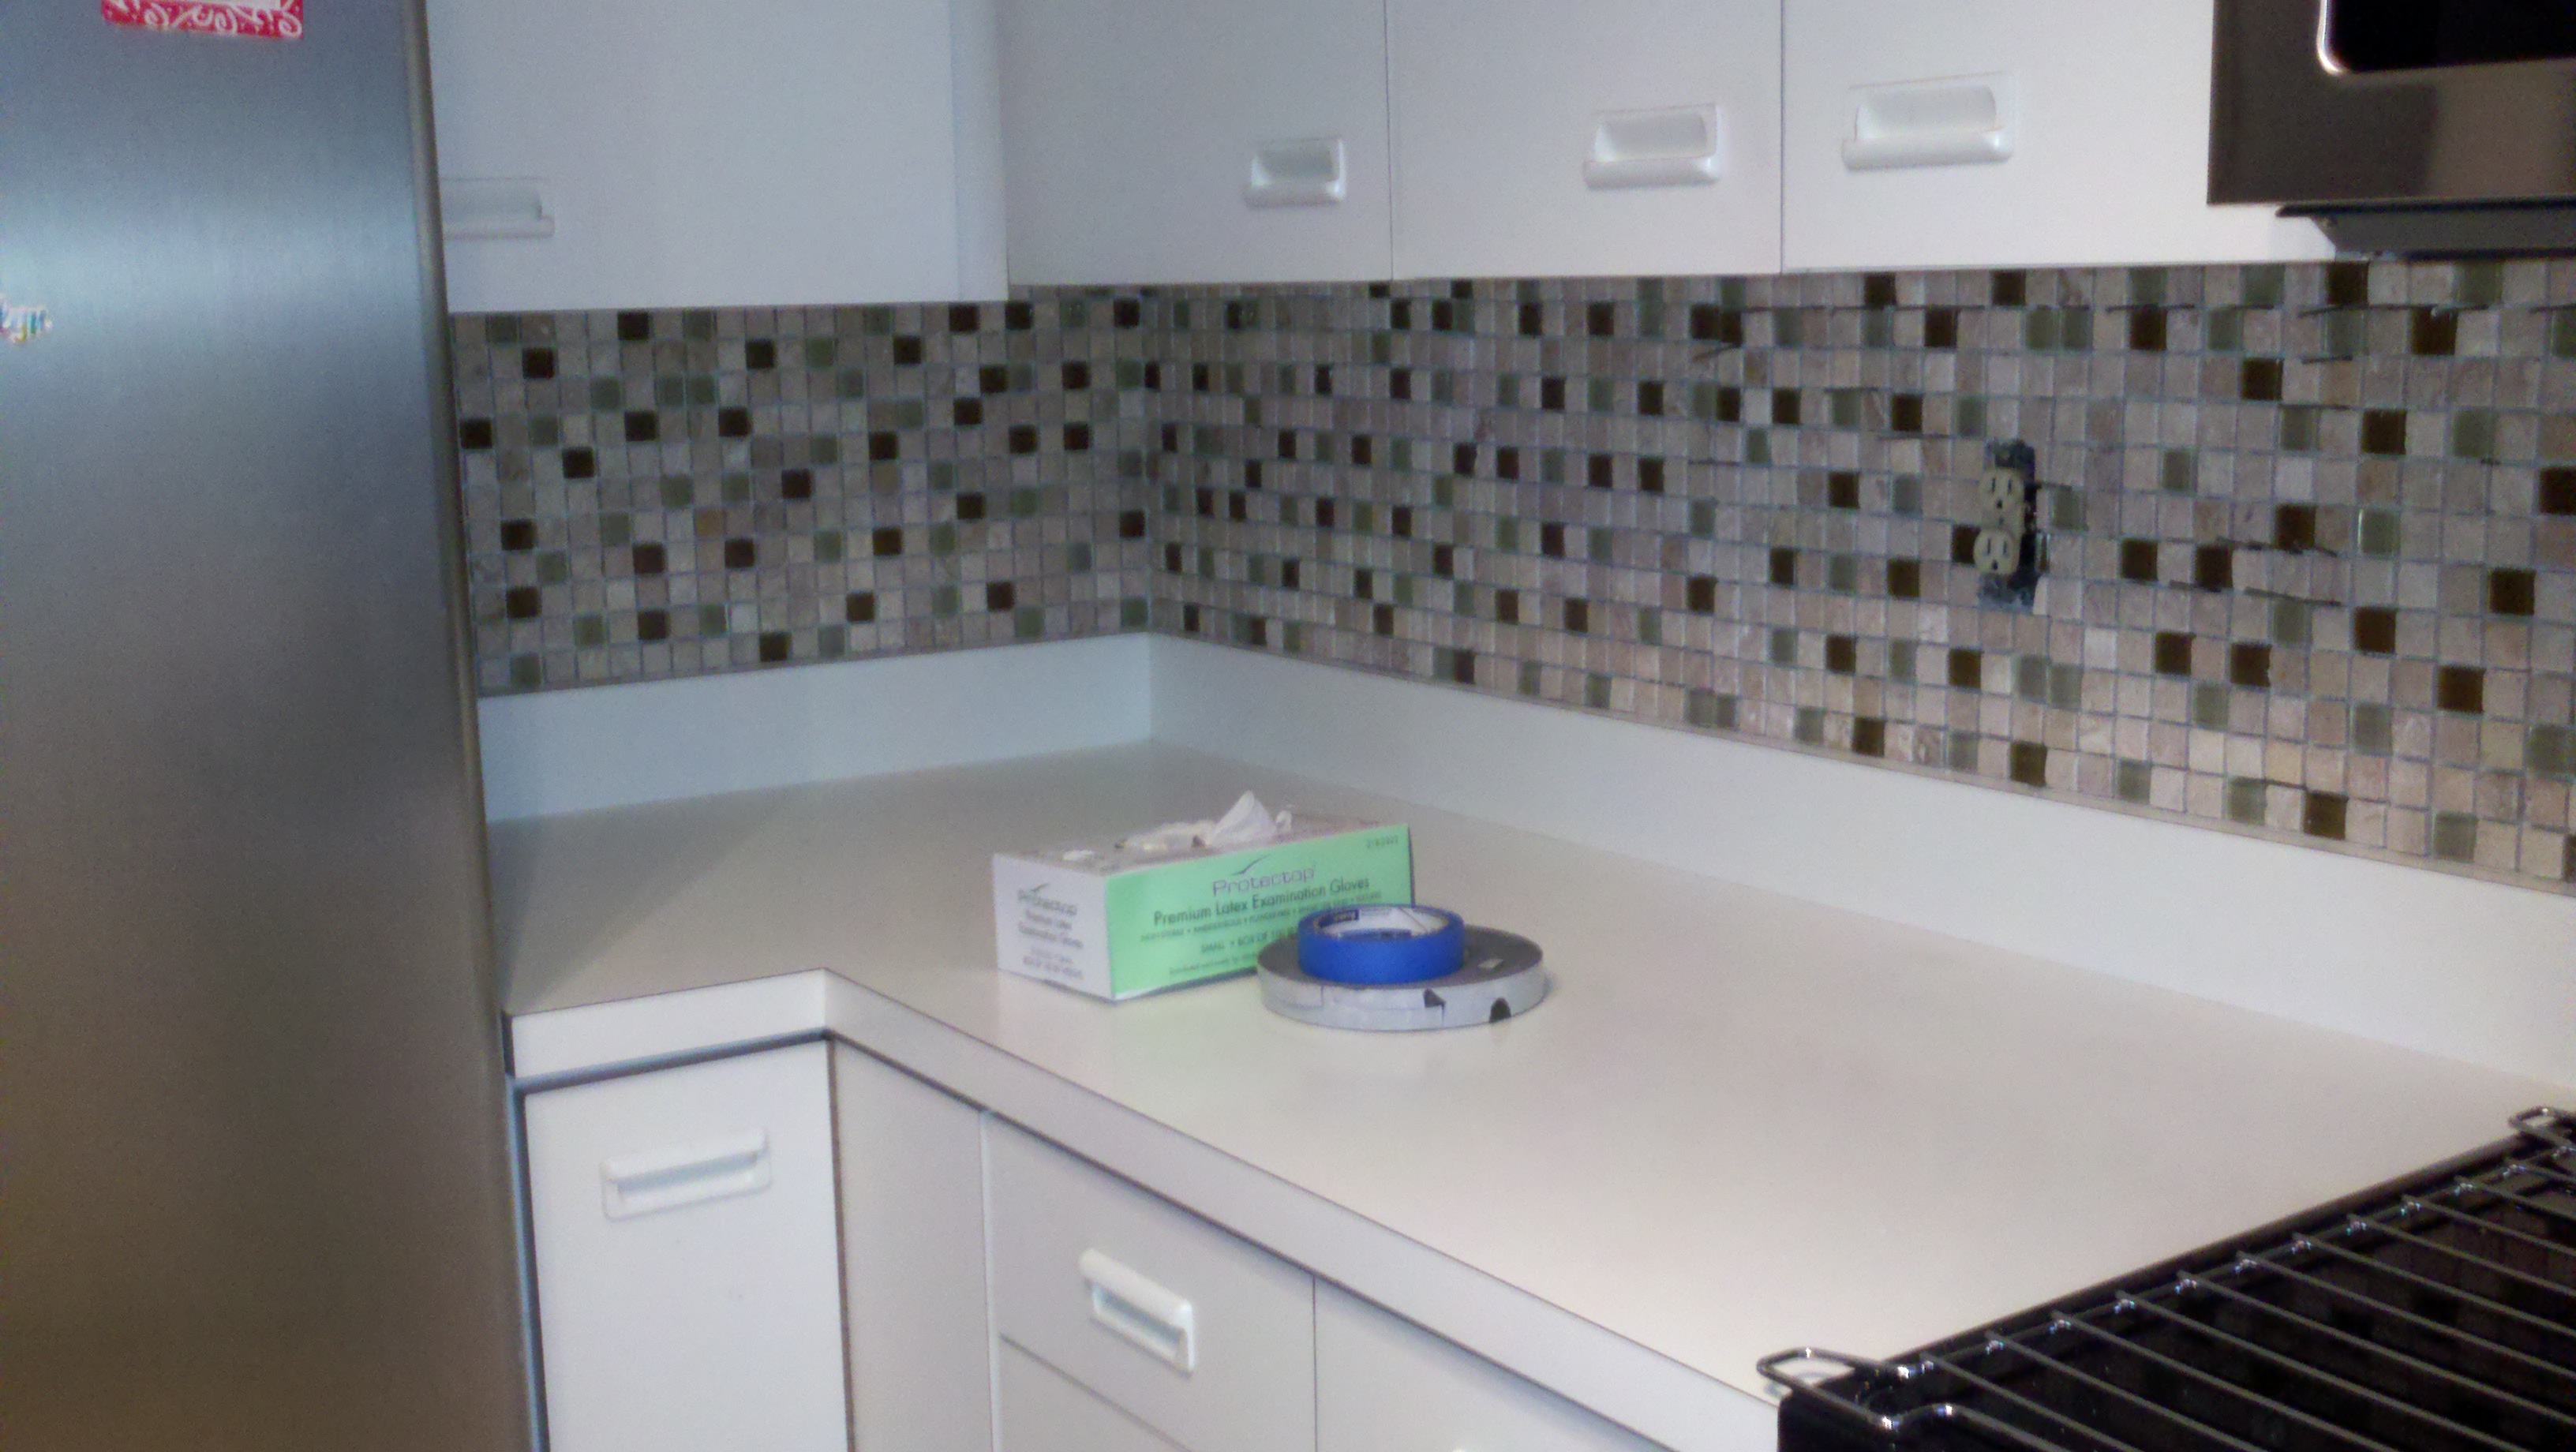
| BACKSPLASH & GROUT
INSTALLATION PICTURES
|
||||
| COMPLETED PICTURES
|
||||
| Kitchen Wallpaper
Removal, Television in wall installation, & paint
|
||||
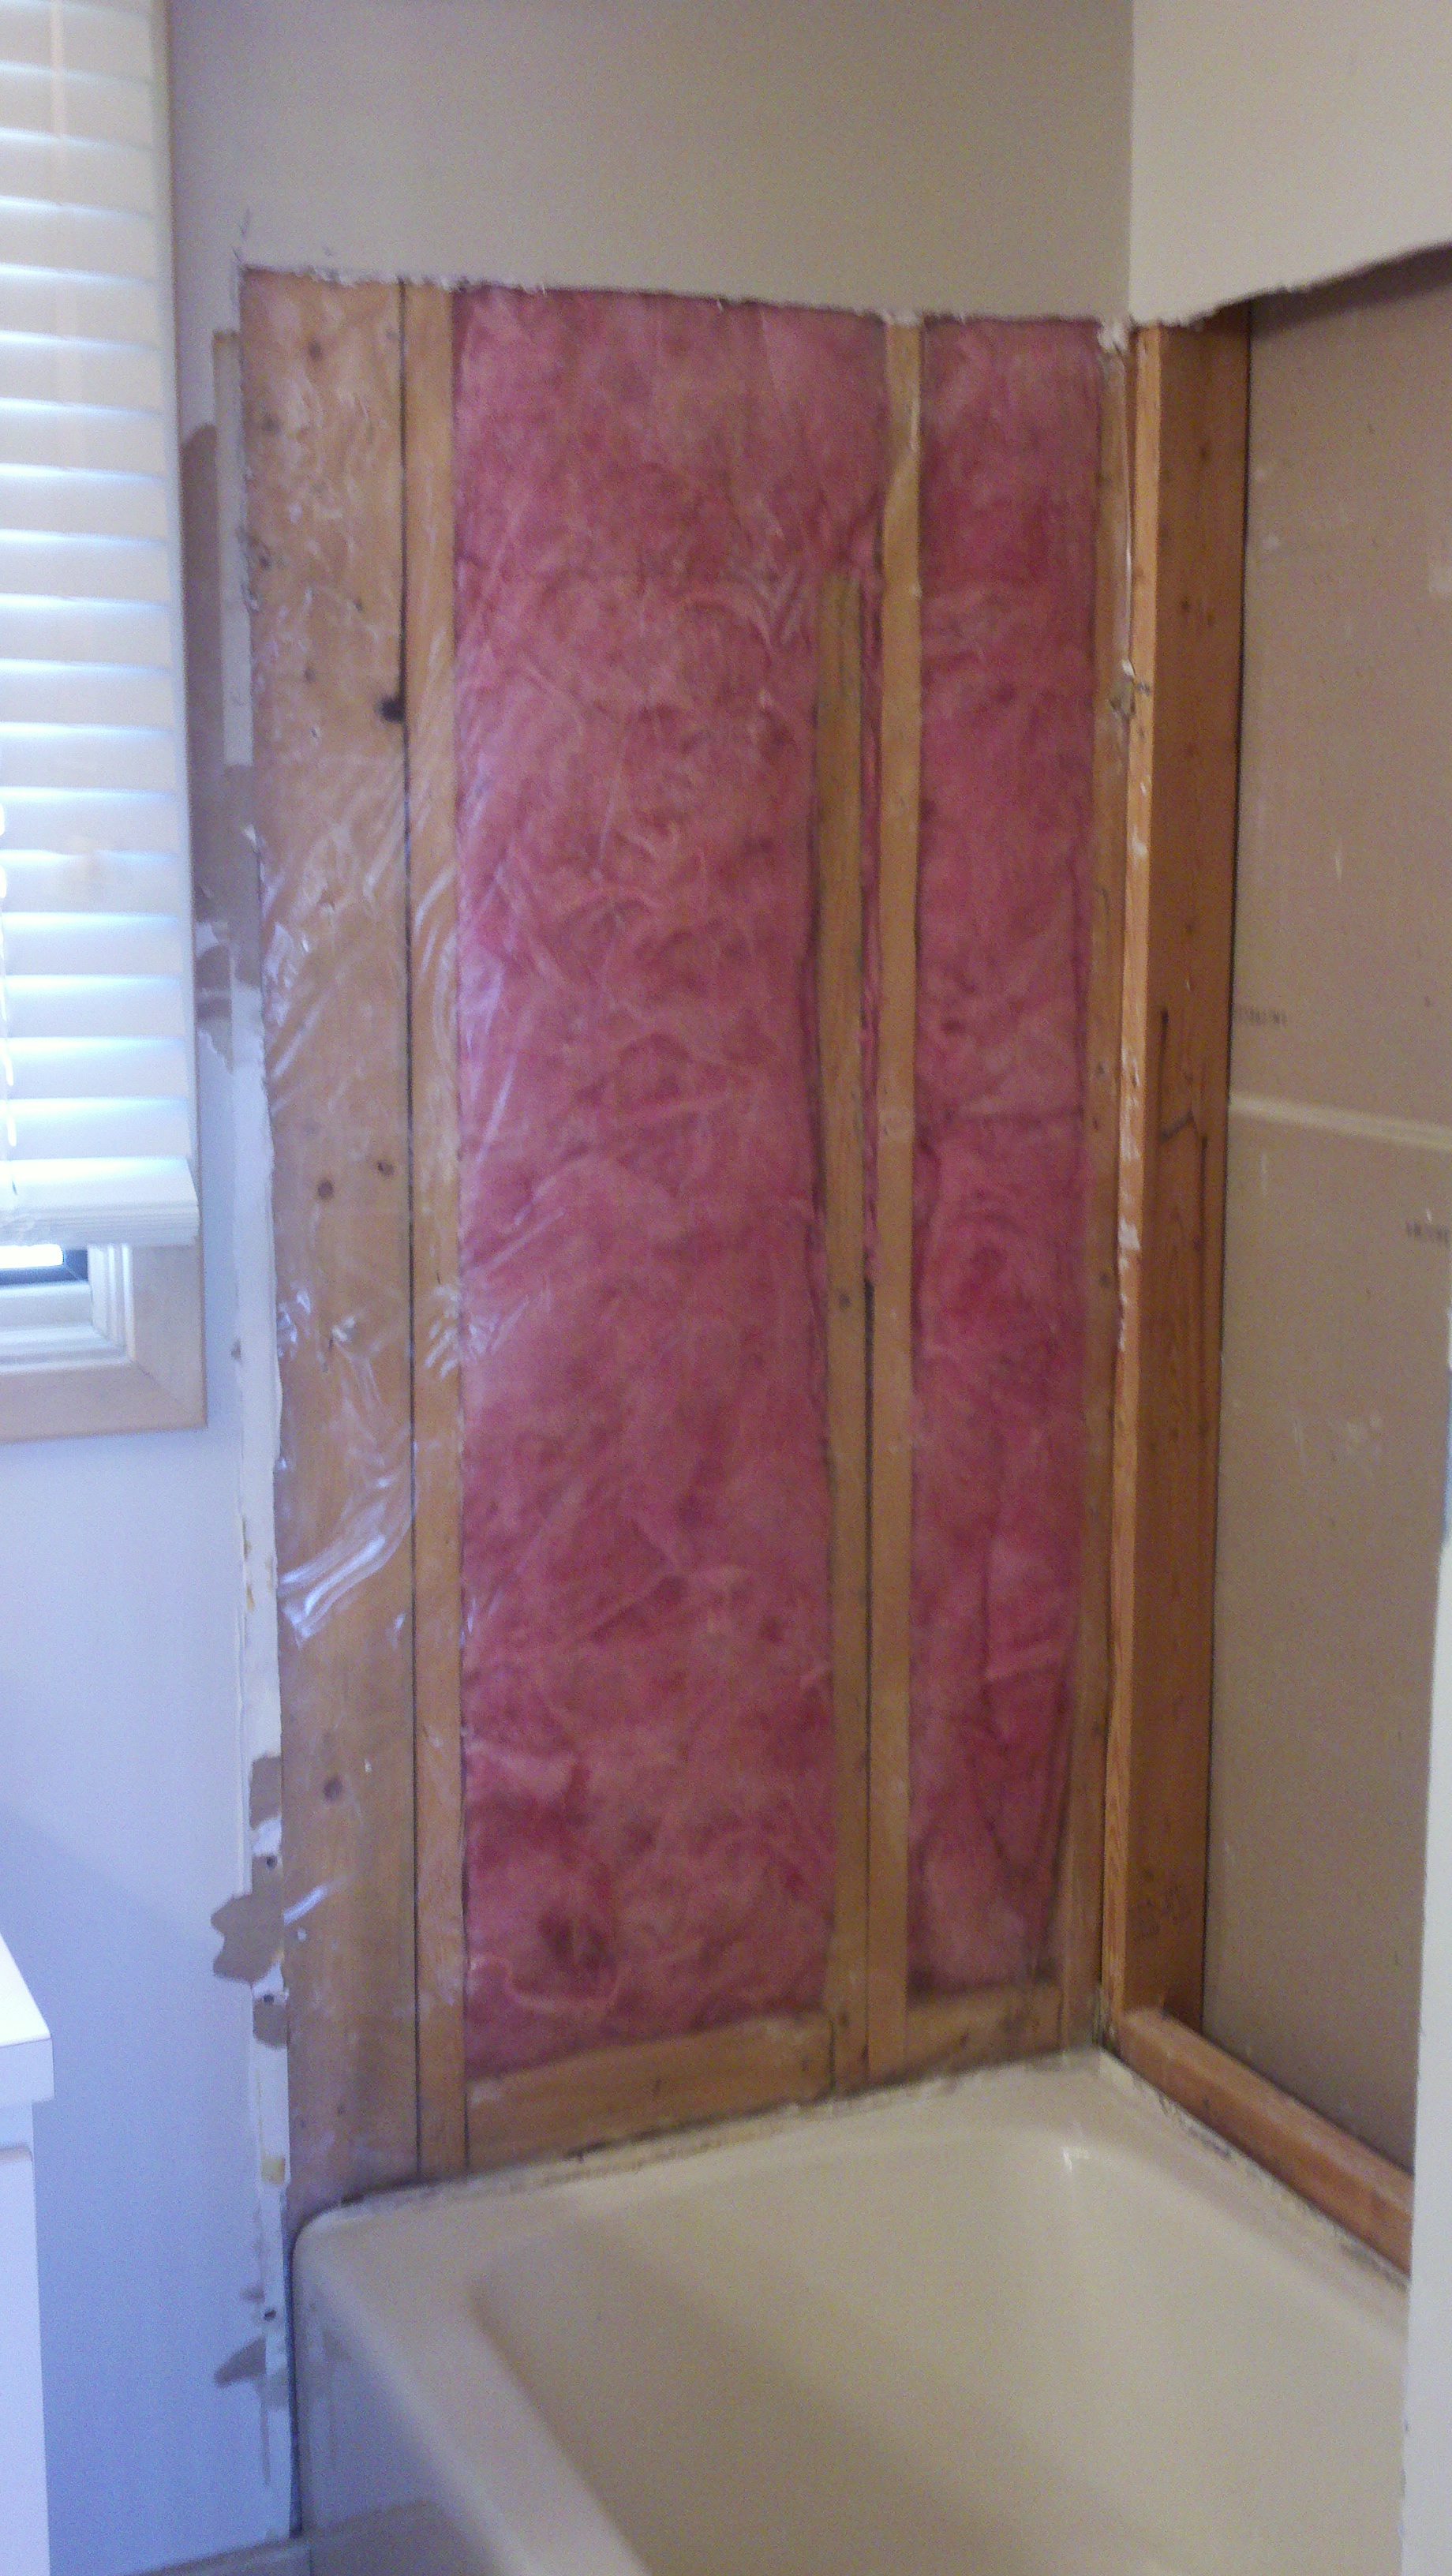
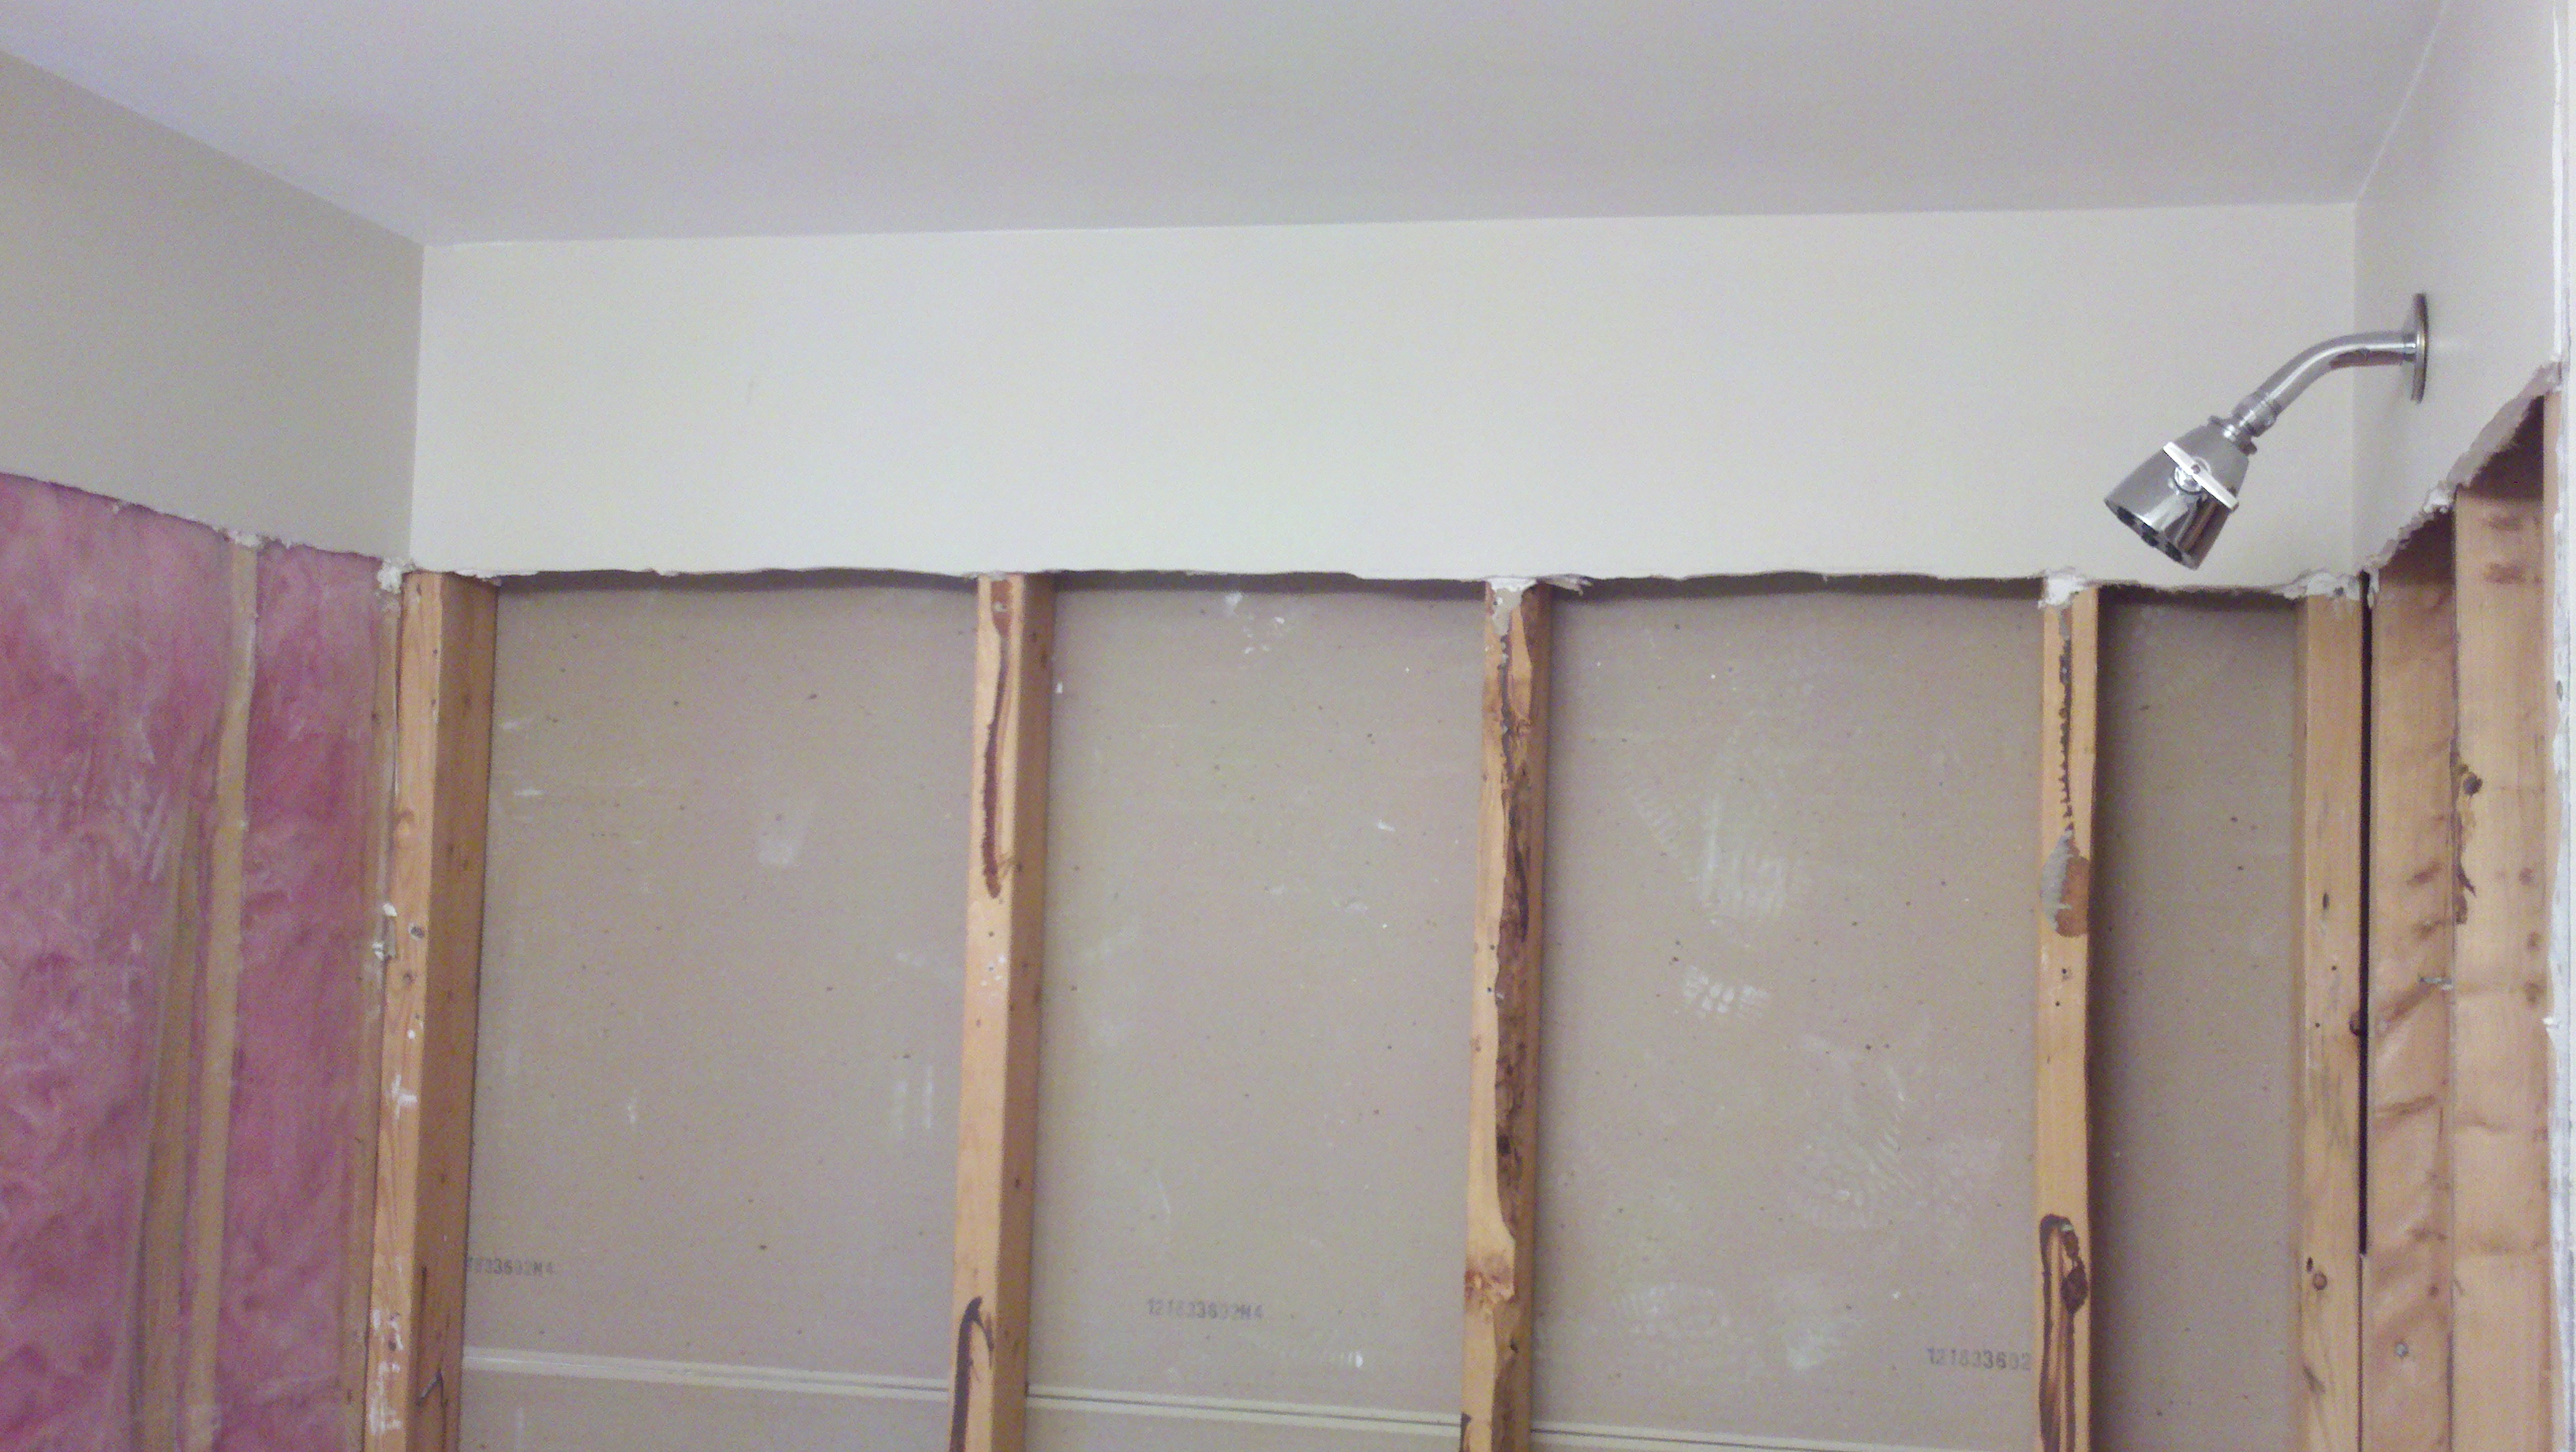
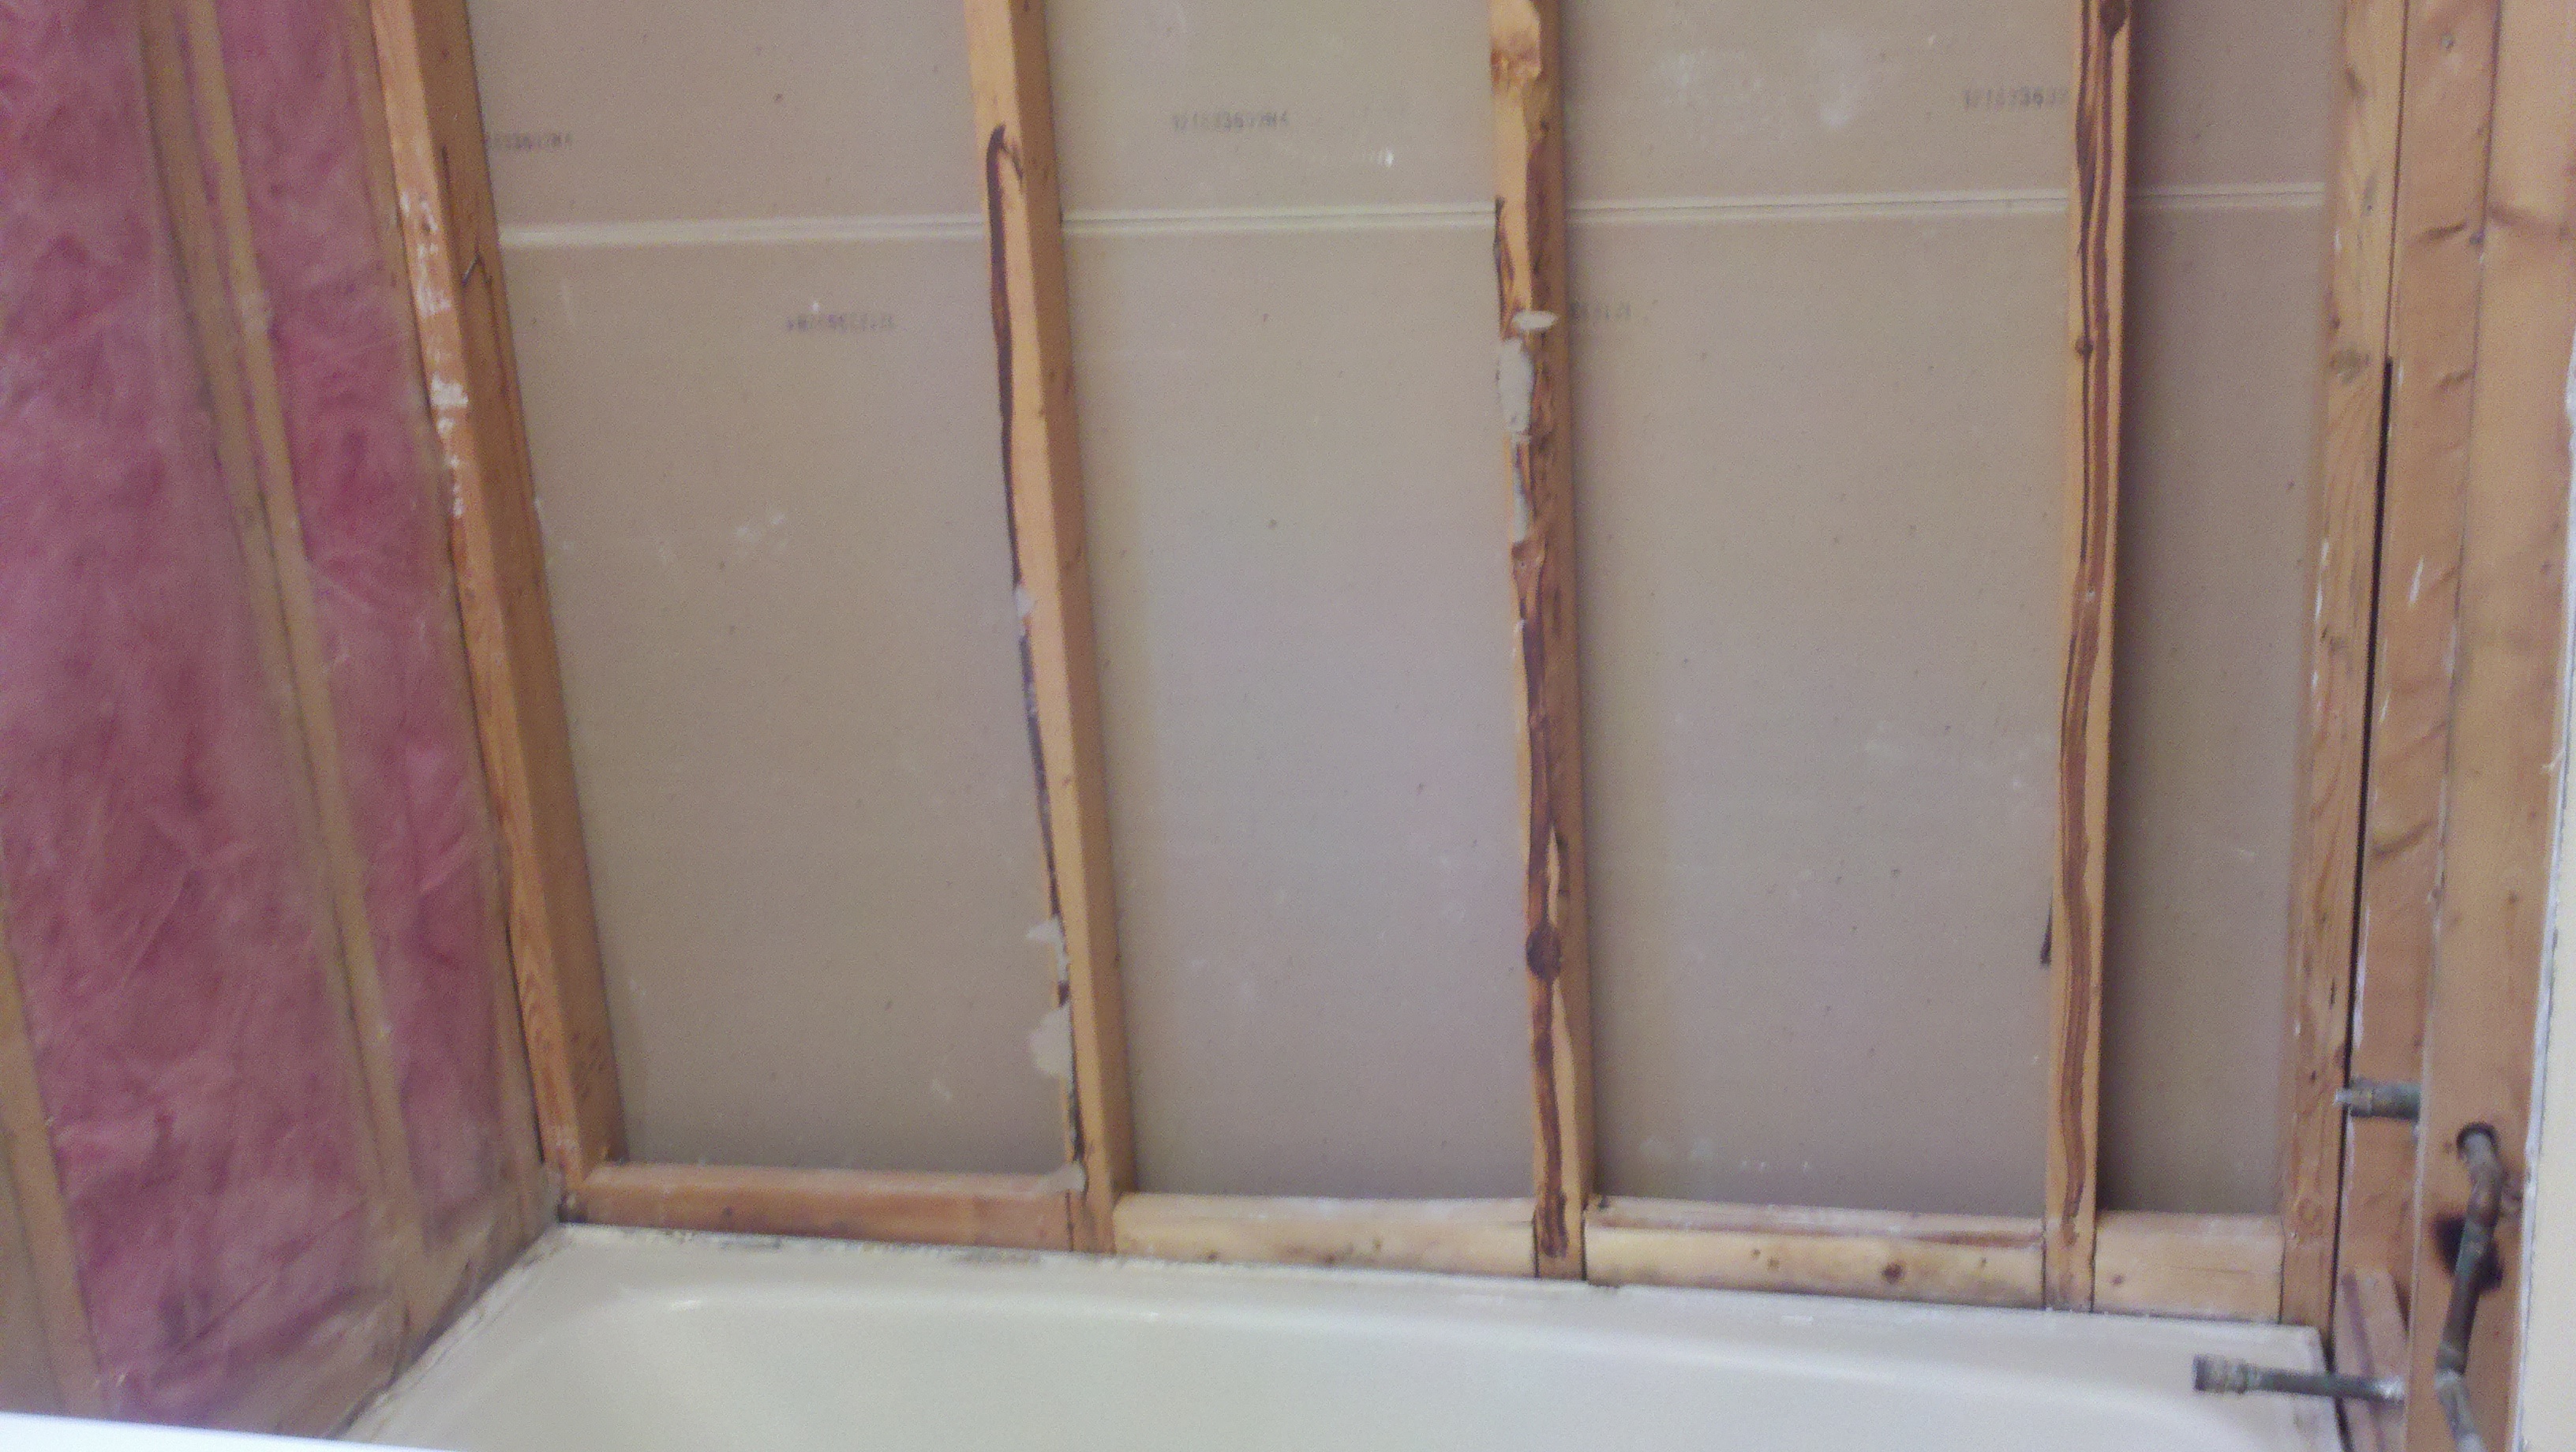
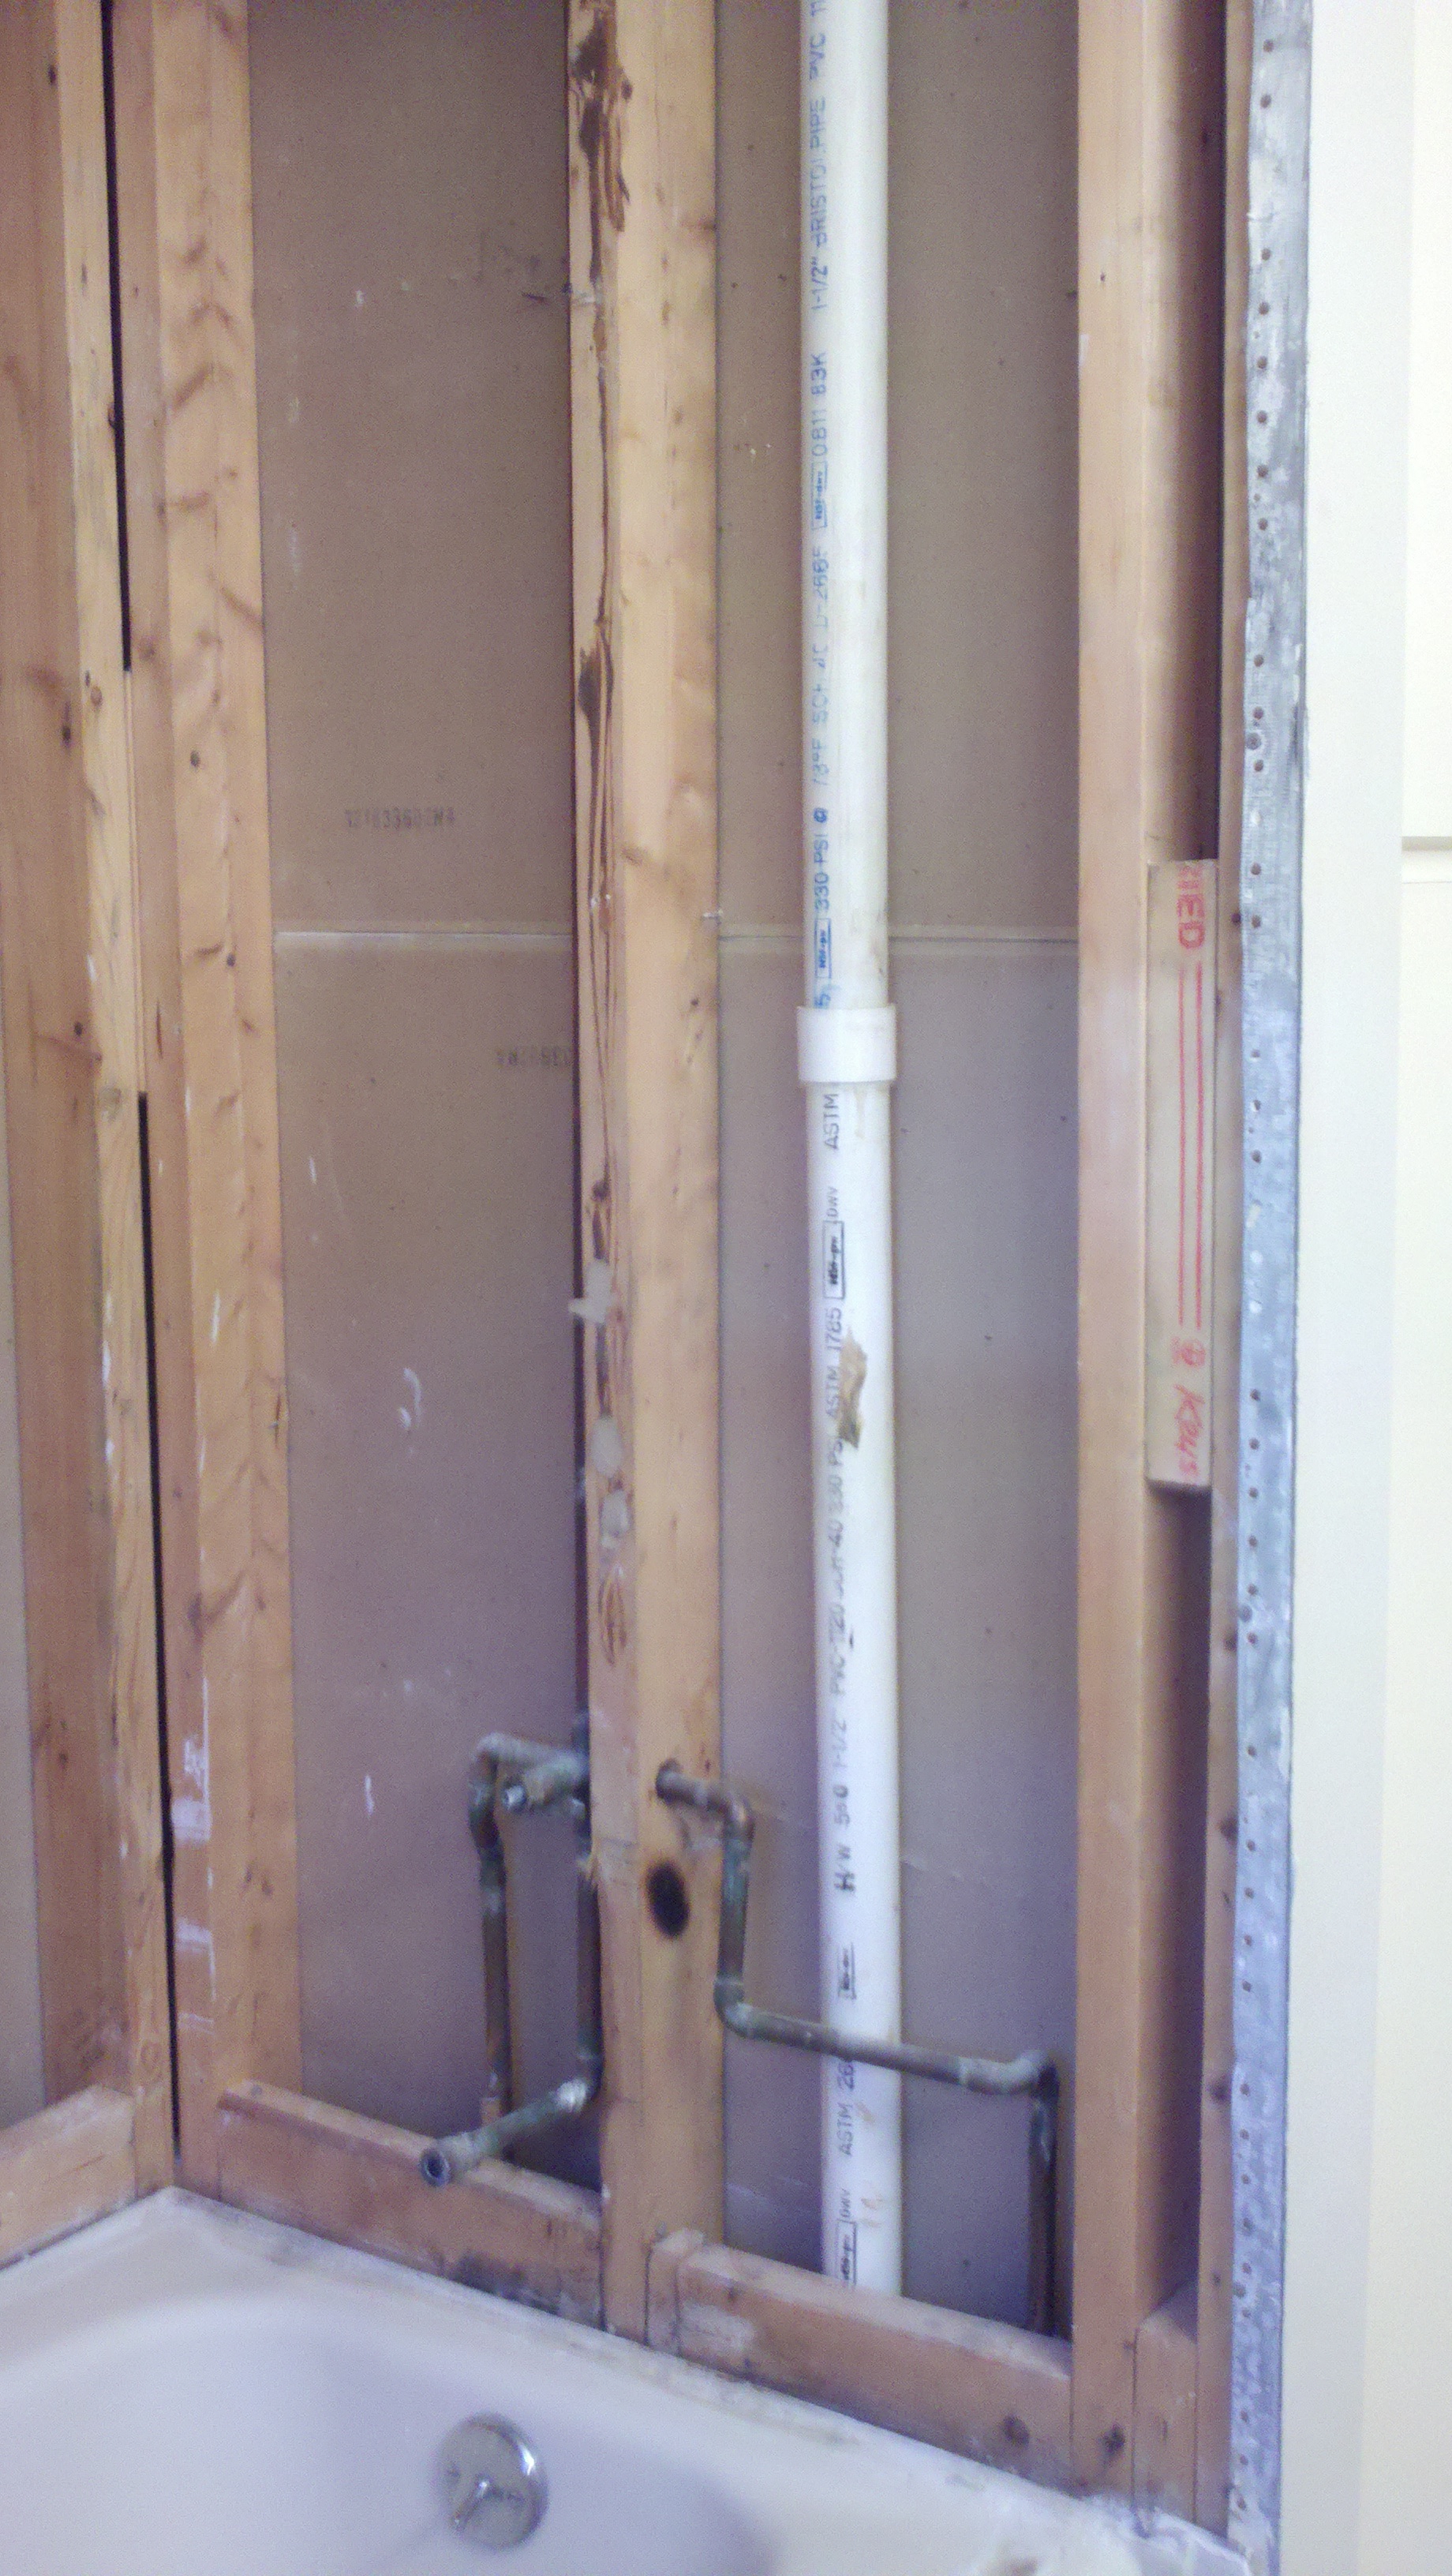
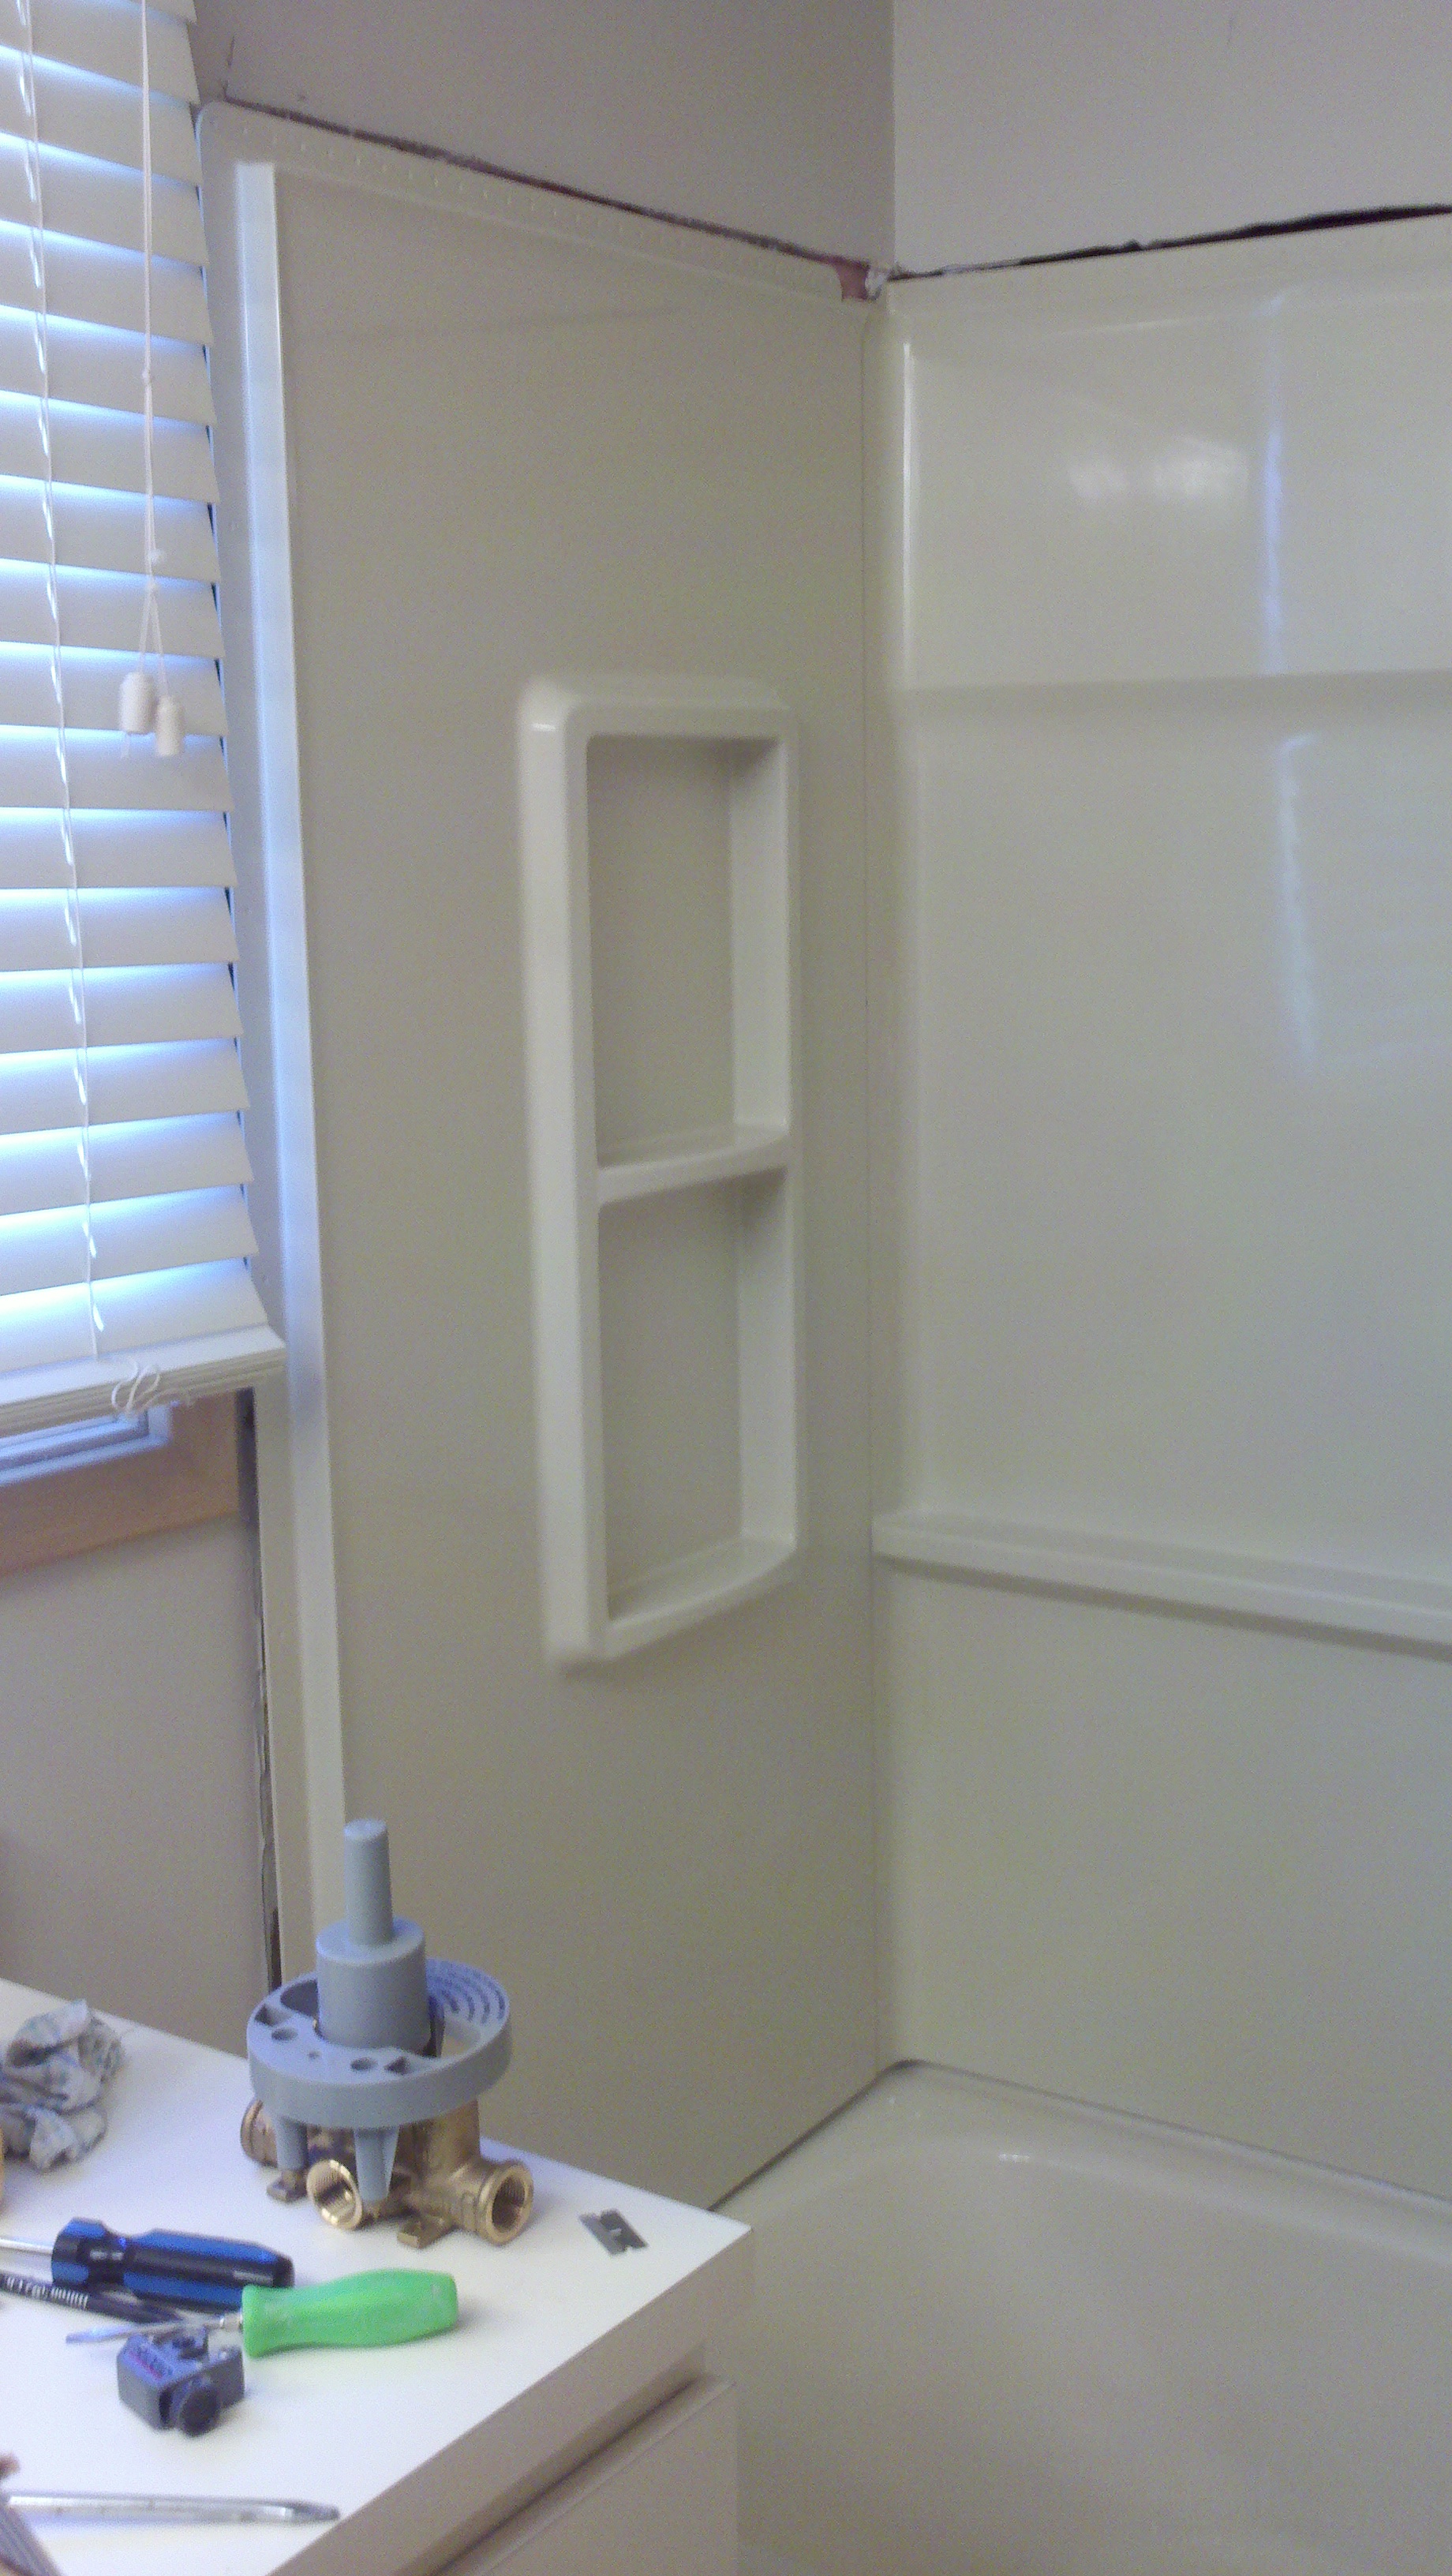
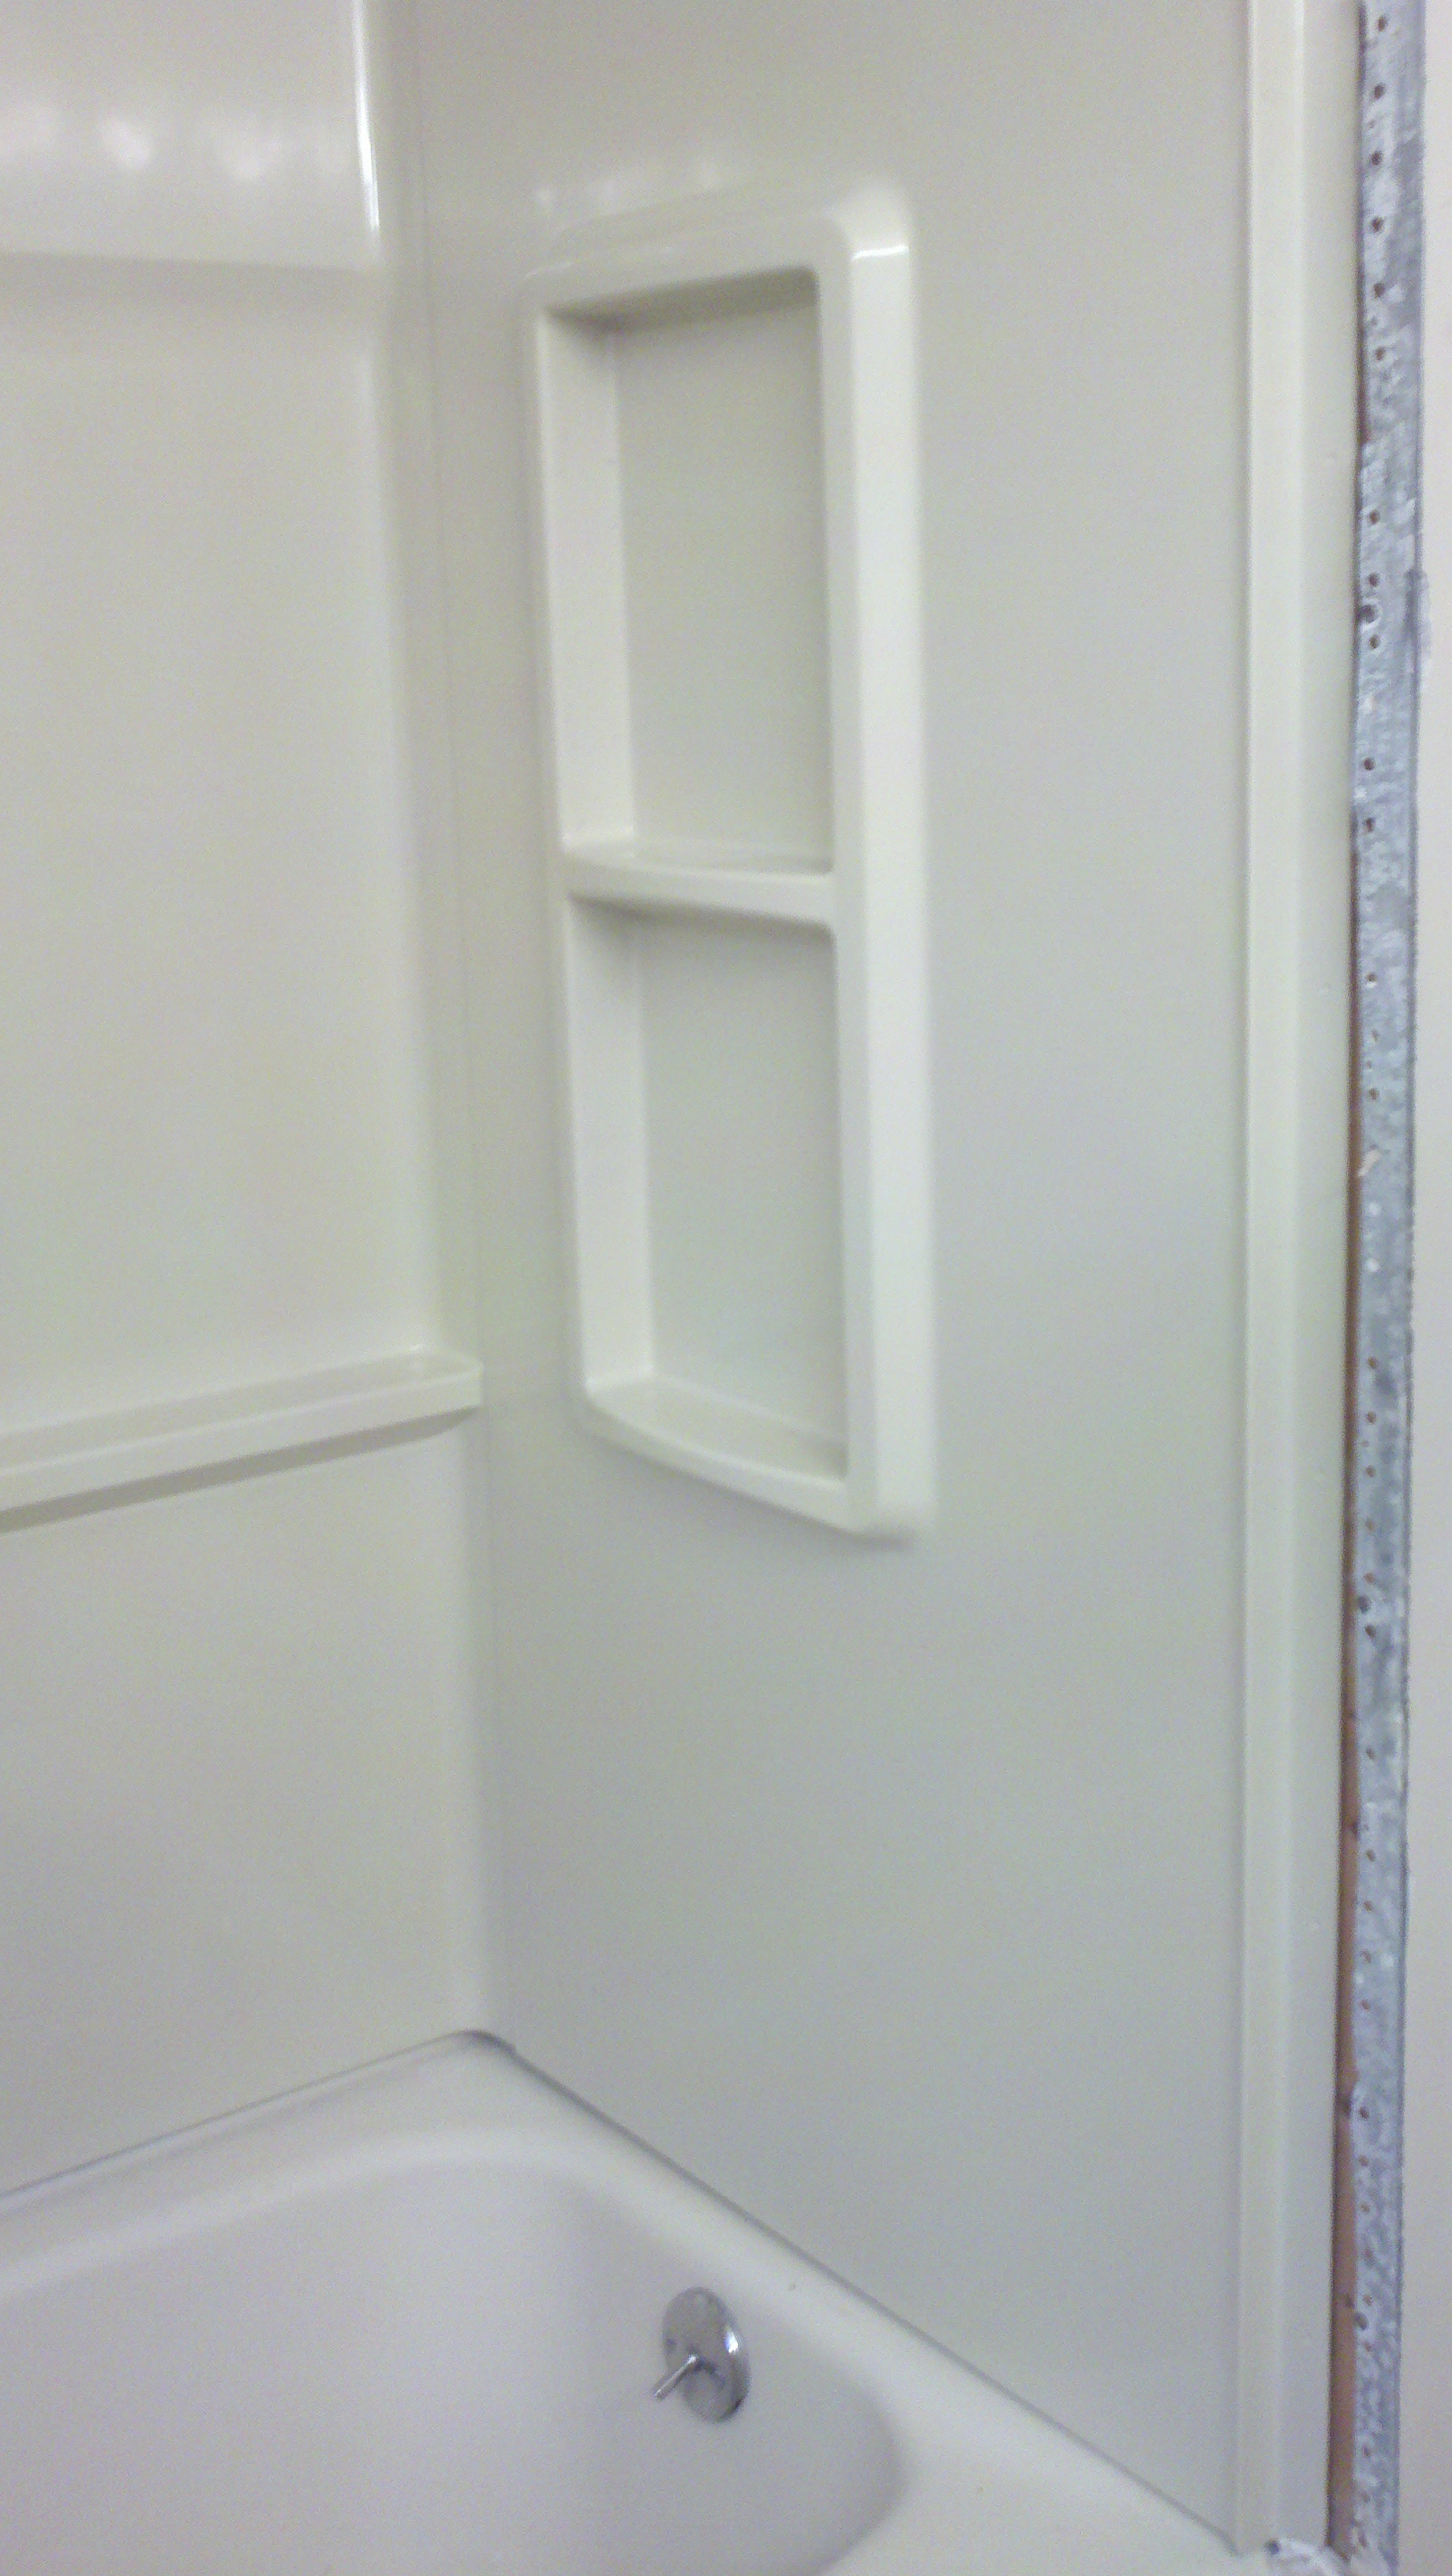
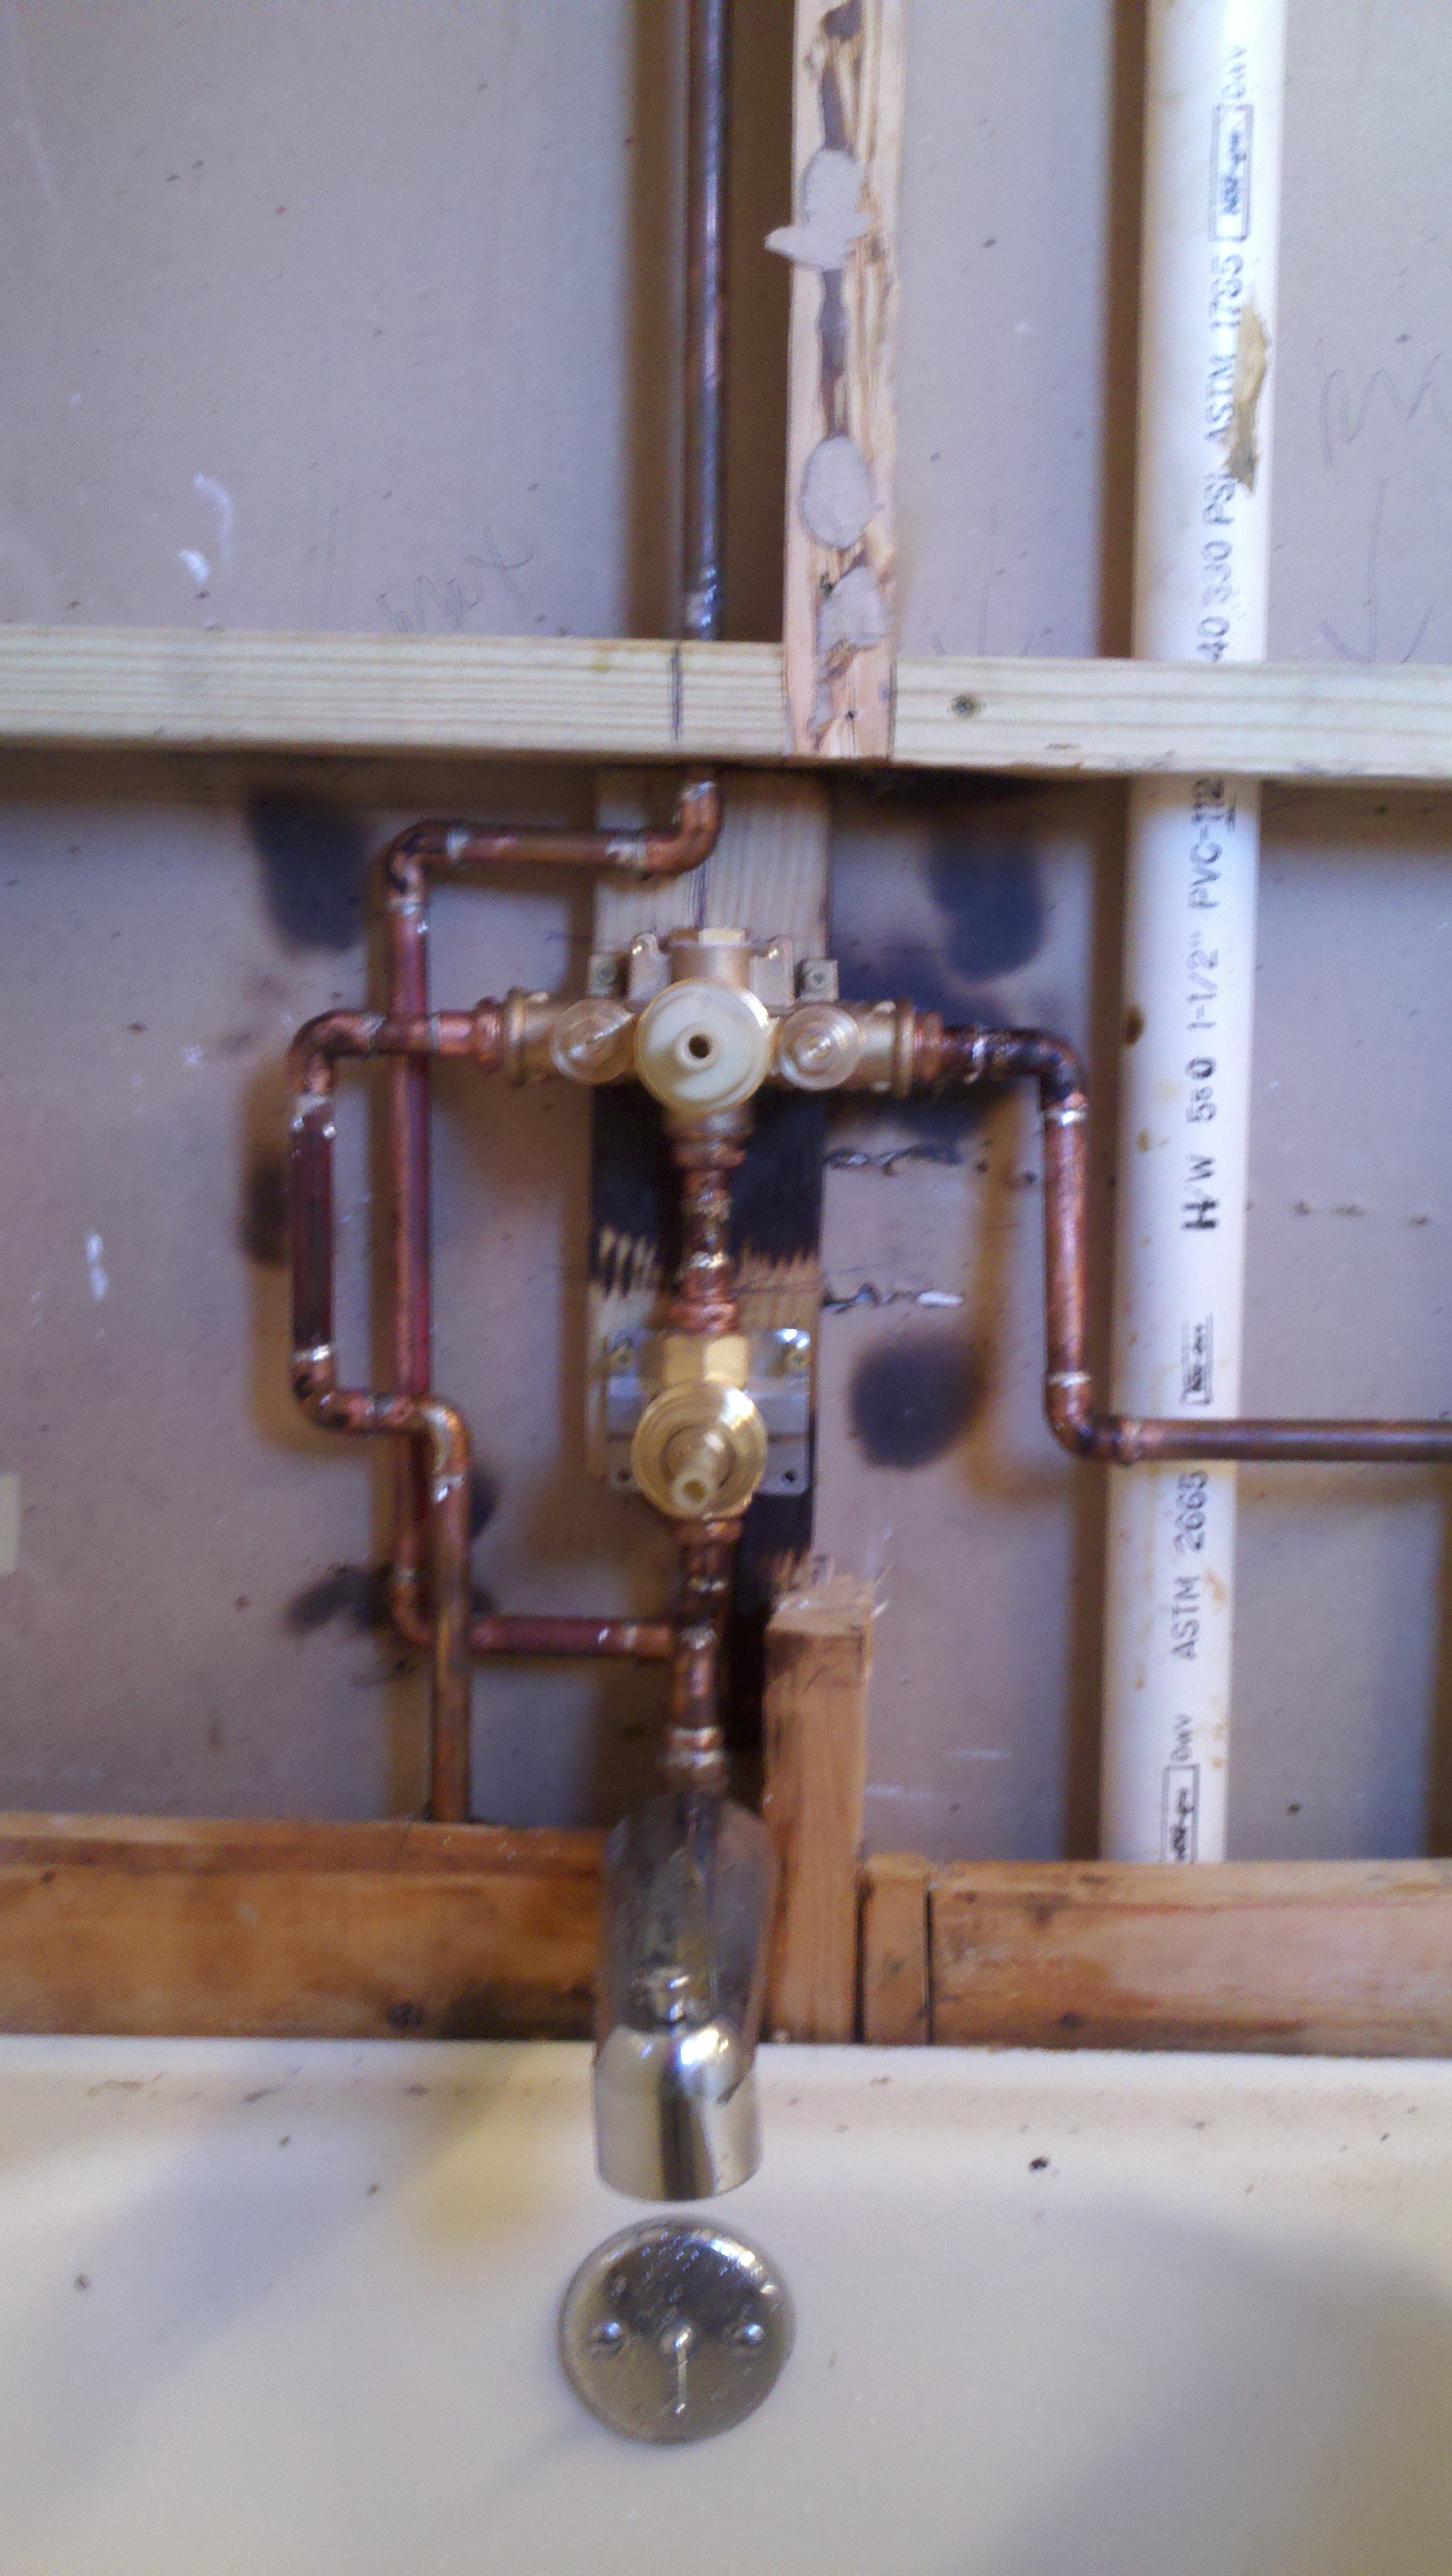
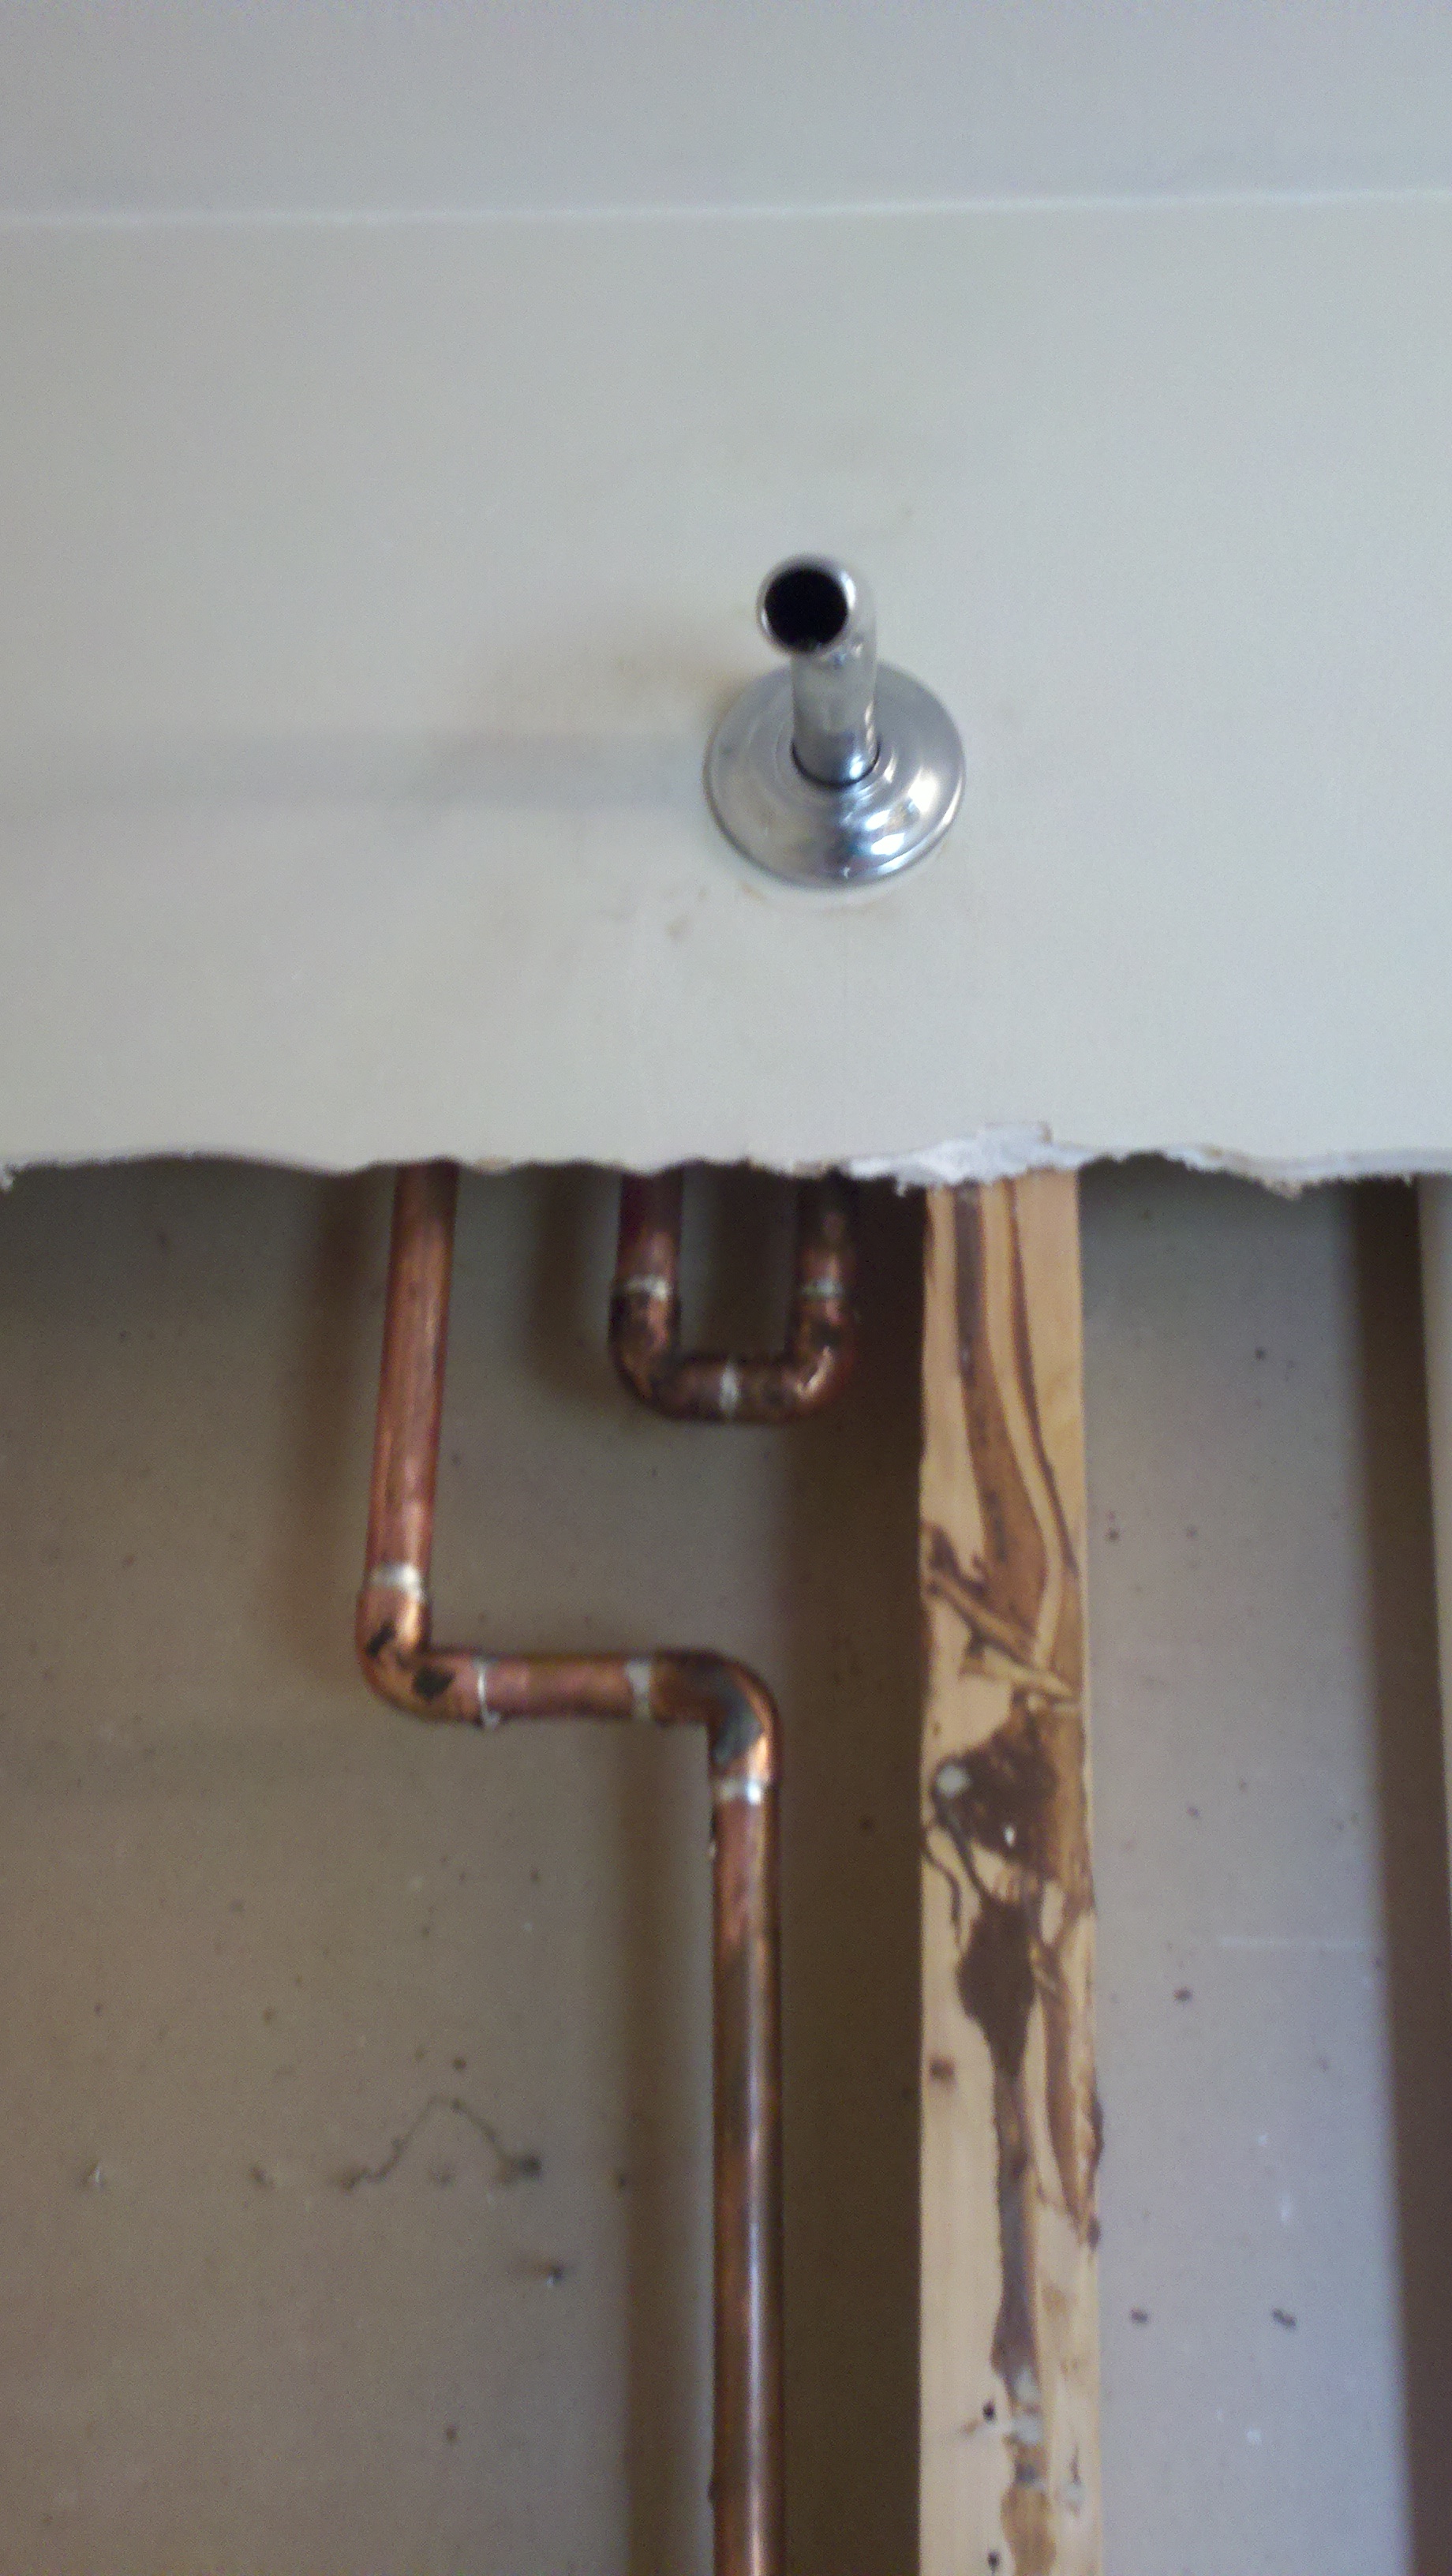
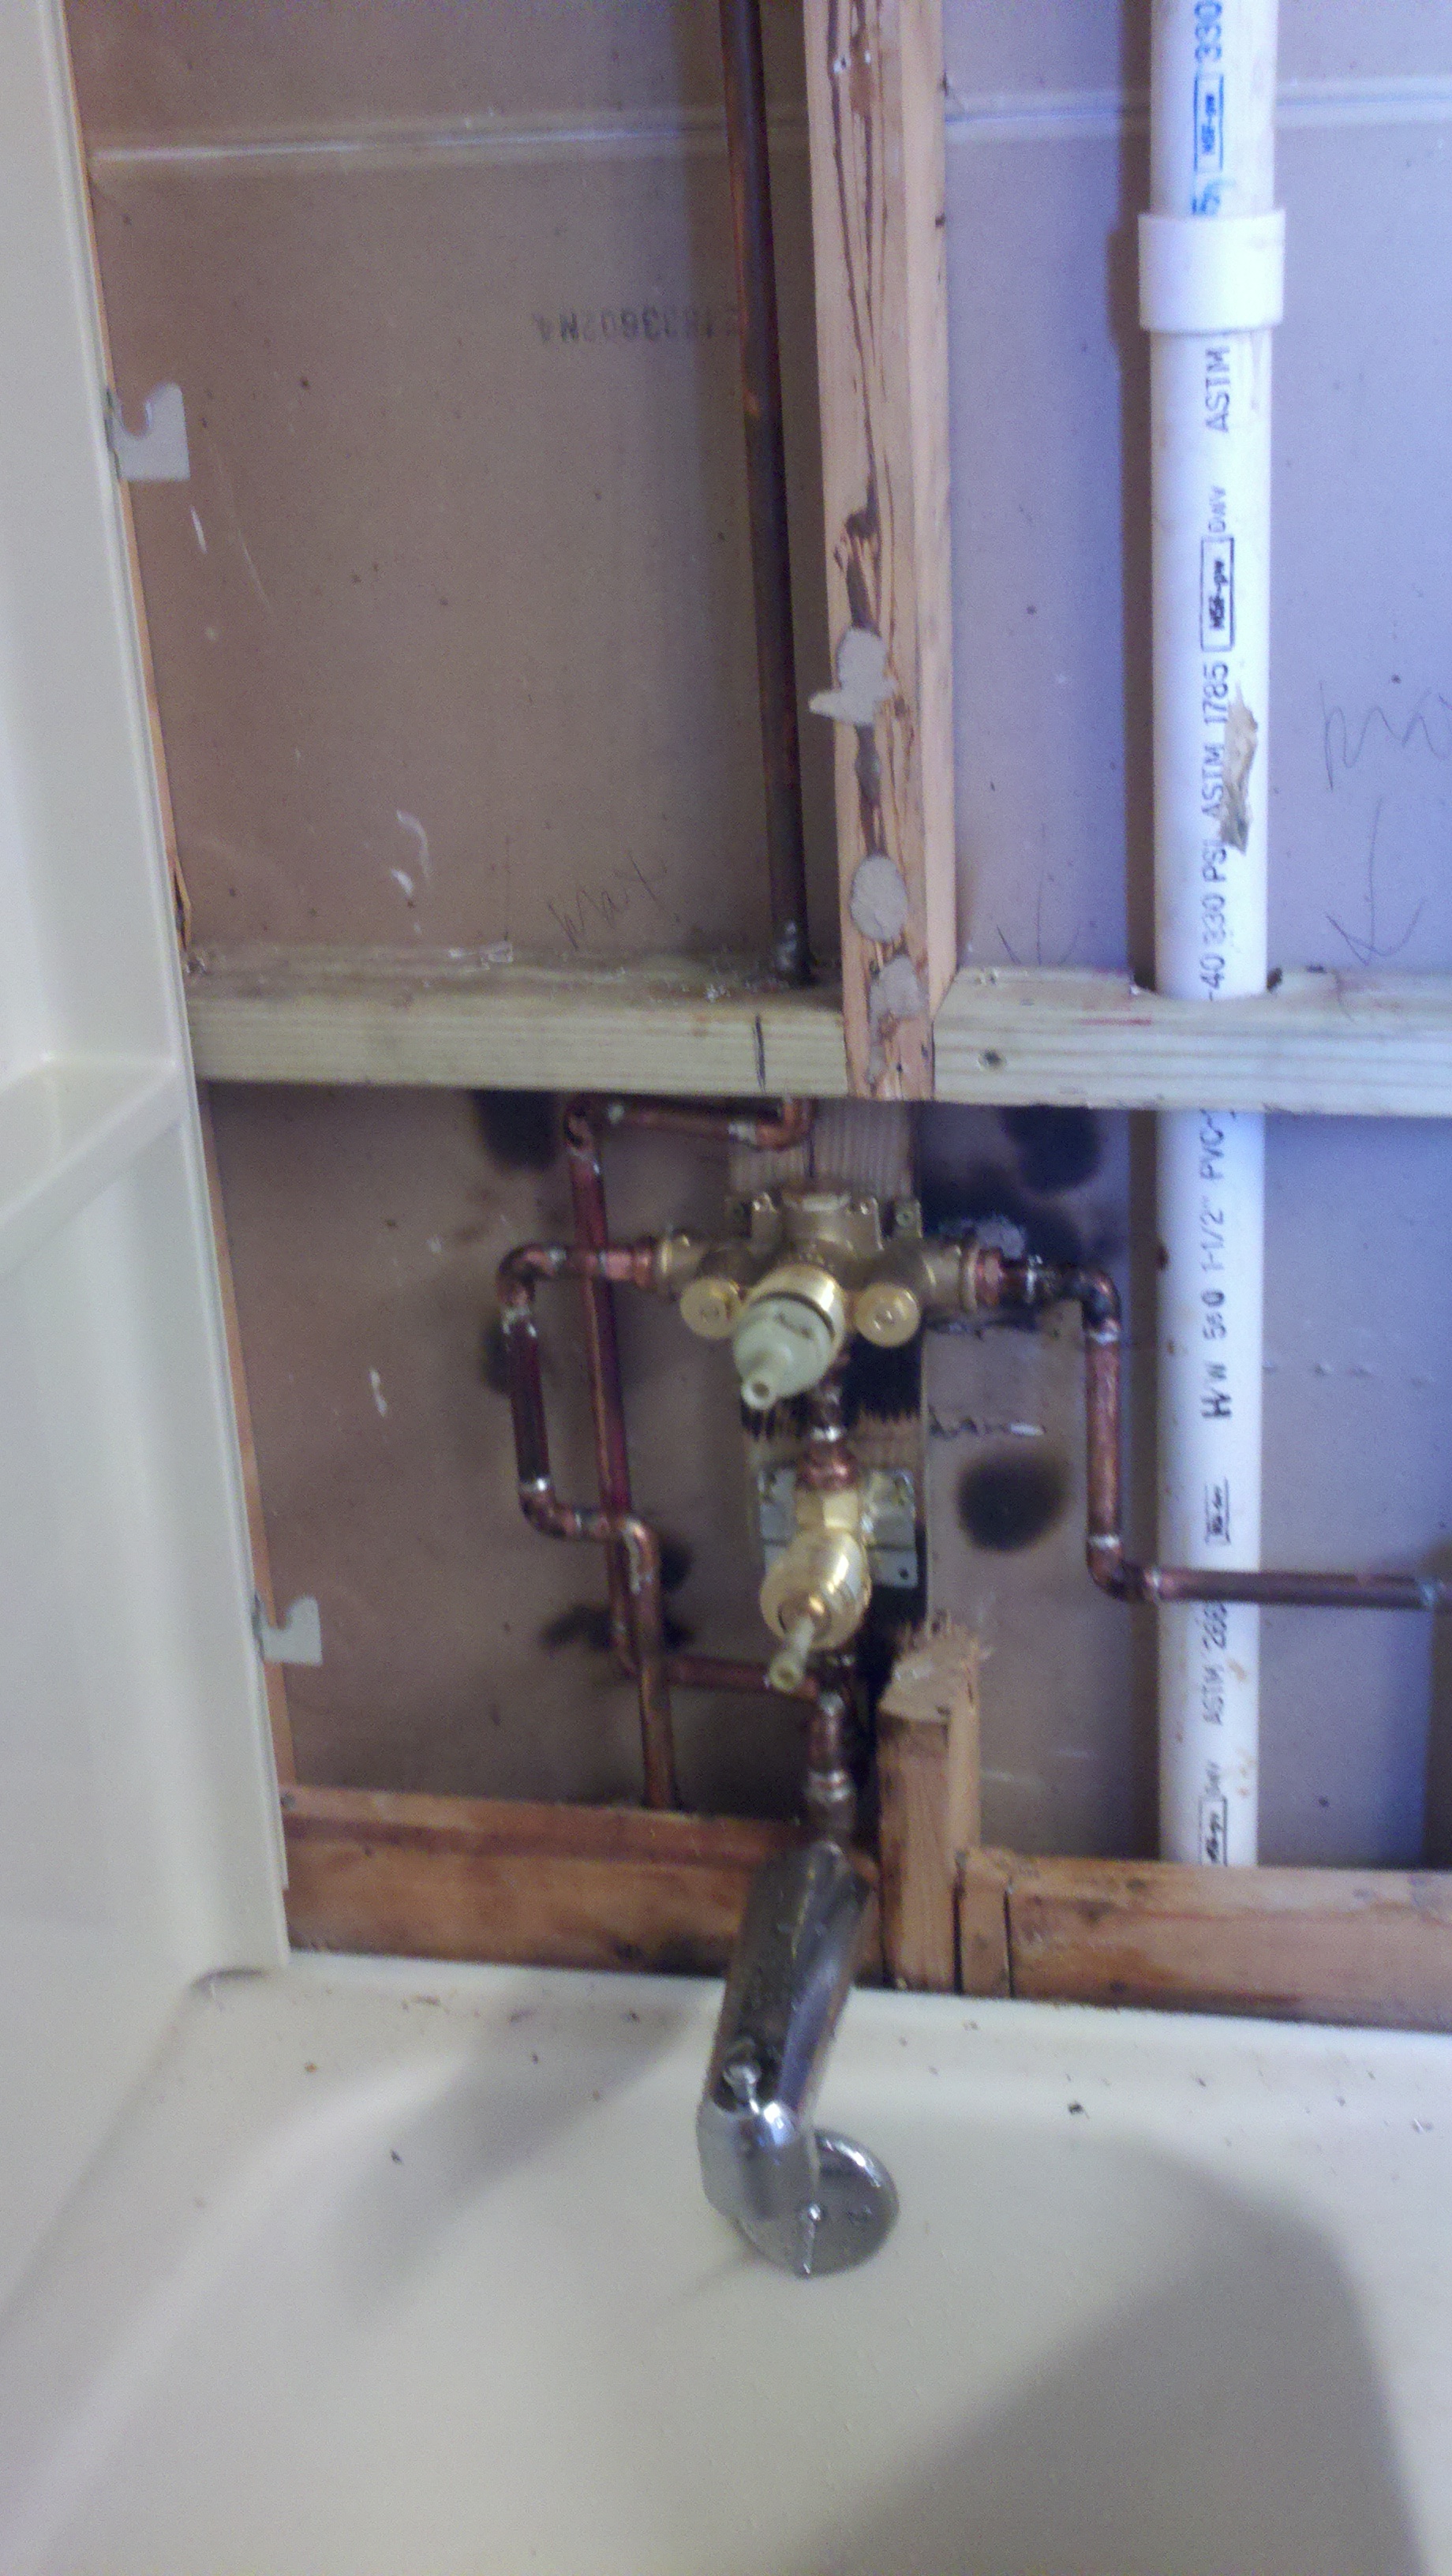
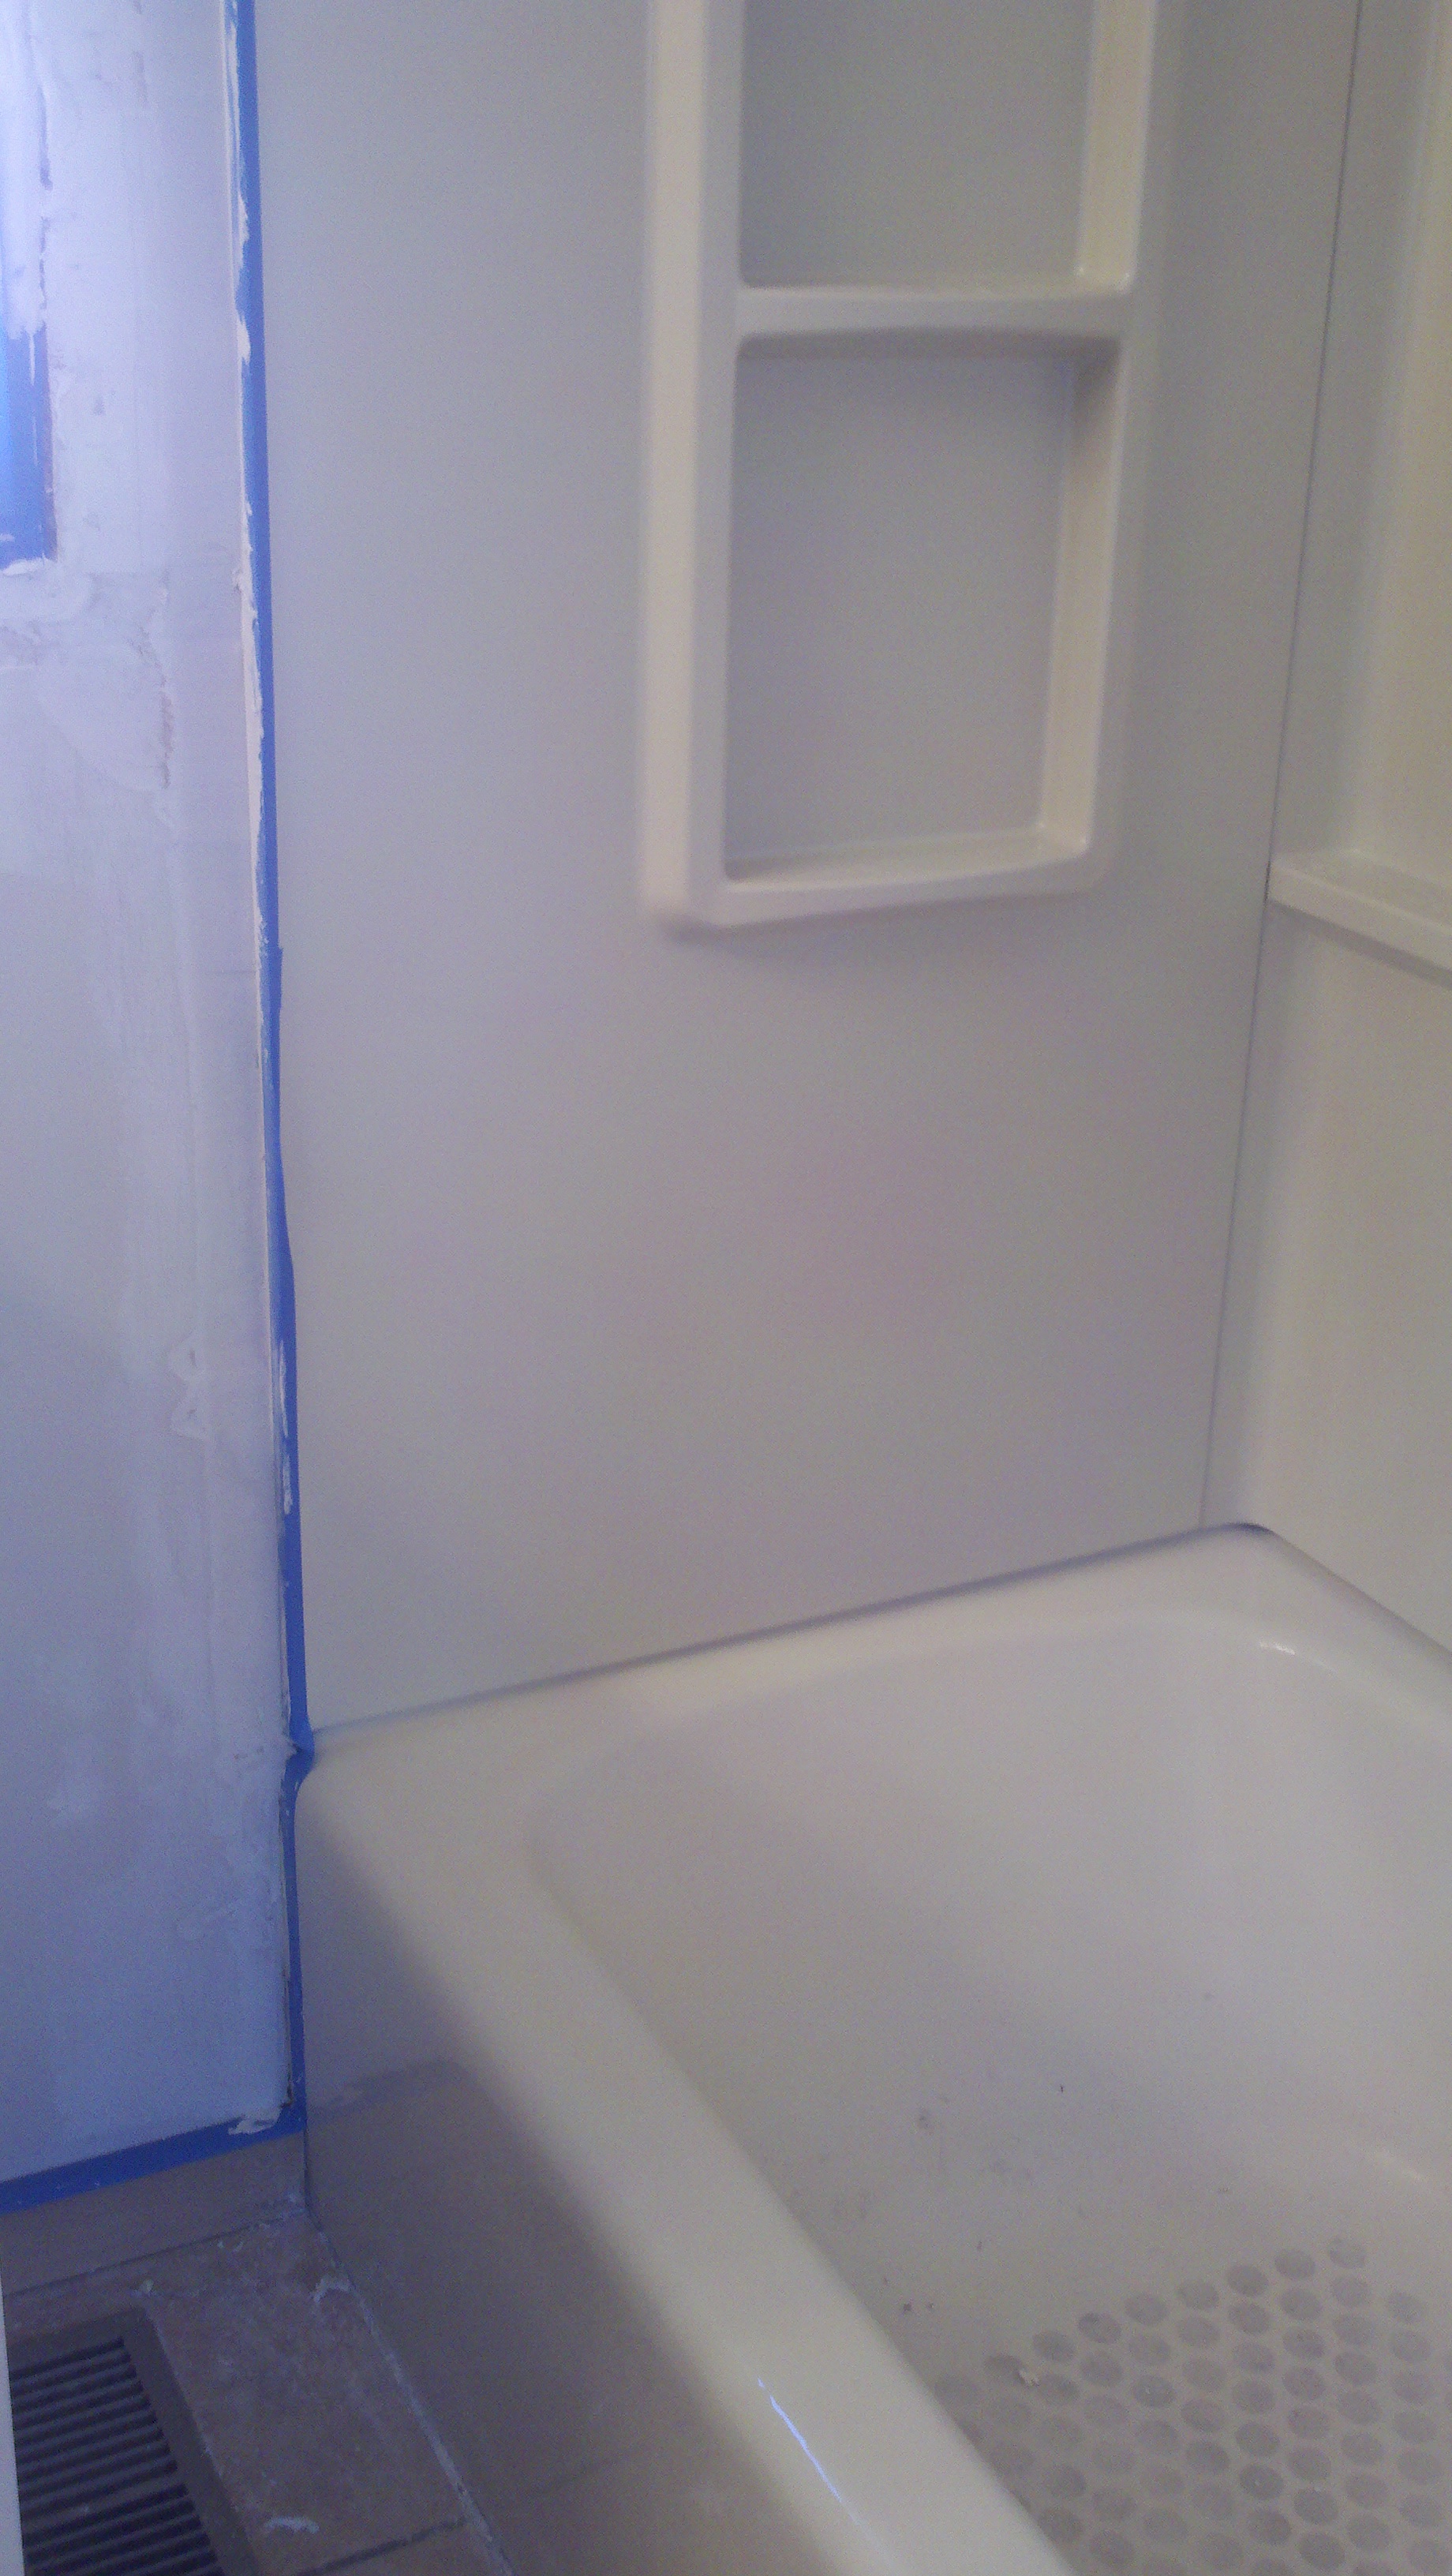
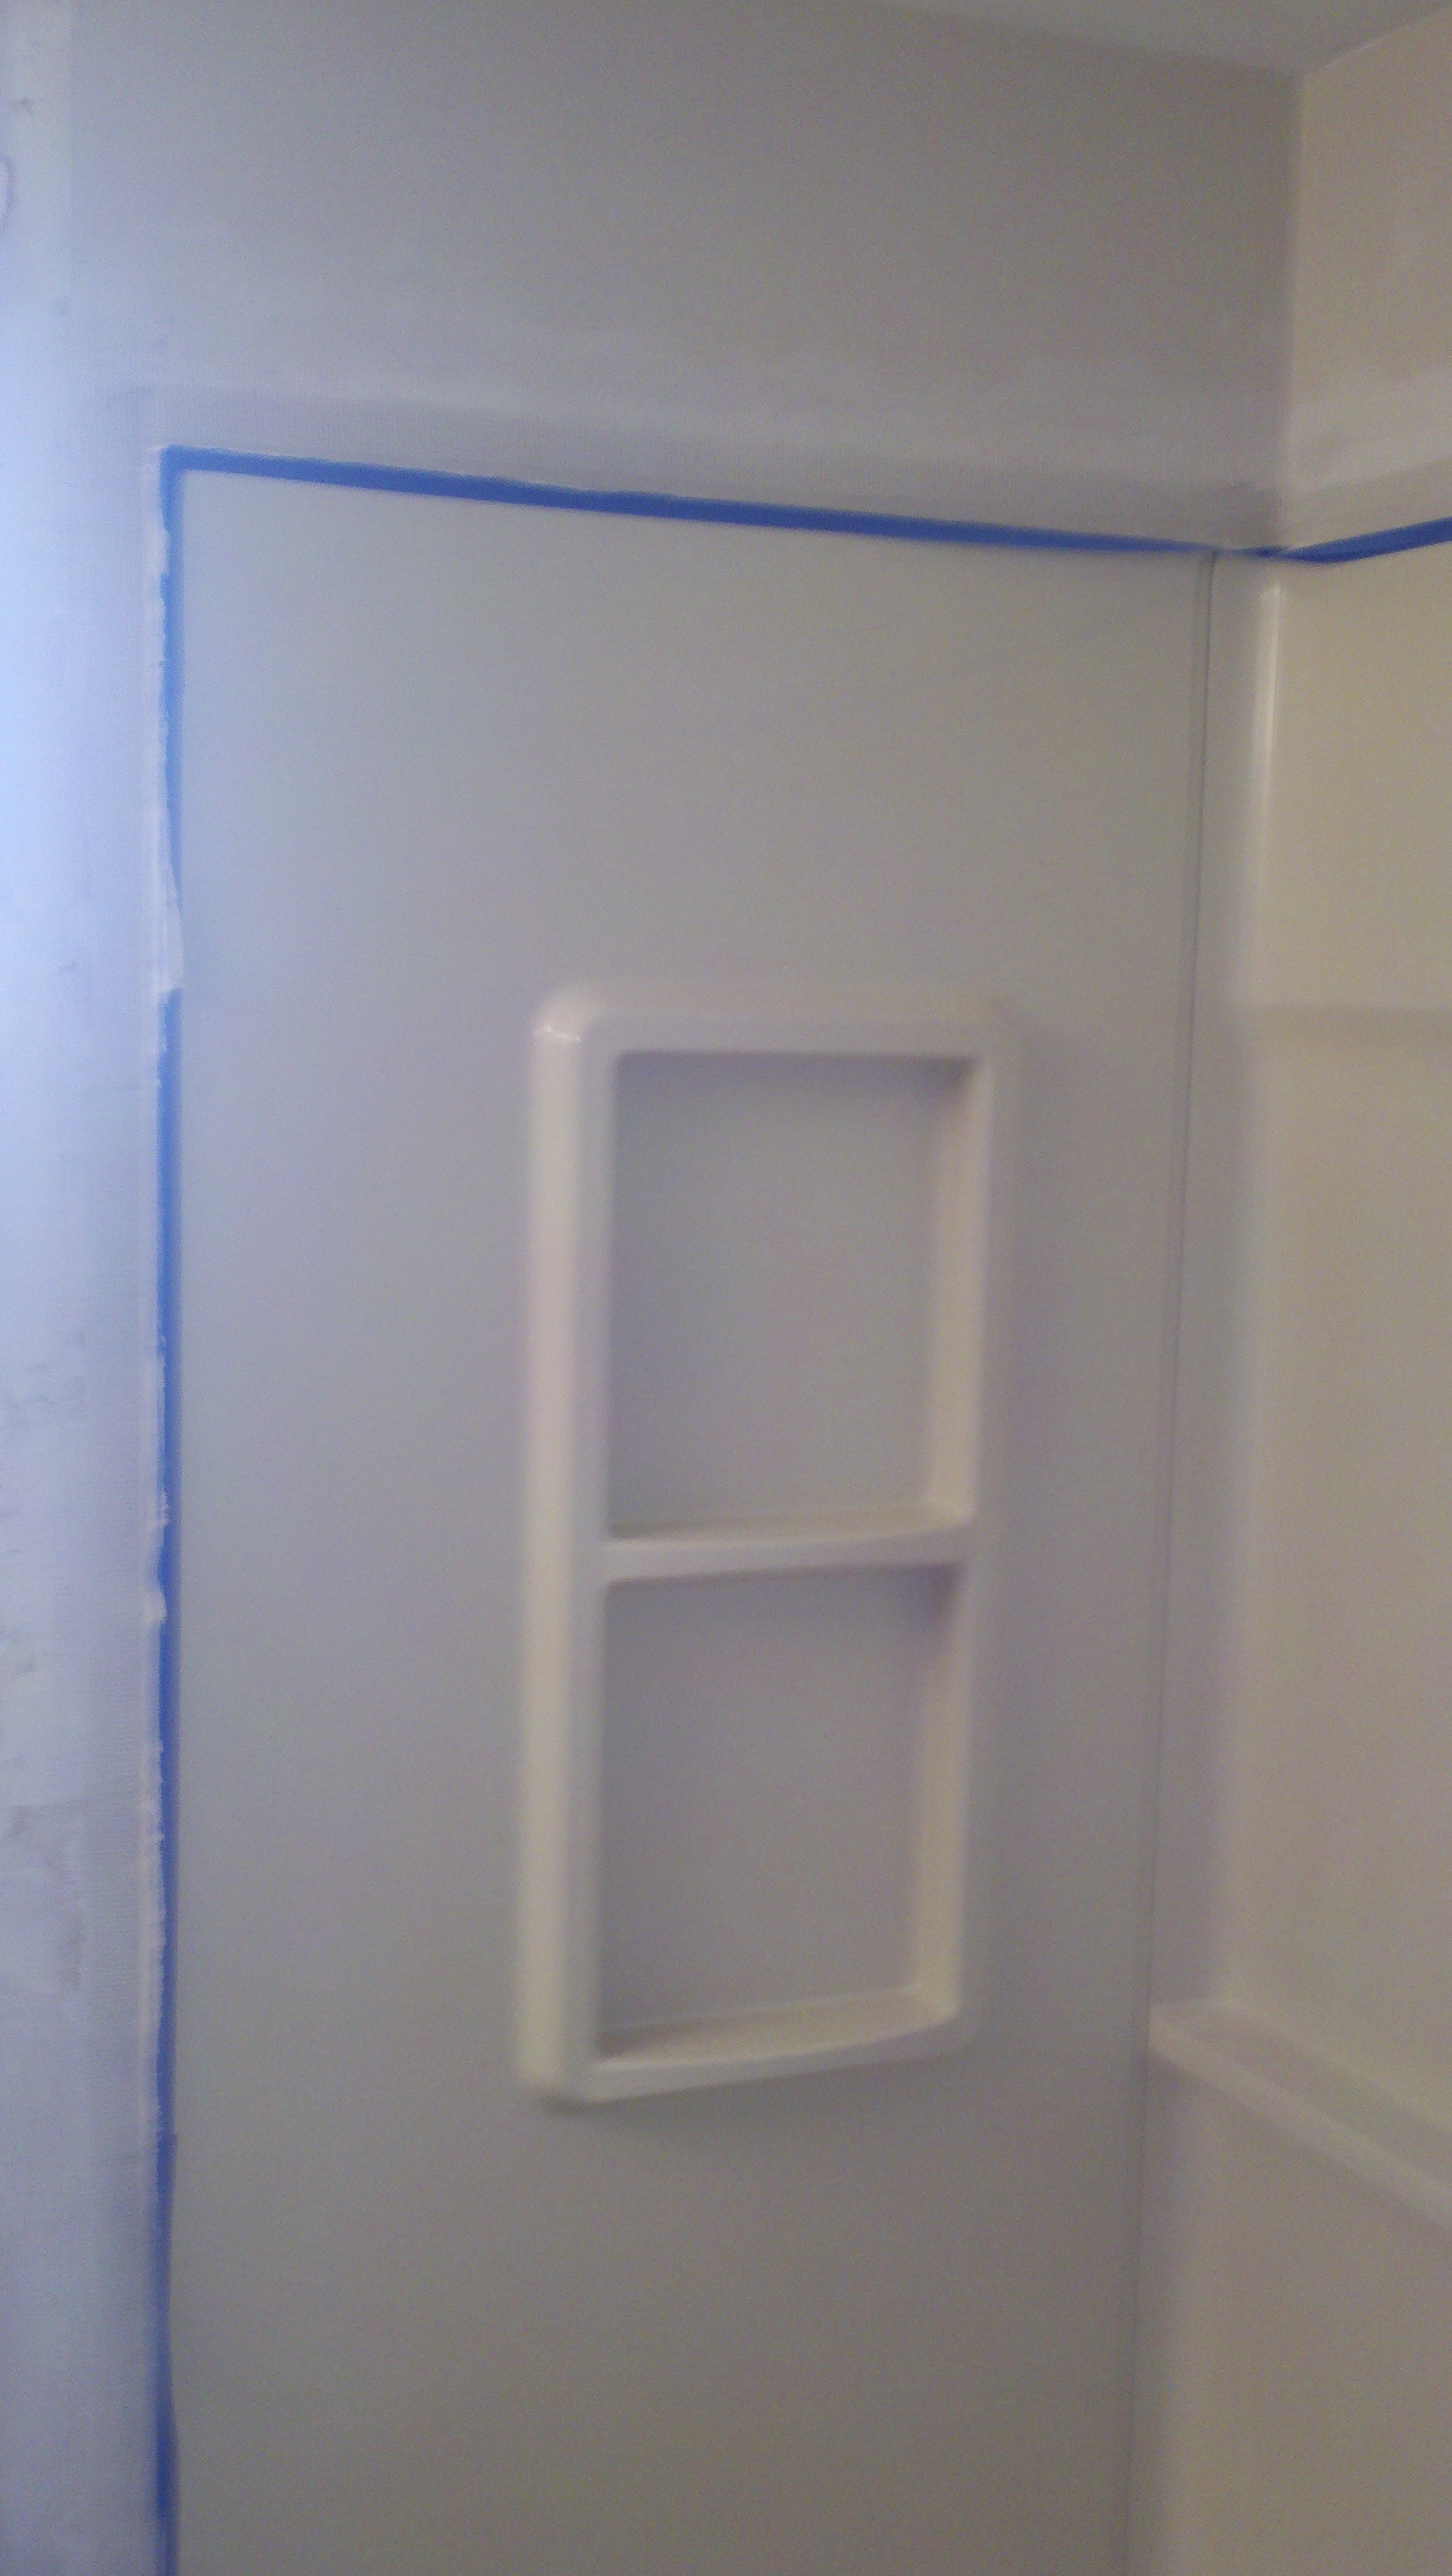
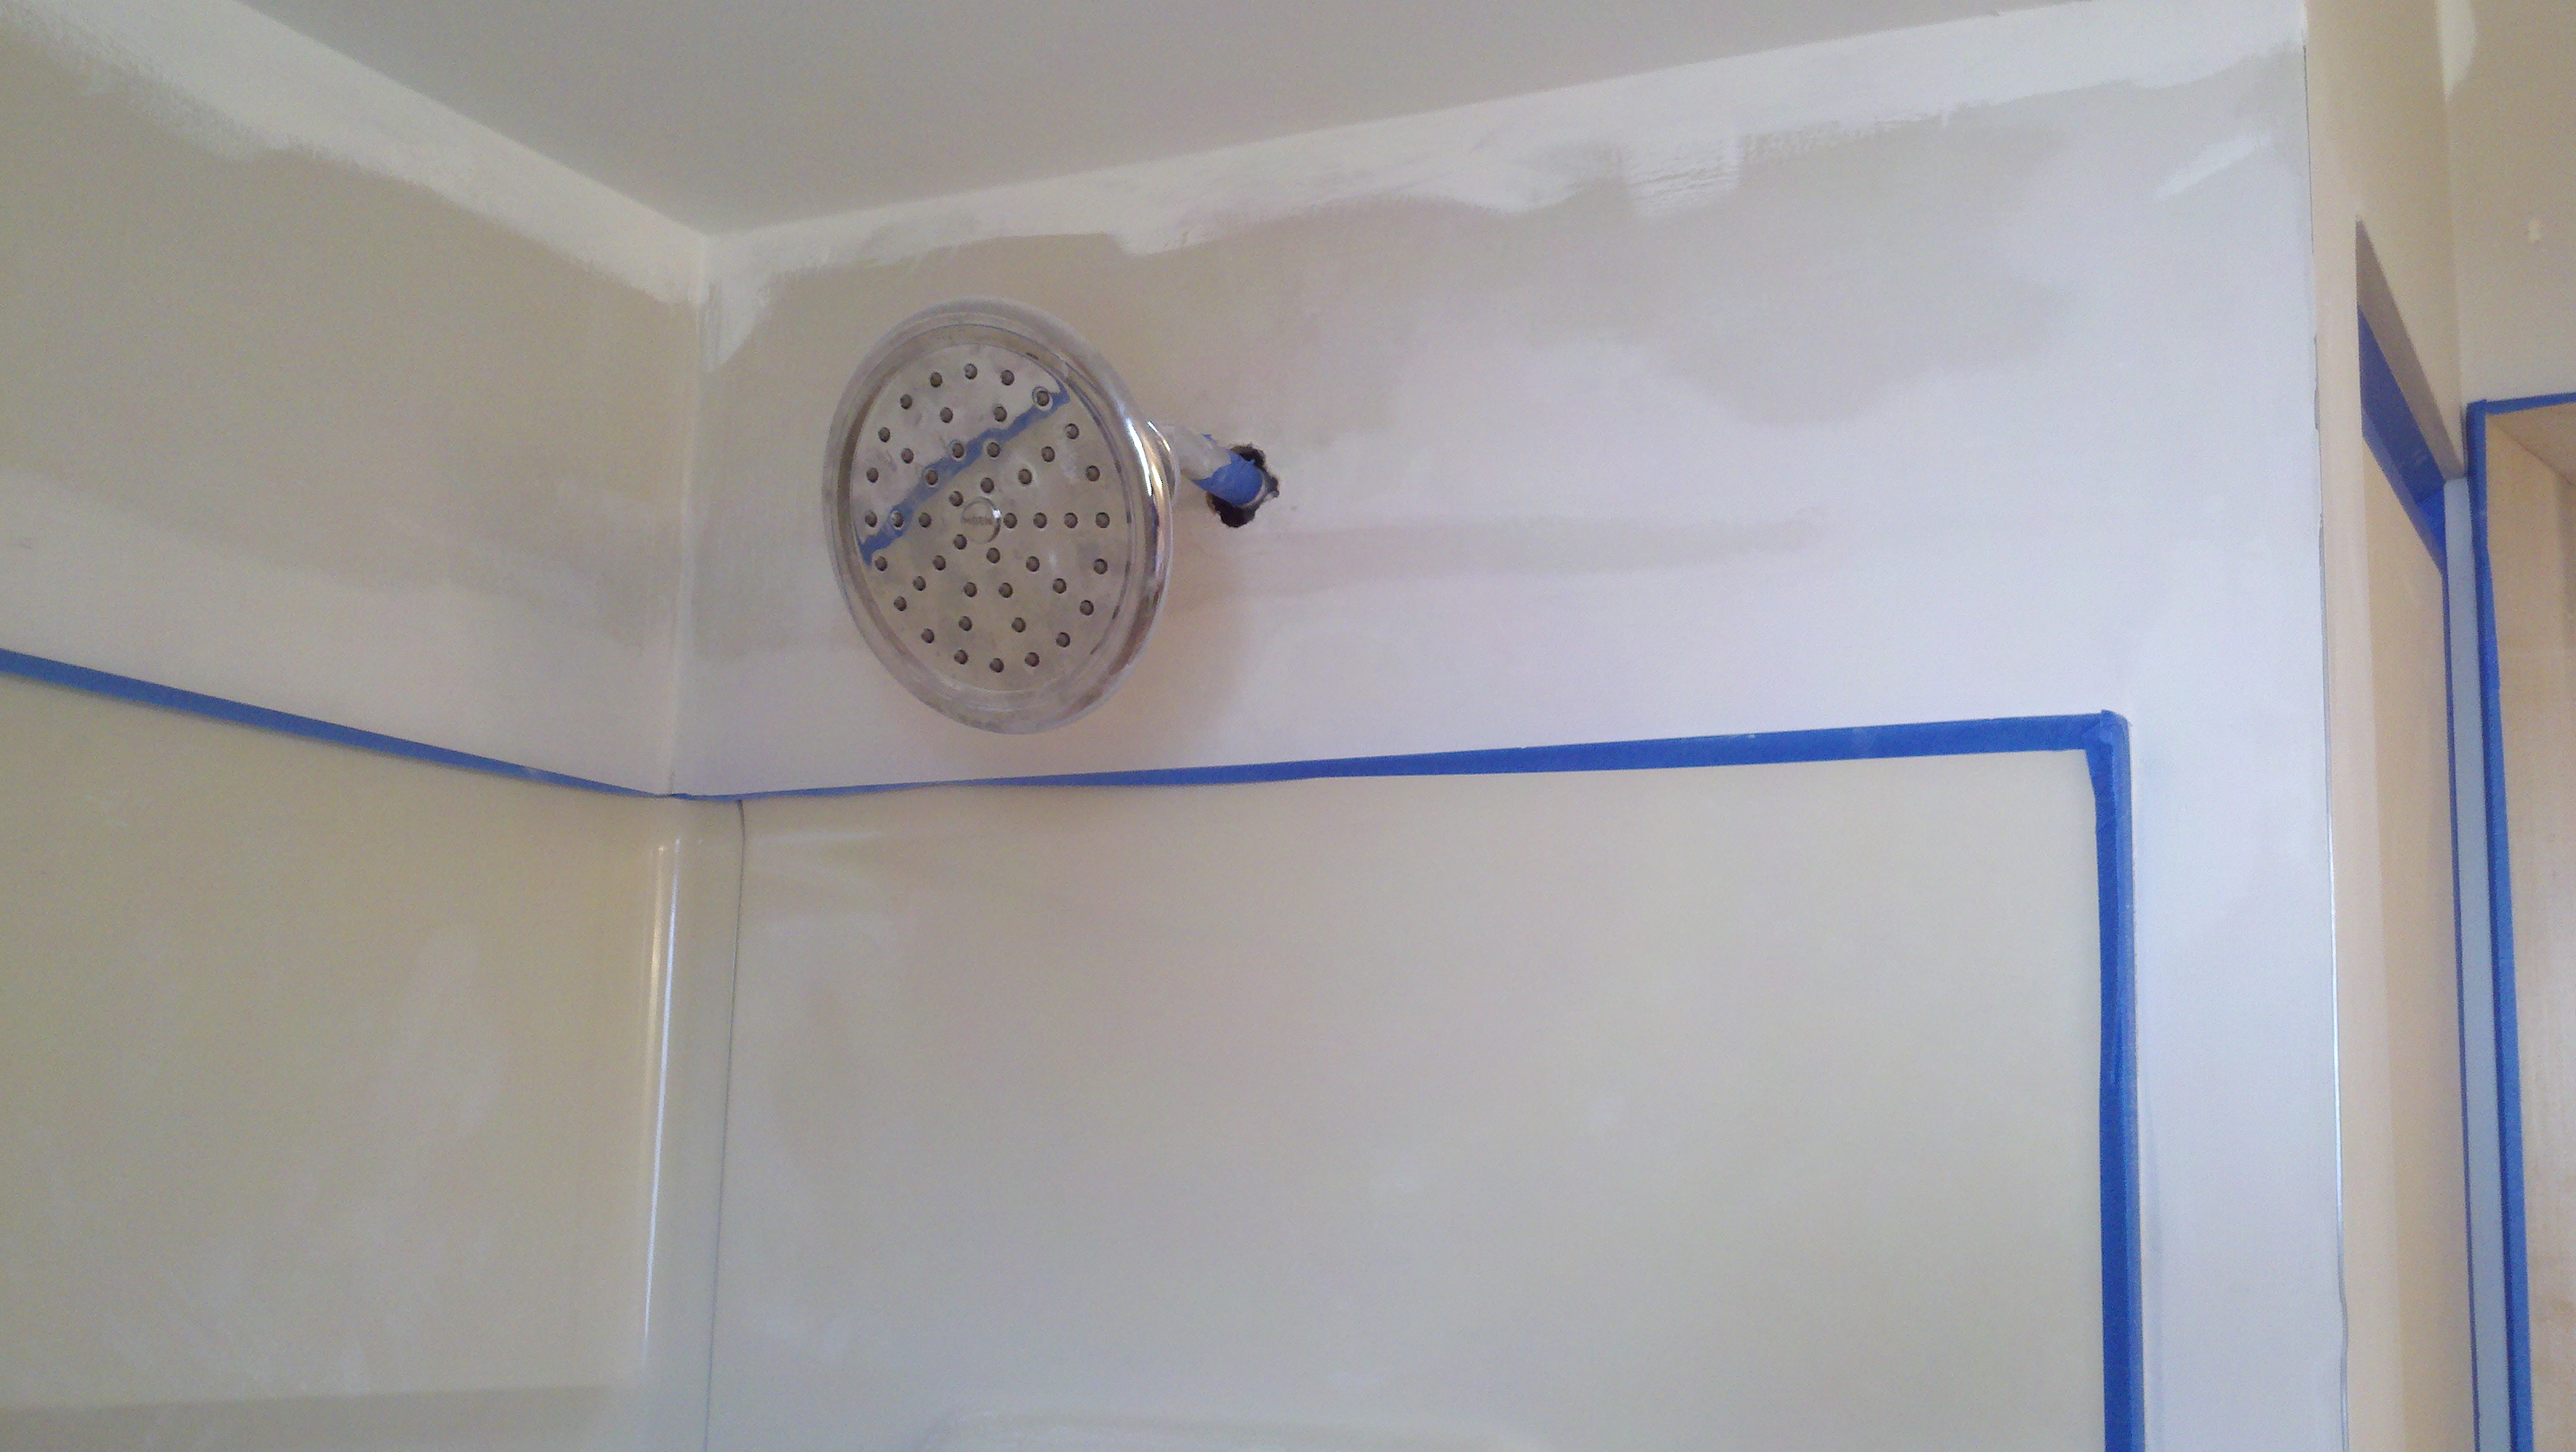
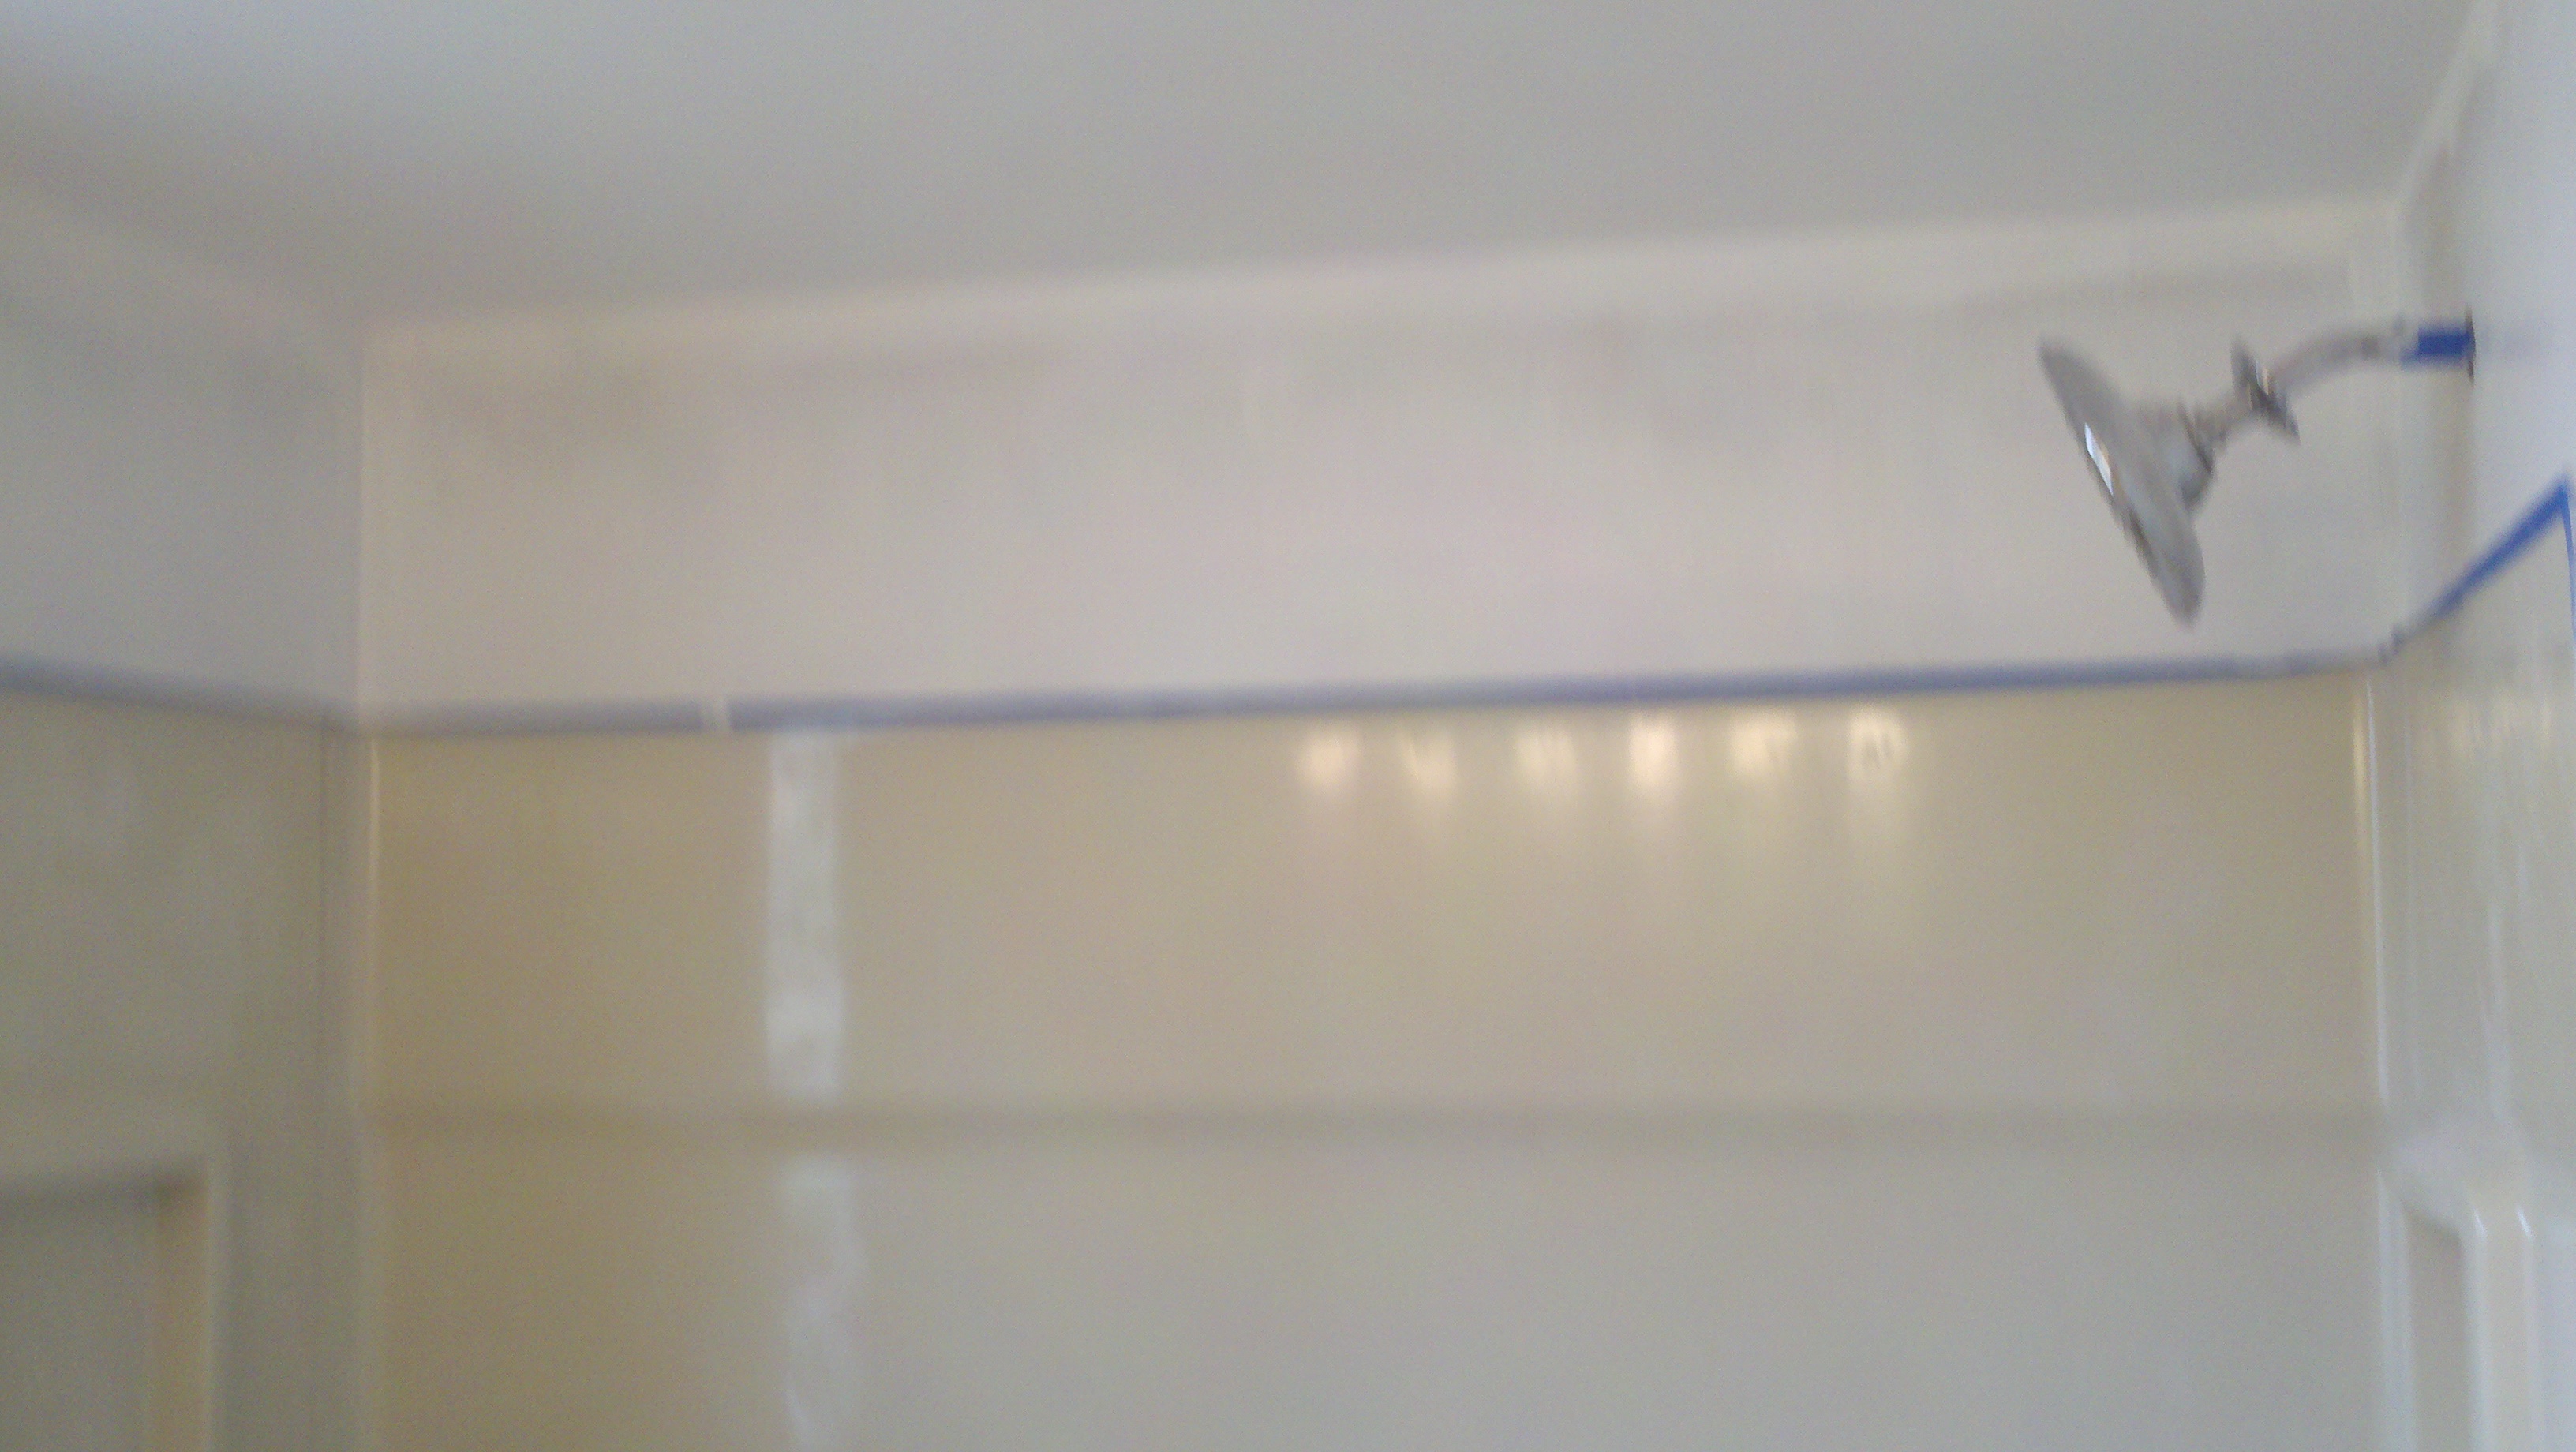
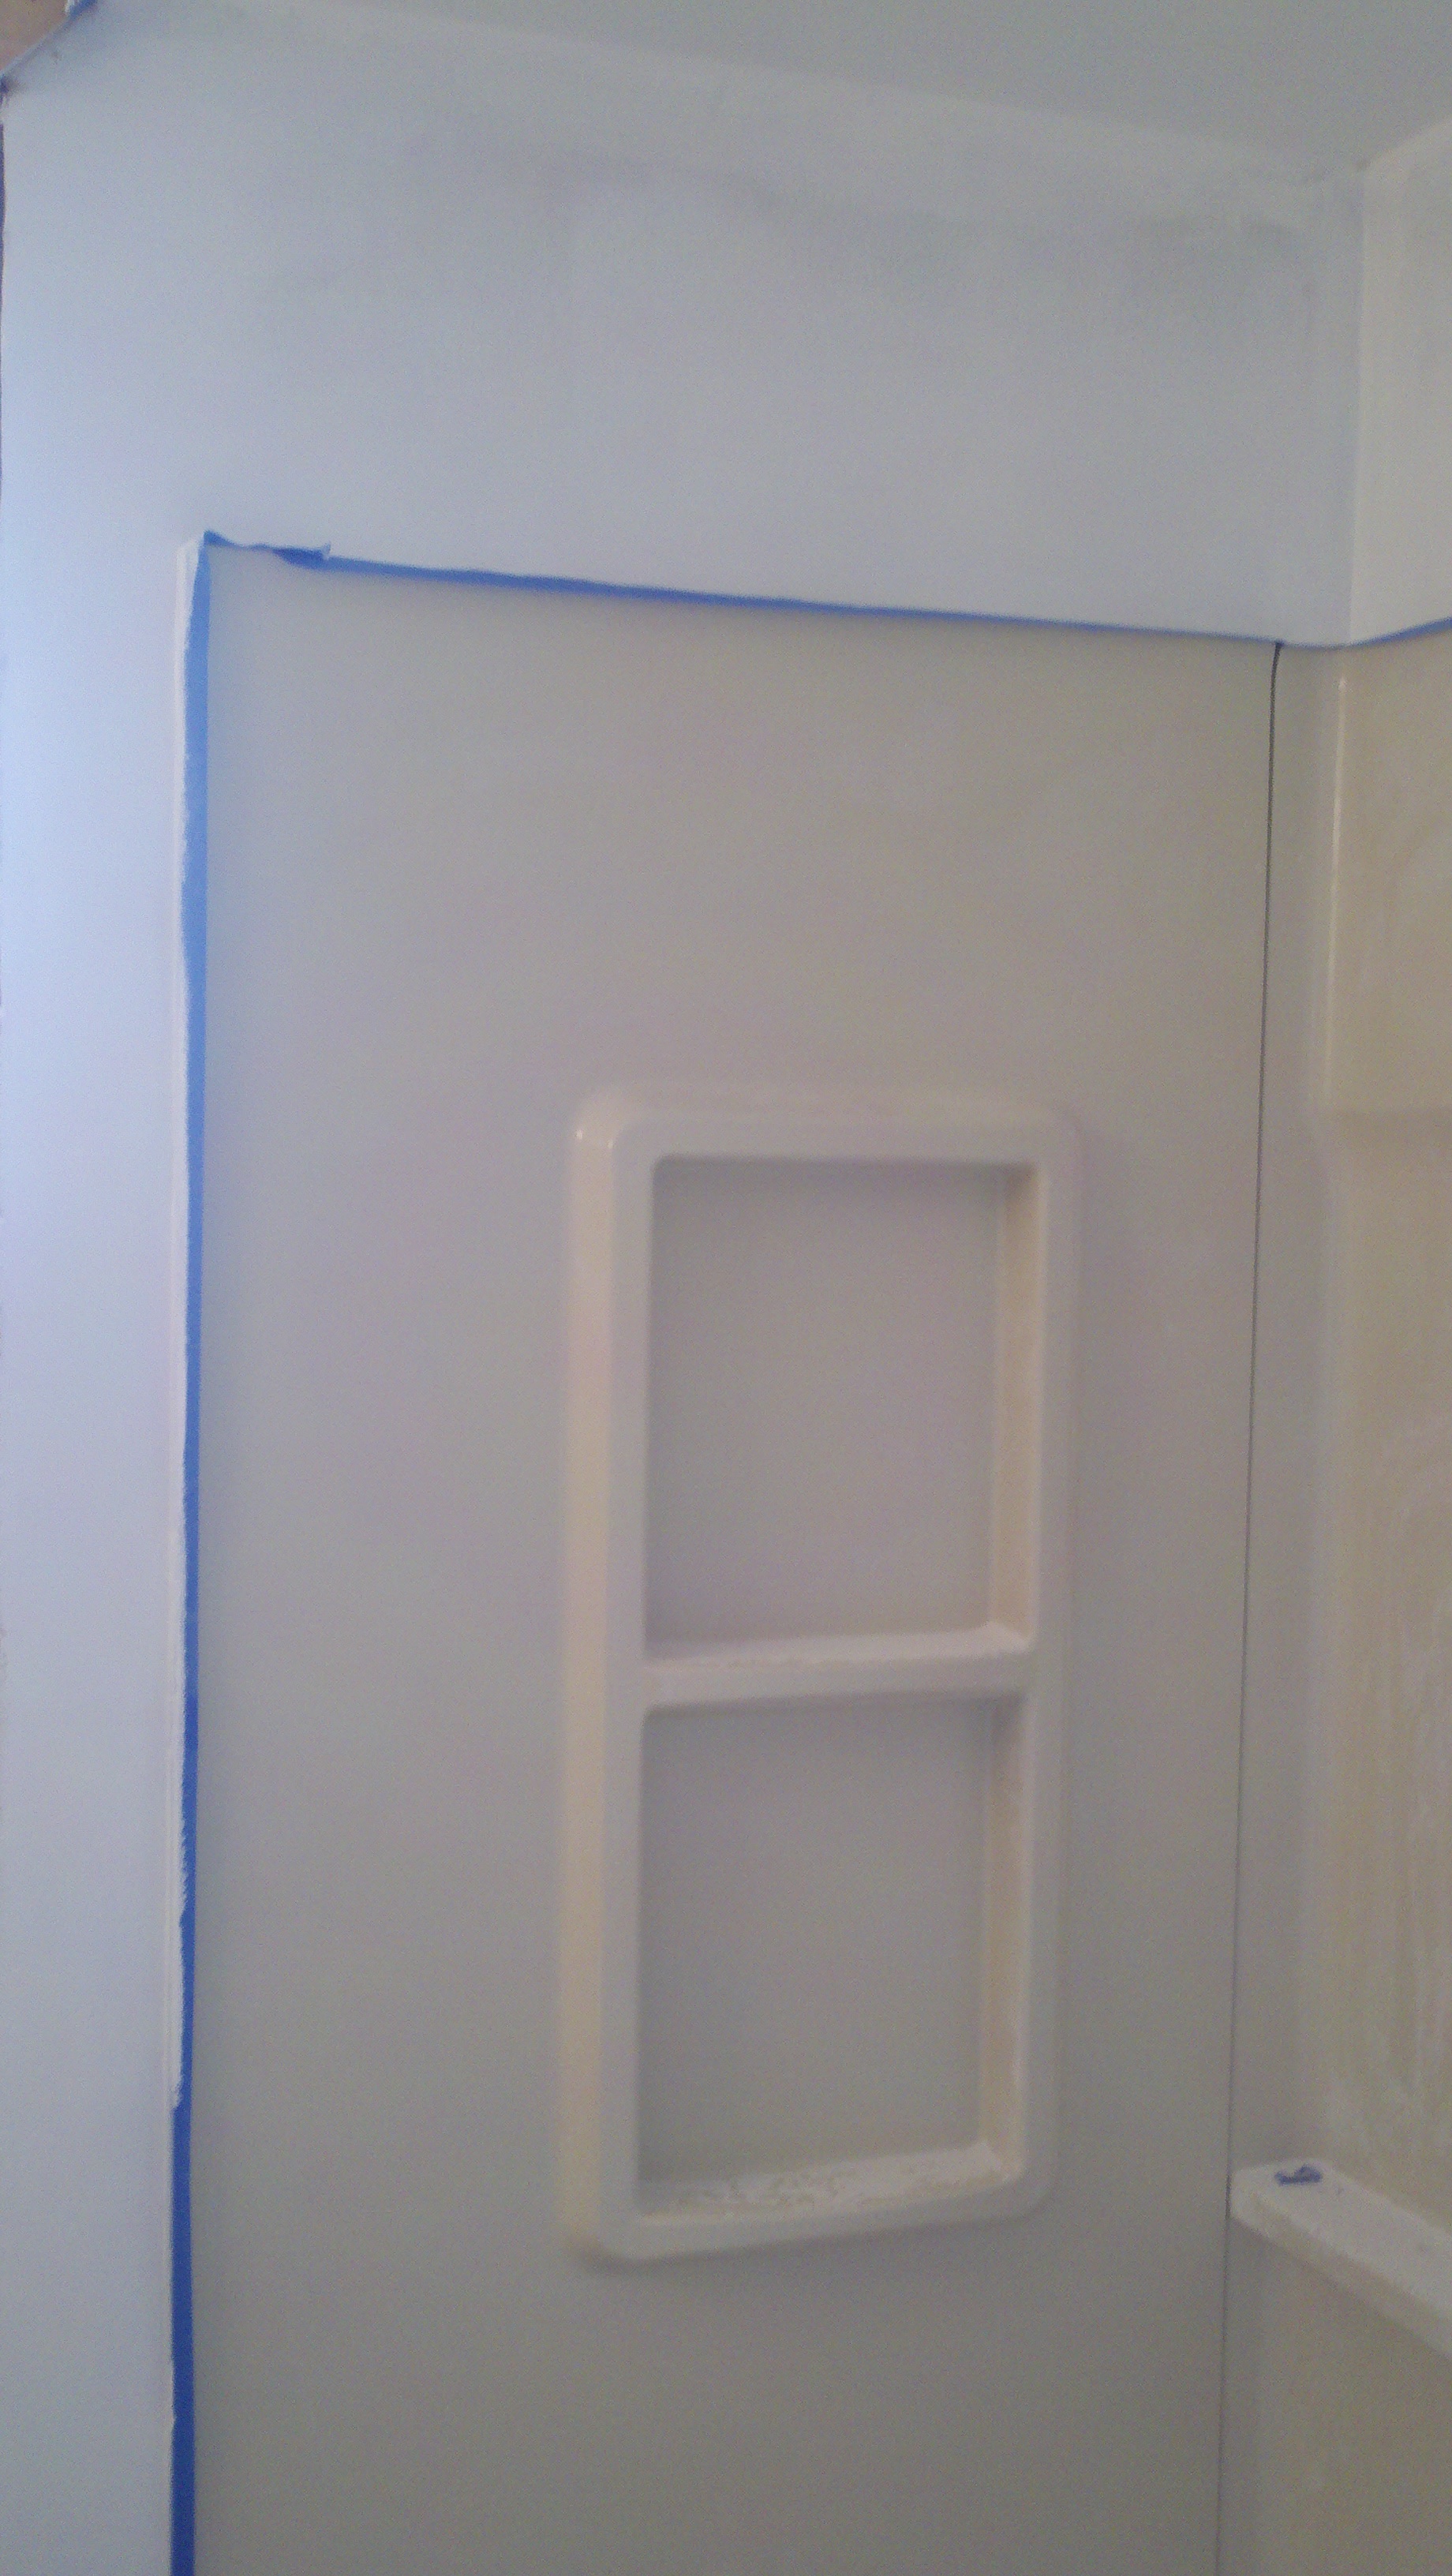
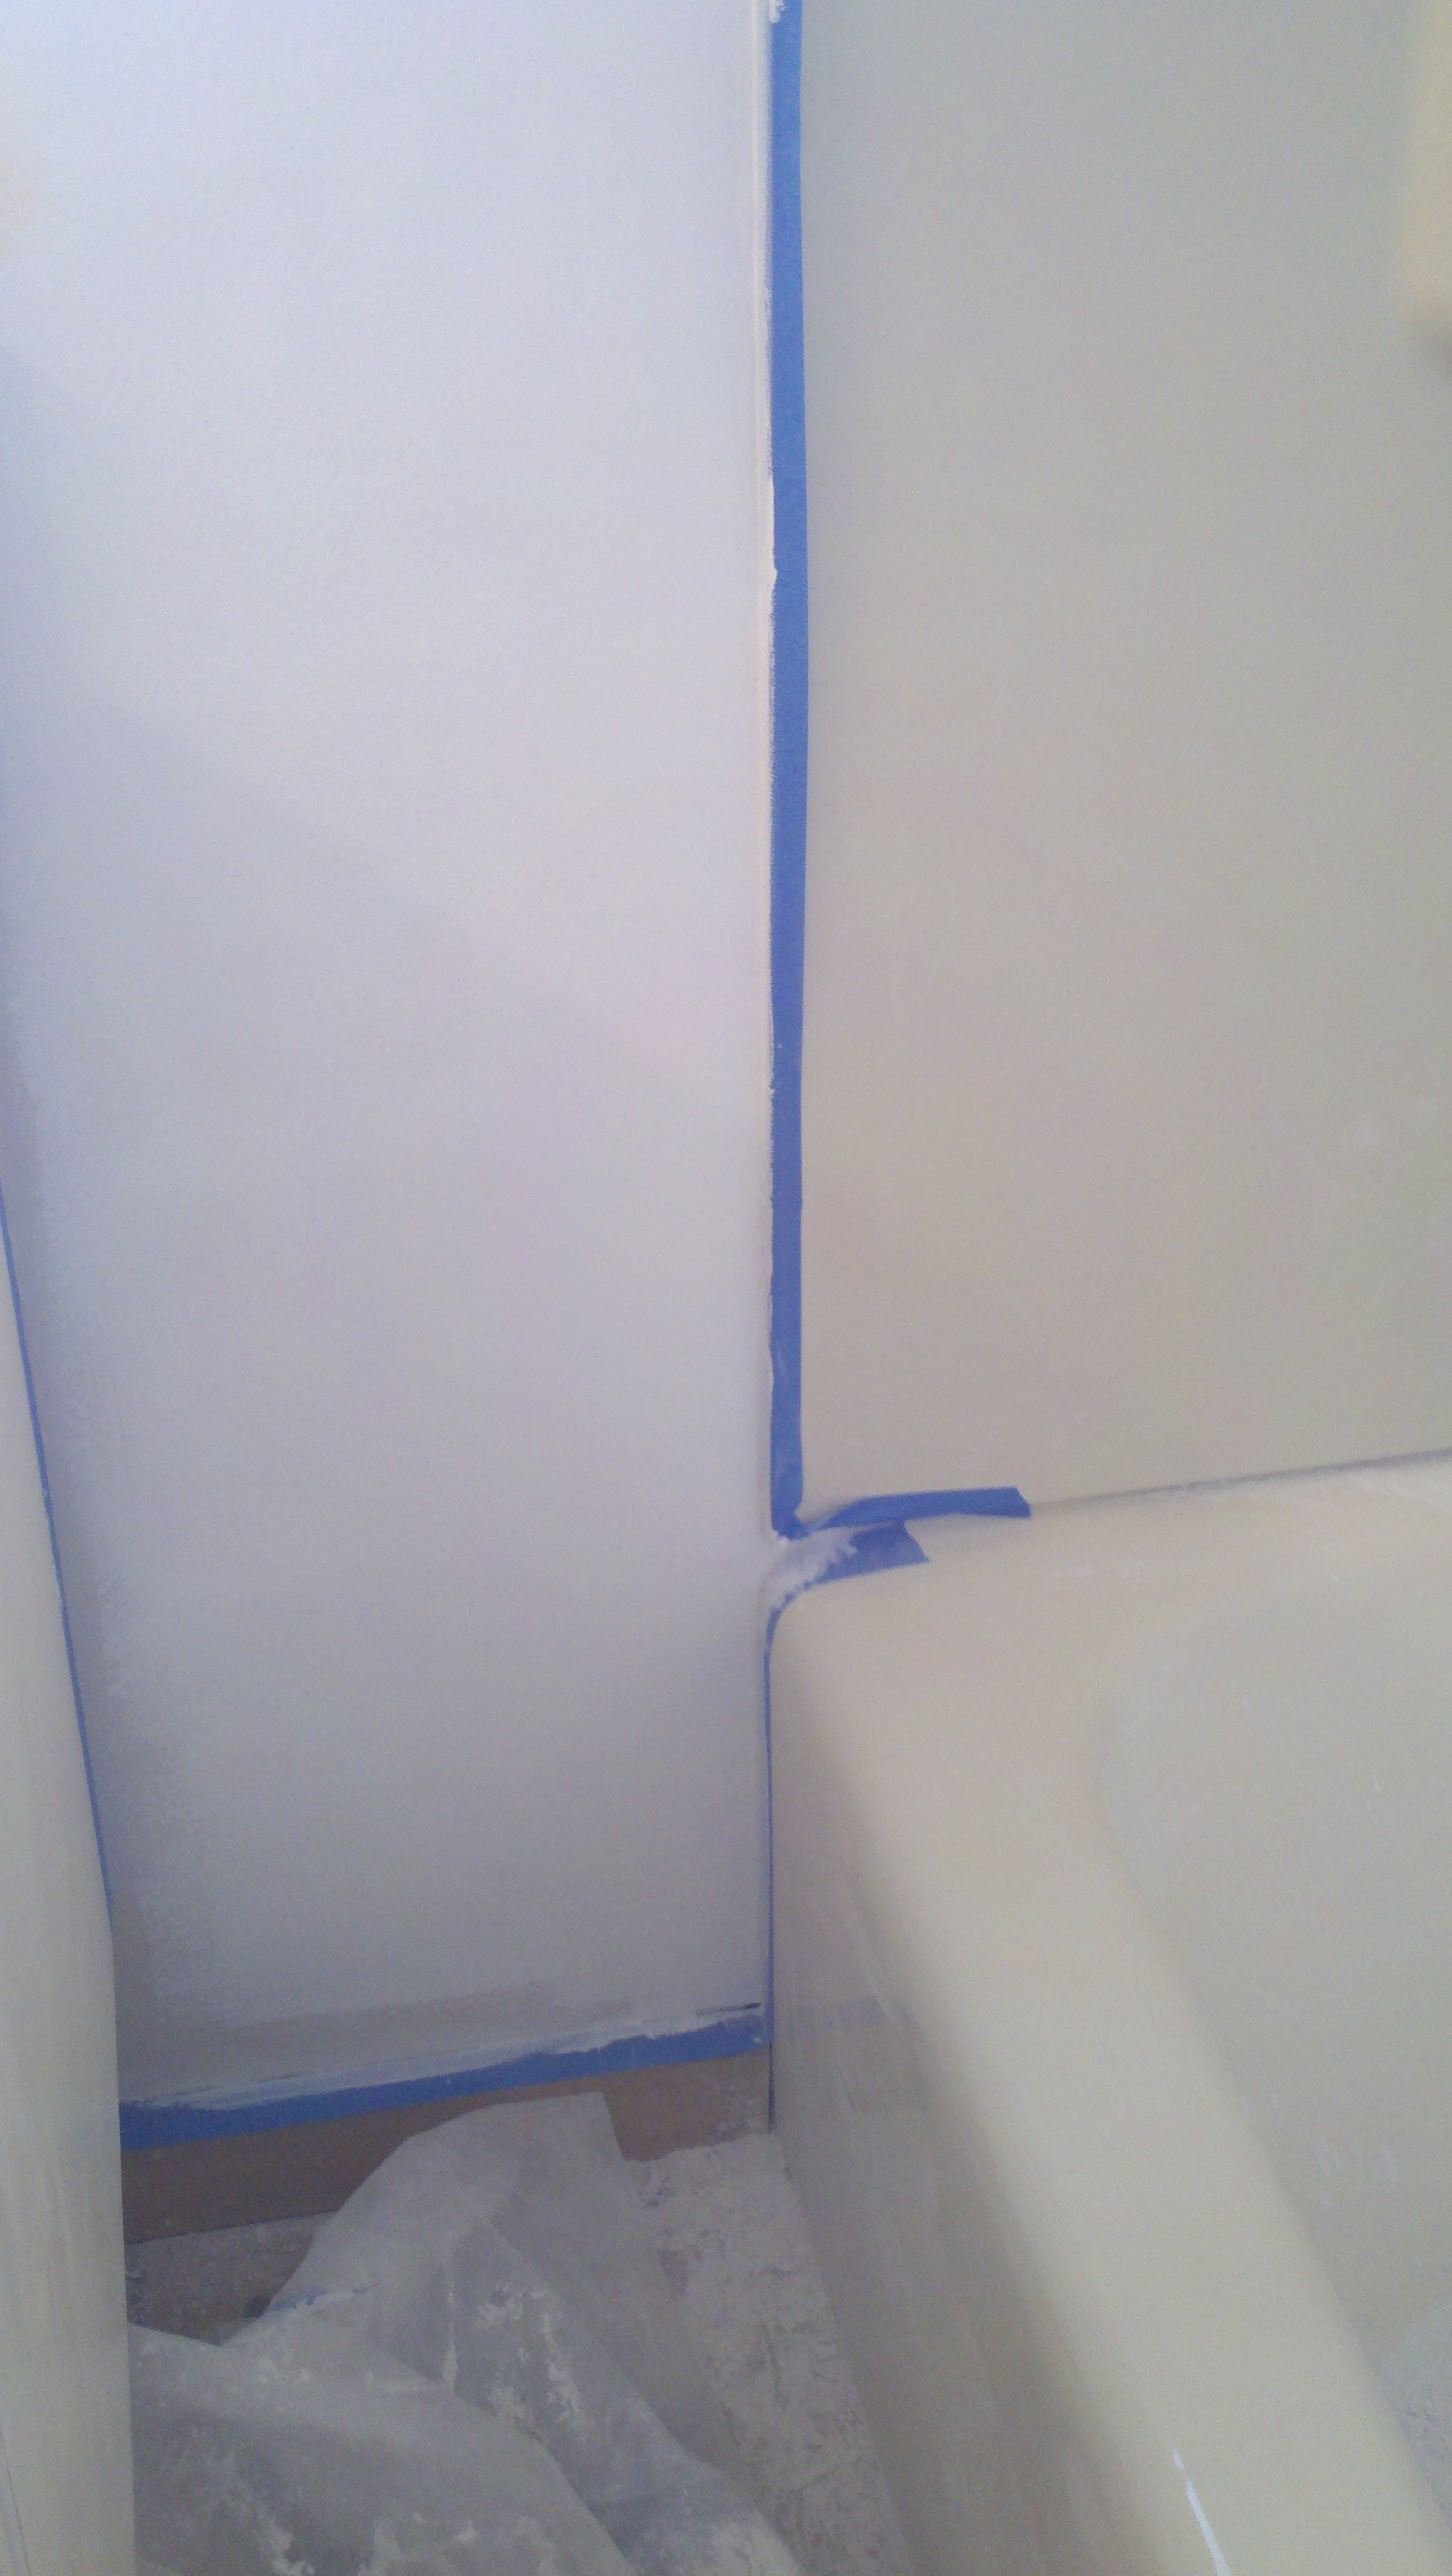
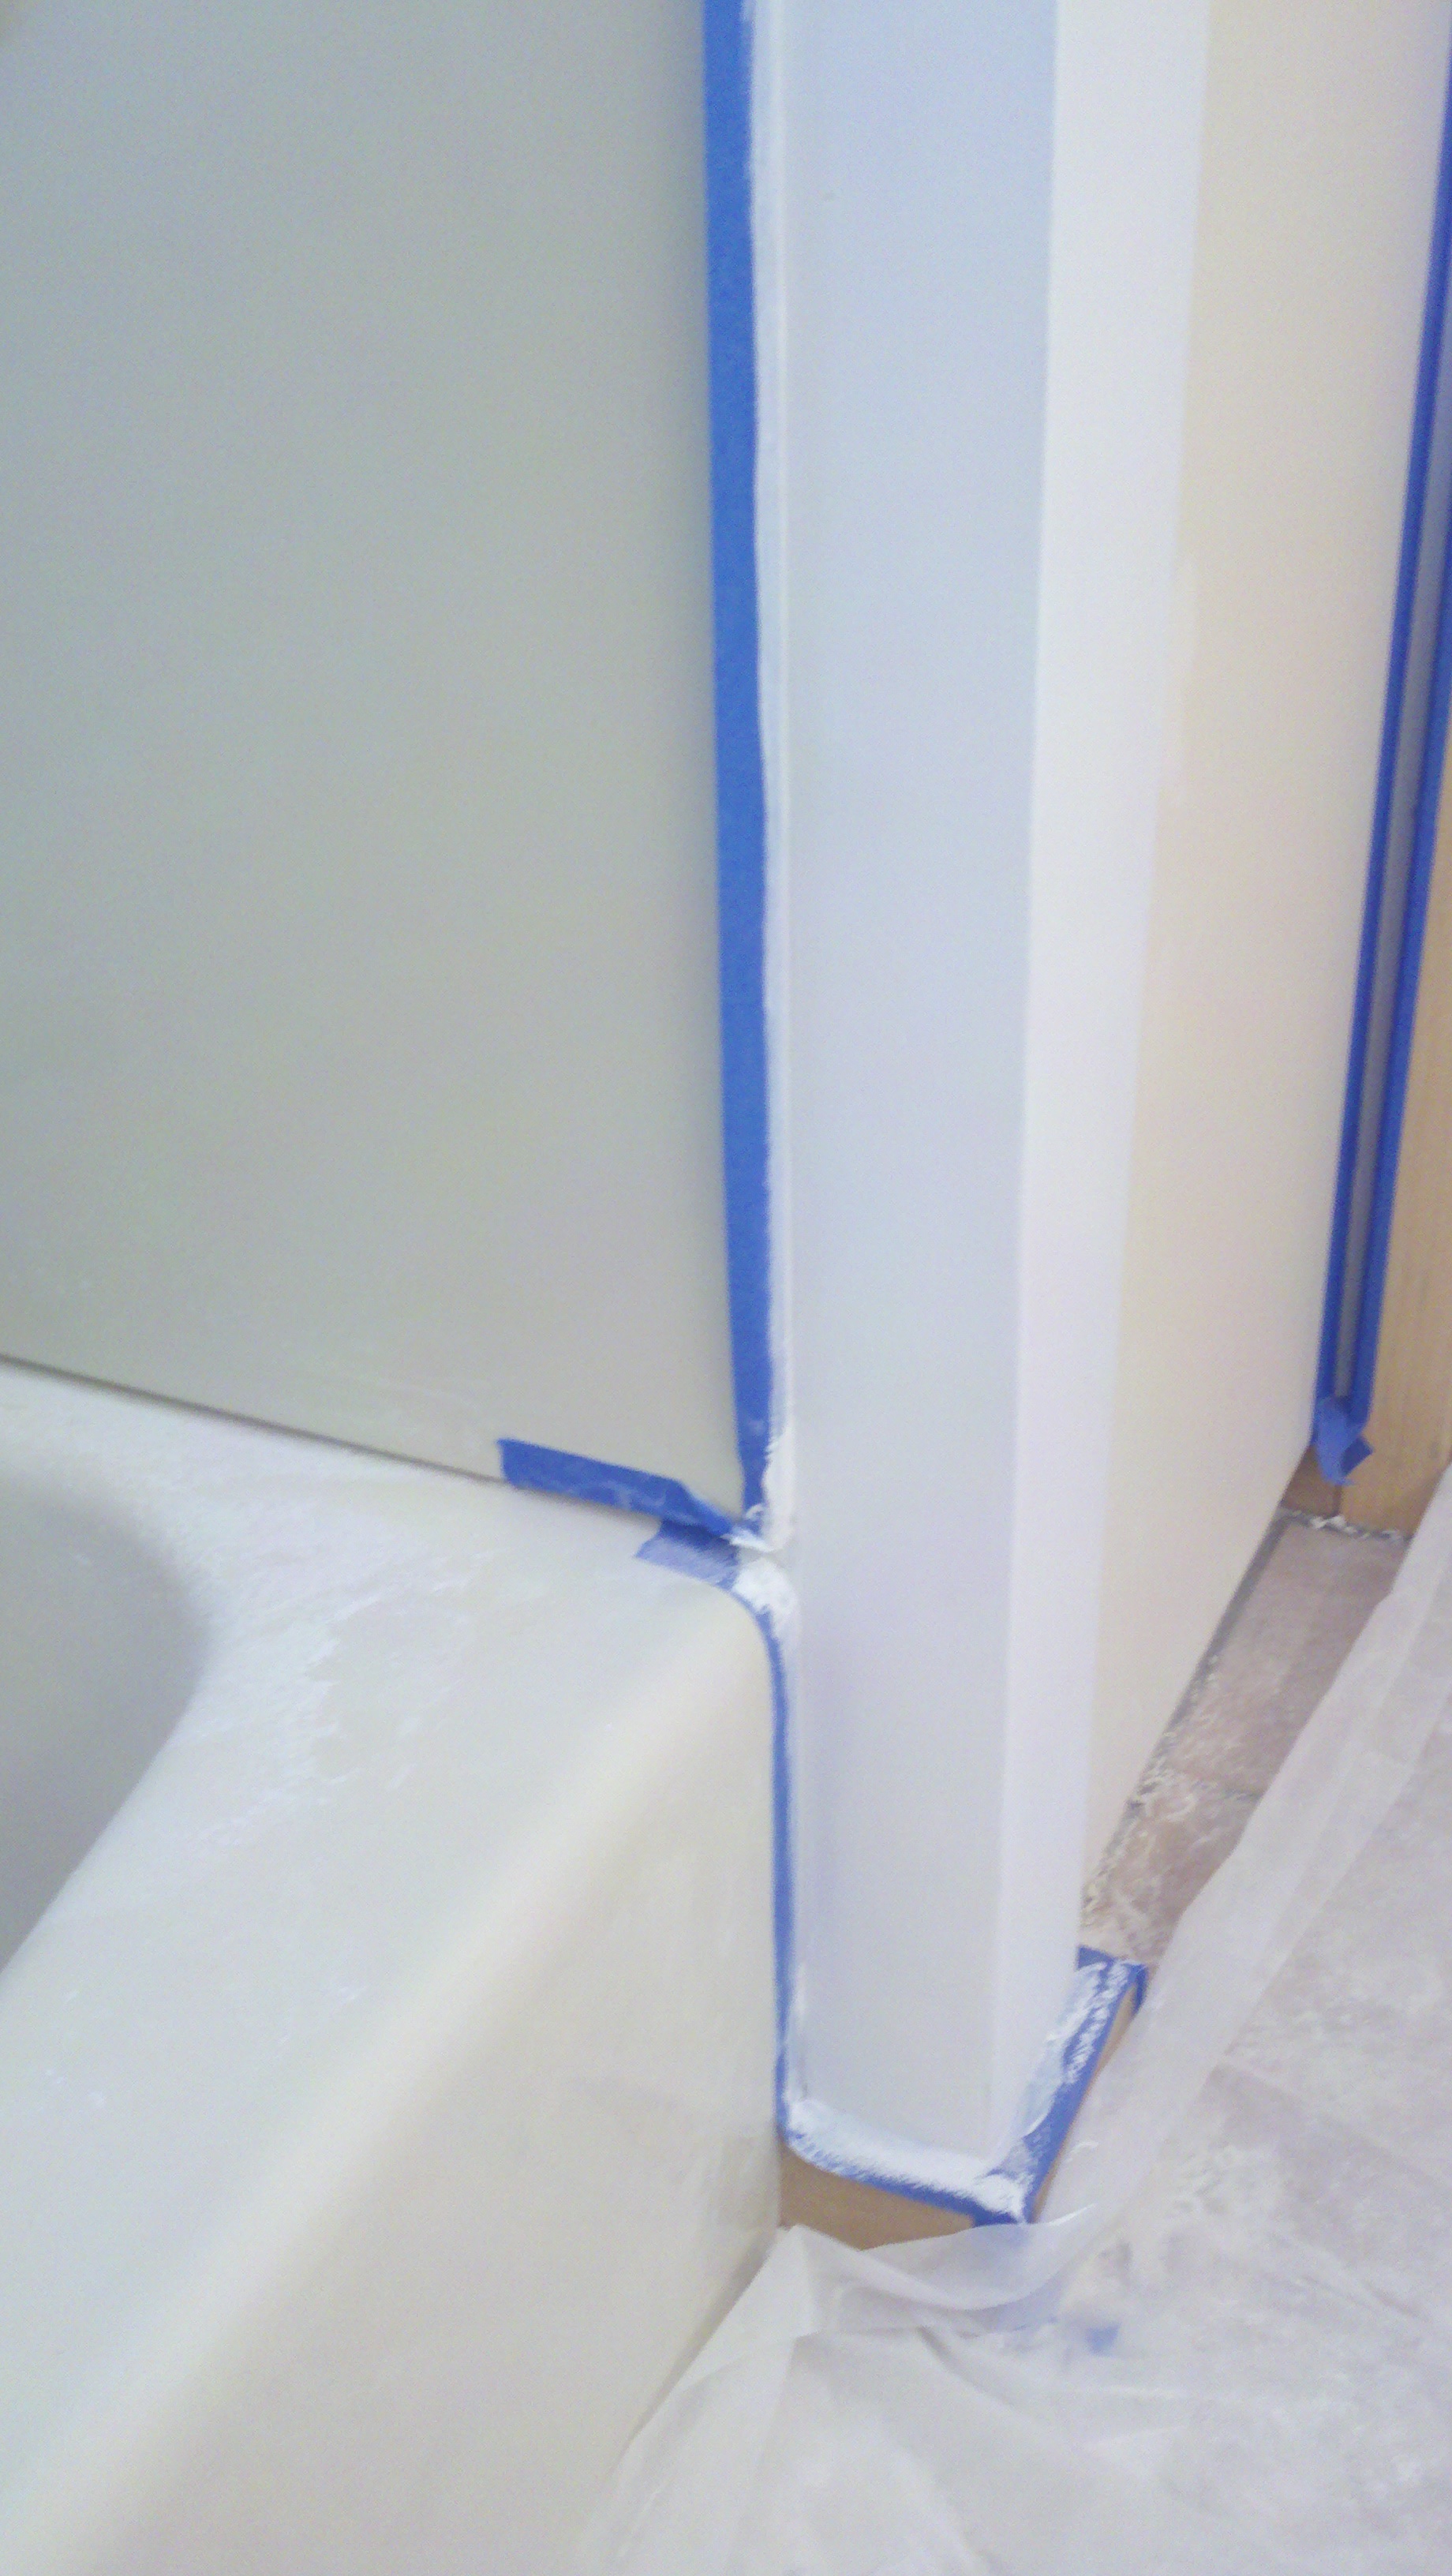
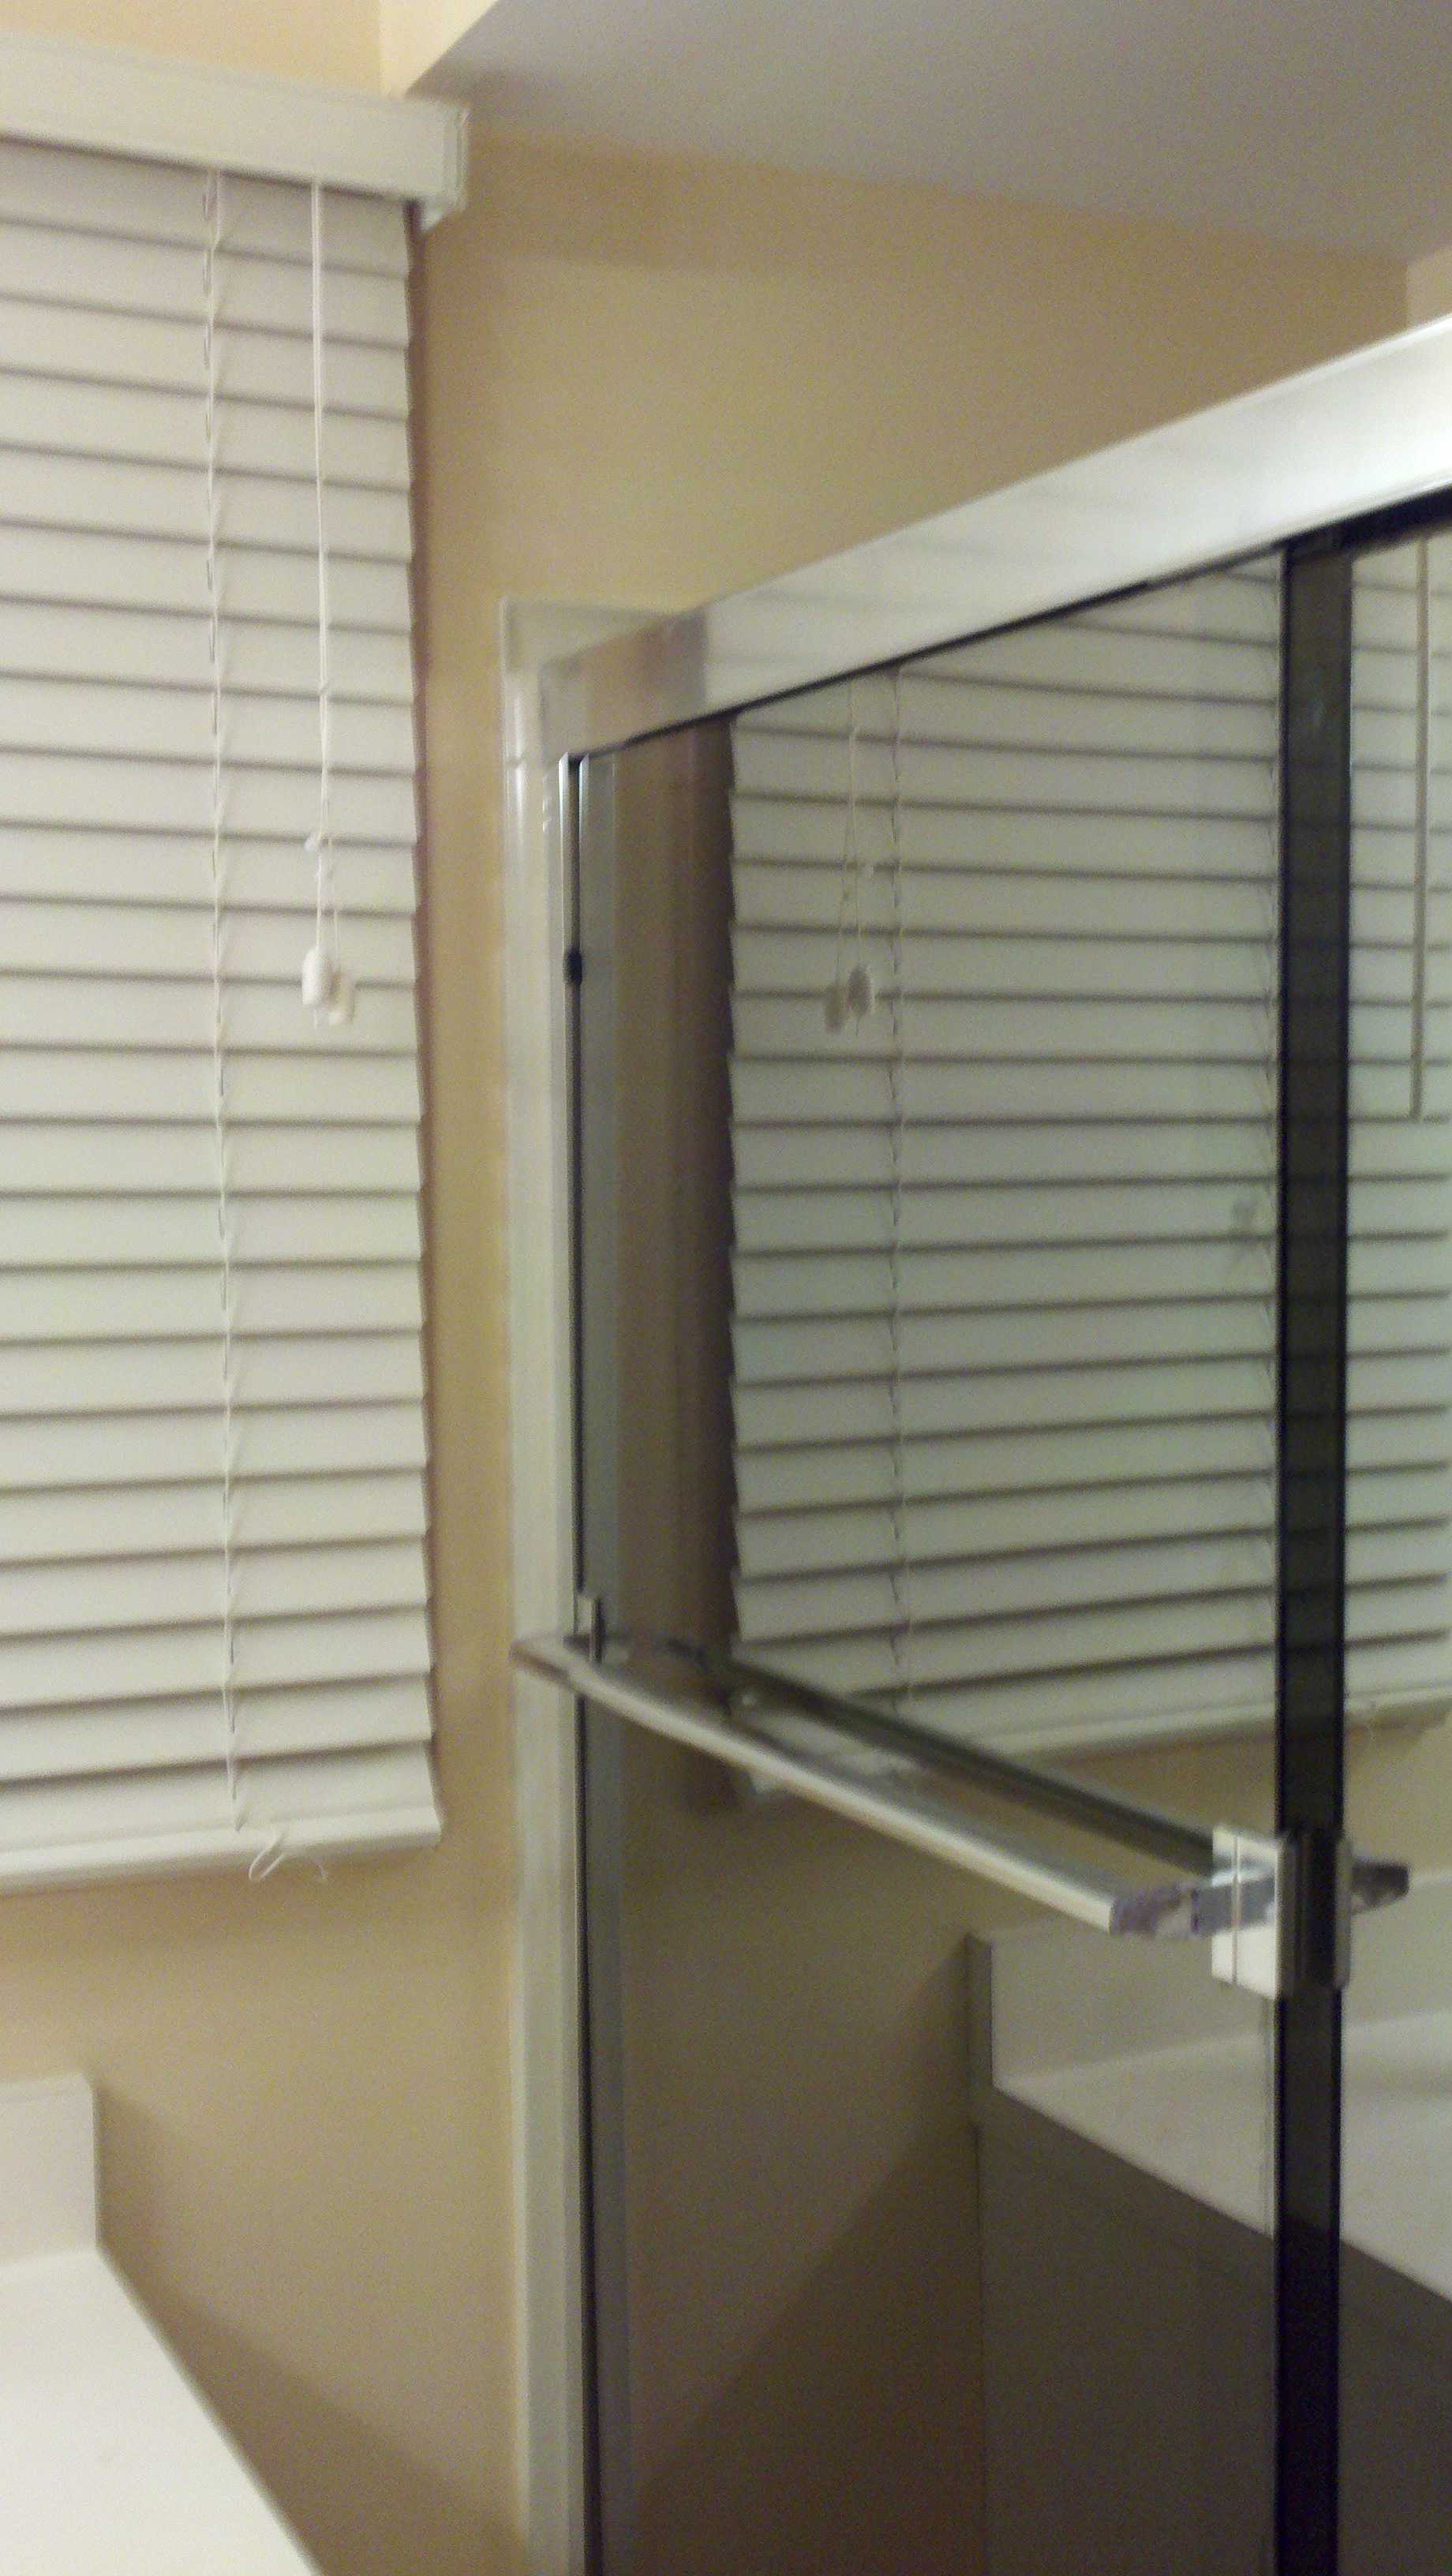
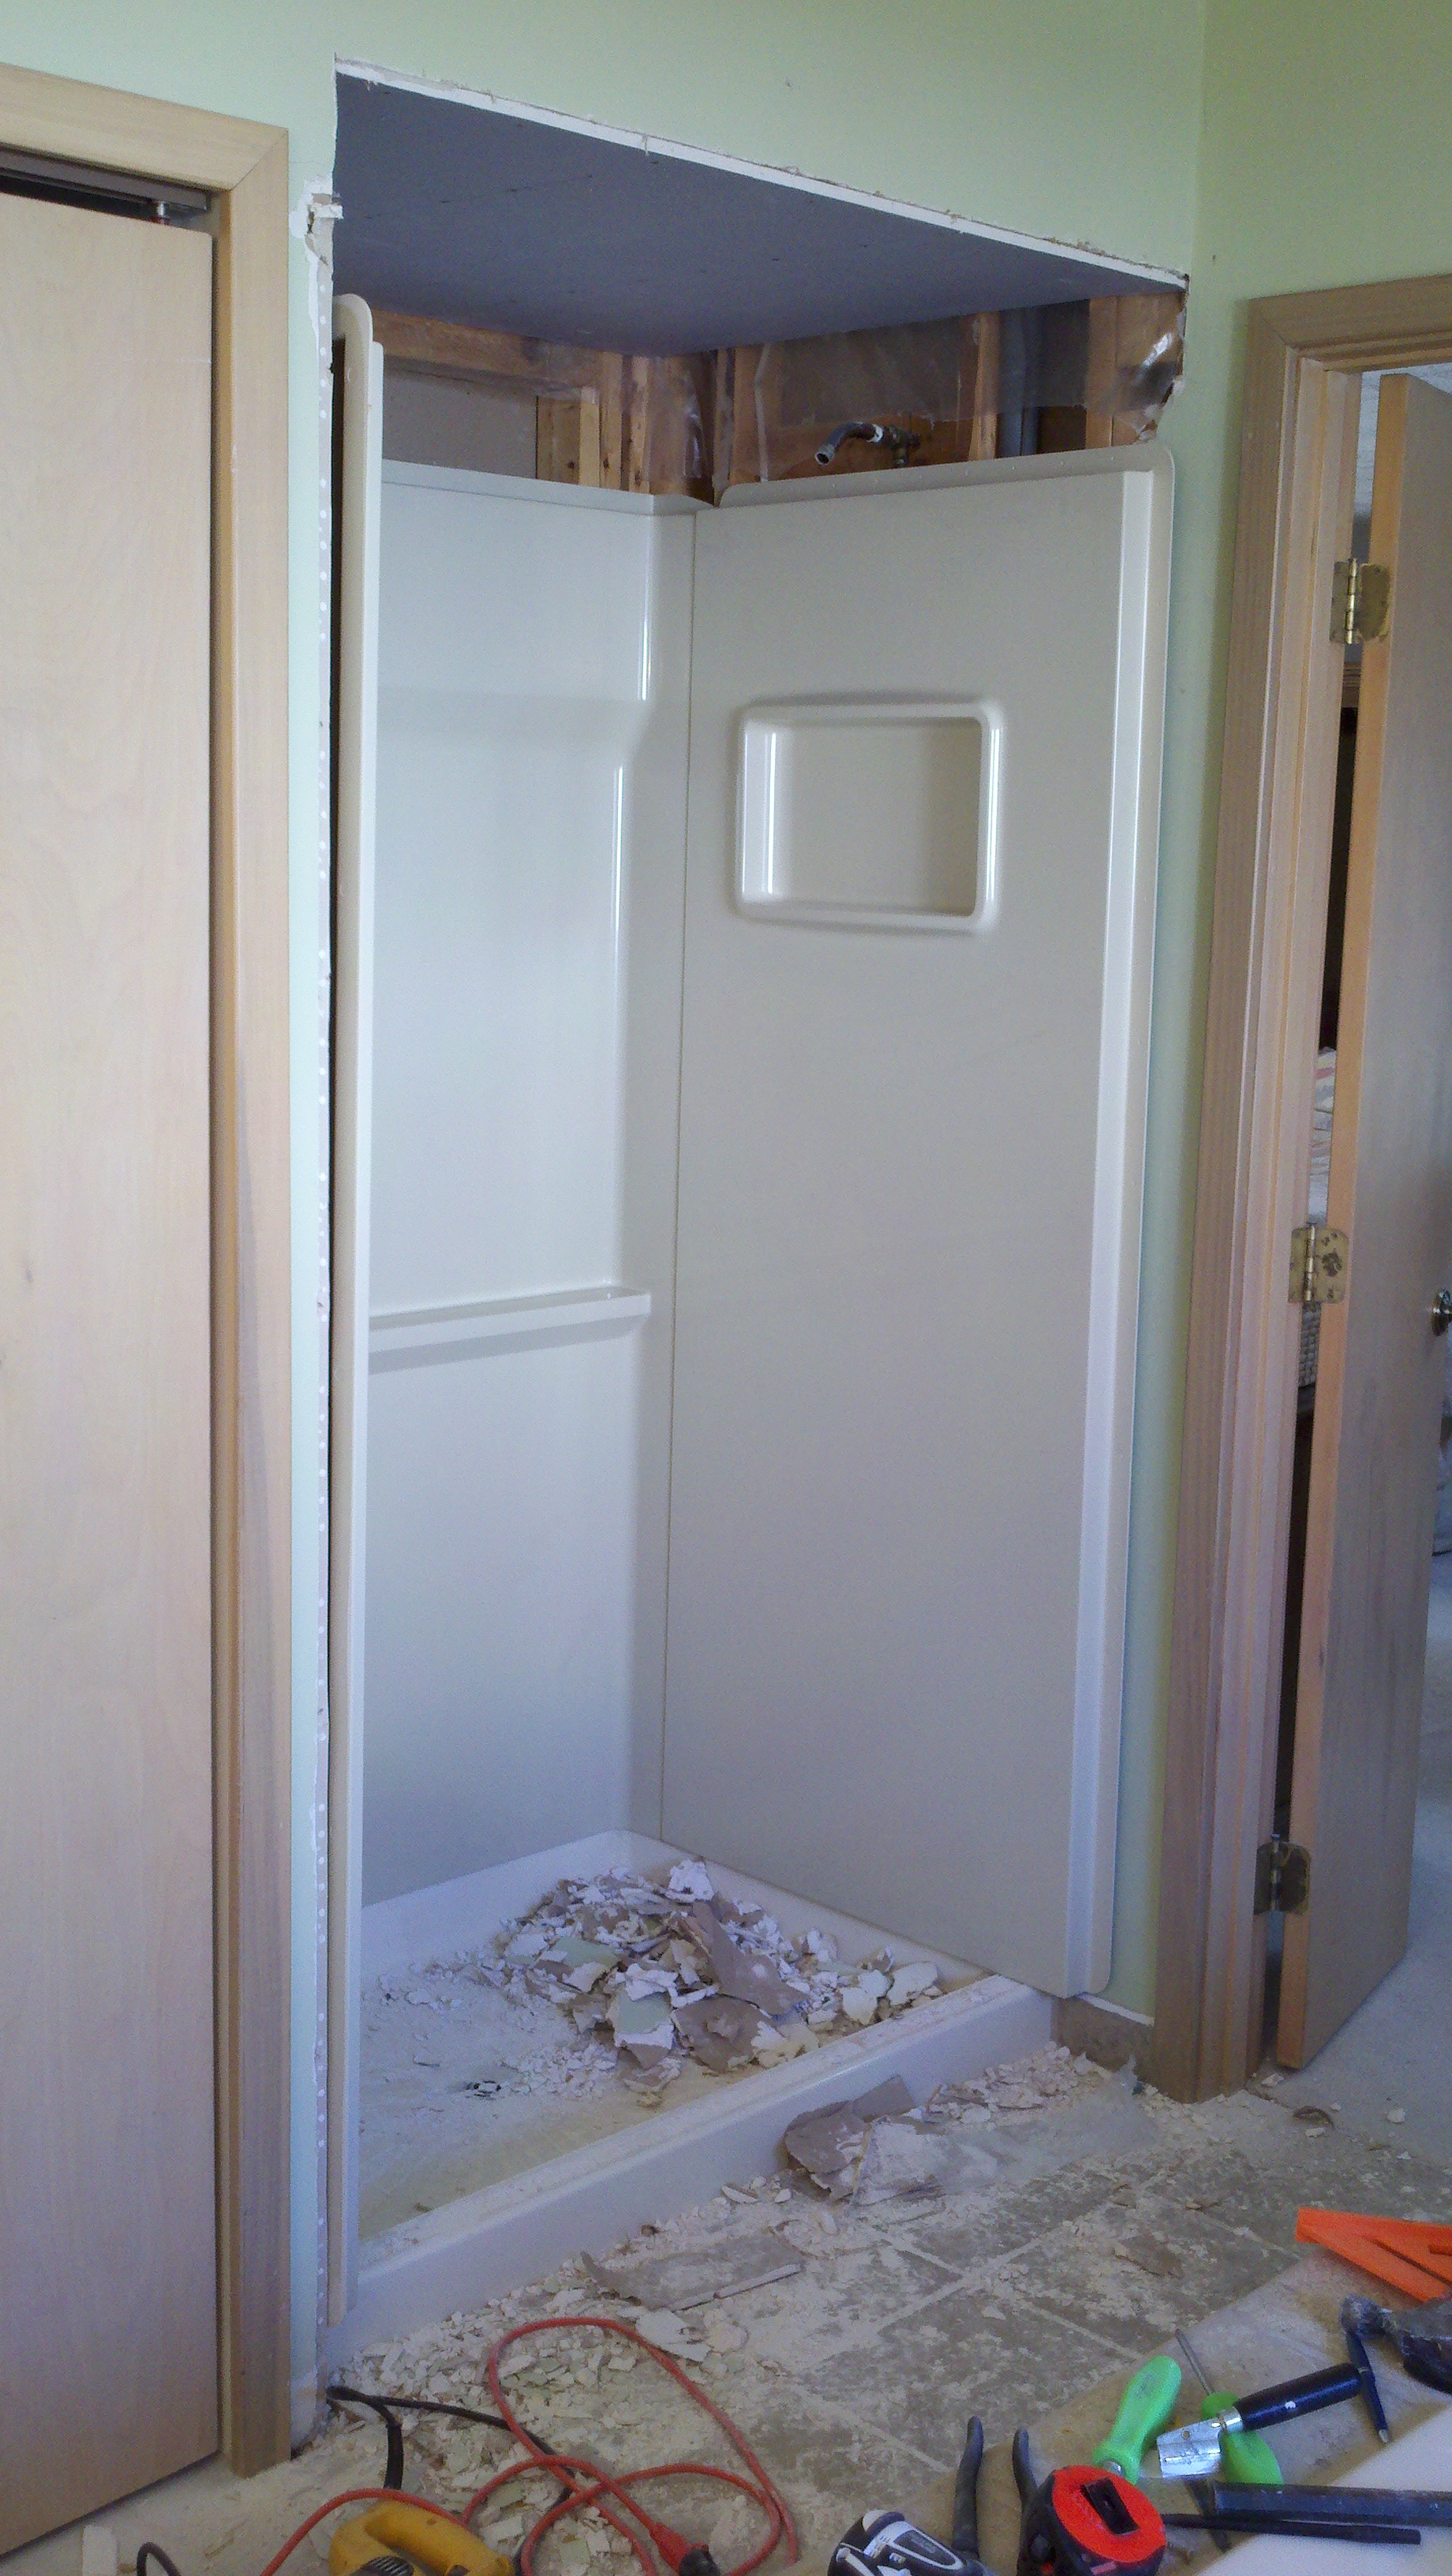
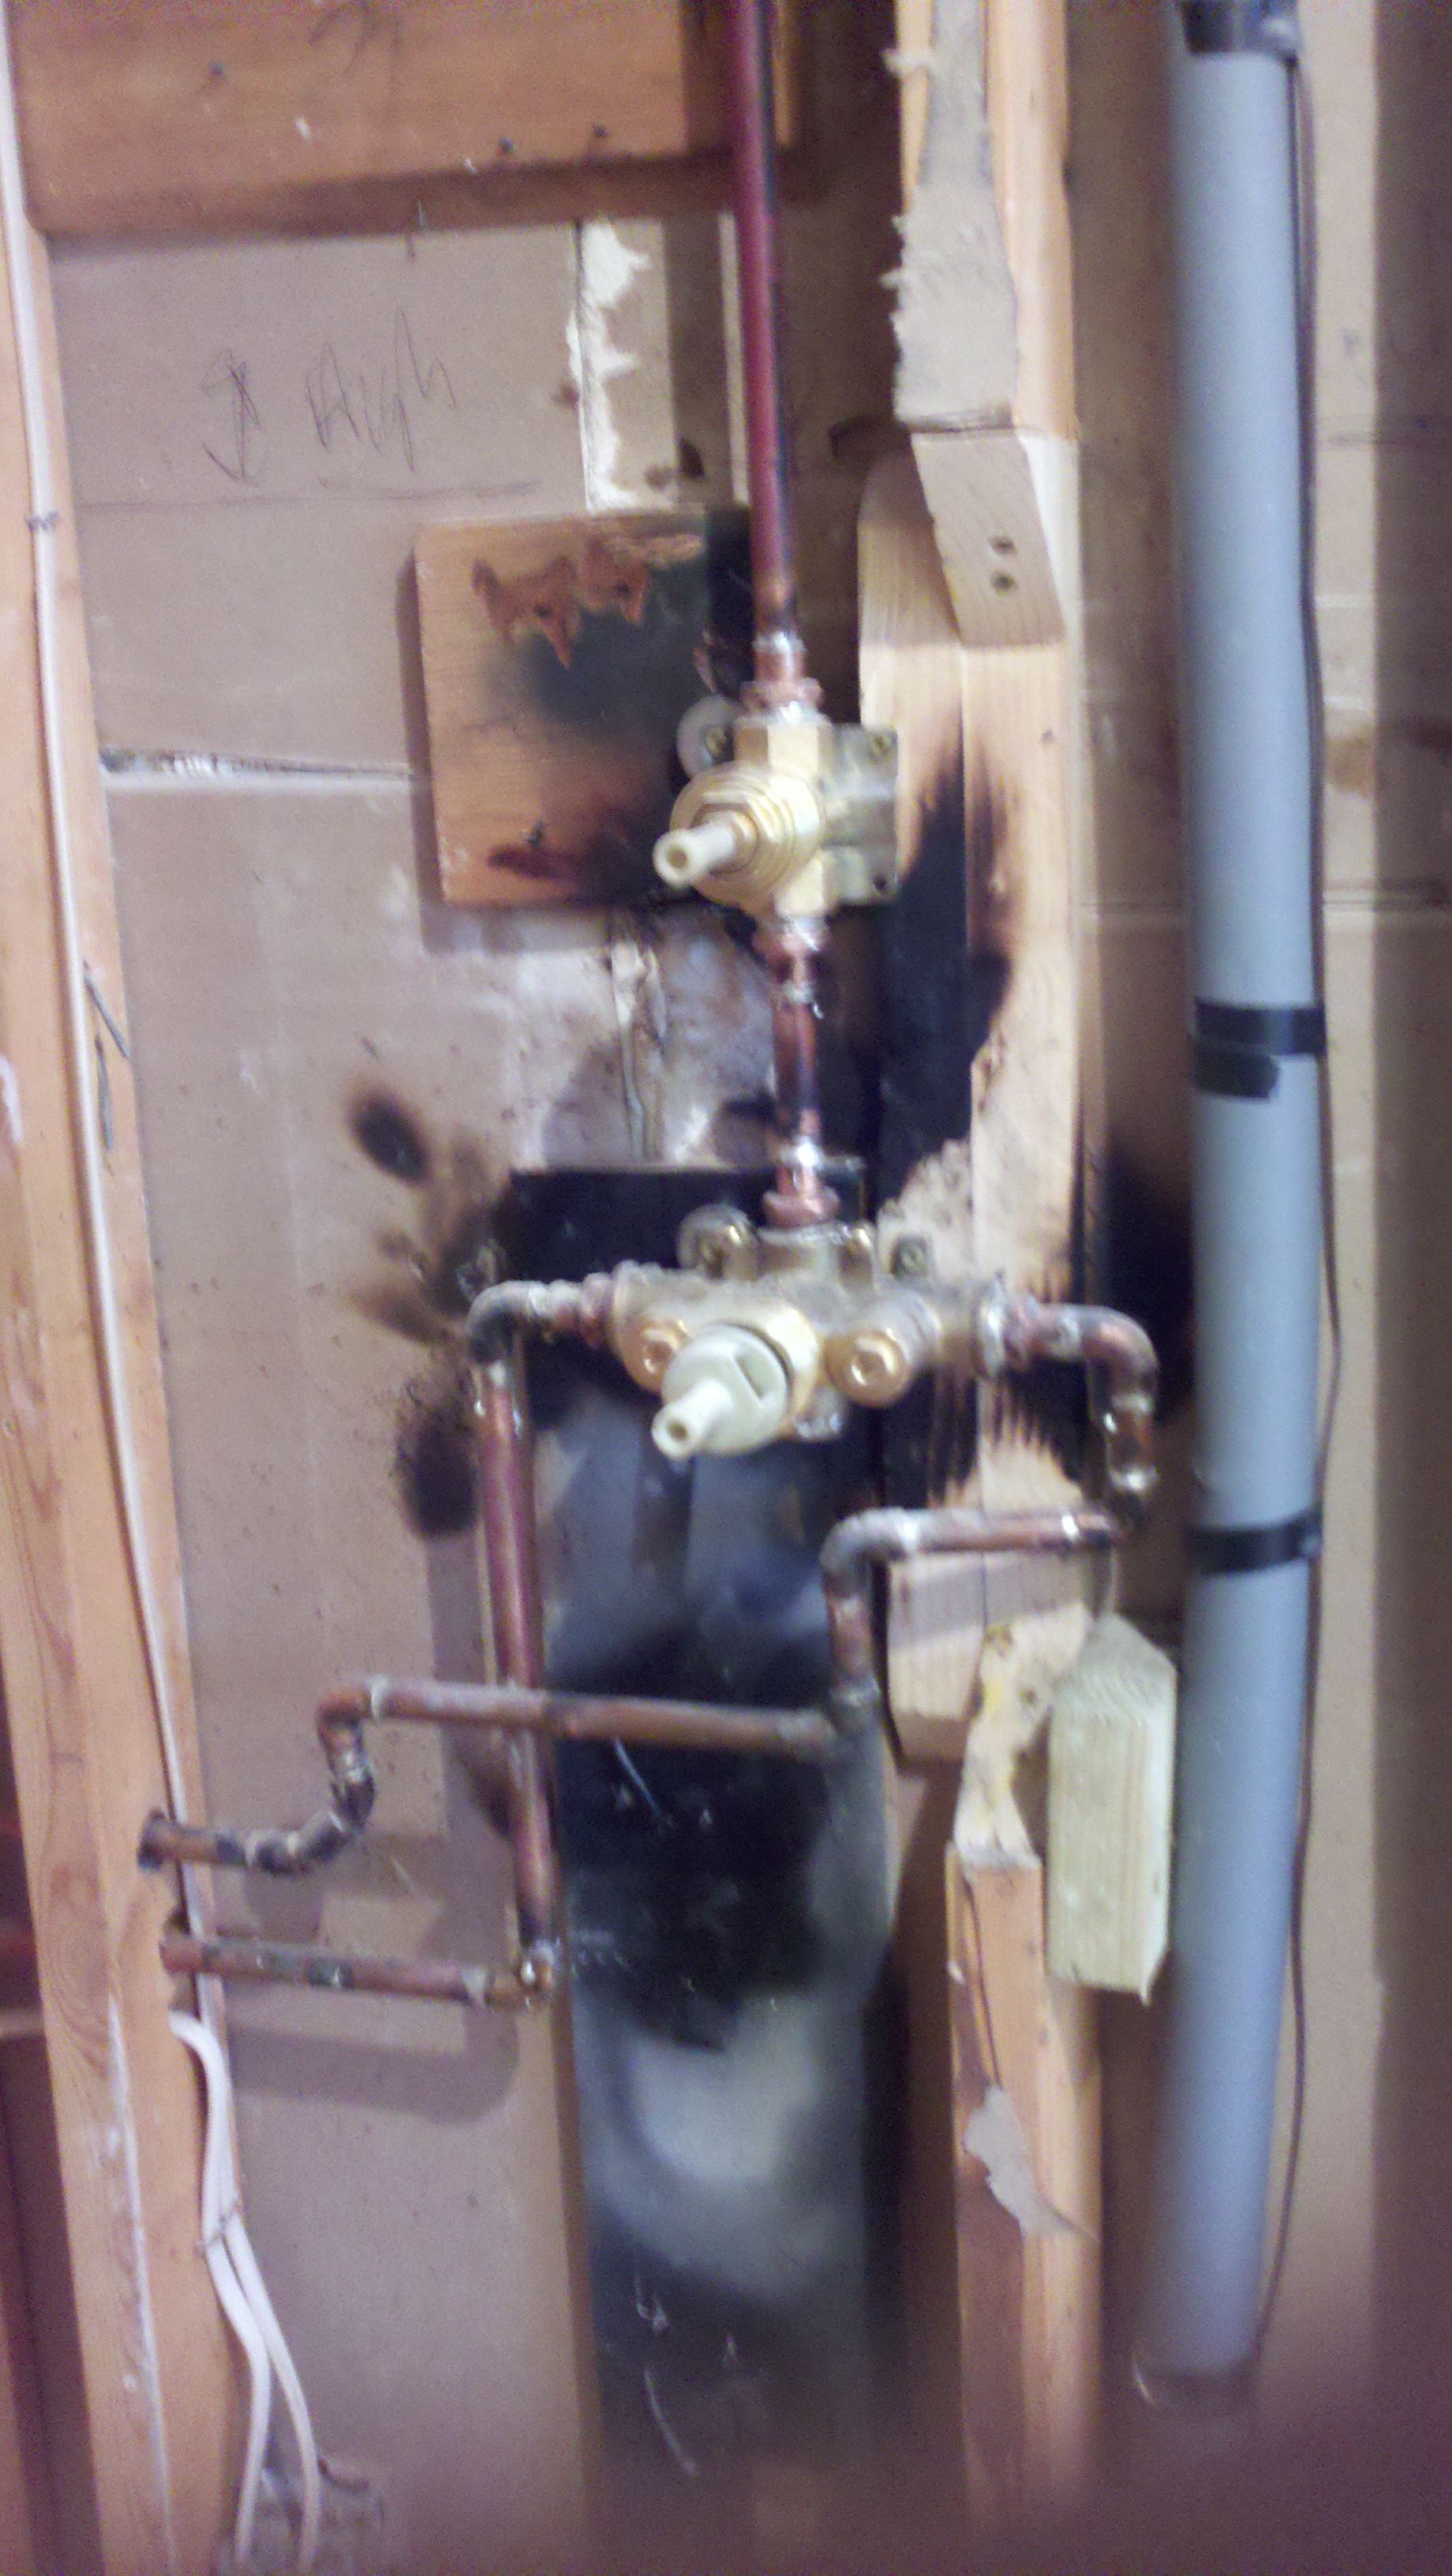
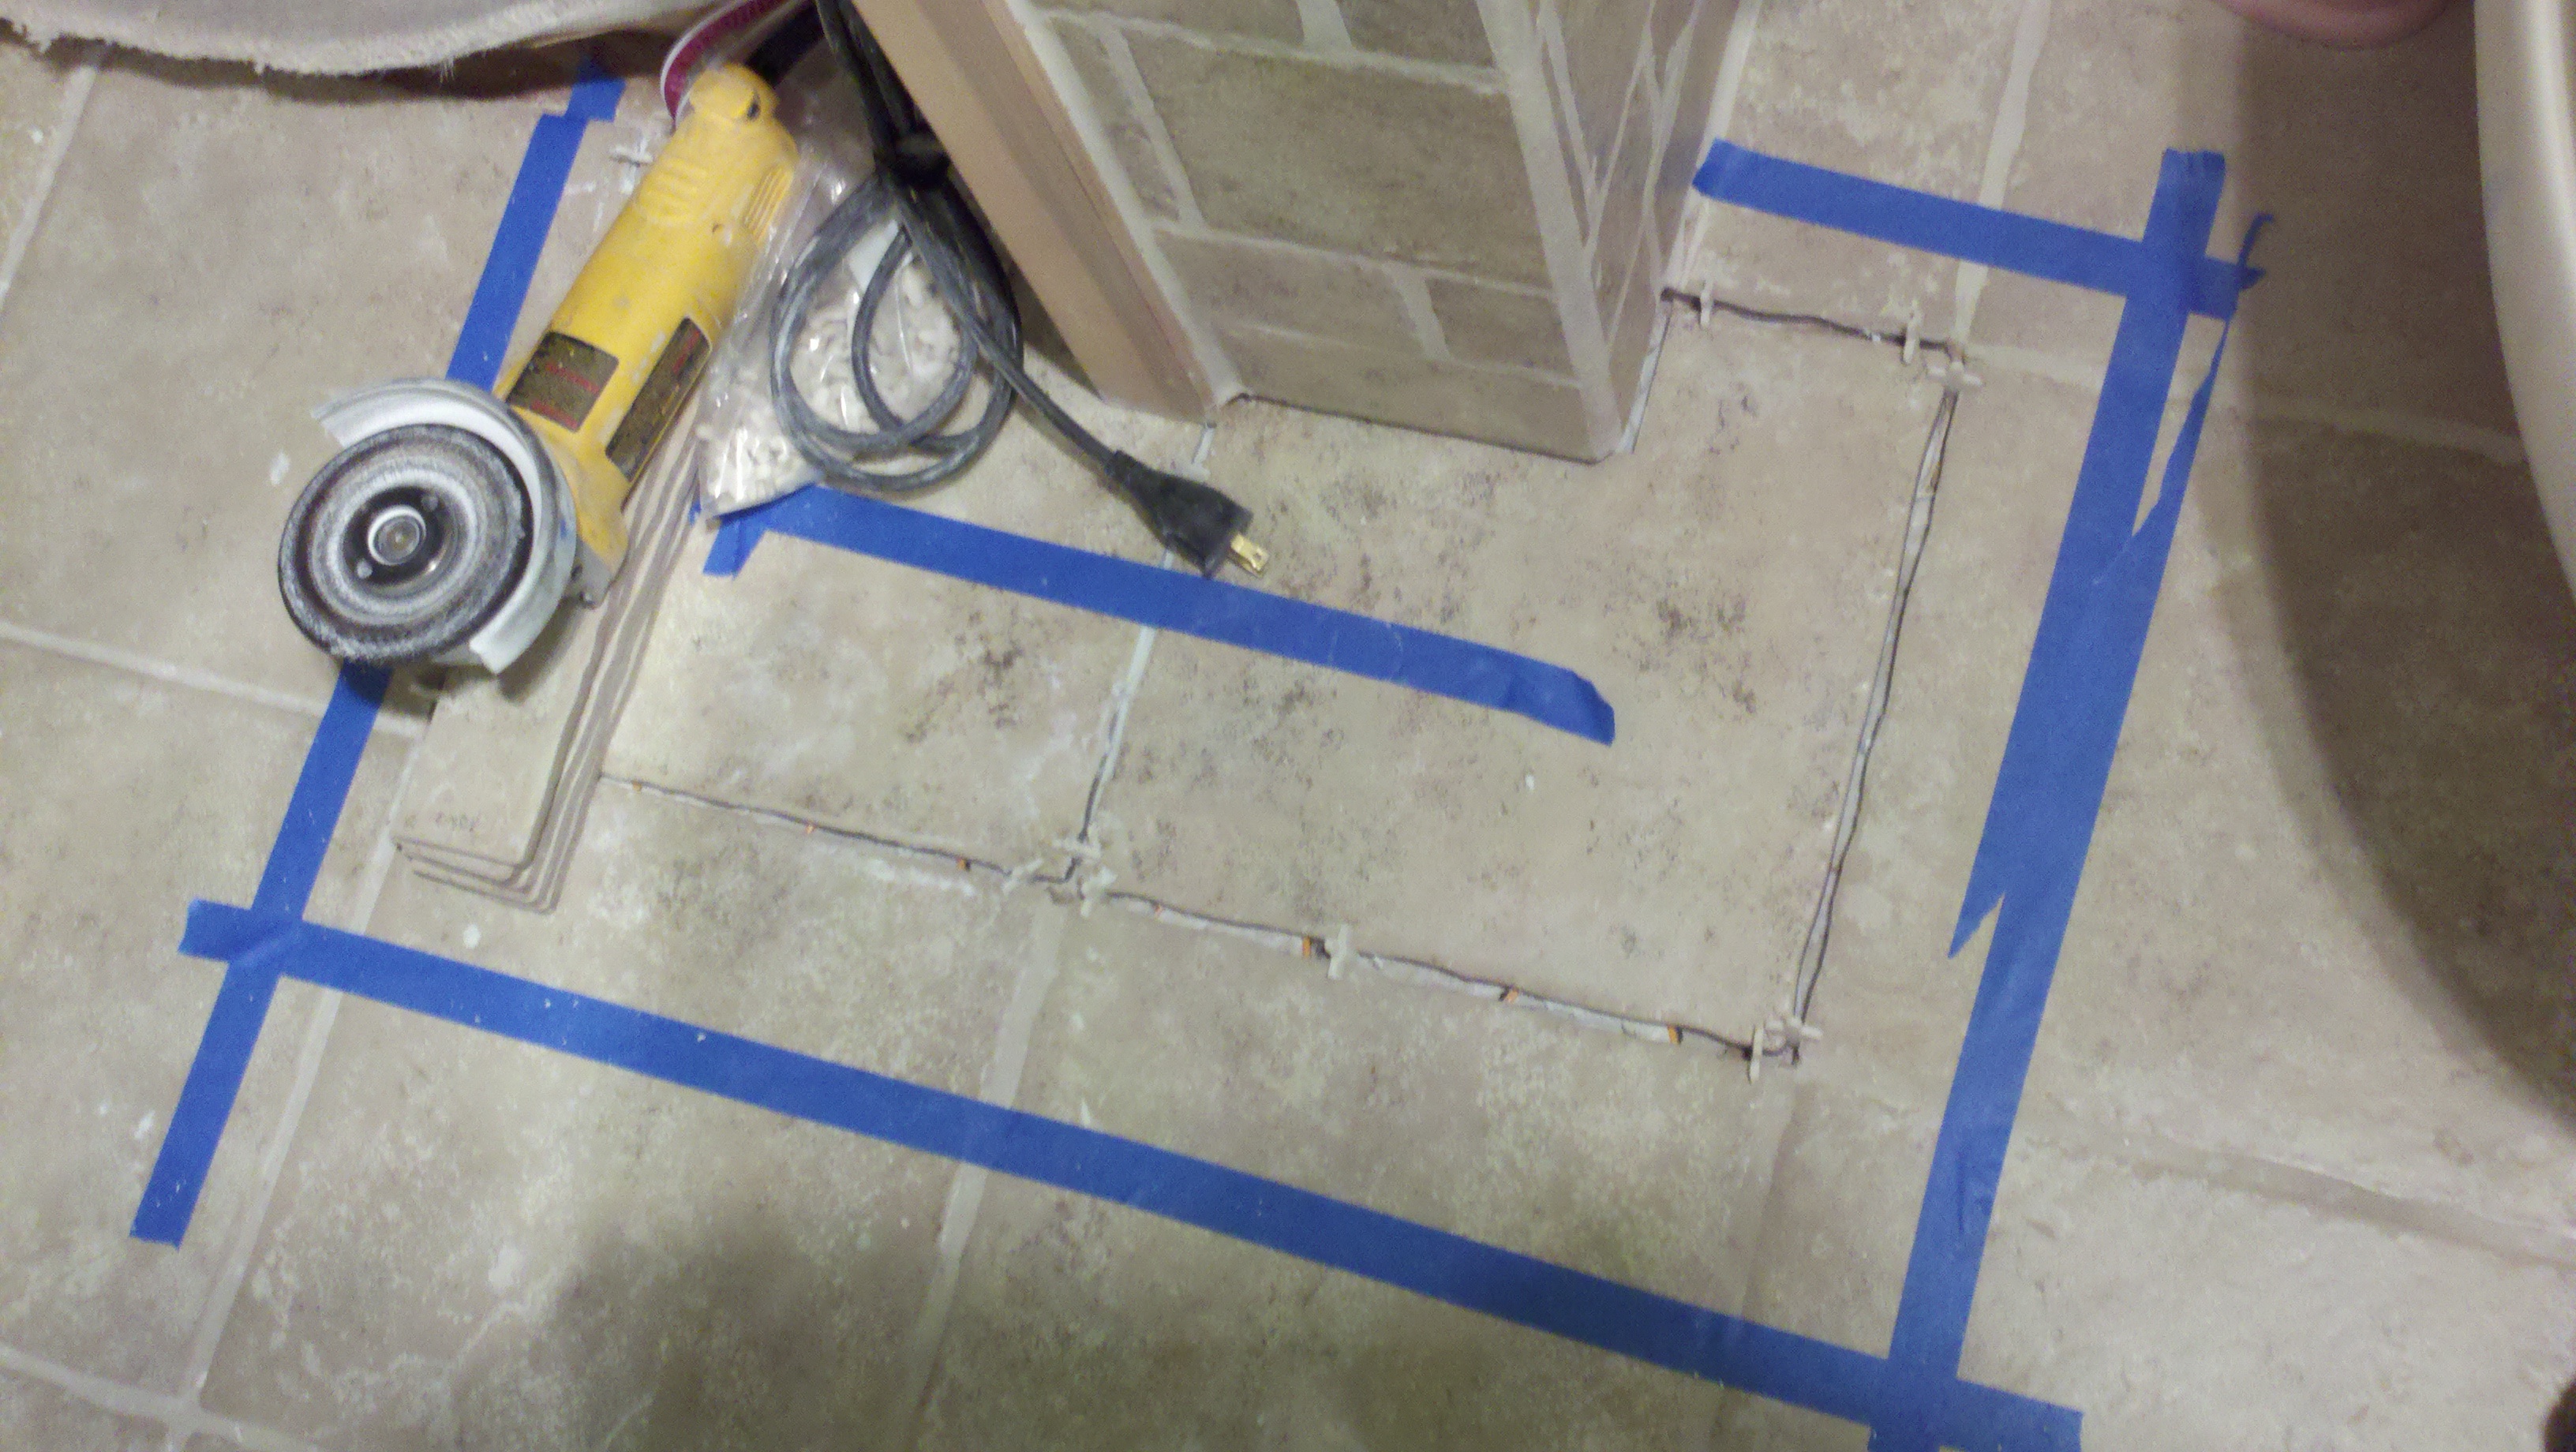
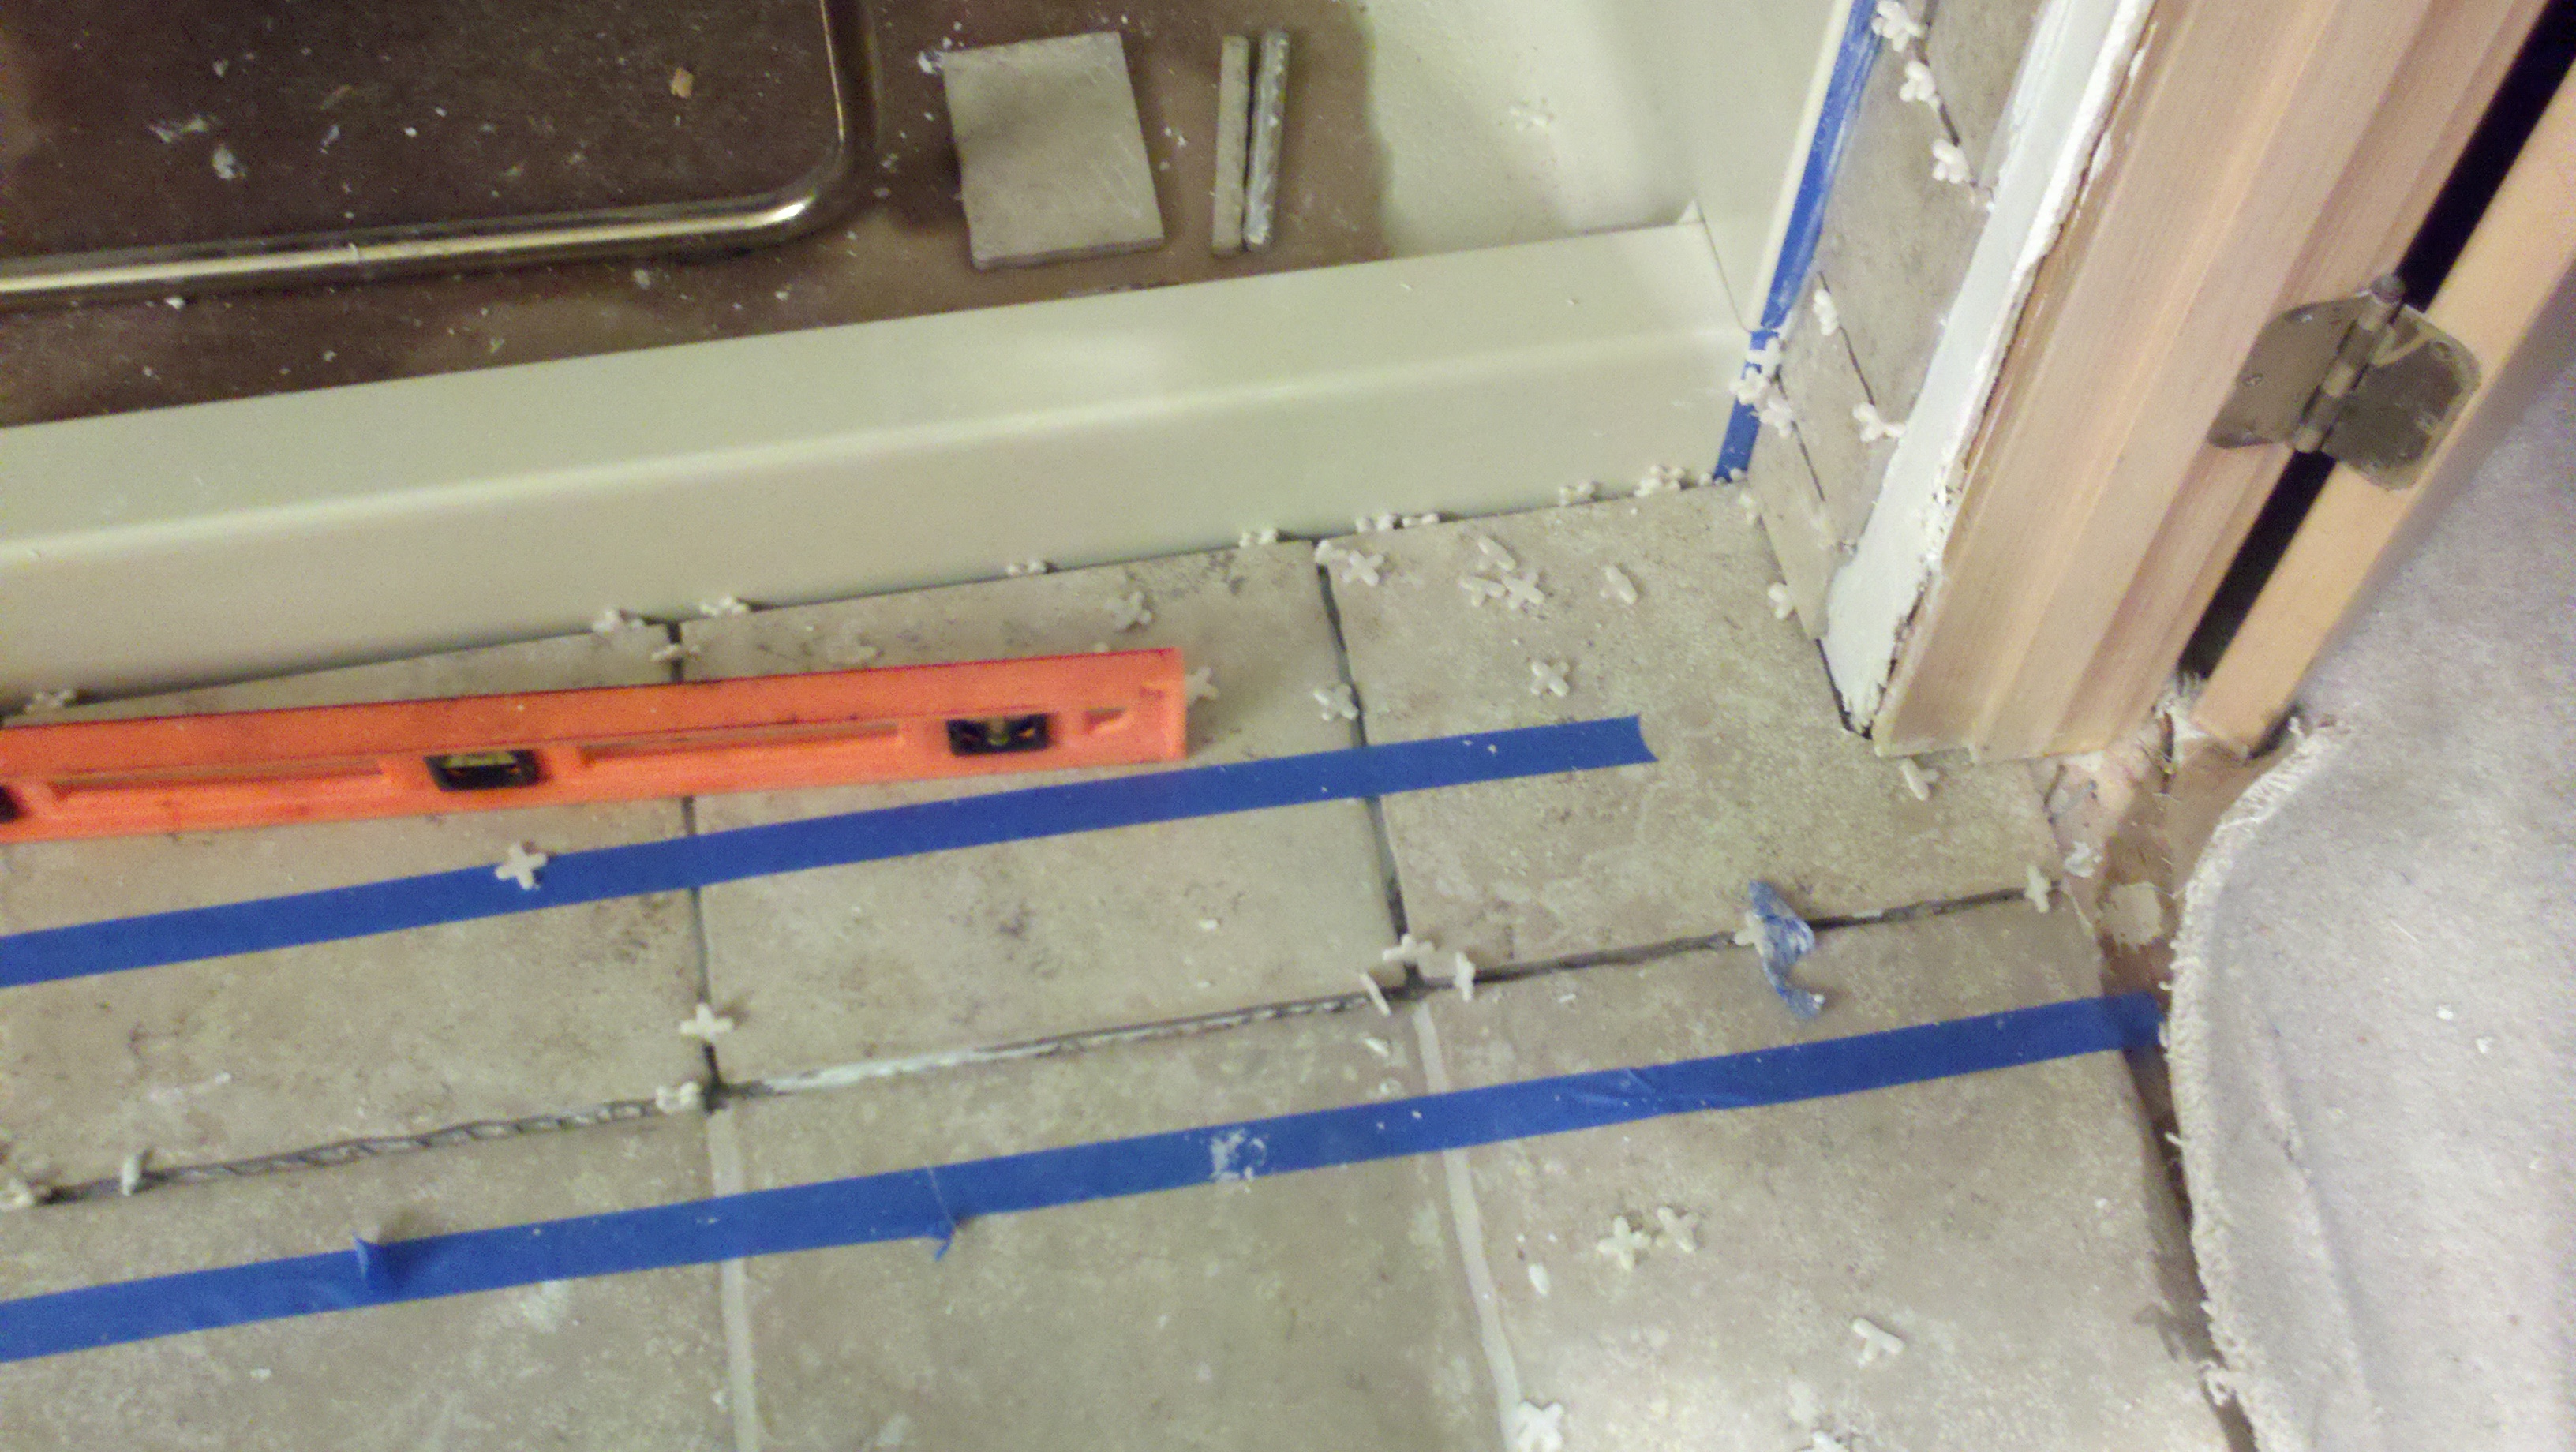
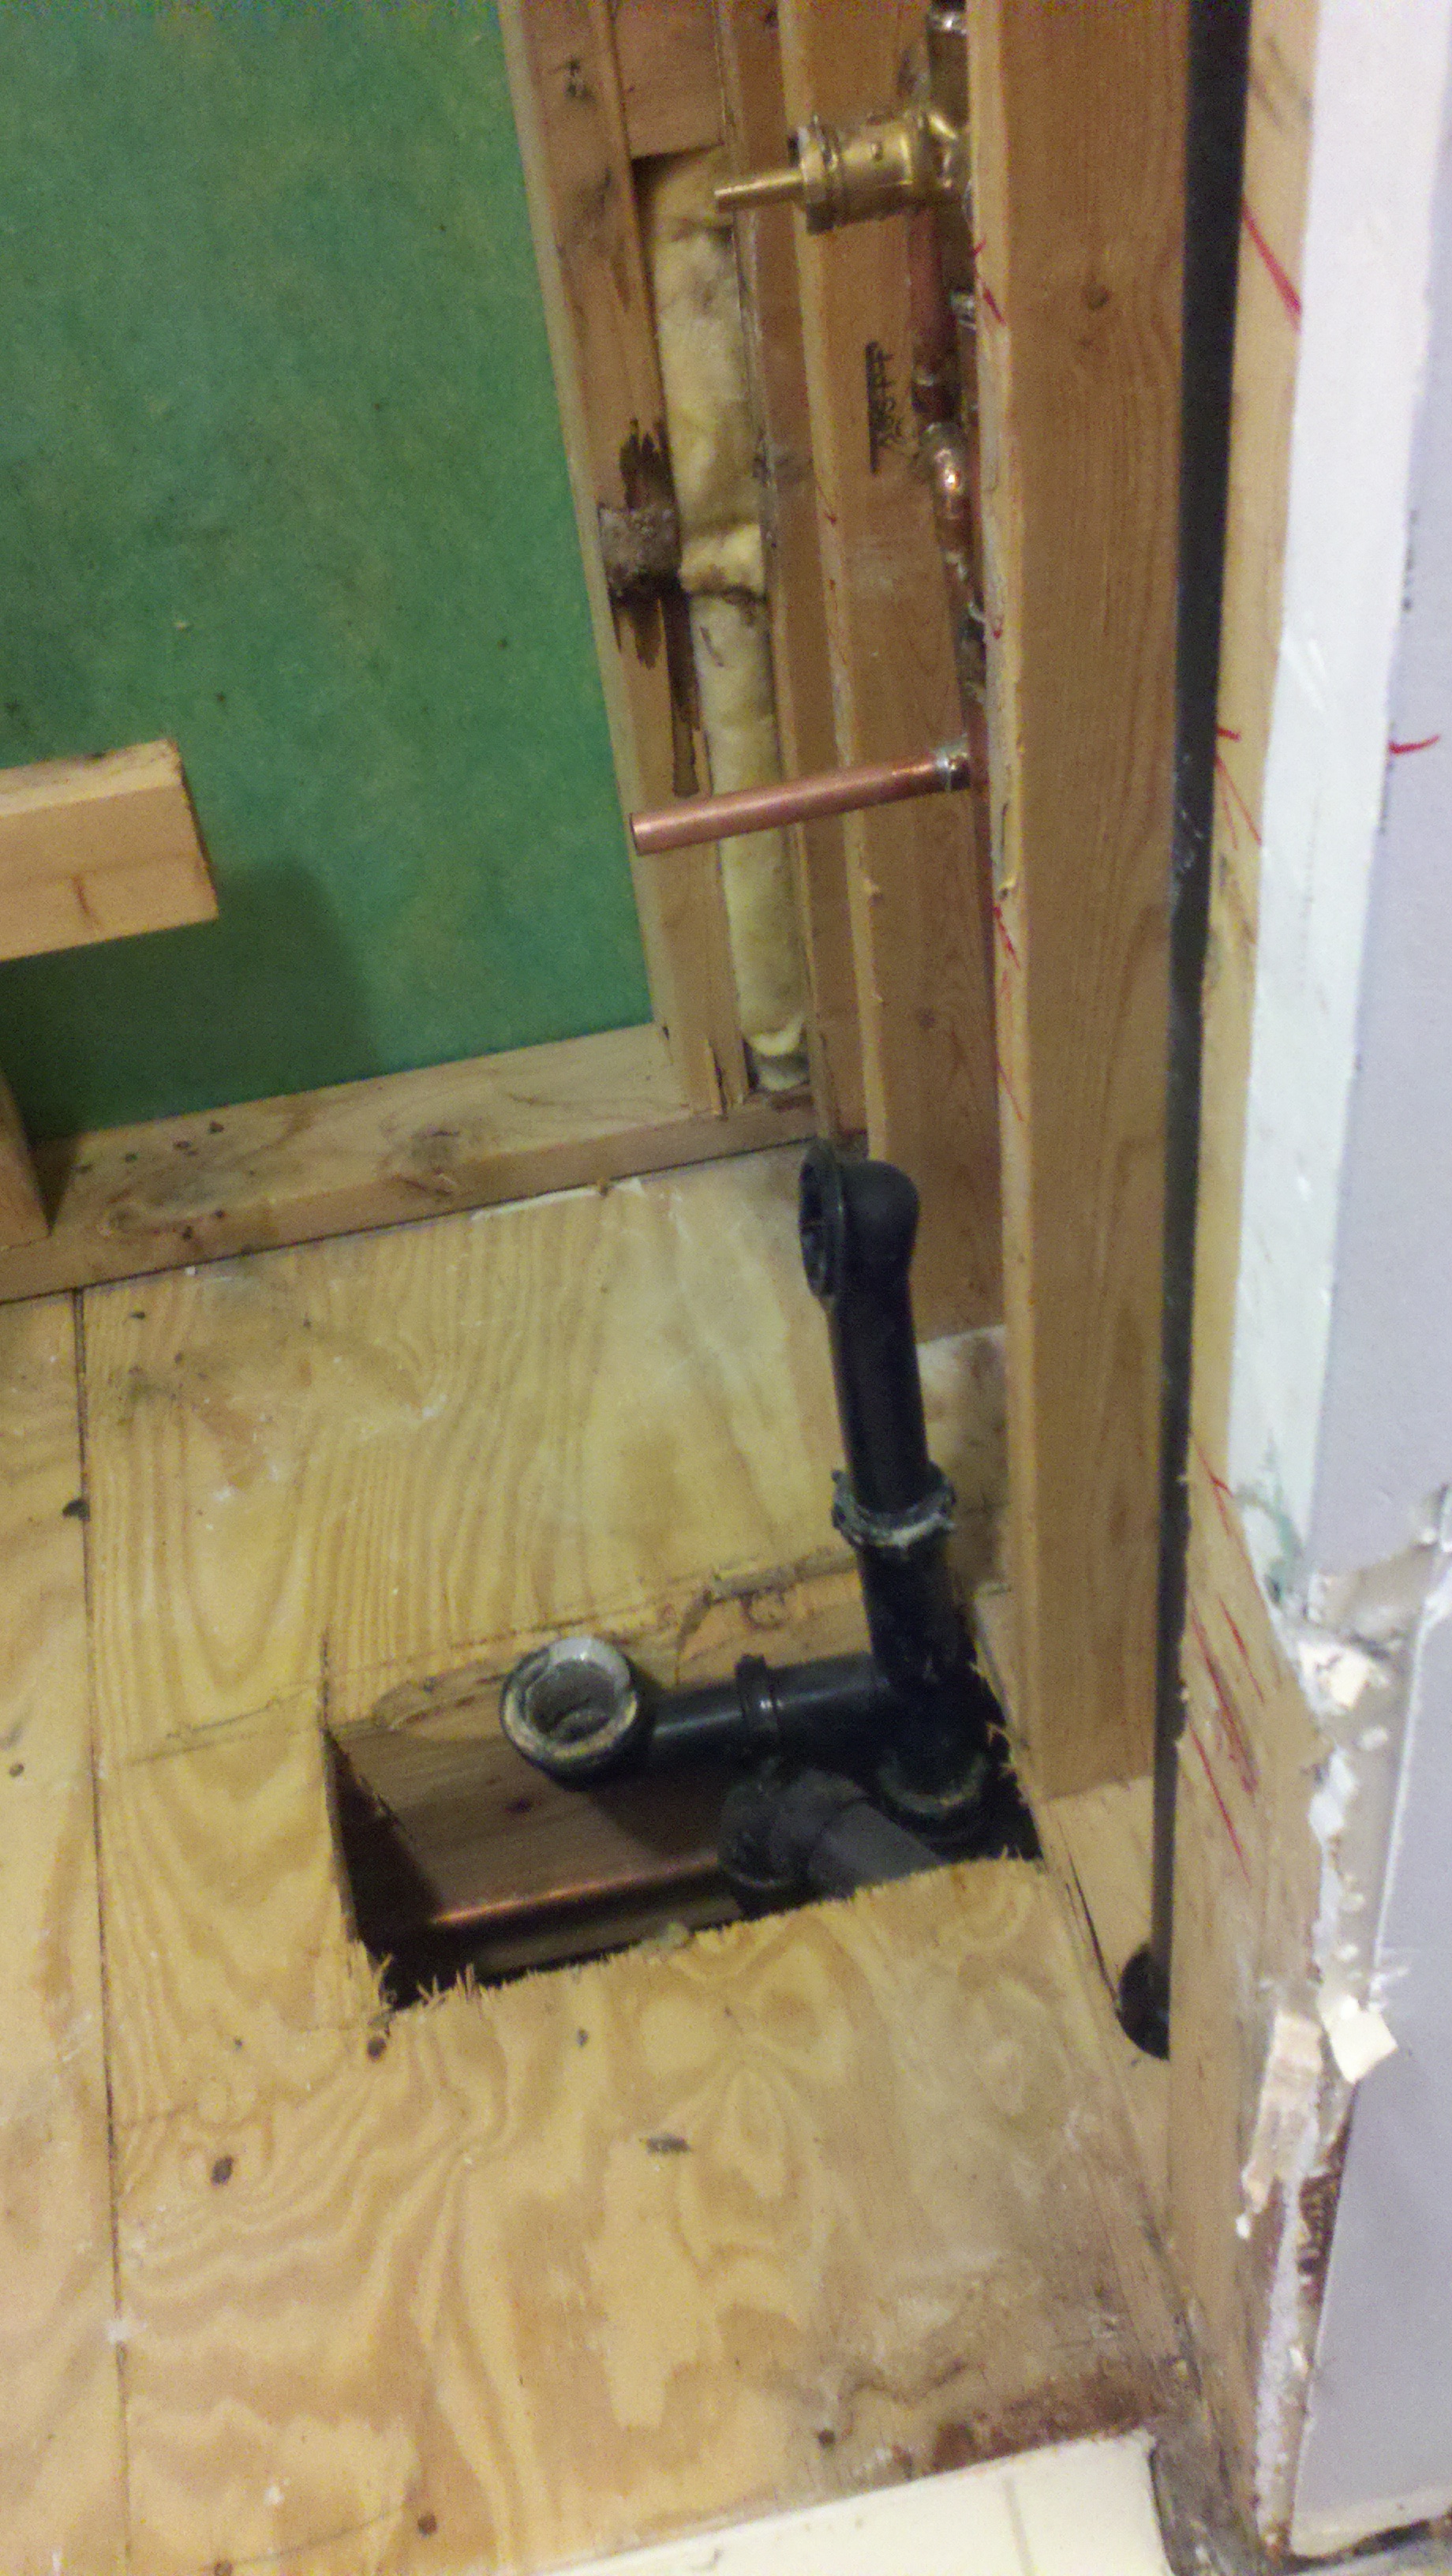
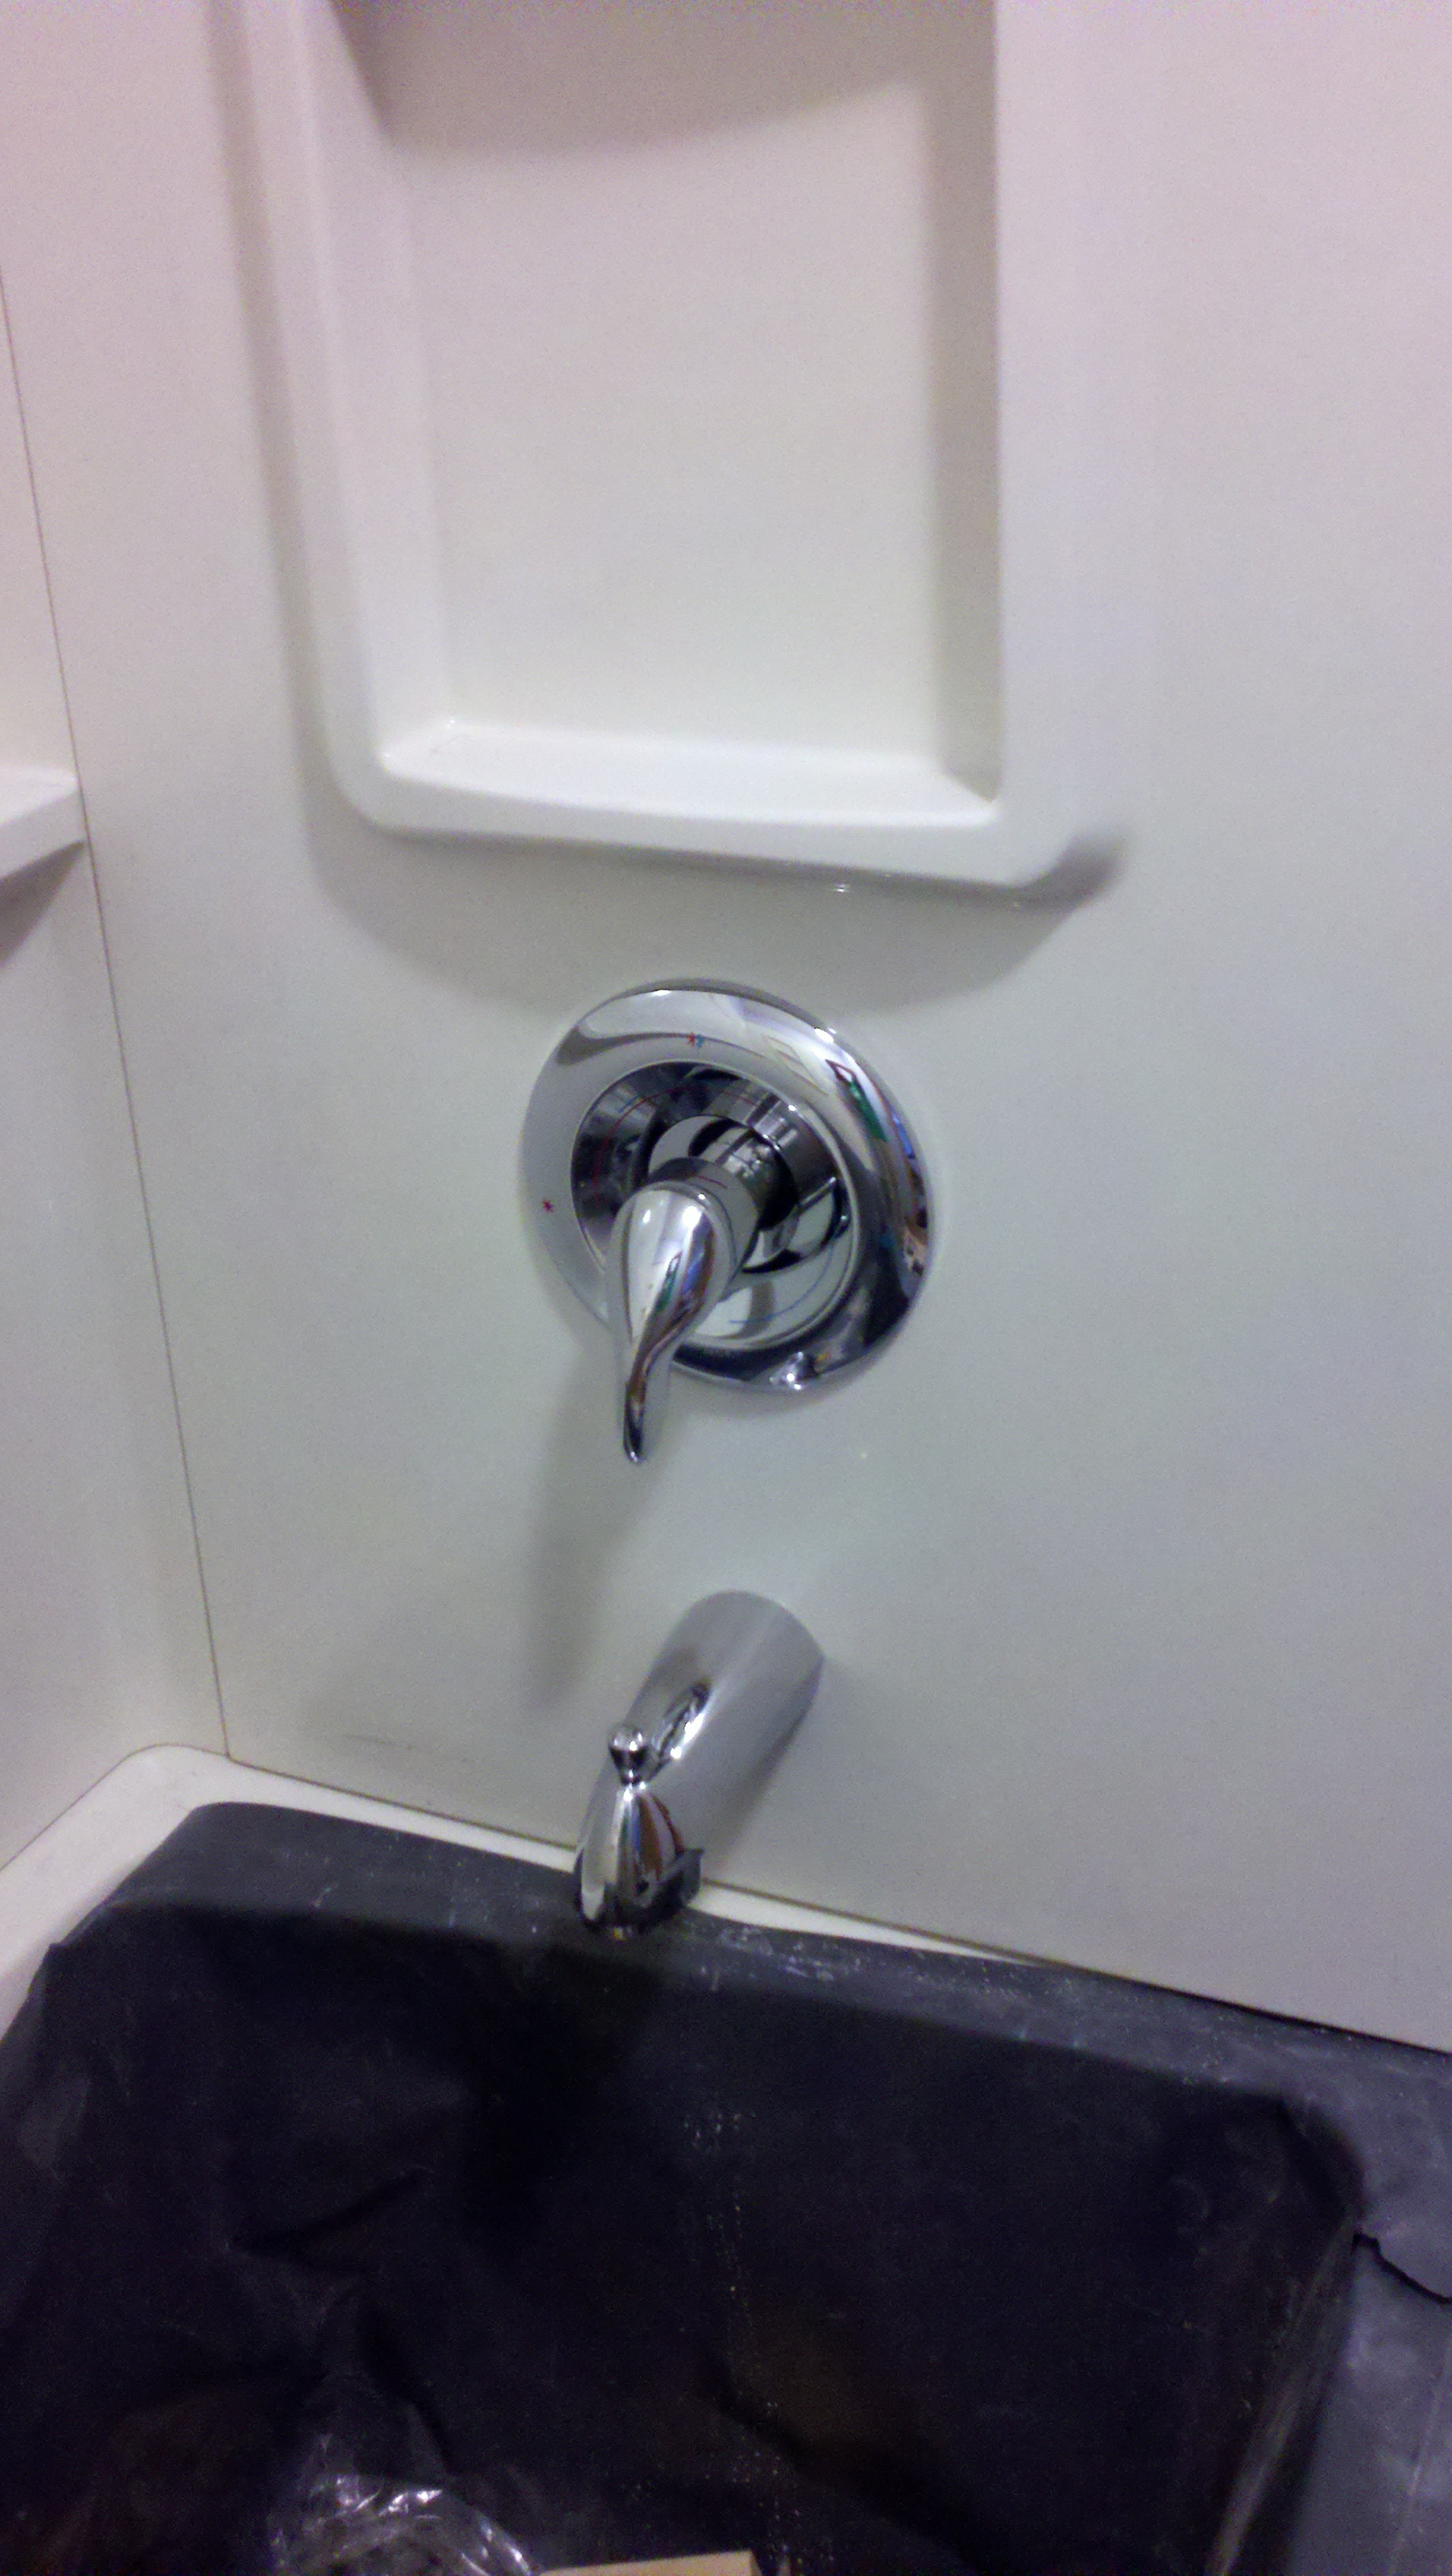
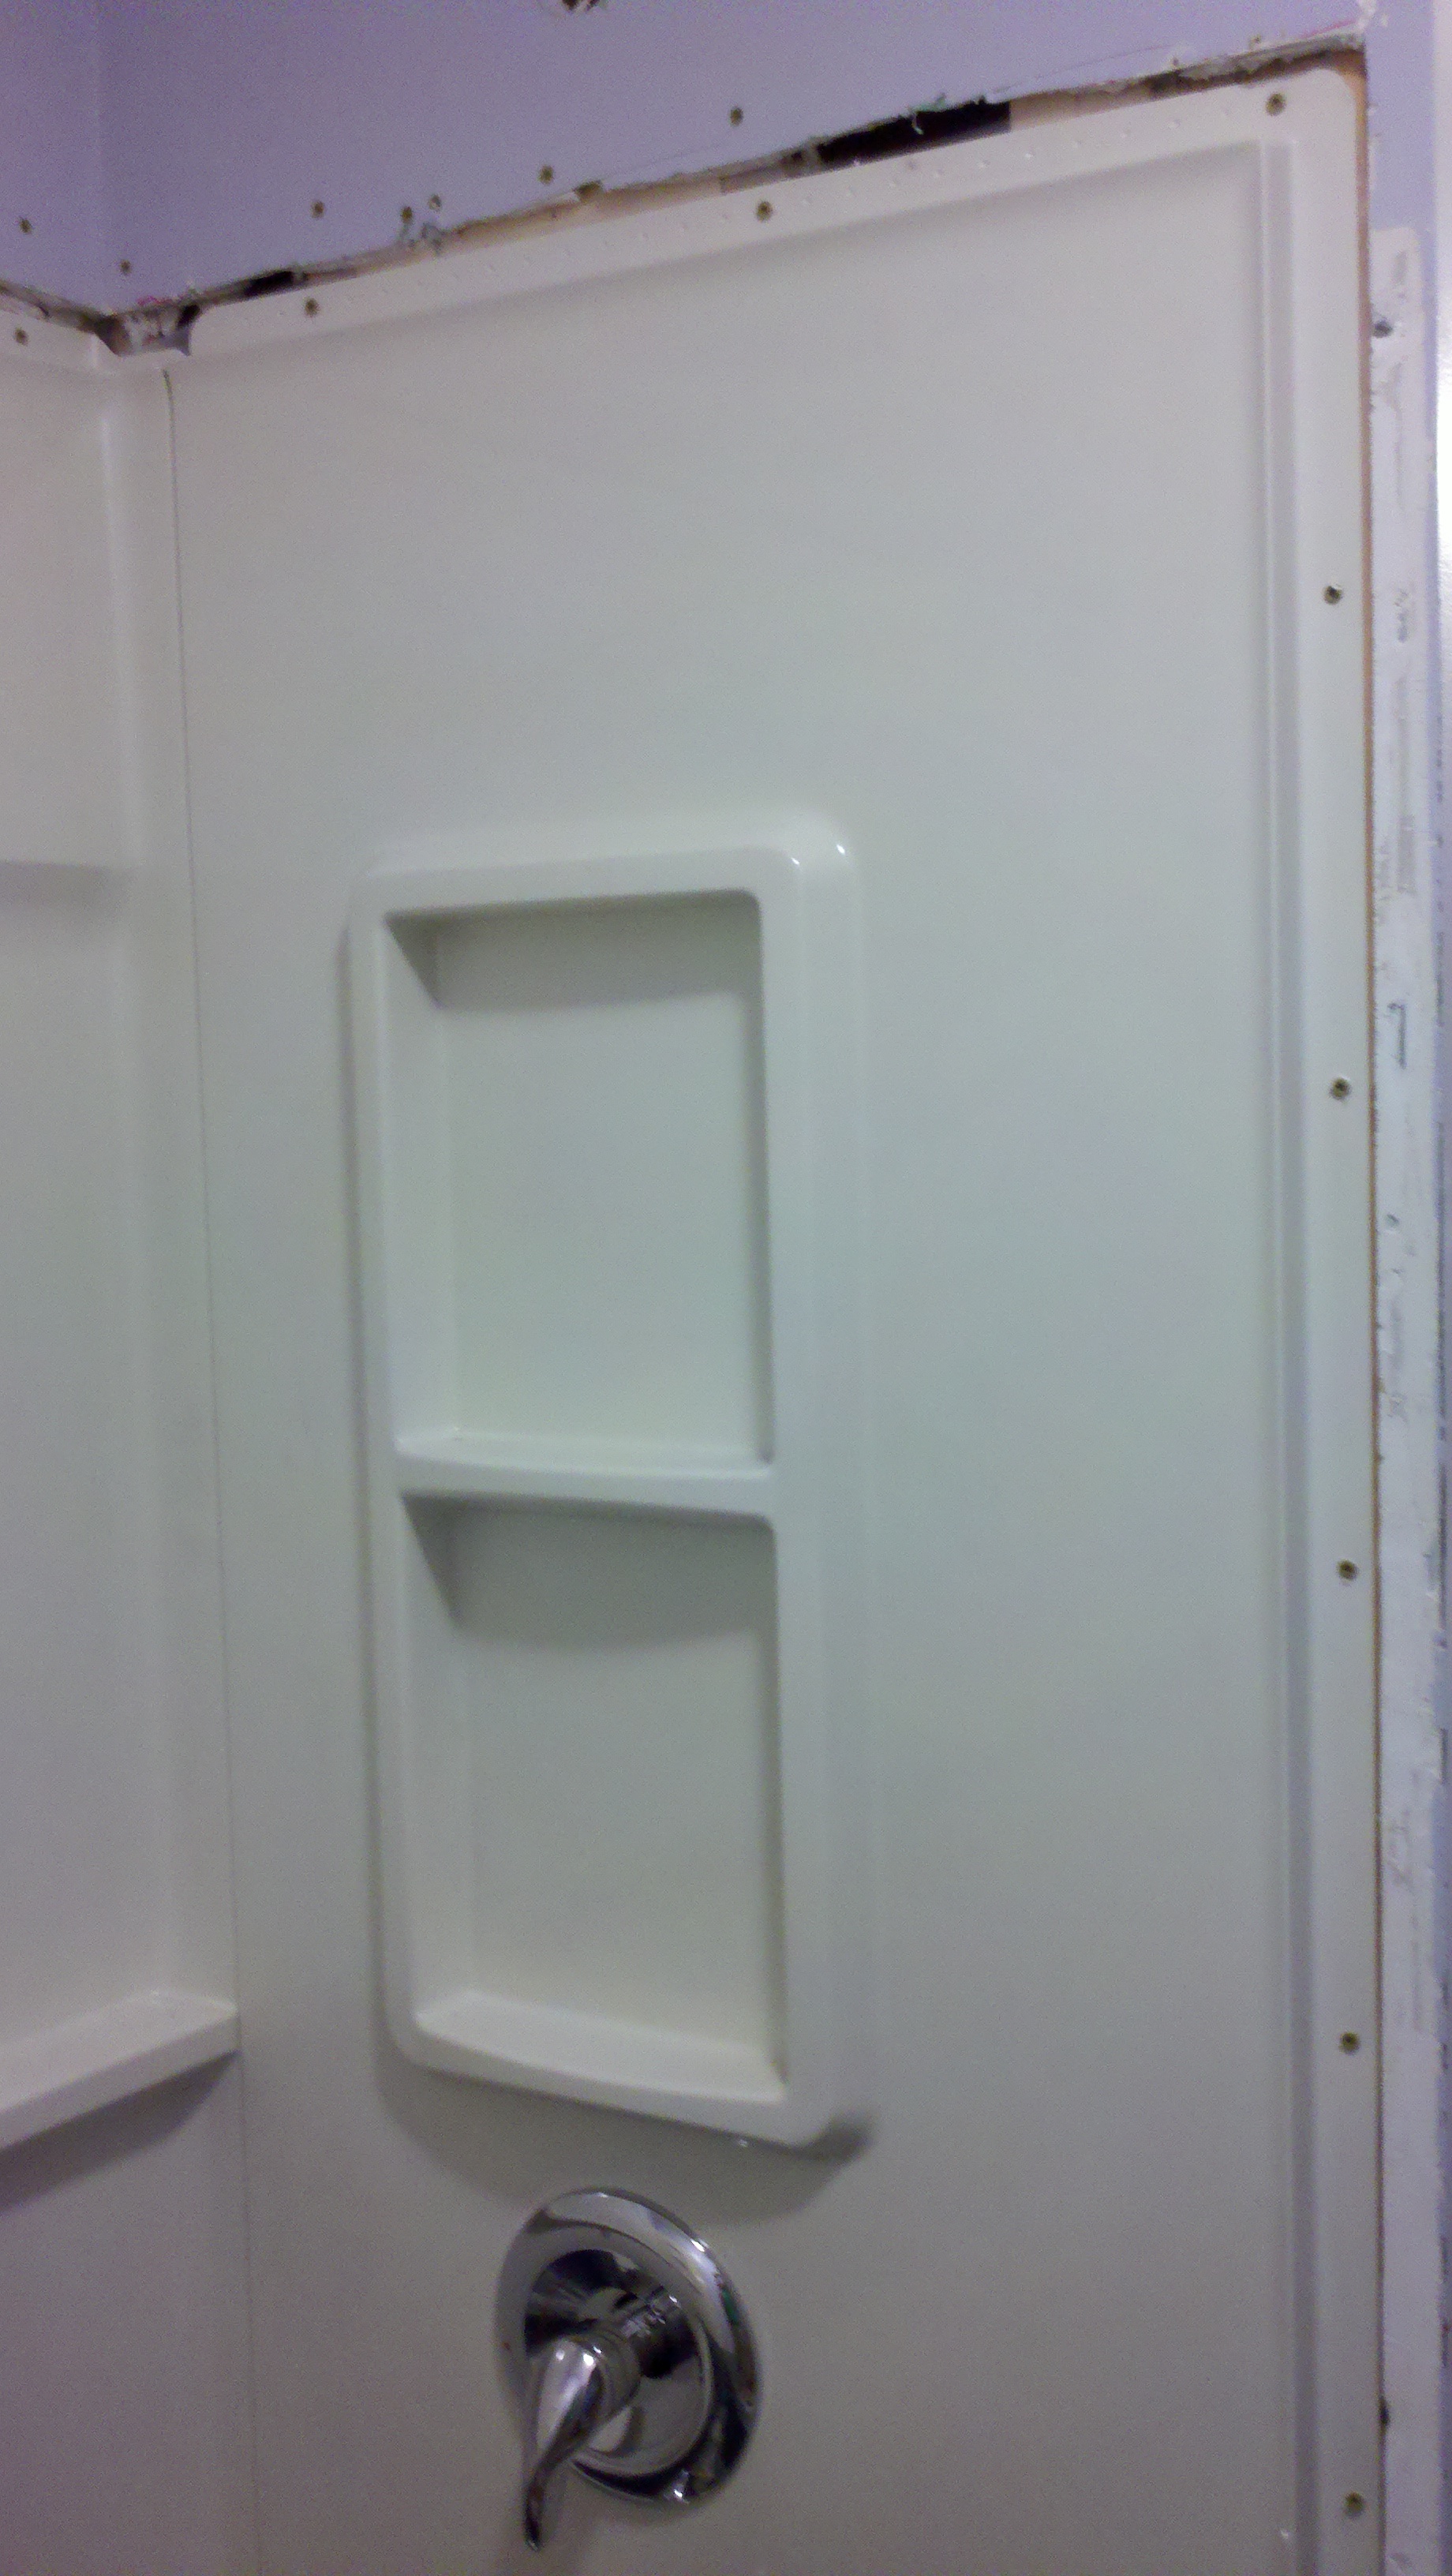
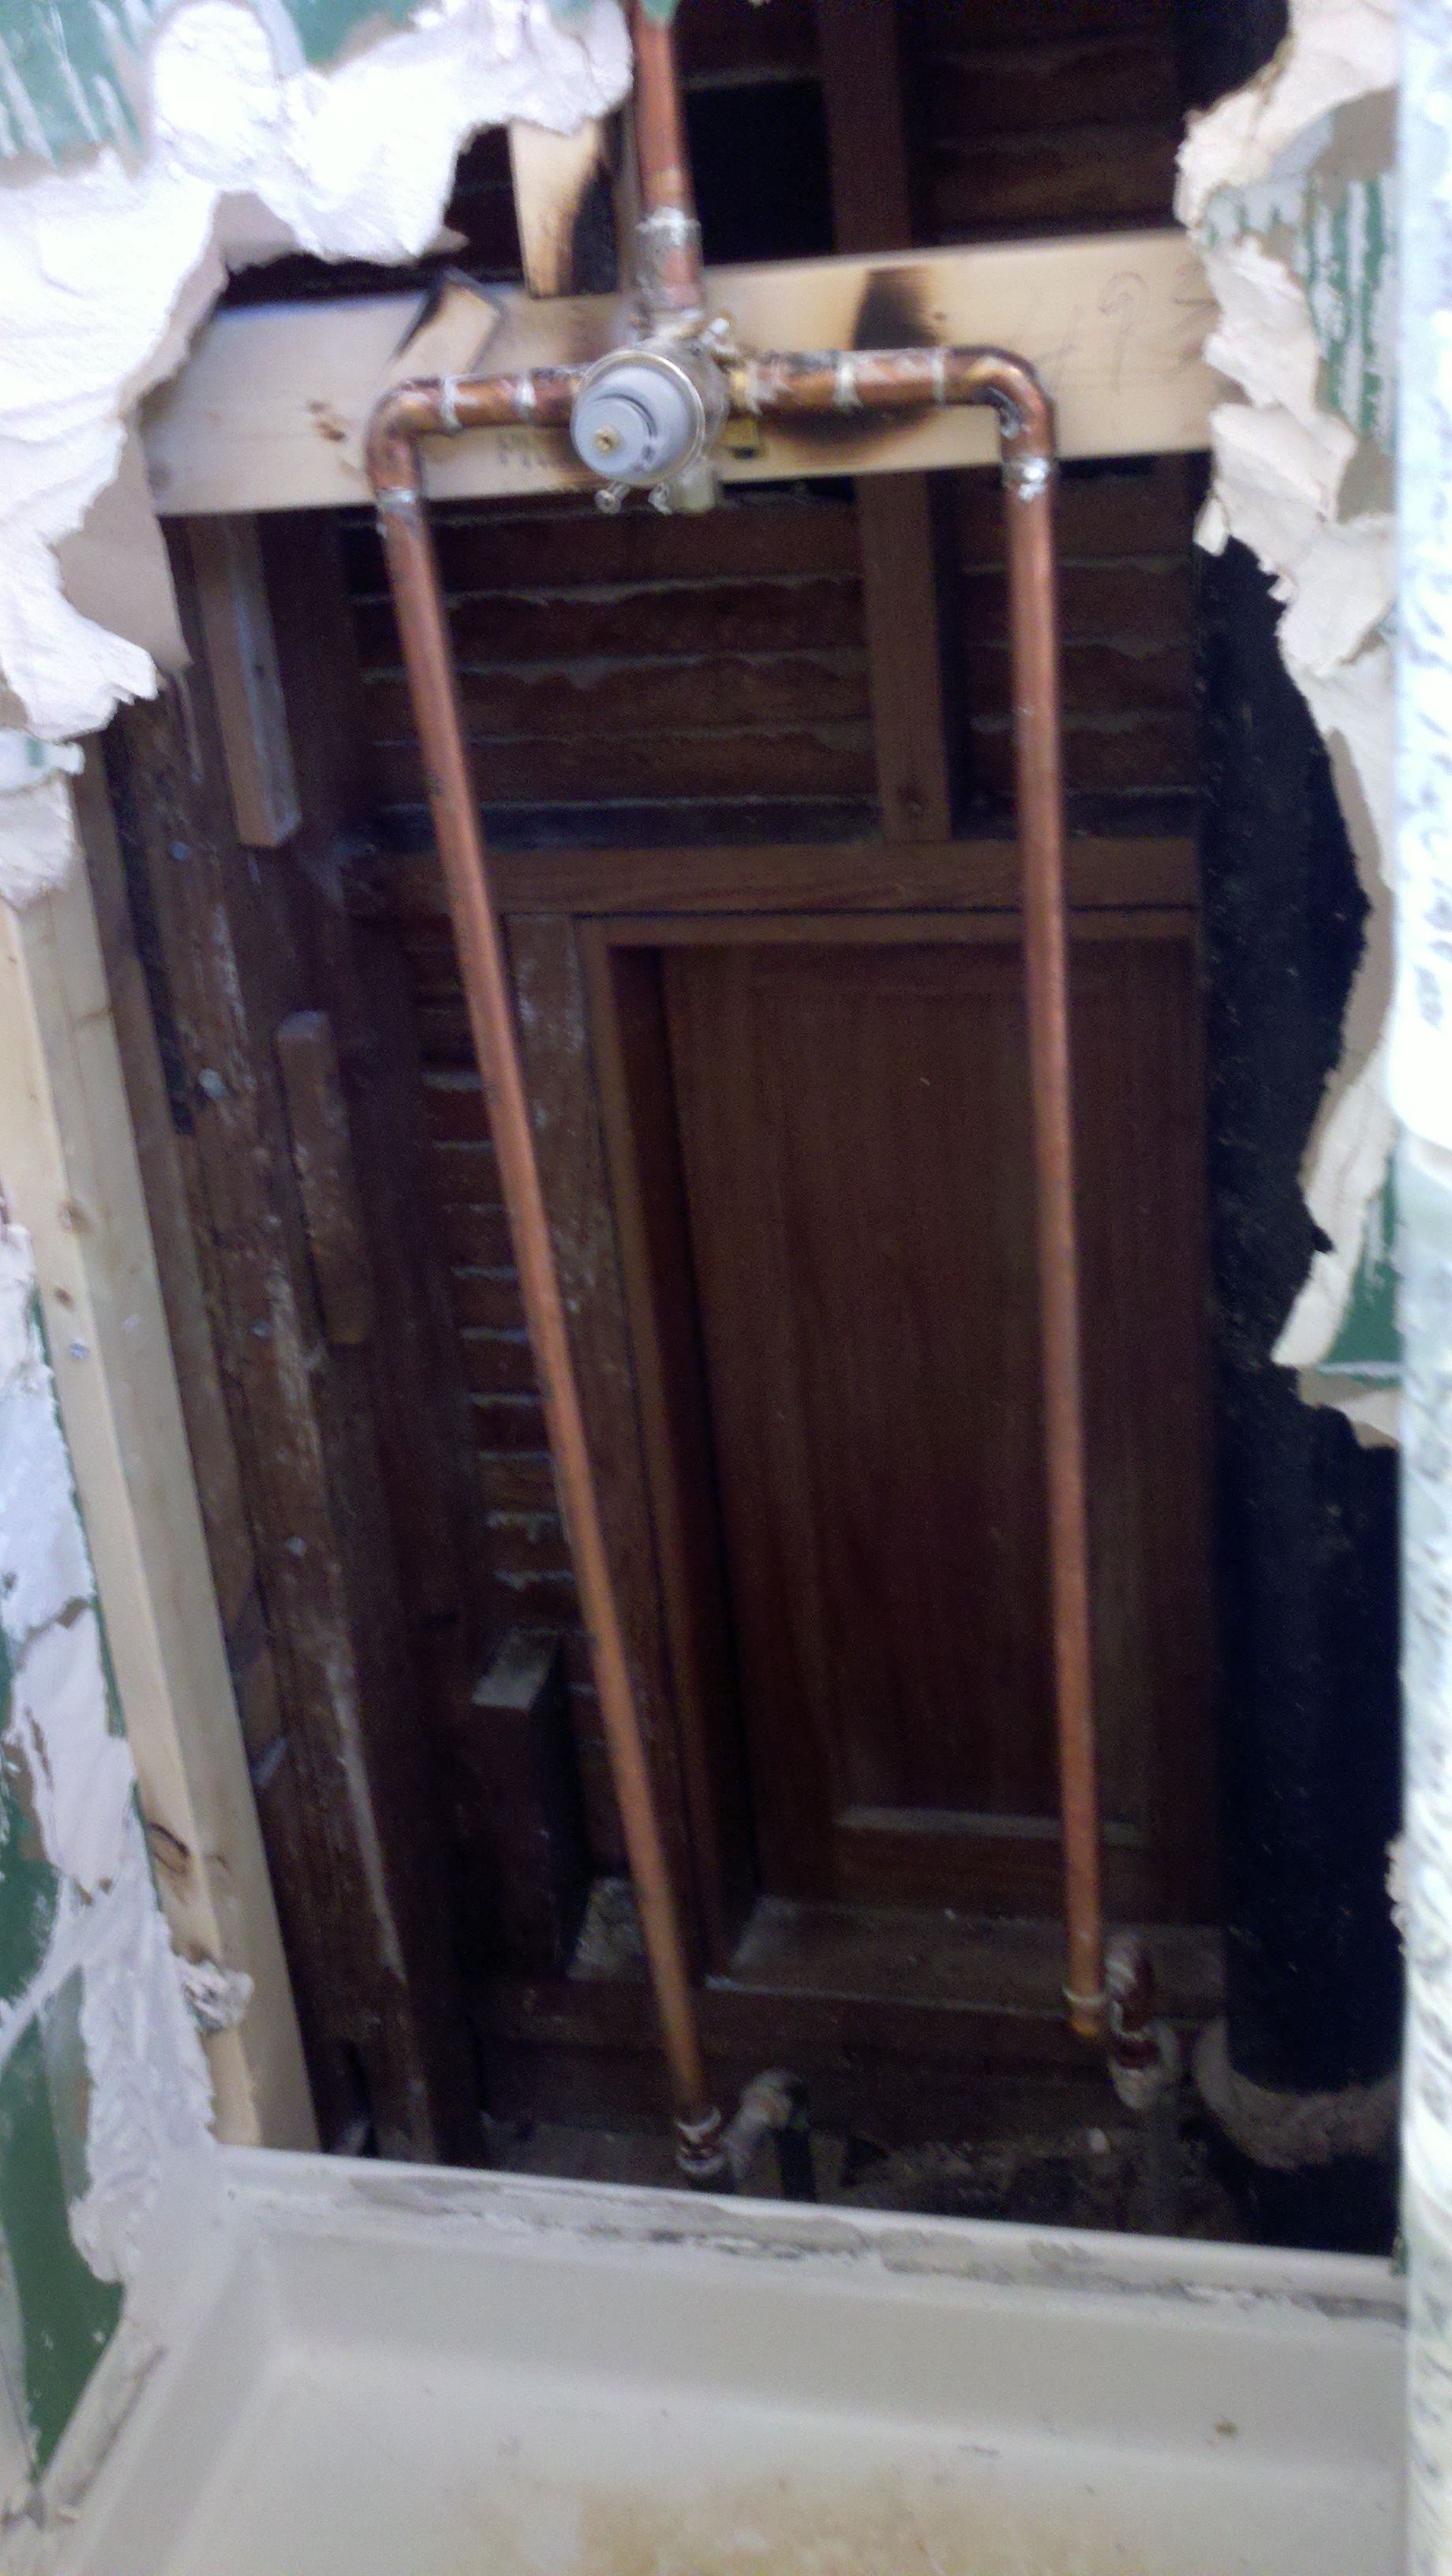
| Second Bathroom
Shower Wall Removal & Installation, ExactTemp Thermostatic Faucet
Installation, & Paint Walls
|
||||
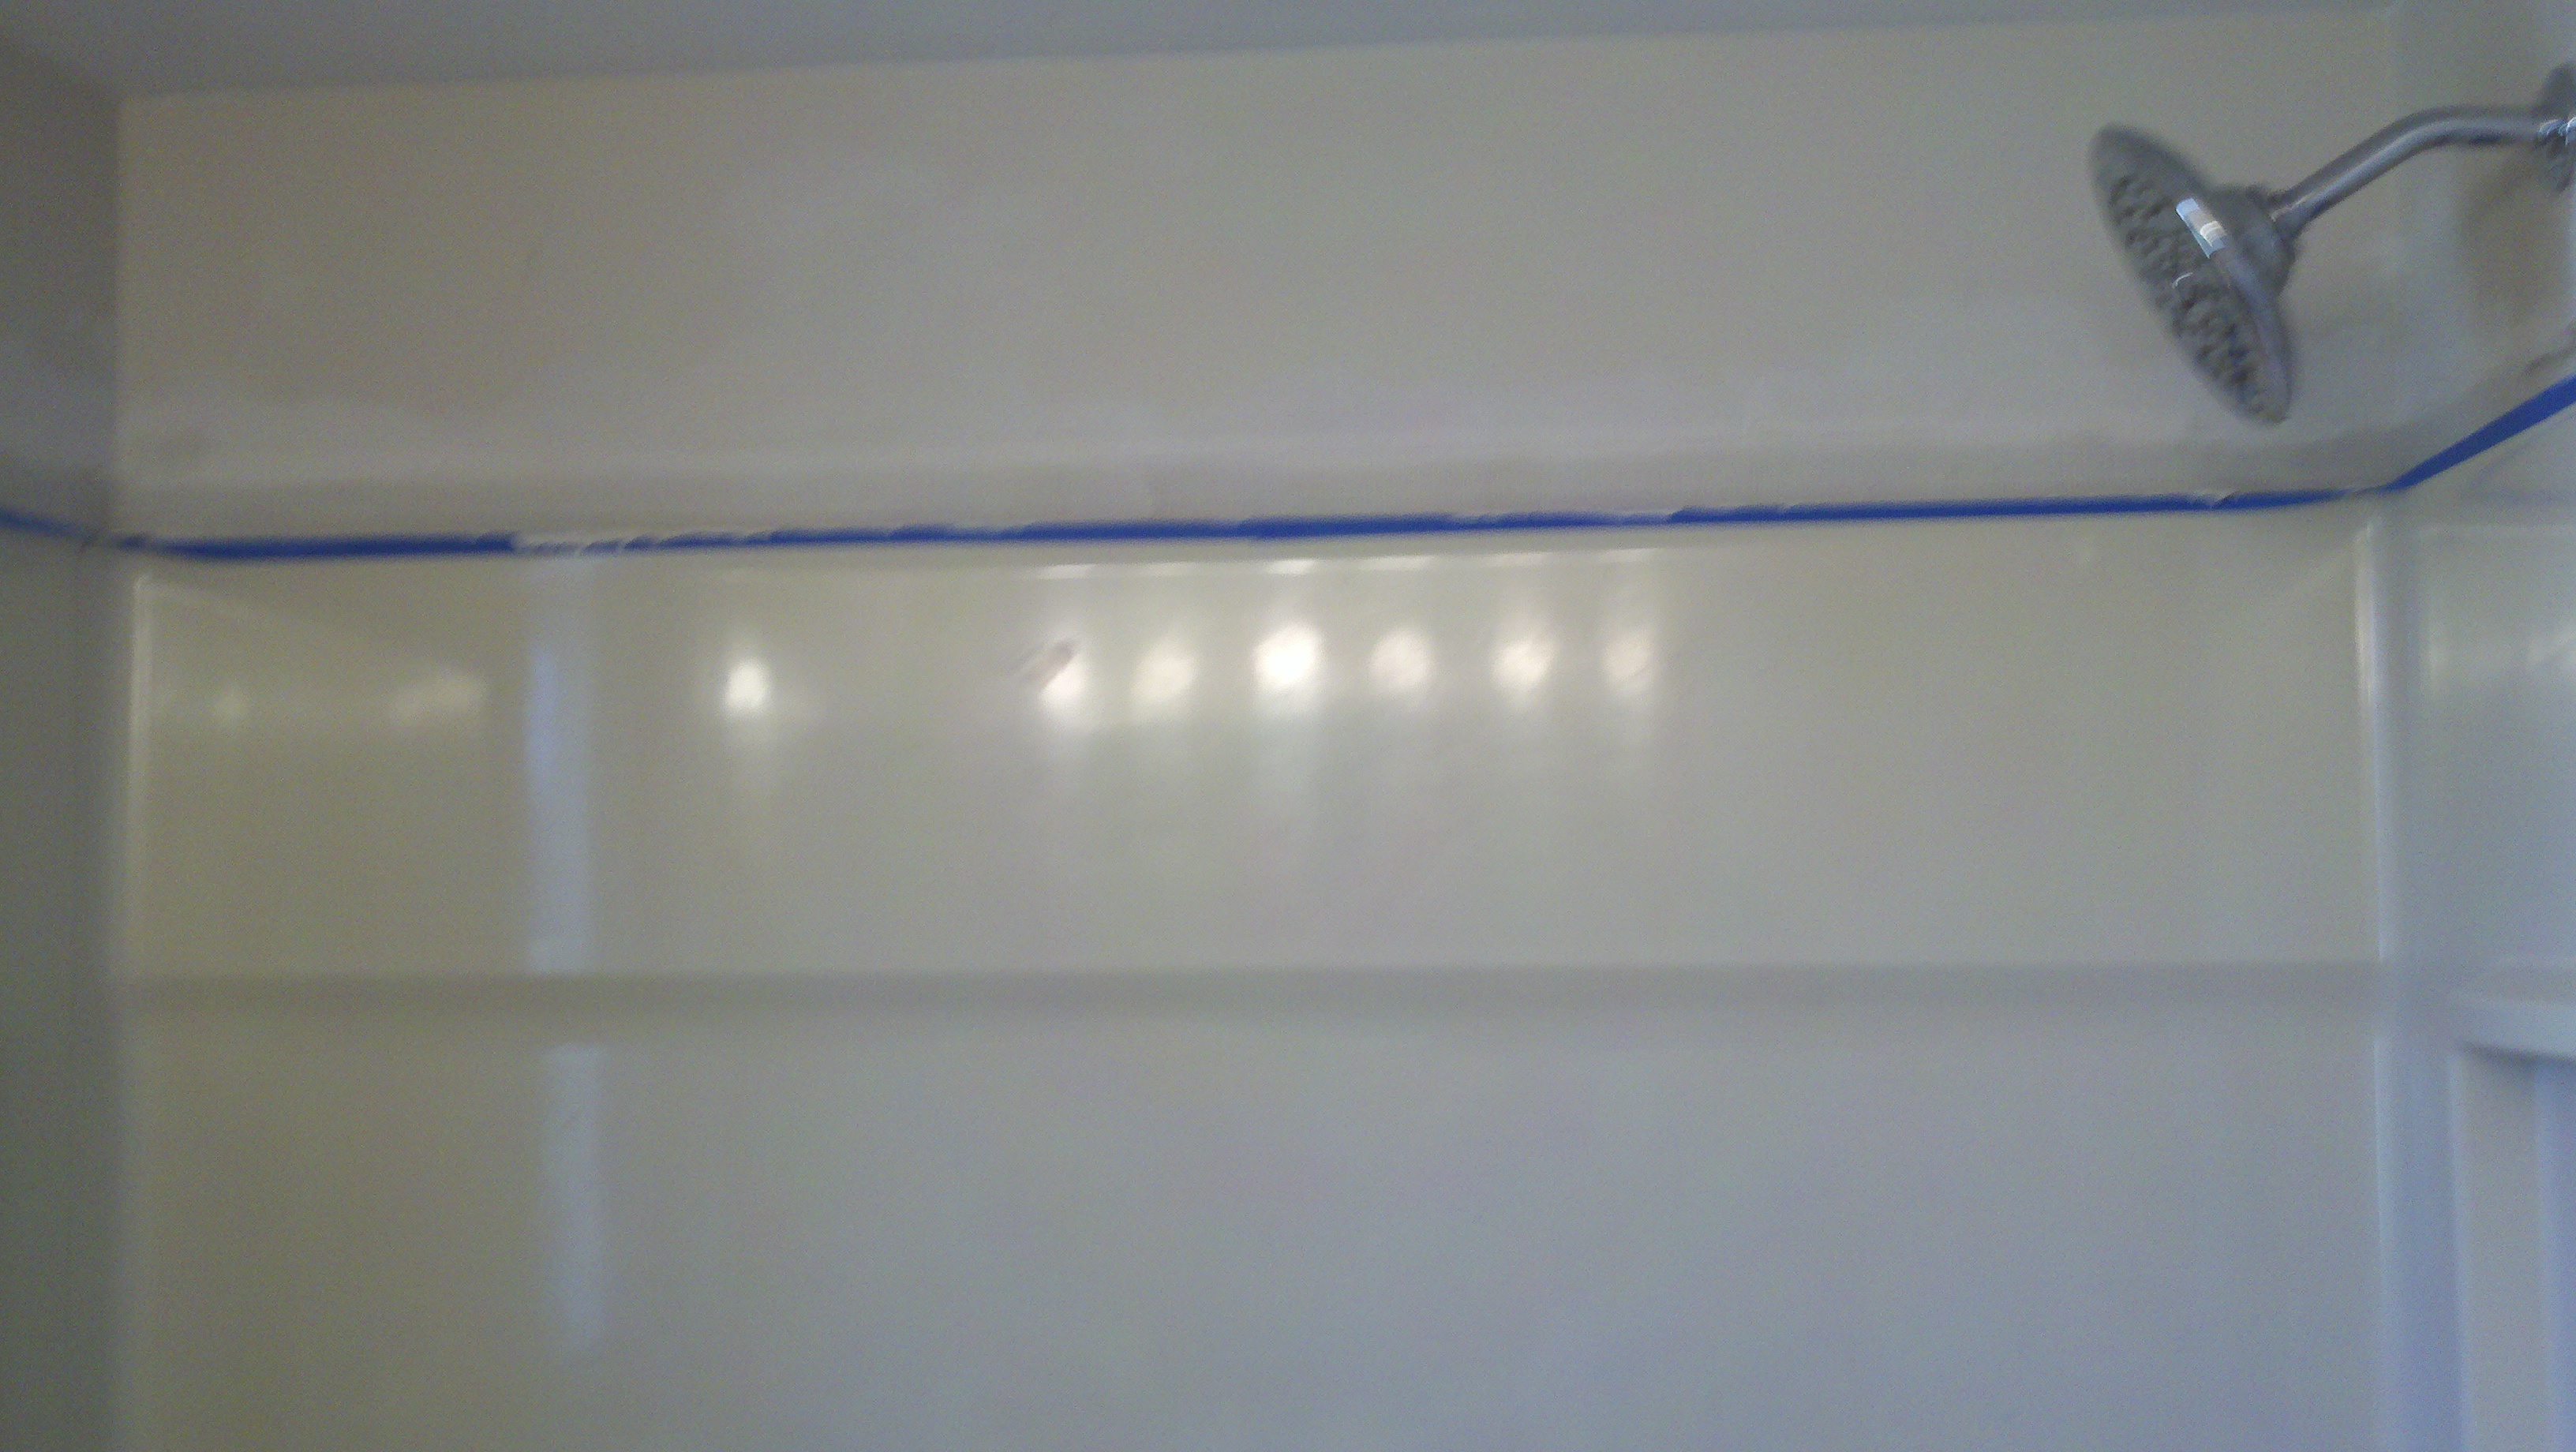
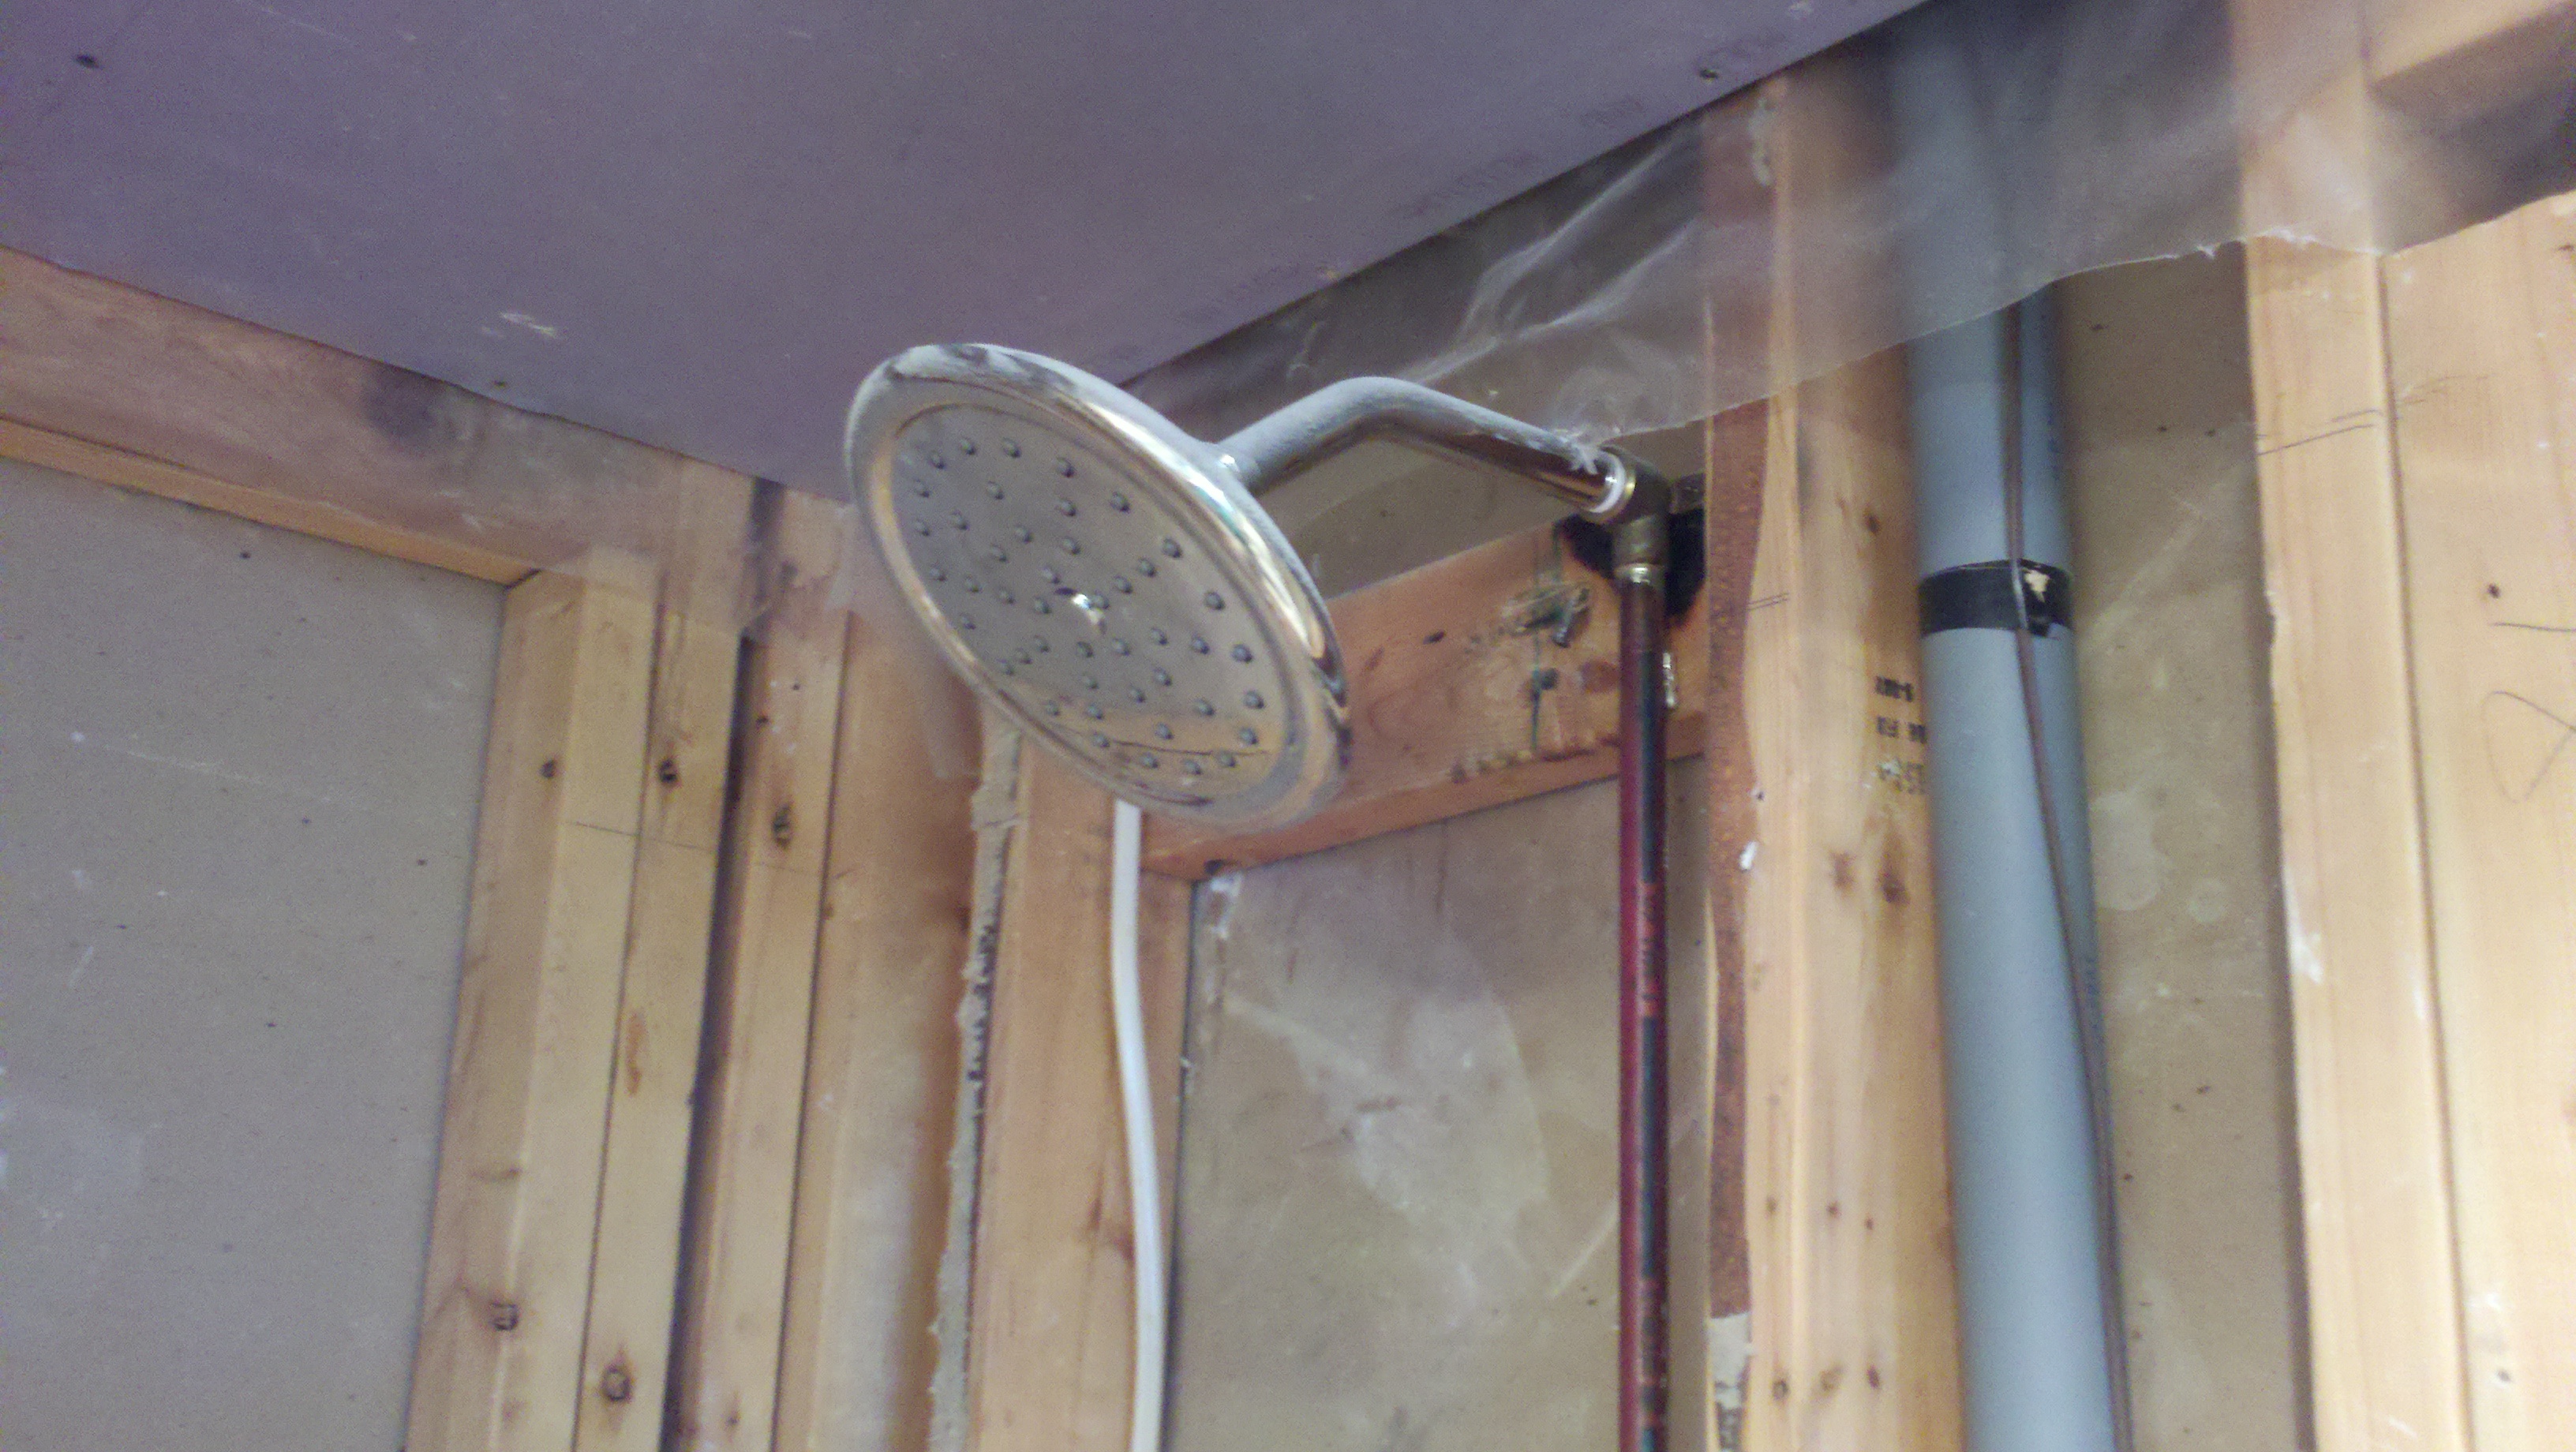
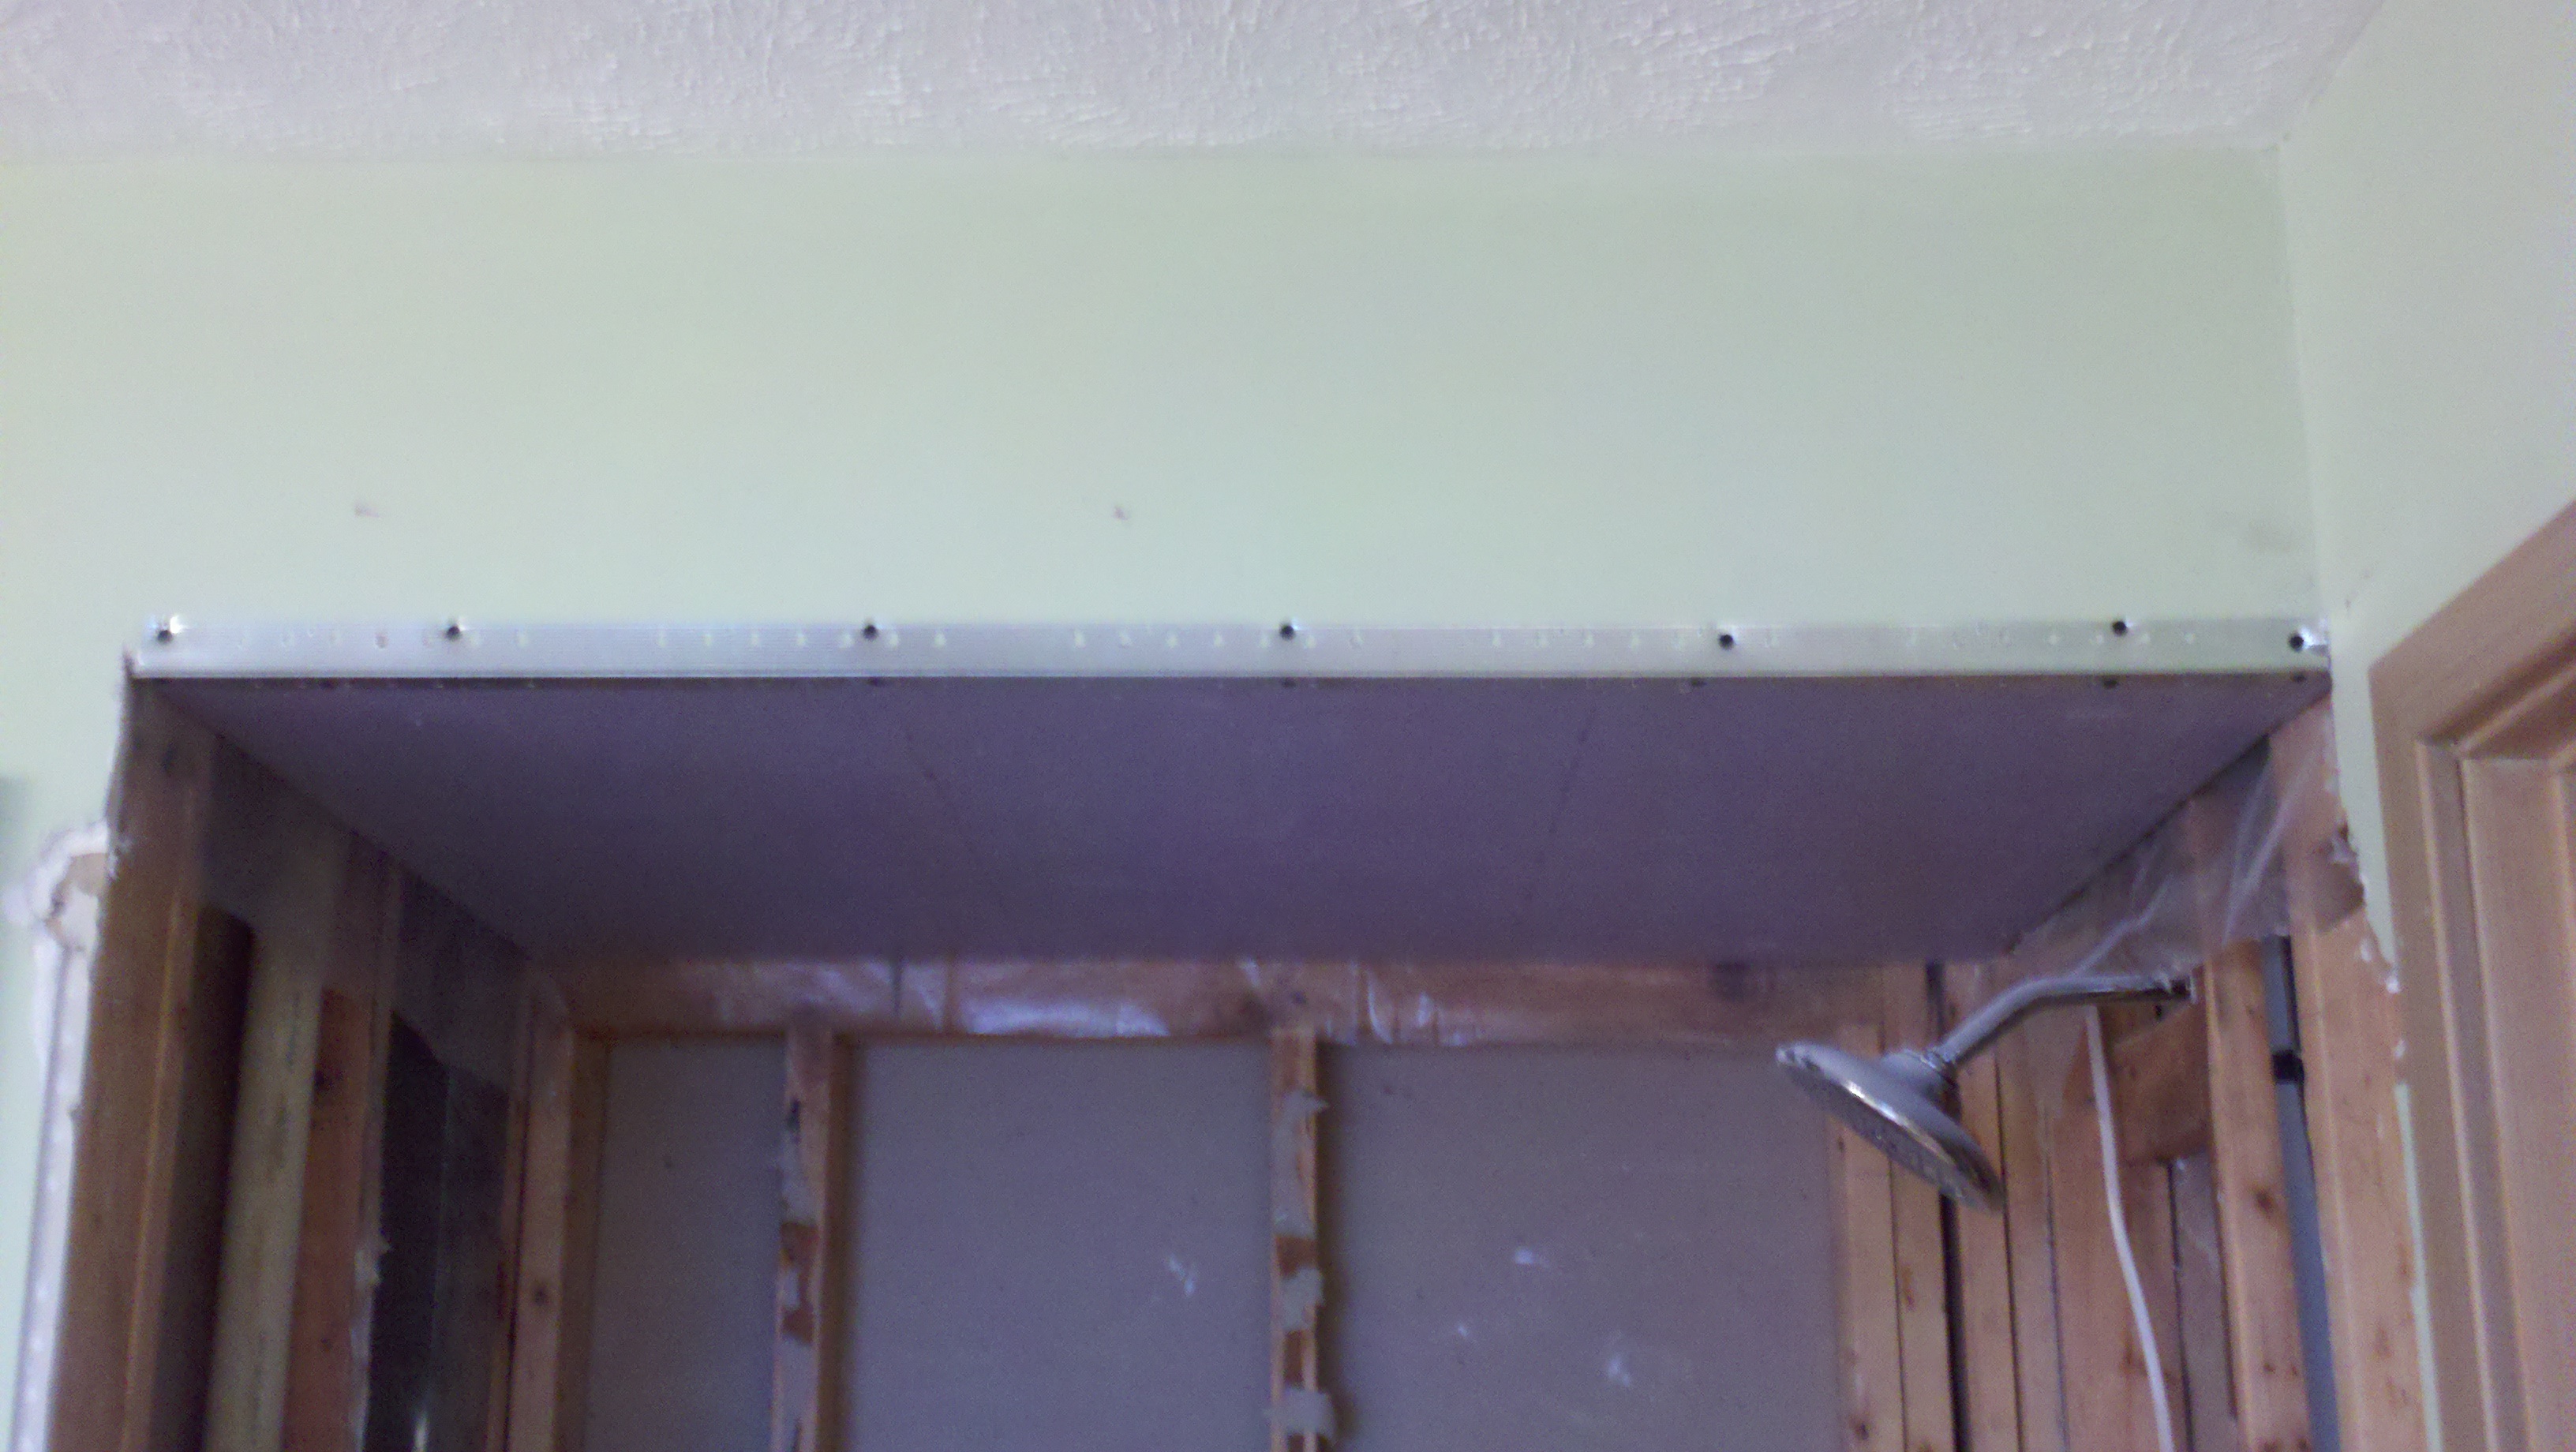
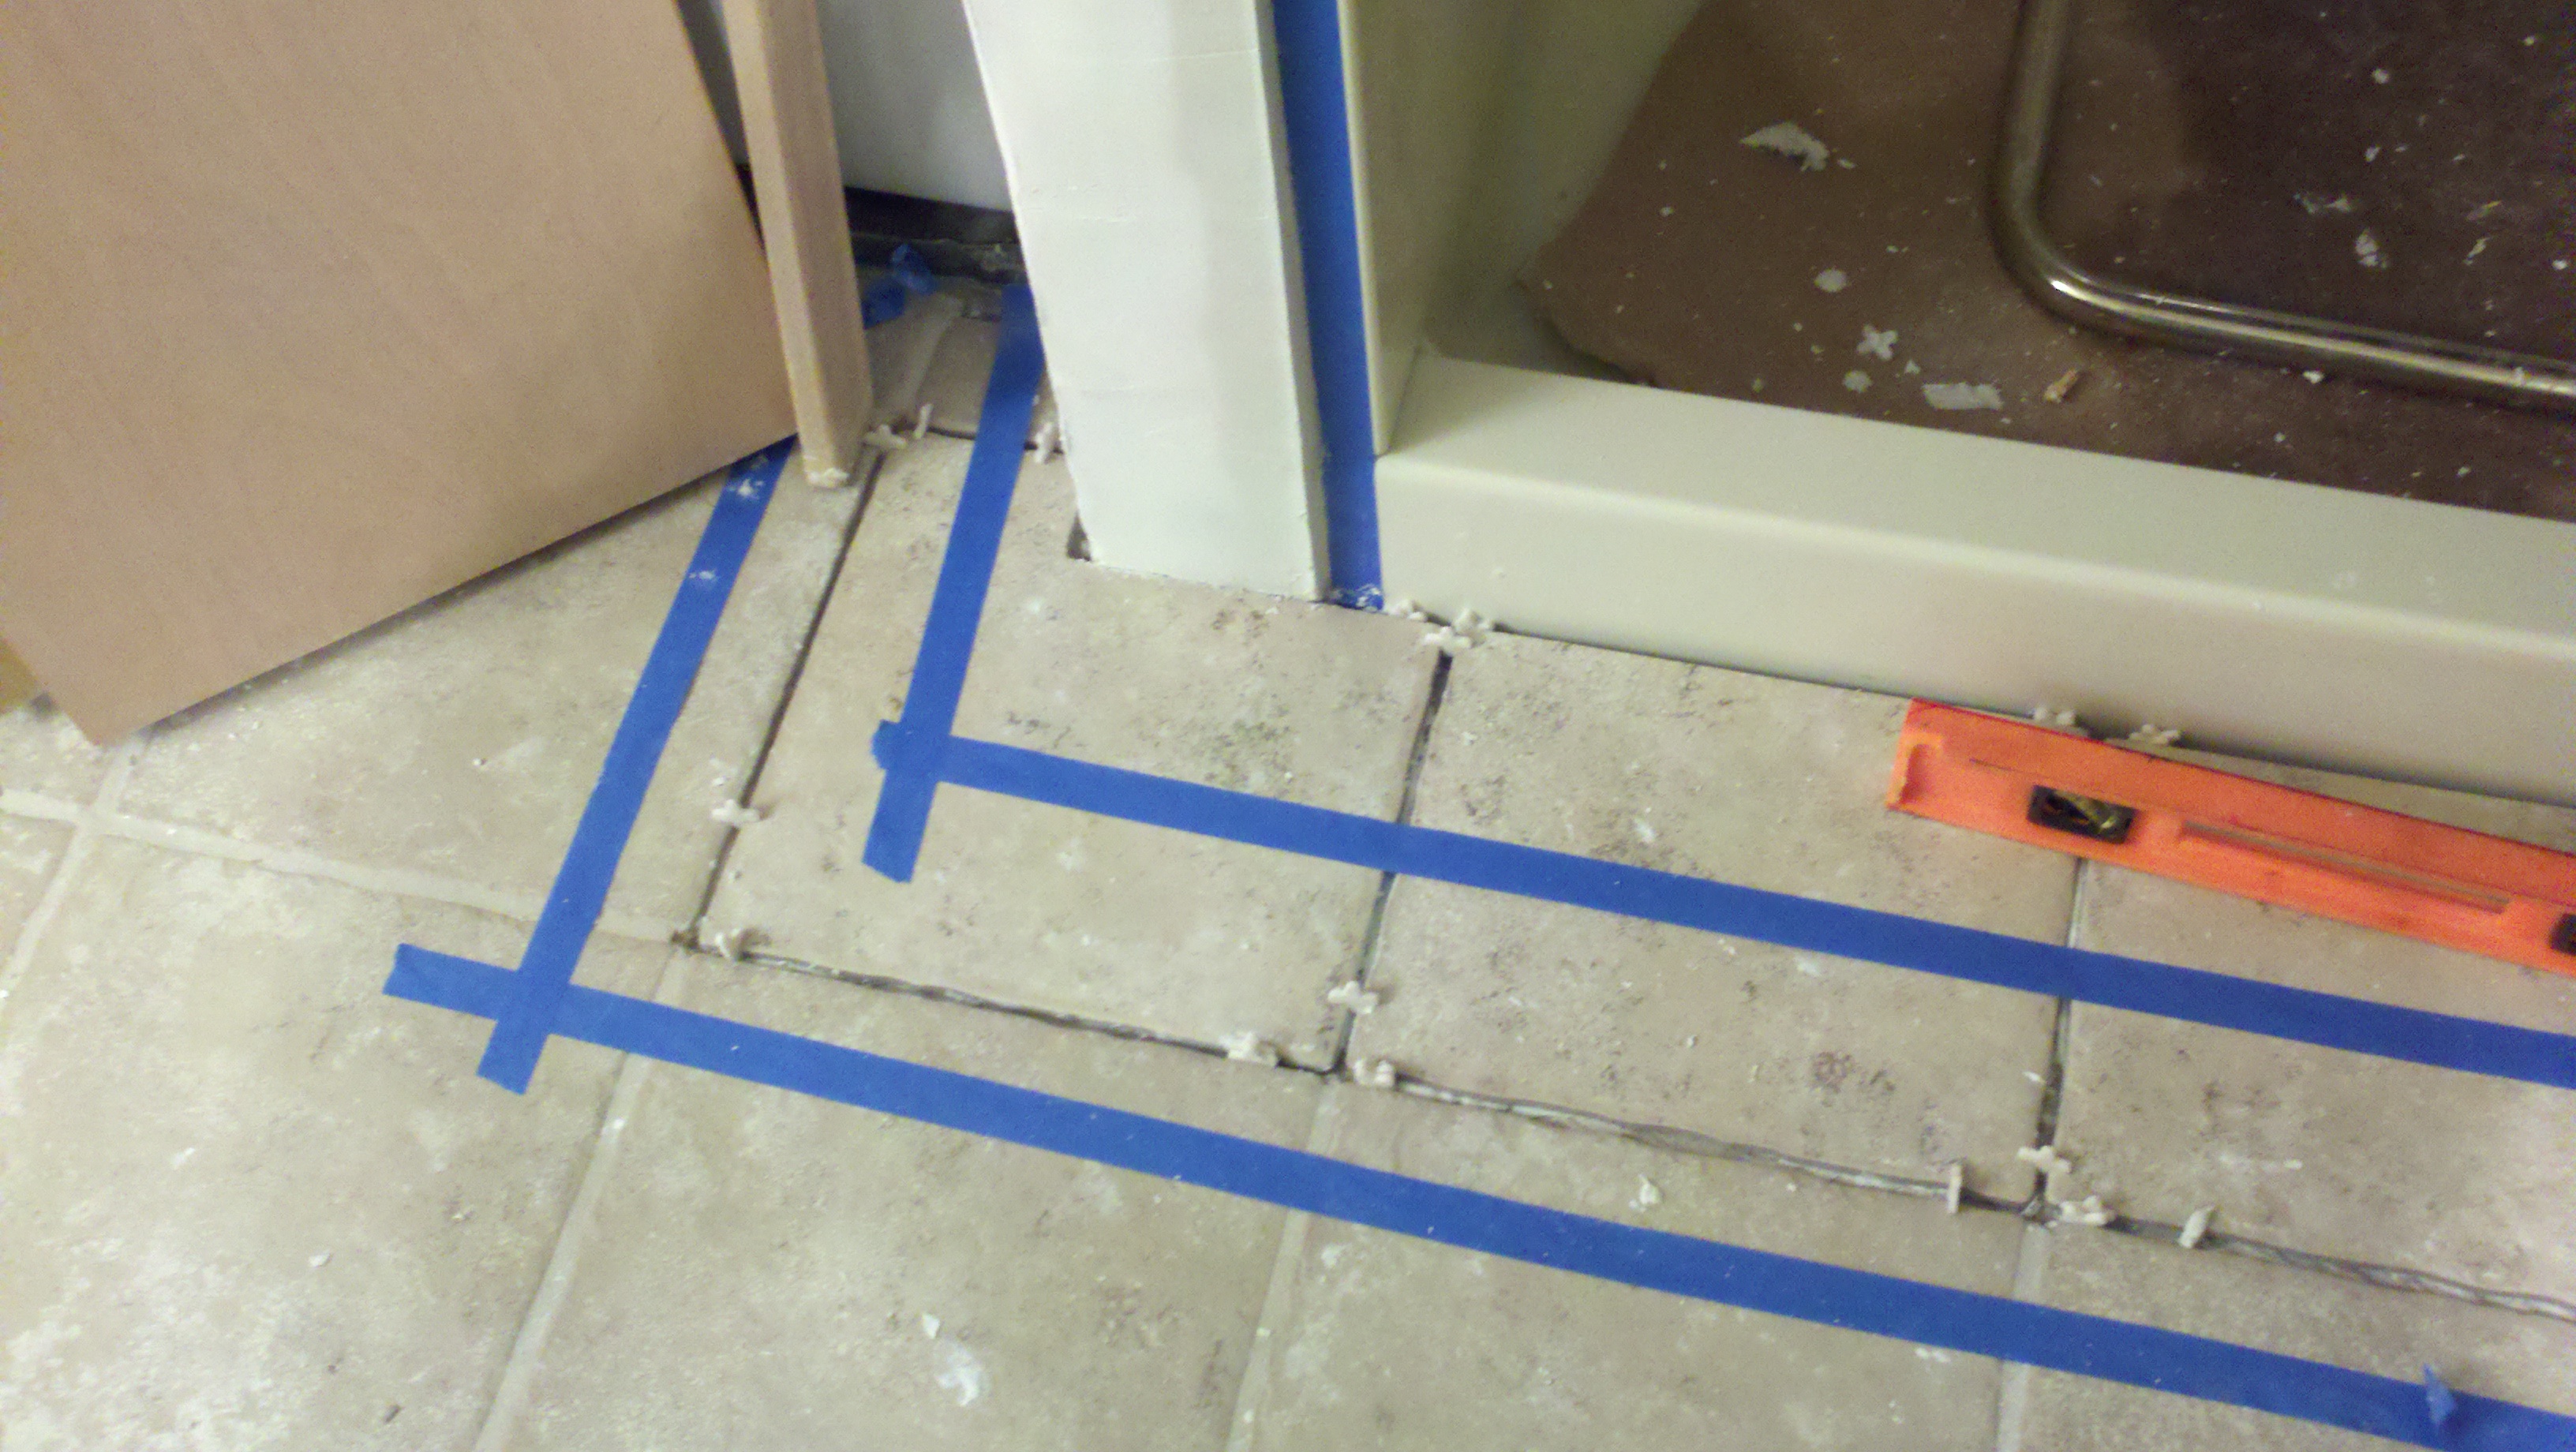
| Master Bathroom
Shower Walls Replacement, Ceiling Alteration, & ExactTemp
Thermostatic Faucet Installation
|
||||
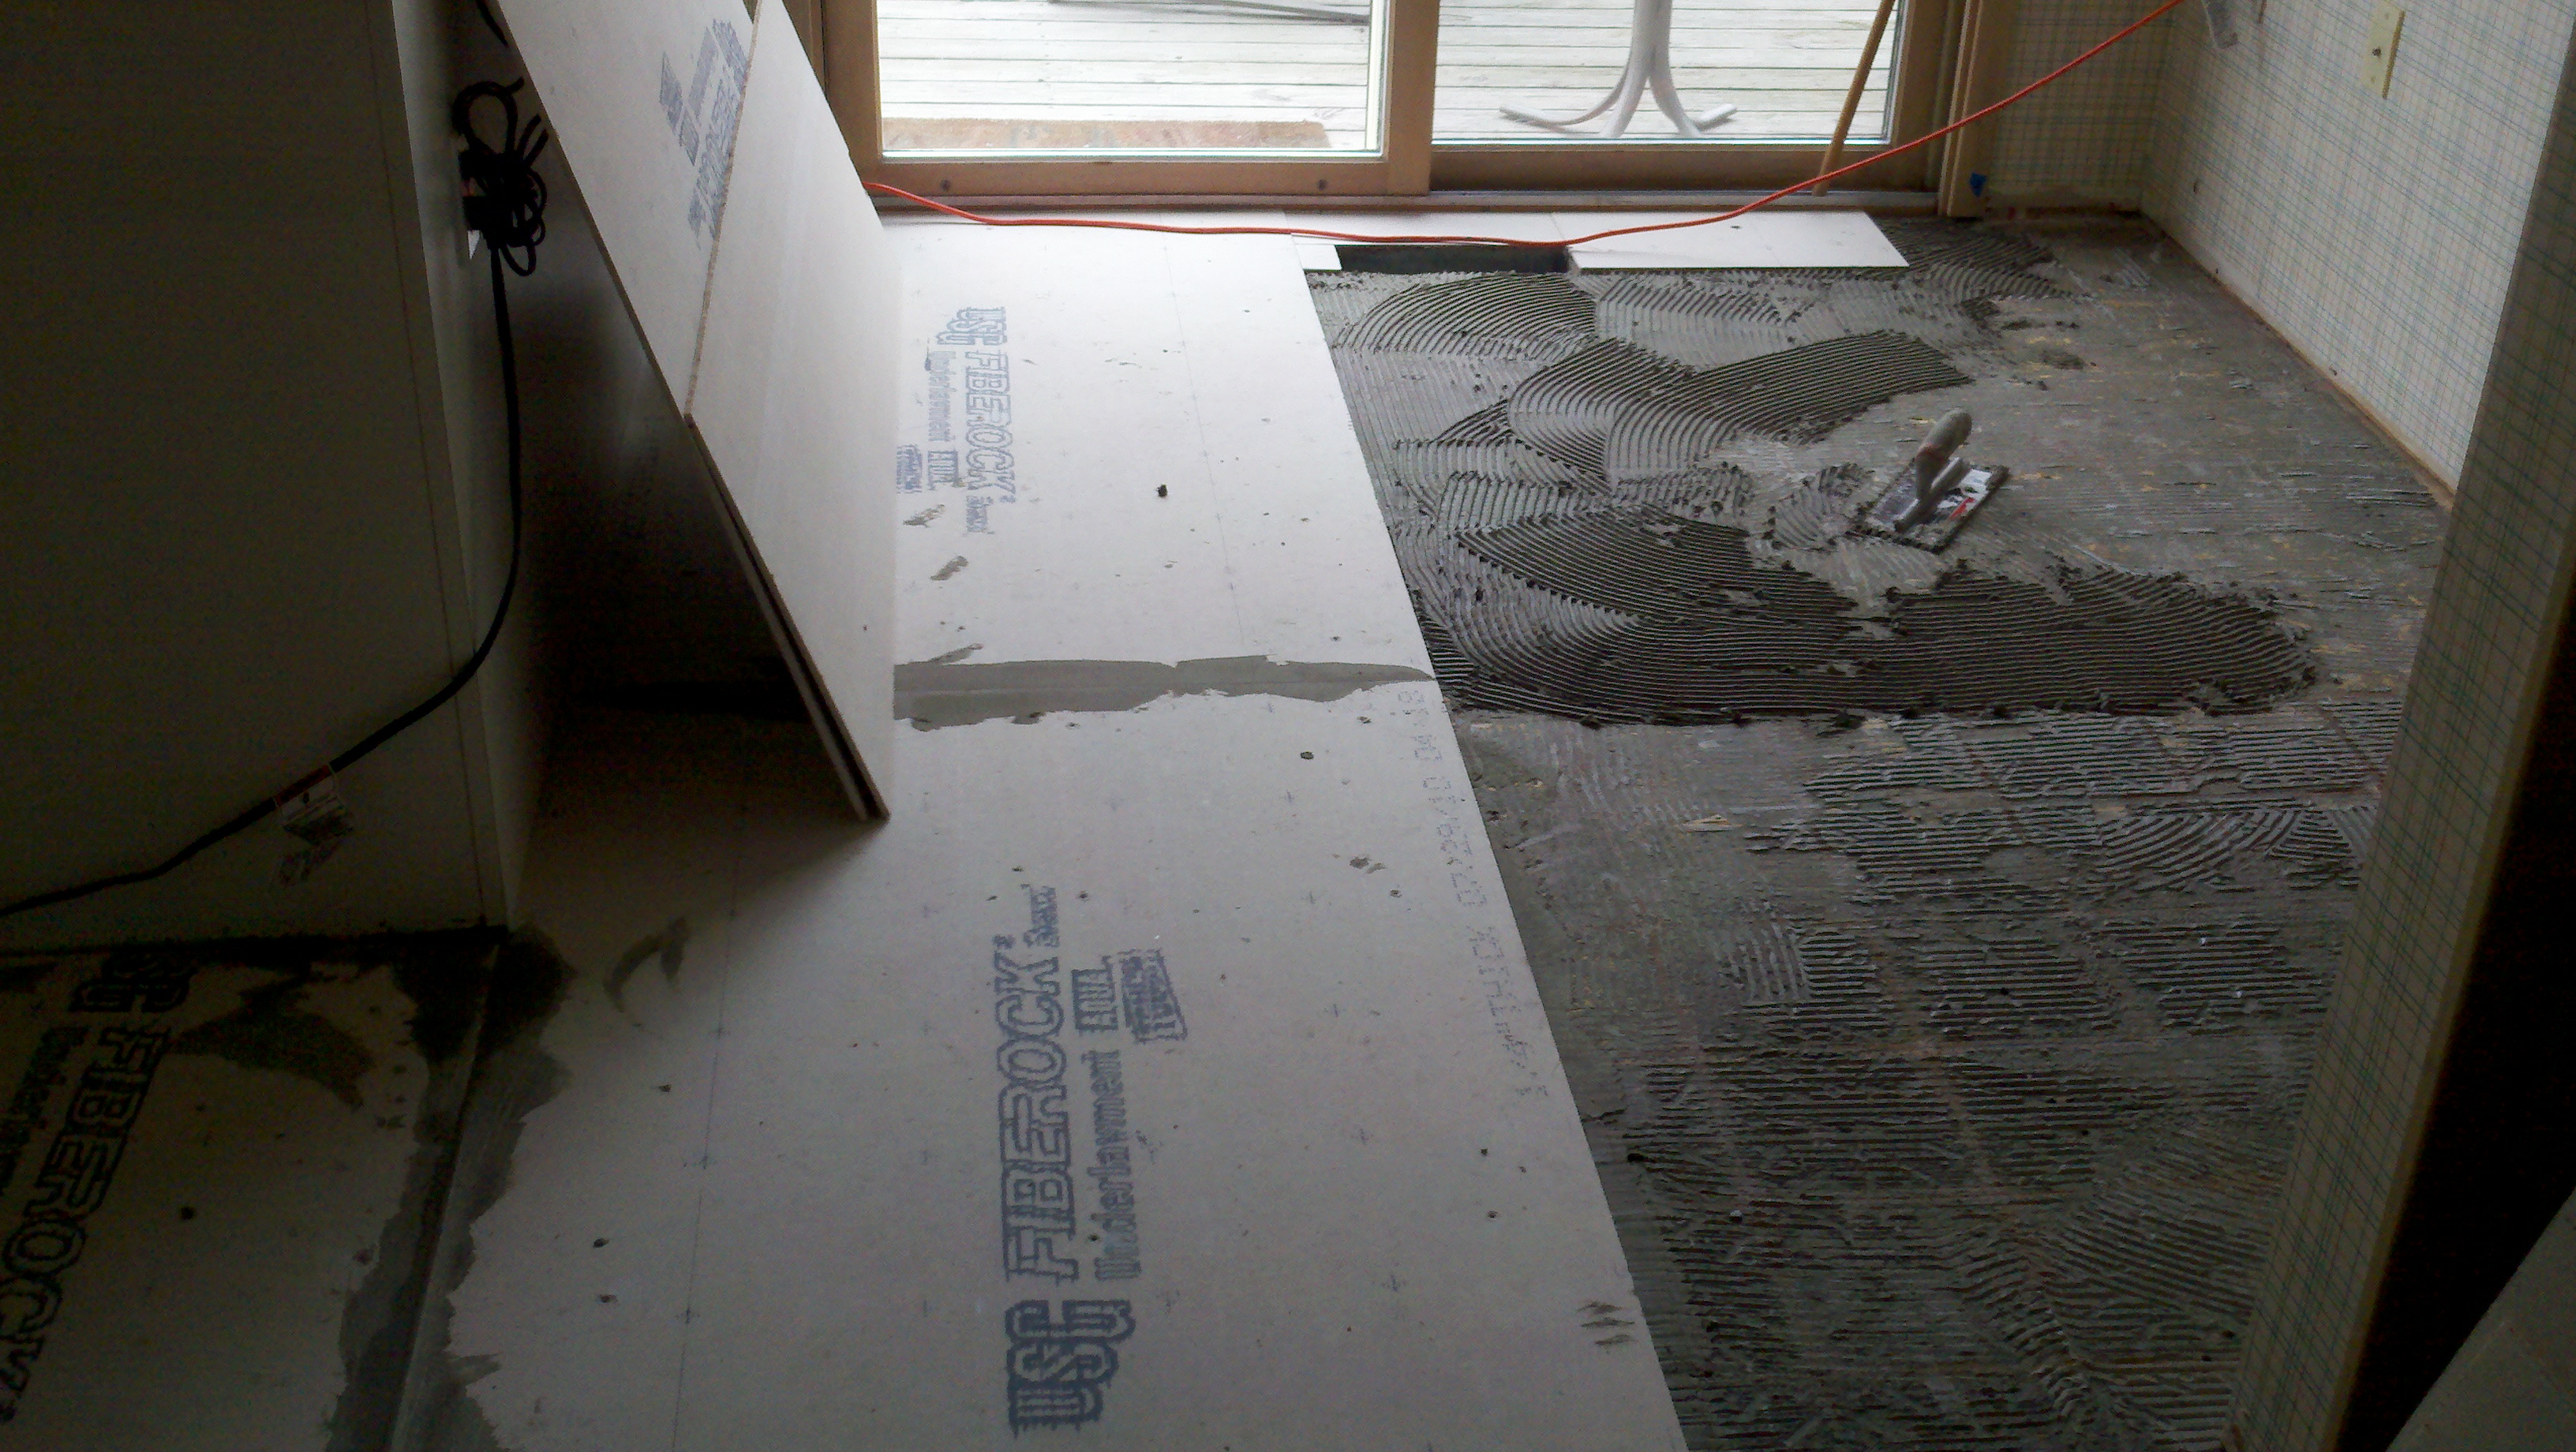
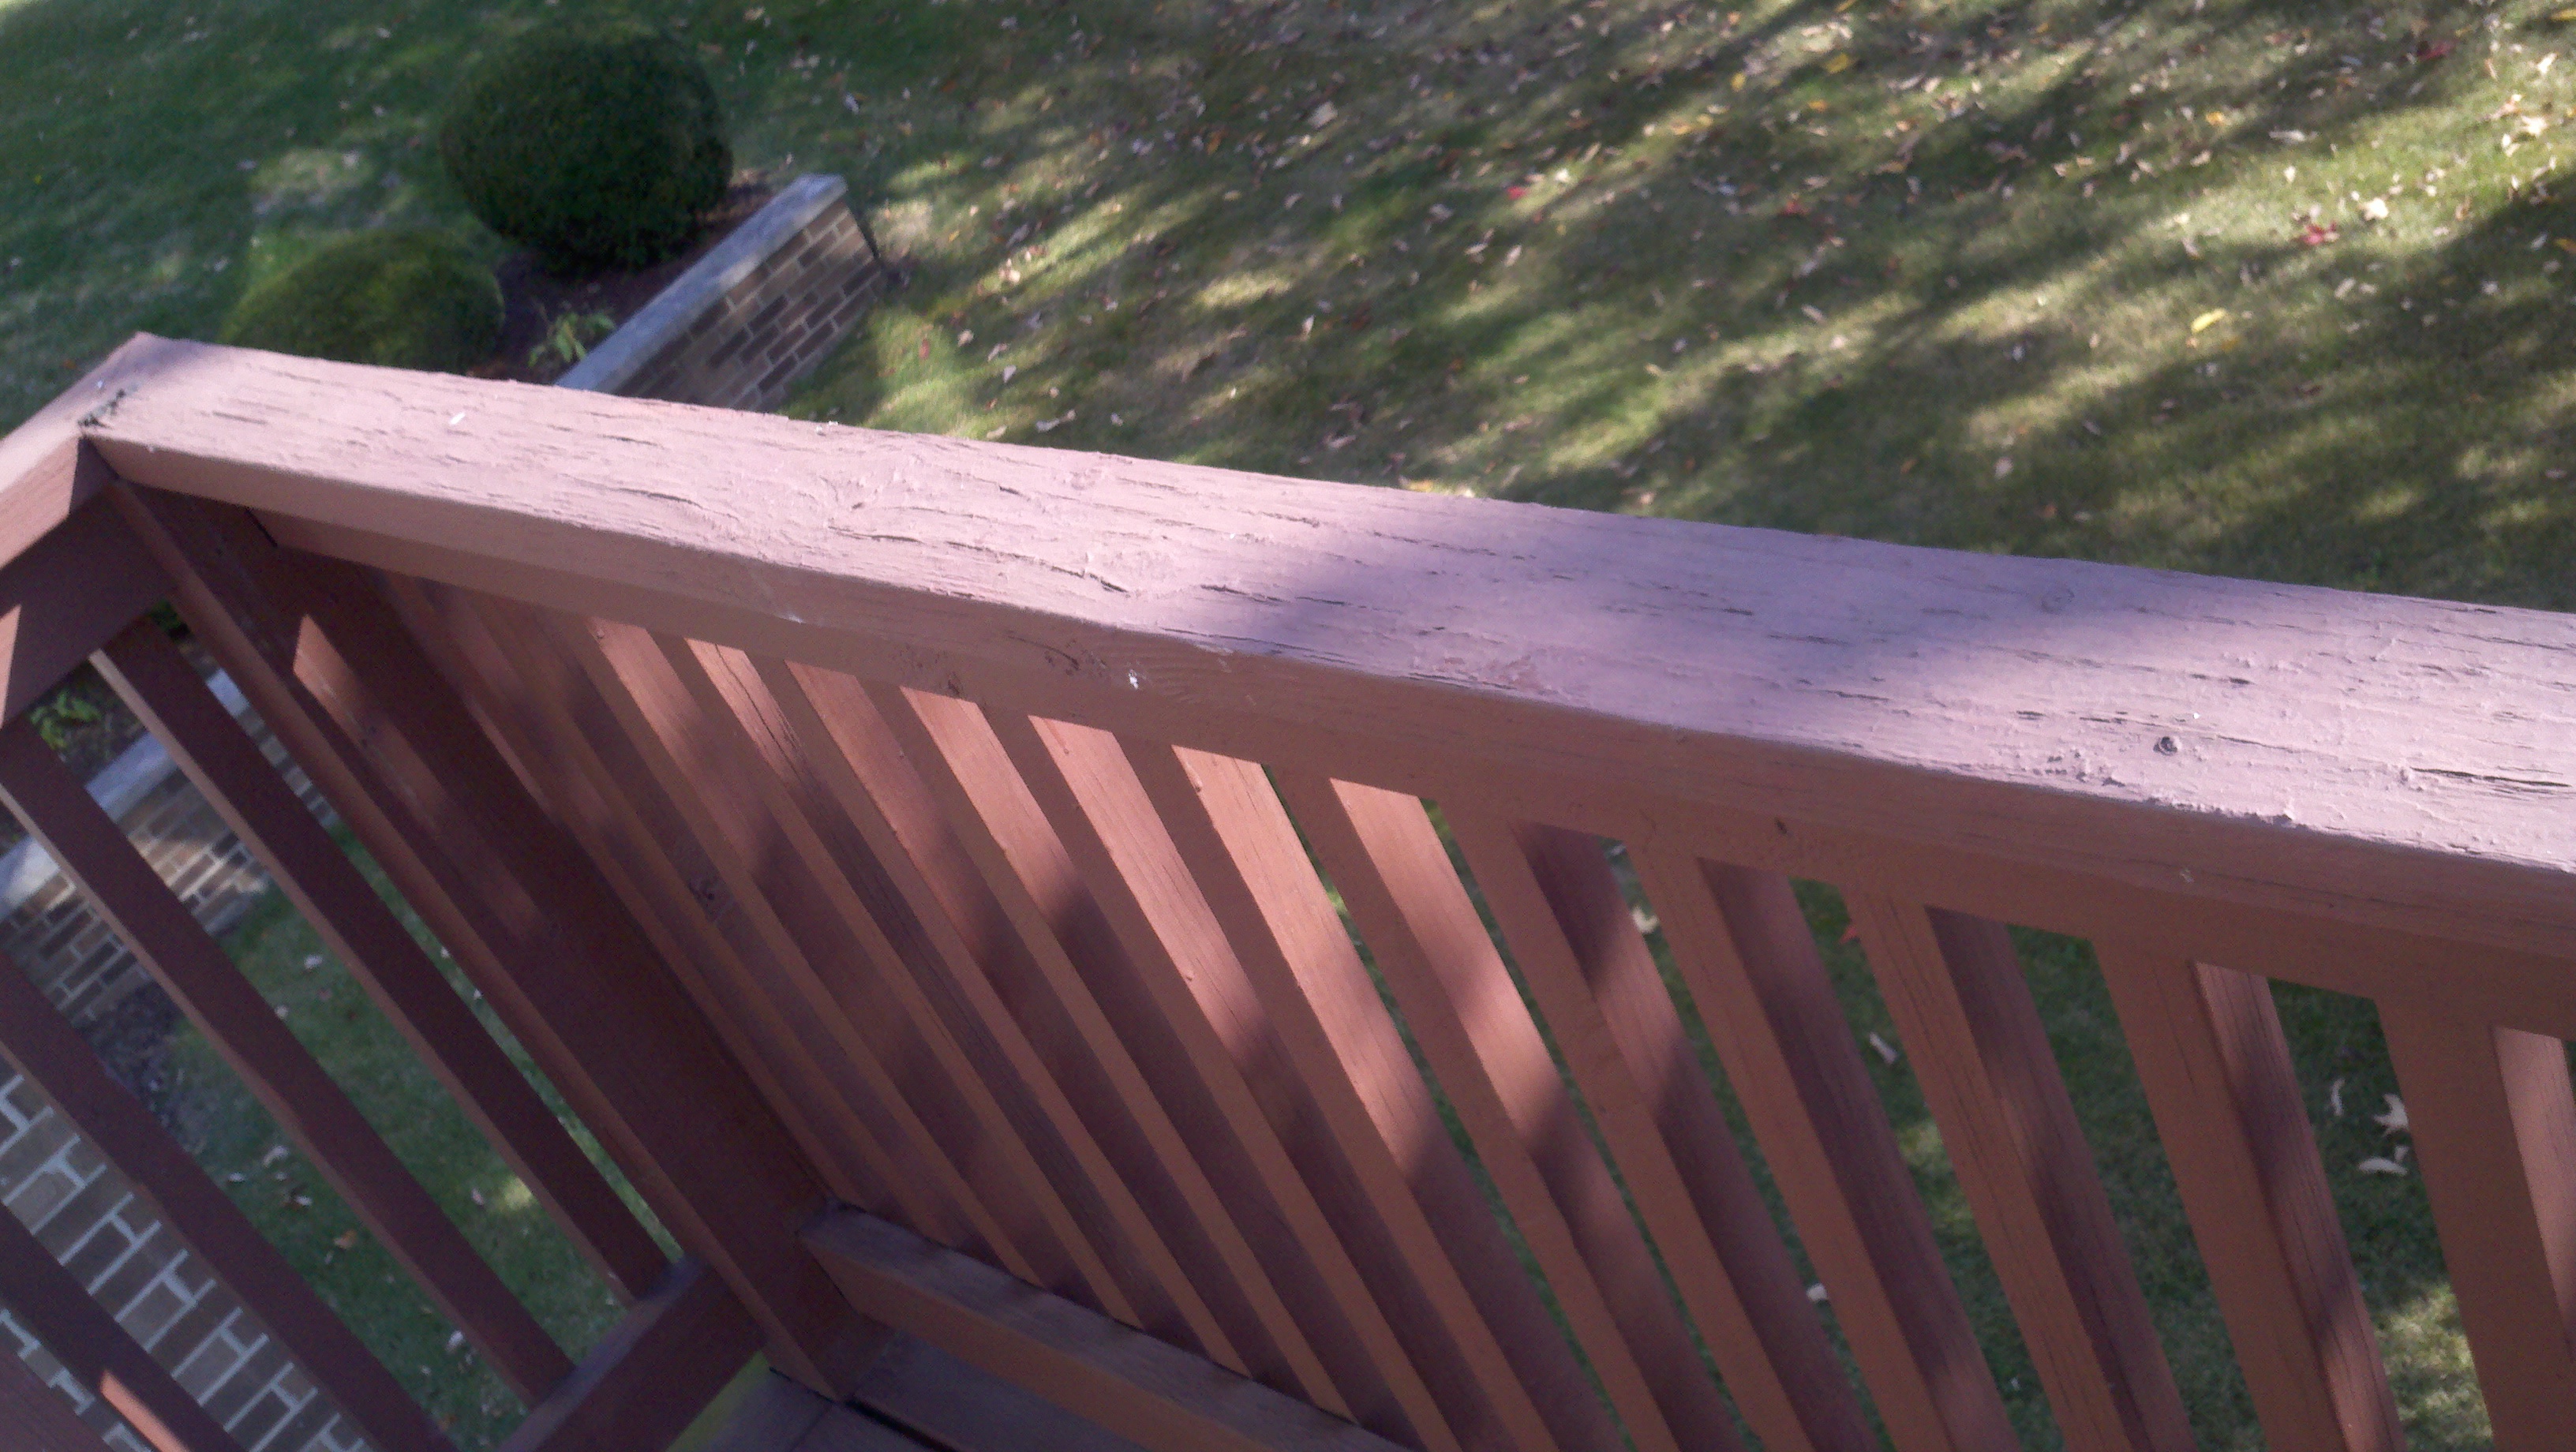
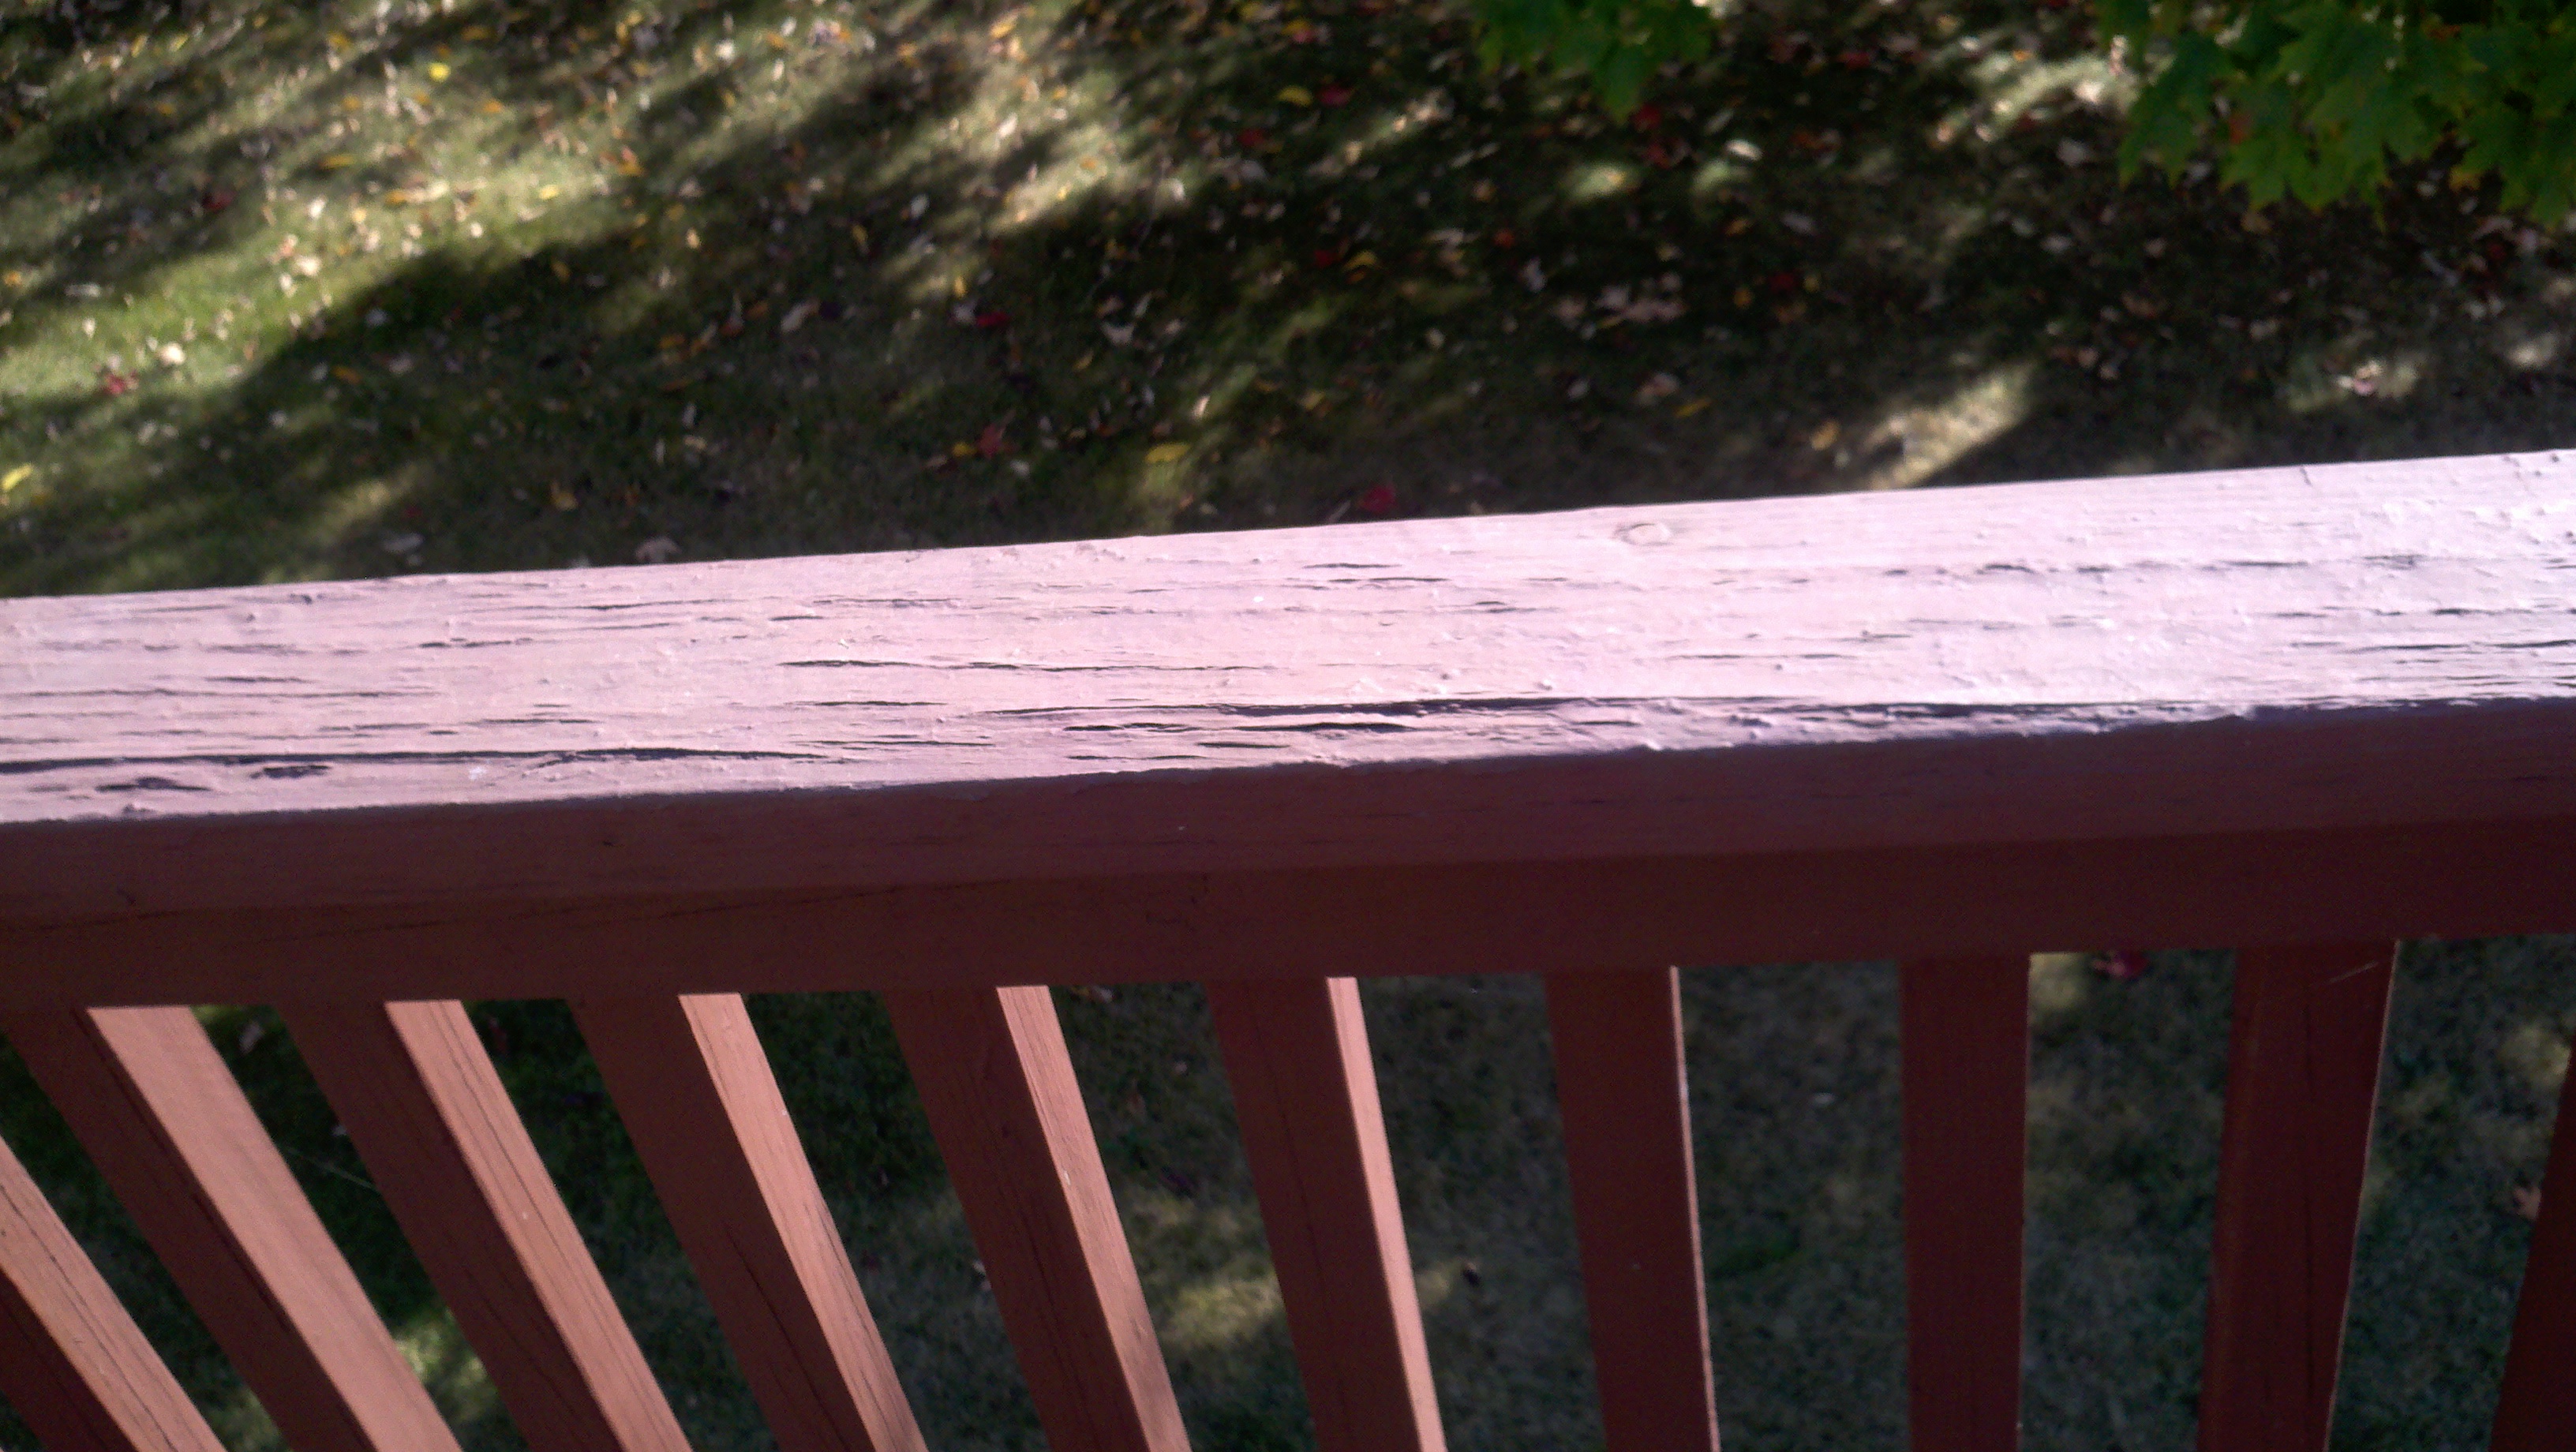
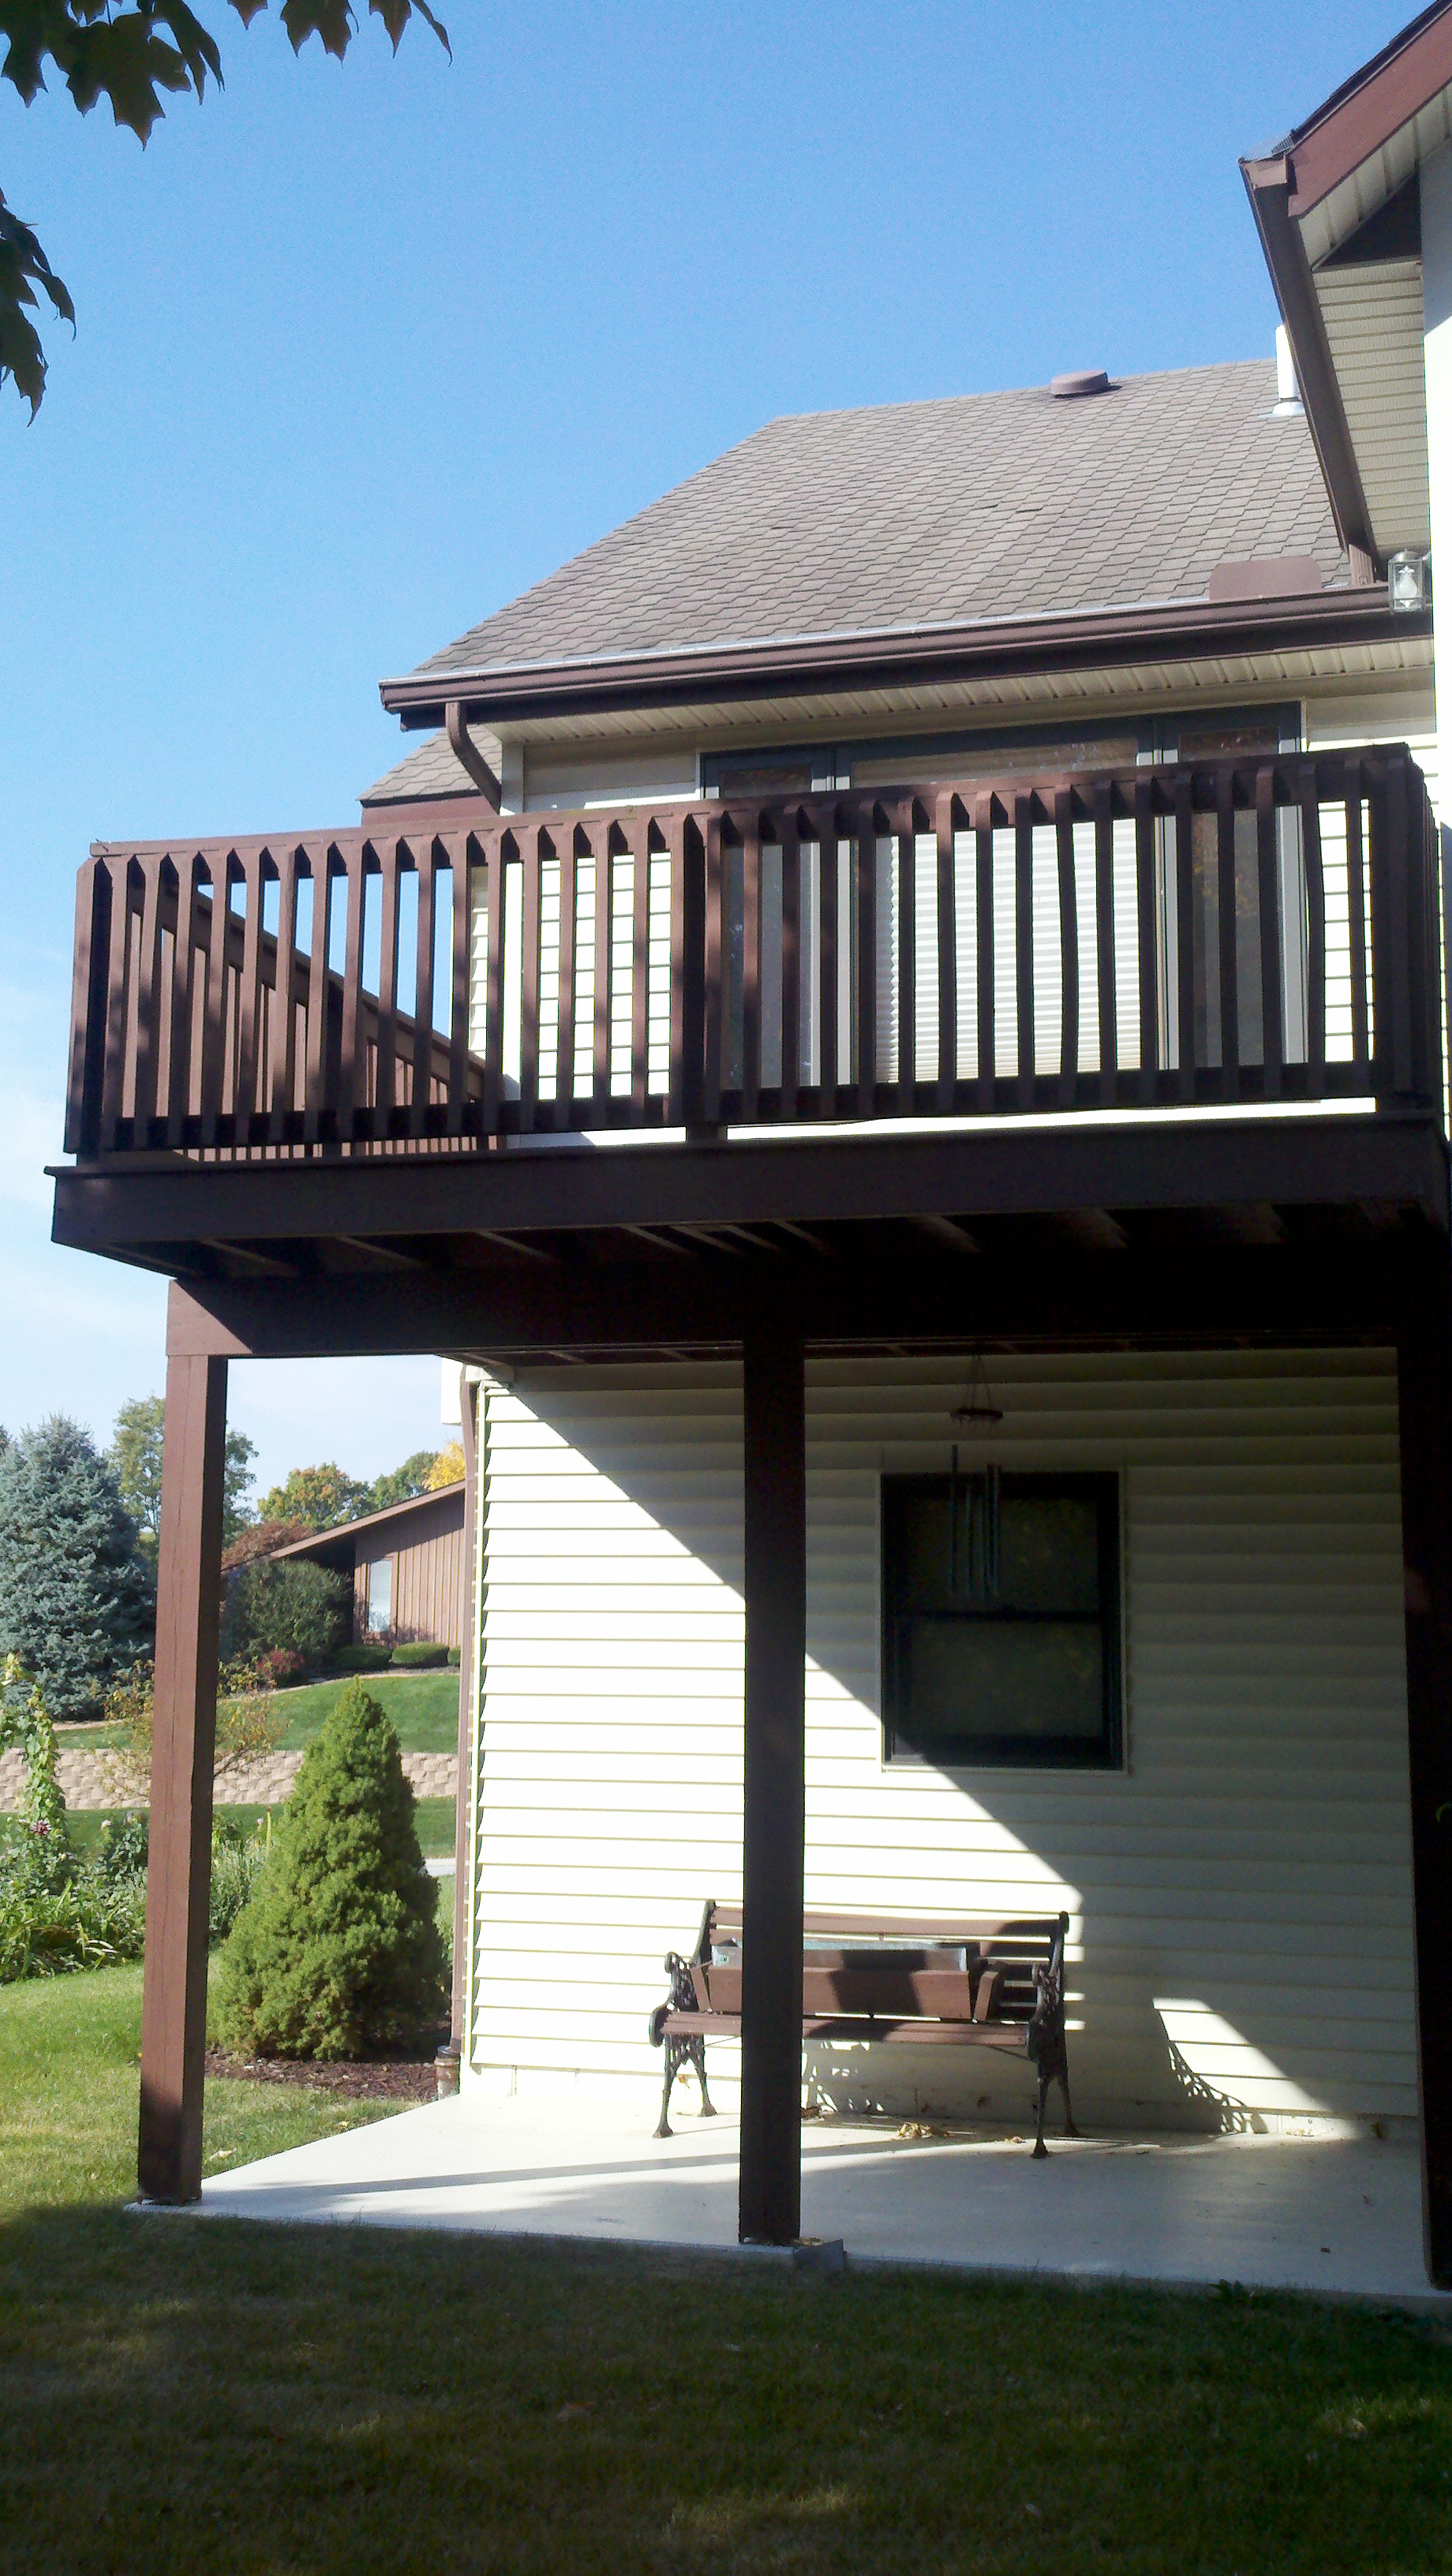
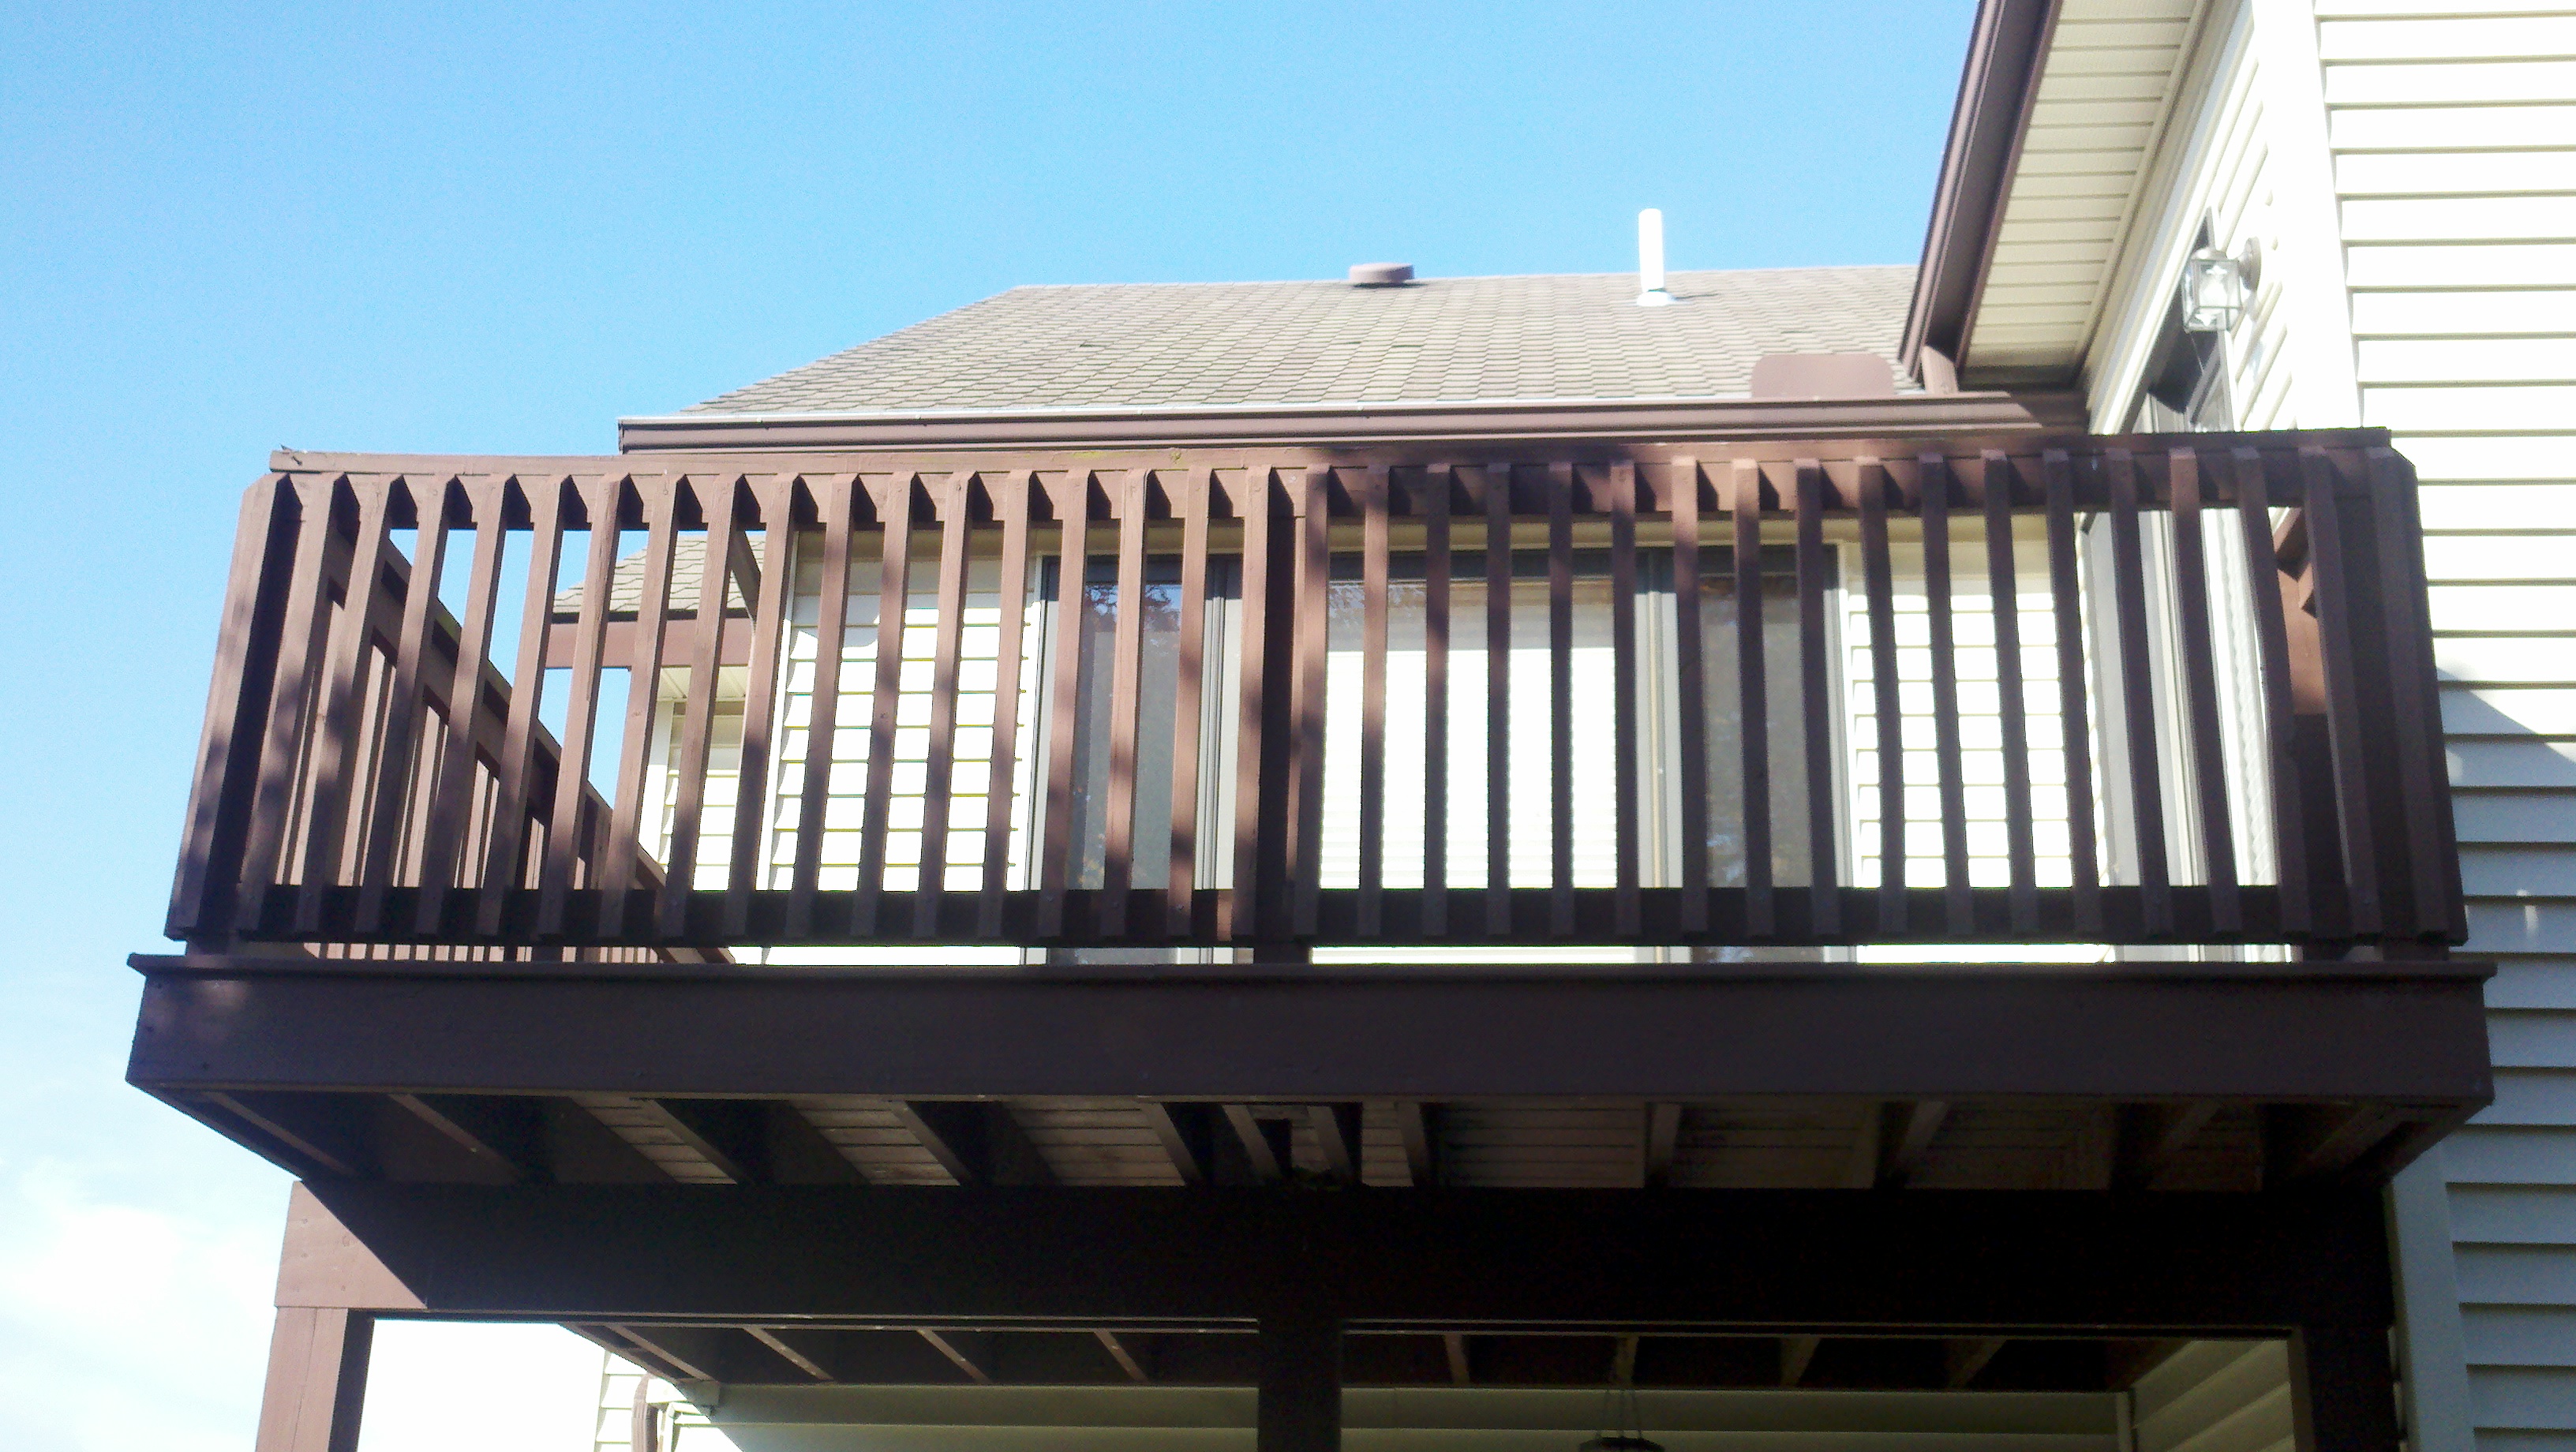
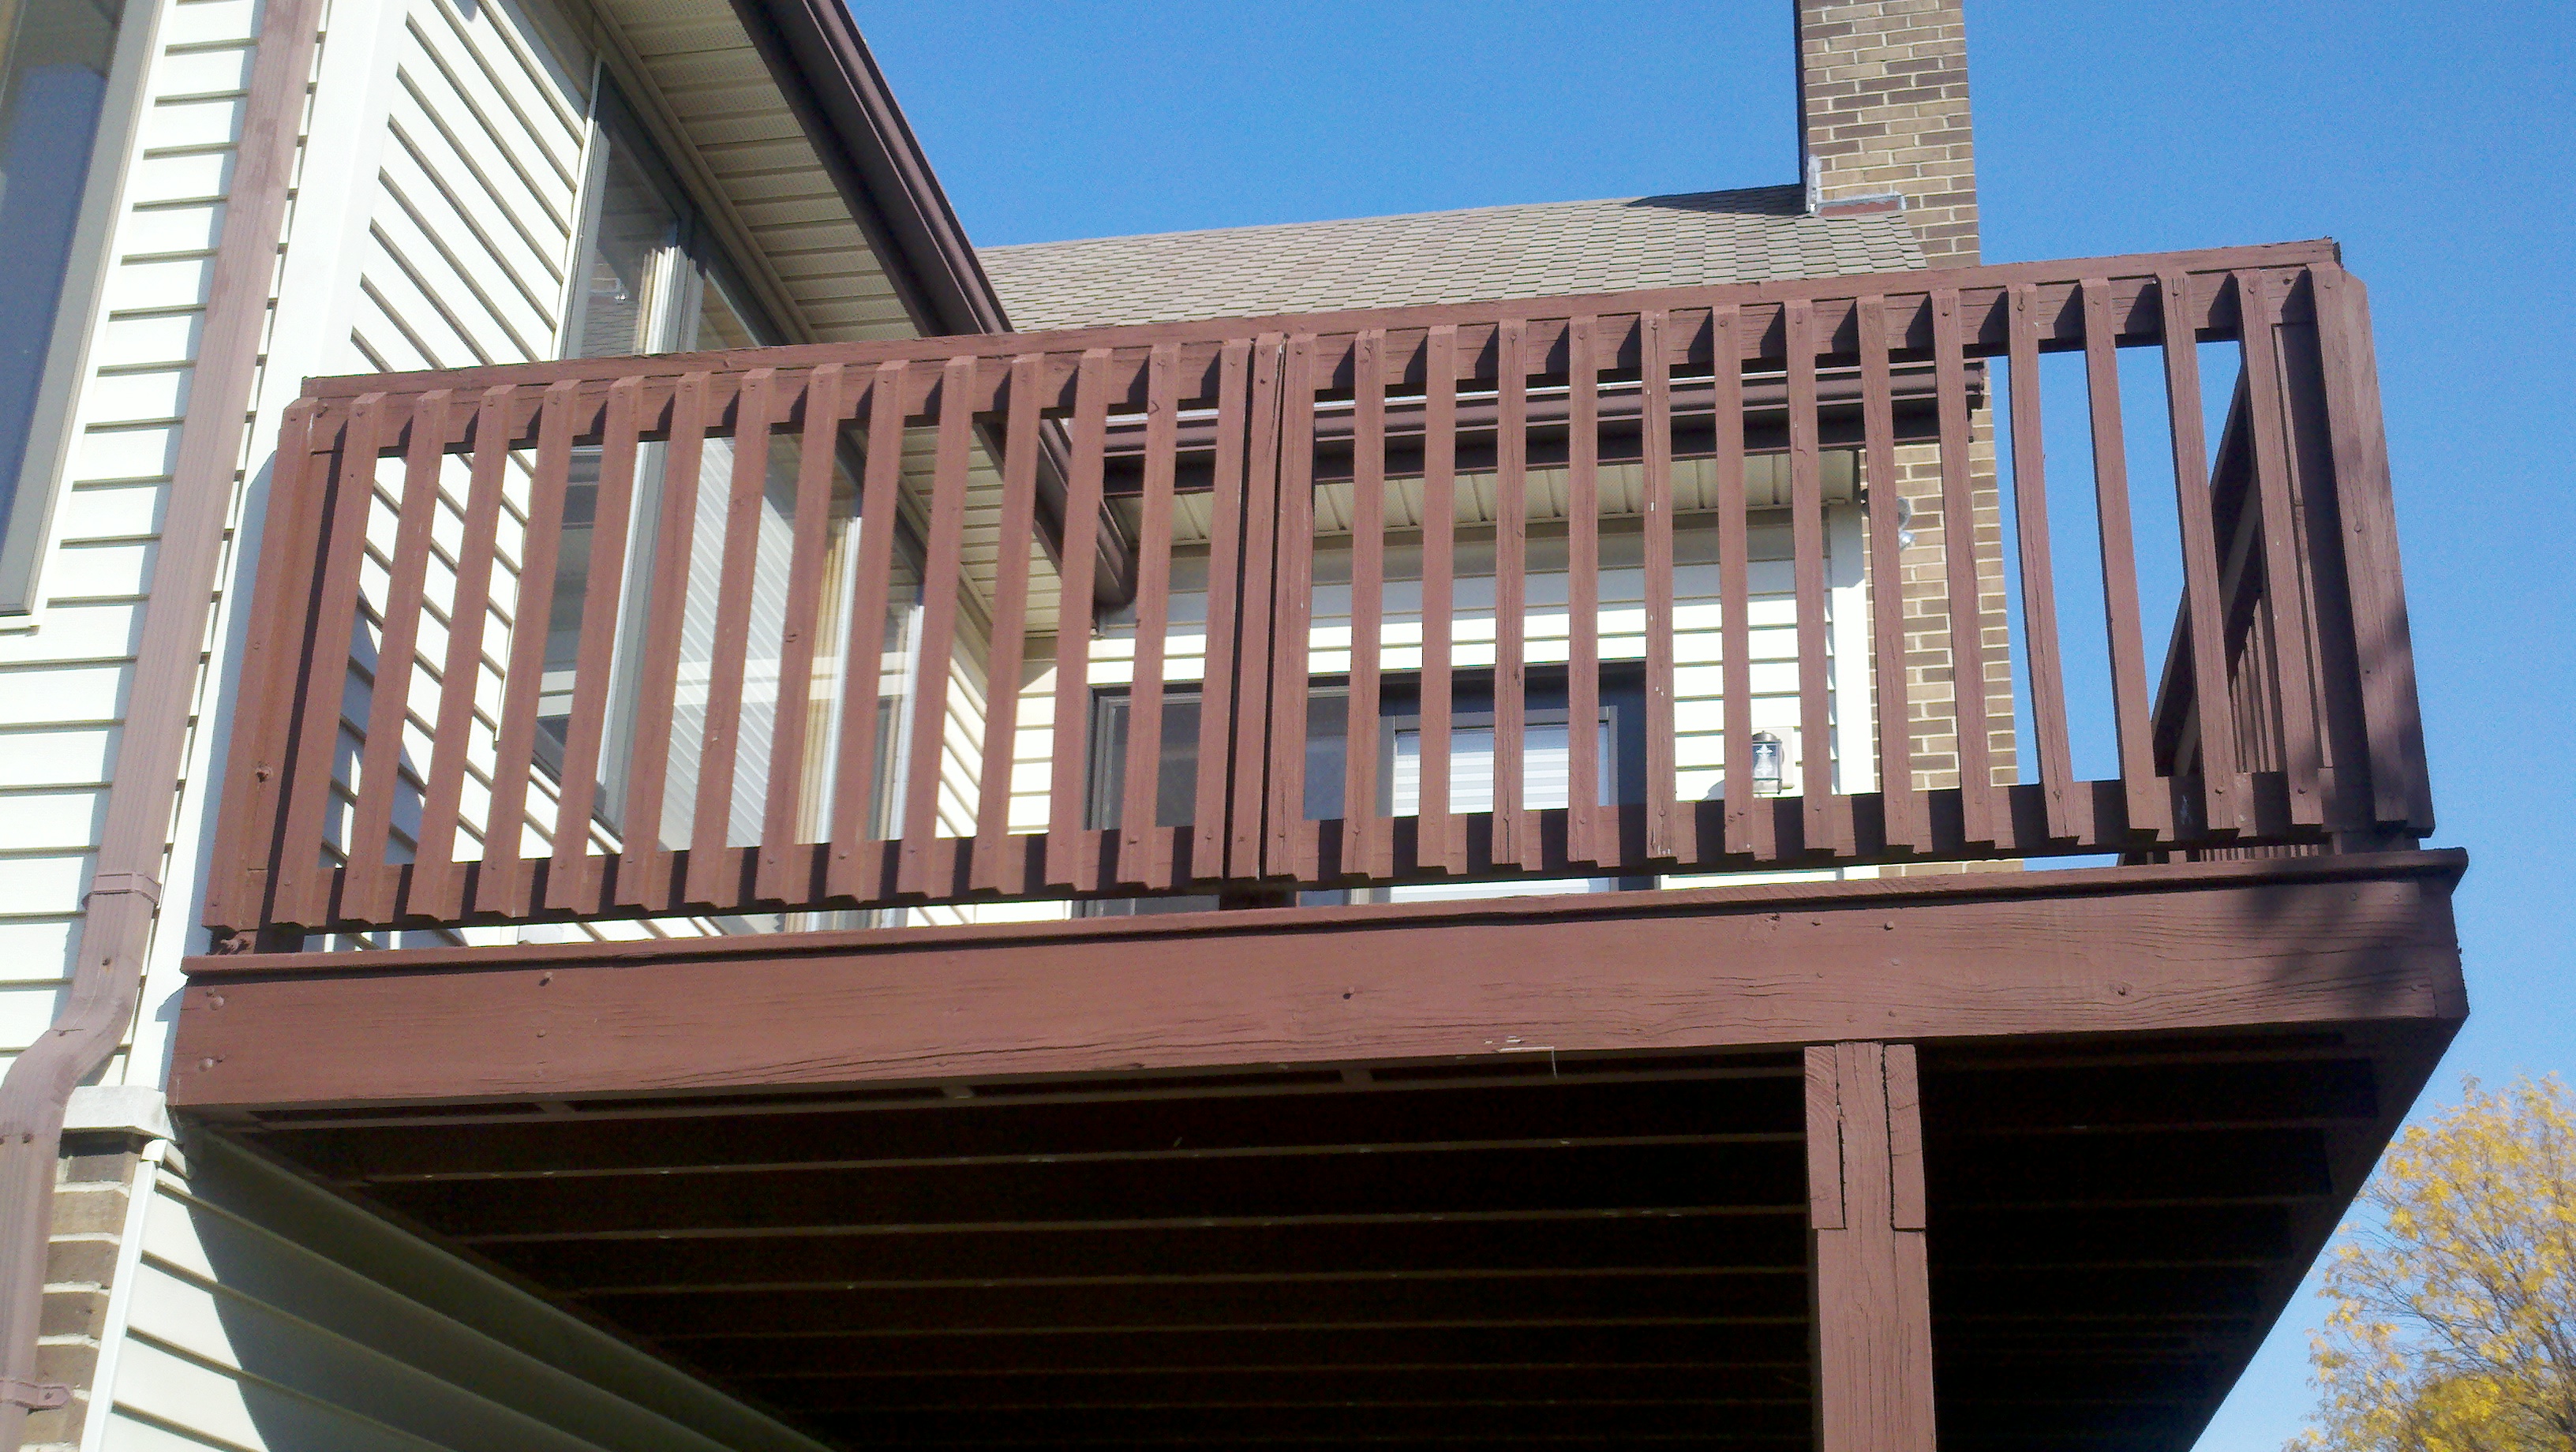
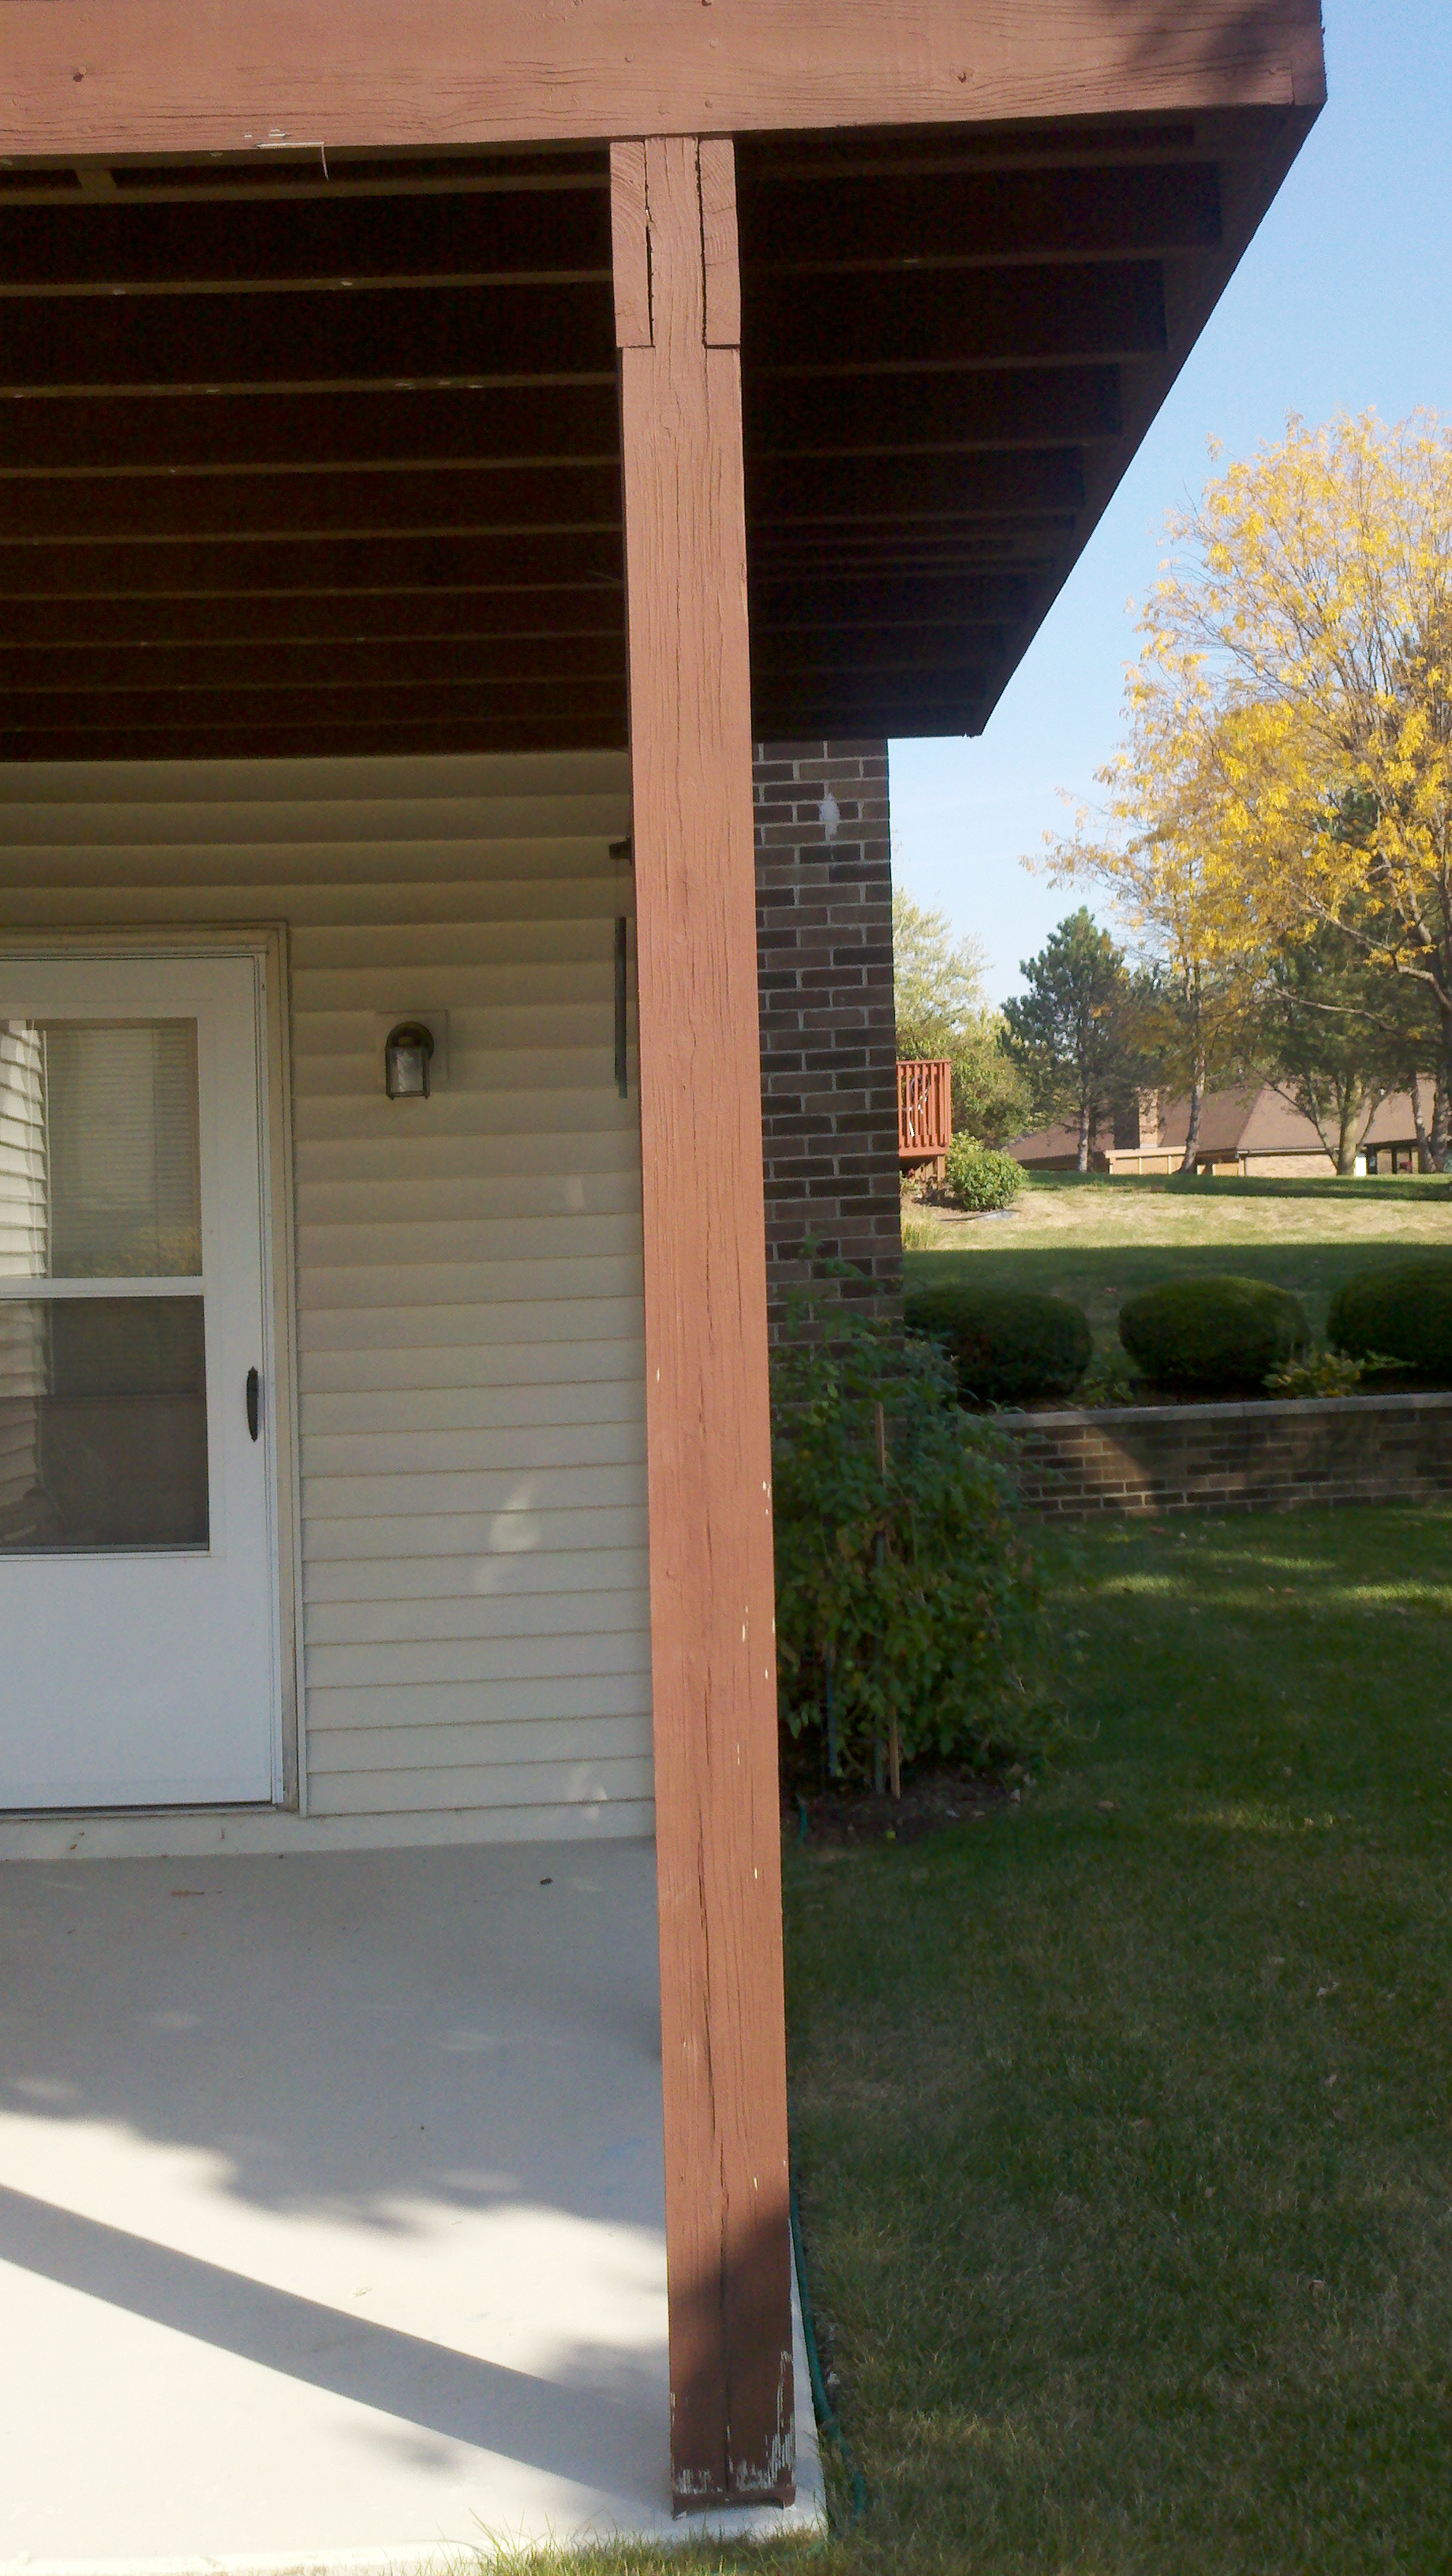
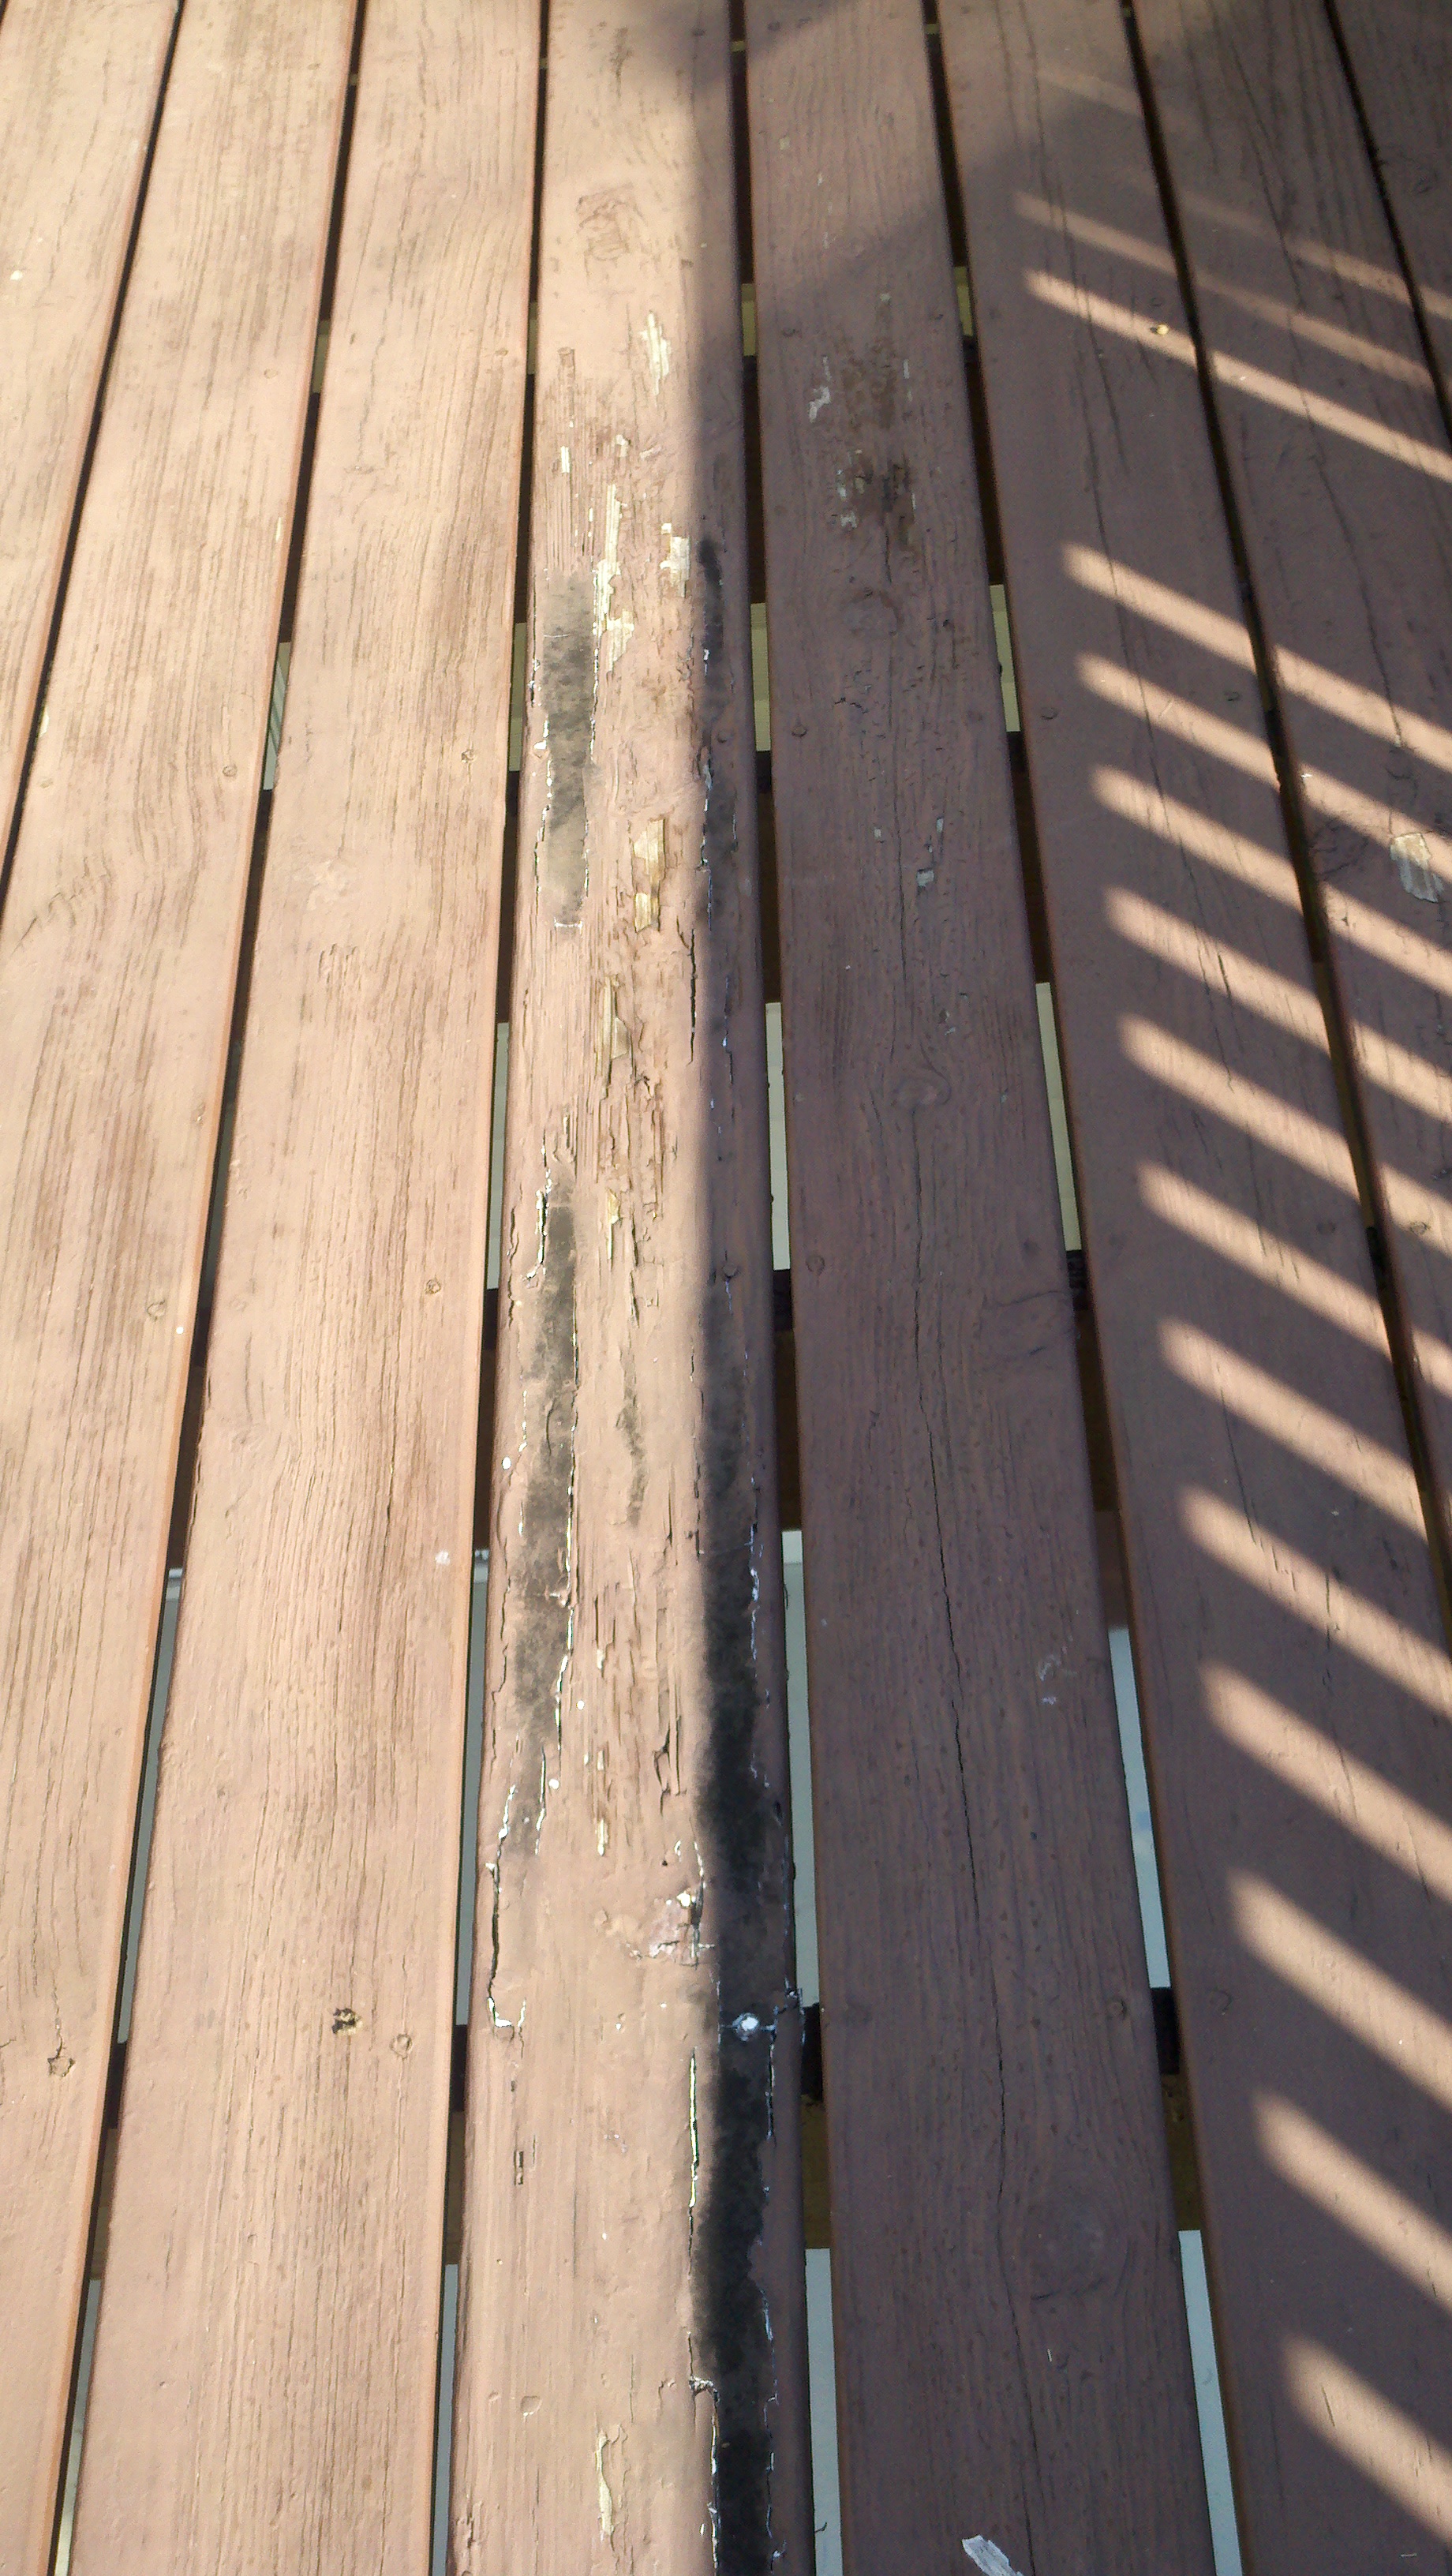
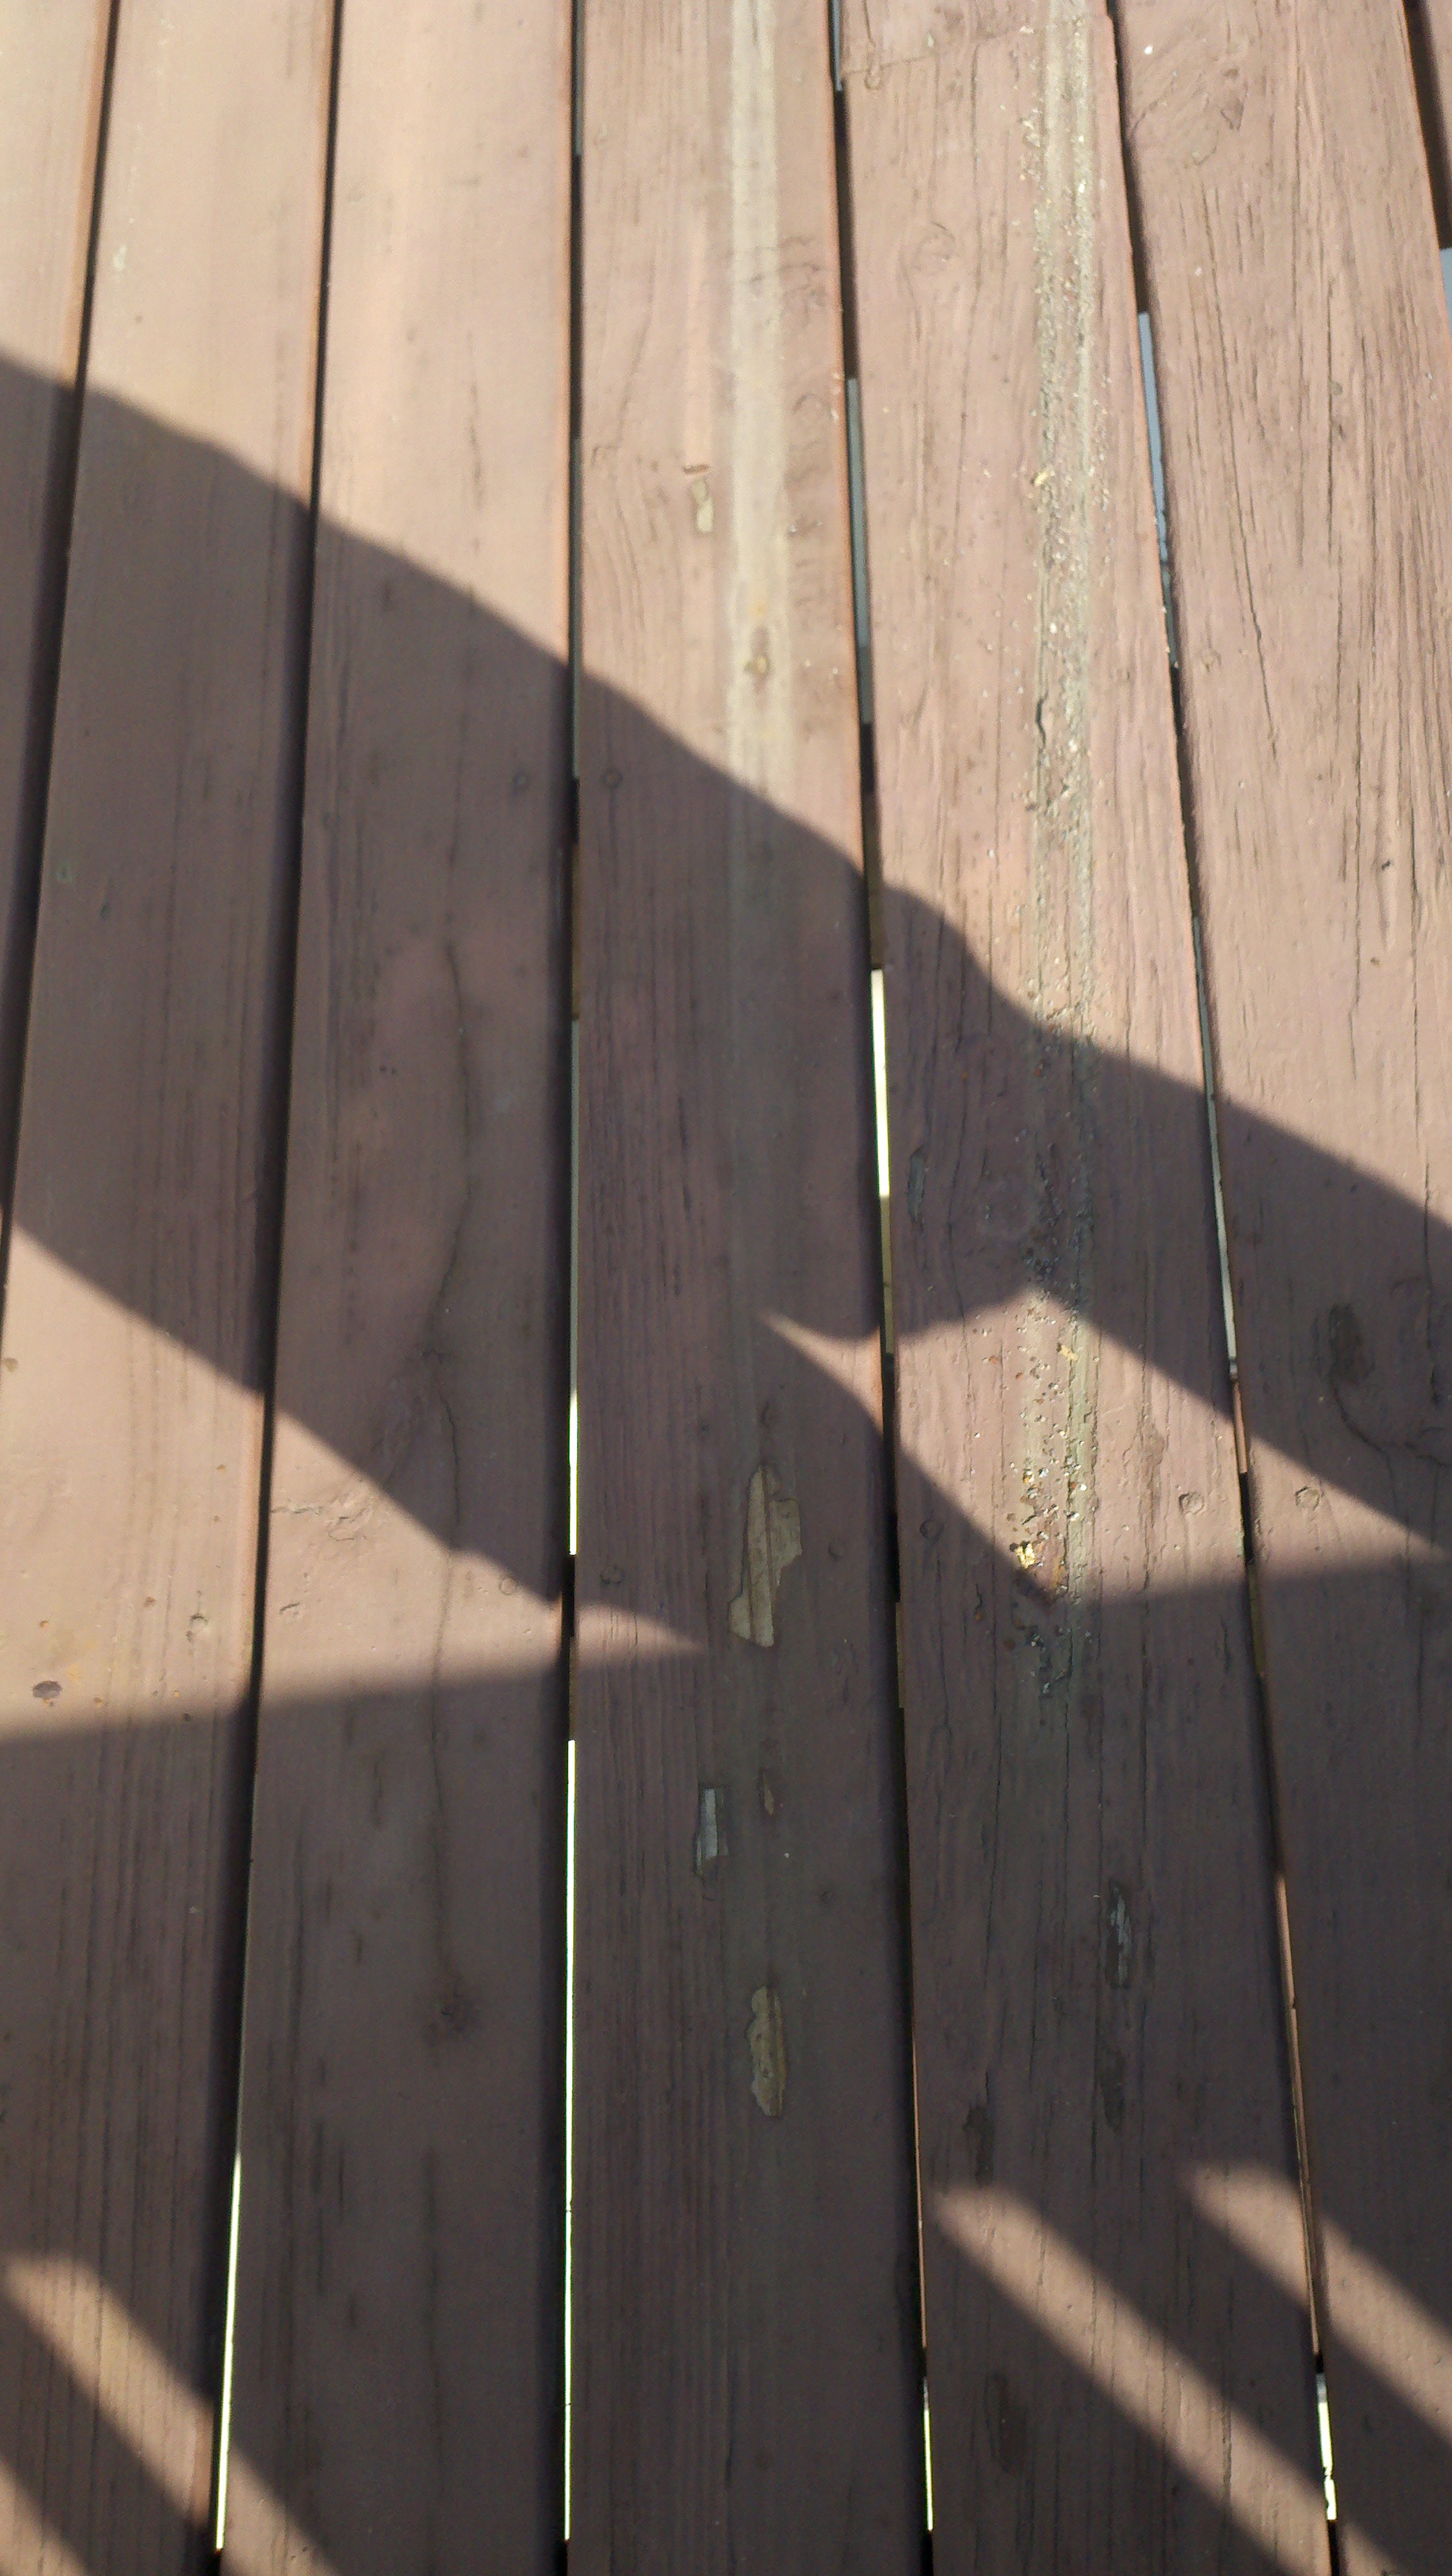
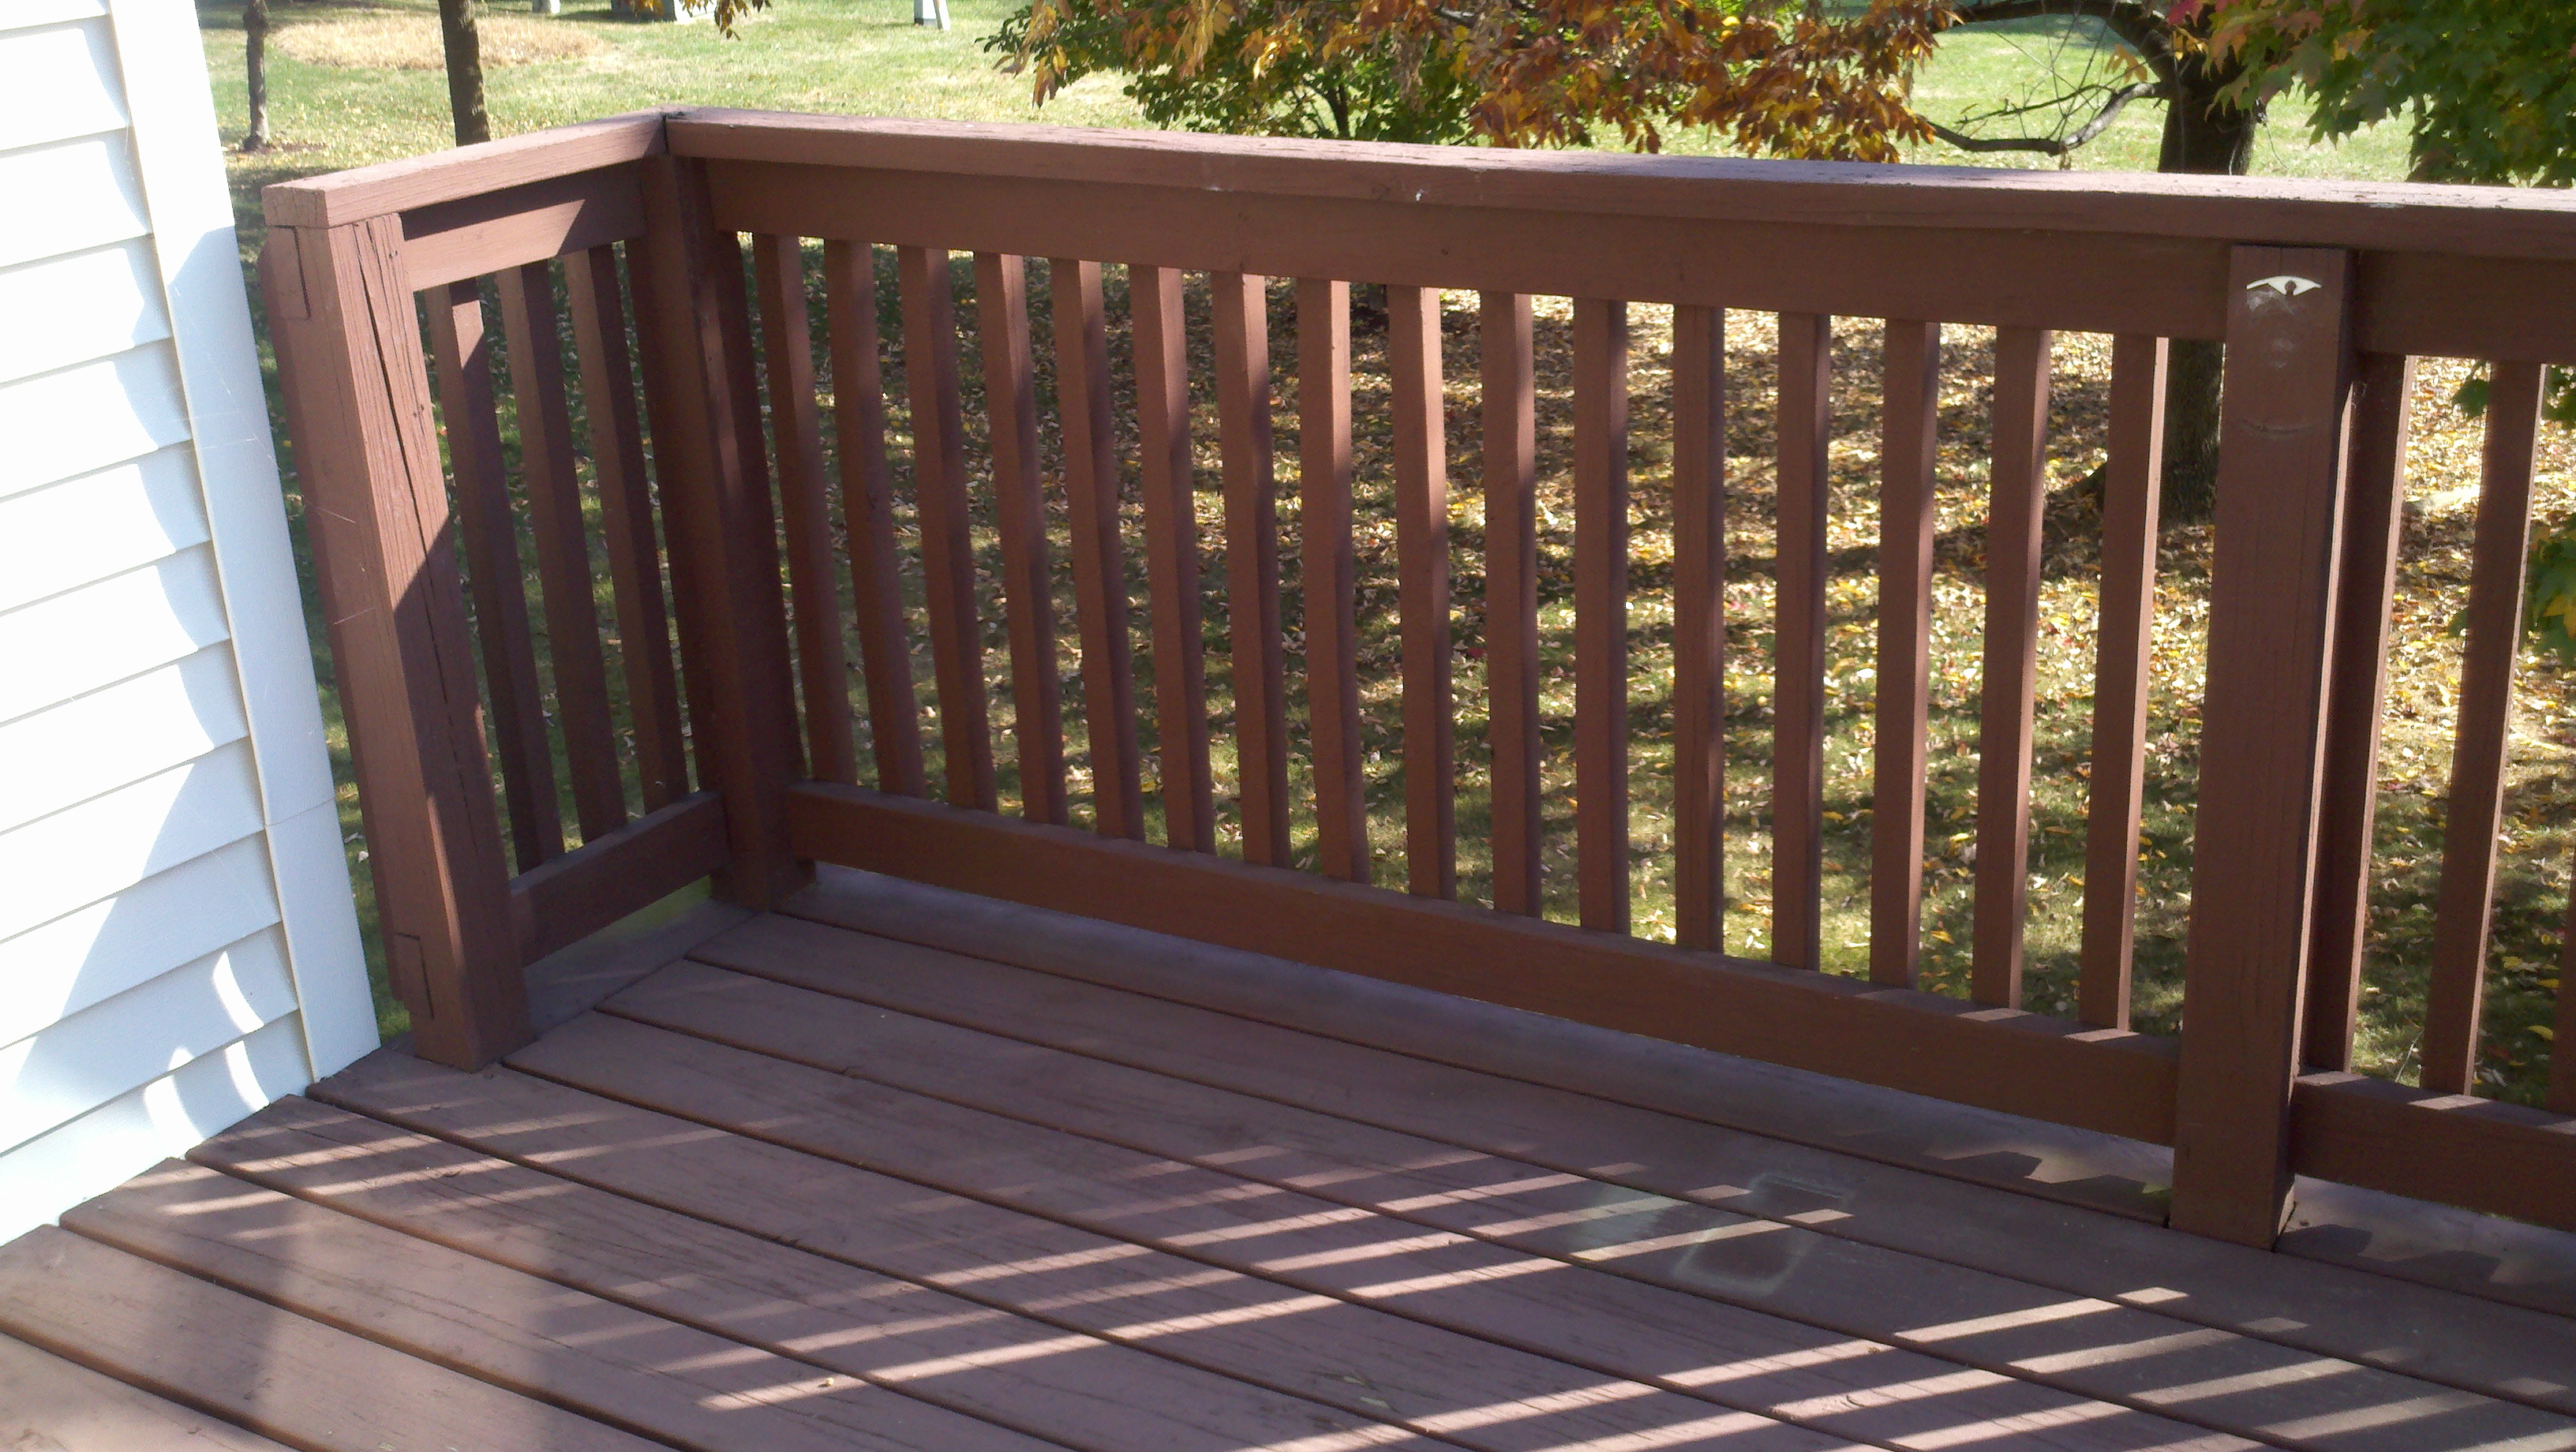
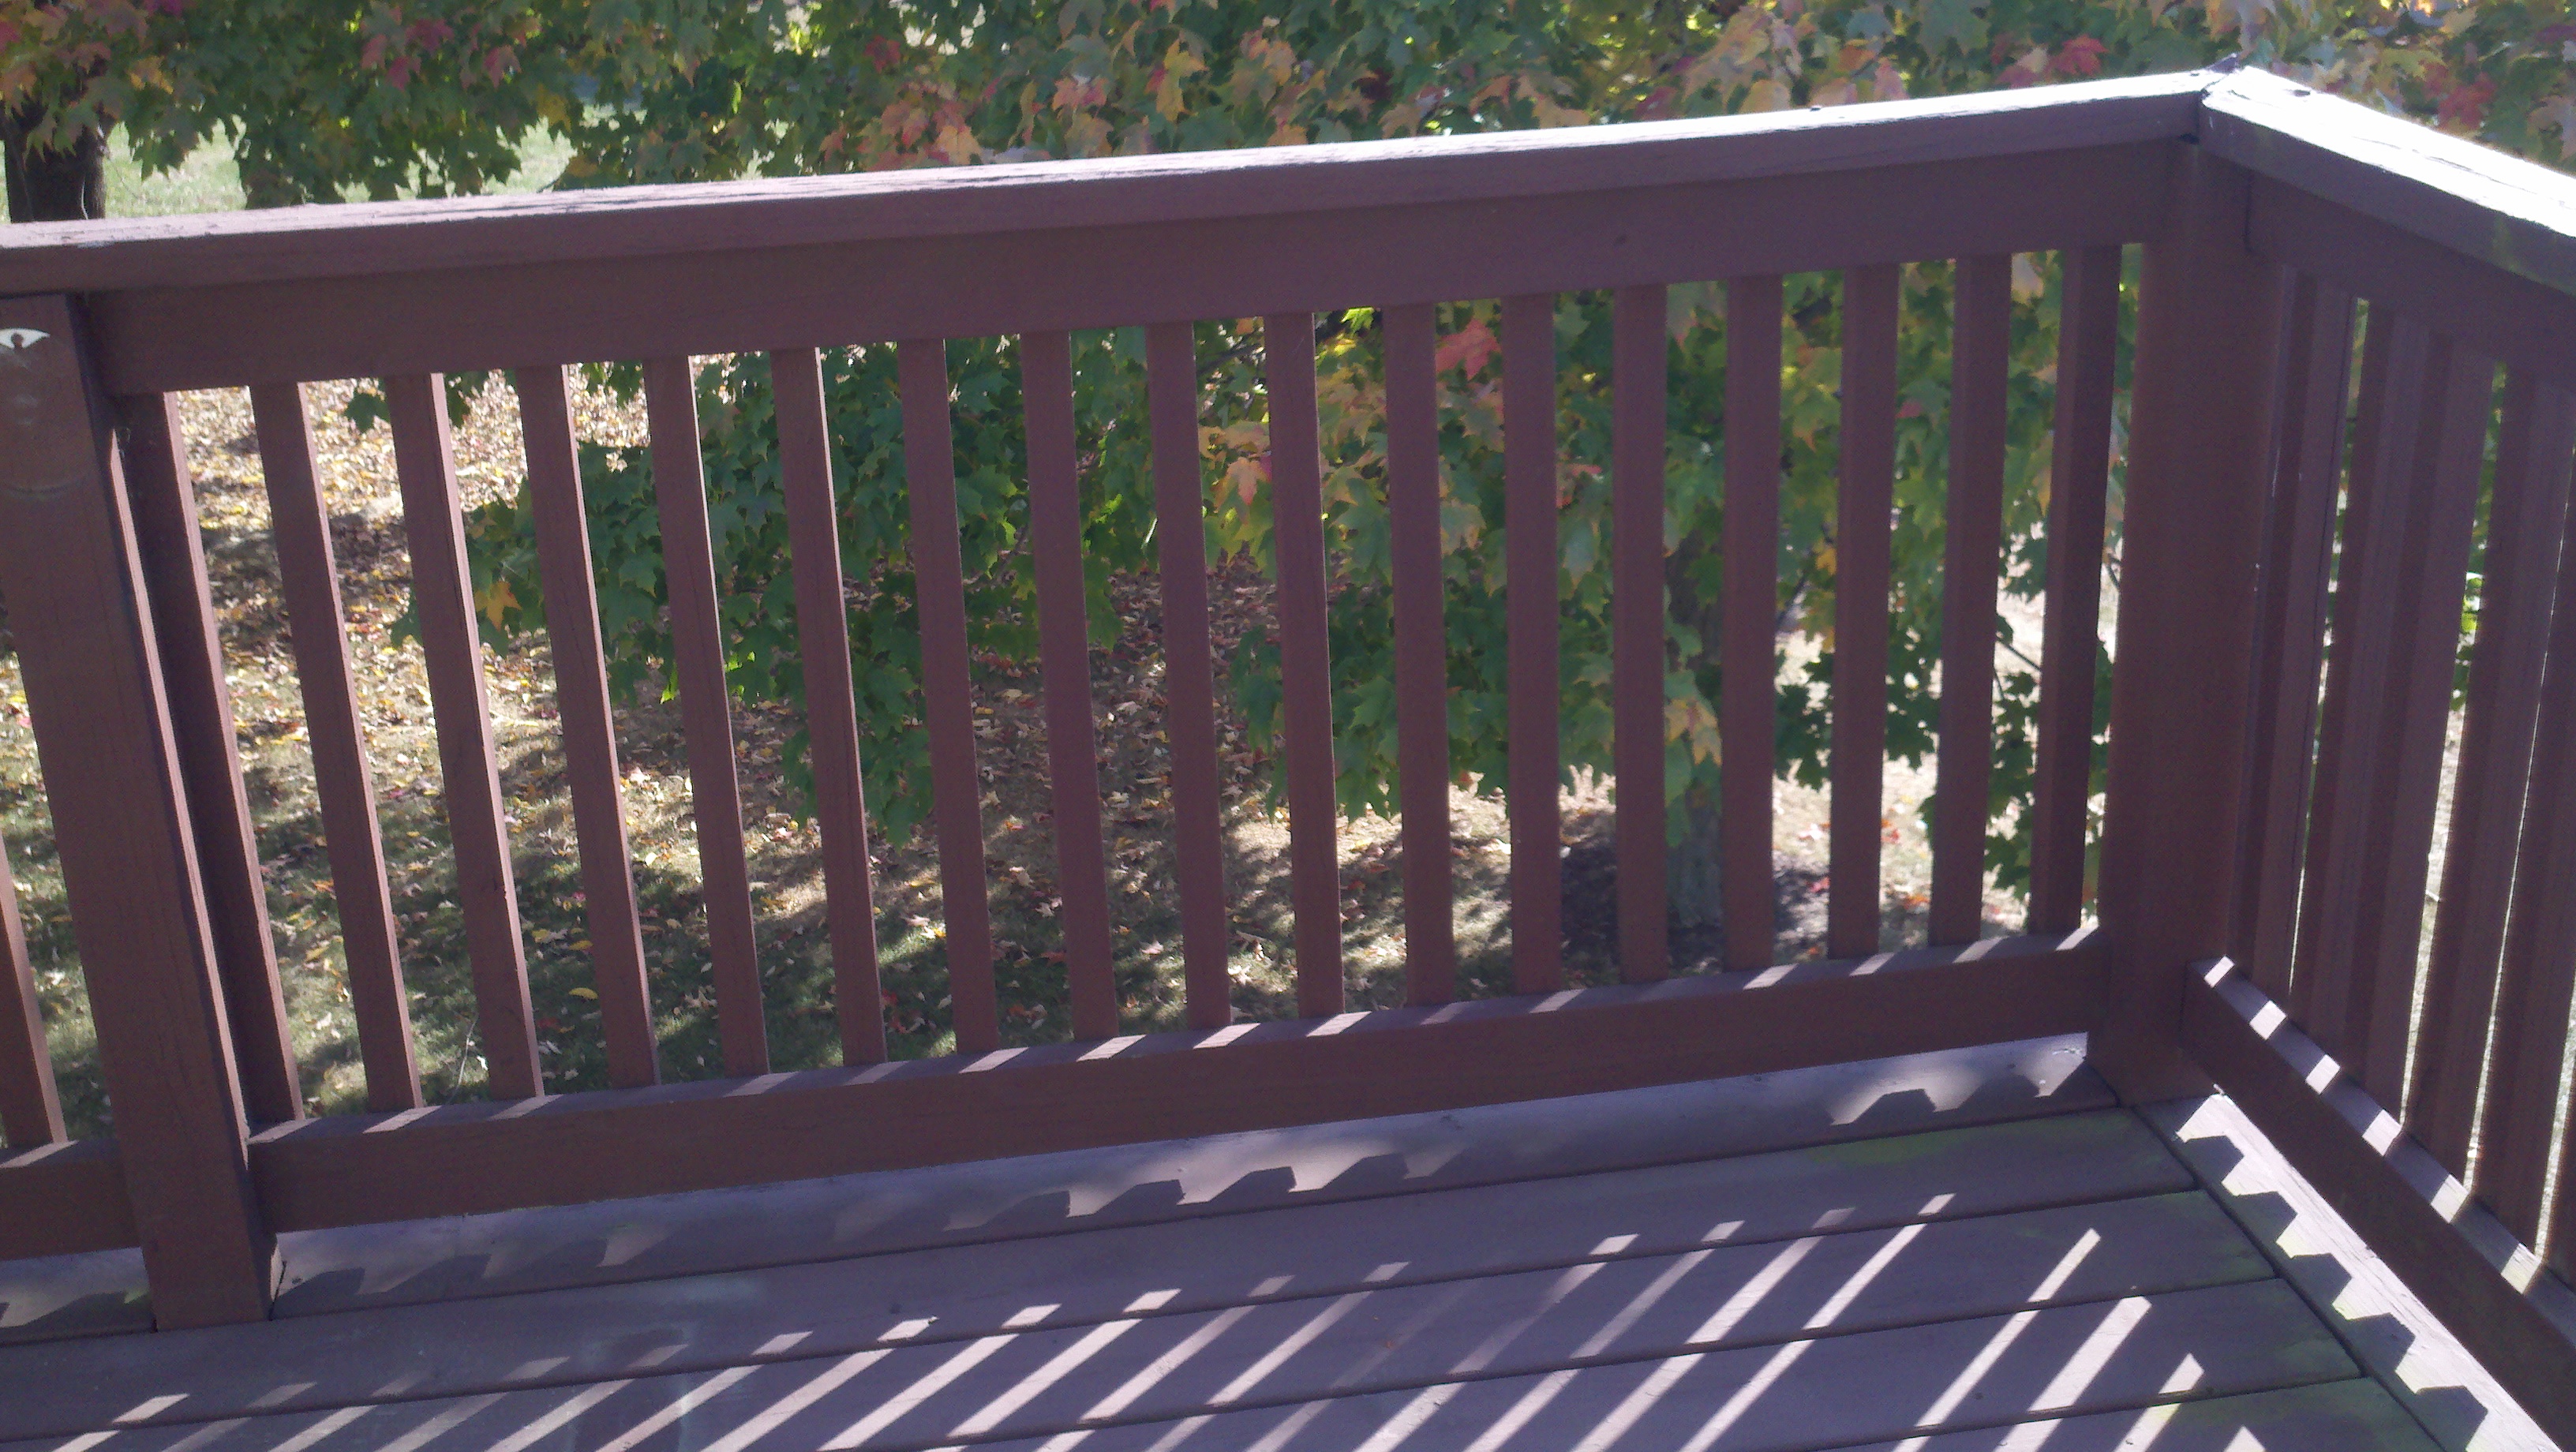
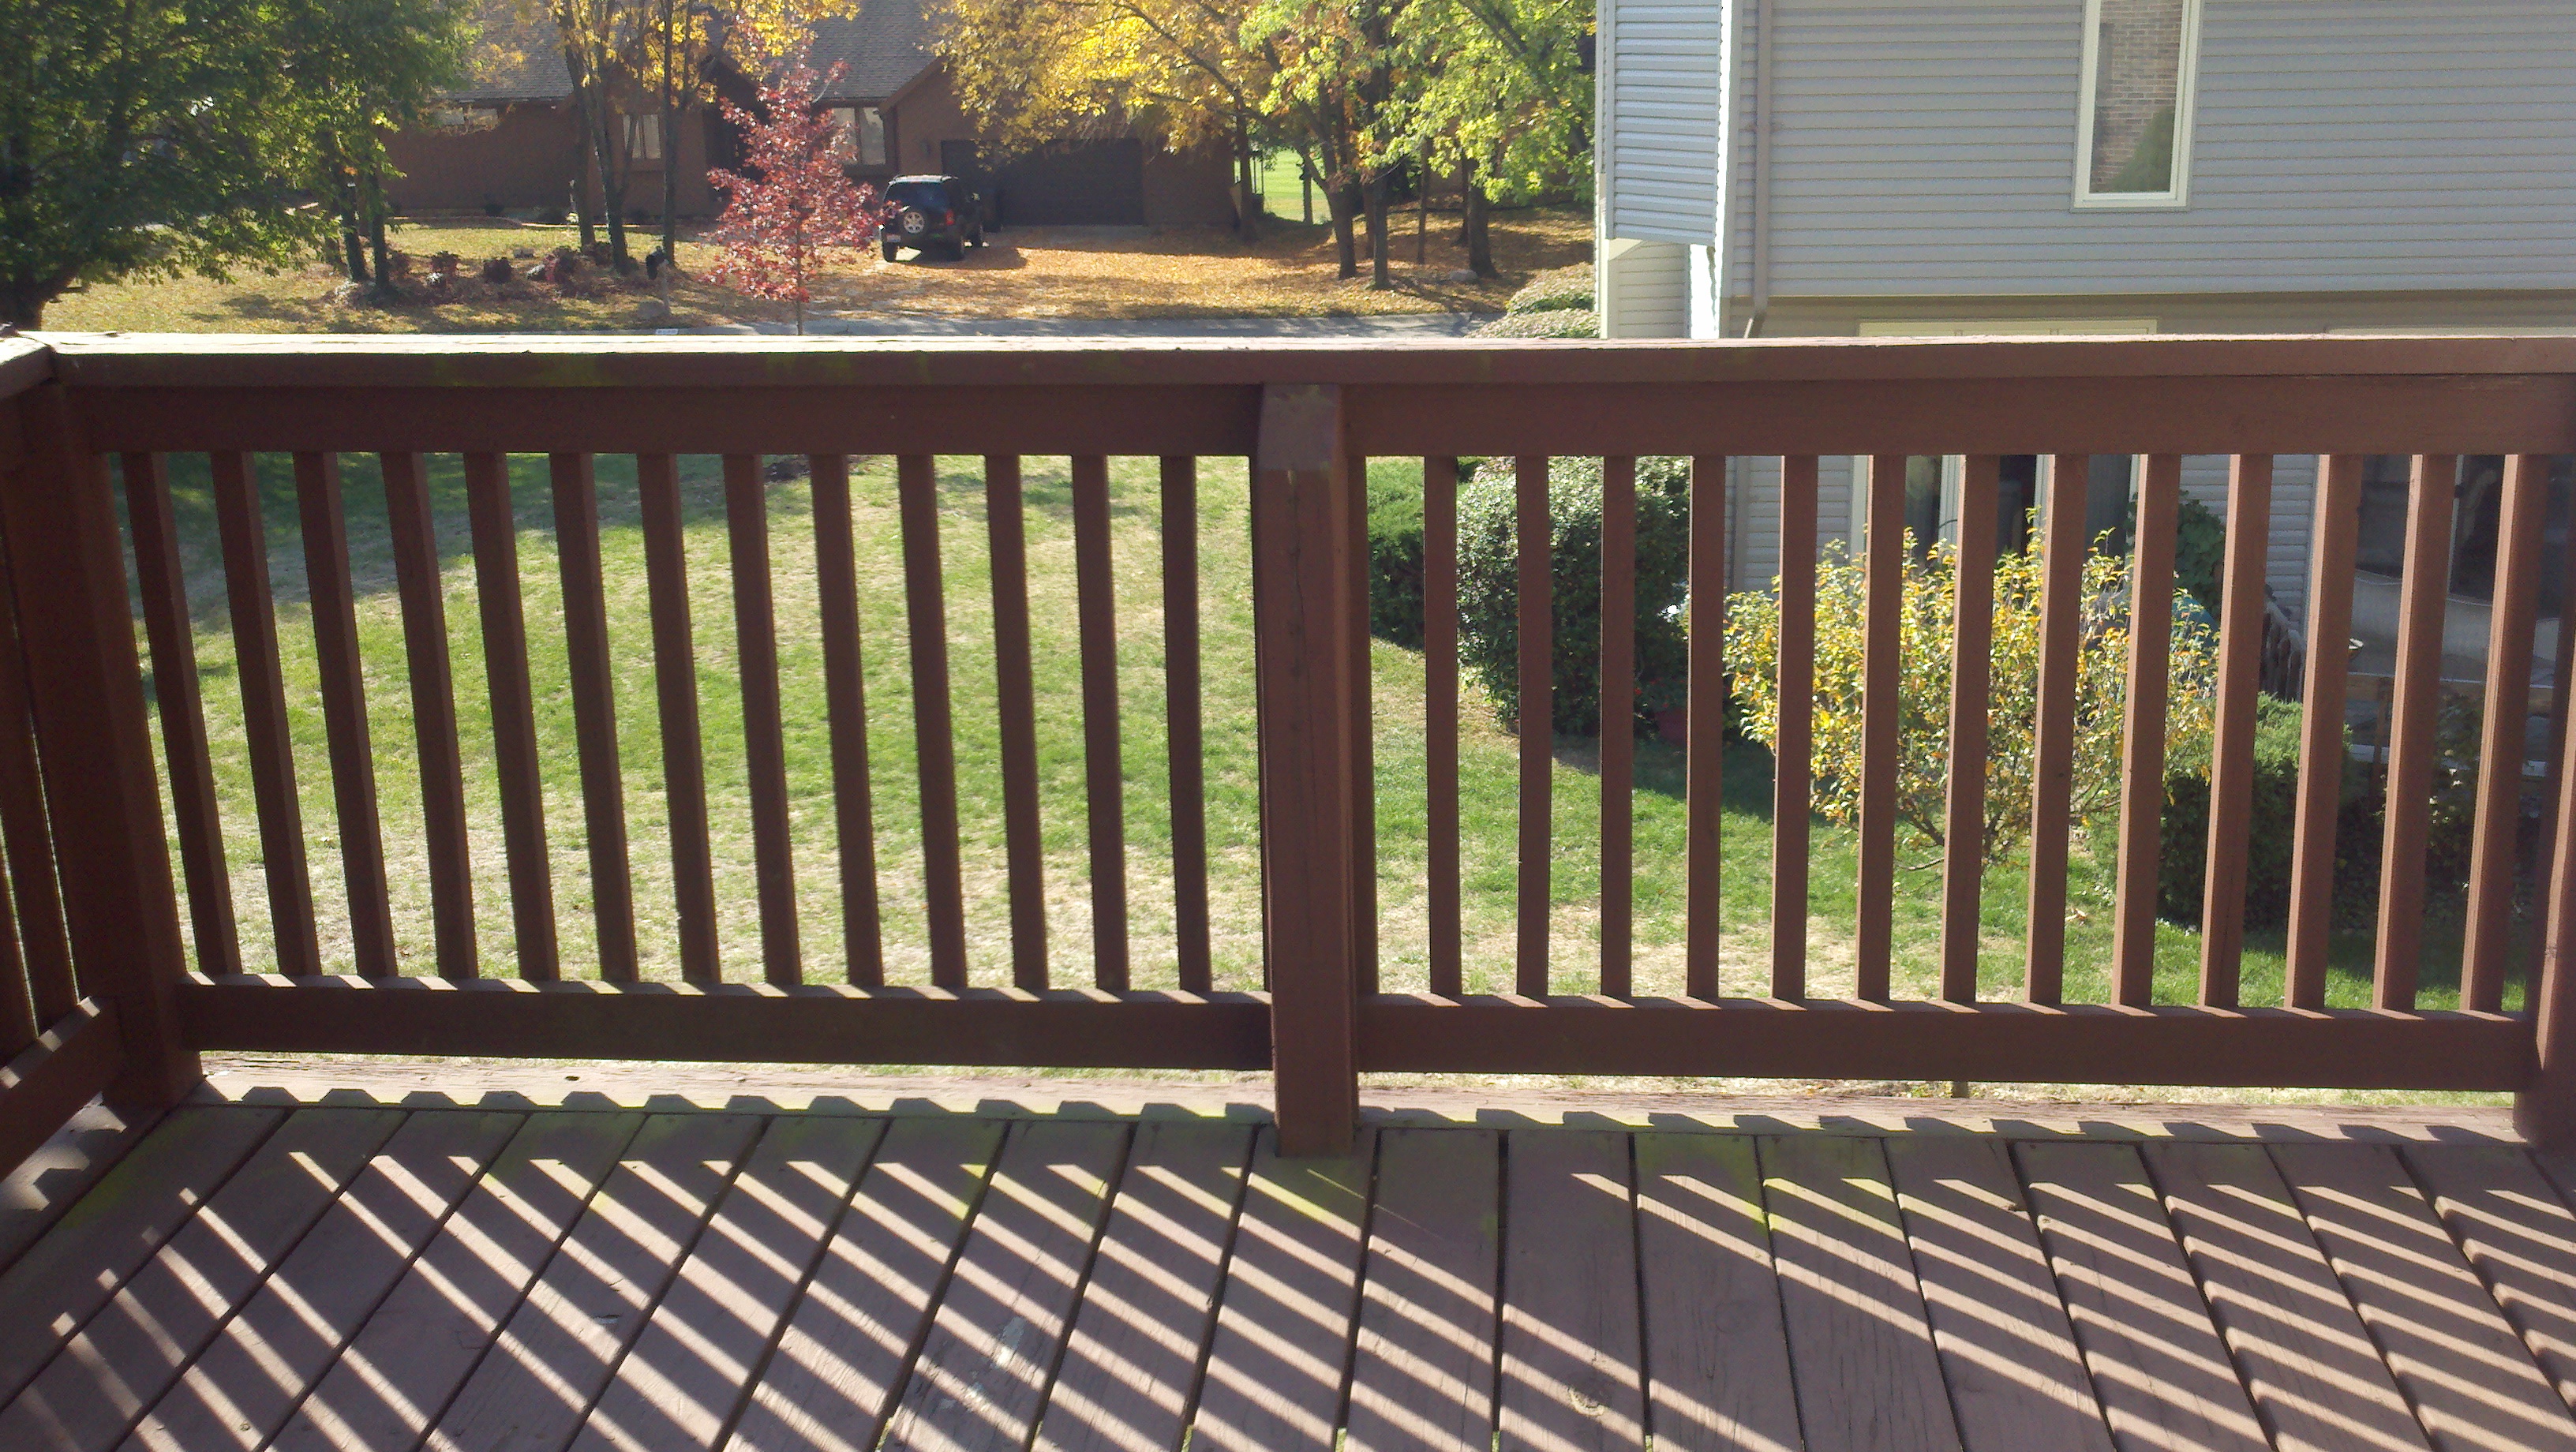
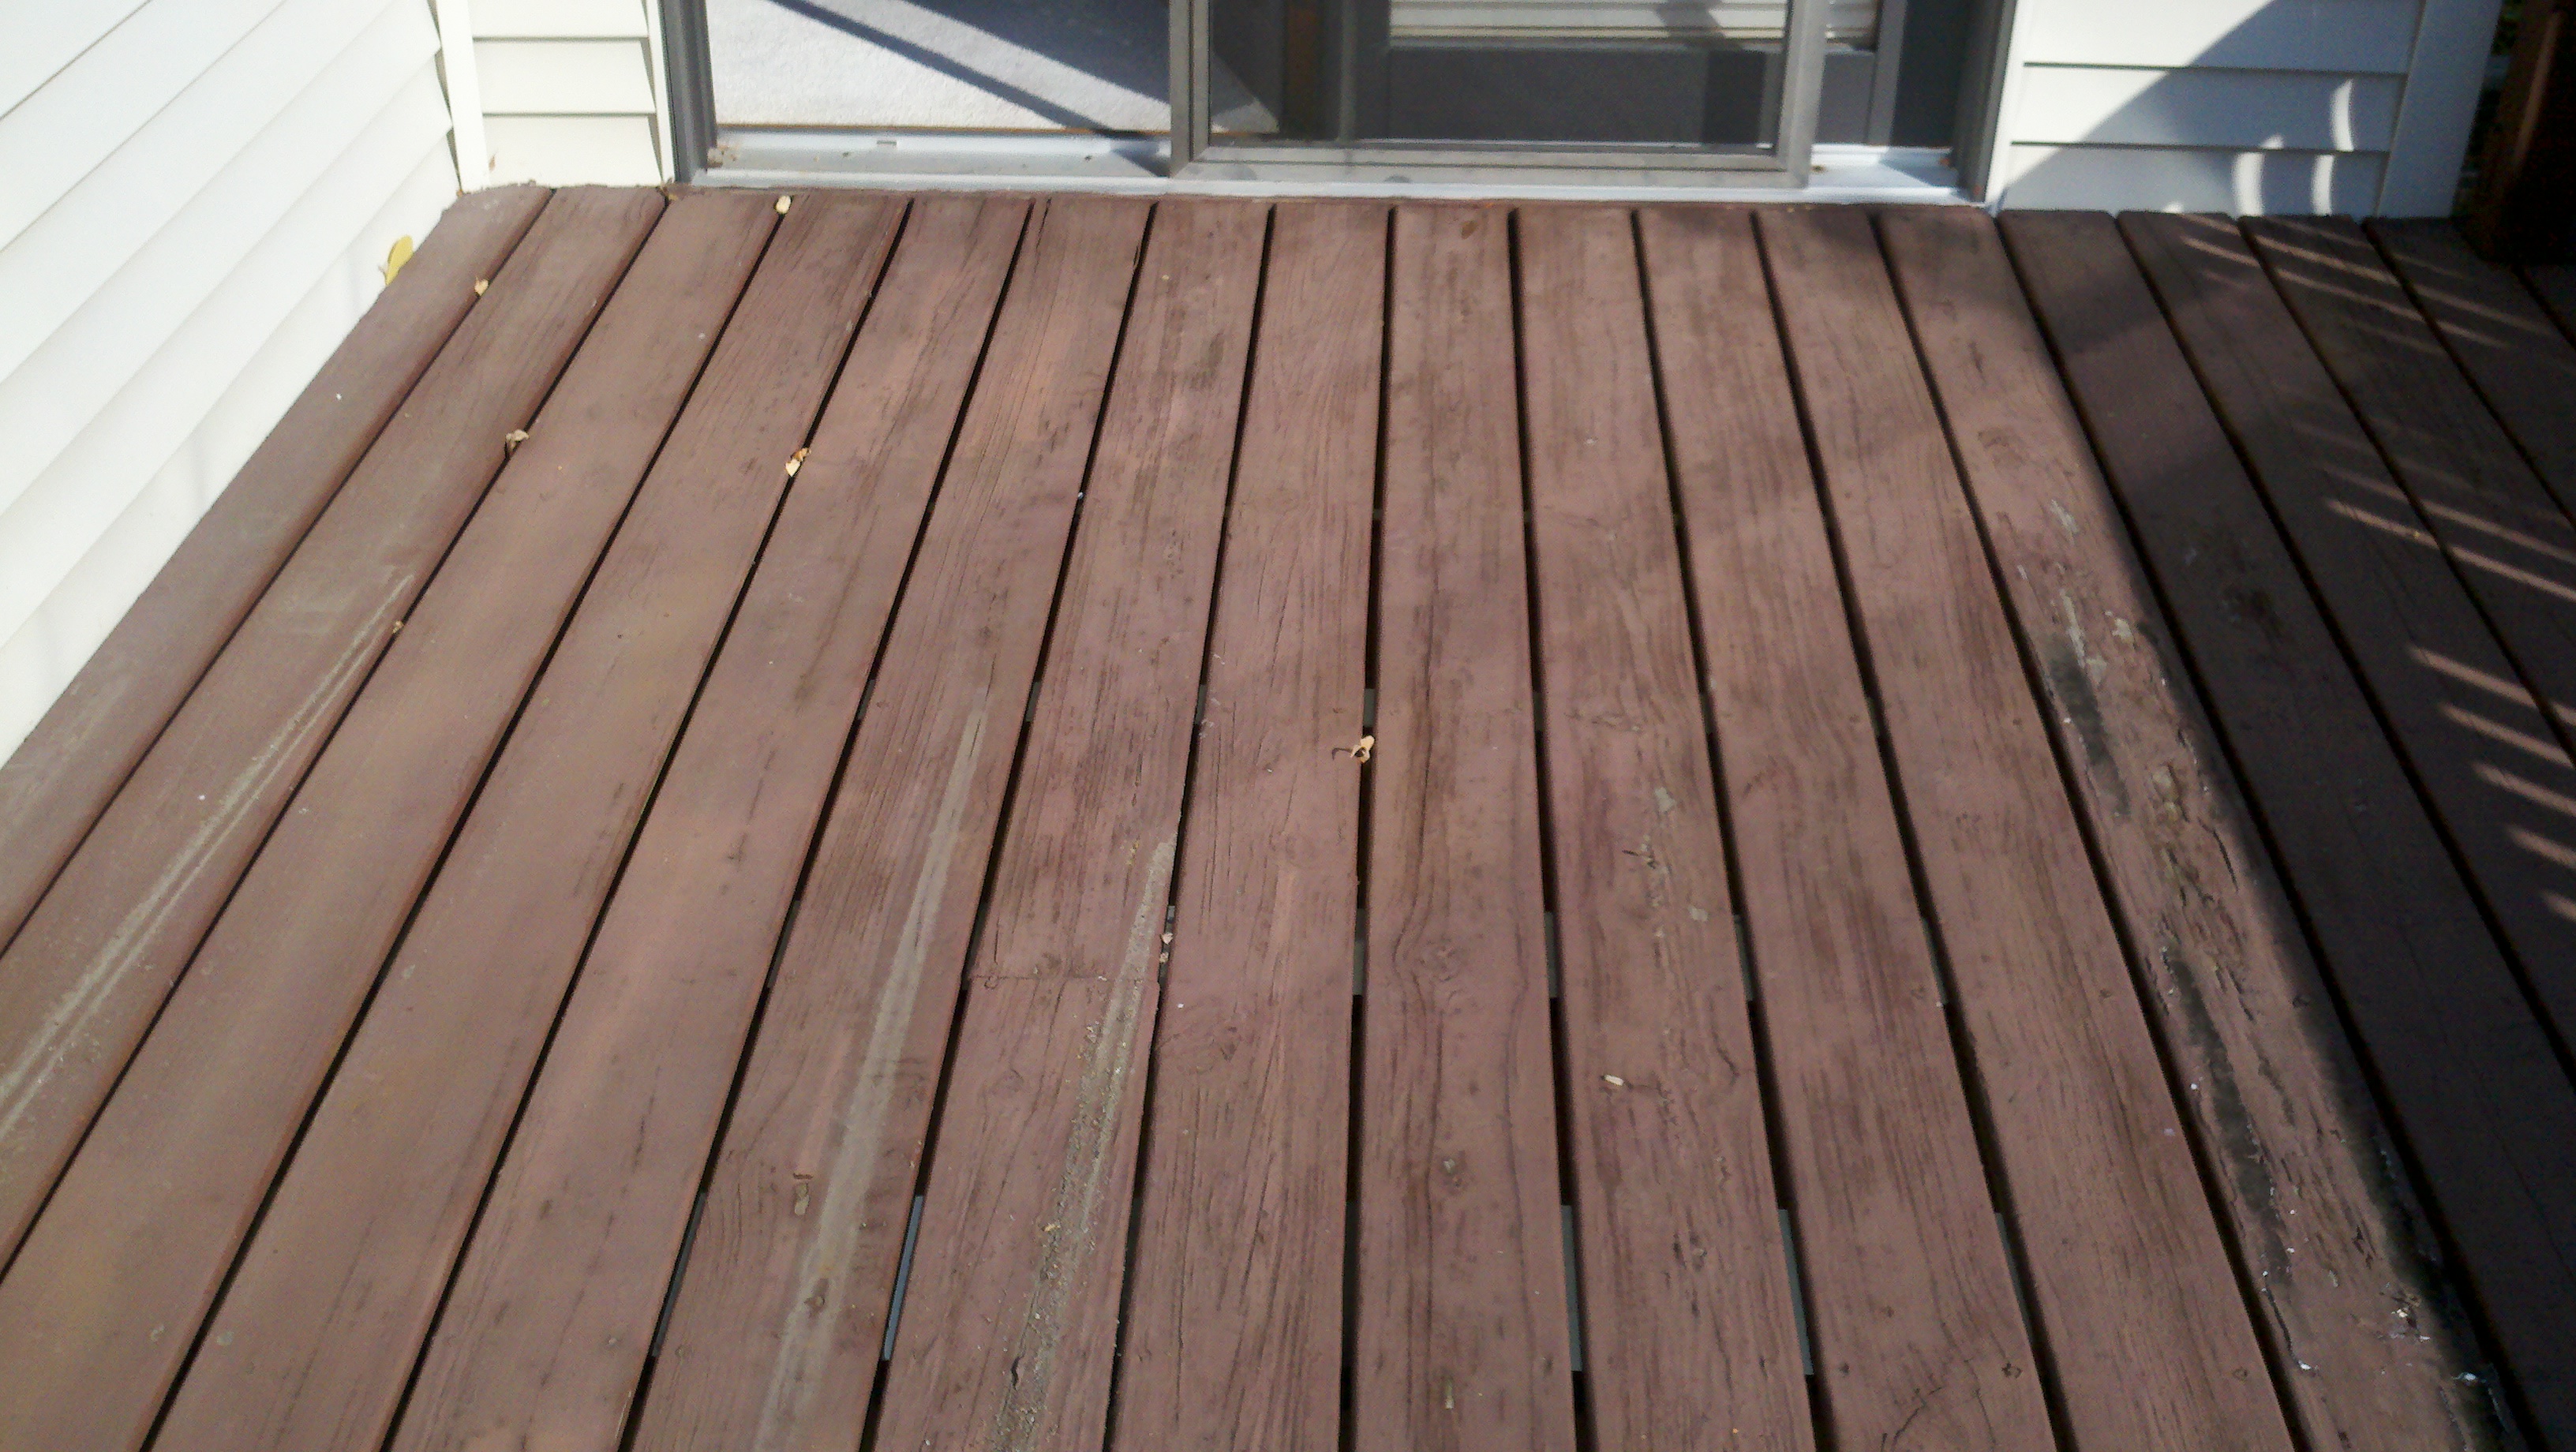
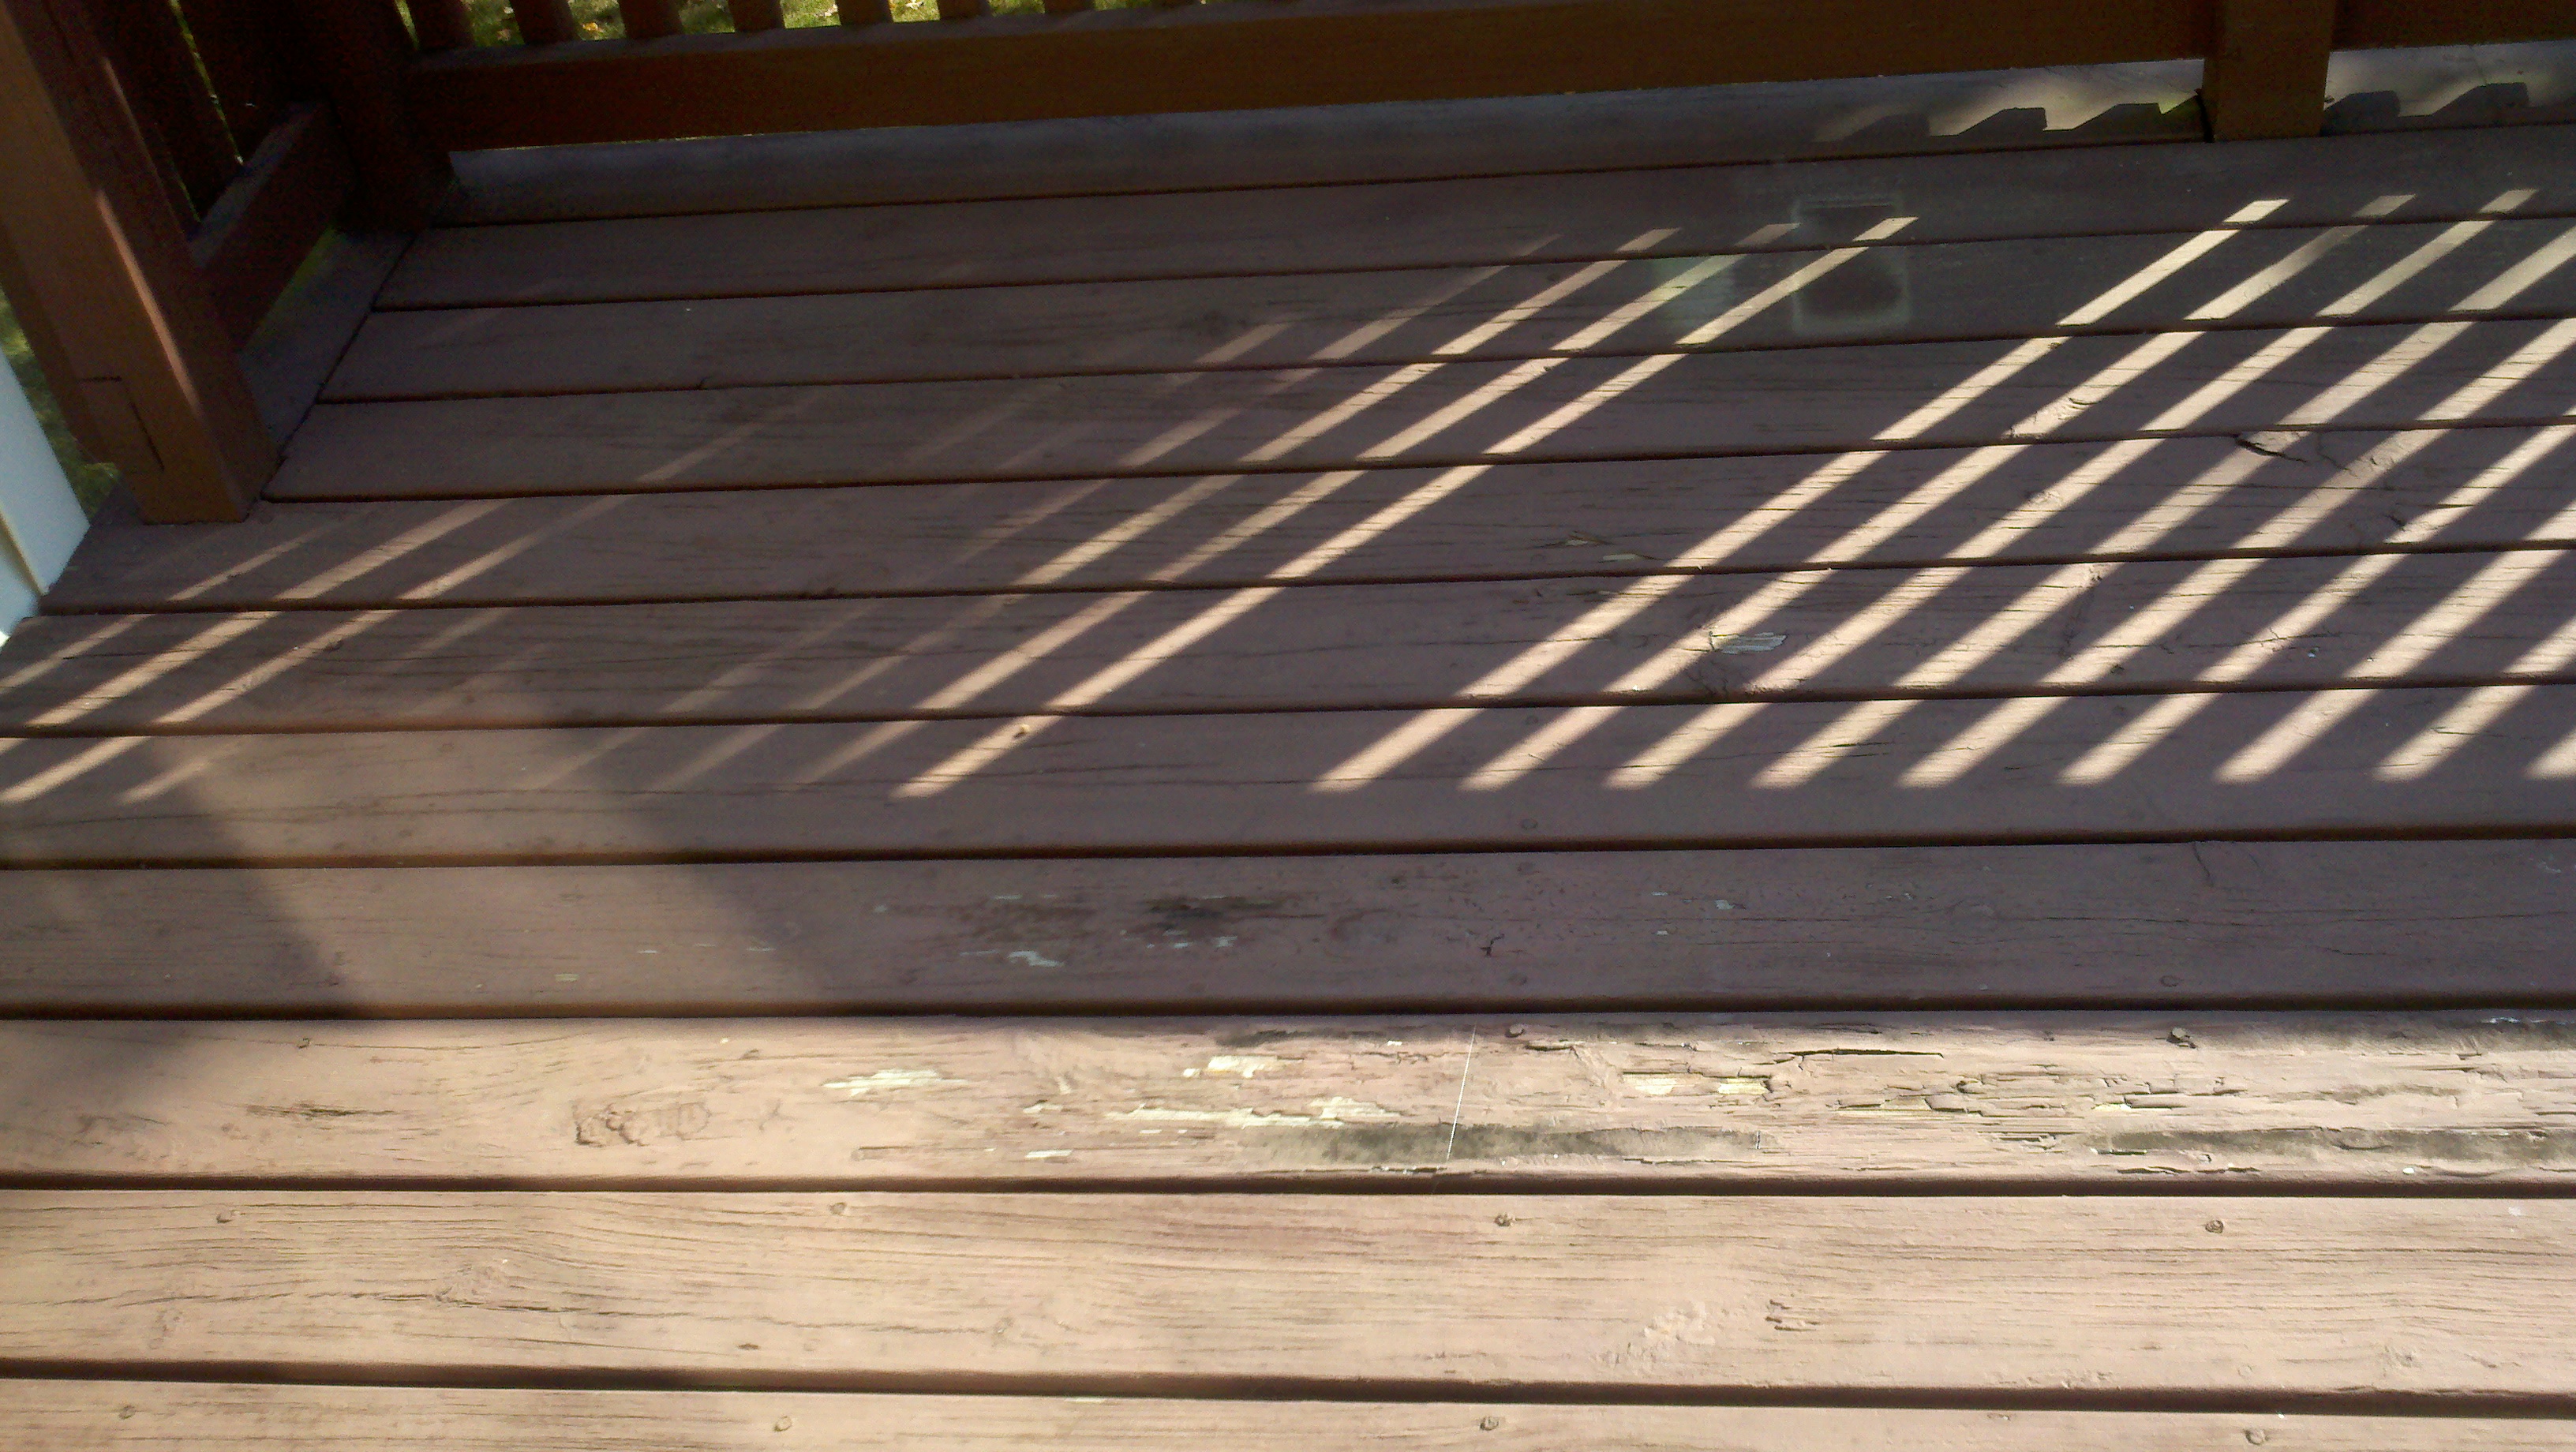
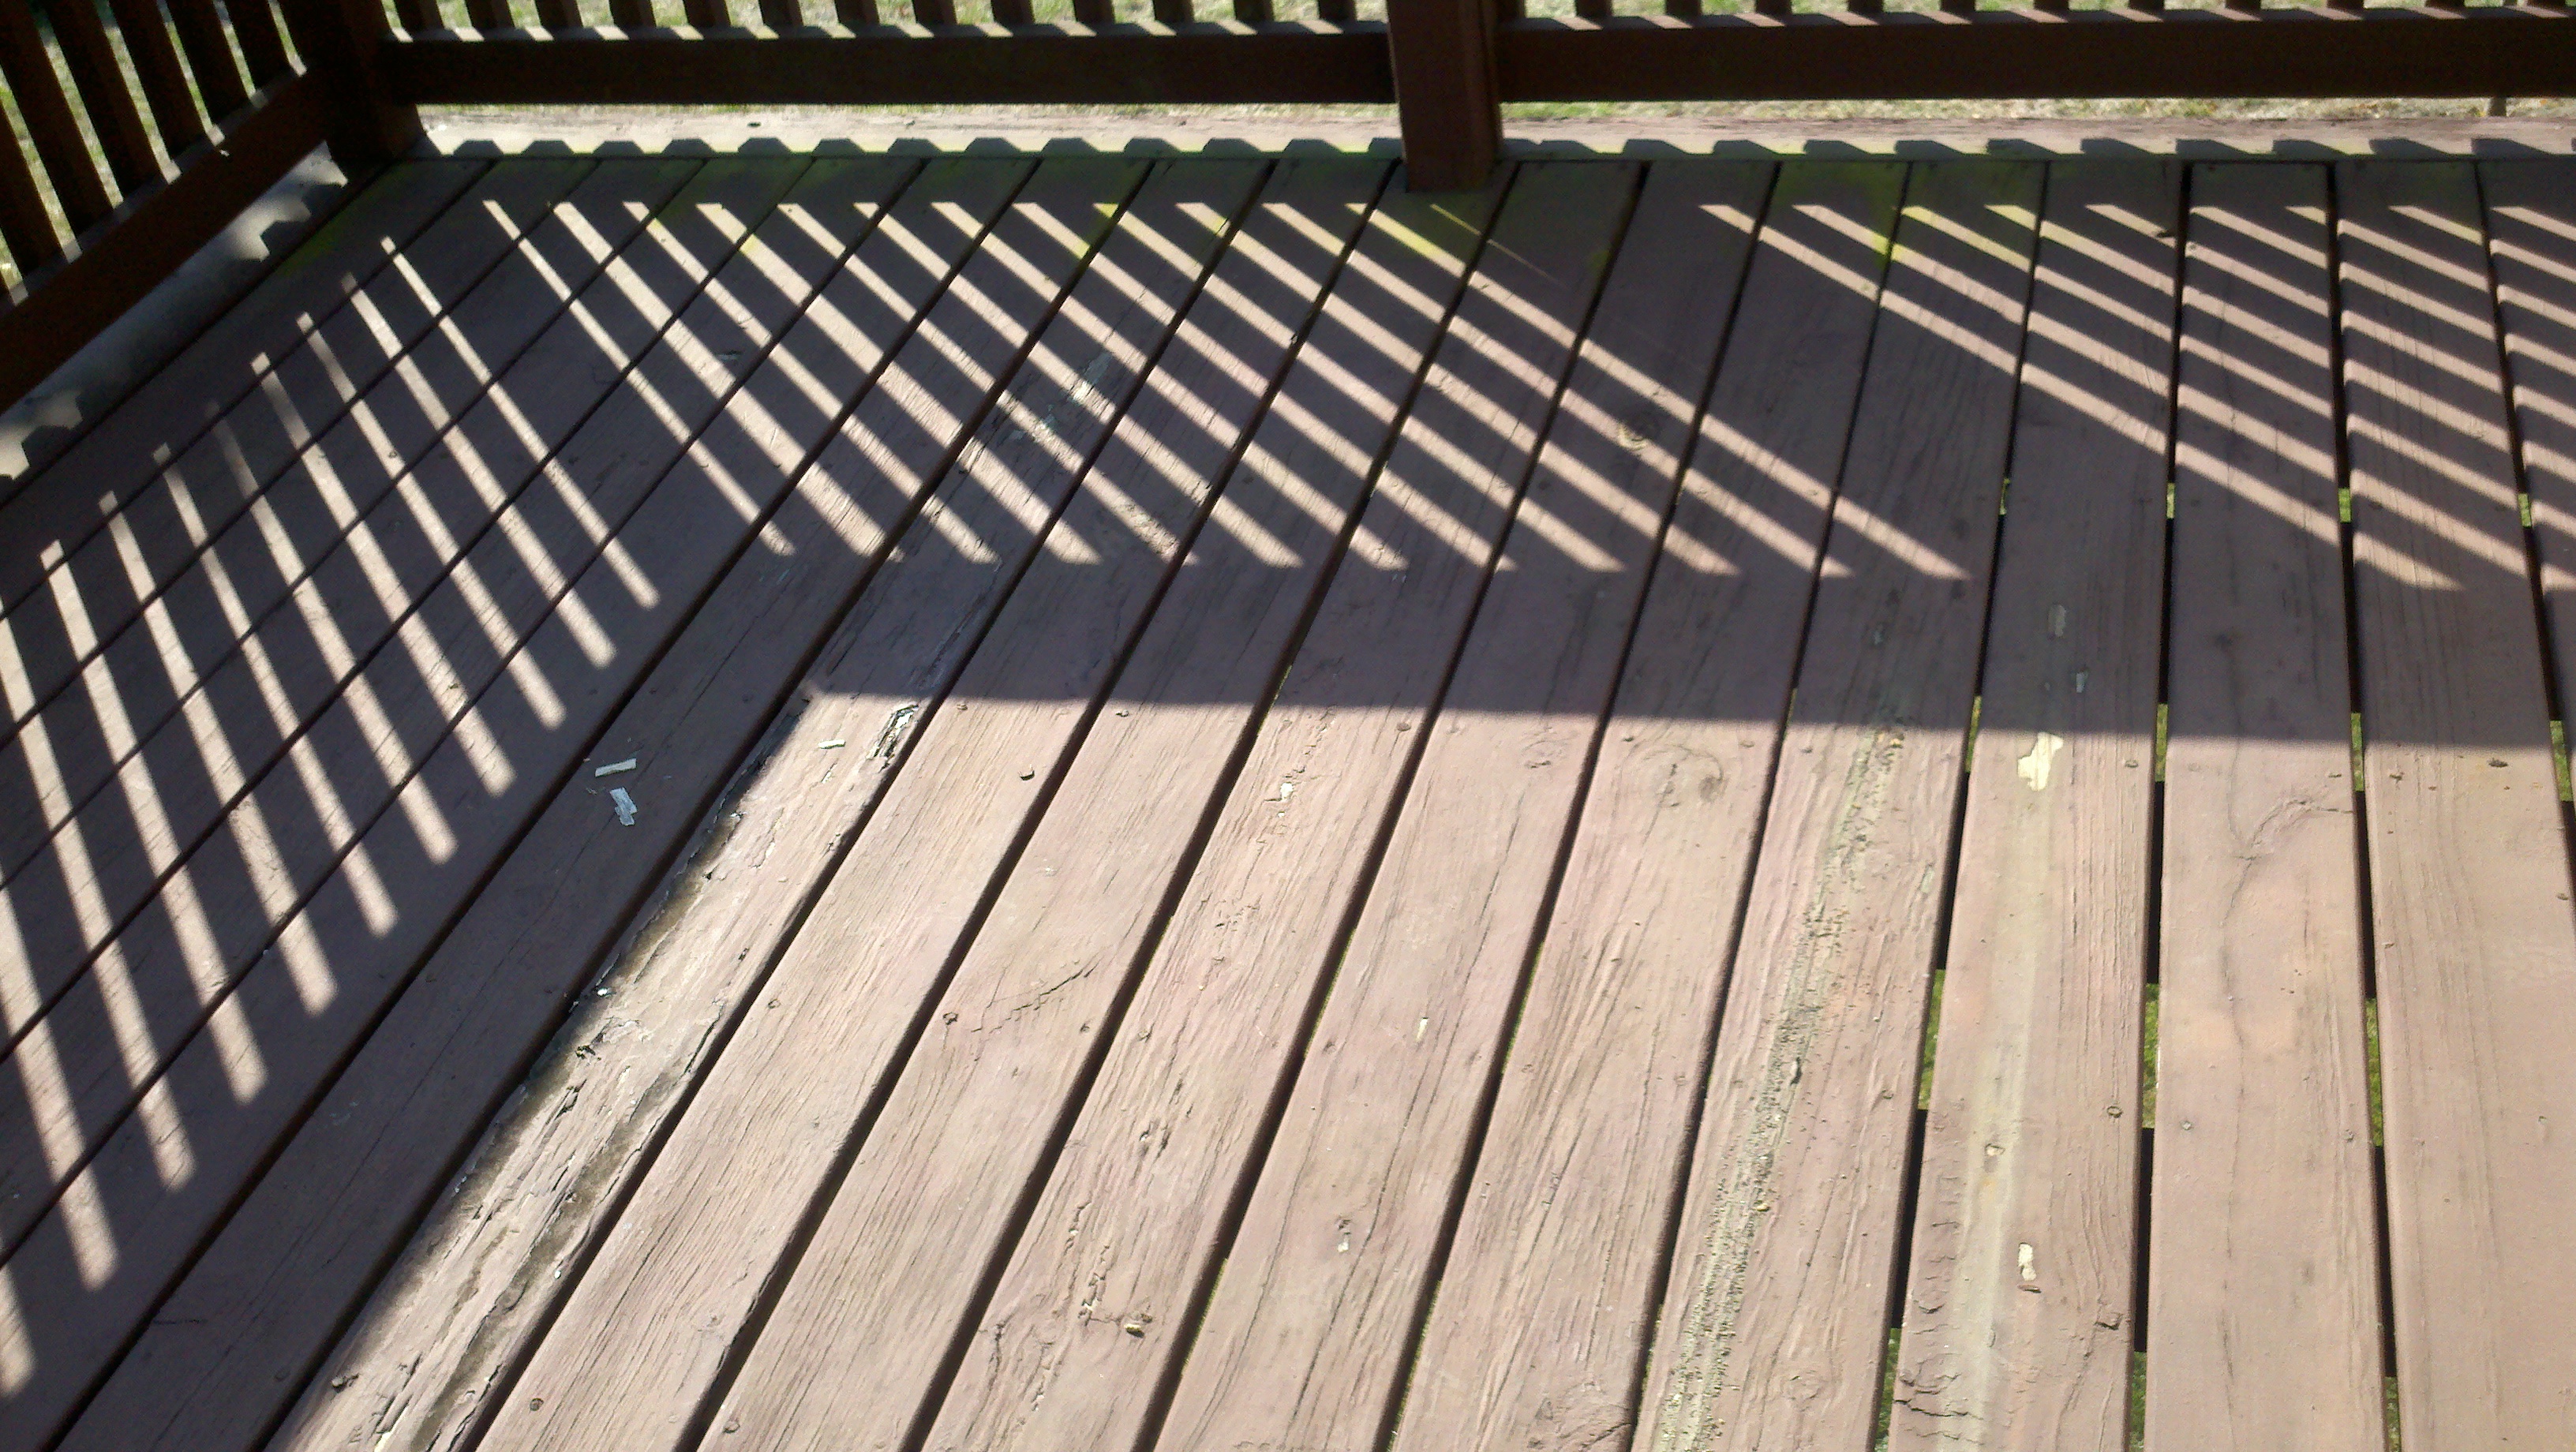
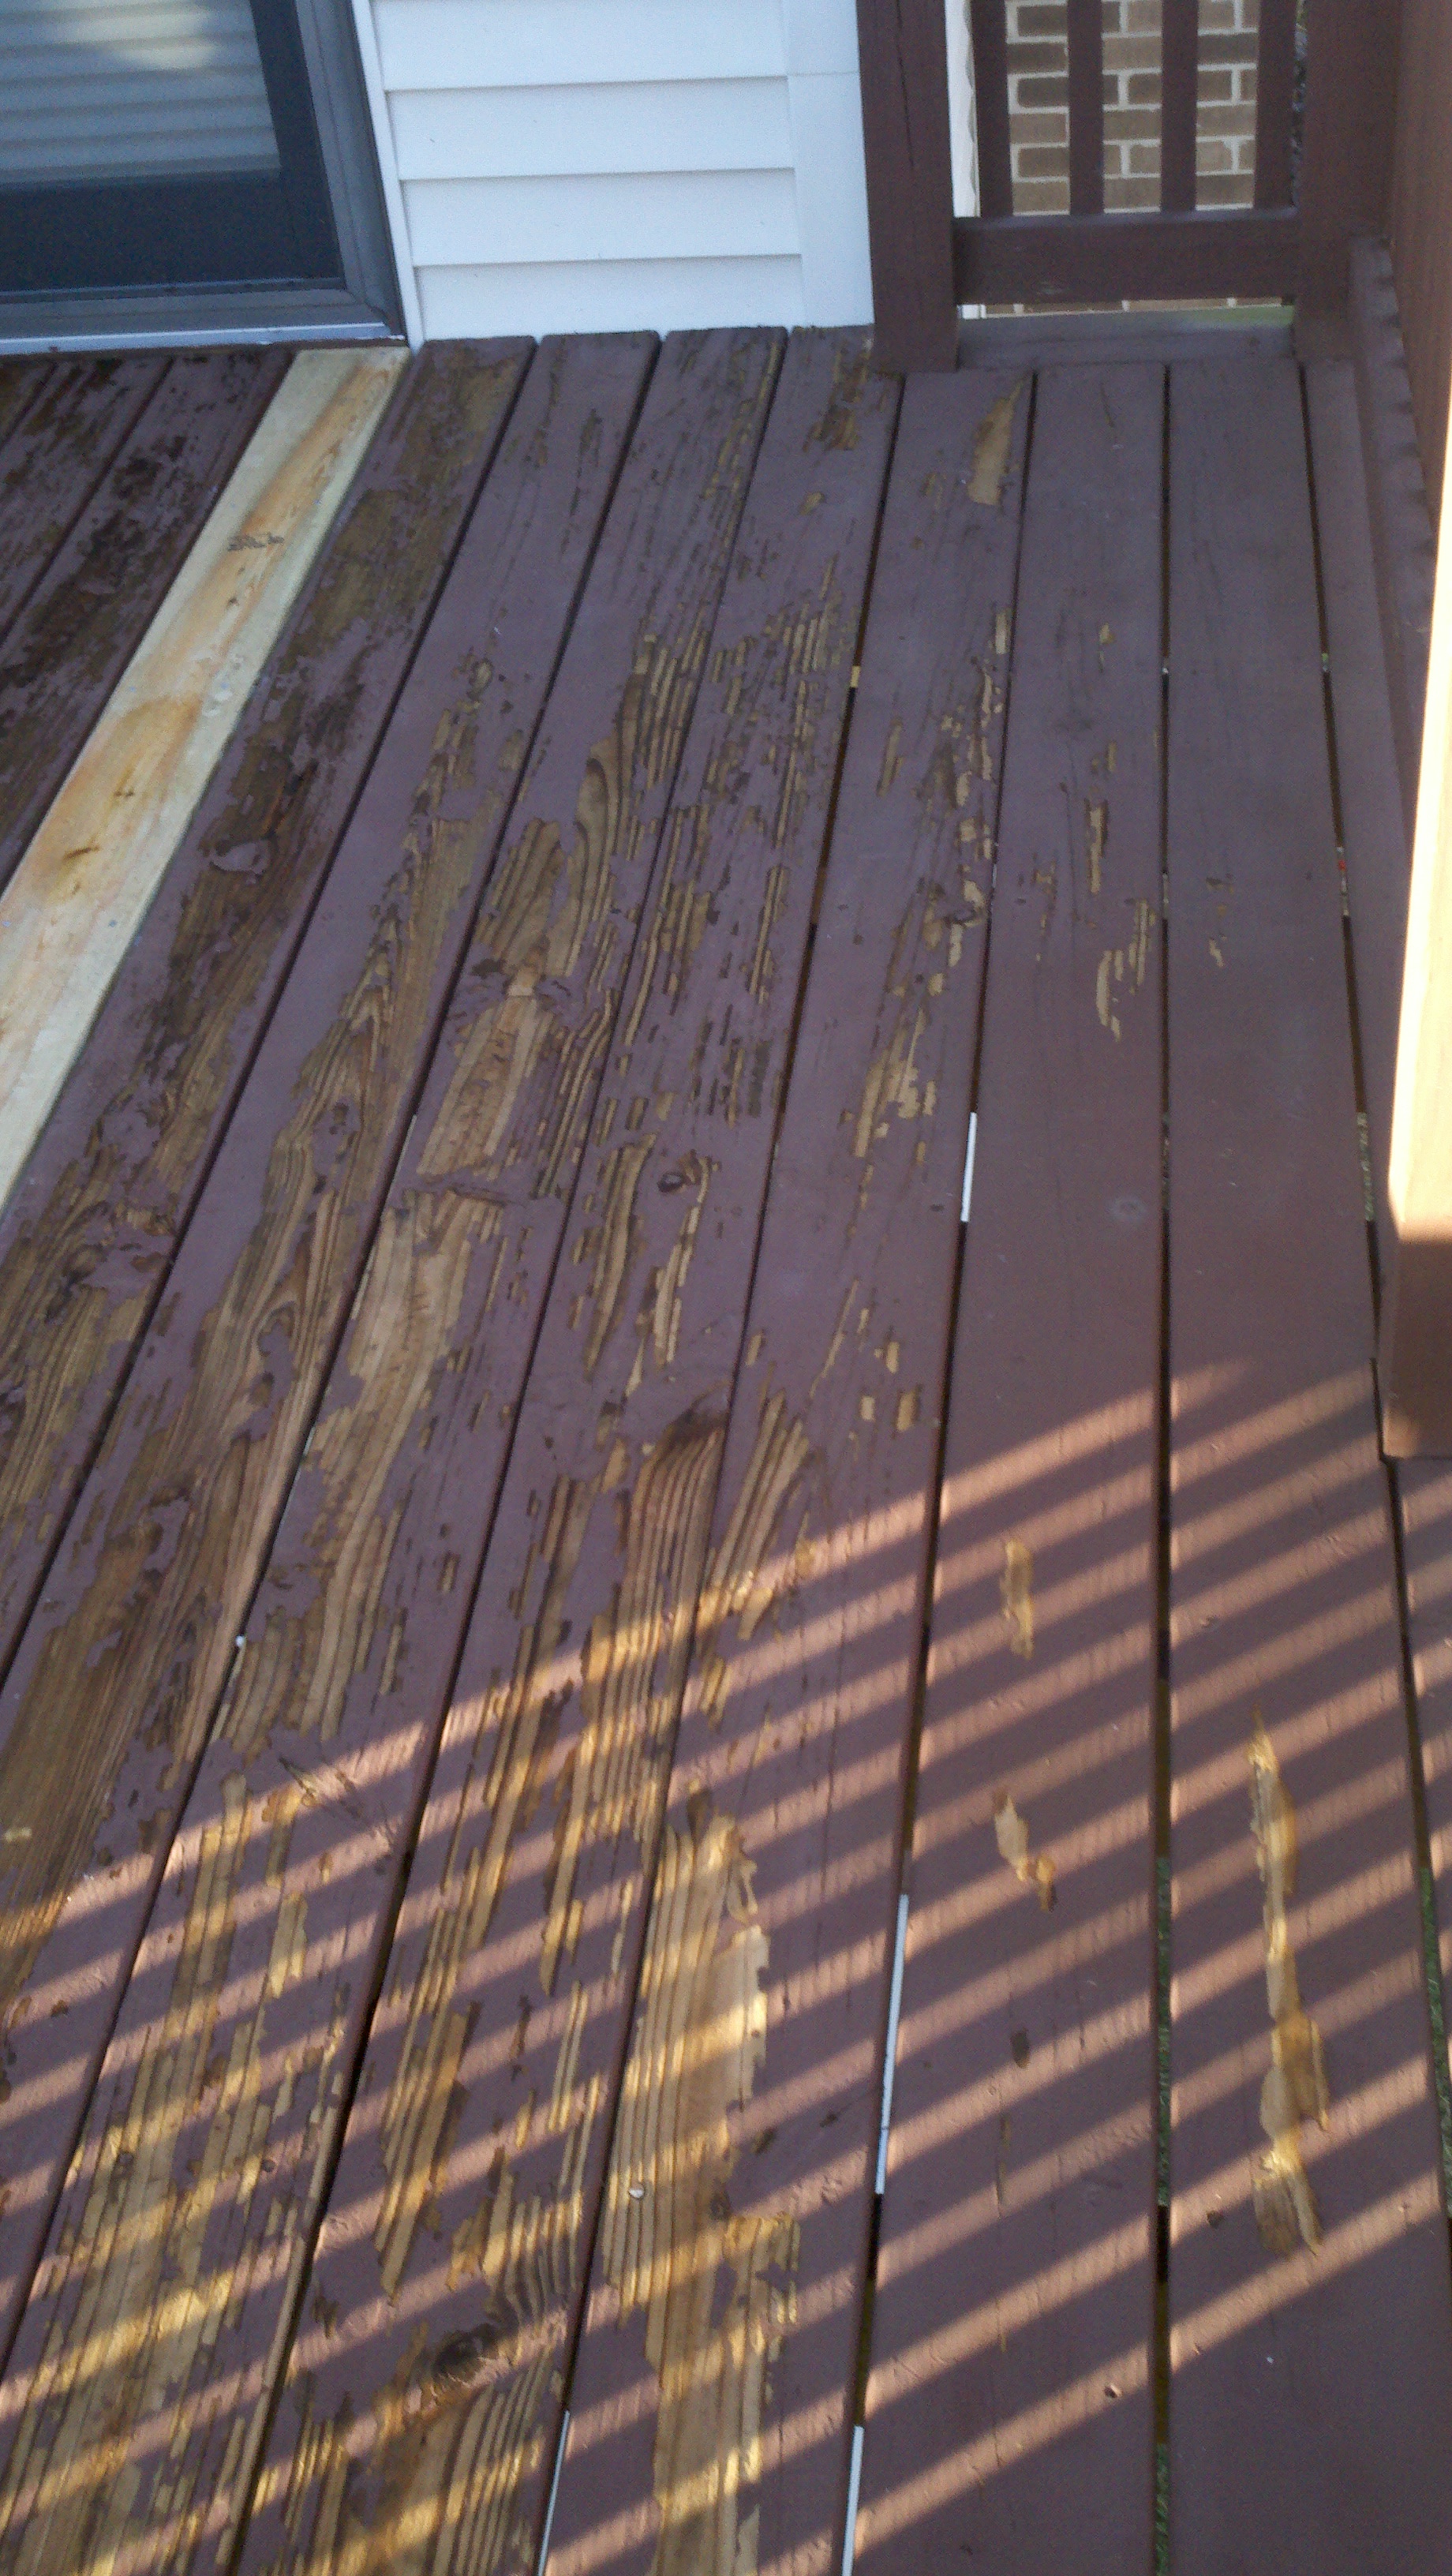
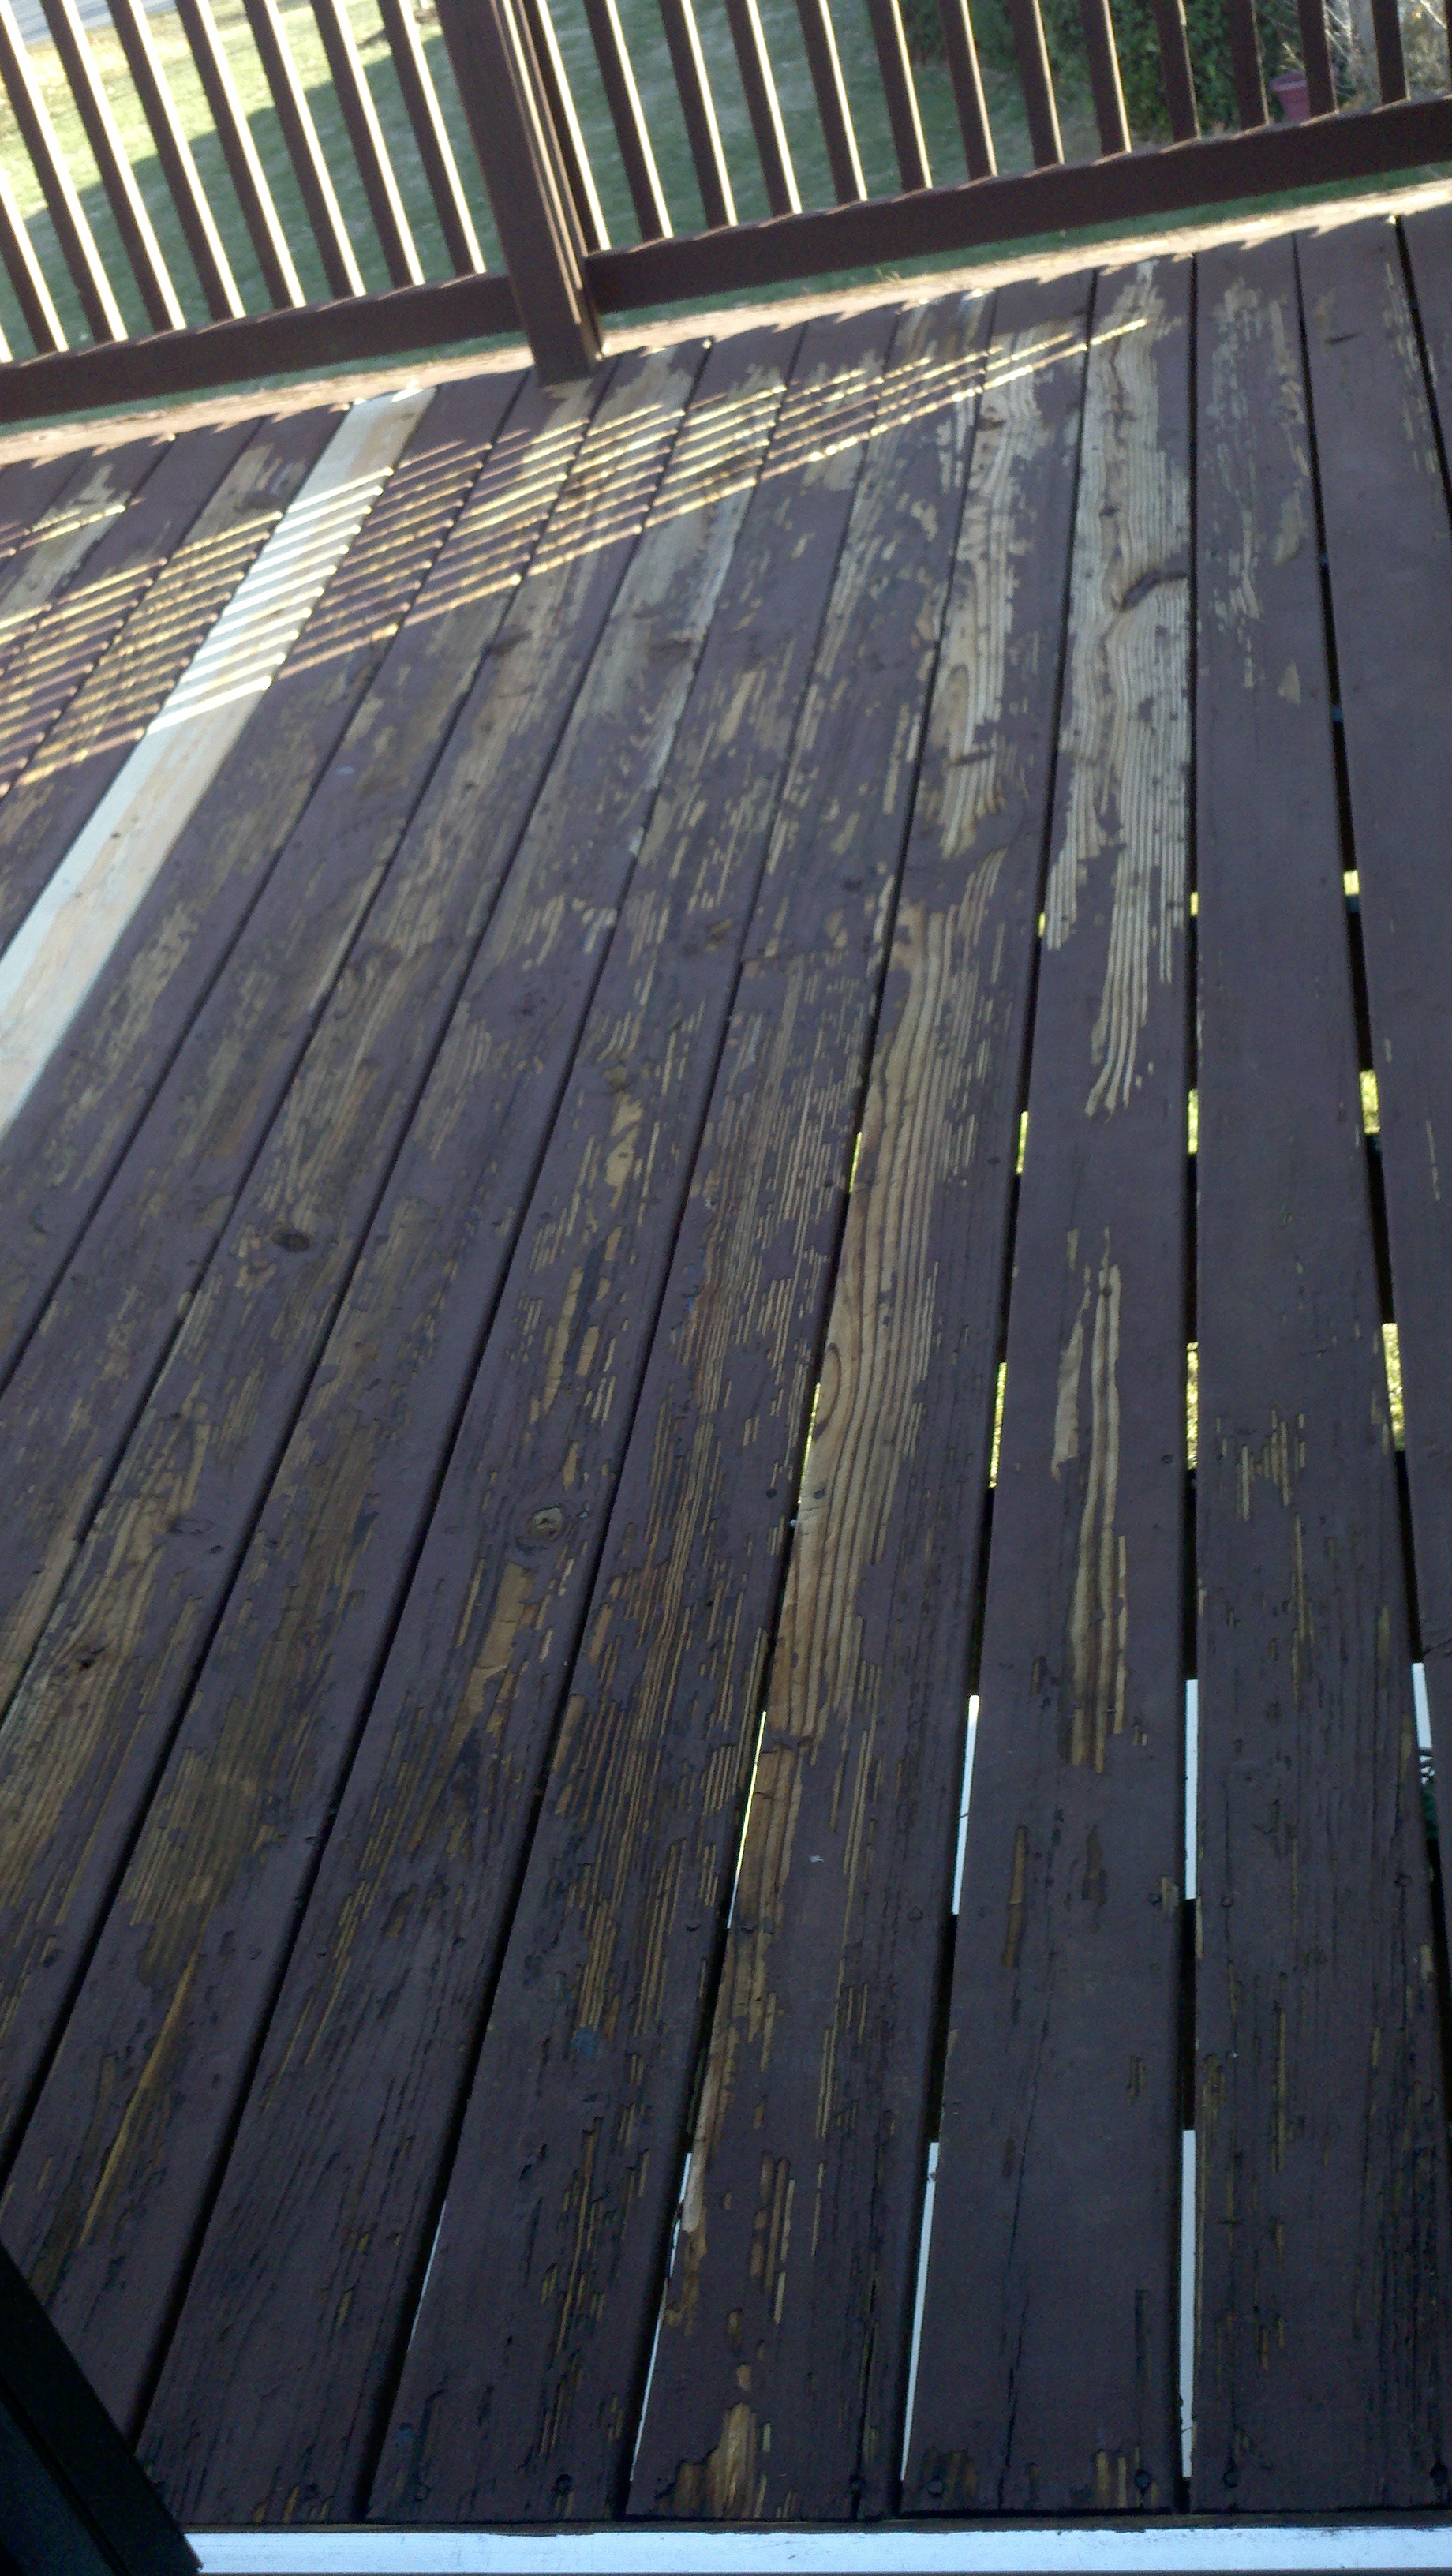
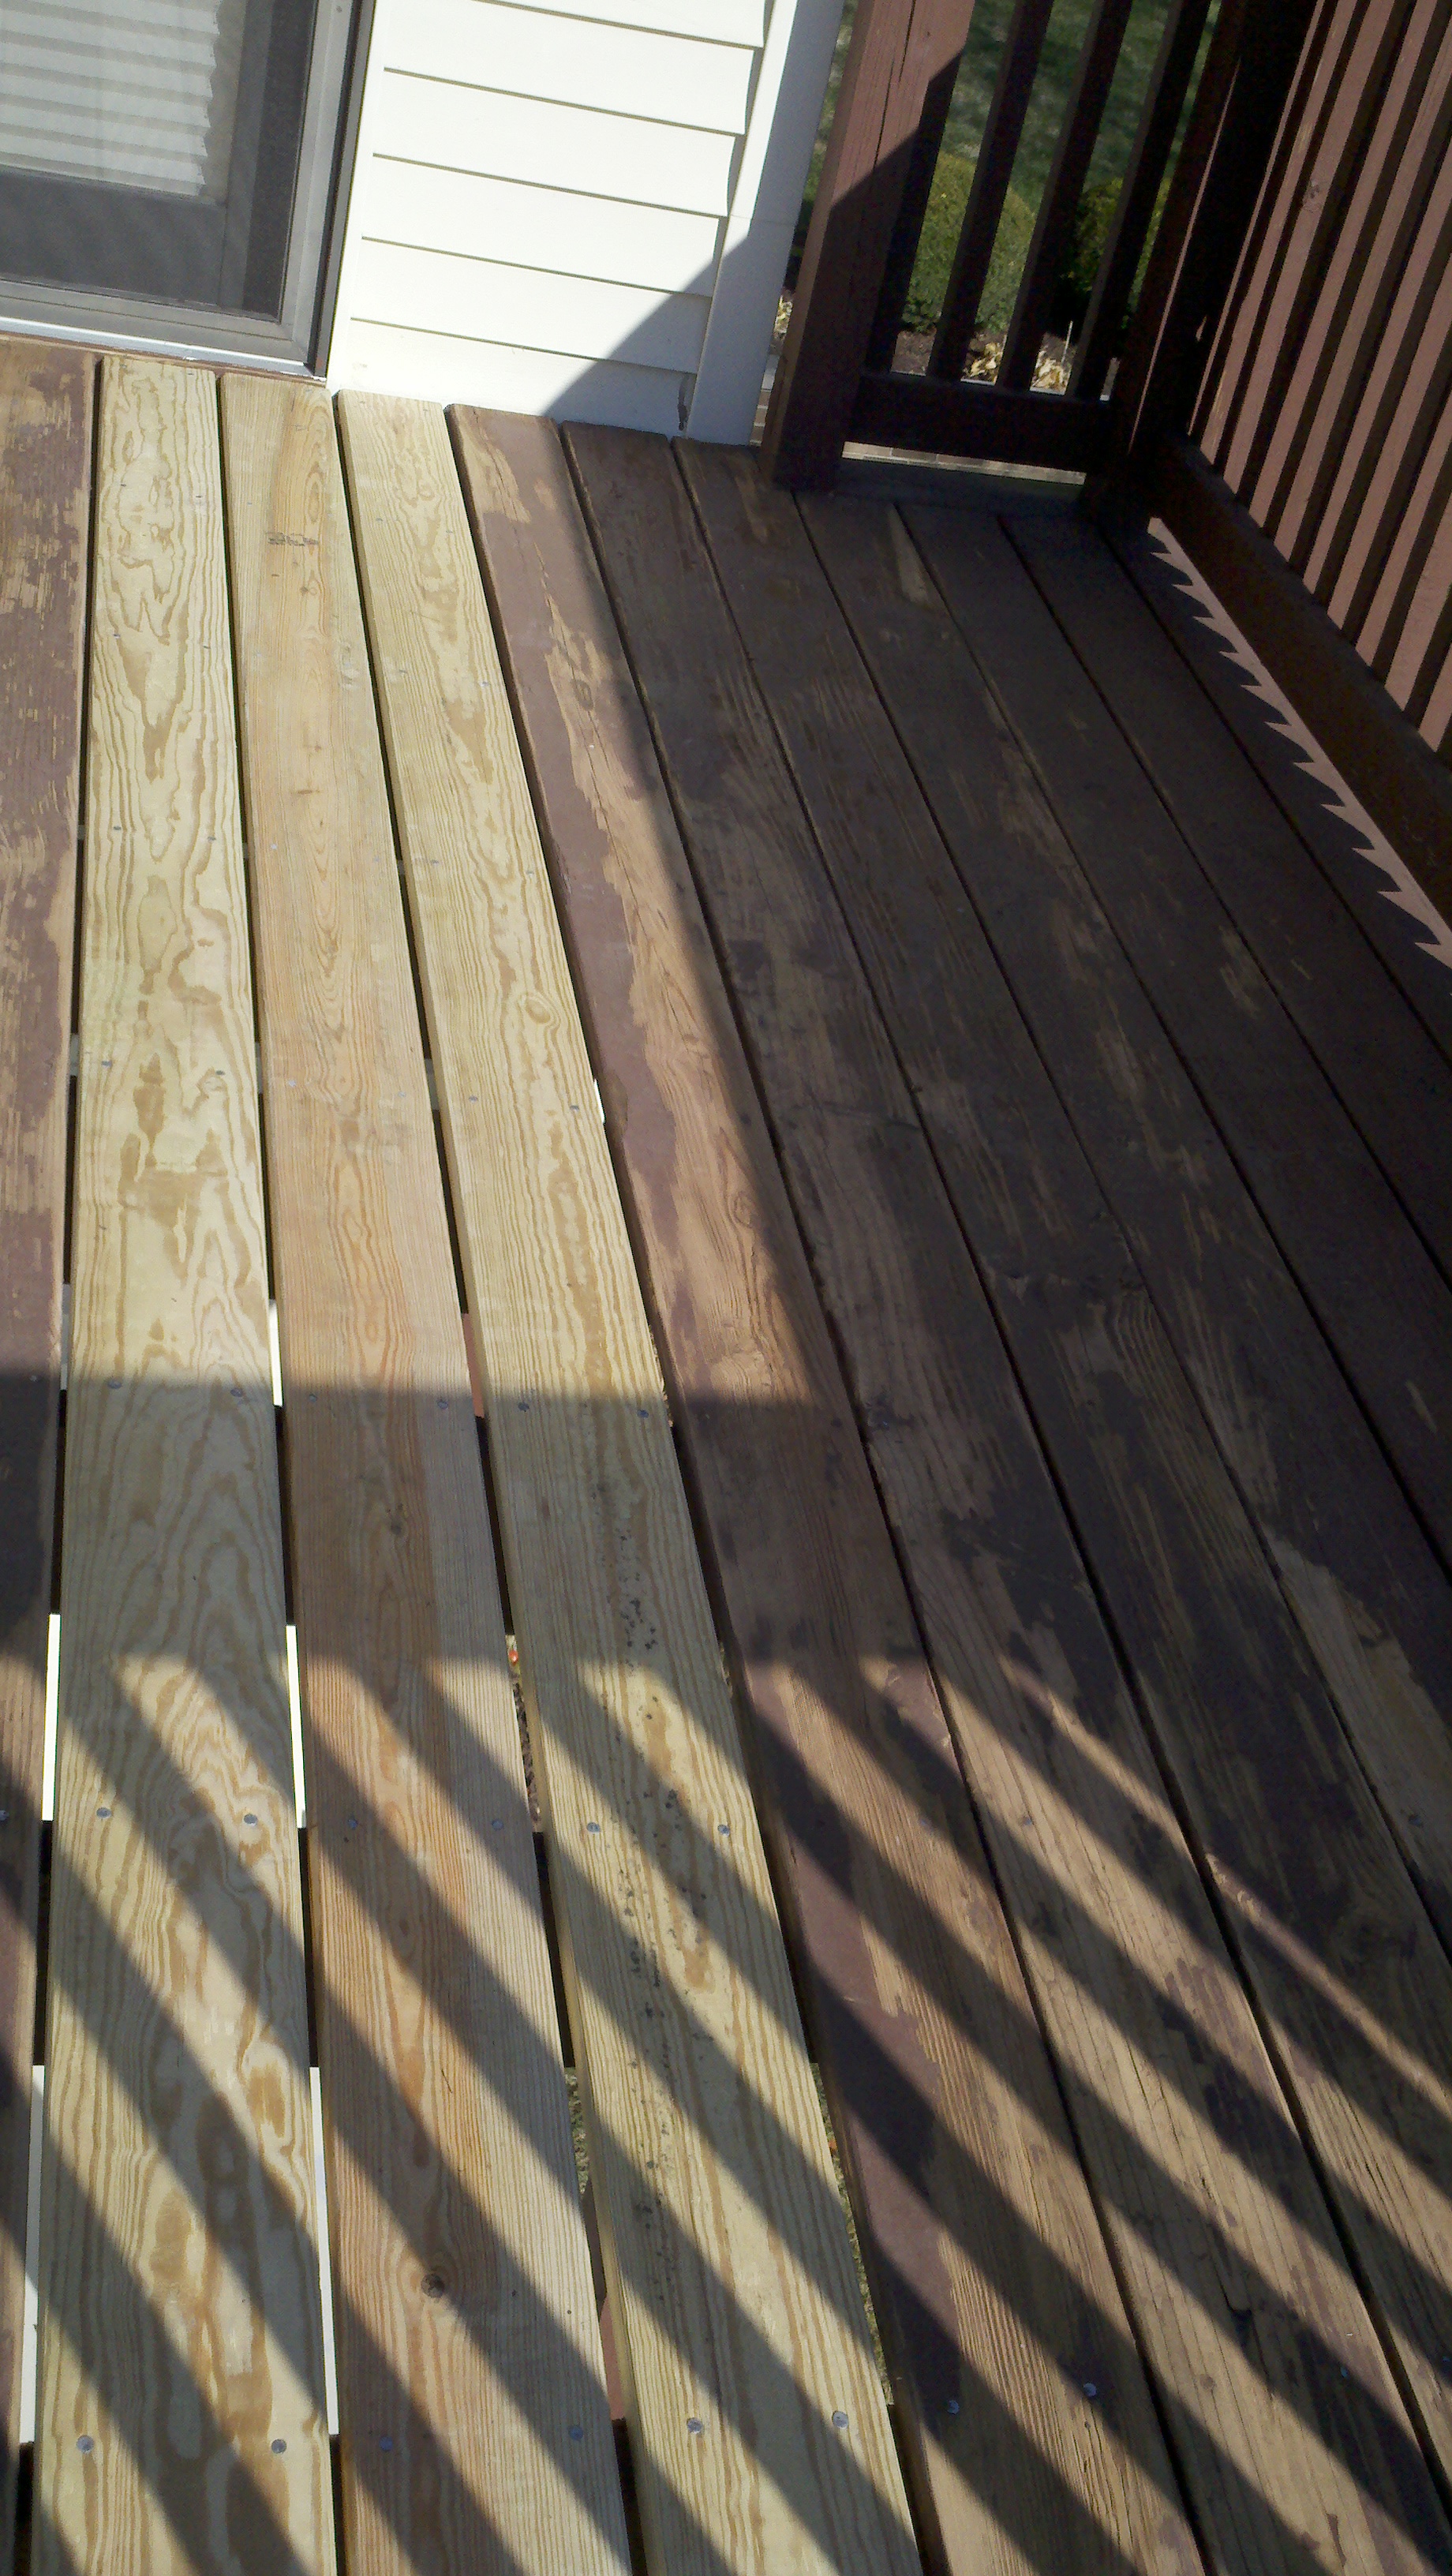
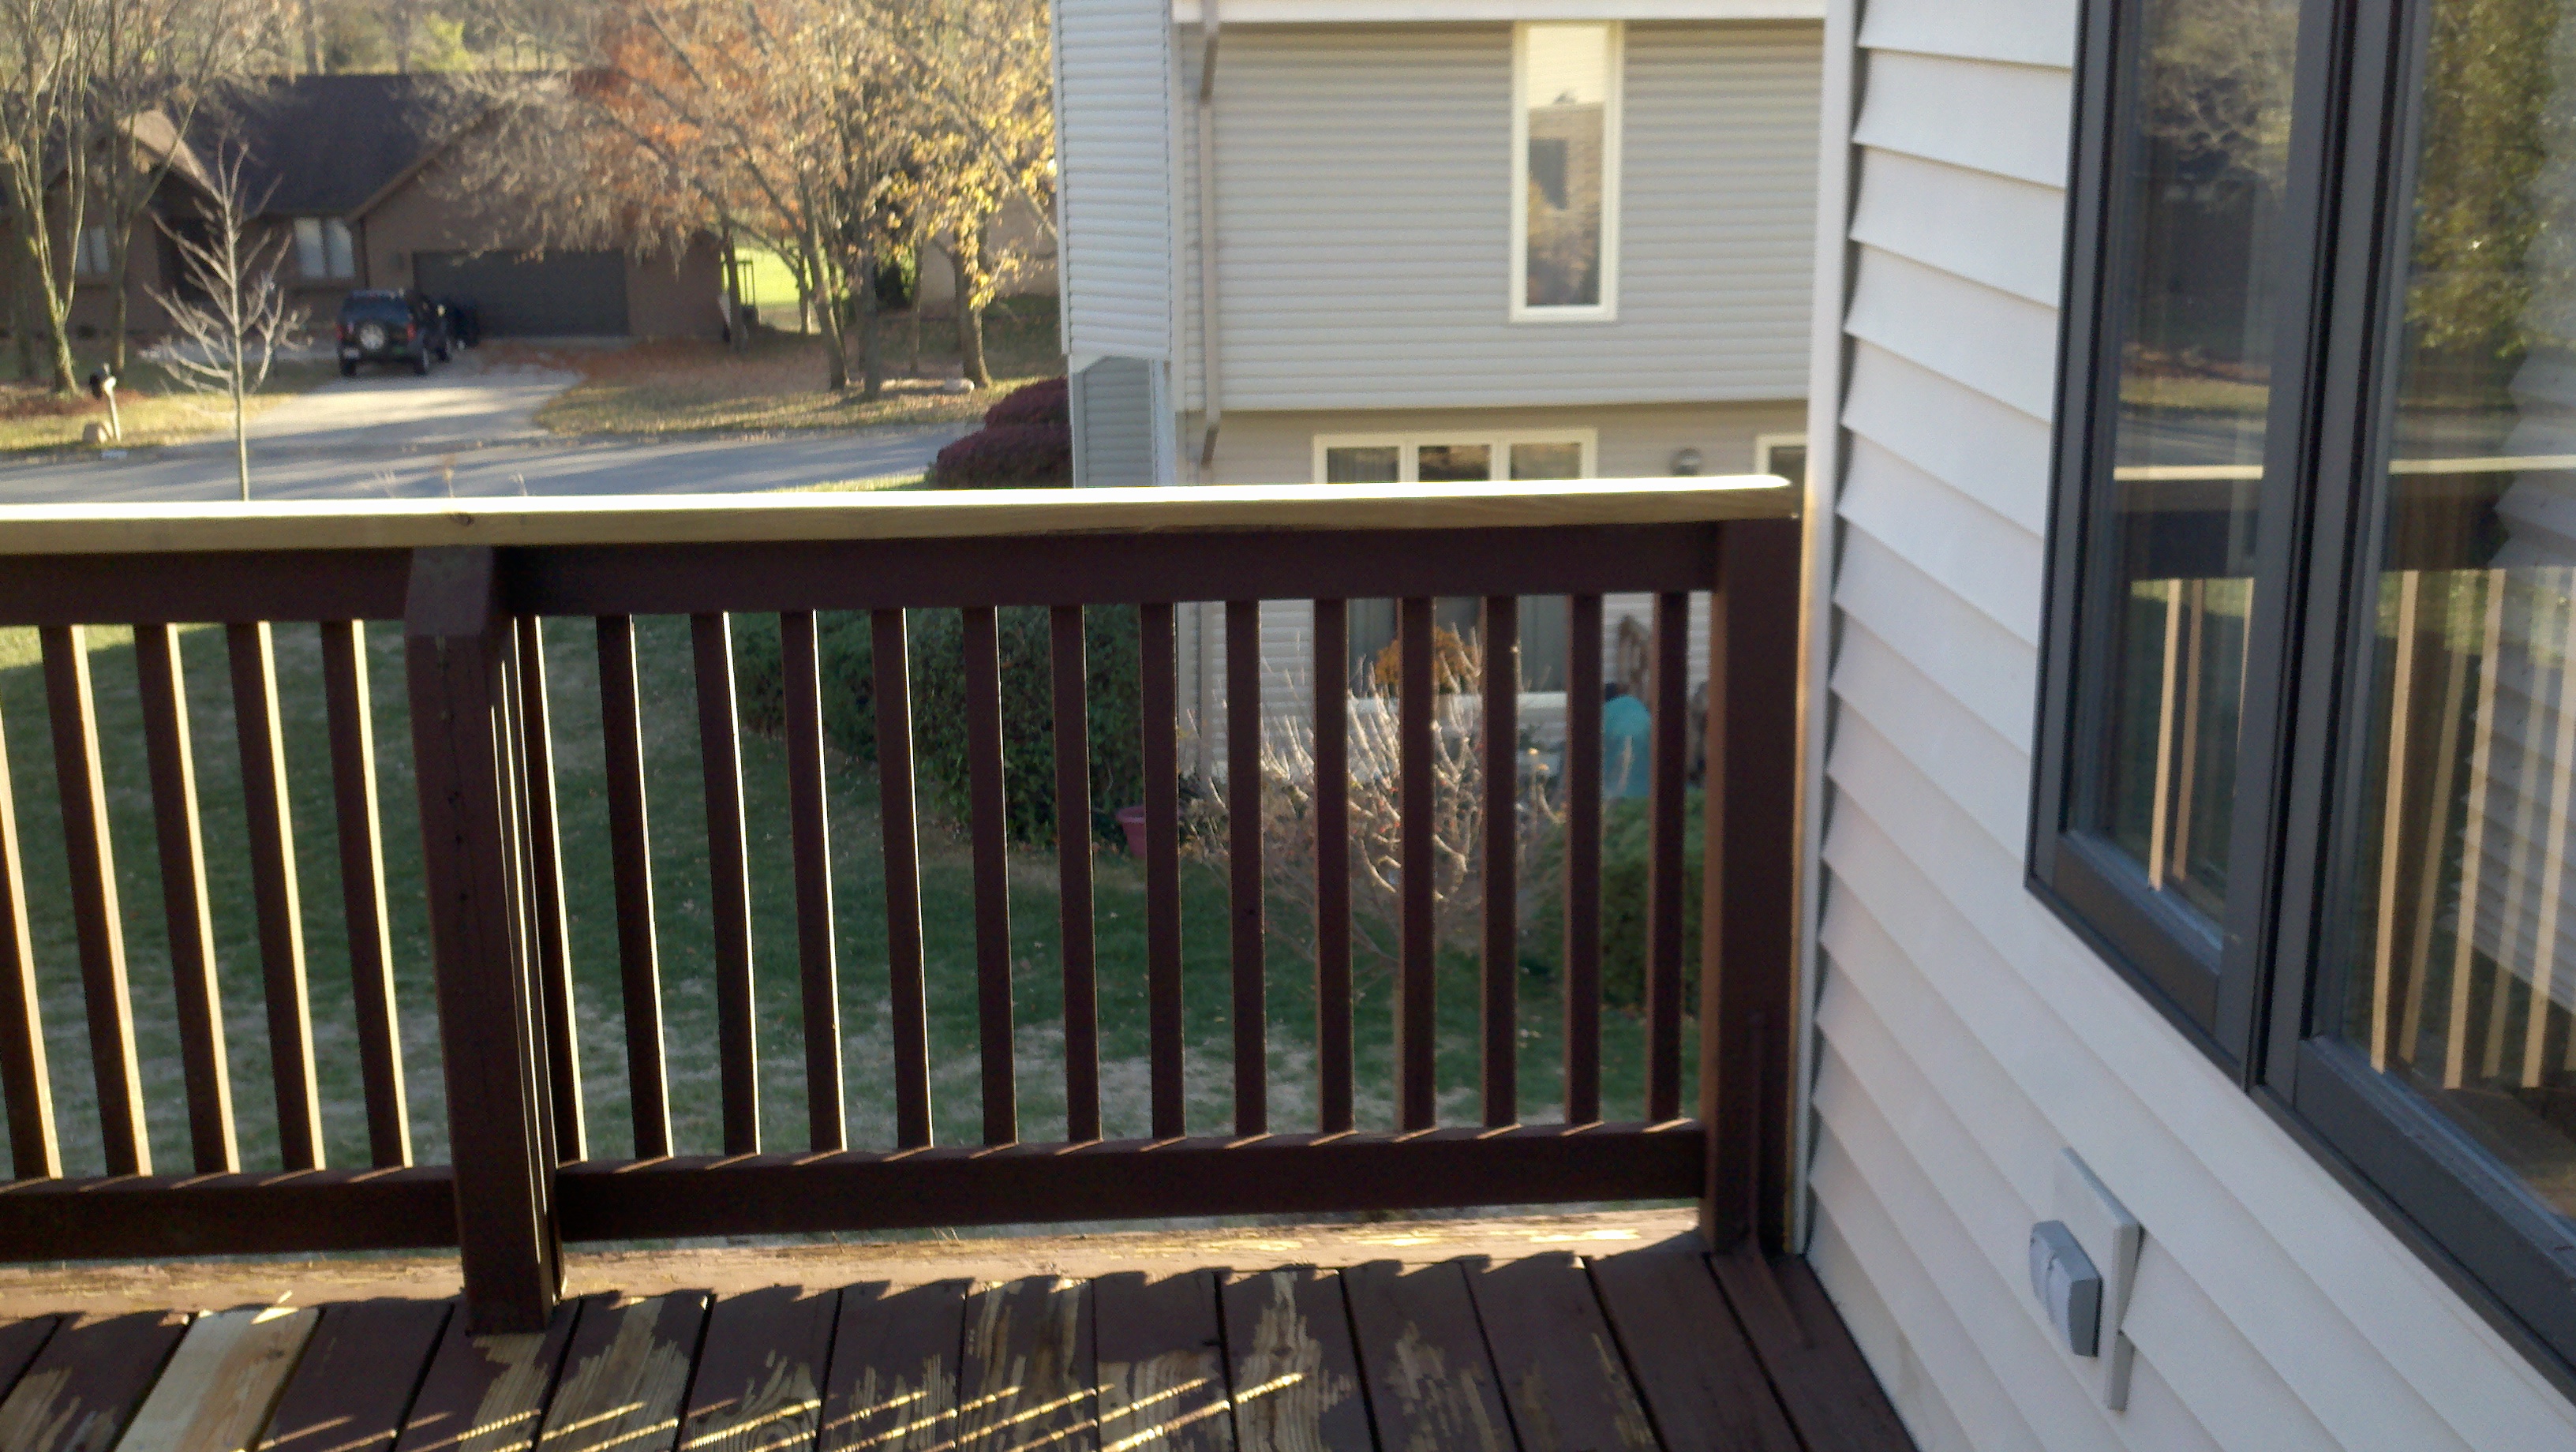
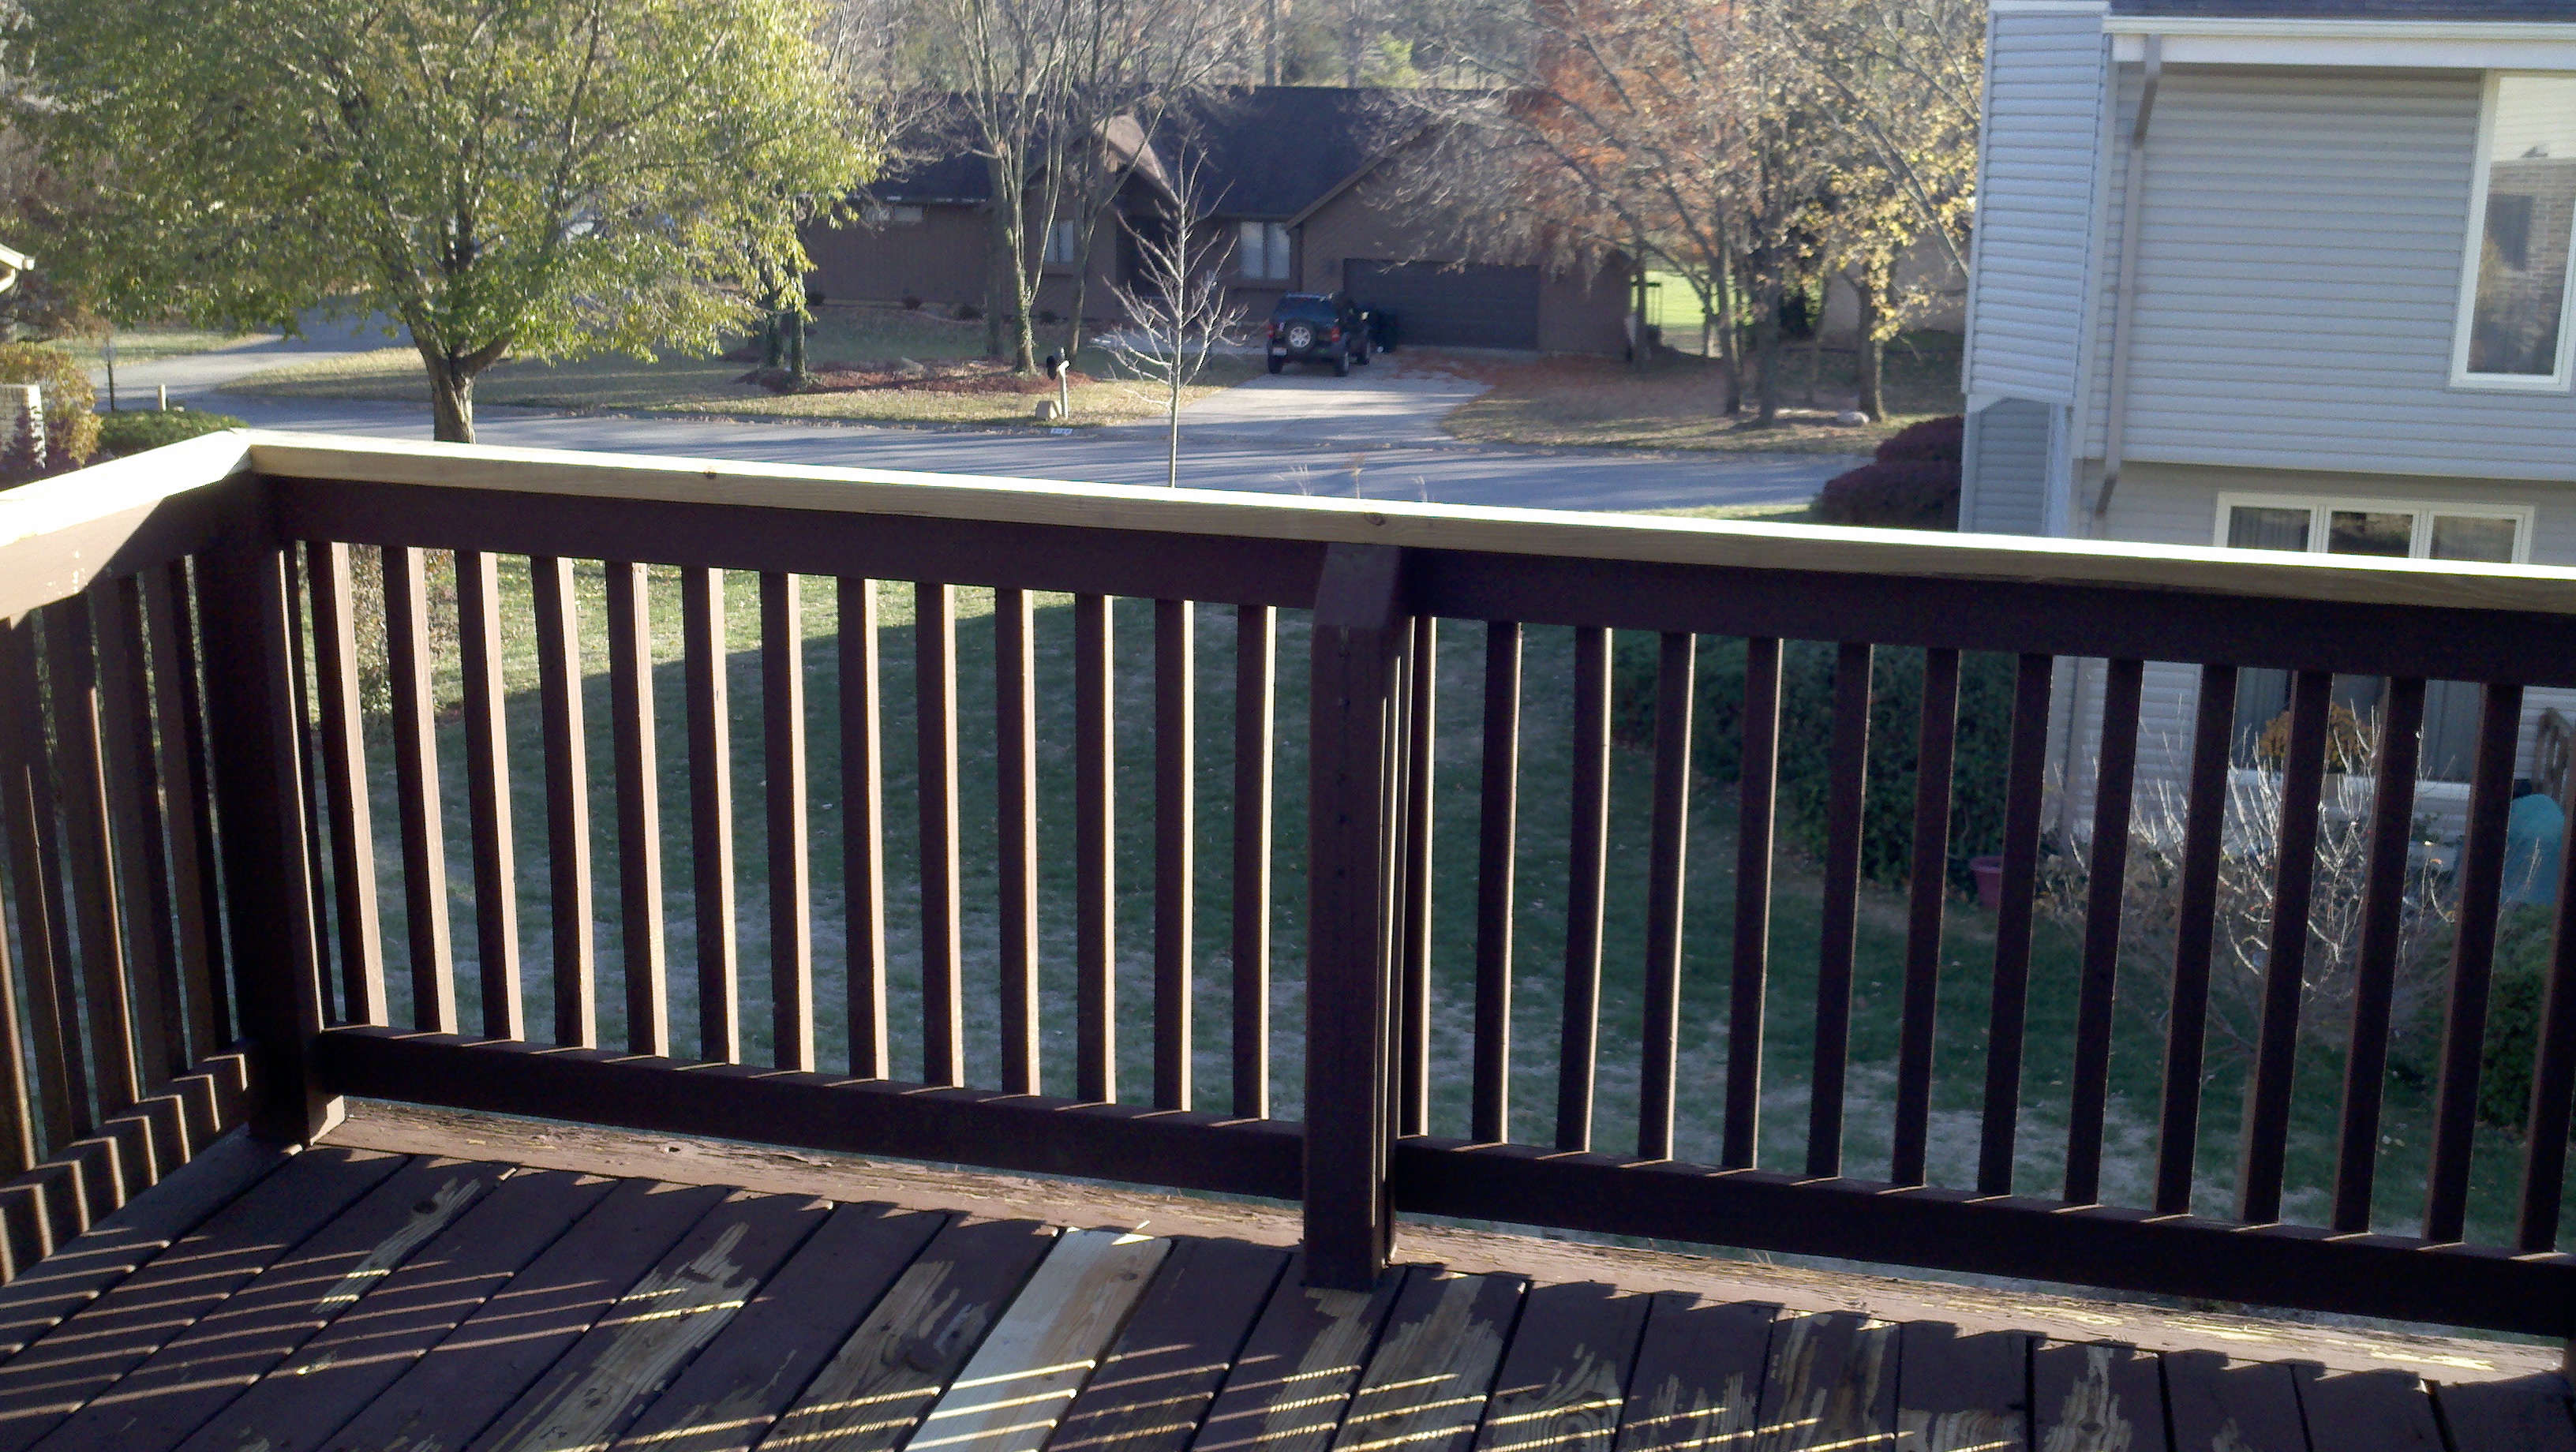
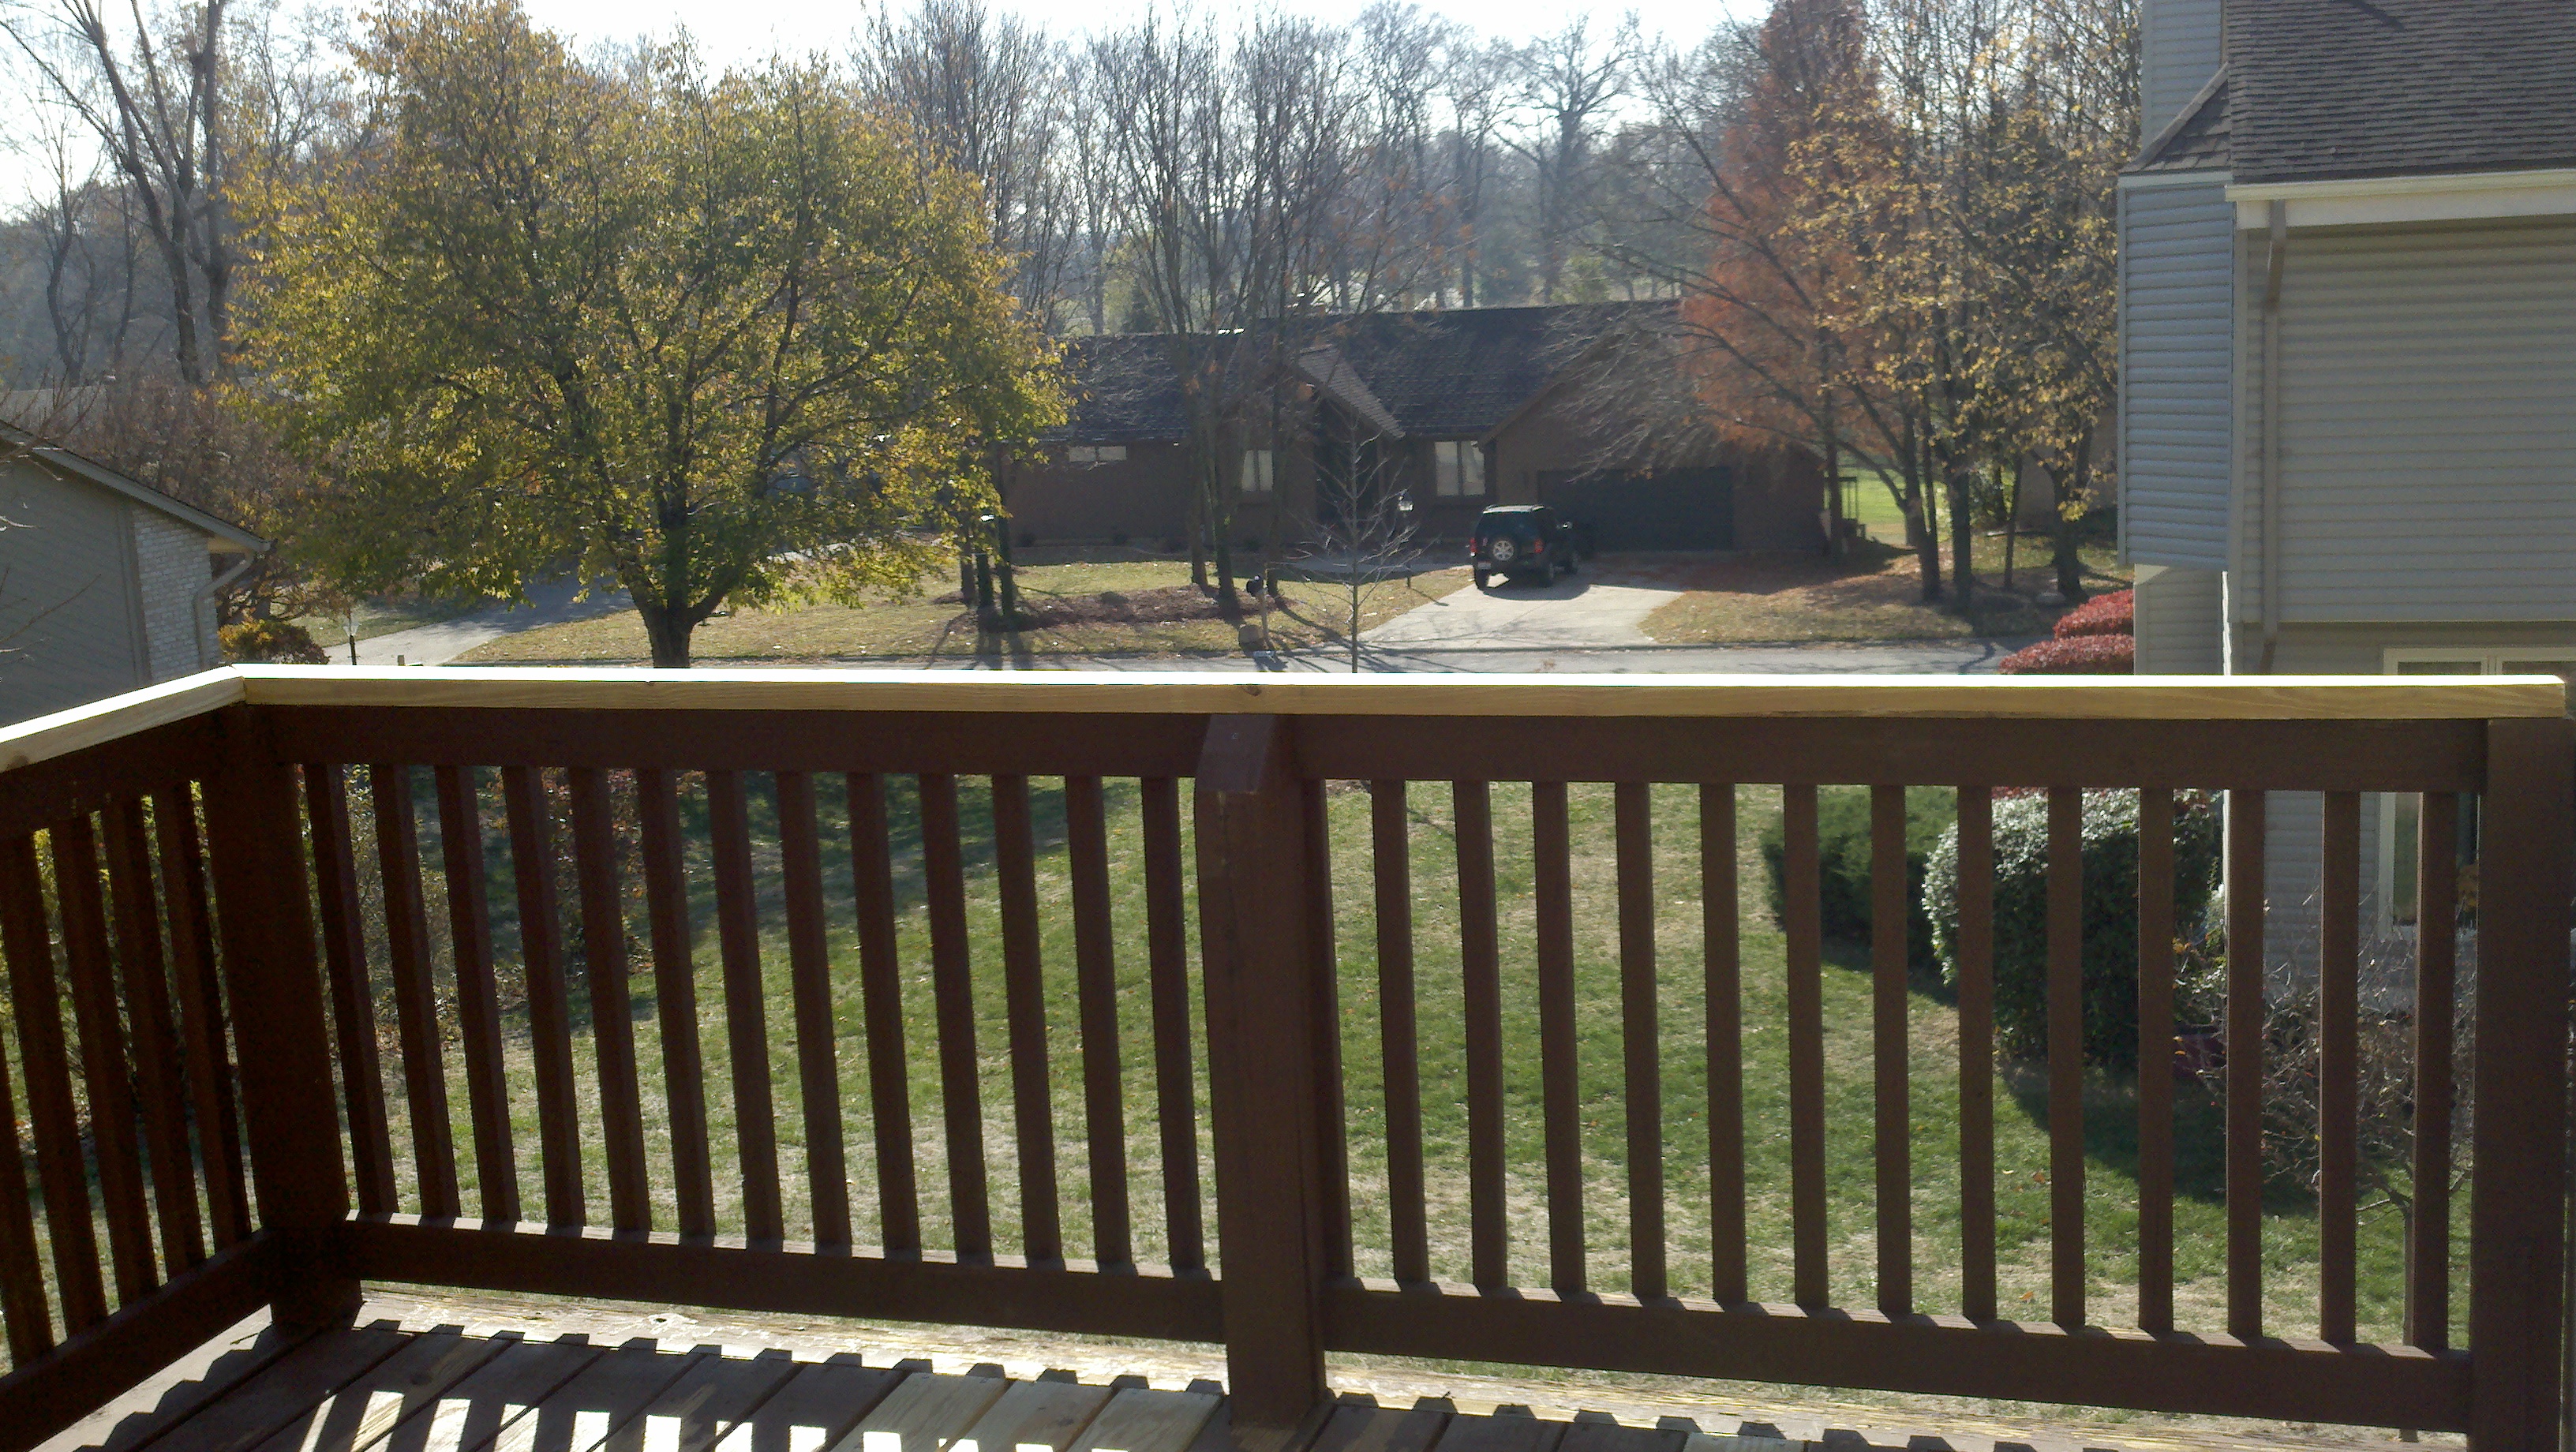
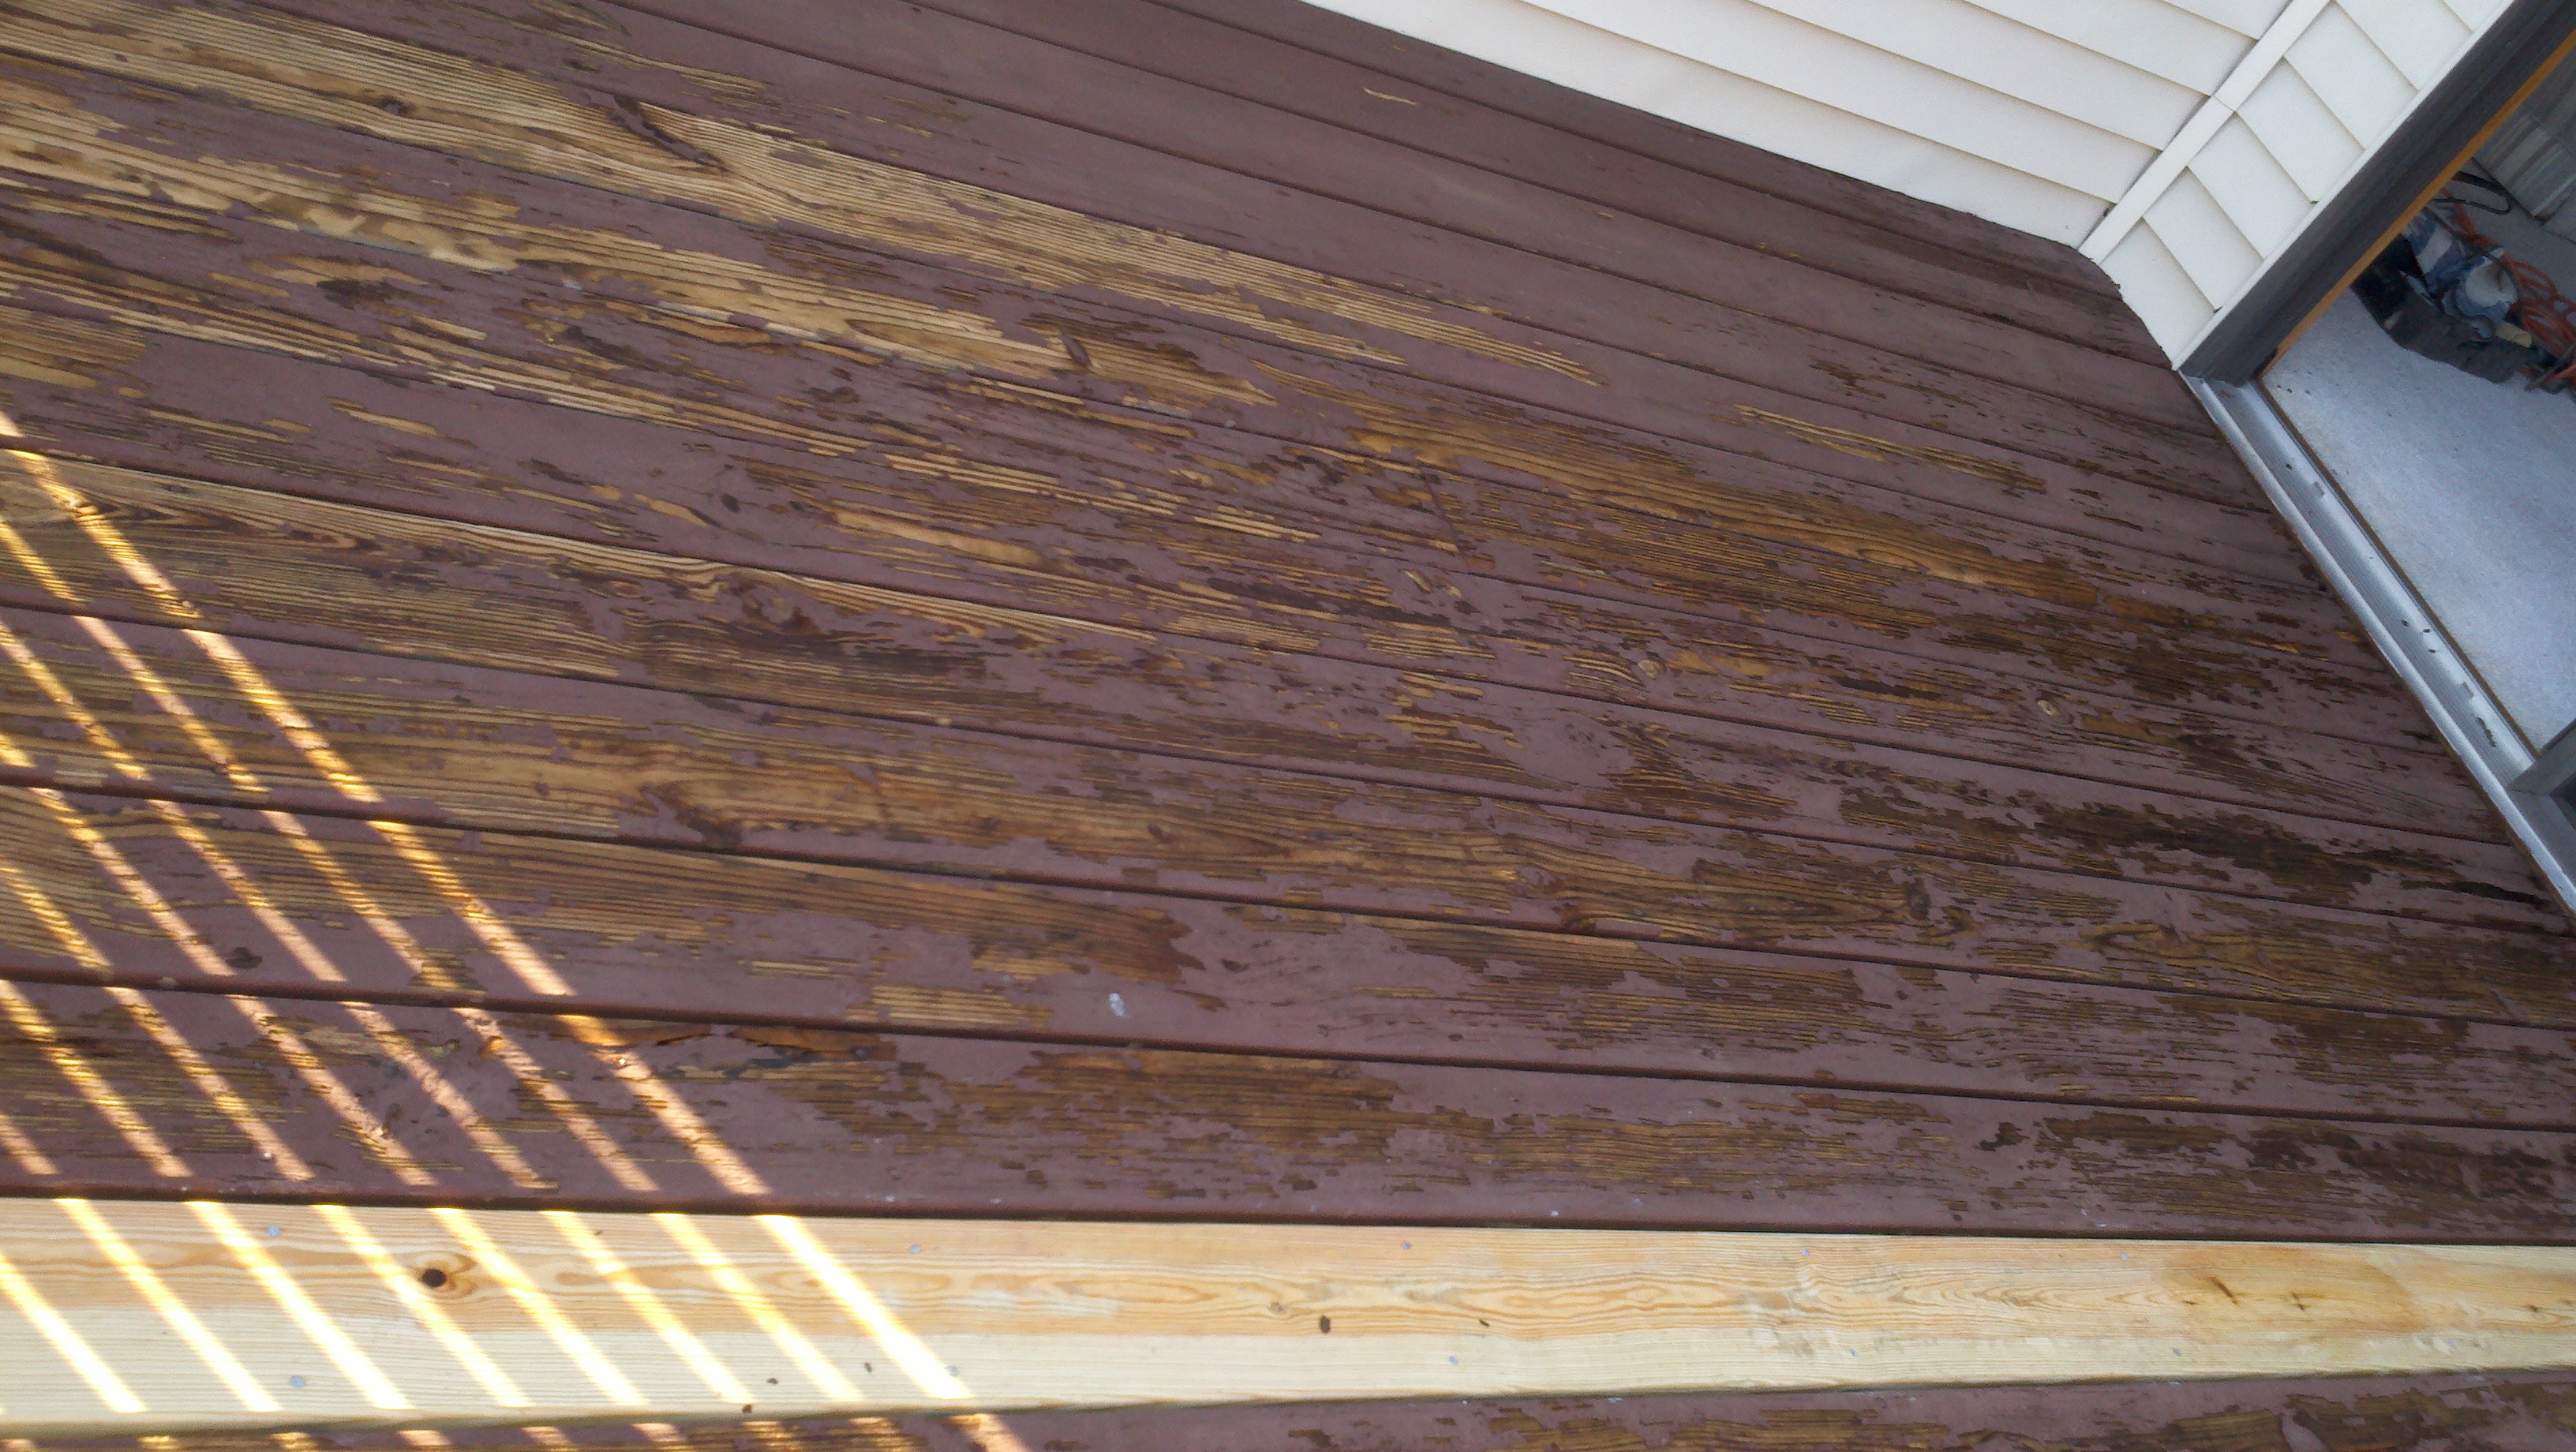
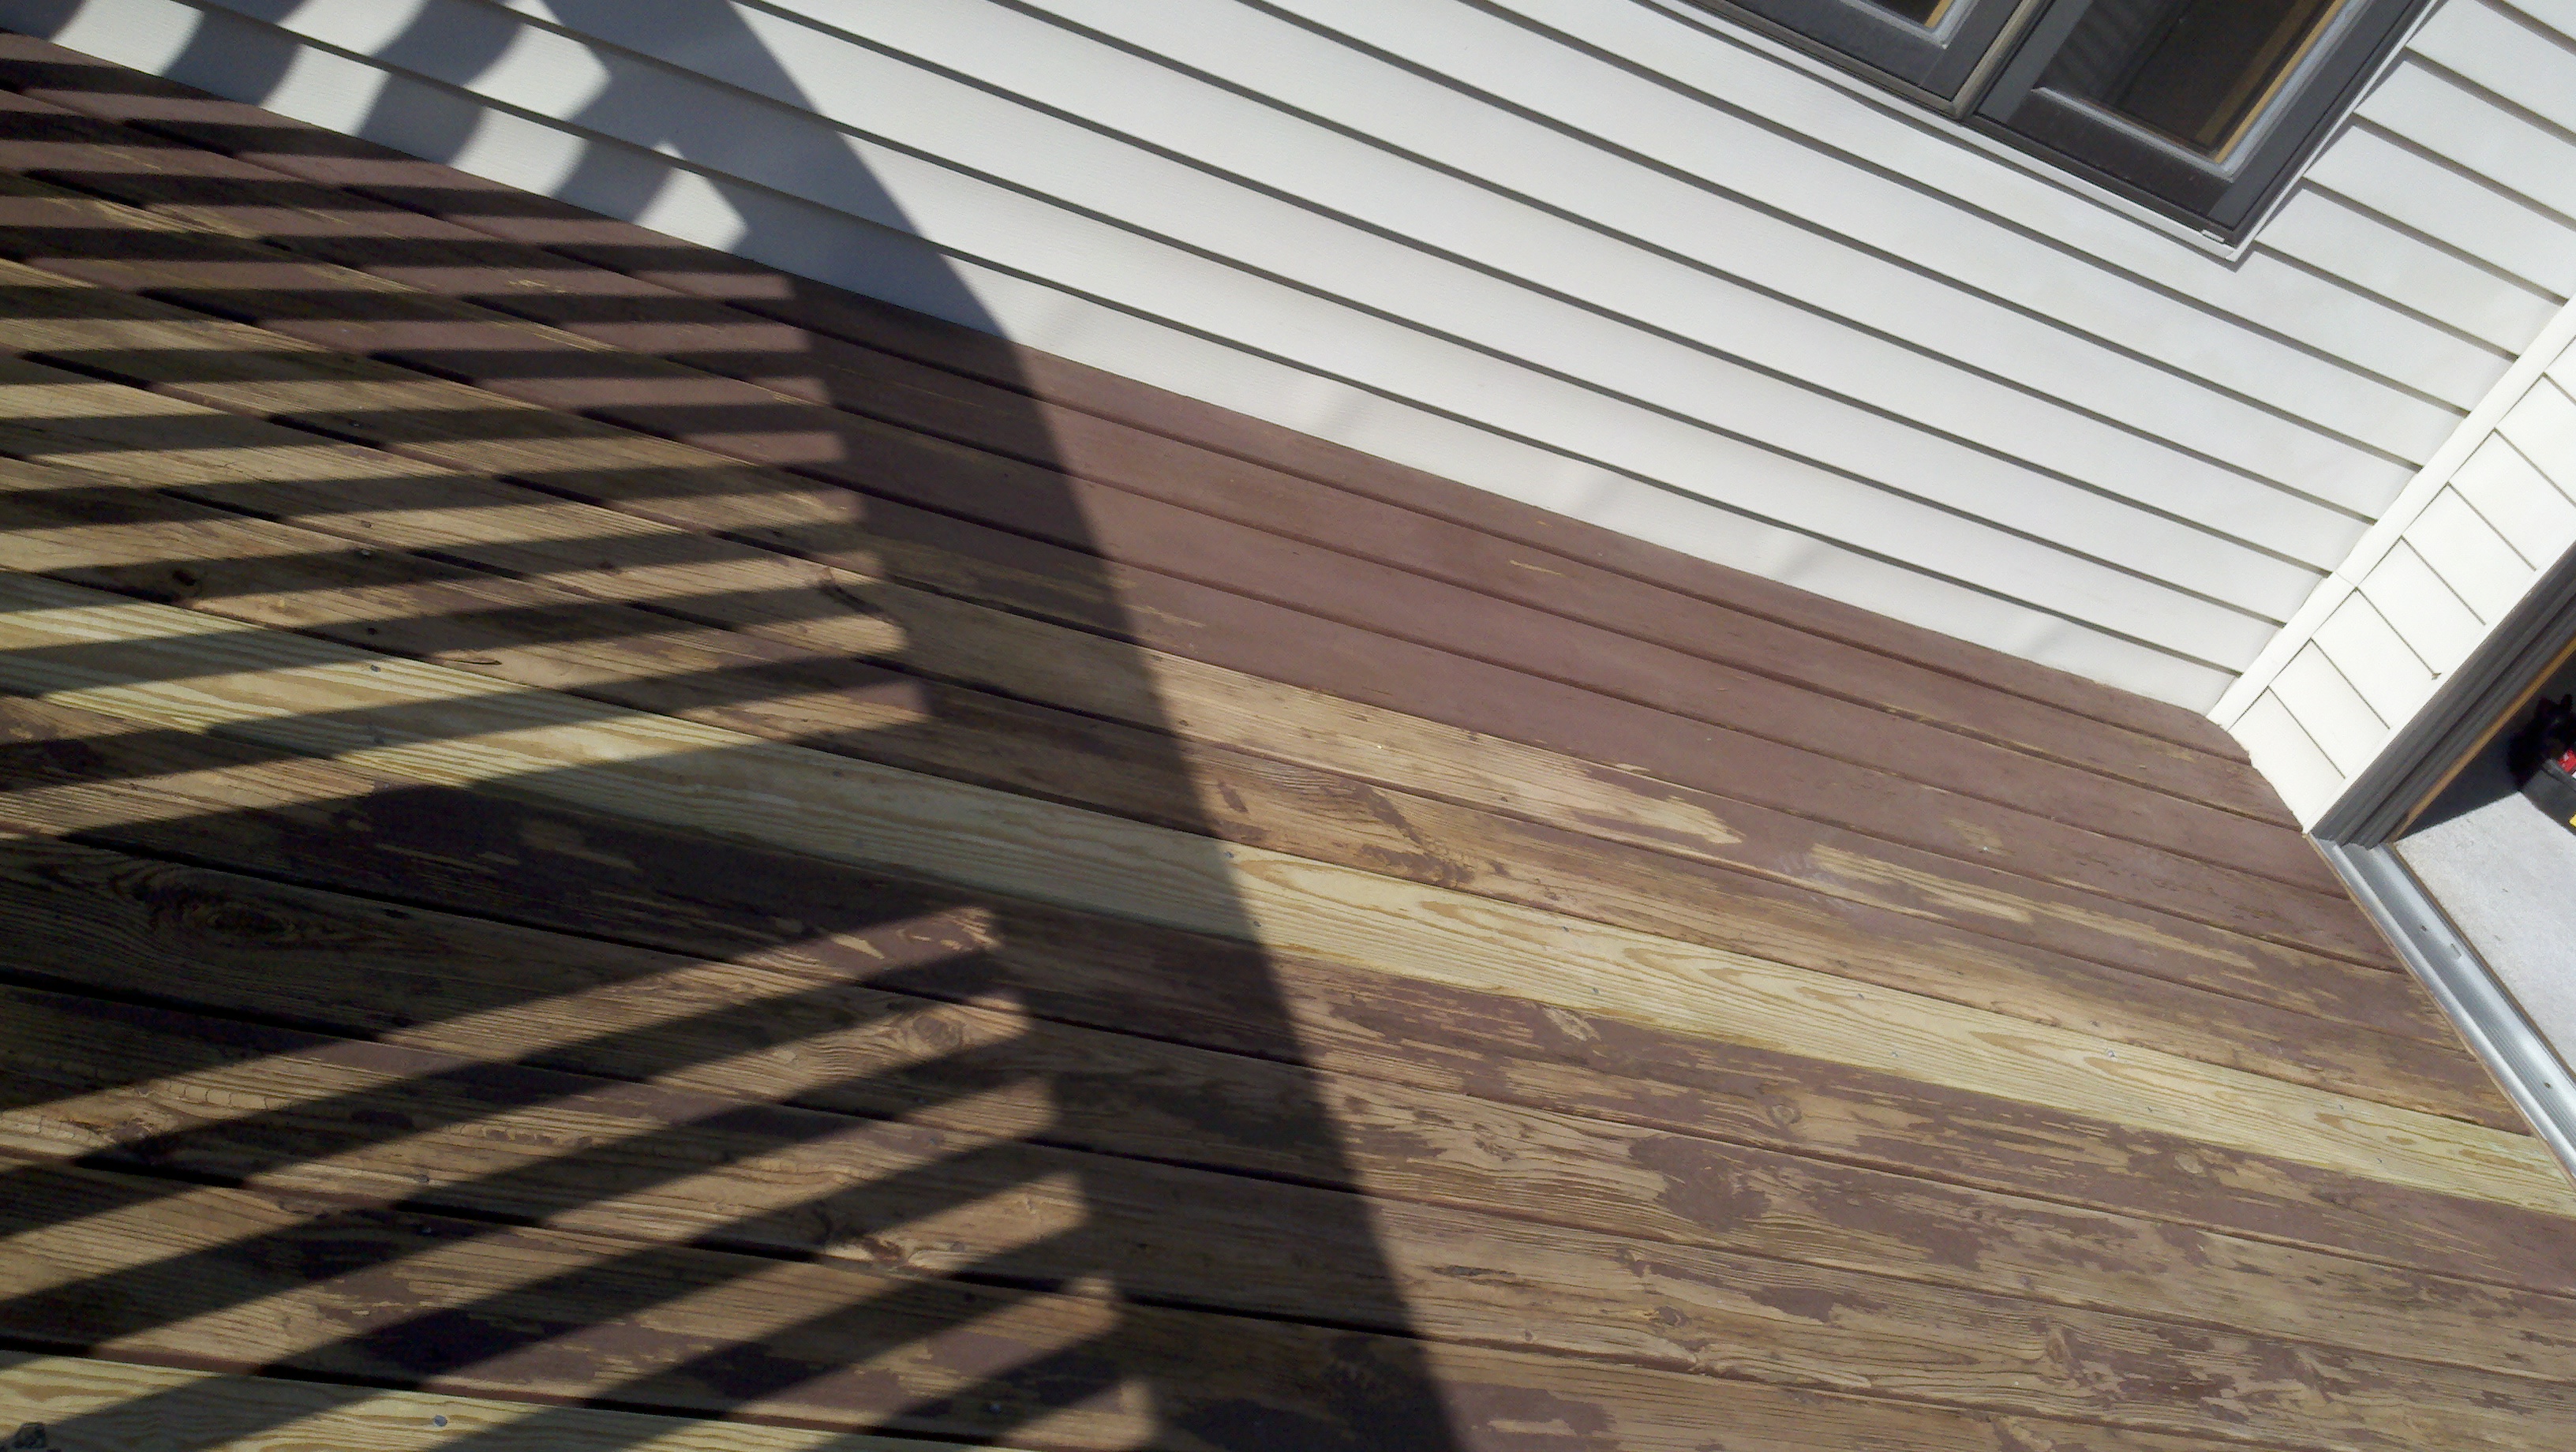
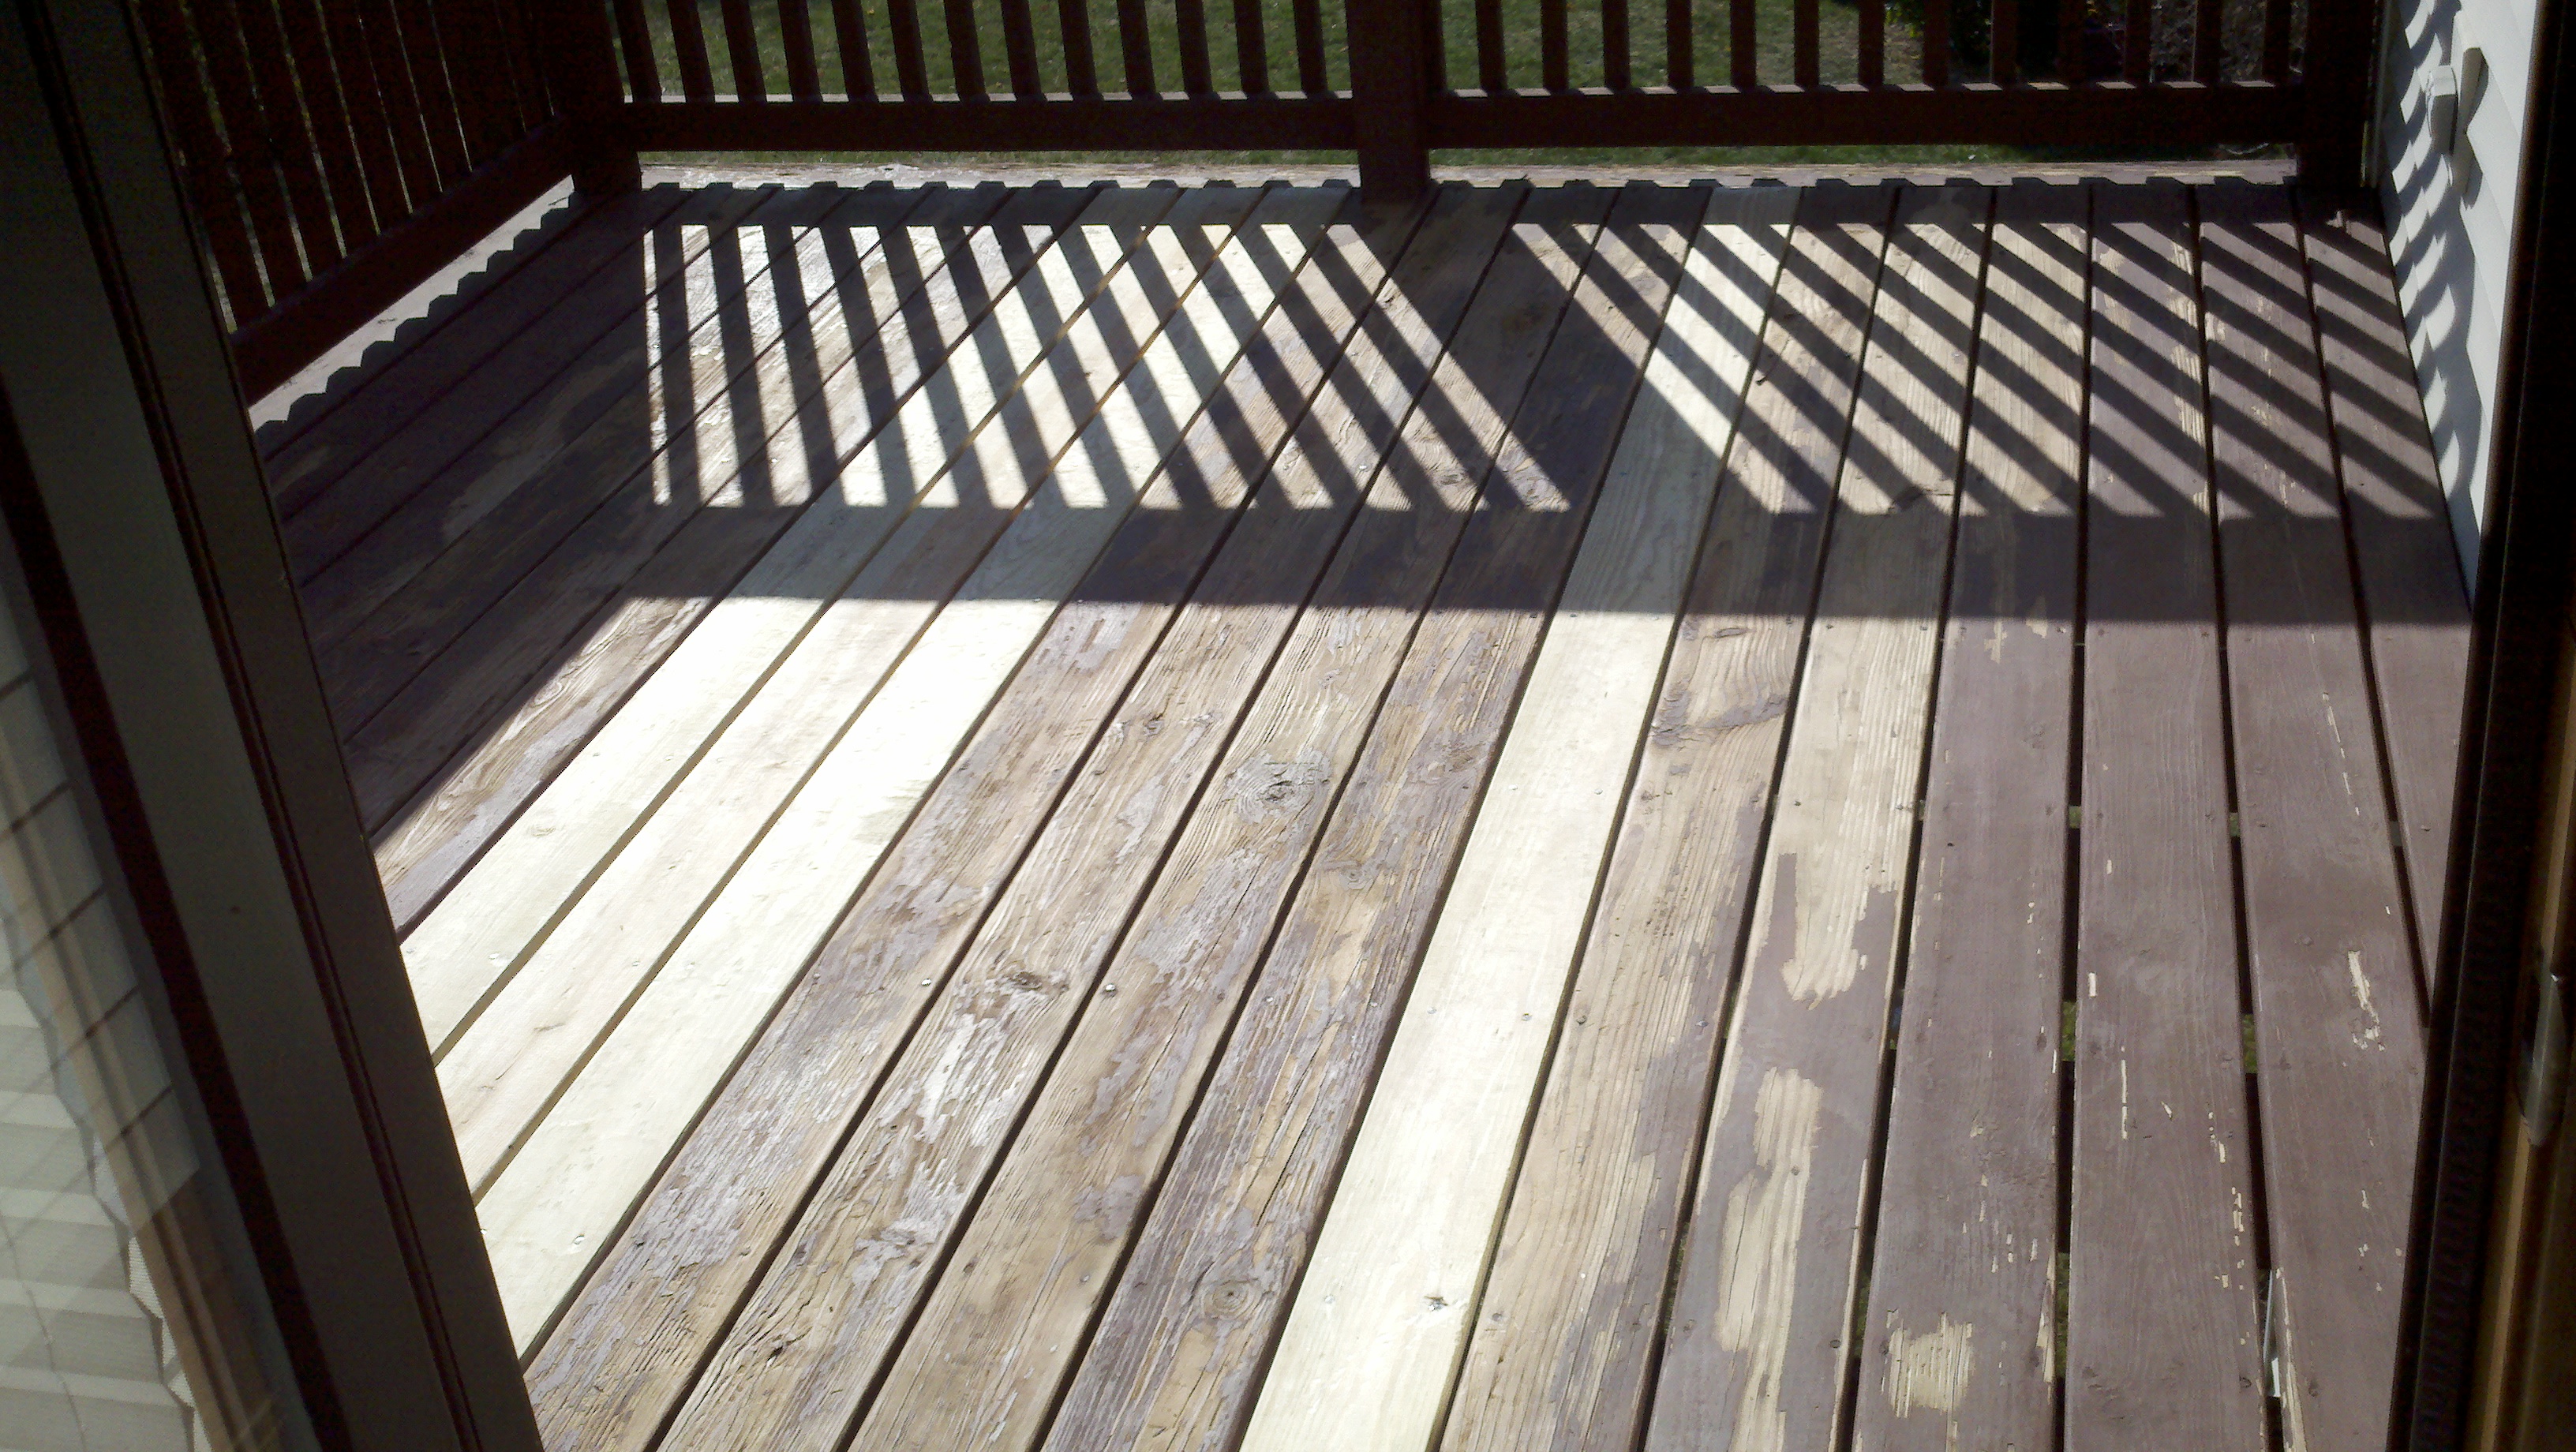
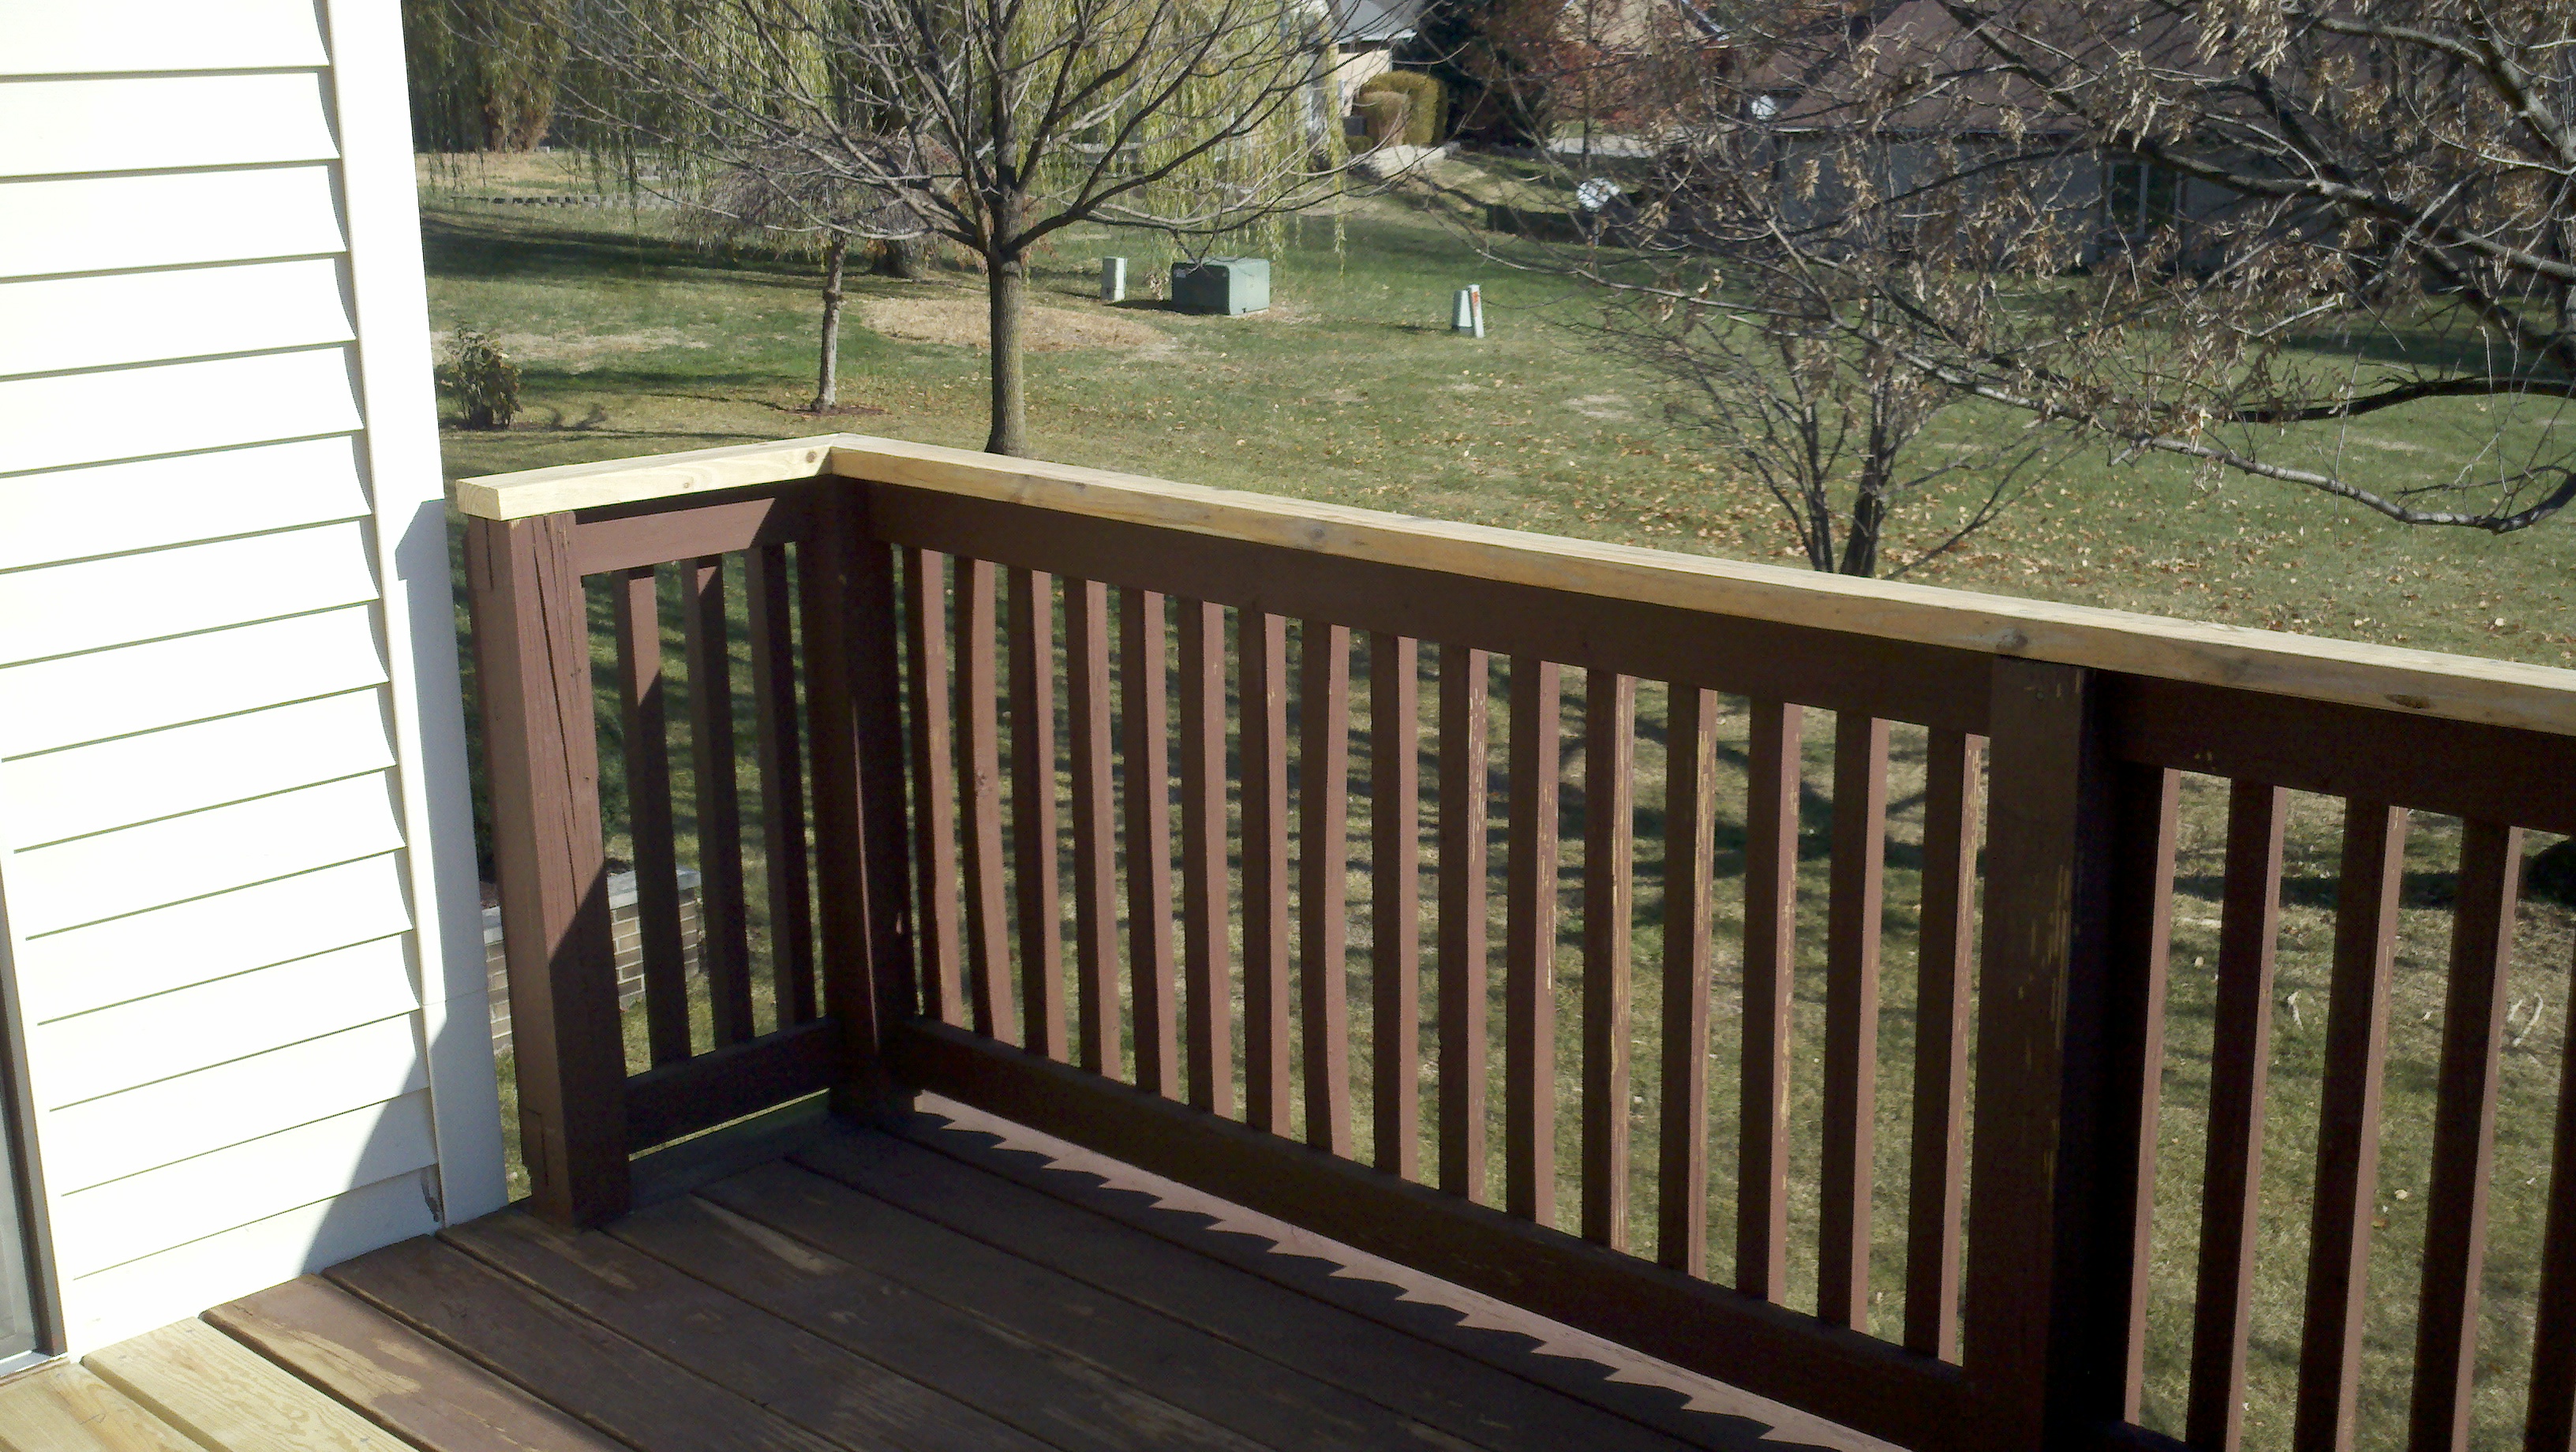
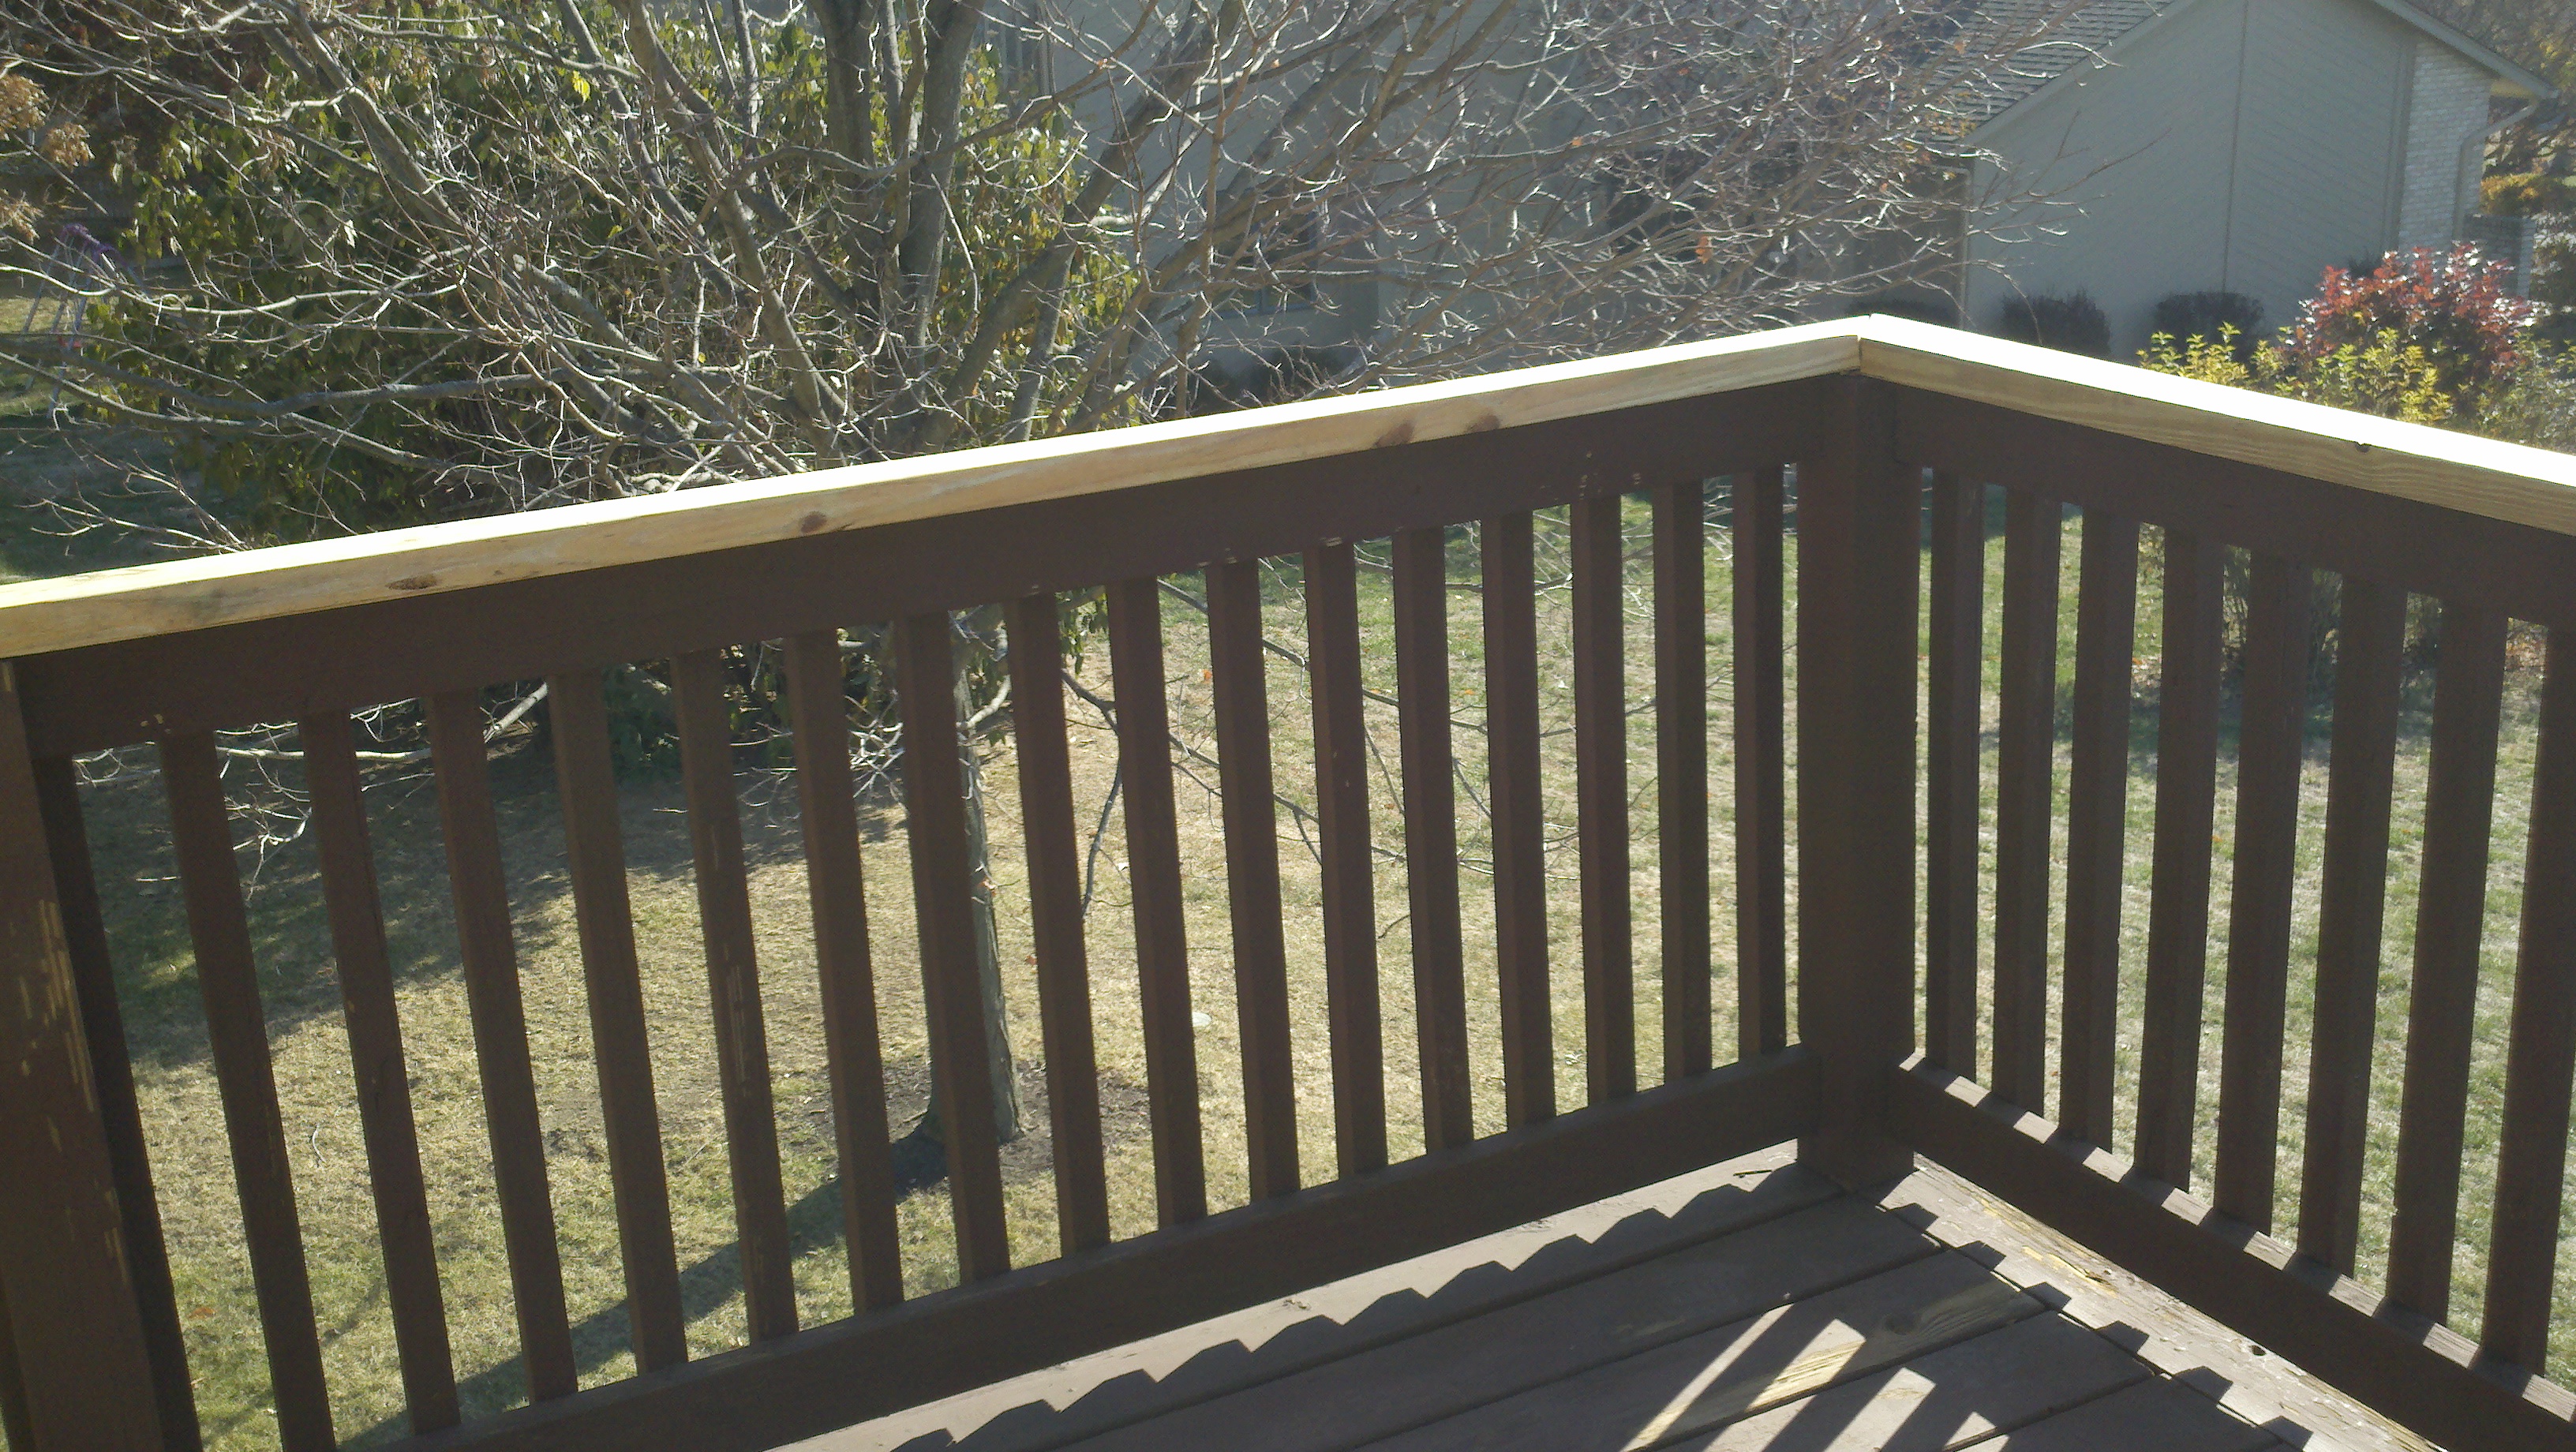
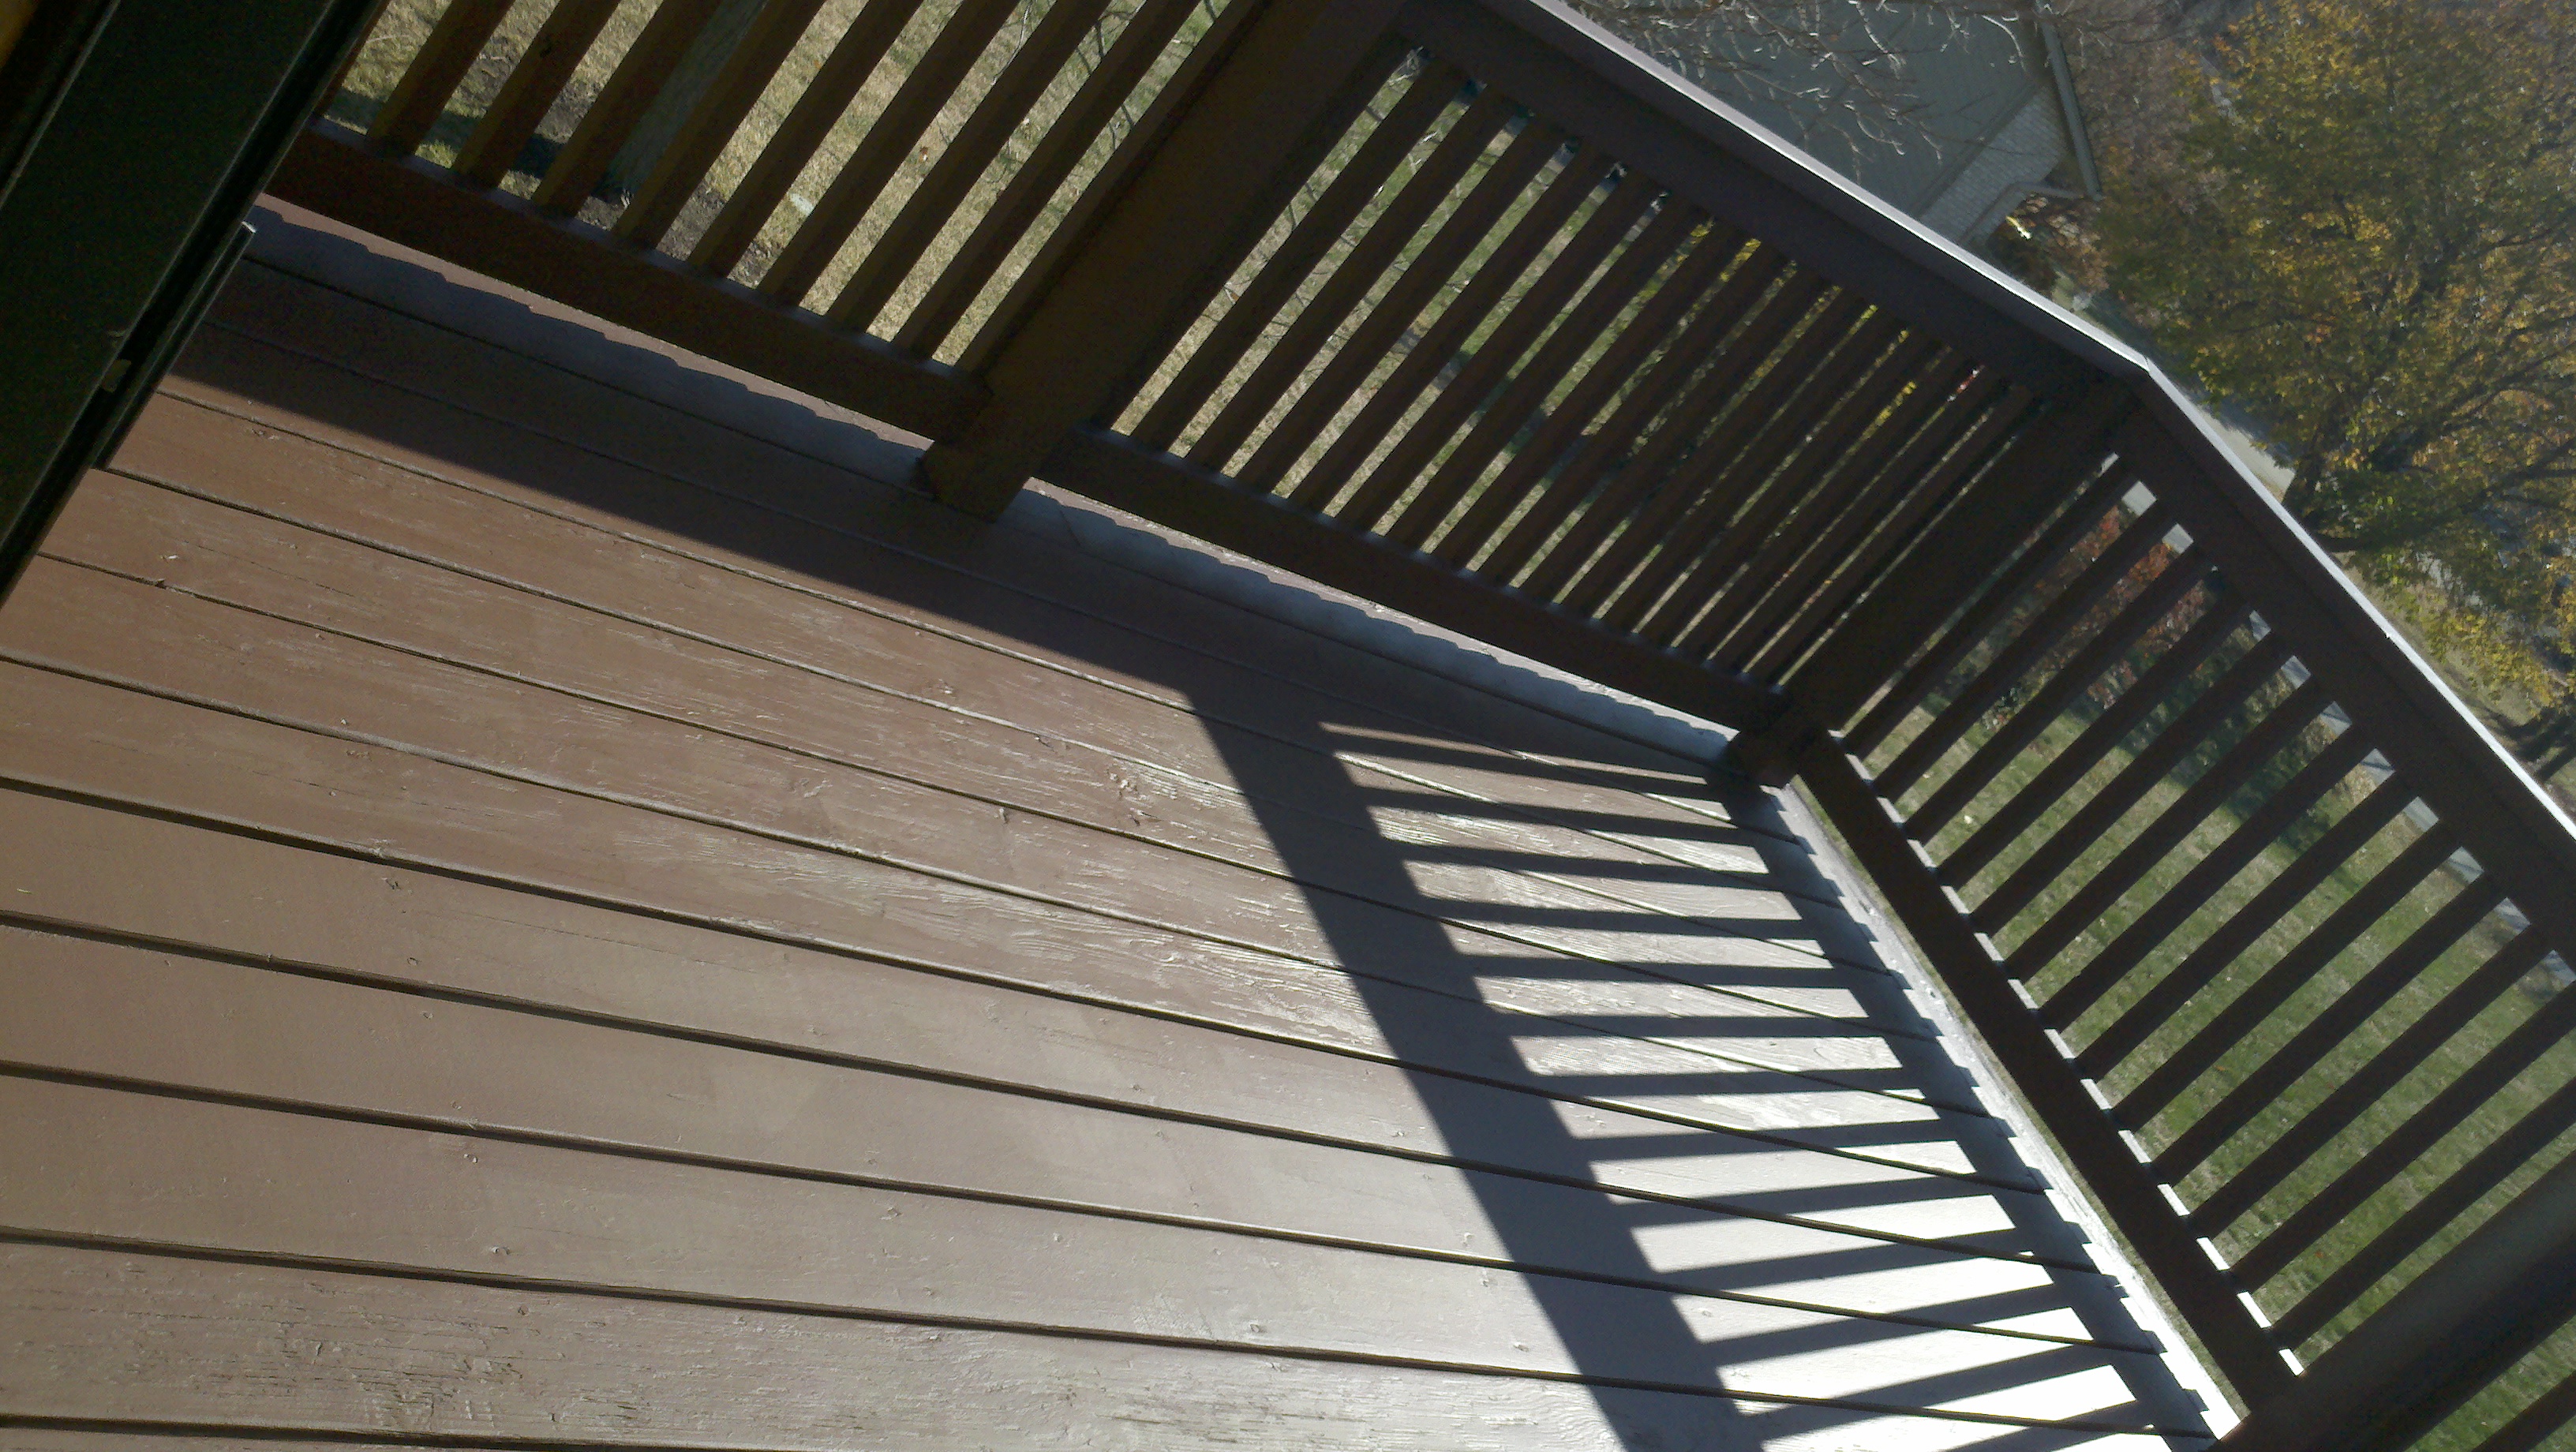
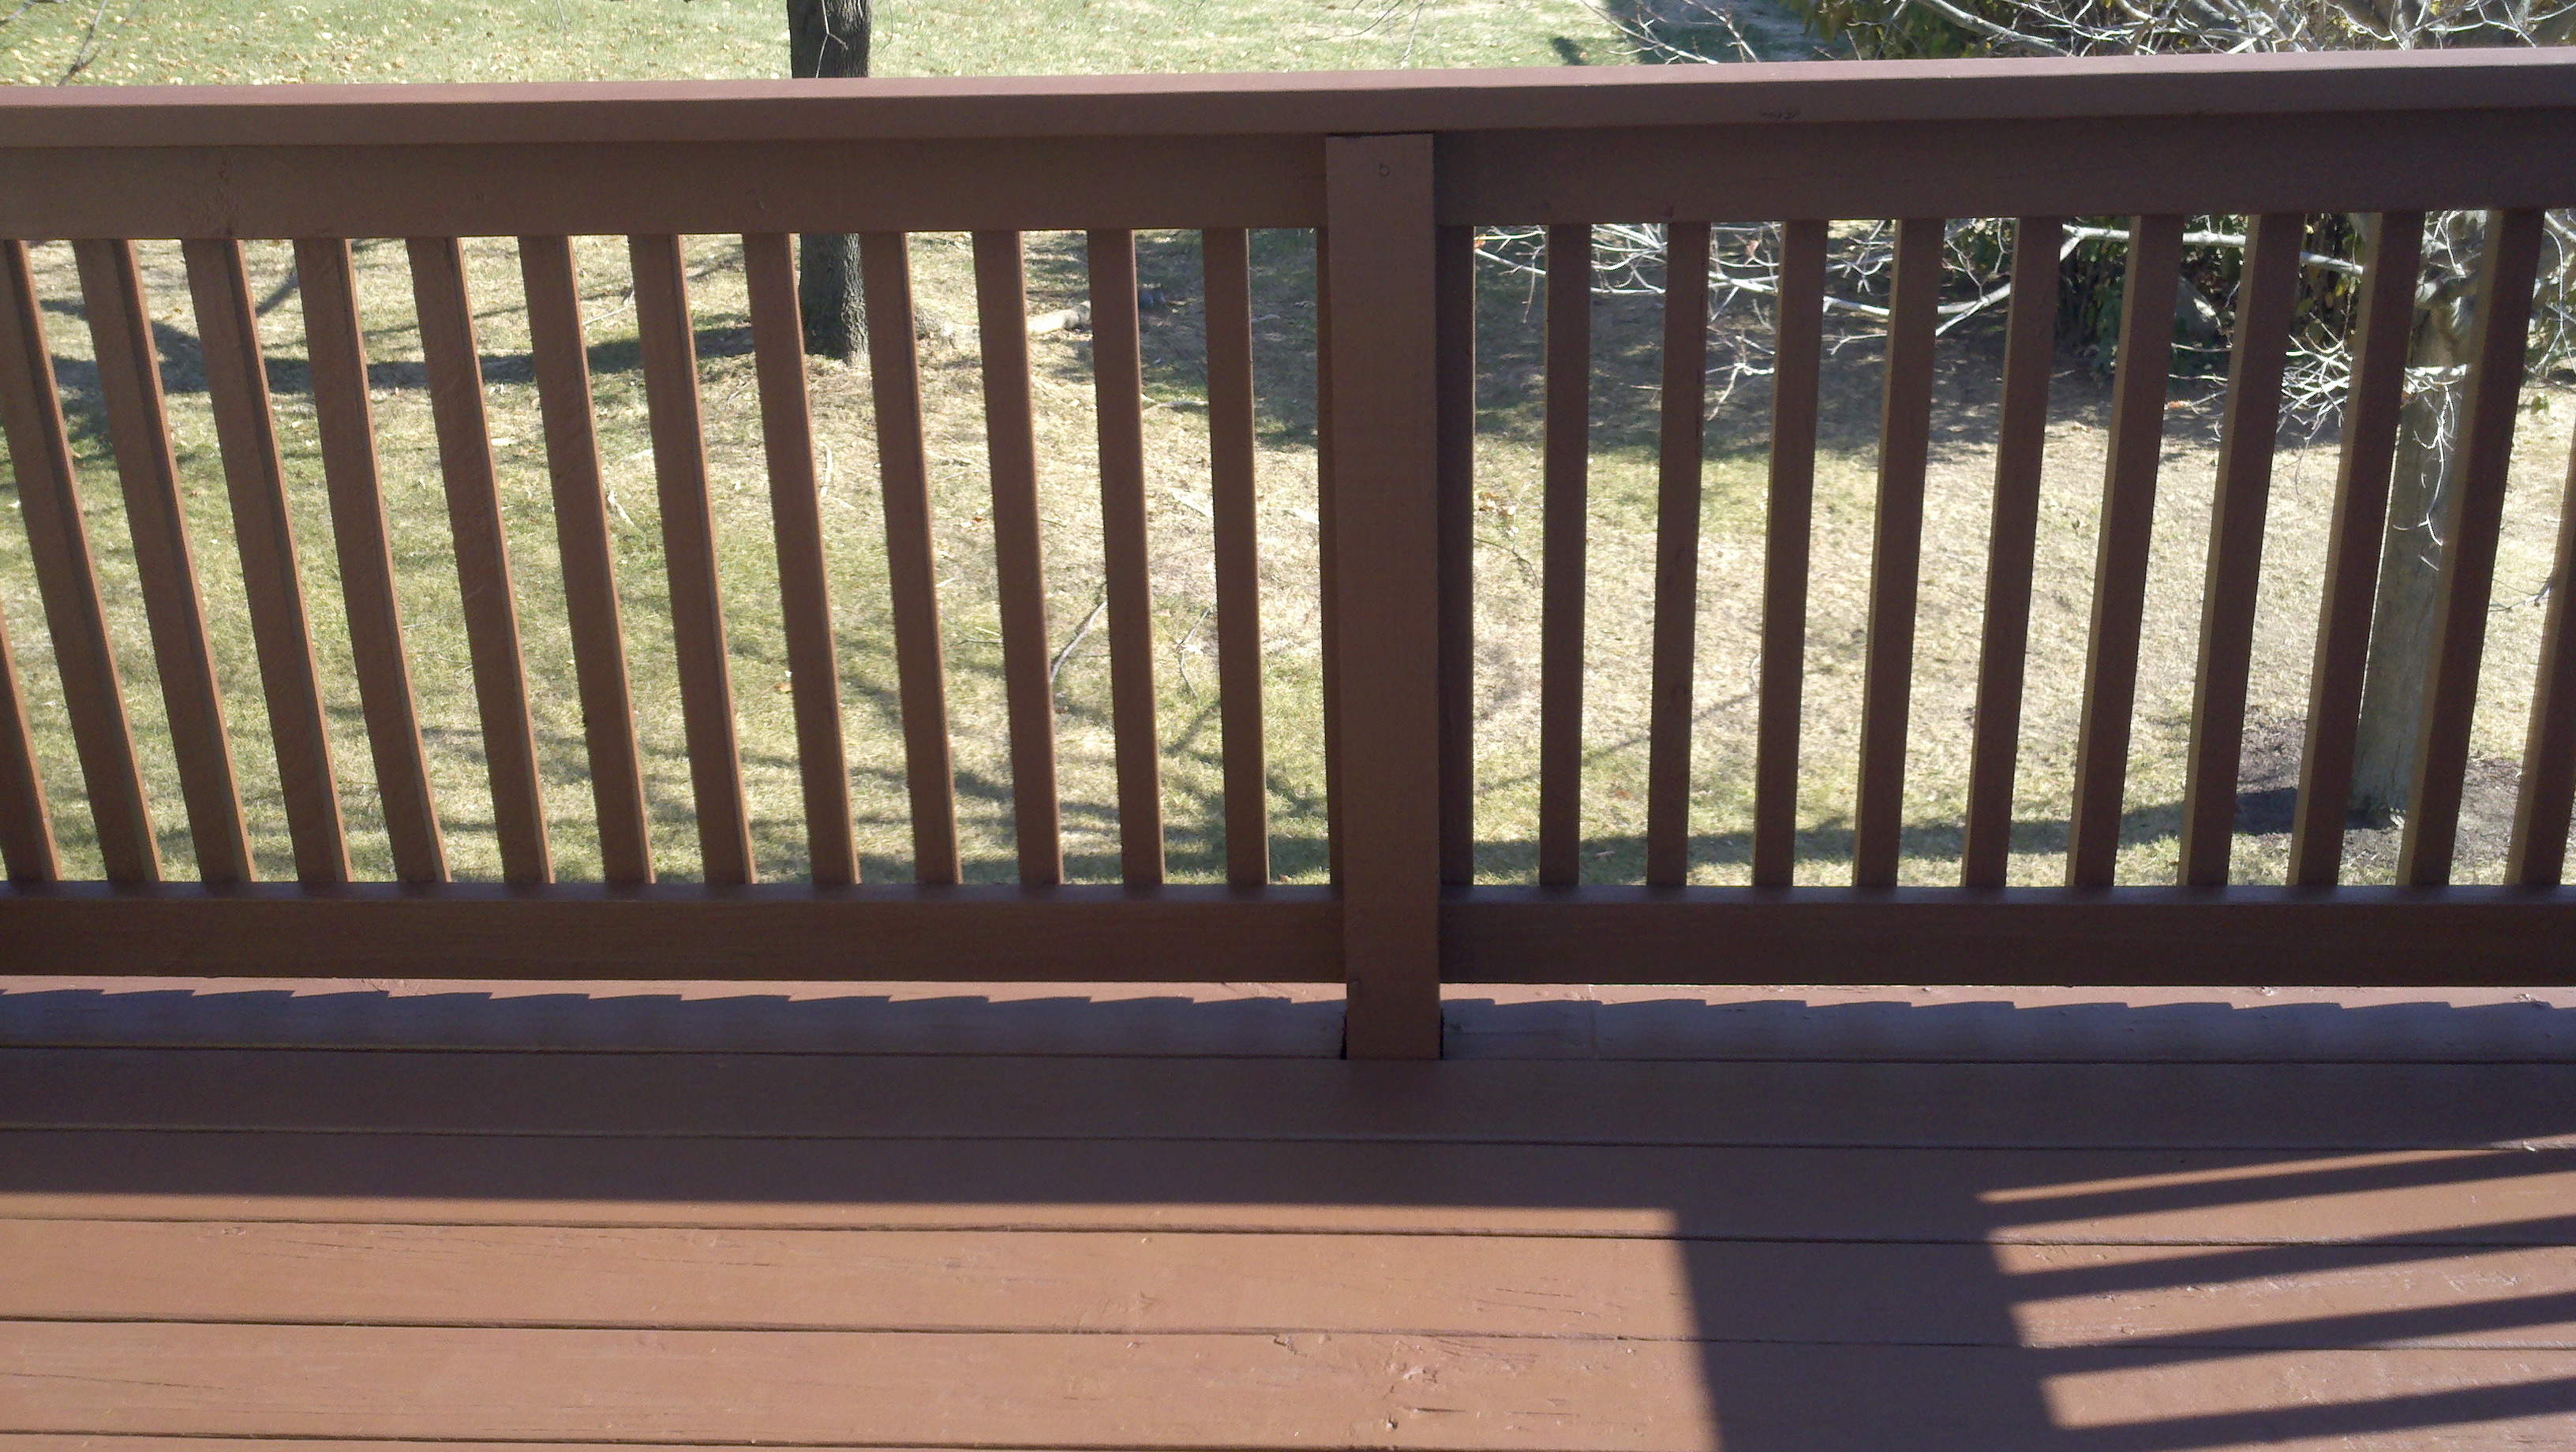
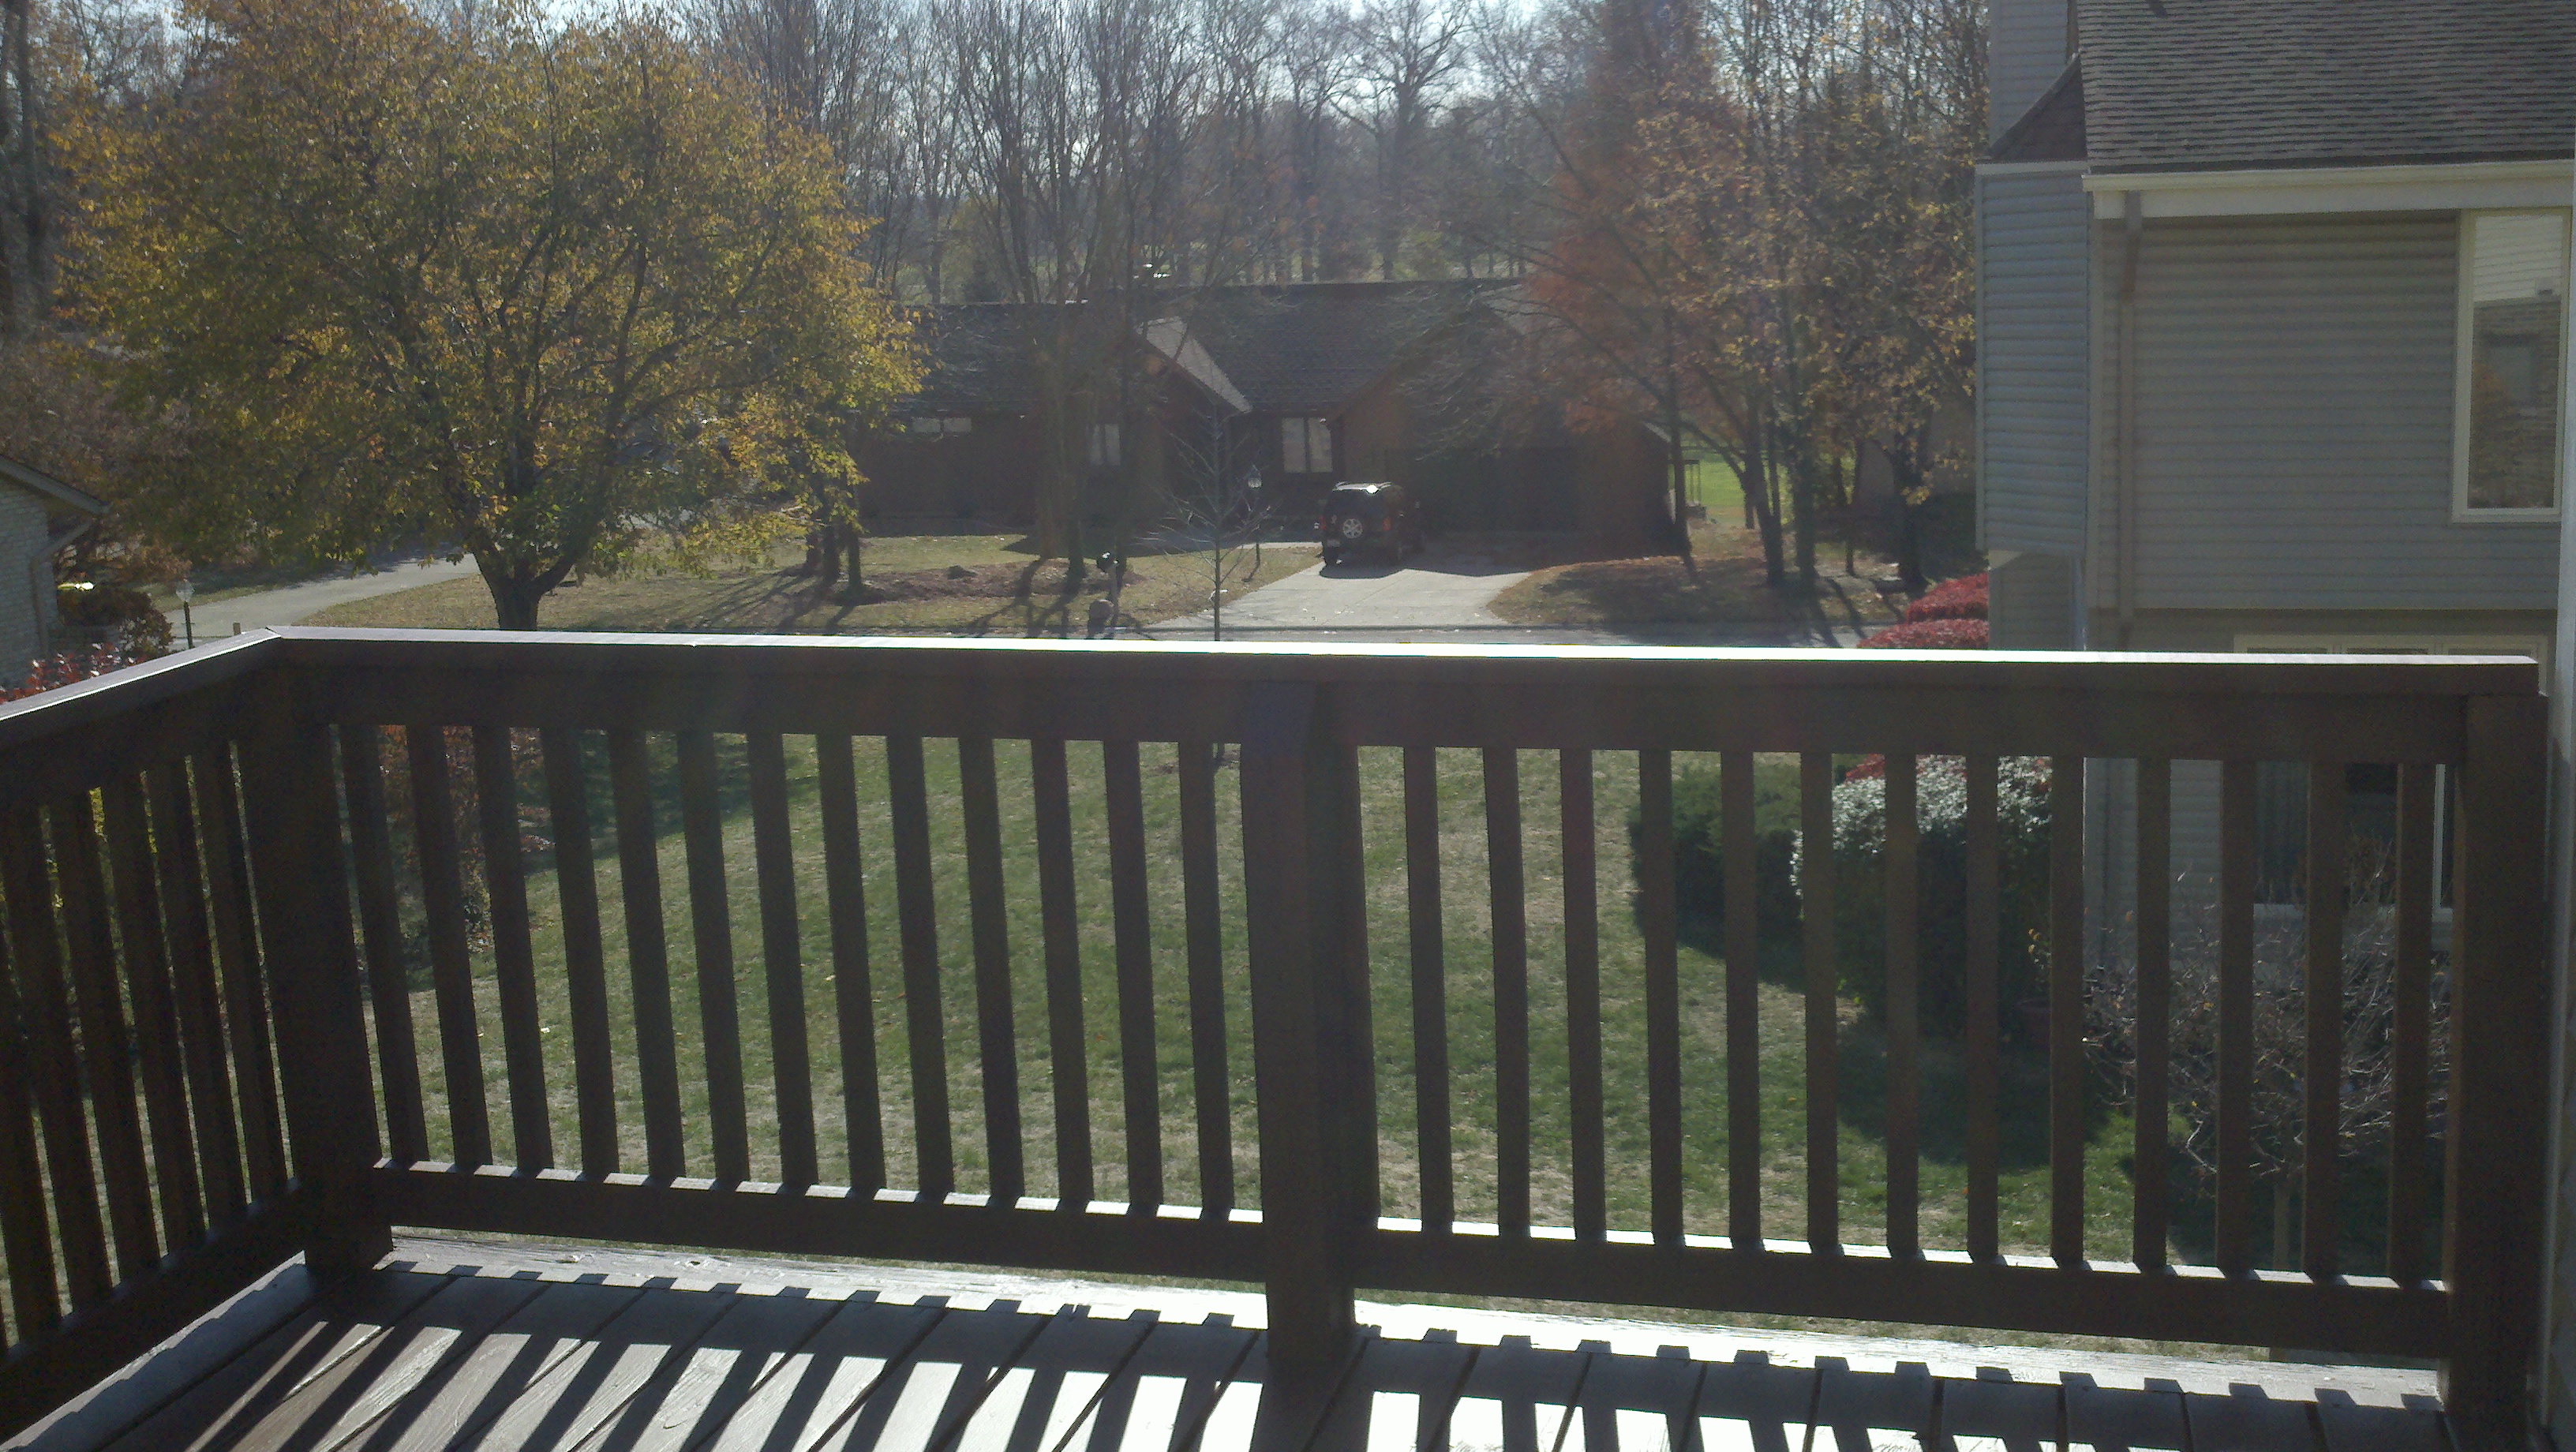
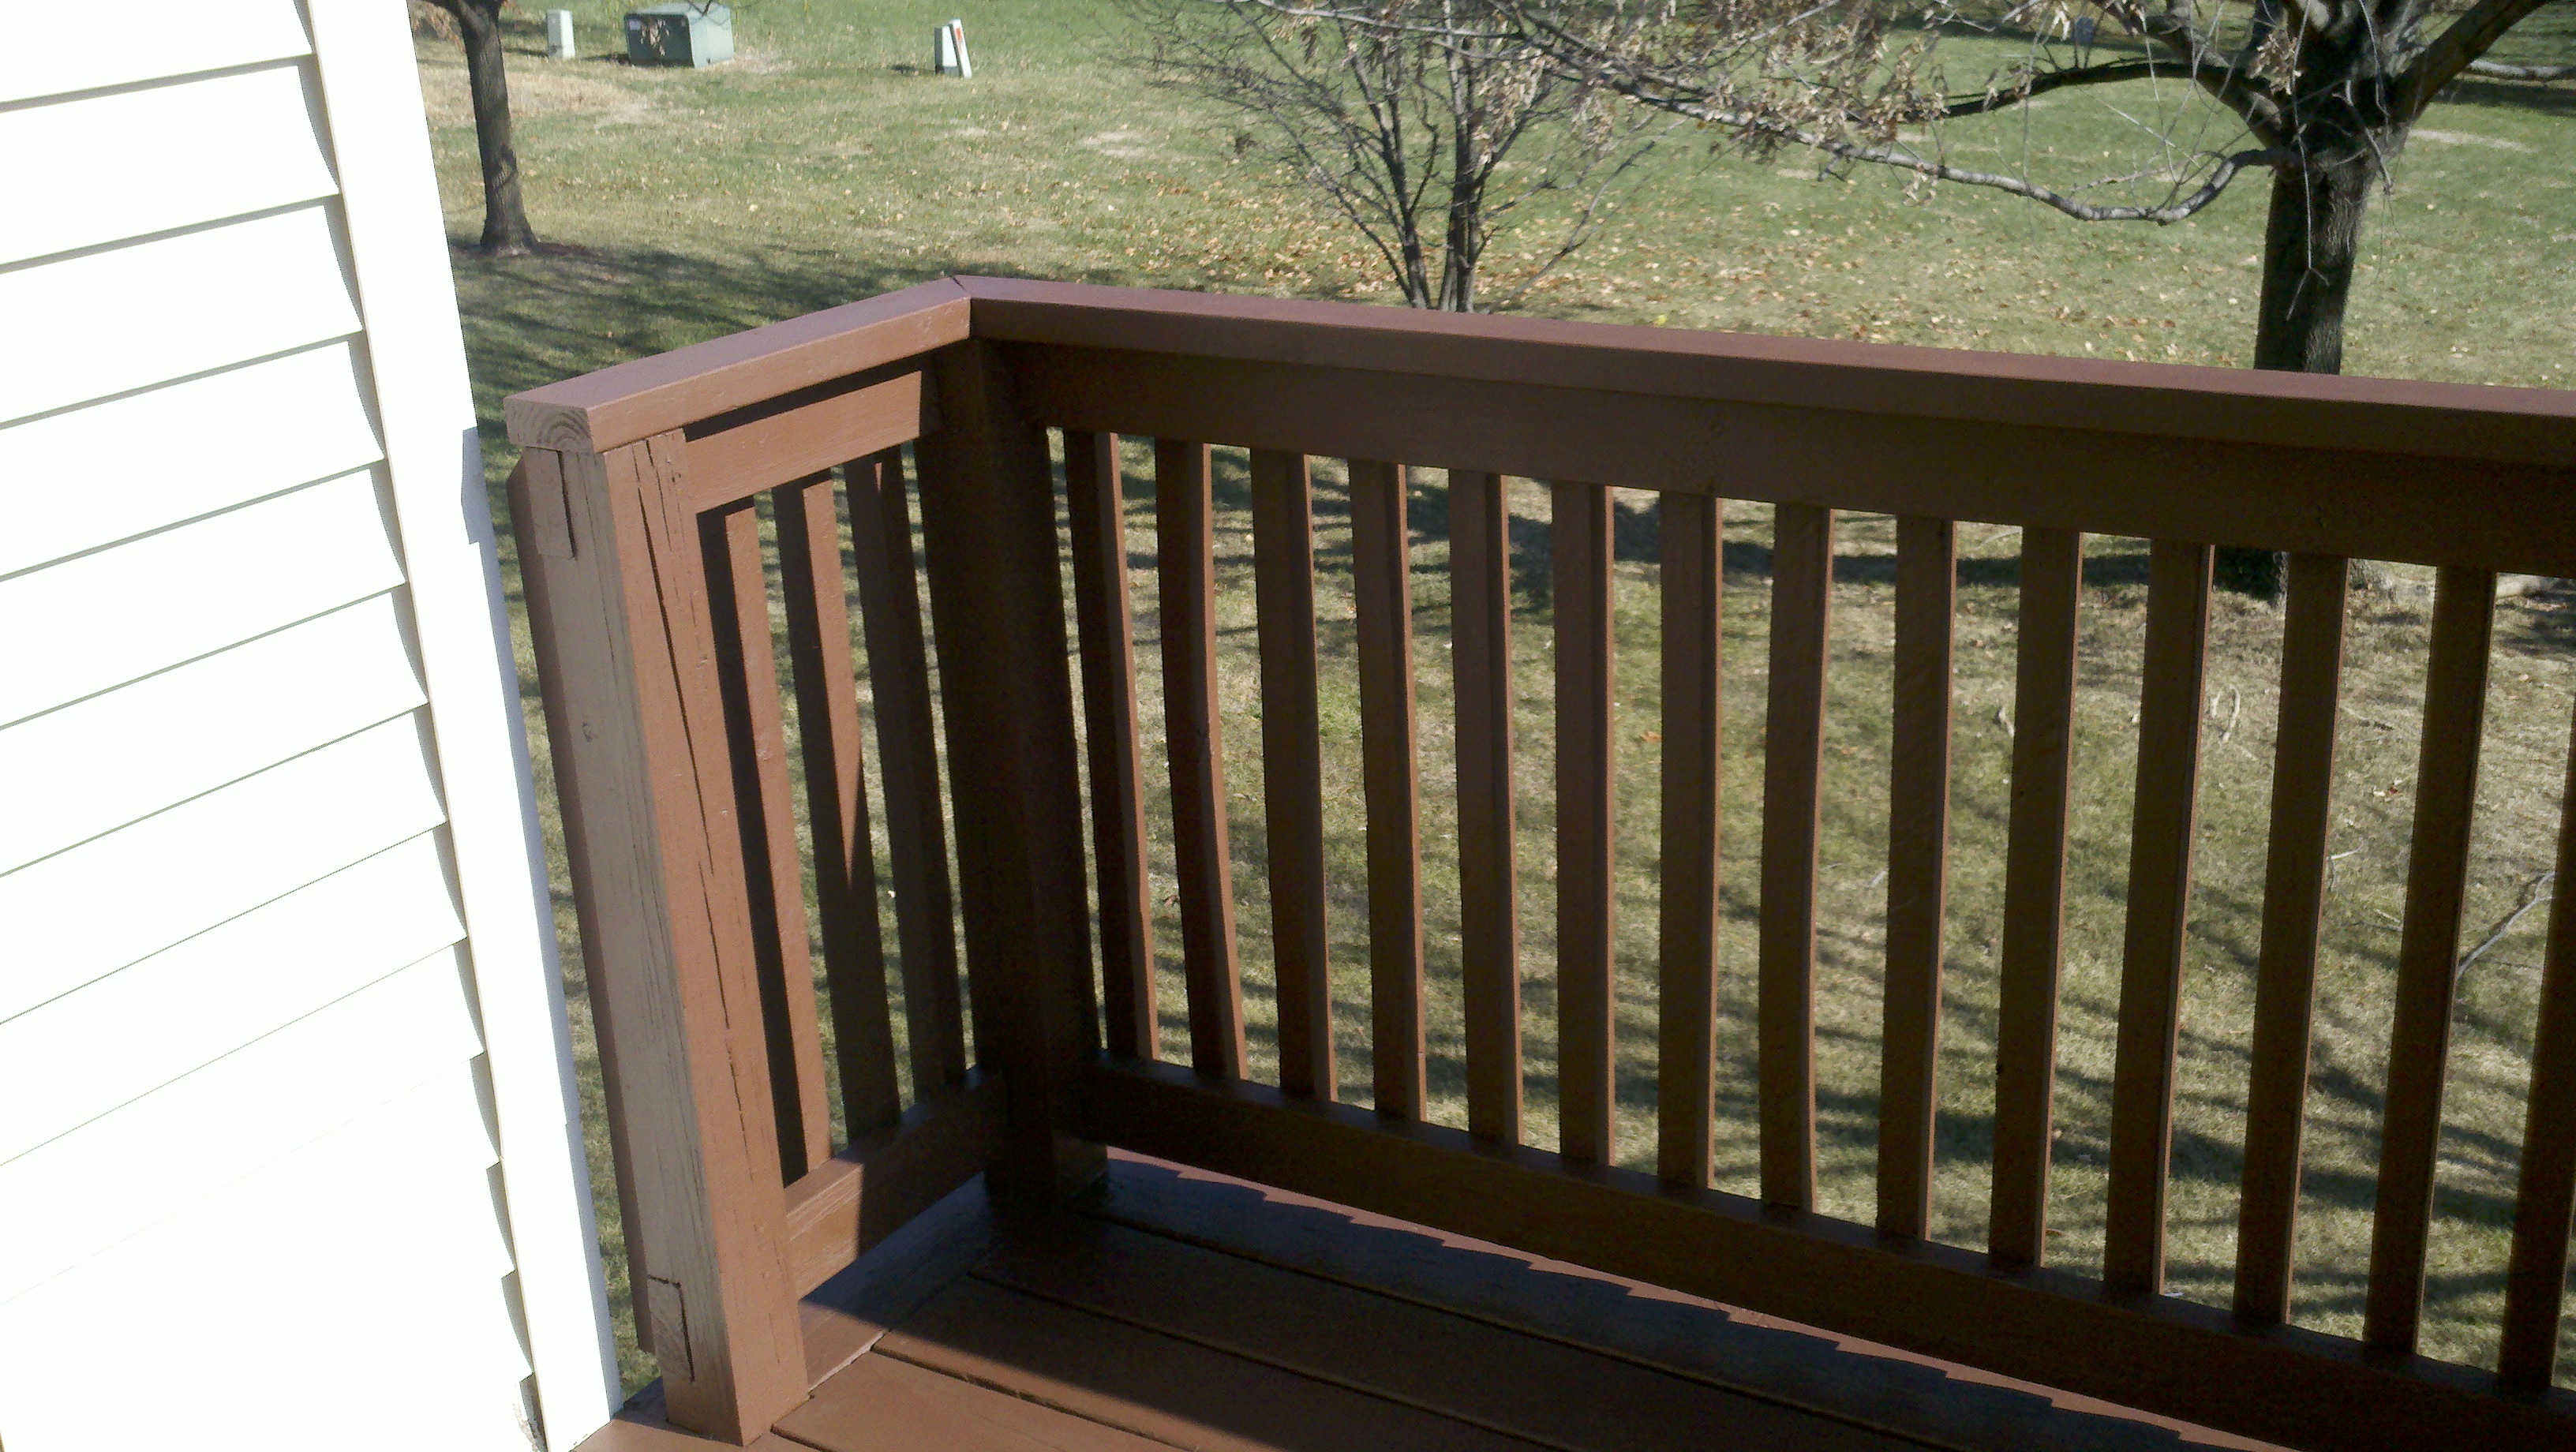
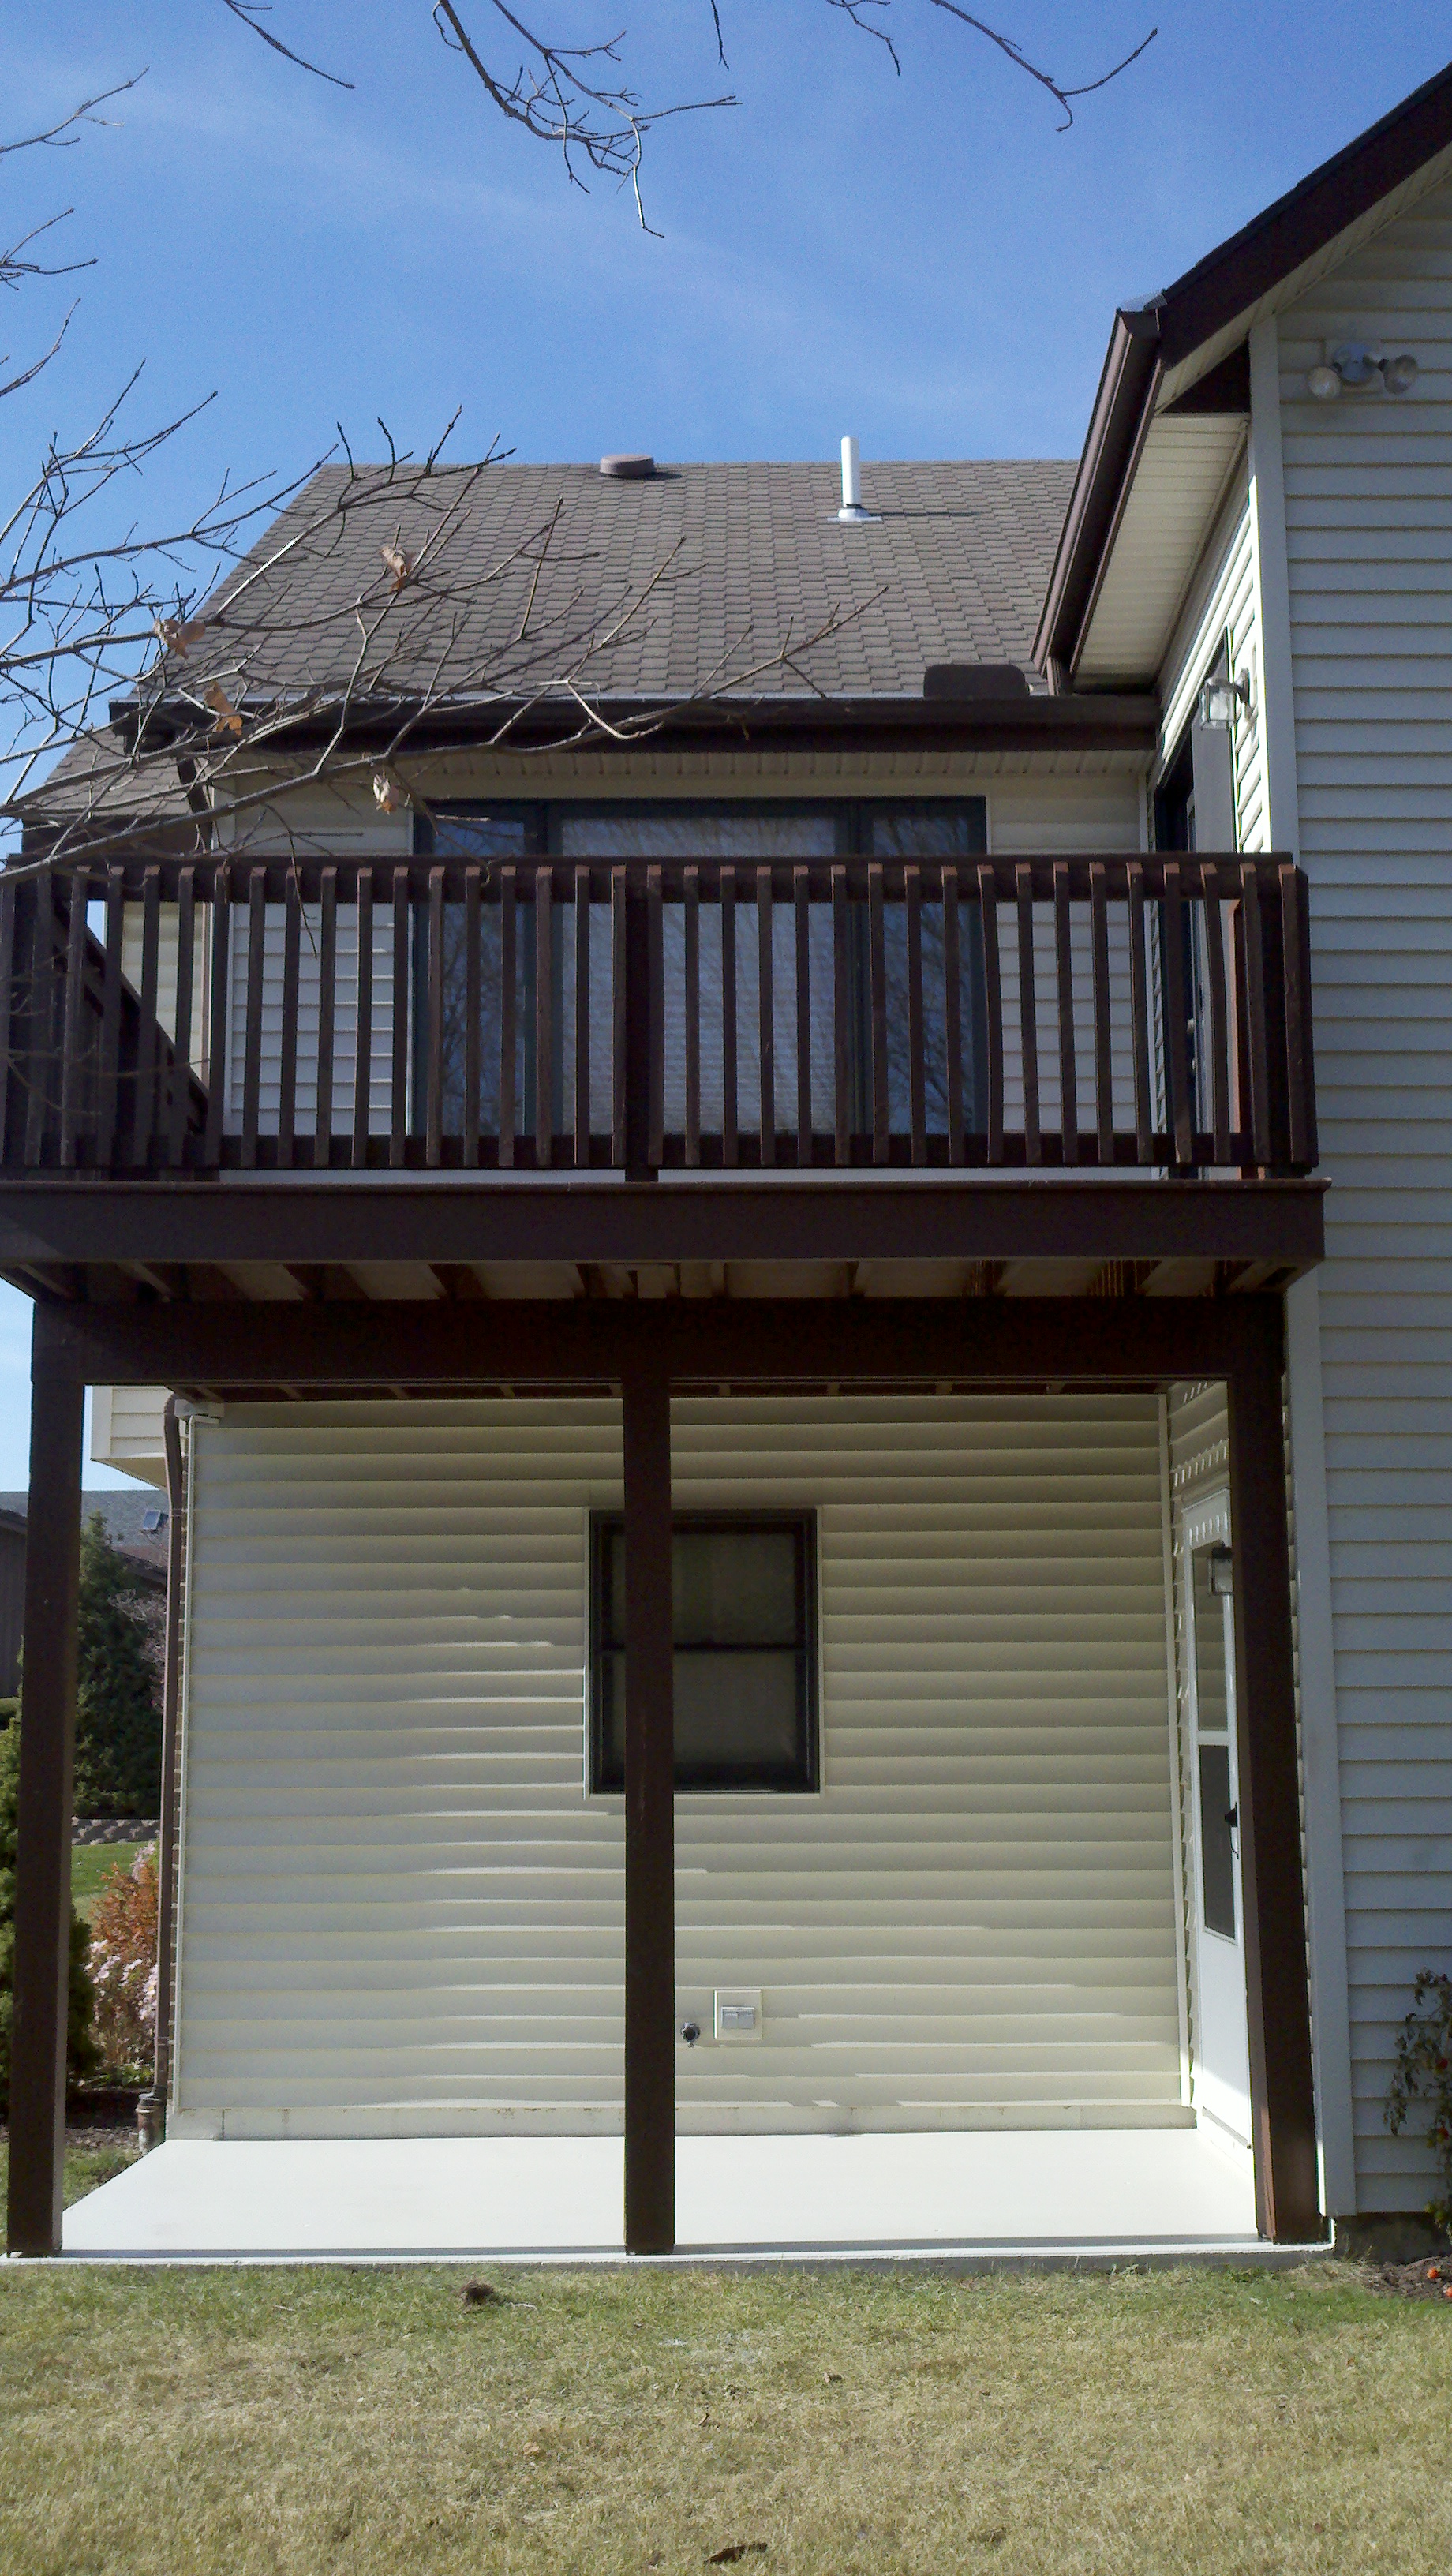
| Deck Analysis
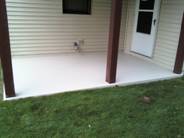
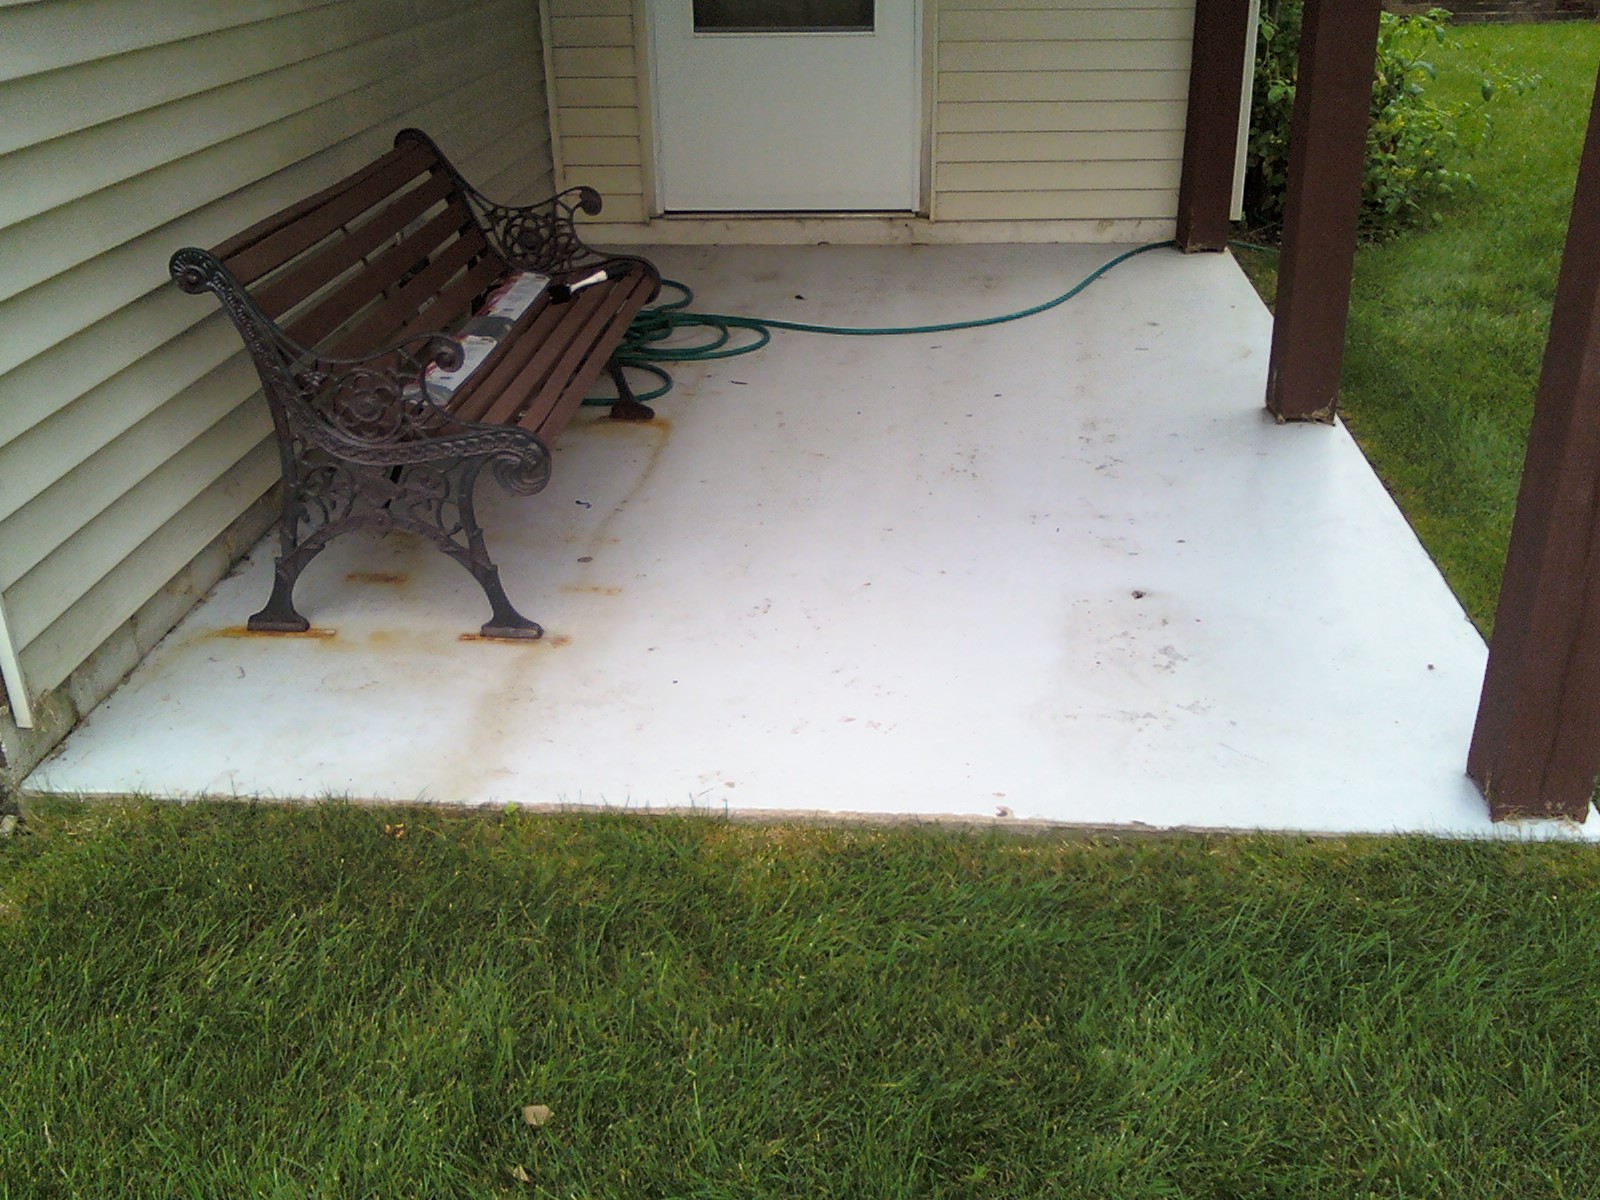
Deck Repair Pressure washing provided more insight on the actual physical condition of the deck. Four of the twenty decking boards had obvious spots where rot had initiated, which replacement was discussed in the original analysis. Paint strips also pealed up representing moisture under the paint and unreliable adhesion. The four boards were replaced with treated decking lumber with the caps of the railing. Sanding was initiated after the wood replacement; due to the large amount of paint removal sanding required a little longer amount of time due to the required feathering of the adhered chips to the decking and clean wood. Painting was completed by brush and roller due to the size area, possibility of over spray, and equipment clean time. Paint use required two gallons of ten year warranty deck stain. All areas of the deck, including bottom of the decking, required at least one coat of seal. Three coats was applied to the walking area of the decking. Additional preparation and painting was completed to the patio below the deck, and front of the house entrance area after analysis. The supplies, paint, and labor was provided as warranty coverage.
|
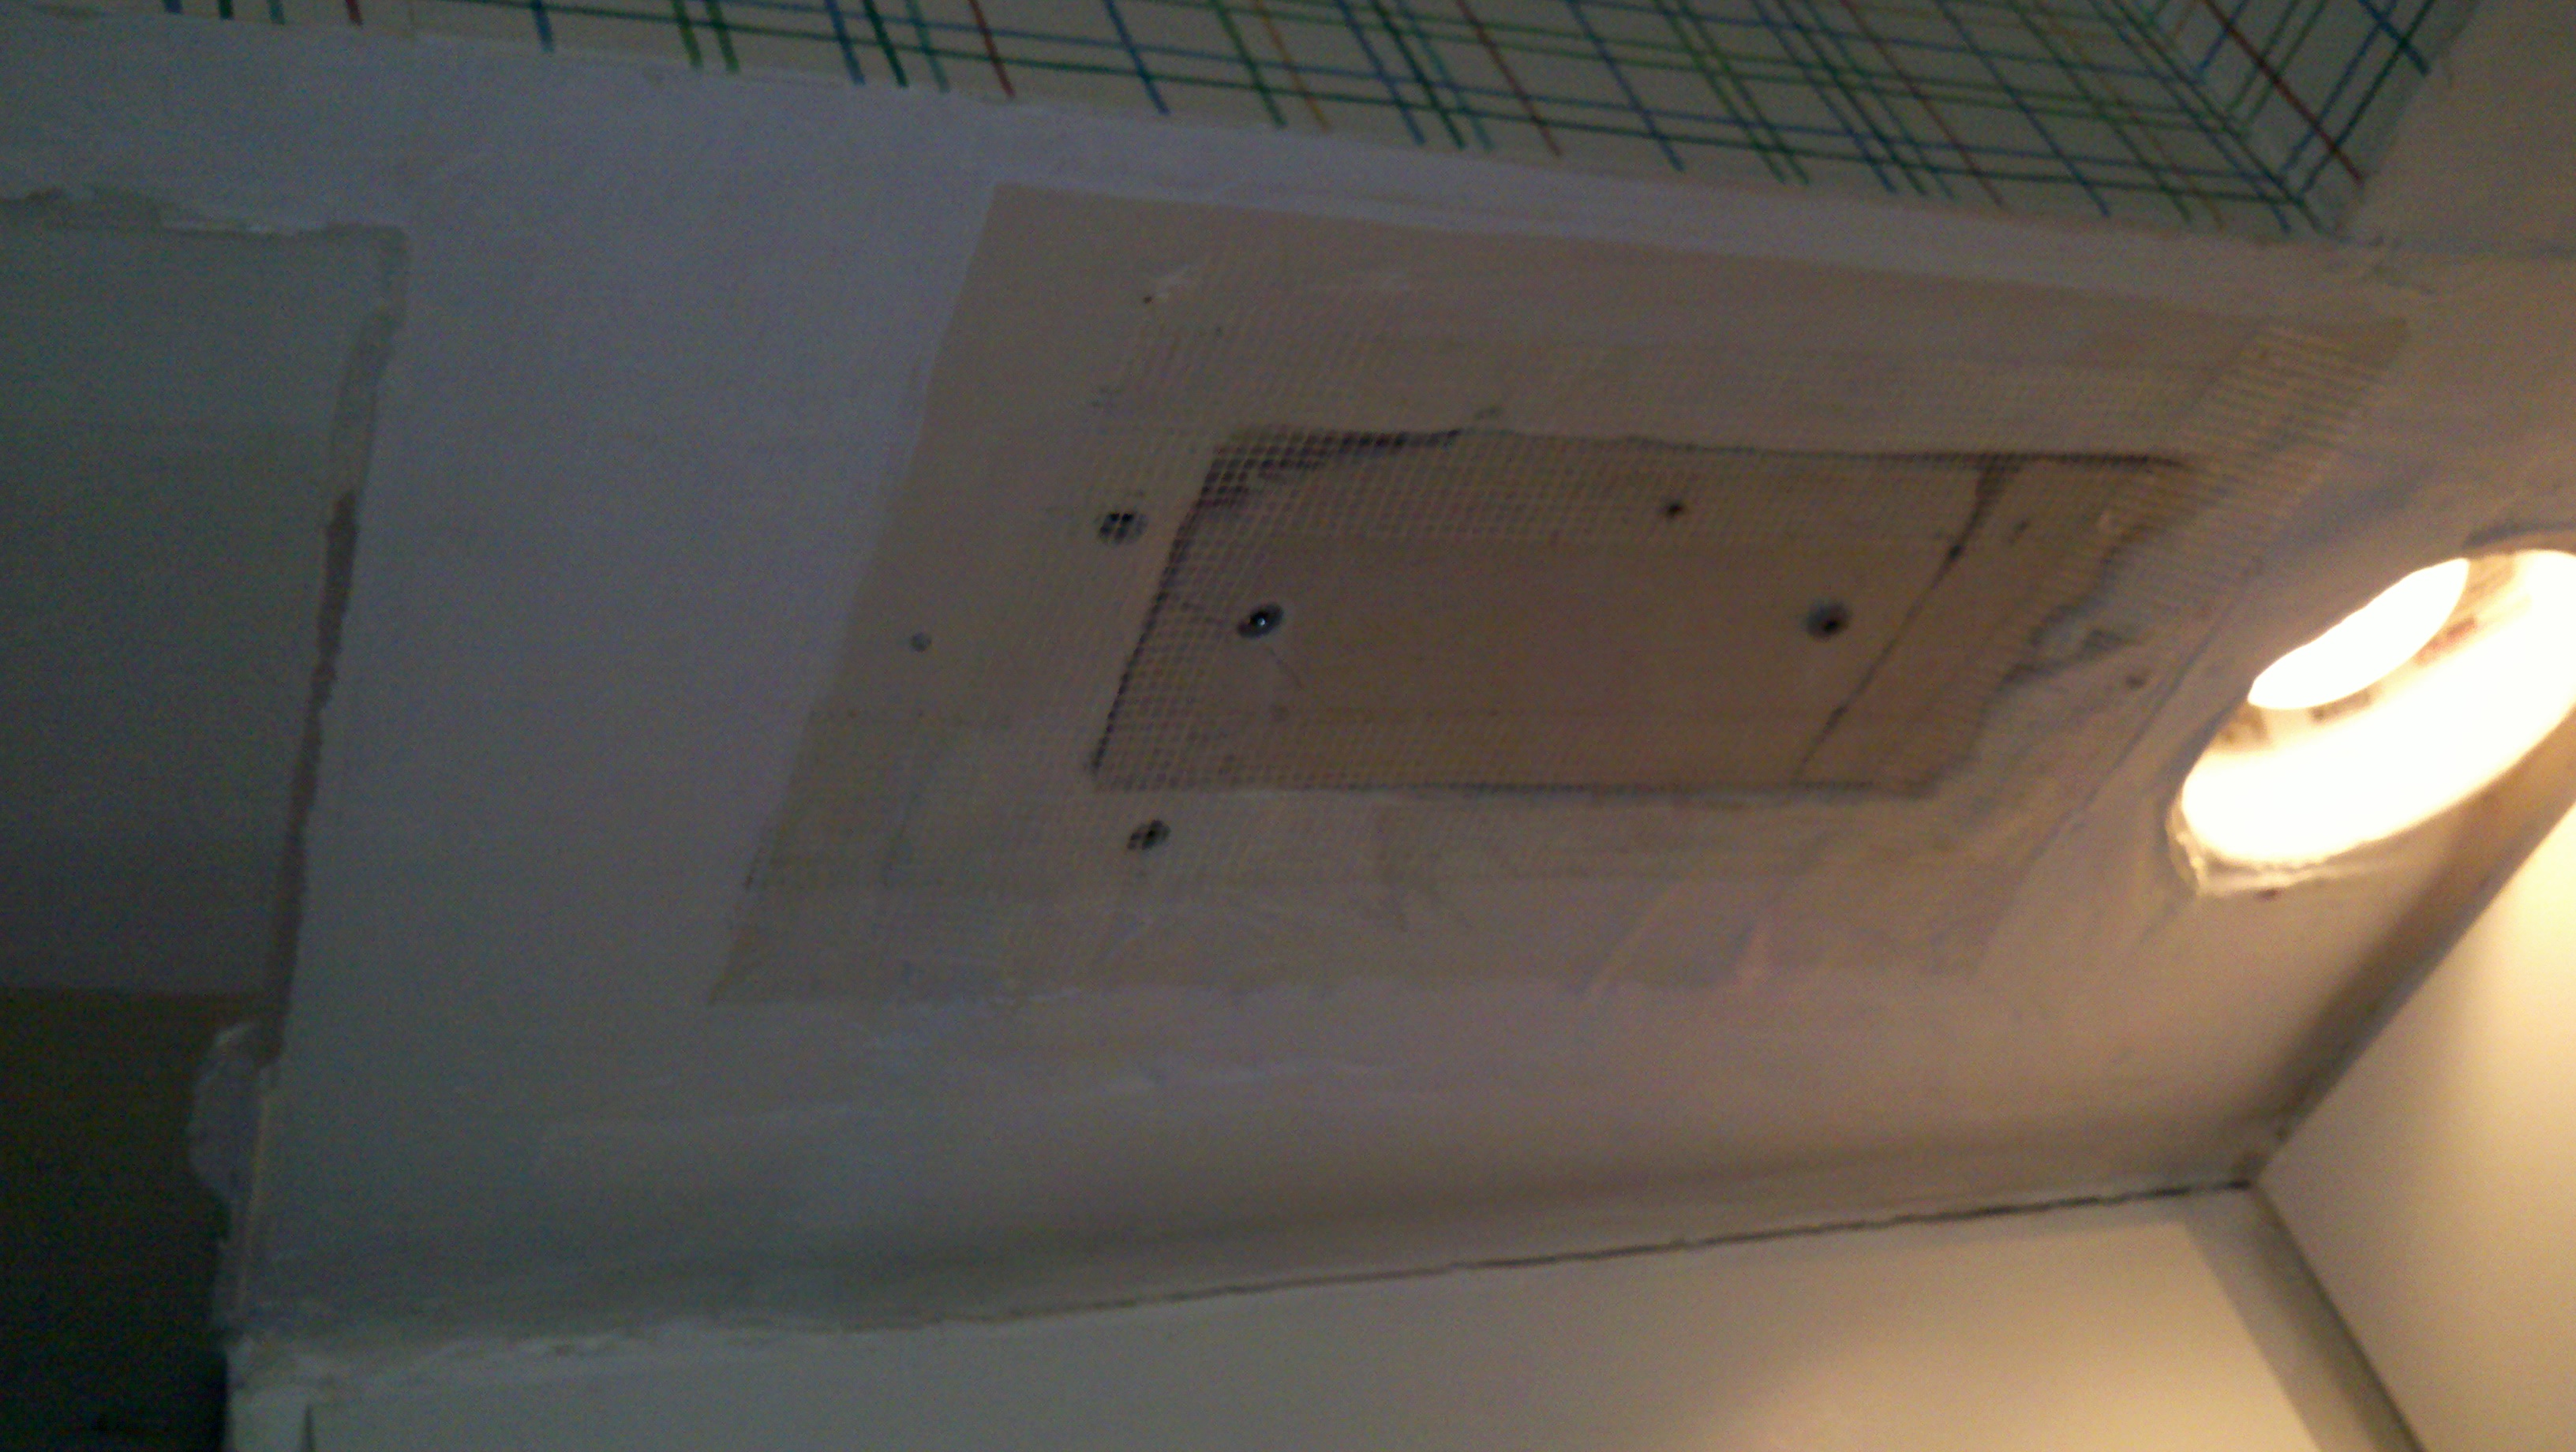
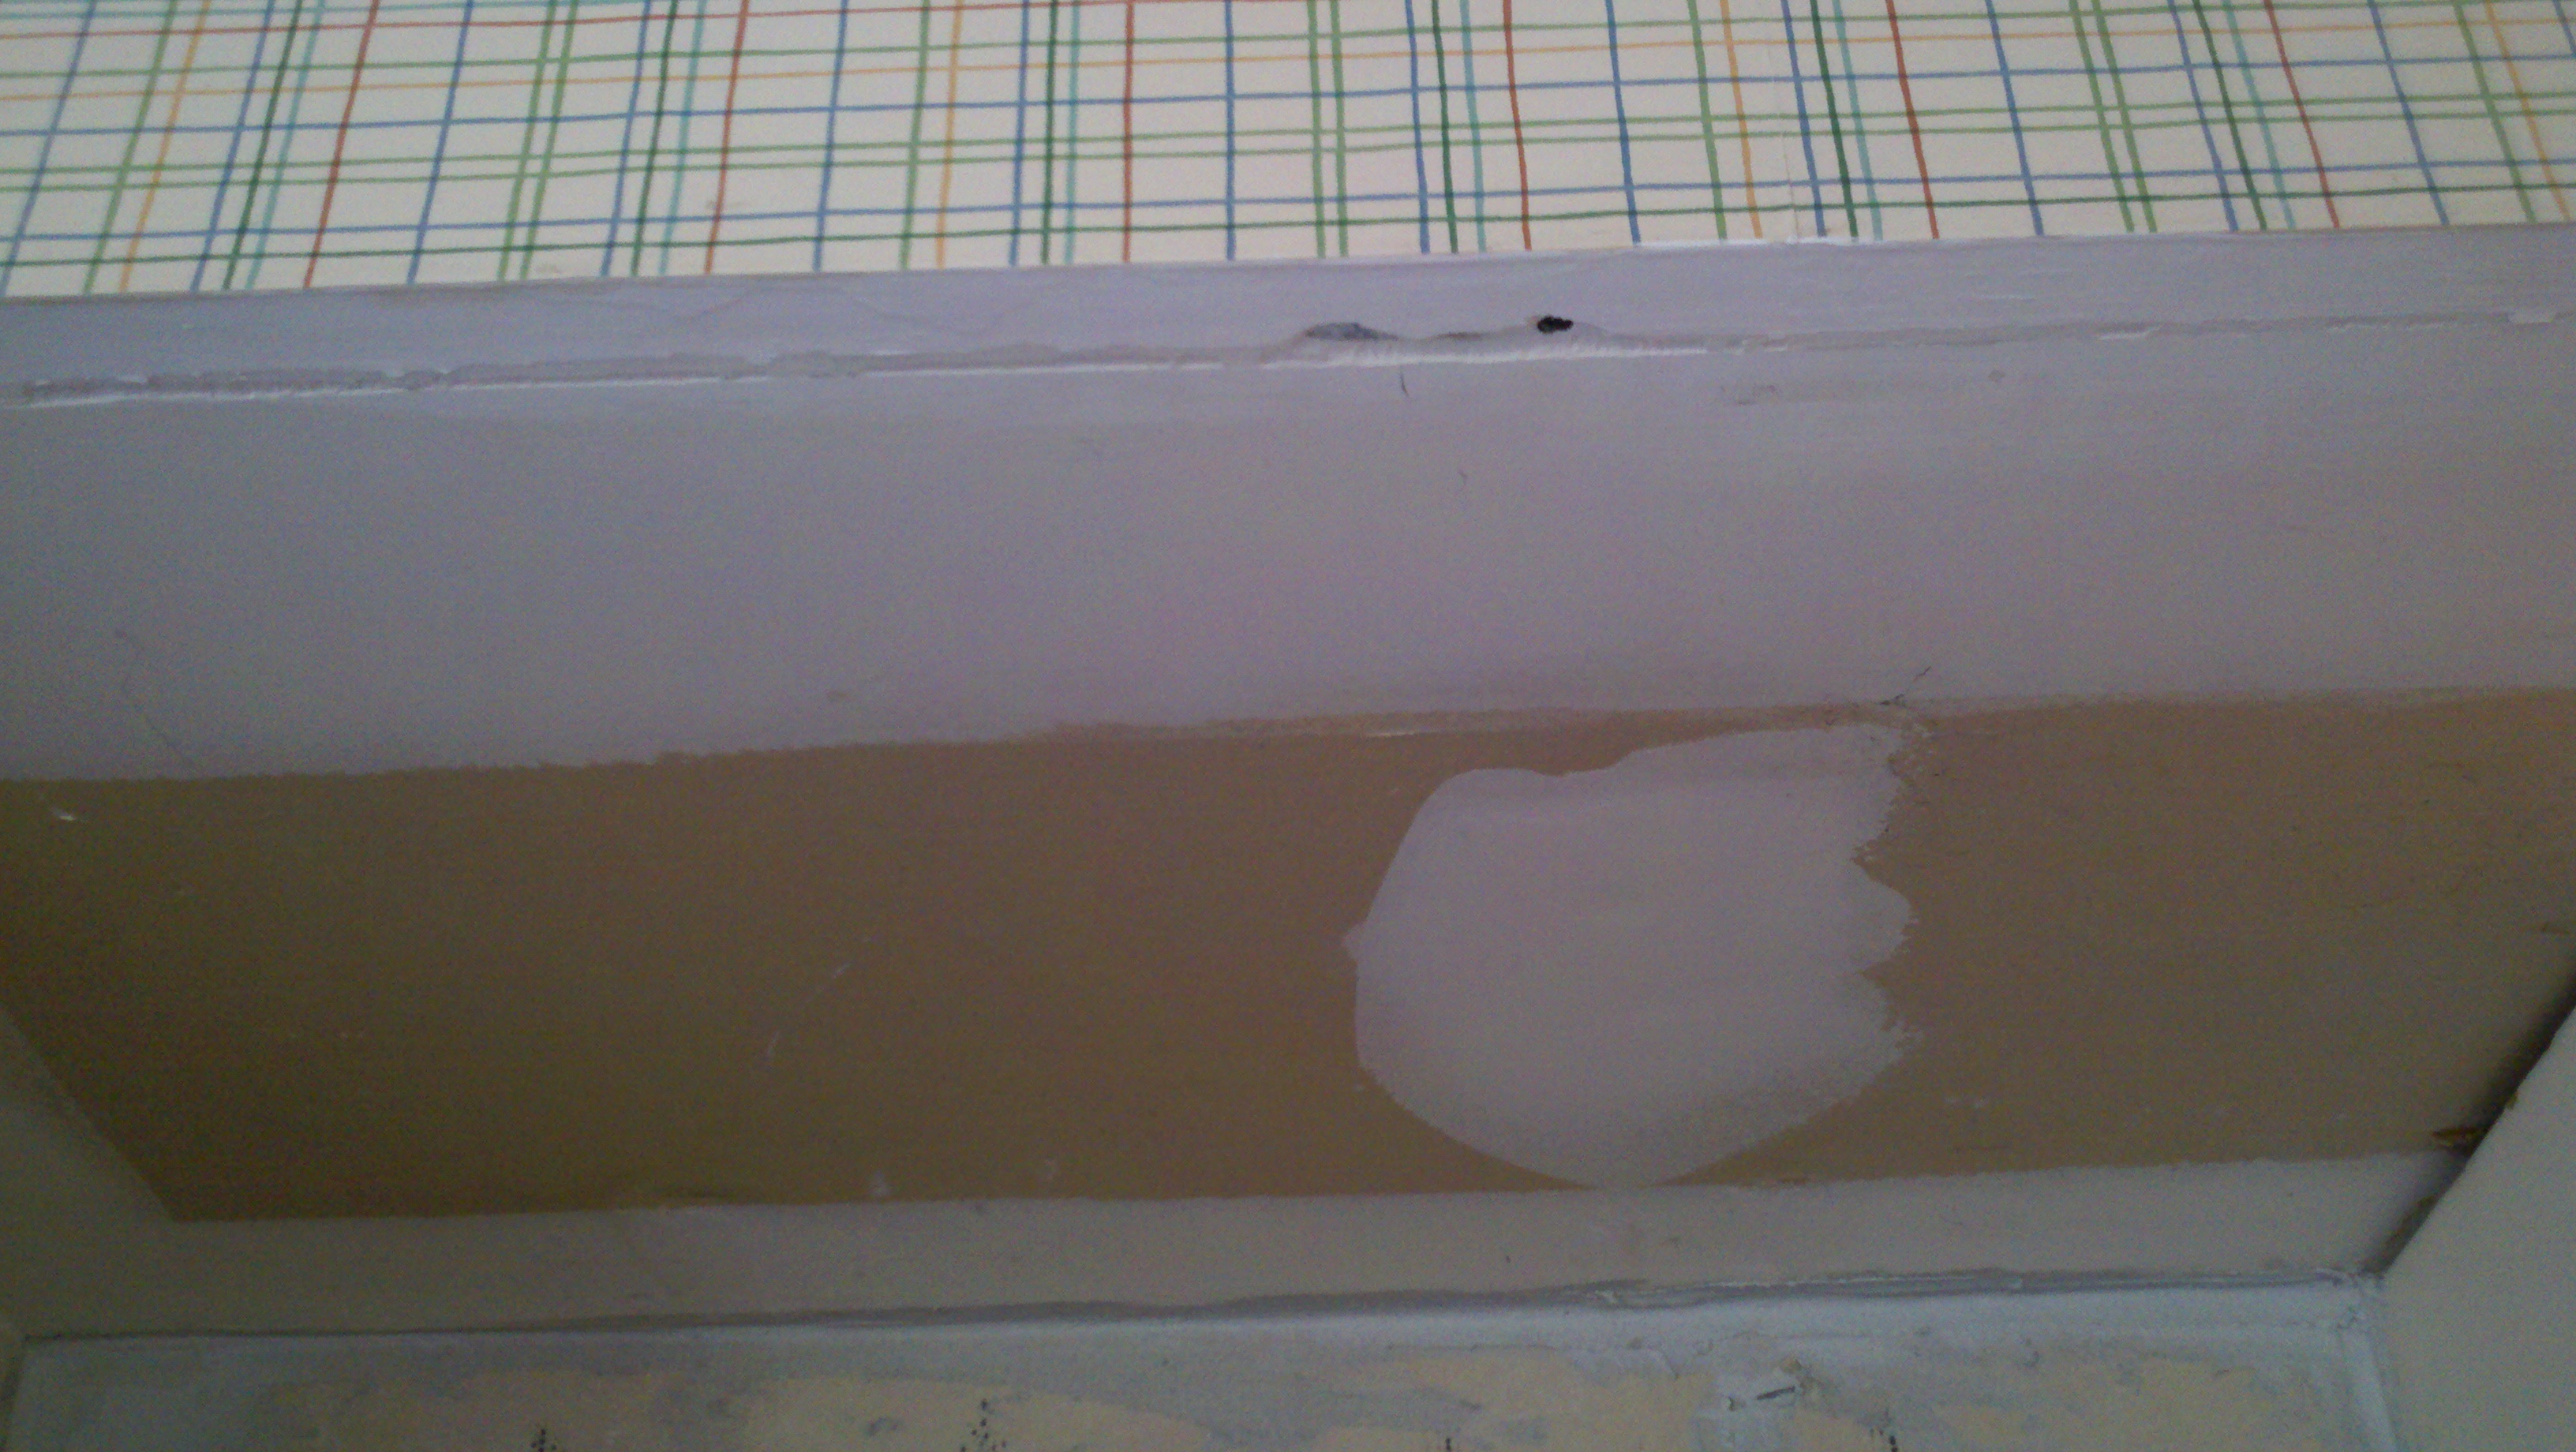
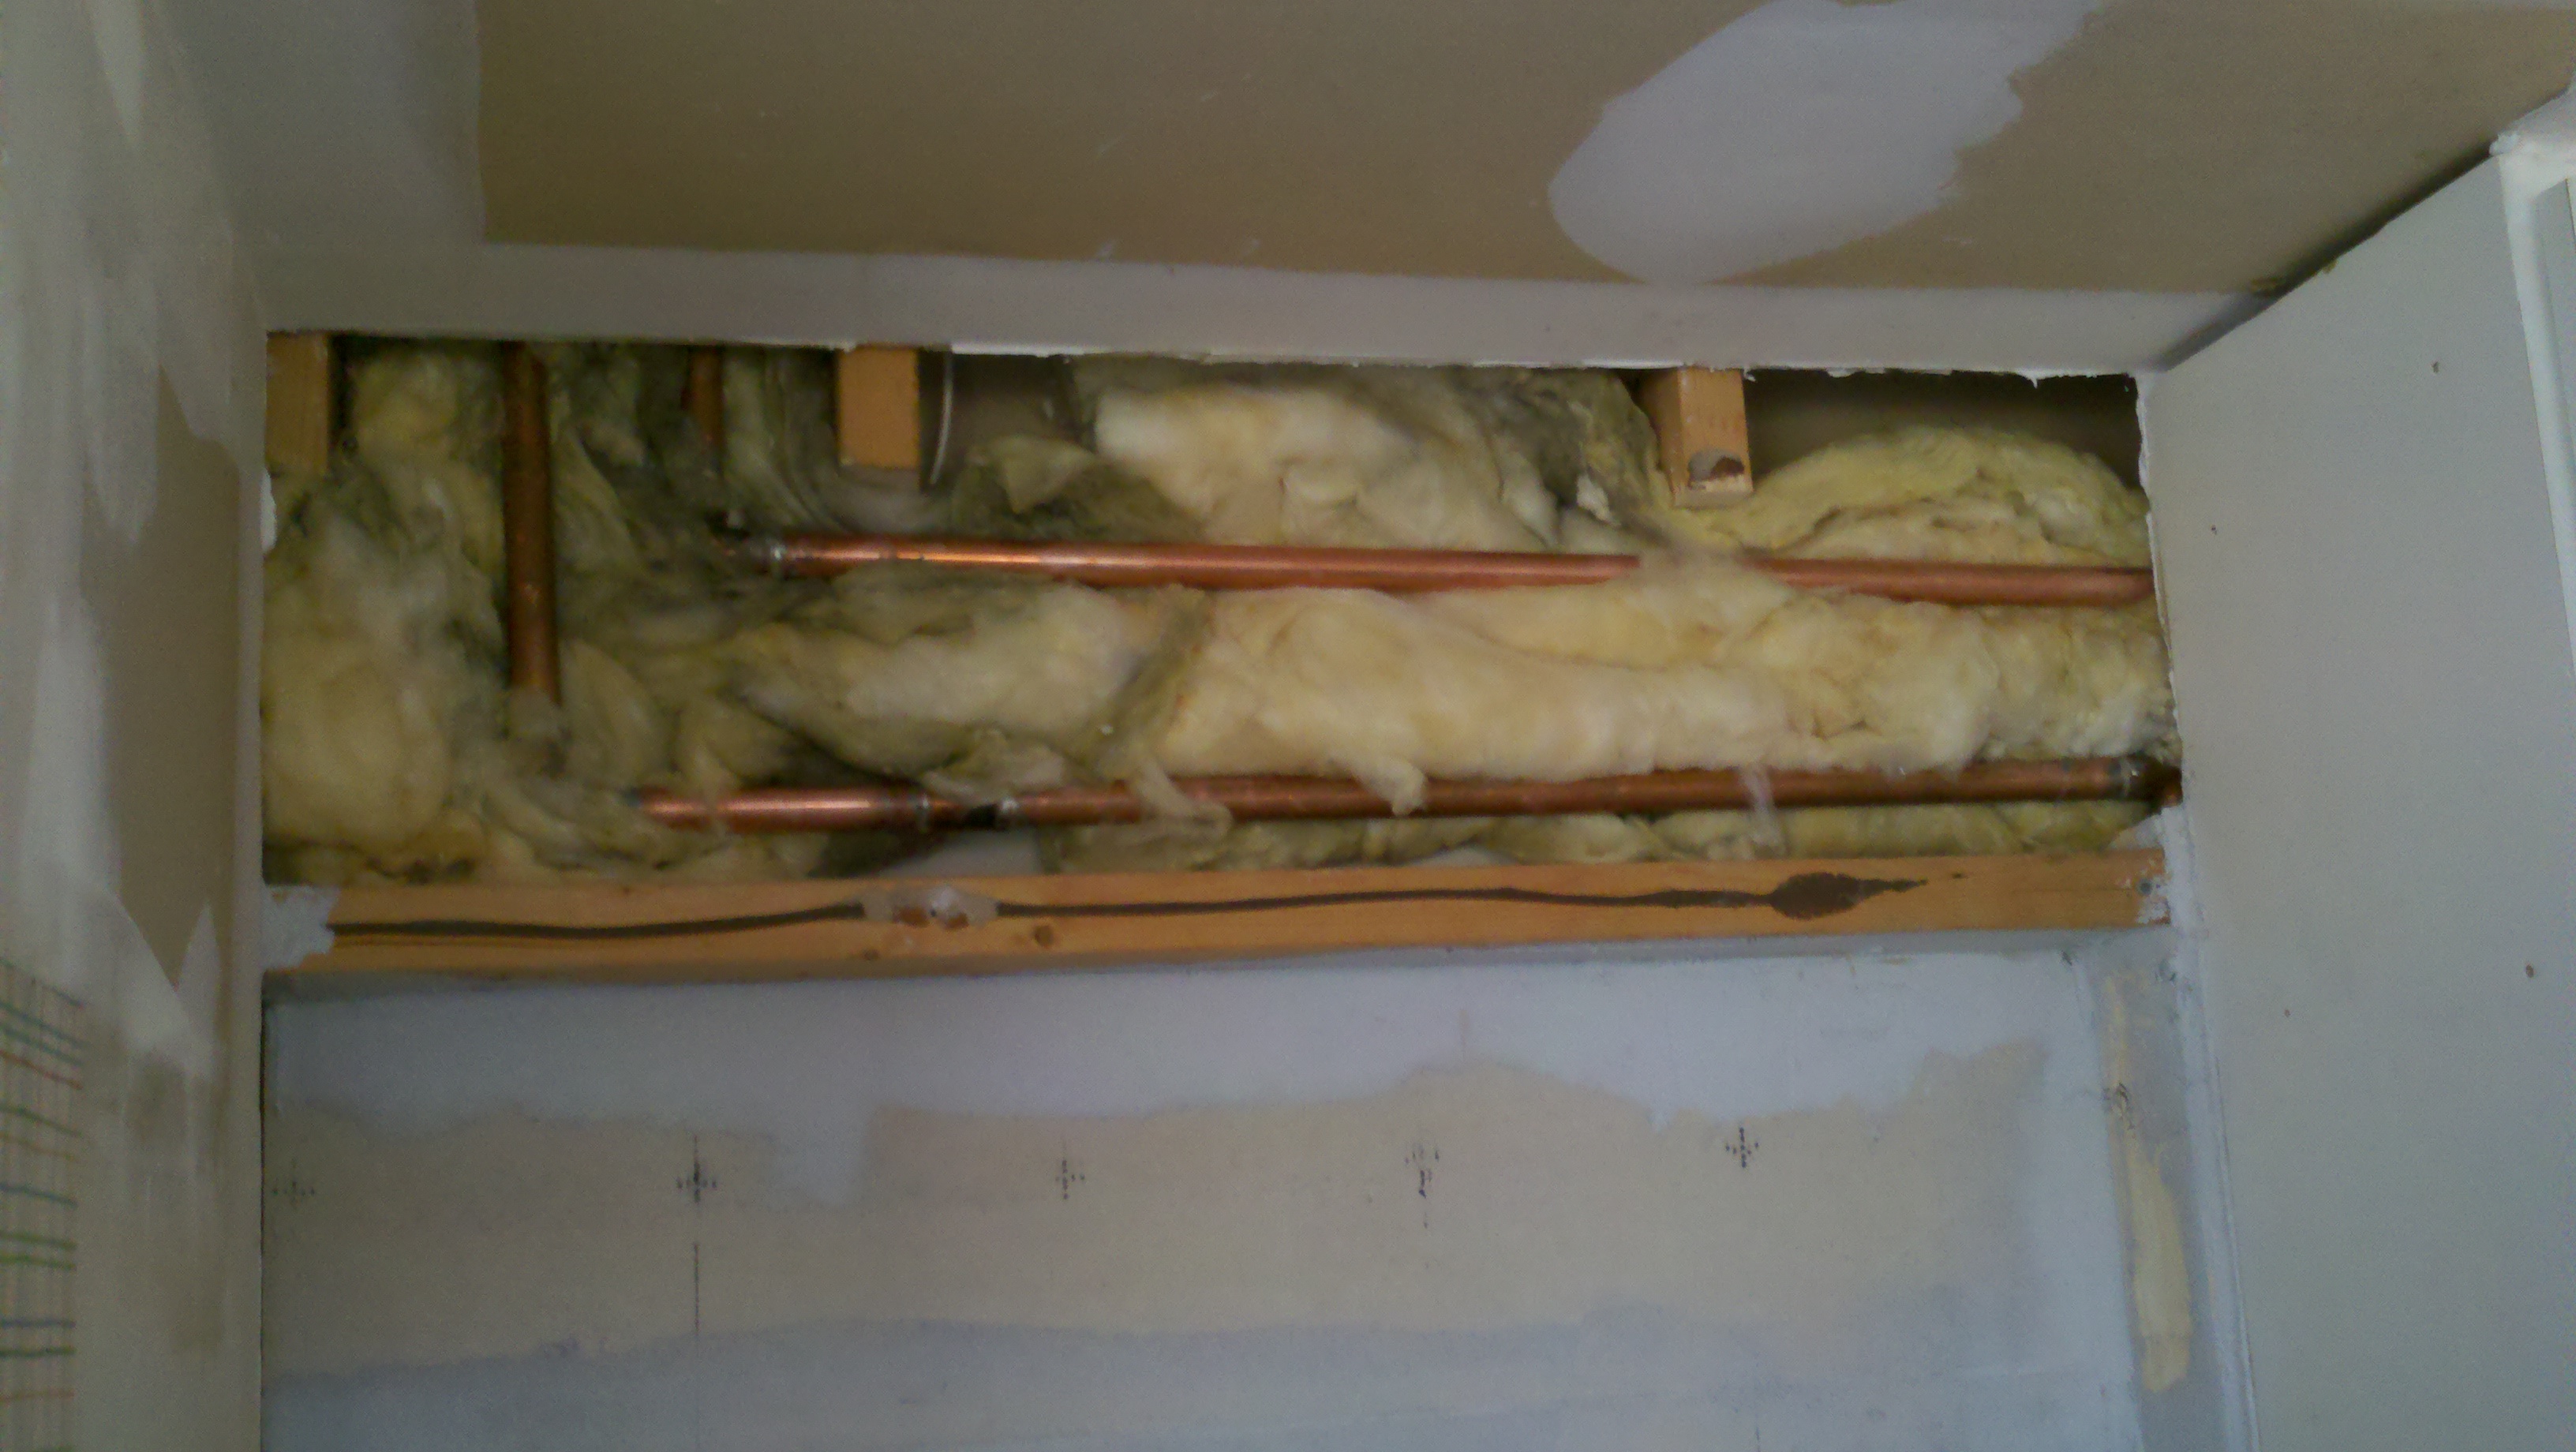
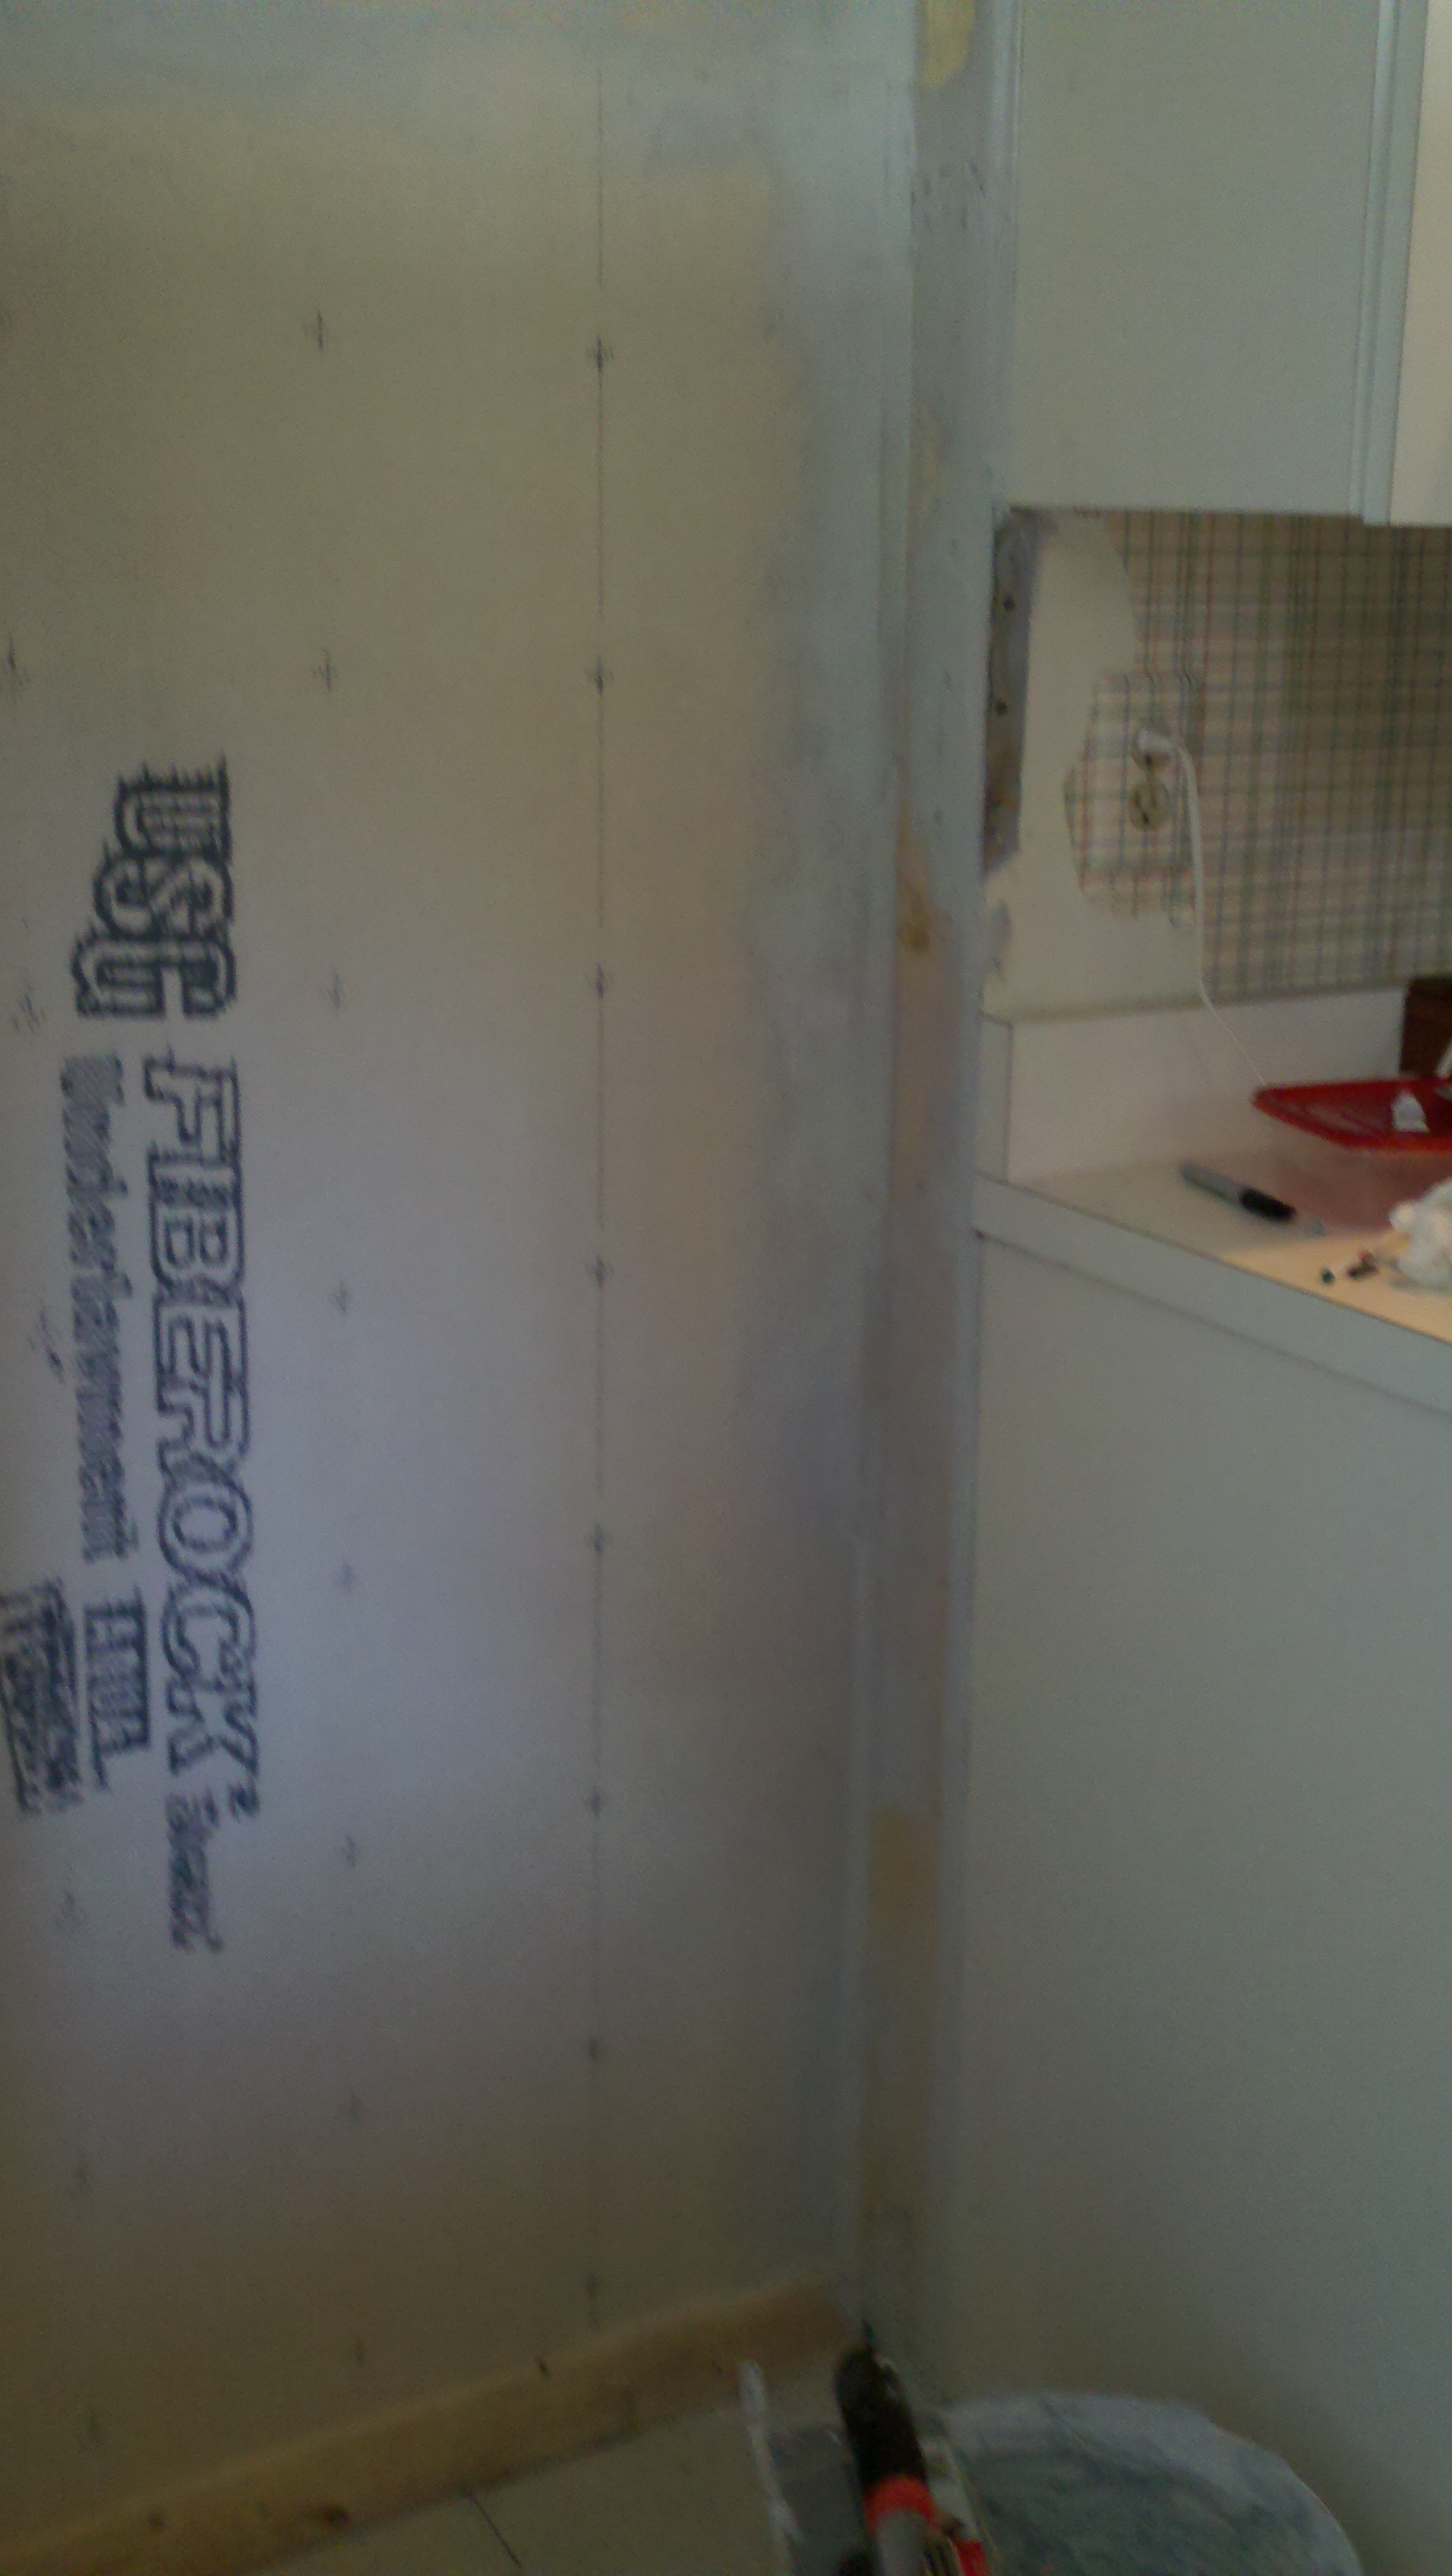
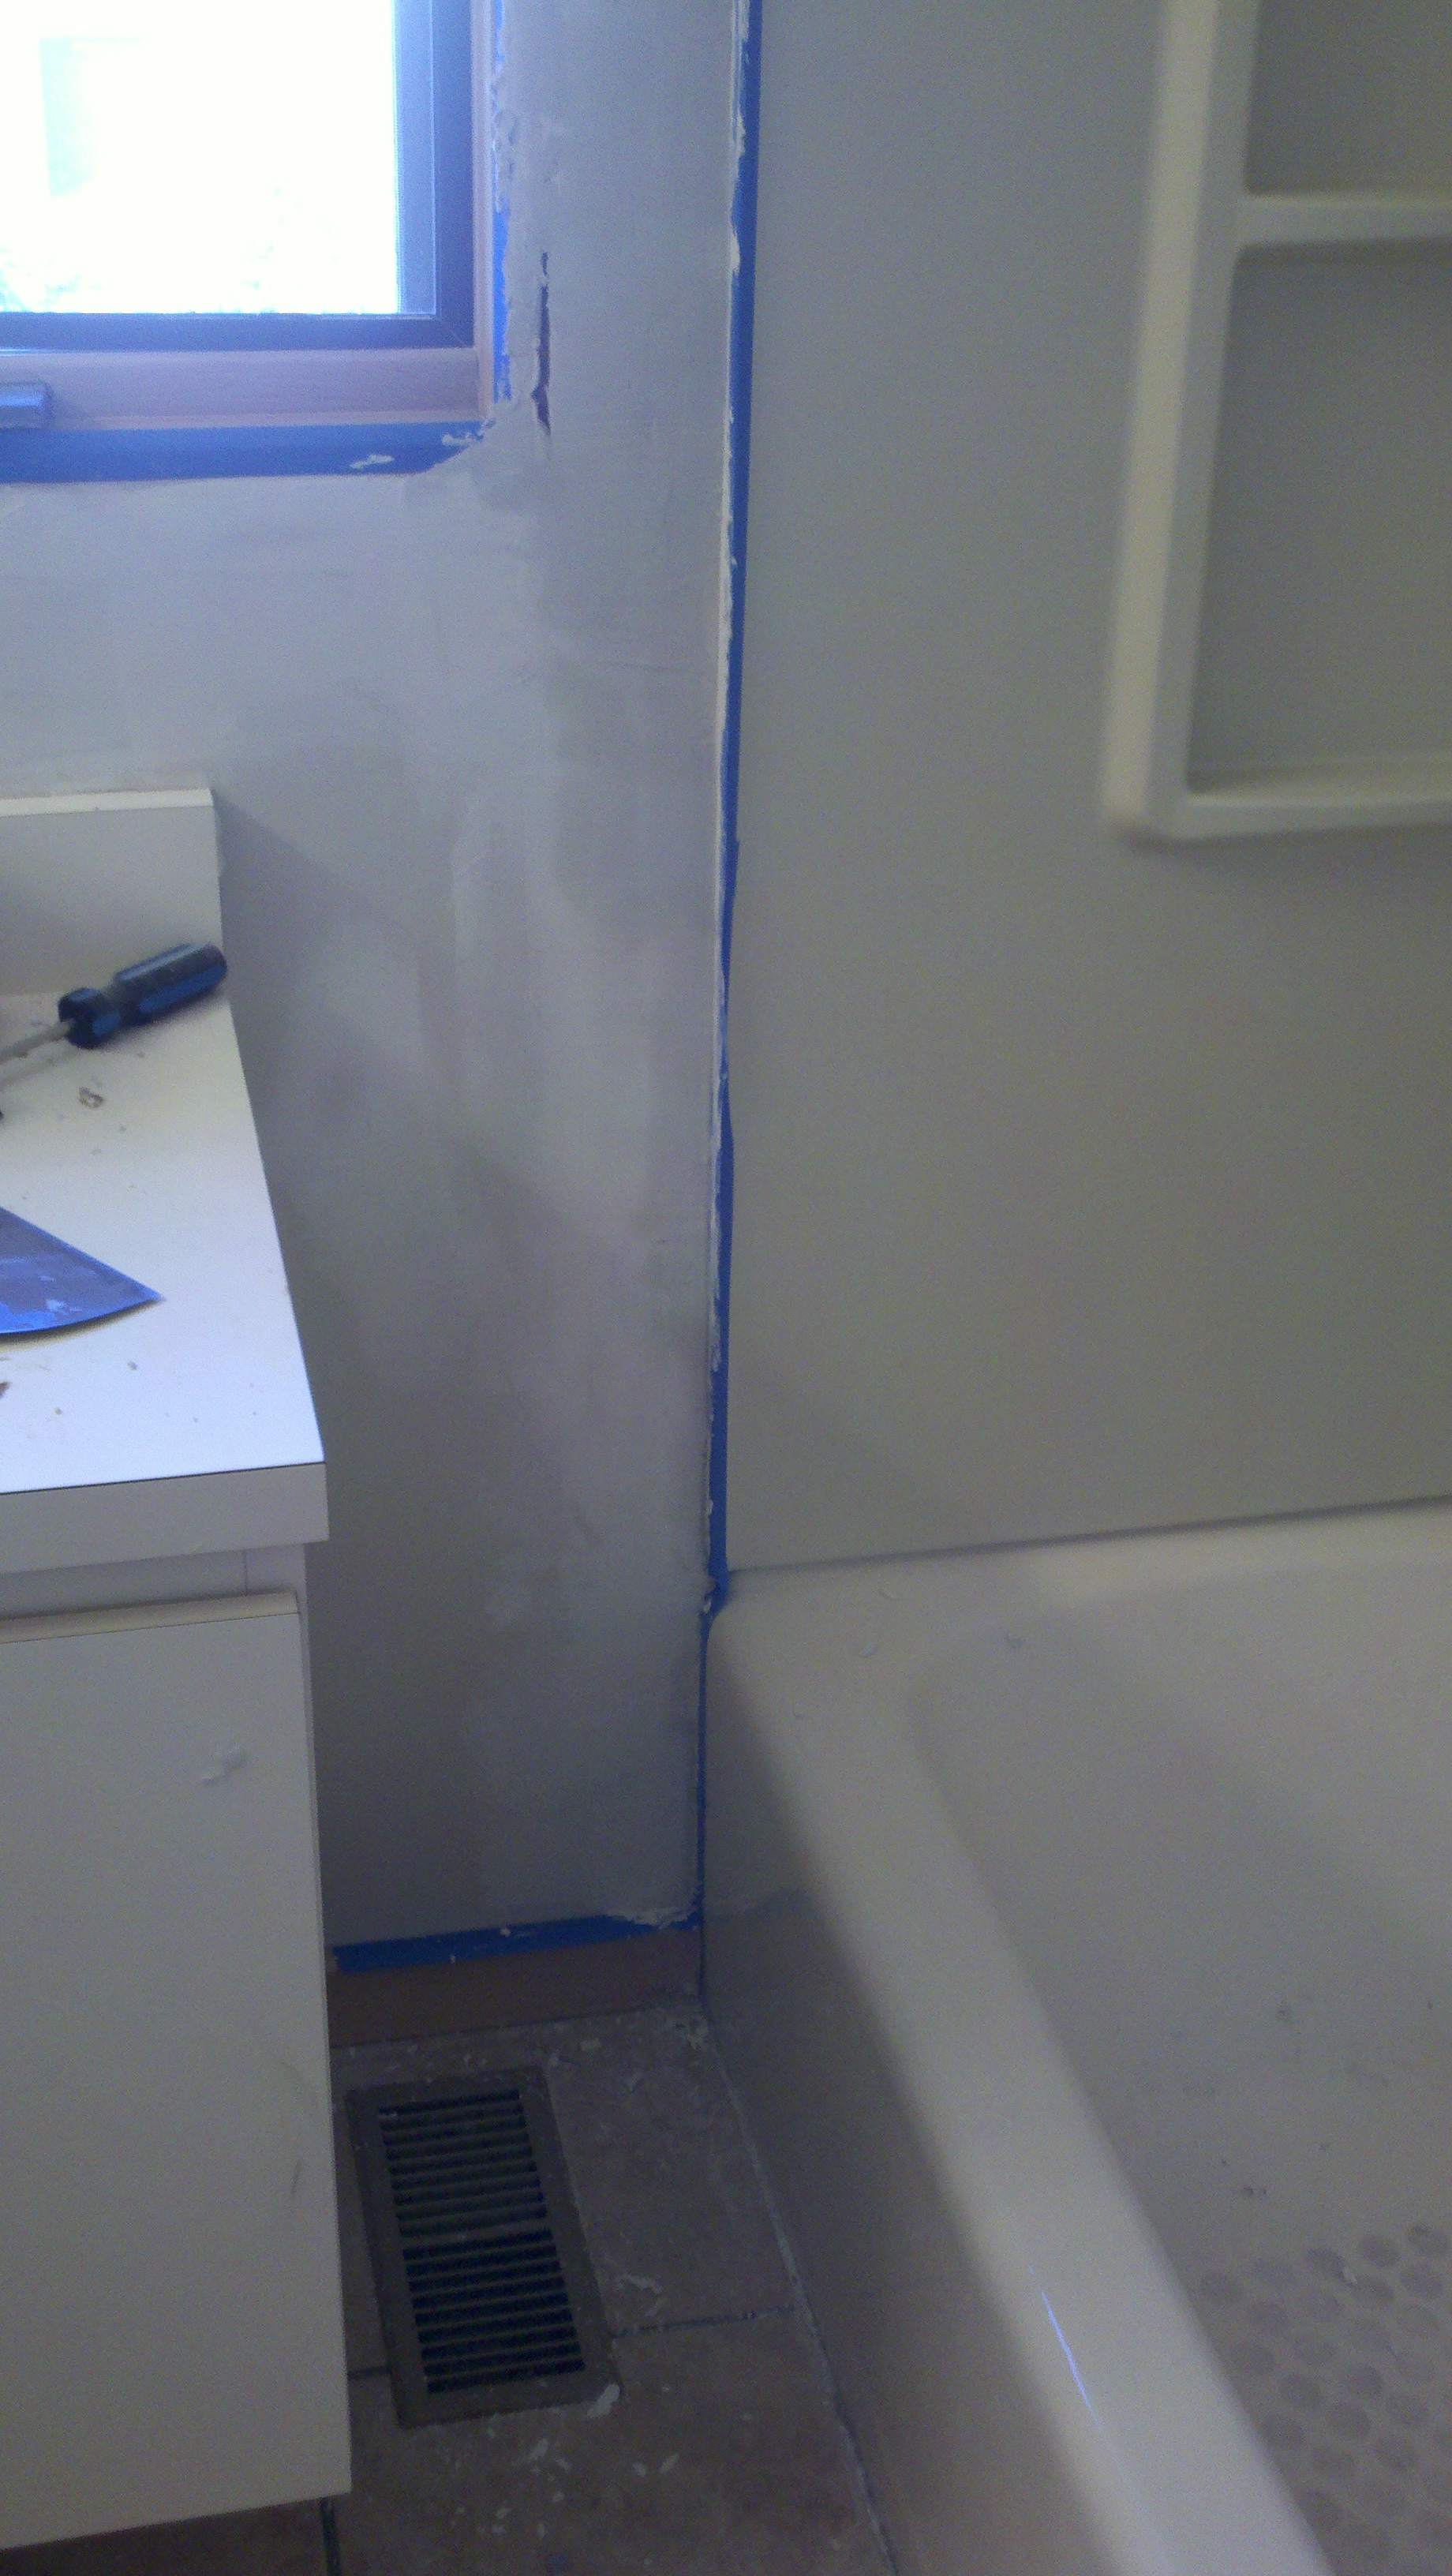
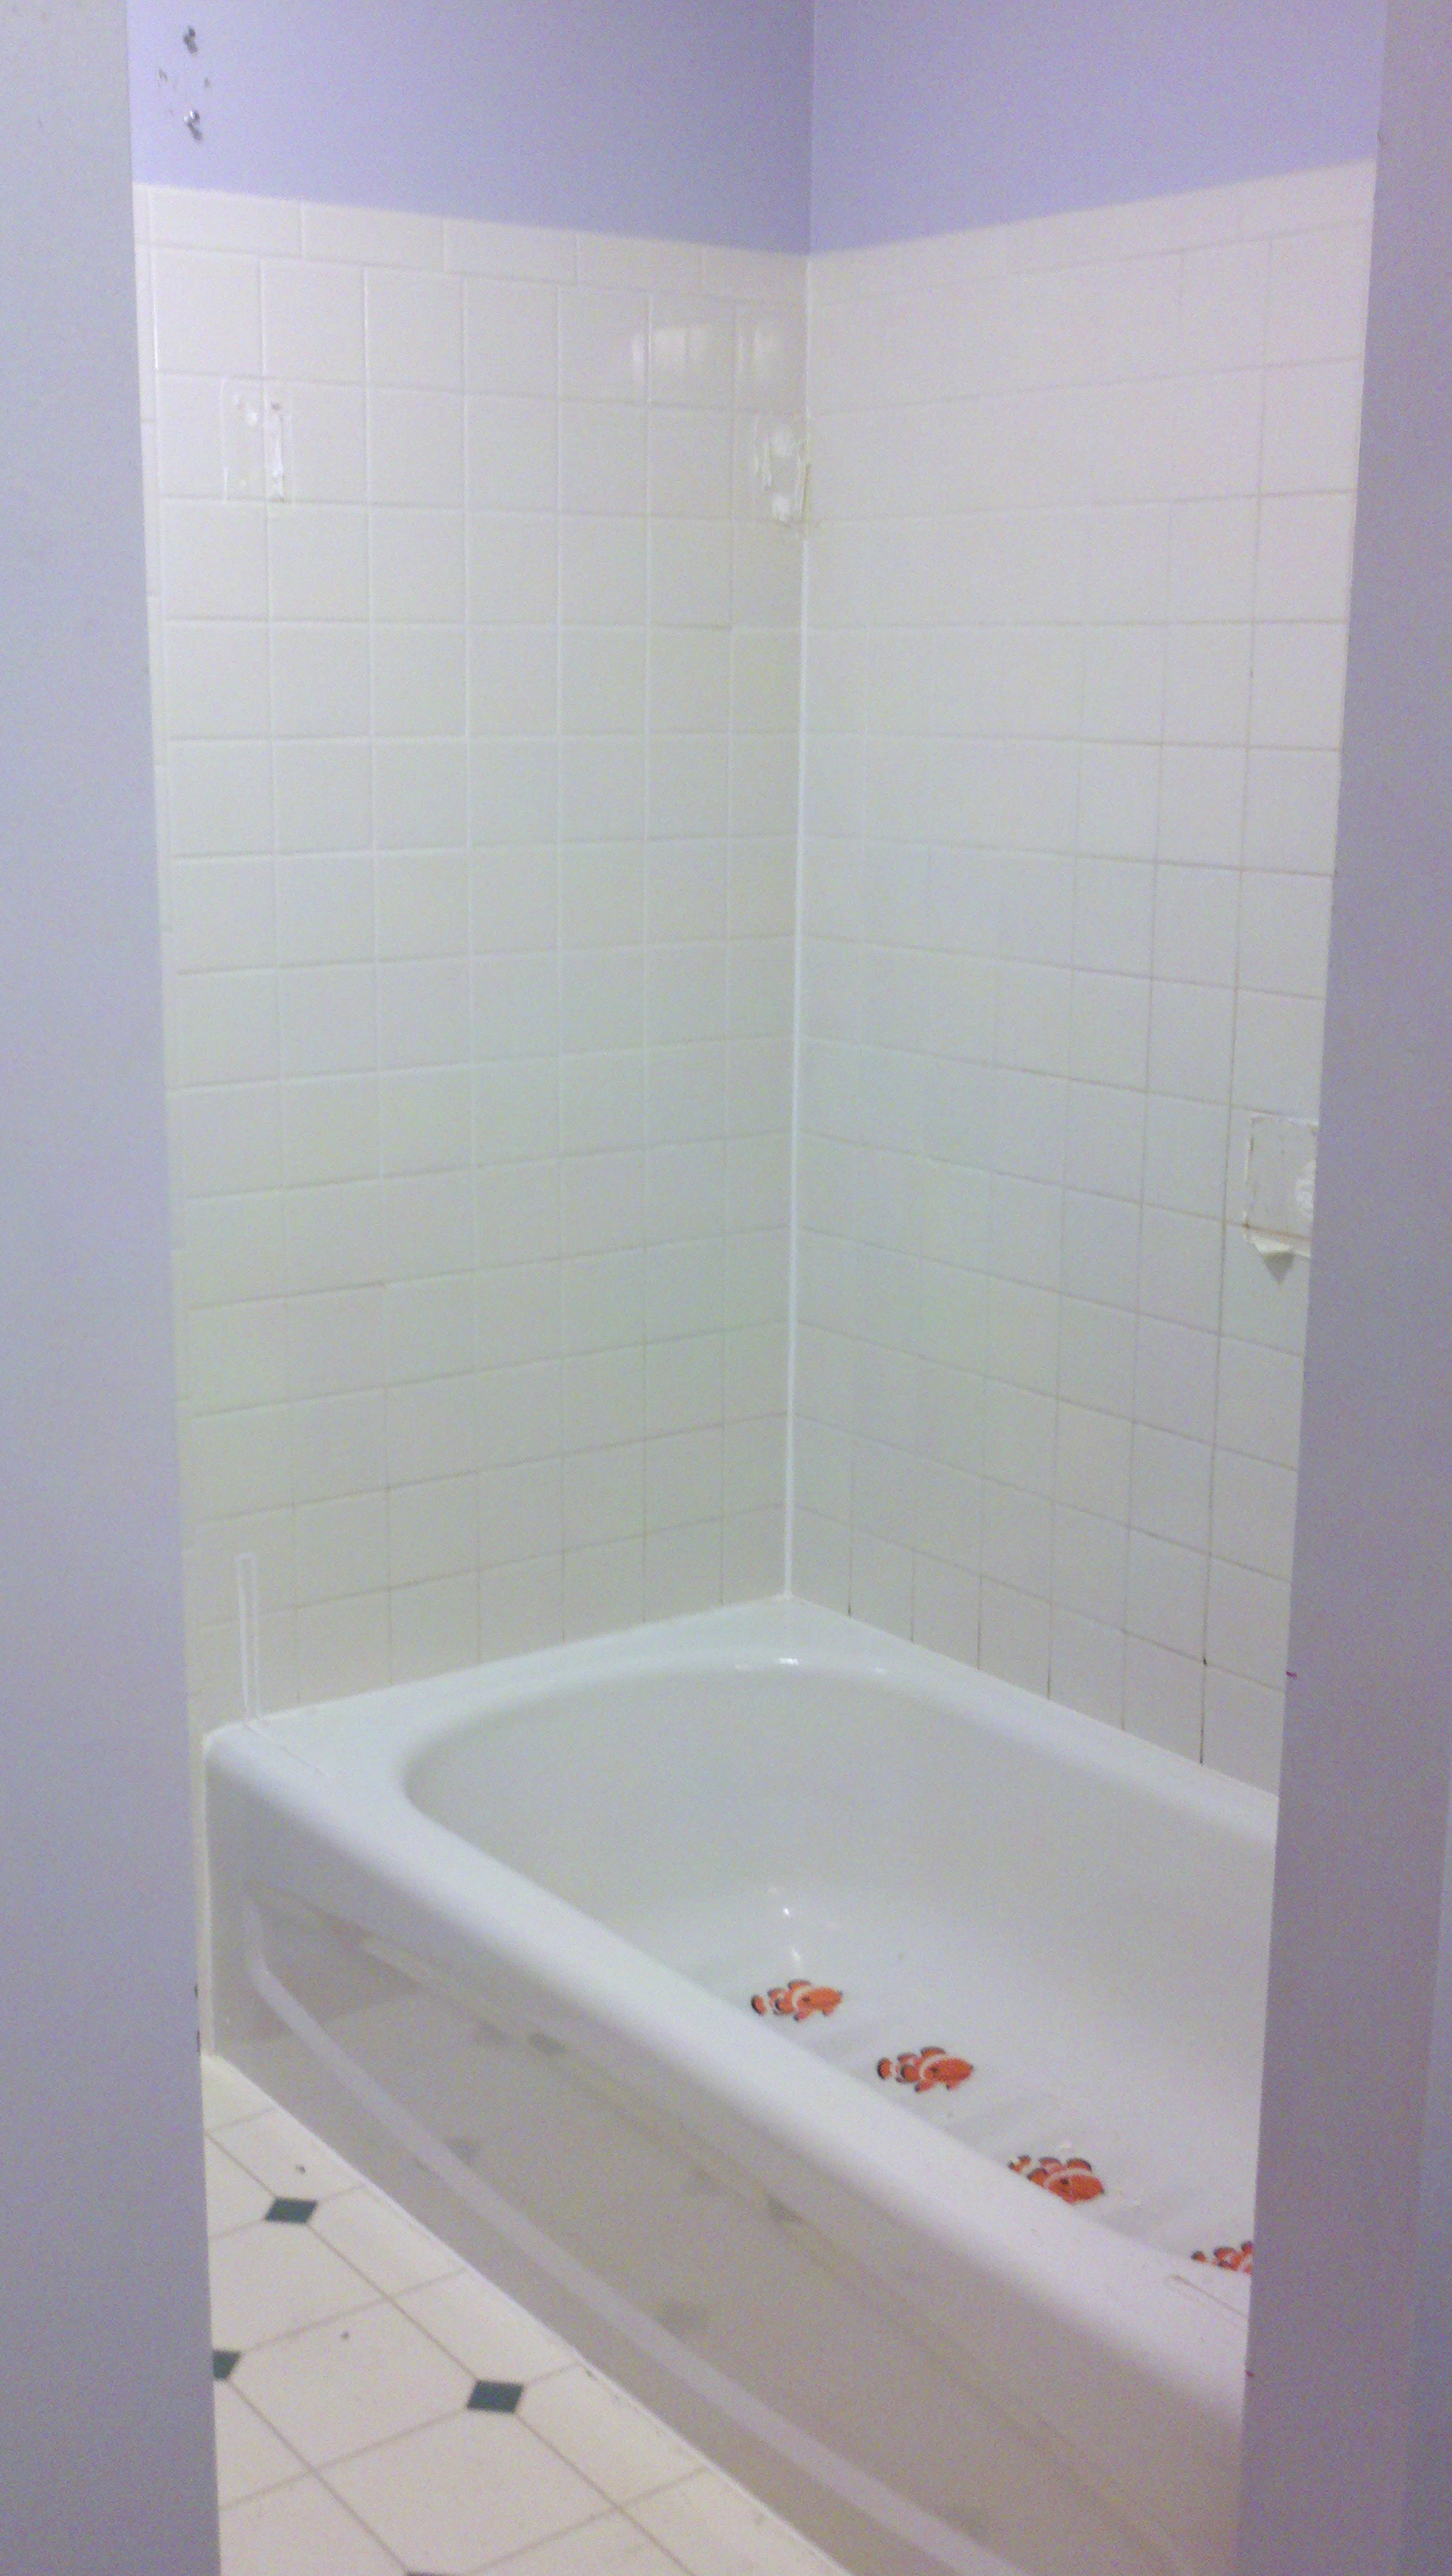
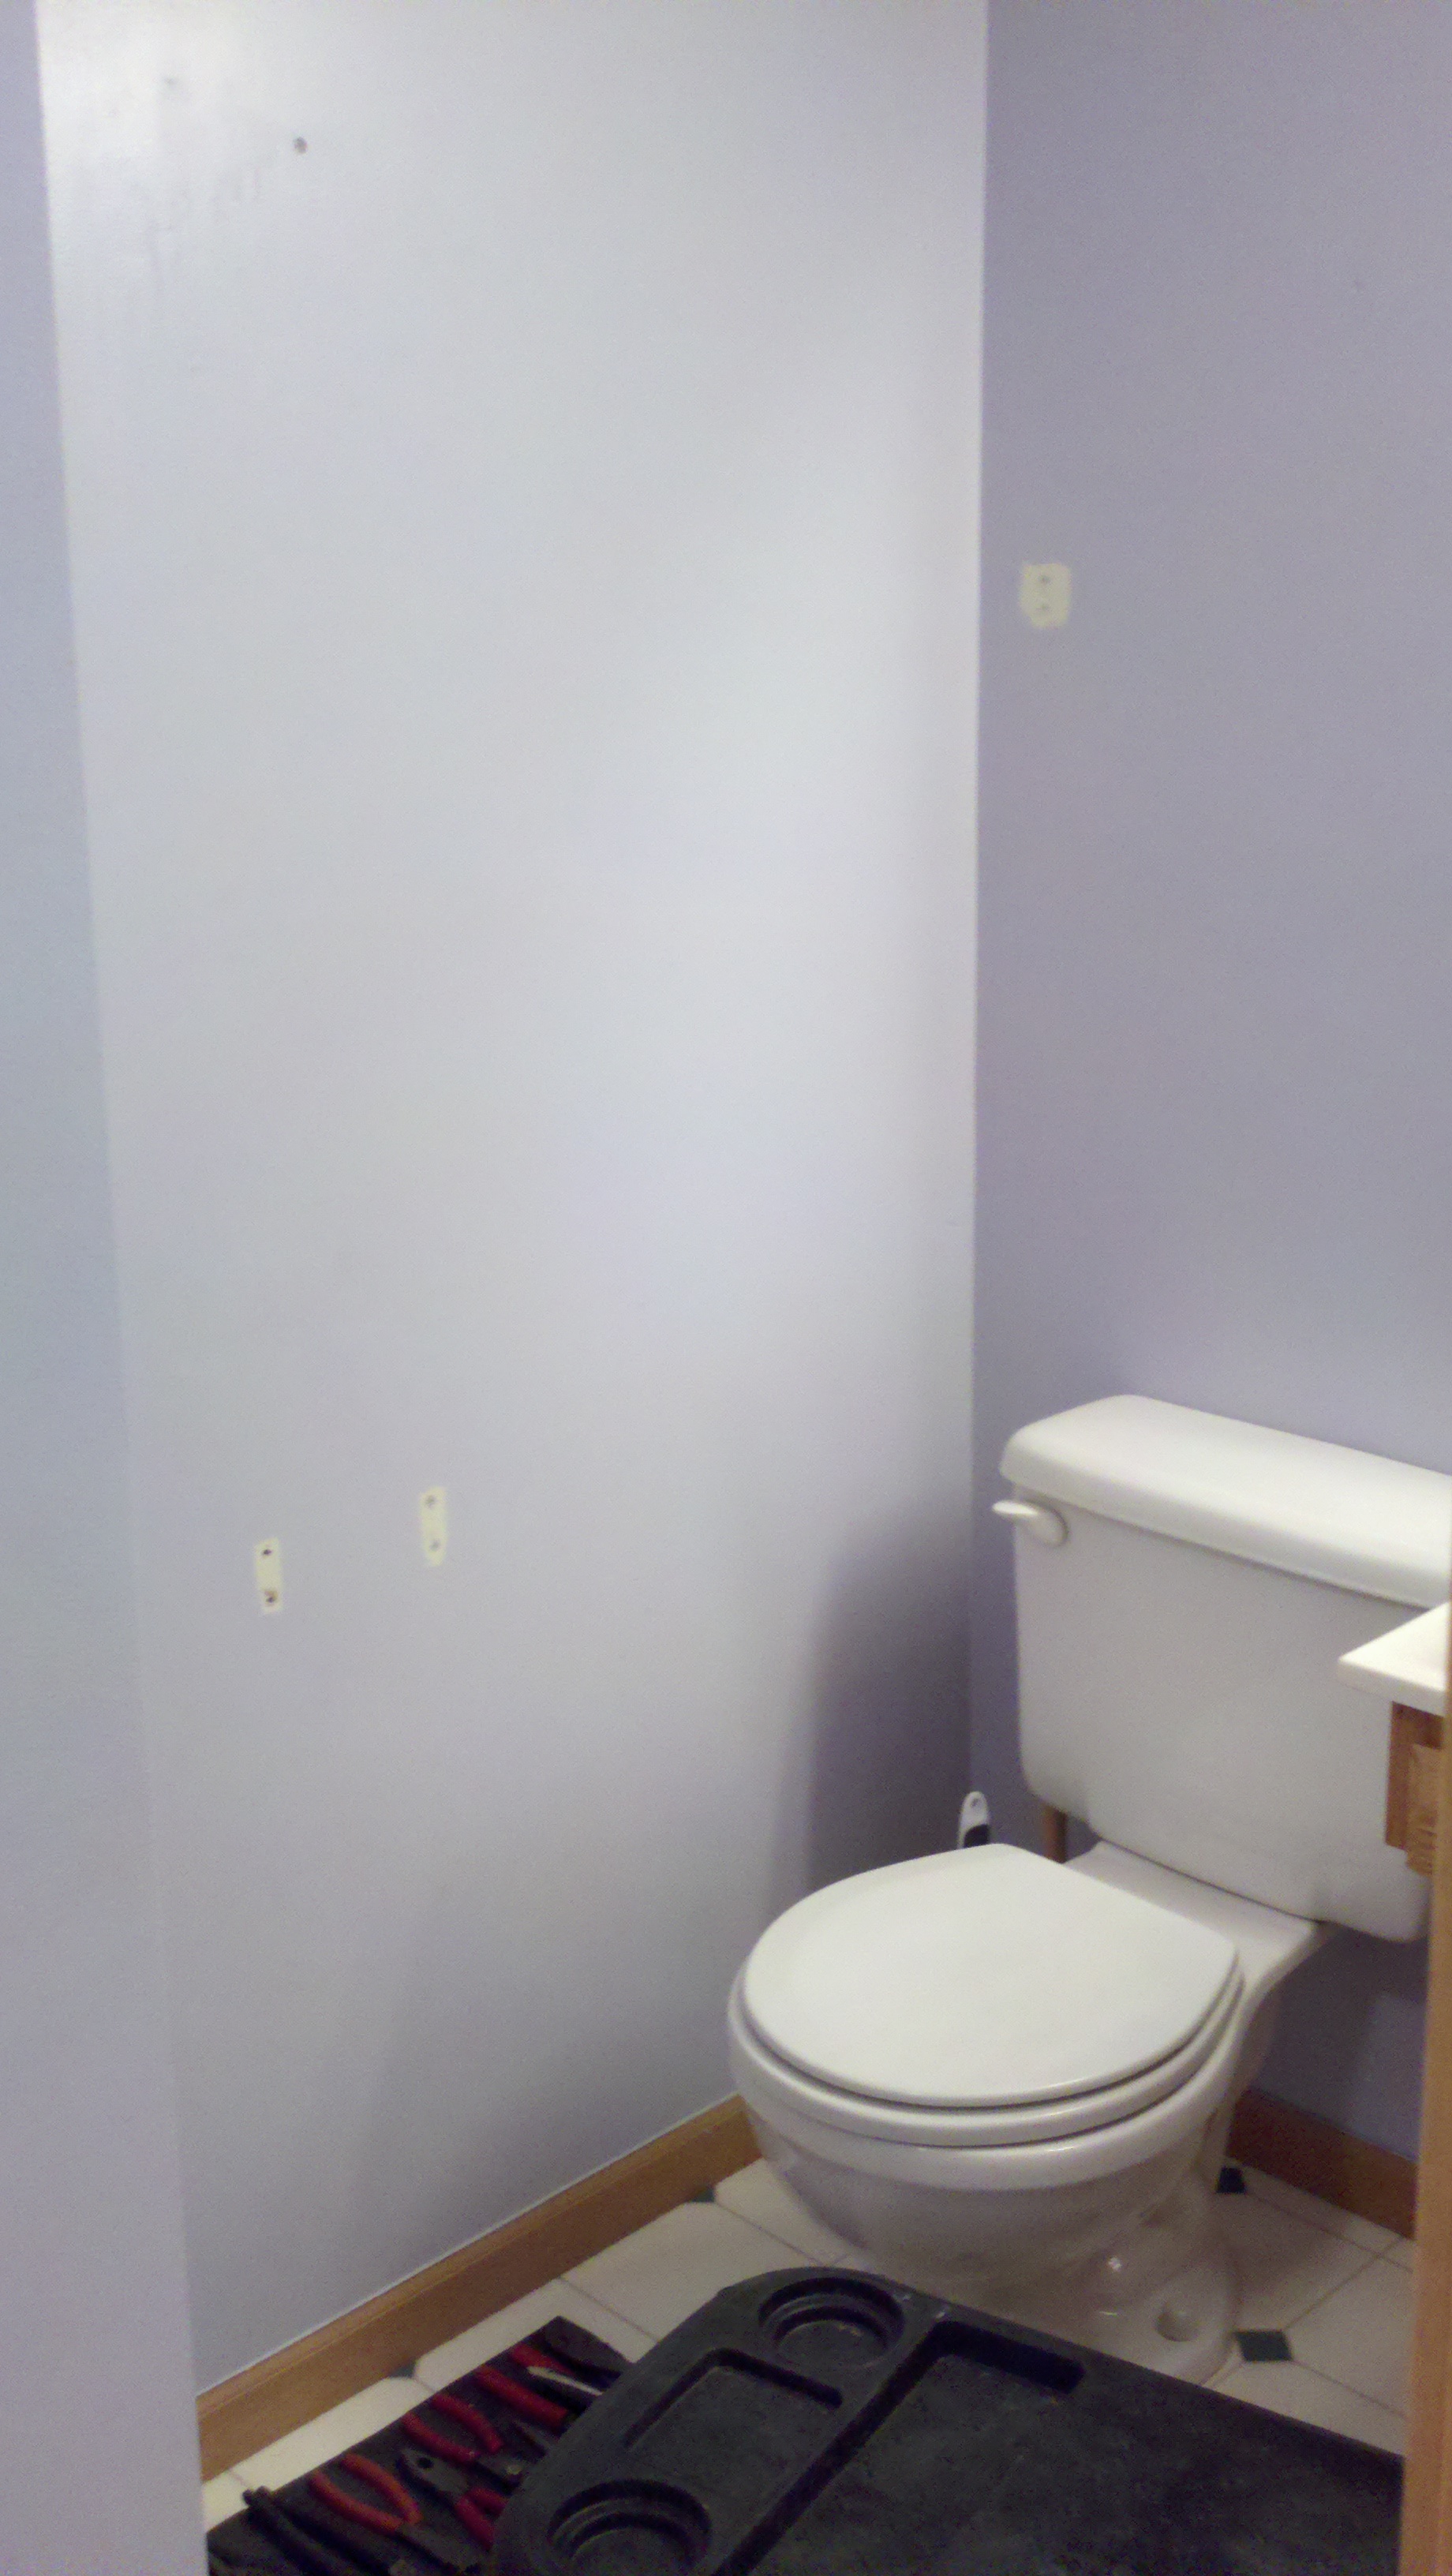
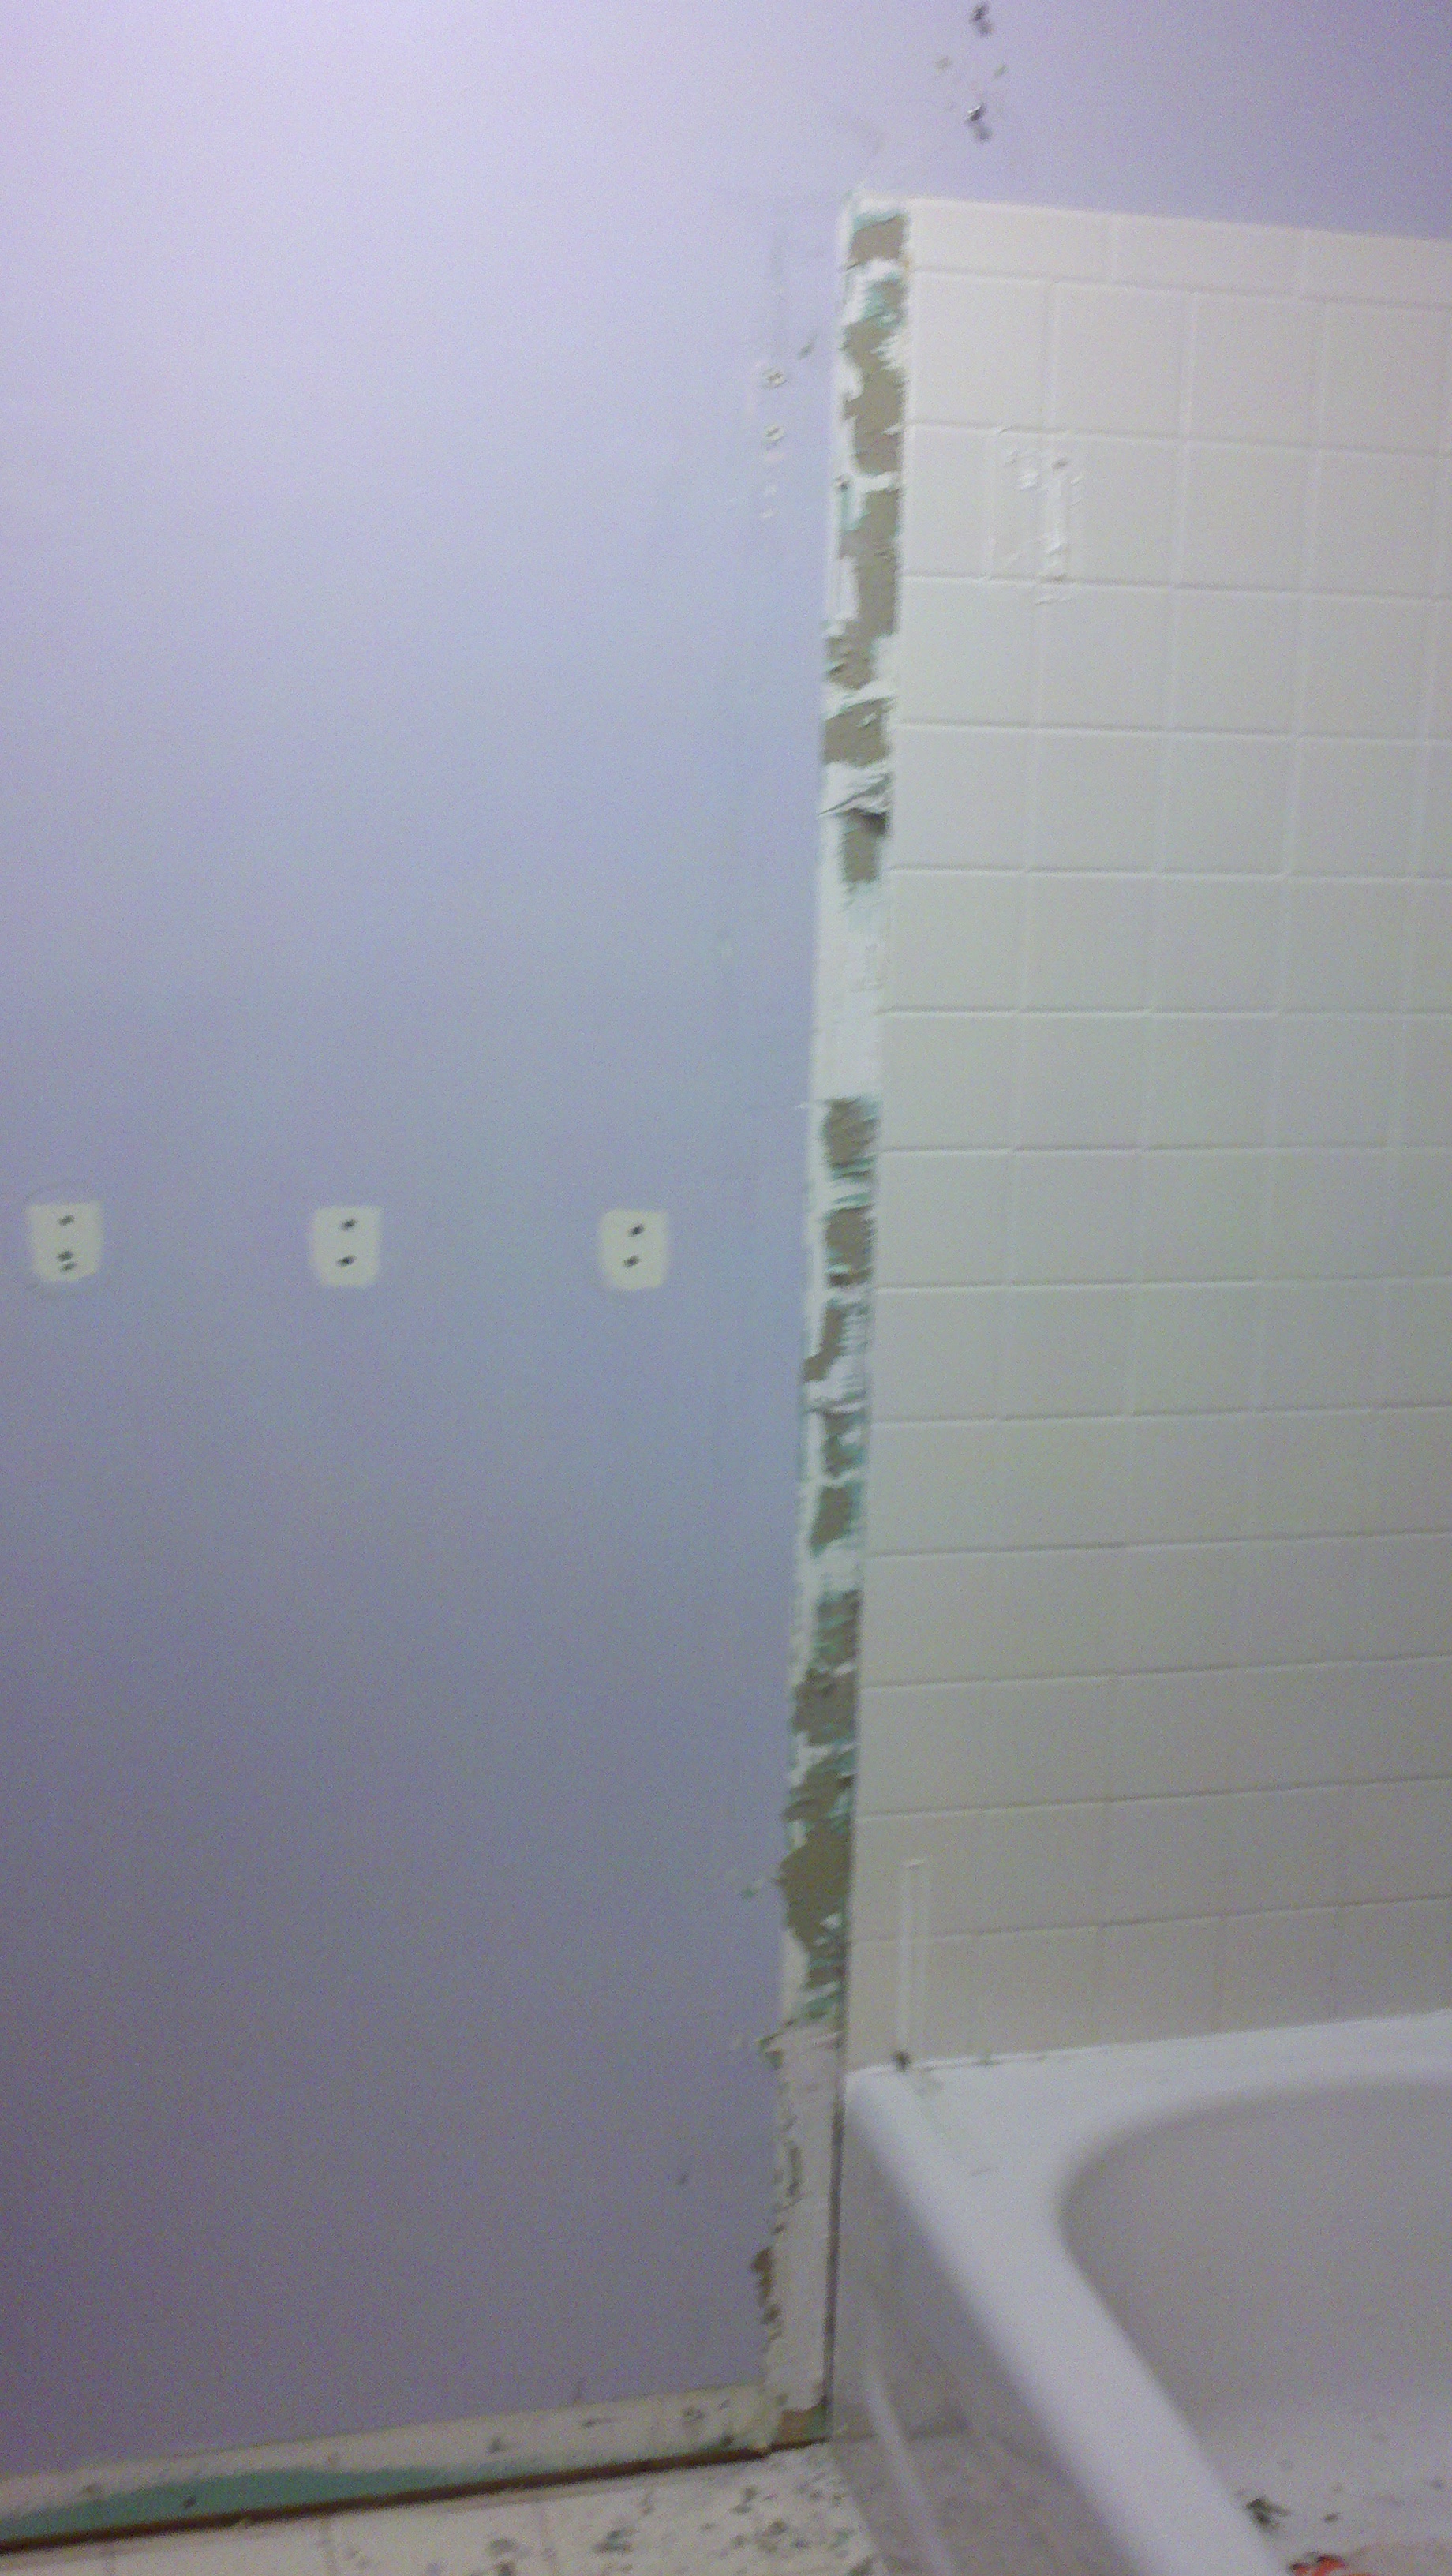
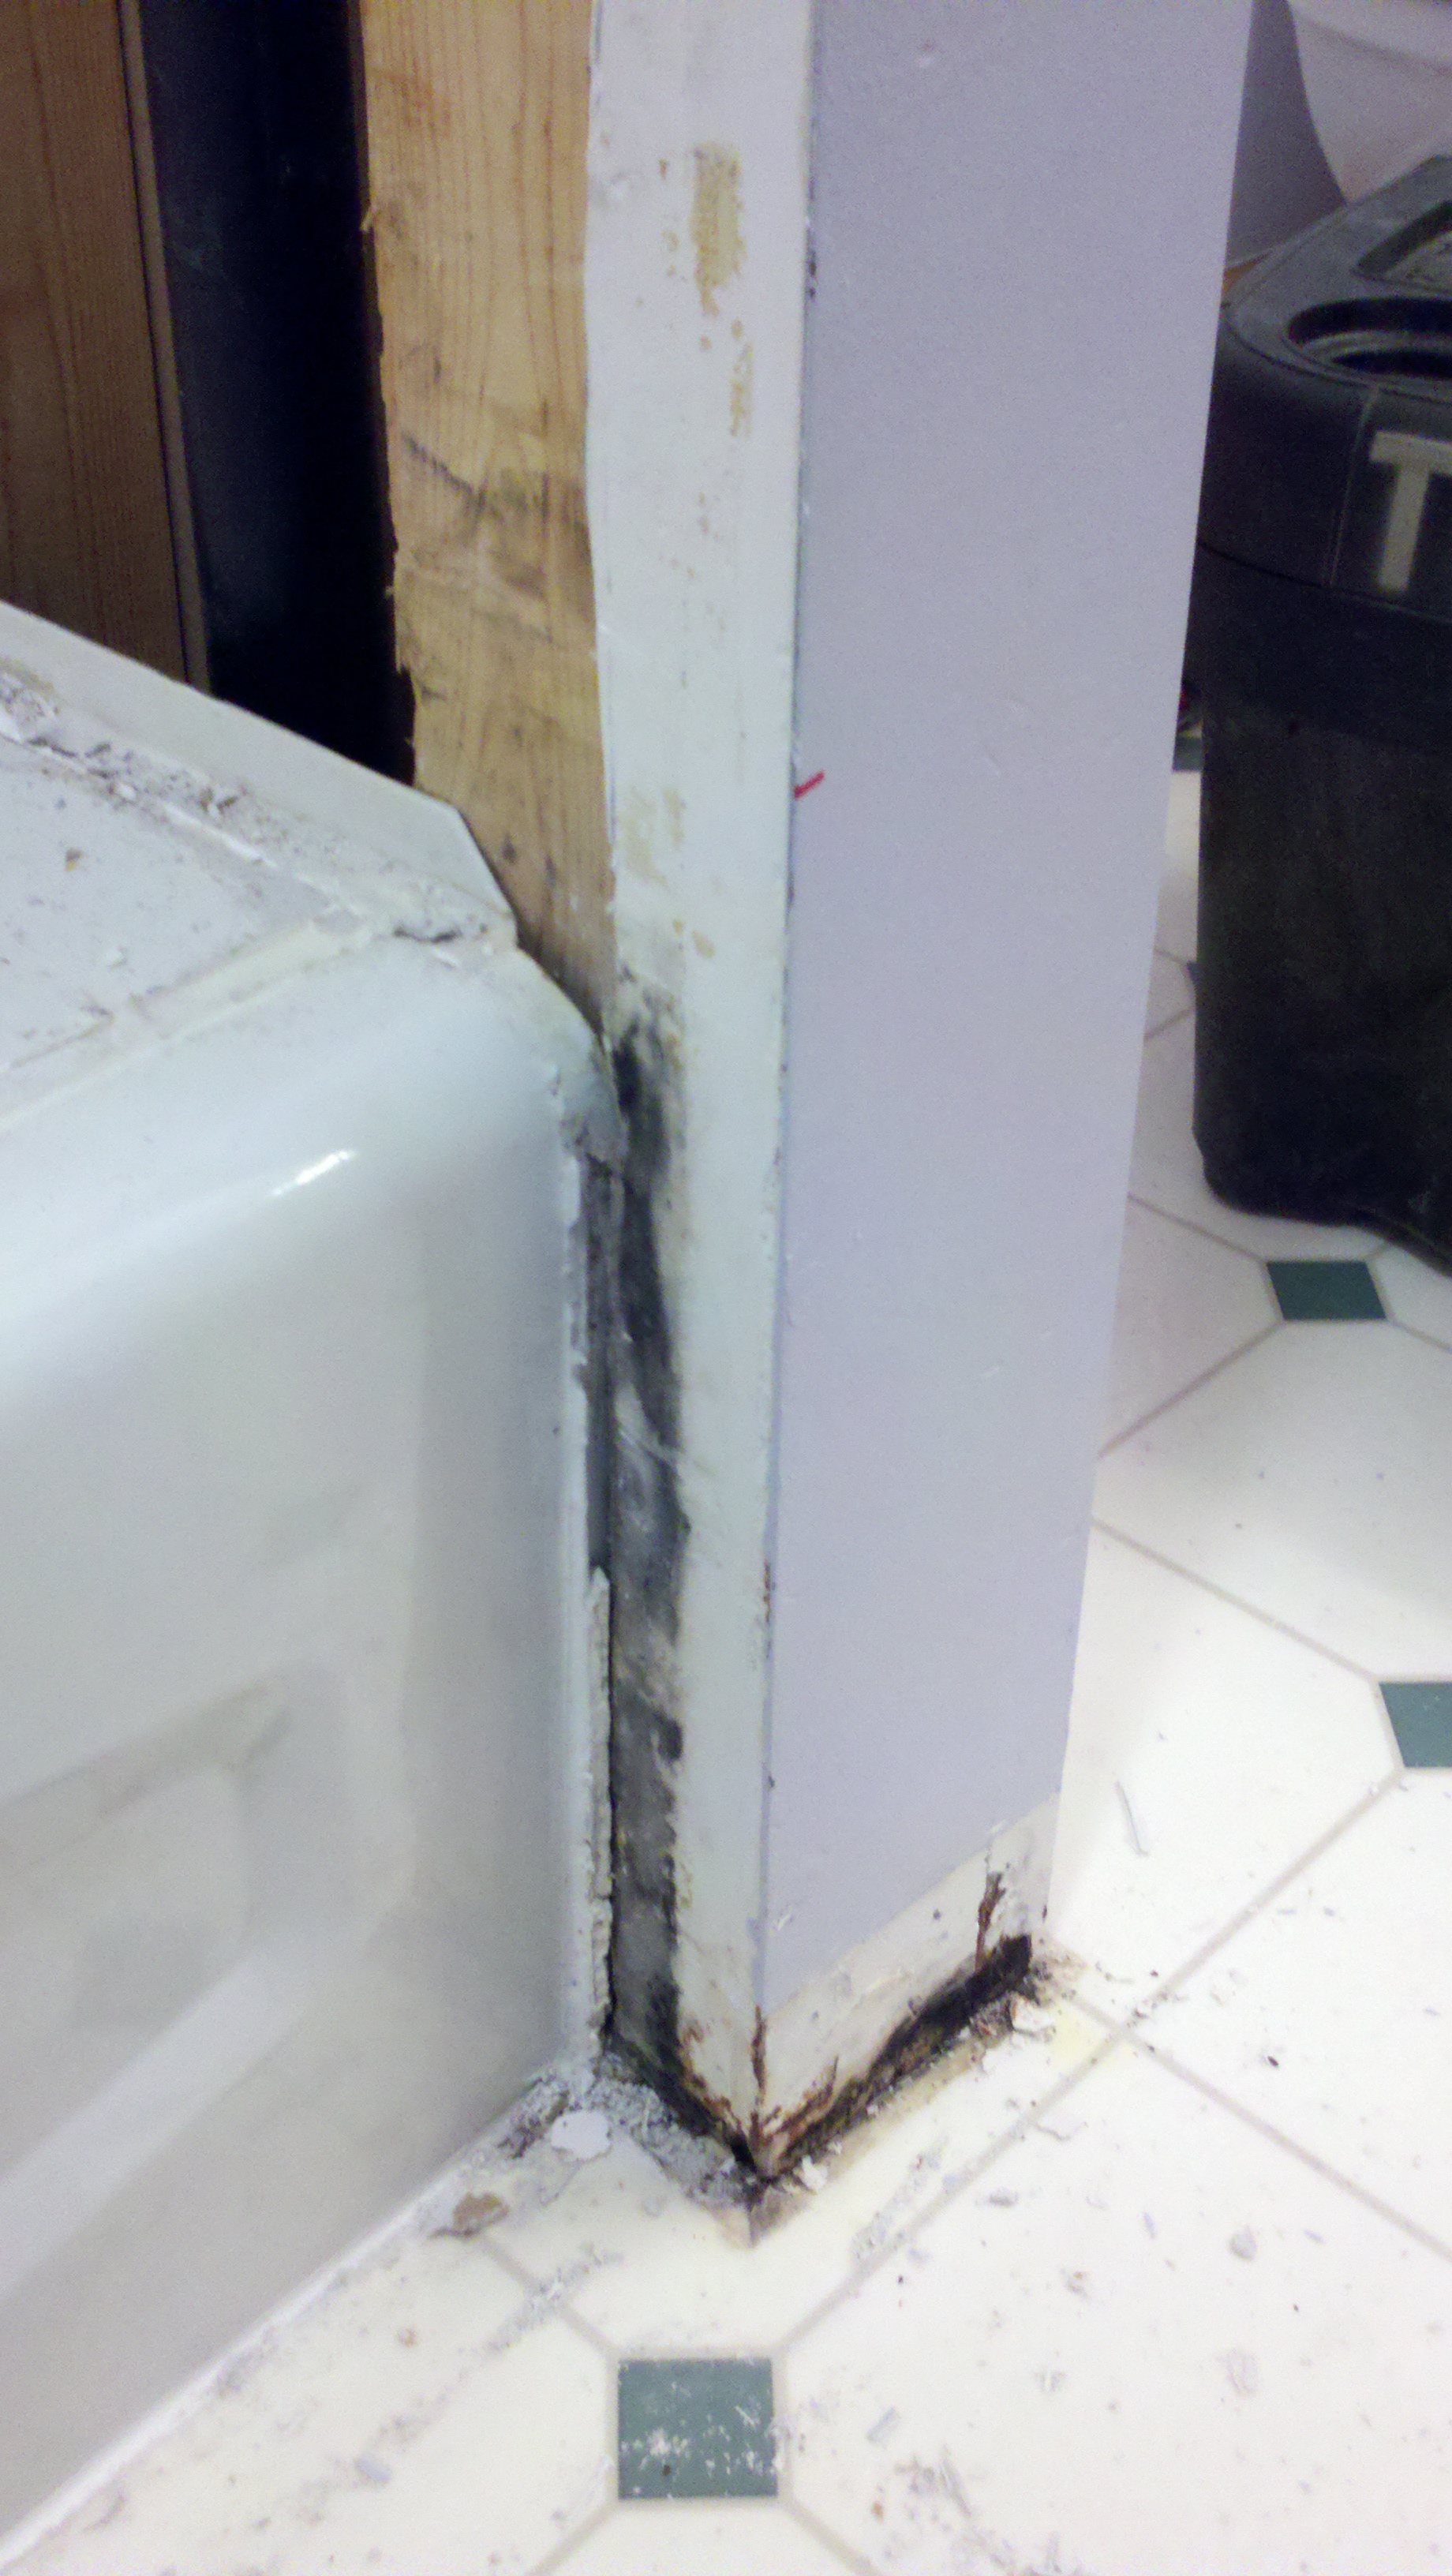
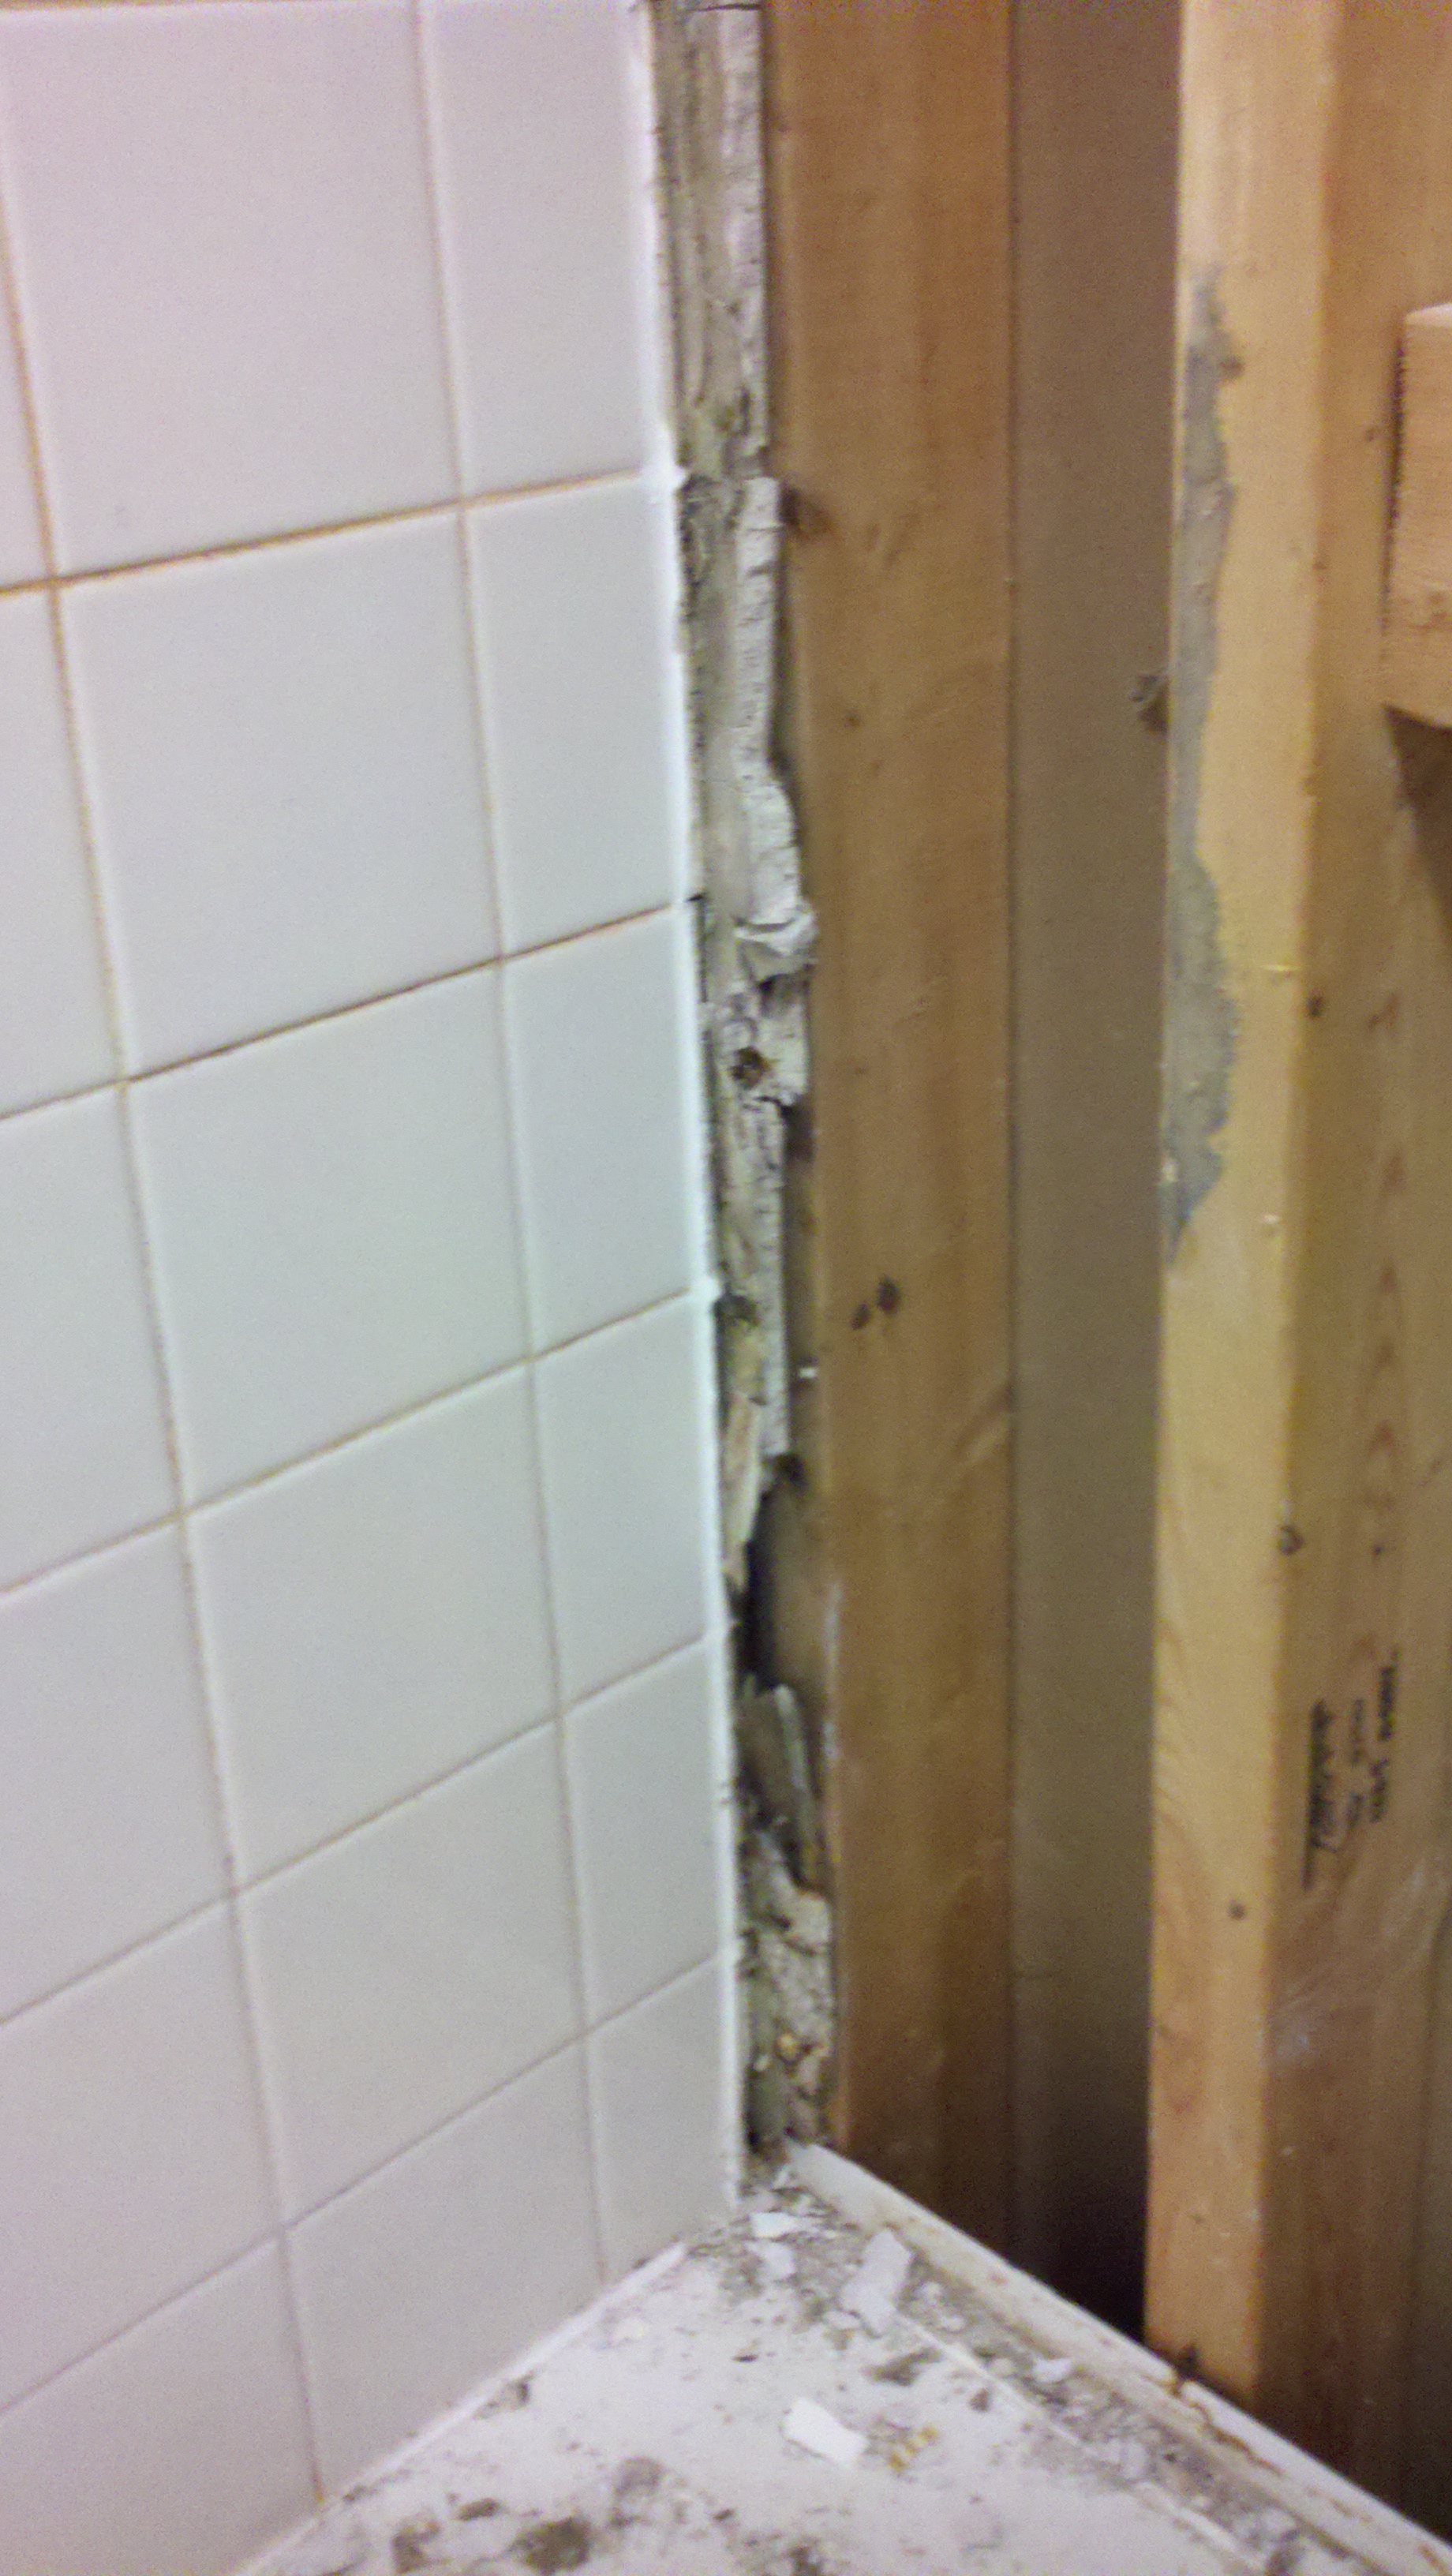
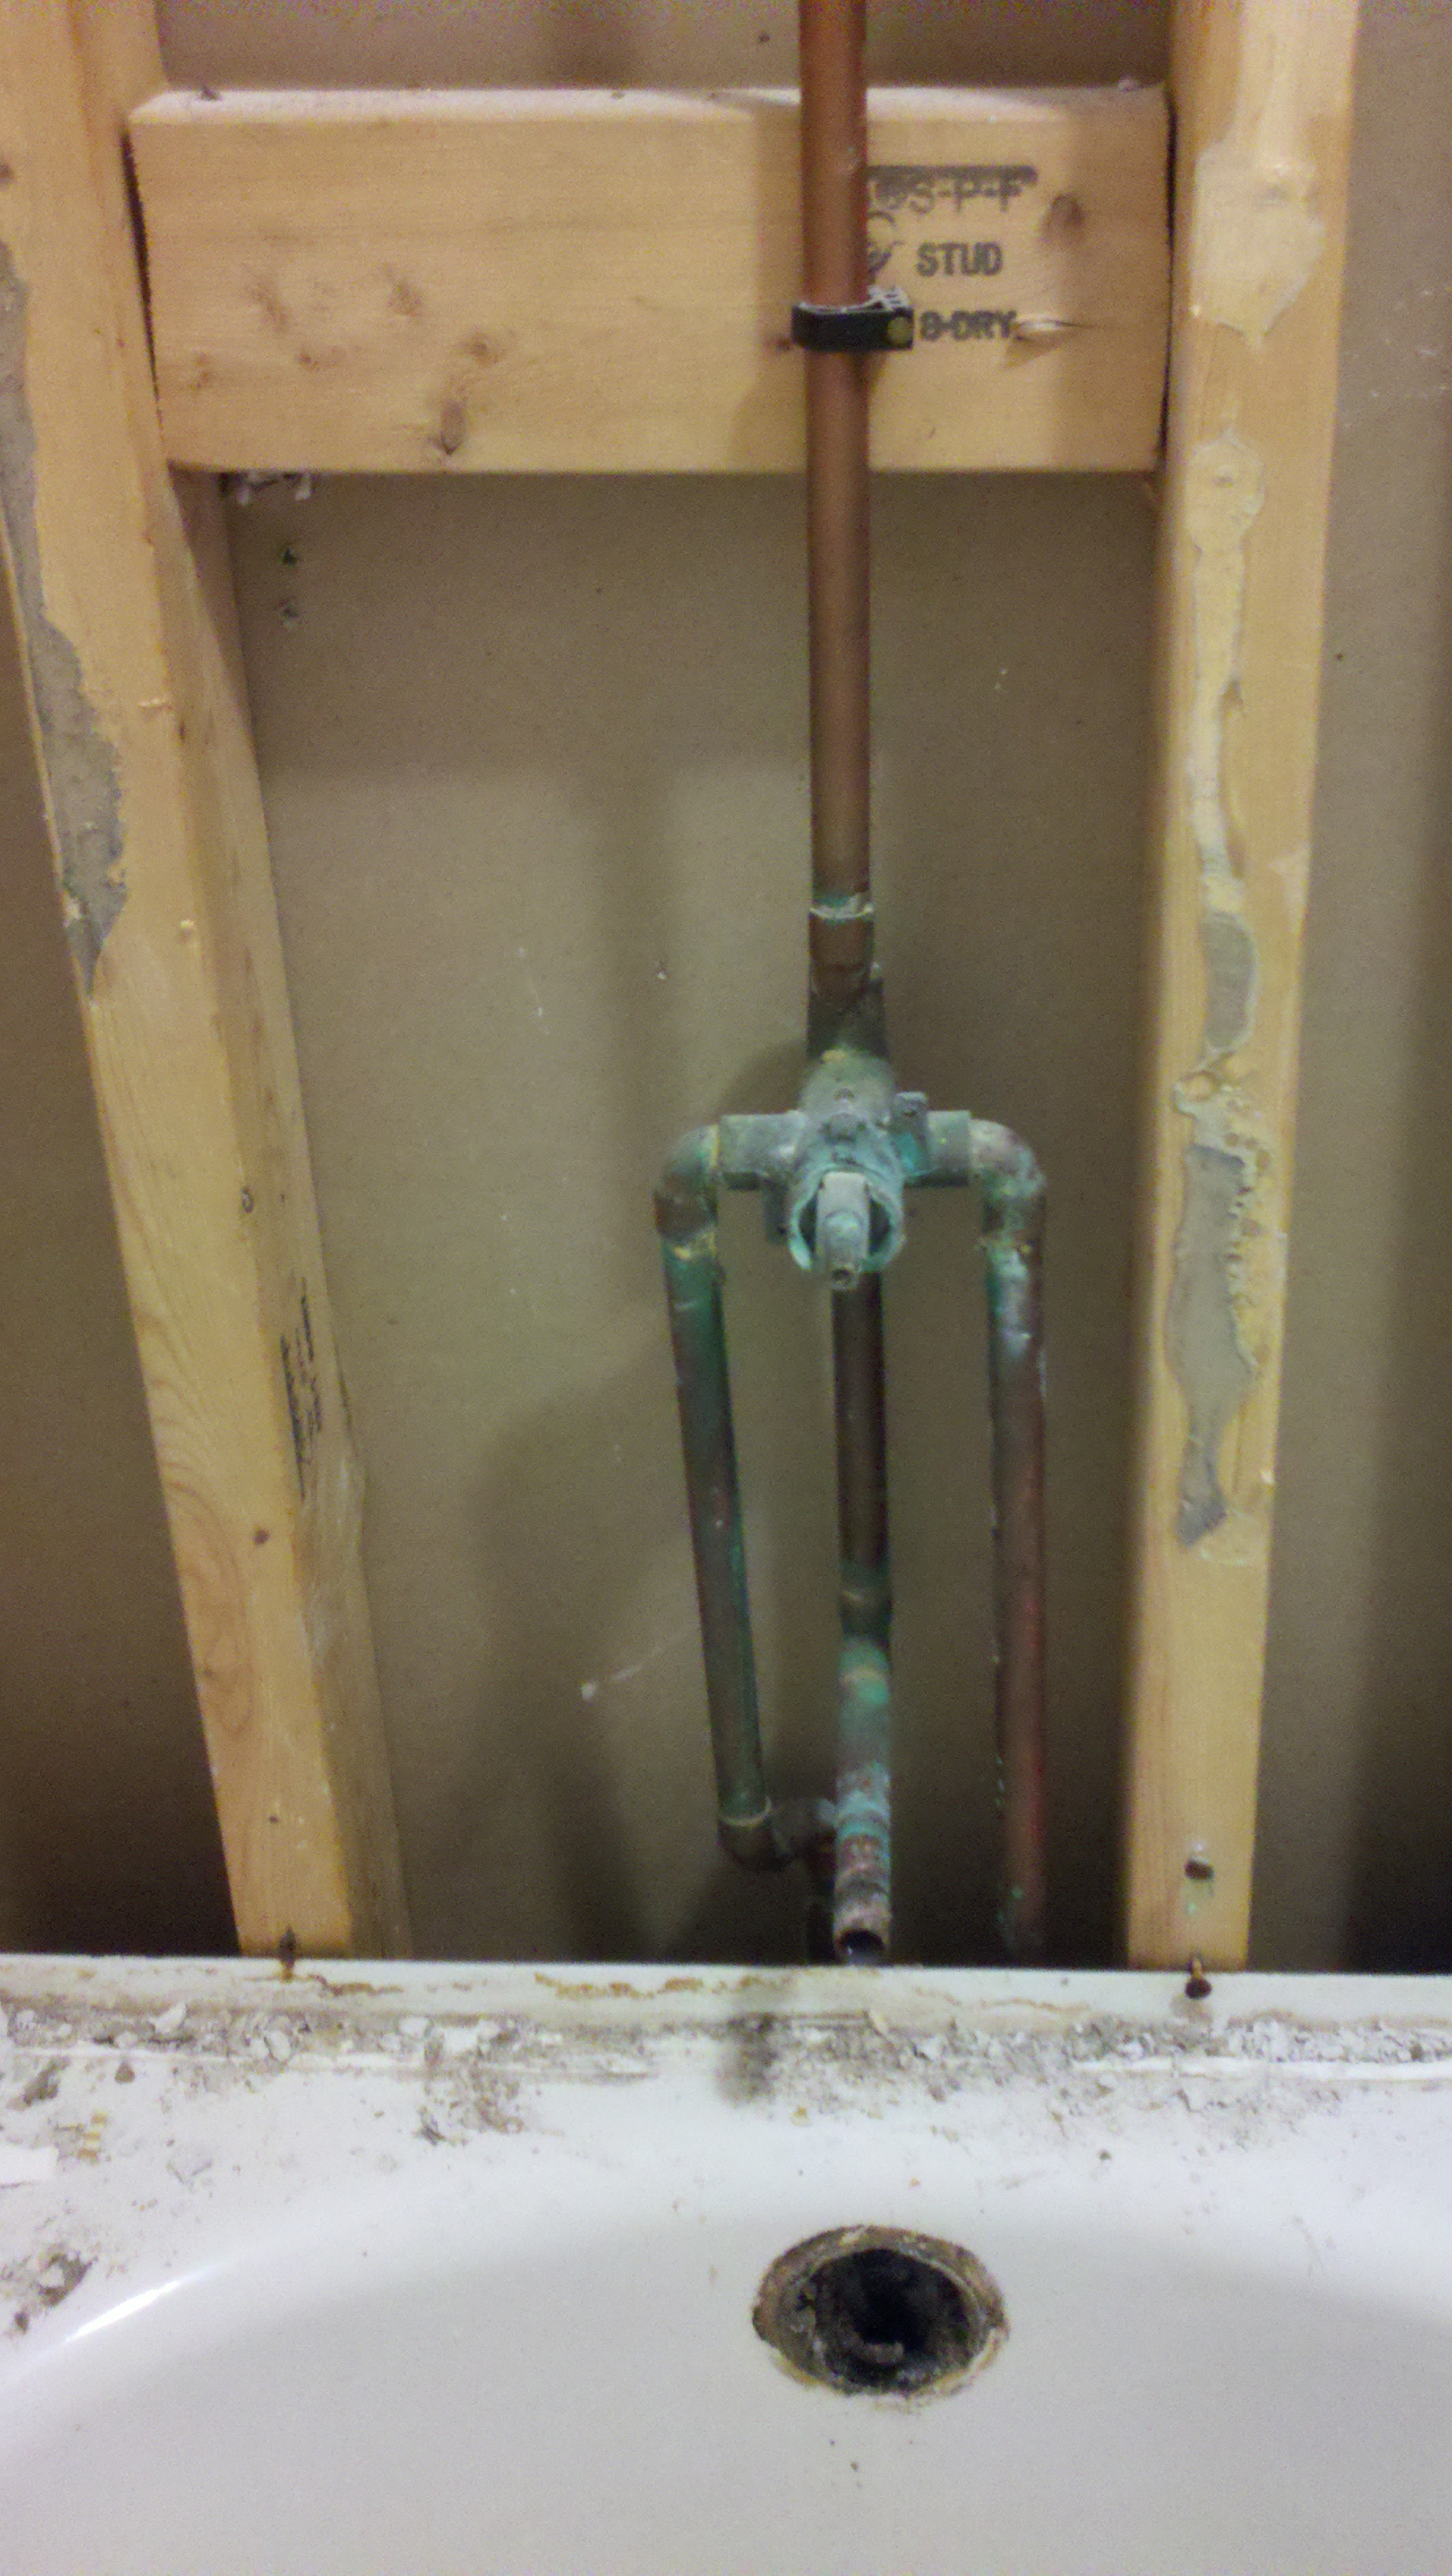
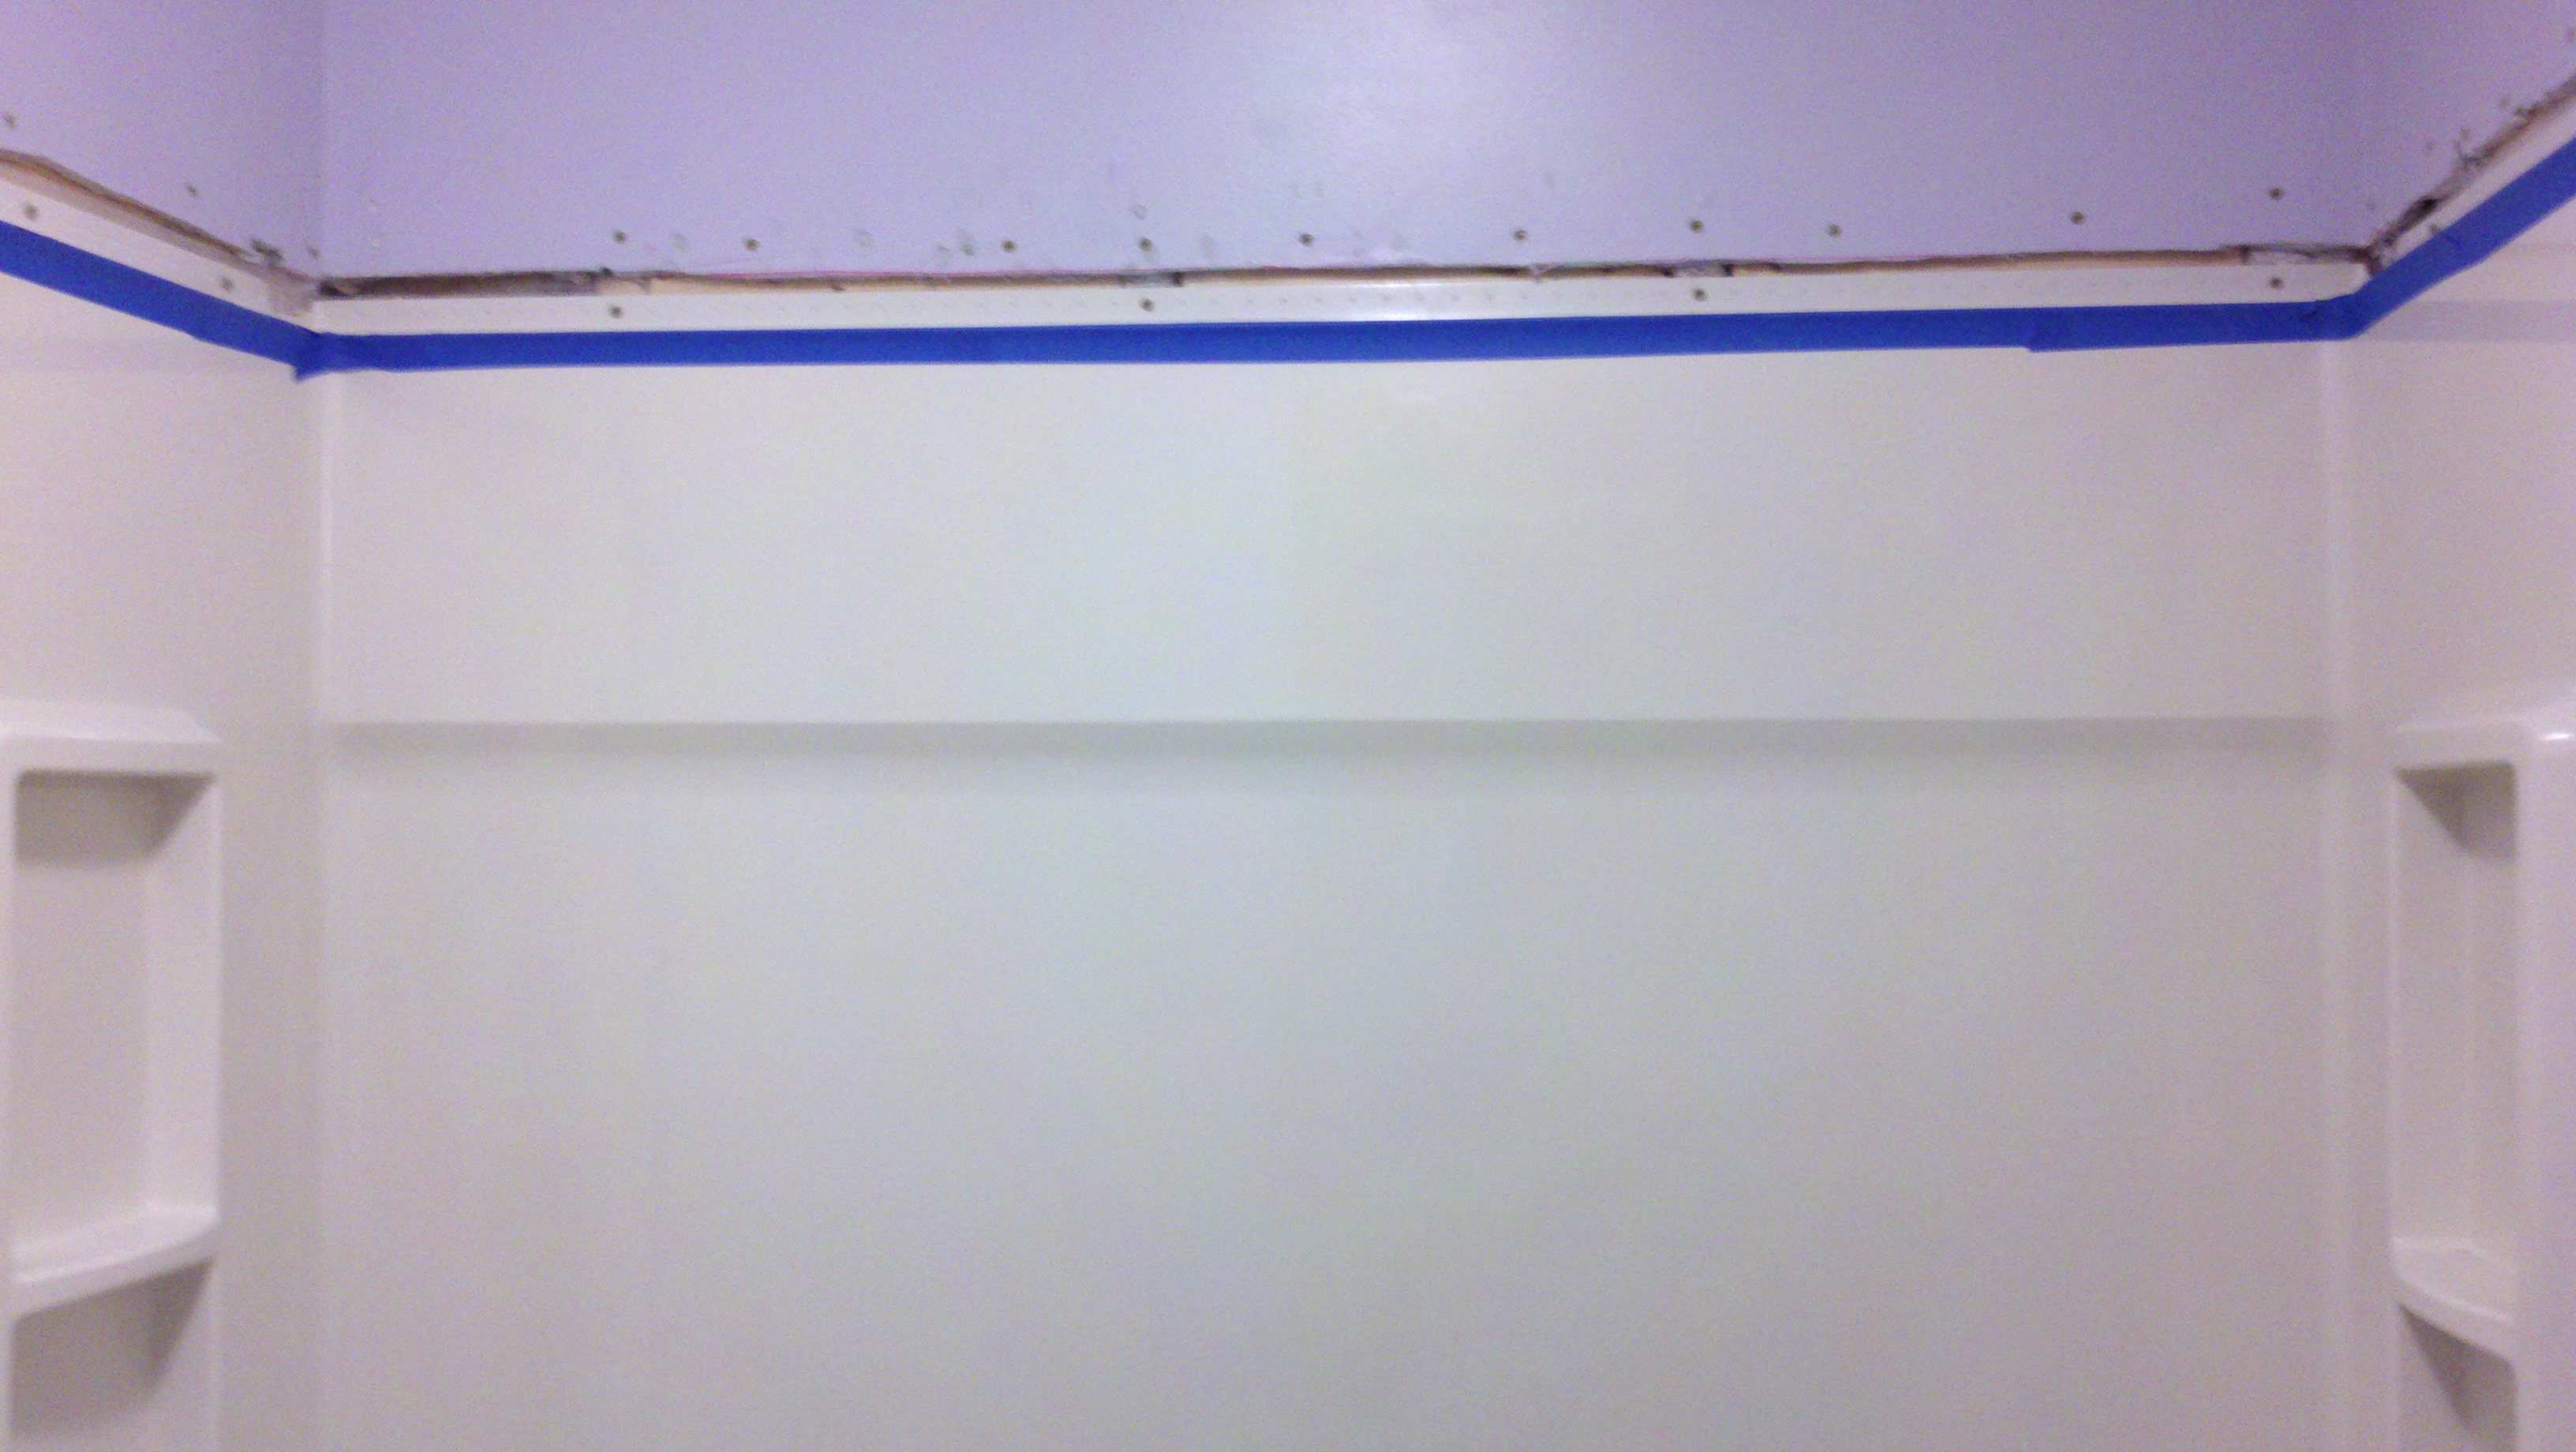
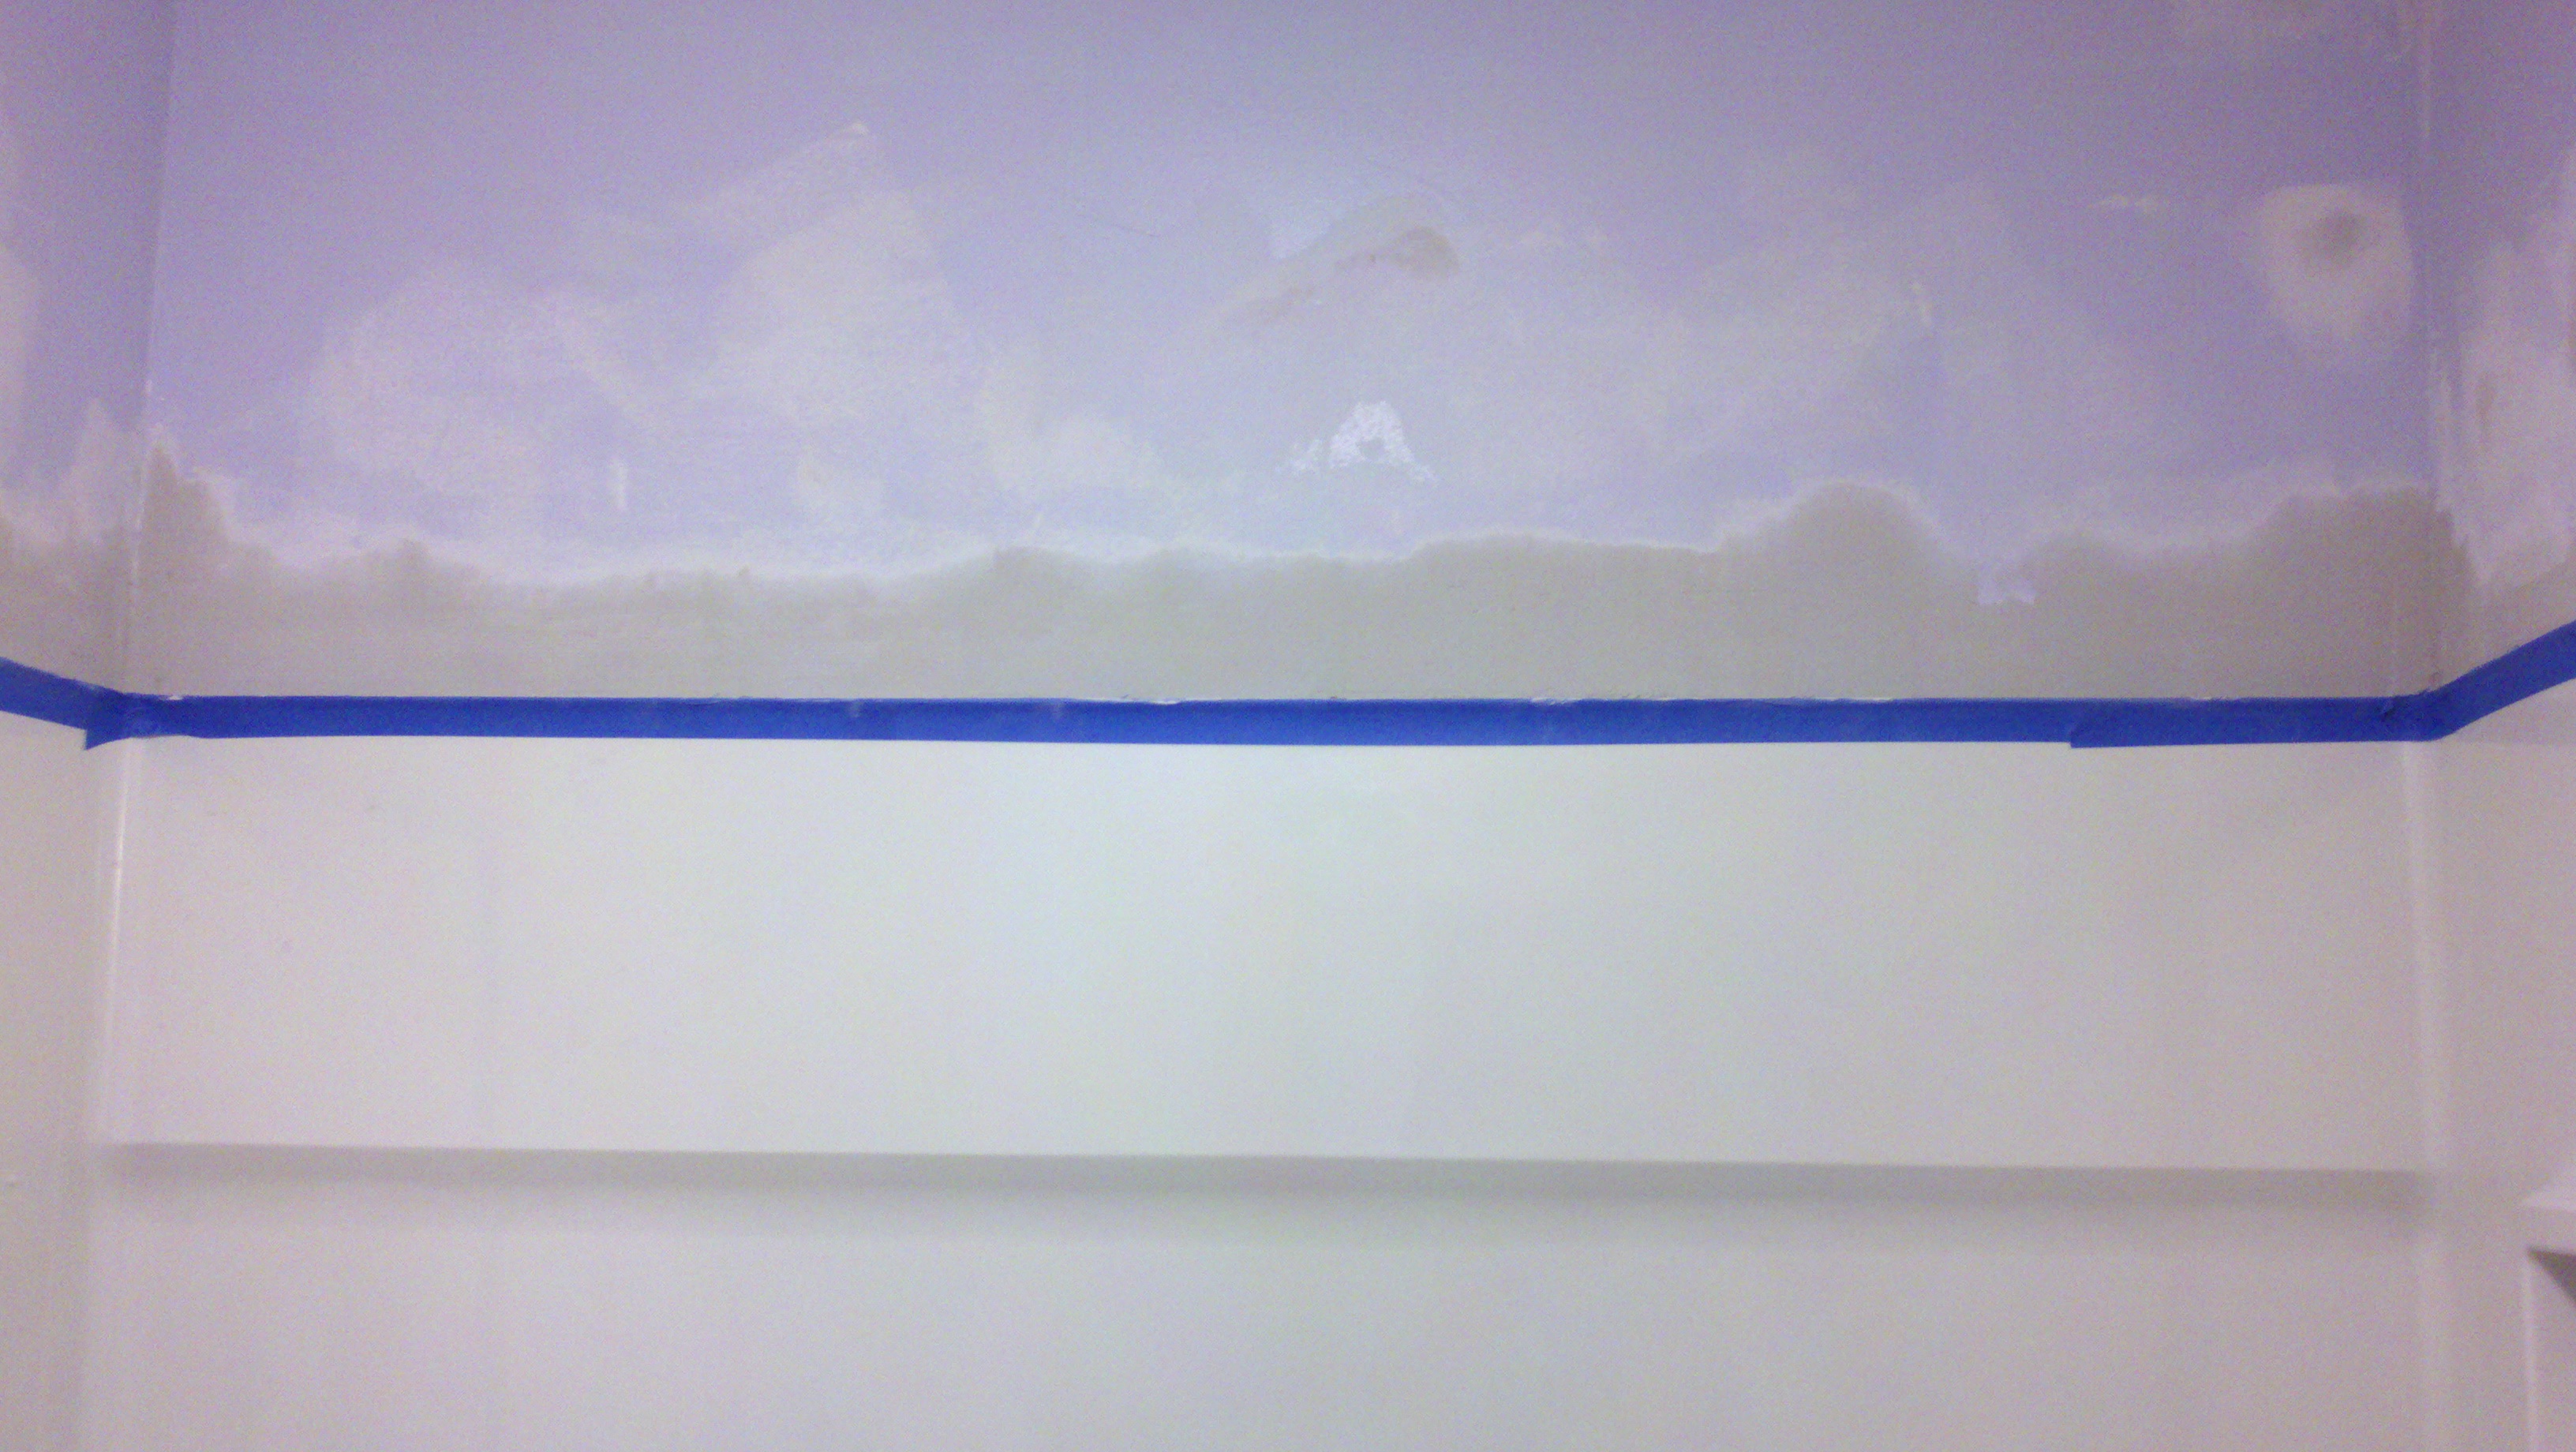
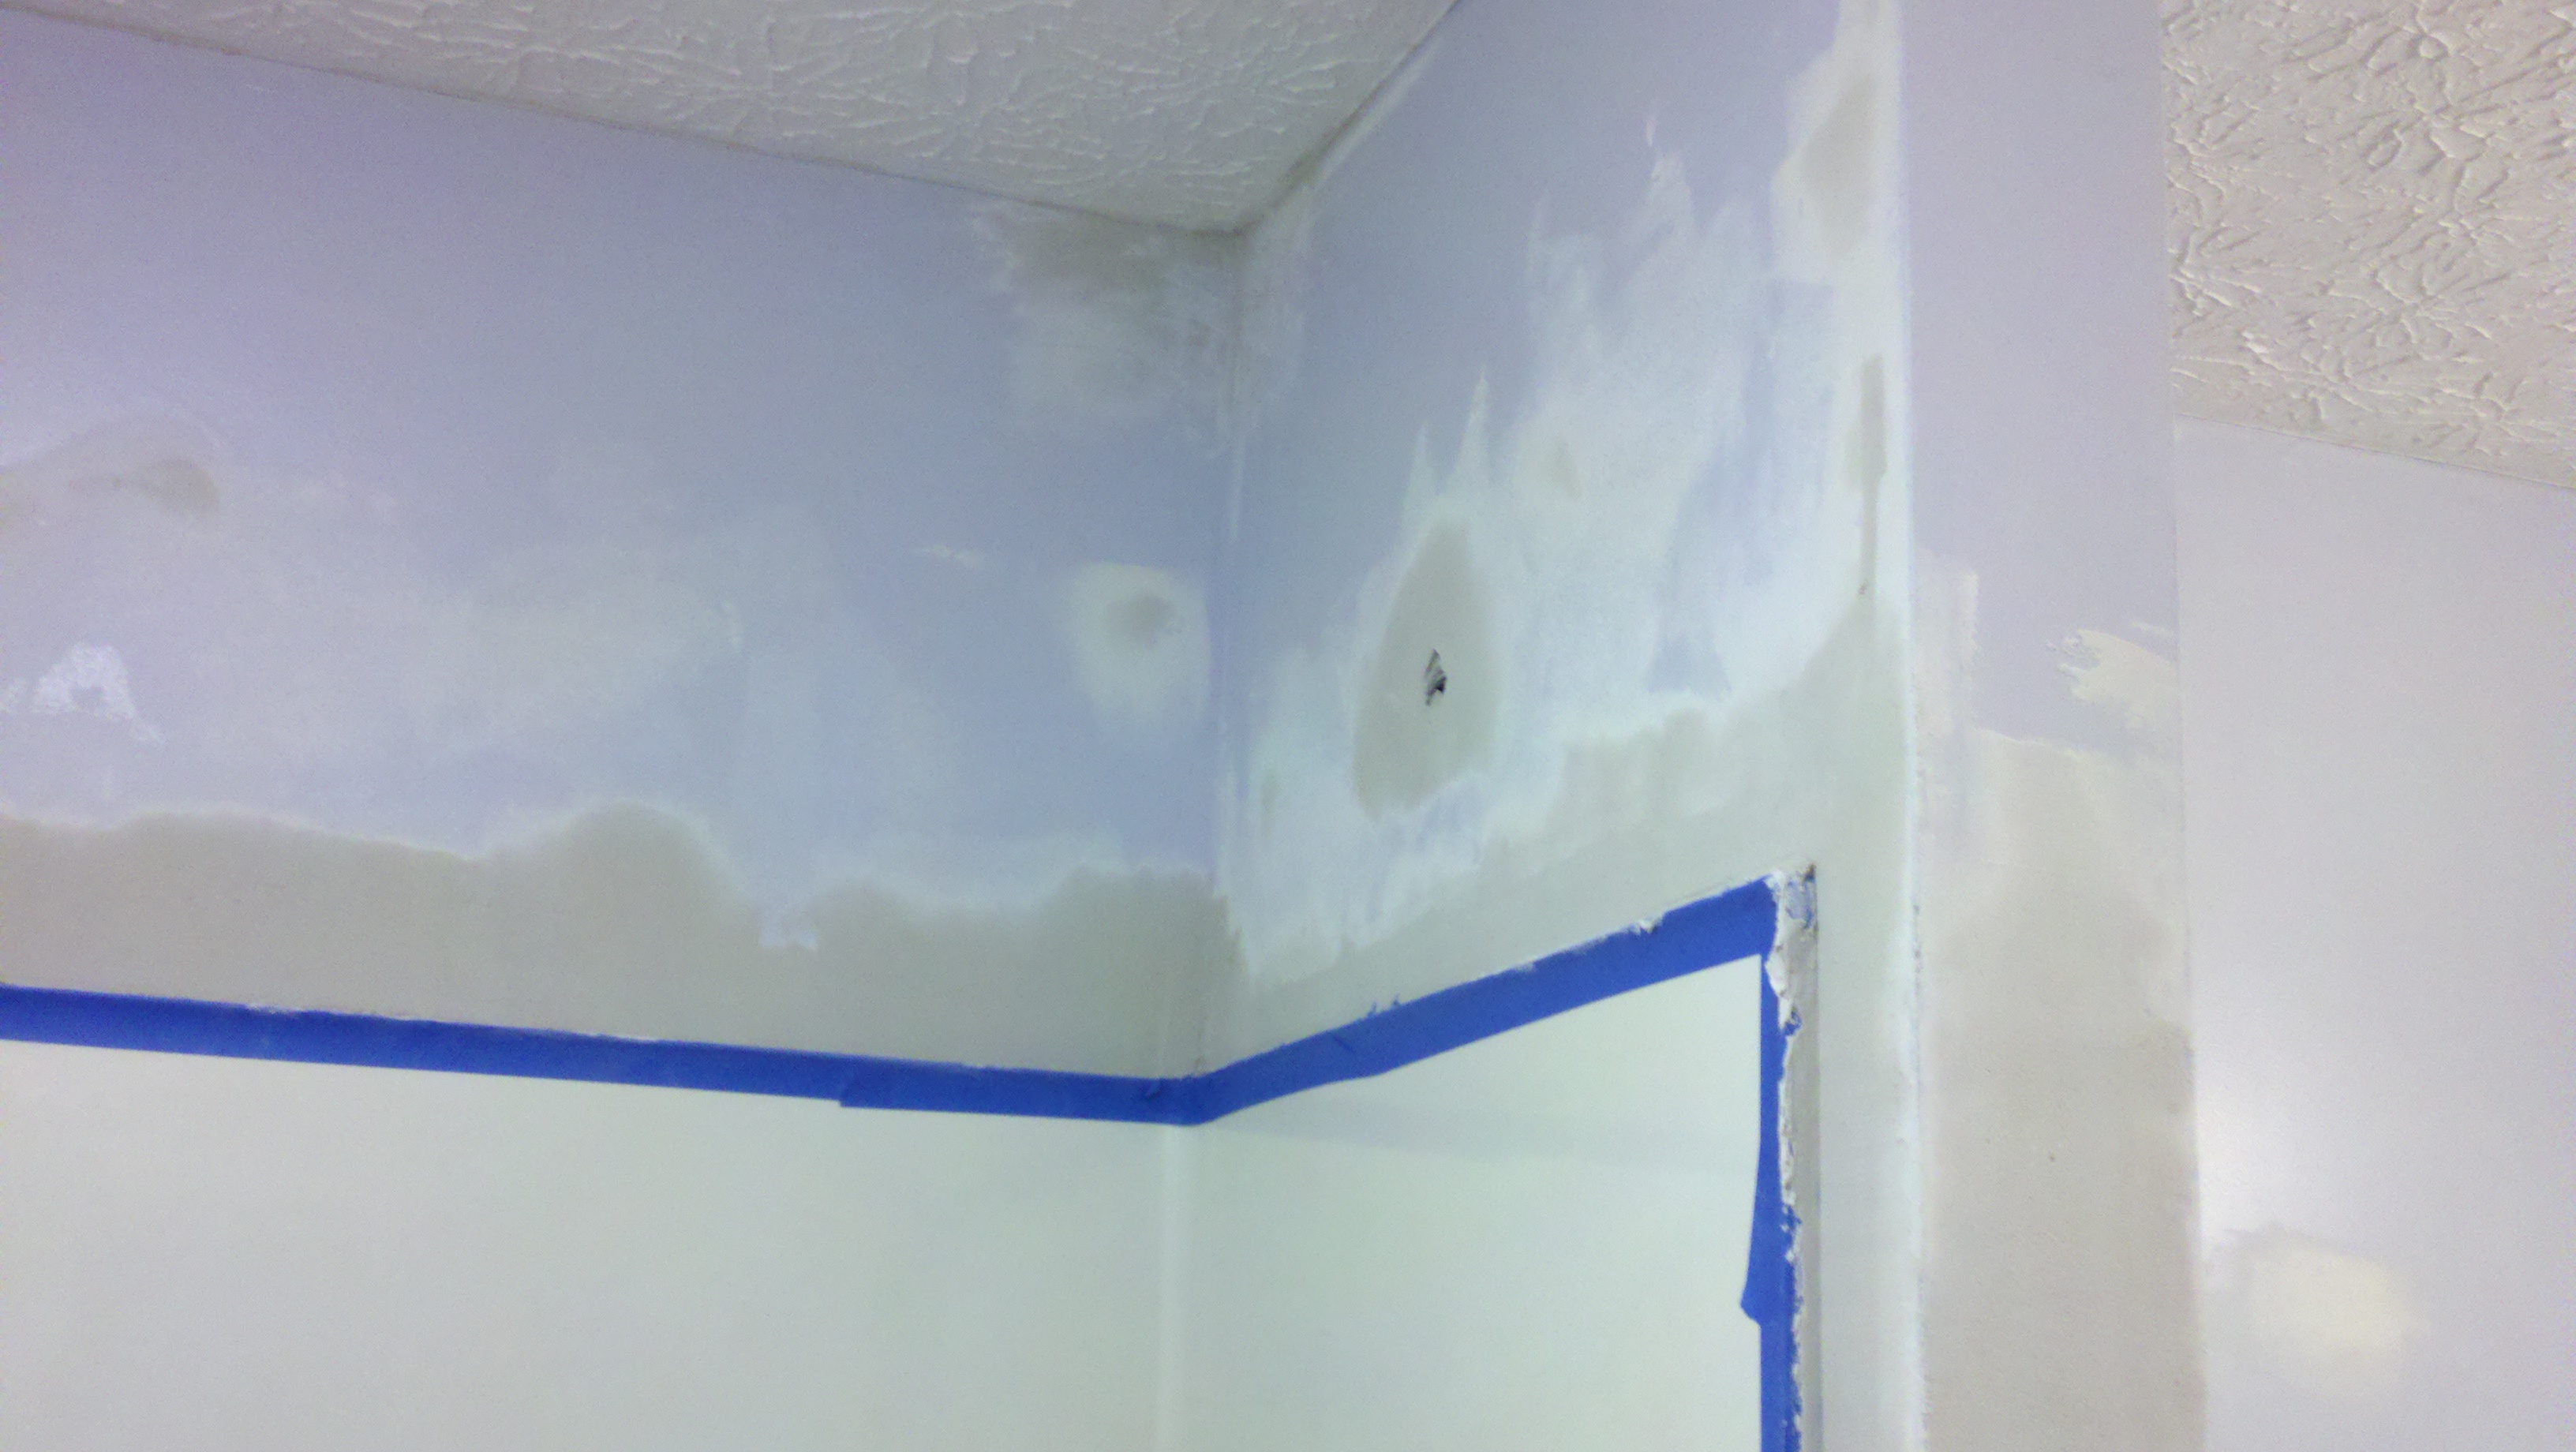
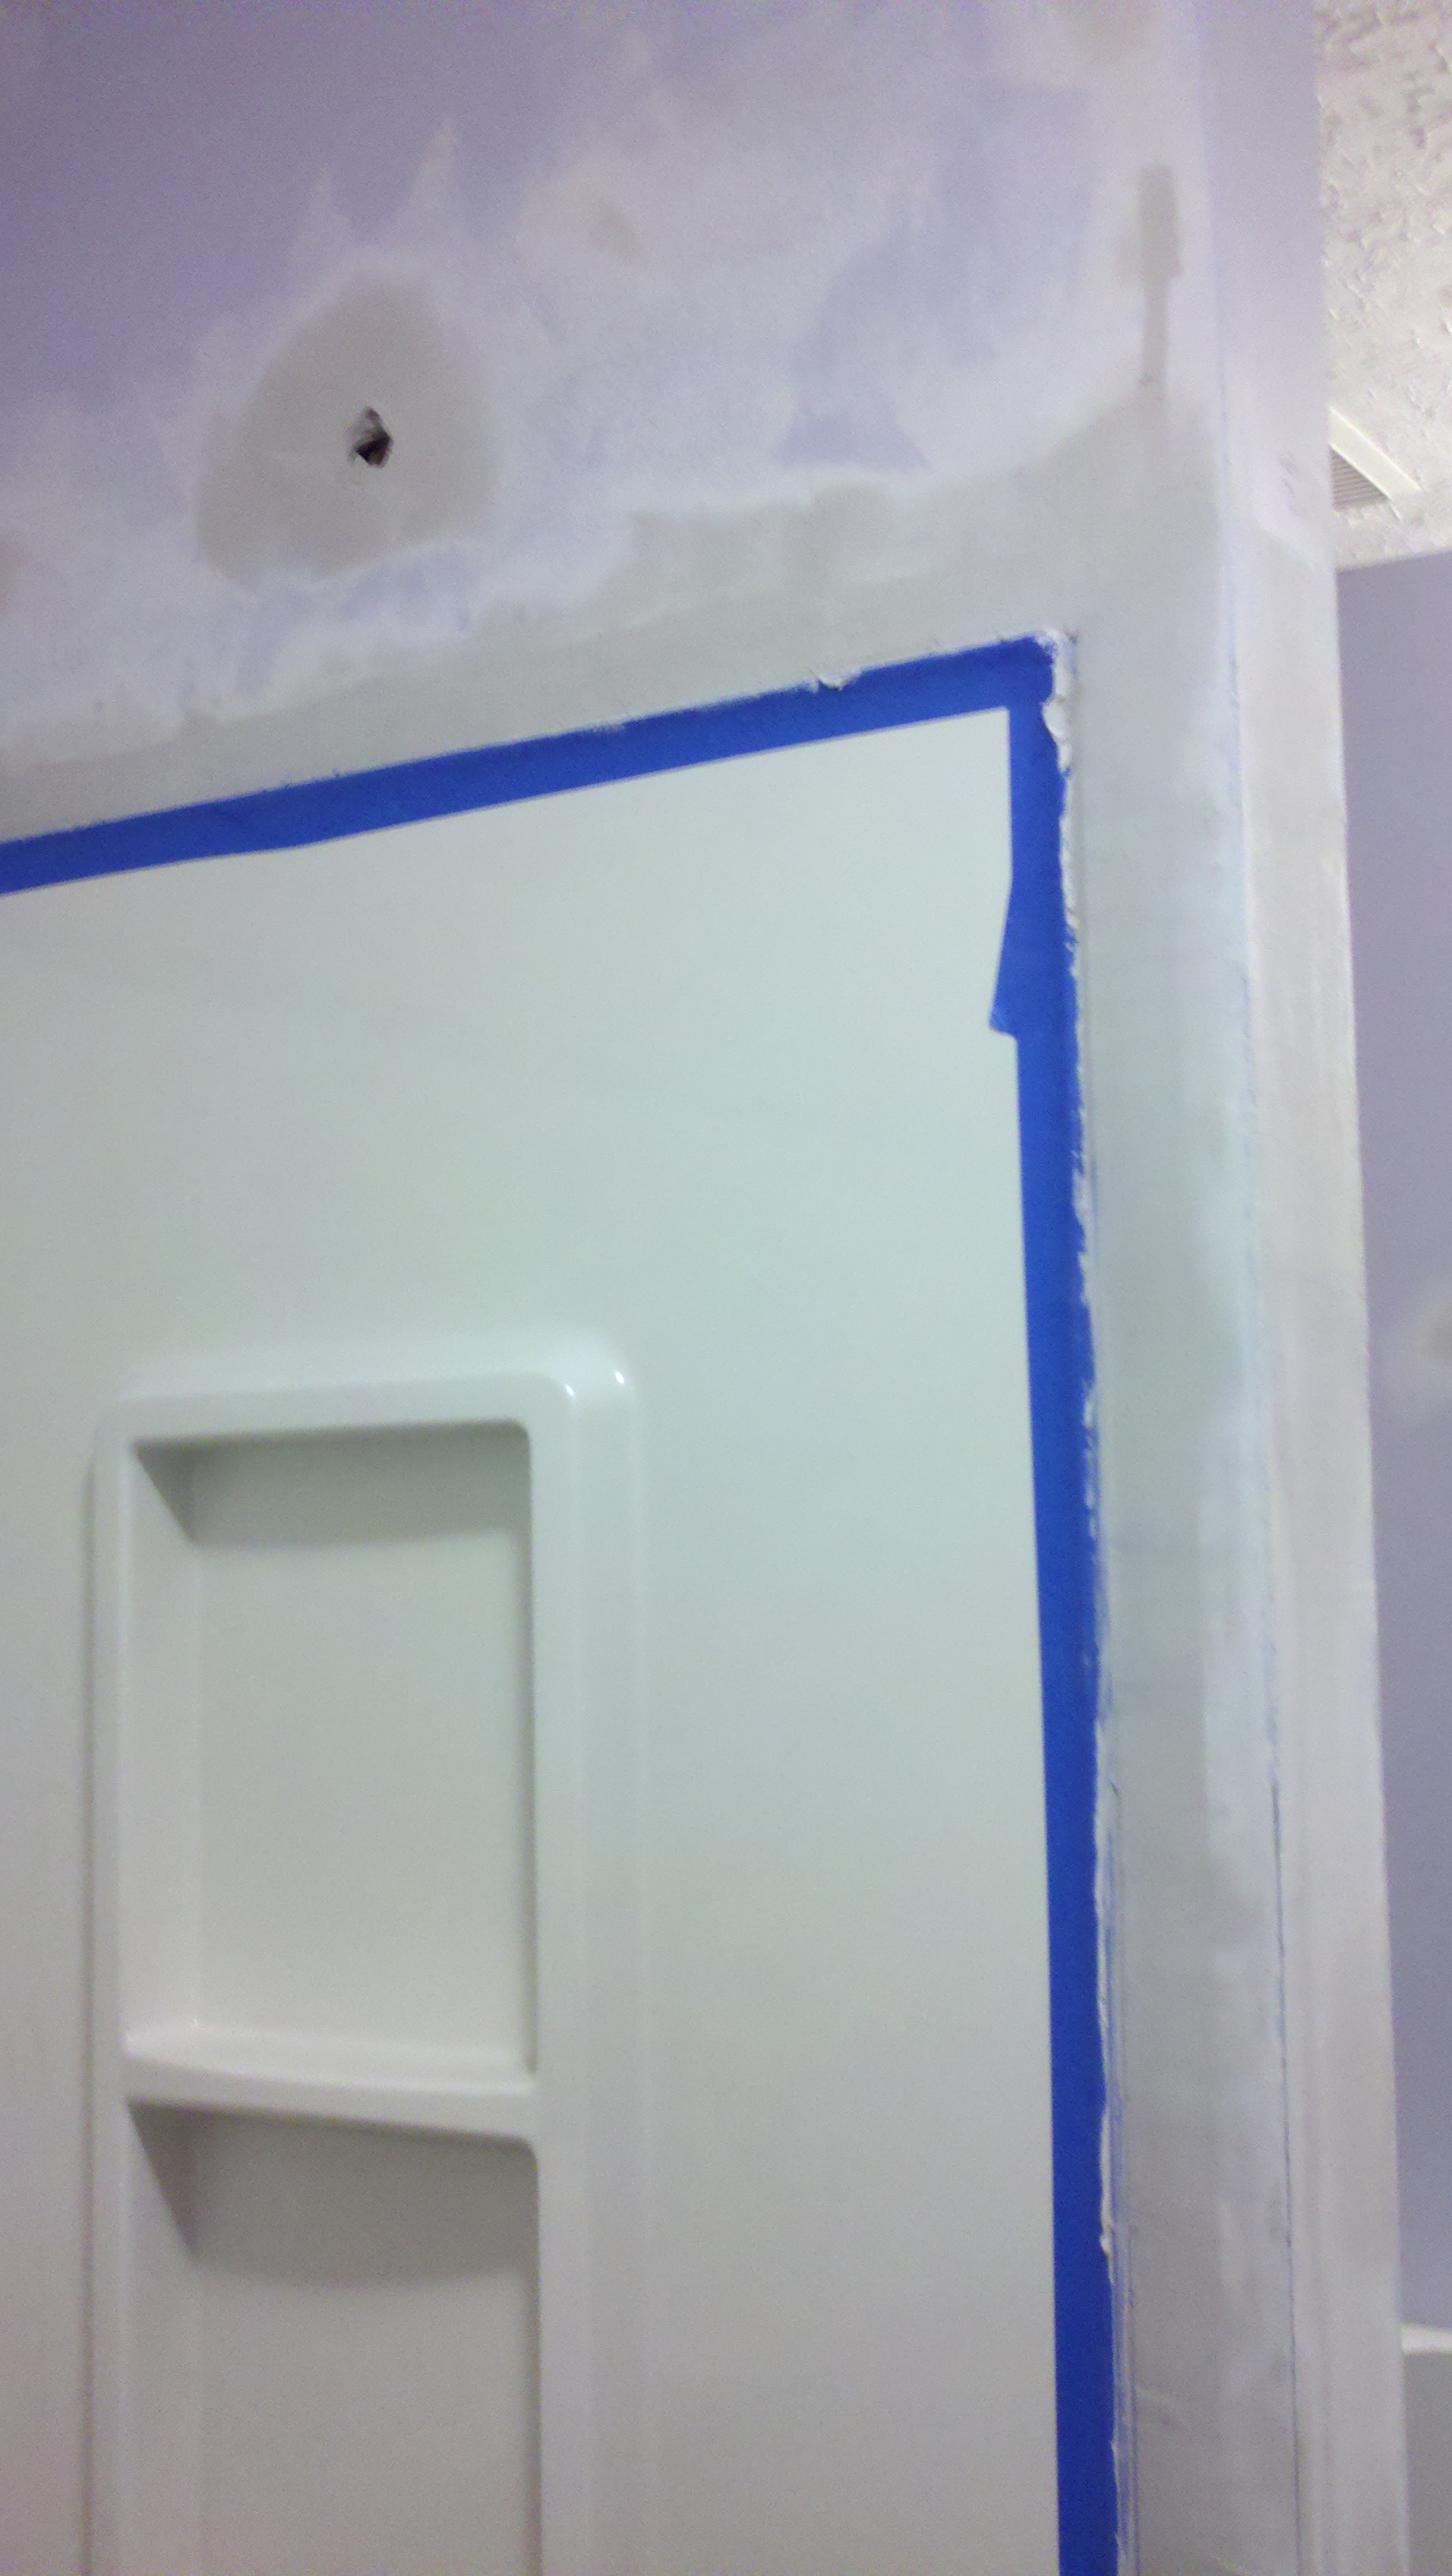
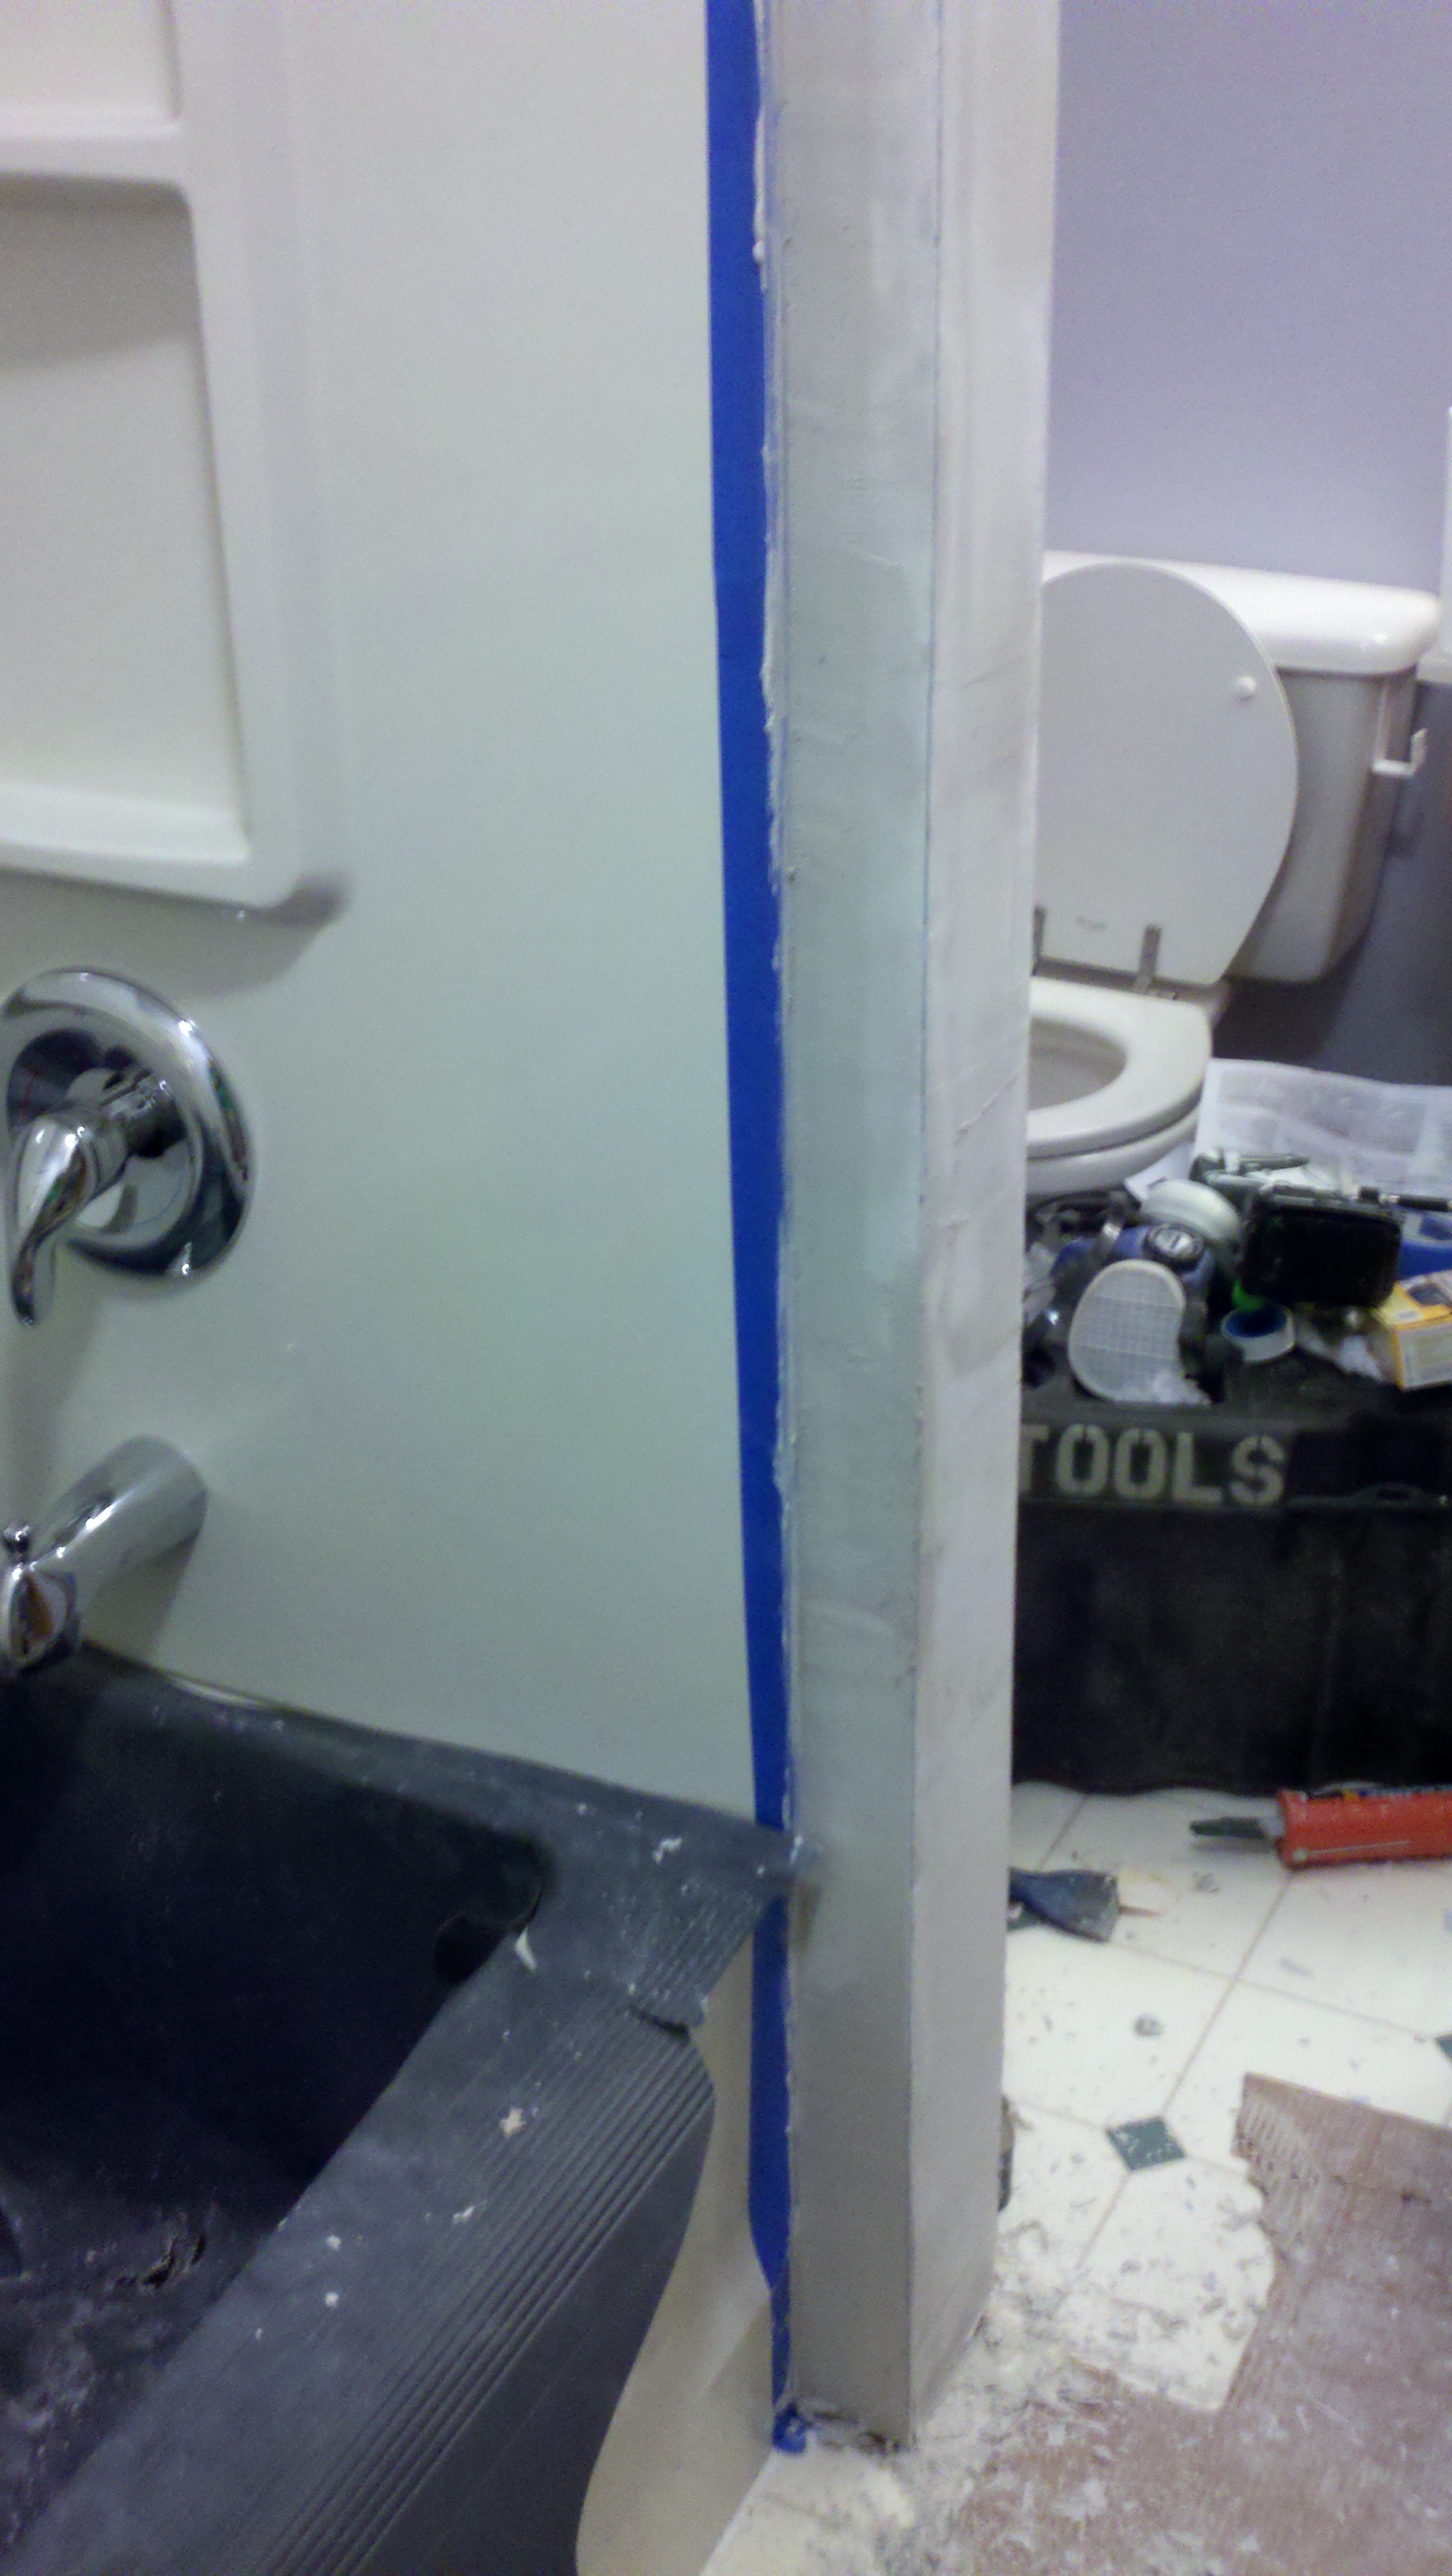
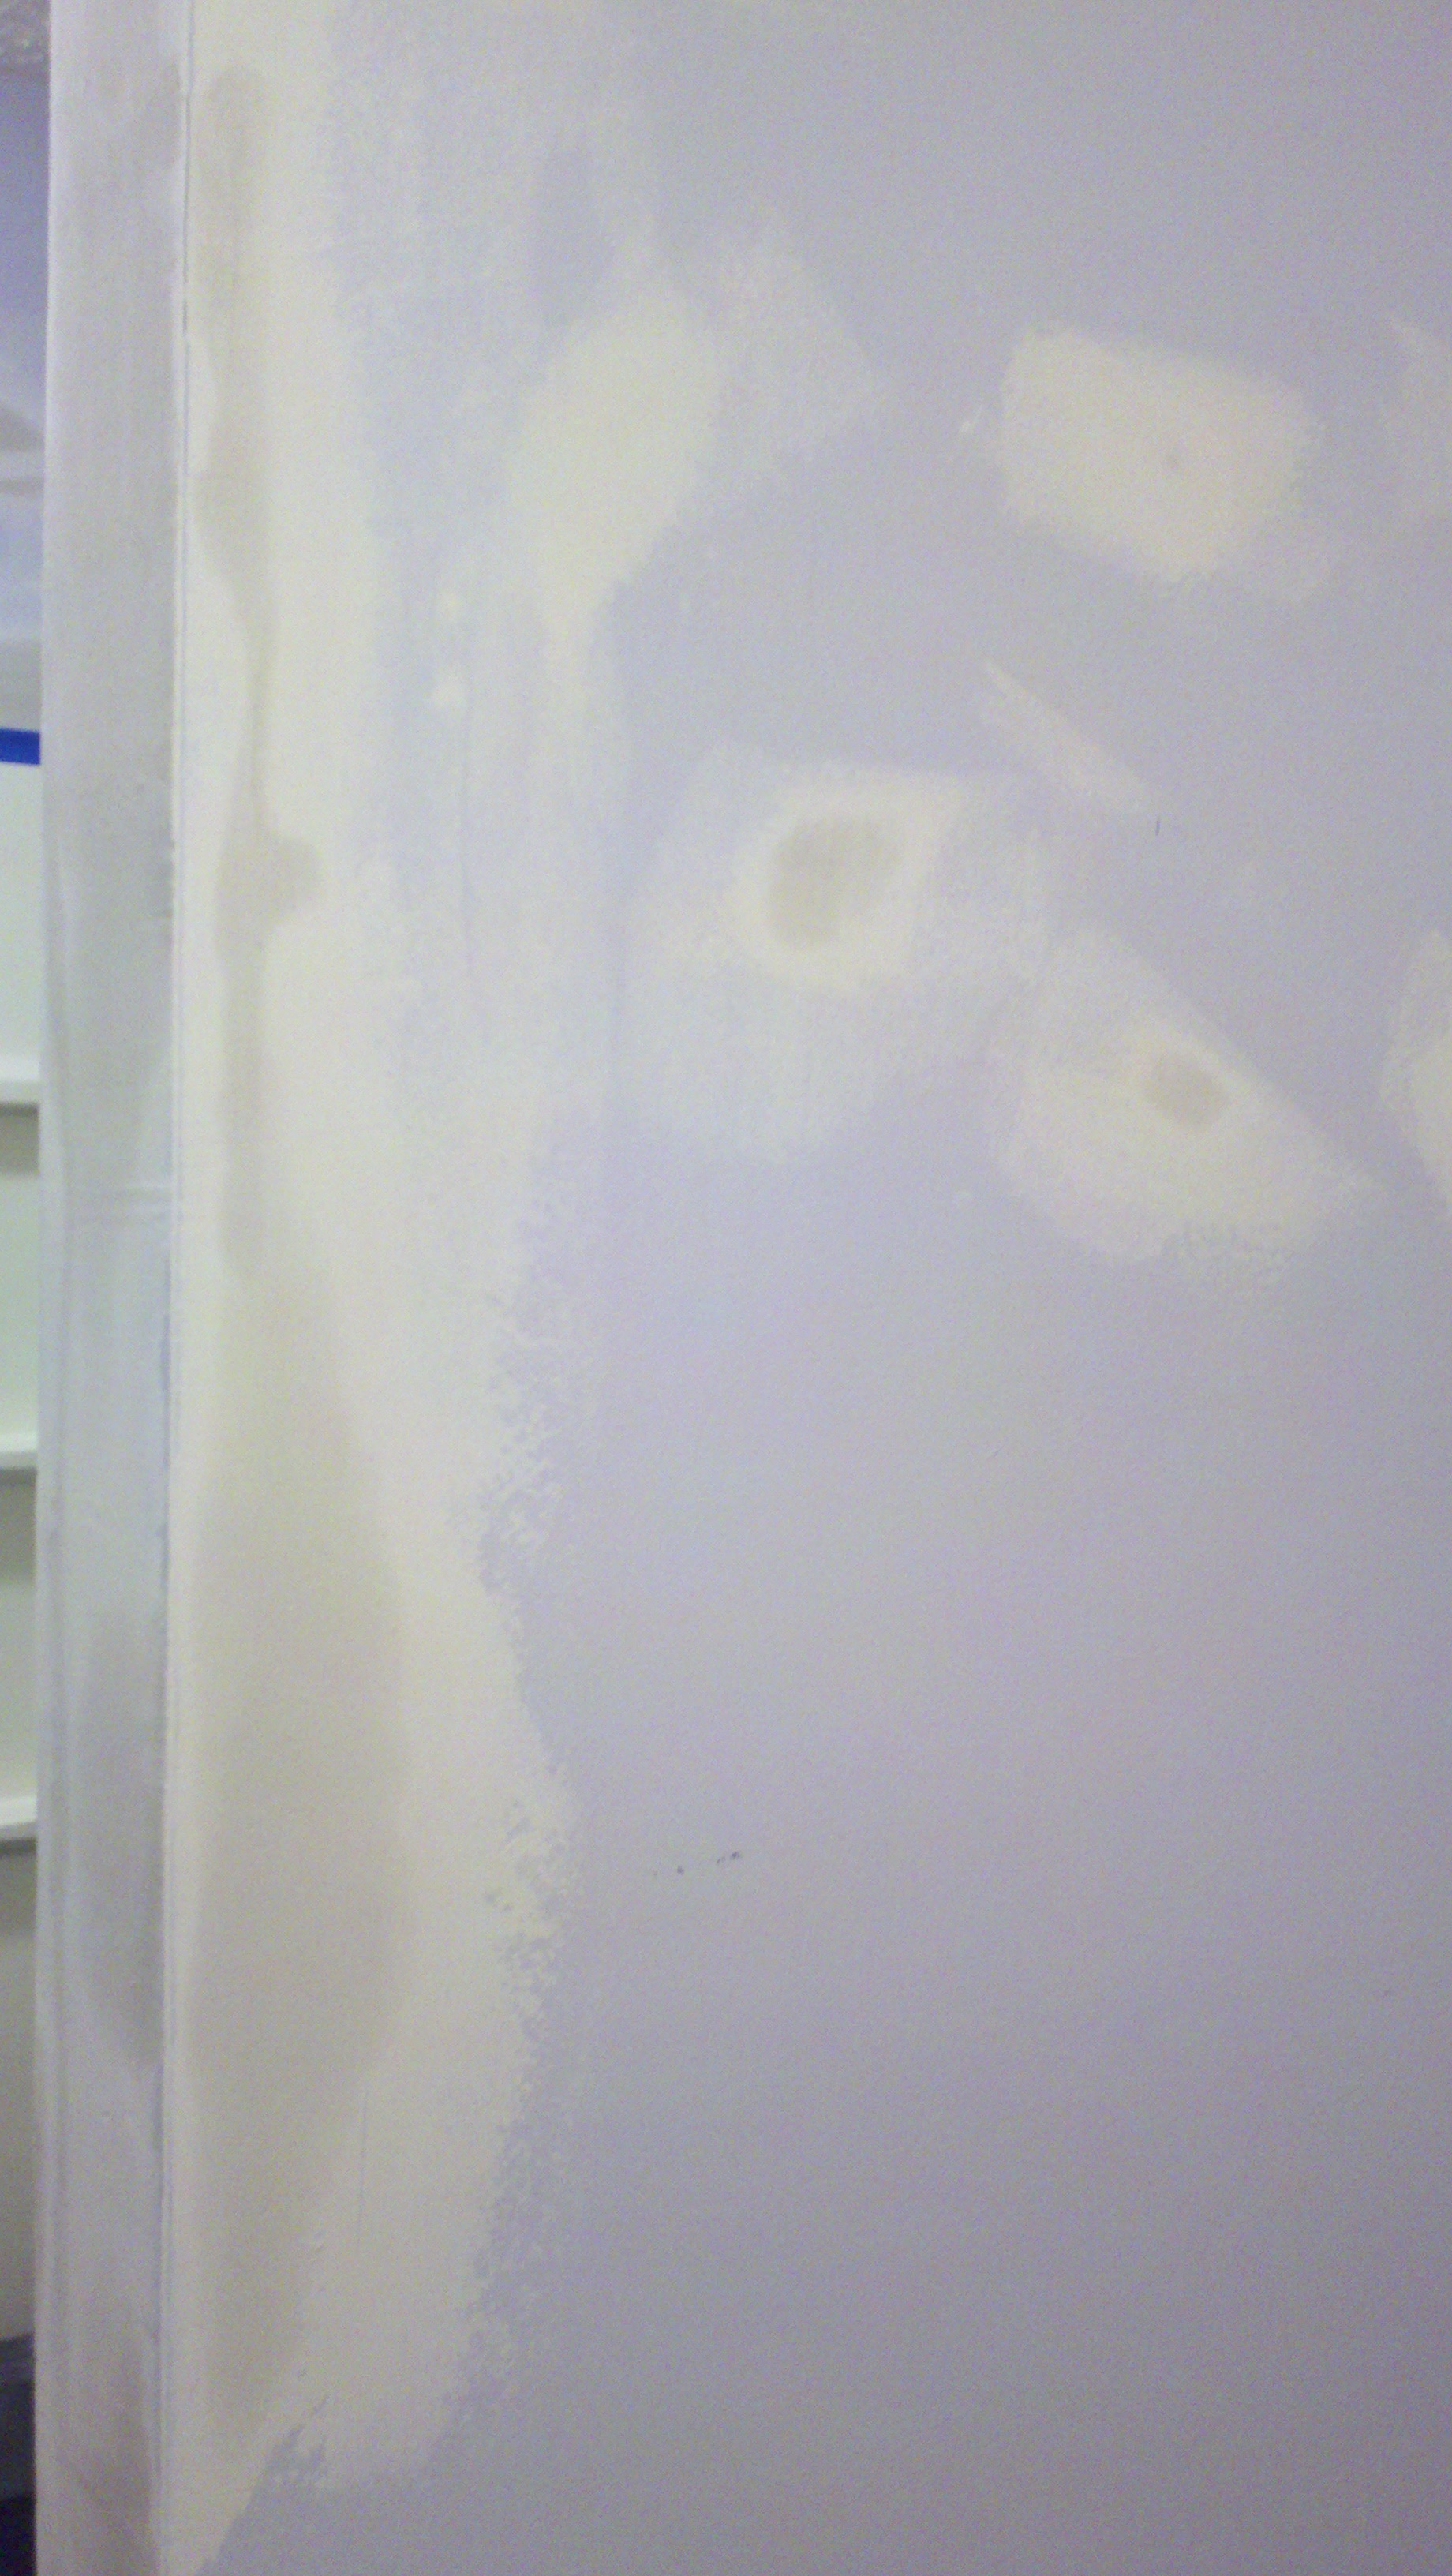
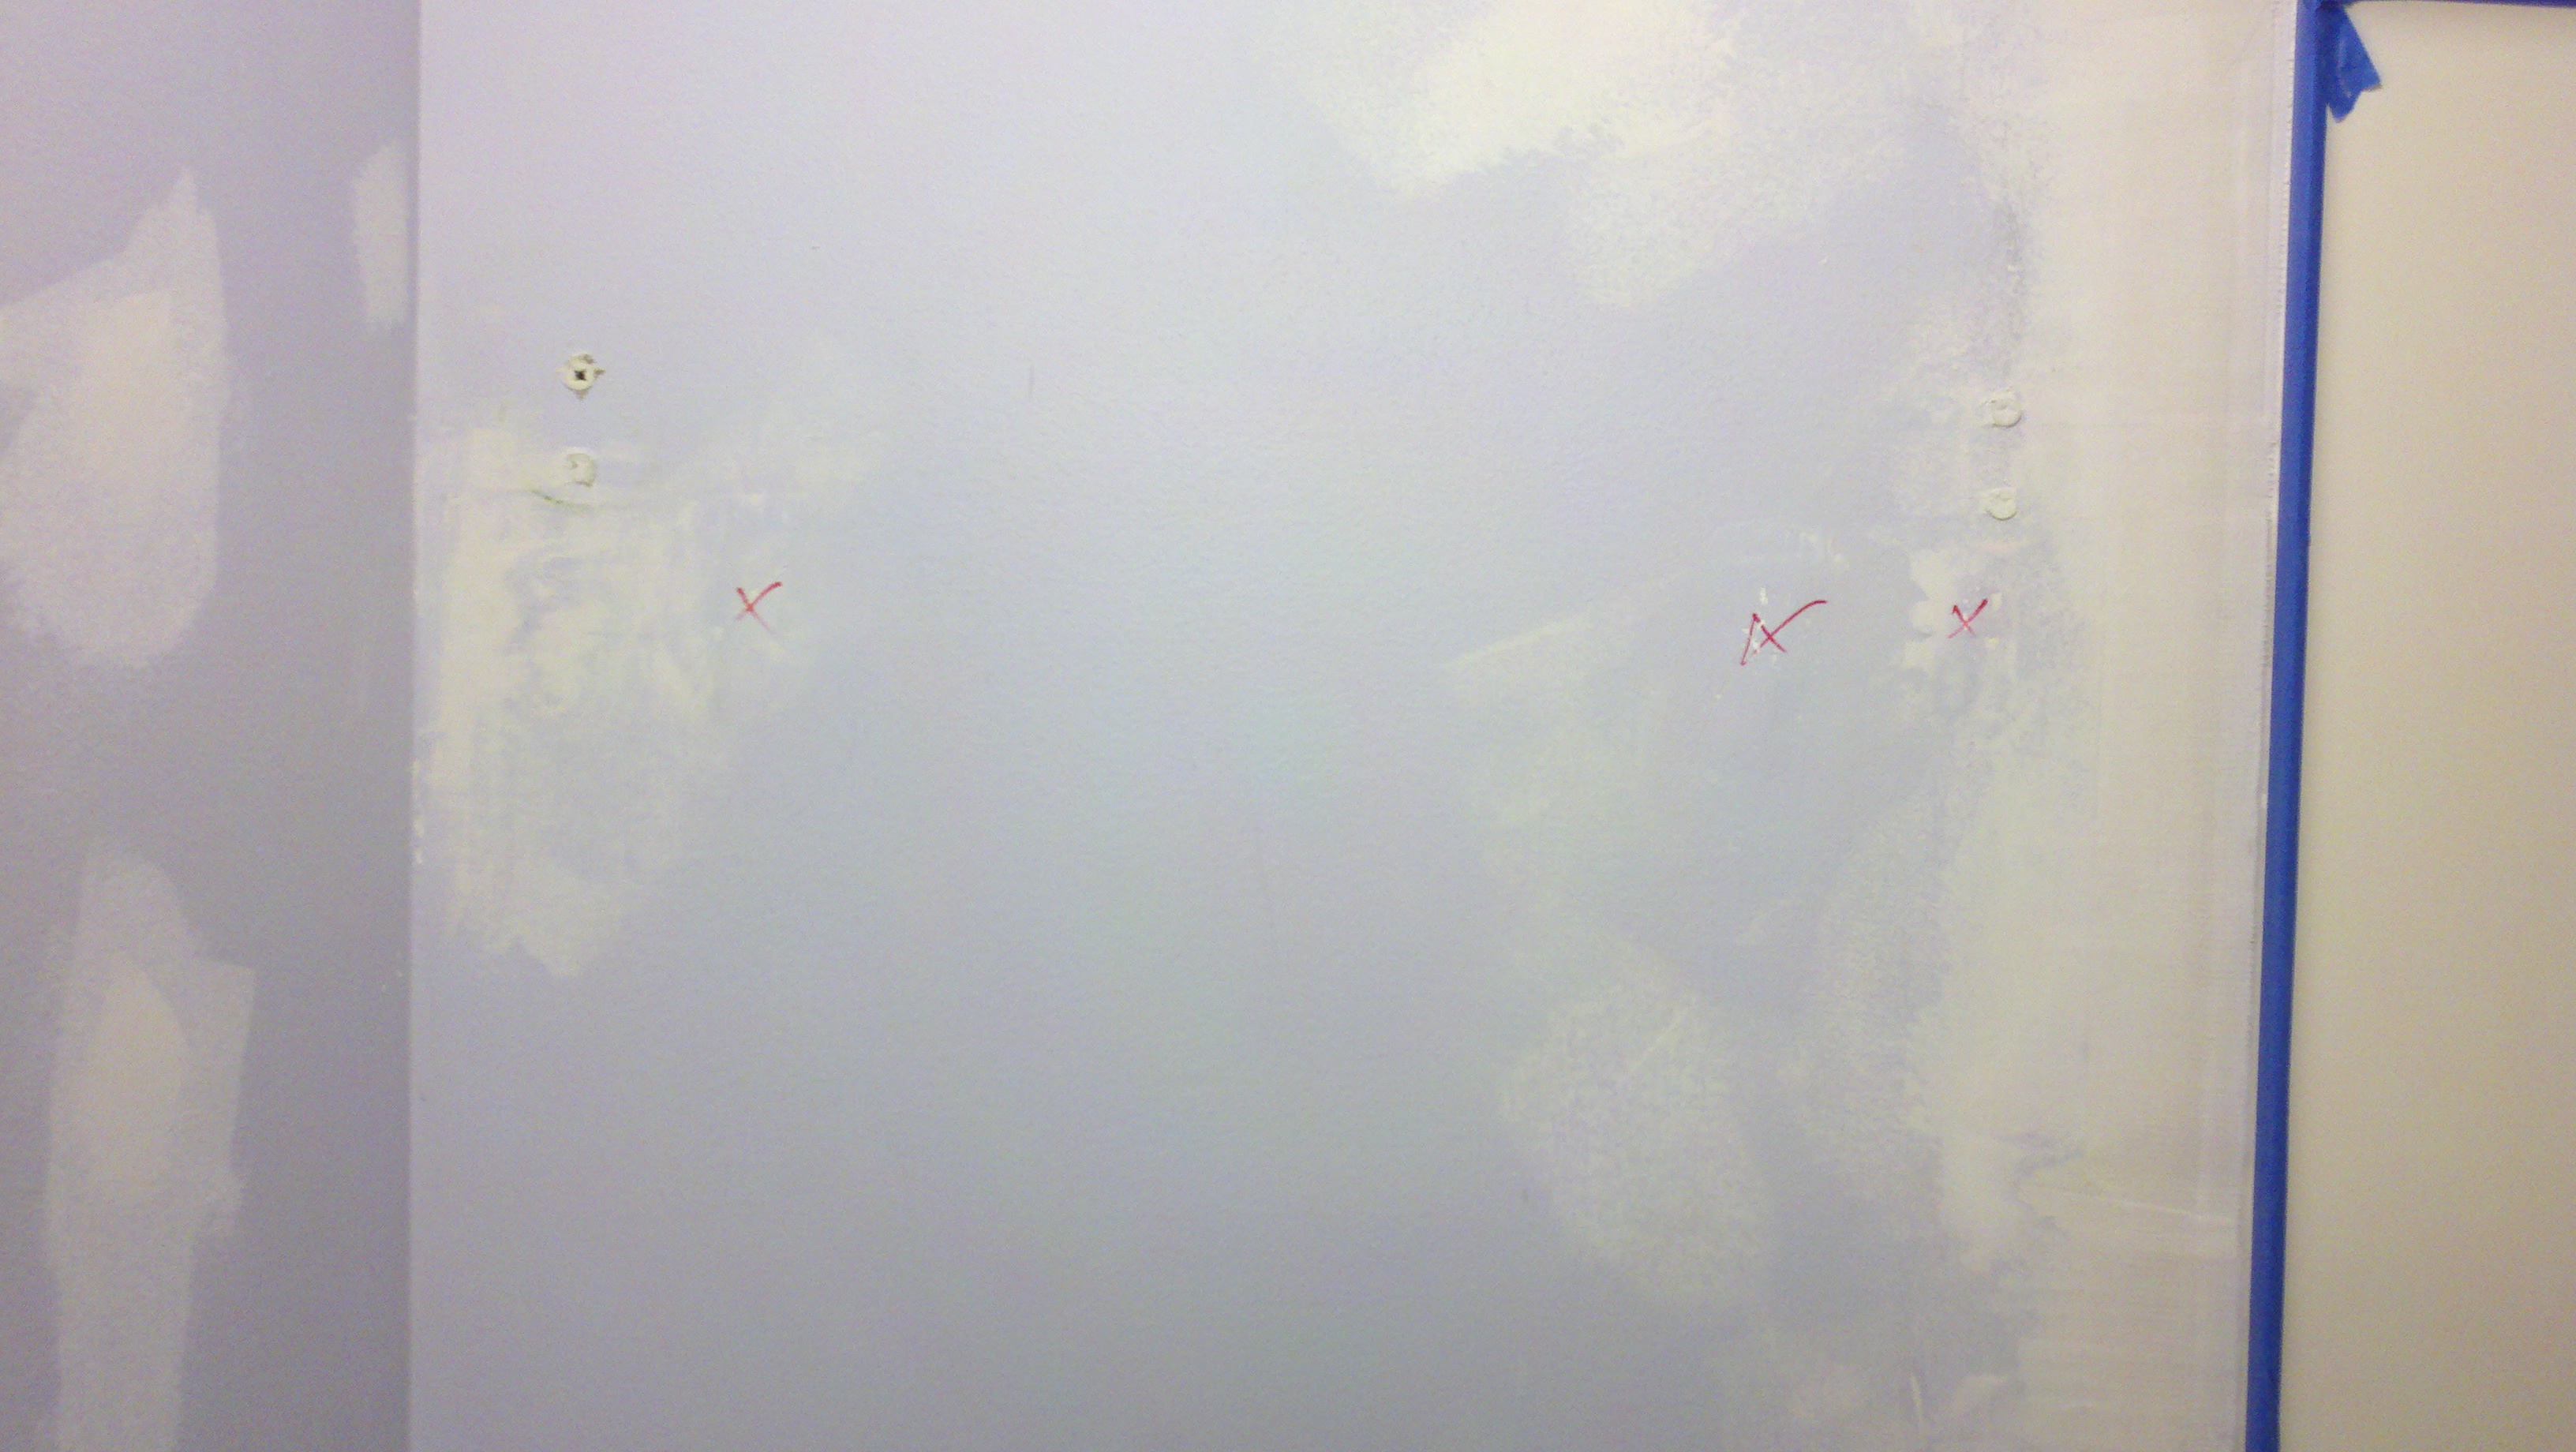
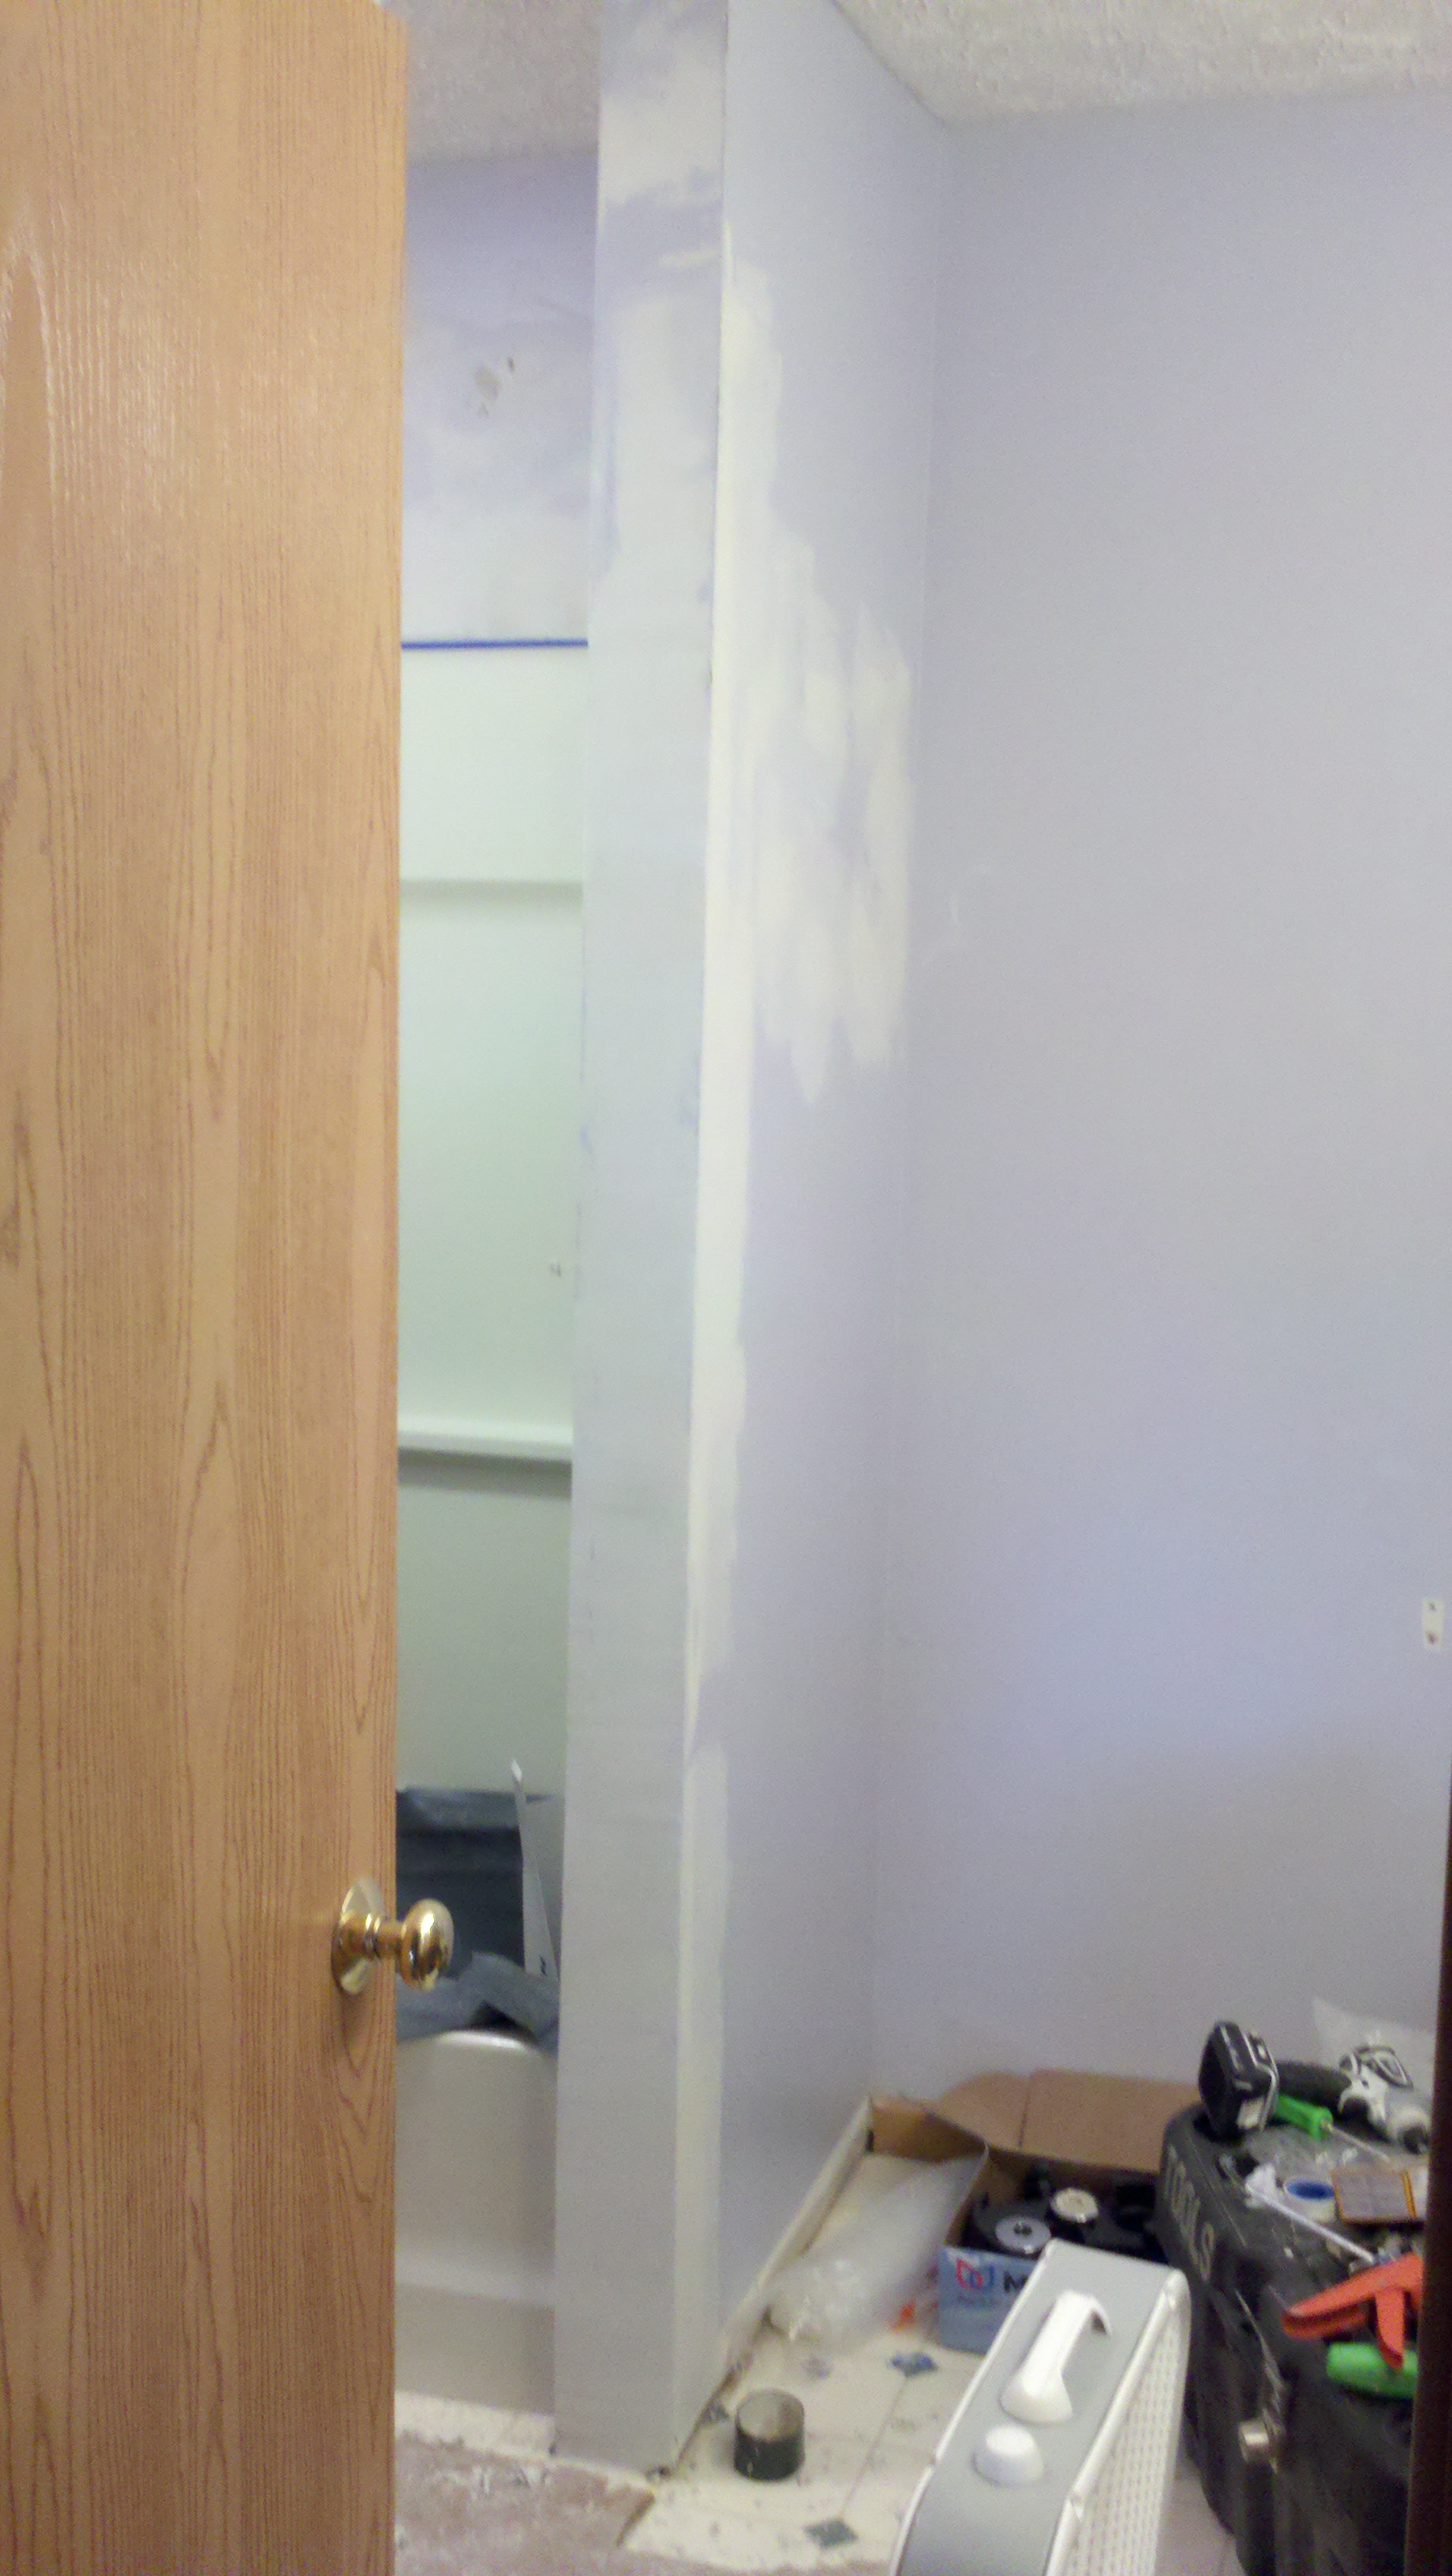
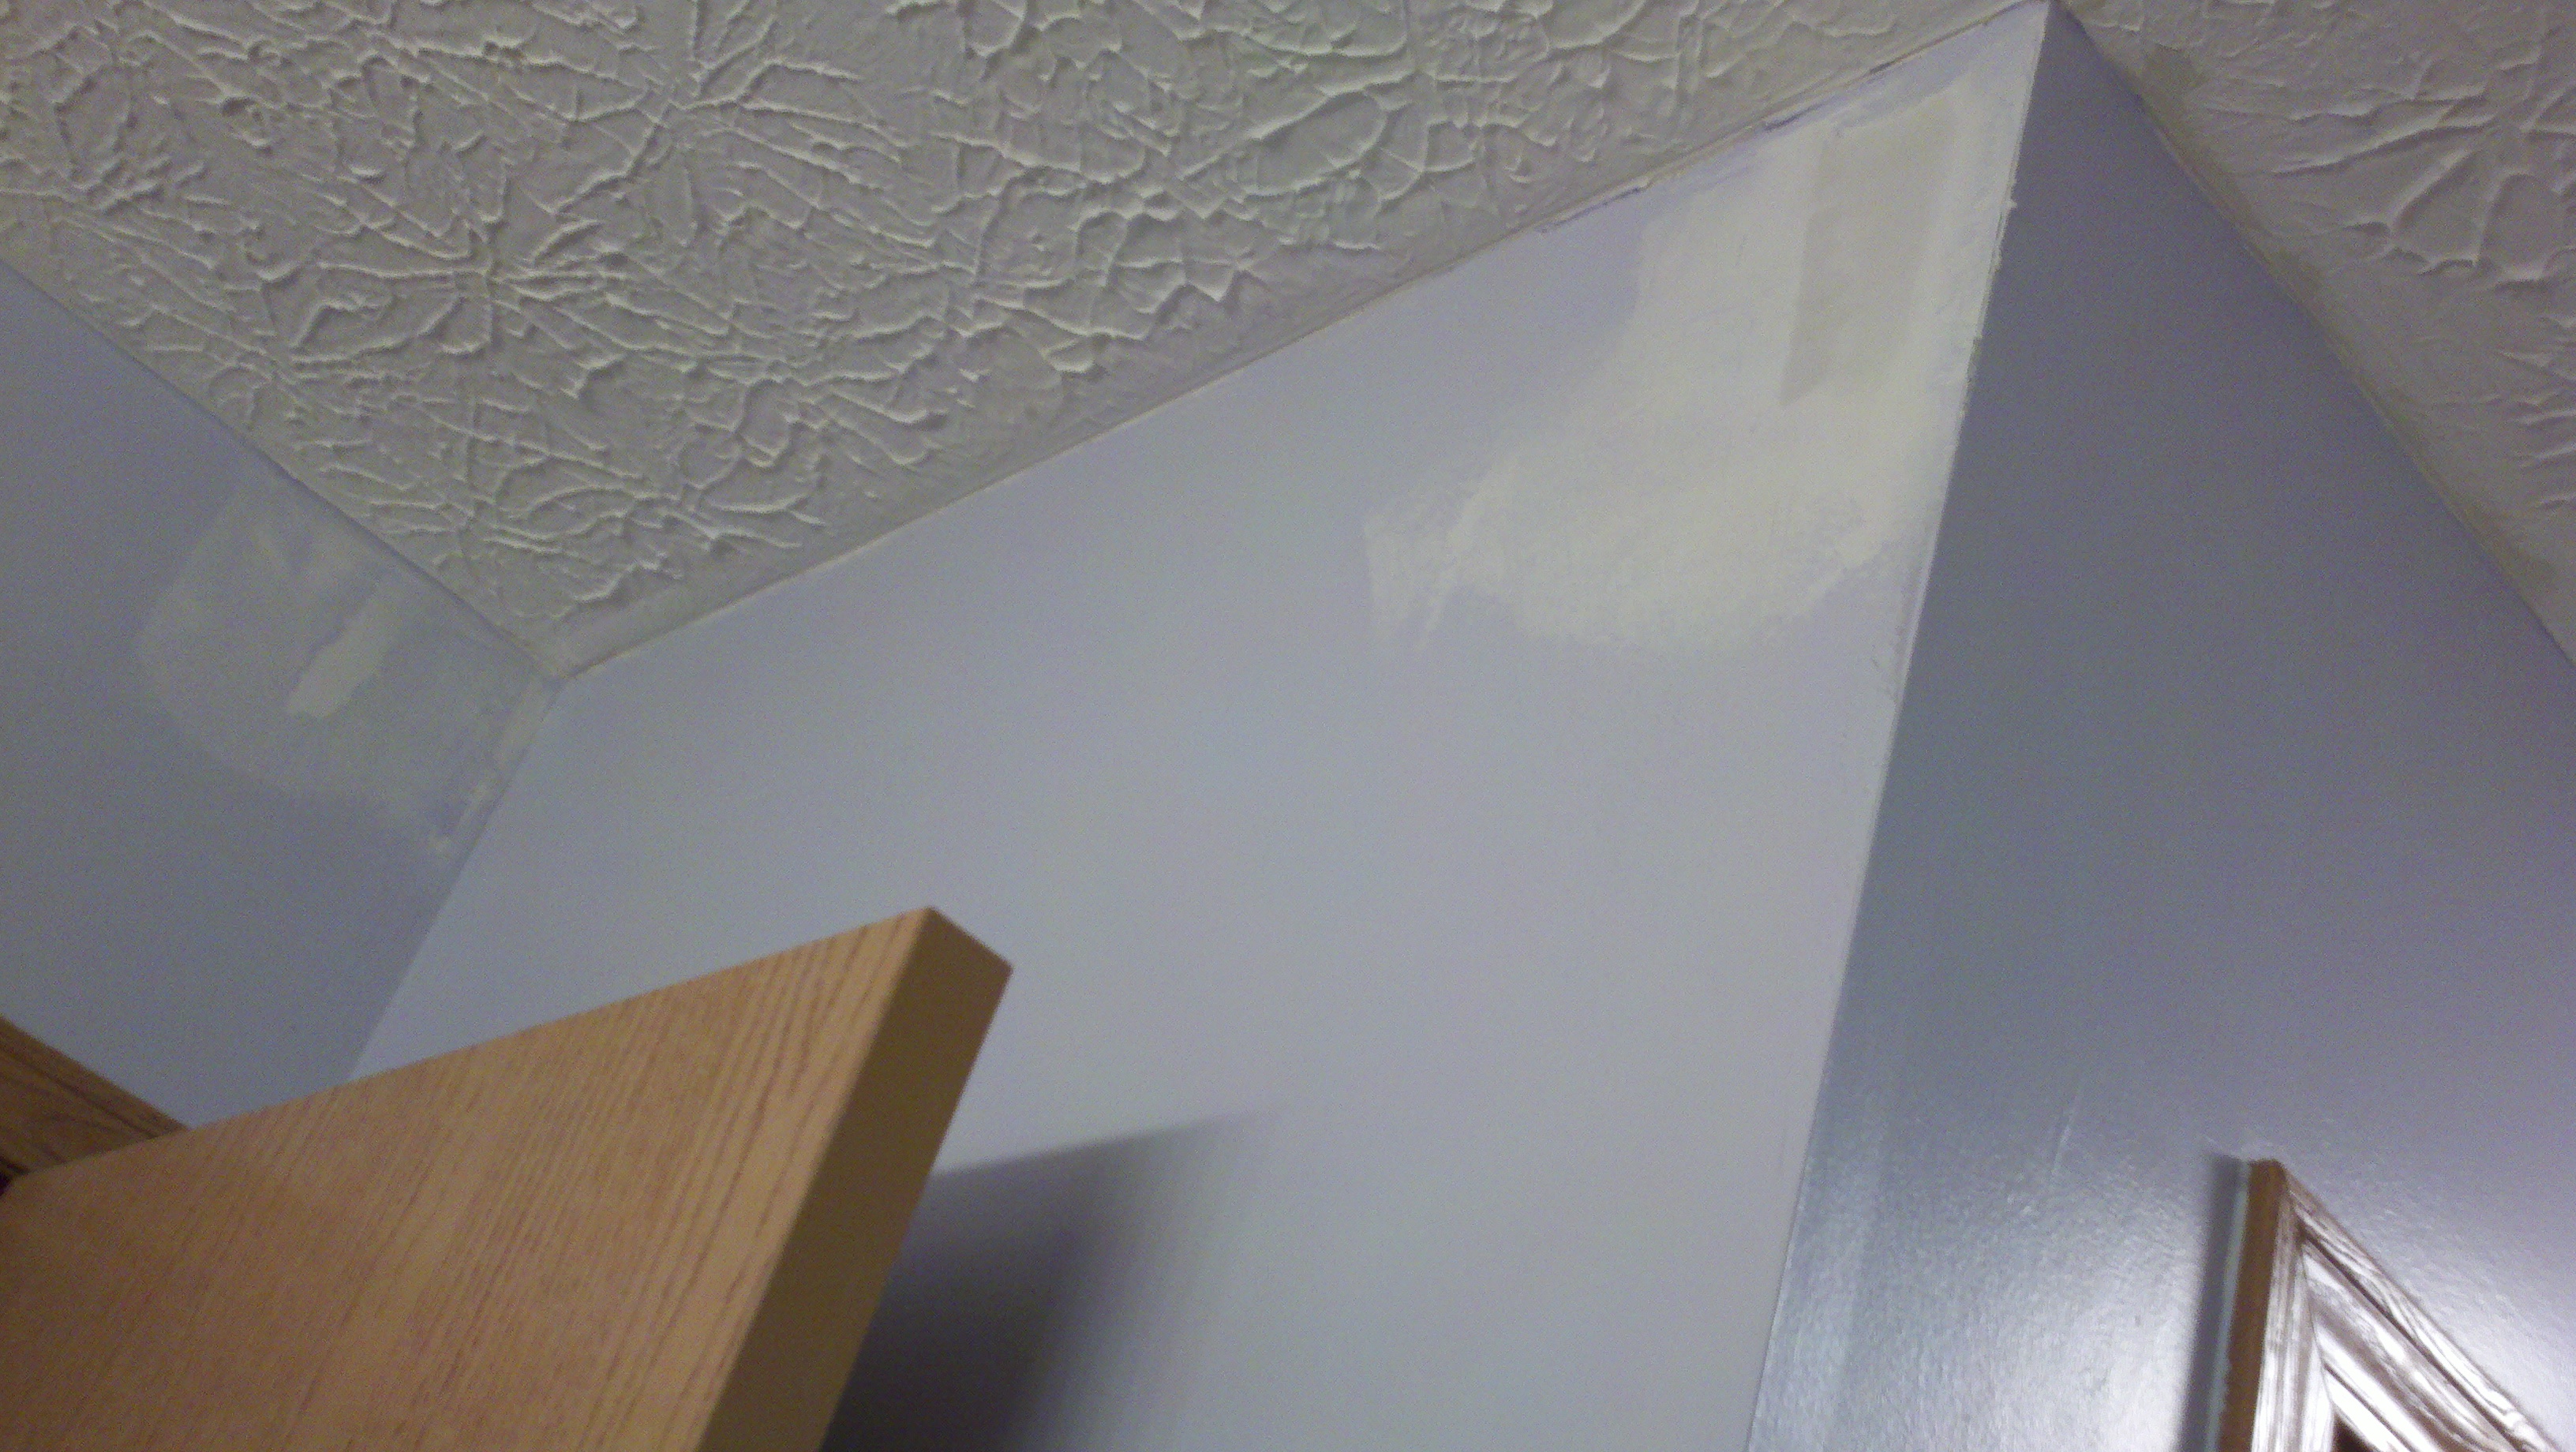
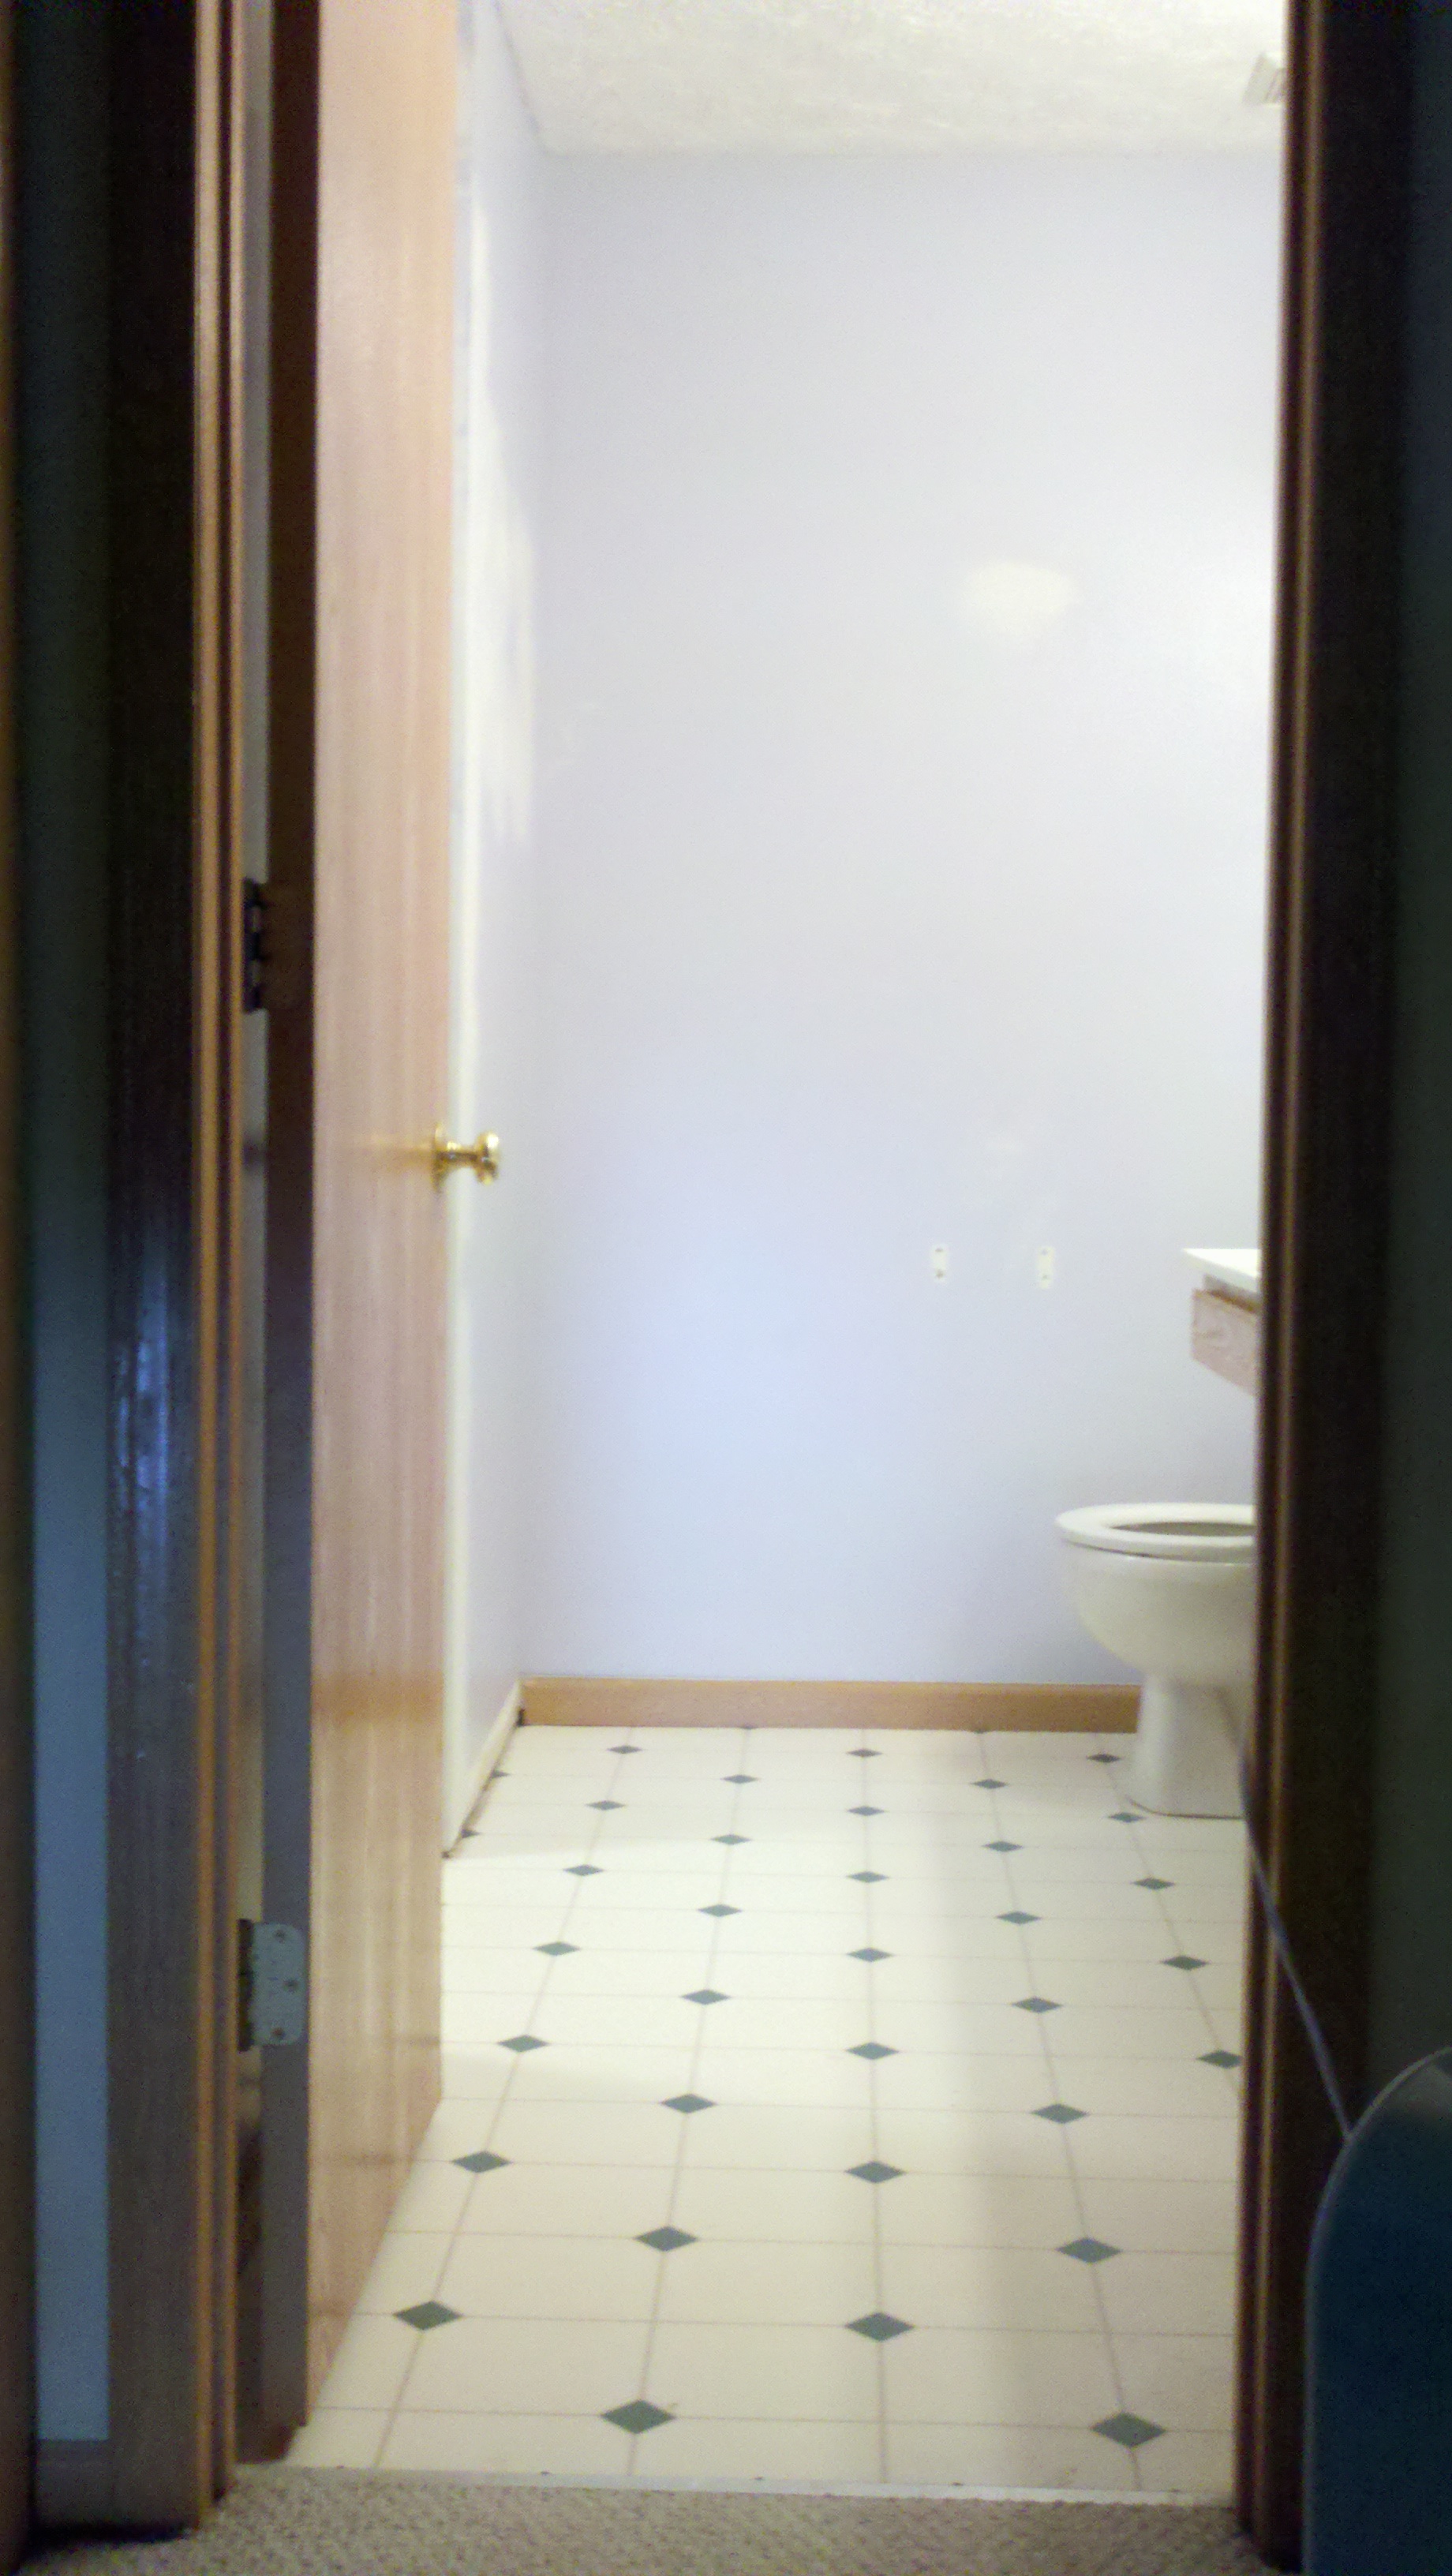
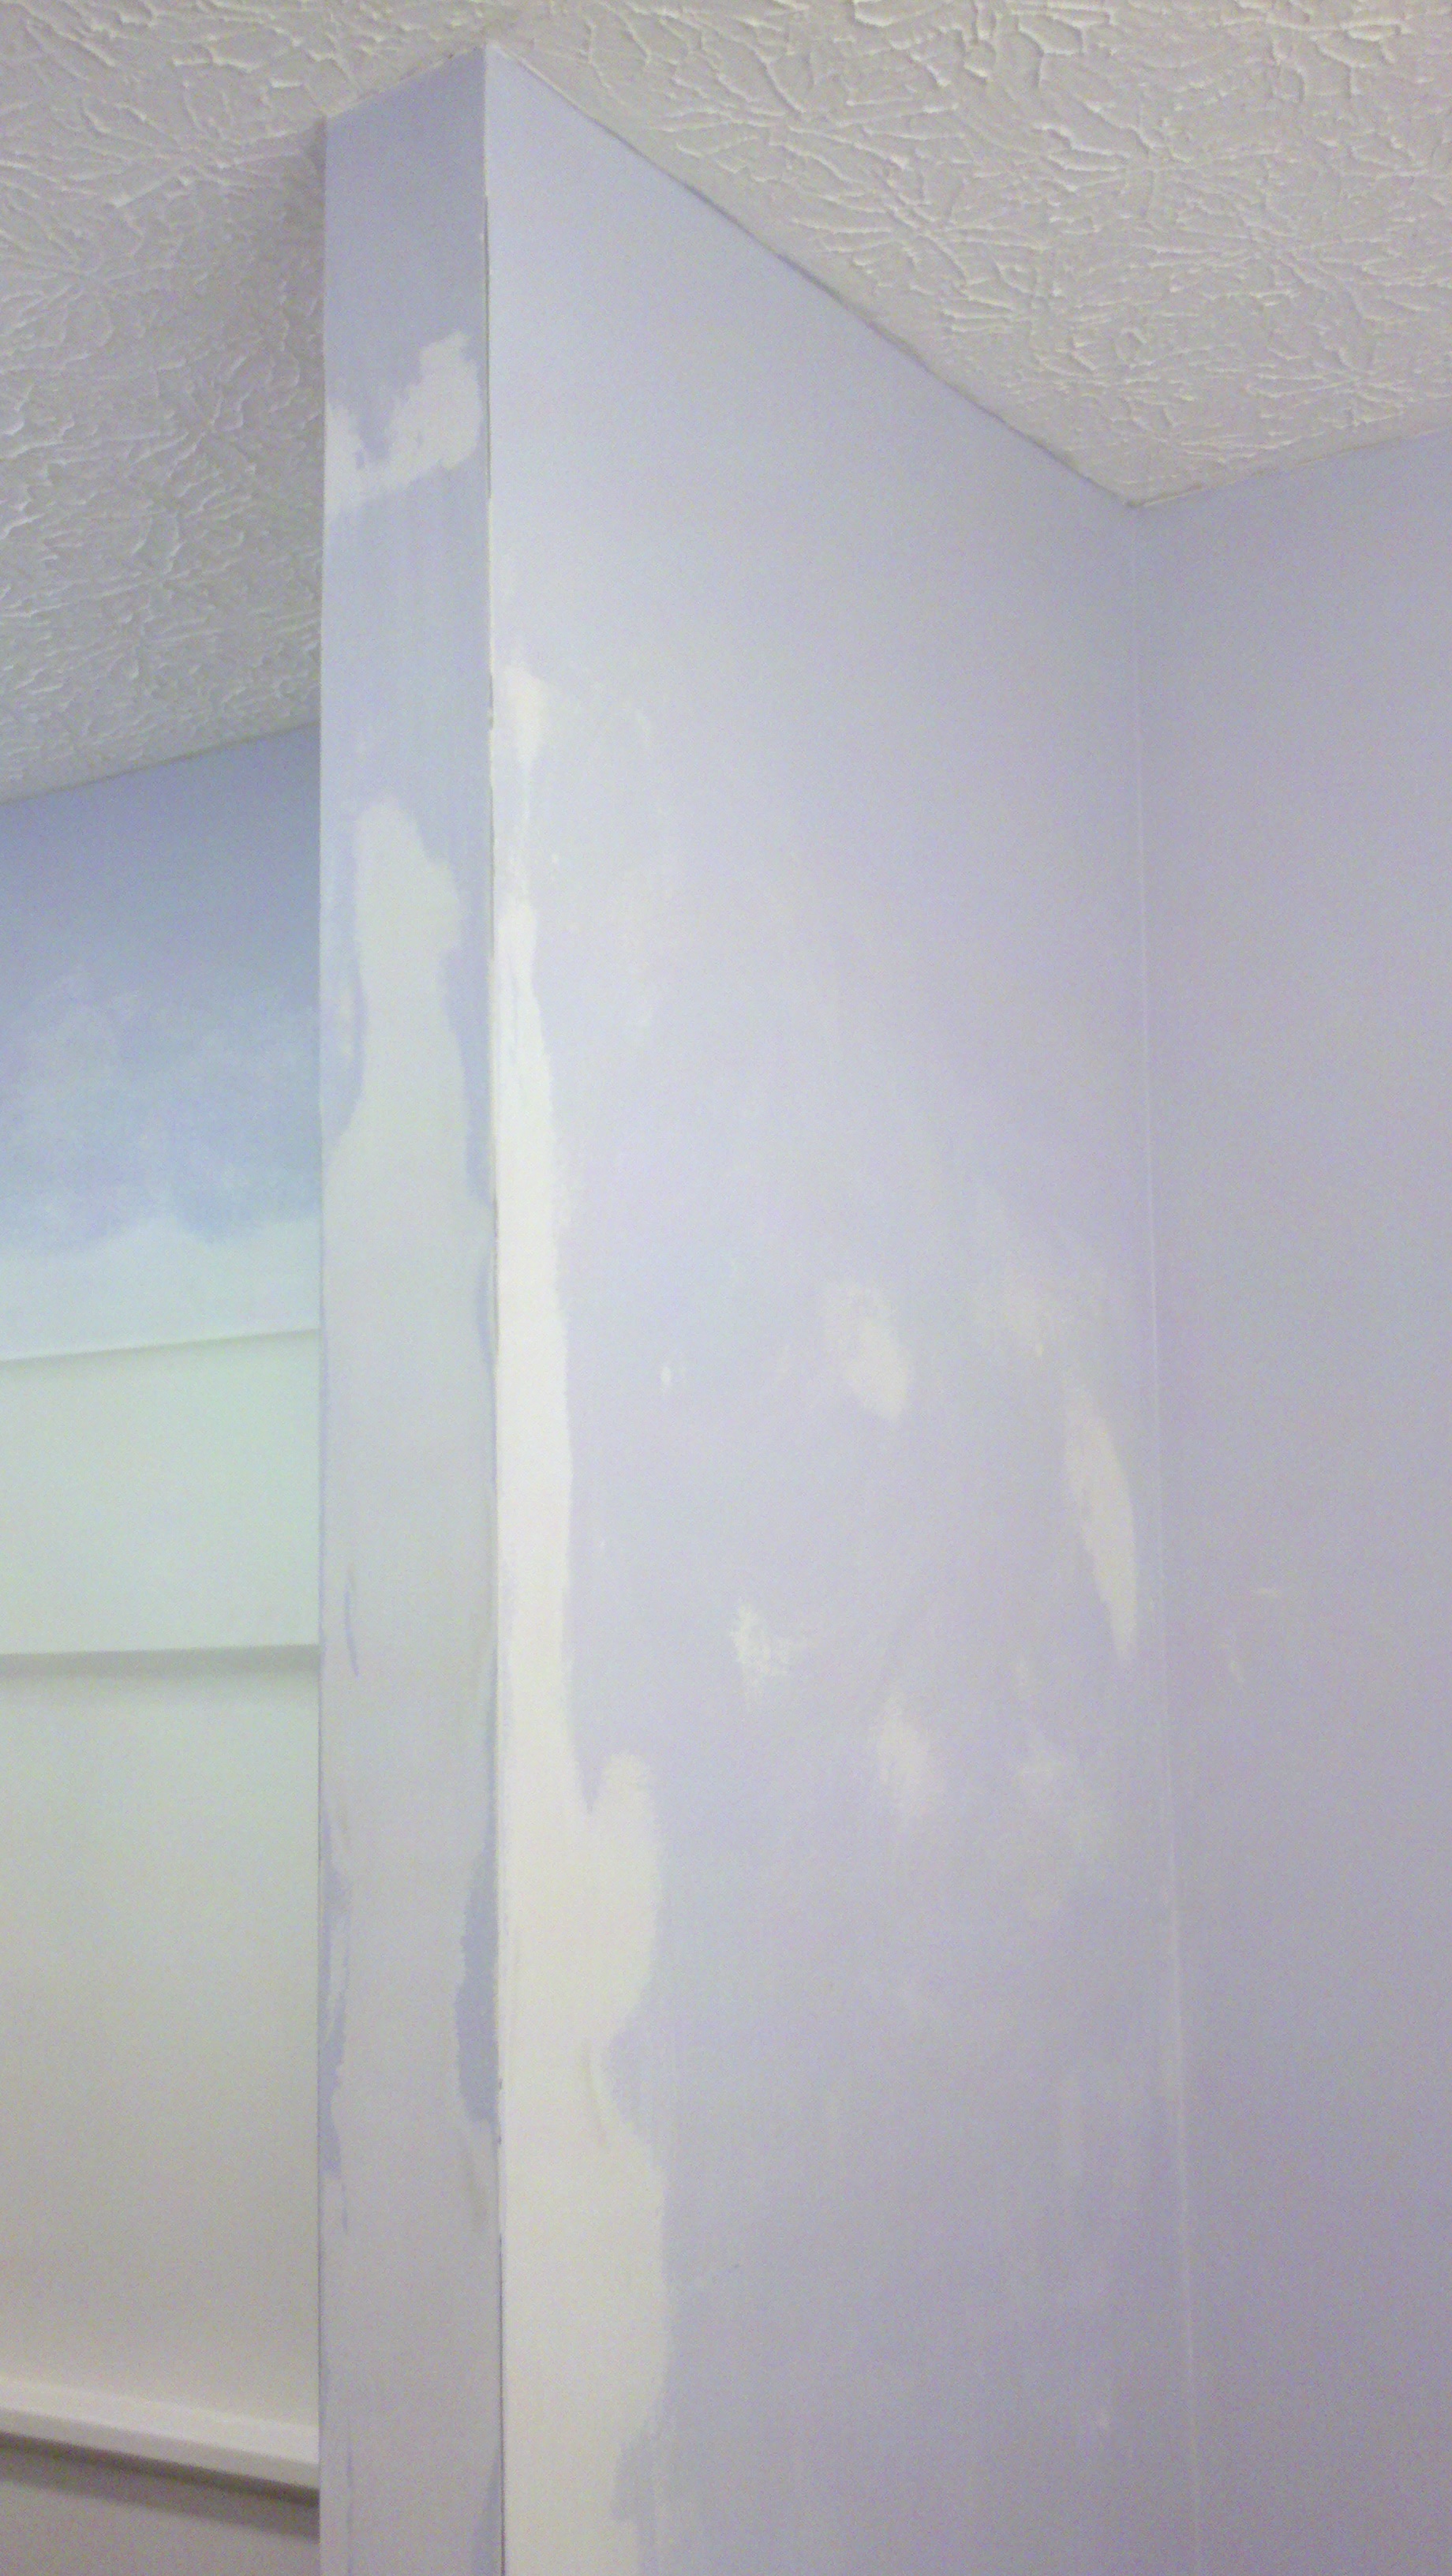
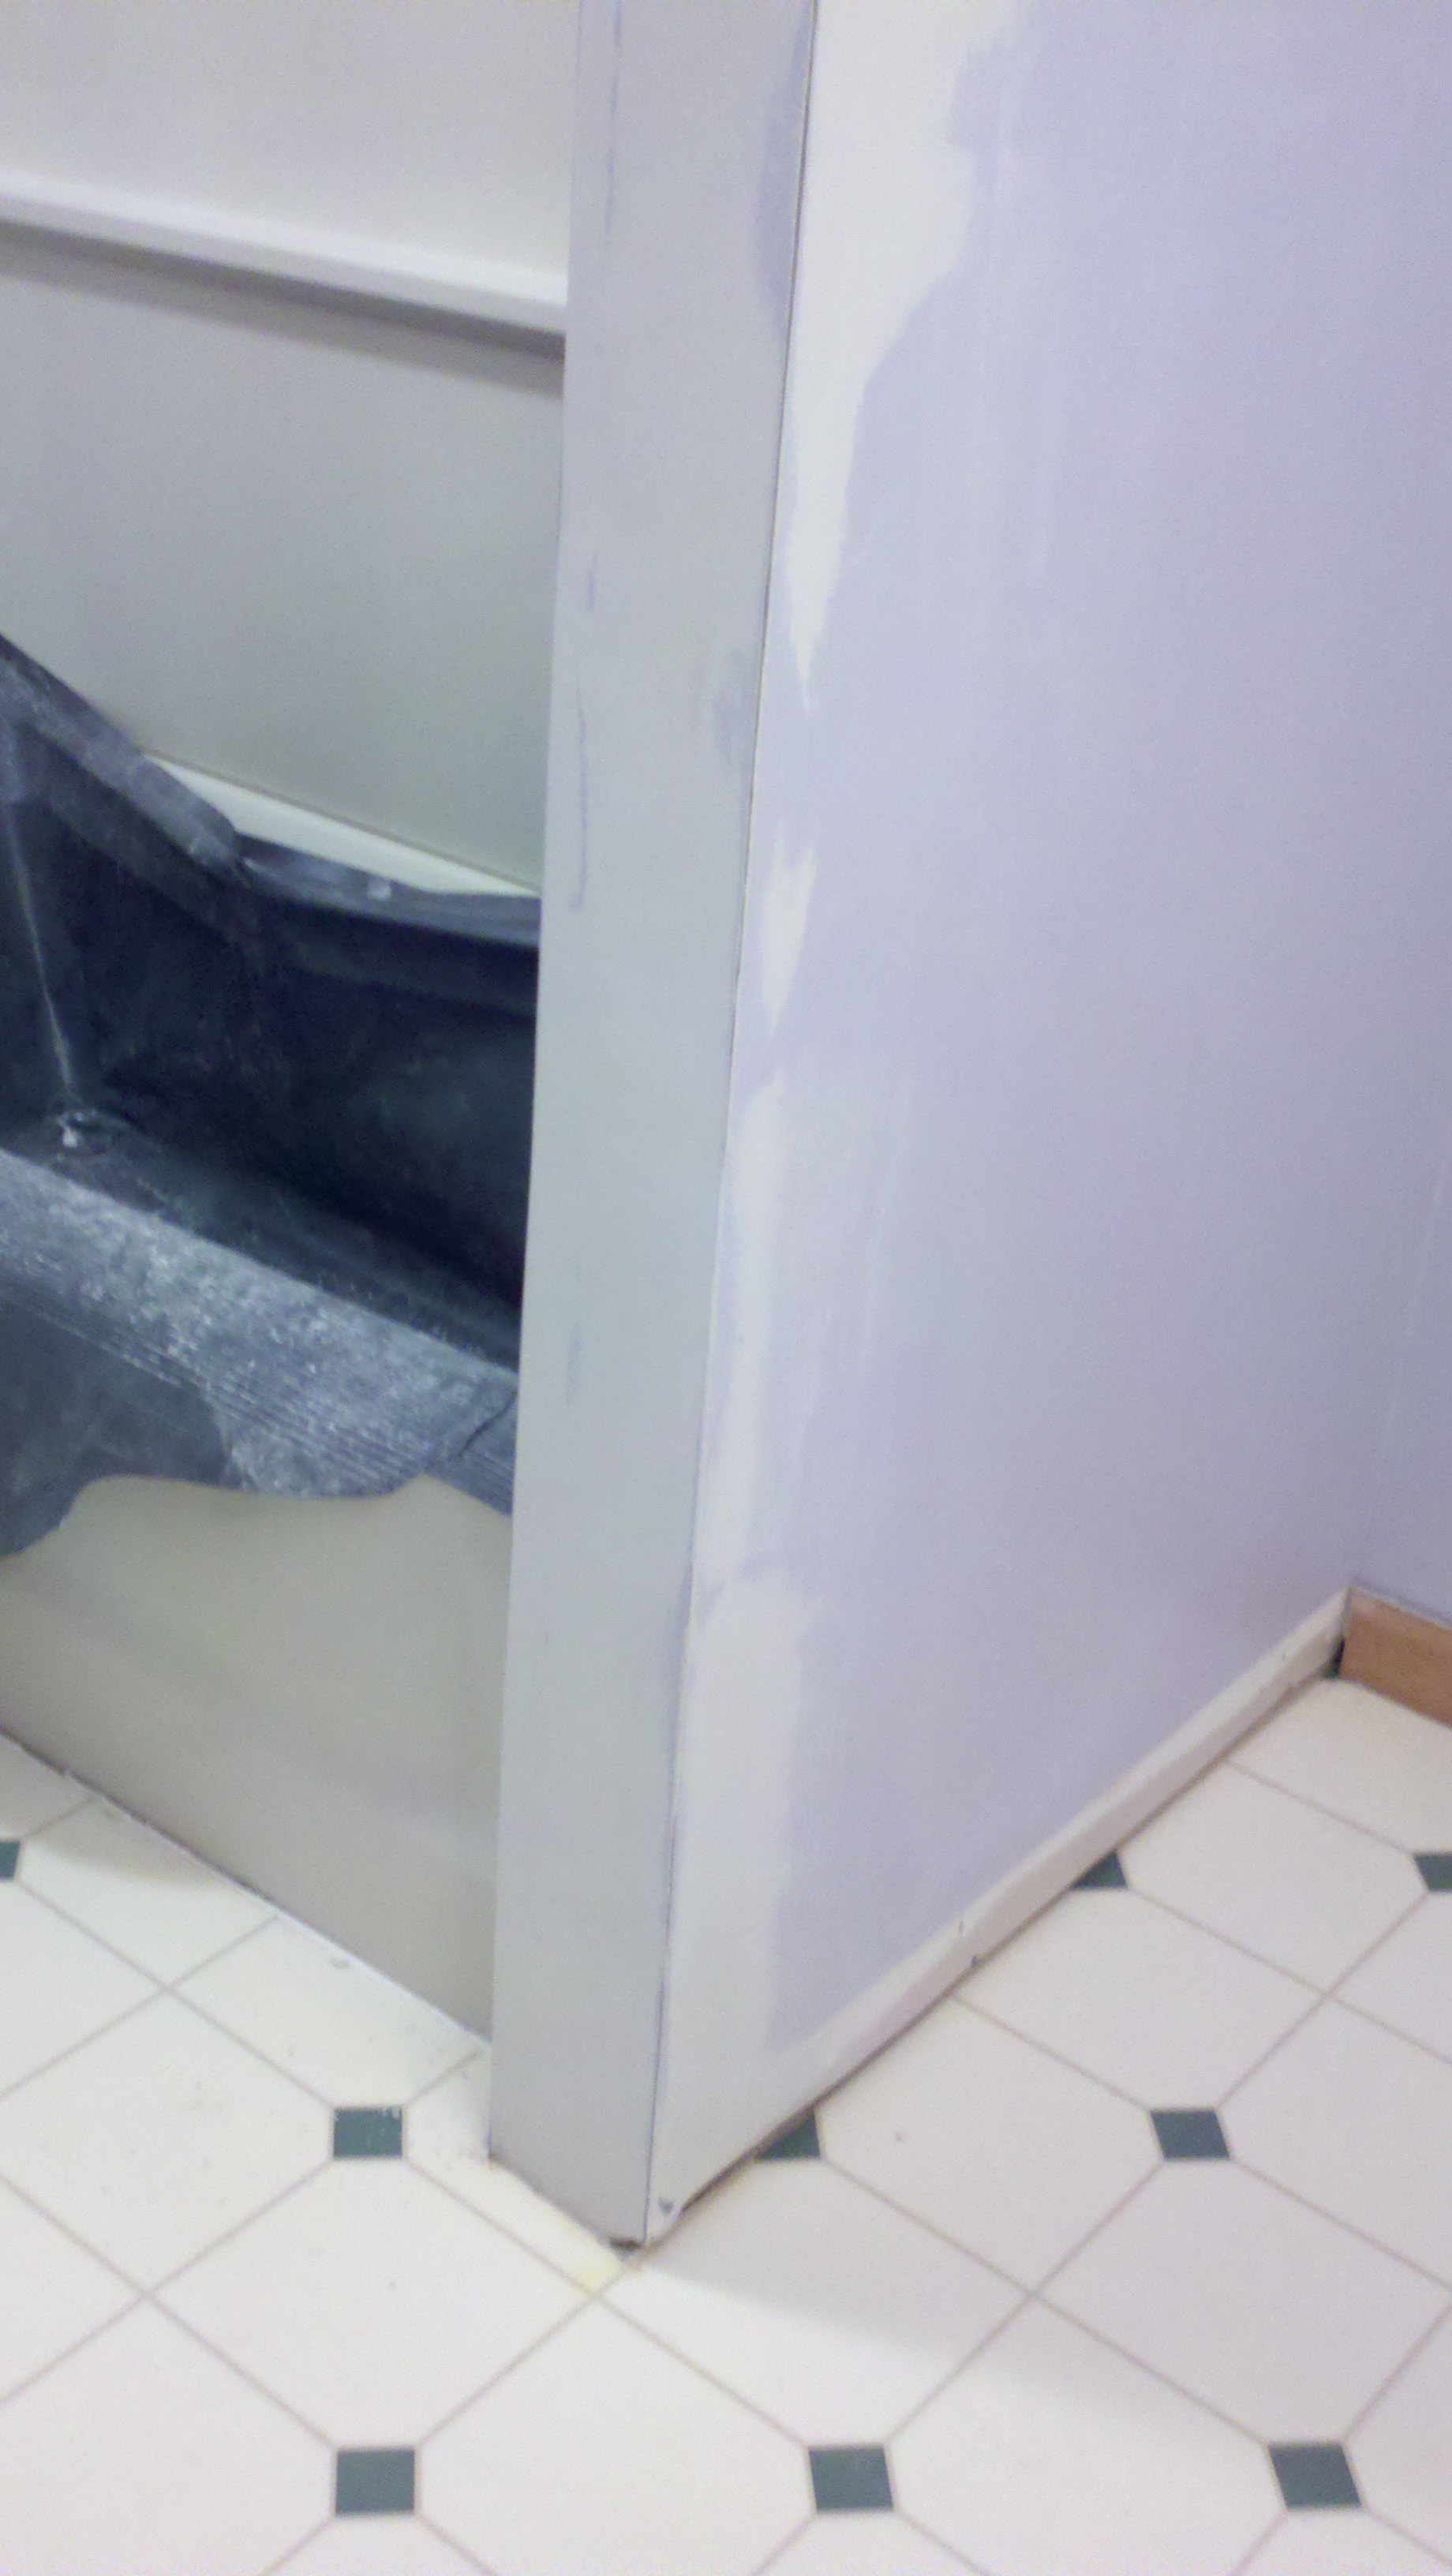
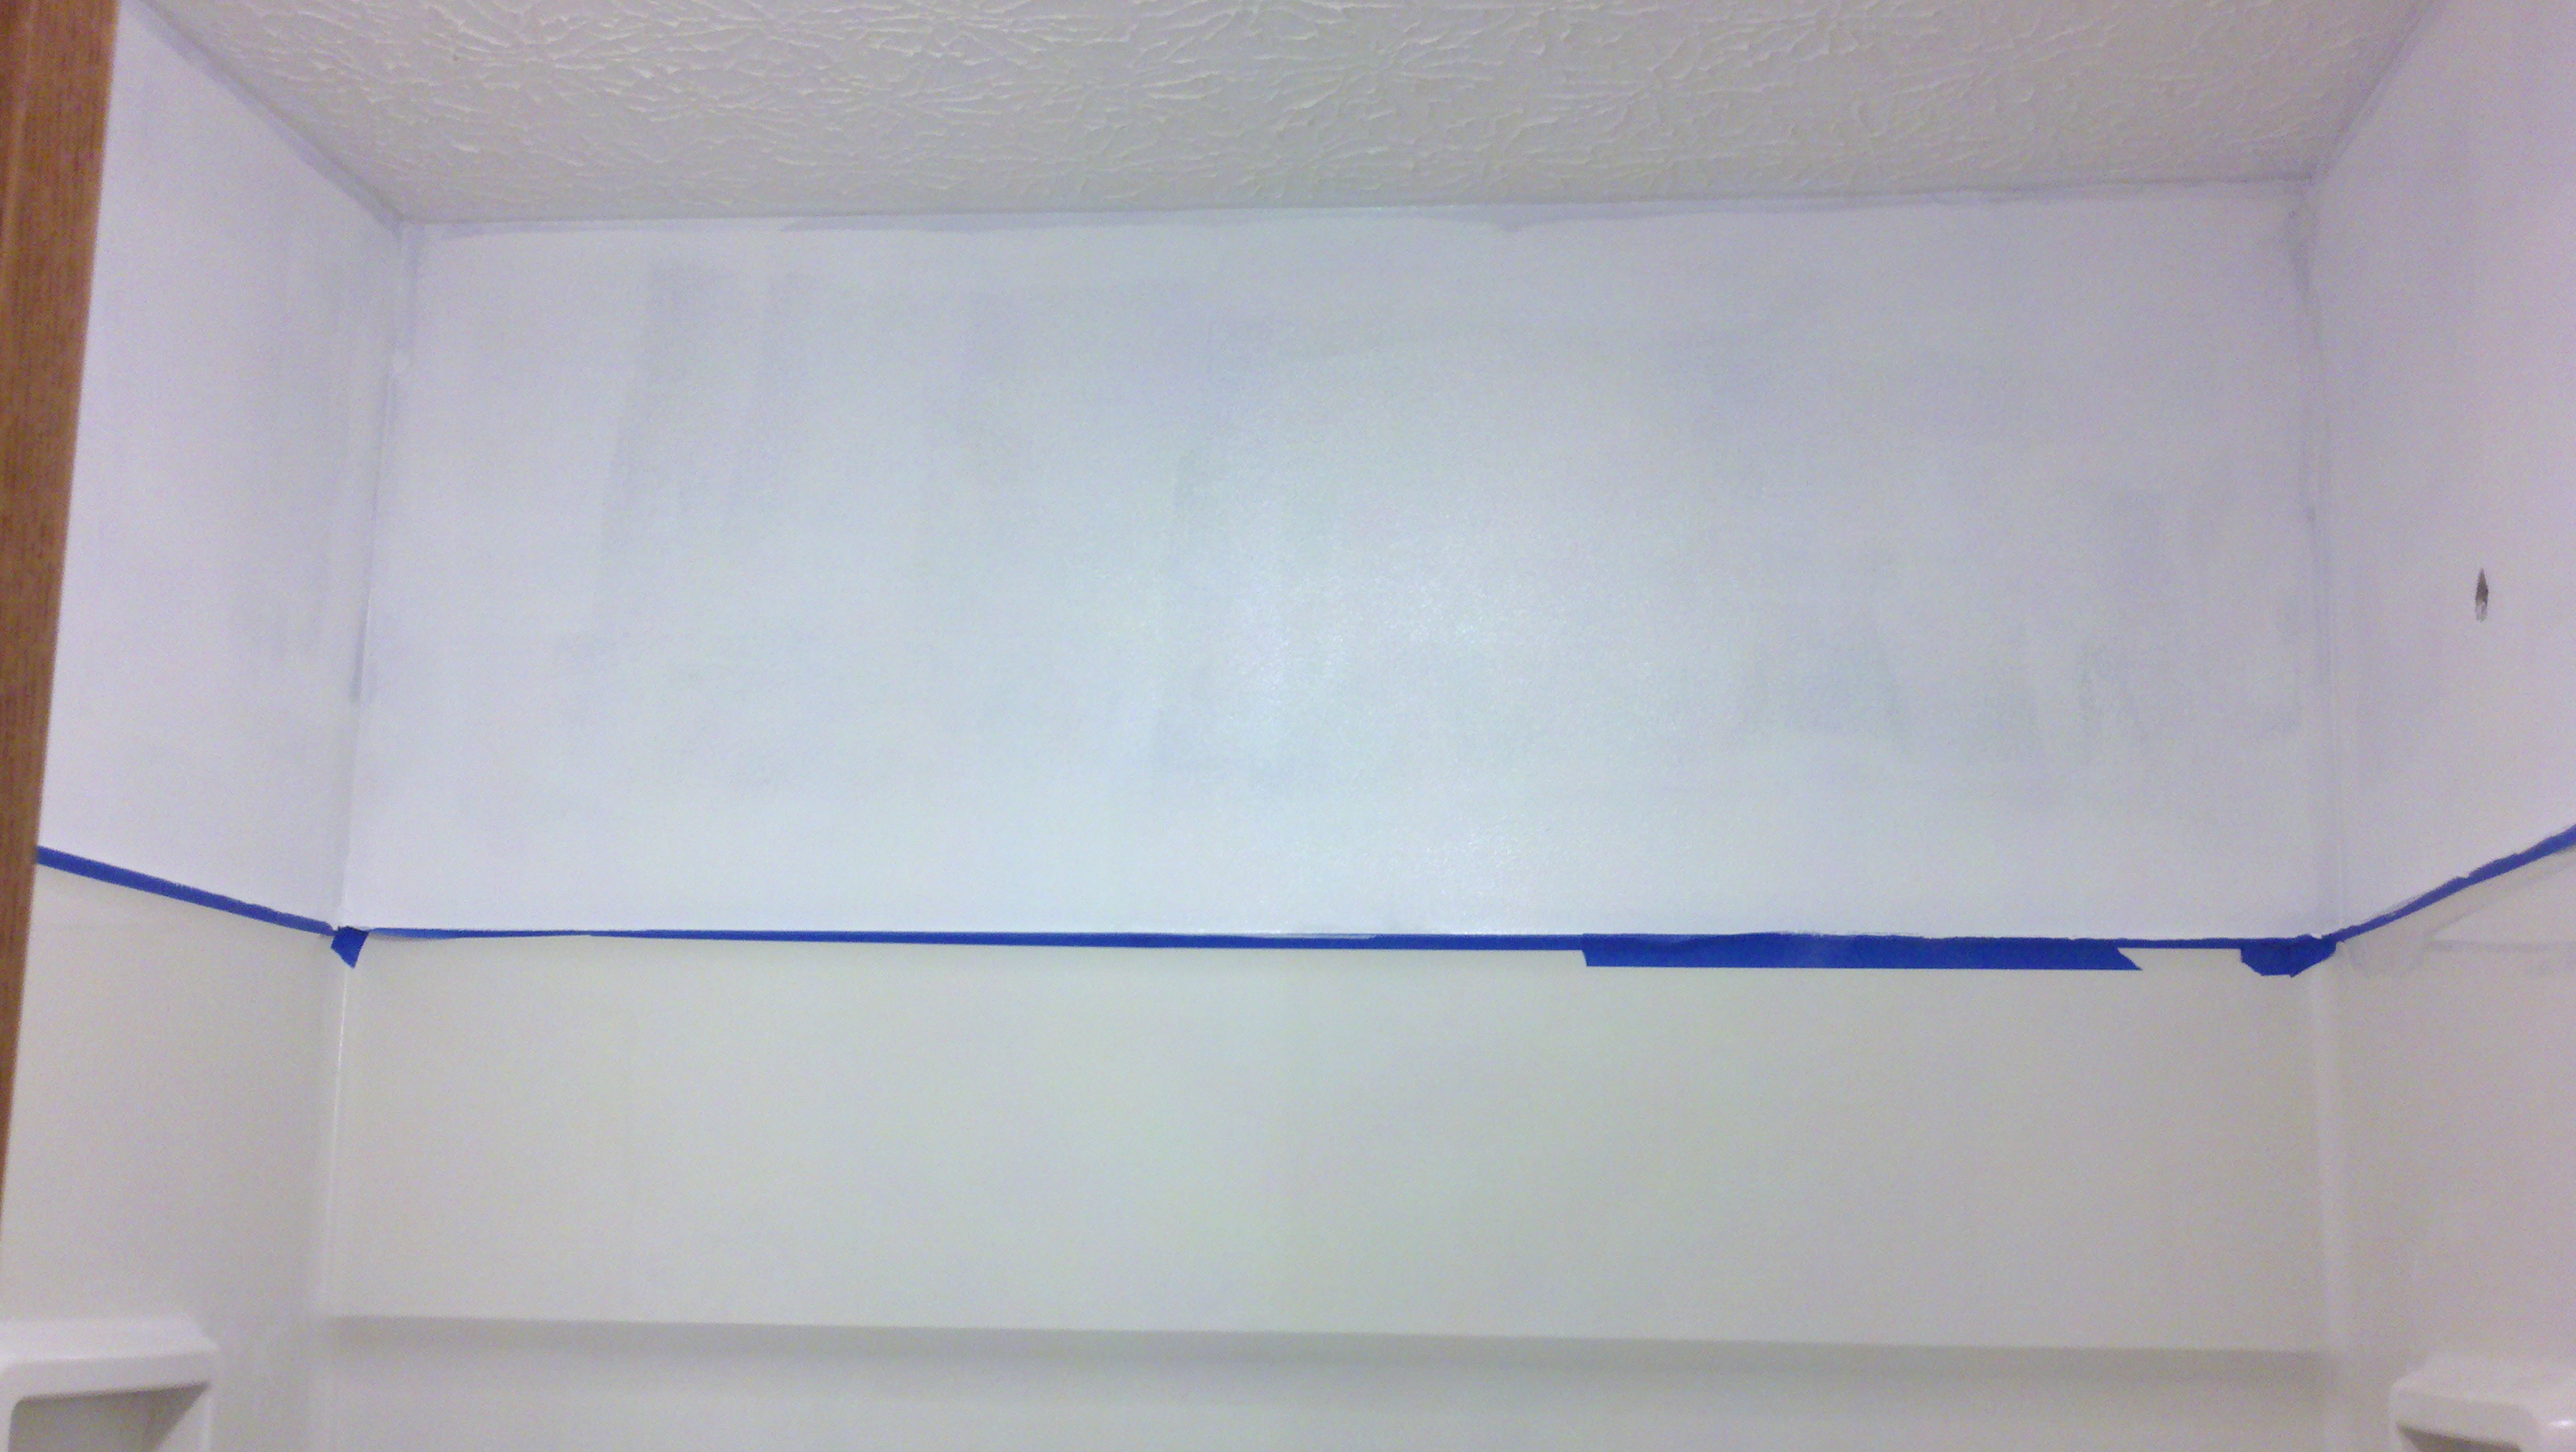
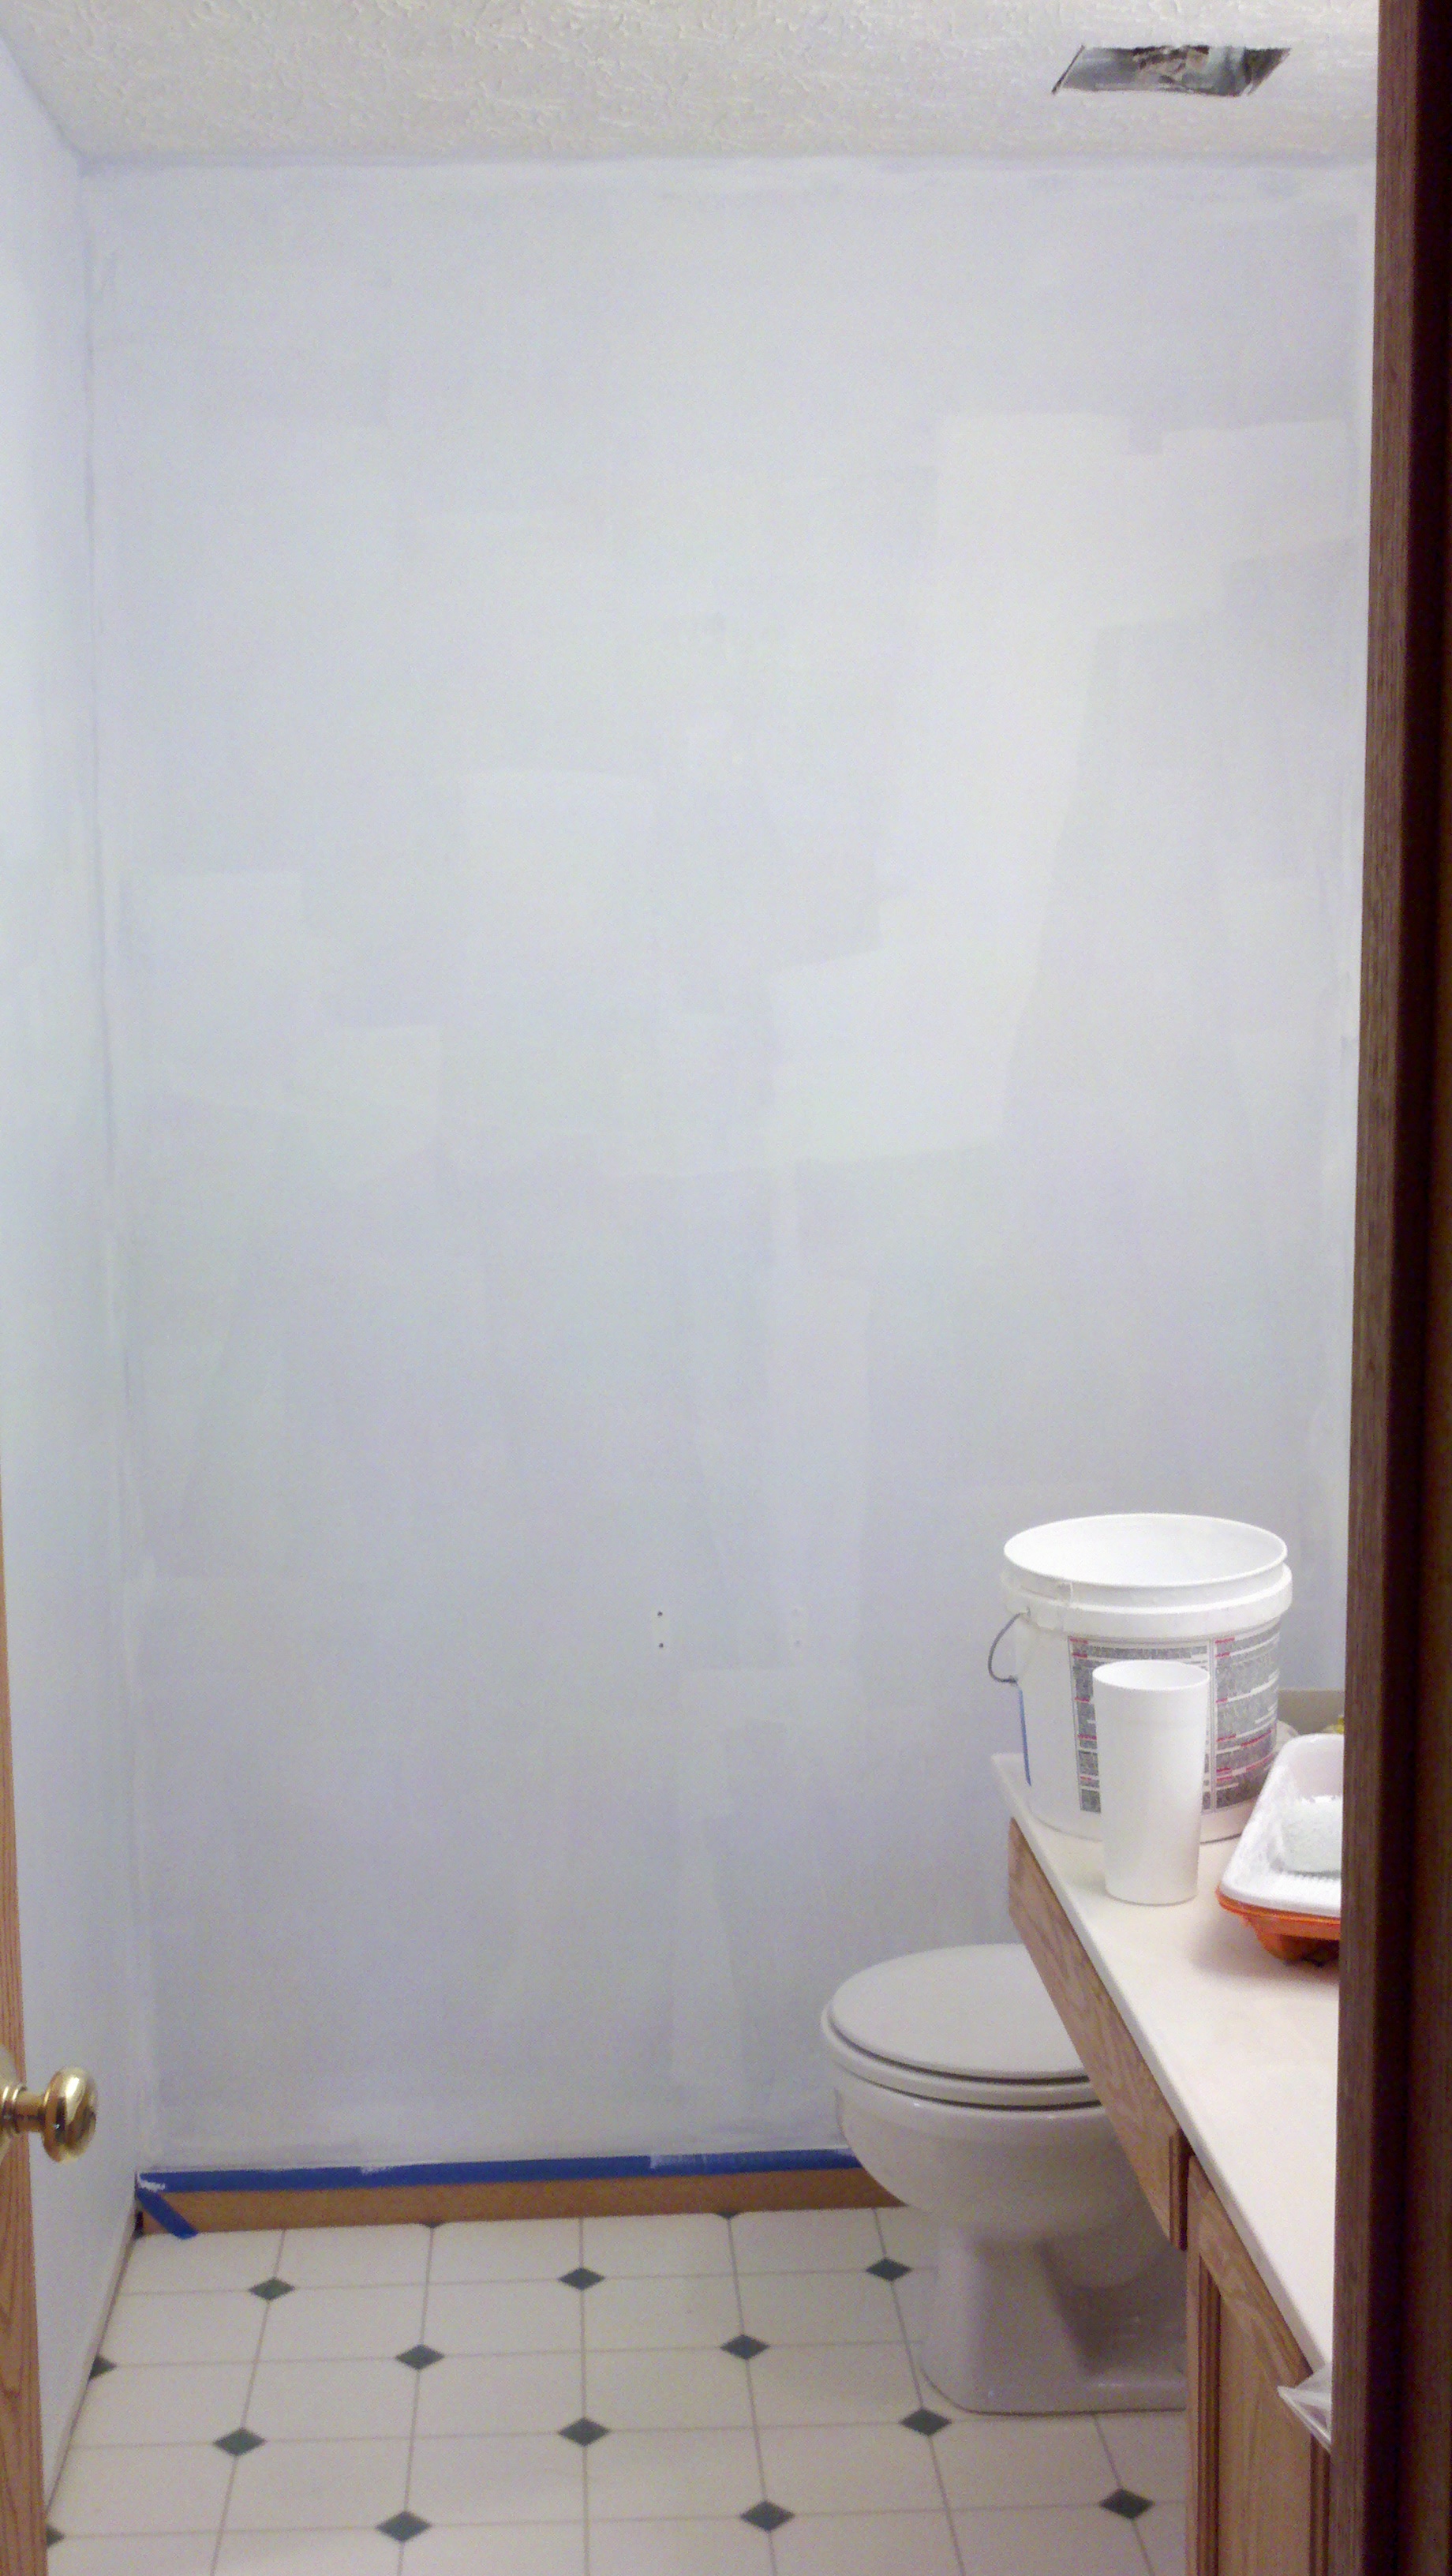
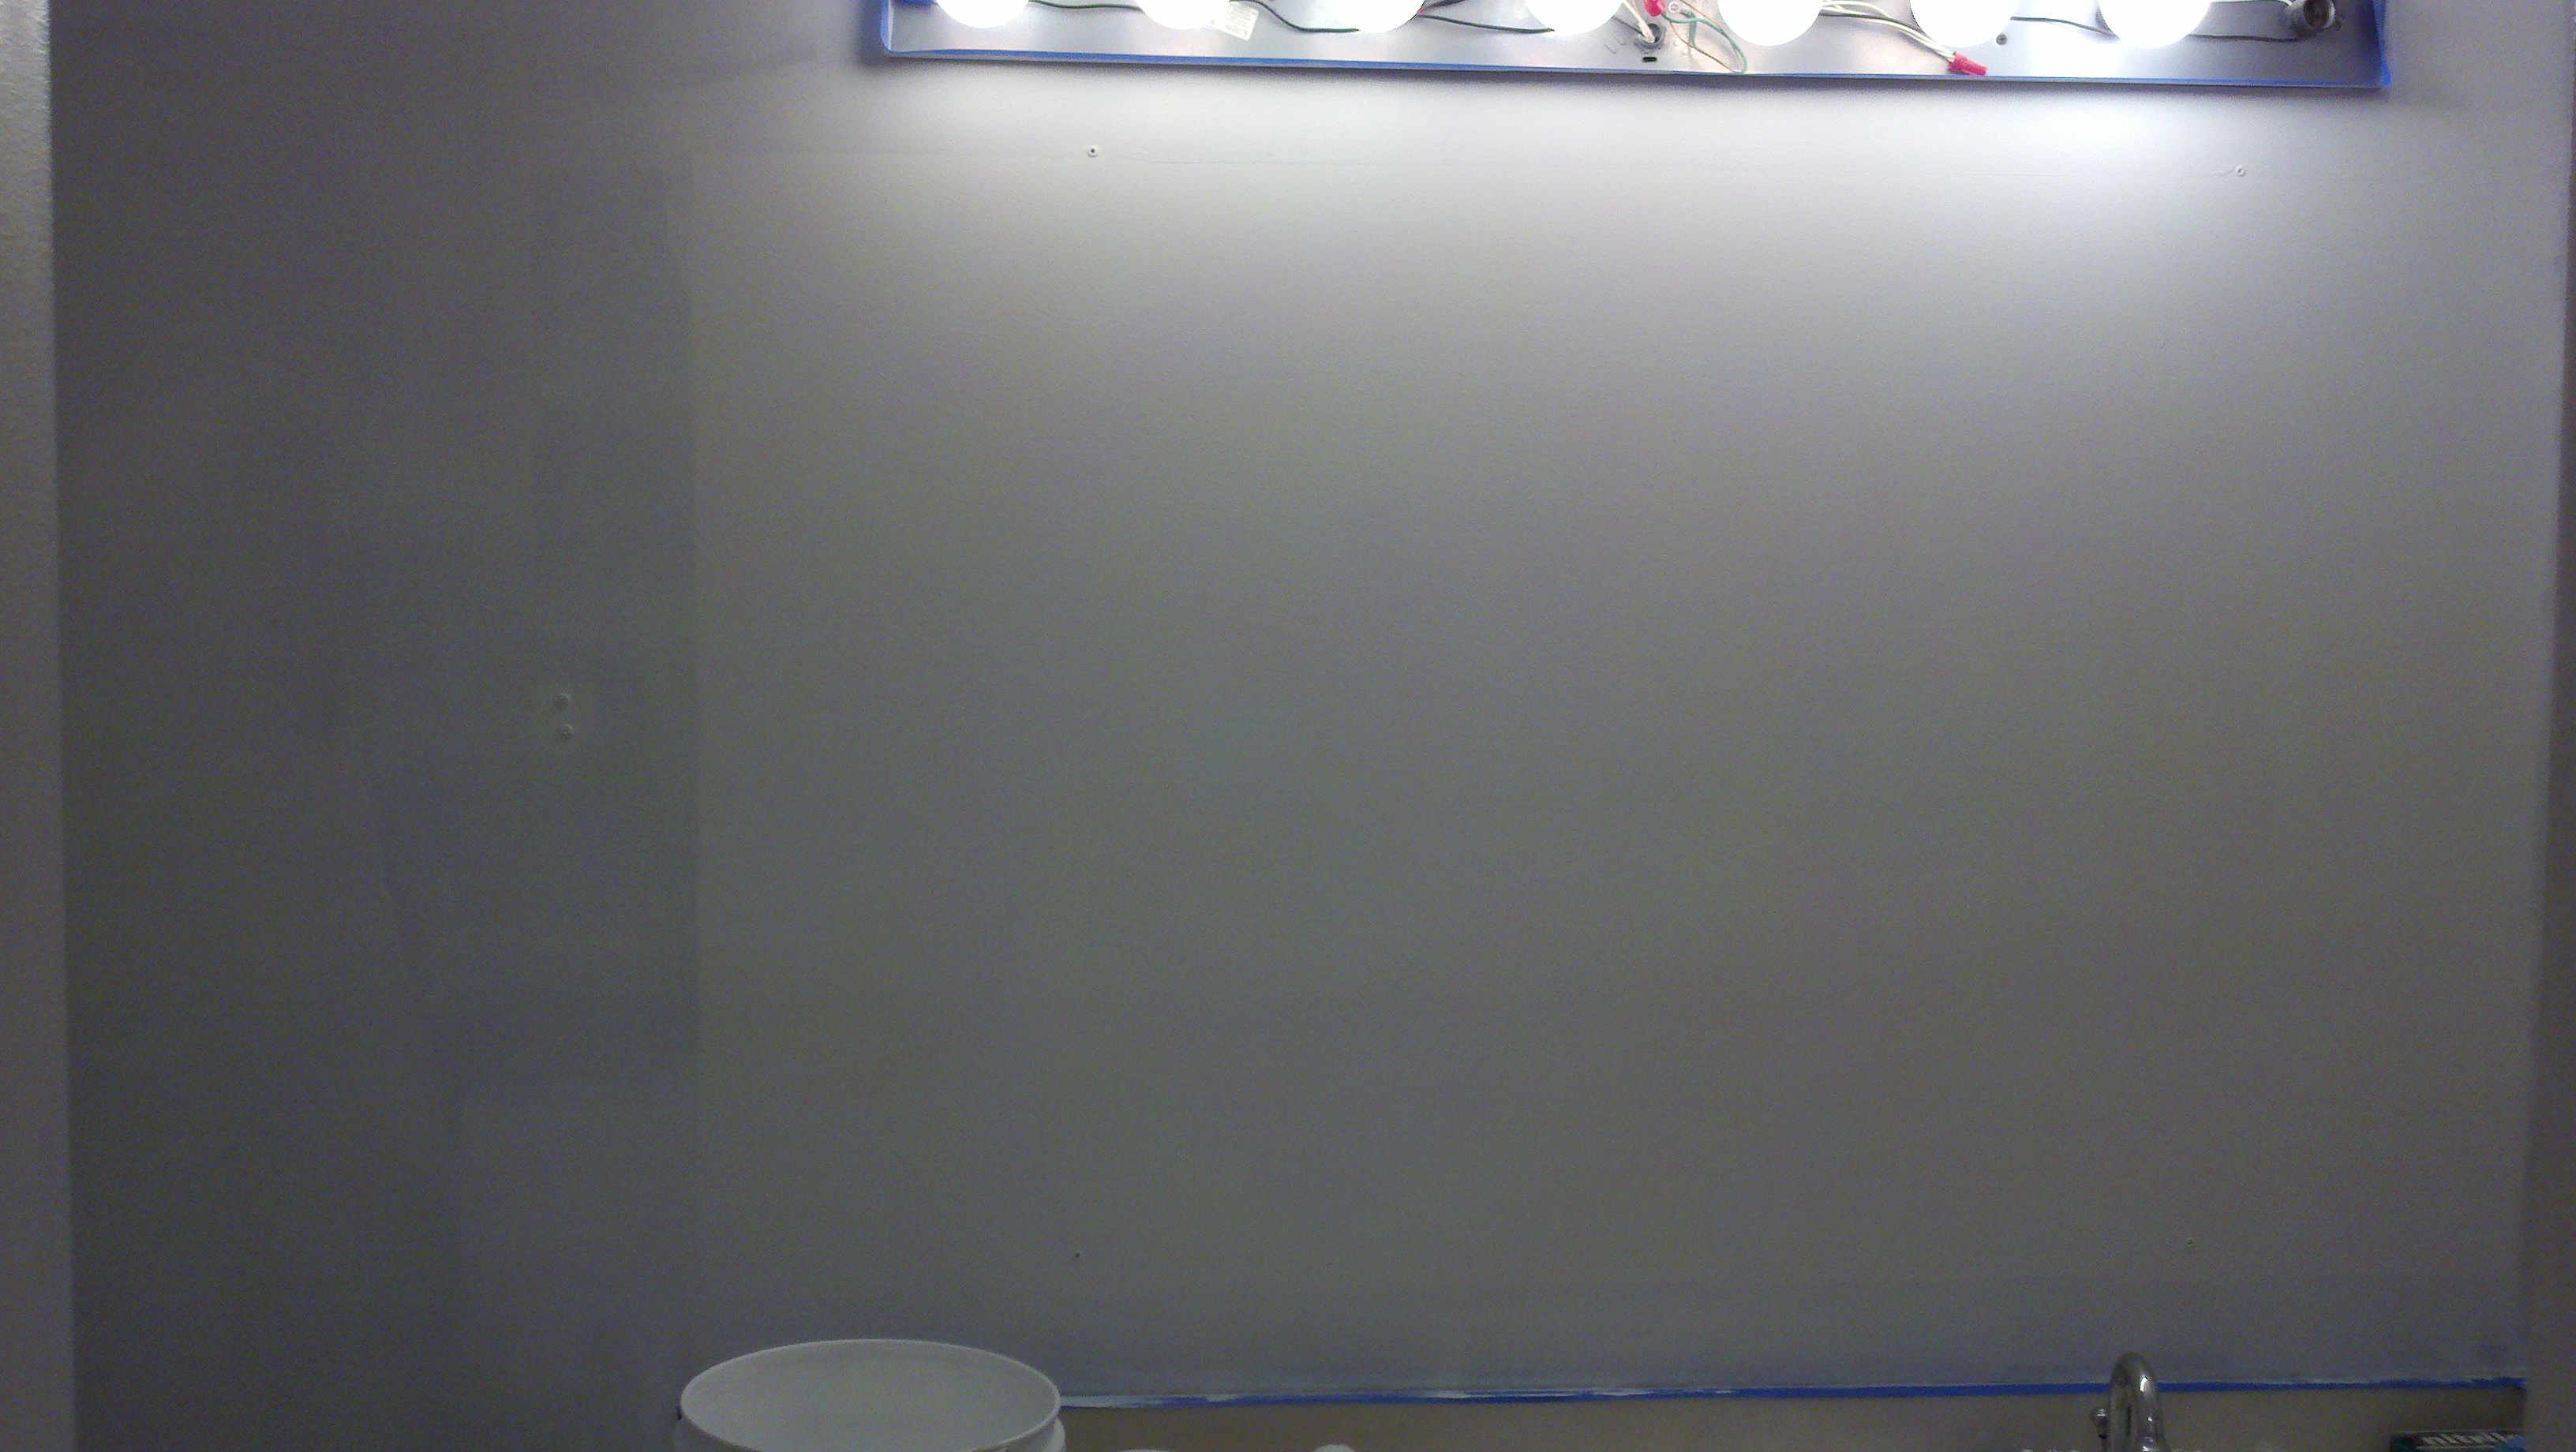
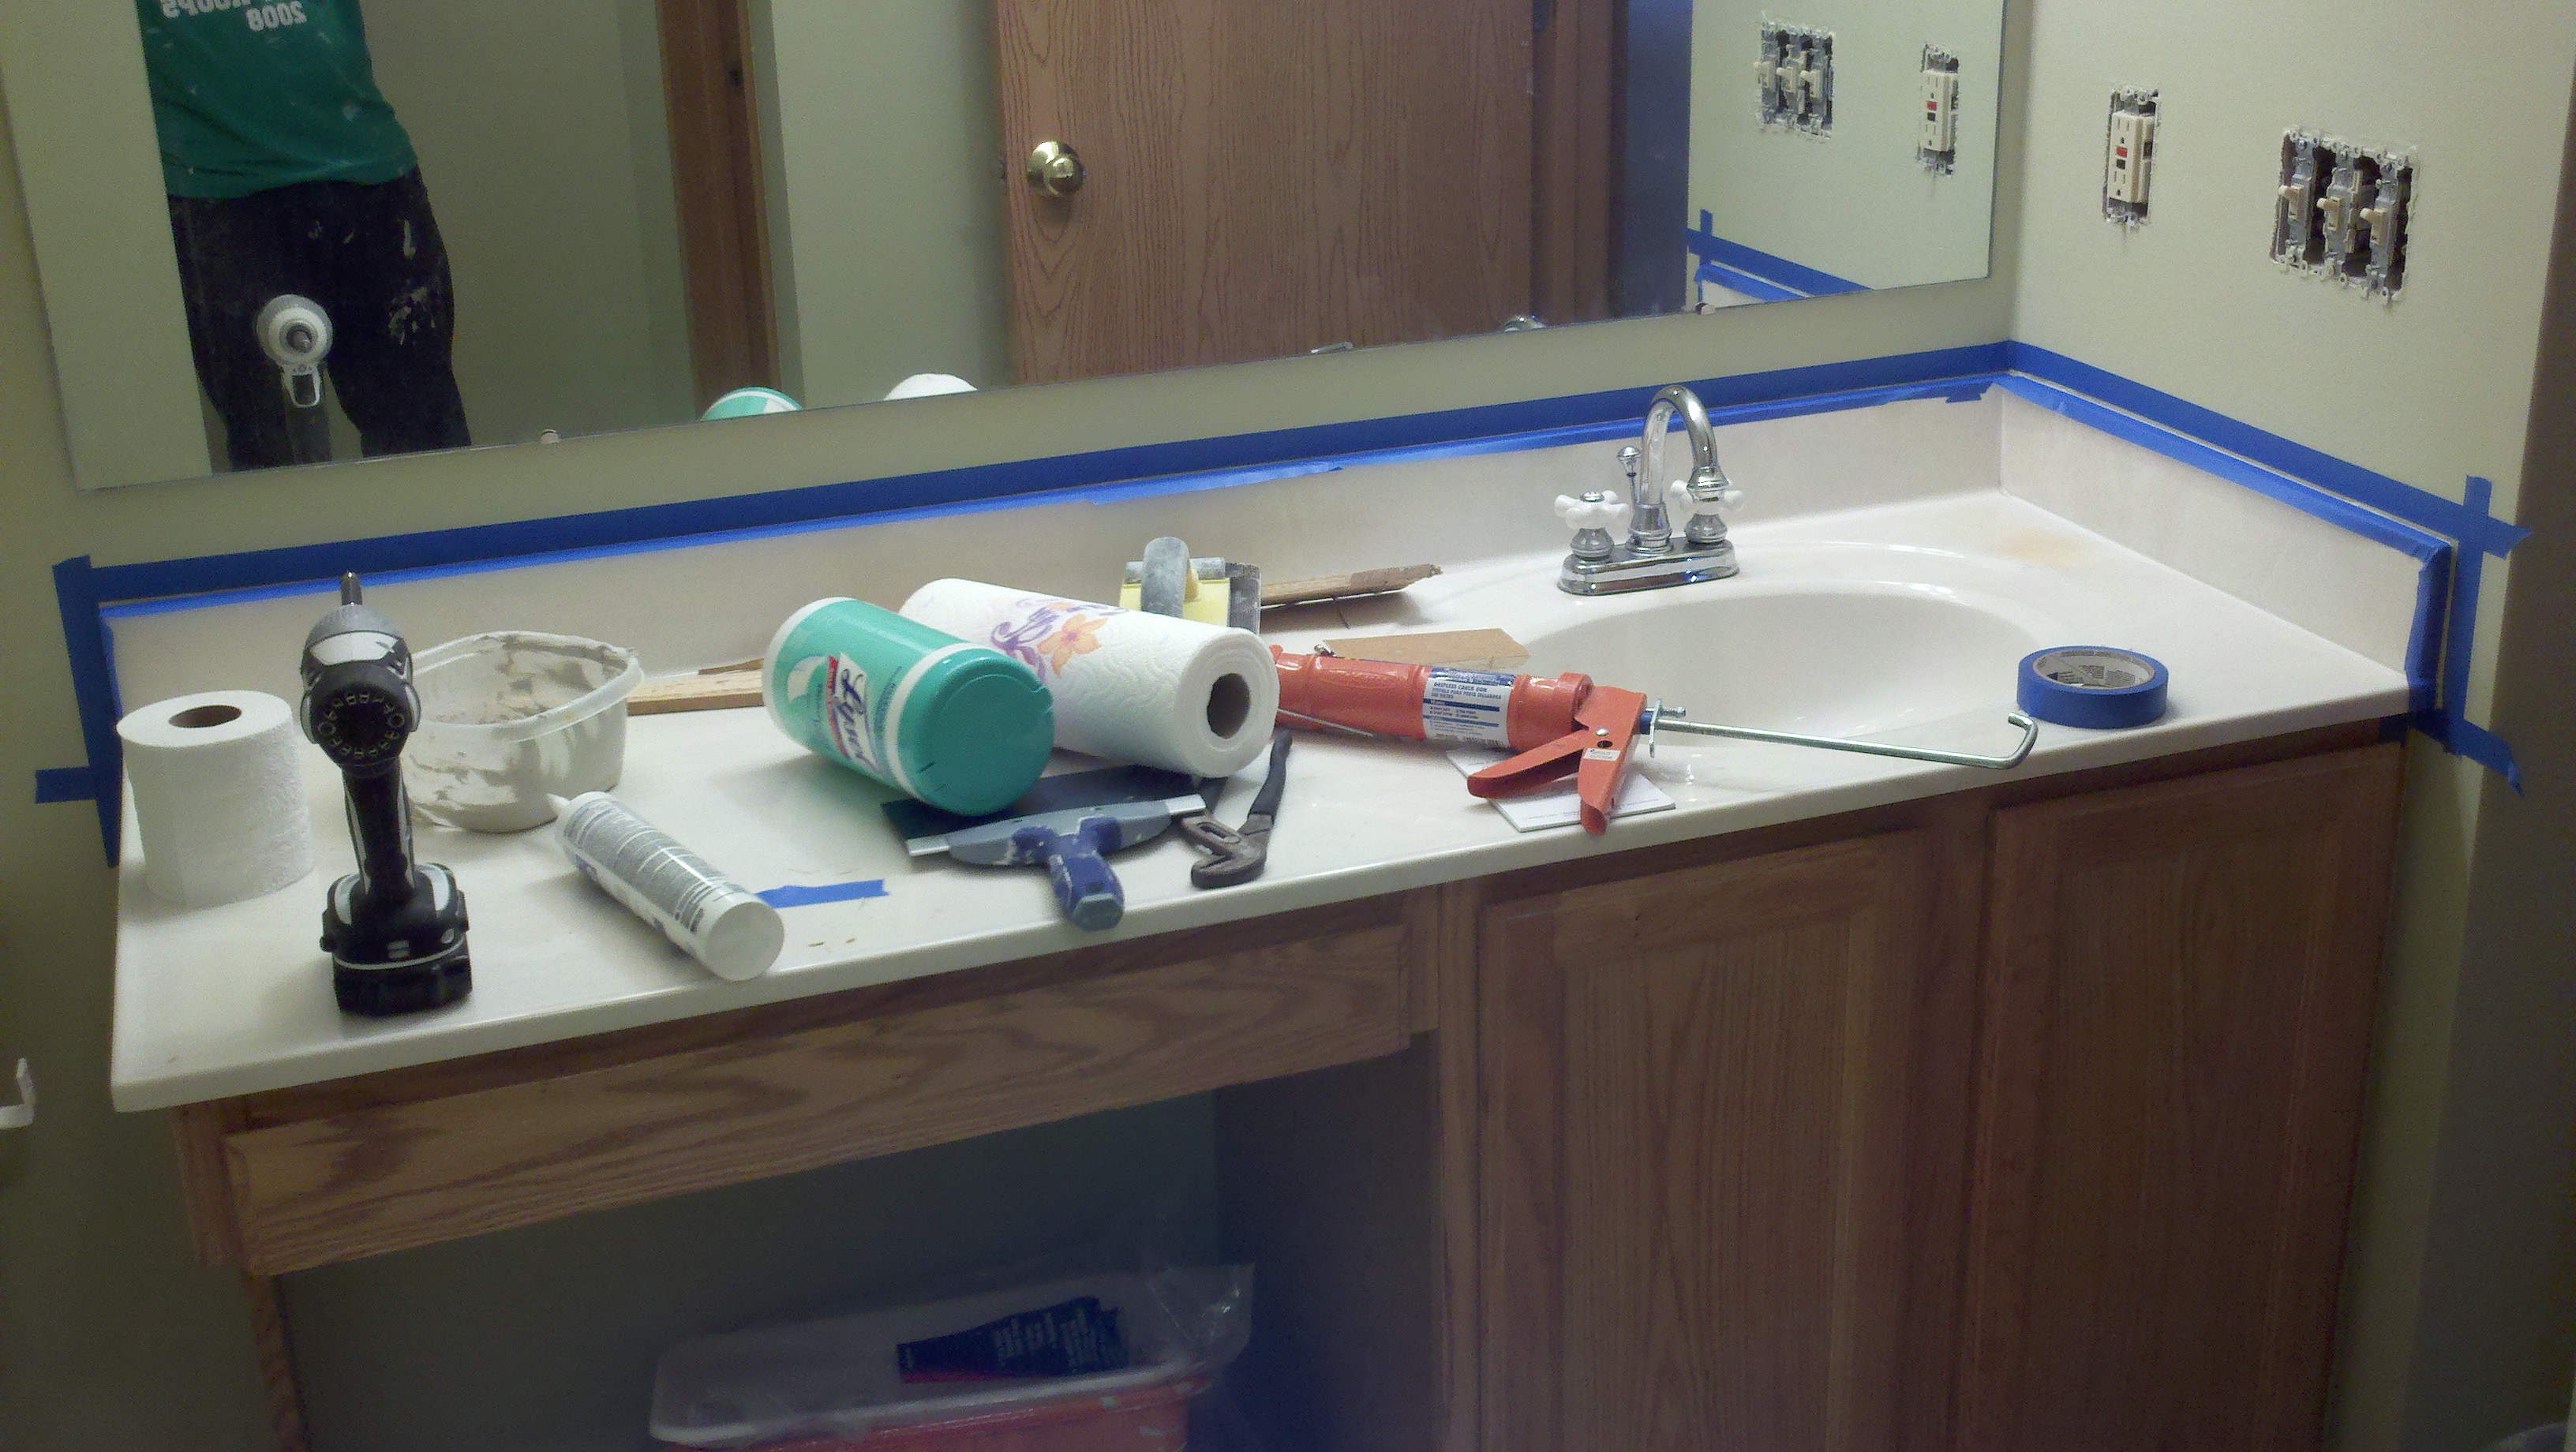
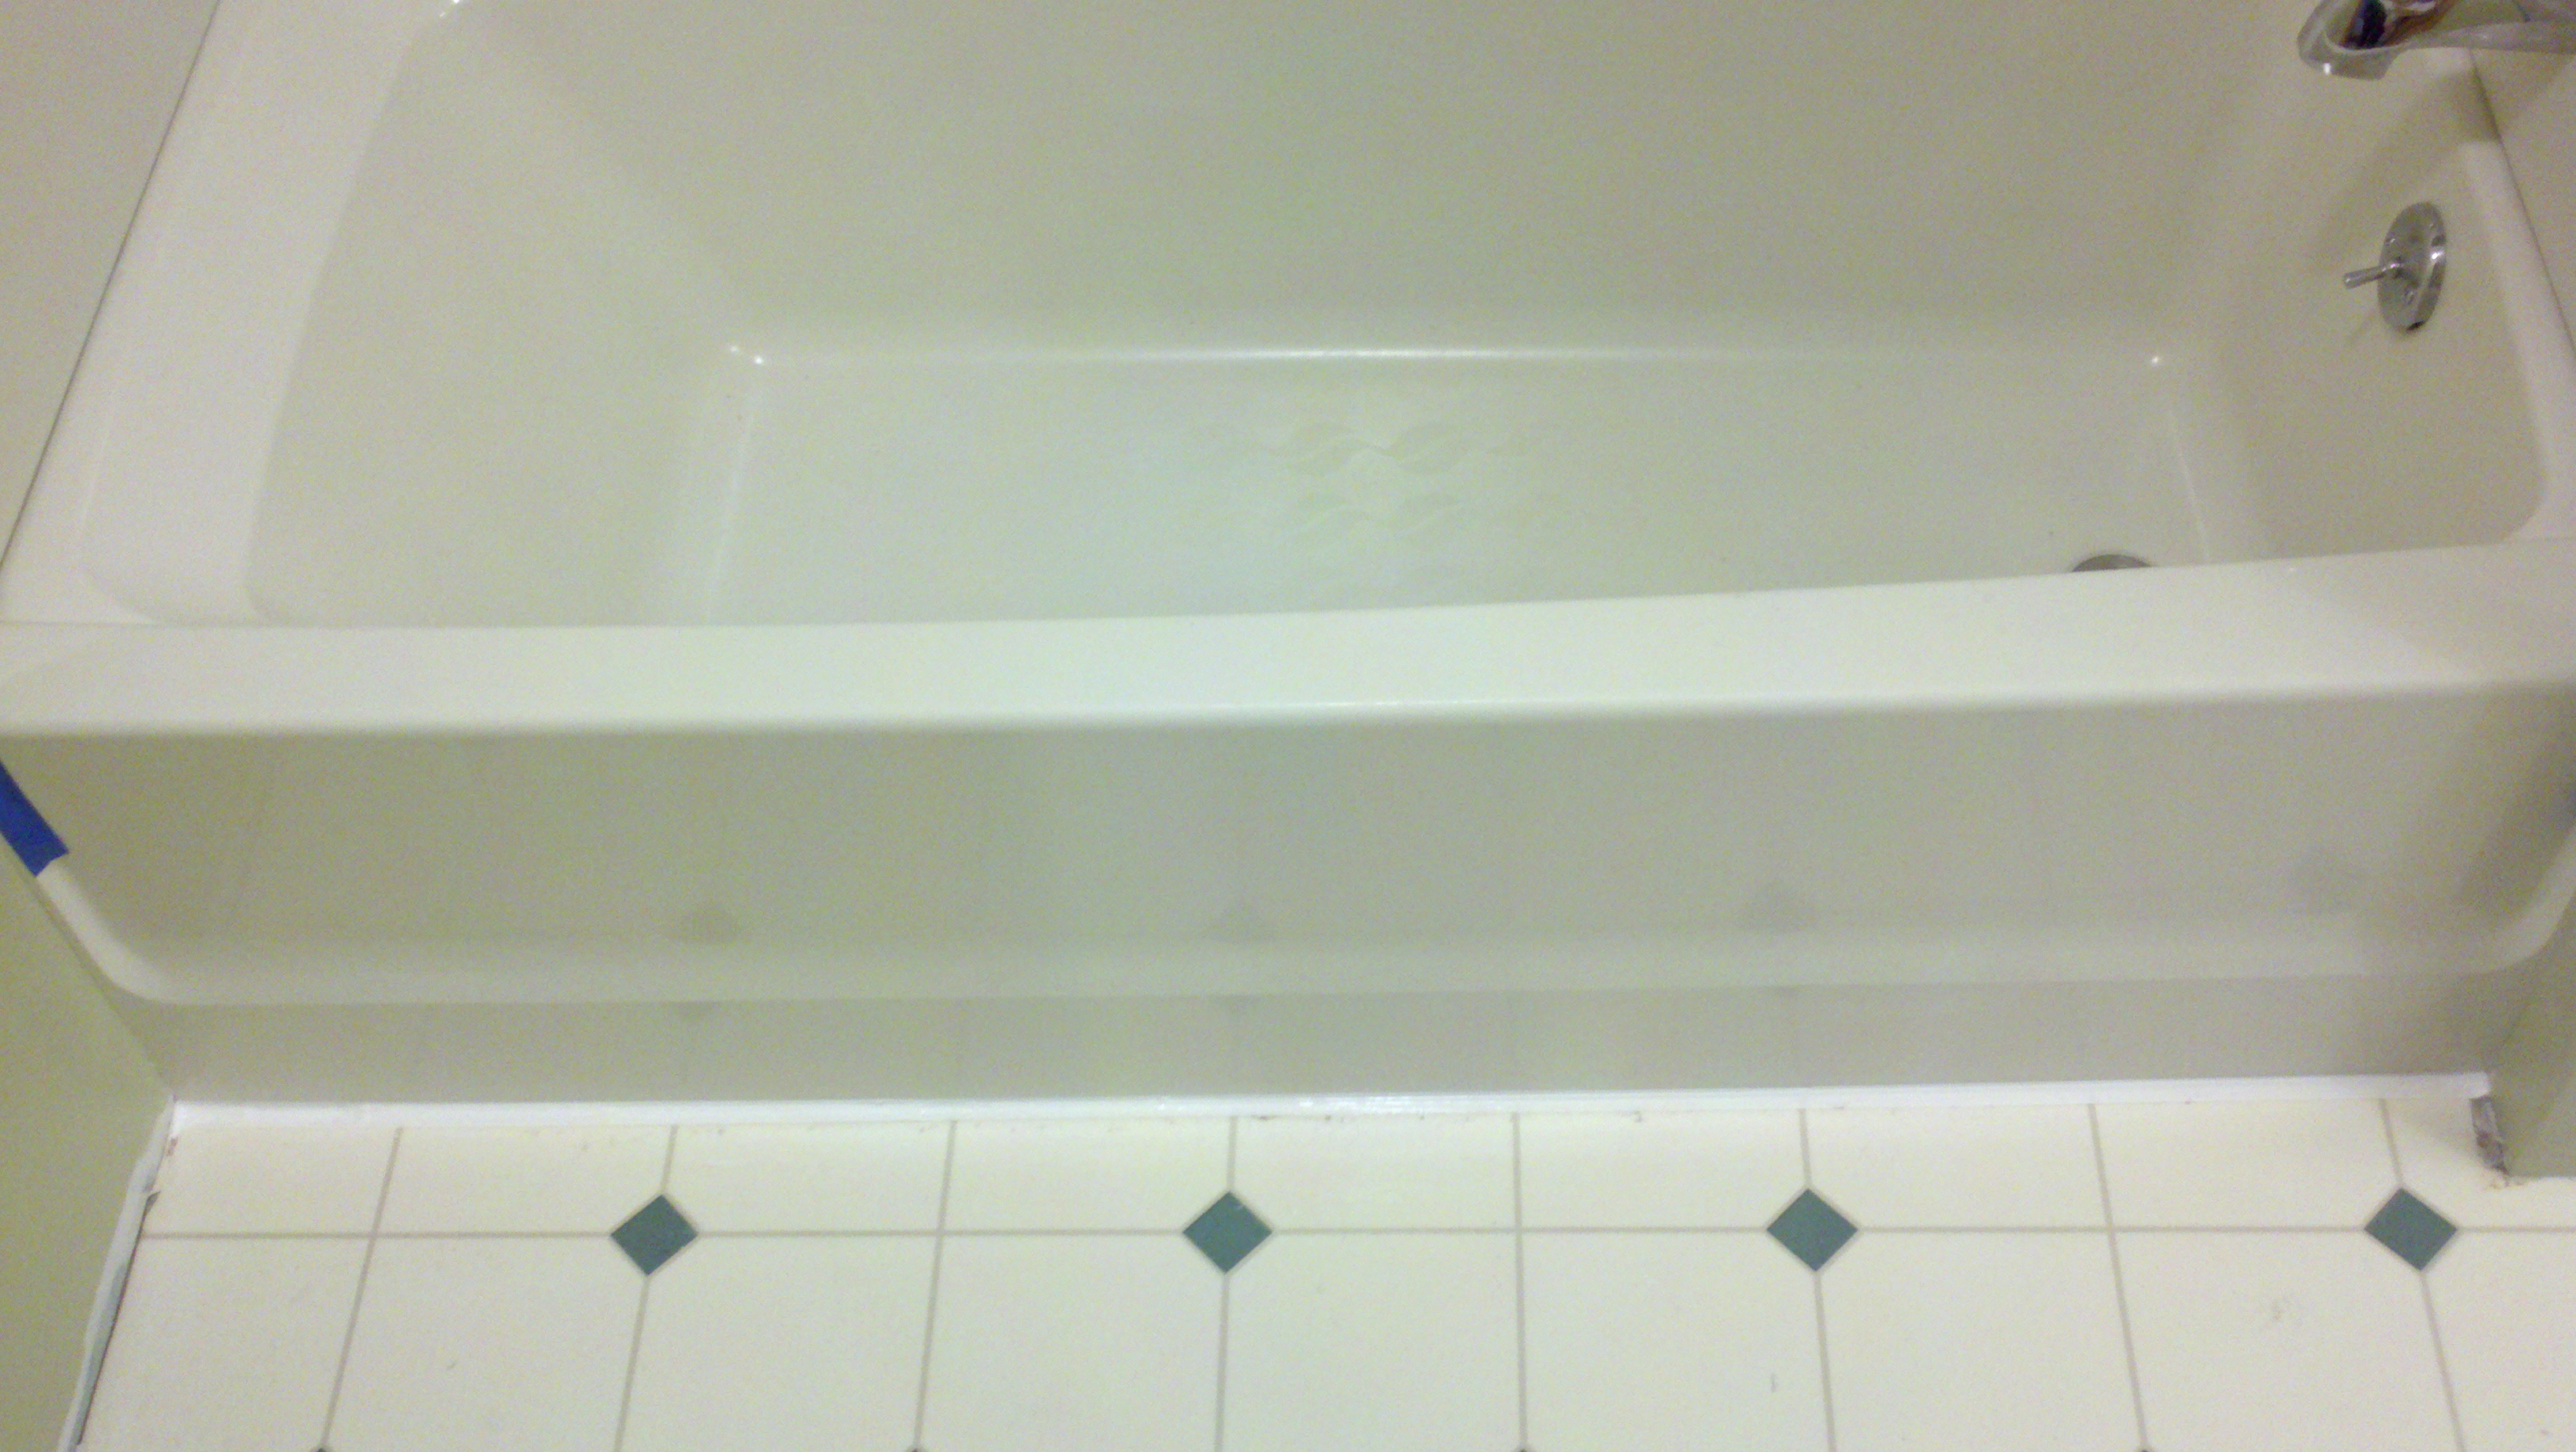
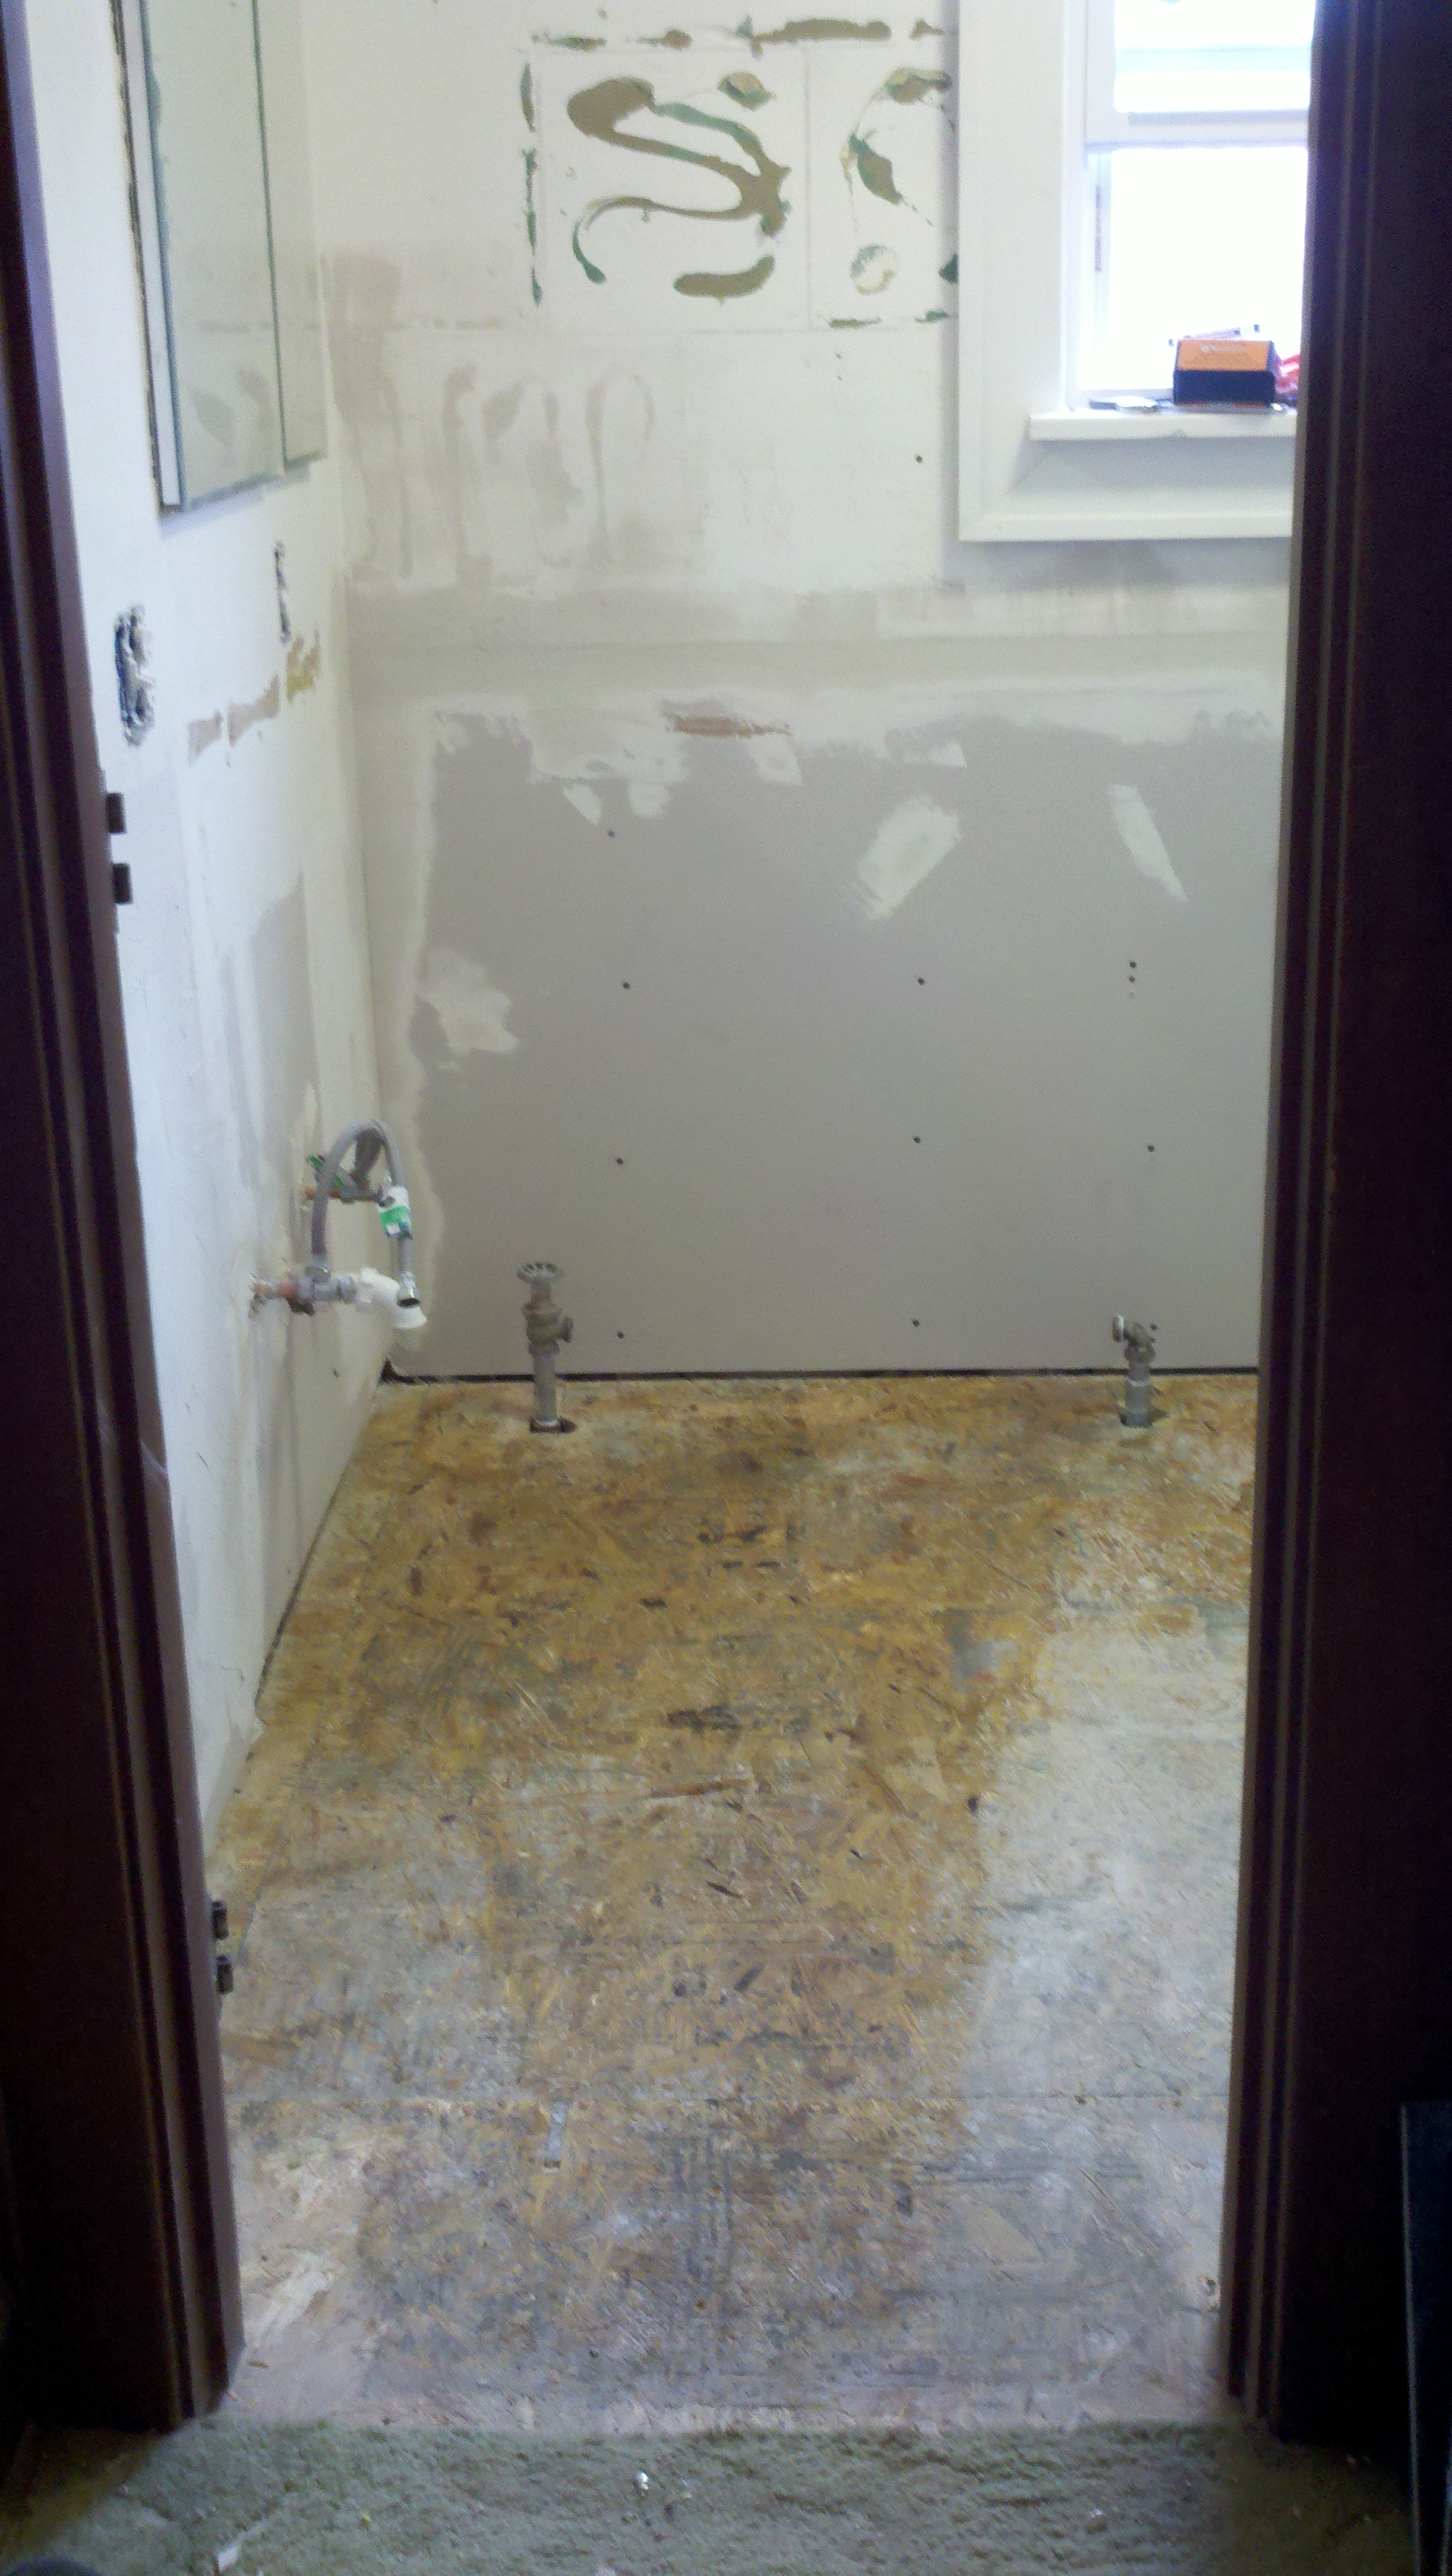
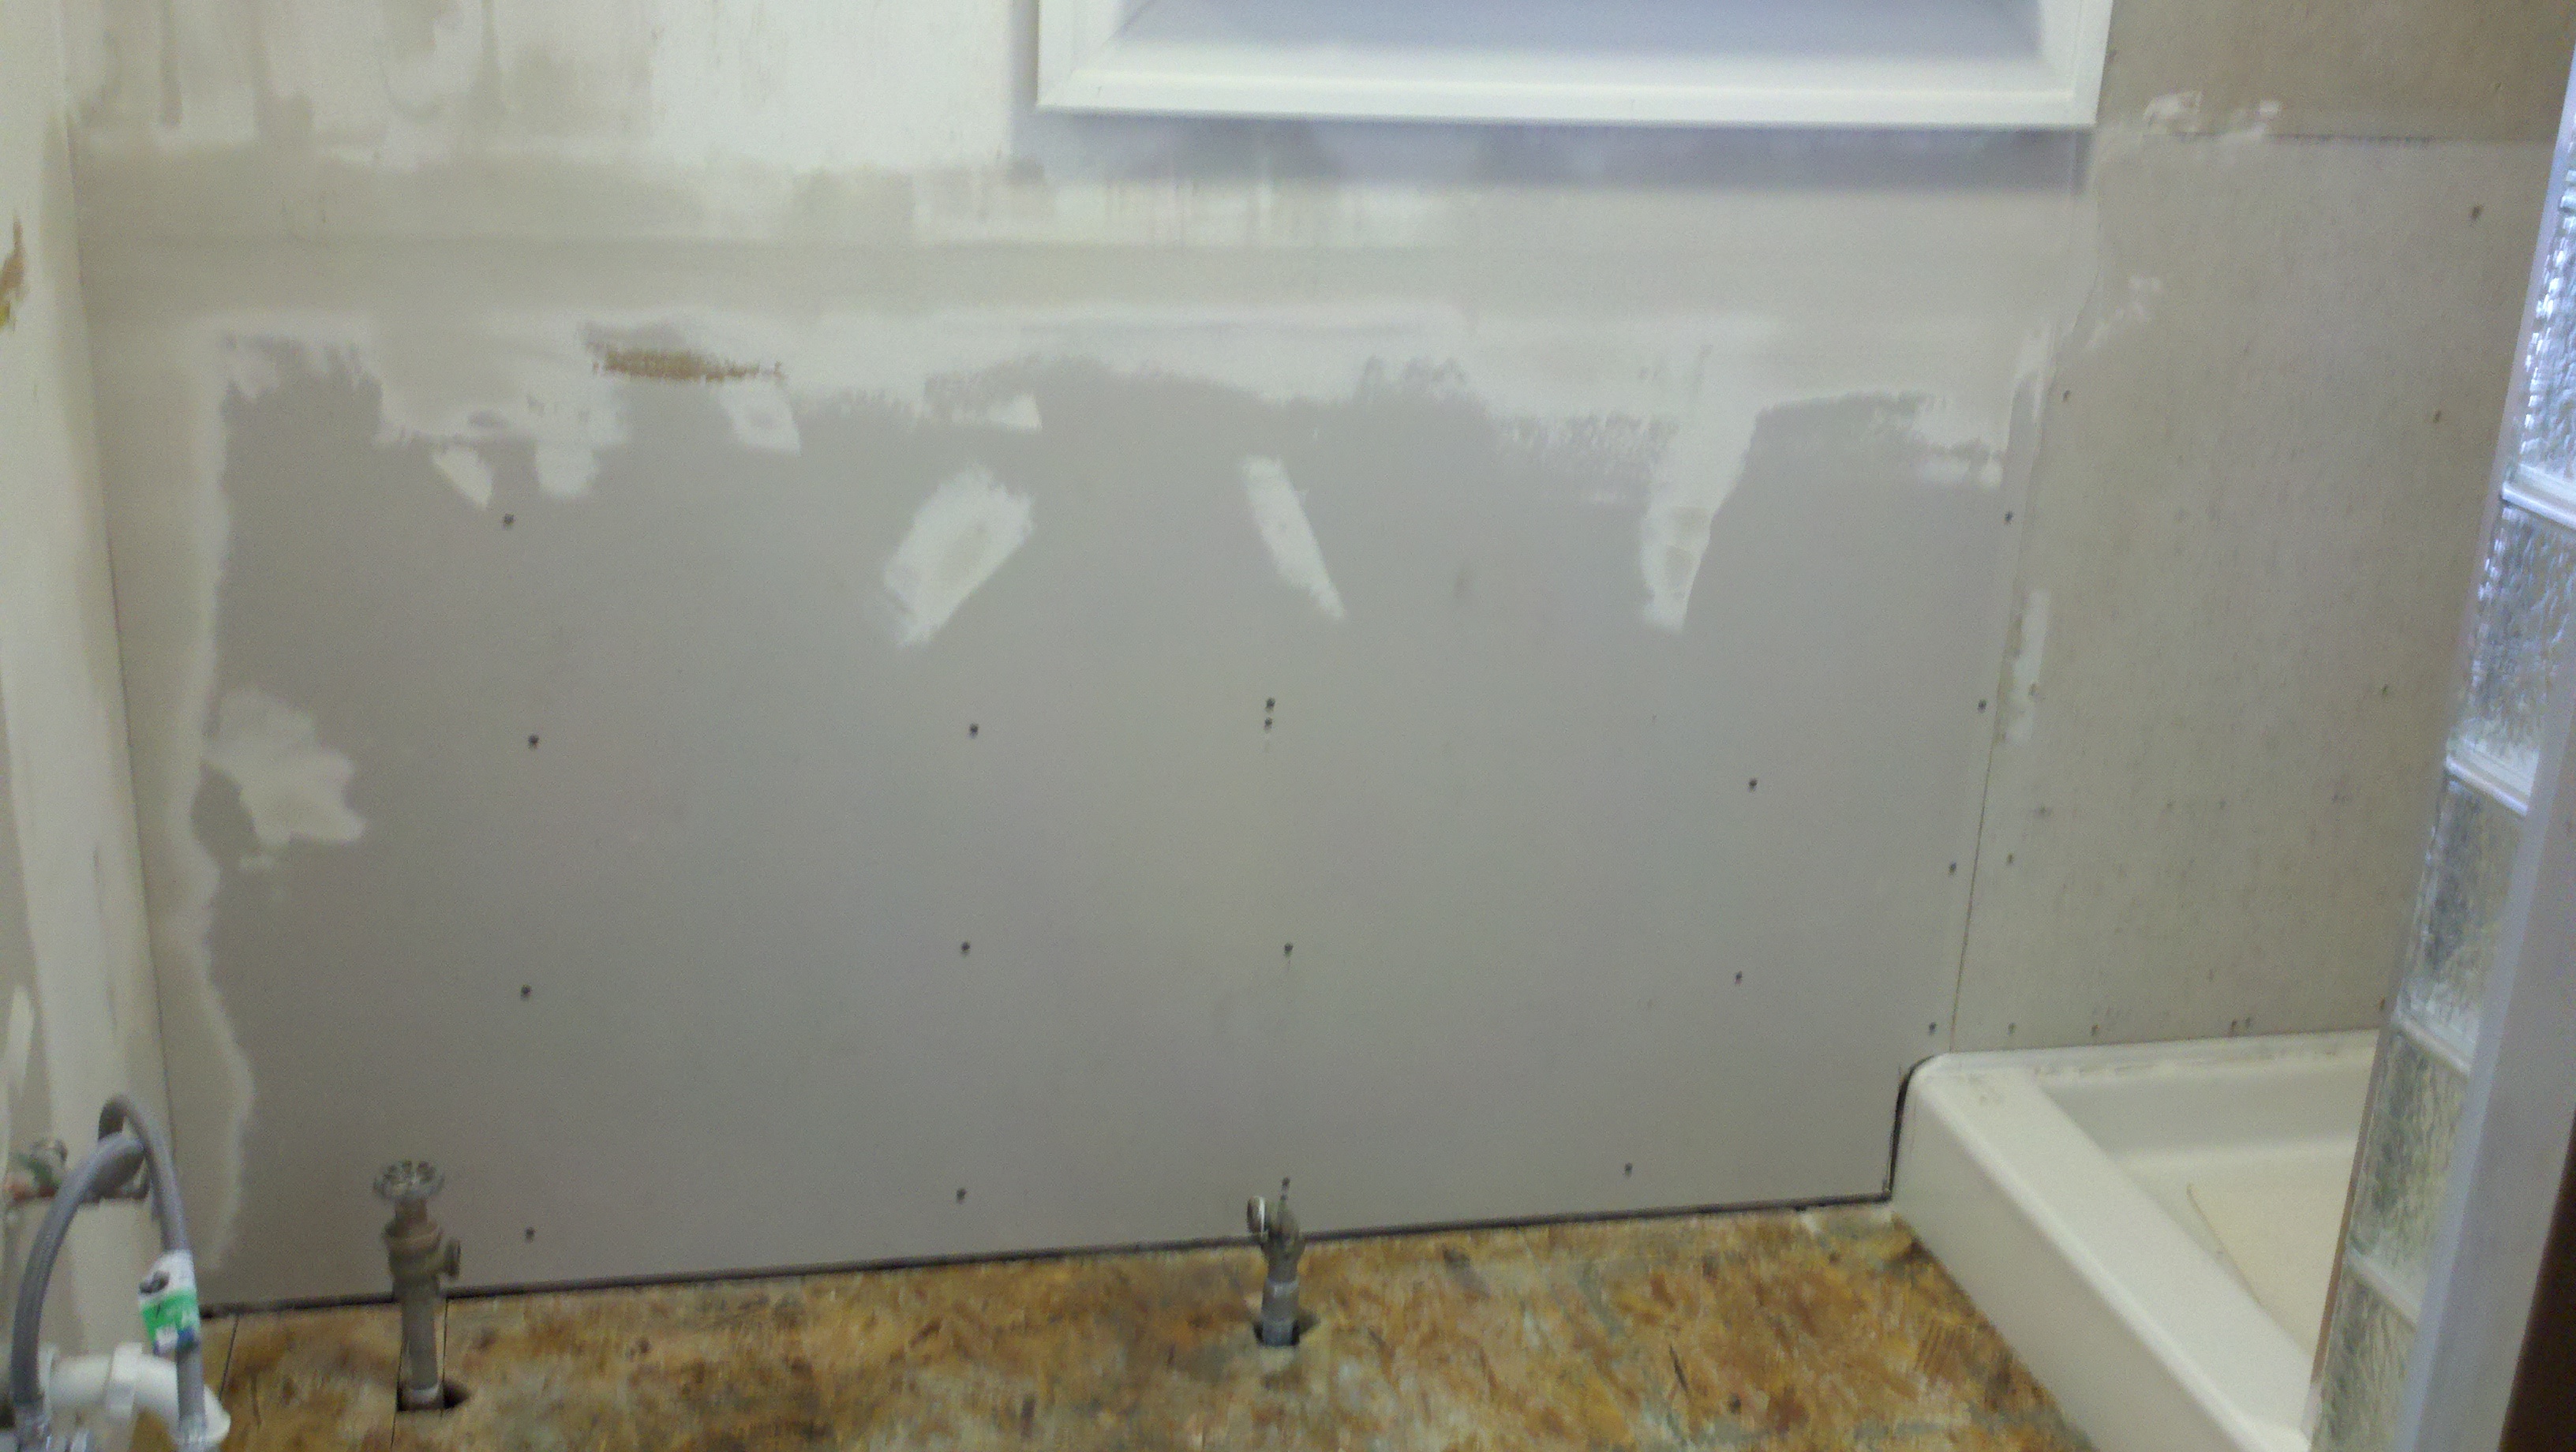
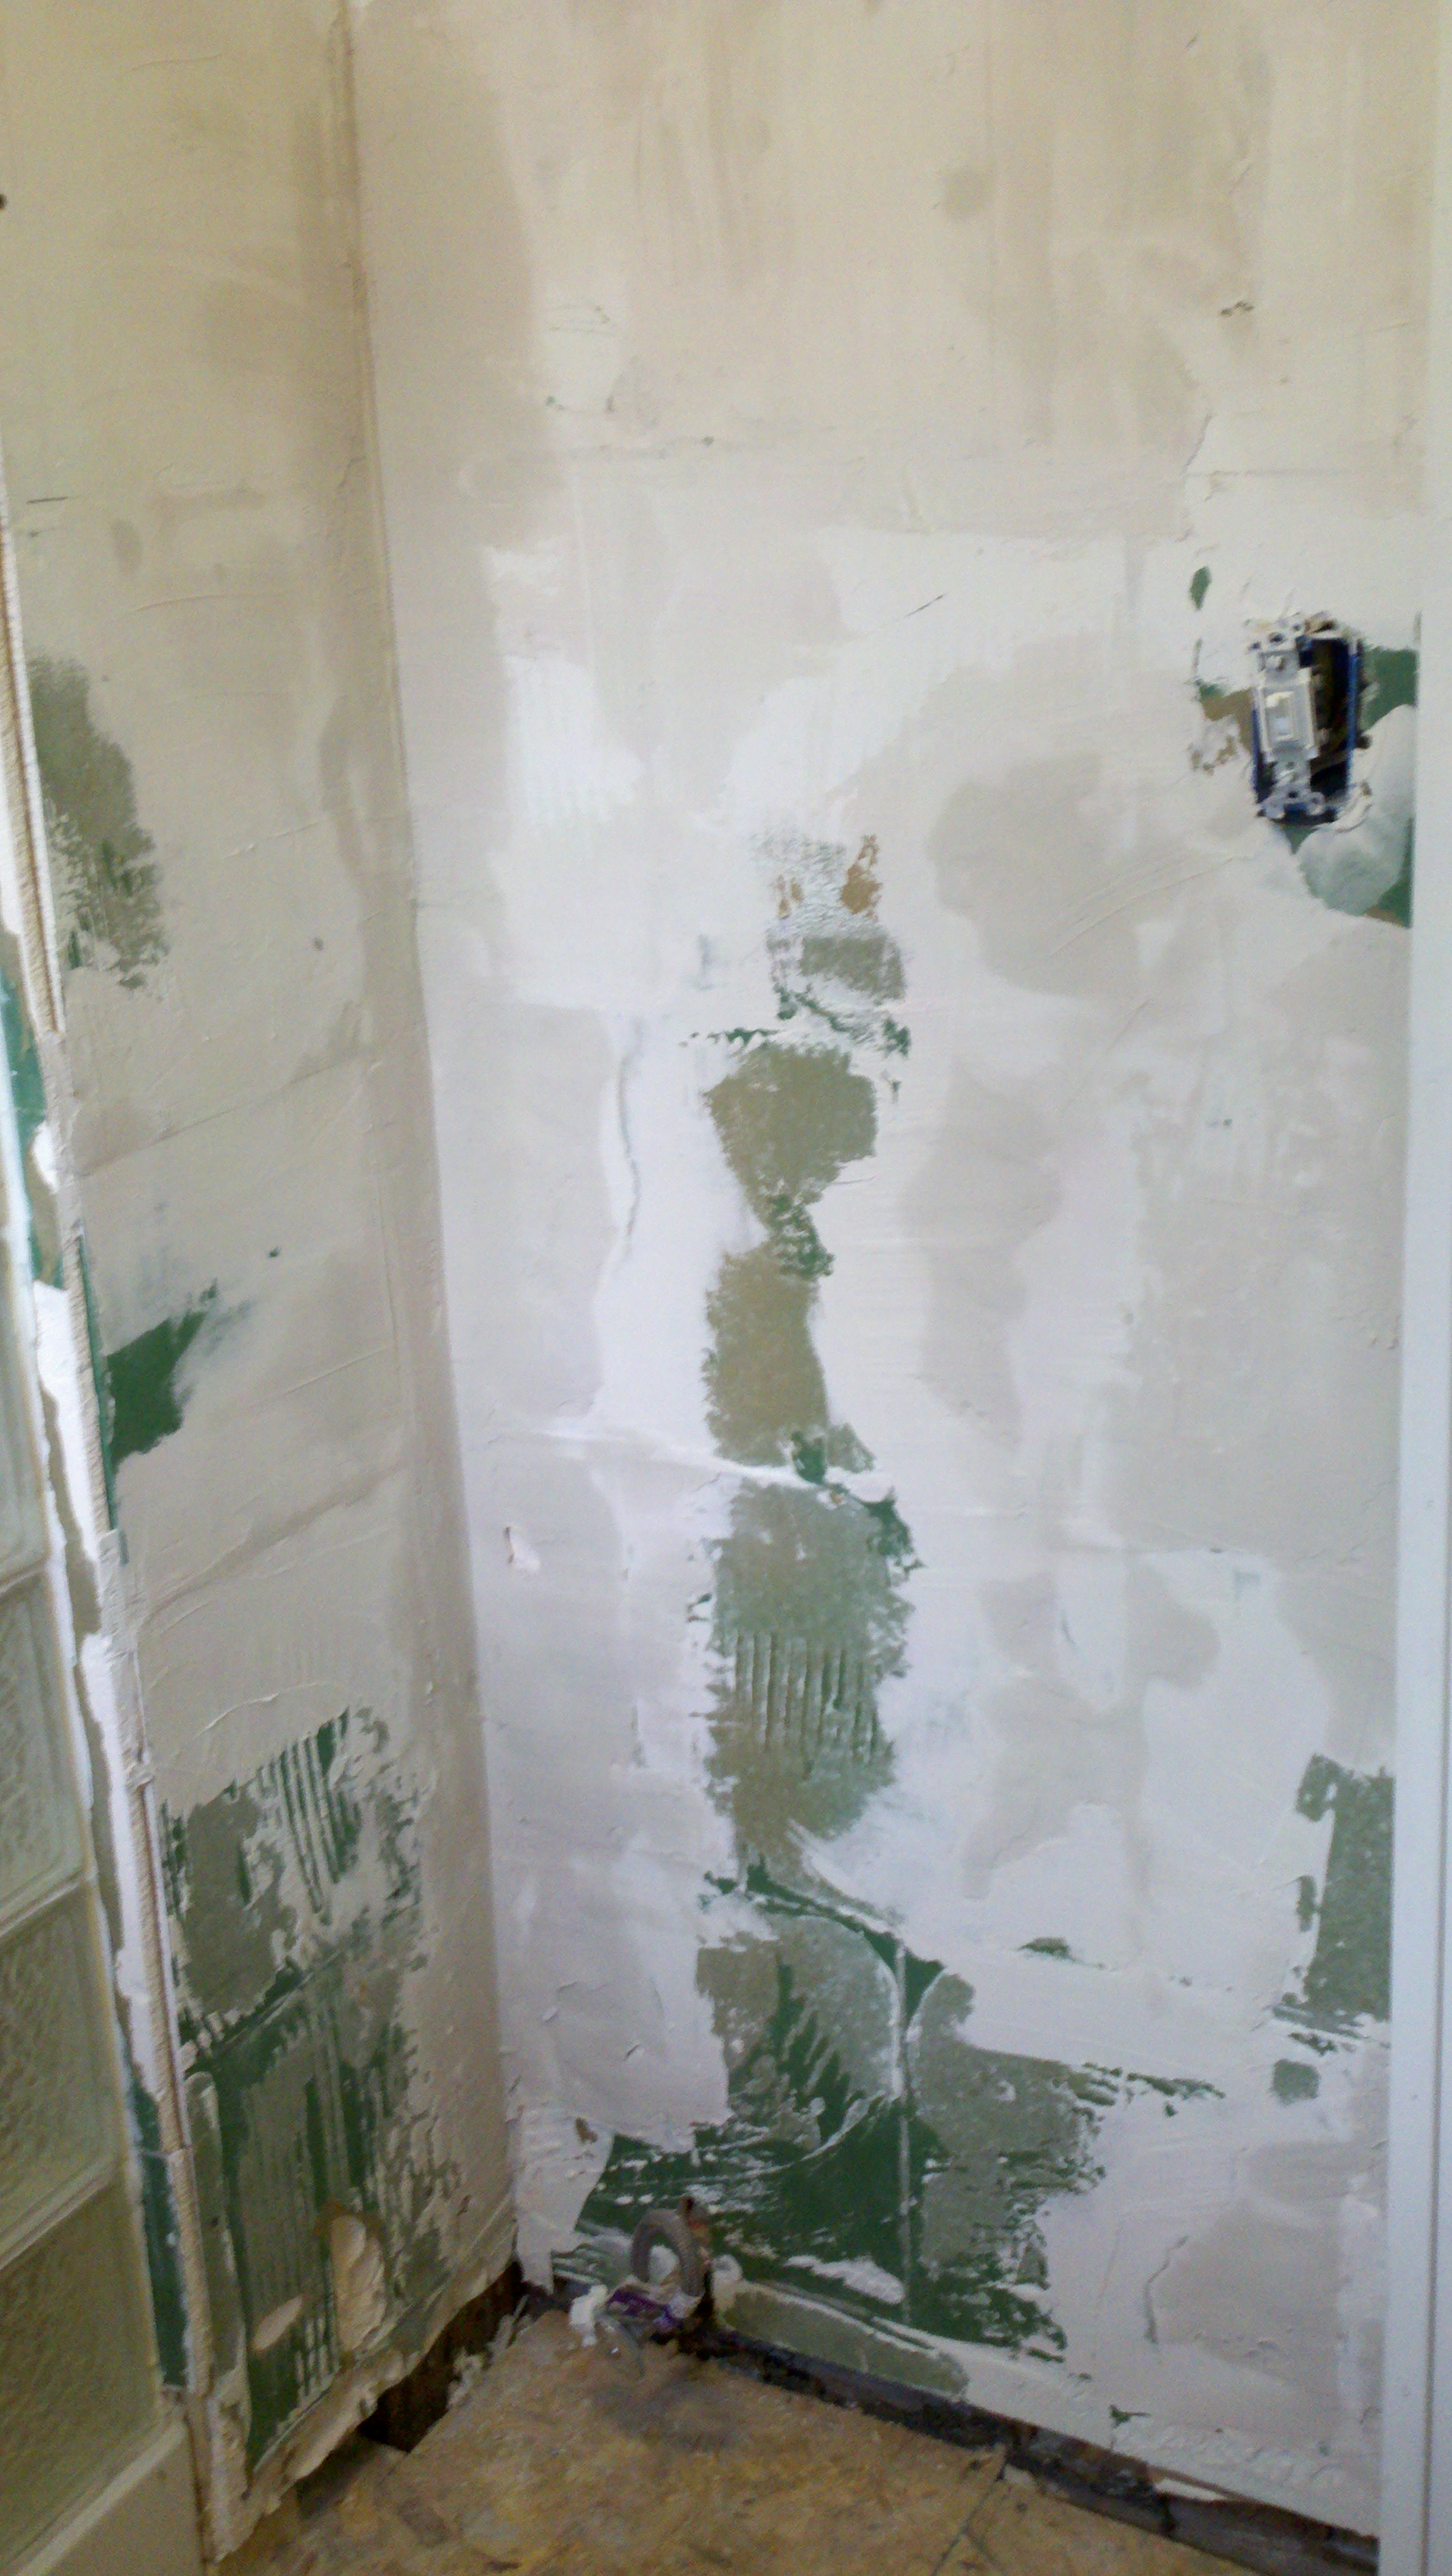
| Bathroom Analysis
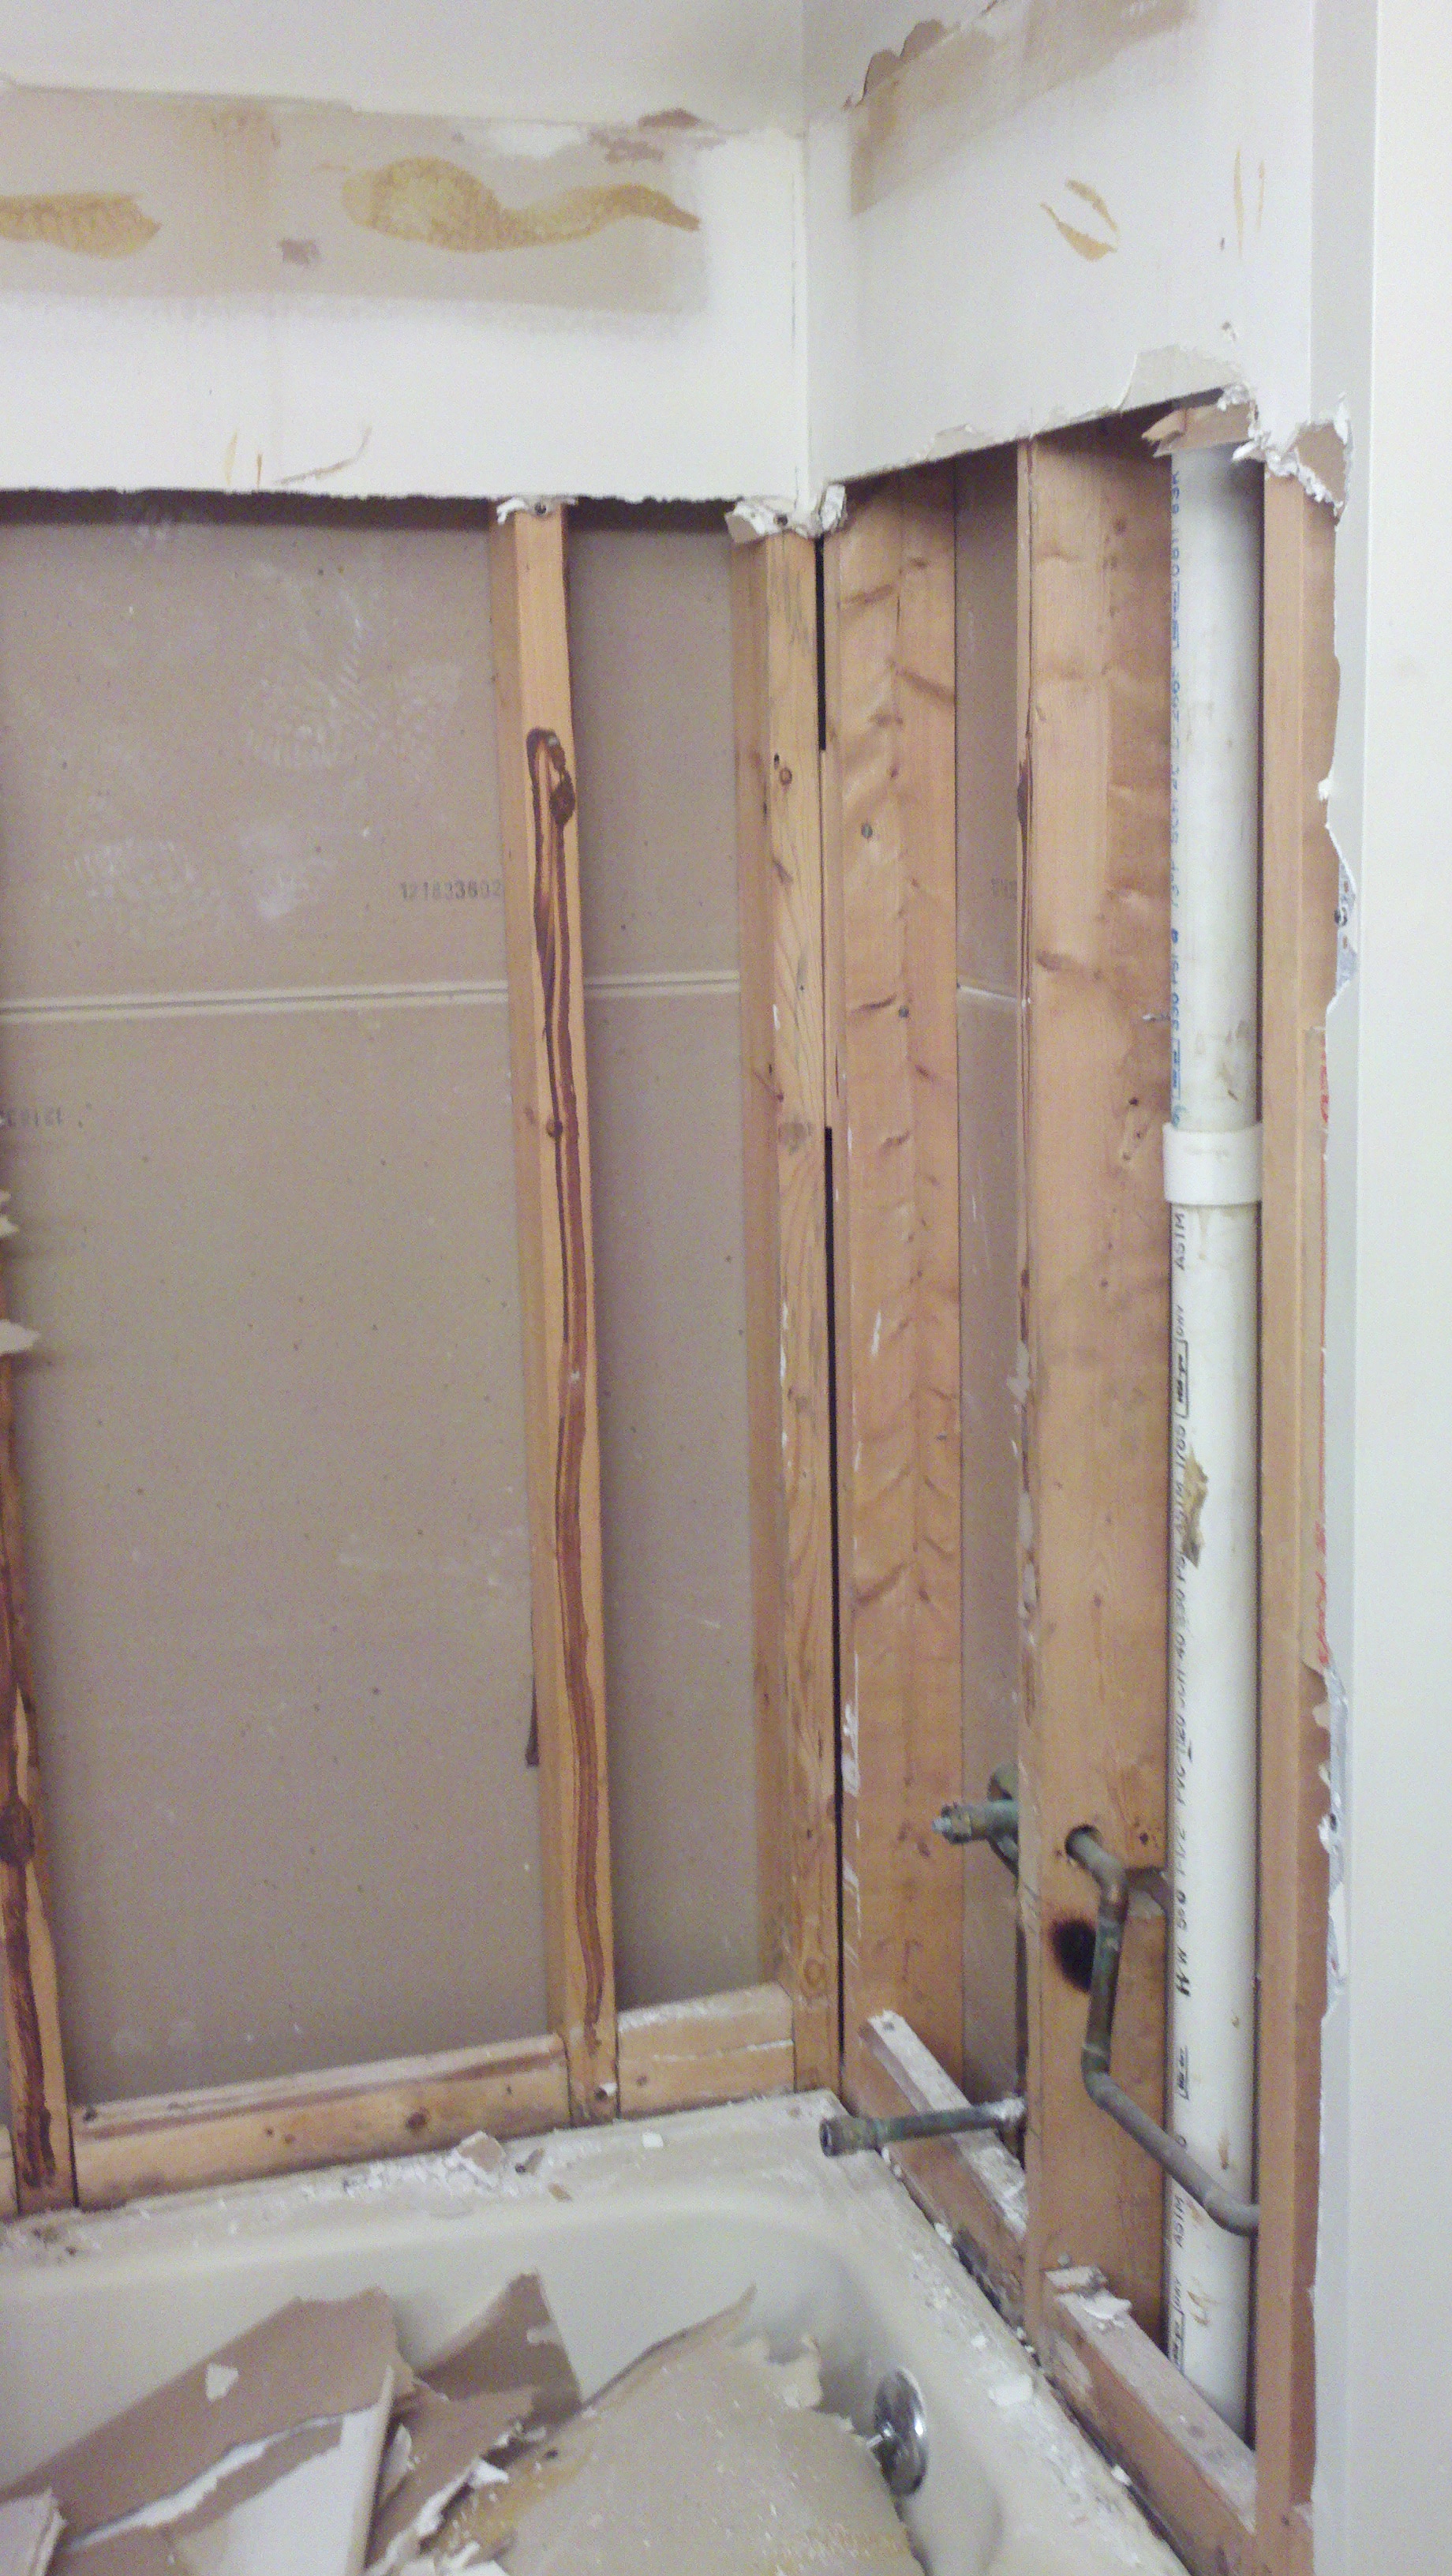
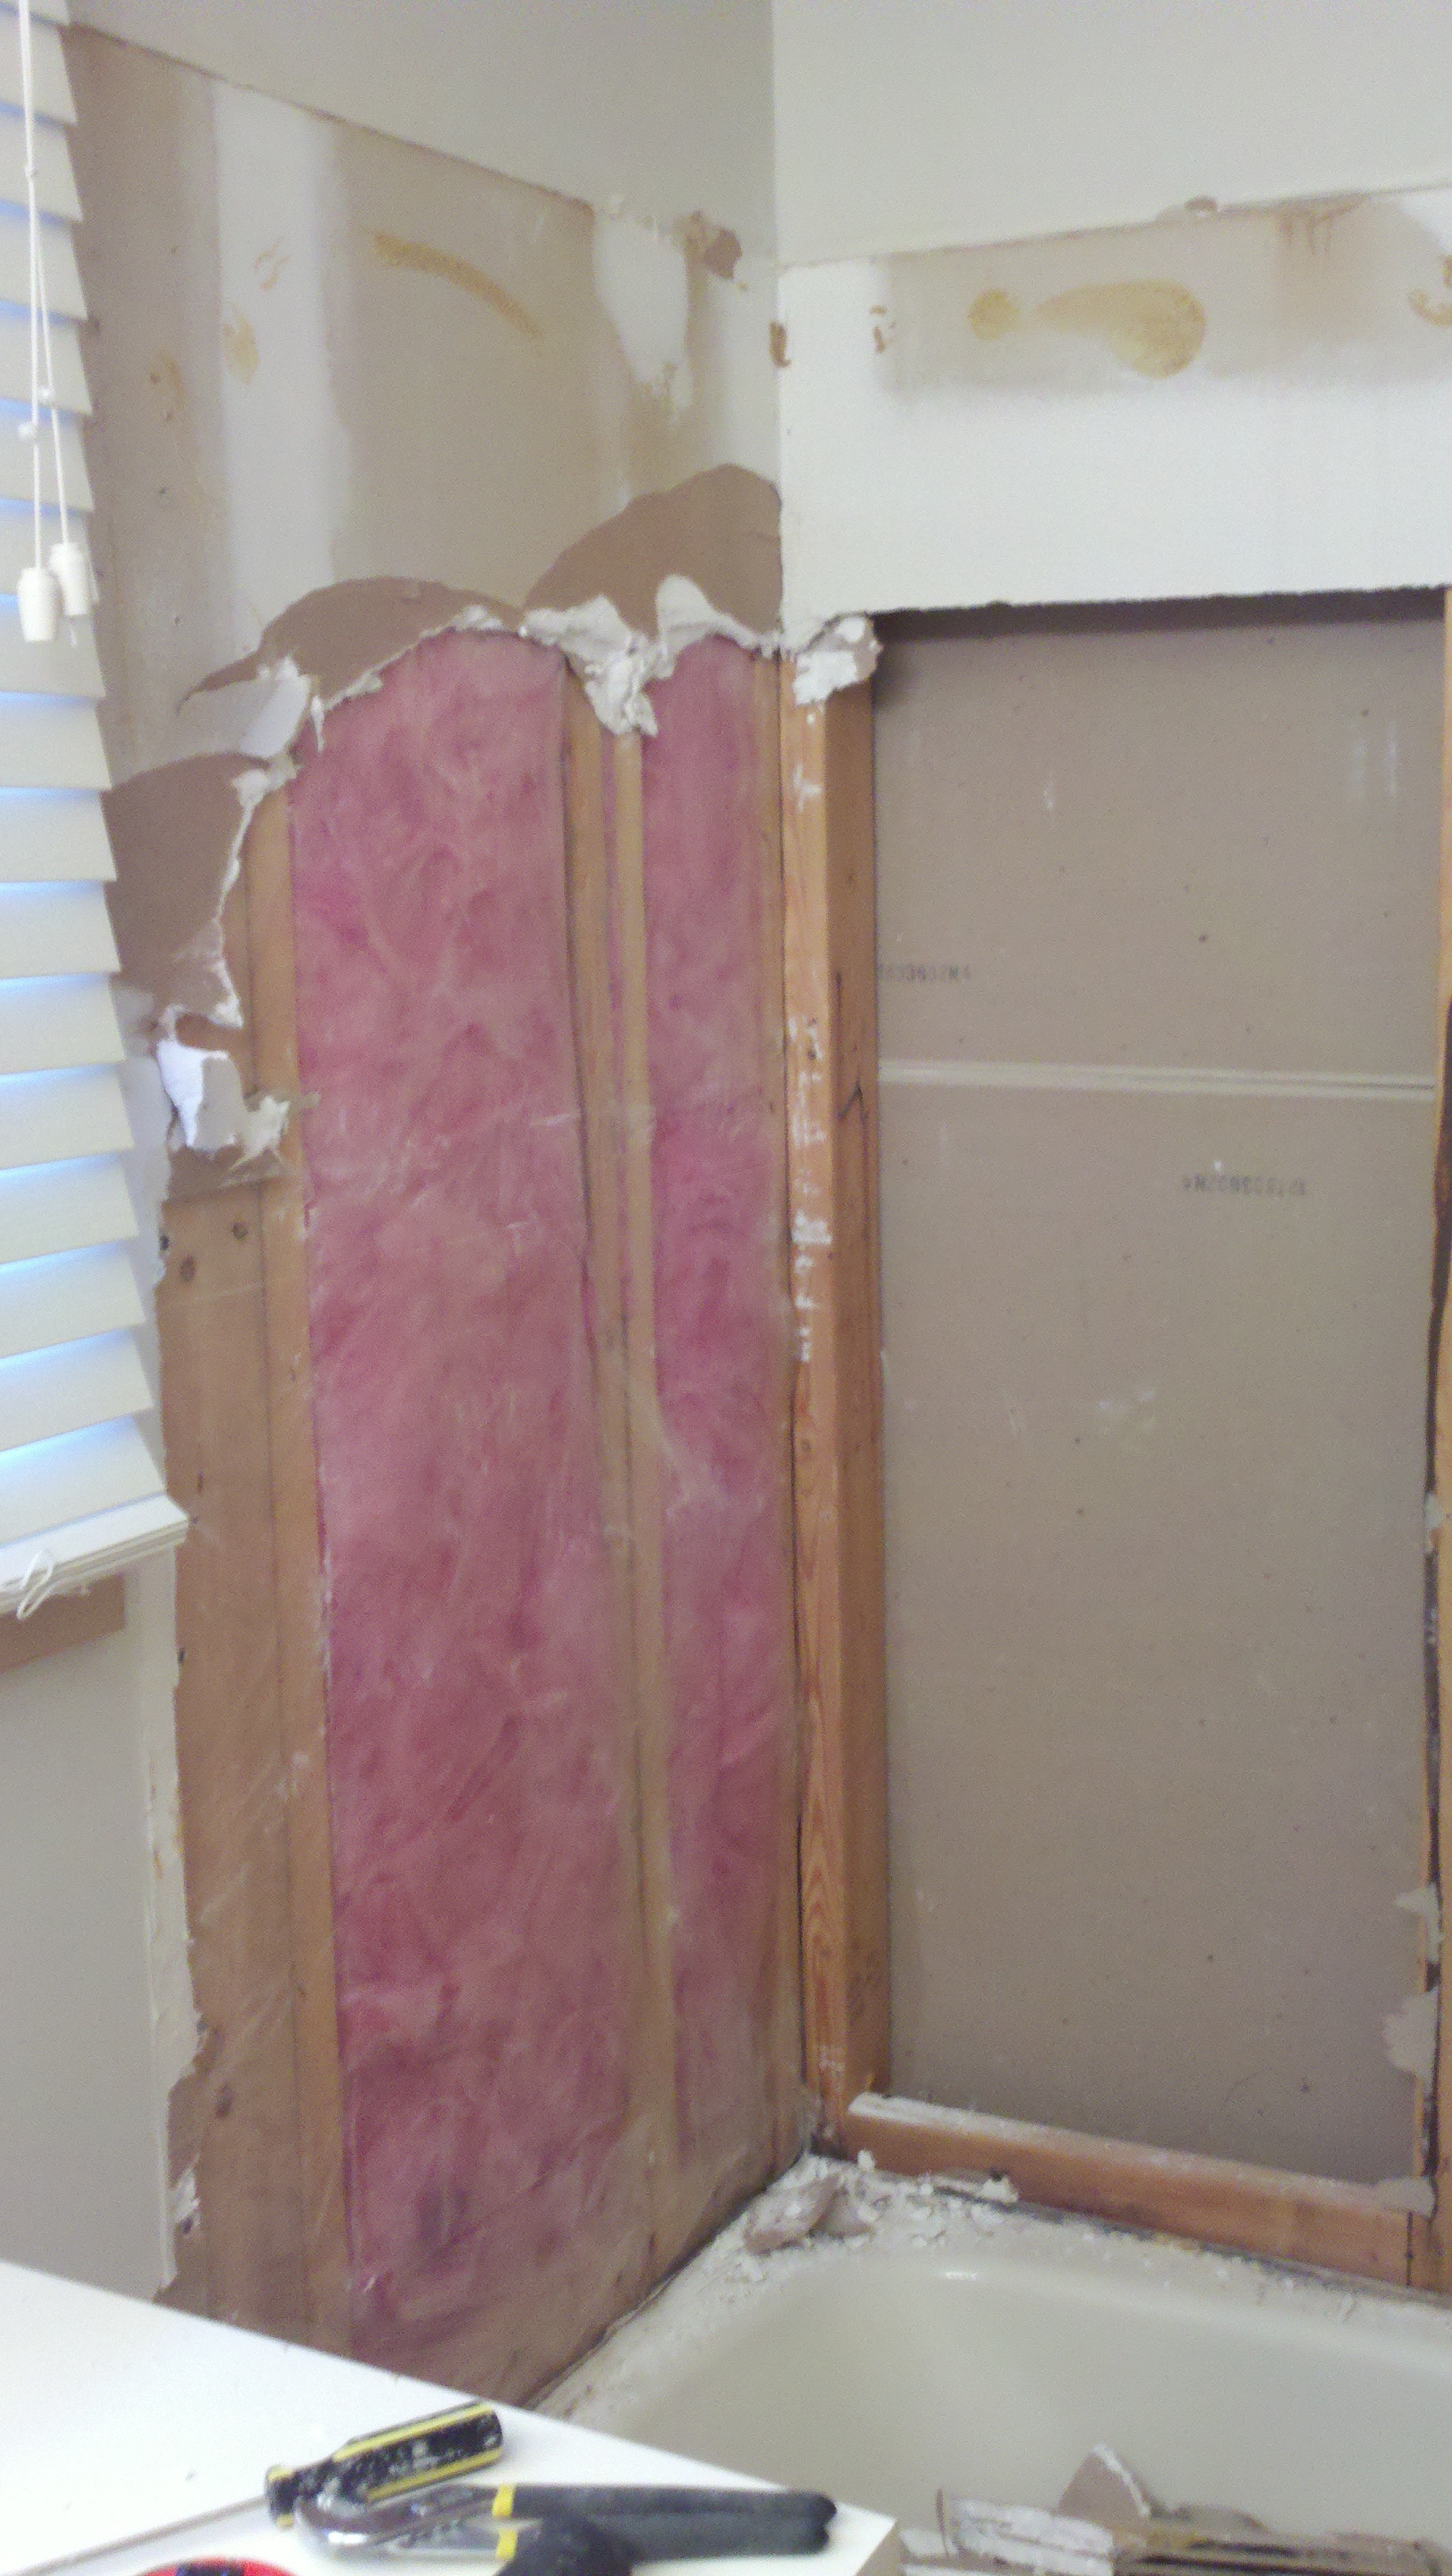
The bathroom will require demolition of the warped gypsum, application of joint compound with critique, sanding, and painting of the ceiling/ walls.
|
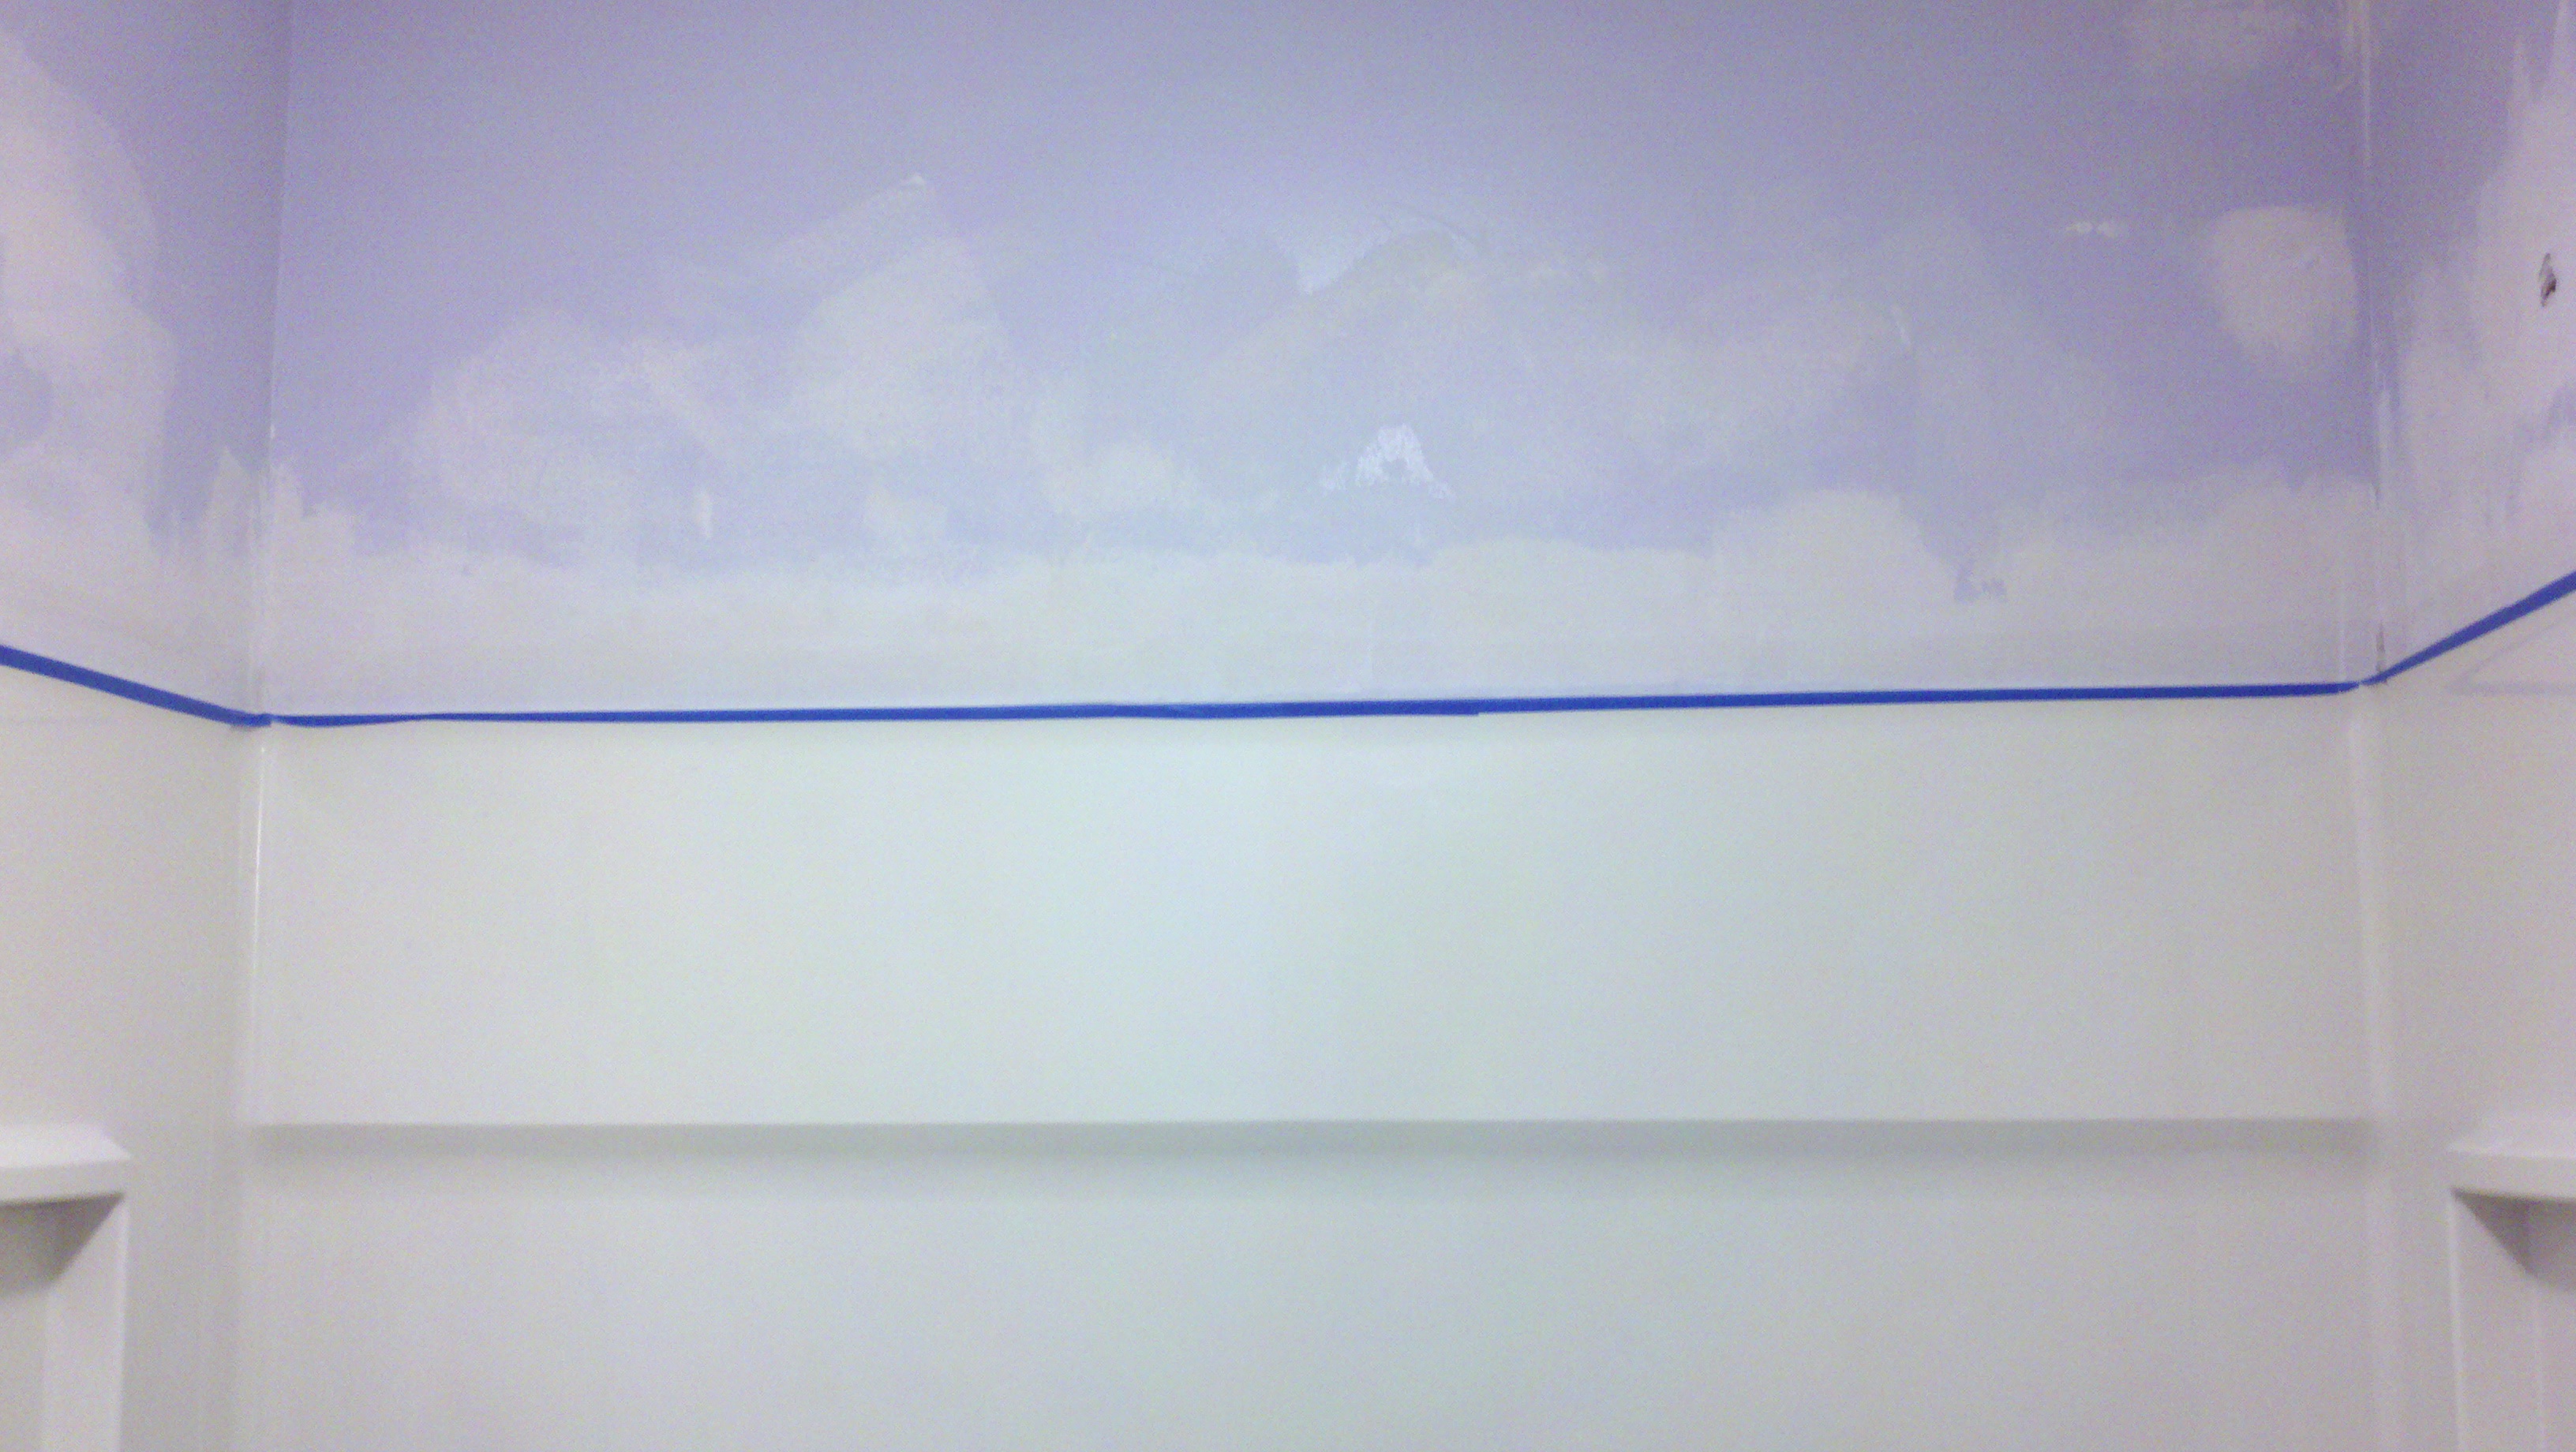
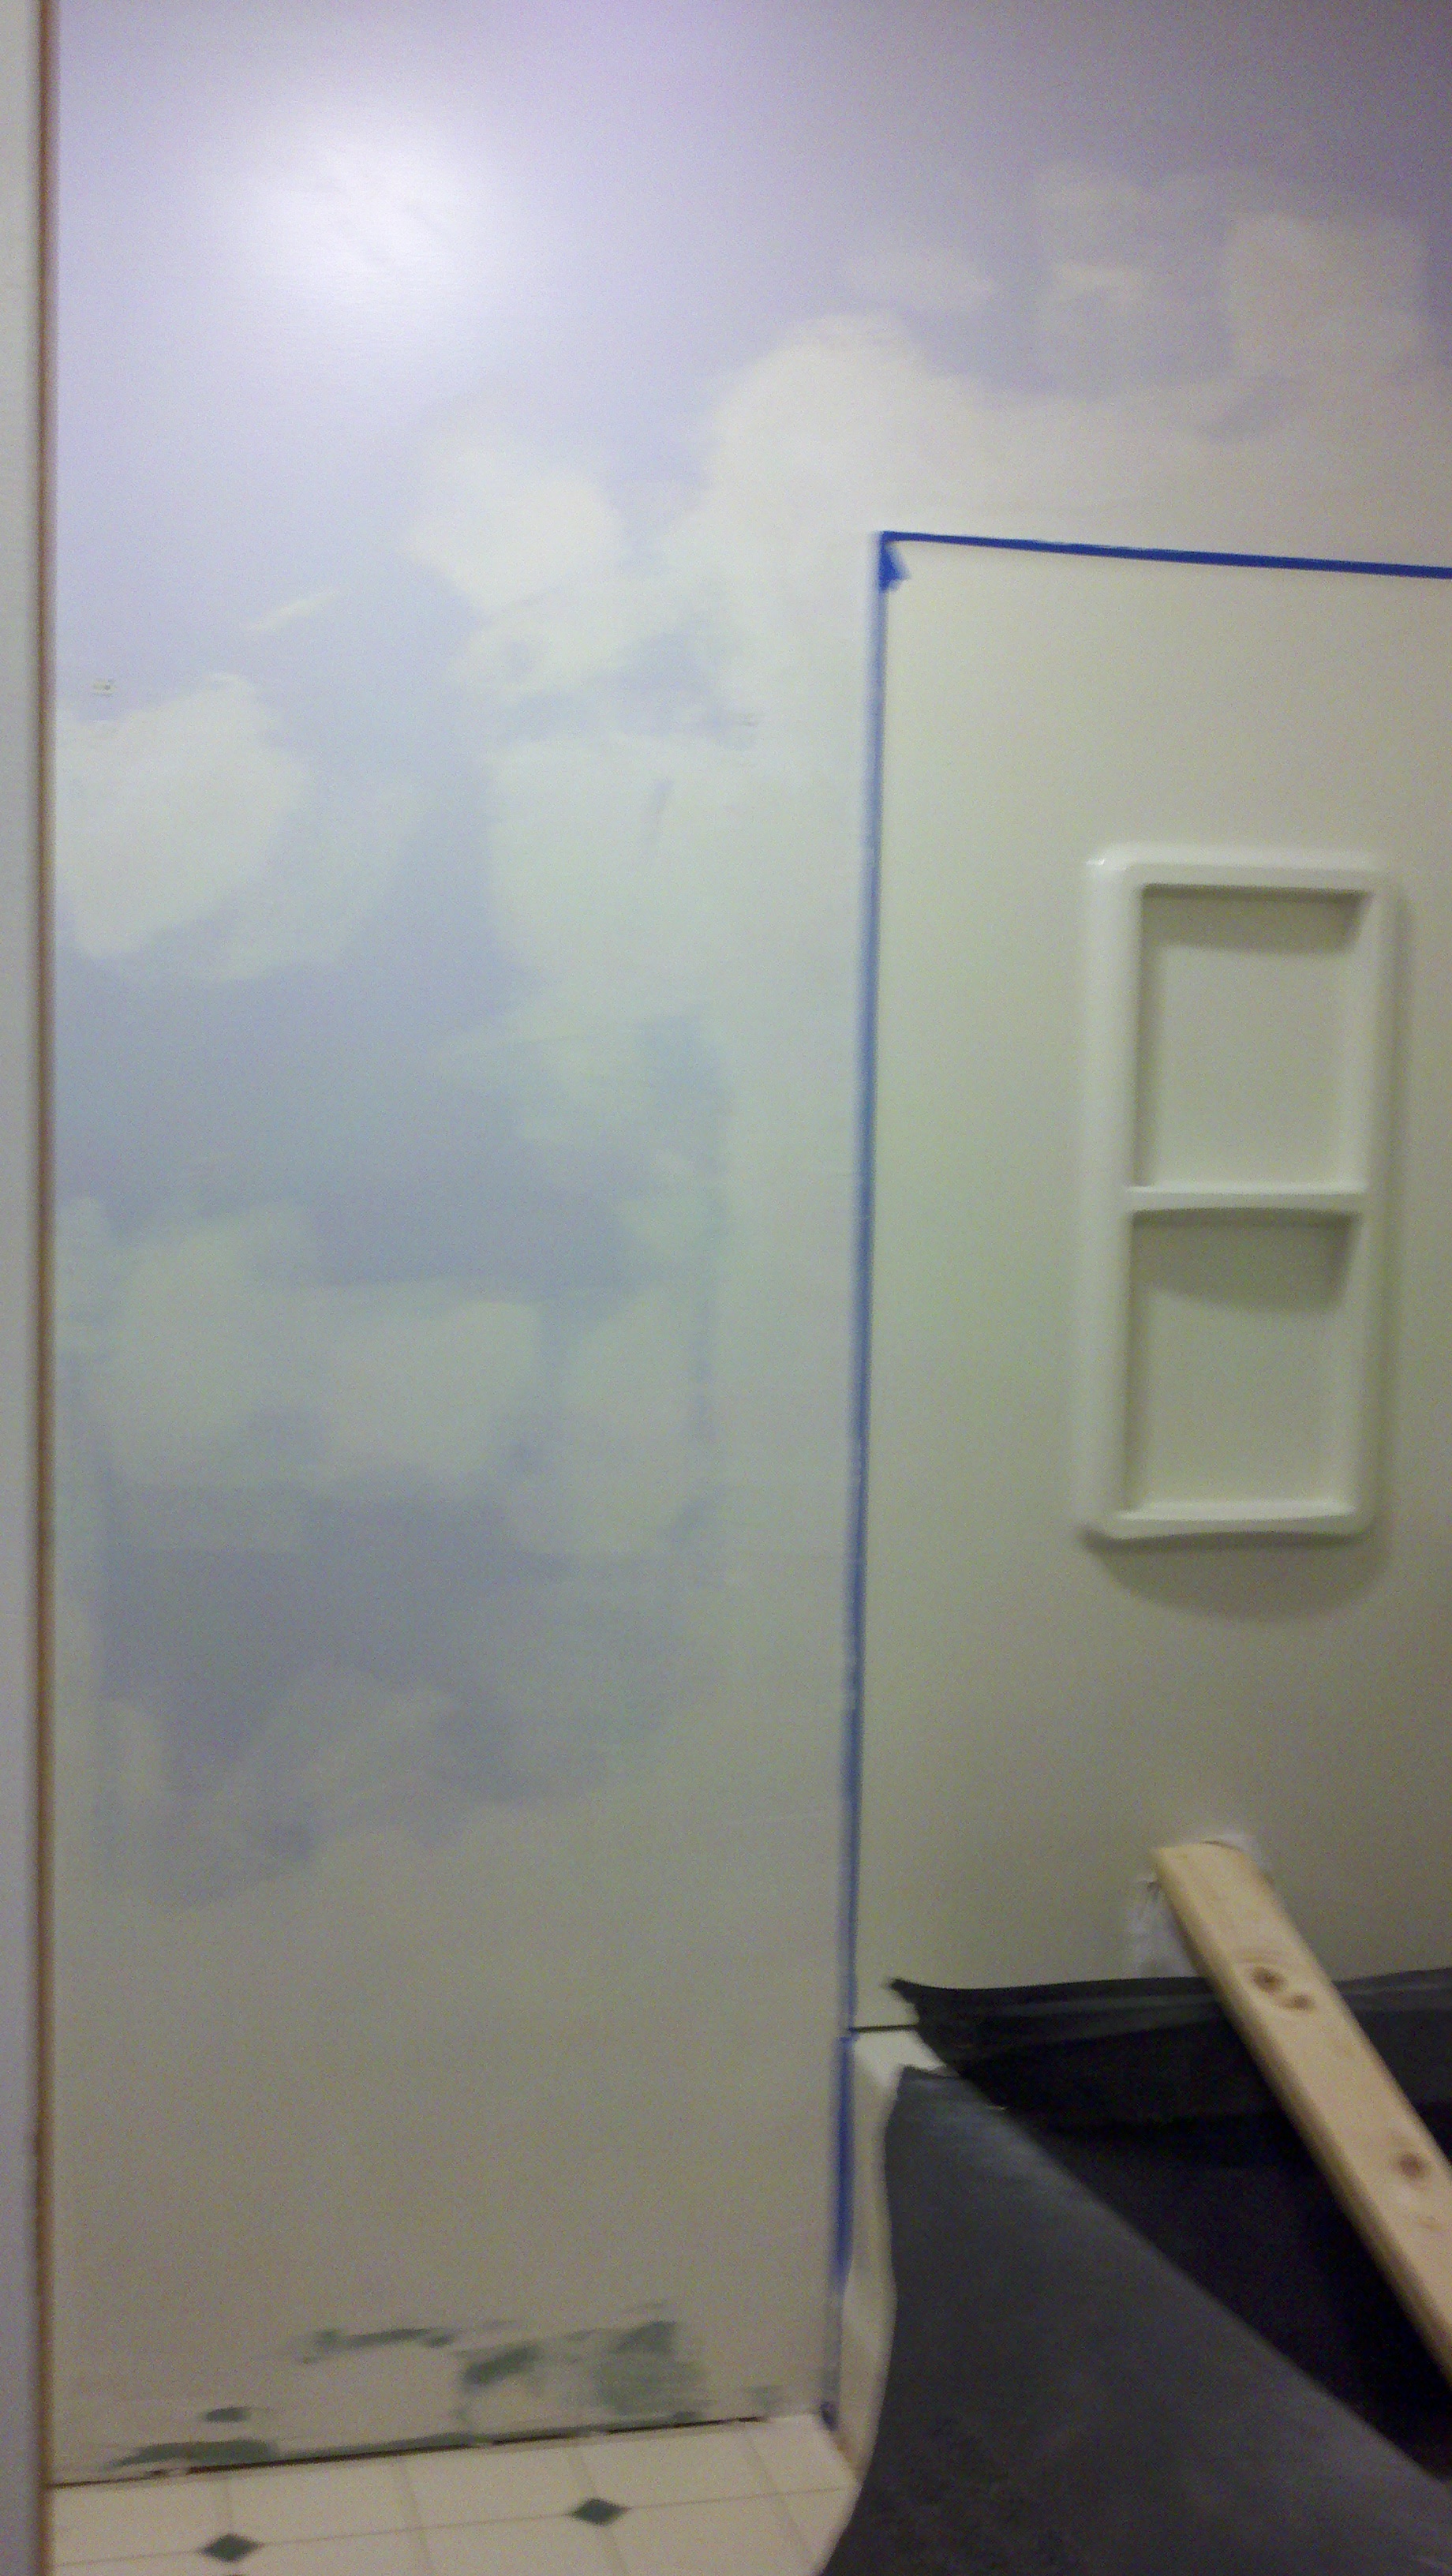
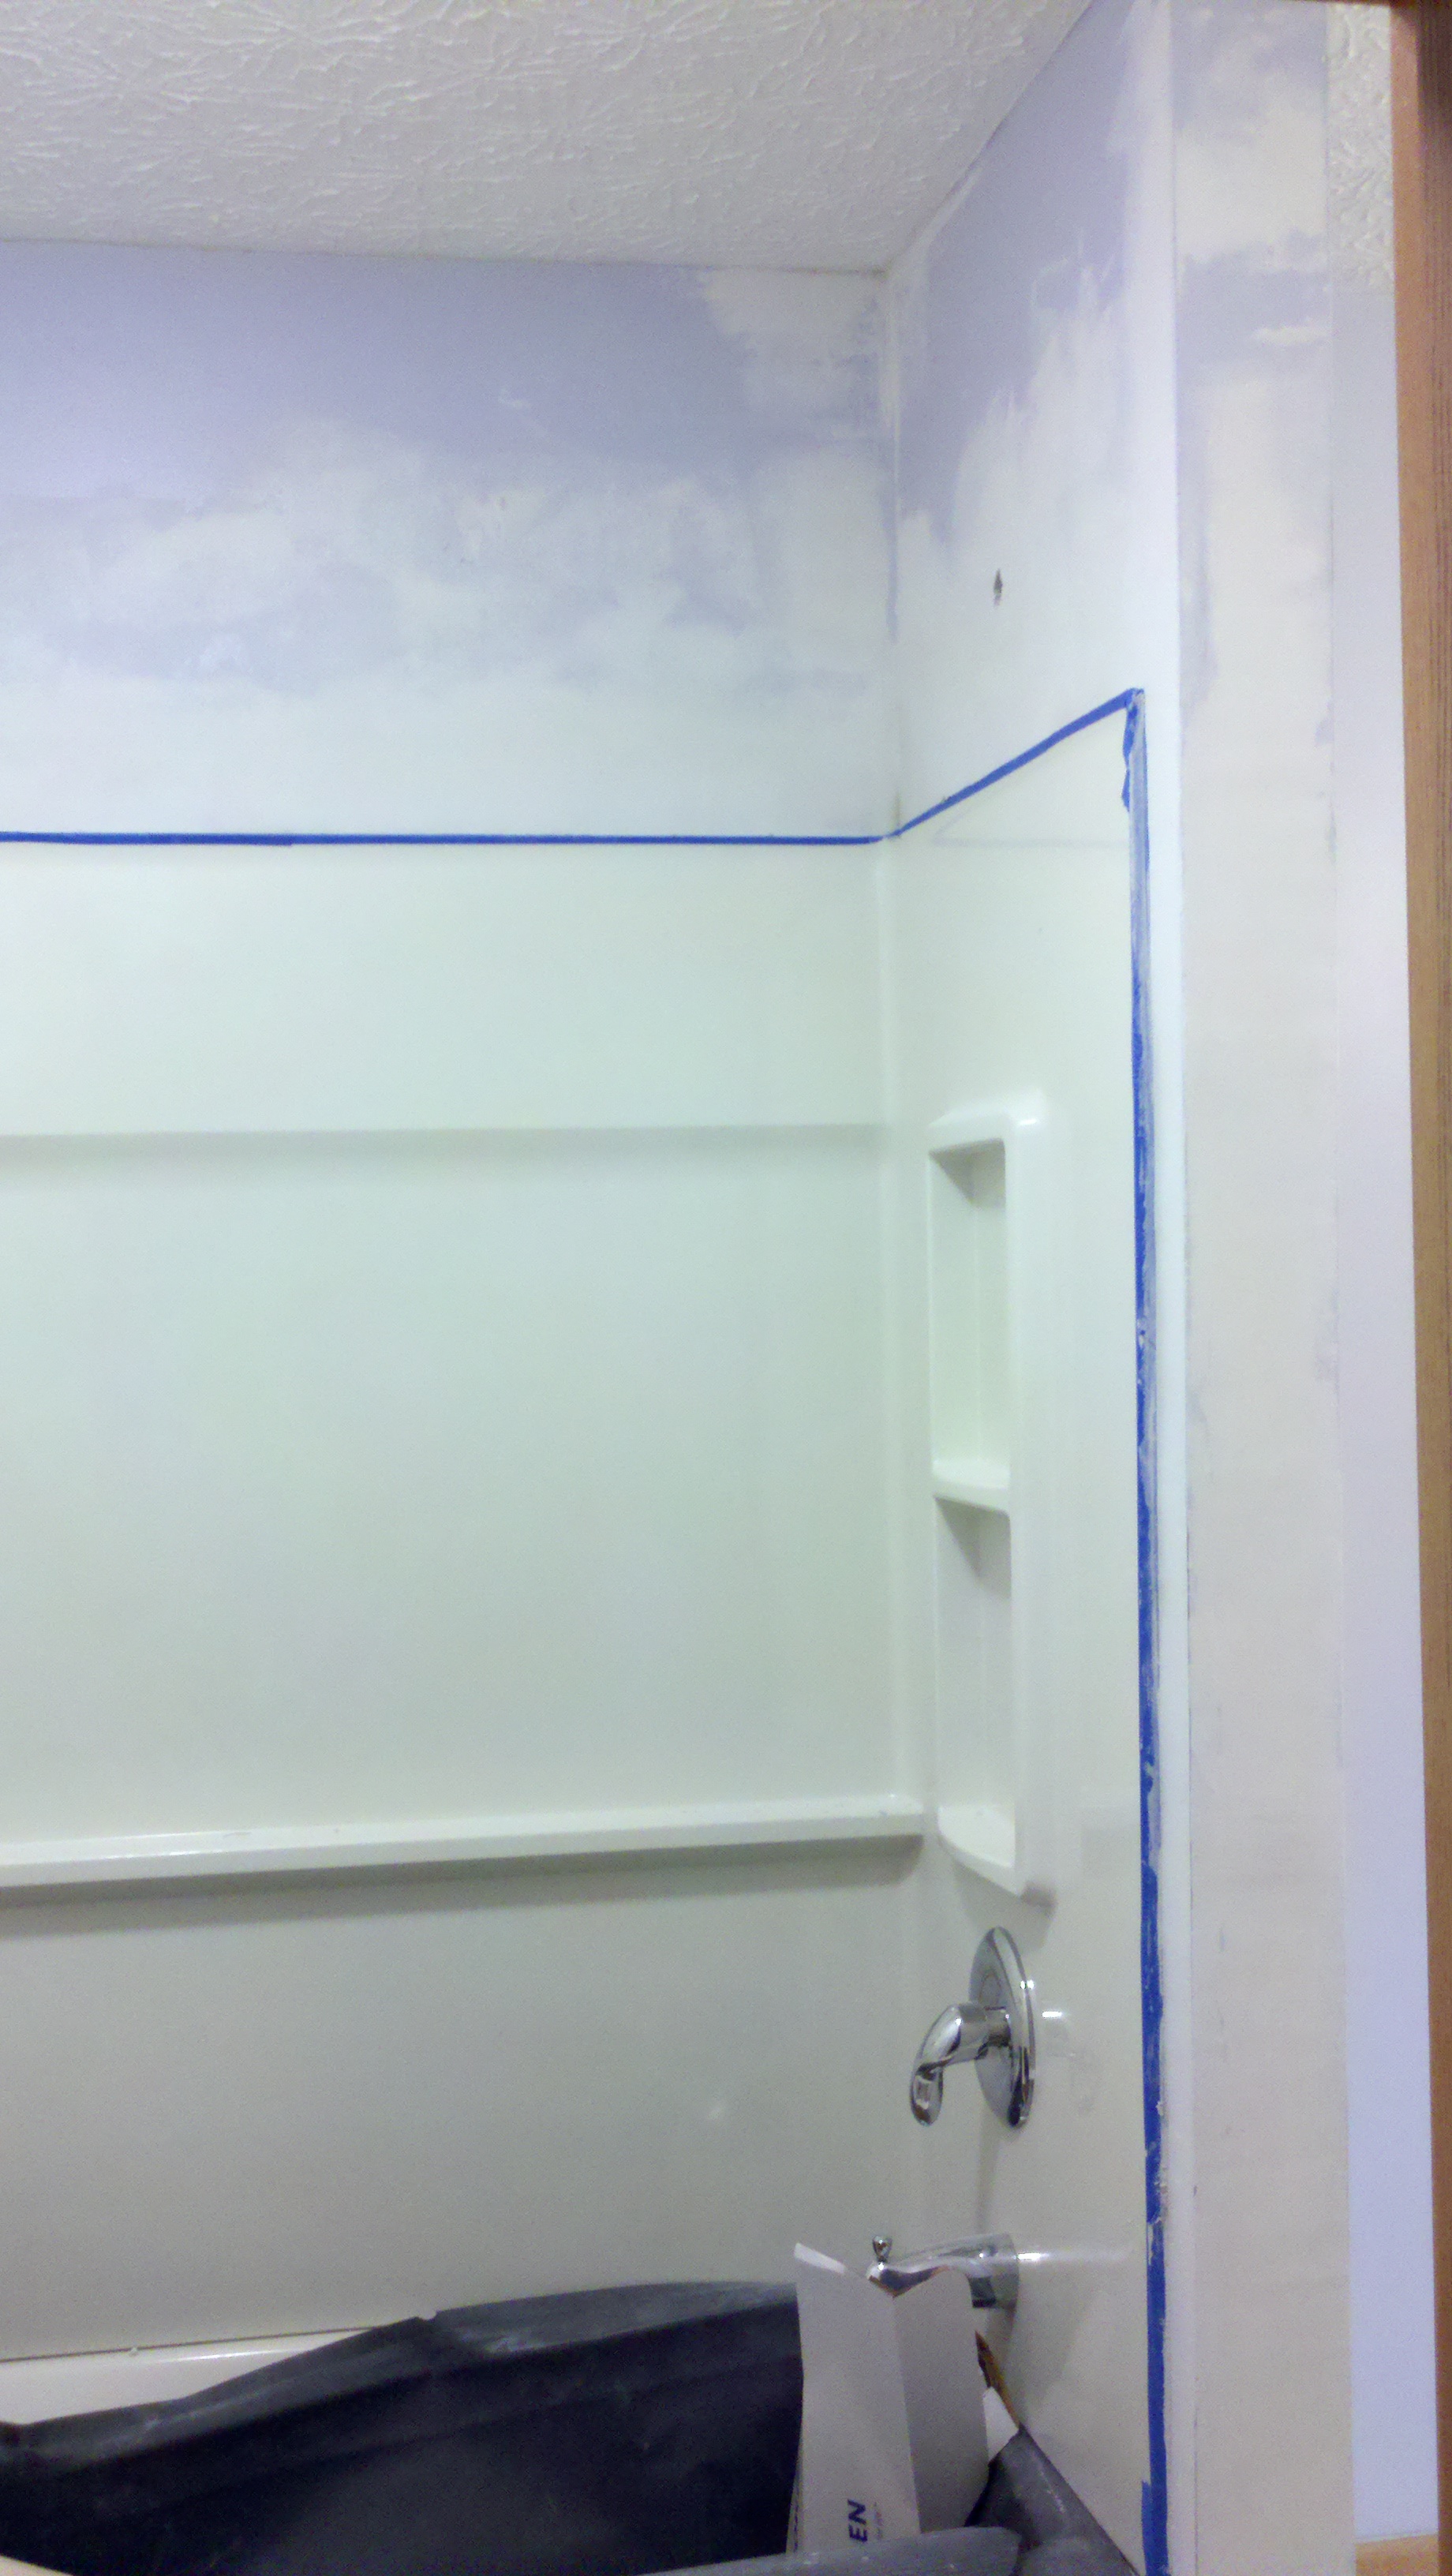
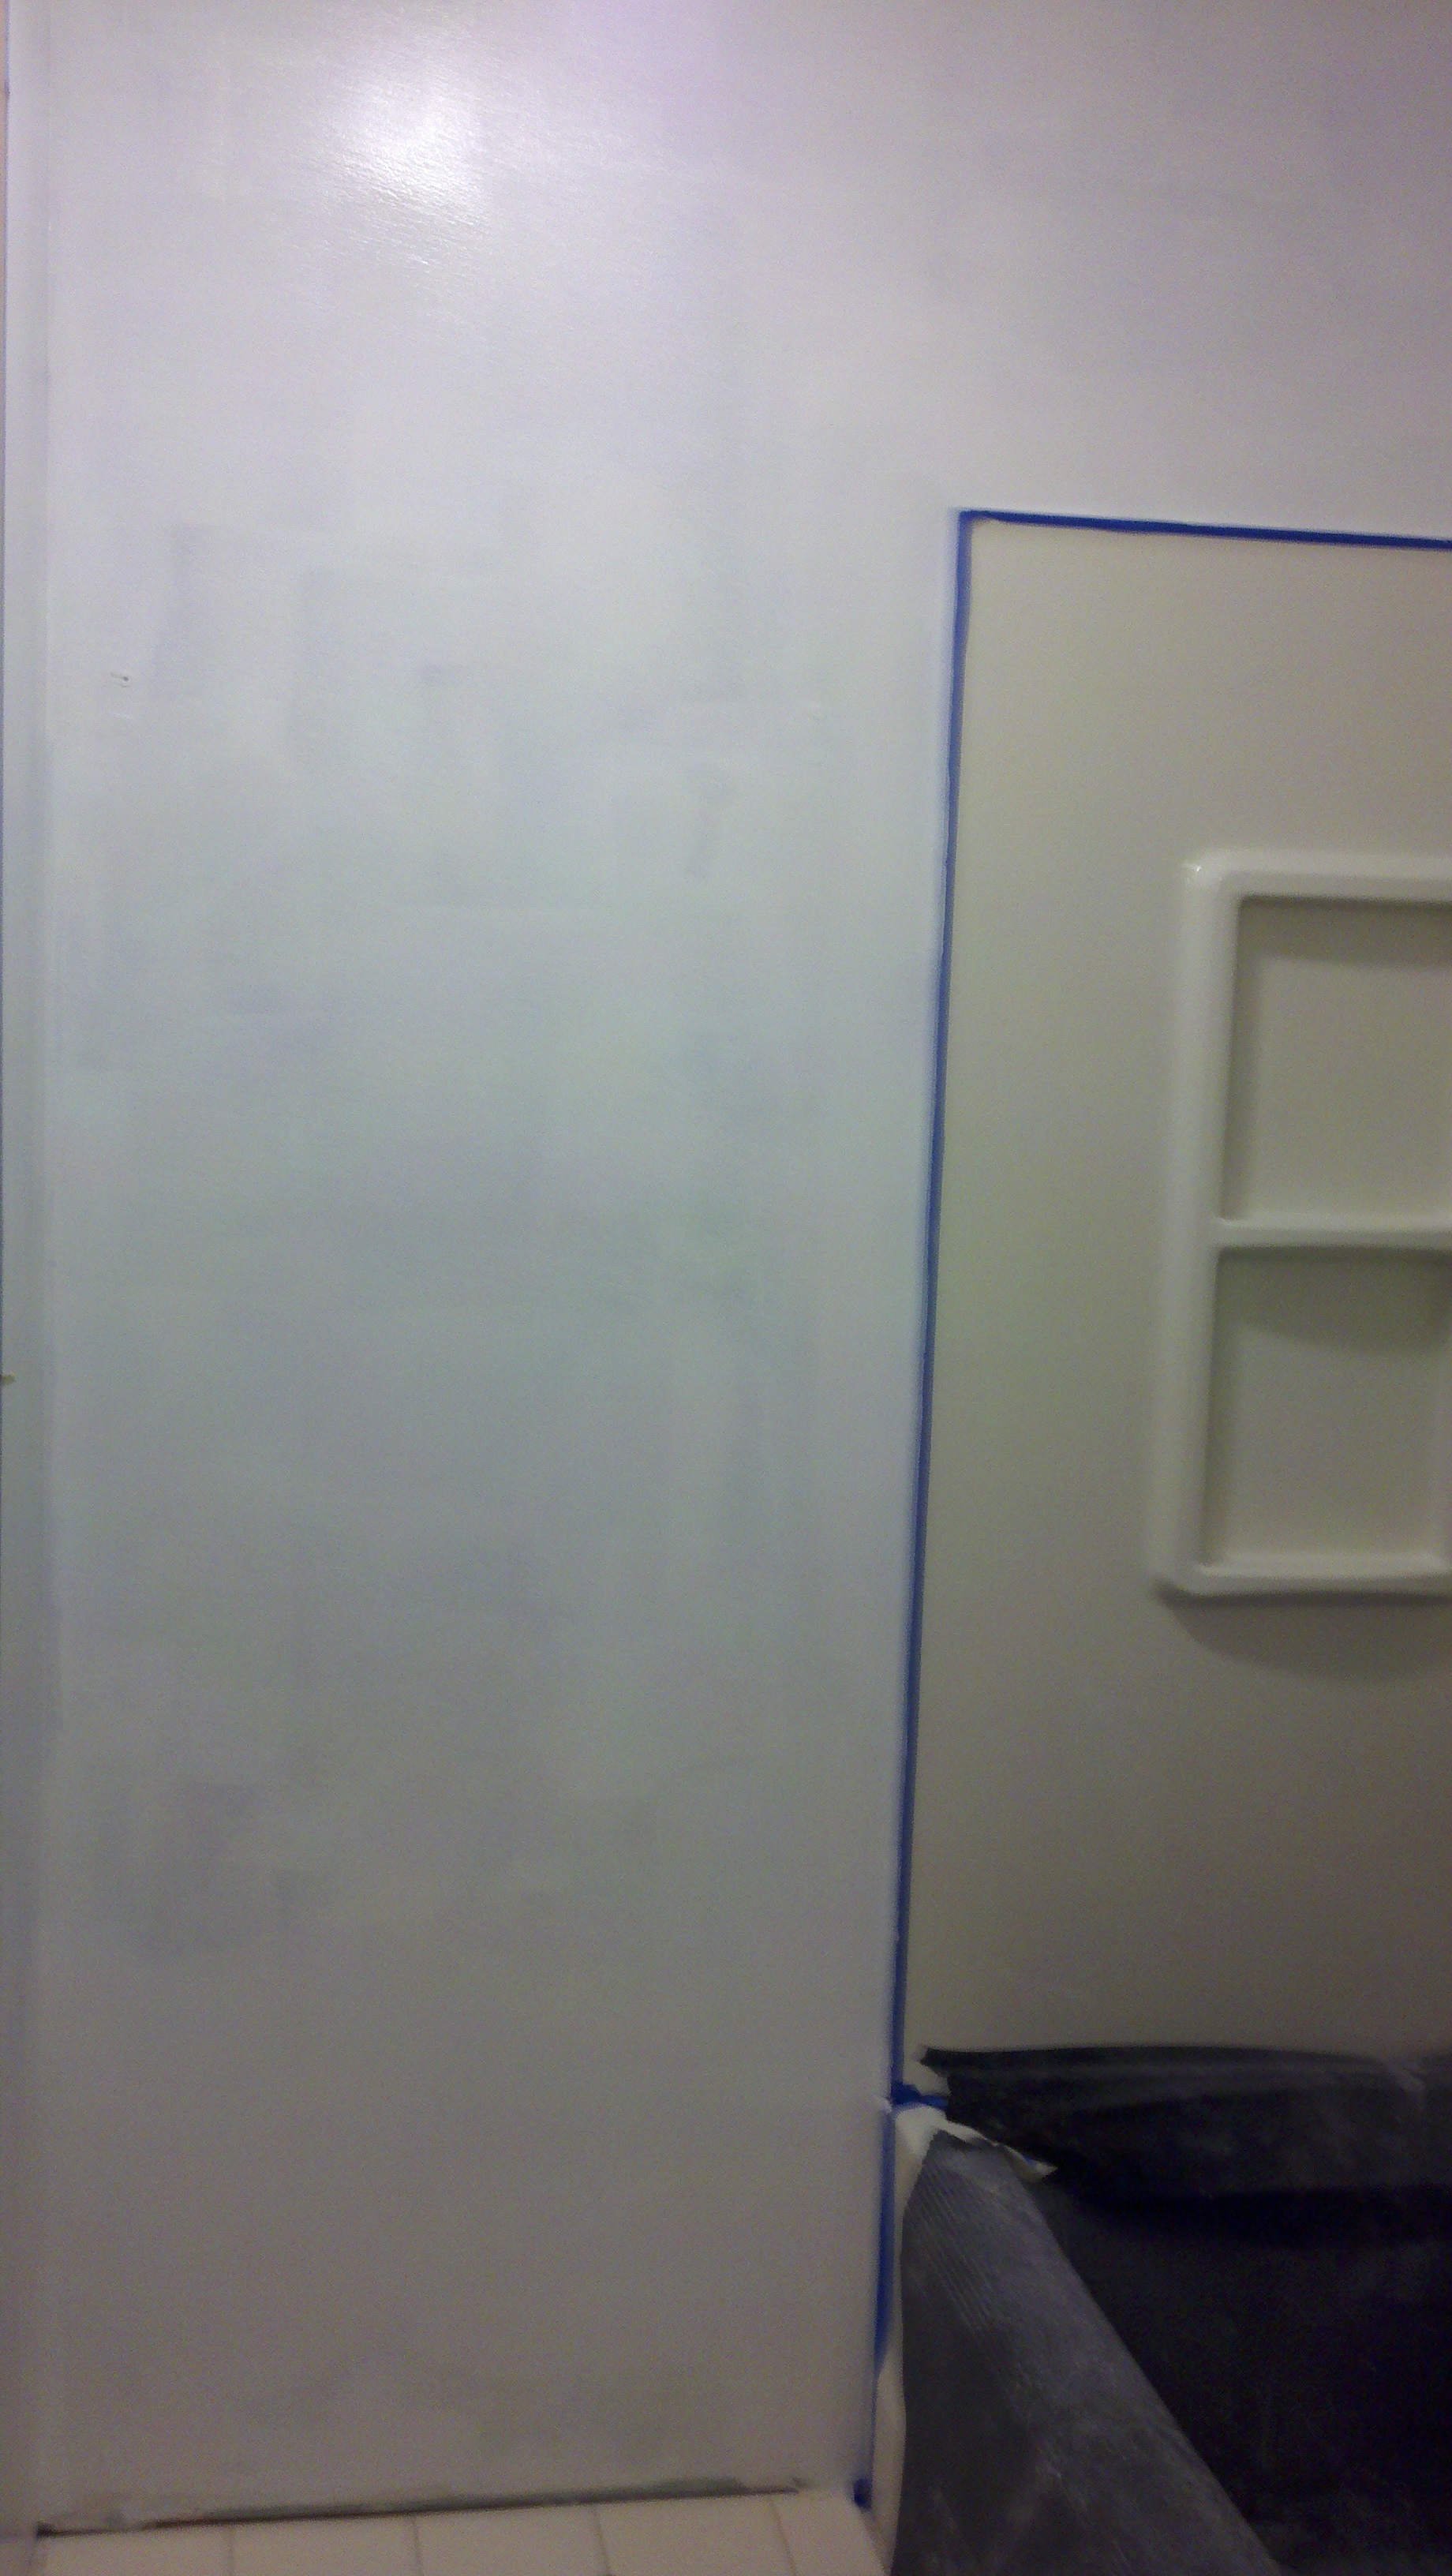
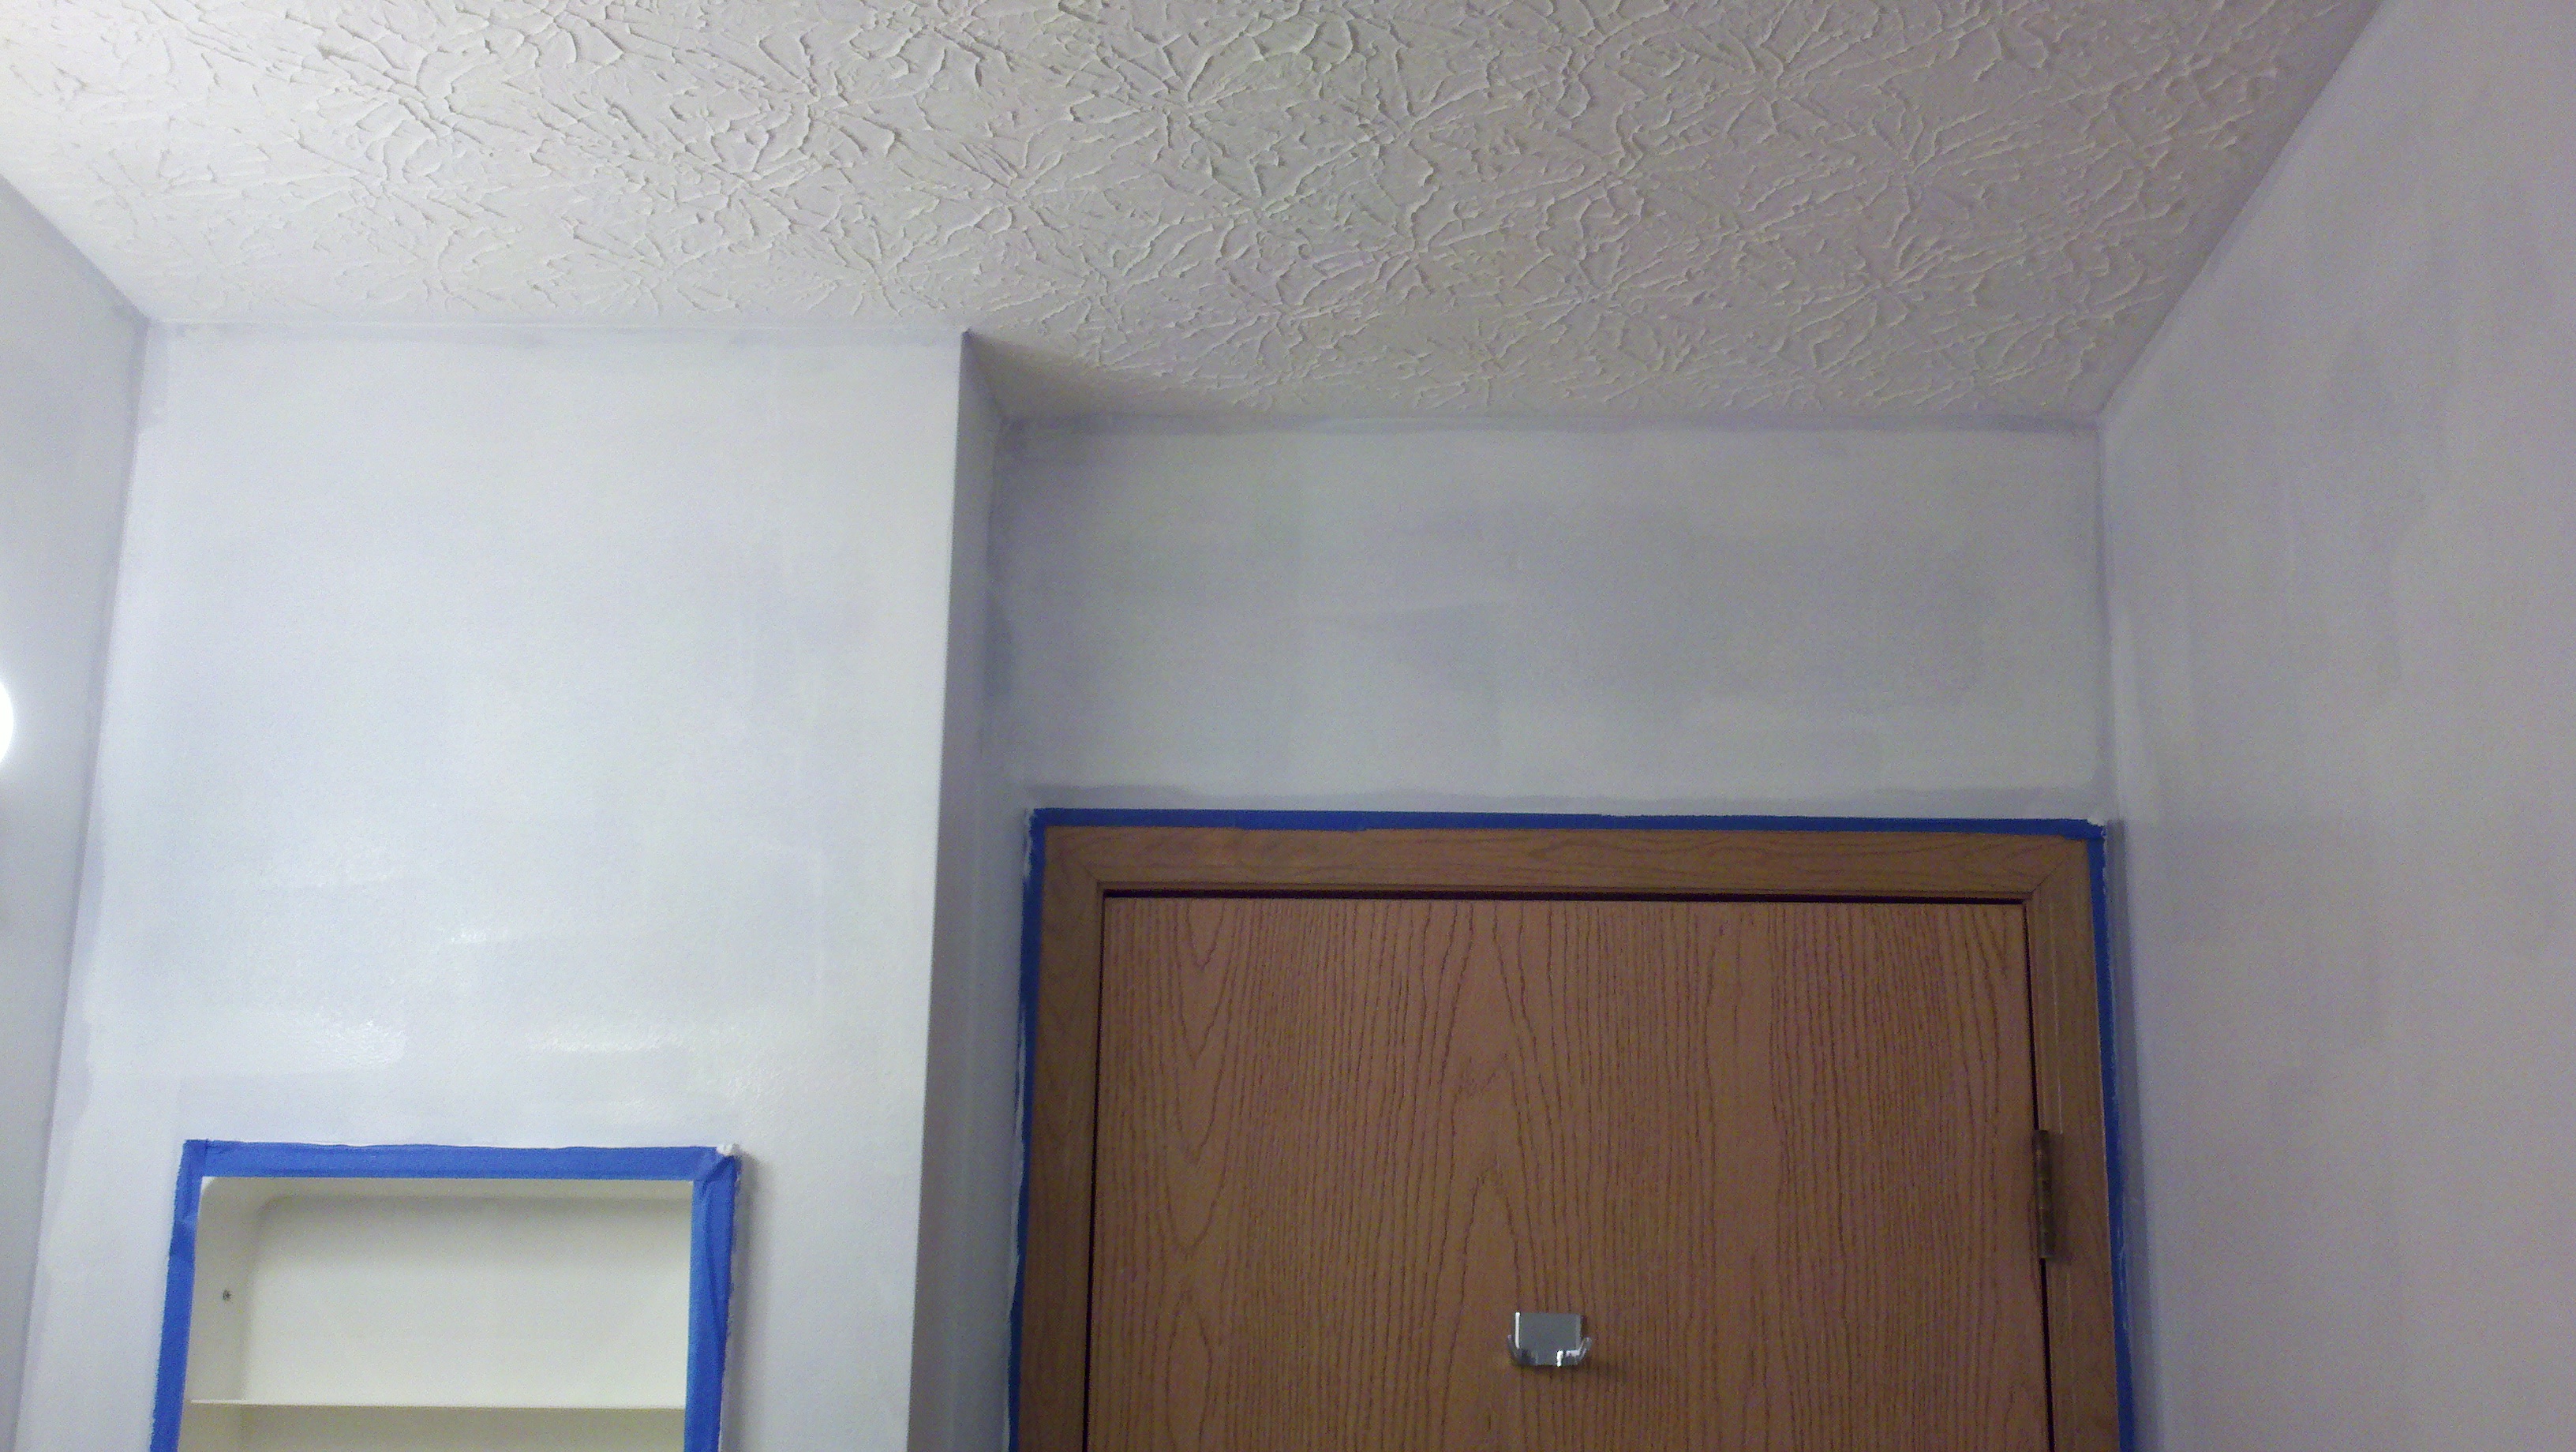
| Bathroom Repair
Removal of the damaged gypsum was completed the first part of the repair. Application of the joint compound provided a clean and immaculate result. Completion of the resurfacing required sanding of the compound to unveil a clean ceiling to wall 90 degree corner. Application of primer was completed to seal the compound. A fresh coat of ceiling paint provided a good clean white surround for the fresh coat of wall paint. The wall paint was used from the excess from the original job of selective wall repair and repaint from the previous year. During the repair process, repeat repair was completed to one of the cracks resulting from house settling that was previously repaired. Since the re-repair was warranty work, labor and supplies was provided without charge.
|
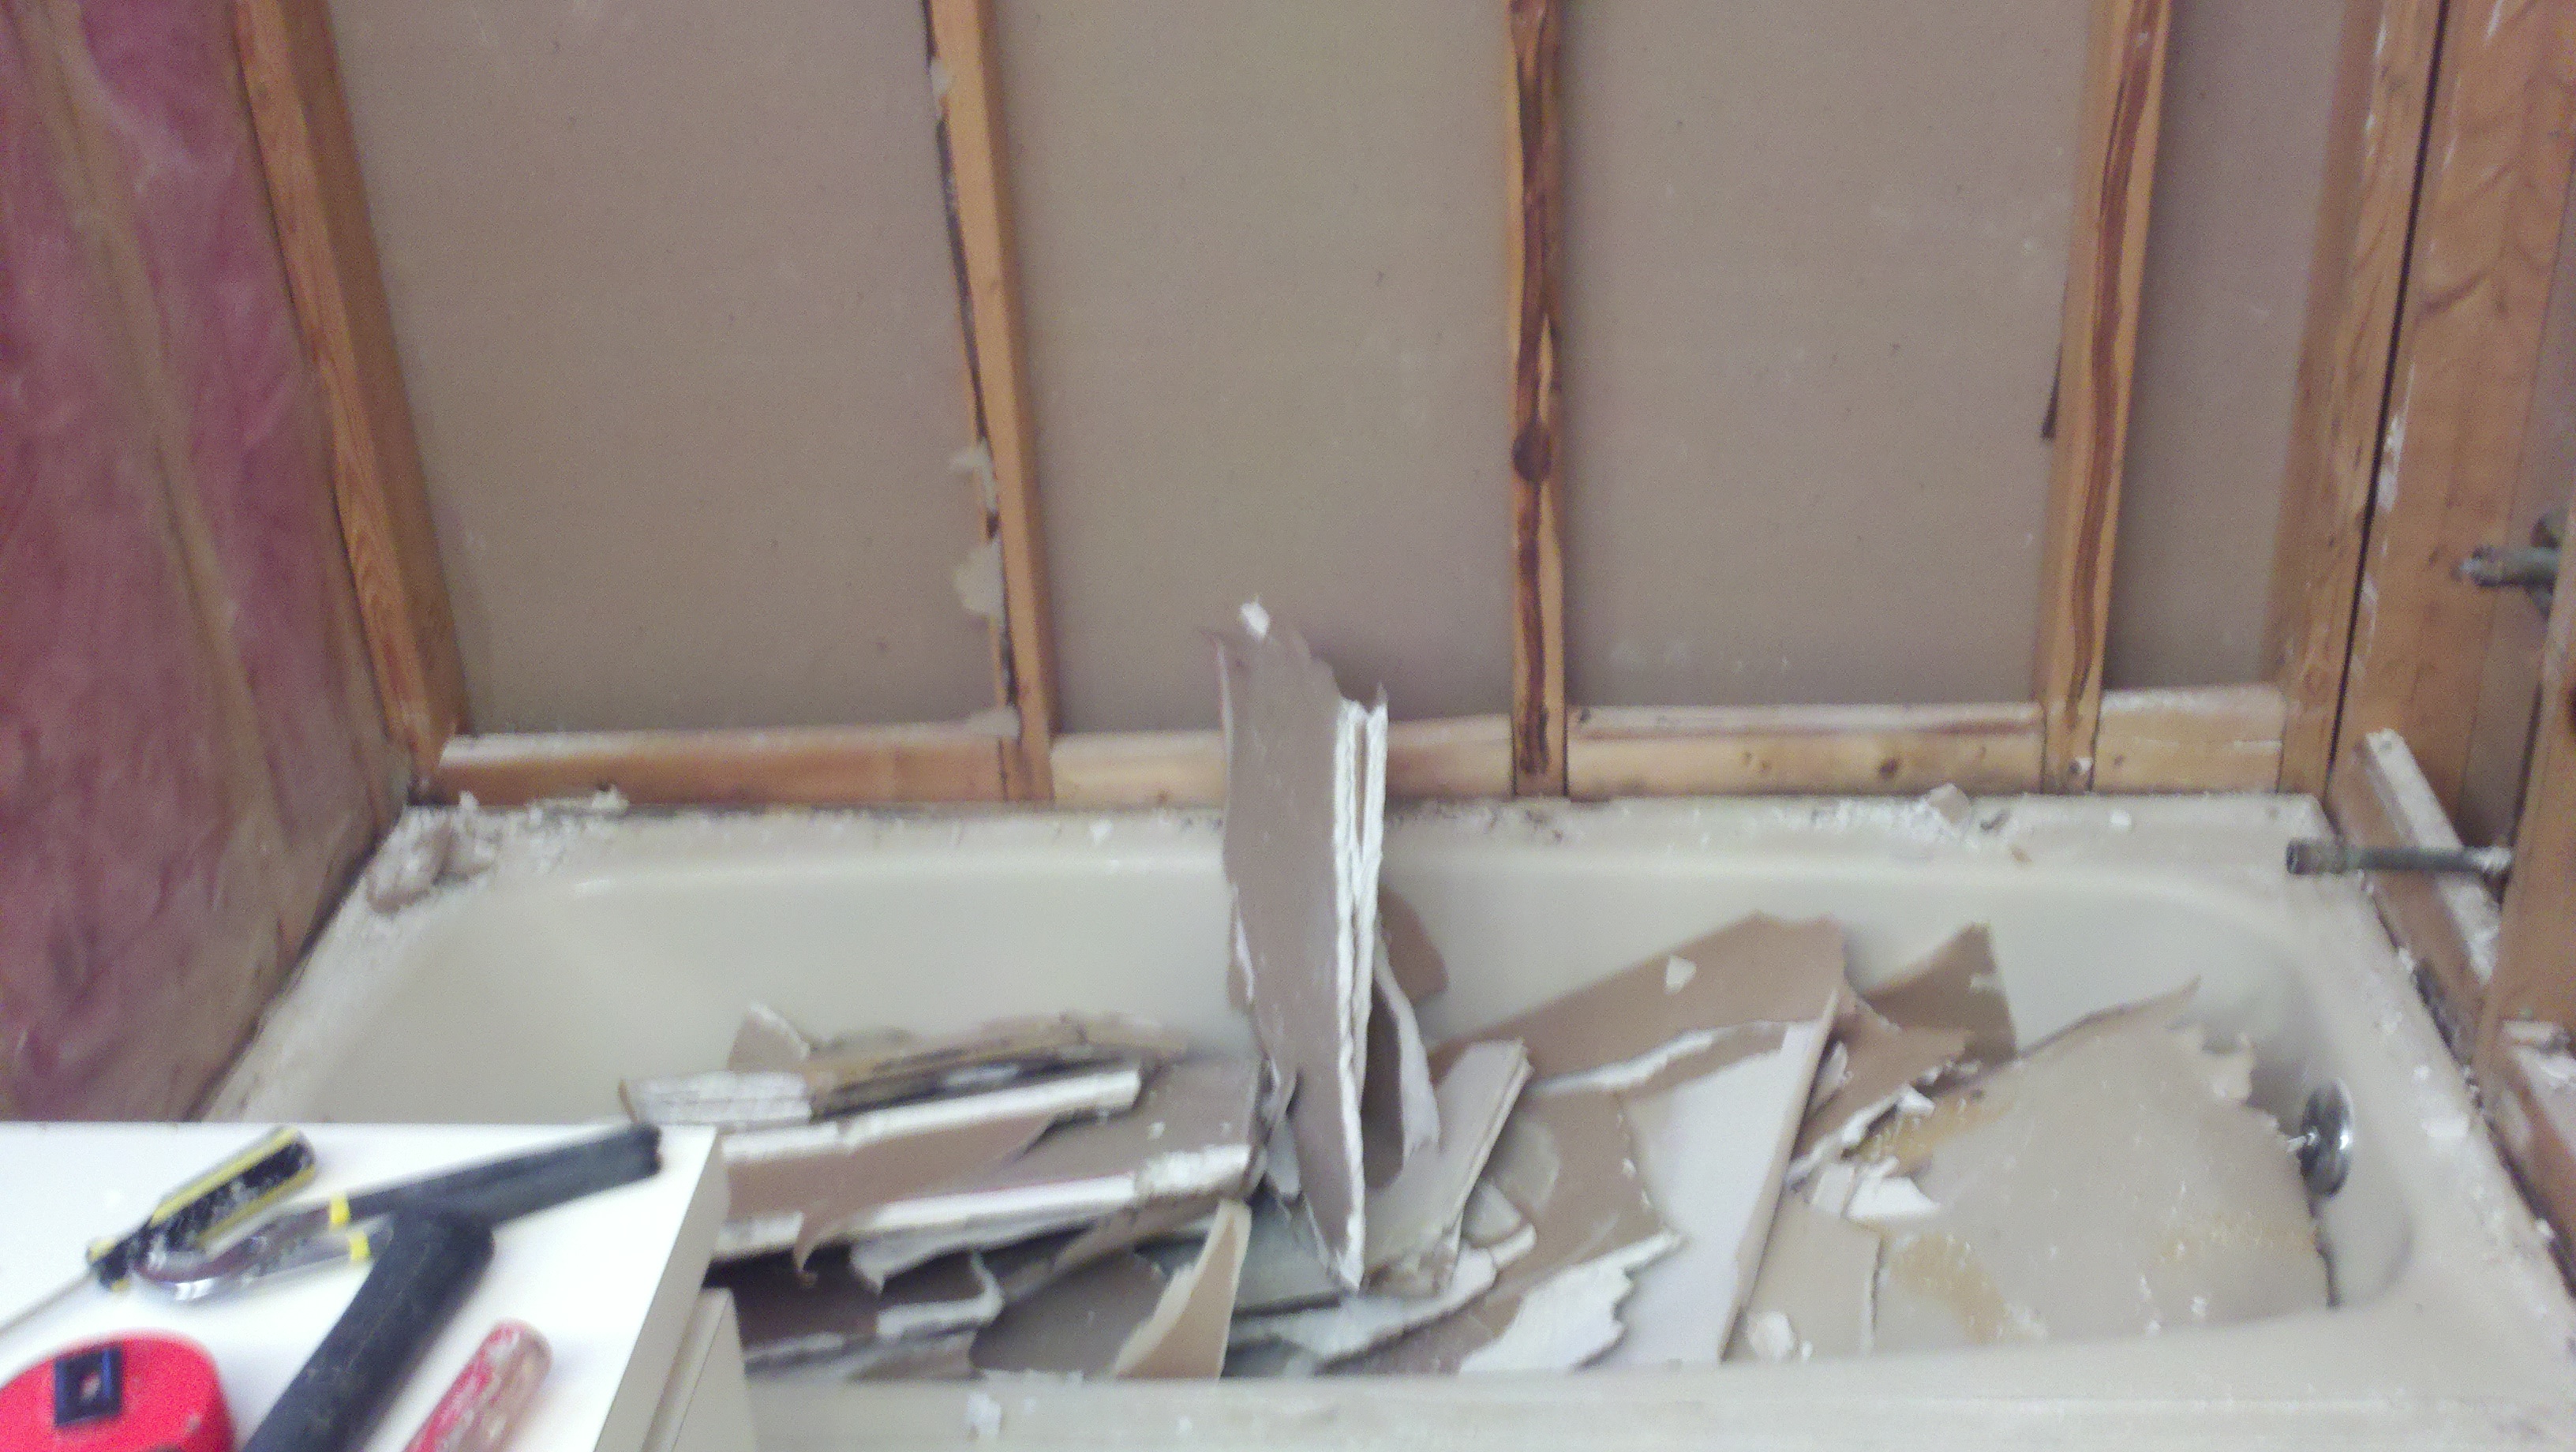
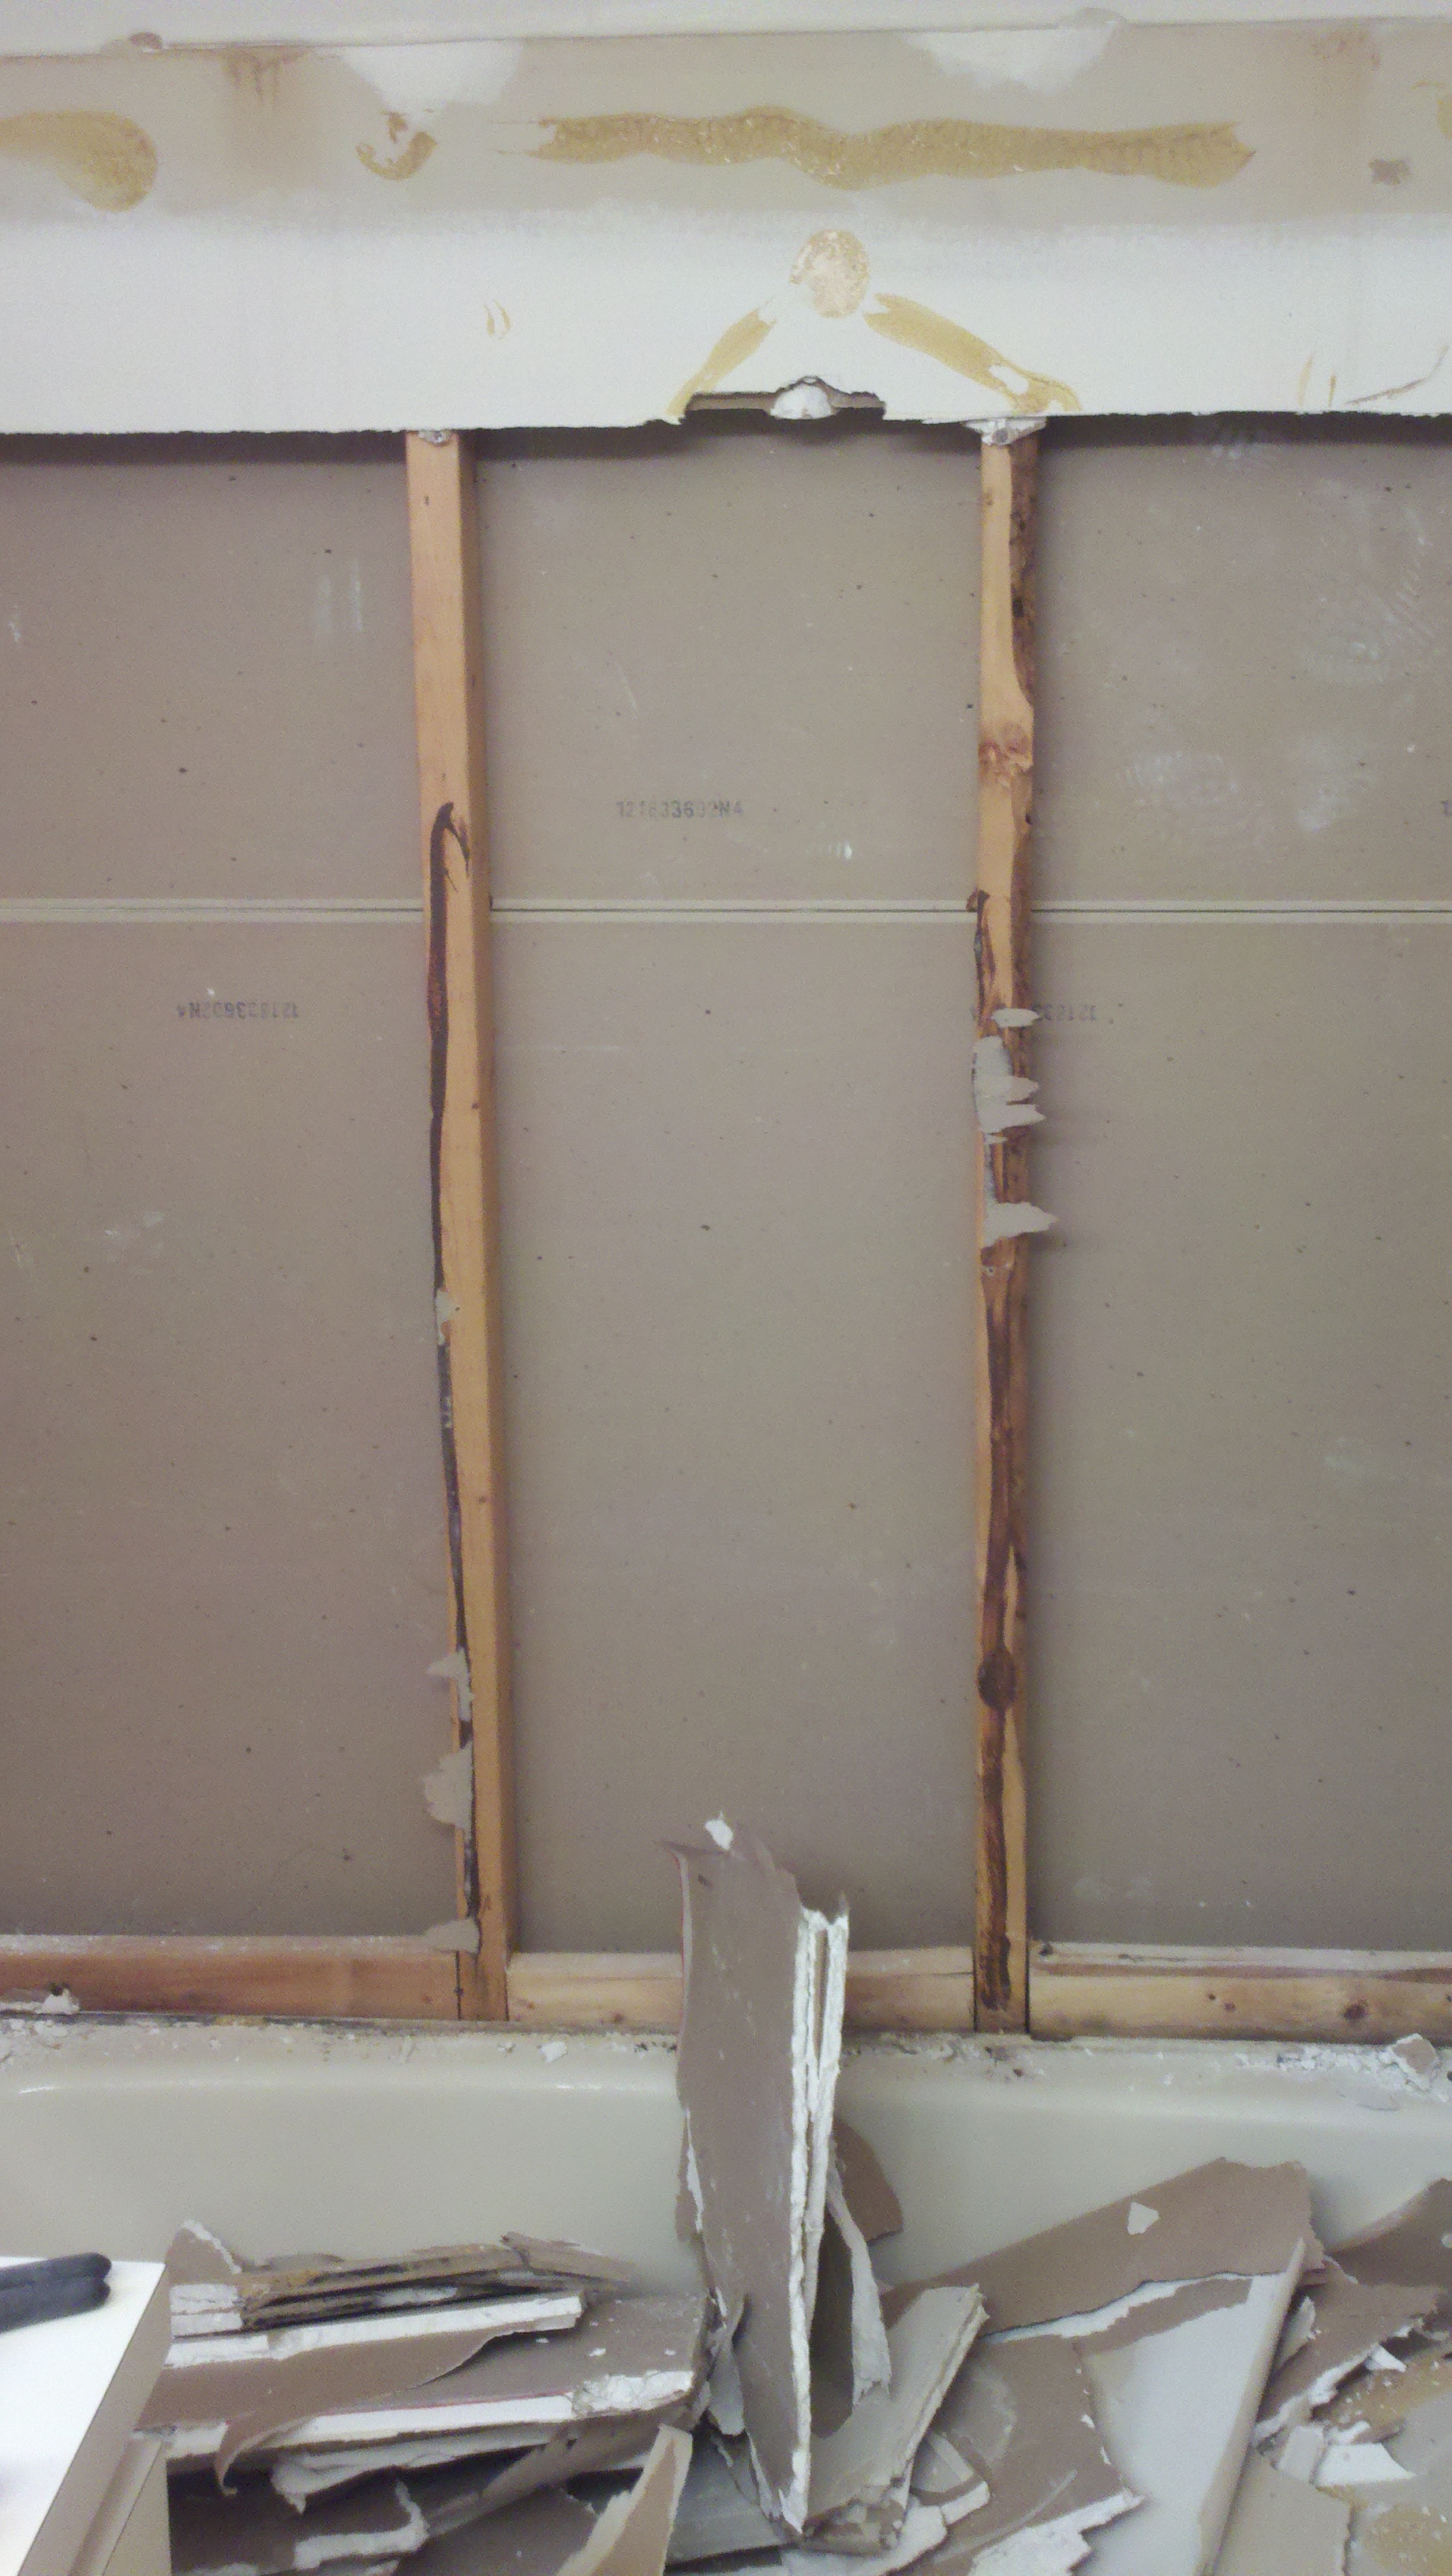
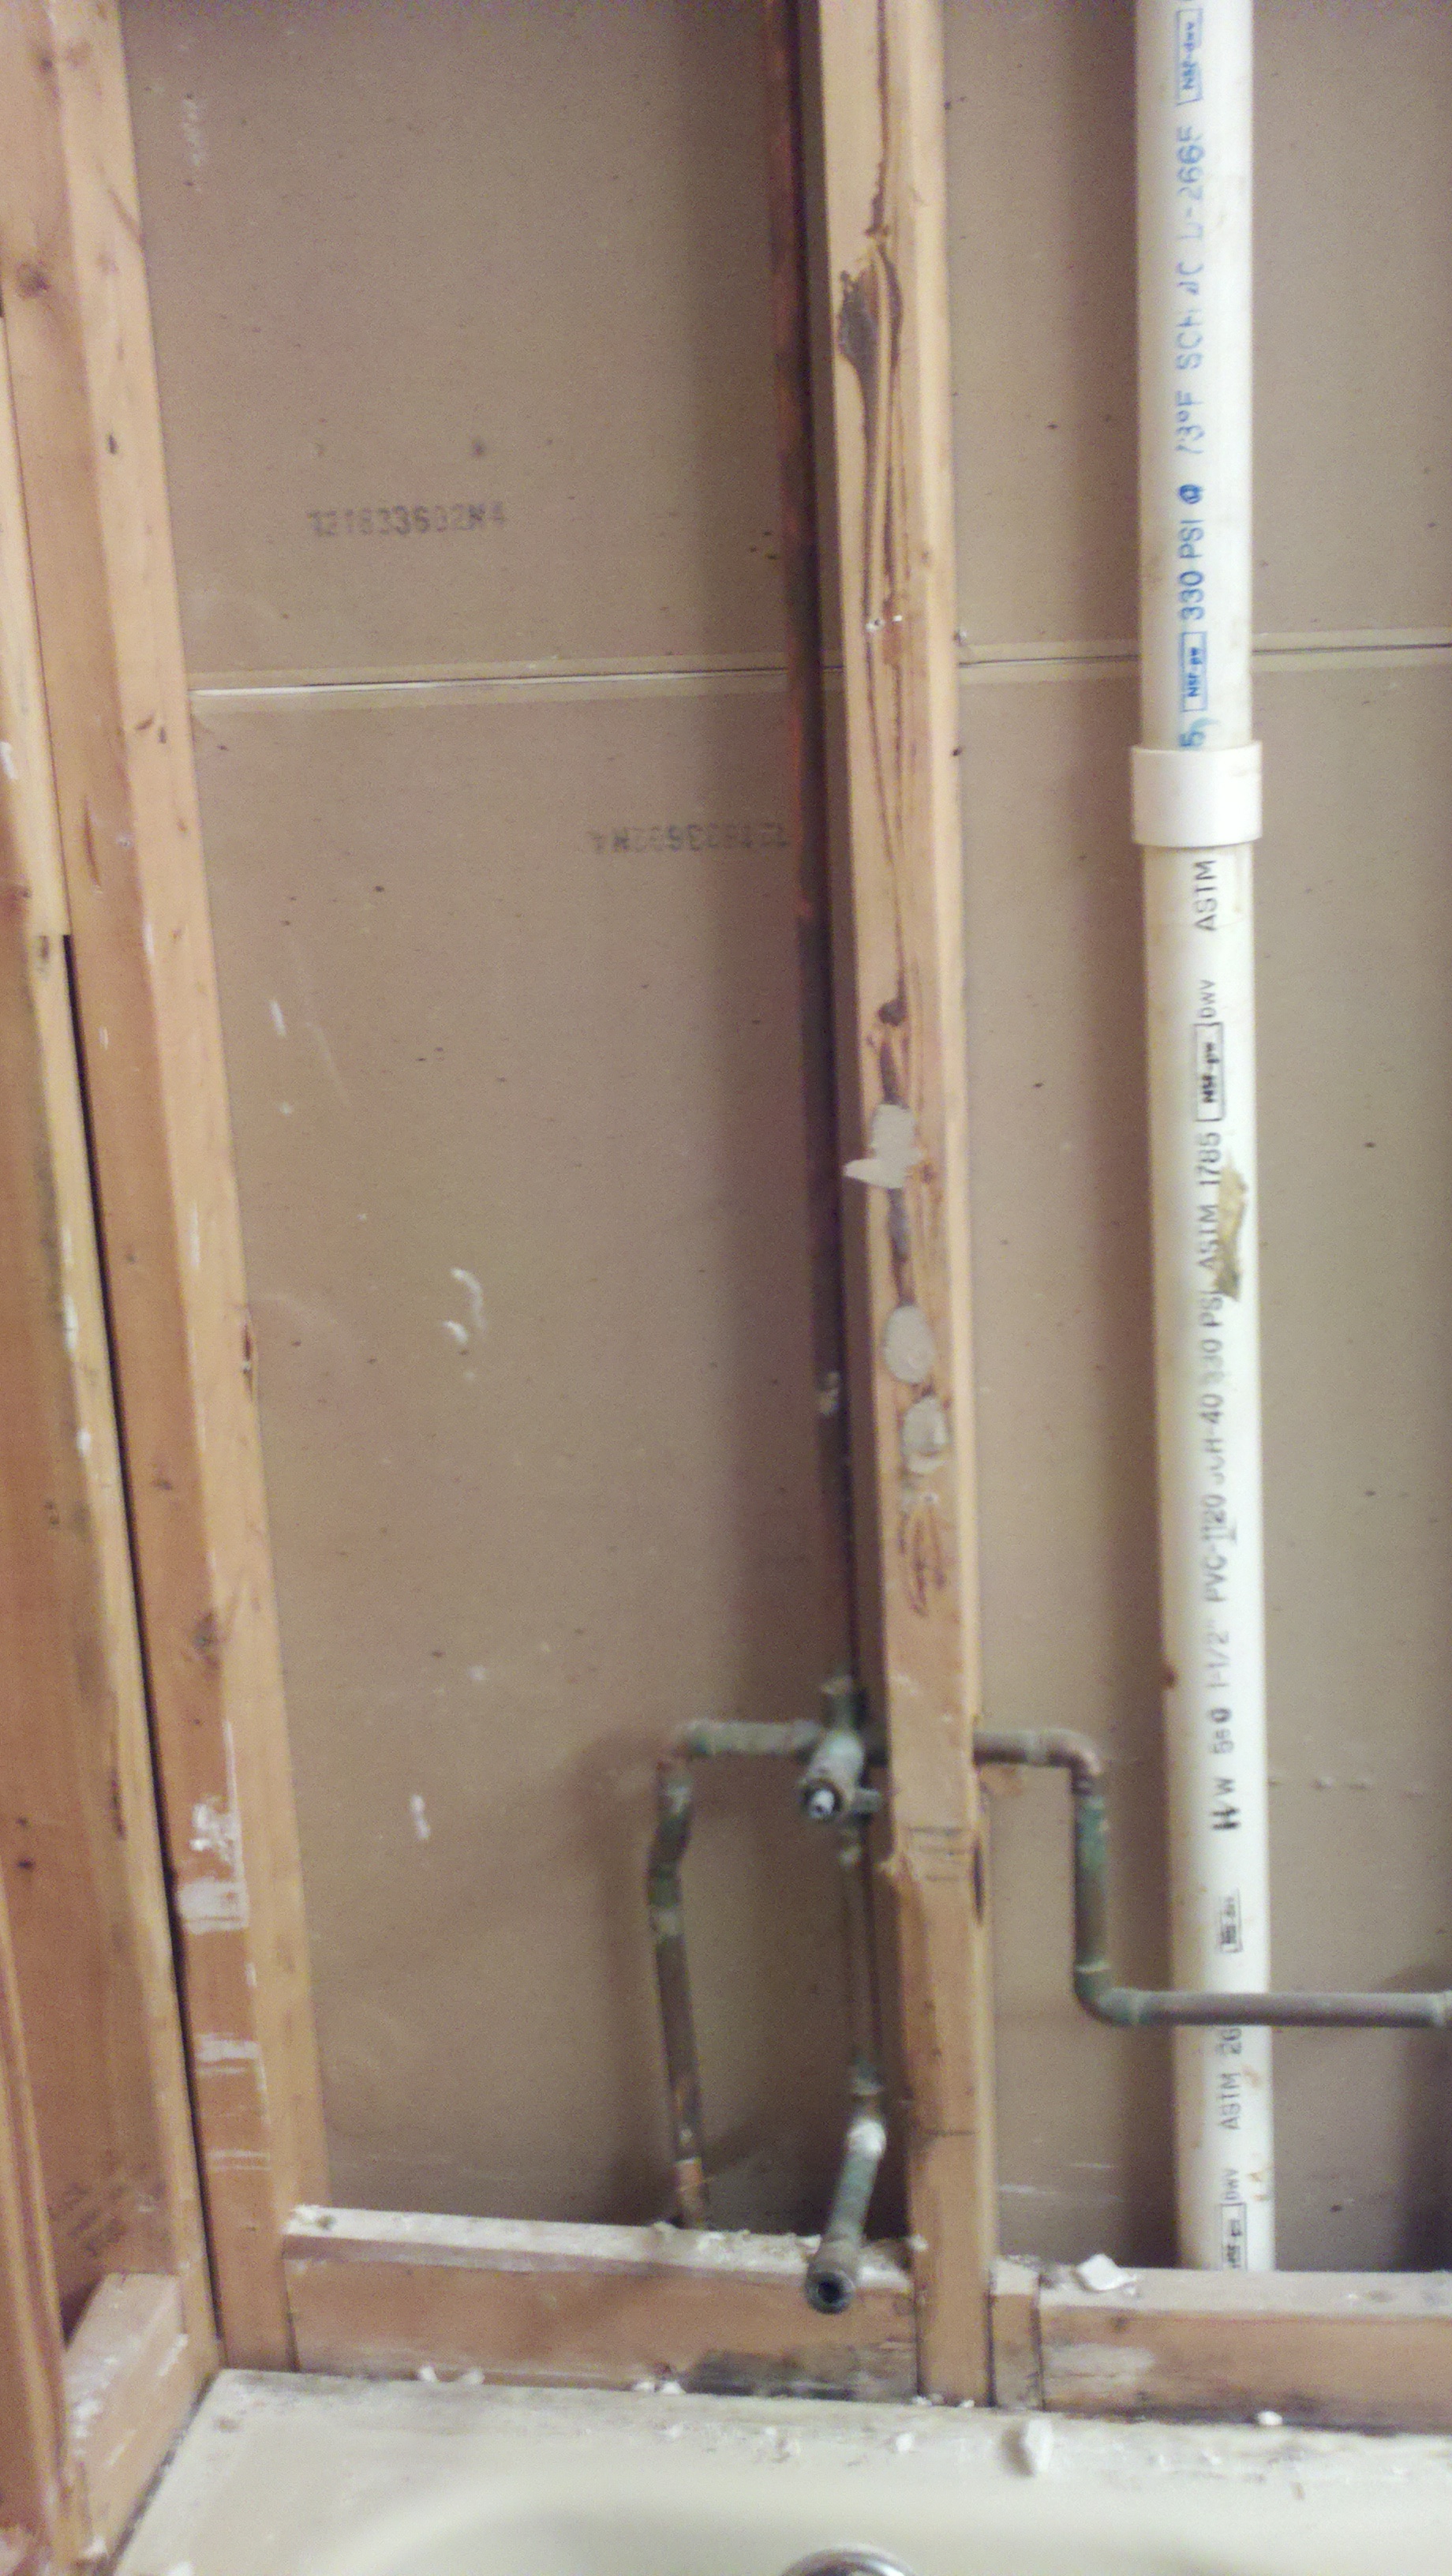
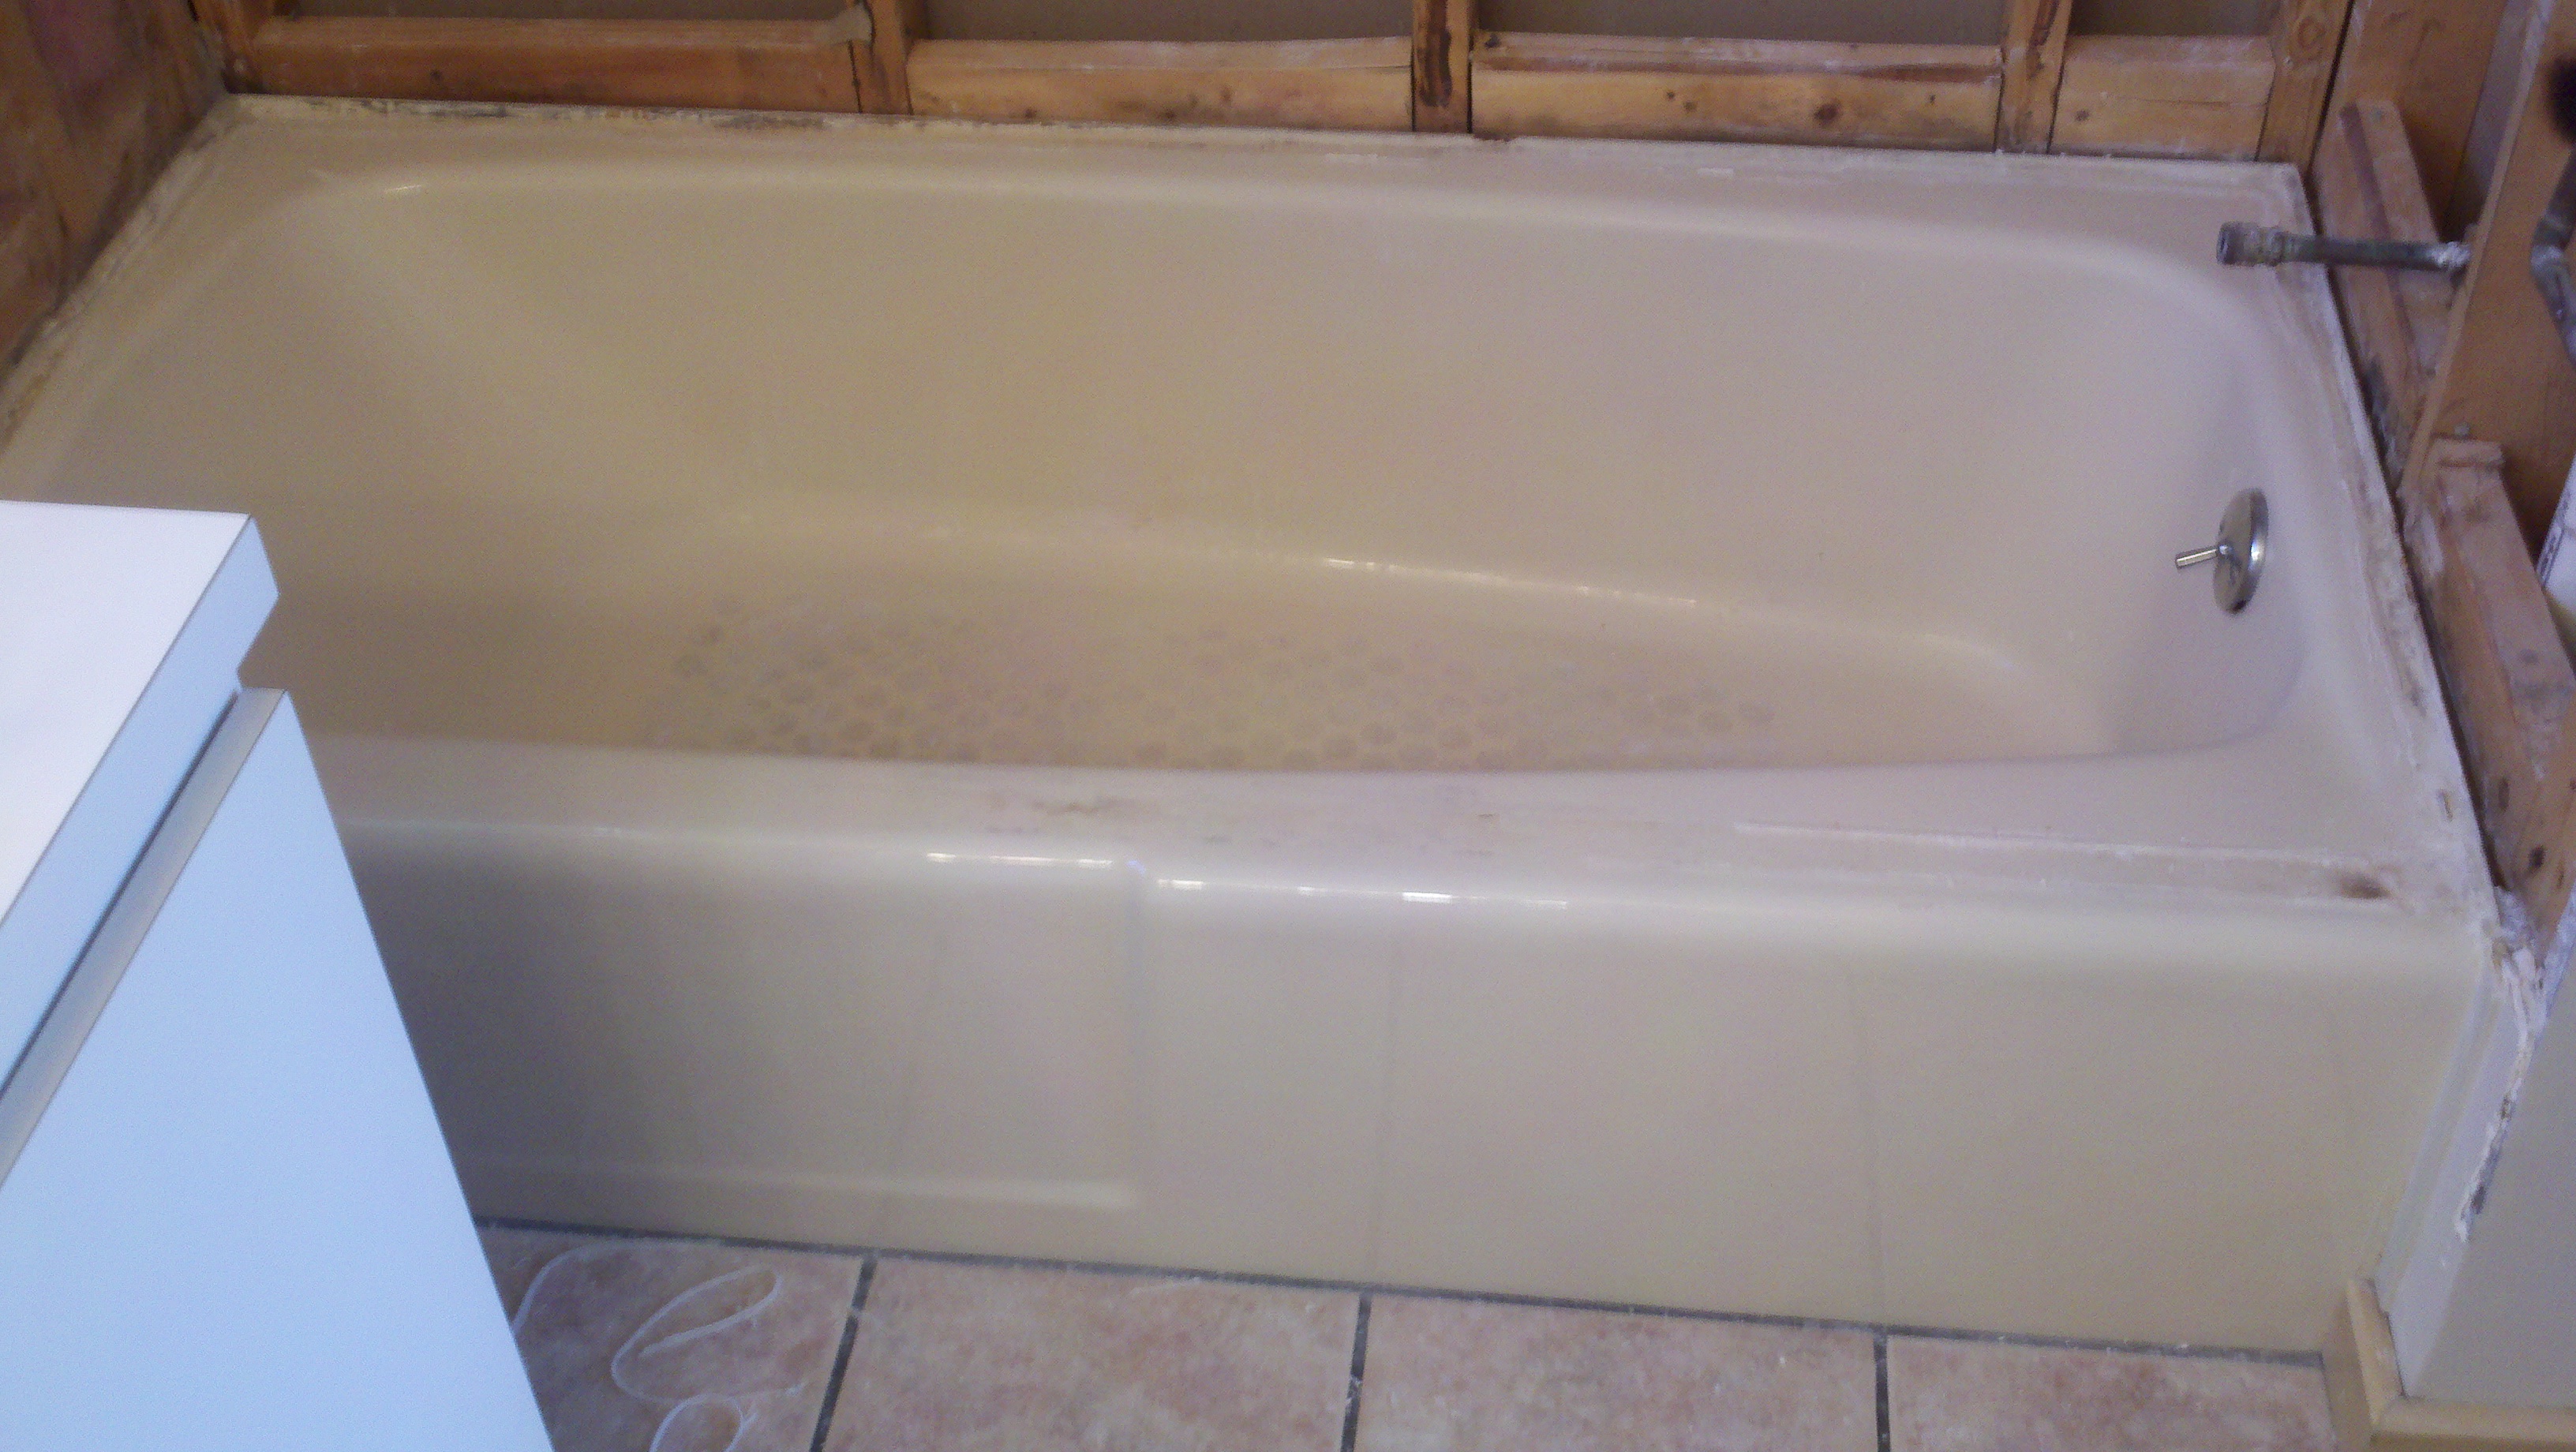
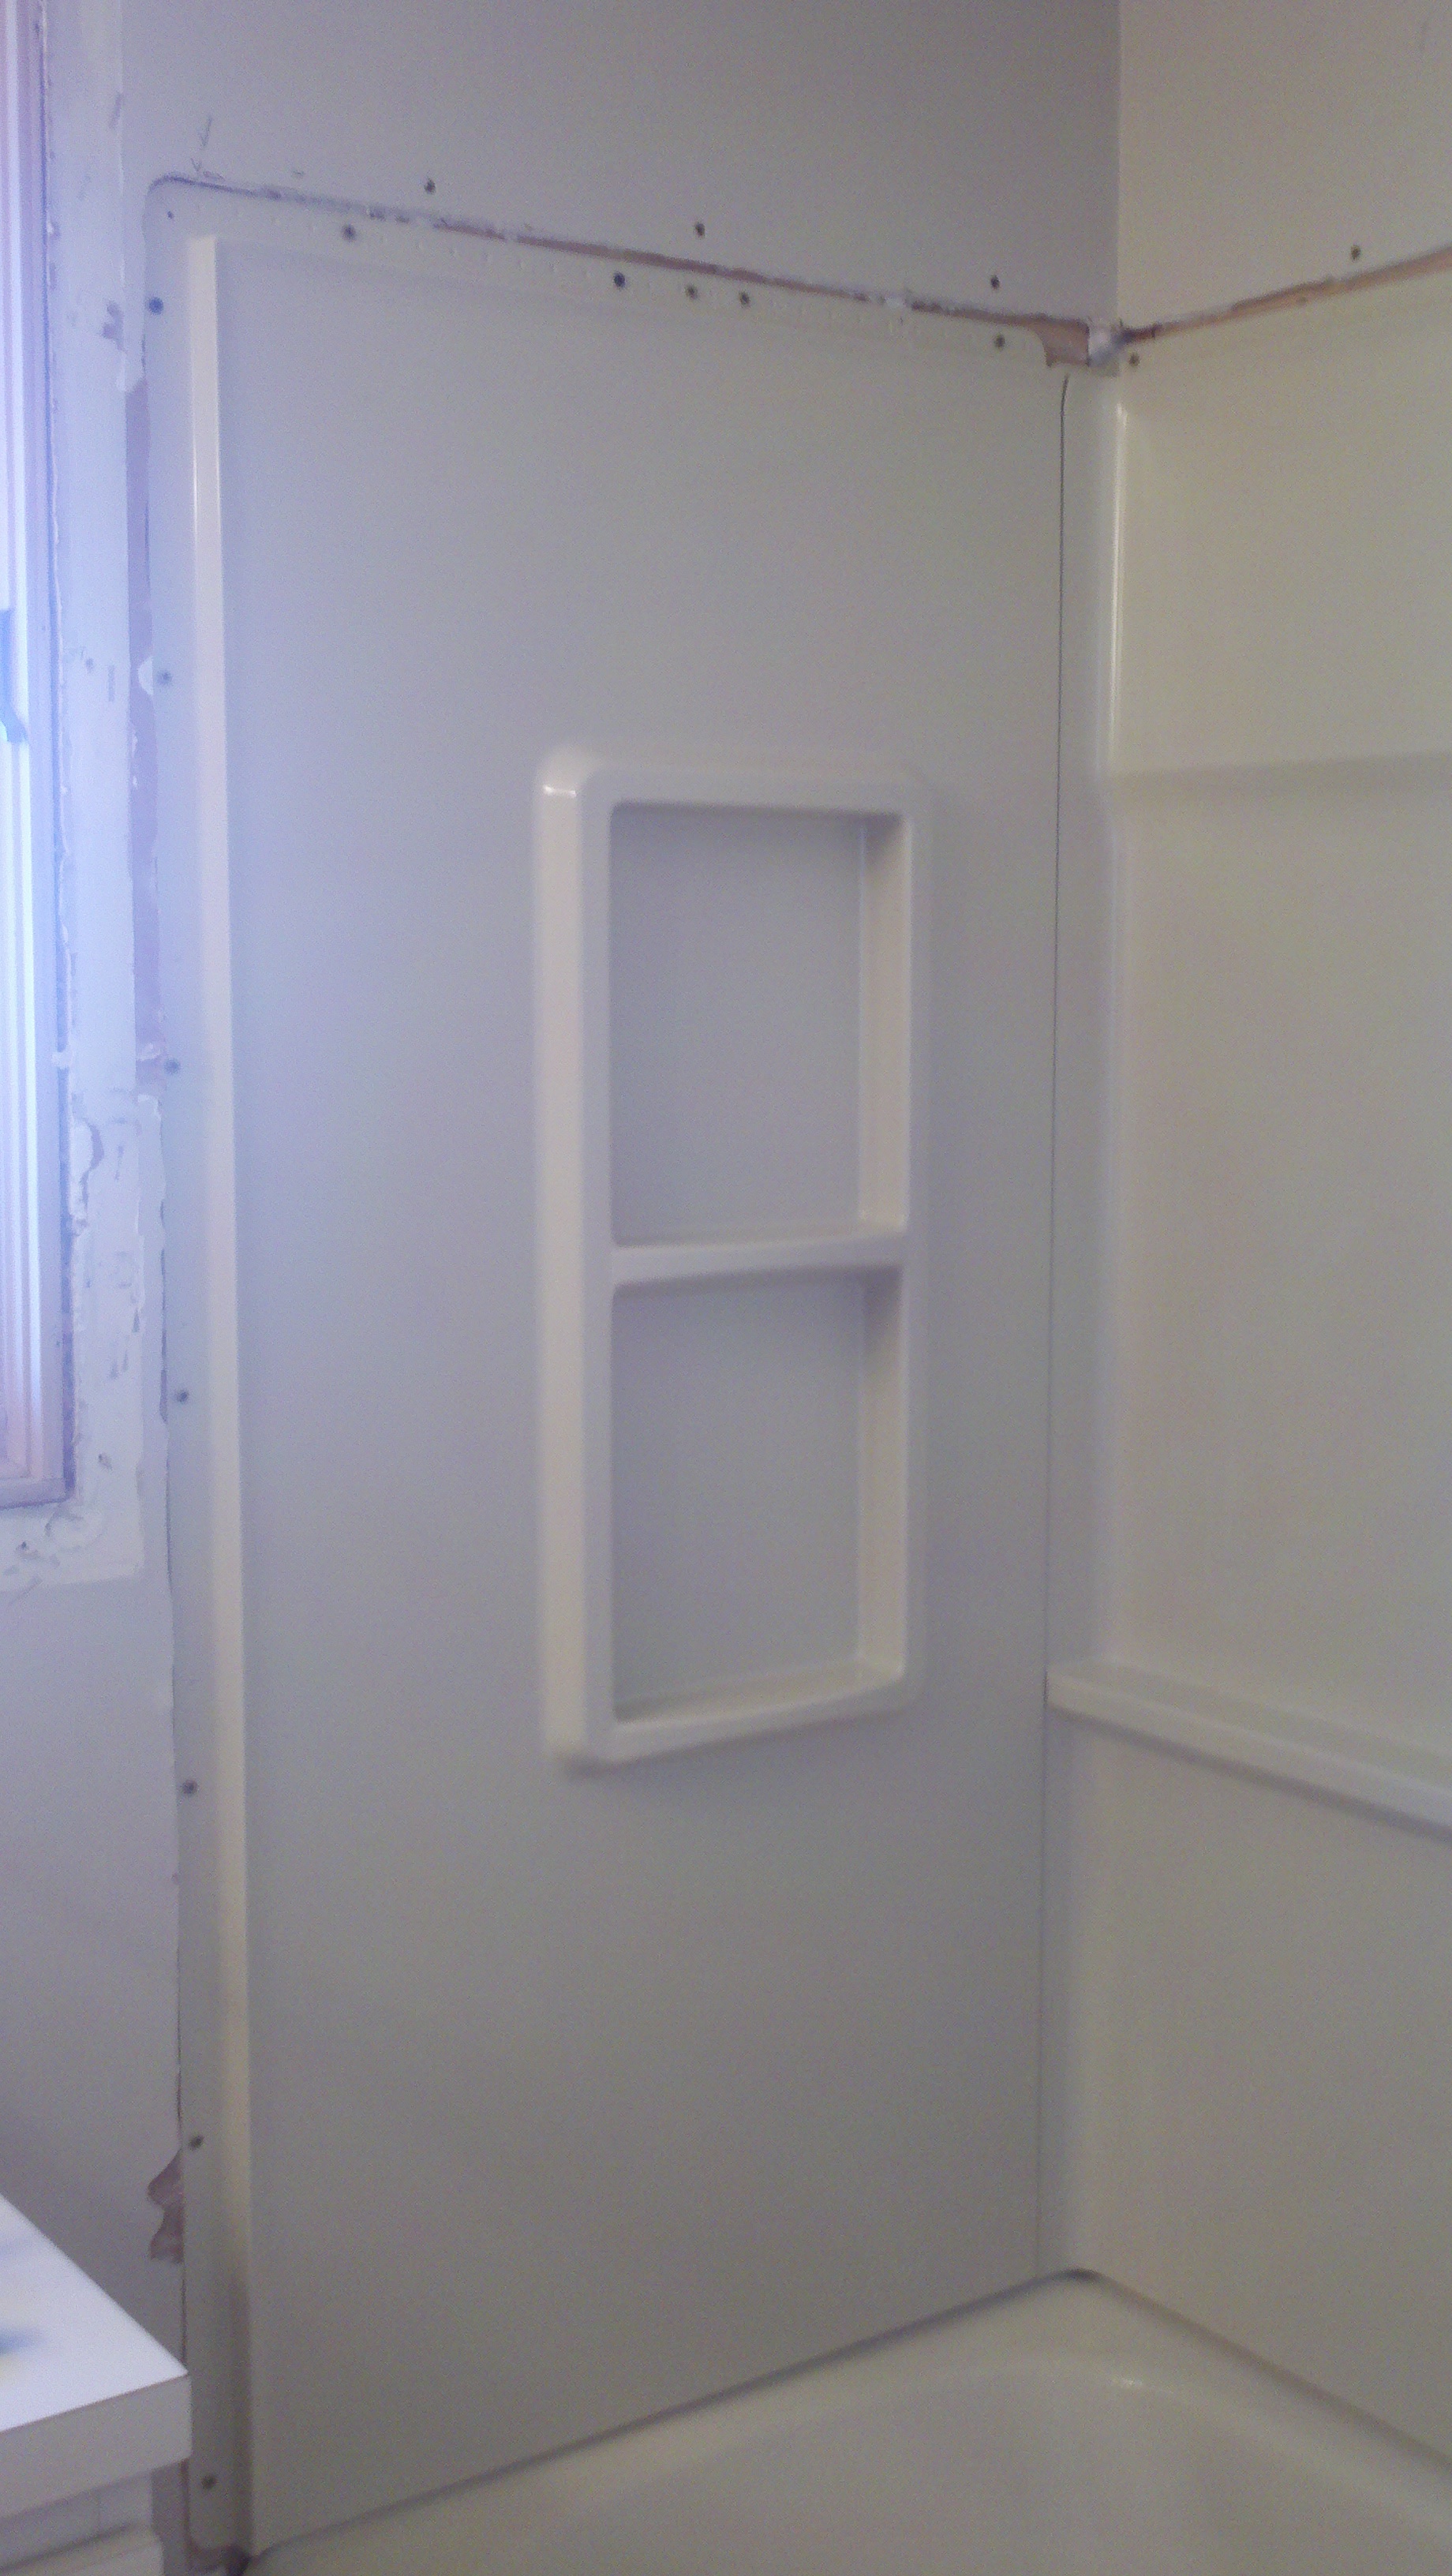
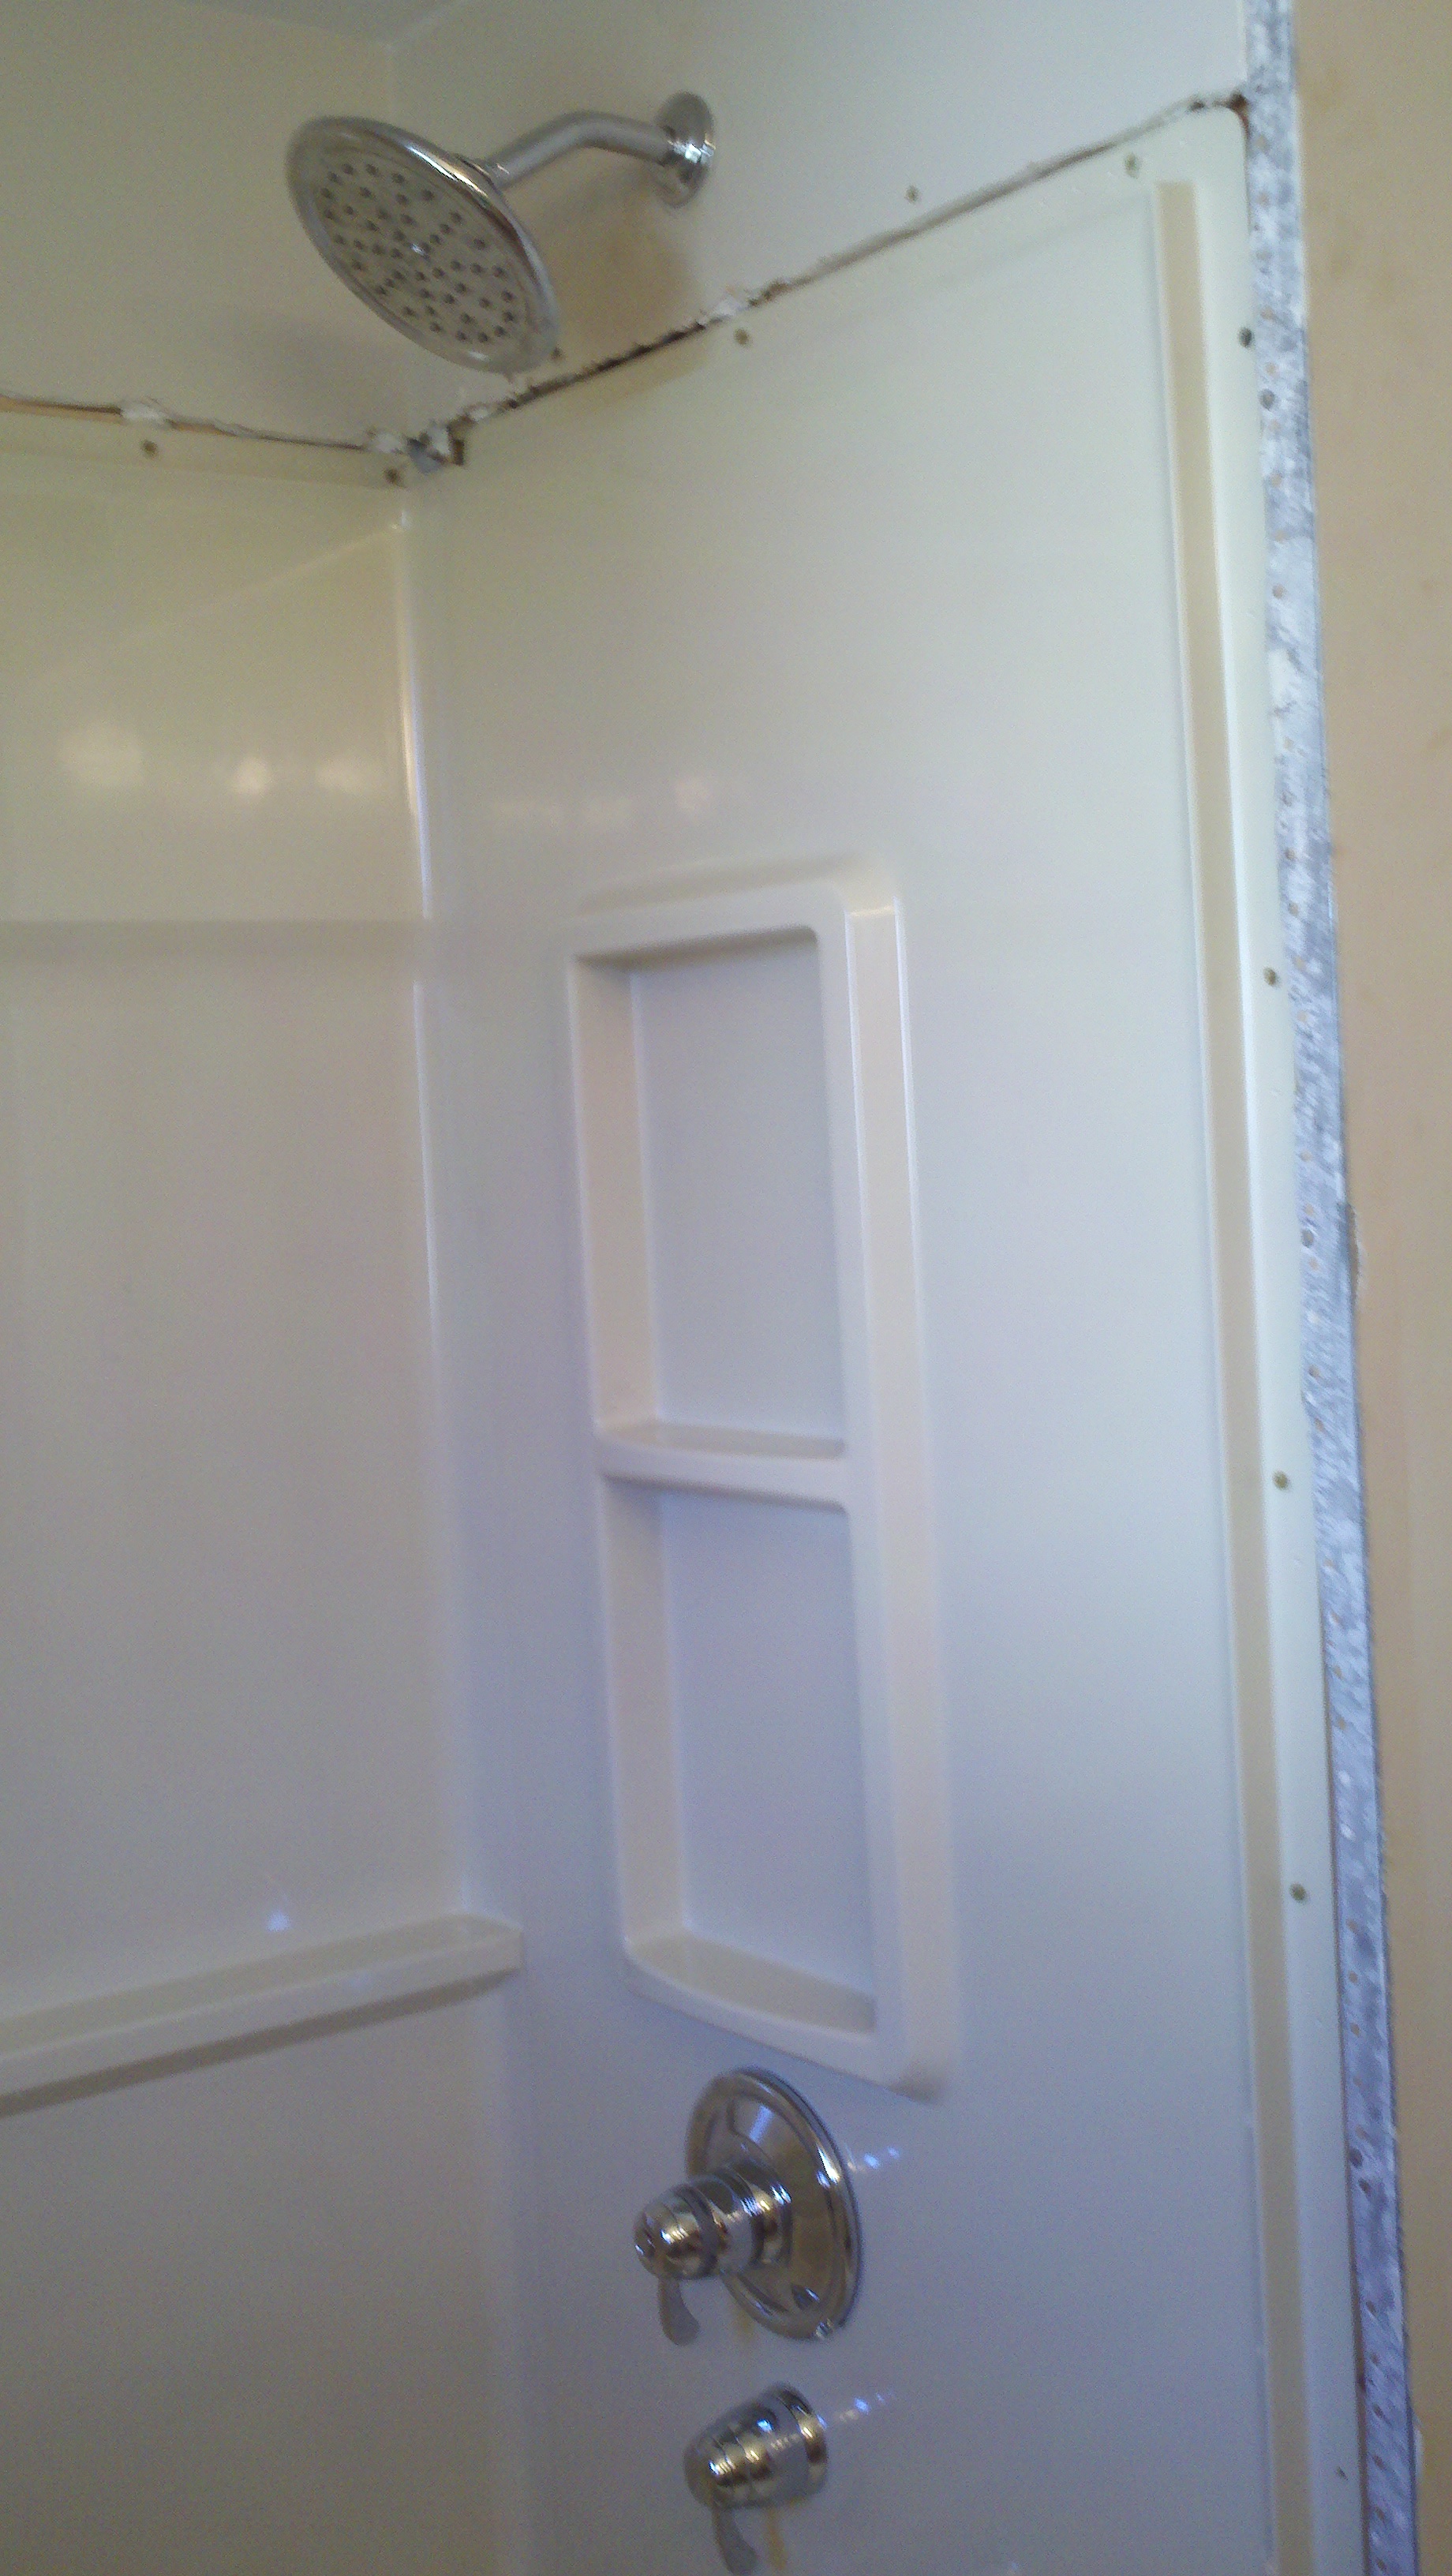
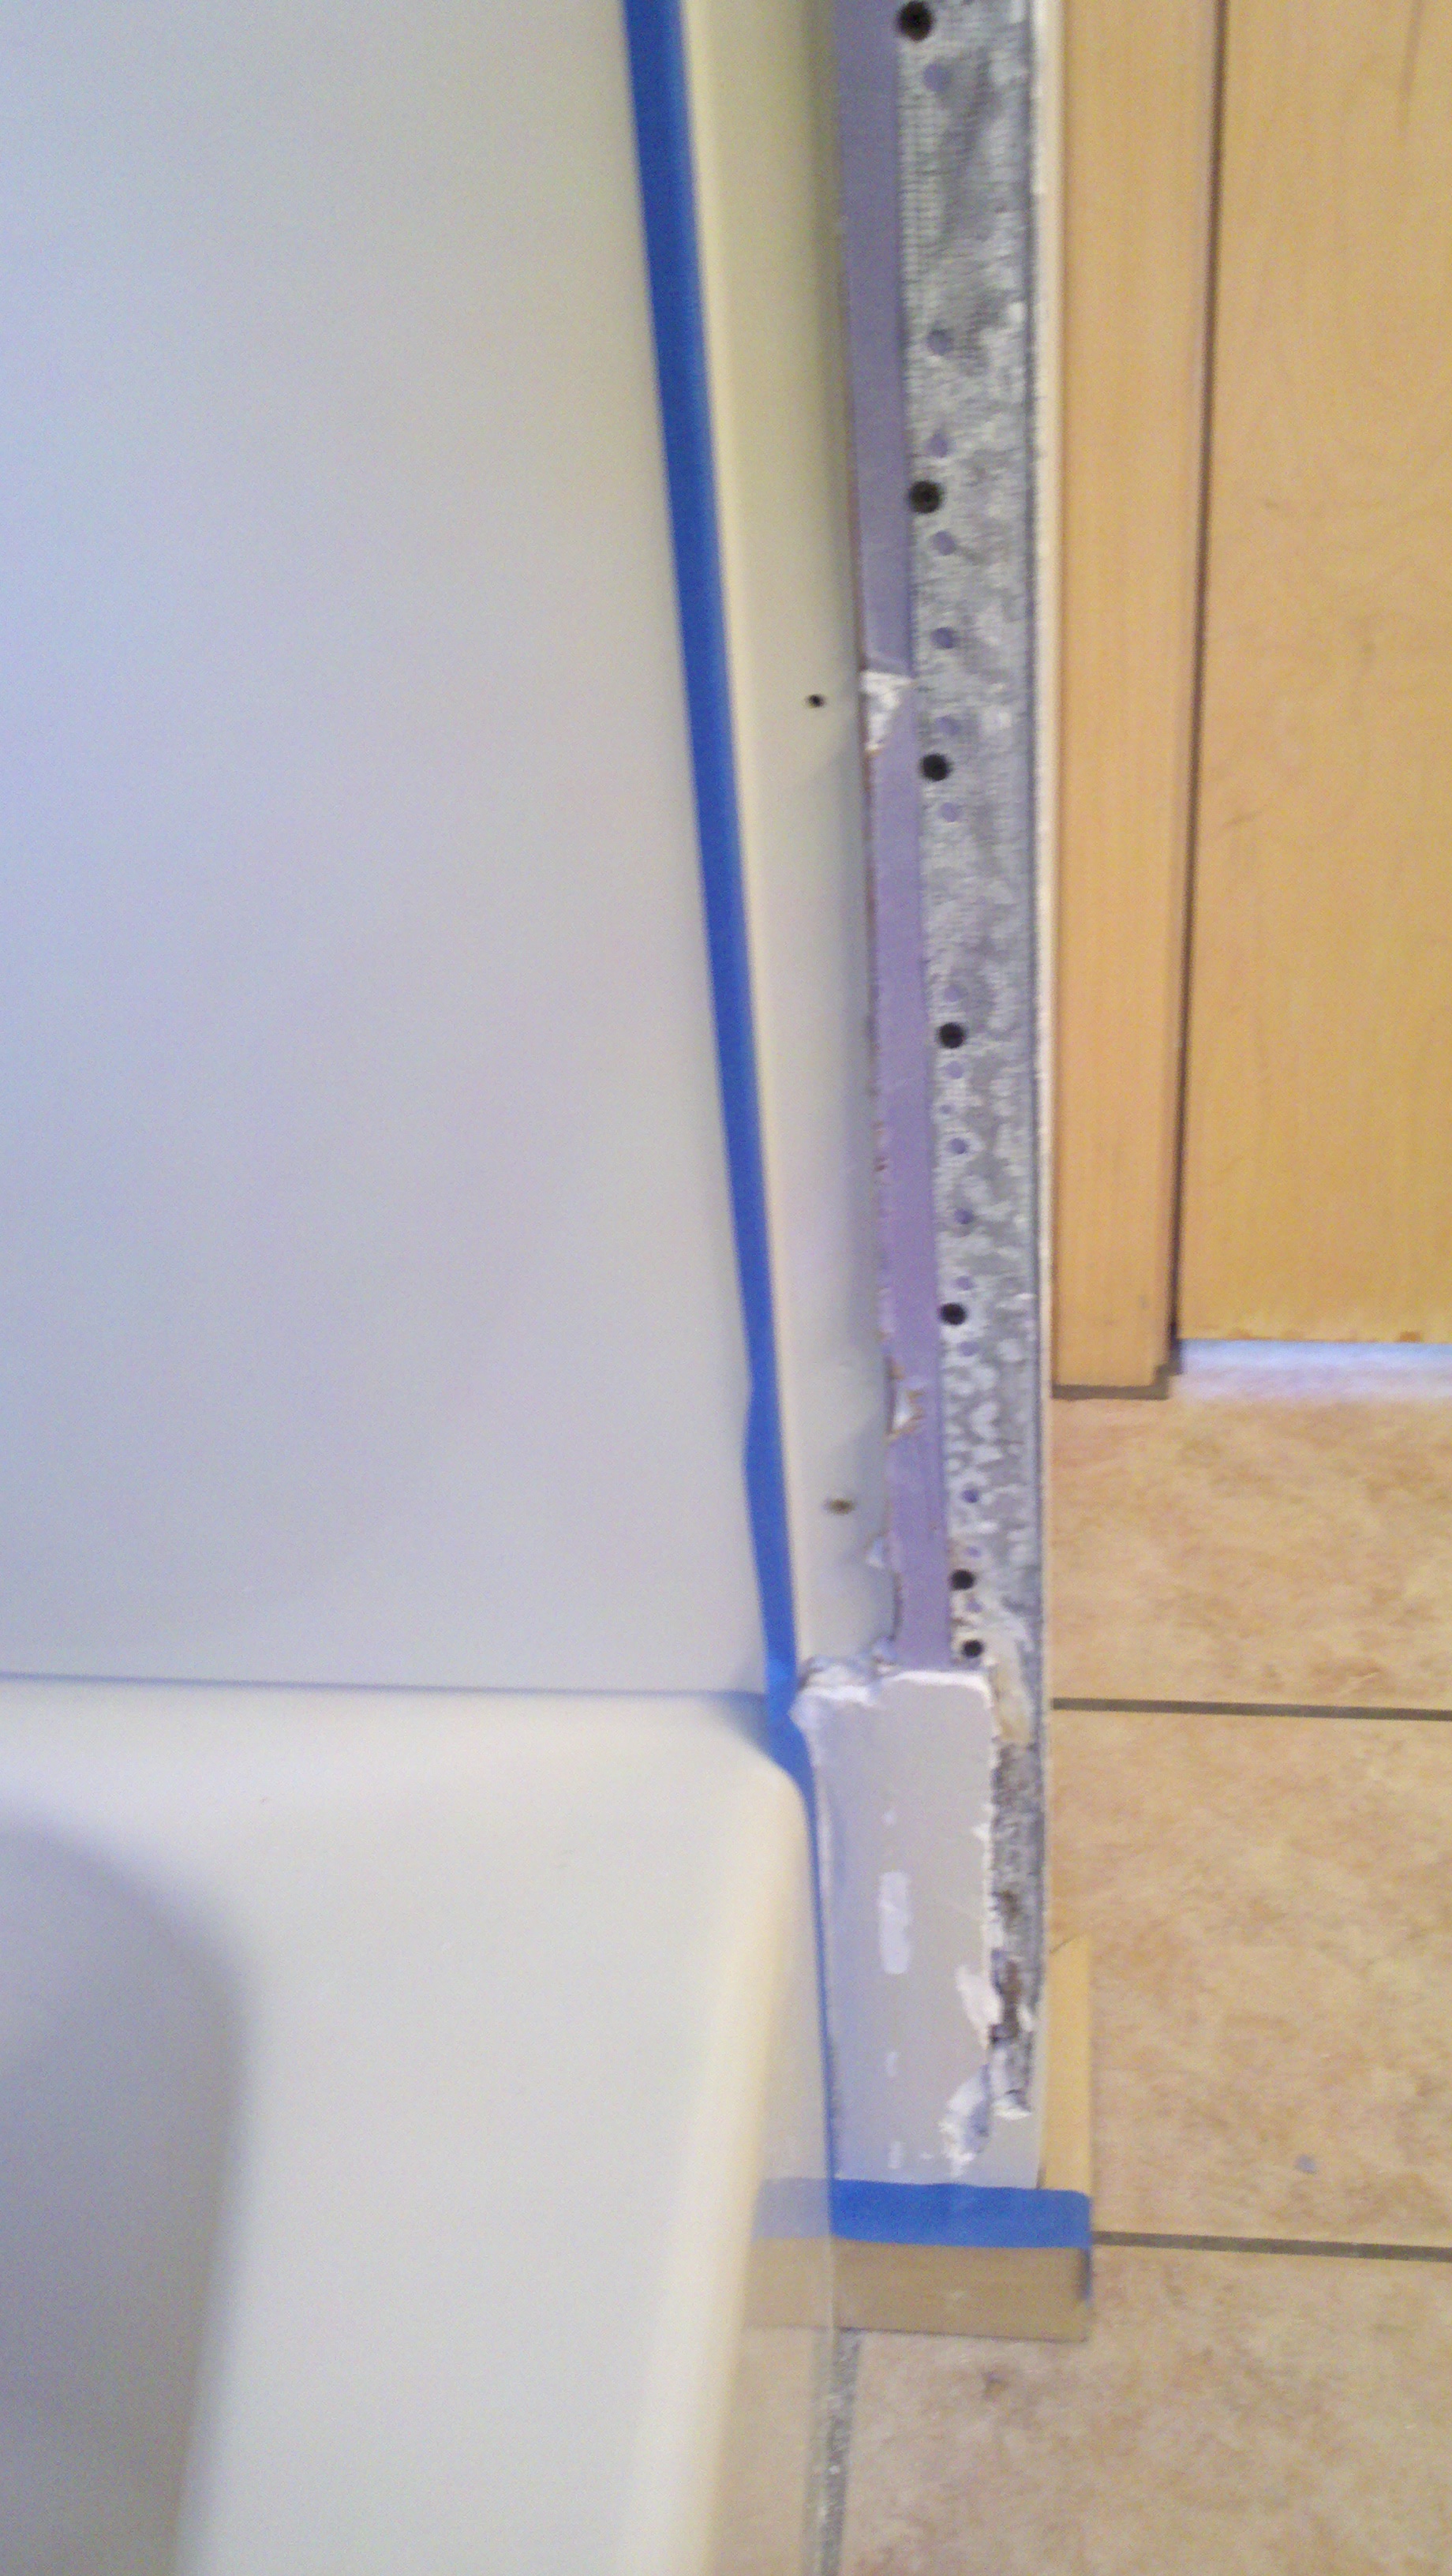
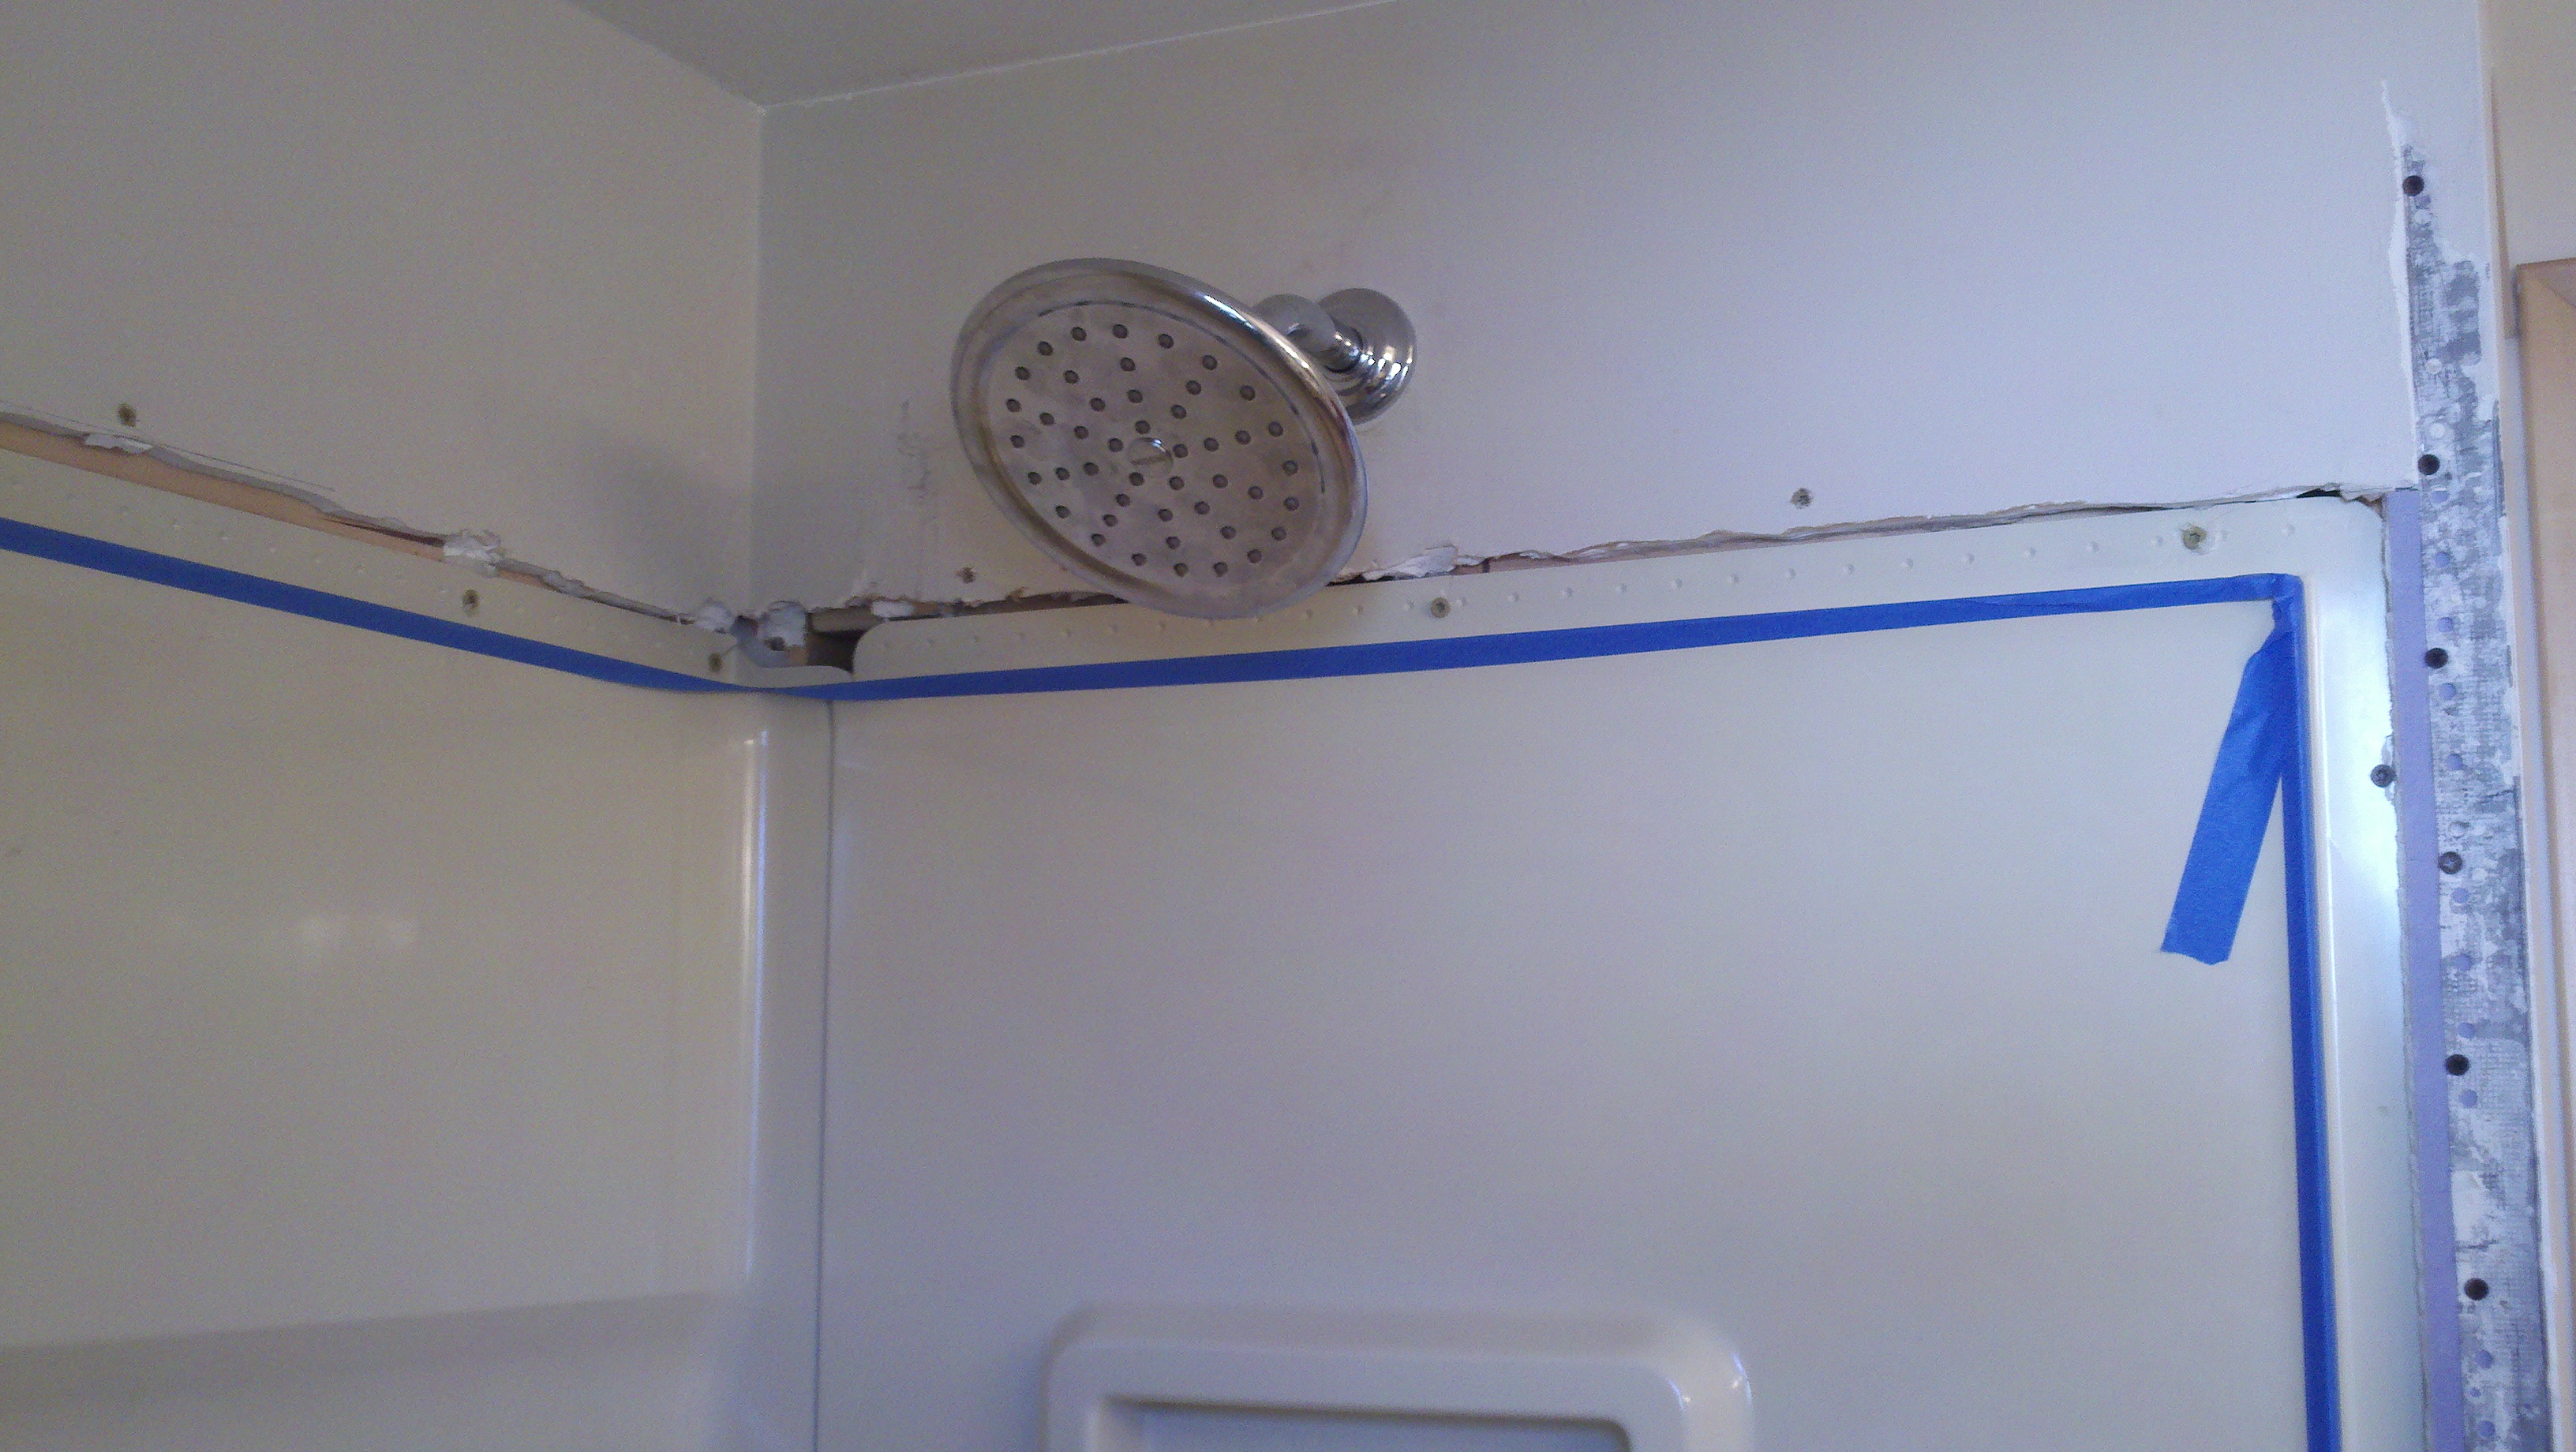
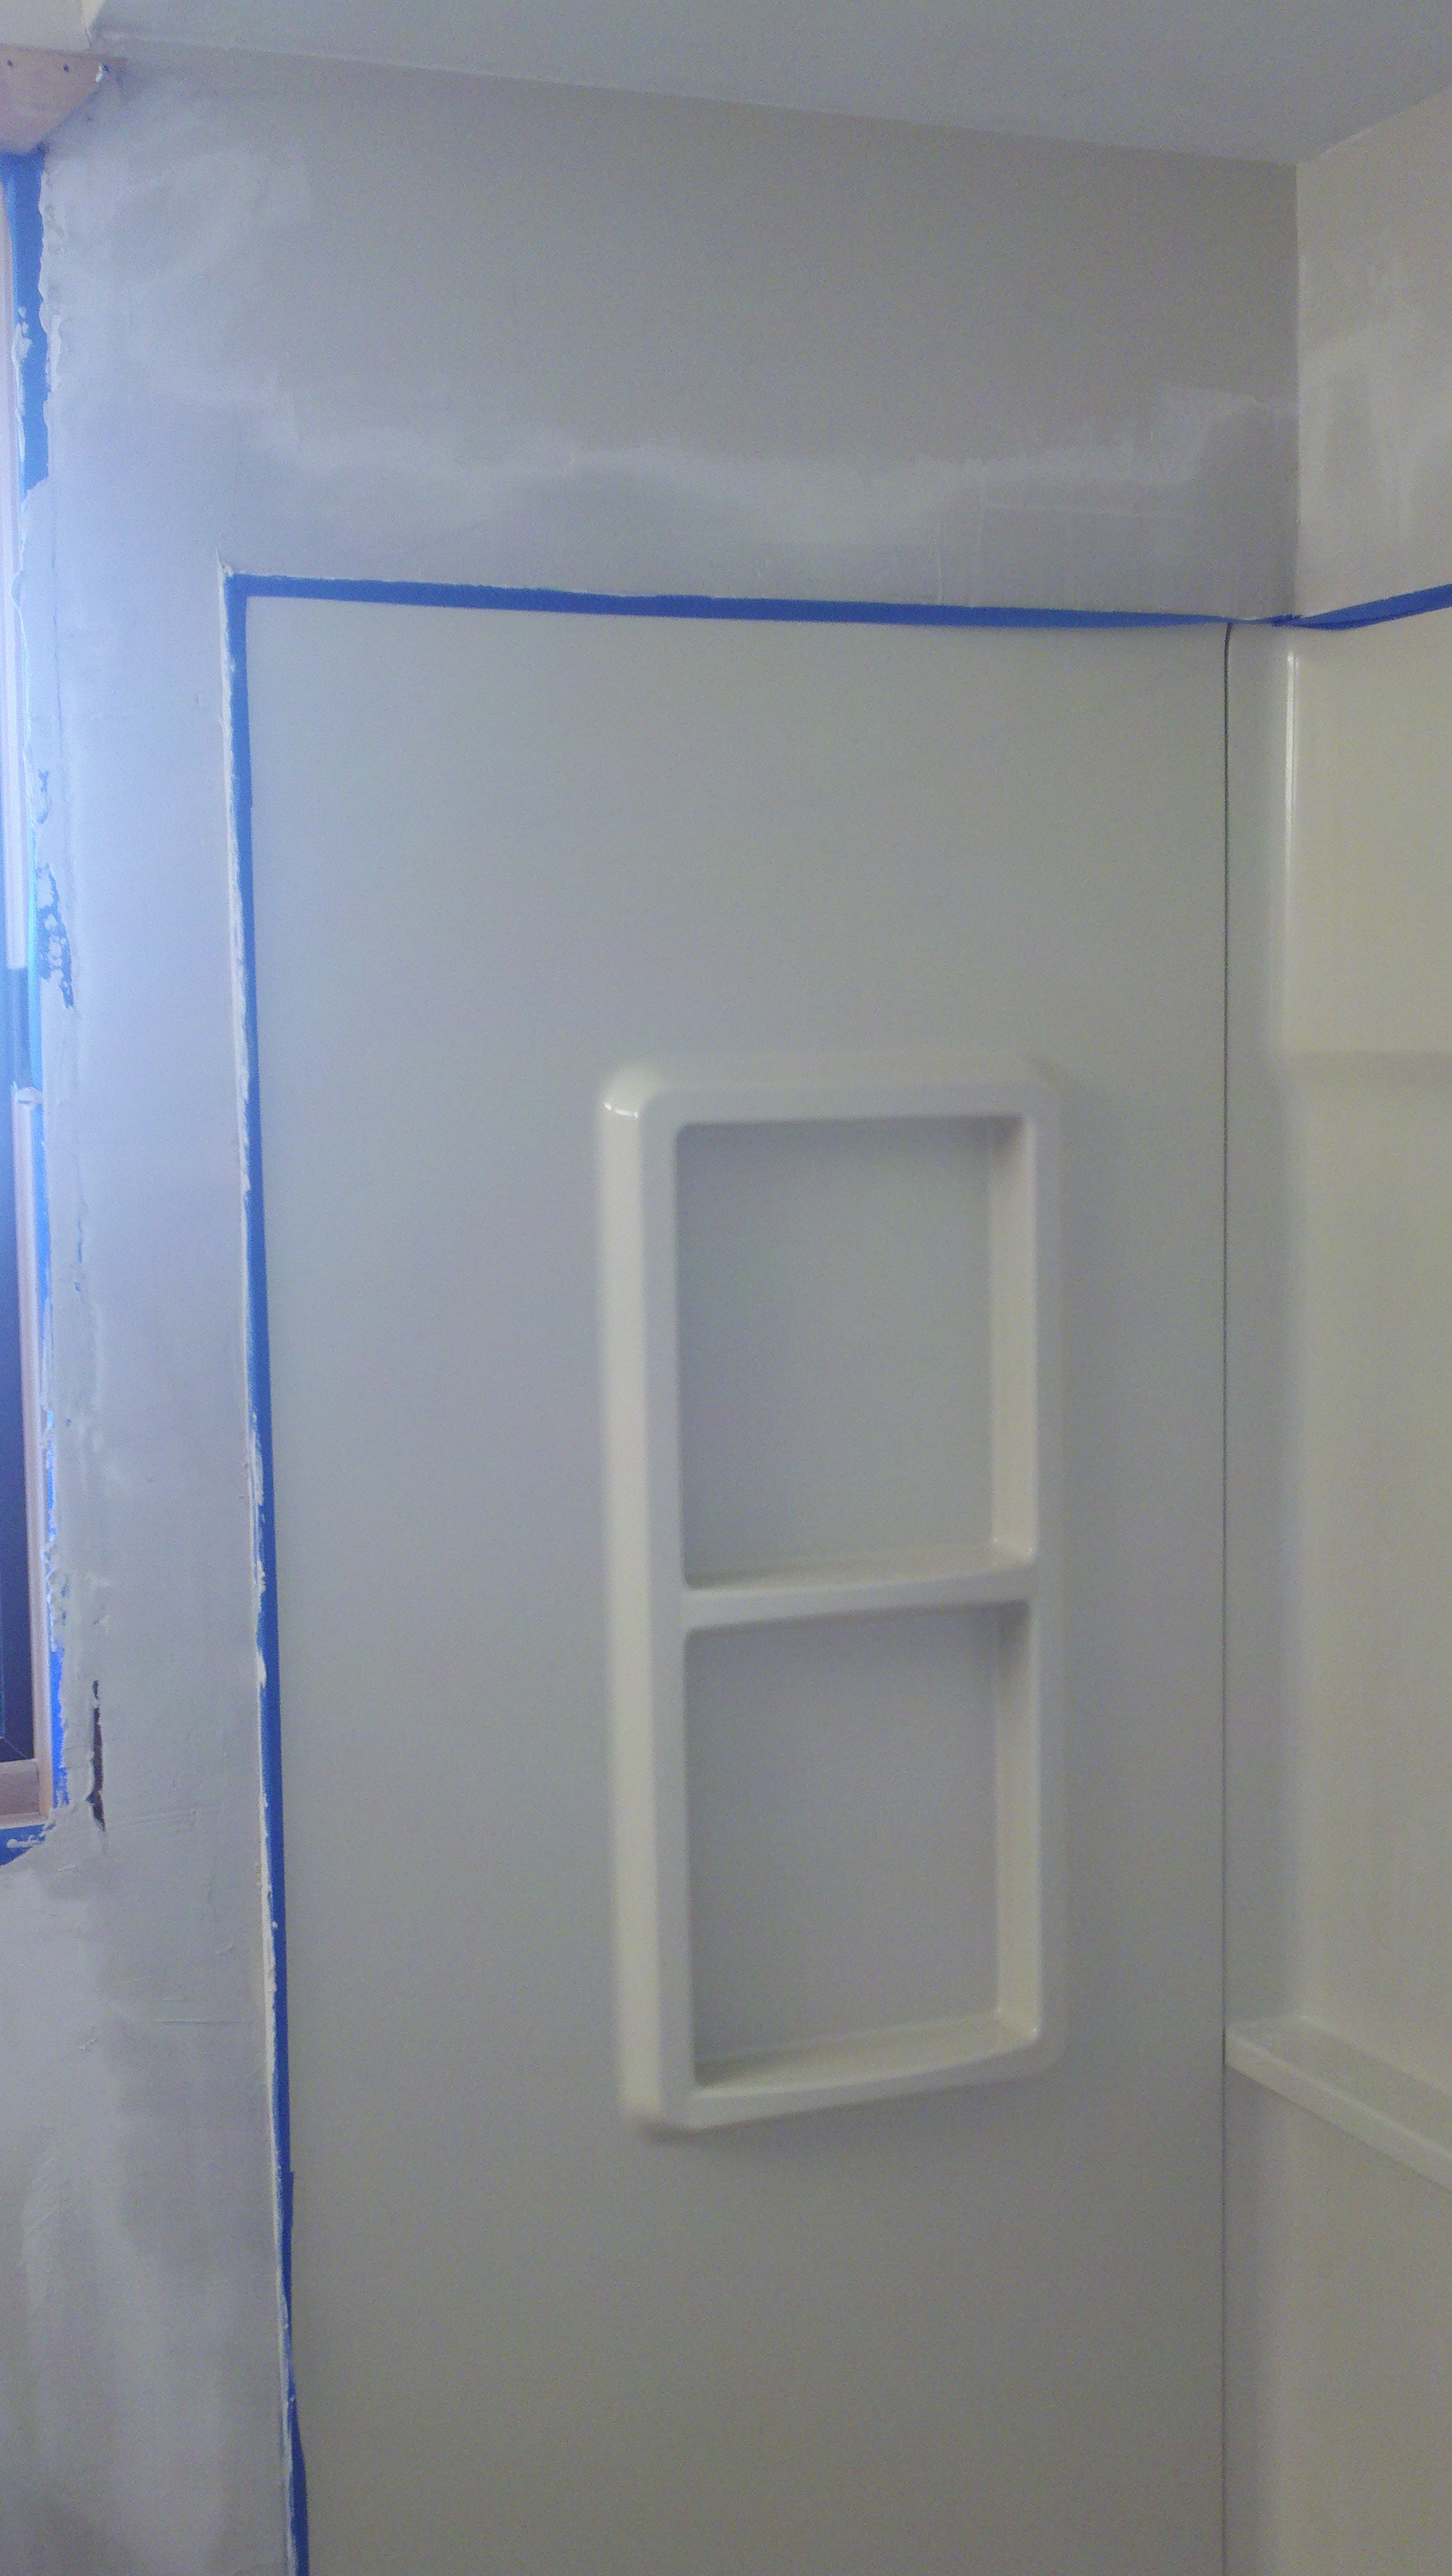
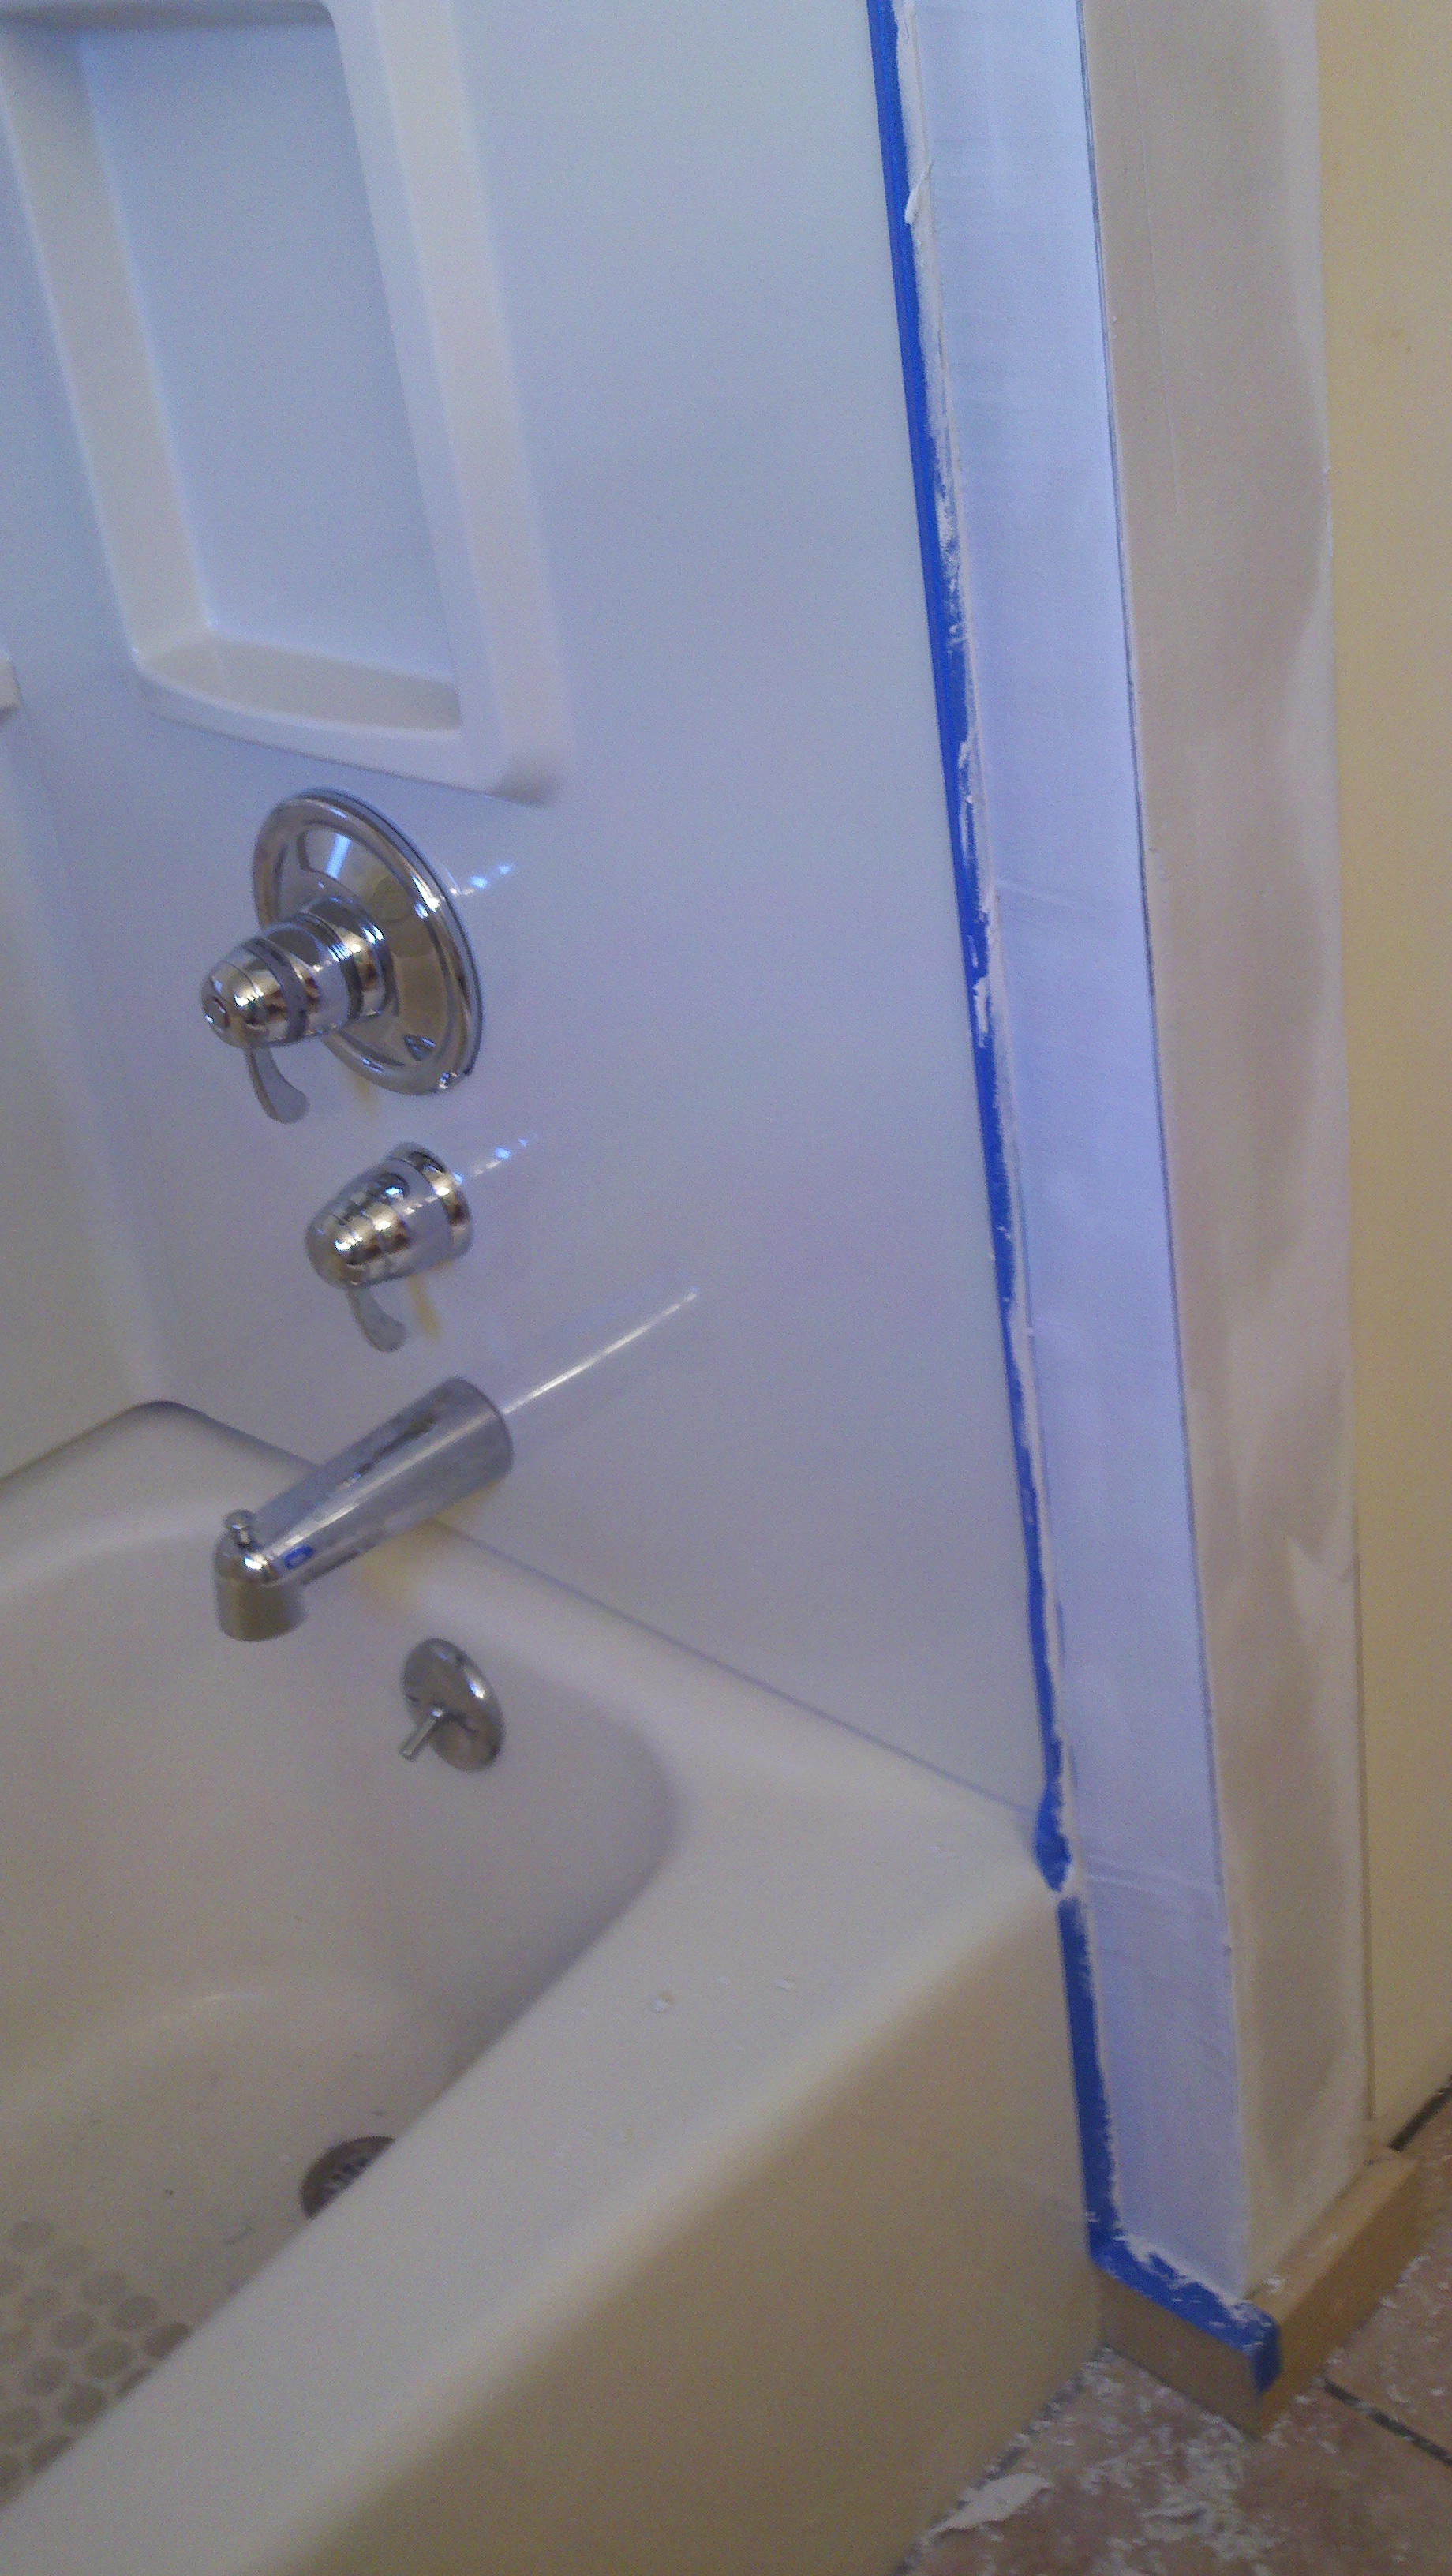
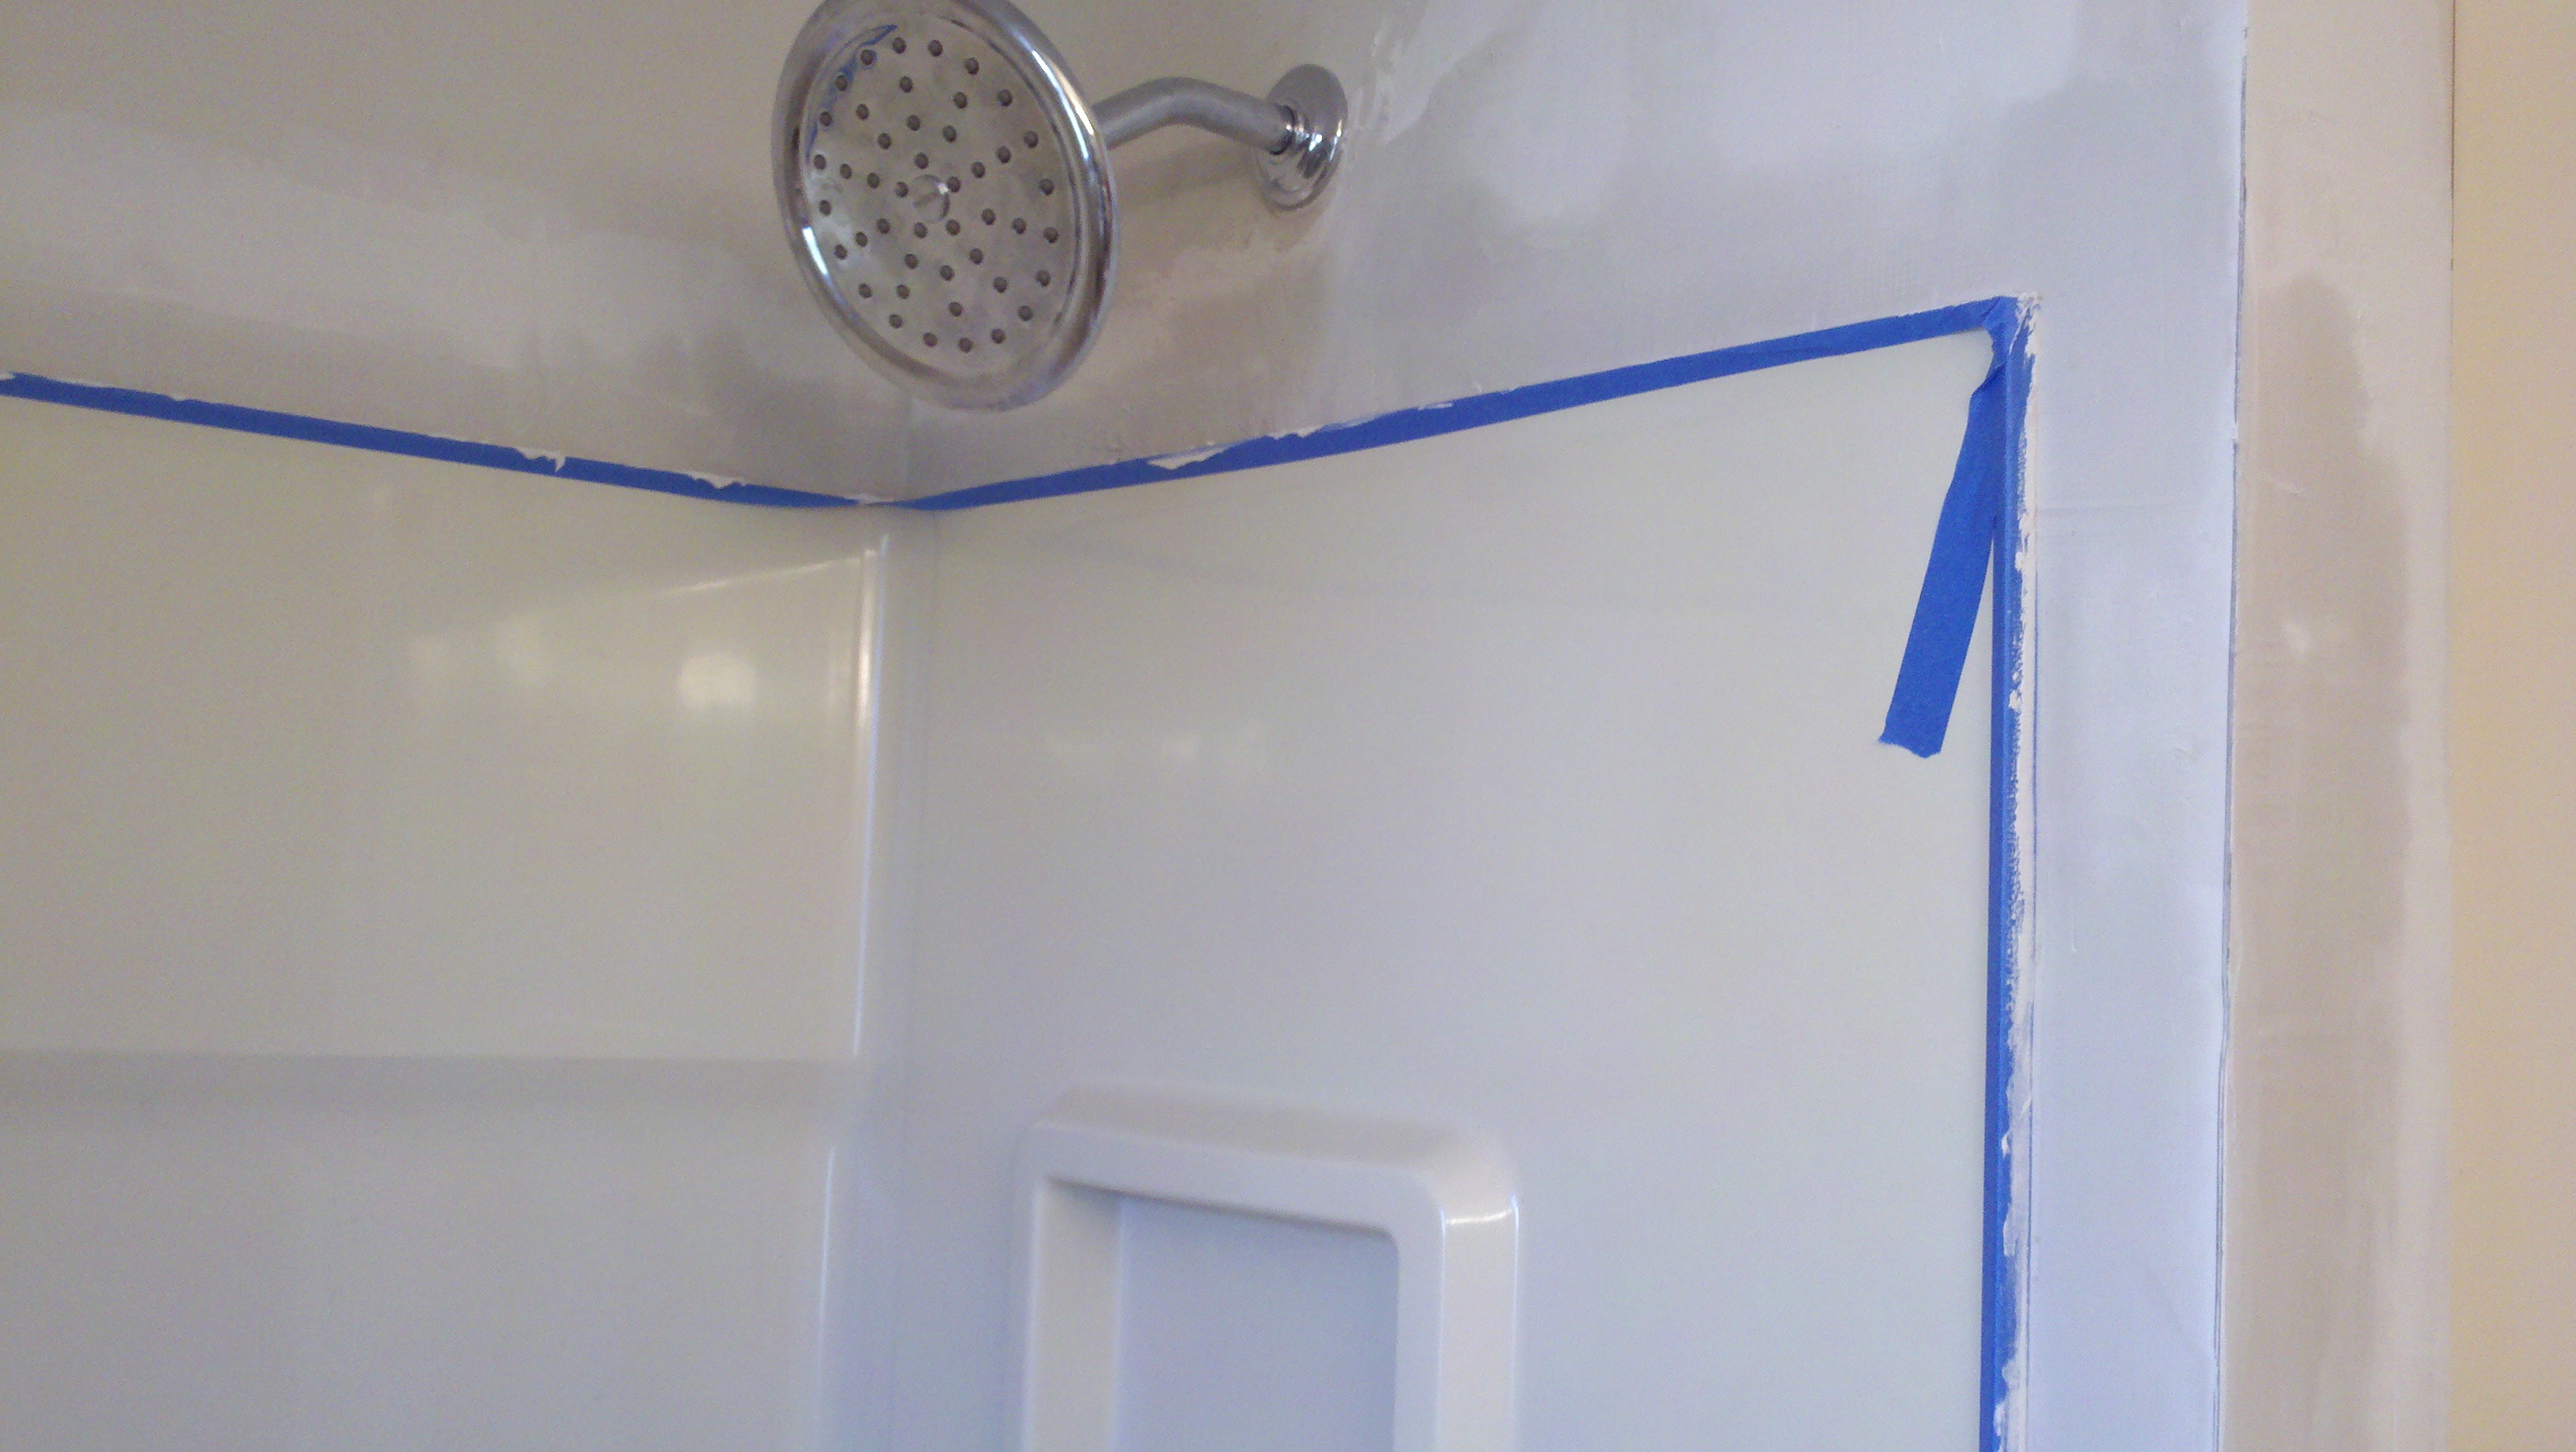
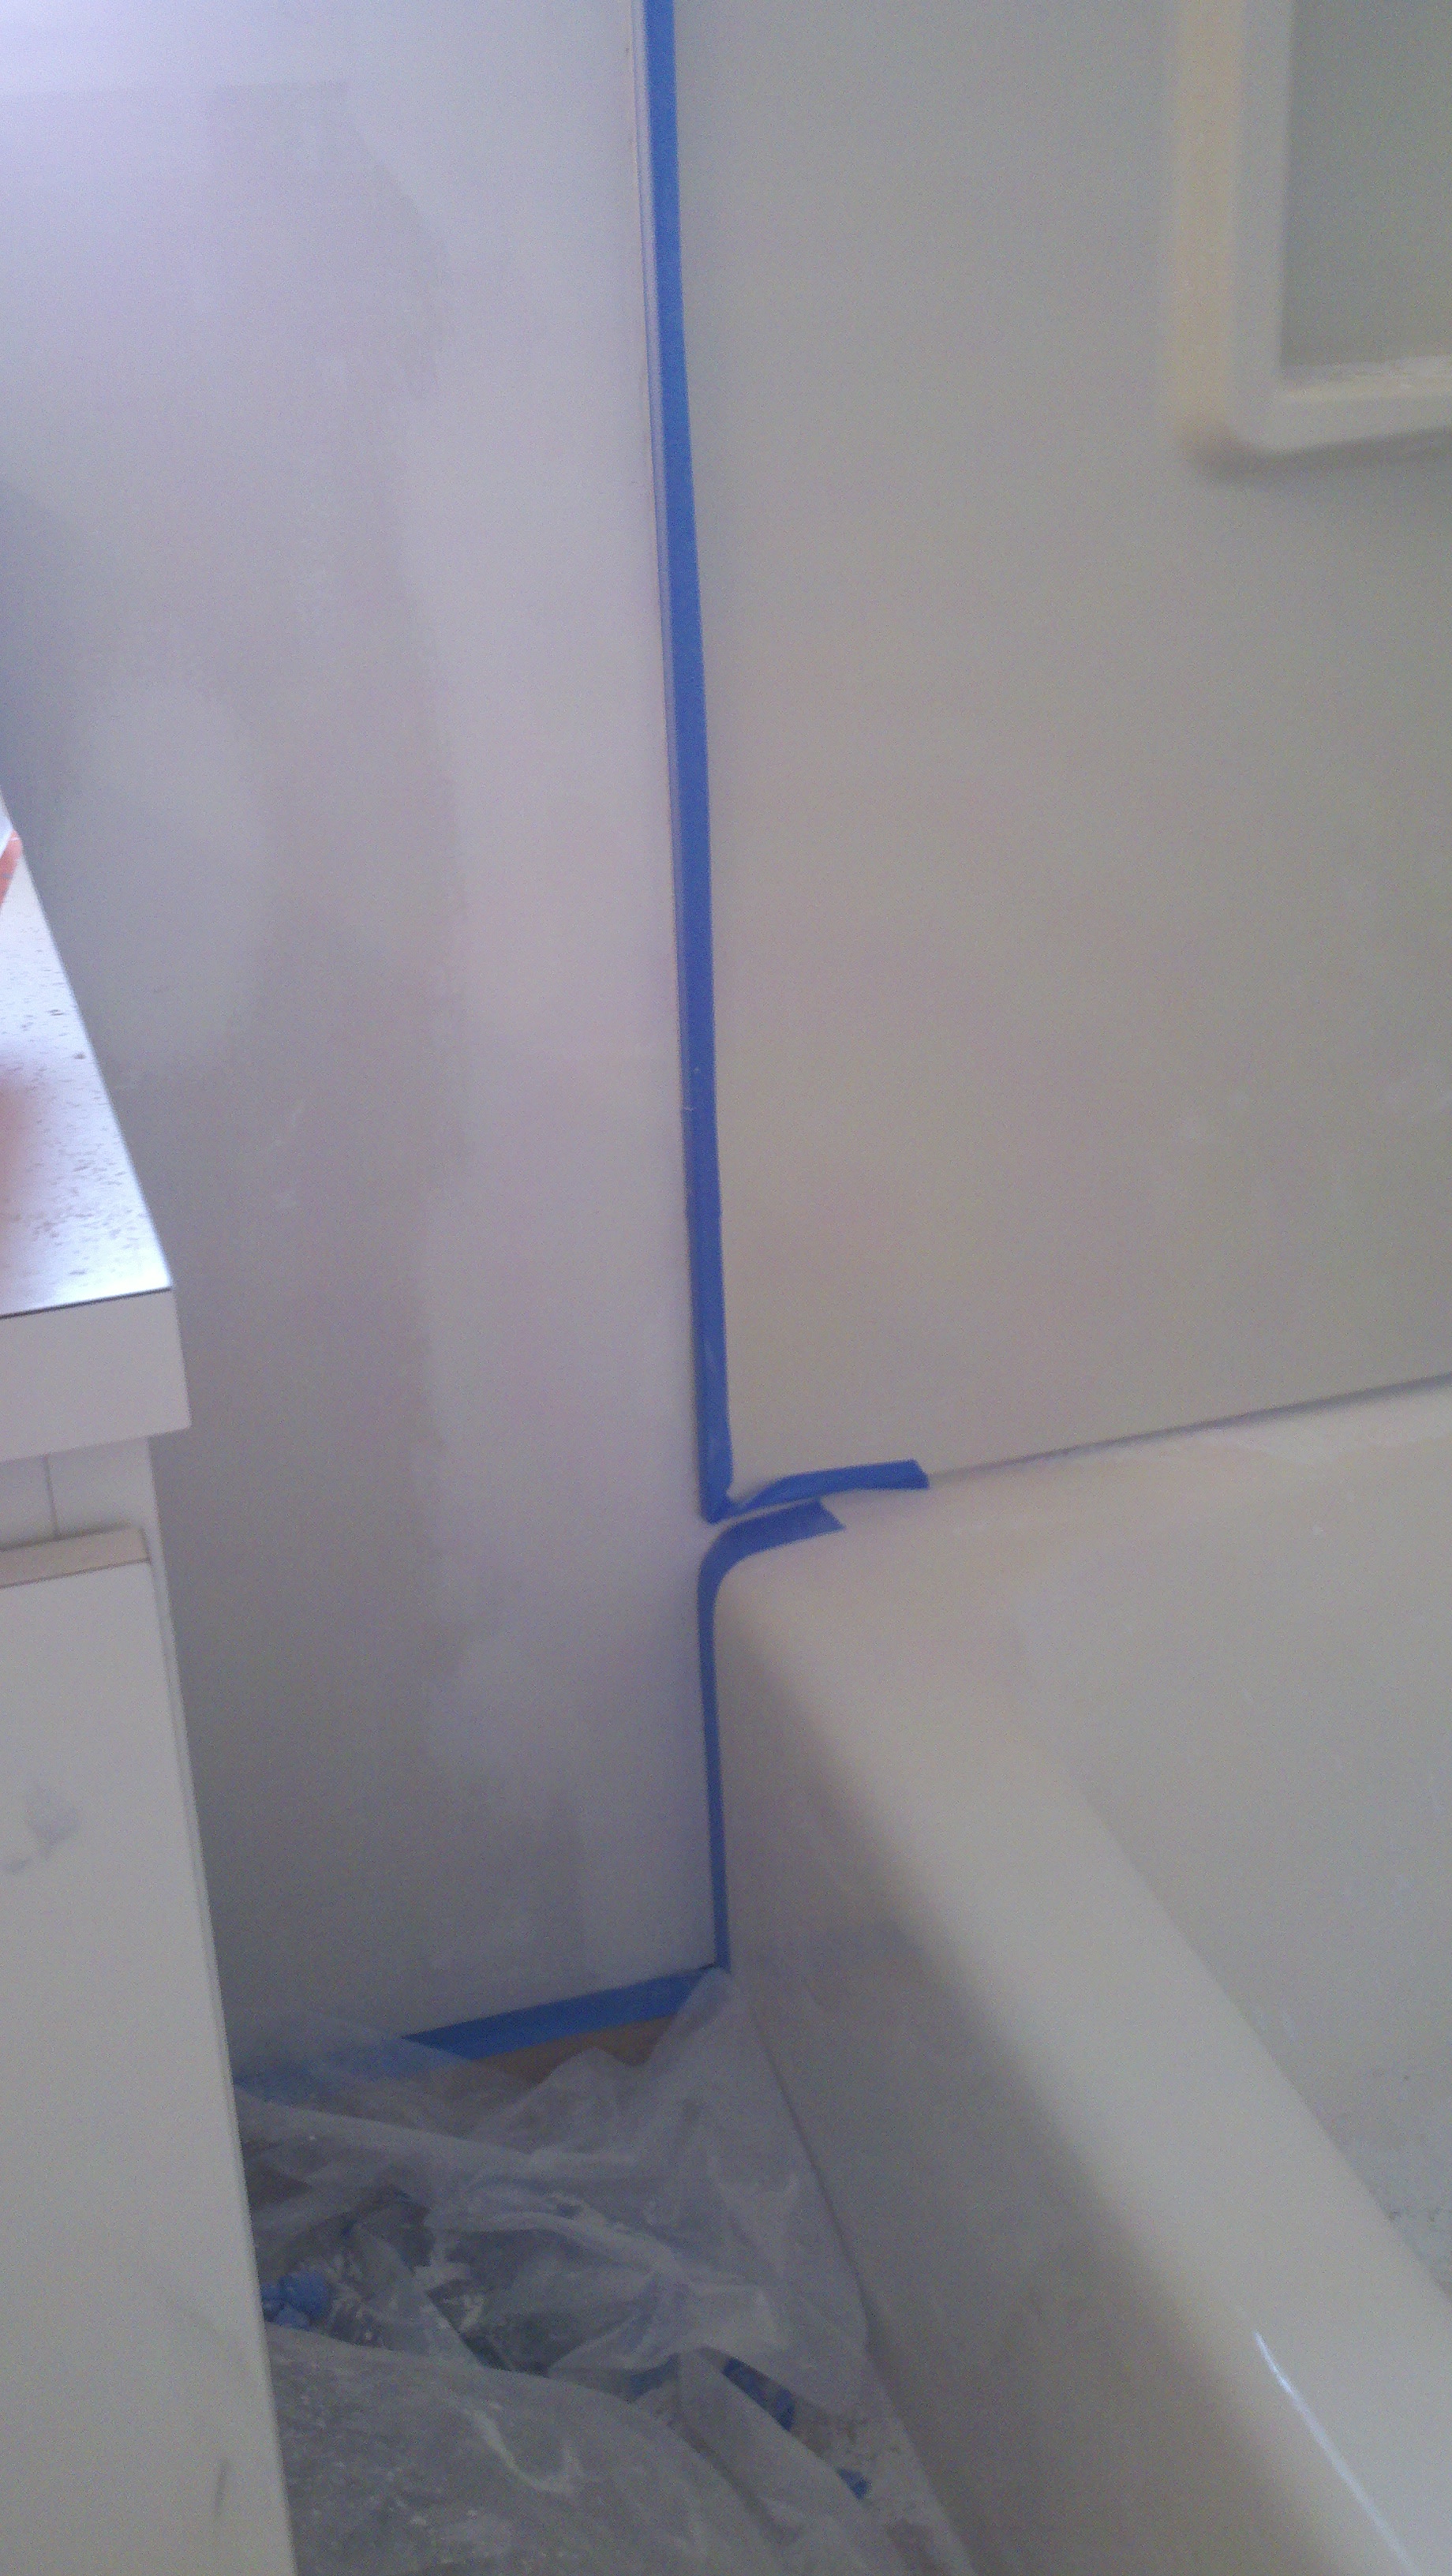
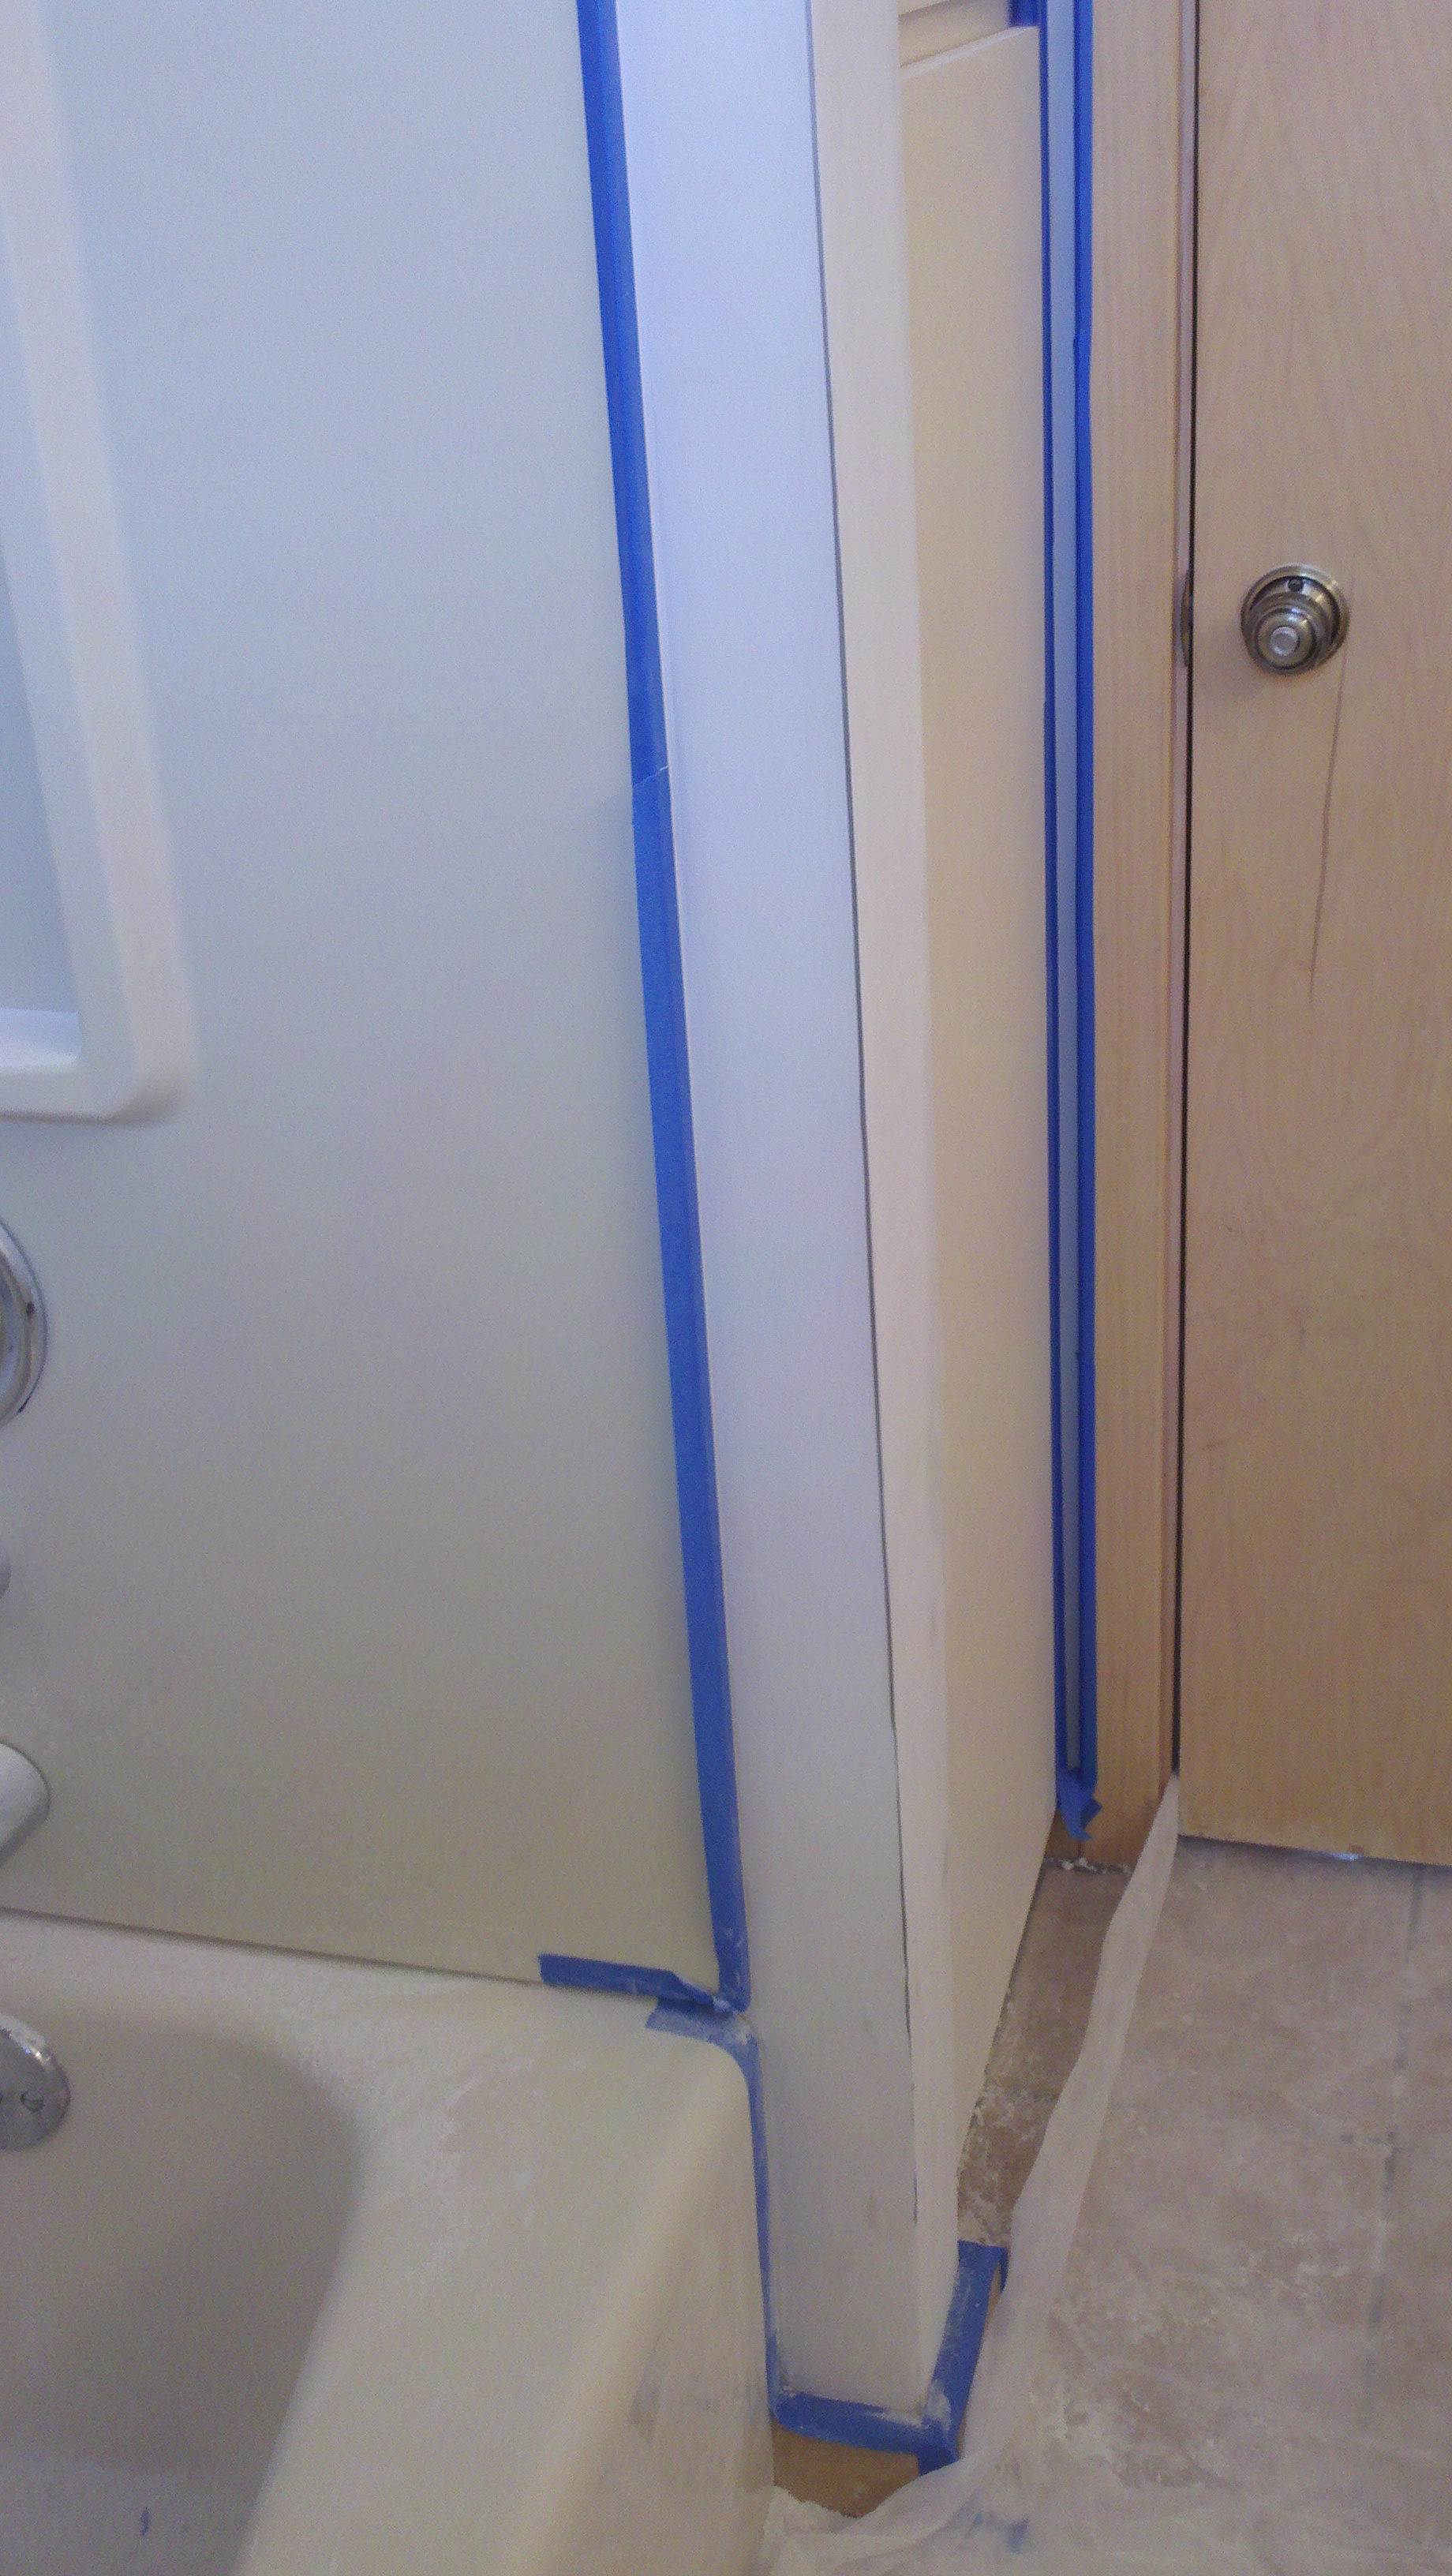
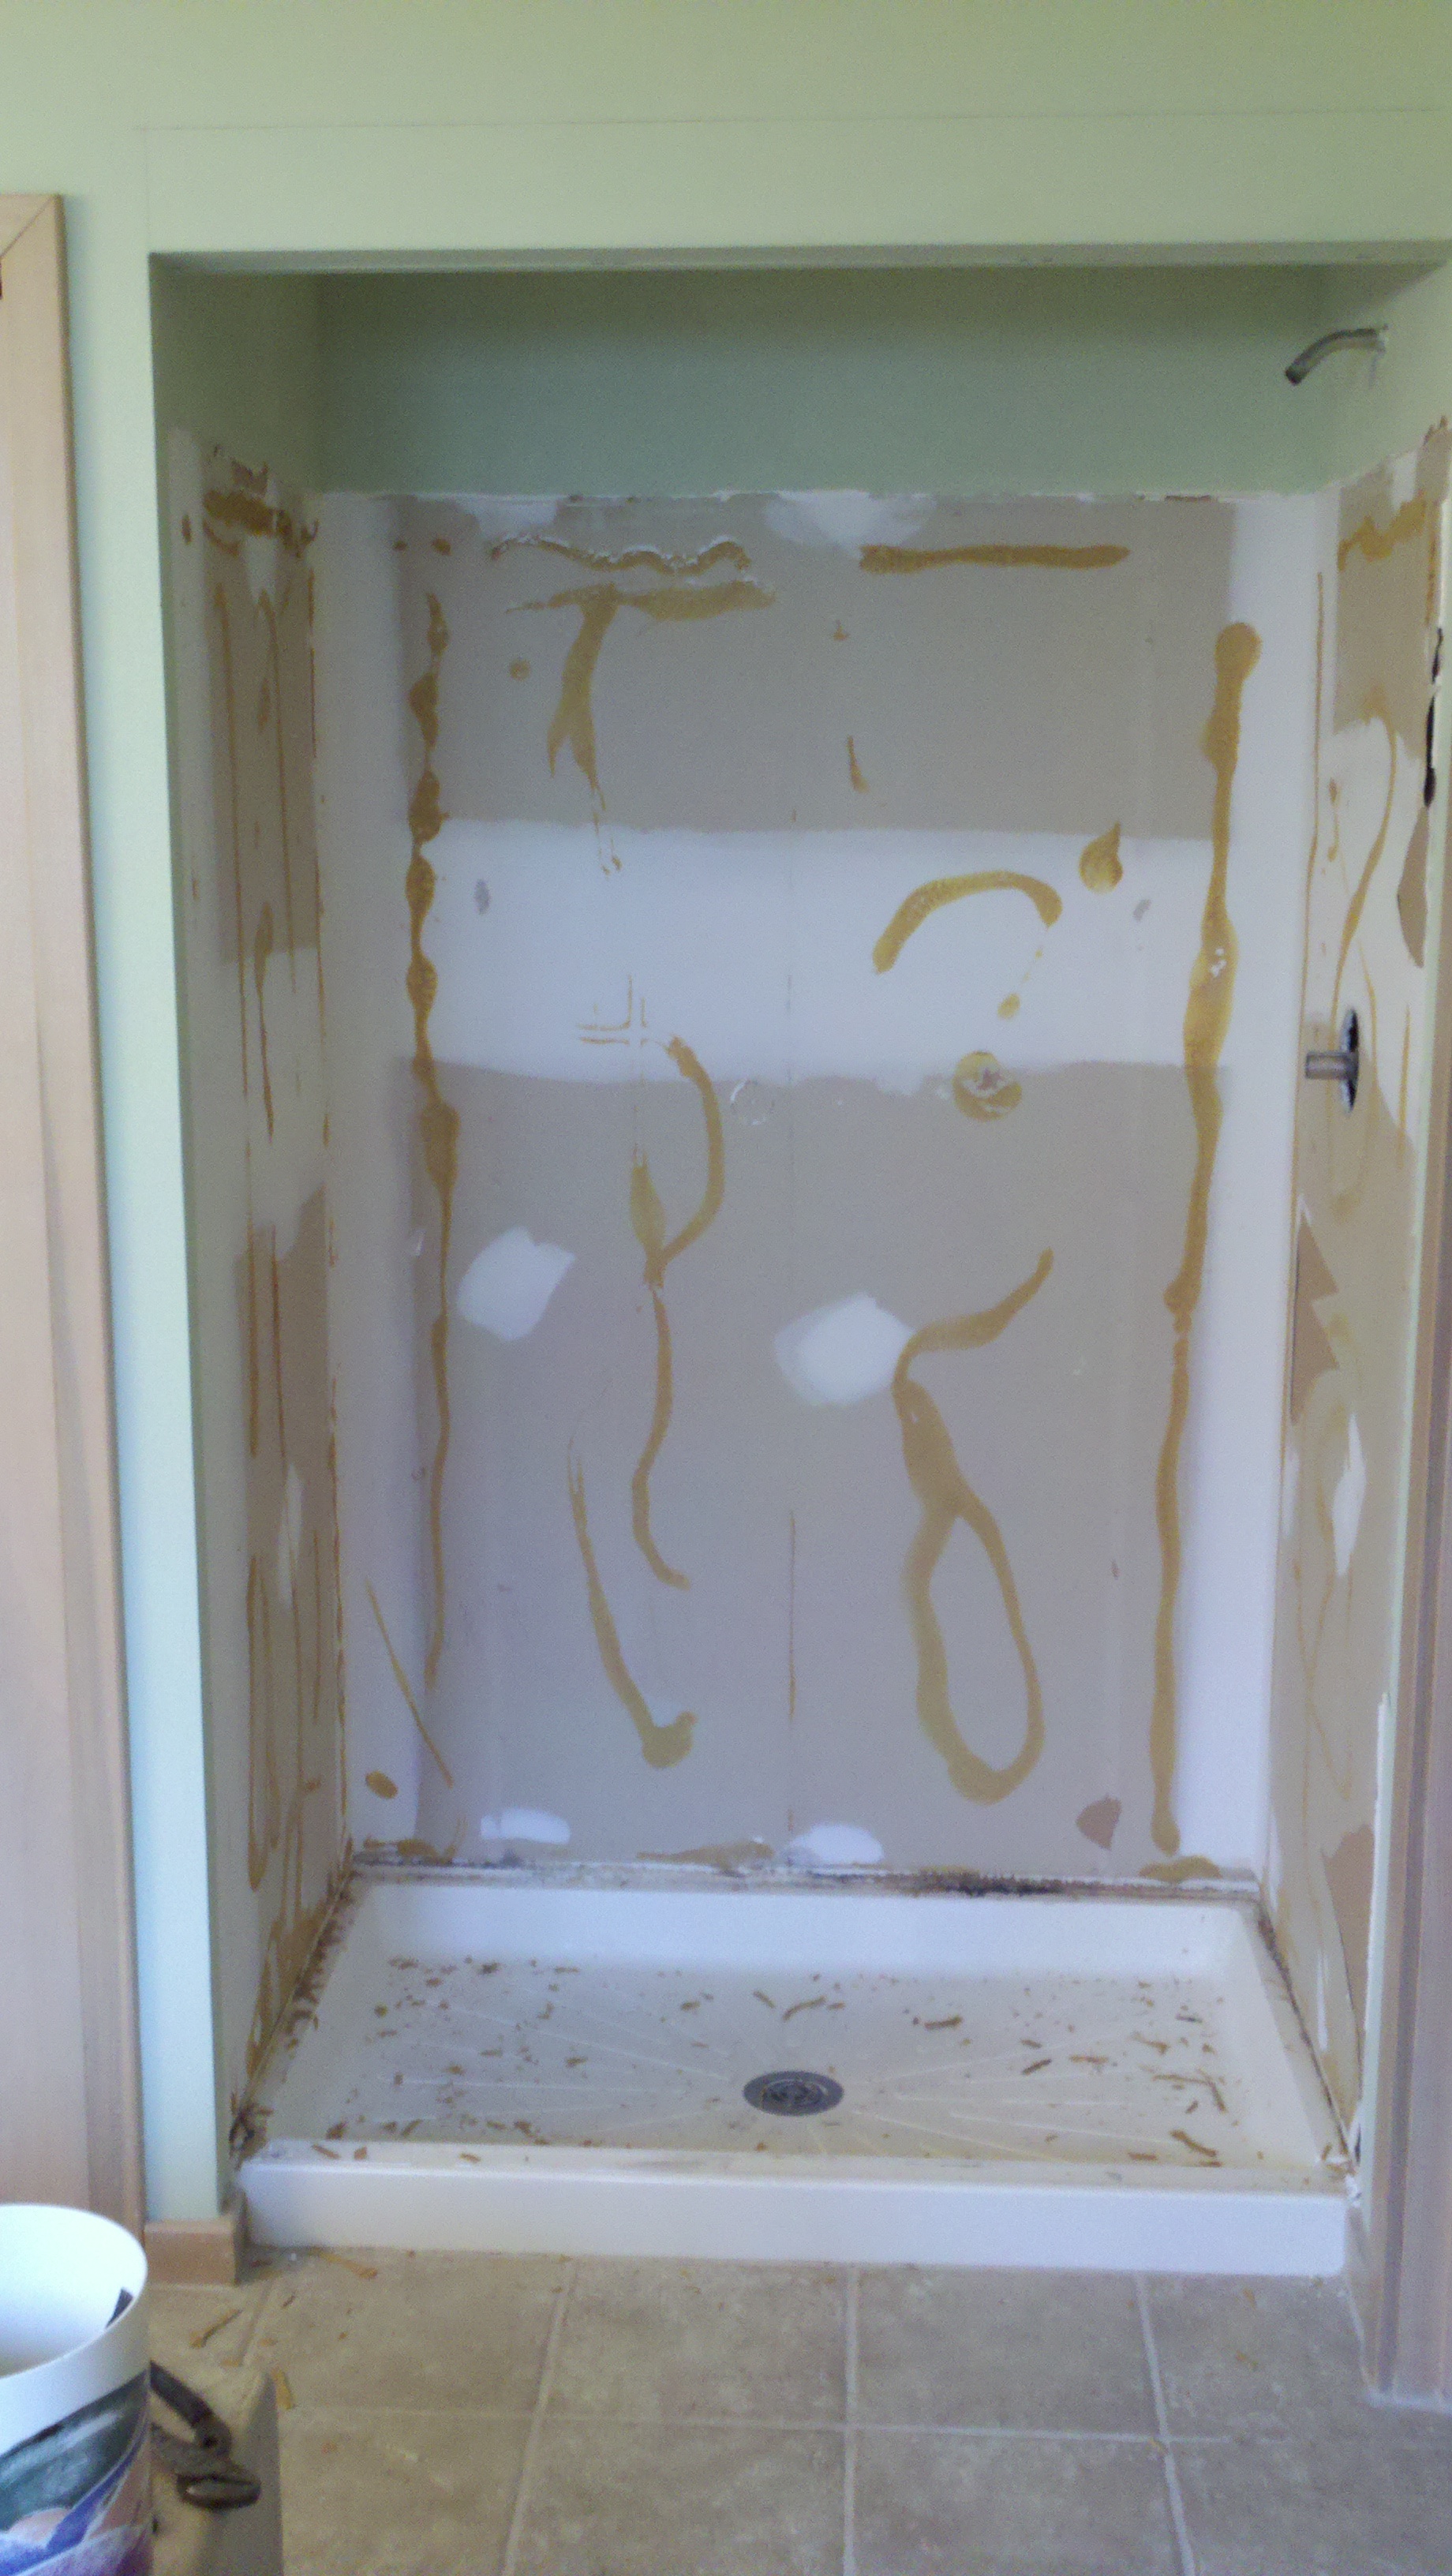
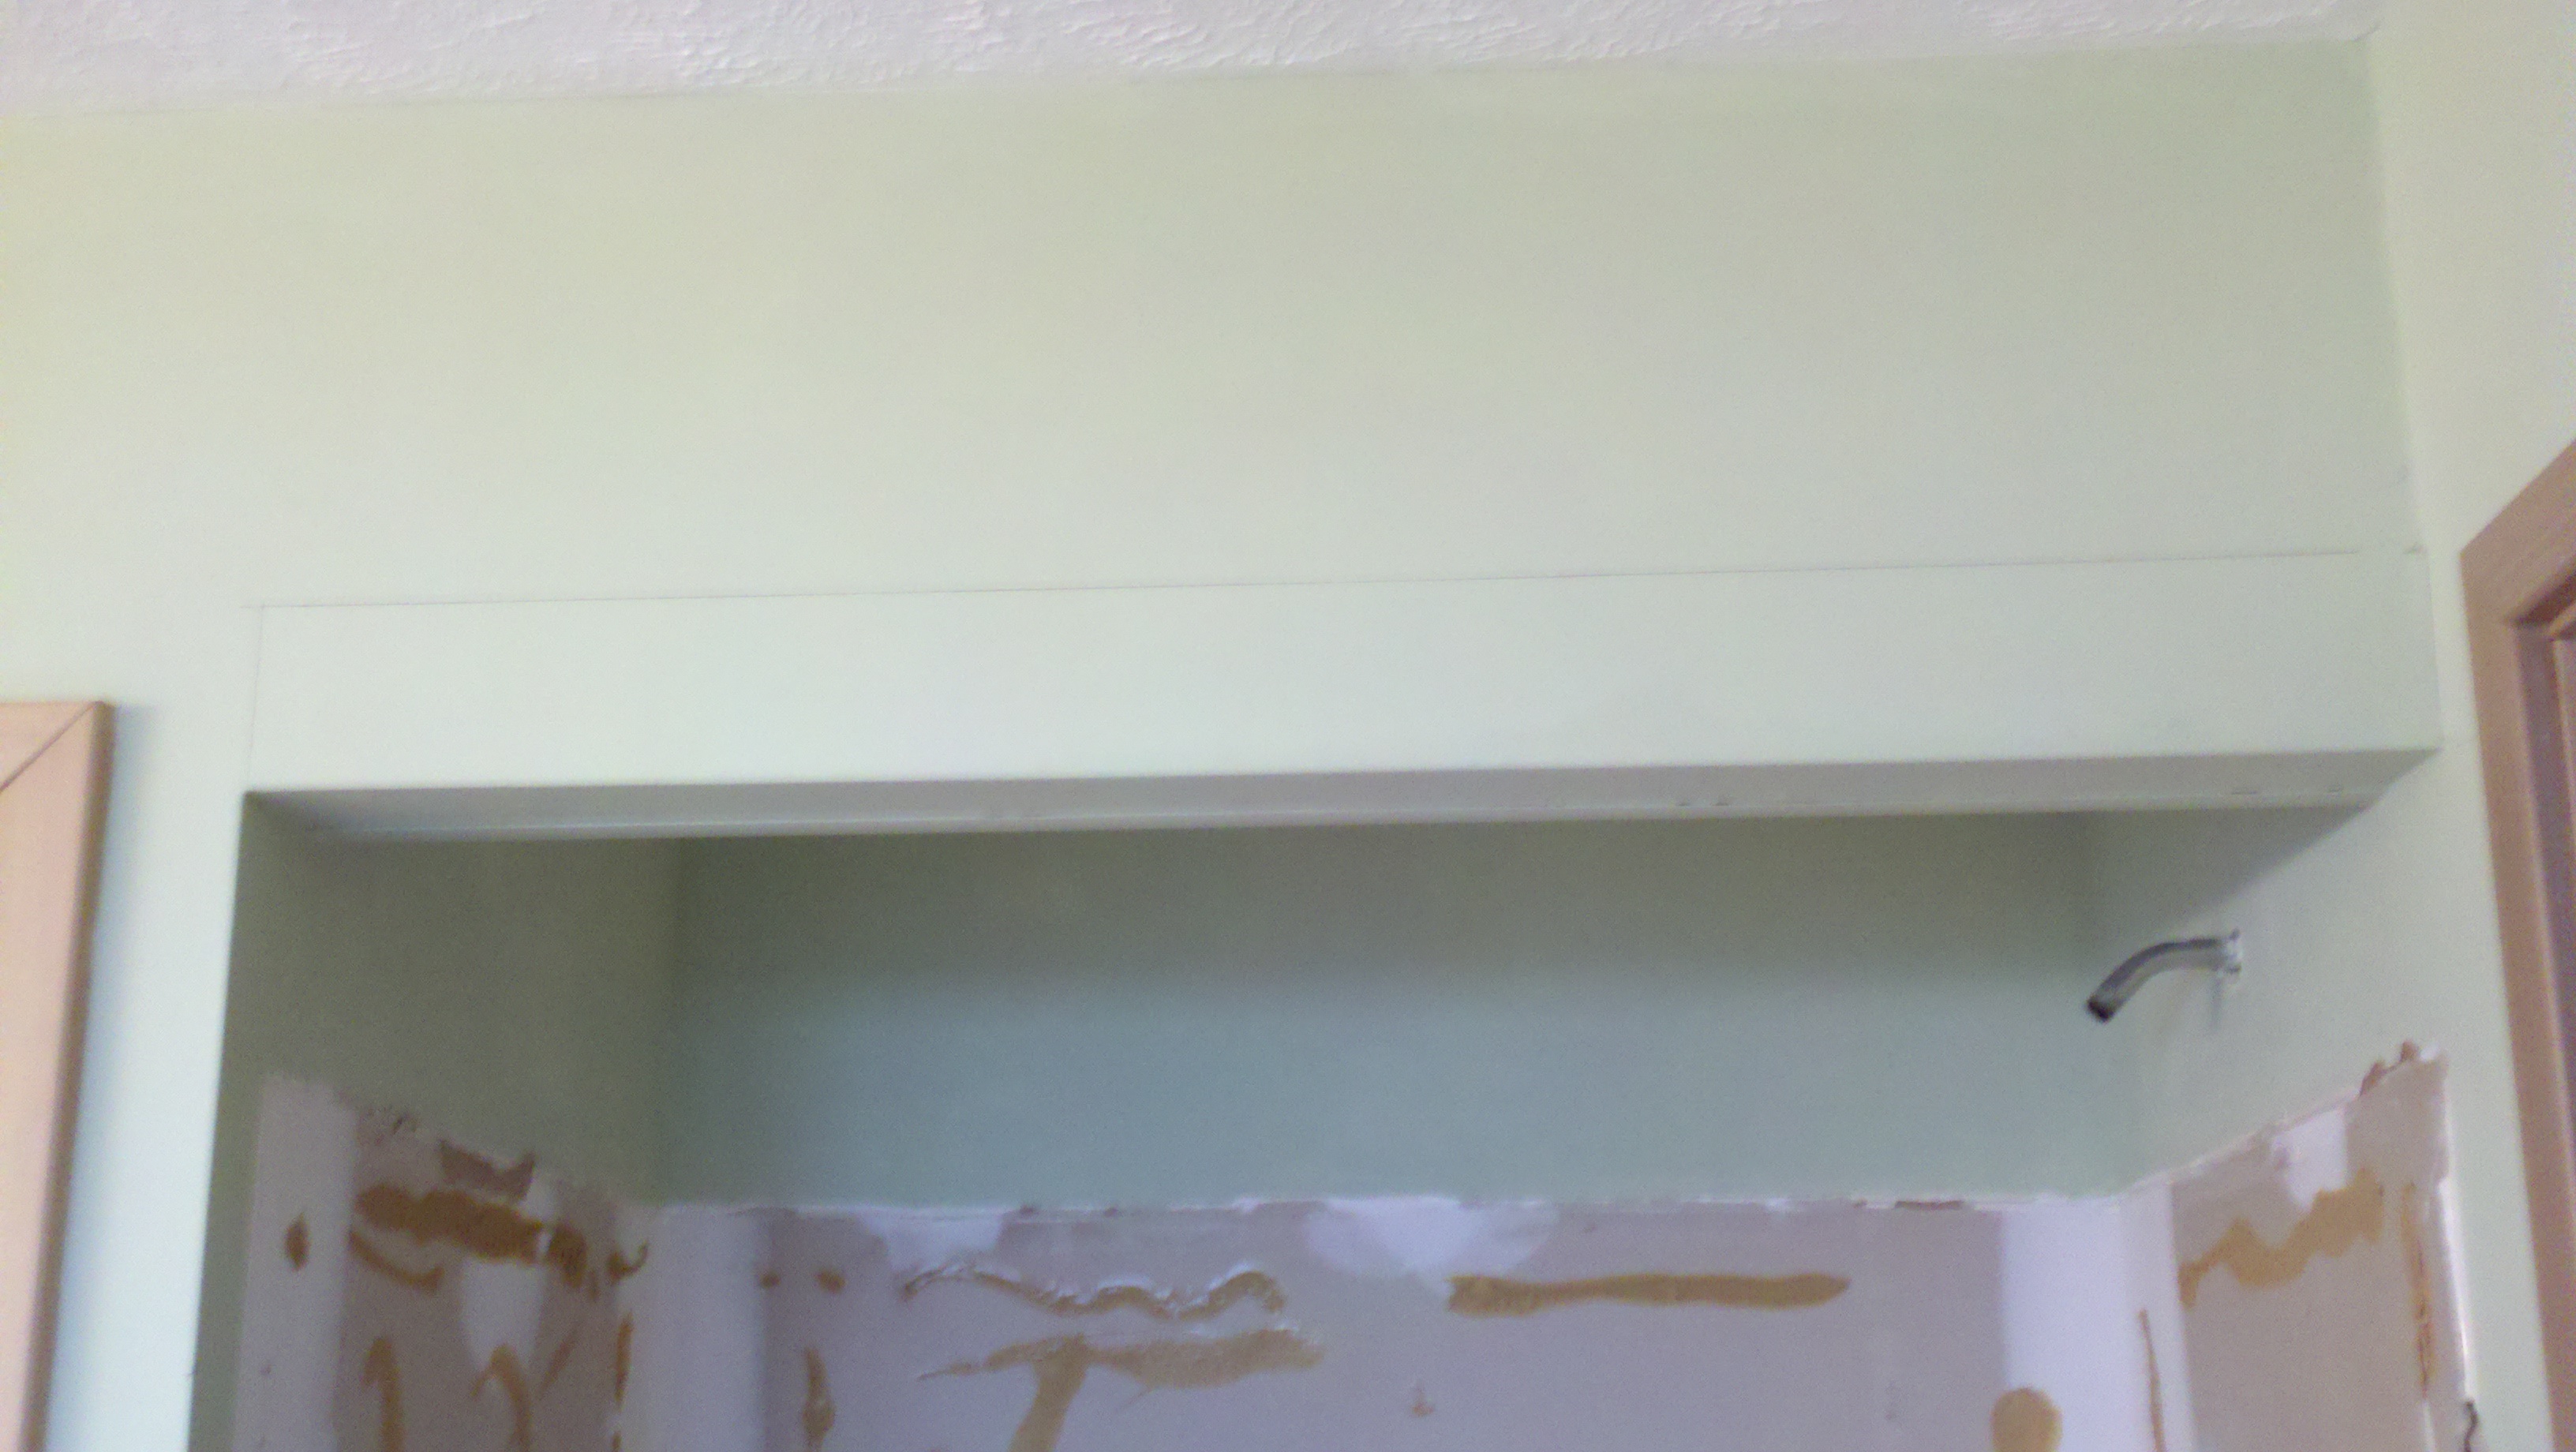
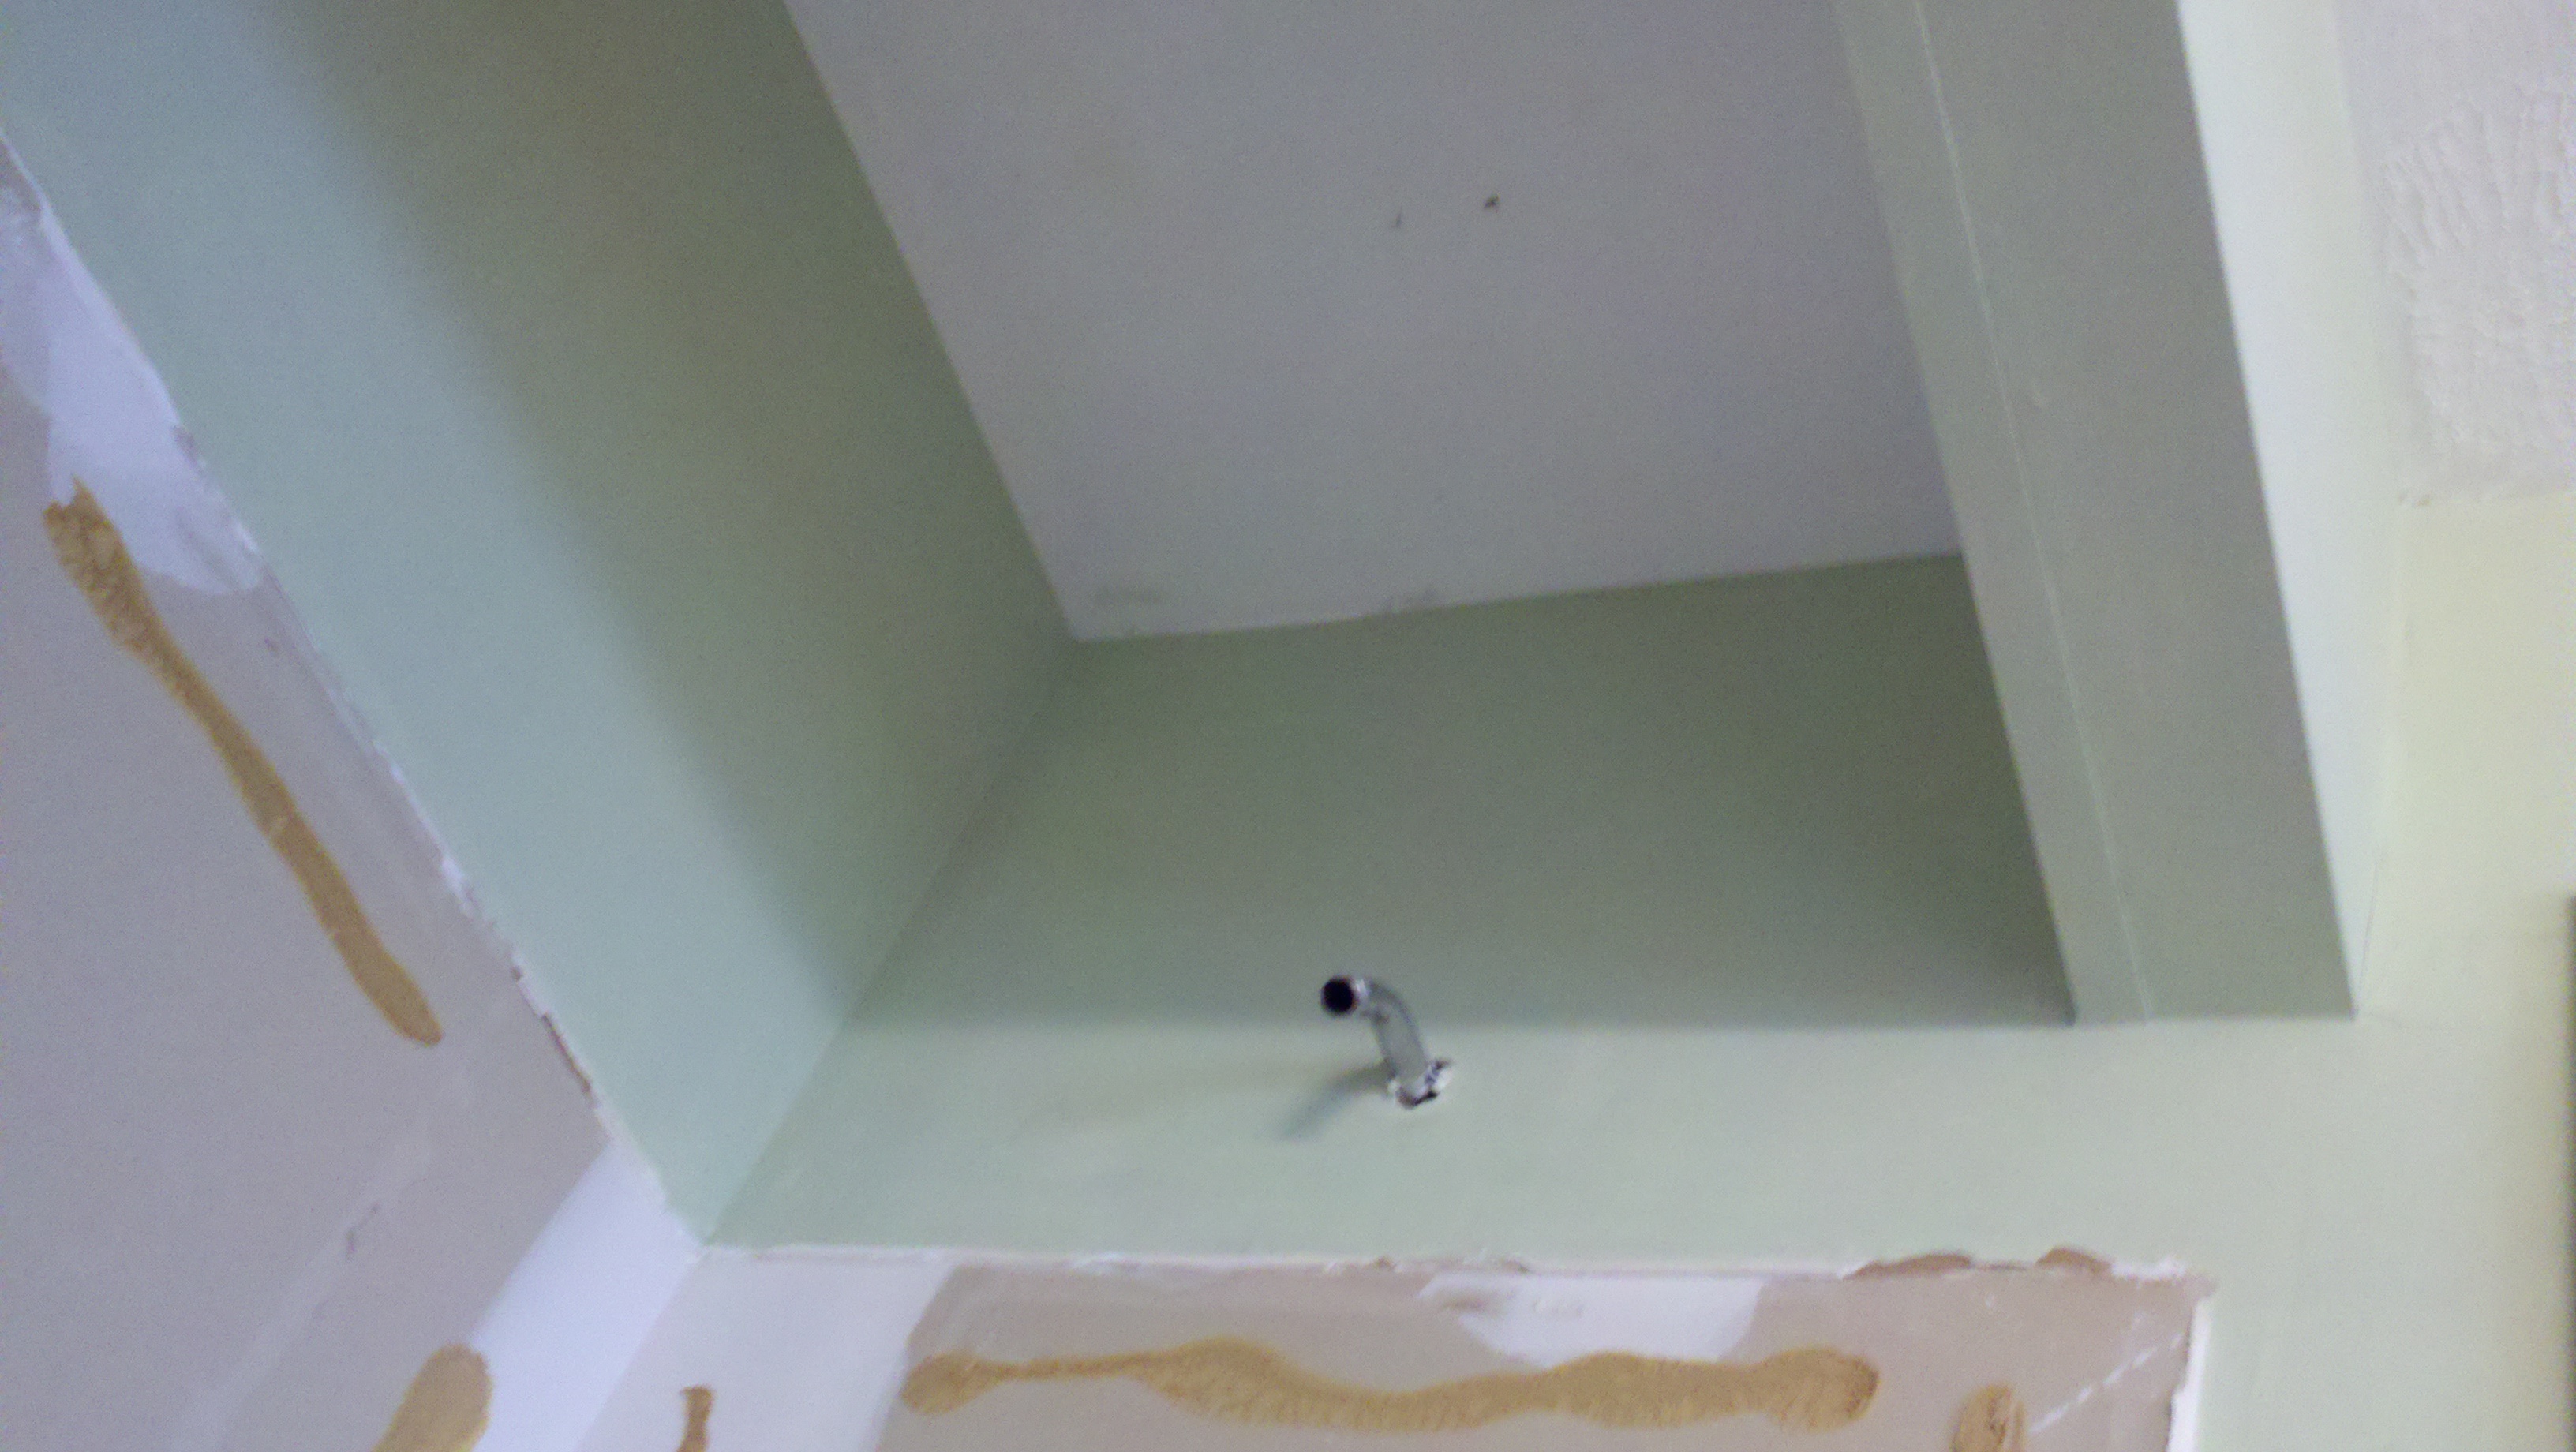
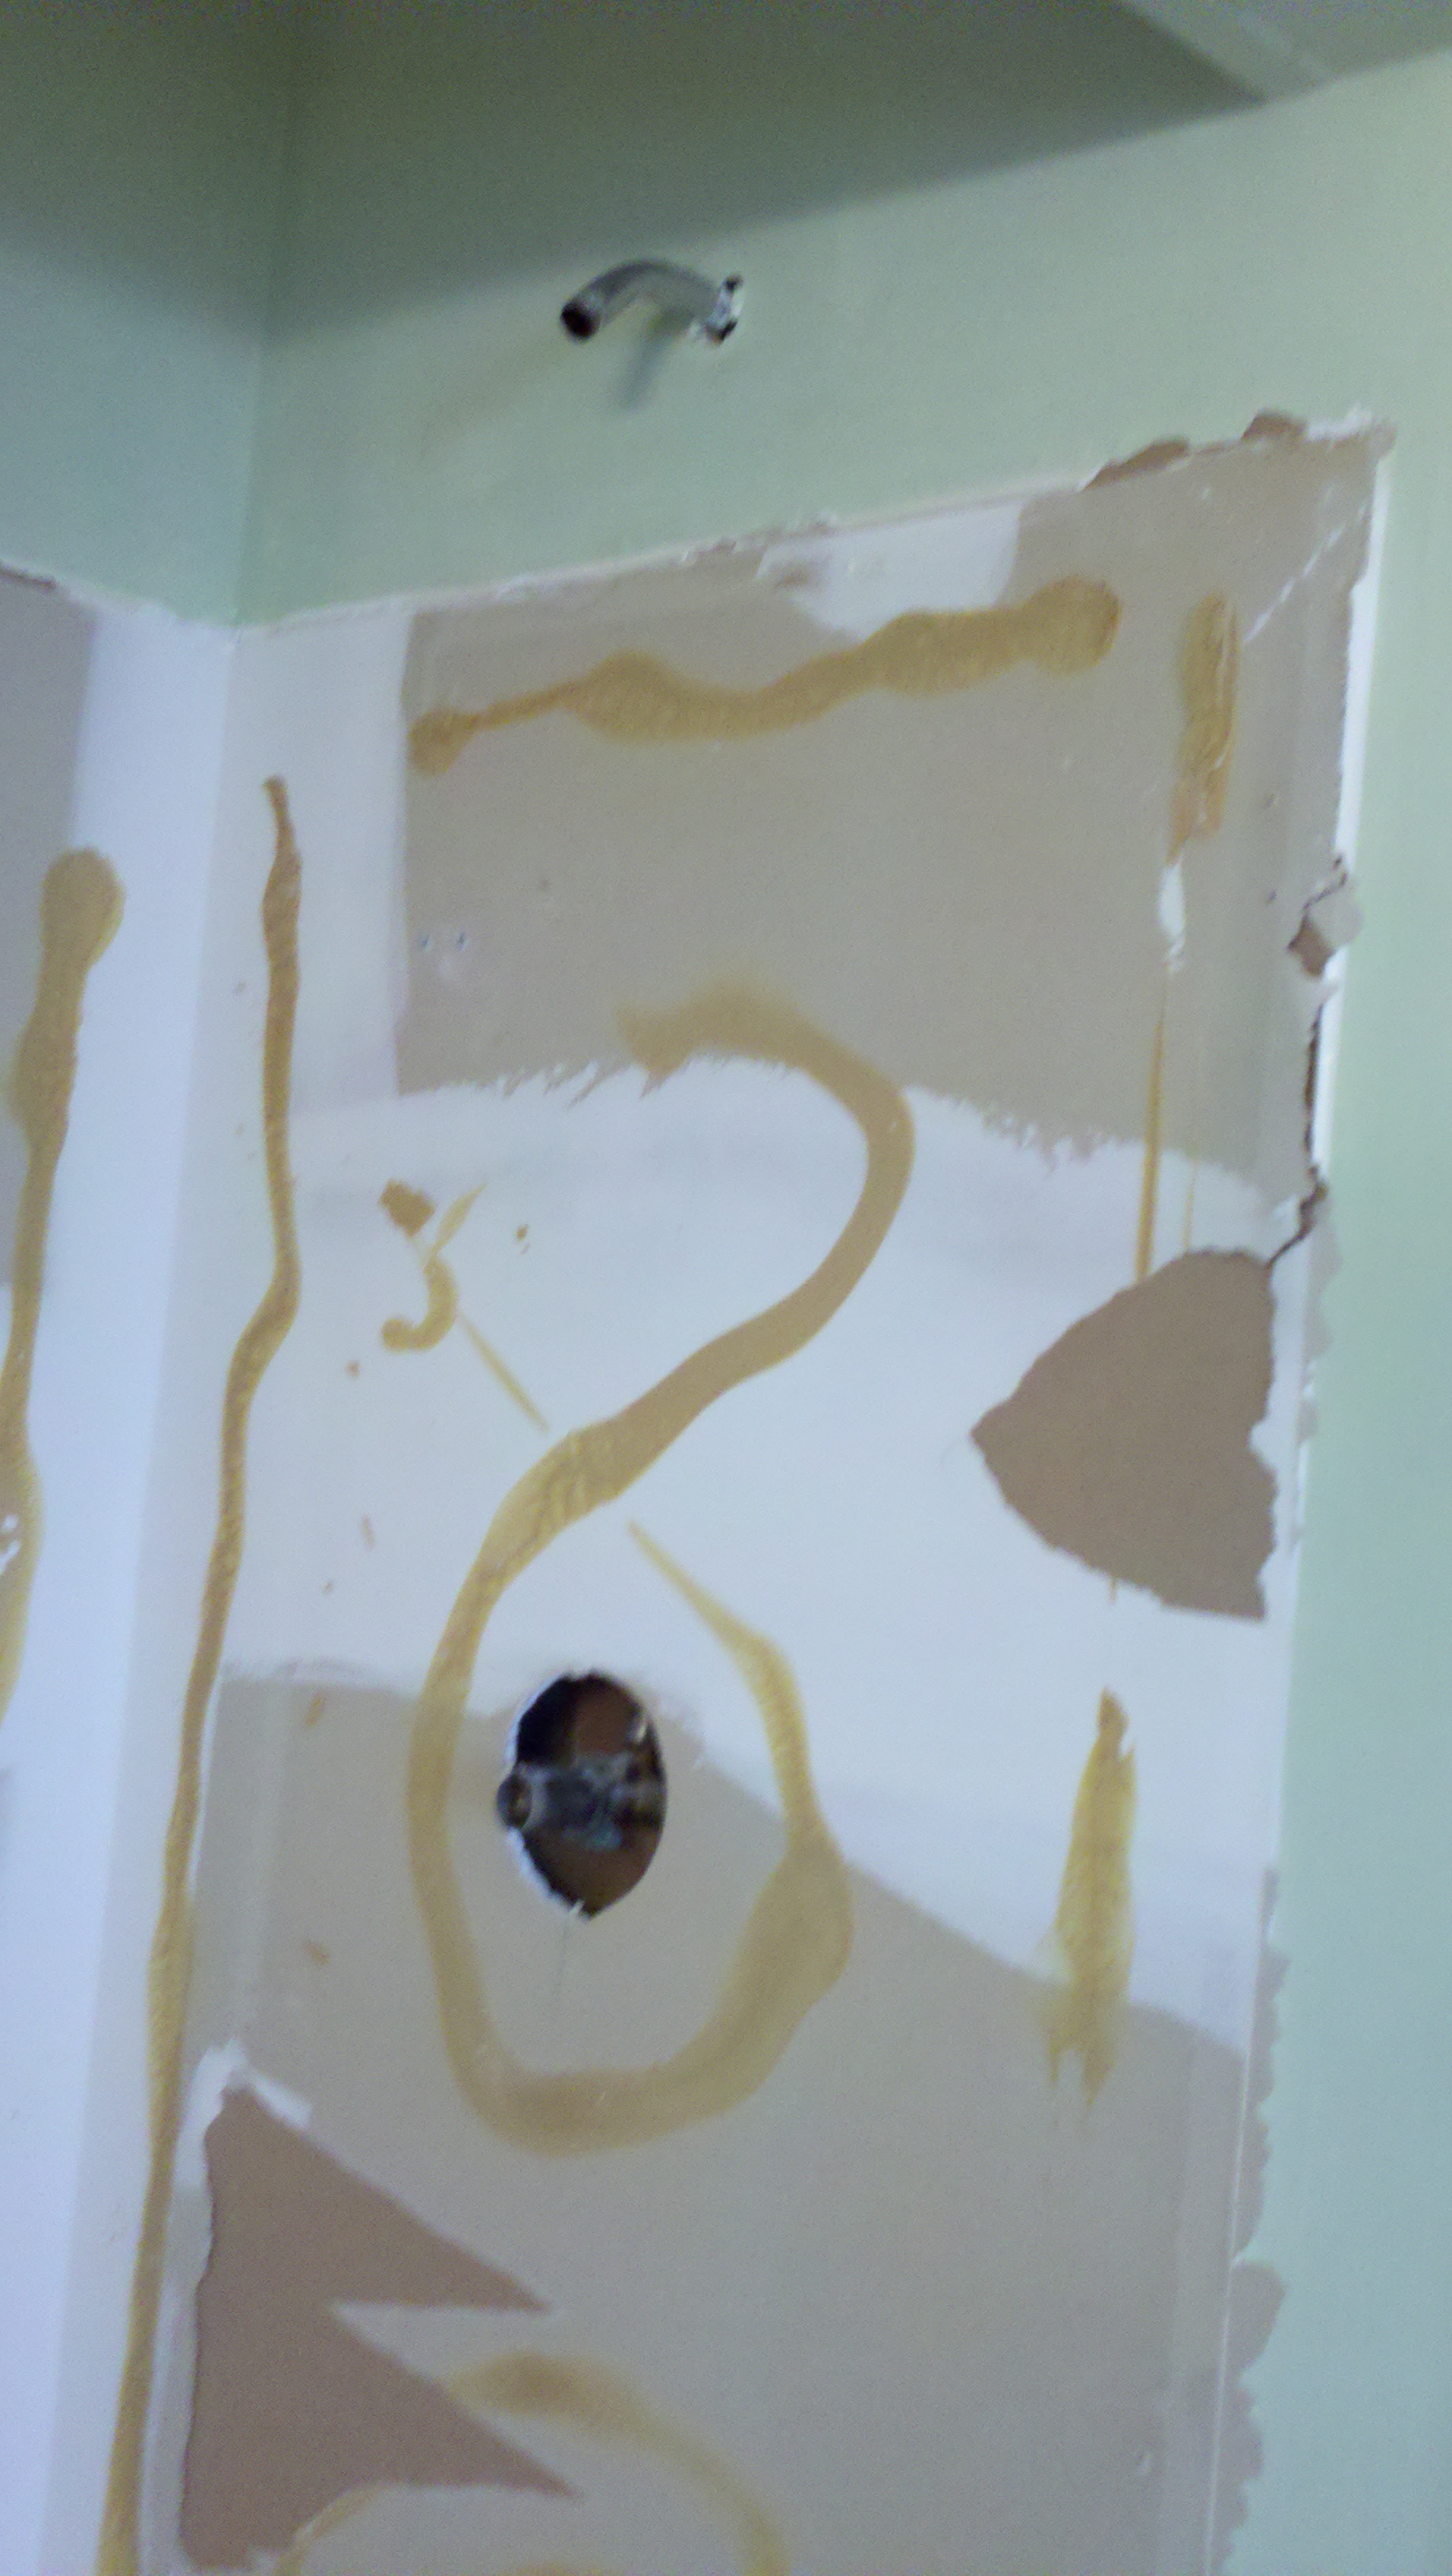
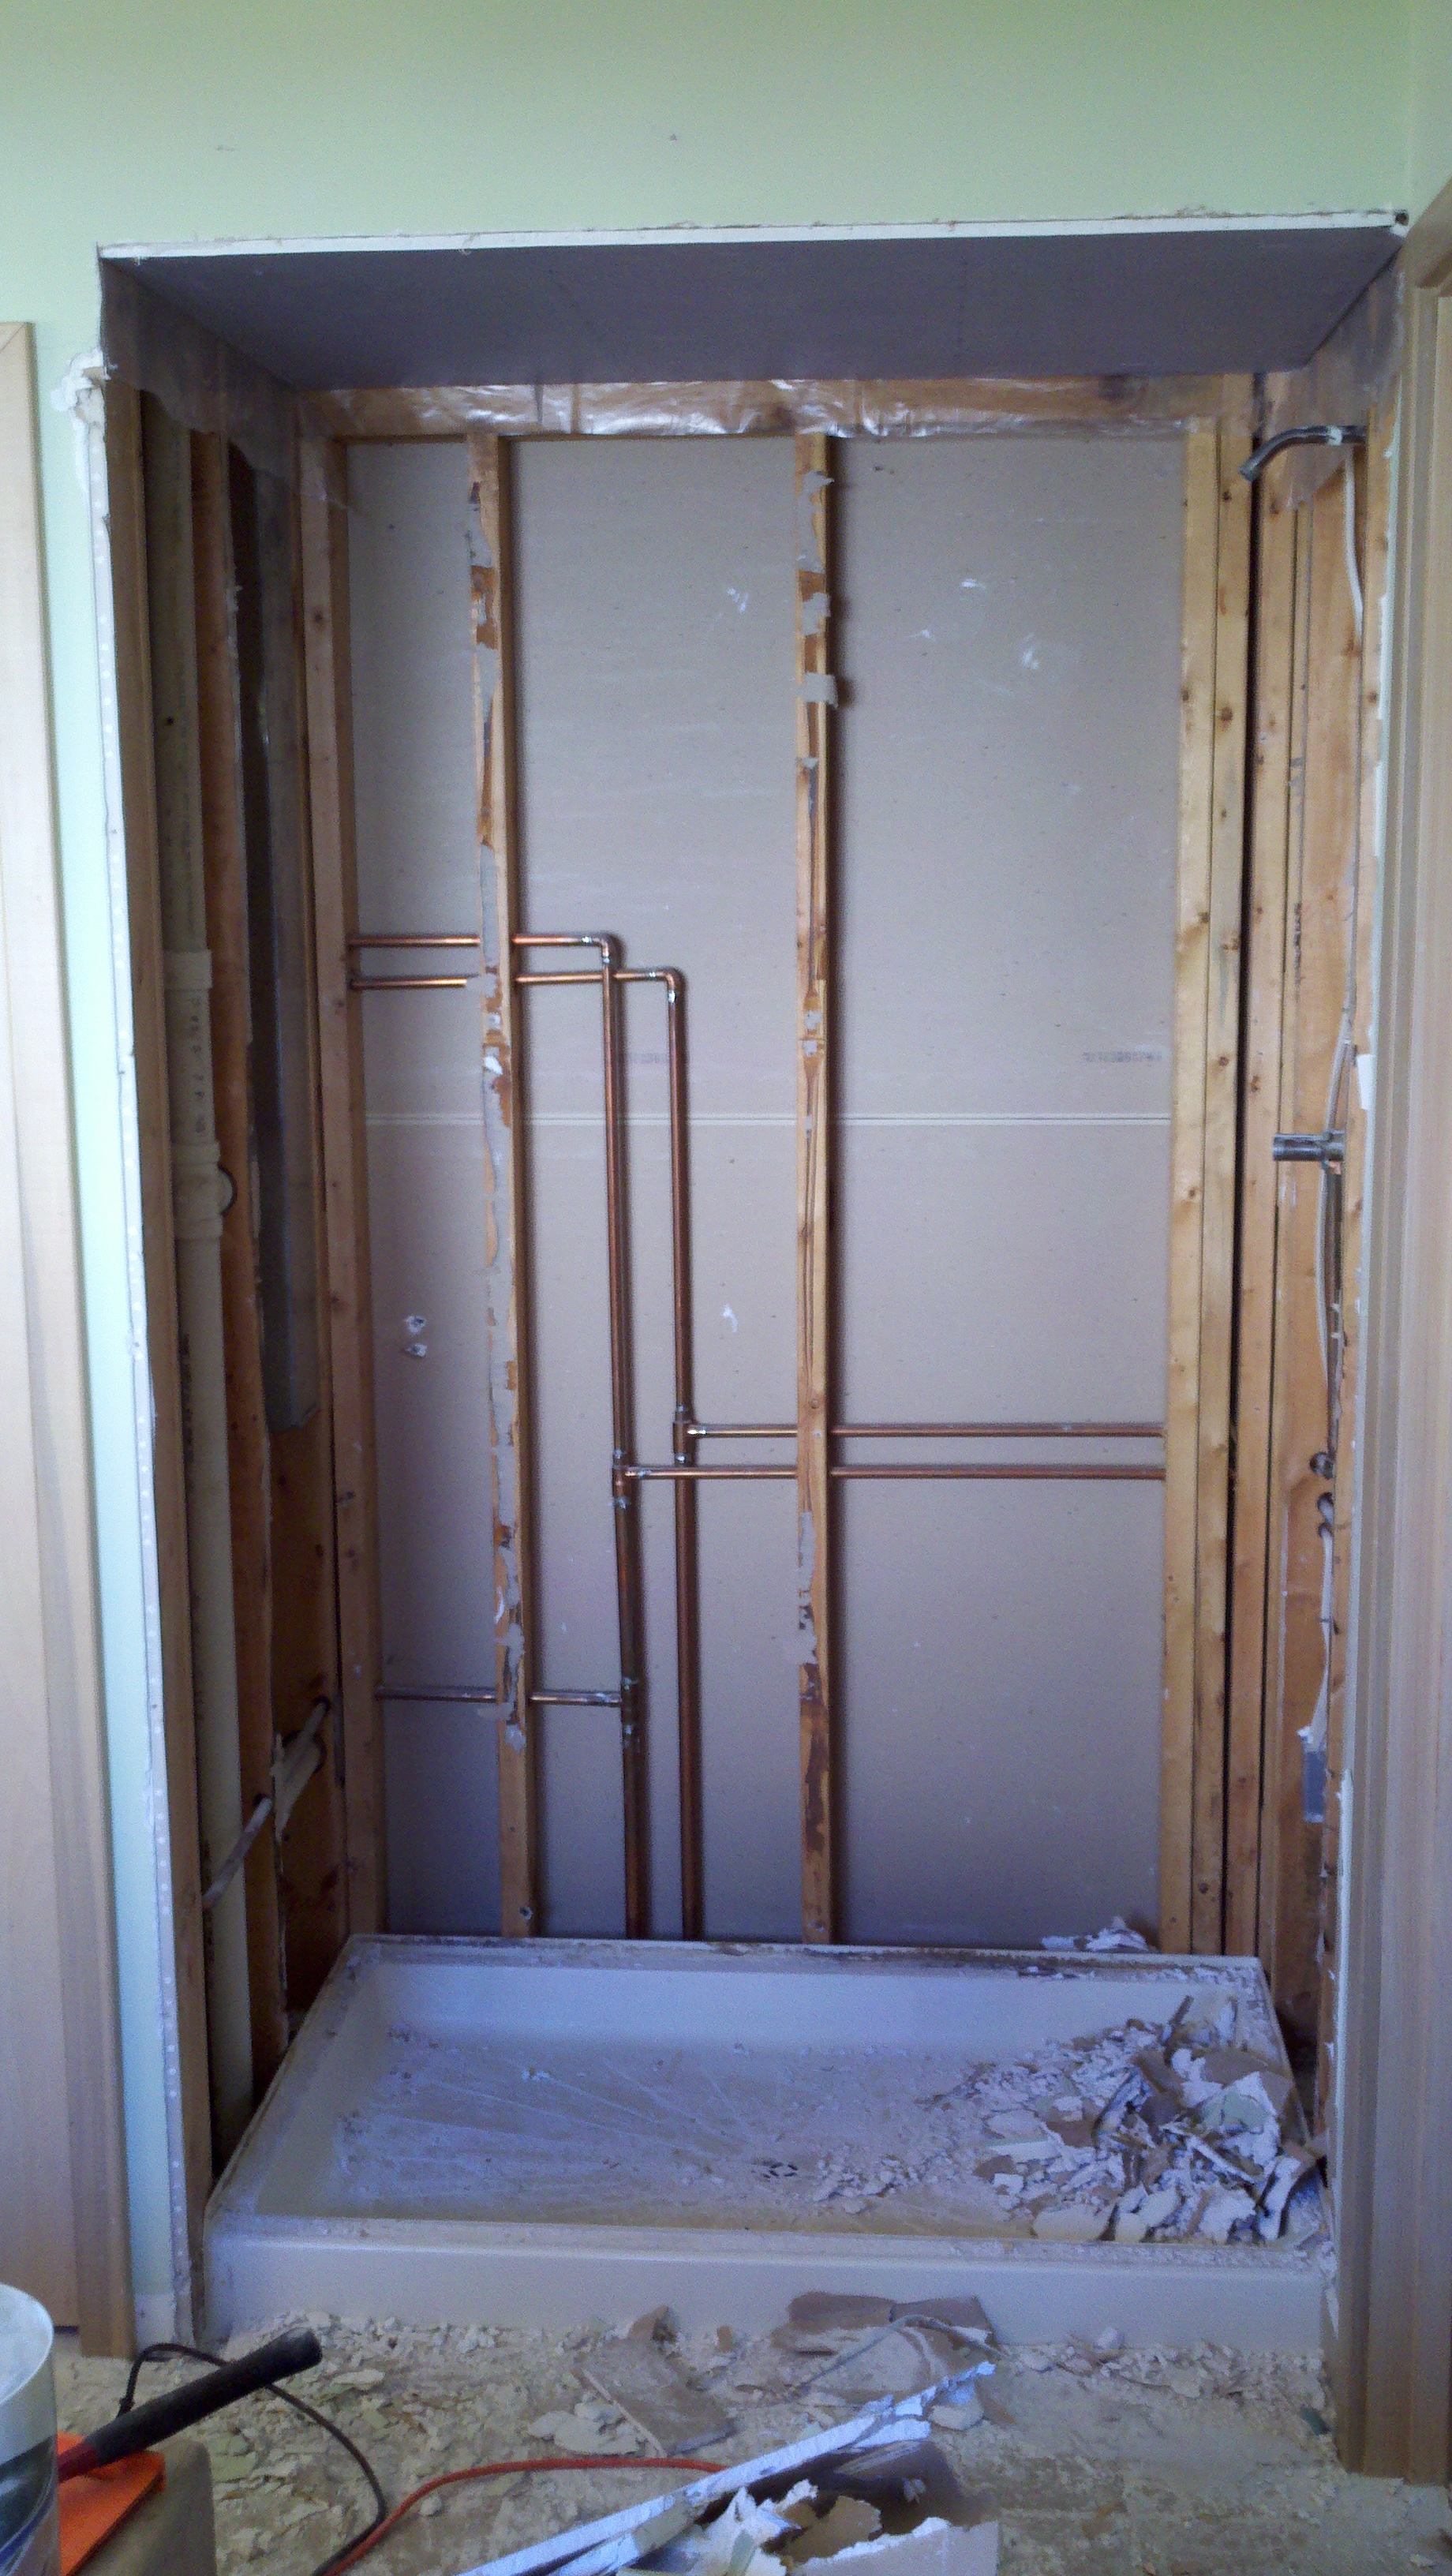
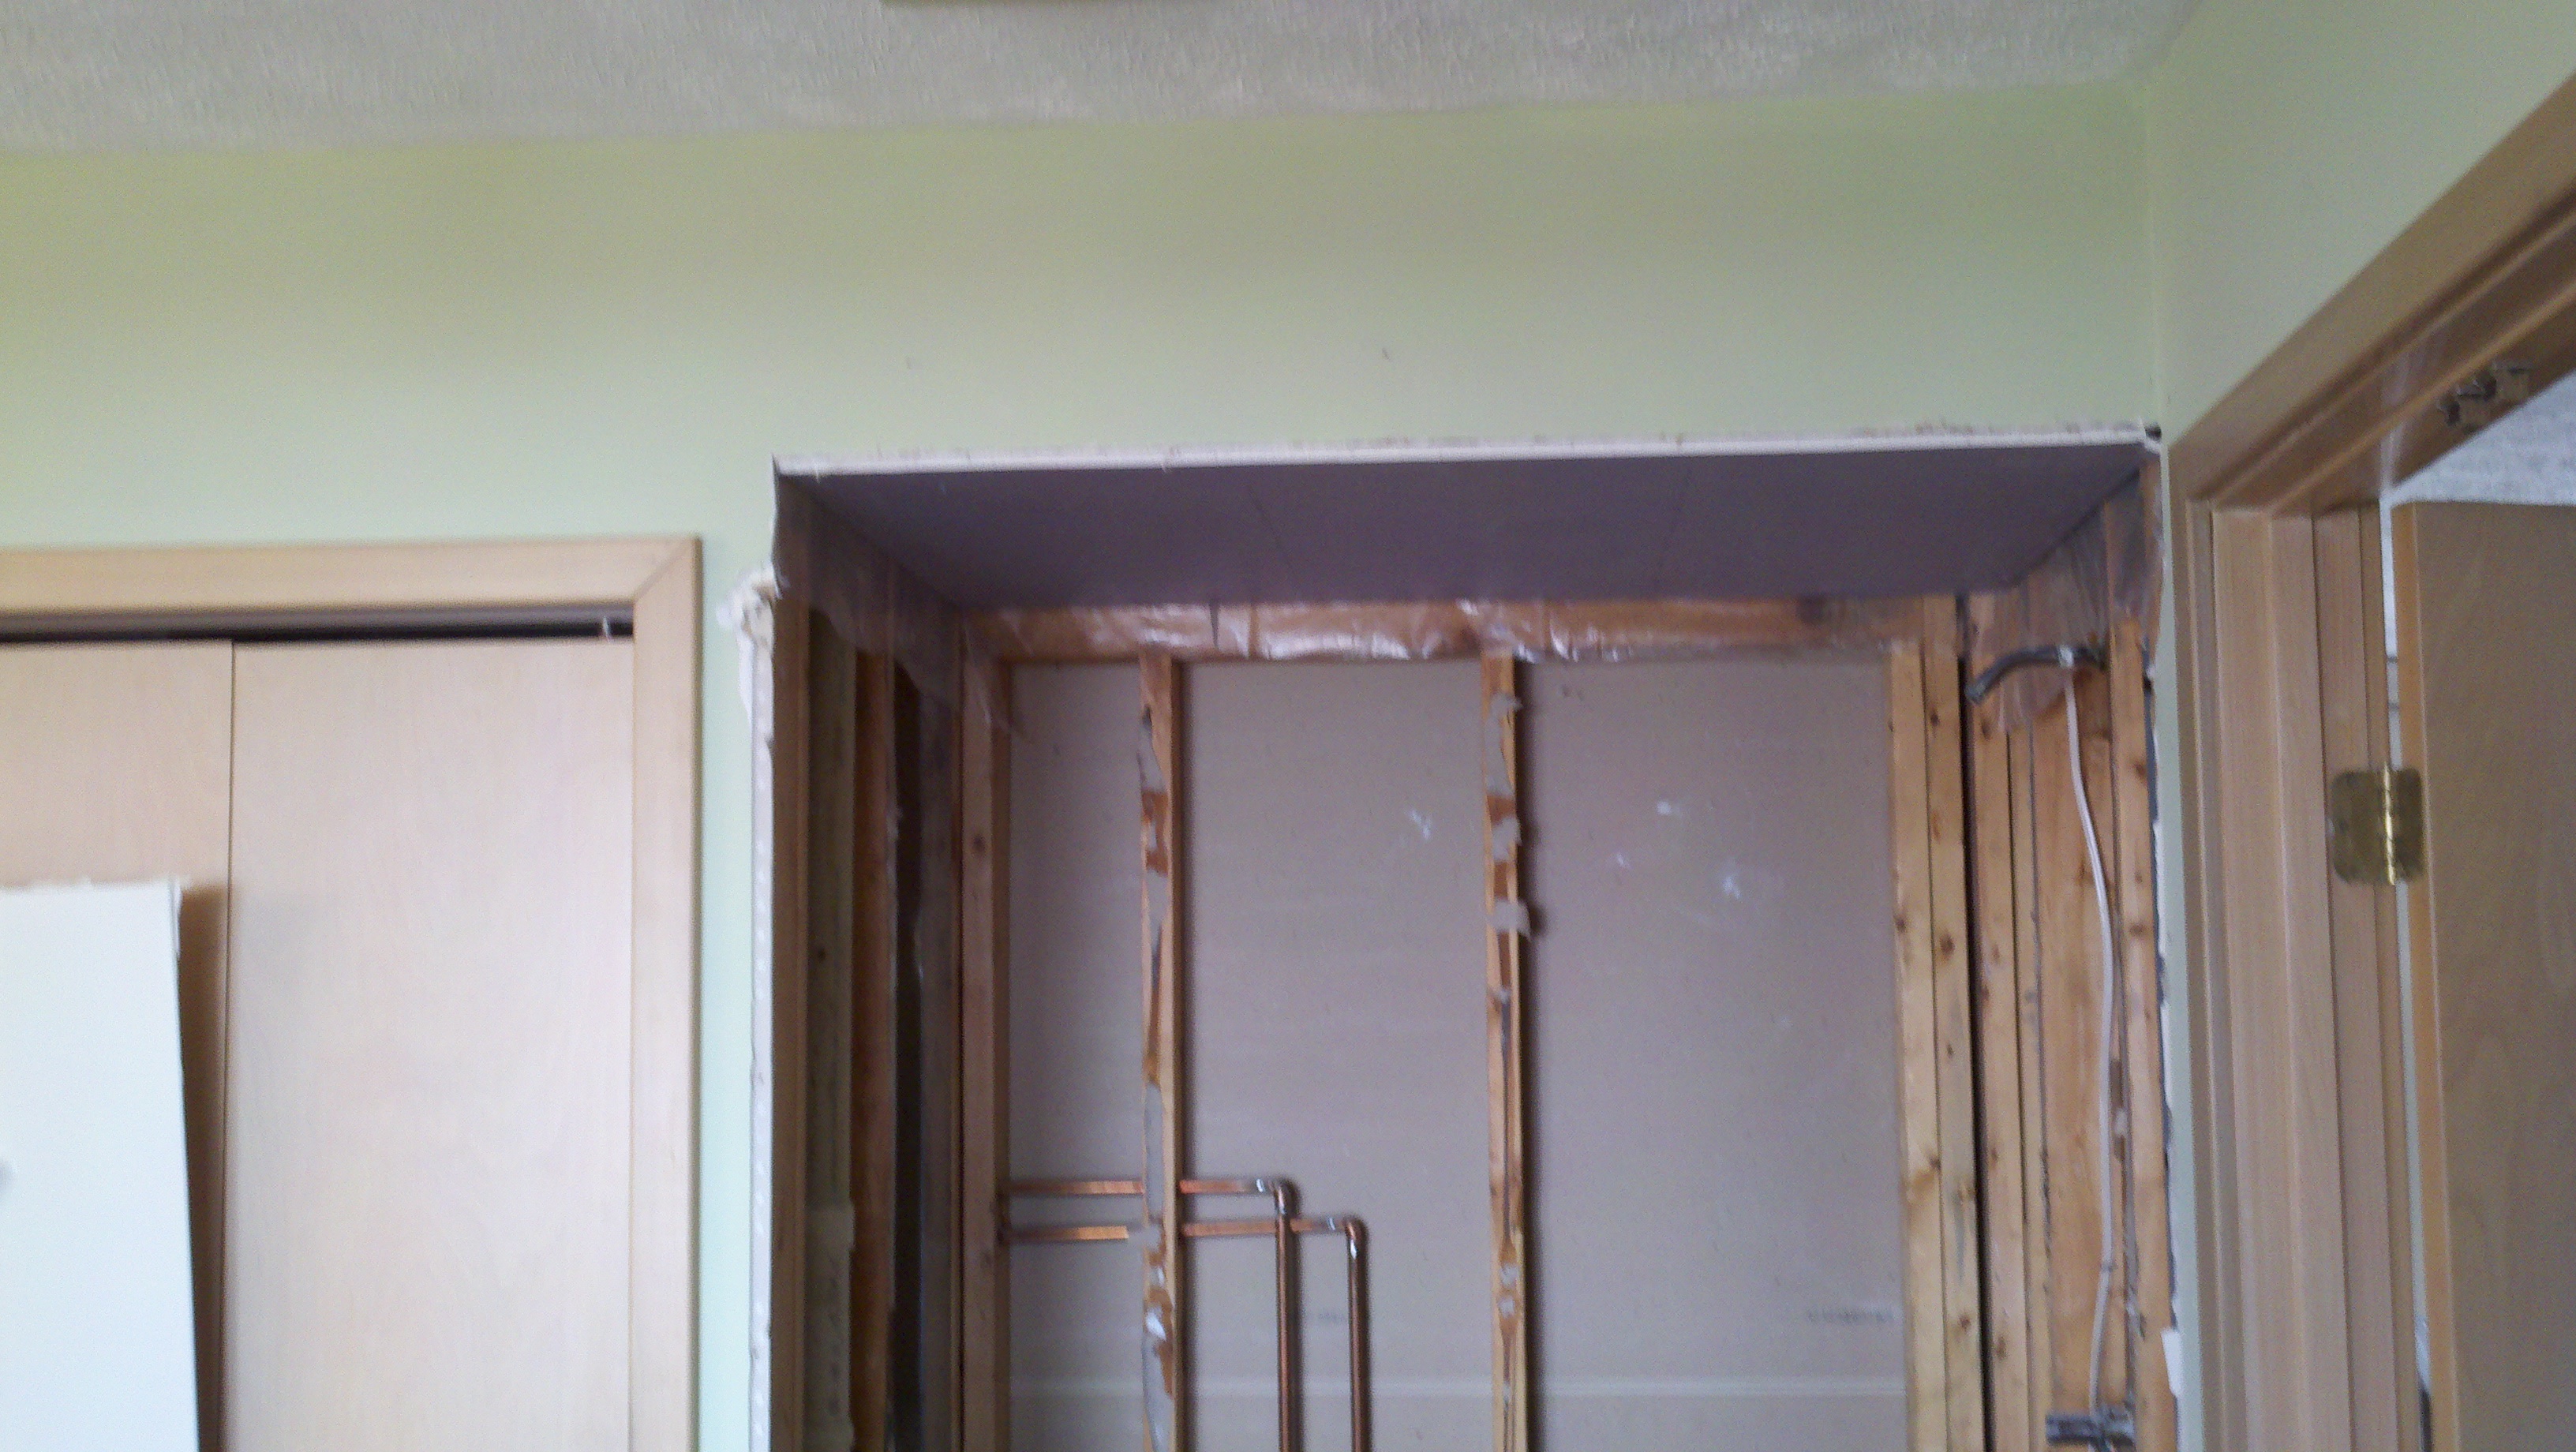
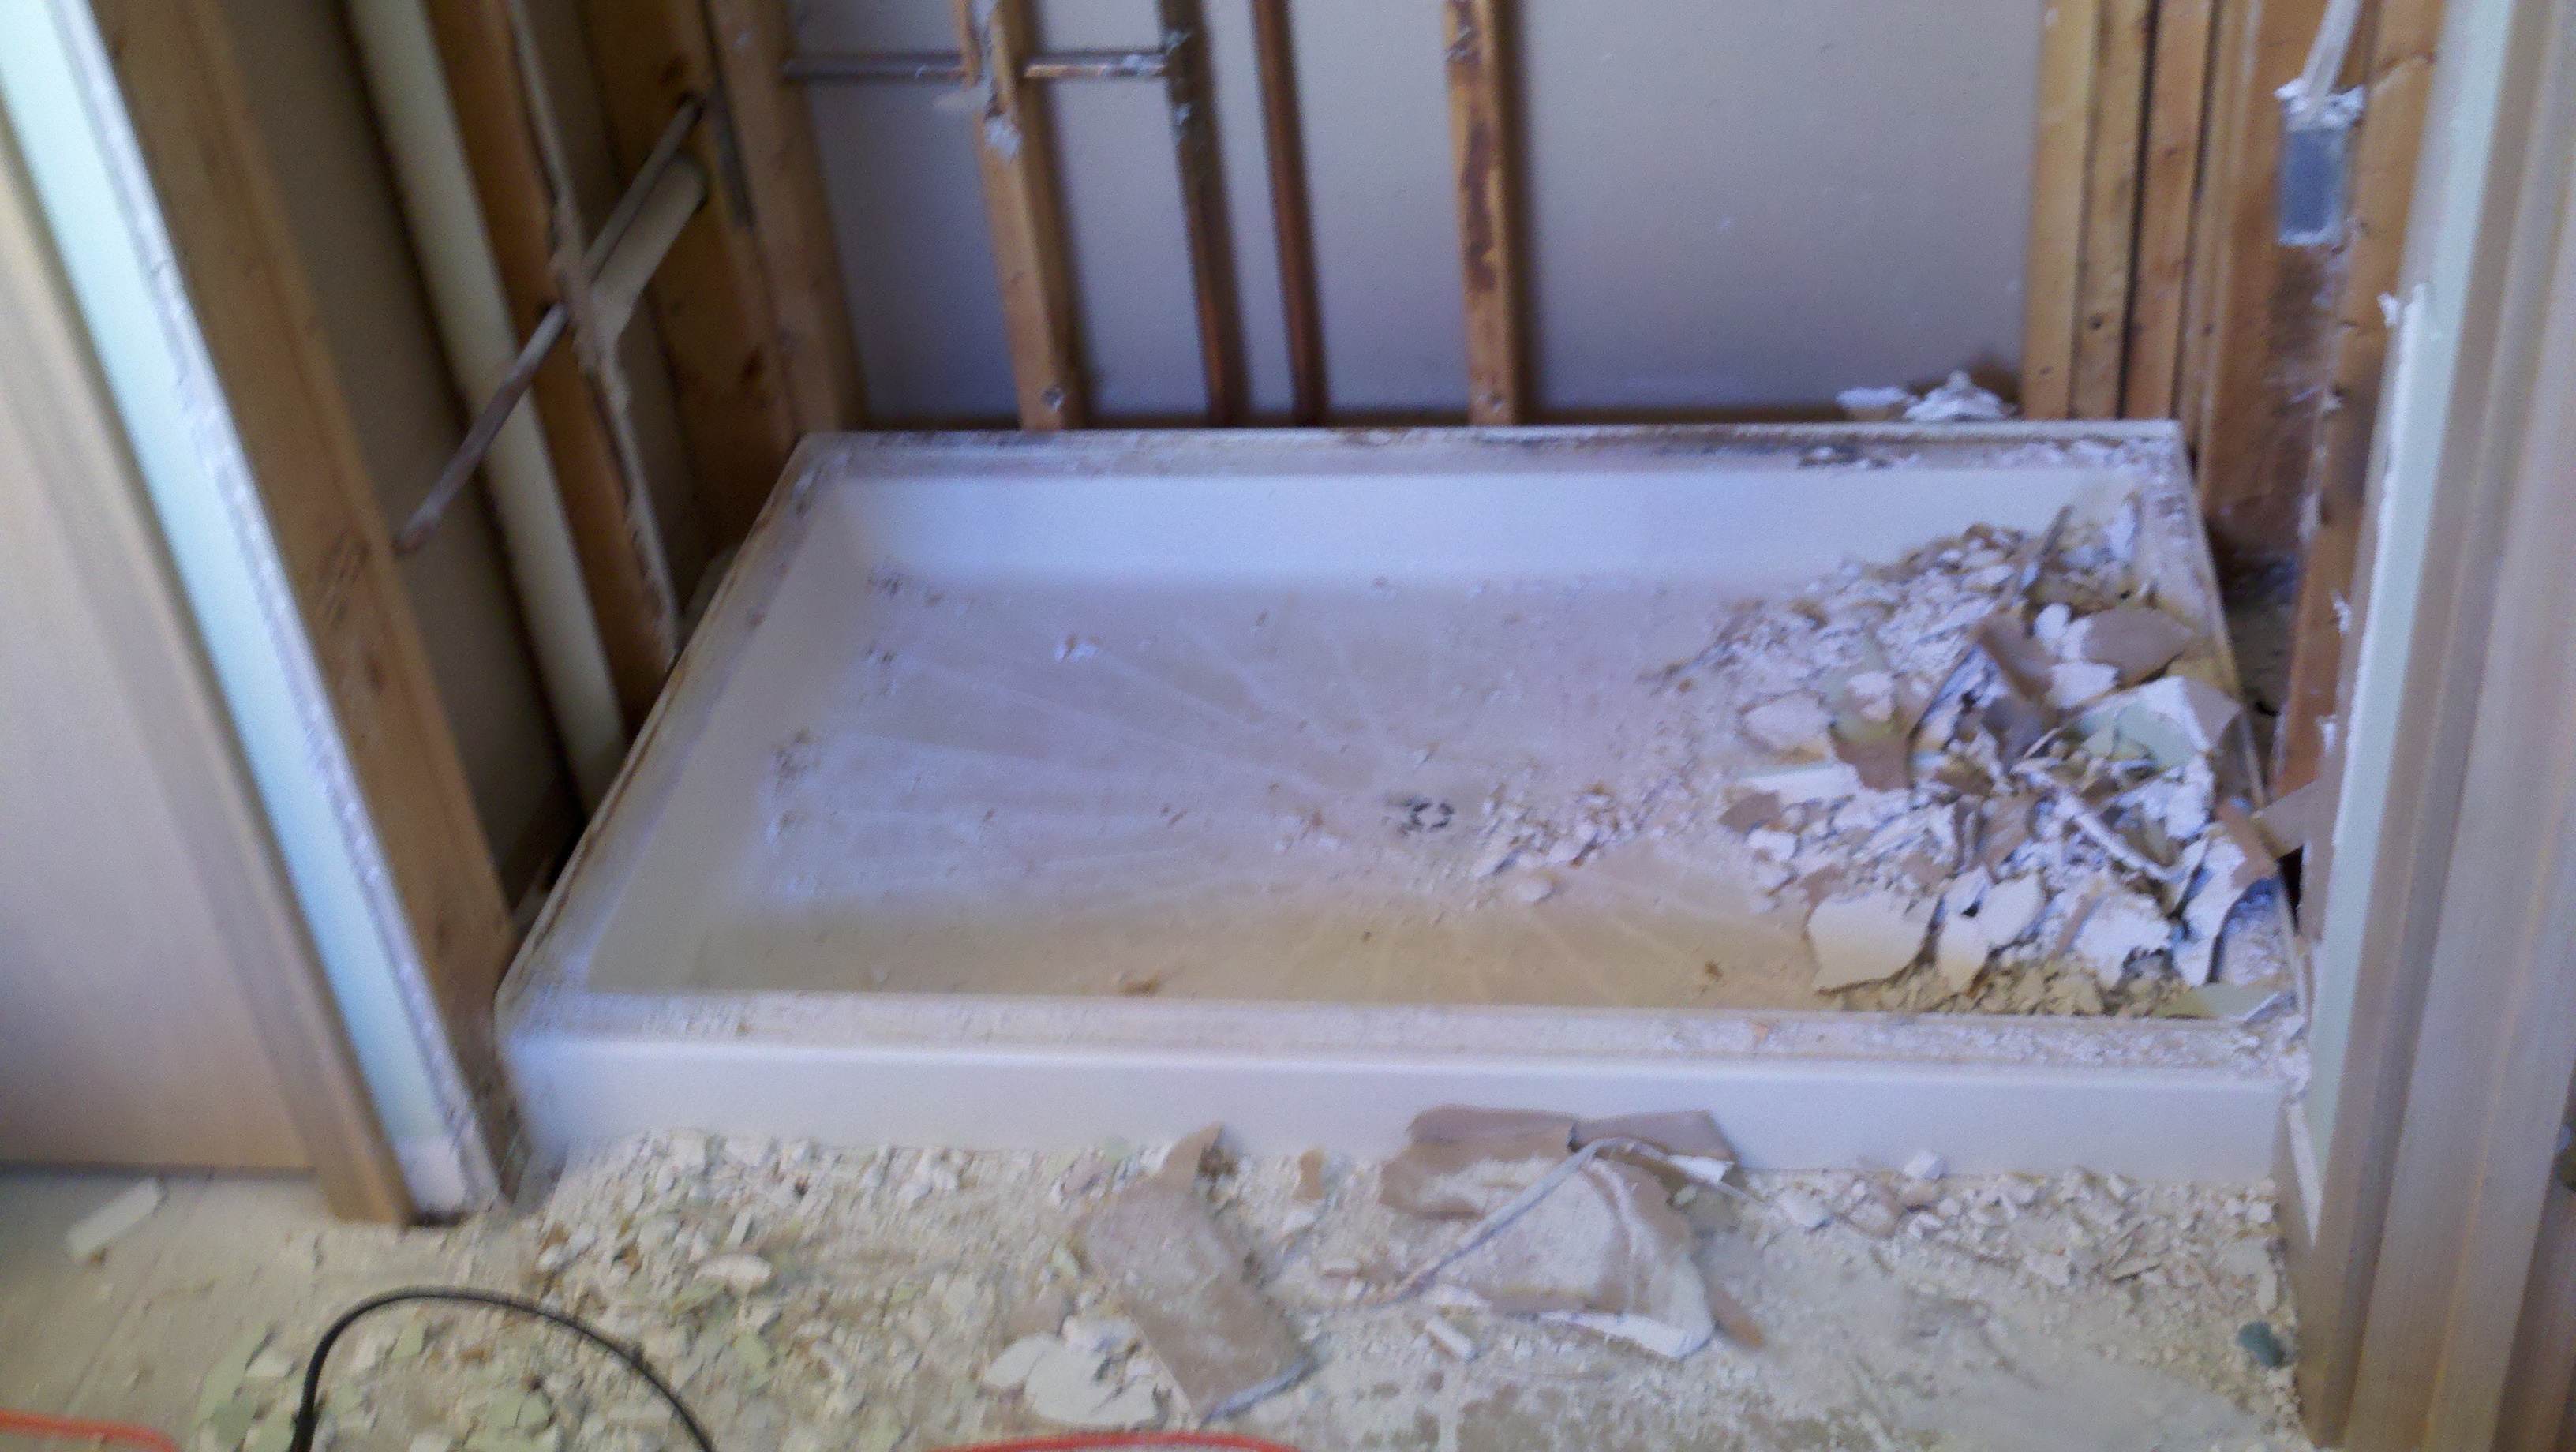
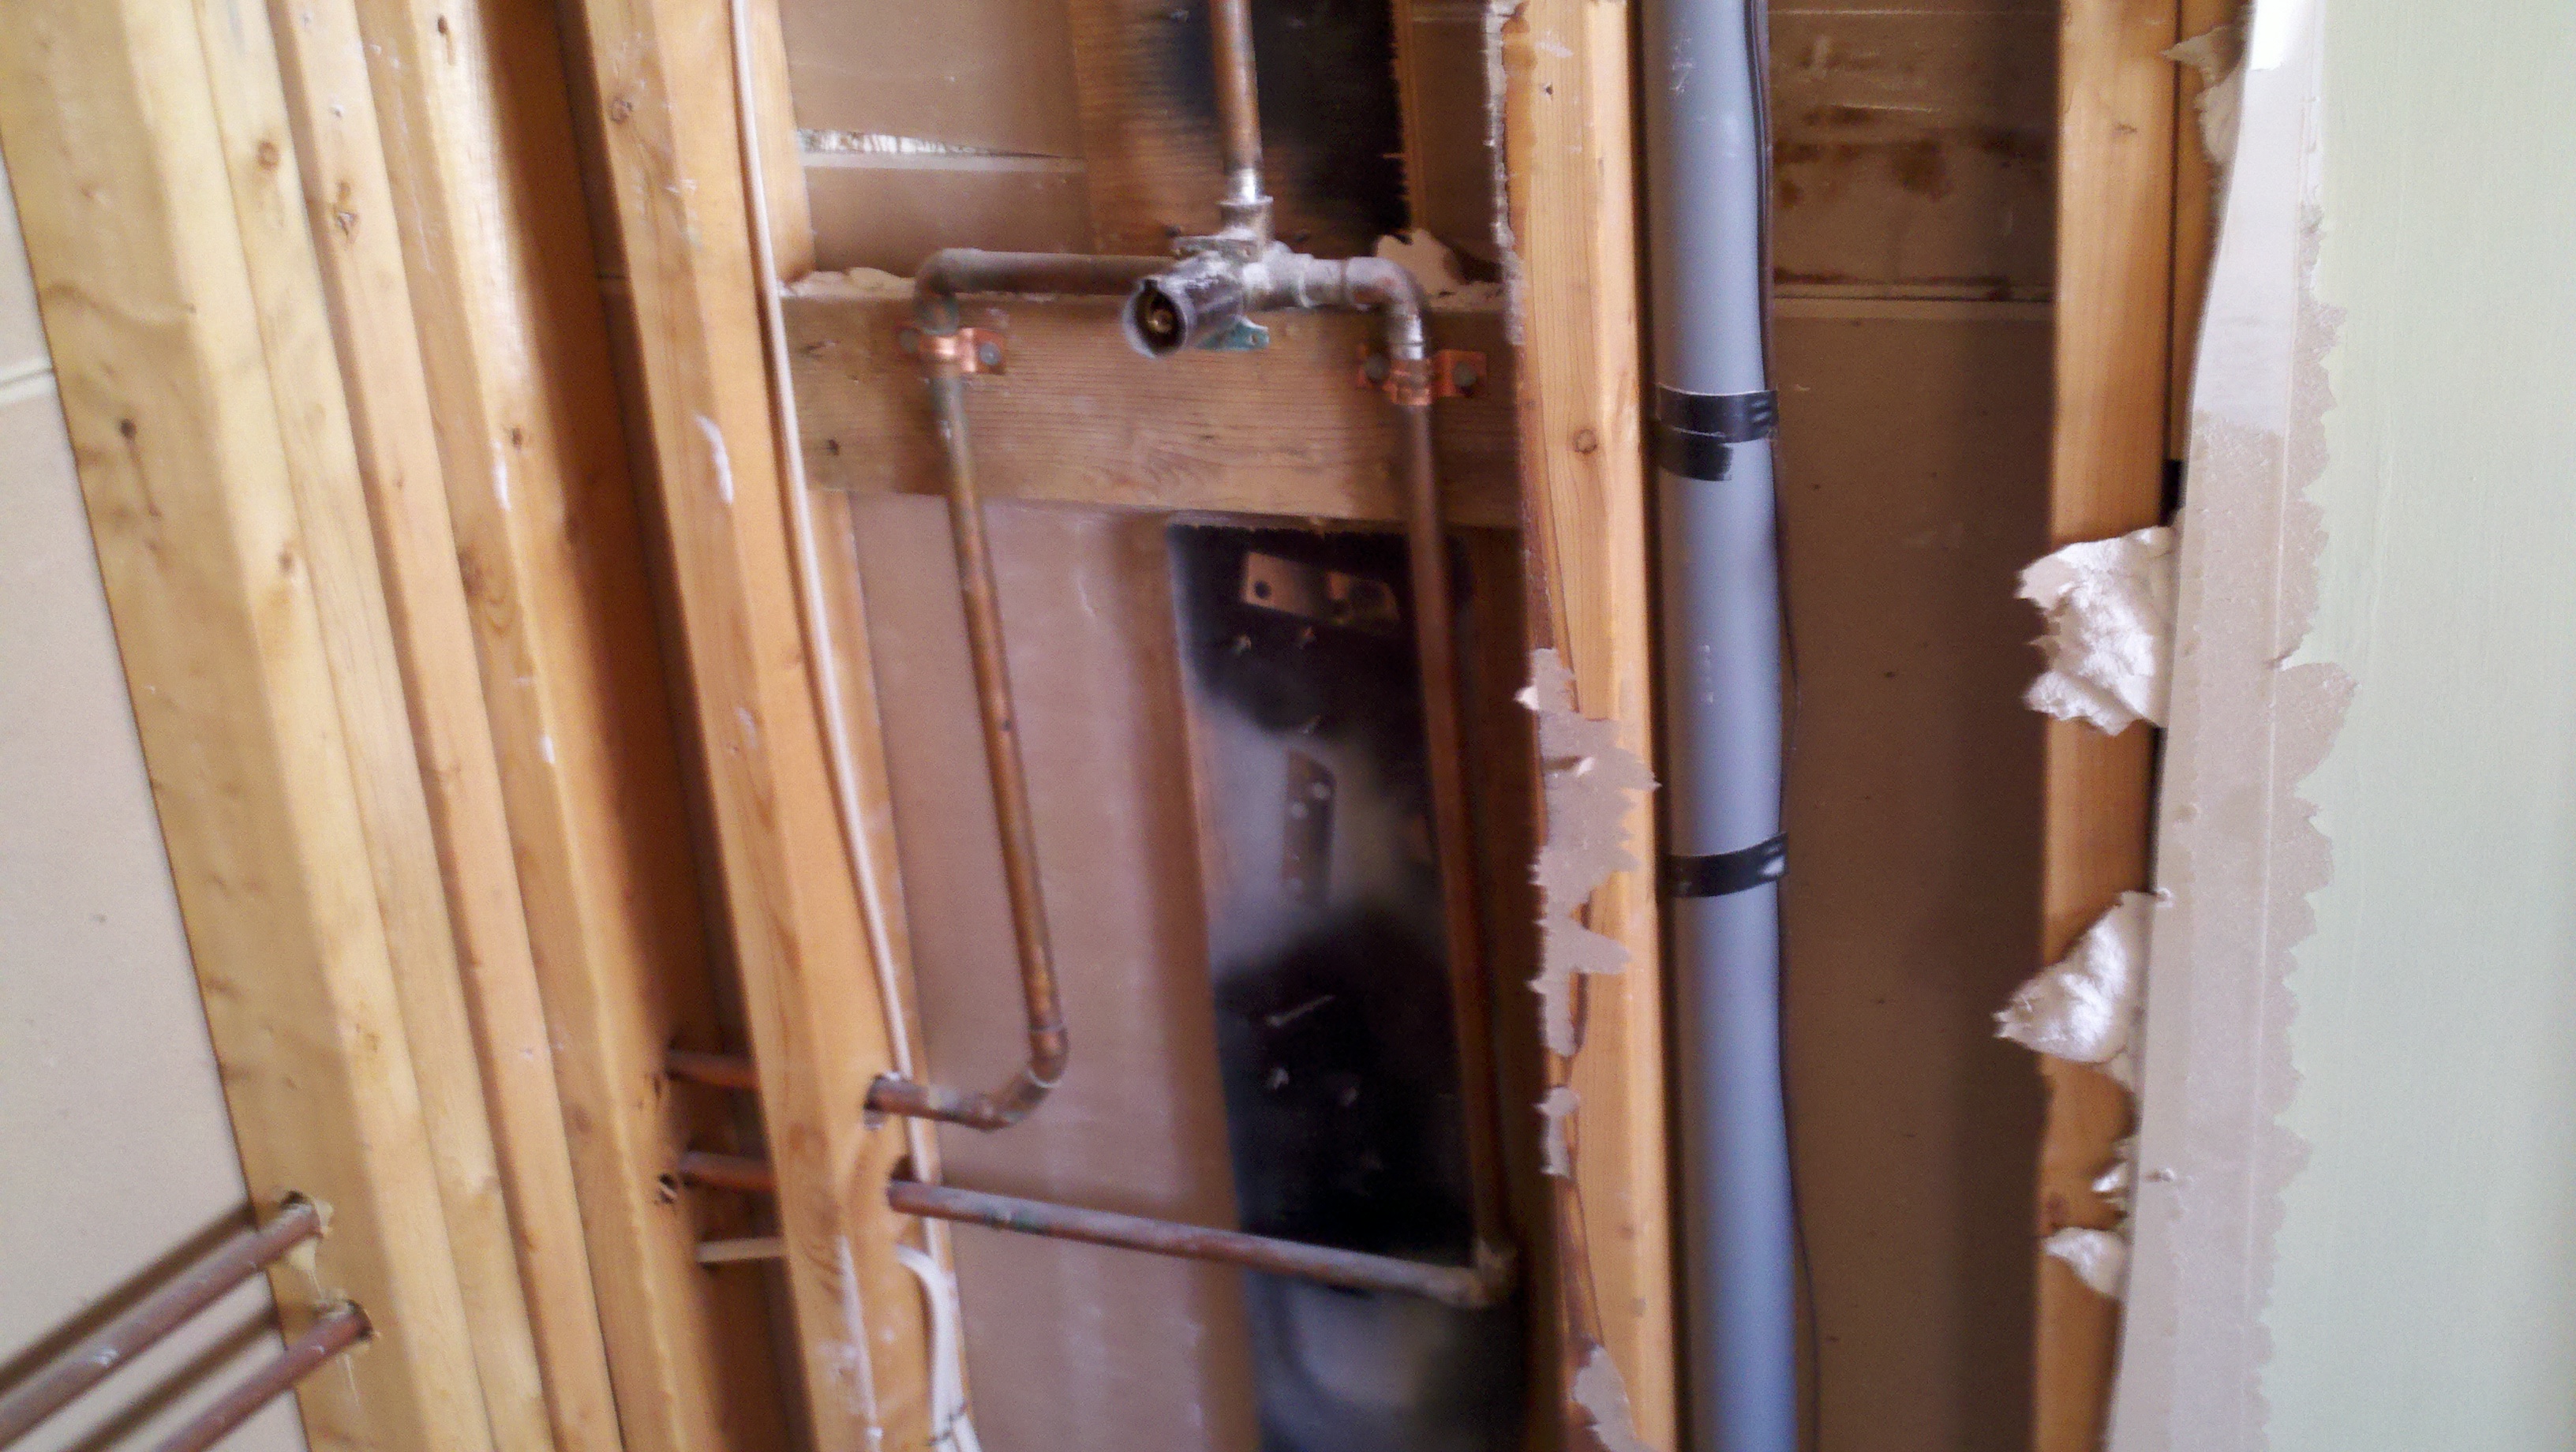
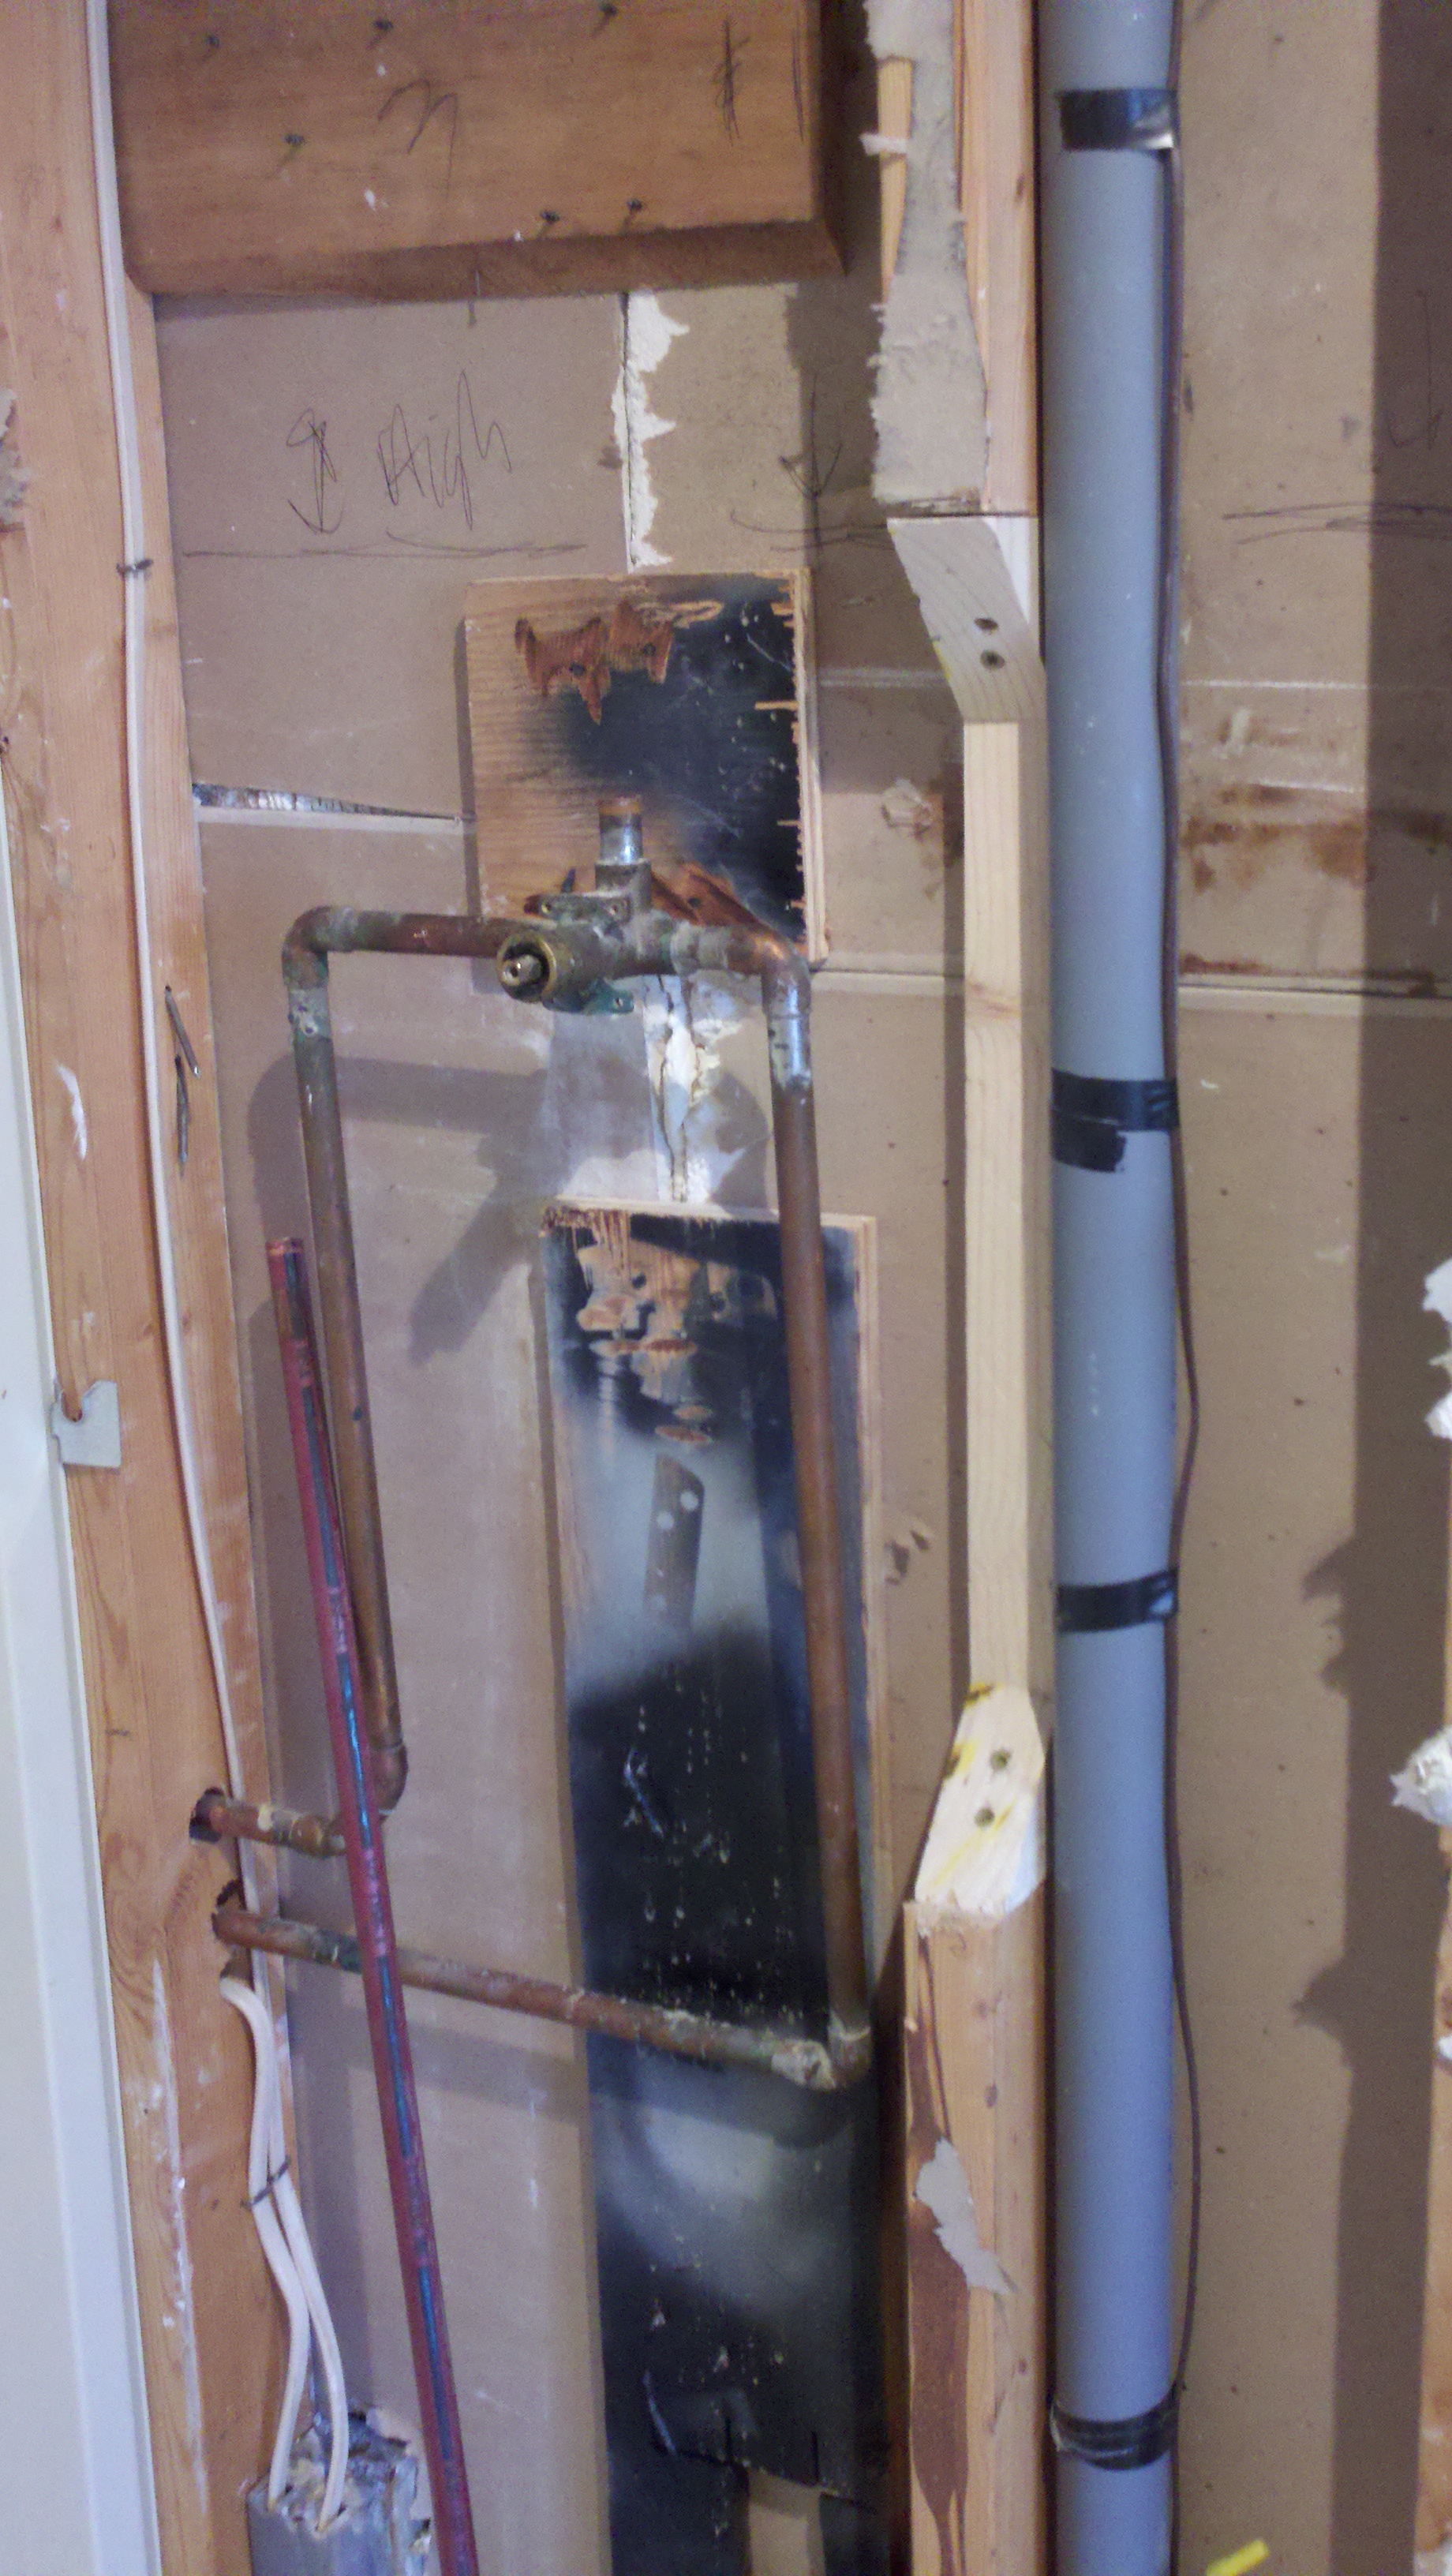
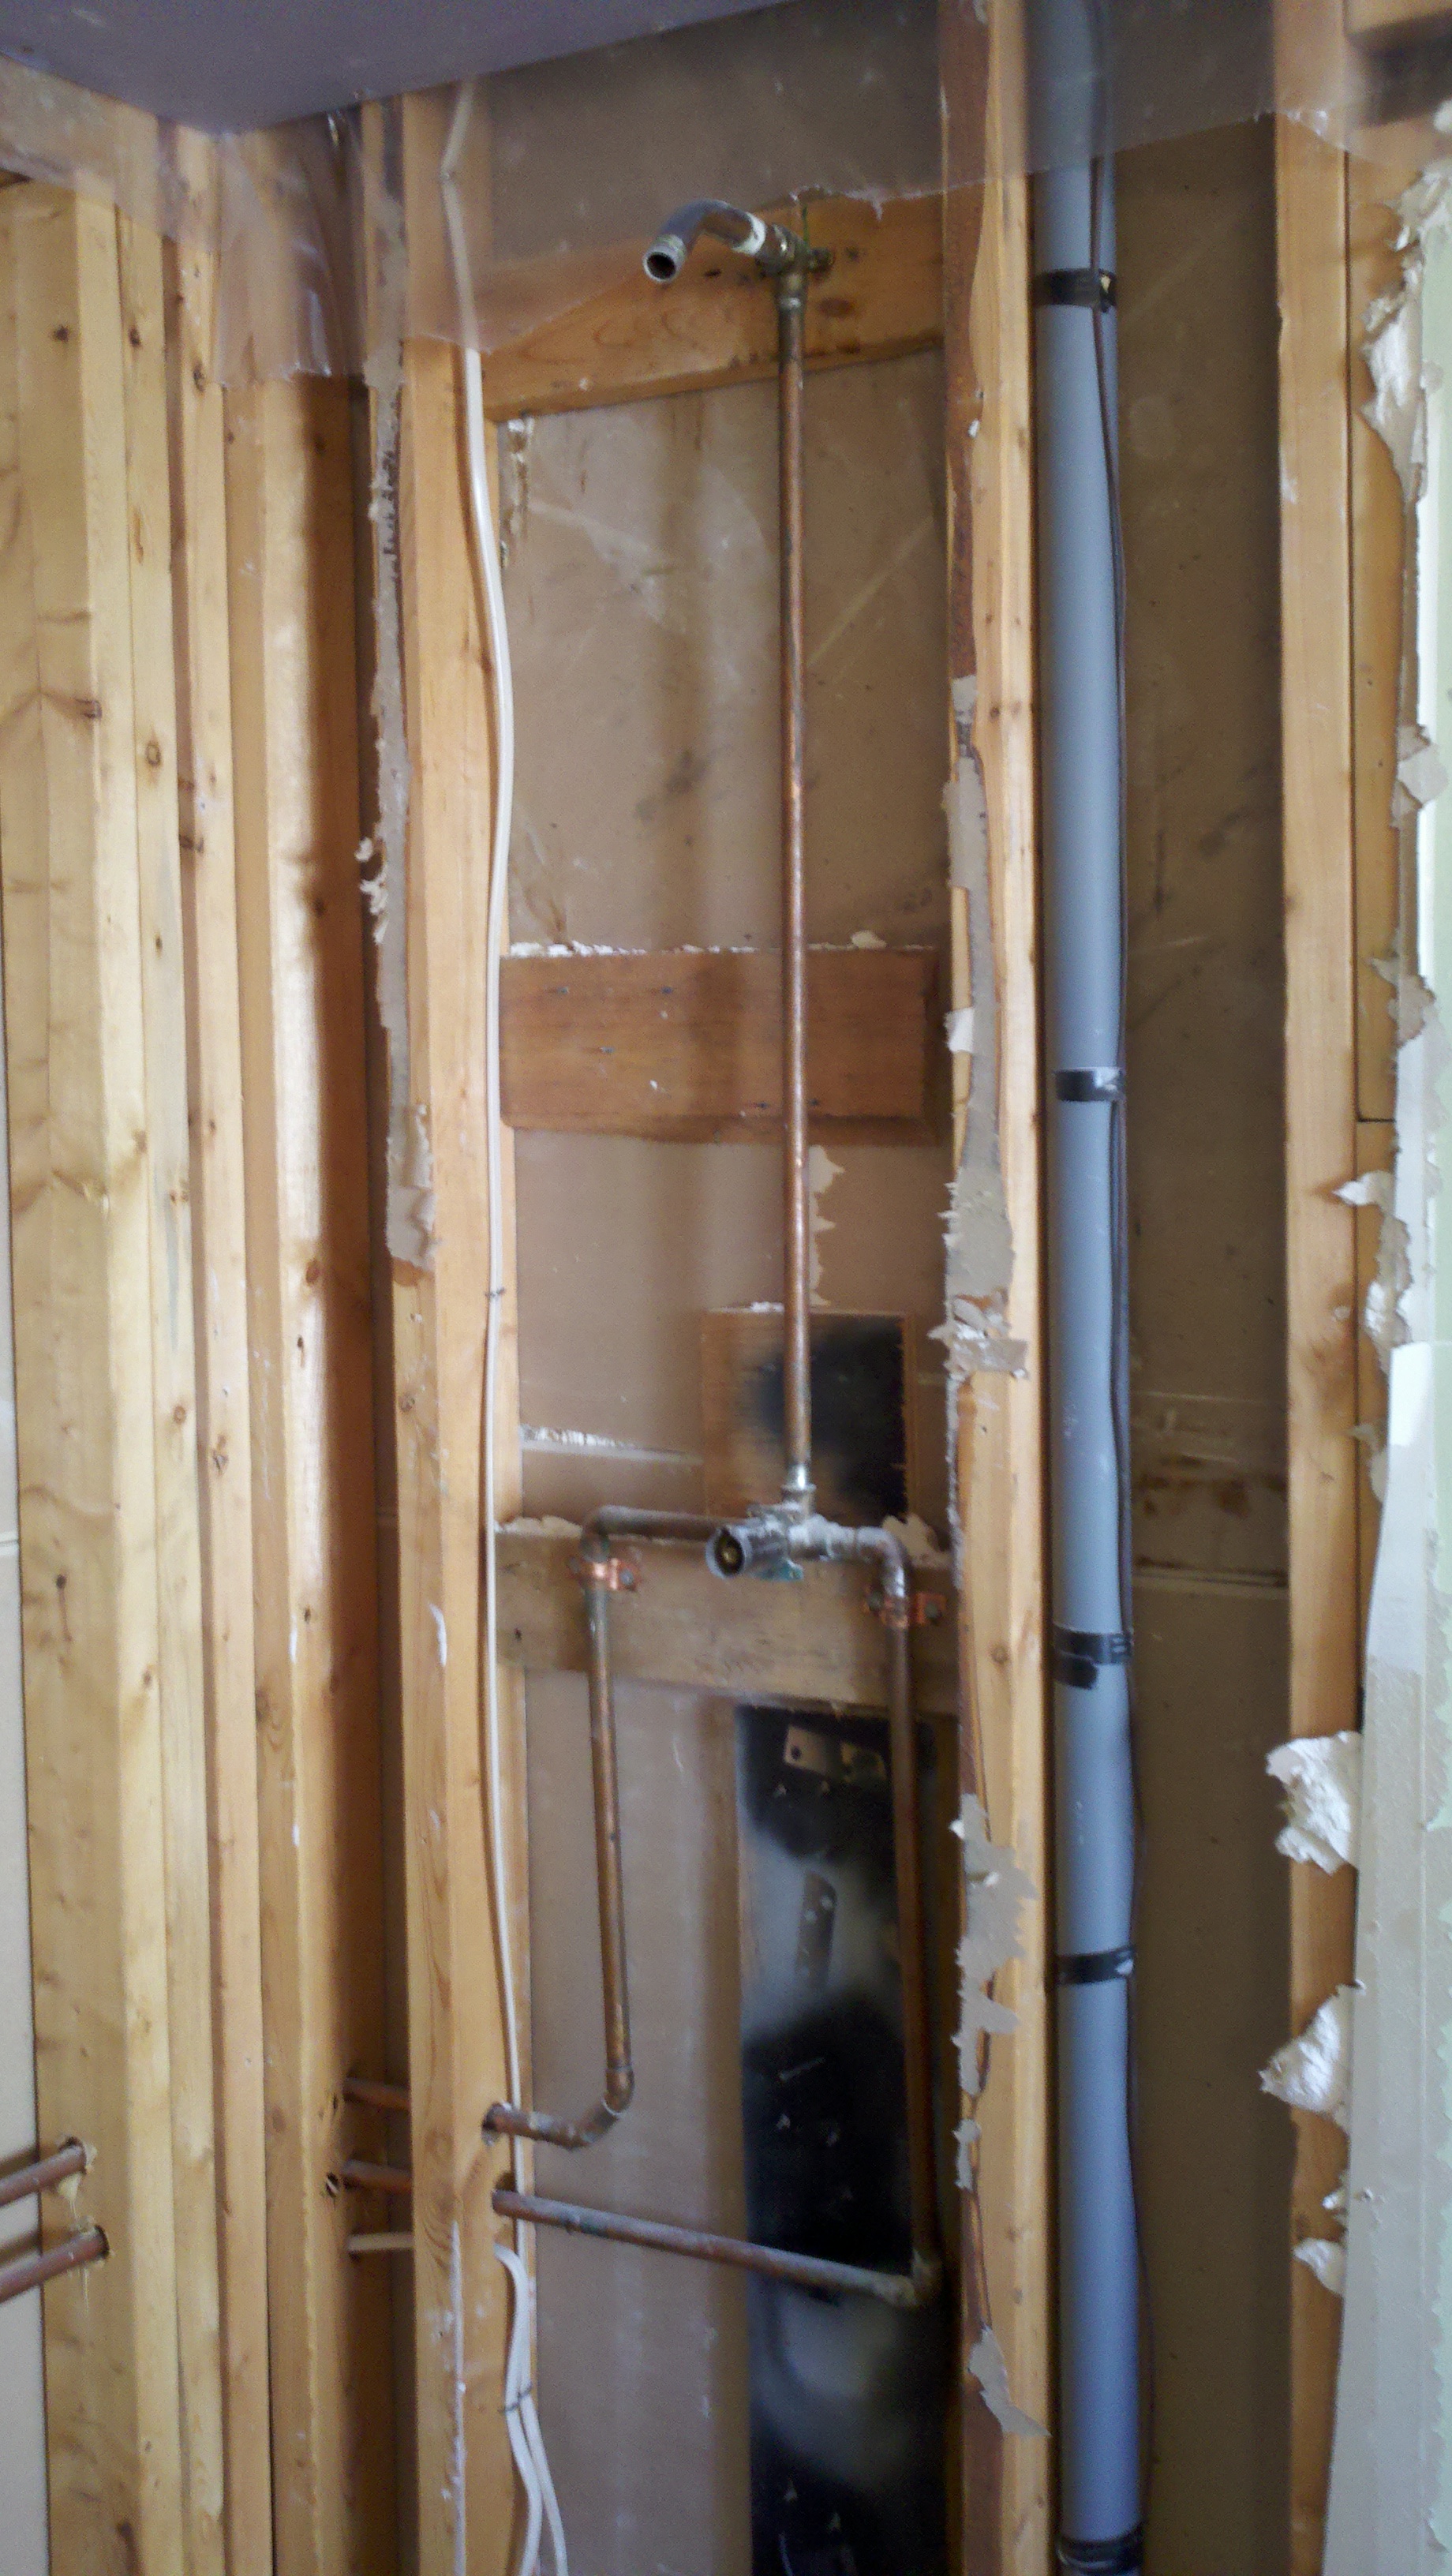
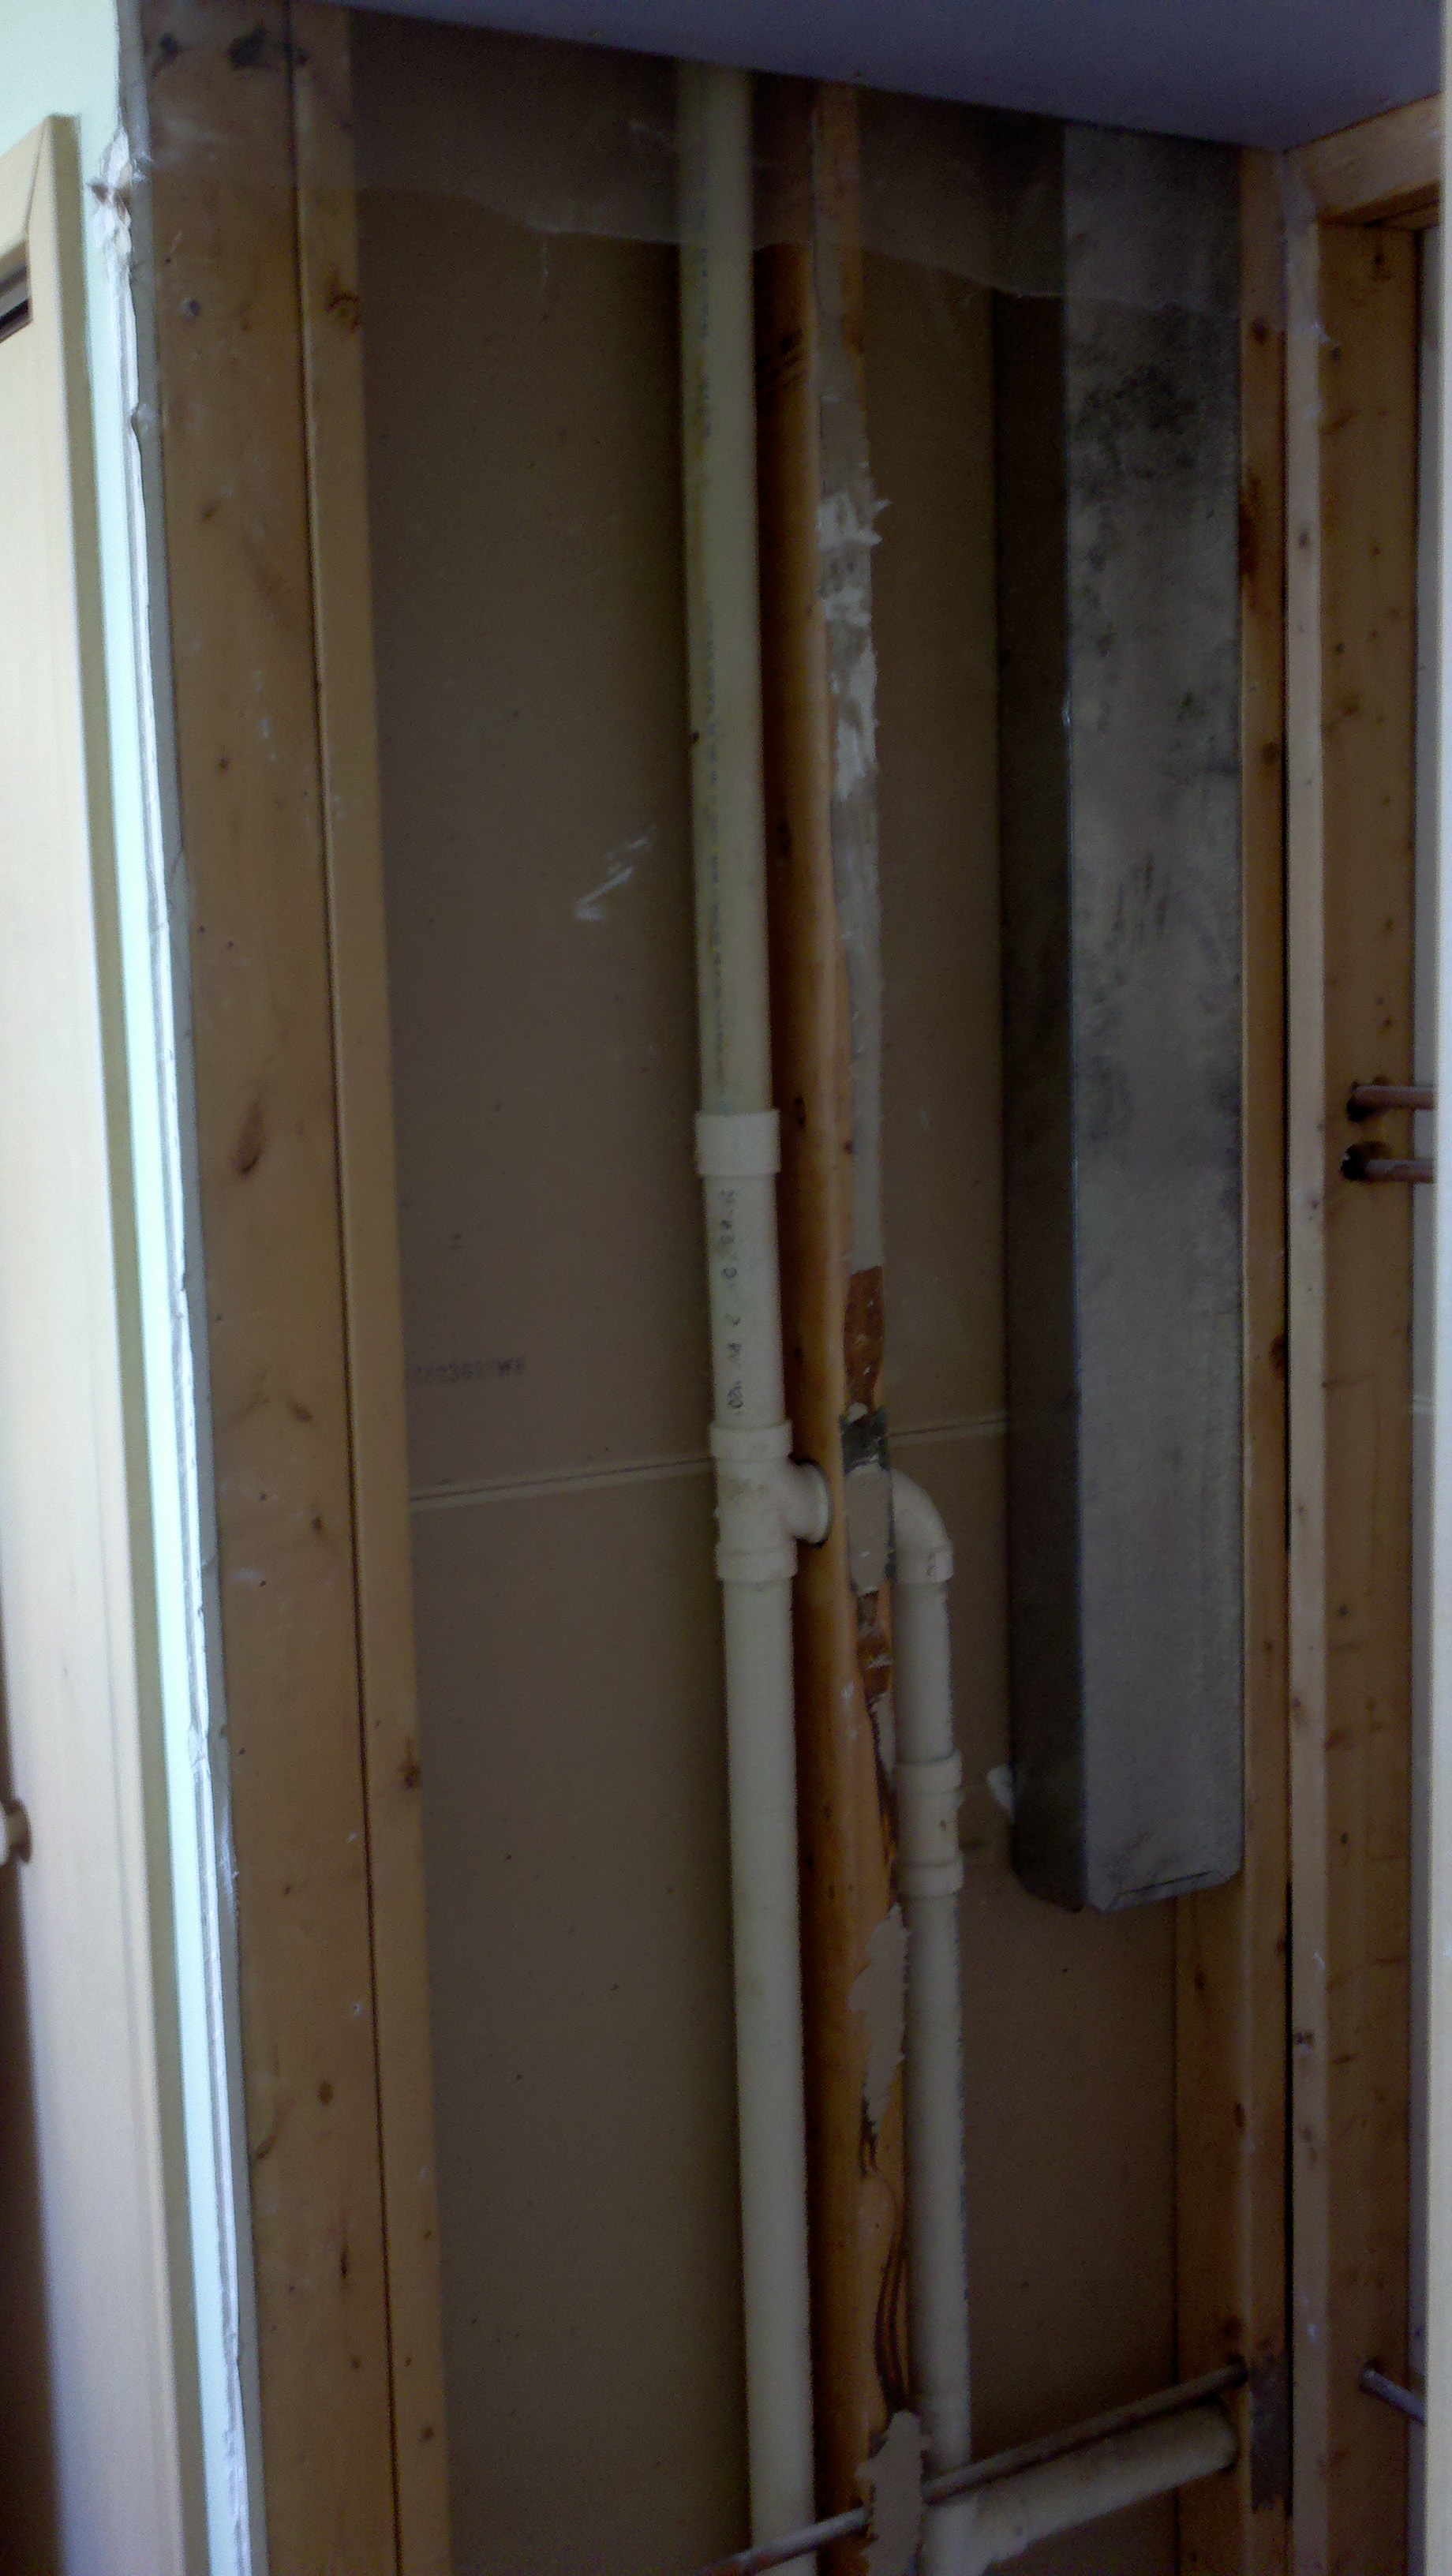
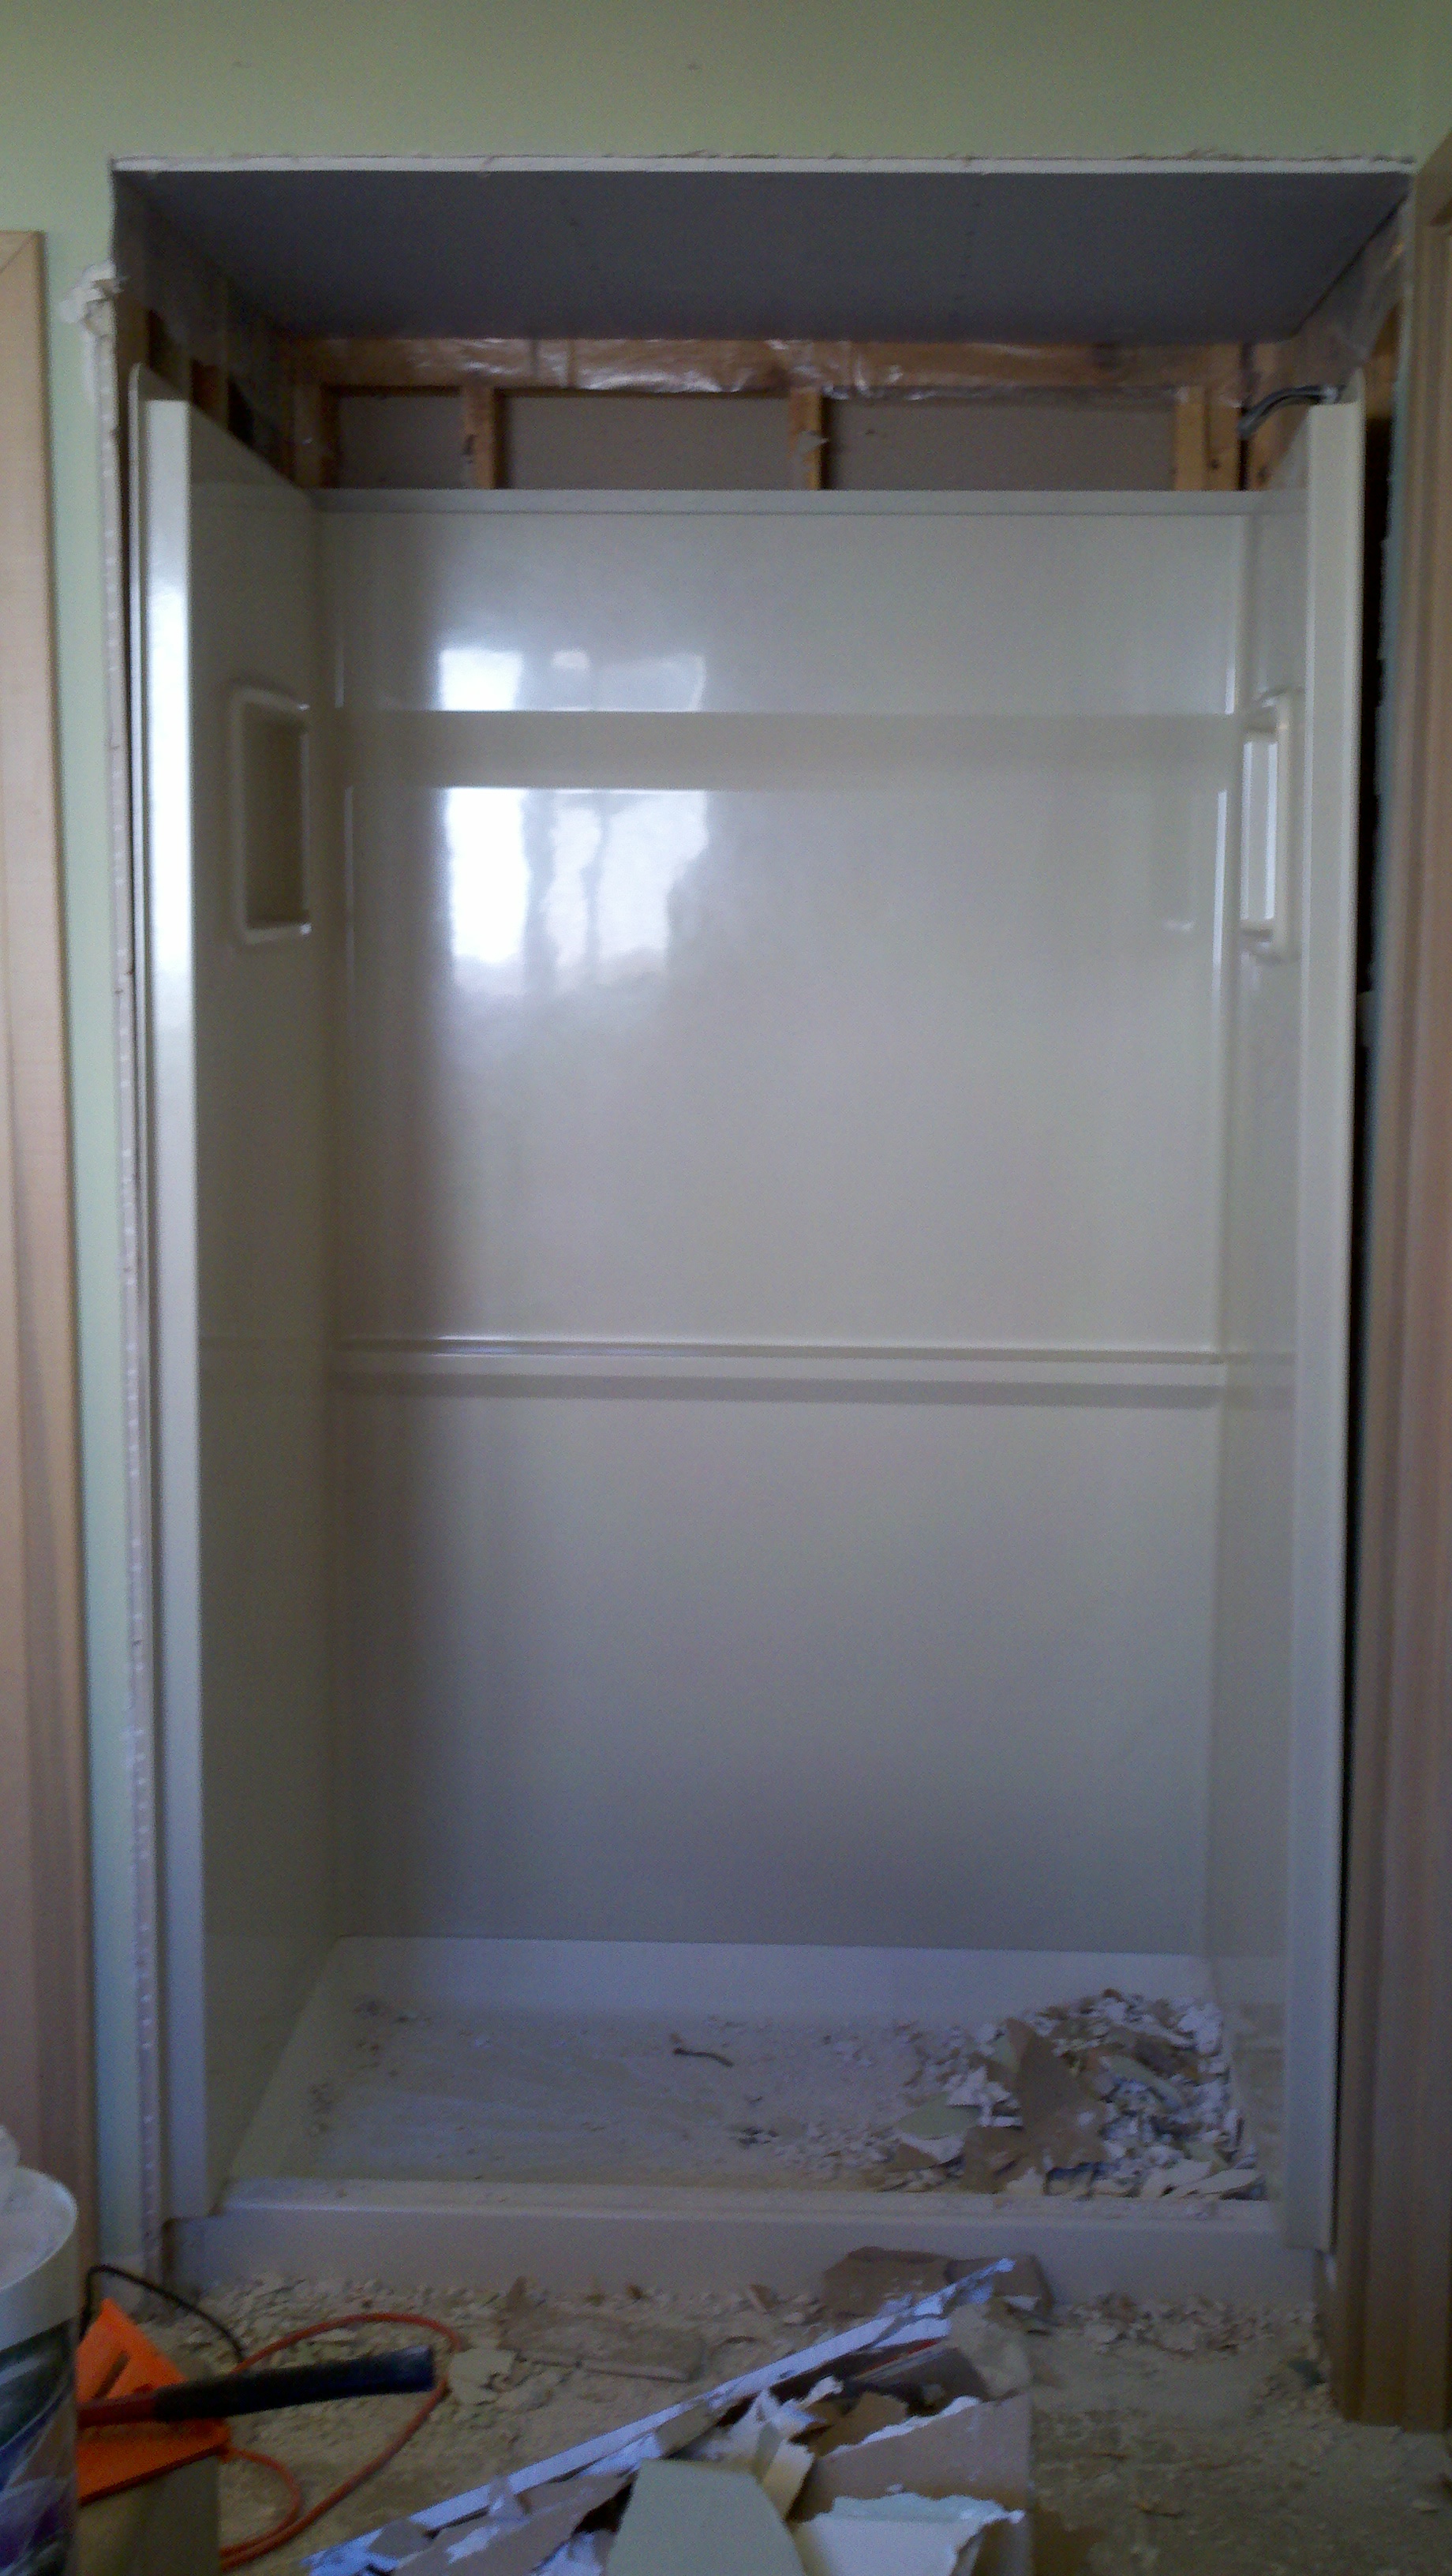
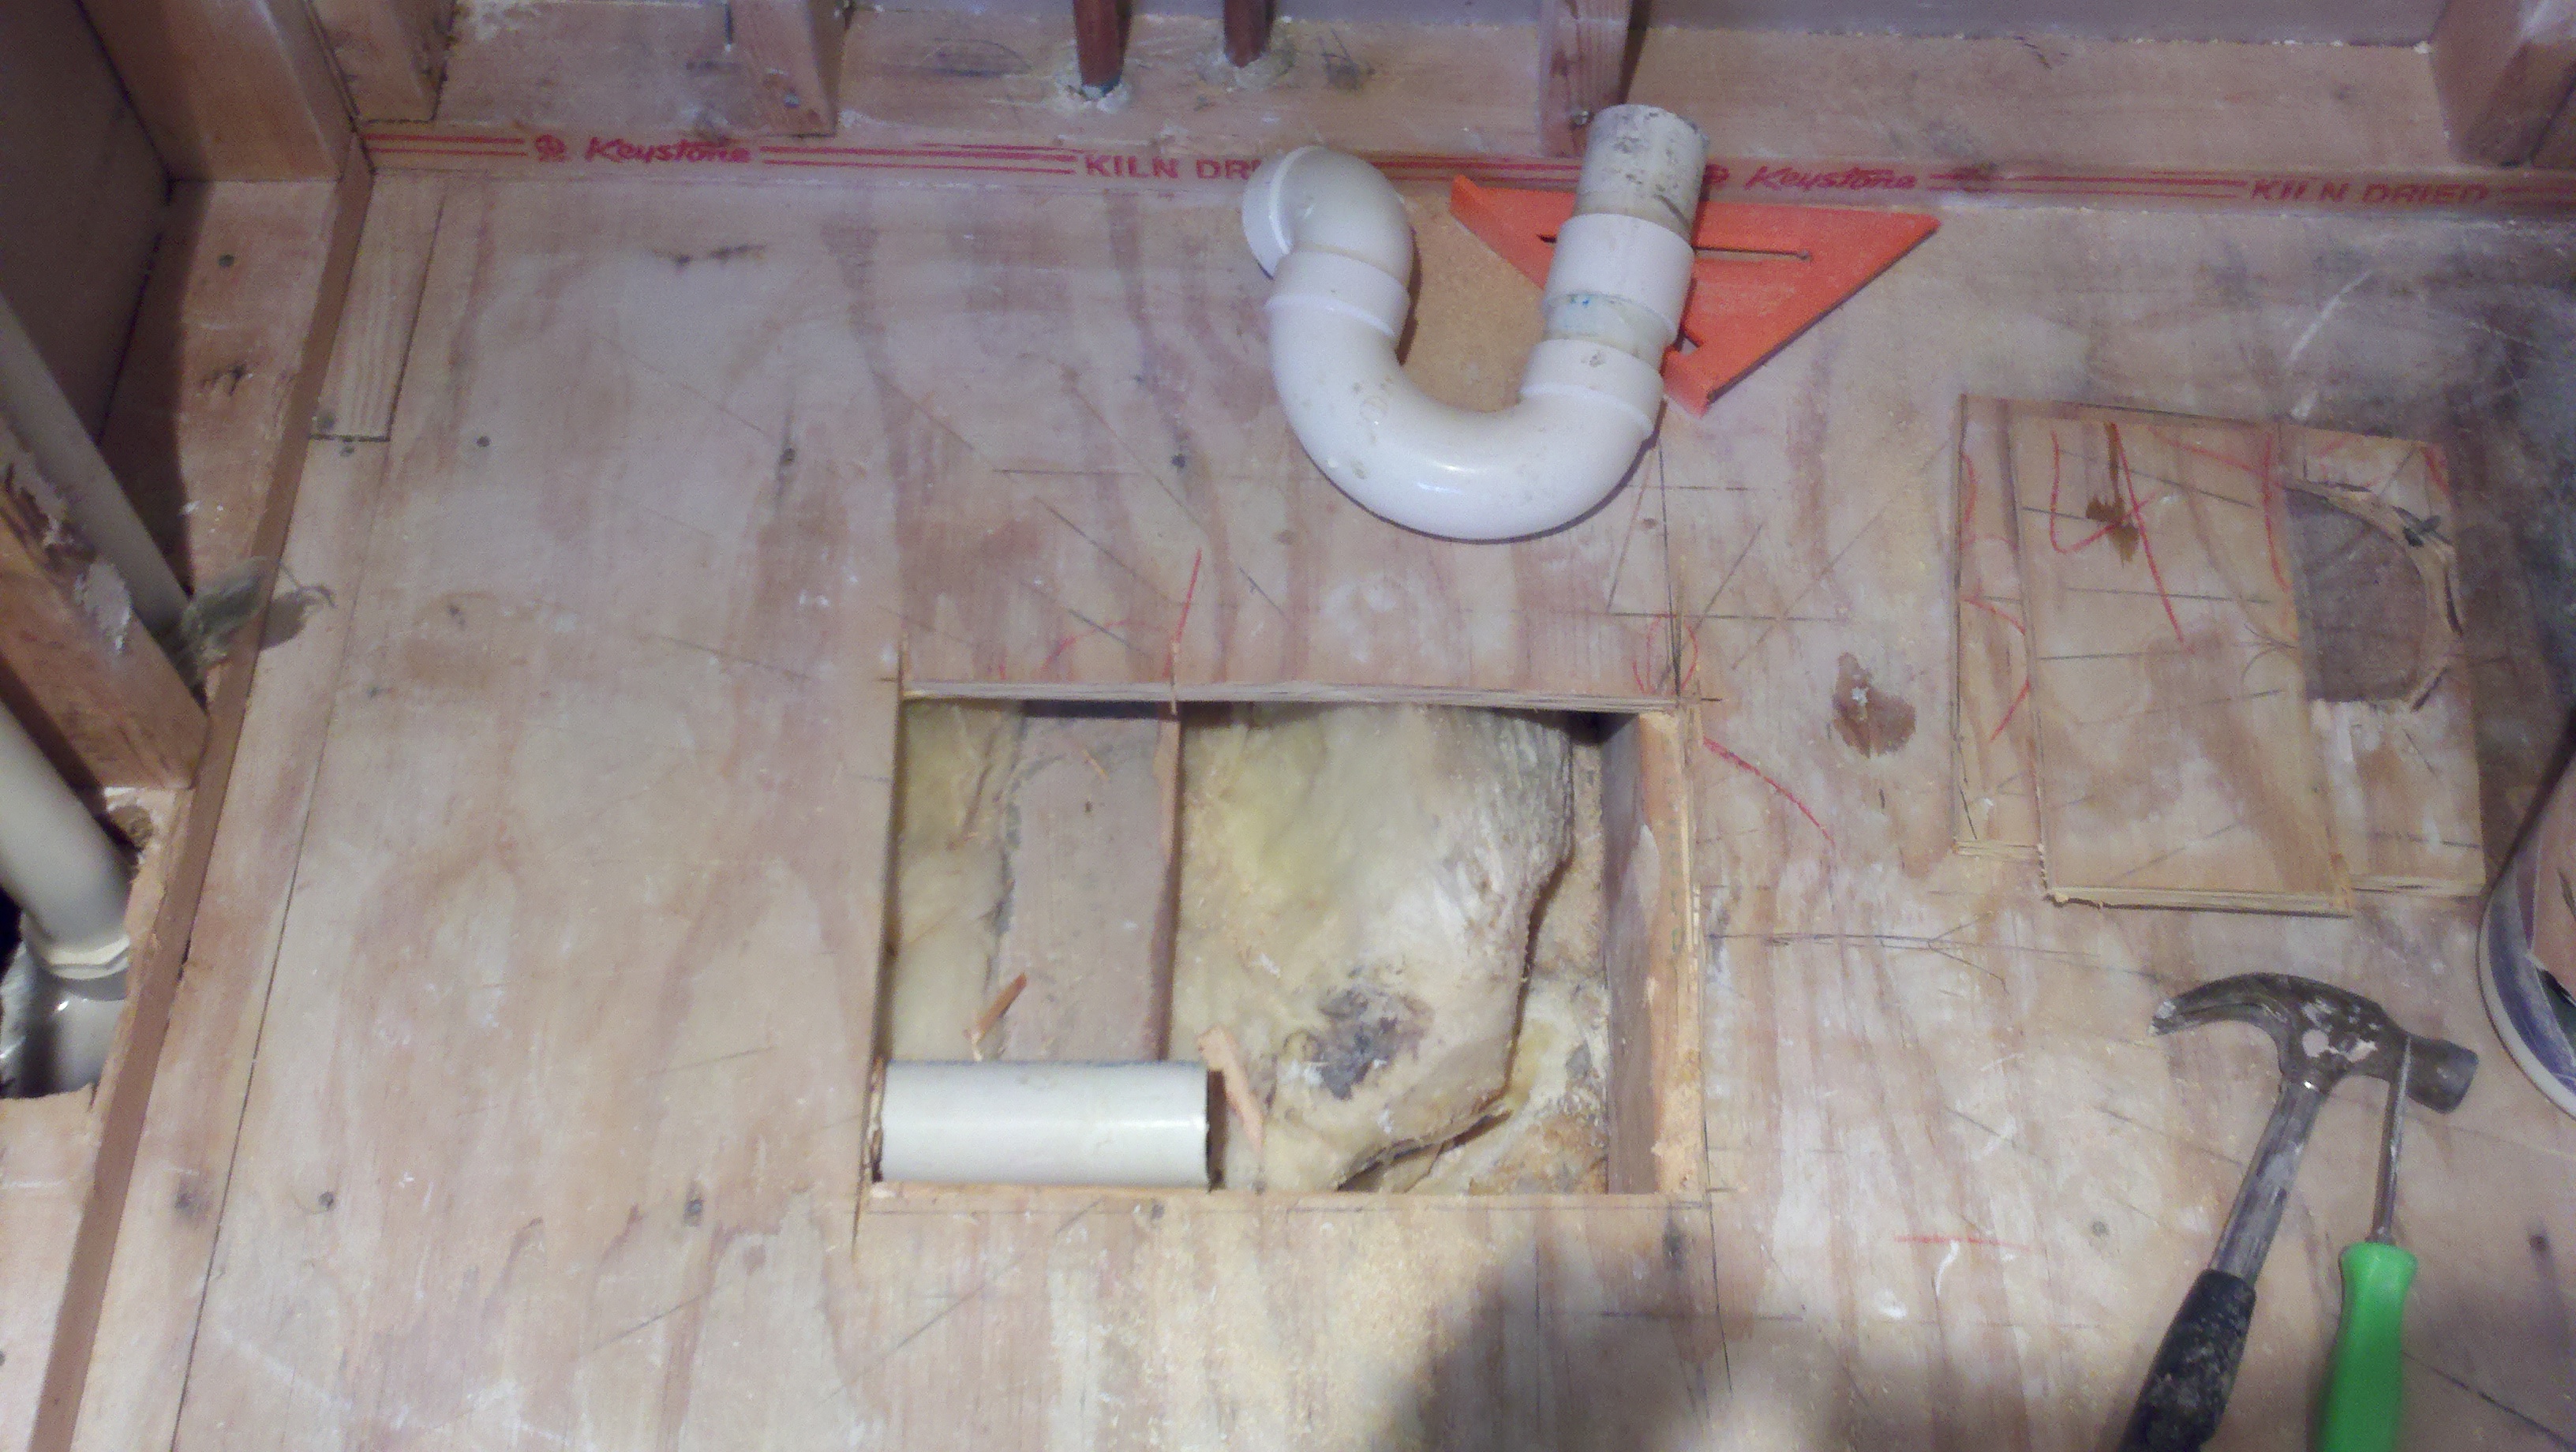
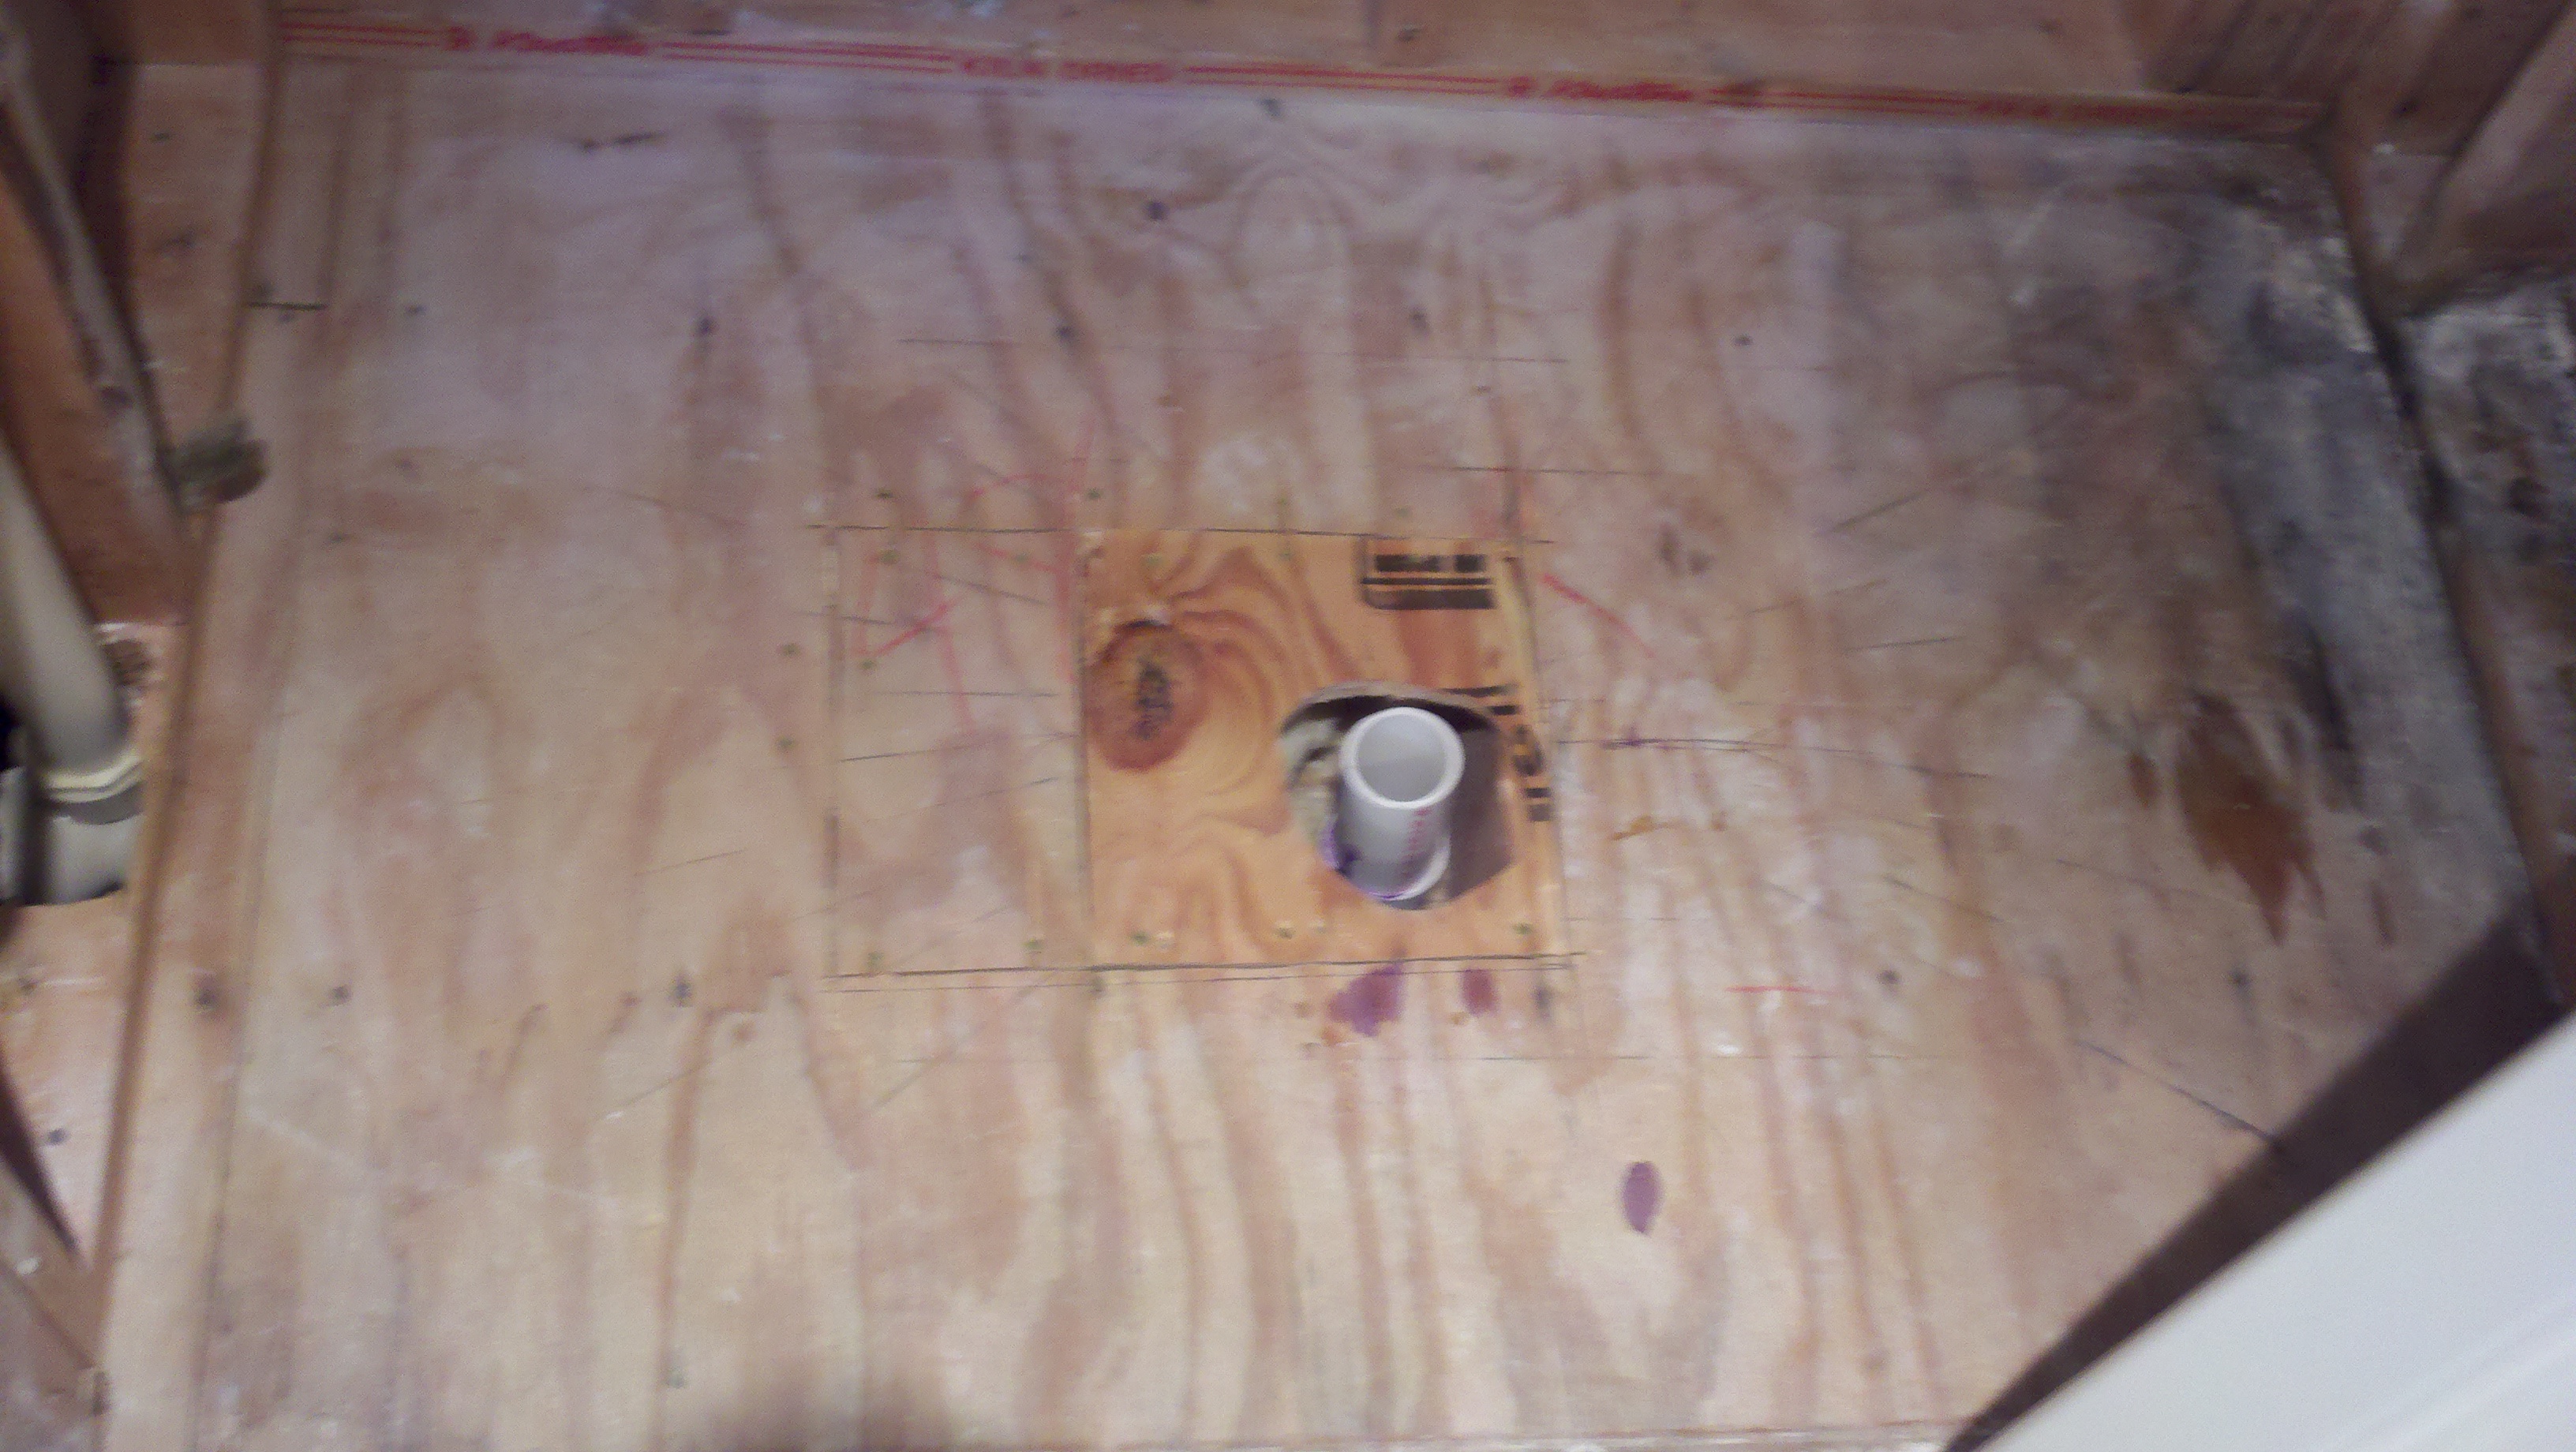
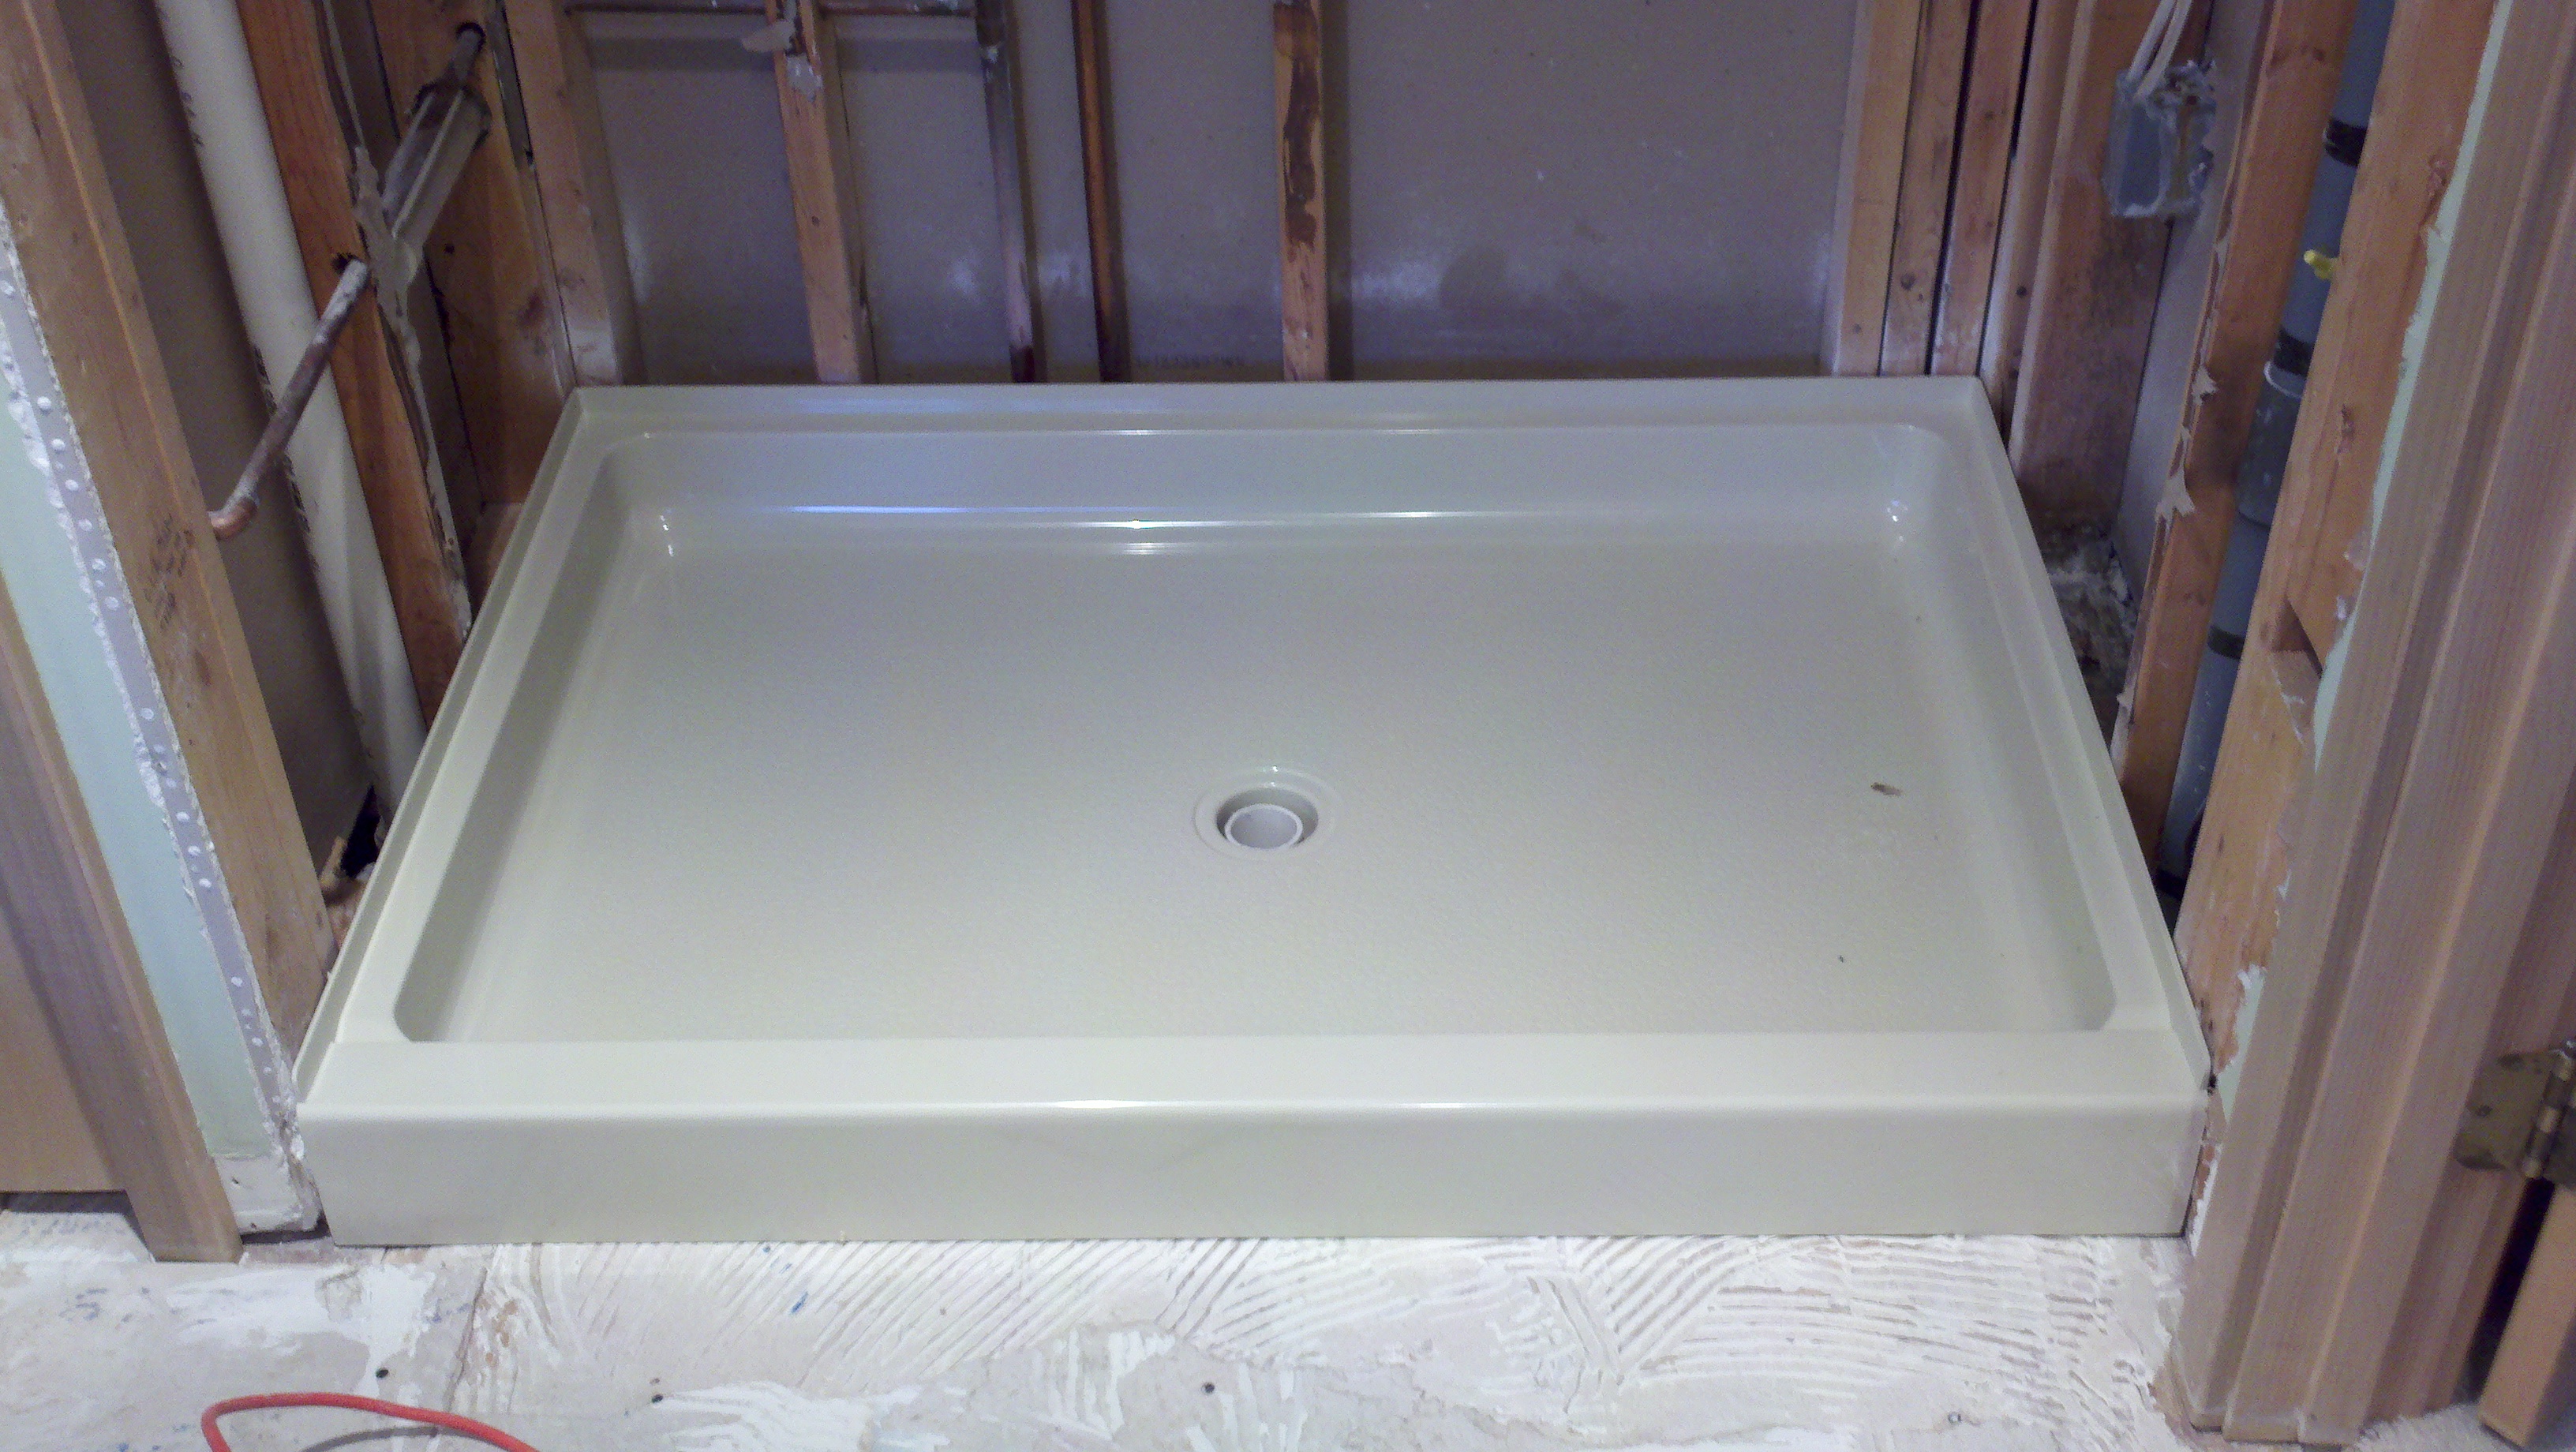
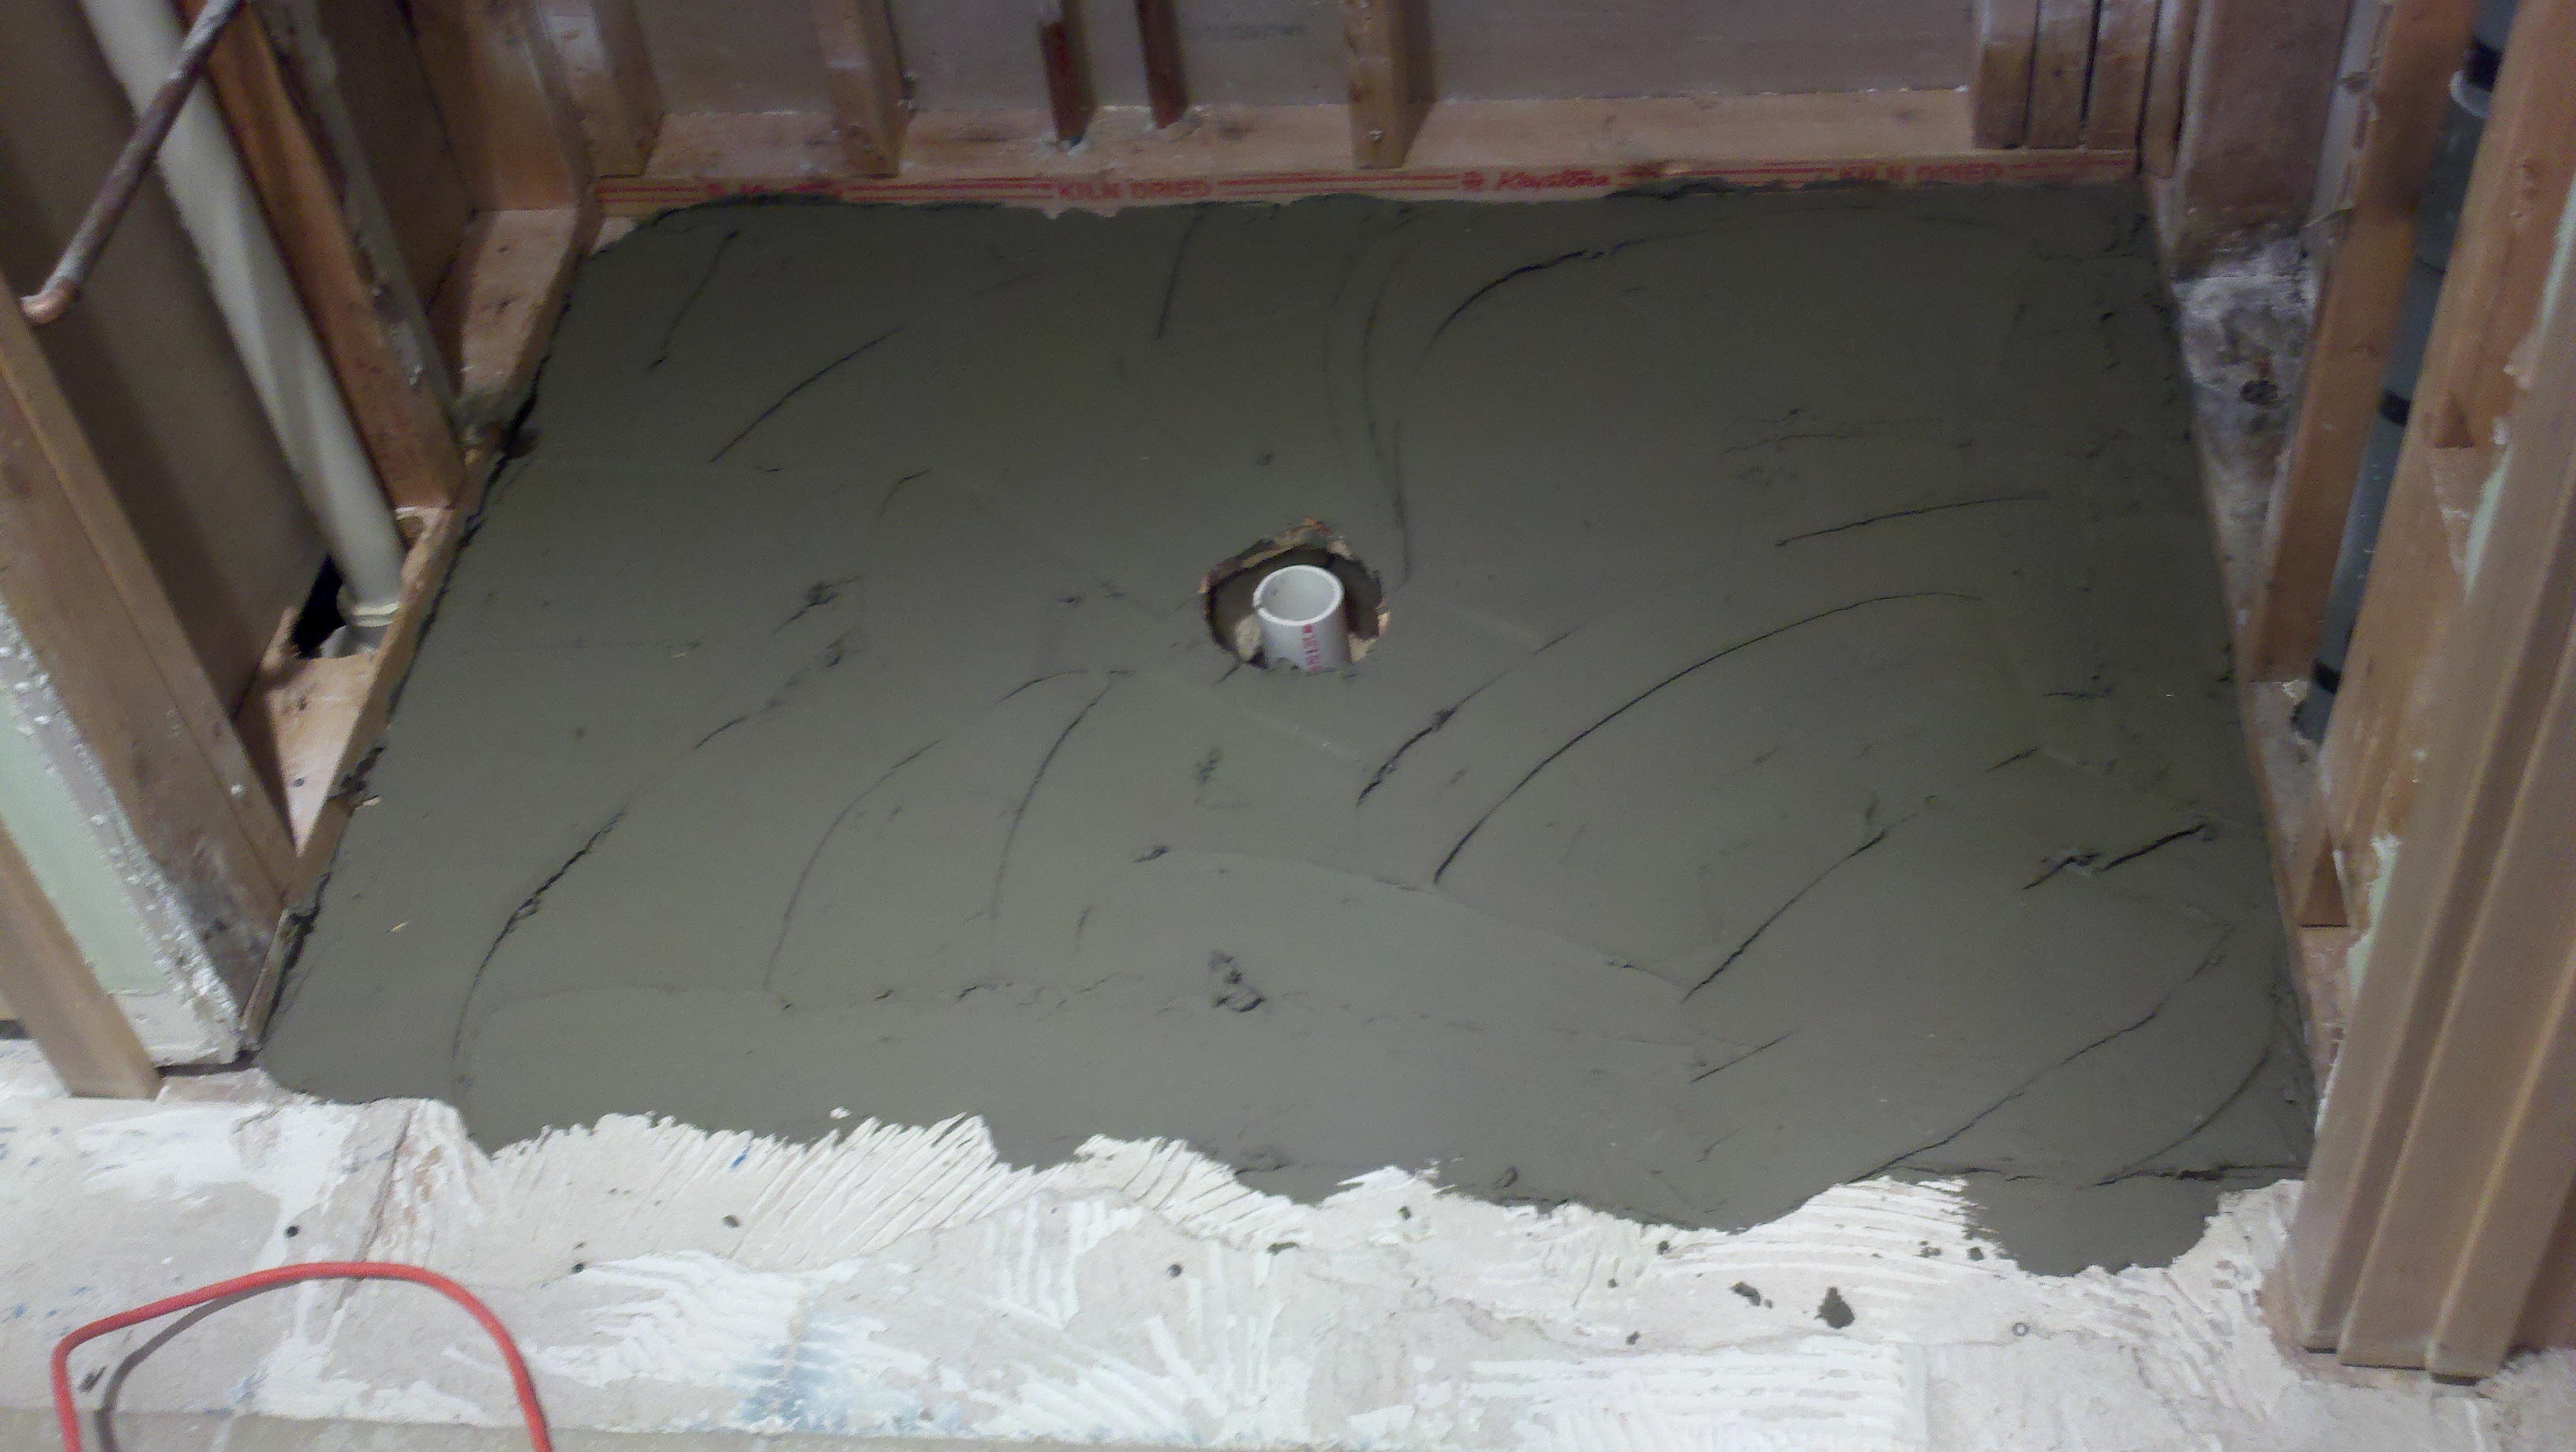
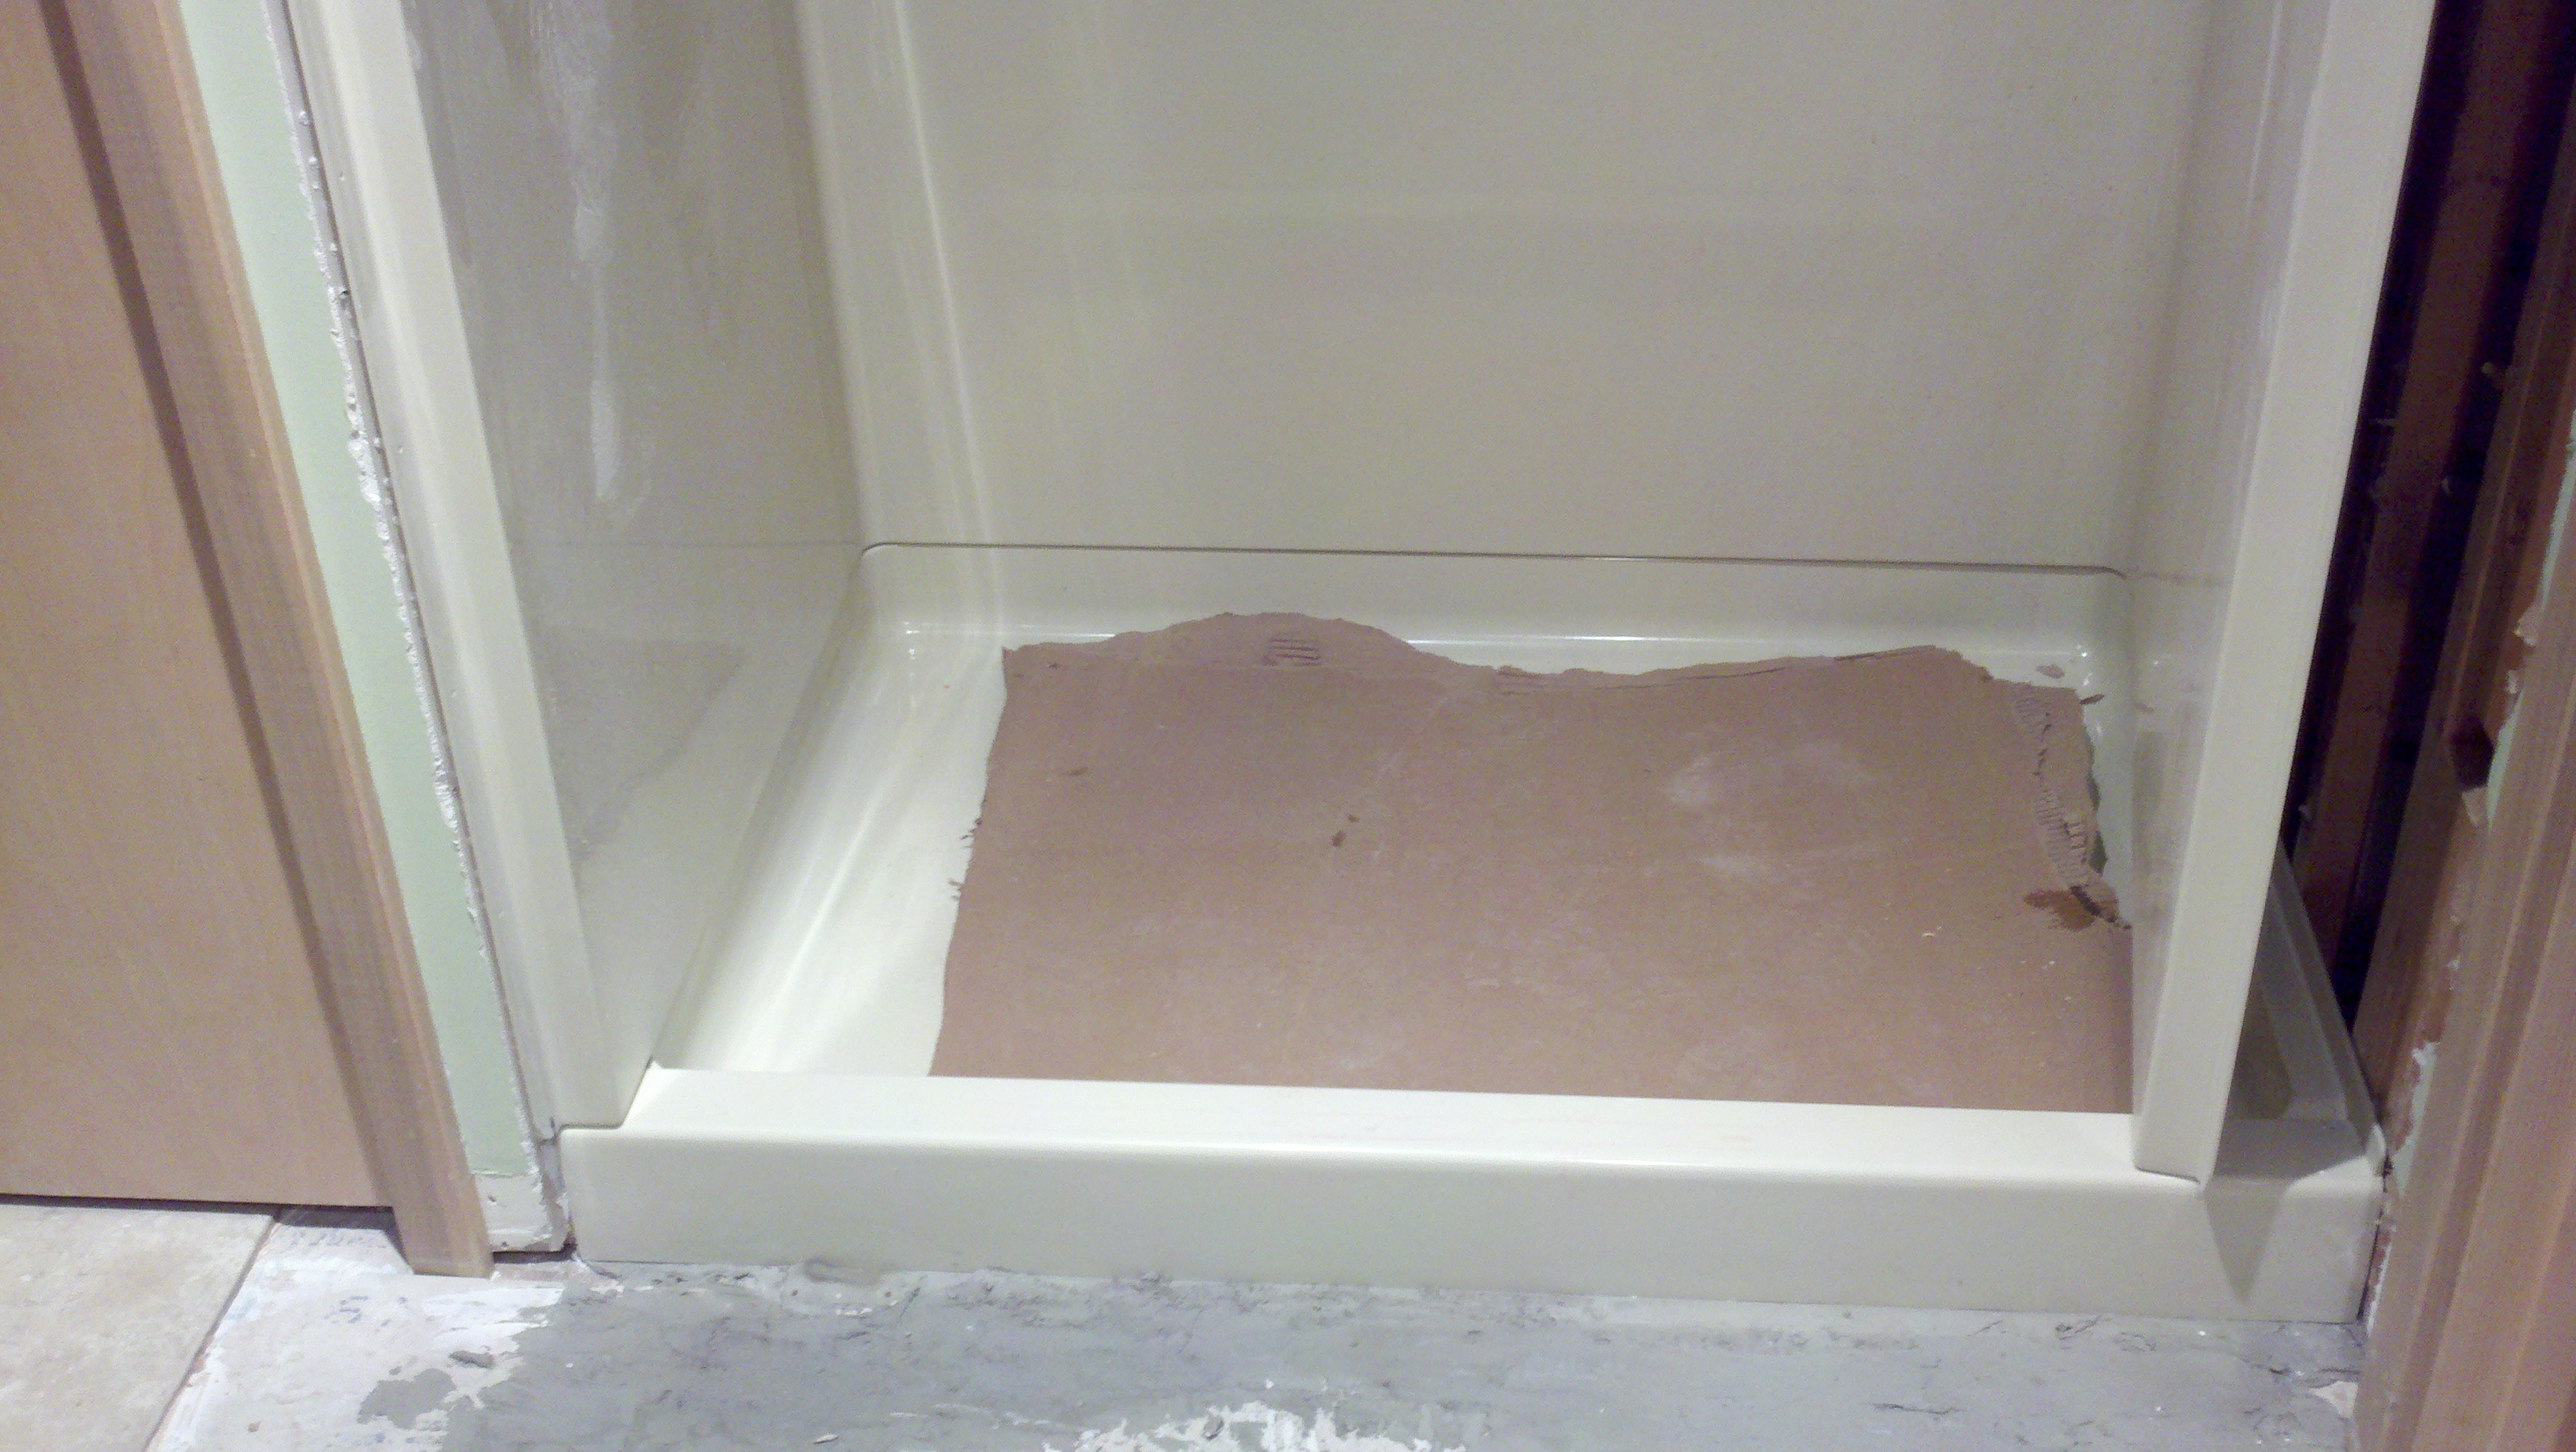
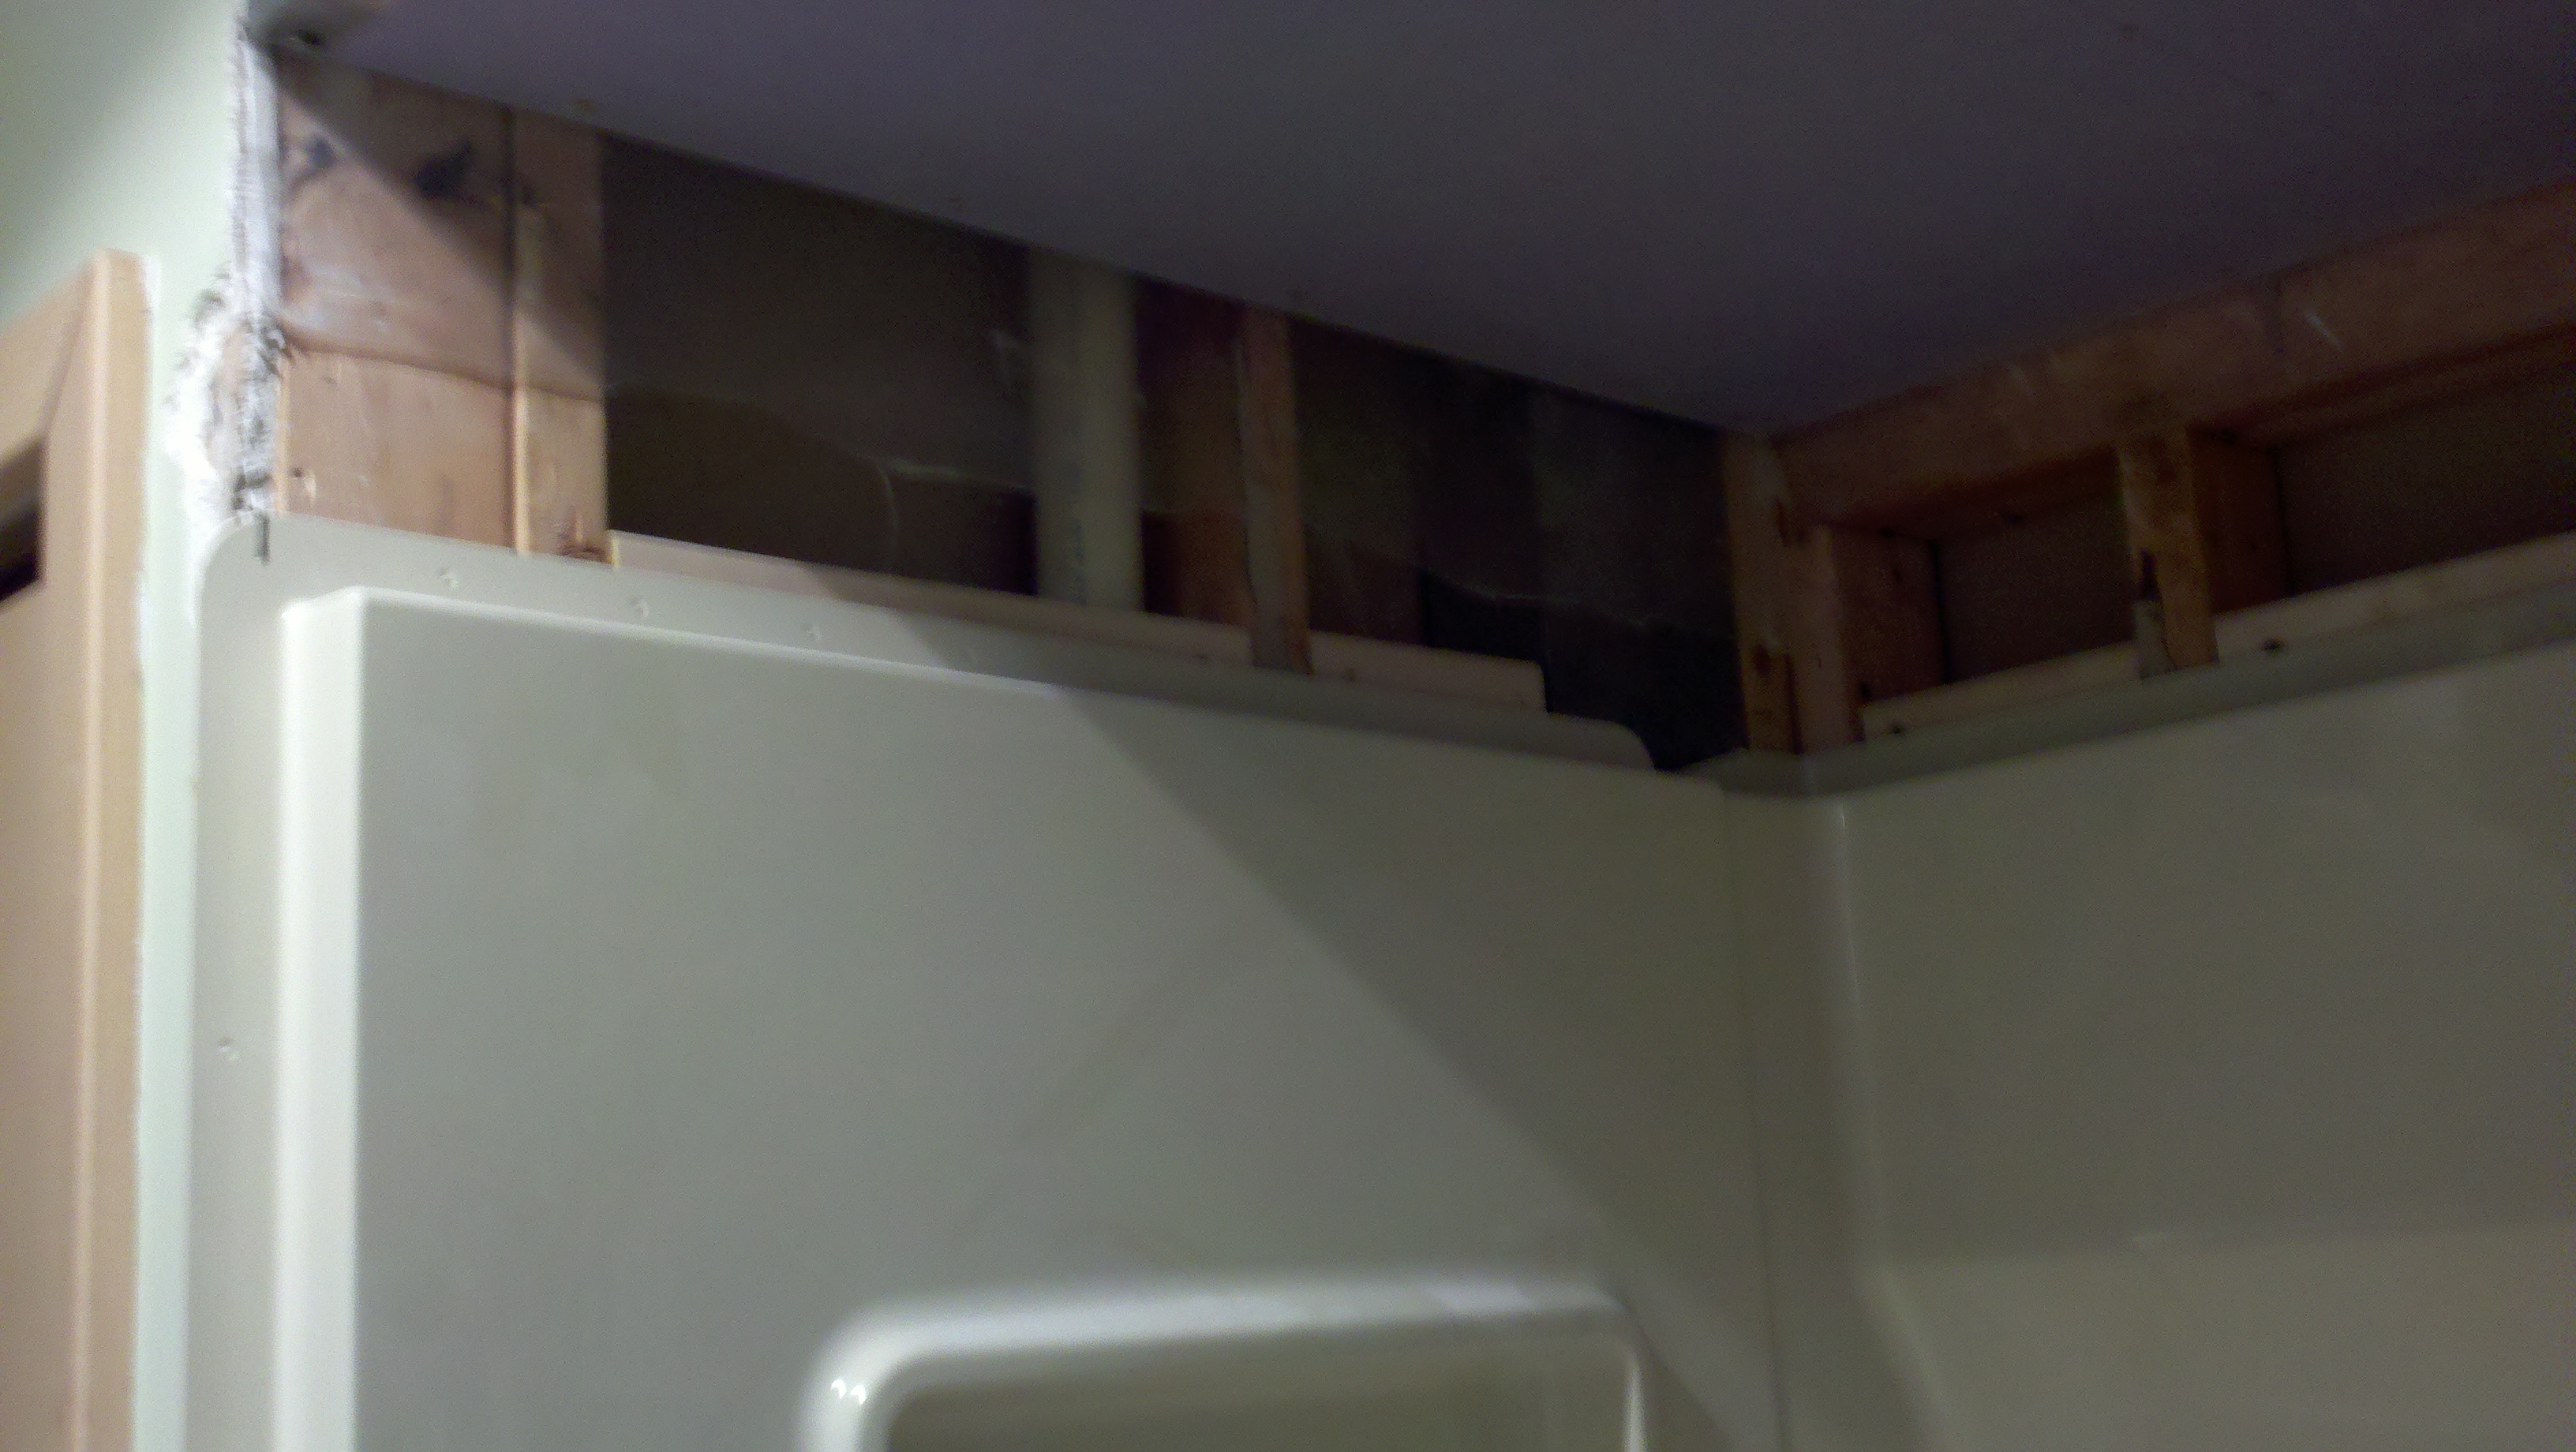
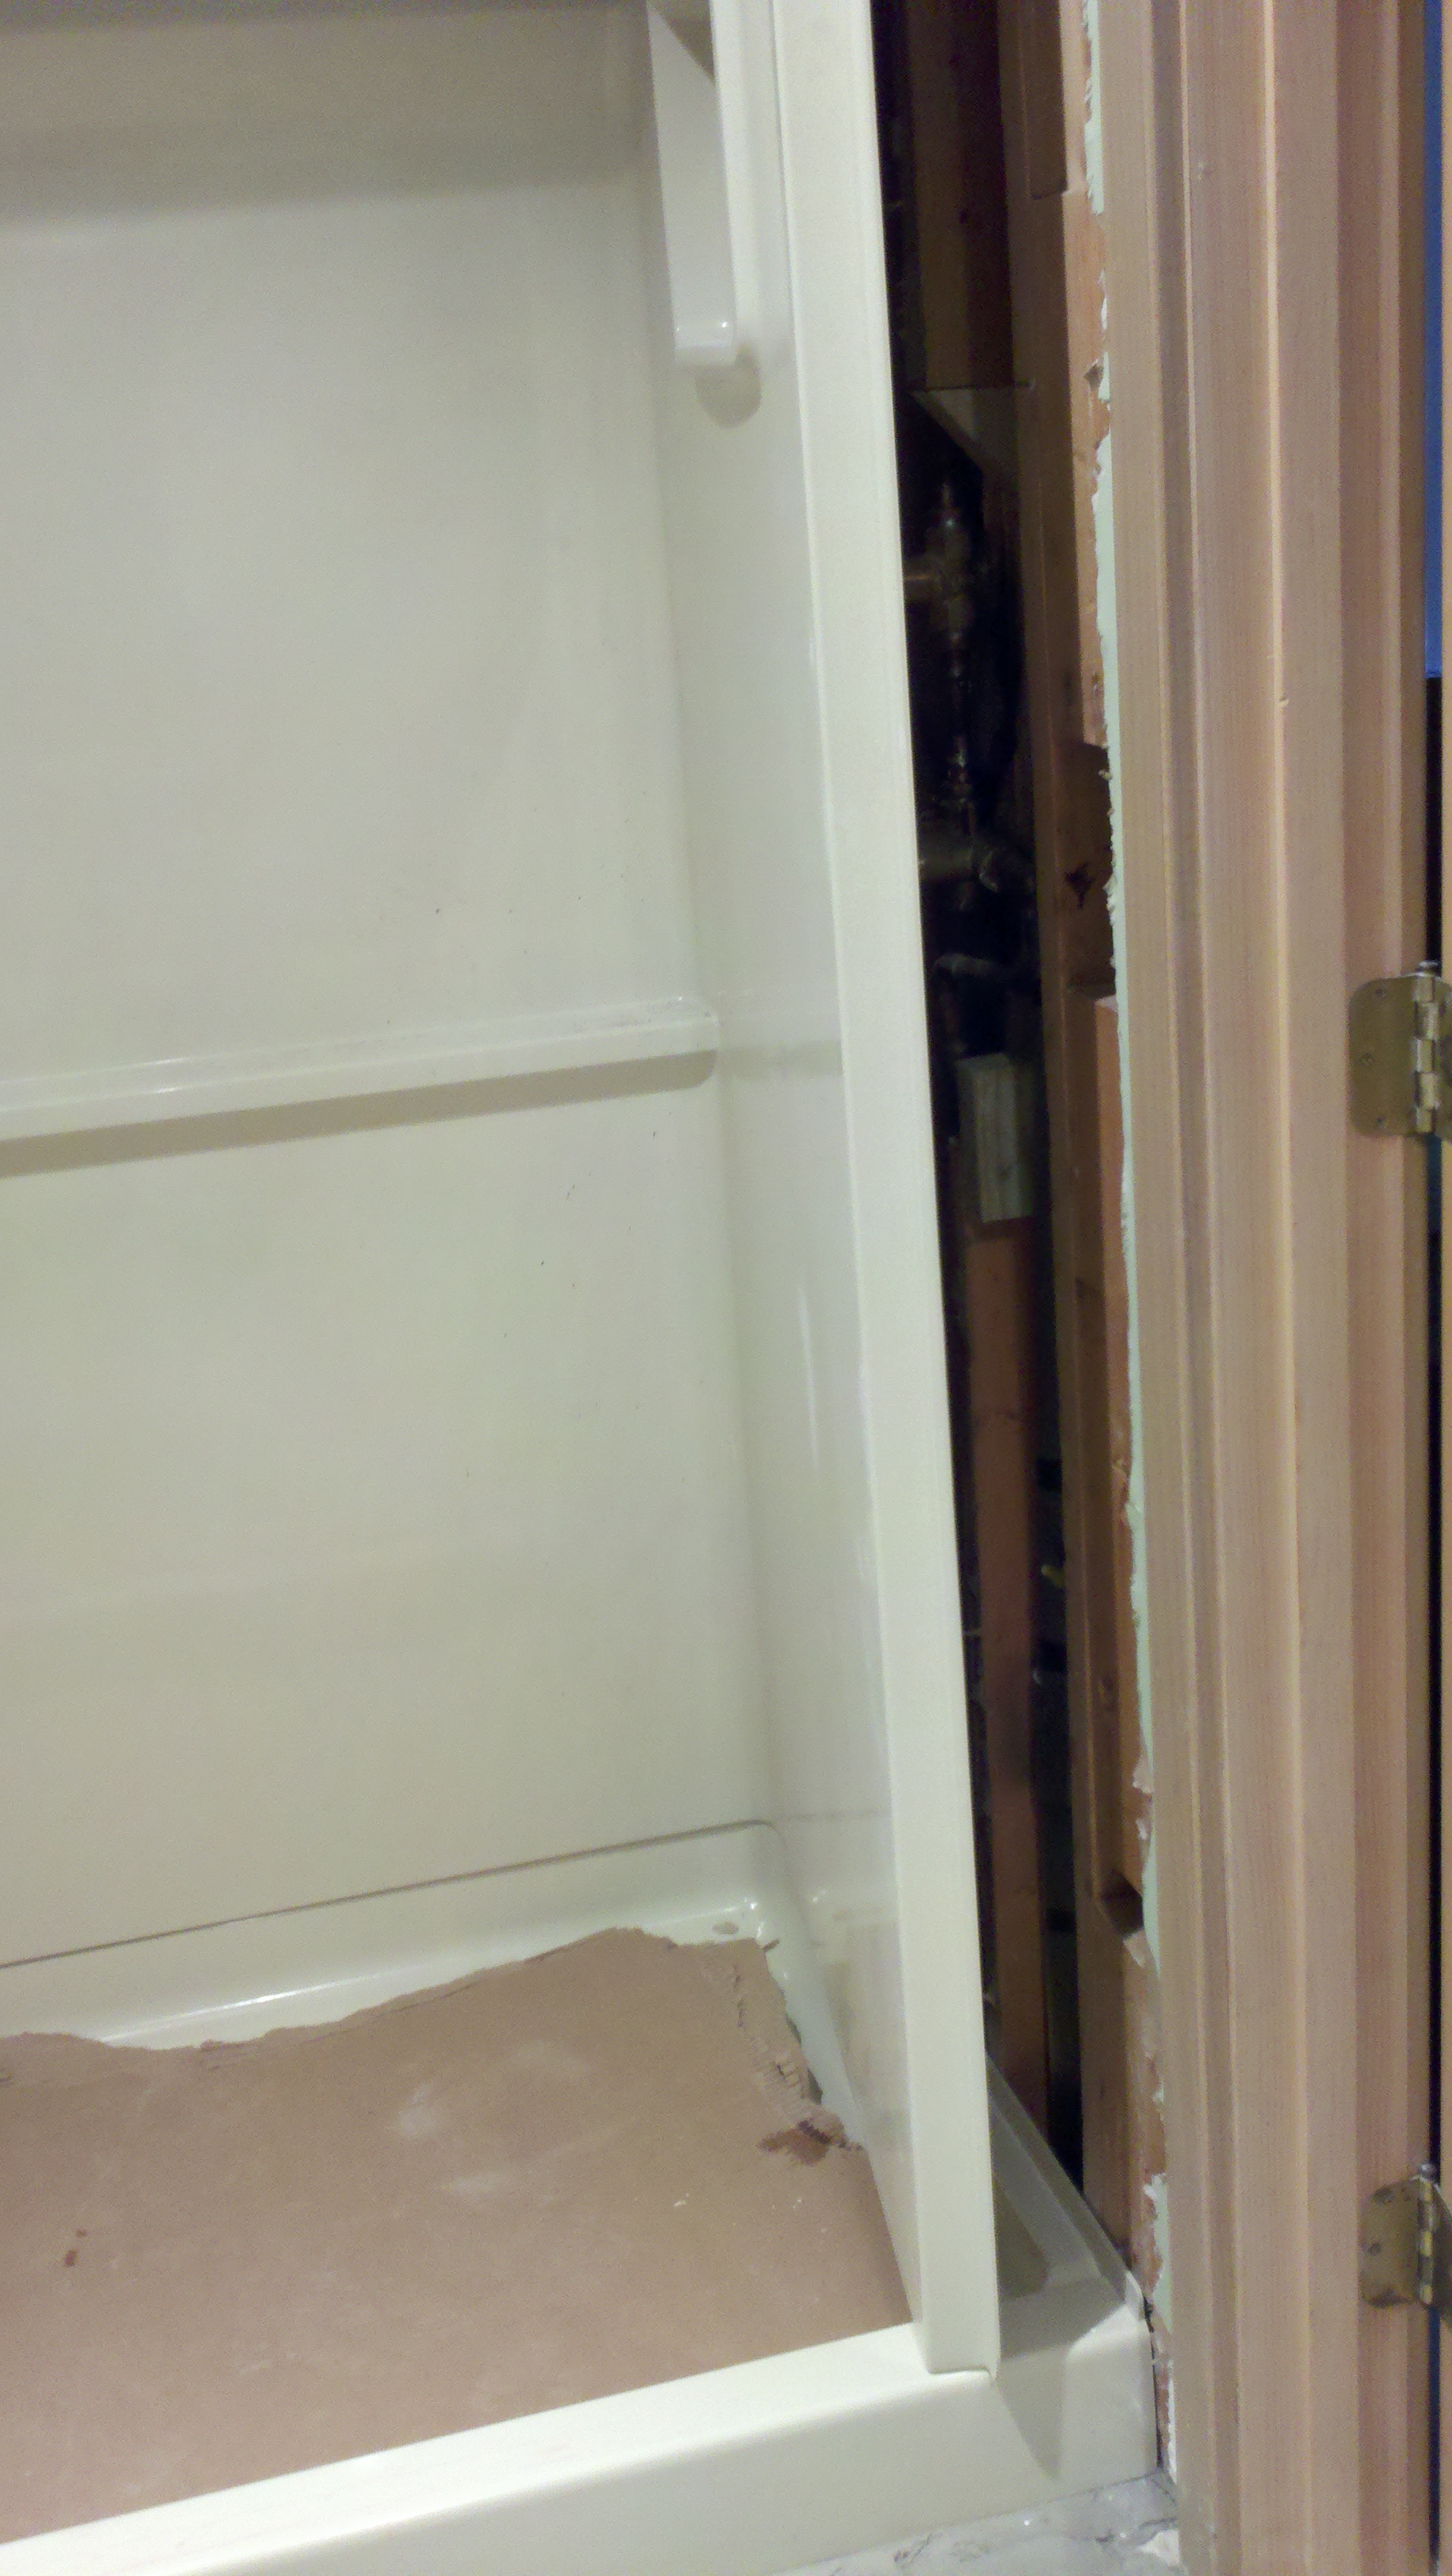
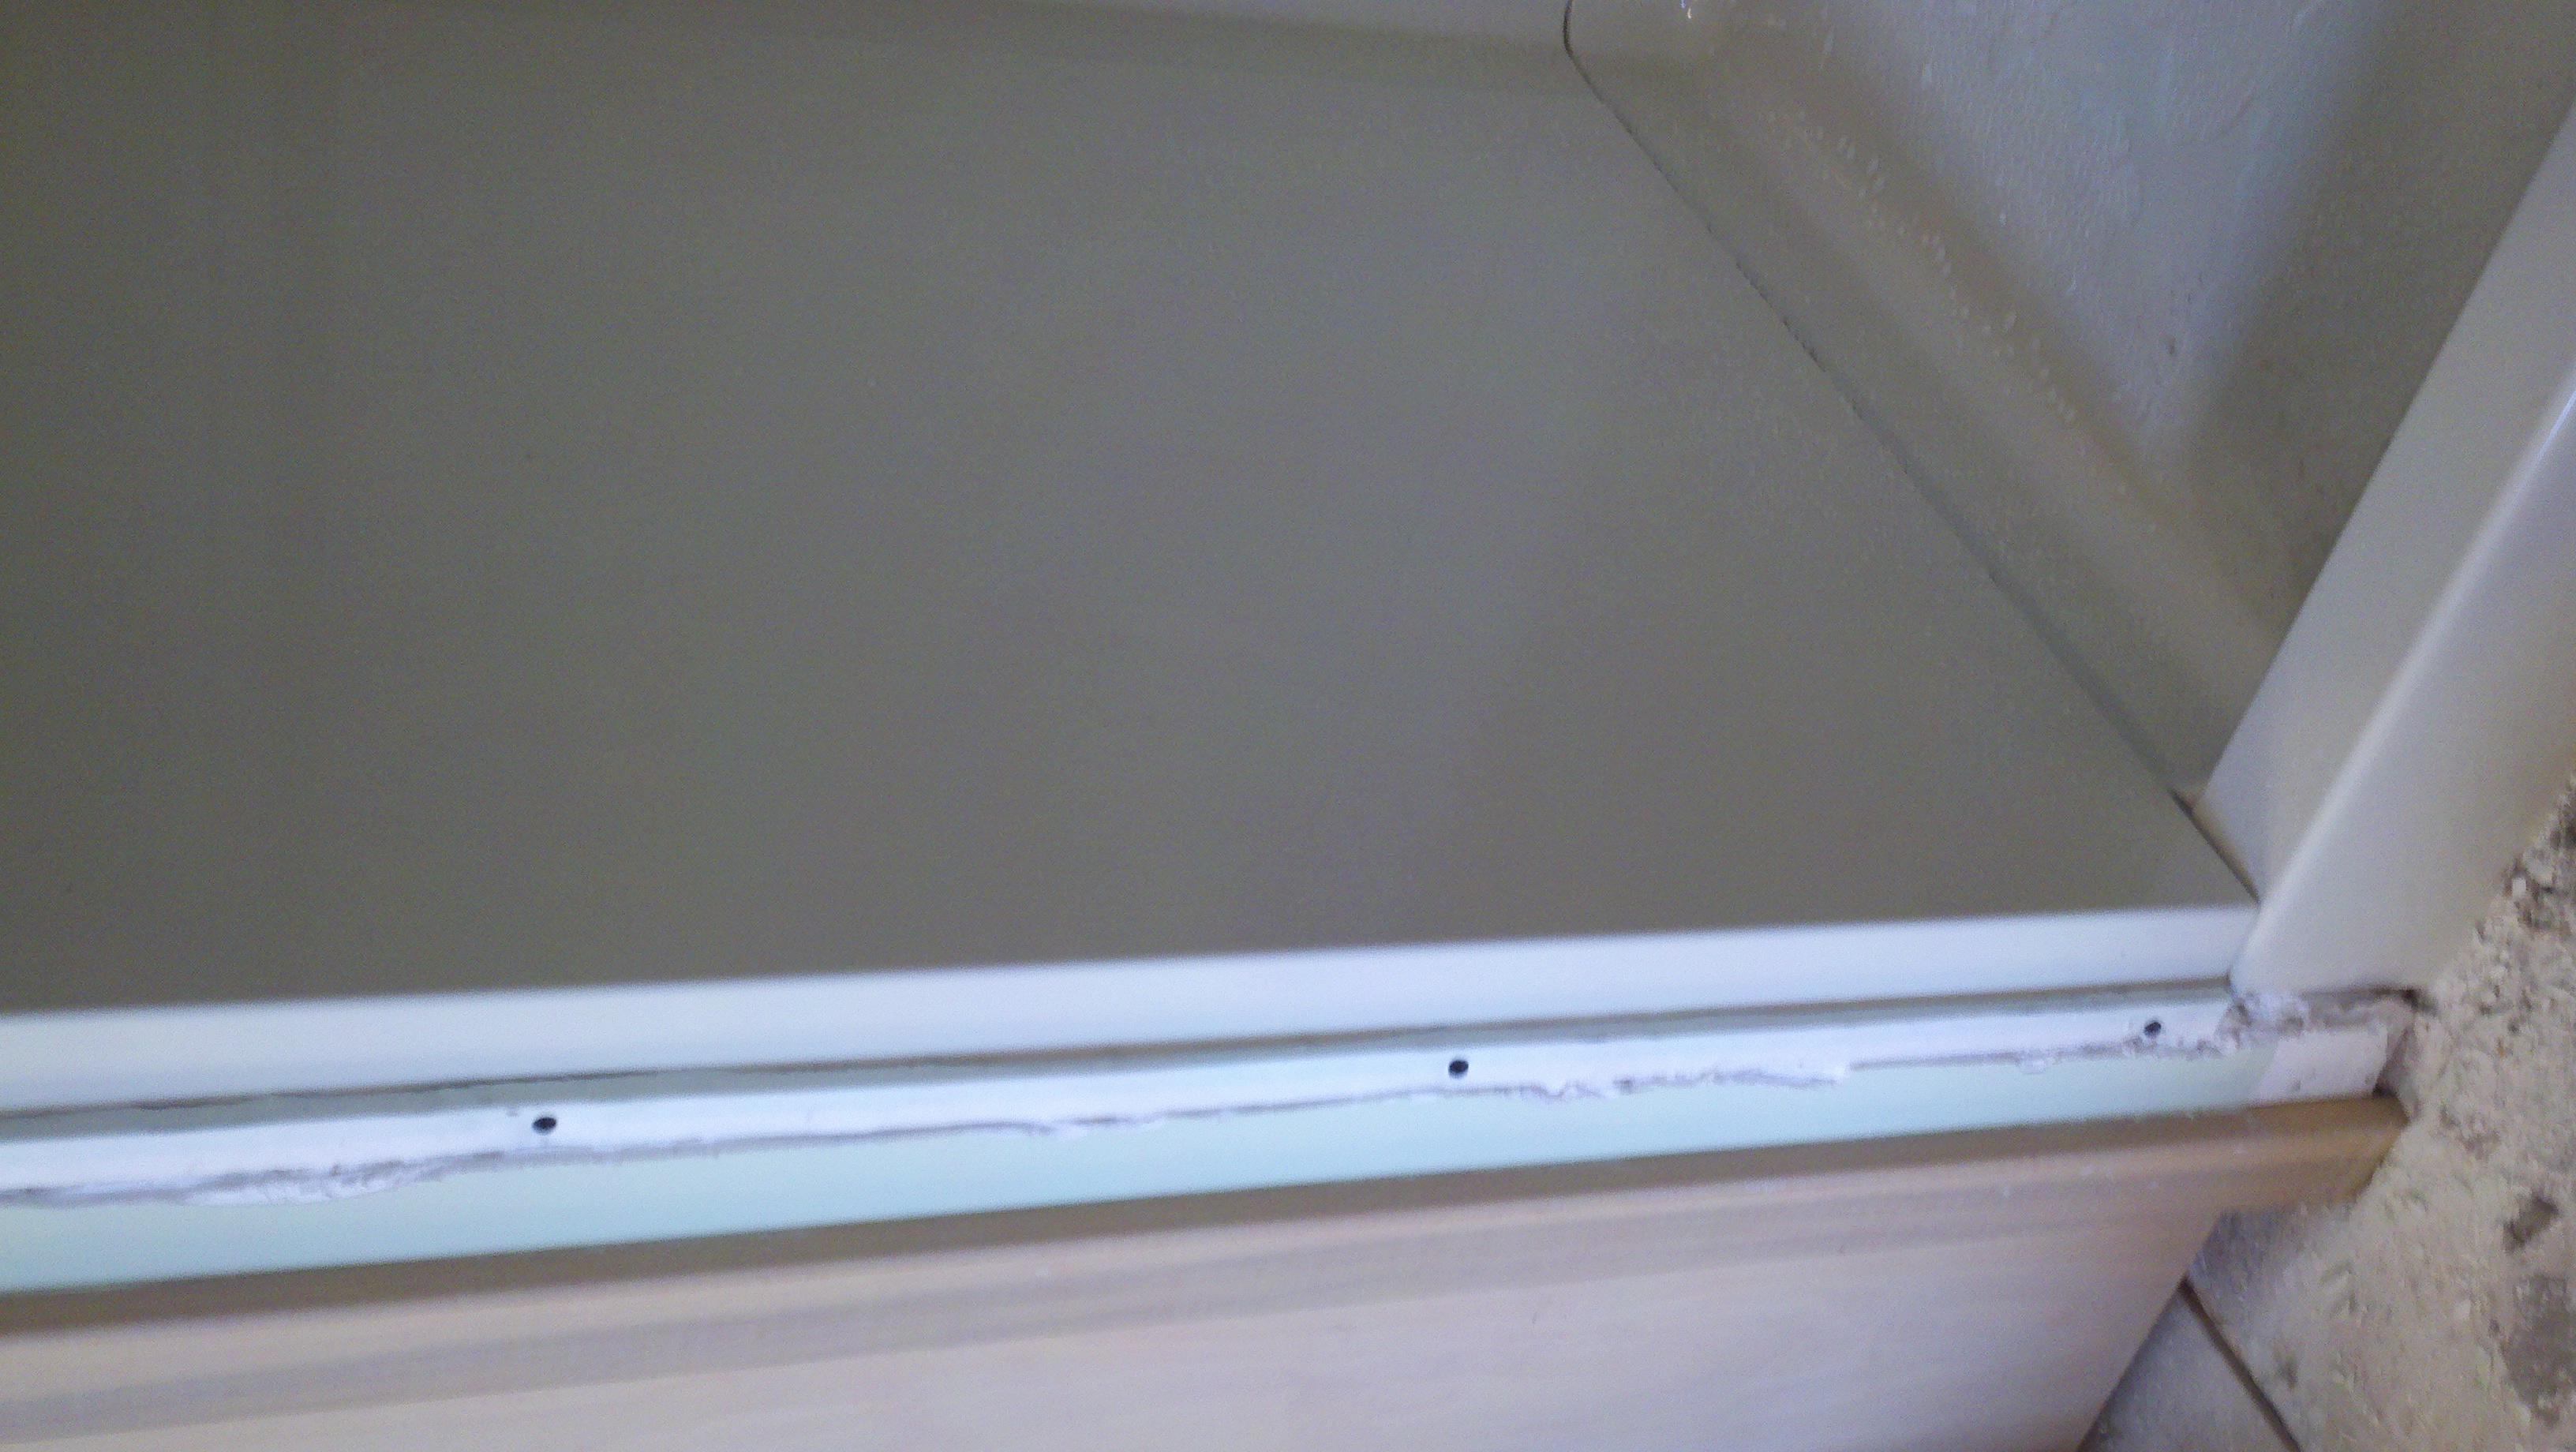
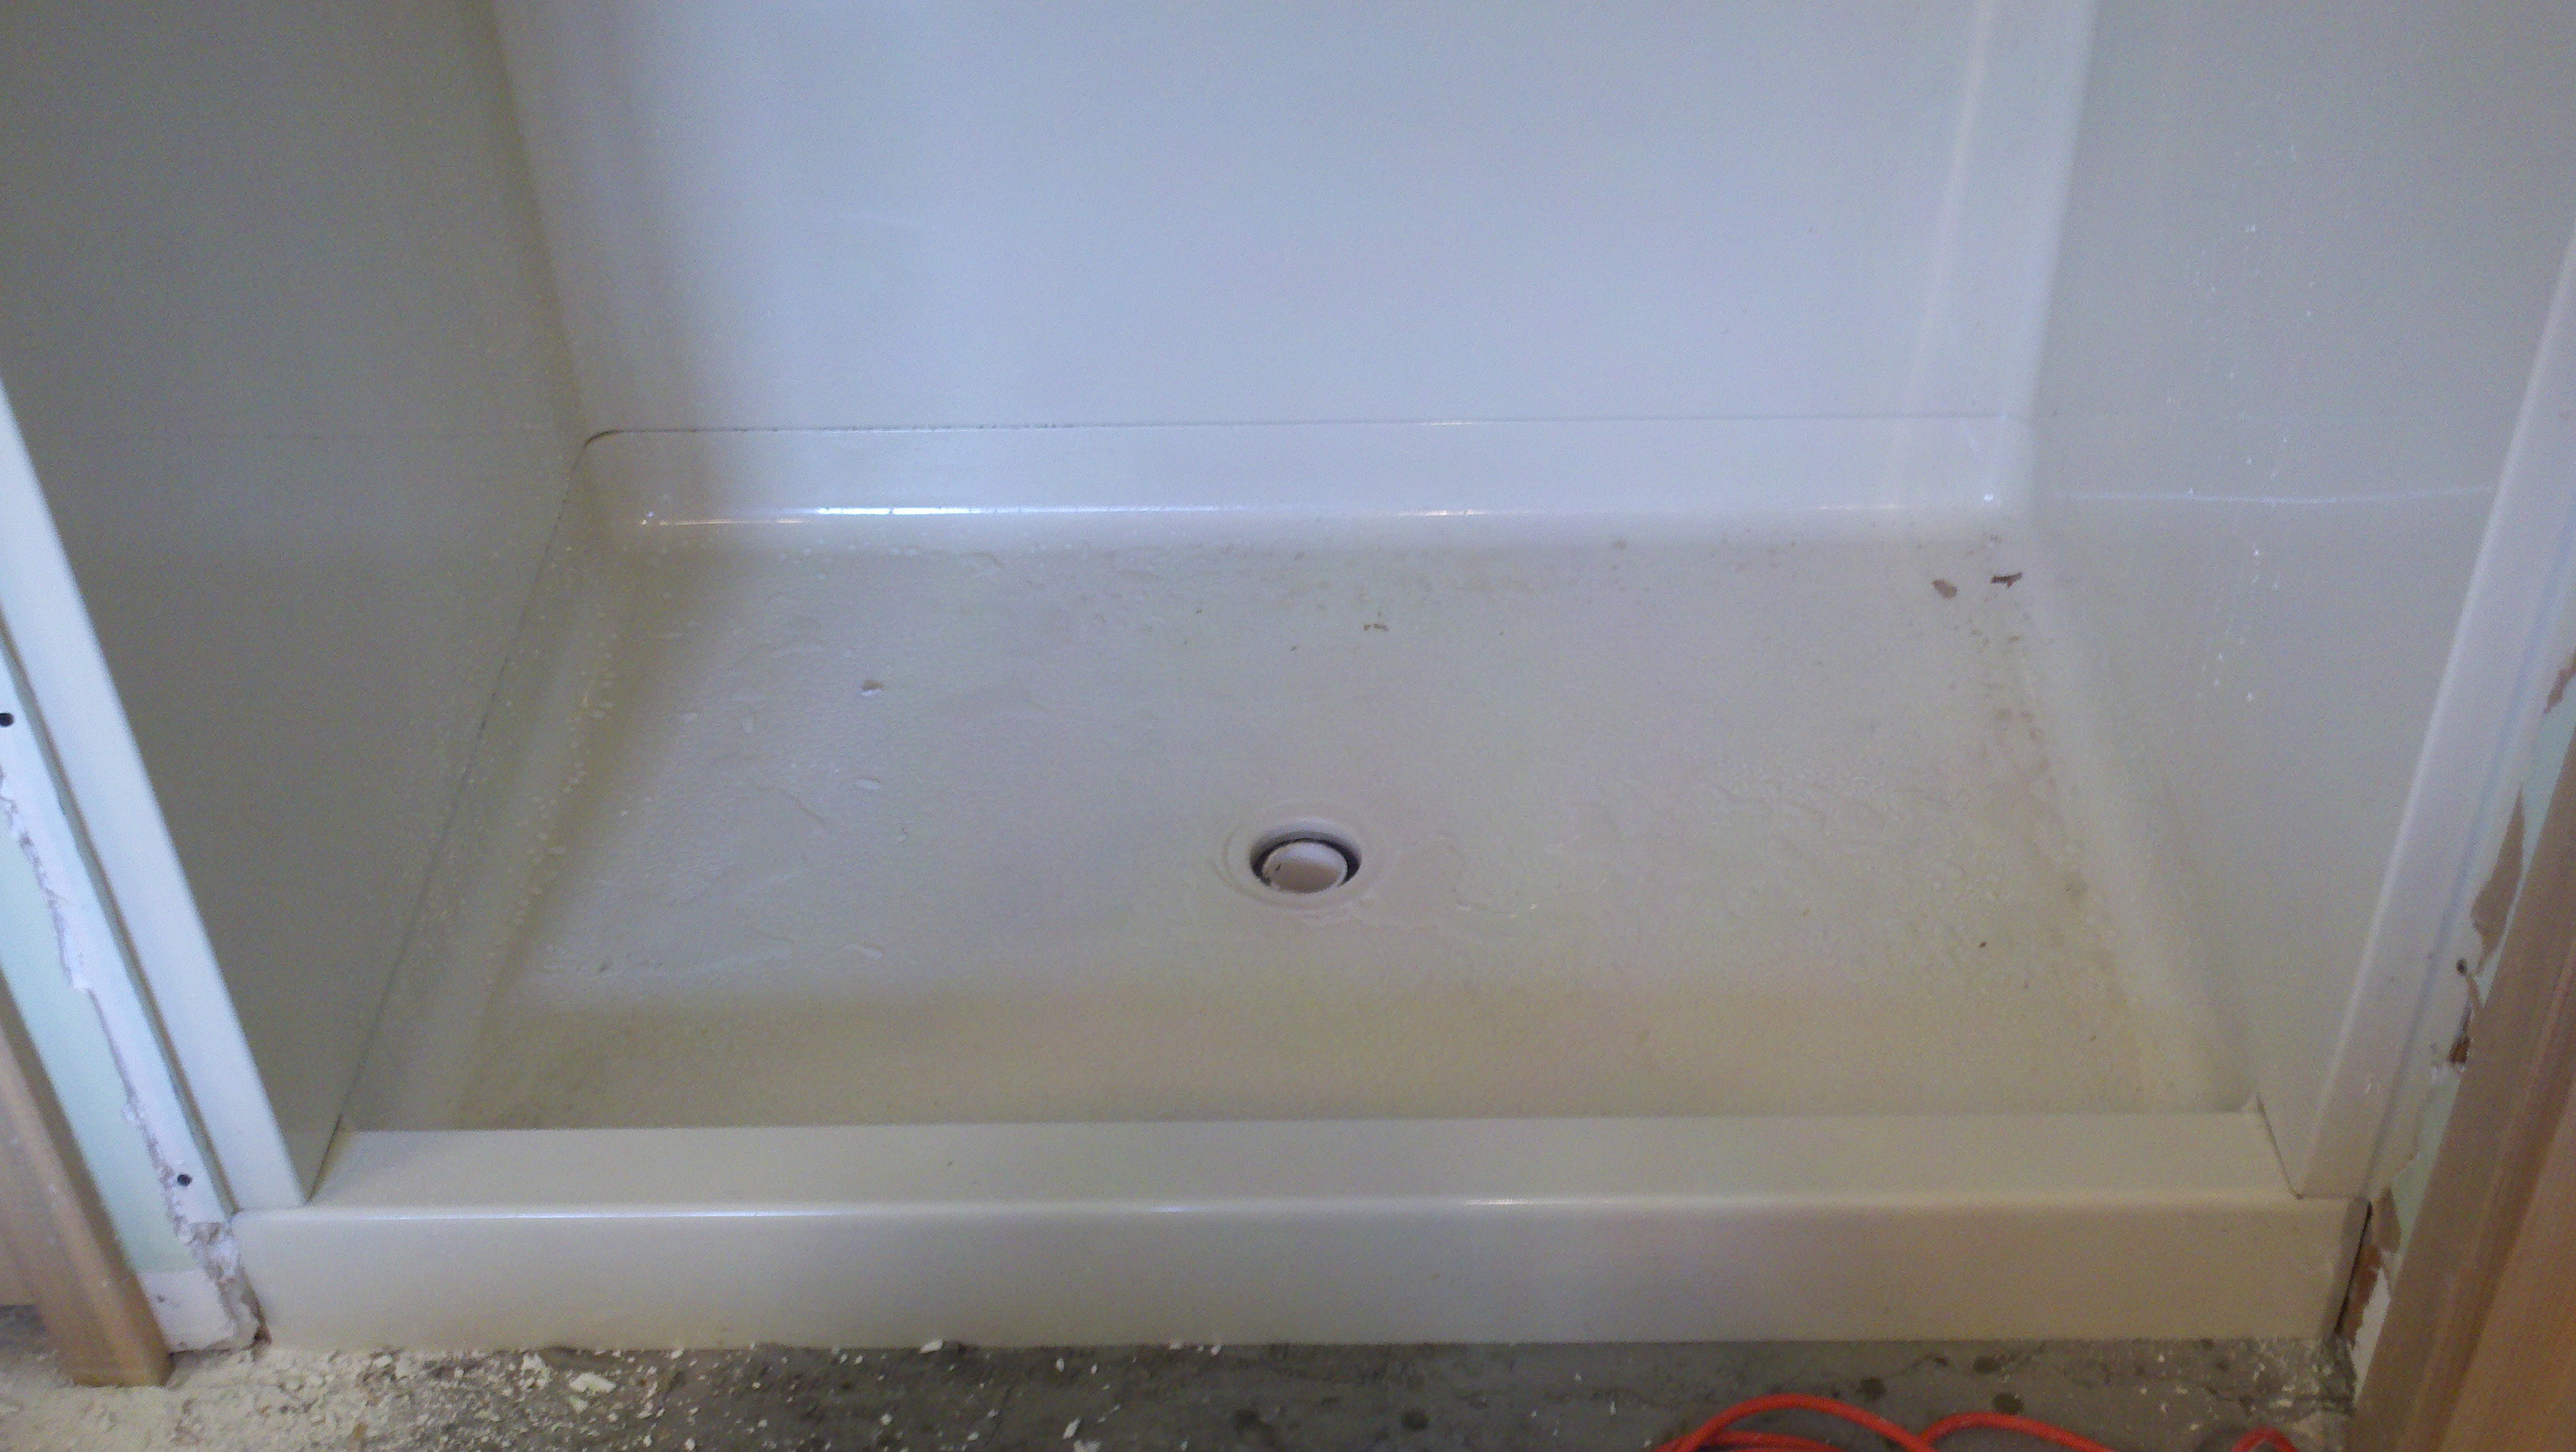
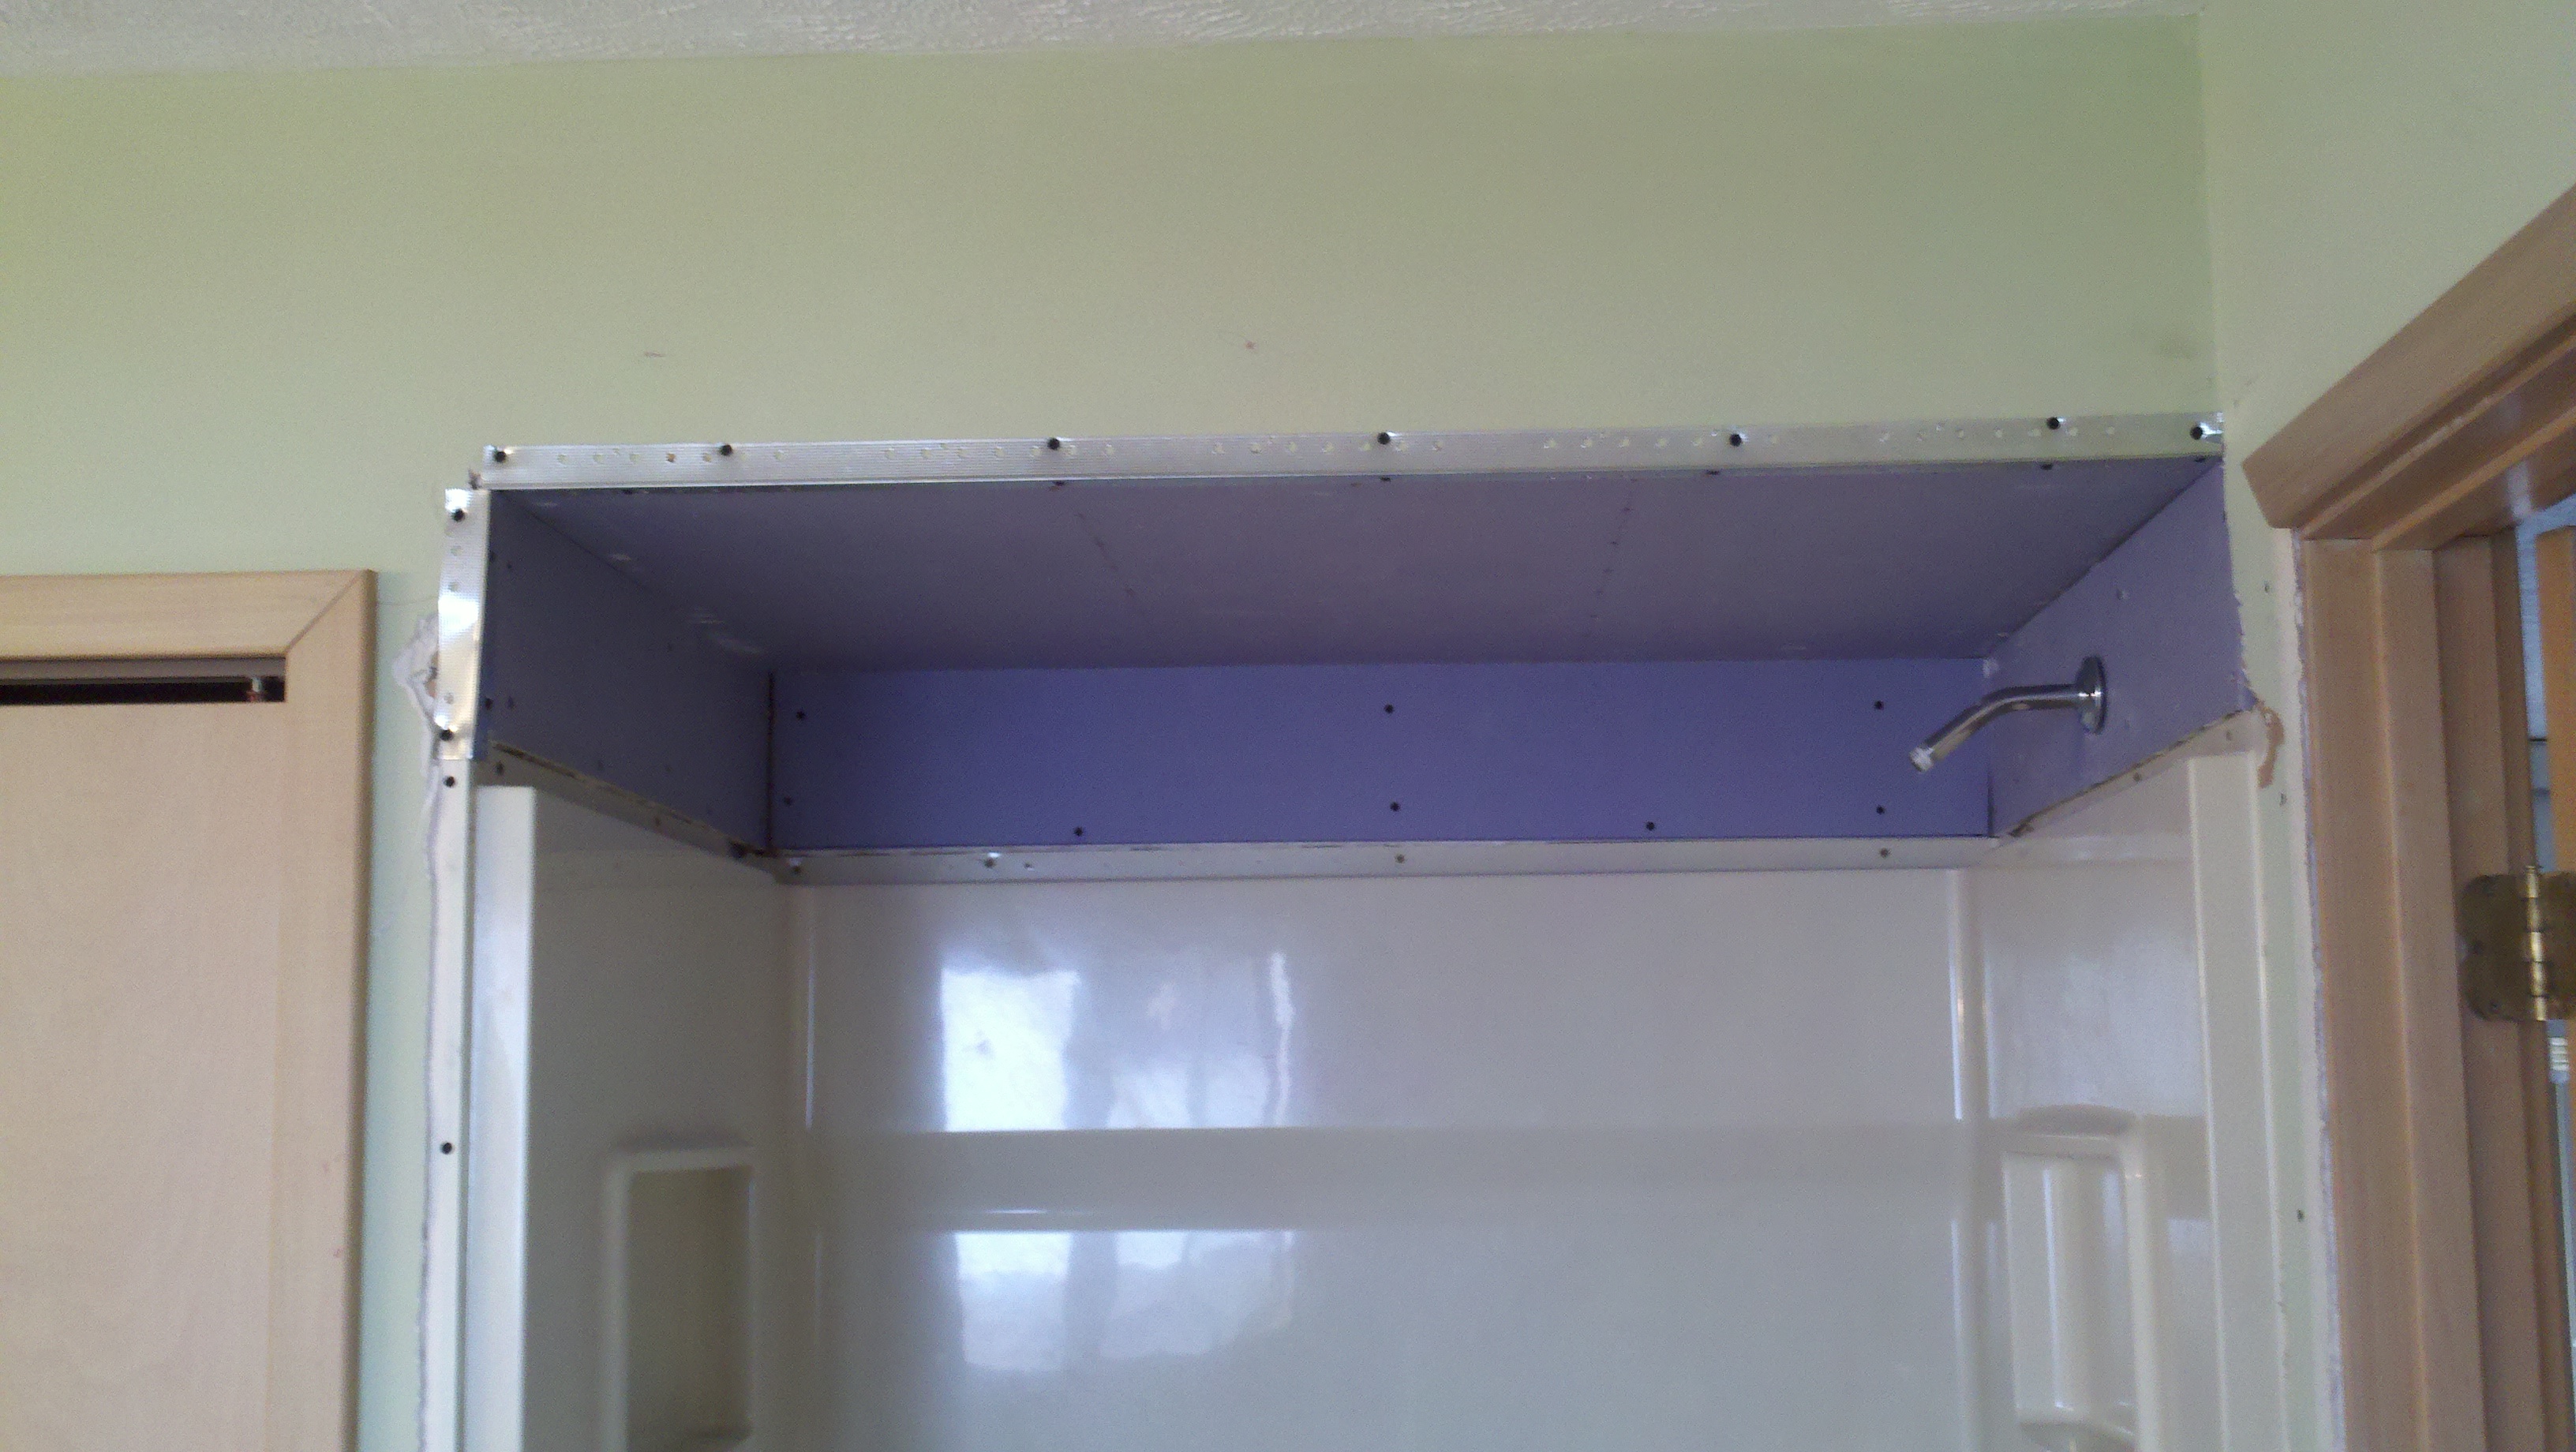
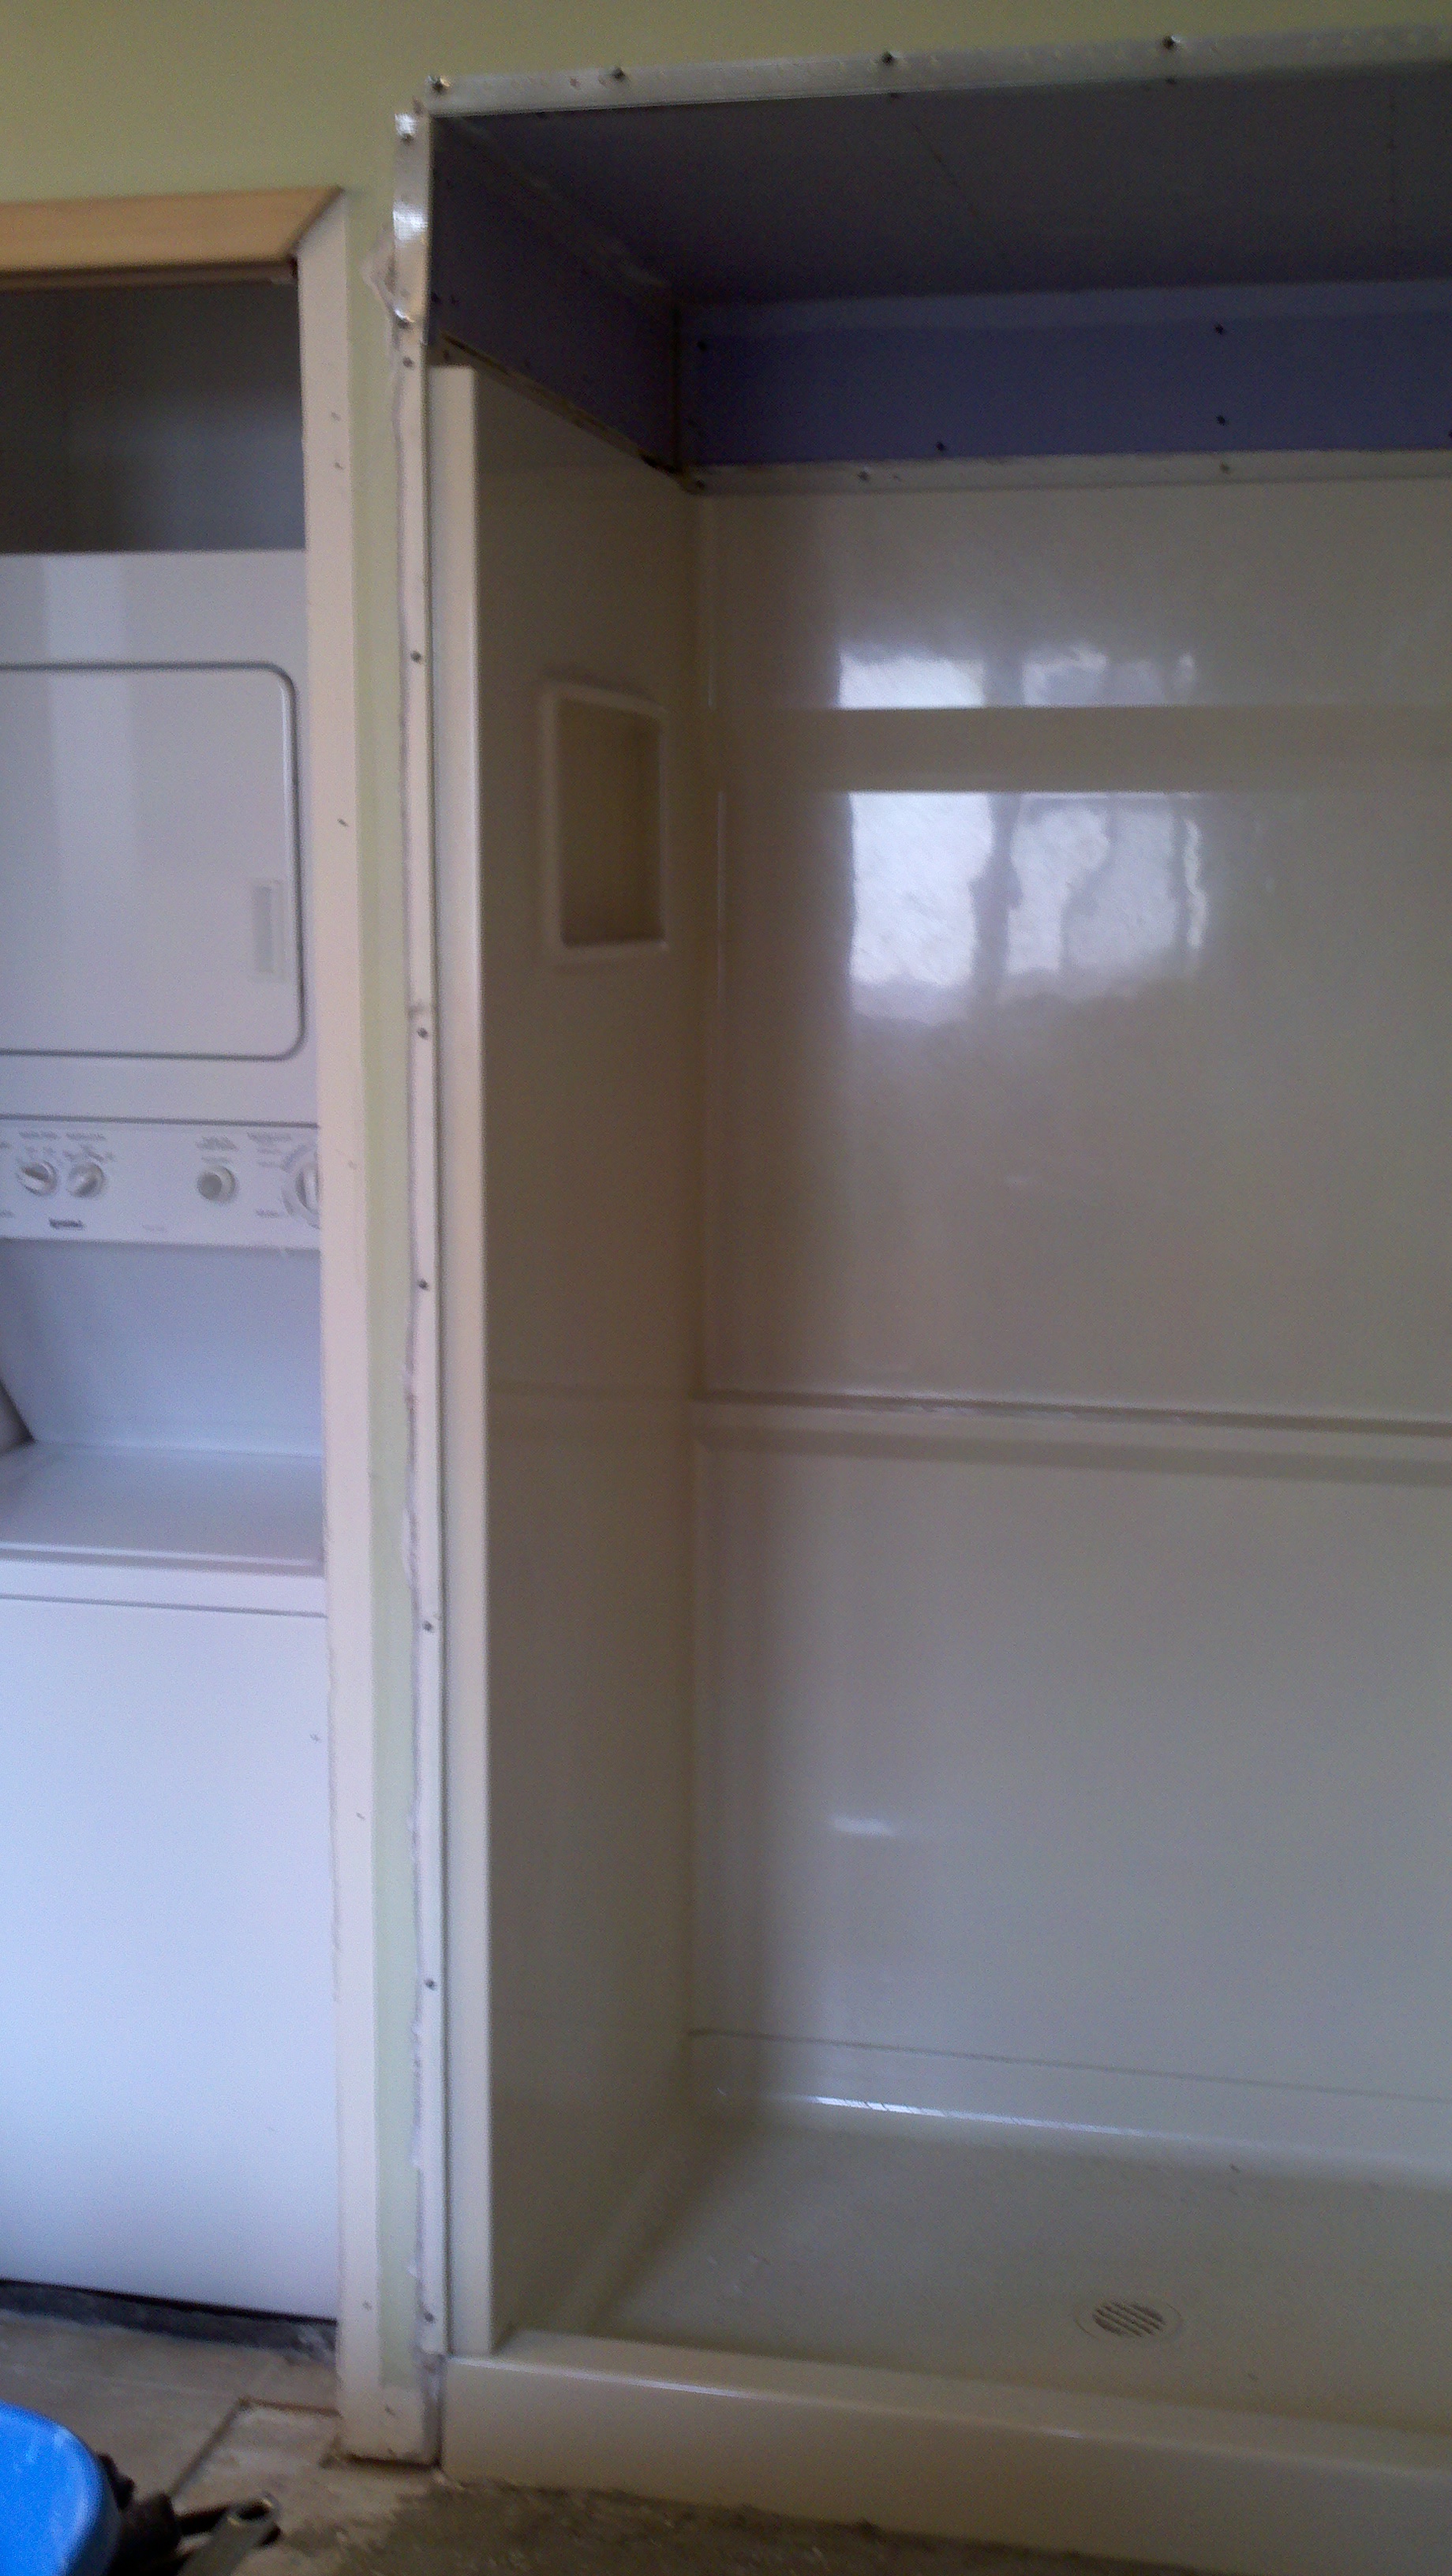
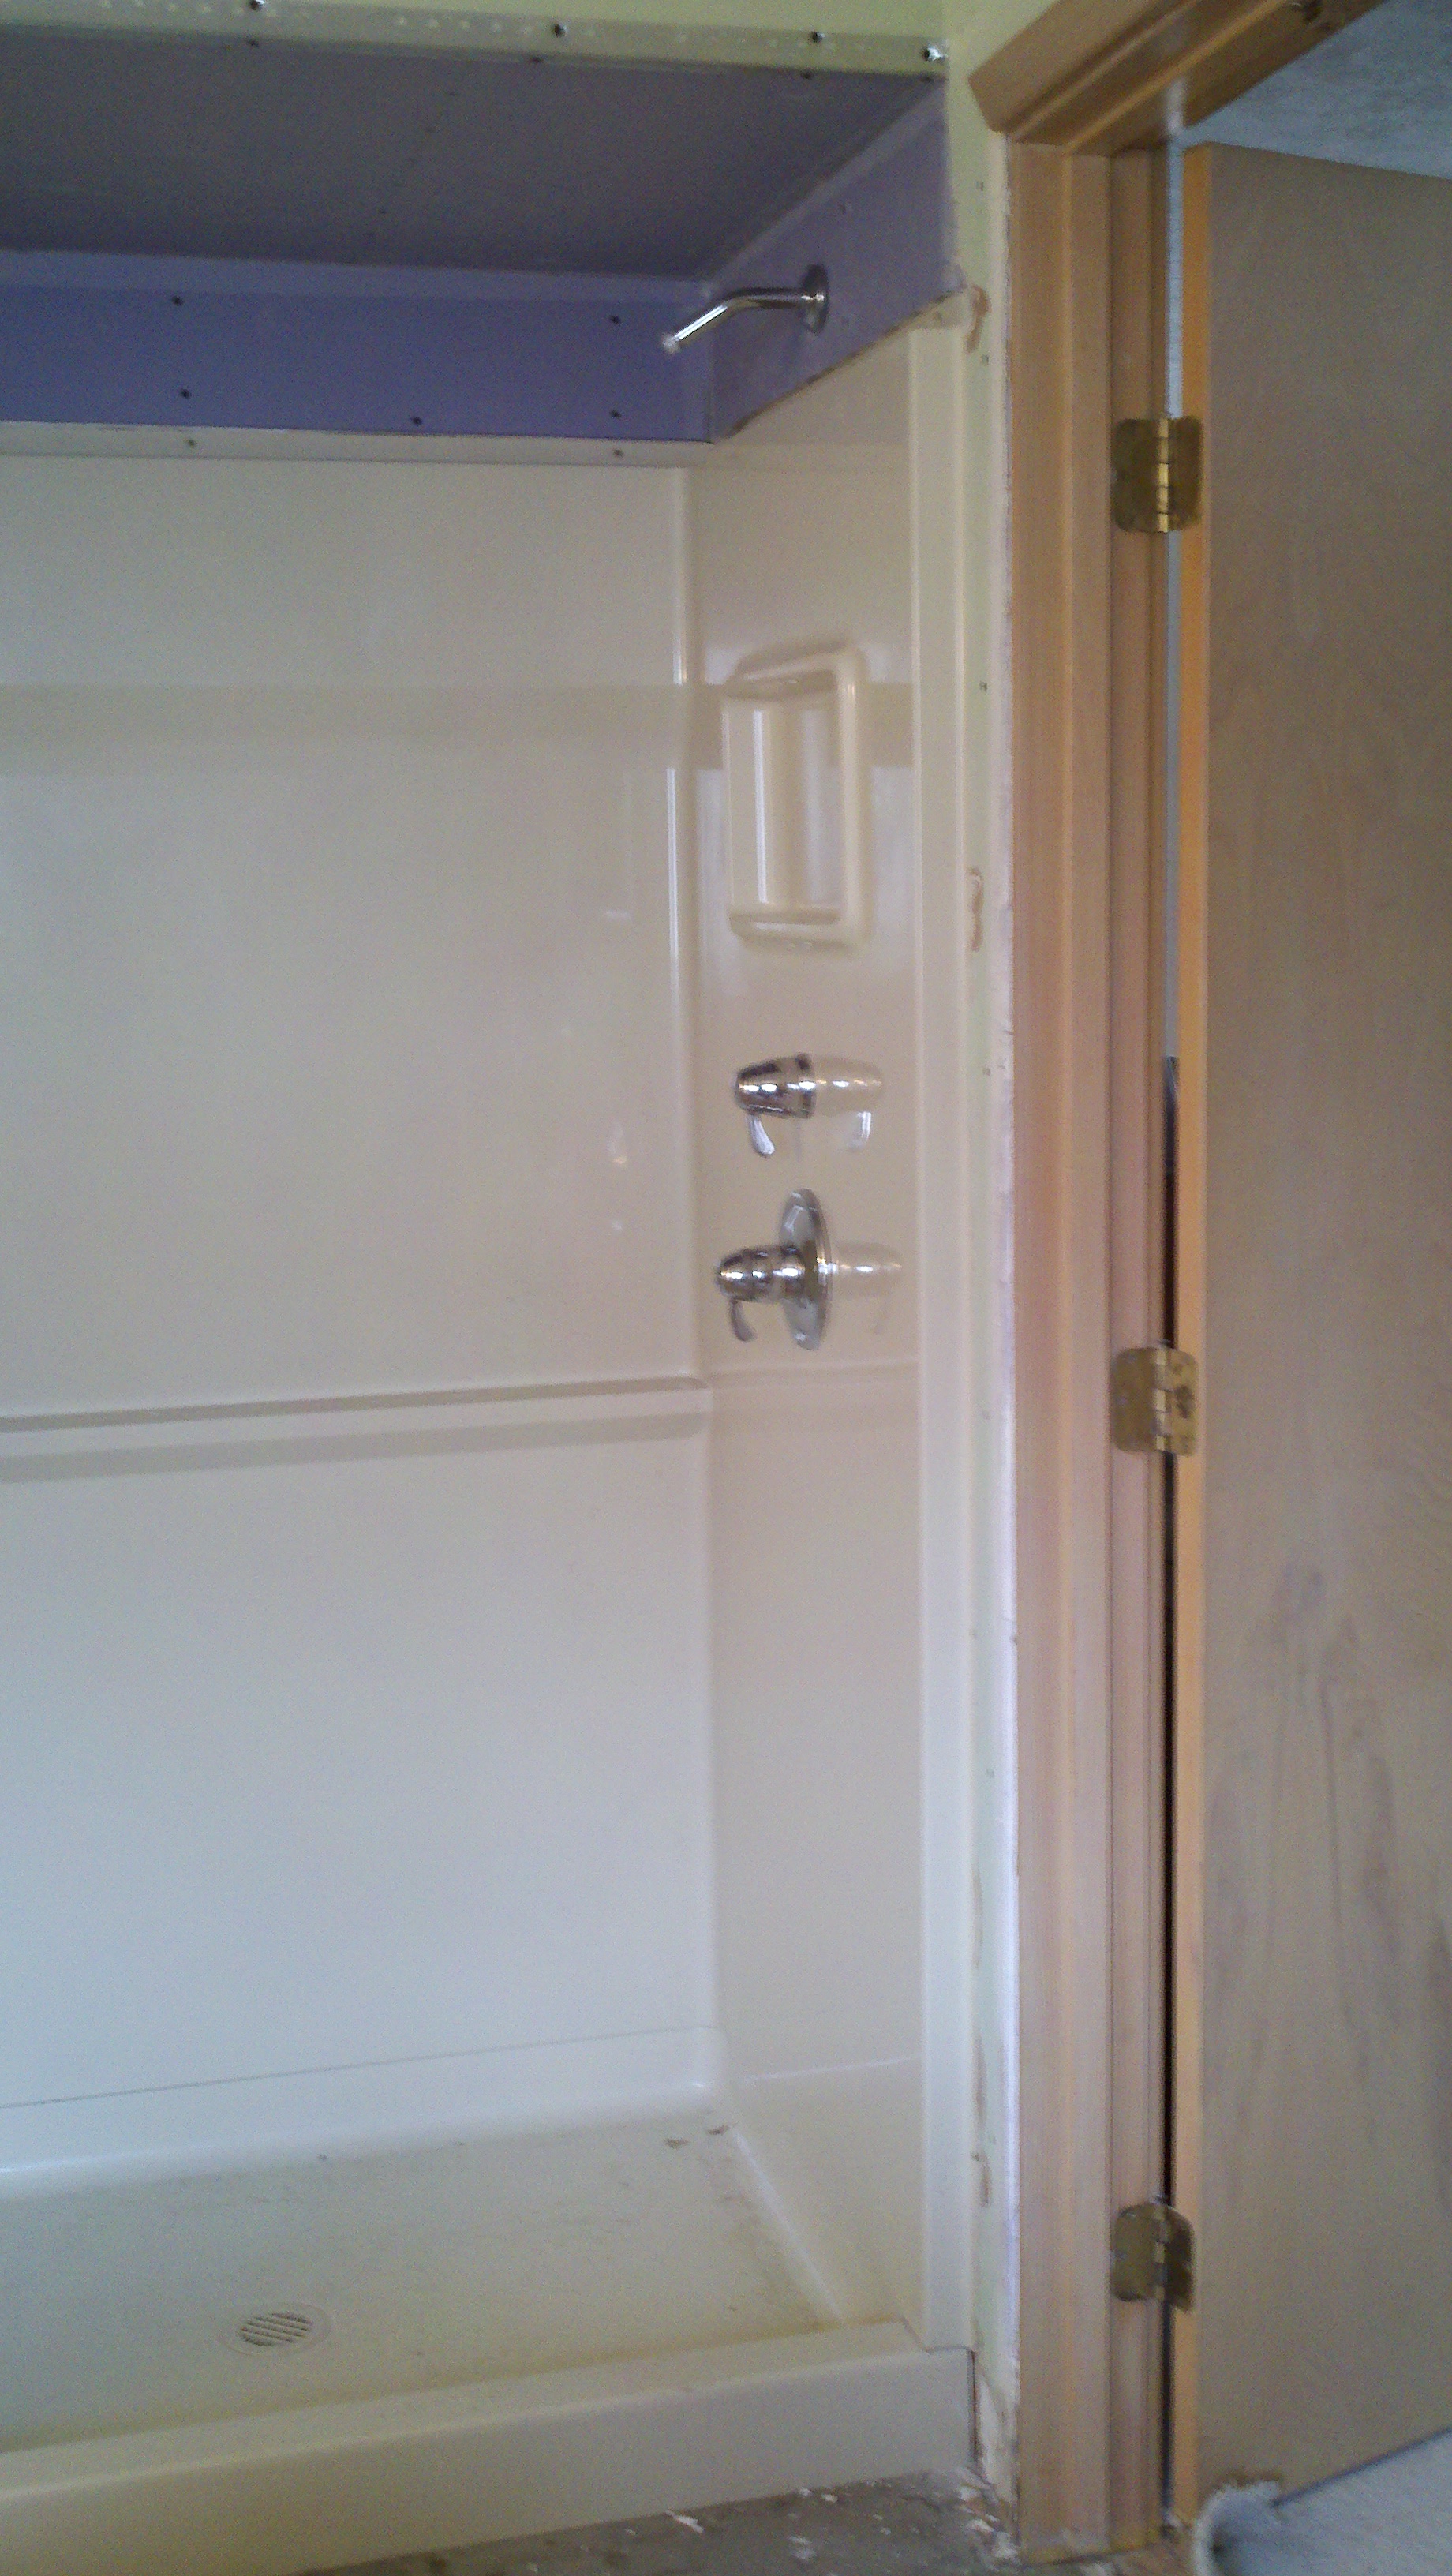
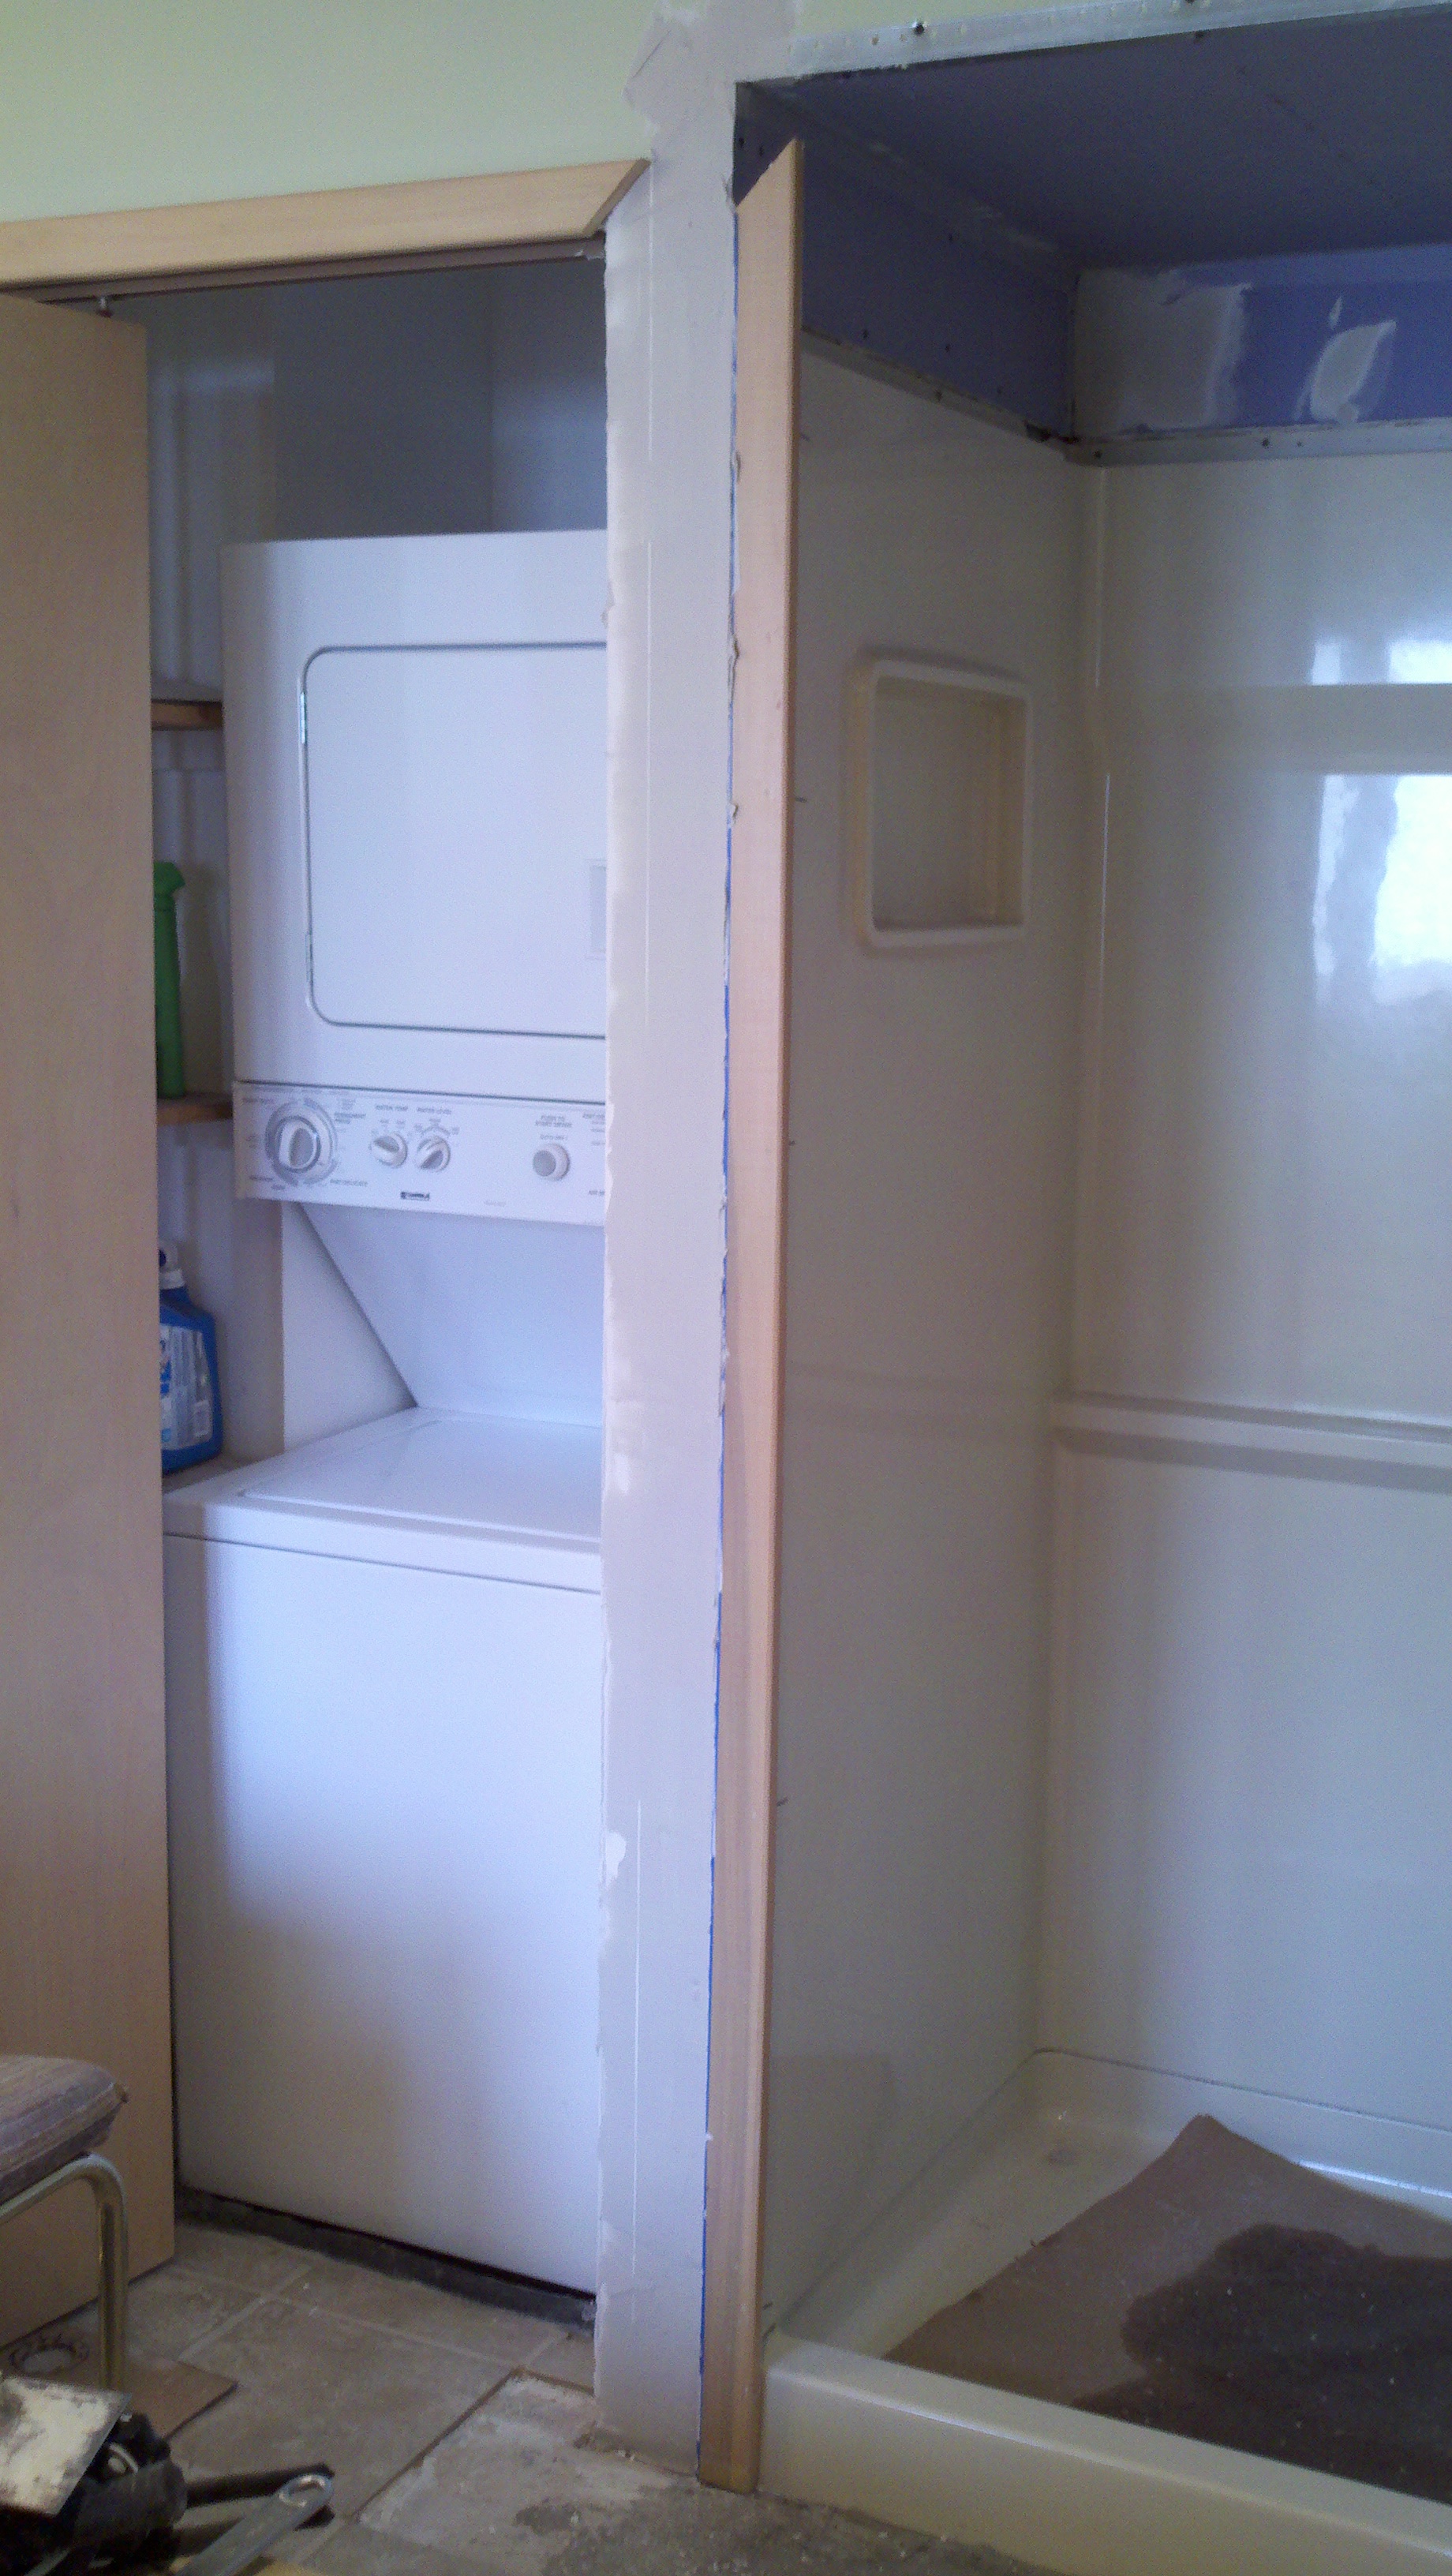
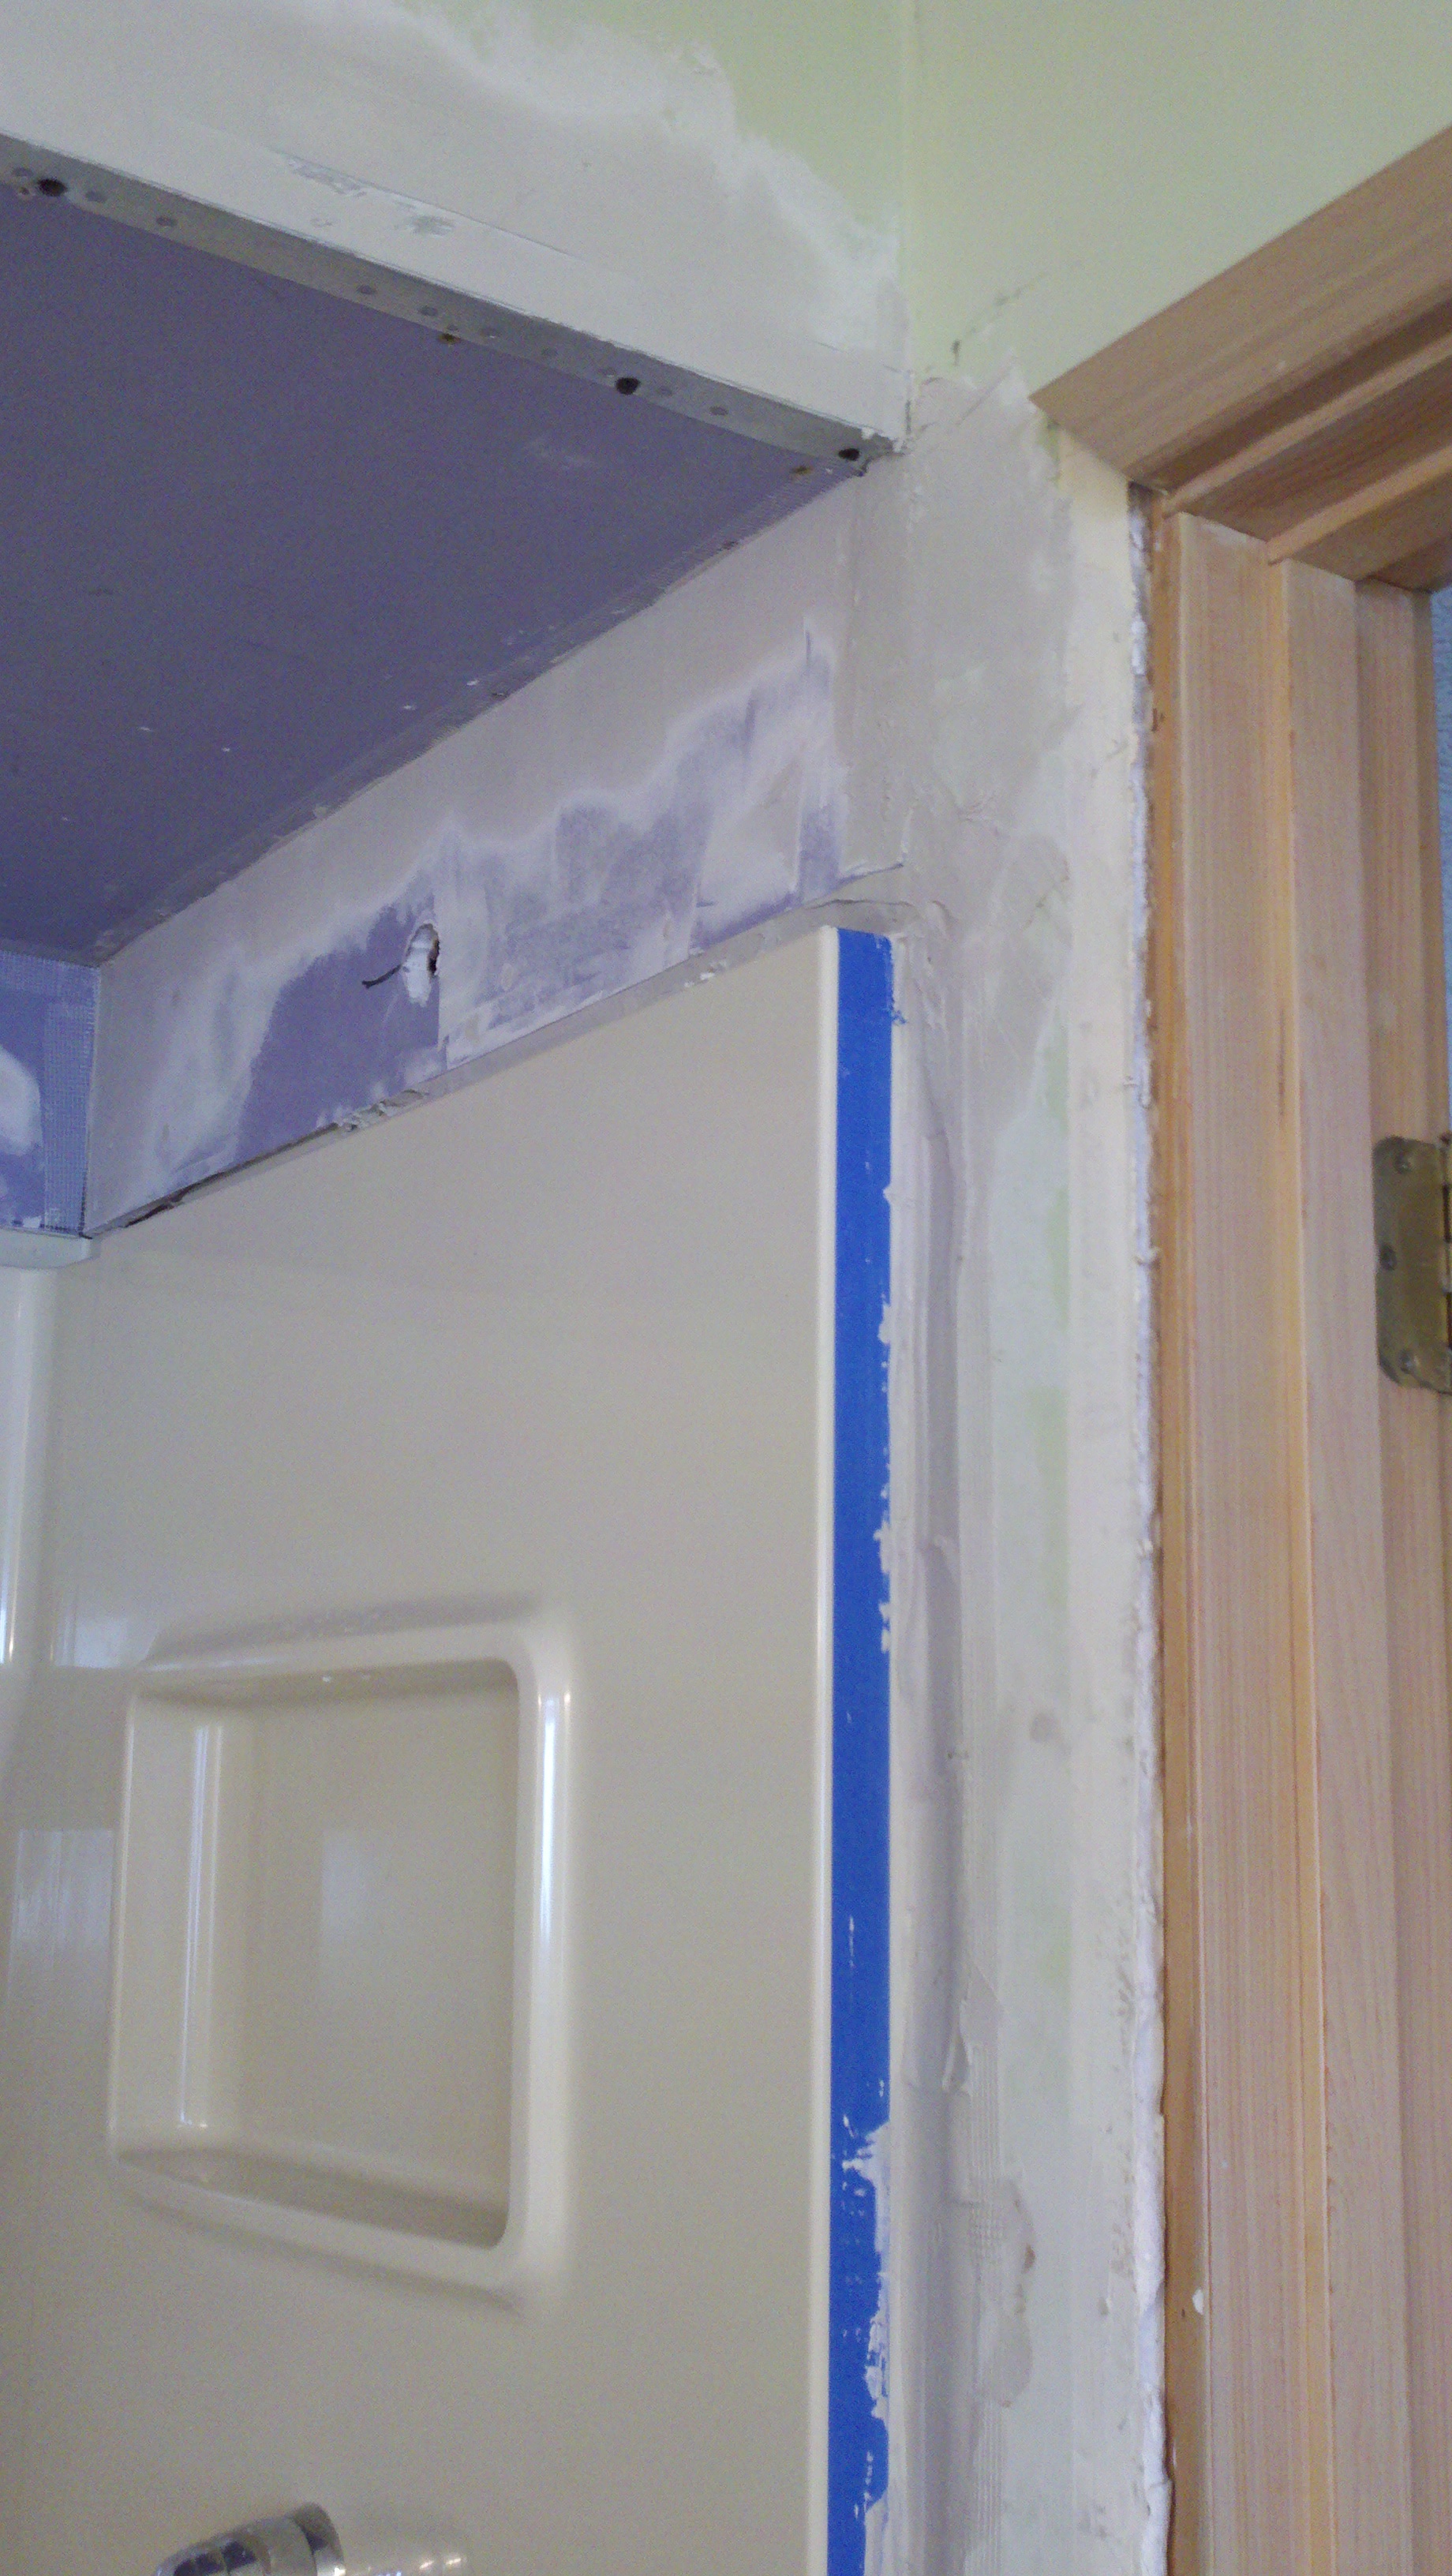
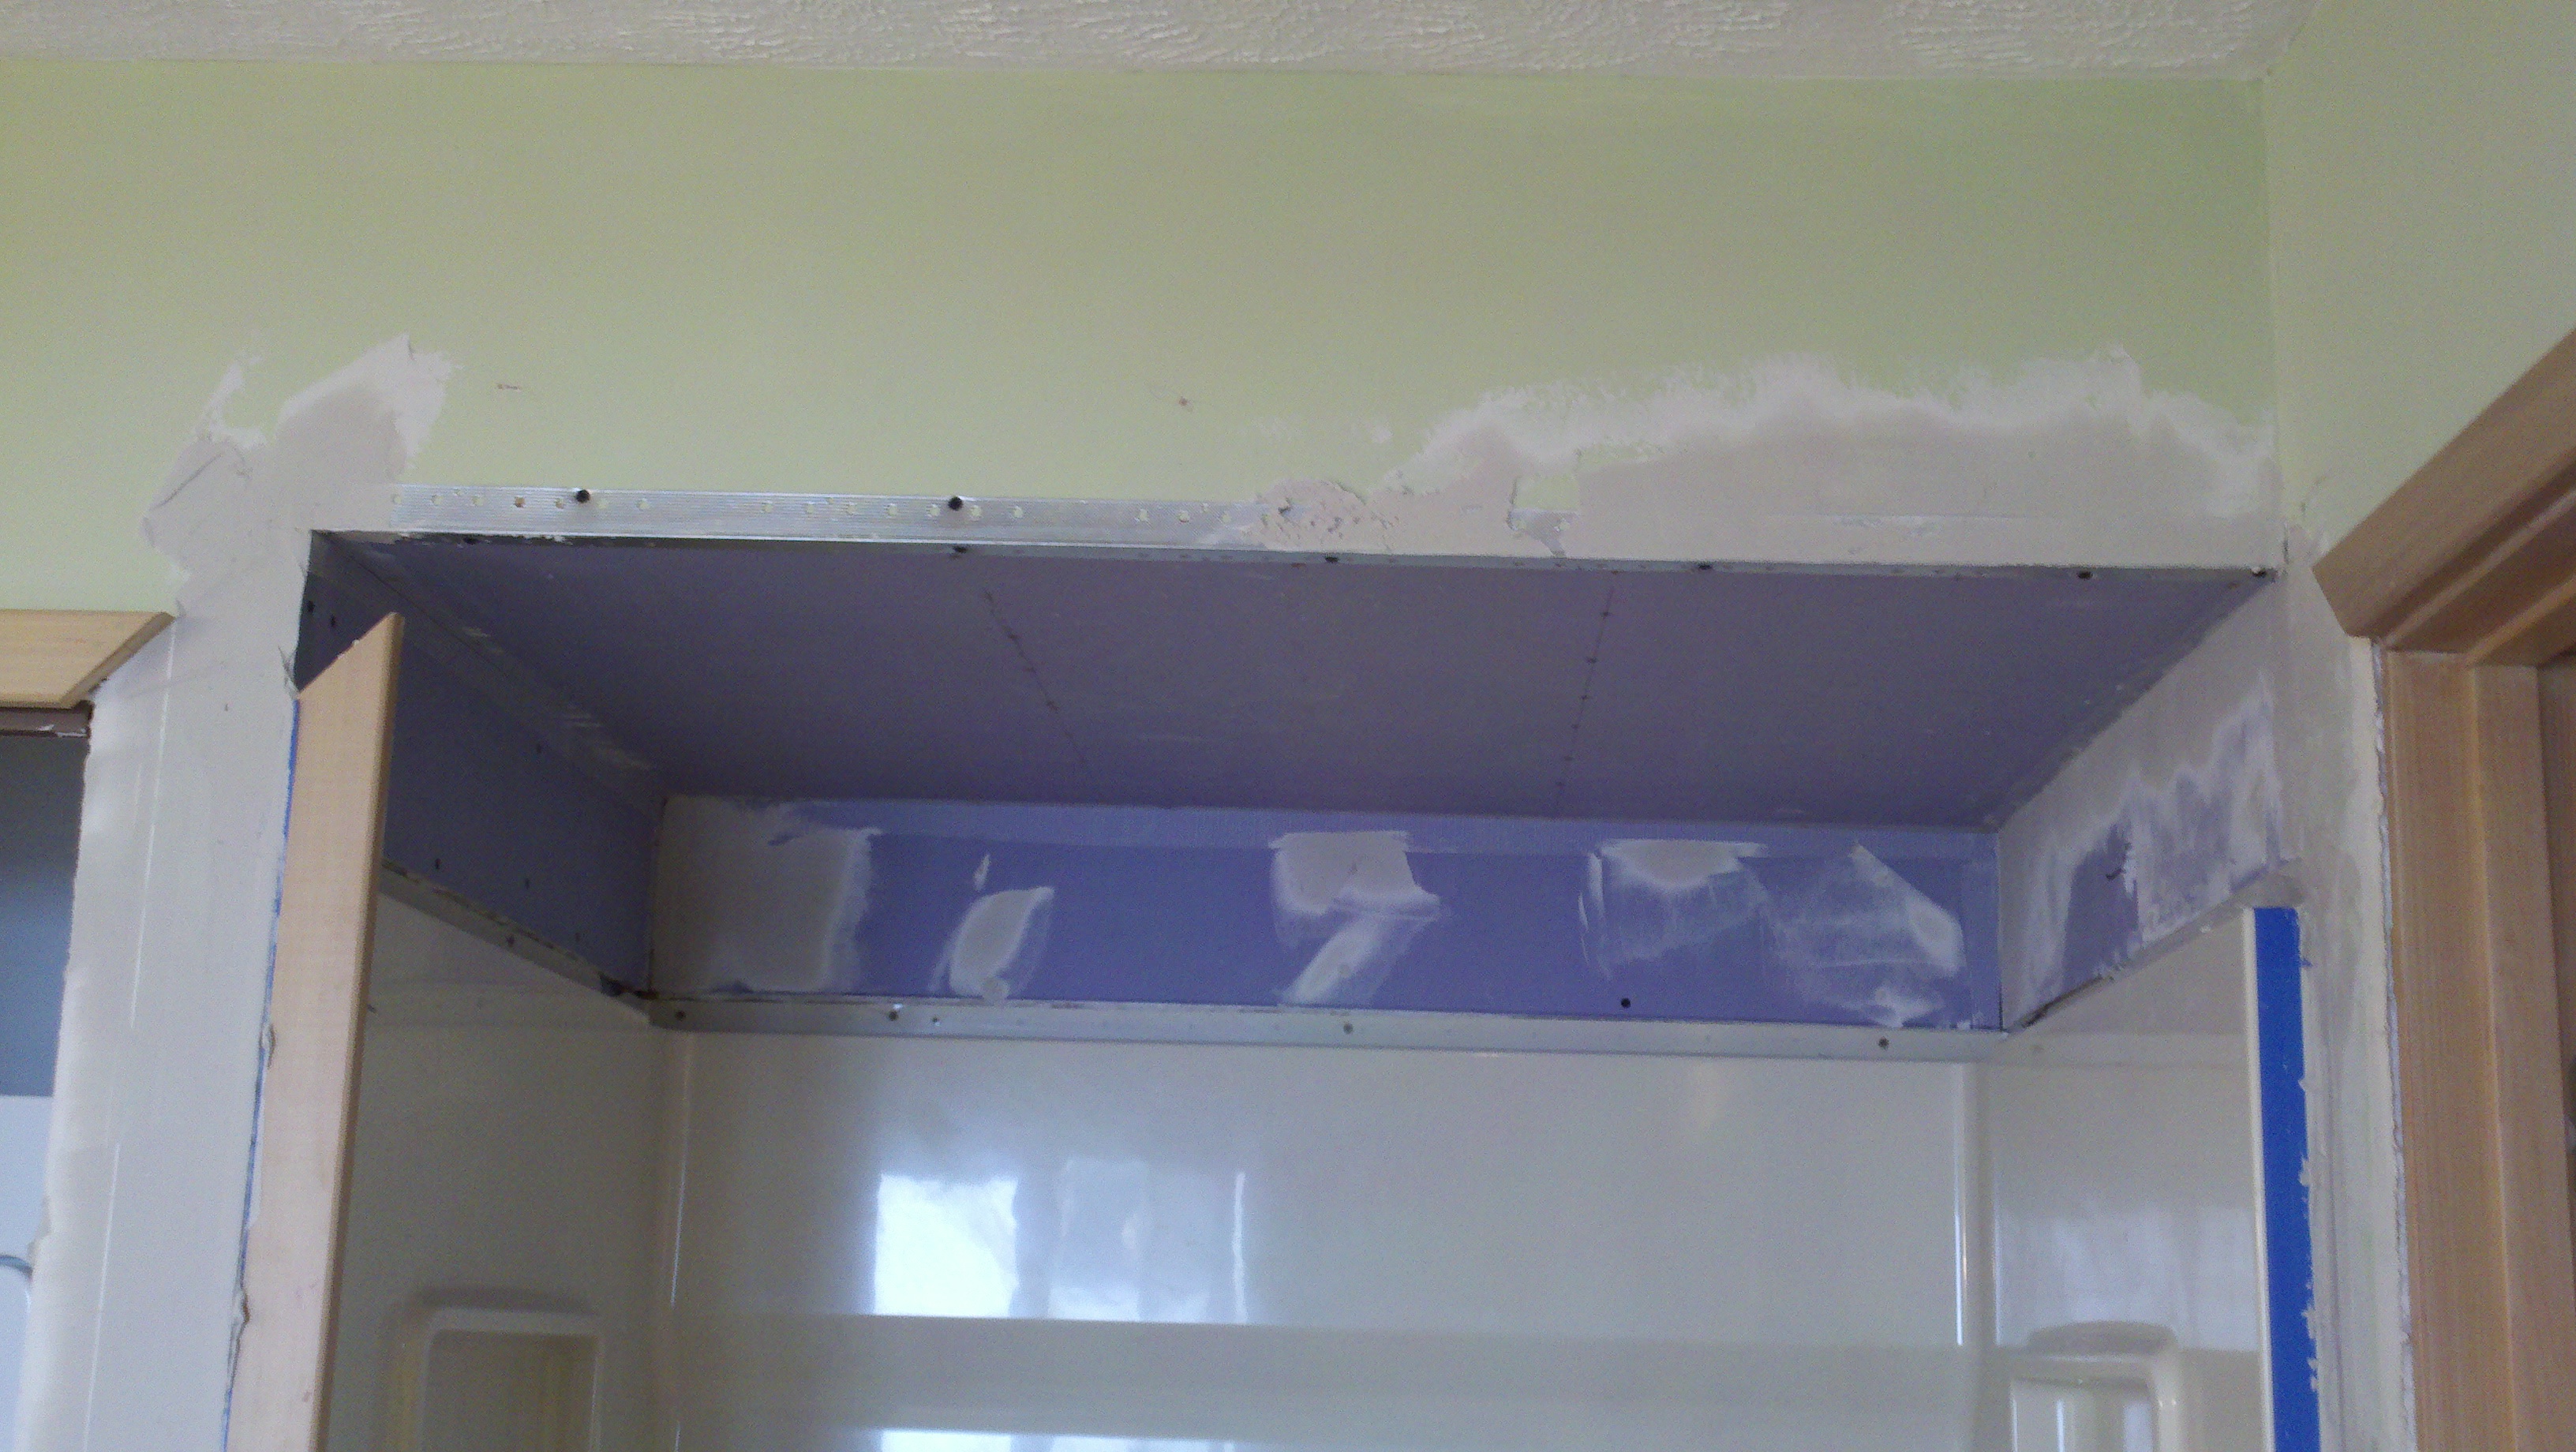
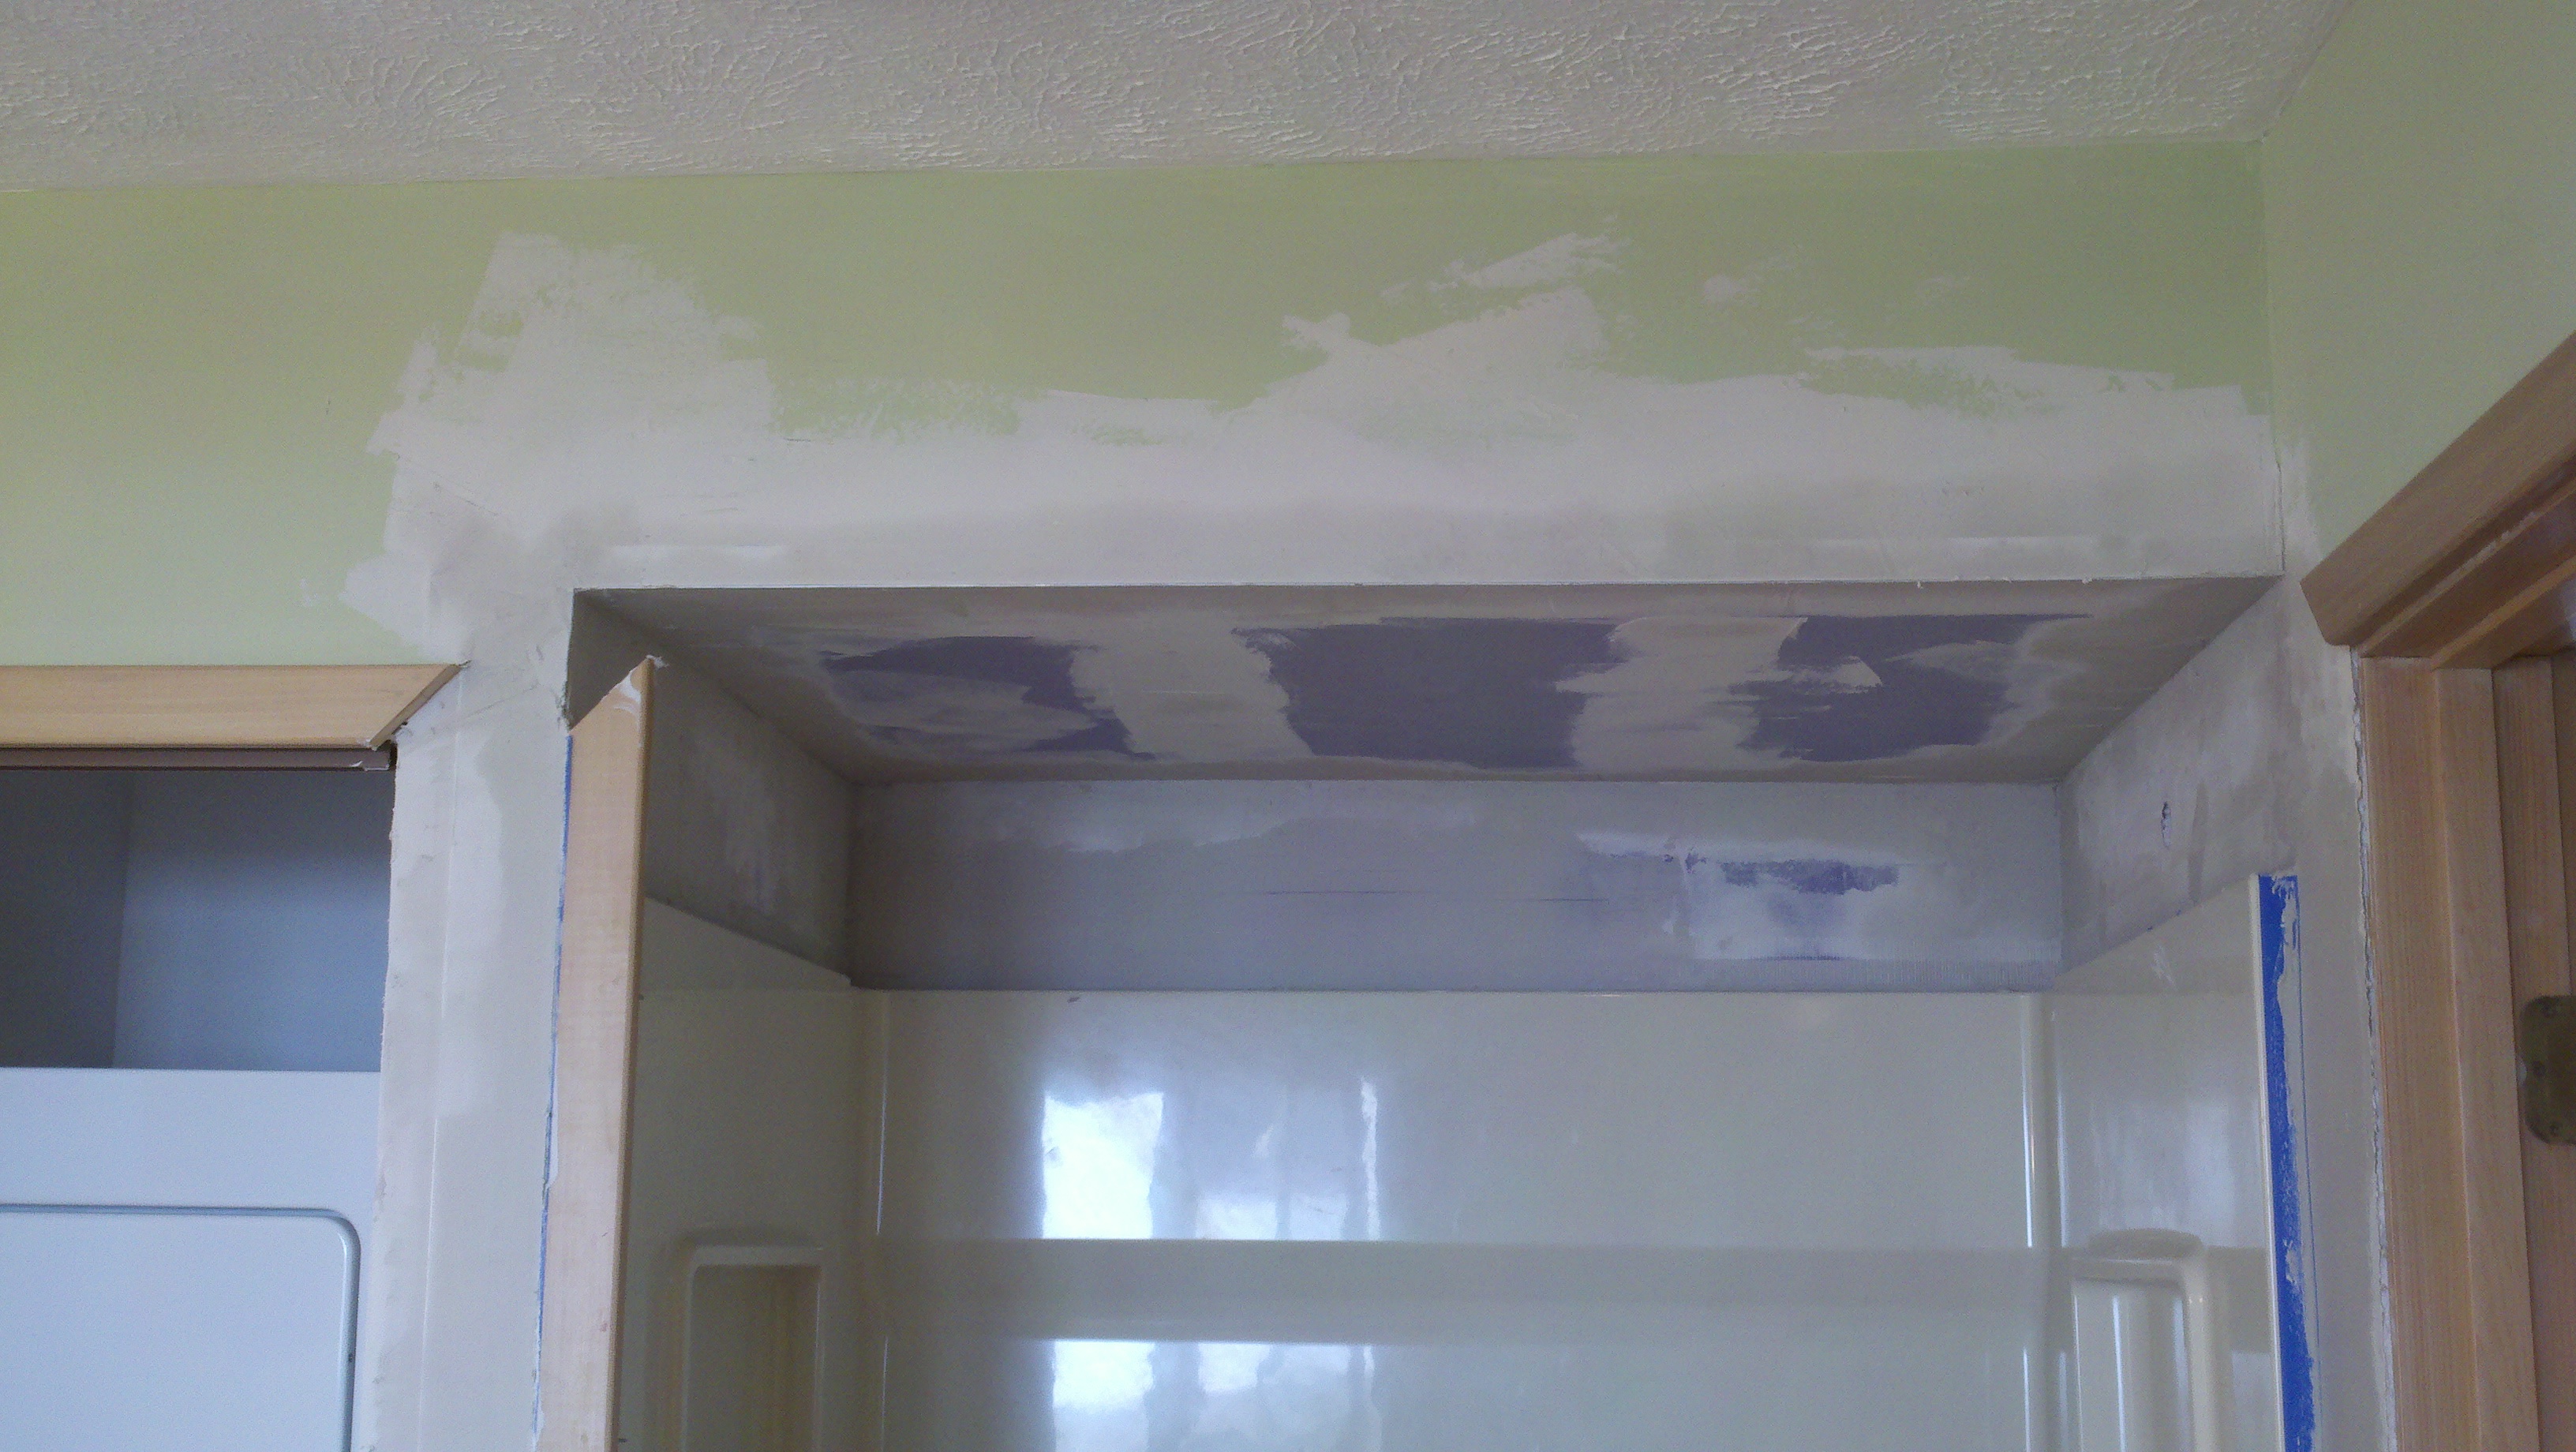
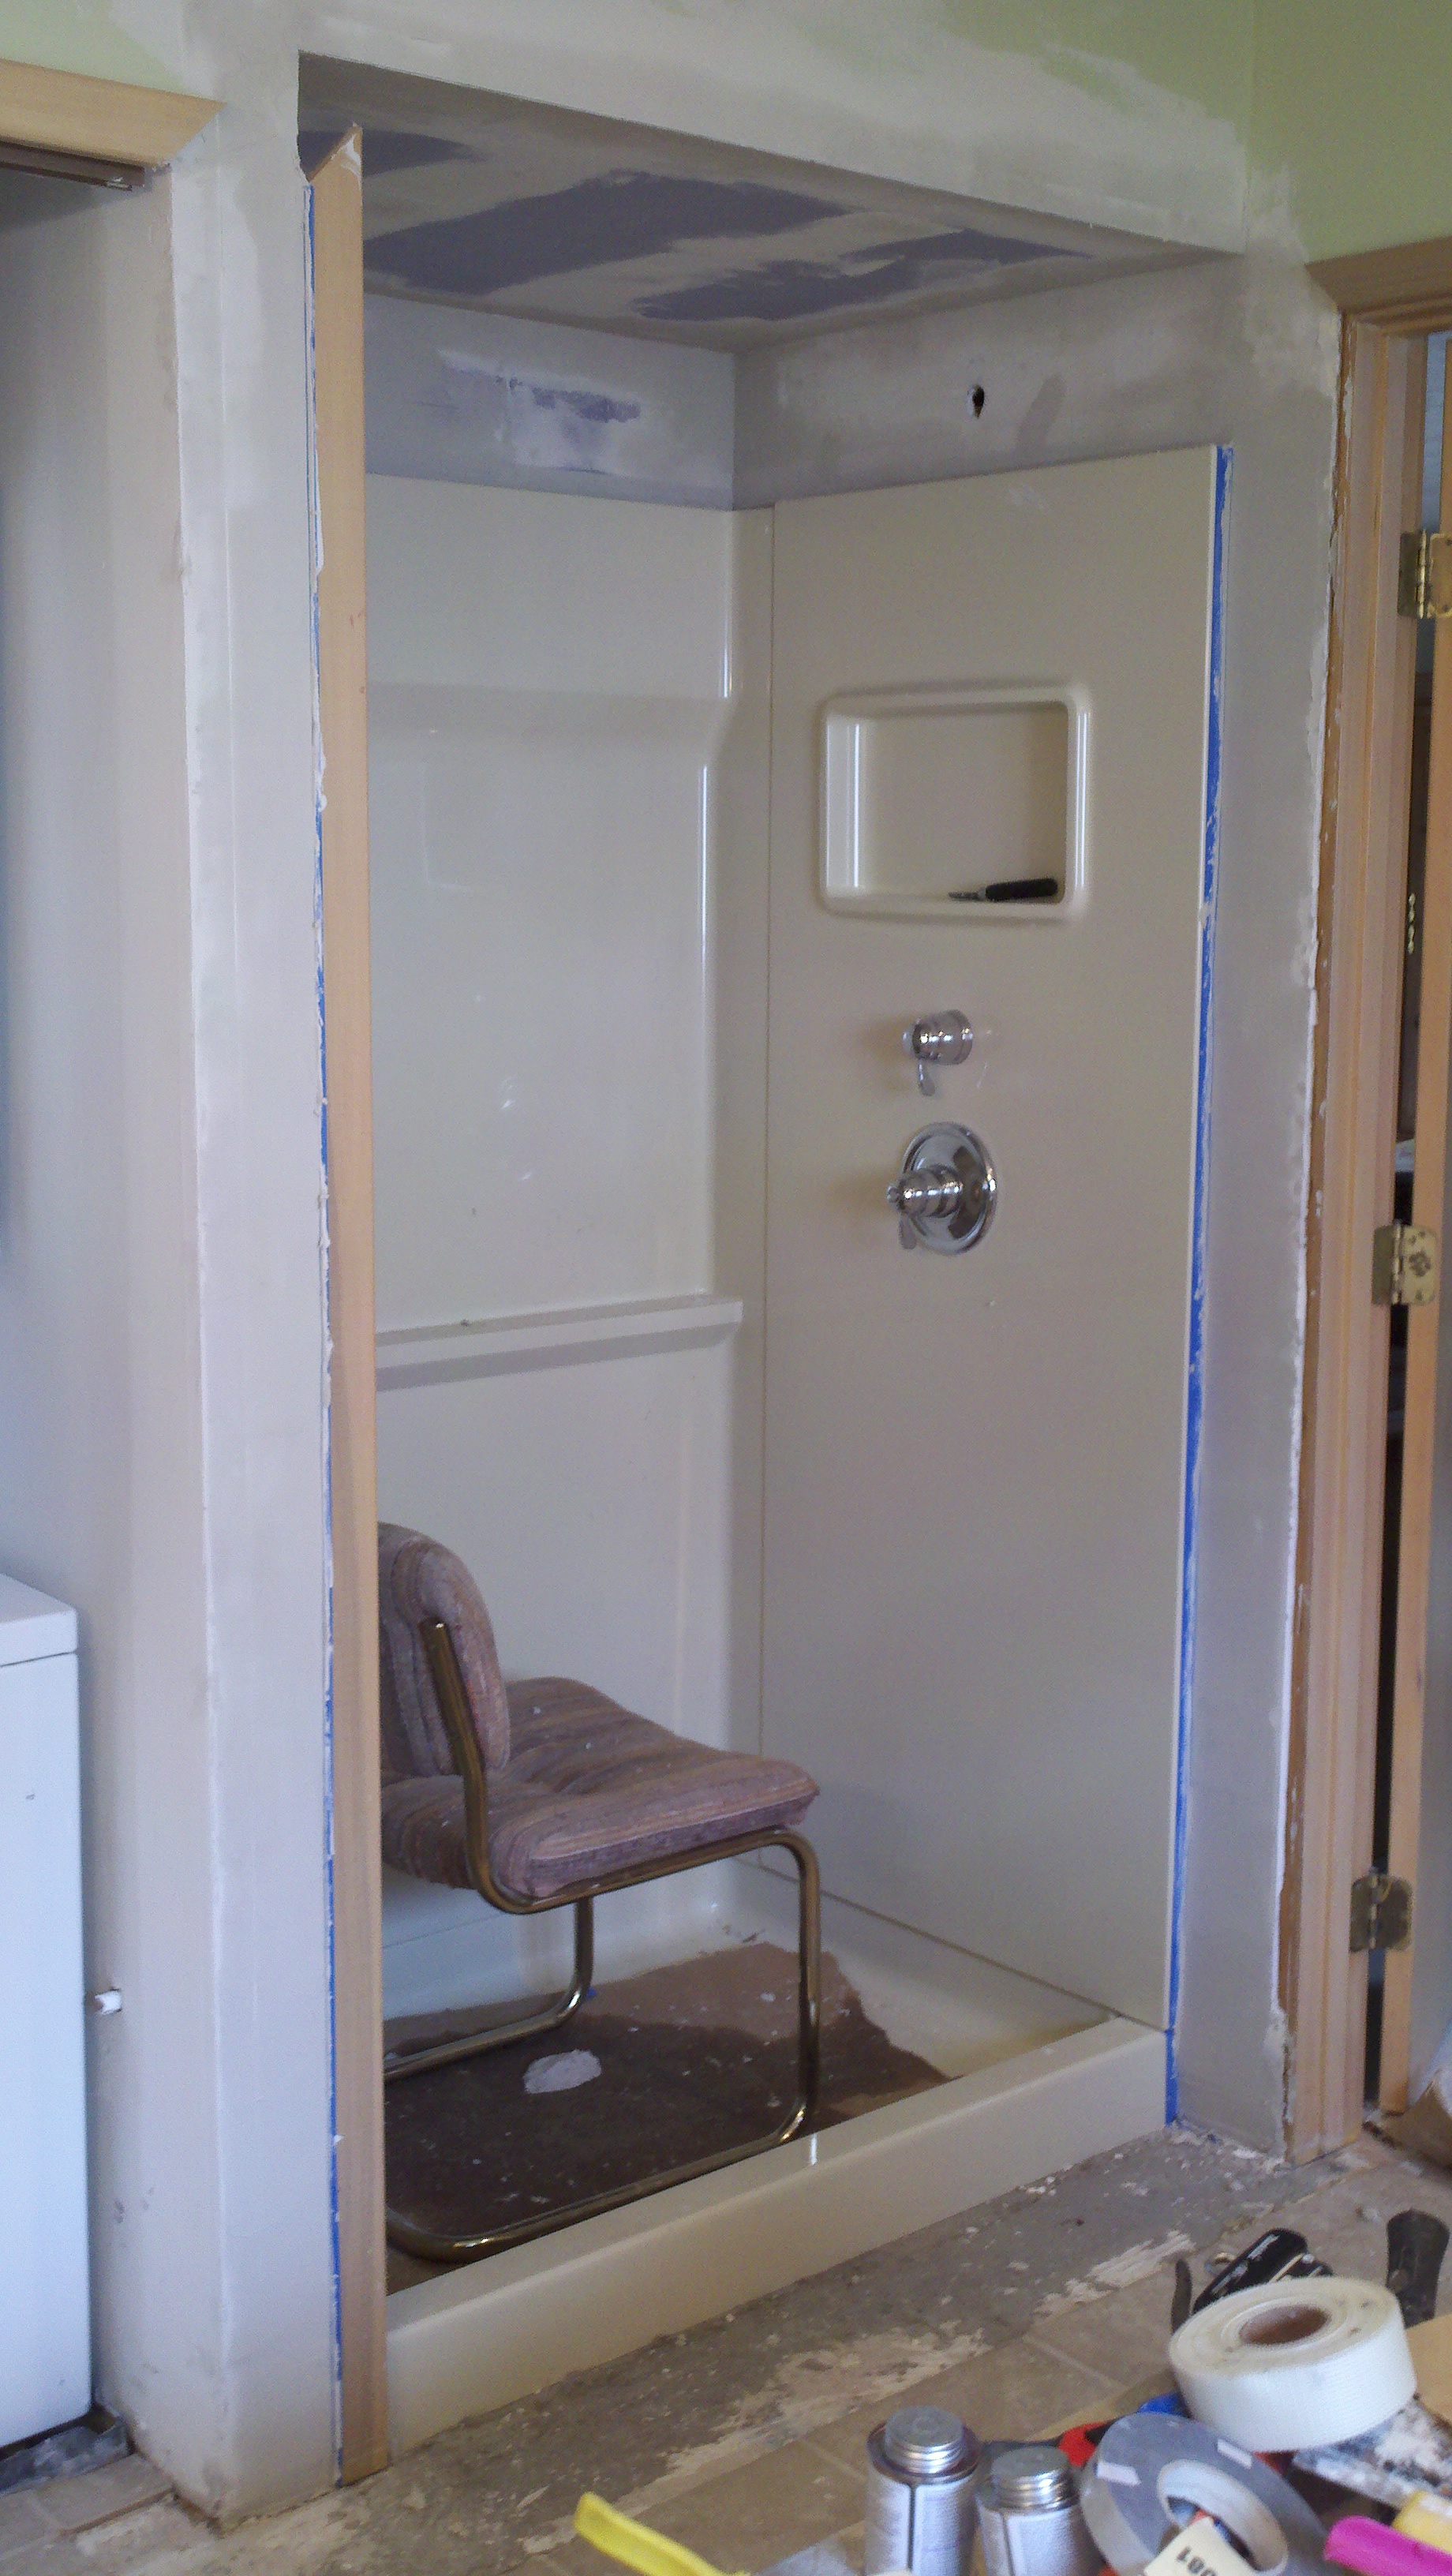
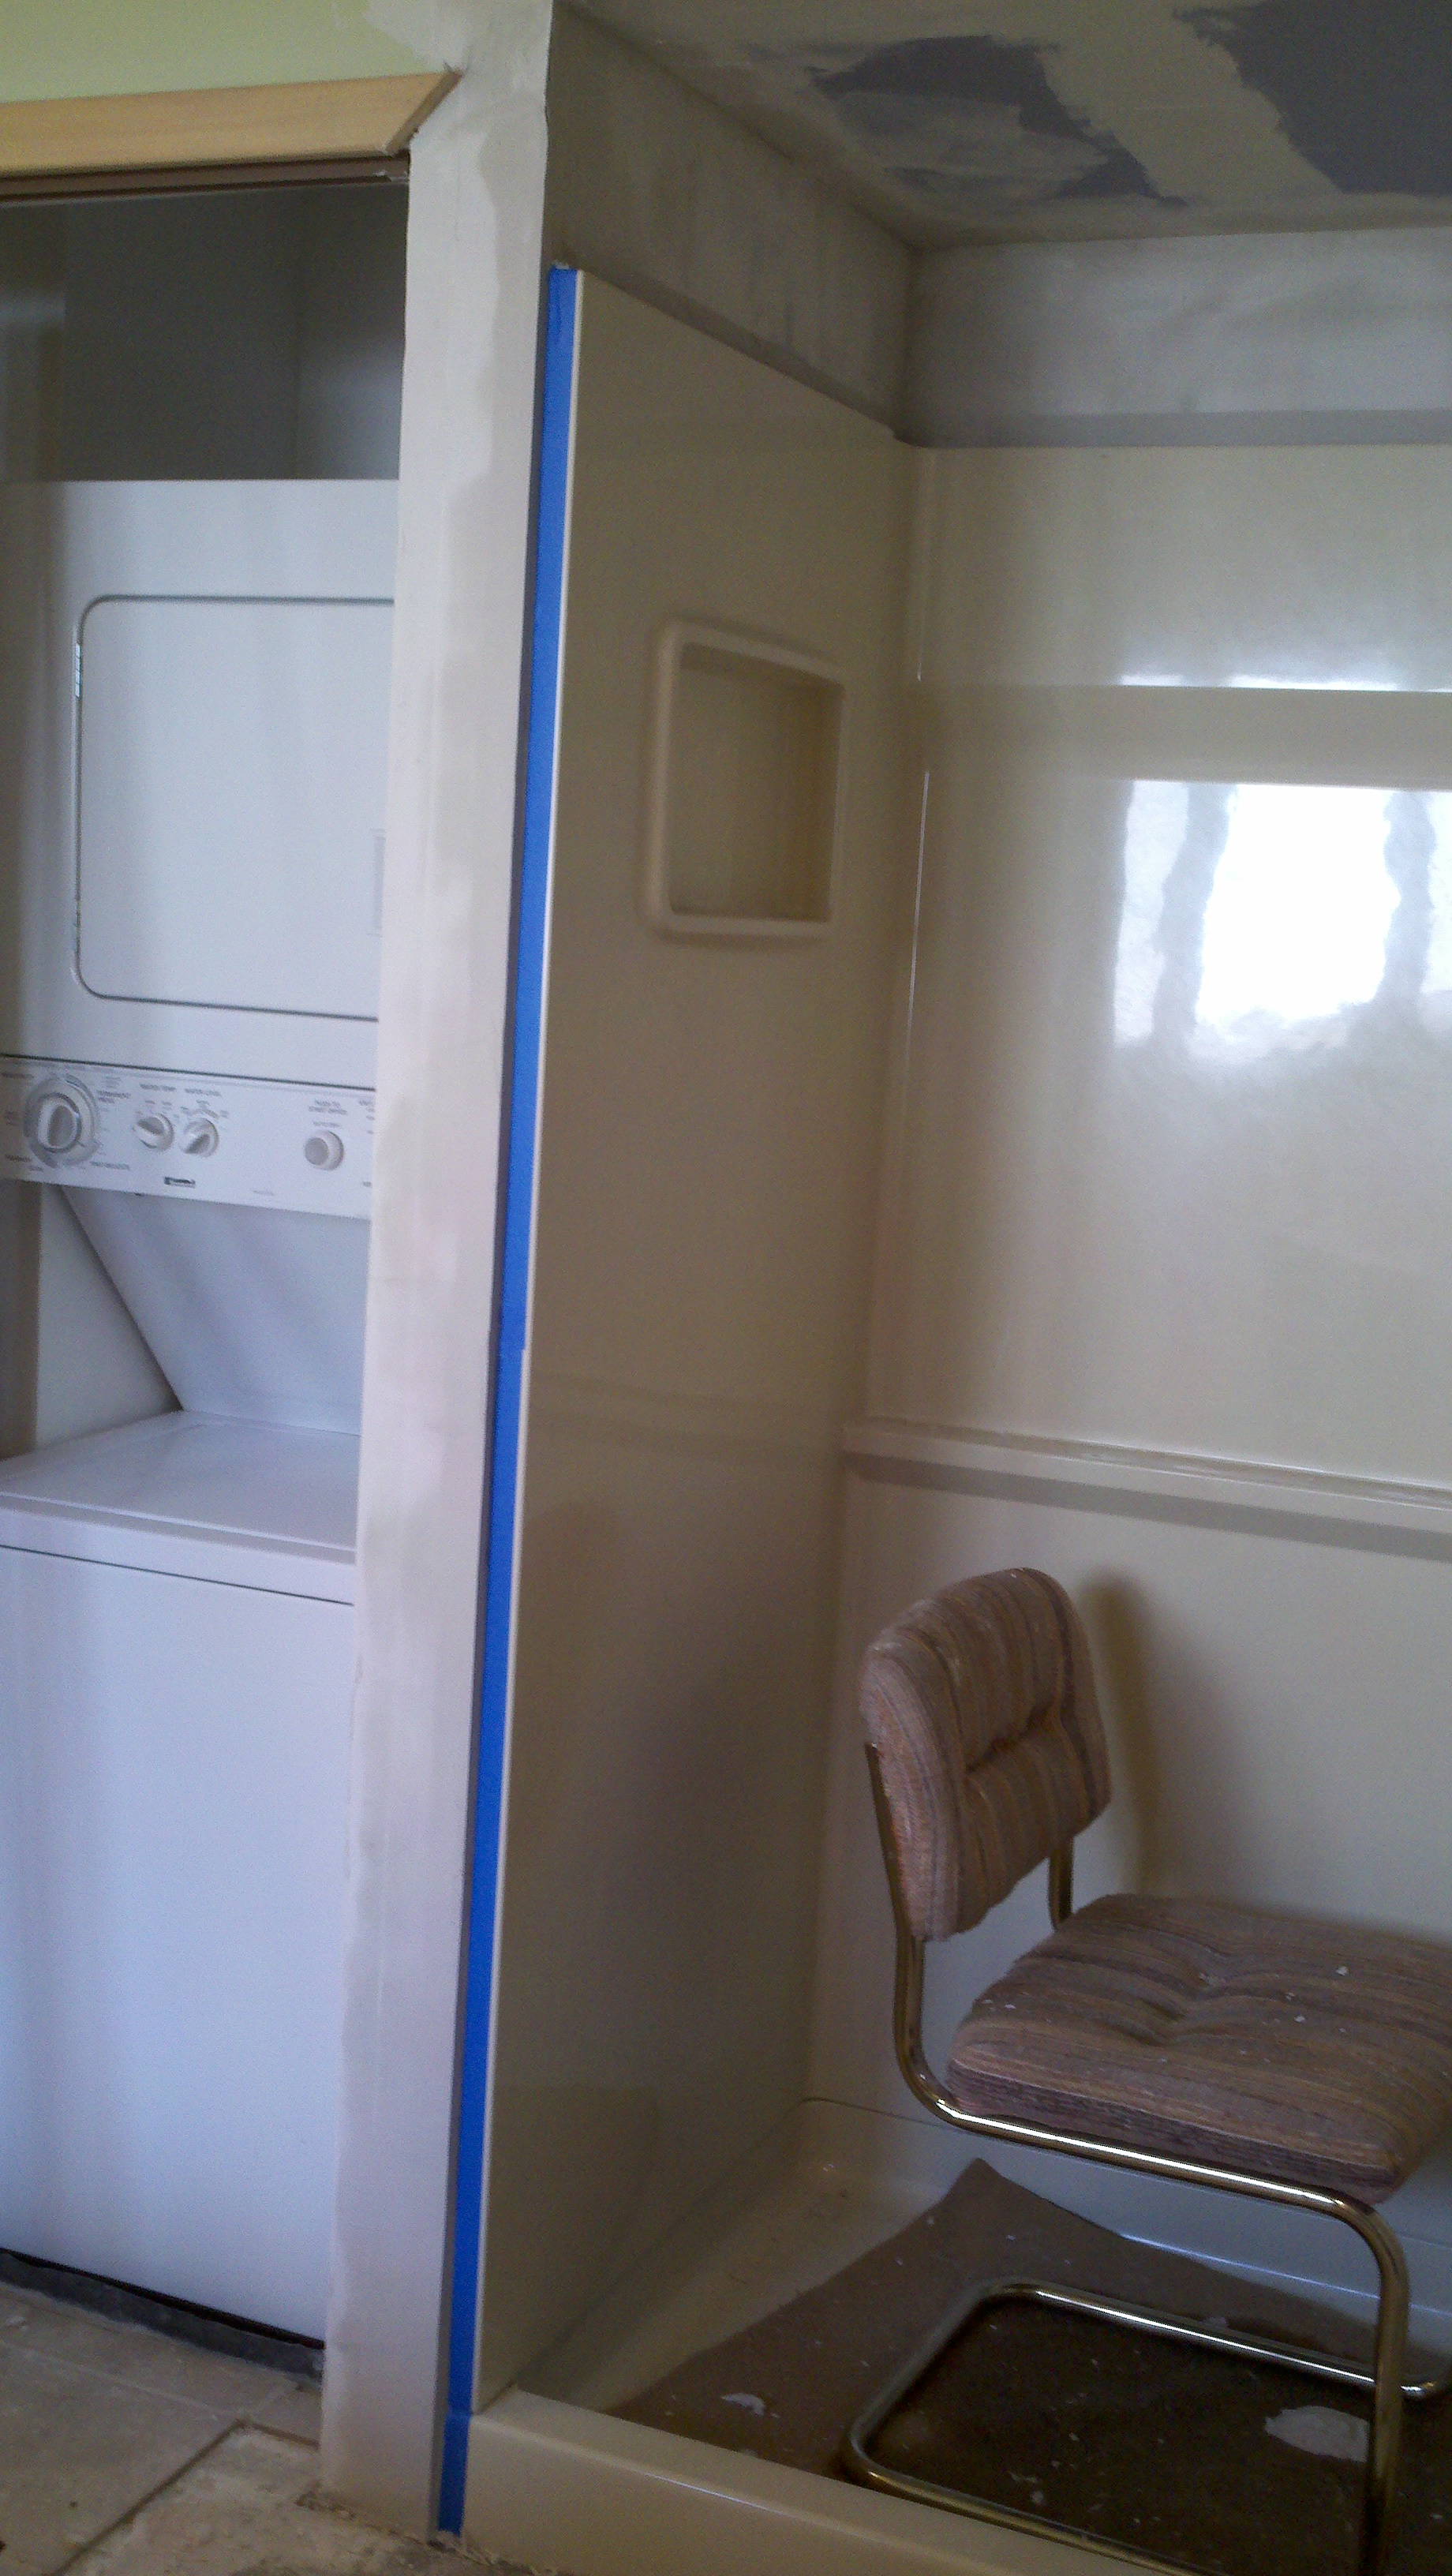
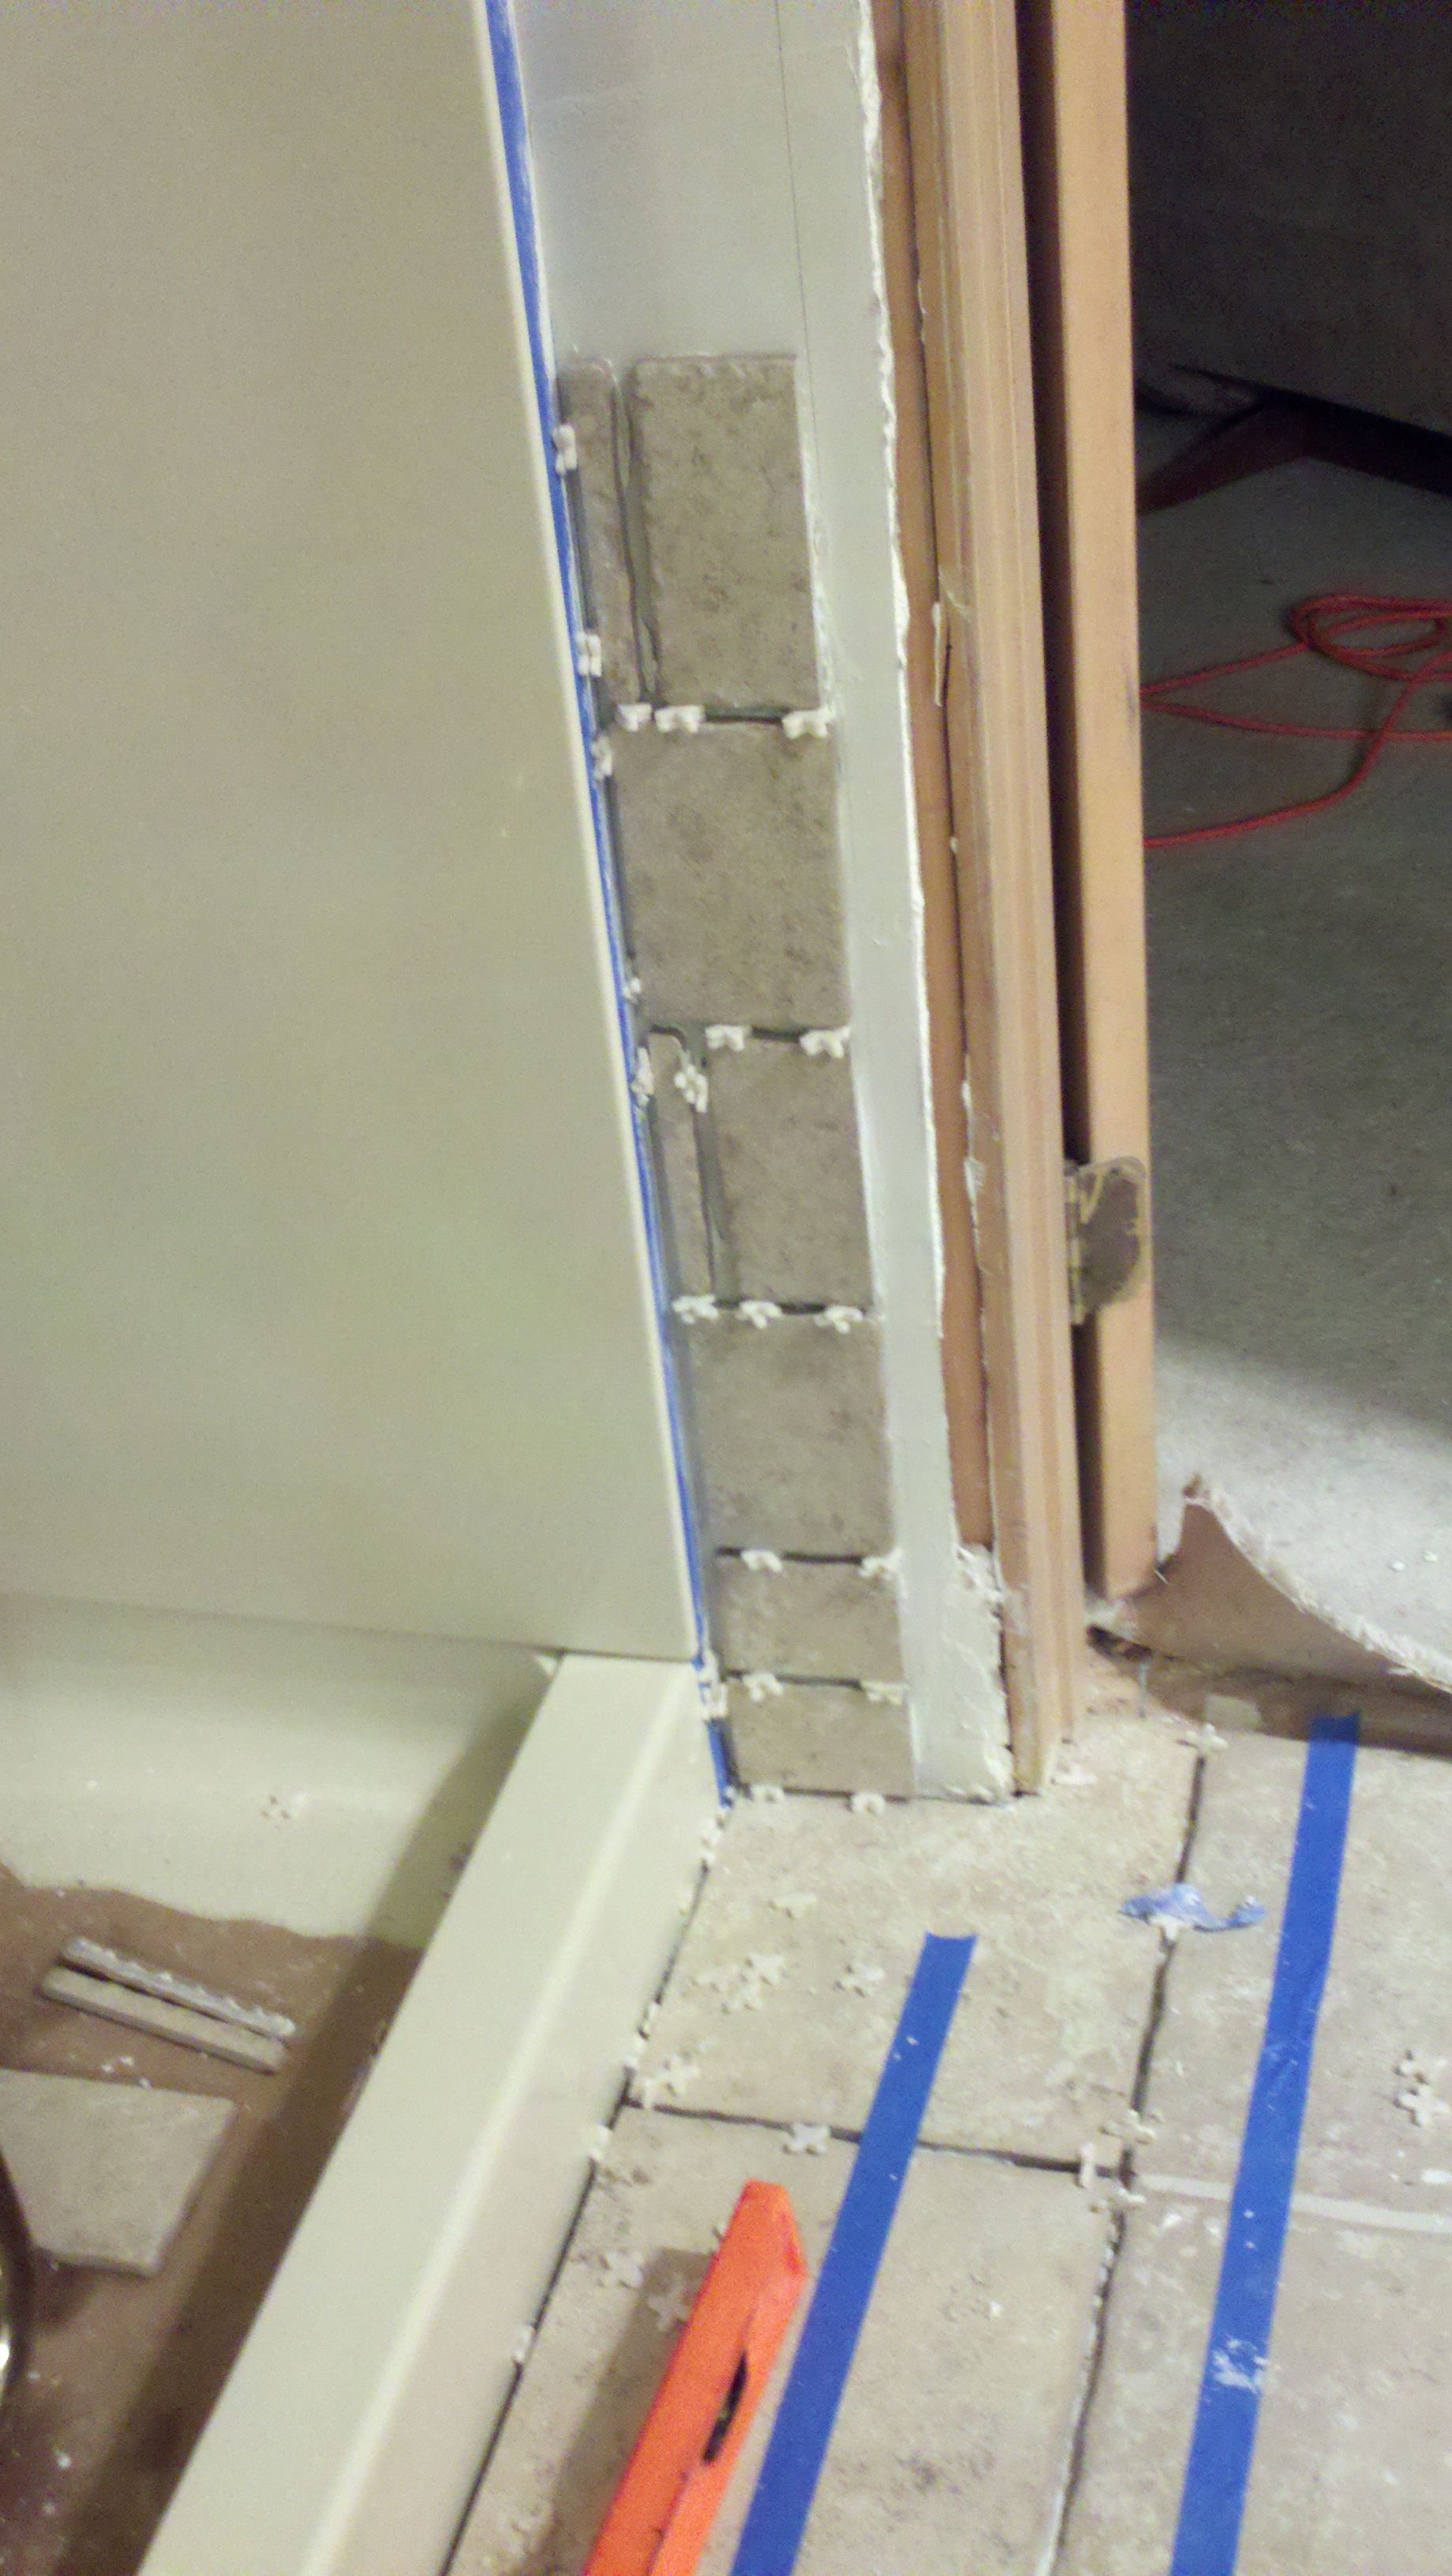
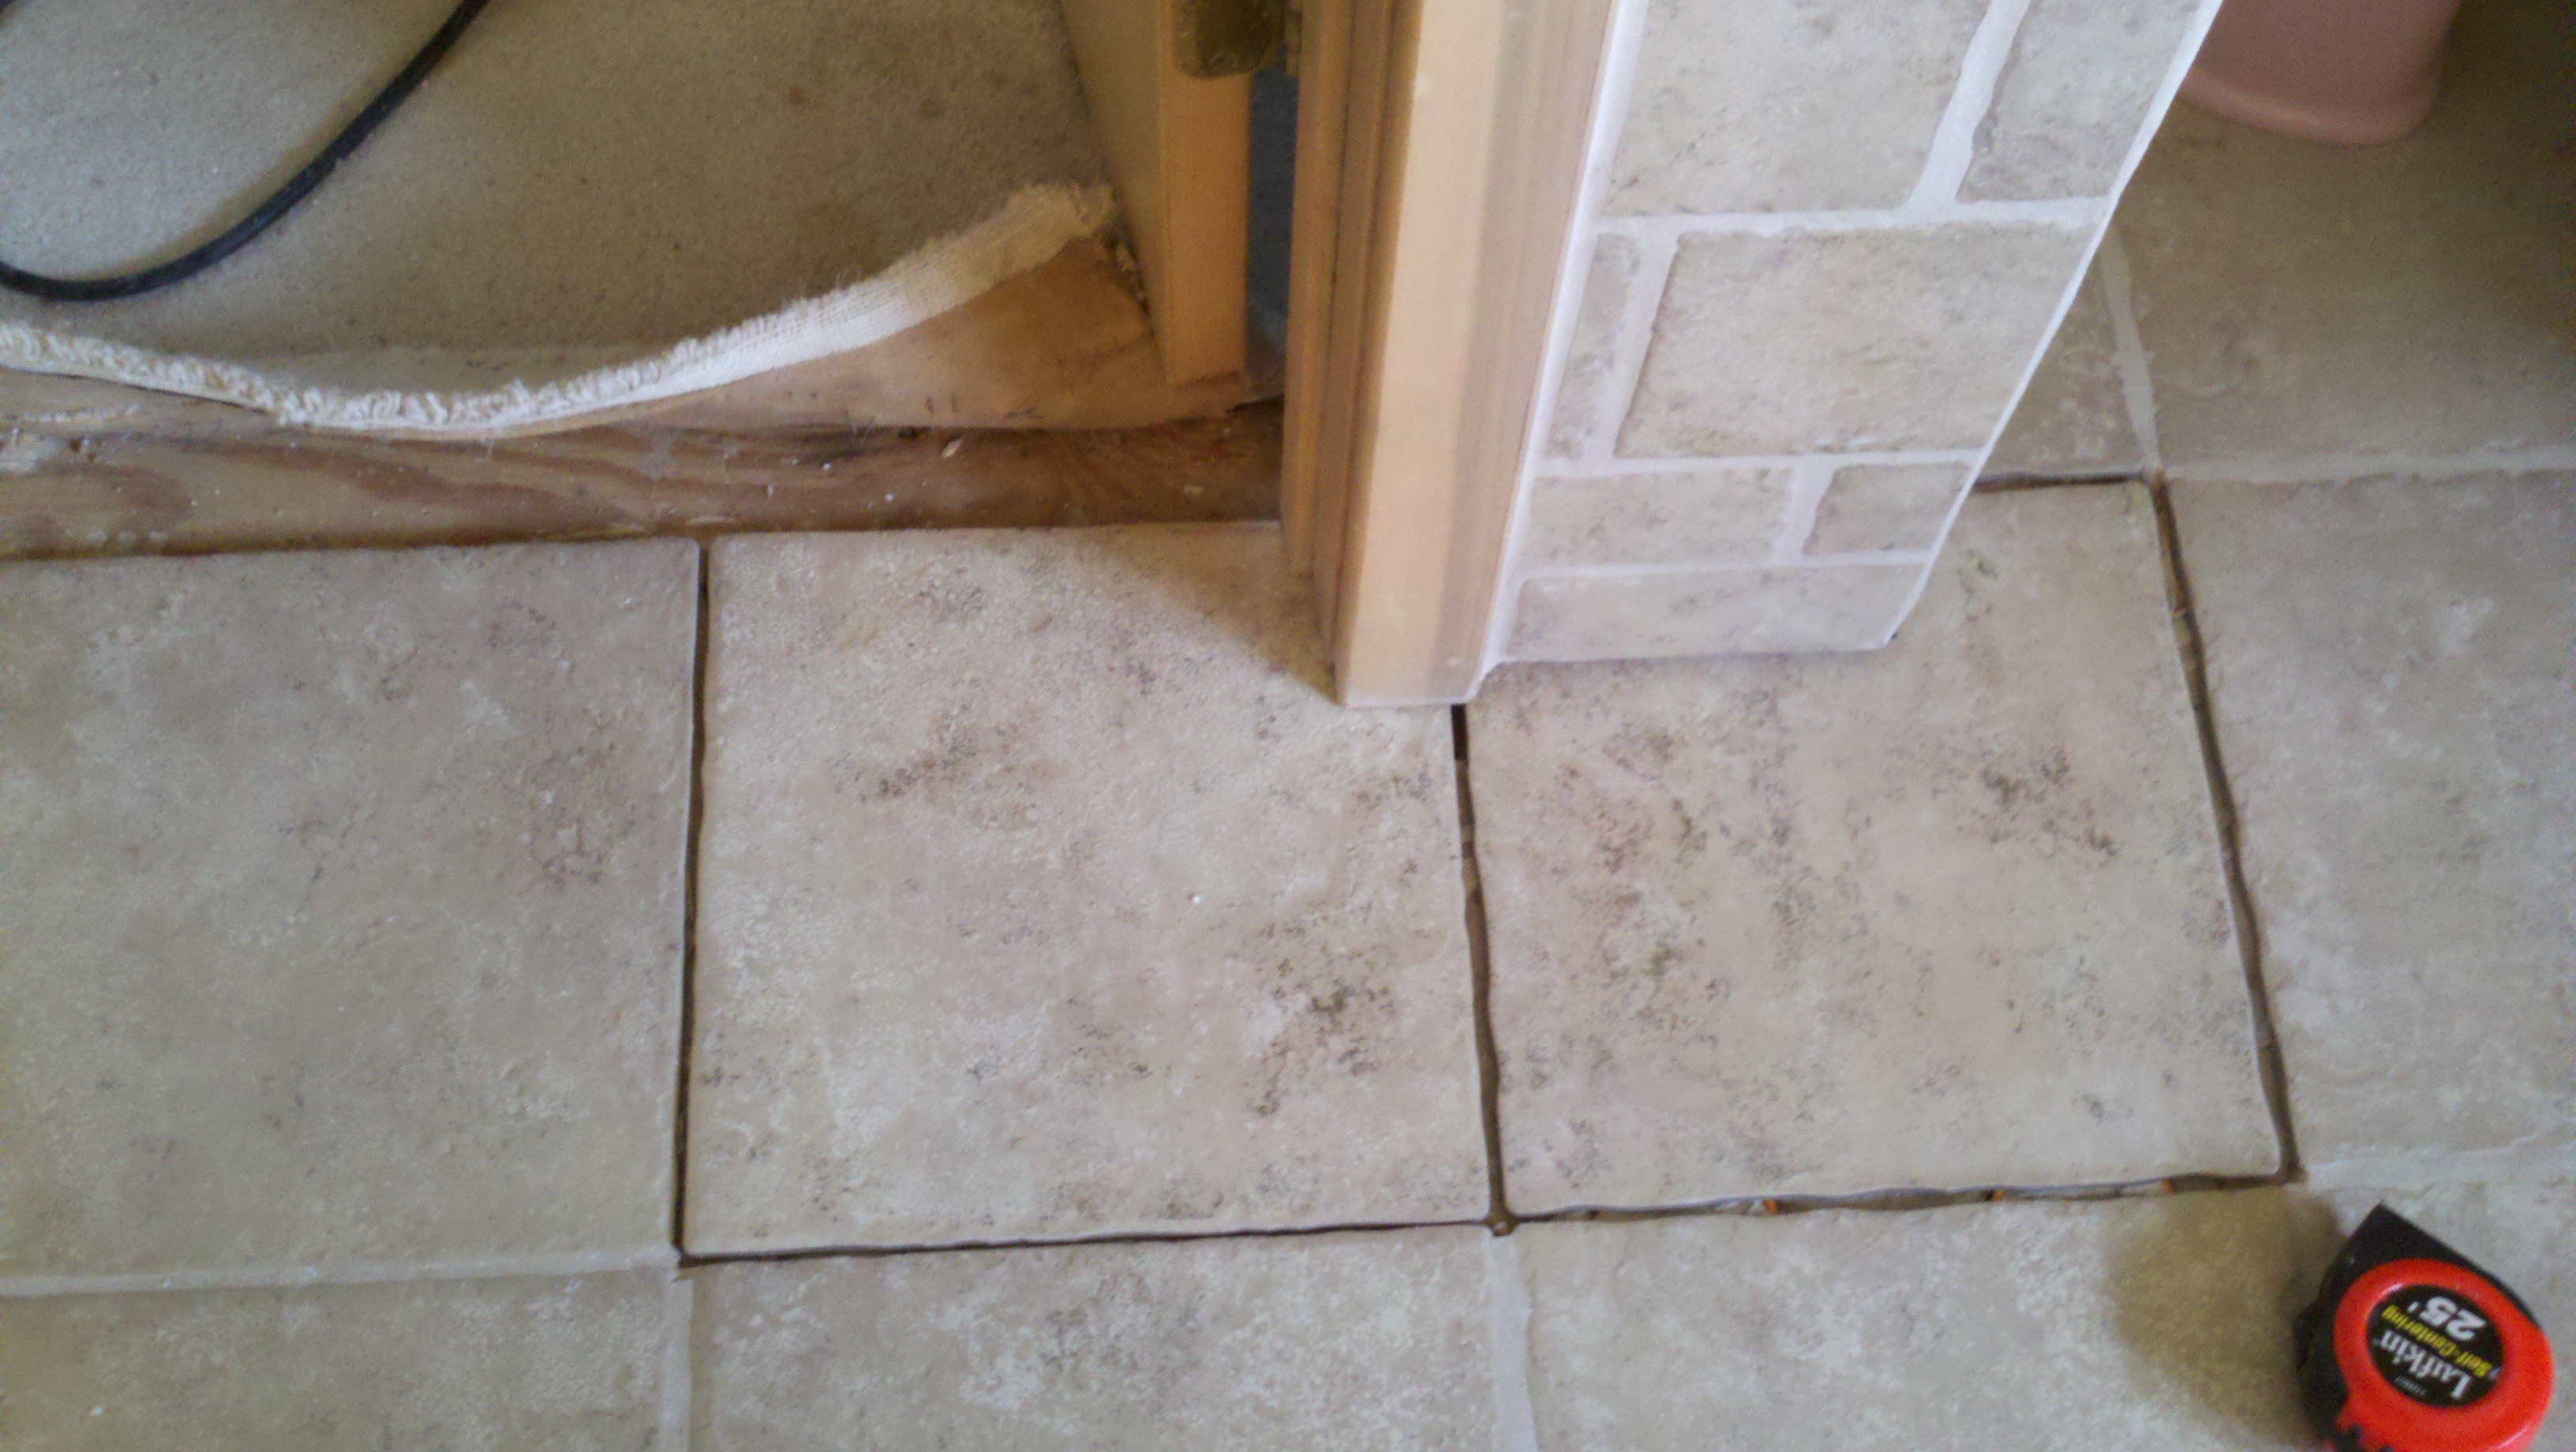
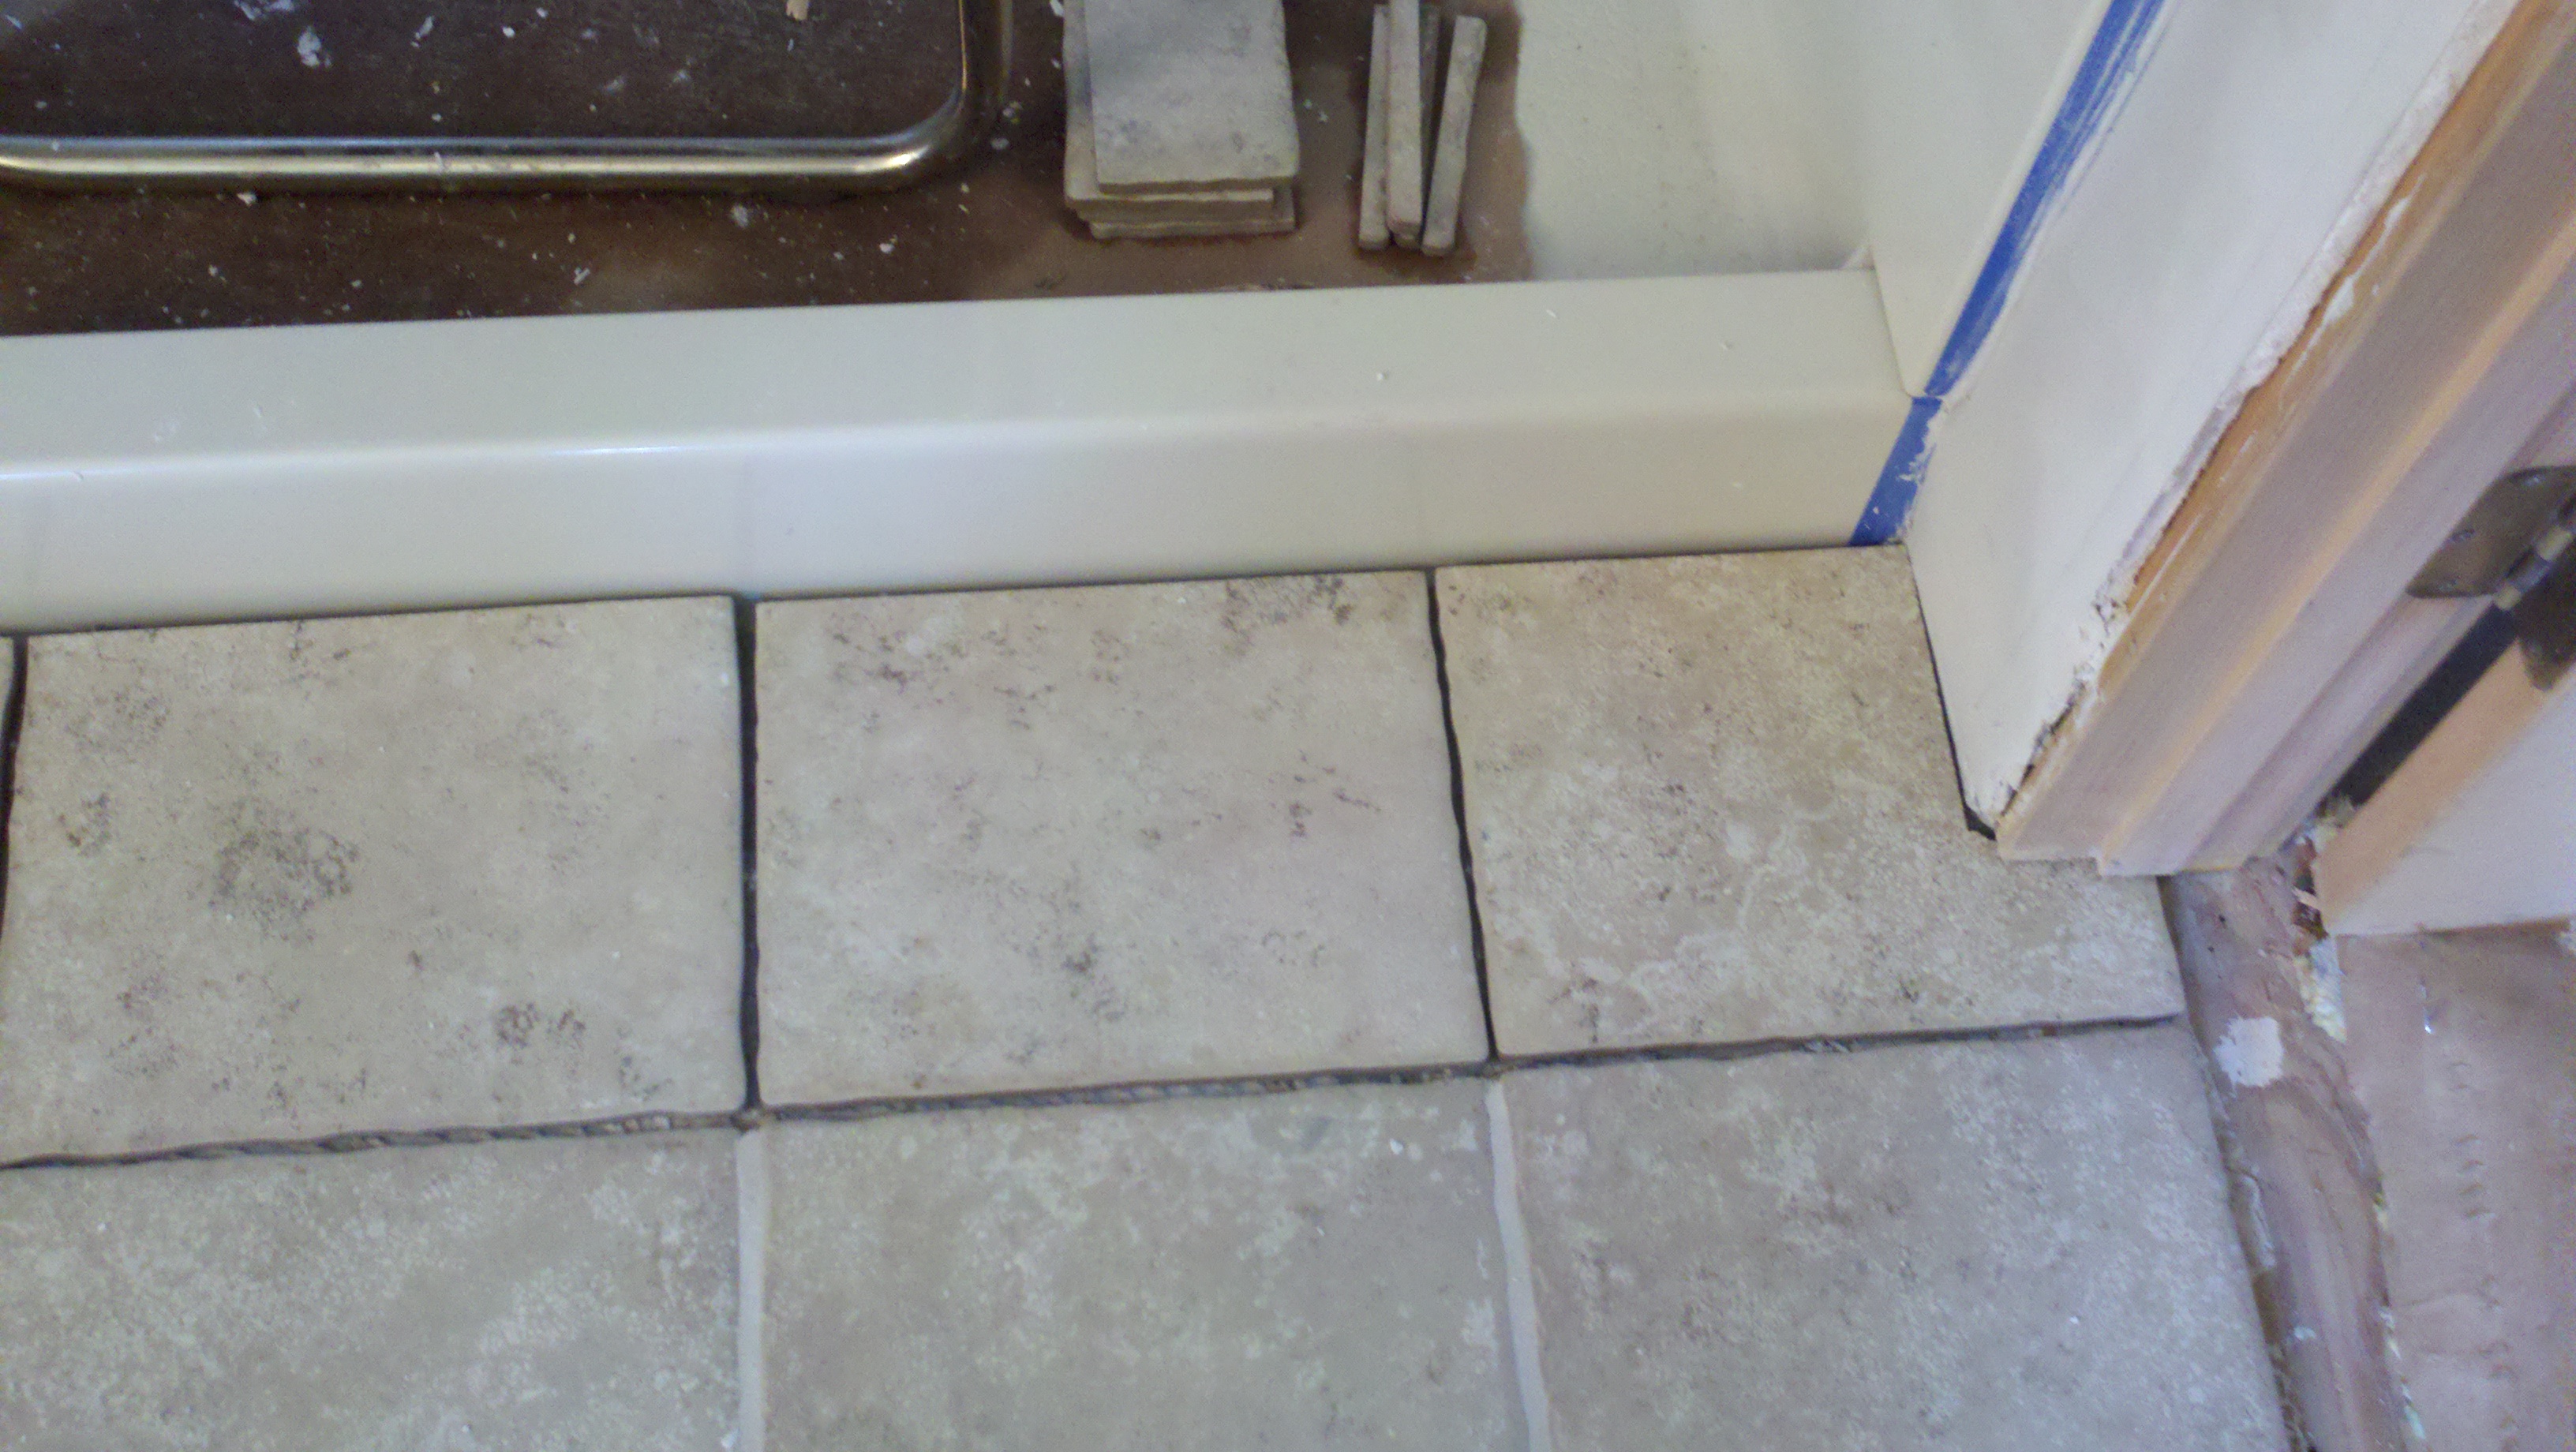
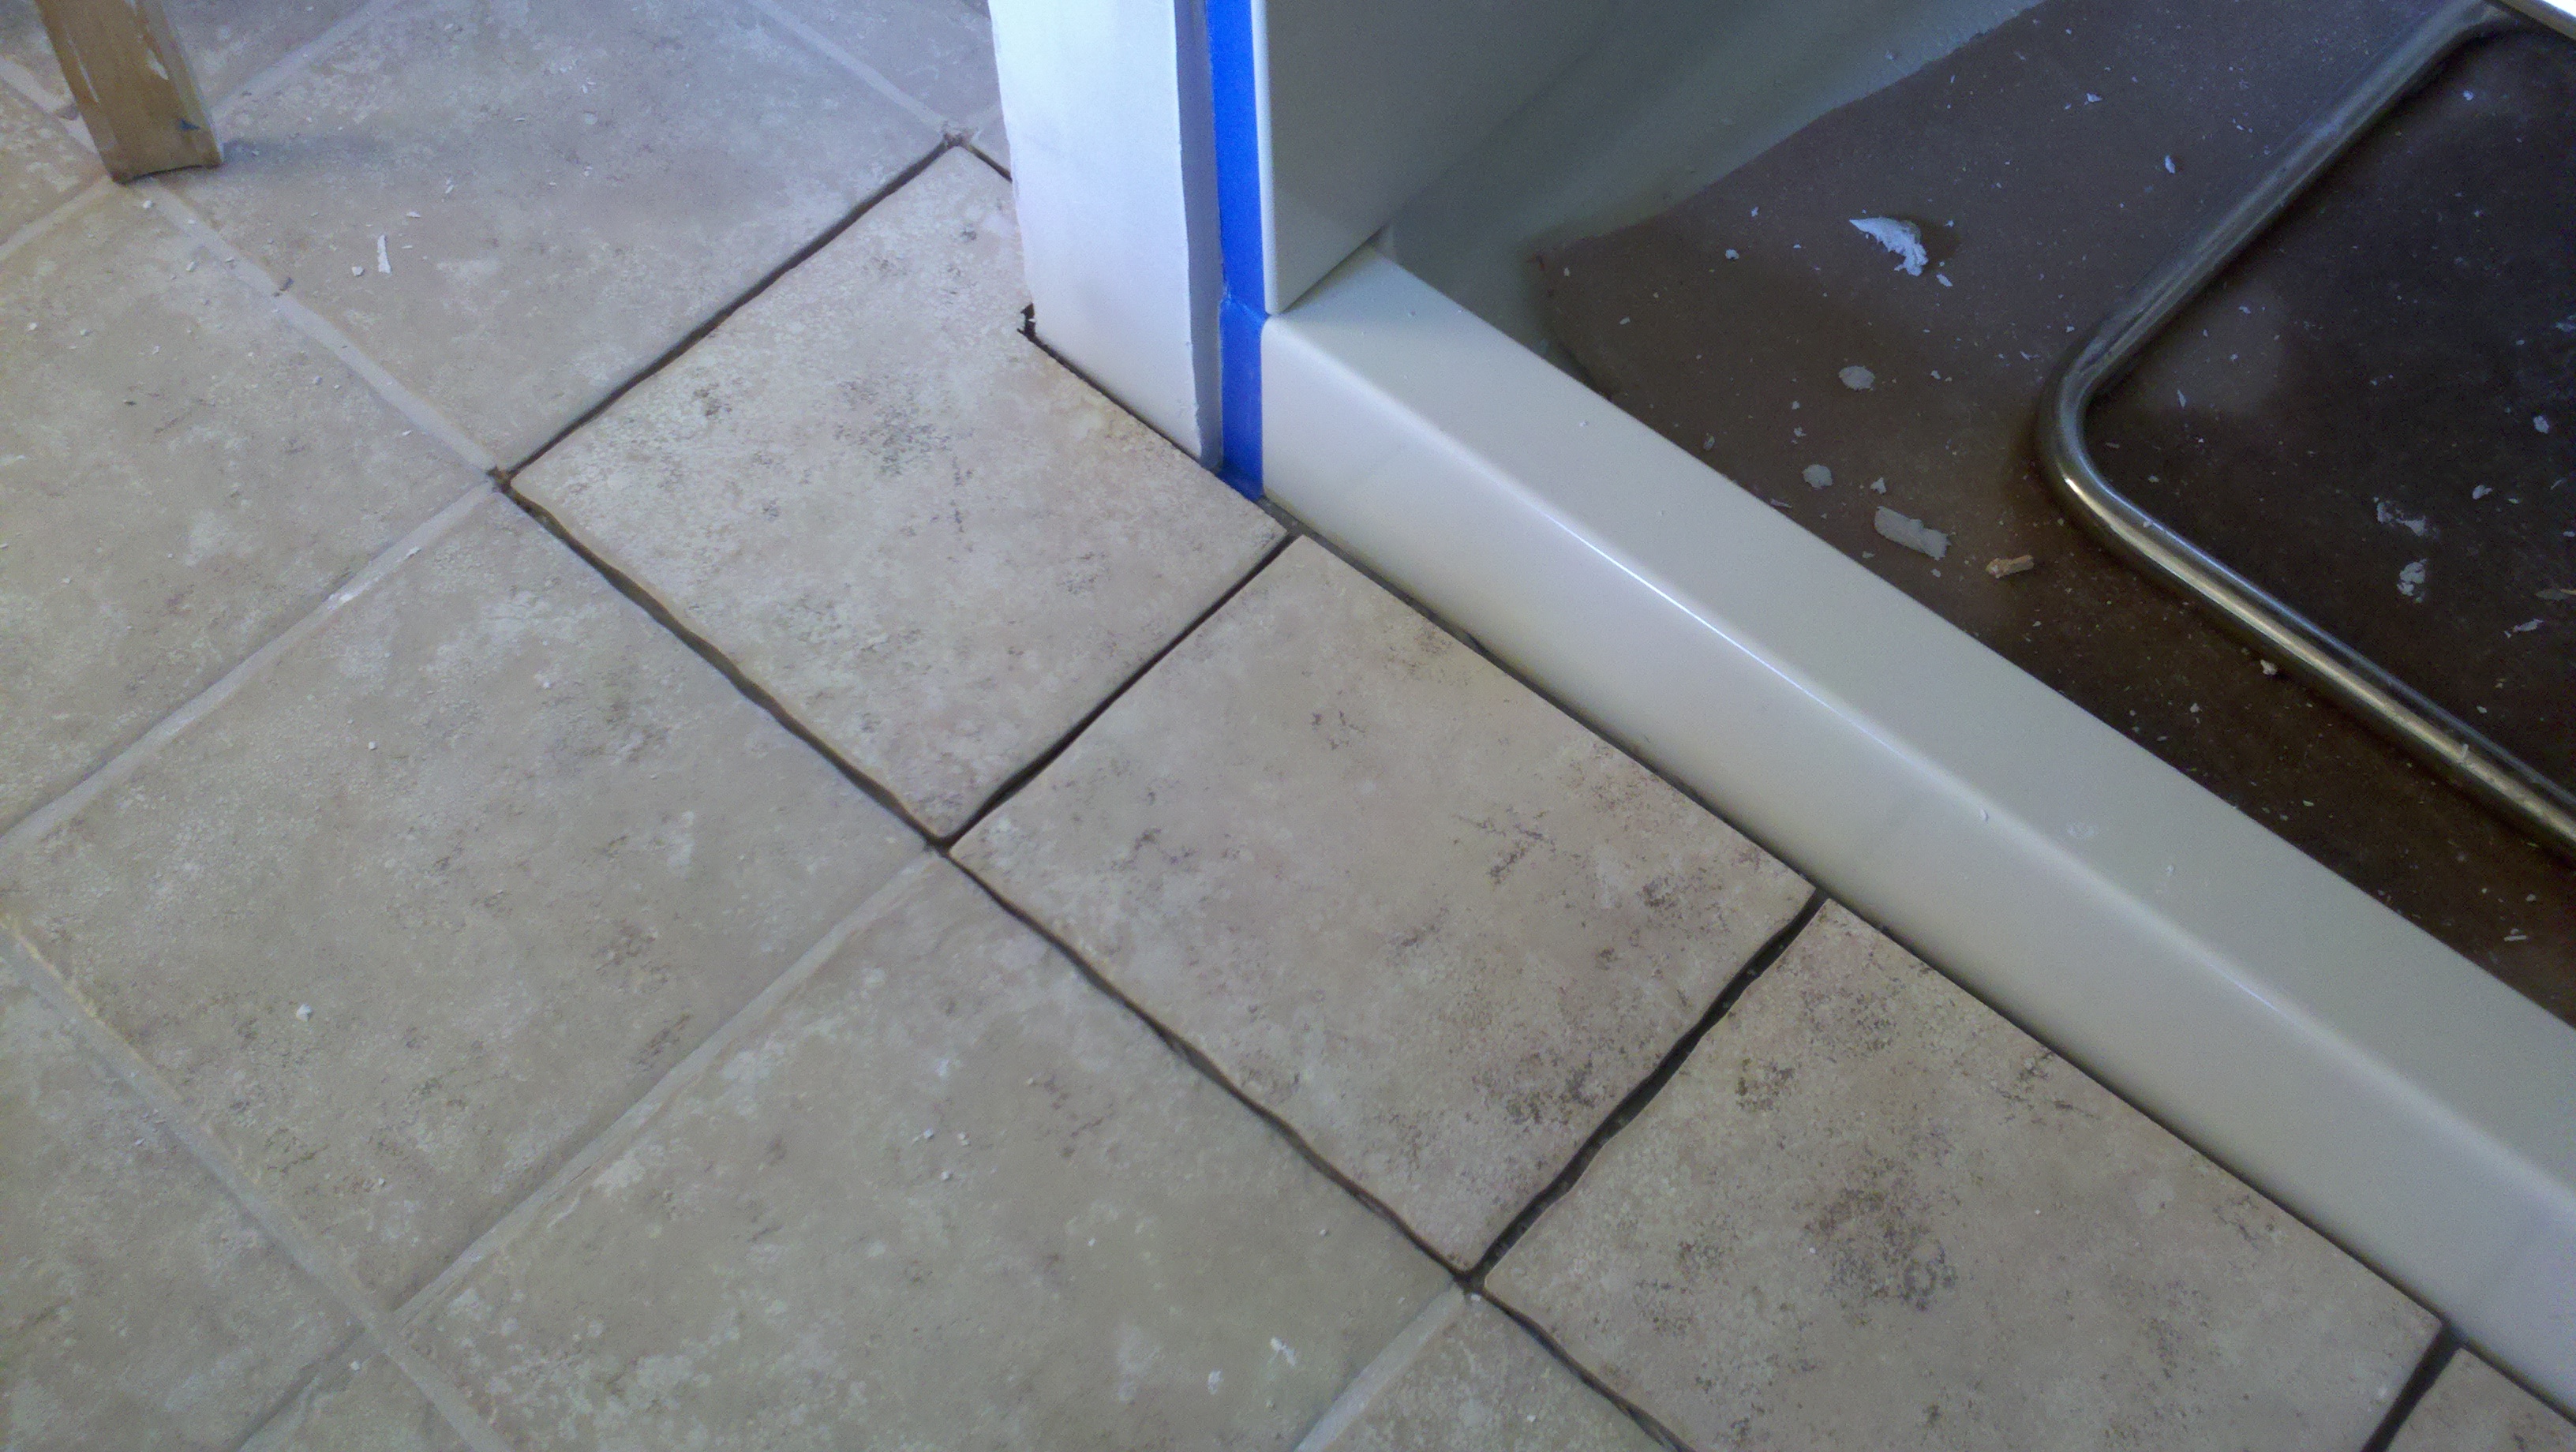
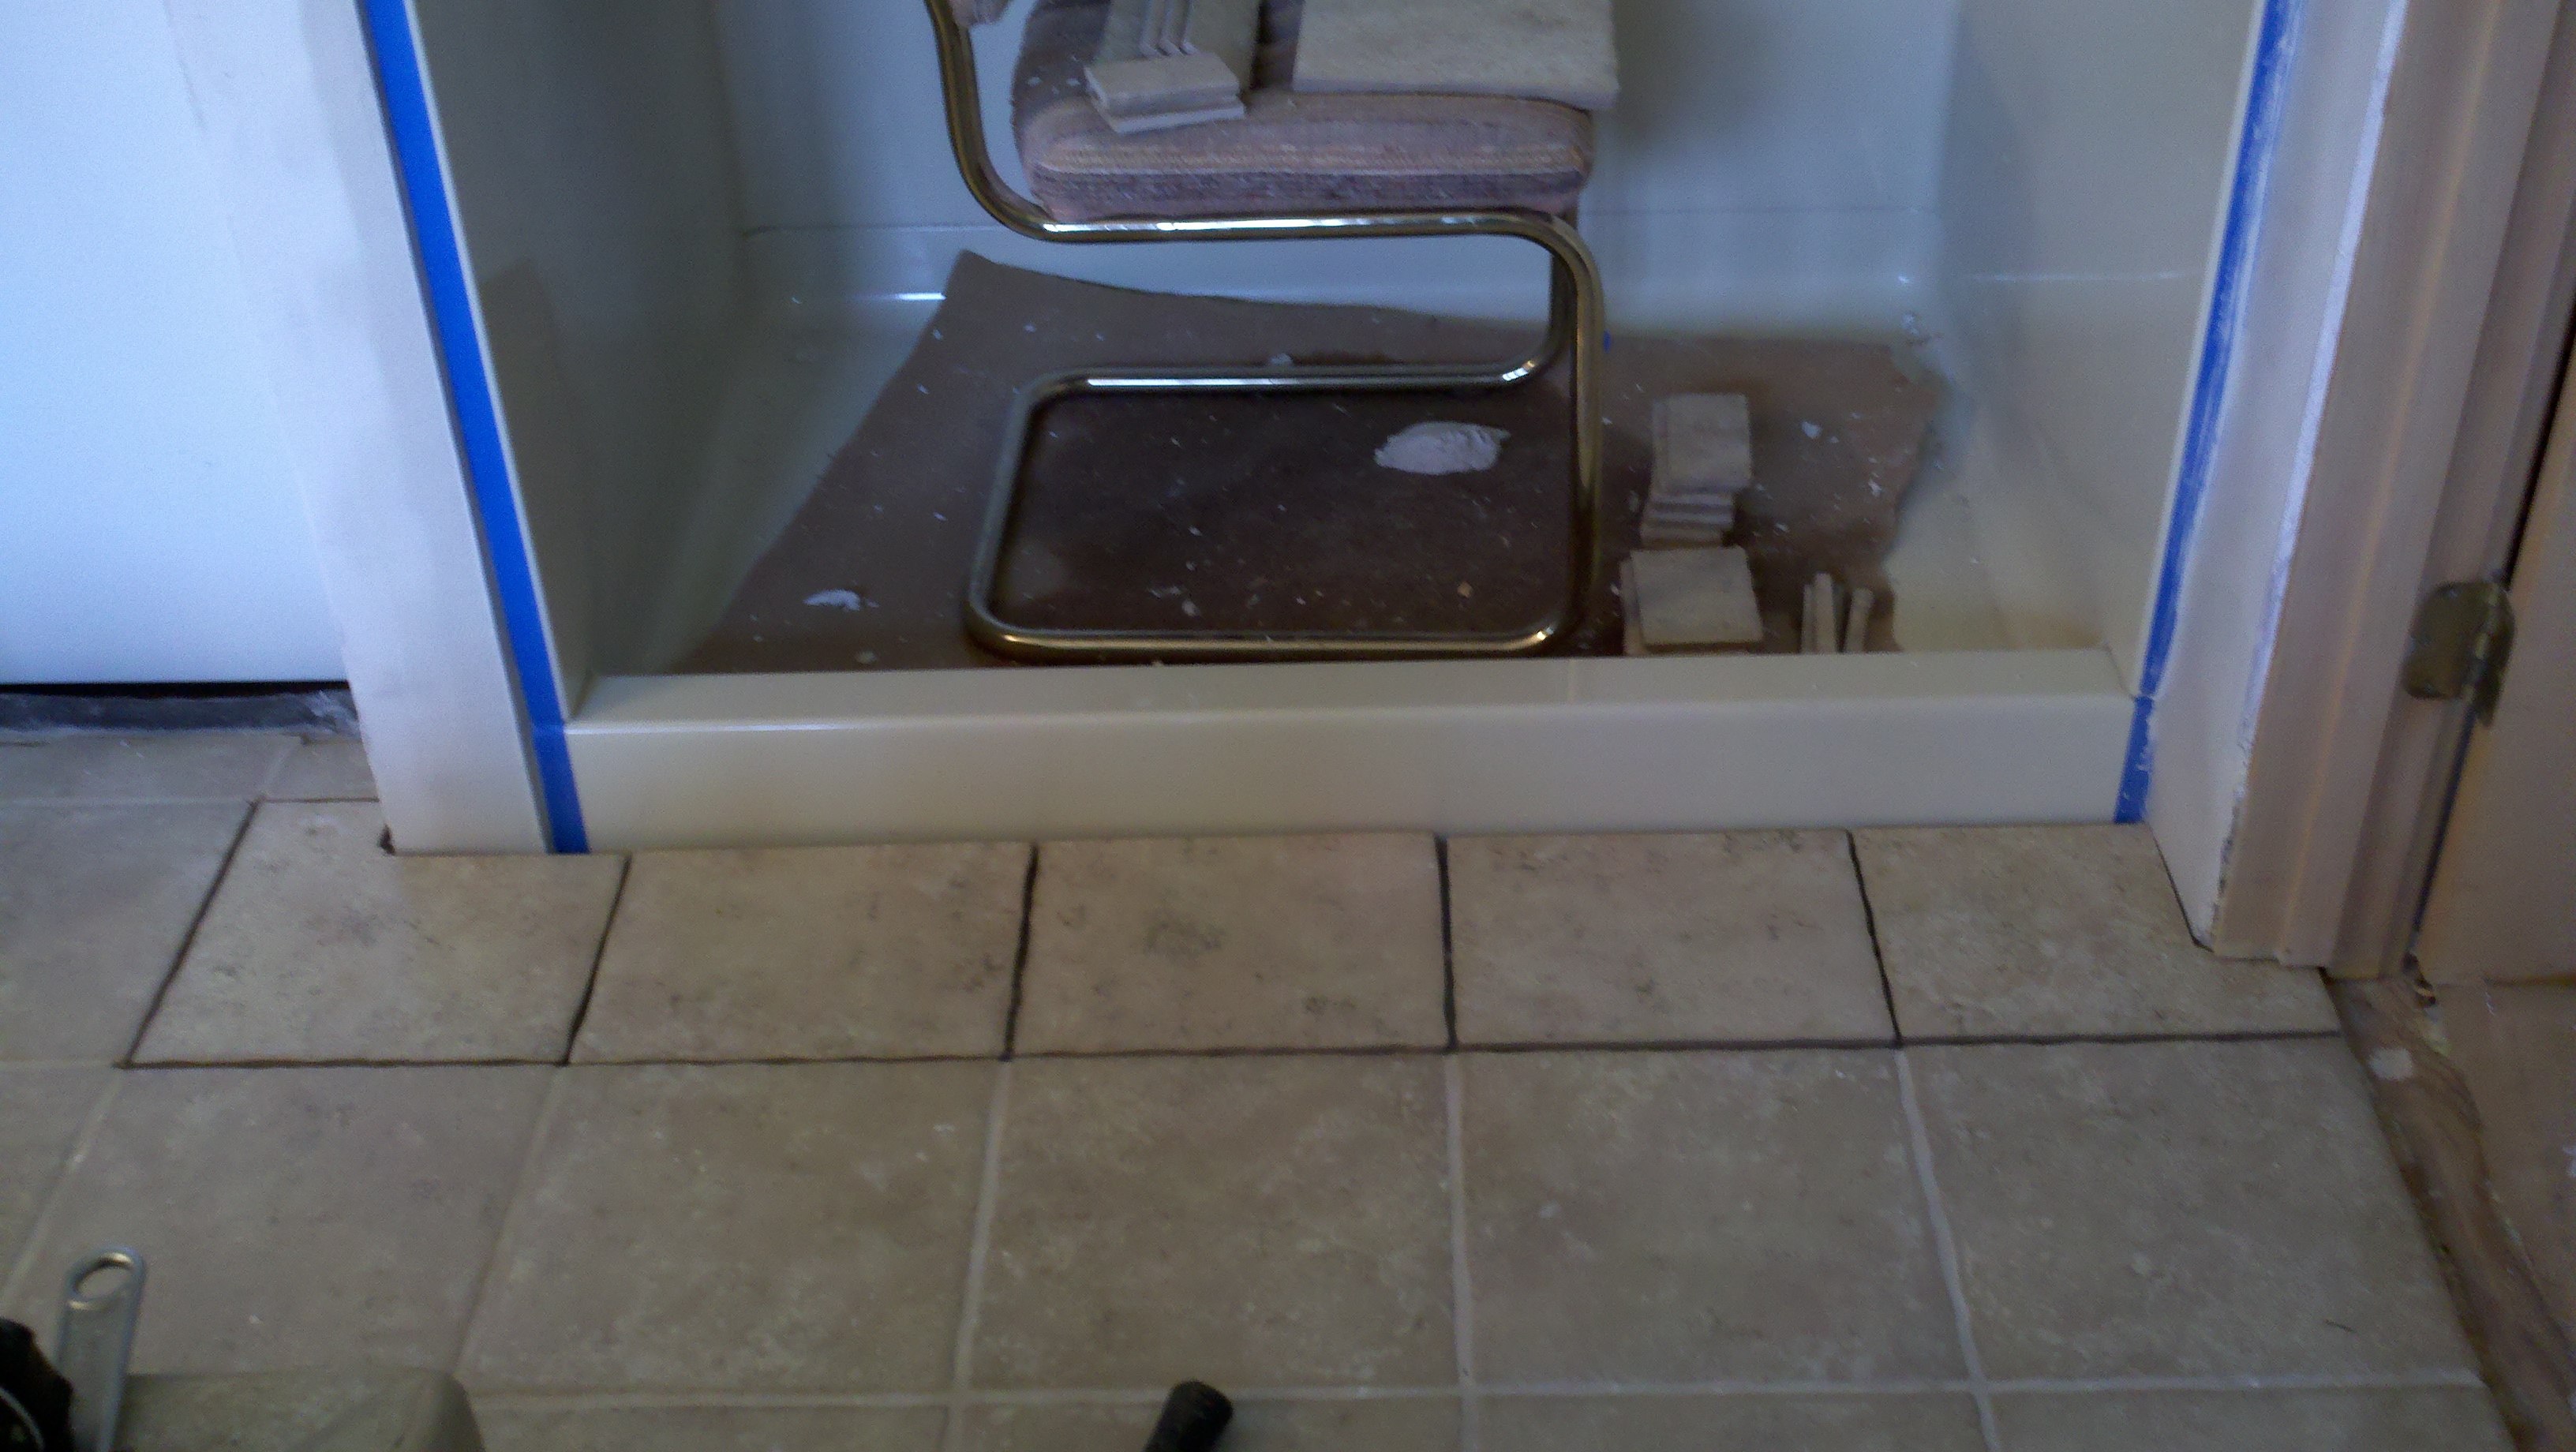
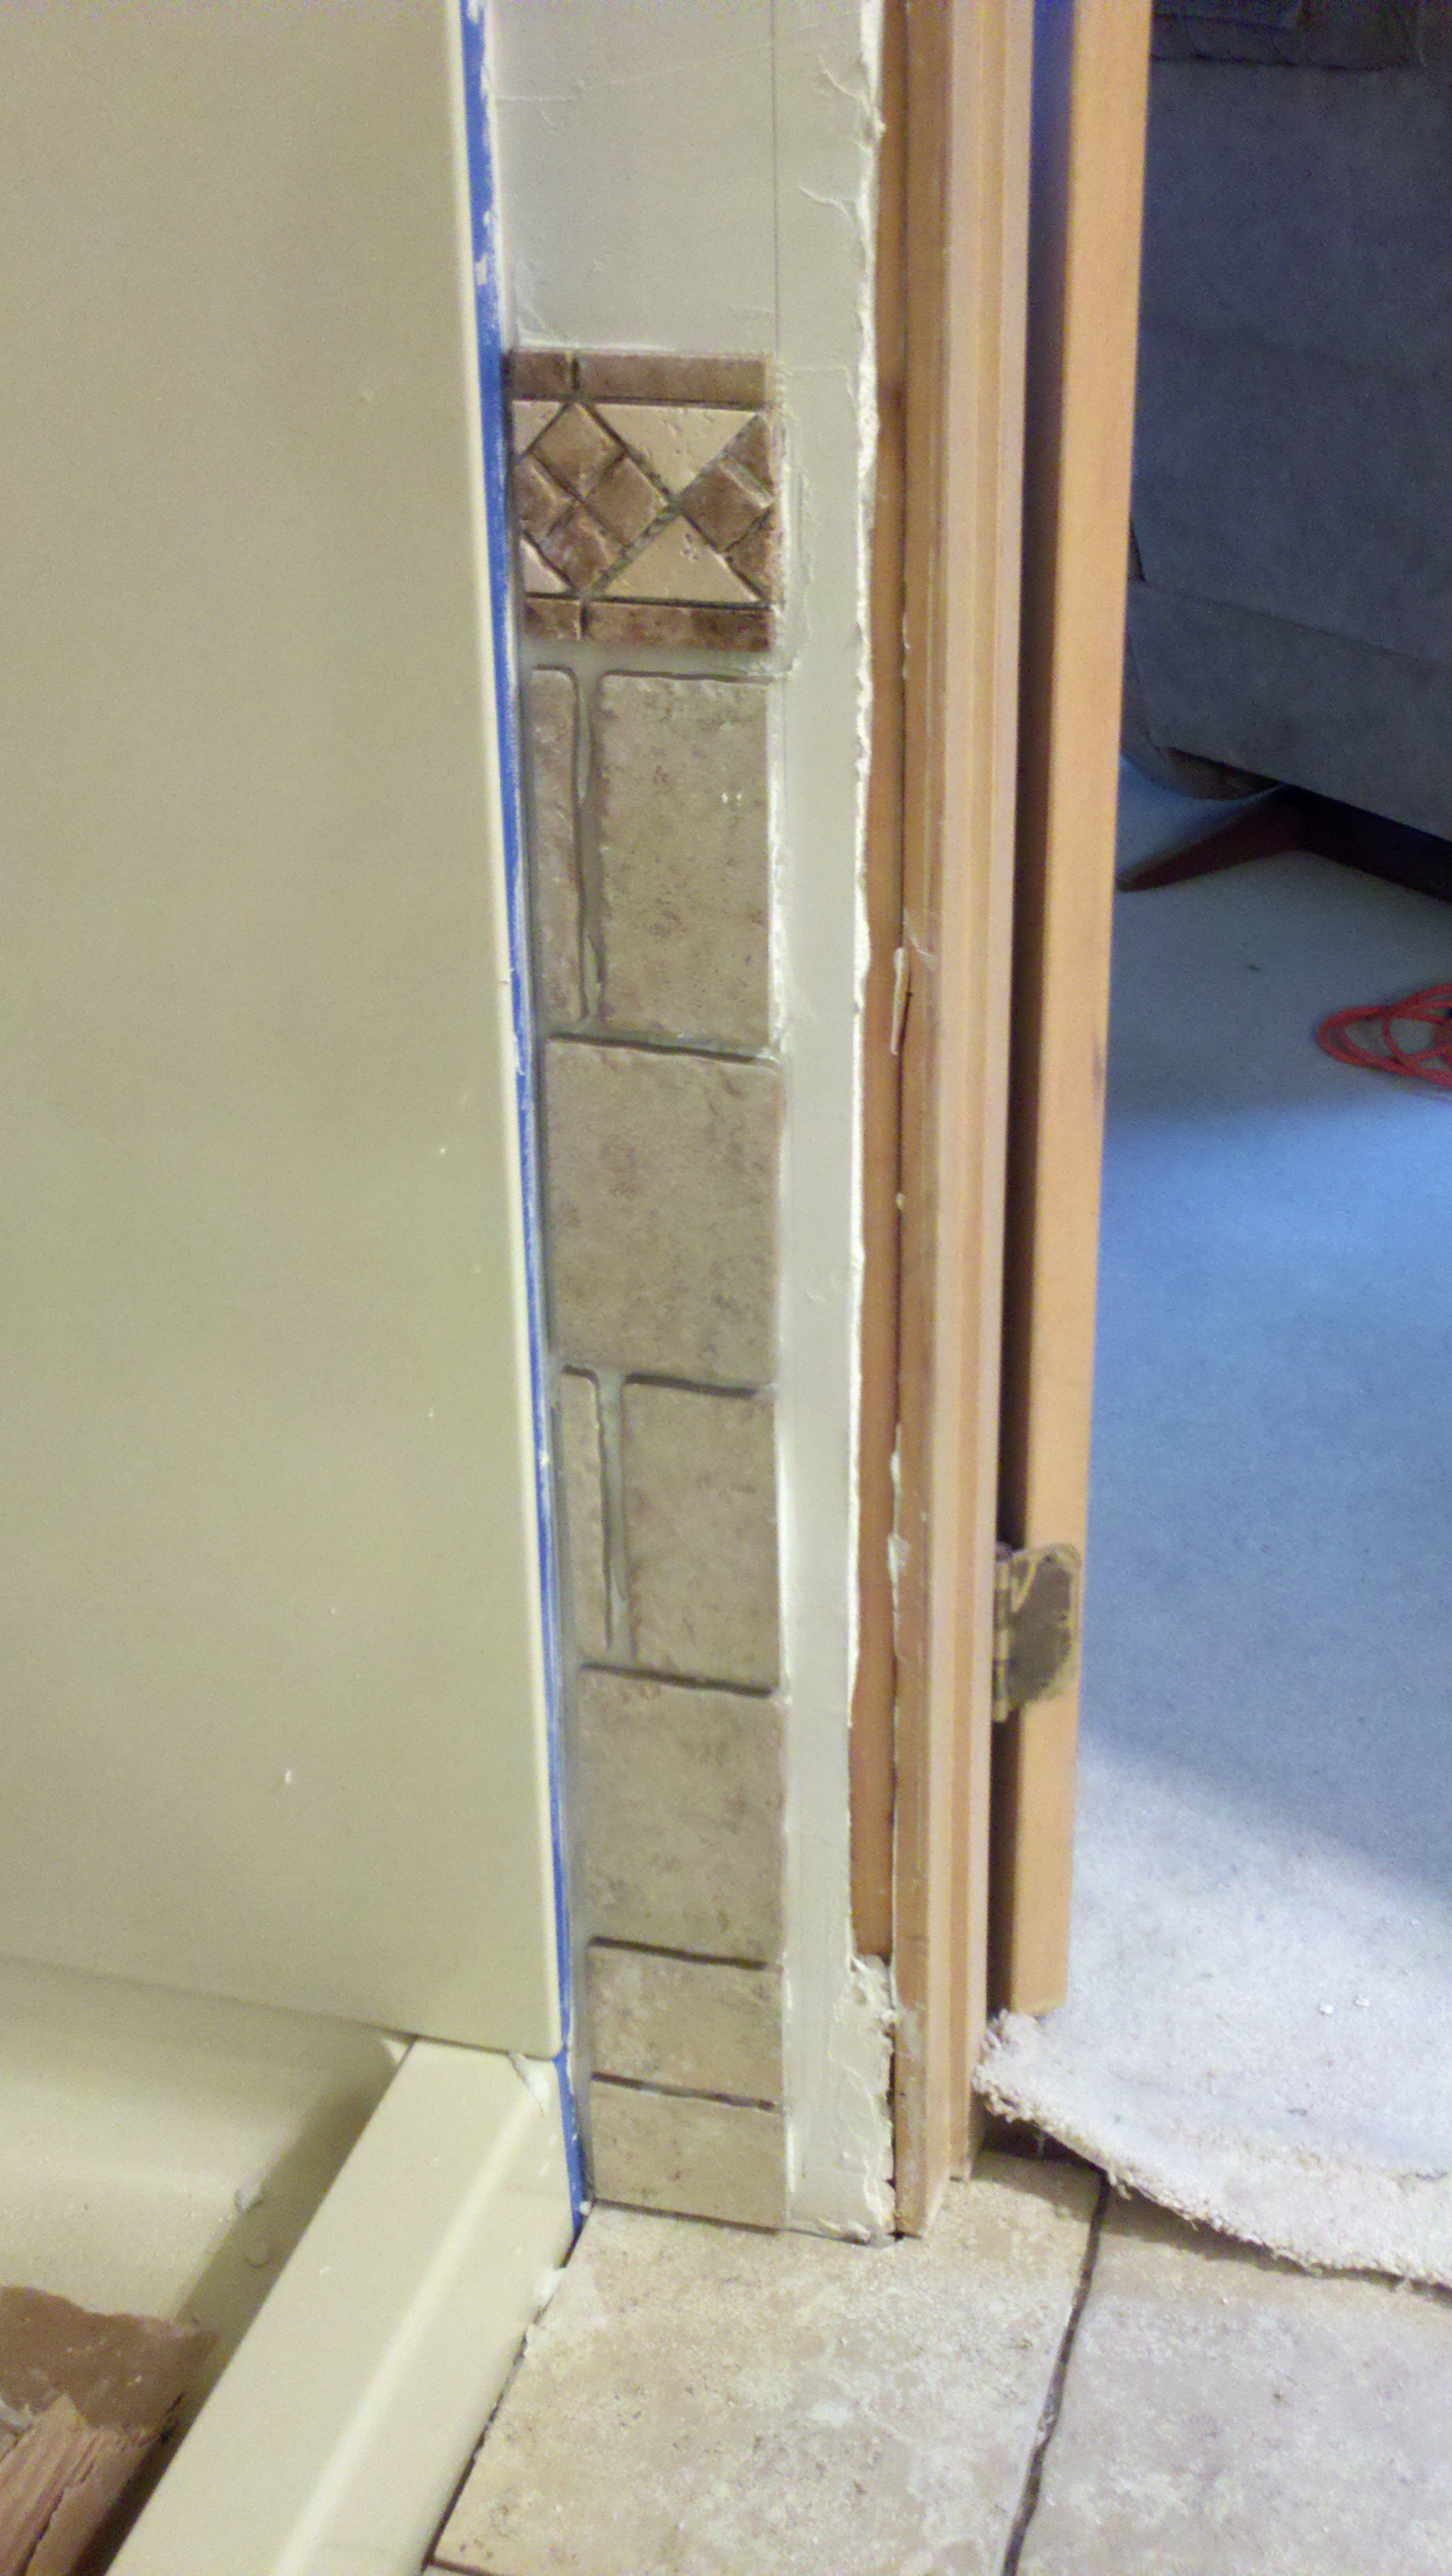
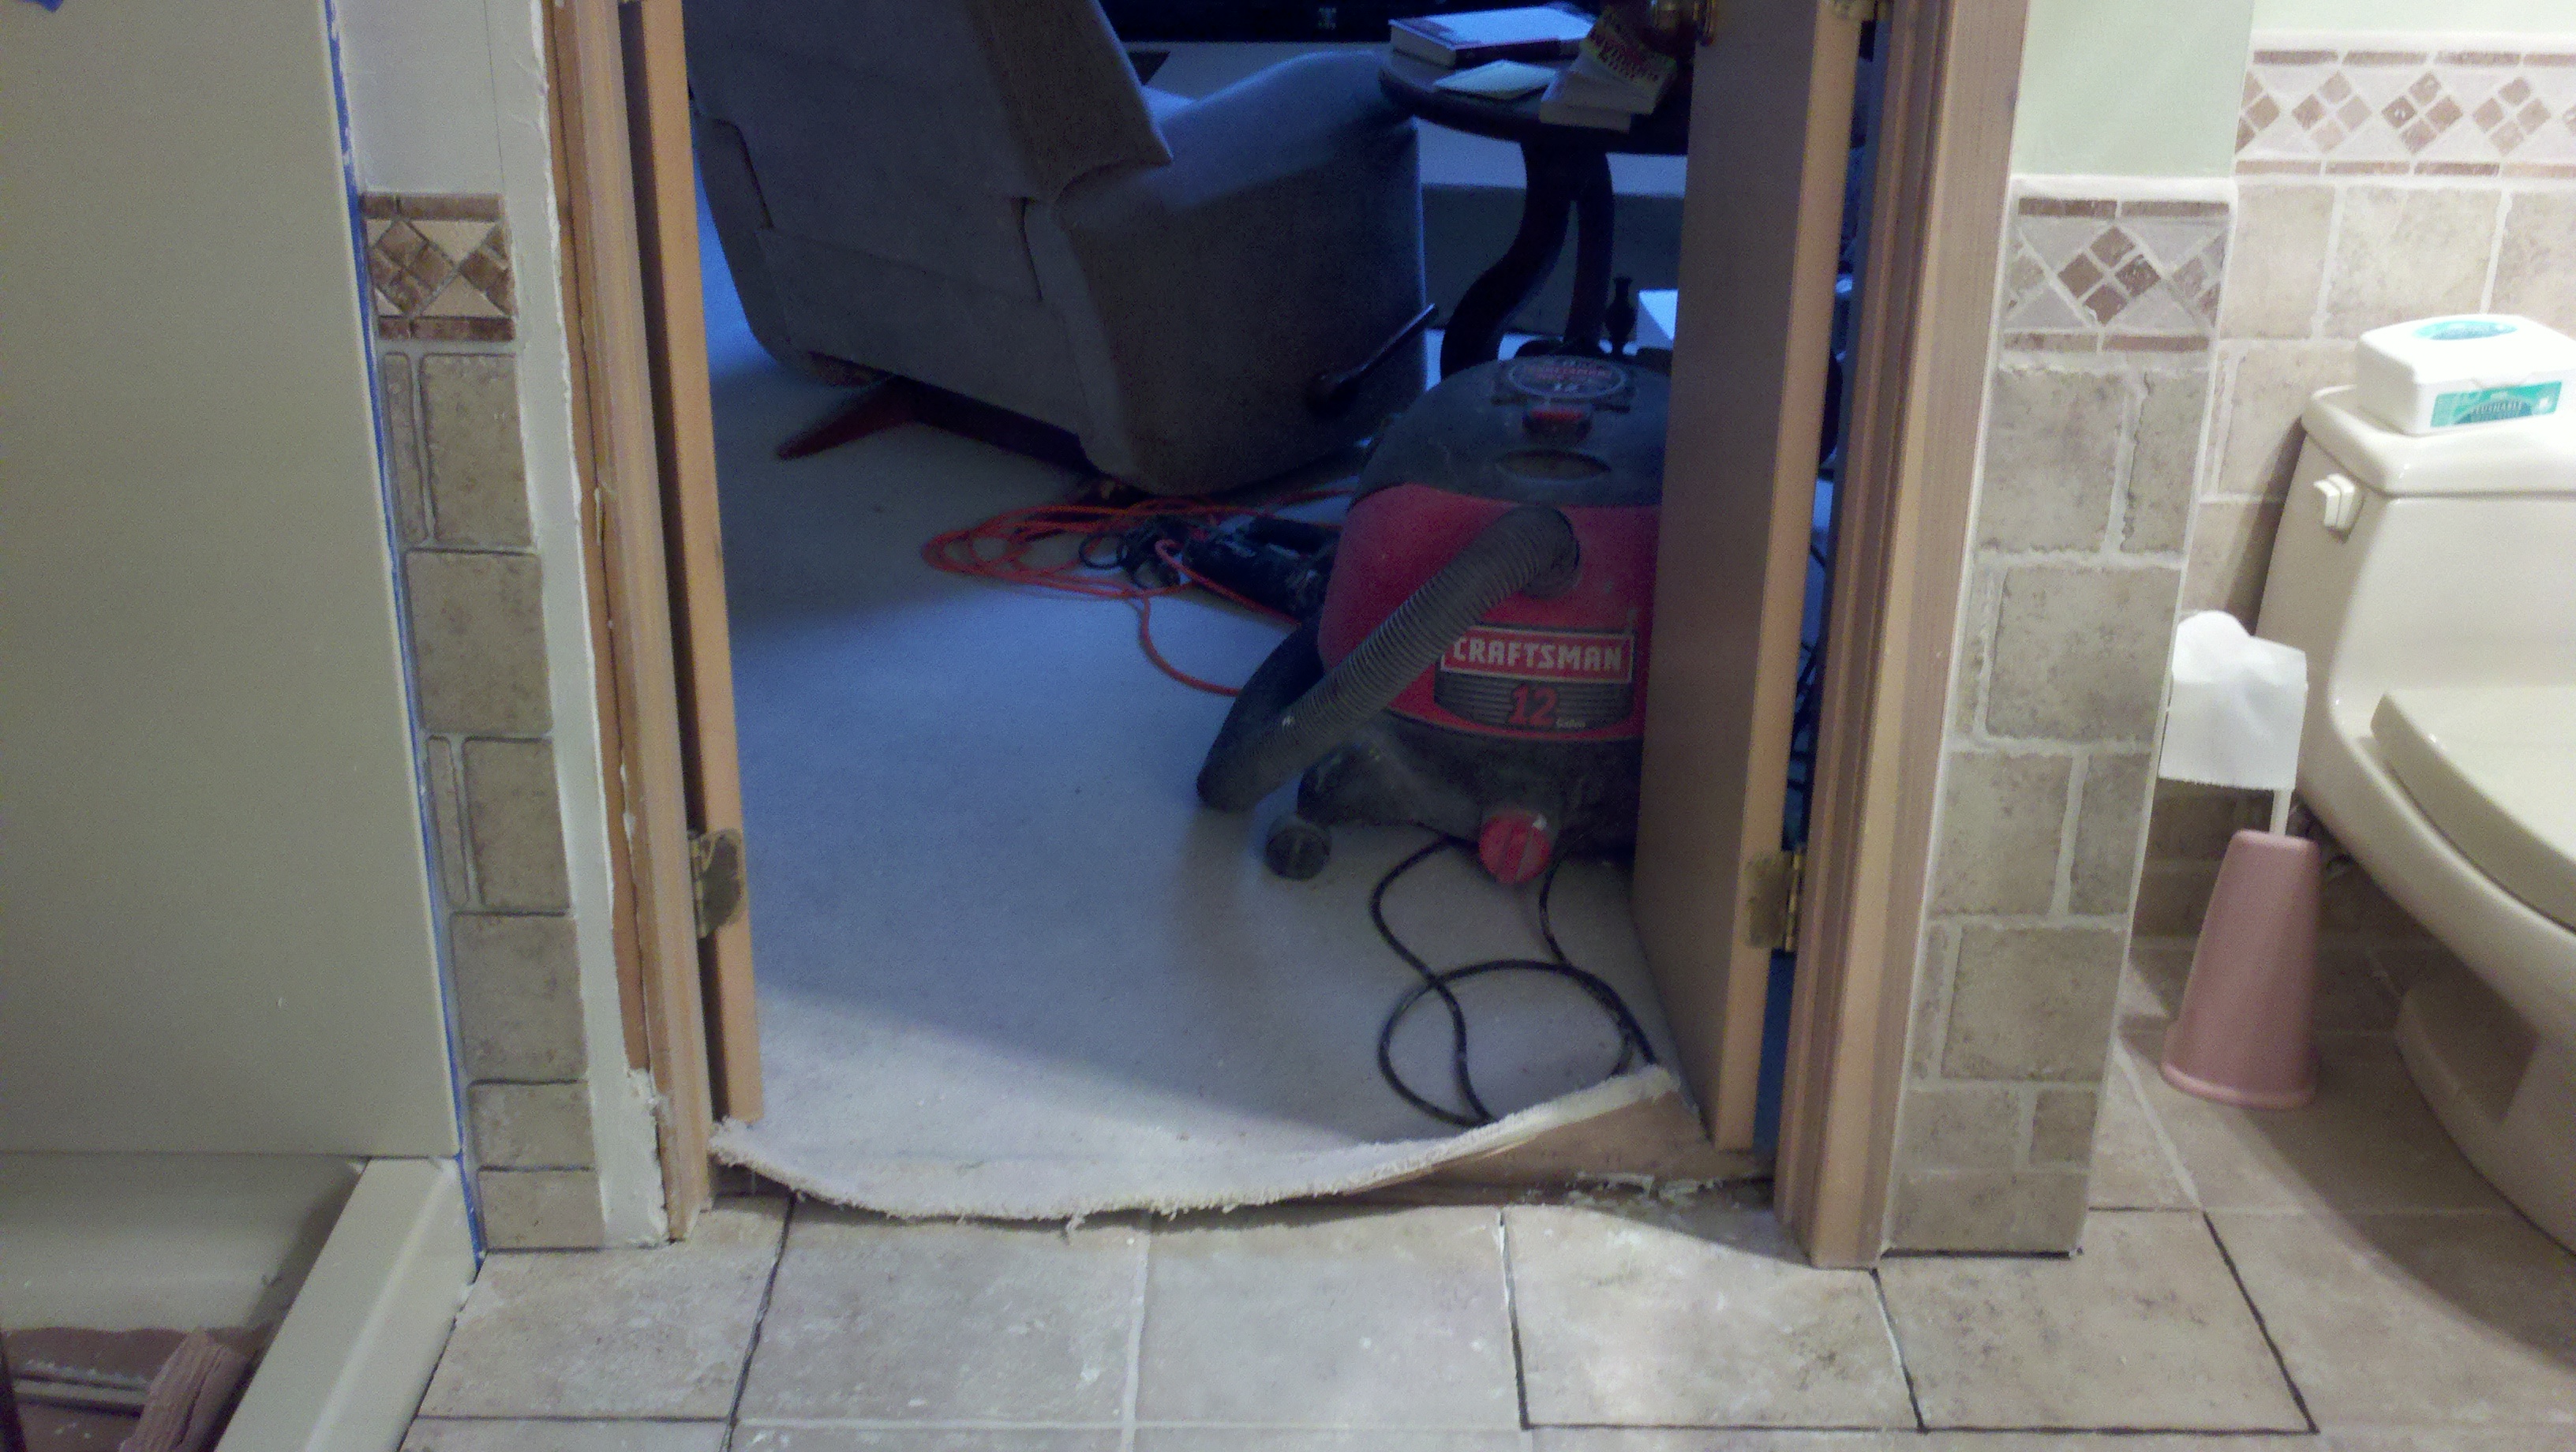
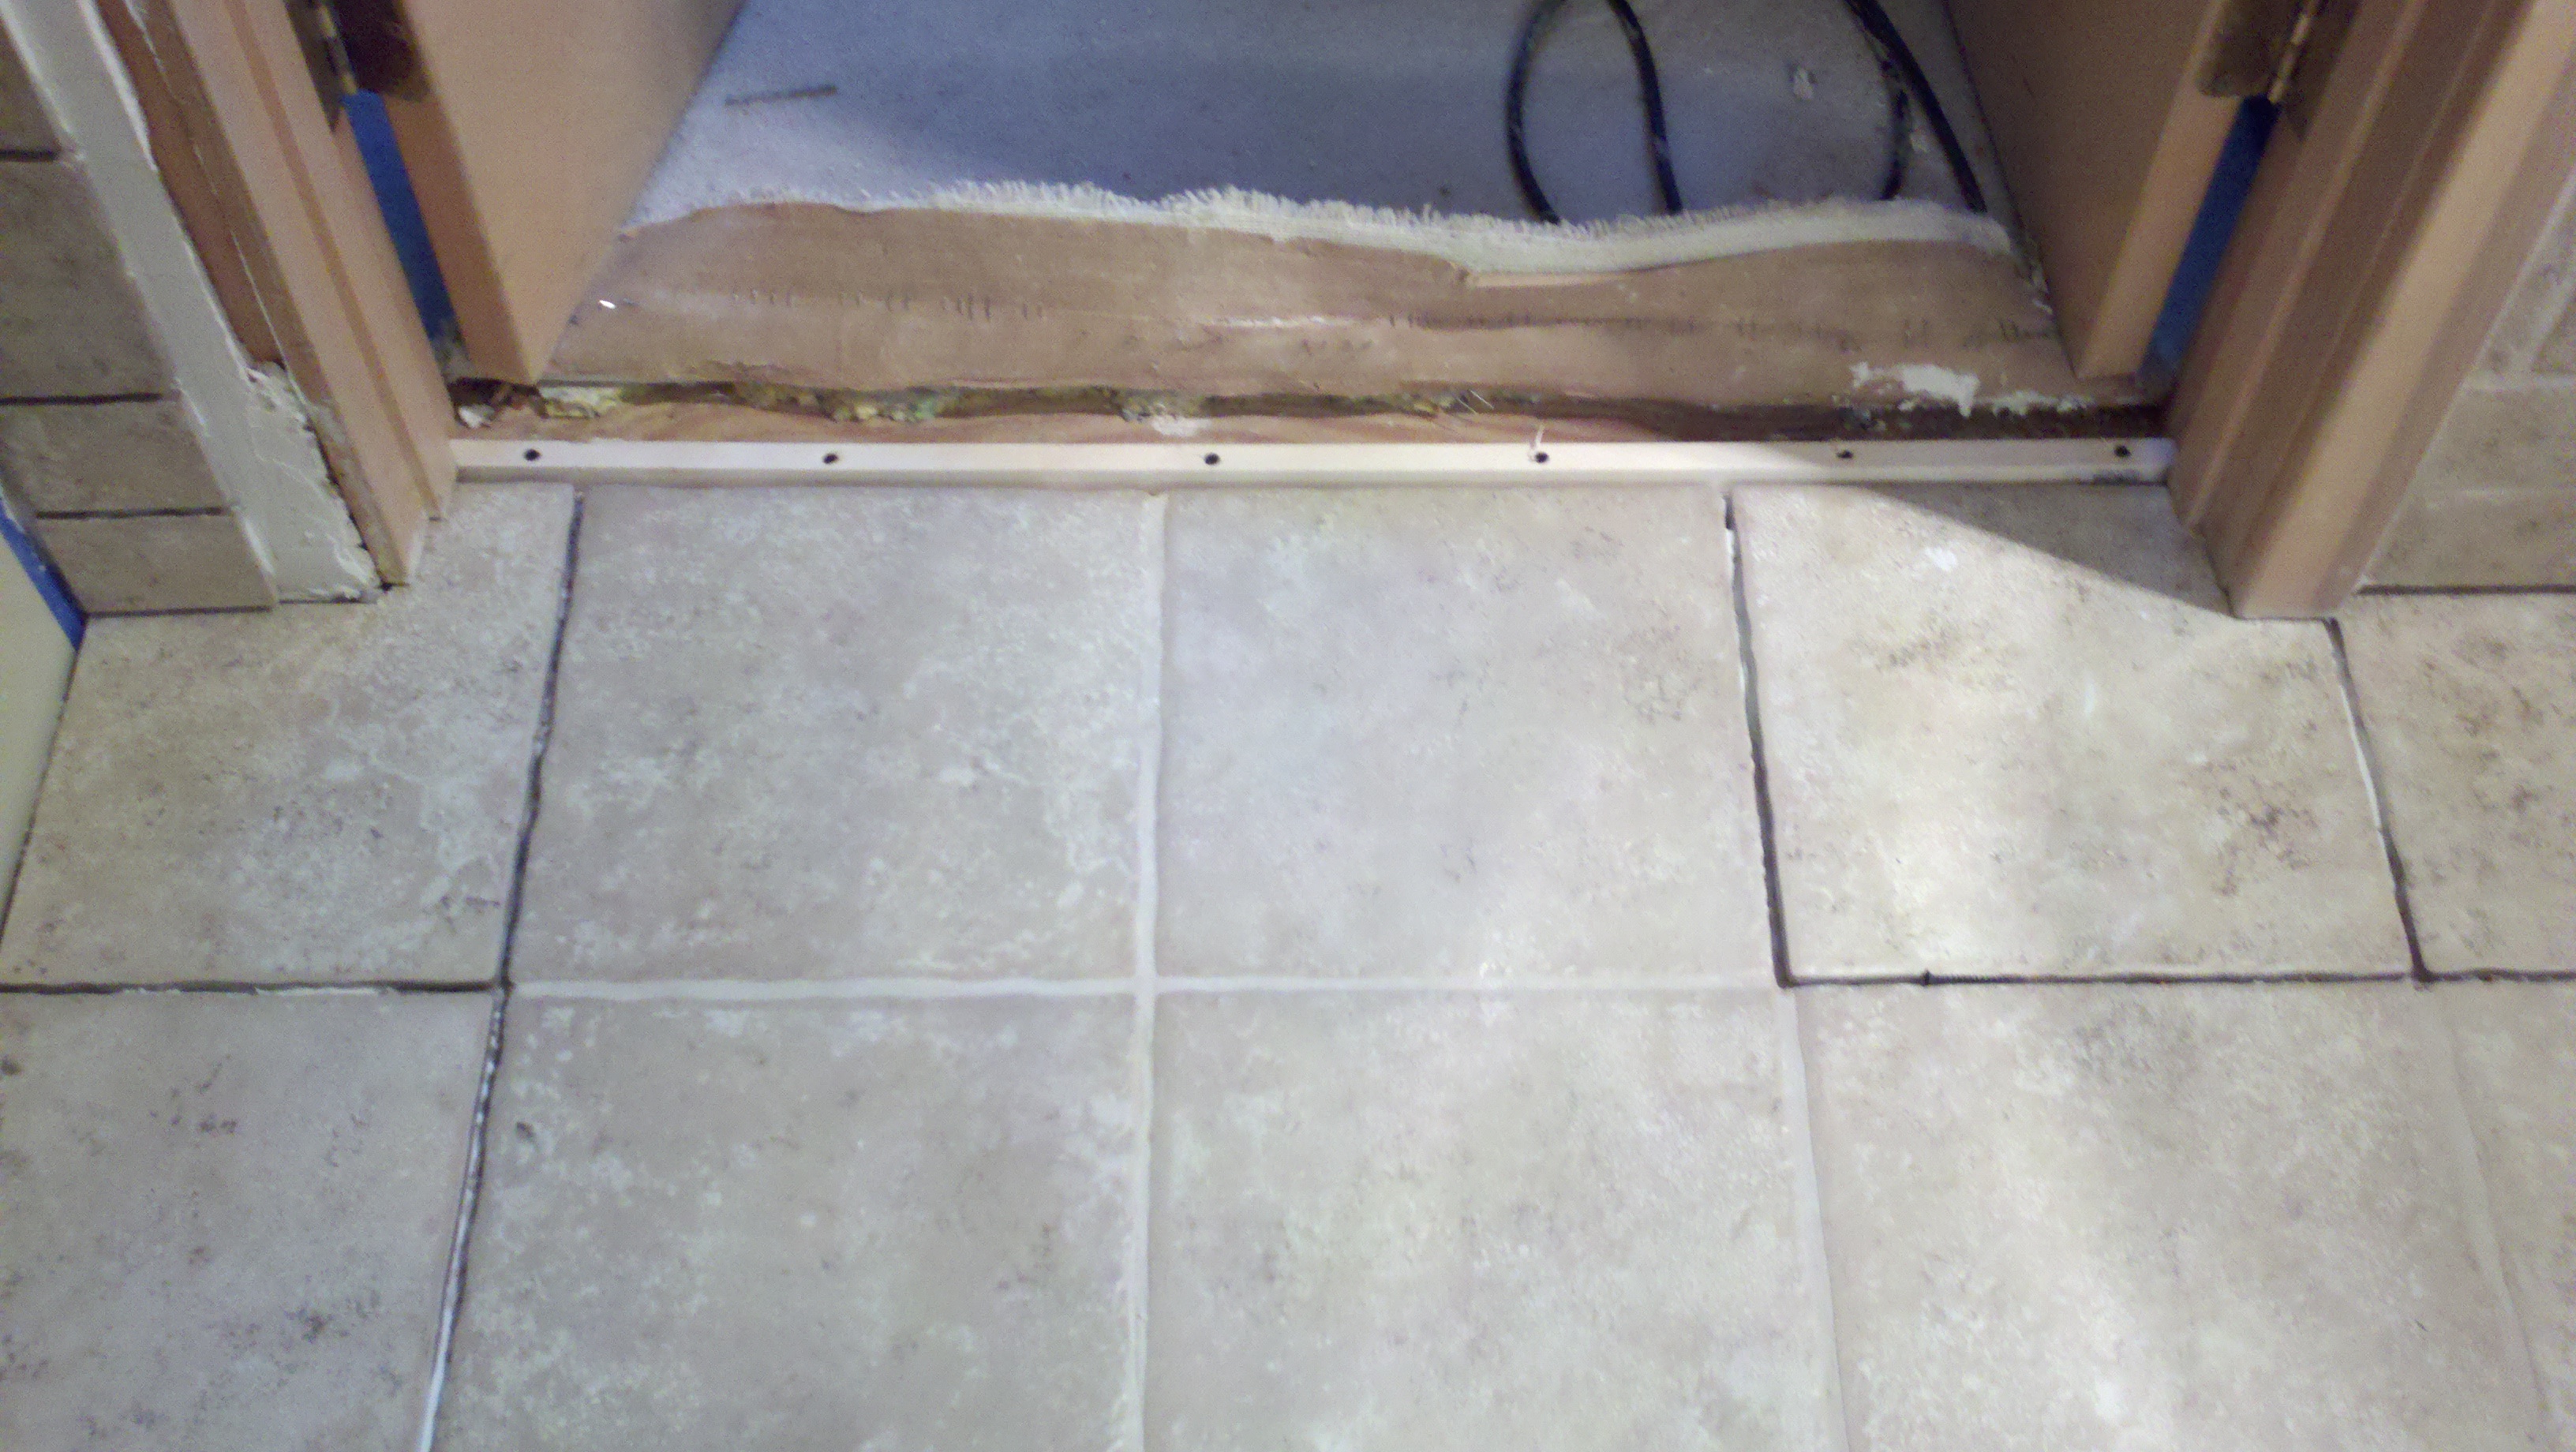
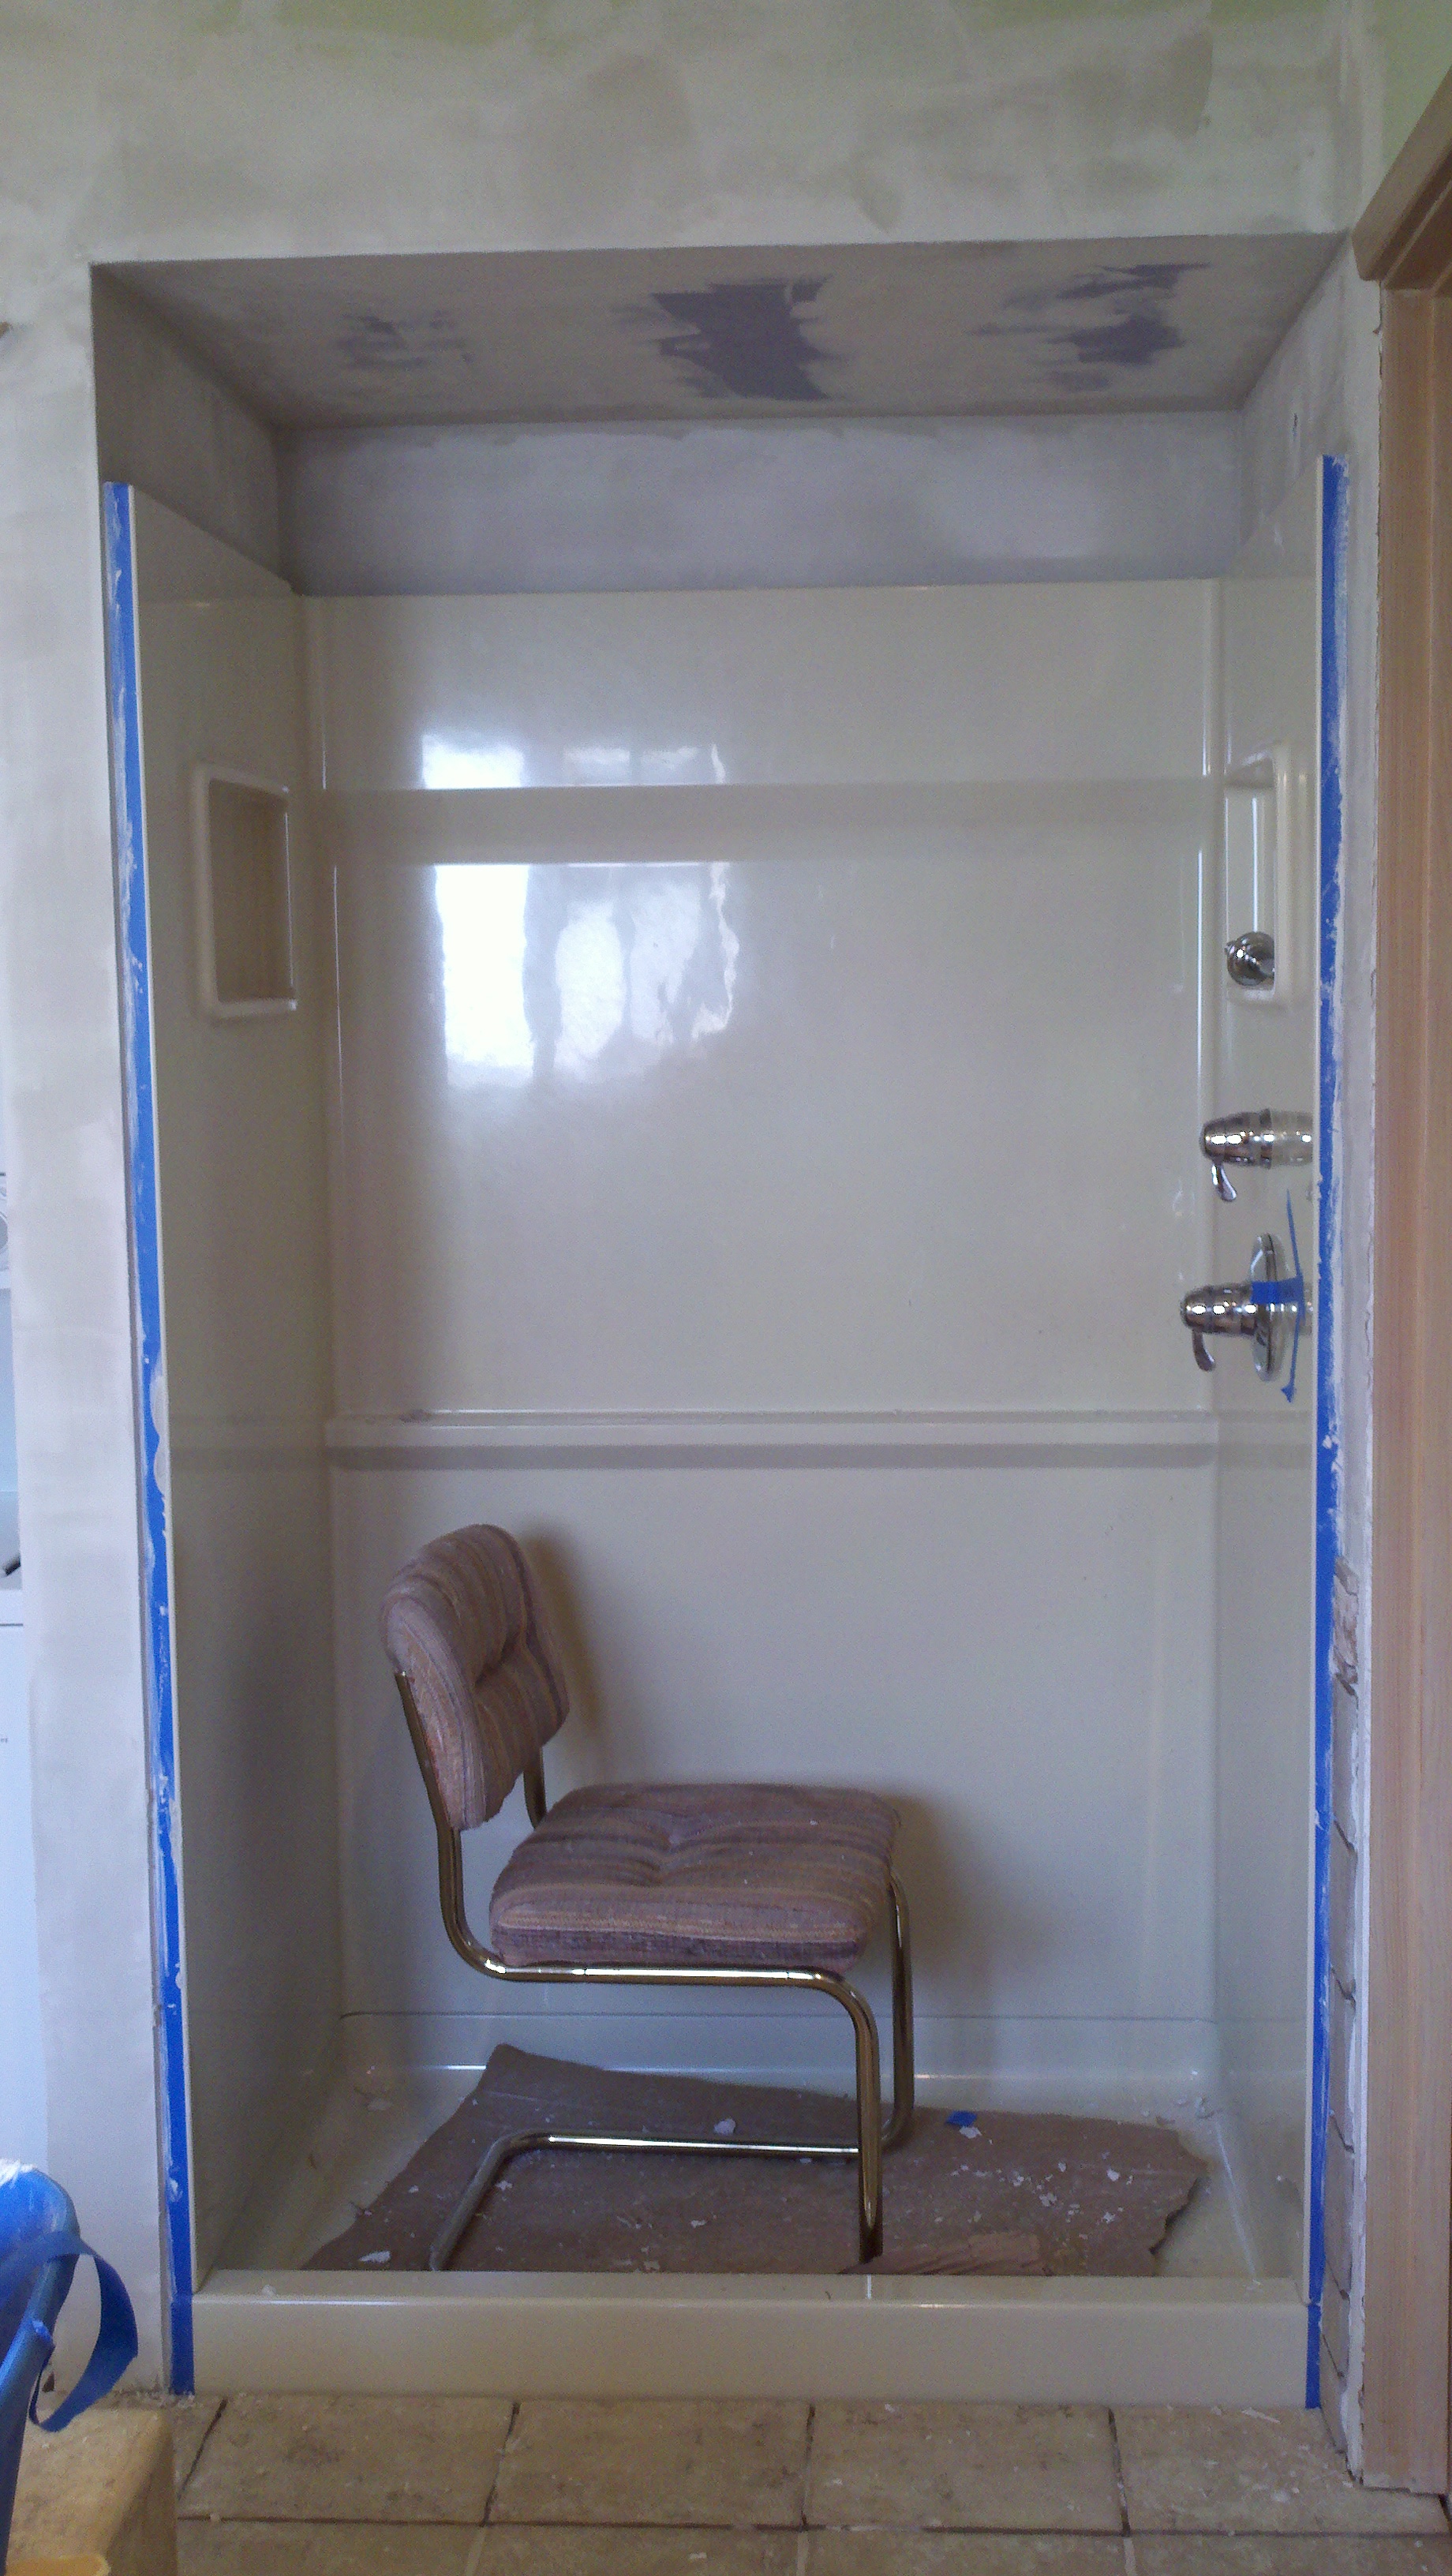
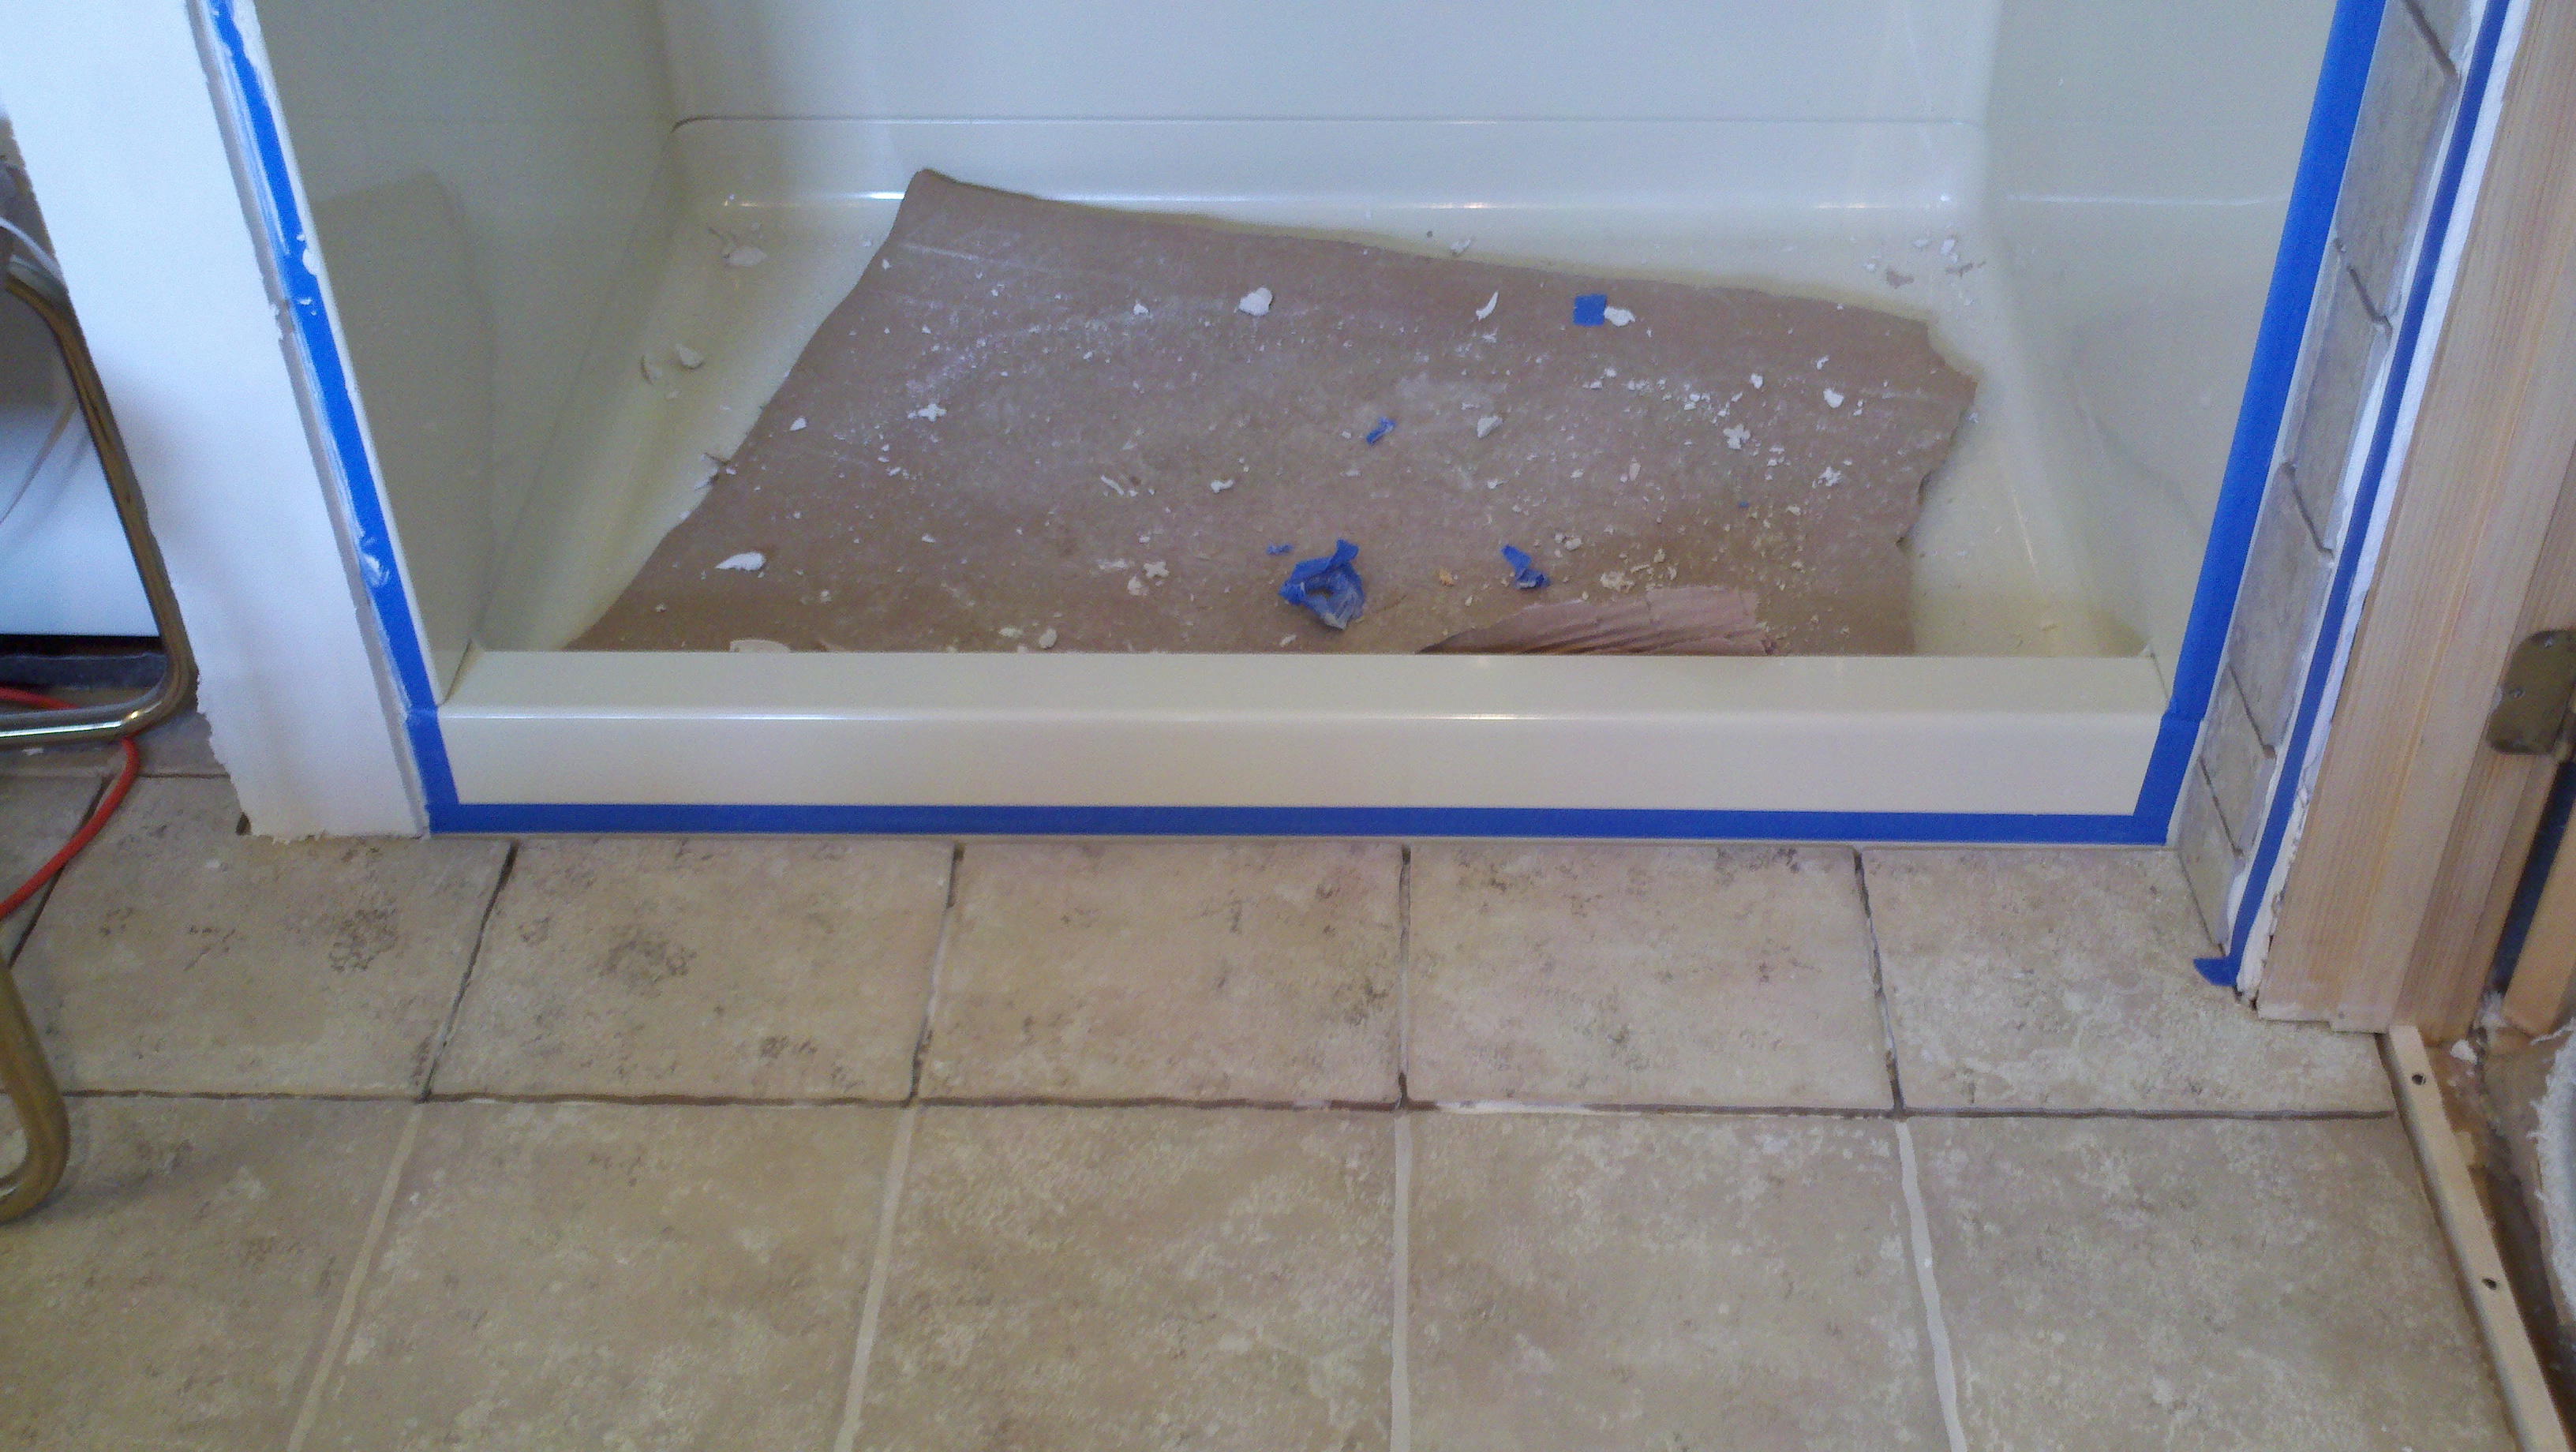
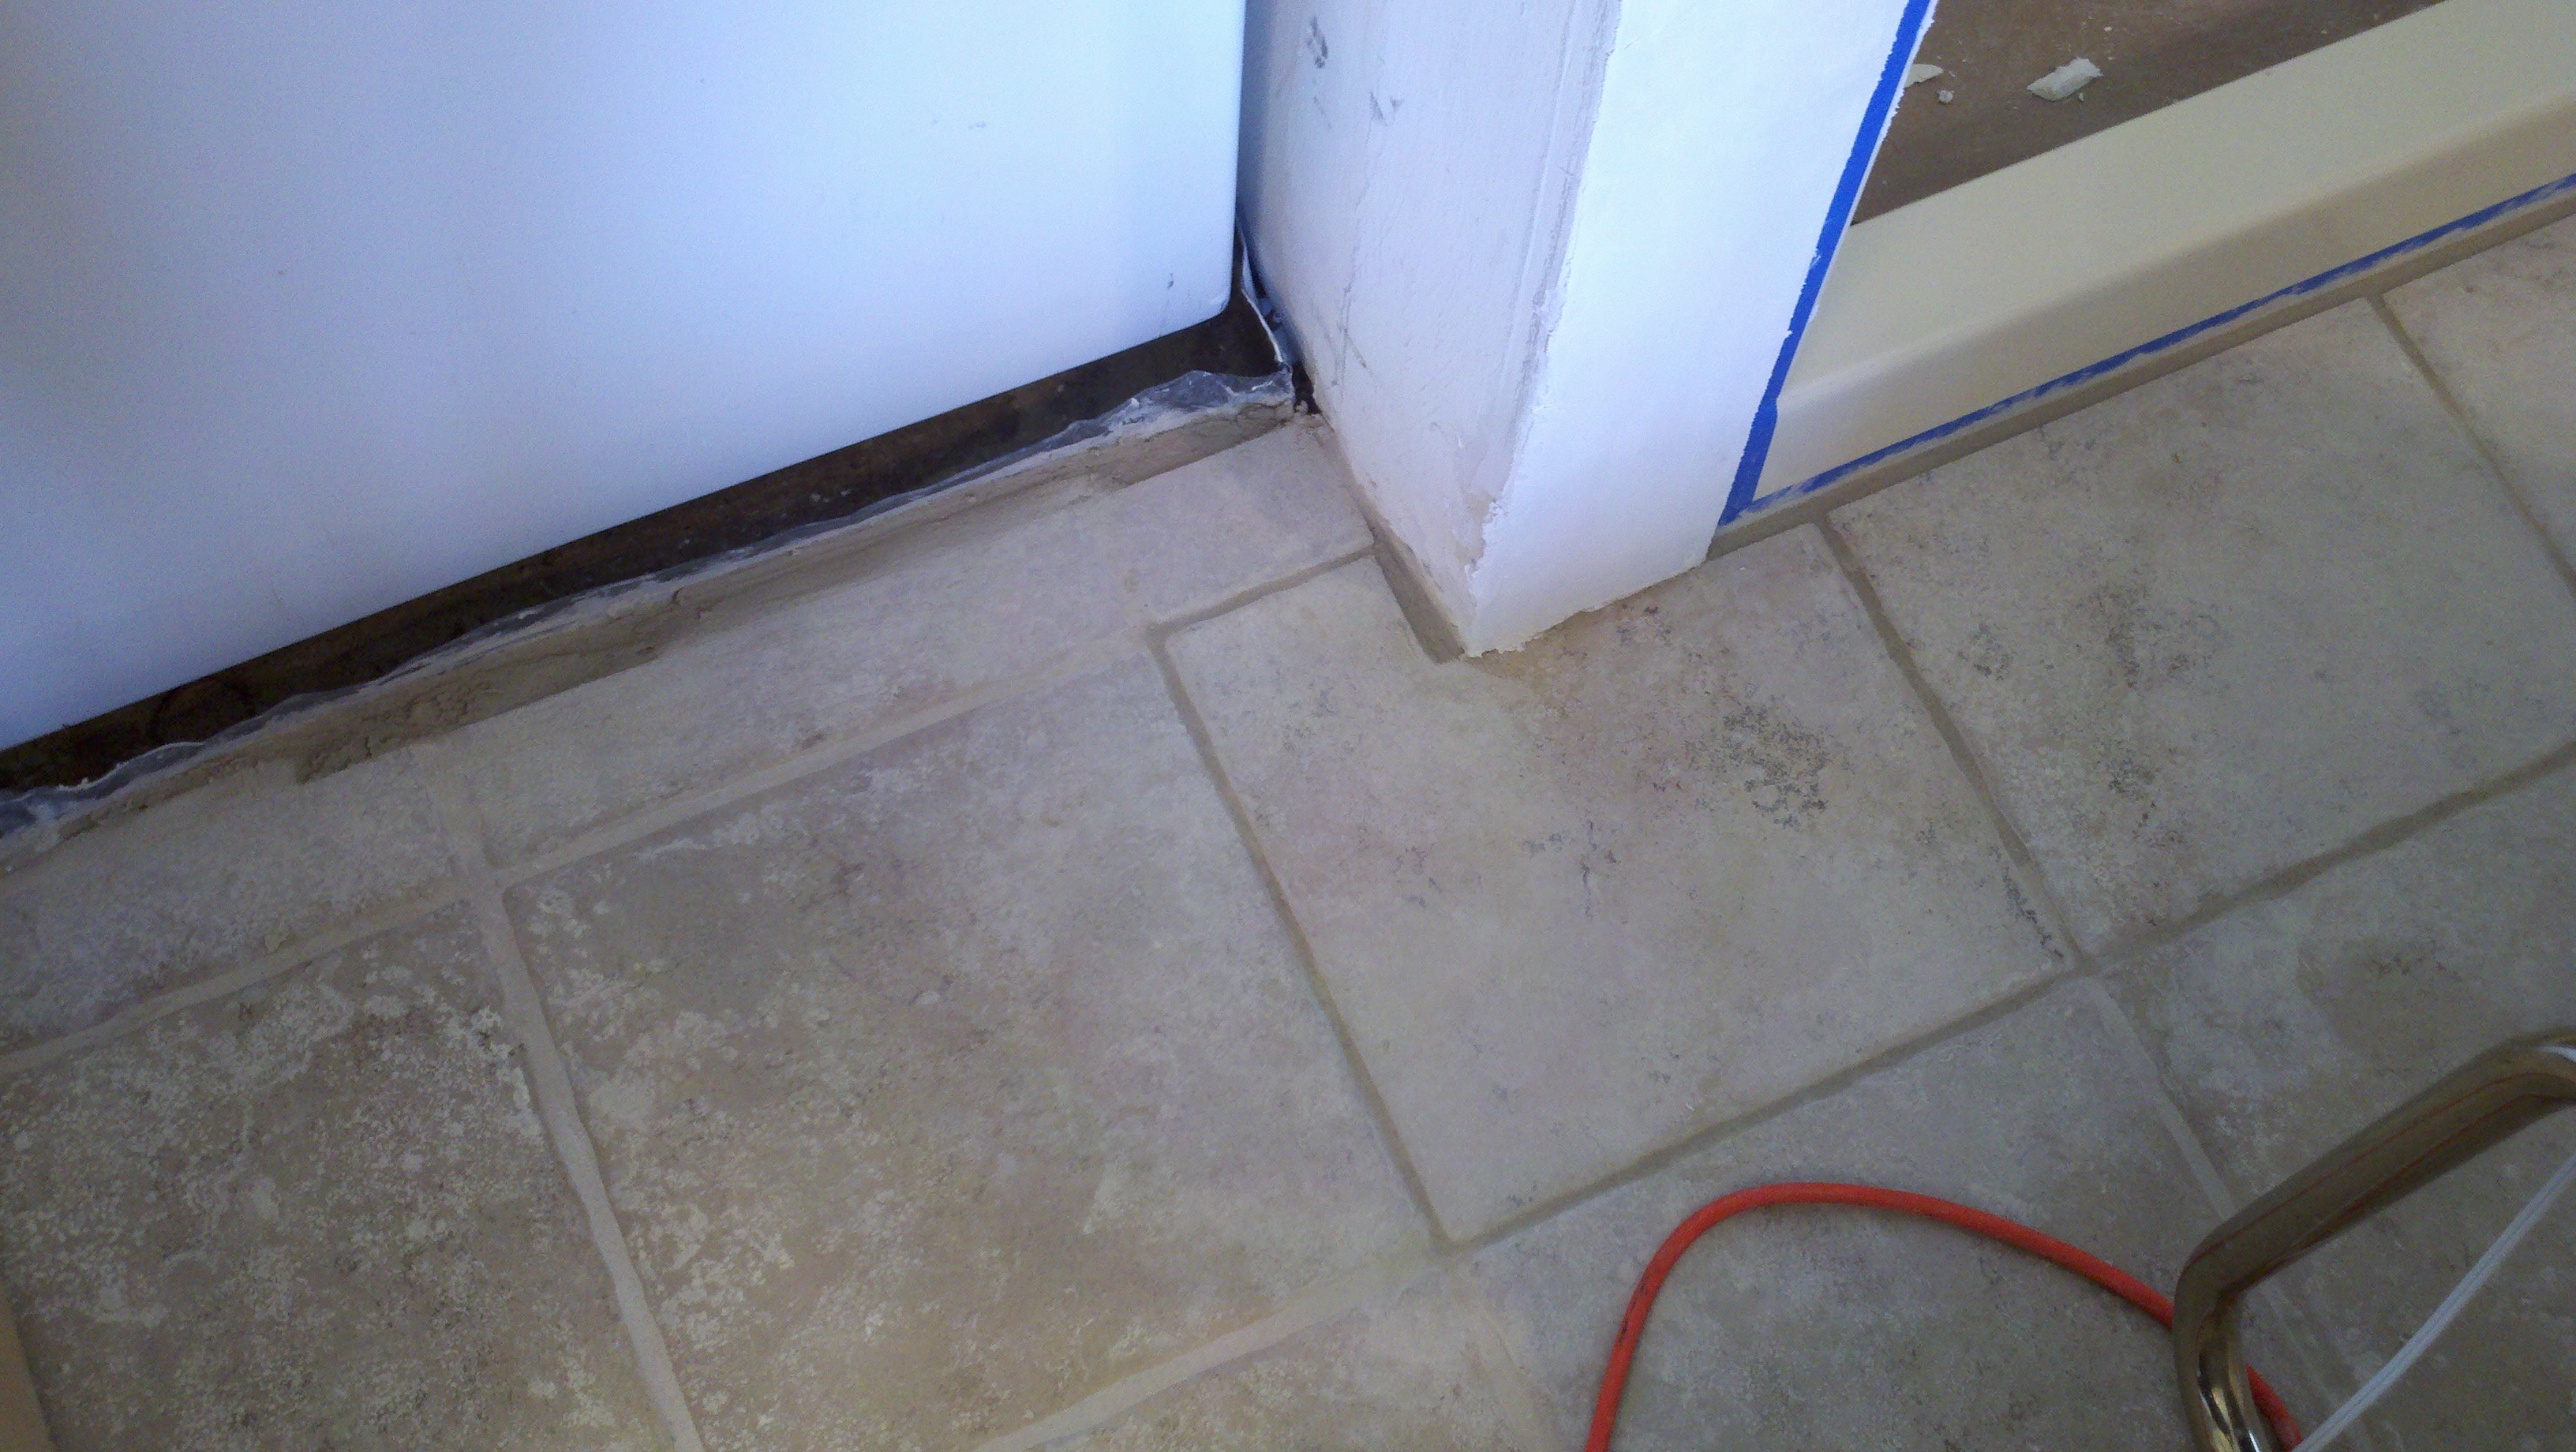
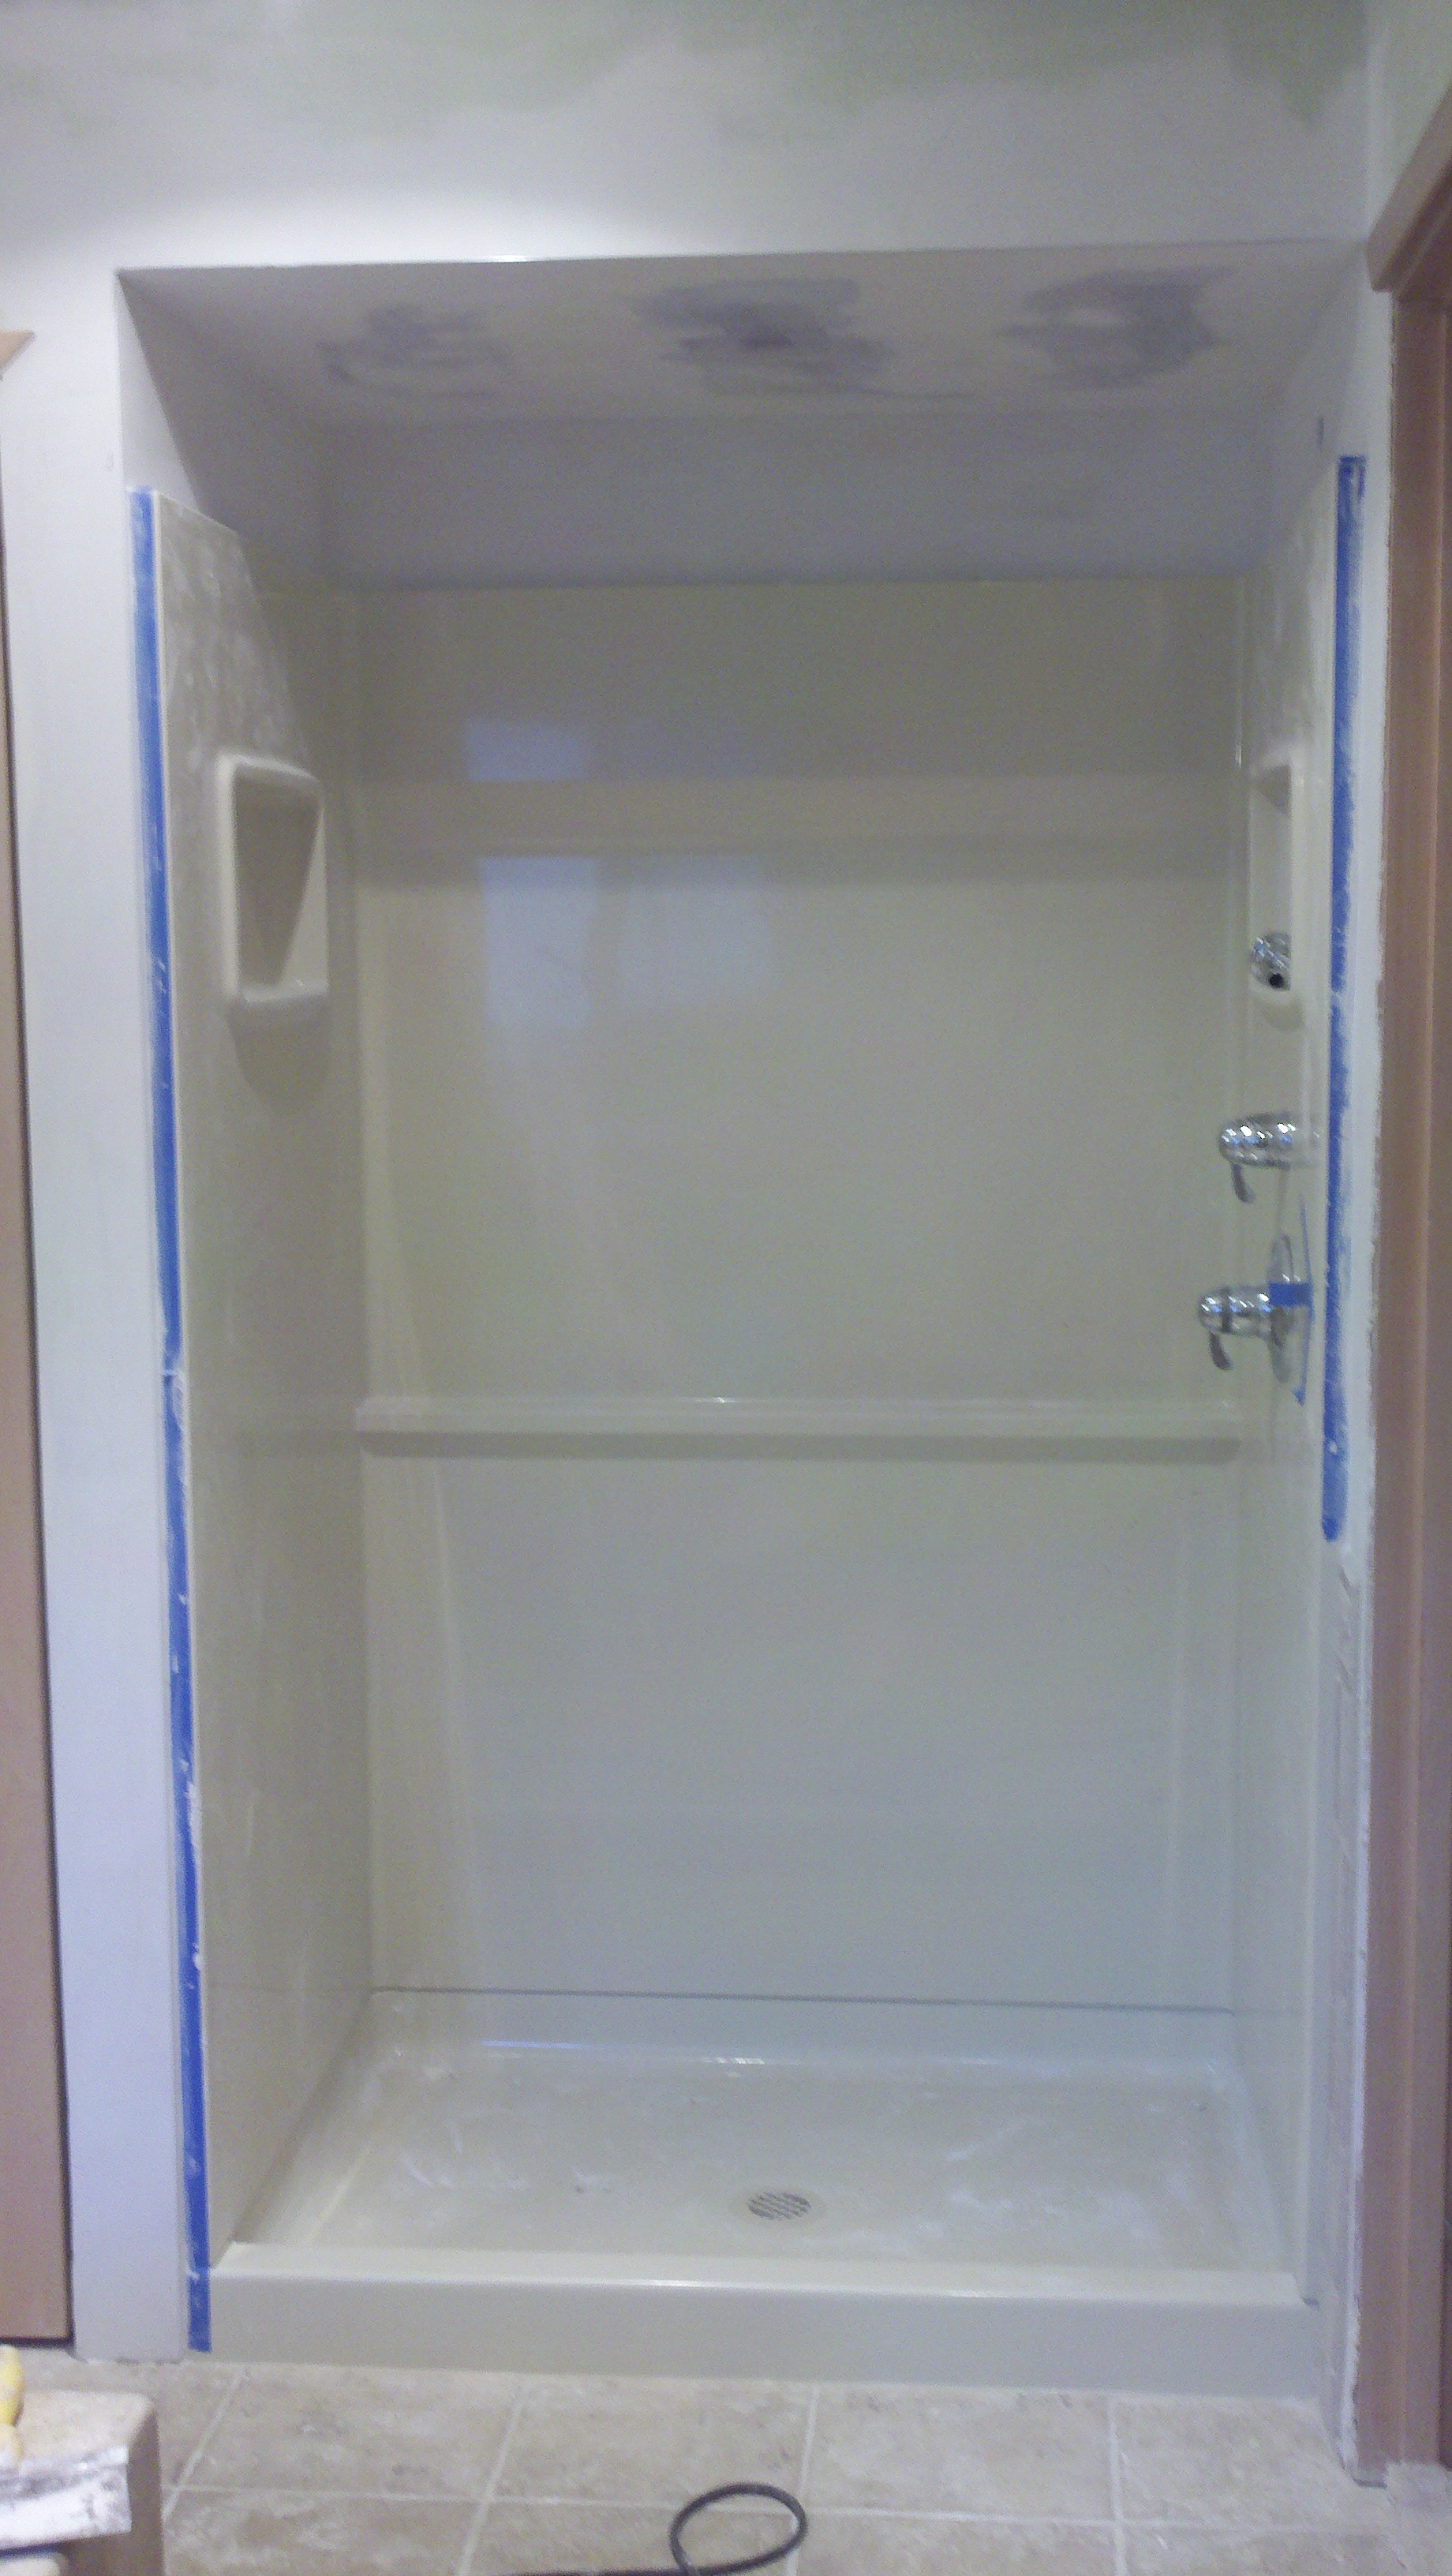
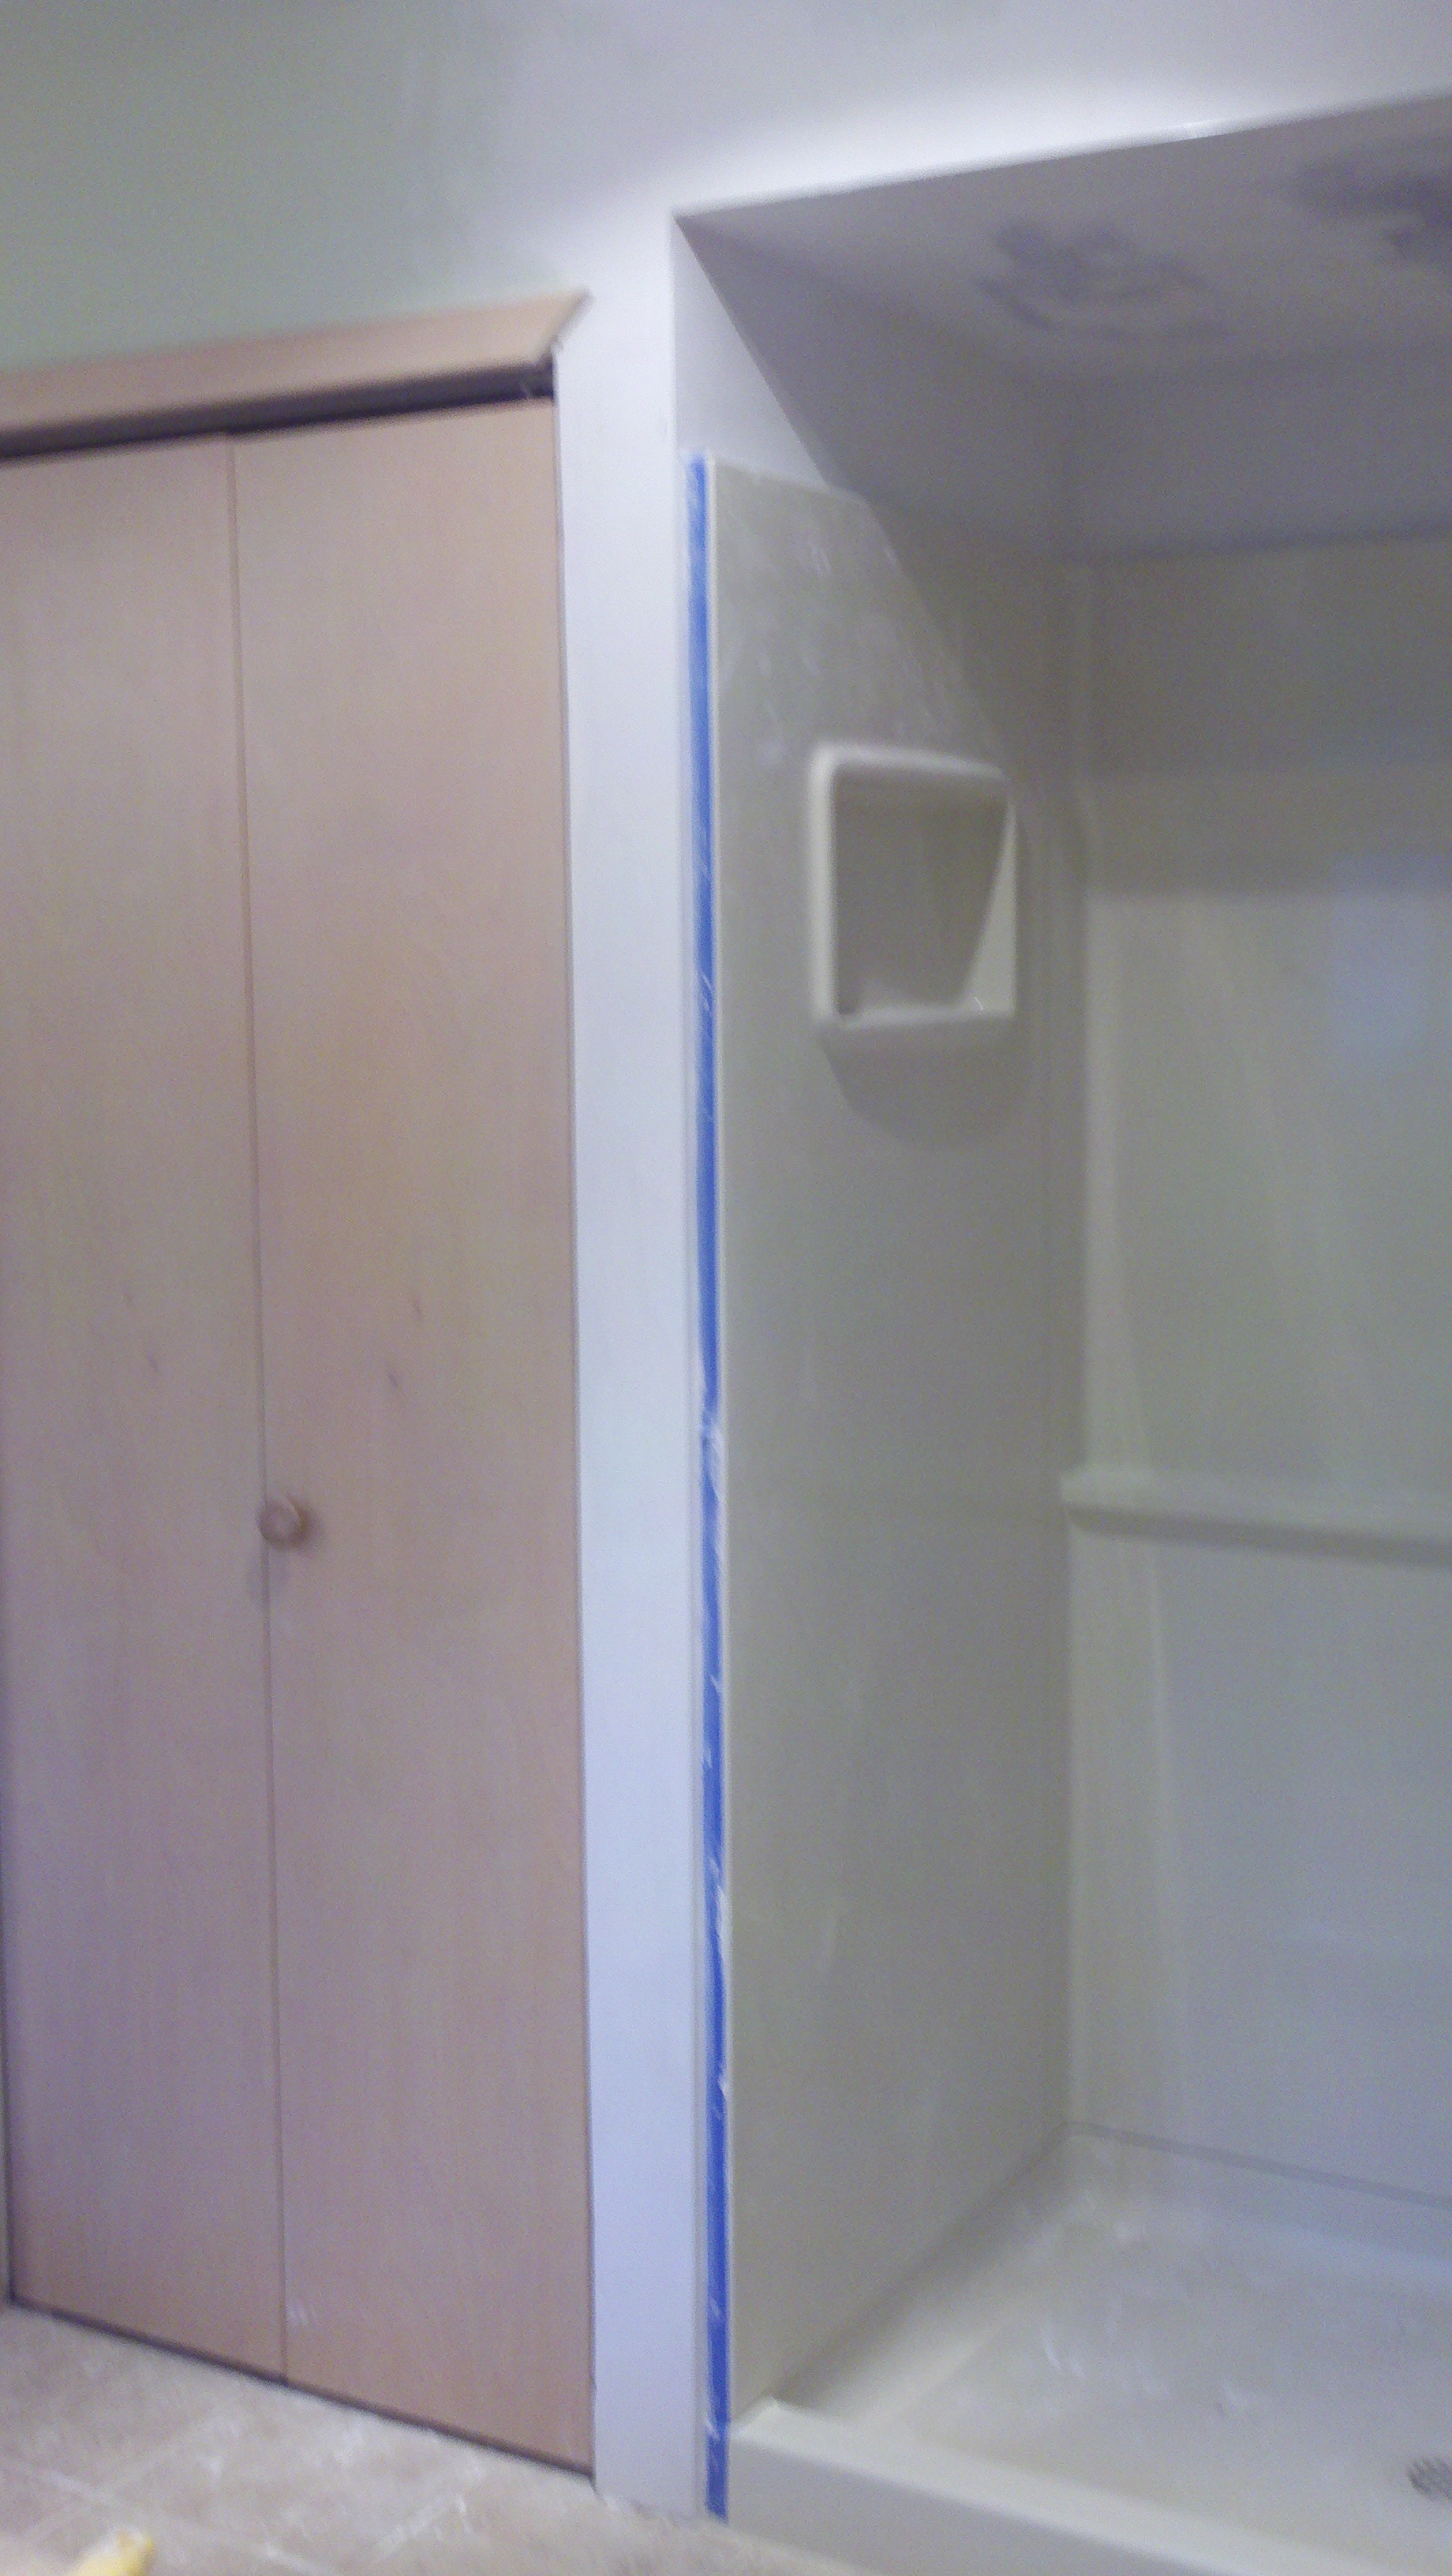
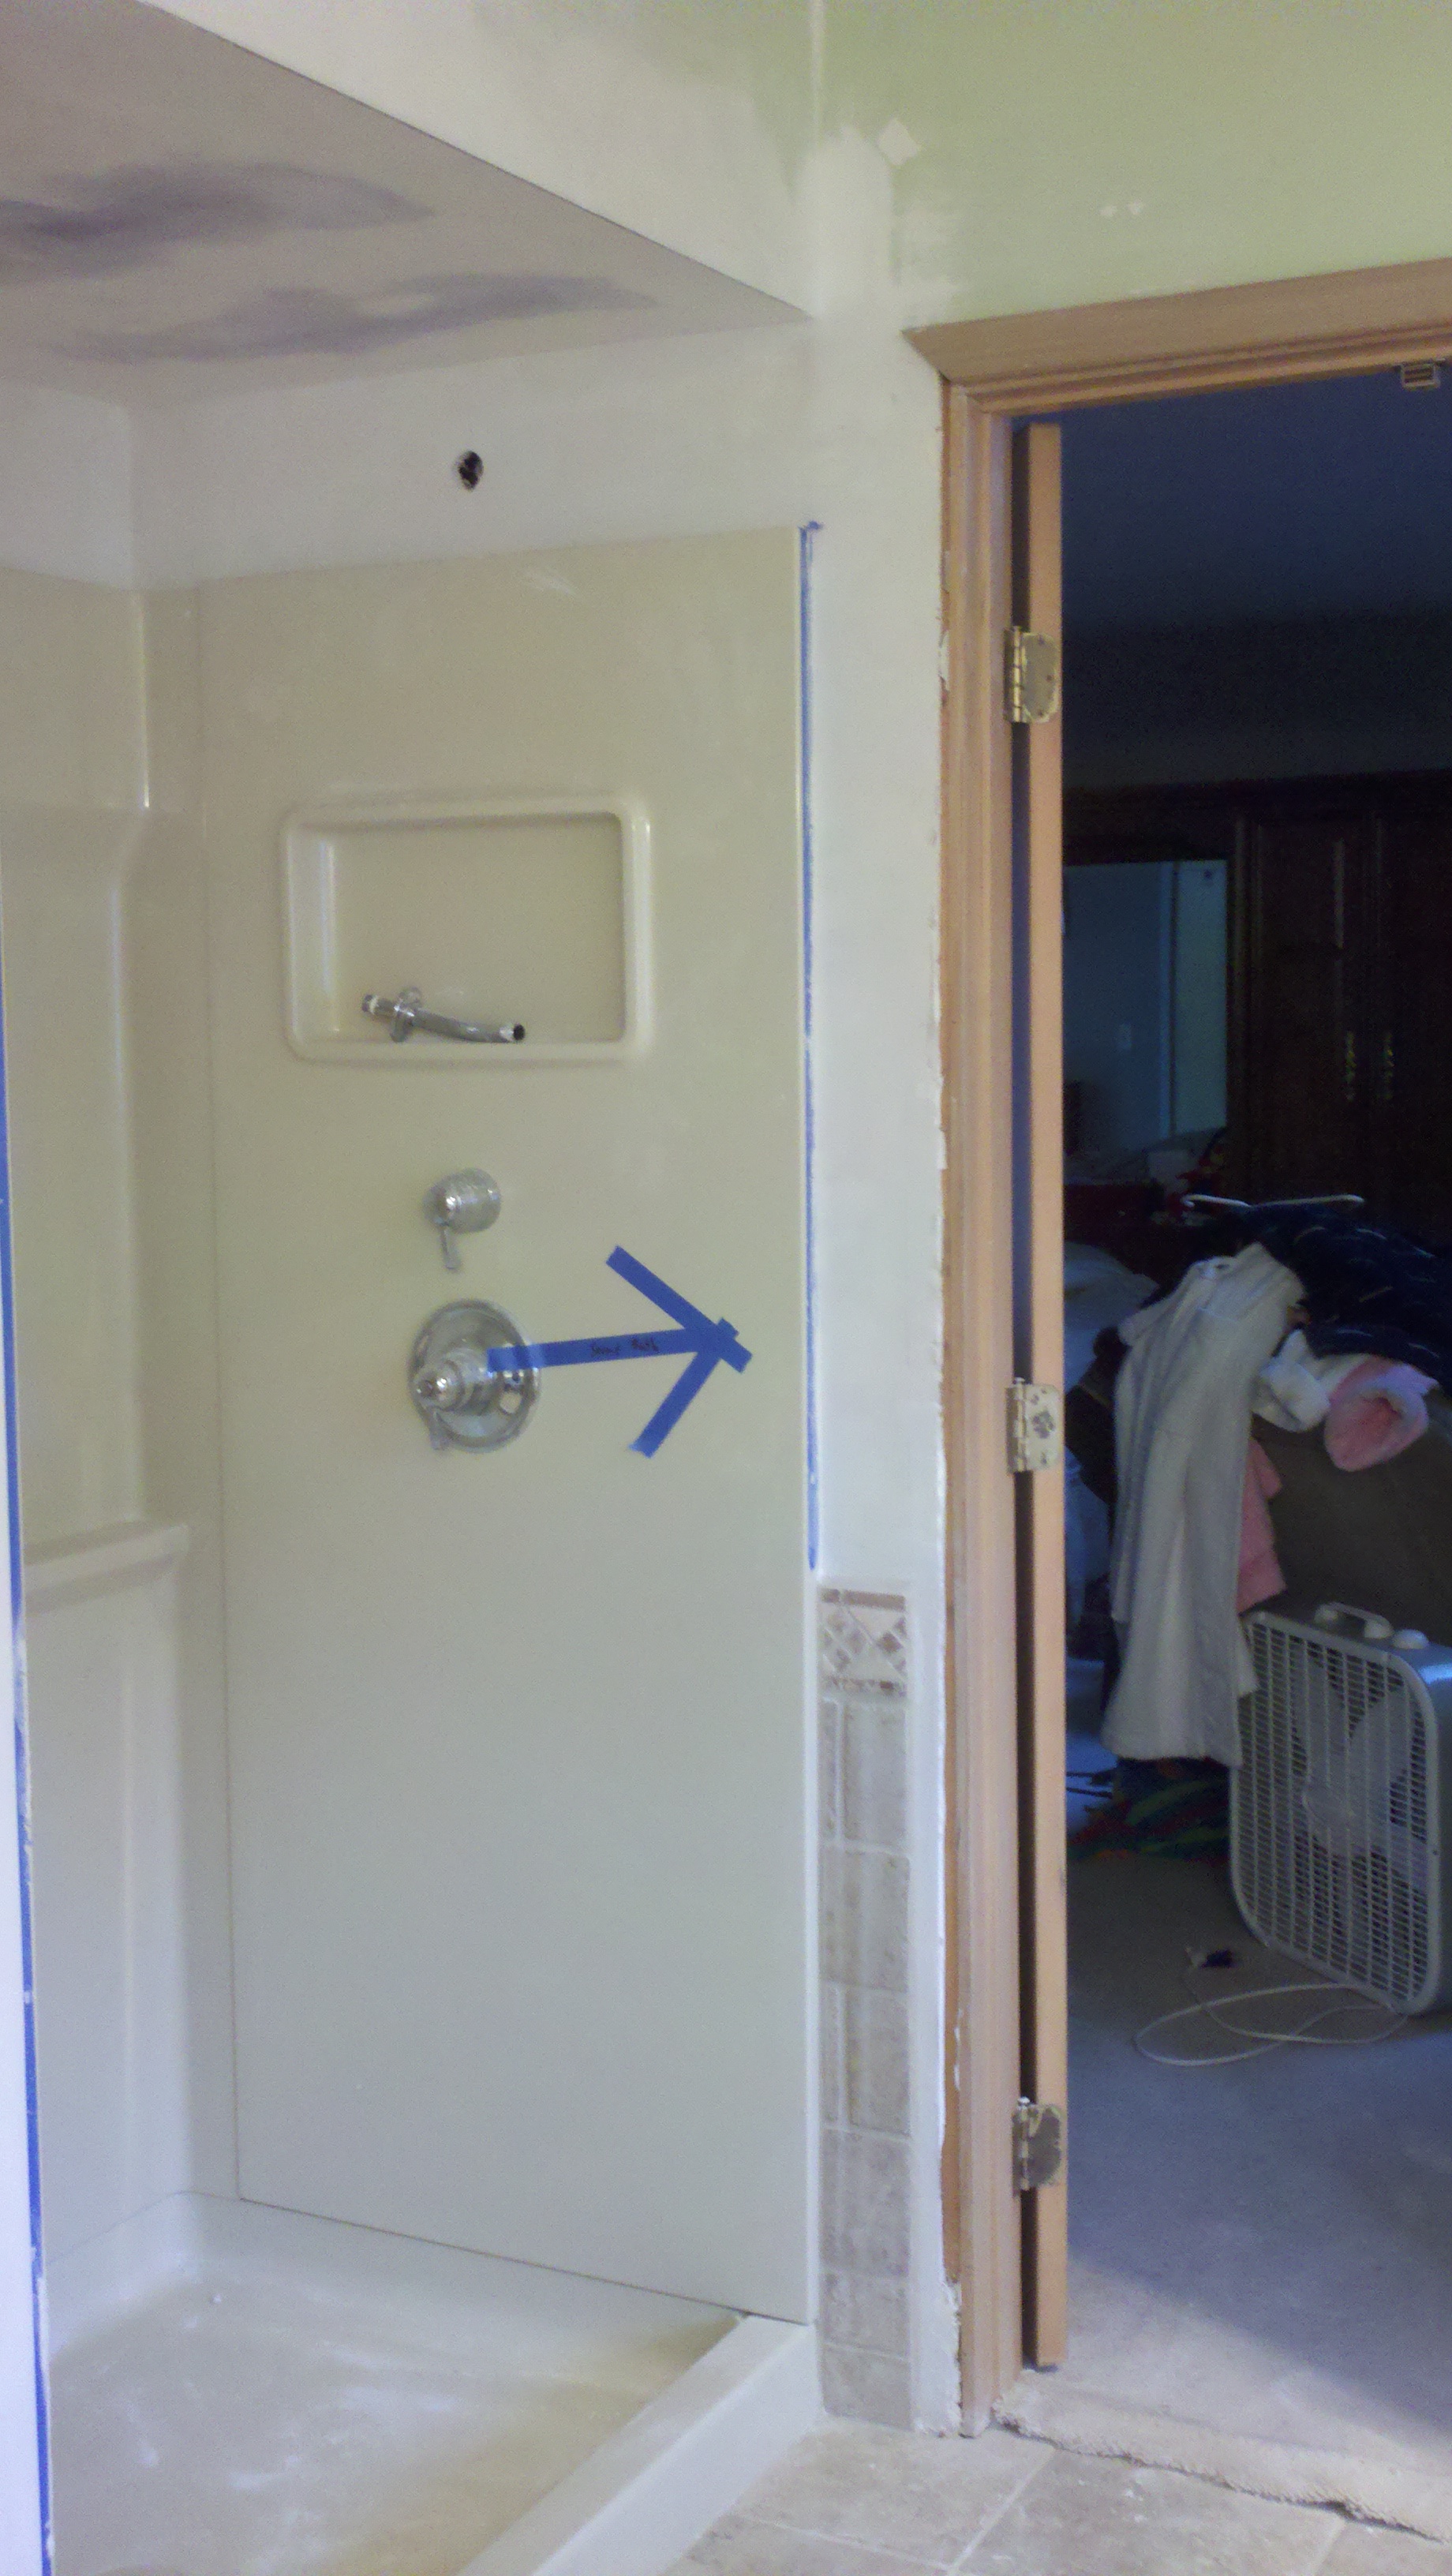
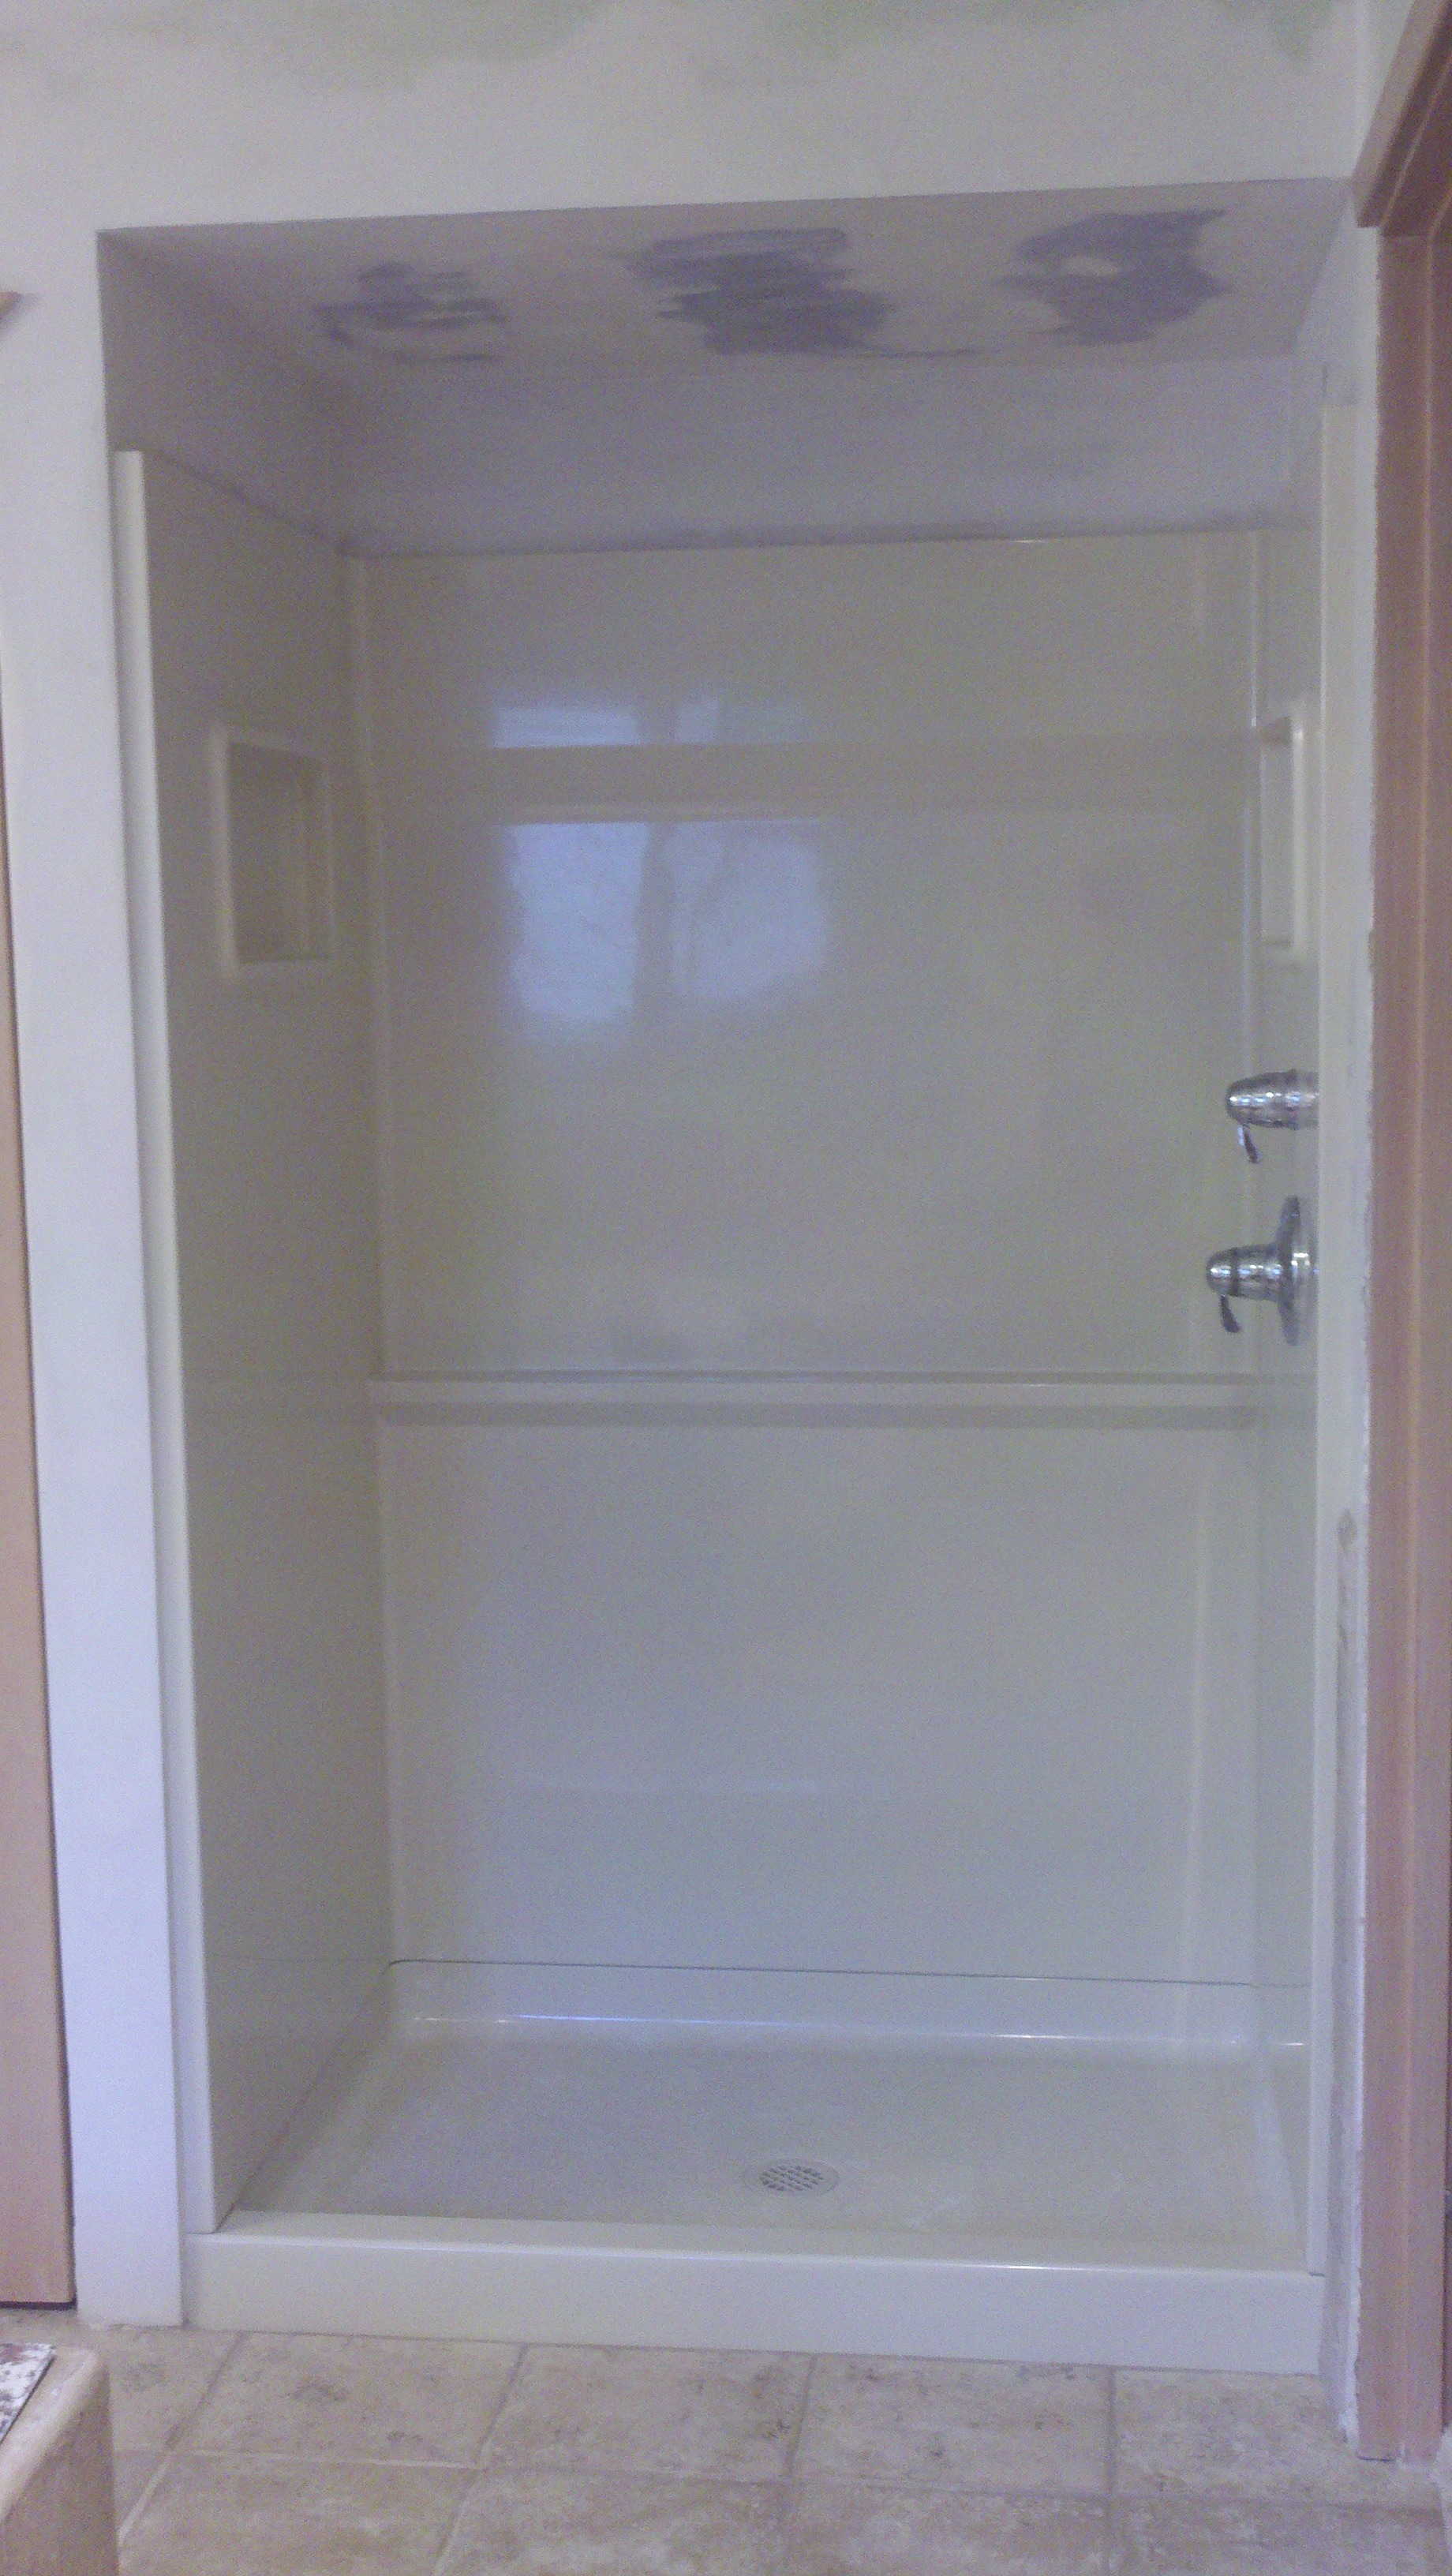
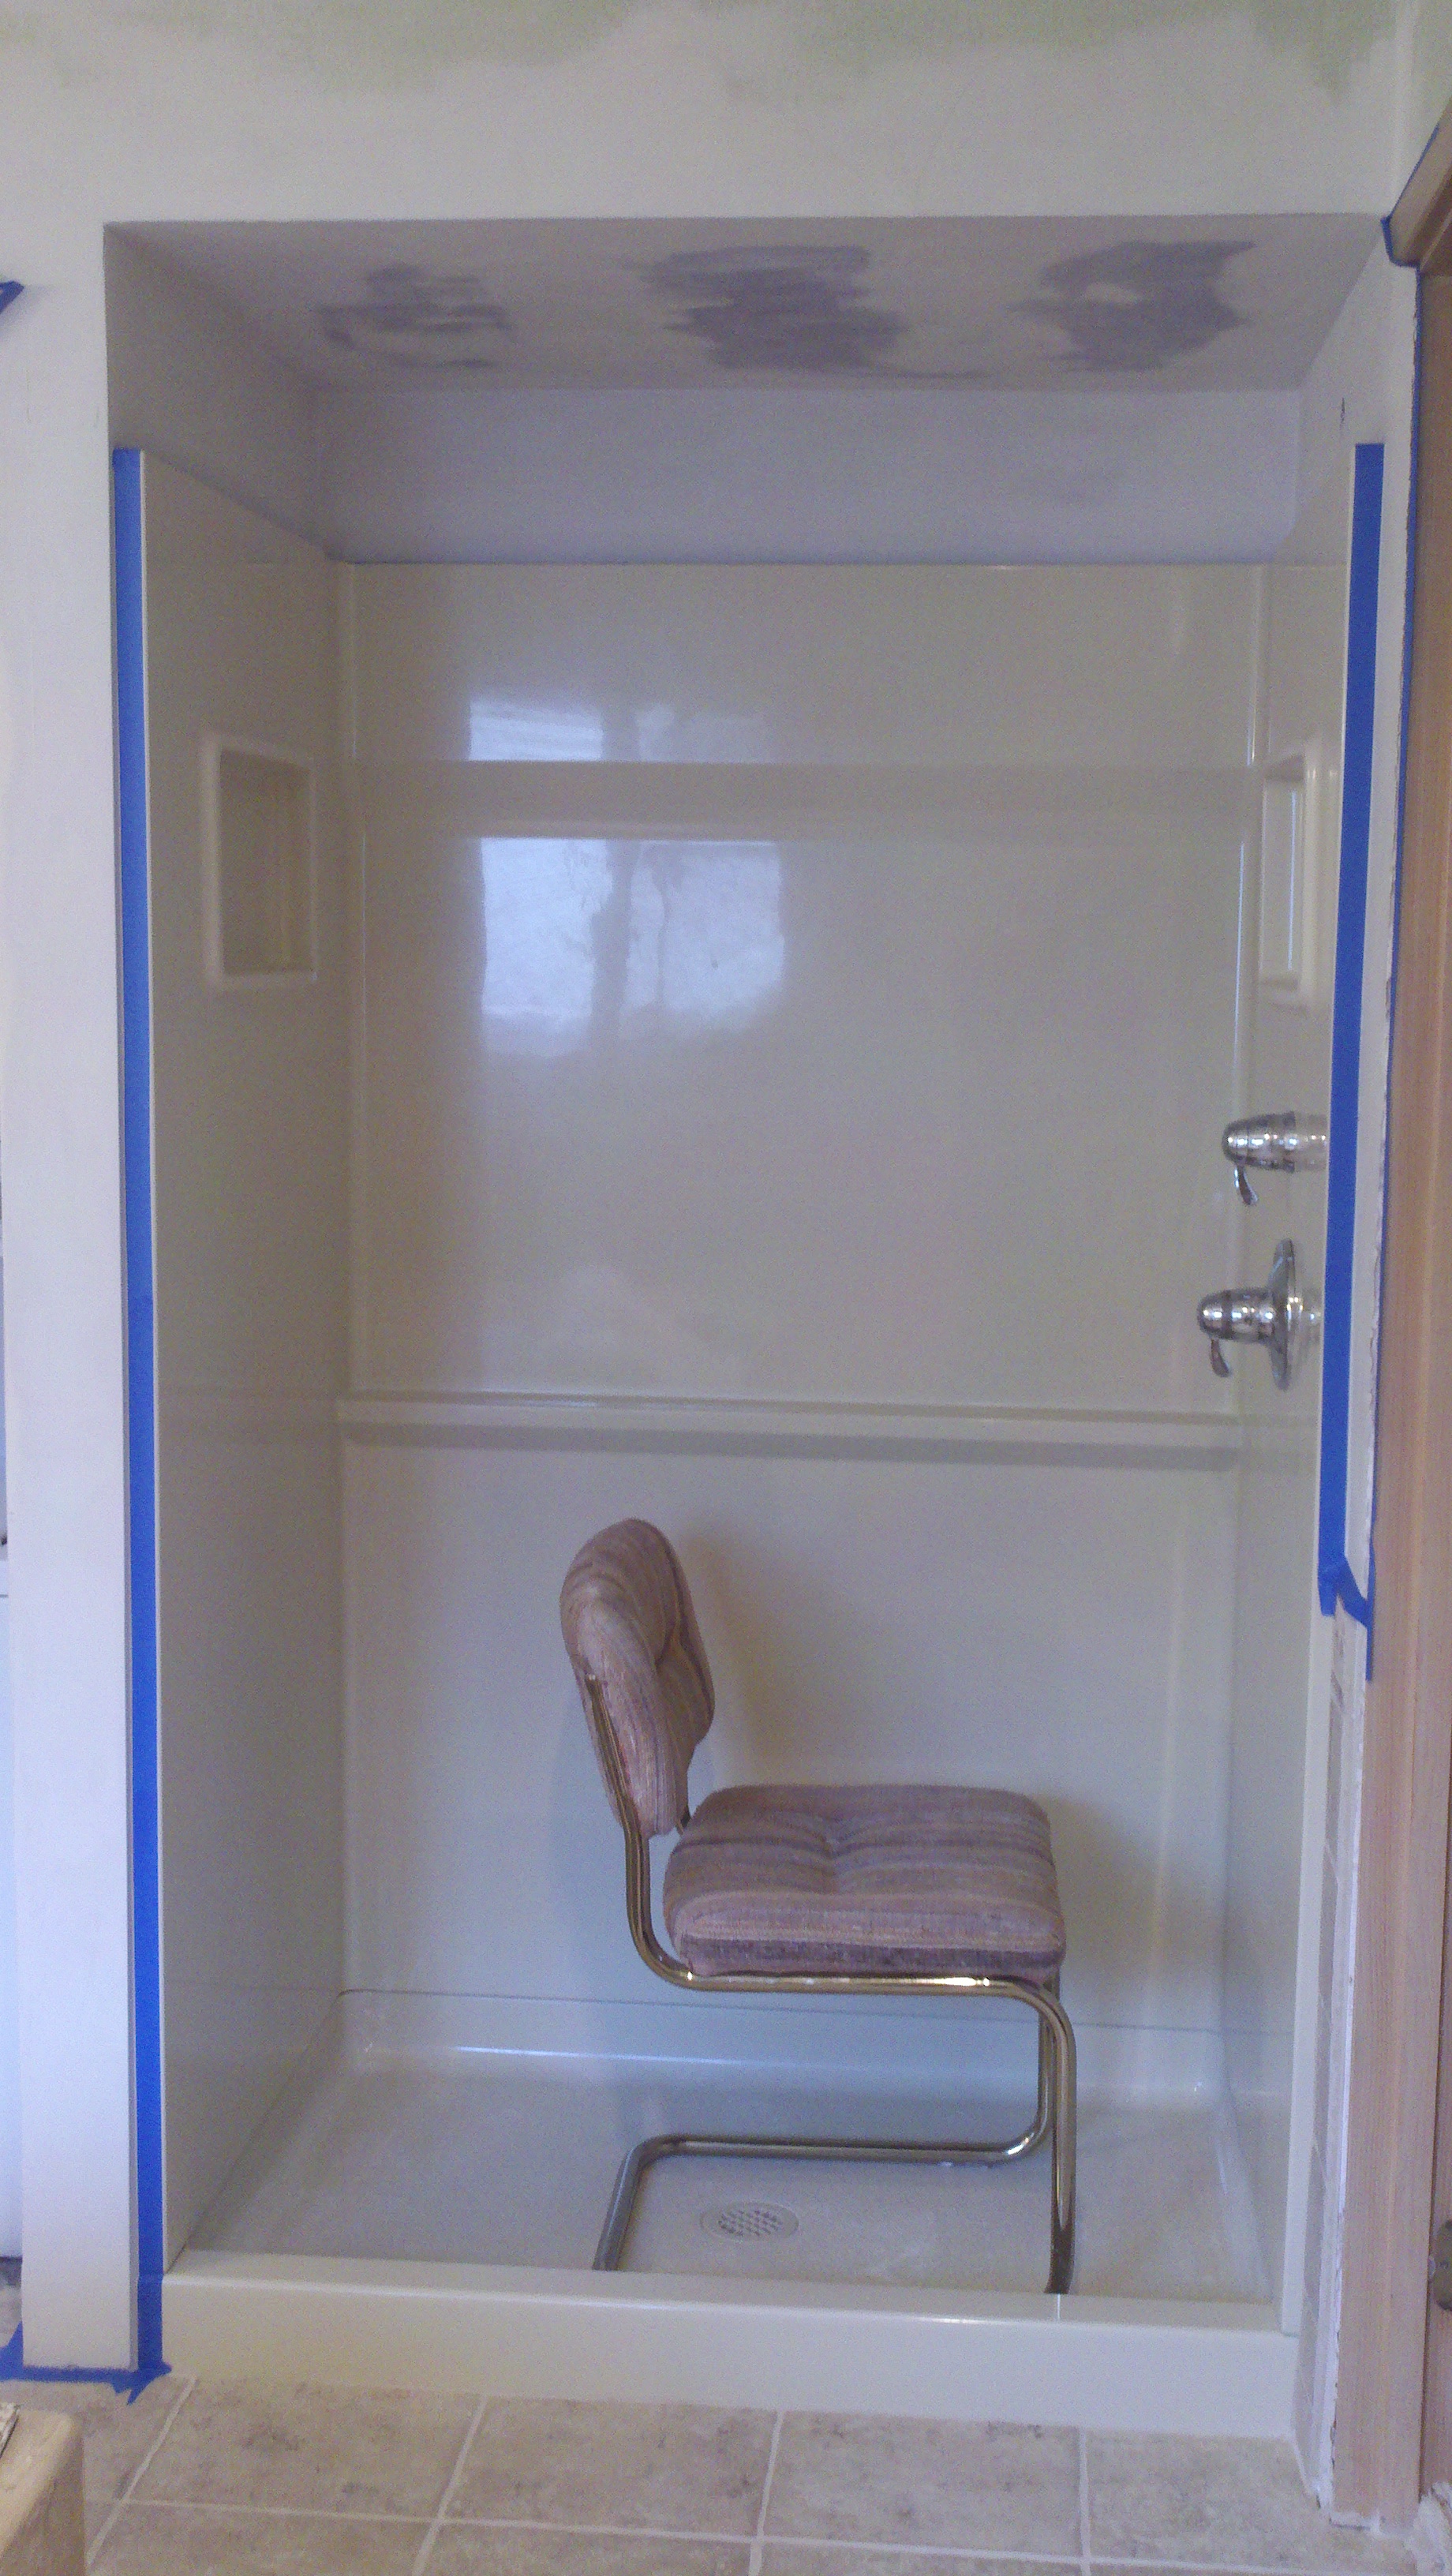
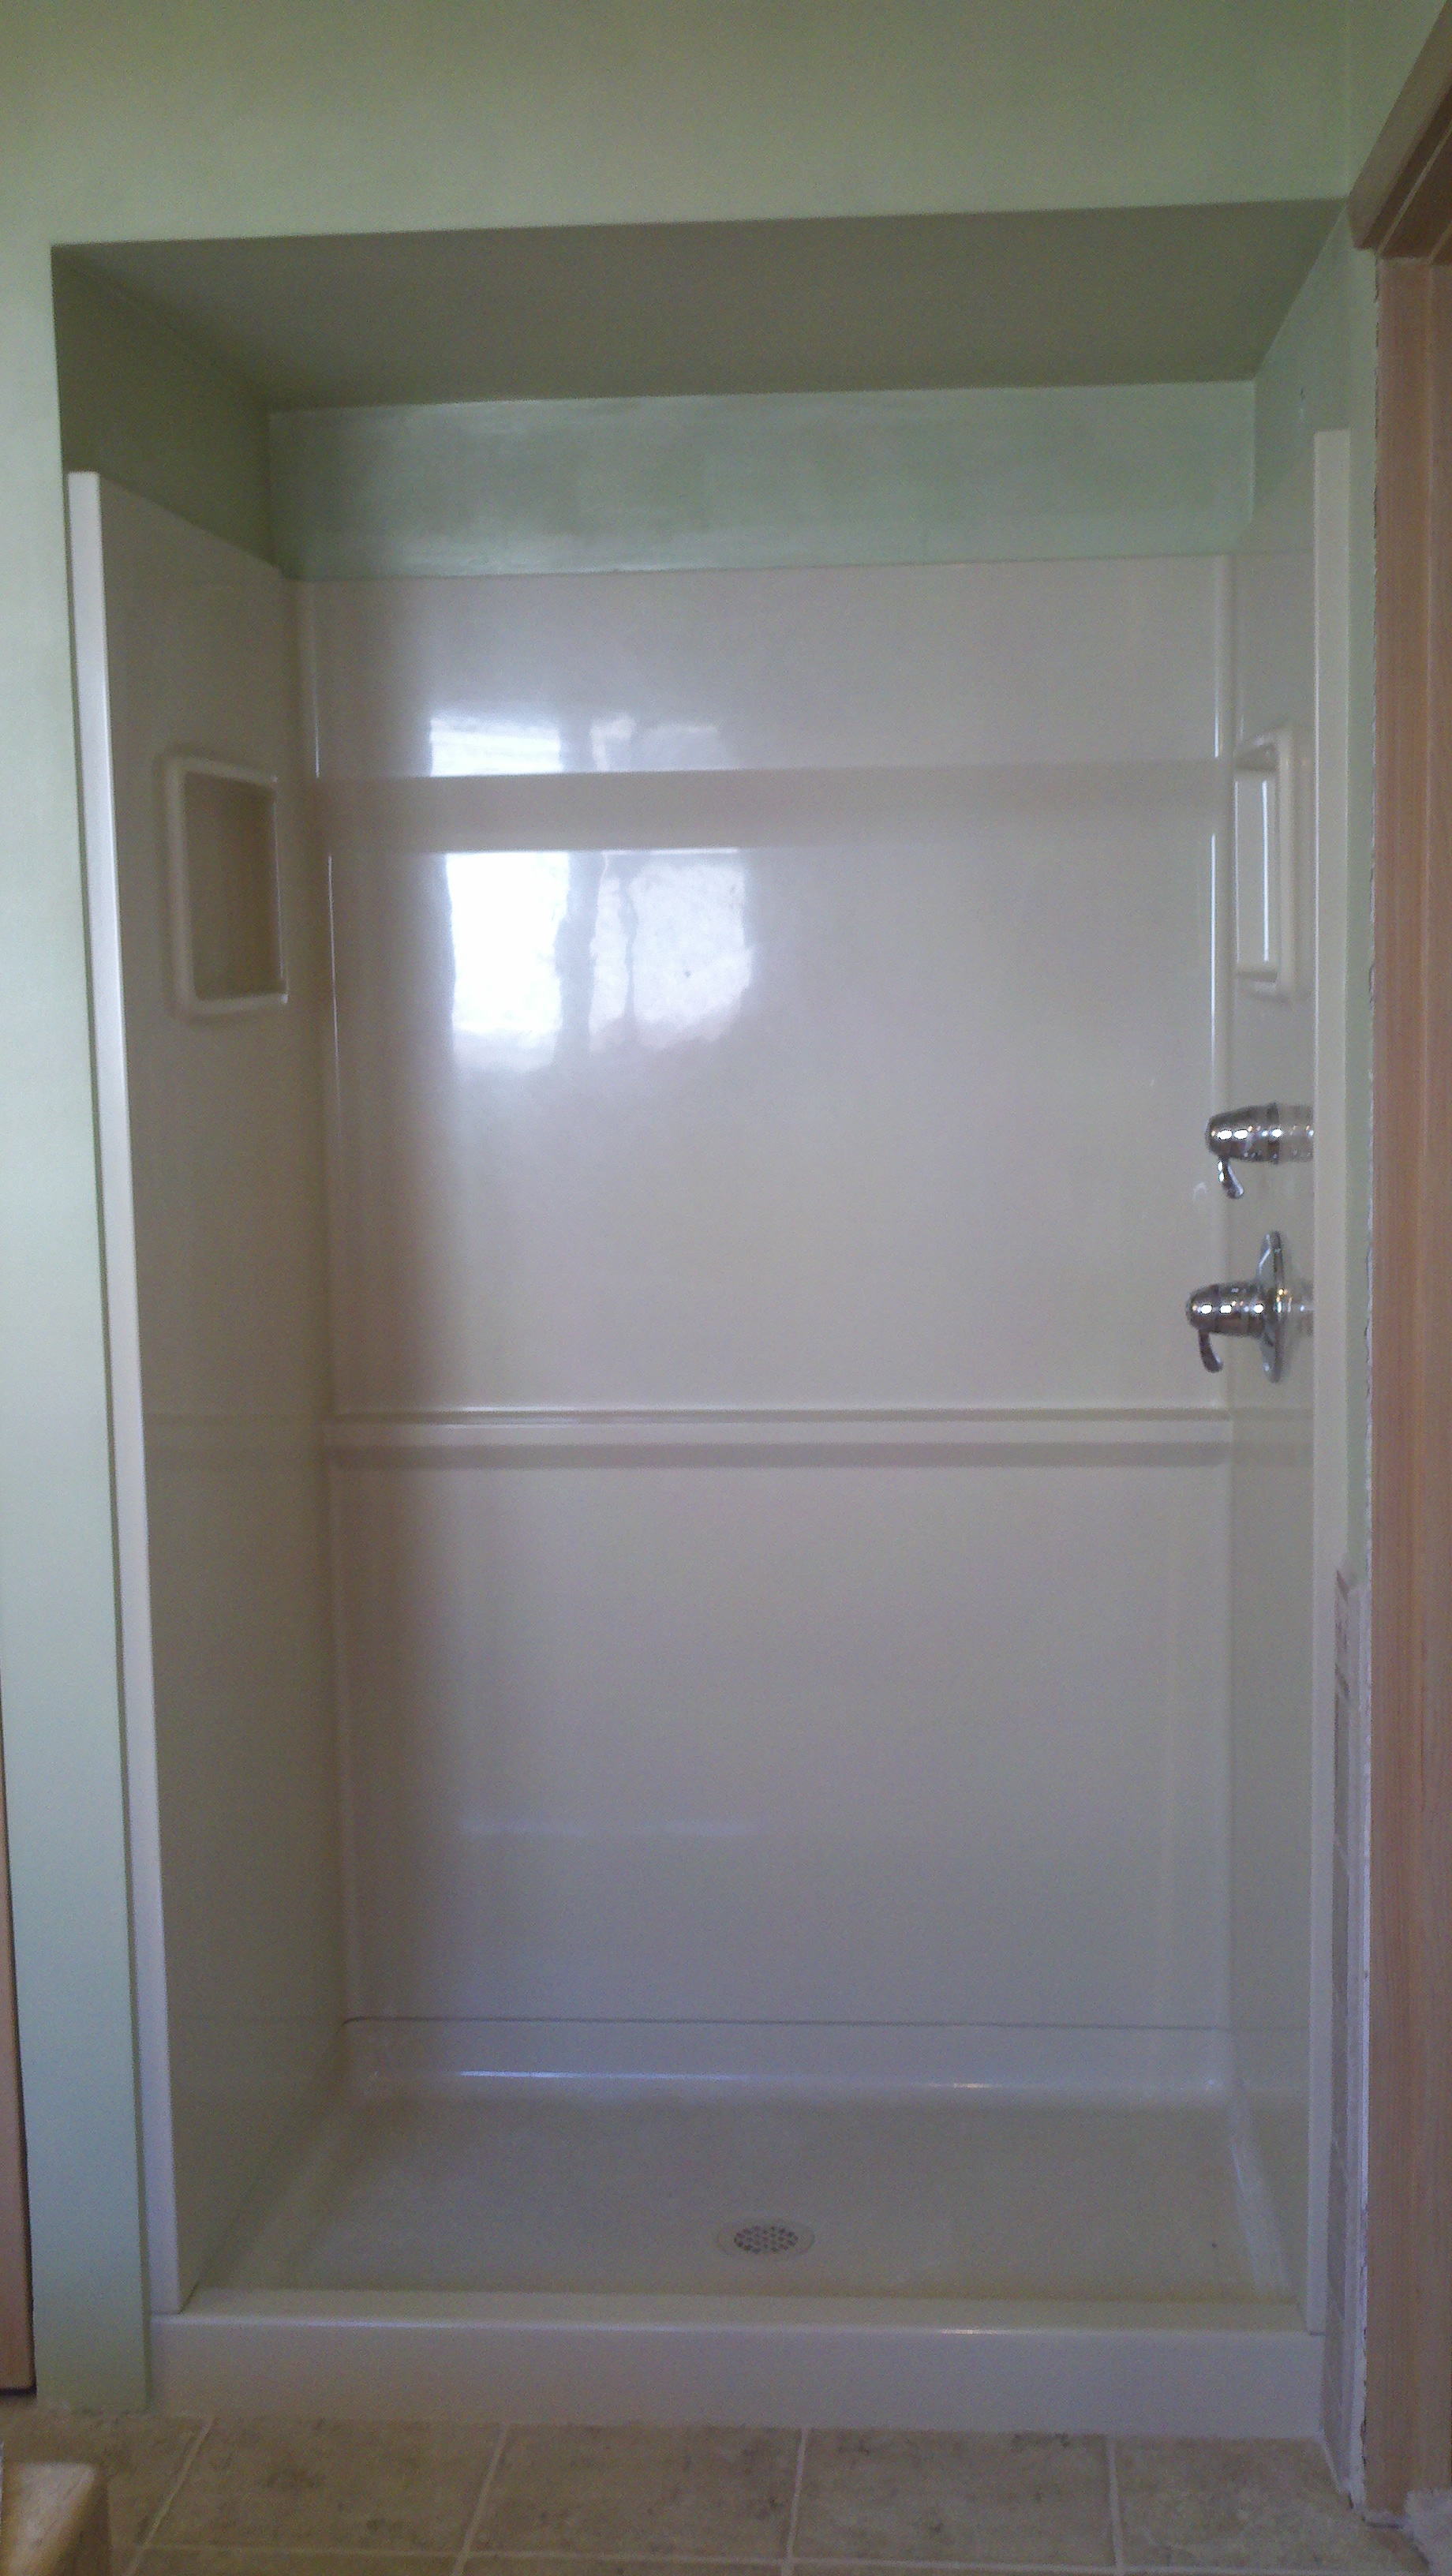
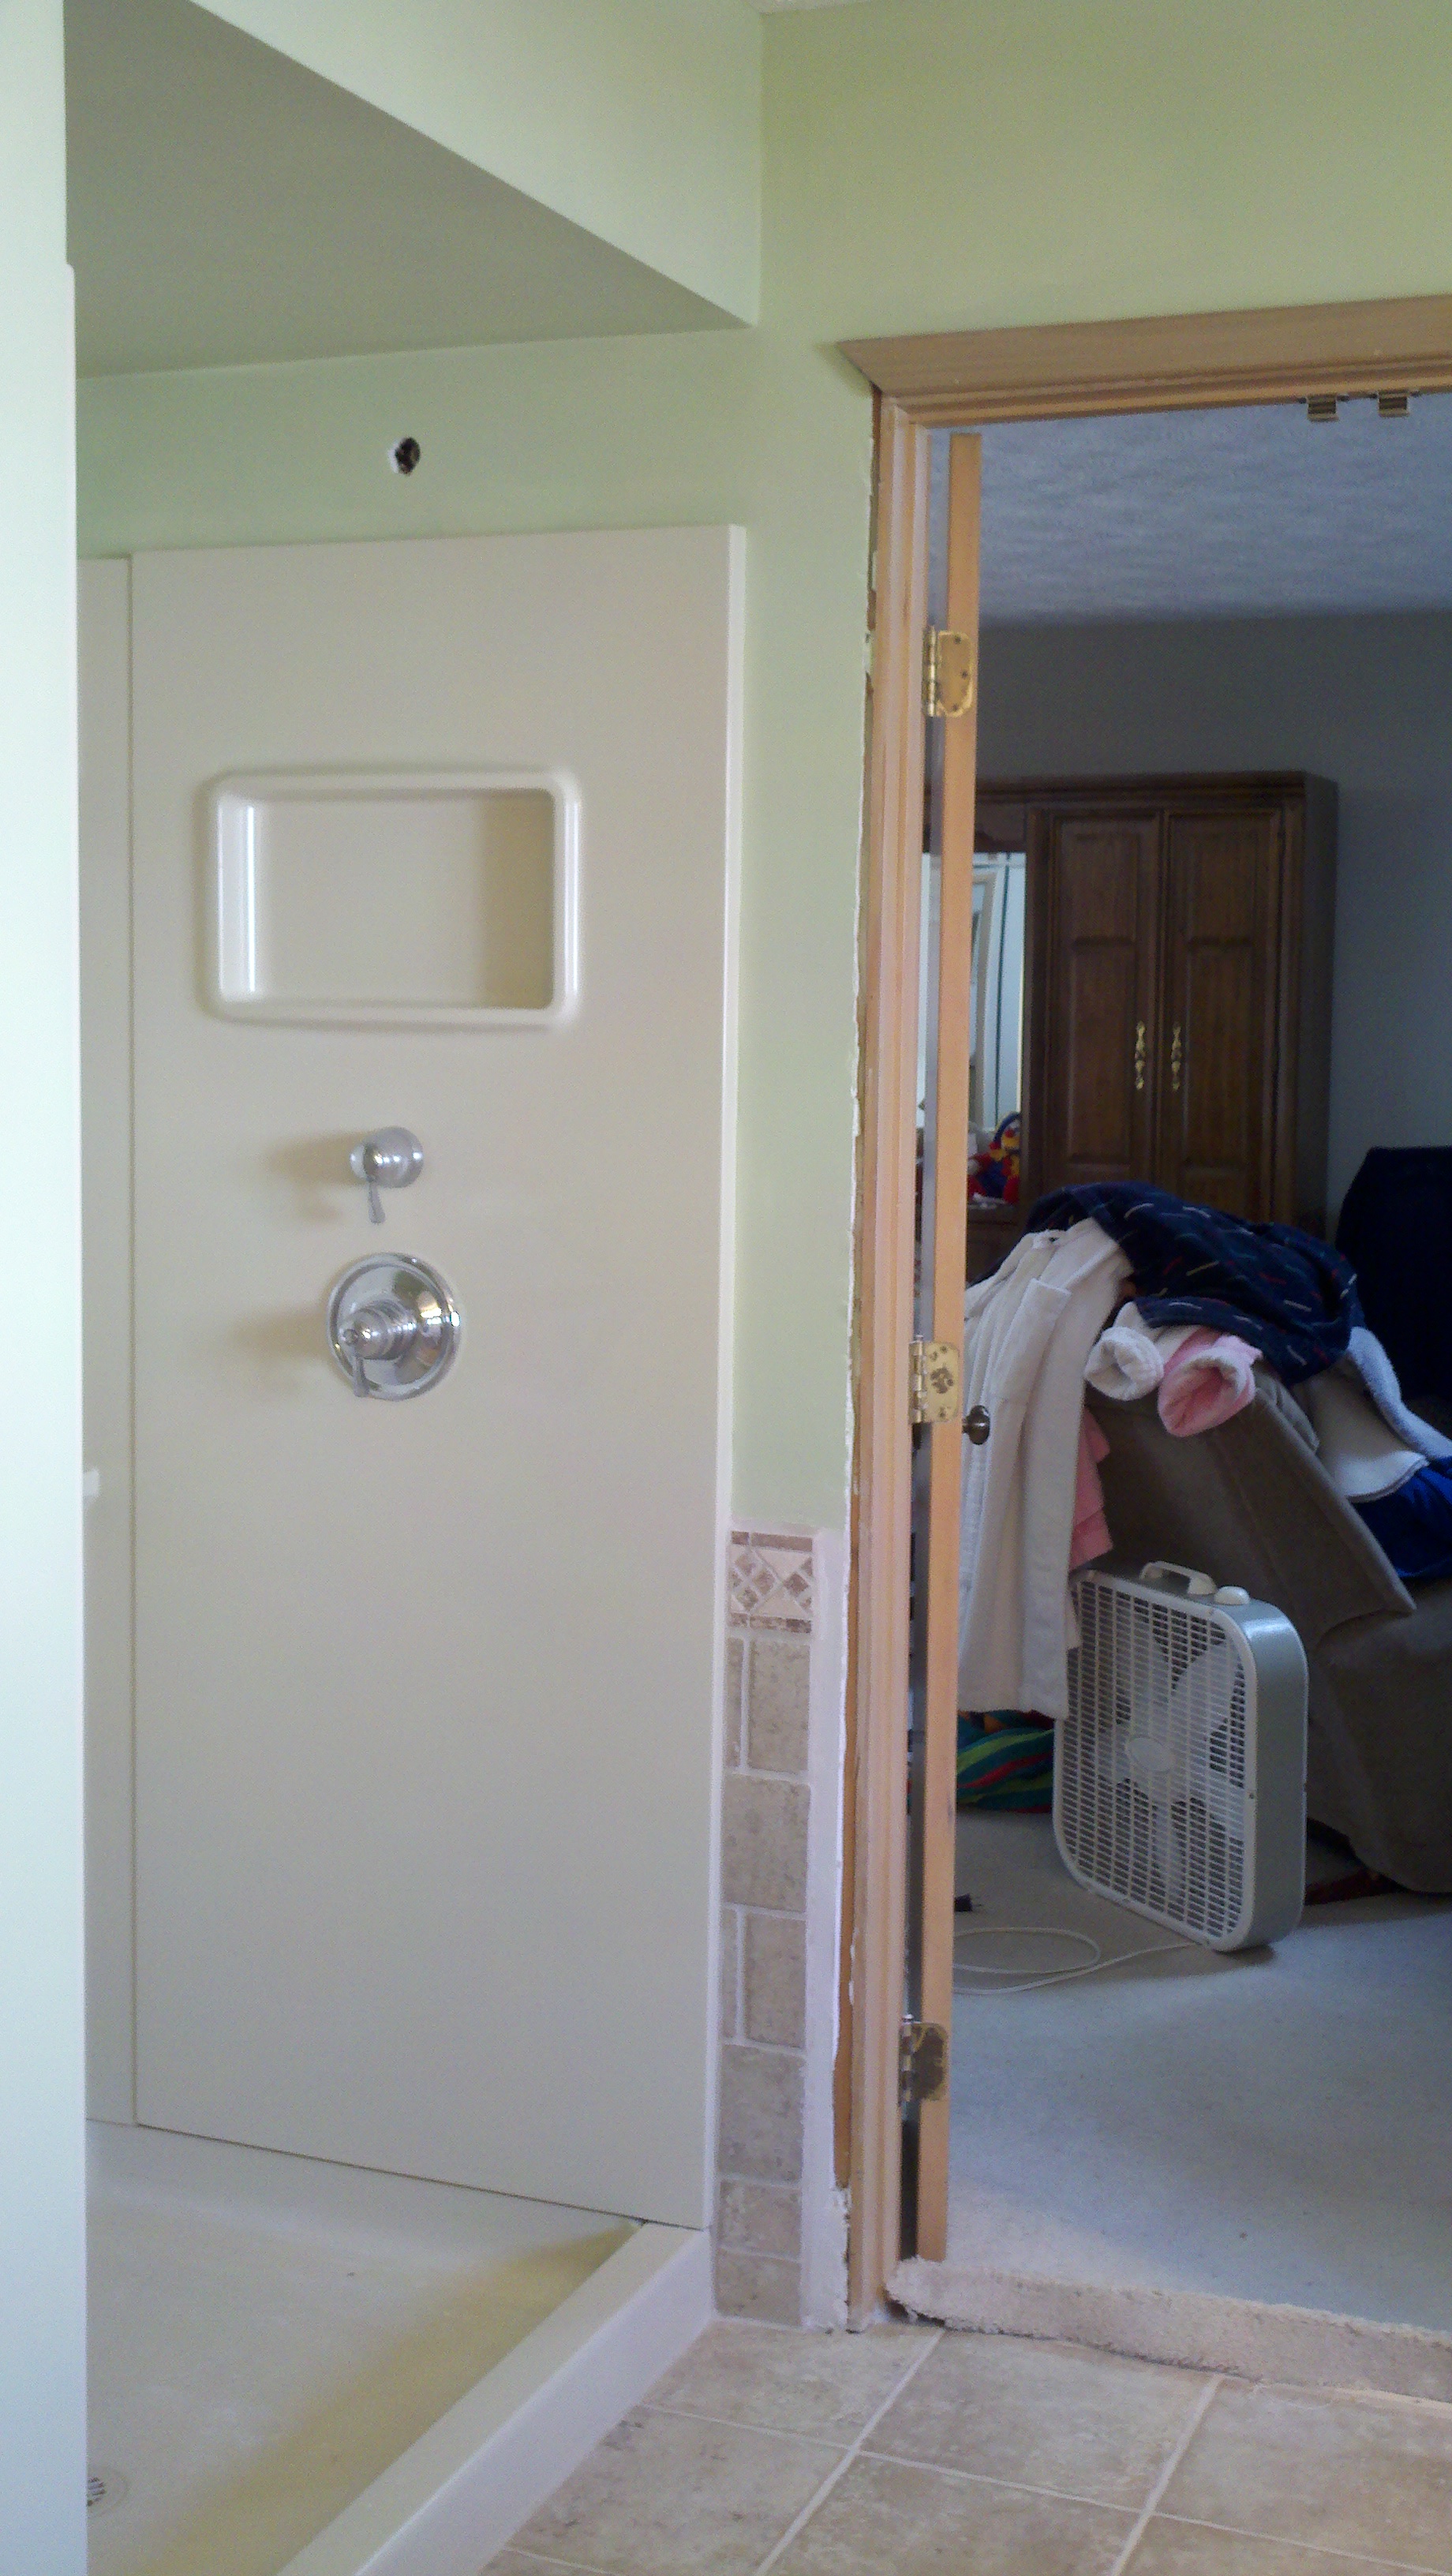
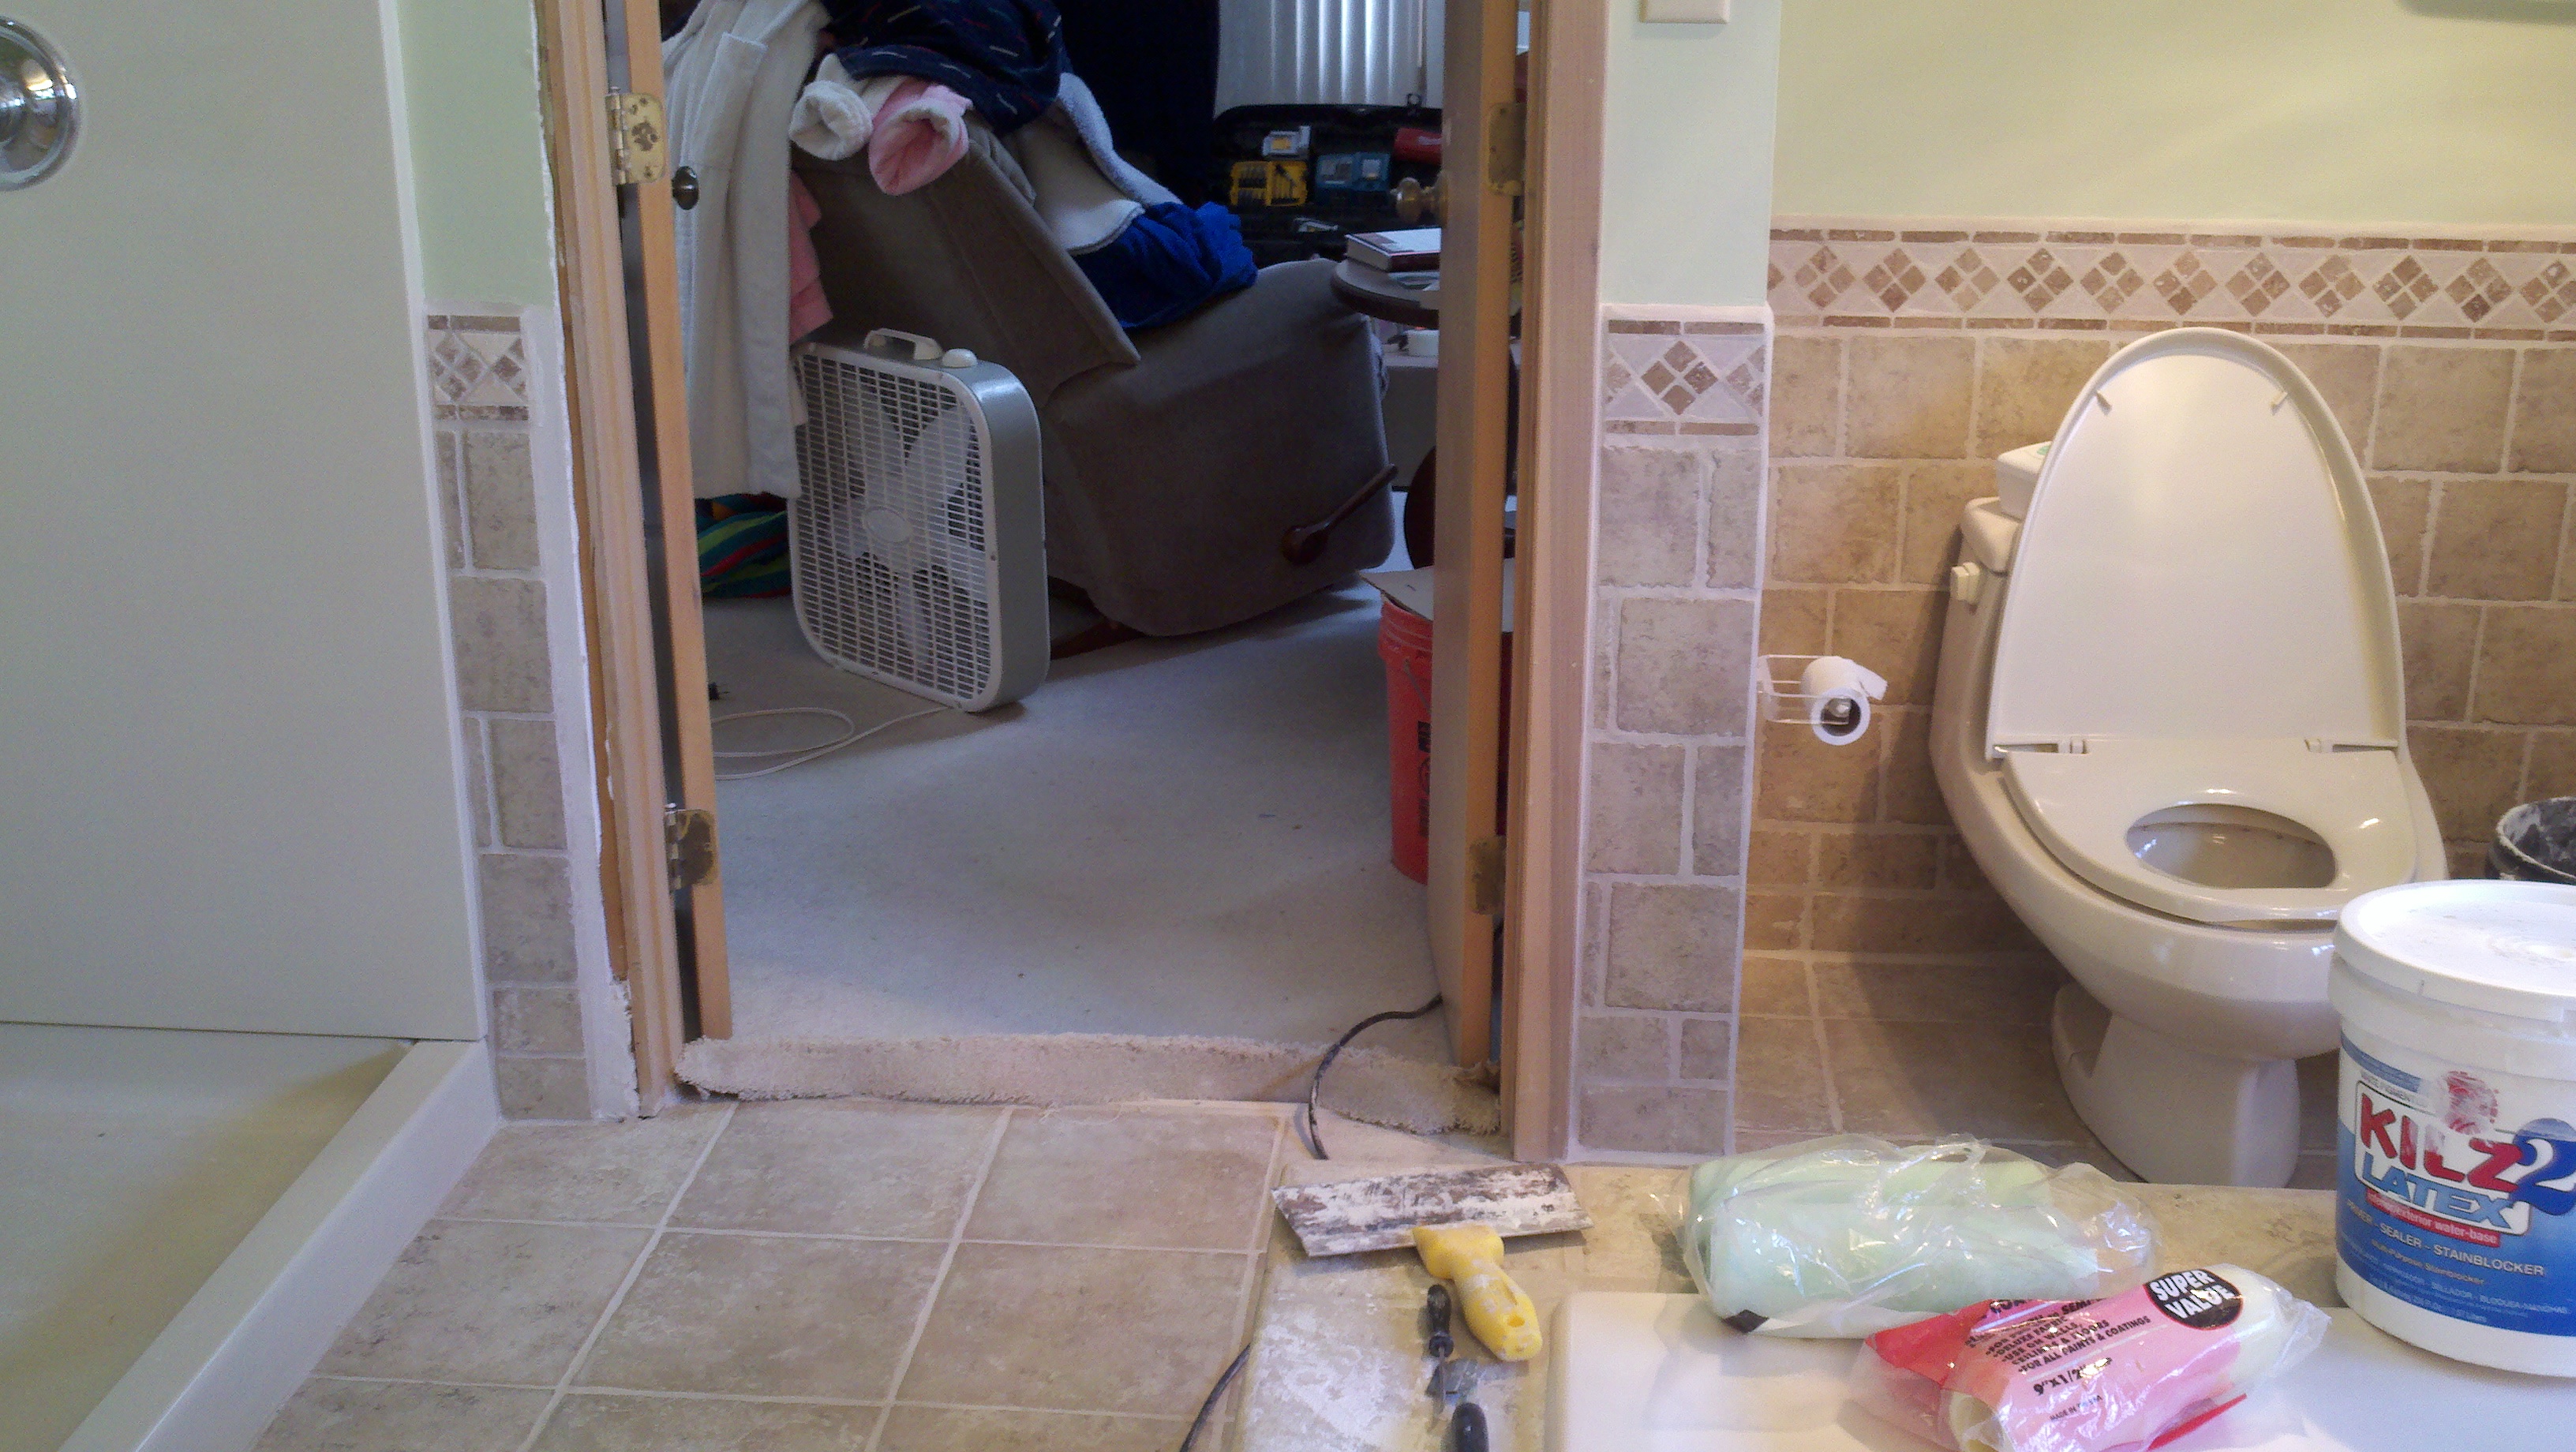
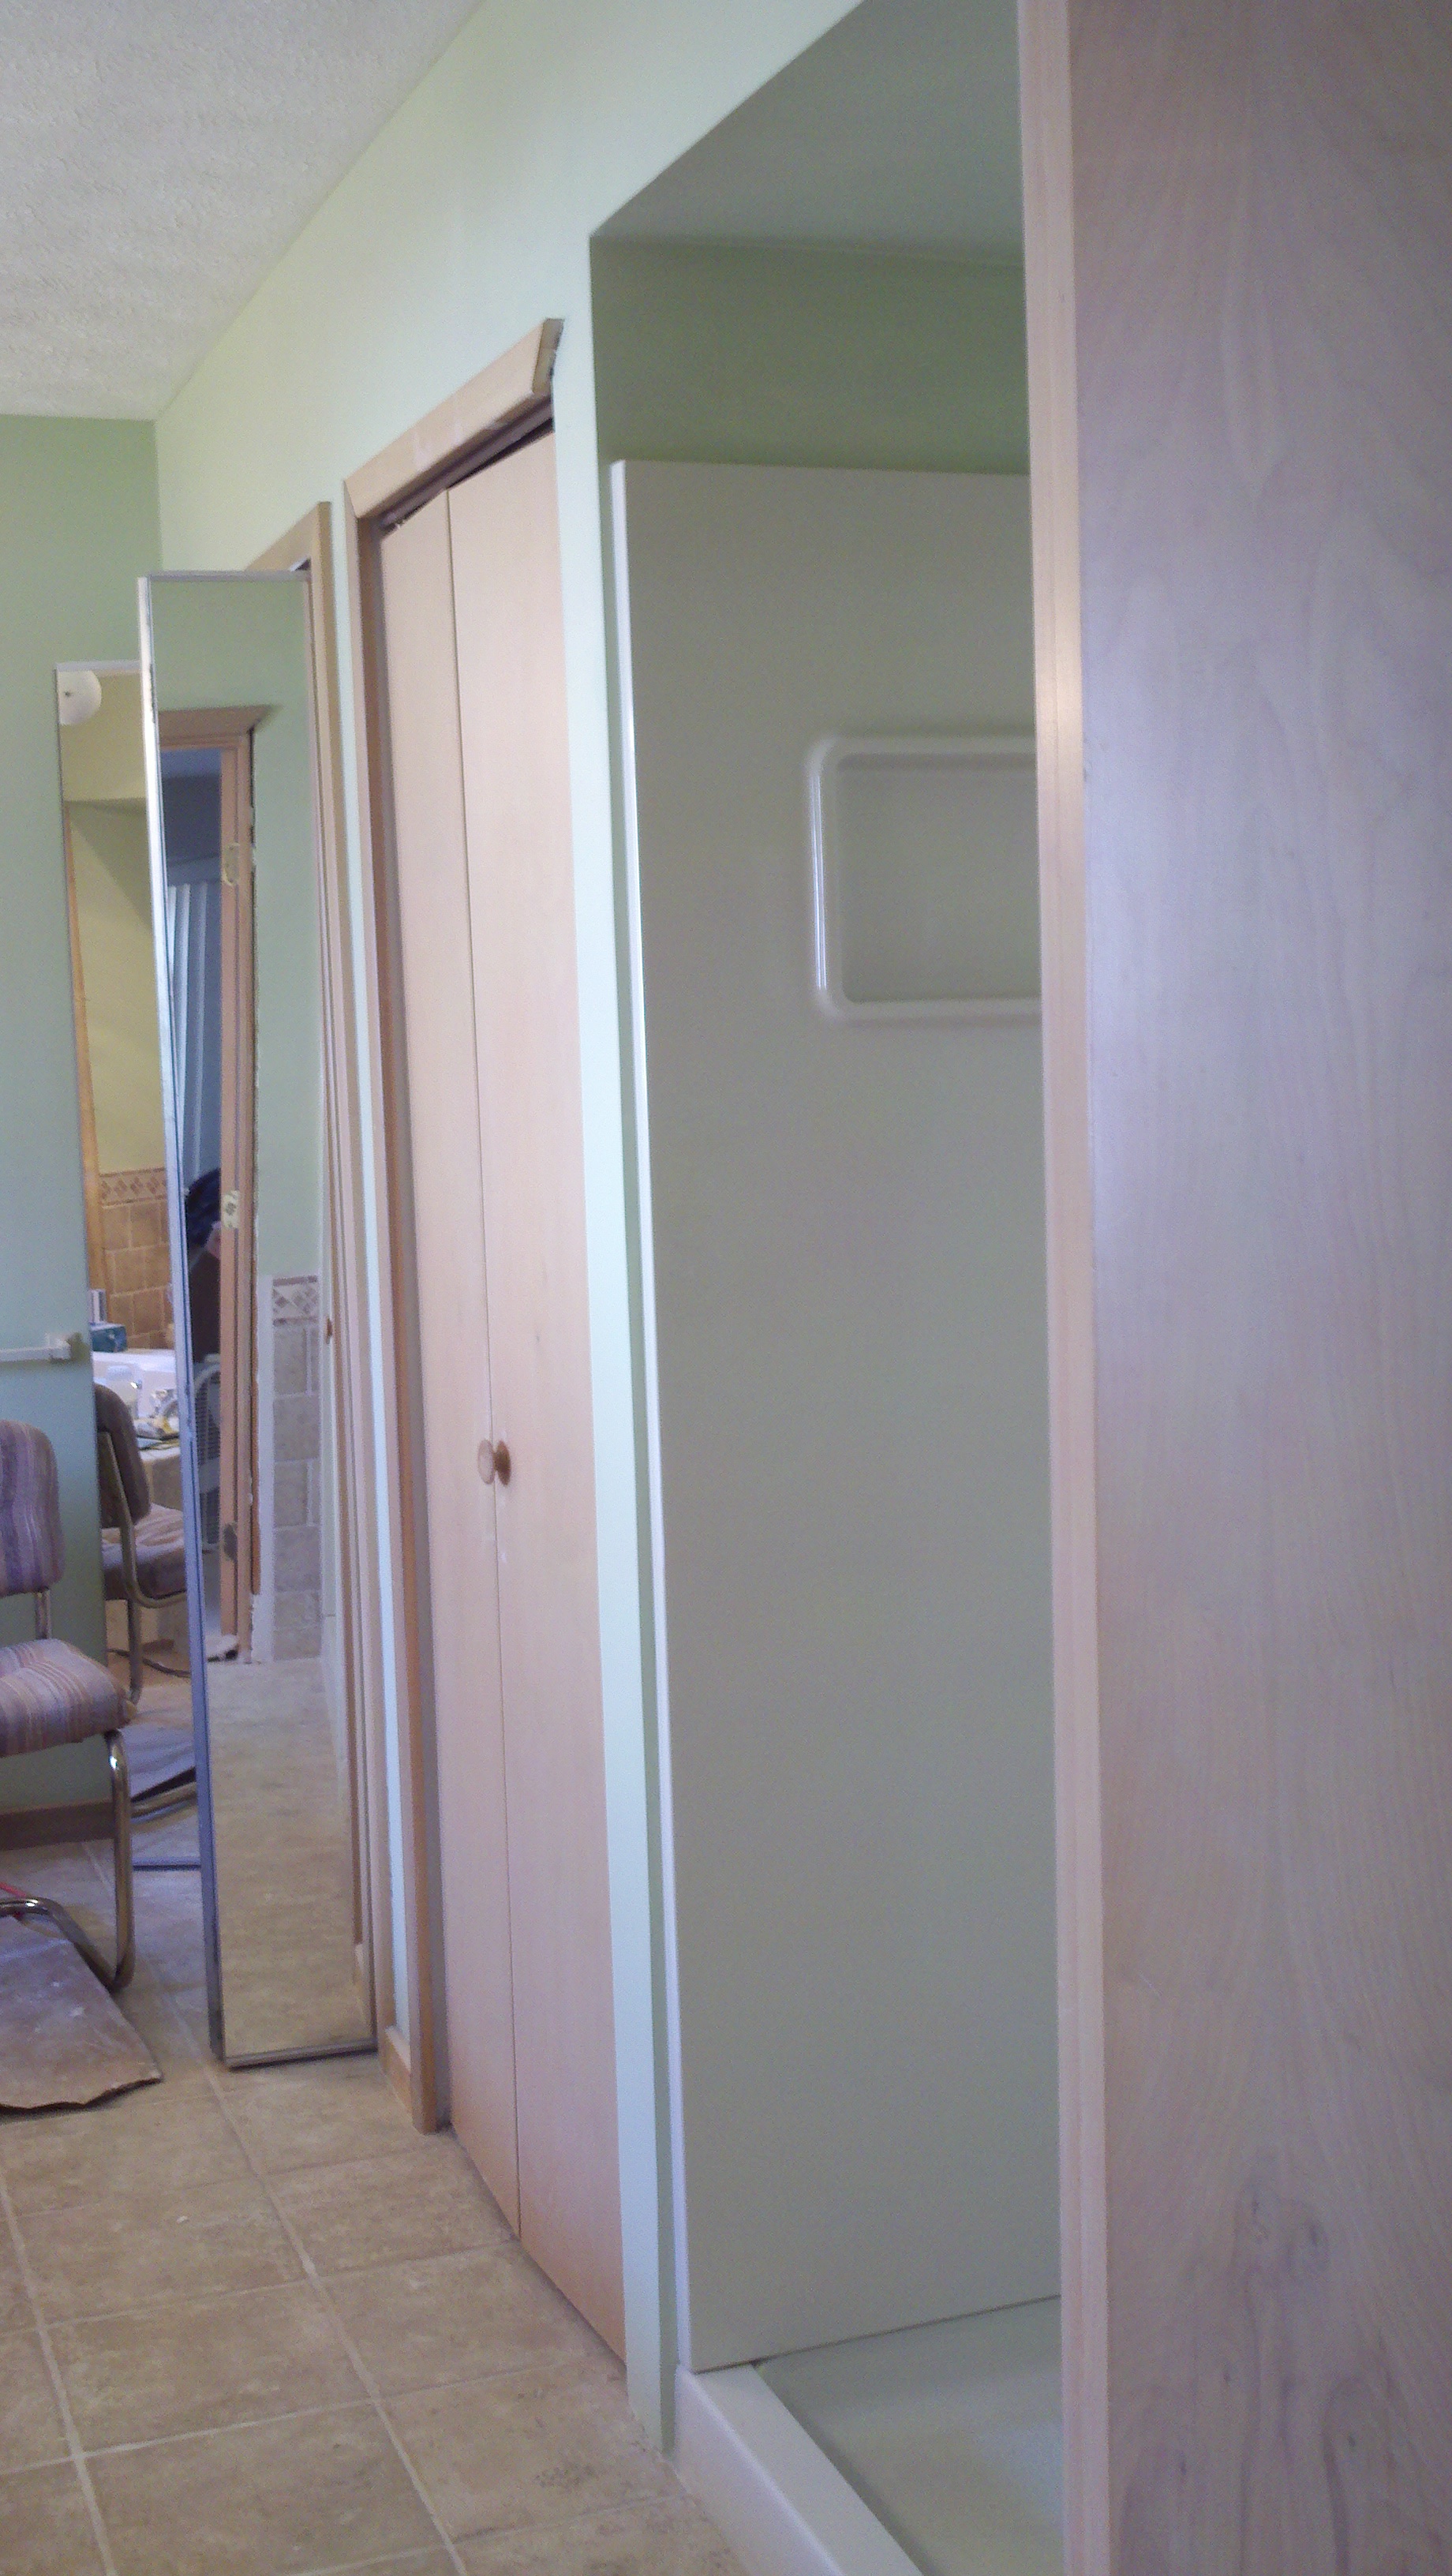
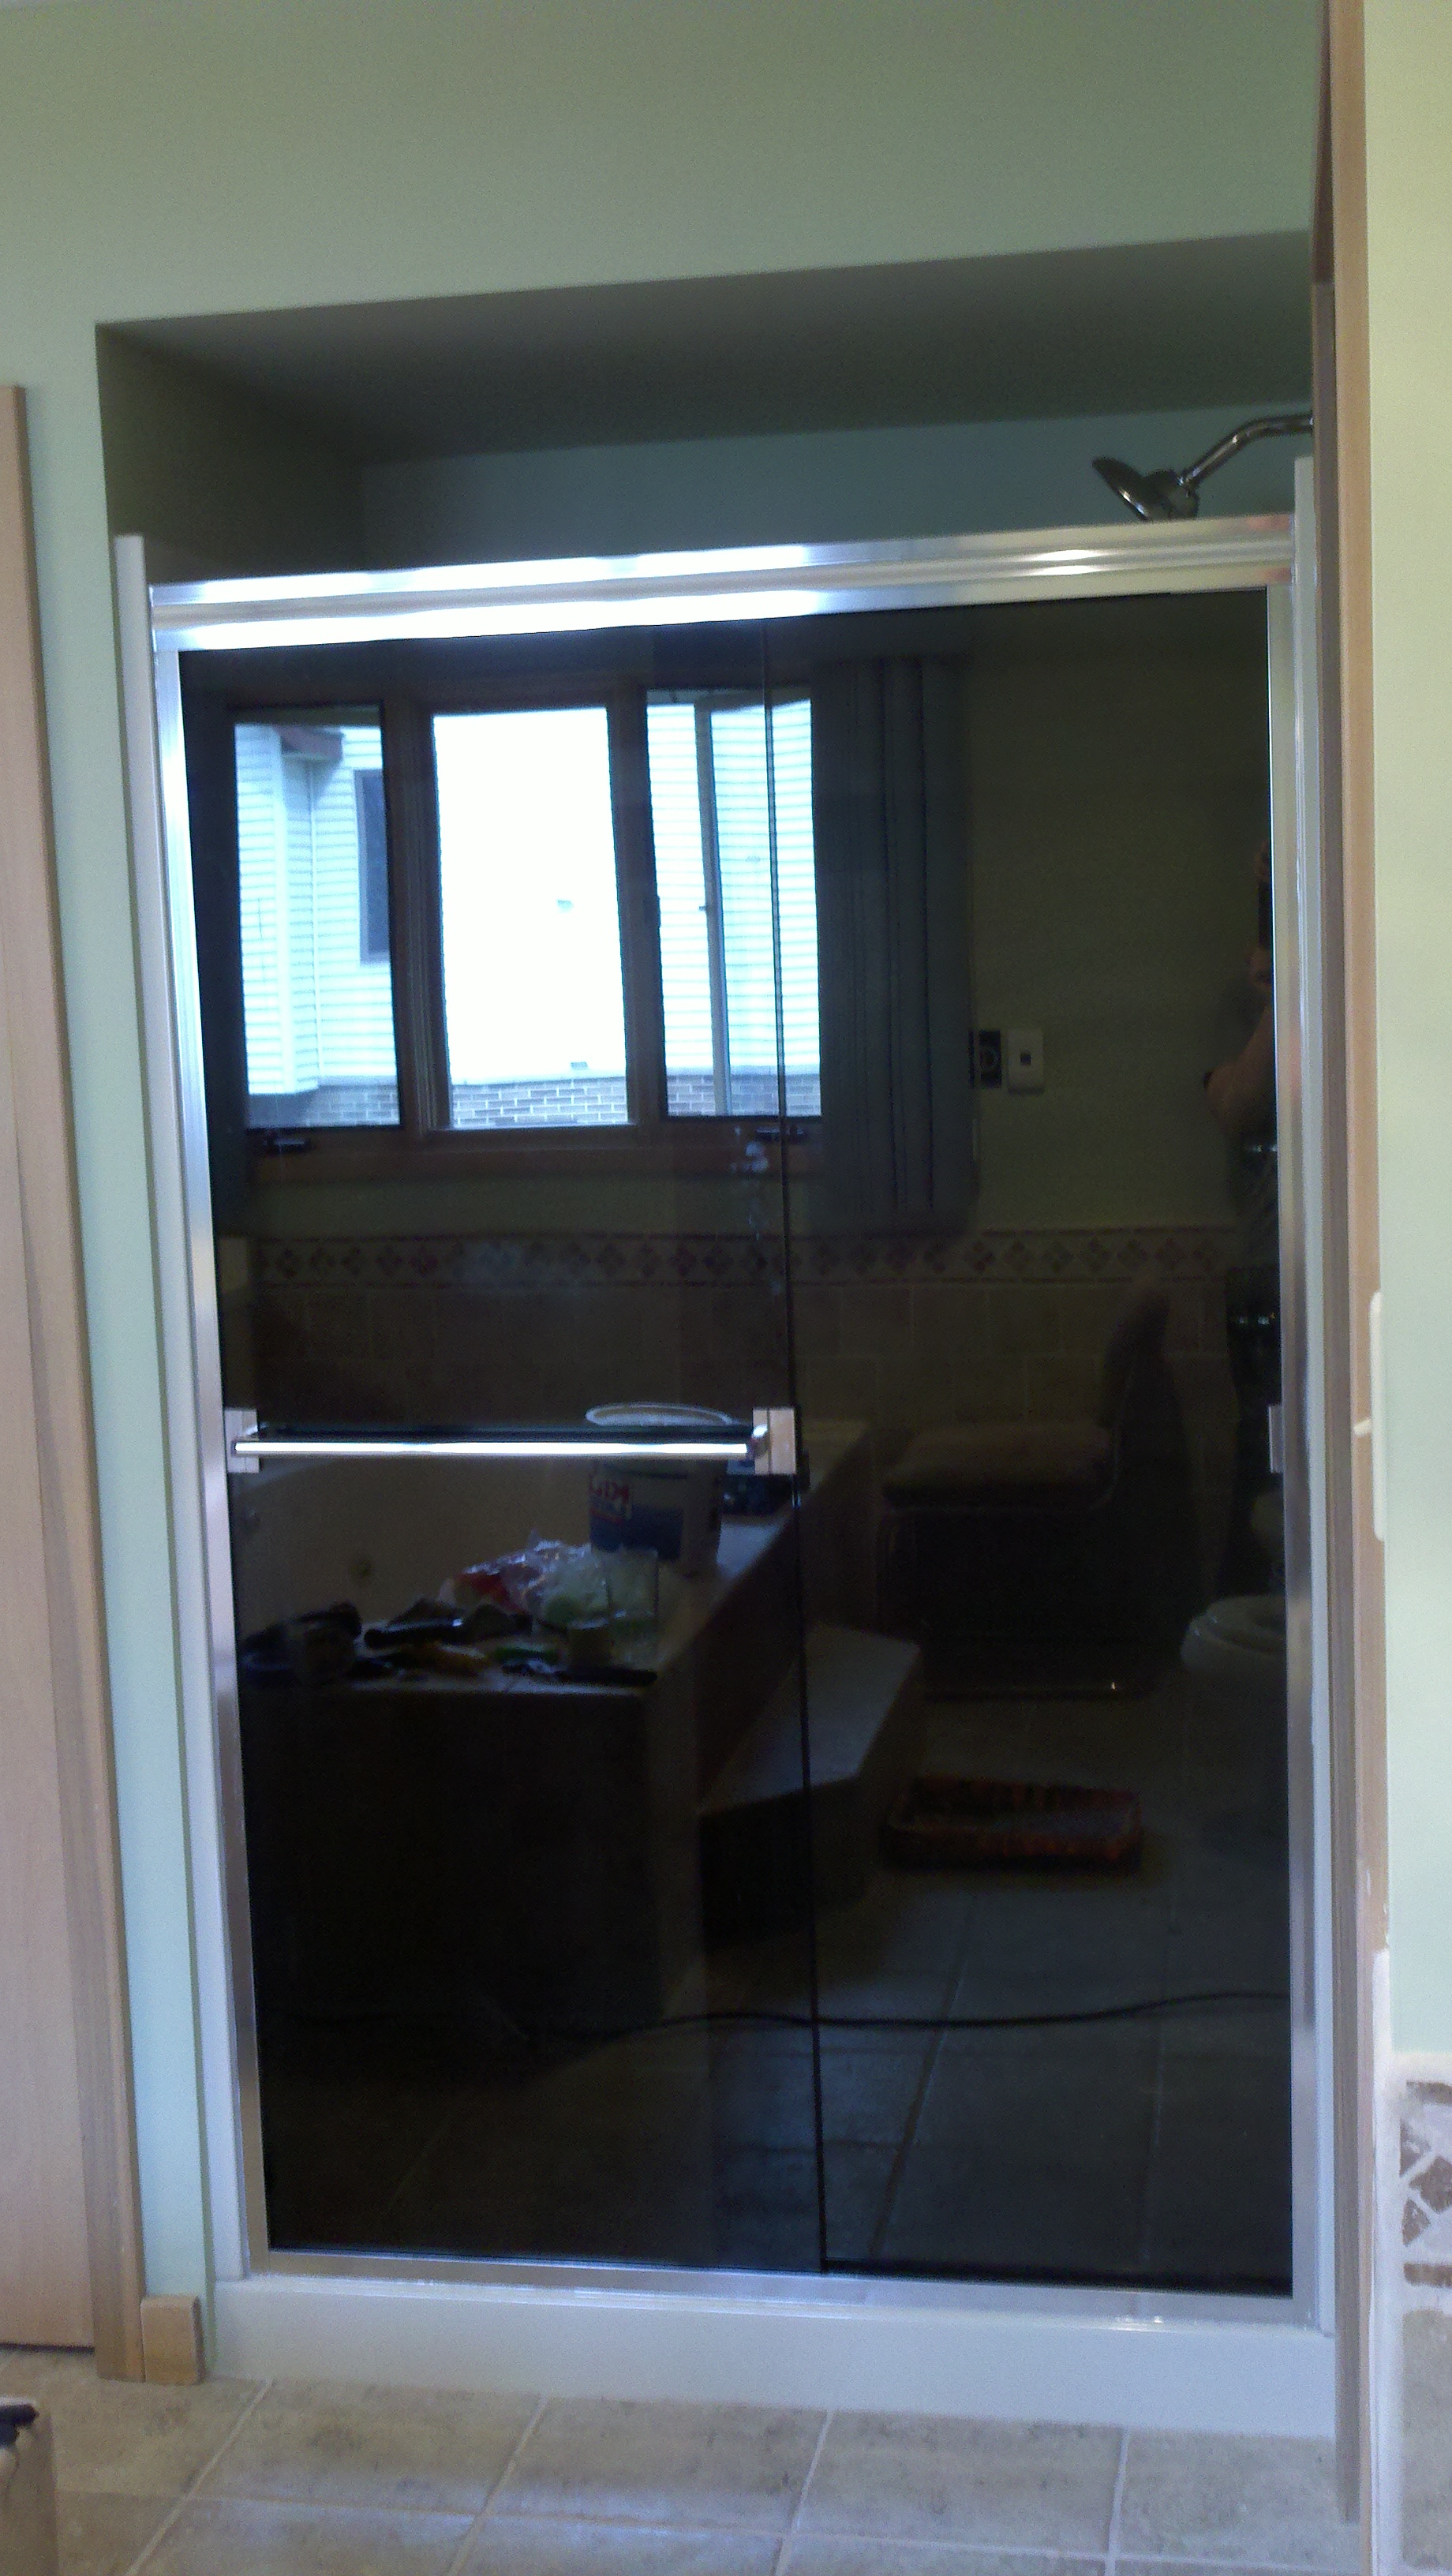
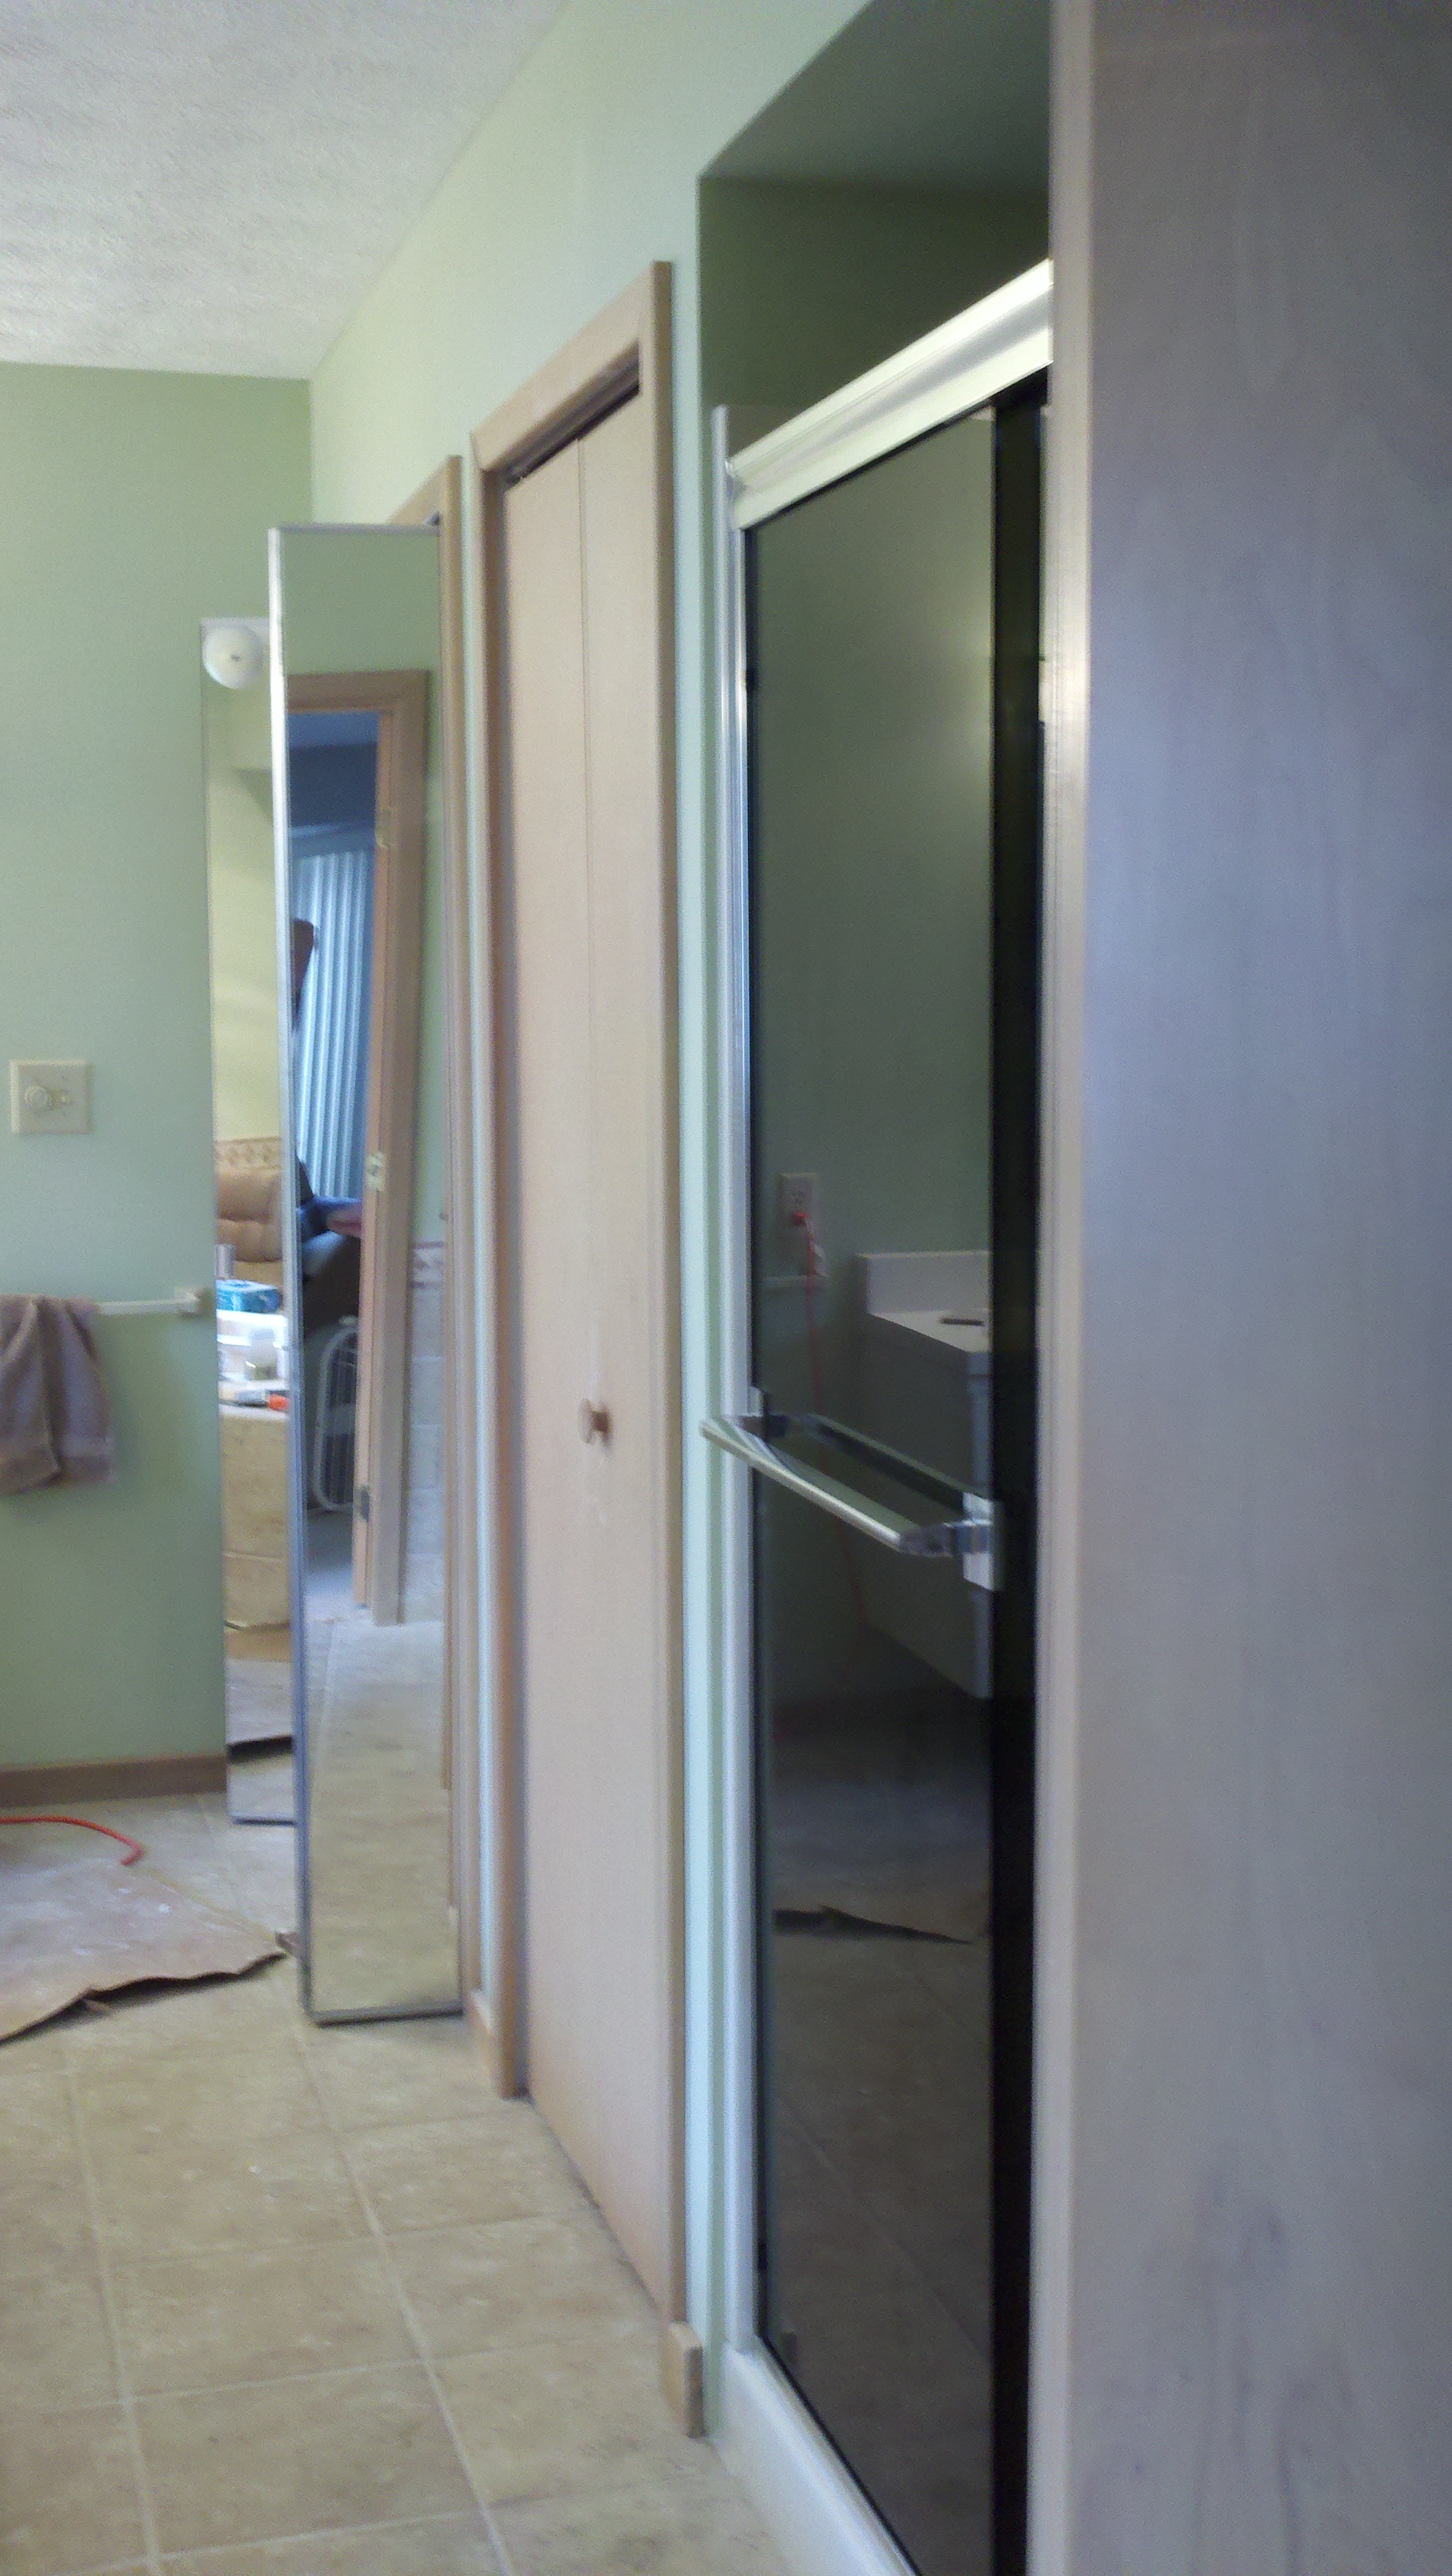
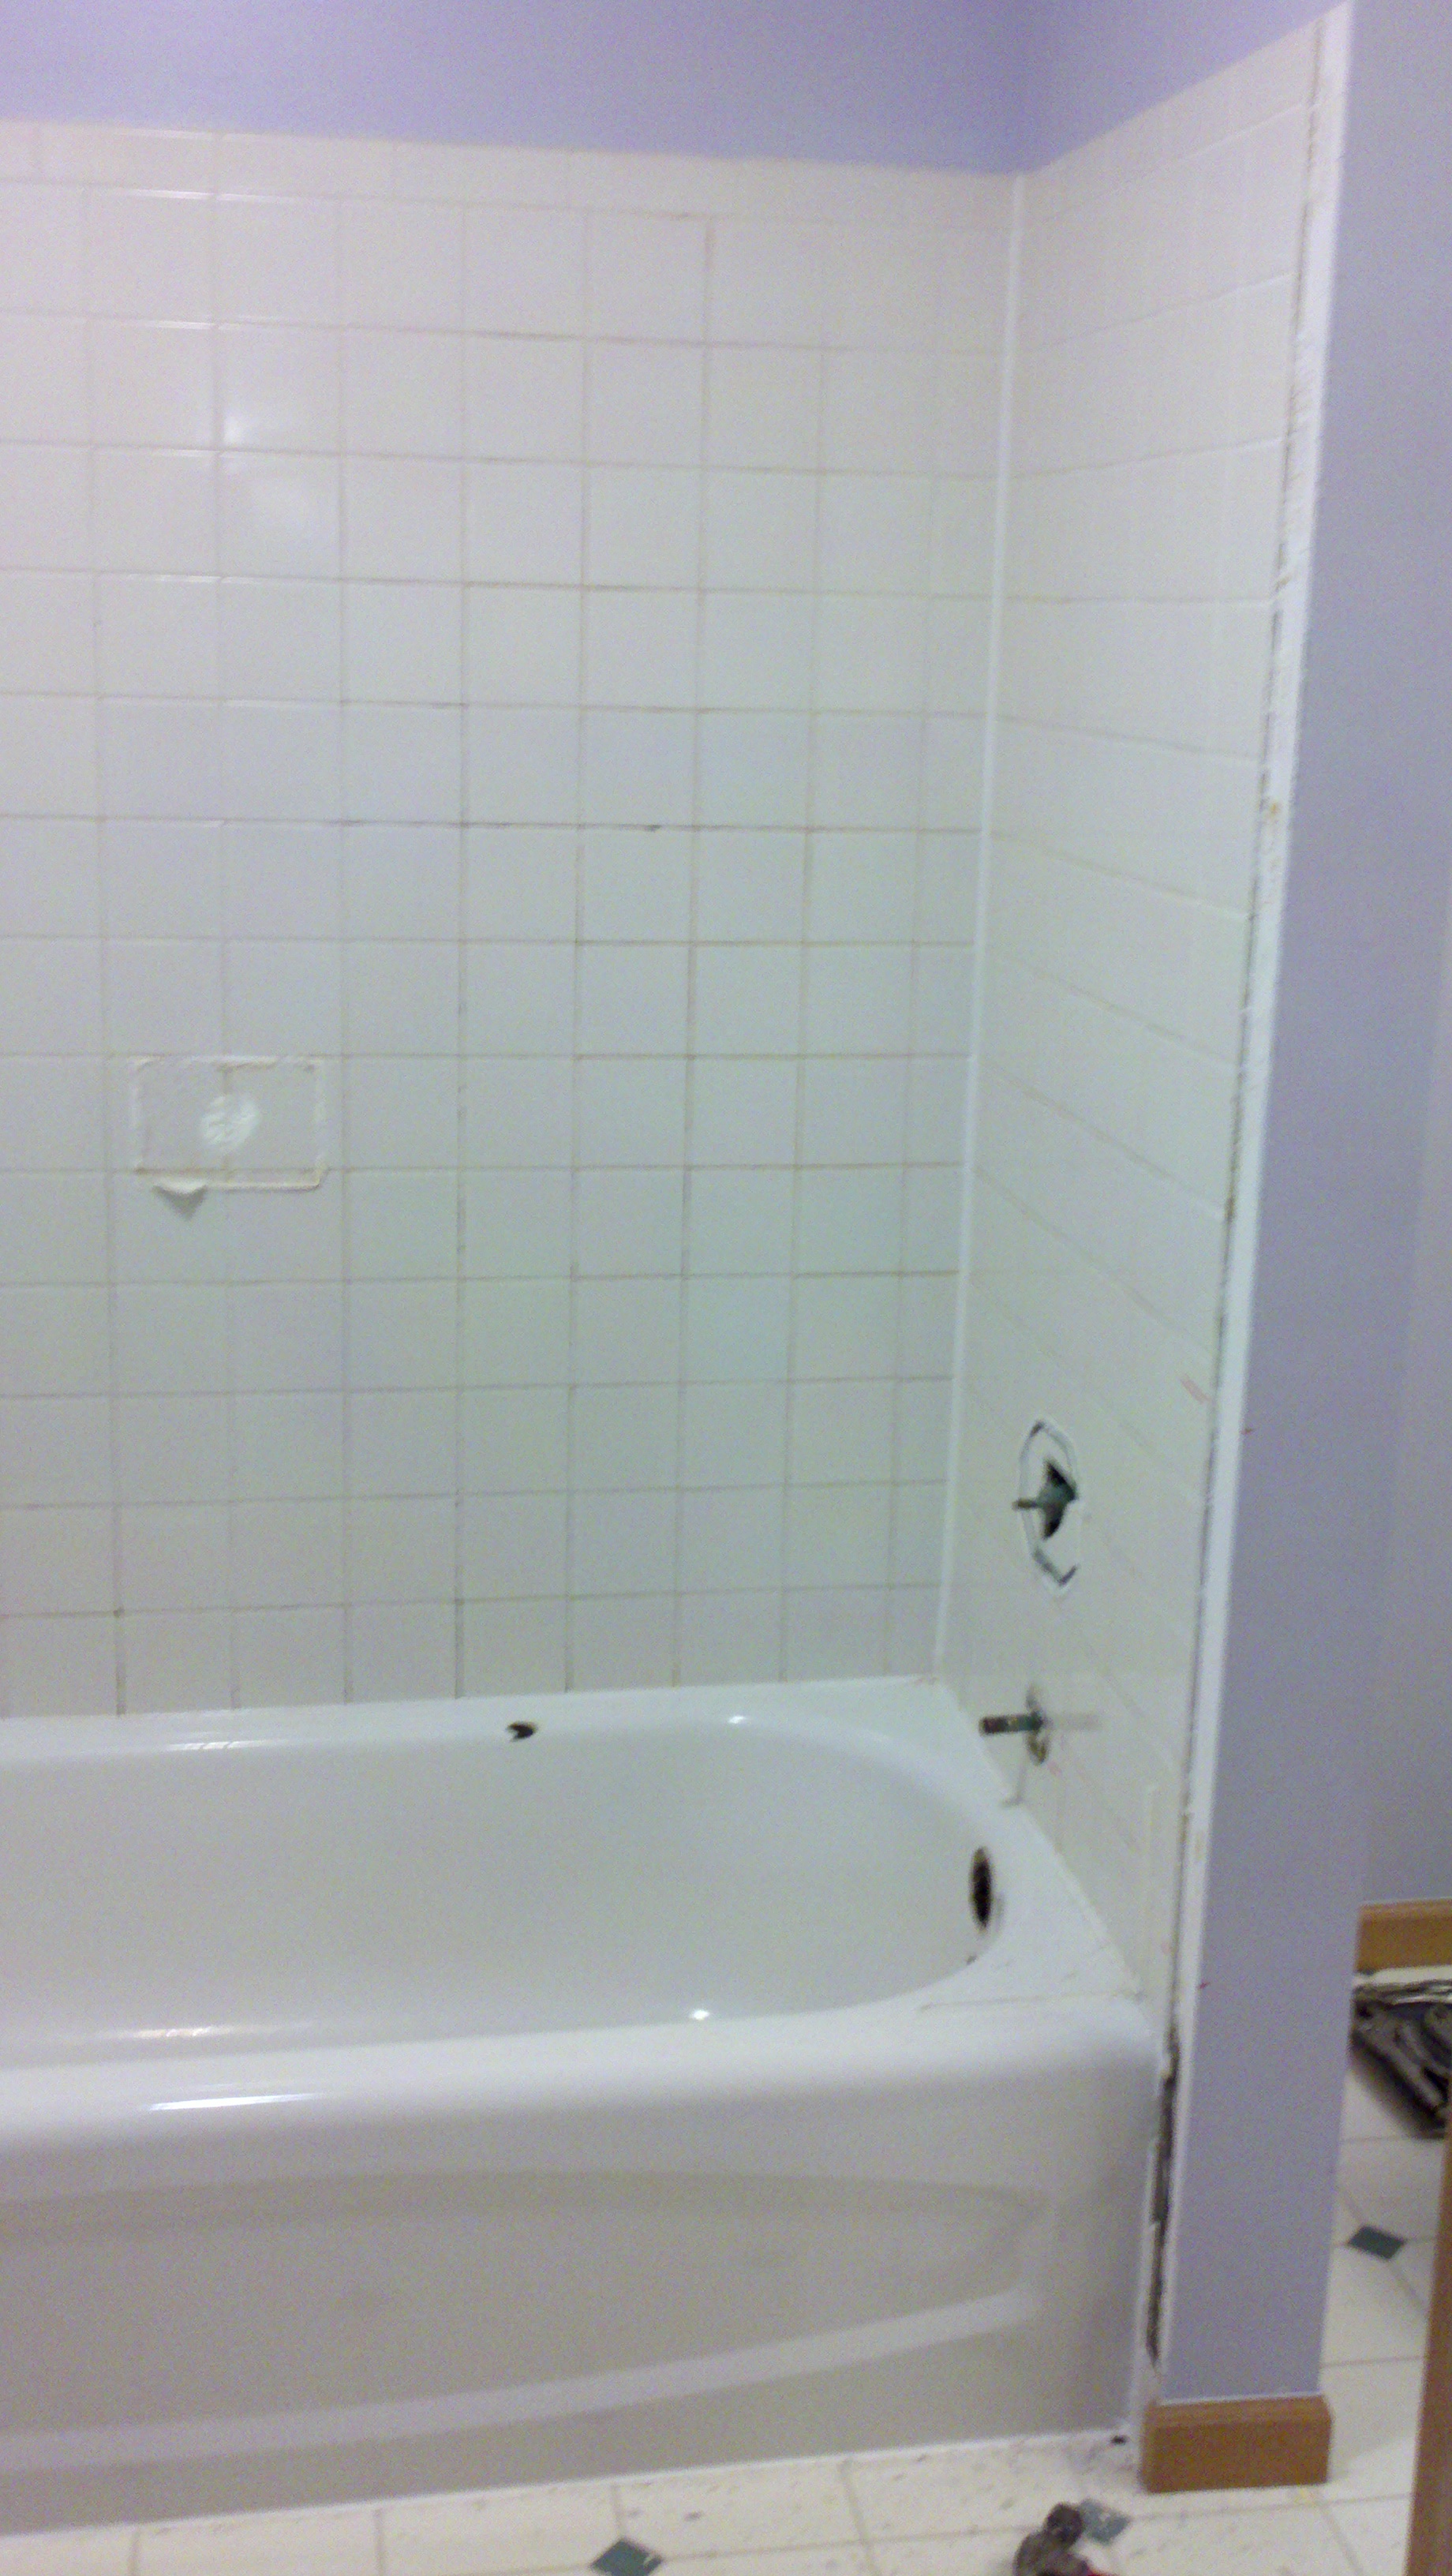
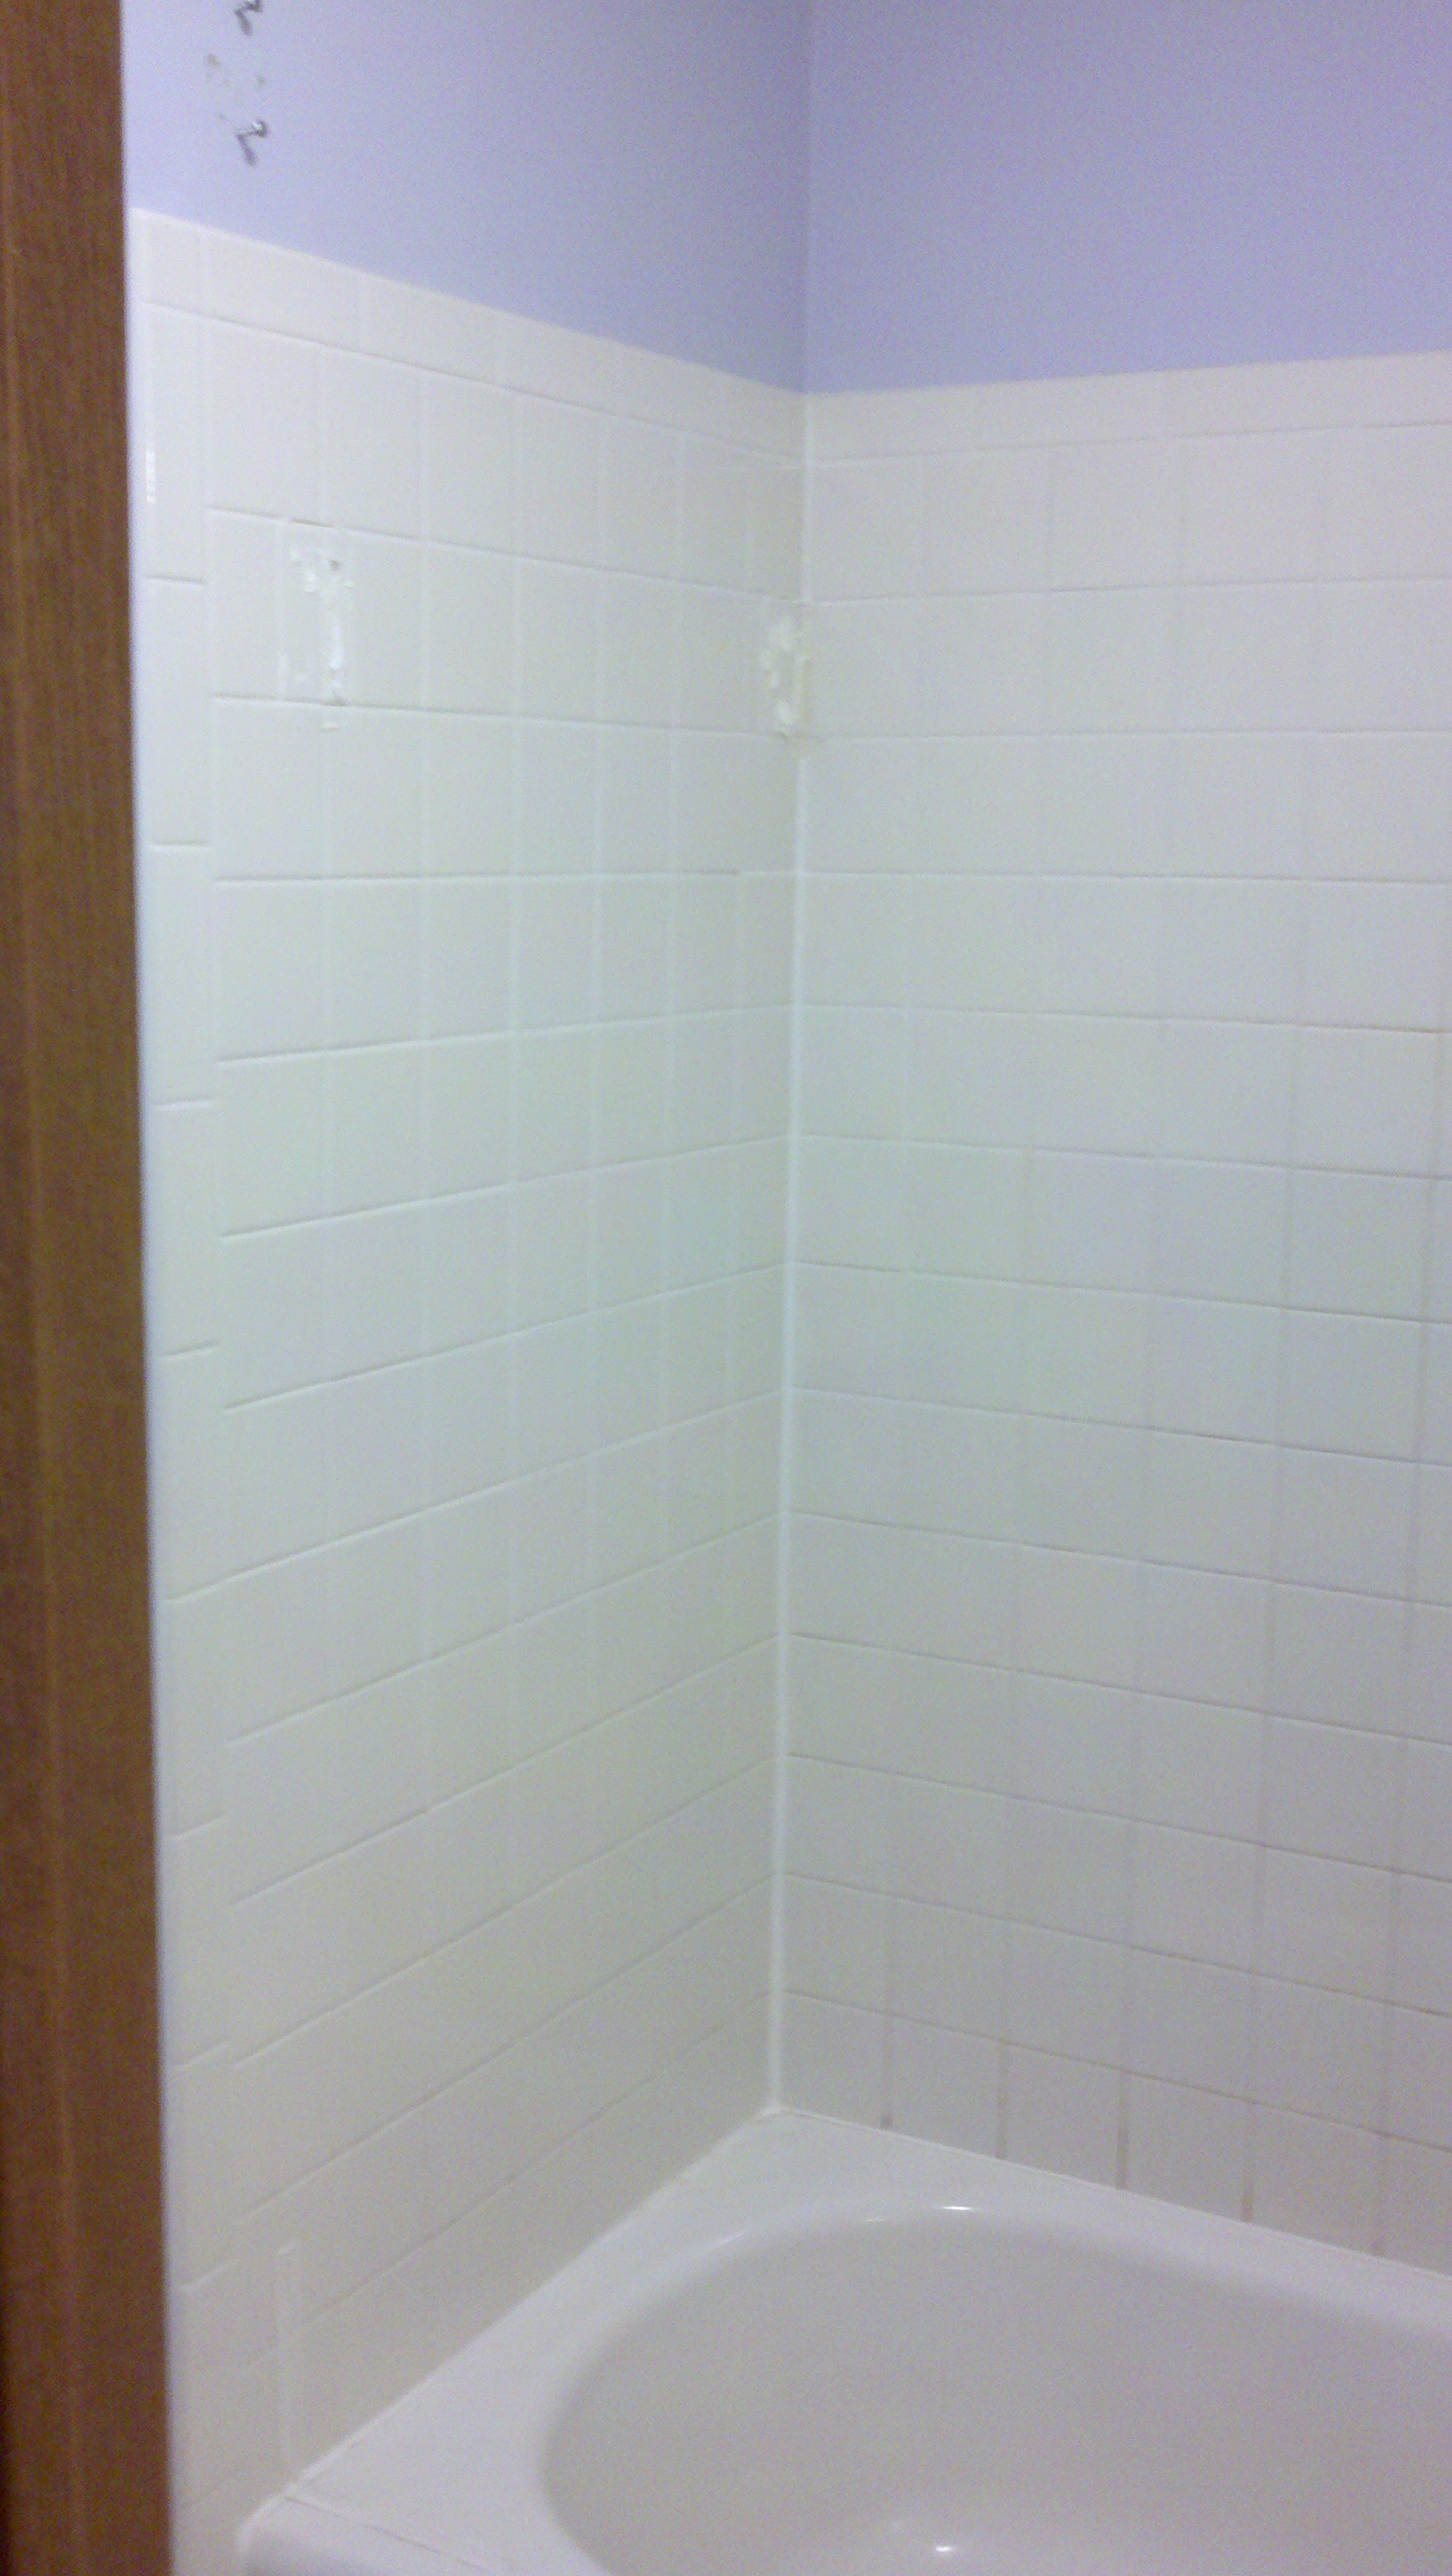
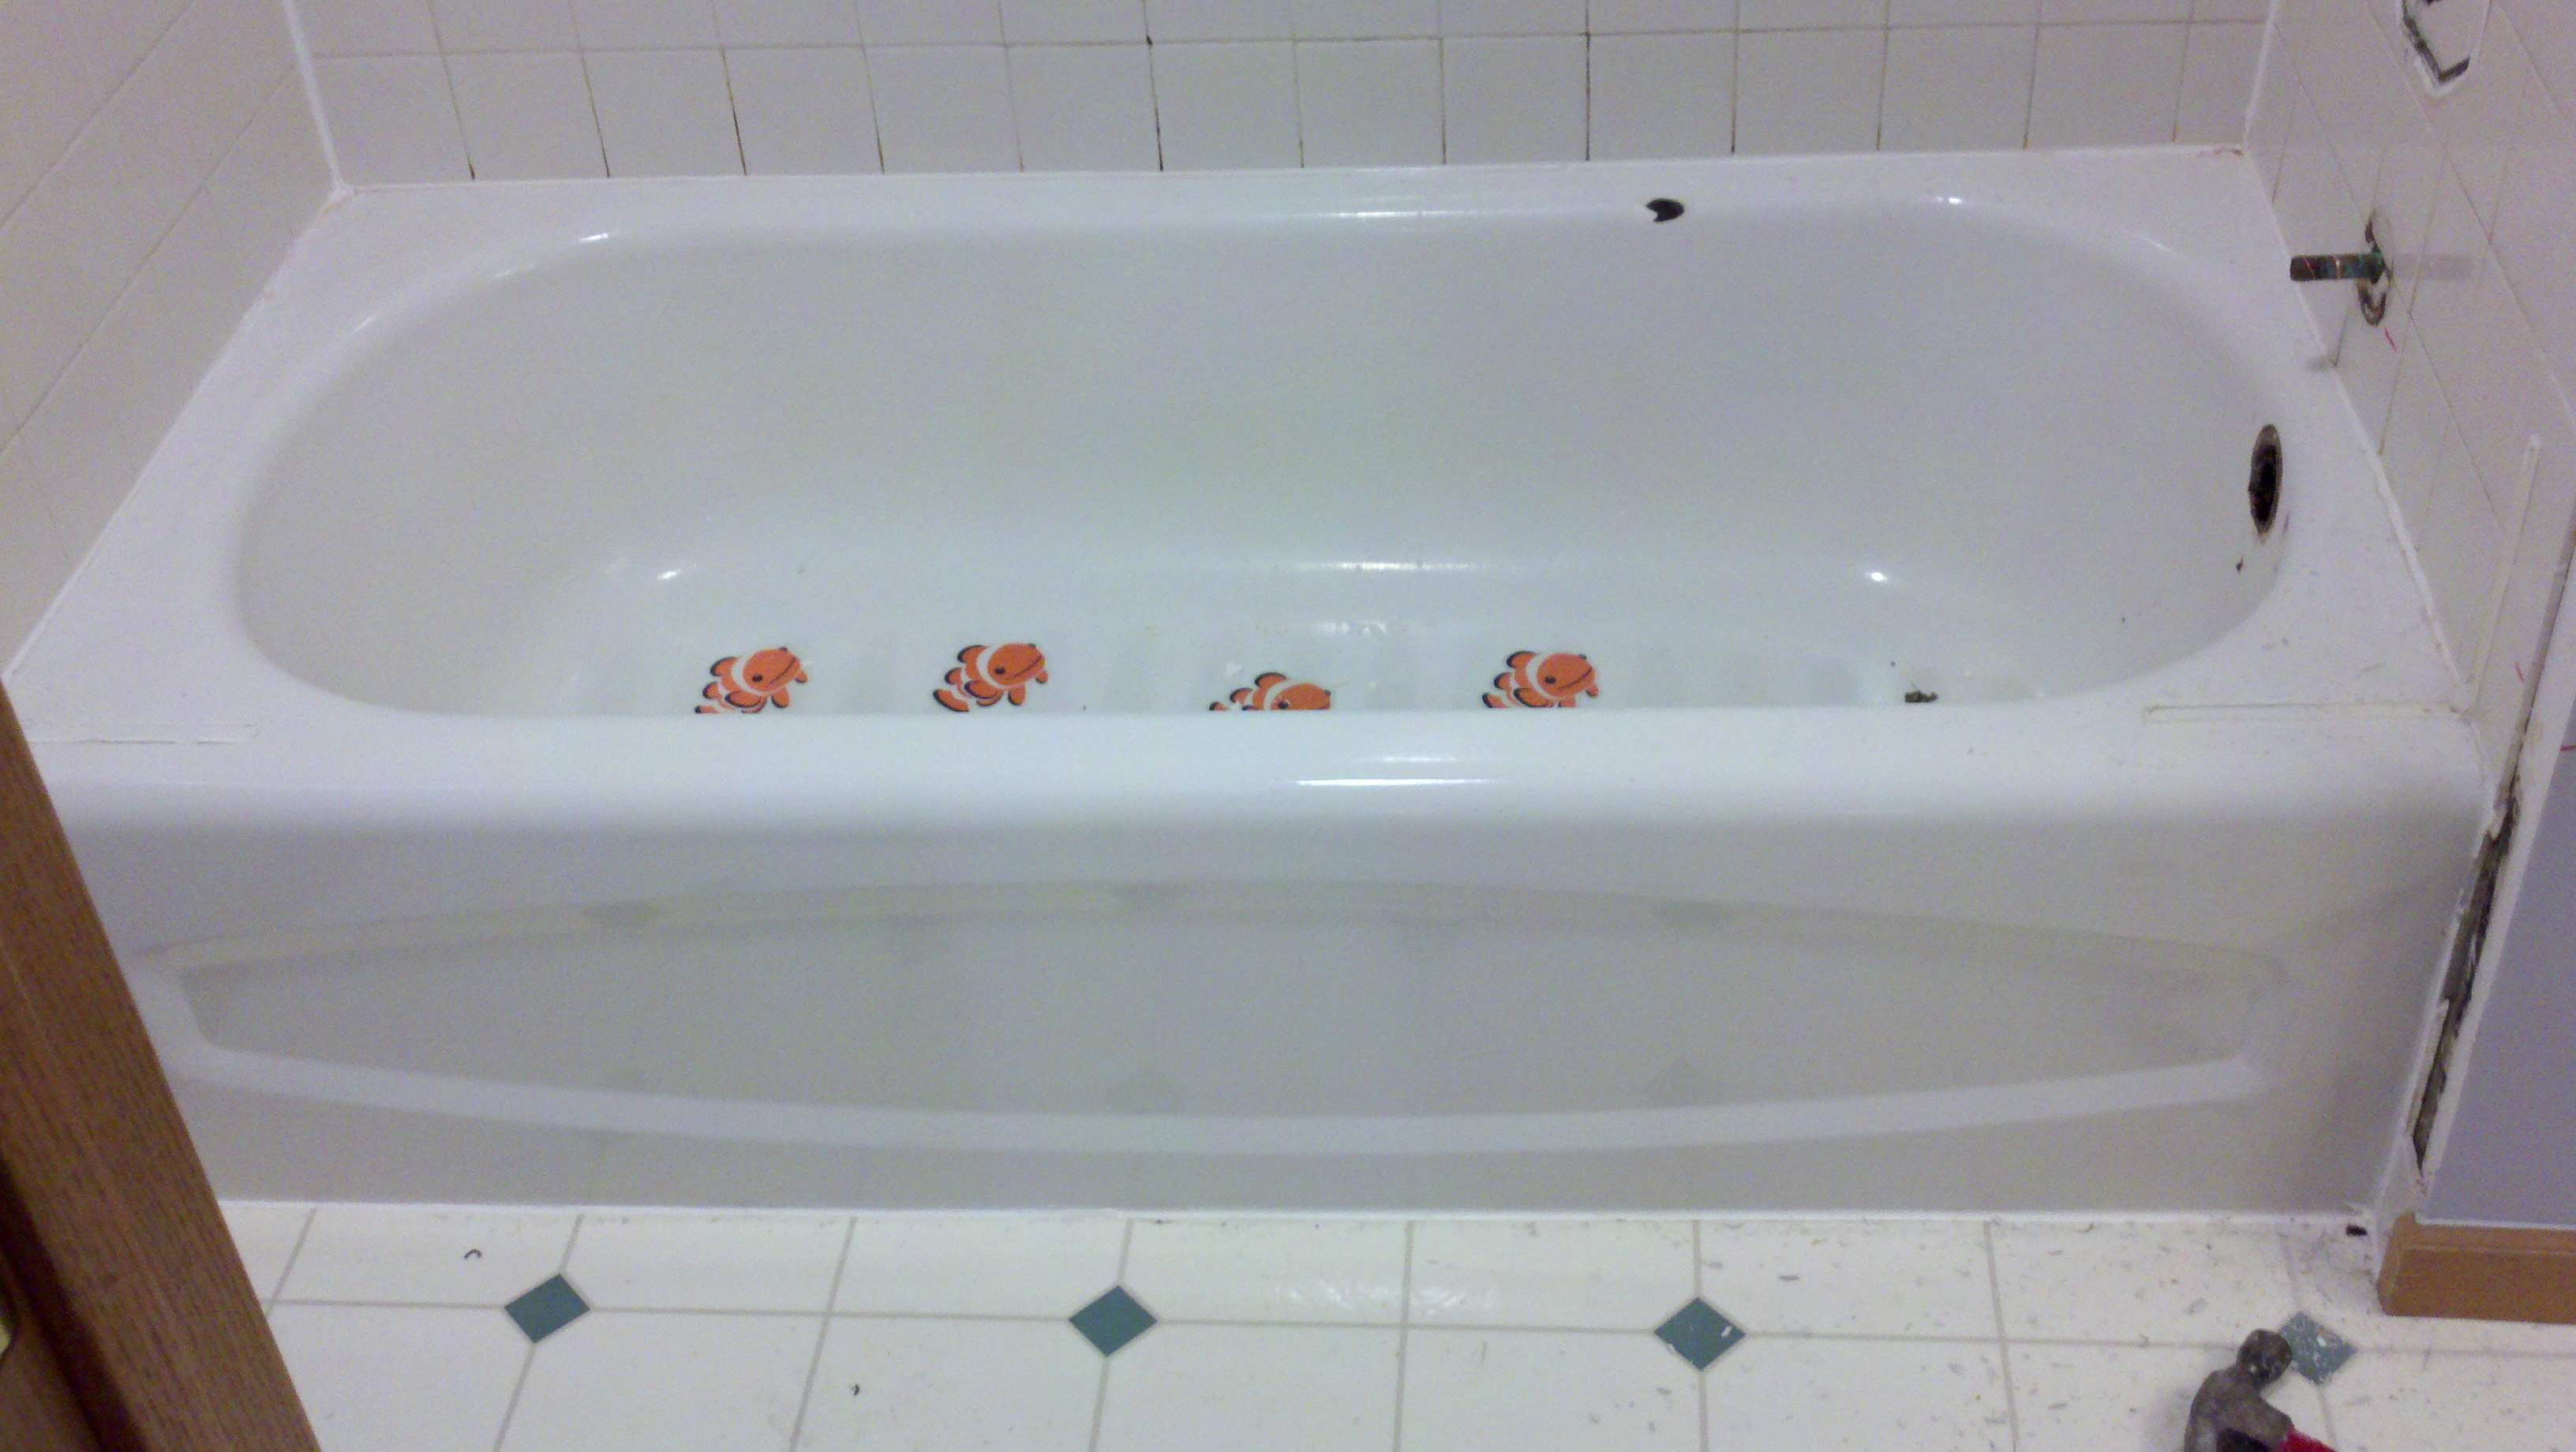
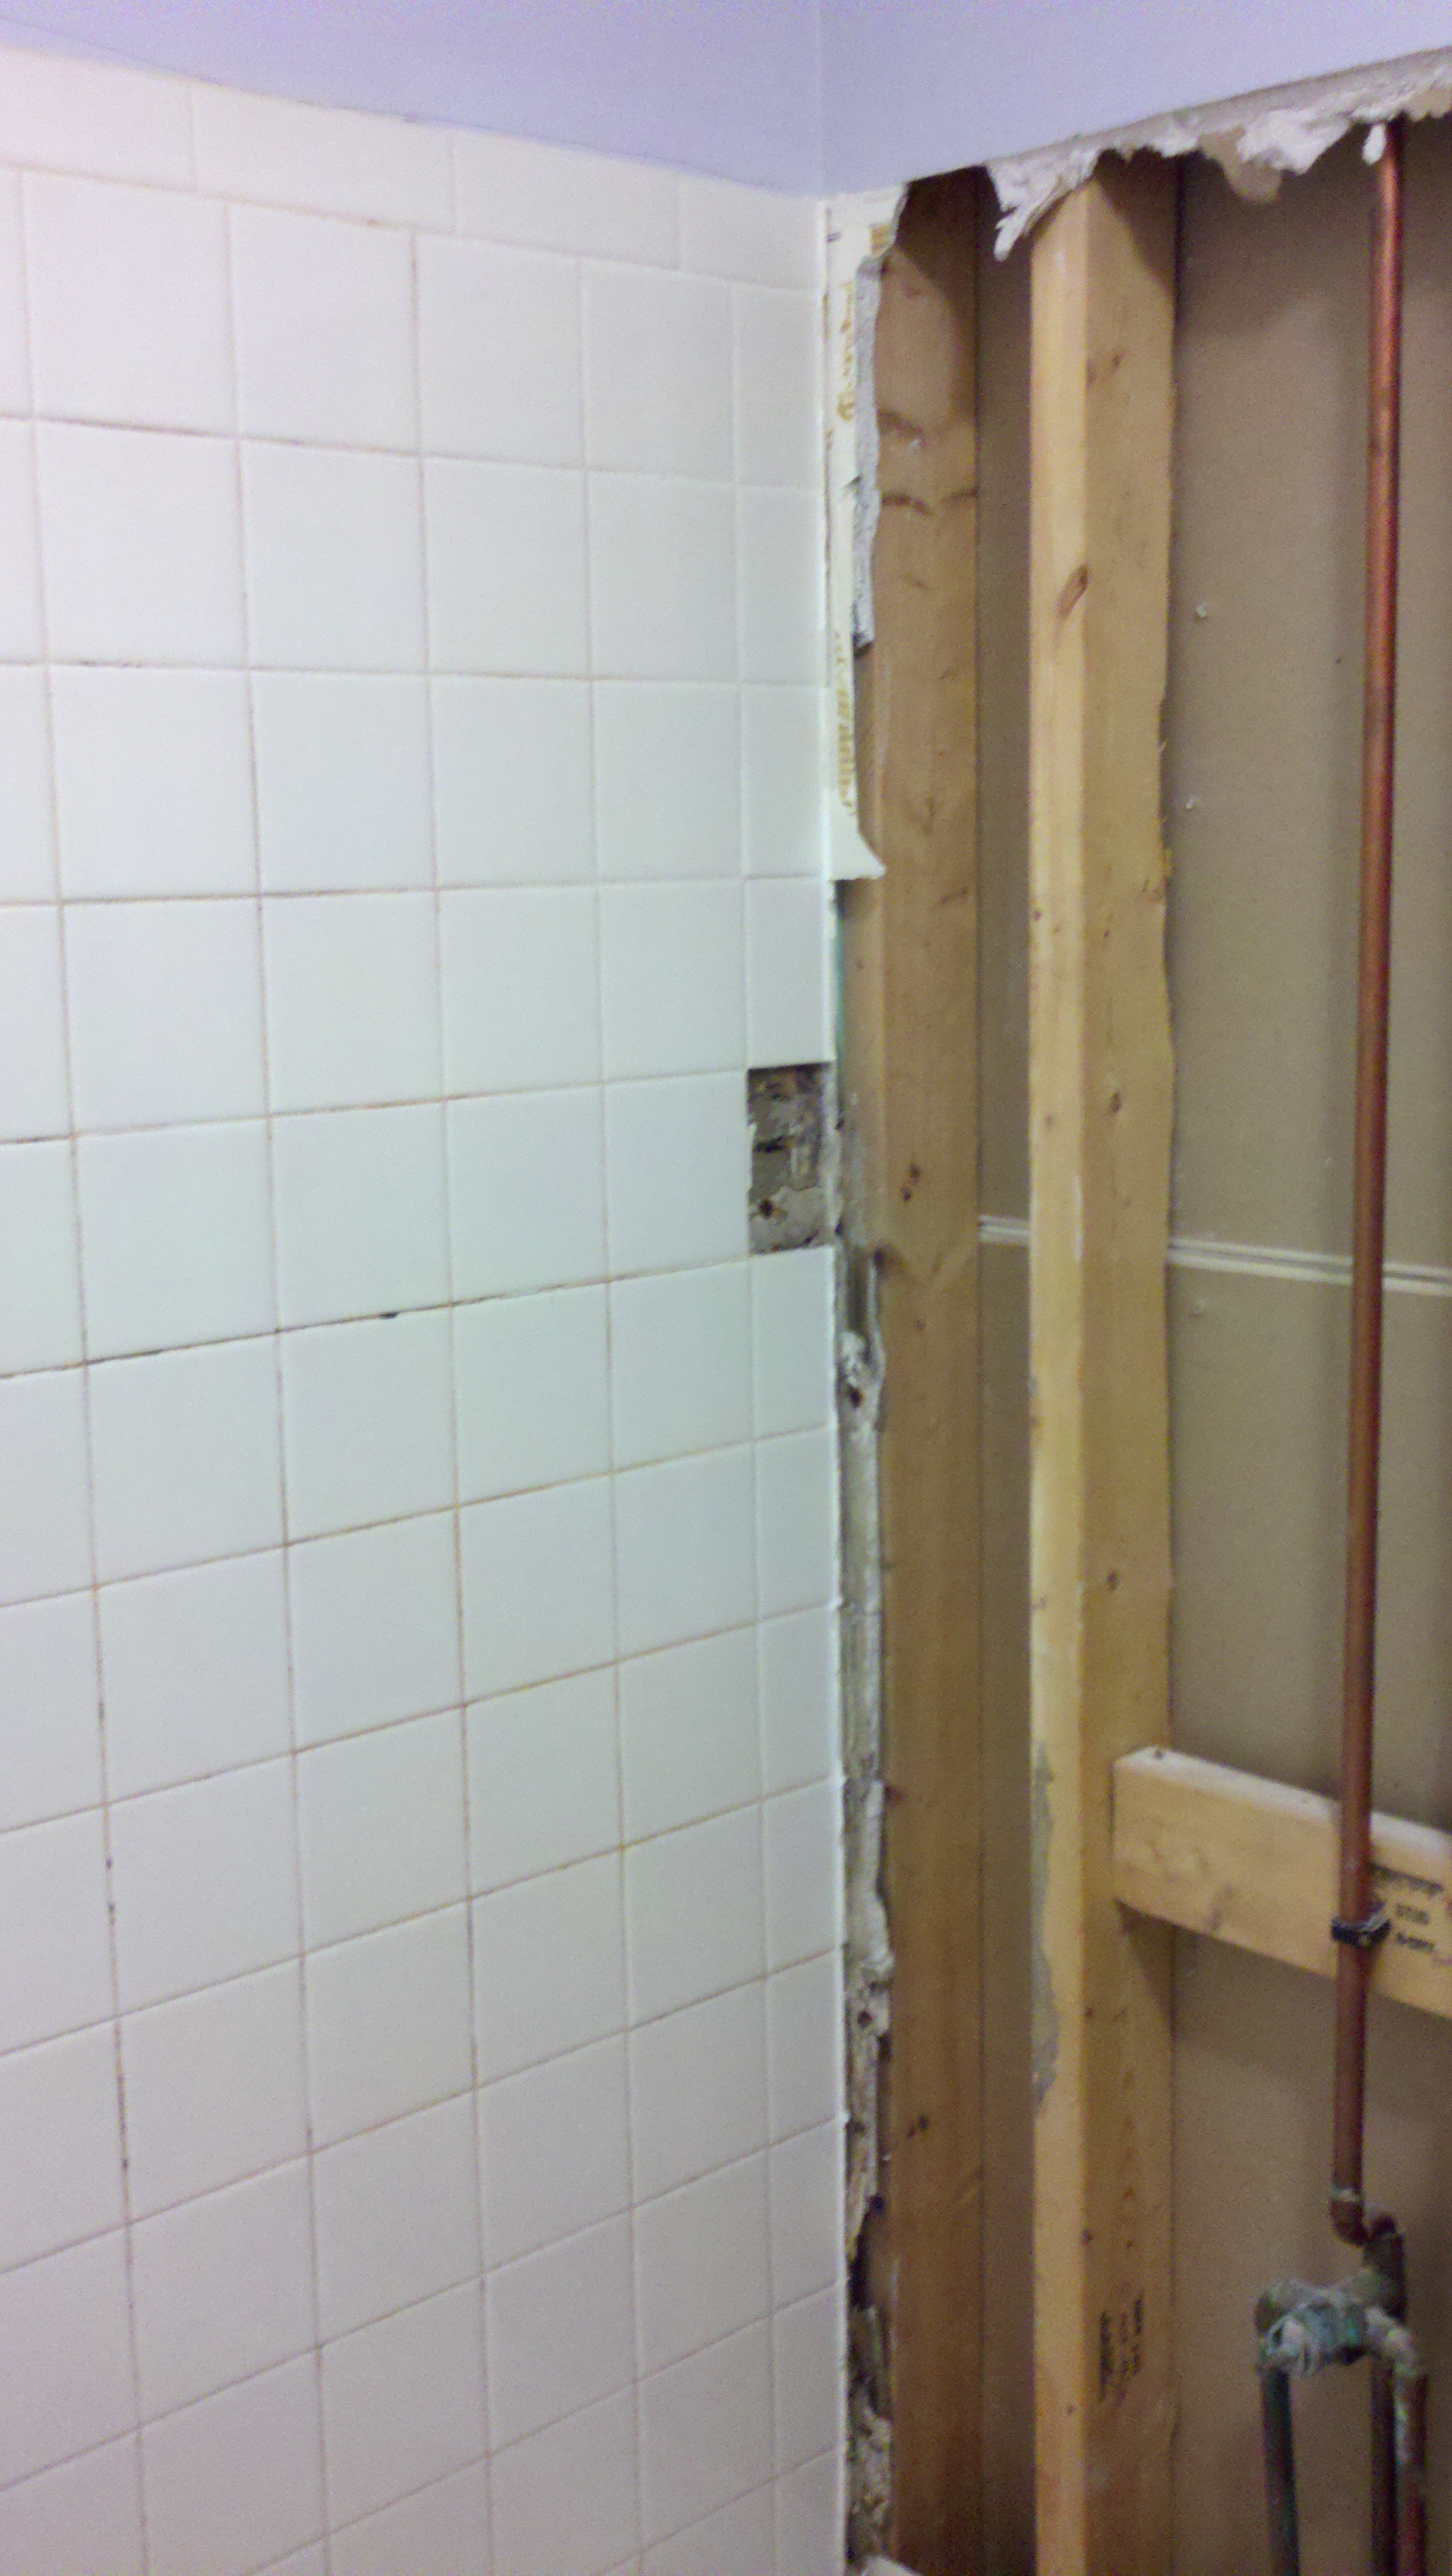
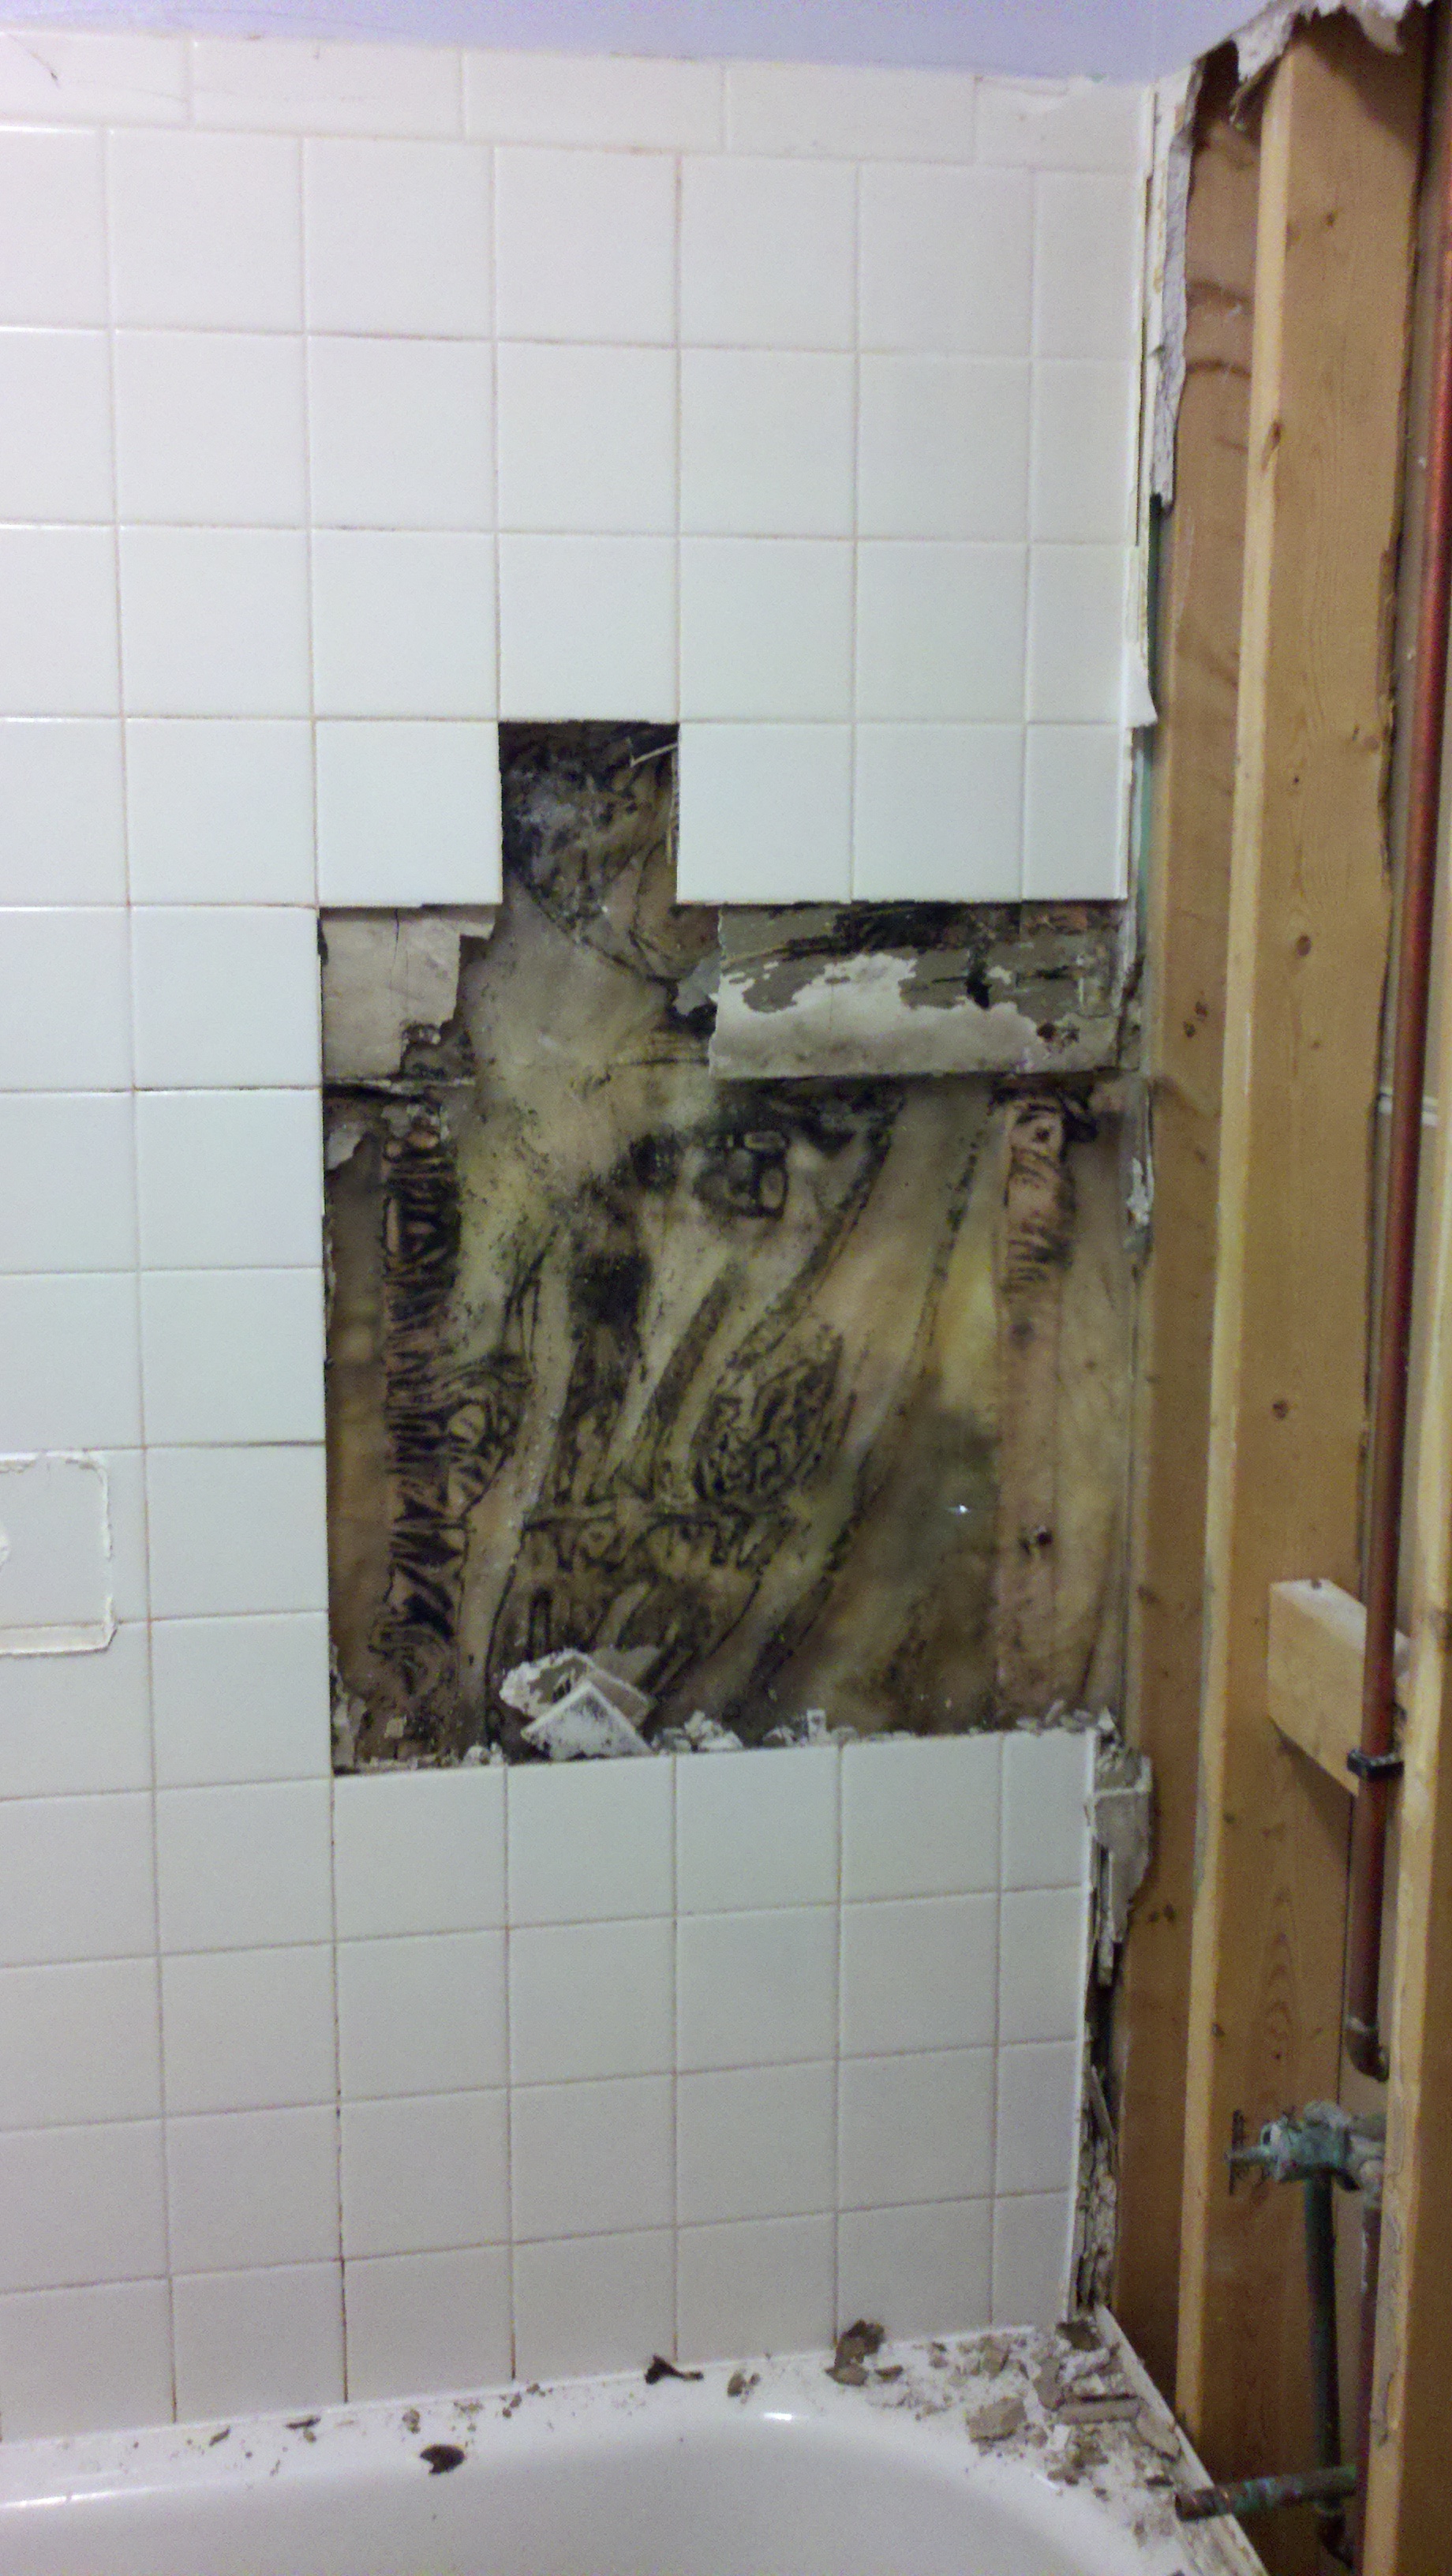
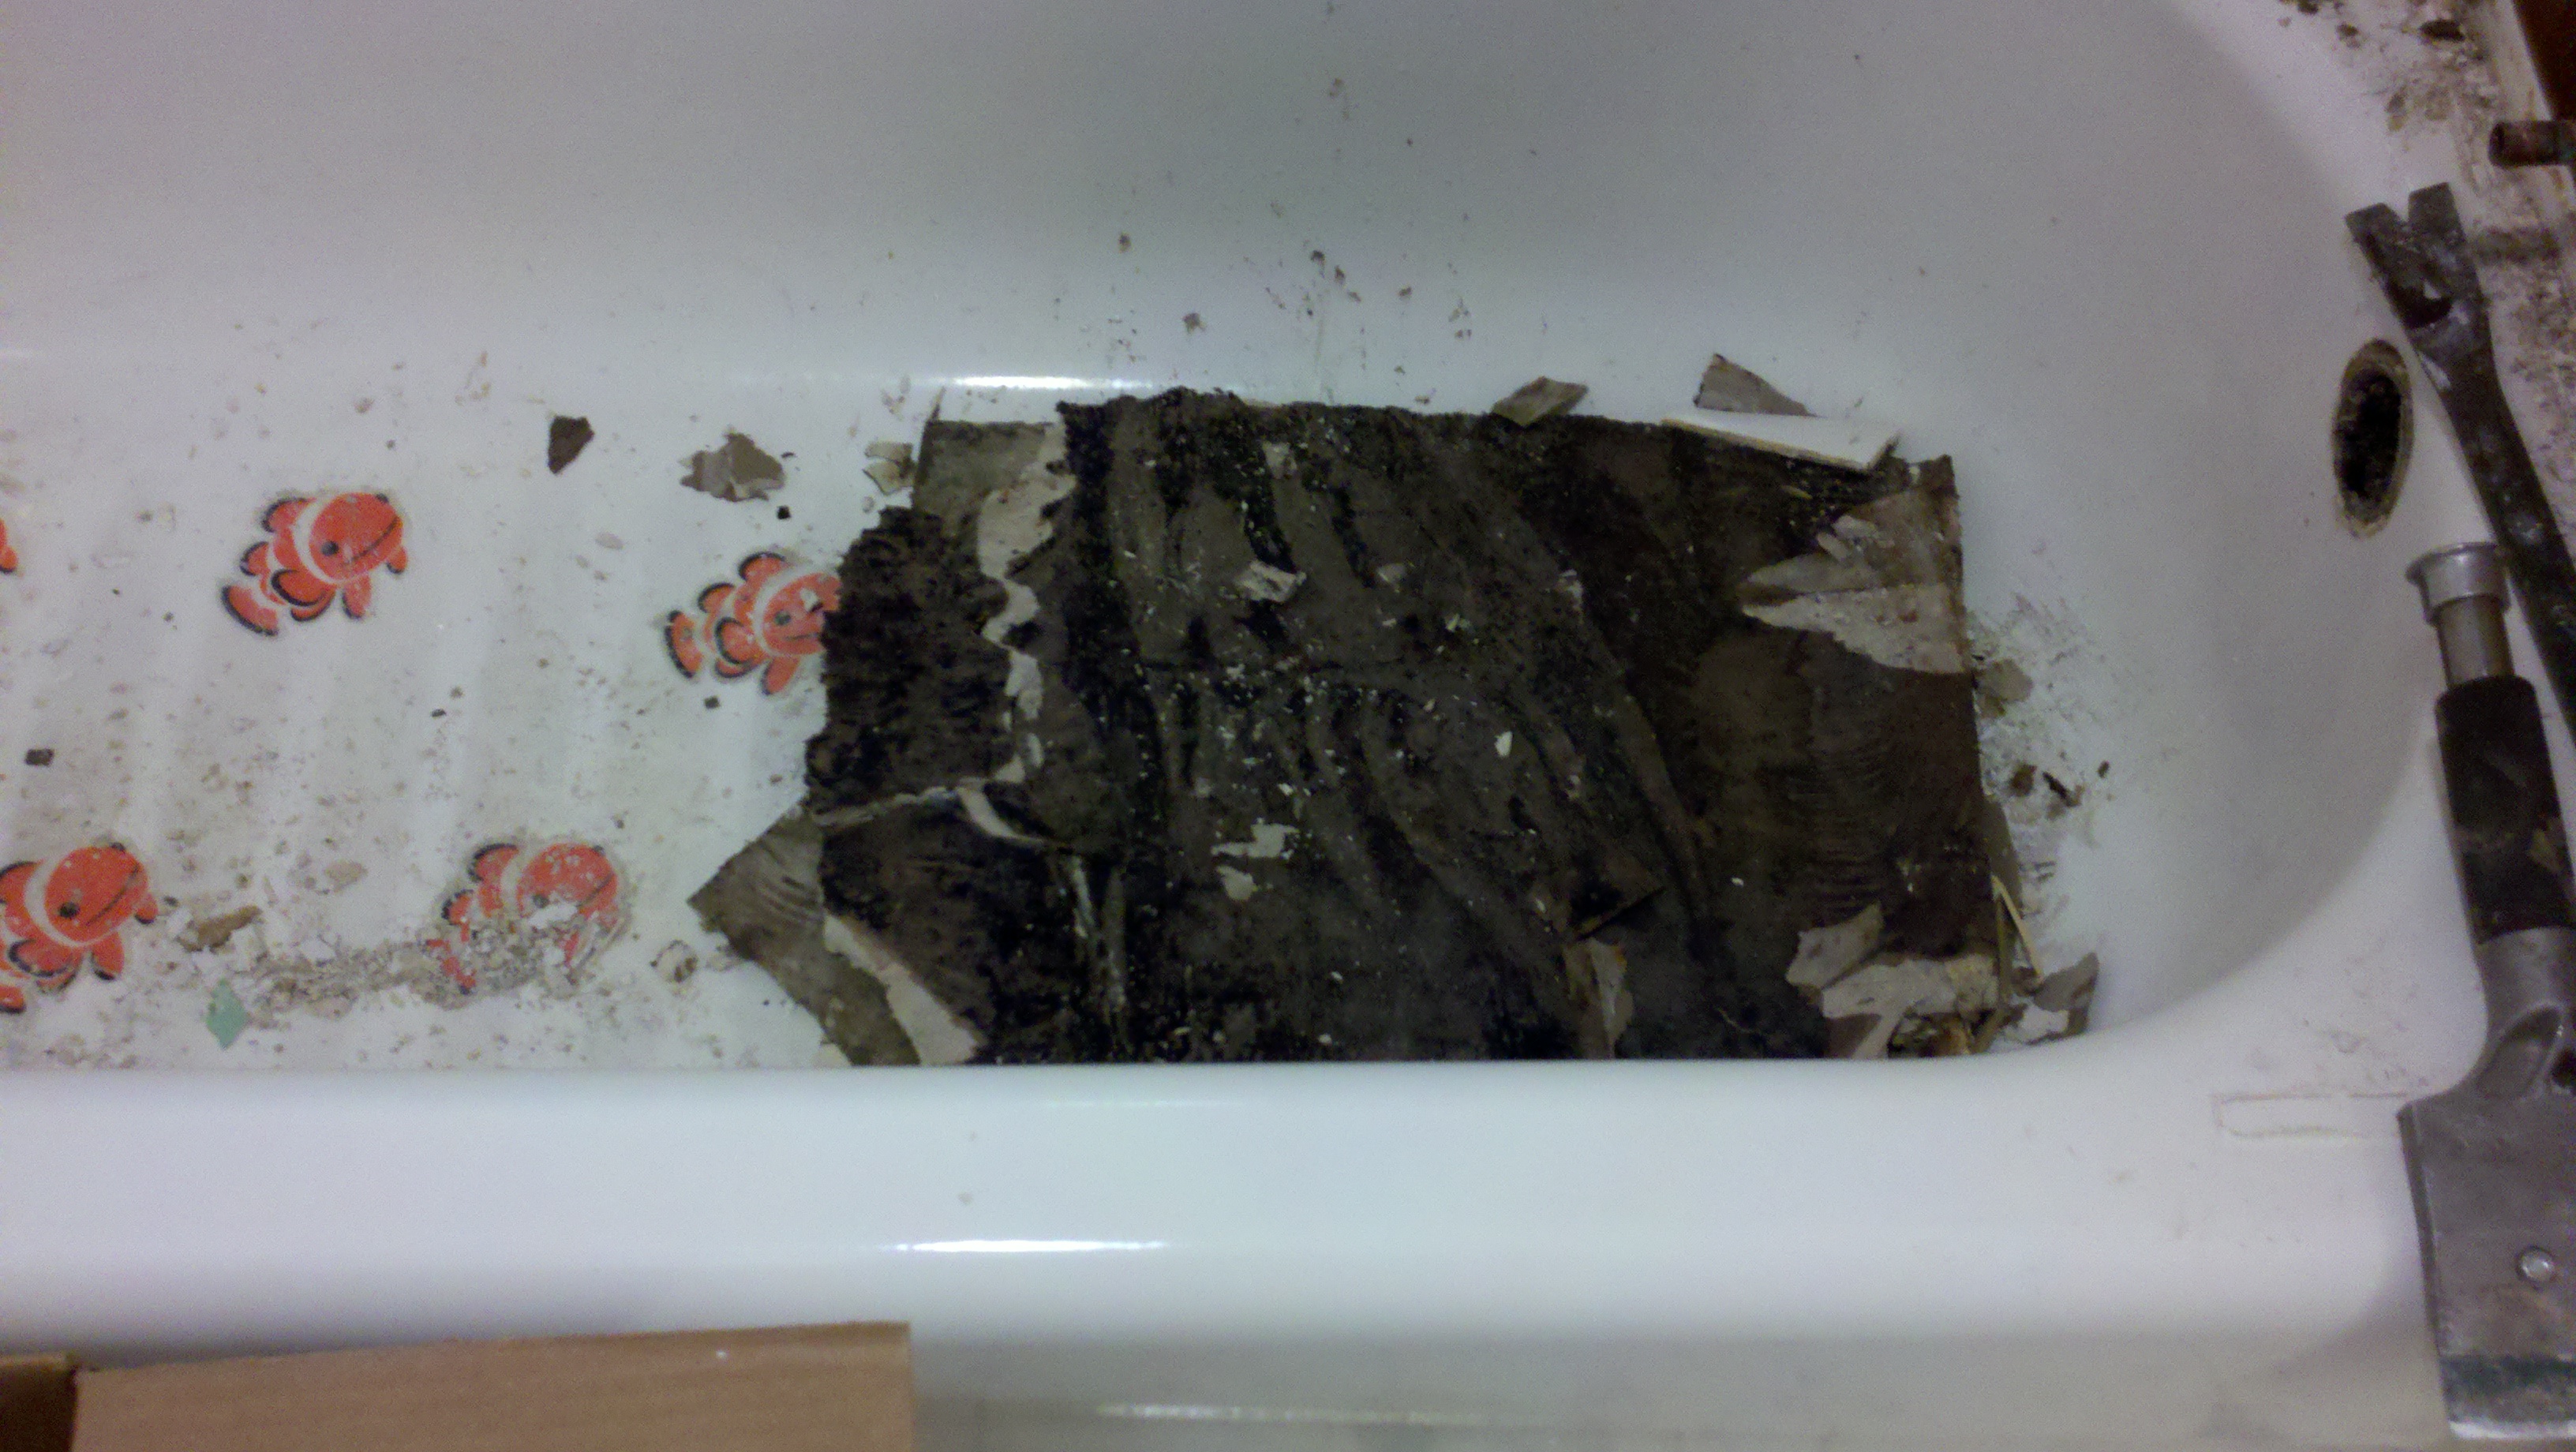
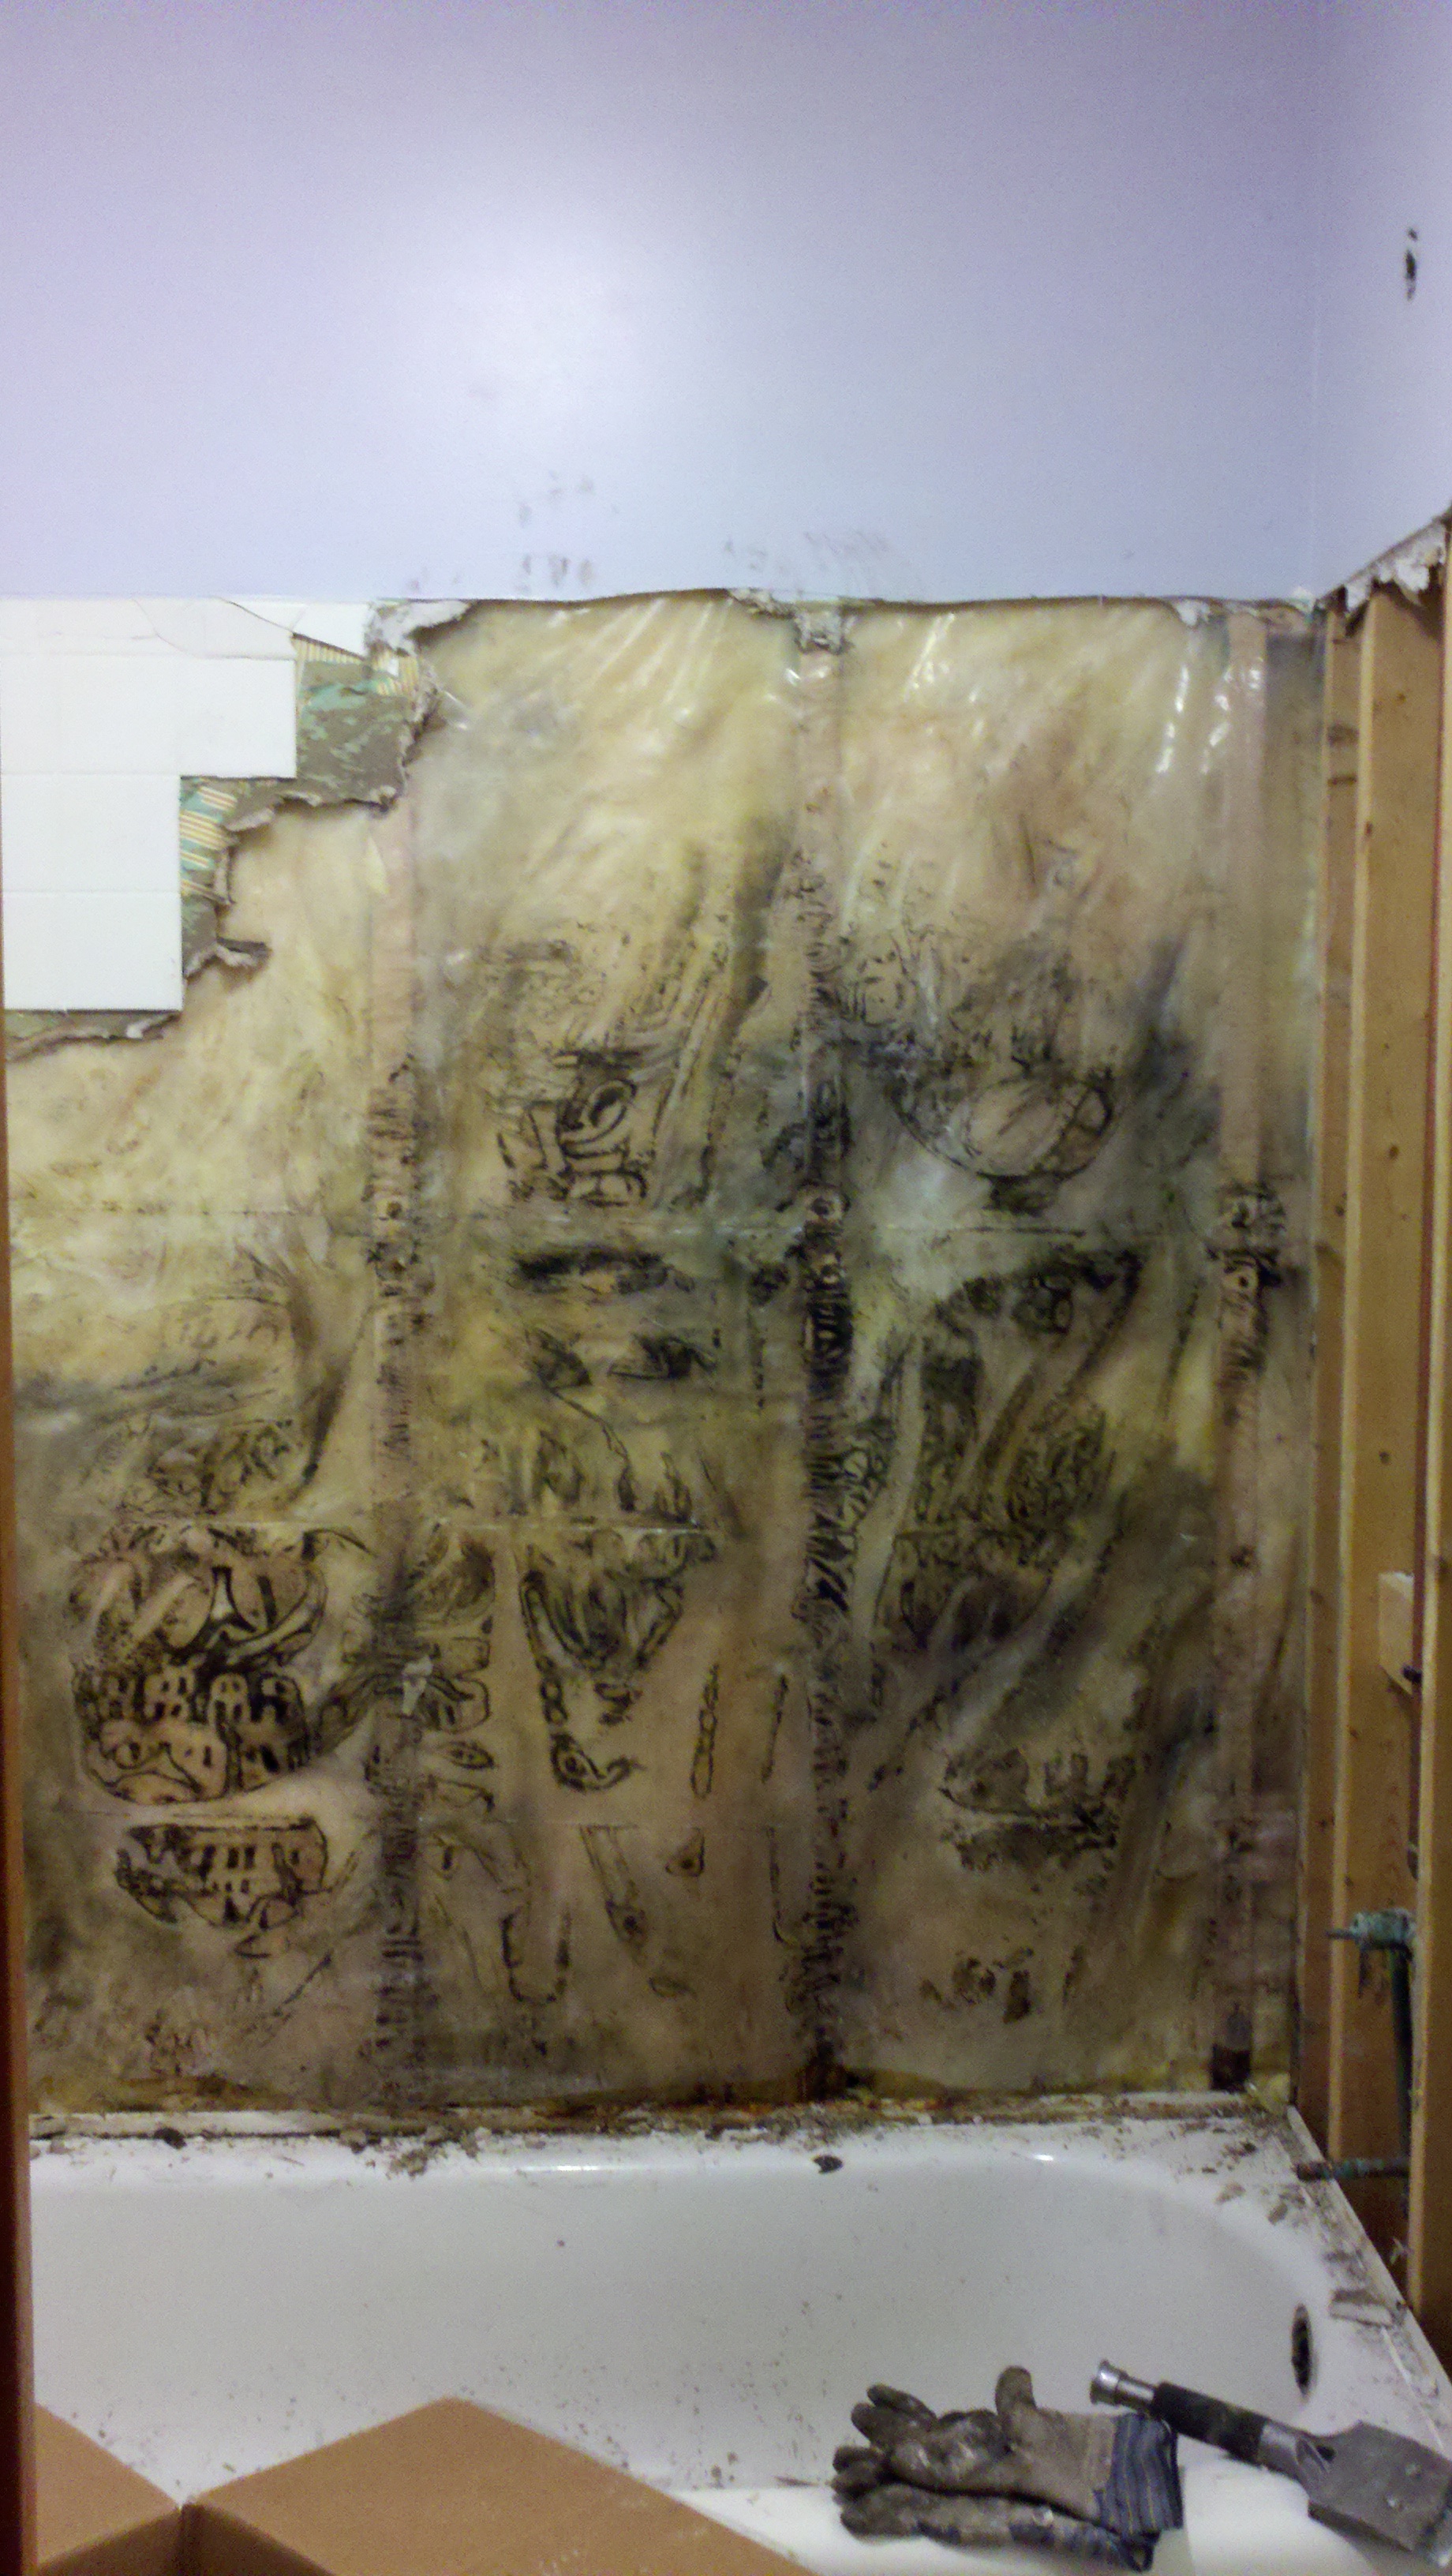
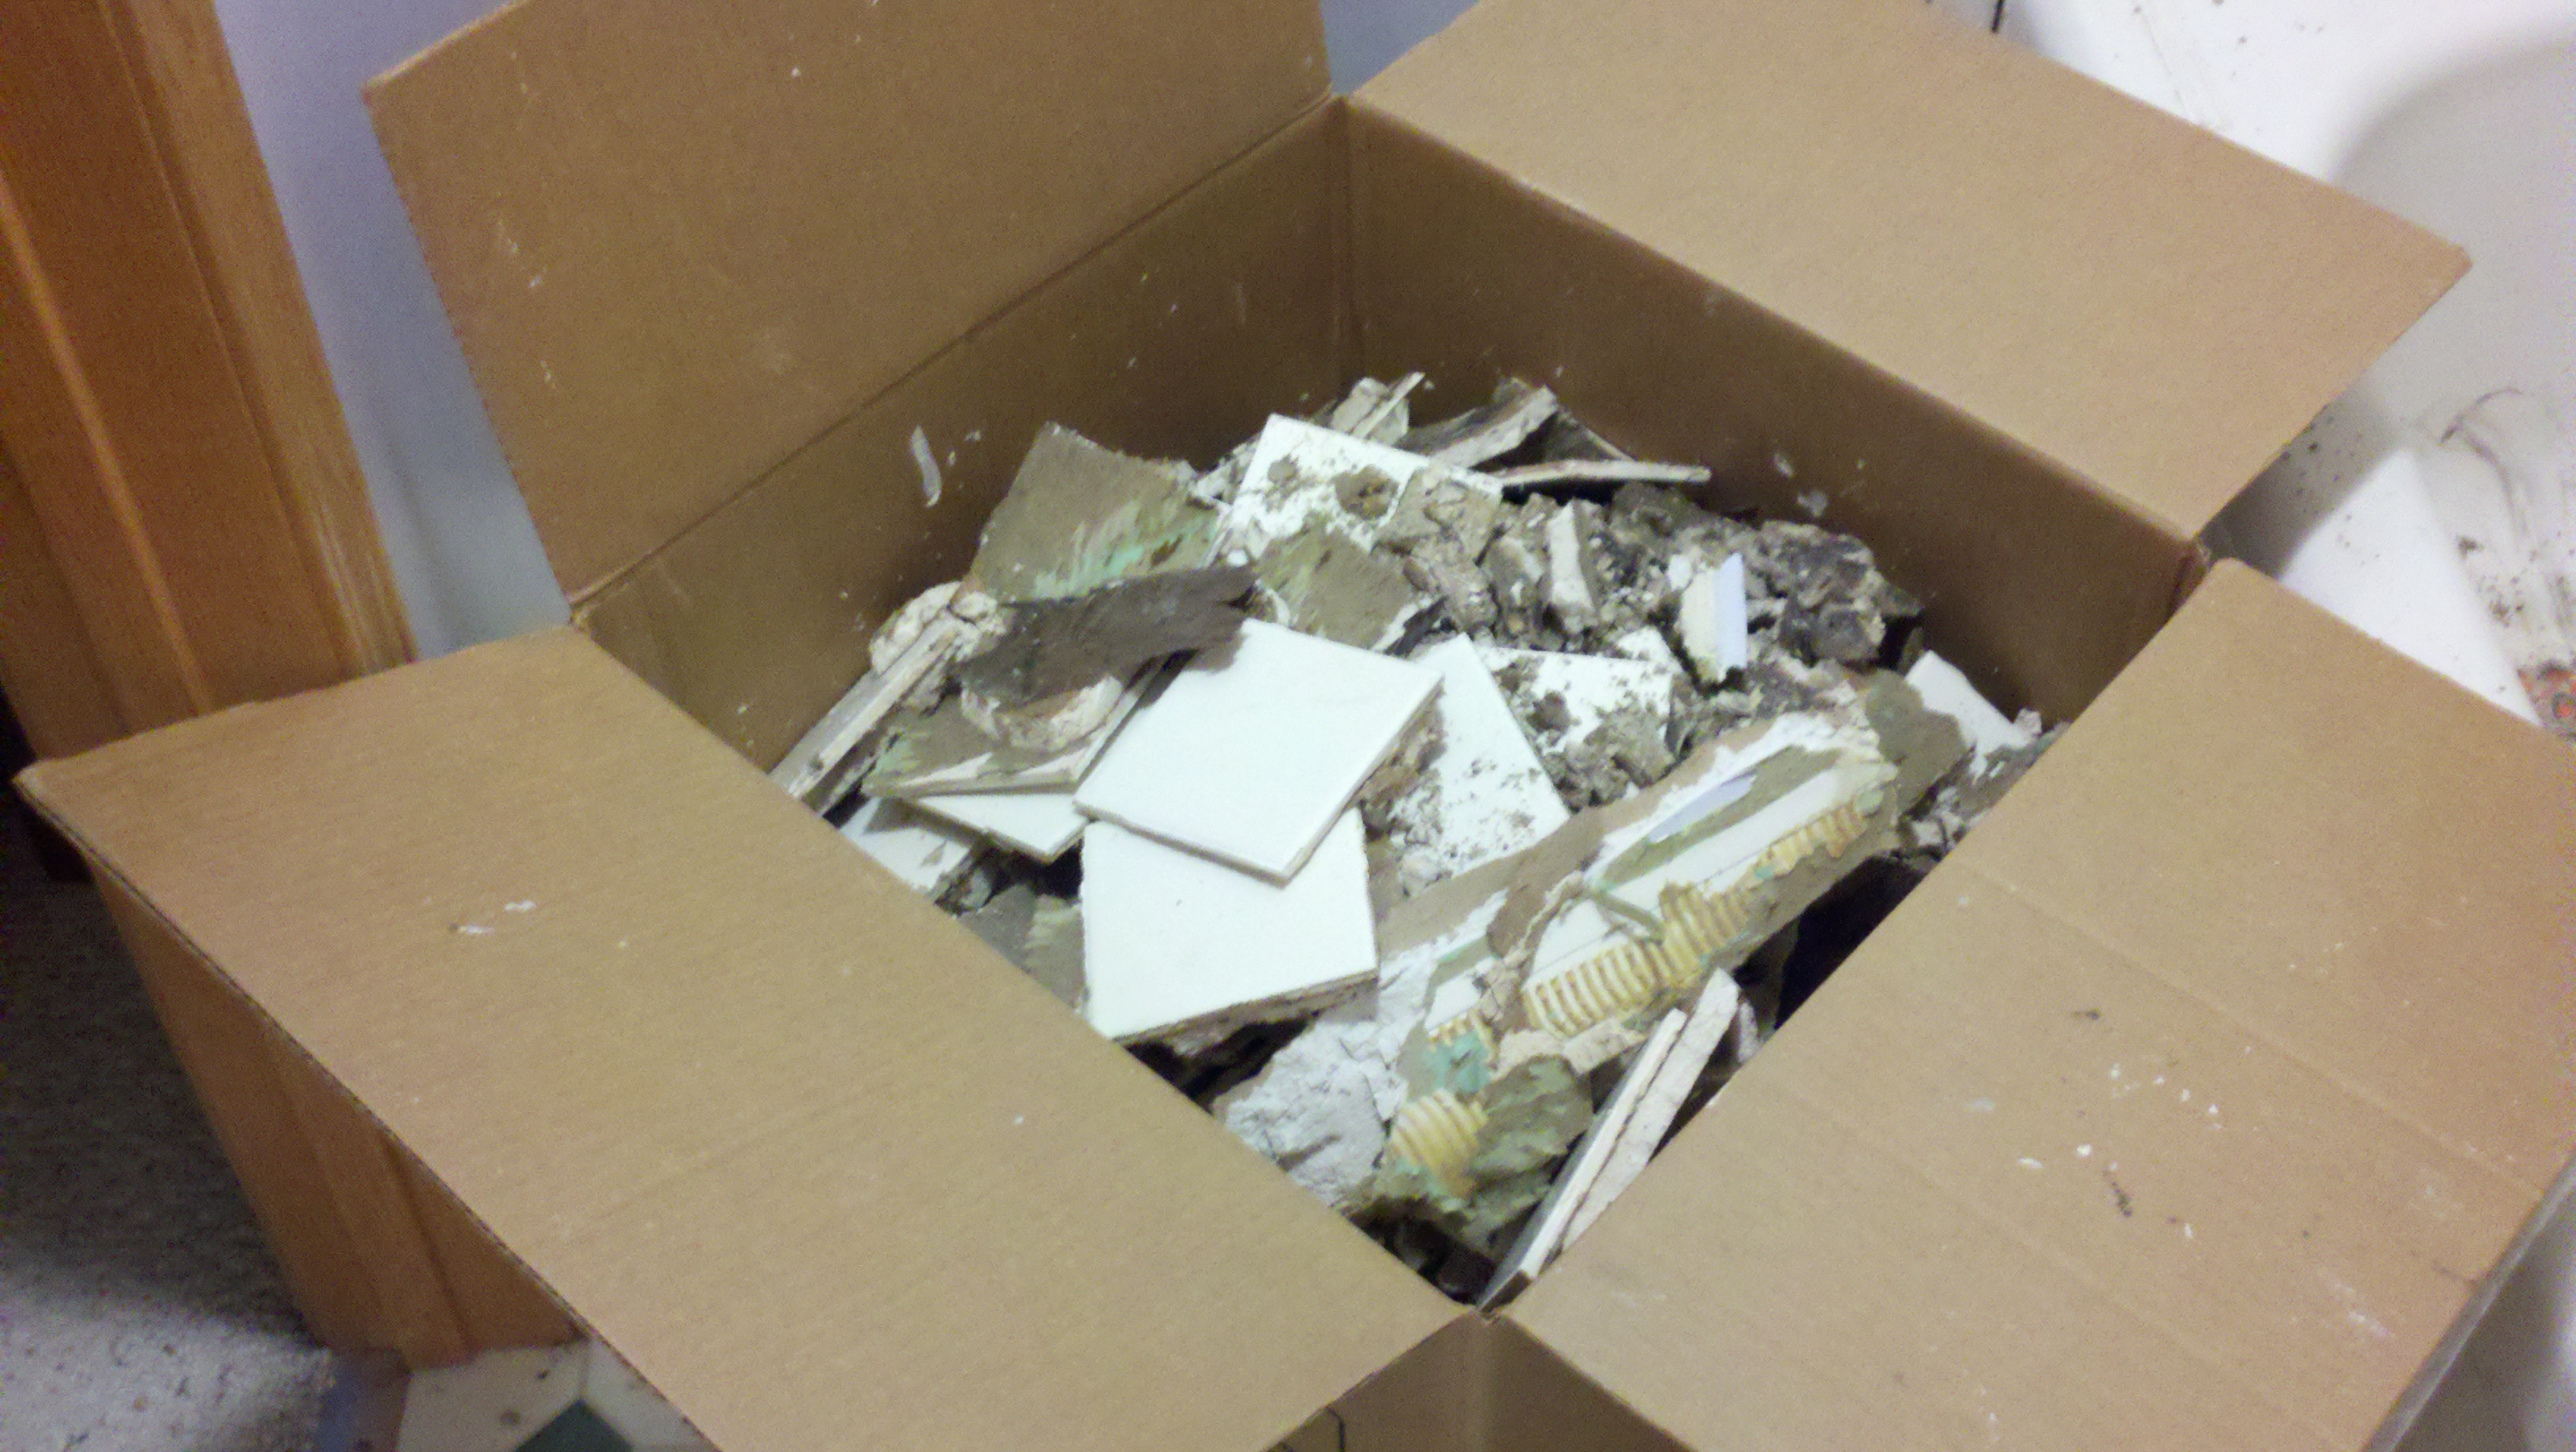
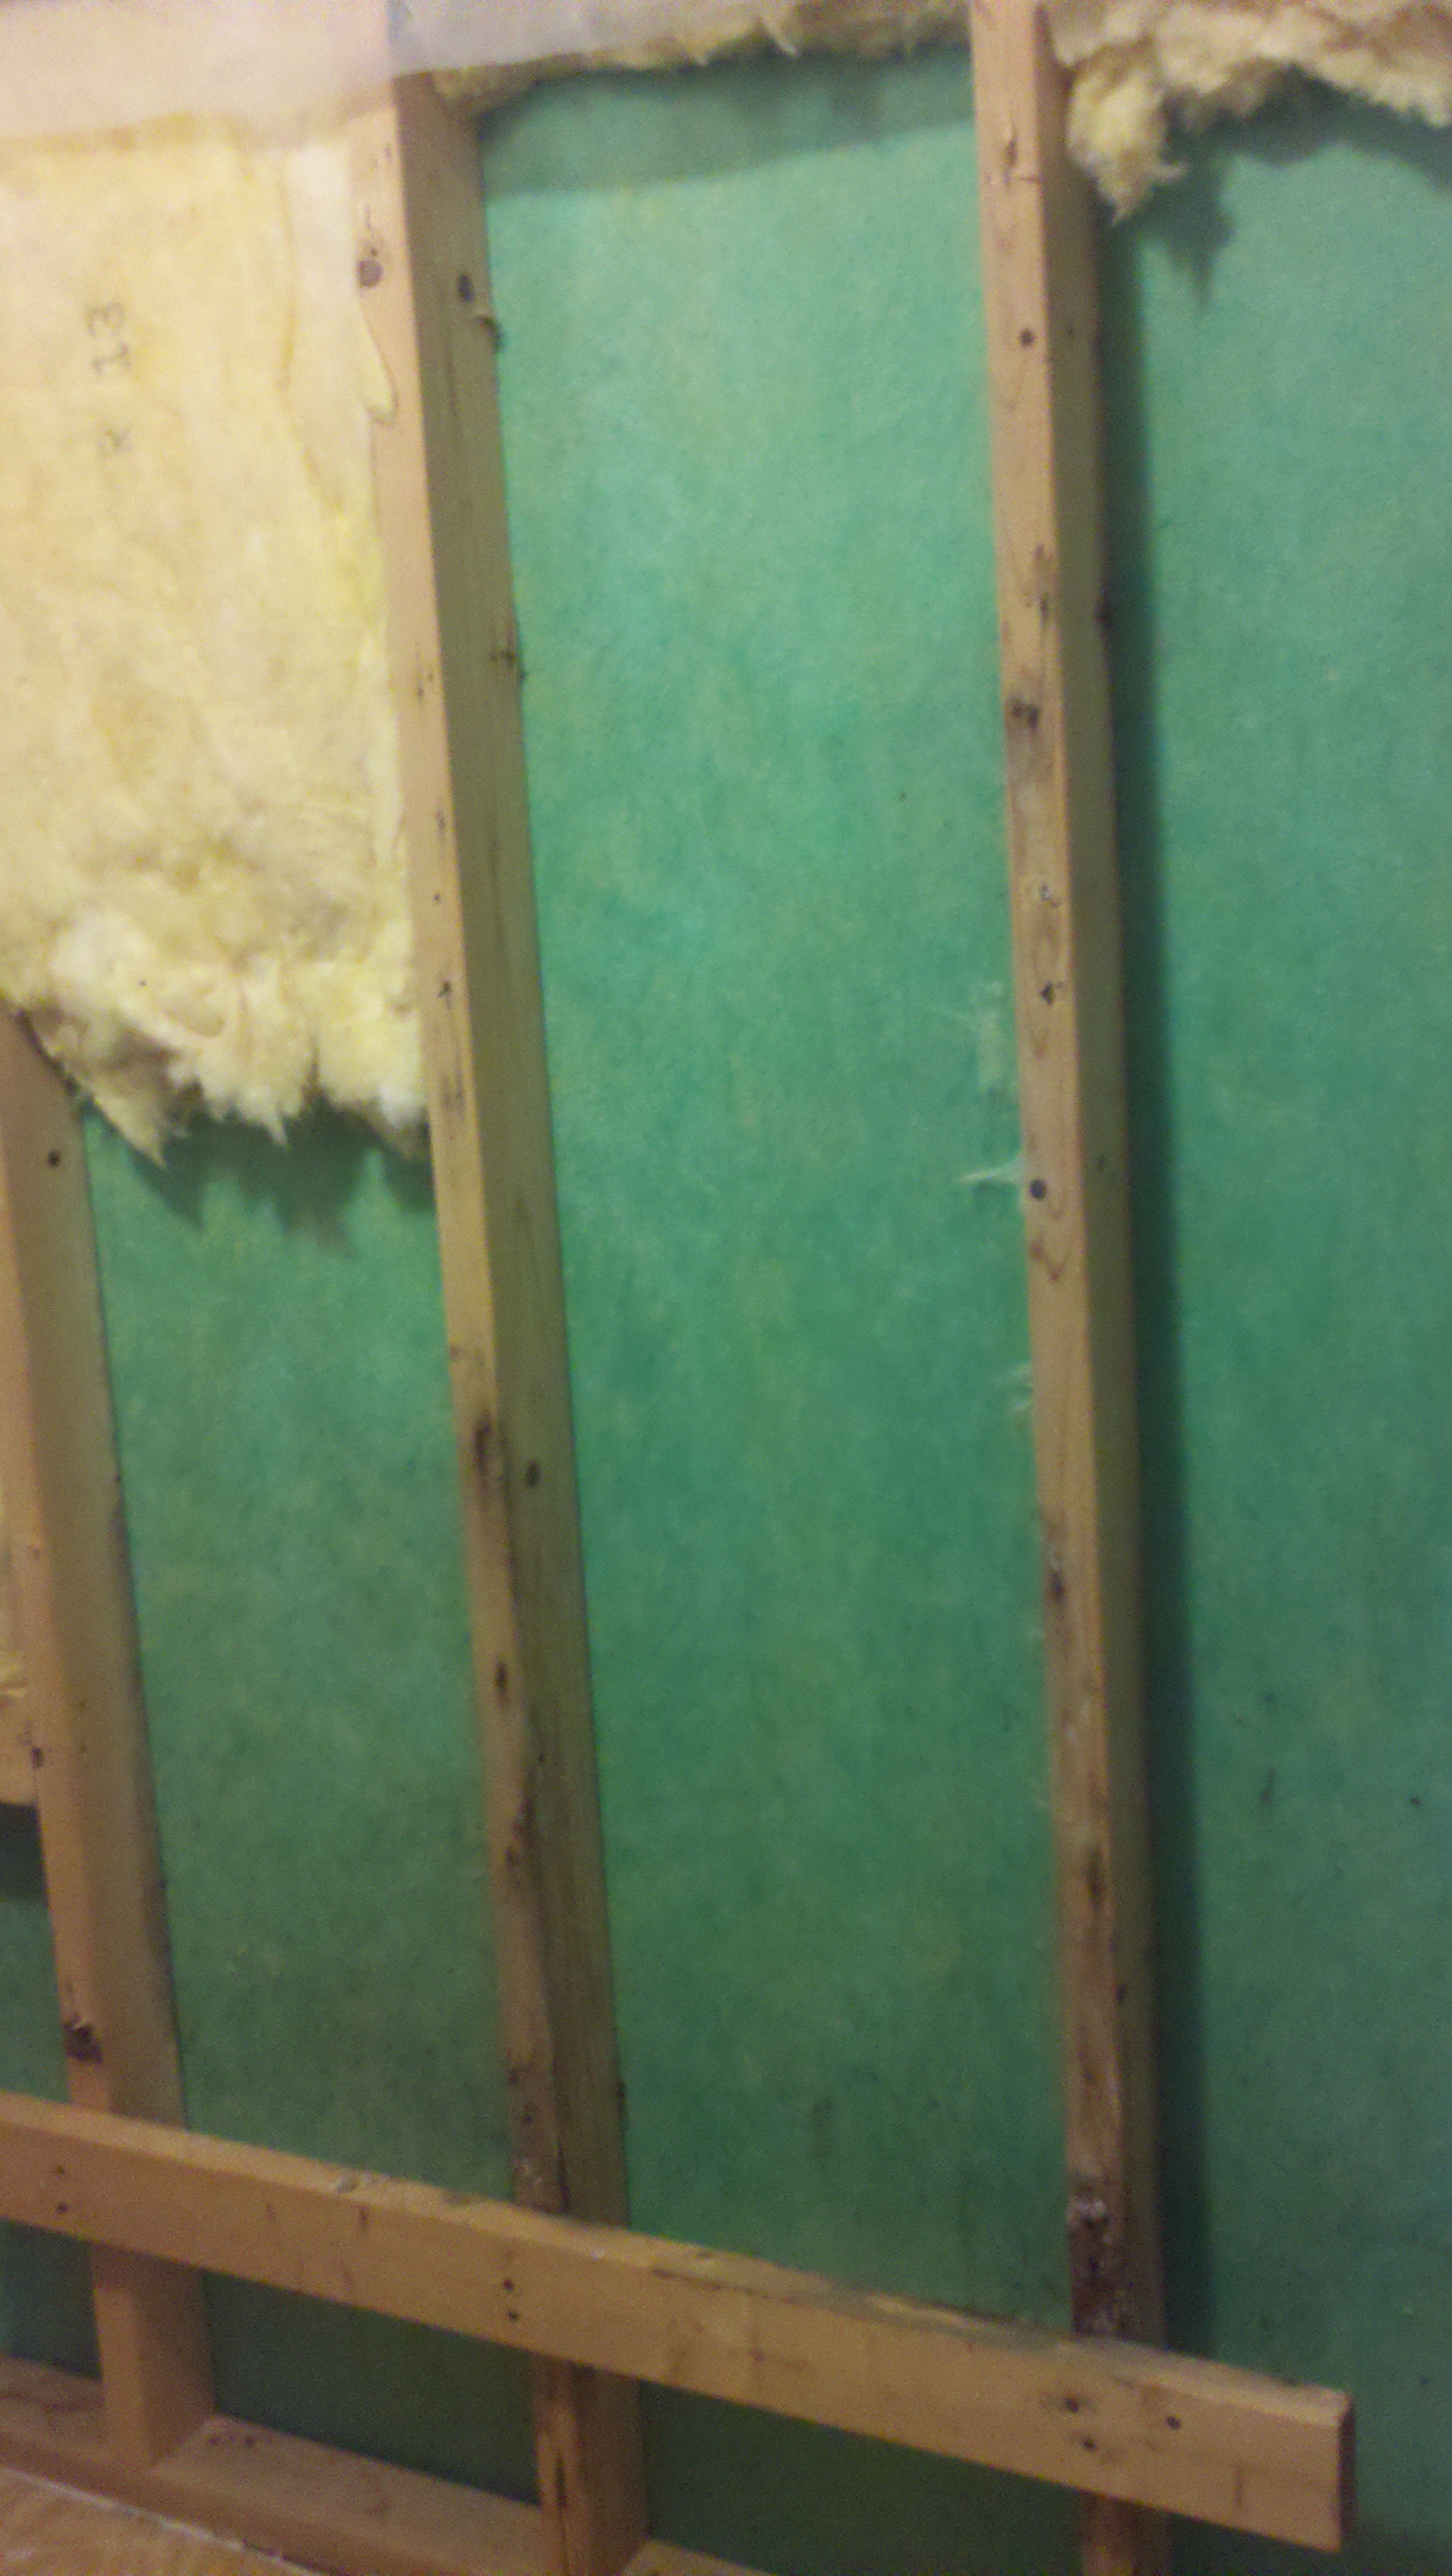
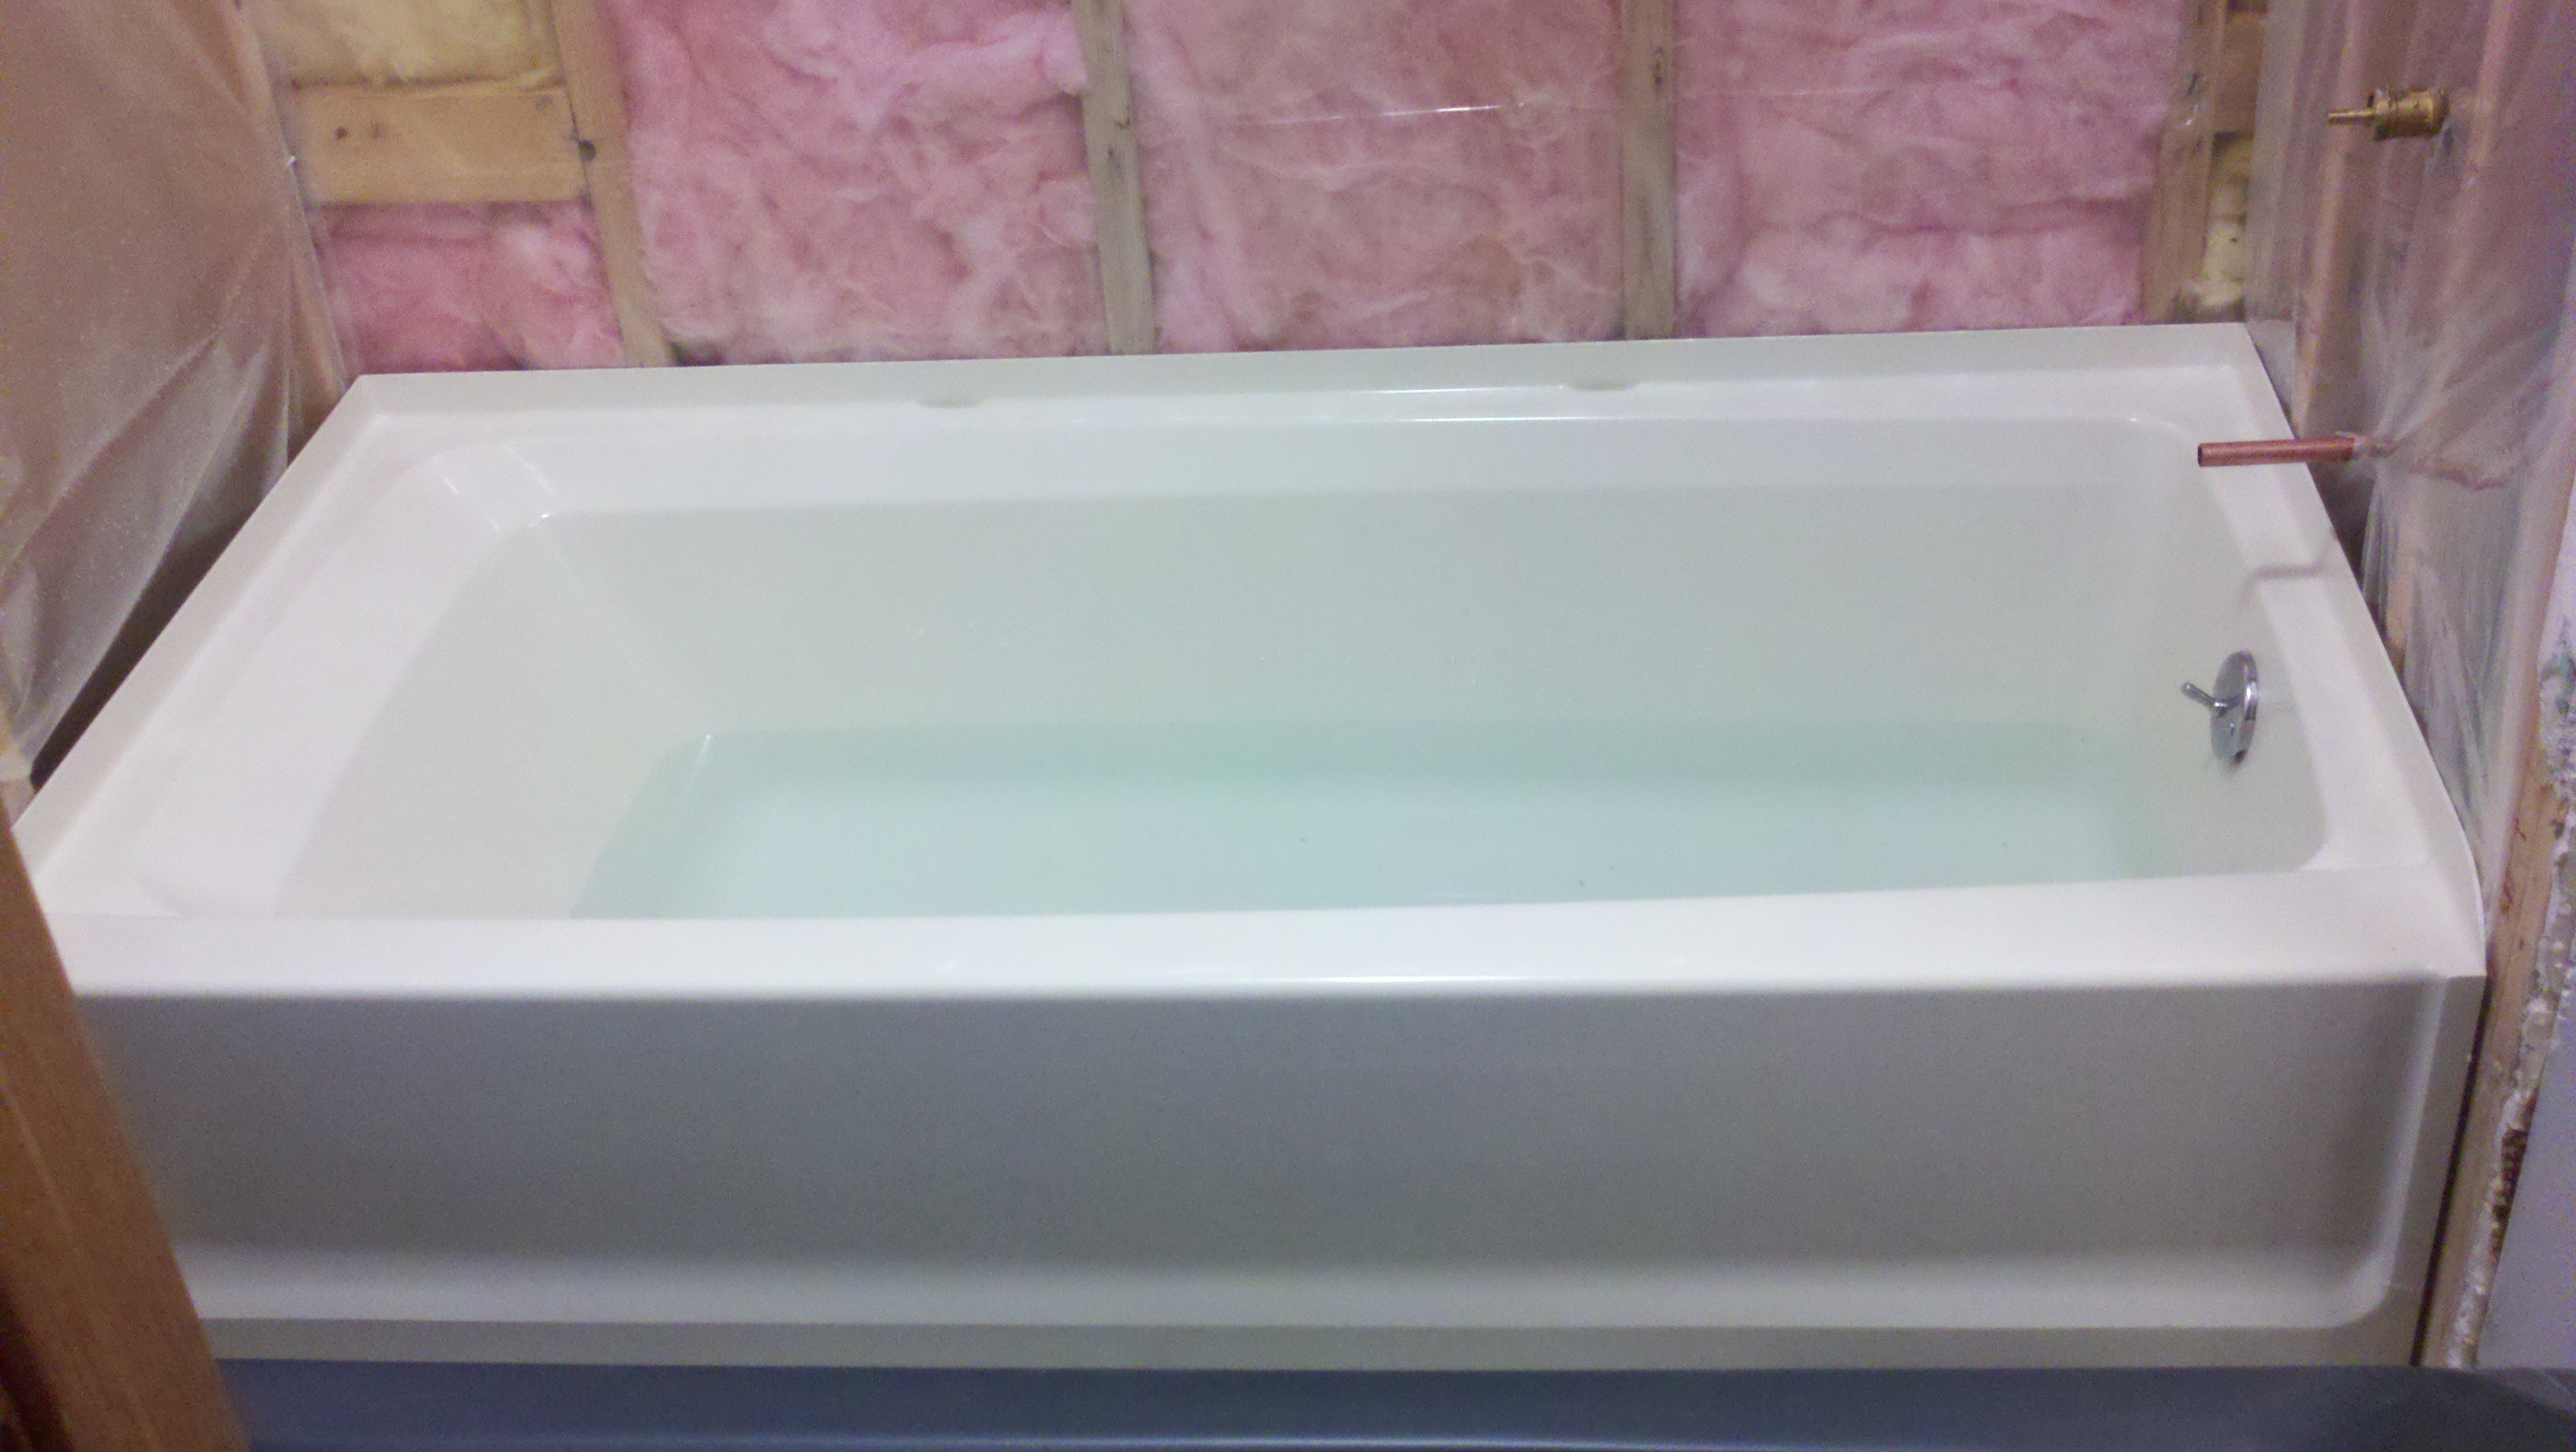
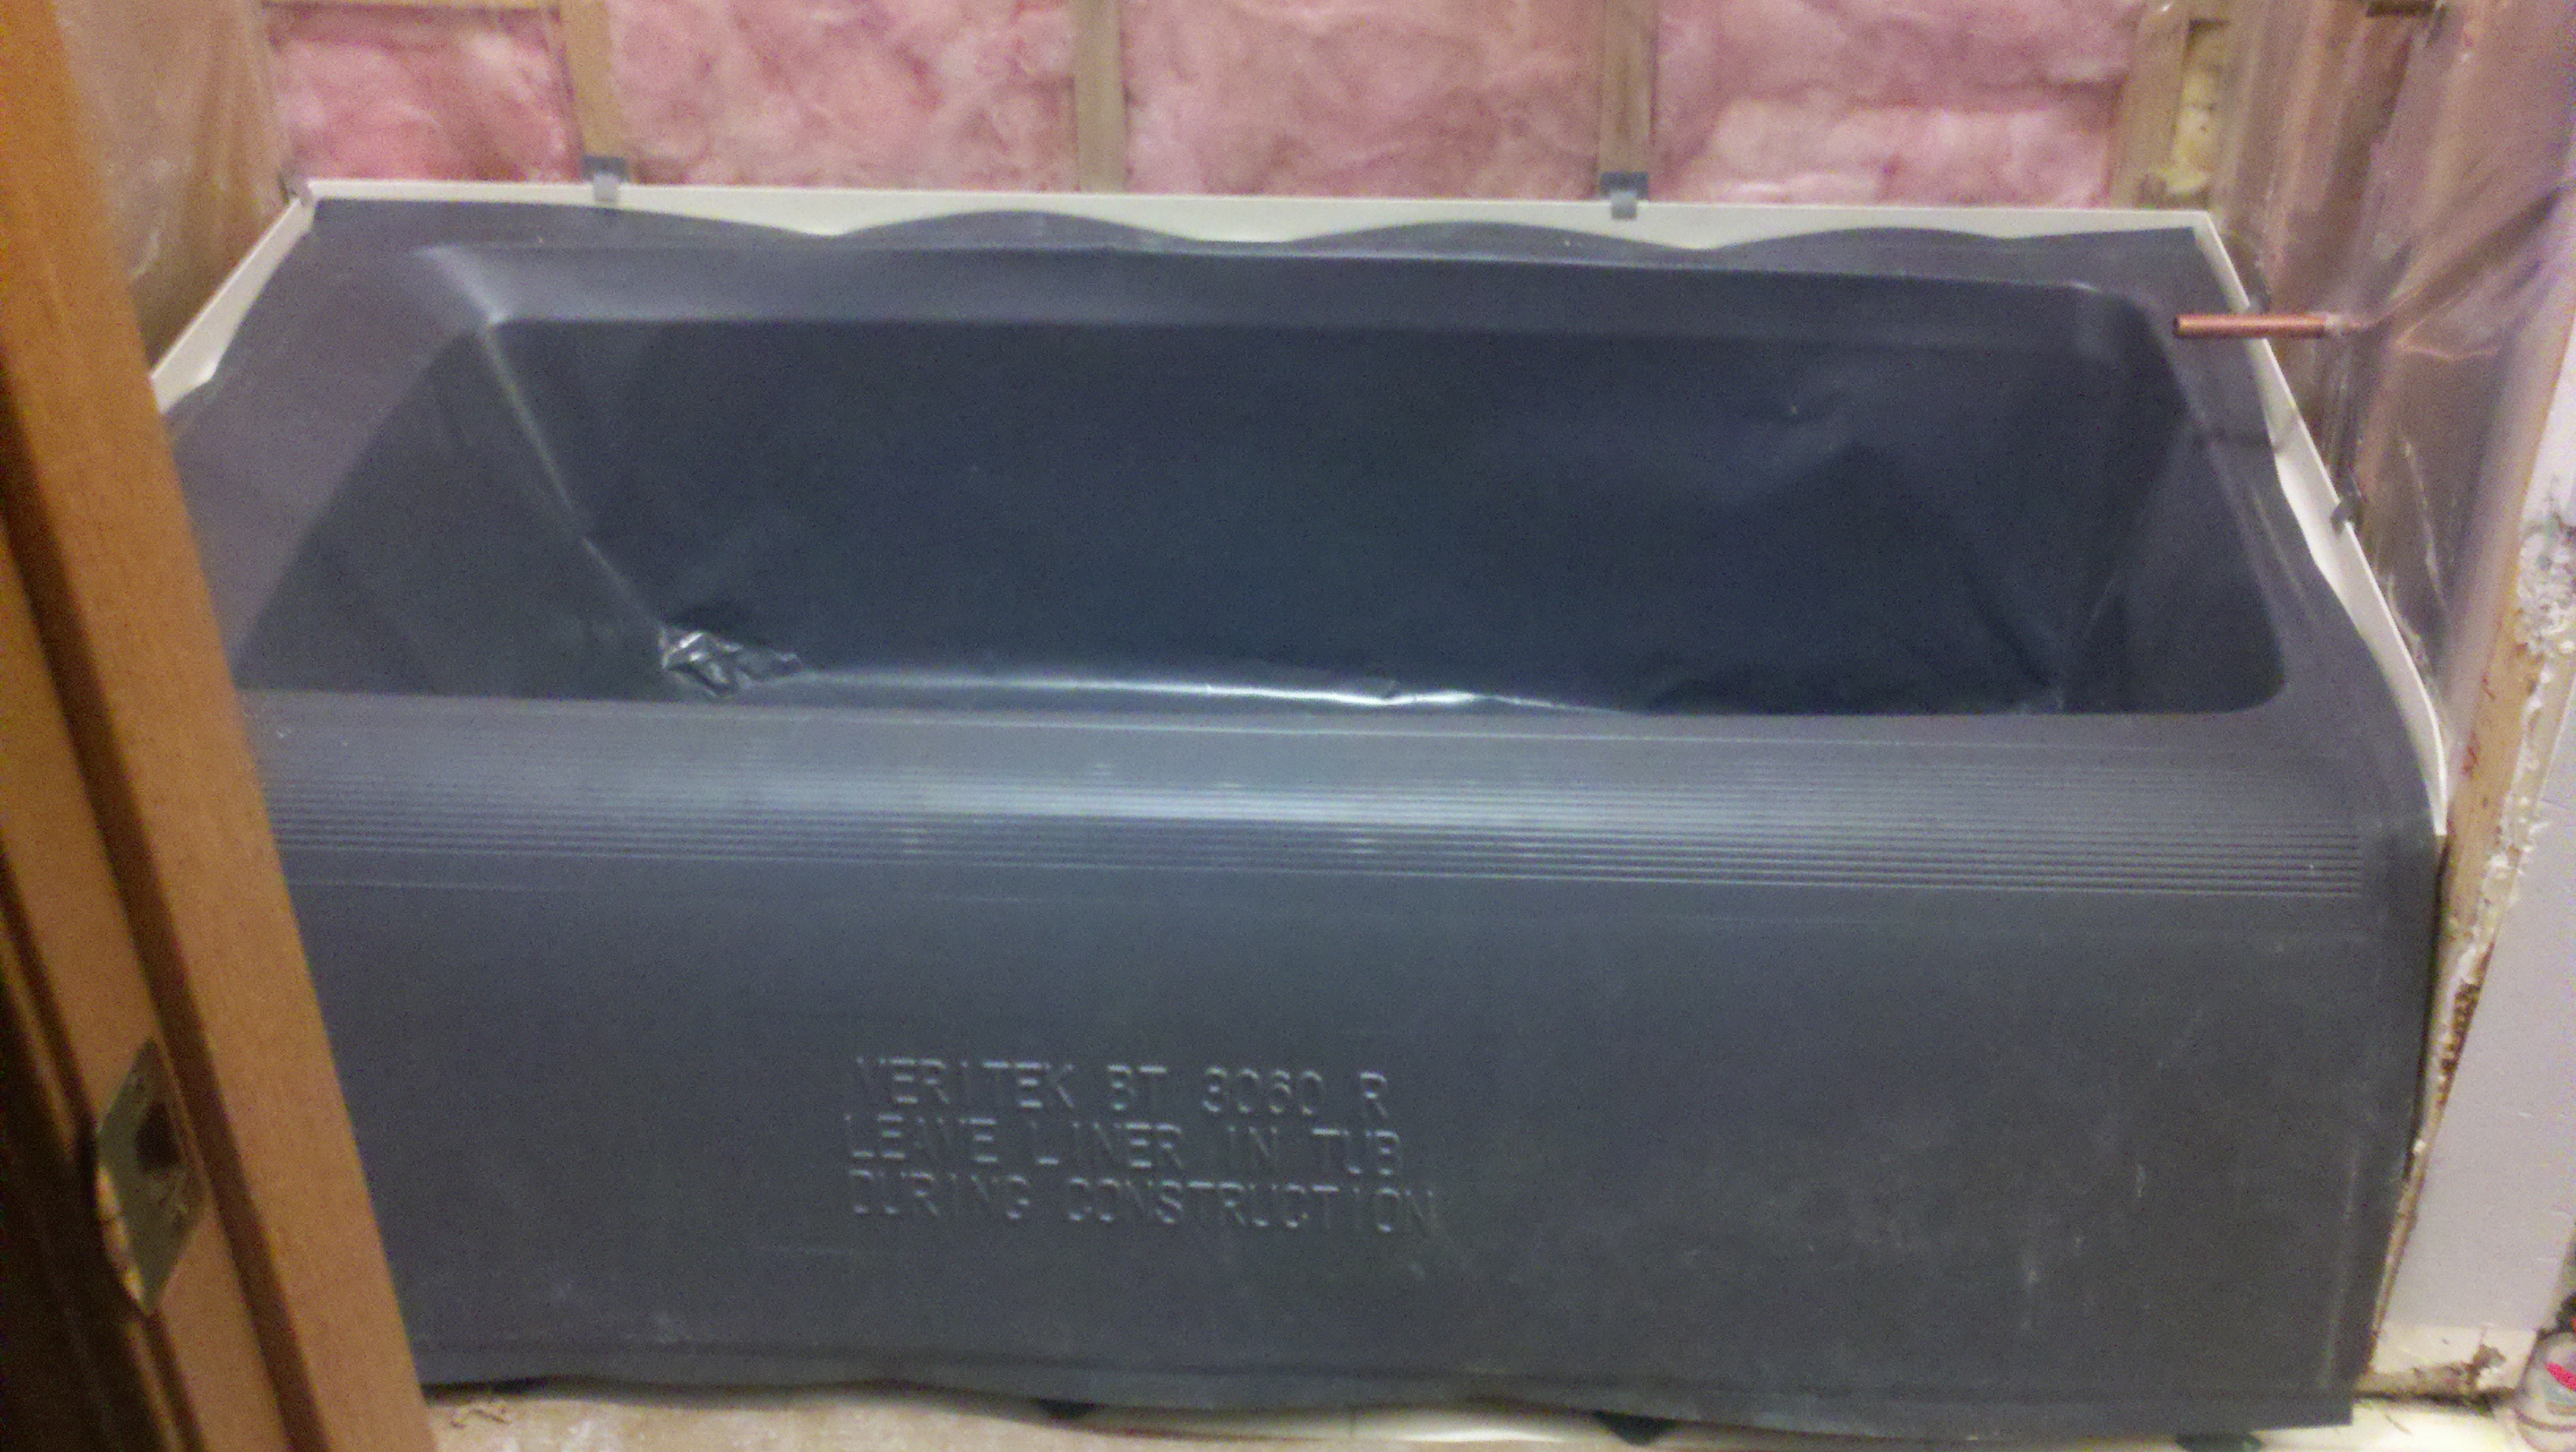
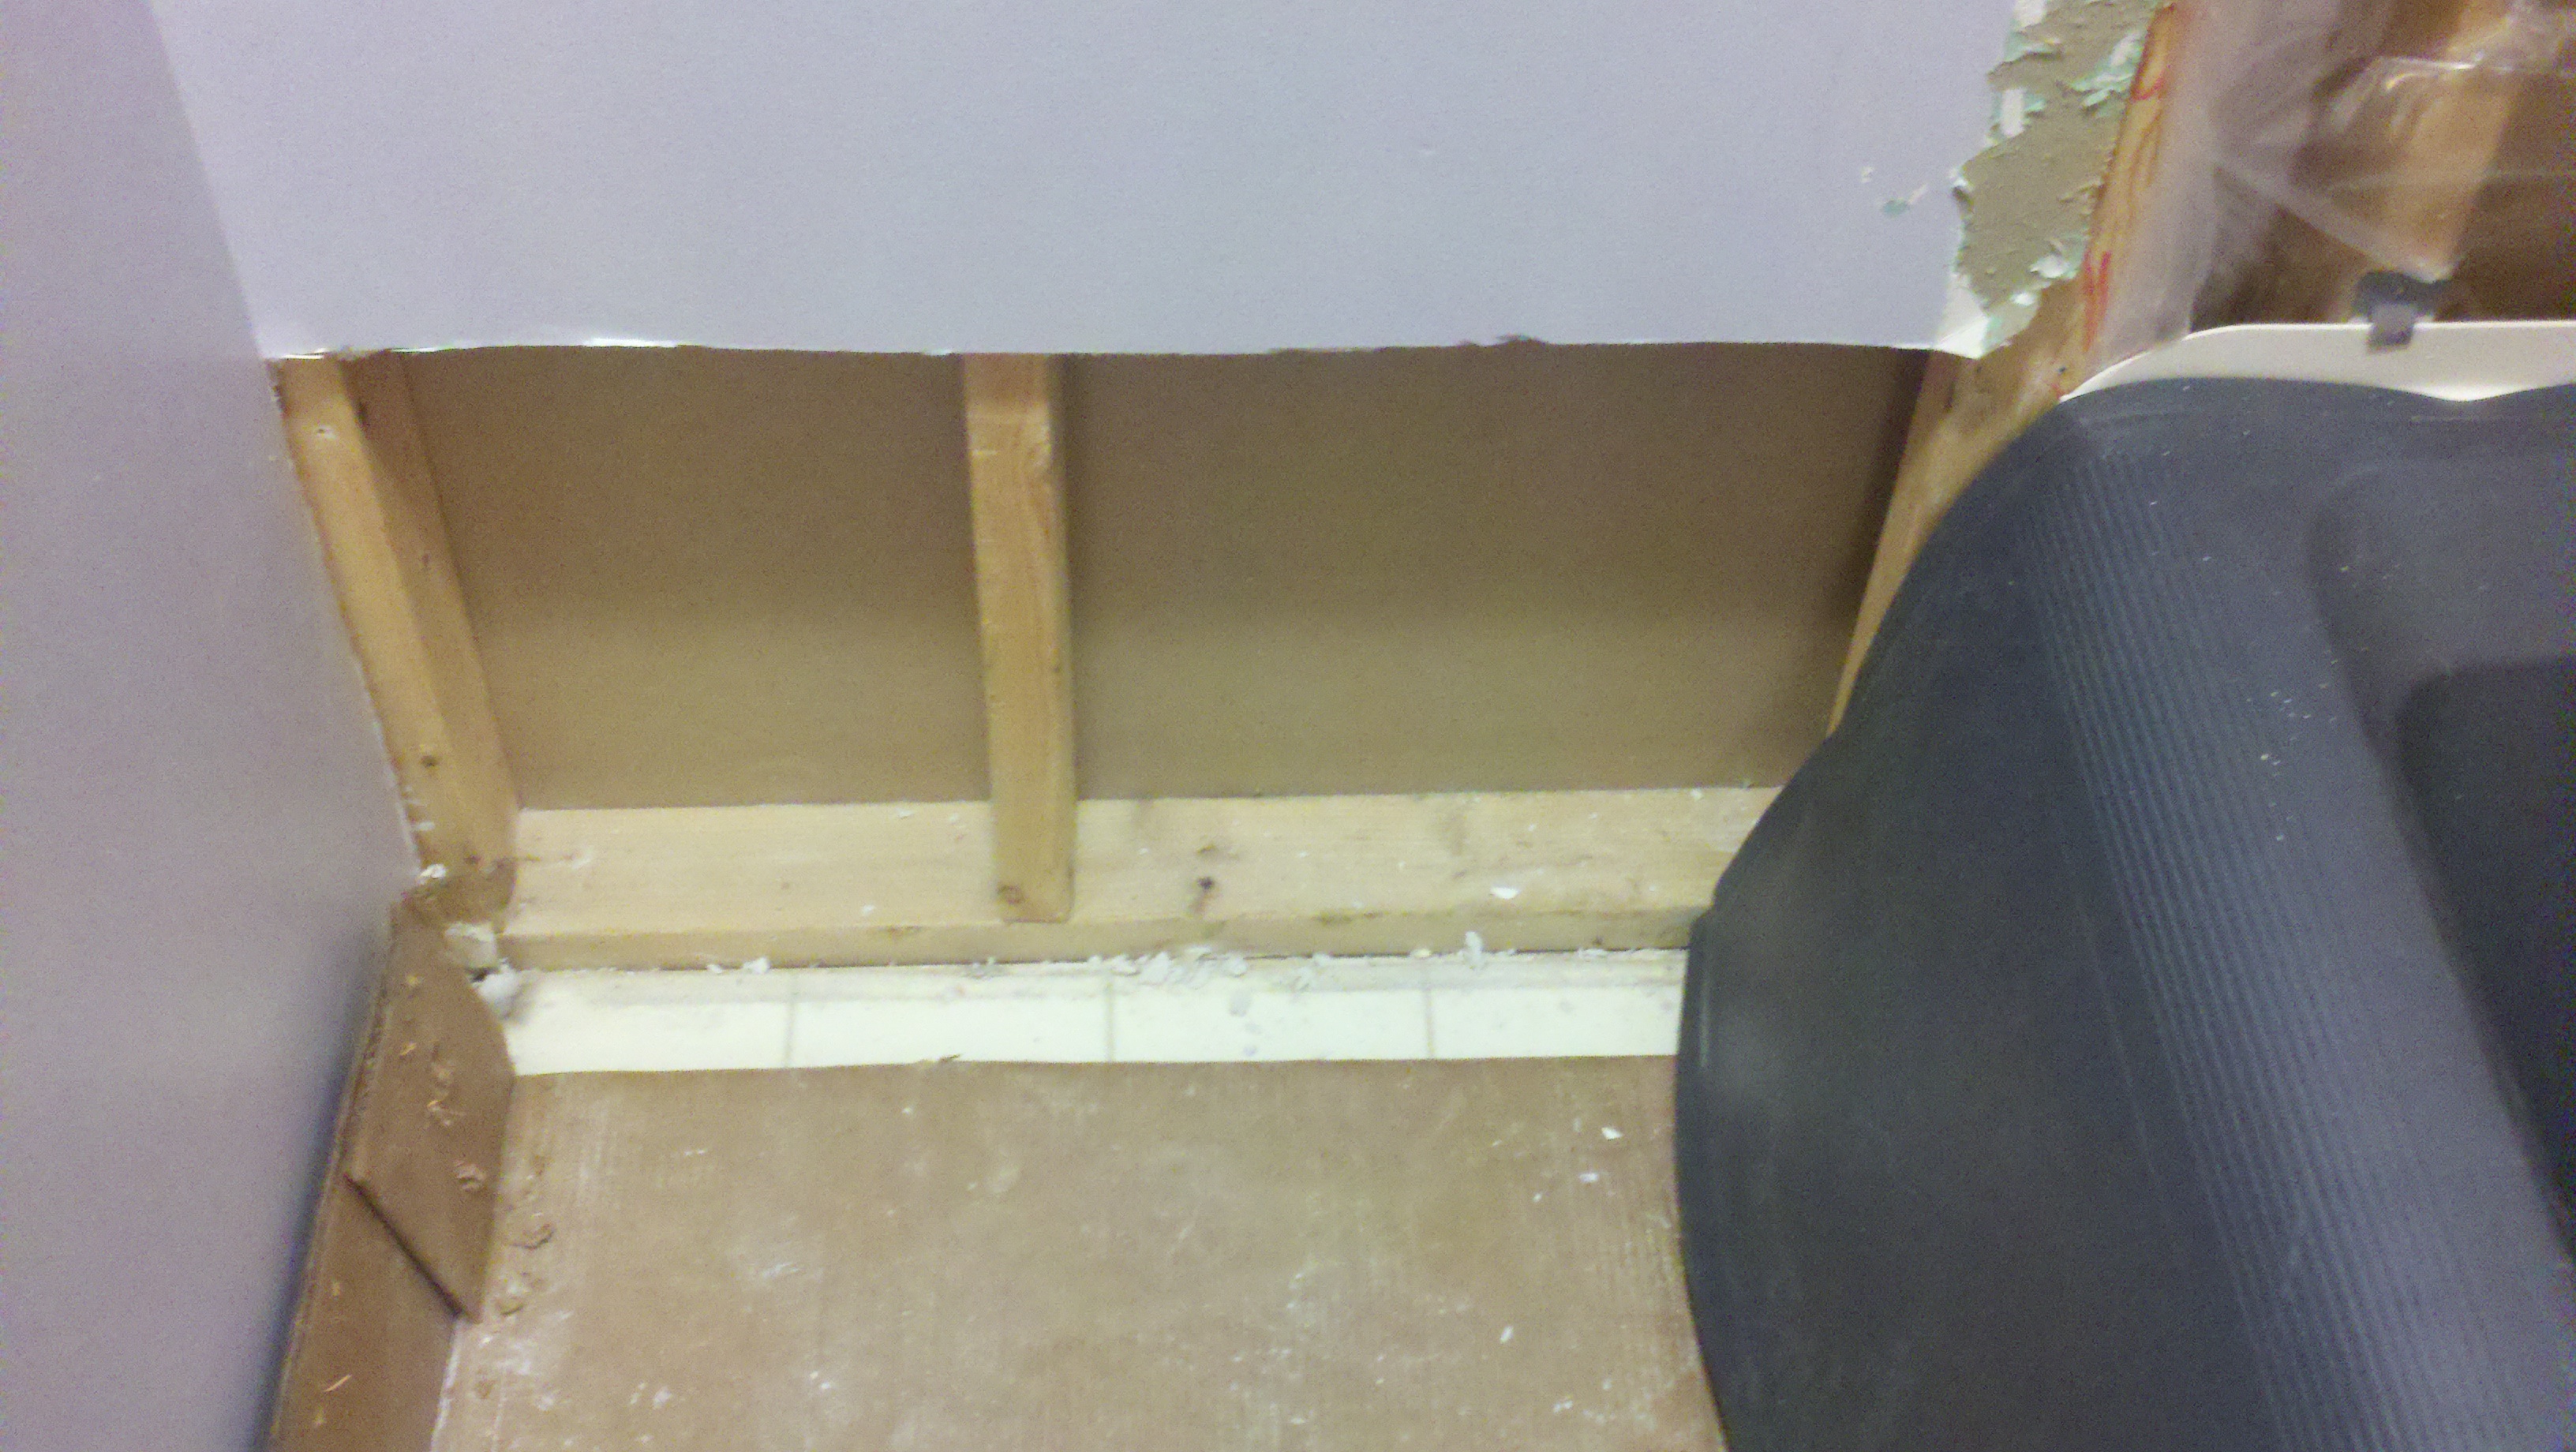
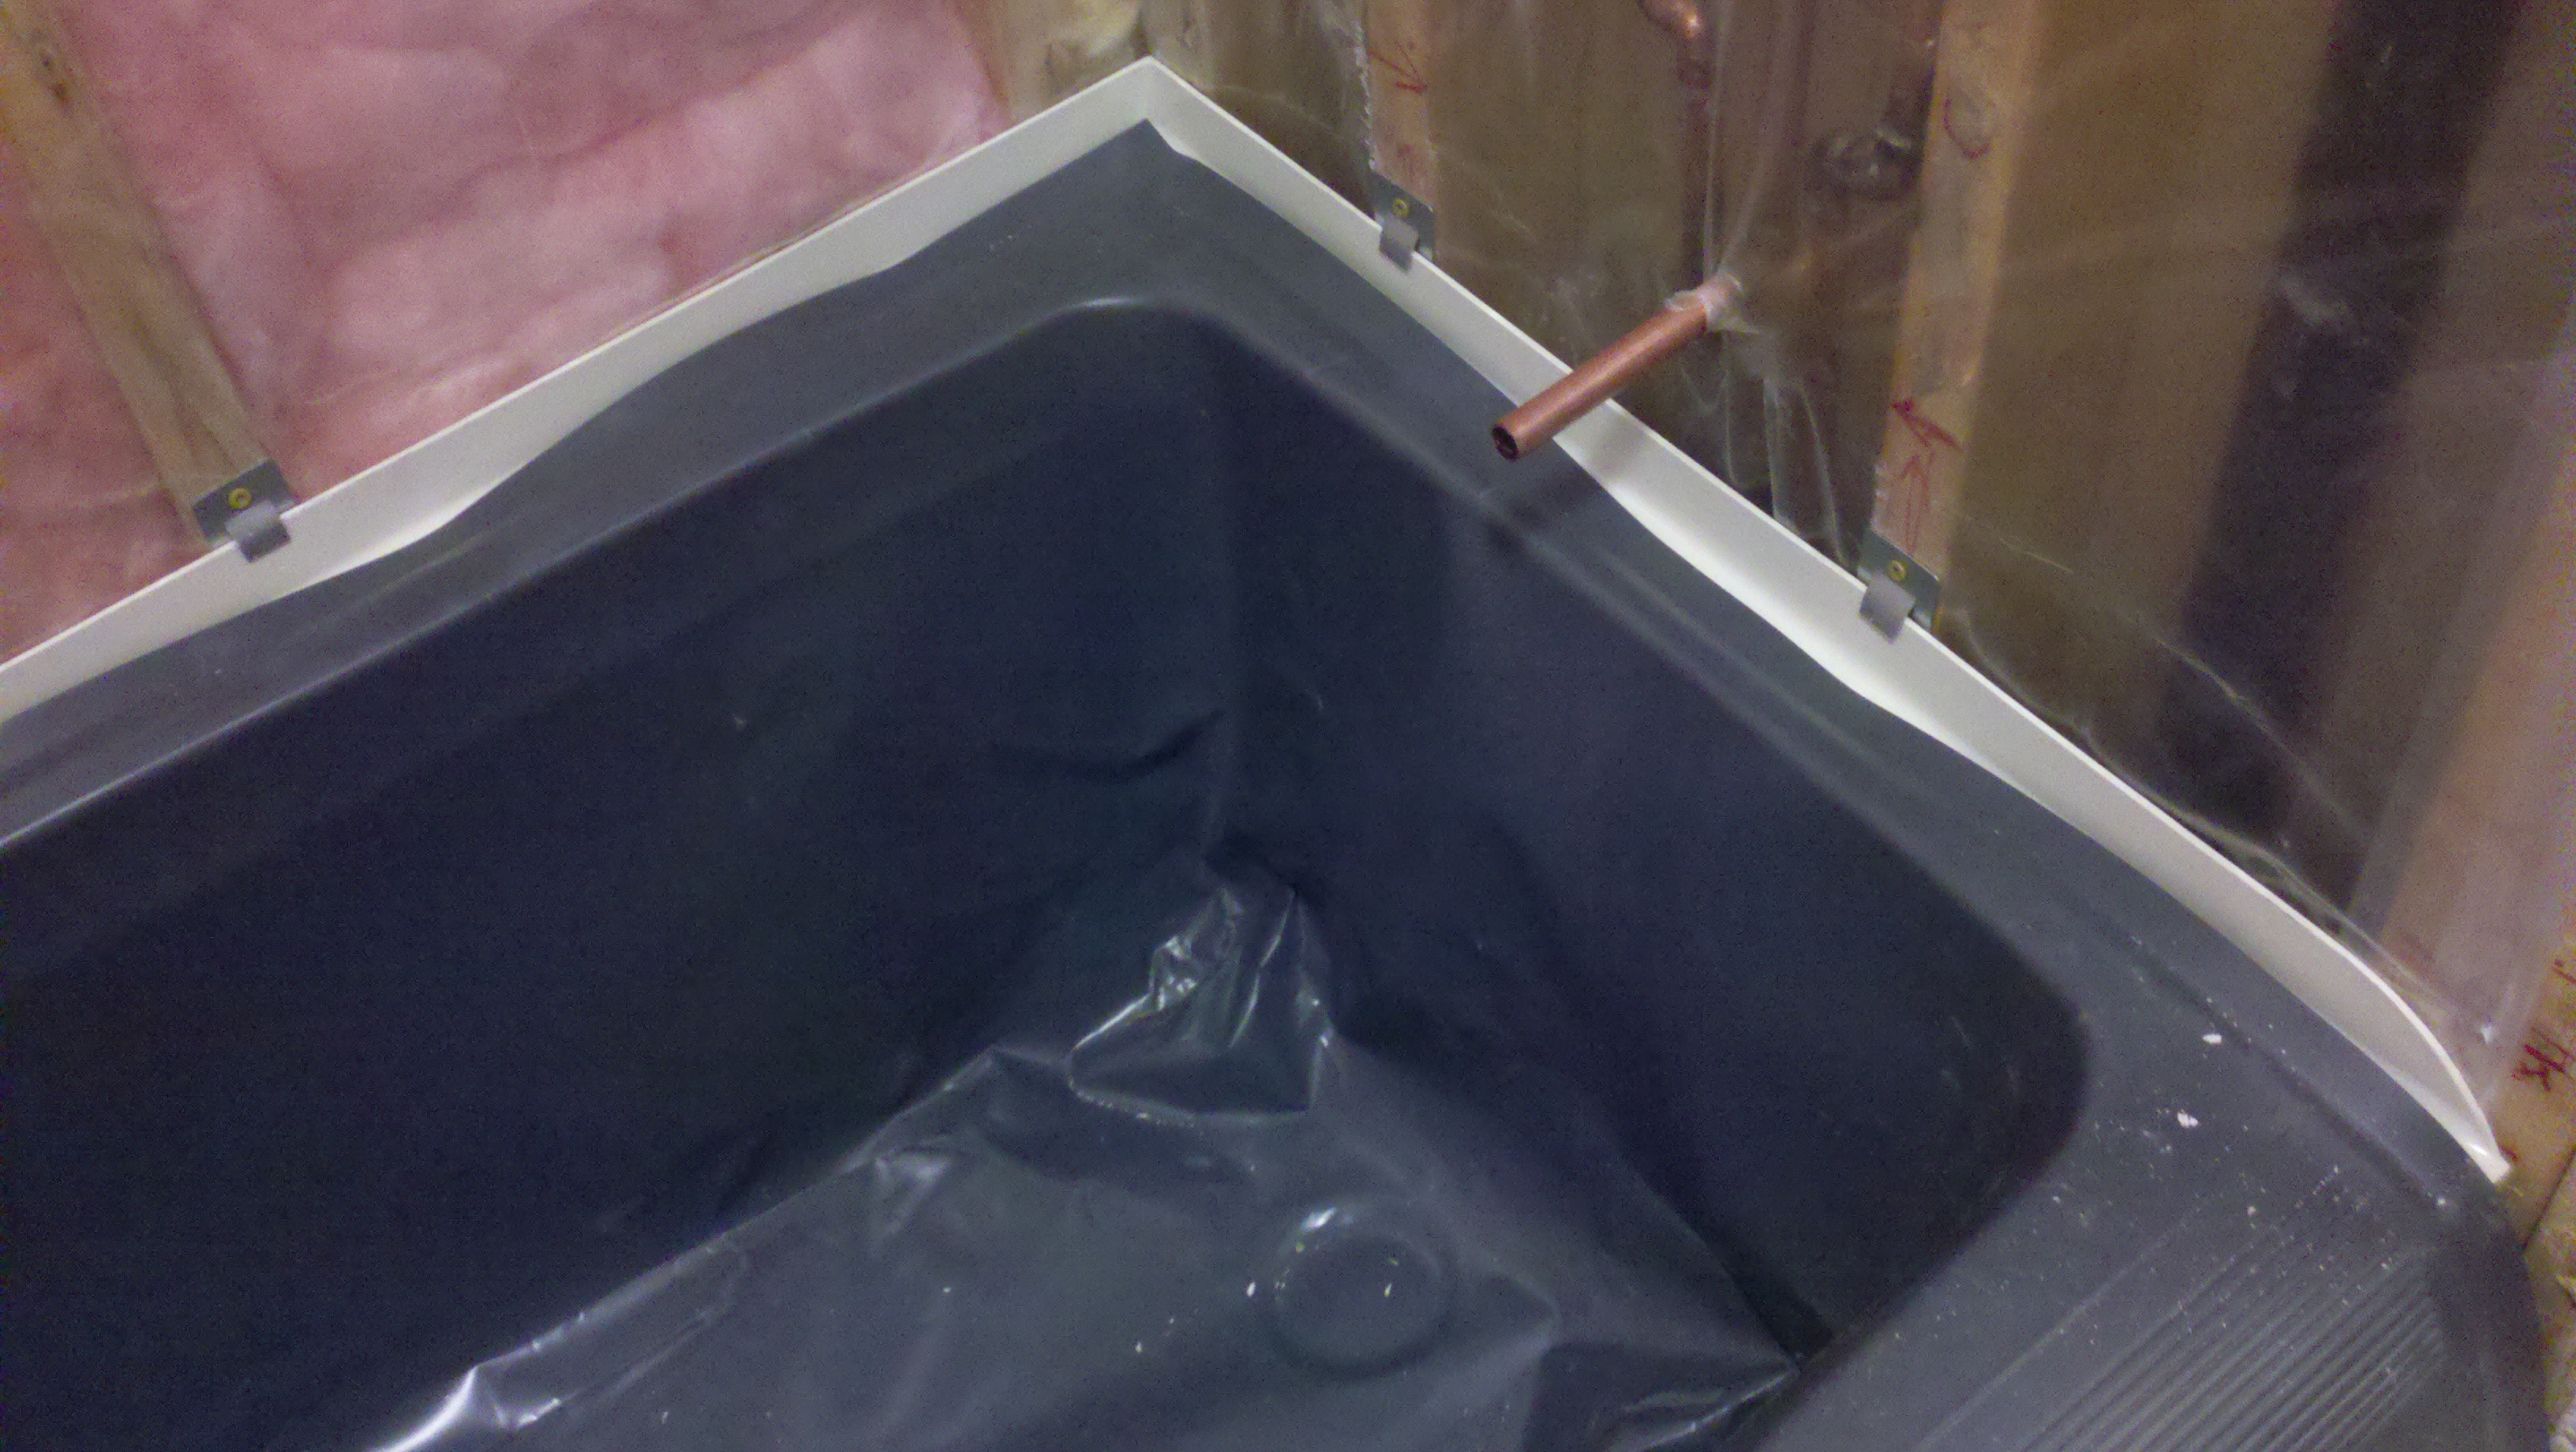
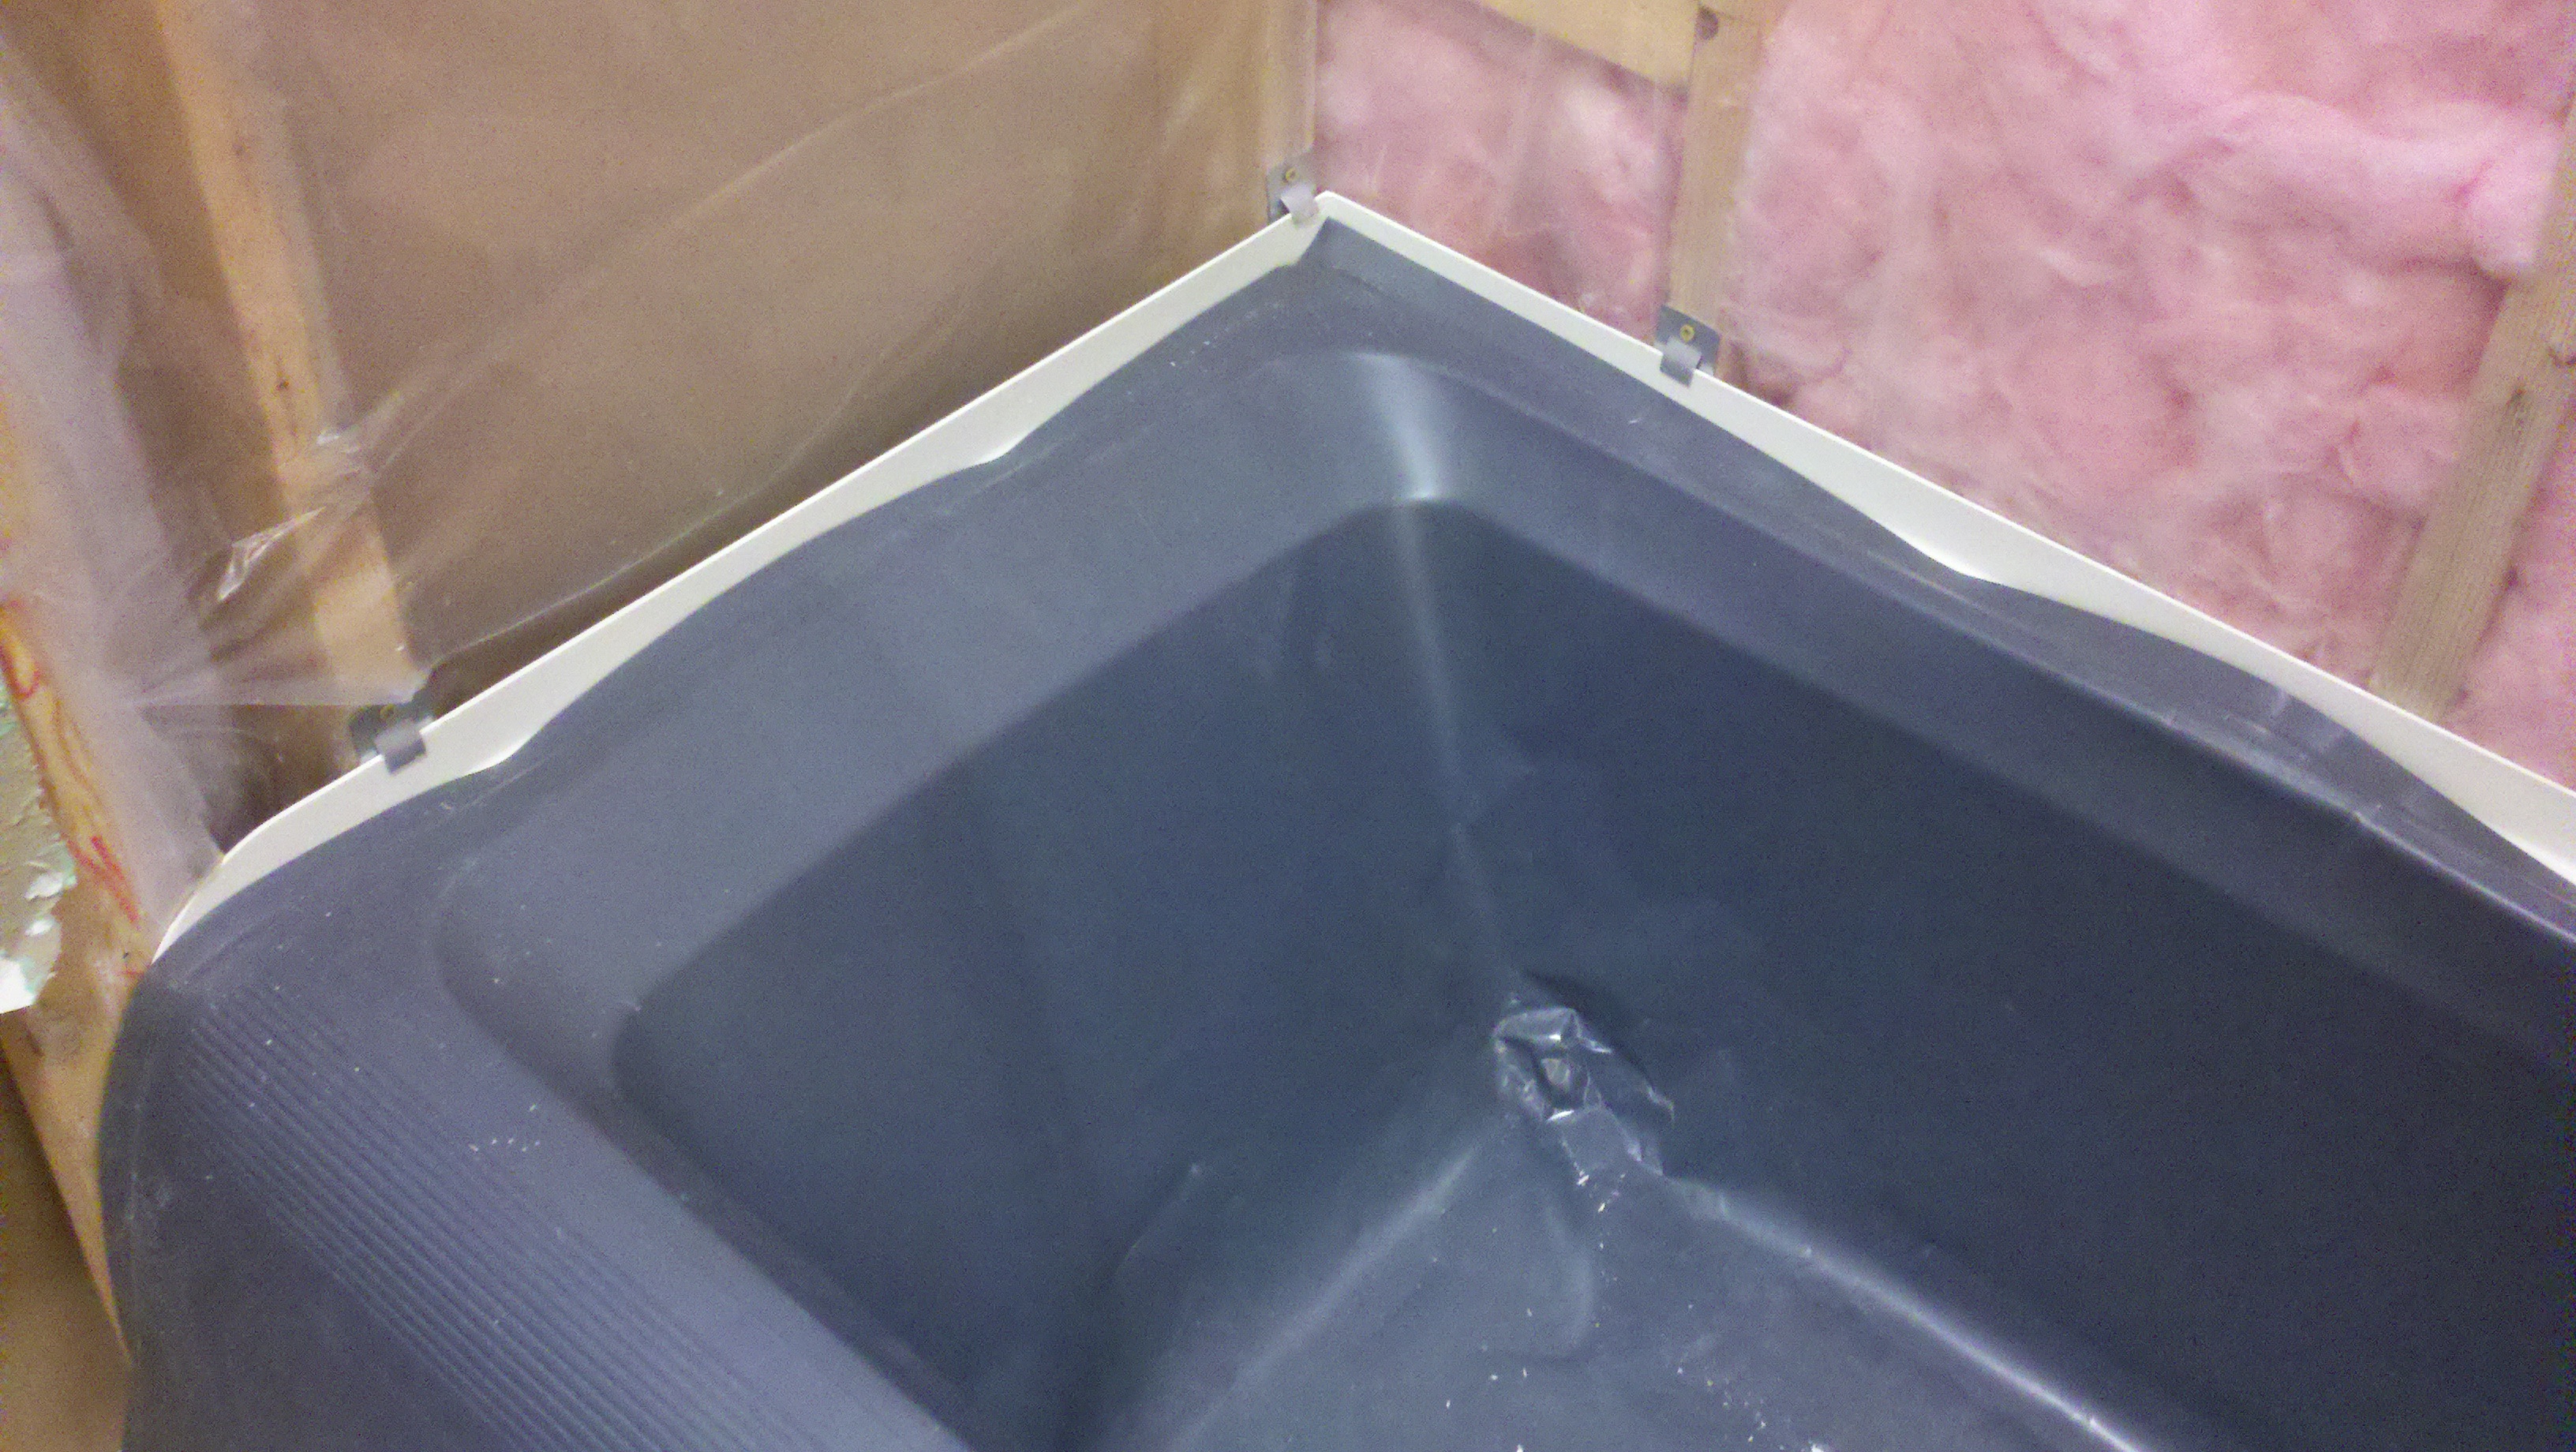
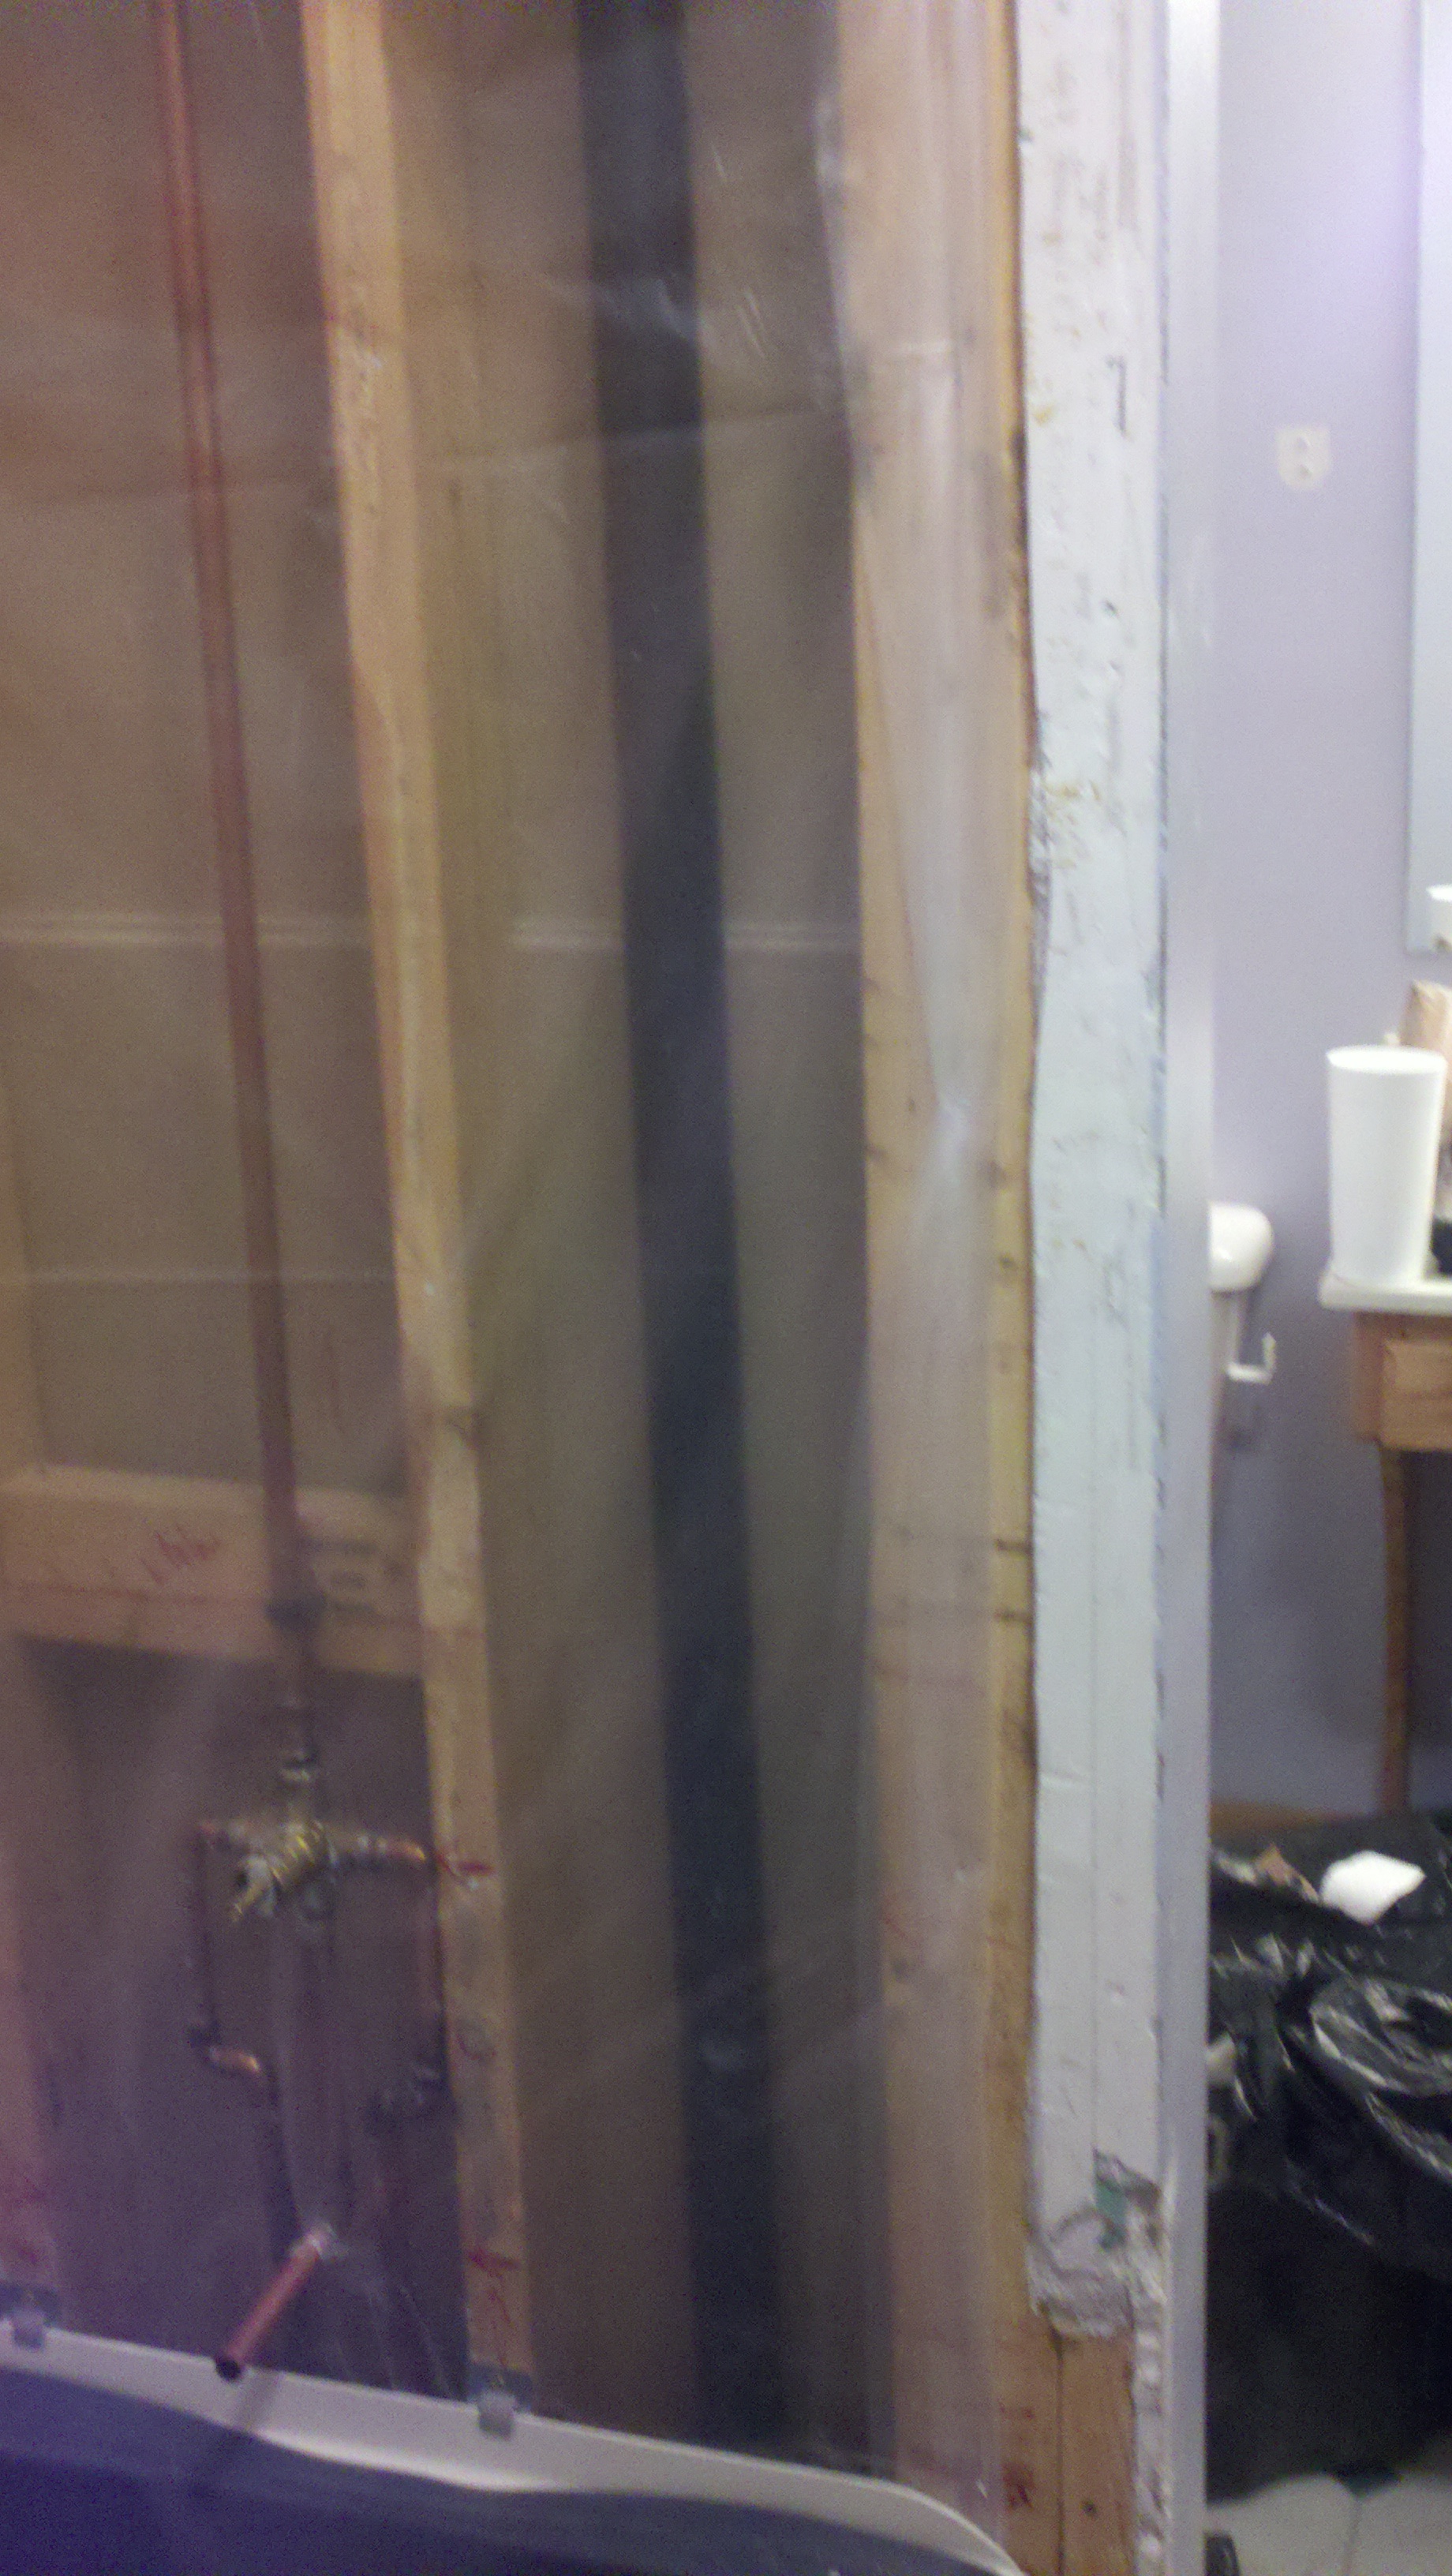
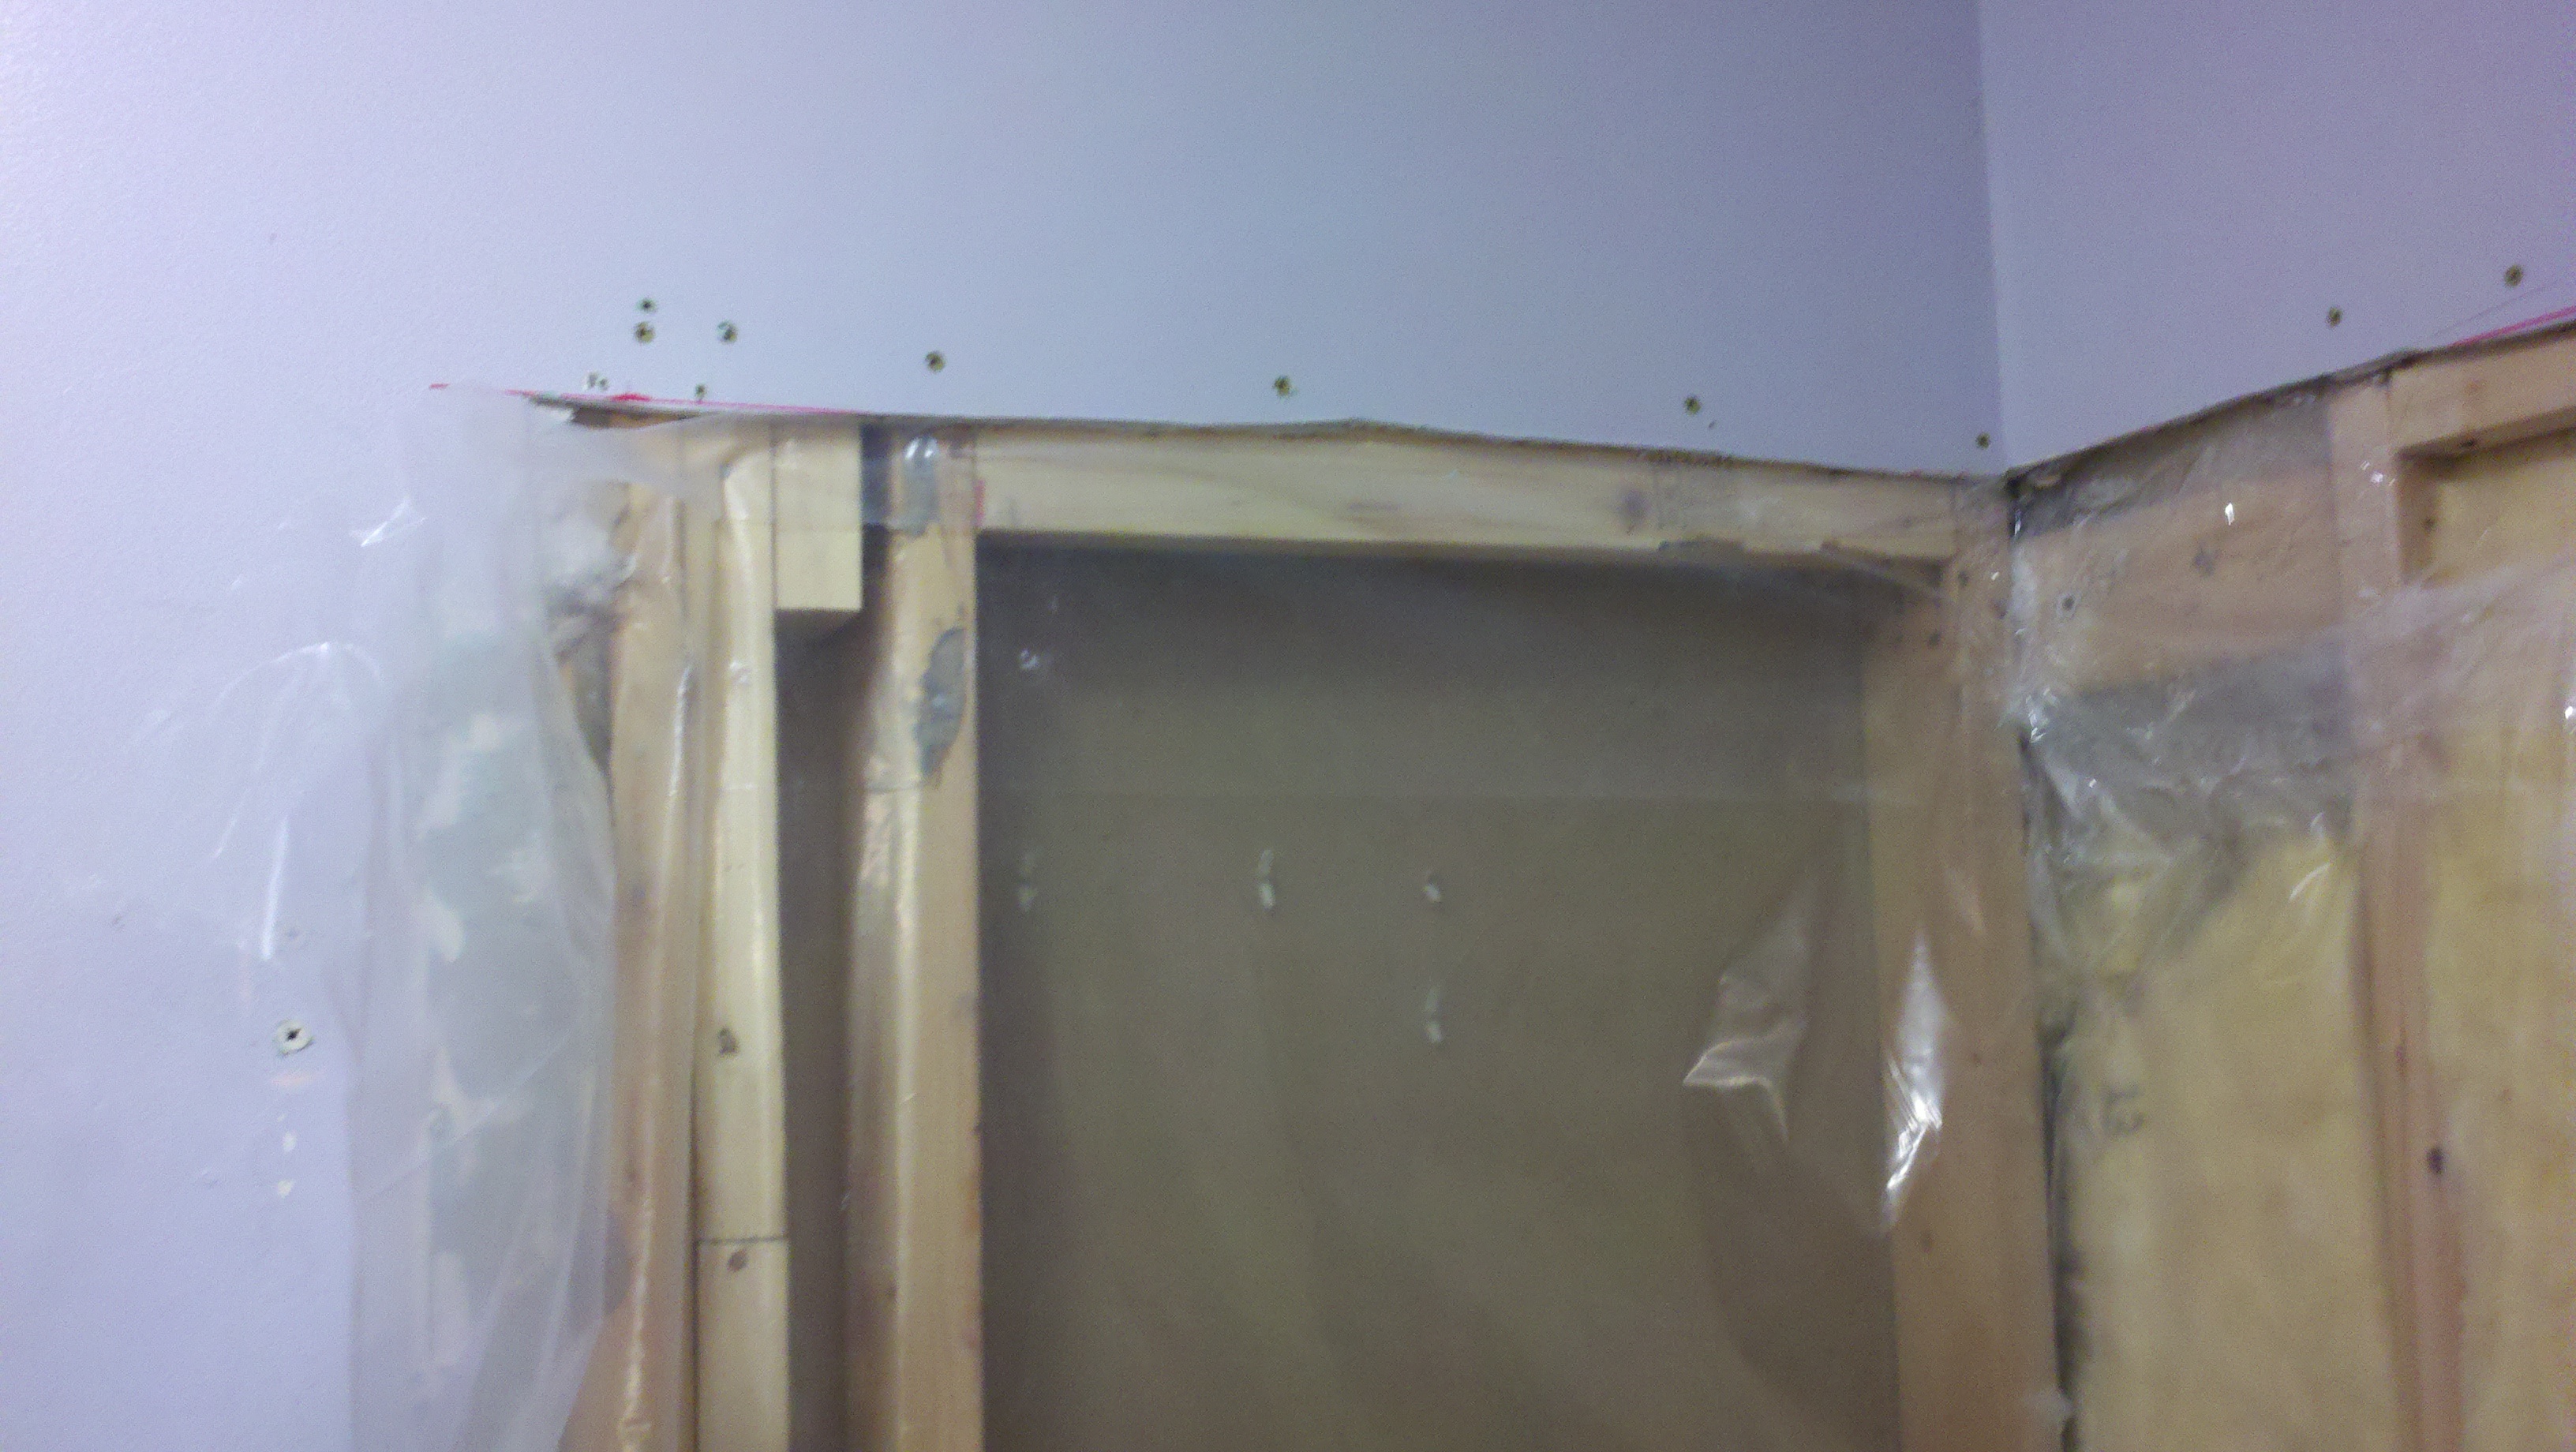
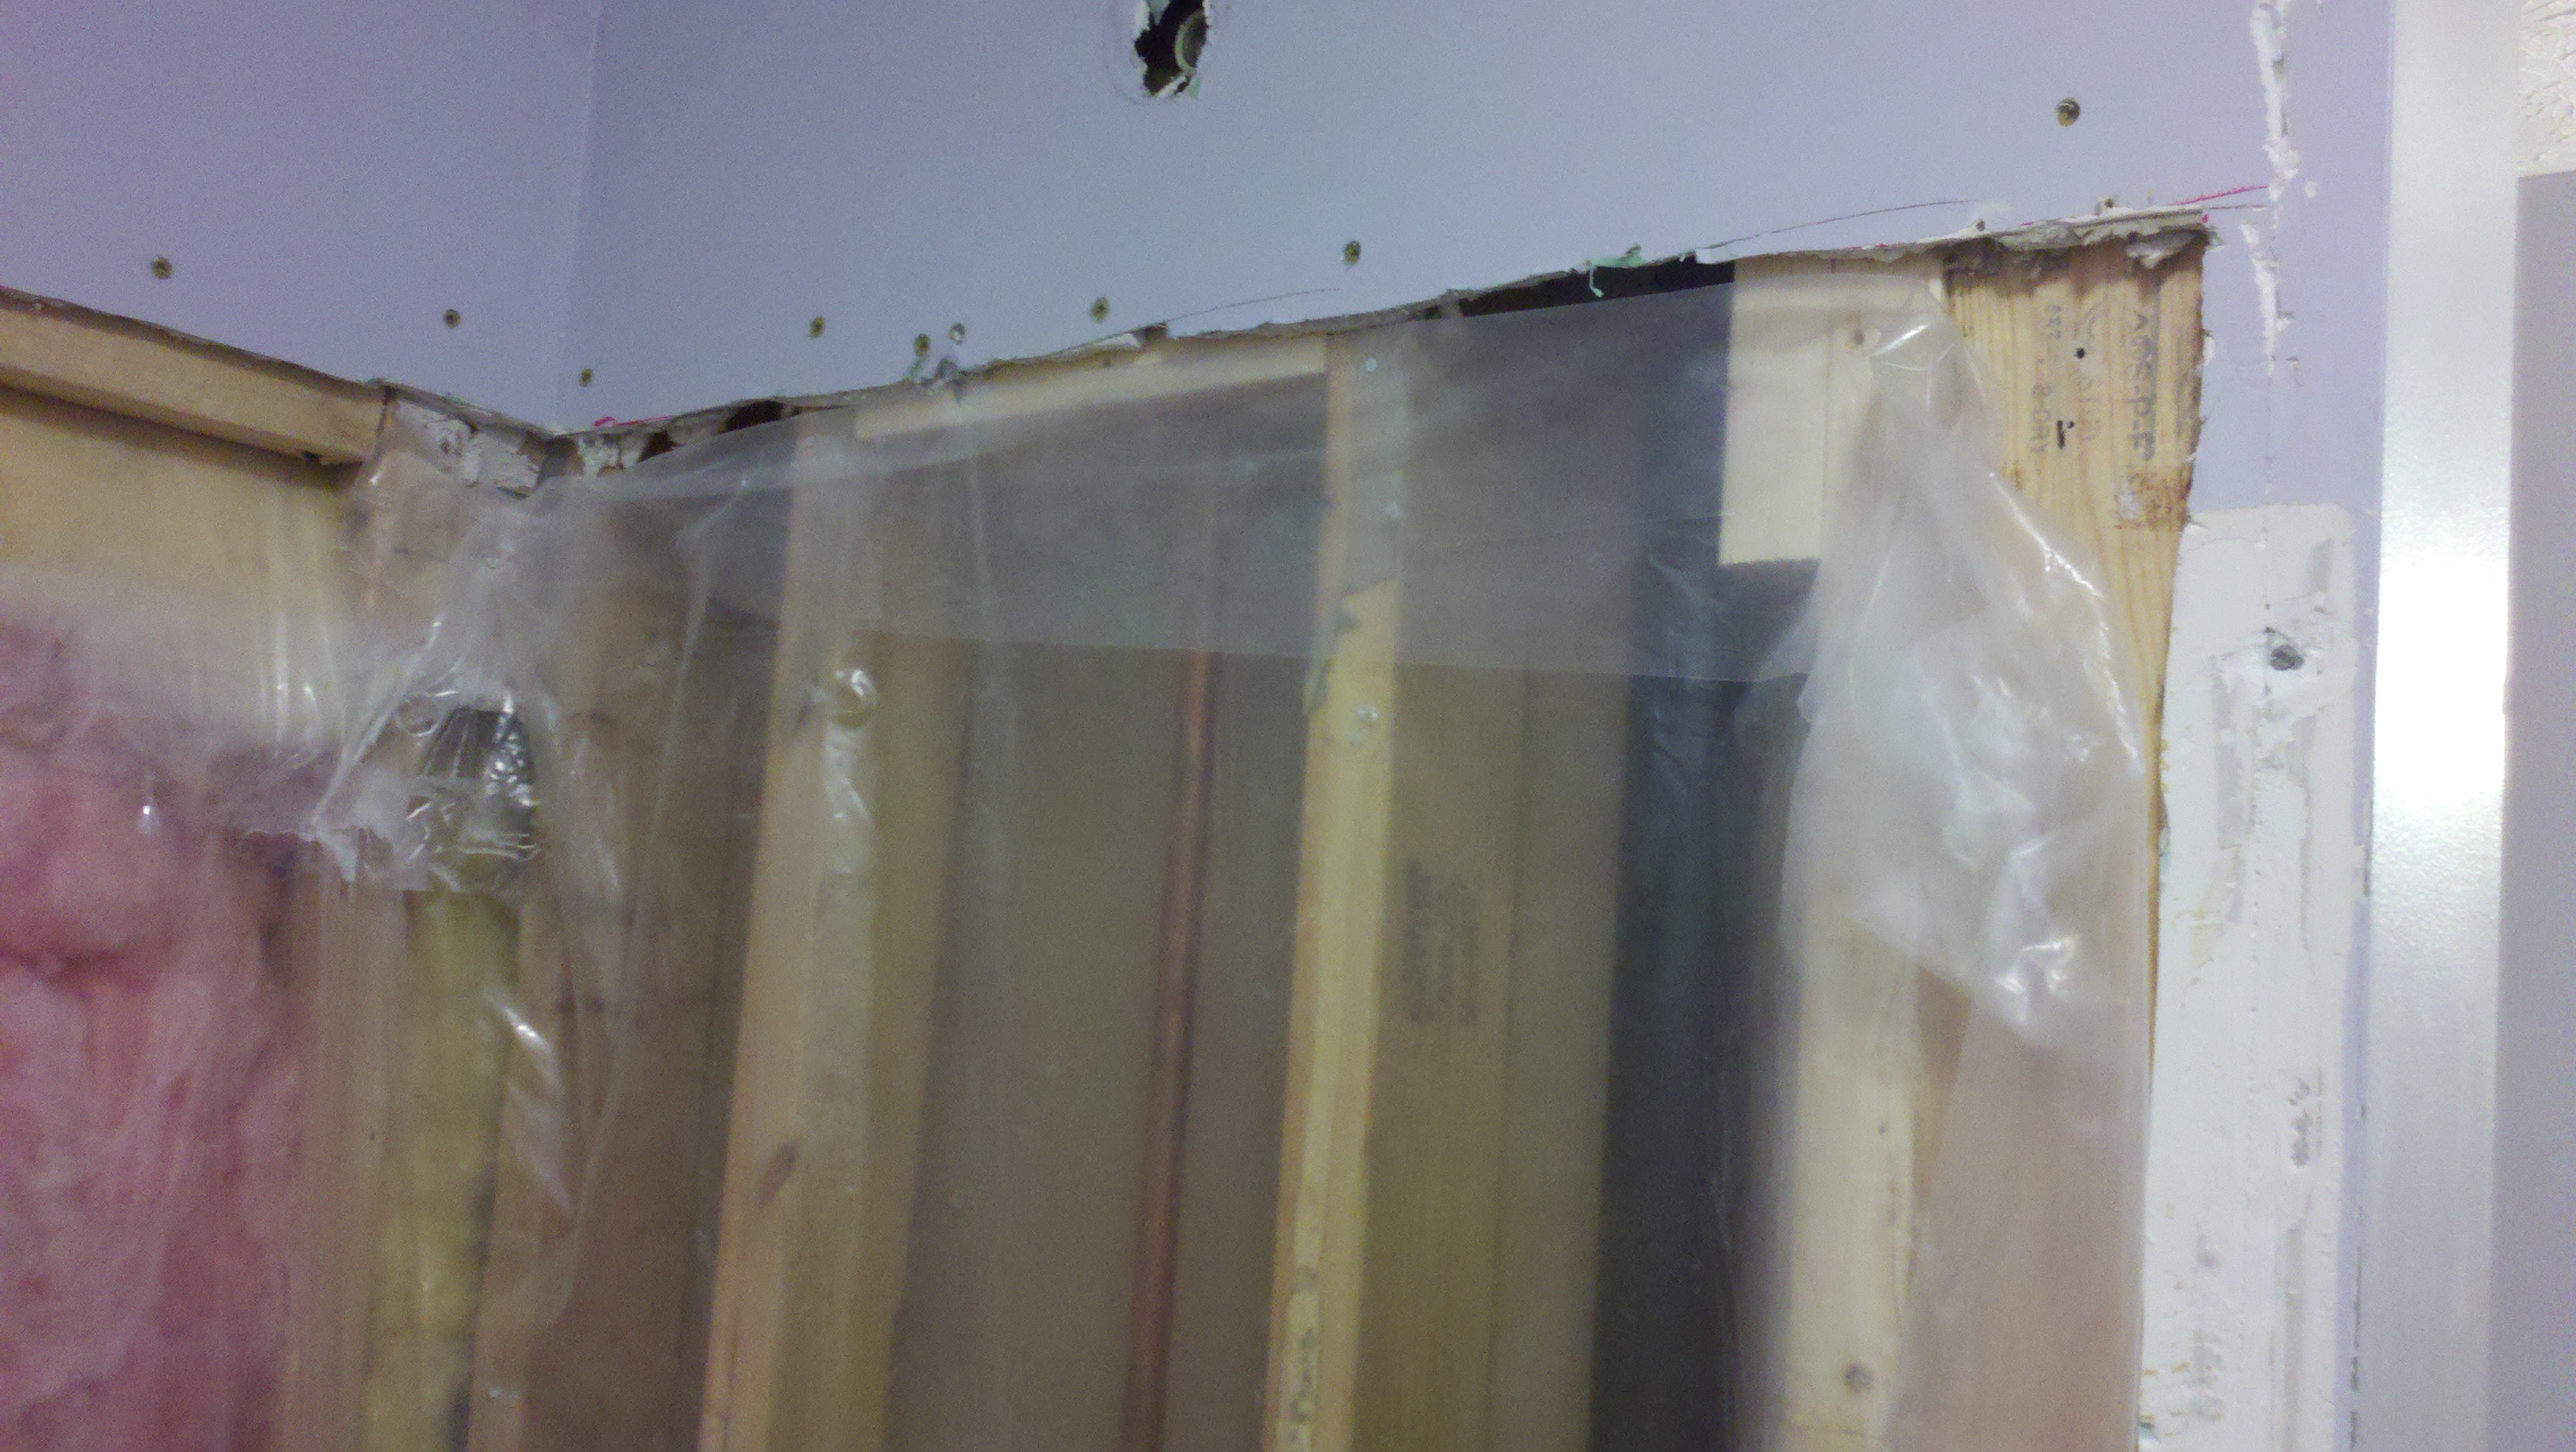
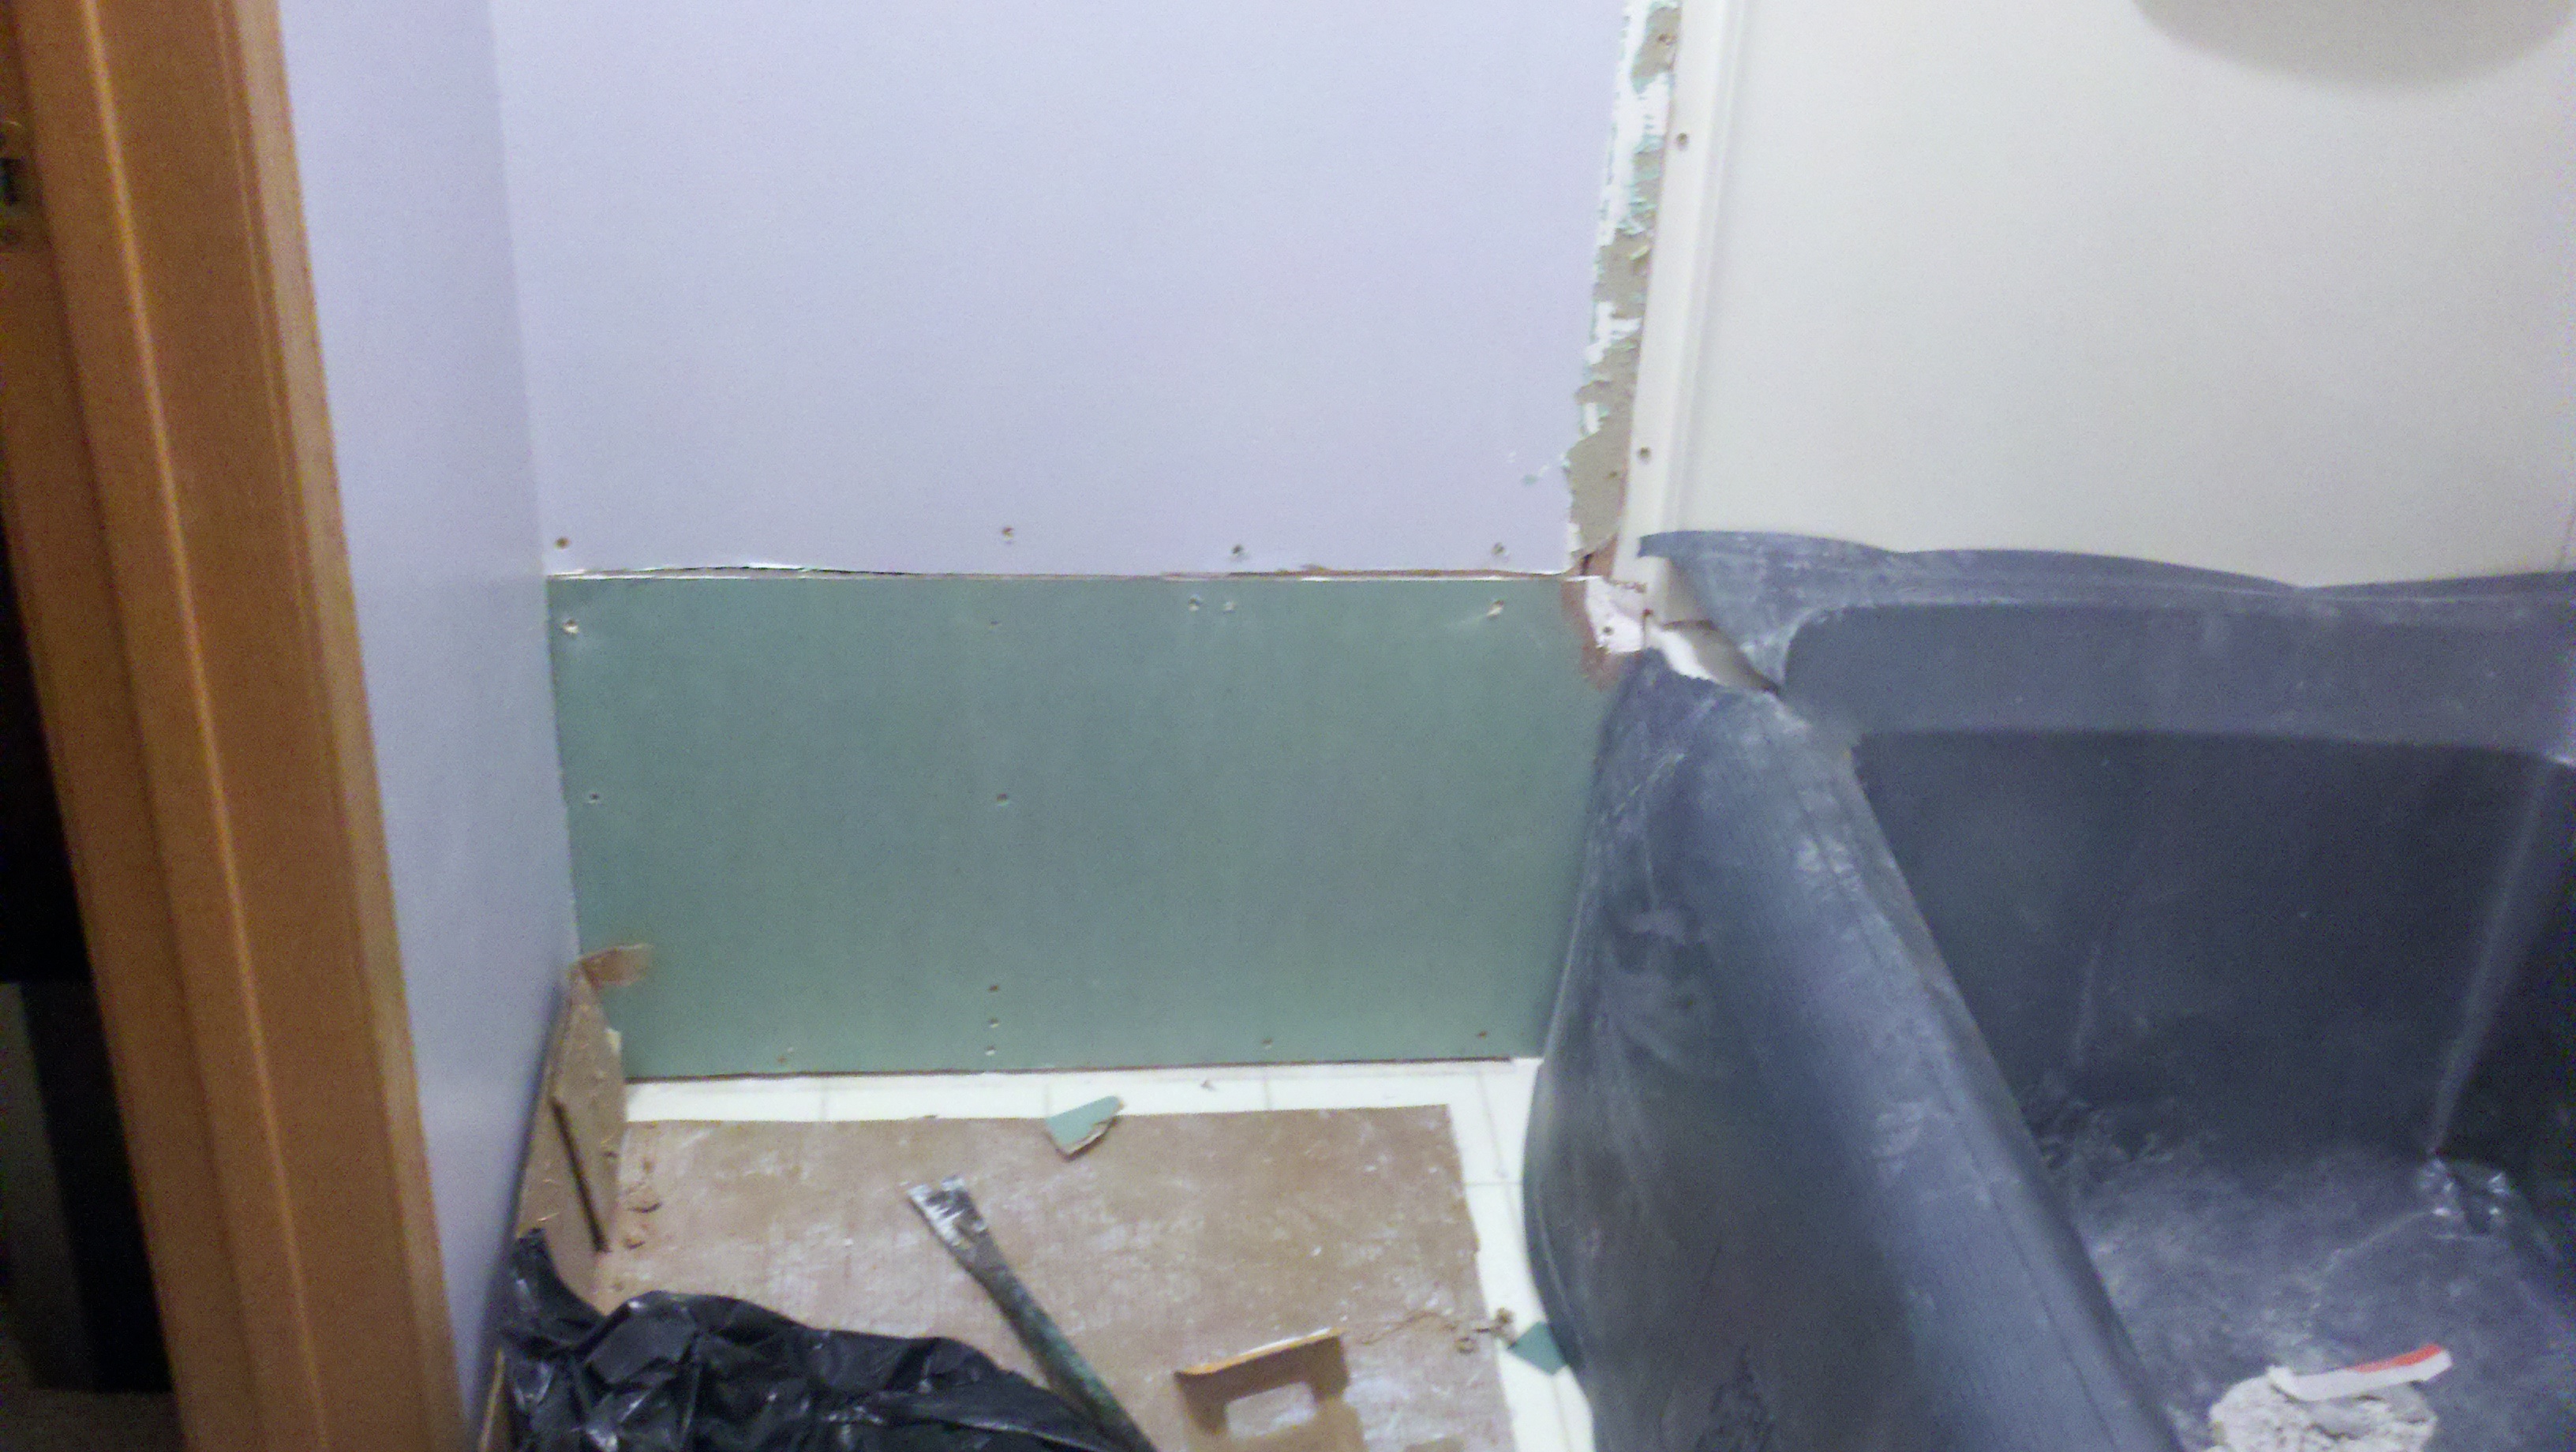
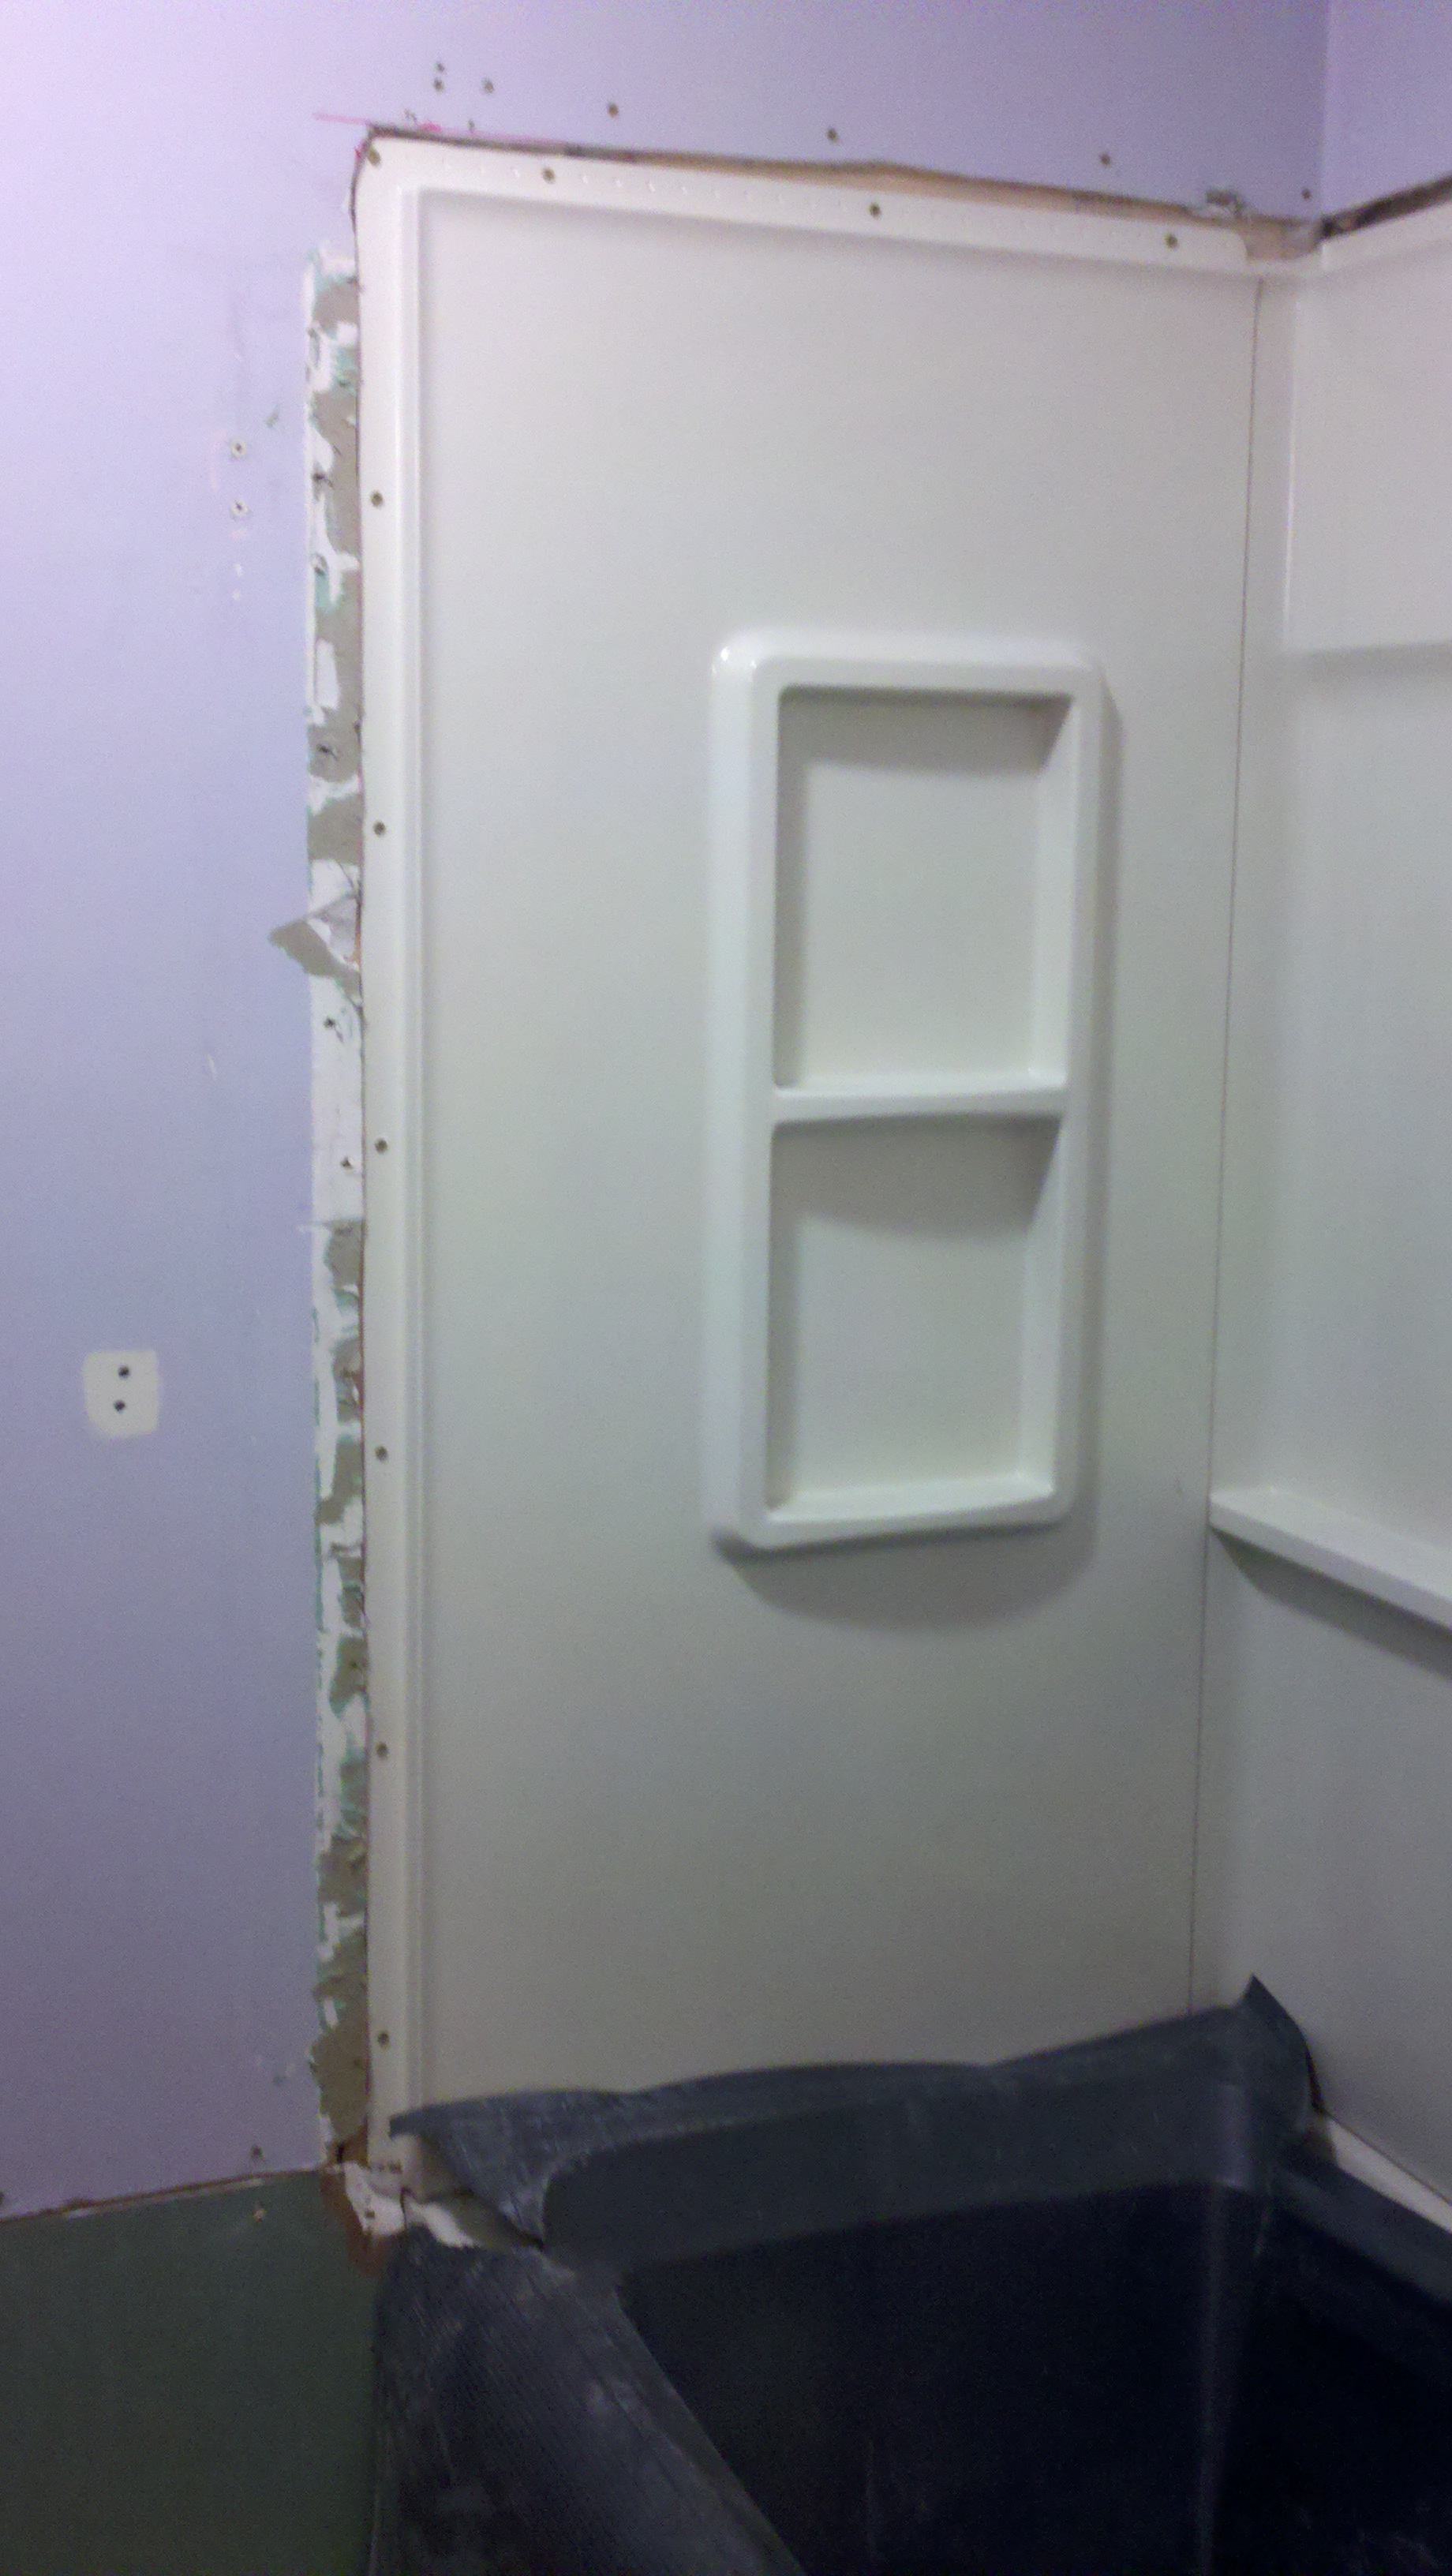
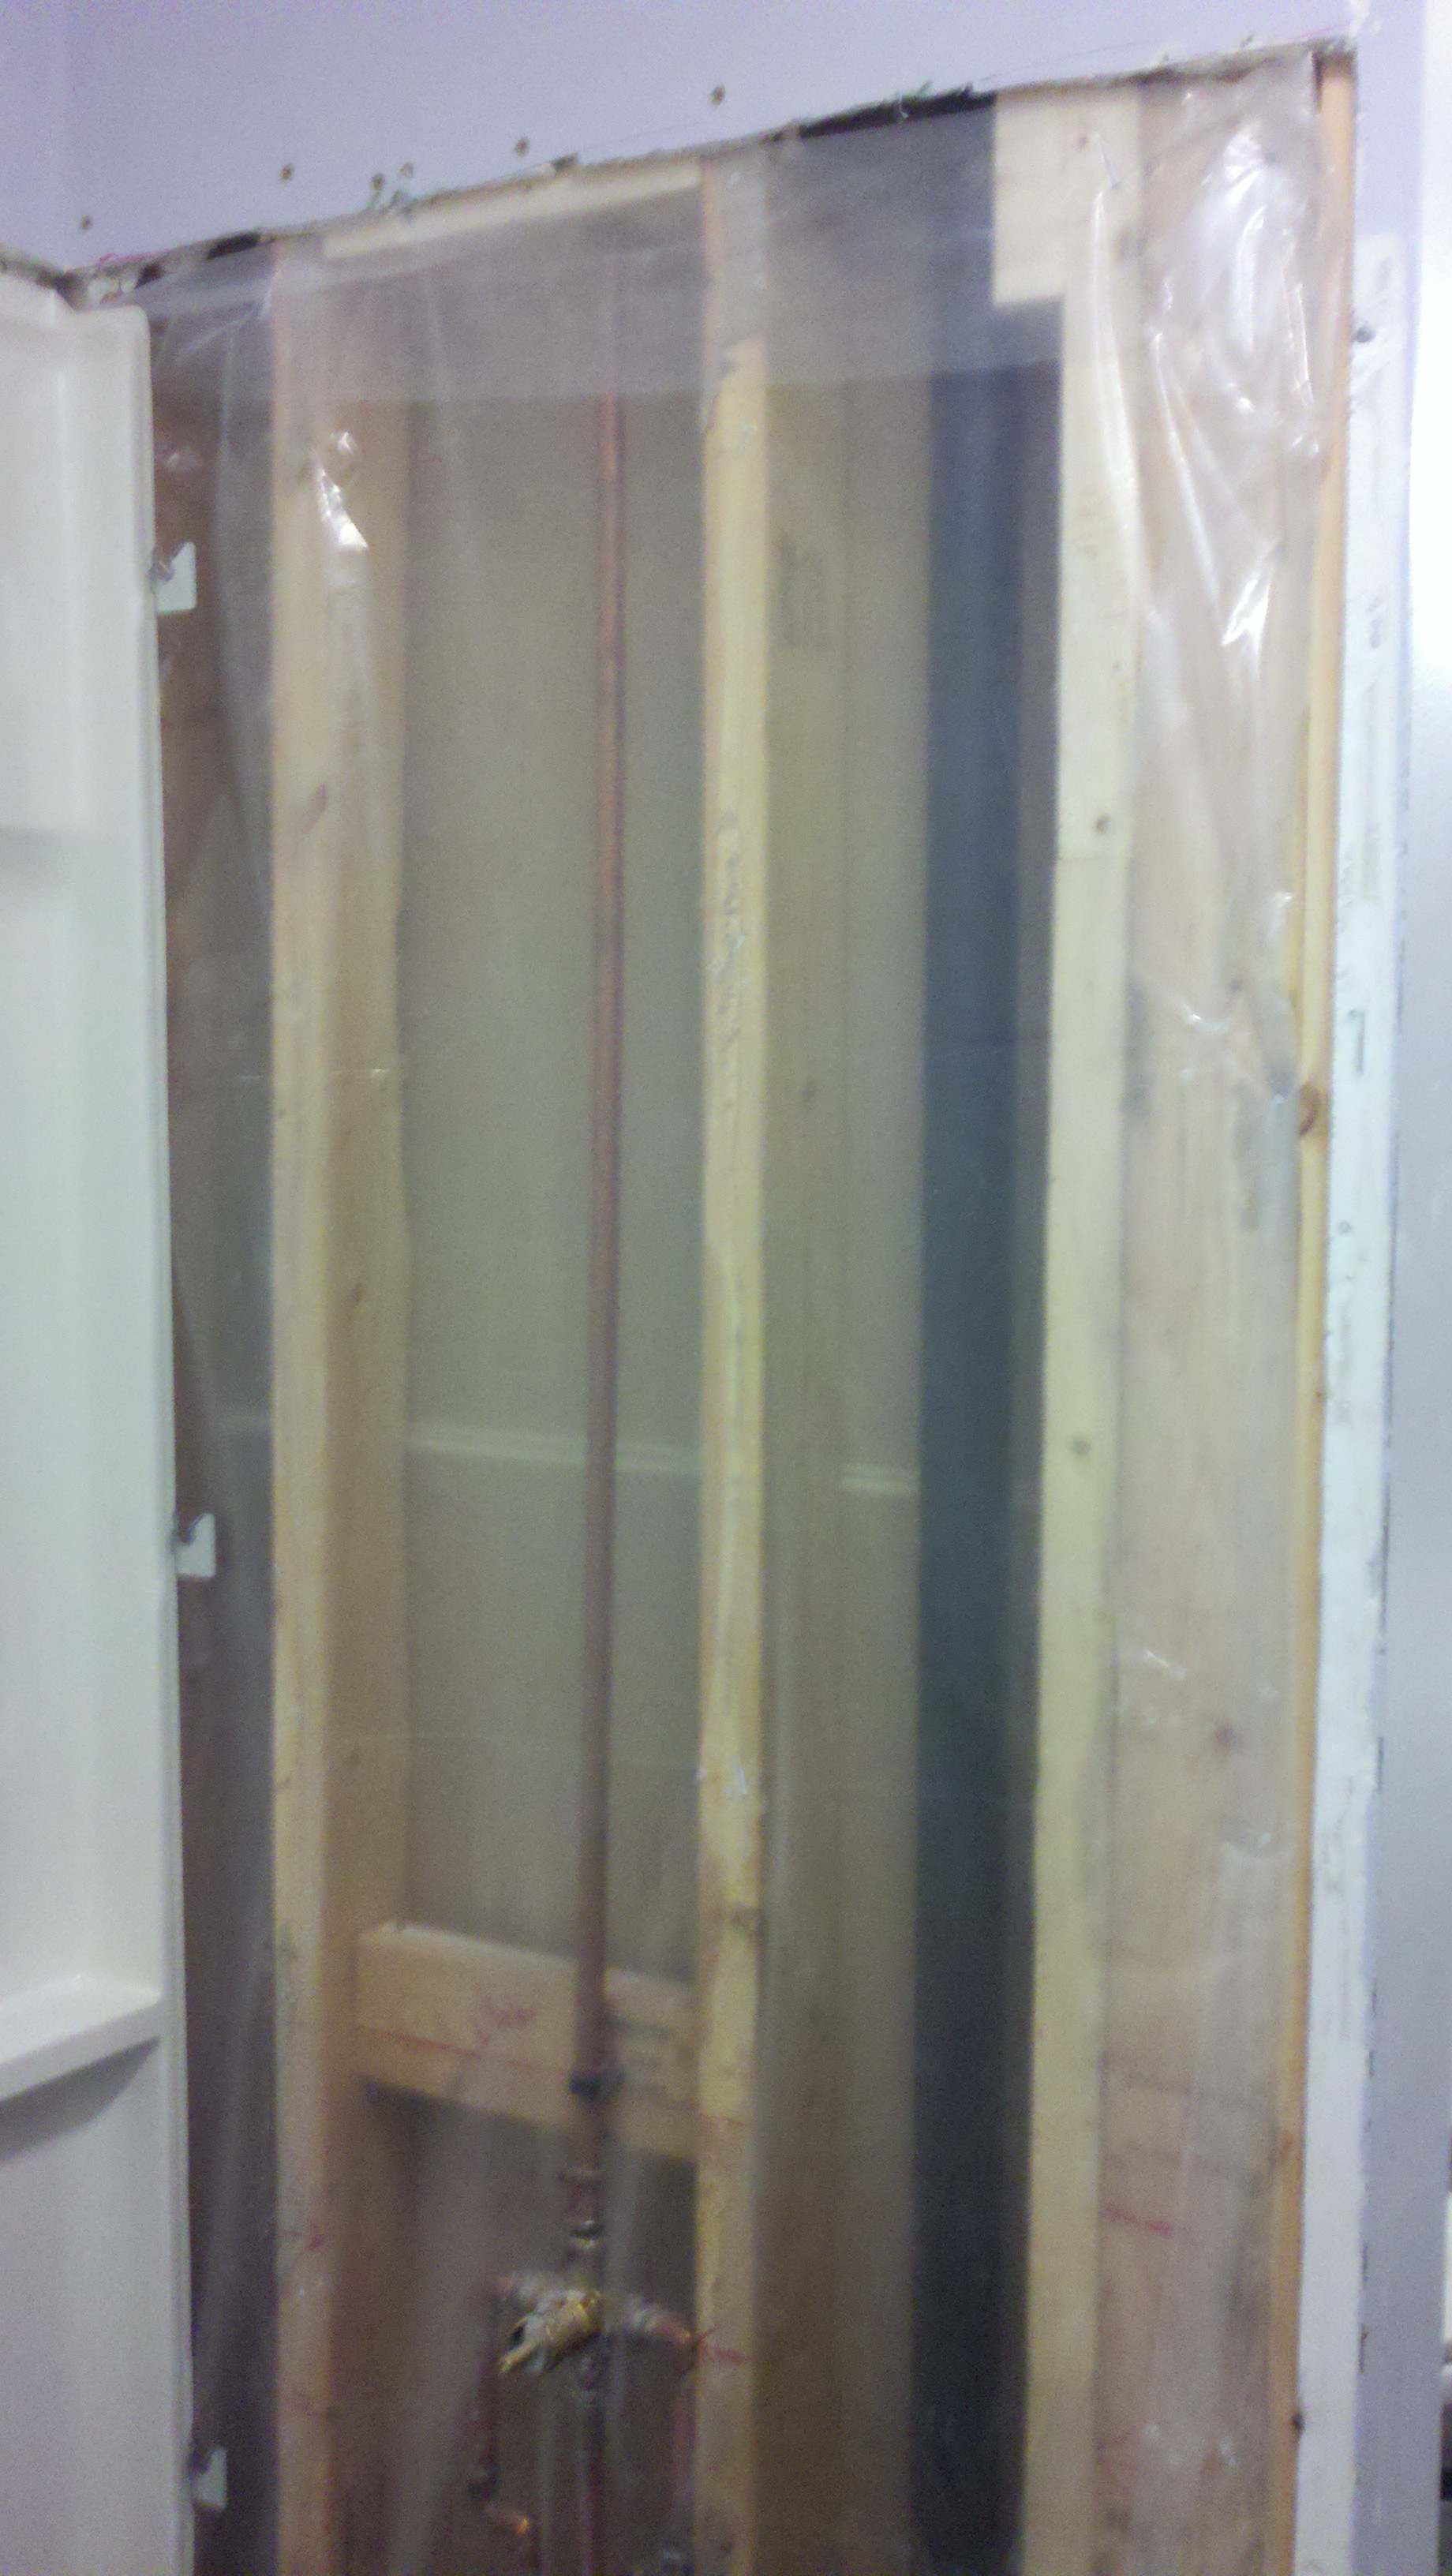
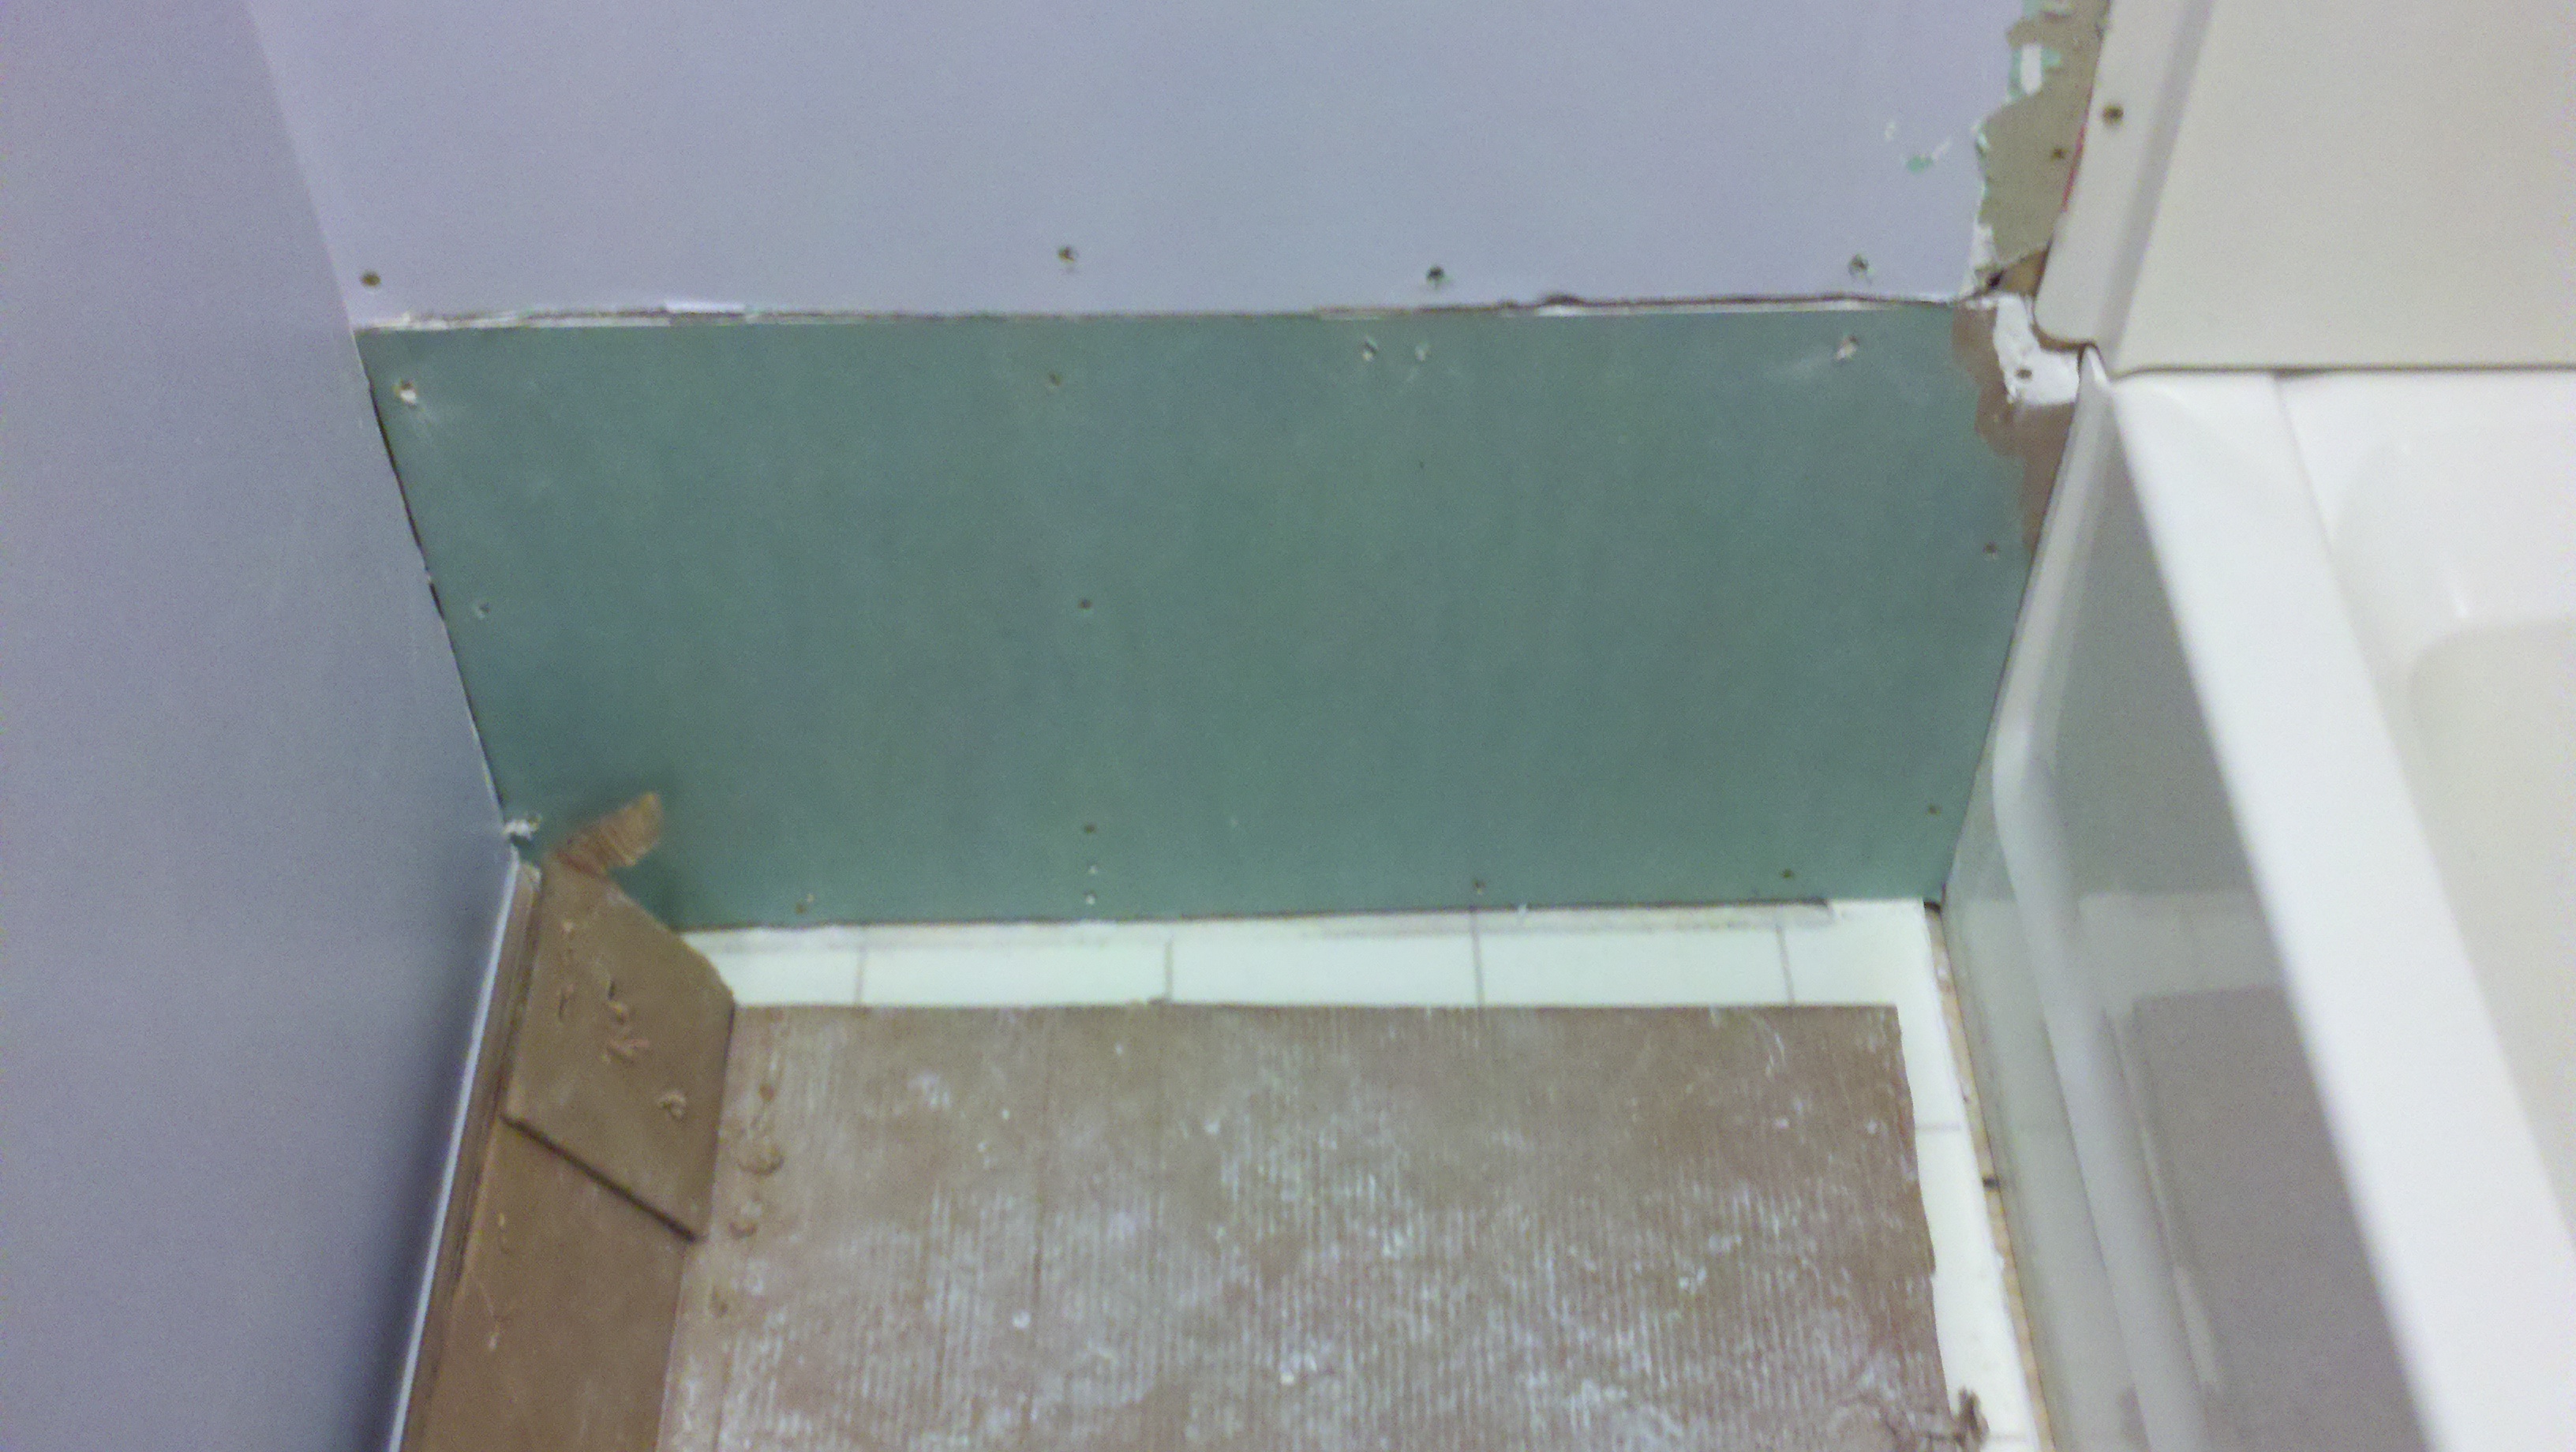
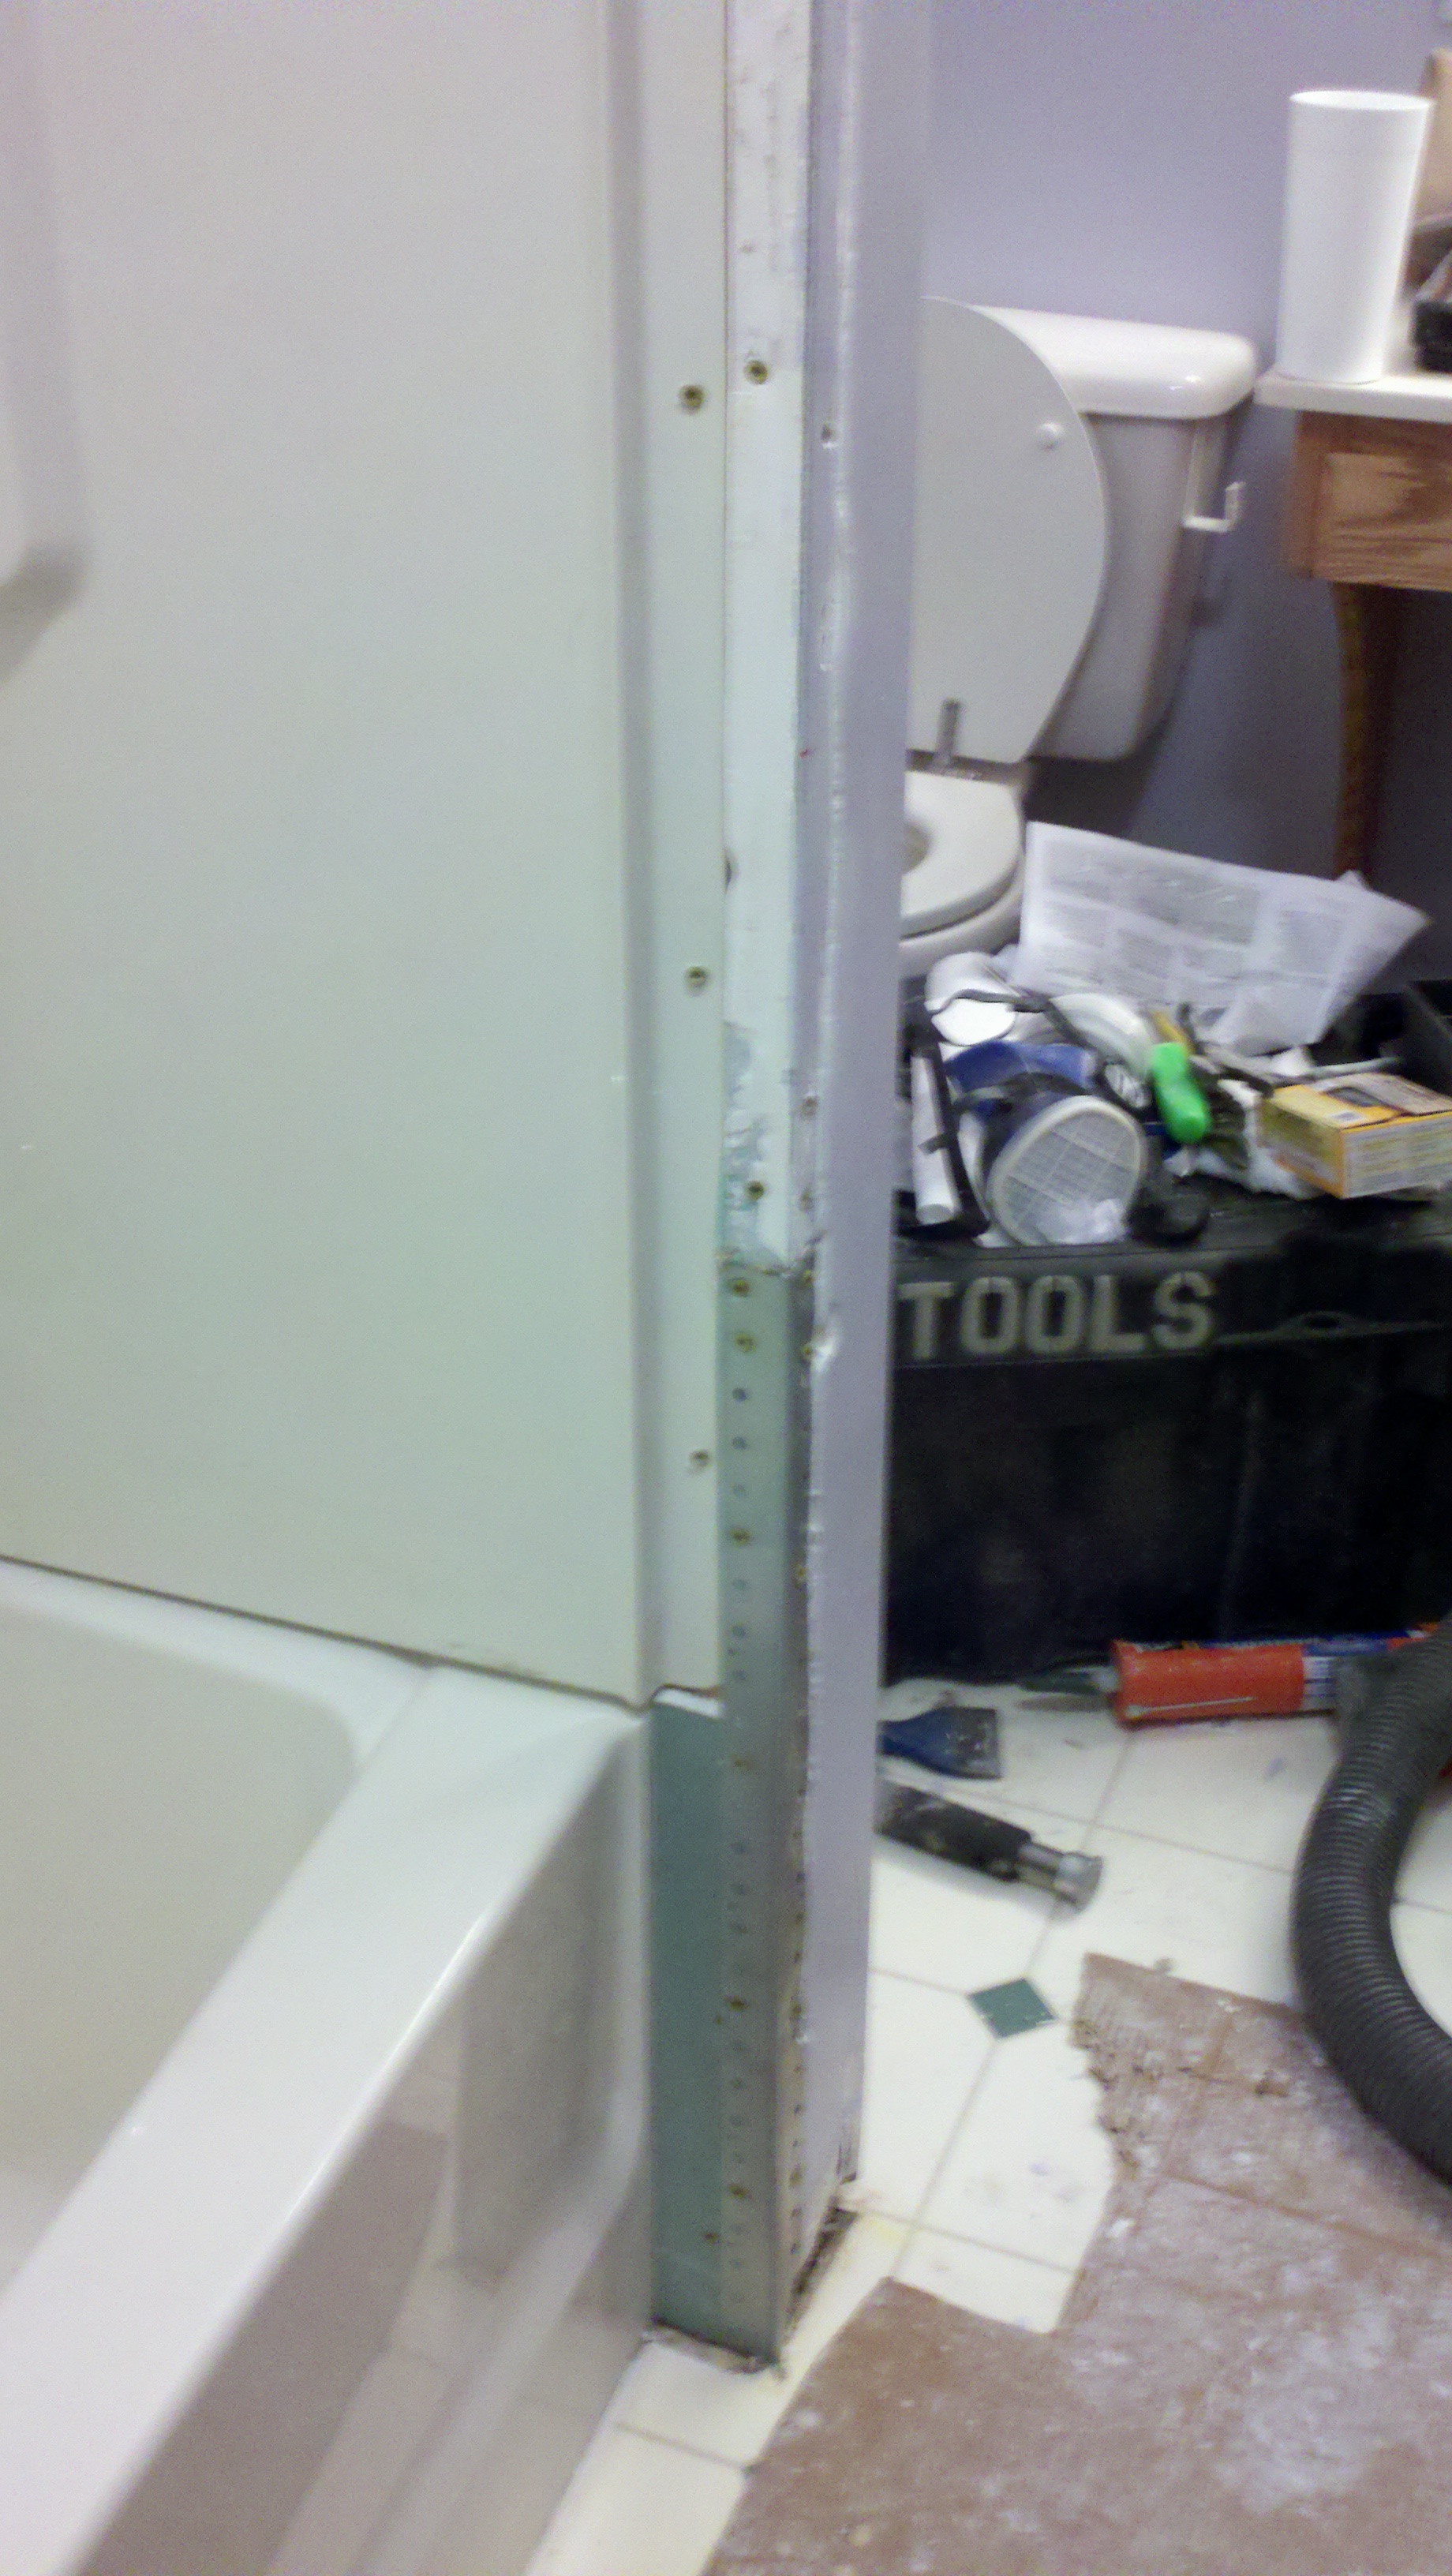
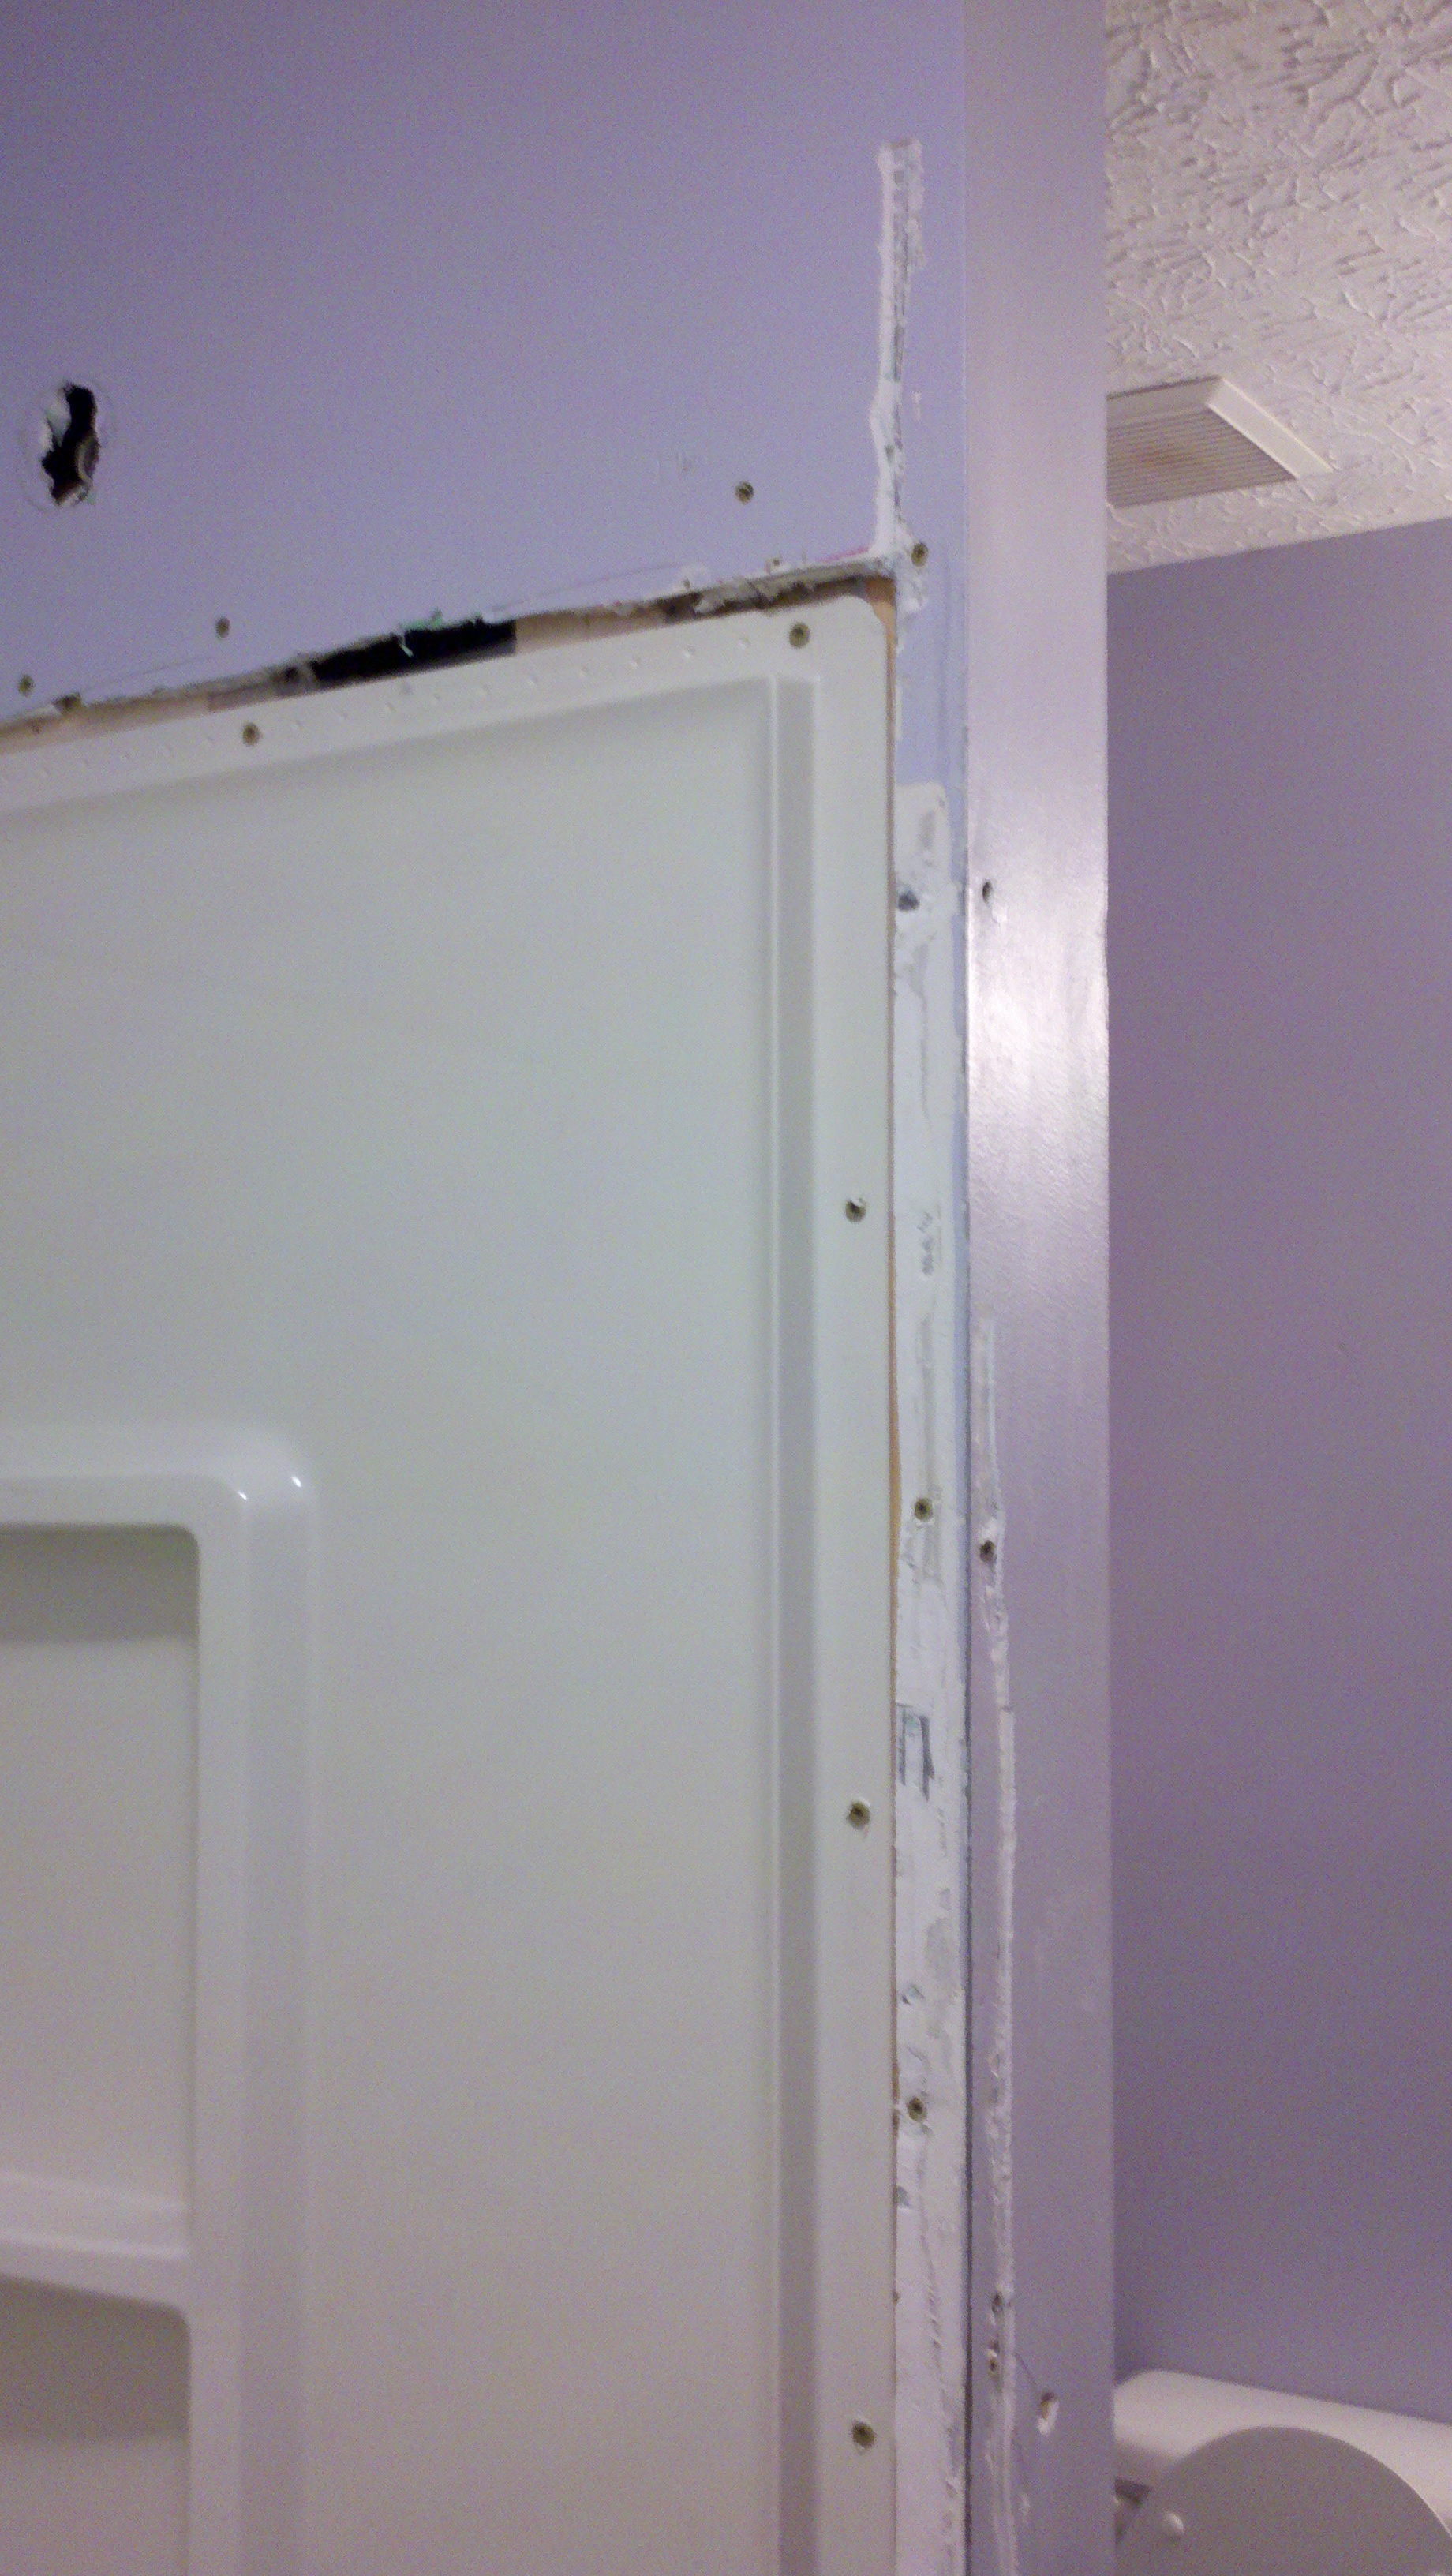
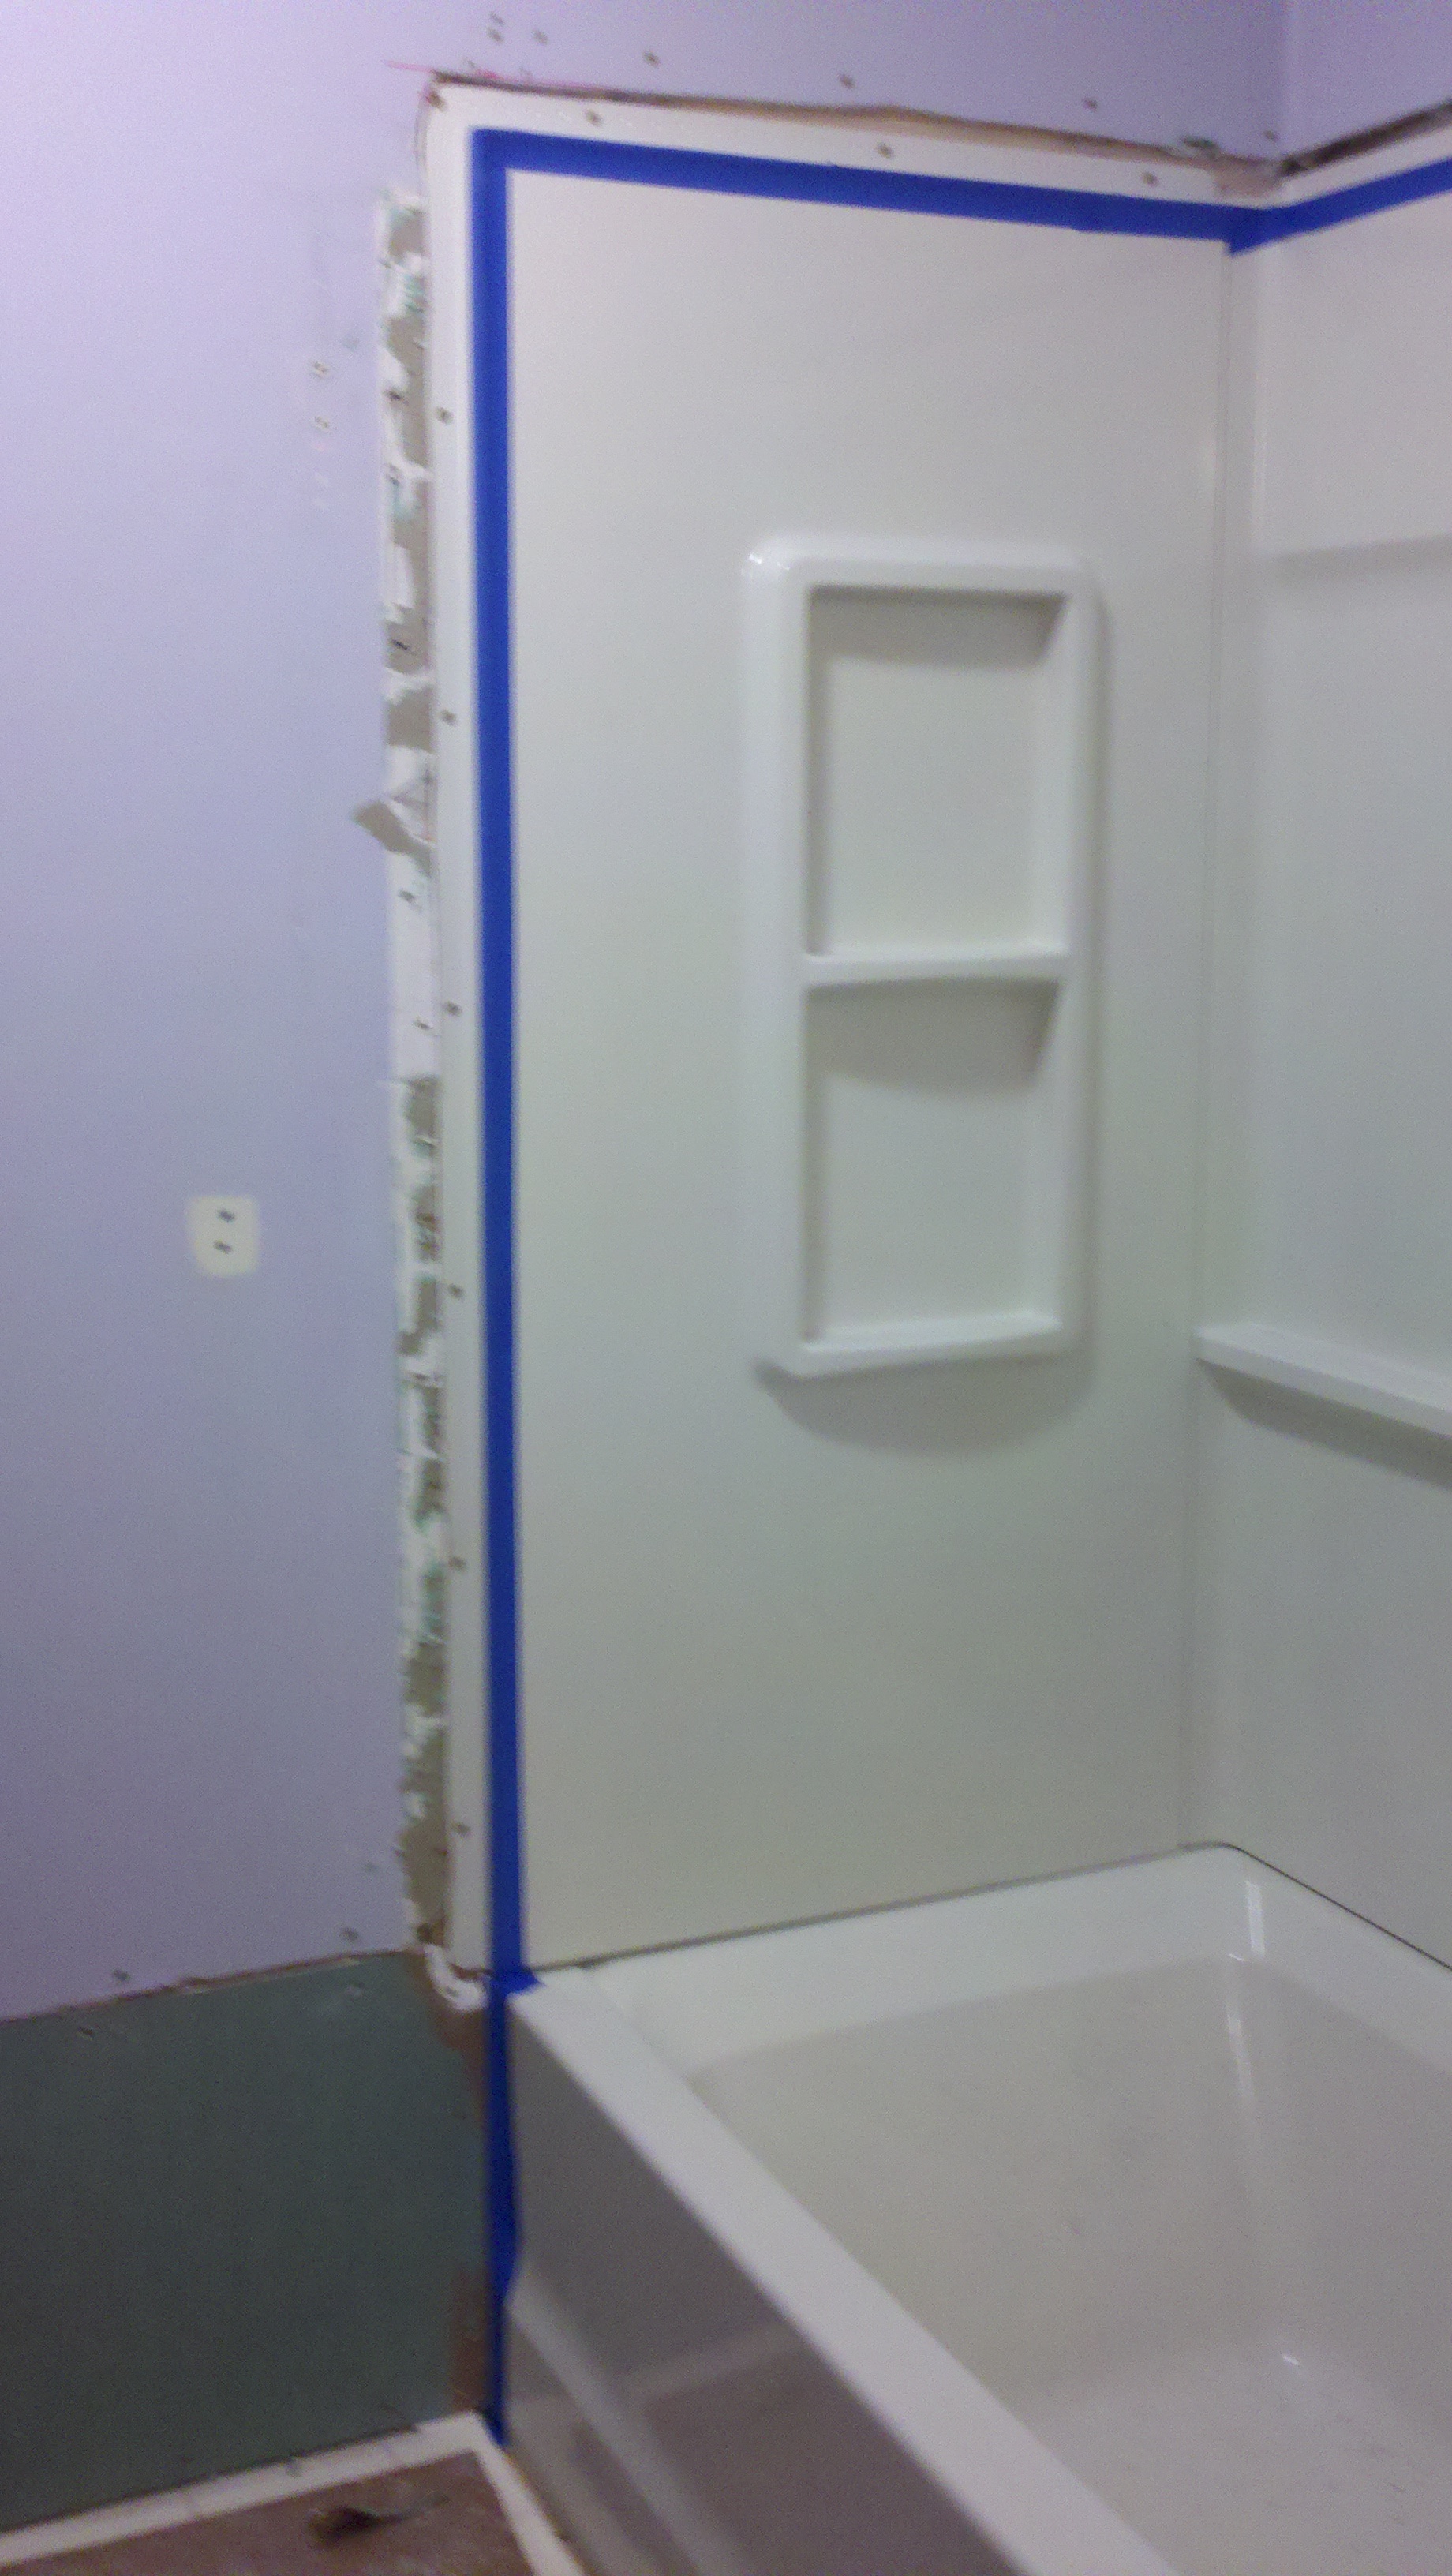
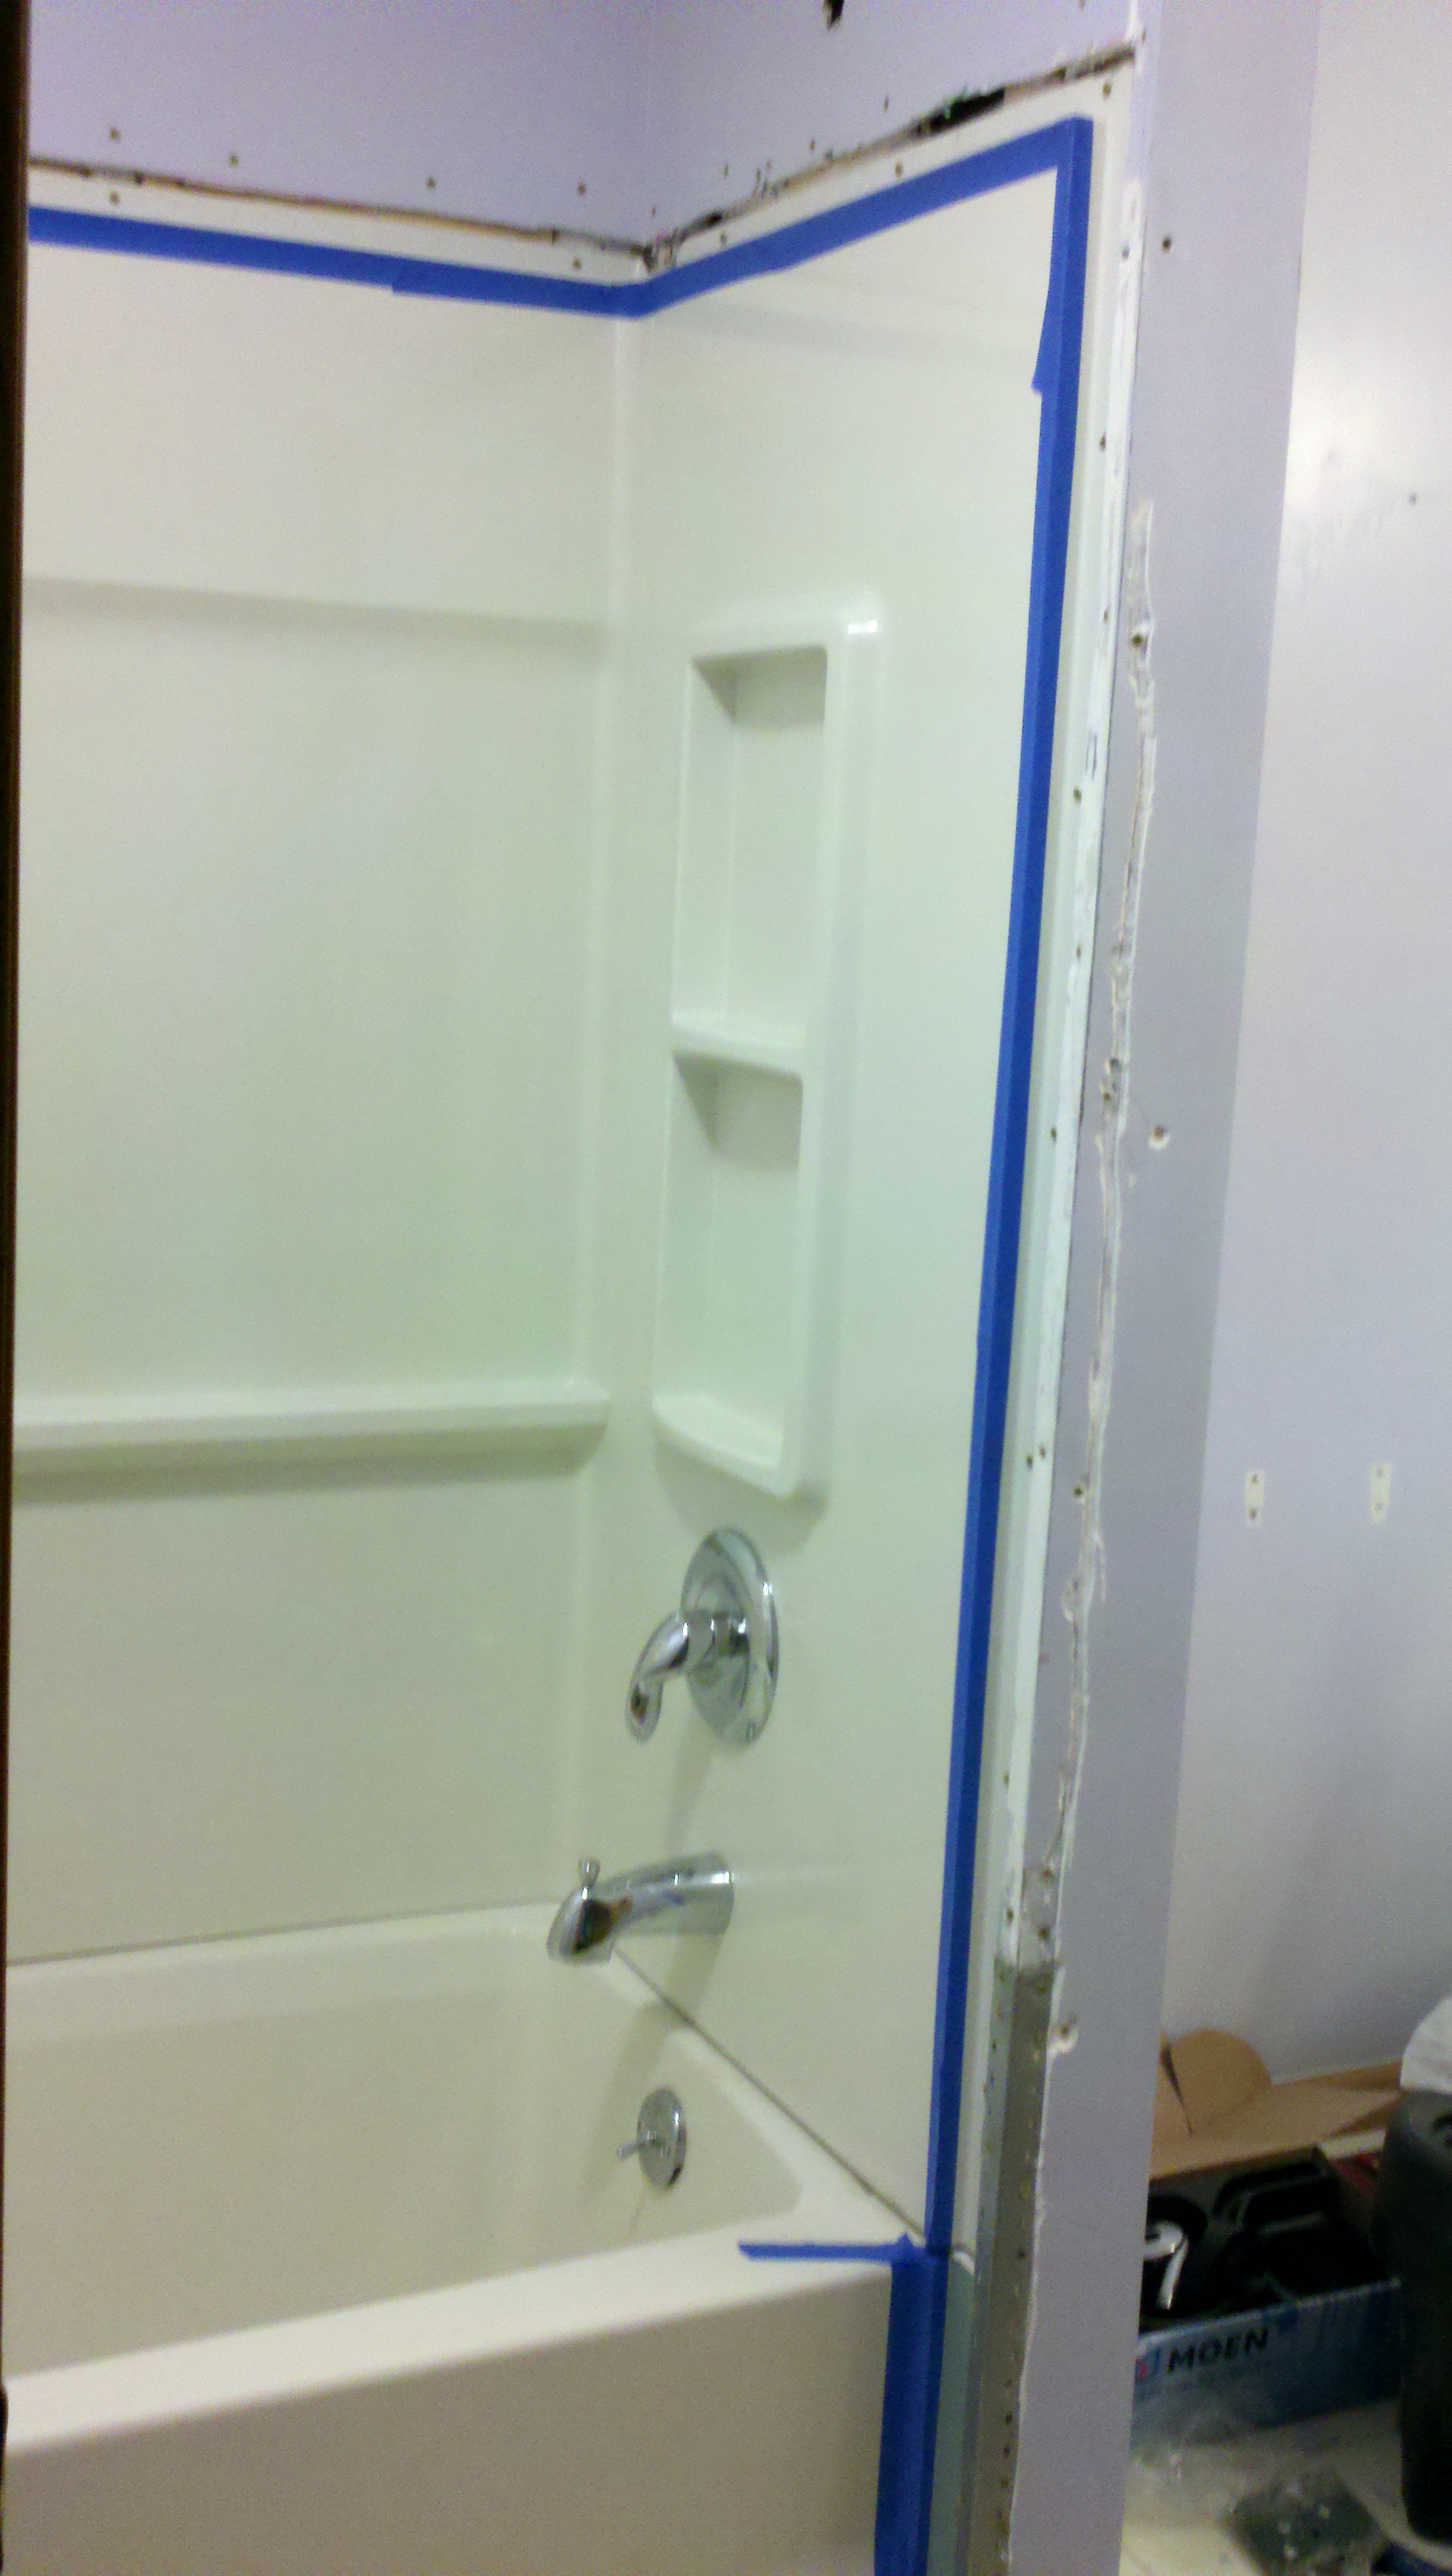
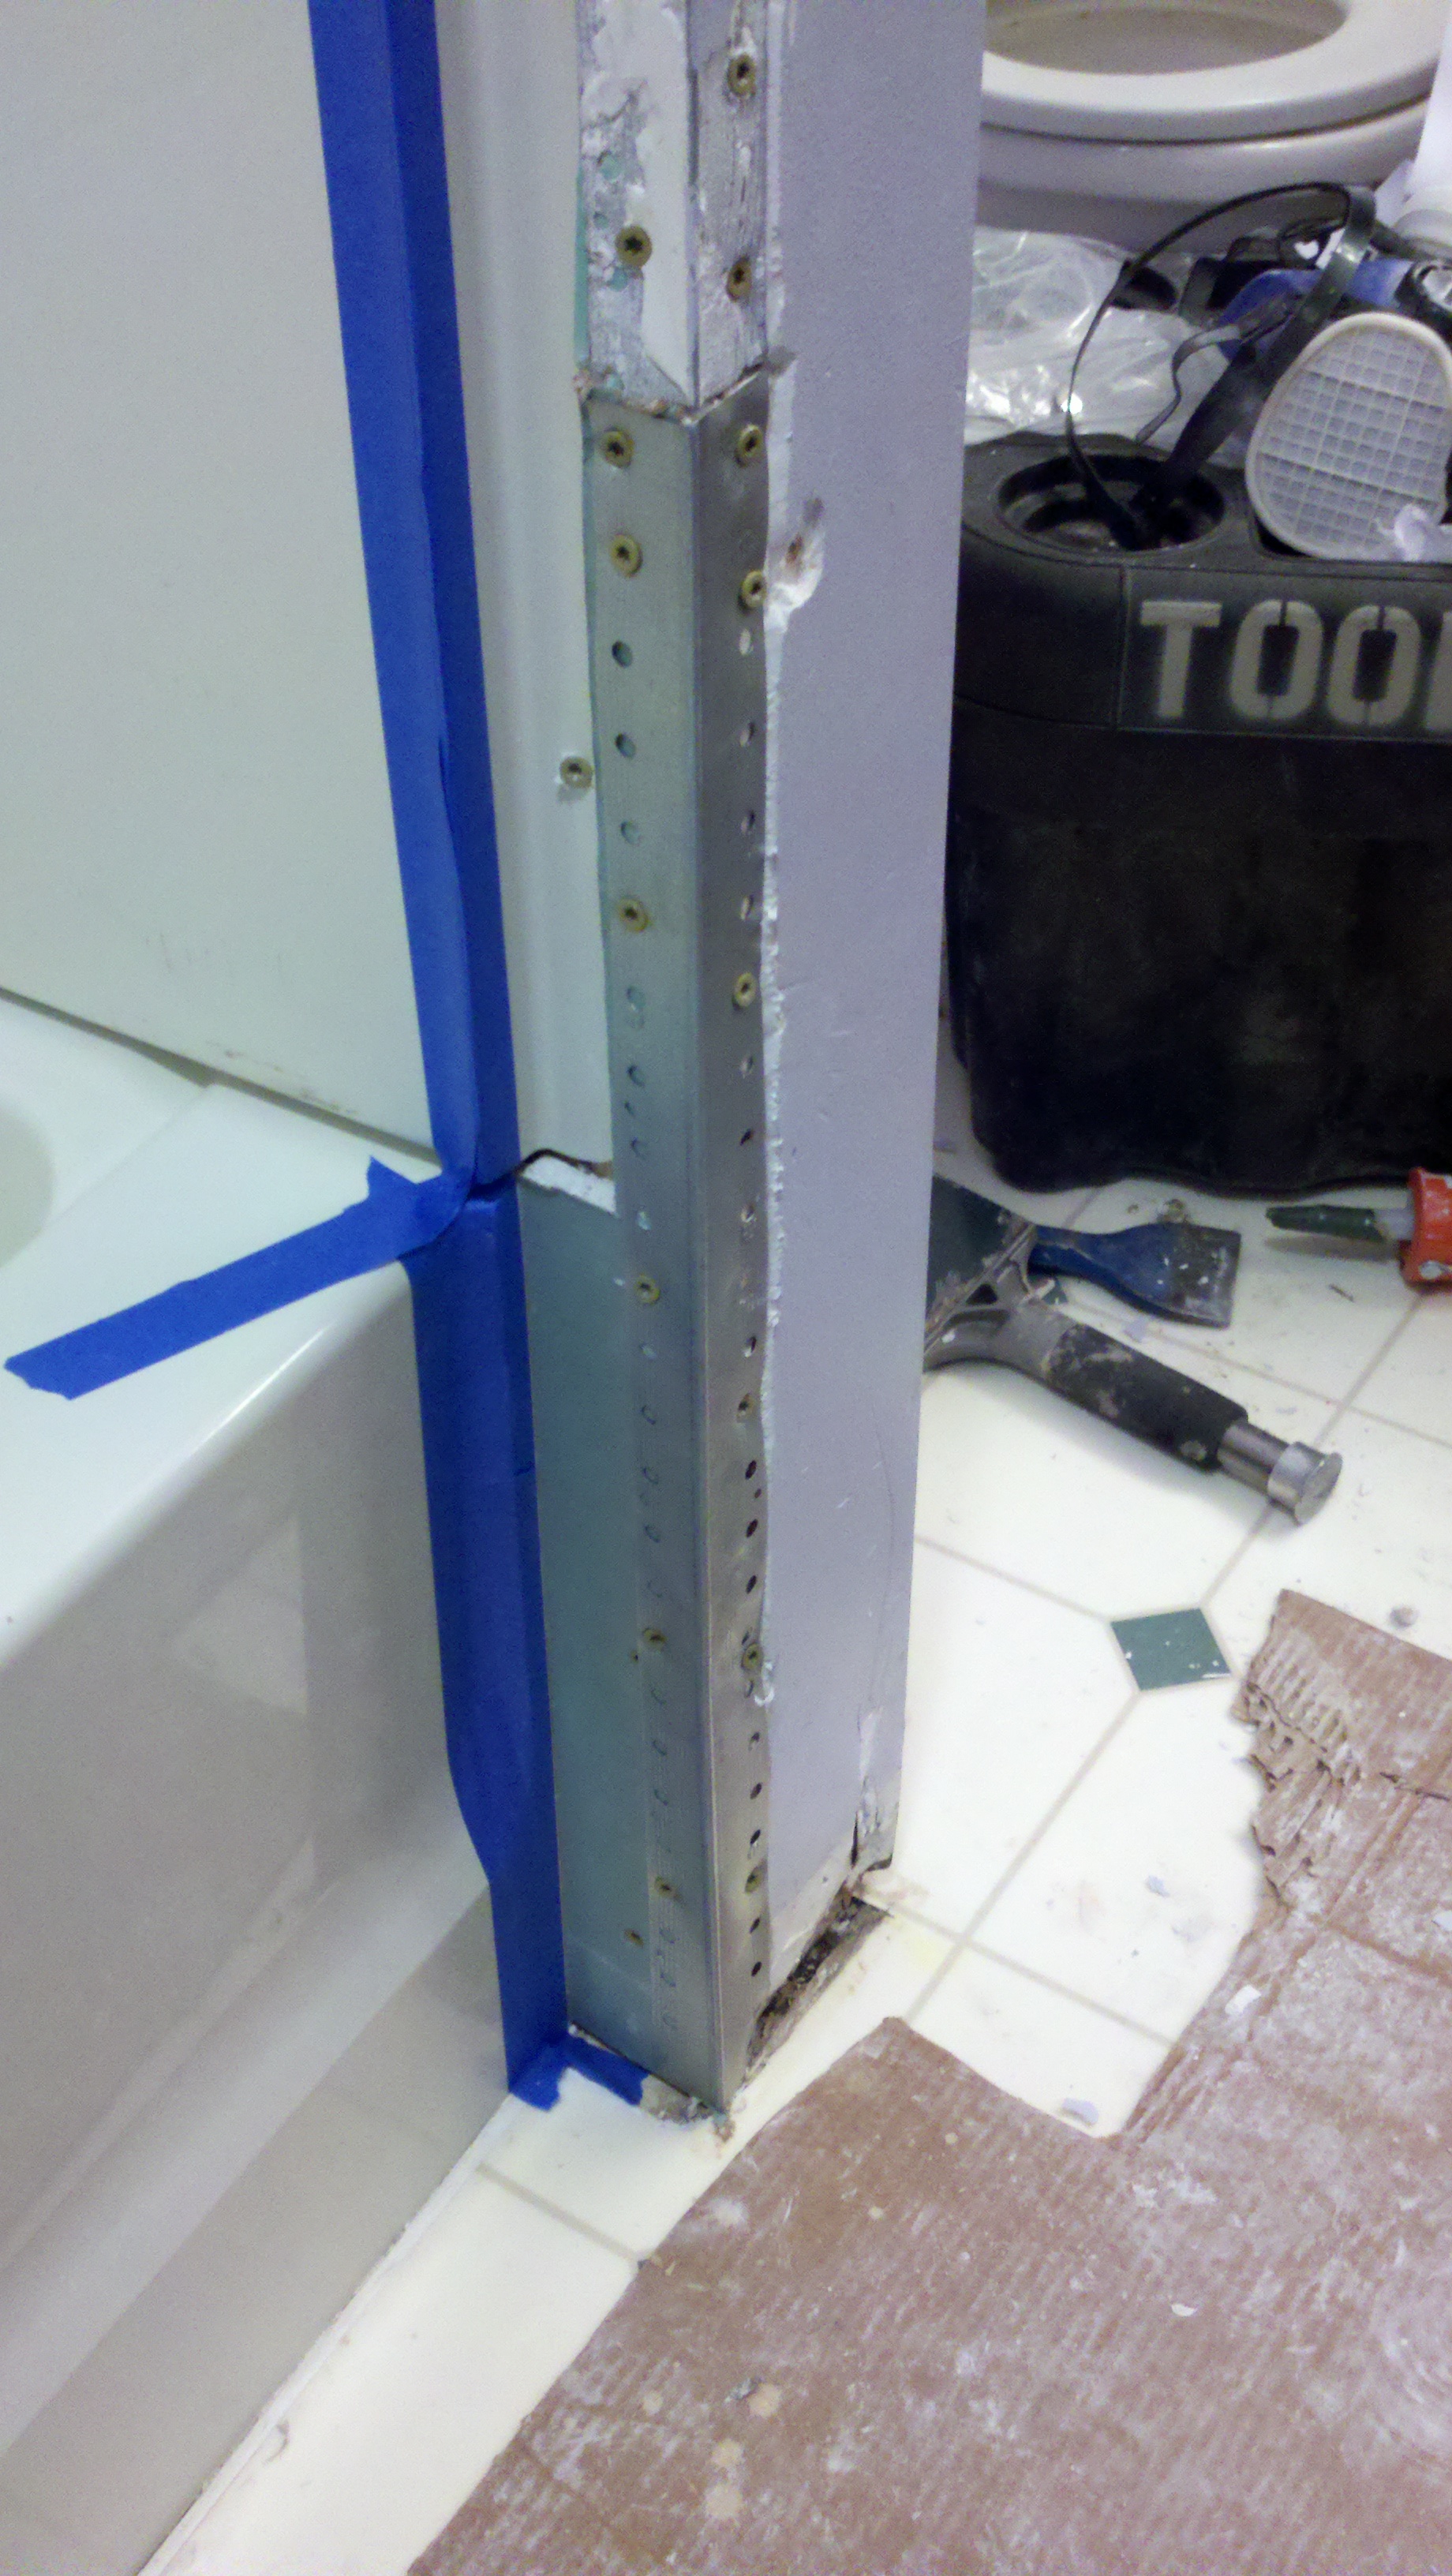
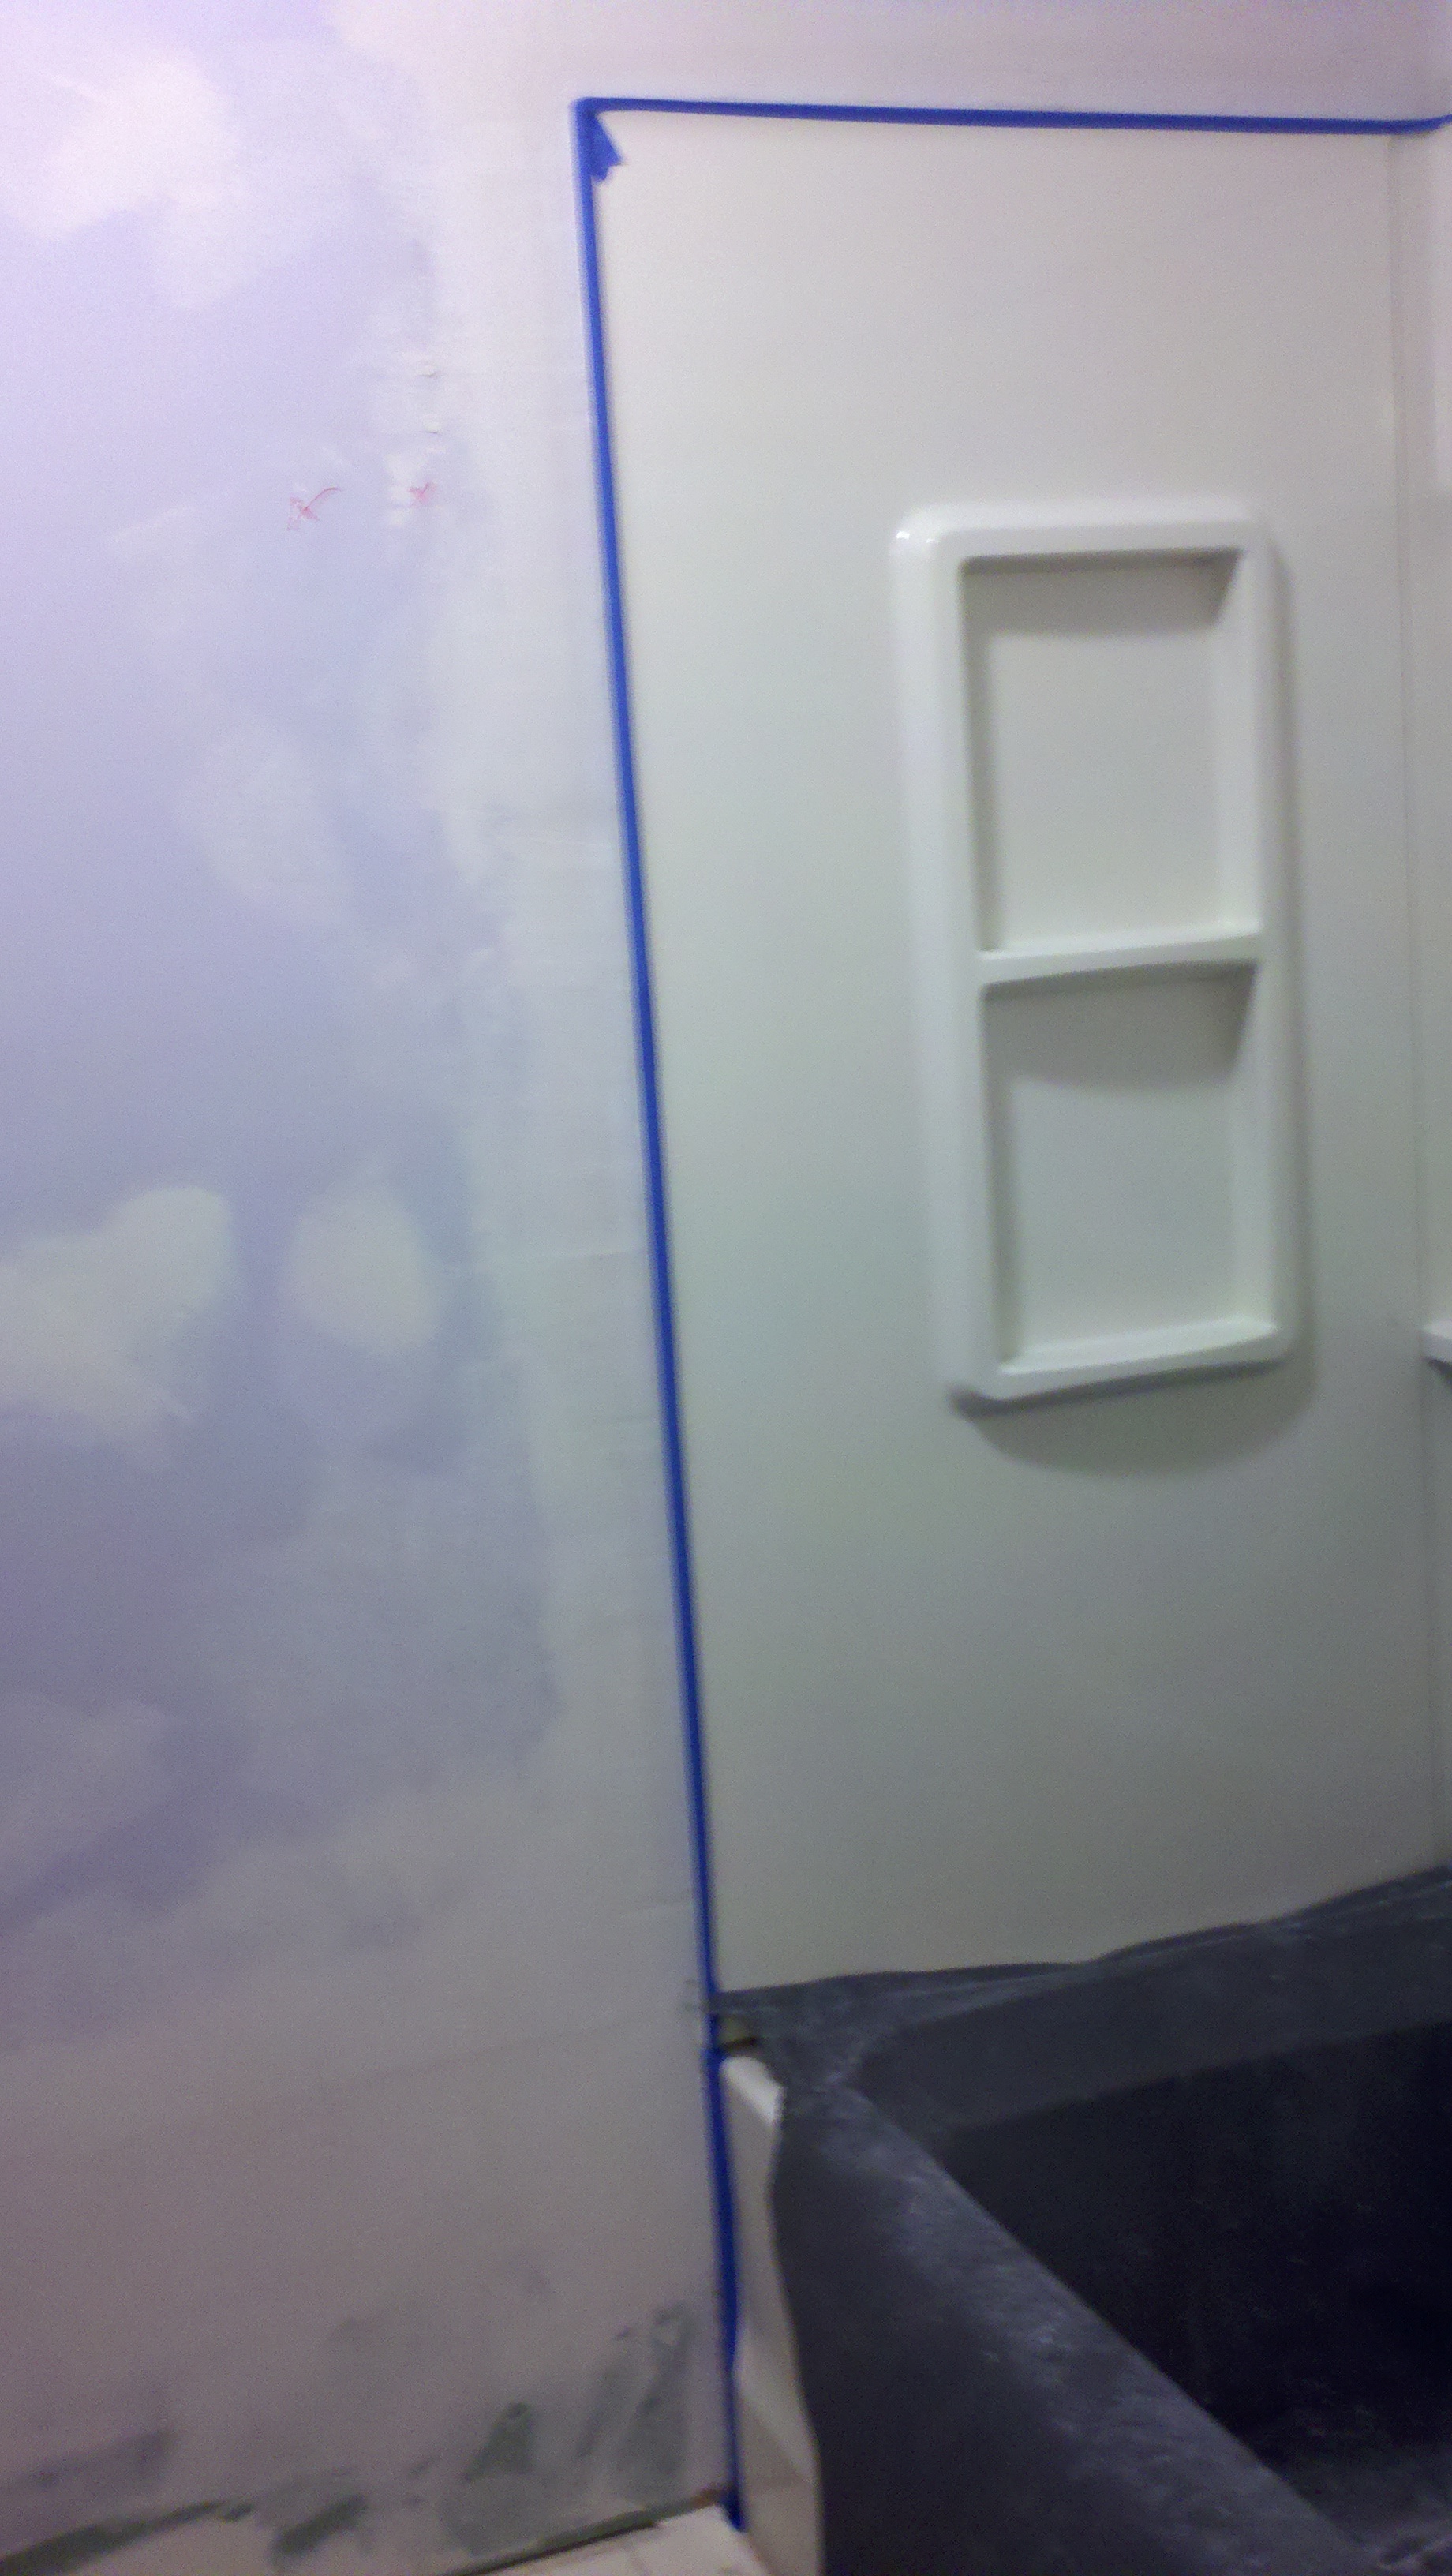
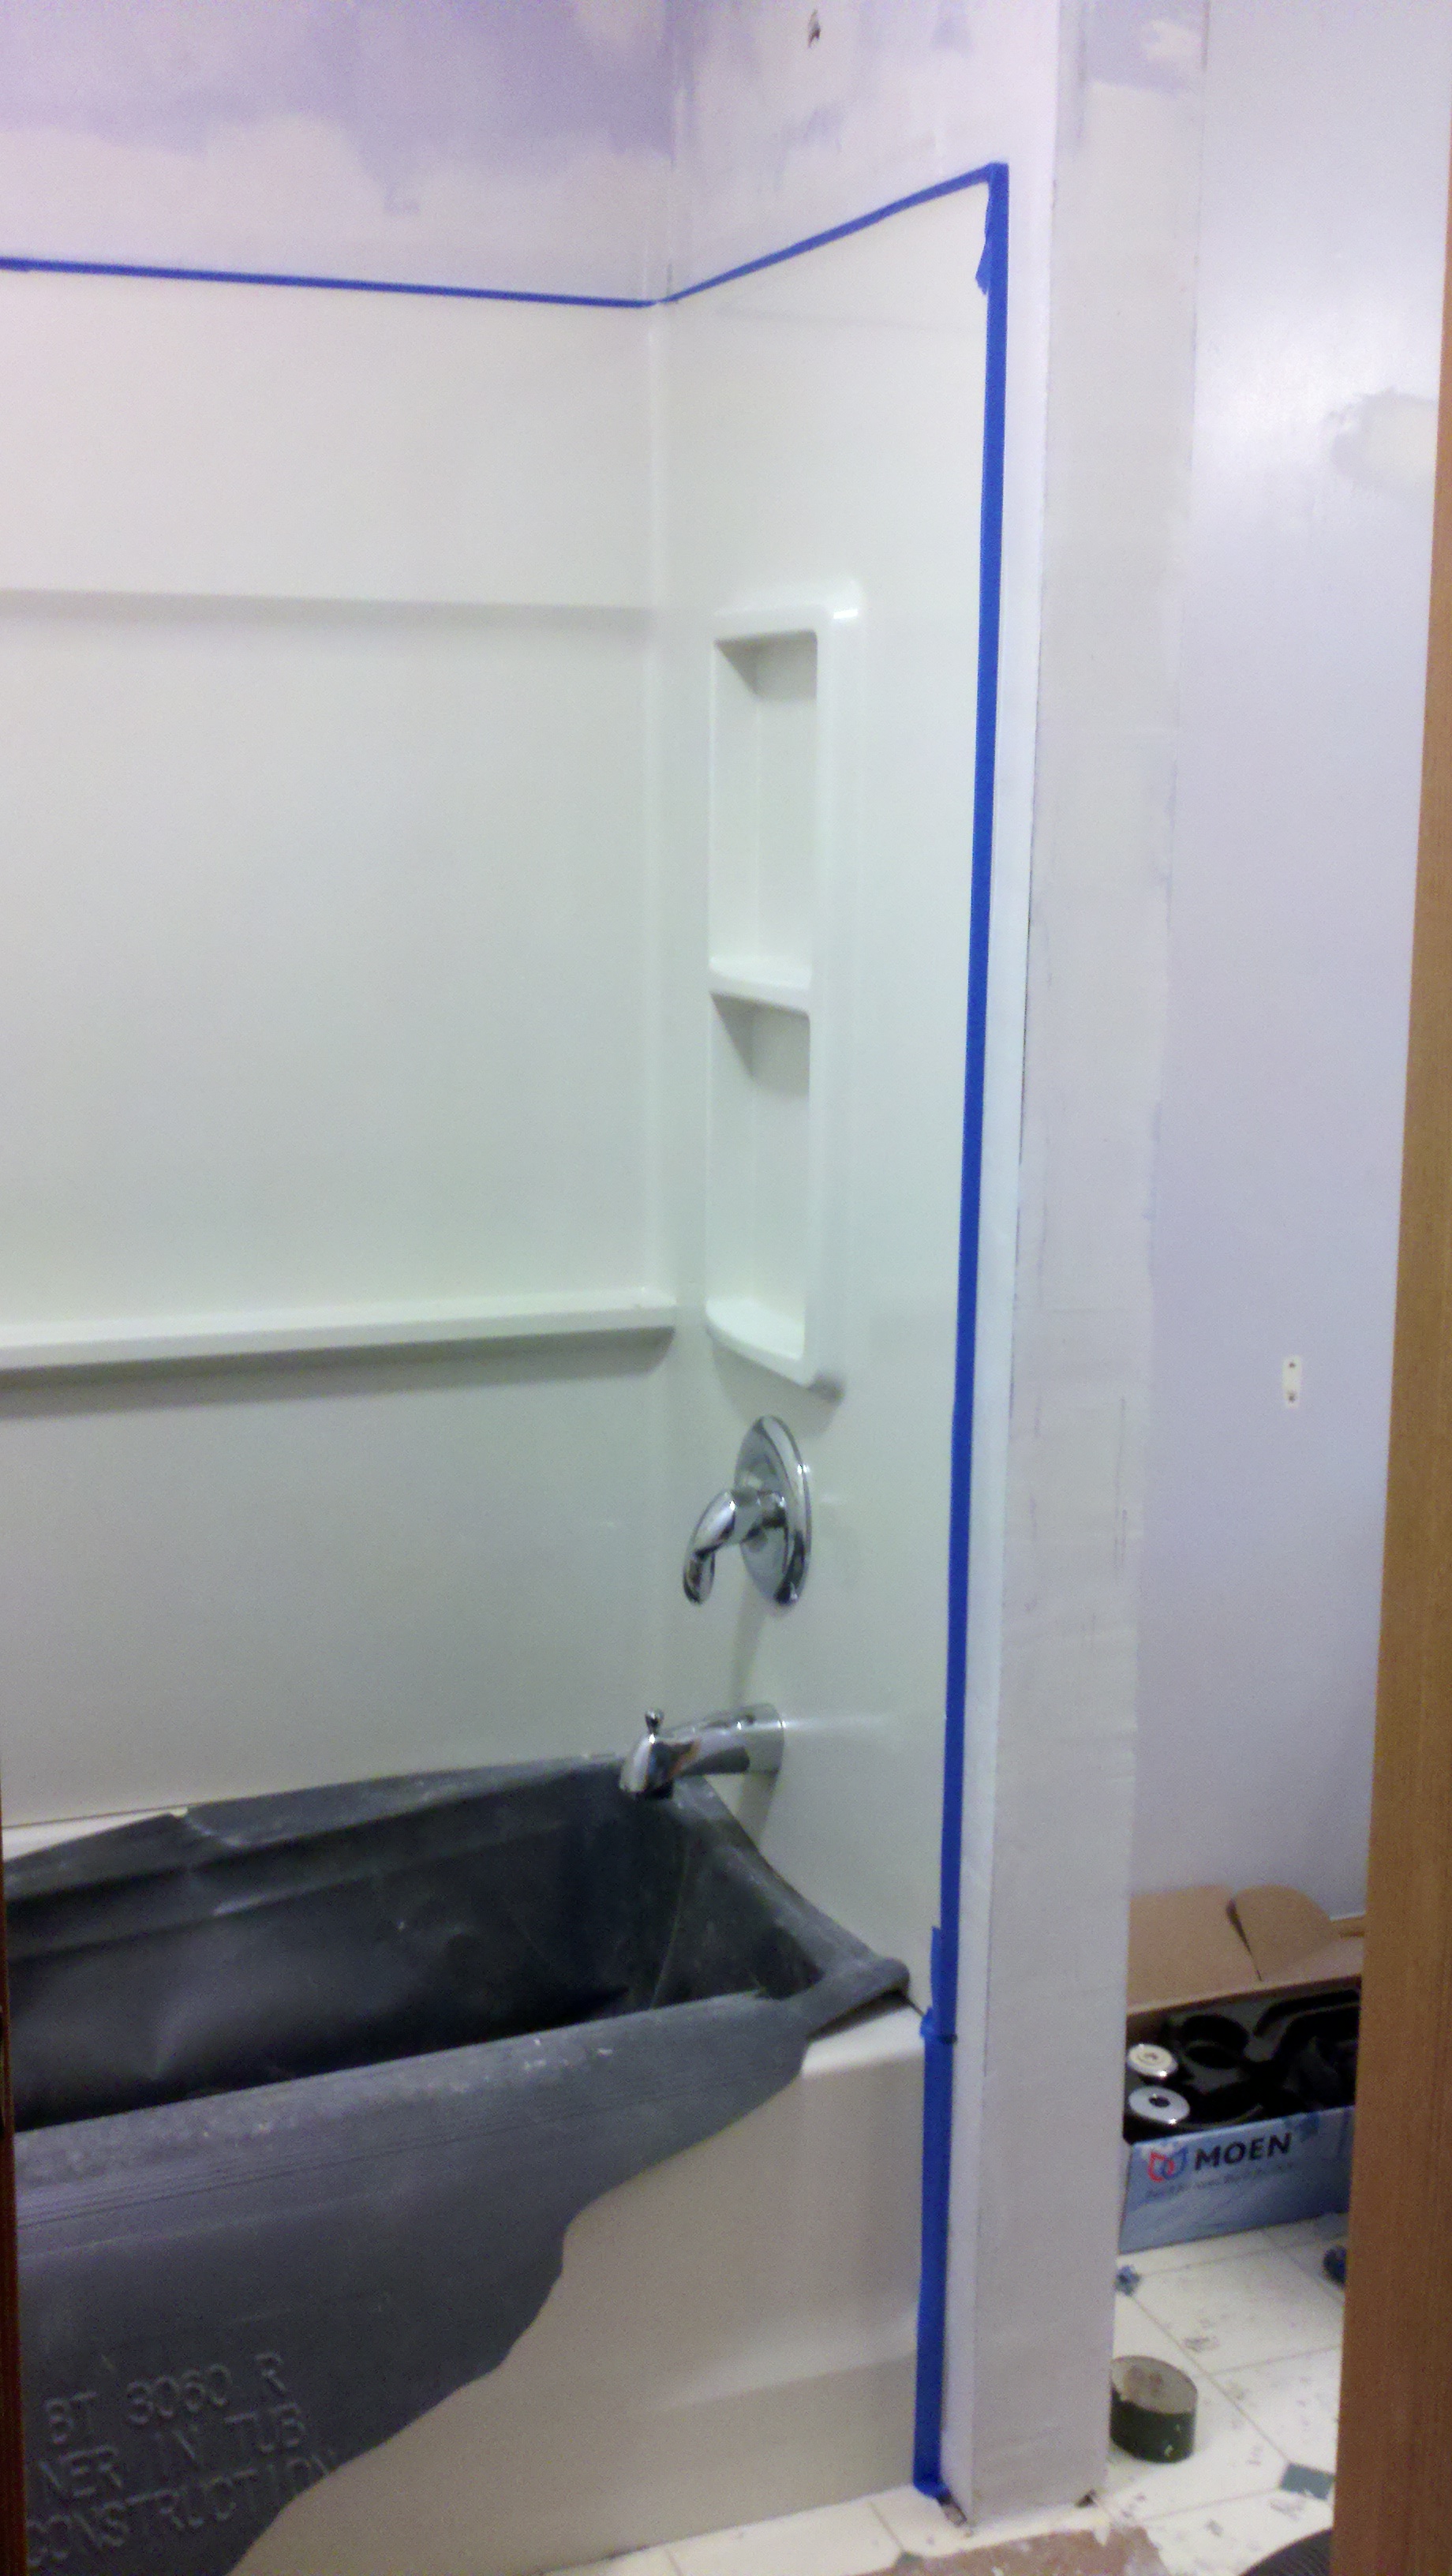
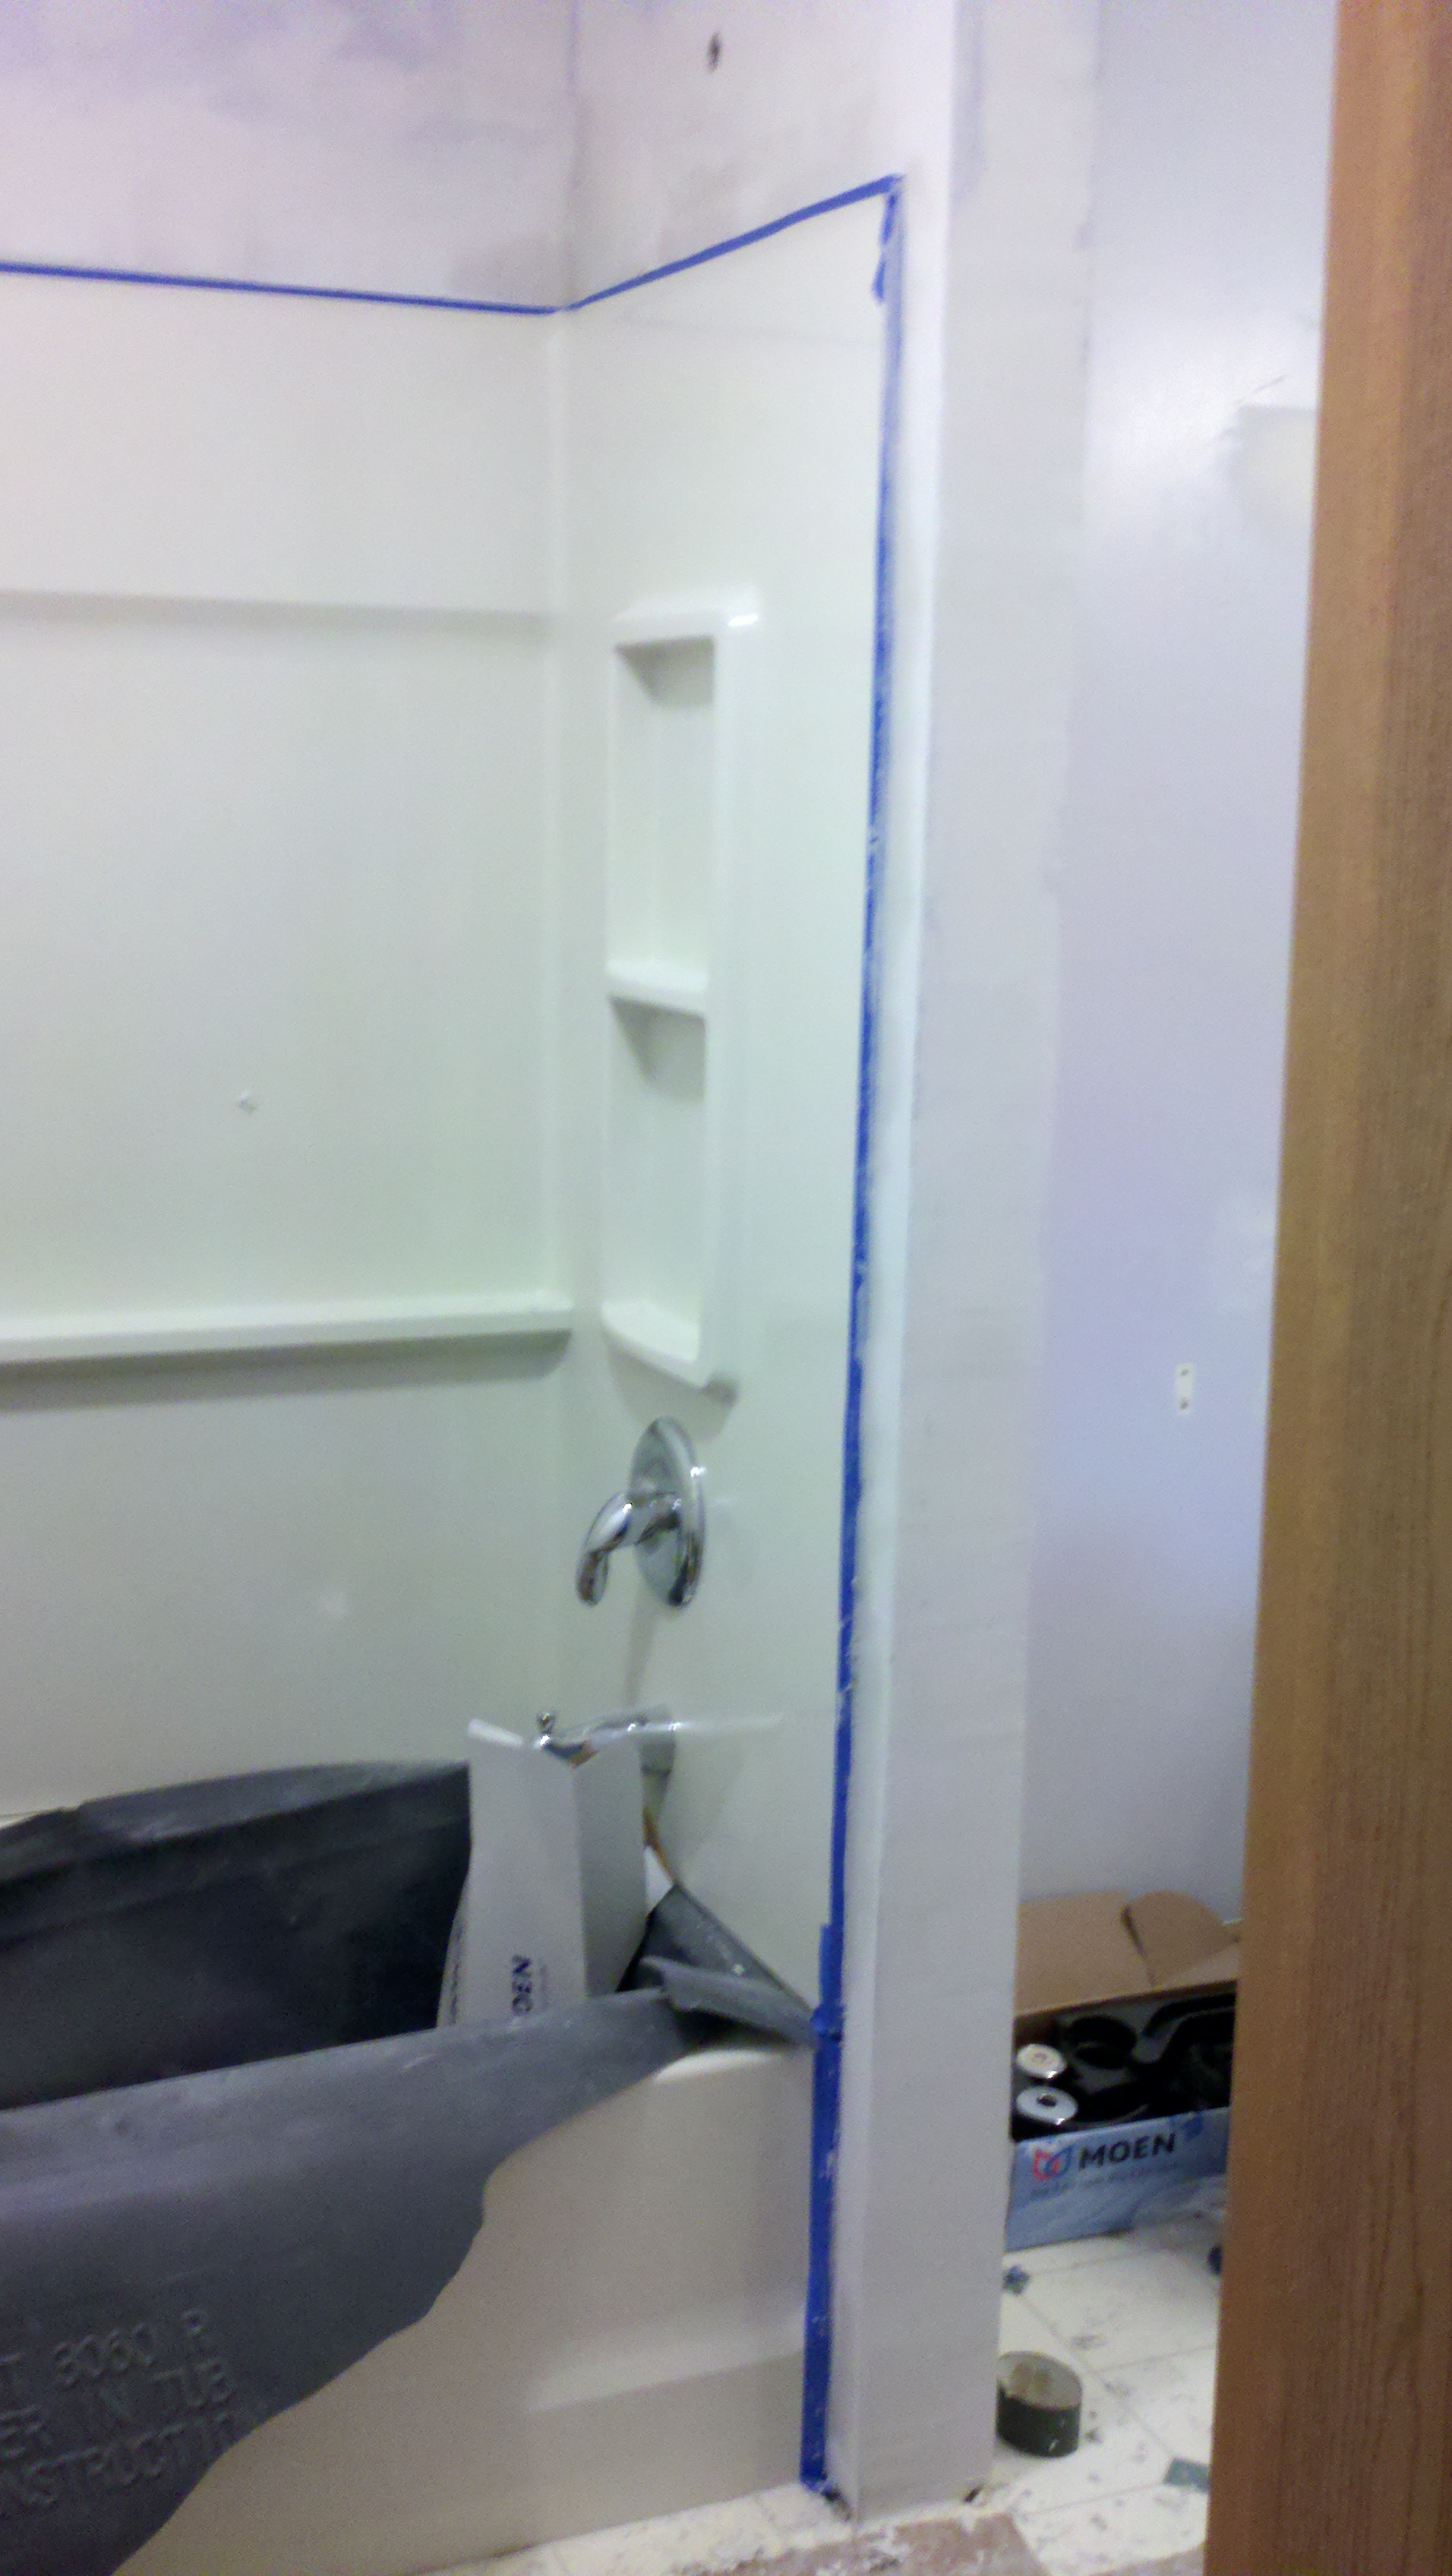
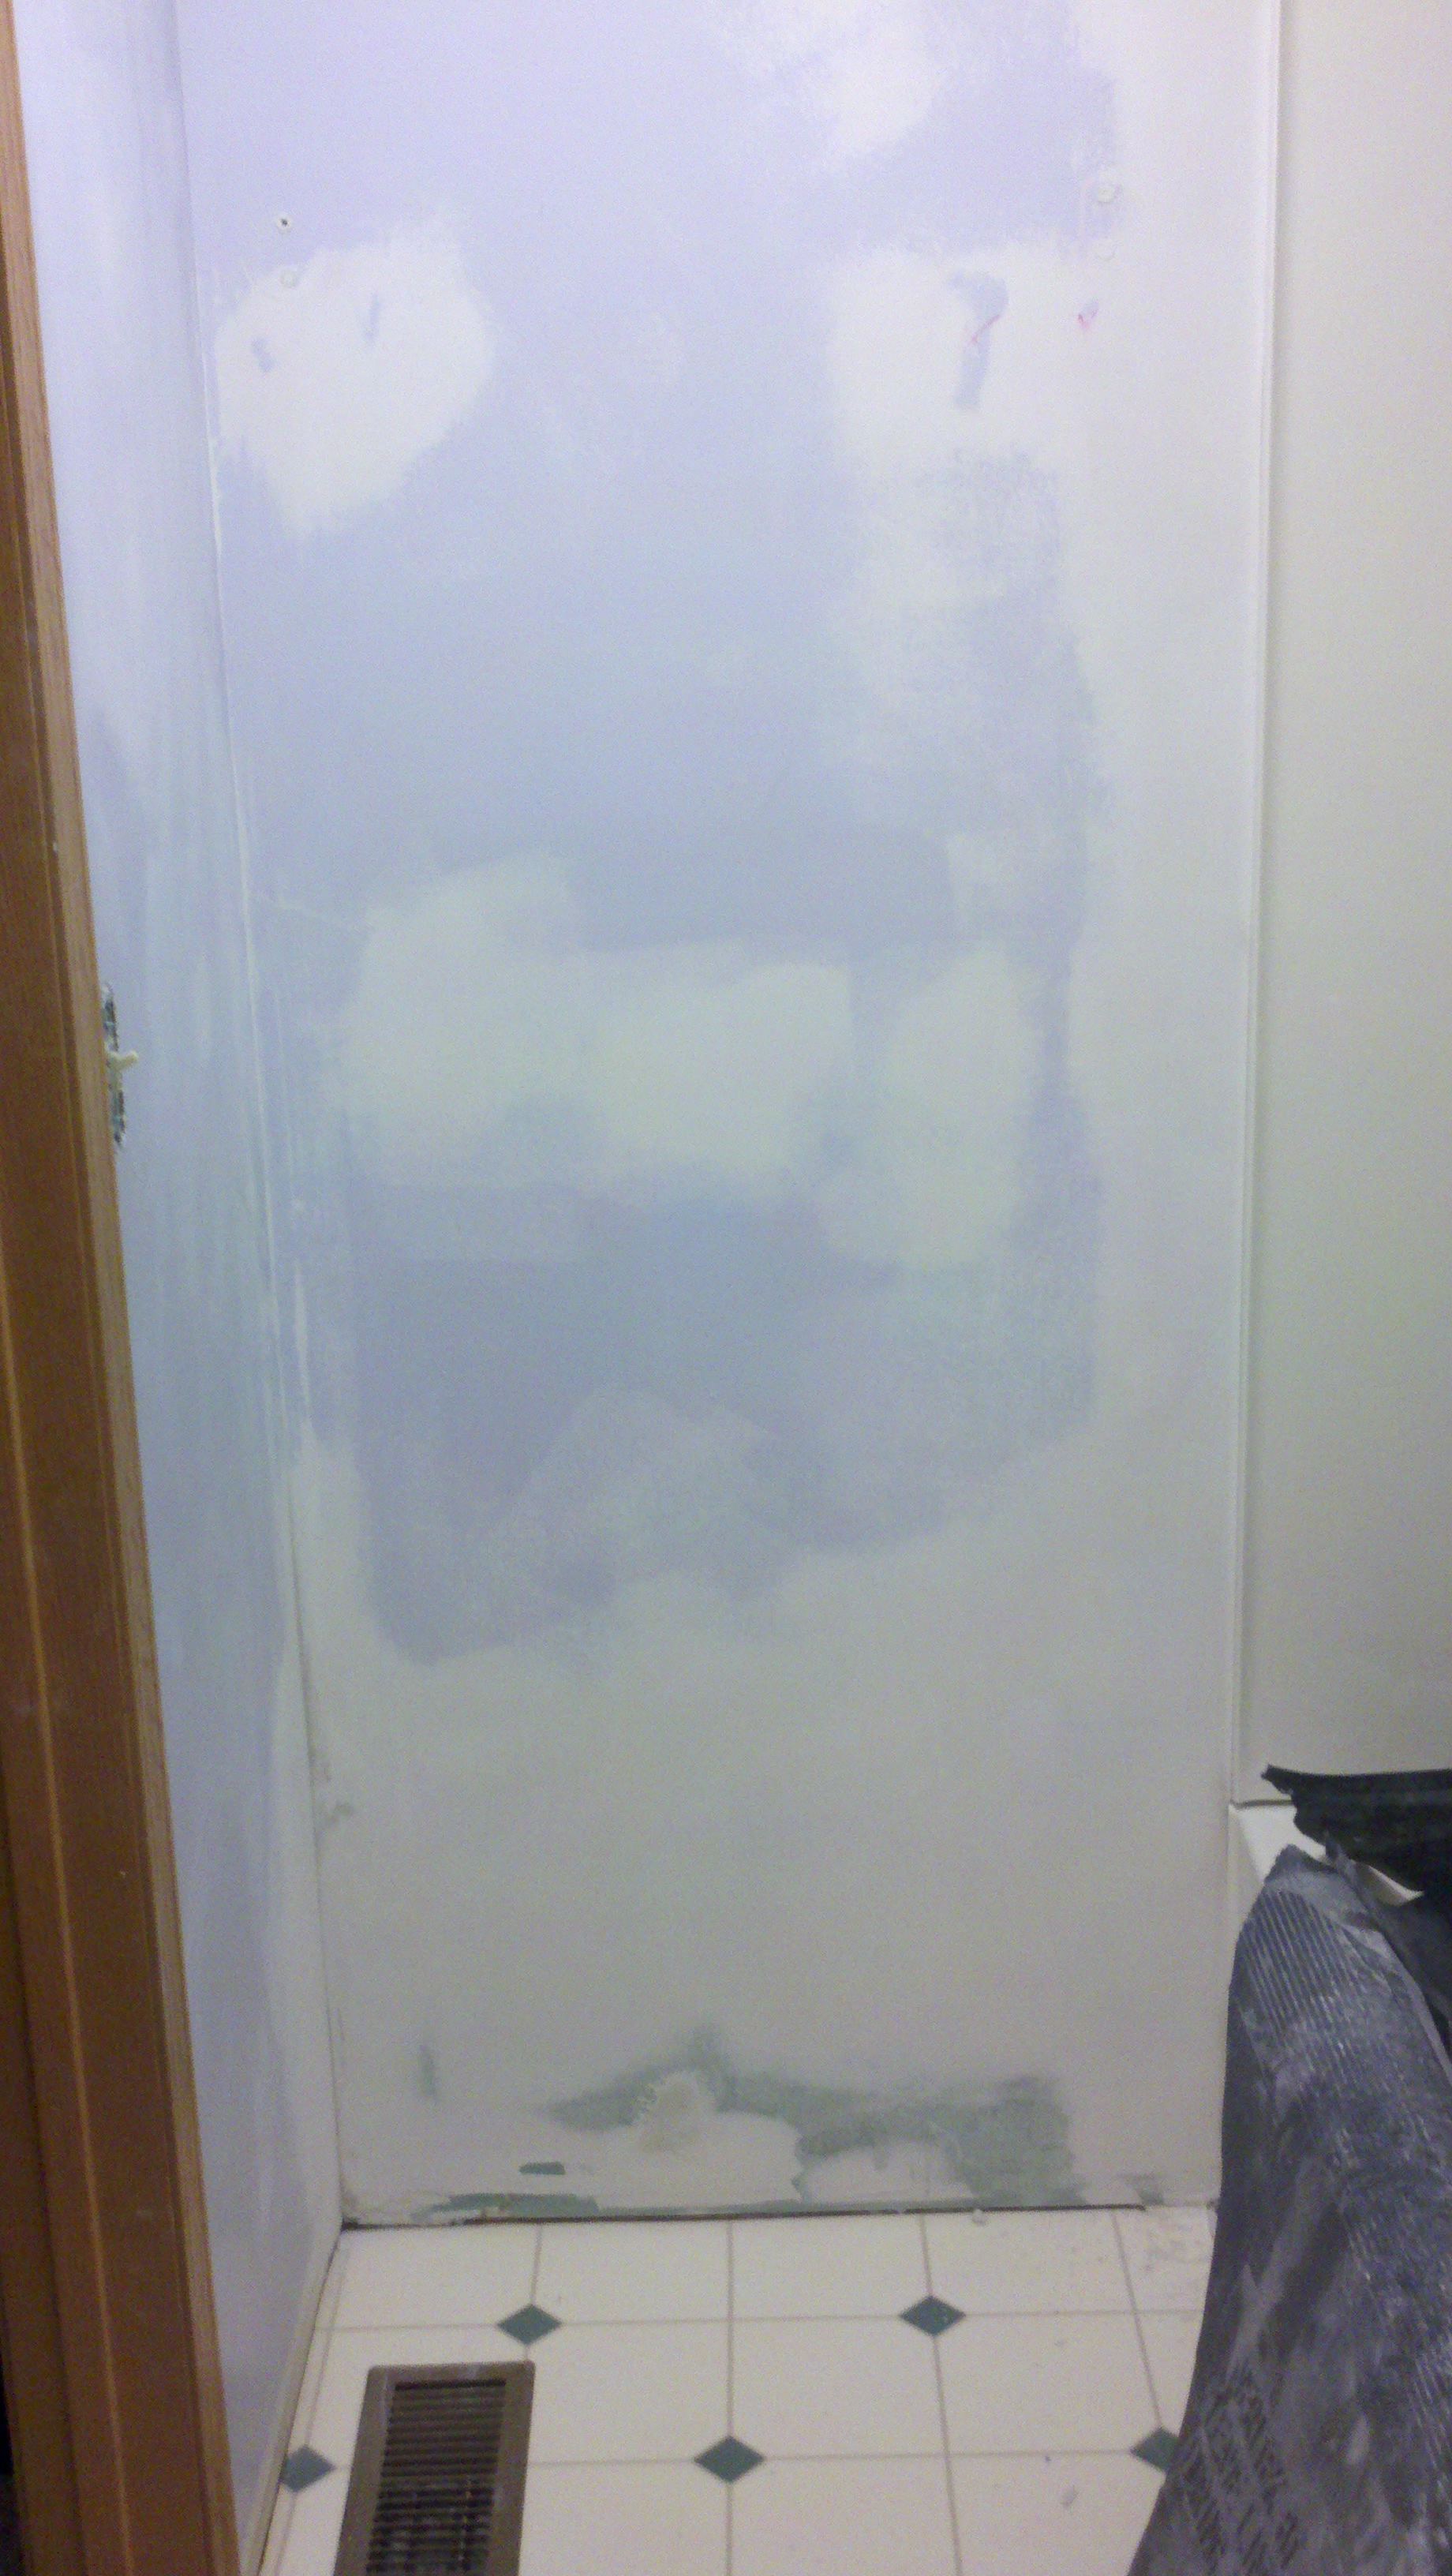
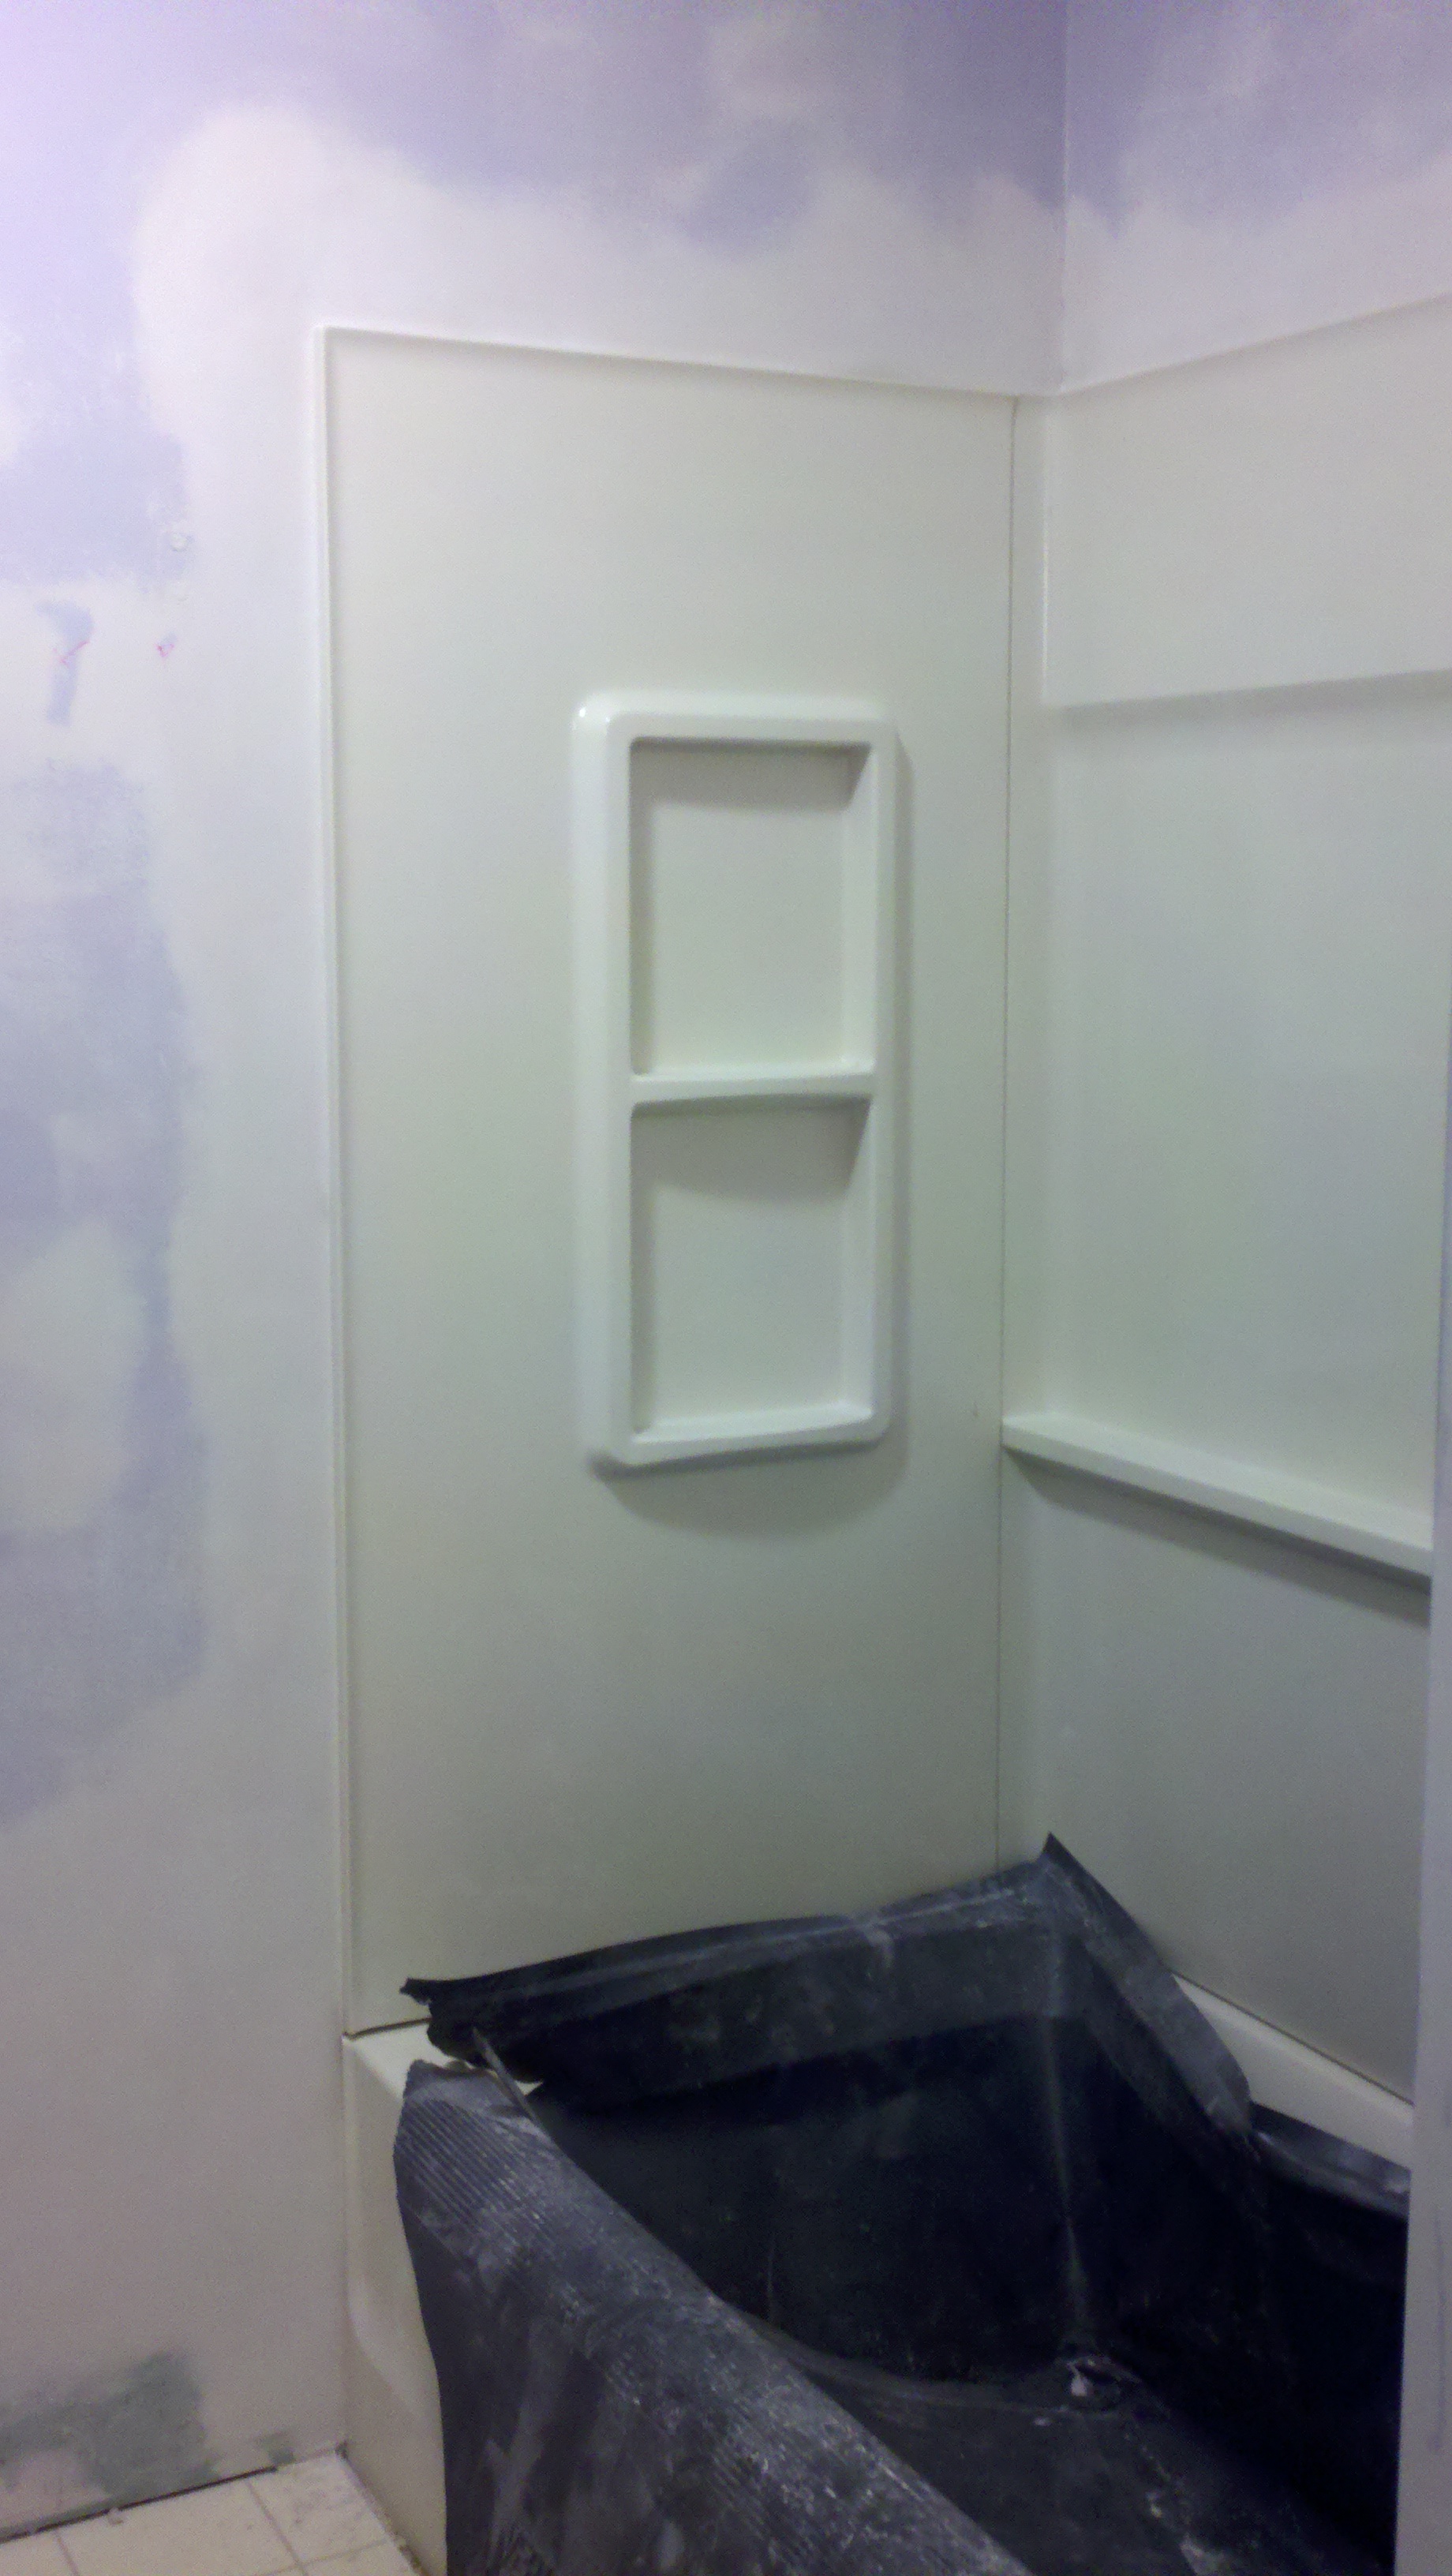
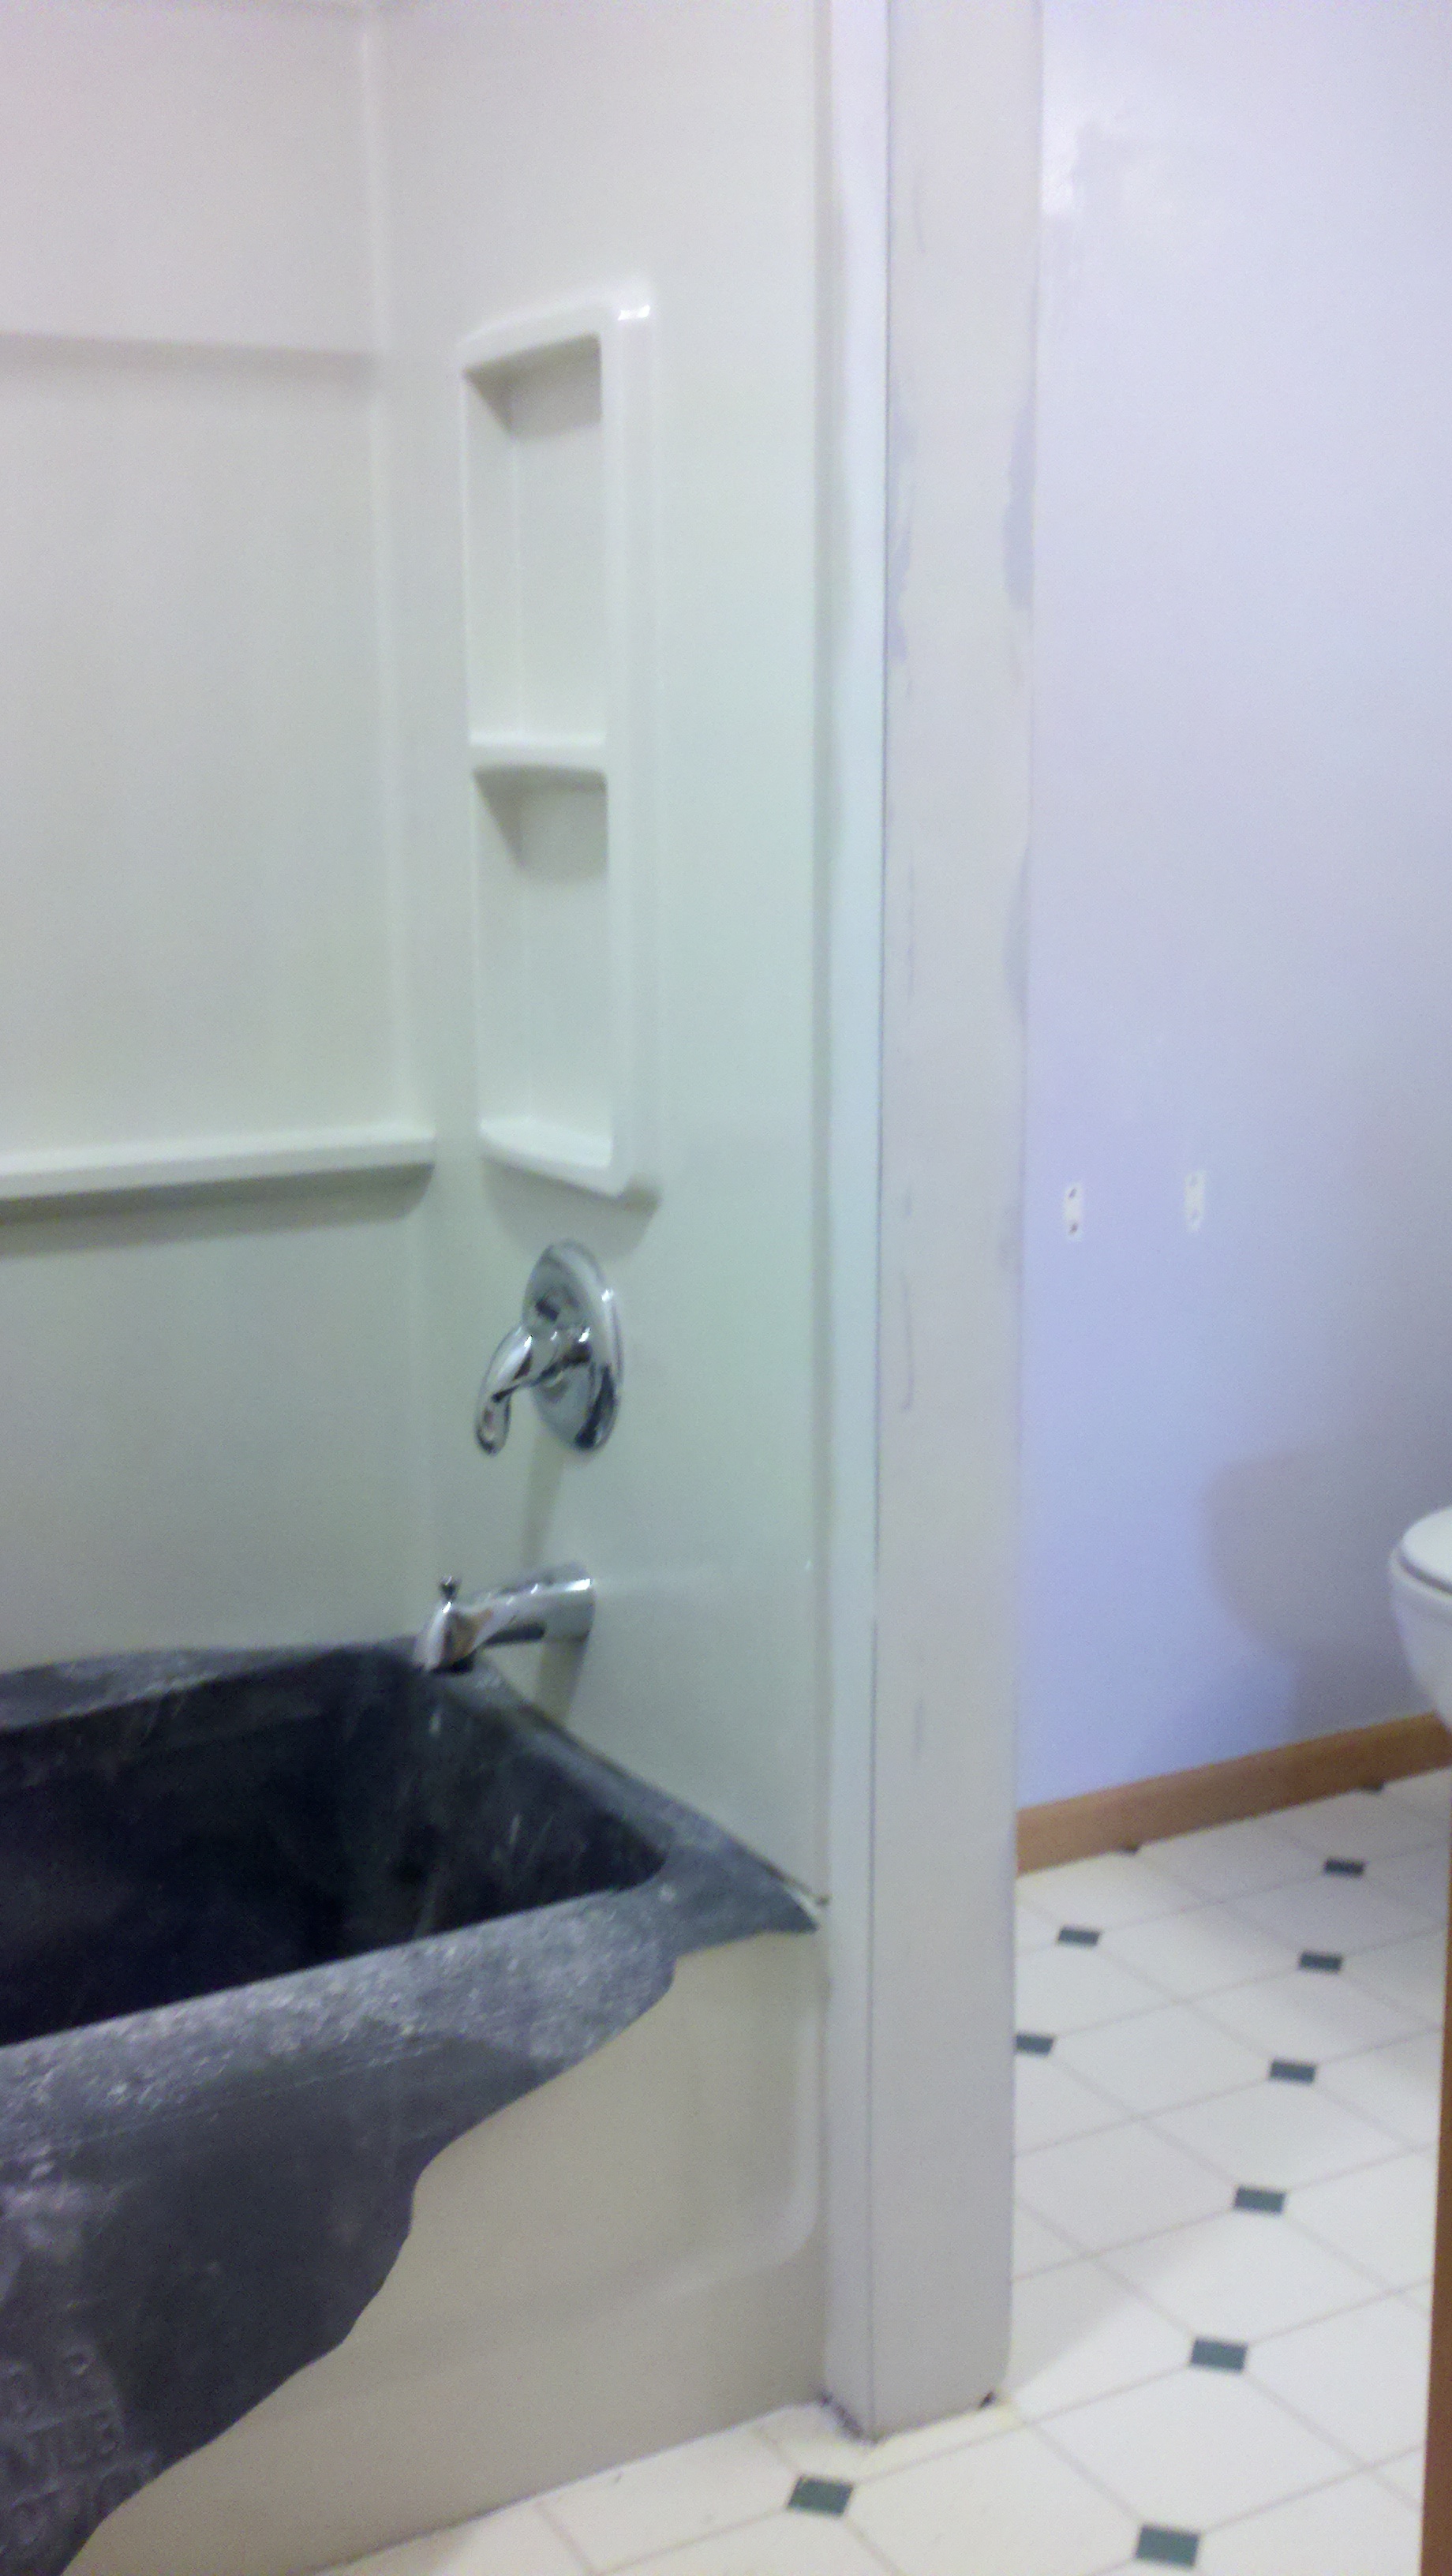
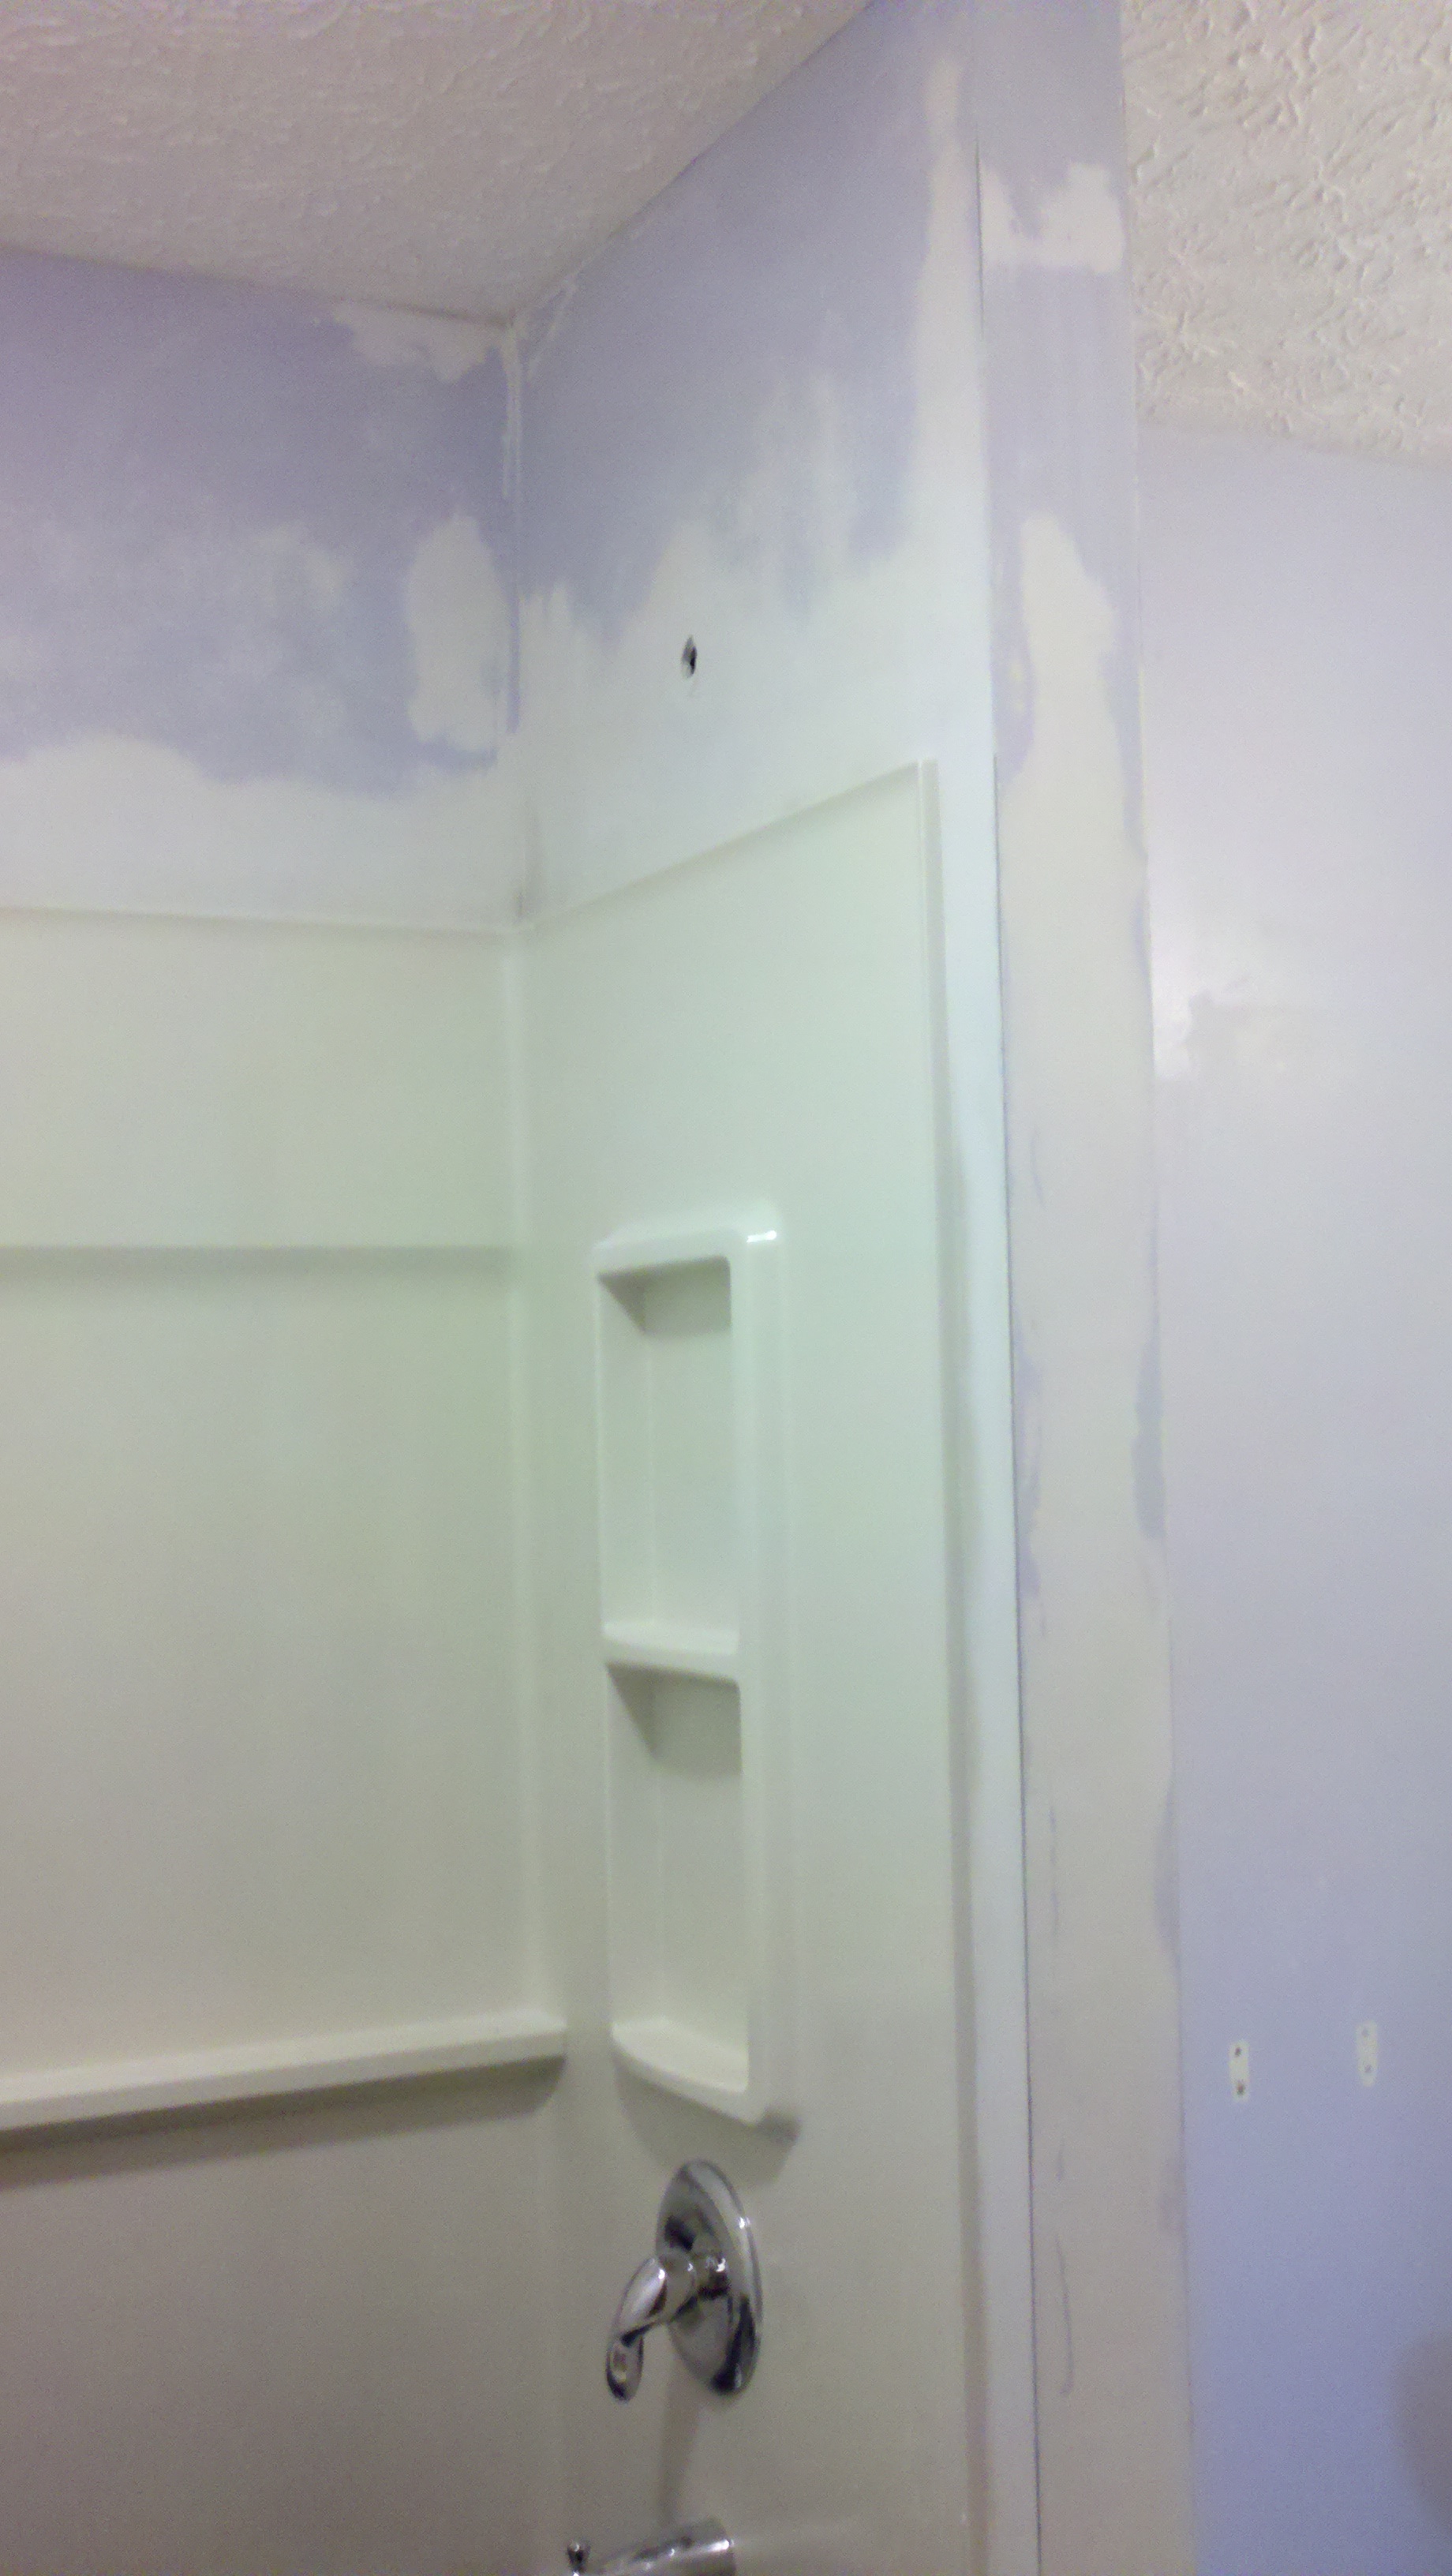
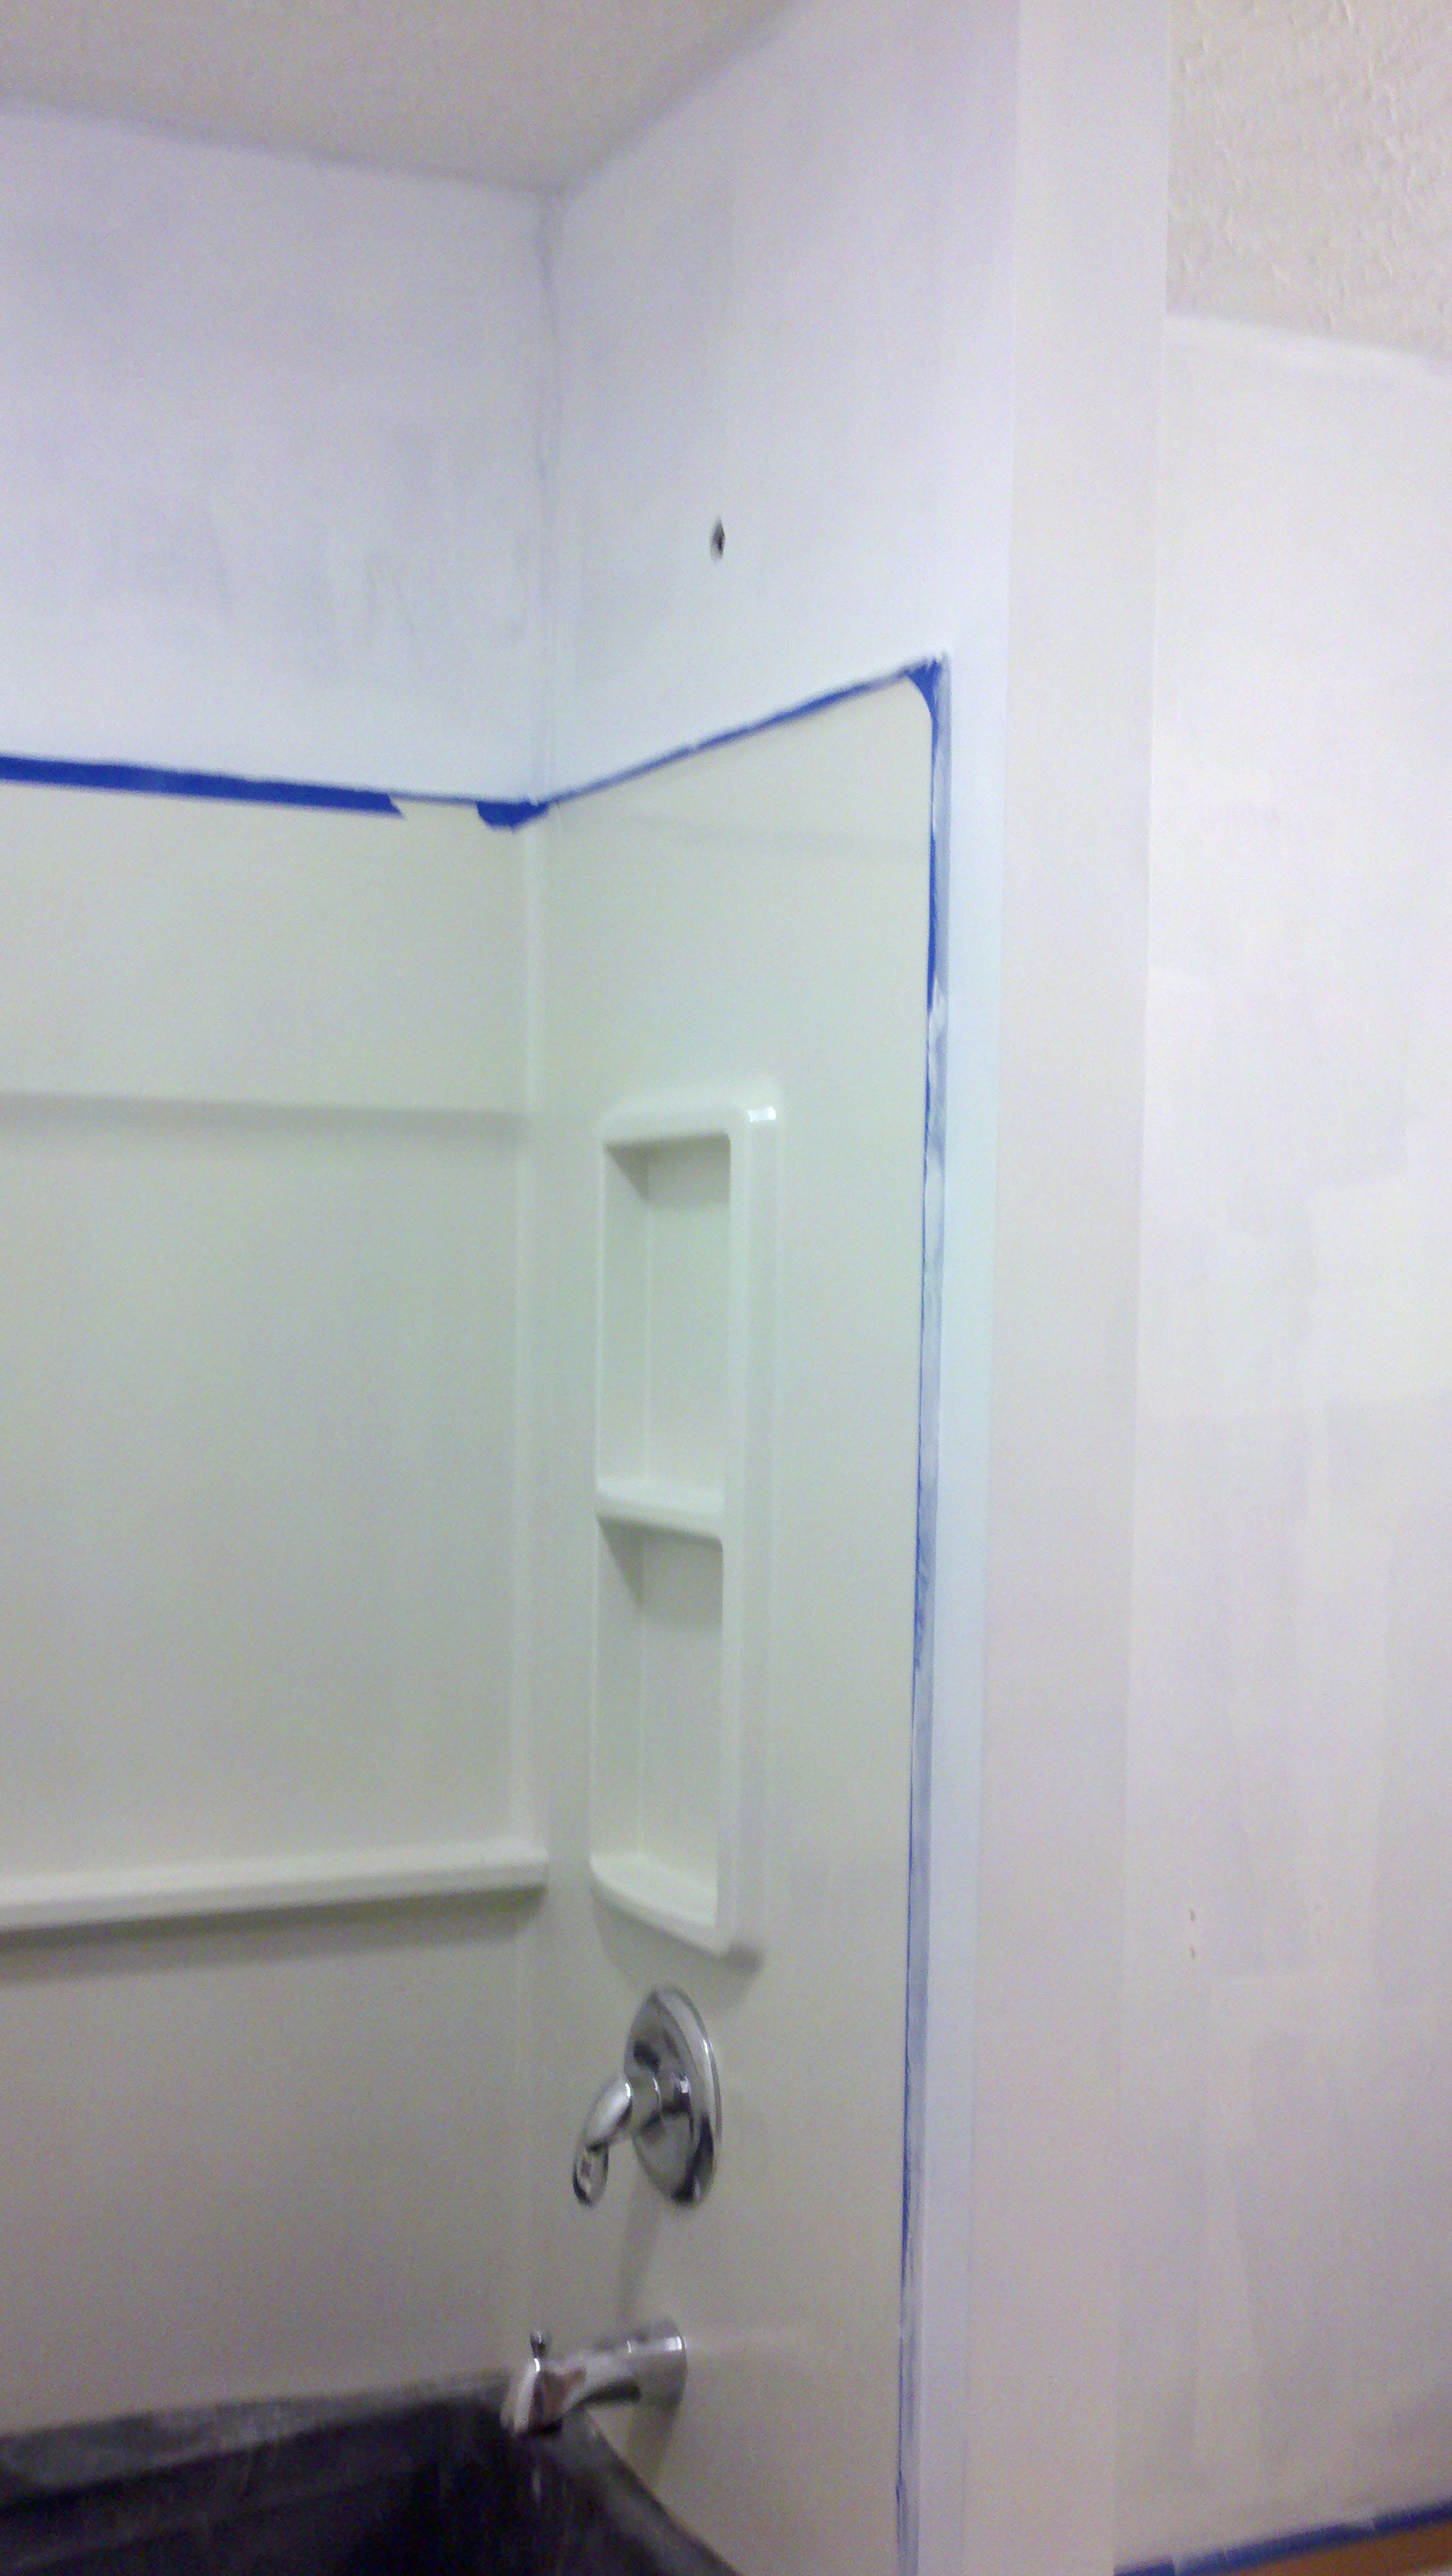
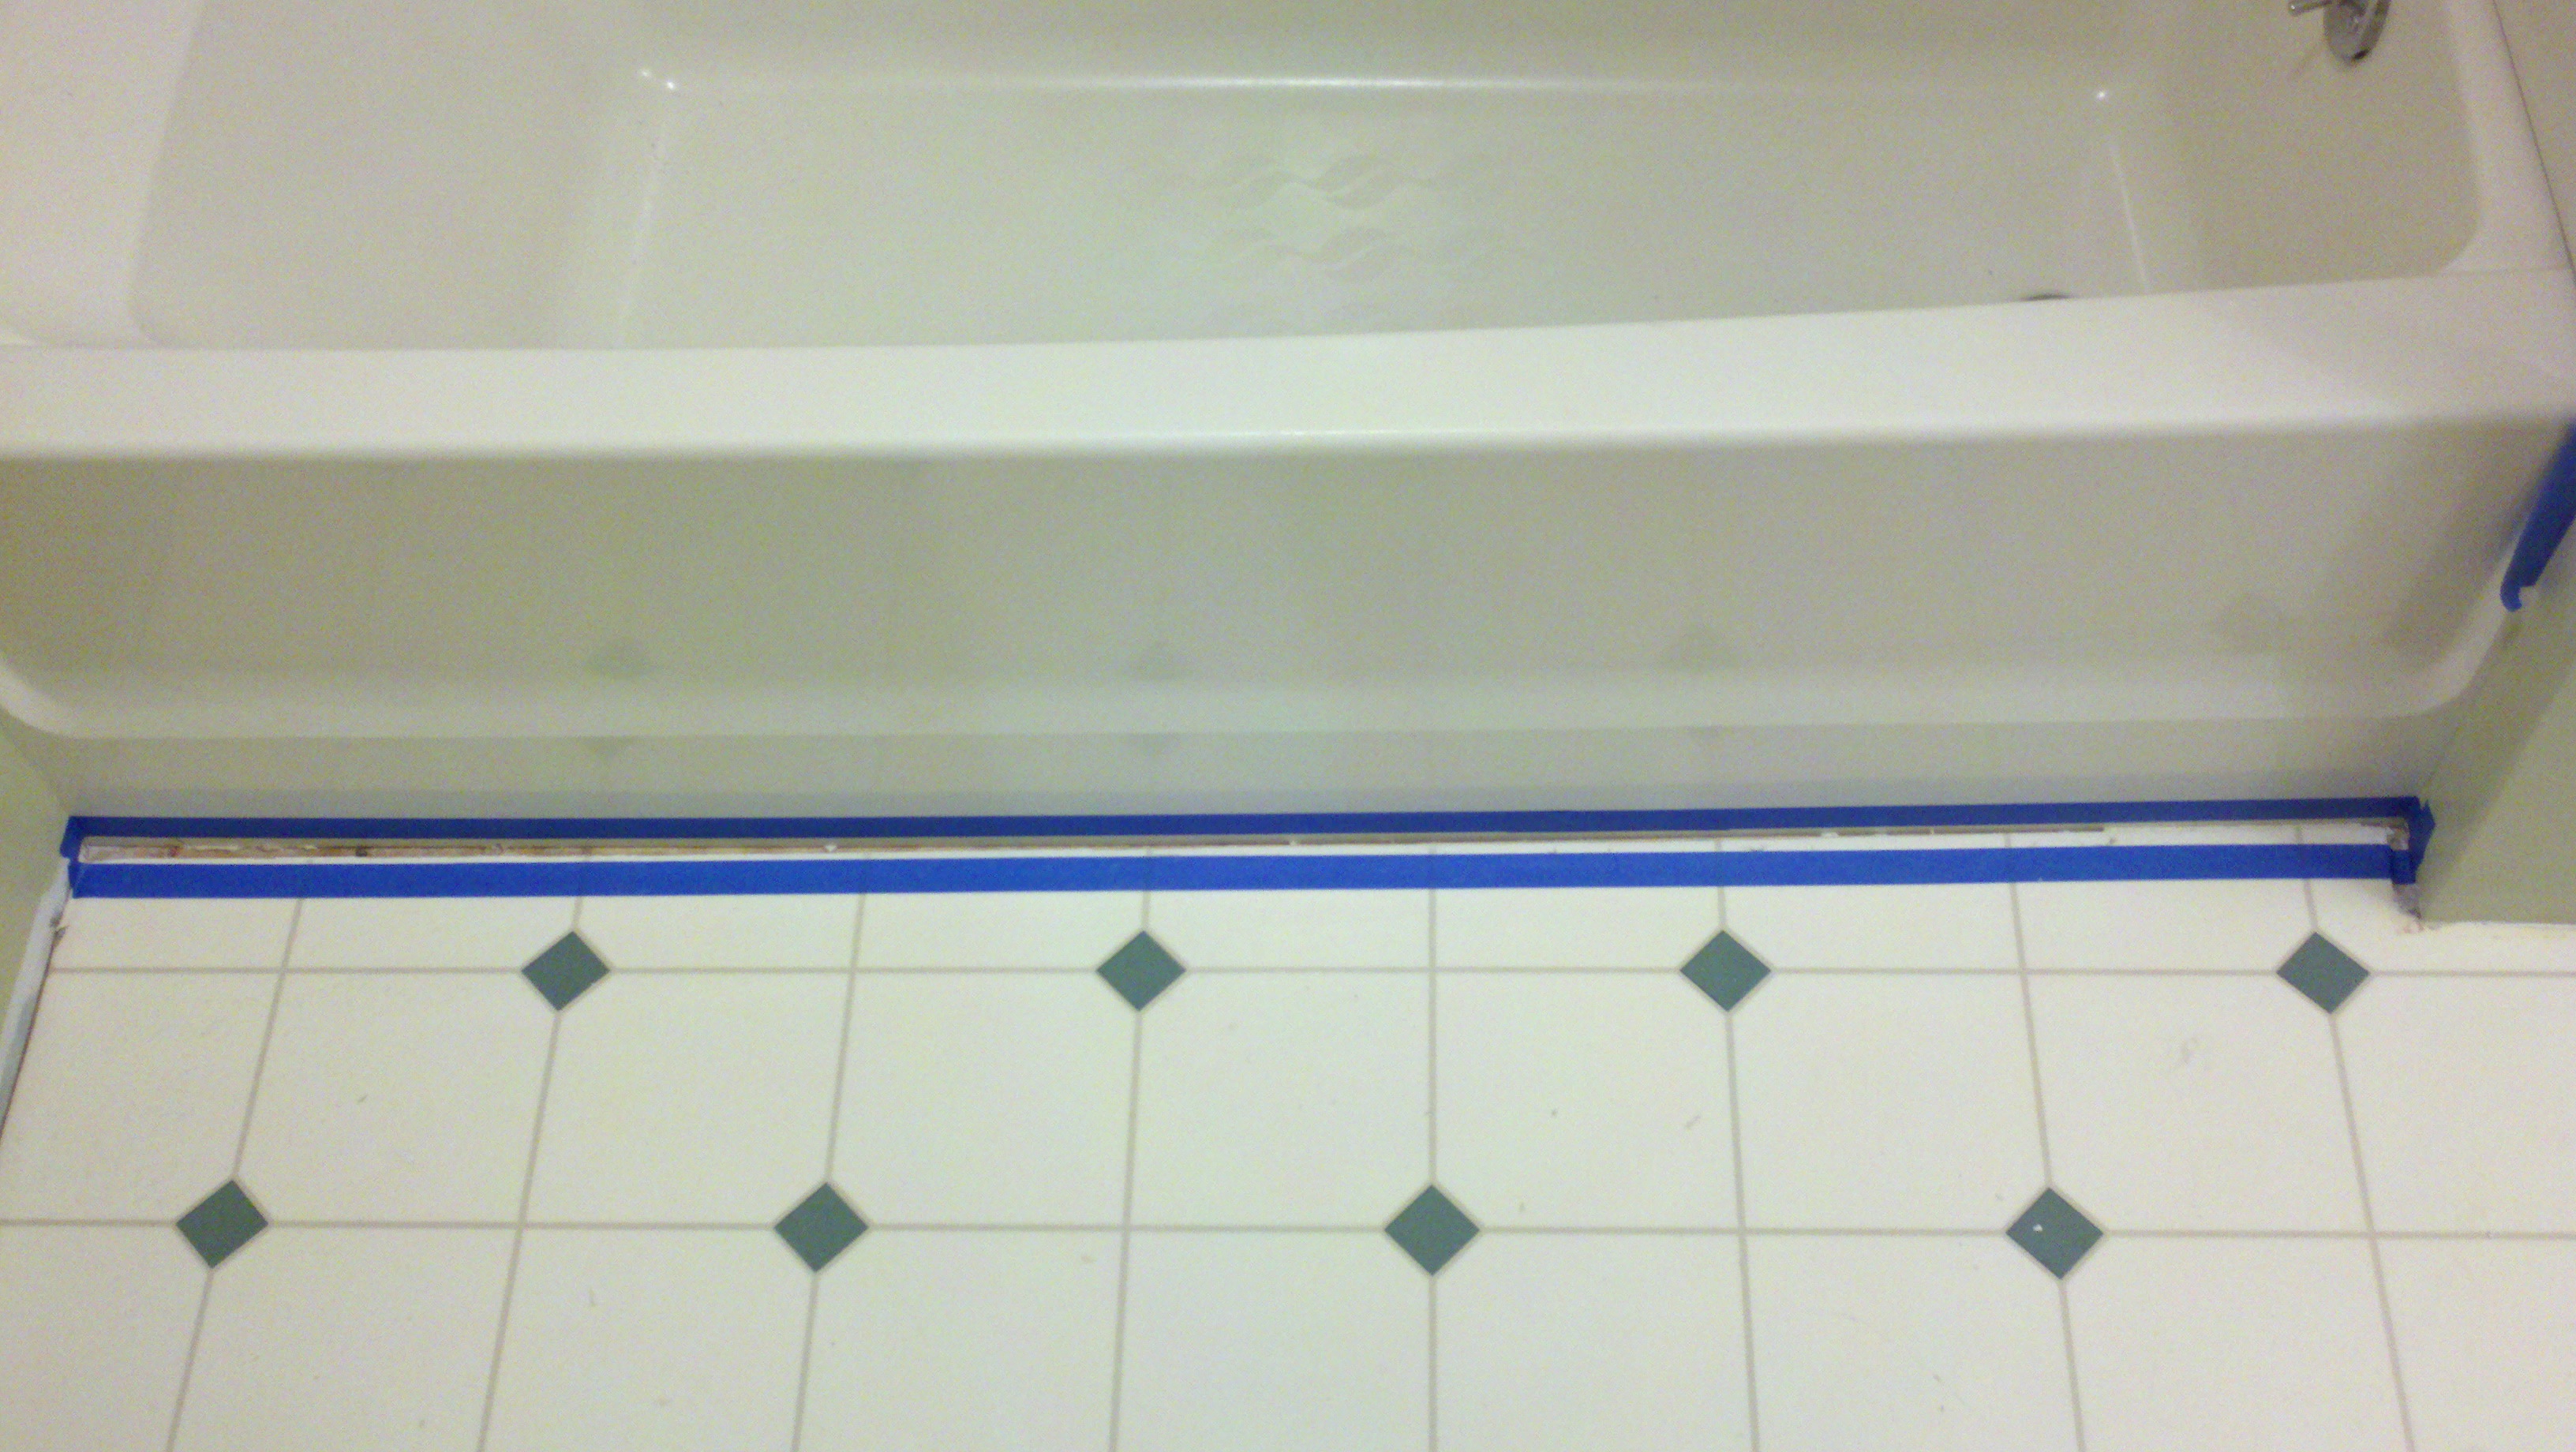
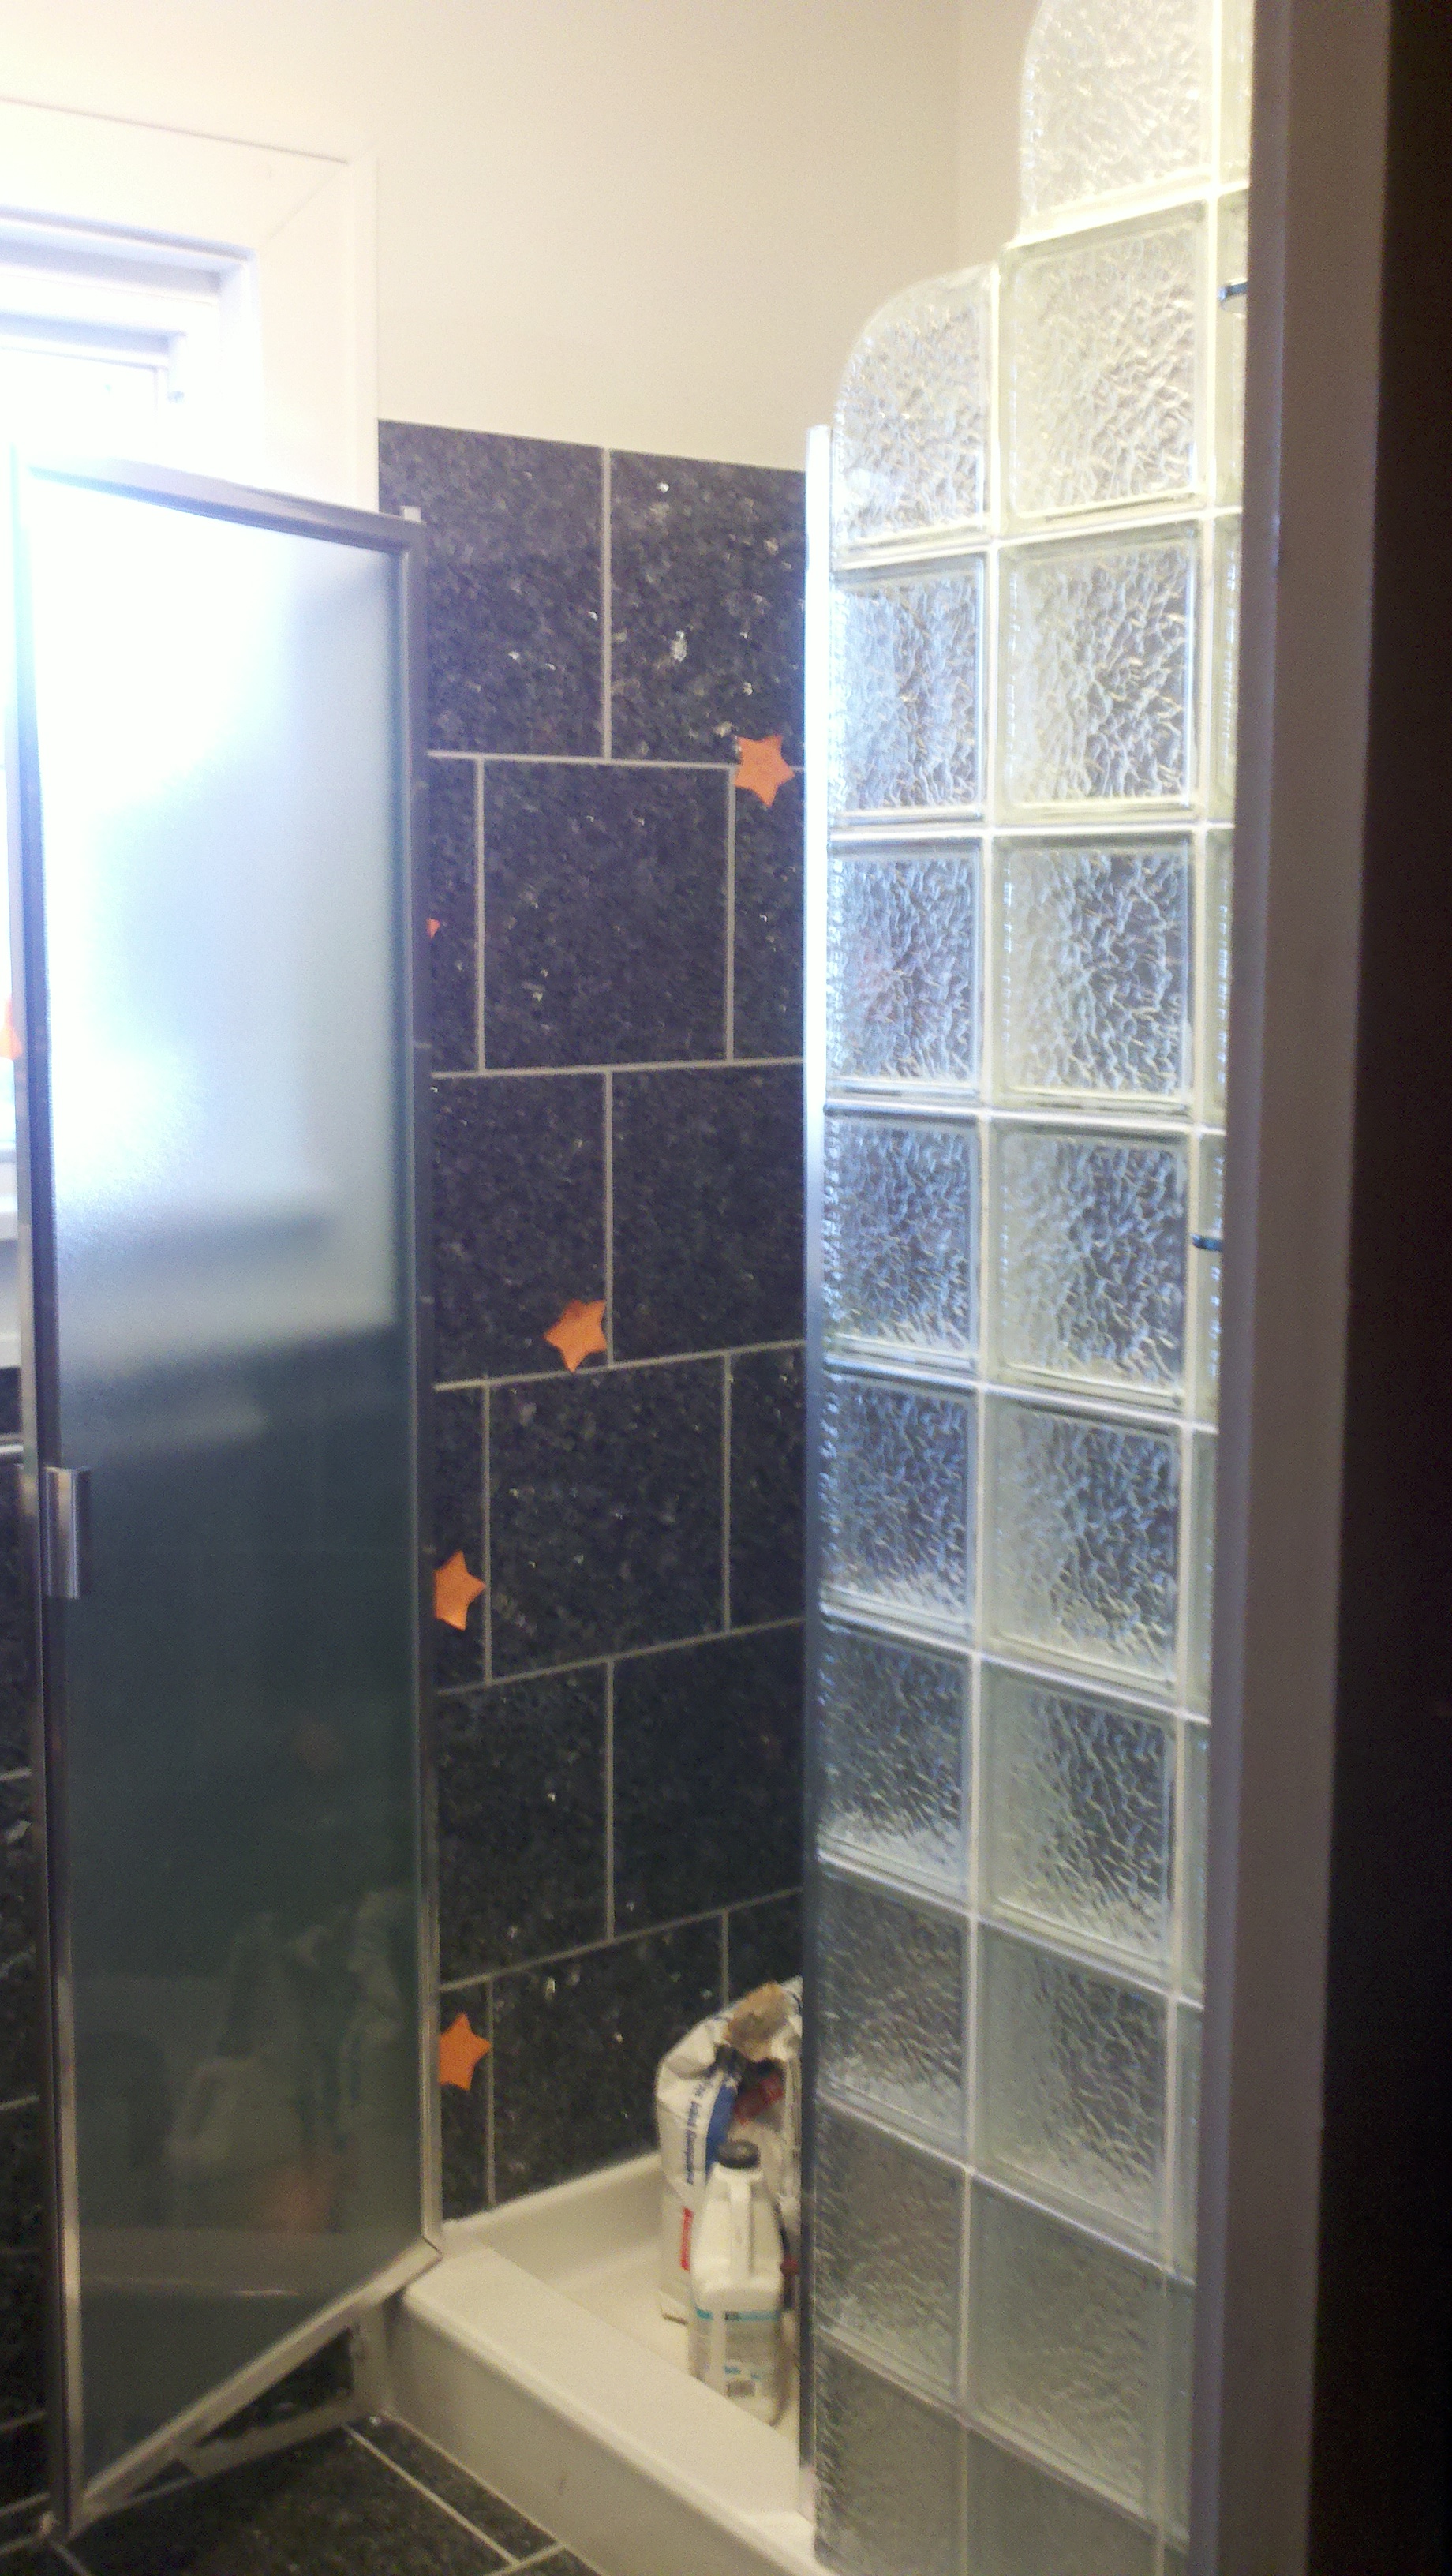
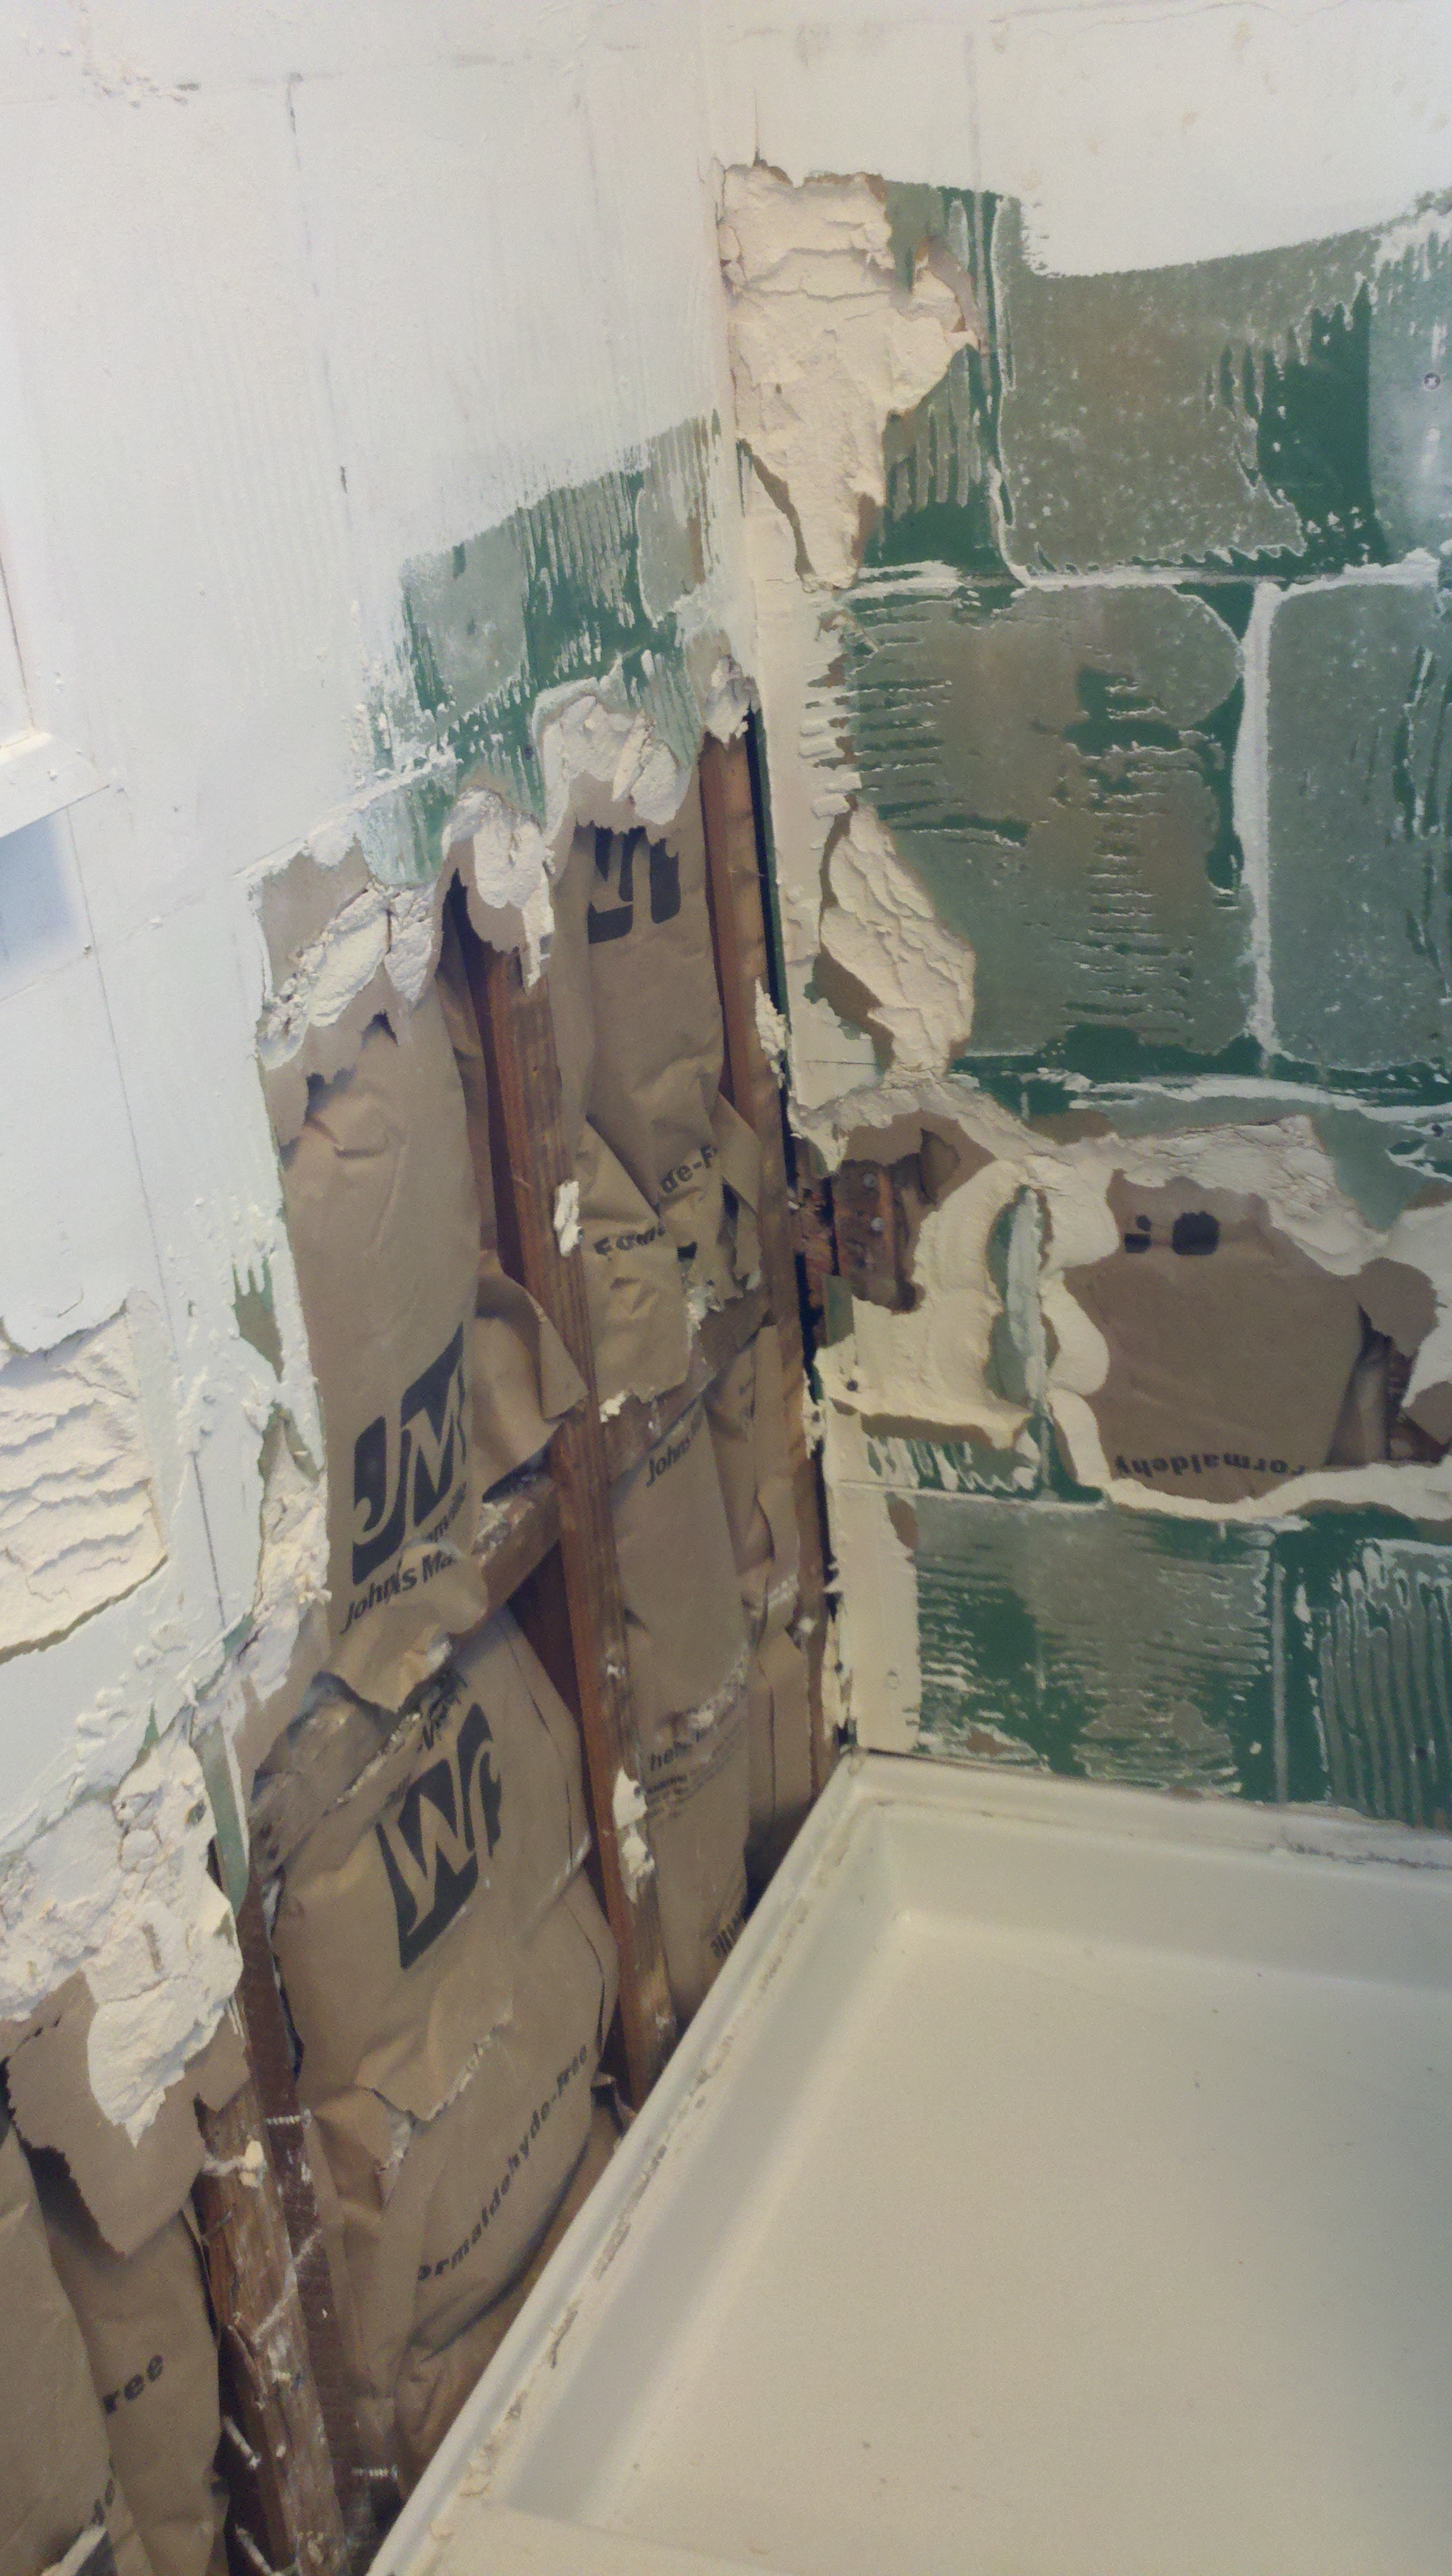
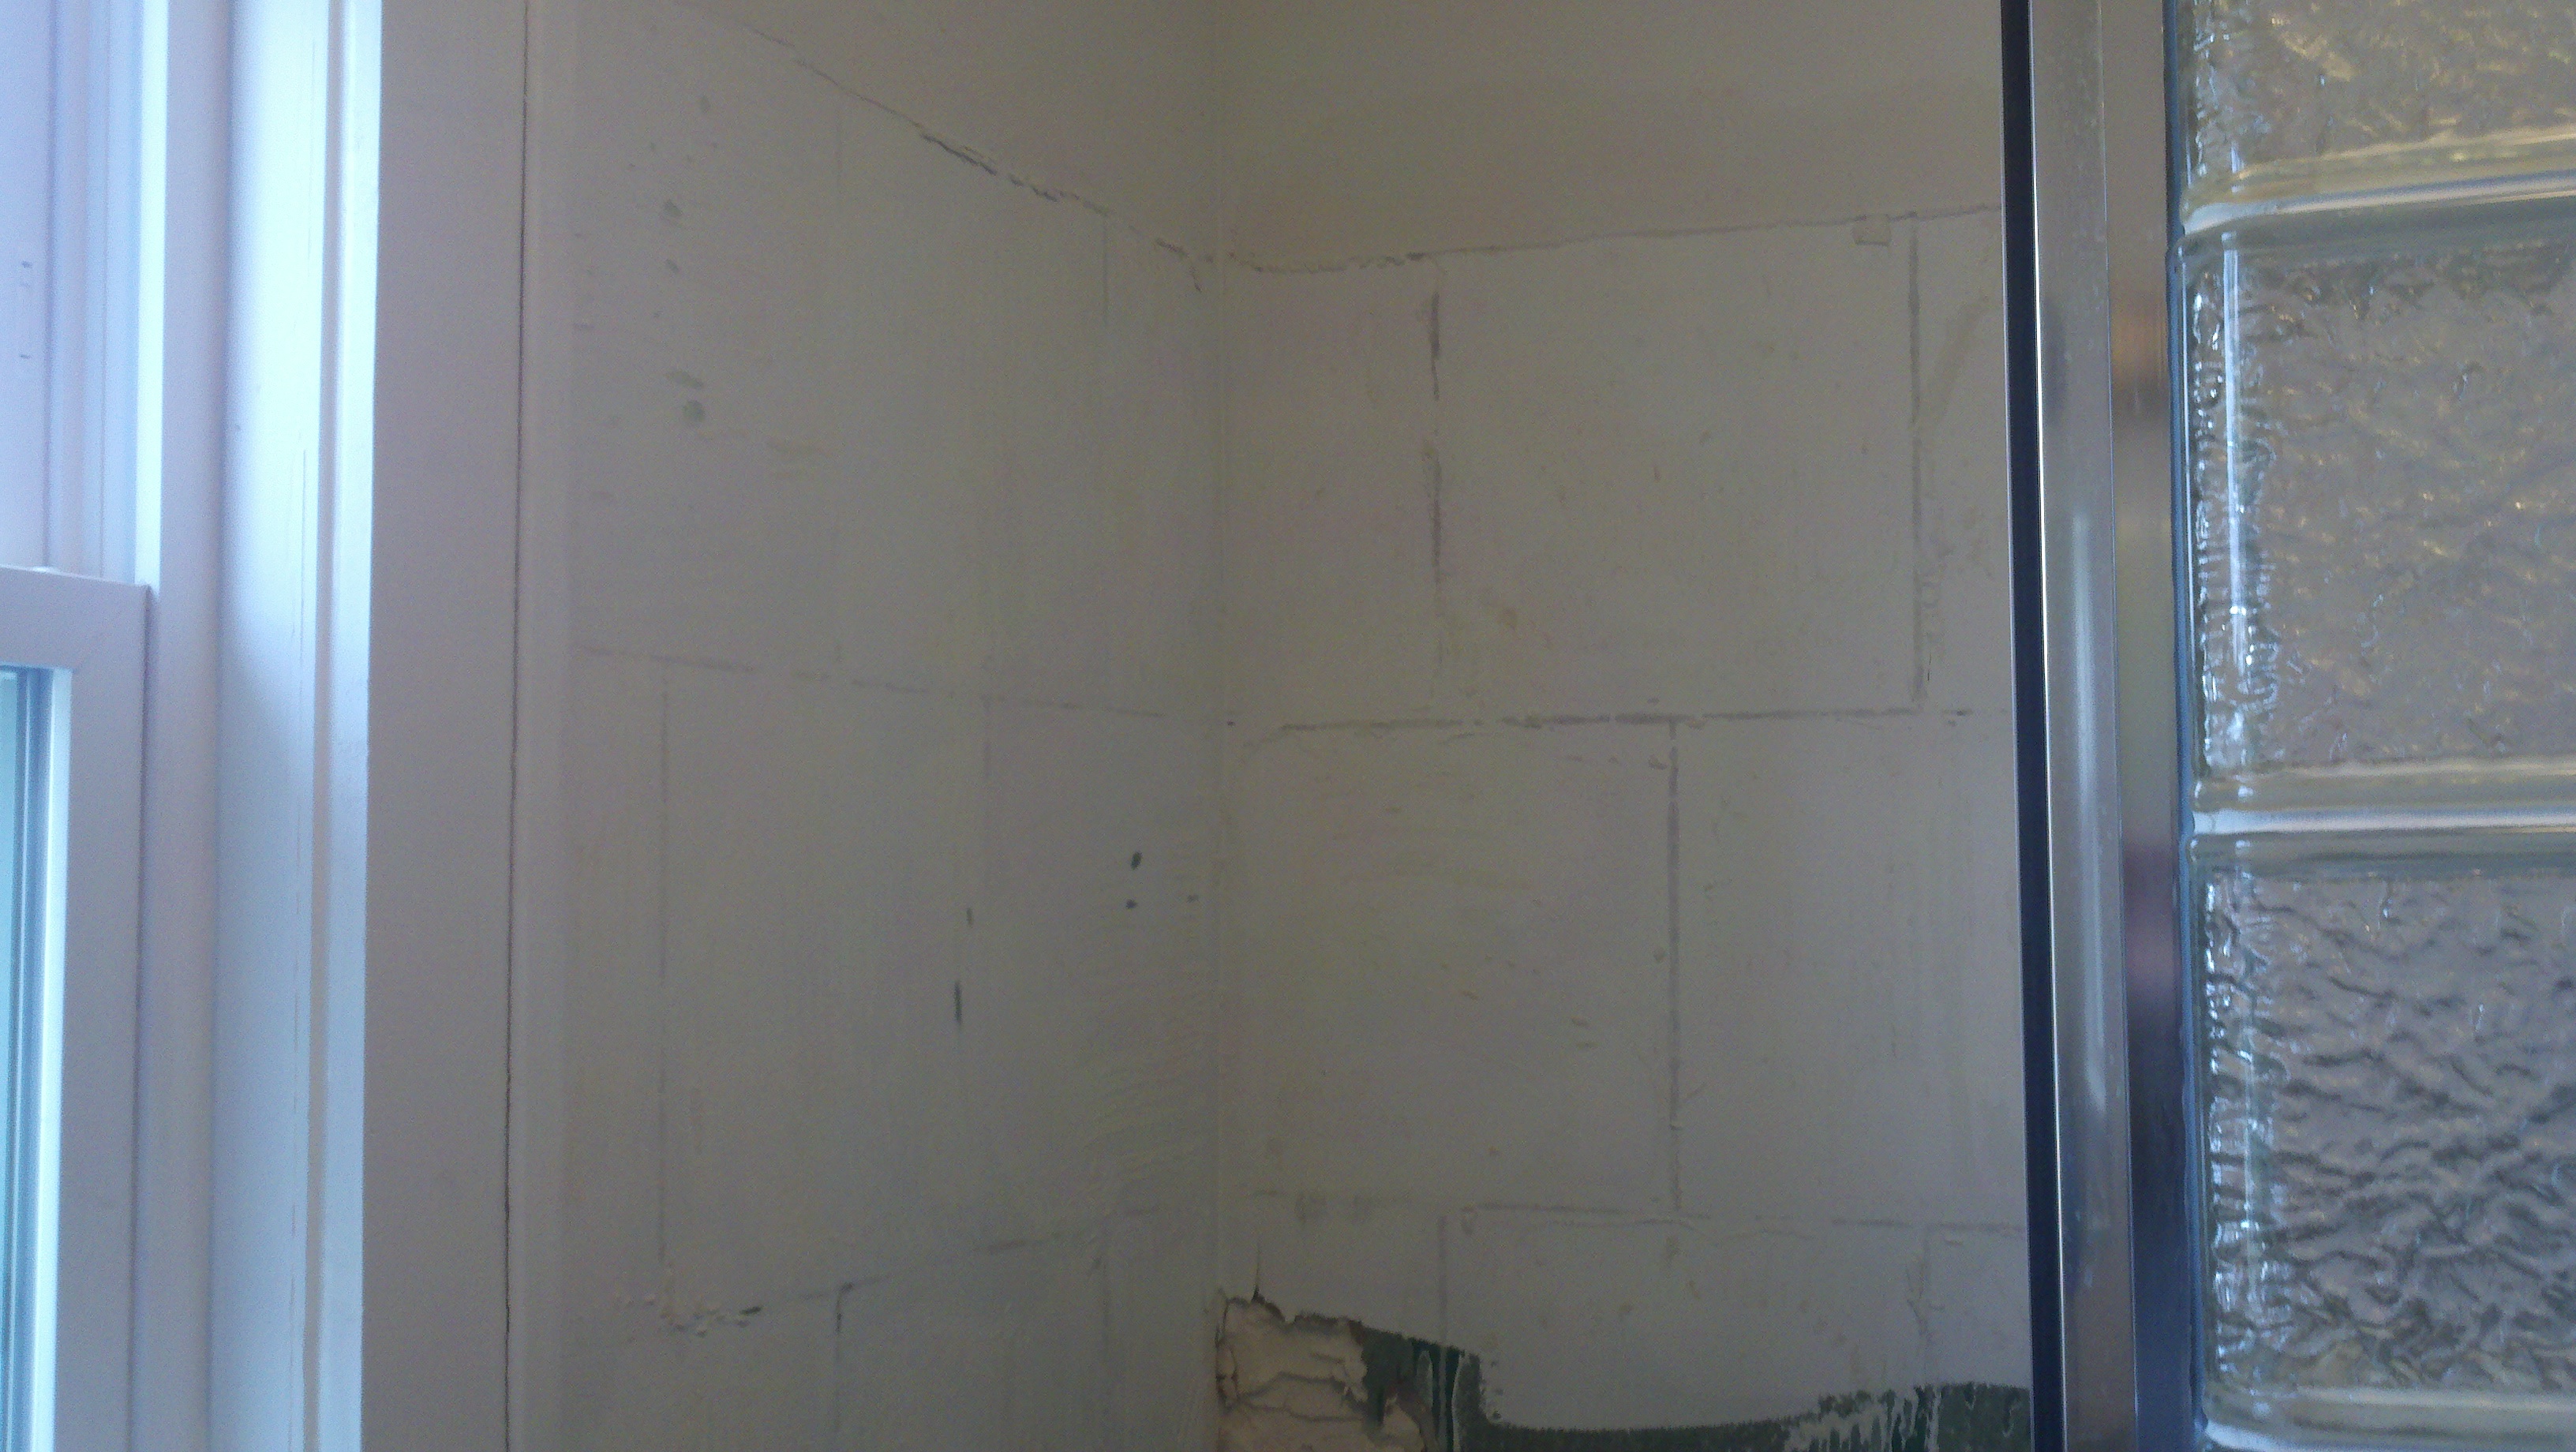
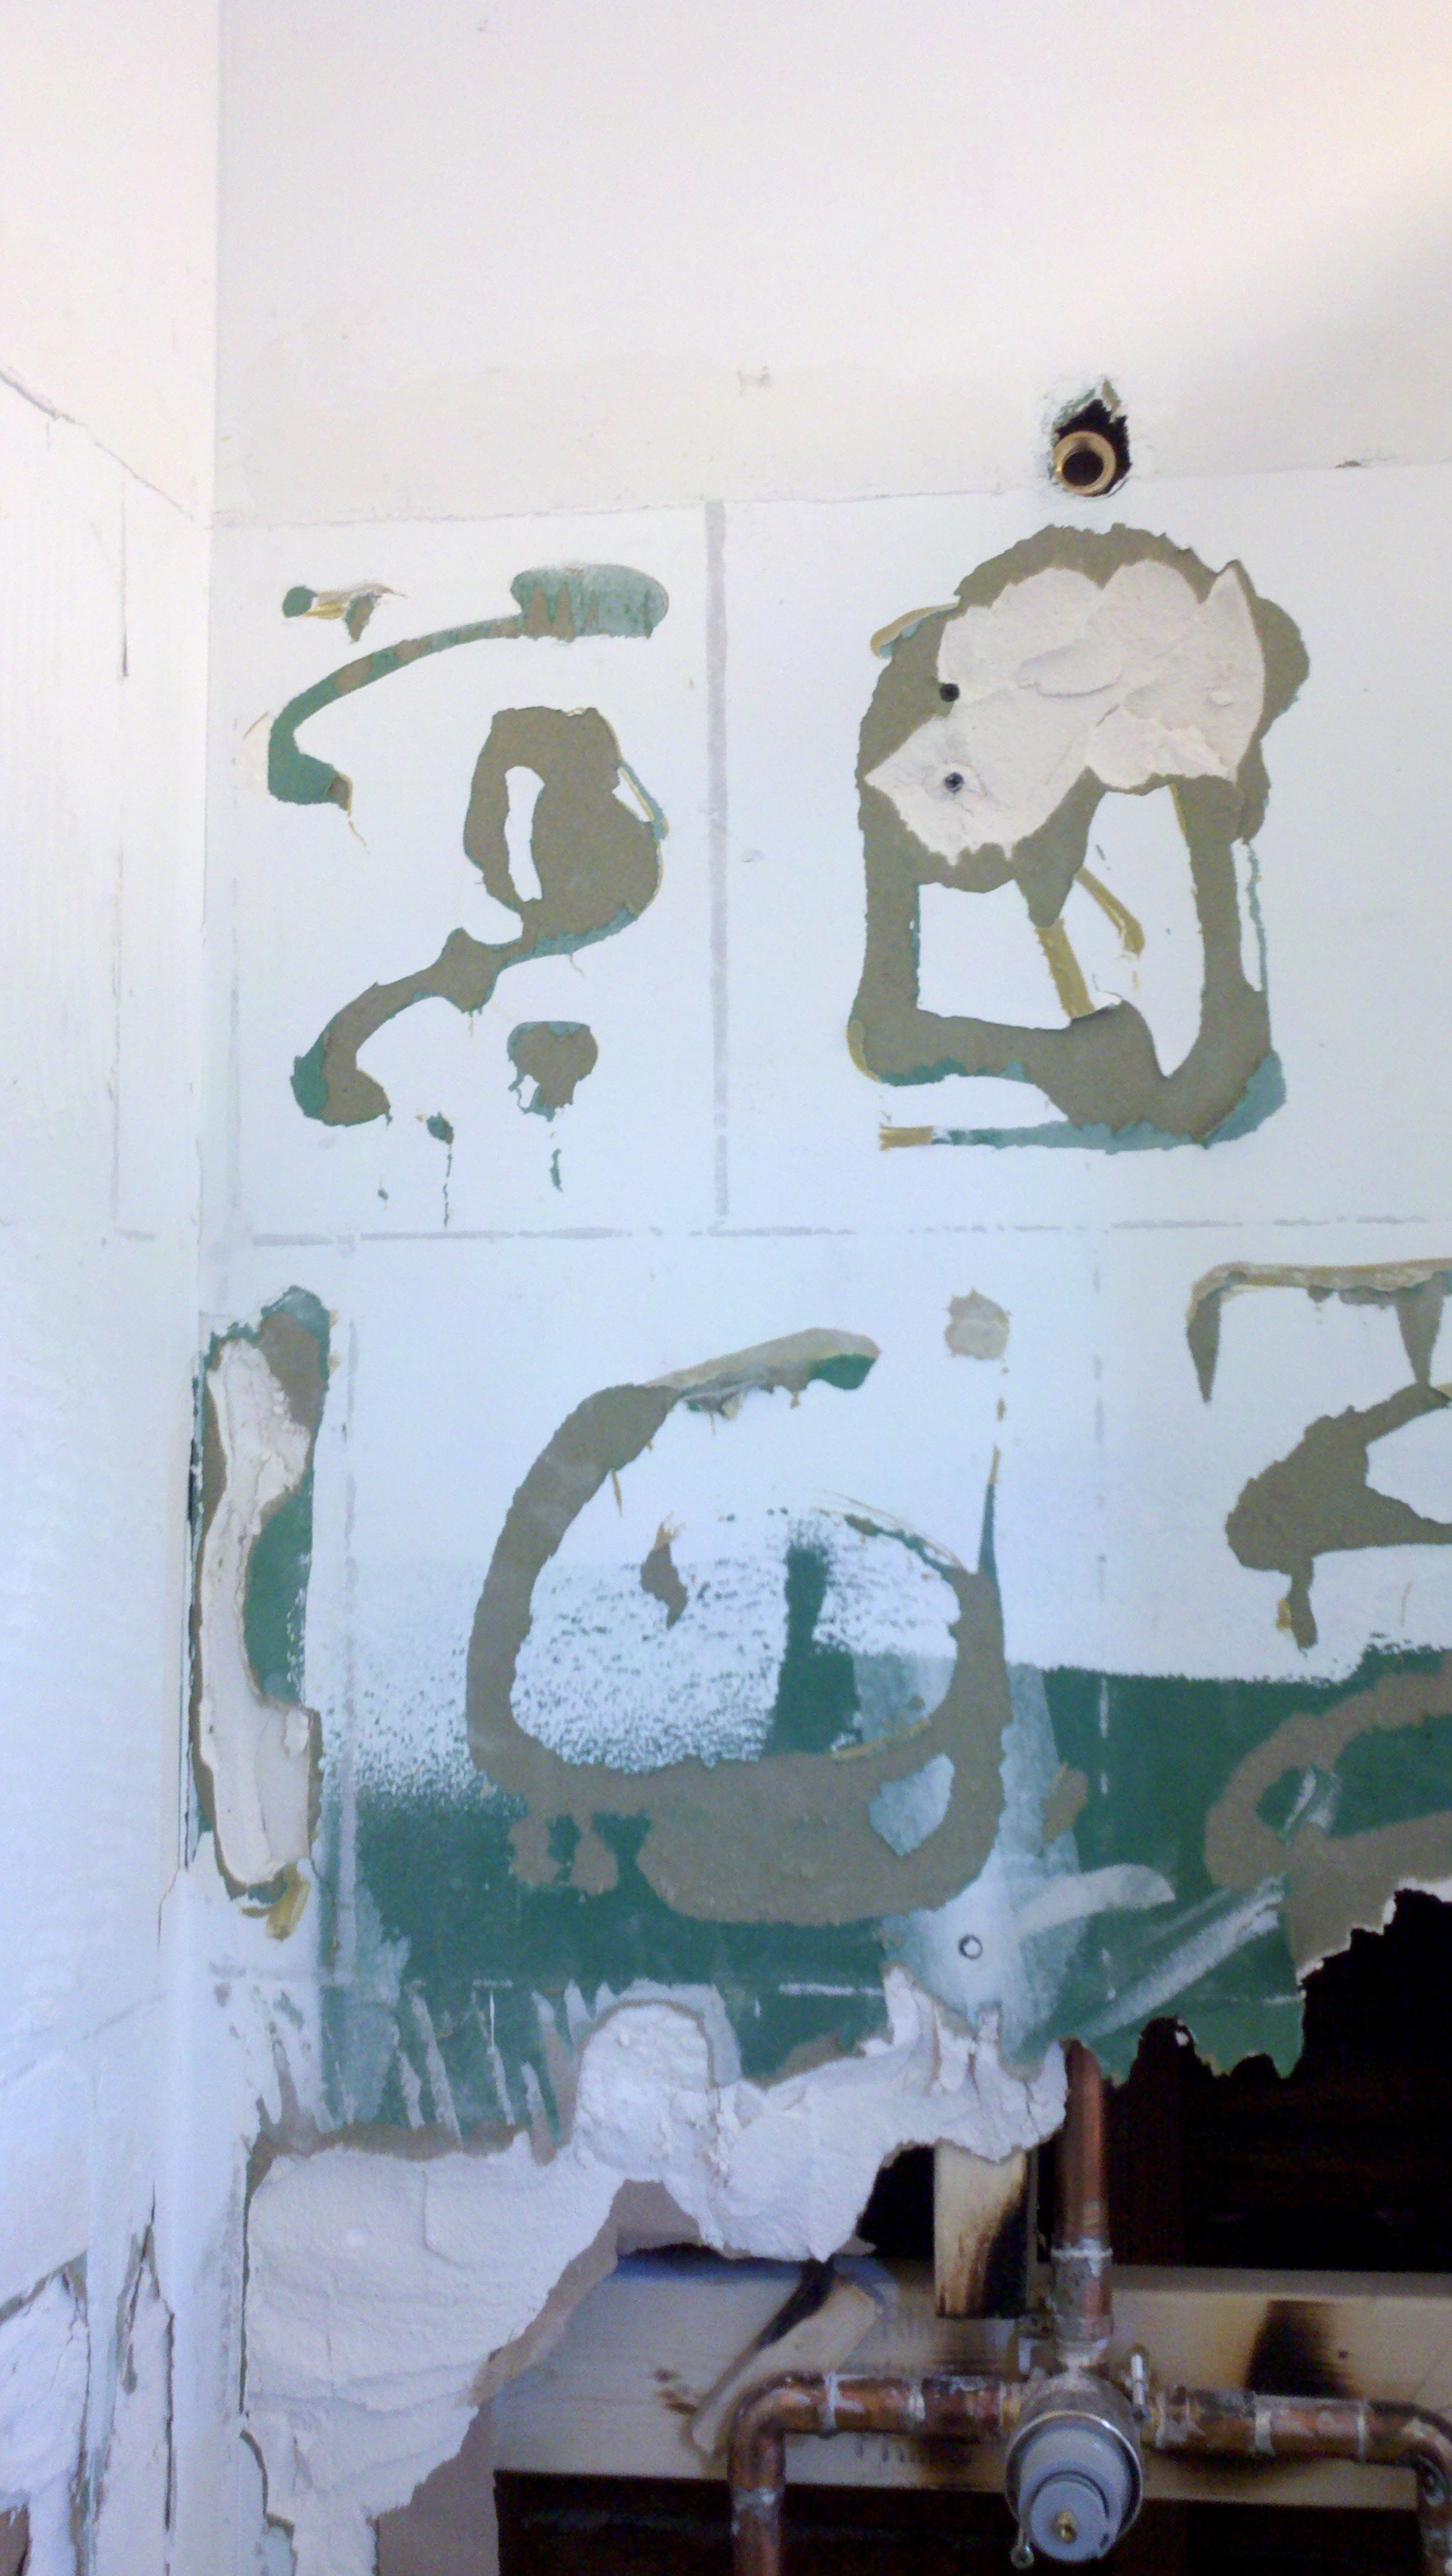
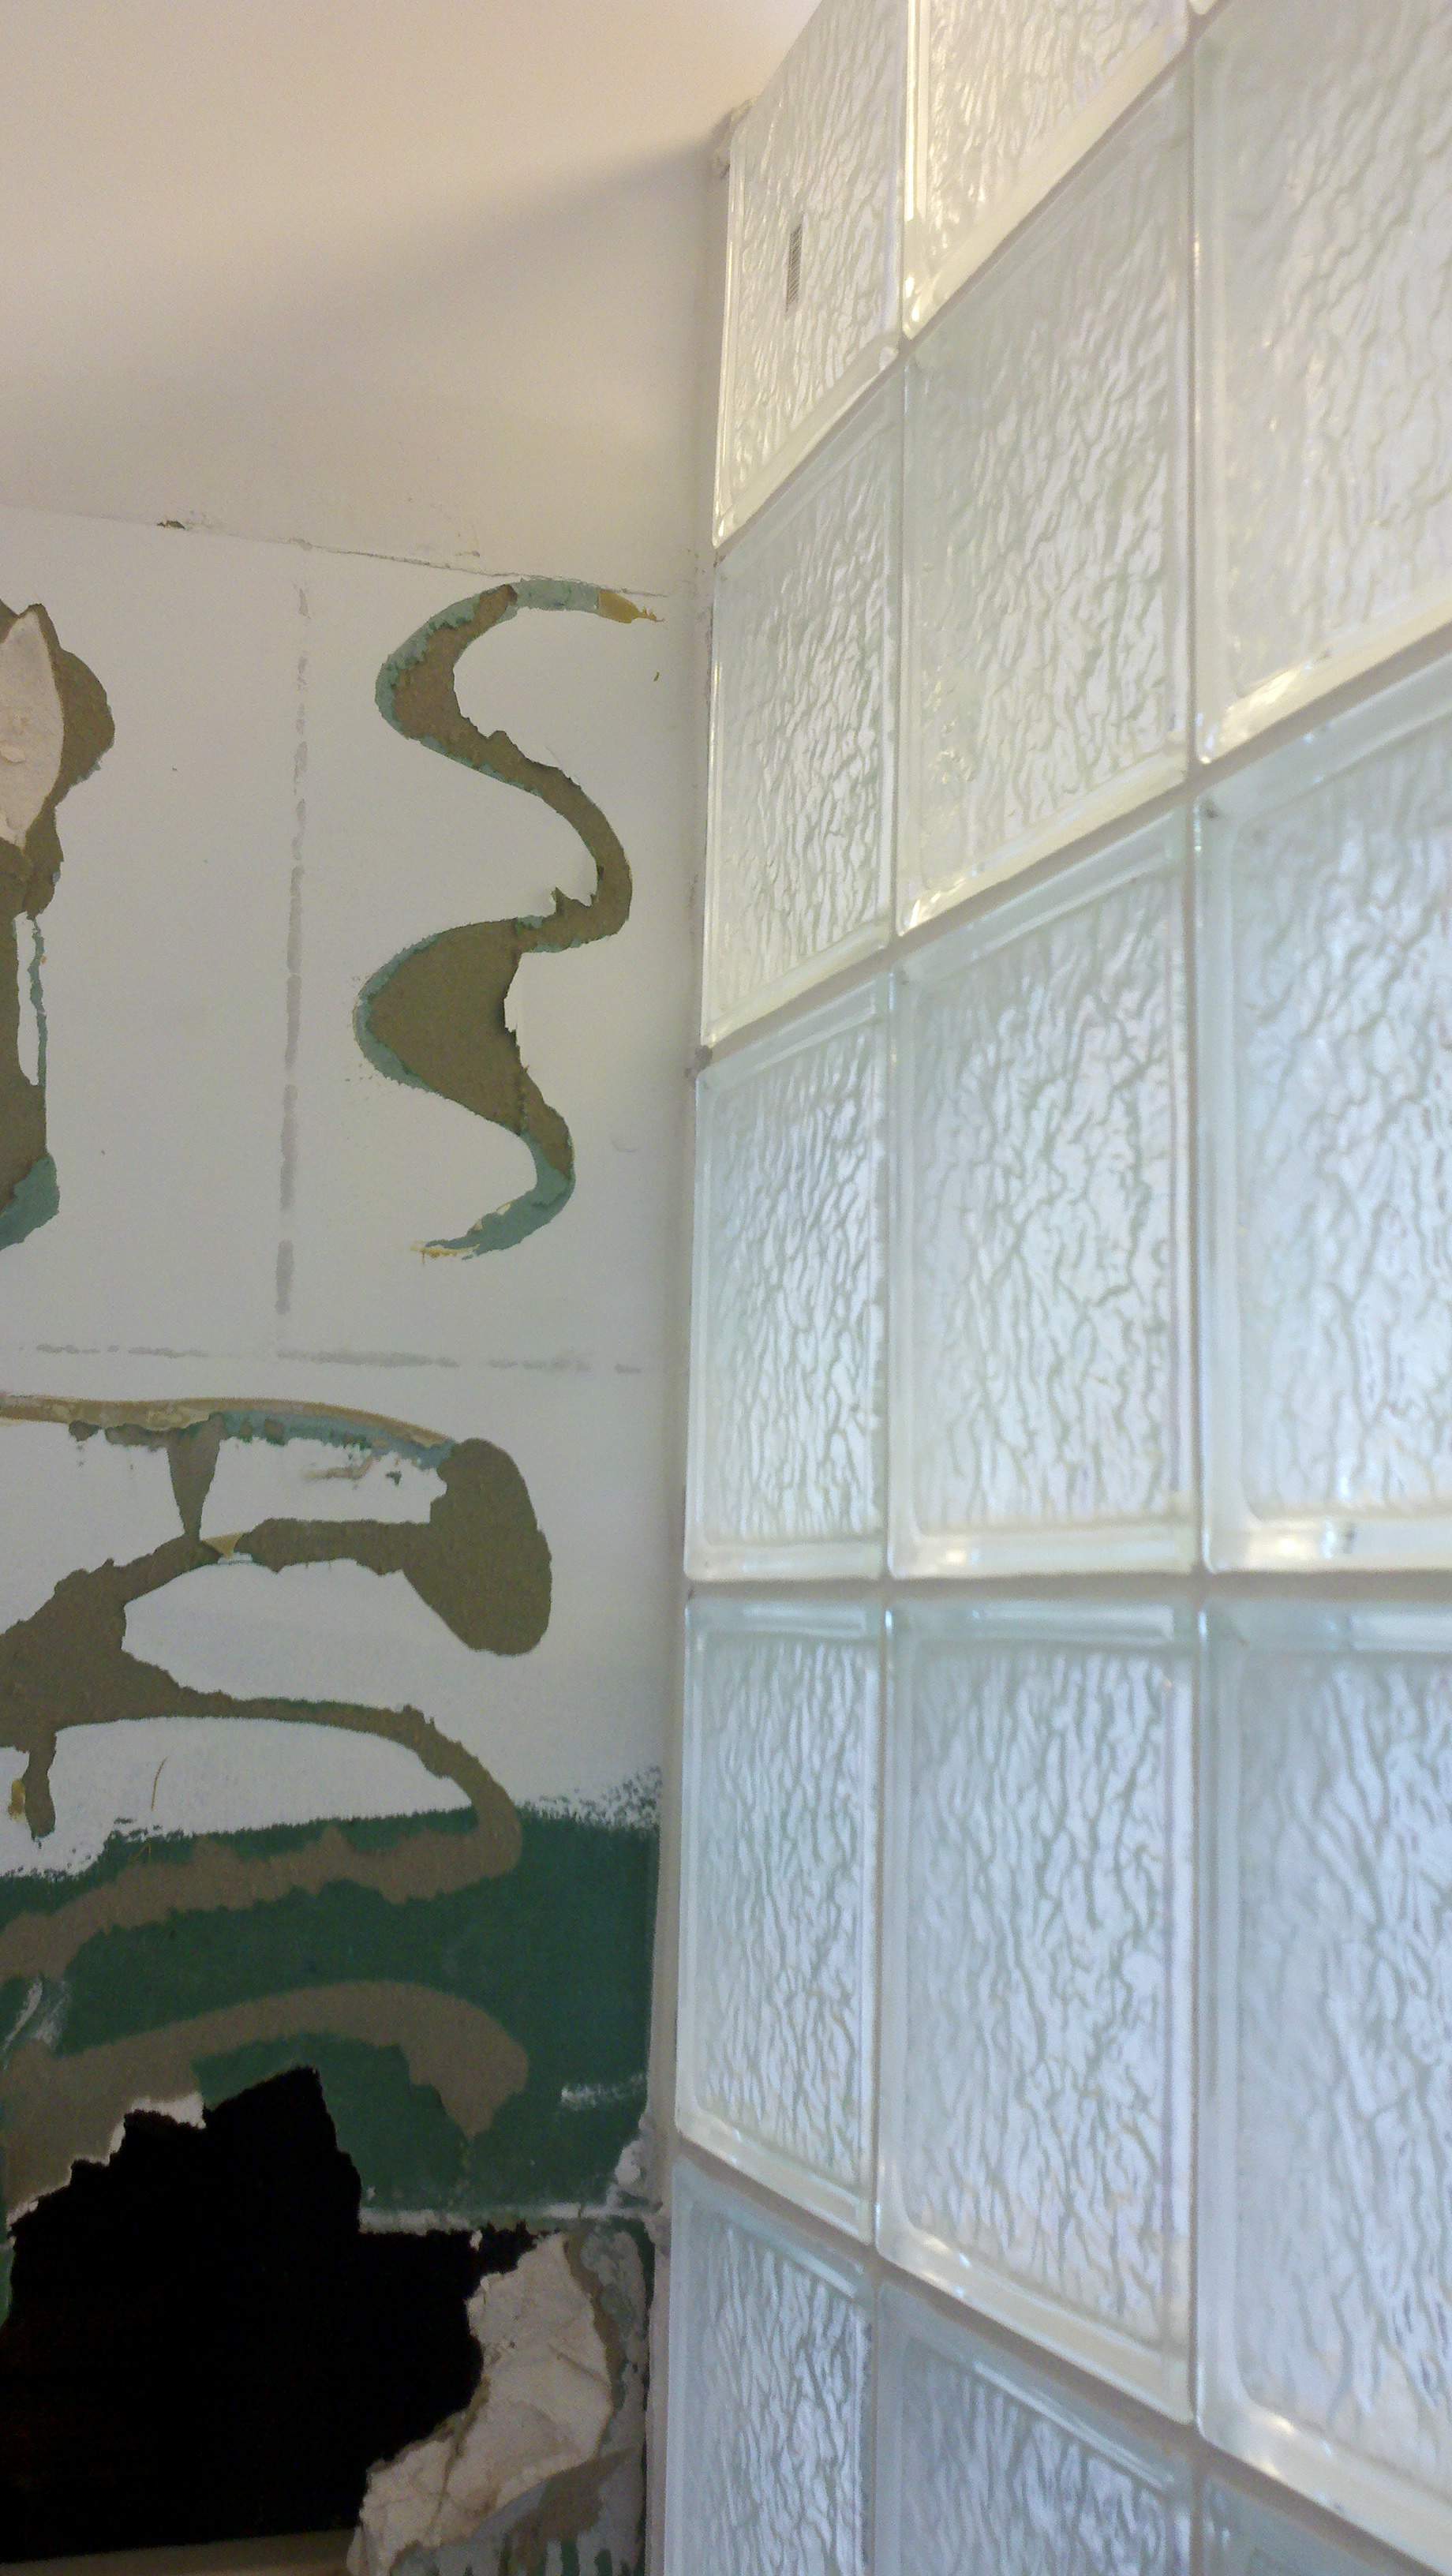
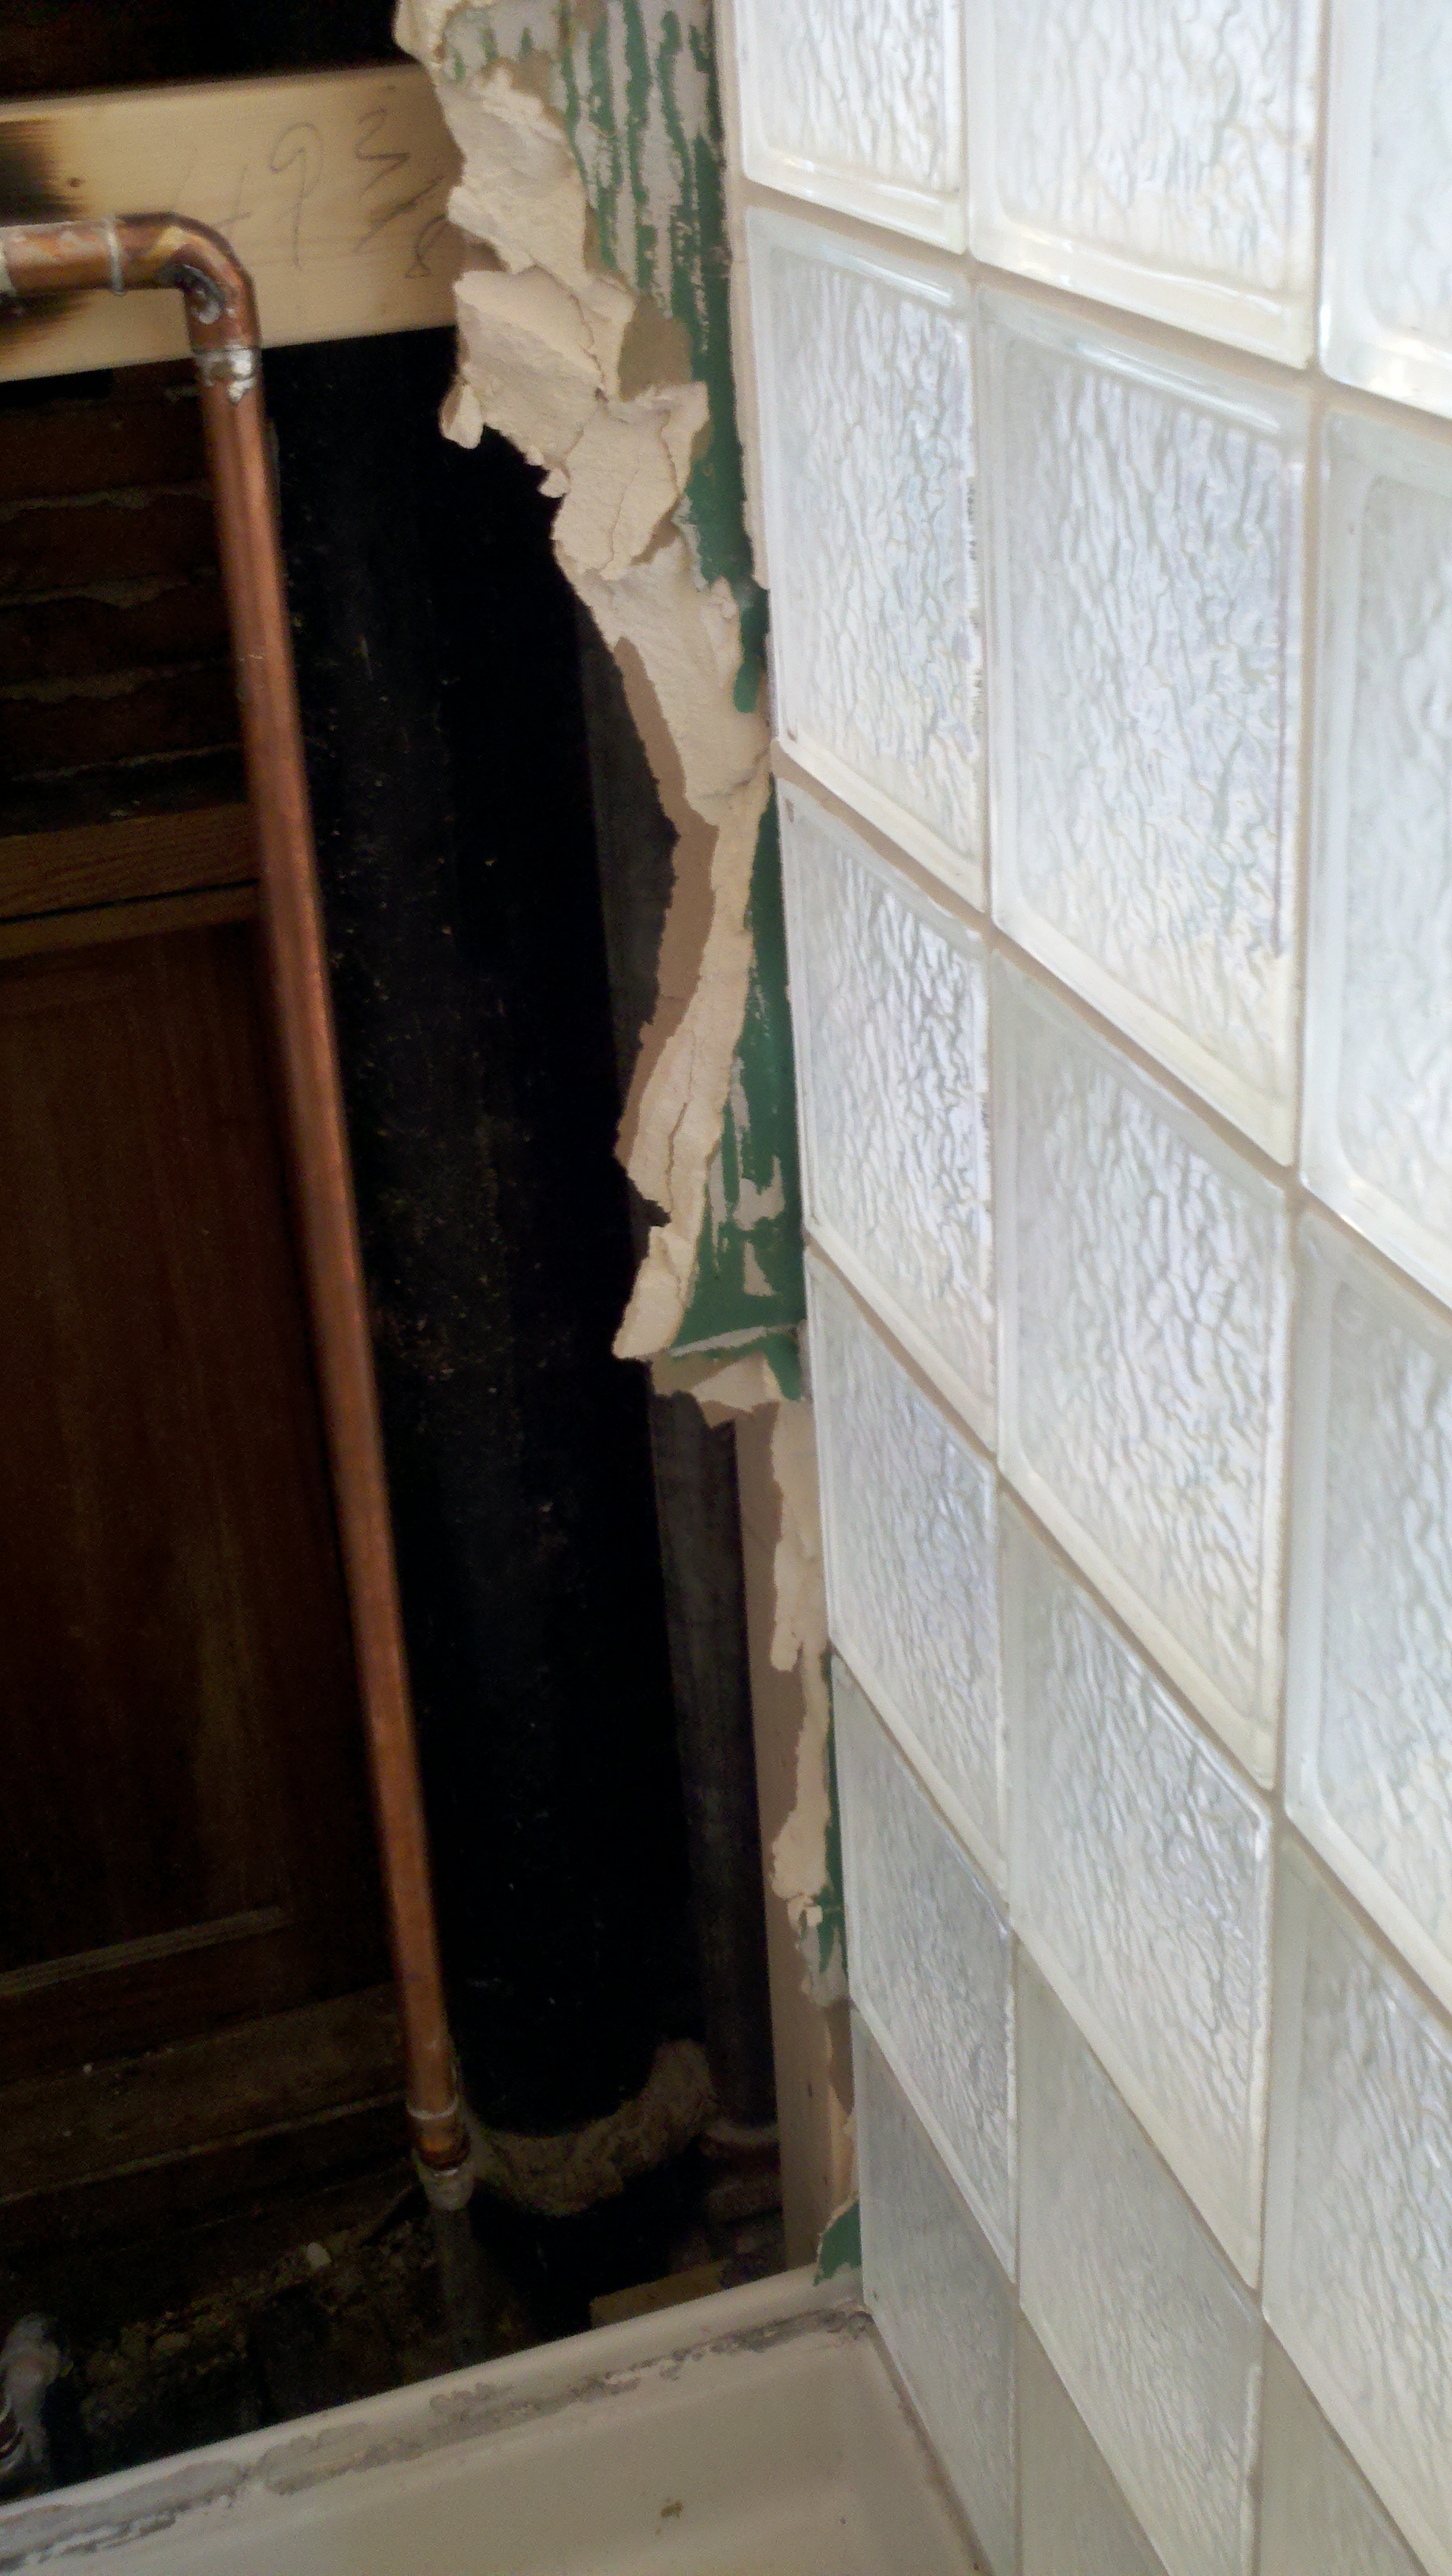
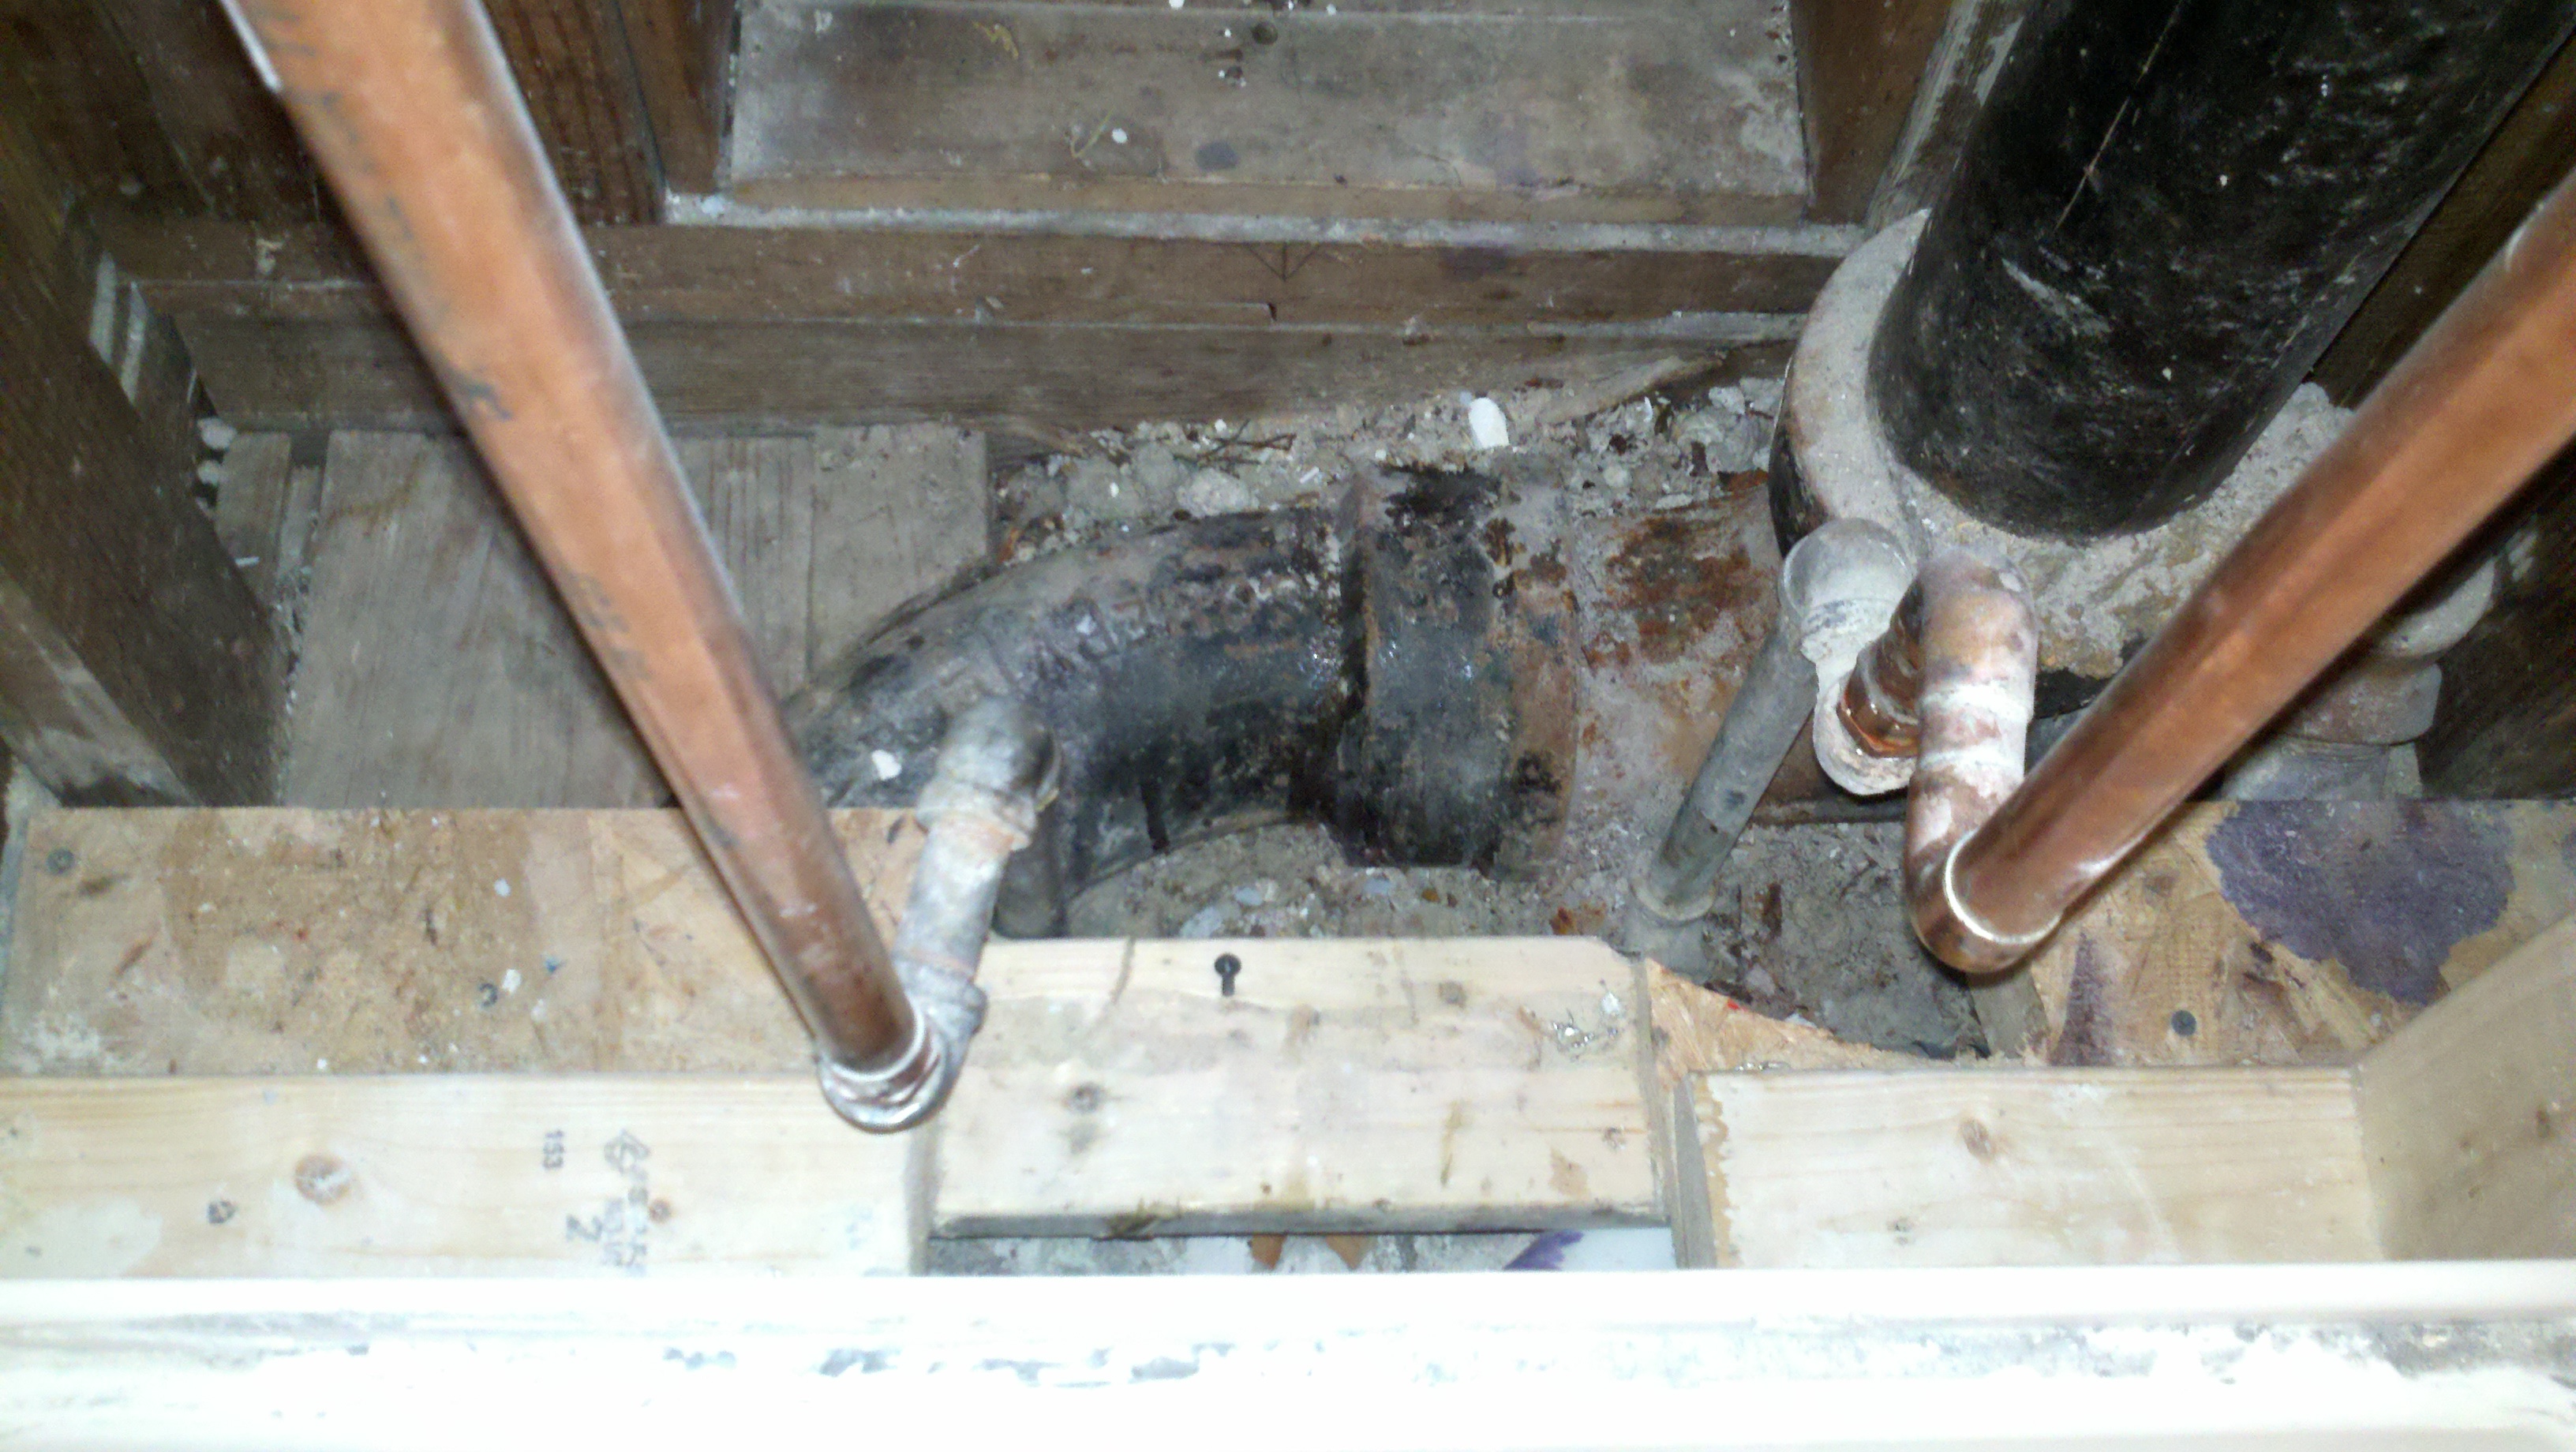
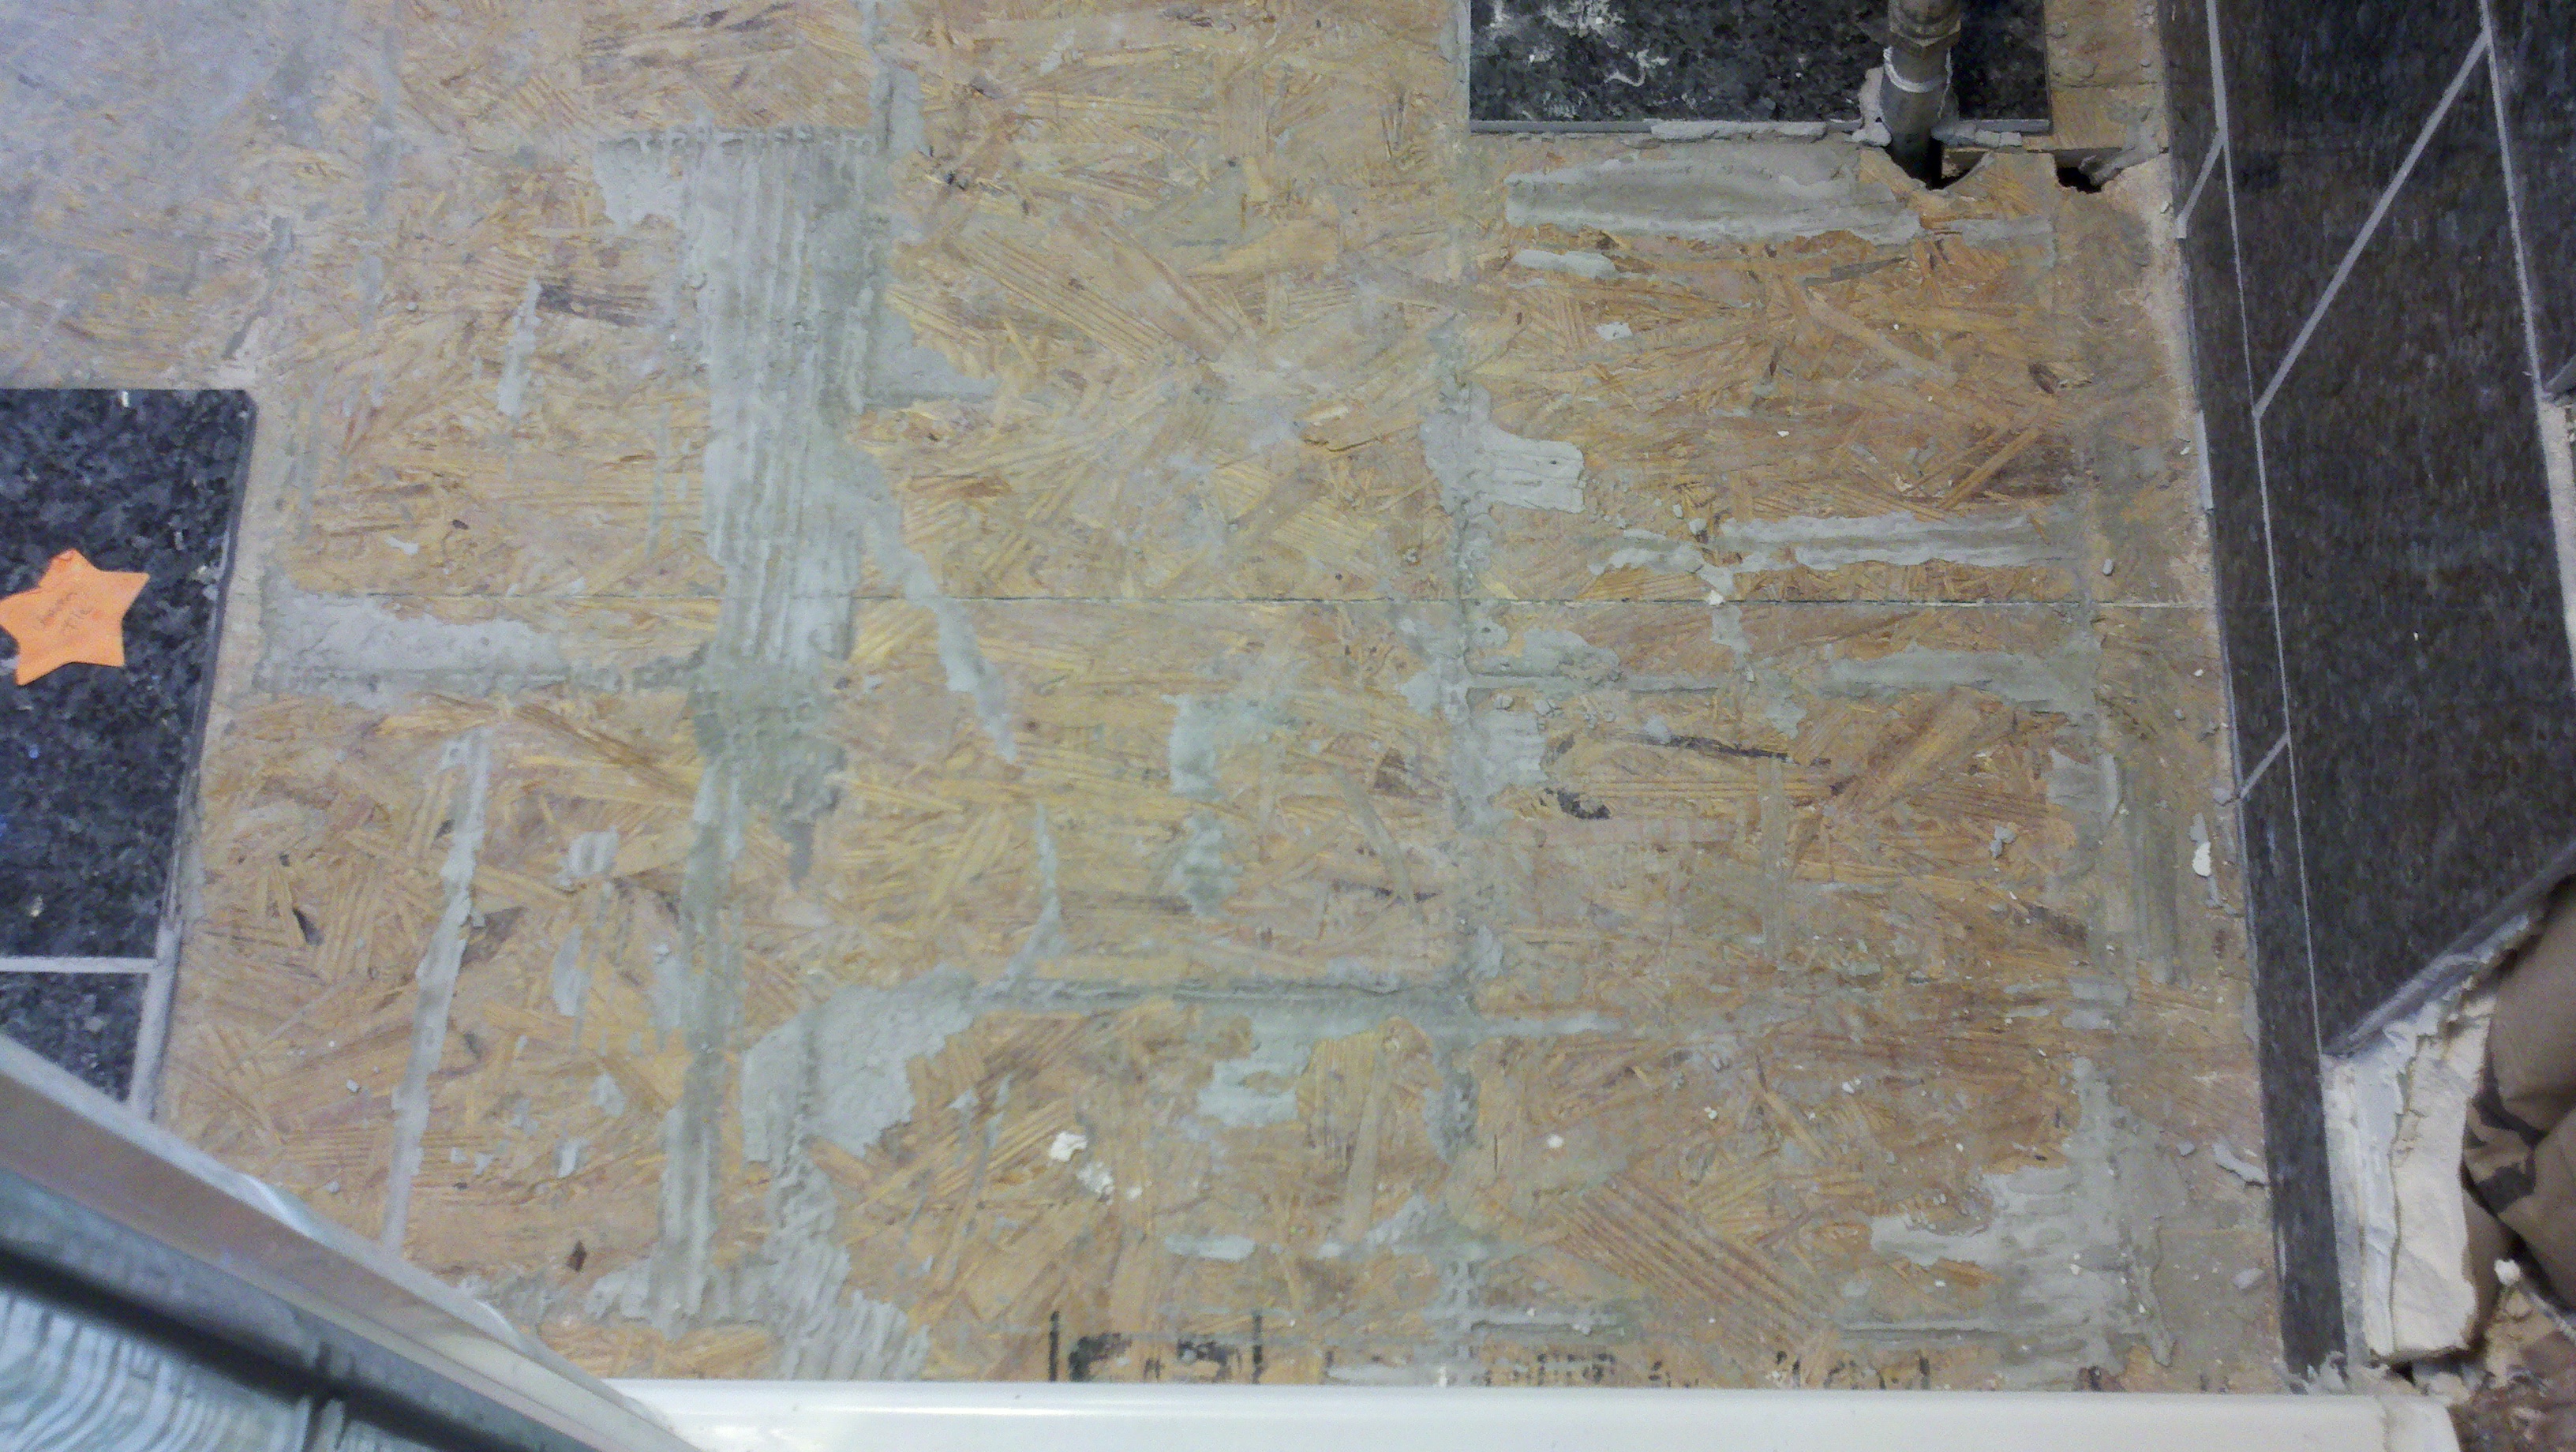
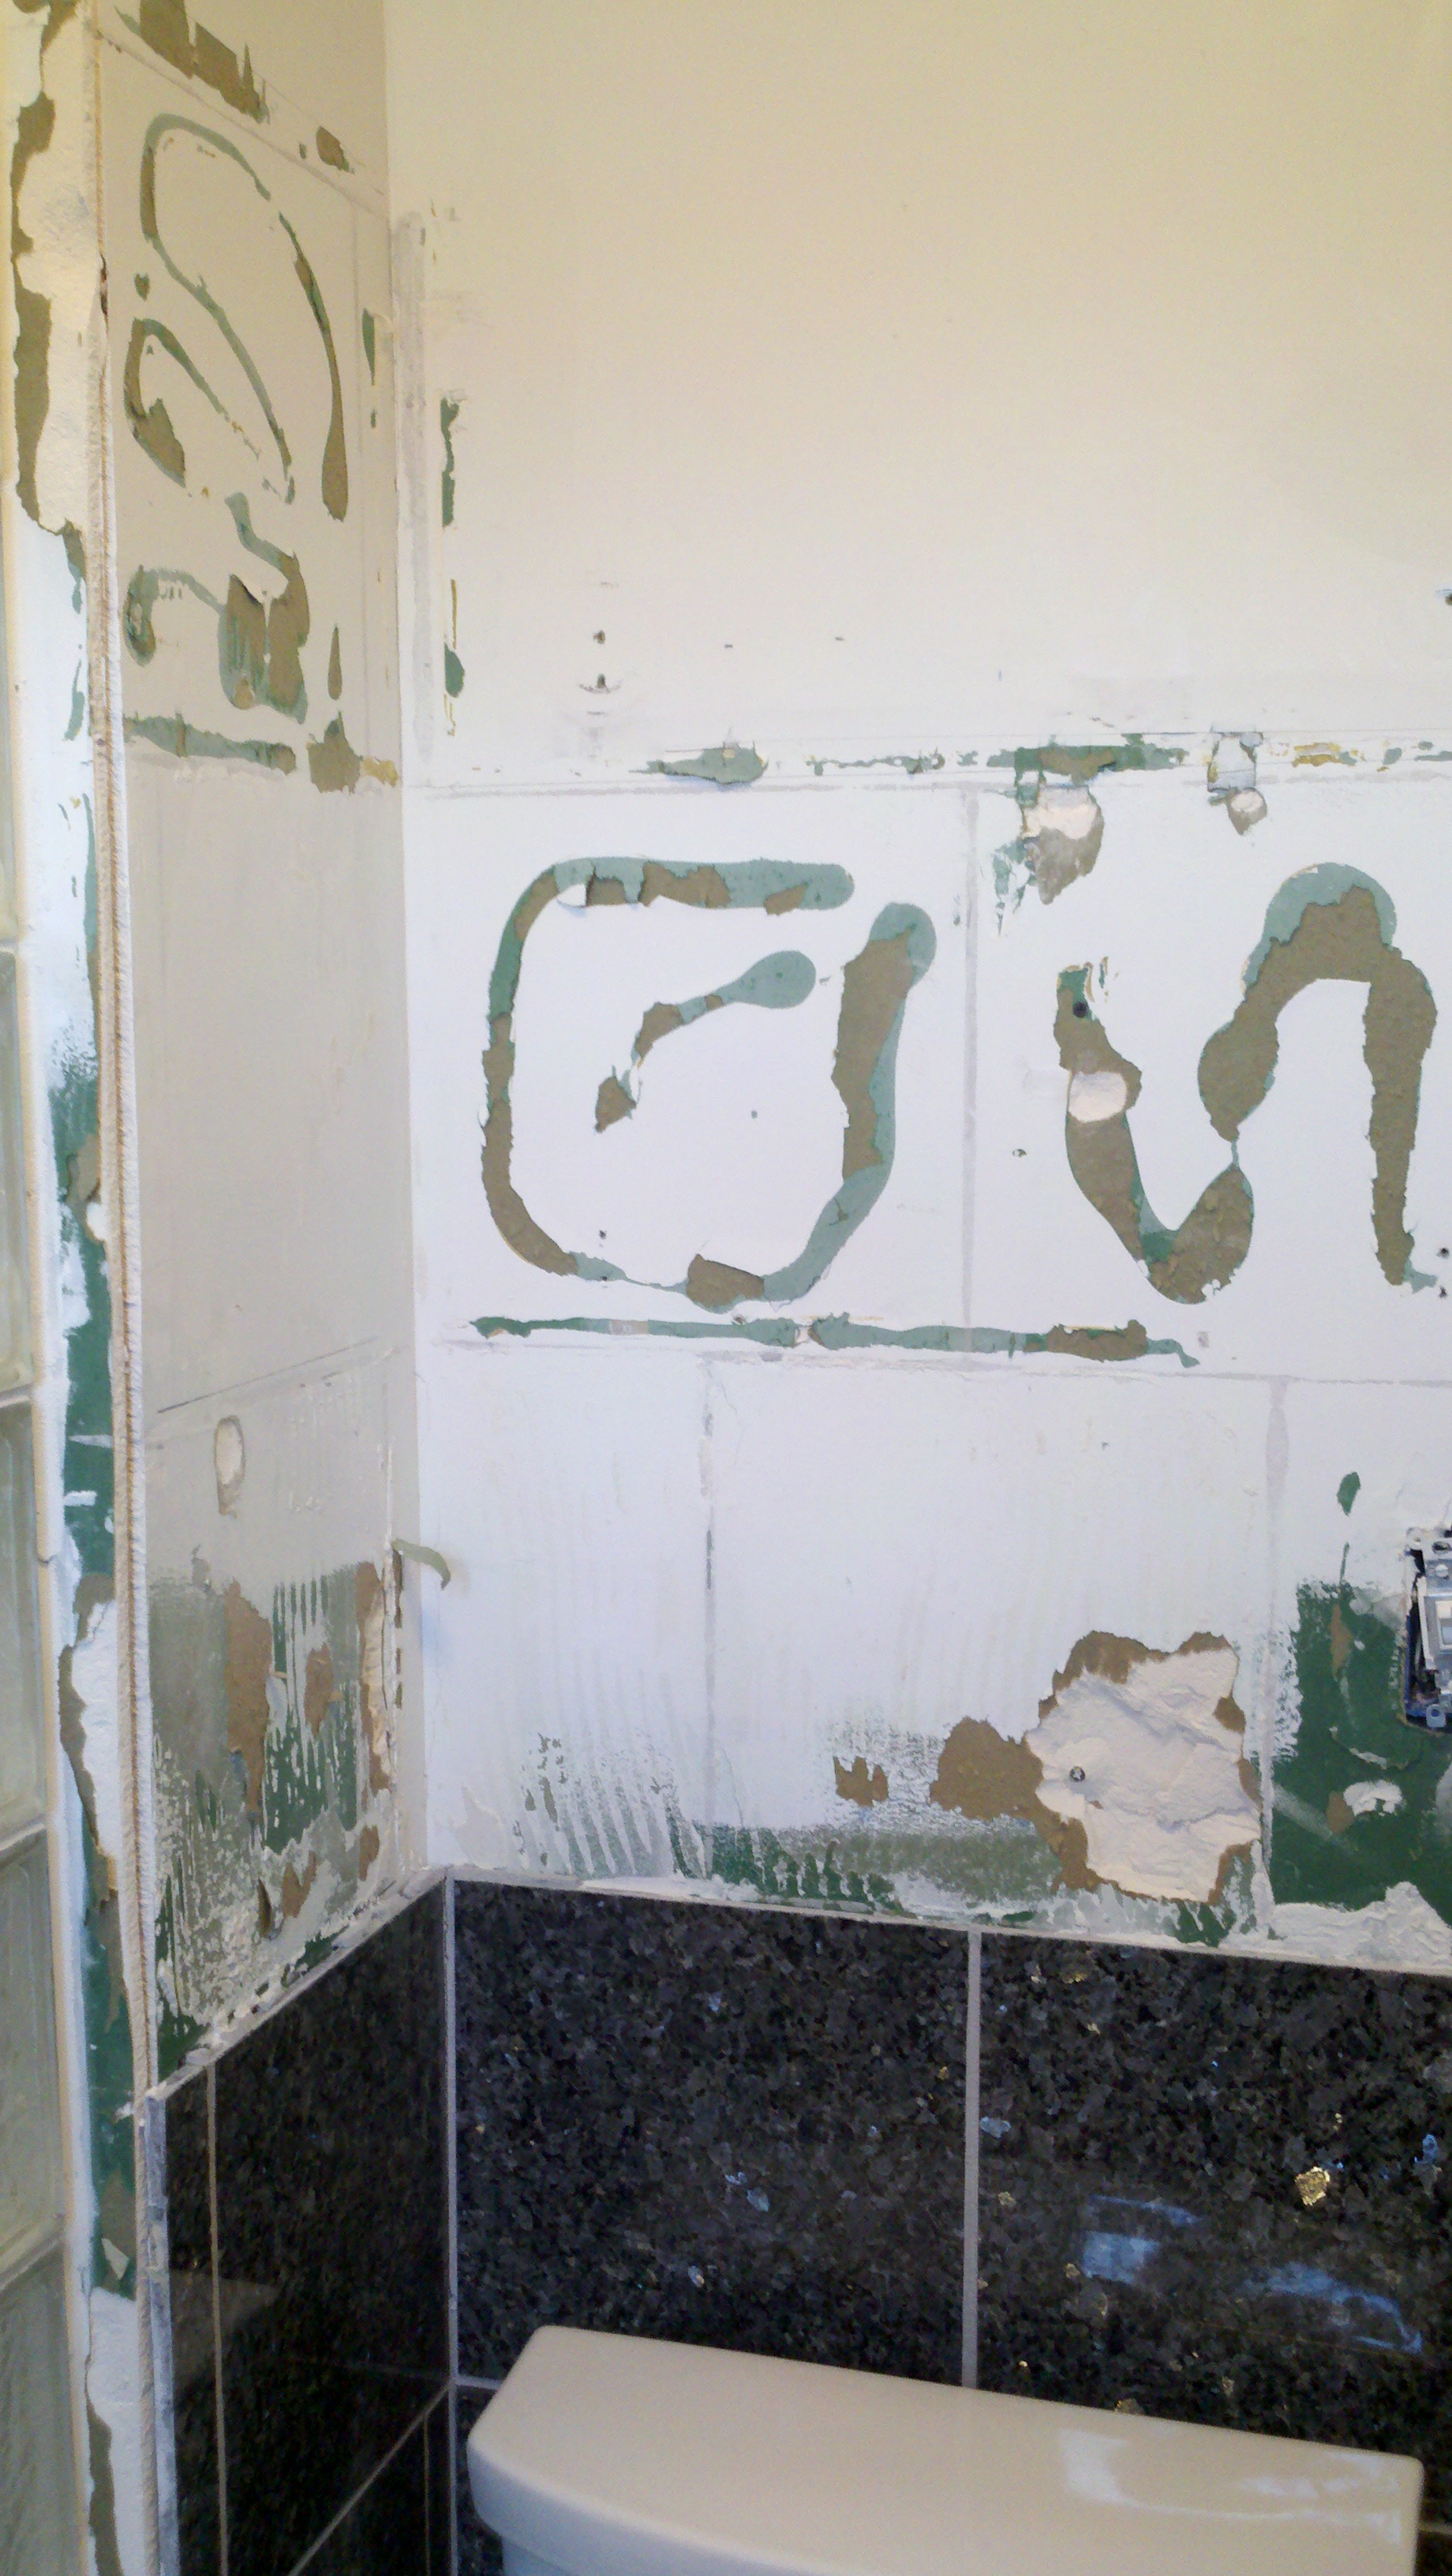
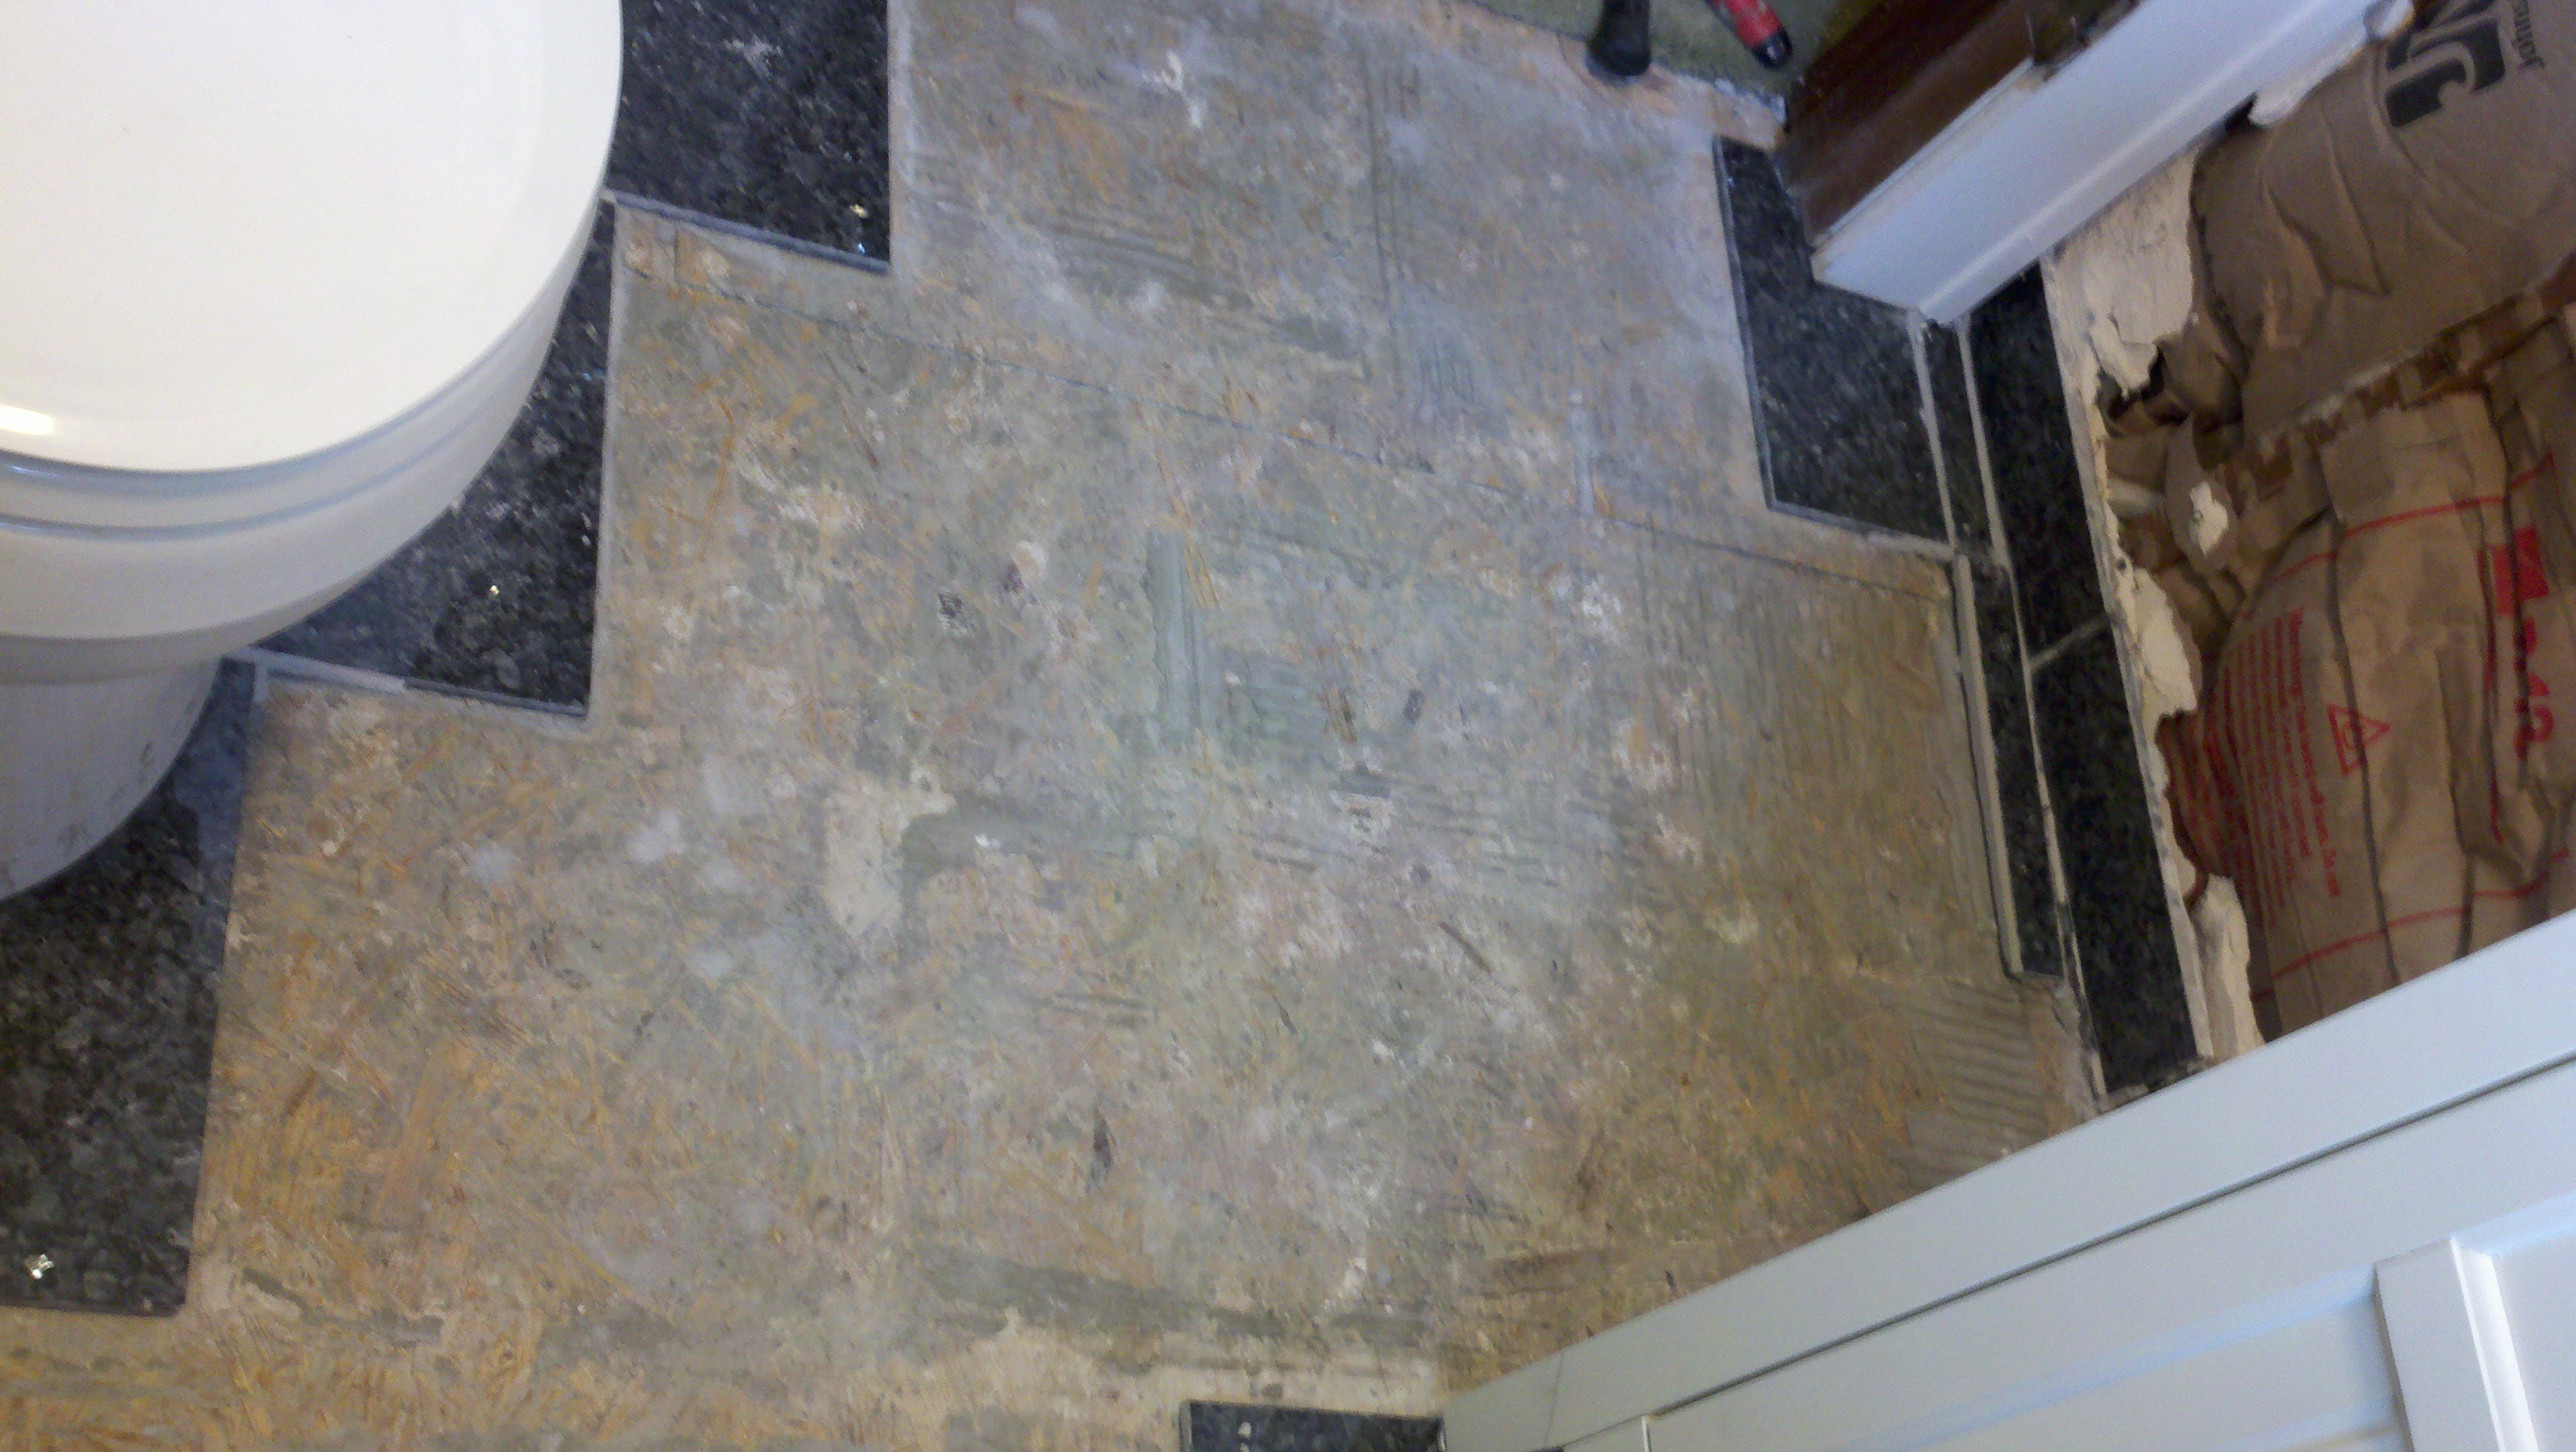
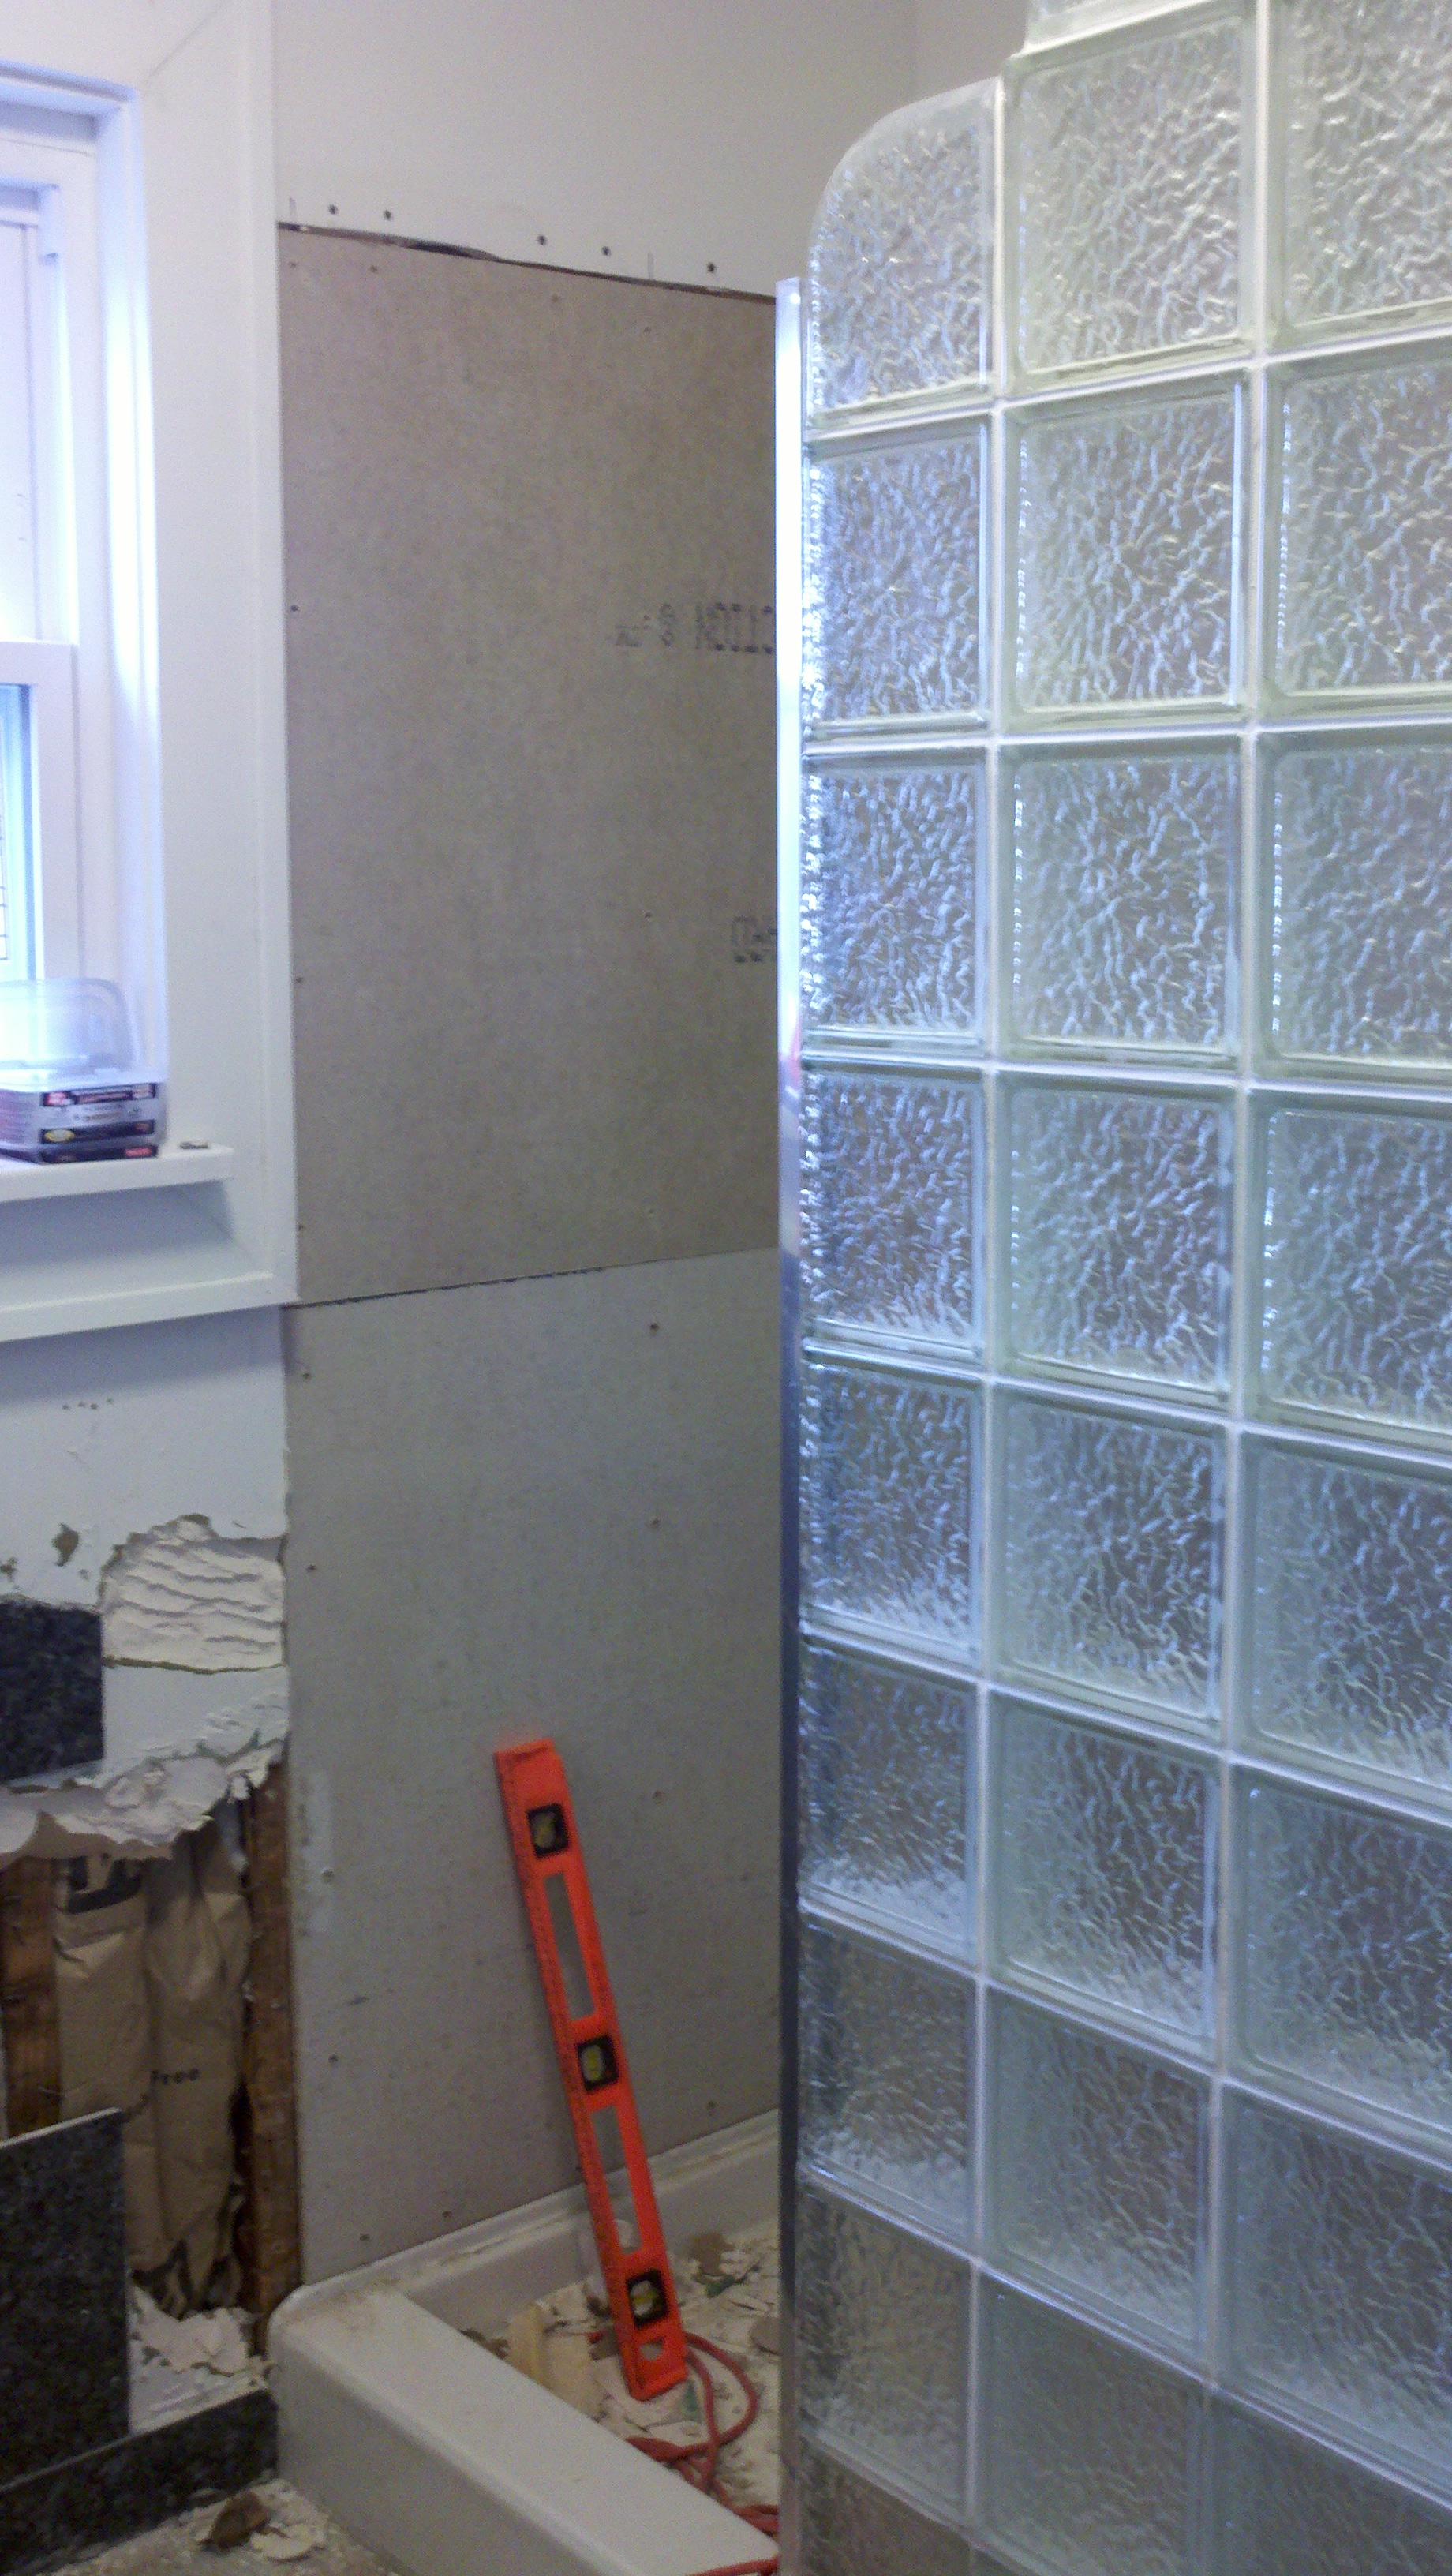
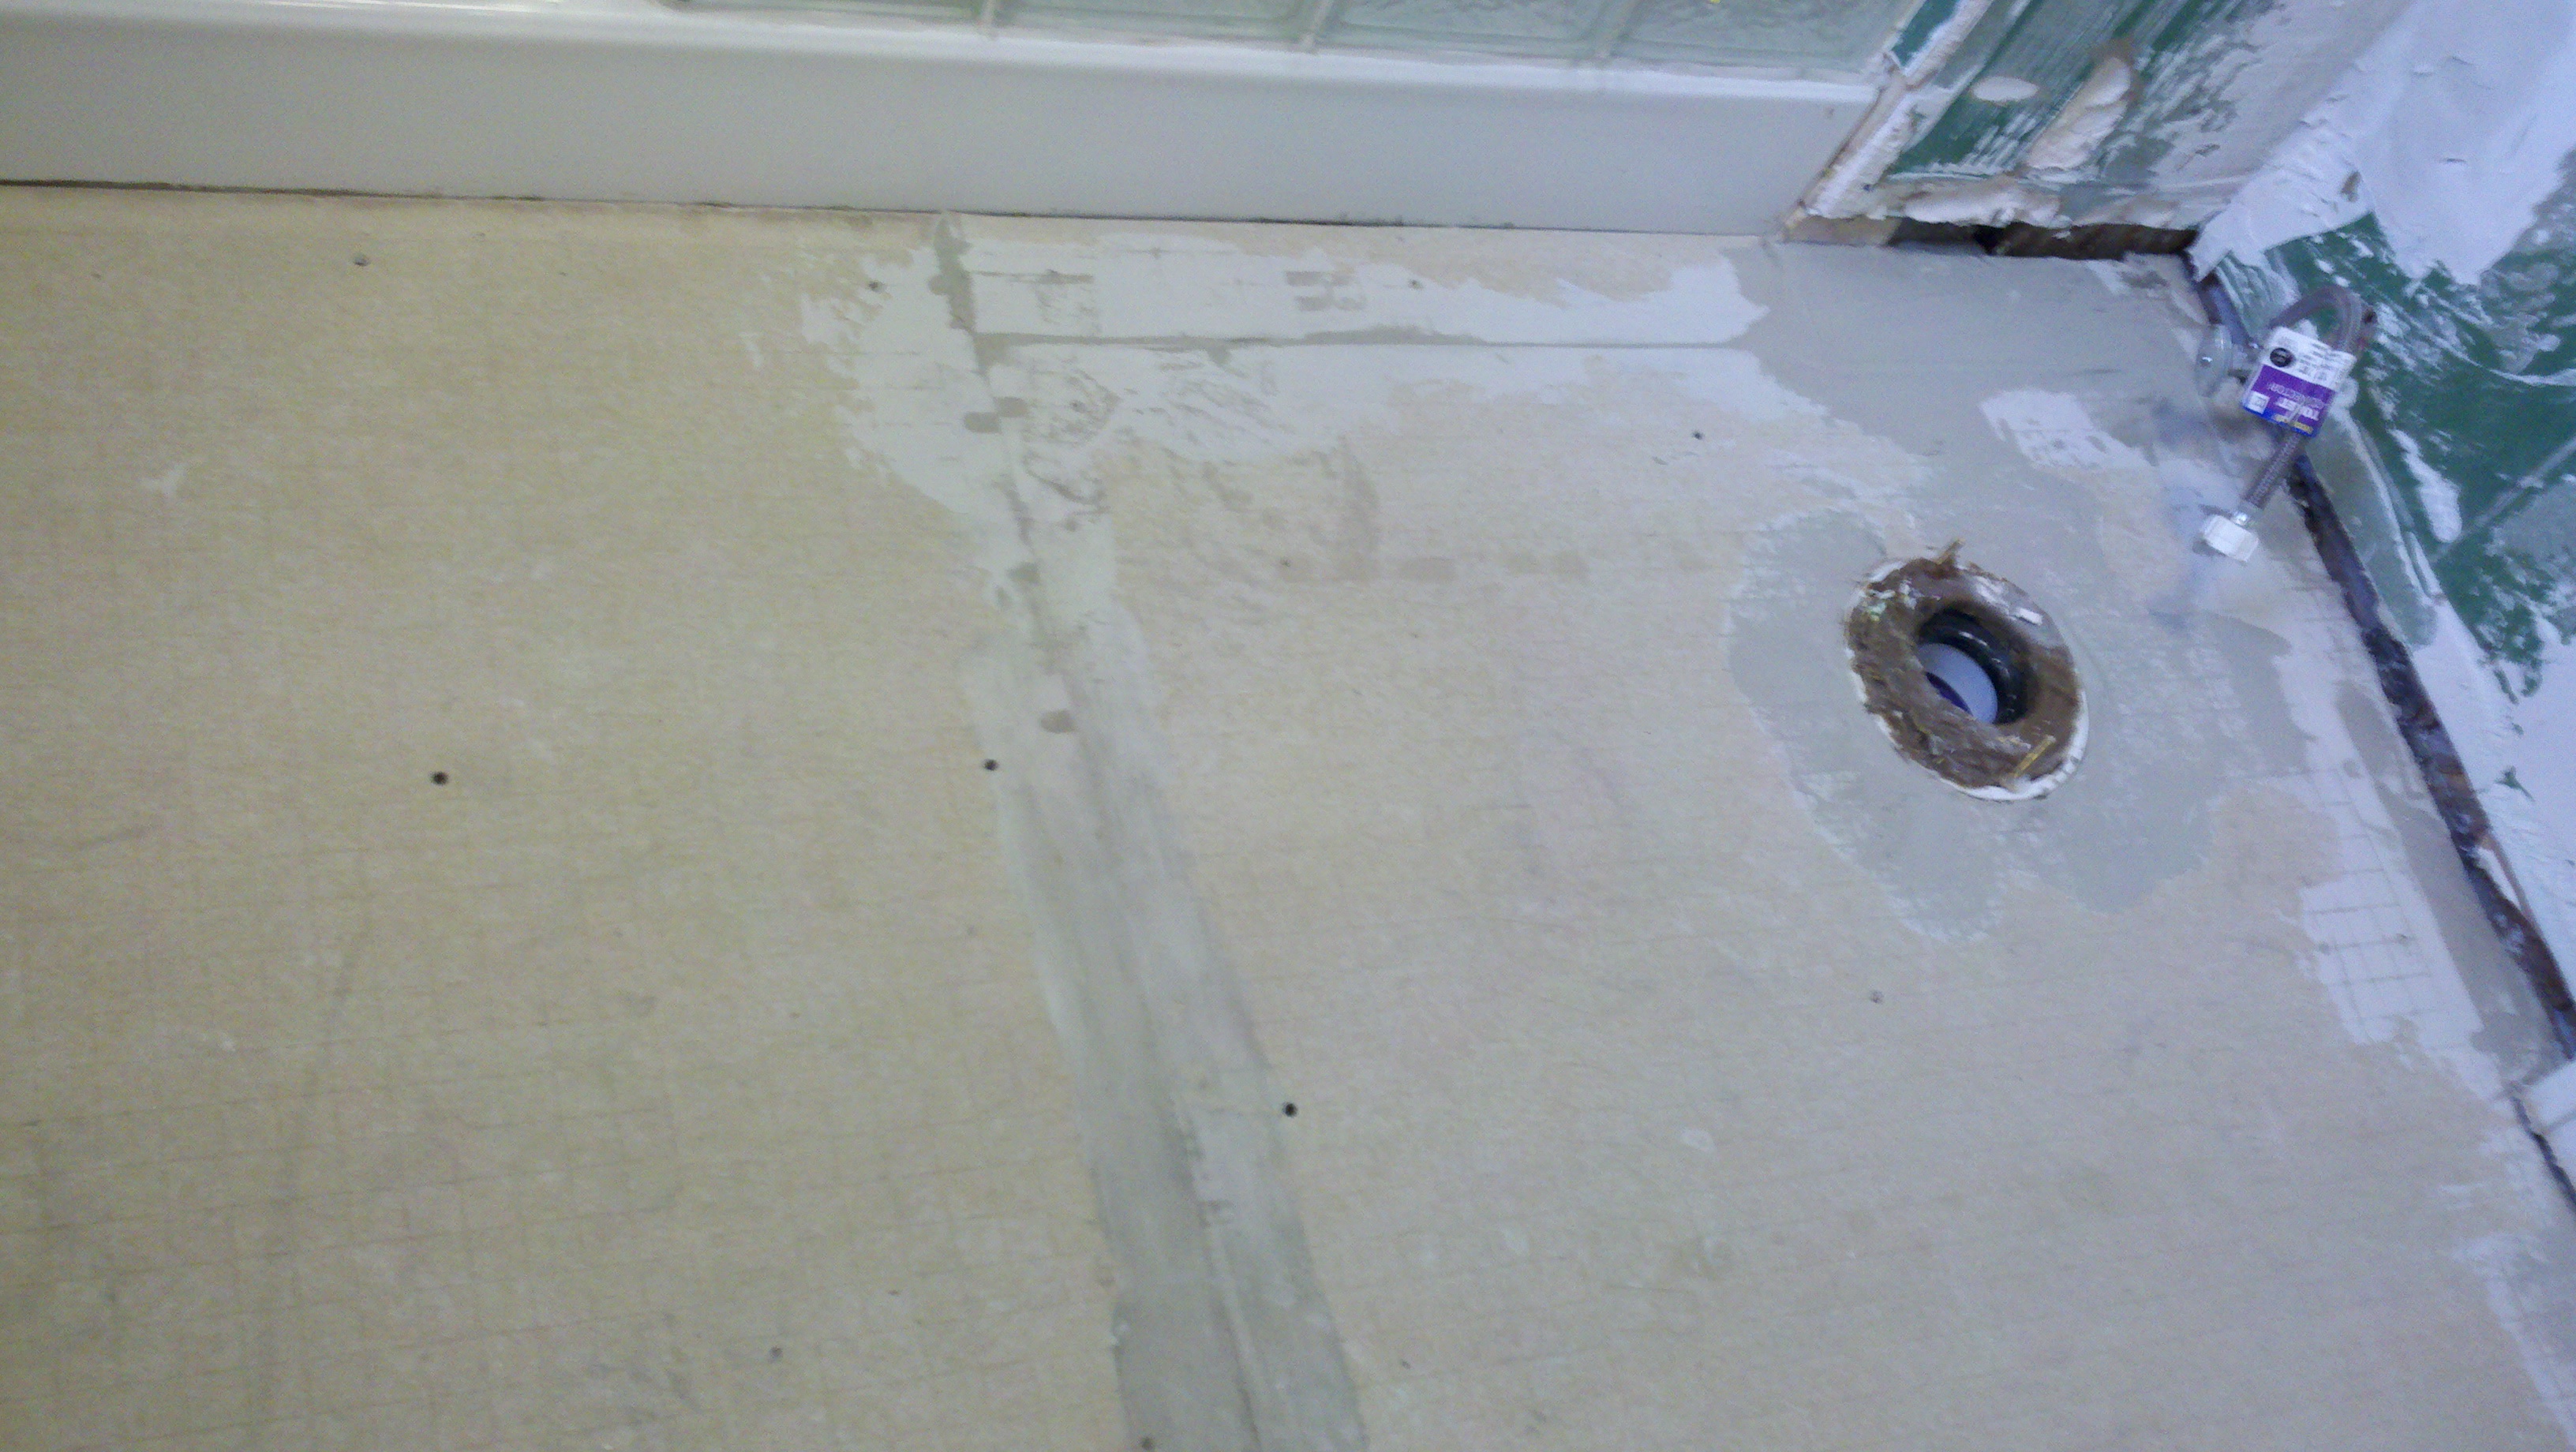
| Bathroom Tile/Bathtub/Mold Removal &
Shower Walls/Bathtub Installation
|
| Bathroom Previous Tile
Installation Removal, Repair, & Re-Installation of Tile
|
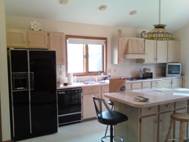
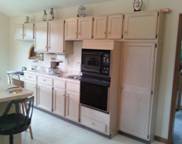
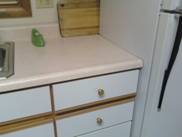
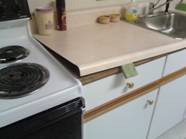
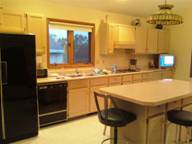
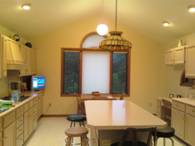
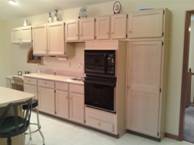
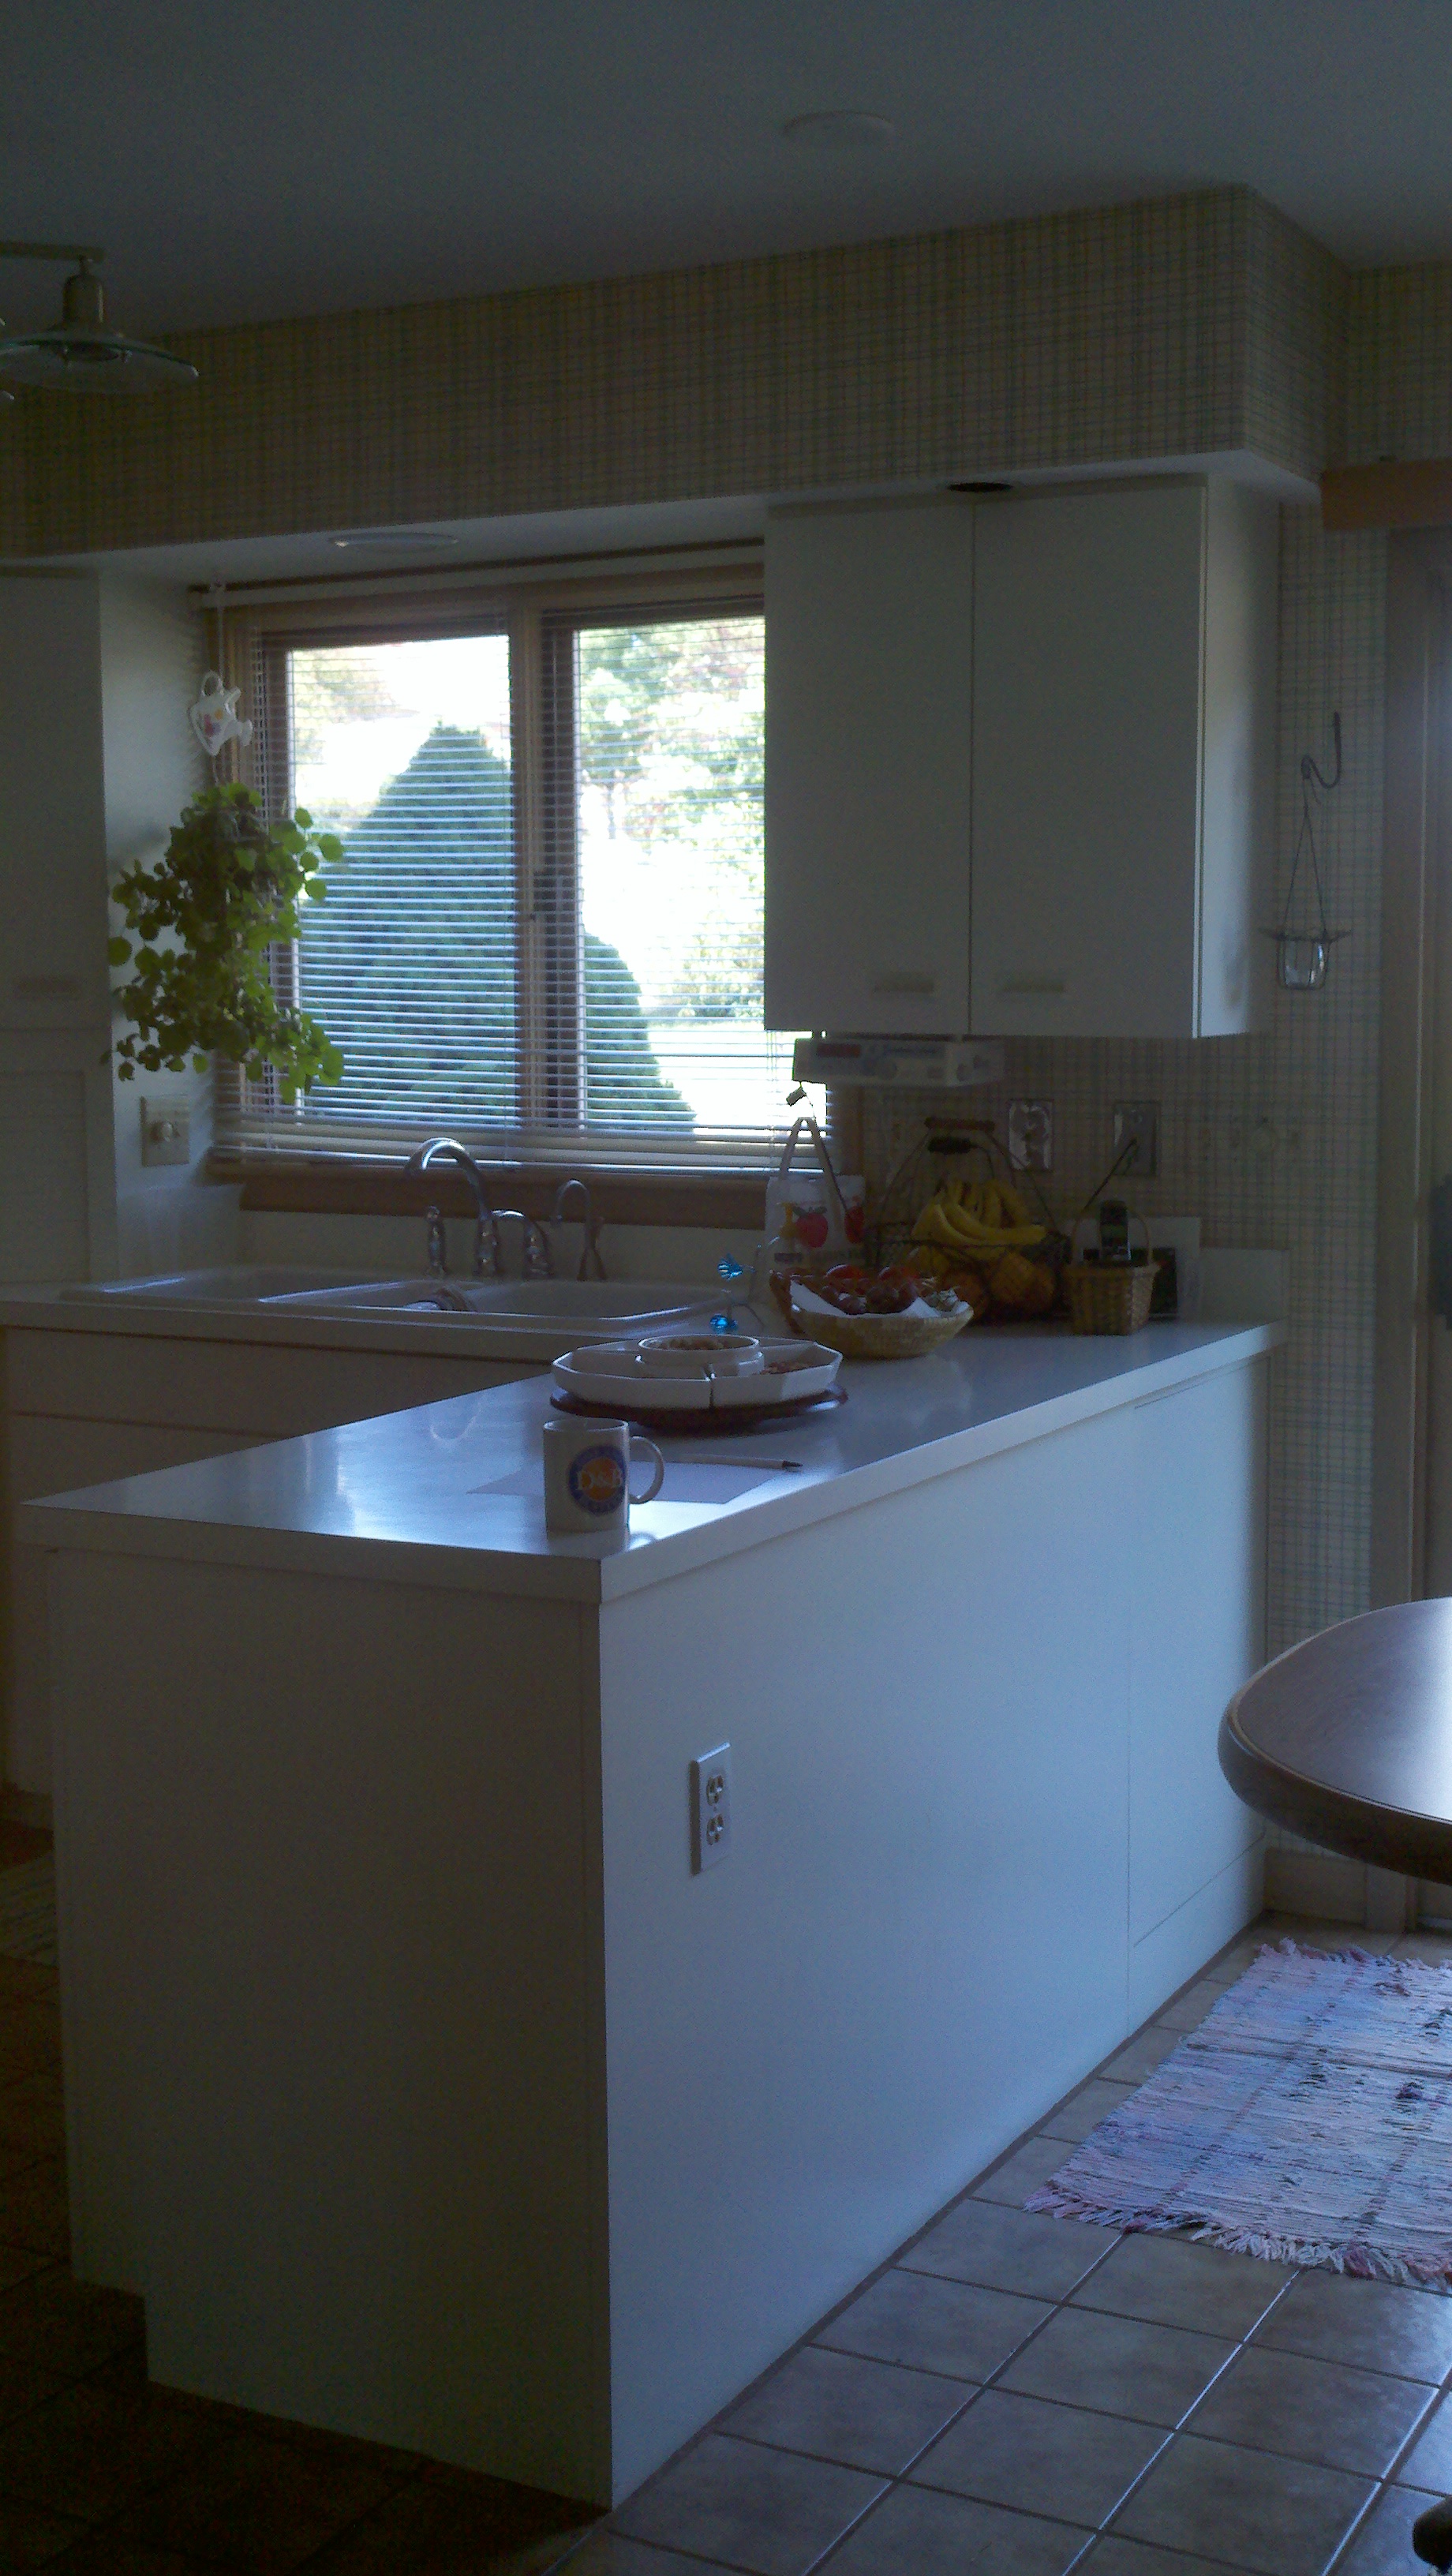
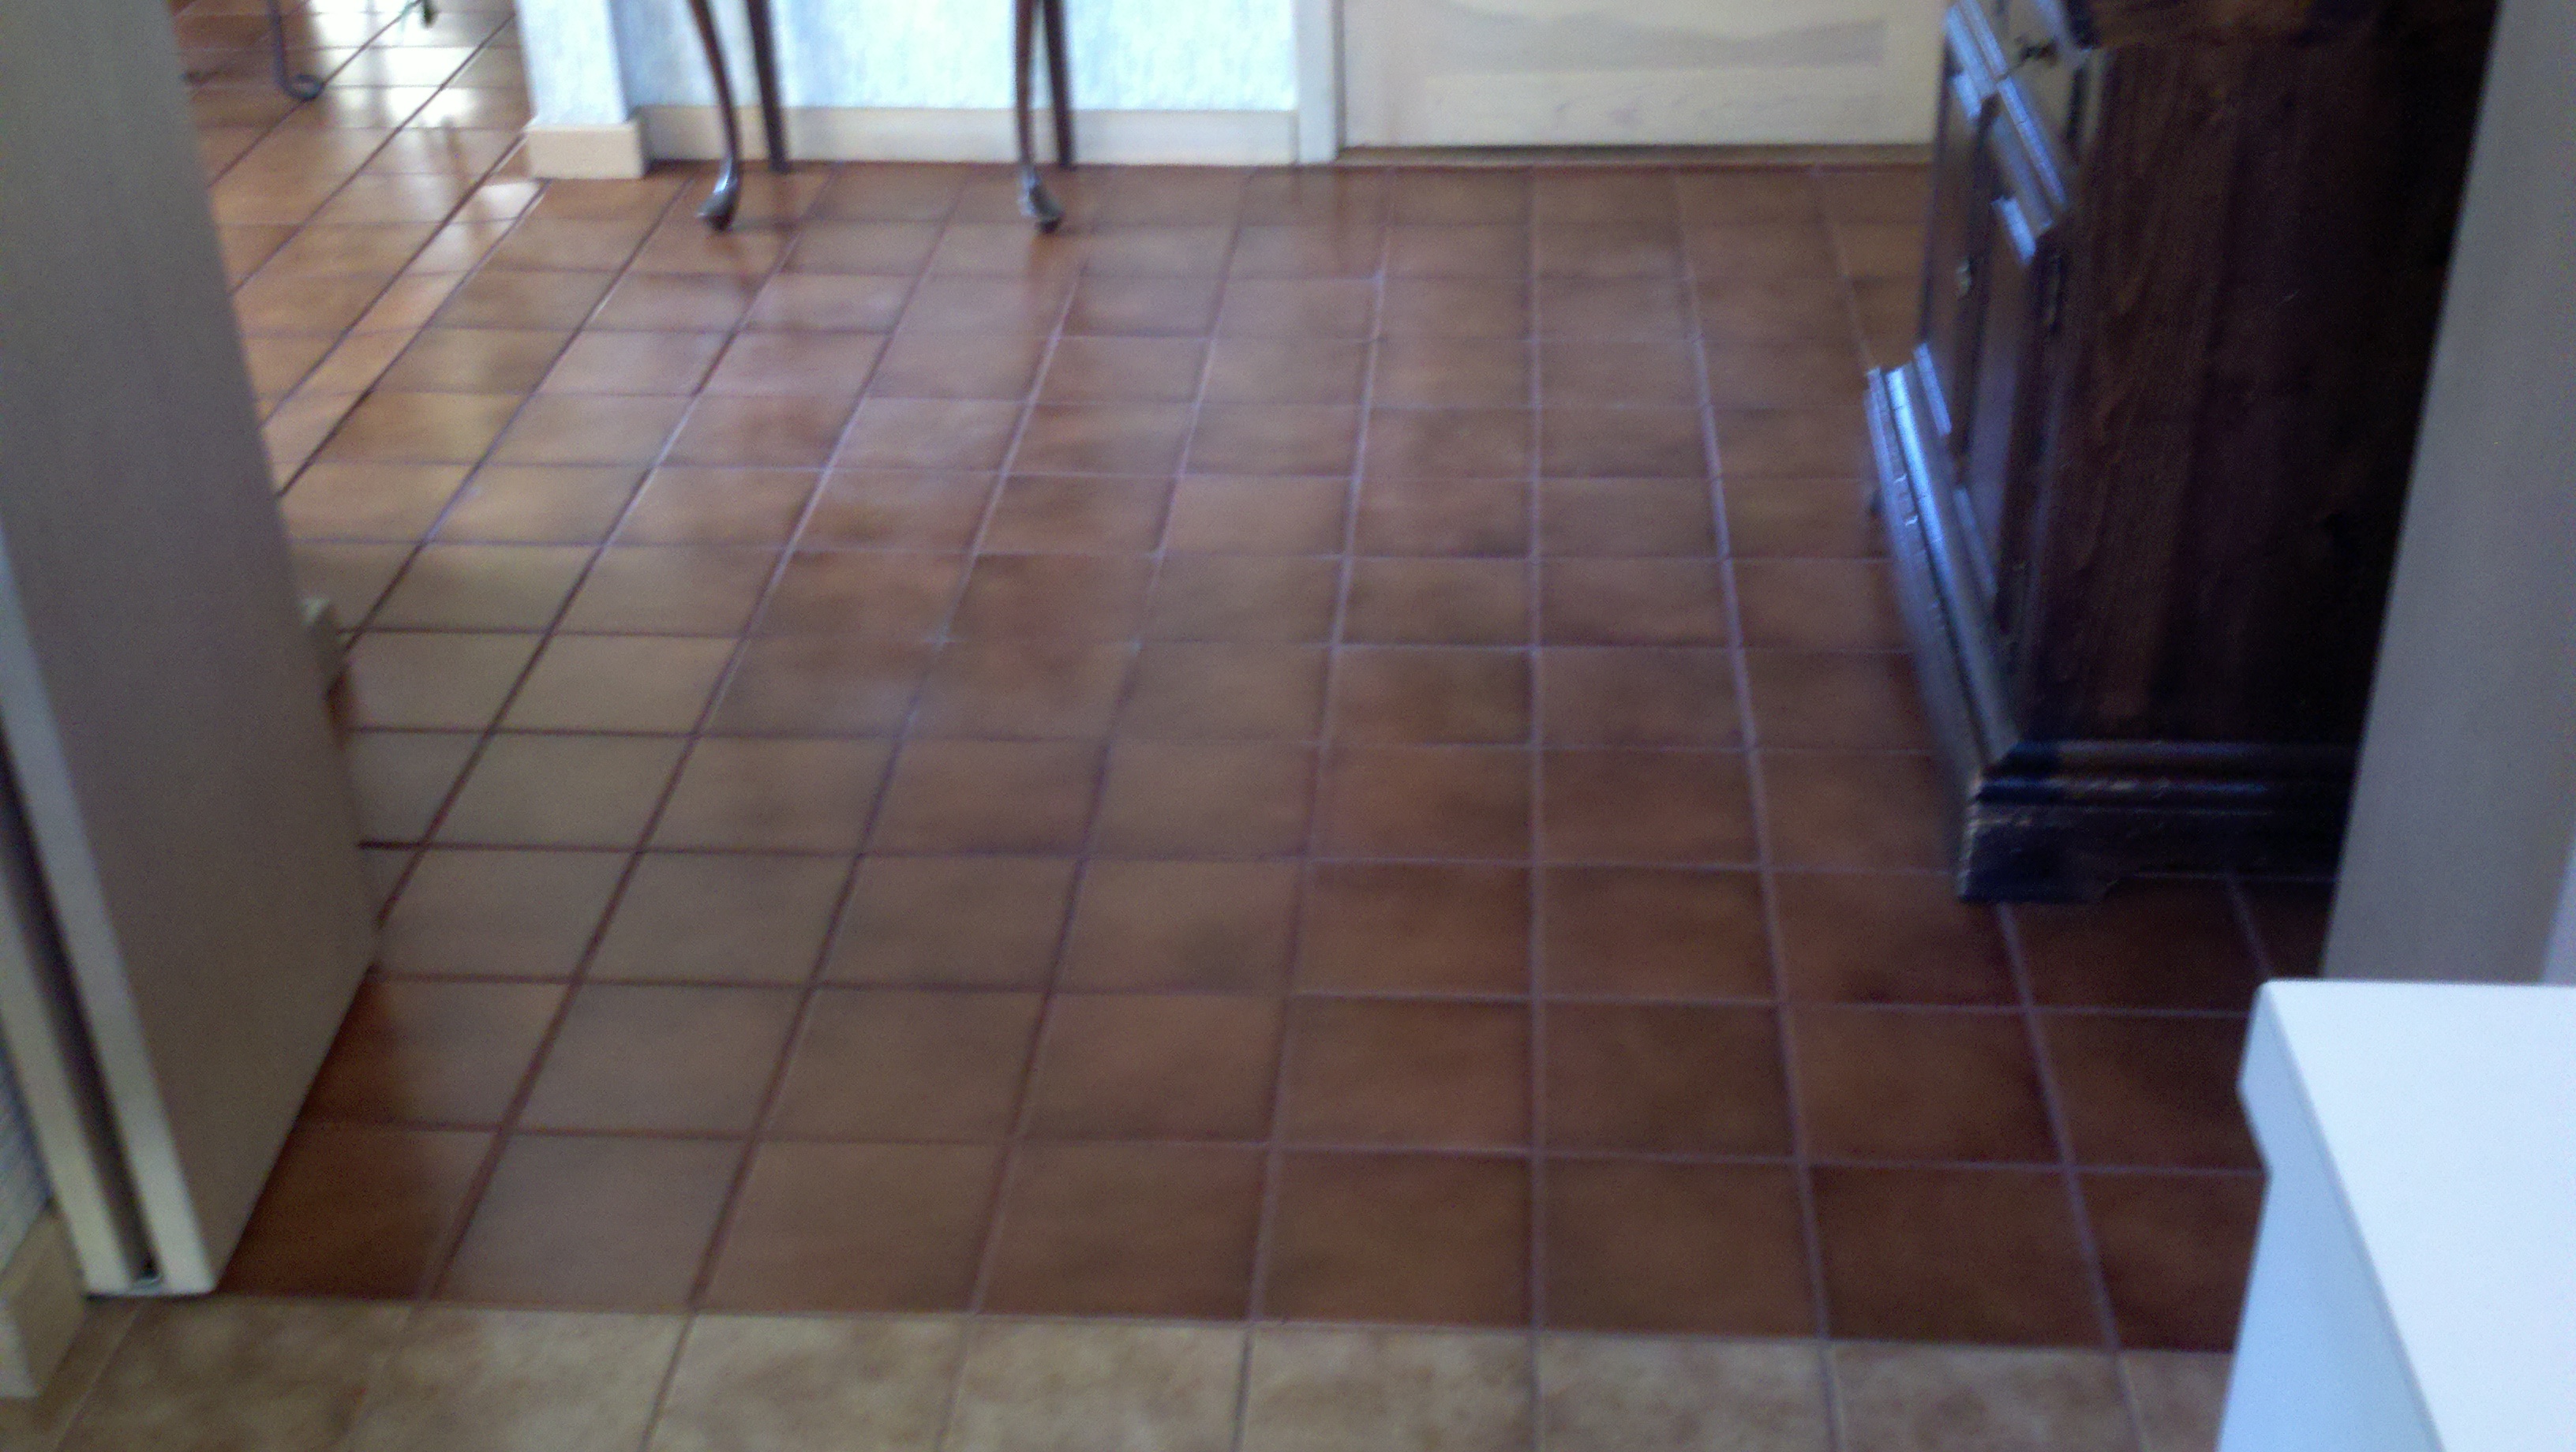
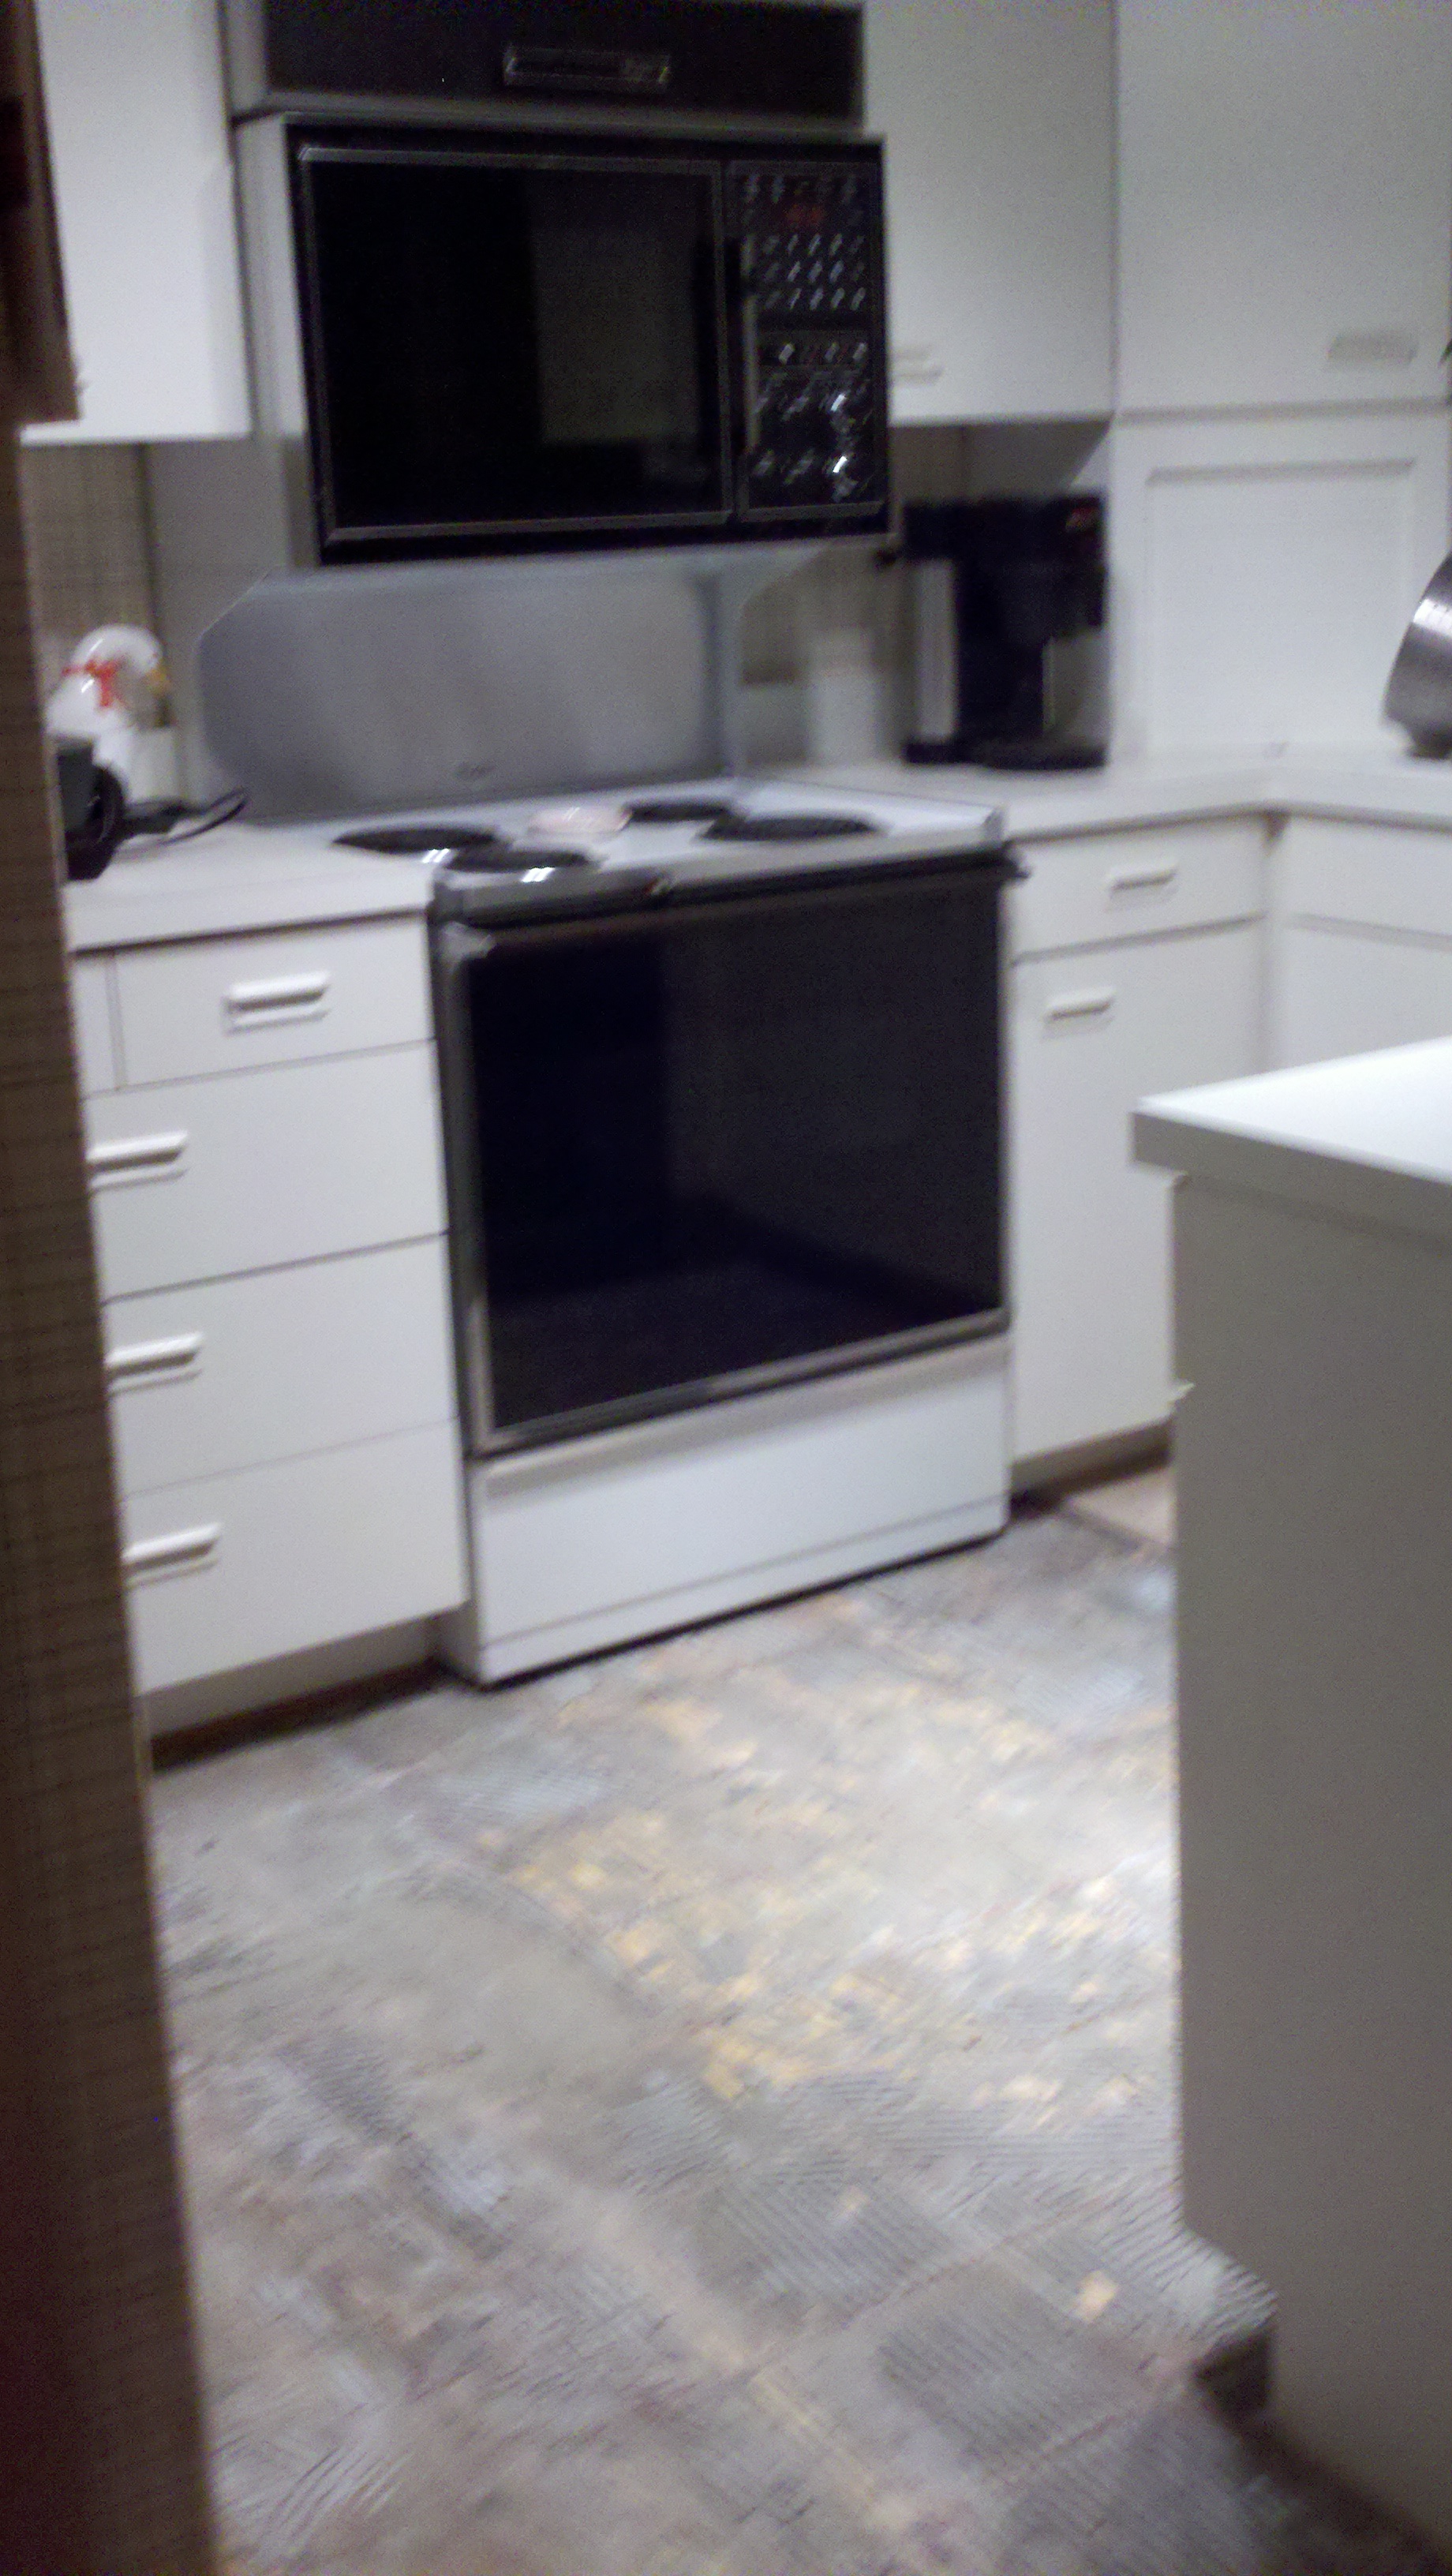
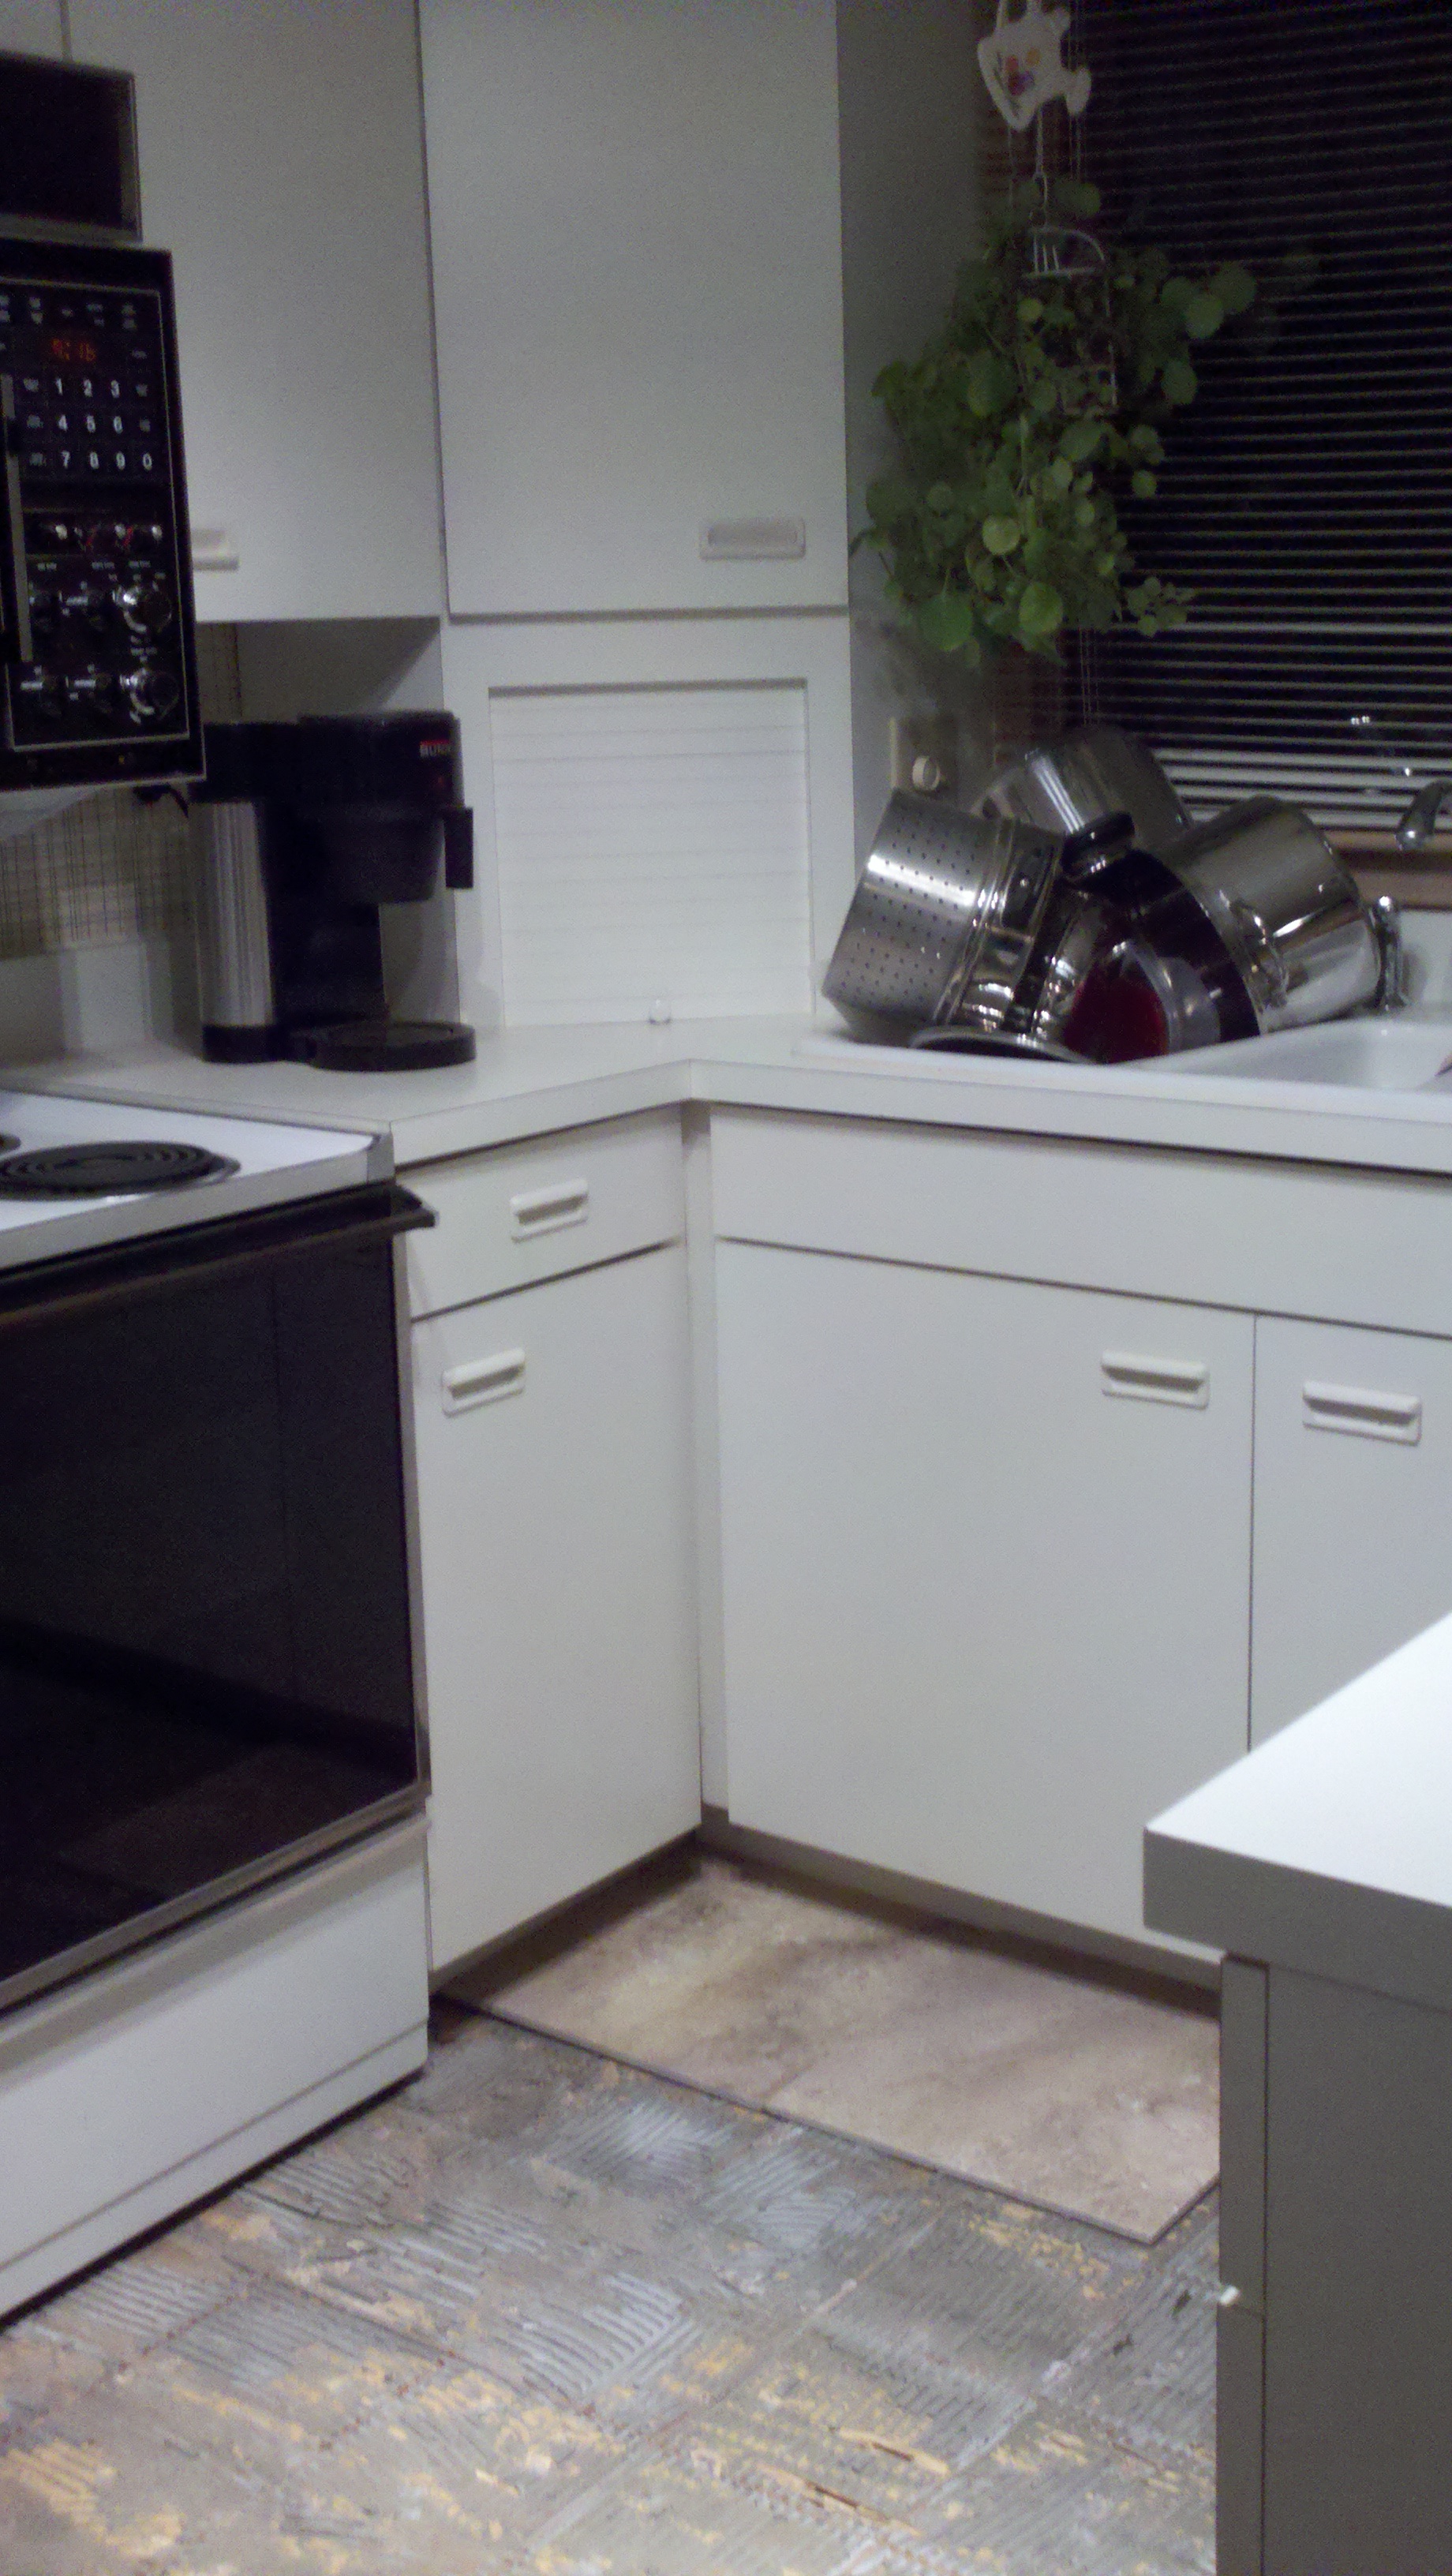
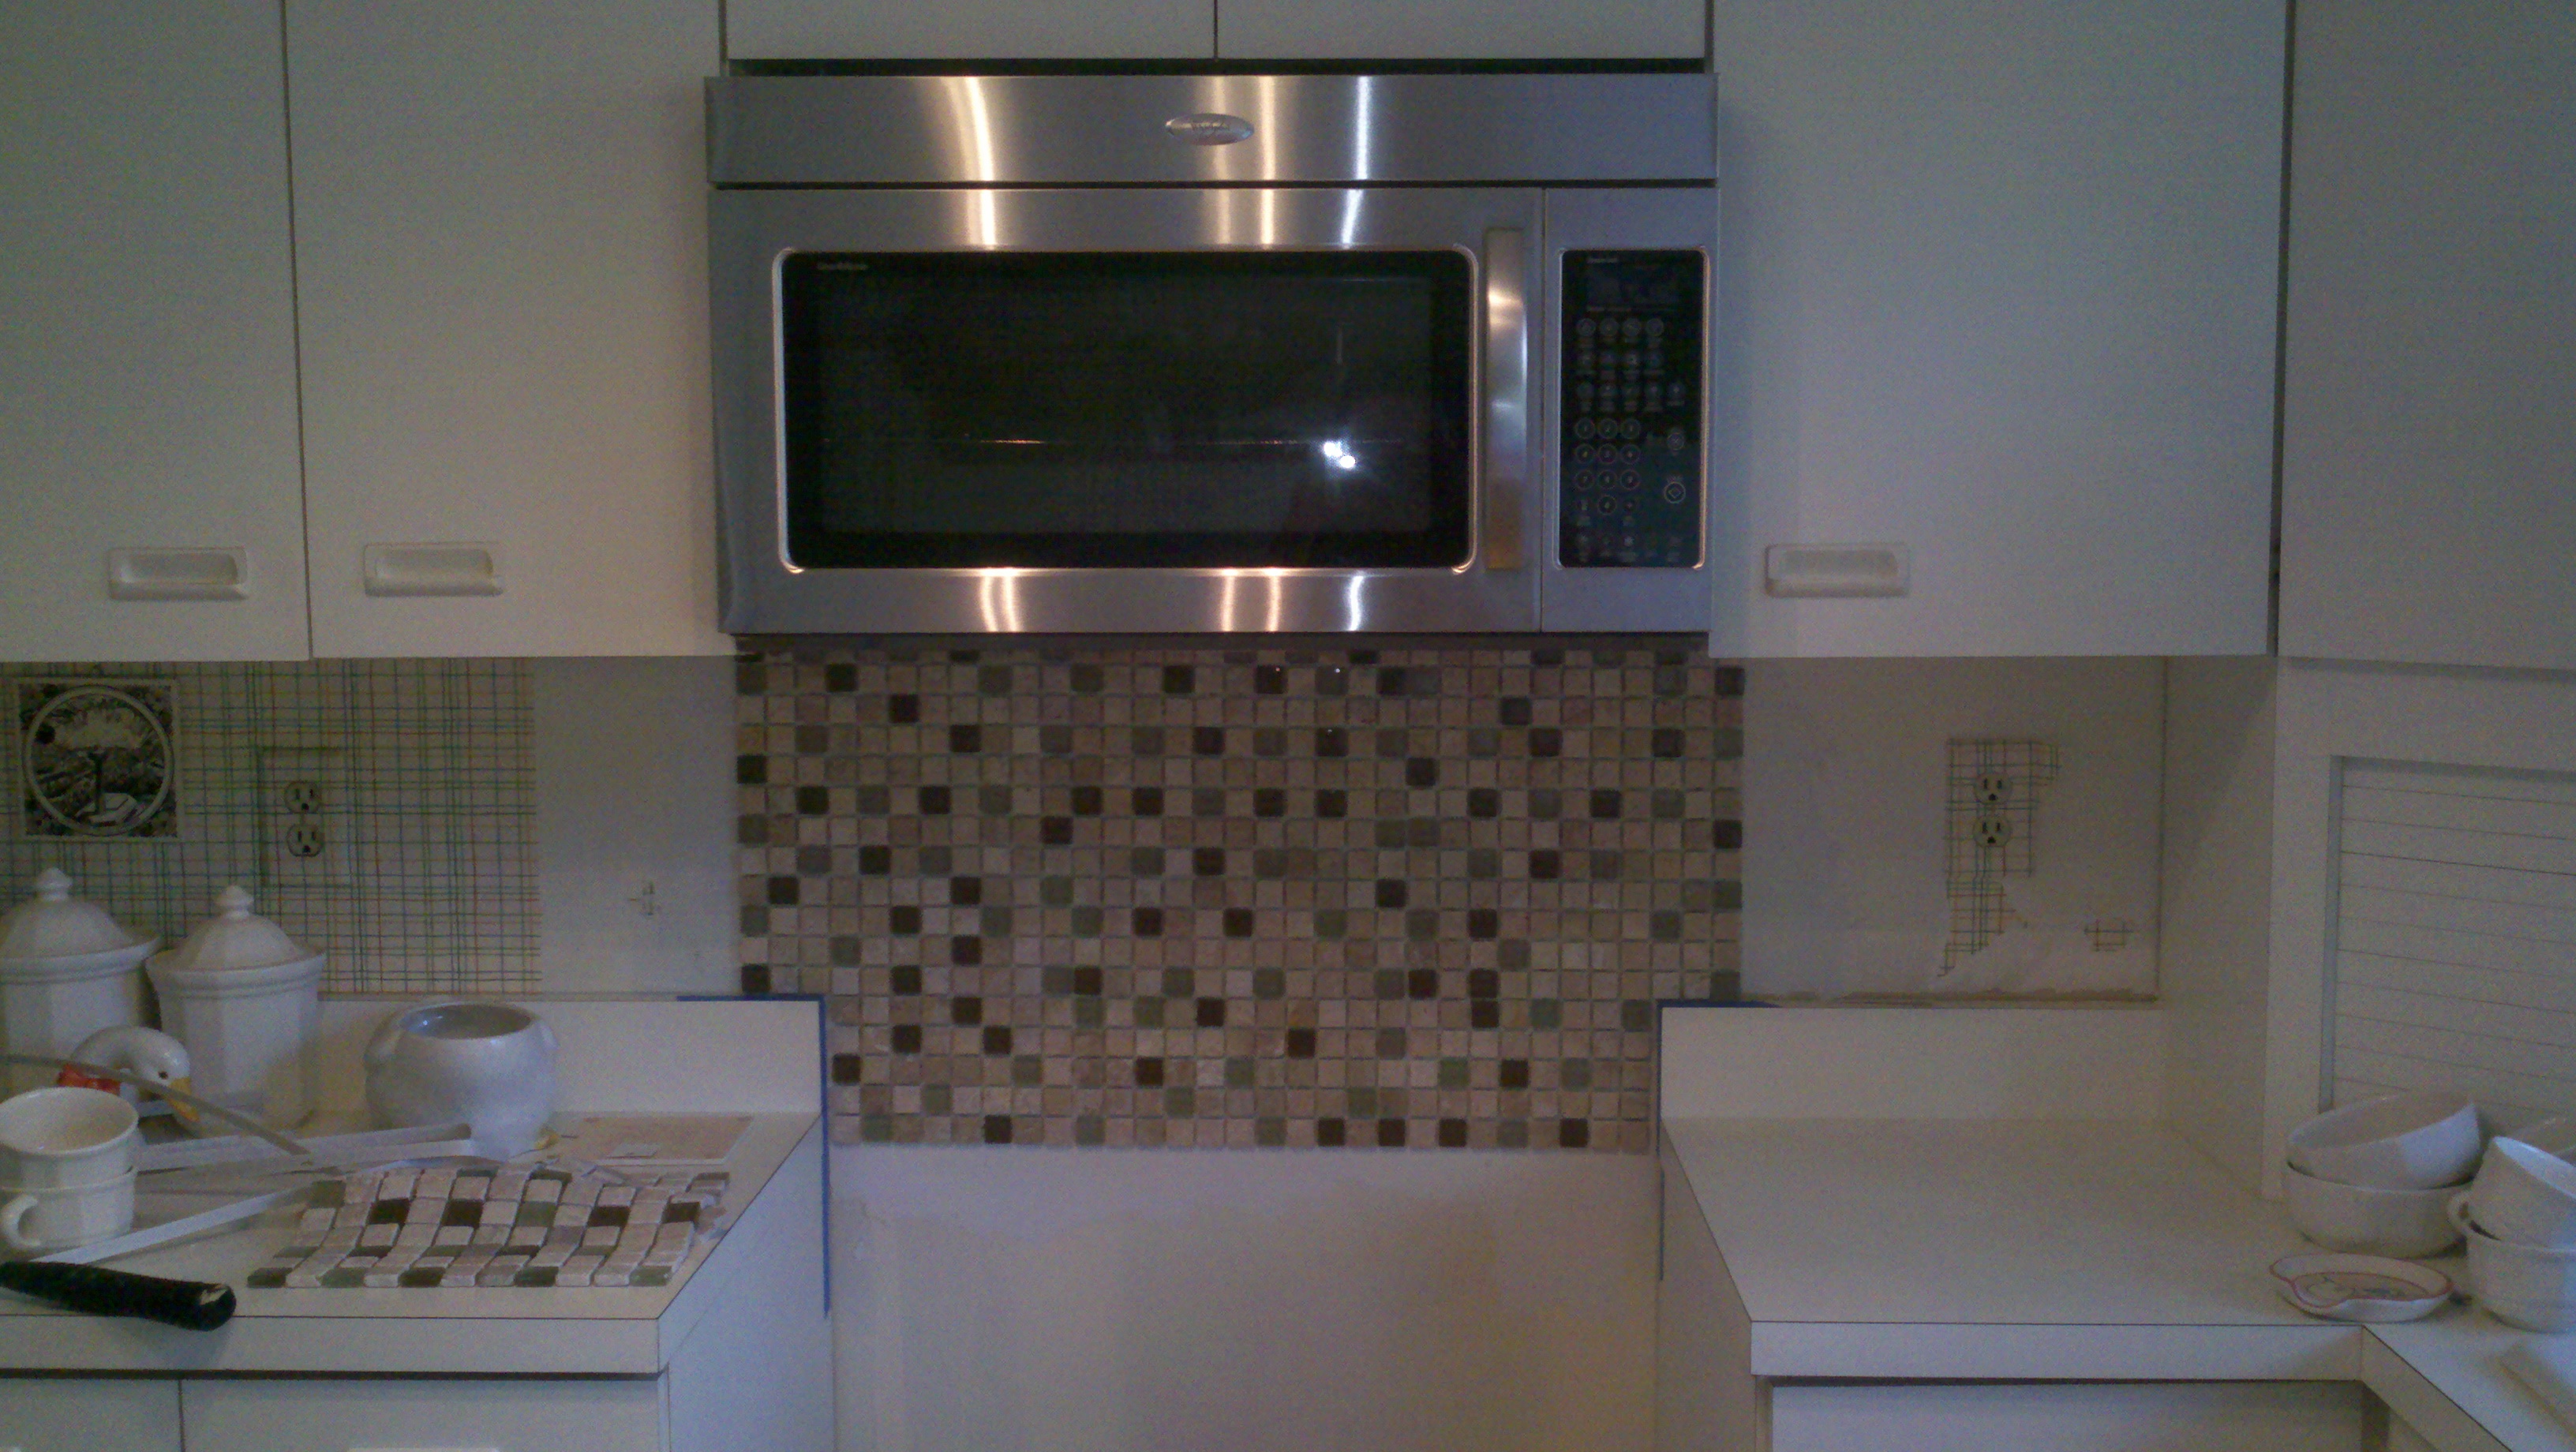
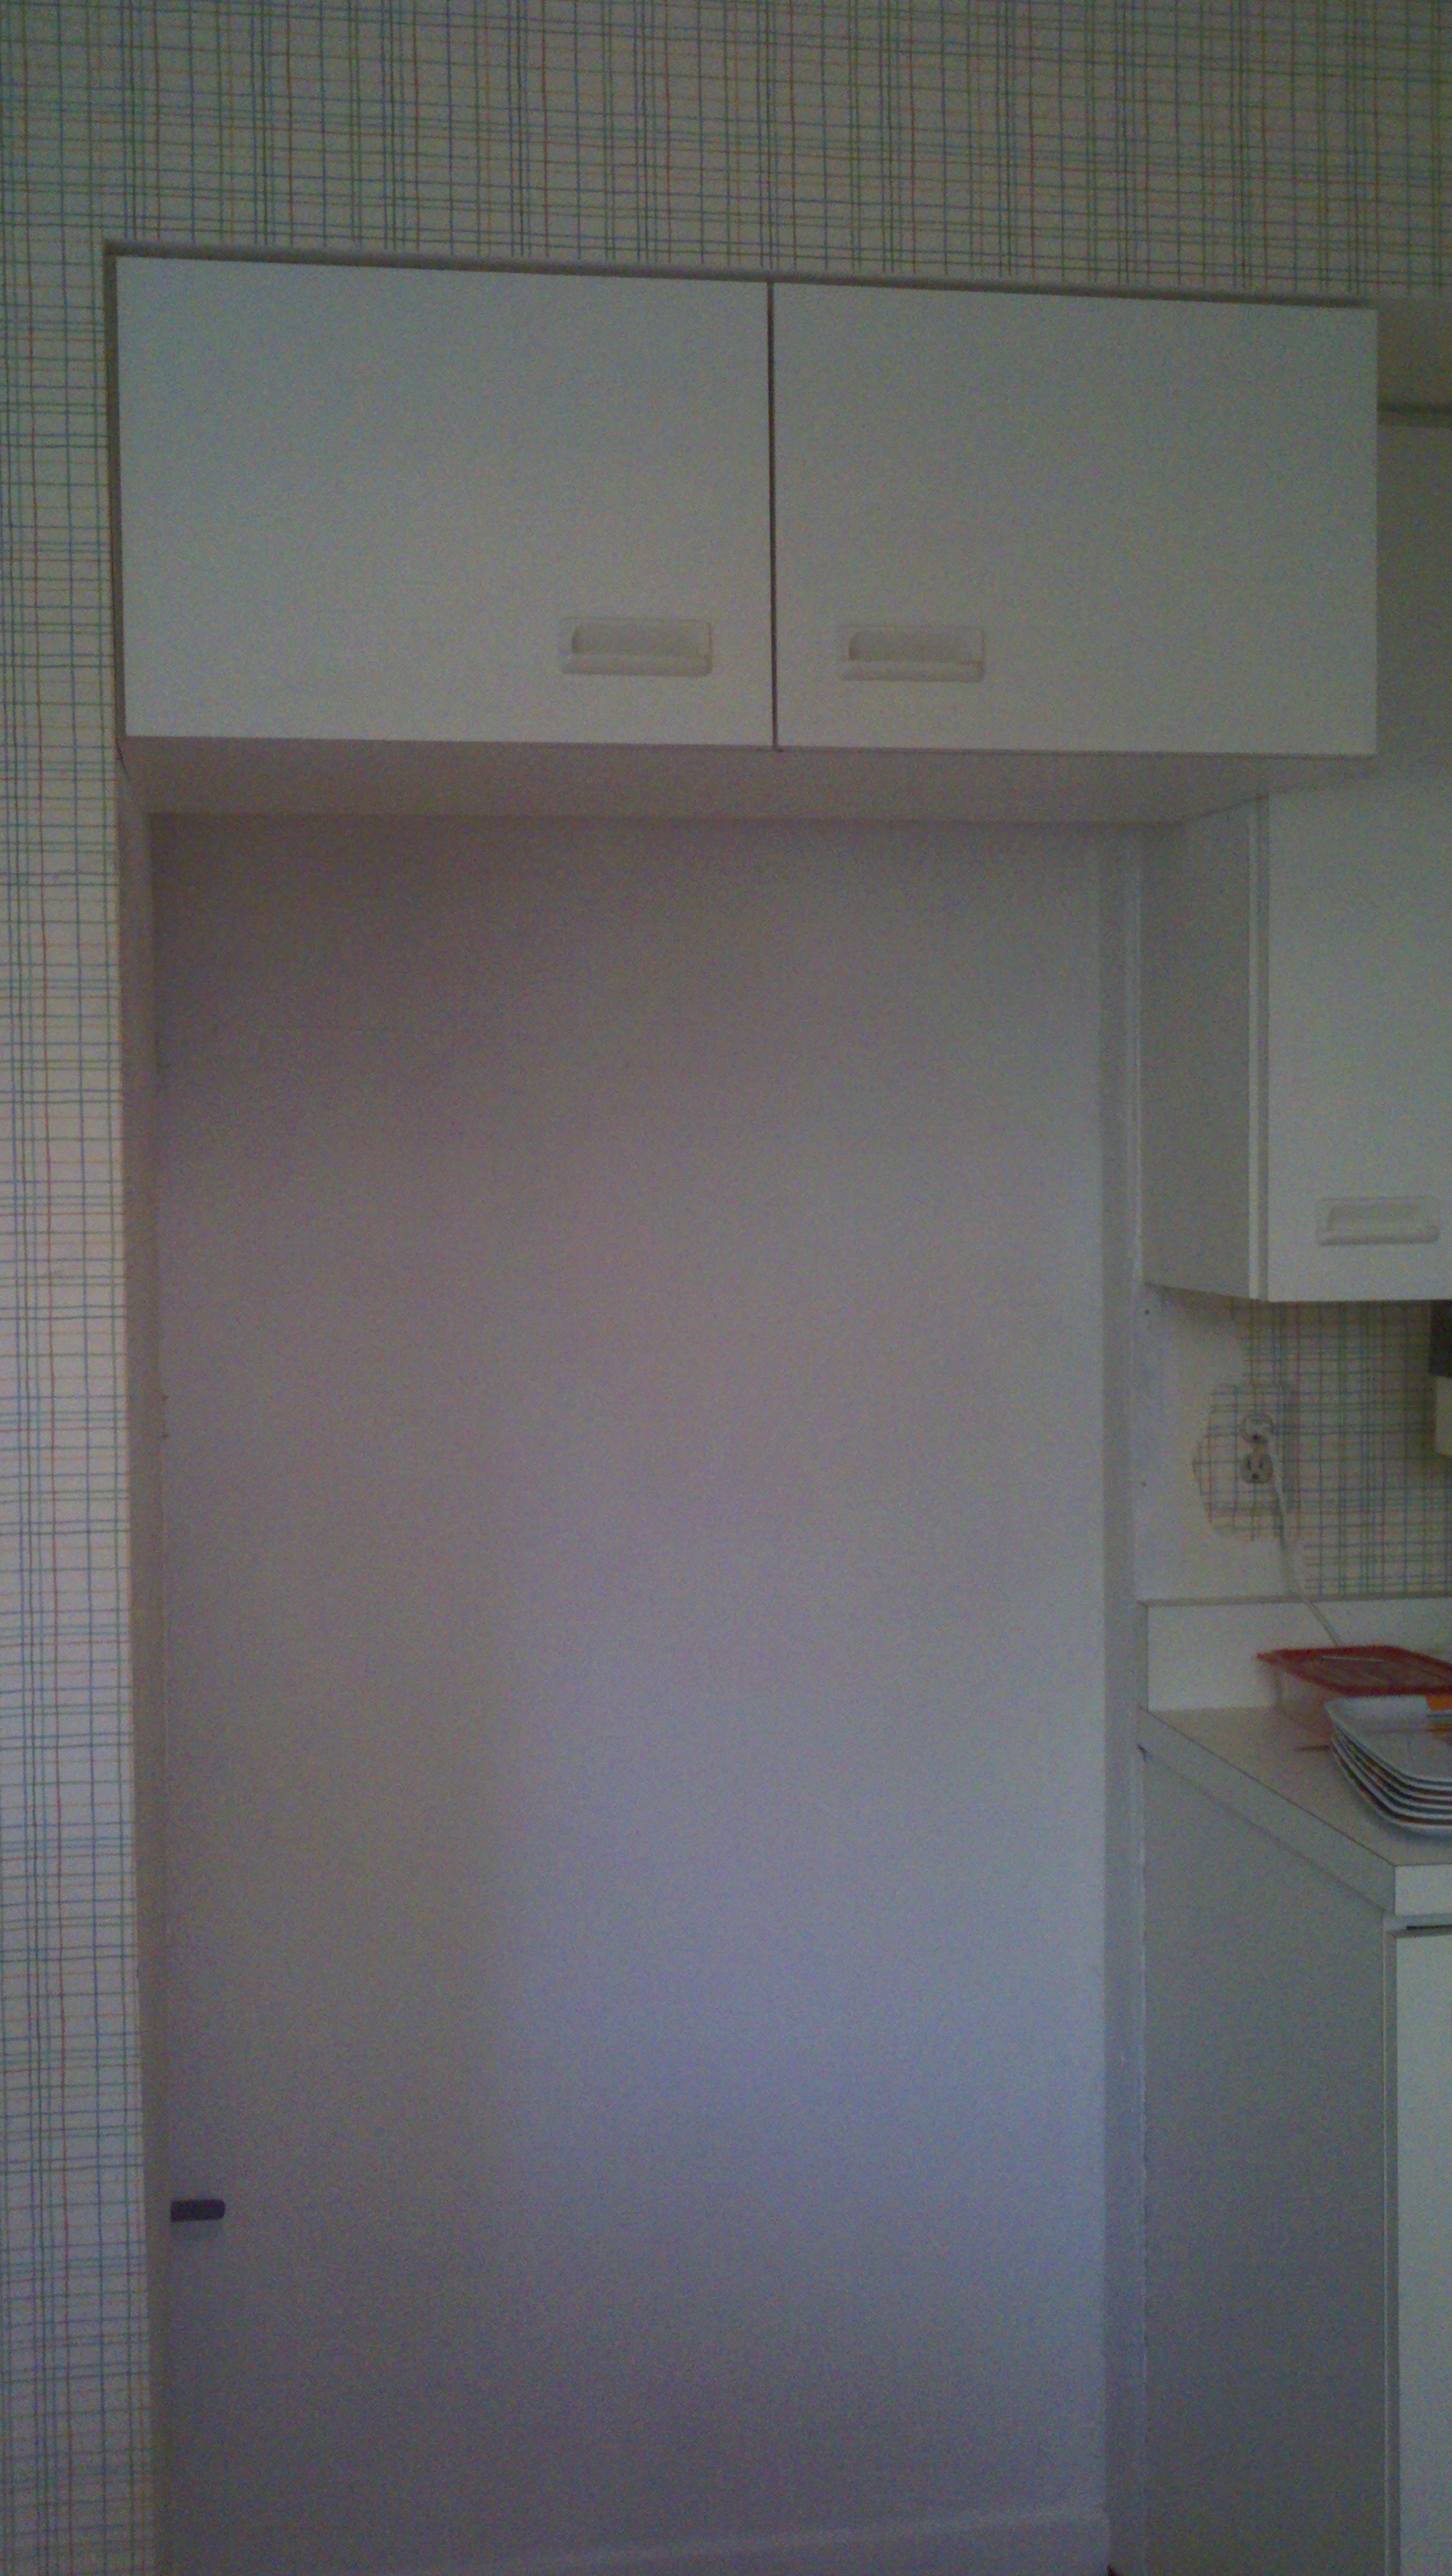
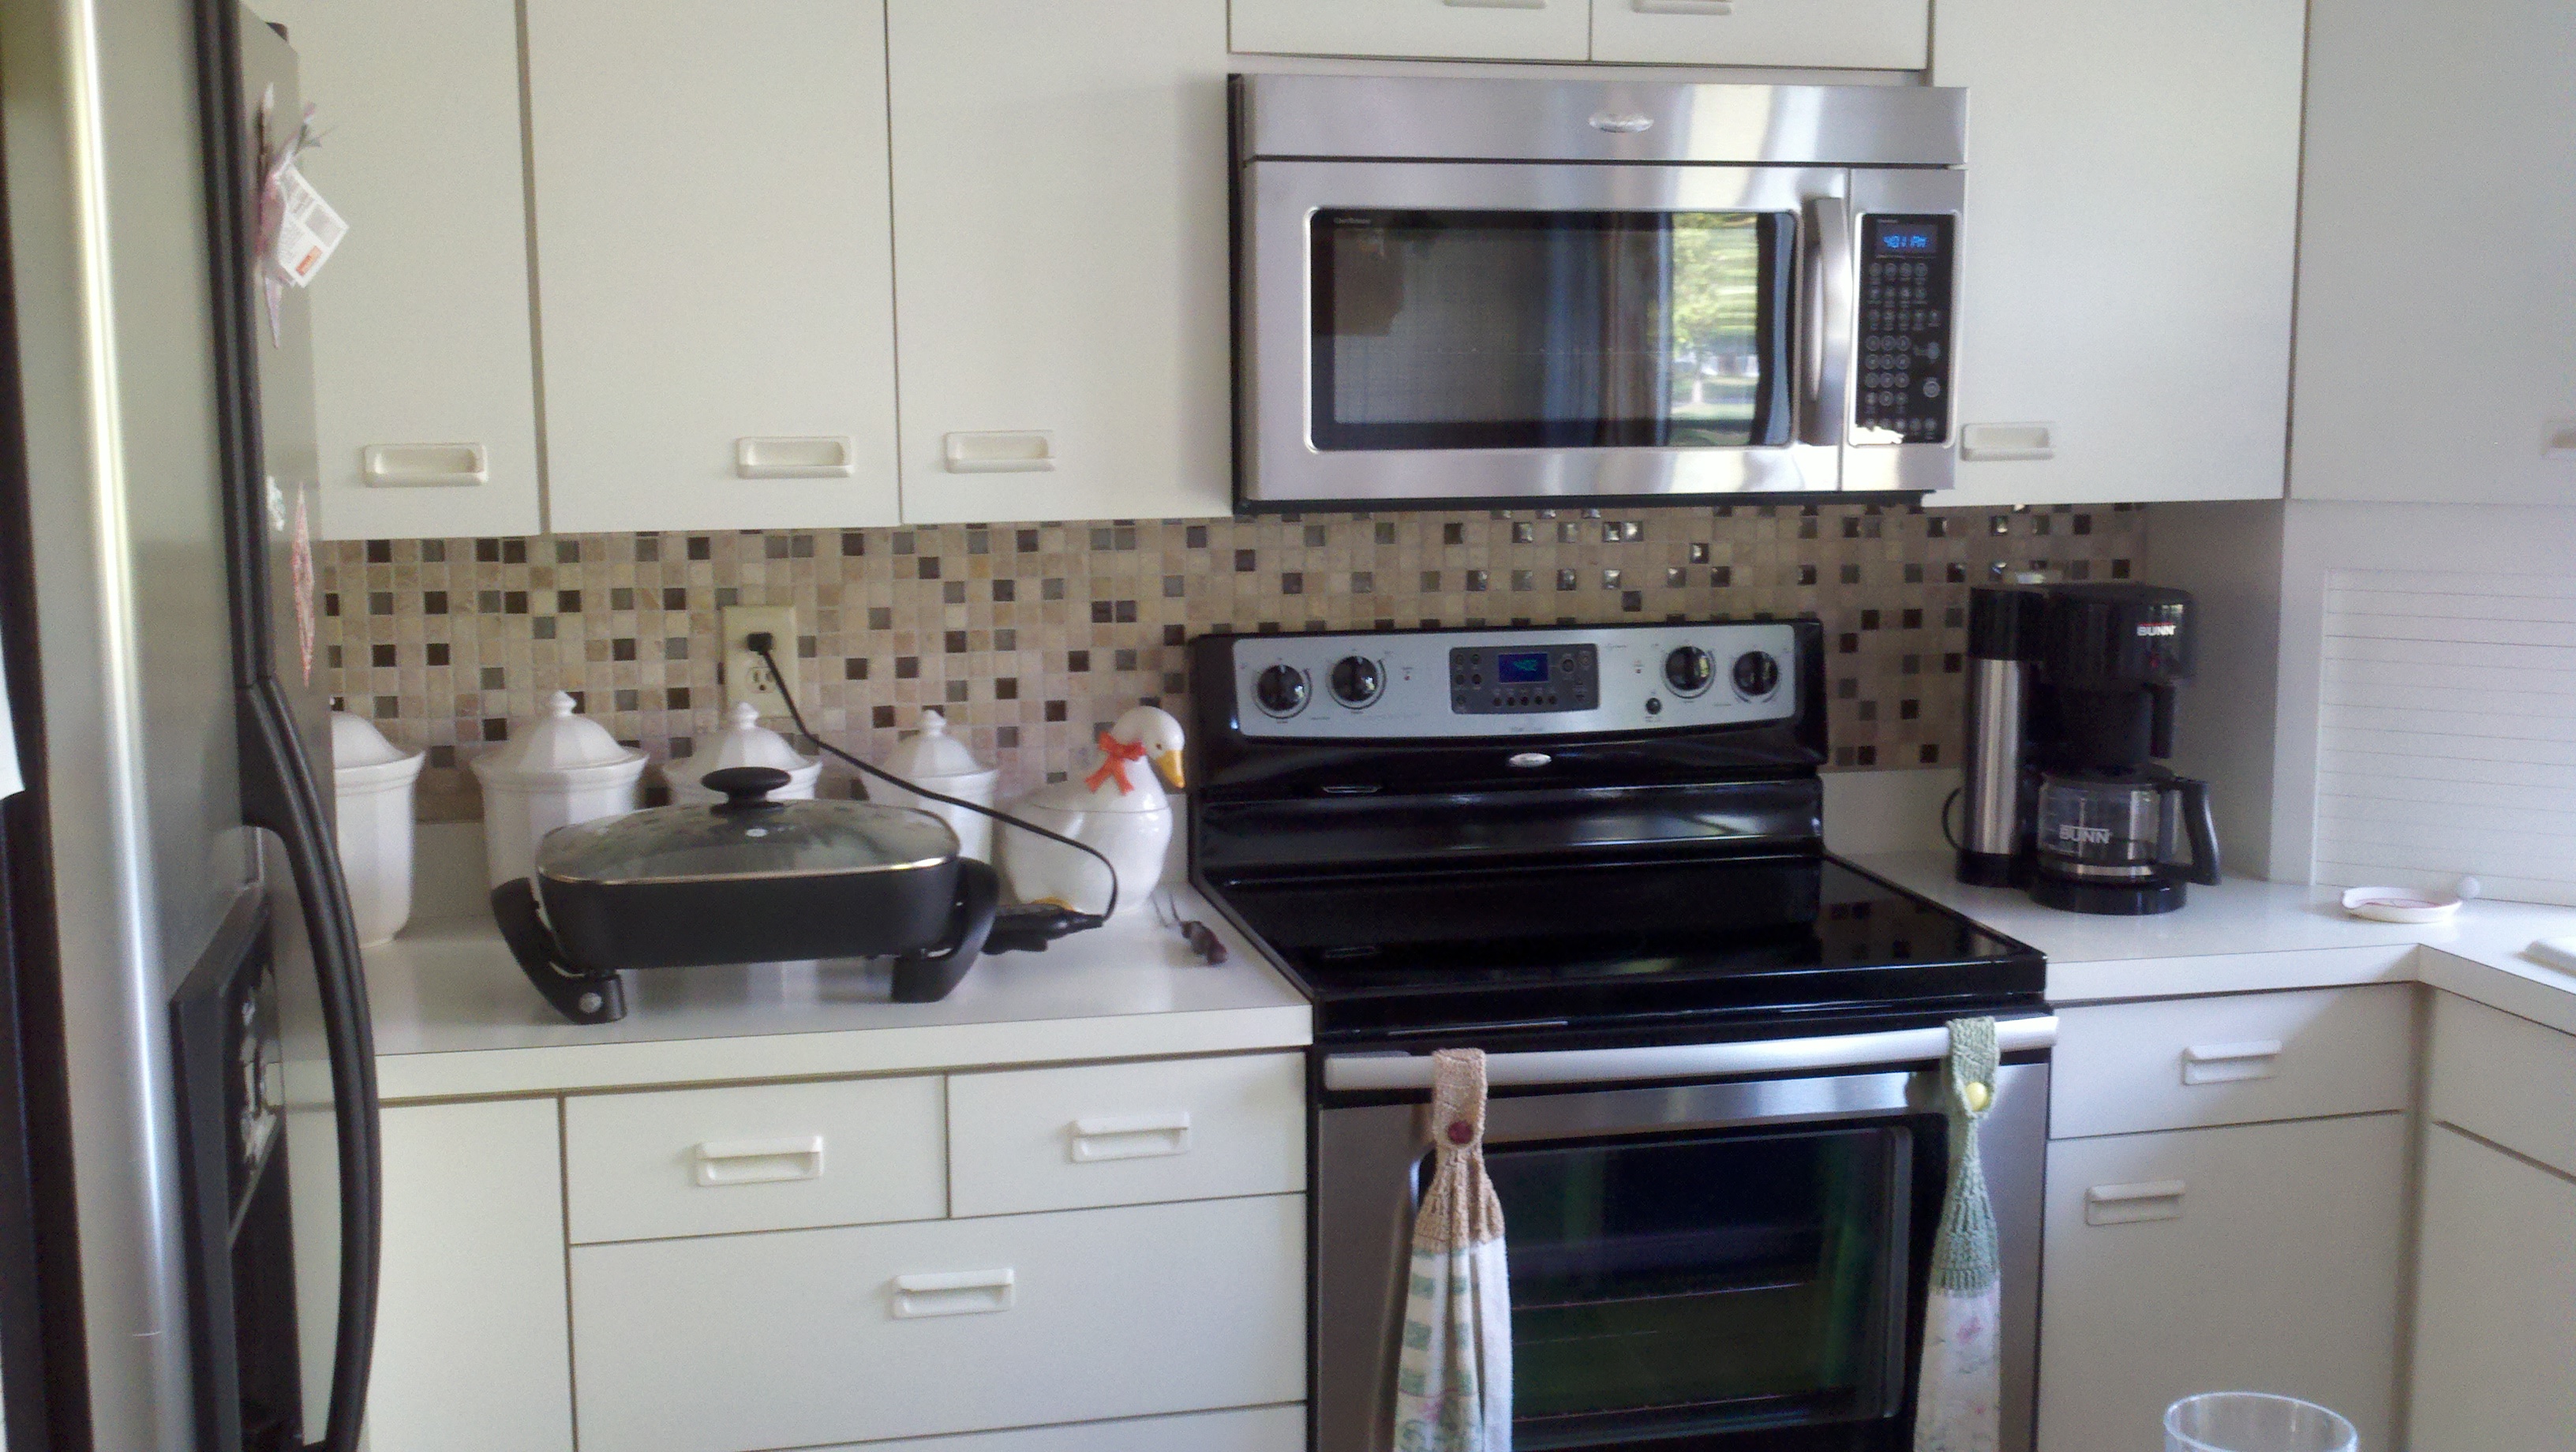
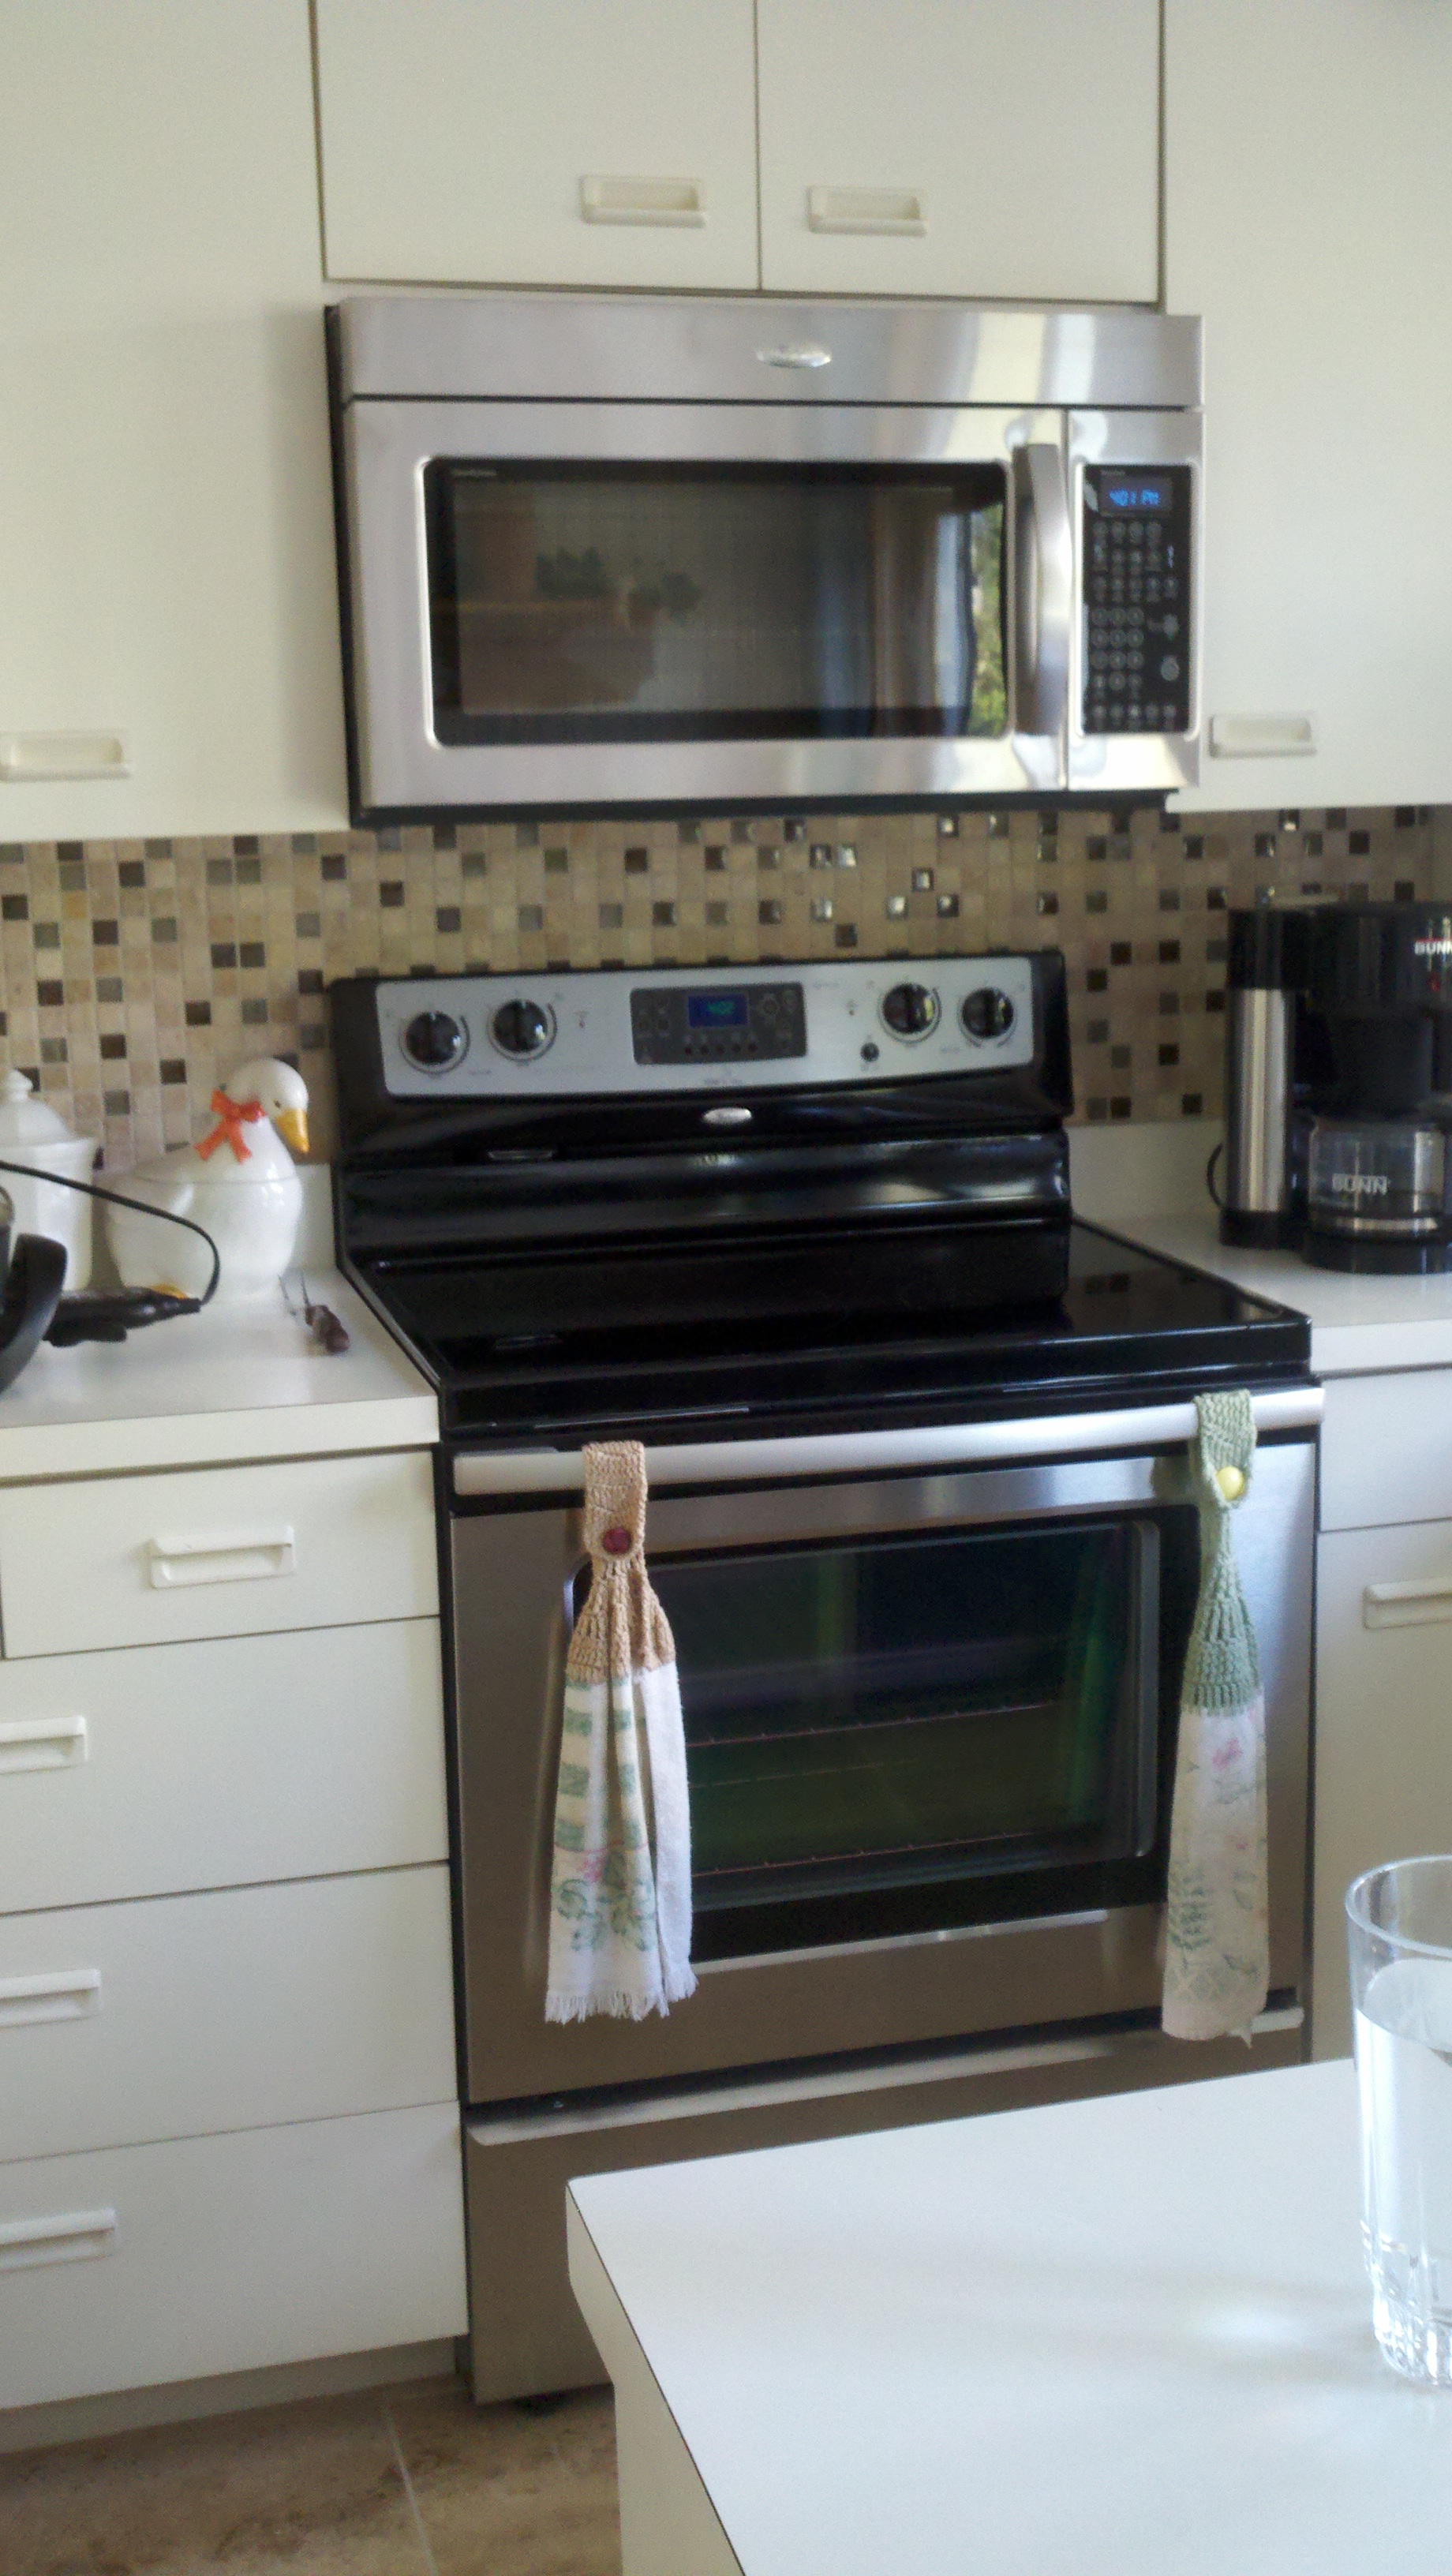
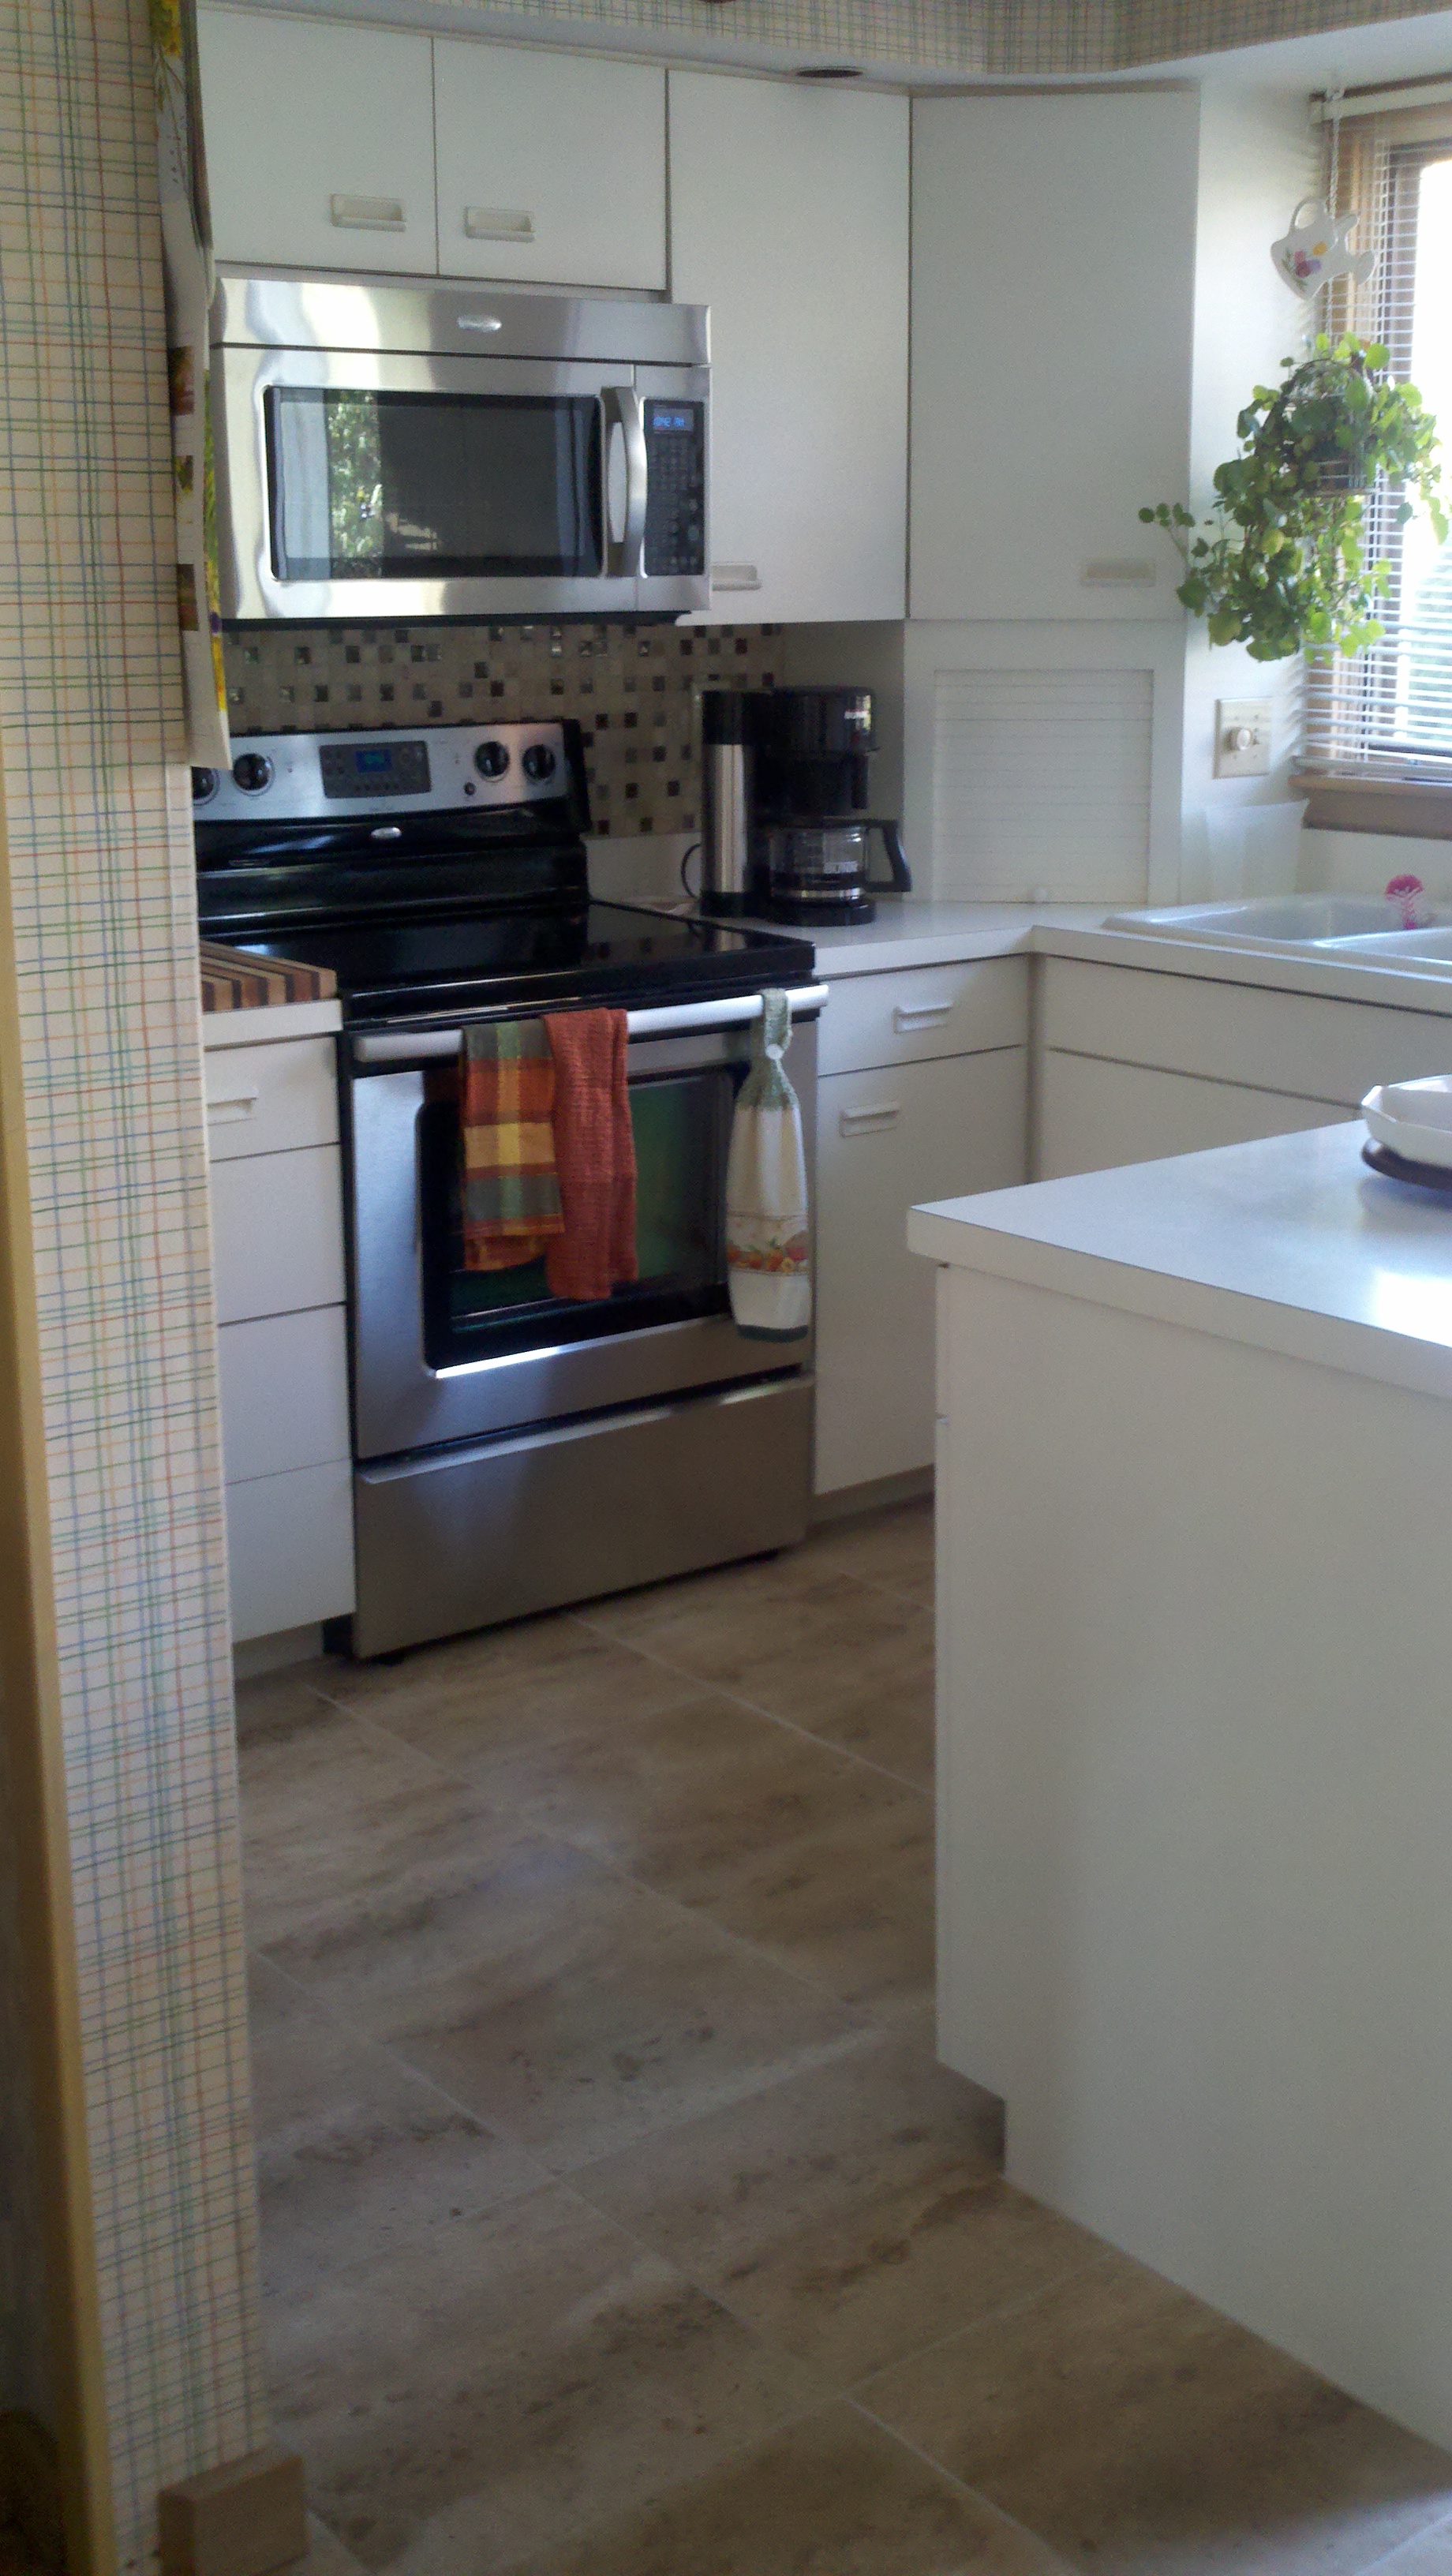
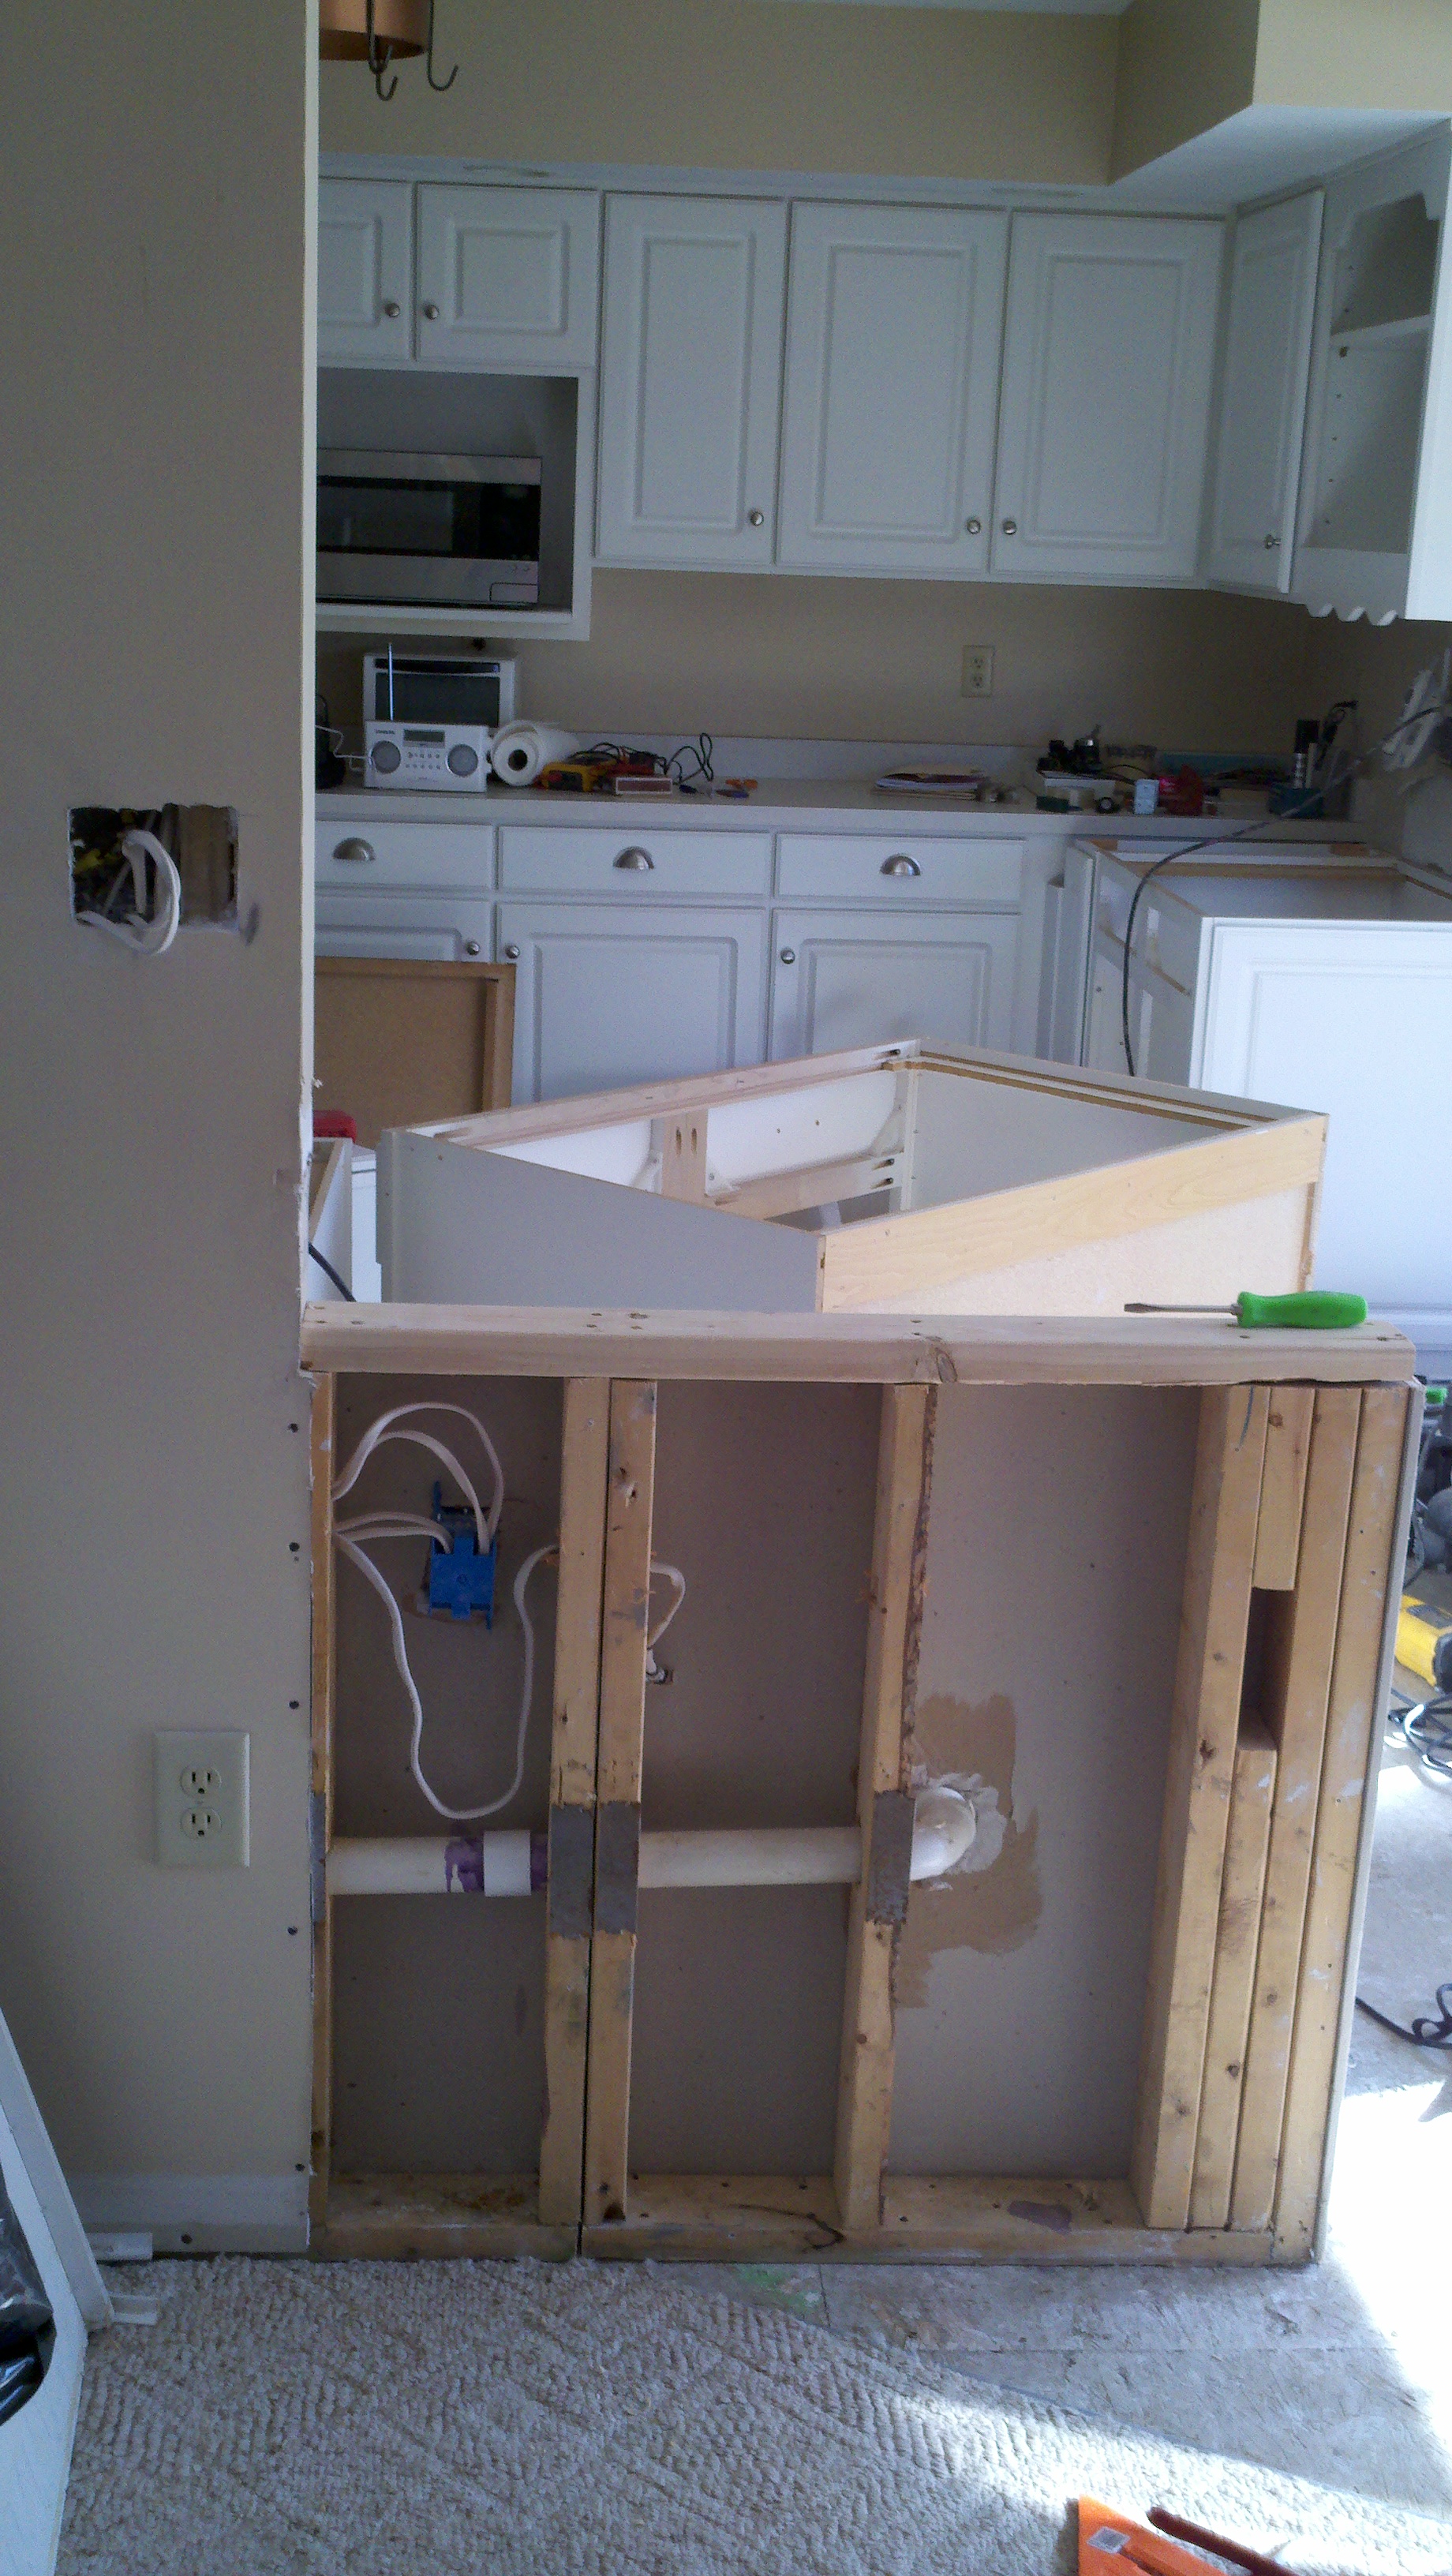
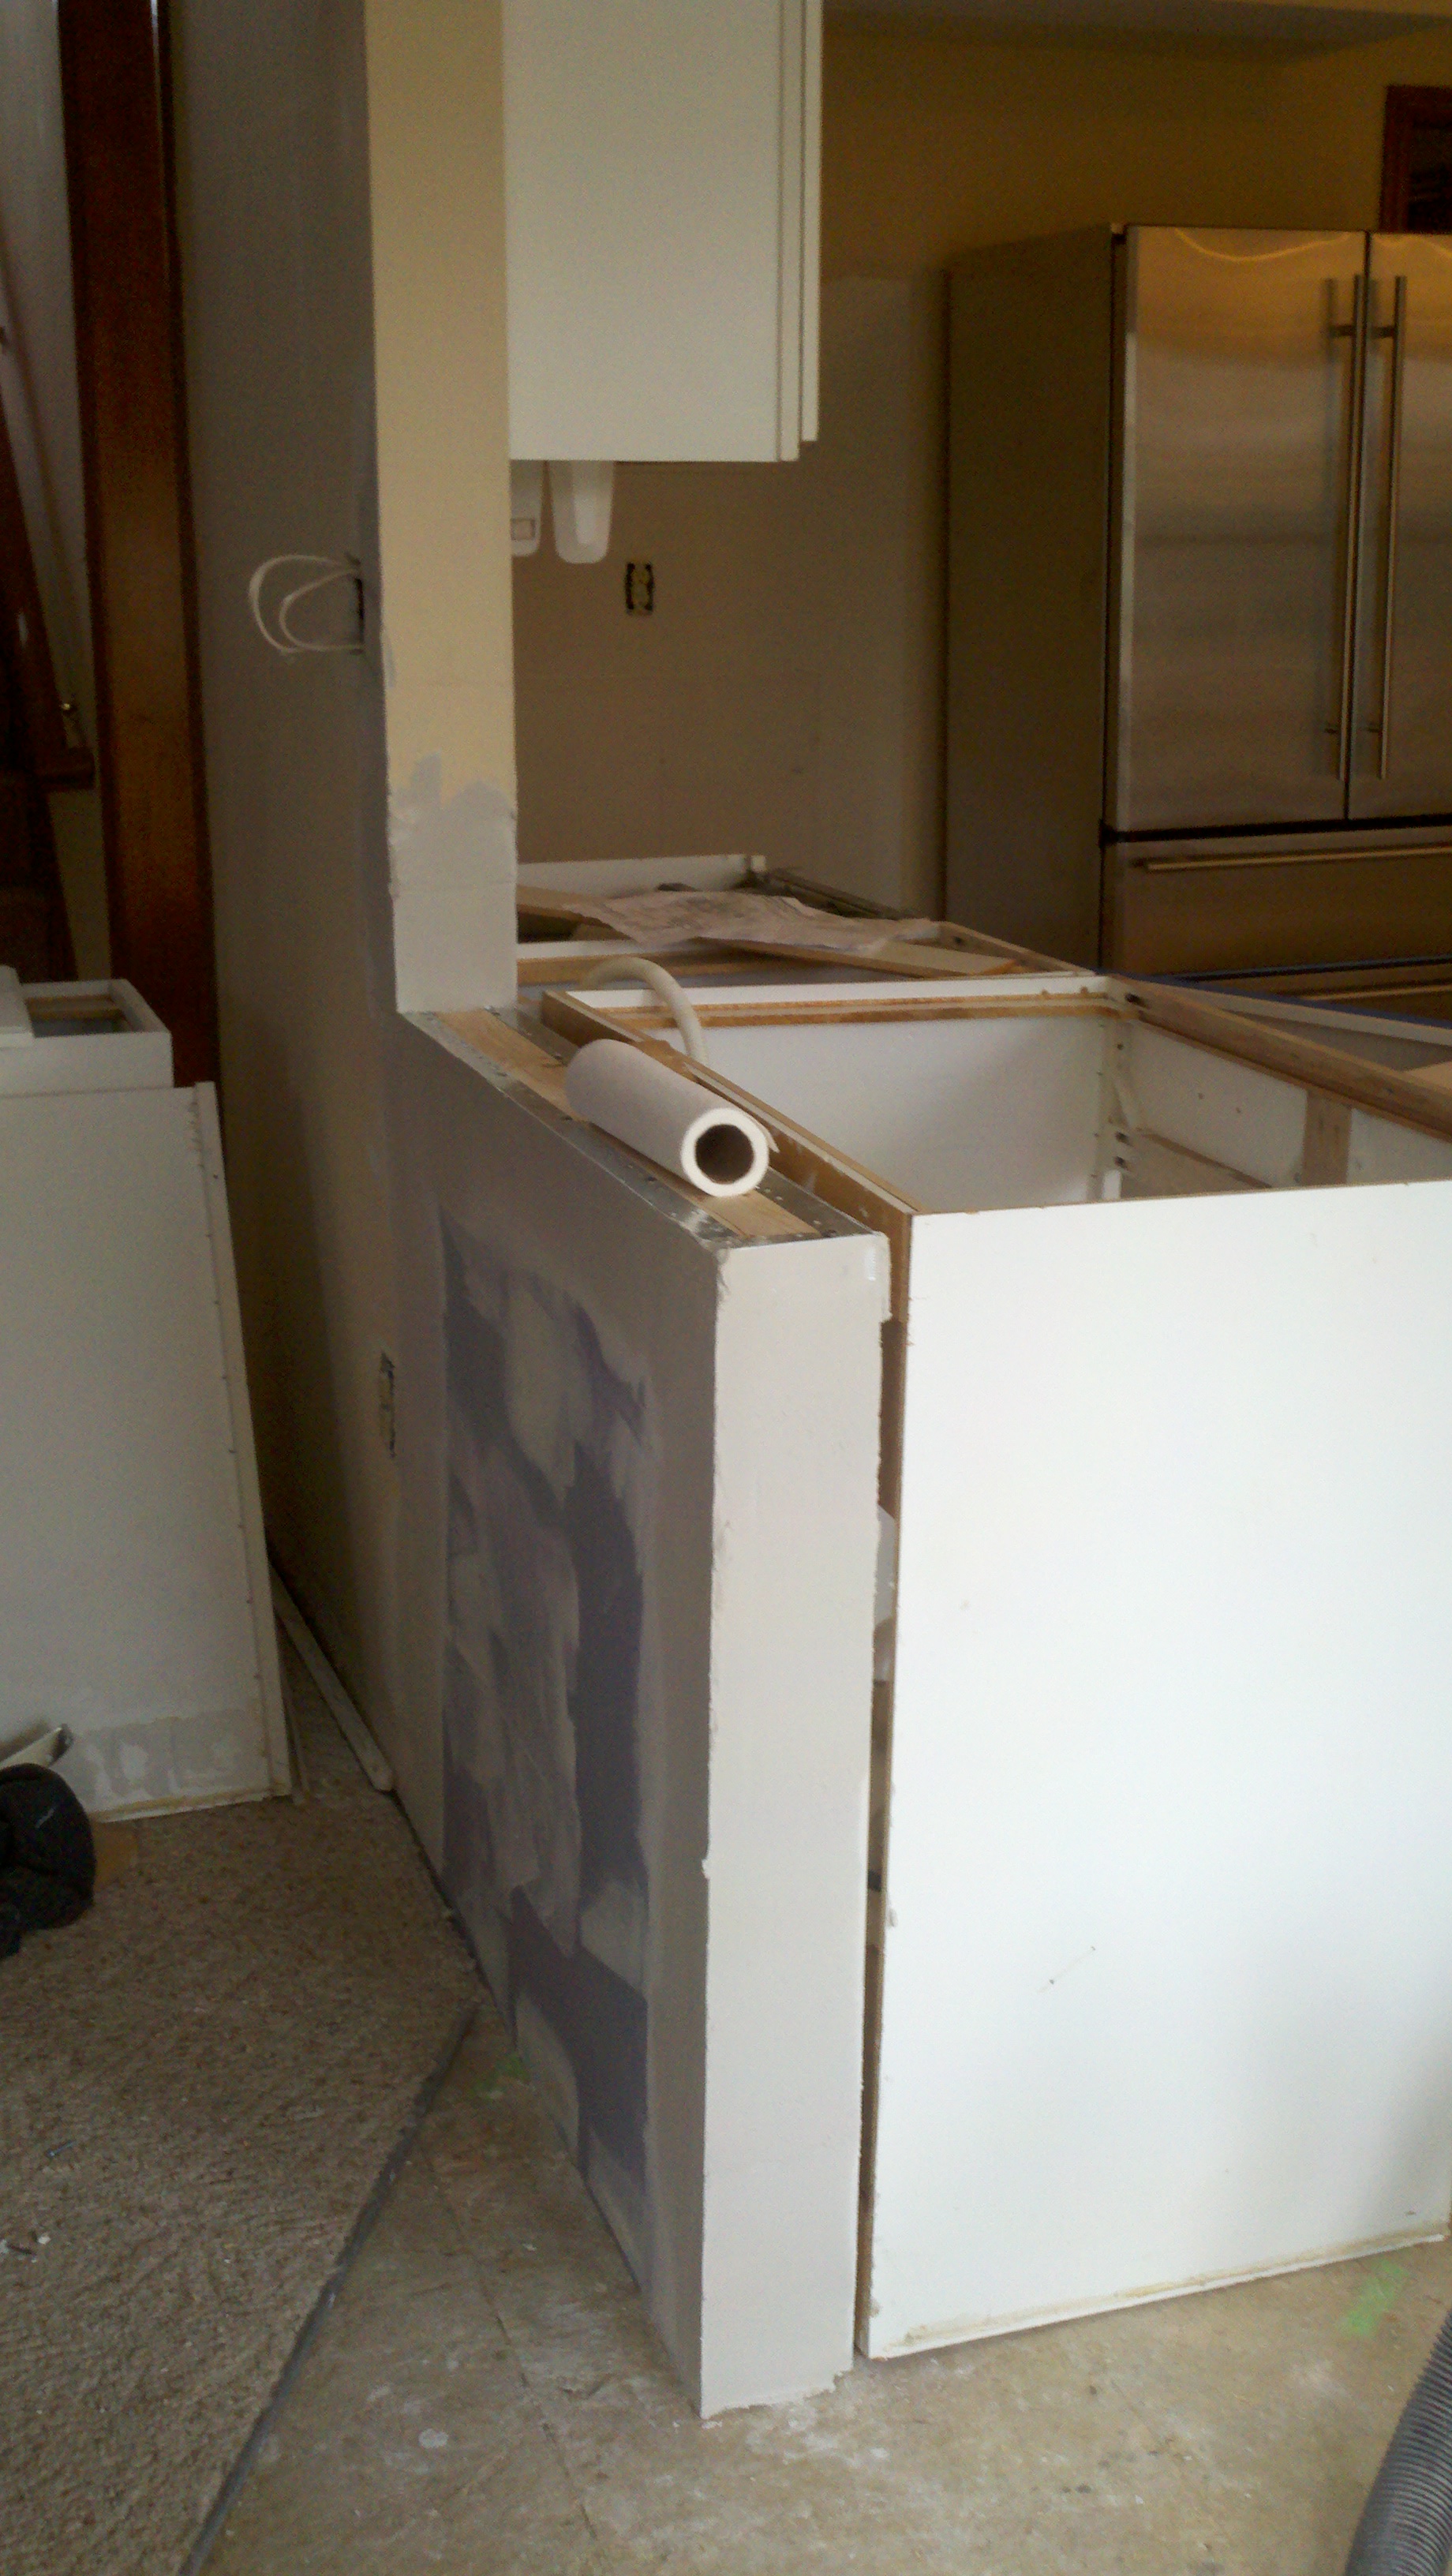
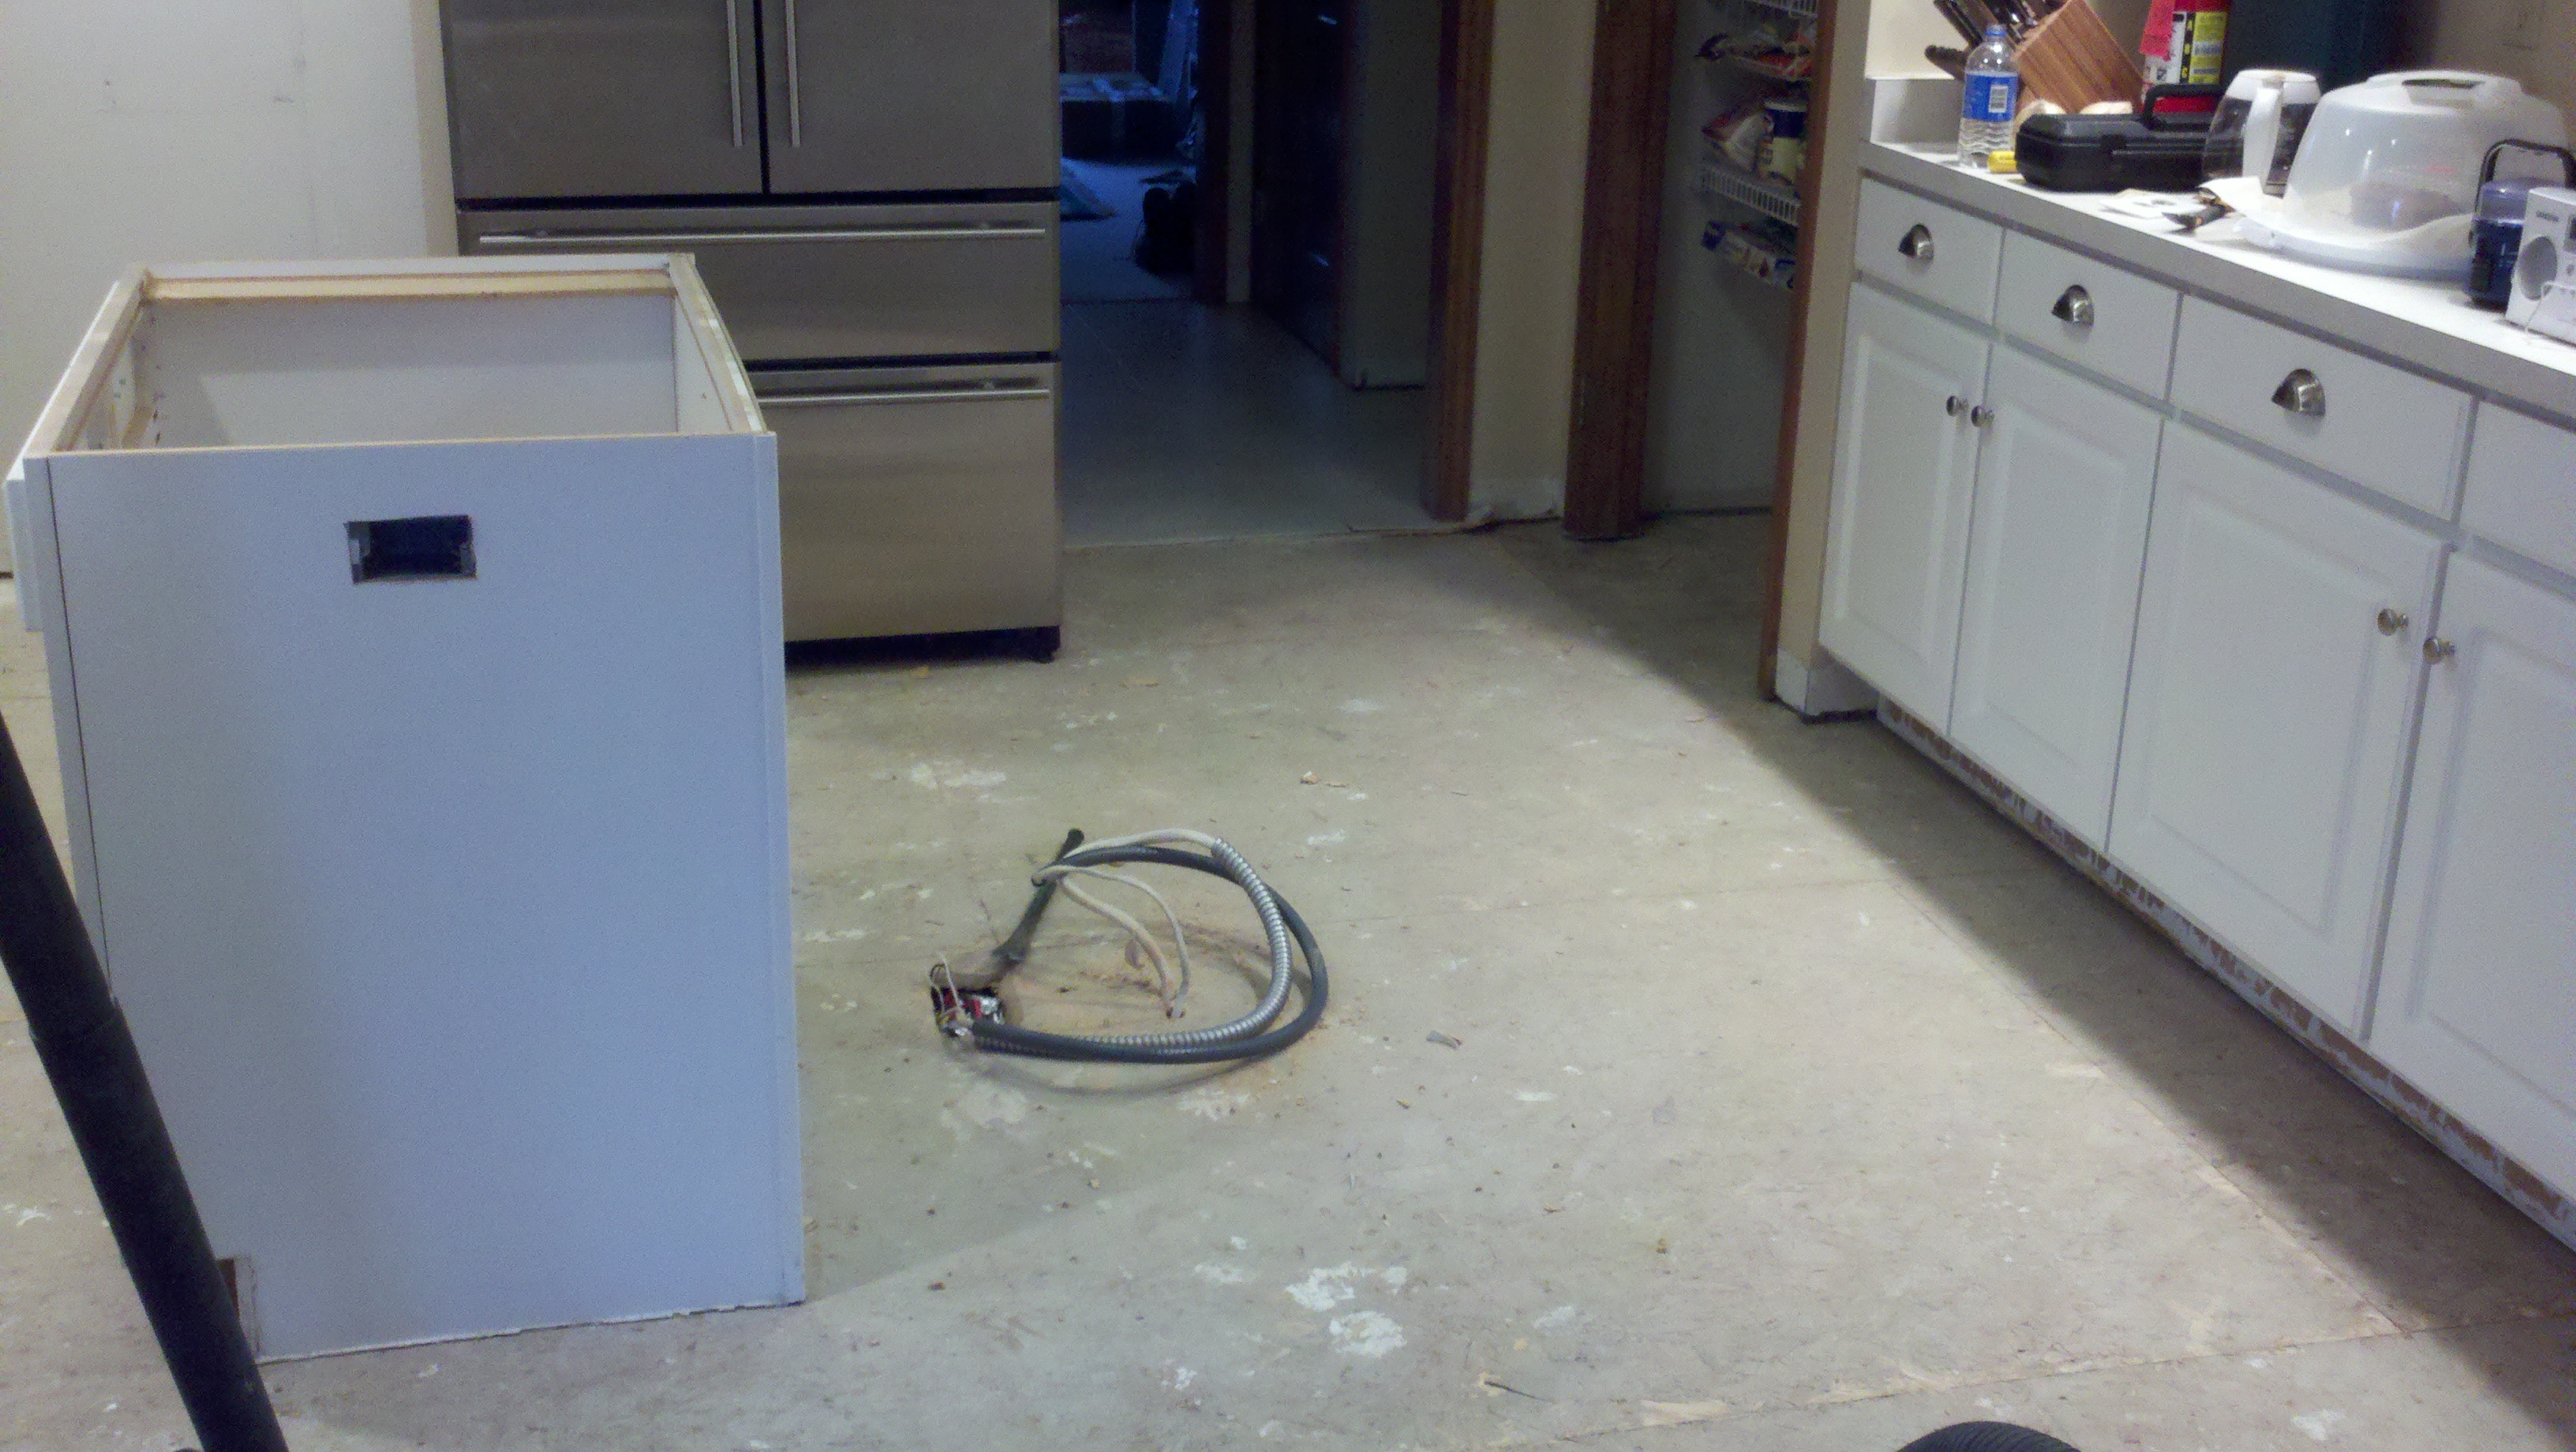
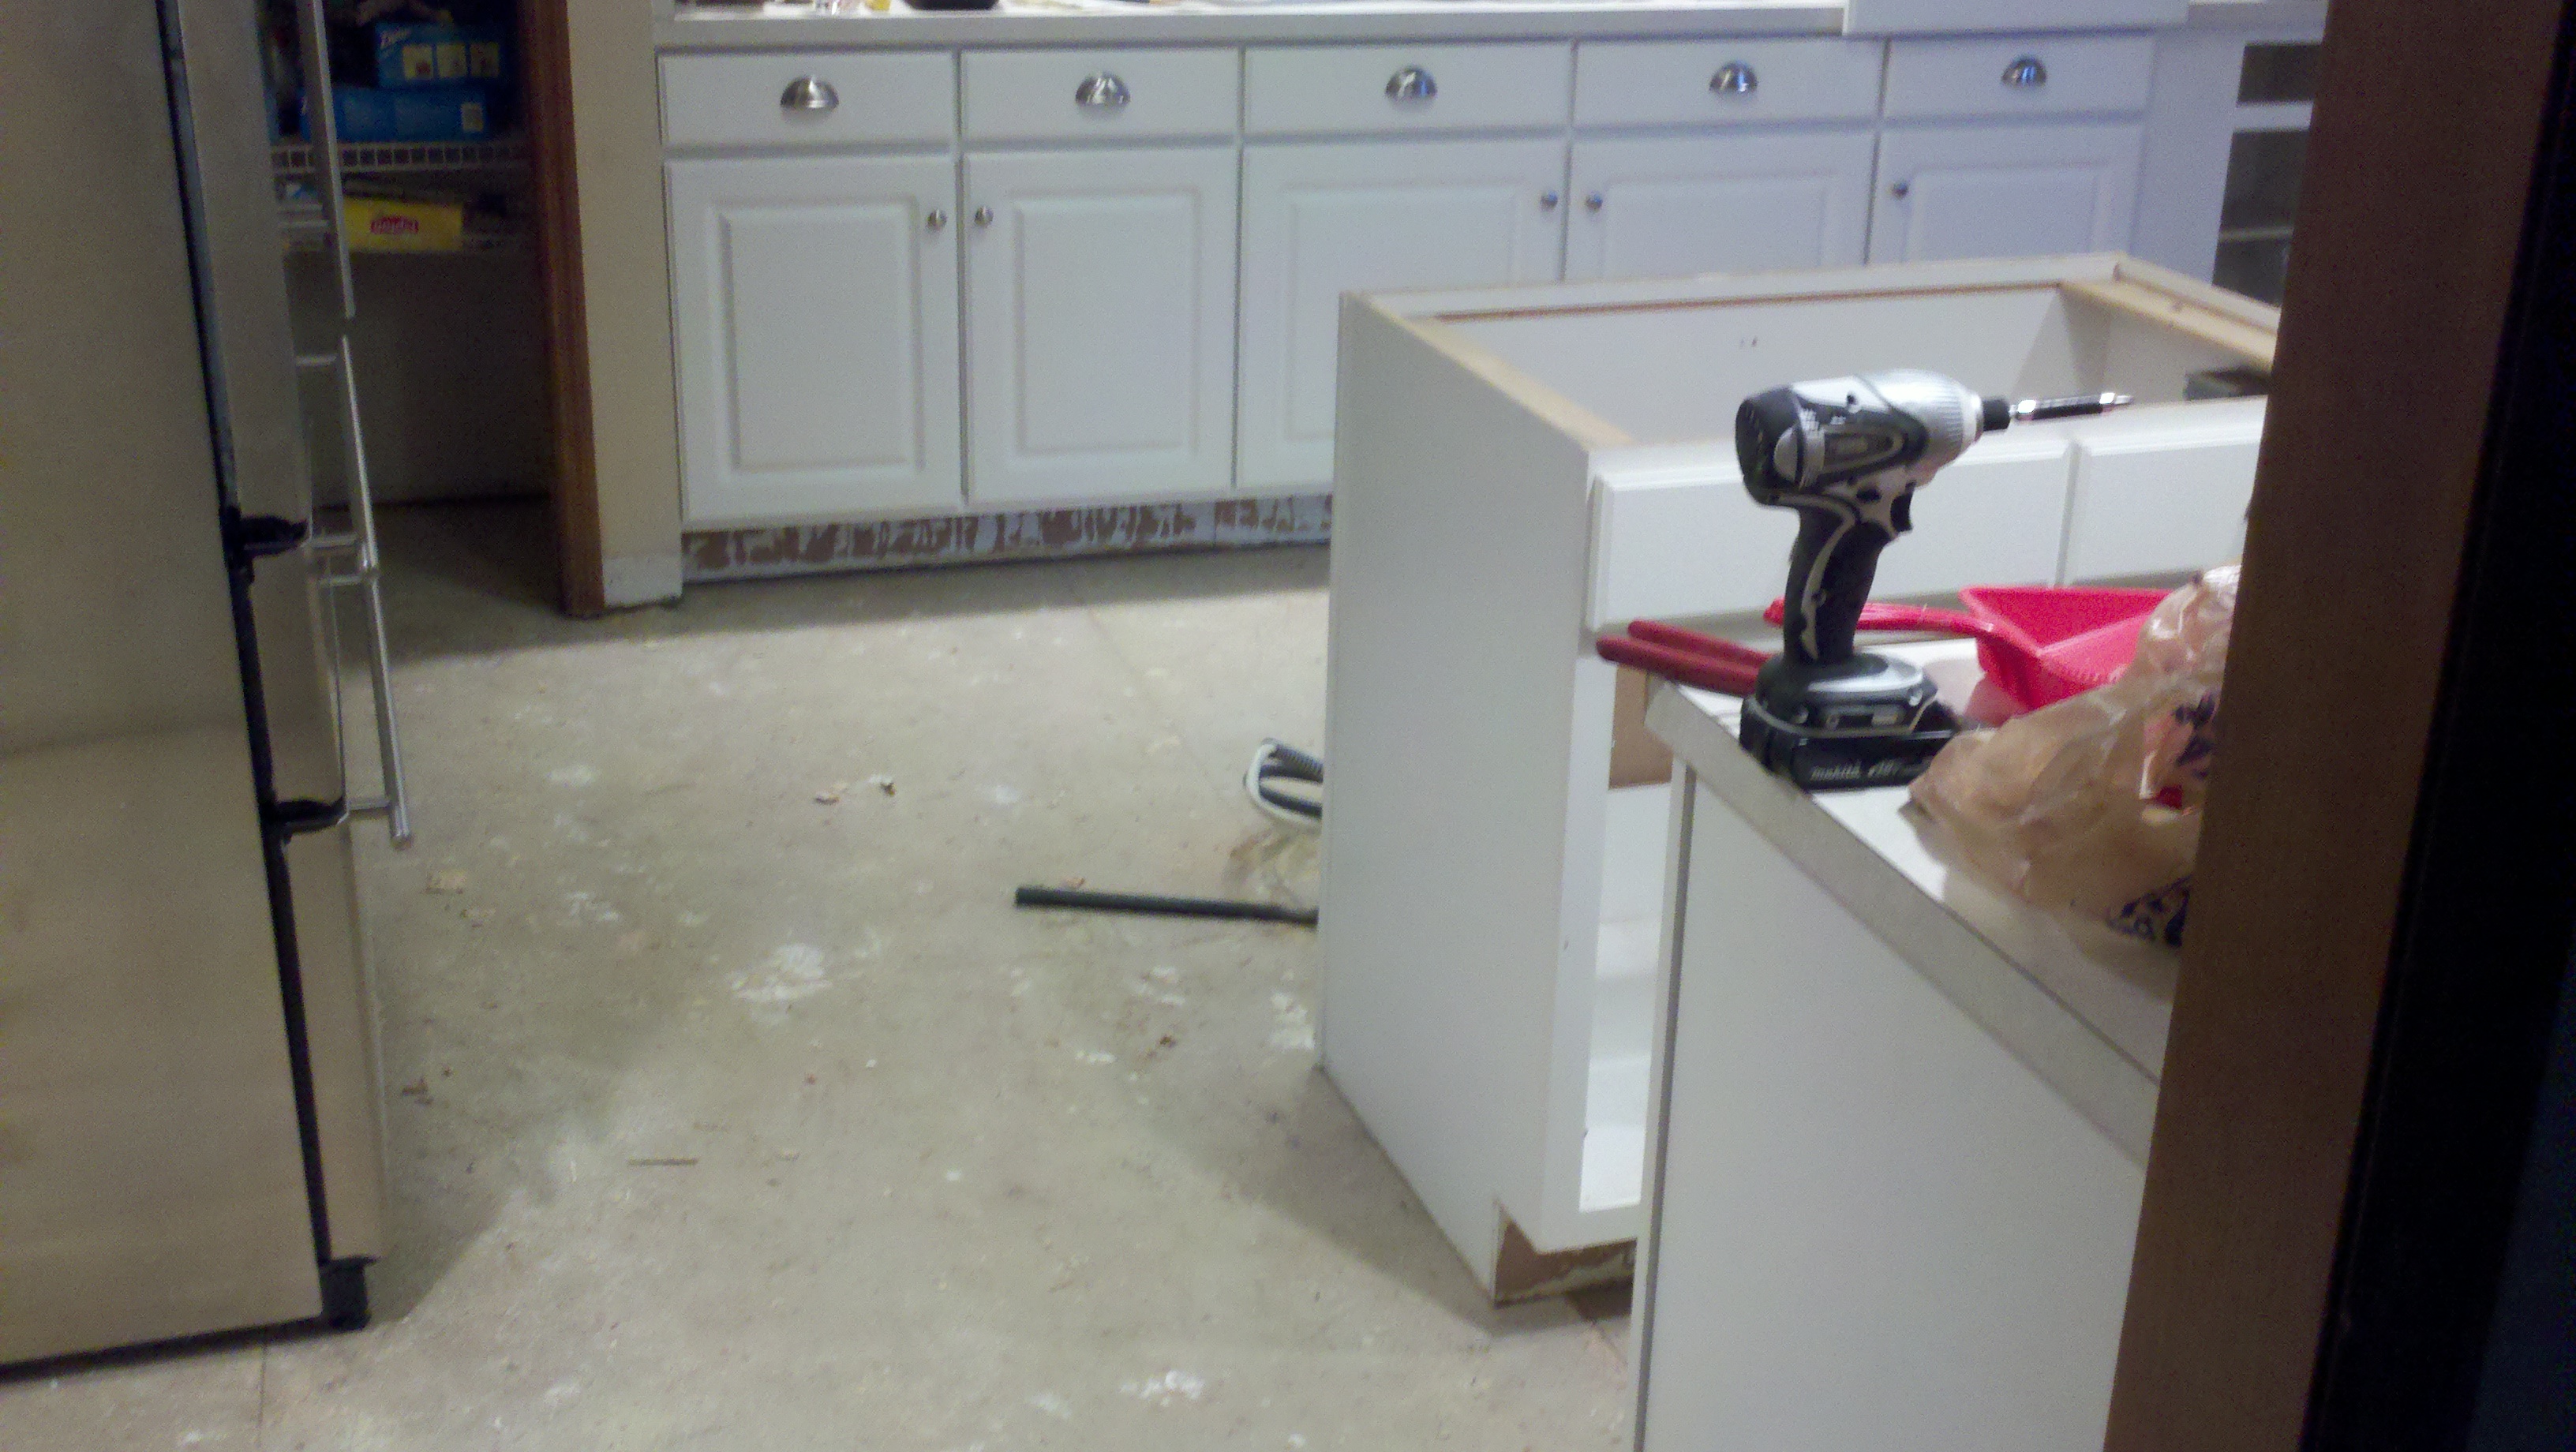
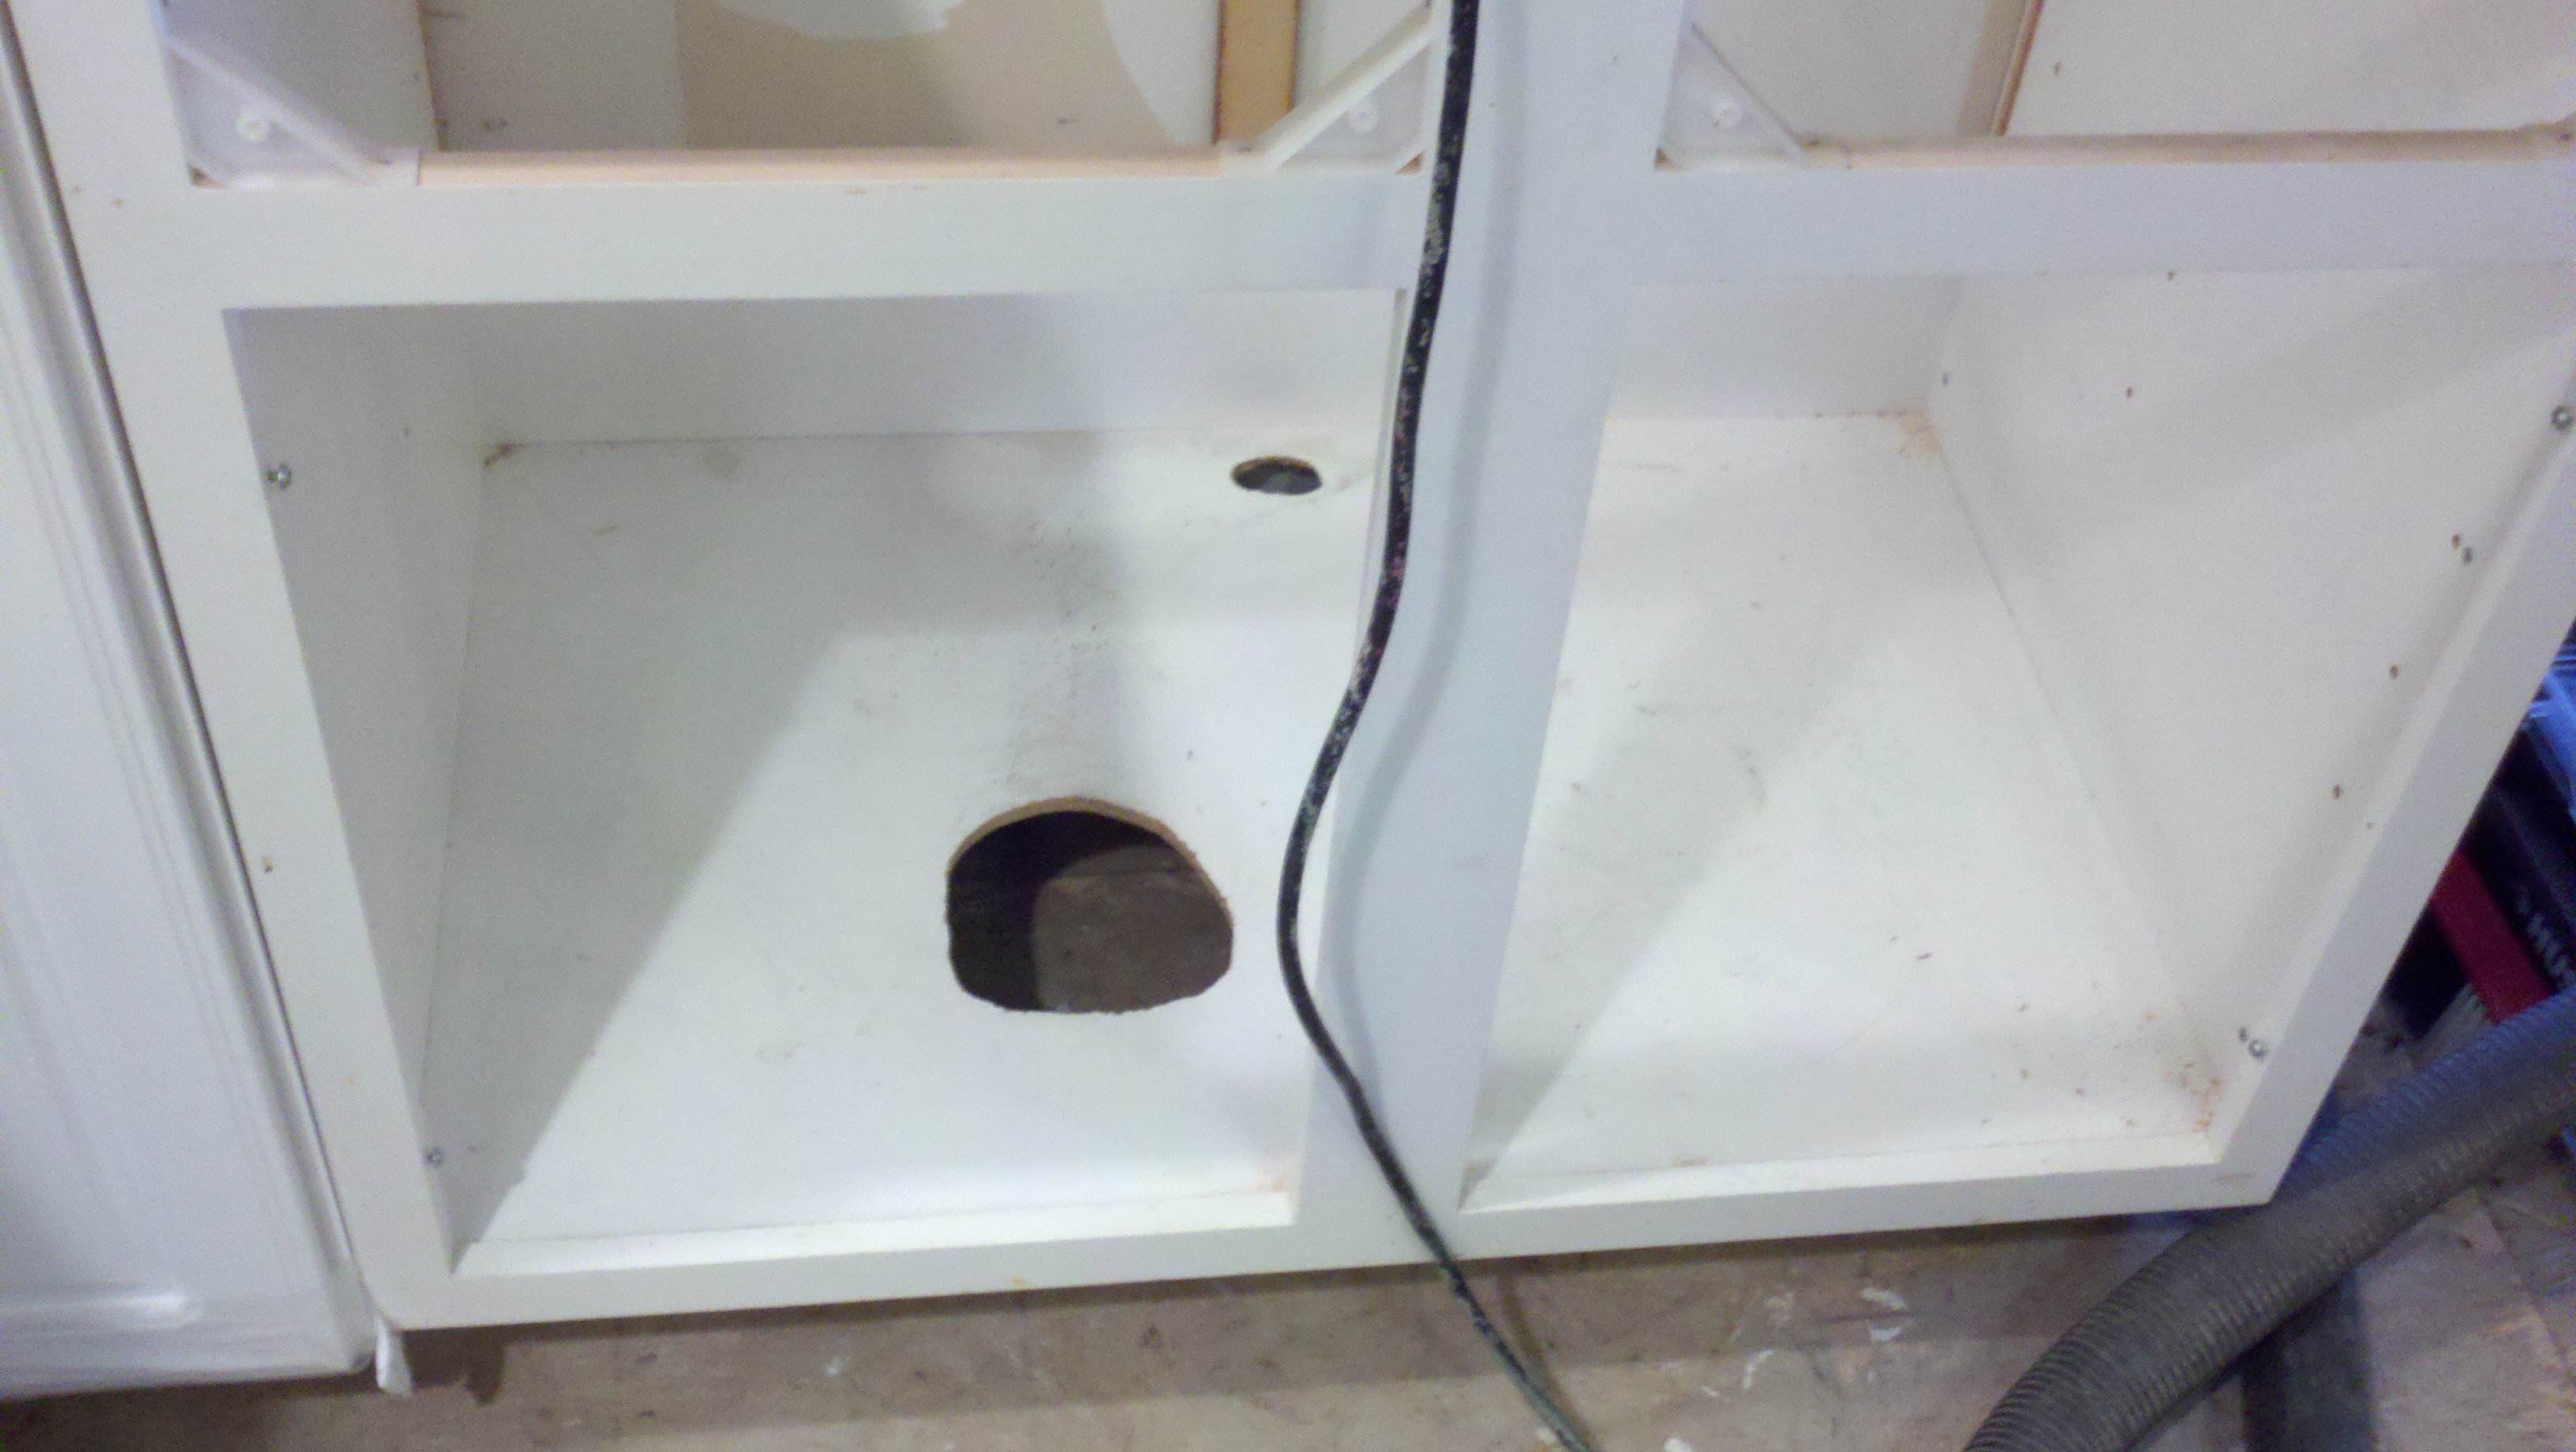
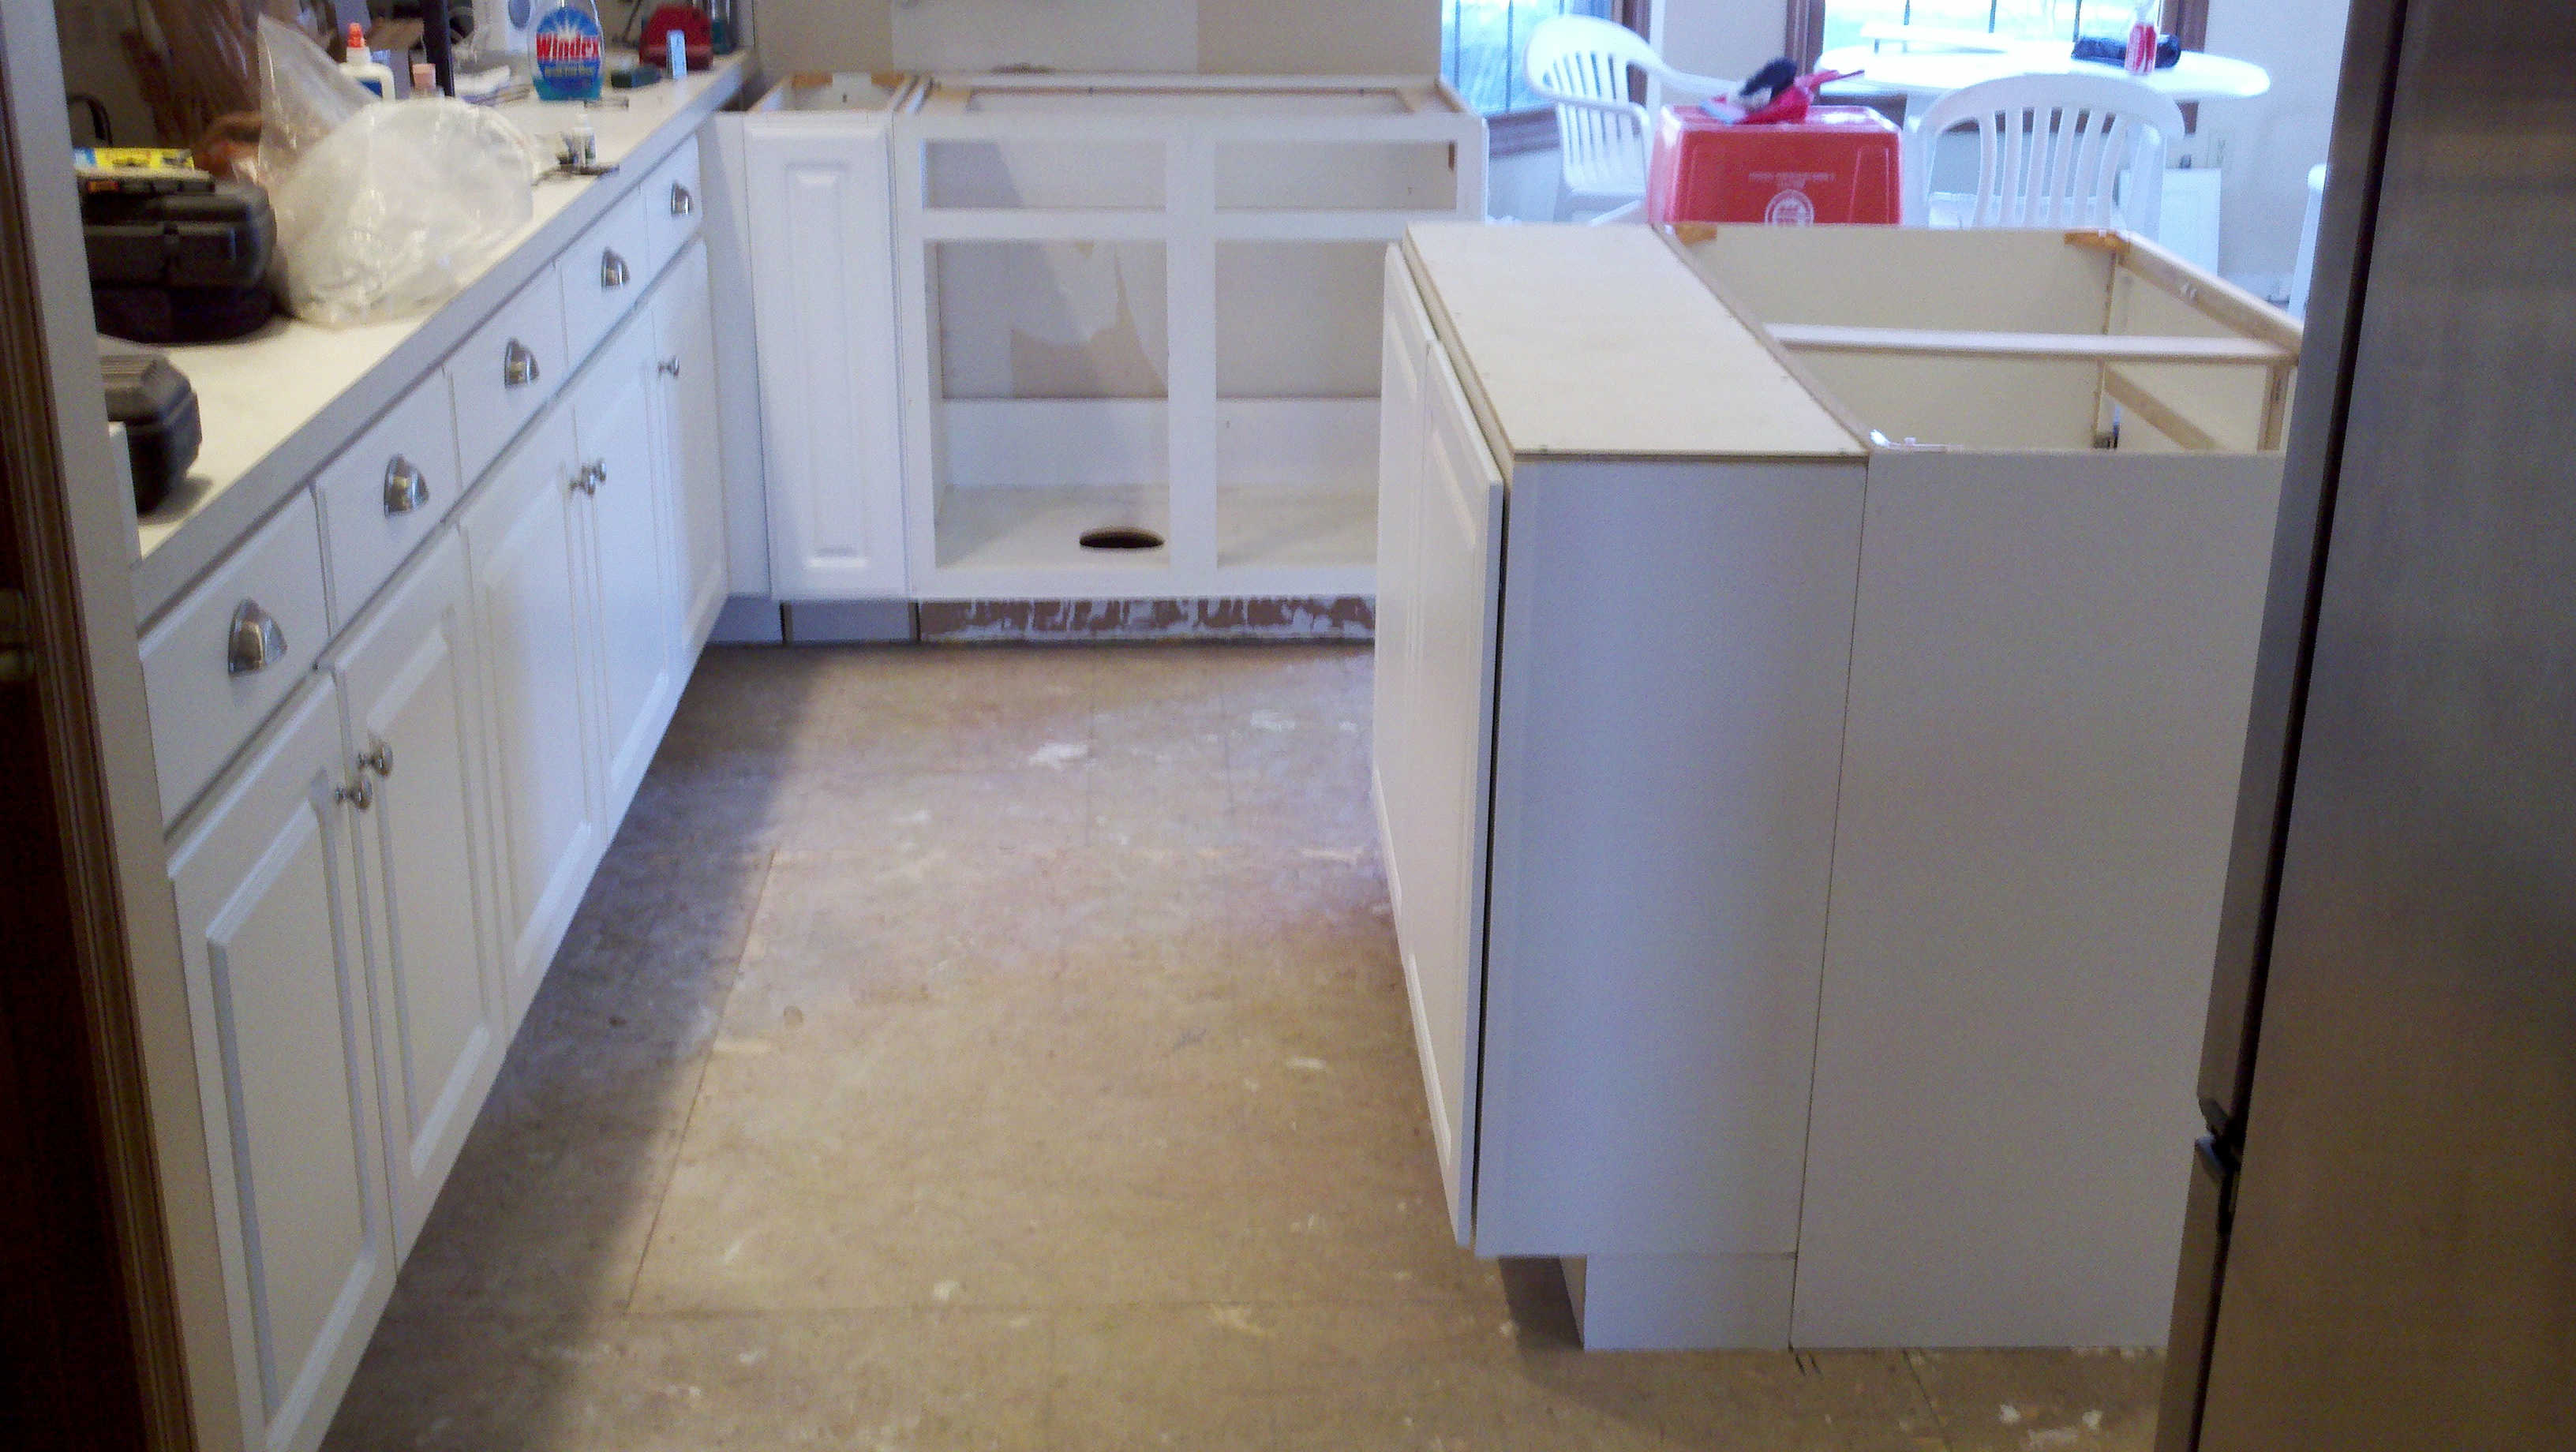
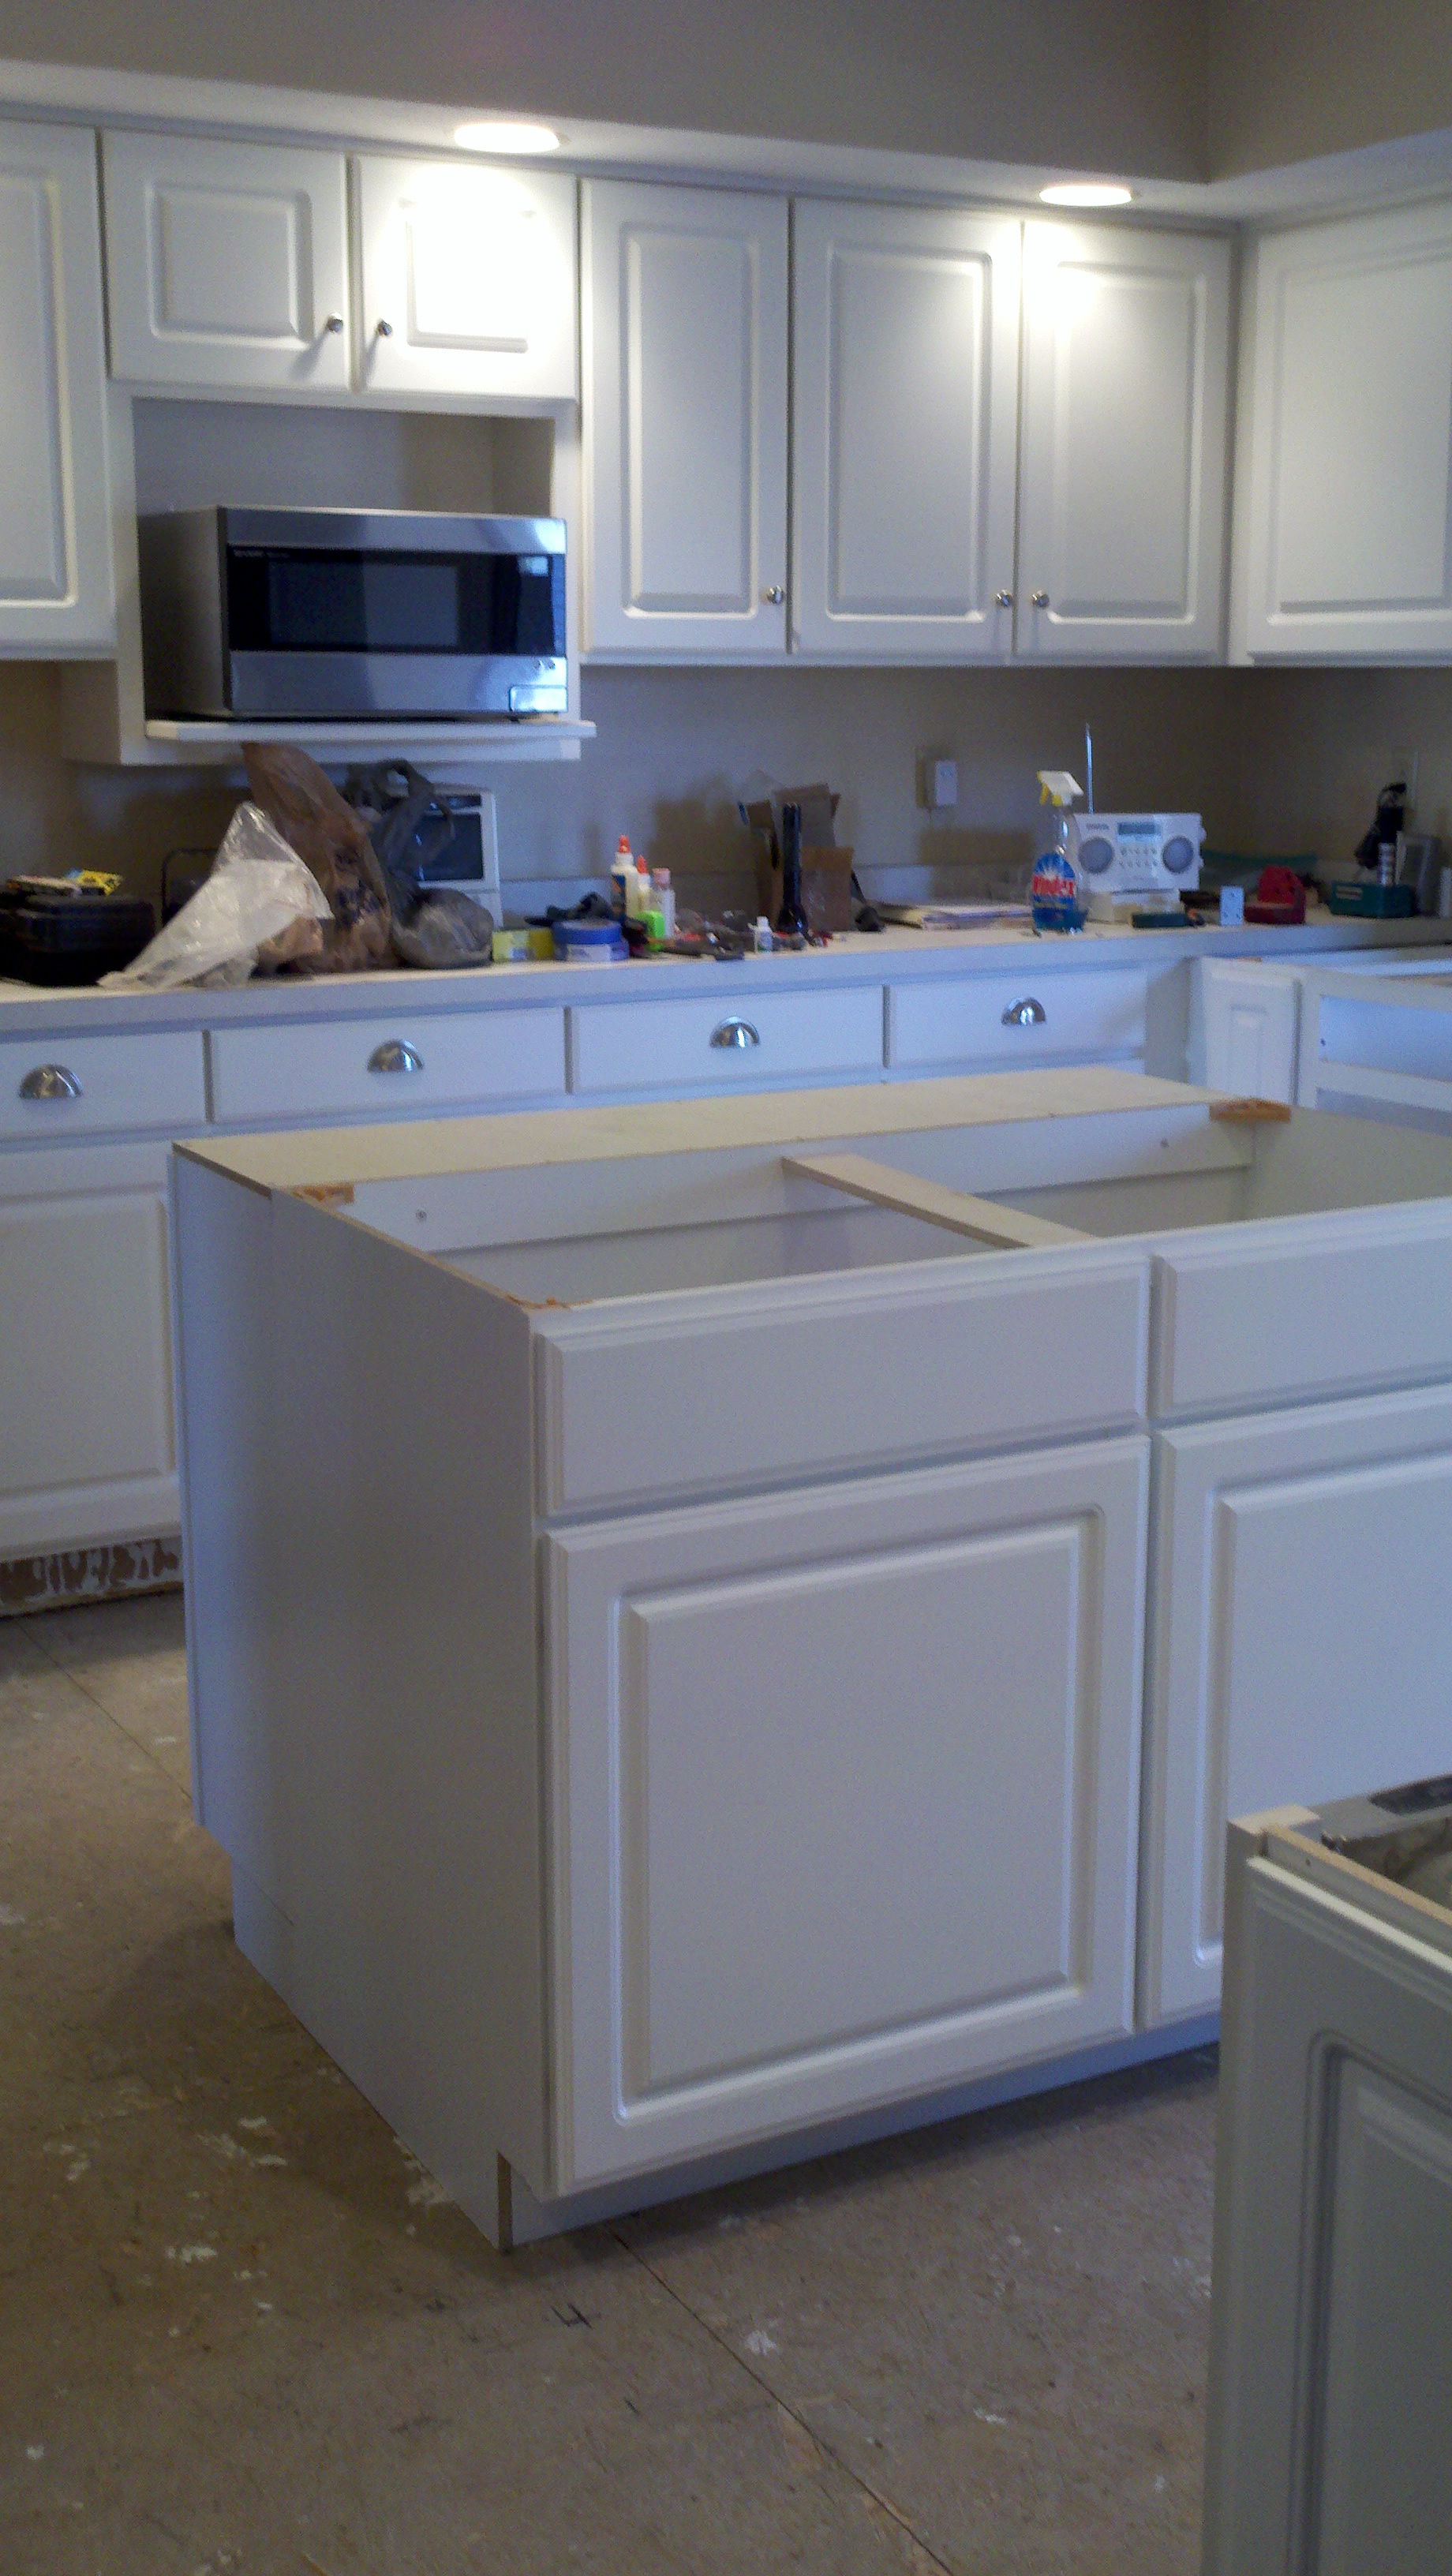
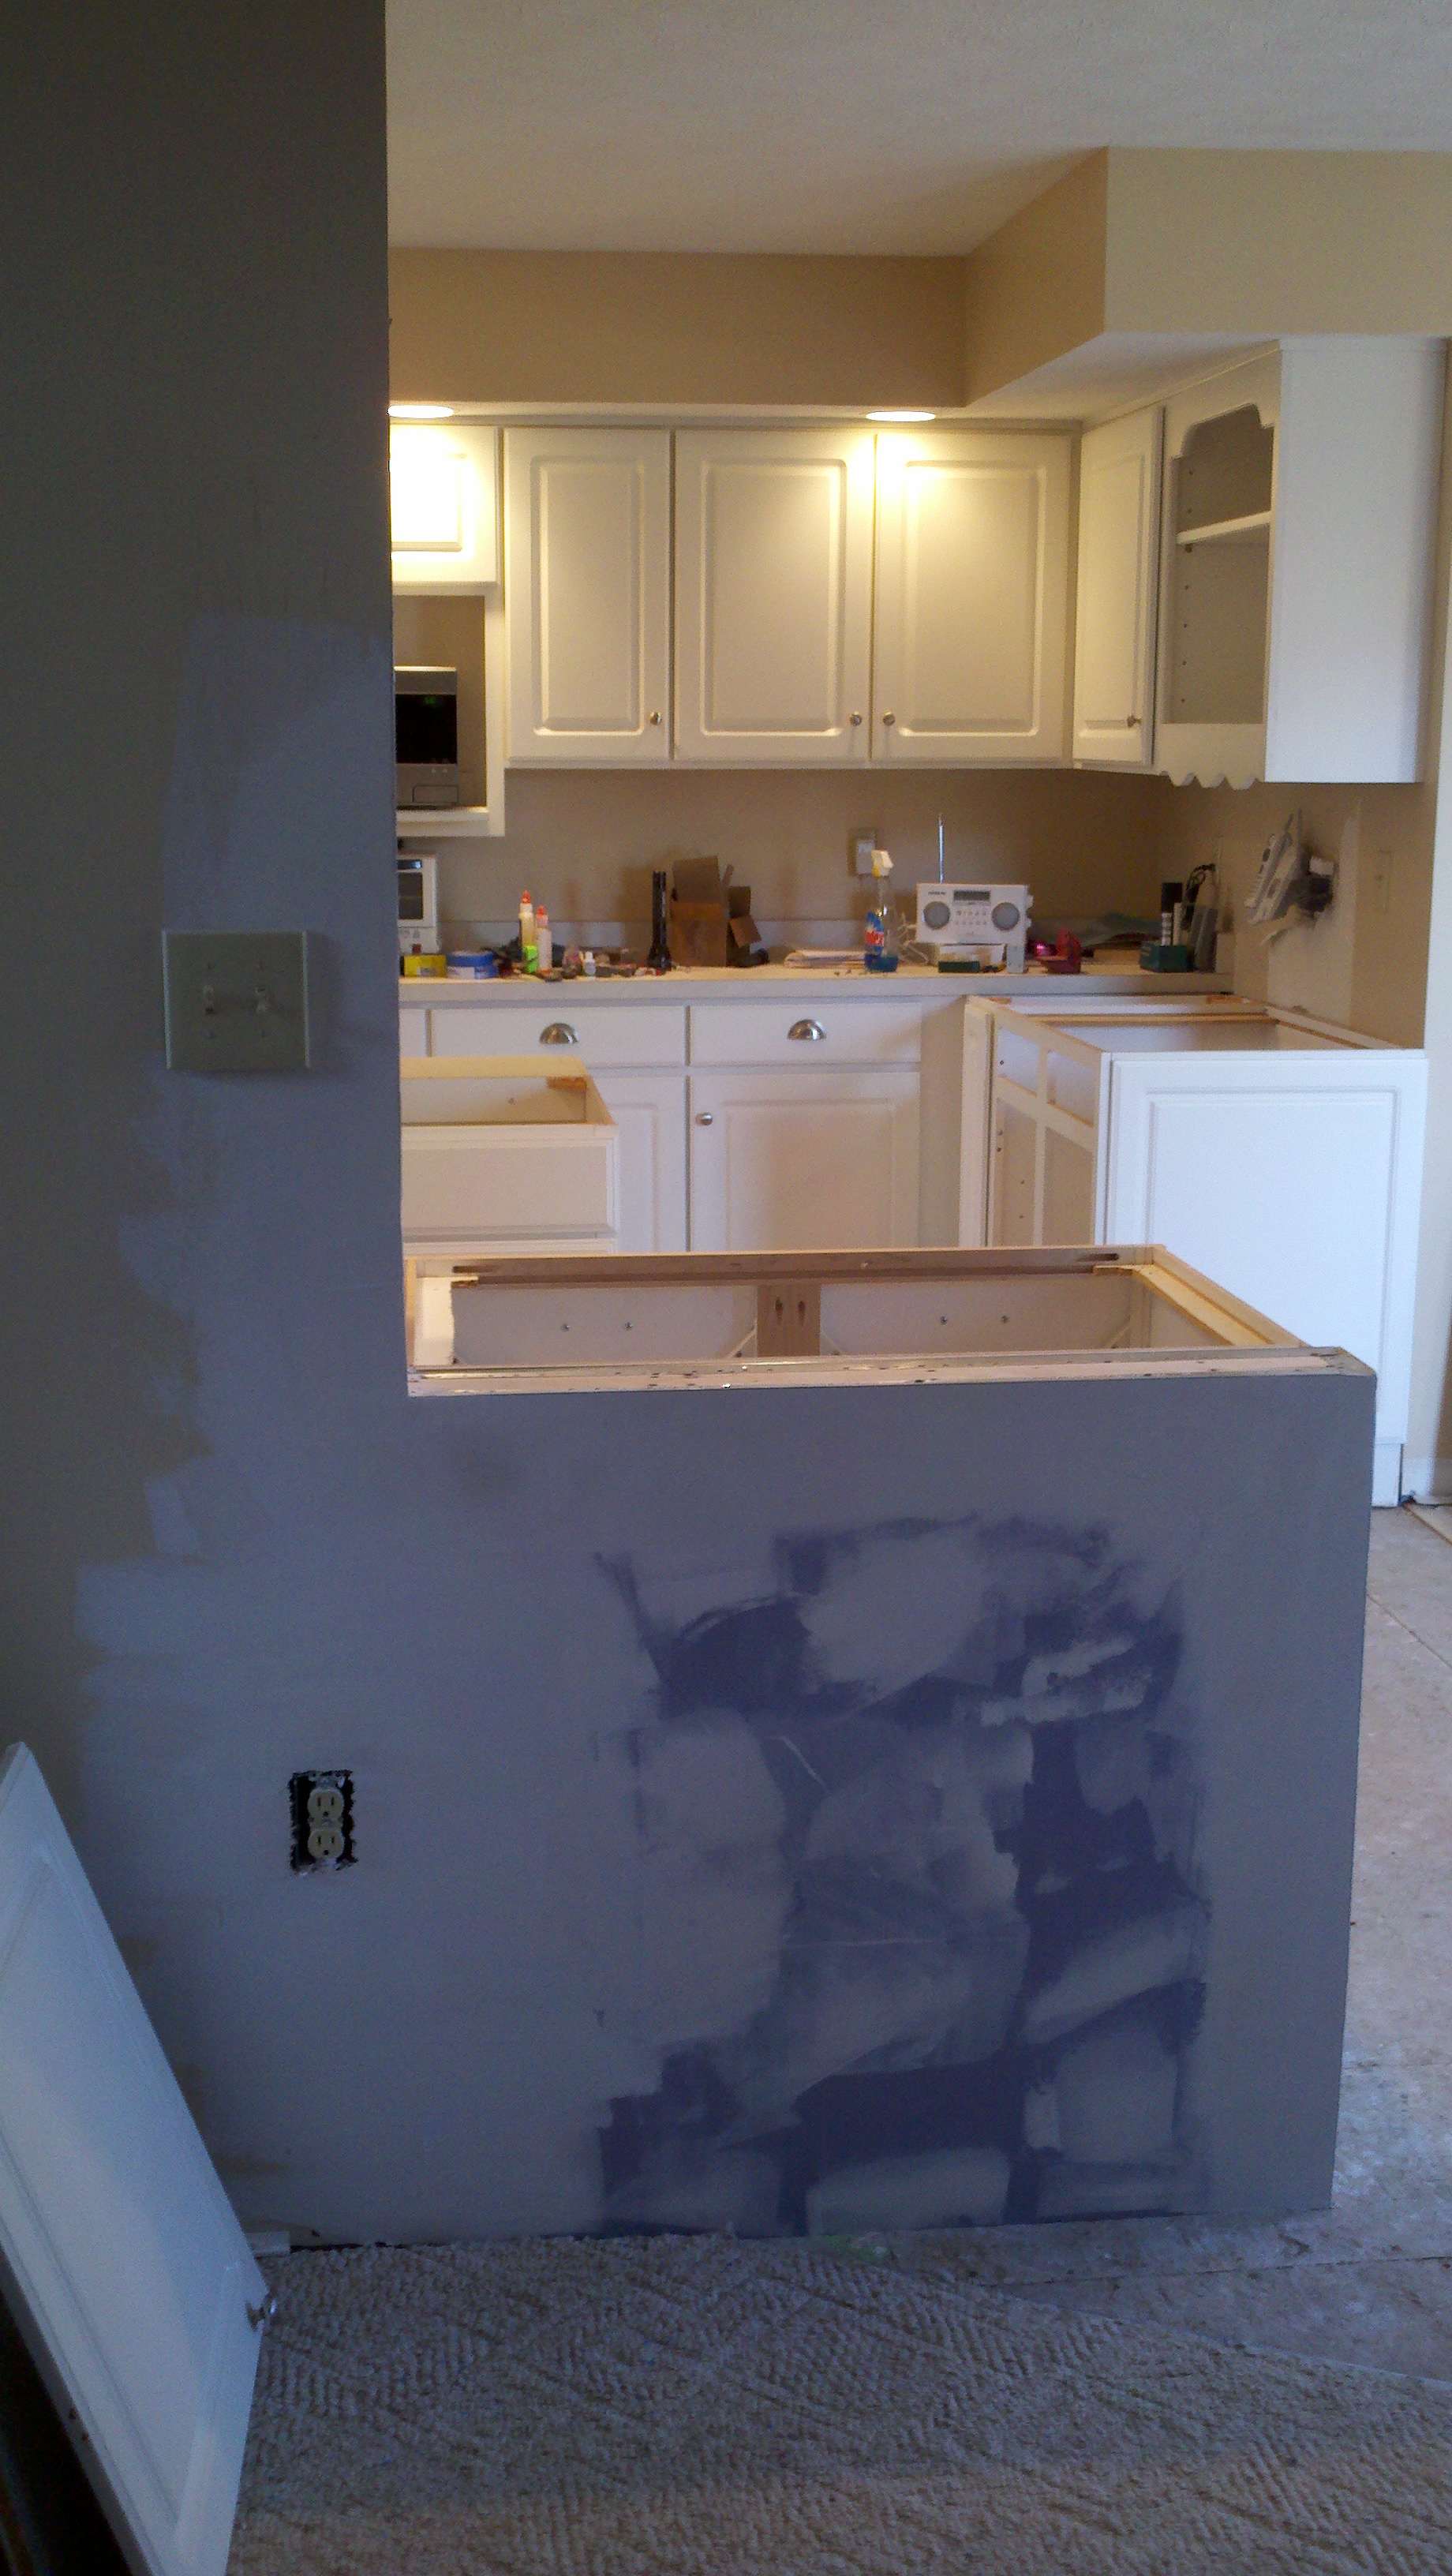
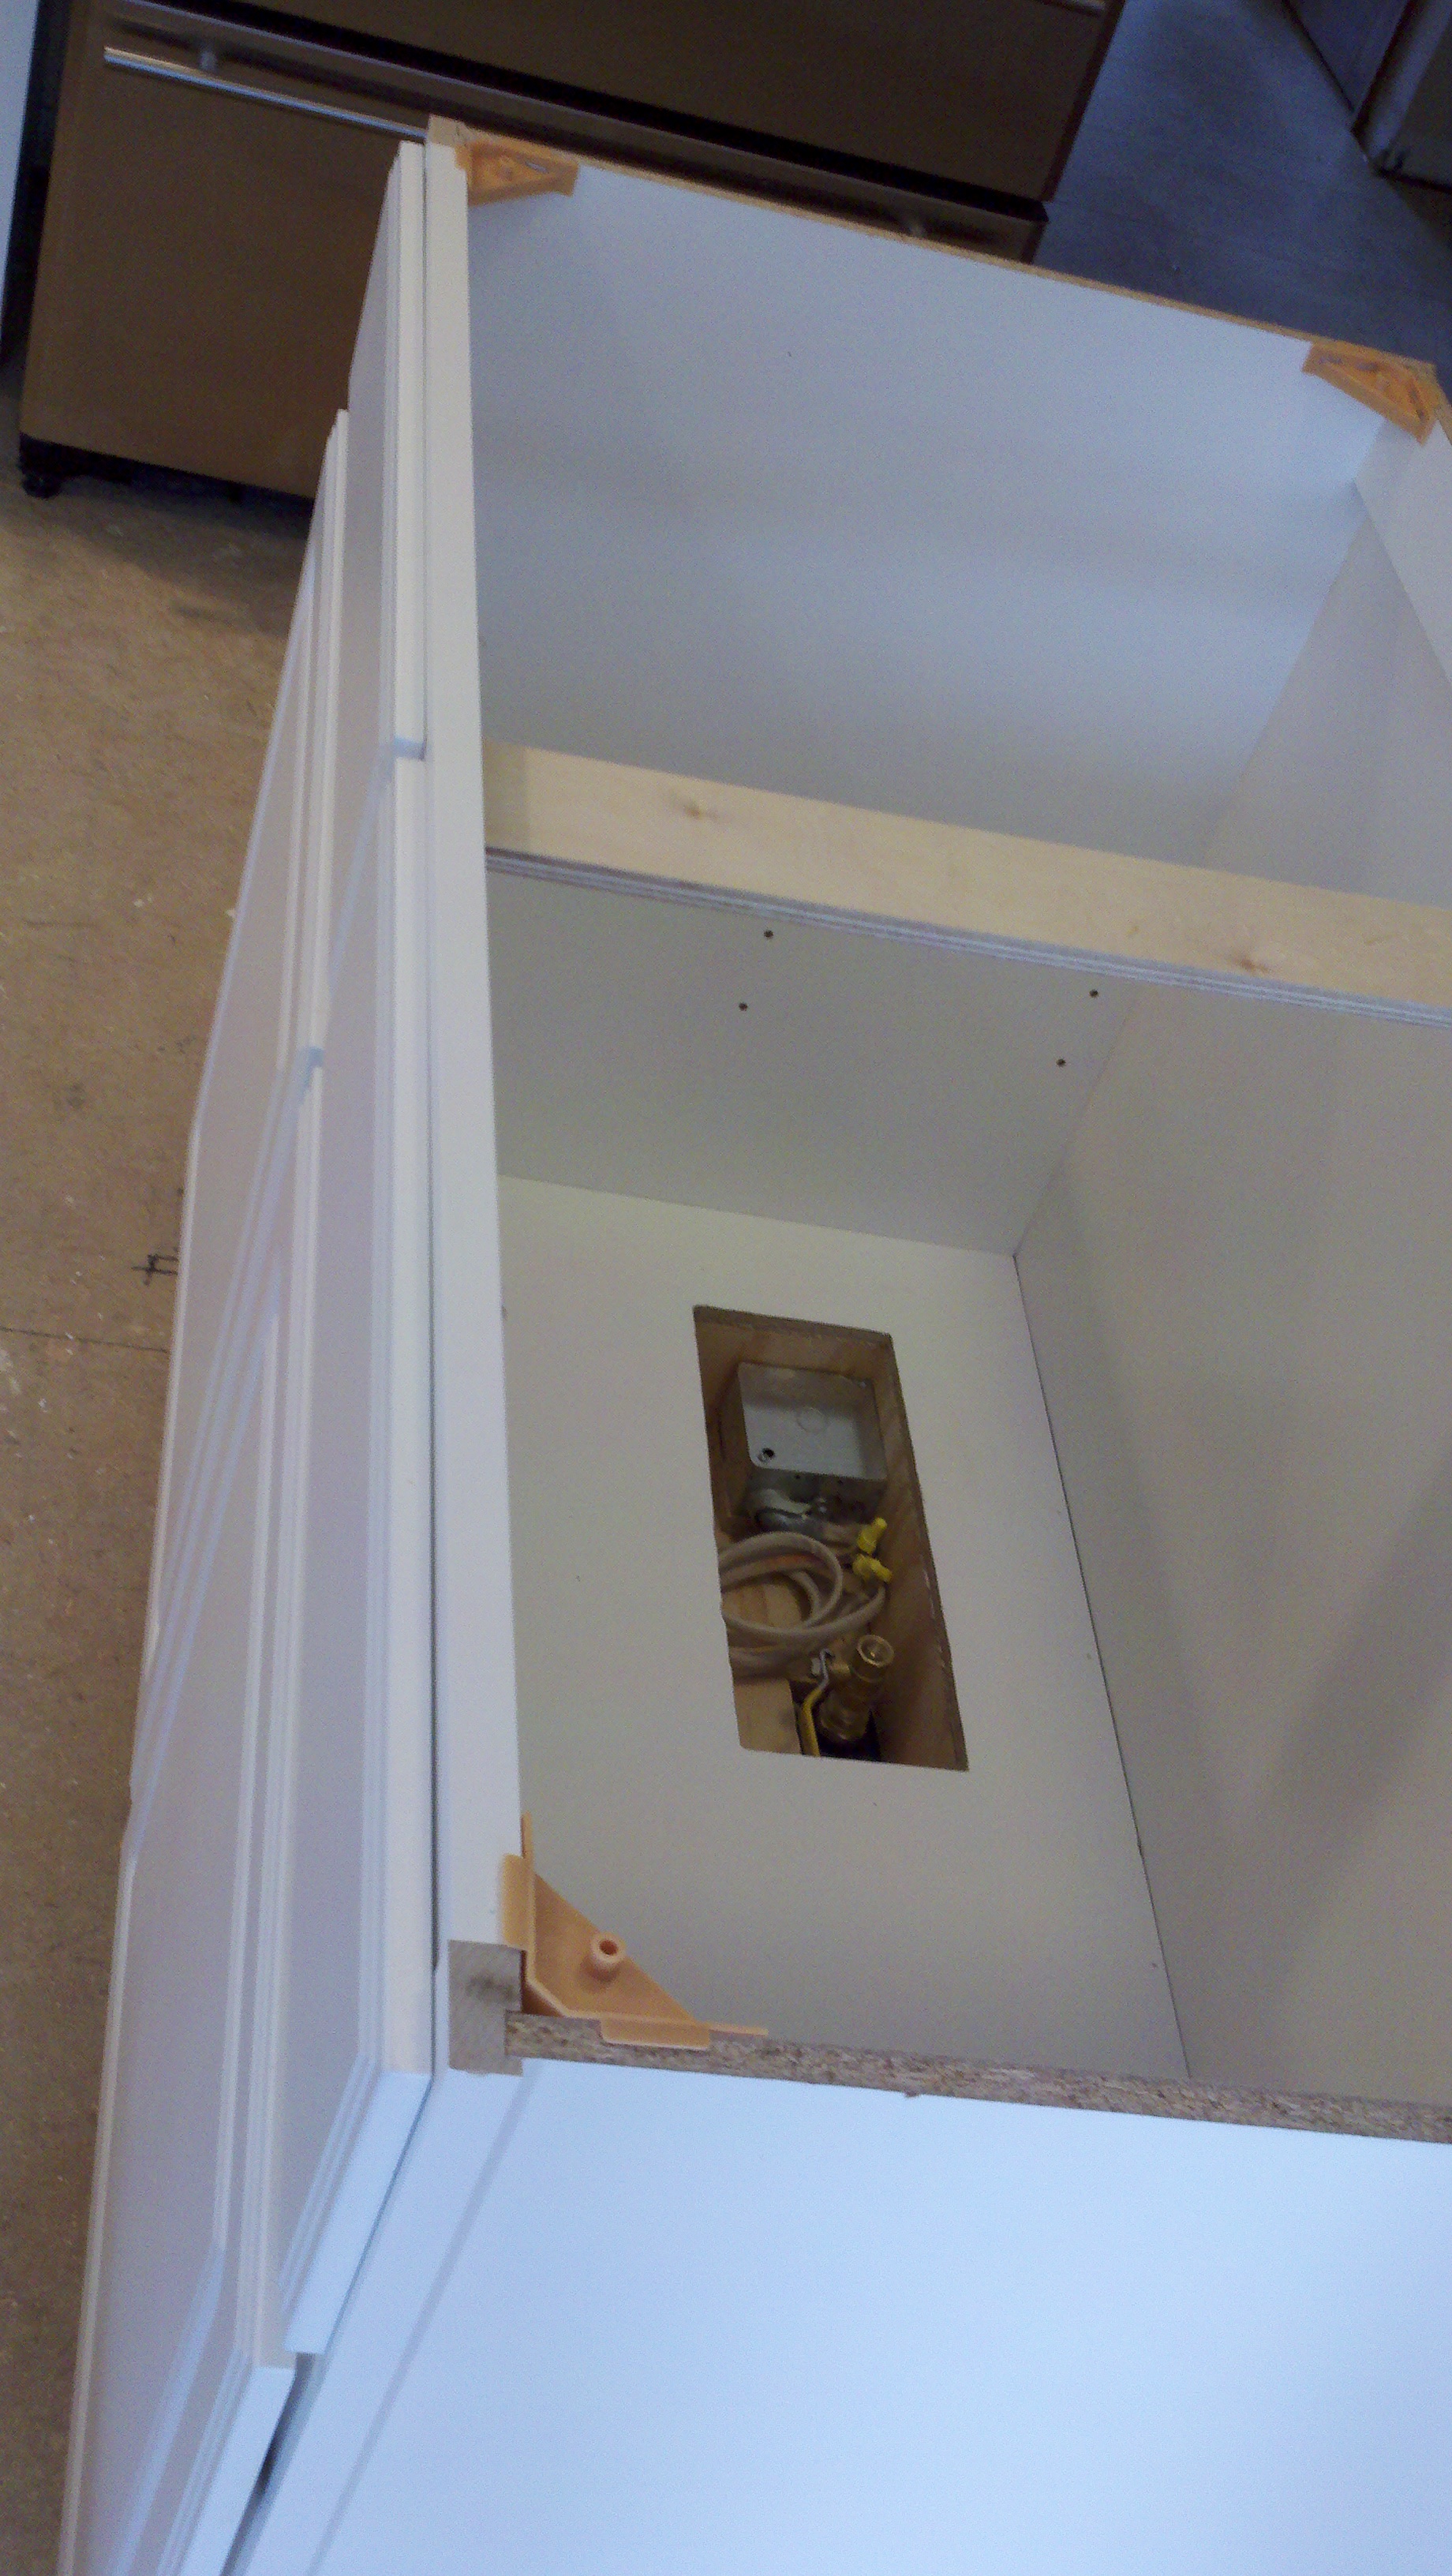
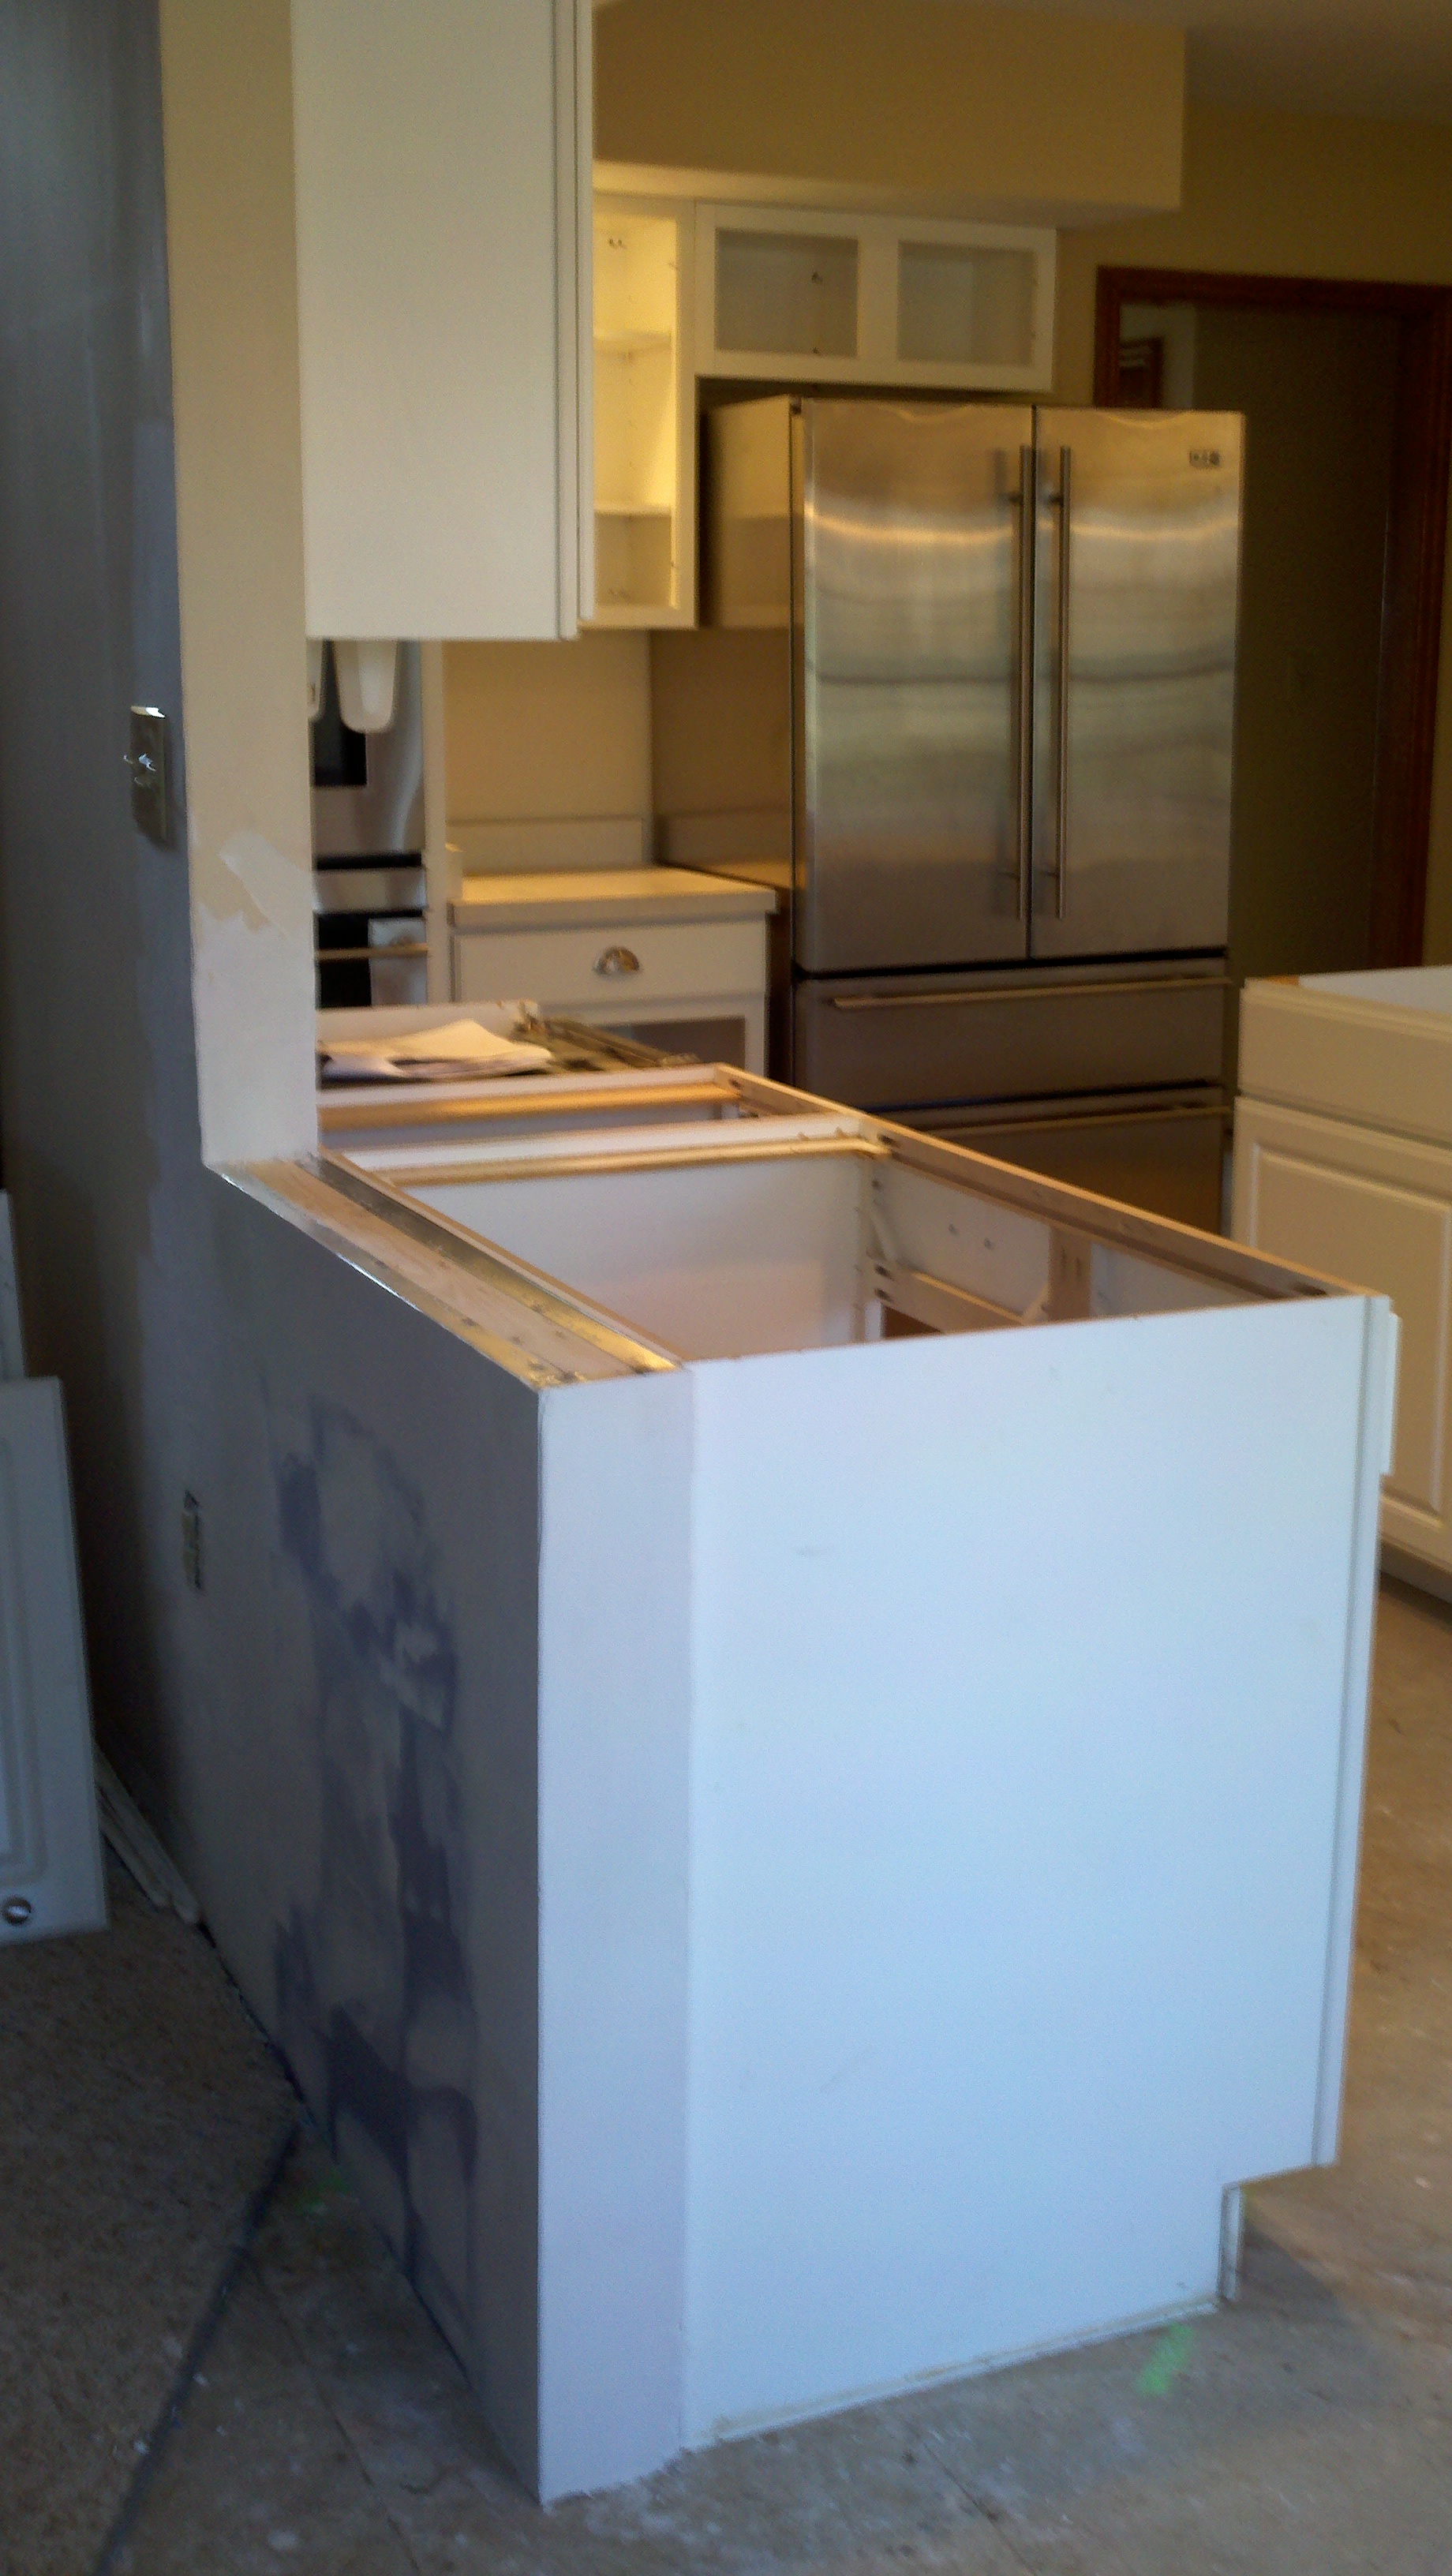
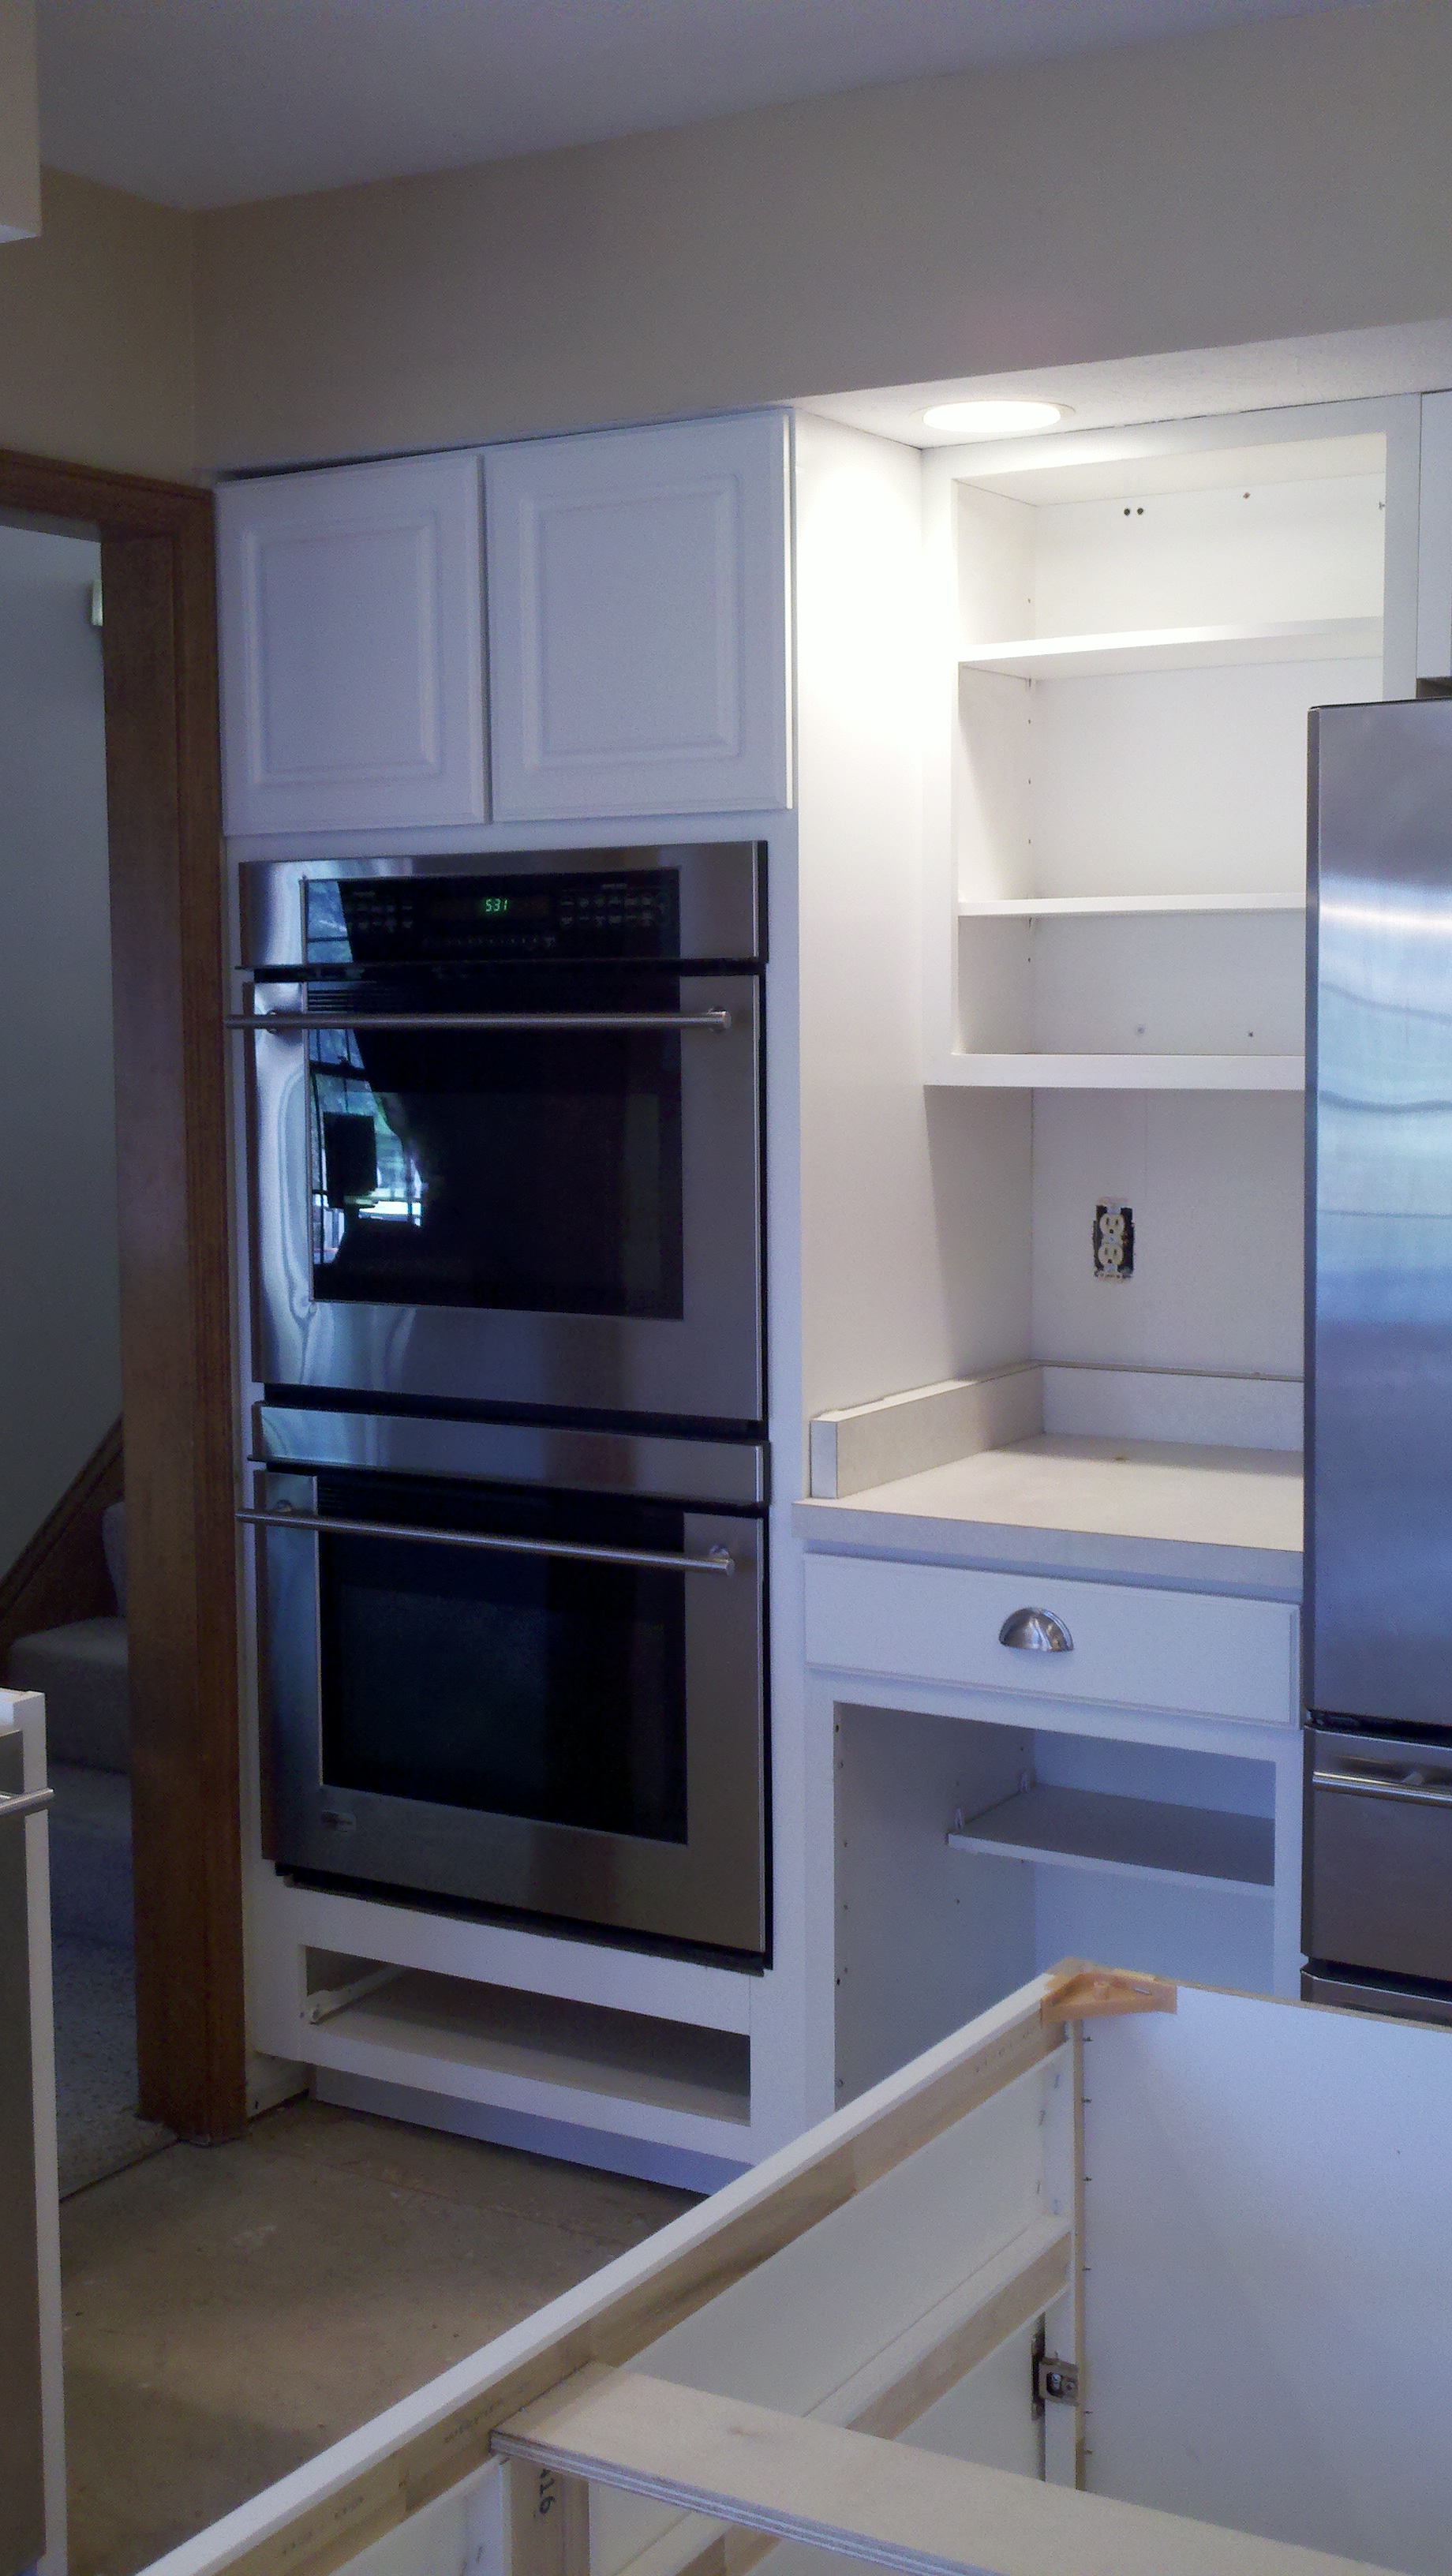
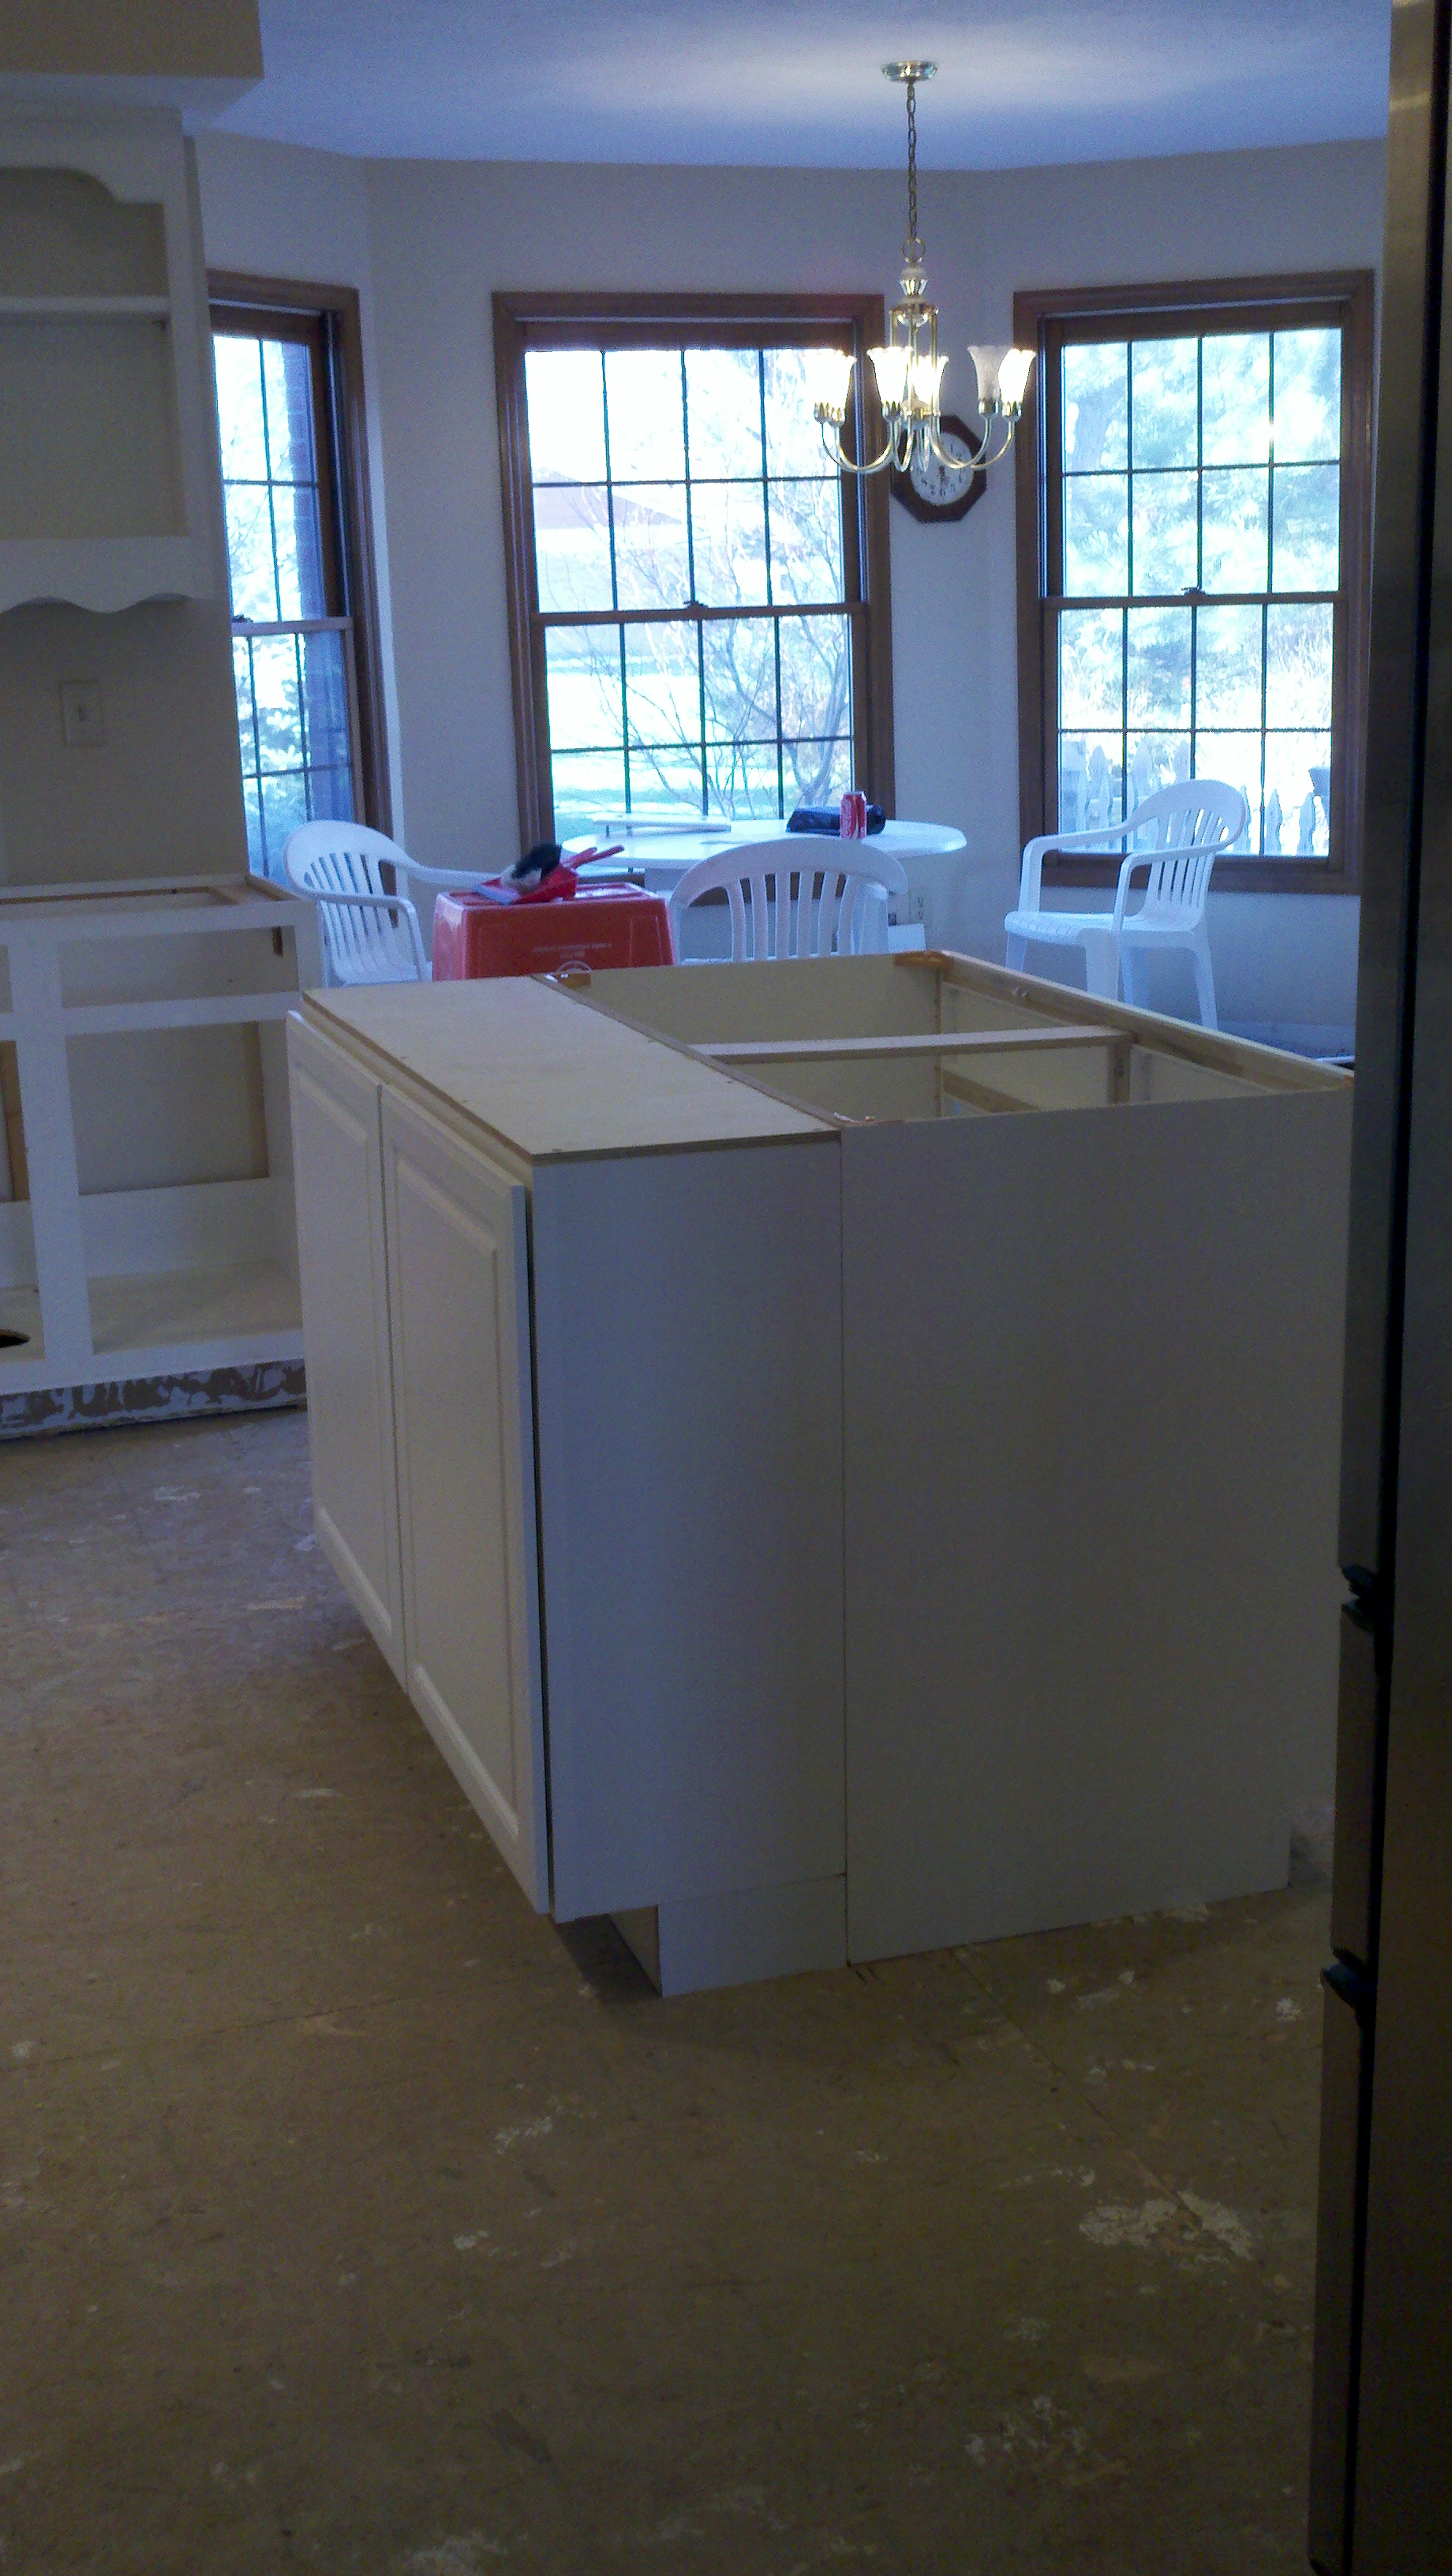
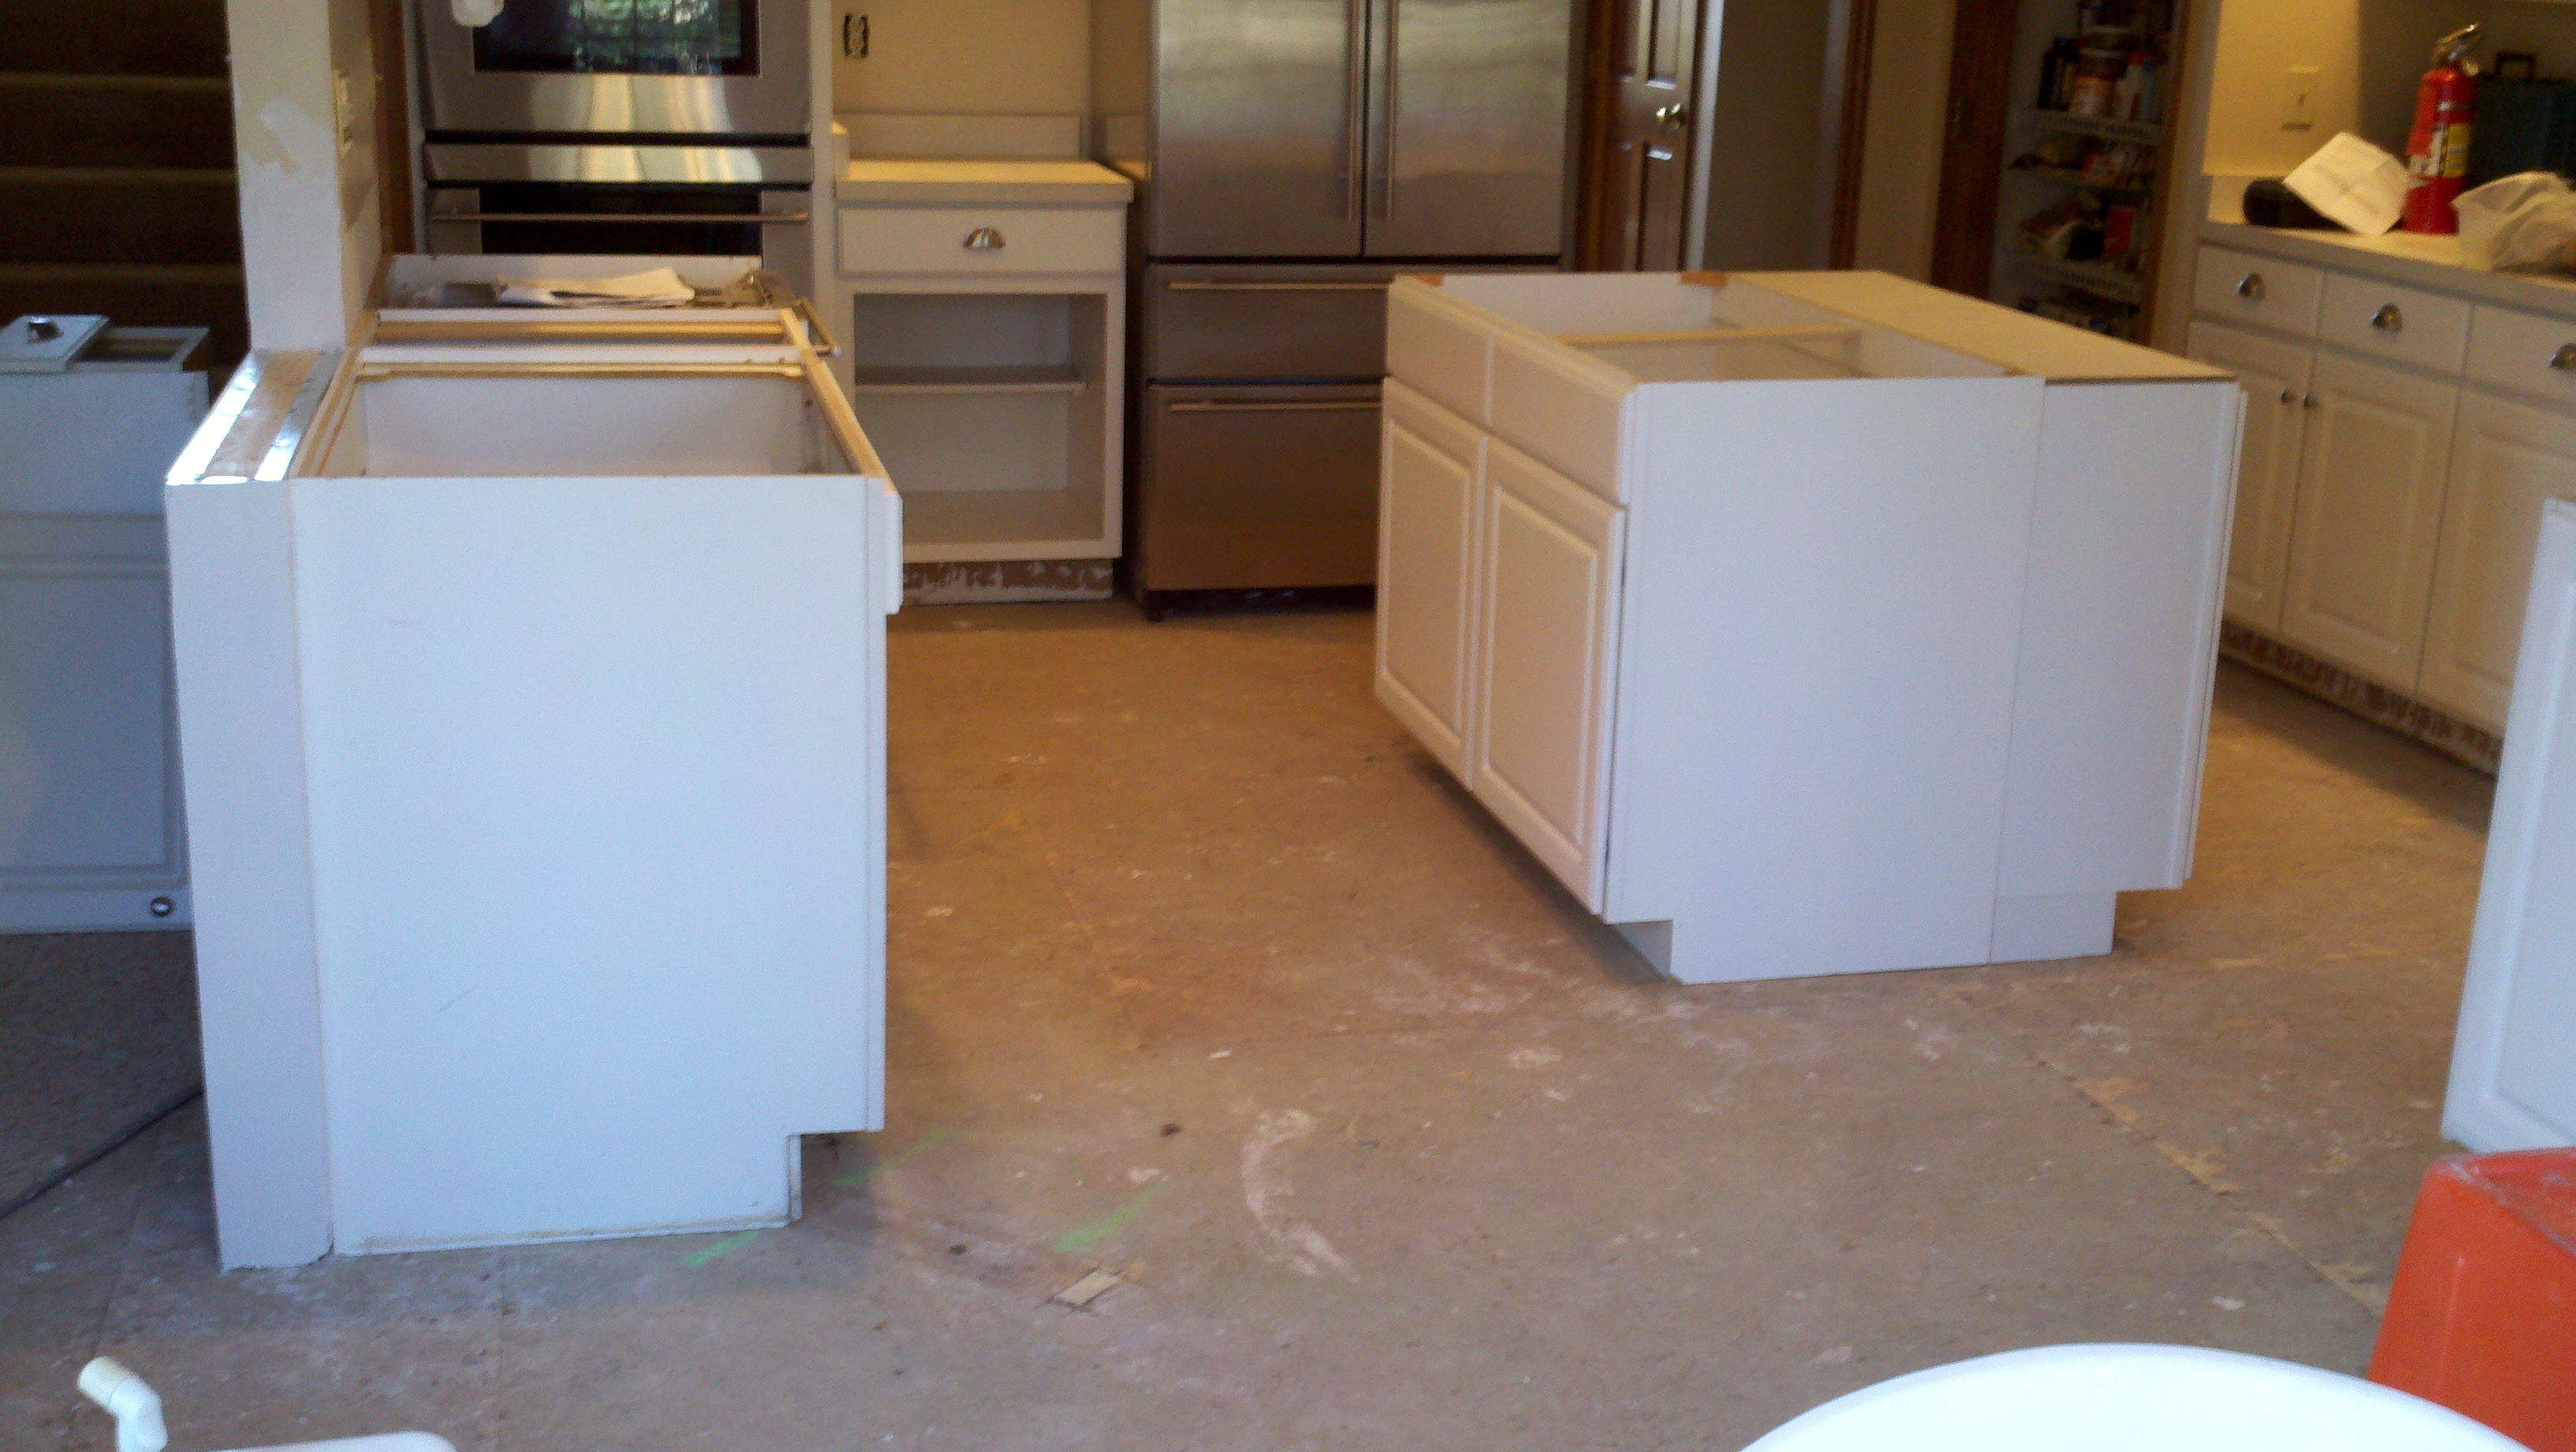
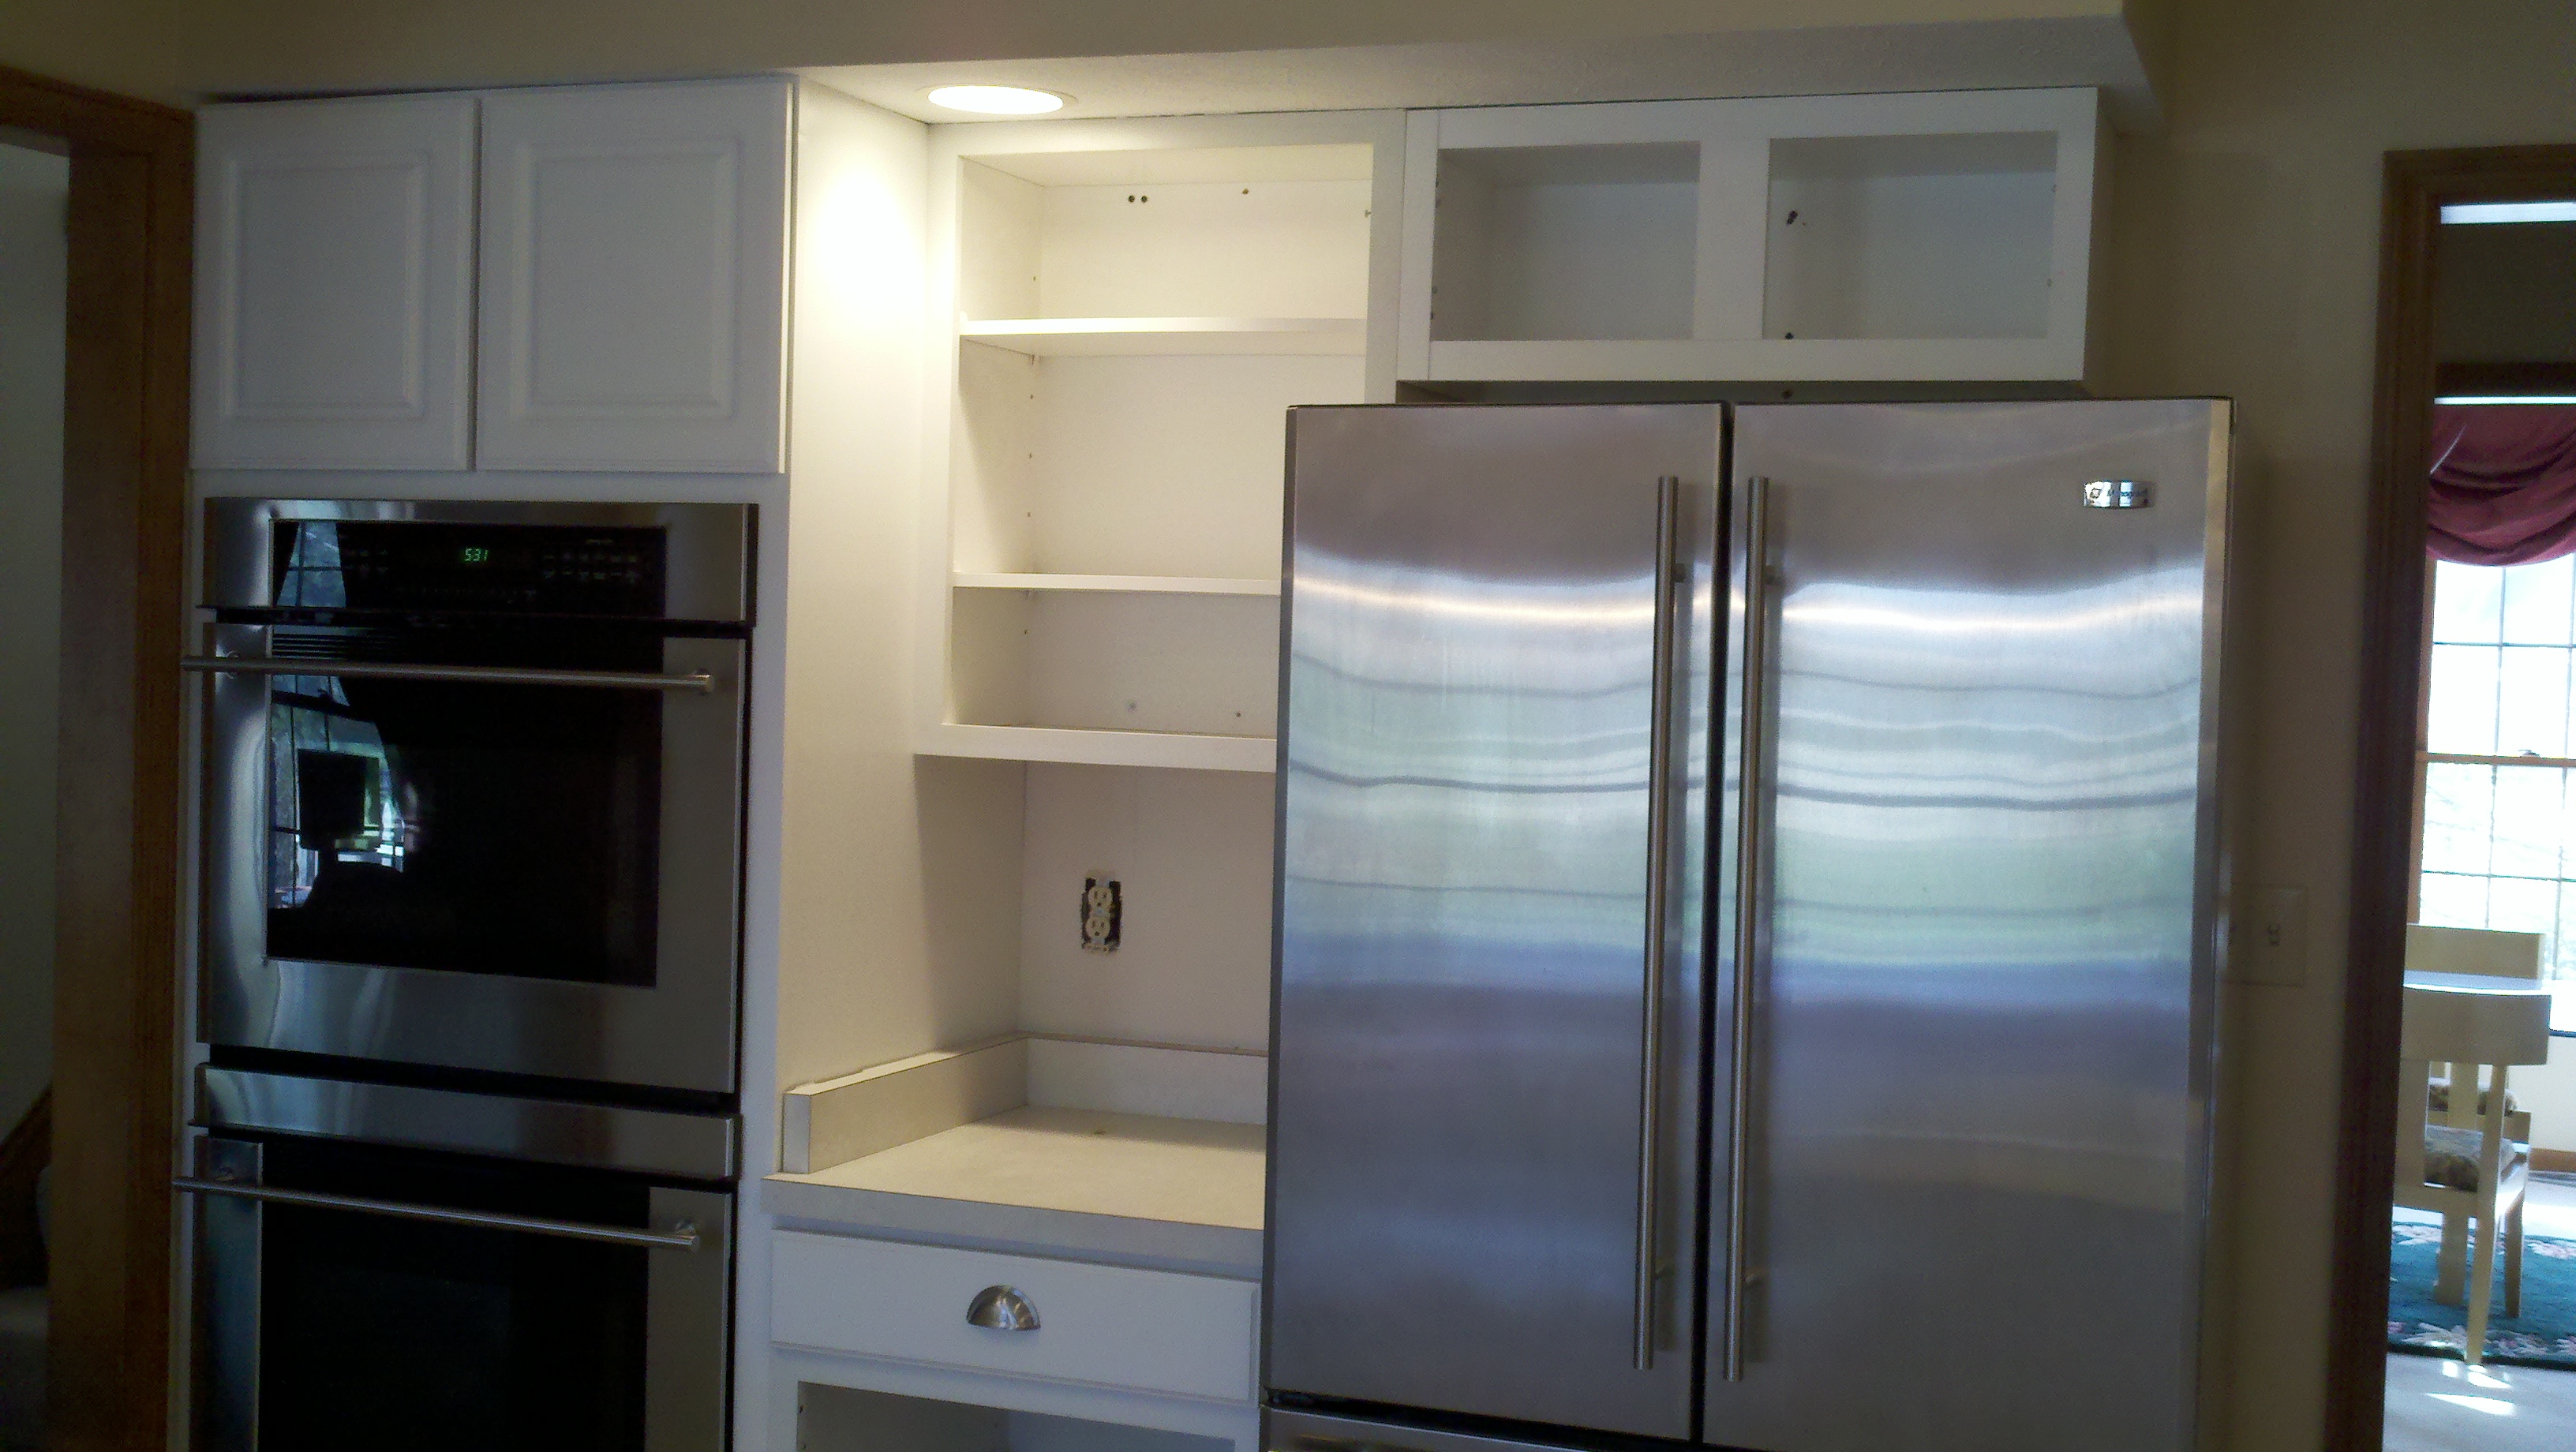
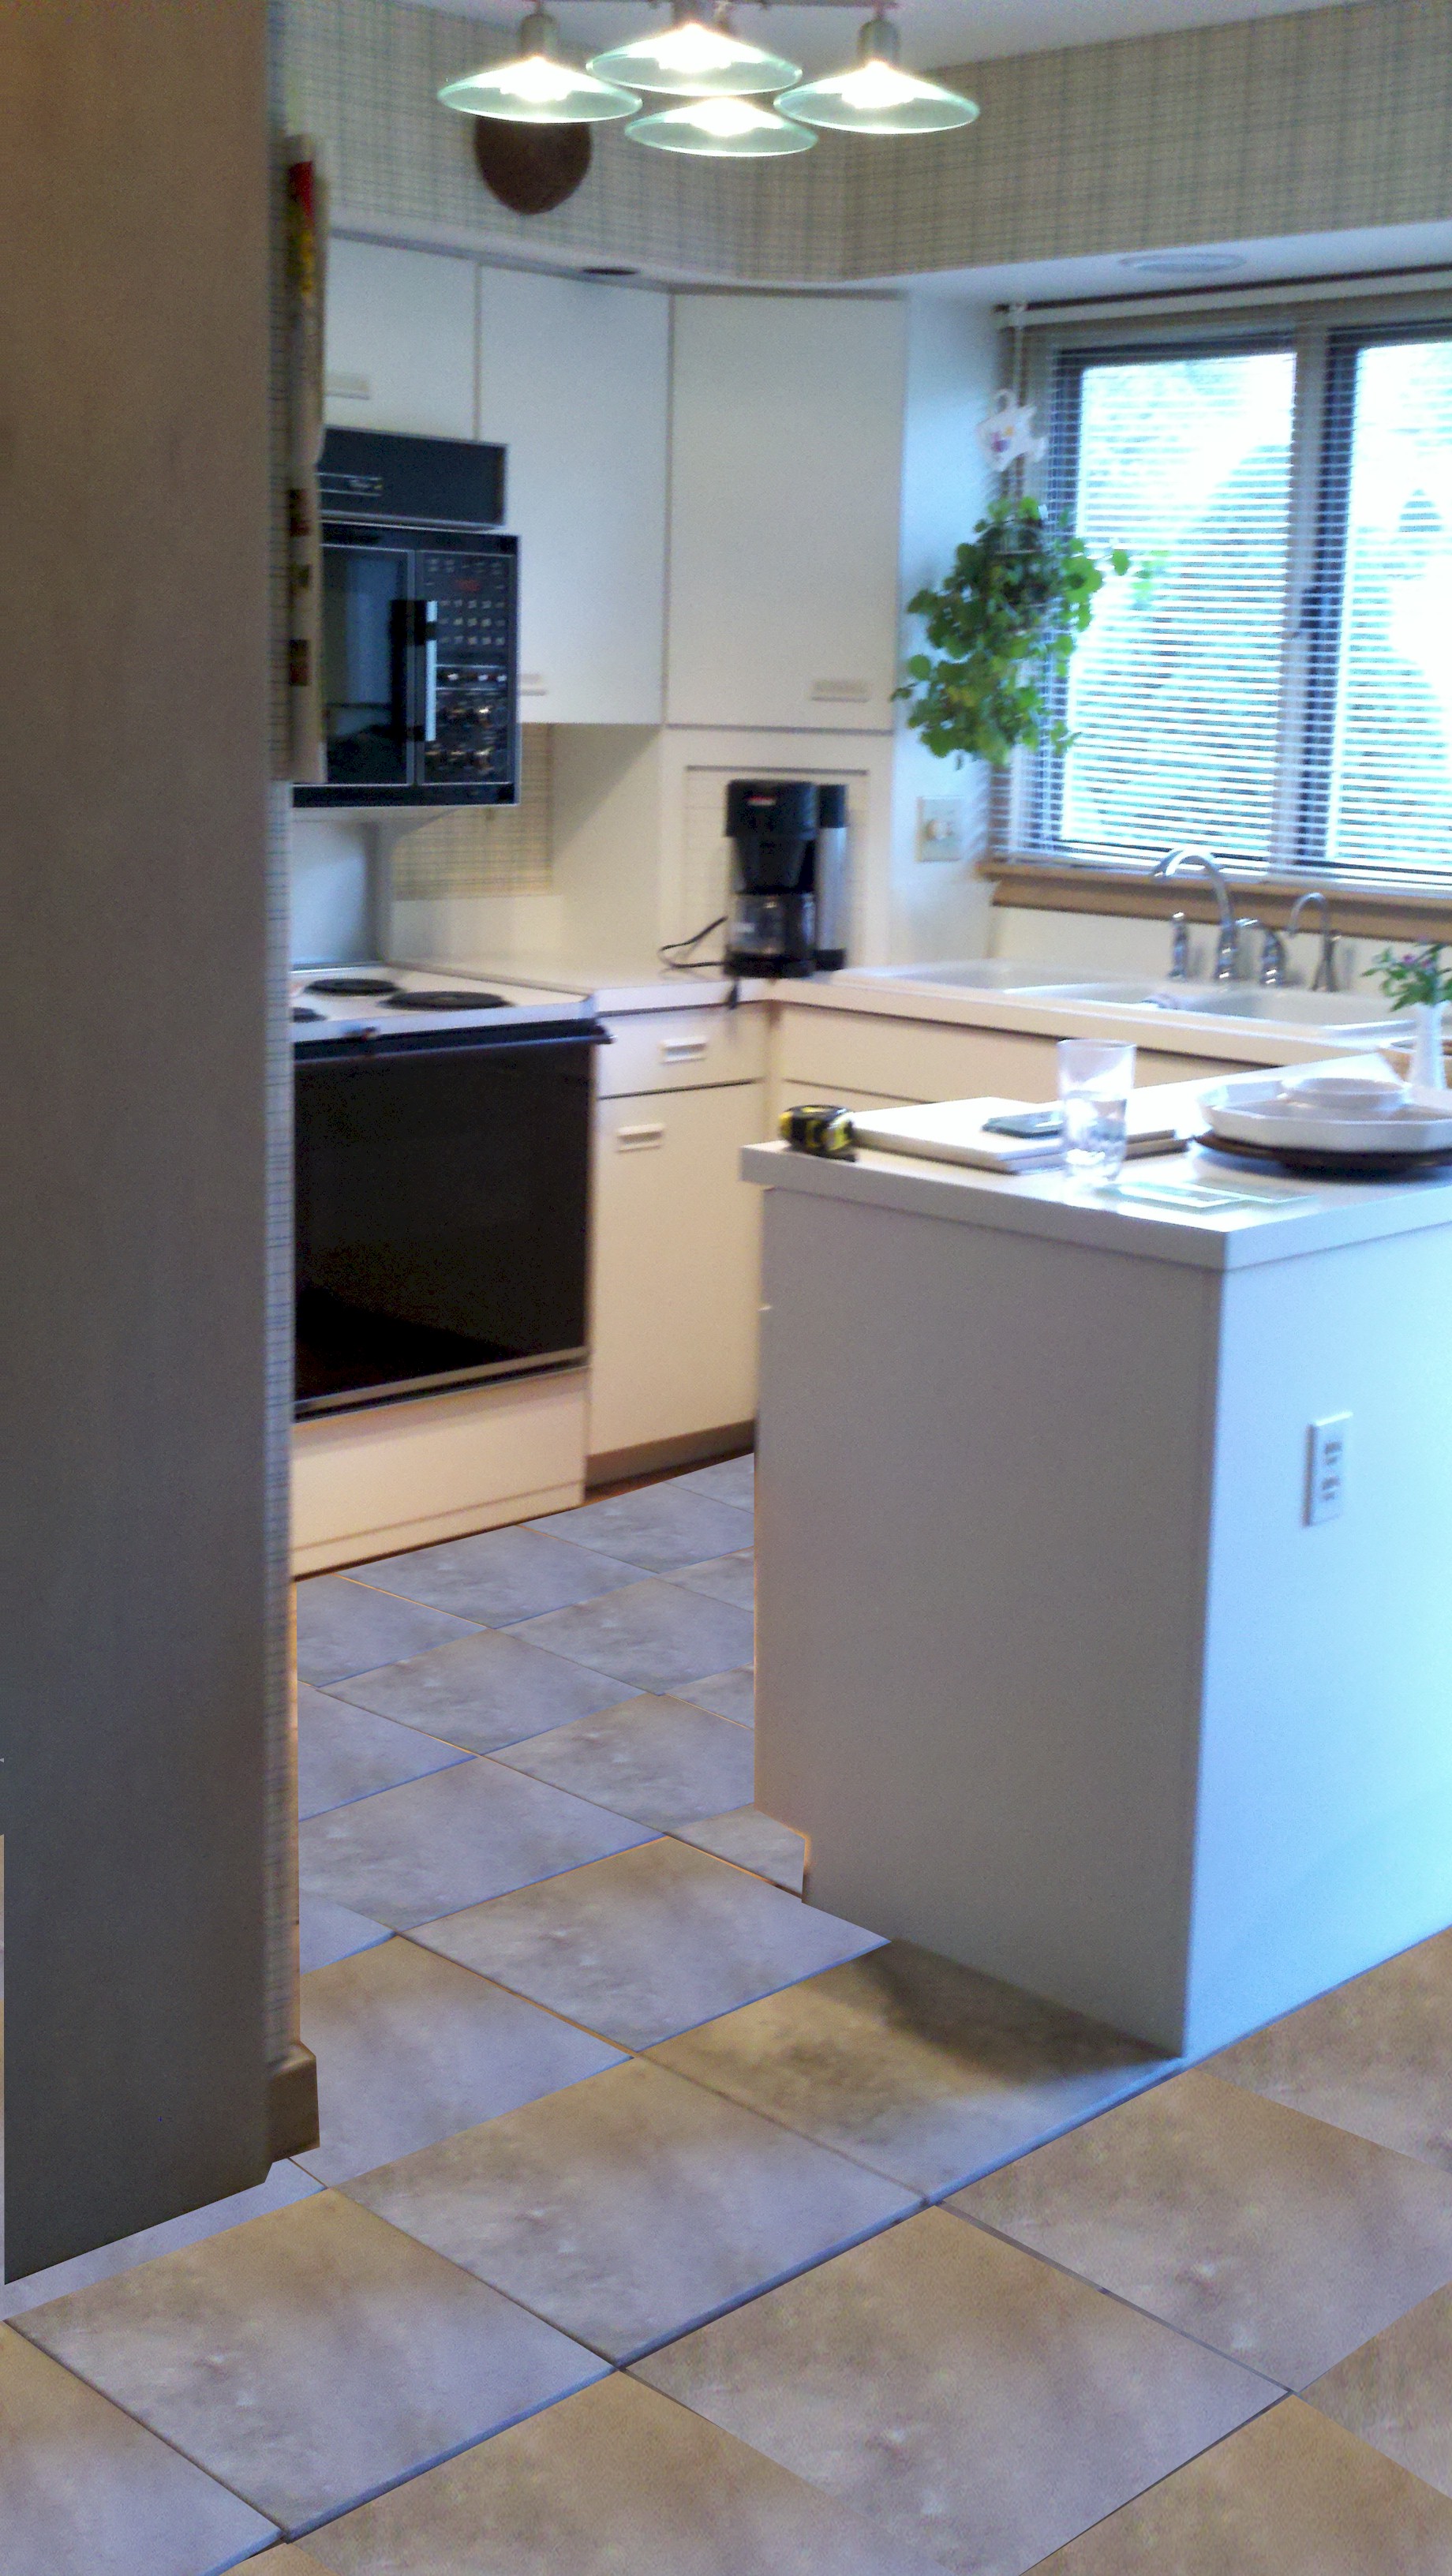
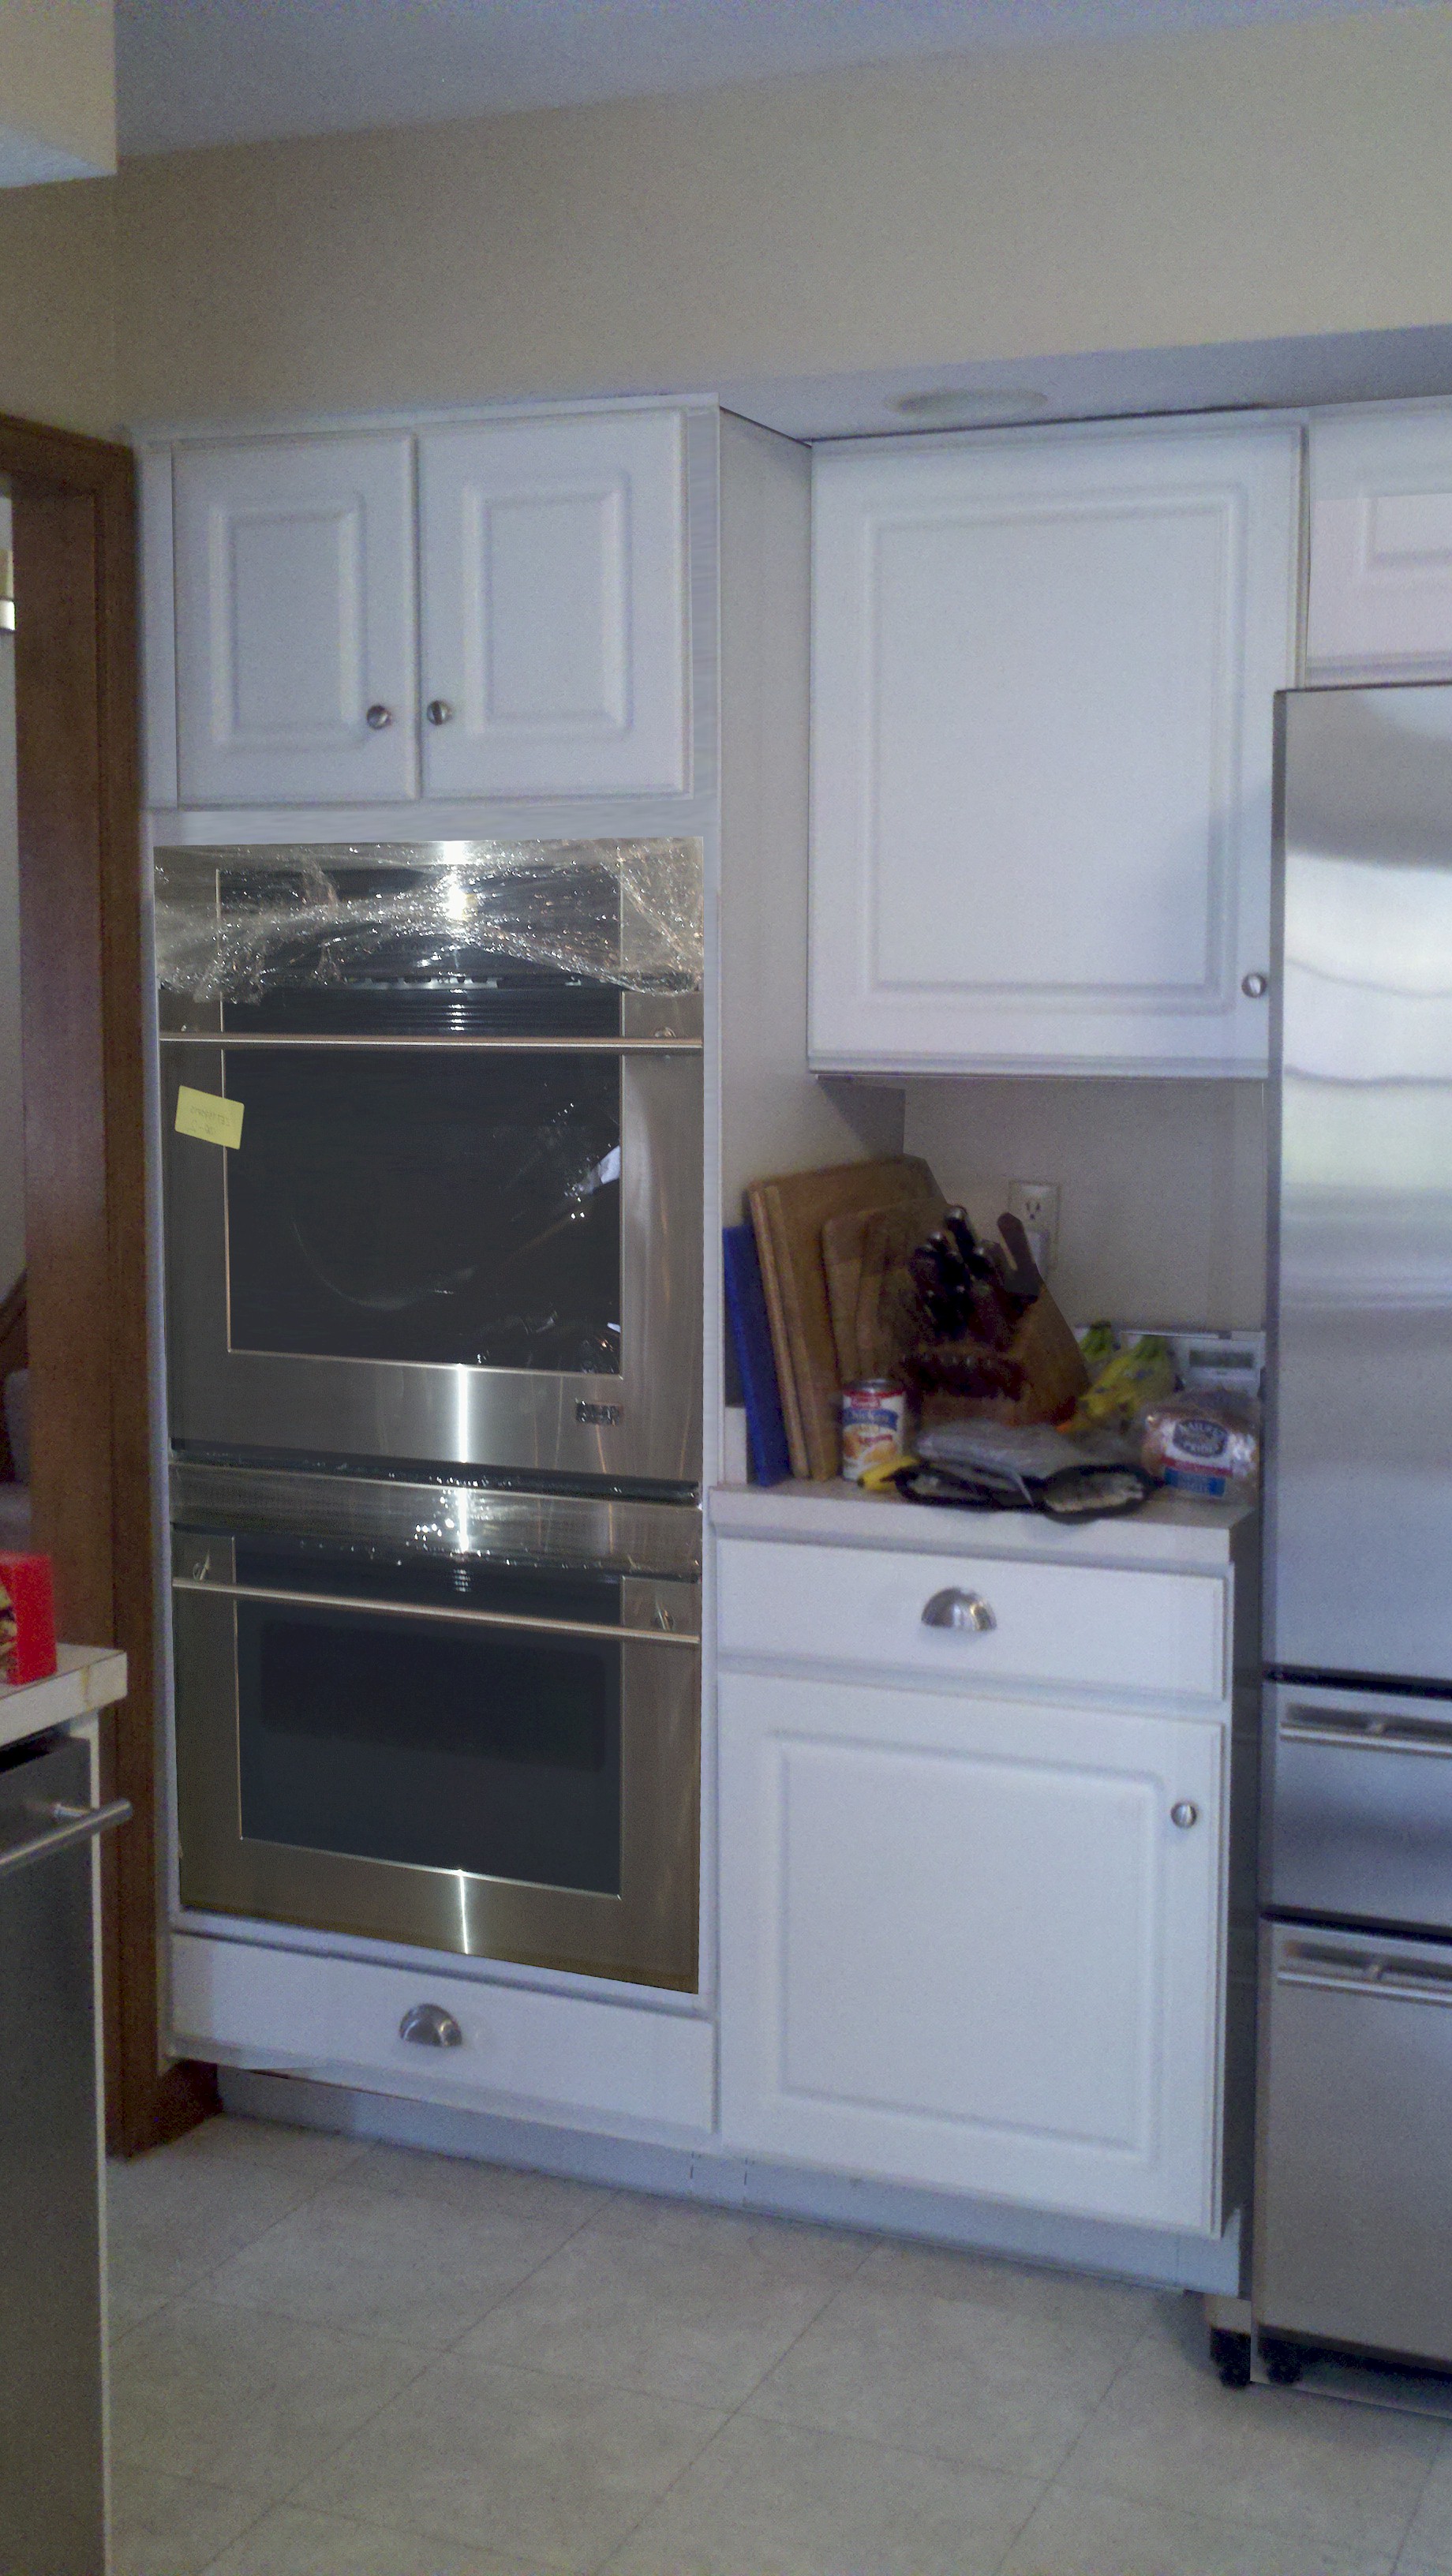
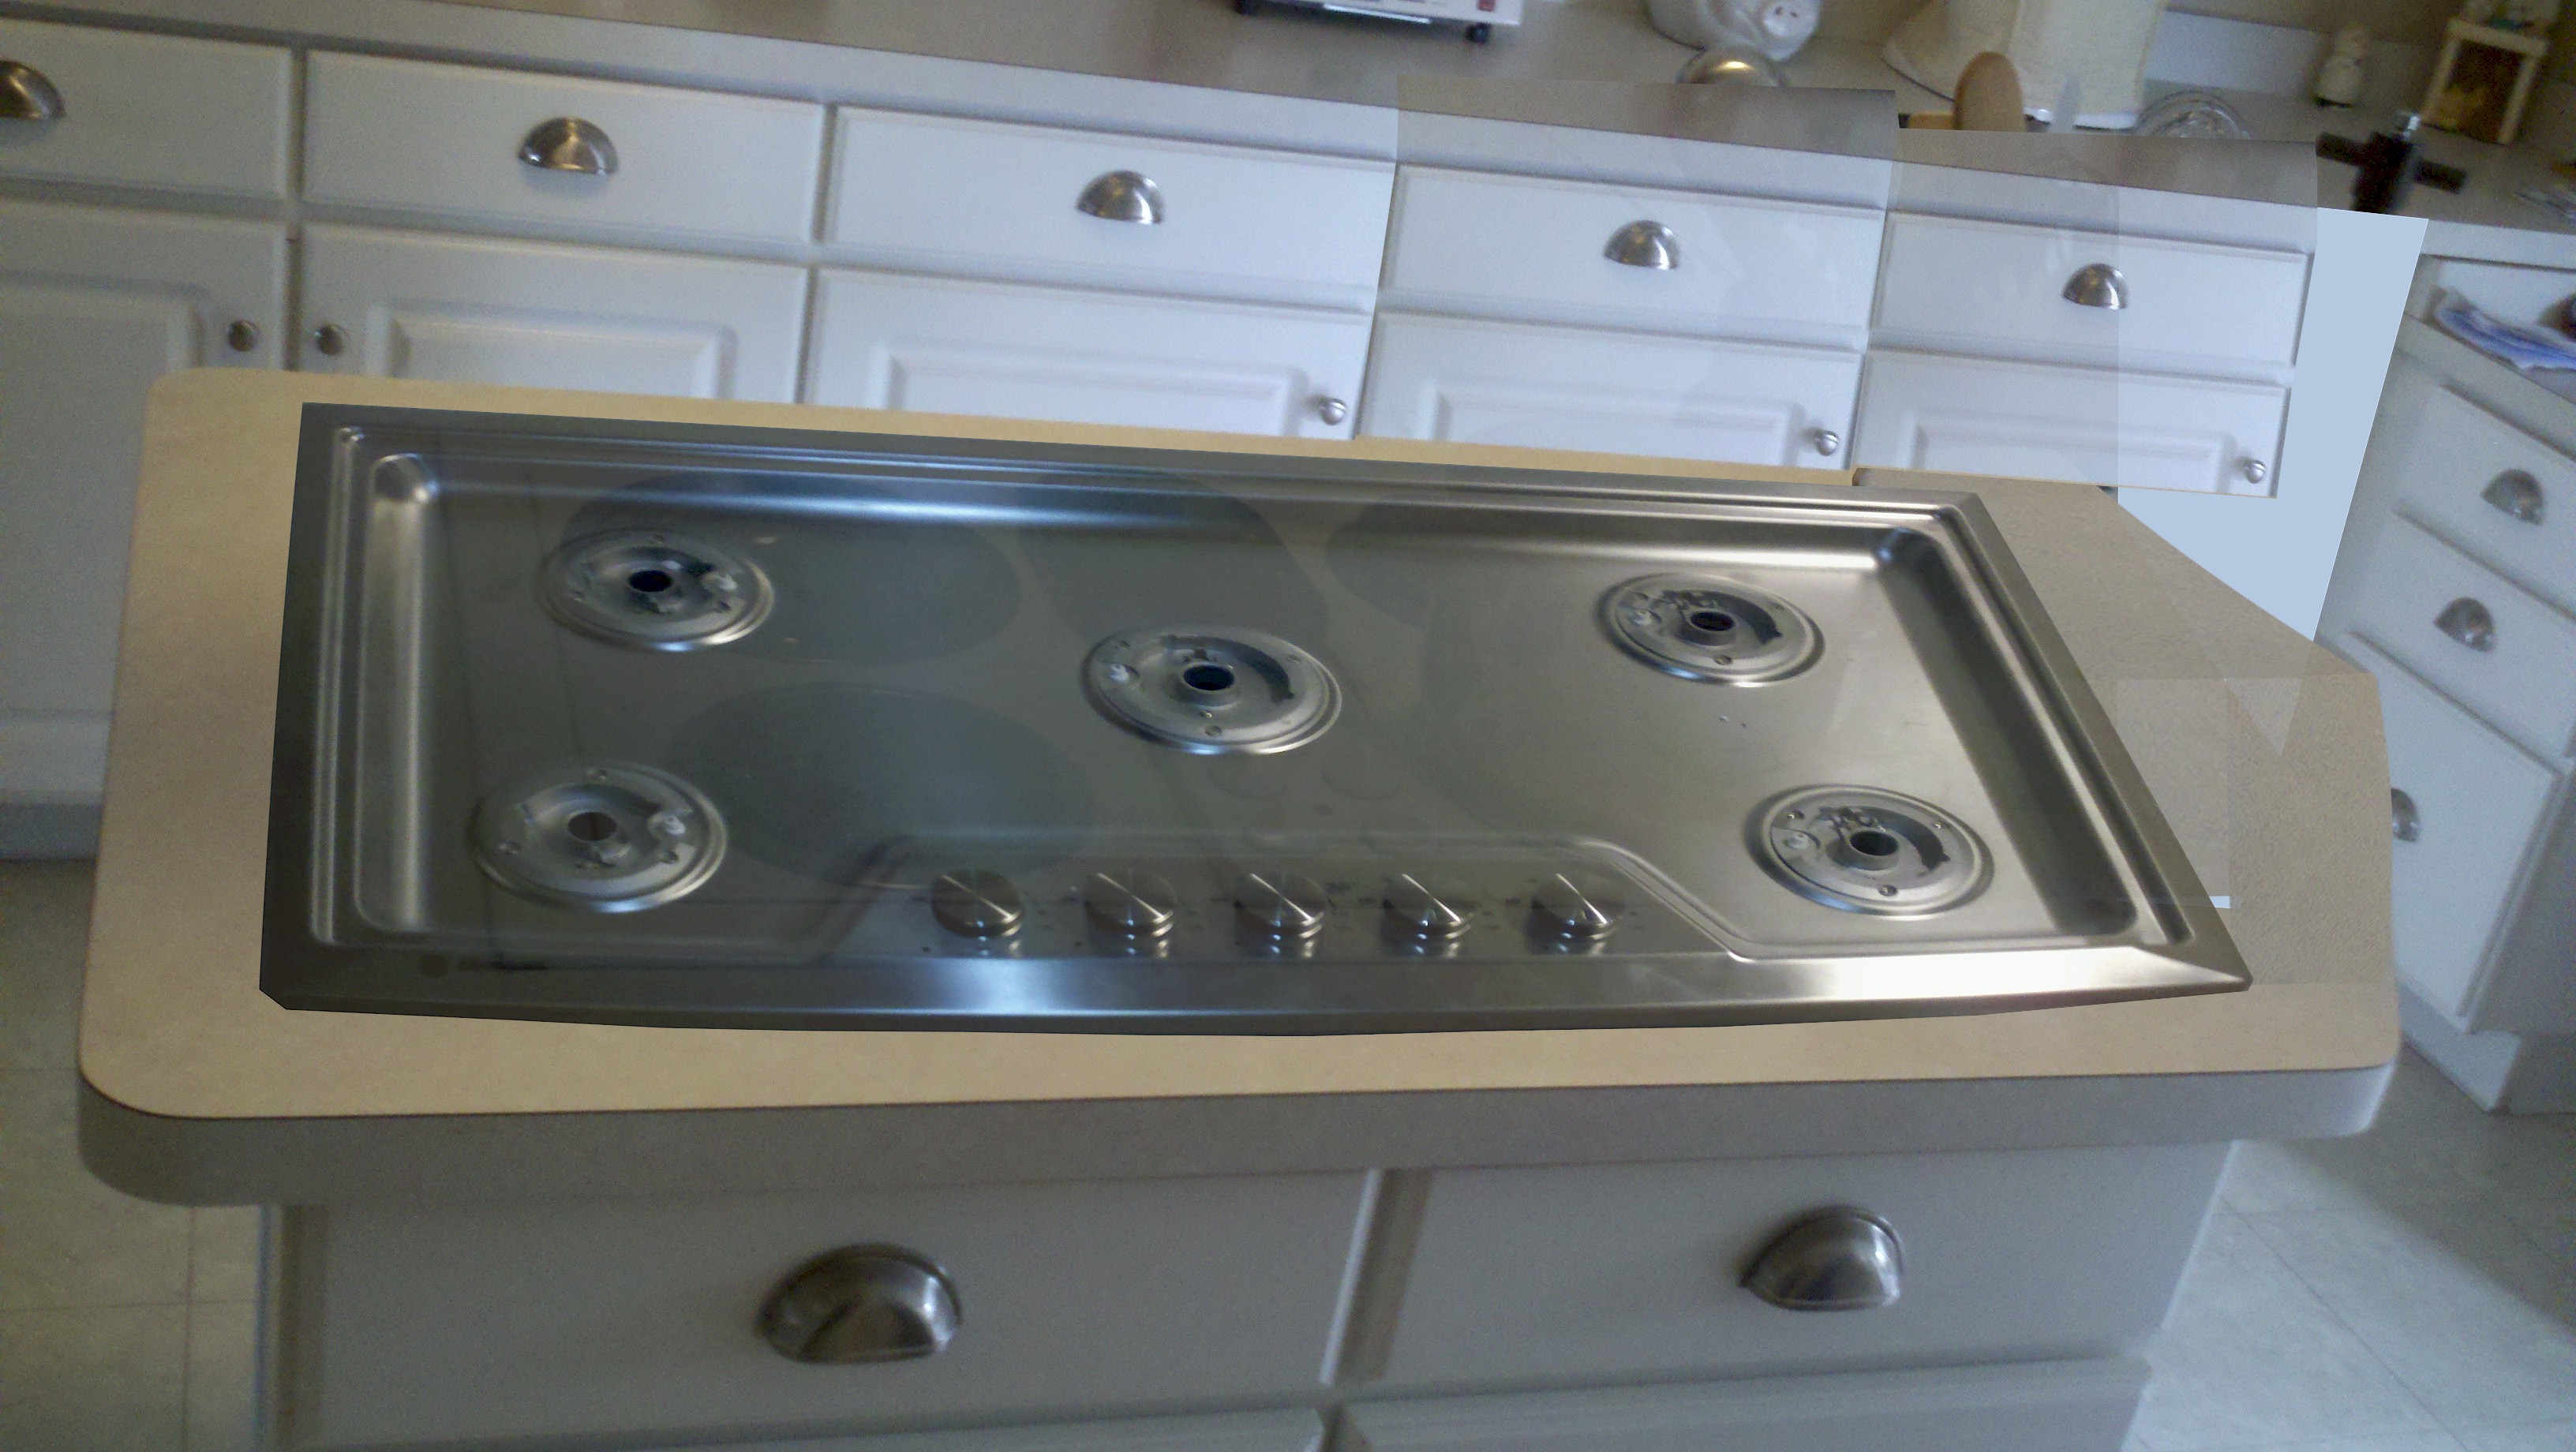
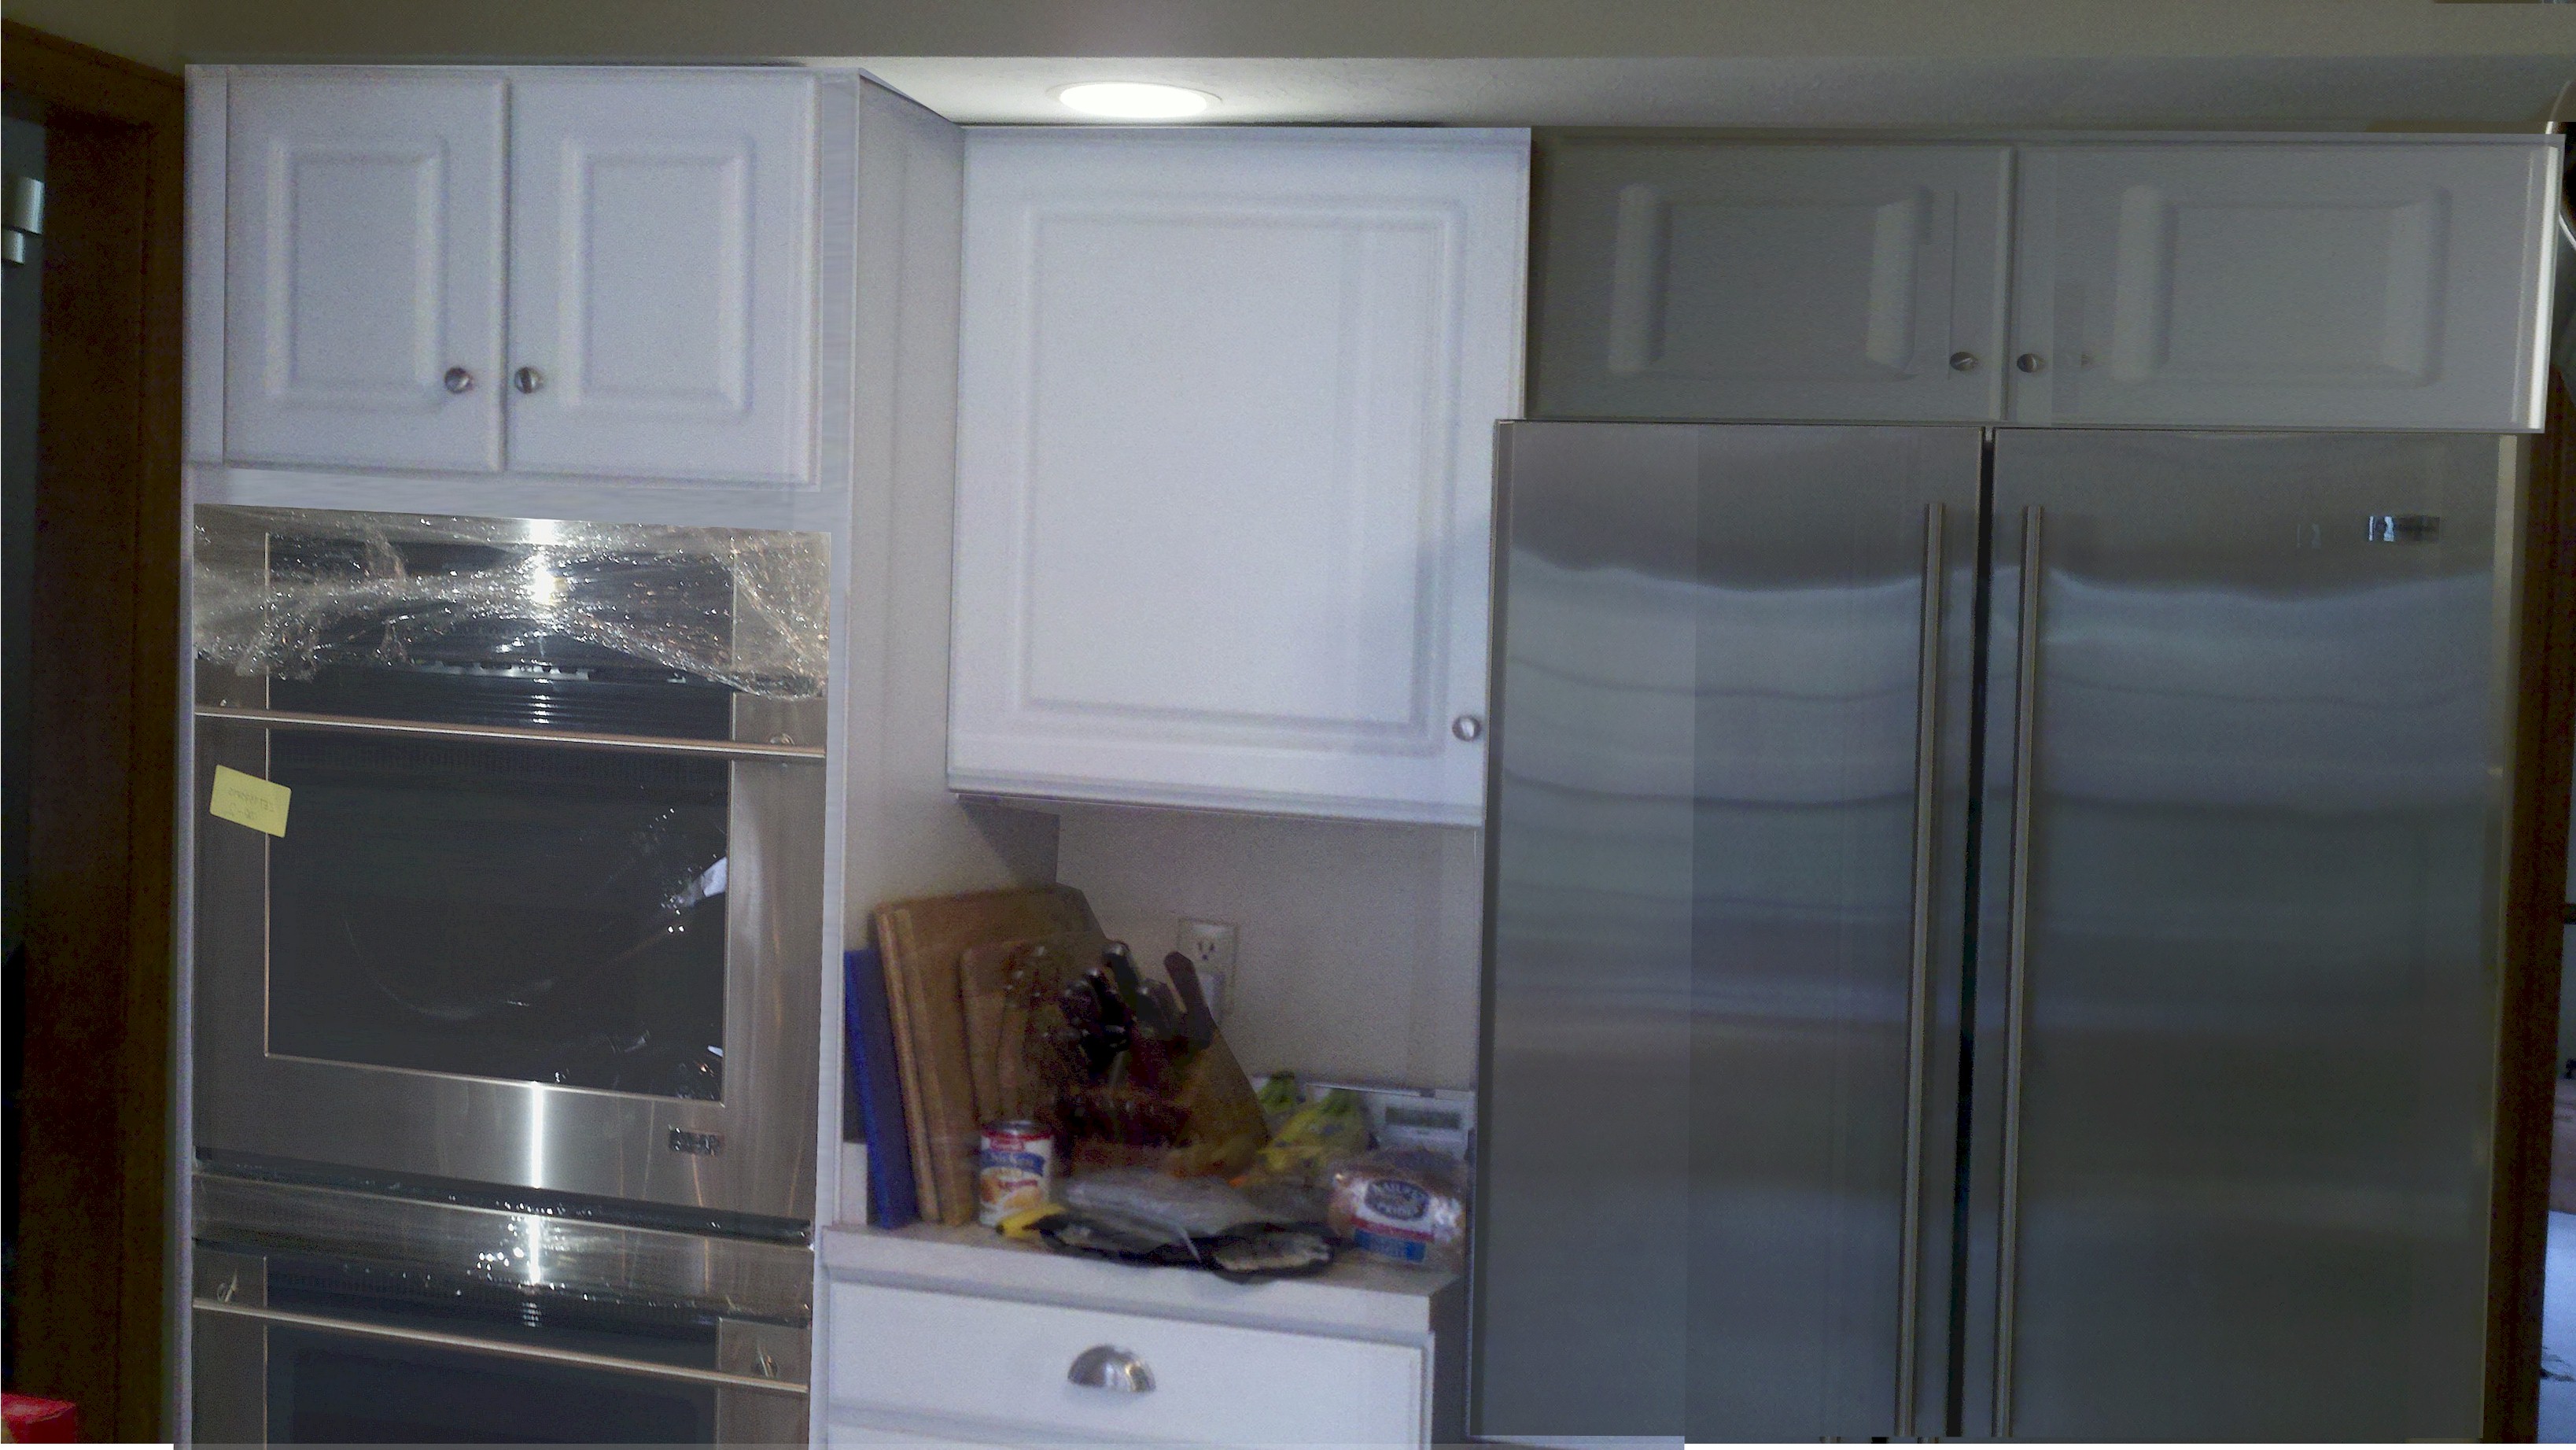
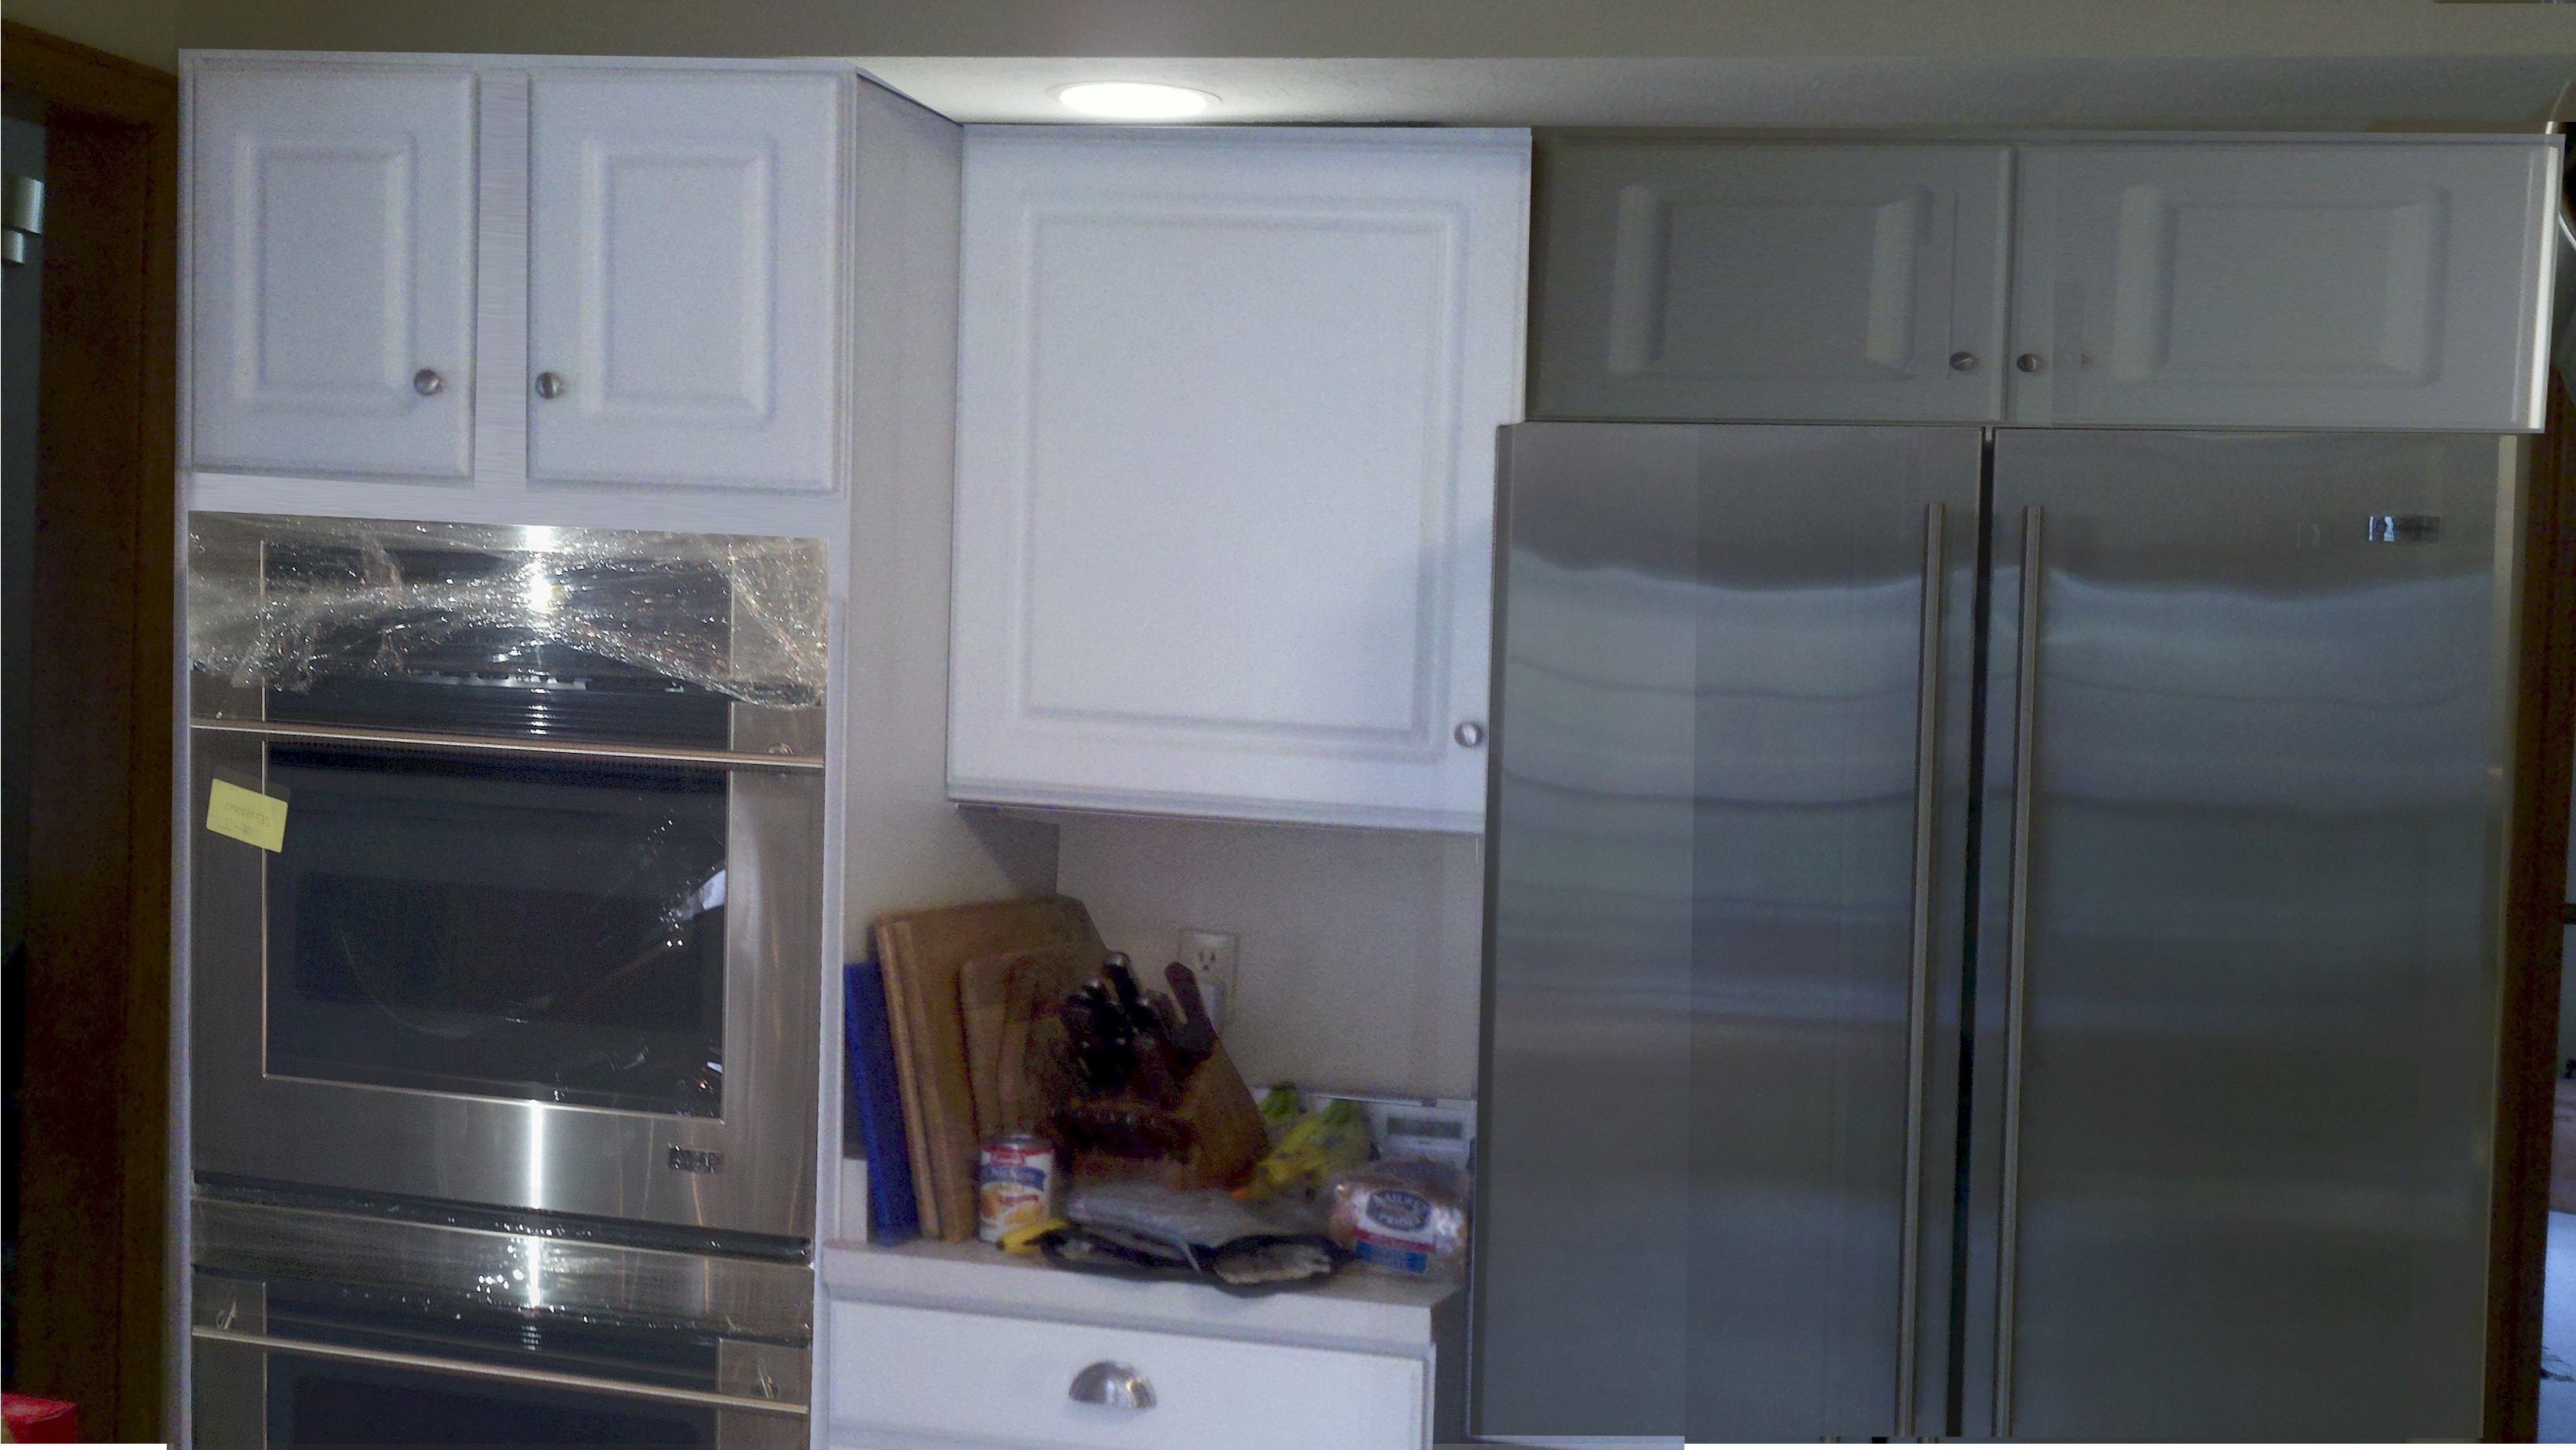
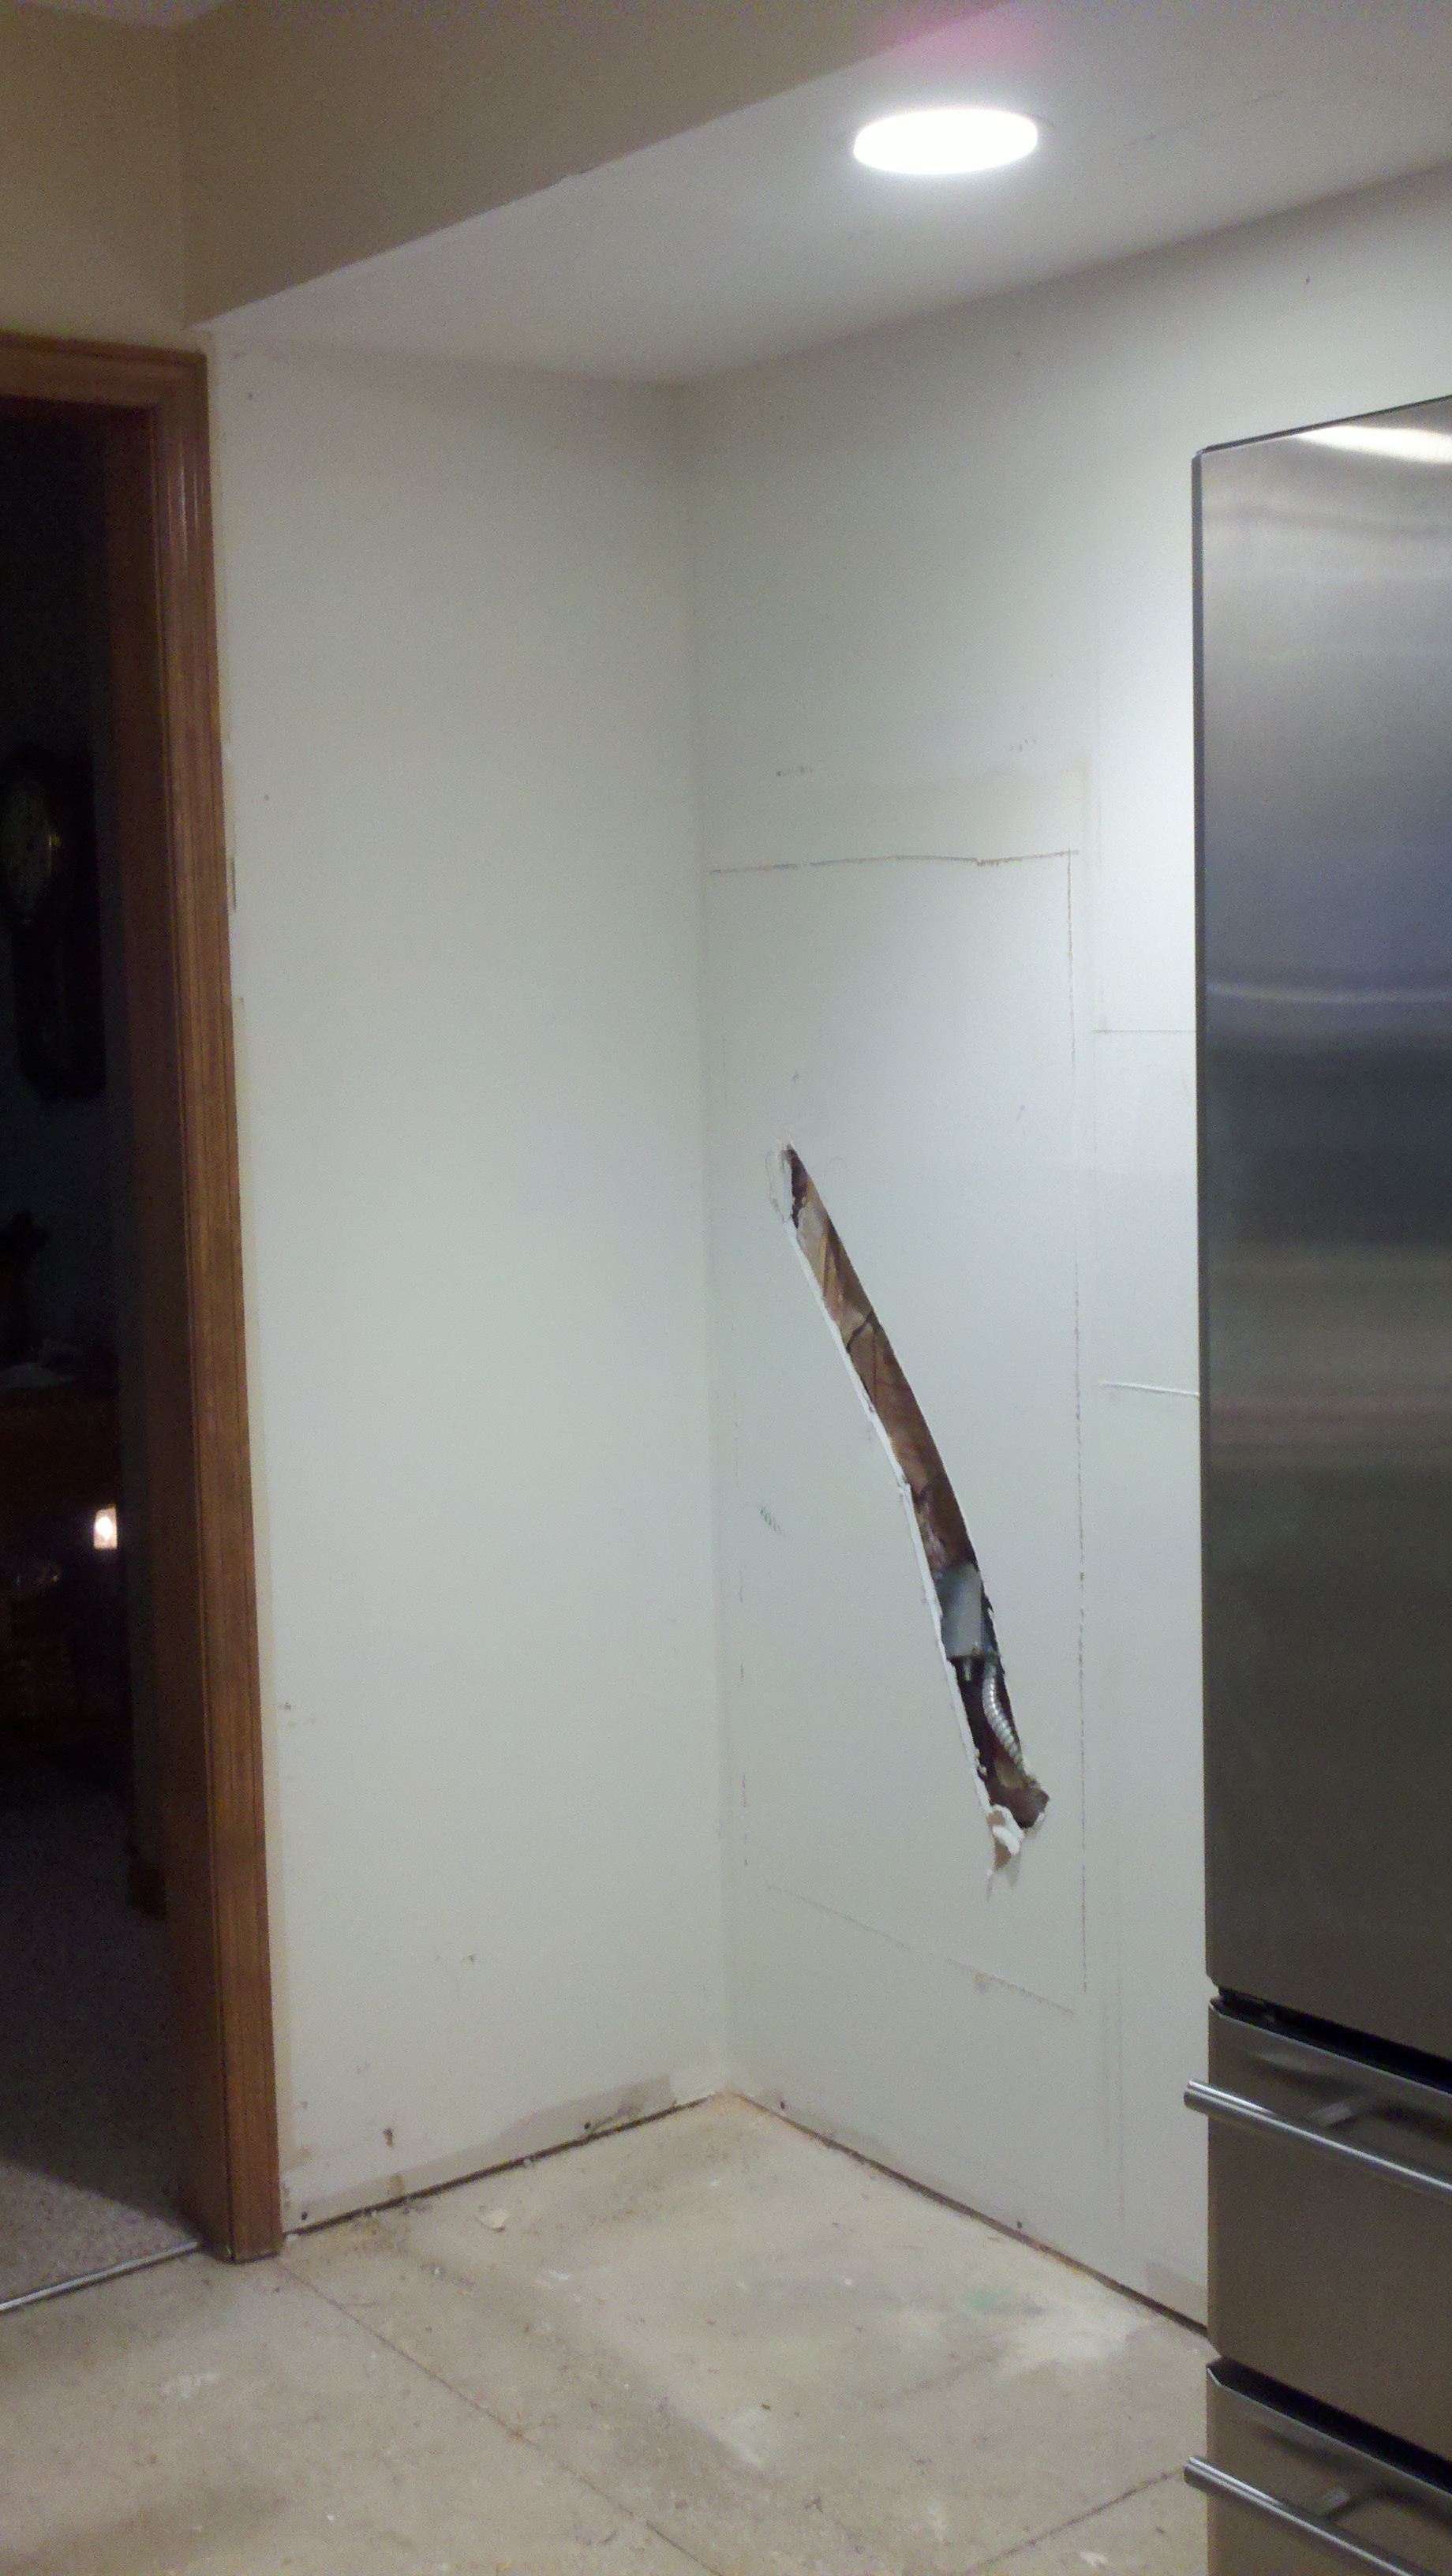
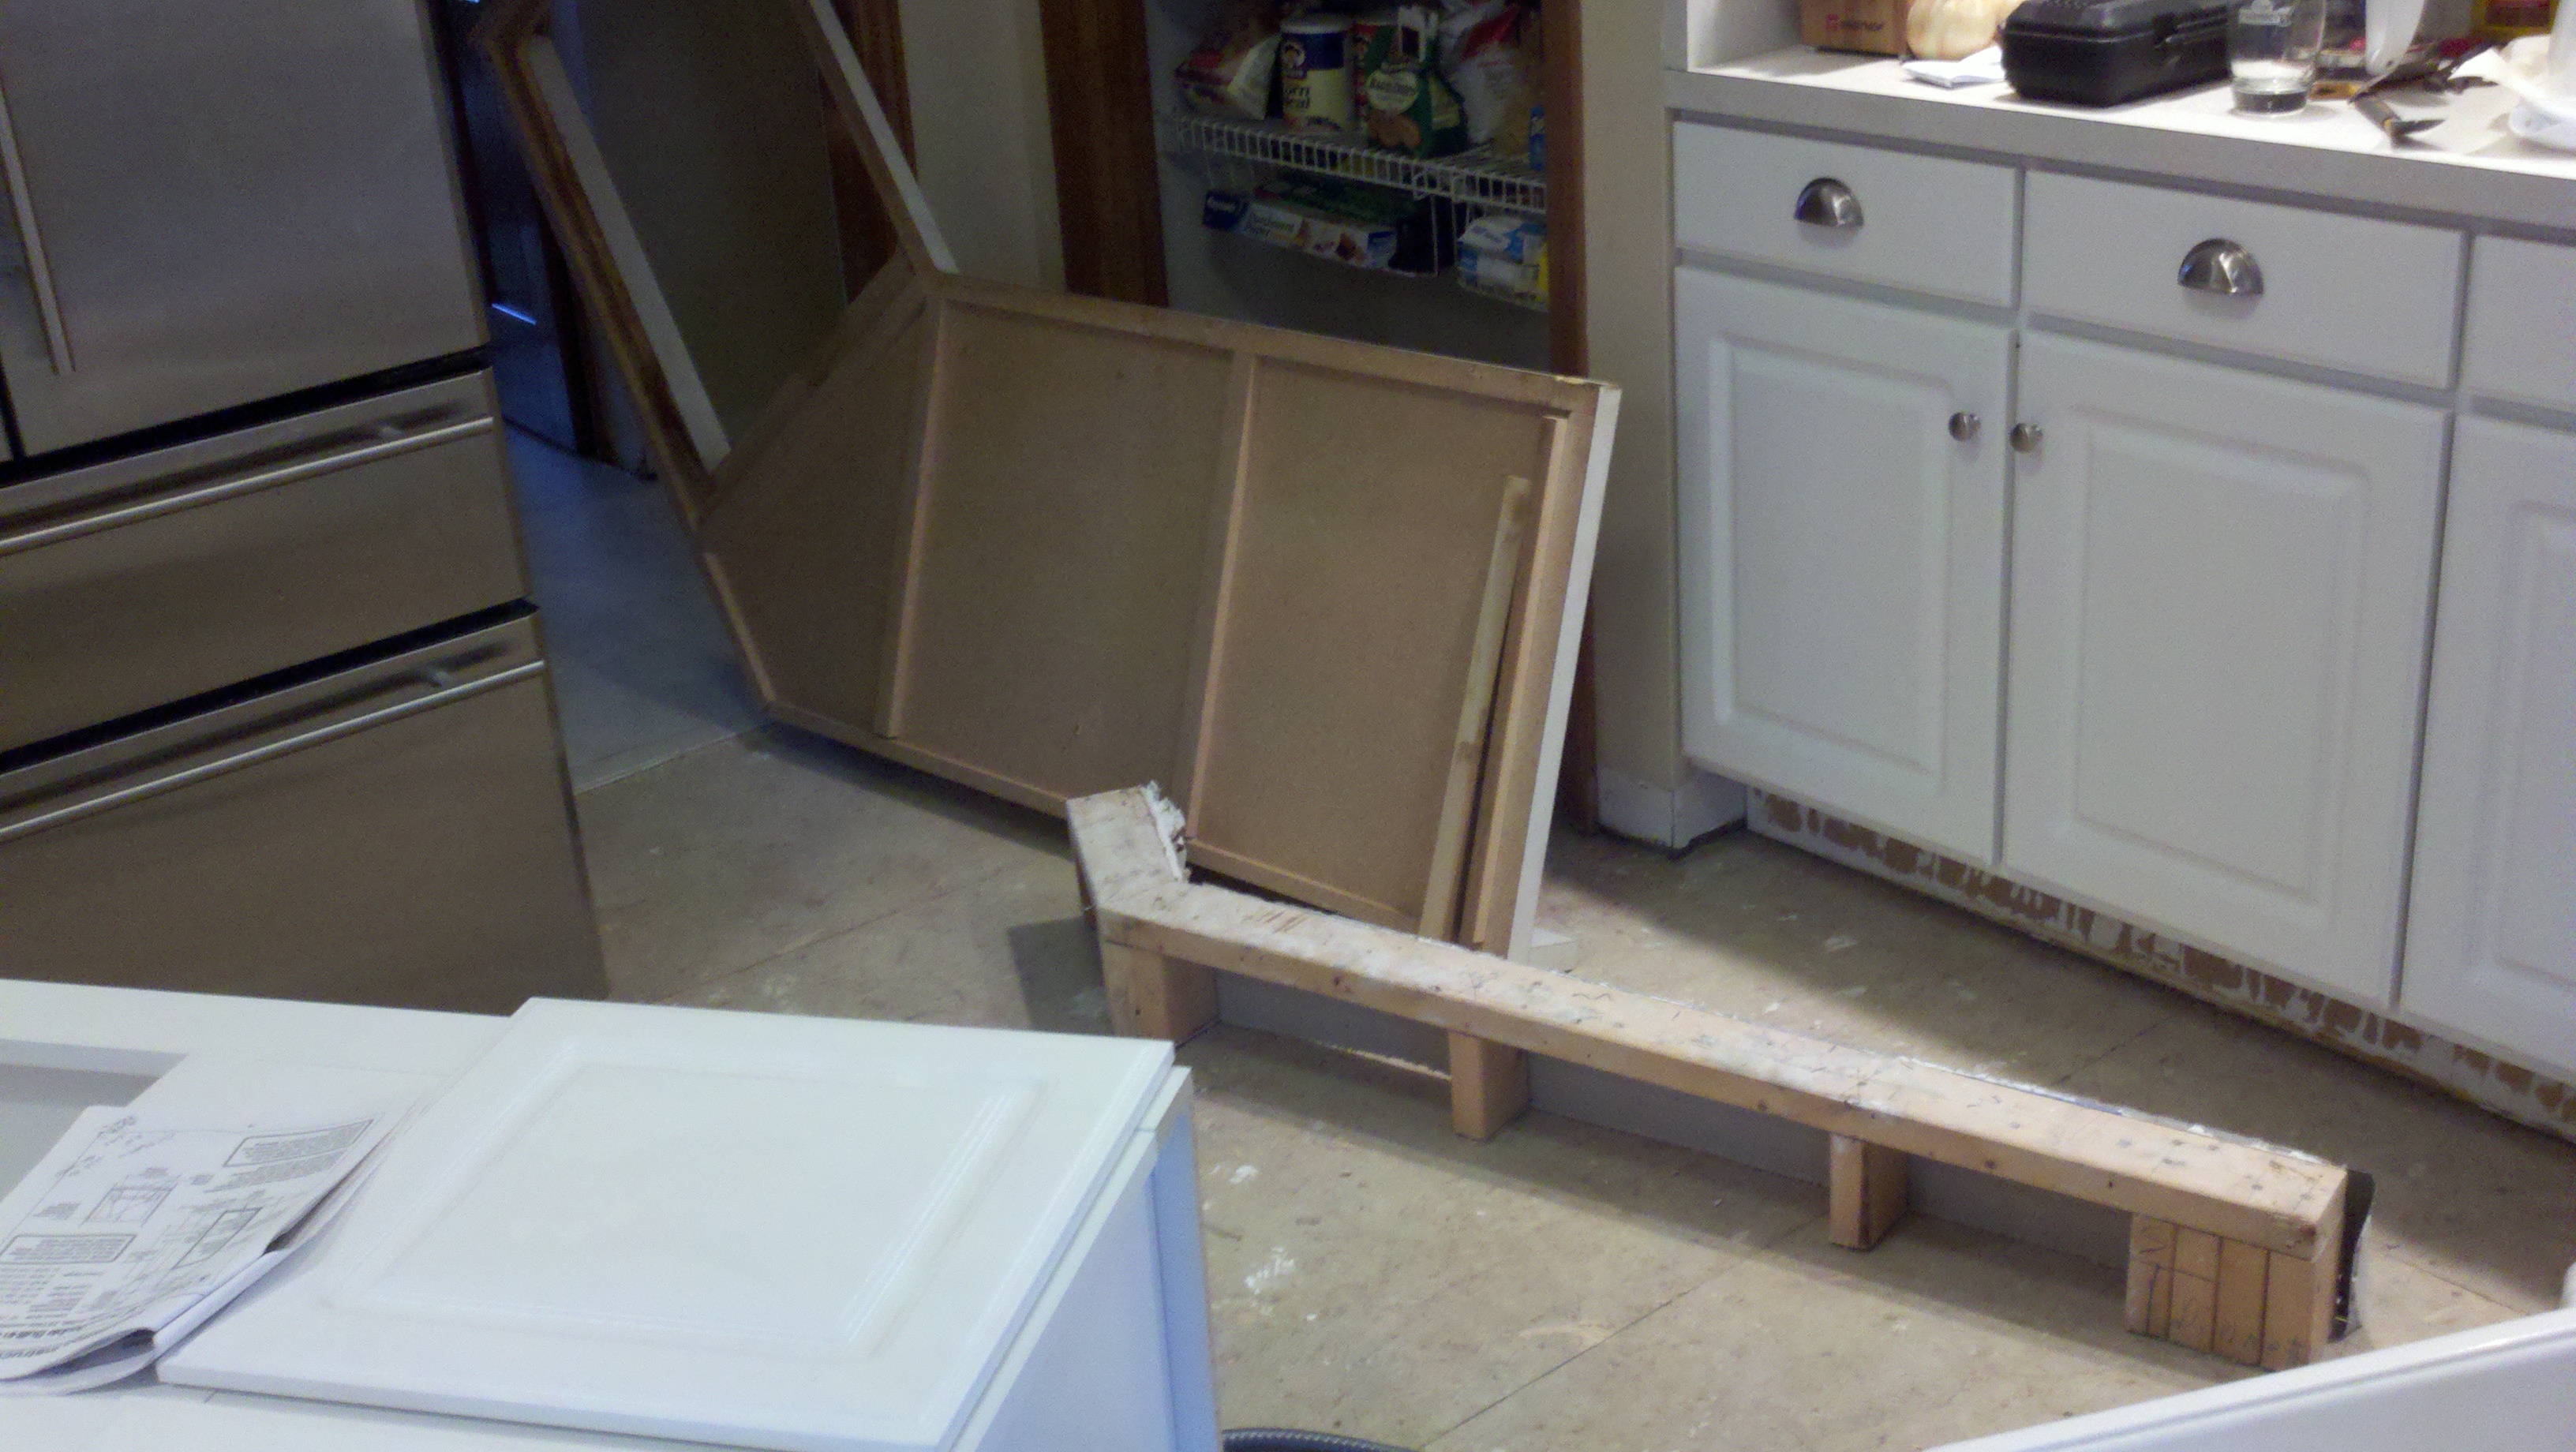
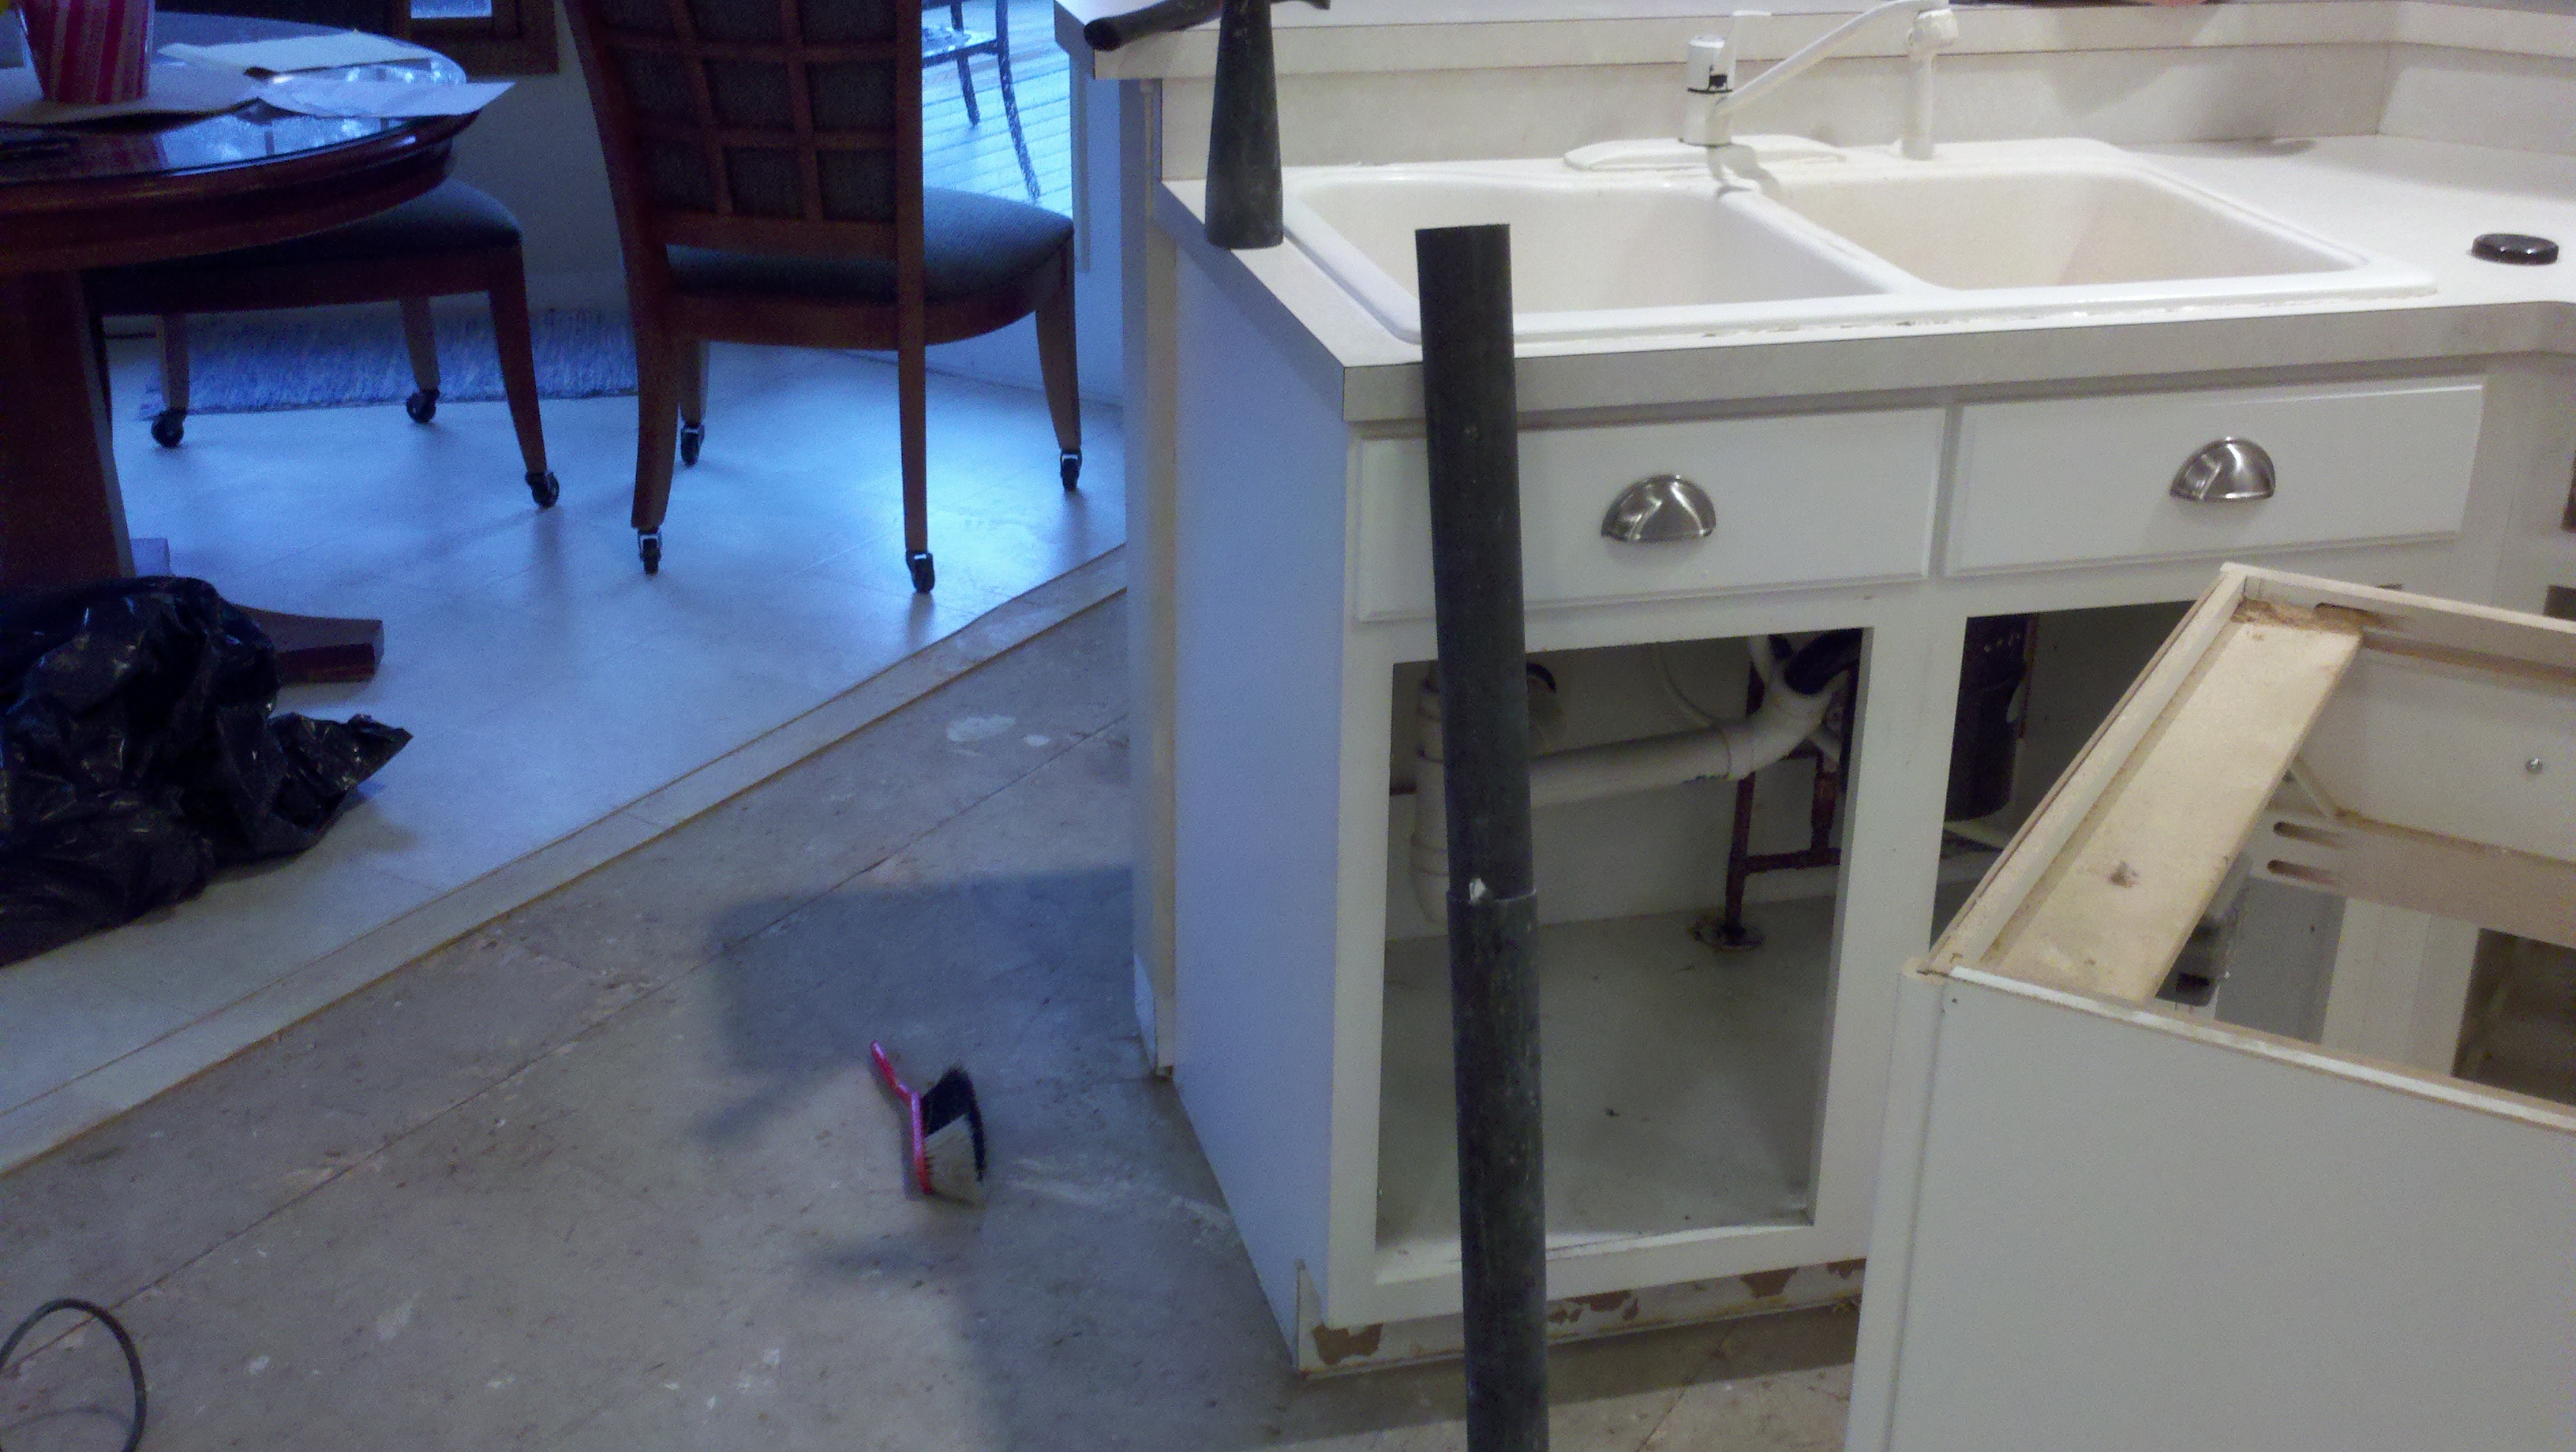
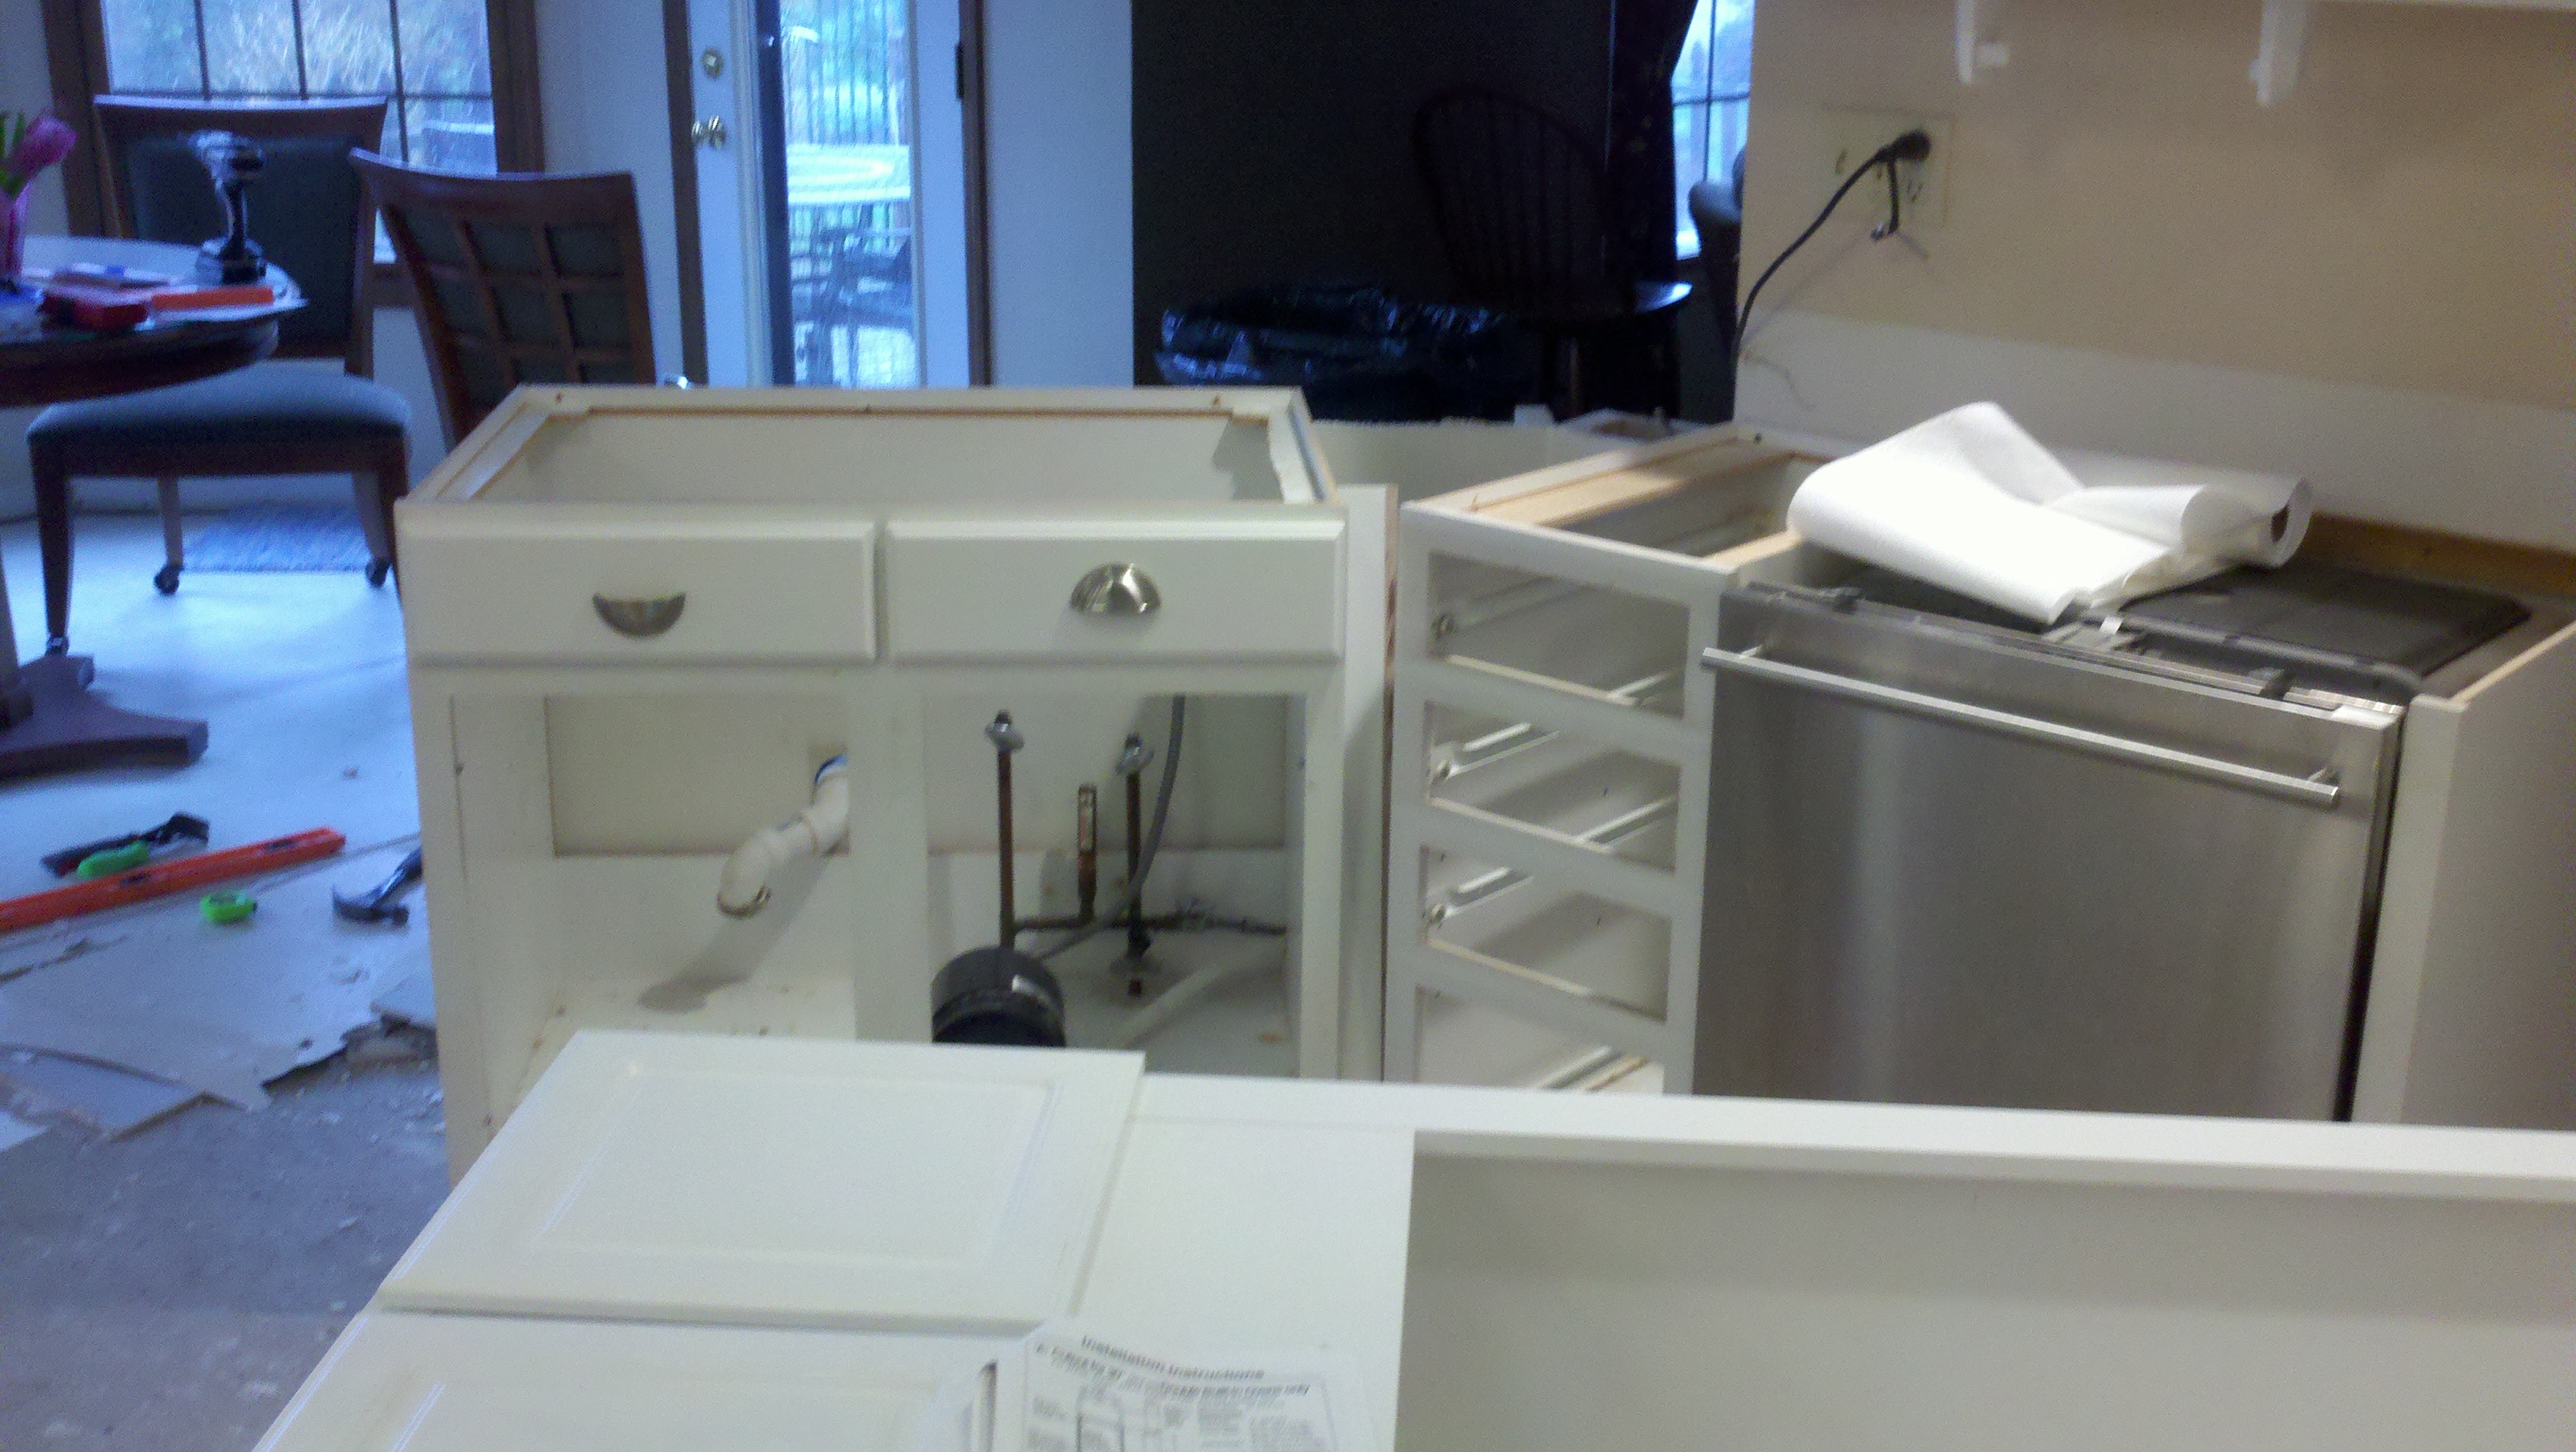
| Kitchen Remodel | ||
| Oven Installed with upper cabinet doors split | 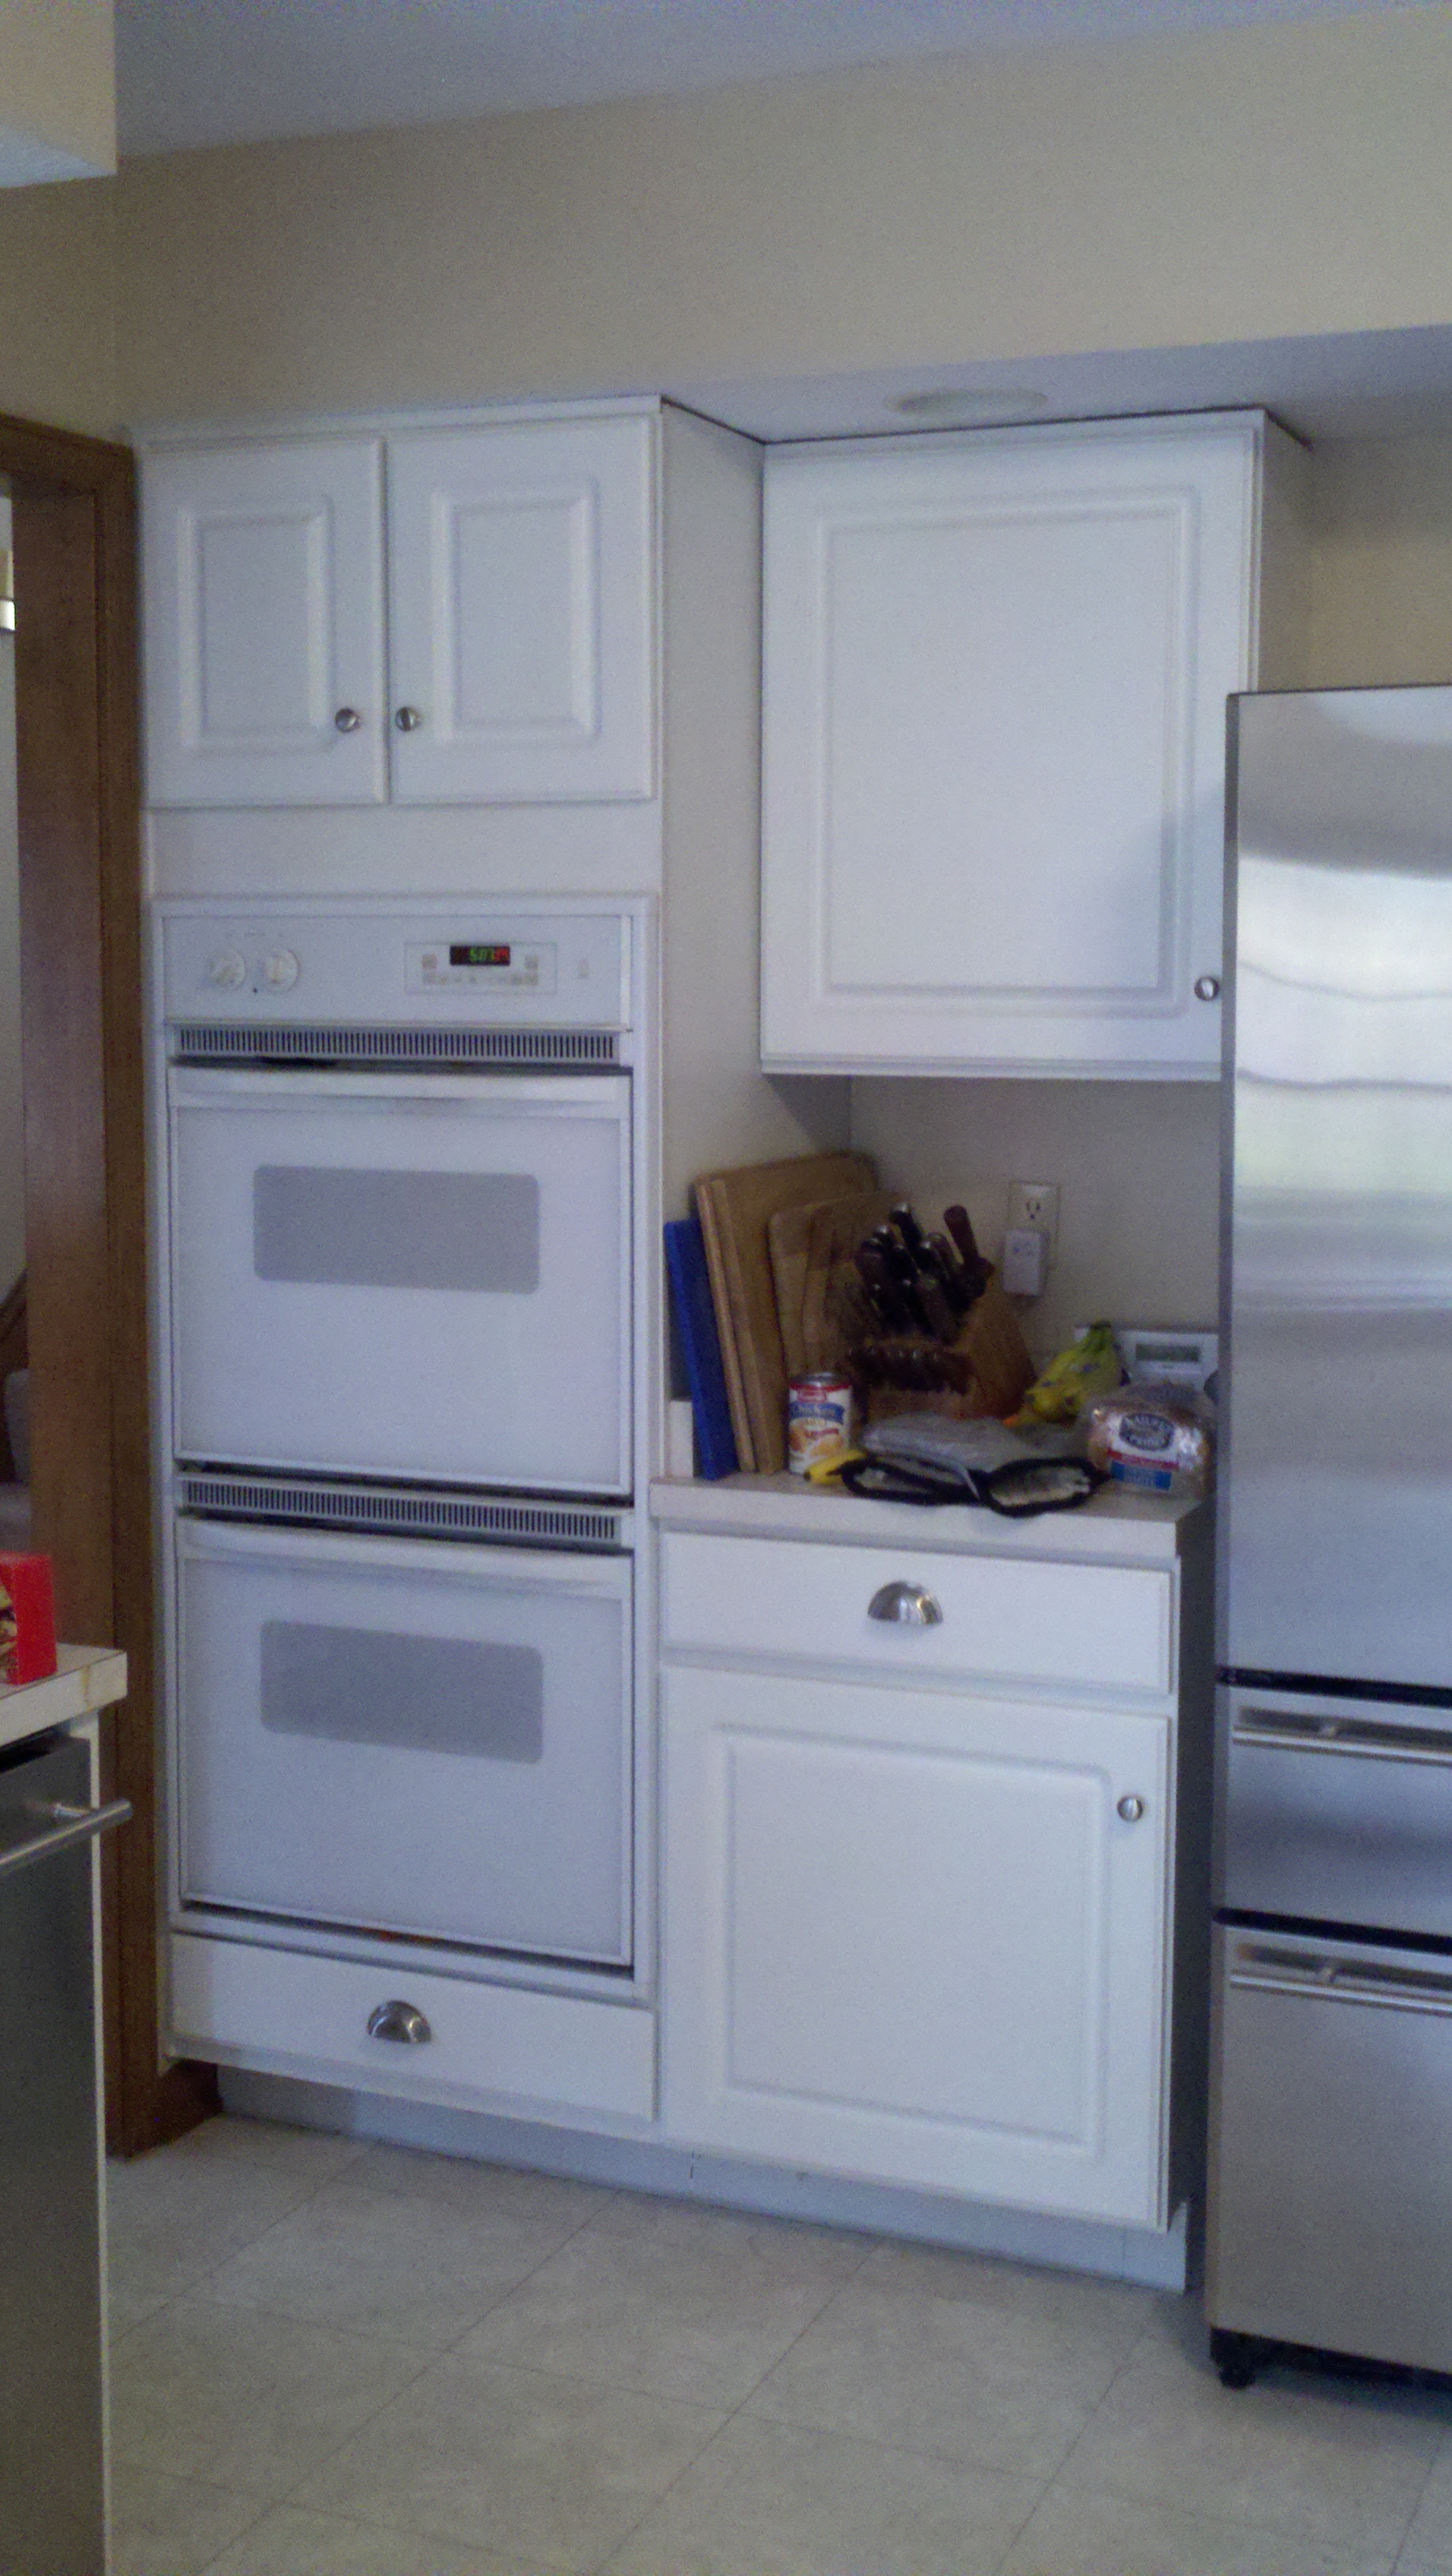 |
 |
| Oven Installed with upper cabinet doors placed close together | |
 |
| Center island with cook top installed | 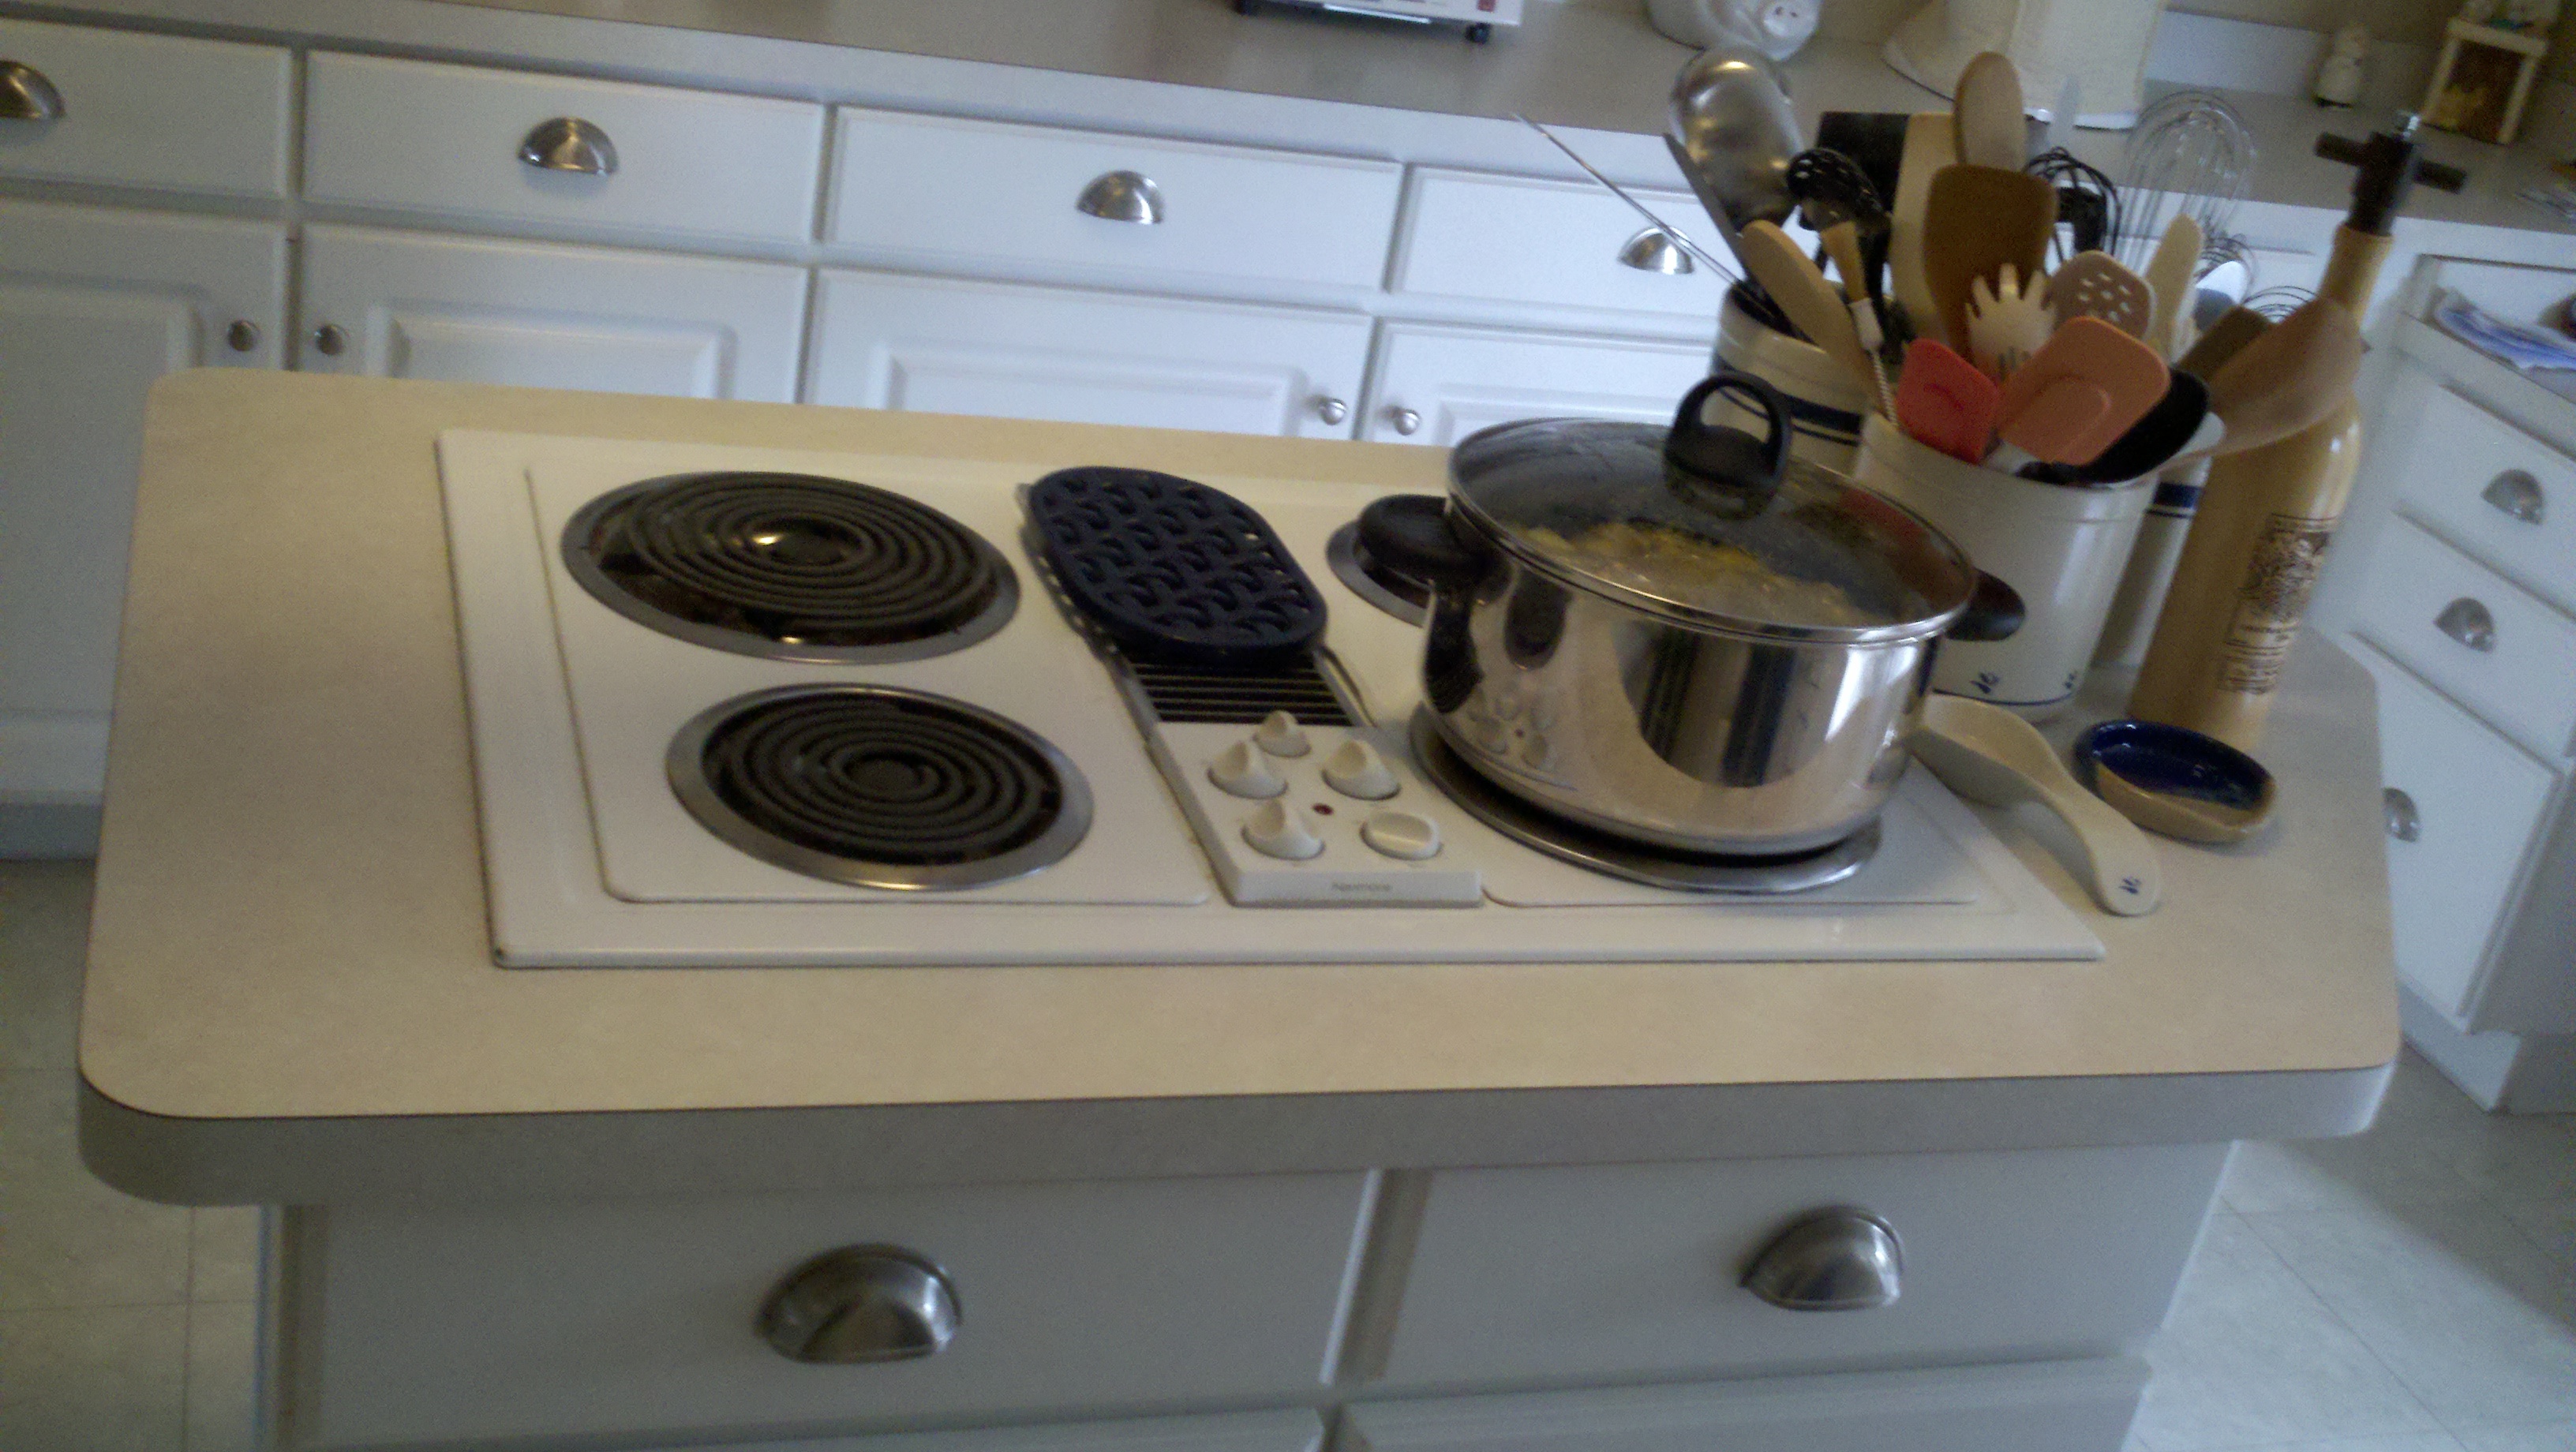 |
 |
| Oven Installed with split doors & cabinet above fridge | 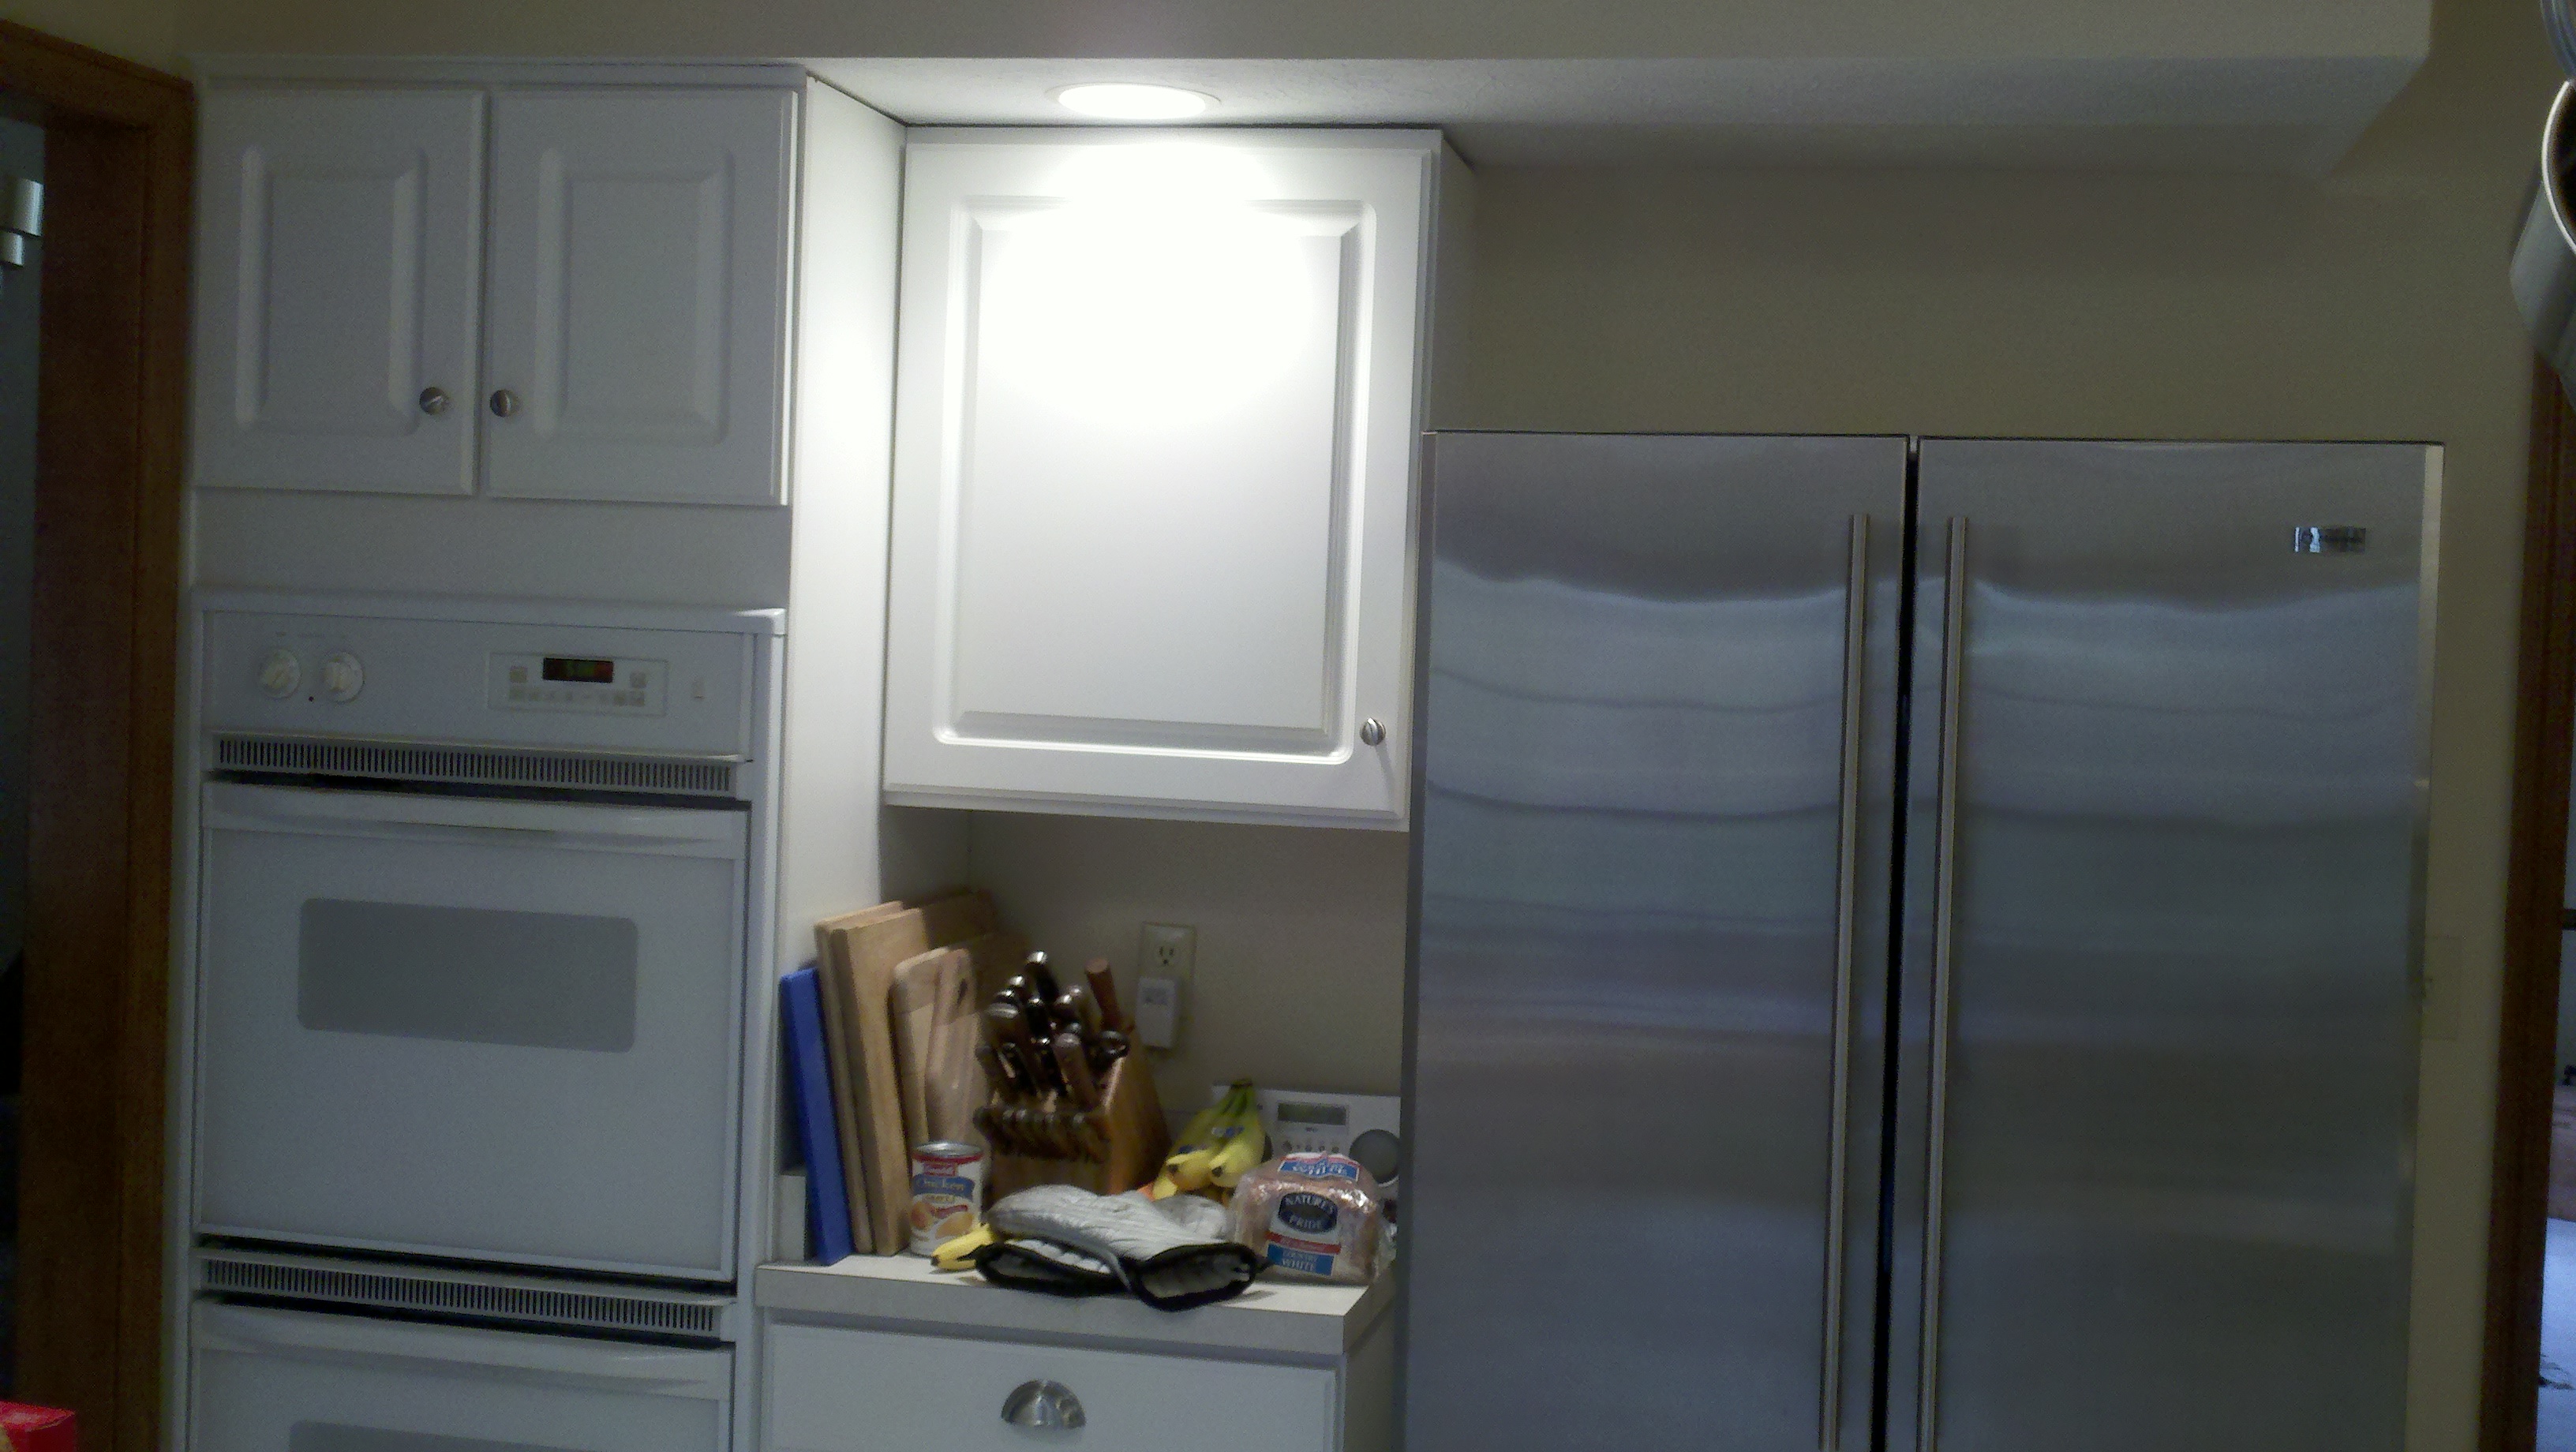 |
 |
| Oven Installed with cabinet doors together & cabinet above fridge | |
 |
|
||

![]()